
Watch Dogs Guide MAIN MISSIONS MAIN MISSIONS /// Act I
_BACKSEAT DRIVER
OBJECTIVES
|
 Reach the west island
 Escape the police (optional)
 Reach the fugitive undetected
 Escape the lockdown area undetected
 Escape the police (optional)
 Deliver the car to the drop-off point undetected
4.2 INFILTRATING THE ISLAND
 Location / The Loop // One Block West of WKZ-TV Center
 Location / The Loop // Rail Depot on the Island
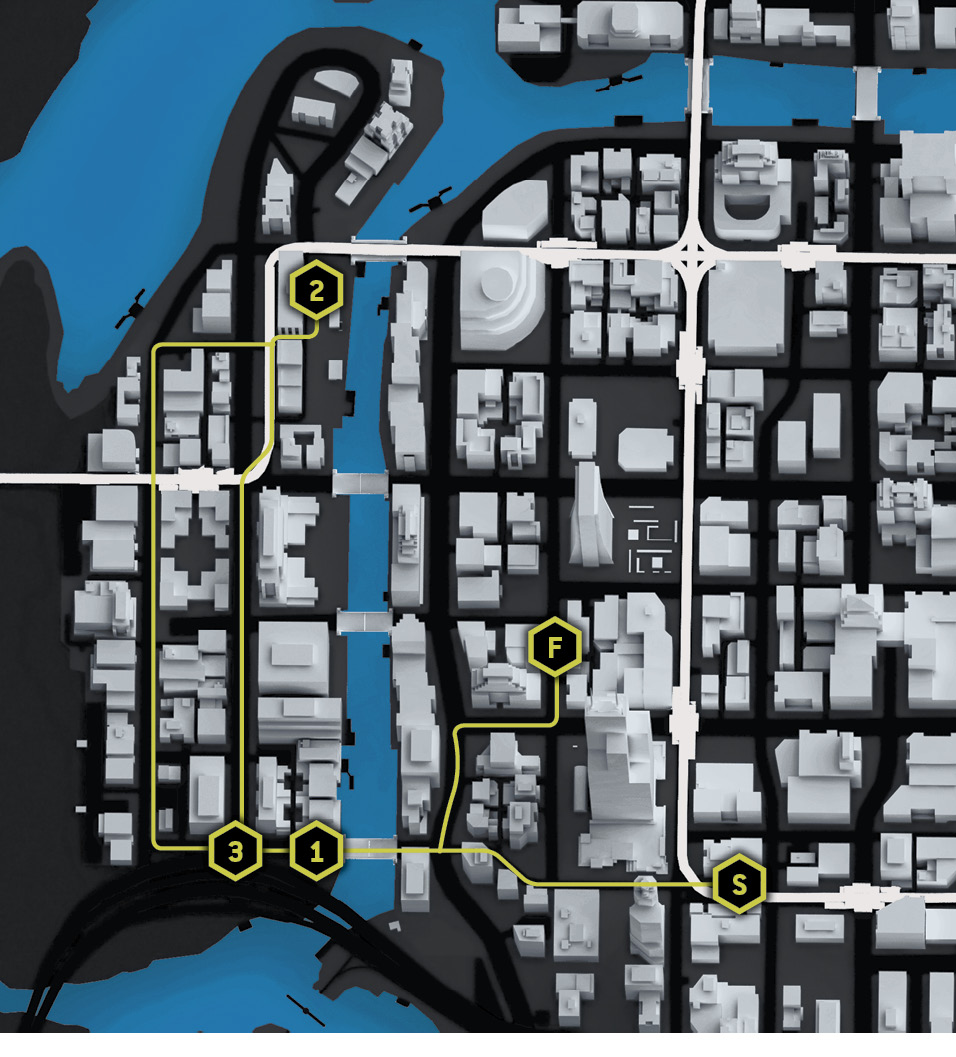
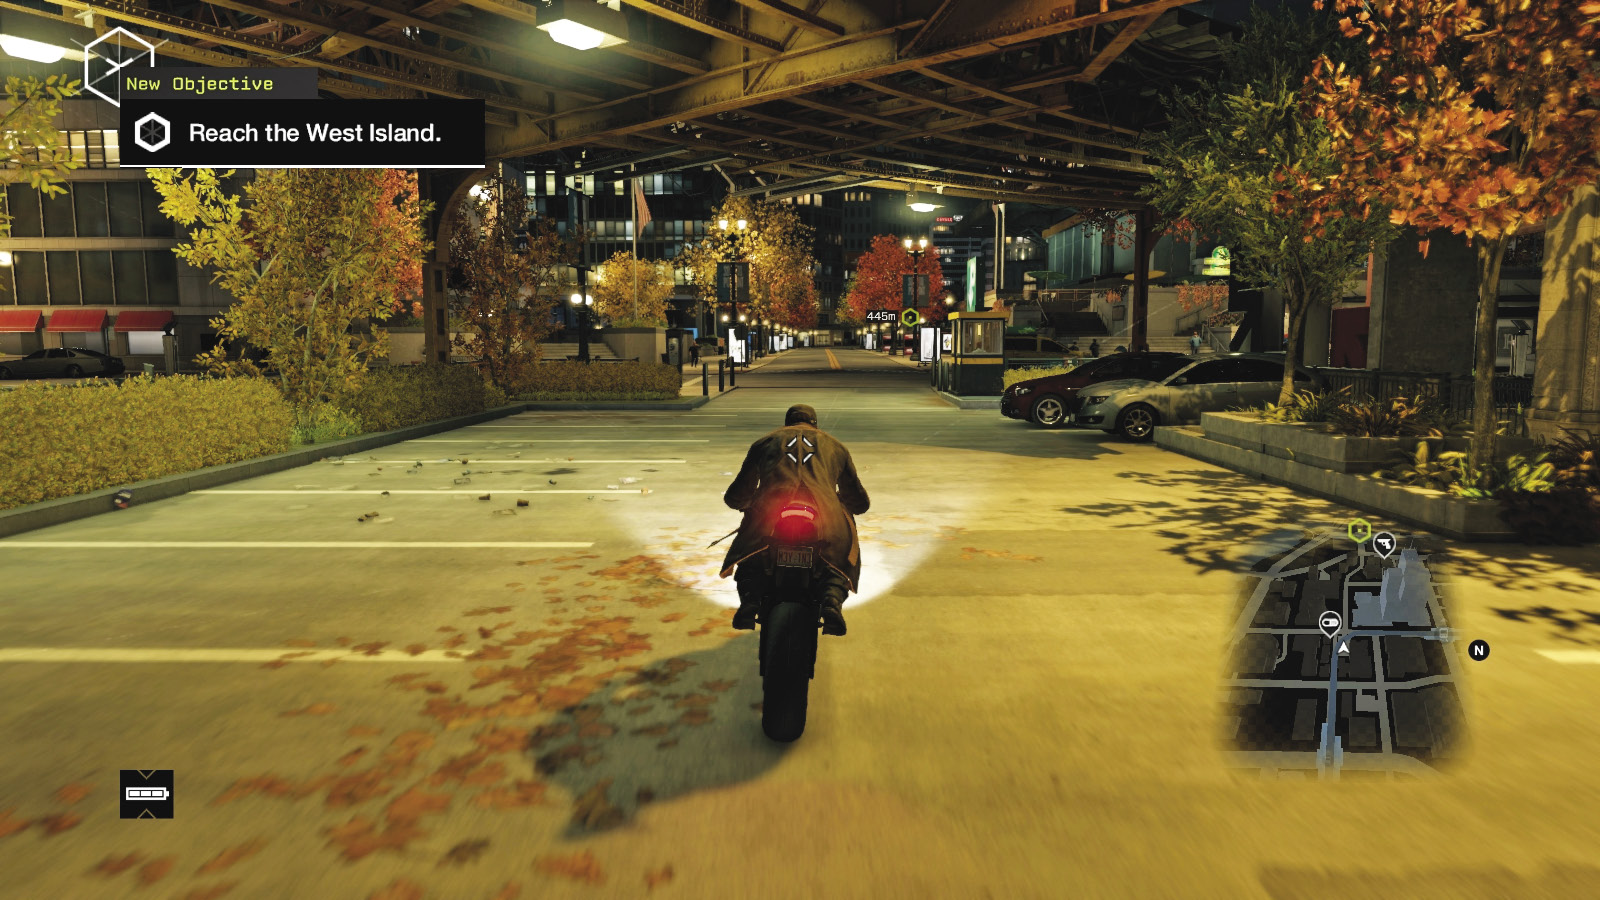
Rendezvous back at the small parking lot near the newsstand, one block west of the WKZ-TV Center in The Loop. Jordi should already have told you, in no uncertain terms, that a Fixer he knows is fleeing from the cops and needs a driver. His location is uploaded to your main map. Tag it as a target so your route GPS is visible.
Any motorbike is your preferred ride during this infiltration. If that’s not your style, select a Nakahawa Motors’ Zusume R: There may be one in the parking lot. Although any other vehicle is also fine to use, an identical Zusume R is your escape car during the second part of this mission.
|
|
 Reach the west island for the driving contract
 Escape the police (optional)
 Reach the fugitive undetected
 Driving Infiltration
Difficulty: 
Overview
Completion Point: A garage along a side alley overlooking the train yard, on the island.
Dangers: Chicago PD helicopters, barricades, spike strips, prowlers, squad cars, and patrol officers
Progression Plans
Choose a vehicle and make your way to the “island”—a colloquialism for the area of land on the western side of The Loop. To reach the alley overlooking the train yard, you need to cross one of the bridges and avoid being spotted by the police scans.
General PreplanningPresupposition: The following assumes you’ve already learned the elements referenced in all earlier missions, so information isn’t repeated too often. Vehicle Stealth: You currently haven’t been spotted, so remain hidden from the police scans as you attempt to reach your target. Check the Training section for more information. |
The police felonies have three distinct phases:
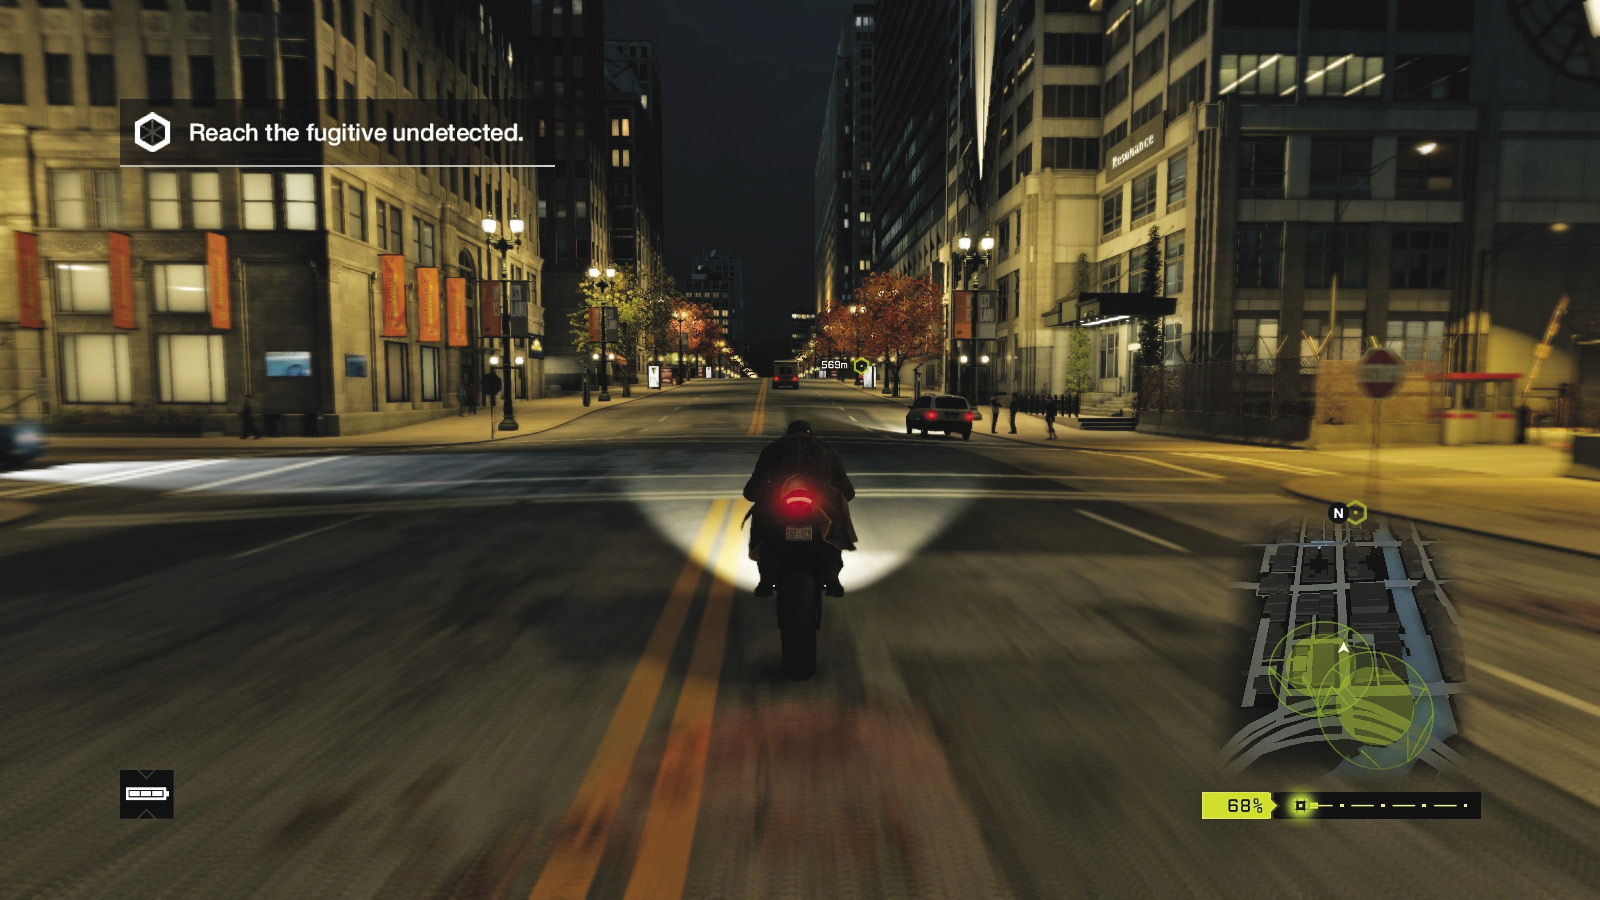
Scan (Yellow Heat Meter): The police attempt to locate you using the ctOS scan, one or more yellow circles that gradually fill in. Move away from this scan zone whenever possible. Use the increasing number as additional information; if this reaches 100%, phase two begins and you’re located.

Chase (Red Heat Meter): If you are located within a scan, the second phase is triggered; lose the police by breaking their line of sight and using the tactics presented in this chapter.

Search (White Heat Meter):If you avoid the police and they lose your location, they begin a search—a large circular search area just like the one you fled from during the very first main mission. Exit this circle or hide until the timer at the screen’s bottom right runs out.
 Driving // Defensive: The Right Route to Take

 Difficulty:
You’re heading west to reach your first destination, and this is one of the few occasions where your GPS marks the easiest and most direct route to take. Simply follow the road west and cross the bridge. Your objective marker then moves to the garage. Make a right, heading north, into the police zone. Simply keep heading north, and at speed, to avoid being caught in the police’s ctOS scan zone.
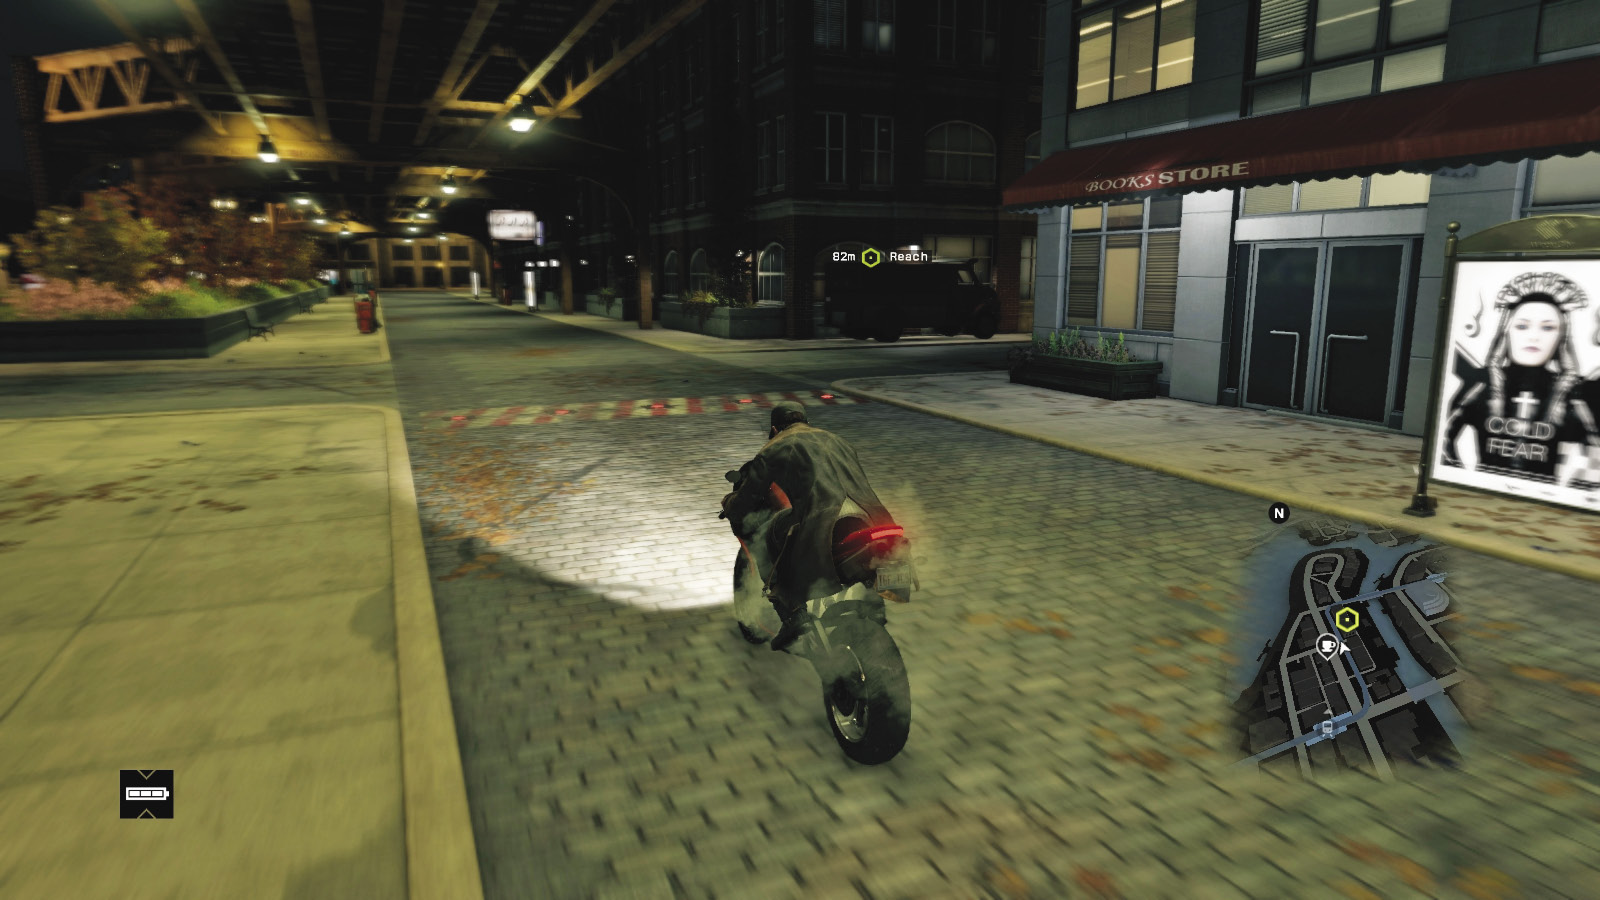
When you enter this restricted area, you really need to watch your position and the location of the scans on your minimap. Assuming you don’t need to veer off to avoid a scan, head to the right onto the cobblestone side street with the L-train tracks above you. Then make a right down either alley before you pass the garage and head to your objective.
 Driving // Defensive: The Long Loop to Take

Difficulty: 
It is best to approach the alleyway from the south, heading north. But if you need to escape the police before you reach your target, or avoiding the law means you needed to use the bridge to the north or the northern loop on the island, this is also a practical alternative; it just takes longer. Enter the alley from the north, heading south.
 Driving // Defensive: The Wrong Side of the Tracks

Difficulty: 
You don’t need to be in your vehicle to reach your target. So, you can ditch your ride, especially if you take the side alleyways near the water’s edge, heading north with the bridges to your right. There’s a bar with open tables just south of the target; crash through here, dropping into the rail yard, and ditch your vehicle. Run up to the alley using the steps at either end. The bike is excellent for finding narrow alley routes to your destination.
4.3 MY RULES. YOUR CAR. THAT’S THE JOB
 Location / The Loop // Unloading Depot on the Island
|
|
 Escape the lockdown area undetected
 Escape the police (optional)
 Driving Infiltration
 Vehicle Chase
Difficulty: 
Overview
Completion Point: An alley one block north of the Willis Tower, in The Loop.
Dangers: Chicago PD helicopters, barricades, spike strips, prowlers, squad cars, and patrol officers

Open the garage with your smartphone, and you meet the particularly antsy criminal, who needs to be driven out of the roving eye of the police using the beat-up Zusume-R that’s in this lockup. There are two ways out of this predicament:
 Driving // Offensive: My Way


Difficulty: 
Remember how careful you were to reach this garage? Well, ignore all that slow-driving nonsense, and let’s throw caution to the wind! Head left (north) from the garage, knowing the police will spot you. Make a sharp e-brake left, moving in the opposite direction to the raised bridge with the roadblock. Spin the car around about a short block later (just before the road curves left), avoiding a patrol car if necessary; you need about a block and a half’s run-up for this crazy maneuver! Now floor it! You’re heading east, staying on the left sidewalk, avoiding the metal L-Train strut, ignoring any warning as the waiting police officer turns to spot you. Drive up and launch over the bridge using the sidewalks. Keep to the edge to avoid ramming the L-train support pillars on the other side and getting caught. Don’t go too slow, or you’re spotted before you leap the river. Don’t go too fast, or you’ll strike the side of the L-Train support structure and be spotted by the cops on the other side.
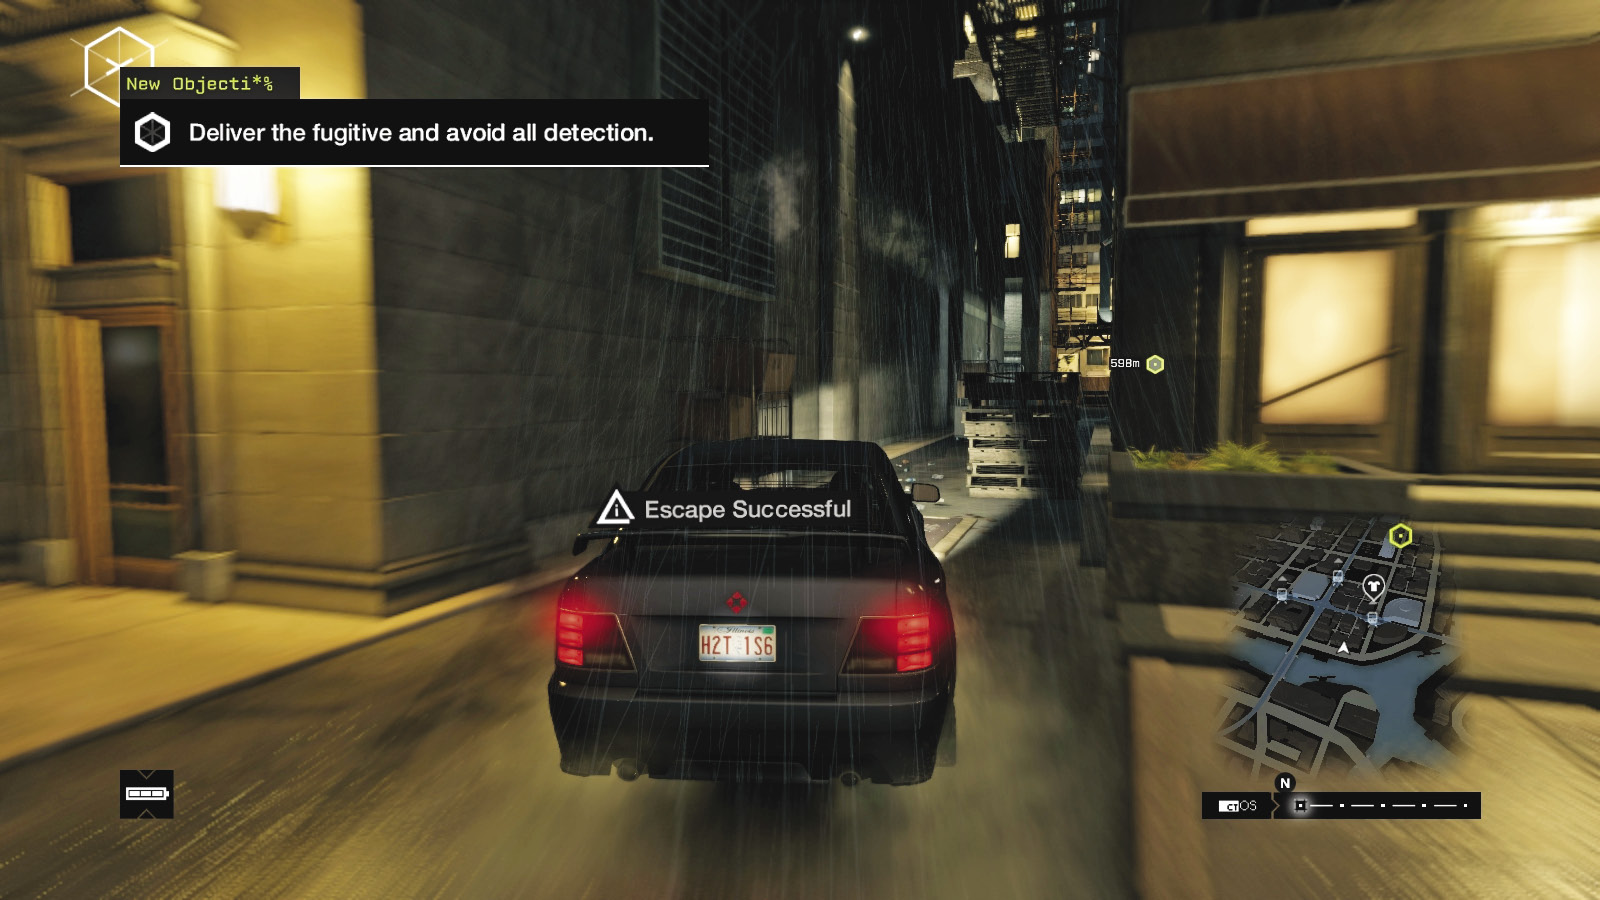
This technically places you on the other side of the “island,” but the police are furious with this brazen act. Assuming you didn’t lose control during the bridge jump and land in the river, head left (northeast) along the main road with the river on your left. There are some excellent alleys to your right to weave through as you attempt to lose your pursuers.
 Driving // Defensive: The Highway

 Difficulty:
Remember how careful you were to reach this garage? Well, continue this conservative driving style. Head right (south) out of the garage, immediately head right (west) again, and slow to avoid patrol cars. The police are likely to be on all the main streets, so head west under the L-train tracks, across the road, and swerve left (south) into an alley.
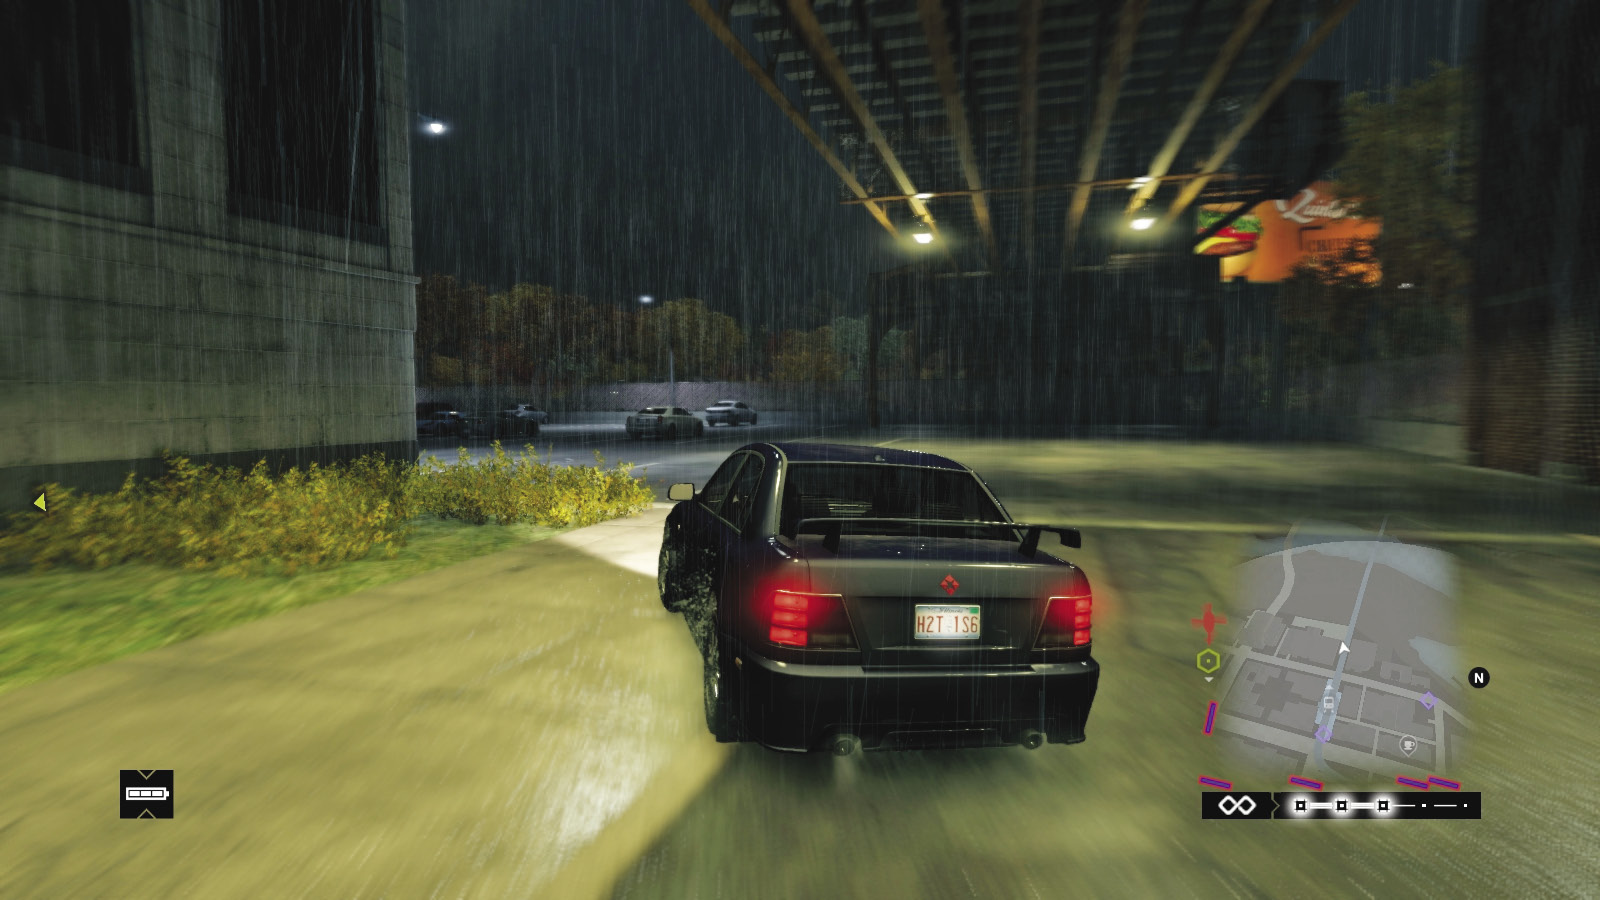
There are roadblocks on all bridges (except the southernmost one, which is close to where you need to head) and the main roads. There are two or three patrol cars, so slow down, edge out onto the next street, and improve your chances of remaining hidden and following under the L-train west. Skid left (south) into a parking lot behind the buildings, with the riverbank to your right. Weave through the parked cars, passing loading docks, trucks, and numerous parked vehicles.

Continue along the loading area until you reach the edge of the freeway, optionally cutting in left (east) and opening a gate or ramming a fence and slowly emerging from the grass and trees between the last building and the freeway entrance. From here, you can escape the island by driving across the southernmost bridge (without the roadblock), or head east on the freeway until you can exit into the southern part of The Loop.
4.4 QUIET NOW. IT’S ALL OVER, SON
 Location / The Loop
 Location / The Loop // One Block North of Willis Tower
|
|
 Deliver the fugitive and avoid all detection
 Driving Infiltration
Difficulty: 

You’ve shaken off your police pursuers and you’re on the main part of The Loop. When the final objective marker appears on your map (the alley just north of the Willis Tower), target it with your GPS and attempt the same defensive driving approach as you did earlier in this mission. Be sure you aren’t being tailed, slow down, and use all the tactics previously listed if you need to escape the police again. Slowly enter the alley.
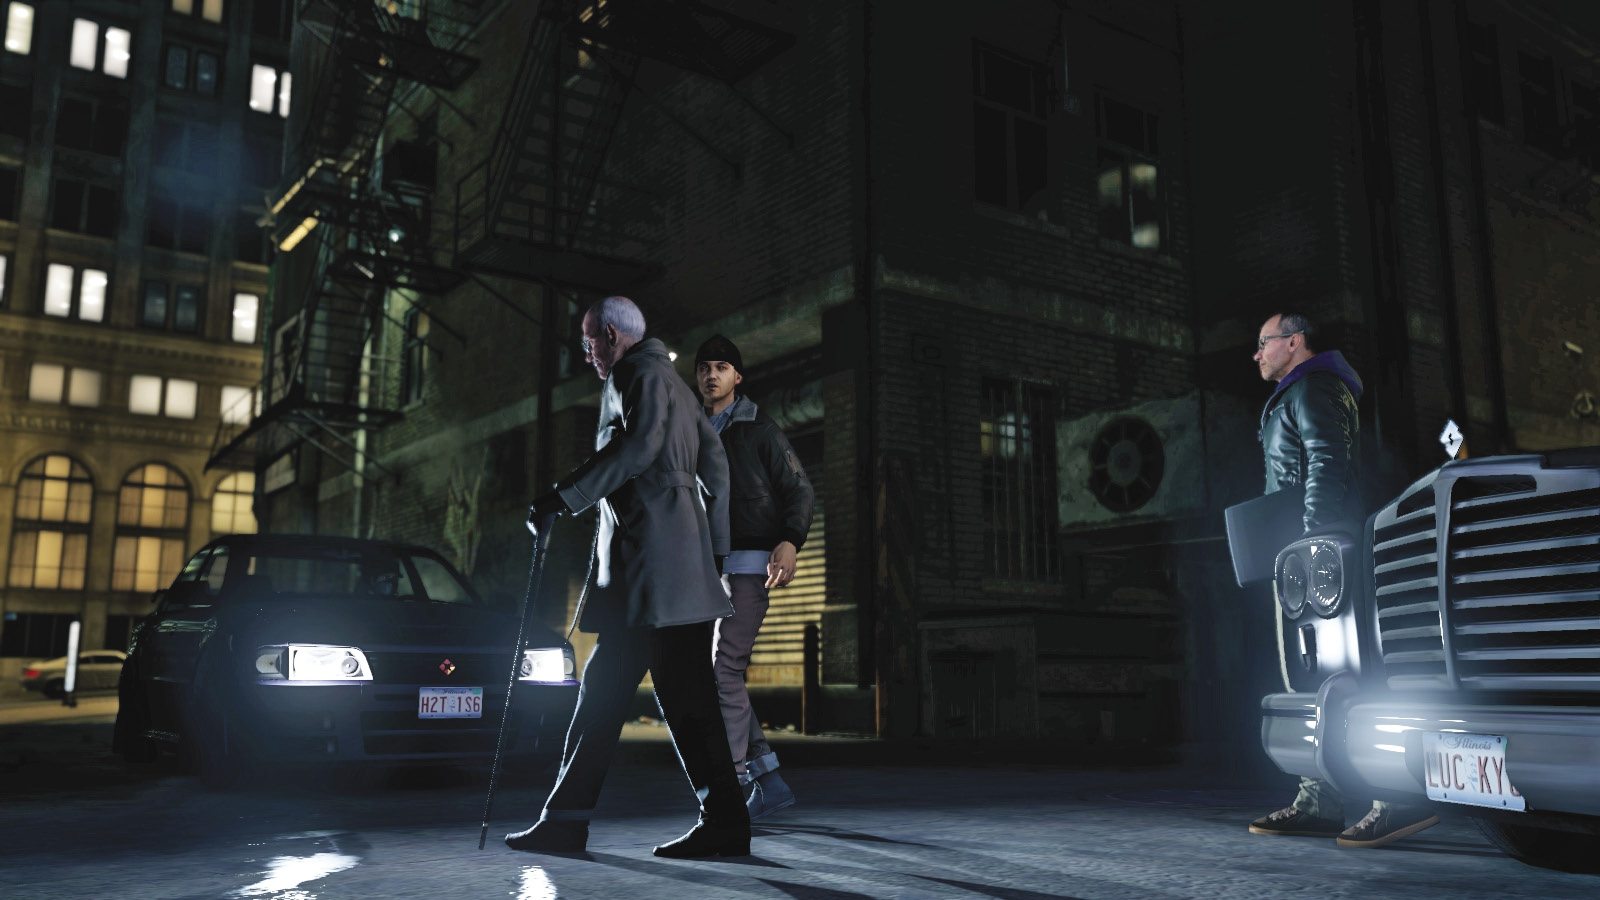
Your passenger and “Lucky” Quinn have a quick conversation, after which the reputed mob boss limps over to your car and mentions he’ll call your employer again if he needs another delivery made. You reverse out of the alley, and the mission concludes with a rather curt conversation with Jordi. Still, you should have more Fixer contracts to perform now!
MISSION REWARDSCash: $3,000 Gained XP +250 |