
Watch Dogs Guide MAIN MISSIONS MAIN MISSIONS /// ACT III
_THE FUTURE IS IN BLUME
OBJECTIVES
|
 Reach Blume
 Infiltrate Blume unseen
 Profile the ctOS box
 Find and deactivate the two power nodes
 Break into Blume’s network unseen
 Install T-Bone’s spyware
 Locate Damien’s meeting
 Exit Blume
MINOR SPOILER 
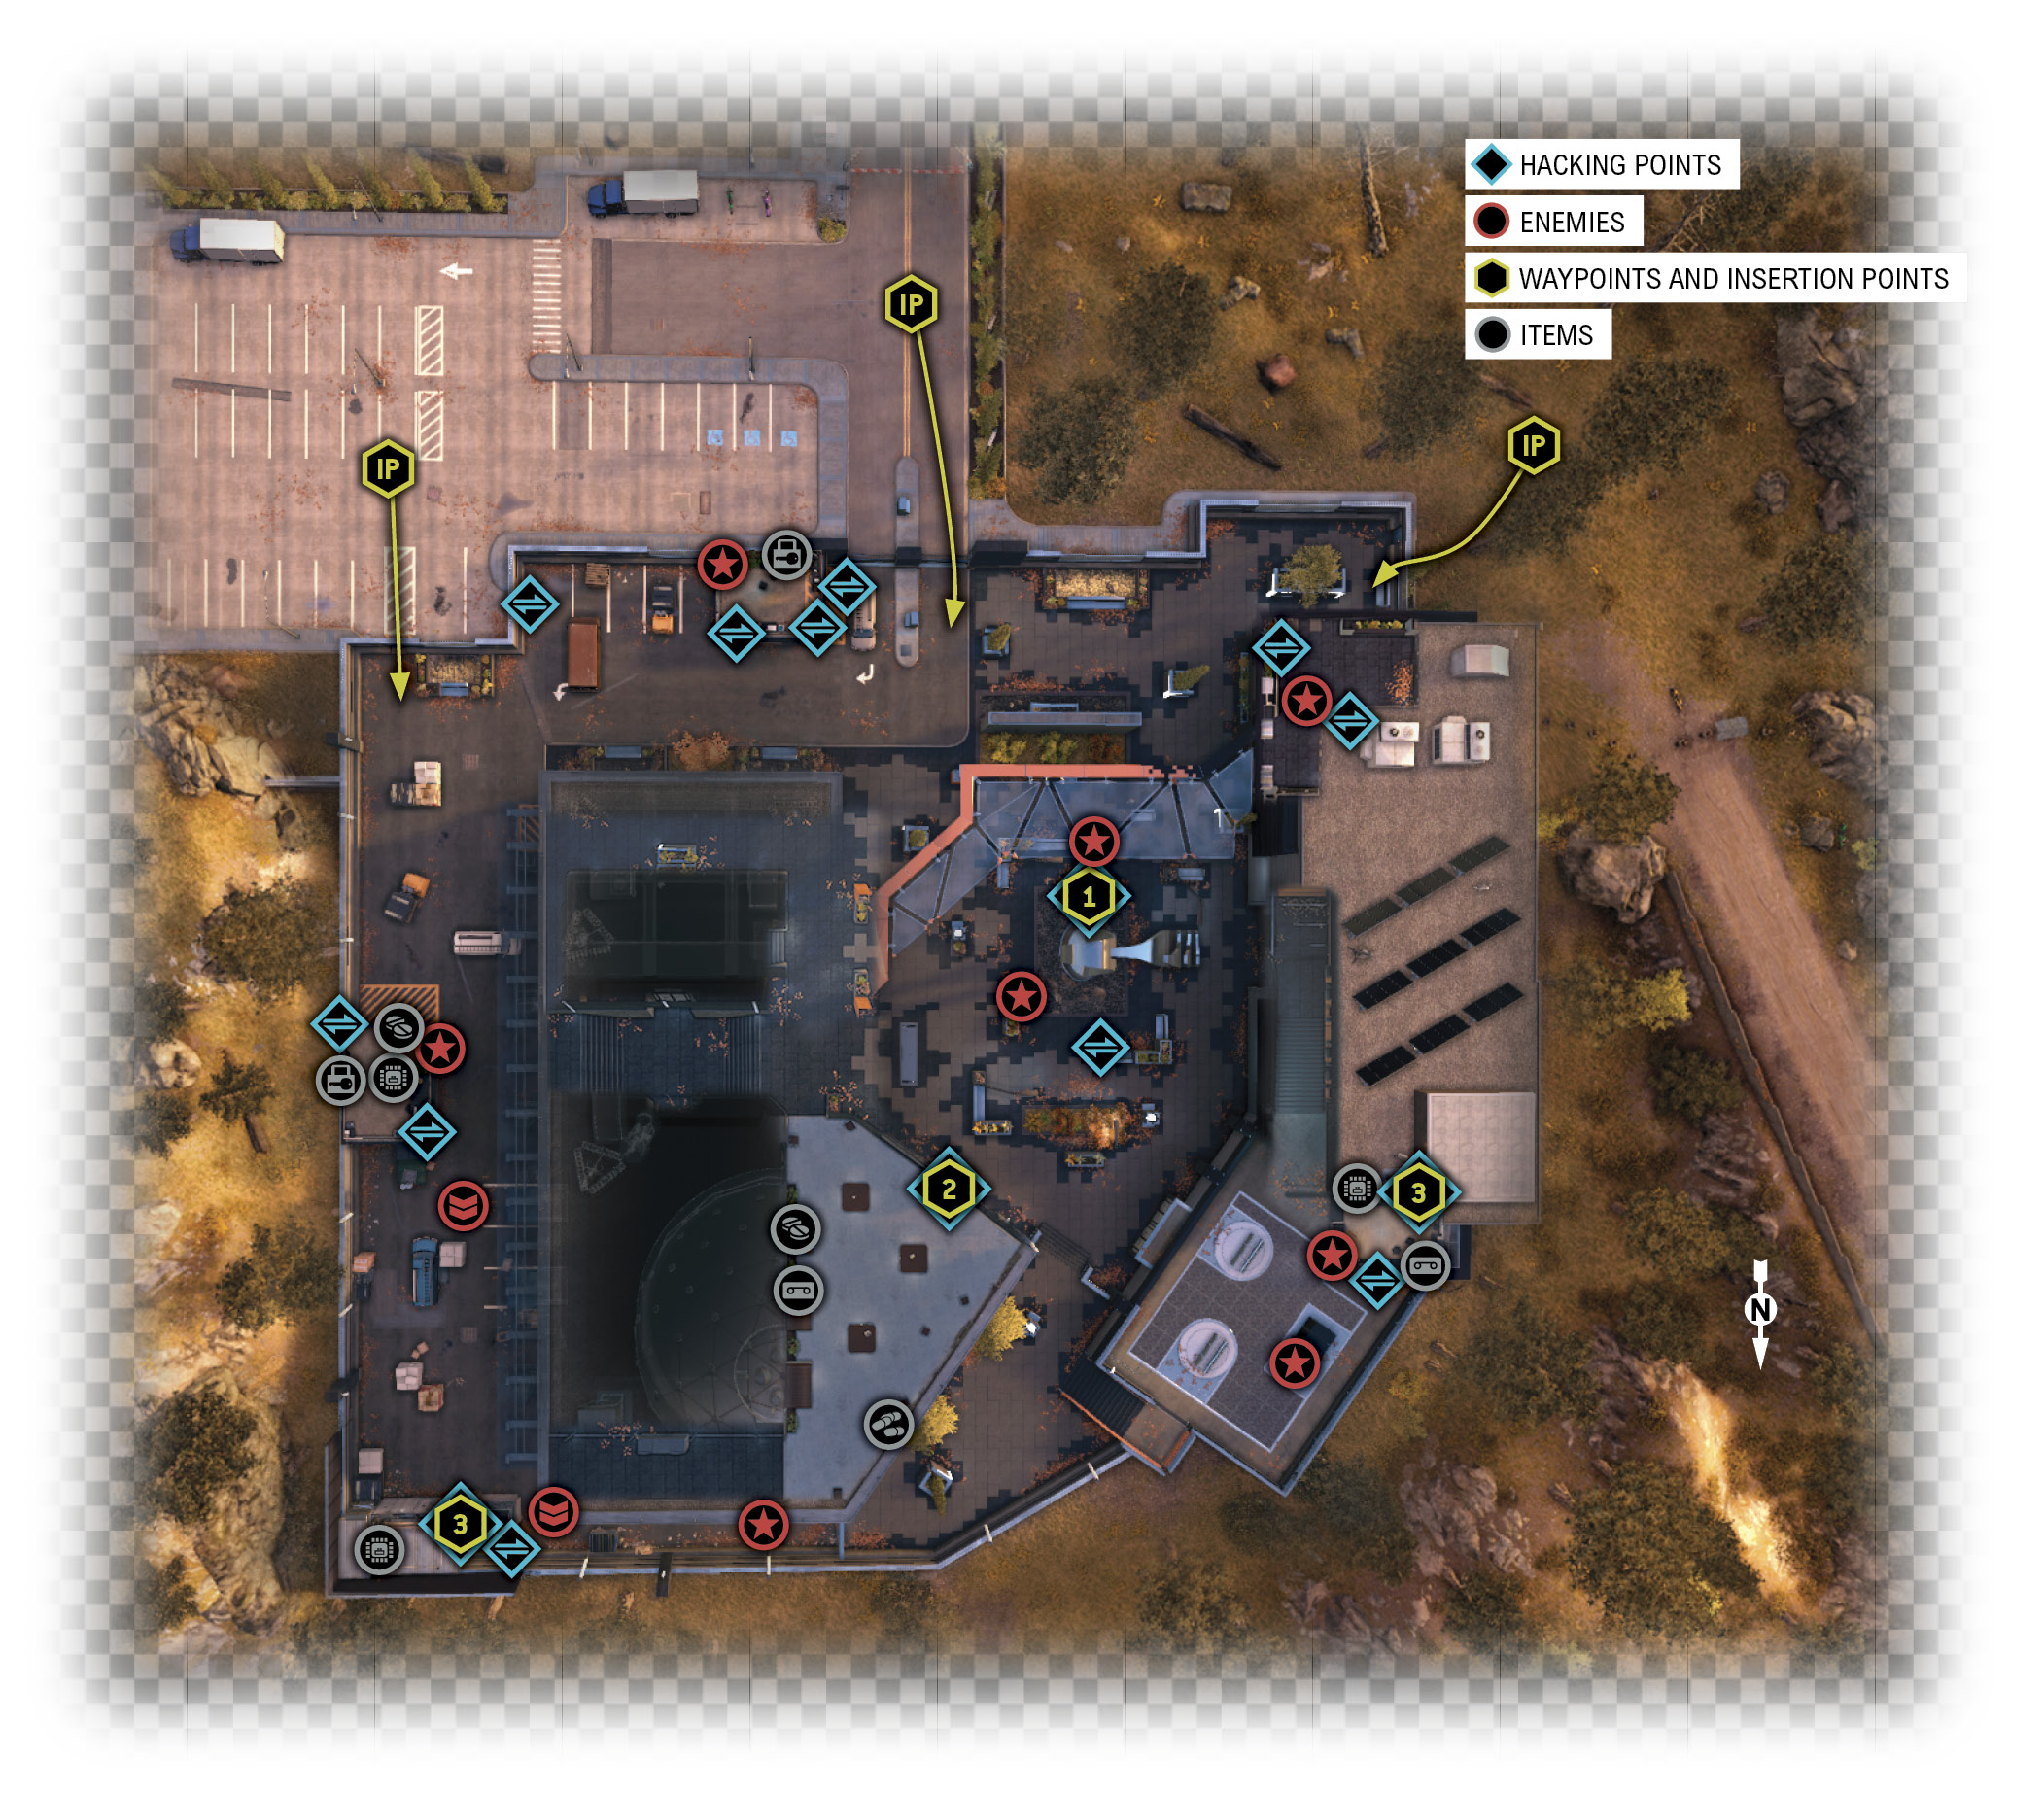
LOCATION // MAP
Location / Pawnee // Blume
|
|
 Reach Blume
4.1 A GIANT BLIP ON THE RADAR
 Location / Pawnee // Campground Trail
 Location / Pawnee // Blume
 Driving Investigation
Difficulty: 
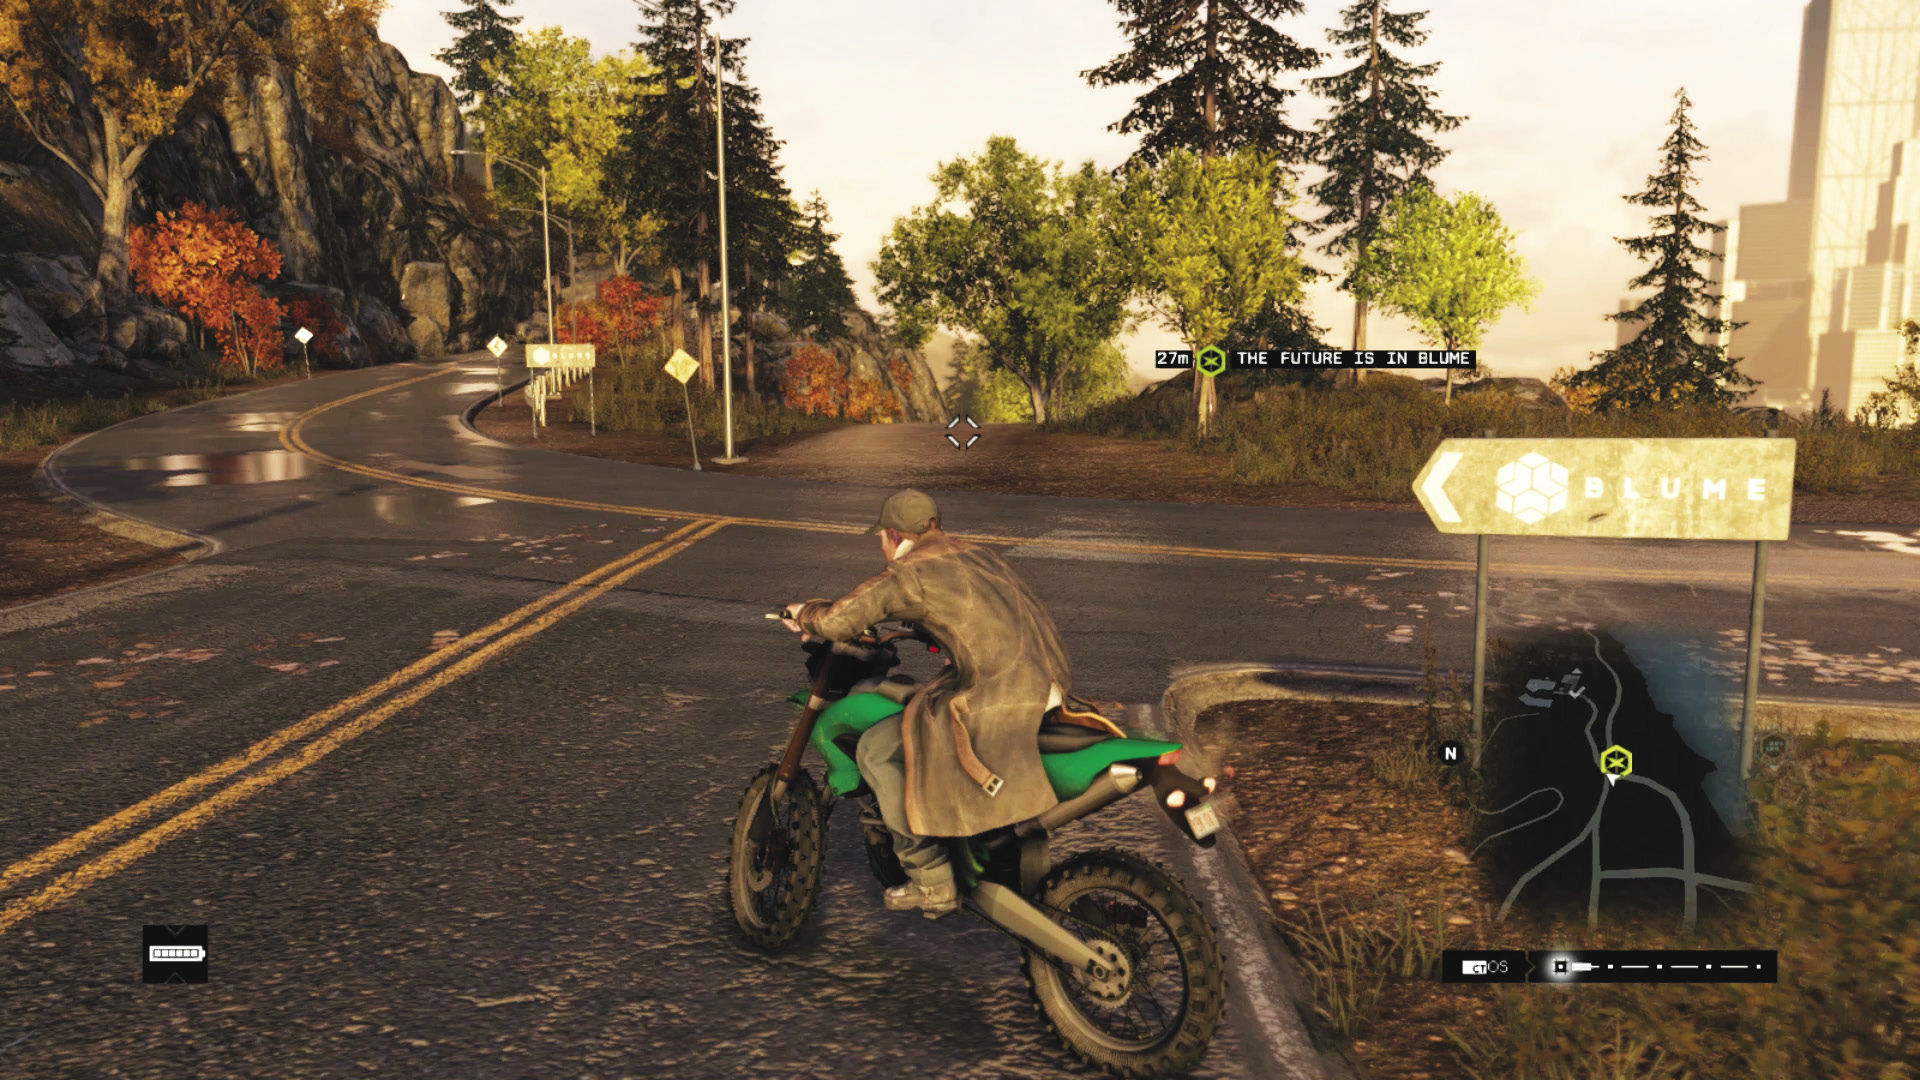
Head back to the campground trail start, adjacent to the road sign for Blume. T-Bone will only be helpful after you’ve wiped his name from their records.
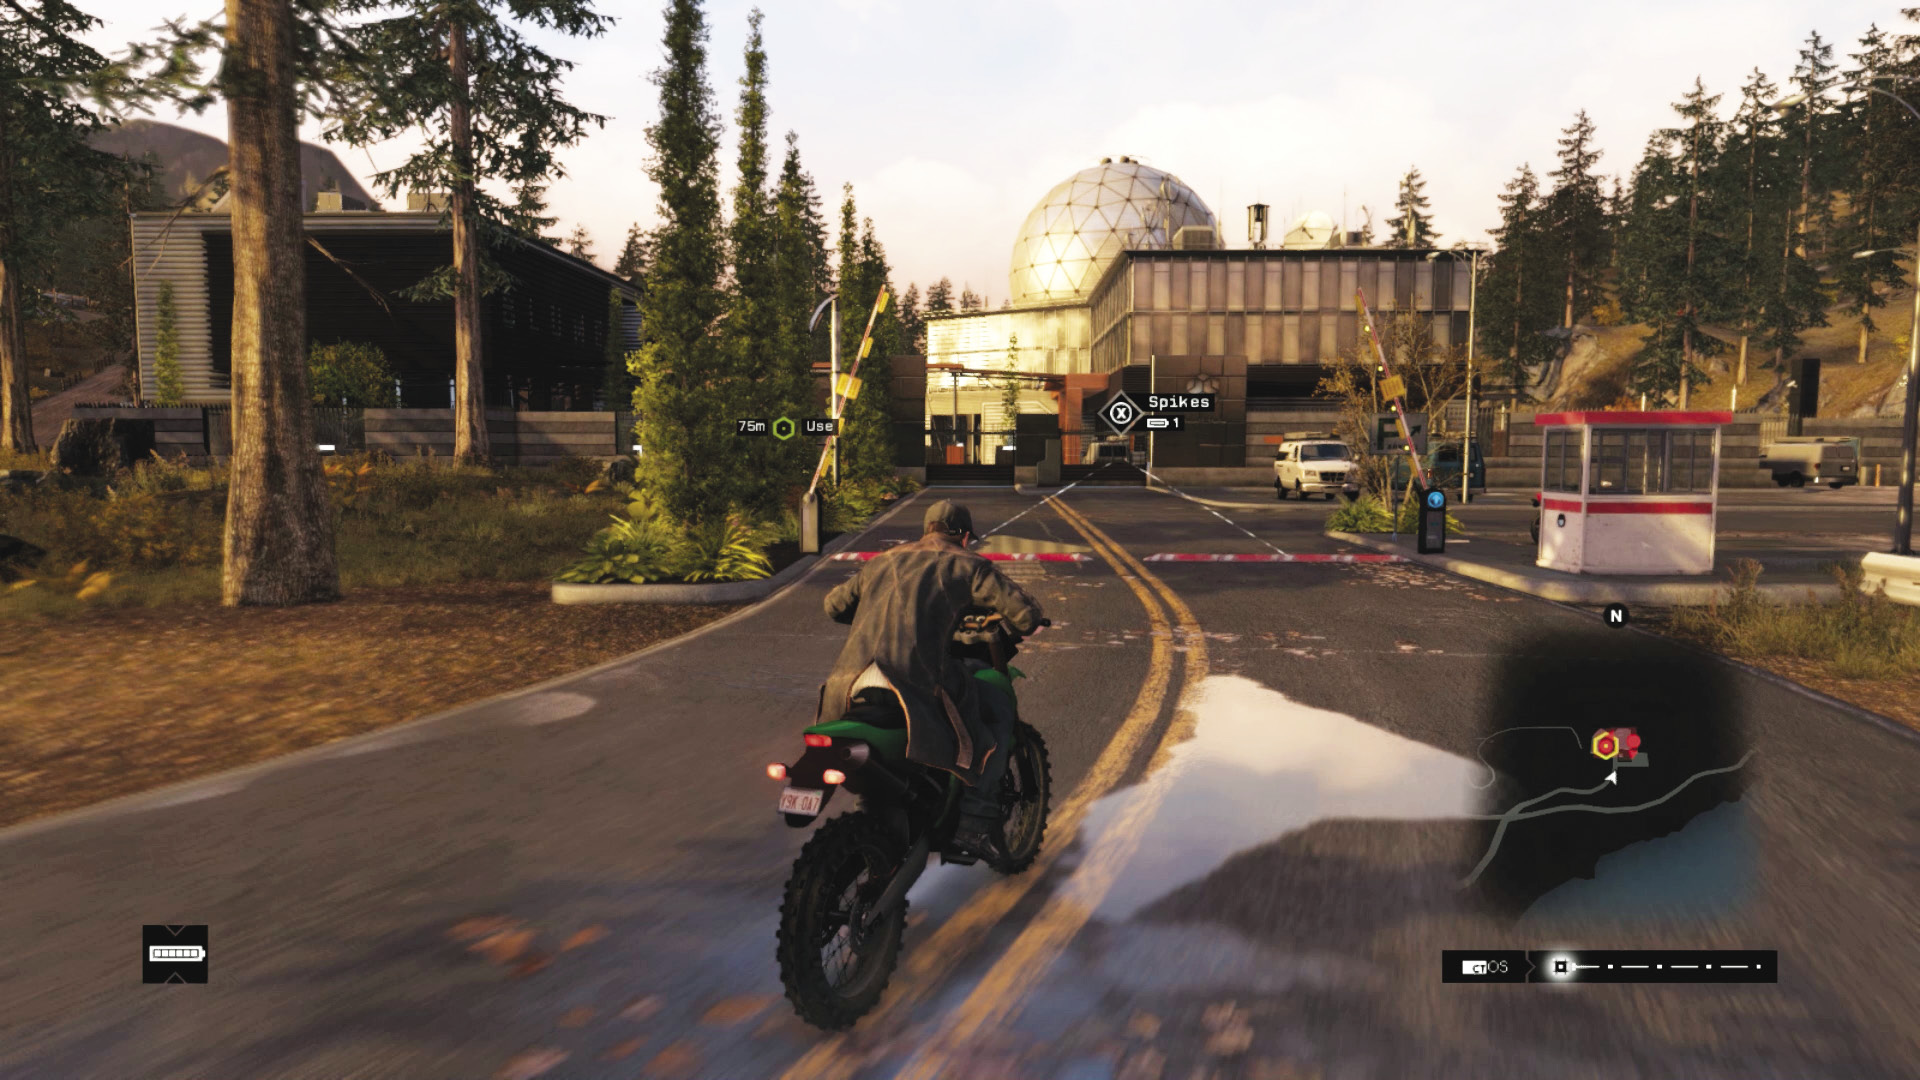
If you can follow a map and drive uphill, you can make it to Blume’s remote headquarters, nestled in the hills to the northeast of Pawnee. T-Bone chimes in regarding the security measures in place; it’s time to inspect this area and figure out the best way to infiltrate it without being spotted.
|
|
 Infiltrate Blume unseen
 Profile the ctOS box
 Find and activate the ctOS boxes
4.2 YOU CAN’T JUST WALTZ IN ALL HOW’D YOU DO
 Location / Pawnee // Blume
 Infiltration
 Data Hack
 Melee Force Likely
Difficulty: 
Overview
 Completion Point: ctOS computer (reflecting pool), then ctOS switch box in the cafeteria.
 Dangers: Ten Blume guards (Veteran x2, Elite x8) throughout the facility, armed with pistols. Being spotted by them fails any of the listed objectives.
Insertion Points
There are three ways into Blume, and all of them along the front perimeter. The sides and rear walls are not accessible. It’s also worth learning the interior structures before infiltration.
Service Entrance (West)
 Accessibility Level:
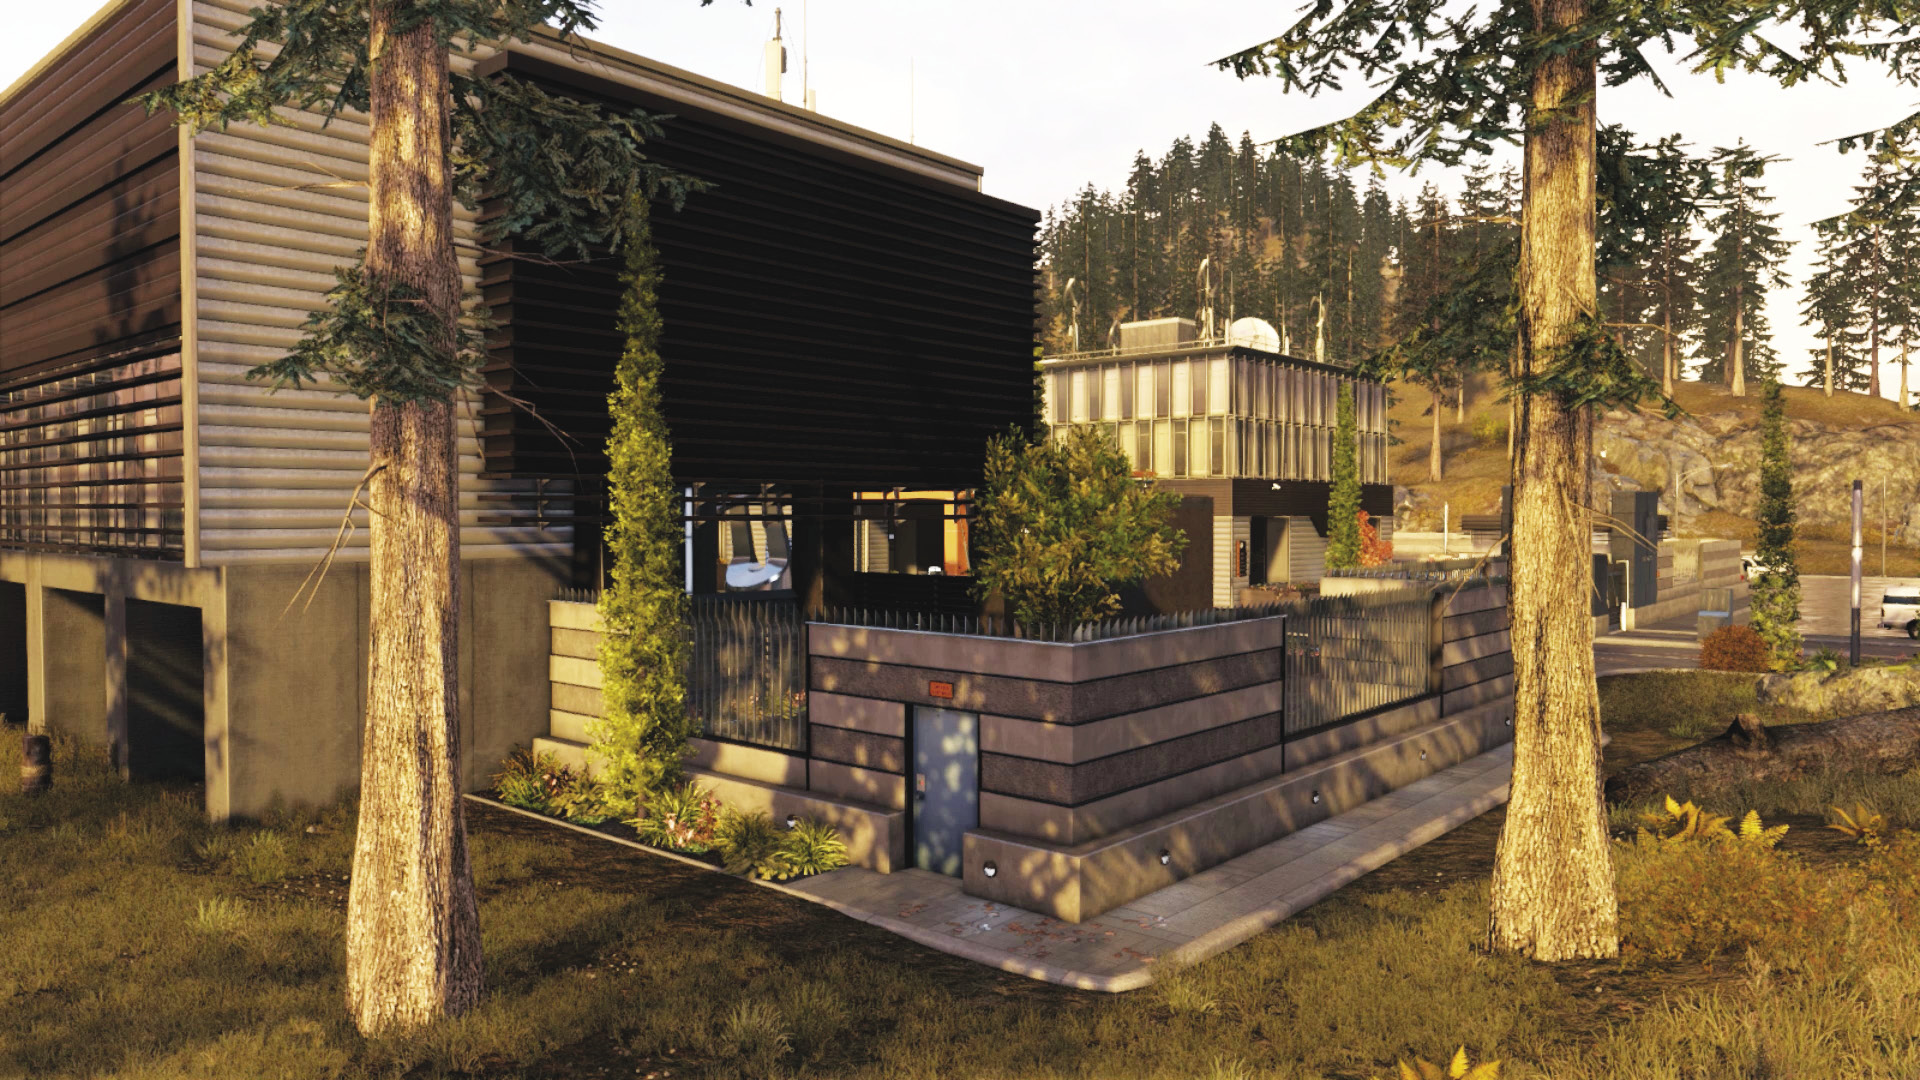
This door is locked, with a corresponding switch a few meters inside the atrium area. Simply use the camera worn by the patrolling guard to locate and access the switch. This offers better cover than the other two entrances and is the recommended route if you’re wishing to remove all threats and travel in a clockwise direction.
Stand by the log facing the barred window. Hack the security guard in this area so you’re using his camera. When he turns and the camera views the switch, unlock it.
Main Gates
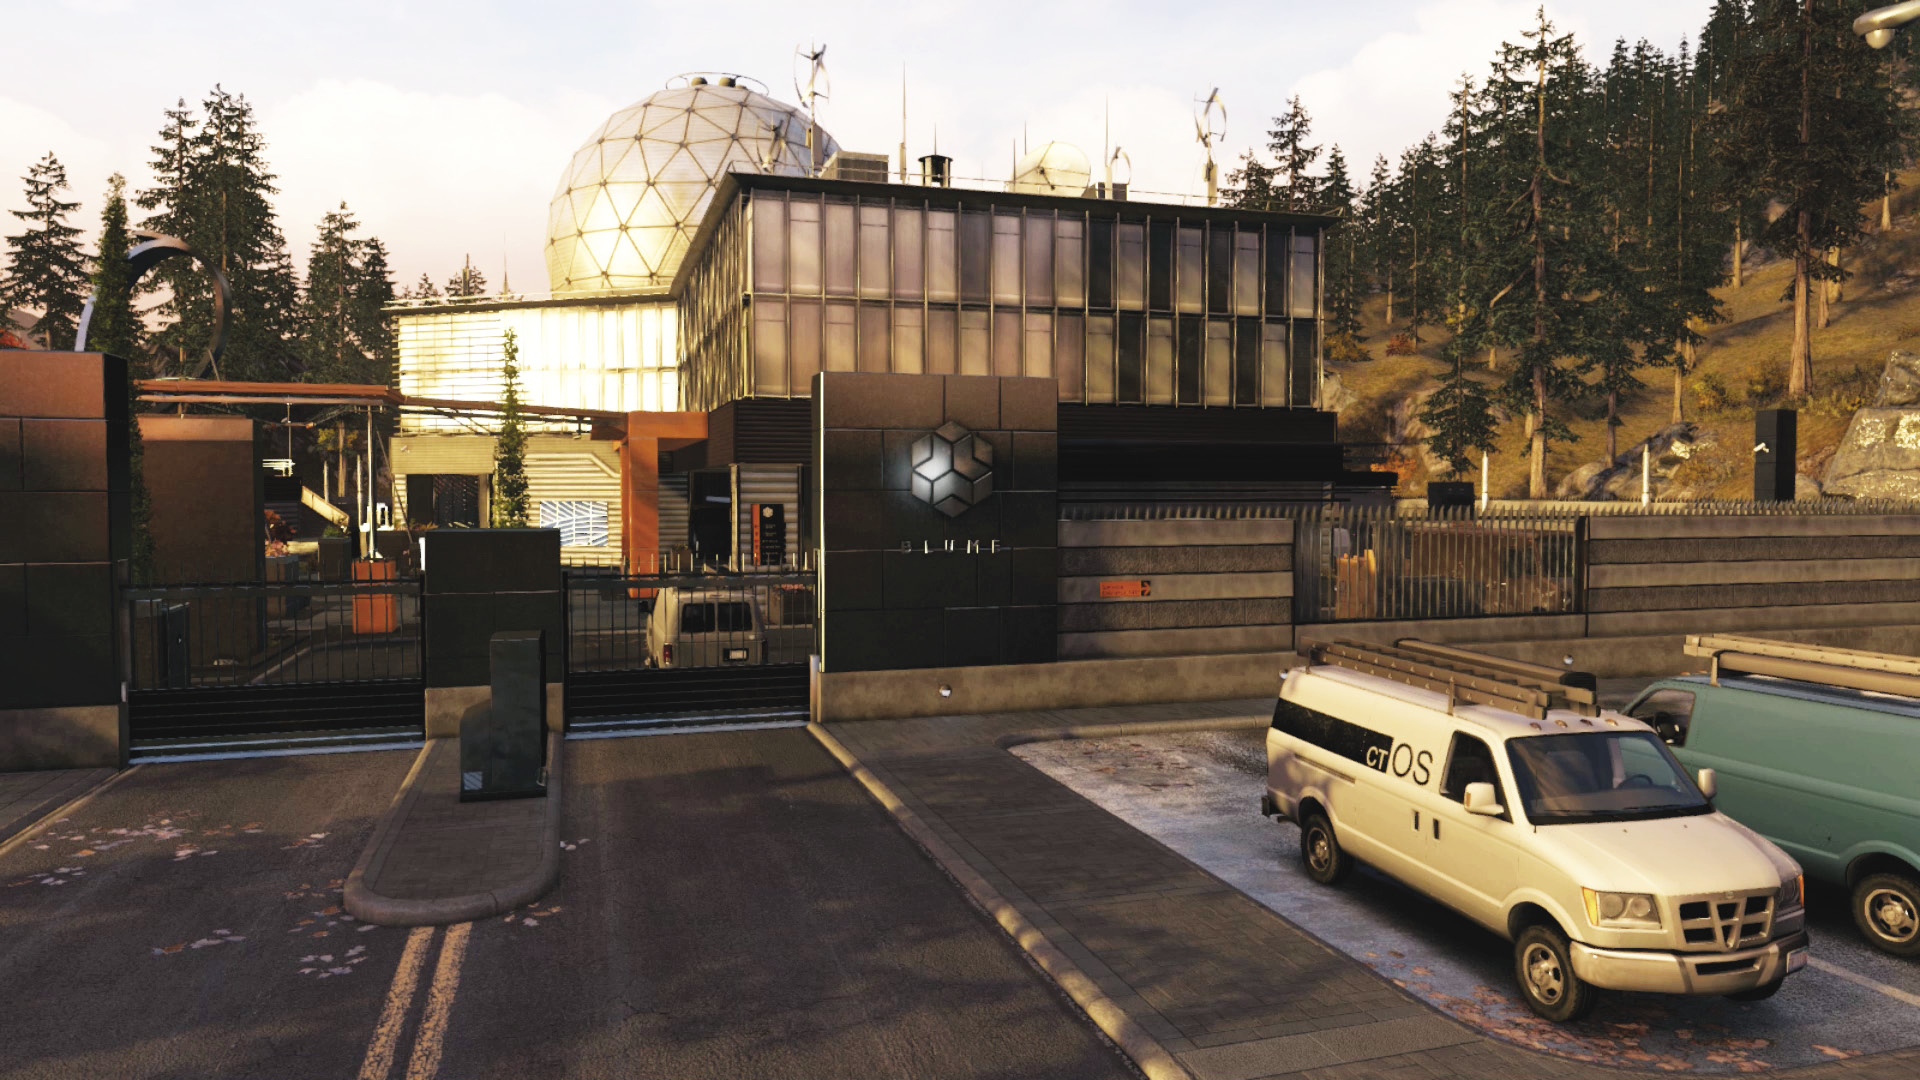
Accessibility Level: 
T-Bone isn’t entirely correct in his assumption regarding you waltzing into the place; the gates can be opened from a security hut switch, after which you can maneuver into the area. However, this is extremely hazardous unless you’re actively neutralizing guards as you go. From this angle, you can view the signs to the different parts of the facility and take off in either direction.
Stand to the right of the security hut, and access the camera inside. Look for the two switch boxes on either side of the metal door. One unlocks the gates, and the other unlocks the metal door.
Service Entrance (East)
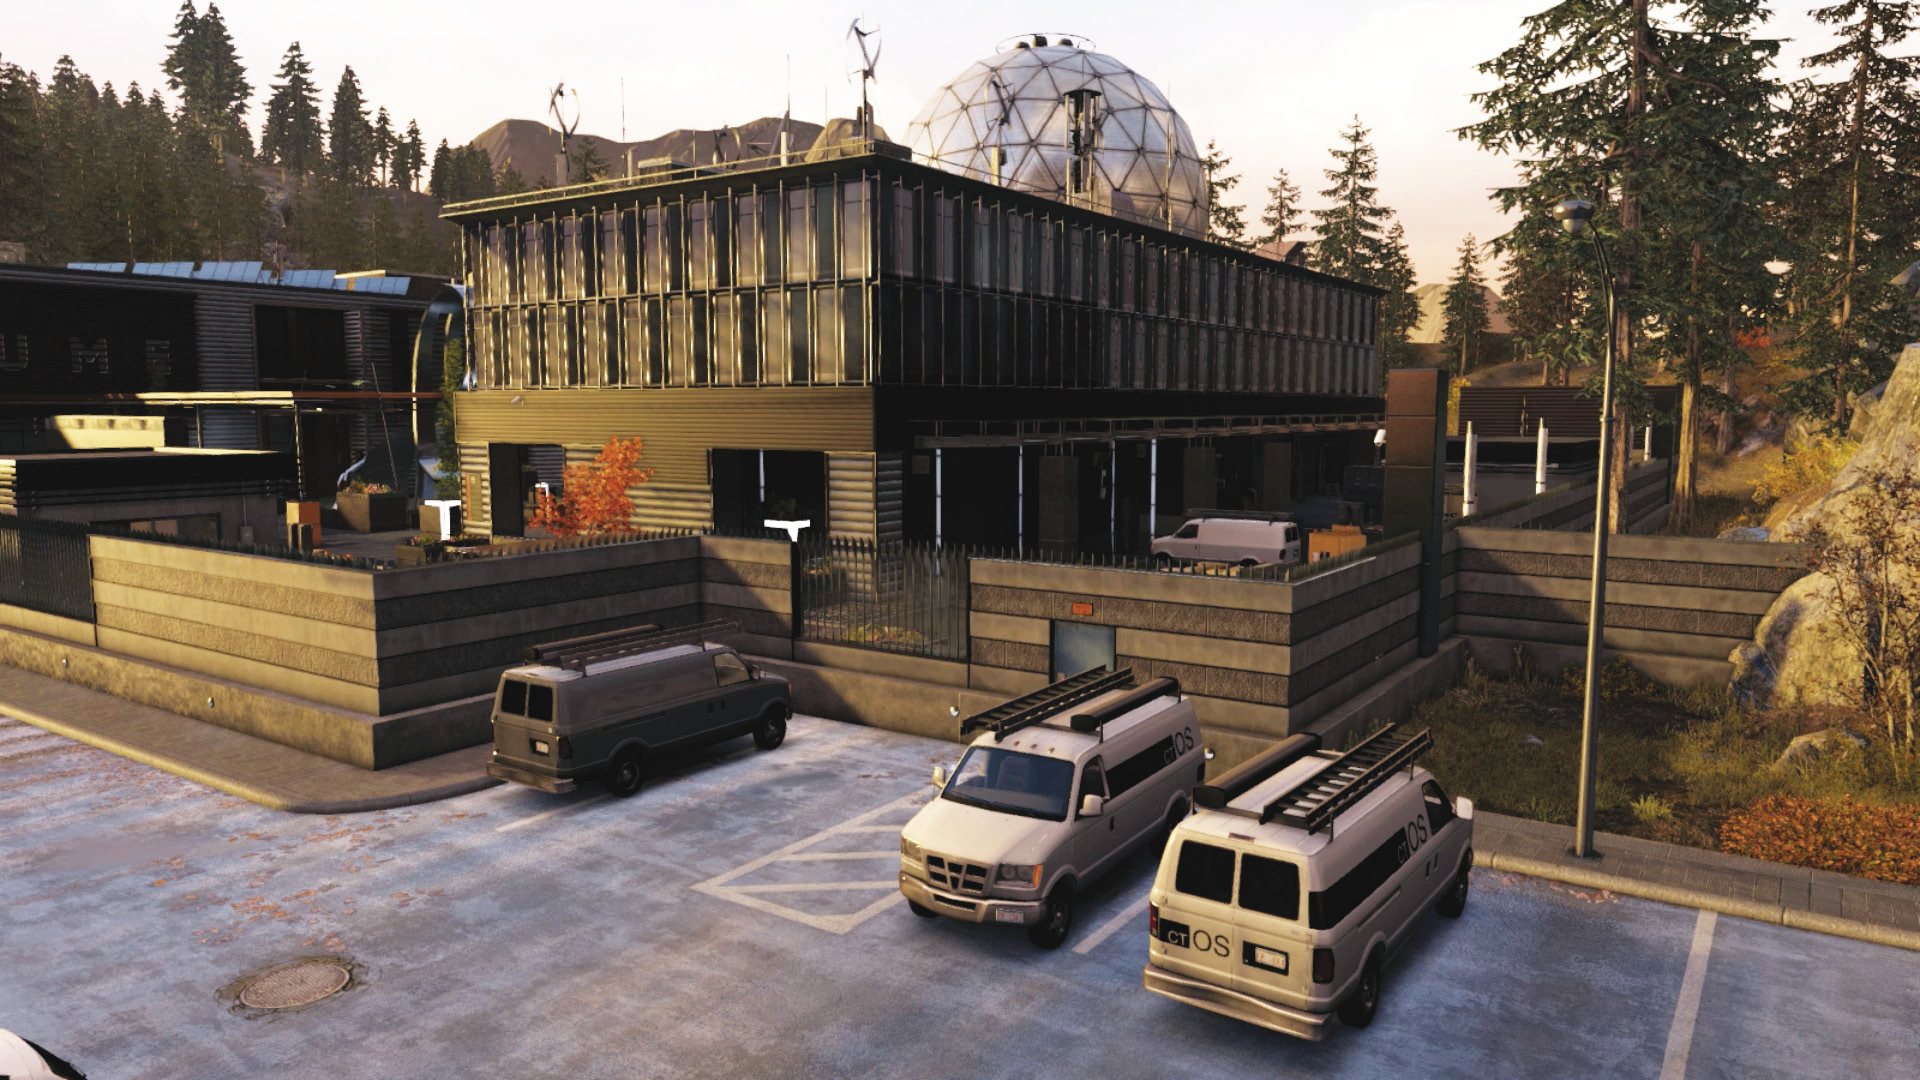
Accessibility Level: 
This side door is firmly shut, and the switch on the wall is viewable only from the laptop camera inside the gate hut, after you lower the forklift pallet. Choose this entrance, and you can start infiltration rather easily, moving counterclockwise. Make good use of the parked vehicles and stacked pallets for cover; the eastern perimeter has several guards to worry about.
Stand to the right of the security hut, and access the camera on the main perimeter building. Pan it to the forklift and raise the pallet. Now access the camera inside the security hut, then the one on the laptop, which offers a view of the switch box. Hack the box, unlocking this service entrance door.
Blume Facilities (Interior)
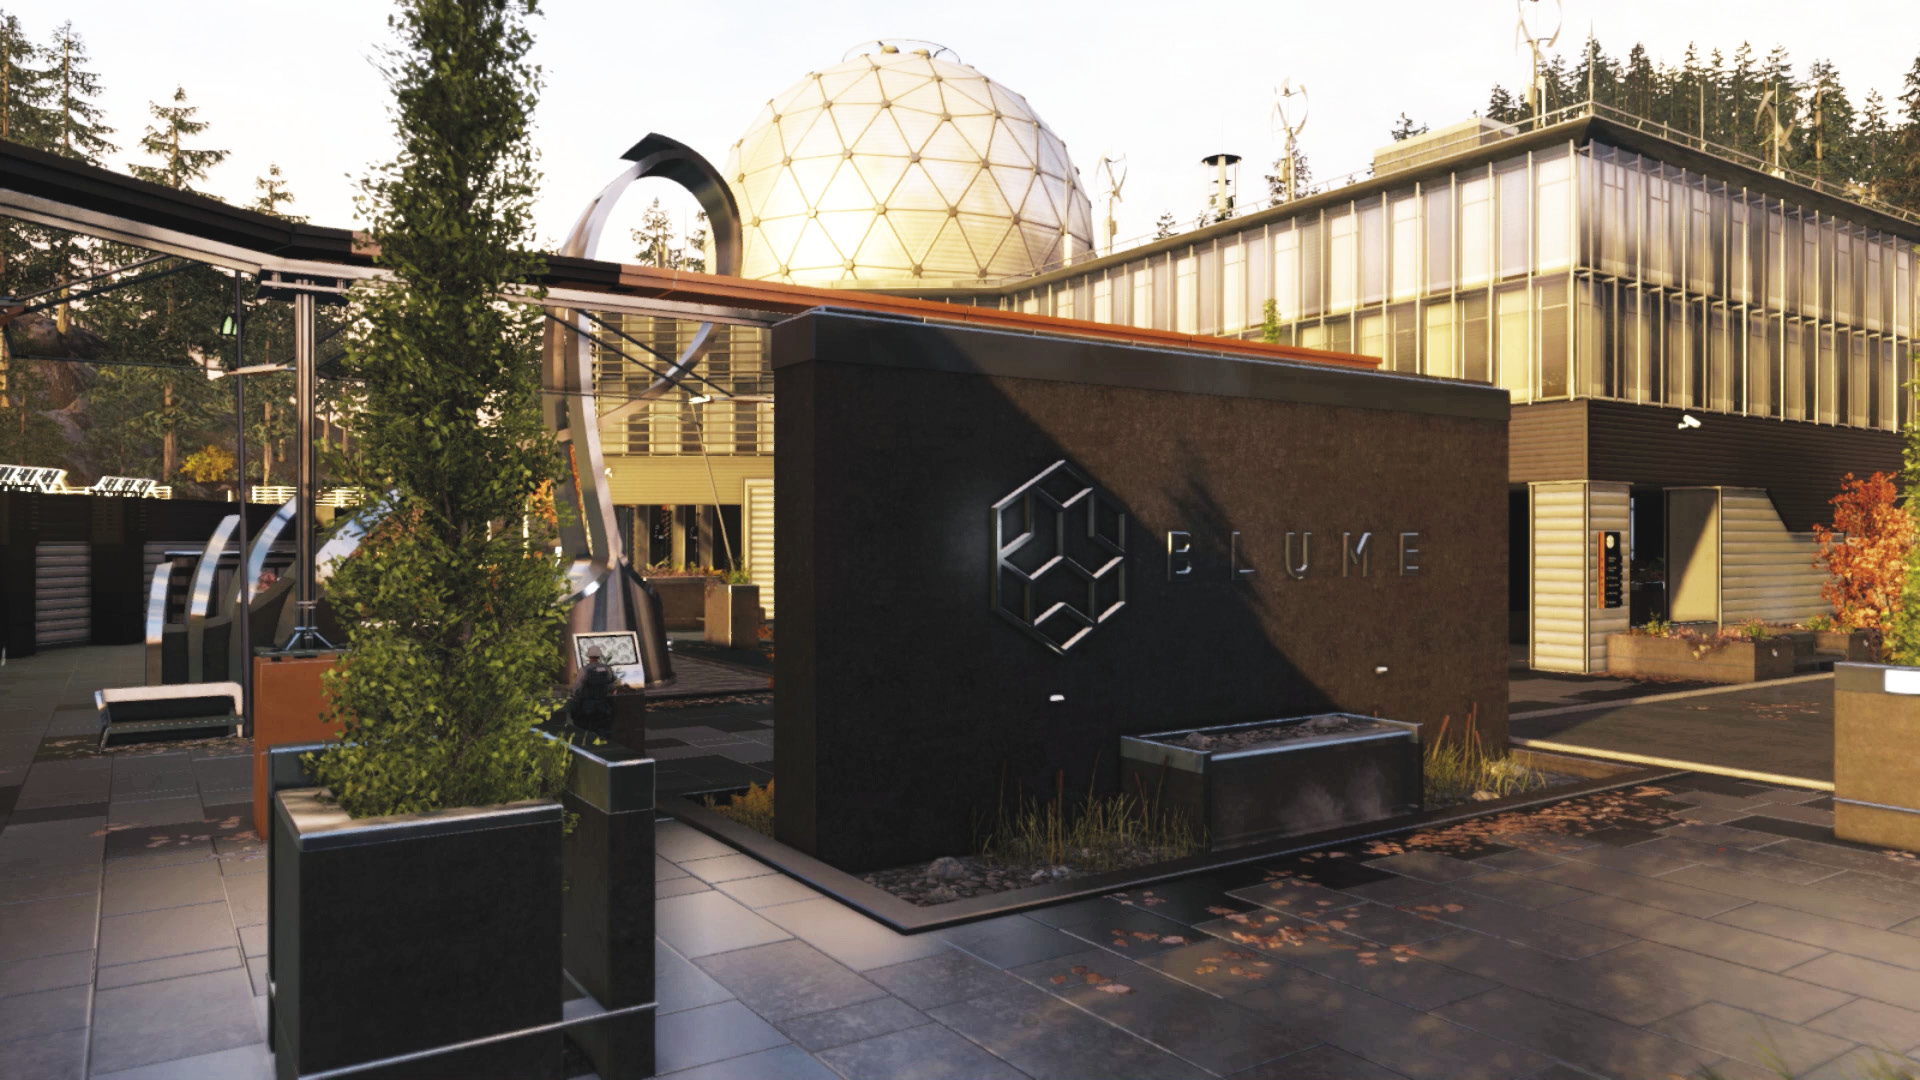
 Accessibility Level:
Covered Atrium and Blume Waterfall: You rarely move near the waterfall area with the large Blume sign, but the covered atrium is the start of encroachment if you’re moving north. There’s a phone to attract the guard once you’re through the perimeter, and you have easy access to the reflecting pool.
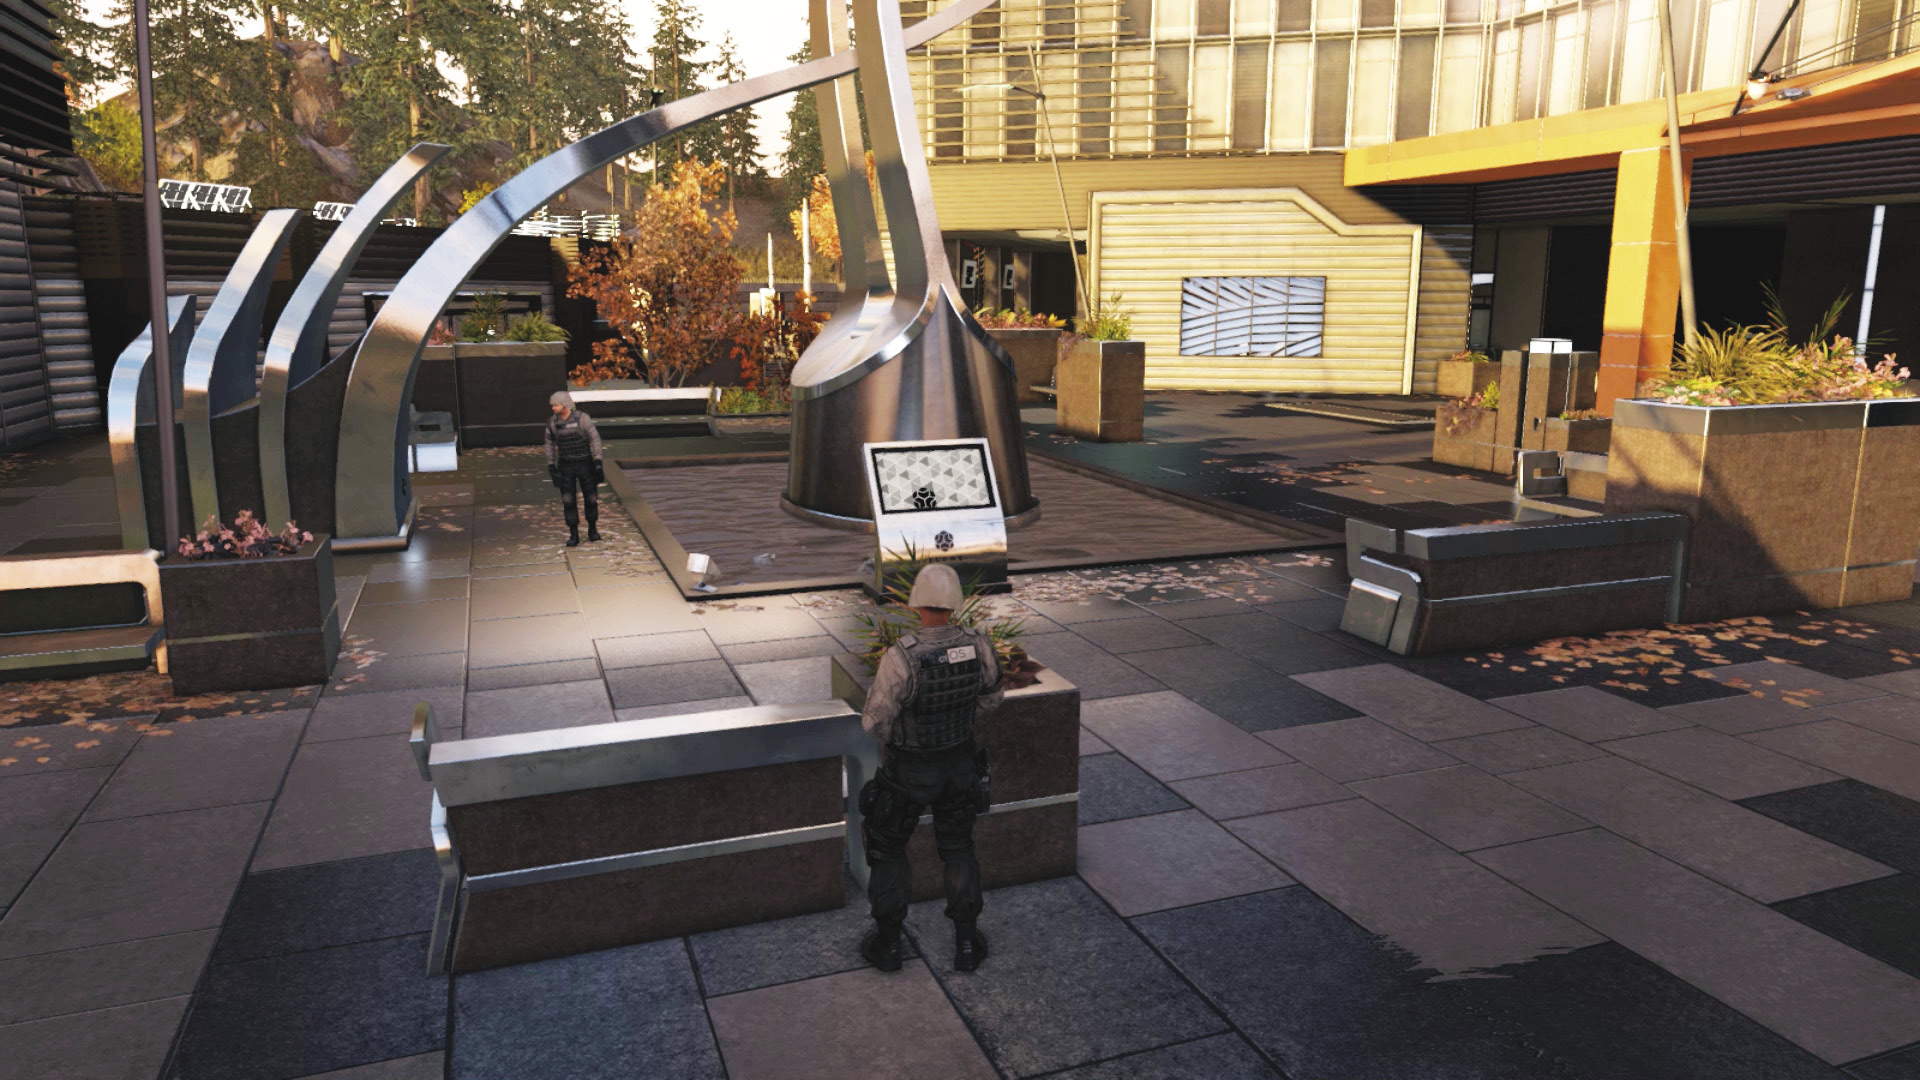
Reflecting Pool and Sculptural Courtyard: This is an open area, which is dangerous to stand in when the two guards and the ones at the solar array are patrolling. The hacking screen (waypoint) is here, as well as a Protector (useful for hiding behind if you’re not familiar with the area) and a phone to attract the moving guard.
Solar Array and Office: One of the nodes is here, inside the office, but isn’t accessible until the specific objective is available. Two guards (one with a camera) are here, and there are two large solar panels and an item in the office. Also, there are two sets of stairs to reach this area and the balcony you can leap off if no foes are nearby. Check the office for an Audio Log.

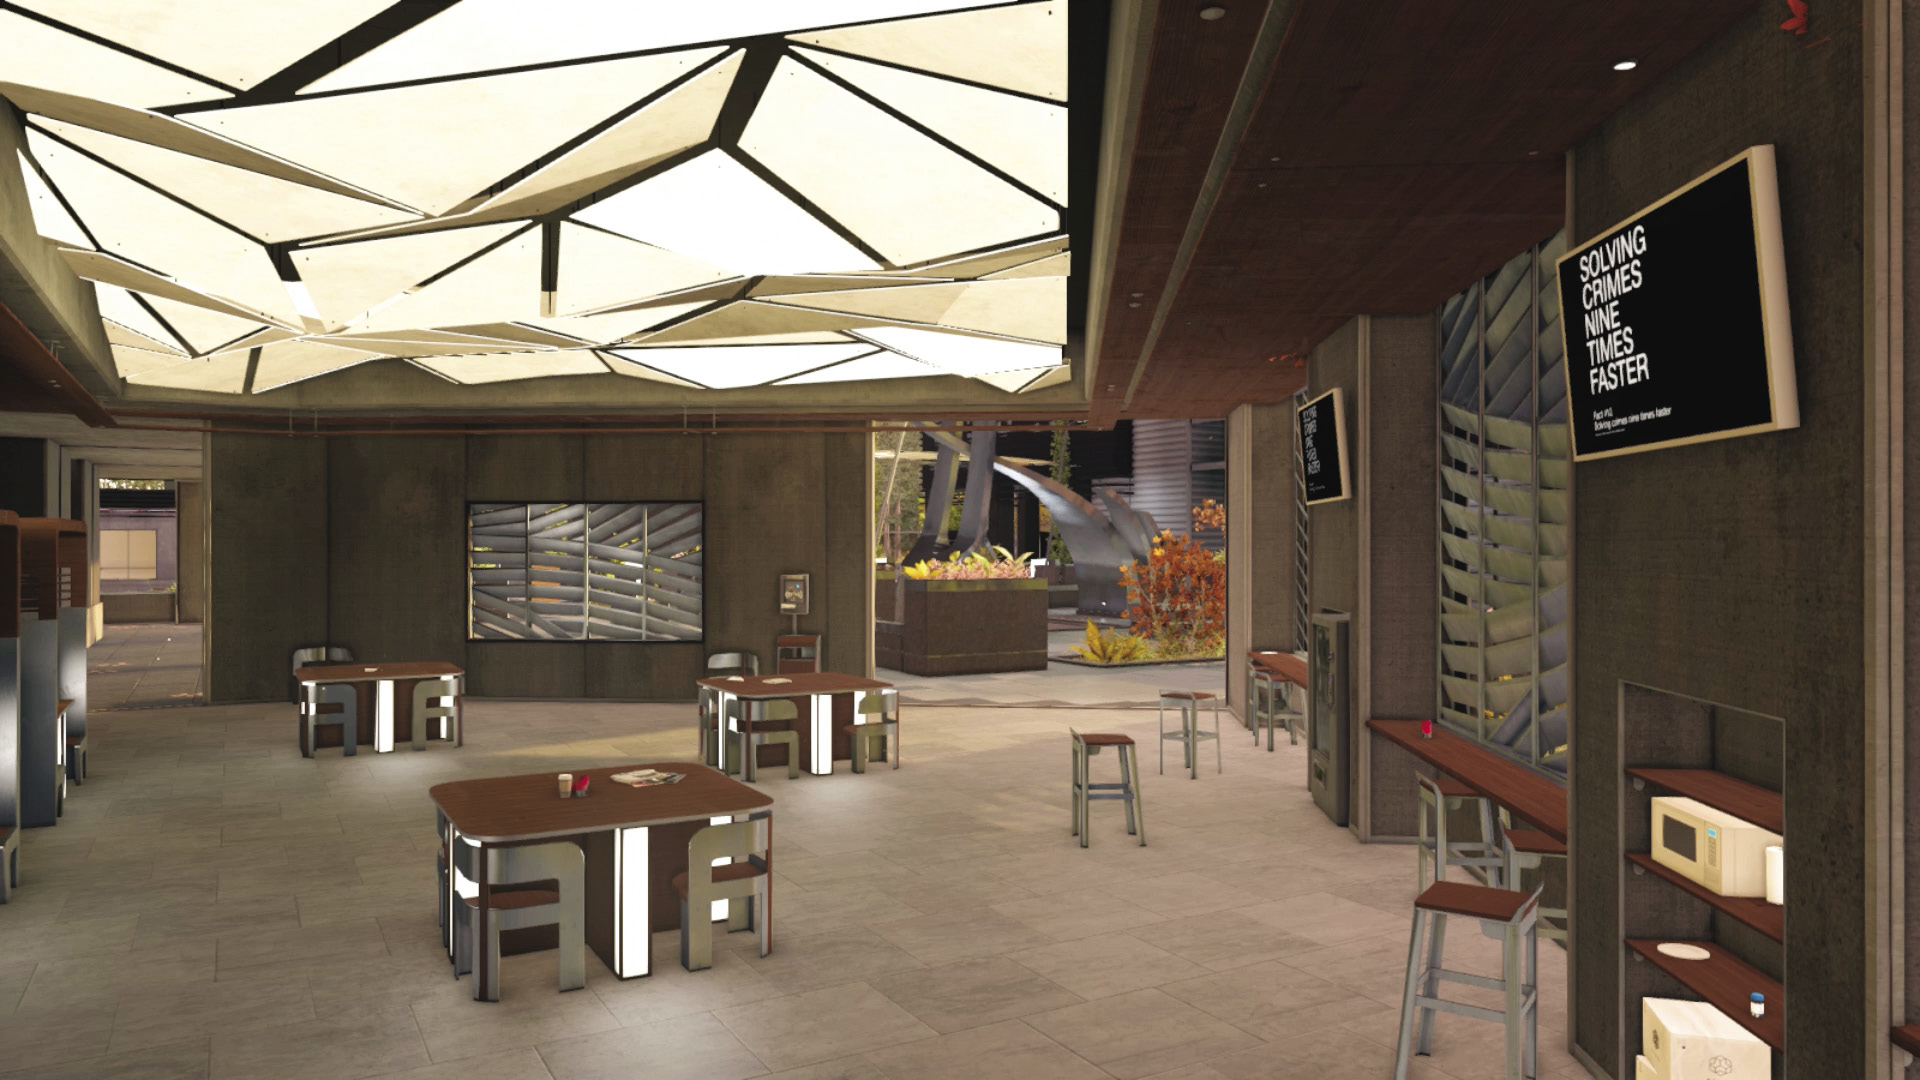
Cafeteria: The main switch to hack is just inside one of the doorways of this roughly triangular room. This is your second waypoint area. It is the hub and central part of the facility, and although guards are all around you, it is reasonably safe. Don’t open the shutters unless you’d like to expose your position. Find an Audio Log inside a phone on one of the tables.

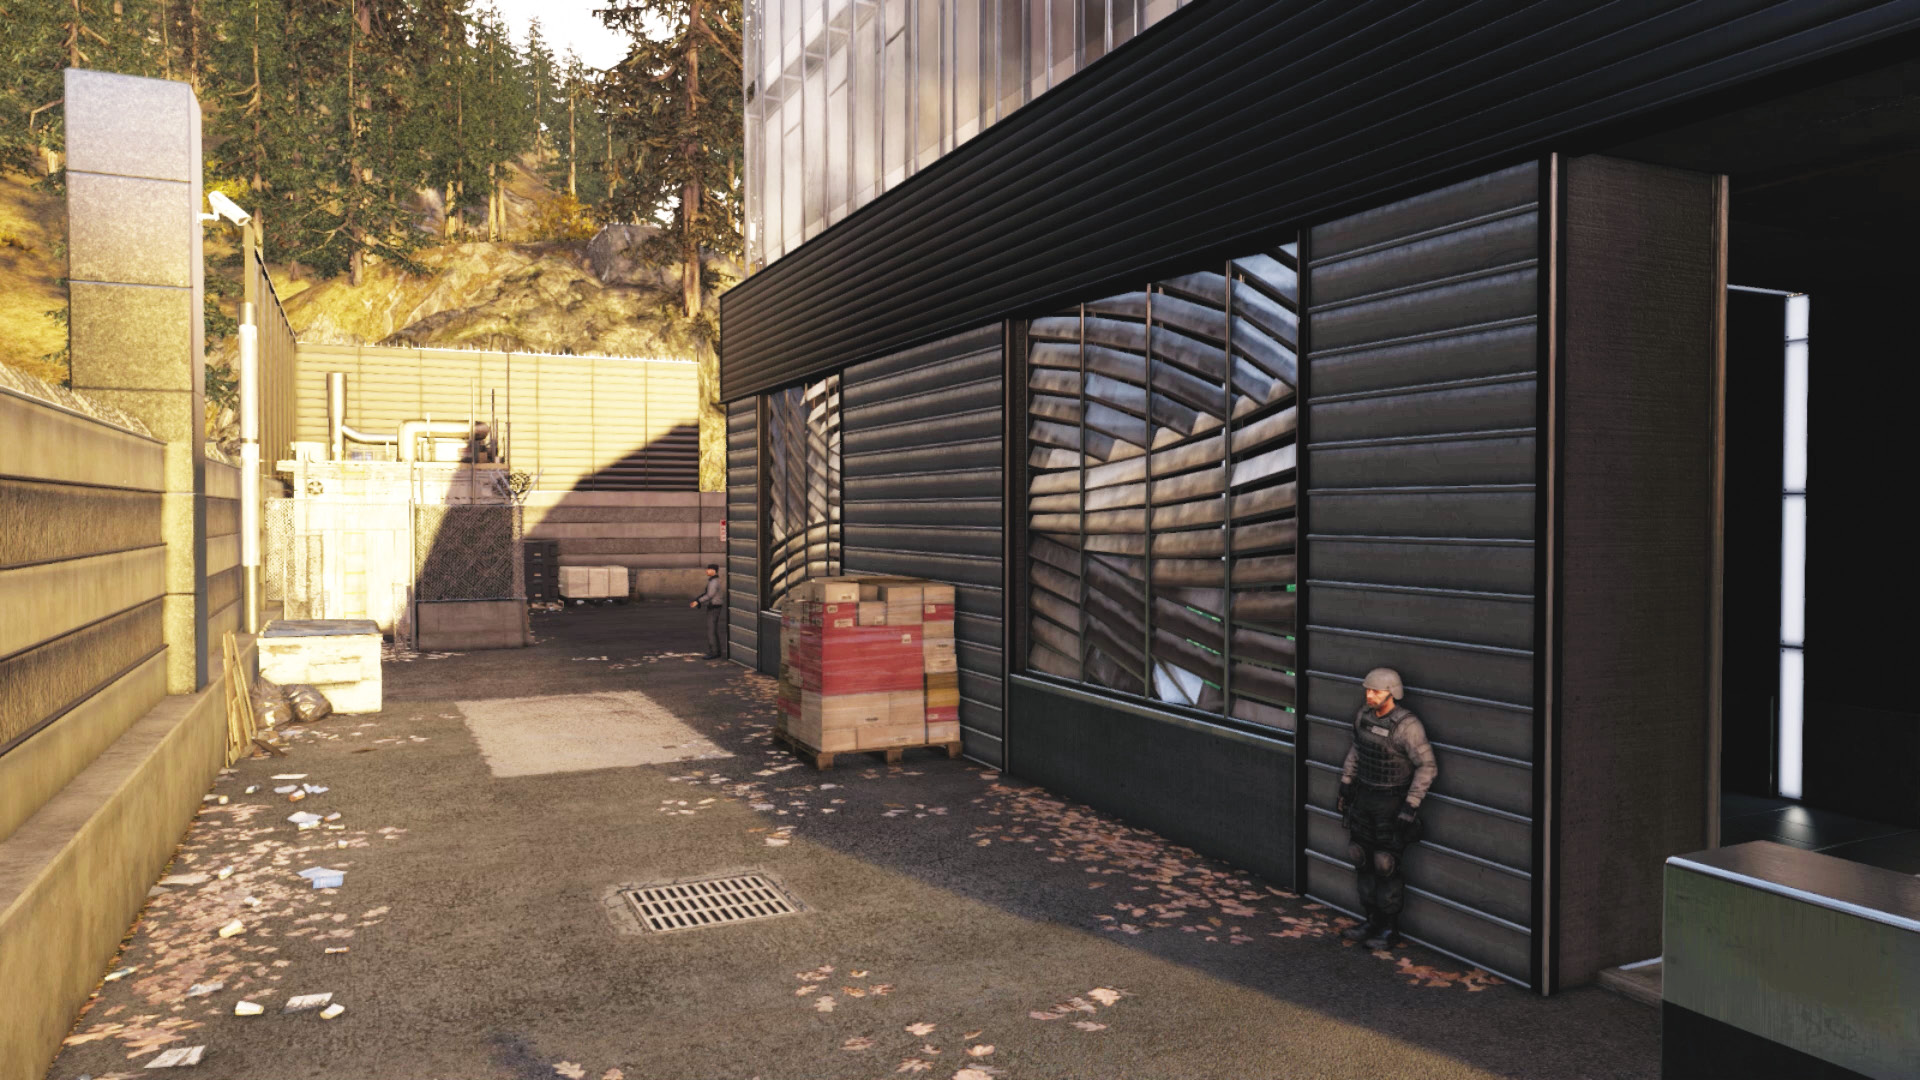
North Perimeter: One of the nodes is here, at the substation in the area’s northeastern corner. Beware of two guards, each moving to the northeast corner, as roughing up one can alert the other. Use cameras more than normal here to flag where your foes are, and the attract phone near the substation to coax them away from seeing you. Note the parallel interior corridor as well; you can leap between the windows once you remove the shutters if guards are looking for you but haven’t raised the alarm.
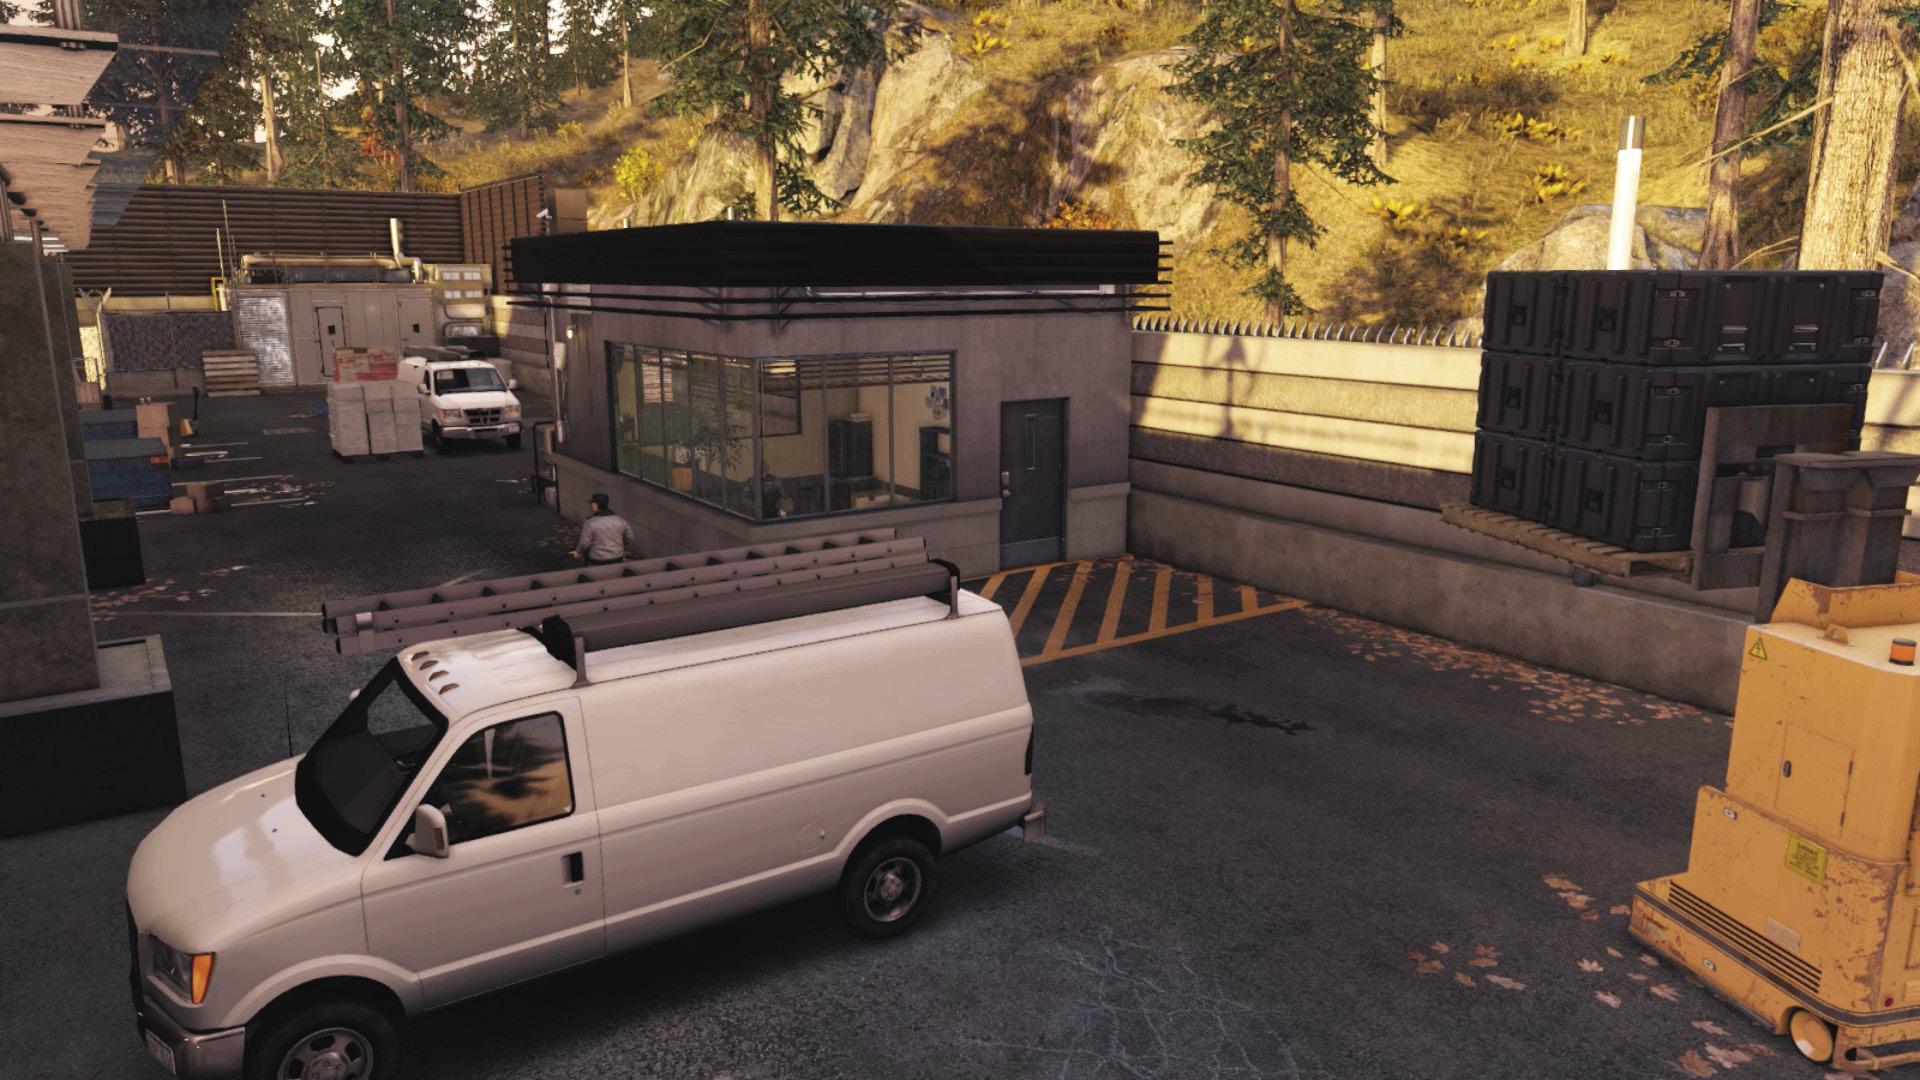
Eastern Loading Bays and Security Hut: This long stretch of exterior features a couple of lifts to attract, parked vehicles to hide behind, a forklift to attract foes near, and numerous pallets for cover. There’s also a security hut here; simply use the camera to look inside, unlock the door, and head in to deal with the guard if you wish (or even head through the open window). There’s a second guard patrolling this area too.
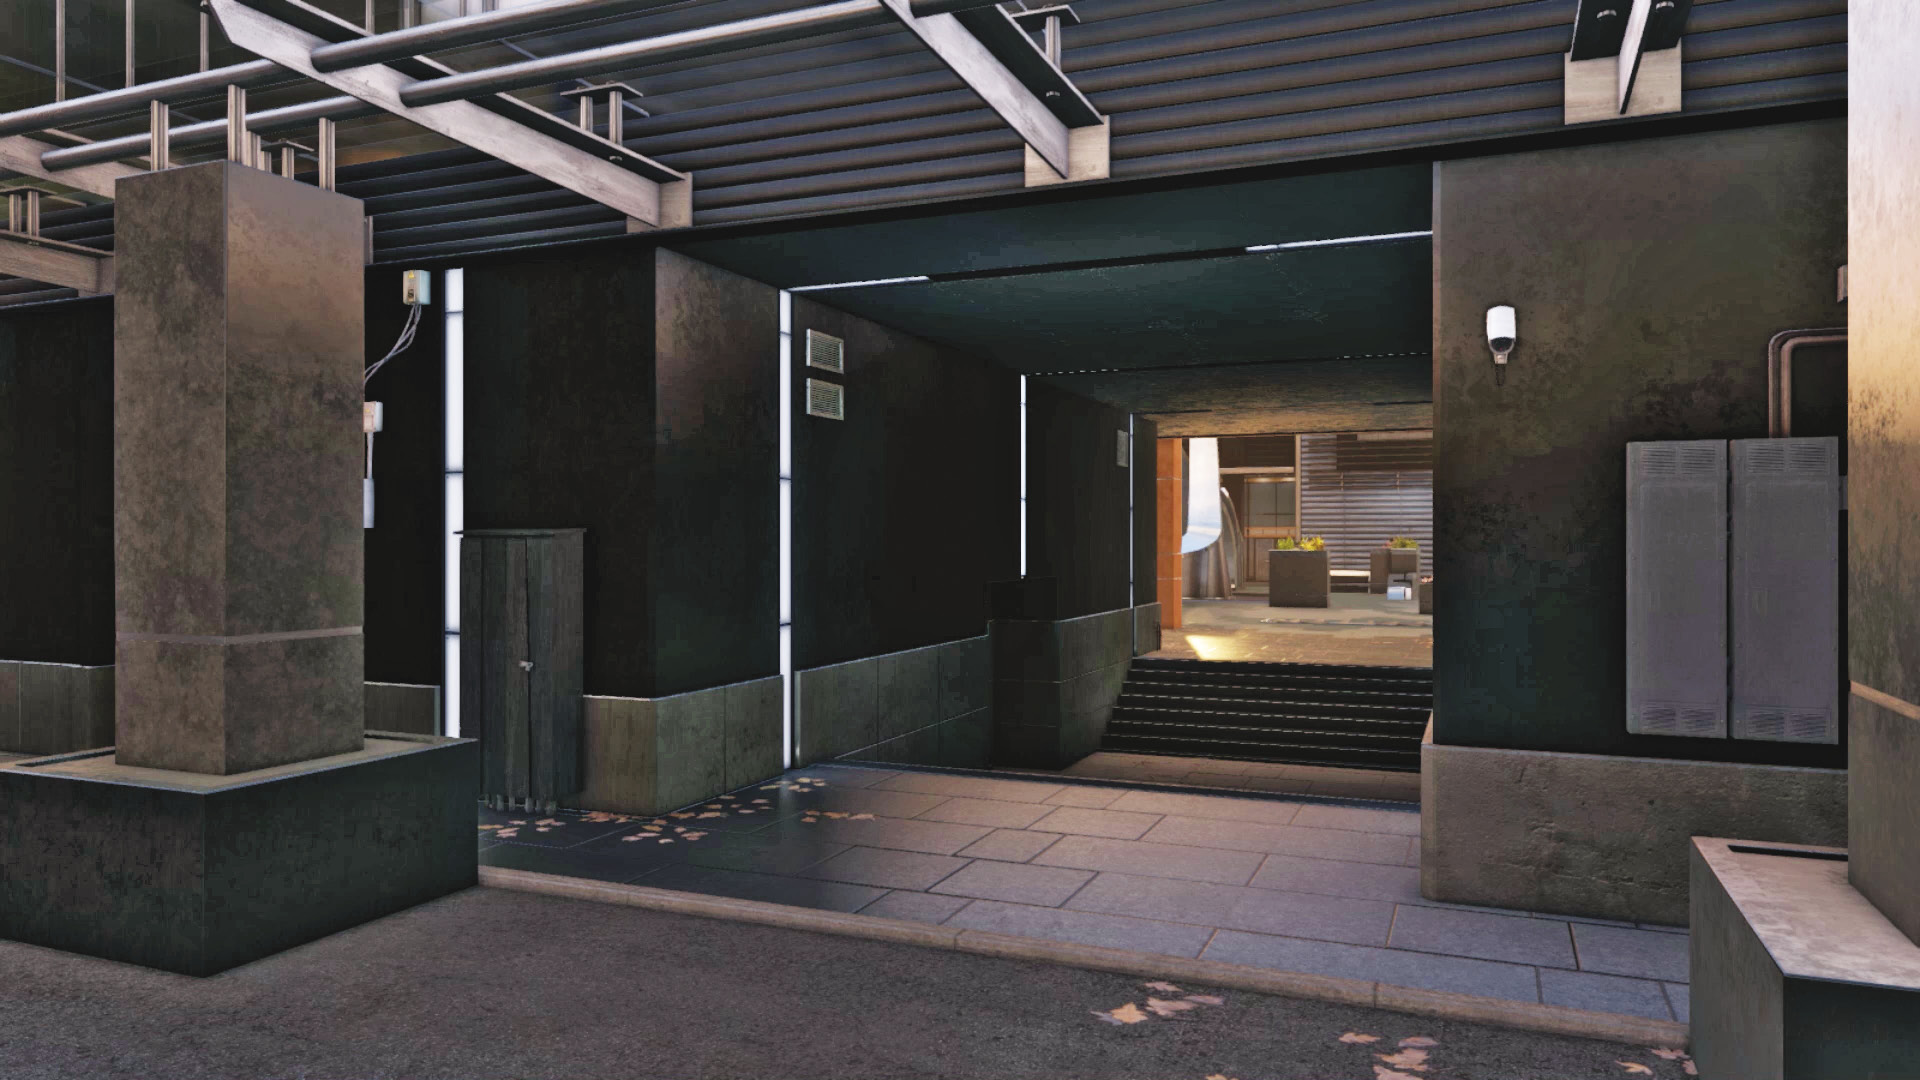
Covered Stepped Corridor: Access this only when you’re trying to escape this place. It offers quick access between the reflecting pool and the eastern loading bays. It’s usually better to keep to the perimeter if you’re sneaking so you aren’t surprised by guards from different directions.
Progression Plans
Now that you have a working knowledge of the entire facility, it’s time to explore the premises without being shot. Try any or all parts of the following plans:
General PreplanningCamera Positions: You are fortunate that the cameras in this facility are plentiful, so check them before heading around a corner or to access switches or other areas of interest (but not the mission-critical power nodes). Stealth, not Slaughtering: During these objectives, you cannot utilize guns, as this leads to you being spotted and captured, and the entire “clandestine” part of the mission fails: Melee baton strikes only. Waypoints: It’s critical you learn precisely where each of the waypoint objectives are so you don’t waste time exploring needlessly, if you aren’t concerned with removing all foes. However, it’s more satisfying to have the entire place empty of guards before objectives are met. It’s up to you. |
 Passive // Smart: Pacifist Approved
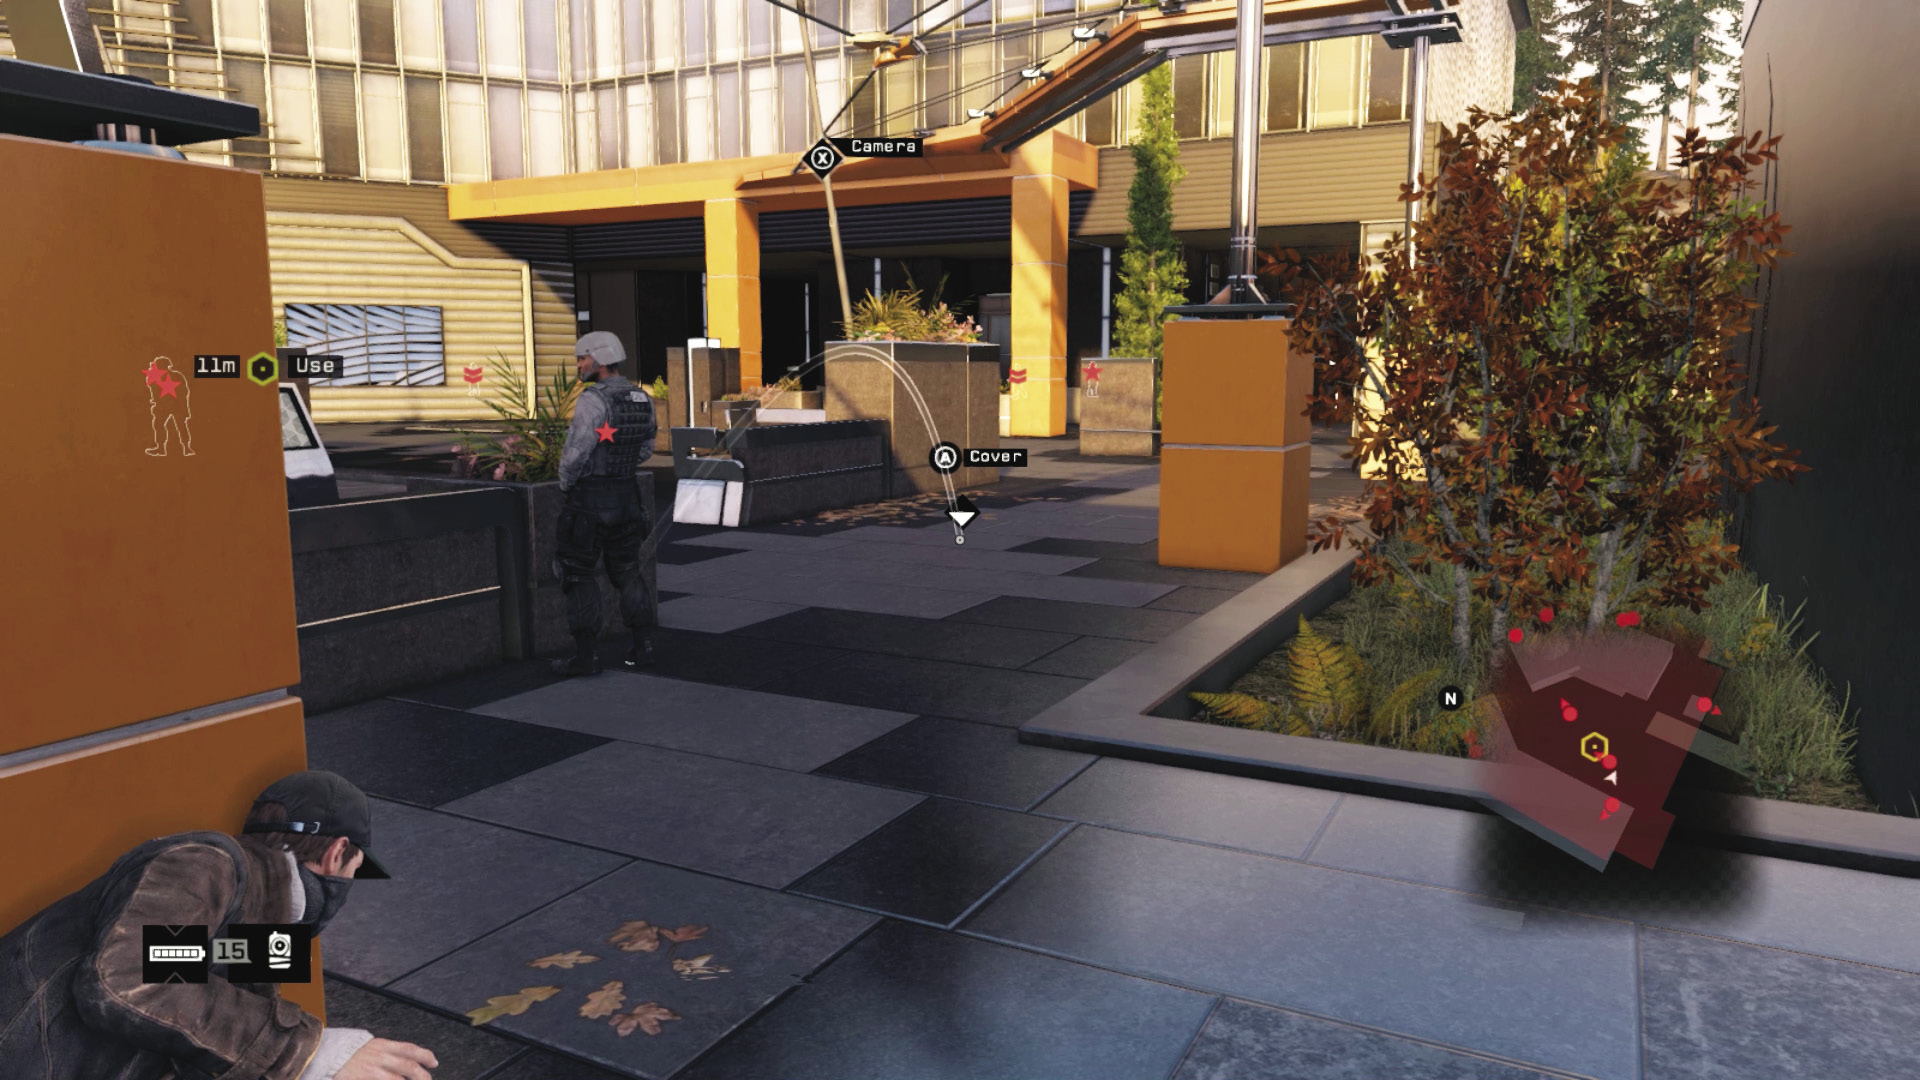
Difficulty: 
If you’re up for a challenge and hate experience points, it’s actually possible to complete the listed objectives without killing anybody. Enter via any insertion point, and when you reach the guard standing by the monitor you need to hack, in the reflecting pool, throw a lure so he investigates it while you check it. It’s pretty tricky to do this while the two other guards are patrolling. Then creep into cover, move to the cafeteria, and begin the node search.
Hack the camera on the guard up at the solar array, and when he moves into his office, hack the switch box; if he doesn’t go to his office, use another lure. Then avoid both guards, using one more lure if necessary, as you head to the substation and hack the second node. Now return to the cafeteria to complete the hack.
 Aggressive // Stealth: Clockwise Cruise
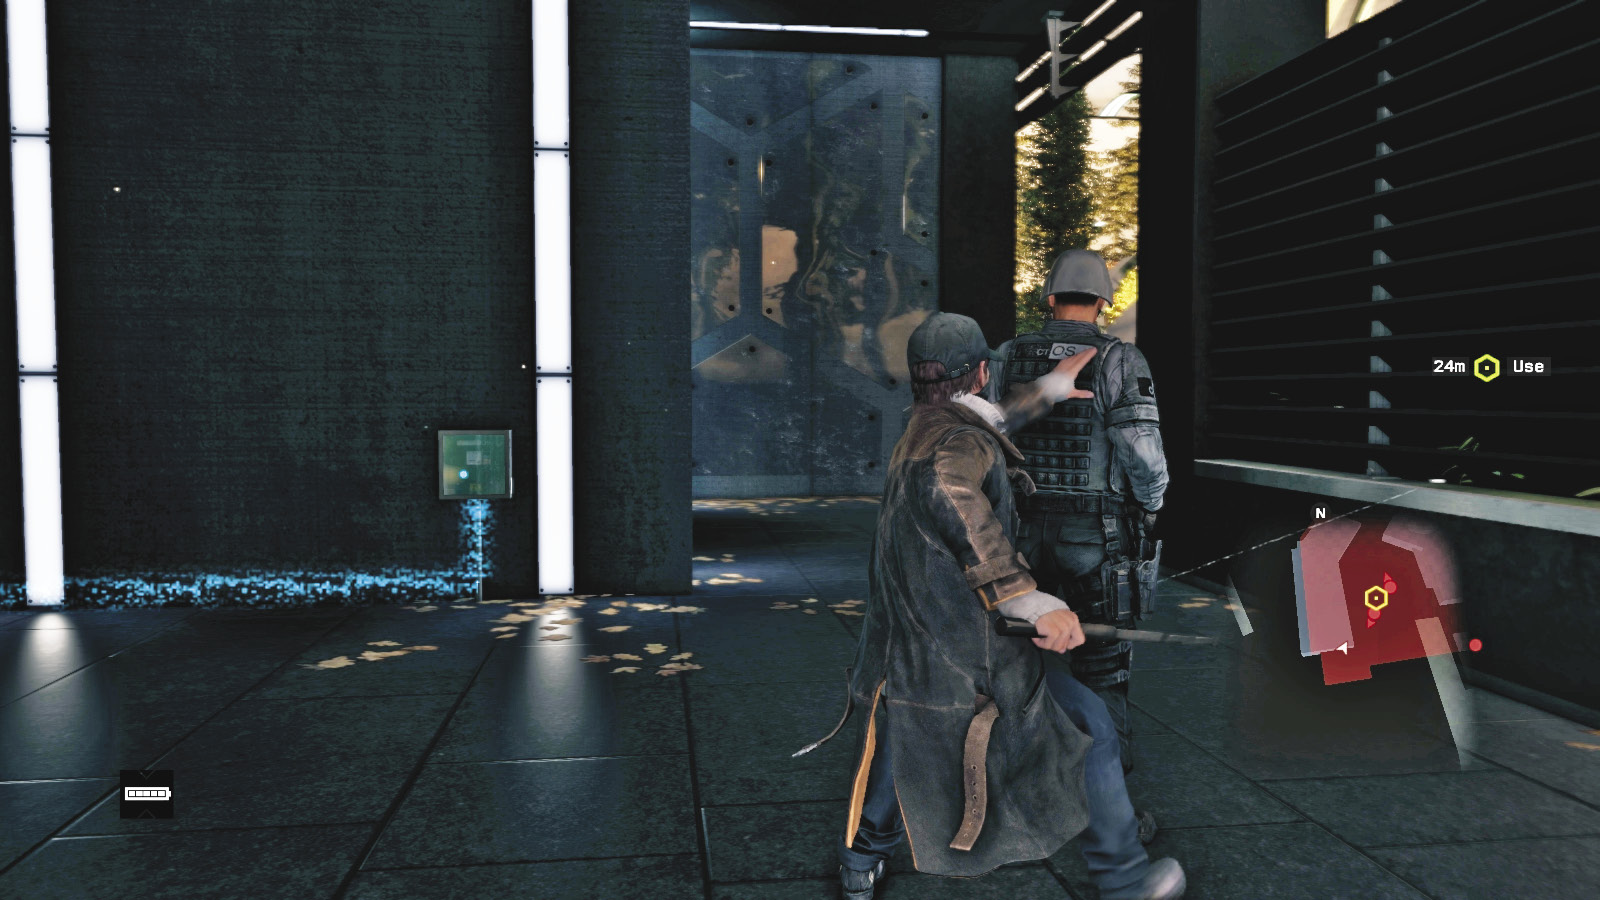
Difficulty: 
Enter via the southwest service entrance, hacking the guard’s camera to open the door, then attracting him to the phone before throttling him. Move to cover behind the nearest foe in the reflecting pool.
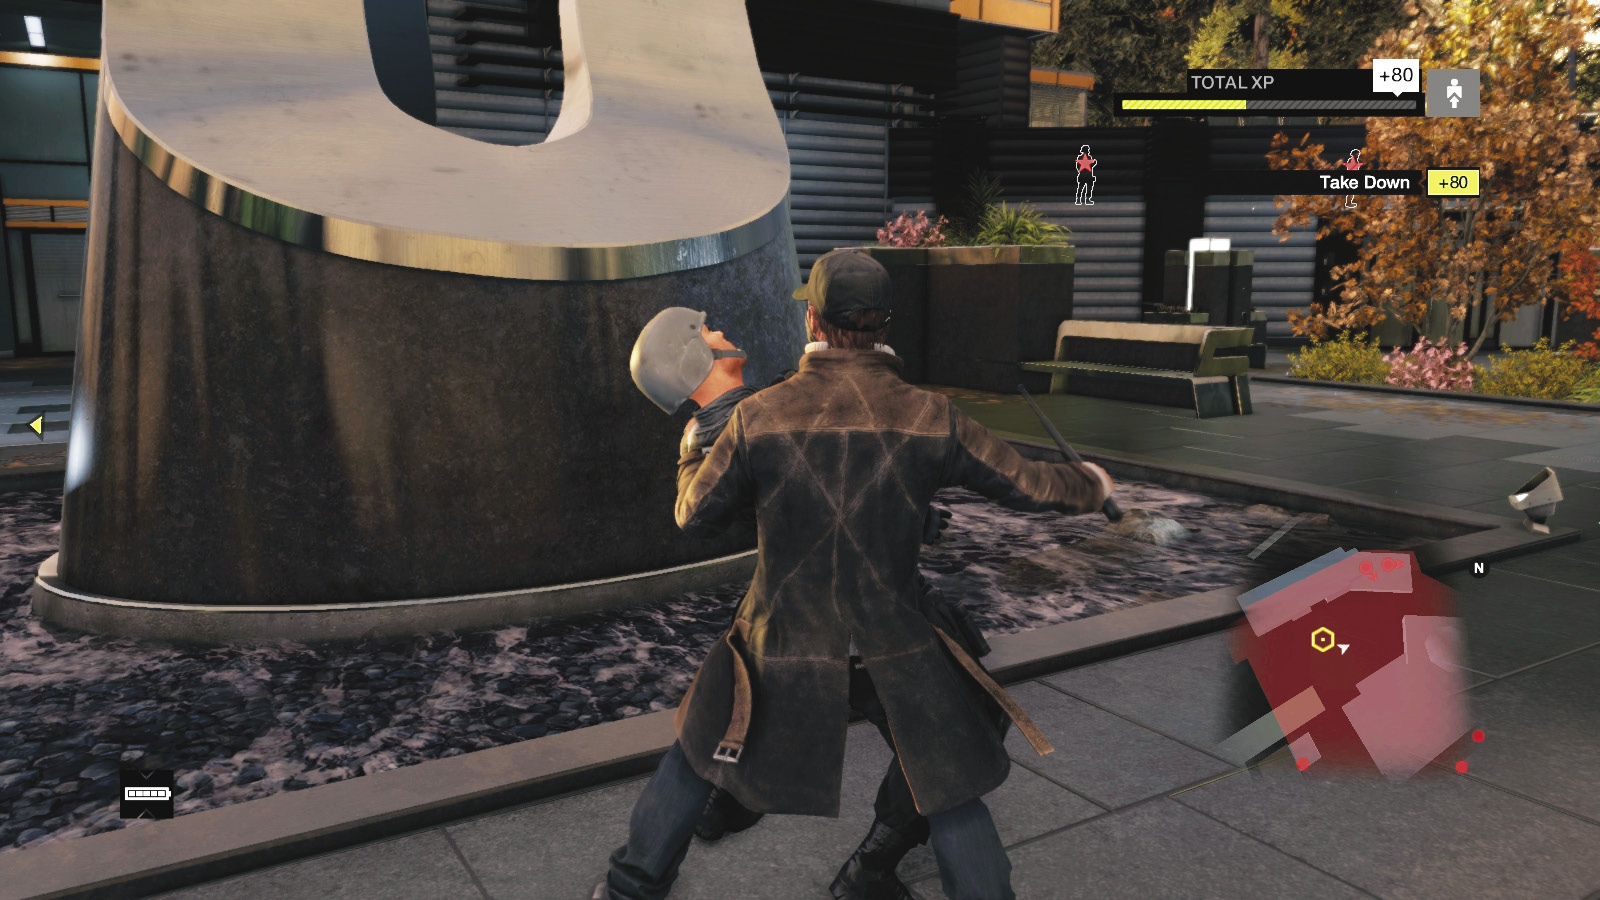
Wait until the patrolling foe is on the far side of the reflecting pool, then strangle the foe by the monitor. Hack it while crouched against it to update the waypoint to the cafeteria; stay here or retreat to cover. Then (optionally) use the phone on the bench behind the main sculpture to keep the other foe at bay, sneak up, and bring him down. Move to the cafeteria so you can find both the node data flows.
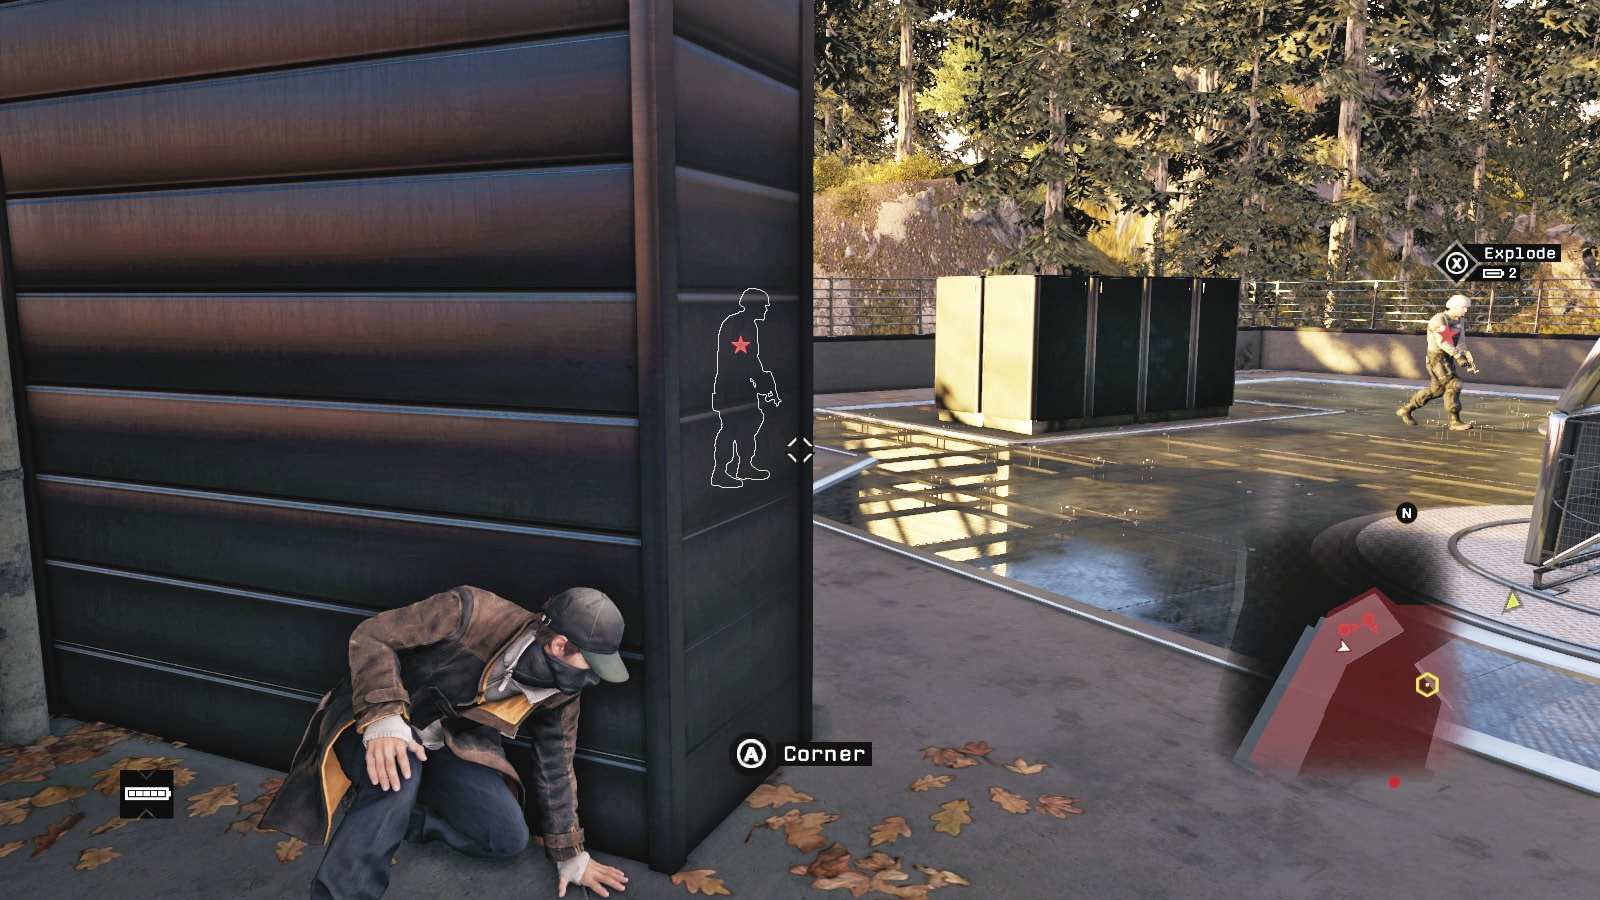
Move left and up the stairs to the solar array. Move an array if you want to attract a guard, but wait until the patrolling one heads behind the gray “Blume” server boxes and bring down the foe by the office. Then catch up to the patrolling guard and drop him too. Now enter the office and unlock the first data node.
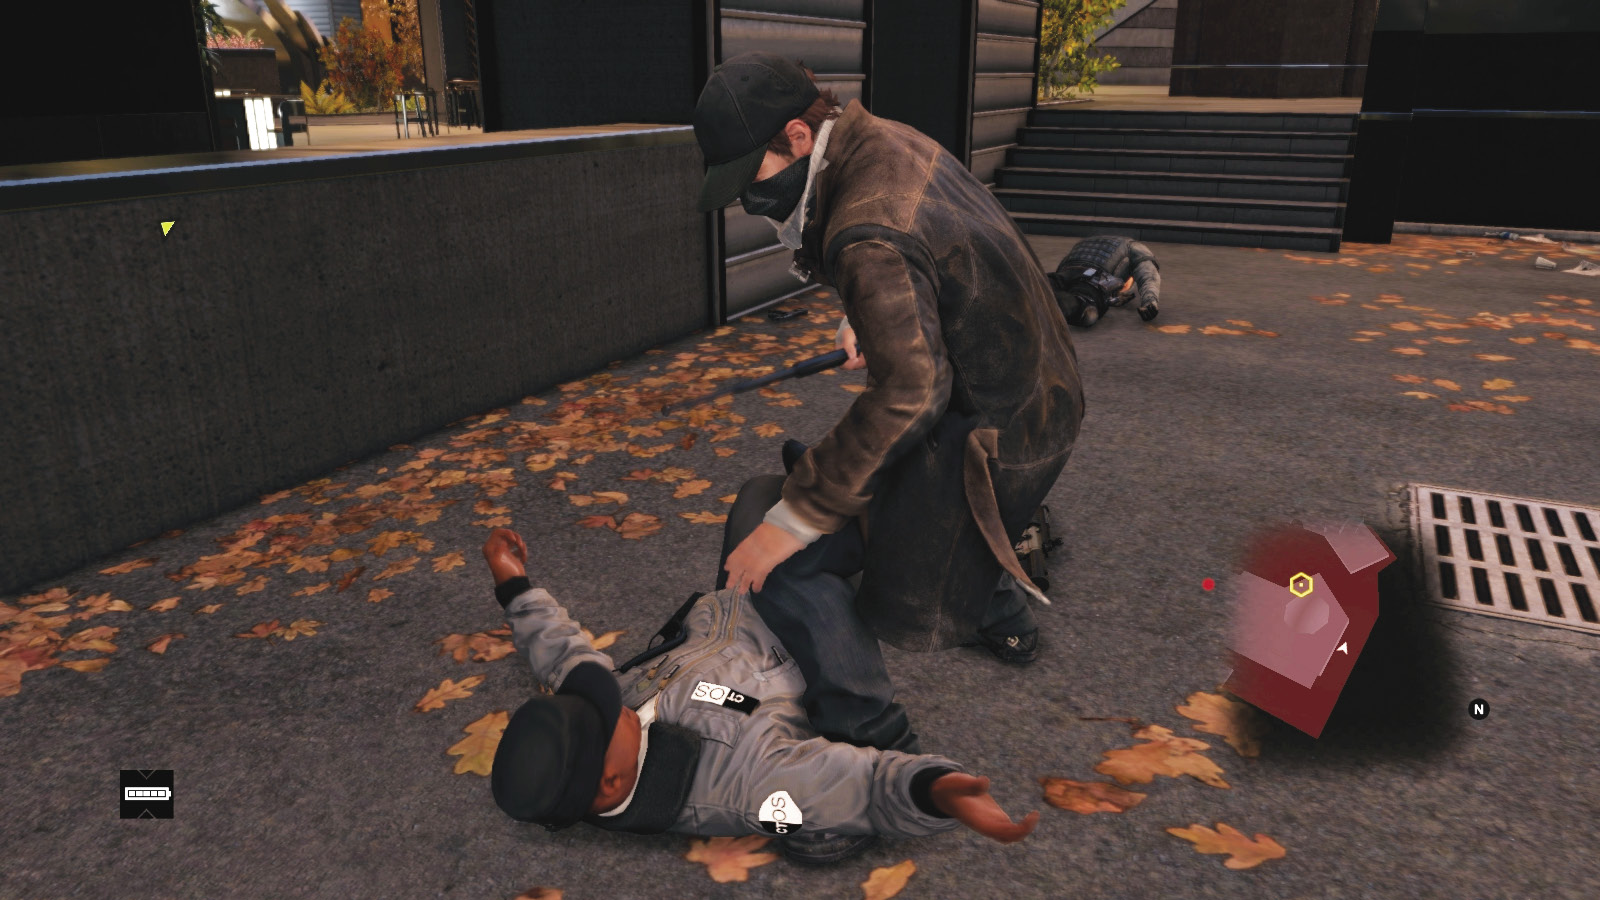
Move through the cafeteria and into the north corridor, watching for two guards in close proximity. Wait until they are separated before striking the first in the middle of the north perimeter. Then use the camera to watch for the second so you don’t step out and get caught by him. Enter the substation and hack the second node. You can now complete the mission without removing any more guards.
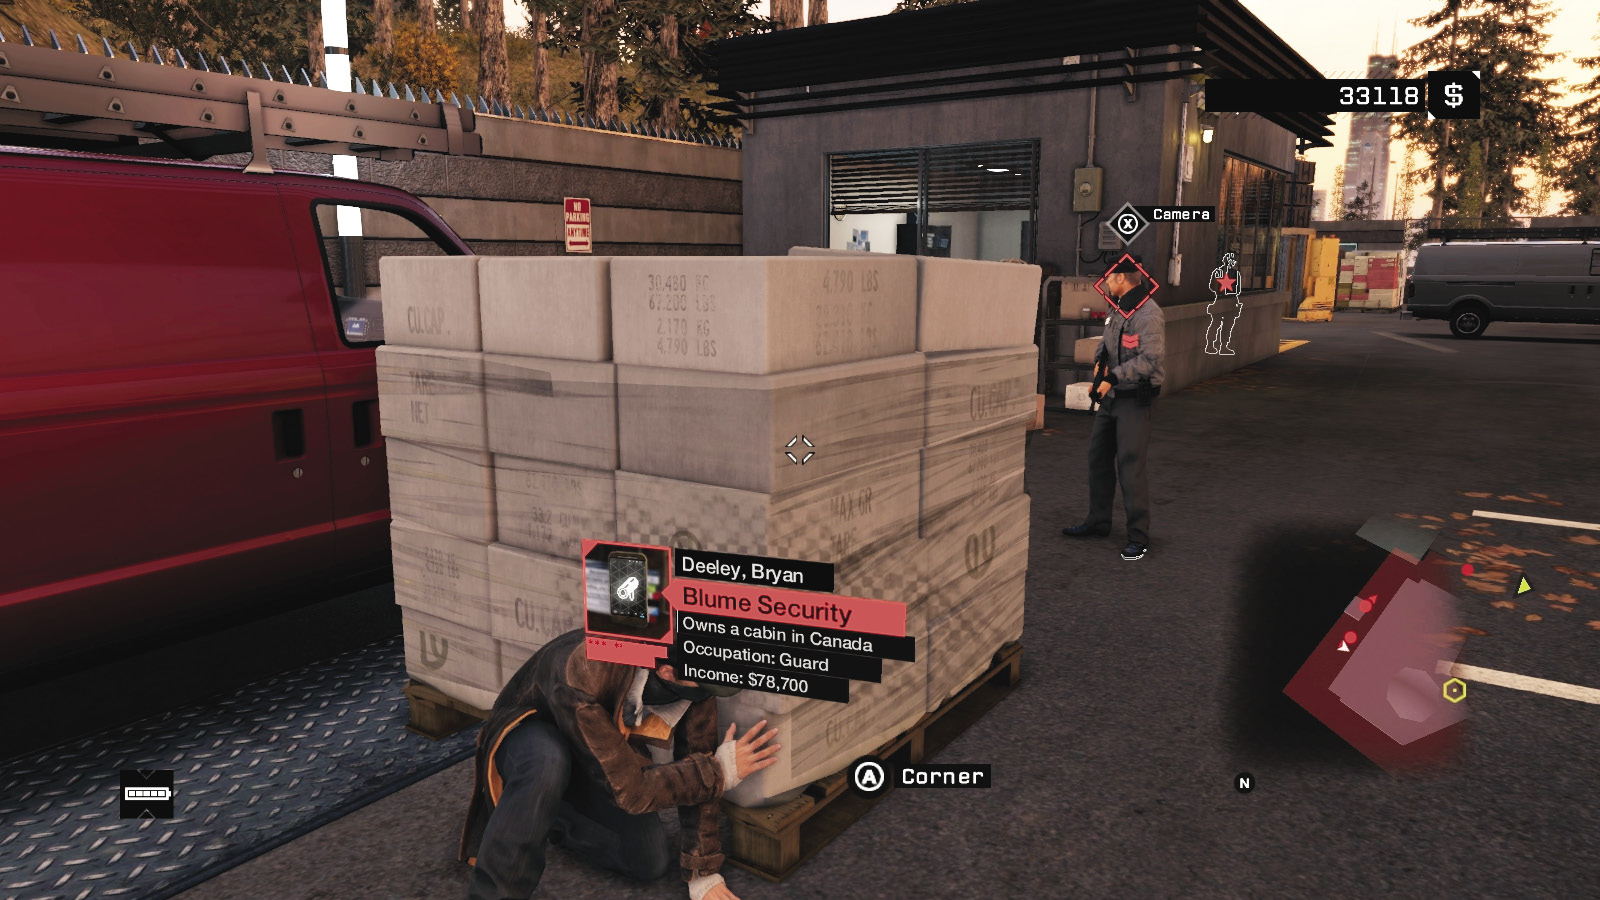
(Optional) Creep to cover along the eastern perimeter and drop the patrolling guard before he passes the second guard in the security office. Then vault through the open window, into the hut, and throttle this guard. Or (optionally) use the phone to attract the guard, and unlock the door by hacking the switch console from through the window.
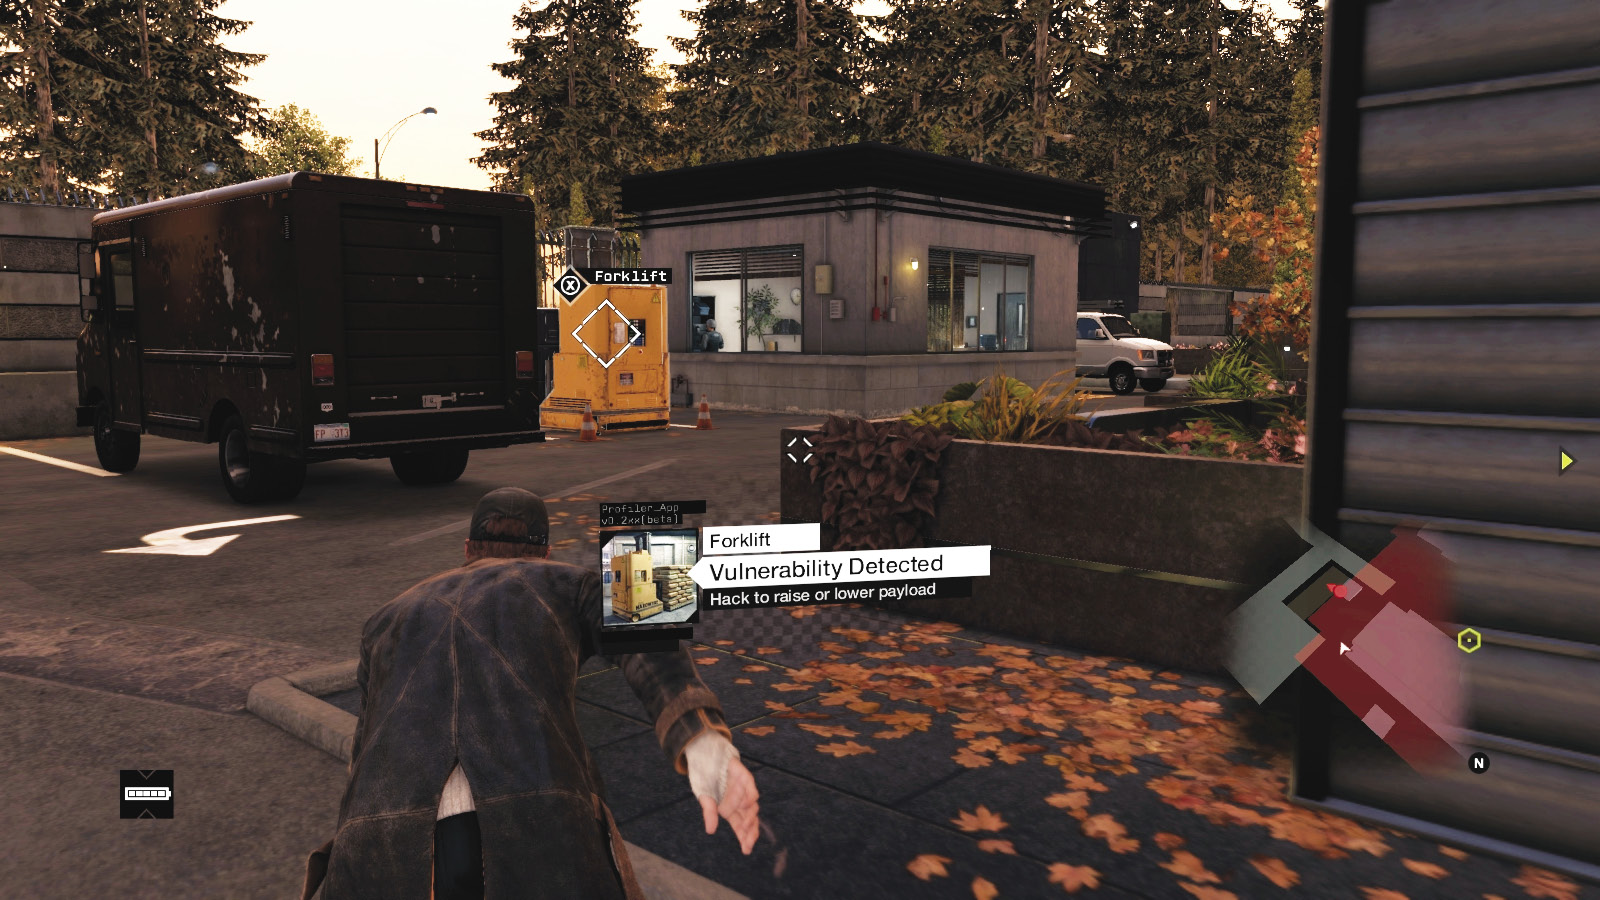
(Optional) The last guard is standing in the security hut by the main gate; if you want to tidy up all loose ends, hack the door so it unlocks, push it open, and strangle him from behind. Or launch through the open window adjacent to him and knock him down. Or use the phone to attract him, unlock the doors via security camera, open the door, sneak up, and drop him.
 Aggressive // Smart: Counterclockwise Moves
Difficulty: 
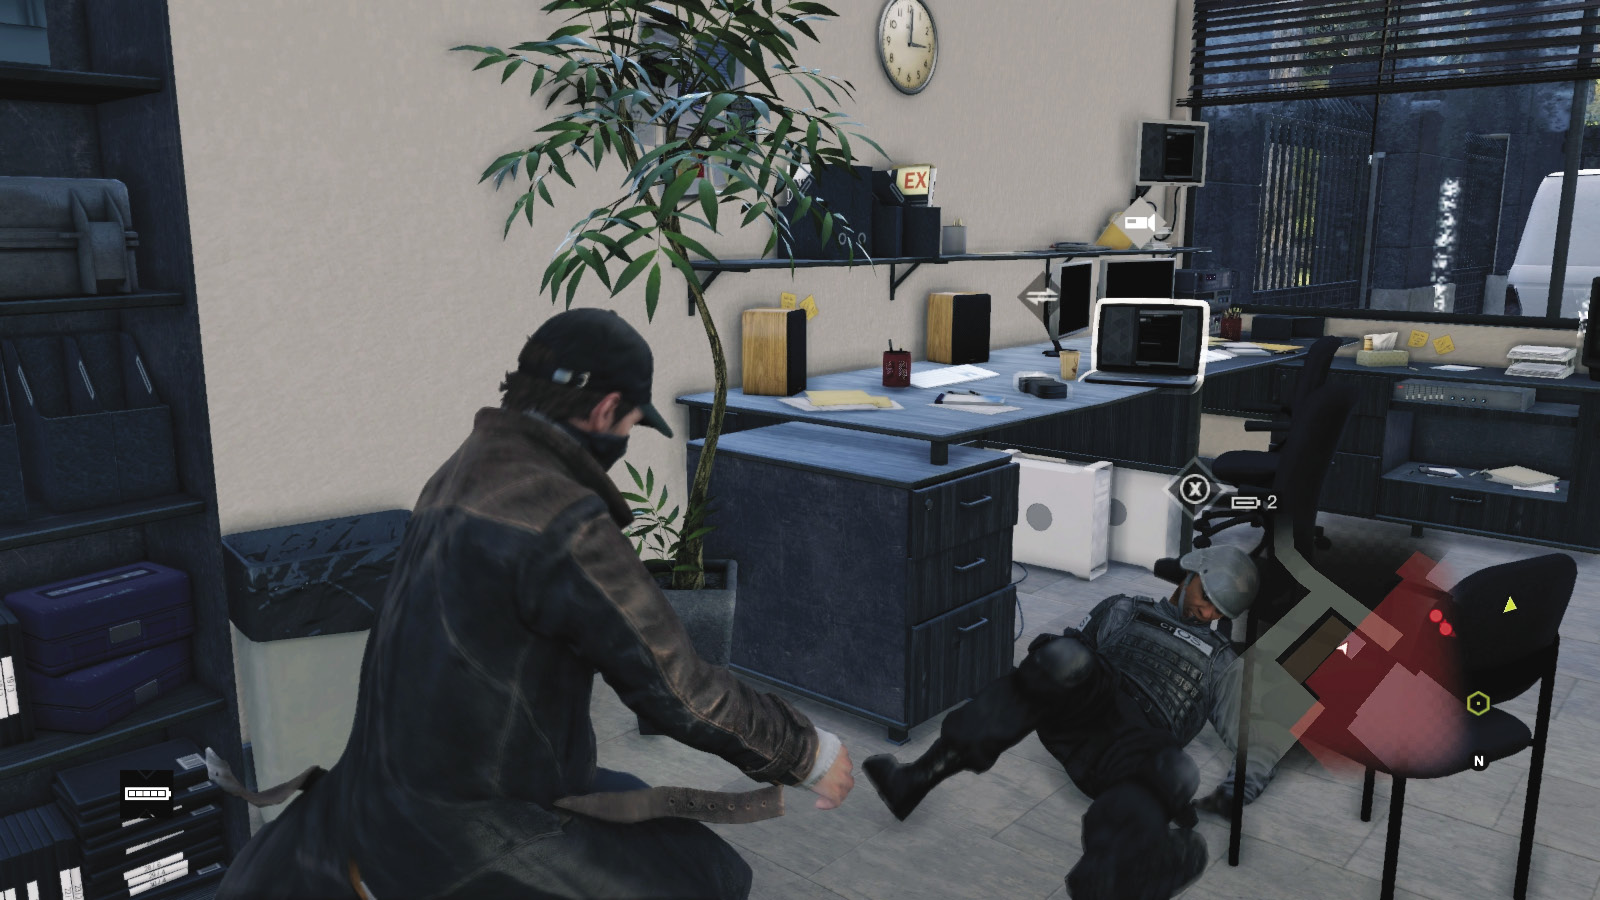
Enter via the main gate or the southeastern service entrance. Hack the security hut’s door so it unlocks, push it open, and strangle the guard from behind. Or launch through the open window adjacent to him and knock him down.
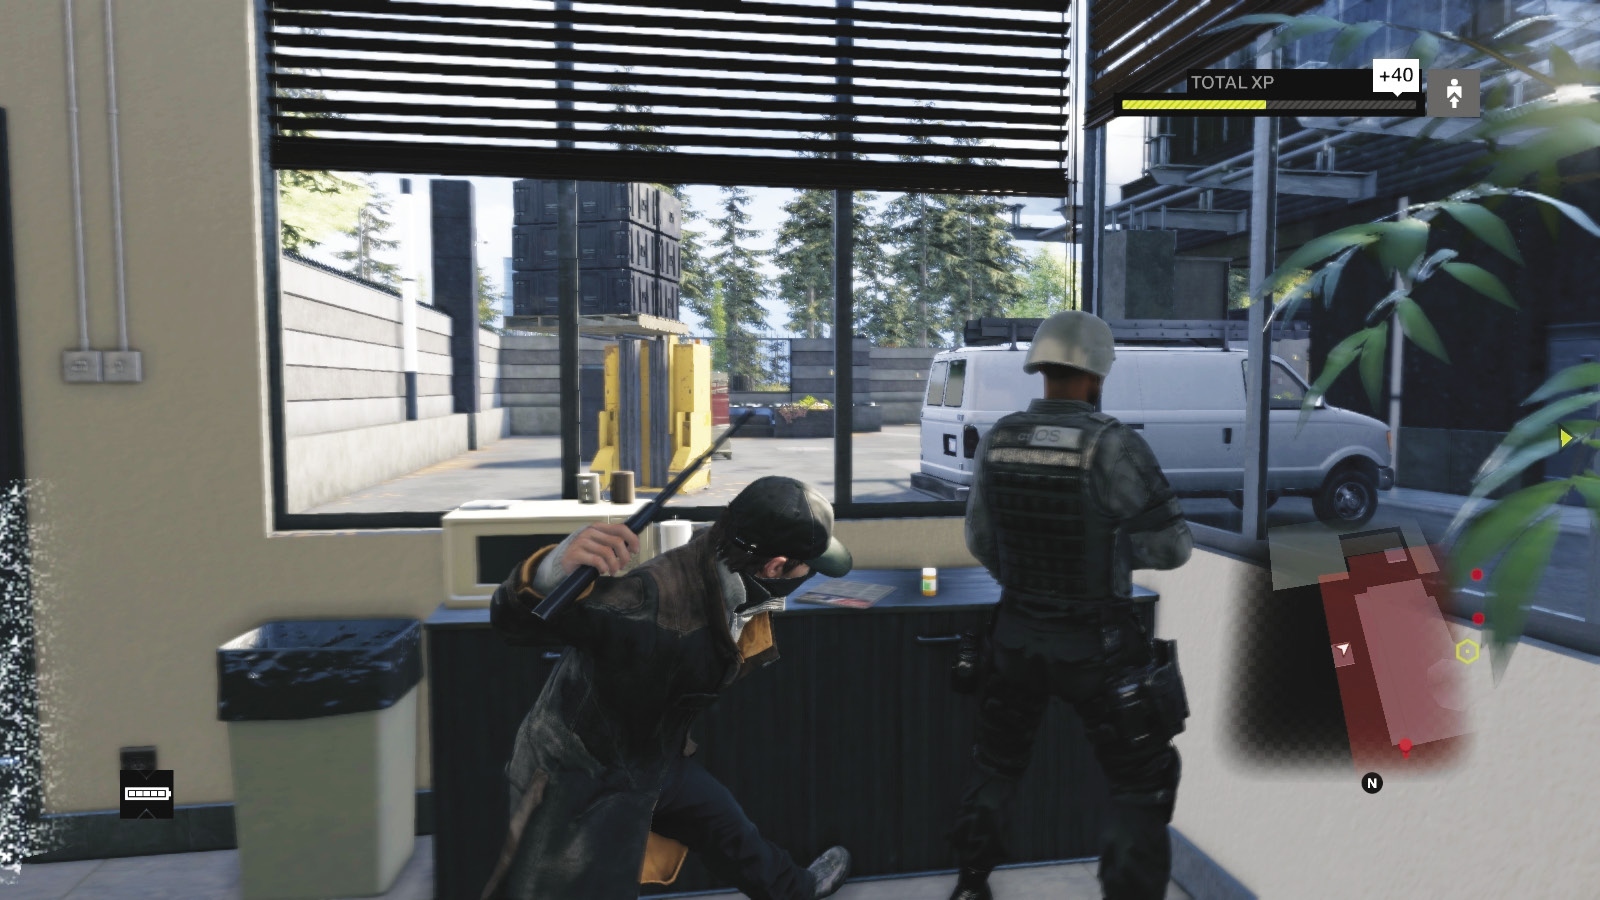
Move to the eastern perimeter and loading bay, and very carefully remain in cover. Coax the foe to the forklift truck if you want, but ensure you strangle the patrolling guard first, when he’s behind the view of the foe inside the security hut. Use the camera to unlock the hut door or vault through the window, into the hut, and throttle the second guard.
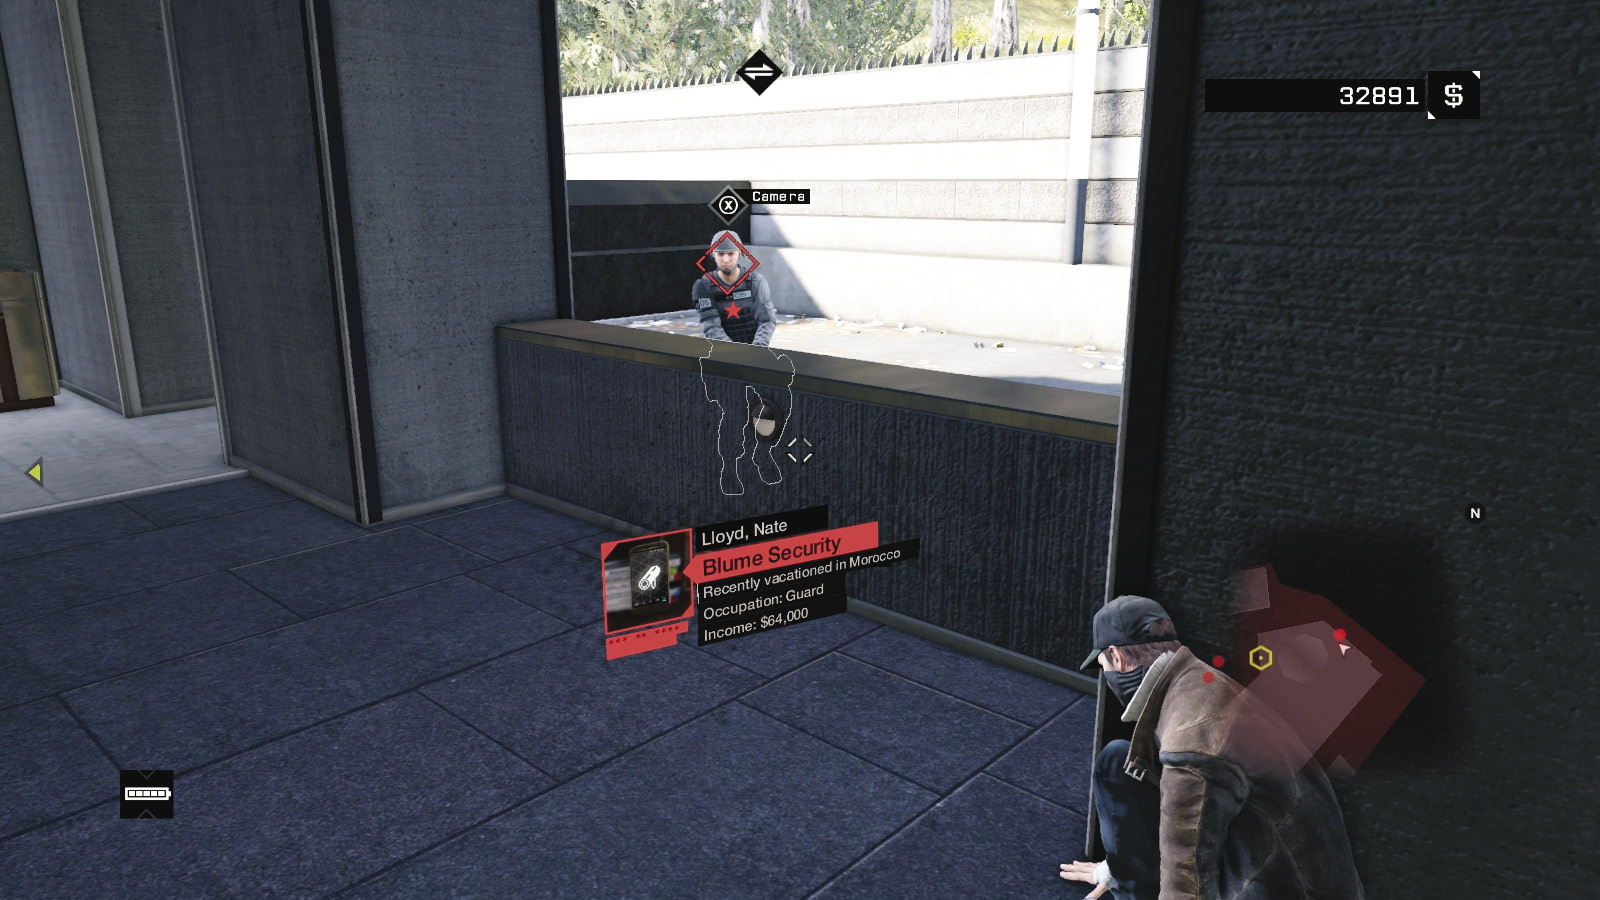
Move toward the northeast perimeter and quickly remove the guard there, but only after checking the patrol of the second guard so you aren’t caught in mid-strangle. Sneak up and remove the second threat in the middle of the northern perimeter.
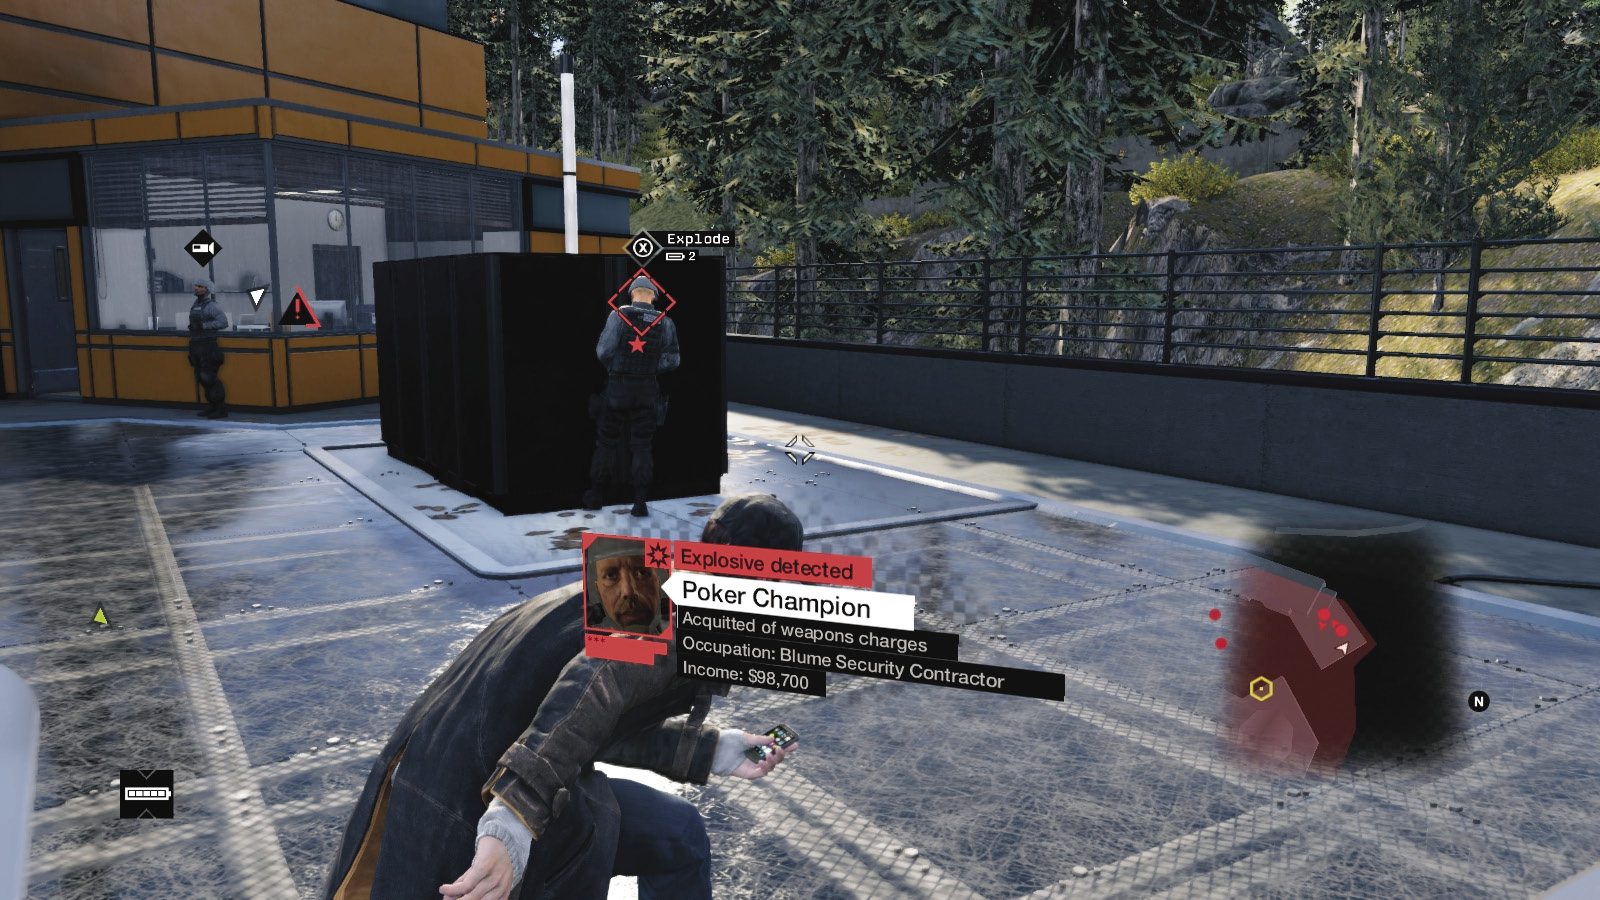
Head up the right stairs to the solar array, and move one of the arrays to block your view from the guard by the office. Then creep up and remove the patrolling guard before sneaking behind the bank of “Blume” server boxes and strangling the guard by the office.
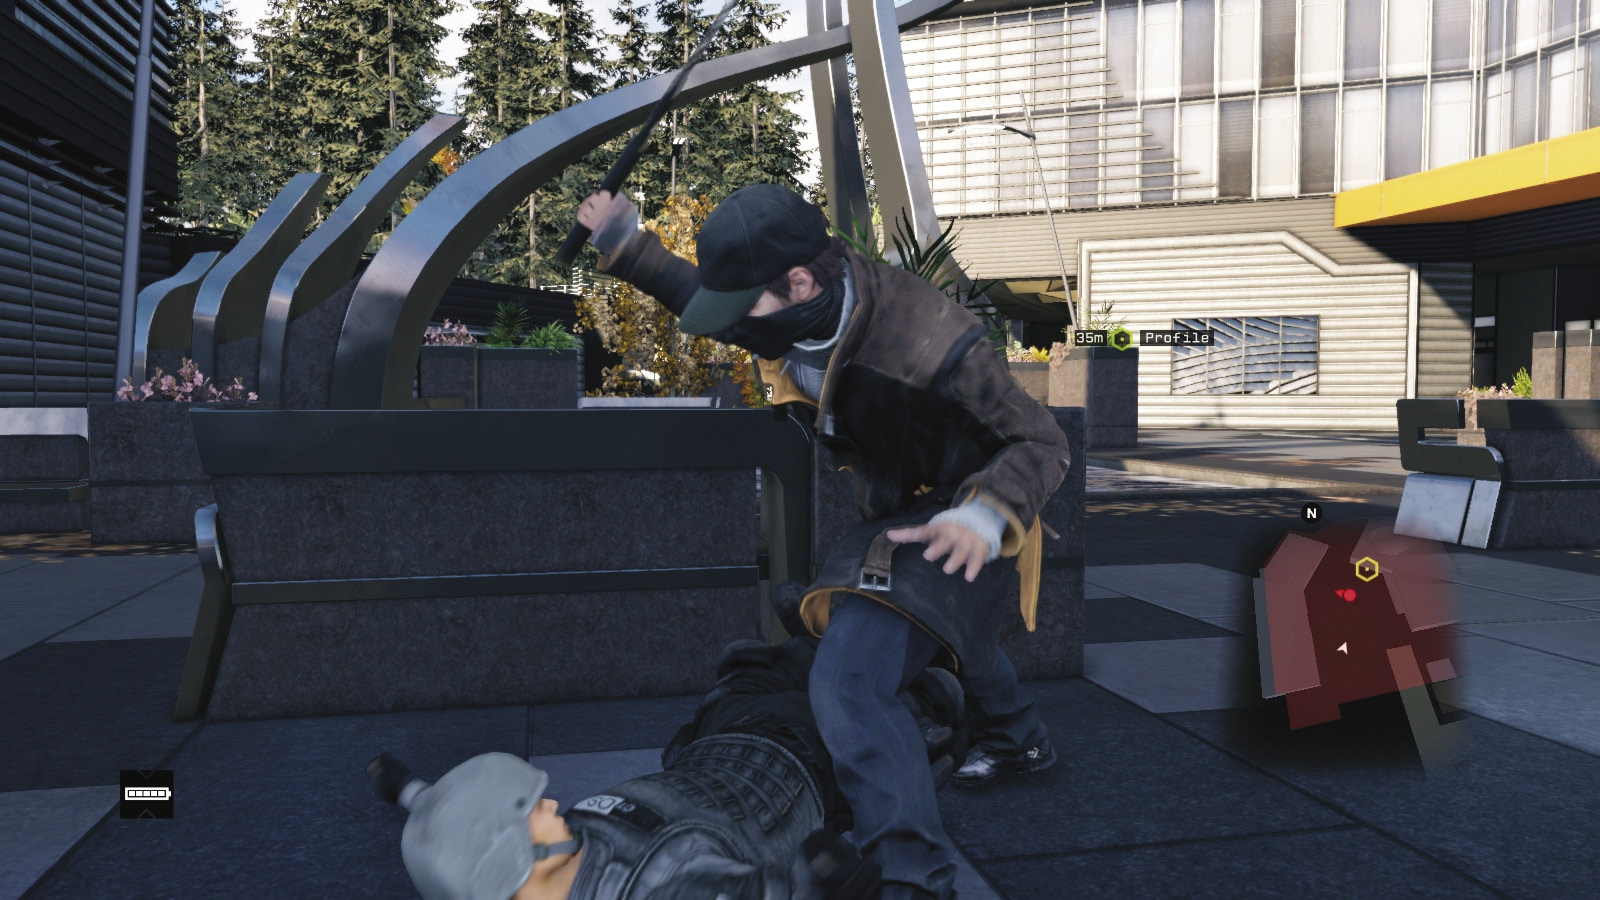
Raise the Protector and sneak behind the reflecting pool. To avoid the moving guards seeing you remove the one standing by the monitor, tackle them in this order: (1) the guard with the camera by the atrium, using the attract phone; (2) the stationary guard by the monitor; and (3) the moving guard by using the attract phone on the bench.
At this point you can hack the monitor, check the switch in the cafeteria, find both nodes, and start to hack into Blume’s system.
|
|
 Break into Blume’s network unseen
 Install T-Bone’s spyware
 Locate Damien’s meeting
4.3 IN FULL BLUME
 Location / Pawnee // Blume
 Infiltration
 Data Hack
Difficulty: 
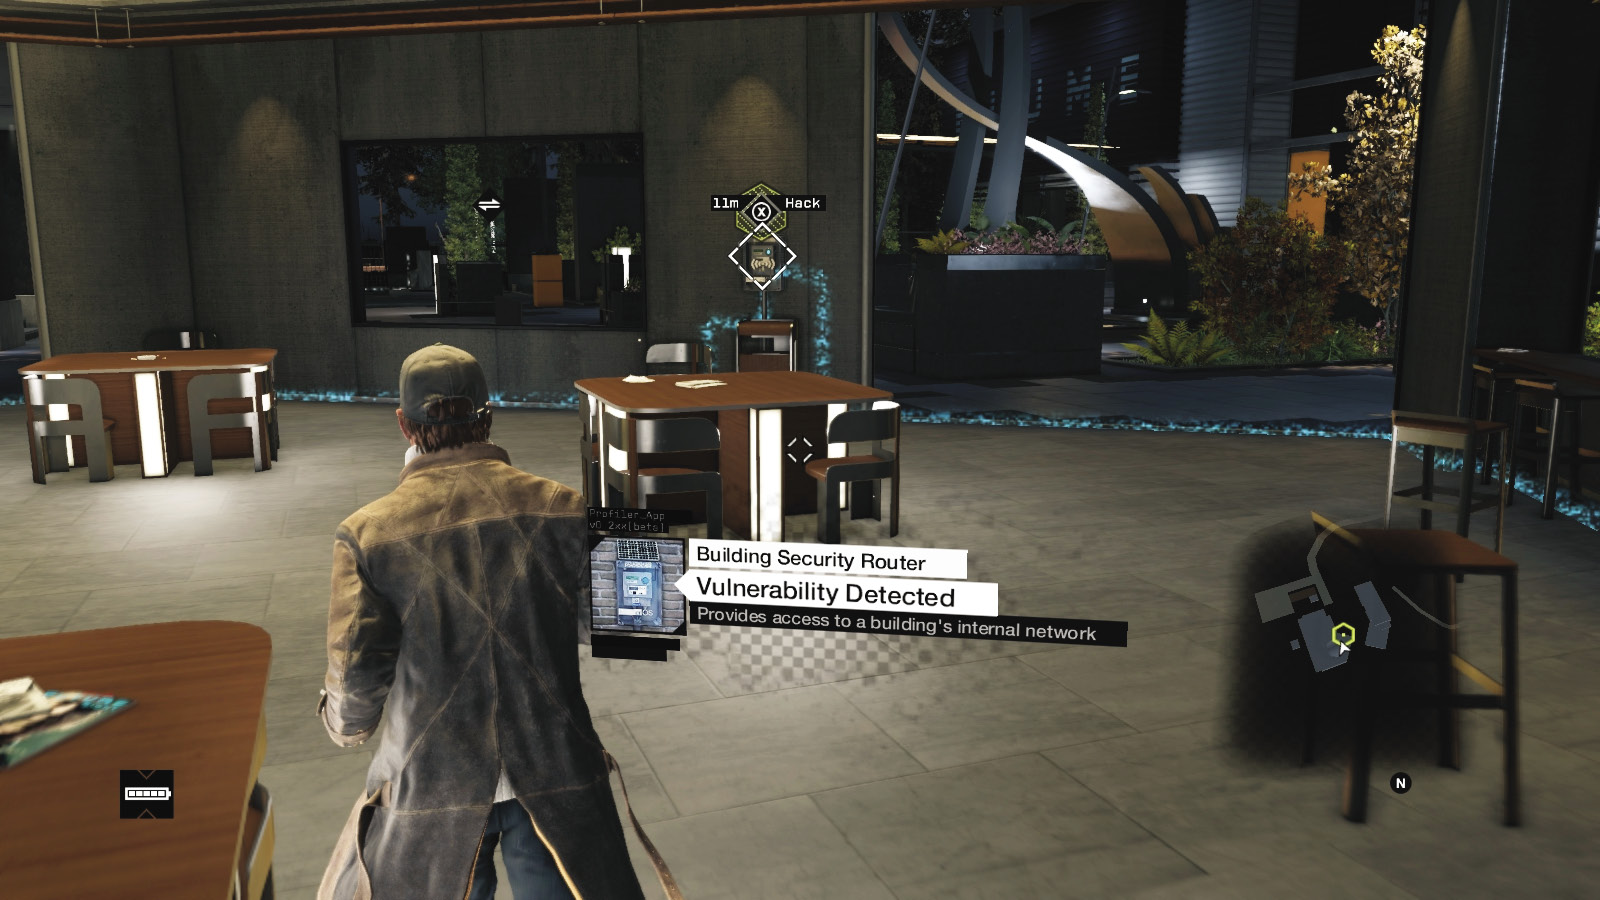
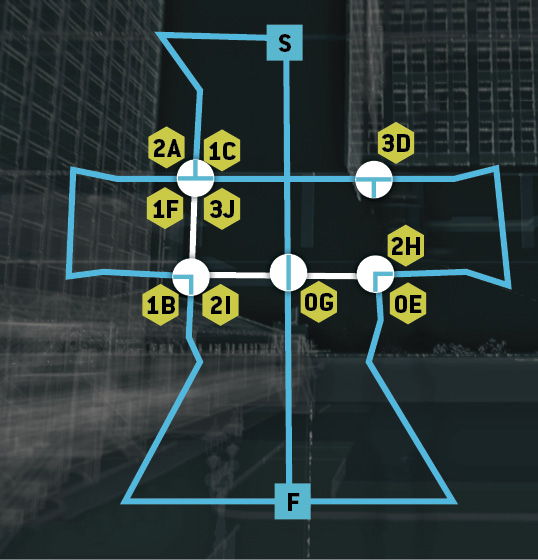
Once you activate both nodes and trace the data flow from the switch in the cafeteria to the subswitches in the solar array office and the northeast substation, return to the main switch to hack it. You’re presented with two hotspots:
Solution: Hotspot 1
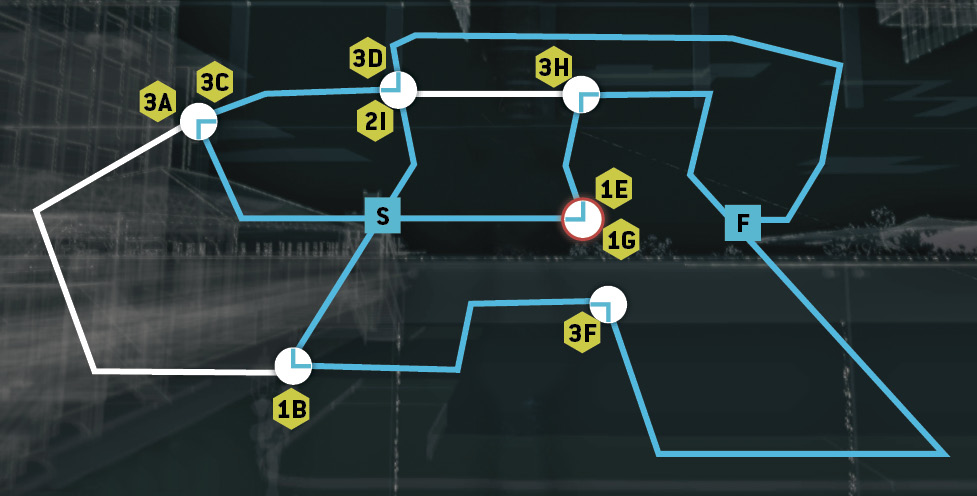
Solution: Hotspot 2
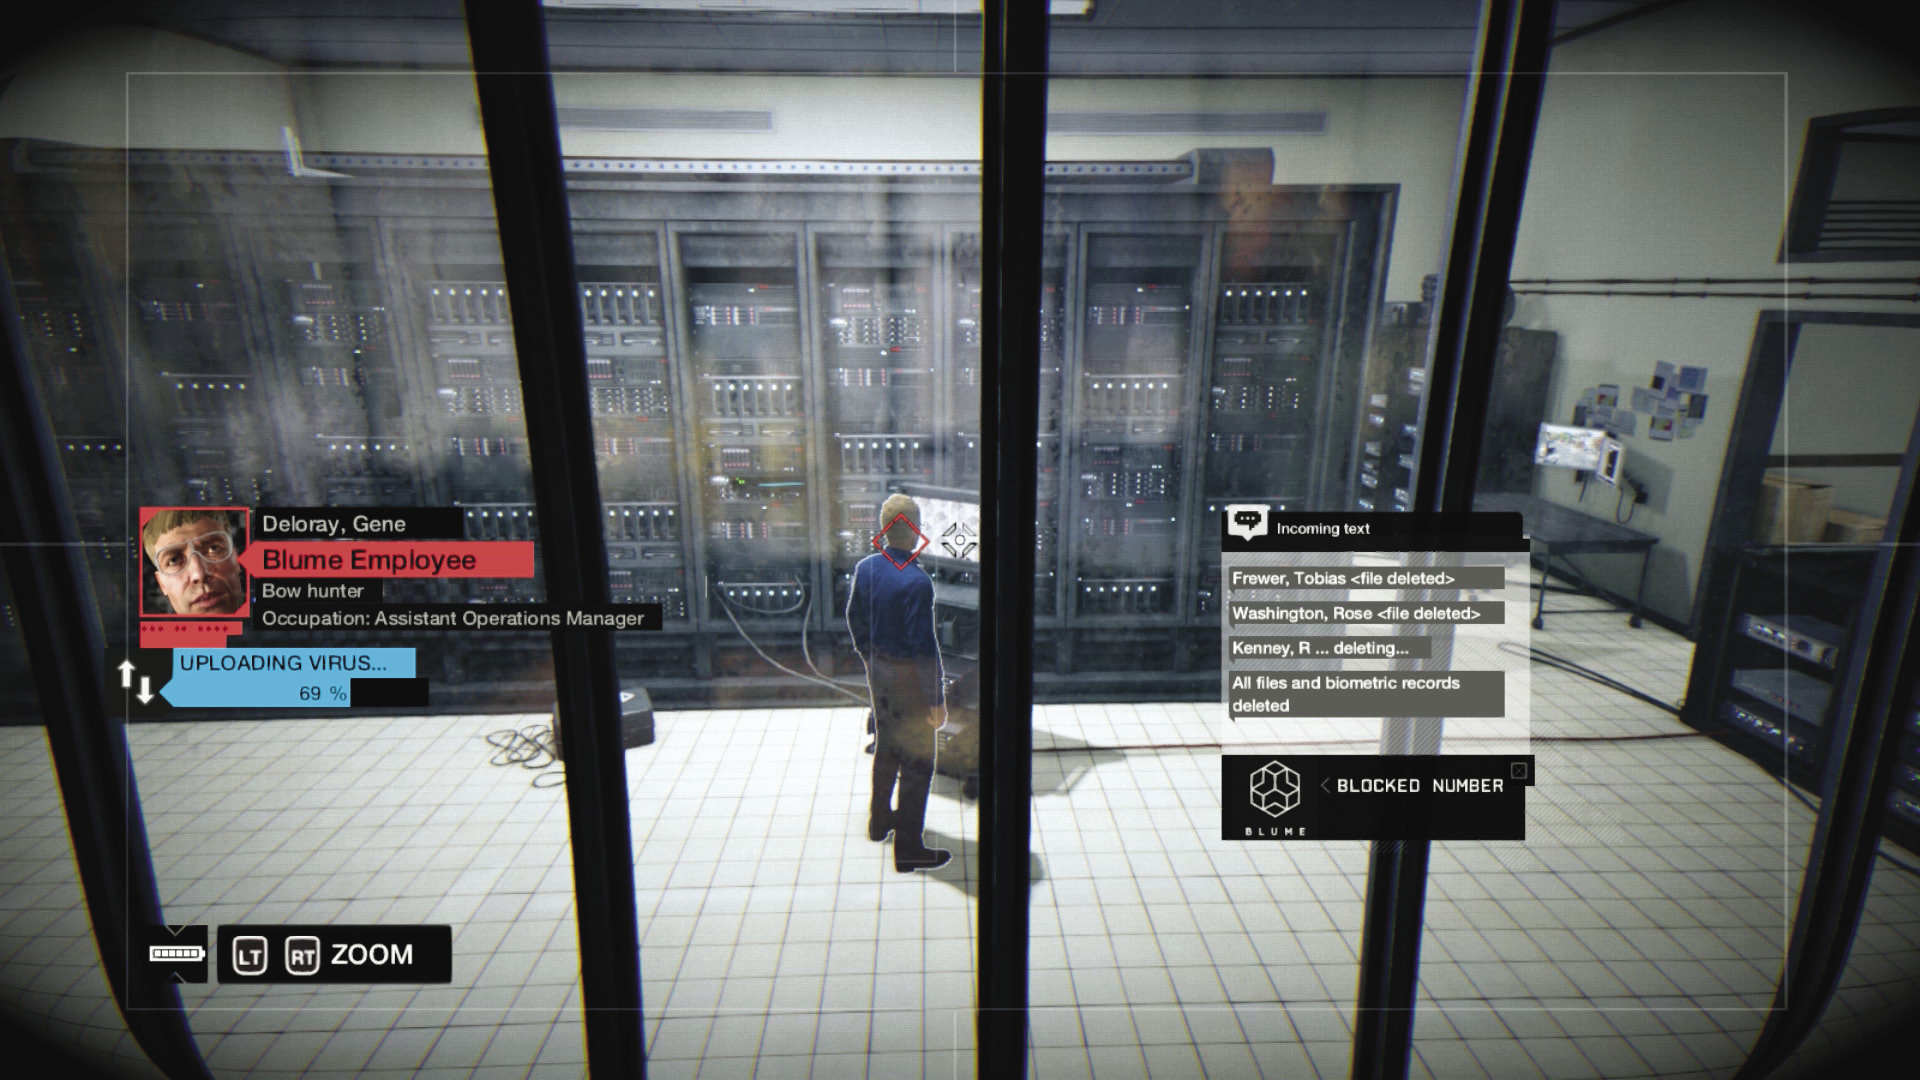
You’re in! Now for T-Bone’s spyware: Simply hack the mainframe you can see, uploading the virus and contacting T-Bone, who’s already seeing pings. As you’re talking, you notice a familiar name pop up in the register of guests. Damien Brenks! You tell T-Bone you’ll be out as soon as you’ve seen what your ex-partner is up to.
Check the door to your right; a guard walks in with a camera. Hack into it and watch the guard patrolling the server, then the corridor and out into the executive offices. Quickly hack into one of the conference room’s cameras. Flick through the cameras as Brenks explains he has some particularly potent information and hopes a small dossier on Raymond Kenney will help prove his point. This doesn’t sound too good for your new friend....Furthermore, the alarm trips; you need to leave, and fast!
|
|
 Exit Blume
4.4 WE HAVE KENNEY. GET MOVING
 Location / Pawnee // Blume
 Escape
 Lethal Force Likely
 Melee Force Likely
Difficulty: 
Overview
Completion Point: Bike at the start of the trail, adjacent and west of the Blume facility.
Dangers: Seven Blume guards (Veteran x6, Elite x1), armed with shotguns and machine guns. Two are Shot-Callers, able to summon two reinforcements. All are on foot.
The facility has been compromised! If you’re itching to start a battle, you can easily get into it with the guards; however, bear in mind that Raymond “T-Bone” Kenney is currently being visited by a mass of Blume-influenced militia, and you should be saving your nastiest surprises for them. It may behoove you to take a more fleeting approach to exiting this facility. Here are some options:
 Passive // Flee: Running out of Blume
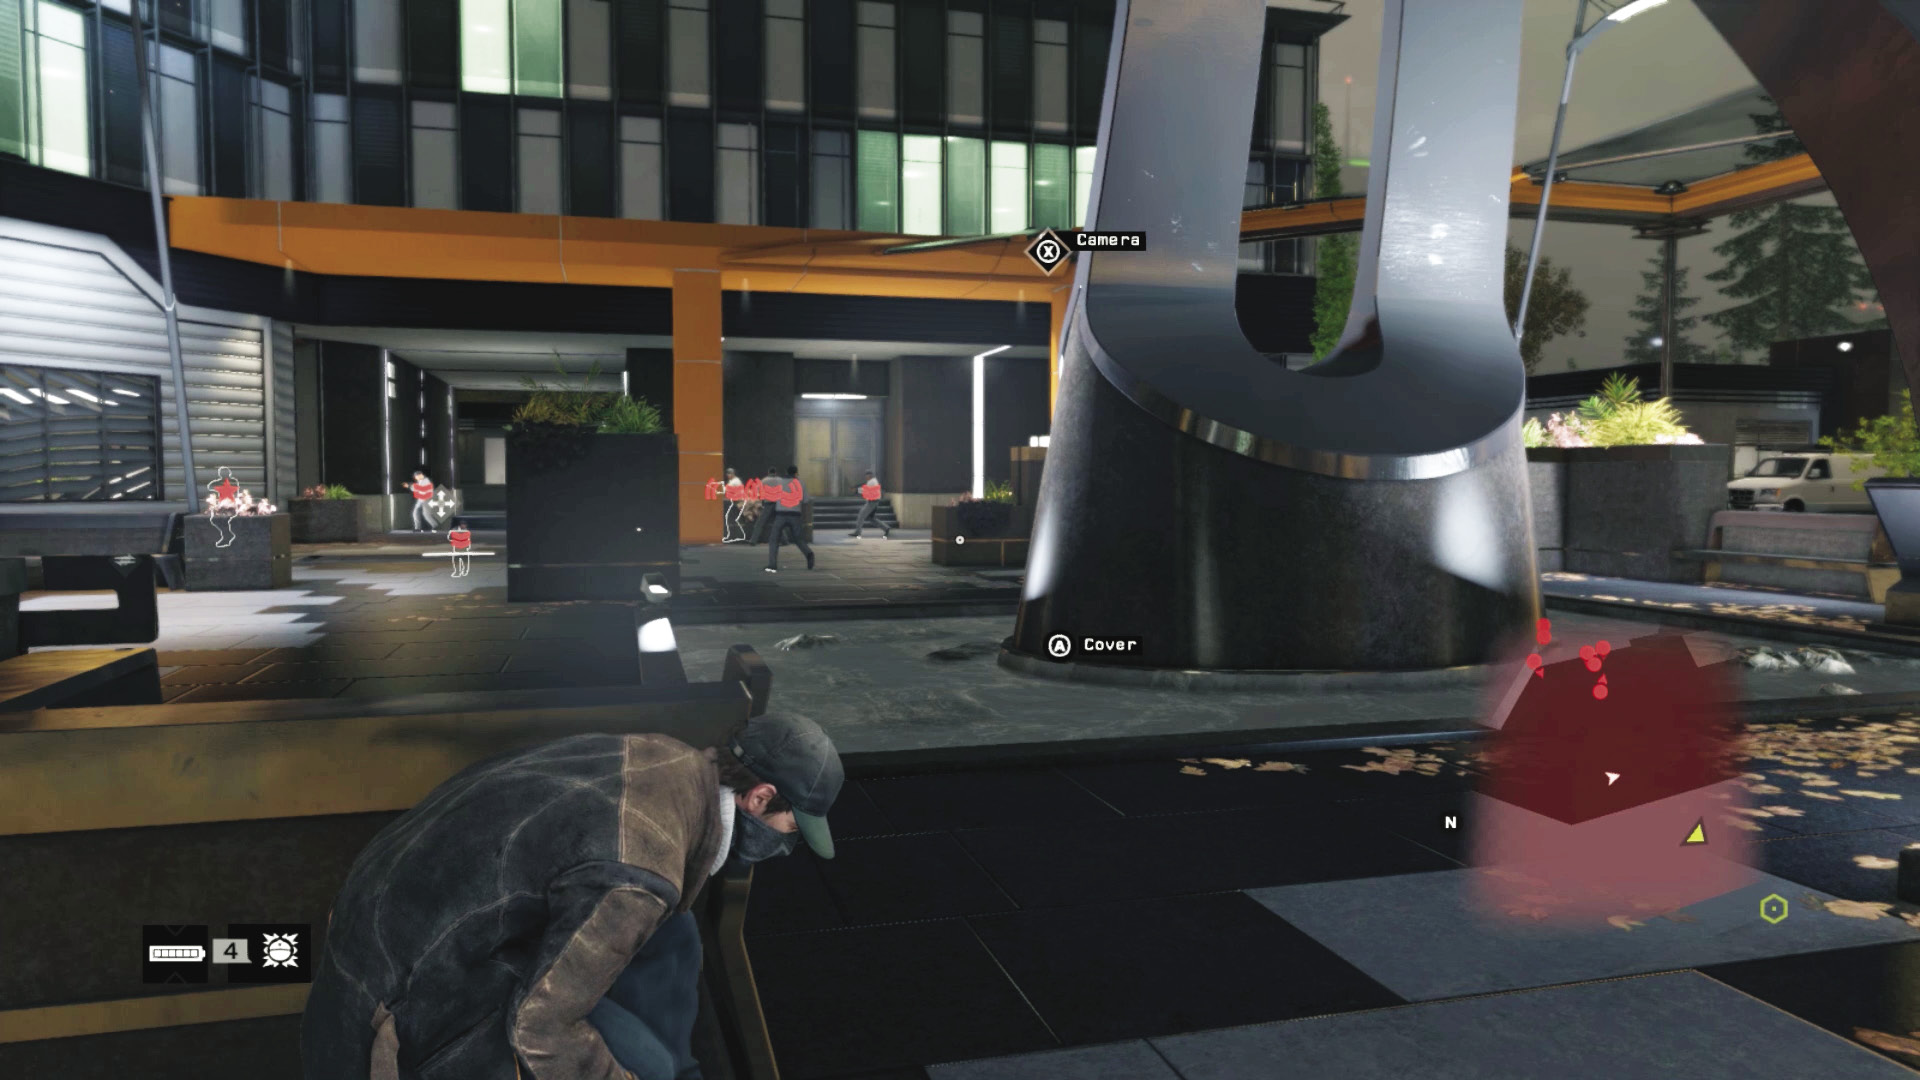
Difficulty: 
Check the direction of the incoming foes, and attempt to avoid them as best you can:
Sprint through the covered stepped corridor, to the southeast service entrance.
Or, move toward the gates; if you opened them but aren’t using a vehicle, enemies will be farther inside the facility.
Or, head to the southwest service entrance, using the atrium and waterfall sign area as cover.
 Aggressive // Stealth: Powerful Forearms Give You Elbow Room
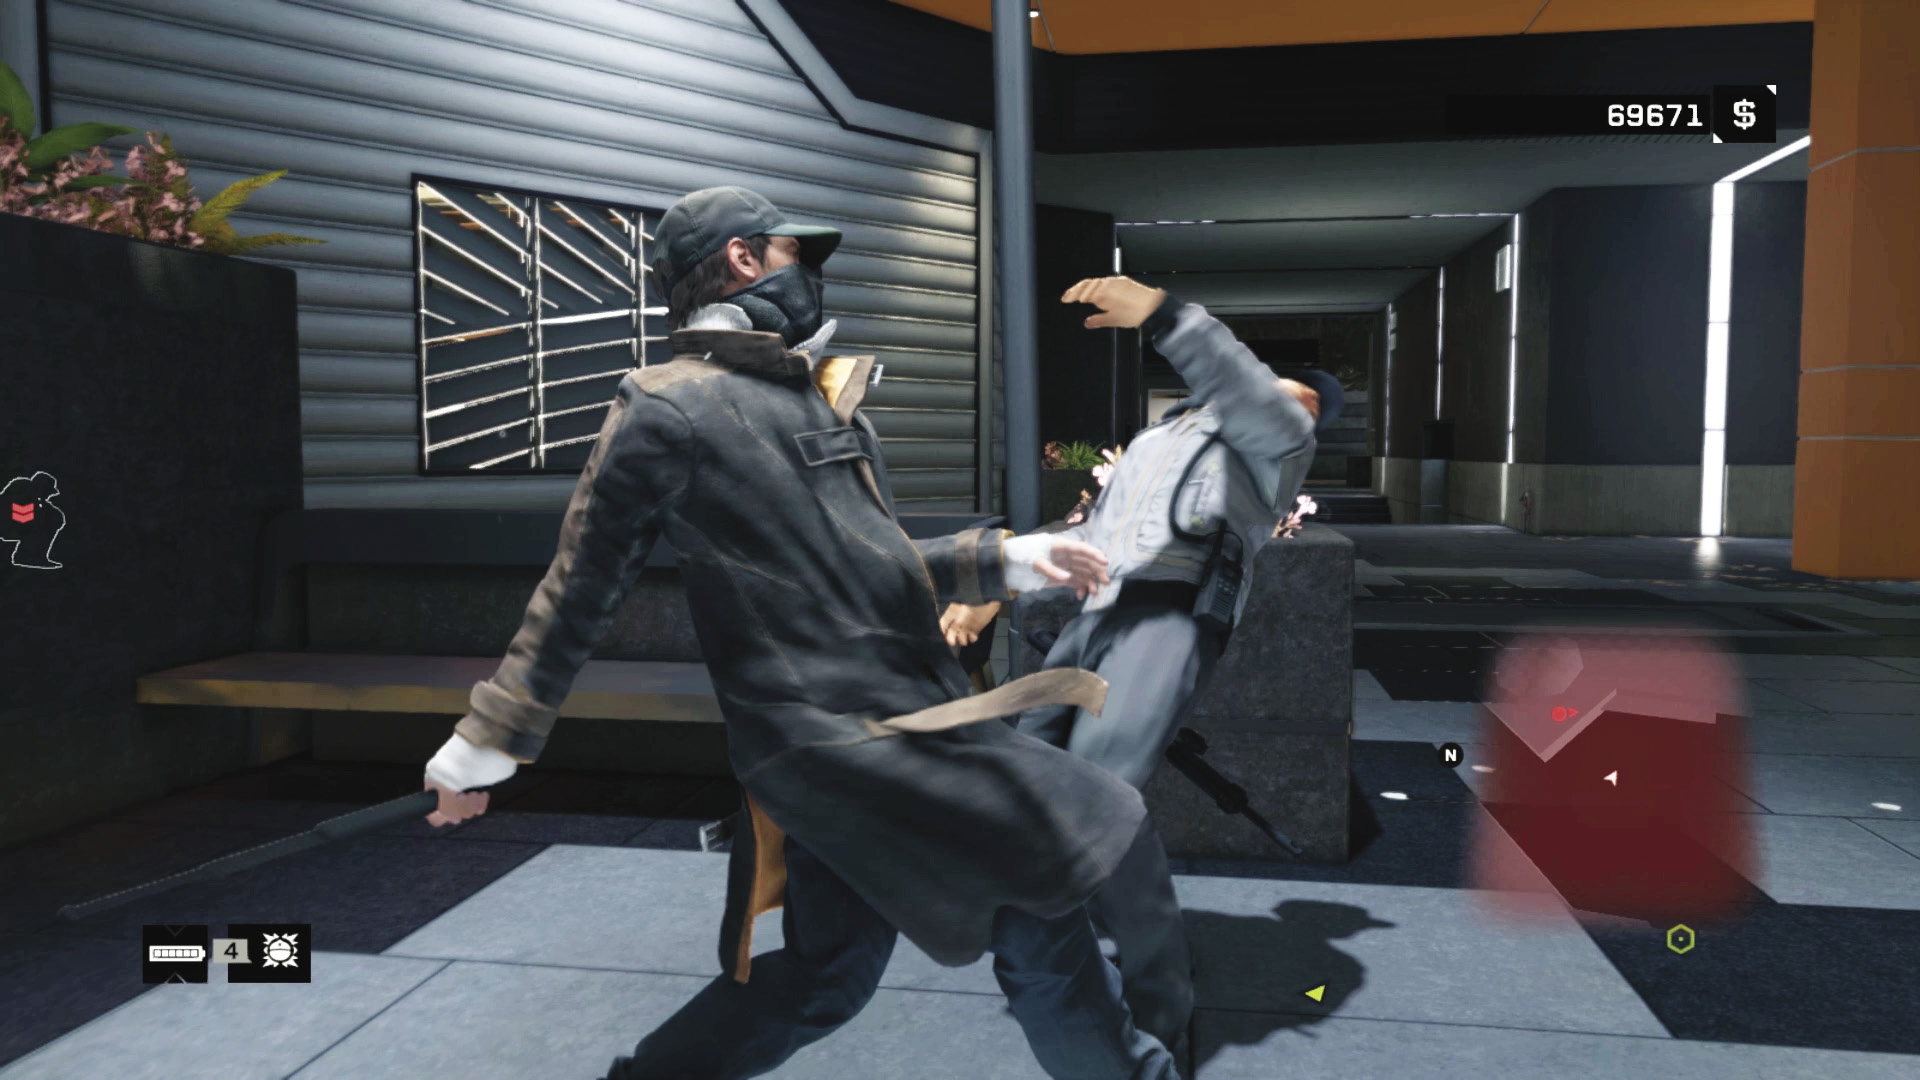
Difficulty: 
From the cafeteria, you can head into the reflecting pool. Better yet, creep down the interior corridor to the side security hut, locate the guards on your minimap using security cameras or a ctOS scan, and start bringing down the guards one by one. There are four milling around the southeast corner, and distracting them by hacking their comms or using lures easily brings them down. Then creep over and deal with the final three by the reflecting pool and Blume sign.
 Aggressive // Violence: Blume Operatives Go Boom
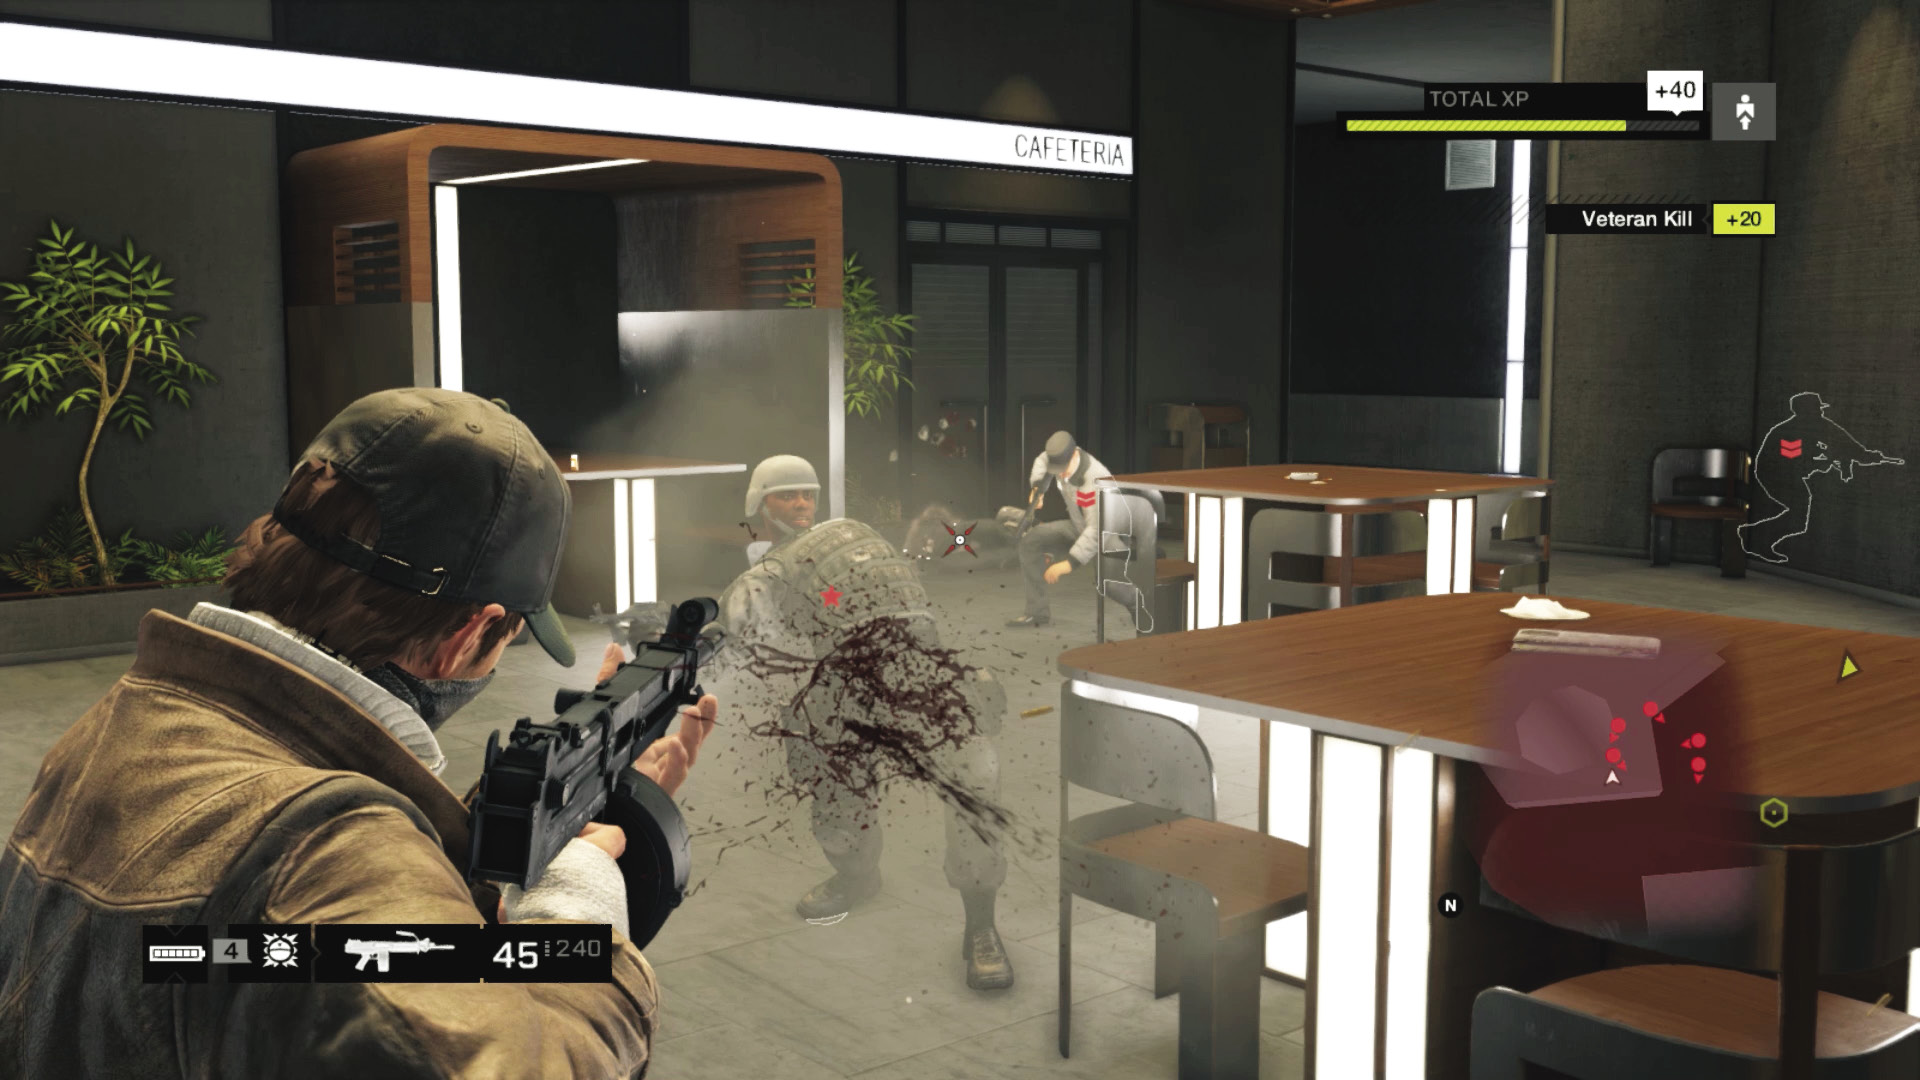
Difficulty: 
There are a variety of satisfying takedown options you may want to try after all that sneaking about:
Snipe or take foes down from long range by setting up camp atop the substation.
Or, use the solar array balcony, watching for foes coming up the steps.
If you prefer a more methodical approach, head to the east perimeter and begin a takedown in a clockwise direction, using the abundance of cover opportunities. This is slightly safer than dropping down in the reflecting pool or cafeteria, where you’re more easily surrounded.
Enemies appear from the south, and you can see a lot of them if you’re in the reflecting pool area, which is the place to try out area-effect weapons like grenades.
You can place IEDs if you wish, or drop them on advancing enemies.
The cafeteria shutters are good for opening when enemies pass by and shooting them.
Either of the two security huts (not the one at the solar array) make good defensive areas, as long as you know the open window and doors are exit points.
 Driving // Offensive: Careening out with a Zoom
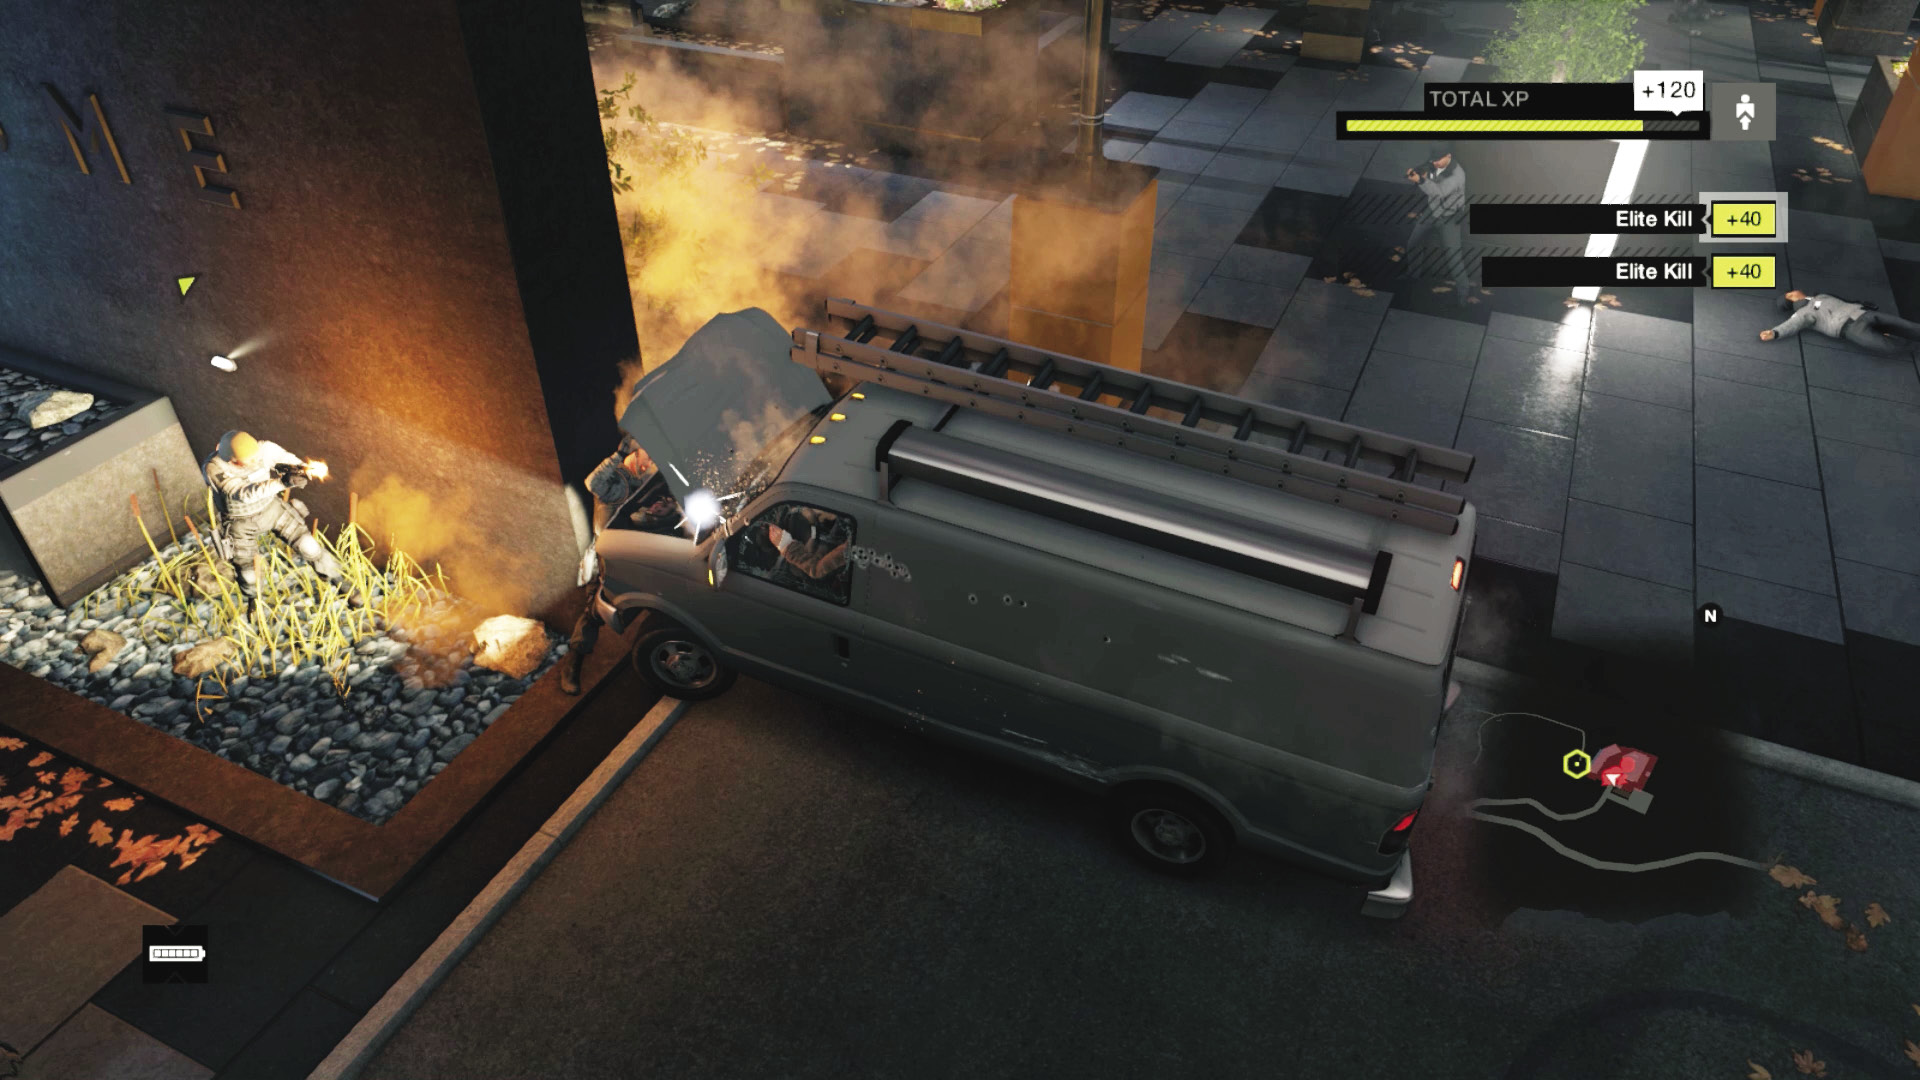
 Difficulty:
It’s much easier to simply steal one of the Blume vehicles, such as the ctOS van, and mow down any foes in the way as you reach the gate (which you should already have opened). Barrel out of the facility. Or, prepare a vehicle near the cafeteria for just such a plan.
When you reach the trailhead by the bike, this mission concludes, and “For the Portfolio” begins.
MISSION REWARDSGained XP +2,000 |