
Watch Dogs Guide SIDE MISSIONS
_GANG HIDEOUTS // BRANDON DOCKS
_GONE IN A FLASH
location: CONTAINER YARD, North Docks
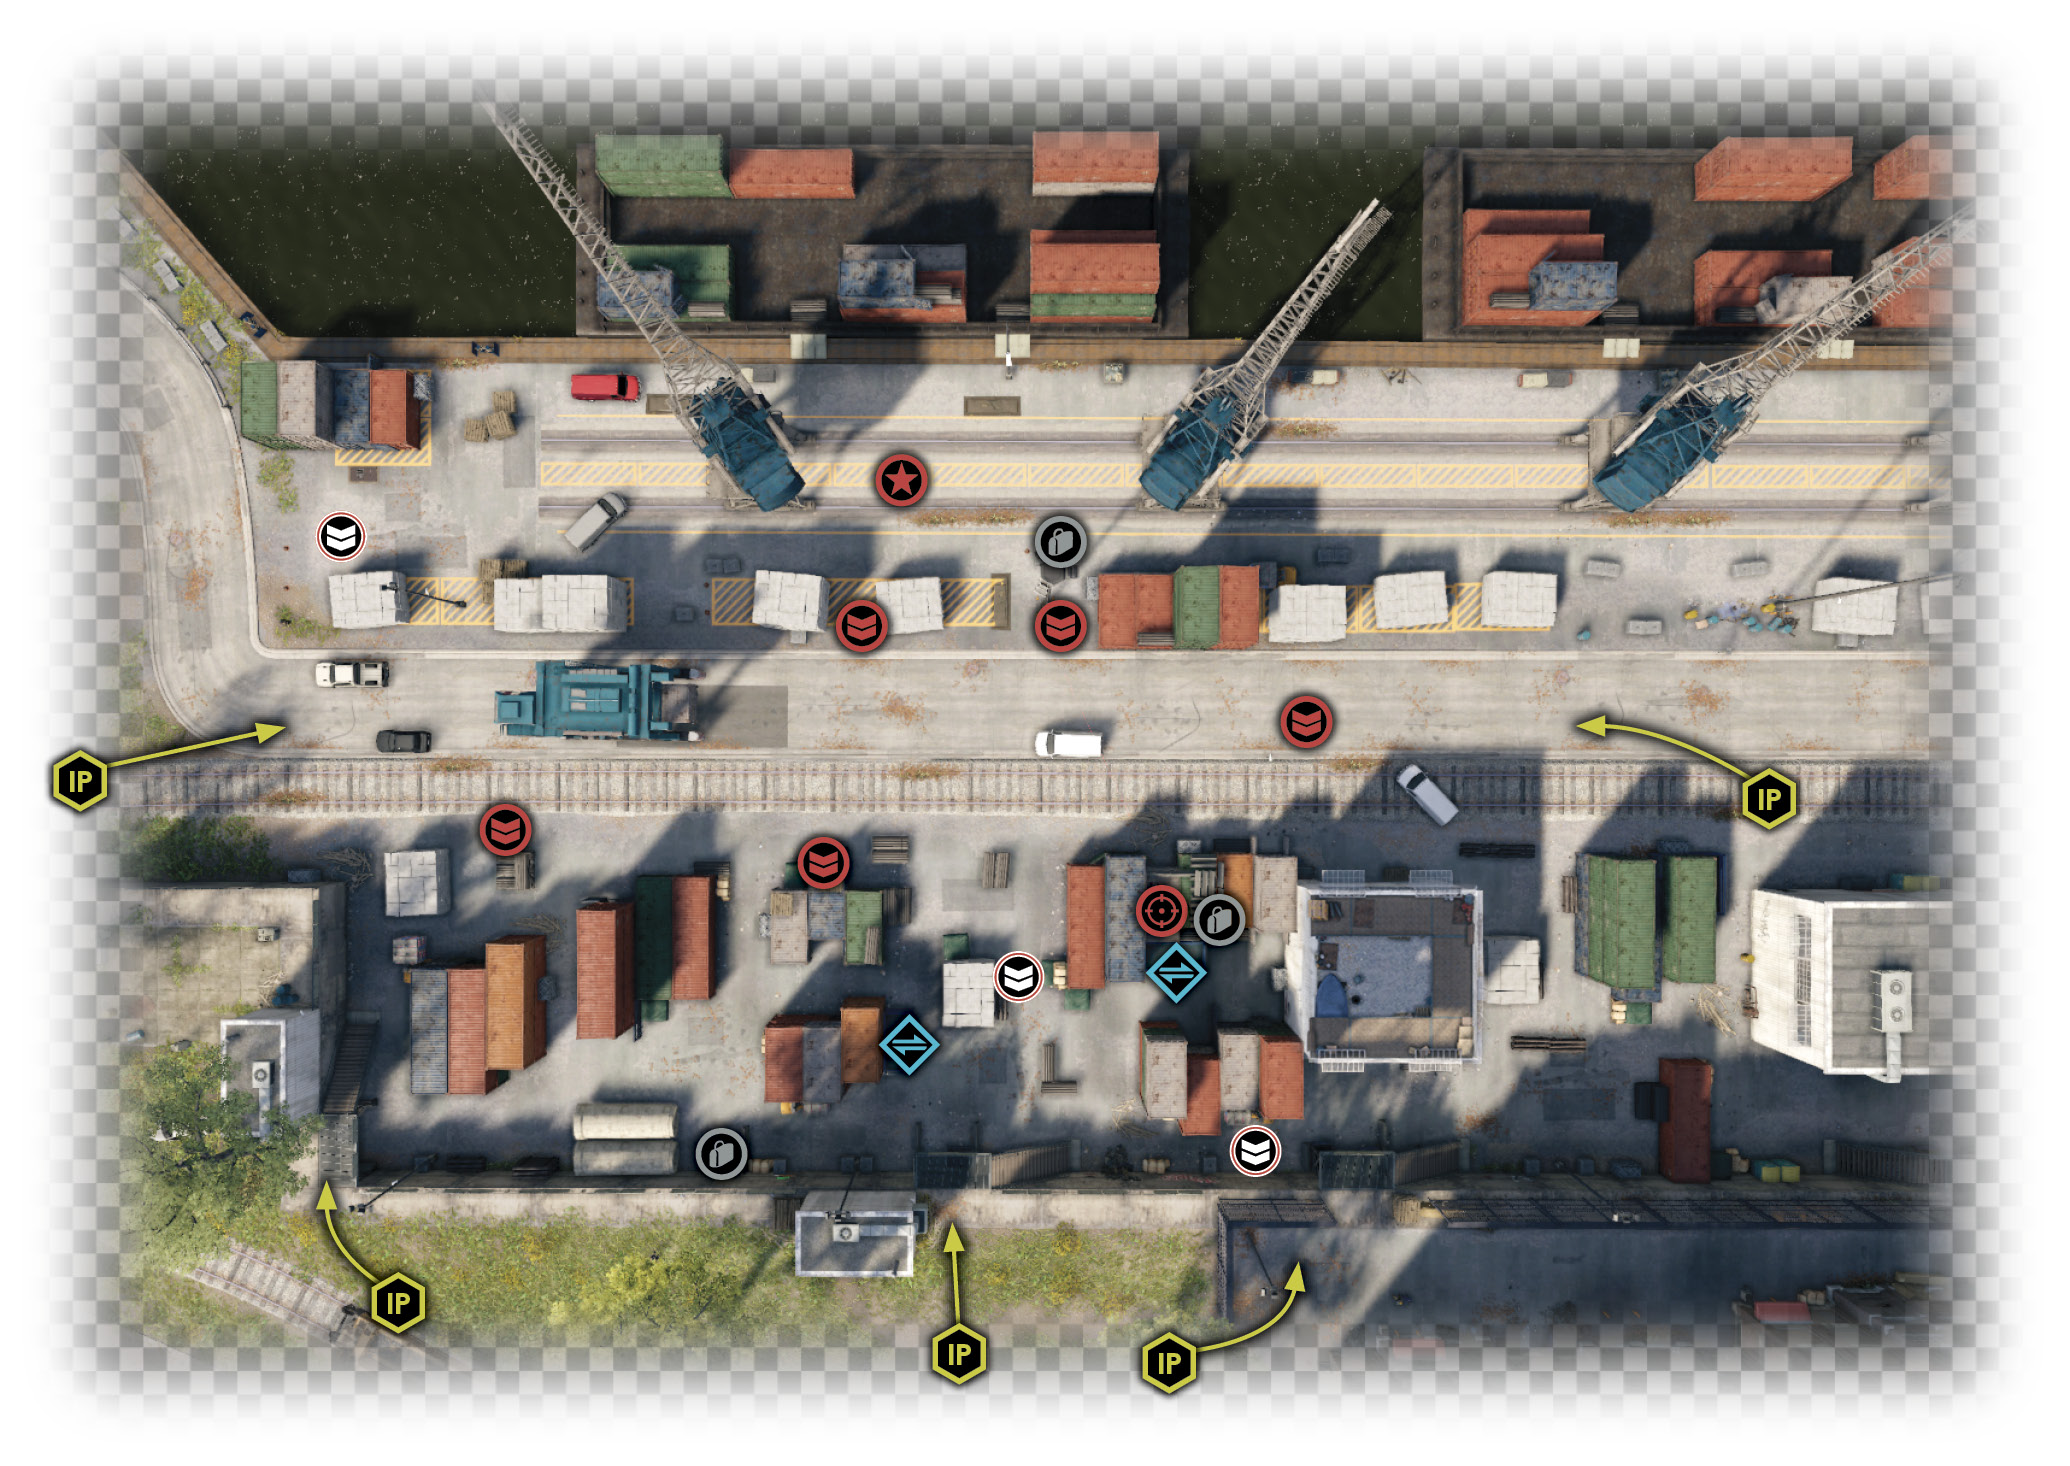
Enemy: The Club
NUMBER OF TARGETS: 1 (Veteran) / He May Flee
NUMBER OF ENEMIES: 10 (Veteran x8, Elite x1, Marksman x1)
Shot-Callers x3 (Veterans)
Difficulty: ($5,000 REWARD)
REINFORCEMENTS: Four vehicles (Gunmen x 2, Veteran x 2)
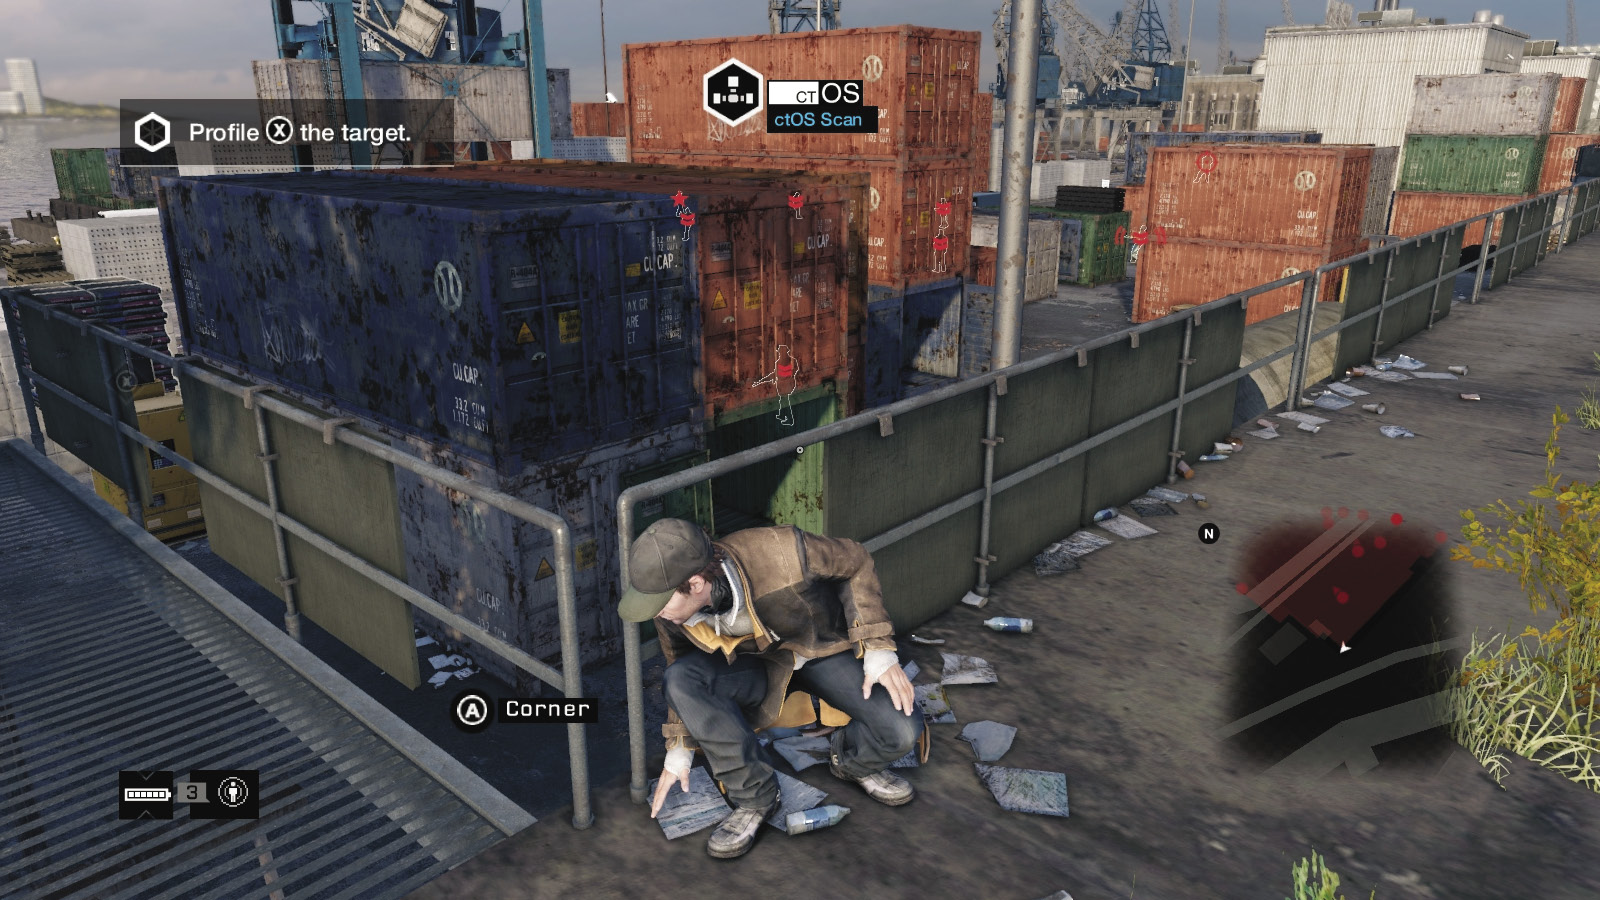
Enter the parking lot of the coffee shop just south of the north port yard, and receive your instructions. The restricted area is across the road to the north; it’s a maze of containers separated by an open roadway with a rail track, stacks of containers and concrete, and a second crane roadway.
Insertion Points
Cameras on the various poles can mark most of the enemies, but your target is difficult to initially spot; he’s on the far (north) side, ground level, near a protector and pole and concrete stacks. As the entire area is easily accessible (except from the north), learn the best ways to gain entry here to avoid being spotted.
Southwest Hut and Stairs
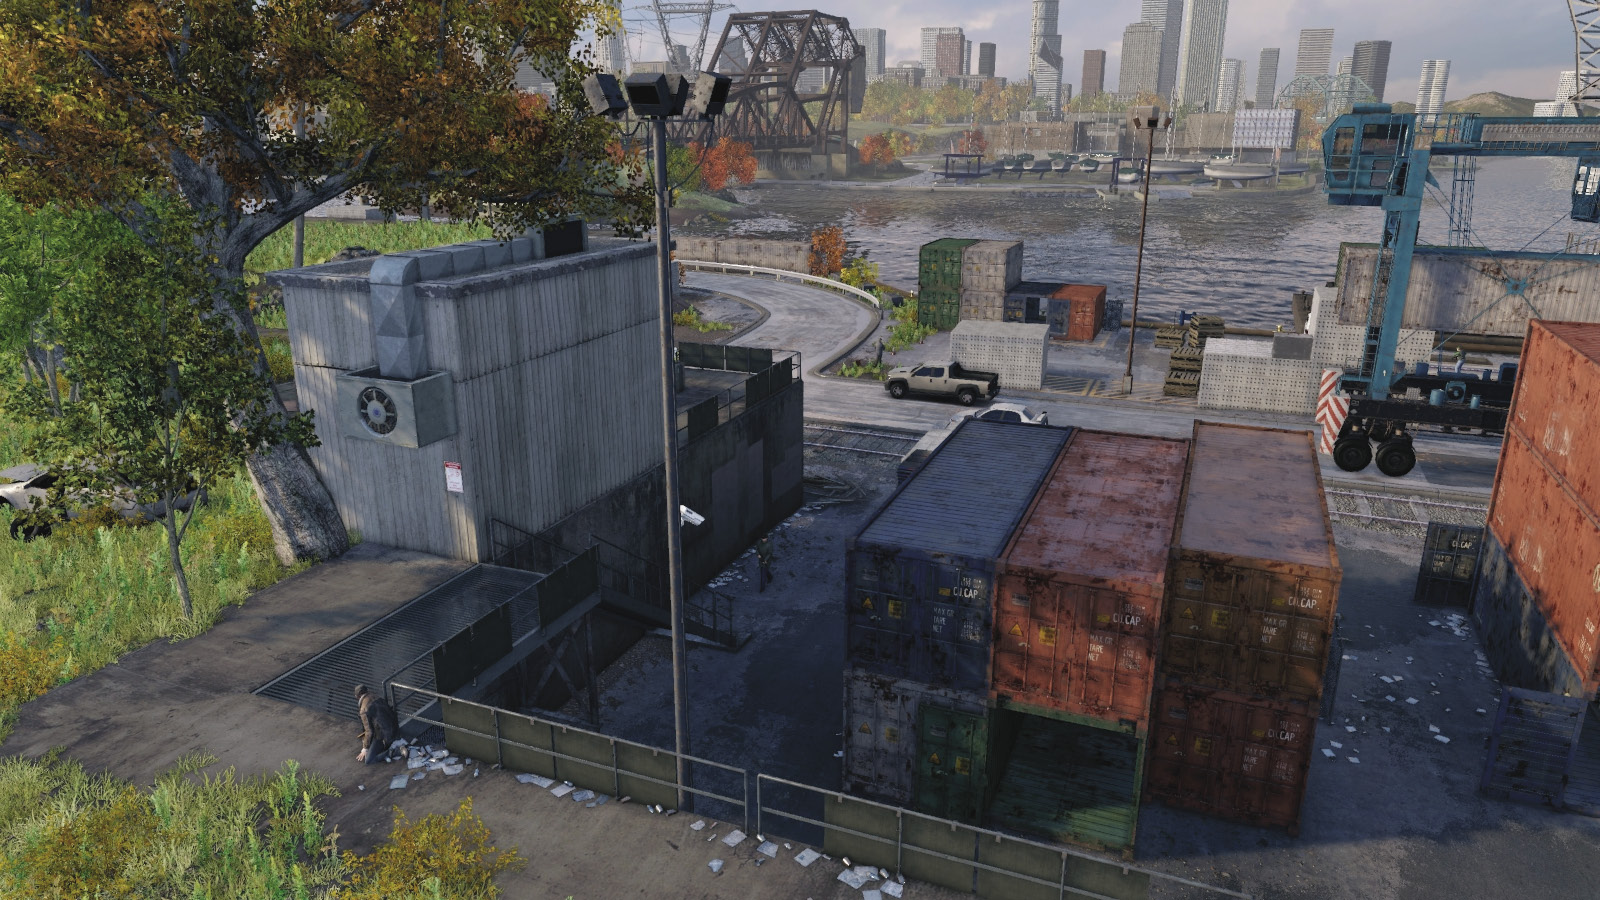
The initial place where you run to, this is a reasonable insertion point as long as you view your foes and study their patrol patterns. The container maze here is a great way to coax foes into stealth traps (lures and beatdowns, or waiting and grabbing), and the enemies to the south can be cleared out easily from here.
South Hut and Stairs
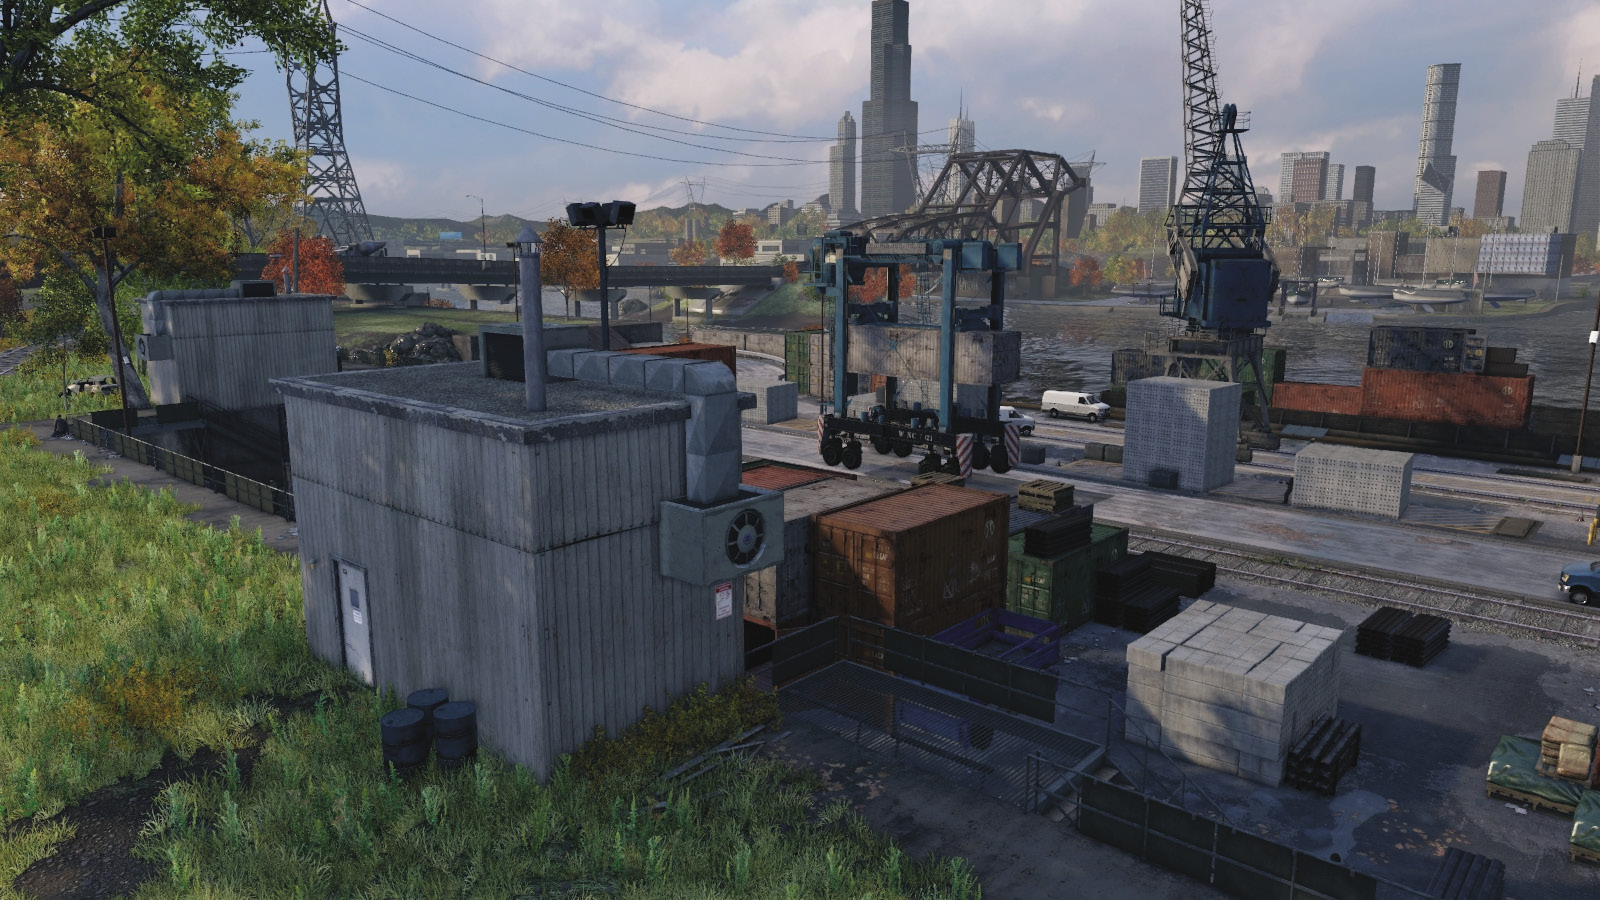
This offers access similar to the southwest or southeast stairs, but you’re in the middle of the container maze, so watch for guards on either side of you. It’s easy to reach the sniper from this point, and you can watch the north side and the guards patrolling or dozing in that area.
Southeast Stairs
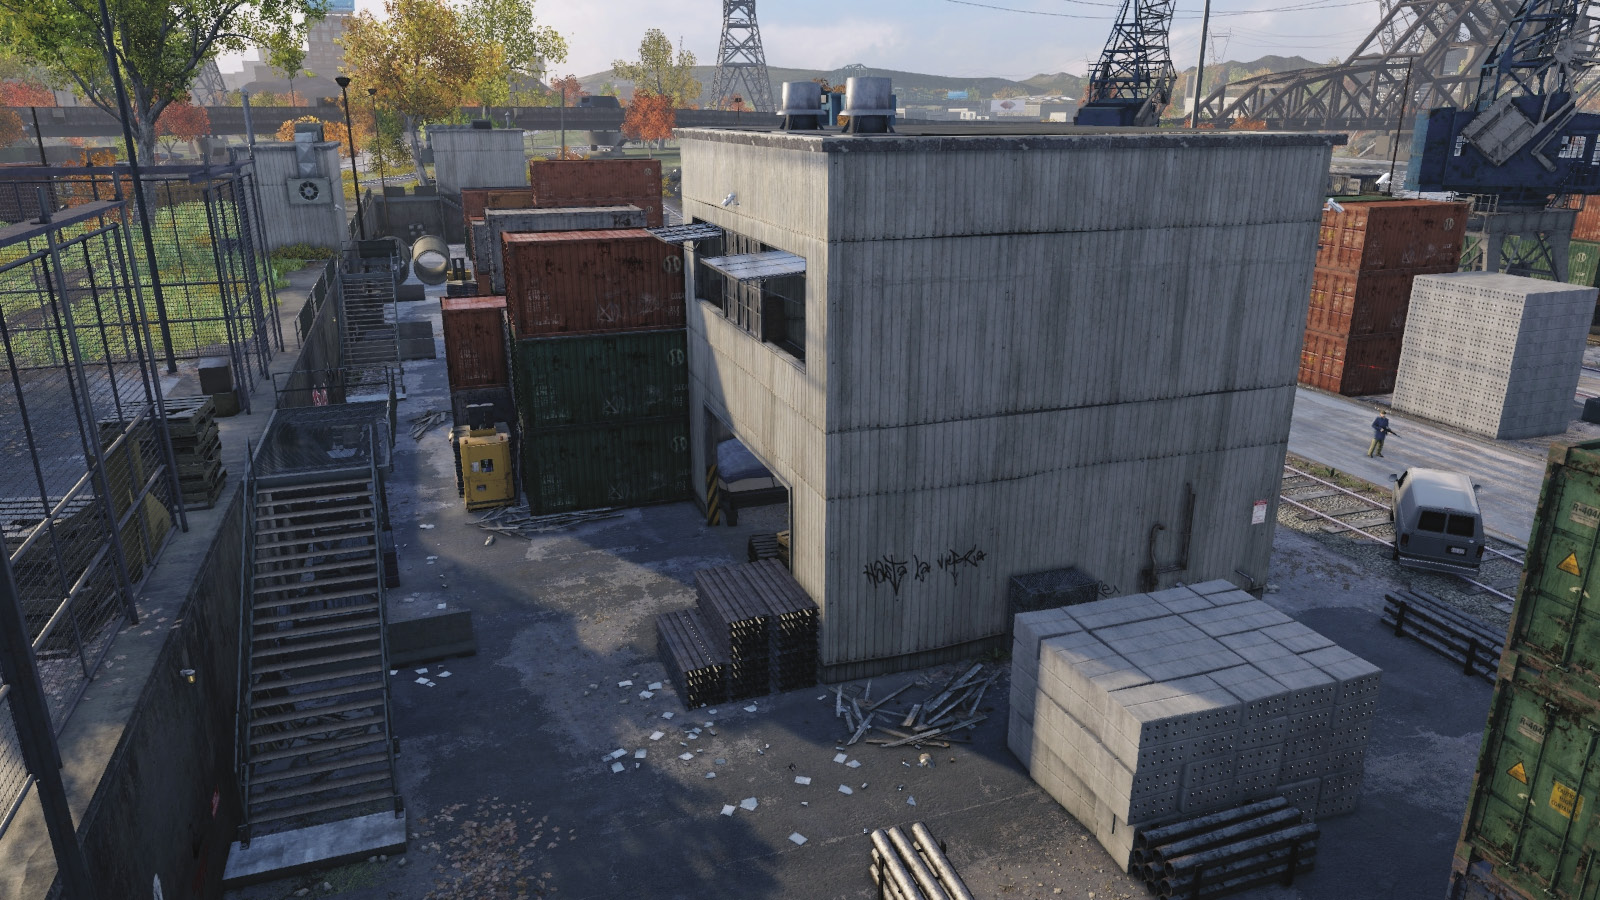
Though it takes a few seconds longer to jog around the tall fence to reach these steps, the edge of the restricted area is great for seeing the guards from a different viewpoint and taking them out east to west (south, then north). There are so many routes to tackle foes from; you can approach guards from here, heading in any direction. If you’re only interested in the target, start here.
East Roadway
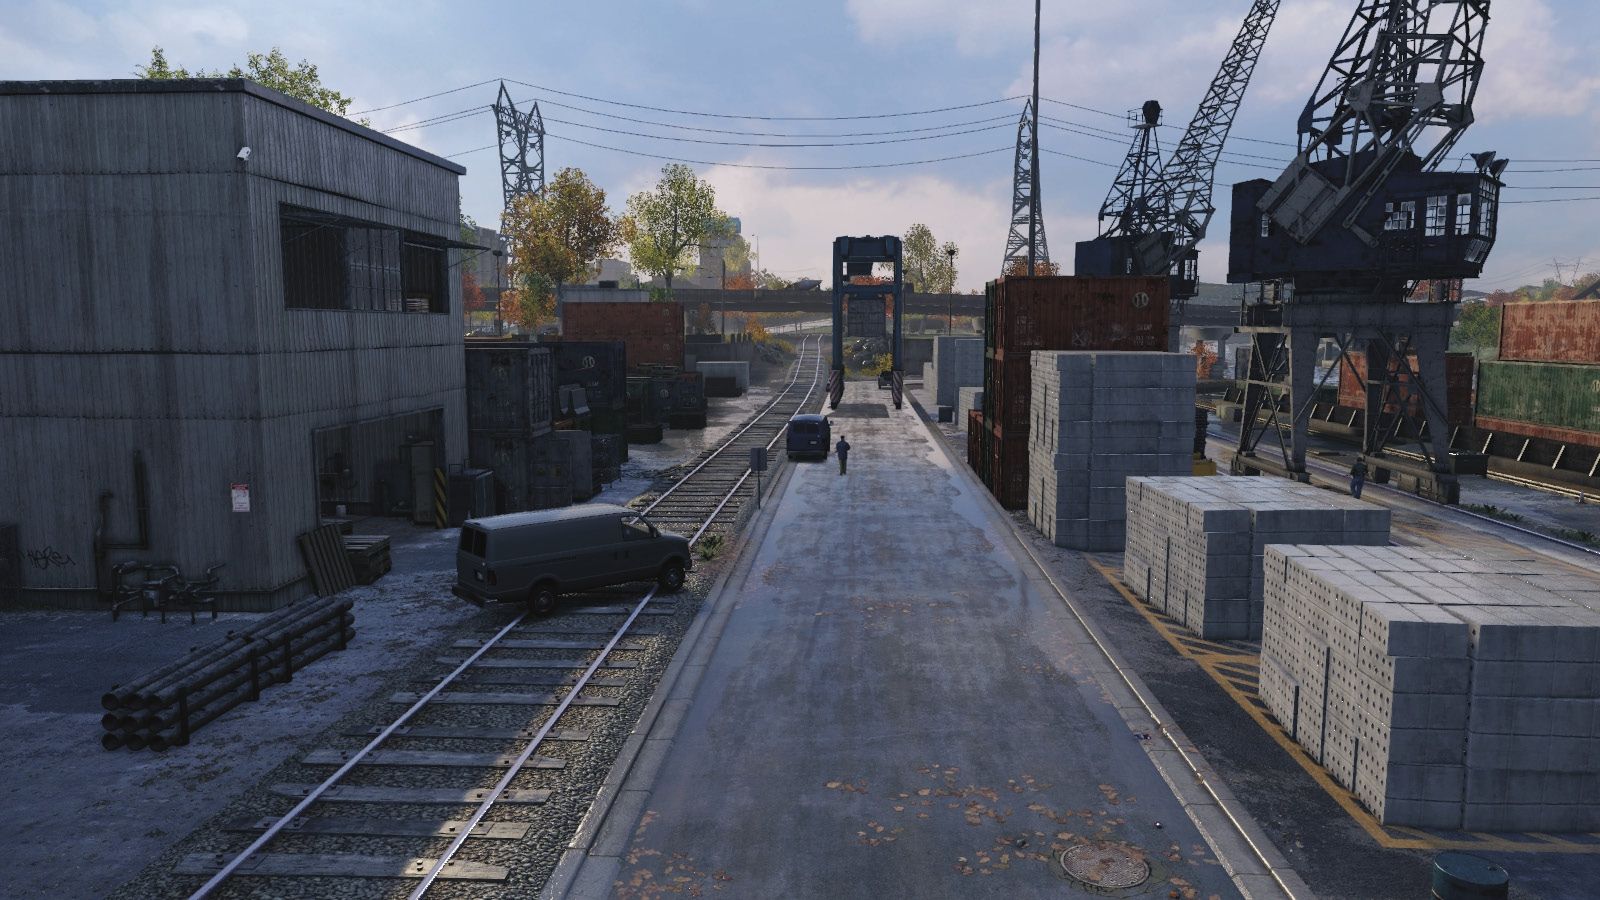
Head down the southeast stairs to reach the two open lanes between the north container and concrete stacks. If you want to avoid enemies spotting you, dash across the rail lines at this outer point. This is a good route to take if you want to stealthily tackle the foes on the north side.
West Roadway
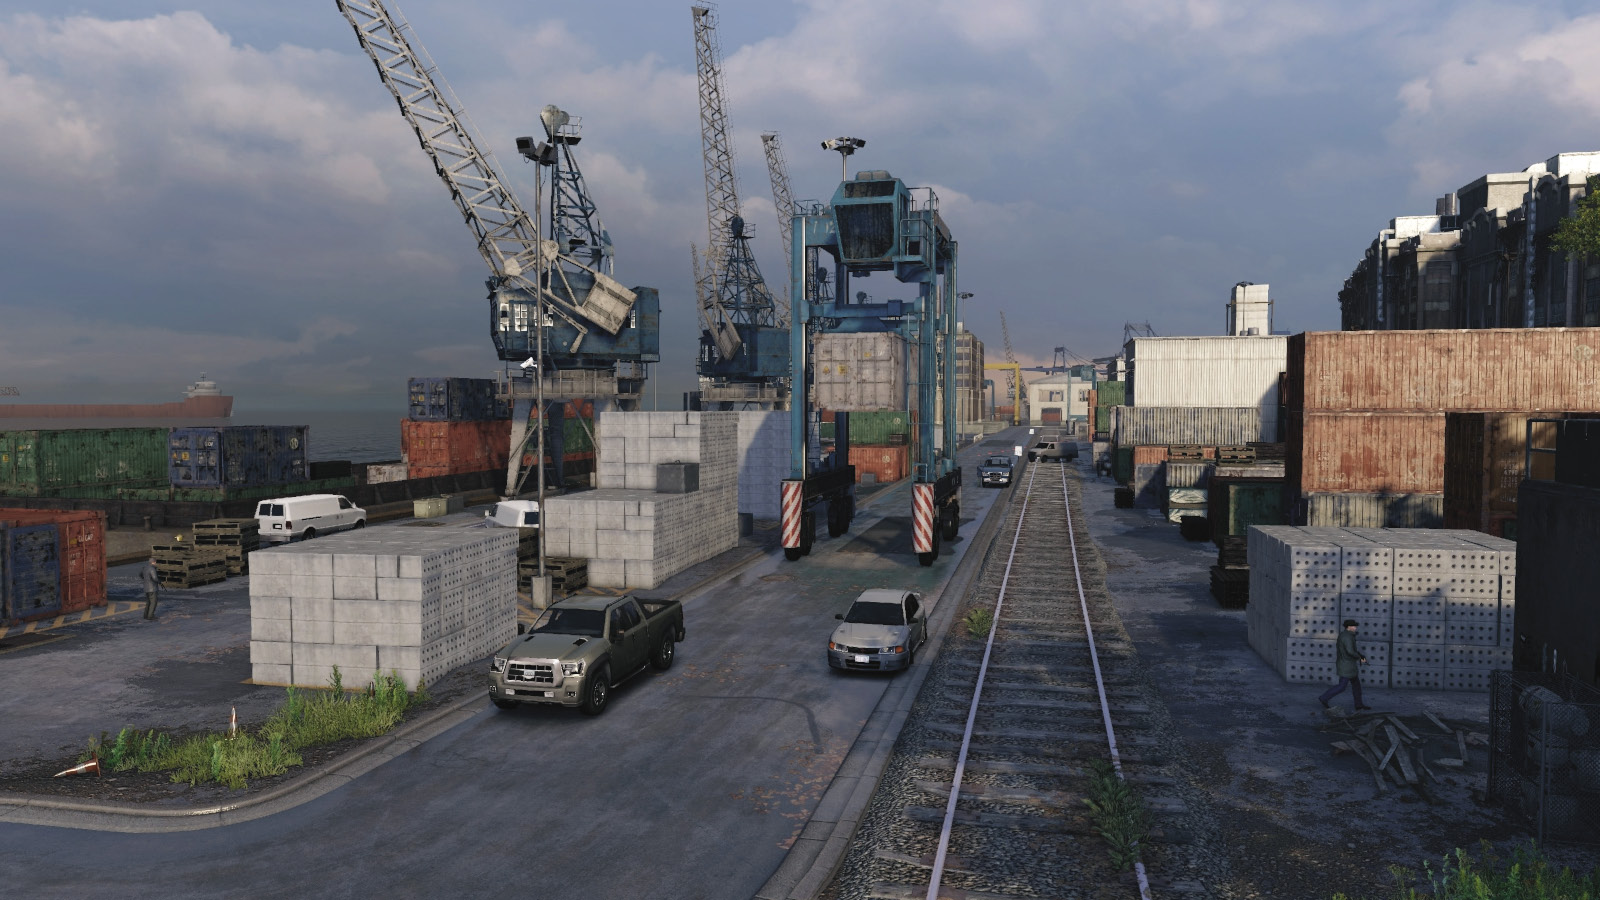
Head down the southwest stairs to reach a ramp and the exit to the docks. This is where the target flees to, and it’s too wide to block with other vehicles. There are more foes at this end than the eastern roadway, so watch your step if you’re being sneaky. But methodical takedowns are possible and encouraged in this area.
Dock Interior
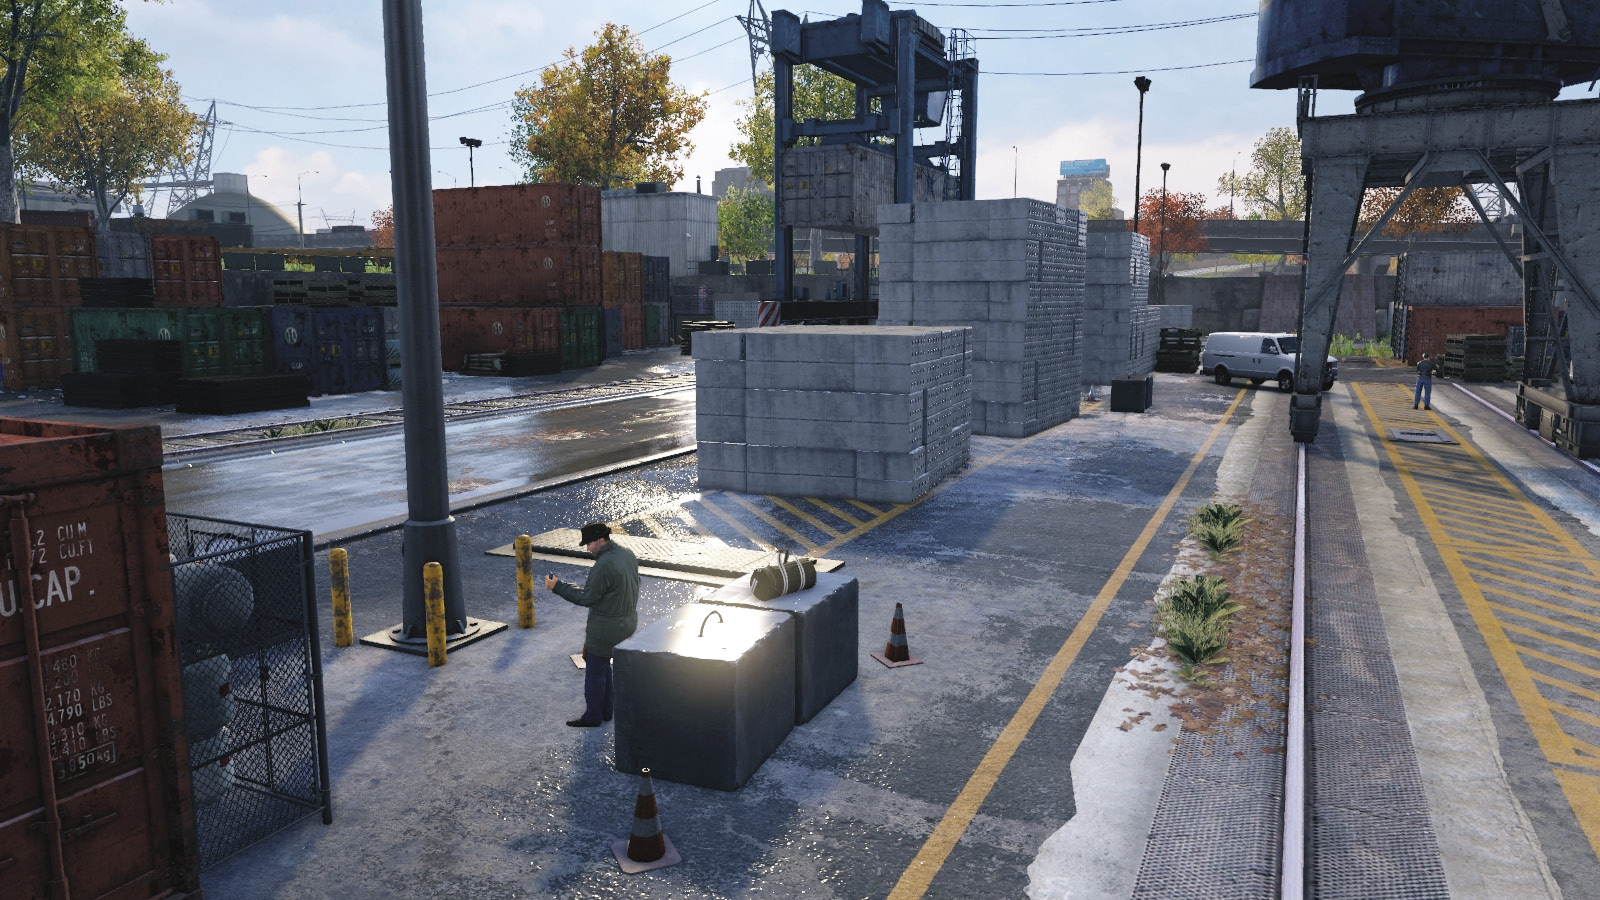
The layout is extremely simple, as the map suggests. Drop the sniper and patrolling foes at the lines of containers to the south without attracting attention. Foes can easily spot you on the wide rail lines and roadway, so head across from the edge when enemies aren’t looking. The northern perimeter is less densely populated with debris. You can climb on and snipe from most of these stacks and containers.
Progression Plans
The target is jumpy; he sprints off to the vehicle at the first sign of gunfire; there are a couple of plans to tackle him (with or without his henchmen), before we cover the more brutal takedown plans:
Aggressive // Stealth: Only the Target to Box
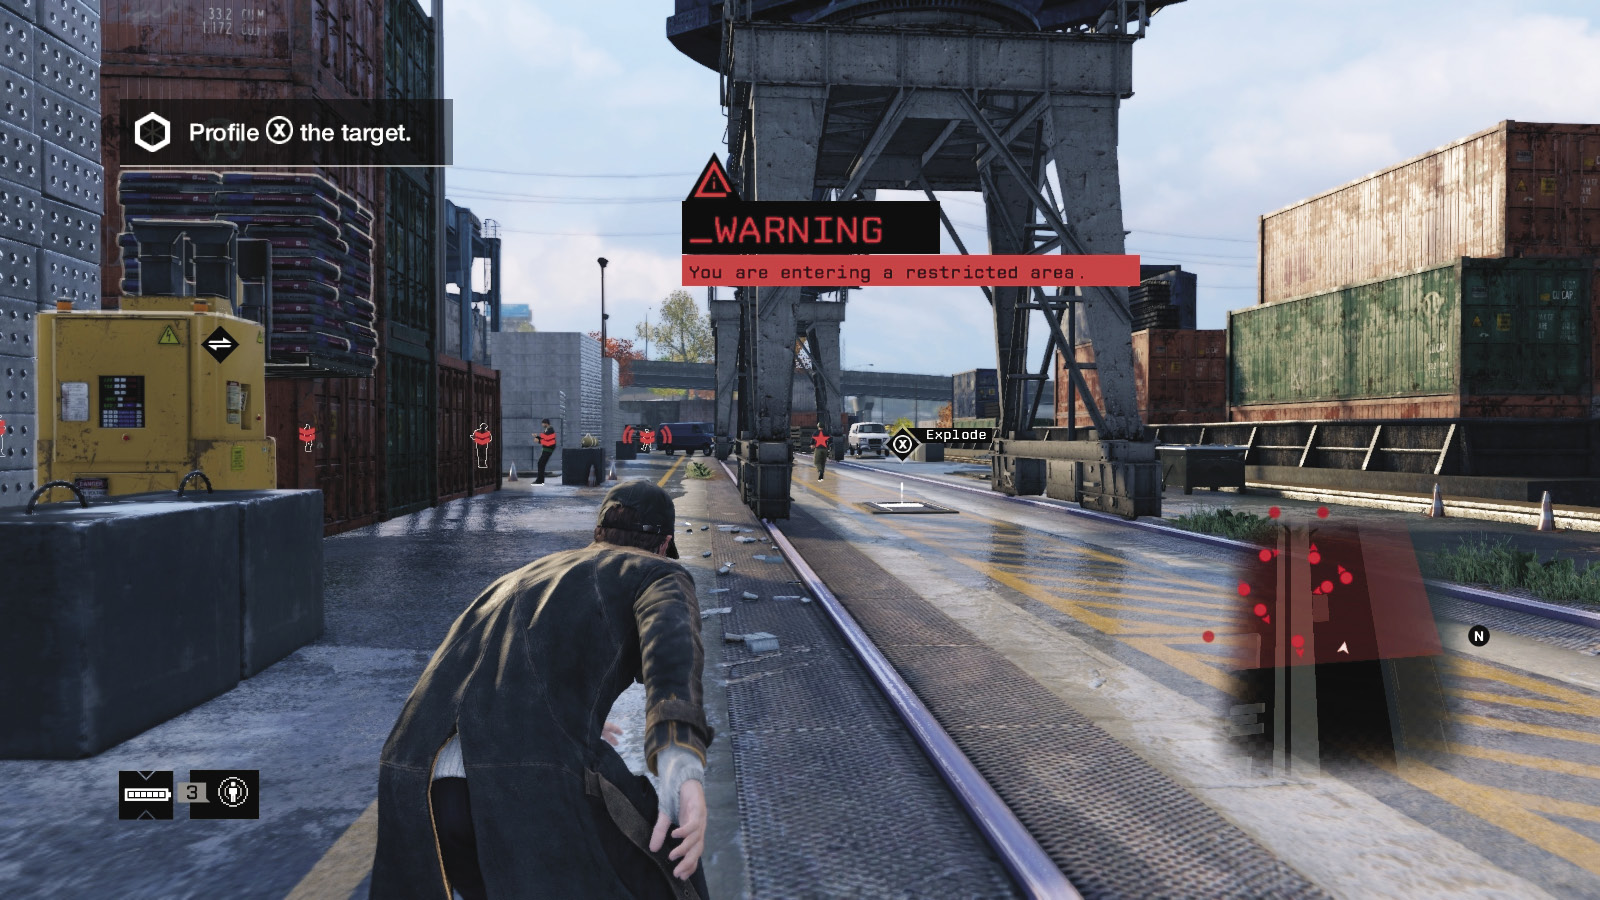
 Difficulty:
Jog east along the perimeter, around the tall fence, and down the southeast steps. Completely avoid combat as you head north along the mission perimeter, crossing the rail tracks so no patrolling enemies spot you. Drop down behind the concrete block stacks on the opposite side. Profile to mark the nearby guards, then run to cover behind the forklift, ignoring the foe walking under the crane.
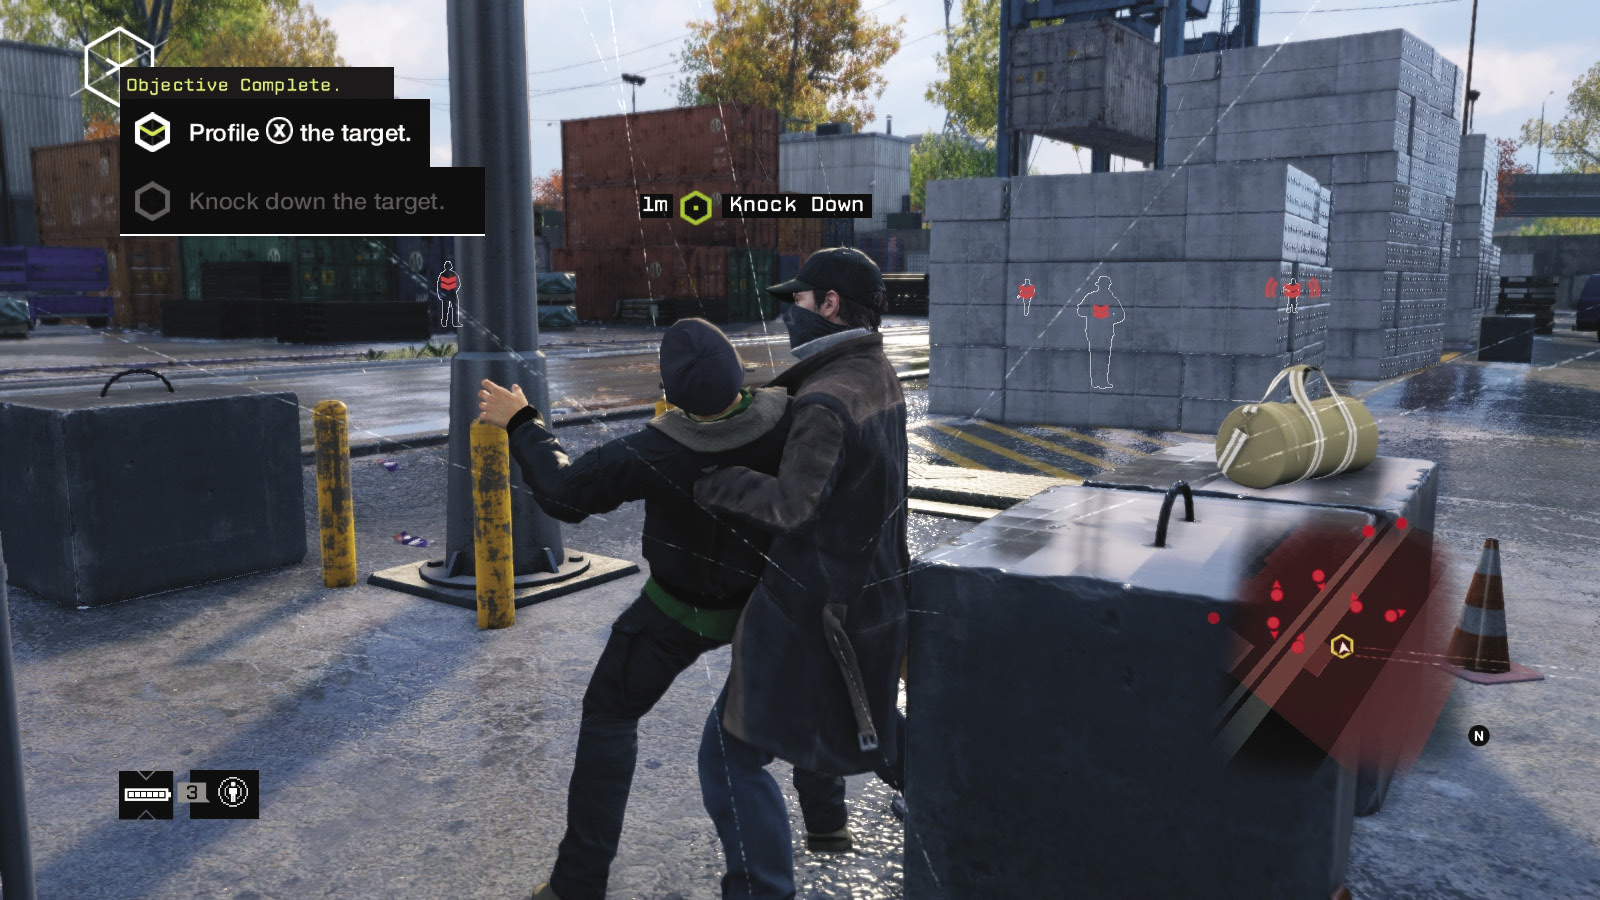
A little farther west of the forklift is your target, usually leaning against a concrete block. Simply sneak up and tackle him to the ground. This can be done without anyone noticing. At that point, you can retreat the way you came or start a gun battle. Either way, you’ve taken down the target with the very minimum of fuss.
 Aggressive // Stealth: Sneaking on the Docks
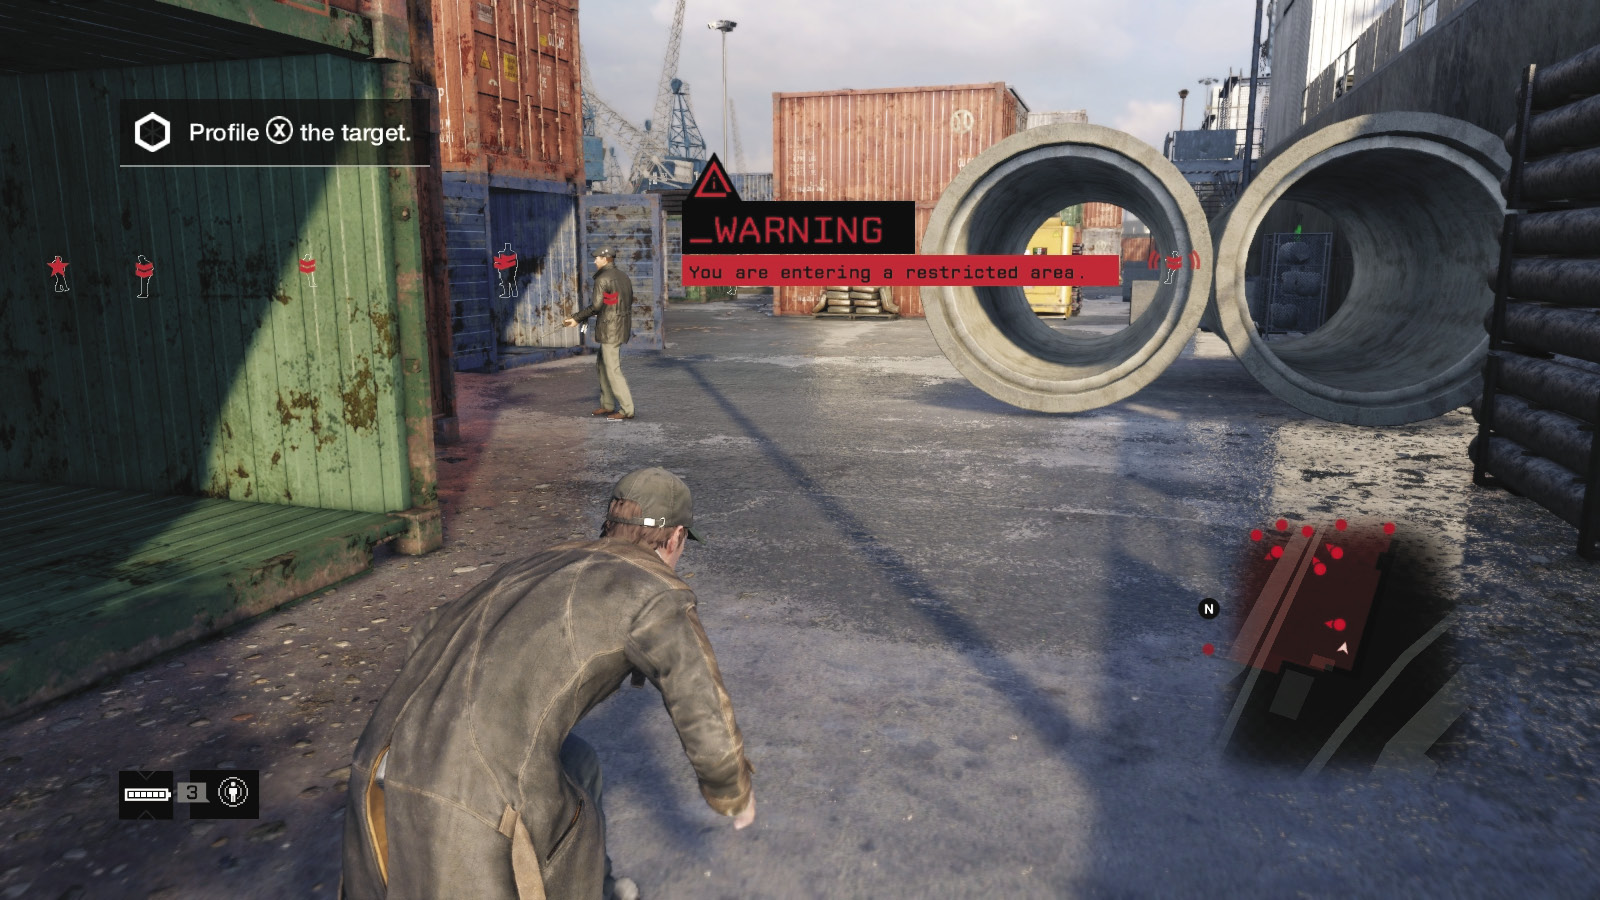
 Difficulty:
There are numerous routes to take if you wish to drop all enemies silently before taking down the target. But this is a tried-and-true route:
Begin with accessing the cameras throughout the docks, marking all foes (including the target, who is directly below the middle camera on the north side). Then head down the southwestern steps and get the drop on the first foe either near the giant pipes or the concrete blocks by the escape vehicles.
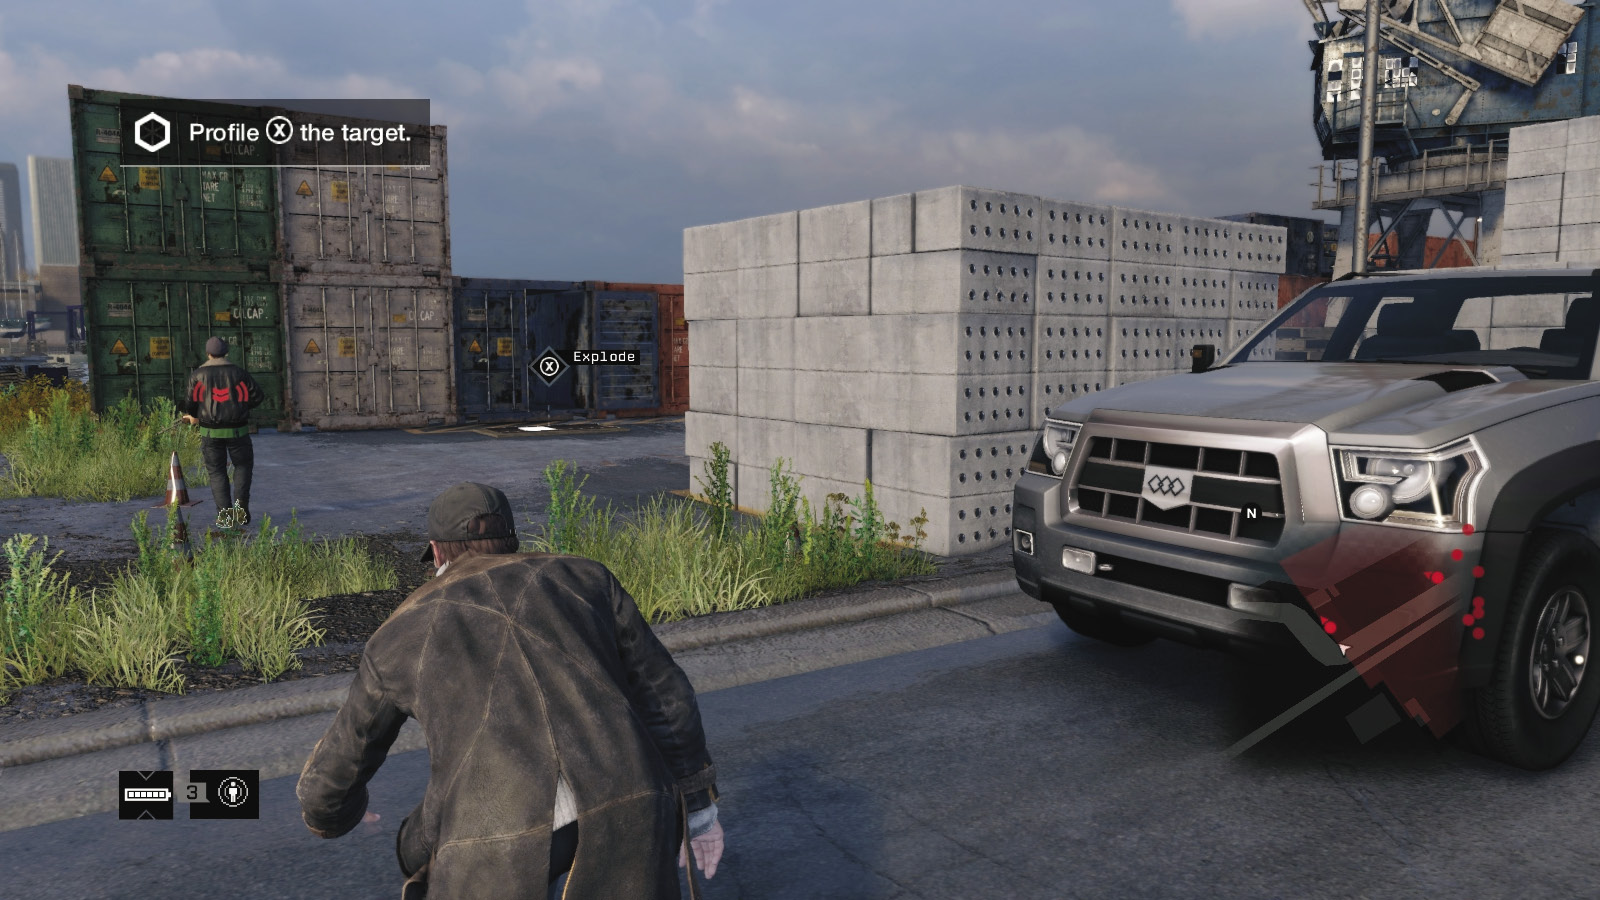
Cross the yard to follow the foe walking away from you (north) in the northwest corner of the area, near a vault. You can explode the vault, but this may freak out the target. Retreat to your starting position, then head east, passing the giant pipes.
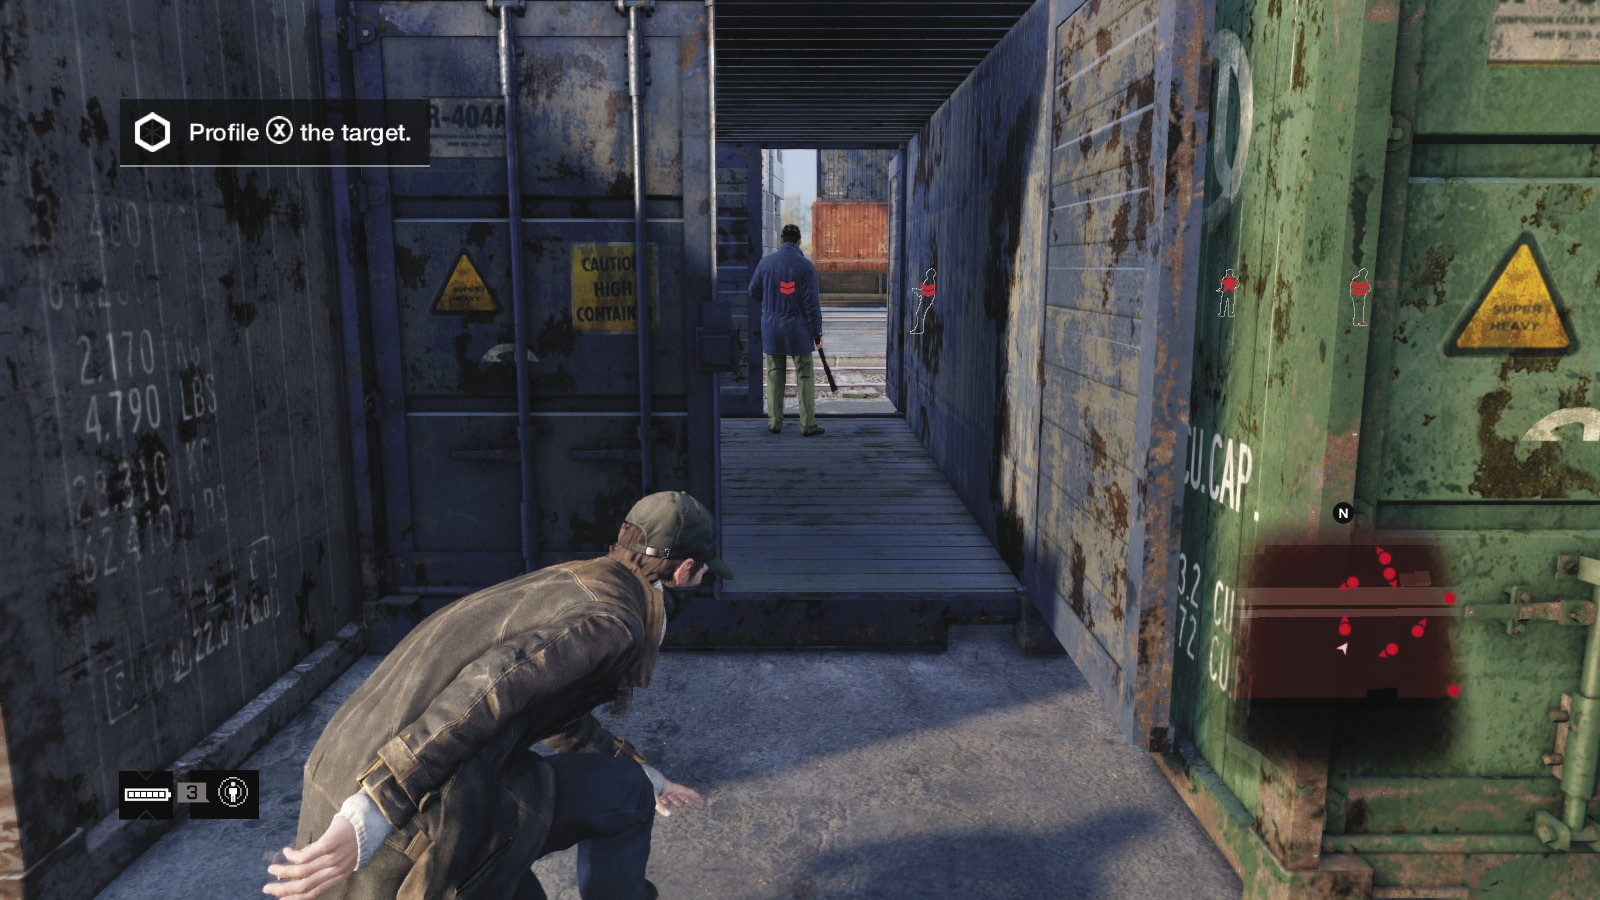
Creep into the crate maze, and find the open blue crate (approach from the south). Bring down the foe hiding in there; your minimap might not reveal his location, so watch for him, as he can easily sound the alarm if you pass him by. Then back out into the south container maze.
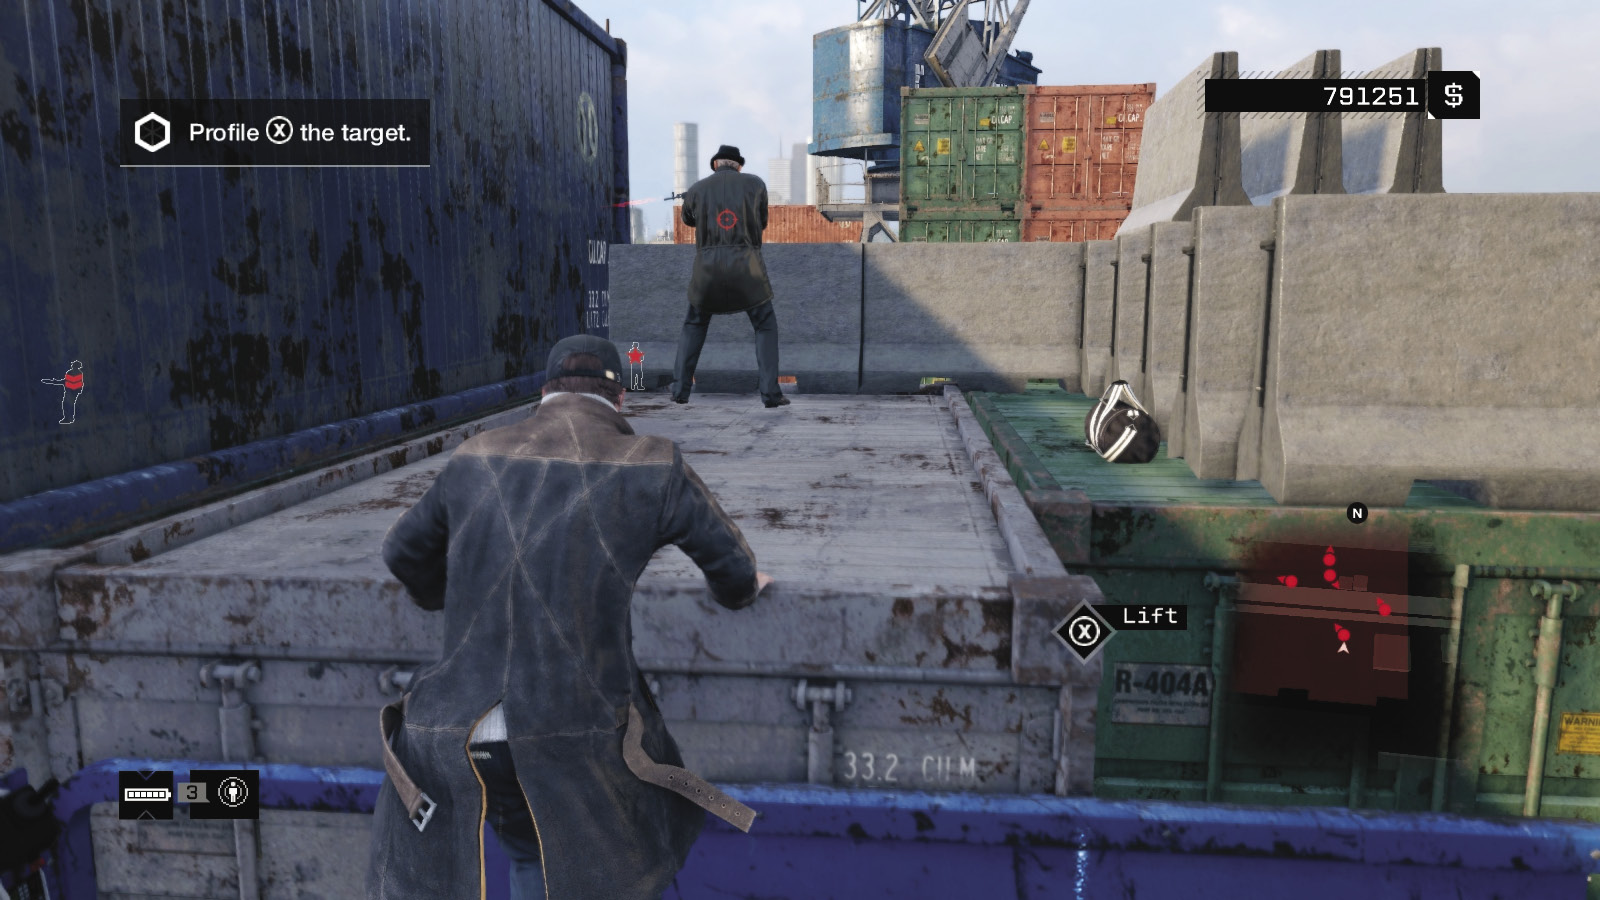
There are two more patrolling foes on the south side, as well as the sniper. Tackle the first near the stack of concrete blocks (simply walk behind him or step out when he passes a hiding spot). Then find the foe by the south wall, close to the forklift. The containers make hiding and grabbing easy. After that, climb the lift (don’t activate it!) behind the sniper, scramble onto the perch, and remove him.
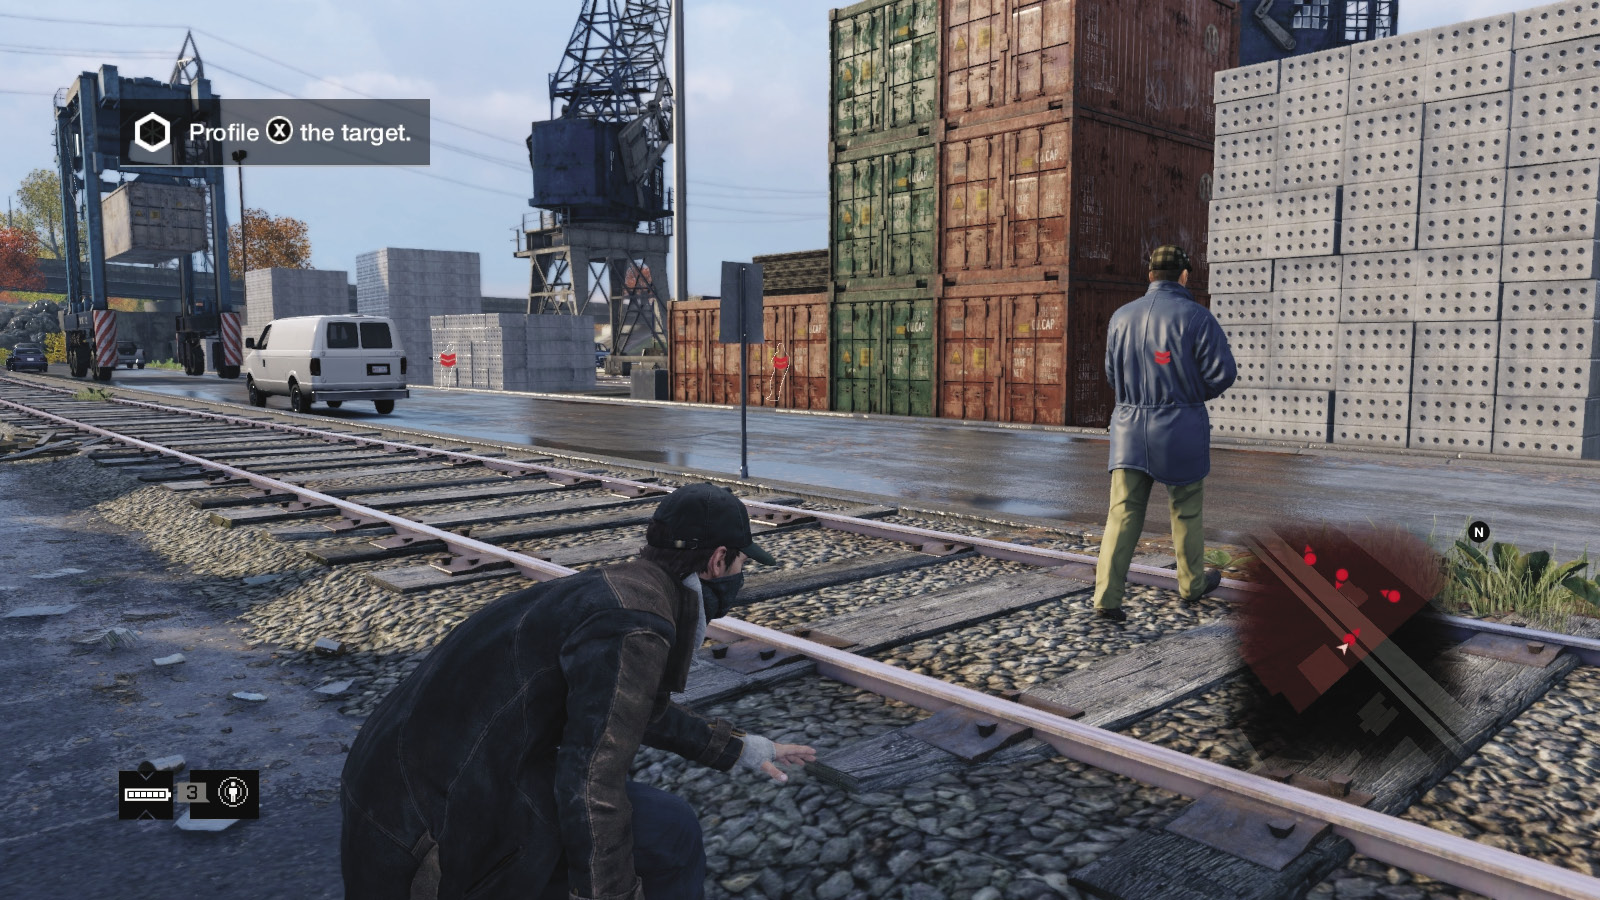
Only four more to go: Head southwest and enter the small boat warehouse where a foe patrols the main area near the van. When he’s walking away from you, follow and grab him. Cross the rail track, heading to the gap between the concrete block stack and red container, under the forklift pallet. Watch the foe under the giant crane pass you, then grab him before he turns around.
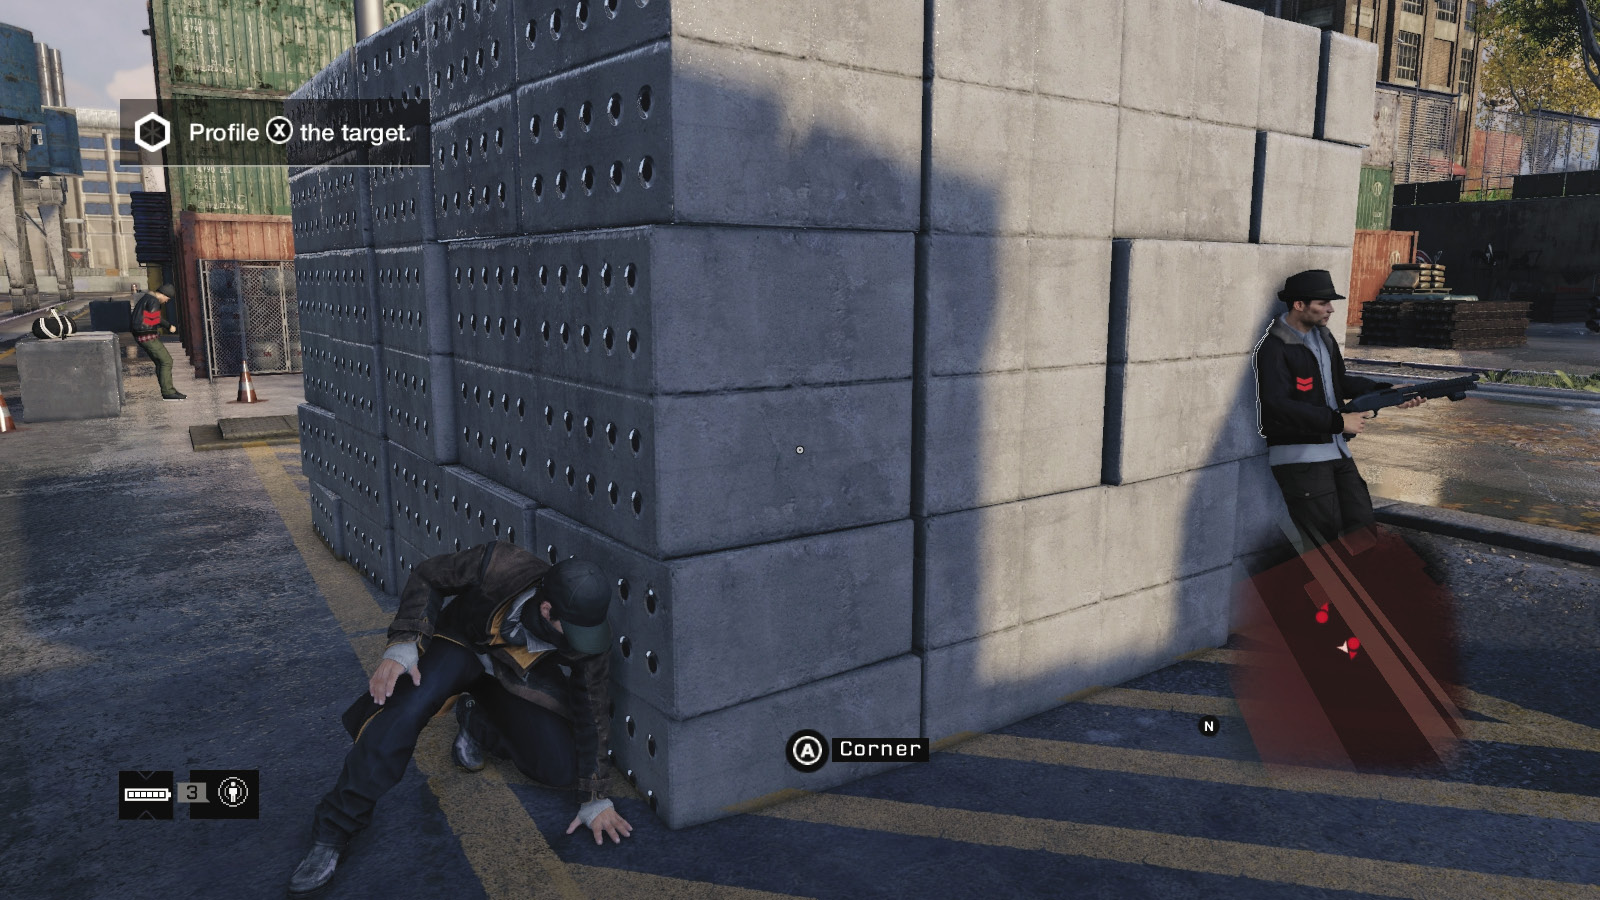
You can actually pass behind the target now, moving to the penultimate foe behind the concrete brick stack; he should be dozing. Drop him, then saunter out and throttle the target.
 Aggressive // Violence: Outgun, Not Outfox
Difficulty: 
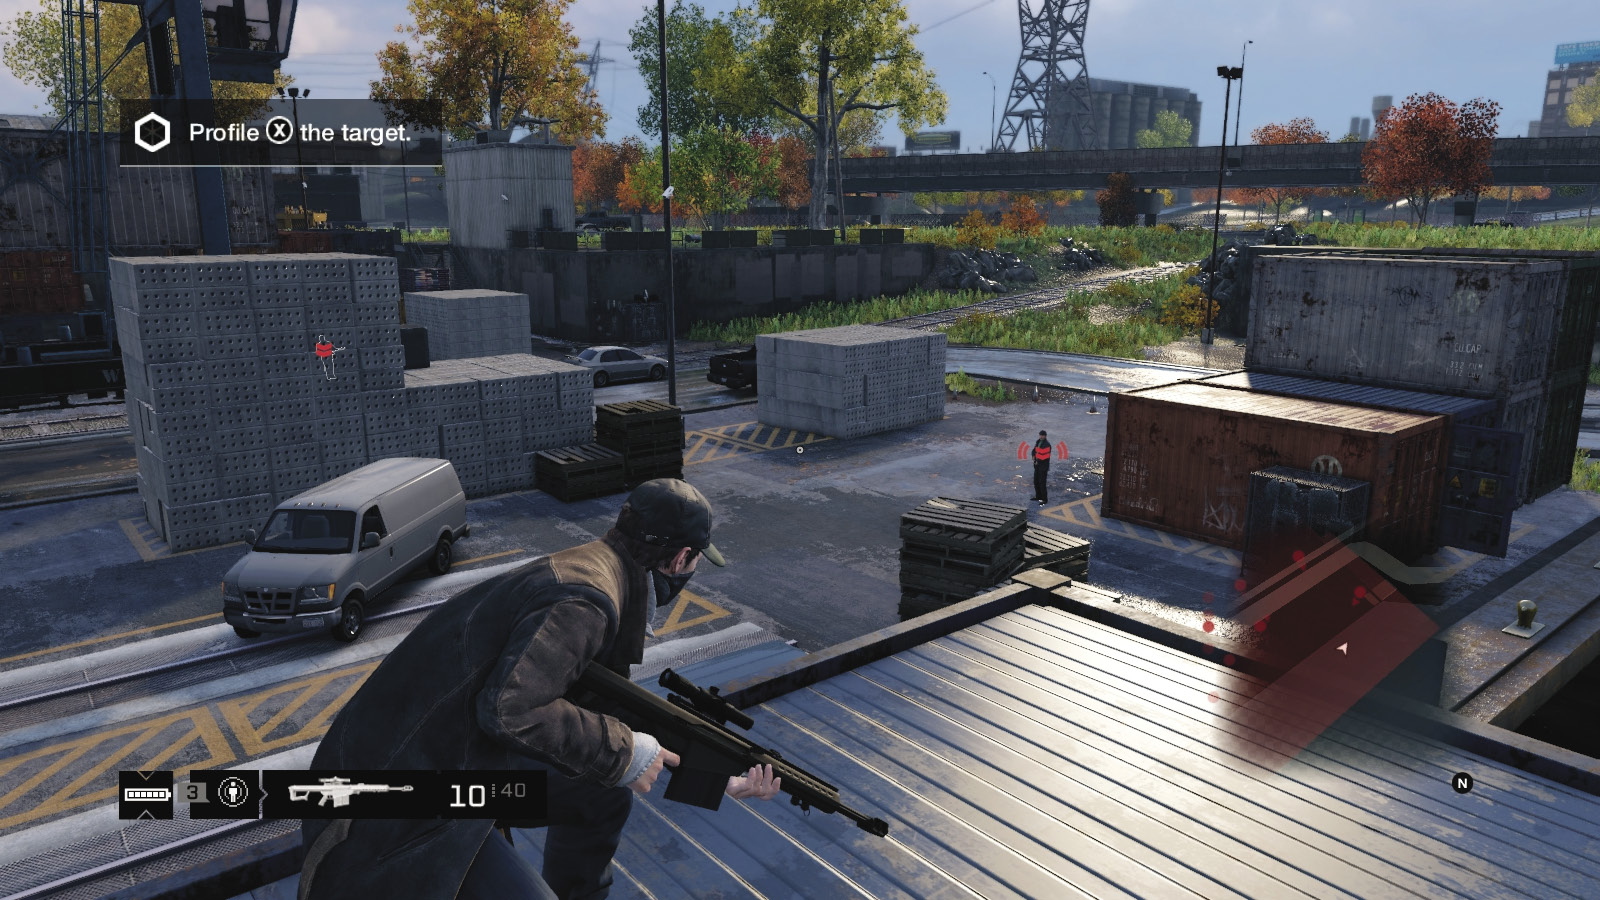
Violence only solves the threats of attacks by the henchmen; start firing wildly and the foe escapes. Do your ranged combat only after sneaking in and removing the target first:
Combat can be reasonably straightforward, as the amount of cover at your disposal is excellent. Explode the vaults along the area’s north side to send foes flying.
Target the sniper if you’re on the north side, though he’s less adept at tackling you in the maze of containers to the south.
Tossing grenades is an option, as is throwing lures into gunfire or driving like a maniac and ramming everyone. The docks are wide open, and there are nearby vehicles to choose.
While you can climb on any of the stacks and containers (if you’re engaging in a gun battle), none allow the panoramic view provided by the top of the ramp to the yard’s west.
Another option is to gain height for sniping by sneaking to the north barges moored on the water. Climb the red container to get atop the smaller open blue one (between the first two cranes). Start your combat by hitting their sniper across and left of you.
 Driving // Offensive: A Steam Pipe Explosion That Rocks
Difficulty: 
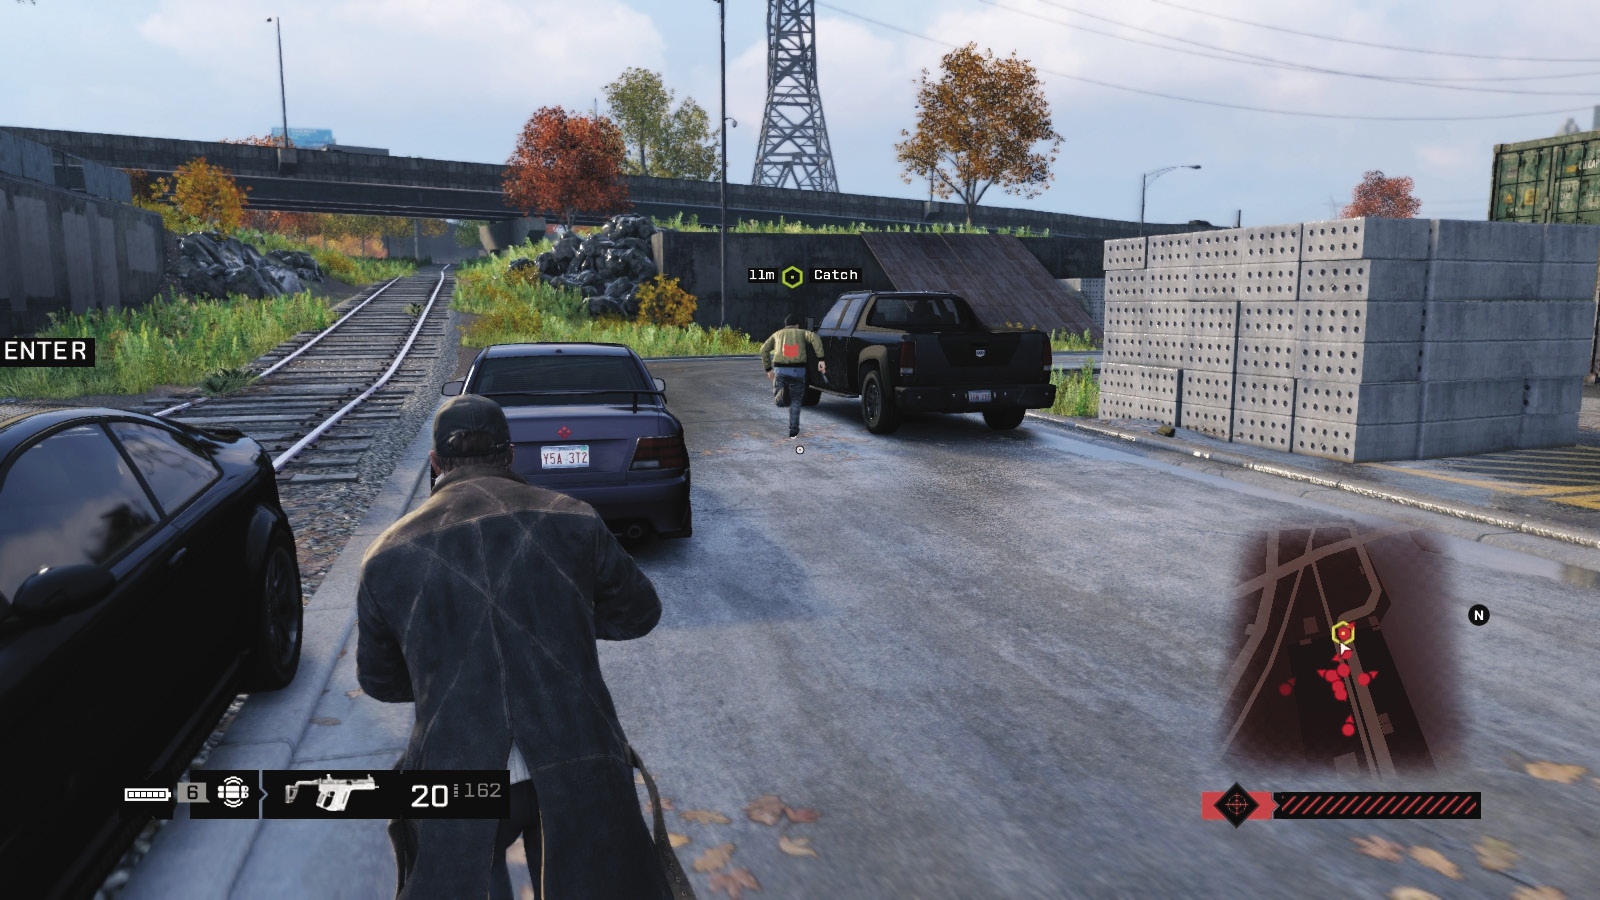
As this mission name suggests, the enemy is extremely skittish and usually flees if he hears an explosion. He runs to the truck parked at the west end of the docks. Follow him as he drives into a gravel pit, winding through the facility before heading onto the tracks (there’s a propane tank you can skid him into, though that sometimes kills him). Then he’s onto a road with a steam pipe, traffic lights, and an eventual bridge. If you can’t bring him down using your phone and whatnot, you might want to rethink your career path in vigilantism.
_PACKING
location: Unloading yard, central docks
Enemy: The Club
NUMBER OF TARGETS: 1 (Veteran) / He may flee
NUMBER OF ENEMIES: 9 (Veteran x7, Elite x2)
Shot-Callers x2 (Veteran, Elite)
(1 target, 3 shot-callers)
Difficulty: ($2,500 reward)
REINFORCEMENTS: two vehicles (Gunmen and Veterans)
From the area near the loft offices, newsstand, and giant silos, you receive information on a target who needs roughing up but not killing. Cross the bridge, and survey the large warehouse yard to begin this mission.
Insertion Points
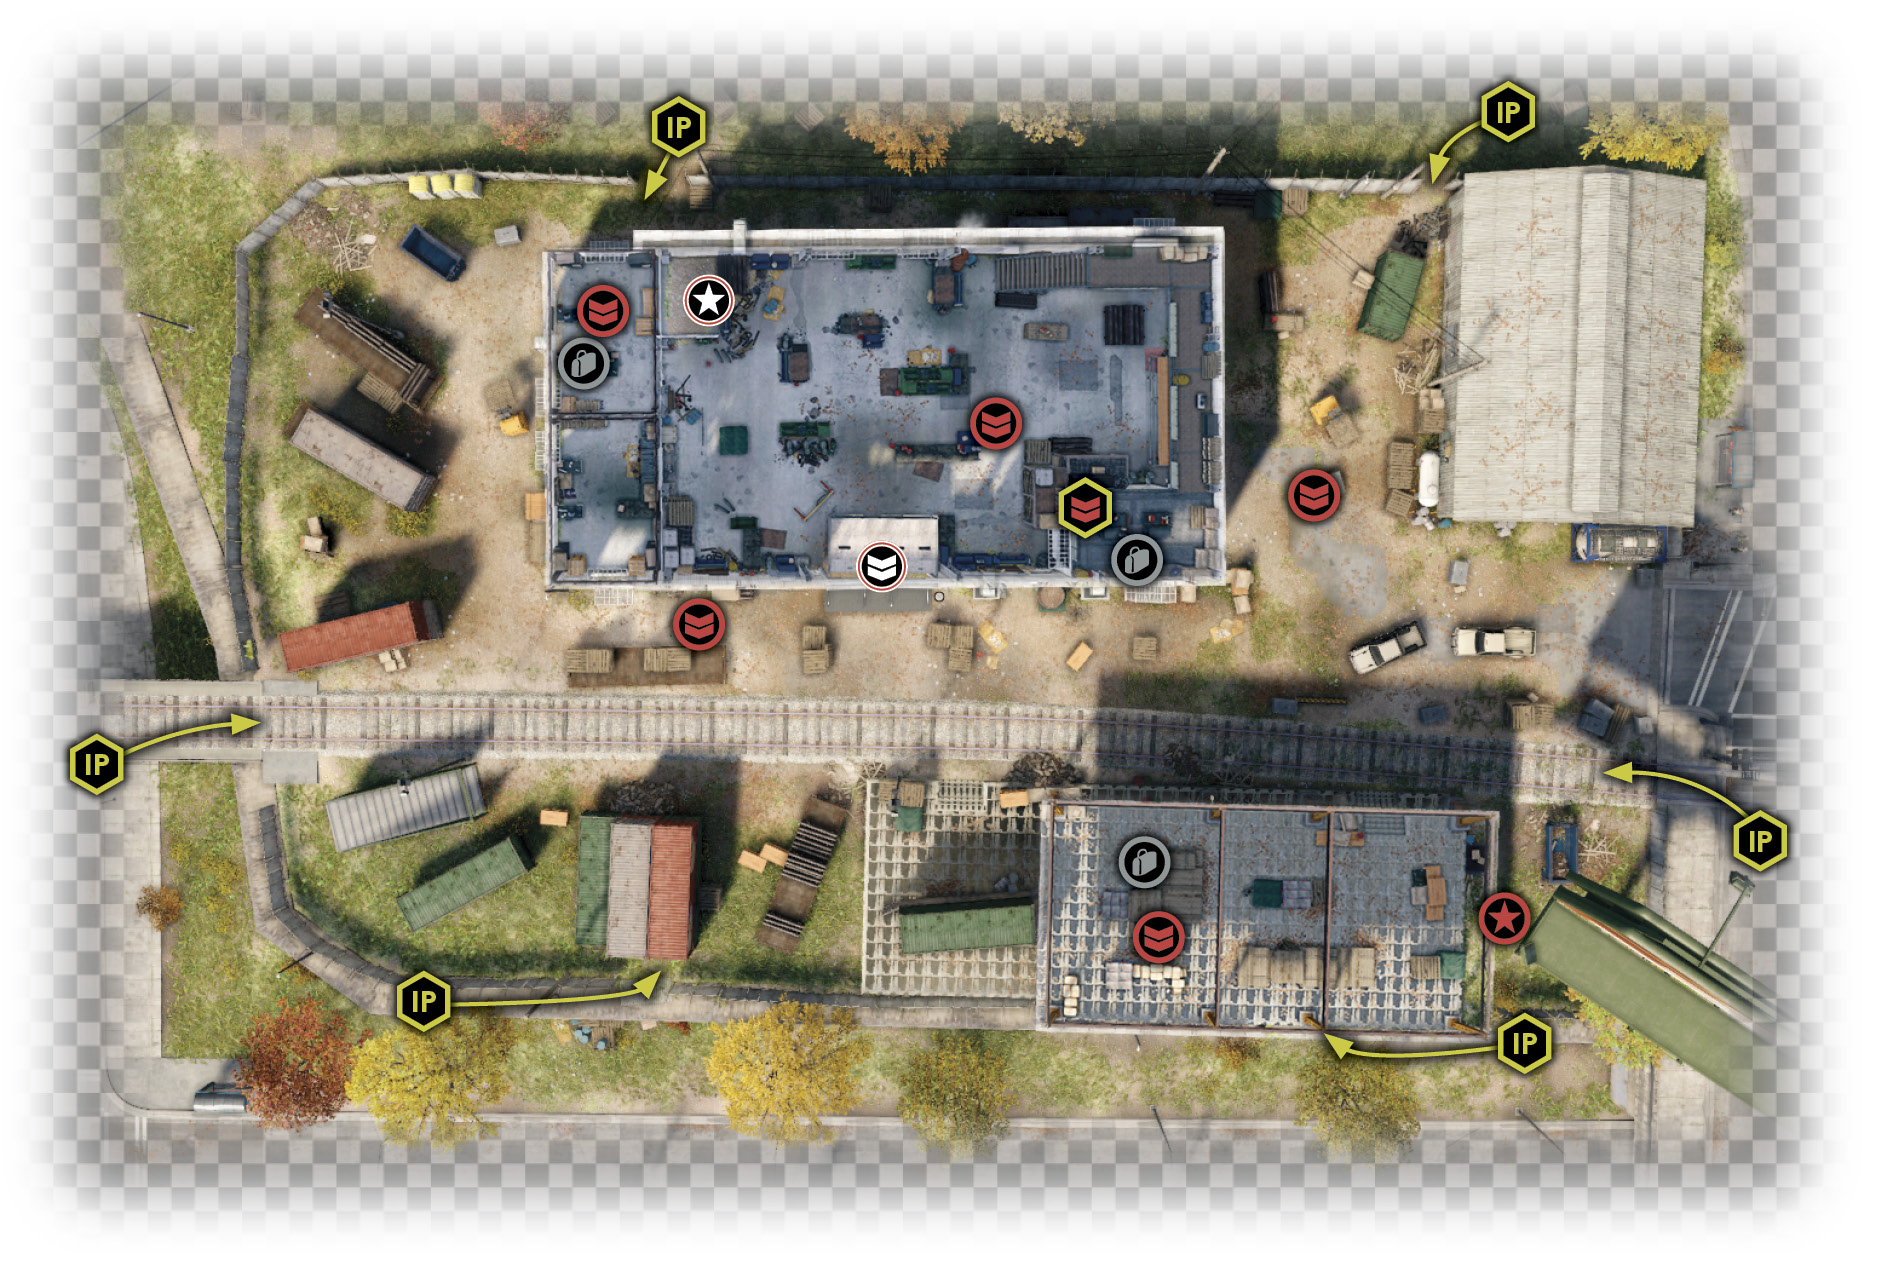
Aside from the massive east entrance, the perimeter of this location is mostly closed, save for the insertion points listed below. Remember where all of them are in case you leave in a hurry:
East Entrance
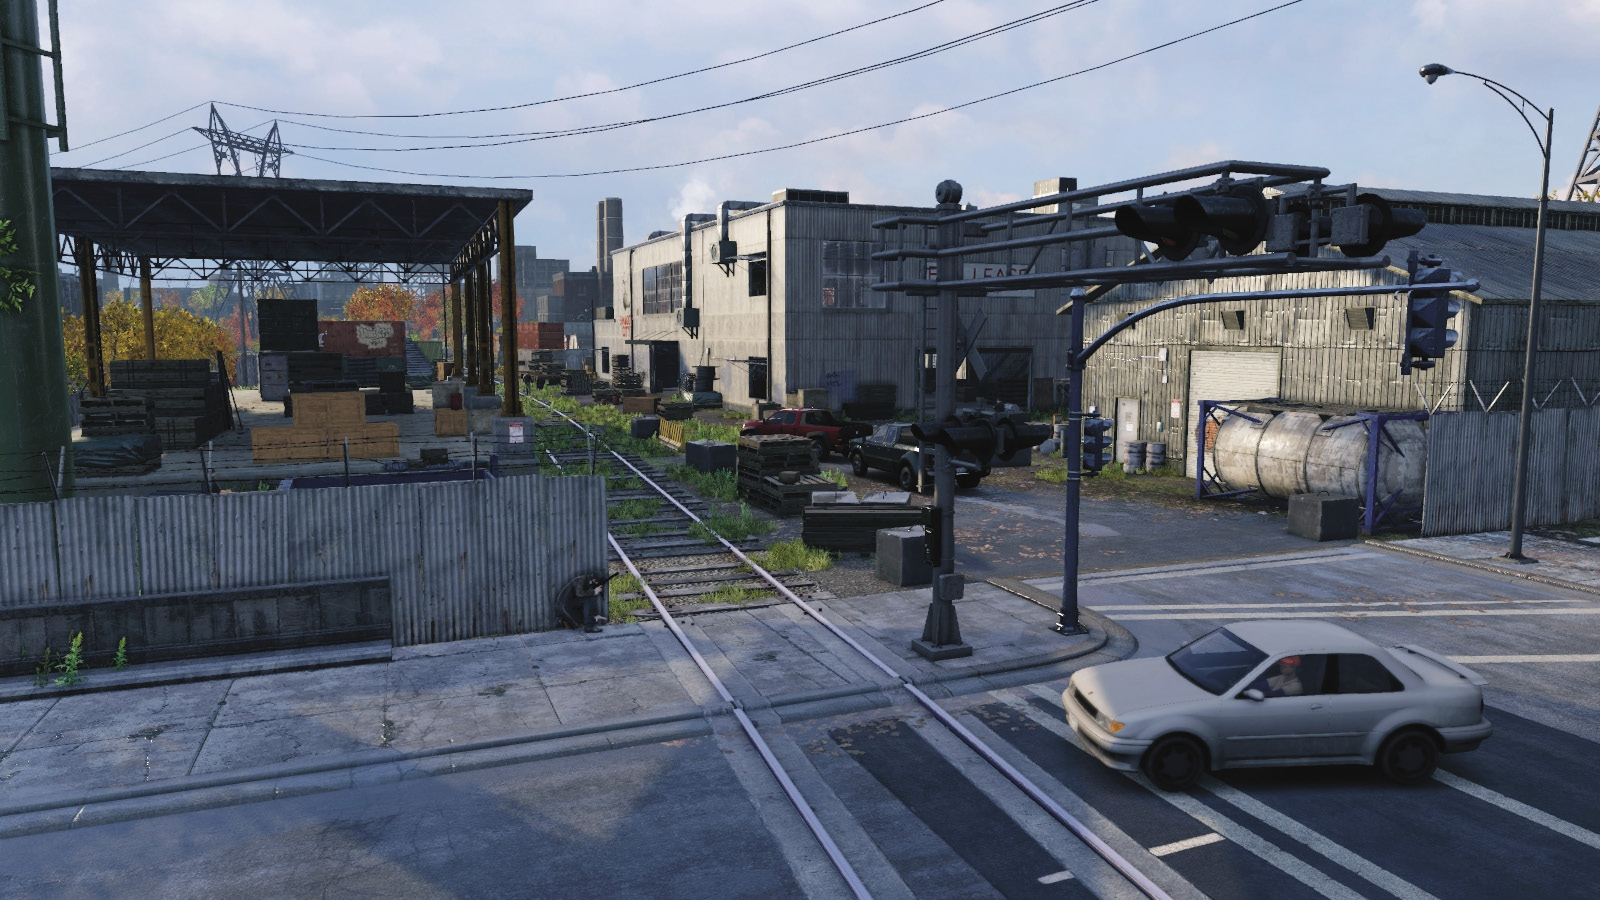
At the traffic junction and the rail lines is the largest opening into this restricted area; beware of foes patrolling the yard and covered storage depot as you progress inside. This is the usual entrance, and it’s the recommended one, as long as you don’t simply wander in and alert the guards dotted about the place.
Fence Gaps (Northeast and Northwest)
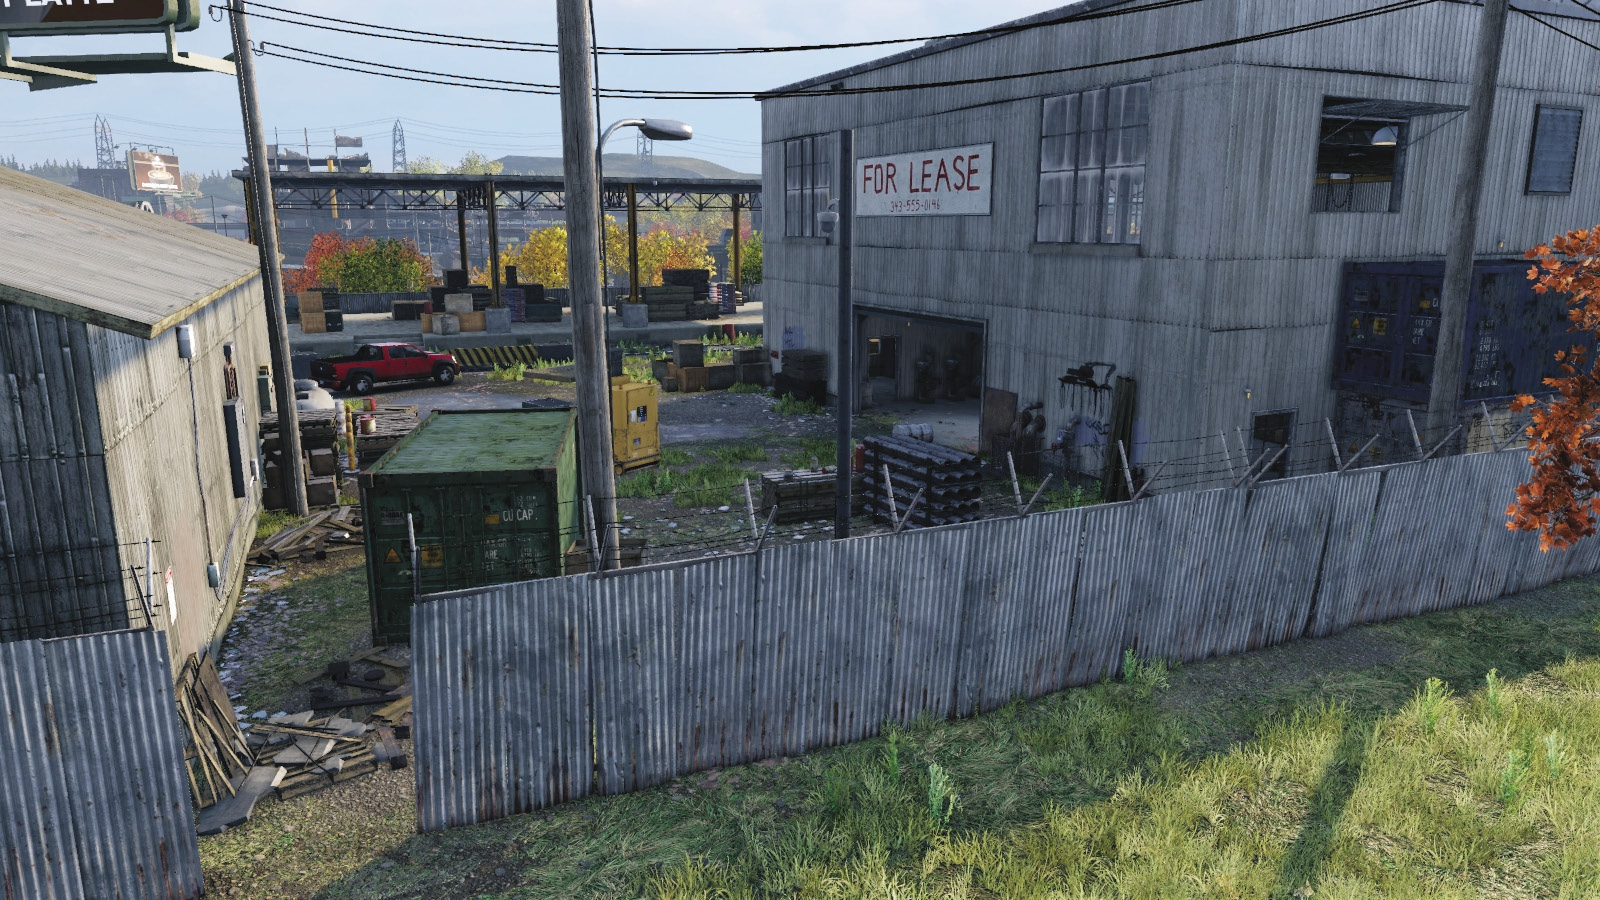
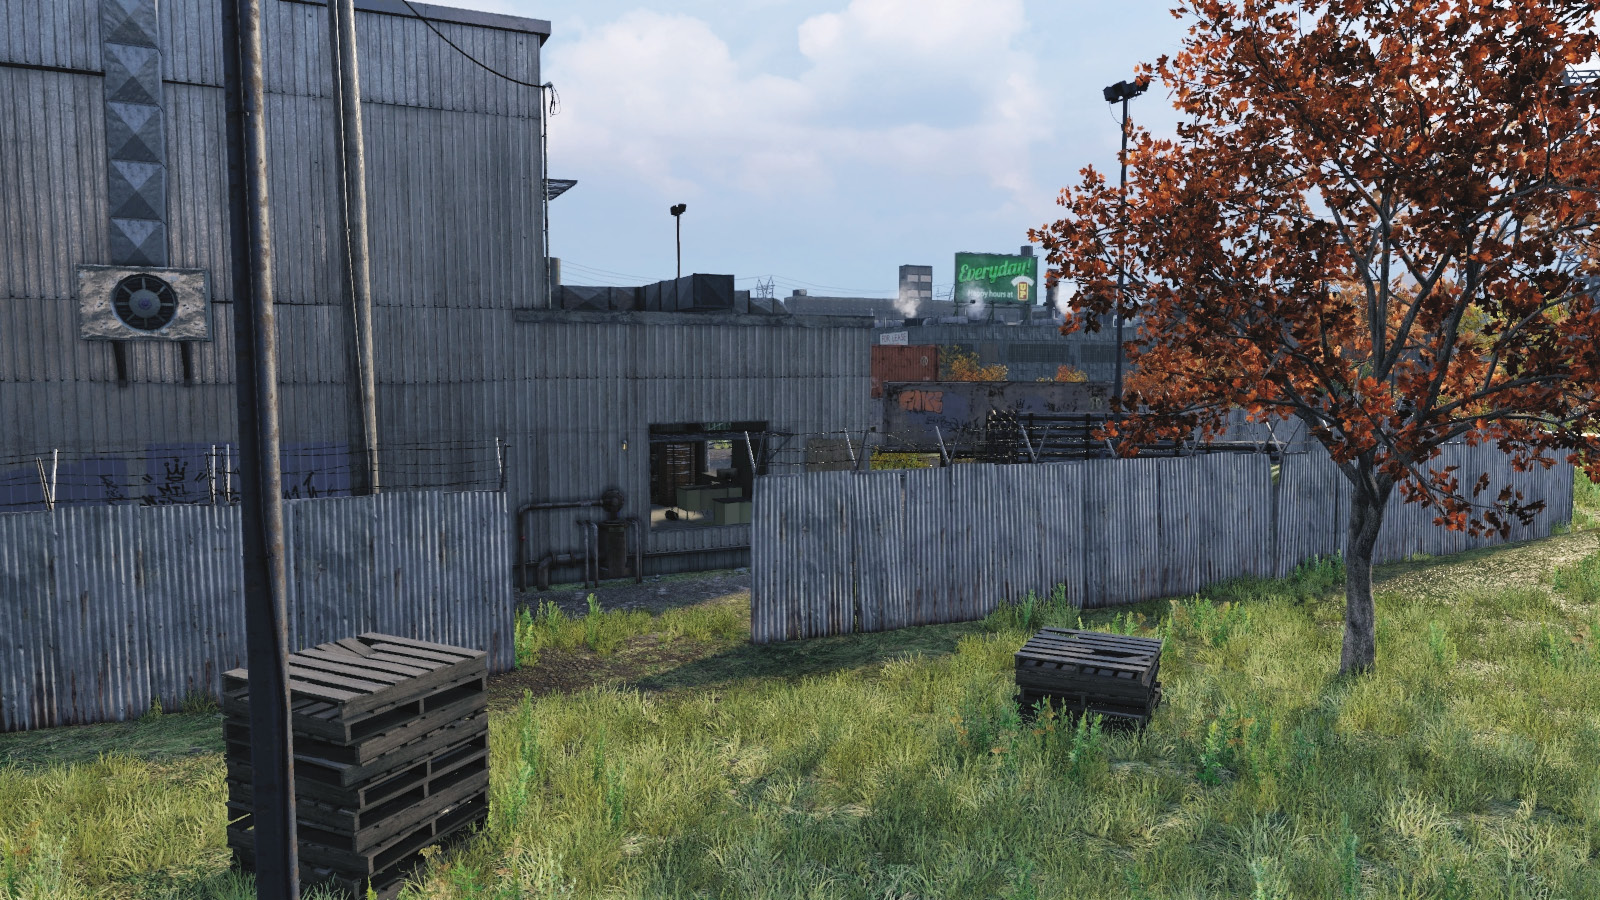
As the main warehouse with the target is on the northern side close to this perimeter, this is a recommended insertion point; to the northeast you can reach the yard and deal with a single foe before opening the warehouse garage or sneaking in via the doorway (or up the stacked containers to the open window). To the northwest, you have access to the small workshop area, and the scenery allows roof access to the warehouse and to the west container yard.
Rail Bridge (West)
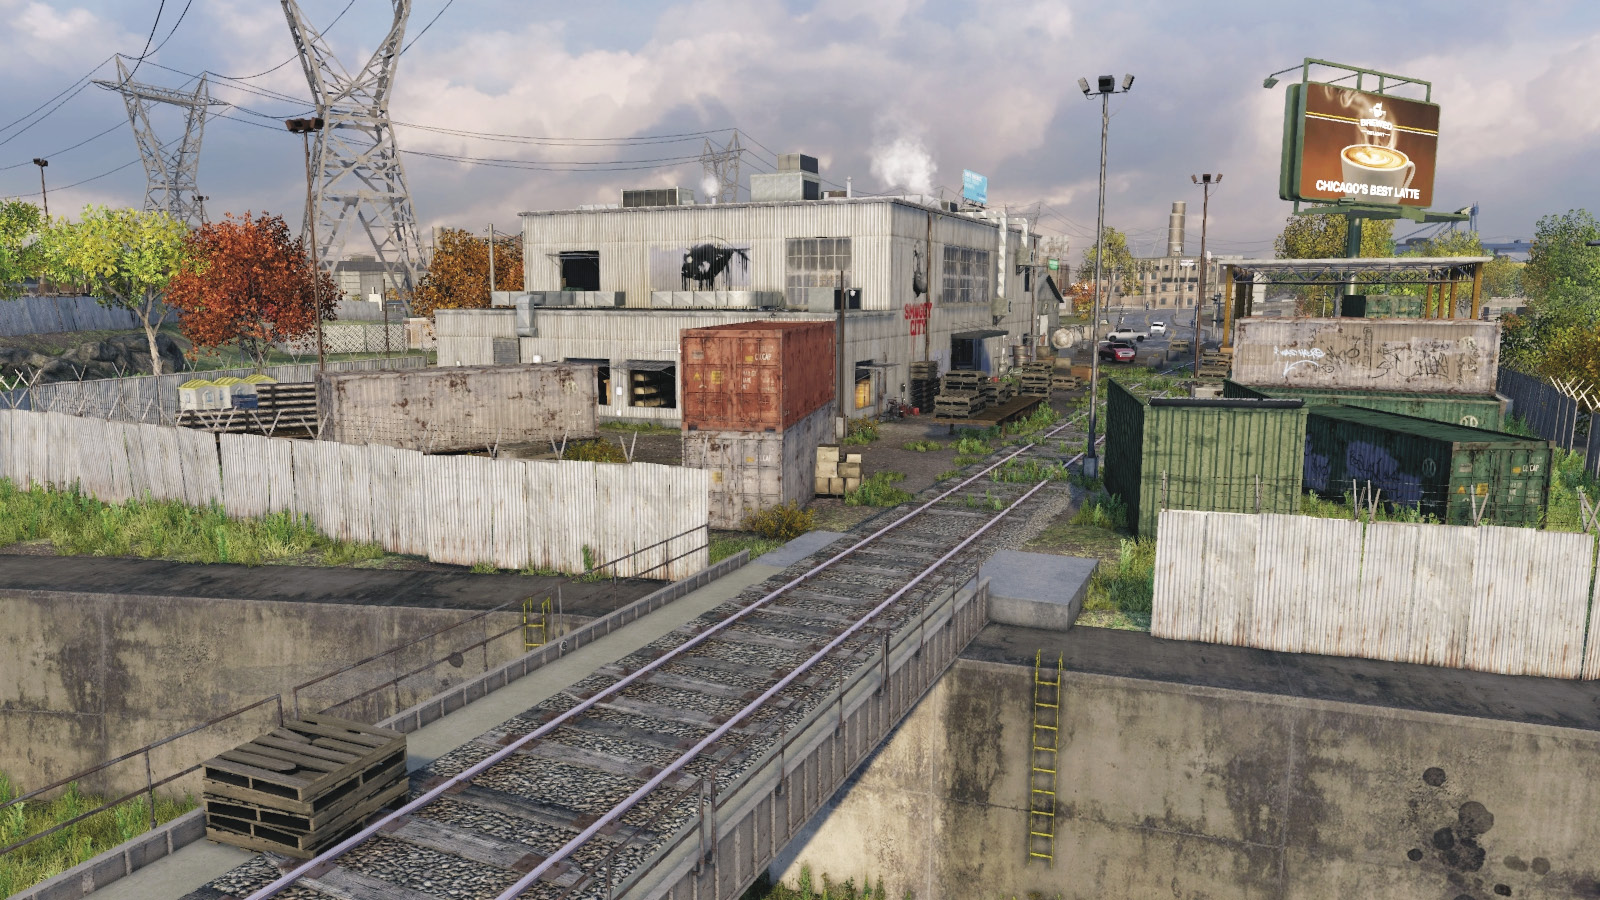
It takes quite a while to reach here (as your starting position is to the east), but you can follow the south ledge or the north grass to reach here. Sneak in to hide behind the crates. Don’t overlook this area, as it’s close to the main warehouse entrance (and the only way to reach the foe inside who’s on the balcony). There are some great cover opportunities at the container stacks. The enemy flees across this bridge, so block it with a vehicle
Fence Gap (Southwest and Southeast)
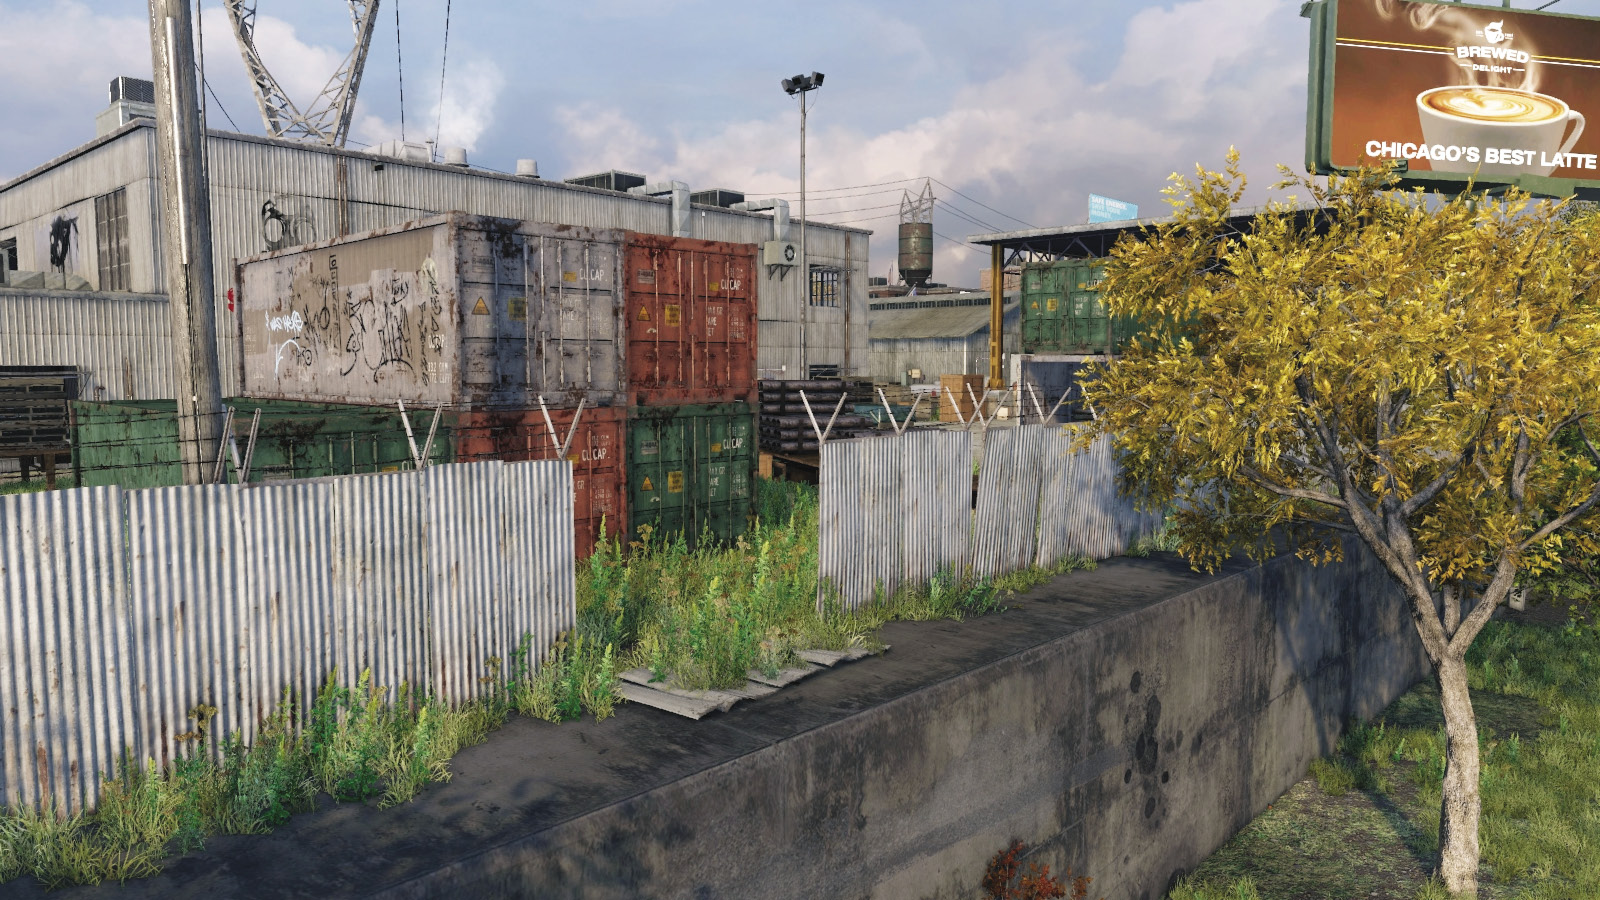
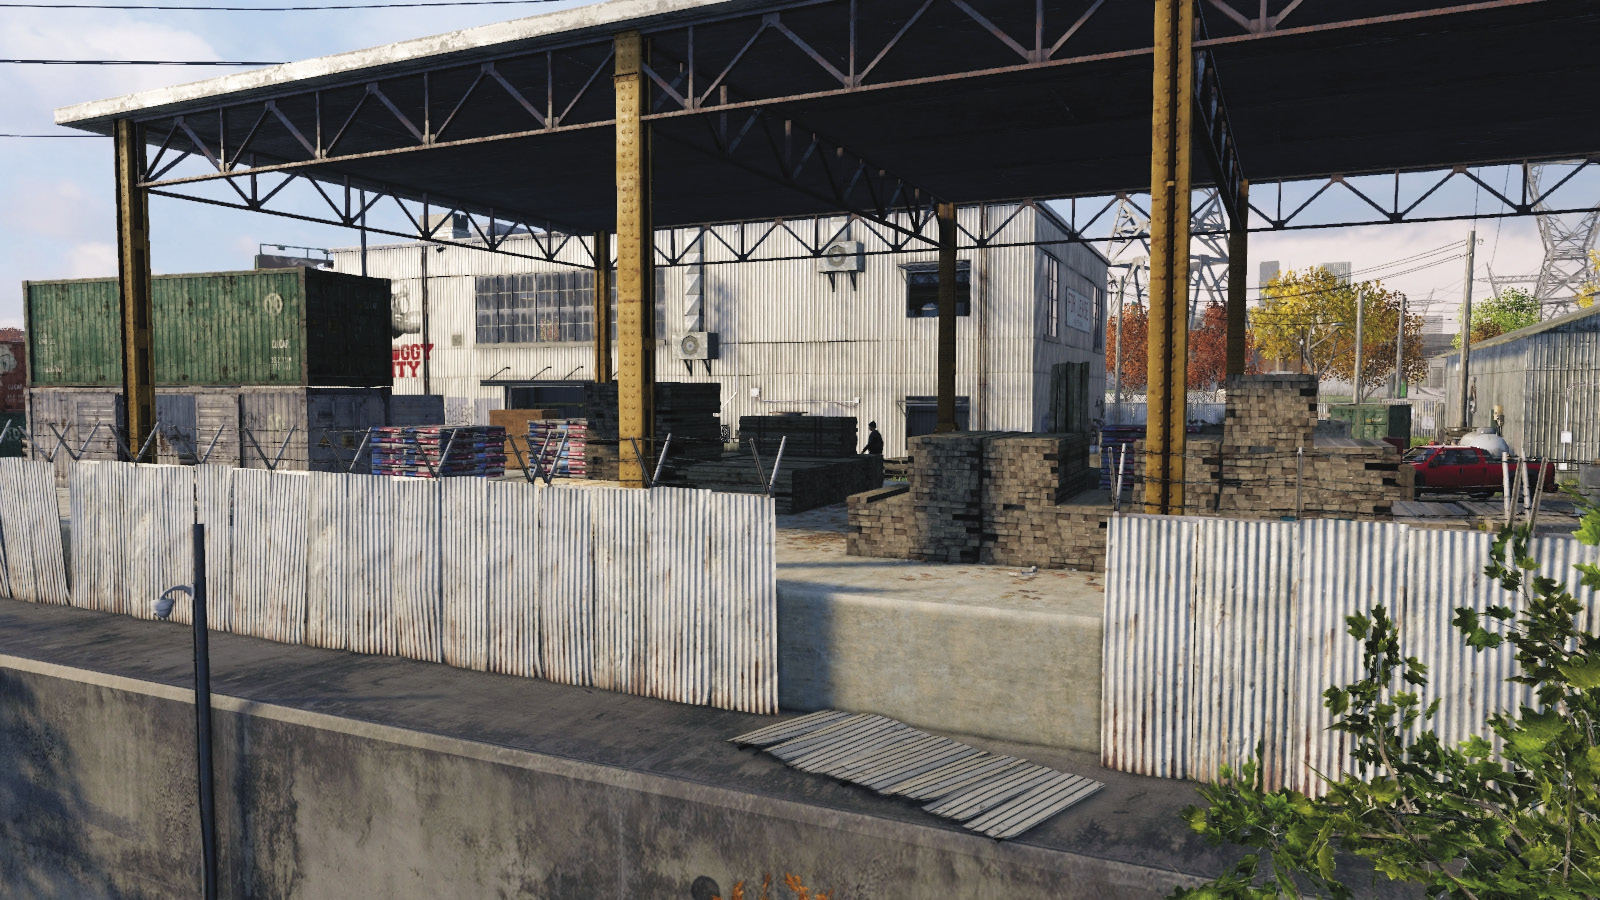
If you fall off the narrow concrete ledge that runs the width of this perimeter, you won’t be able to access these two fence gaps, so take care when vaulting onto the ledge. If you fall, head east under the bridge, then back to the east entrance. The southeast gap allows you onto the container depot building for some great crate hiding. The southwest gap enables you to reach the container yard to the west and the workshop entrance to the main warehouse.
Yard (Exterior)
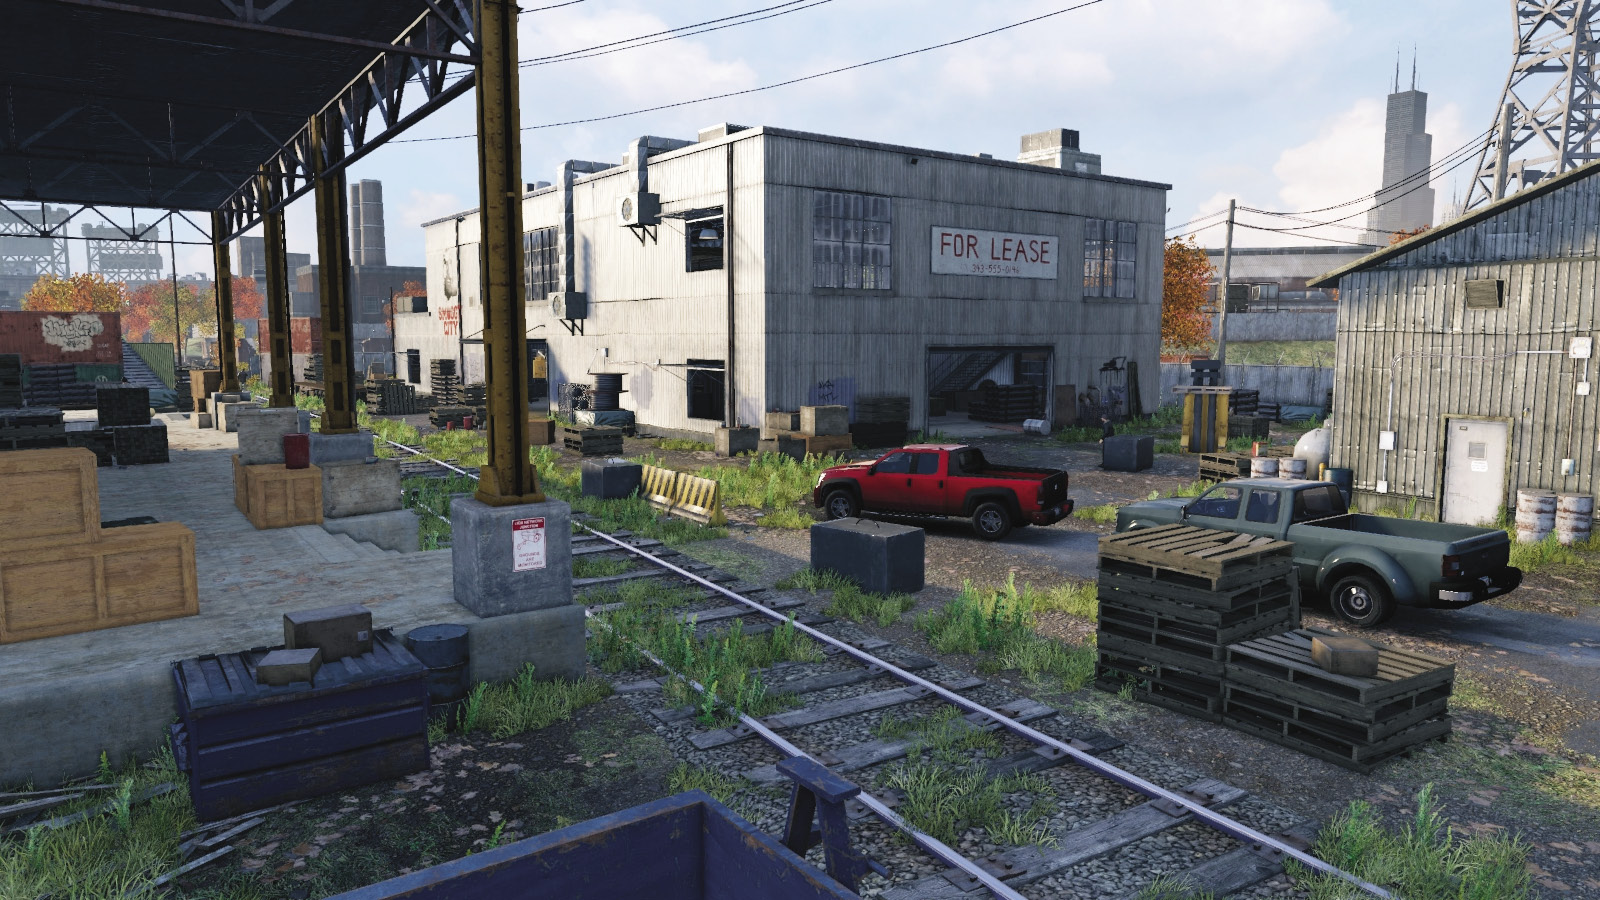
The yard has three distinct areas: the flat-roofed depot with two foes, several pallets and crates to hide behind, and a good view of the warehouse entrance to the north. There’s an east yard with a forklift and a parked truck (the one the enemy uses to escape in, if disturbed) and a patrolling foe. There’s also the west container yard, with another foe patrolling, and access to the western side of the warehouse. All other foes are inside the warehouse.
Warehouse (Interior)
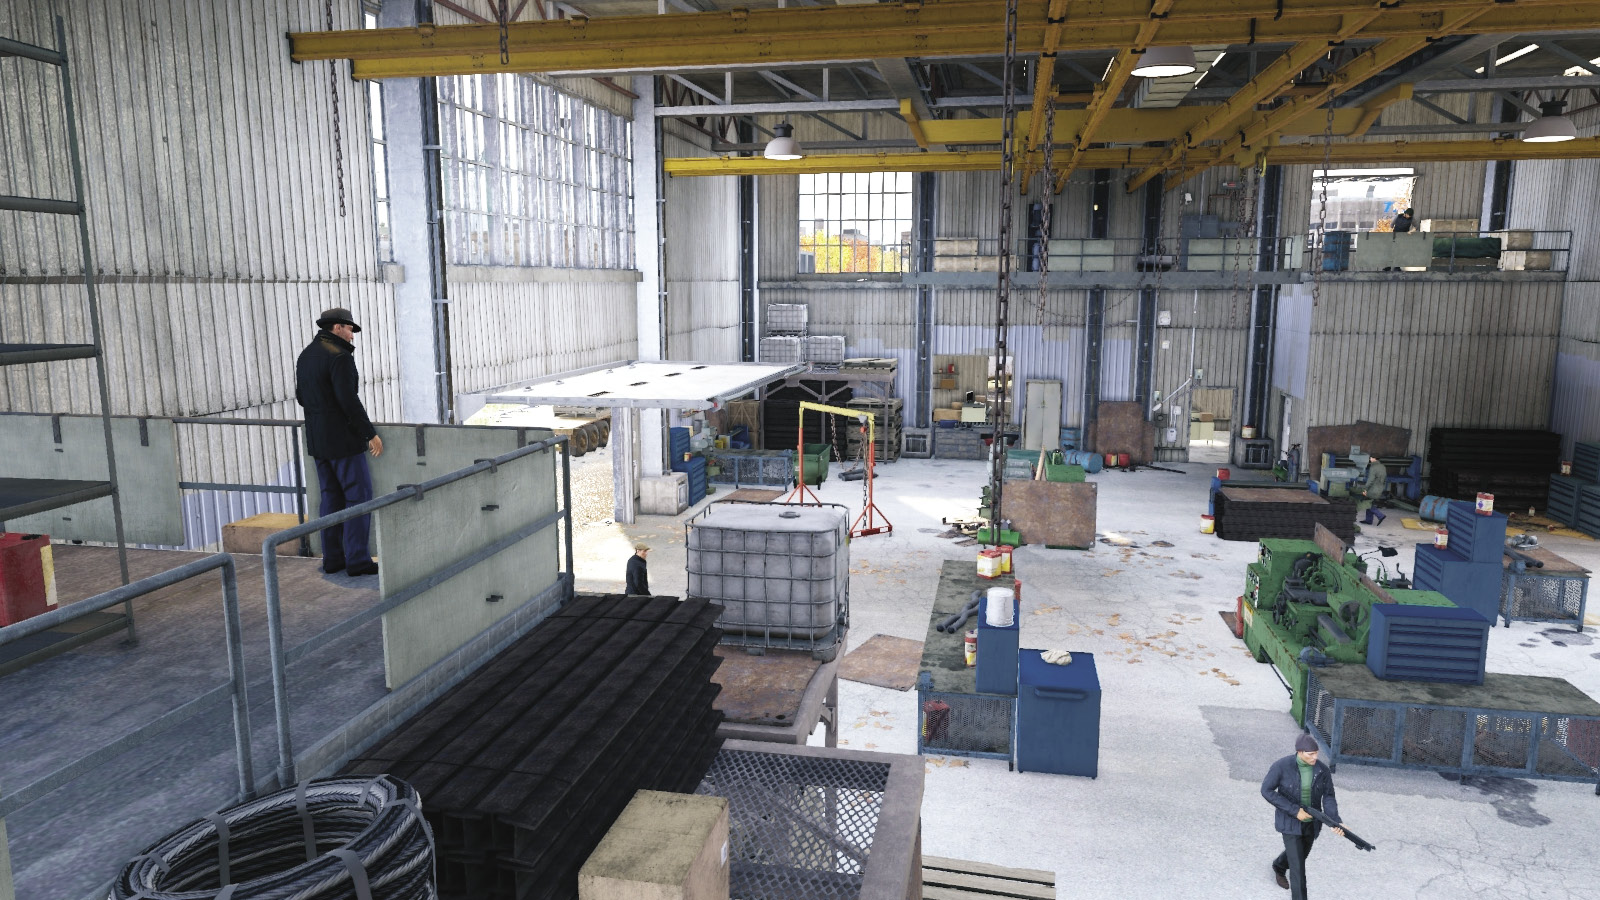
Your target is located on a balcony in the chamber’s southeastern corner. There are five foes here too, one on the northwest balcony (only accessible from the outside roof), two foes on the ground, and one in the workshop on the western side. The main entrance is too open and well guarded to be useful; instead there are open windows, the workshop, doorways, and even an upper window that are all much better infiltration options.
Progression Plans
There’s an extremely stealthy way to finish this with only one takedown (the target). Plus, you have two methods of using stealth to remove all foes. Or you can simply shoot everything; the choice is yours:
 Aggressive // Stealth: Sneaking to the Max
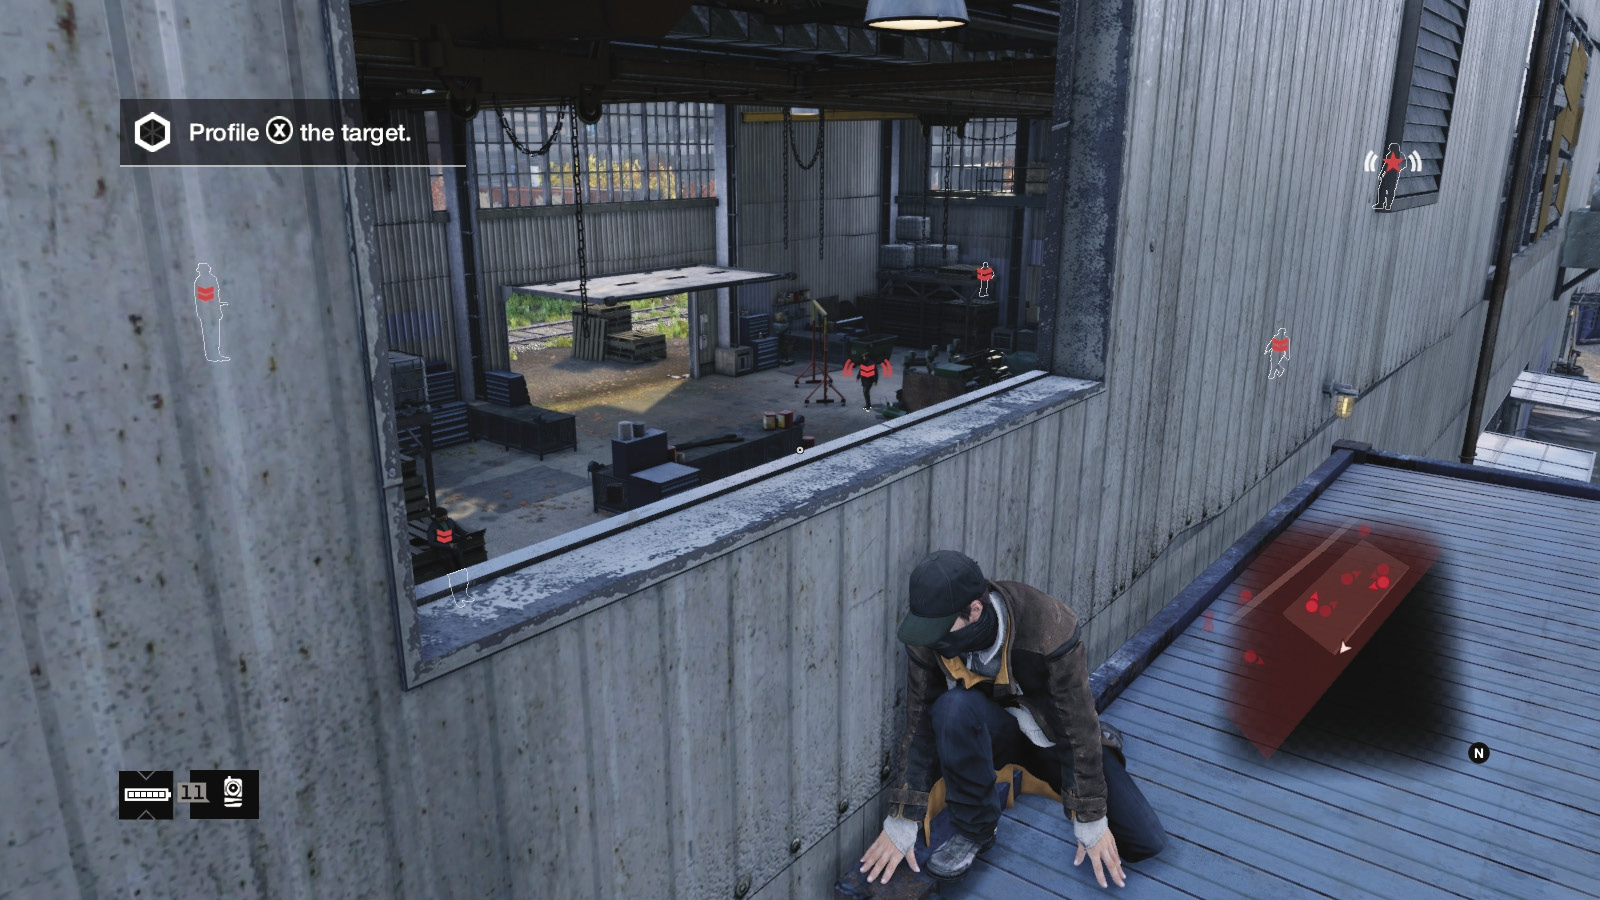
 Difficulty:
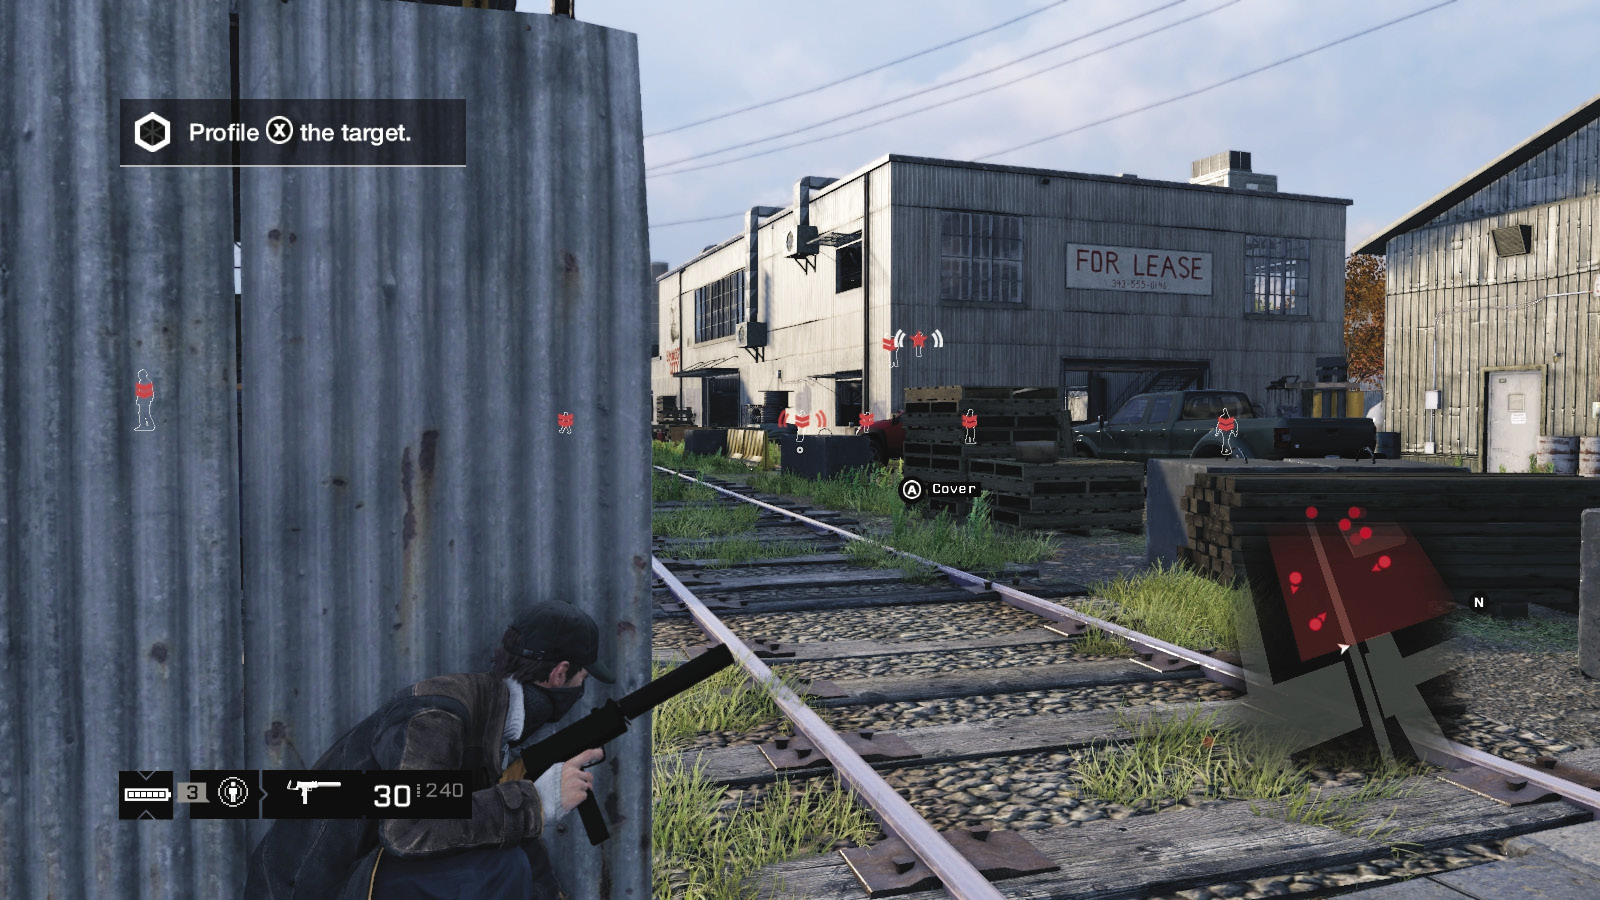
Want to forgo all combat except for a target takedown? Then follow the perimeter fence to the gap in the northeast or northwest, and drop down by the outer wall of the warehouse. You’re looking for the stacked container crates next to the northeast corner doorway. Climb to the top of them, as there’s an open window.
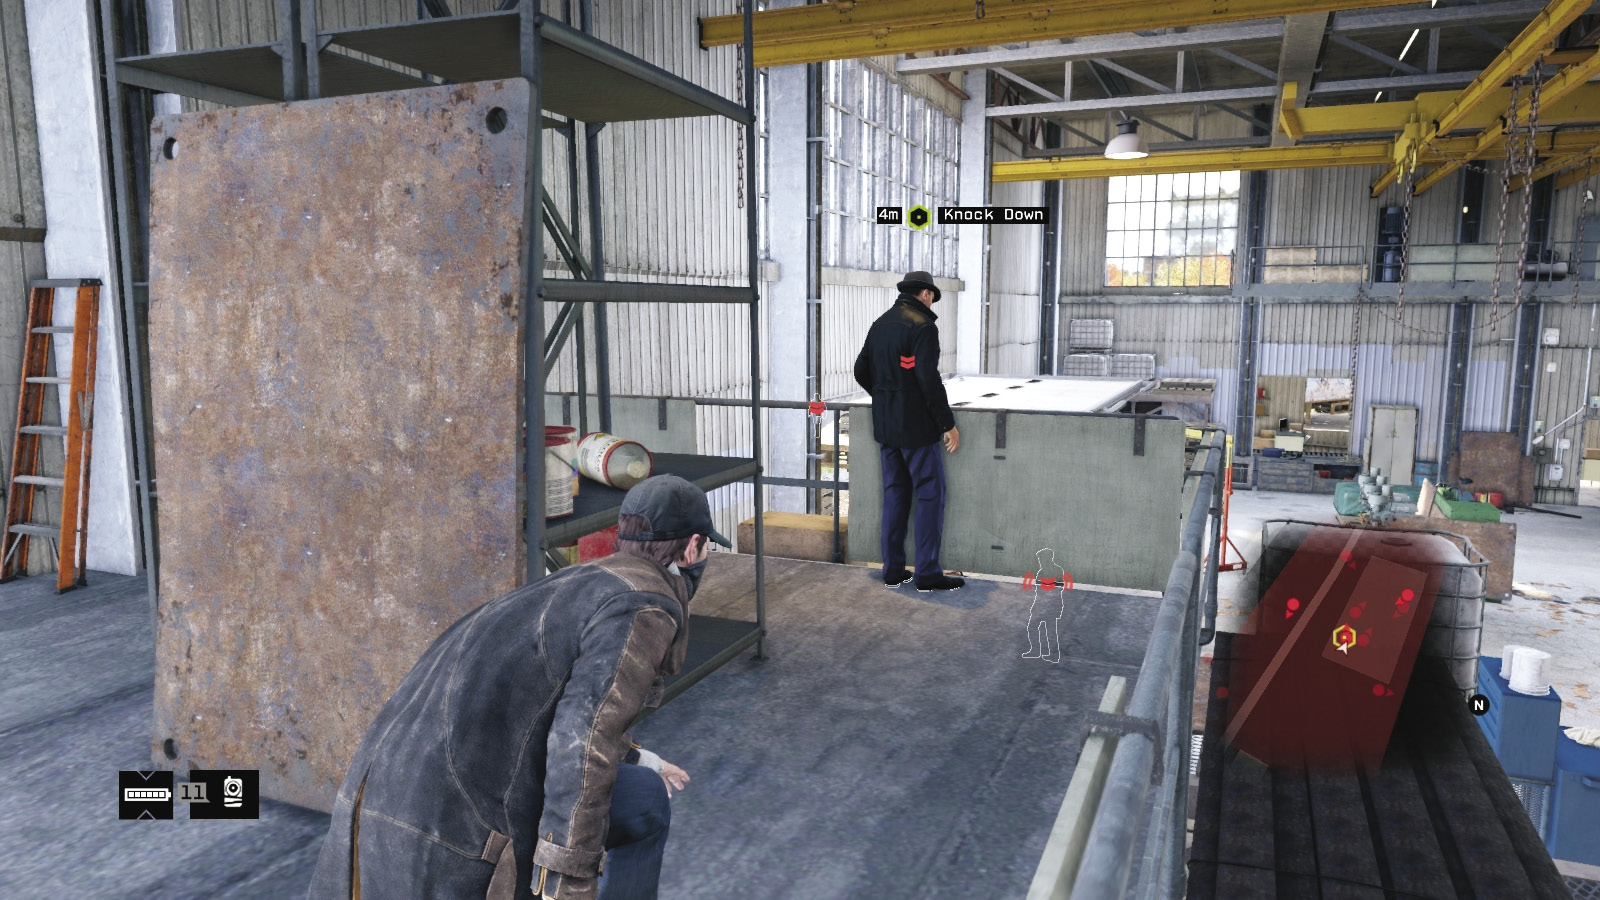
Vault over the window. A “guard alert” icon appears; just move ahead (south) along the metal balcony overlooking the warehouse interior. Head around the corner and quietly cut off the oxygen to your target. Then simply retrace your steps and complete this mission, or stay and produce a gun if foe elimination is on your mind. Either way, this mission is a success!
 Aggressive // Stealth: Behind All the Enemy Backs
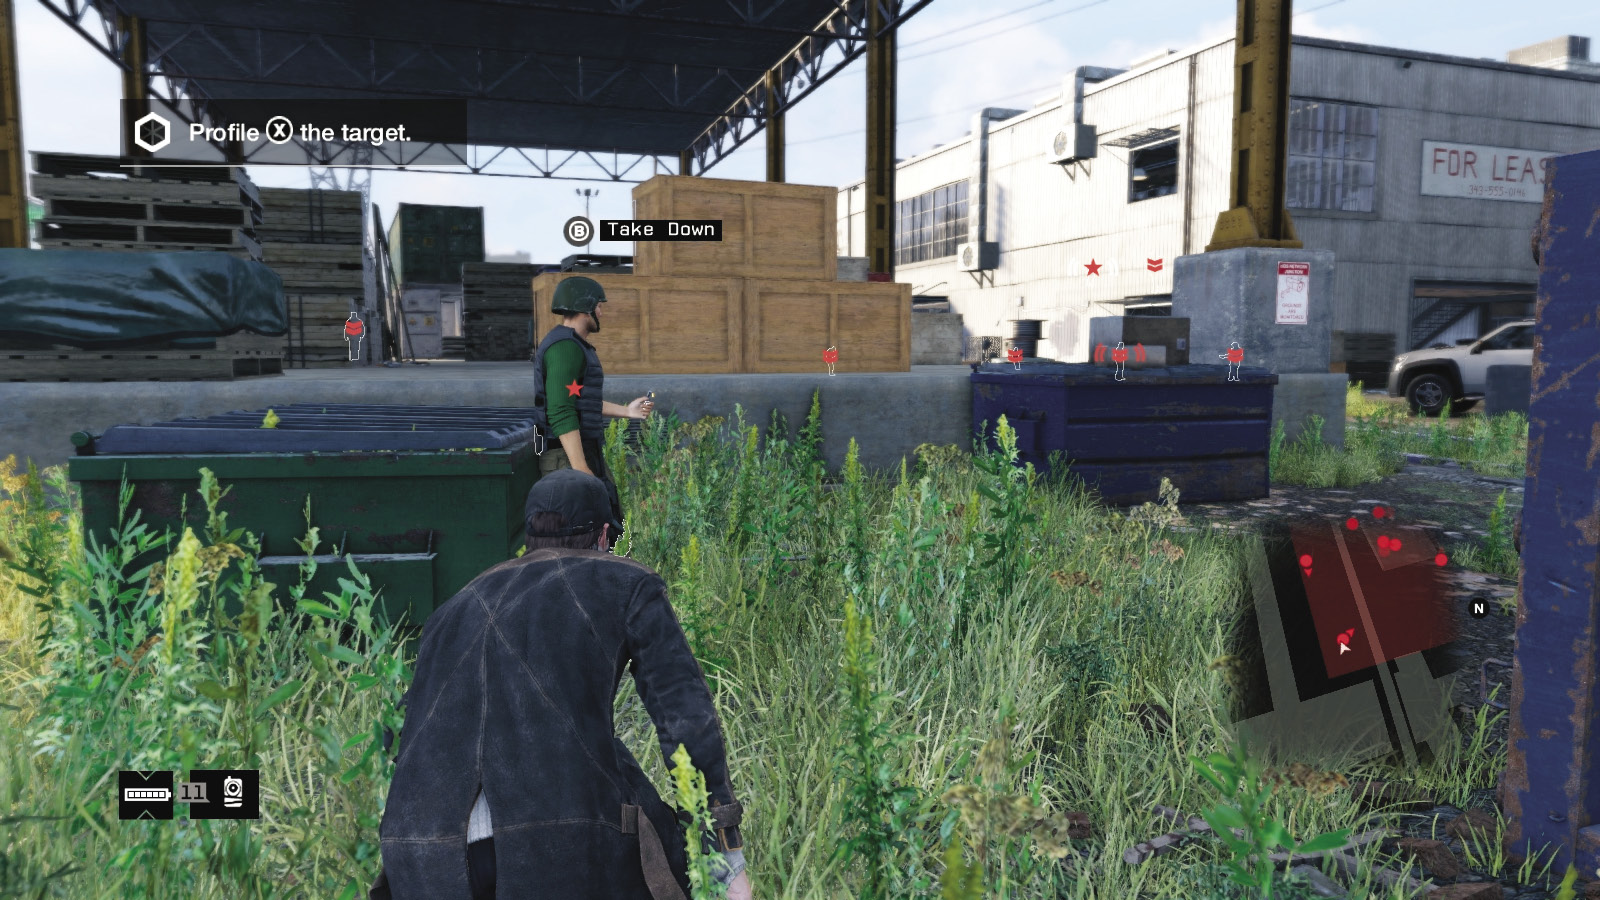
 Difficulty:
If you want to clear the entire area before taking down the foe, without firing a shot or letting the enemy know your location, then enter via the east or southeast insertion points. Profile as you go, and use the cameras to mark all the foes you can see. Find the first foe leaning on a bin in the southeast corner. Deal with him. Then head into the open depot and squat down among the wood stacks. Find the patrolling foe and strangle him.
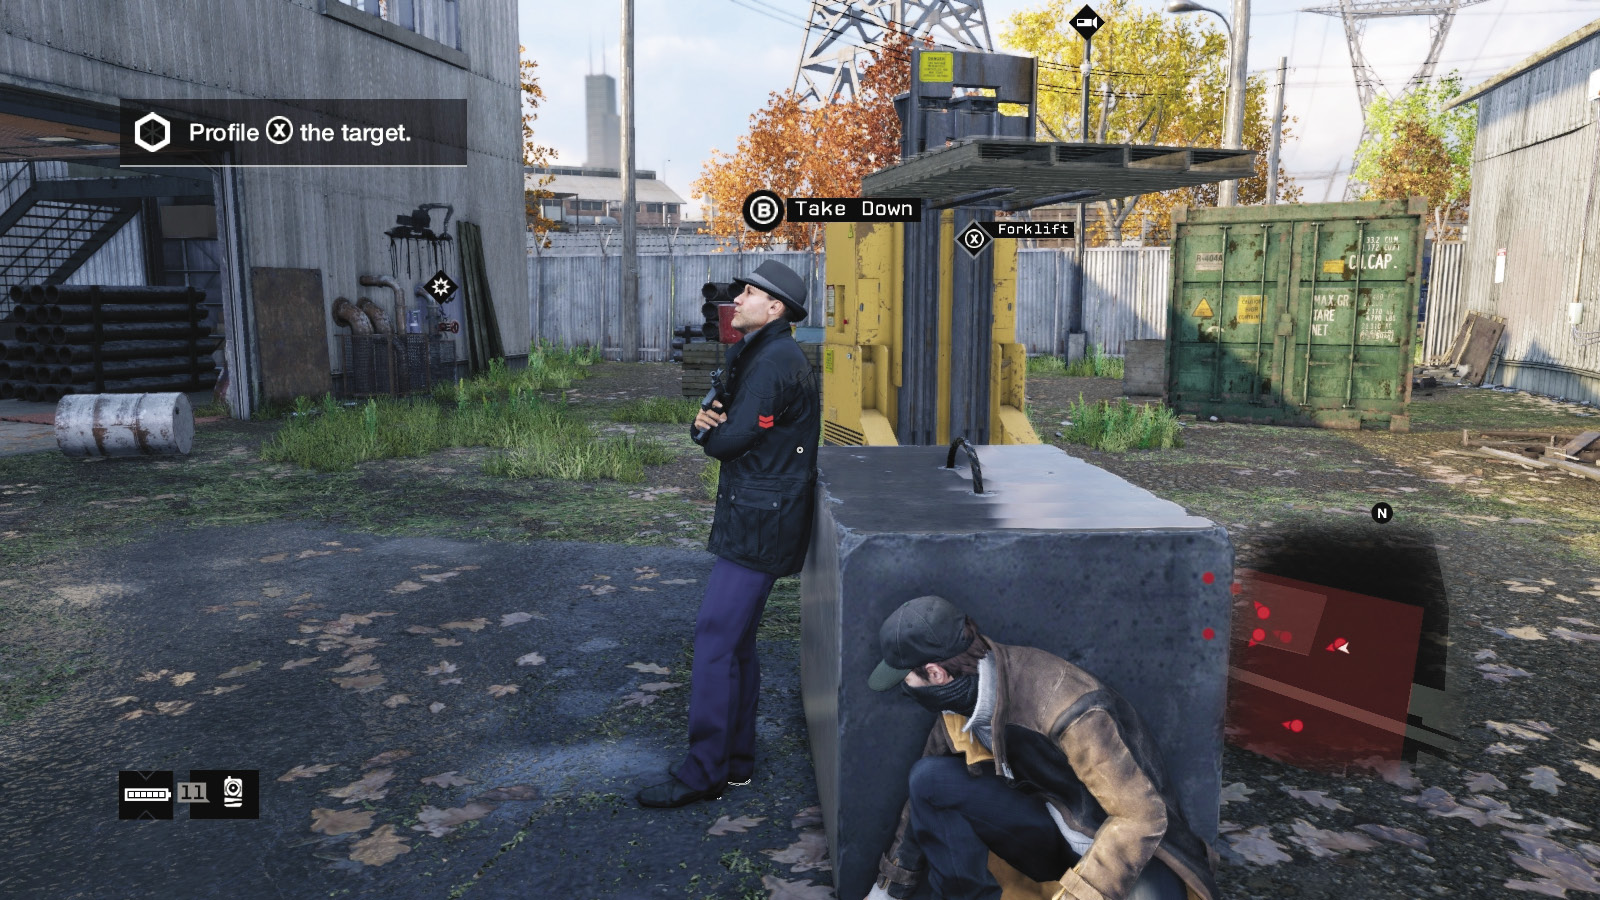
Creep around behind the parked truck in the east entrance area, and follow the foe near the garage door and forklift; deal with him. Ignore the garage door, as this simply reveals the eastern side to the foes inside the warehouse. Instead, sneak in via the warehouse doorway in the northeast warehouse corner. Sneak behind the pipe stack and profile the nearby foes, including the target.
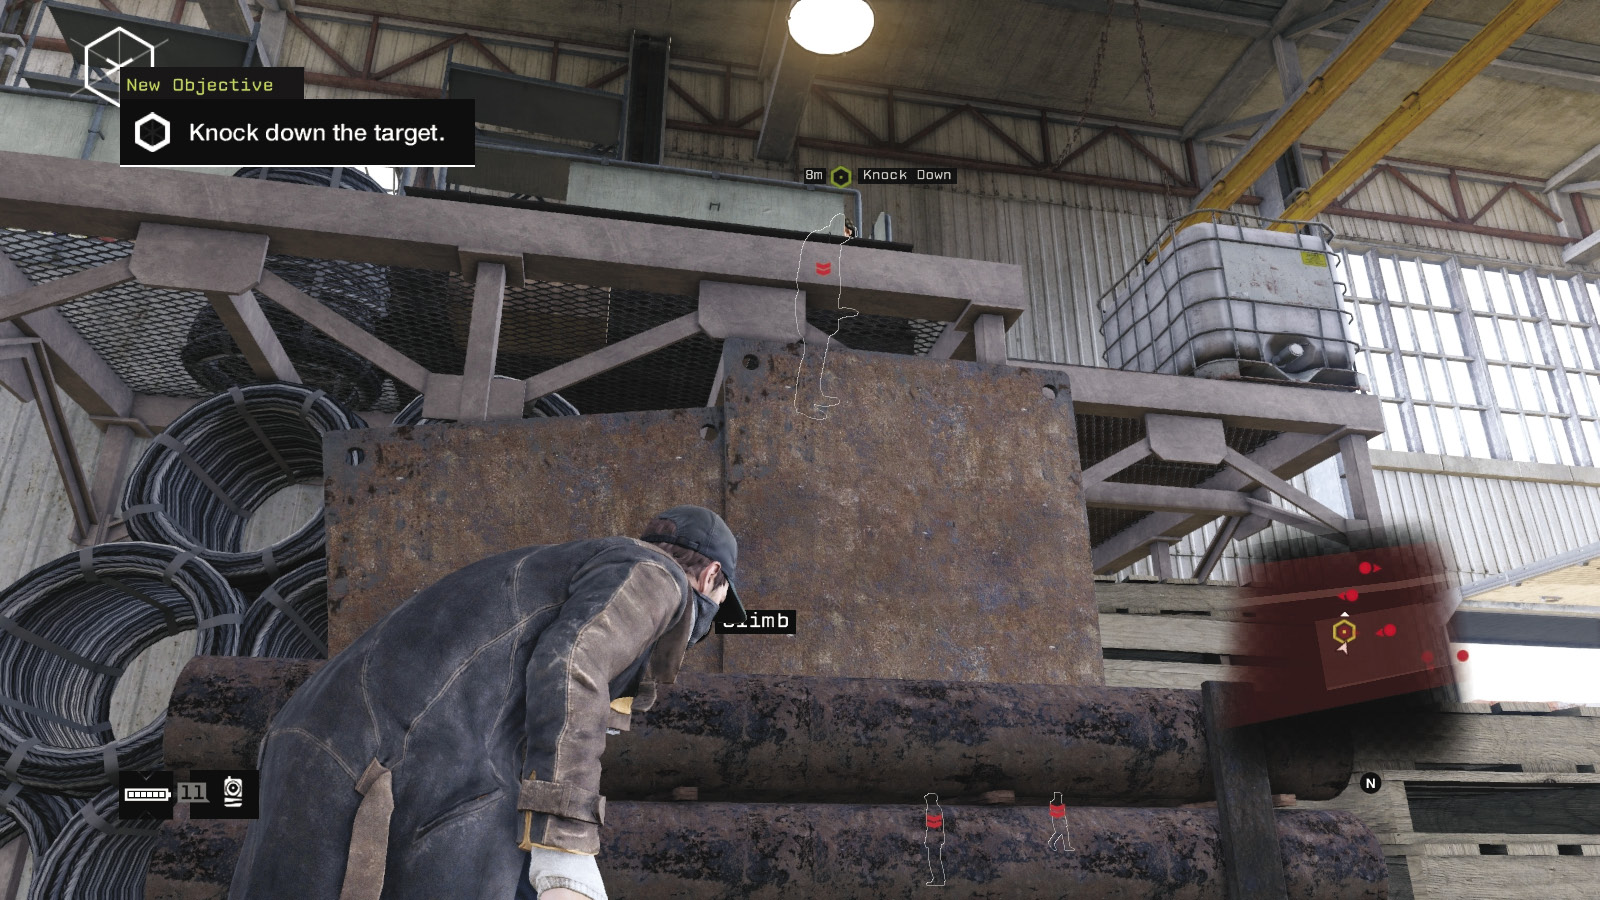
One of the foes strolls toward the garage door. Step out from the pipes and grab him, or creep to the area under the target (a smaller pipe stack) and remove this foe. Once he’s down, you can easily climb the scenery to the target and remove him.
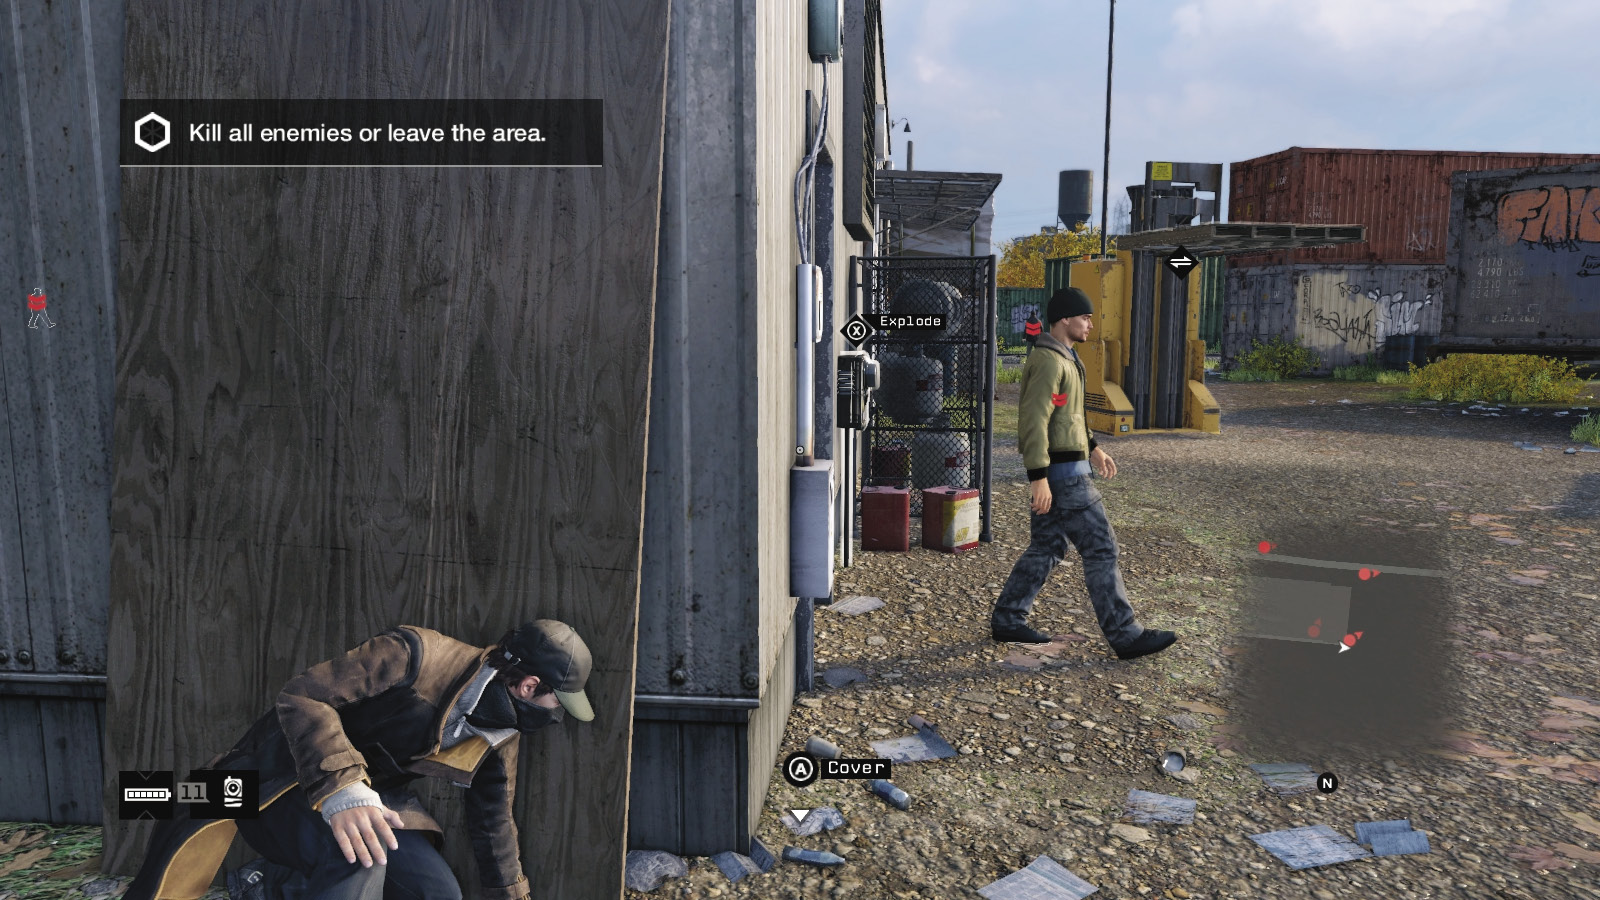
There are still four foes left; one usually is alerted and comes over to investigate. Drop down and knock him out. Wait in the small antechamber in the warehouse’s southeast corner for a foe to come in from outside, then hop out the window, head around, and damage him. Bring an enemy down in the workshop on the warehouse’ east interior. Use the west forklift to attract him if necessary.
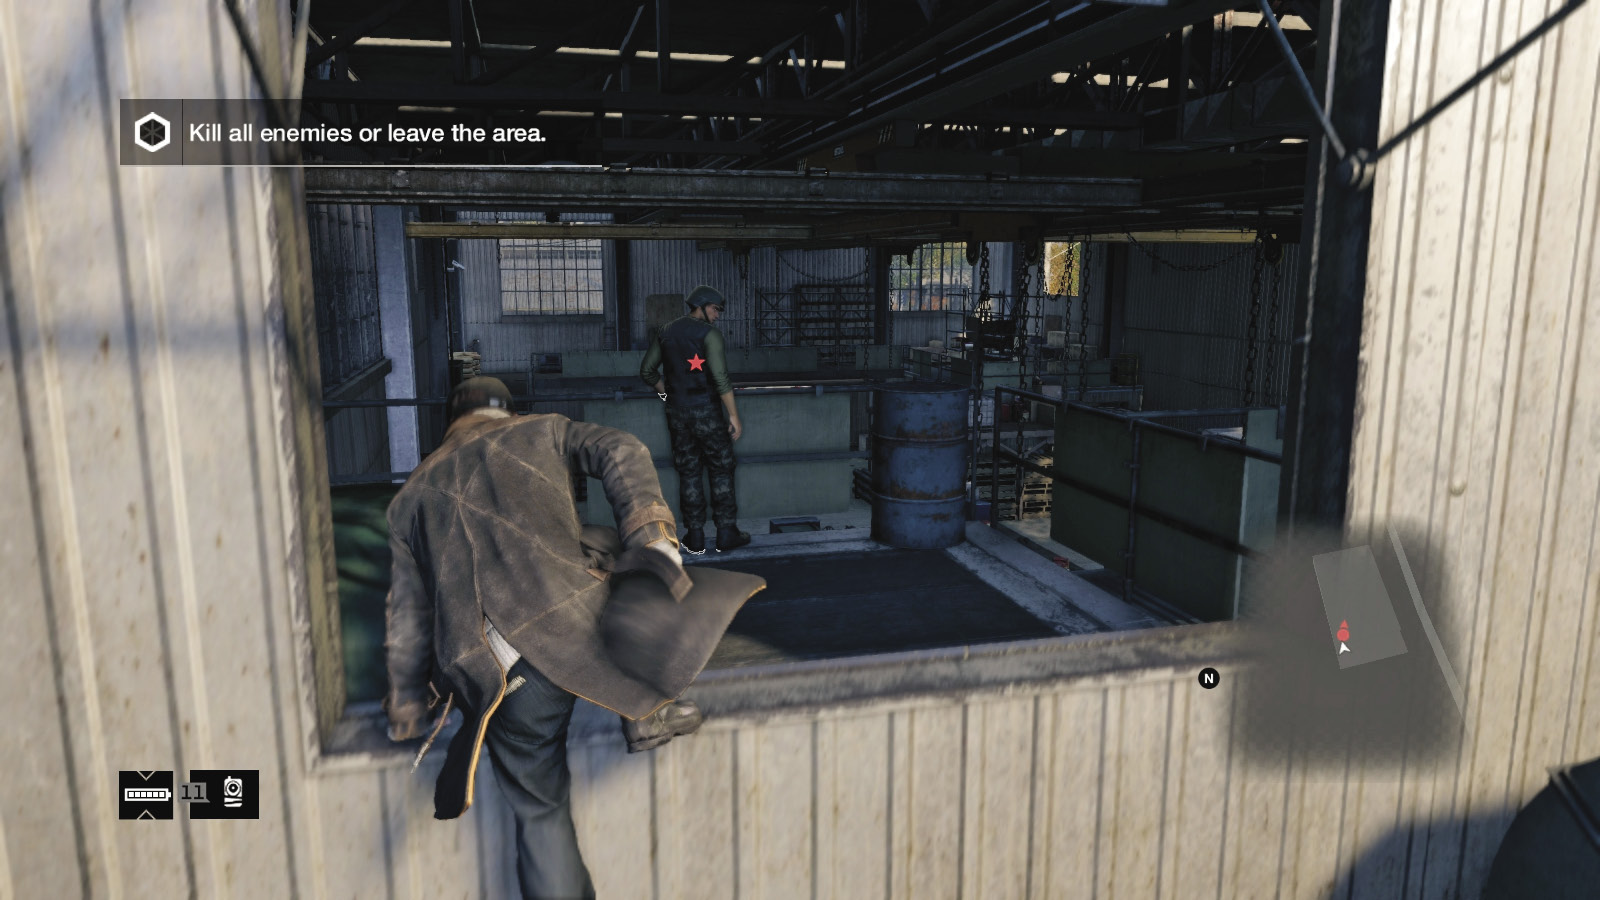
Now climb the covered pallets to reach the low roof and the open window to the northwest, just behind where the last enemy is watching from his otherwise-inaccessible balcony. Vault over the window, bring him down, and congratulate yourself.
 Driving // Offensive: On the Wrong Tracks
Difficulty: 
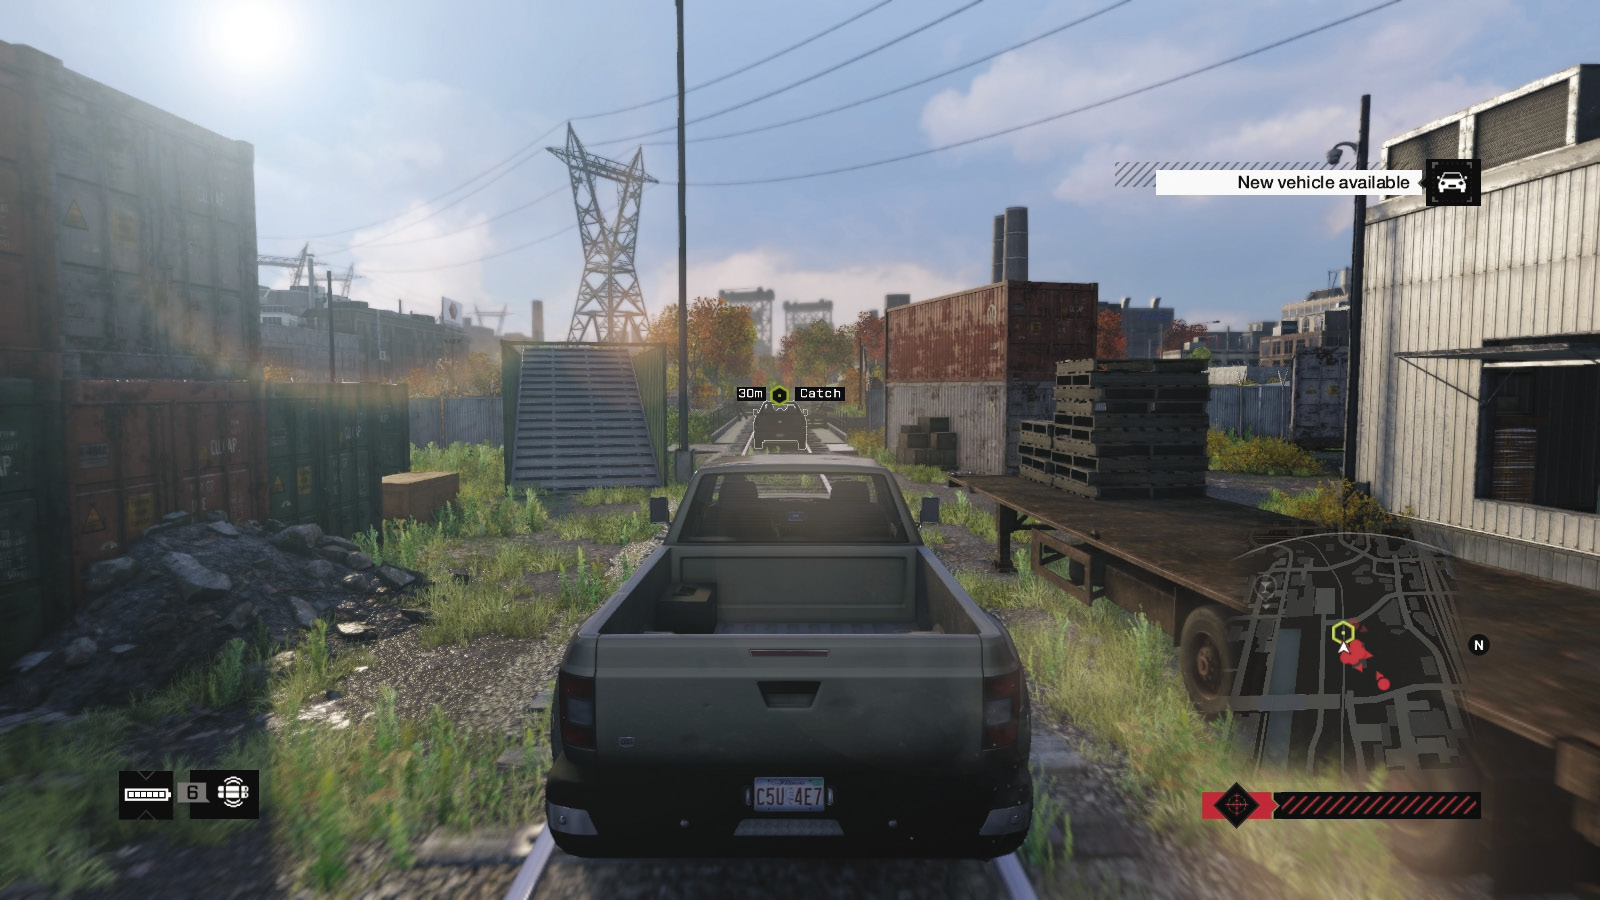
If the foe is alarmed by your not-so silent antics, he drops down from his warehouse perch, heads south out of the main warehouse entrance, and then east to the waiting truck. If you can’t tackle him before he gets to the truck, use the second truck behind this one and give chase (or a vehicle you parked just outside the restricted area.
Assuming you didn’t block the train bridge with a vehicle to slow the target down, your target drives along the rails, then heads left (east) on the main road. Access the traffic lights or a steam pipe to cripple his vehicle, then shrug off his gunfire and bash him.
 Aggressive // Violence: Mayhem and Murderous Acts
 Difficulty:
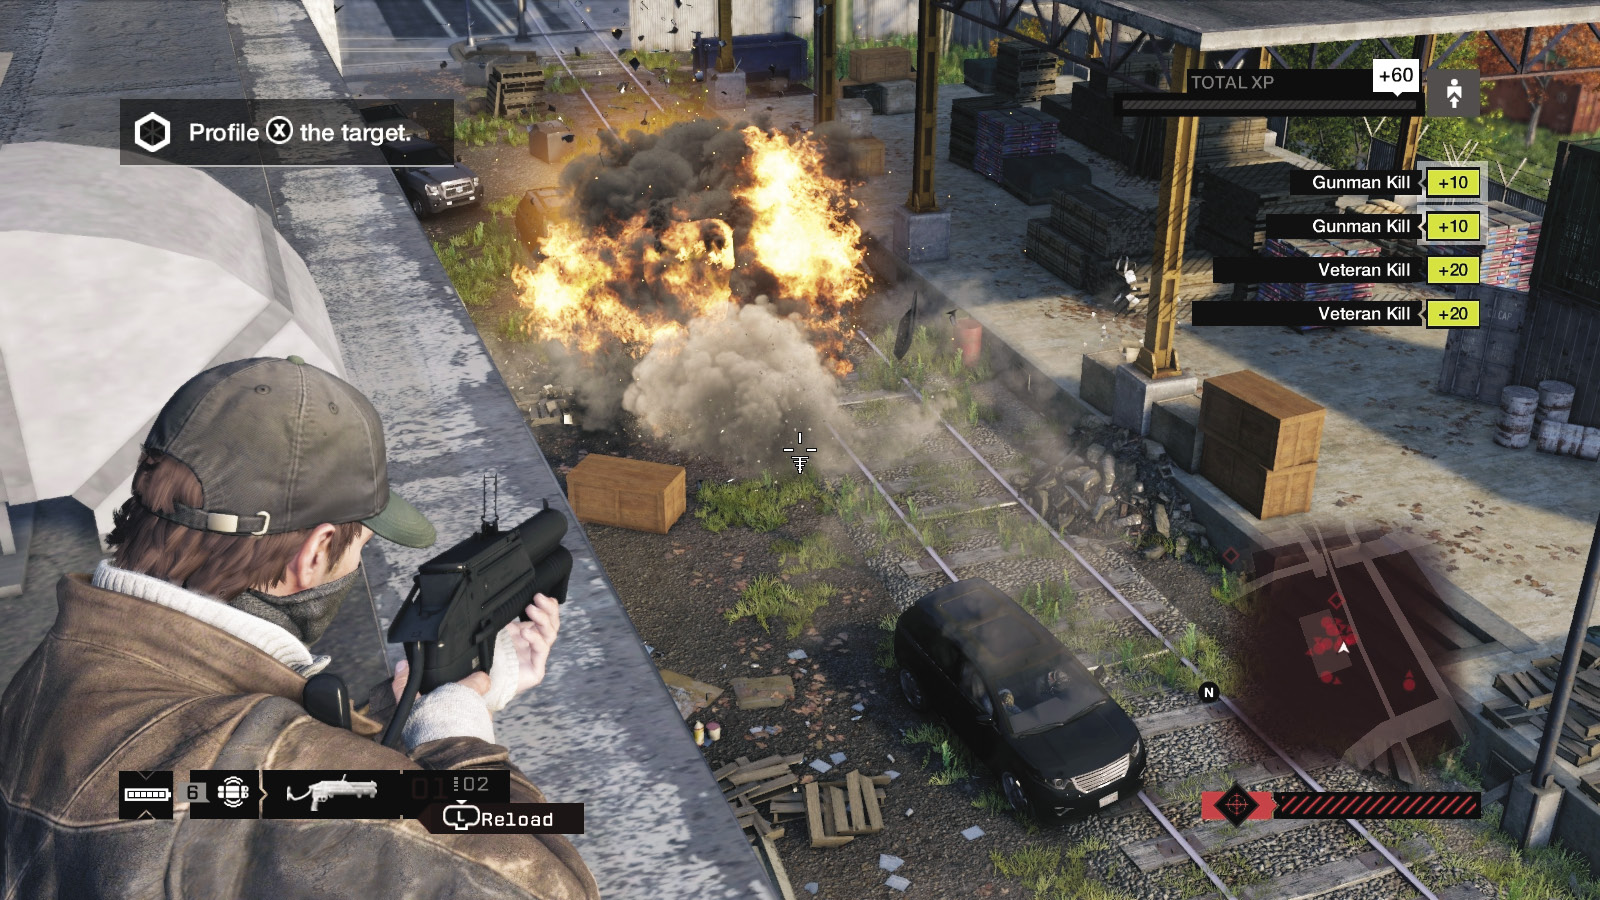
Violence is a good option only after nullifying the target. Try some or all of these tactics, or invent your own:
The blue open container and various crates and pallets under the depot in the south side of the area is a good place to hold up with a rifle or machine gun, waiting for foes to come your way. Just watch you’re not standing next to anything red; it explodes!
The cage of canisters right of the main warehouse entrance lights up really well; all the better if a foe is in front of it!
Don’t forget the propane gas tank near the east forklift. Activate the forklift so foes investigate. Then shoot the tank.
The warehouse interior has several explosive canisters you can shoot or ignite with a grenade.
Drop an IED or grenades at the east entrance or the south warehouse exit, or other thresholds you expect resistance.
There’s a junction box near the west forklift on the workshop wall by a cage of canisters. This creates a spectacular takedown opportunity!
The interior balcony of the warehouse is a great place to lob grenades down from. The roof of the warehouse is, too, which you can reach if you climb atop the workshop roof and then onto the open window in the northwest corner of the warehouse. Snipe from here too.
Snipe from the roof of the warehouse, the container stacks at the yard’s west end, or the rail bridge.
_PORT AUTHORITY
location: Dock Warehouse, East Docks
Enemy: The Club
NUMBER OF TARGETS: 1 (Veteran) / He may flee
NUMBER OF ENEMIES: 9 (Veteran x7, Elite x2)
Shot-Callers x3 (Veterans)
Hidden Camera x1 (elite)
(1 target, 3 shot-callers, 1 Hidden Camera)
Difficulty: ($2,500)
REINFORCEMENTS: two vehicles (Gunmen x2, Veteran x2)
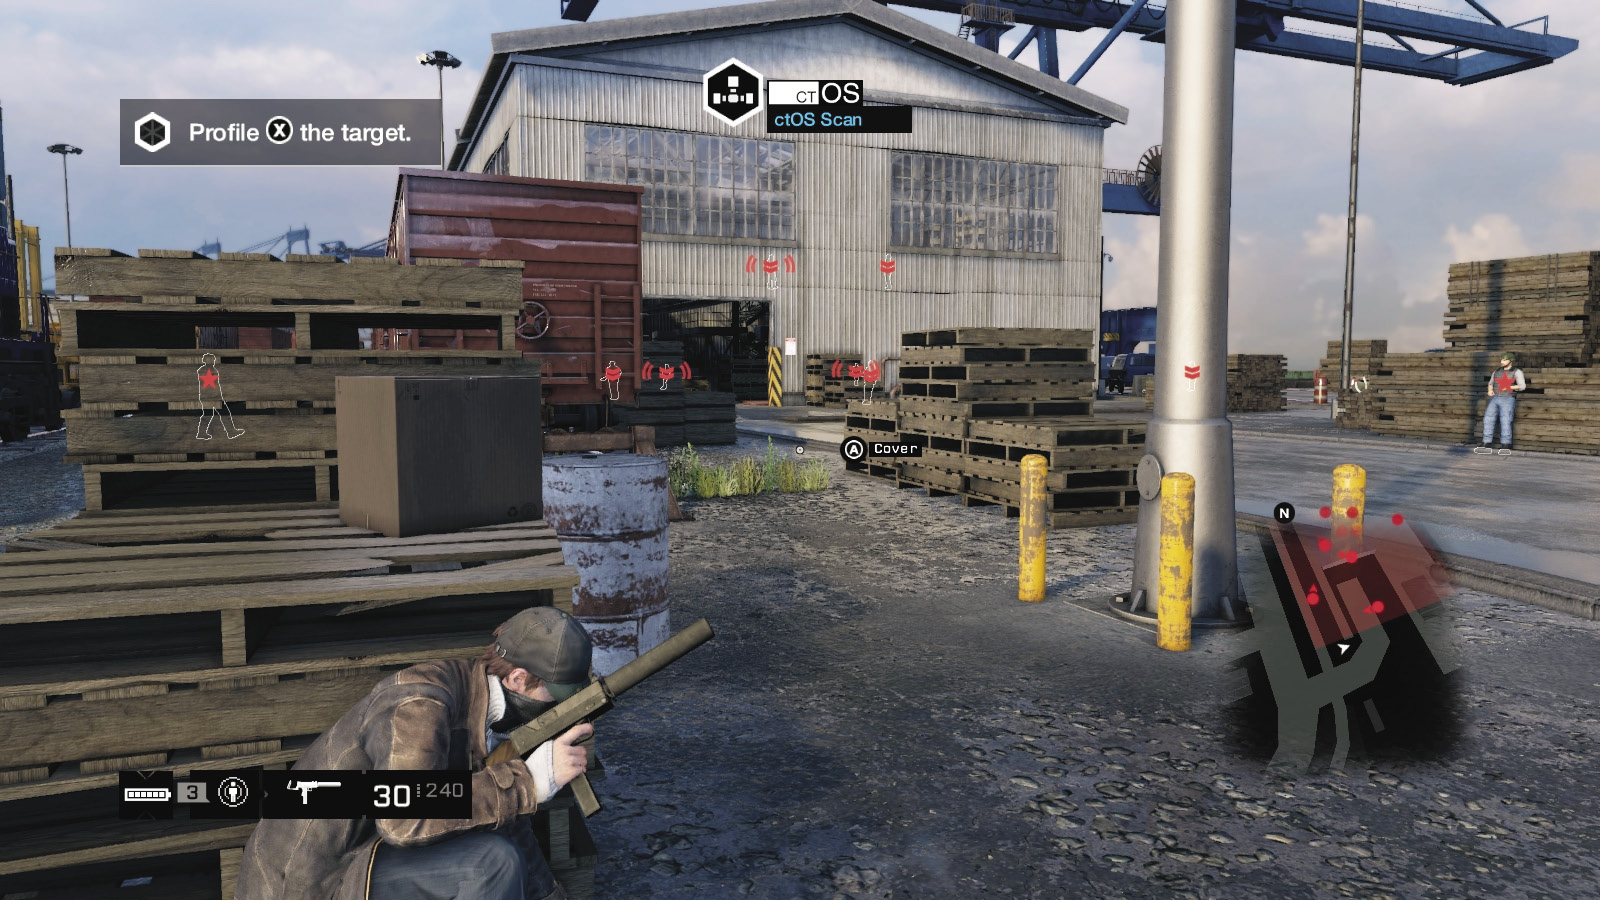
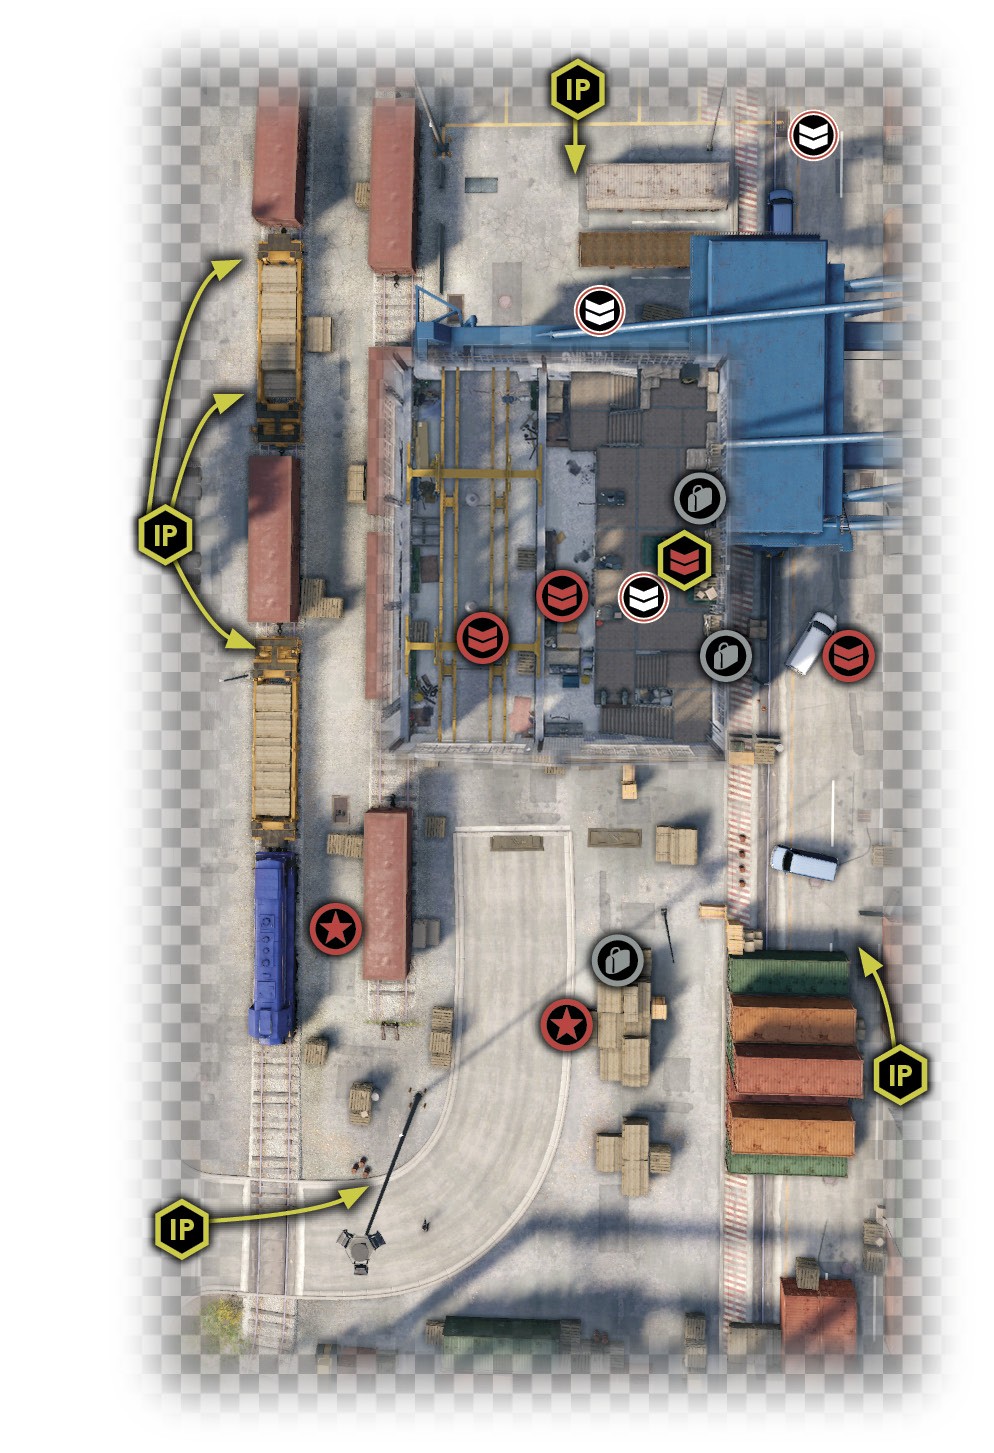
You begin at the parking lot on the left side of the main terminal entrance to the Illinois Port Authority. Drive a truck into the port, toward the large warehouse surrounded by a stopped cargo train, masses of containers, and a crane track to the eastern shore.
Insertion Points
The area is completely open and flat, but the containers provide protection and obscure the enemies roaming this area. Expect two sets of foes: around five or six outside, surrounding the warehouse, and your target inside on an upper balcony, with three of his closest goons.
Southeast Locomotive and South Curved Road
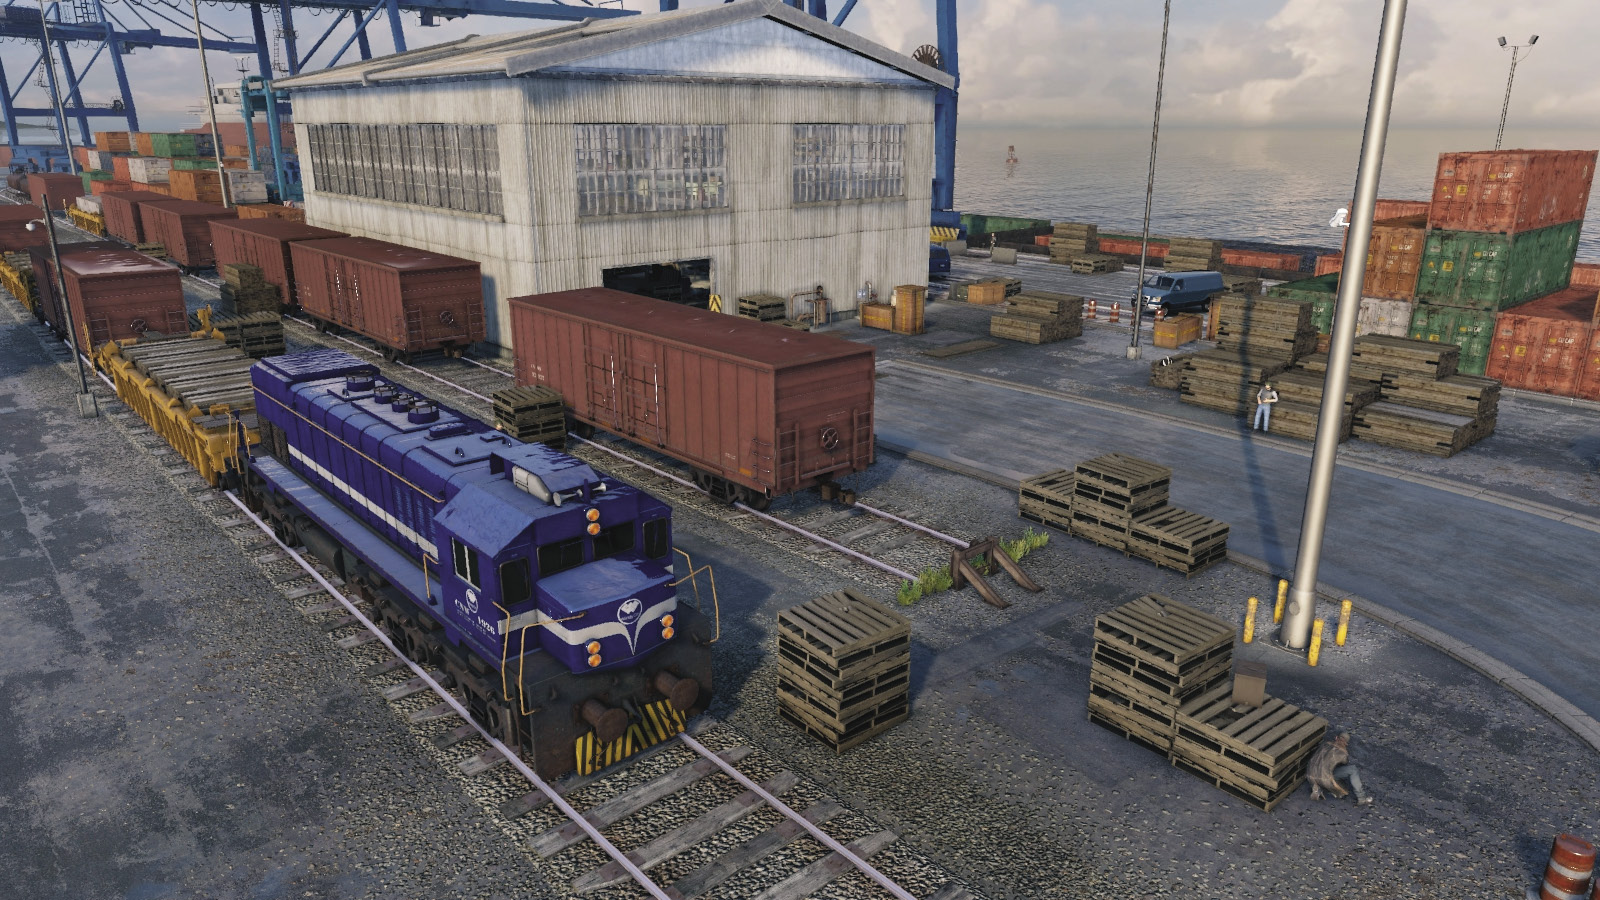
This is the first area you’ll see as you pull up, and this is where reinforcements usually disembark. Make full use of the cover here, as there are foes between the locomotive carriages, near the two protectors, and you’re visible from inside the warehouse. Creep around the perimeter rather than dashing across the road, and use the pipe you can trigger to burst to attract foes if you wish.
Train Tracks (West)
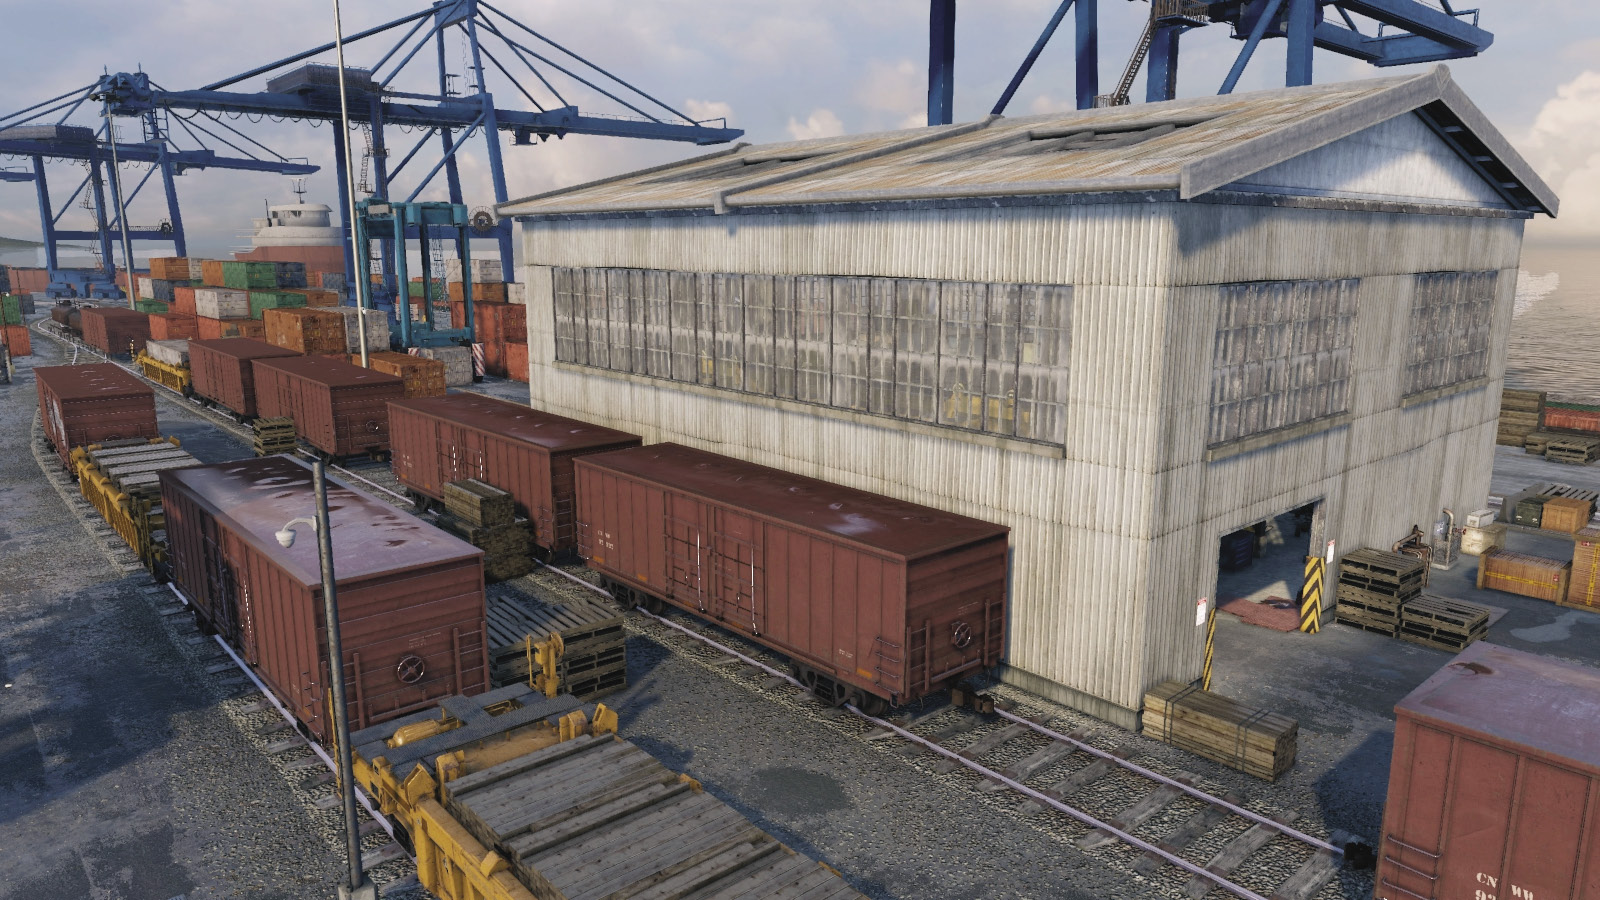
This is arguably the best place to start your infiltration, as you can quickly hide between the carriages and containers and bring down the patrolling foes easily and without being seen. Make this the start of your clandestine maneuvers, opting to head north or south afterward. This is also good when engaging in a firefight (as the field of vision is narrow), though you need to watch for fire from behind you.
Crane Tracks (East)
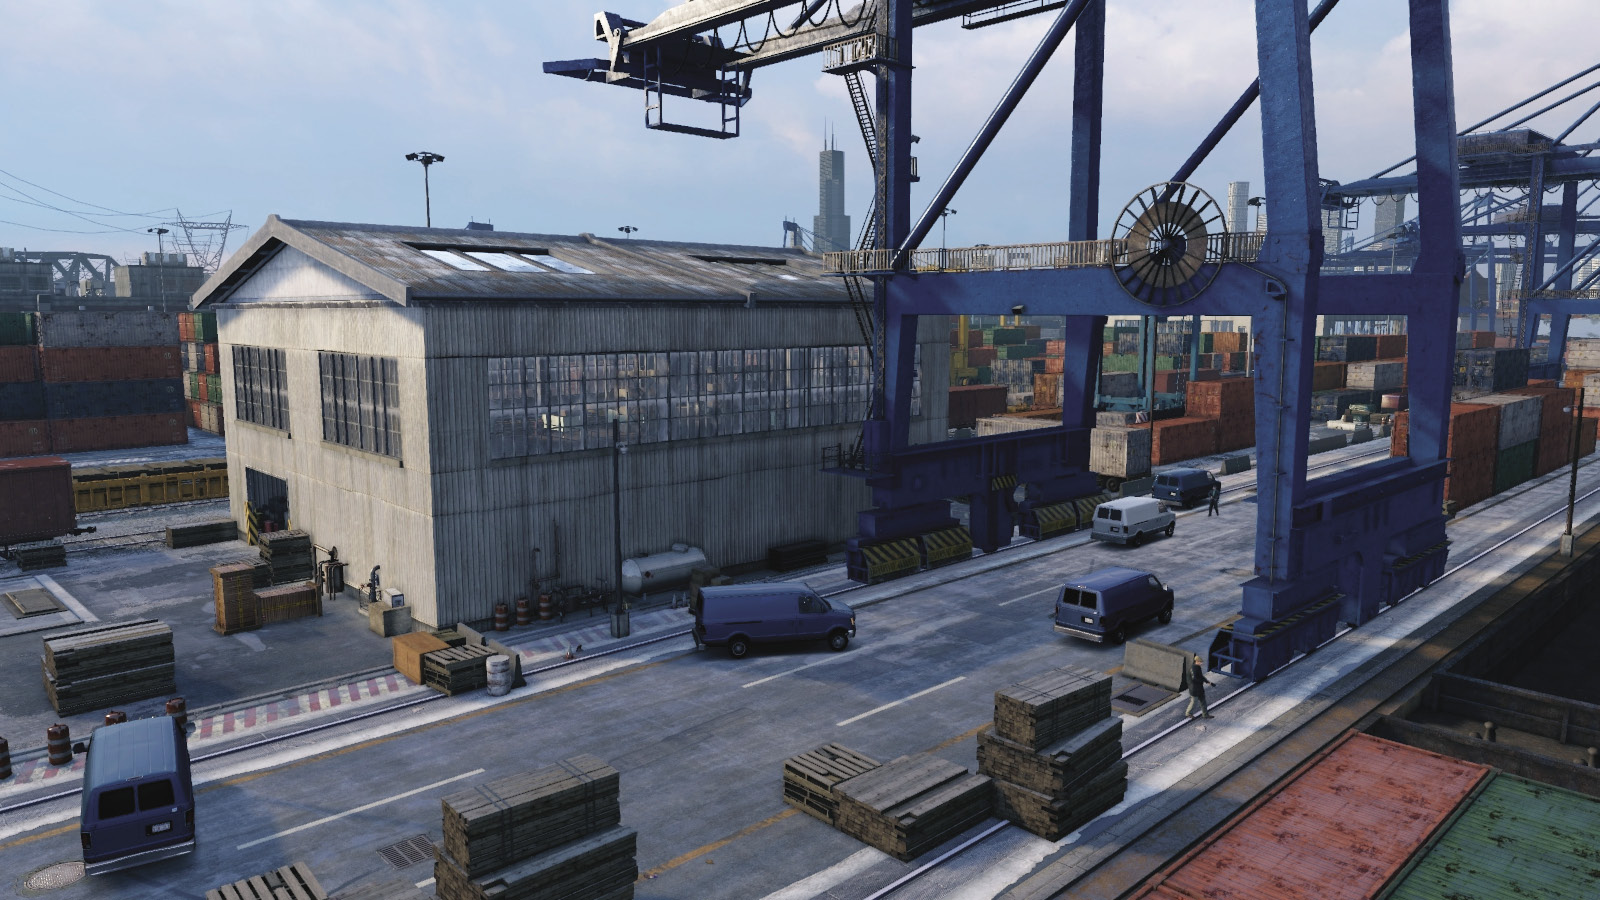
Don’t overlook the two guards who are on the prowl here. Knock them out using vault transformers or your pummeling. There are two vans parked here, too, and a variety of other debris; this is a good route to reach the northern warehouse opening, removing foes along the way. Otherwise, it is rarely used.
Stacking Crane Yard (North)
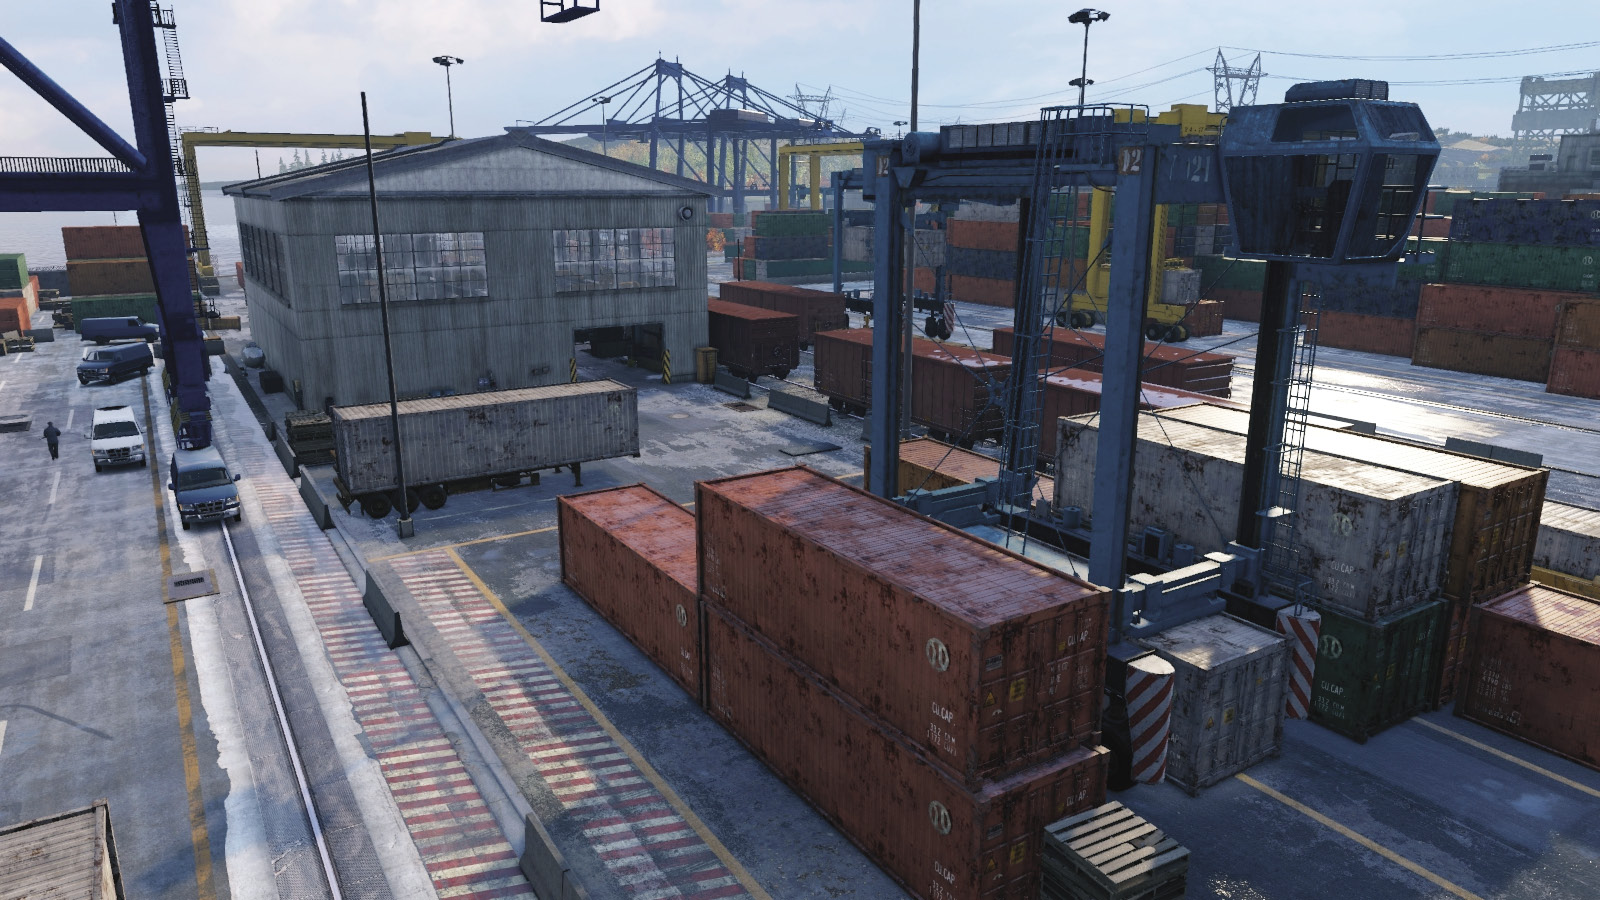
You should be heading here to check out the warehouse access, which involves watching the patrolling foes inside and tackling them one at a time from either end. There’s a foe here to watch for, too, but he usually continues to just lean against a concrete barrier, close to the entrance. There are pipes to blow here, just like the opposite (south) side. Farther north is a stacking crane, which the target runs near when escaping, so it’s worth learning this area in case of a pursuit.
Warehouse (Interior)
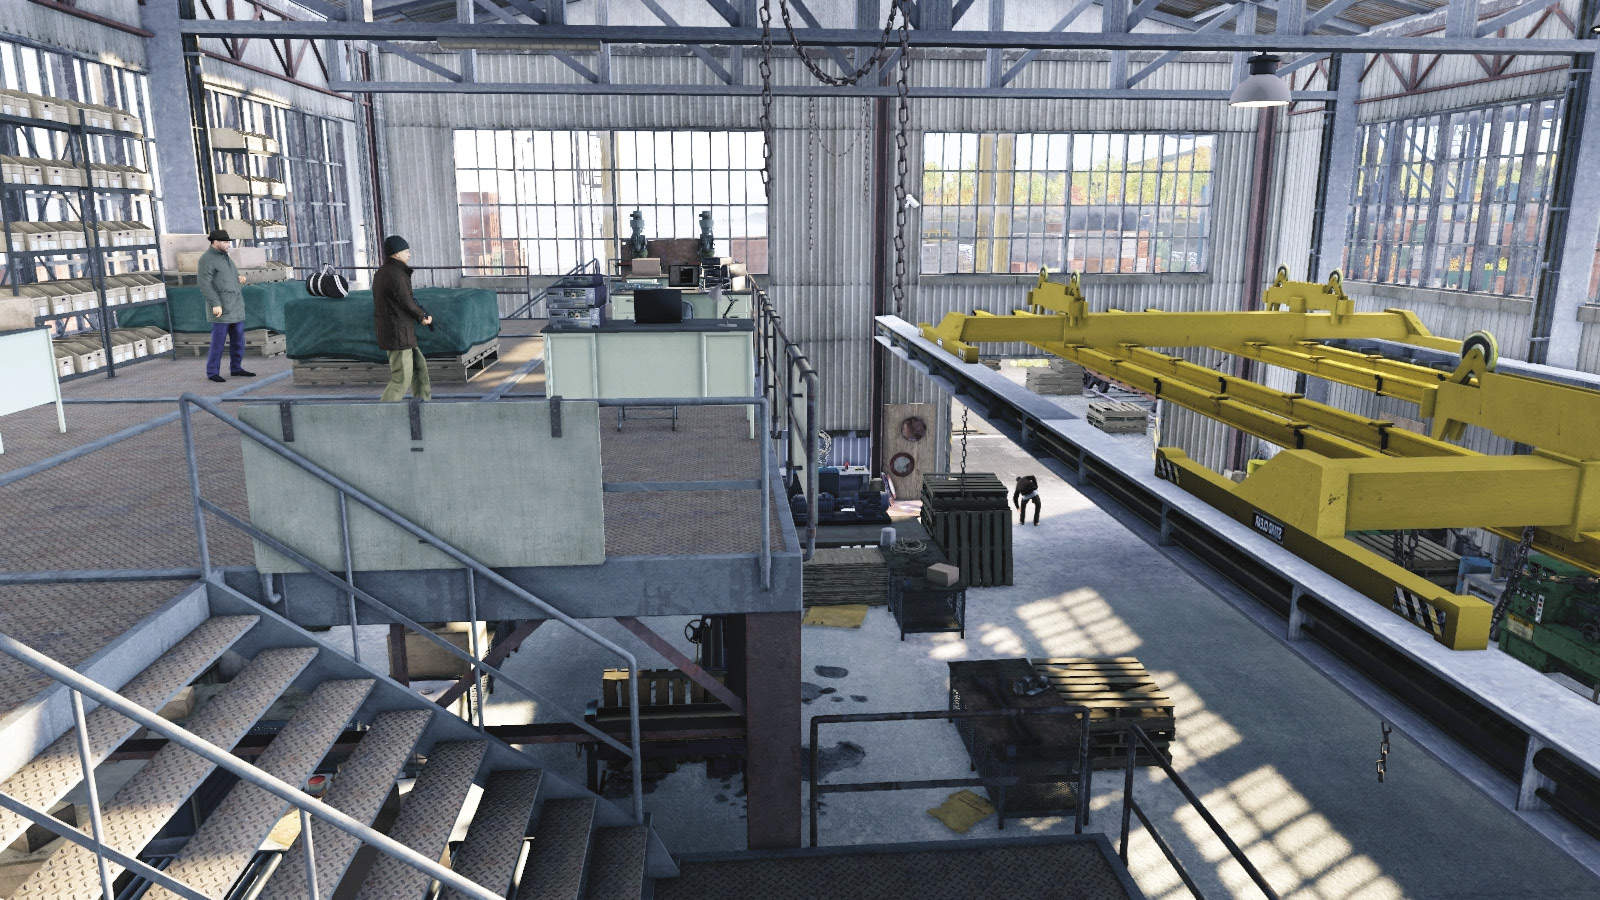
The interior sports a mass of small cover spots, and stairs on each side lead to a balcony where your target is standing. Four foes mean this reasonably enclosed space is difficult to sneak through, unless you remove your foes one at a time. Be sure to use the camera on the patrolling guard to hack the other cameras in this area, allowing you to mark all enemies. The target also bolts from here if you let him run. He’s close to a soda machine, which you can attract him to if you’re still employing stealth when you reach here.
Progression Plans
With this wide-open space and a foe in better cover than you’re used to, assaulting the warehouse from one of the two entrances is the only viable option, if you’re after a stealth takedown plan. But bloodshed can occur too.
 Aggressive // Stealth: Triumphing over Adversity
 Difficulty:
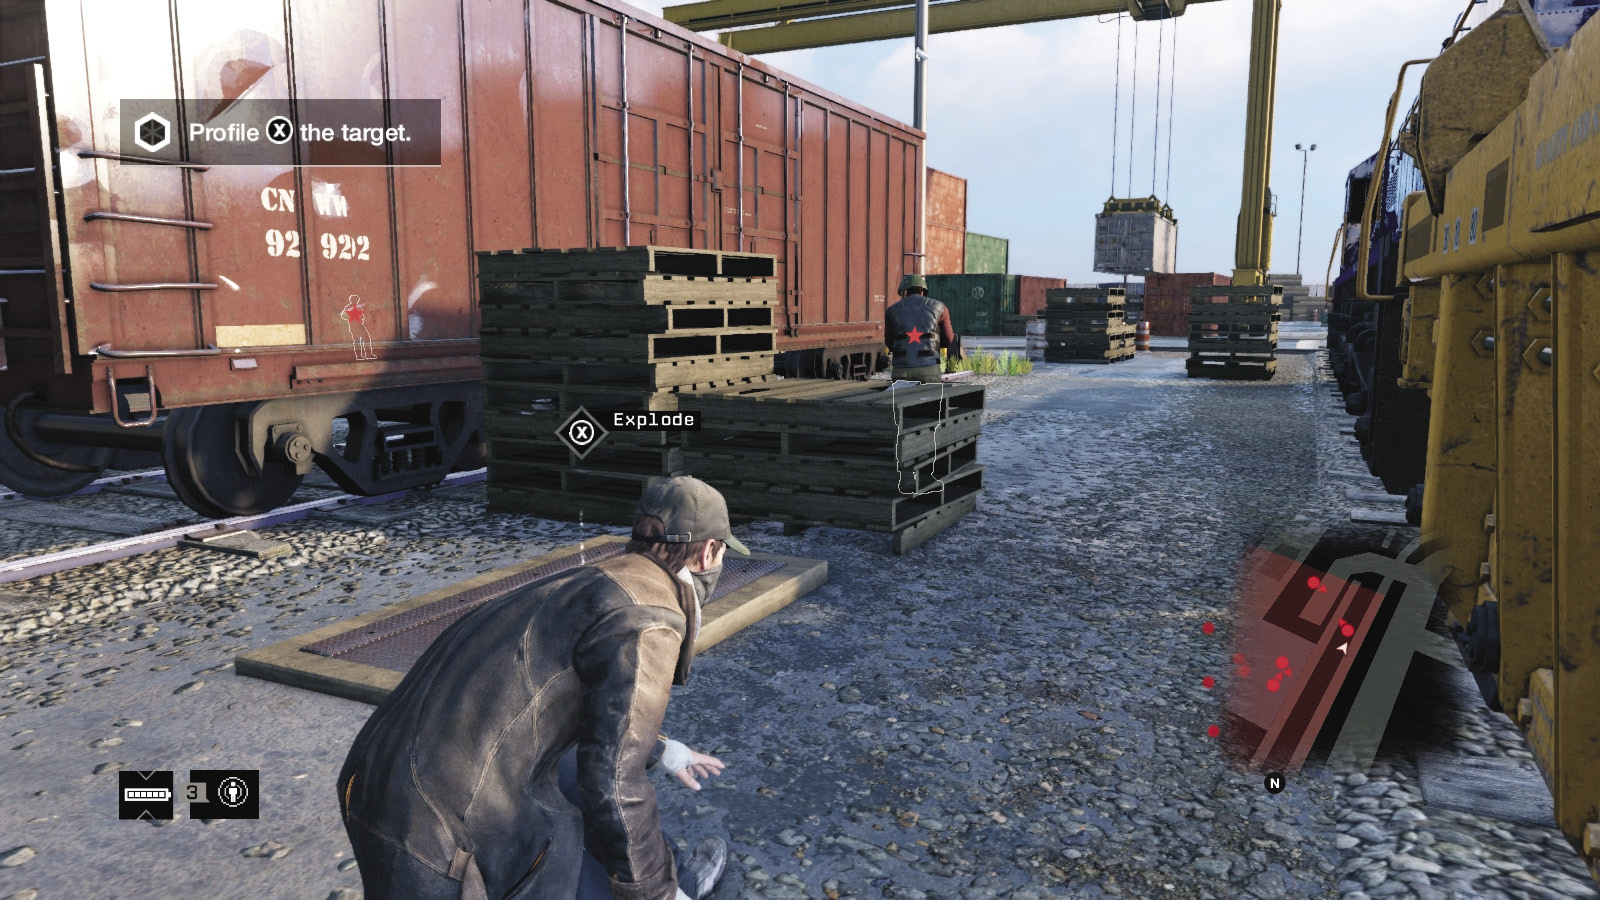
Head out of your vehicle and search out the cameras. Make a sweep of the entire exterior and mark the foes outside. Then leap over the train carriage, moving stealthily behind your first foe and taking him down. If you’re at the southern end of the tracks, there’s a transformer you can detonate, but this alerts foes and changes their patrol pattern.
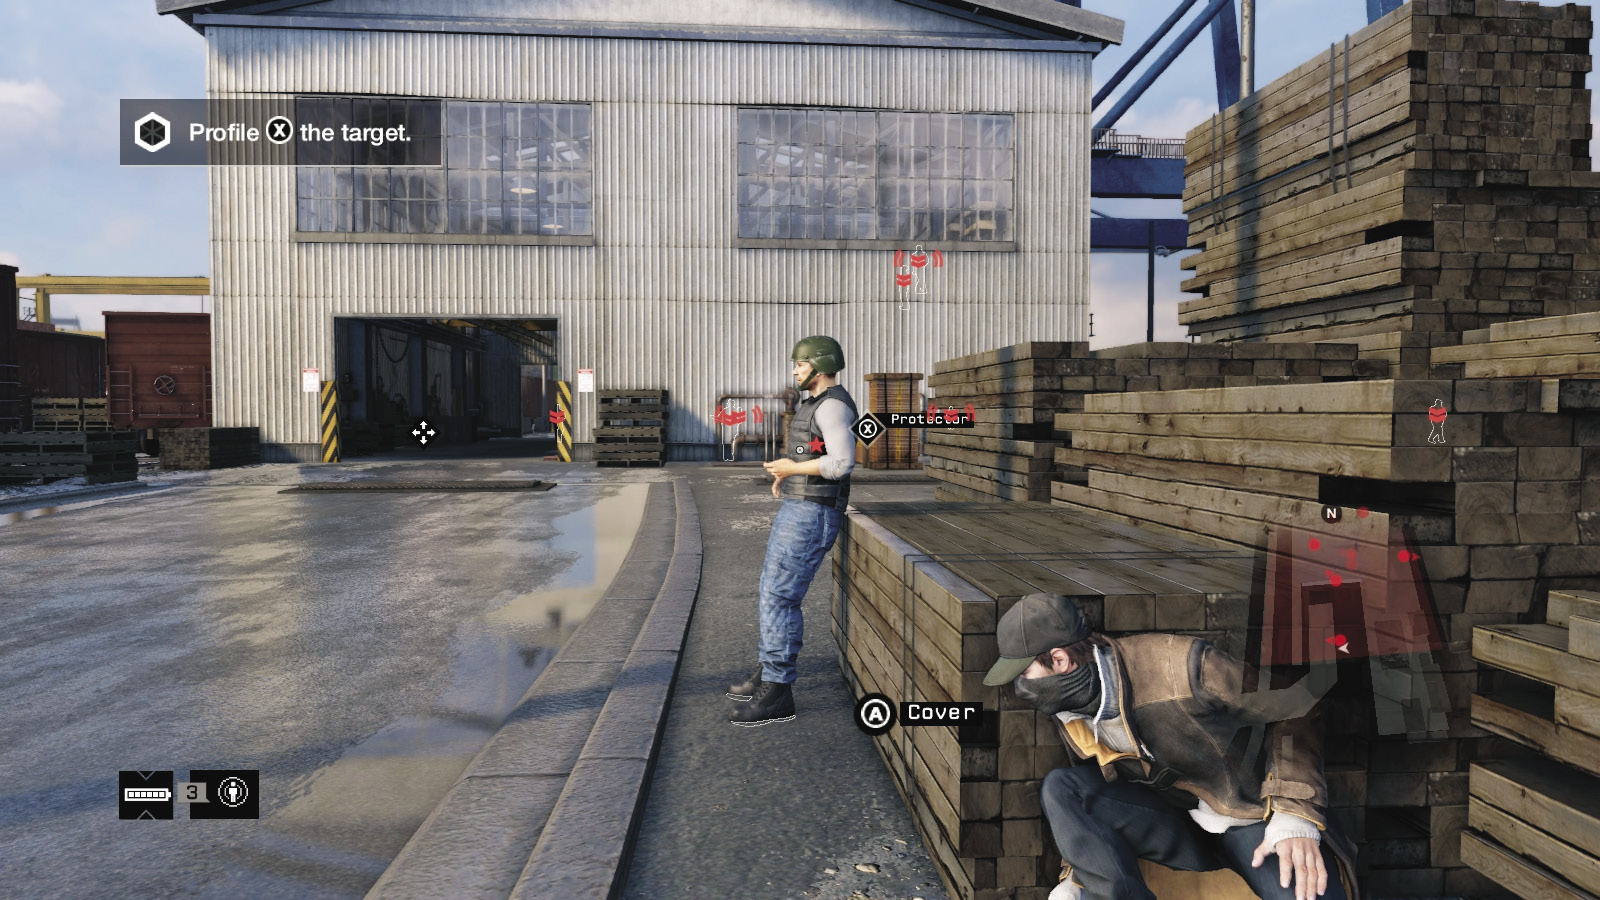
Creep around the southern exterior of the curved road so the foe in this area doesn’t see you. Use the wood stacks on the east side as cover and pounce on him. This plan ensures all exterior foes are defeated before you enter the warehouse, but you can try entering from the south right now (the second plan, below). Otherwise, creep northeast, toward the water.
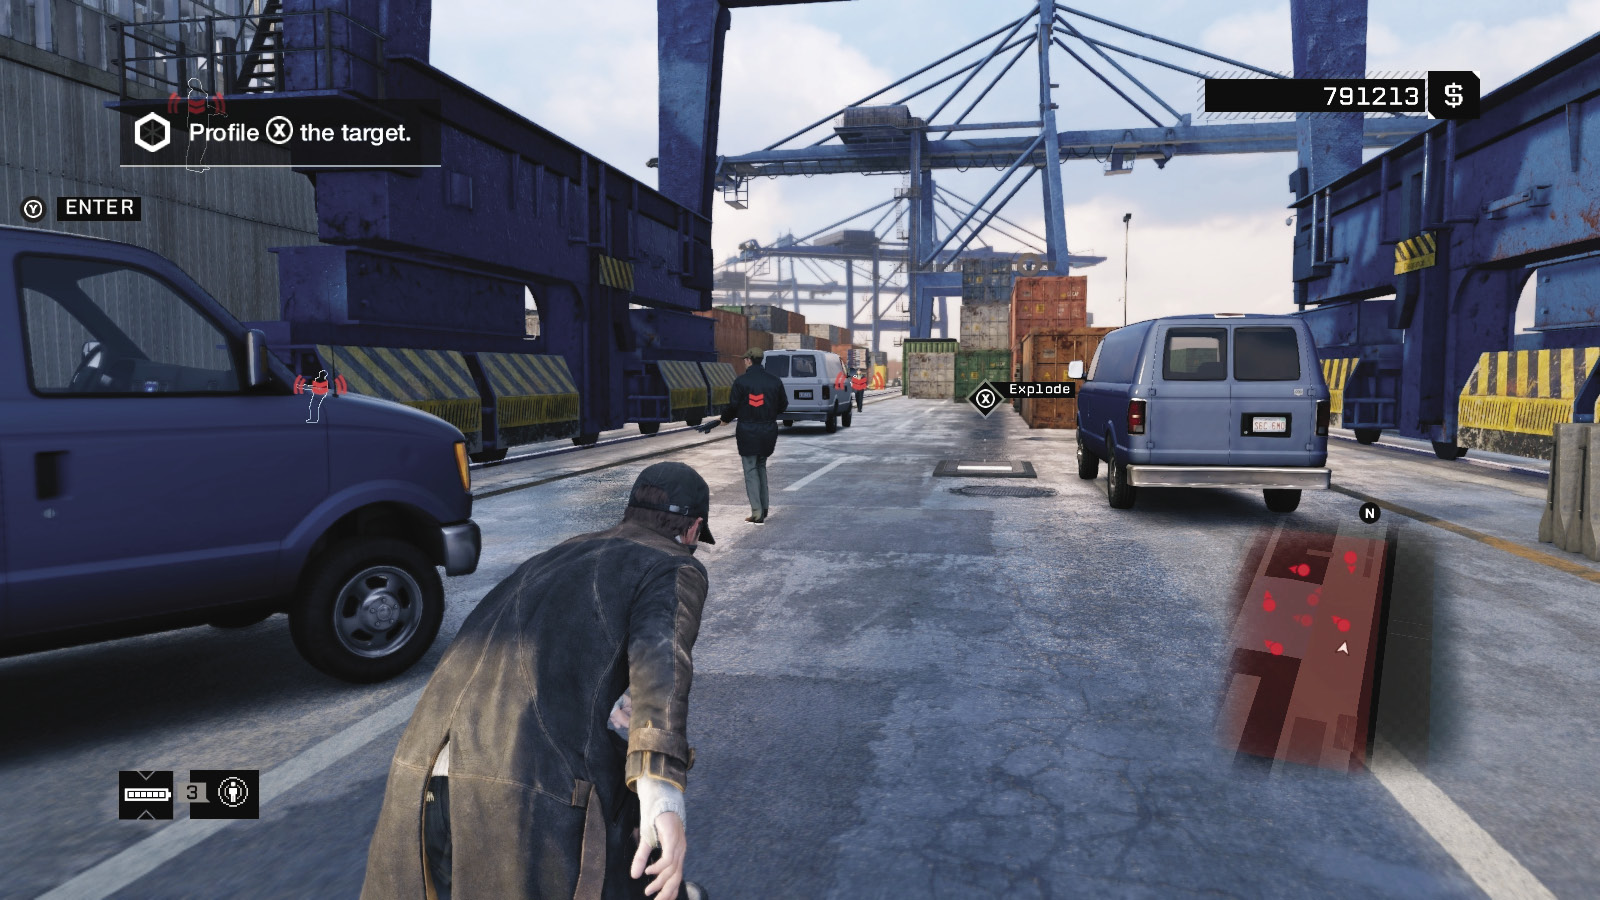
There are massive yard cranes, three vans, and two explosive vaults to help remove the enemy here, though silent baton-bludgeoning is quieter. Tackle the first foe as he wanders to the edge of the pier. Use the vans as cover and creep to the second foe with his back to you. Bring him down near a third vault transformer.
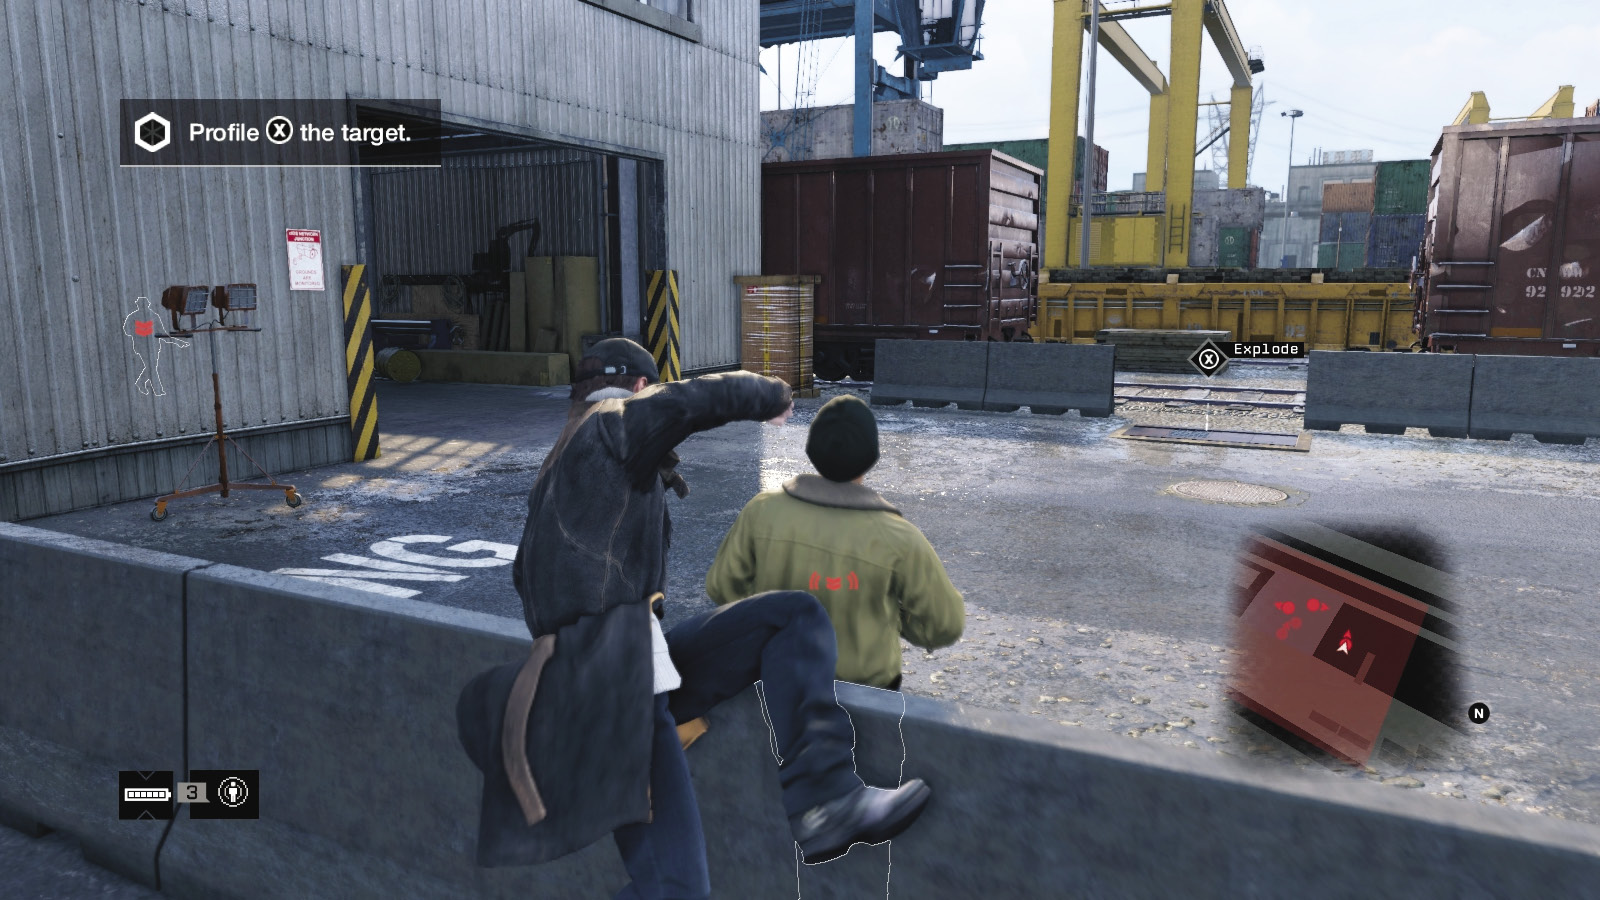
Hop over the concrete barrier to the gravel area north of the warehouse. There’s a foe here, but don’t approach him until any enemies patrolling inside the warehouse have turned away. There’s a pipe to burst here, if you need to attract attention. Then move to the corner of the warehouse door and peer in, assuming the two foes on the ground aren’t looking your way.
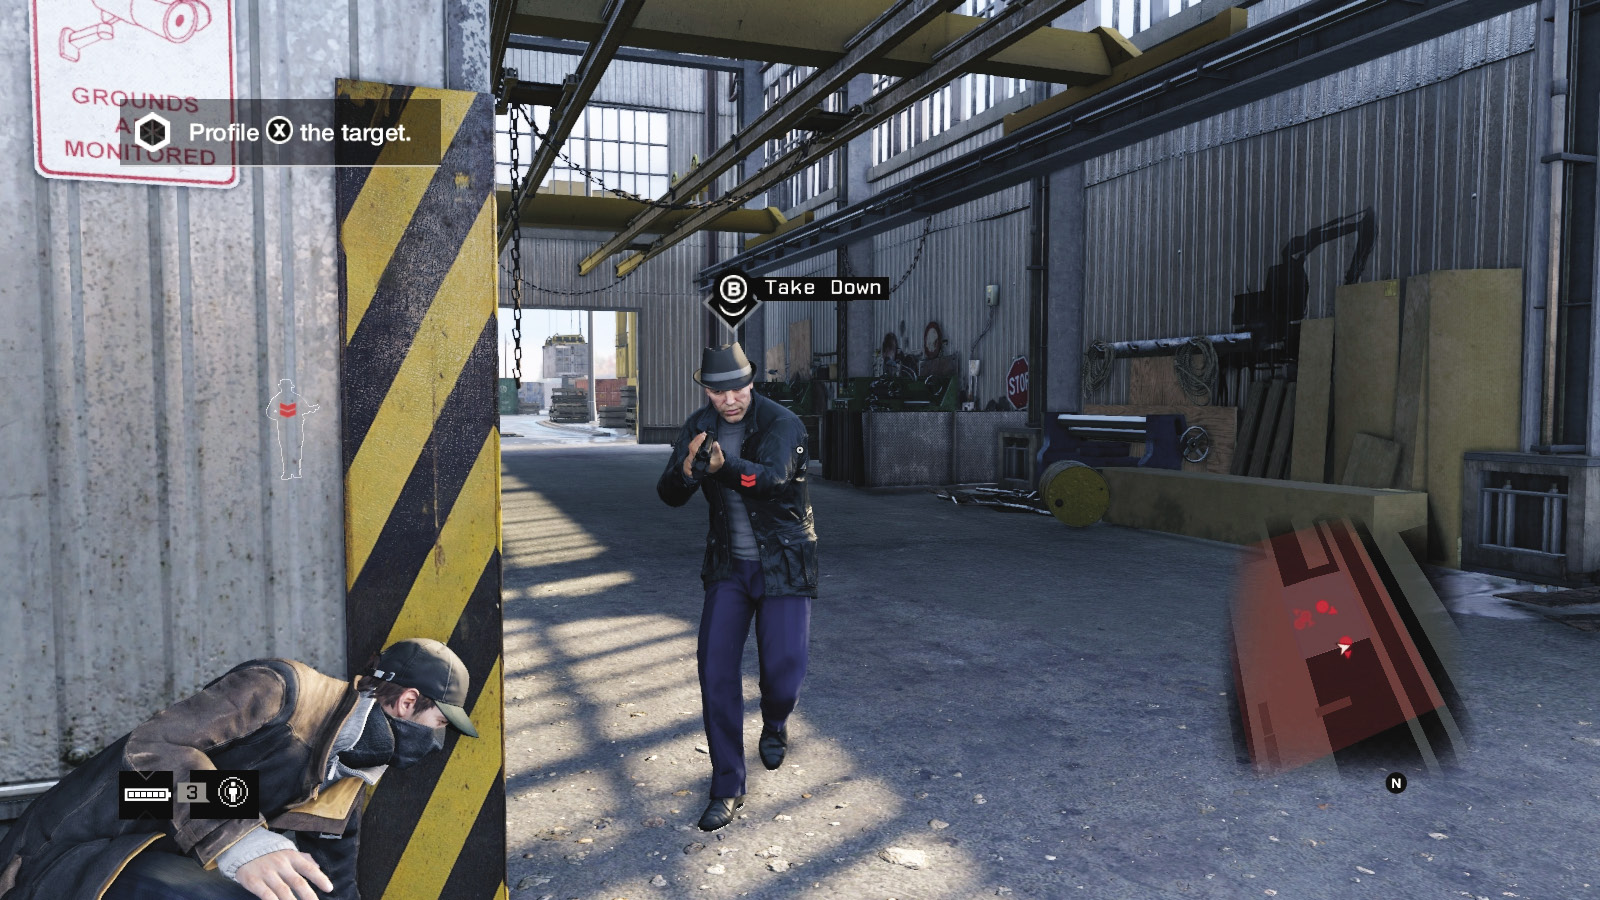
Access the camera on the foe patrolling the ground, and pan up to either camera on the interior wall above the doorways. Use either of them to mark the remaining three foes (including the target). Carefully calculate when to lunge in and bring down the first foe on the ground: Do it when no others are looking, then sidestep into cover behind the warehouse machinery.
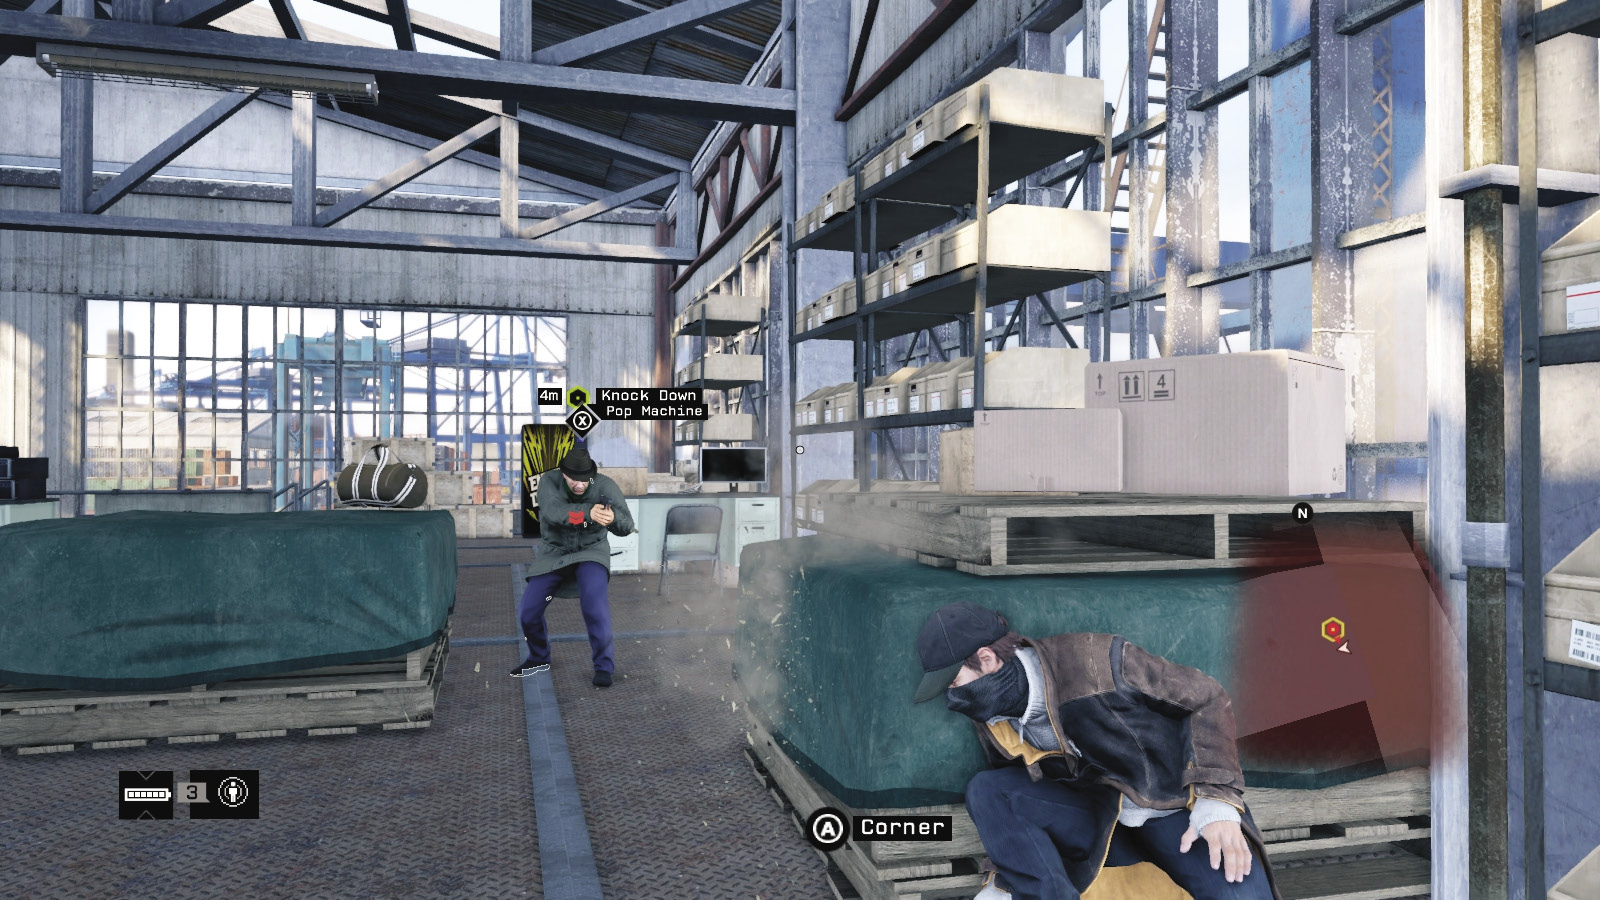
The three remaining foes freak out and start searching for you. Wait and grab one nearby, then the other so the target (up on the balcony) is the only foe left. Then scale either set of stairs and tackle him, finishing this without bloodshed or reinforcements being called.
 Aggressive // Stealth: Leaving out the Majority
 Difficulty:
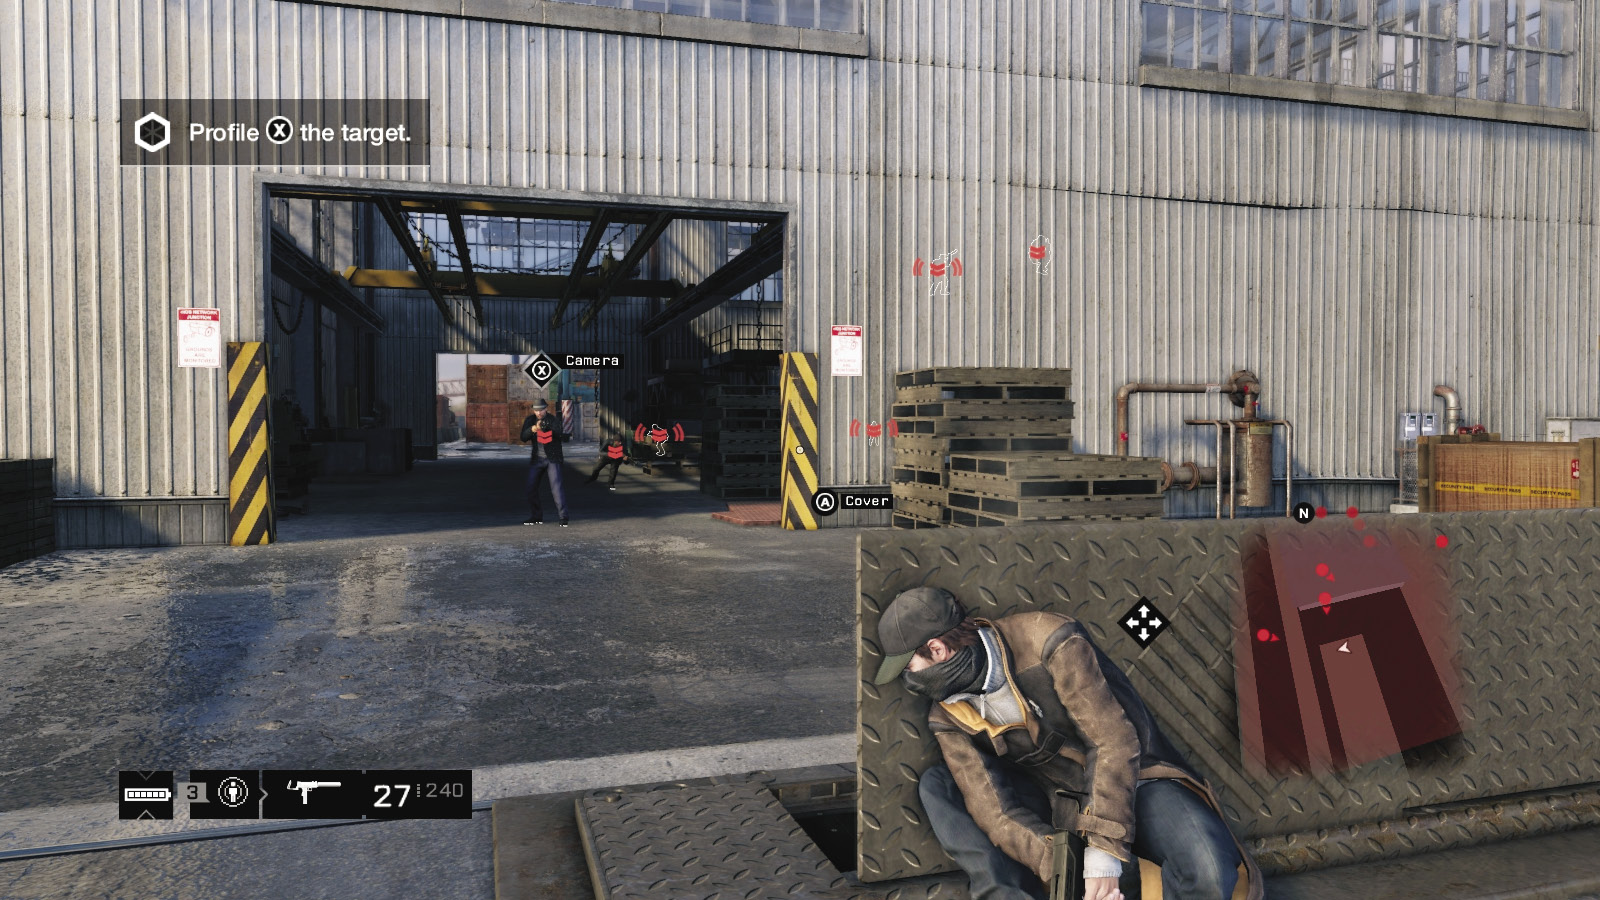
Instead of concerning yourself with all the unnecessary exterior guards, you can simply approach either warehouse door from the south; you’ll need to remove a single foe and raise the protectors. From the north, you’ll need to remove a single foe. Then follow the advice listed for the latter parts of “Triumphing over Adversity” (previously); it isn’t possible to remove the target without taking out a few of his henchmen. After downing the target, switch to ranged weaponry or escape.
 Aggressive // Violence: Carnage at the Port Authority
Difficulty: 
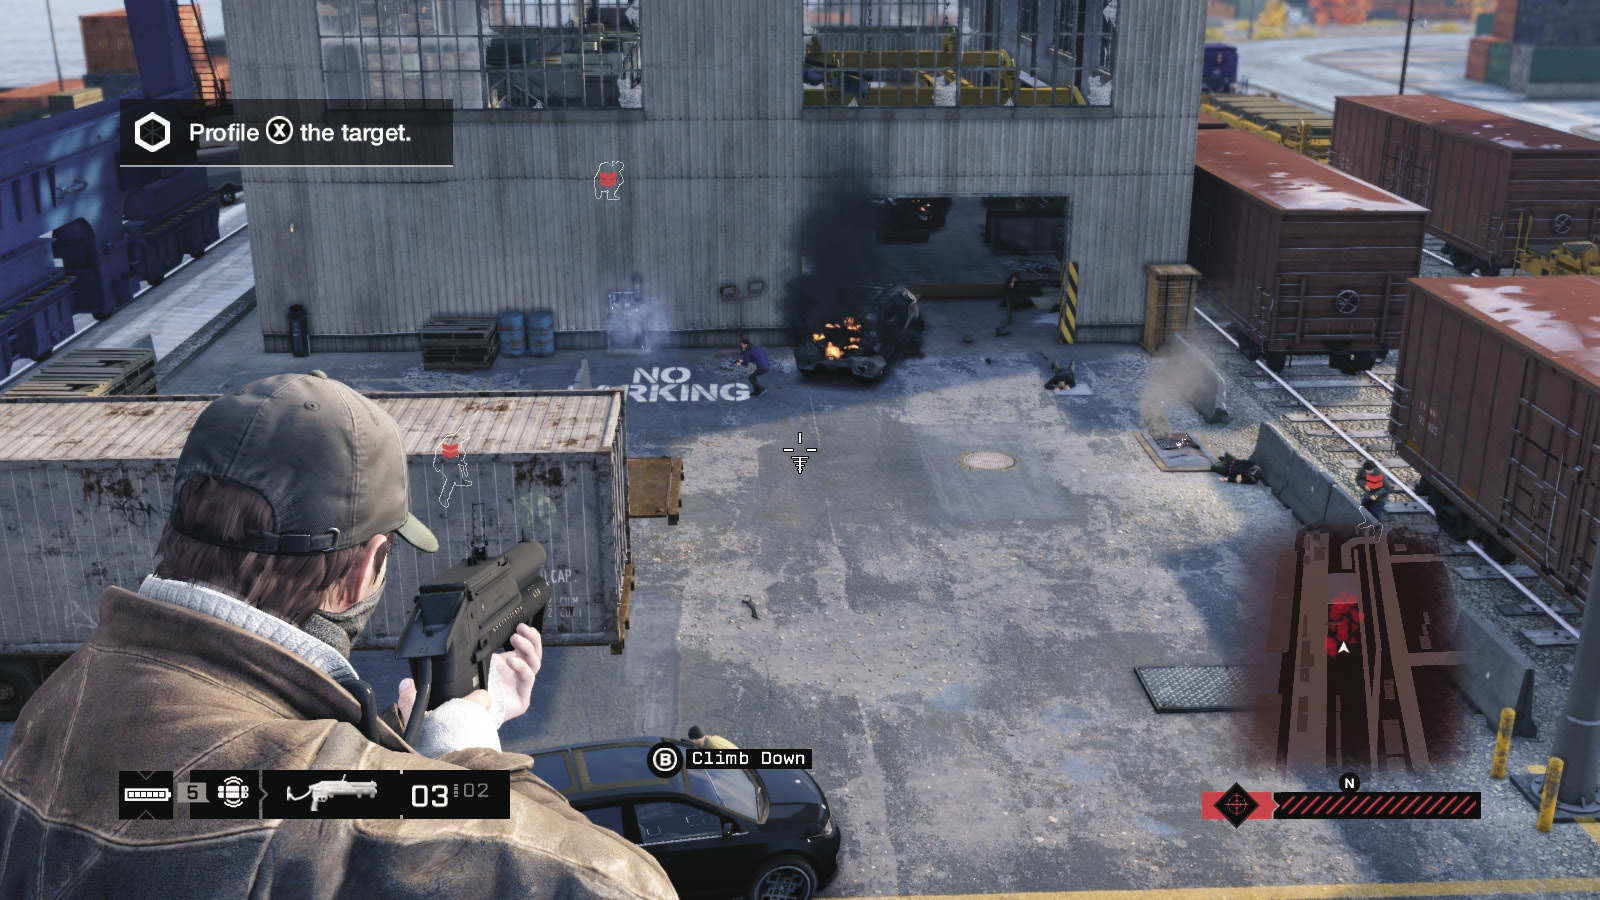
Using ranged weapons can keep you out of danger, if you fire from height, from a distance, and through the upper warehouse windows to kill the target’s henchmen so he freaks out and tries to run.
The usual tactics are recommended when producing a shotgun or rifle and tagging foes as you go from cover to cover; just watch for enemy vehicles coming in near the southwest curved road. Plant an IED there if you wish.
Flush out foes inside the warehouse by stepping to the doorway and lobbing in grenades. Basically, almost every container stack surrounding the warehouse can be climbed on and sniped from. But there are two locations where it’s more tactical to move to:
Eastside Stack: The green and red containers east of the entry road, under the massive yellow container crane, are a good place to shoot from; you can fire into the warehouse where the target is (but don’t kill him!) as well as the grounds, and you have a commanding view of reinforcements.
Westside Crane: It isn’t quite as maneuverable, but you can summon and stand on the stacking crane on the west side, affording great views into the warehouse and the secondary yard. As this is the route the fleeing target takes, you can easily drop in and catch him before he gets away.
 Driving // Offensive: Driving a Vehicle of Antiquity
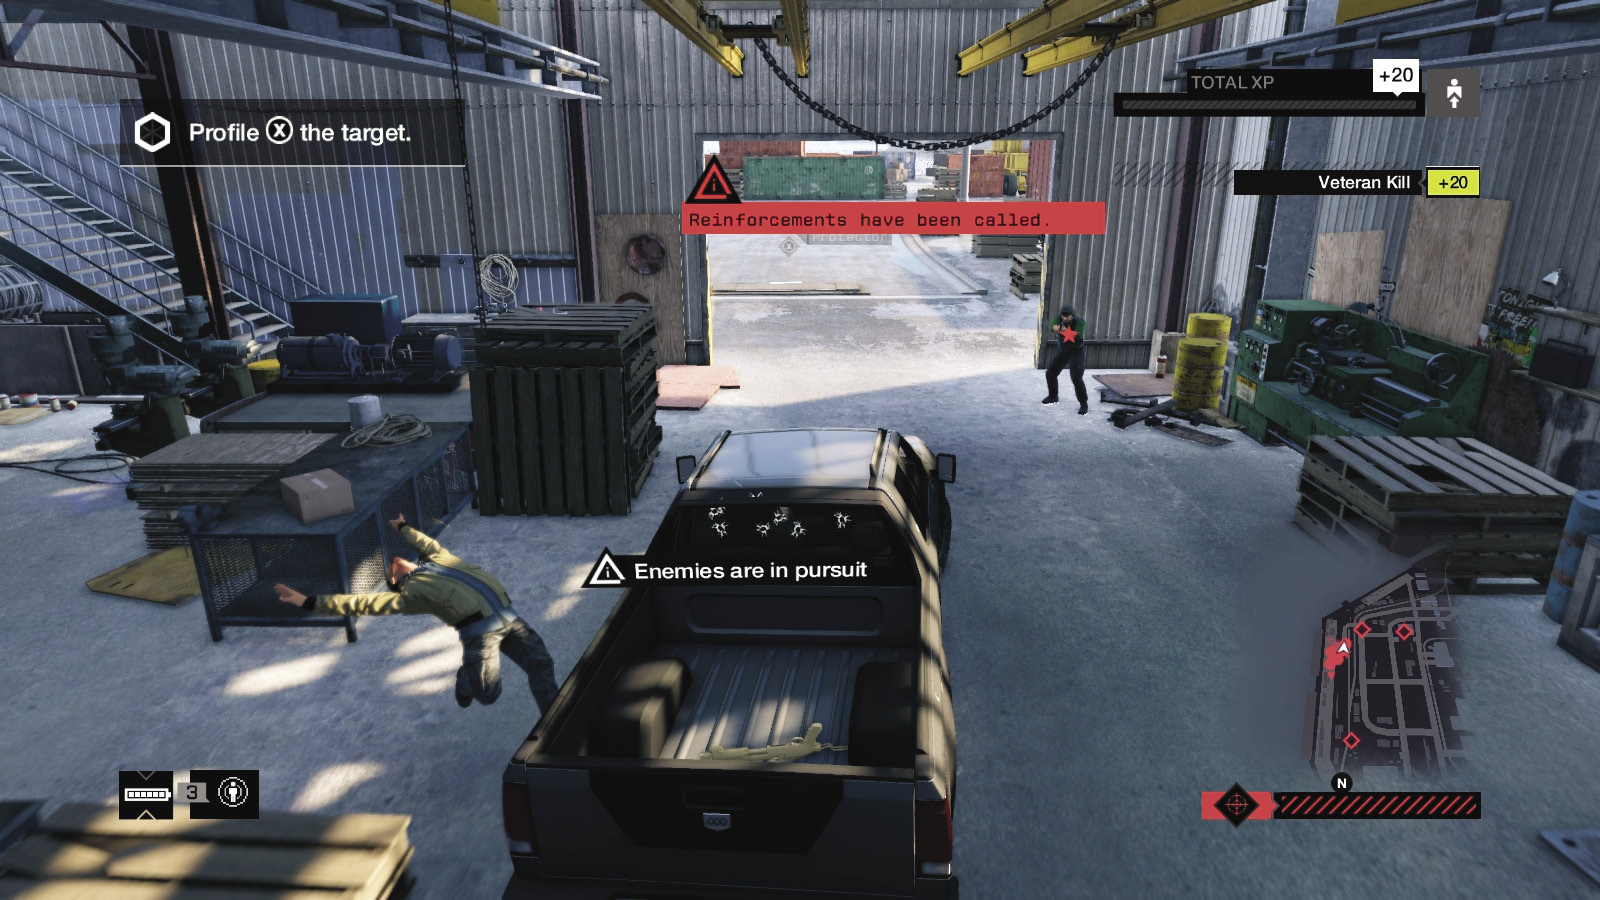
Difficulty: 
There are two ways to bring vehicles into the mission:
You can set up a very elaborate plan by removing exterior guards, driving a van to block one warehouse entrance, having a second block the other, and standing atop the van and lobbing in grenades, trapping the foes inside.
You can drive into the warehouse, hopefully running over as many foes as you can. Hop out, using the van as cover, and then go for the target.
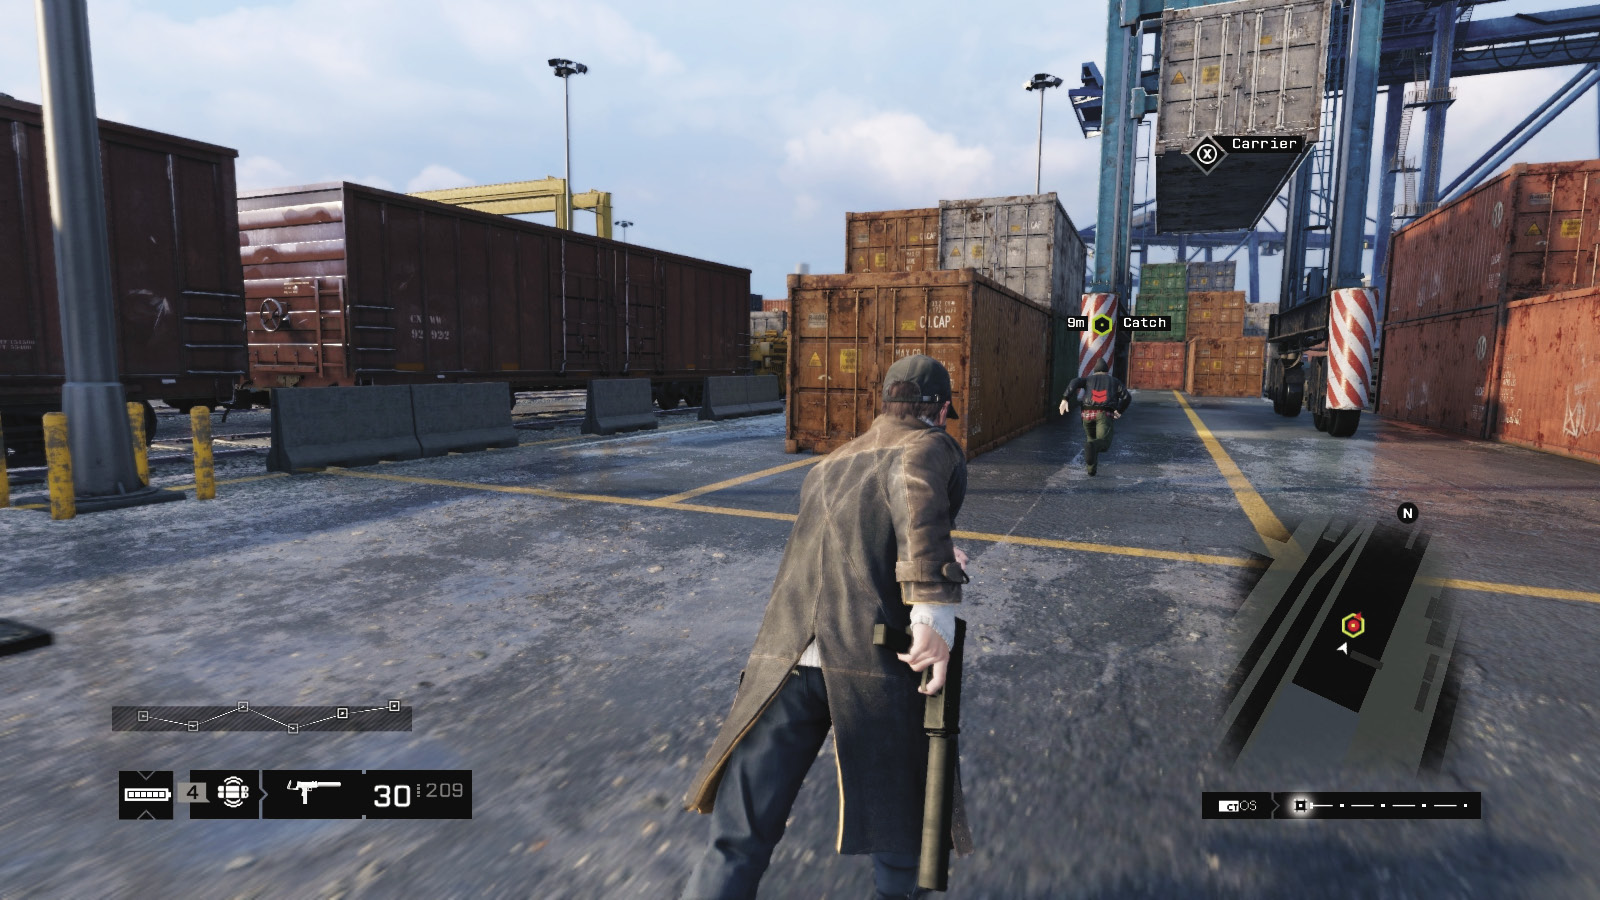
Or, you can employ any previous tactic until the target tries to rush out of the warehouse and escape to the north. Don’t explode any transformers as you chase him down; you can kill him and fail the mission. He runs past a carrier and a forklift, to a vehicle. Enter the other vehicle (which has rather boatlike handling, unfortunately) and give chase. There are blockers at the port authority exit and a suspension bridge to raise, stopping the foe in his tracks.