
Watch Dogs Guide MAIN MISSIONS MAIN MISSIONS /// Act II
_STARE INTO THE ABYSS
OBJECTIVES
|
 Hack the ctOS box to find Crispin
 Eliminate Crispin
 Find a vehicle and pursue Crispin
 Hack Crispin’s phone to obtain data
 Kill all of Crispin’s backup or escape
 Go to the private lounge, Infinite 92
 Follow the host
 Leave Infinite 92
LOCATIONS // MAP
Location / Mad Mile // Car Showroom
11.1 GUY HURTS GIRLS. MAKE HIM PAY.
 Location / Mad Mile // Car Showroom
|
|
 Hack the ctOS box to find Crispin
 Eliminate Crispin
 Infiltration
 Data Hack
 Lethal Force Likely
 Melee Force Likely
Difficulty: 
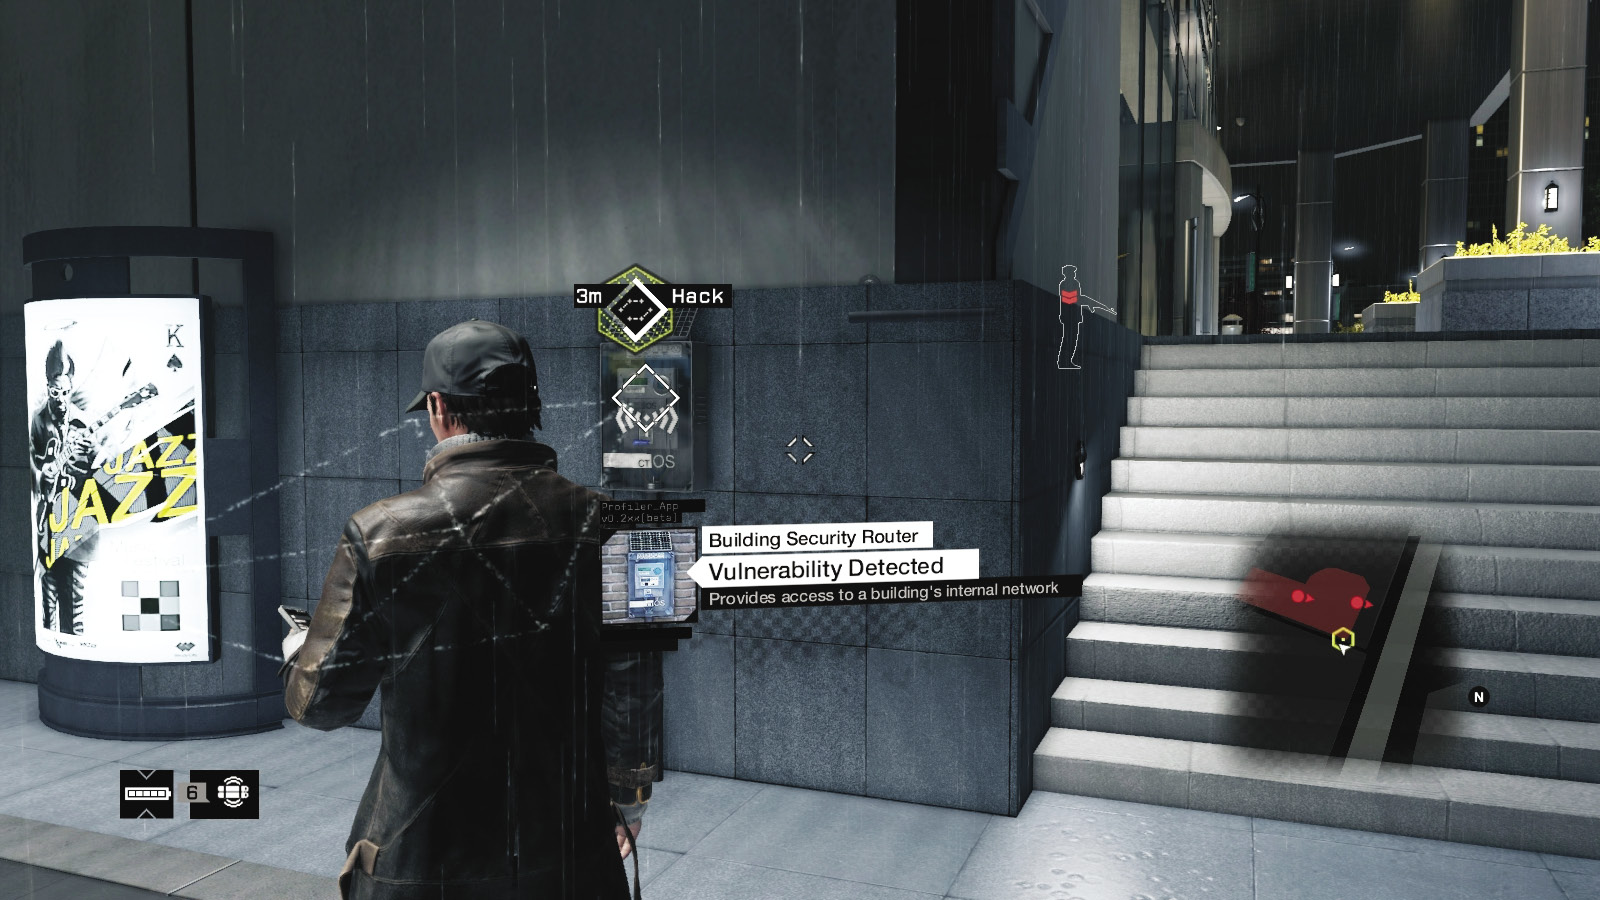
After placating Yolanda, you receive a call from Clara that mentions the whereabouts of Crispin, who’s a real nasty piece of work. Head over to the northern part of Mad Mile, and secure more information regarding the car showroom. Run to the server box on the structure’s northeast corner and hack the hotspot.
Solution: Hotspot 1
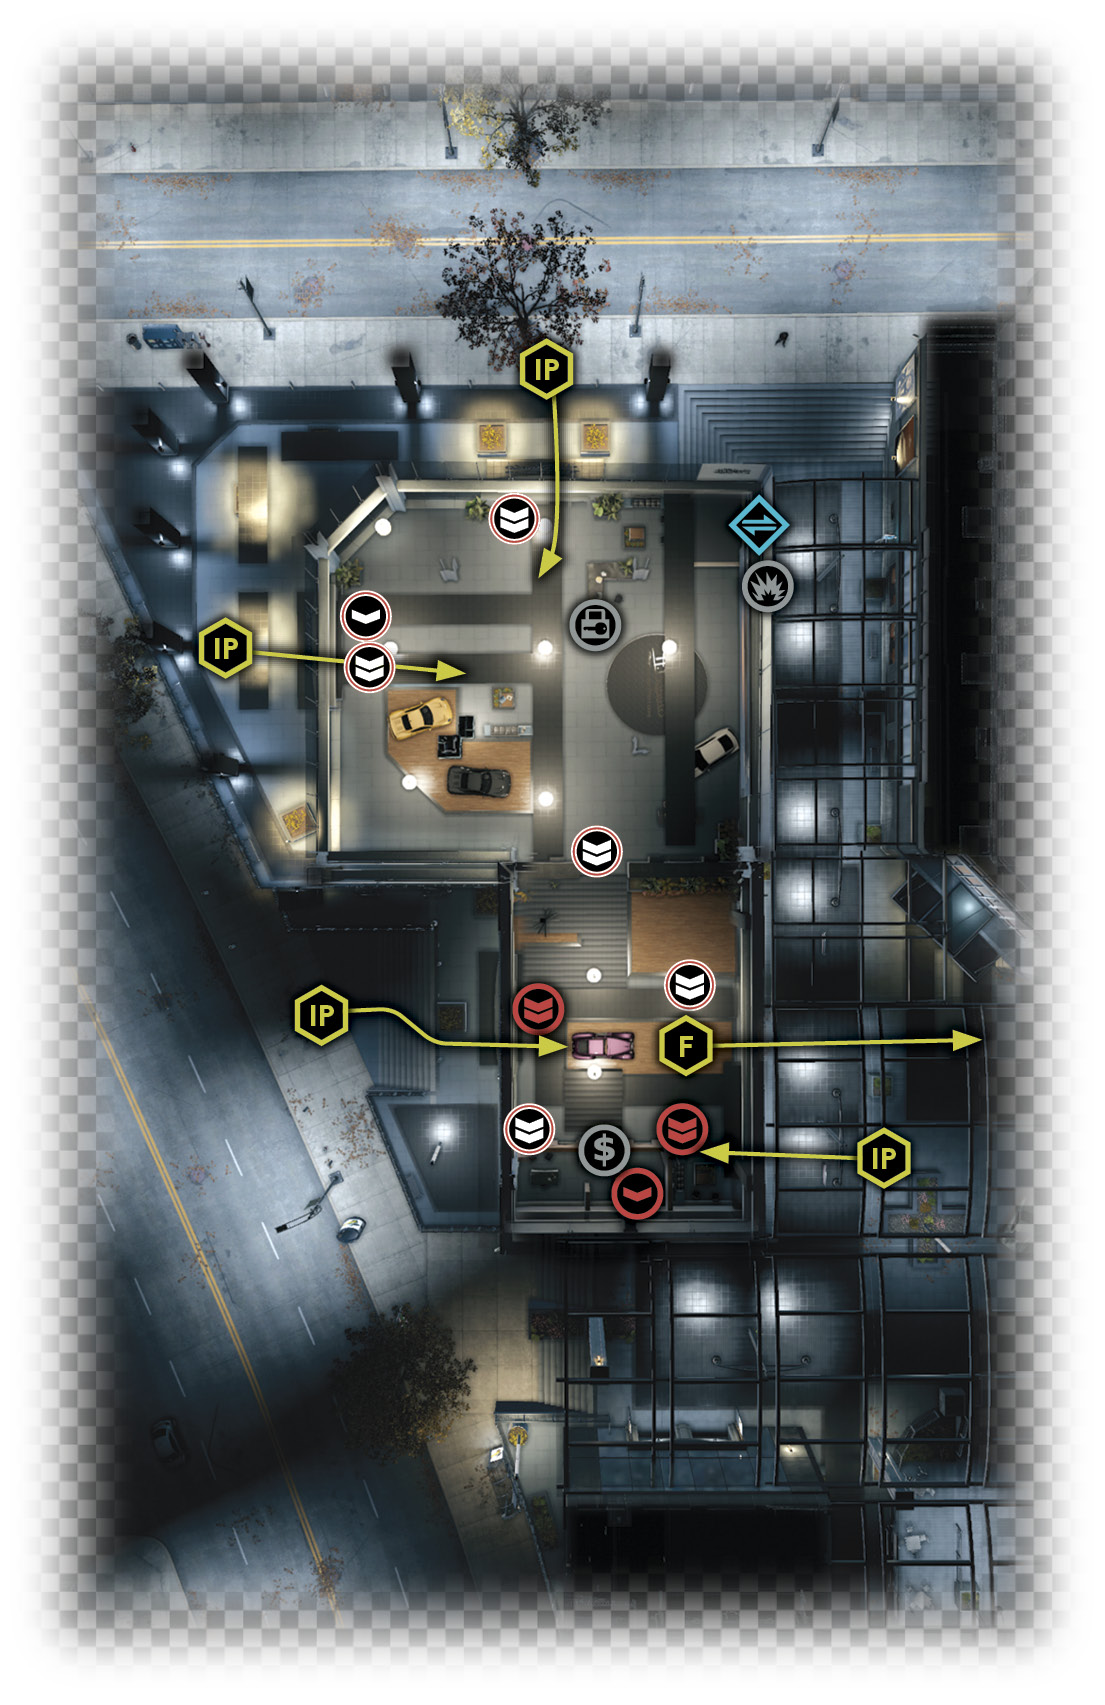
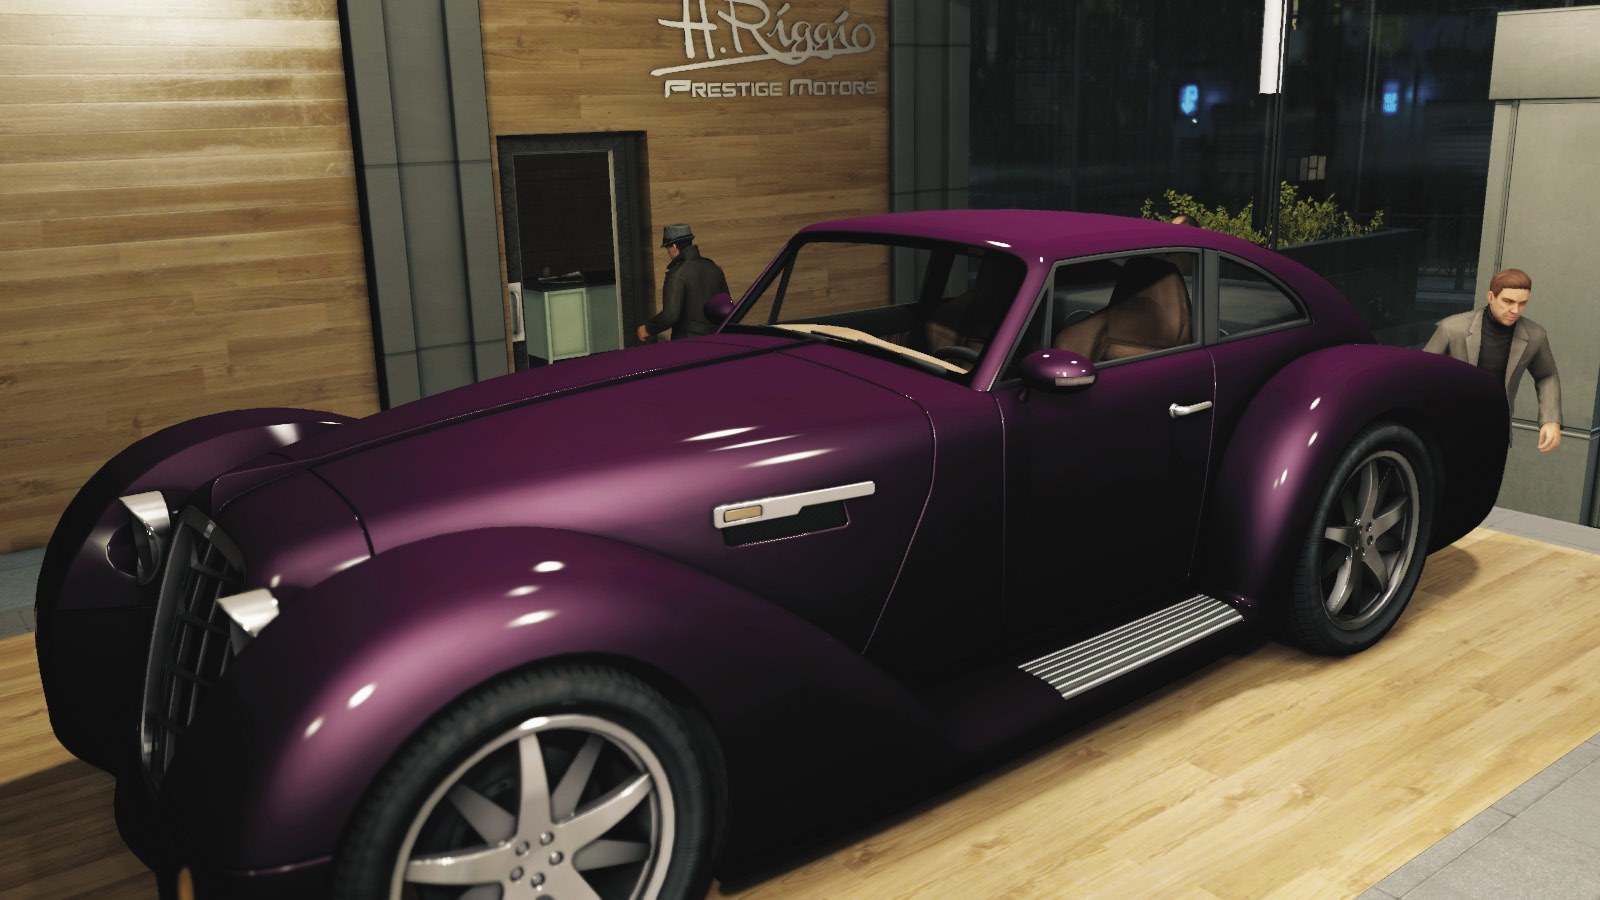
You see Crispin Nicholas and Lucky Quinn’s chief heavy stroll through the showroom floor, picking out a vehicle. Crispin eventually settles on a Luciano. Meanwhile, you have the command of the cameras. Scan to tag all the guards (a ctOS Scan is also possible, but not necessary to waste for such a confined location), and afterwards, check the outside planters for components.
Overview
Completion Point: Crispin, and his cell phone, currently in a locked lower showroom office.
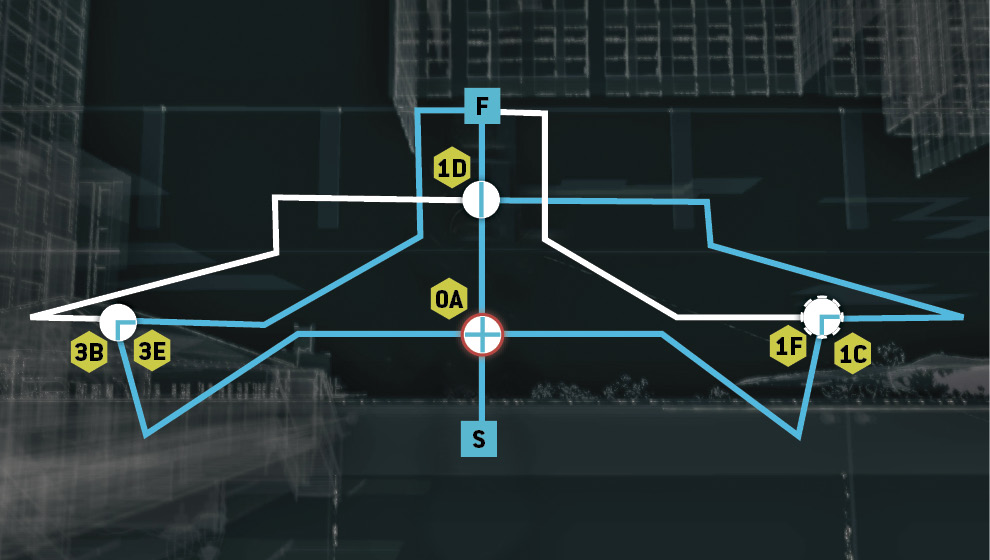
Dangers: Eight members of the Club (Gunmen x1, Veteran x7), armed with pistols and machine guns. Six are Shot-Callers. Crispin (Gunman x1) is in the manager’s office.
Reinforcements: The Club usually send up to three vehicle with two foes each (Gunmen x2 or Veteran x2). But you need to concentrate on Crispin escaping instead.
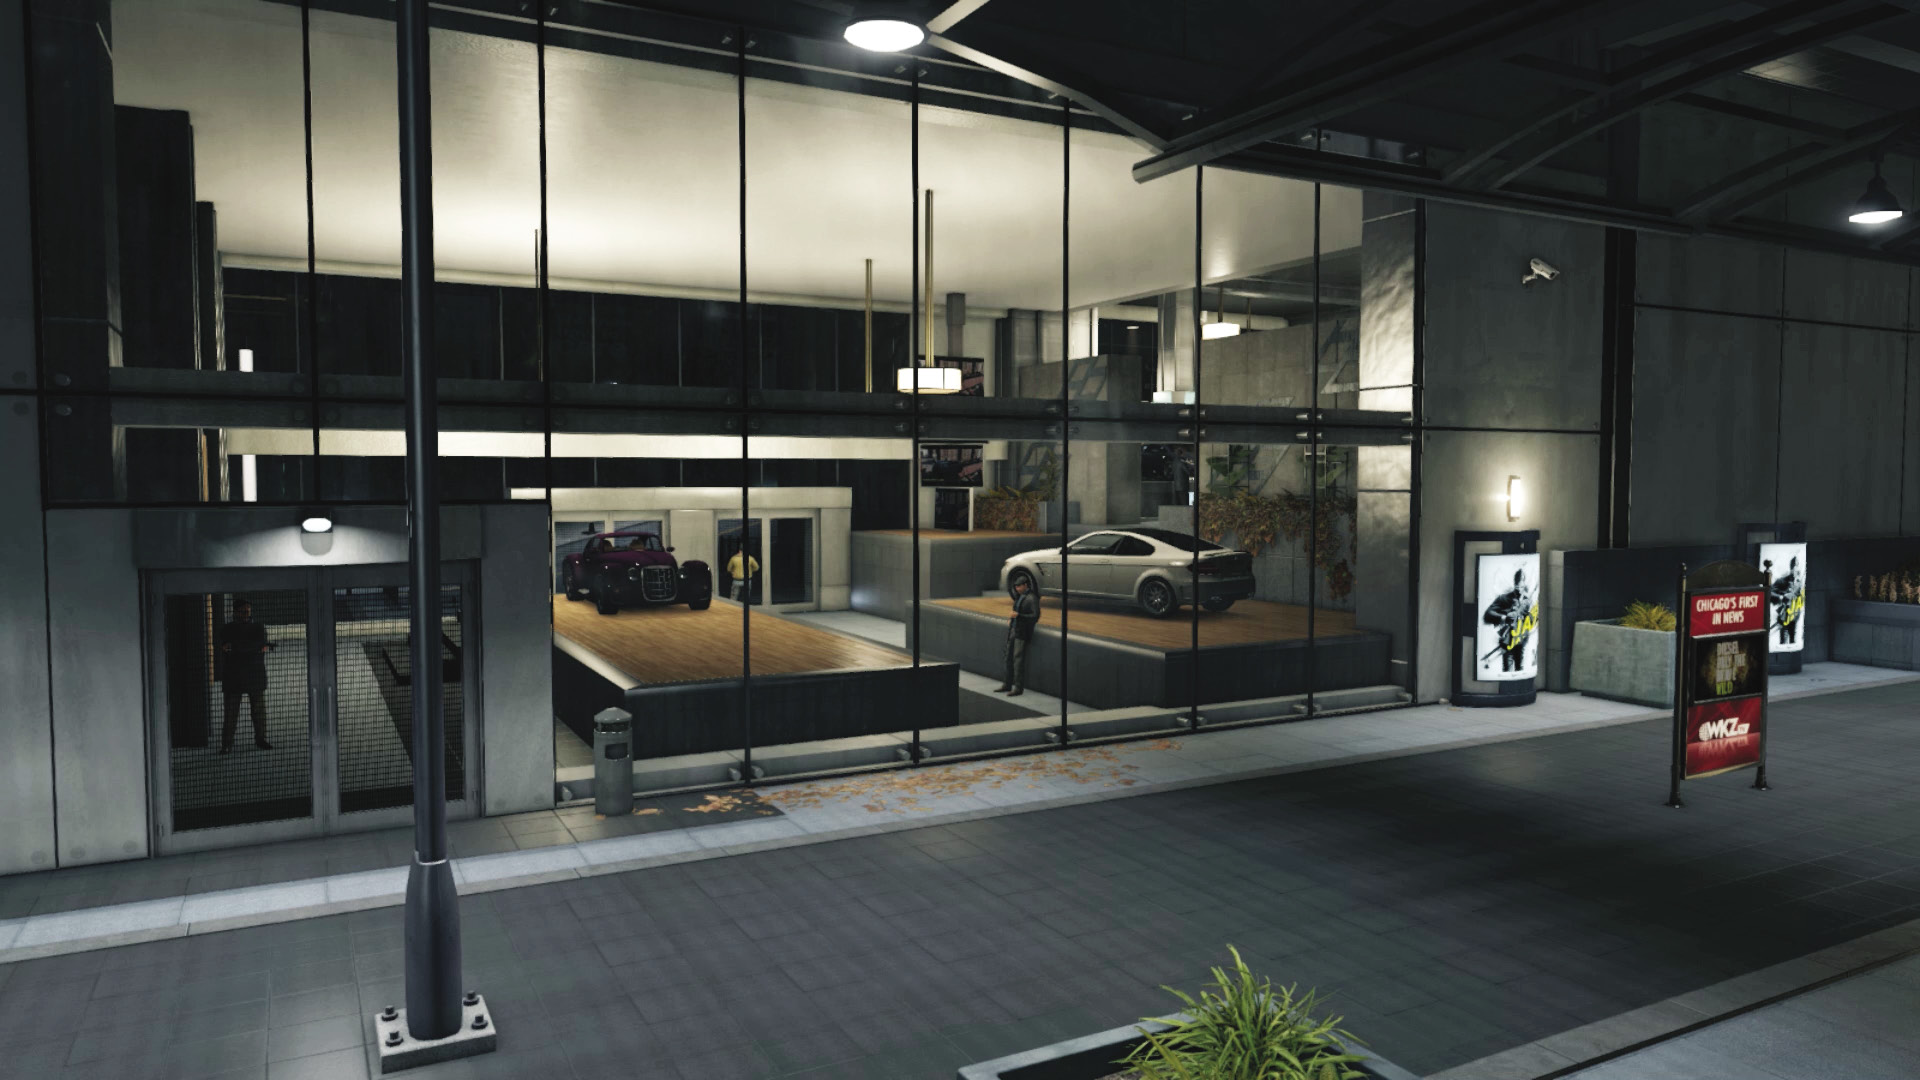
The car showroom is a porous location, with glass windows on most walls that you can shoot into and foes can shoot out of. The showroom is stepped, too, with the lower area having less room to move and Crispin inside a locked office.
Insertion Points
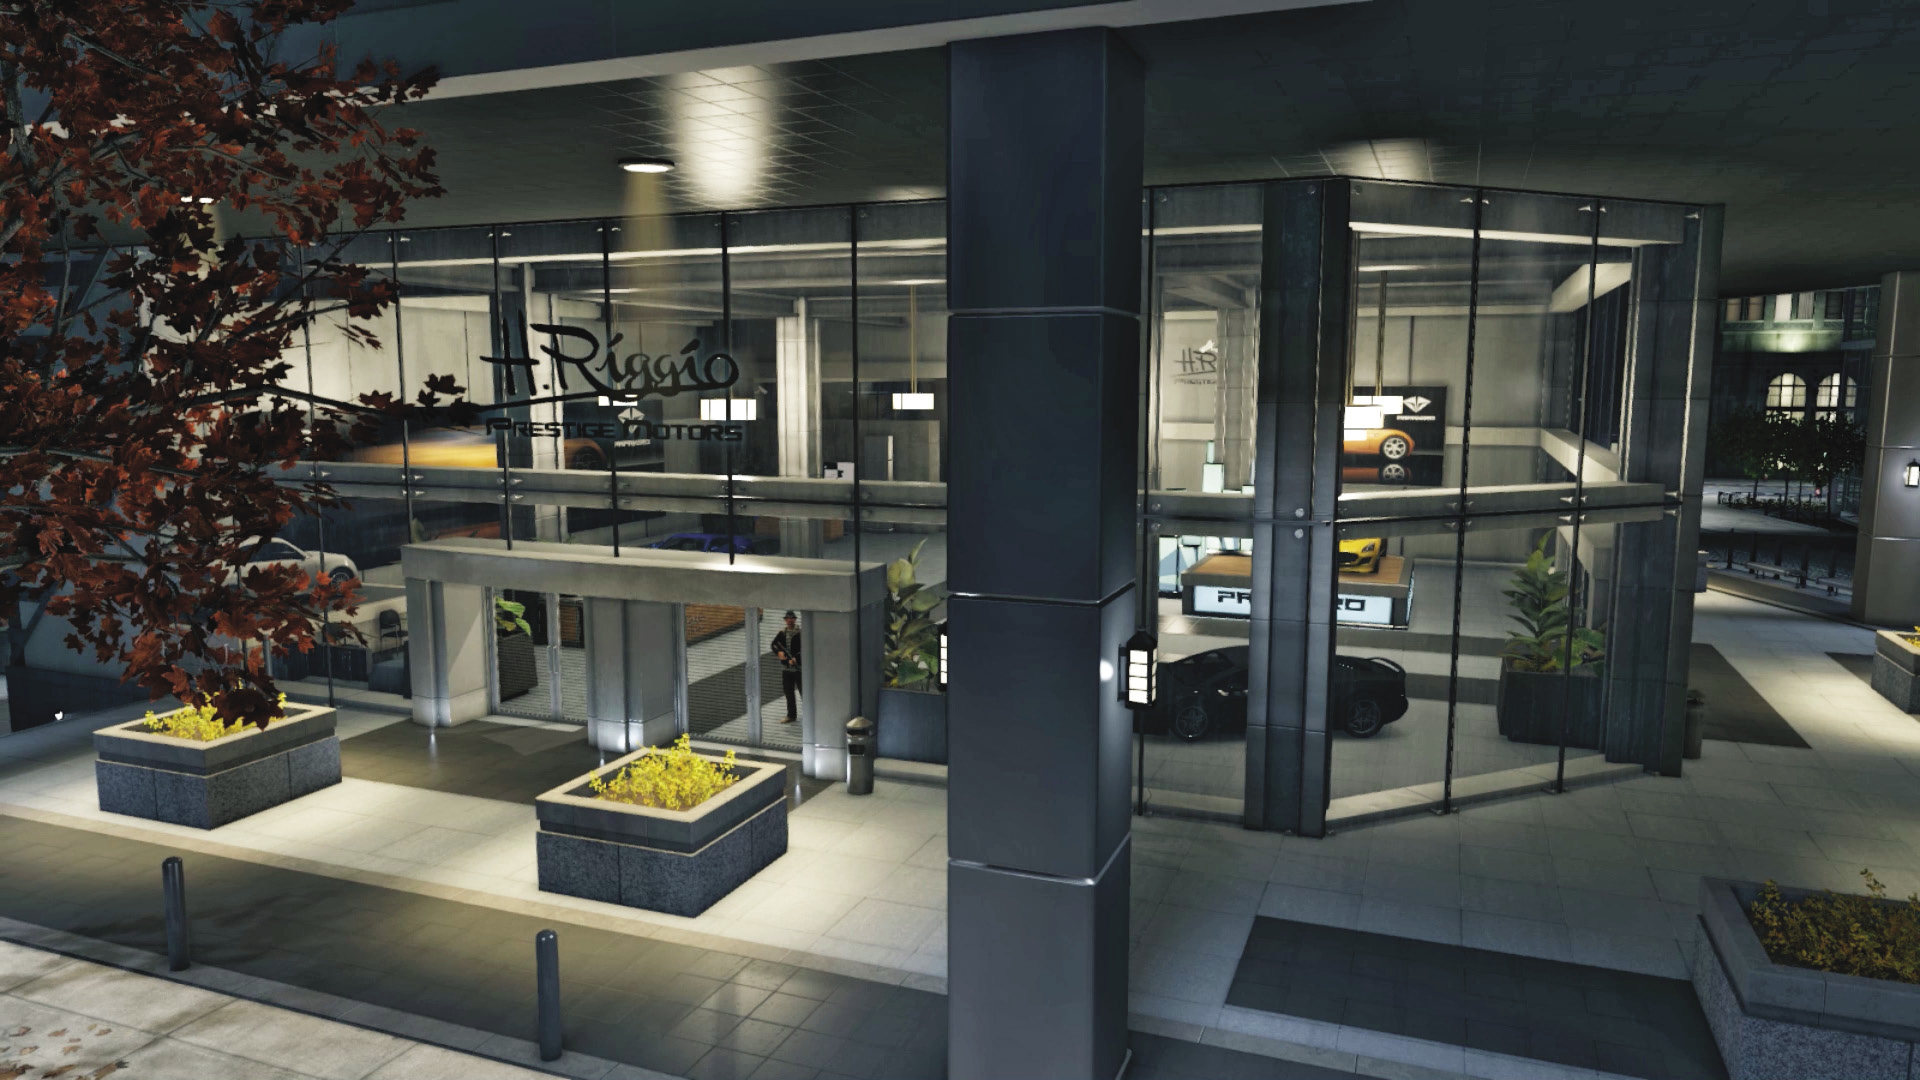
Main Showroom Doors (North)
Accessibility Level: 
This allows access to the front desk and has a guard standing by the entrance. You have a good view of both the upper and lower showroom areas and some reasonable cover opportunities if you head for the desk (with the Attract phone and hard drive to collect) and the rotating vehicle display.
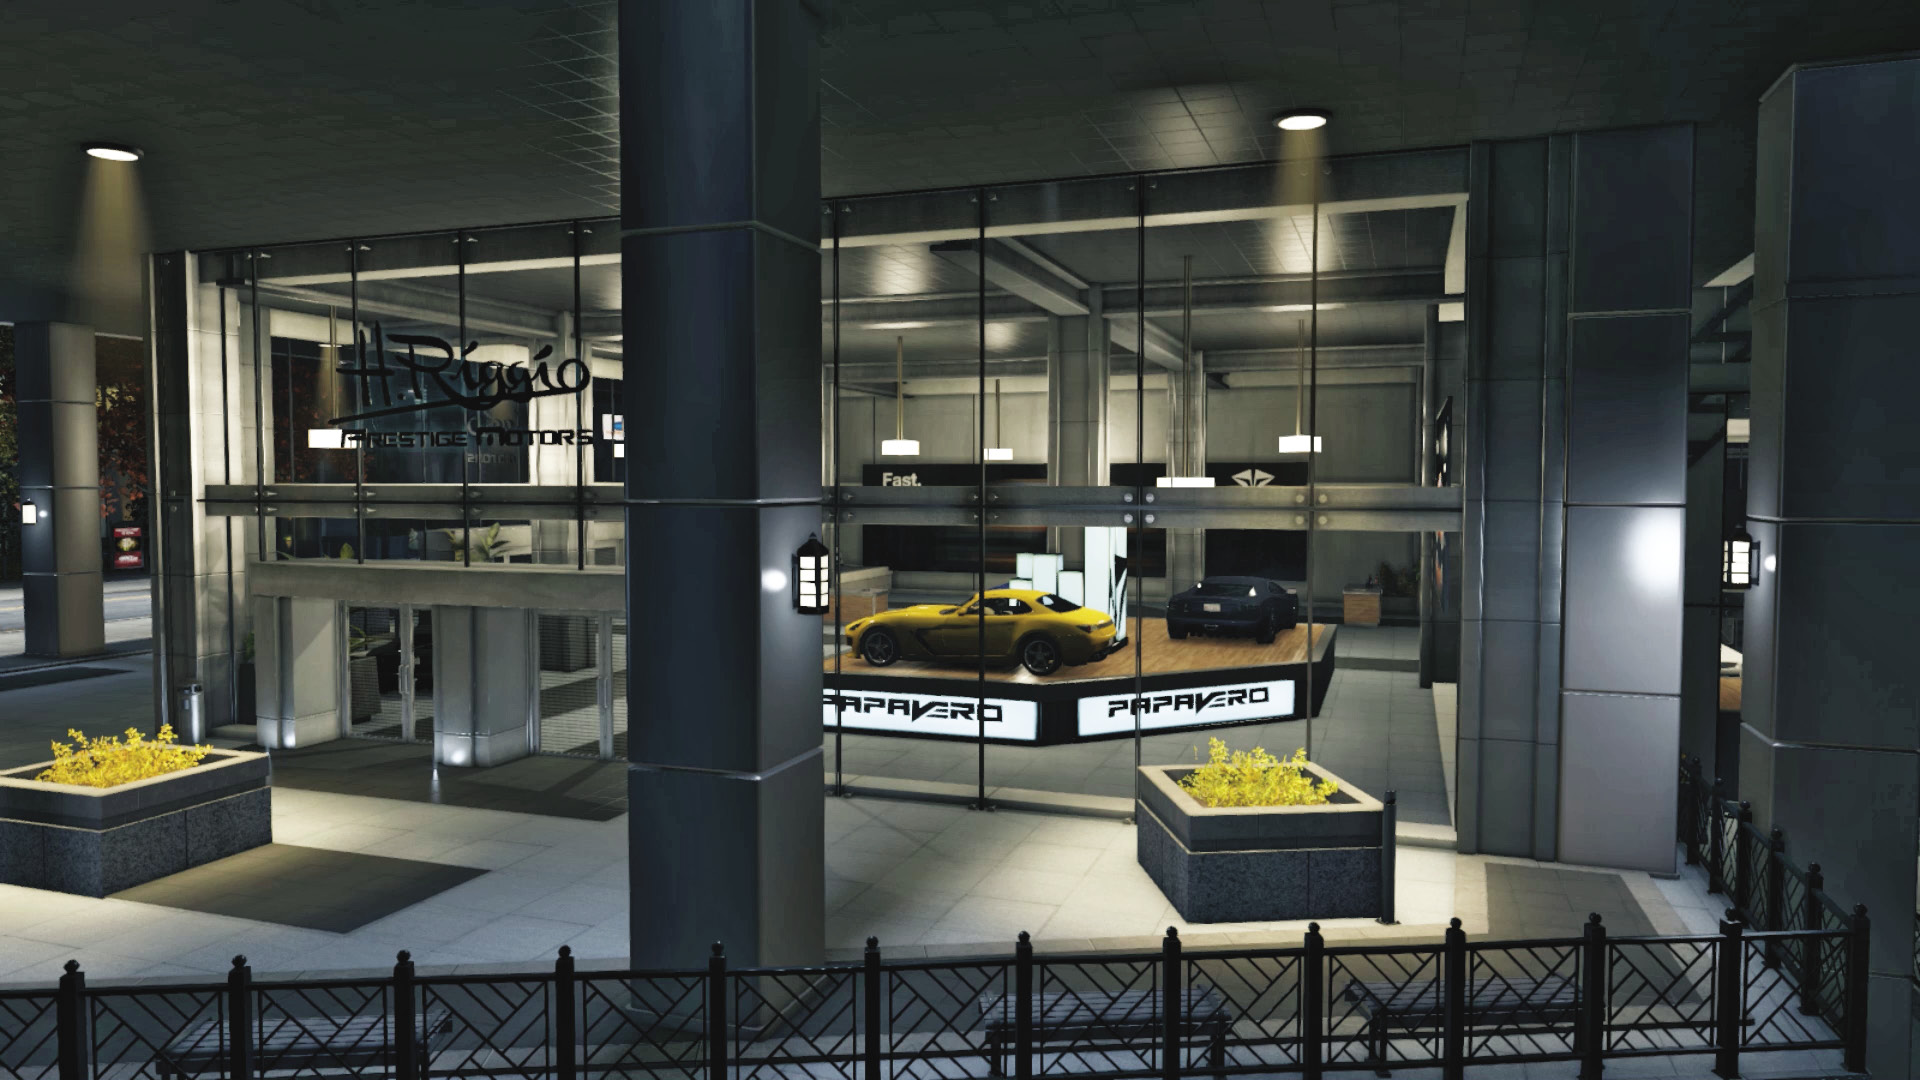
Main Showroom Doors (West: Papavero Section)
Accessibility Level: 
Double doors on this side are also guarded by a single foe, near the Papavero display. The button for the shutters in this area is on the wall near the stairs down to the lower section. The open area is a problem for cover; your best bet is the car display and sofa.
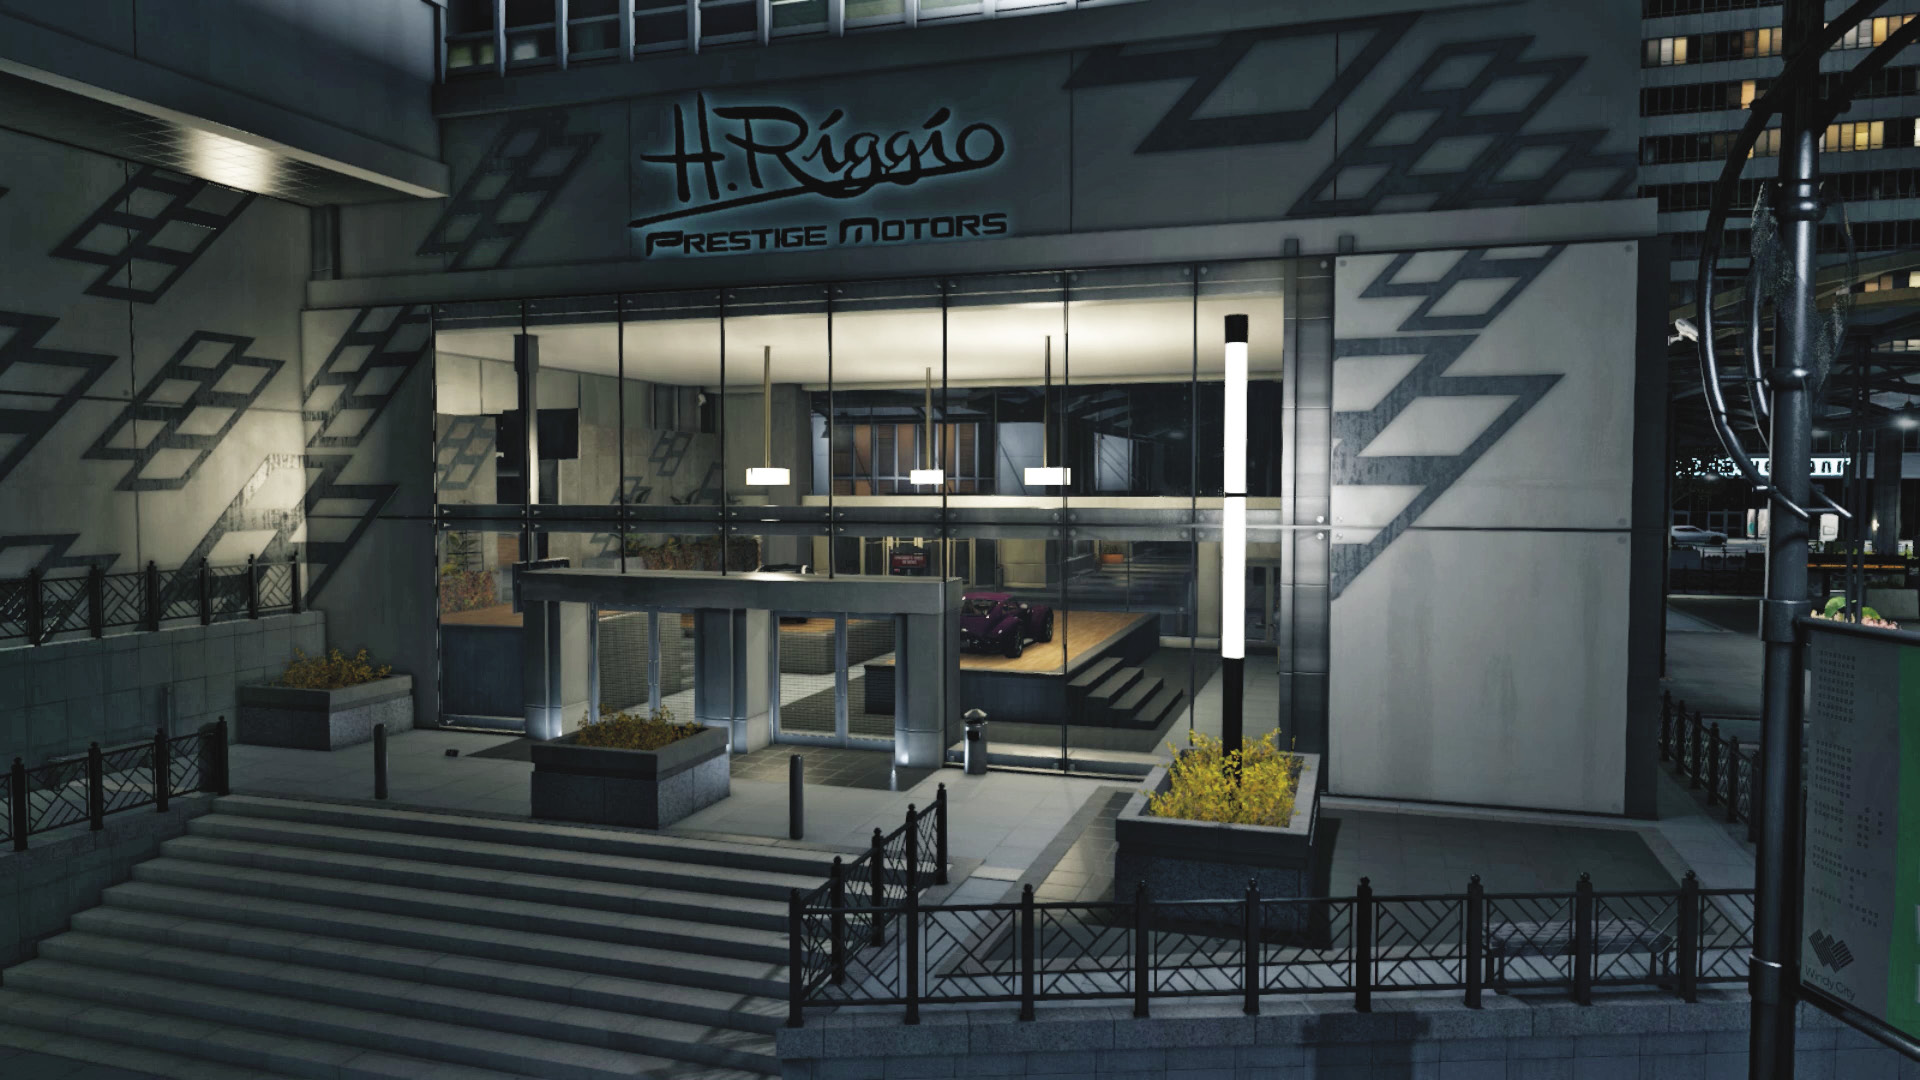
Main Showroom Doors (Southwest: Lower Showroom)
Accessibility Level: 
The steps, planter, and railings make this slightly less beneficial to attack from, as you want as few obstacles as possible when moving back and forth; however, there’s a good view of the lower showroom from here—even better if you’re sniping from across the parking structure. Crispin’s car departs in the opposite direction, though, which can make a chase a little more problematic.
Main Showroom Door (Southeast: Lower Showroom and Forecourt)
Accessibility Level: 
There’s only one door, meaning entering and exiting is more difficult. However, the forecourt has some excellent planters you can hide behind, and you can prepare the area with traps (e.g., IEDs) in case Crispin escapes through the window in his vehicle. You can determine where Crispin is as well—inside the office just to the door’s left (south). Watch out: Once the initial threats are removed, the police may be called.
Progression Plans
You may now try one, parts of, or any combination of the following methods of tackling Crispin and his goons.
General PreplanningCamera Marking: You are fortunate that the security cameras in the showroom allow you to mark every foe. You can also inspect the interior of the building remotely and can hack the phone with the system key. Reinforcement Wrangling: Not only can Crispin or his guards call for backup (and they usually do within seconds of you revealing your position), but the Police may also be involved in the following action and chase. So bring Jam Coms at the very least! Chasing Crispin: Crispin is all set to drive off in his elongated purple monstrosity, but you can off him before he gets the chance. This all depends on whether you opt for a chase. He’s in the lower office area, close to the purple vehicle he escapes in. |
 Aggressive // Stealth: Spec-Ops Takedowns While Pursuing the Car Buyer
Difficulty: 
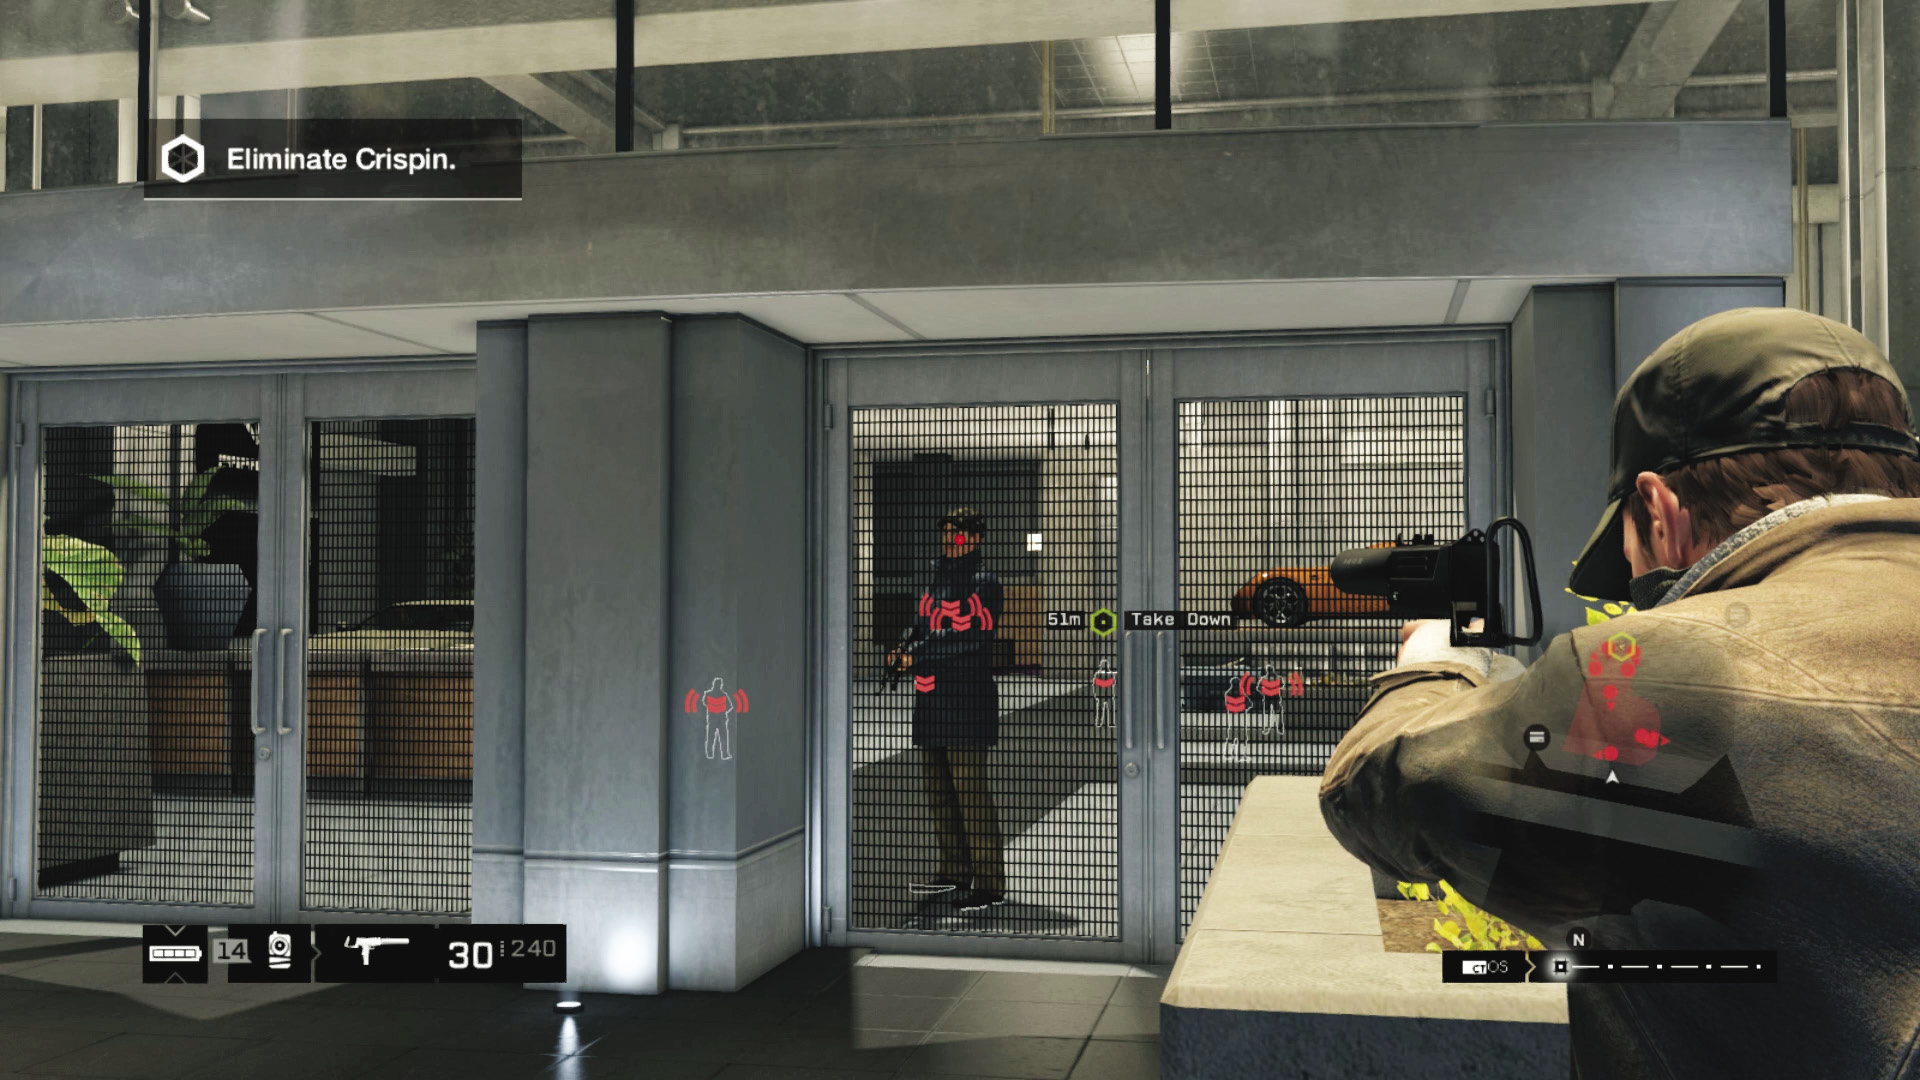
It’s almost impossible to complete your eight-man takedown with just a baton and some strangler’s hands. But you can minimize your gunplay if you wish; simply lurk outside the north door planters brandishing a Spec-Ops weapon, line it up with the foe at the door, and drop him. Usually this goes without a hitch, allowing you to aim at the second foe atop the stairs. Minimize your chances of being seen by hacking the car platform so the foe isn’t looking directly at you, and use Focus so he doesn’t warn Crispin in time.
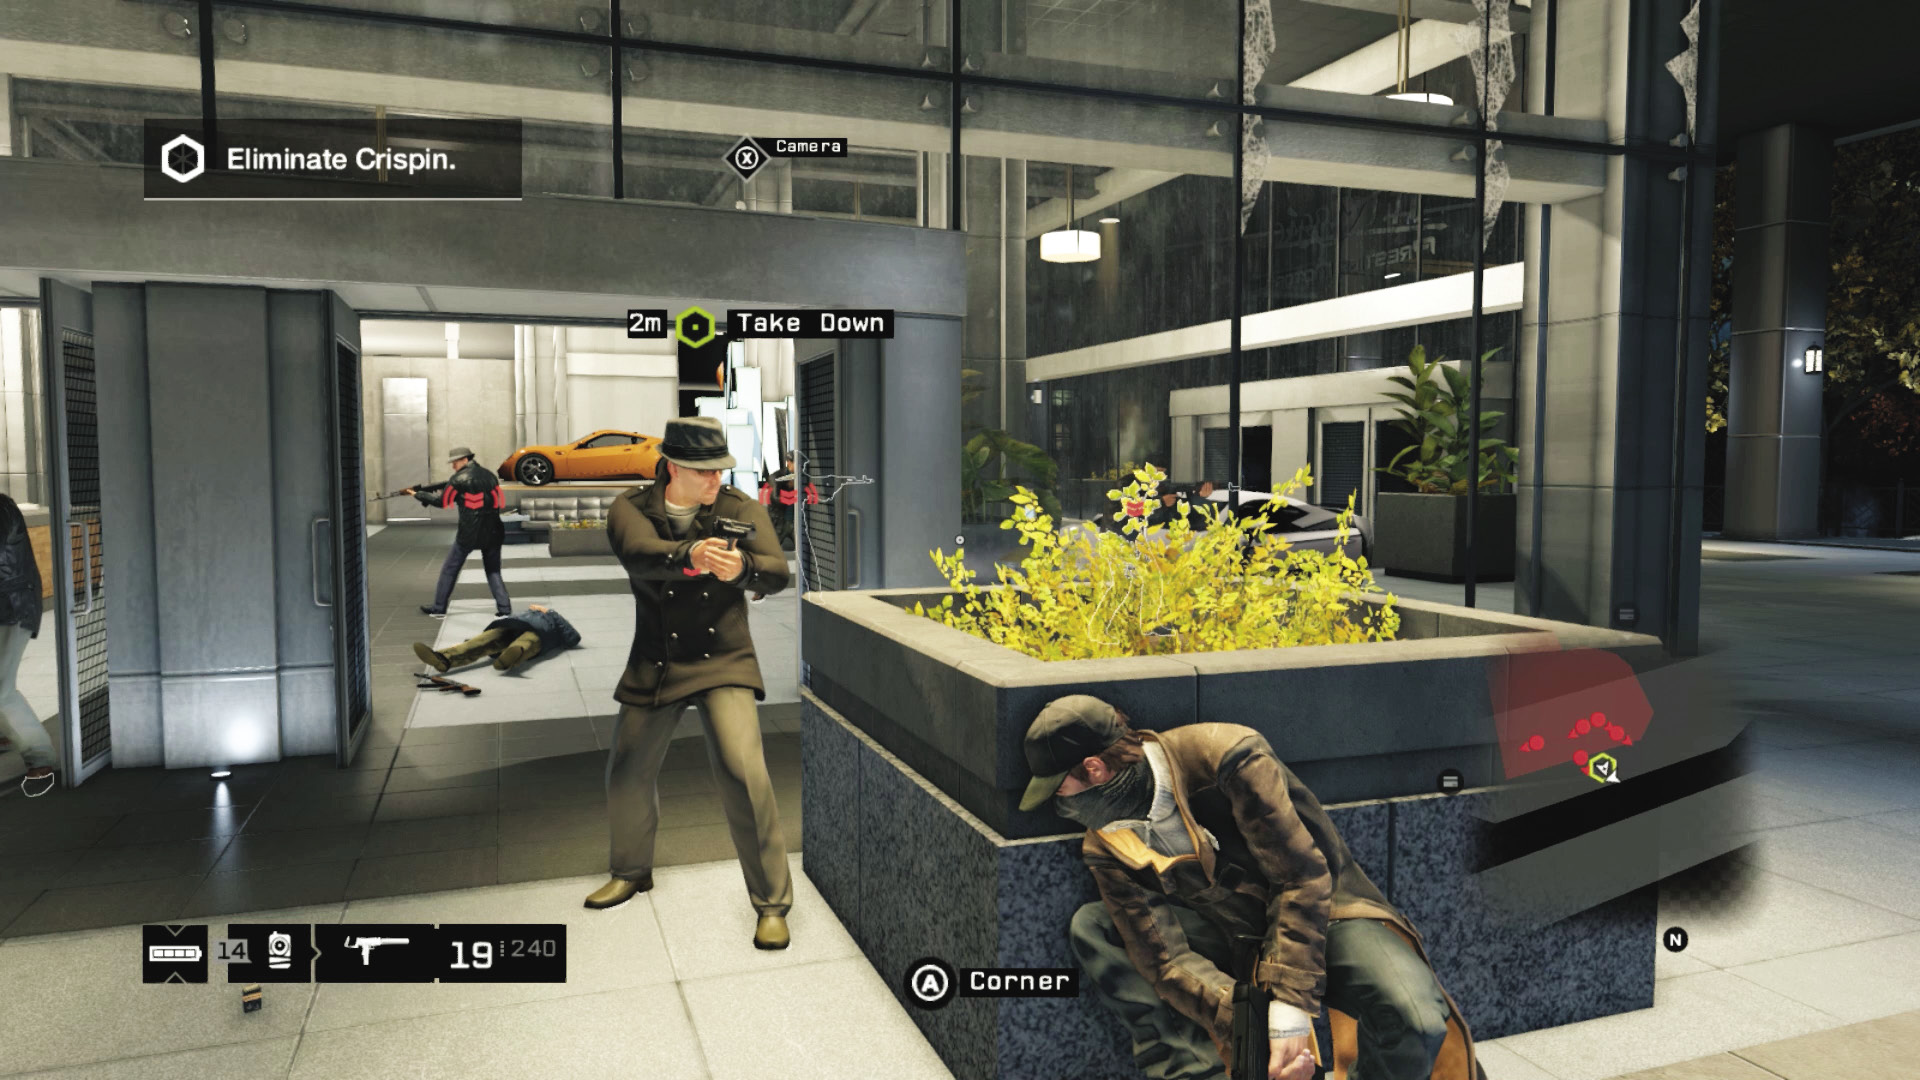
Indeed, if you do this without freaking Crispin out, the remaining foes come to investigate the kill, including Crispin! Simply wait for him to walk near you, and execute the freak without having to chase him all over town!
 Aggressive // Violence: Hostile Combat until Everyone Expires
 Difficulty:
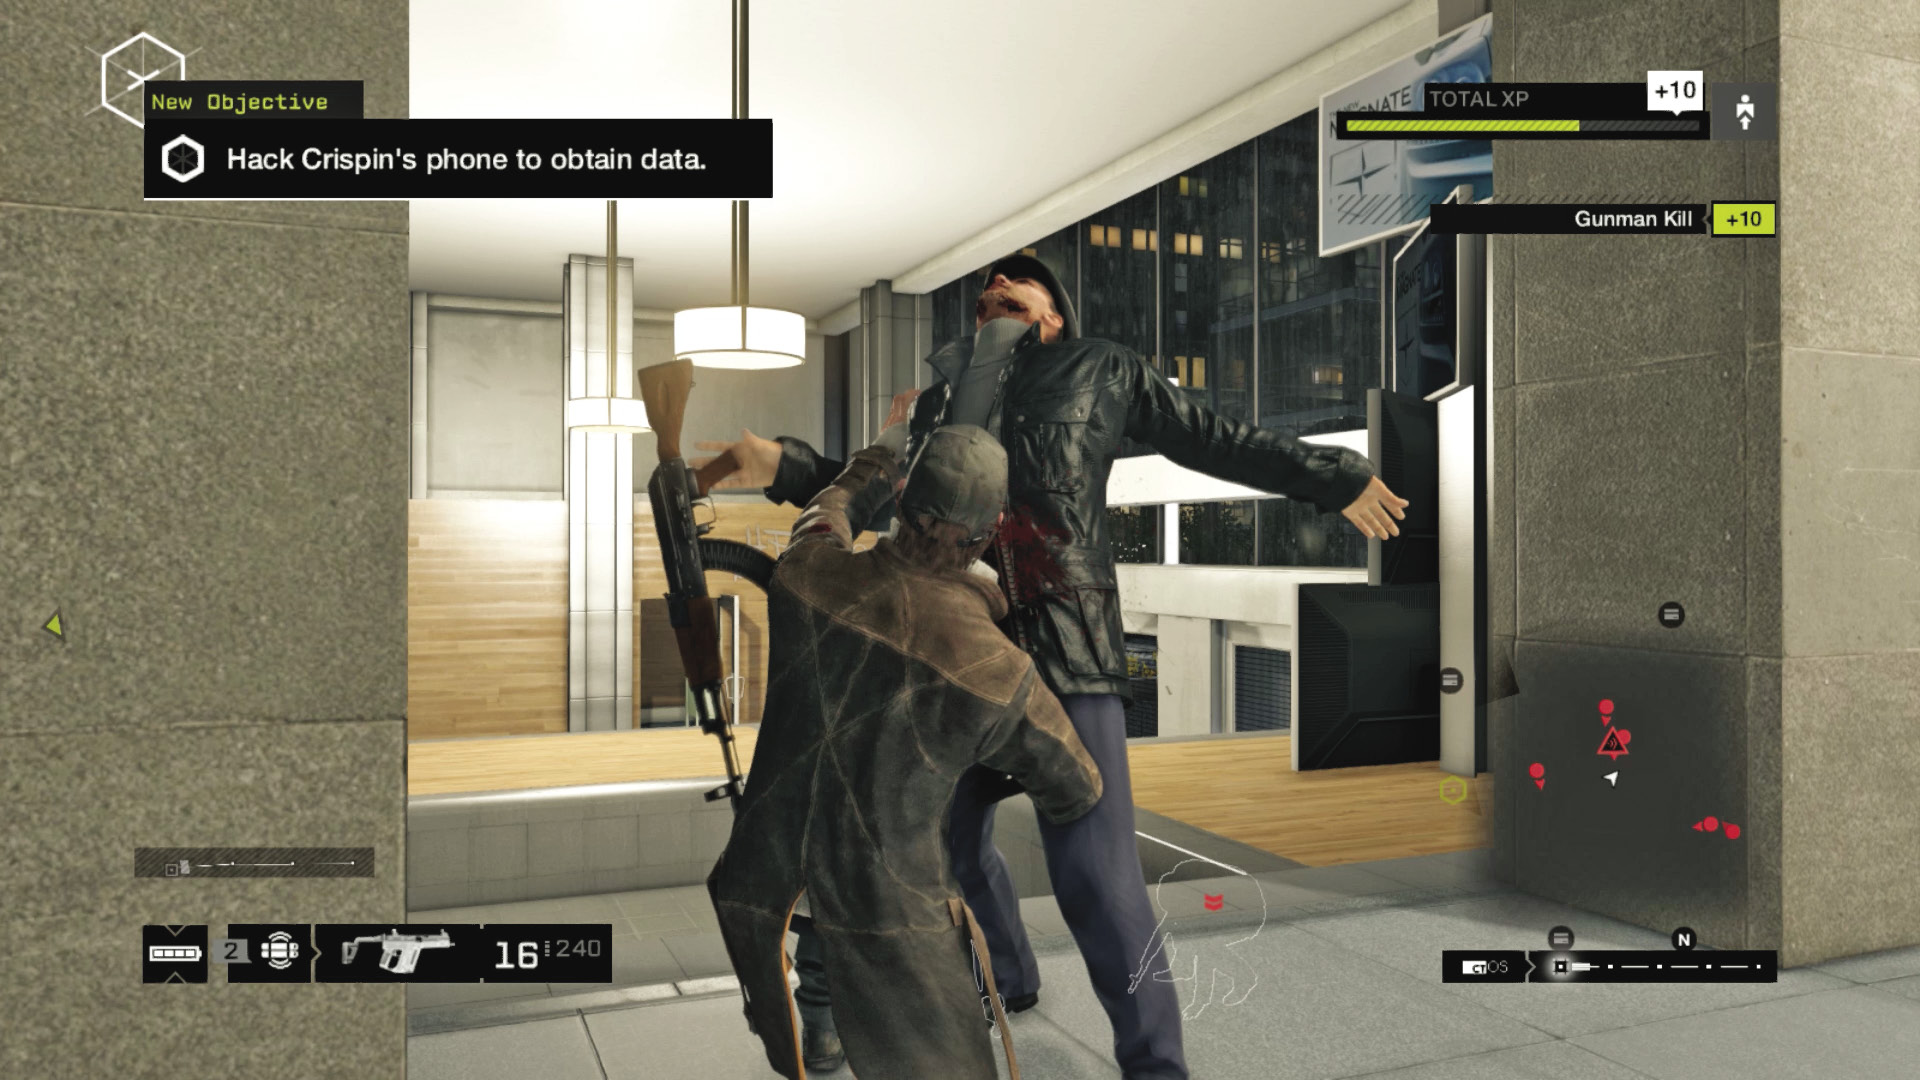
Violence and gunfire allow you to easily pick off the eight foes and take out Crispin and his car. Try any or all of the following during your assault:
You can’t simply rush into the office where Crispin is, as the doors are locked. But you can sit by one of the planters by the lower section, along the same wall as the router you just hacked, and execute one of the guards. Then take out the stream of foes who appear to investigate.
Throw a lure out into the forecourt by the door. When the goons walk to investigate, club or shoot (with a Spec-Ops weapon, if possible) them until no more appear. This thins out the herd, allowing you to infiltrate from any other entrance and face fewer foes.
If you’re intending on the direct approach, try mowing down the foes on the upper showroom floor first, then diving into cover so you aren’t struck by foes creeping from outside. Concern yourself only with the entrances. Next, set up behind cover and wait for foes to appear before offing them.
The lower showroom is congested with foes and car stages, so lob a grenade in there from the upper showroom or from outside. A firefight from the upper steps is also advisable.
Any weaknesses the guards have (e.g., Disrupt, Explode, etc.) can be used to good effect, although this wrecks havoc in the showroom and Crispin flees almost immediately. So head around the outside of the showroom, hack one of the guards close to Crispin, and when the guard fumbles with a grenade and Crispin tries to flee, shoot him!
Remember all the glass is breakable and can be shot through, which is great if you have a foe in your sights, but there are many more opportunities for foes to drop you when they head outside.
You may be tempted to blast from long range with a sniper rifle, perched on the upper floor of the parking structure to the southwest. Or you can fire from behind the planters in the forecourt east of the lower showroom.
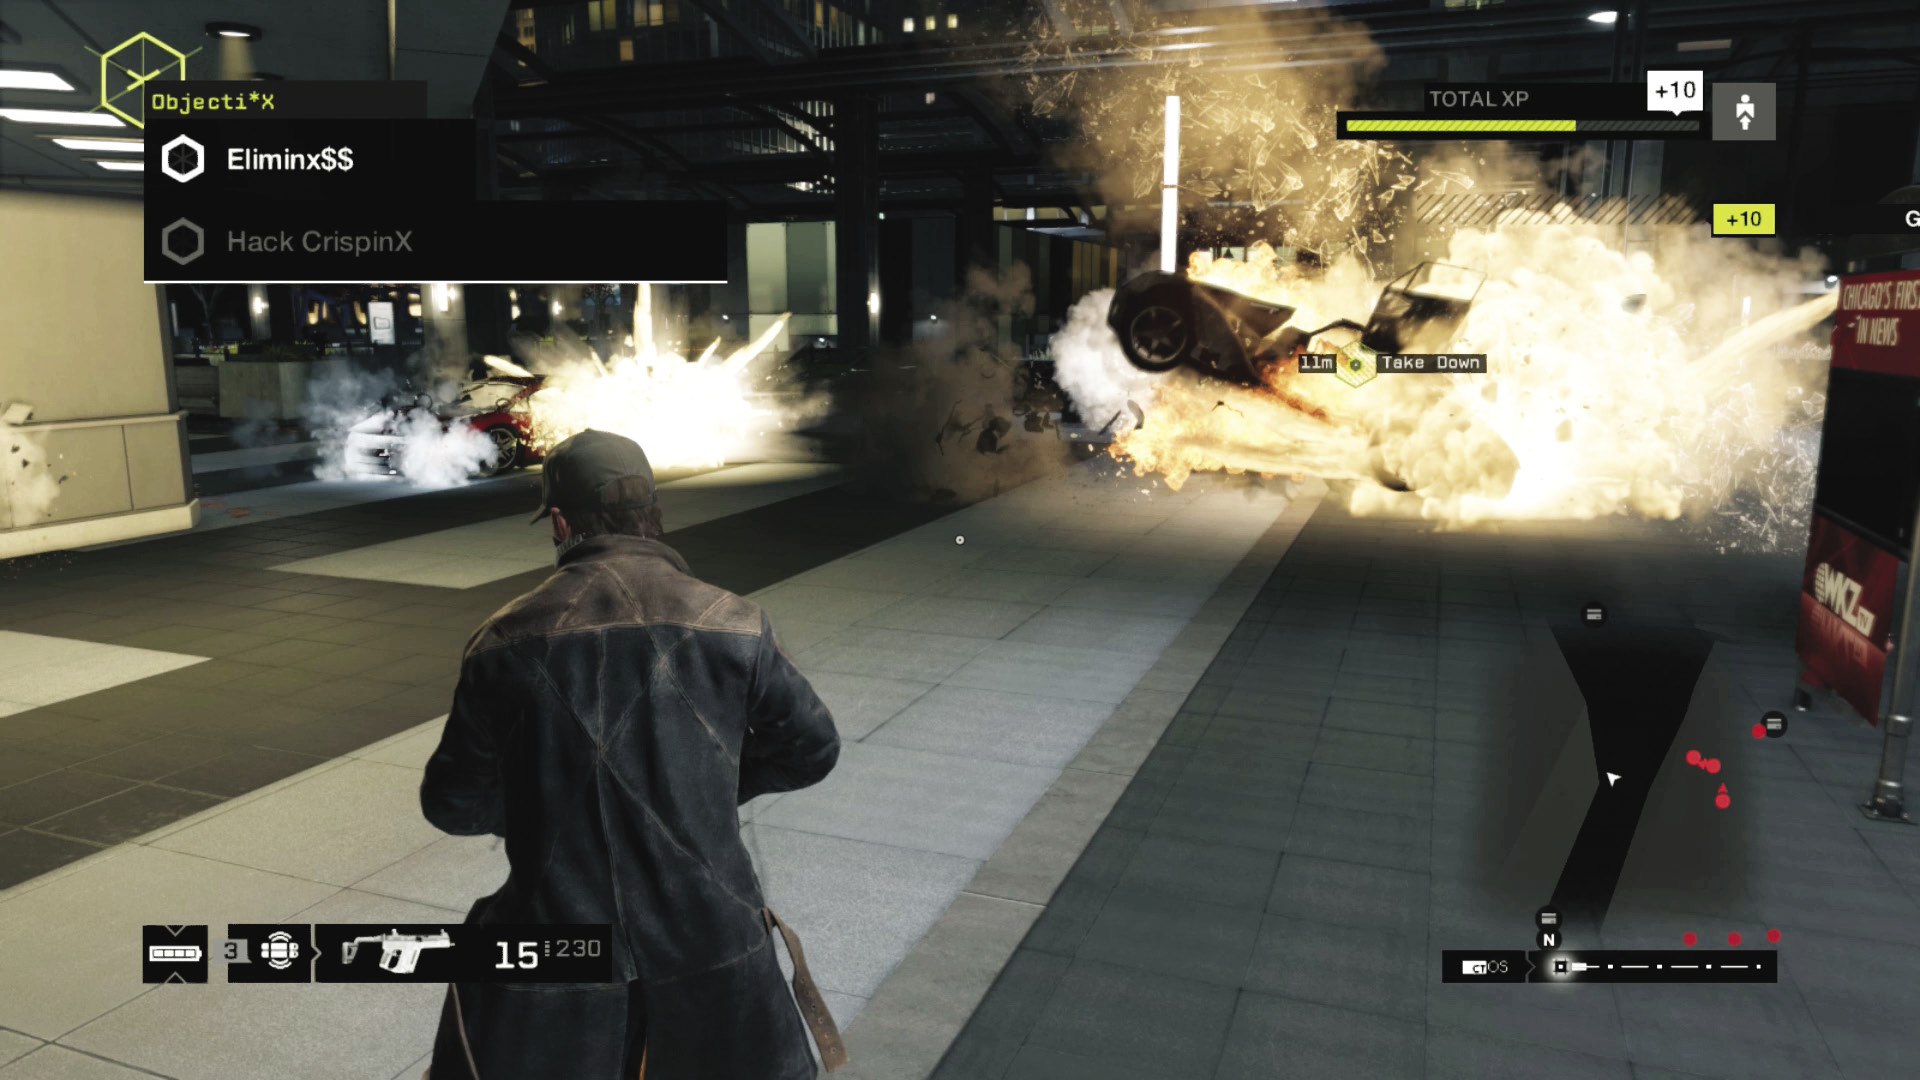
When Crispin appears (usually with three or four foes left standing), he bolts for the Luciano, the purple vehicle he just chose. There are some ways to make sure this wasn’t a great purchase:
Shoot out the tires (and the engine if you have the time and bullets) during previous firefights. Or stick an IED on the car in the showroom, and detonate it during the escape (or automatically if it’s a proximity IED).
Plant an IED on the ground where Crispin will drive—the plaza to the east. Ensure an explosion by detonating a proximity IED as Crispin escapes in his new car, and block his escape route with a parked vehicle, and slow him down so the IED detonates under his car. Do this before you enter the showroom. This severely damages the vehicle and makes the subsequent chase easier.
Or locate your own vehicle, drive it to the side of the showroom, and park it and another vehicle just outside the alert range of the foes but in the path of Crispin’s escape route, so he rams and halts the vehicle. This should give you enough time to execute him.
11.2 (OPTIONAL) COOKING CRISPIN
 Location / Mad Mile
|
|
 Find a vehicle and pursue Crispin
 Hack Crispin’s phone to obtain data
 Kill all of Crispin’s backup or escape
 Vehicle Chase
 Data Hack
 Lethal Force Likely
Difficulty: 
If you couldn’t take down Crispin at the showroom, he drives away at speed. When his vehicle is impaired, he flees on foot, firing his special handgun at you. Much like any chase, there are two main methods of bringing down your target and avoiding any Fixers that are chasing you:
 Driving // Offensive: Coming to a Screeching Halt
 Difficulty:
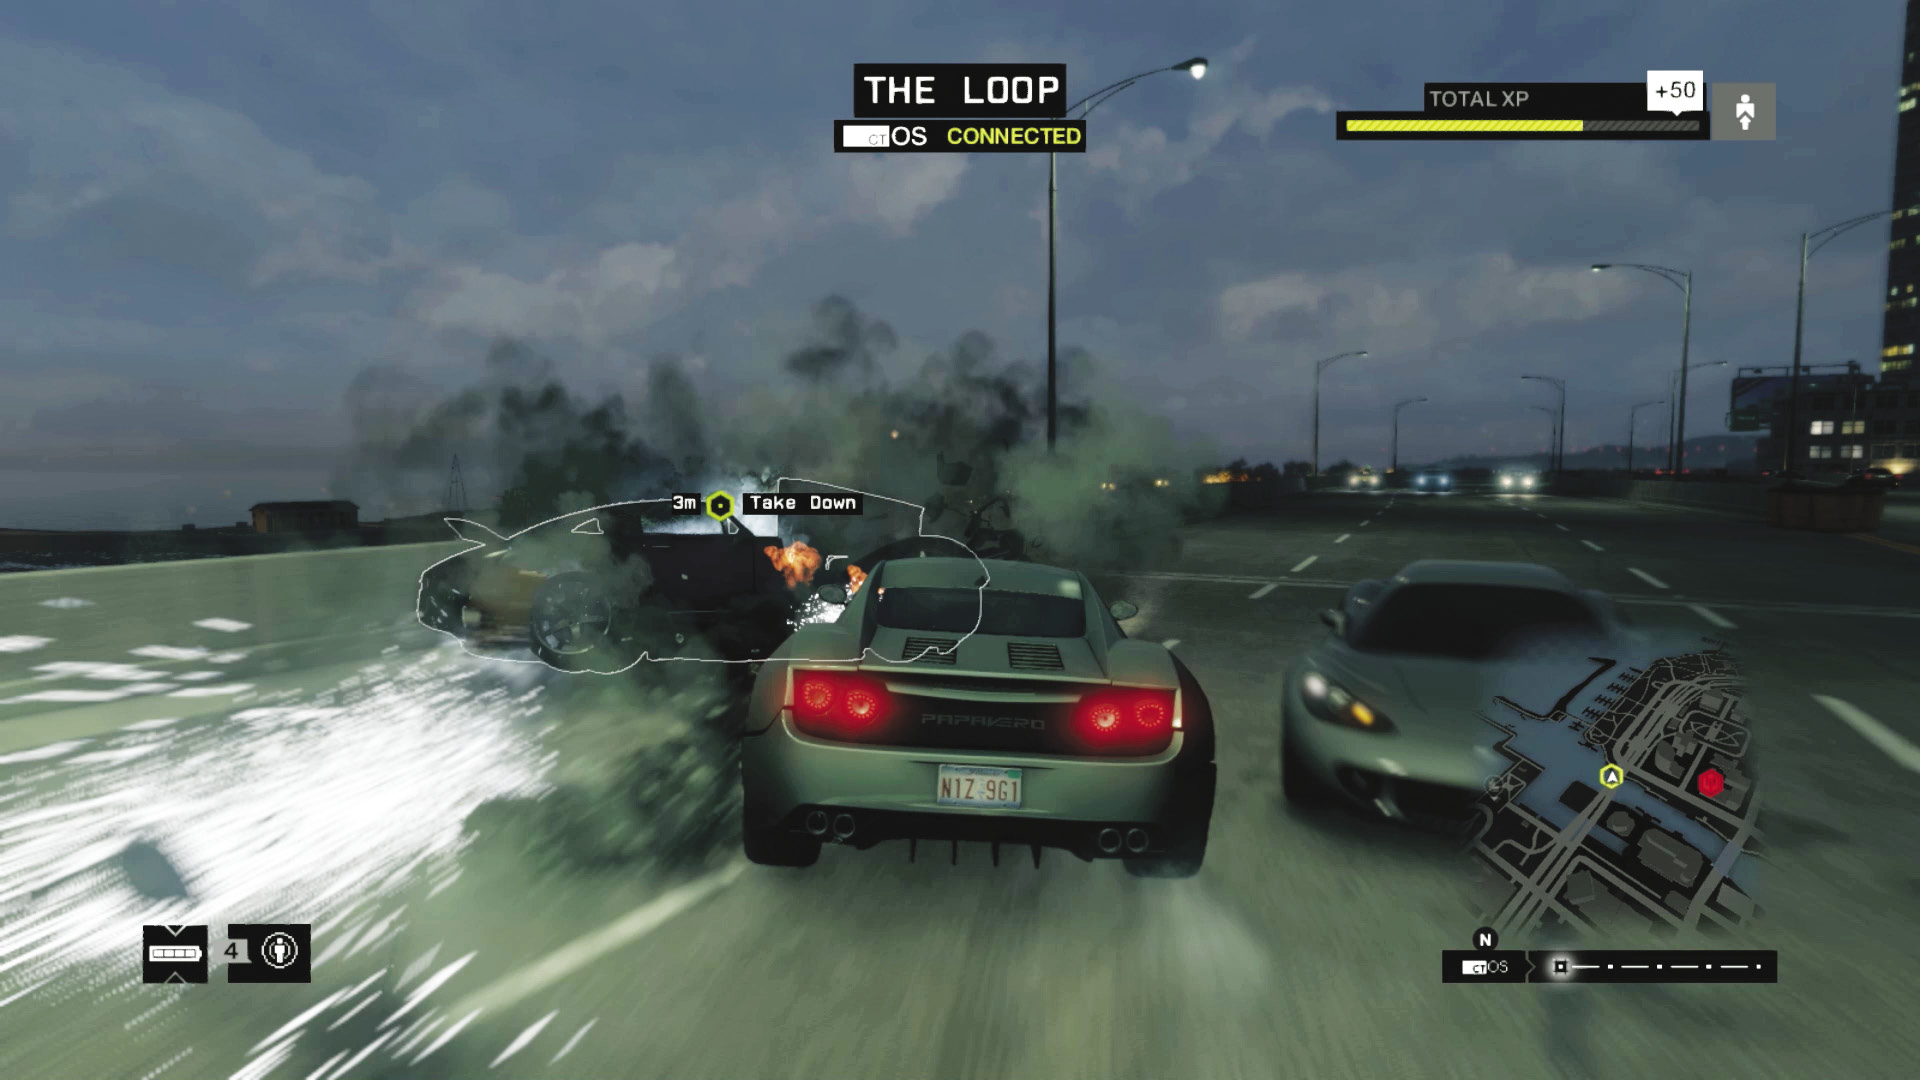
First, ignore any of the Fixer’s allies until Crispin is down. Check the main map and minimaps, choose one of the many impressively fast vehicles in the showroom, and chase the target with extreme focus. But don’t race too quickly and take corners too sharply or you’ll crash and lose distance between you both. When you eventually reach the Fixer’s vehicle, try any of the following:
Ram straight into the back of the car.
Attempt a PIT maneuver by striking the rear corner of the car, sending it fishtailing.
Sideswipe the vehicle so it veers off and crashes or grinds against the side of a guardrail.
Predict where the car will be and intercept it with a sideswipe.
Predict where the car will be and intercept it with a head-on collision.
Try to push the target car into a narrow road or alley, where it can’t drive around you.
Ram the target car until it starts to billow black smoke and the target exits.
If your vehicle becomes inoperable, quickly locate a new one and resume the chase.
At any point you can block the vehicle or slow it down enough for you to exit and begin raking the vehicle with gunfire (particularly the tires and windshield).
 Driving // Smart: Hack the City and Find a Fault
 Difficulty:
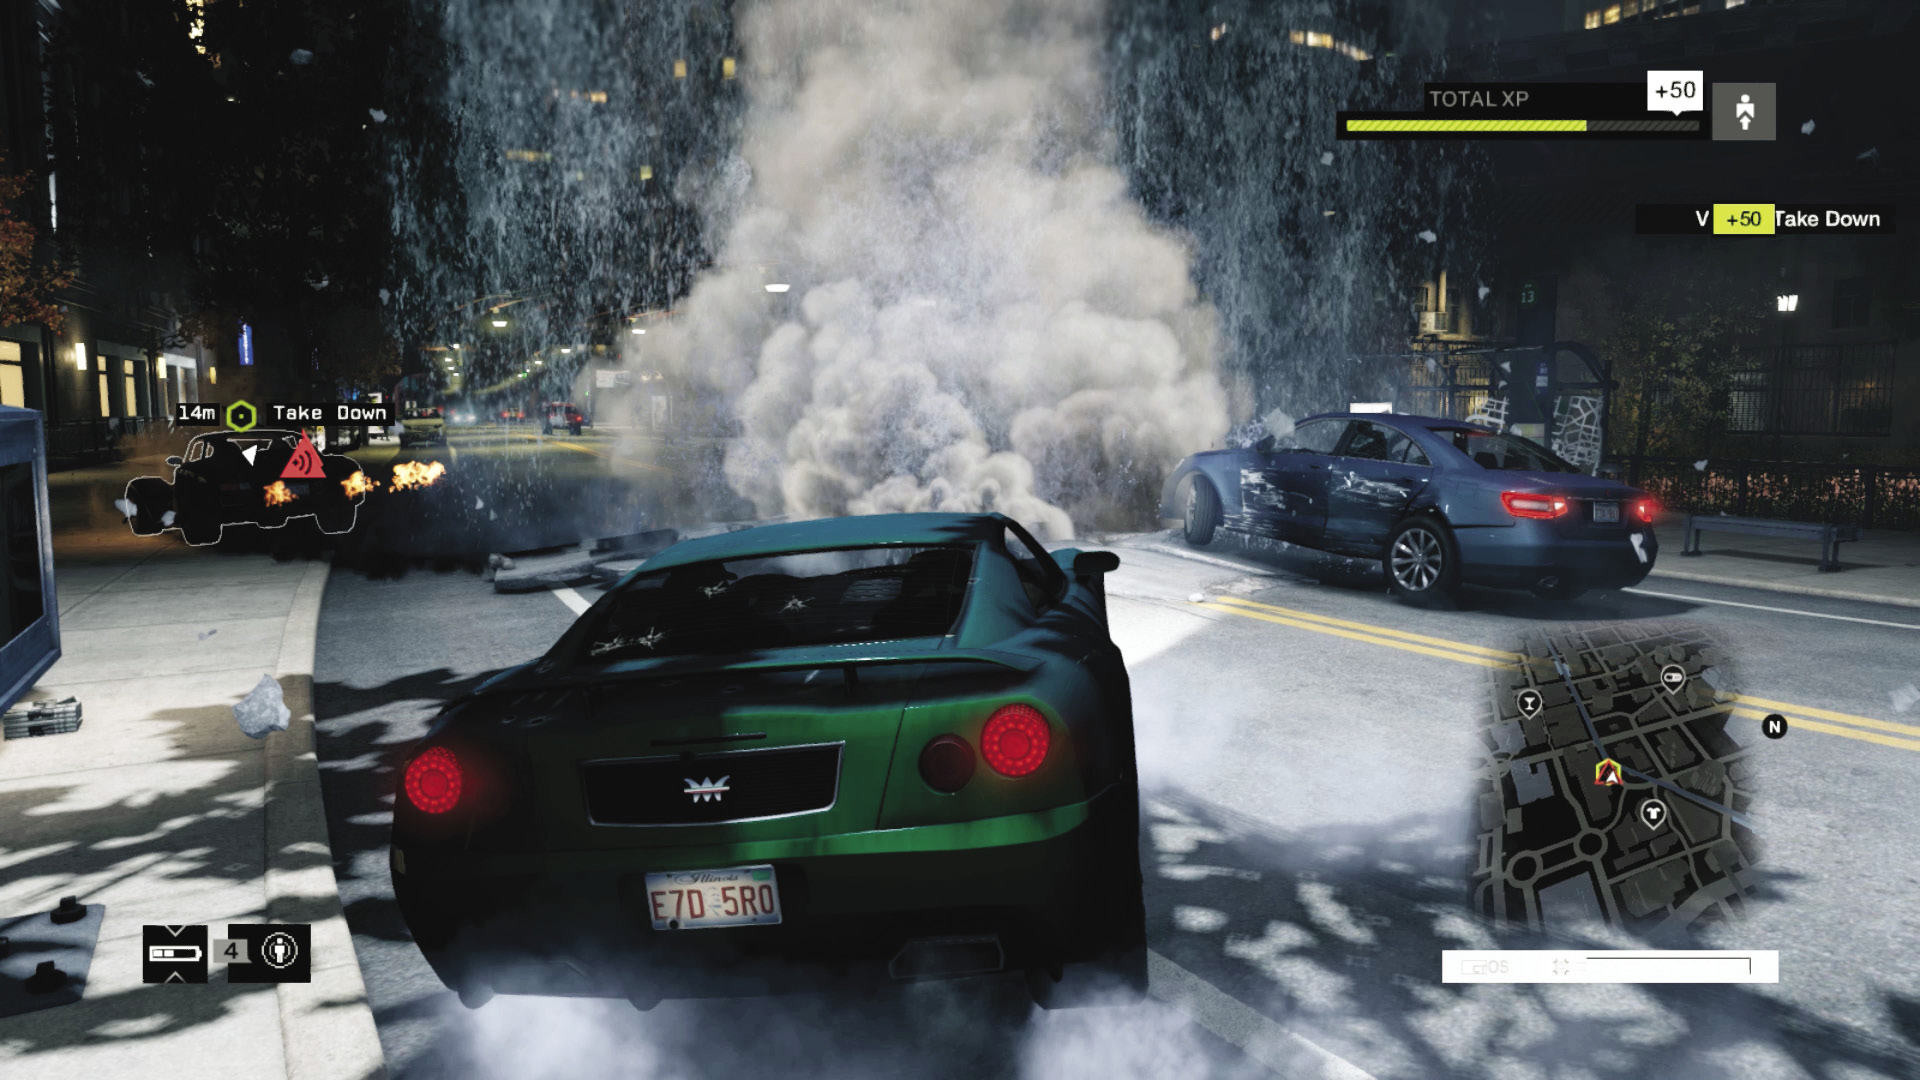
You can halt Crispin’s car by utilizing the many hackable objects around Chicago. If the situation calls for it, and if you’ve unlocked enough Skill Points to access certain hacks, try the following (avoid the ensuing accident if it occurs!):
Hack traffic lights to cause congestion.
Hack junction boxes so they blow, striking the vehicle.
Hack bollards so they rise, stopping the vehicle.
Hack bridges so they rise, slowing your Fixer’s vehicle.
Hack spikes so the Fixer’s car tires blow out.
Hack steam pipes so they blow, disintegrating the vehicle.
Then ram or block the Fixer’s car and destroy it or get out and slay the Fixer.
 Aggressive // Violence: Common Assault
 Difficulty:
If Crispin tries to escape, you can:
Drive over him in your vehicle.
Shoot him in the head with your pistol.
Strafe him with any automatic rifle or machine gun.
Watch him sprint off, then tag him with a sniper rifle.
Chase, leap, and tackle him to the ground.
To avoid Crispin’s Fixer allies, consult the general escape tactics. Once the Fixer’s allies give up the chase, the objective updates.
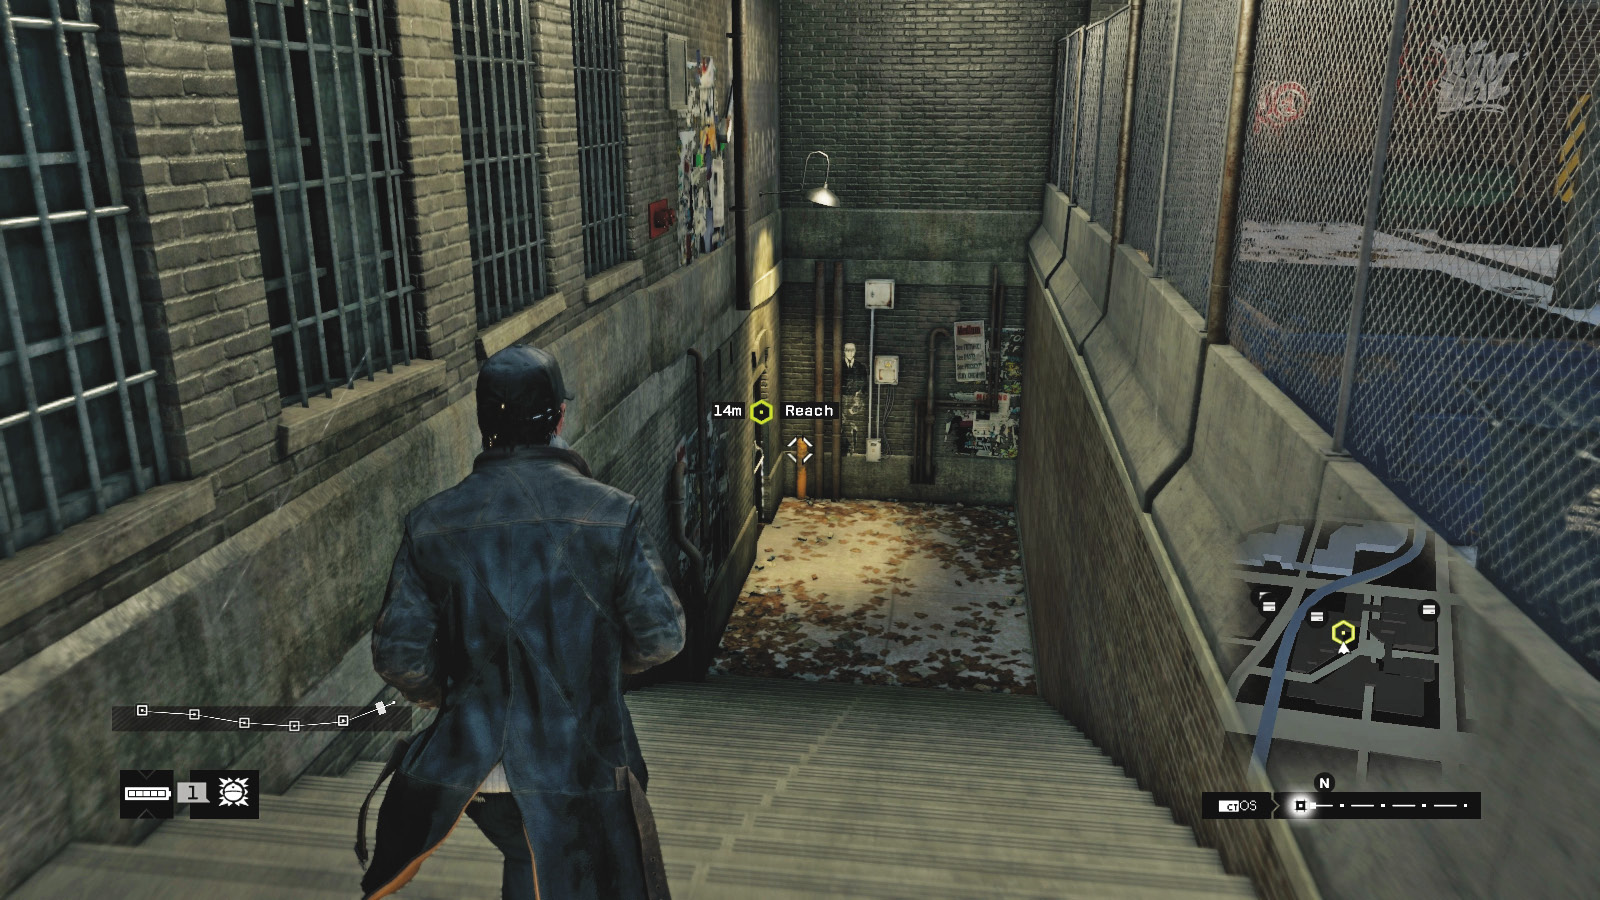
Whether you’ve chased Crispin in a vehicle or on foot, you need to hack his phone to obtain the data. This gives you the coordinates of an especially seedy underground club, as well as a passcode: “the Poppy special.” The location of the club appears once you neutralize all Crispin’s backup.
11.3 THE POPPY SPECIAL
 Location / The Loop // Club Infinite 92
|
|
 Go to the private lounge, Infinite 92
 Follow the host
 Leave Infinite 92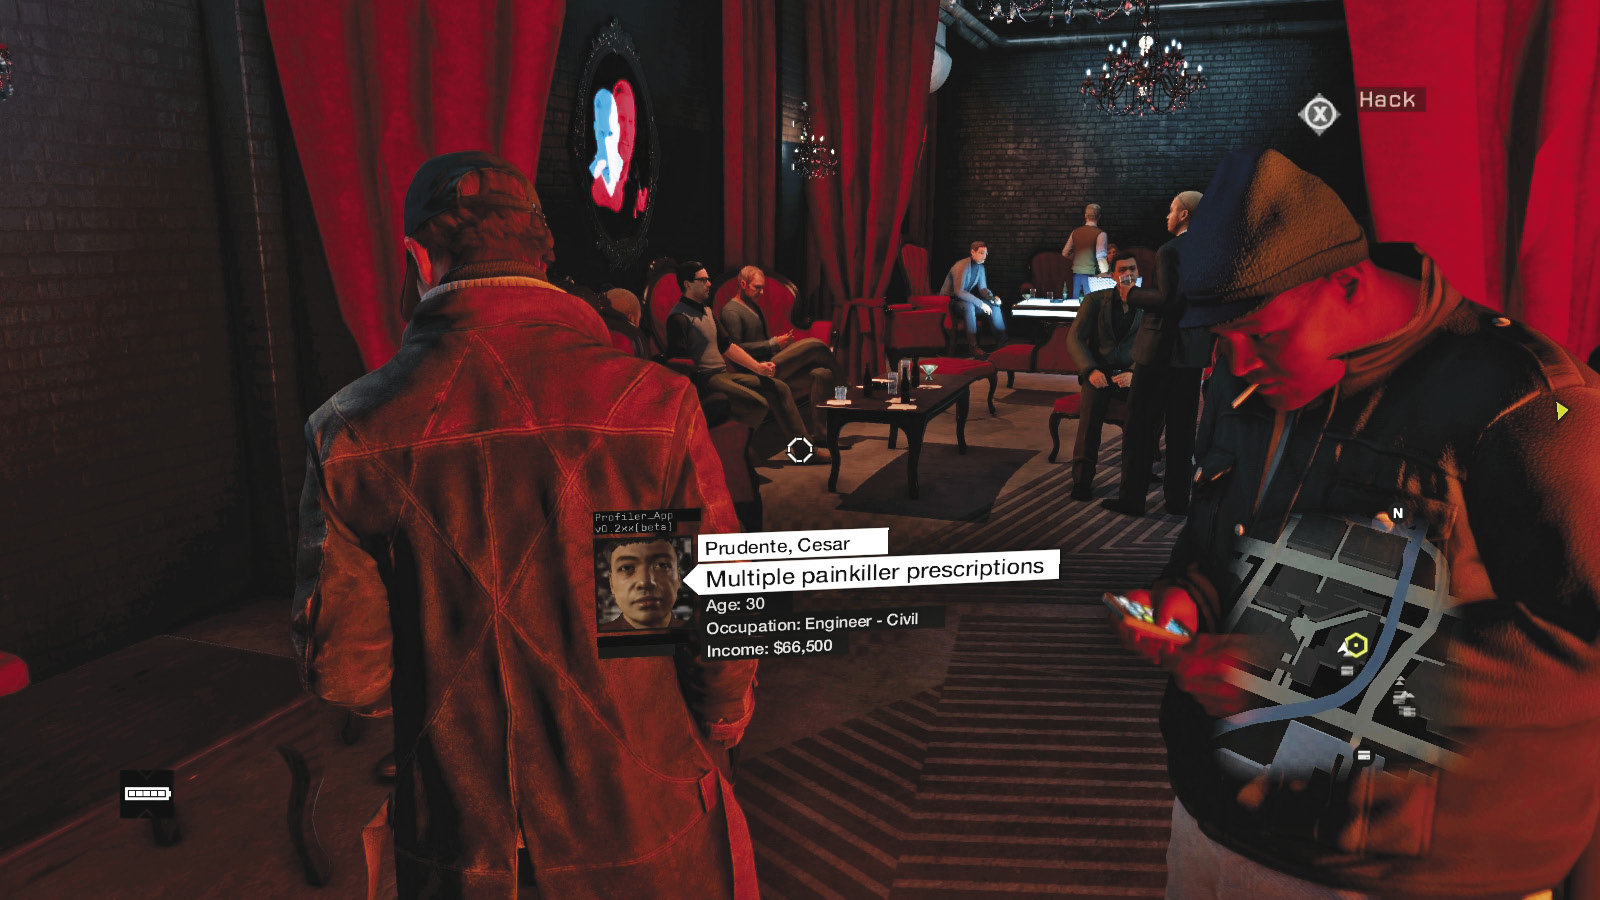
 Driving Investigation
 Investigation
Difficulty: 
Head south, to a particularly ominous alley, and park up at the waypoint. Then head down the stairs and enter the club. After your frisking, the club host believes you are Crispin, and you’re told to follow him.

Head into this den of iniquity, passing and hacking the phones of a variety of undesirable patrons and their blank-staring escorts. Your host pulls back a screen, and you enter a private chamber and an audience with Poppy.
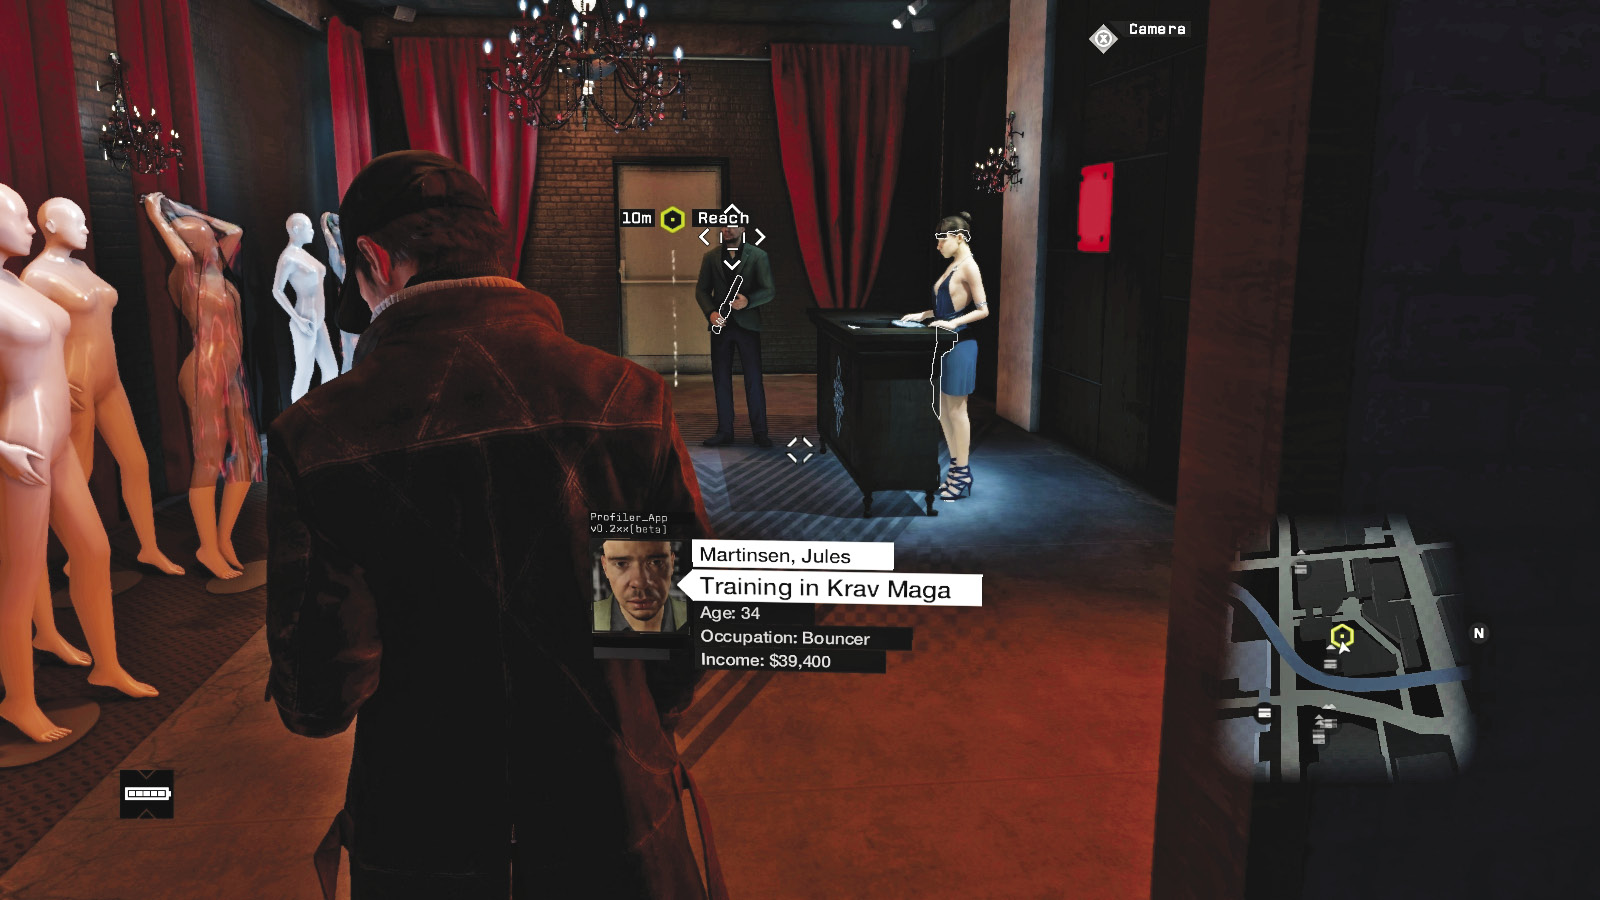
You finish your dalliance with the girl, who figures out you aren’t Crispin. But you have what you need. After exiting the booth, head back to the entrance, gather your weapons, and return to the alley. Choose a particularly fine vehicle to speed away in, and the mission concludes.
MISSION REWARDSGained XP +1,000 New vehicle available: Luciano |