
Watch Dogs Guide SIDE MISSIONS
_GANG HIDEOUTS // PARKER SQUARE
_UNION DUES
location: Building Site, West Parker Square
Enemy: viceroys
NUMBER OF TARGETS: 1 (Veteran x1) / He does Not flee
NUMBER OF ENEMIES: 9 (Gunmen x6, Veteran x3)
Shot-Callers x2 (Gunman x1, Veteran x1)
Difficulty: ($2,500 REward)
REINFORCEMENTS: two vehicles (Gunmen x2, Veteran x2)
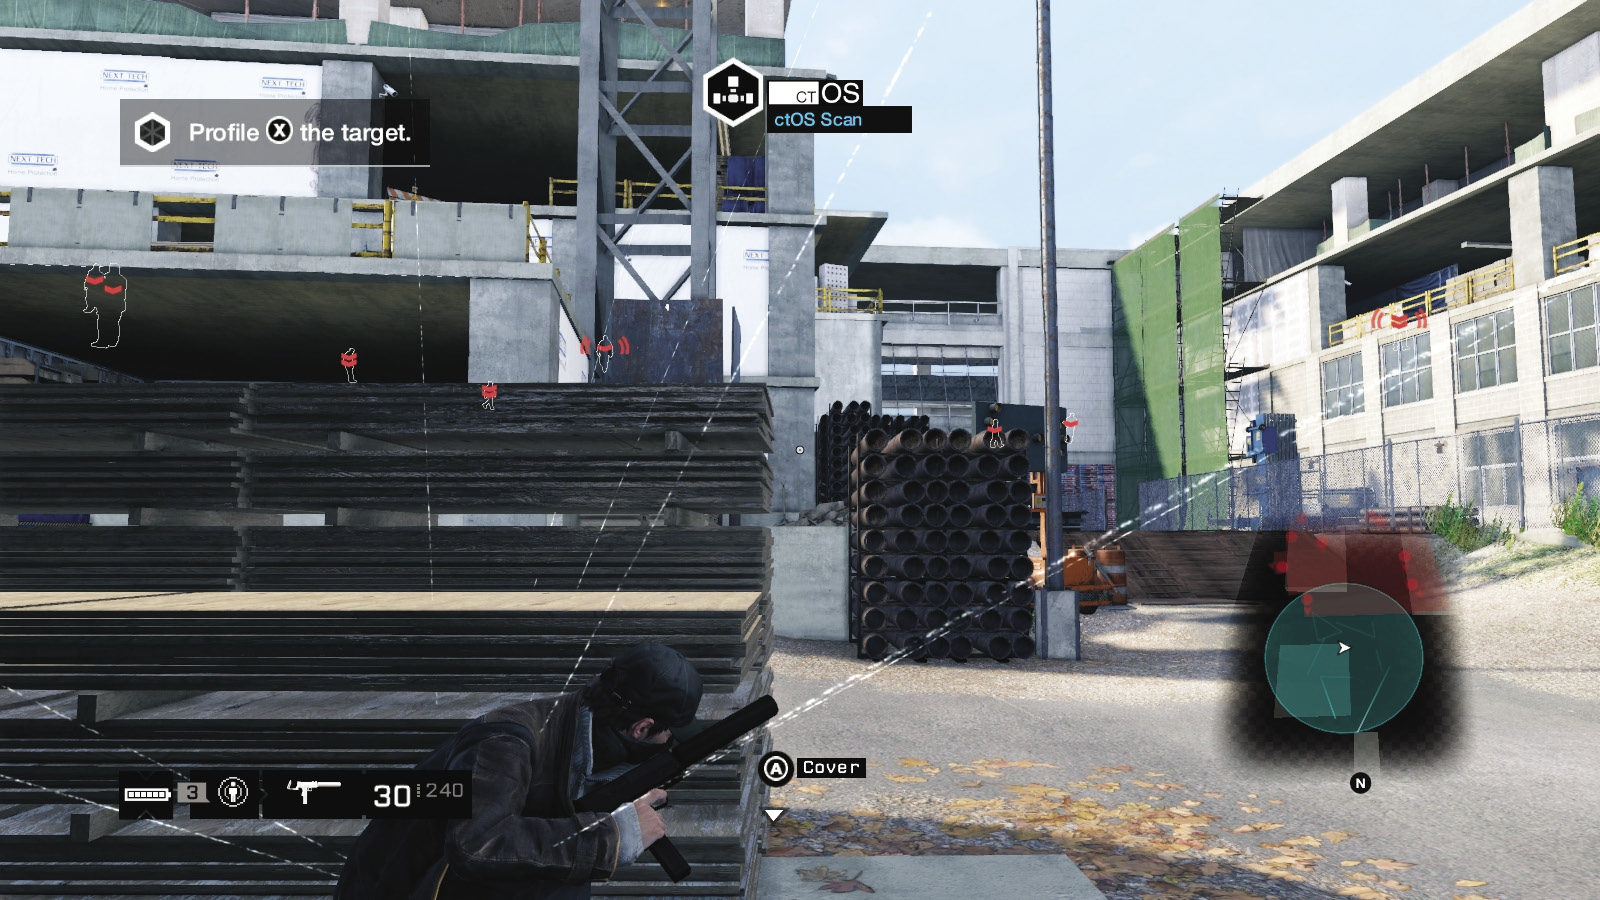
This mission starts at the entrance to the alley between Cafe Baroque and the Pizzeria. You’re to rough up a target and deal with his minions in whatever way you wish. They’re holed up a block away, in a half-constructed apartment complex. Jog there now.
Insertion Points
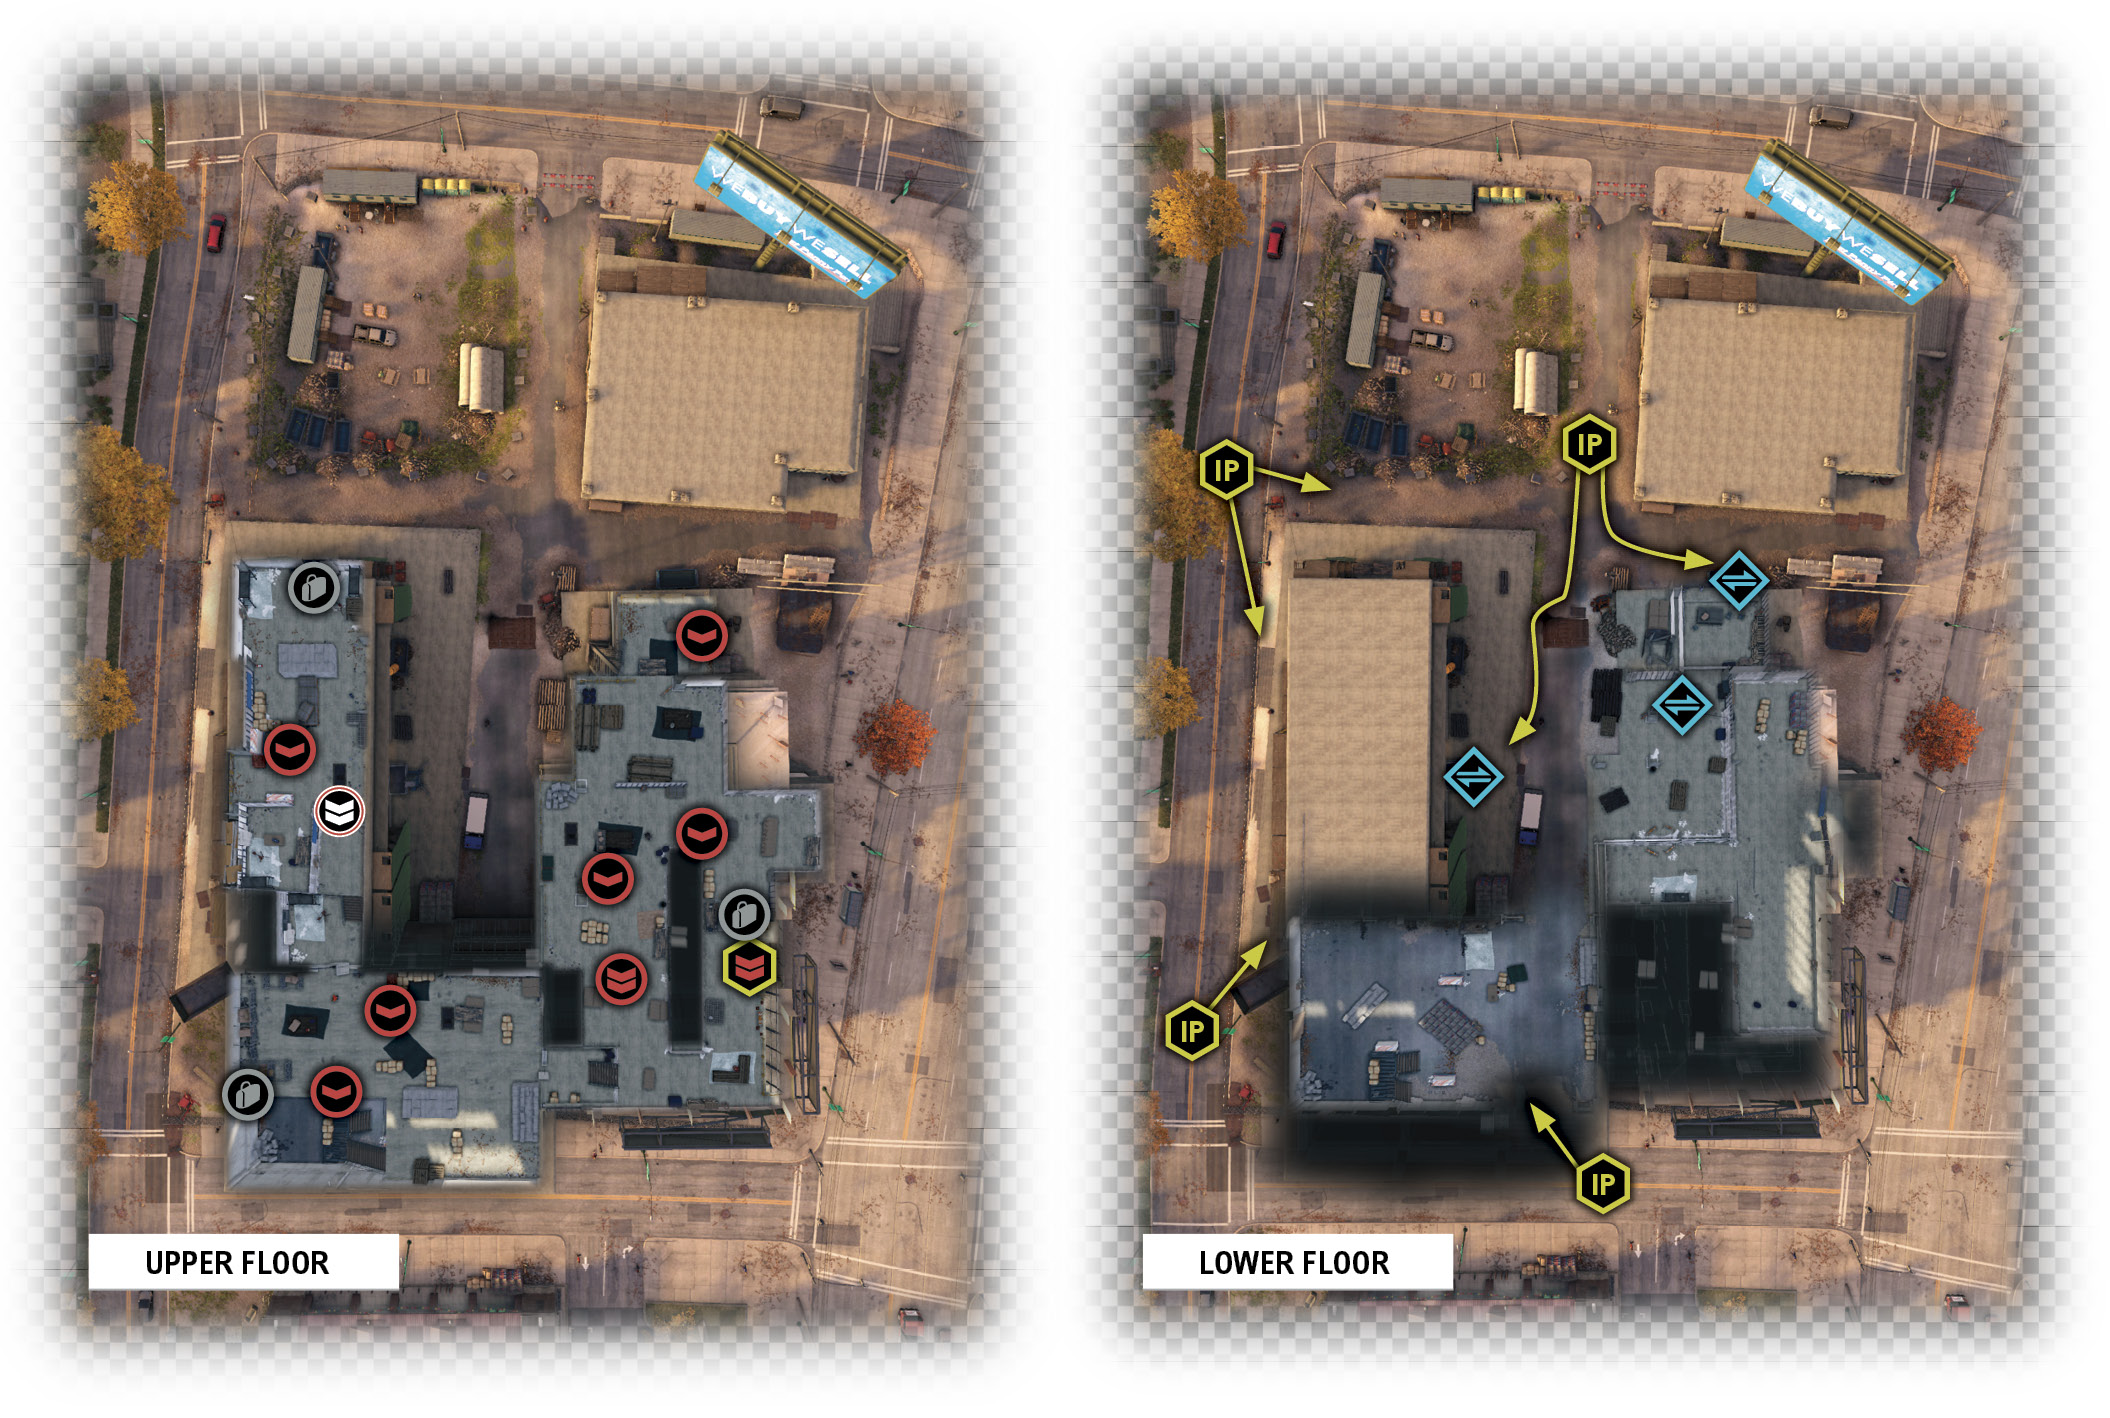
There are two distinct structures, in a U-shape; you approaching from the north, so the “U” is upside down. There’s an east building (on your left) with a crane and ground-floor access. There’s an opening straight ahead and the west building to your right; aside from the stairwell to the south, this is only accessible via a climb.
East Building: Balcony and Lift
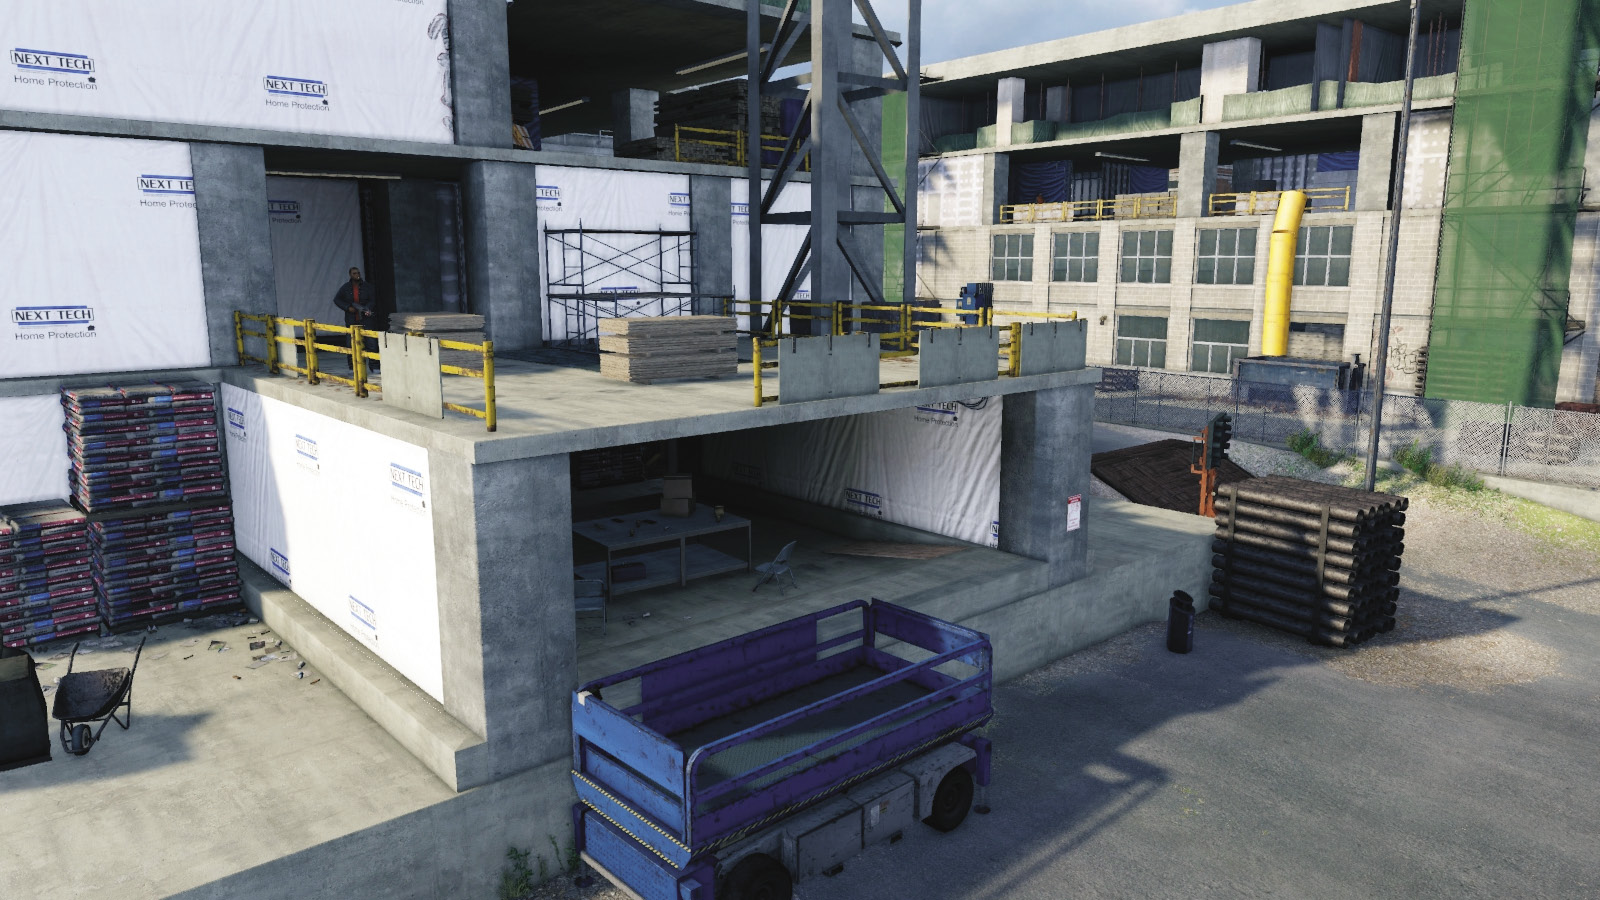
You’re likely to spot this area first; a guard is patrolling, so watch your step. There’s a scissor lift, drywall stacks, and easily accessible interior entrances at the base of this structure. As the target is on an upper floor of this building, you can enter and climb from here to avoid foes in the opposite structure.
East Building: East Opening and Interior
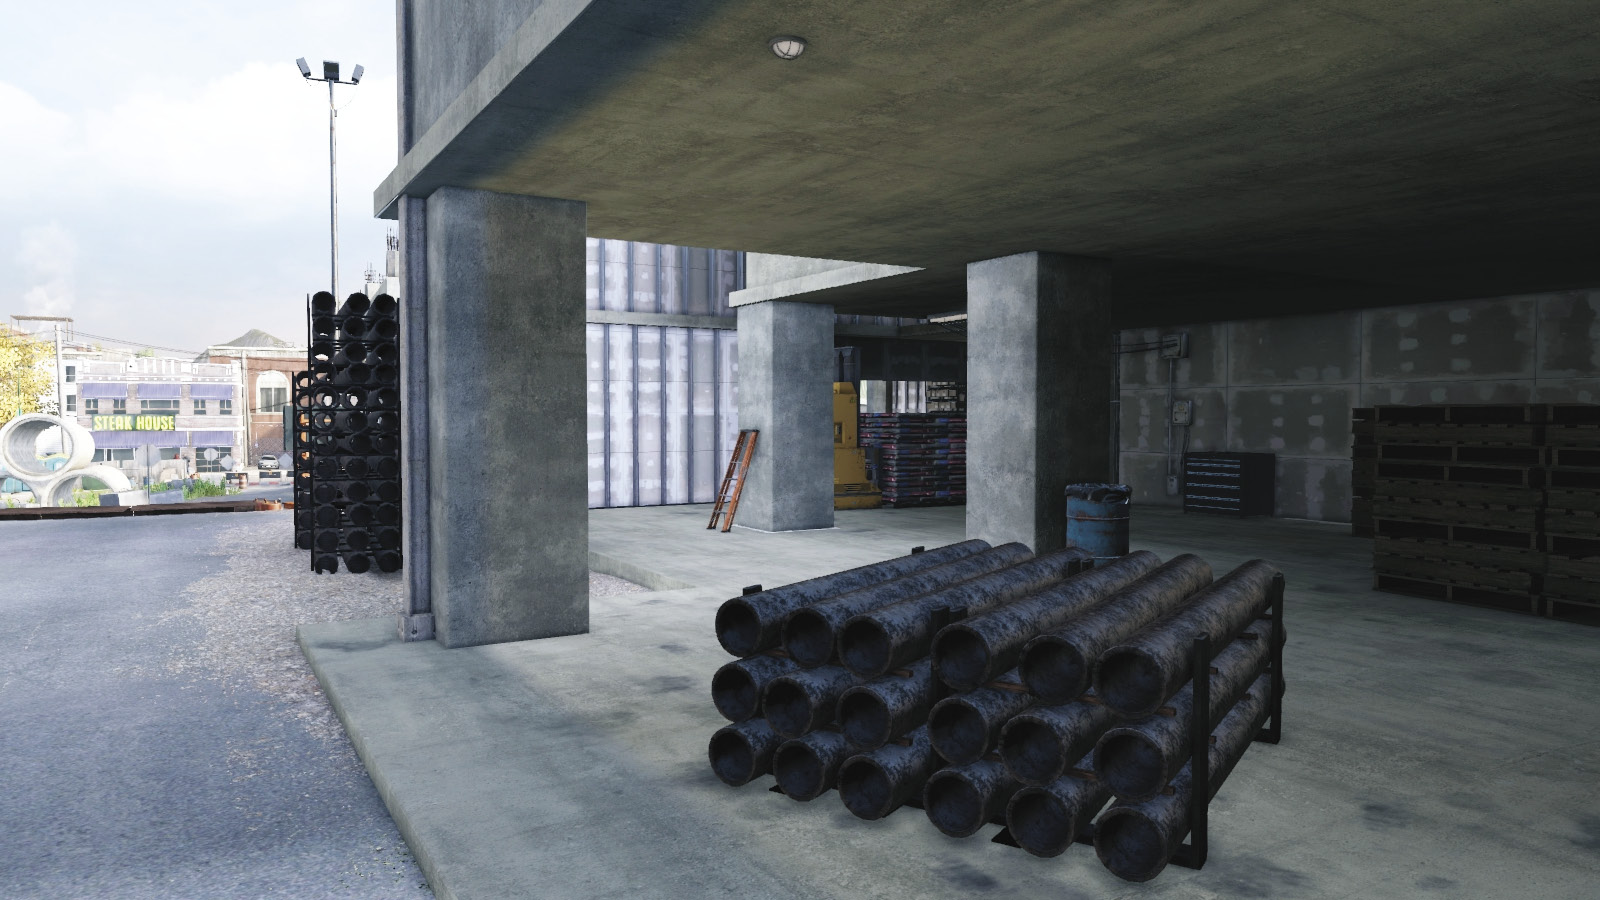
Most of the ground floor is drywall, but there’s a forklift truck you can stand on and activate, allowing you into the area adjacent to the concrete balcony to the north. This is another good ground-floor insertion point, with minimal enemy presence.
West Building: South Entrance
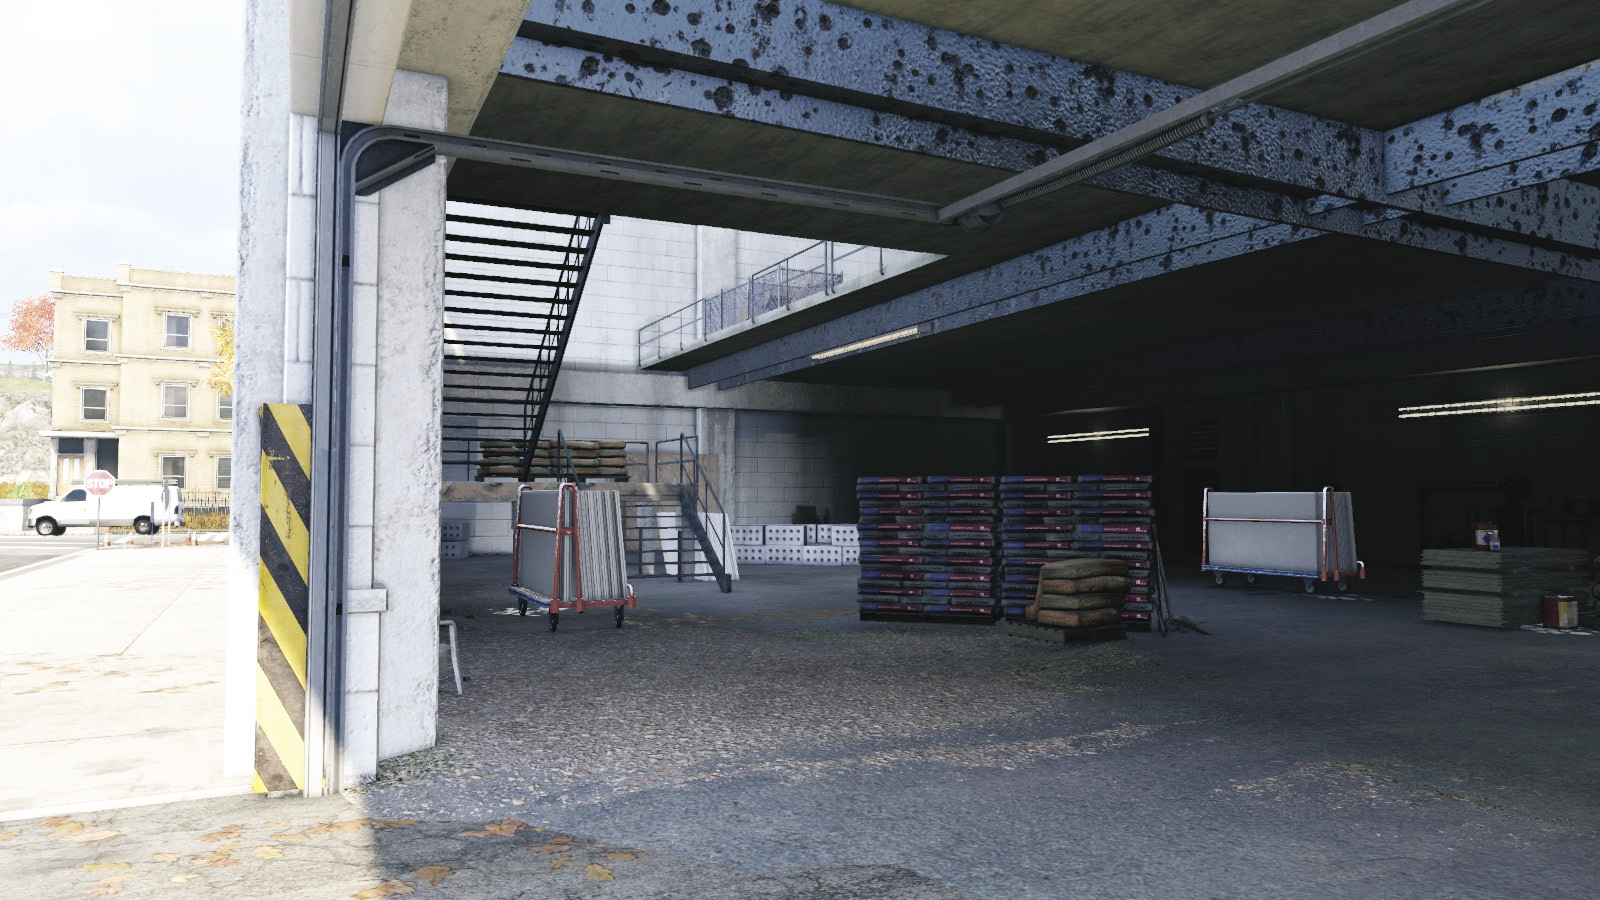
The unfinished garage area to the south, at the base of the “U” shape, features two large garage doors and some metal steps leading up to an L-shaped connecting chamber with three Viceroys. It’s very easy to be spotted climbing these stairs, so be sure you’ve marked the enemy and can tell they aren’t looking your way if you’re using this as an insertion point.
West Building: Westside Scaffold Ladders
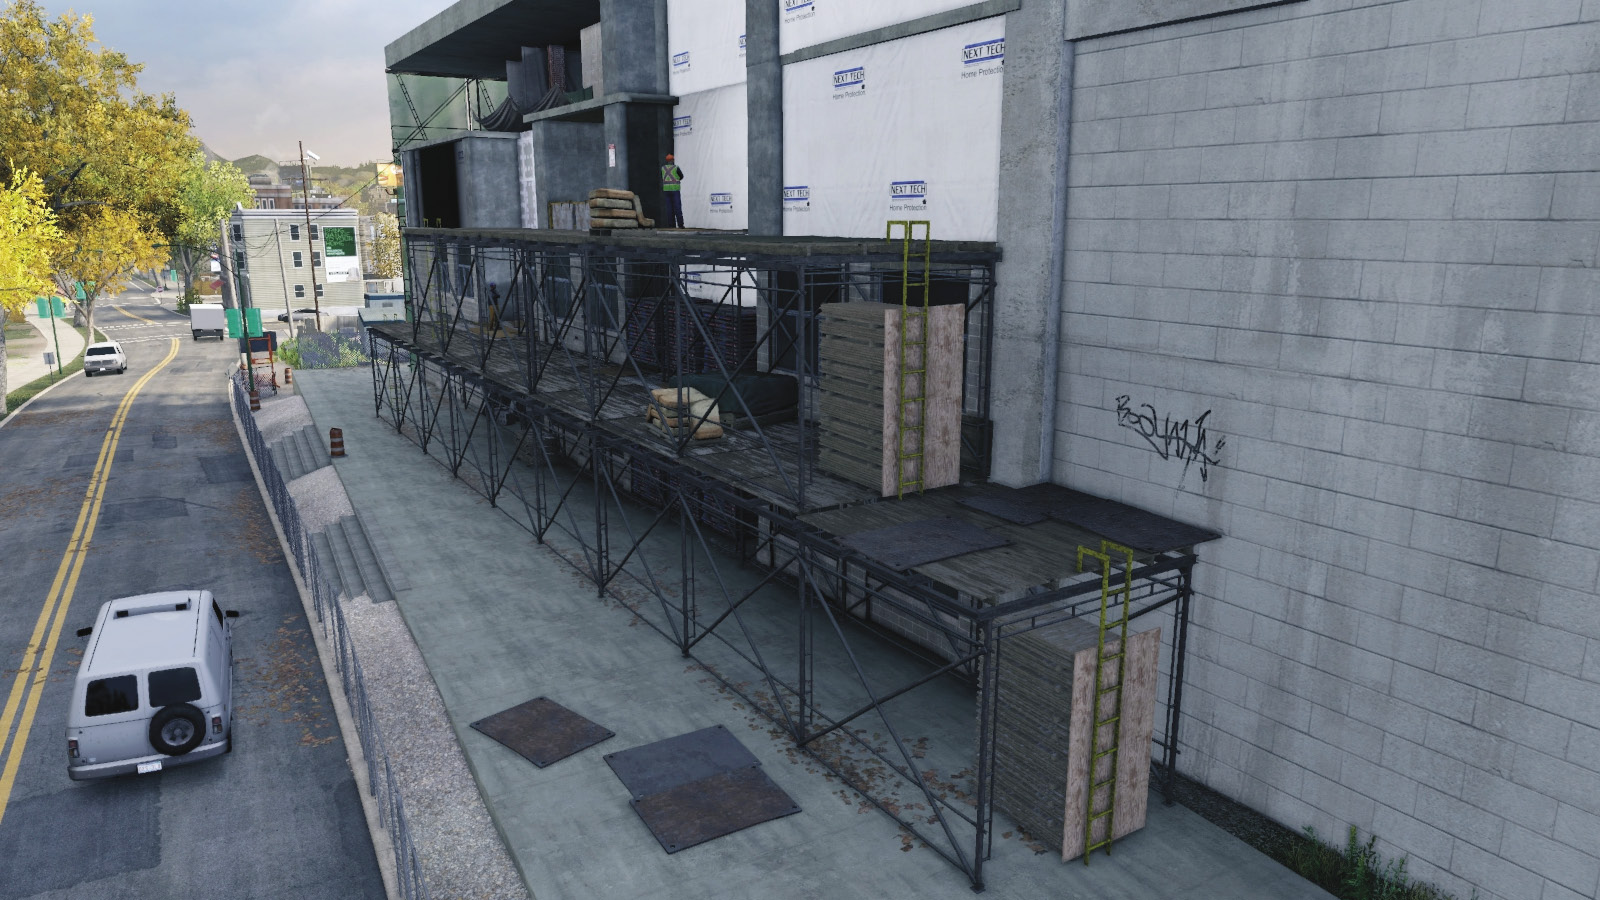
Head to the side road on the west of the two structures. You’re presented with a long exterior scaffolding area with ladders at the north and south end. Climb them from either point to gain access to the west building floor and a couple of foes to watch for. This is a great place to start your infiltration, as you can more easily see the enemies clustered around the target, to the east, through the openings.
West Building: Construction Lift
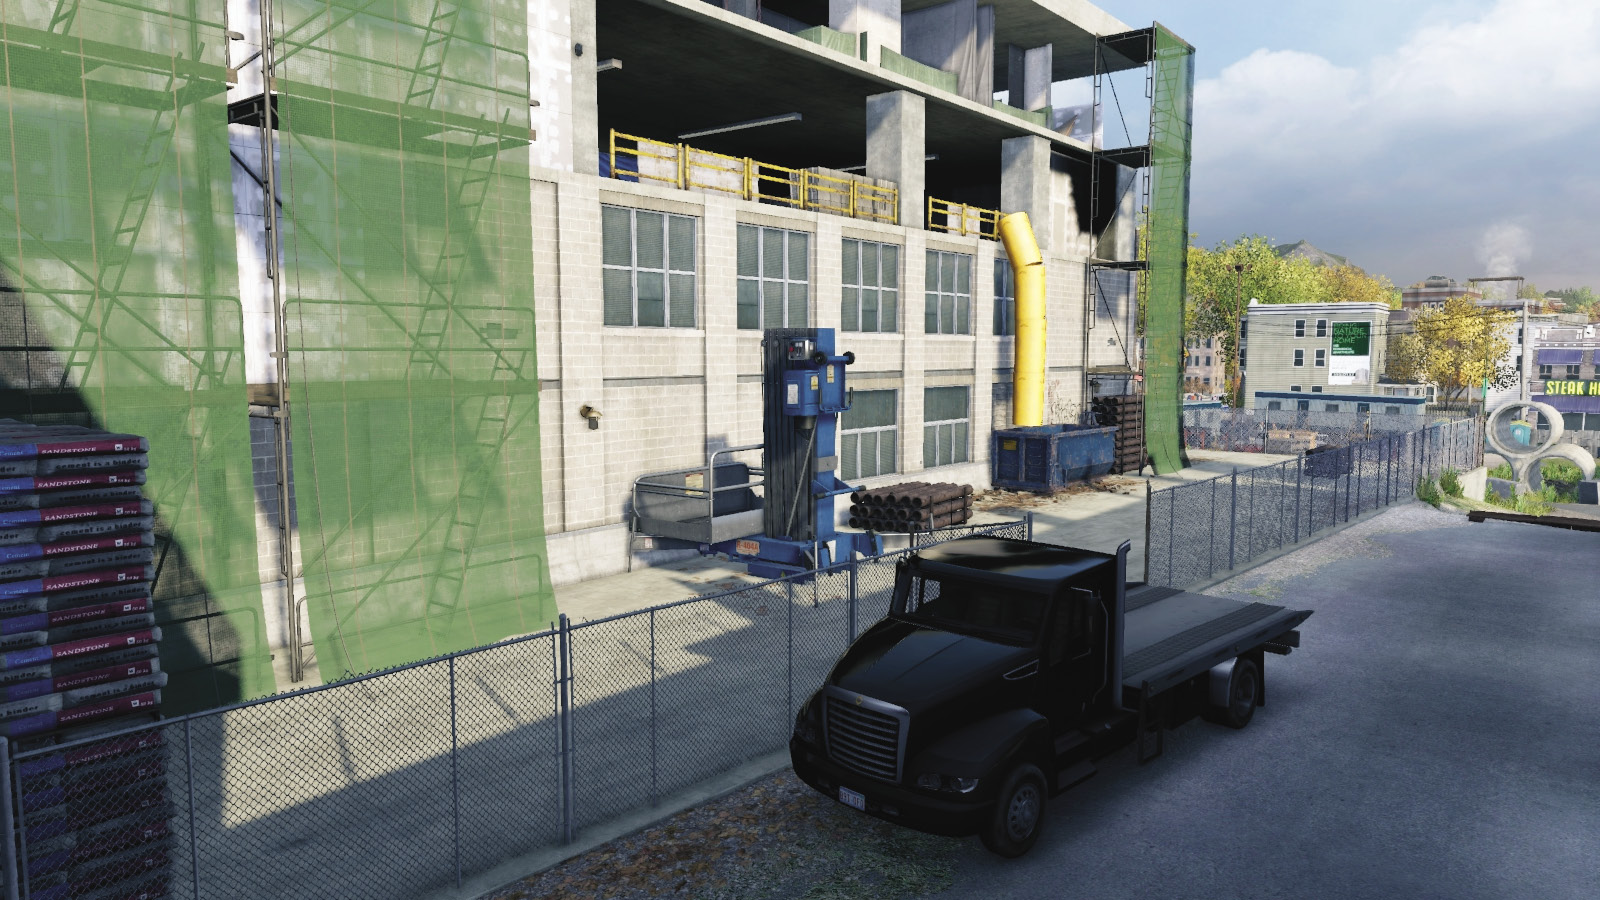
This is another option to reach the west building upper floor, although the noise can alert your enemies (consider just activating the lift and entering from elsewhere). A good place to escape to if you’ve already raised the lift and don’t want to drop.
East and West Building Interiors
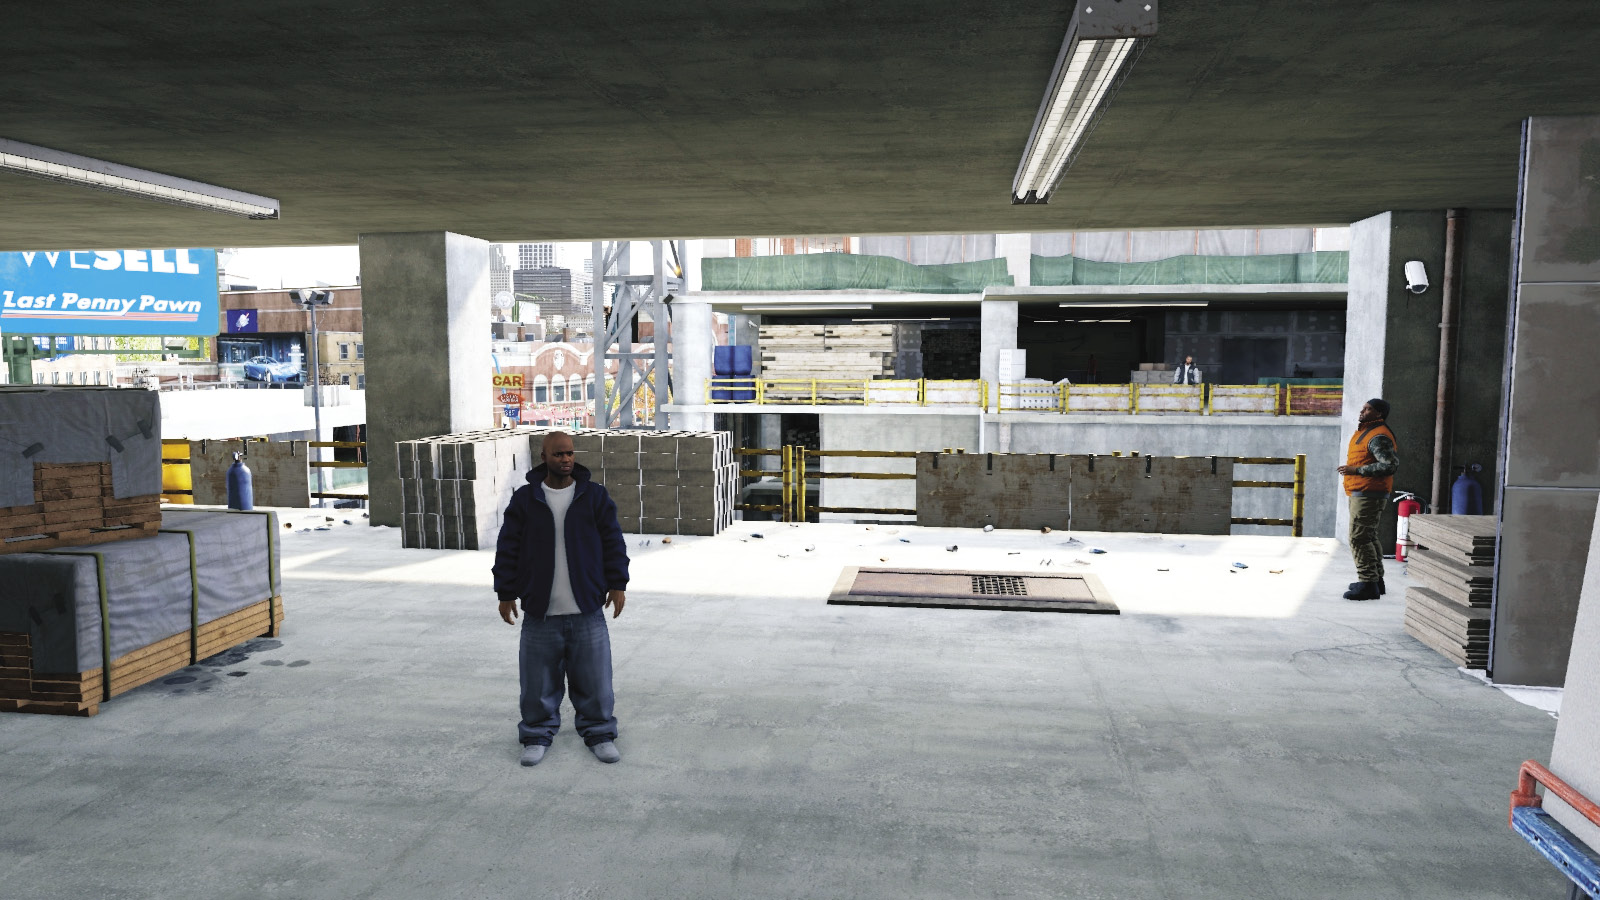
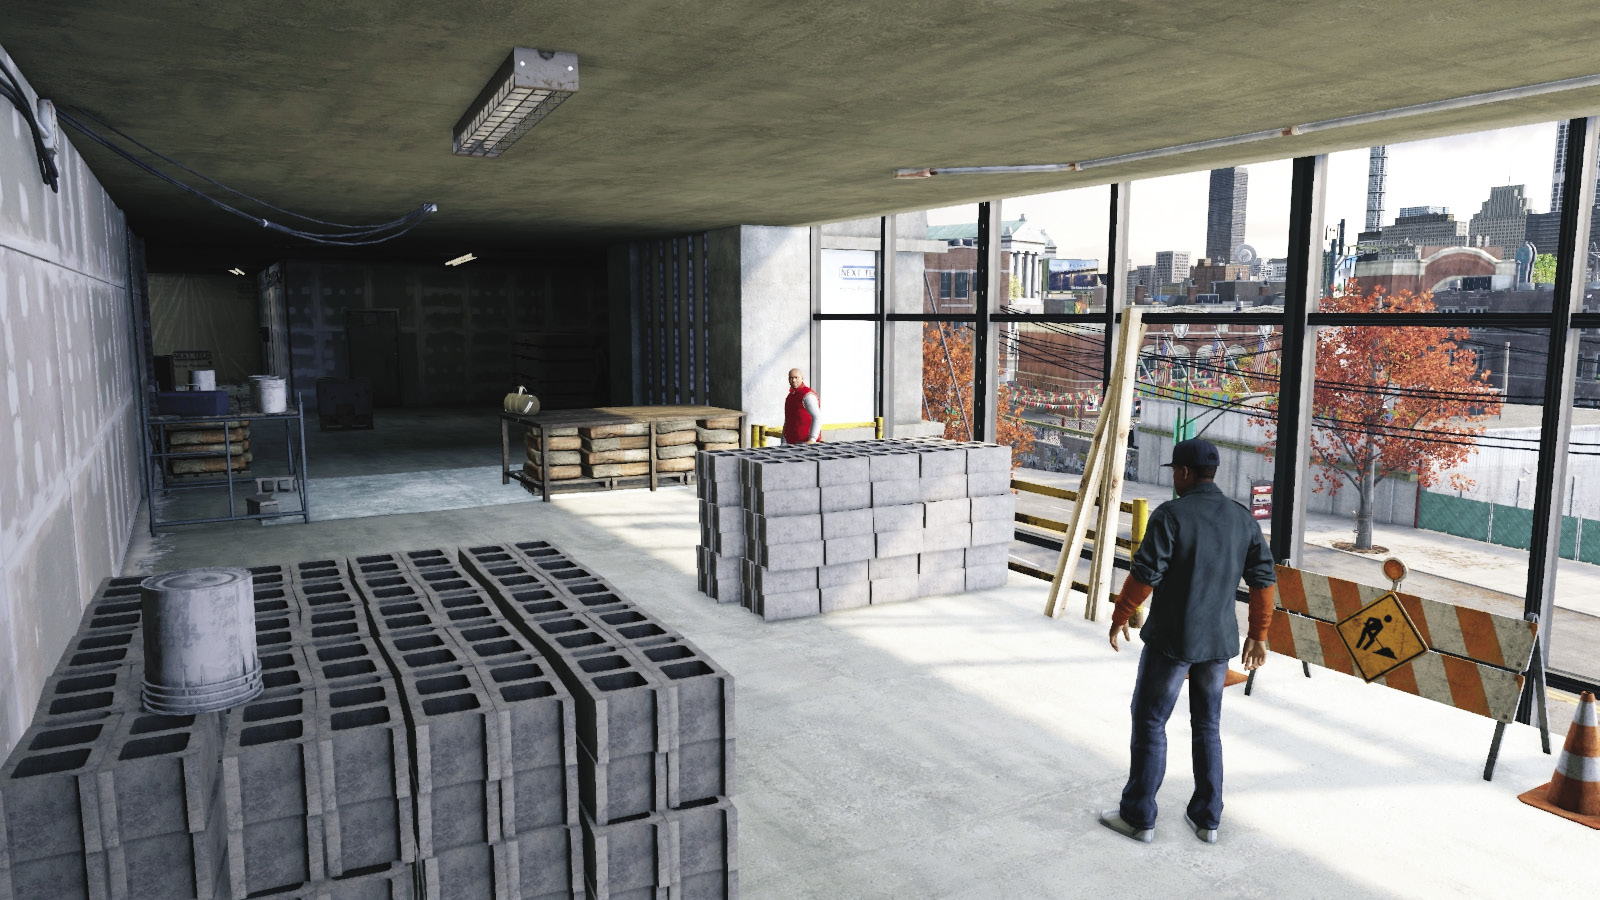
Think of these as three large rooms to navigate through, each with two to four foes to worry about. West is a large chamber with a couple of enemies and steps down to the central L-shaped balcony, where you find three more foes (and an entrance to the east area). East, up two floors, is an elevator bank (inaccessible), behind which your target waits and a balcony overlooks the yard below and the west building.
Progression Plans
The target is stuck high in one of the structures, with foes throughout the site’s interior. So stealth is even more beneficial as you discover how the three main chambers above the ground link together.
 Aggressive // Stealth: Cunning at the Construction Site
 Difficulty:
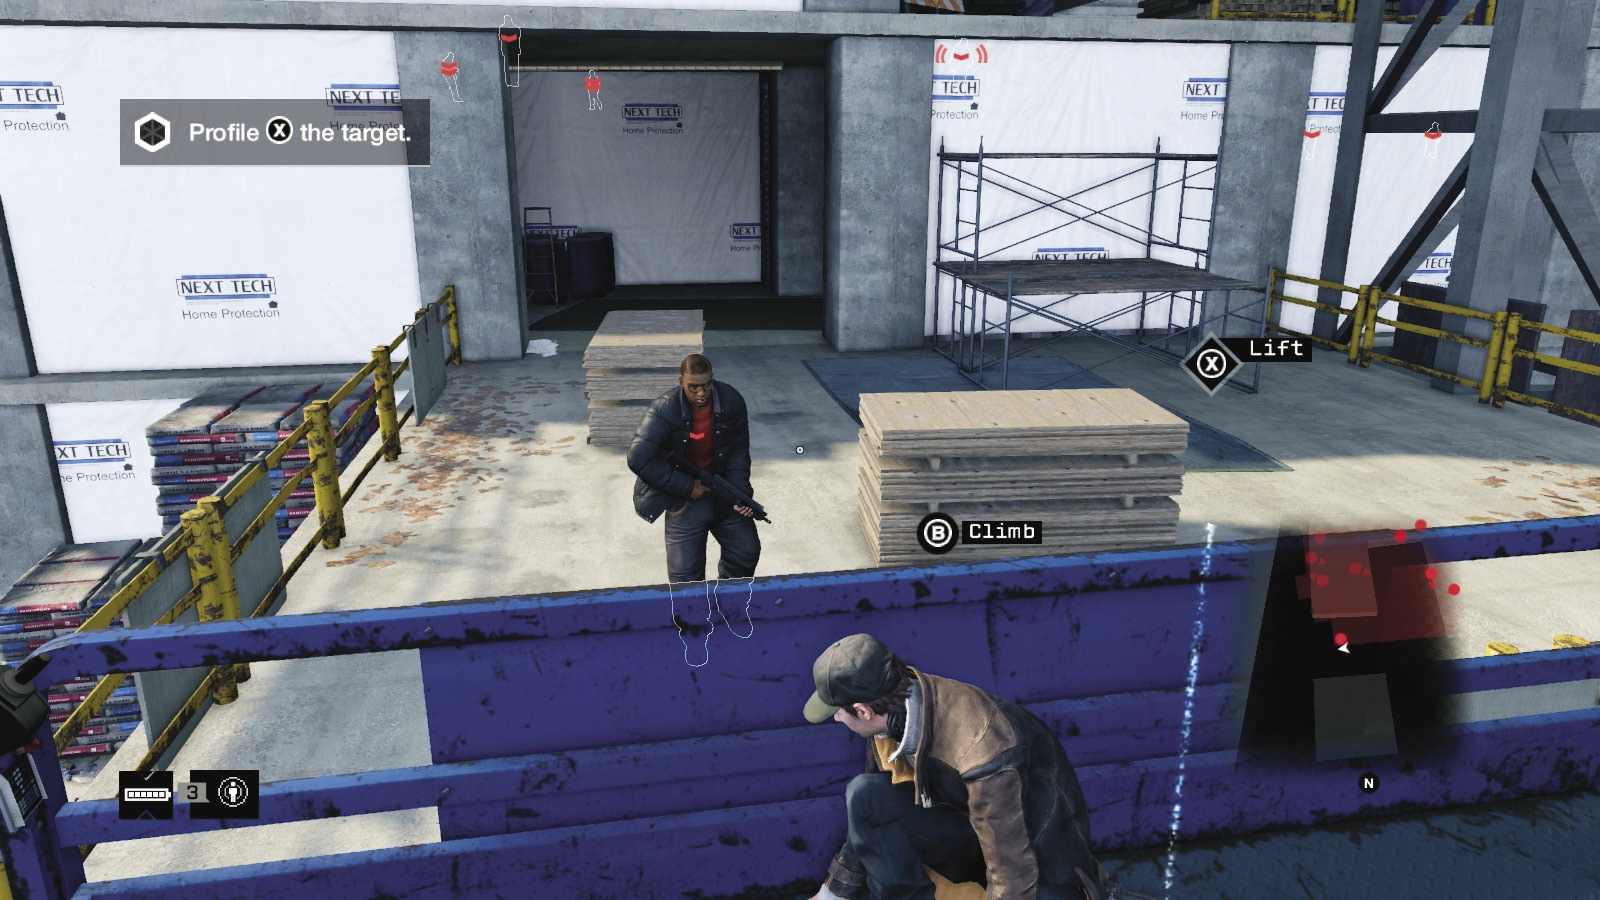
This route allows you to reach and remove the target with the fewest number of other takedowns (allowing you to switch to guns as early as possible, without worrying about winging your target). Begin near the scissor lift under the low balcony of the eastern building, and use the lift. You can also enter the ground floor and stand on the forklift pallet; activate it to move onto the balcony and remove the patrolling guard there. You can leave him if you want, but it’s better to drop him now so he doesn’t spot you.
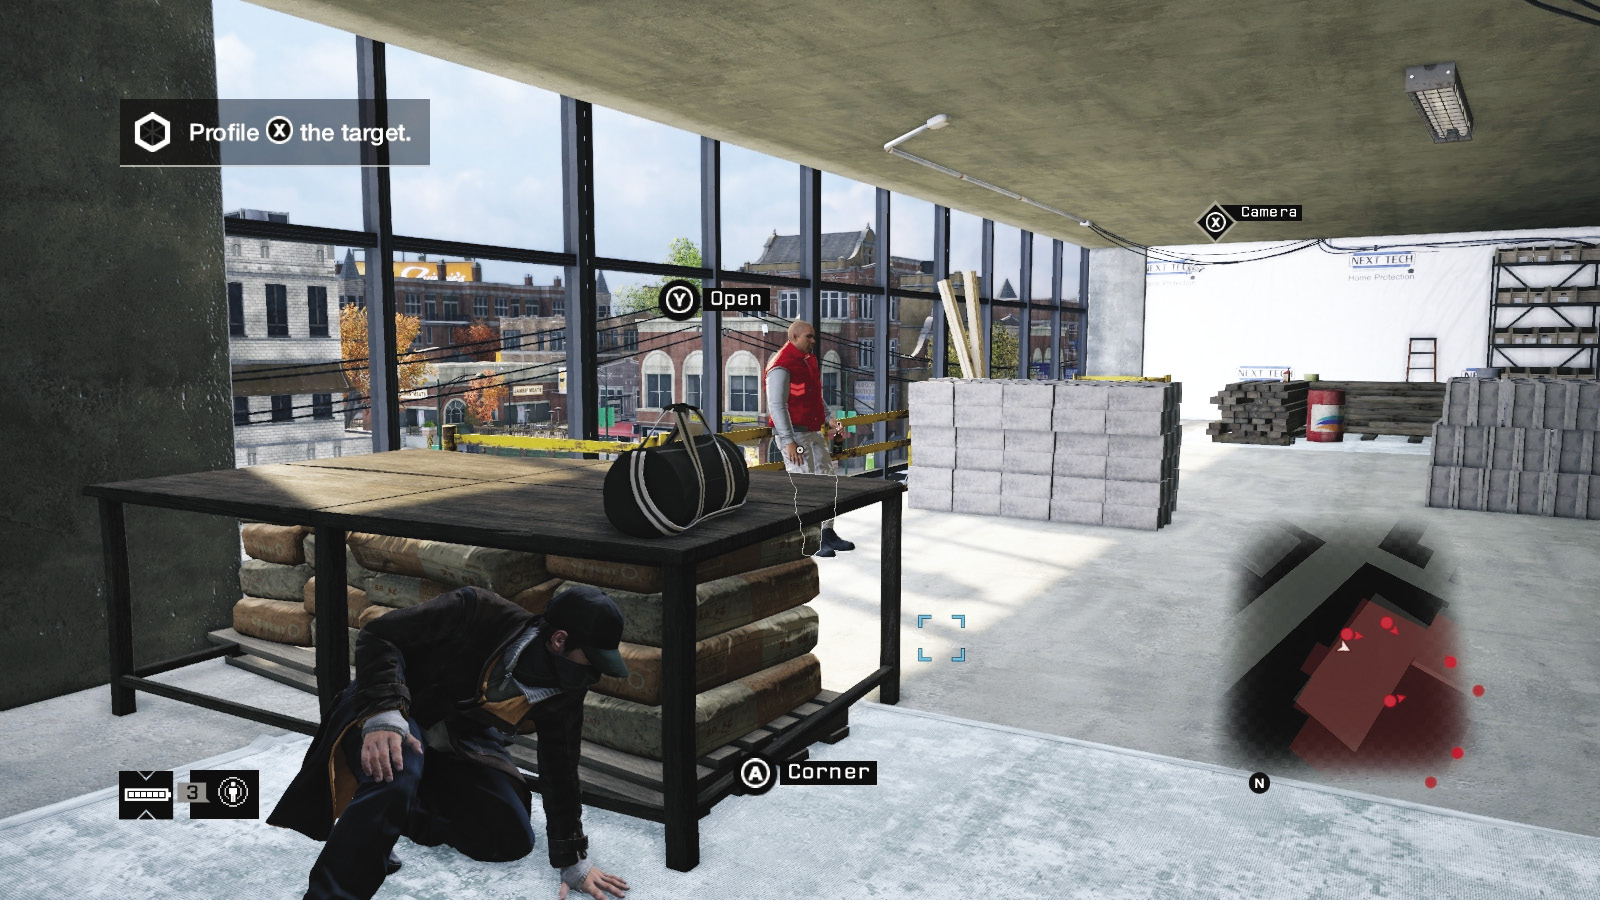
Face south, climb the two scaffold steps, and enter the upper floor where the target is. Use the half-finished wall as cover, scooting to the left and watching two patrolling foes, one on either side of the target. When the nearer one has moved into the dark corner to the left, near the camera, sneak up and bring him down. Then drop into cover, move to the table adjacent to the target. Quickly stand up, move around, and grab the target before he draws his weapon. At this point, you can continue the stealth takedowns, flee, or switch to guns.
 Aggressive // Stealth: Sneaking Just Feels Right
 Difficulty:
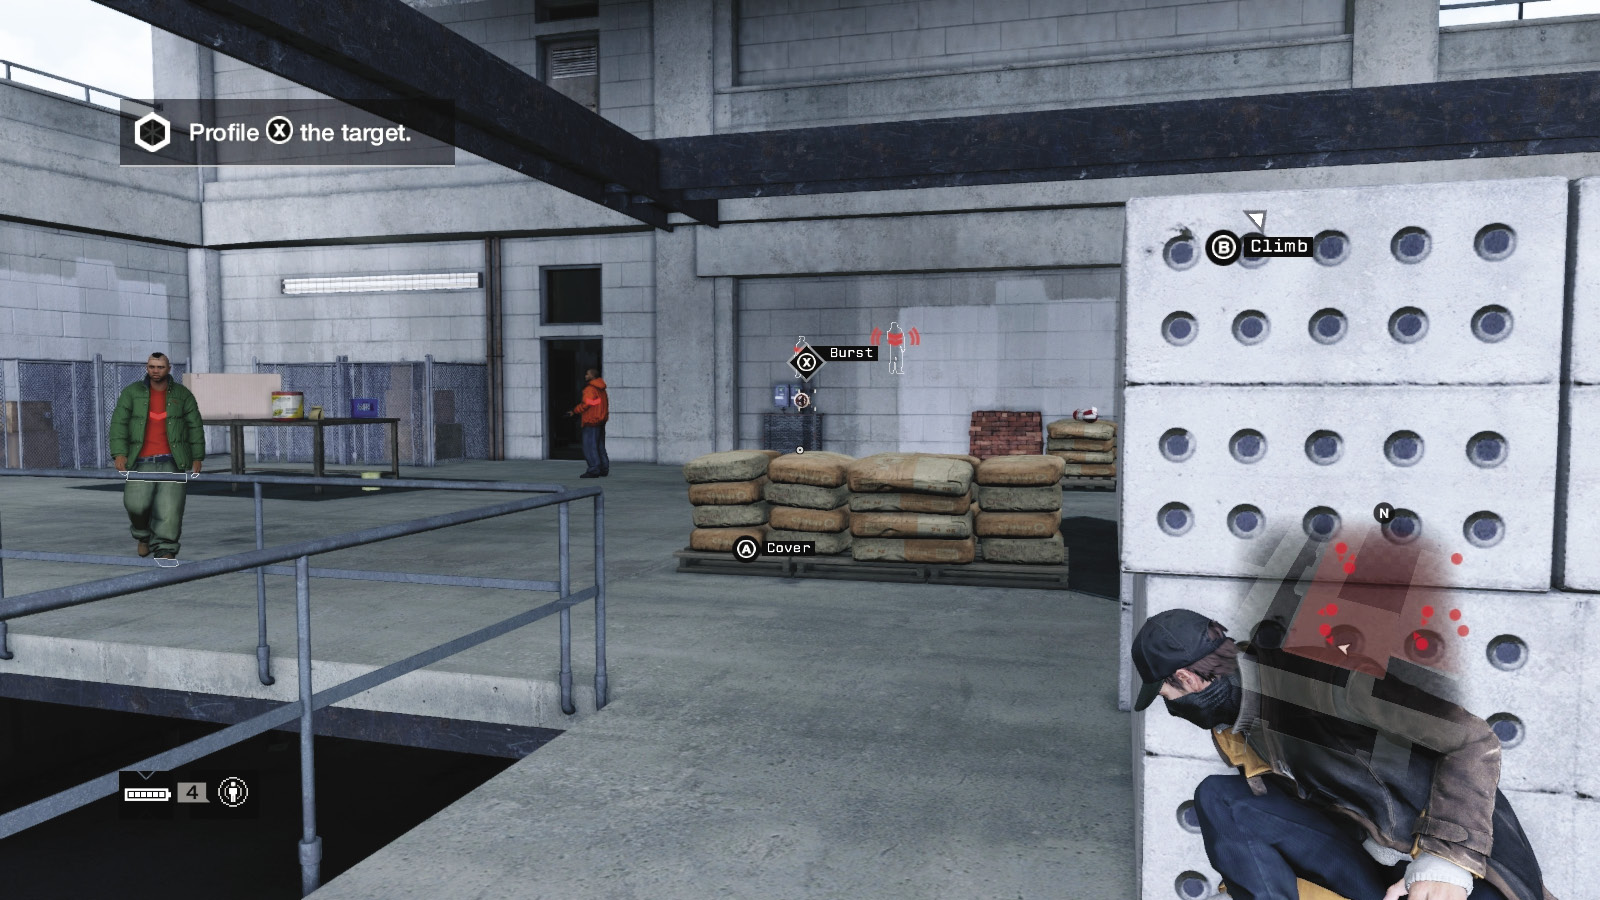
If you want to take care of all foes before finishing with the target, there are any number of routes to take. But this one is reasonably safe; begin at the garage doors to the south. Be extremely careful, as a foe is looking down from the L-shaped room above. When he moves, creep up the stairs and hide behind the stack of concrete blocks. When the foe moves to the right of you, pounce. Then scurry back, wait for the other foe to move, and use the exploding vault on him (or rush him).
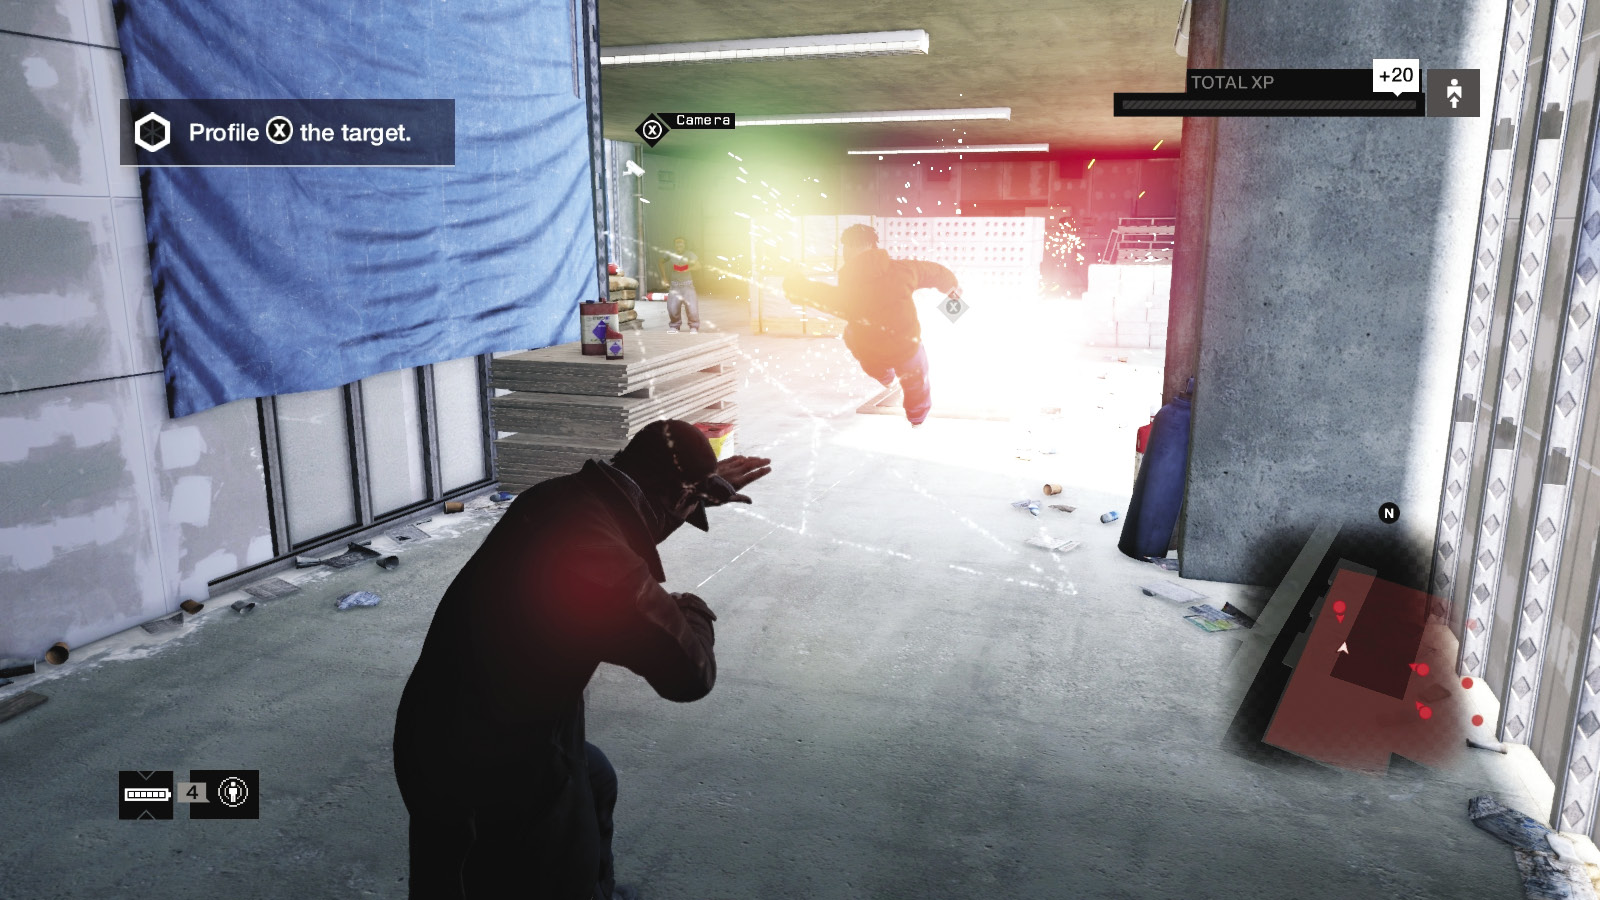
Head through the door to the left, up the metal steps, and into the western building’s upper side. Quickly tackle both foes one after the other (very tricky), or explode the vault, sending one foe reeling. He usually dies, allowing you to scoot over and throttle the other.
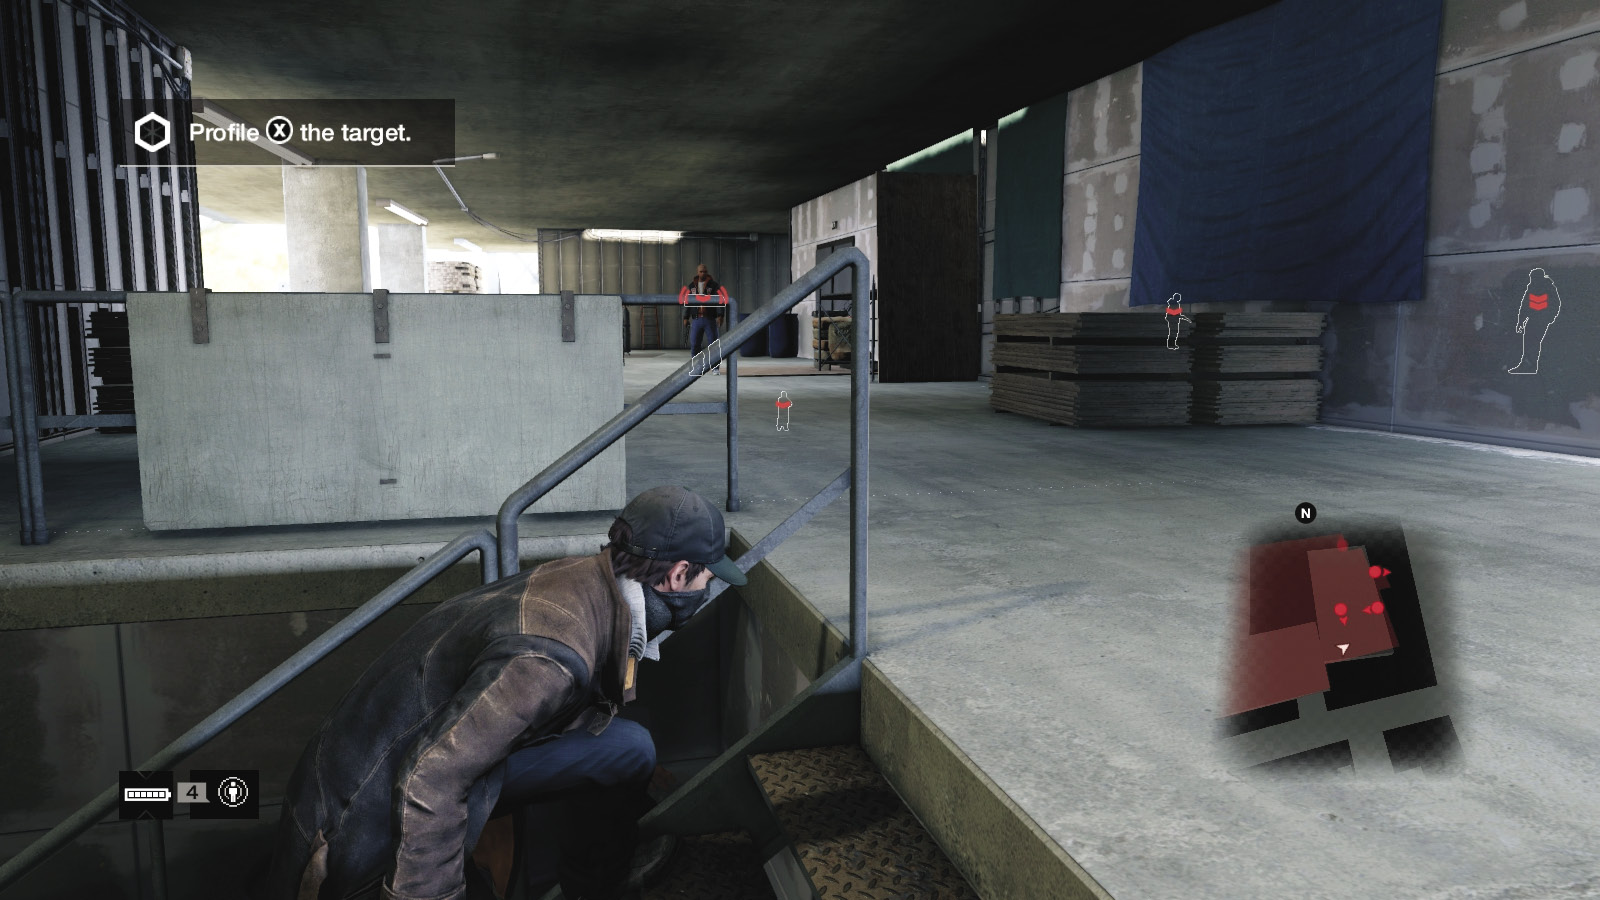
While you can start sniping the foes on the building opposite, it’s far better to head back to the L-shaped room between the two buildings and into the stepped area to the elevator room where the target and remaining foes are. Use the cameras here to mark your remaining enemies. Explode the junction box near the target if you need foes to start patrolling.
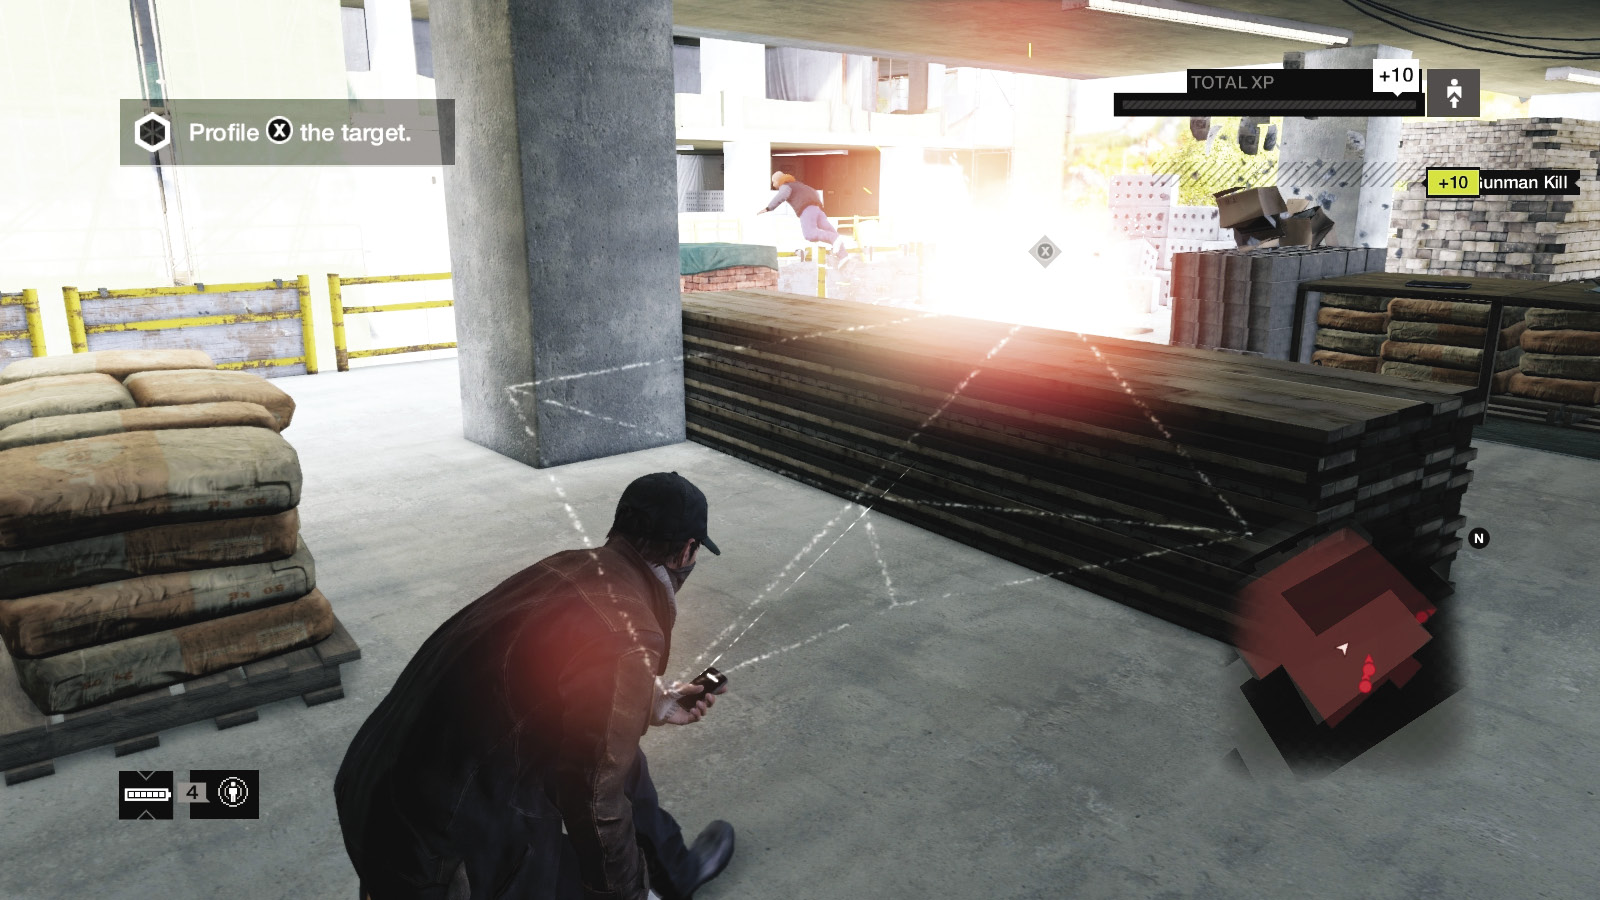
Wait for one to pass, and creep up the left (west) side of the elevators. Grab the foe, and a second one (or explode a vault and send the foe flying over the balcony). A third one wanders into the dark corner. Now you can head north, dropping down to the outer balcony to remove the last guard before heading back to the target, or take down the target first.
Your foe may attempt to run; he drops down the north side of the building to the outer balcony, before fleeing through the pipes and running north down the alleys, over fences, and toward May Stadium. He’s quicker than you, so you may wish to use a vehicle or wait for him to make a mistake. Don’t explode anything near him or this might kill him; leap and pummel to finish.
 Aggressive // Violence: Bringing the Correct Weapons to This Fight
Difficulty: 
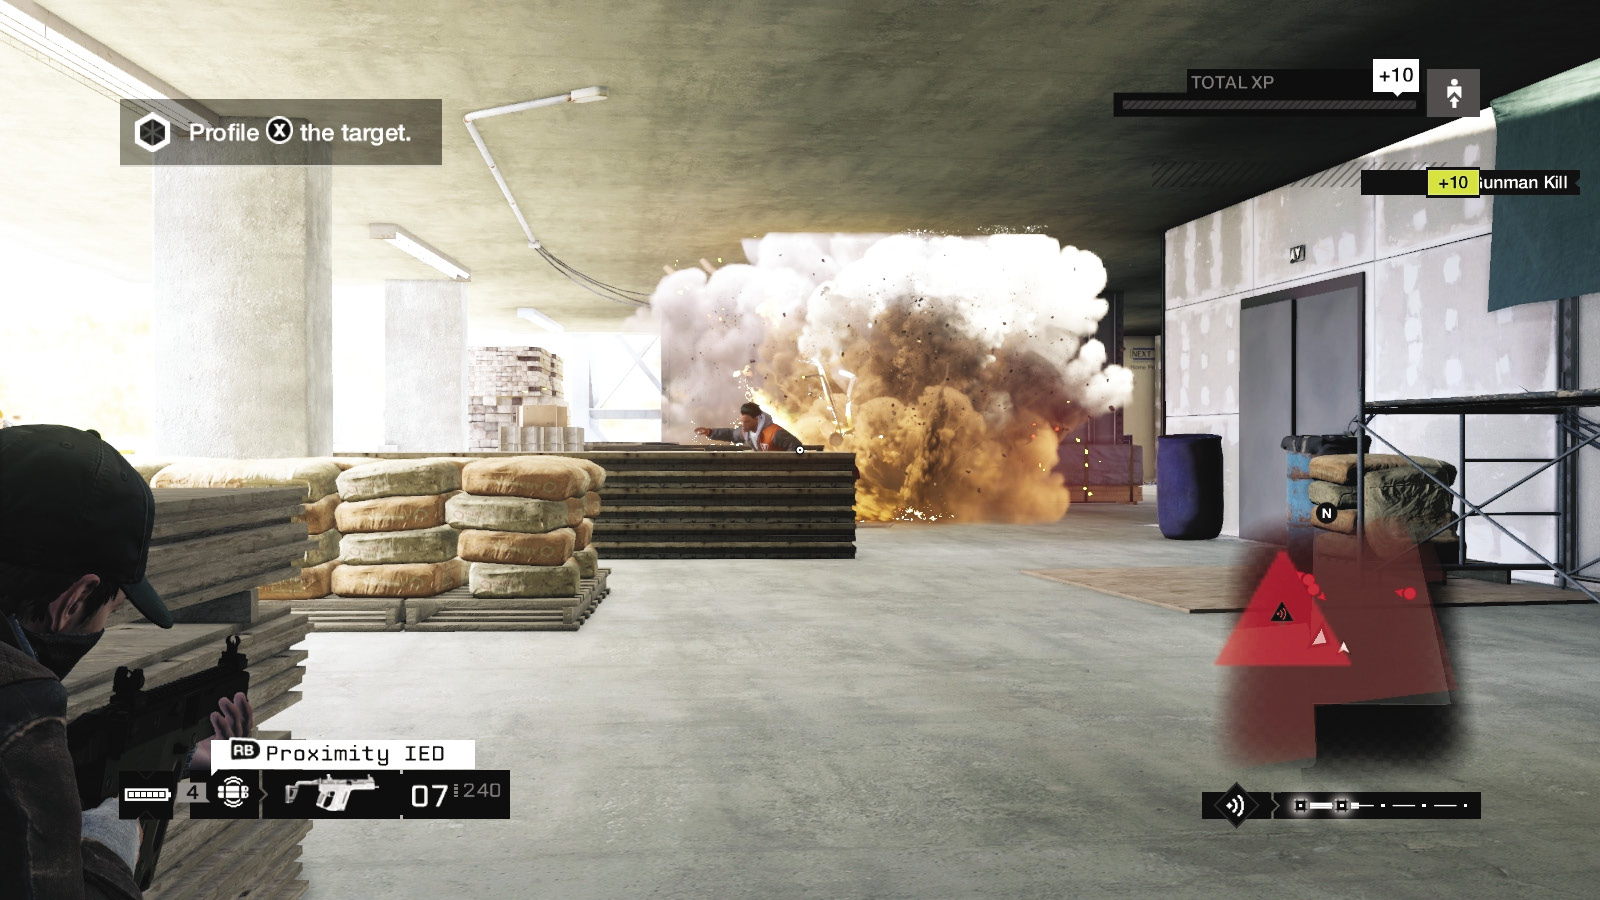
More dangerous gunplay and explosives is fine once you defeat the target, as the enemies don’t really have many places to hide or run to, but it’s dangerous tackling enemies with the target still in the picture. Try the following:
IEDs around corners are excellent, especially if you can chain them up with the vaults and junction boxes to explode.
Grenades are also helpful when clearing rooms as you can take out multiple foes in these confined areas.
Shotguns are helpful in close-quarter fighting.
Snipe from the west building, across the opening and into the east structure until the target (which is behind the elevators) tries to make a run for it. Drop off the balcony edge and give chase.