
Watch Dogs Guide INVESTIGATIONS
_HUMAN TRAFFIC
OBJECTIVES
|
 Hack into DeMarco’s apartment
 Hack the cop’s phone
 Eliminate DeMarco before the corrupt cops reach the prison
 Escape the police
1. BRIEFCASE GATHERING
 Location / Chicago // All Districts
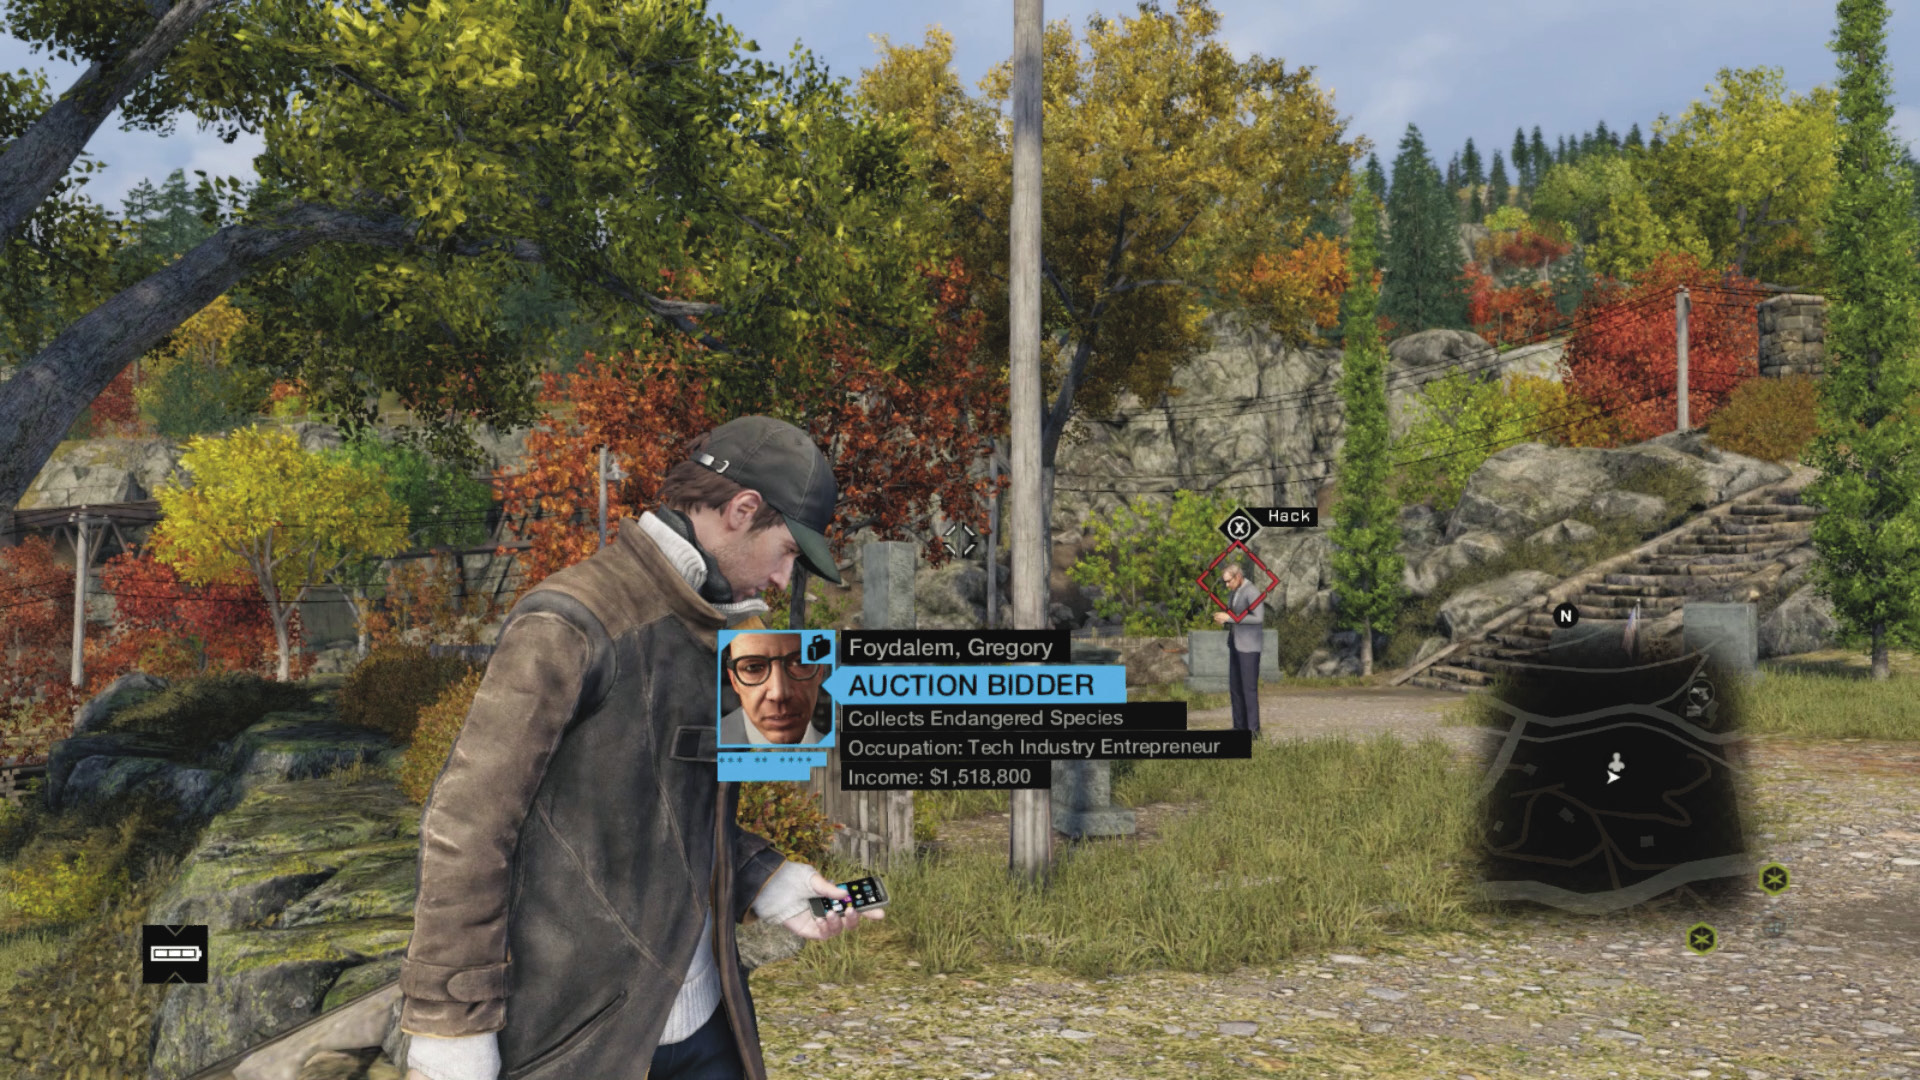
You may receive a message regarding the possible position of a “human traffic buyer.” Several bidders escaped Lucky Quinn’s auction. It is up to you to bring them to justice. When a “buyer” appears on your map, immediately locate, reach, and profile him.
Hack the buyer’s phone and listen in or follow the text. After the conversation, your map updates with a known location of a briefcase. Visit the newly located area and search for a ctOS router to hack. You may have a hotspot to solve.
Once you solve the hotspot, you are usually looking through a webcam into an apartment of the building you just hacked. Move the camera around, possibly hacking other equipment (or cameras to change position for a better look), until you find the briefcase. Scan that, and you move one step closer to solving this investigation. There are ten briefcases to find.
2. HUMAN TRAFFICKING
The following locations show each buyer’s location and the associated briefcase. They can be discovered in any order, and the buyers are presented by district, working from northwest to southeast, wherever possible. The briefcases are not in this order; they are listed in association with their appropriate buyer.
Pawnee / Buyers
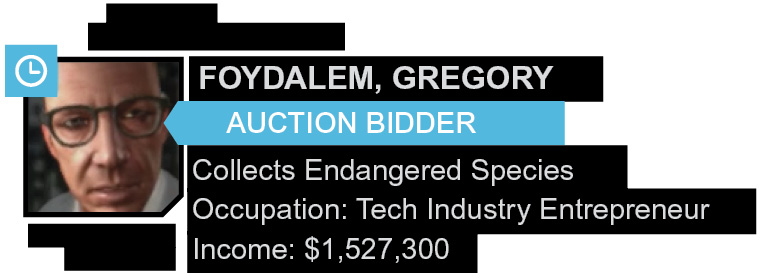
01 // Gregory Foydalem
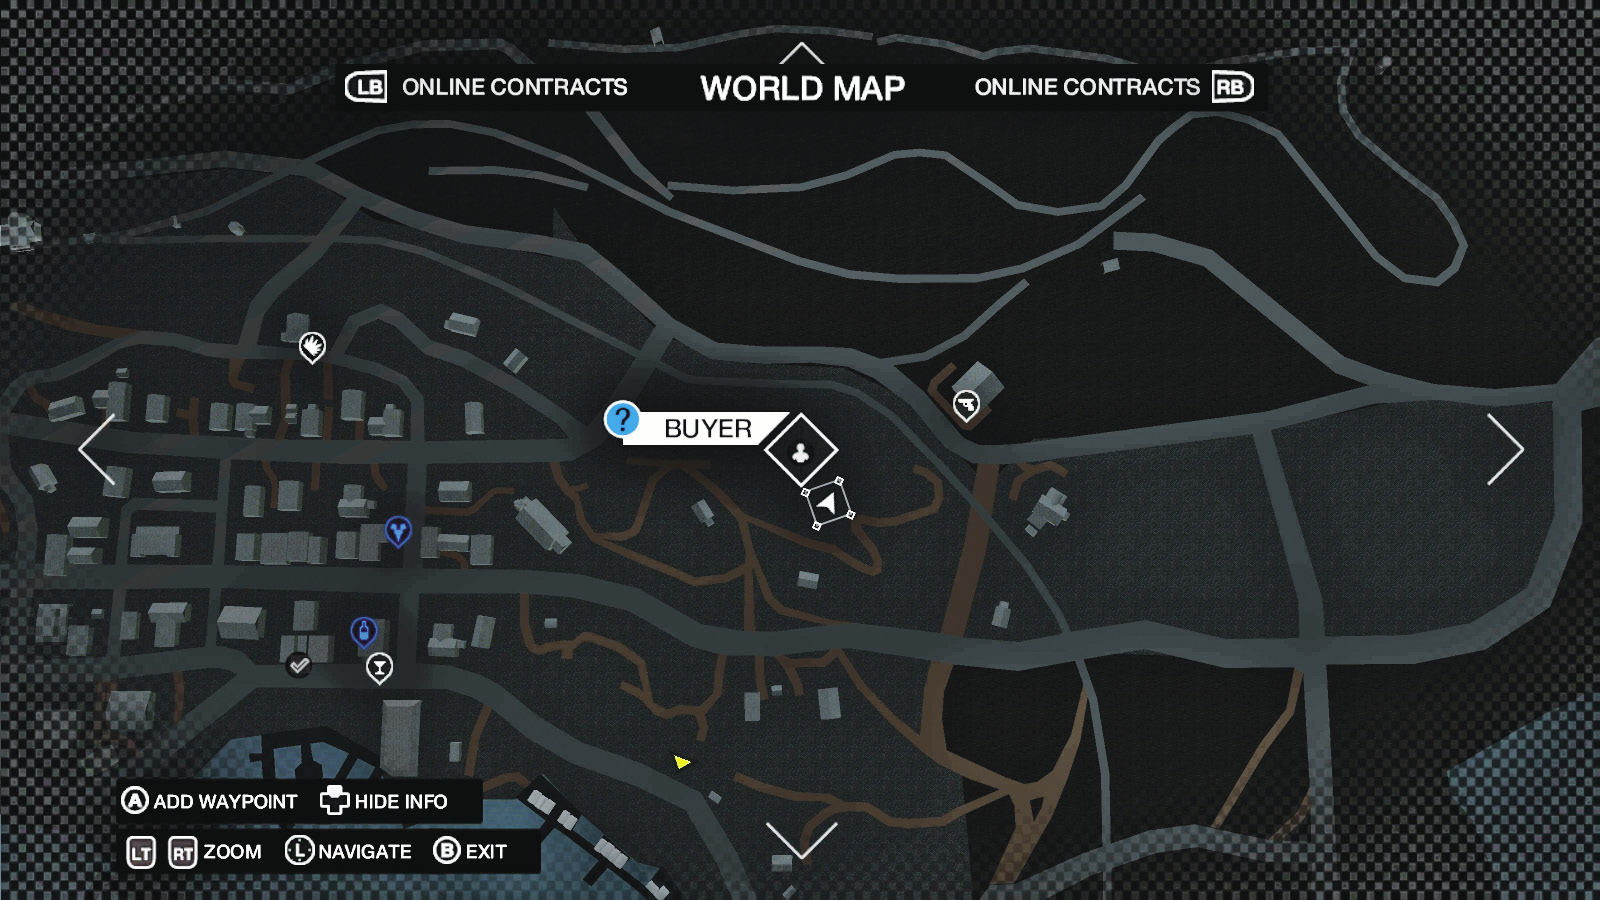
Location / Pawnee // Pawnee Cemetery
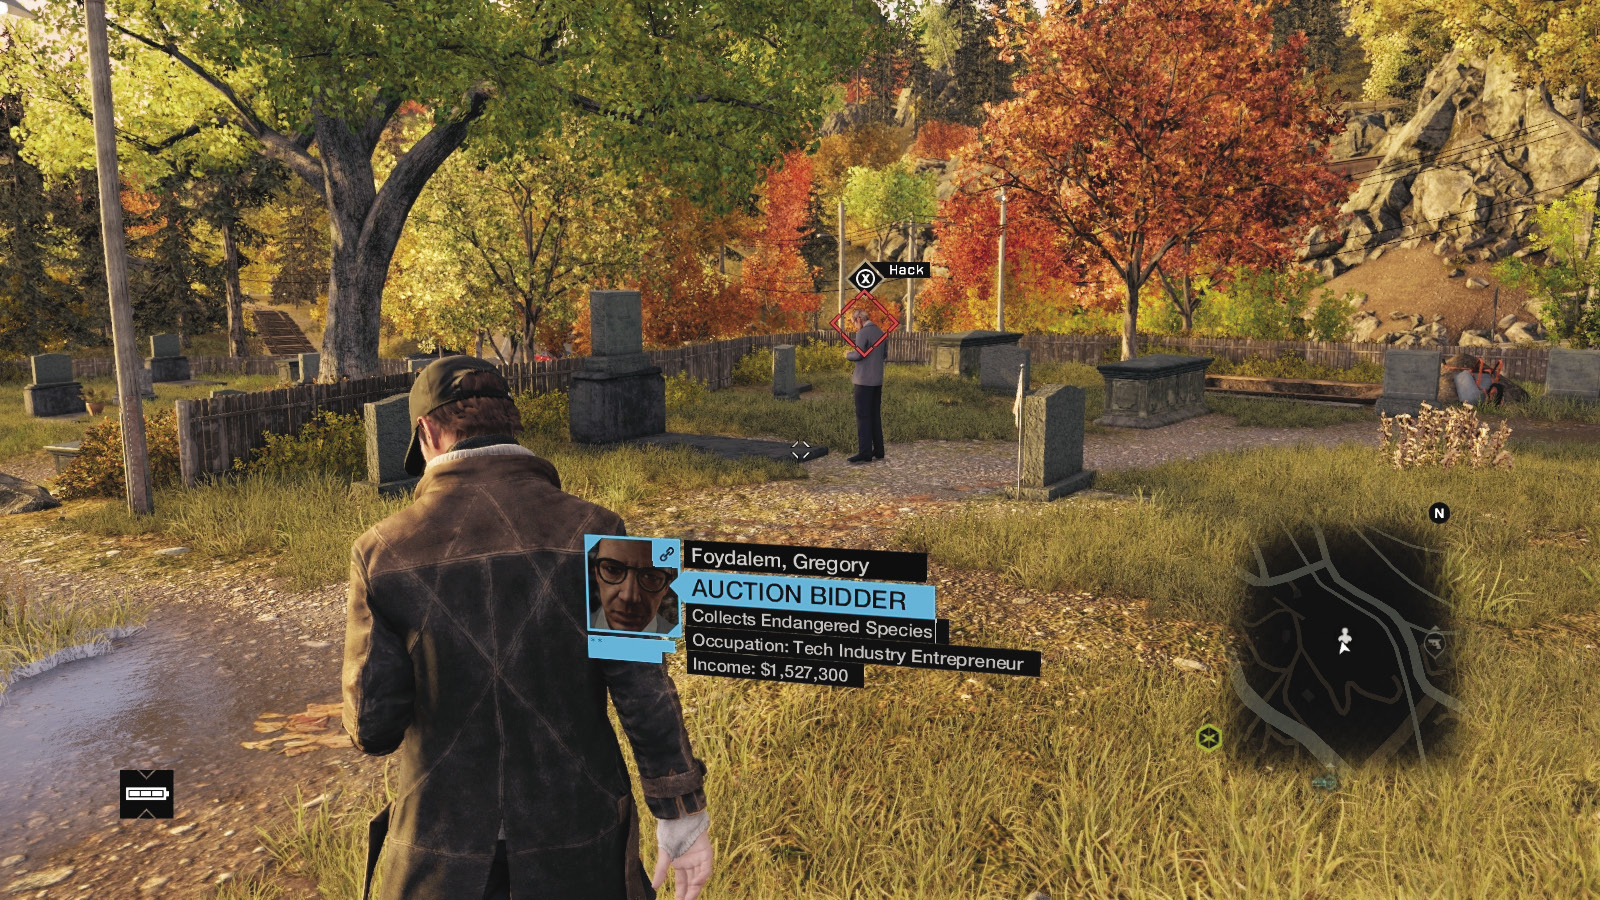
Head to northeast Pawnee, park near the gun shop, and wander down into the tiered cemetery, where this buyer is standing over a grave, chatting to “Sara.”
Location / Brandon Docks // Tidis Warehouse Lock-Up
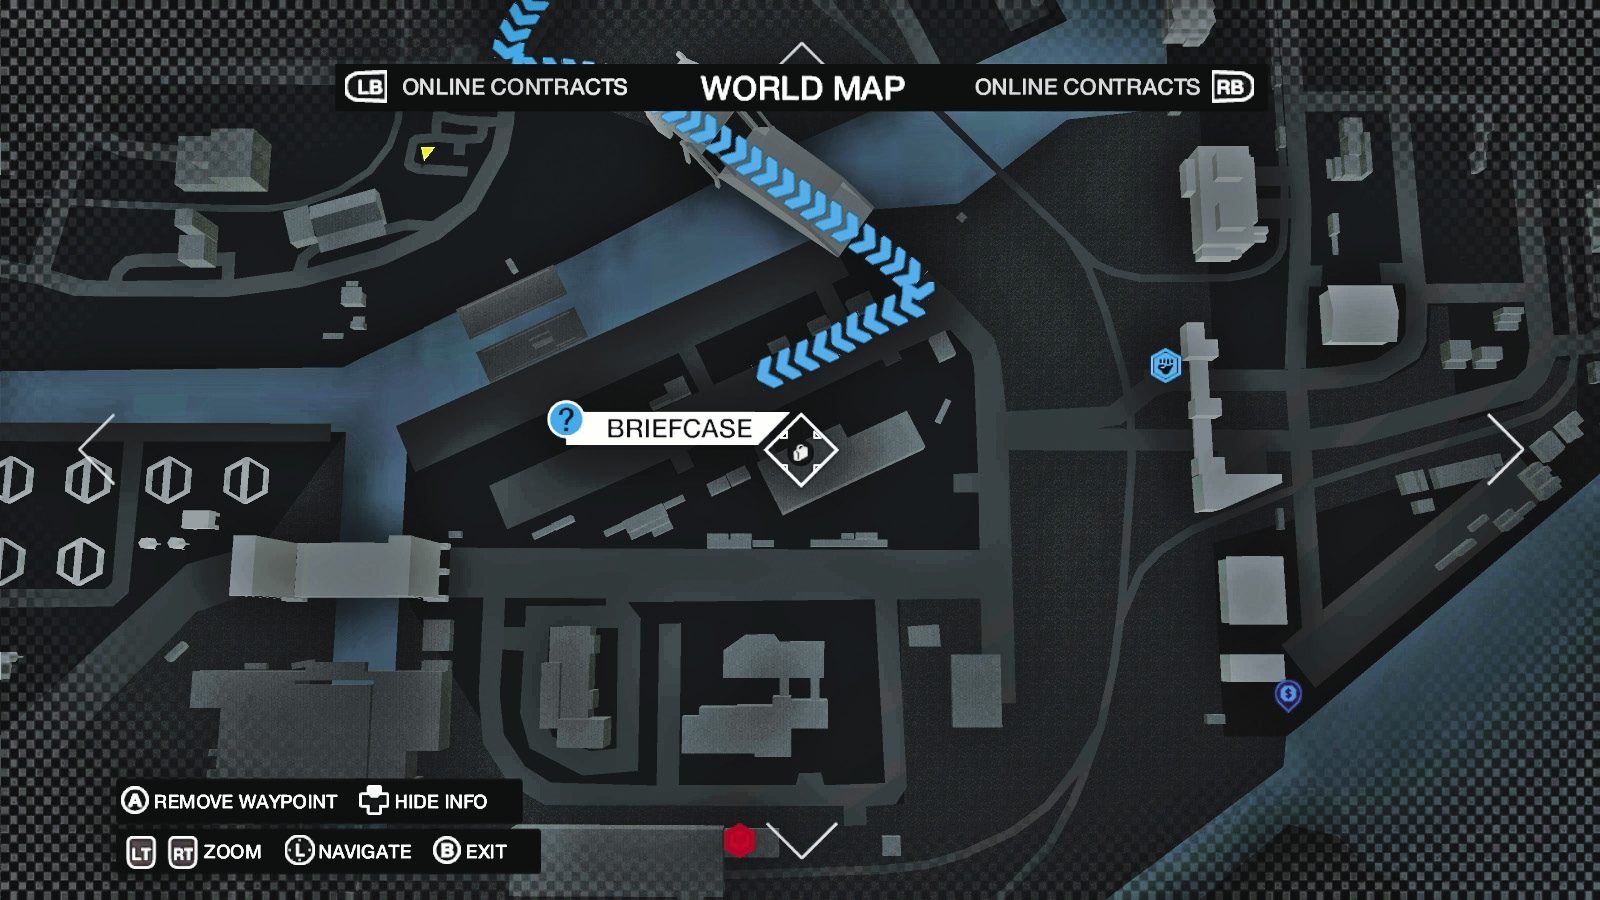
Gregory Foydalem’s briefcase is located inside a warehouse lockup just east of the ctOS control center and north of the ctOS tower in southeast Brandon Docks.
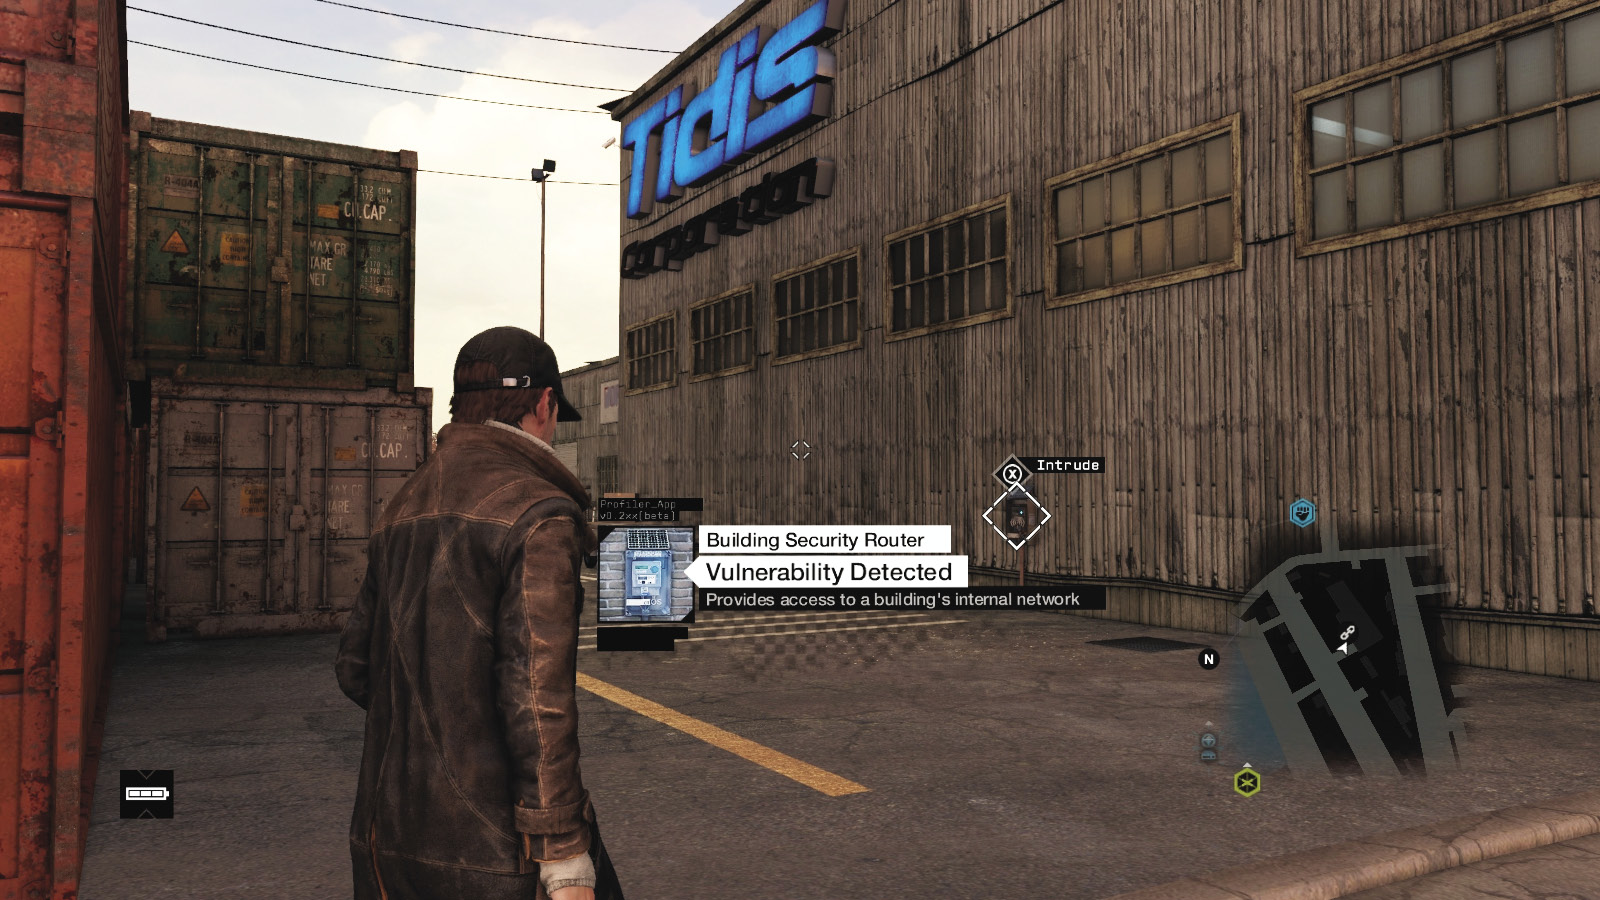
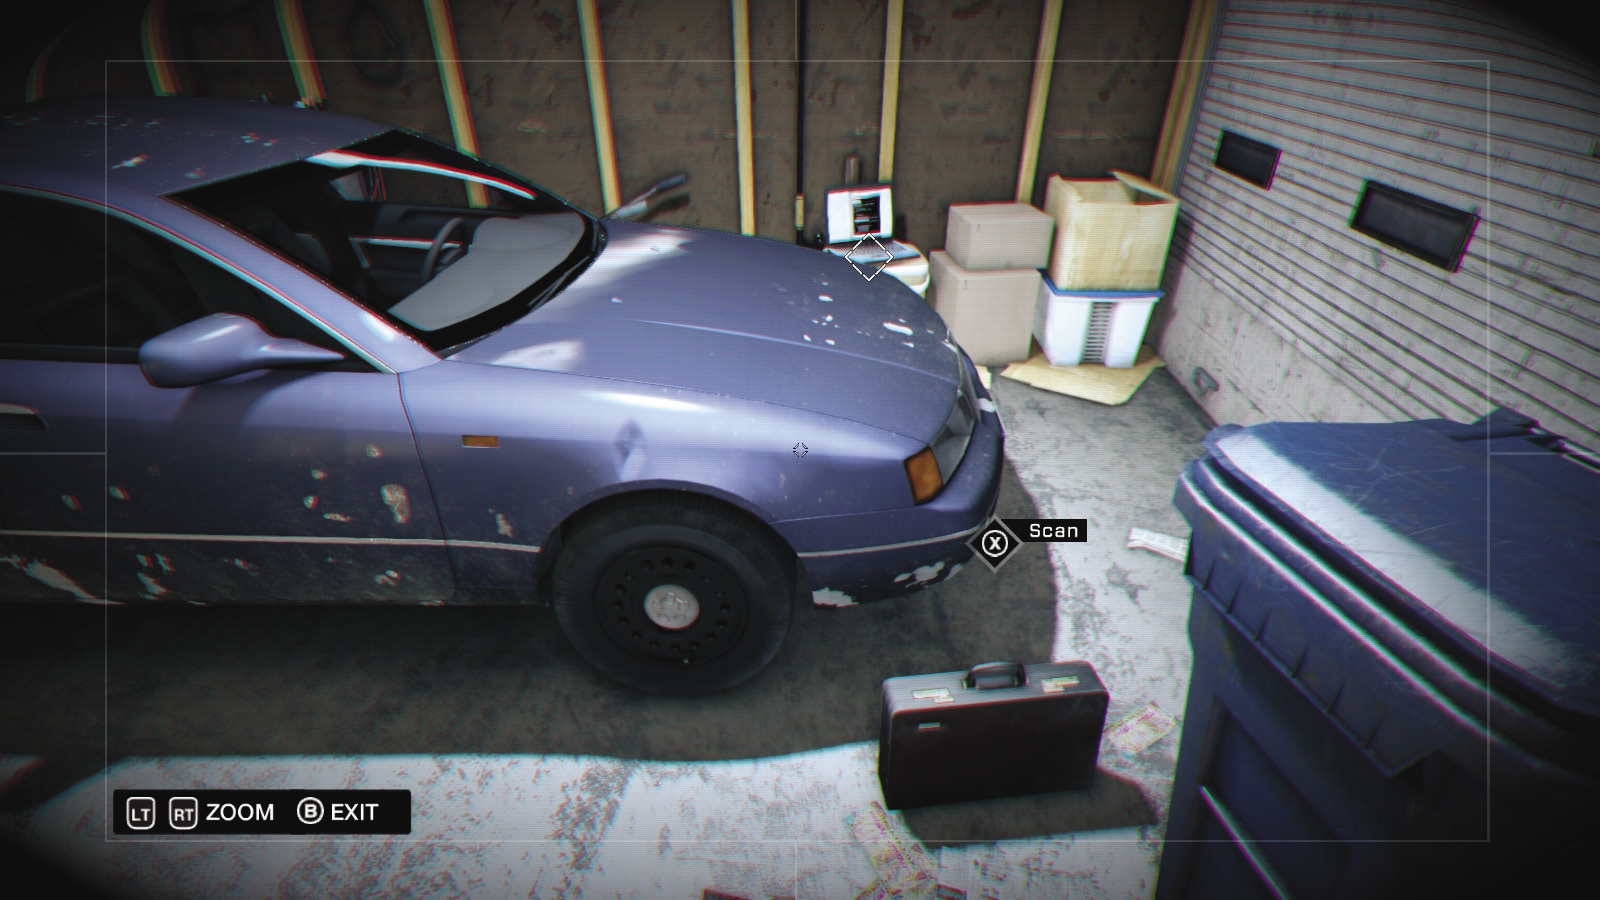
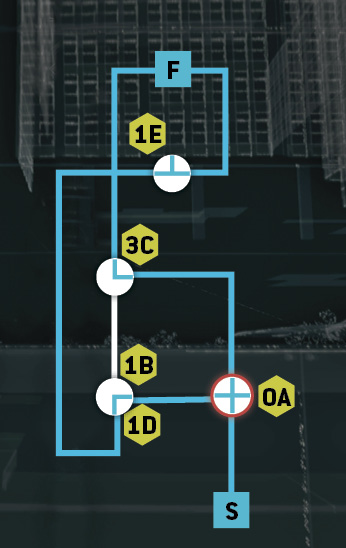
Head to the large “Tidis” warehouse, and intrude into the building security router. Solve the easy hotspot, and hack both the notebook and the briefcase in the garage lockup.
Parker Square / Buyers
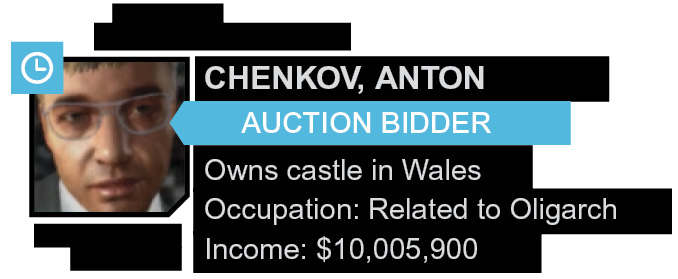
02 // Anton Chenkov
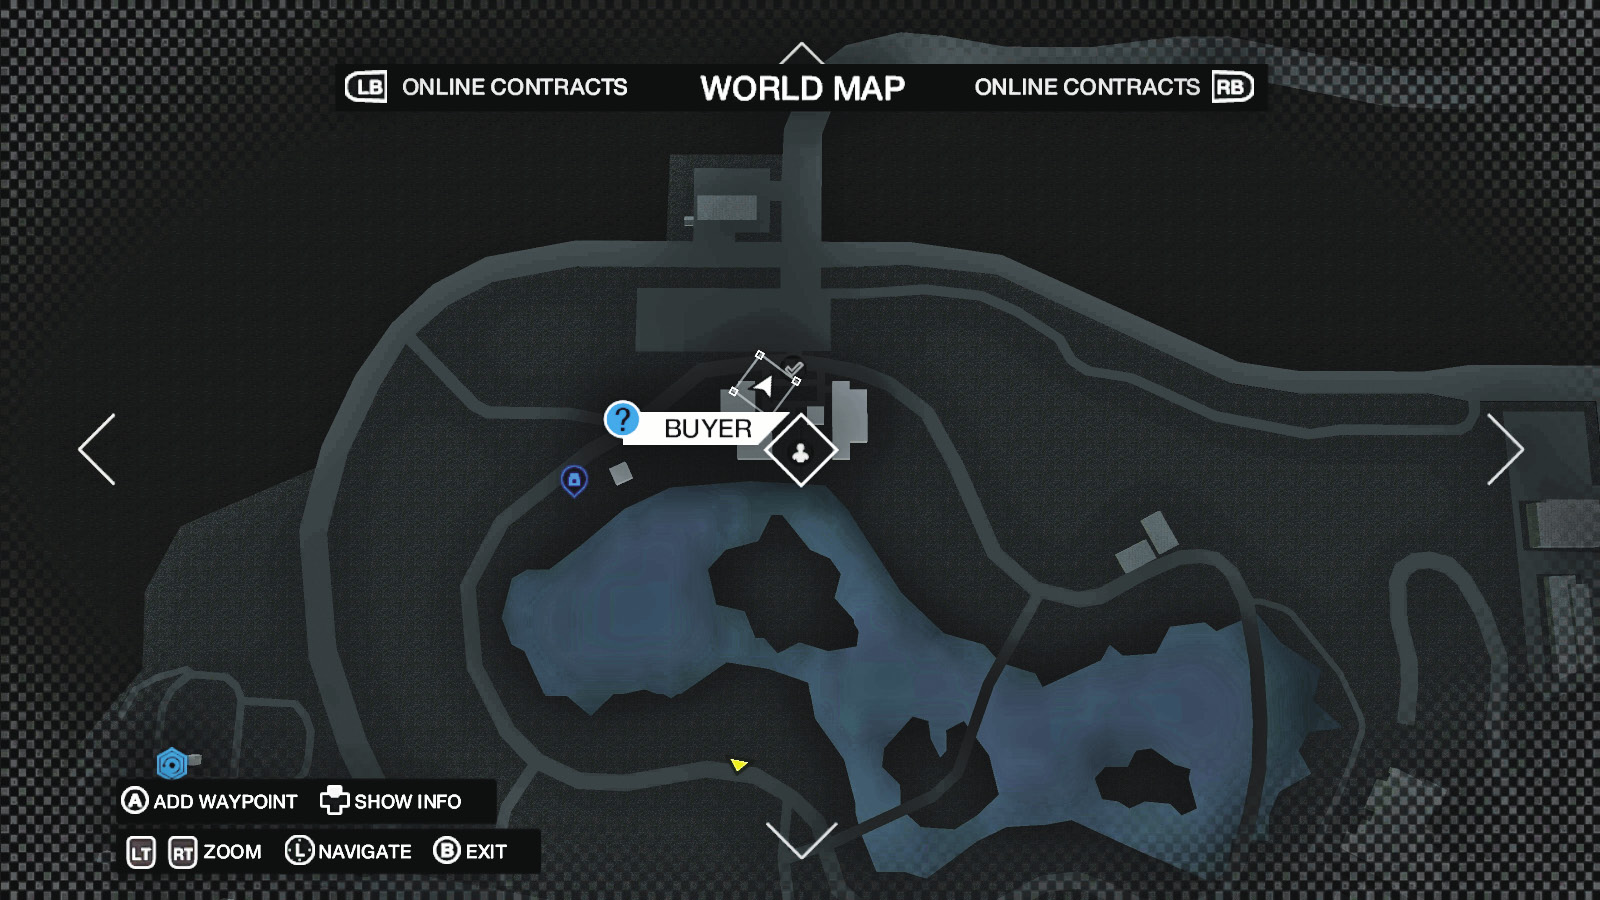
Location / Parker Square // Botanical Gardens
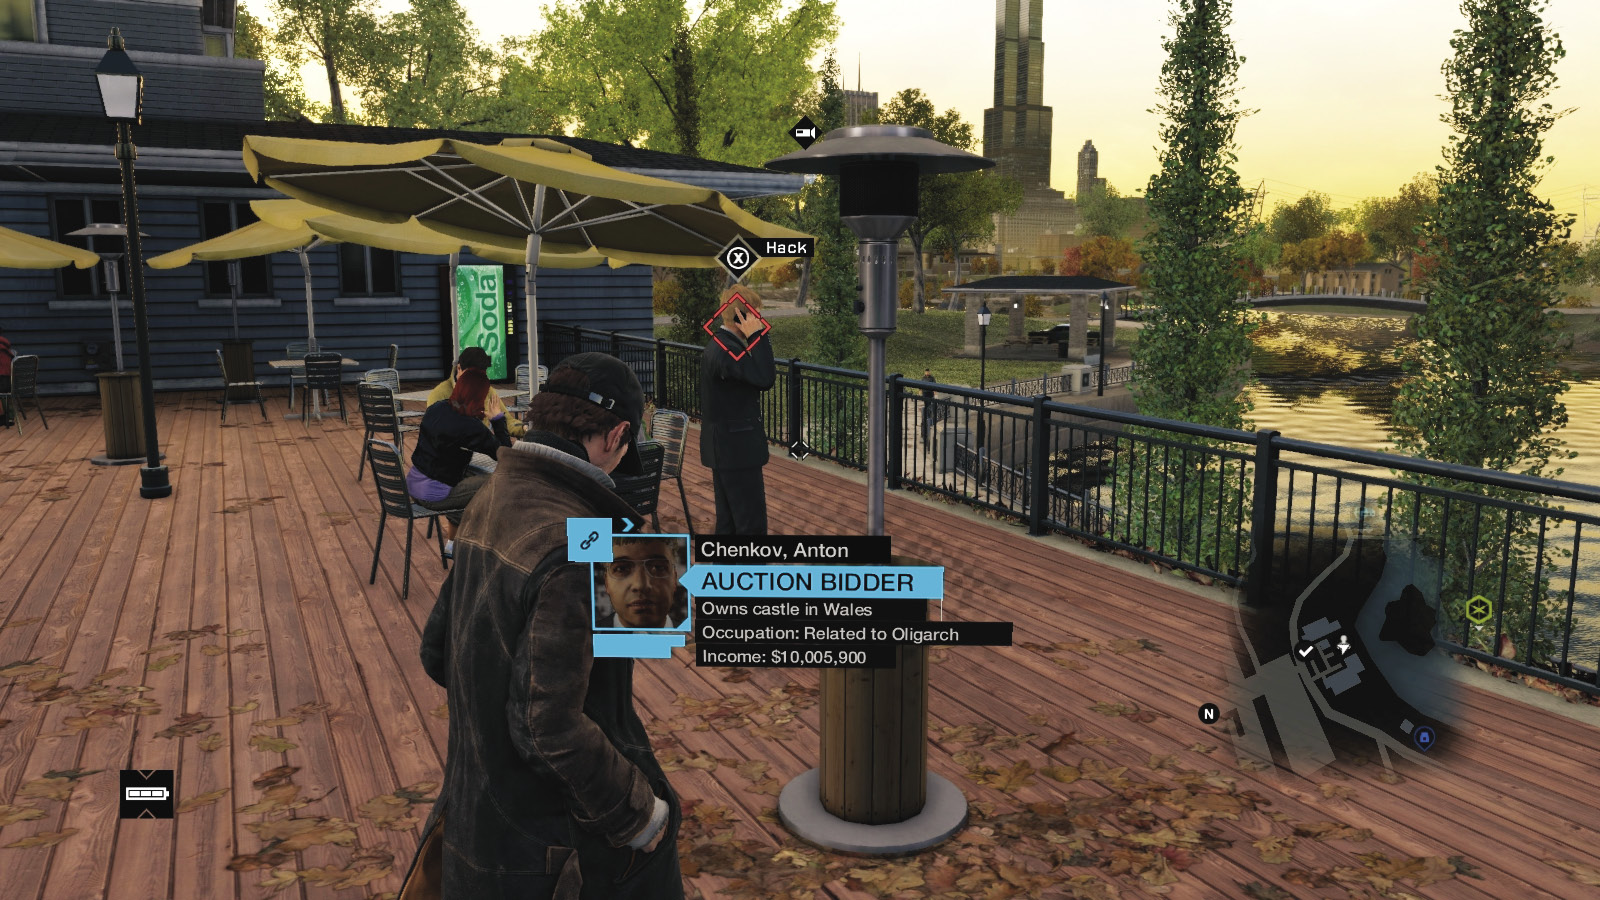
Mr. Chenkov is looking out over the lake on the deck of the Botanical Gardens in the northern park area of Parker Square, close to the main road that leads up into Pawnee.
Location / The Wards // Row House Room
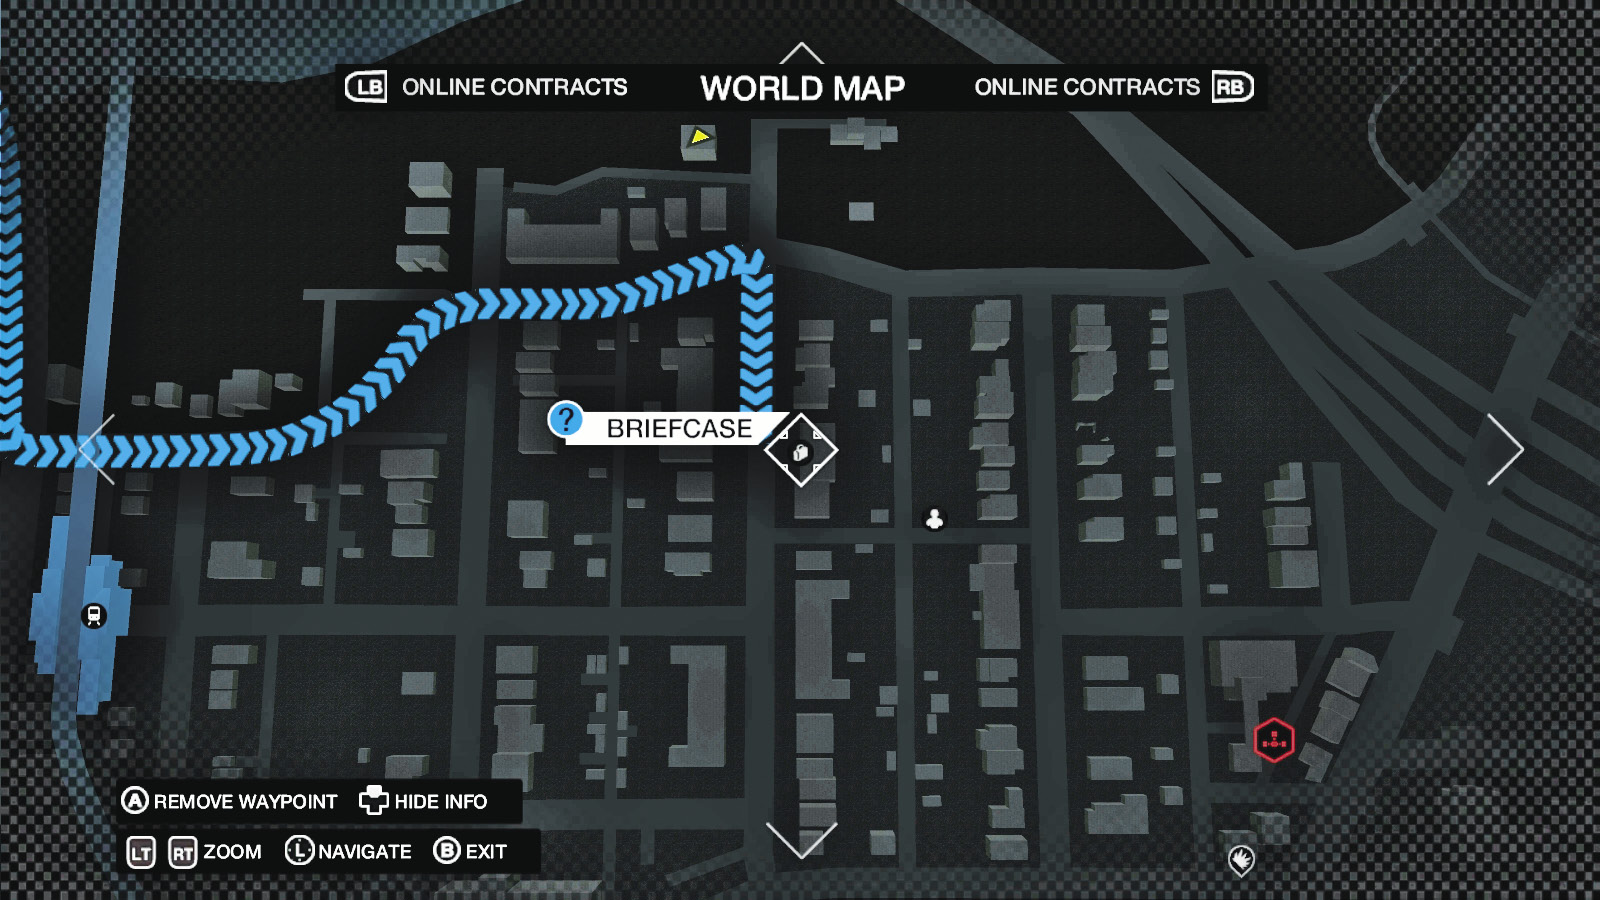
Find Anton Chenkov’s briefcase by traveling to the exterior of a row house in the northern part of the Wards, three blocks west of the ctOS control center.
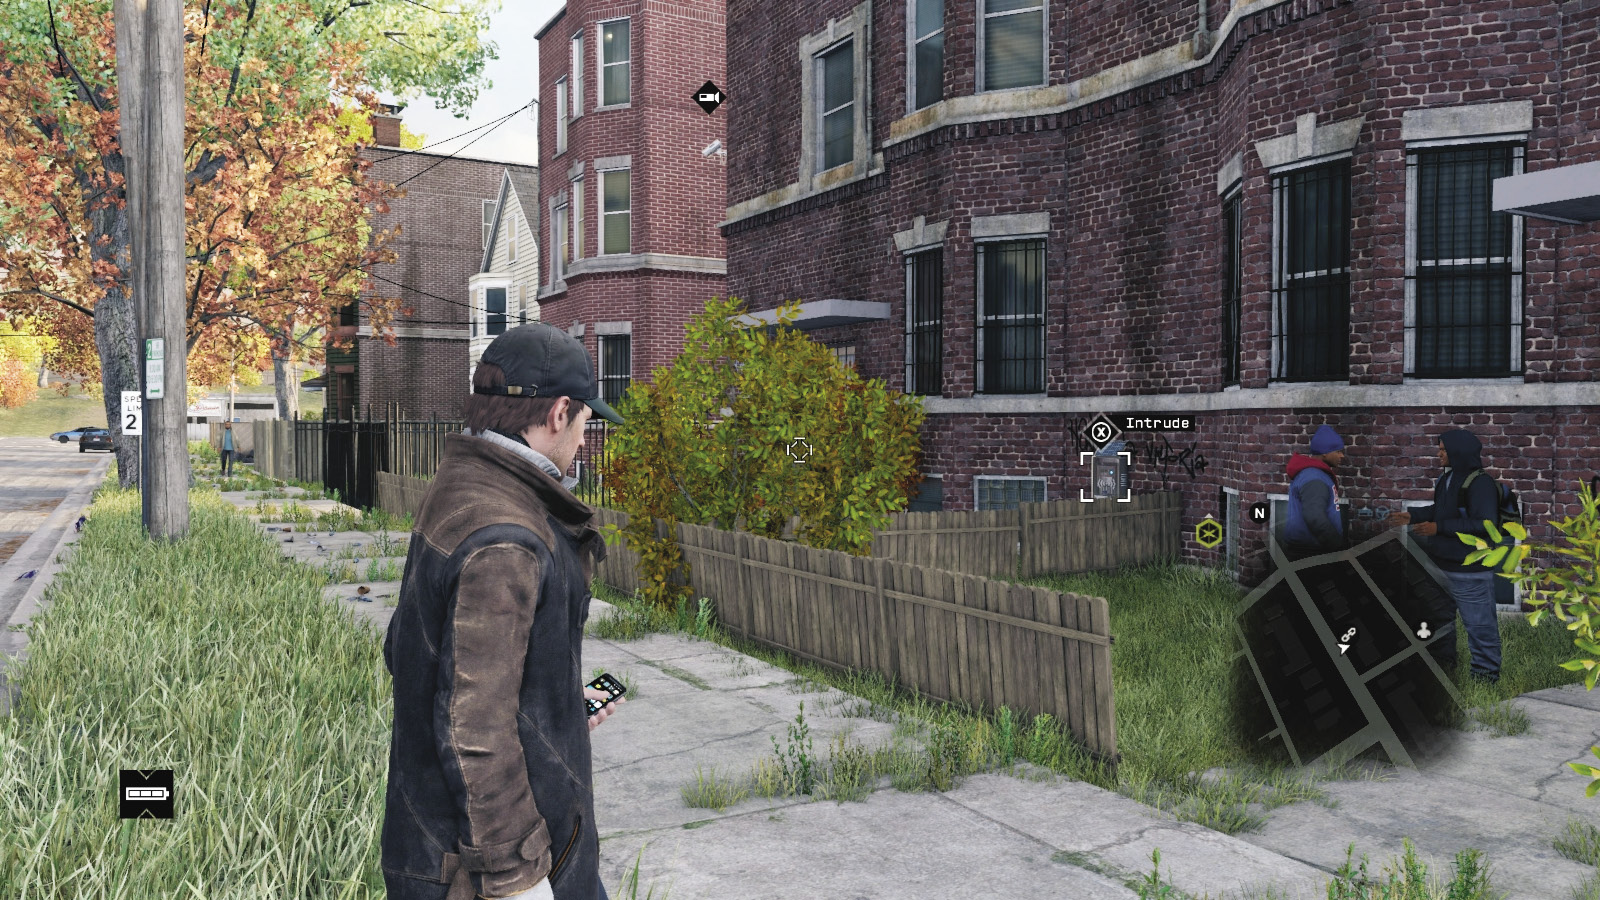
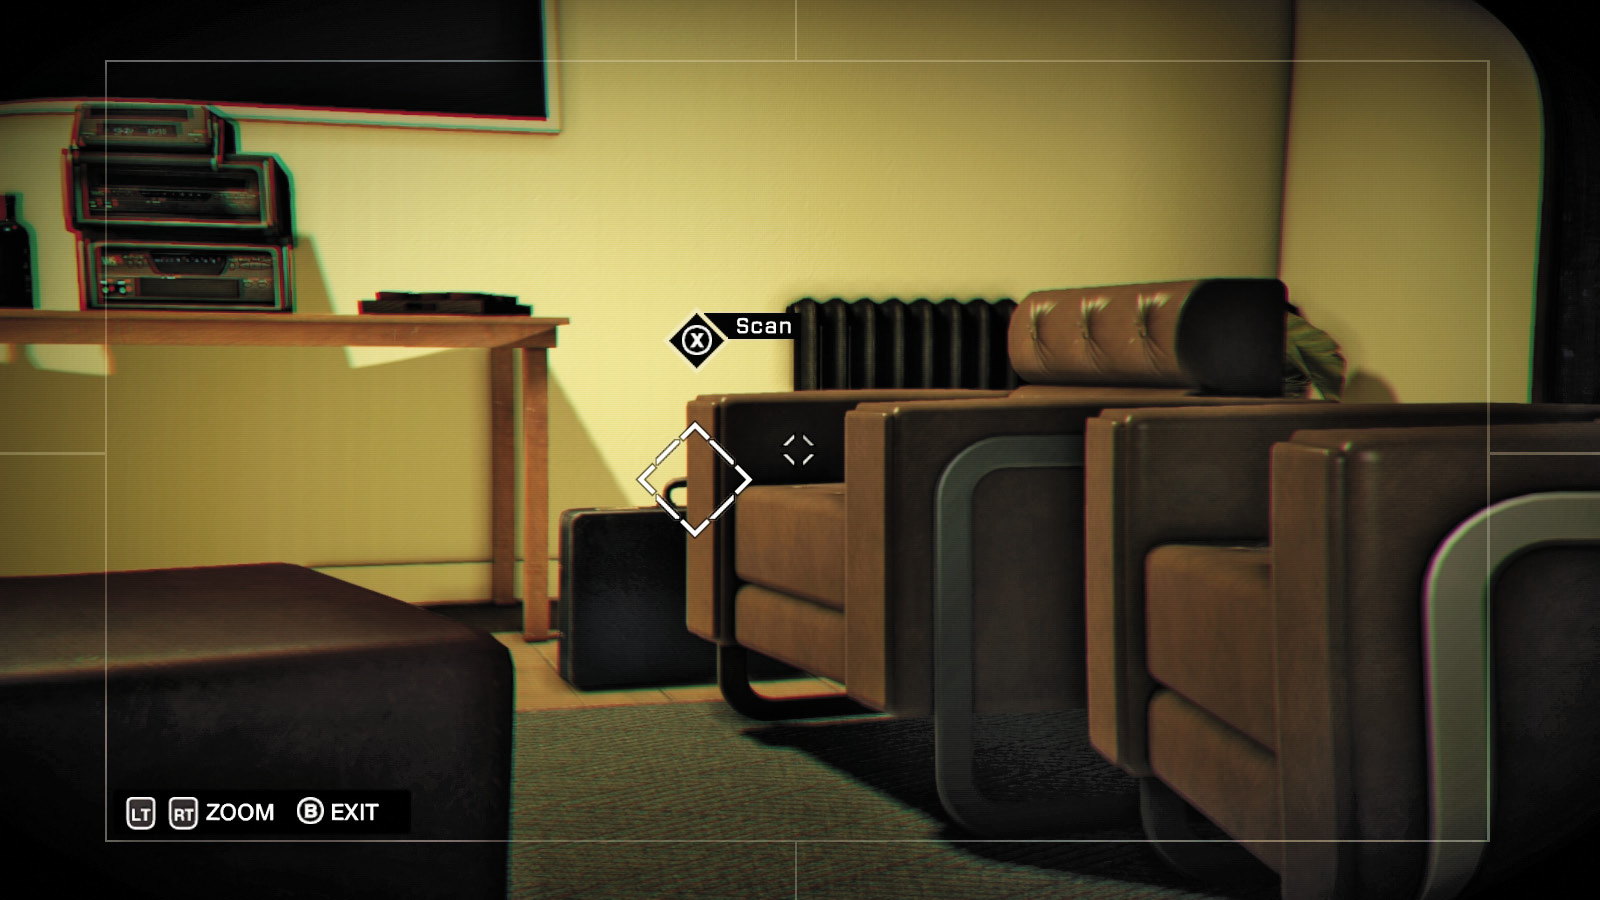
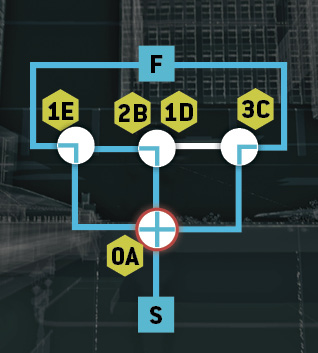
Stay on the sidewalk and hack the building security router by the barred bay windows, above the rickety fence. Check the case and the phone atop the bookshelf.
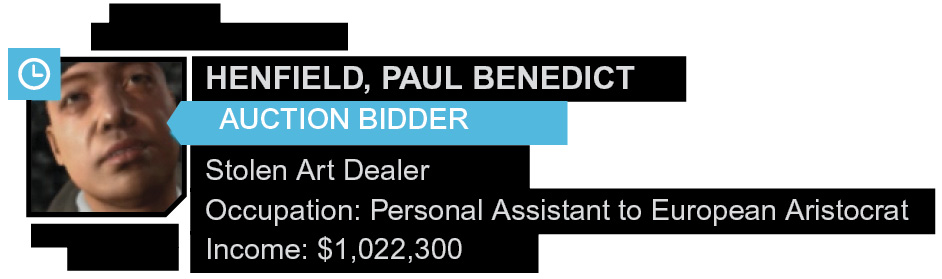
03 // Paul Benedict Henfield
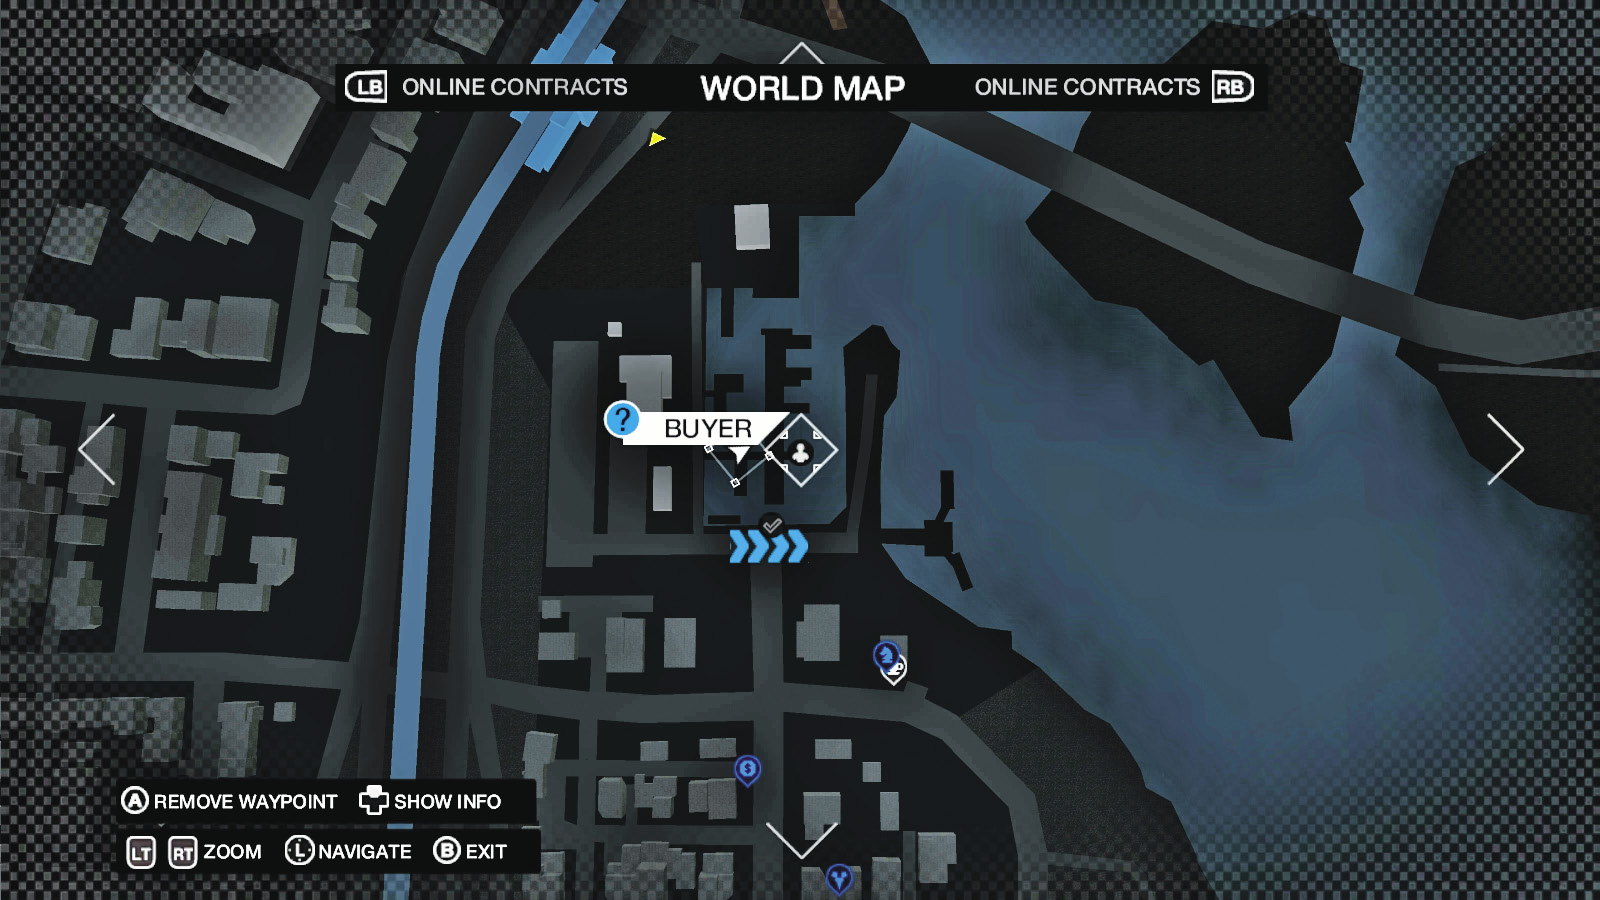
Location / Parker Square // Parker Square Marina
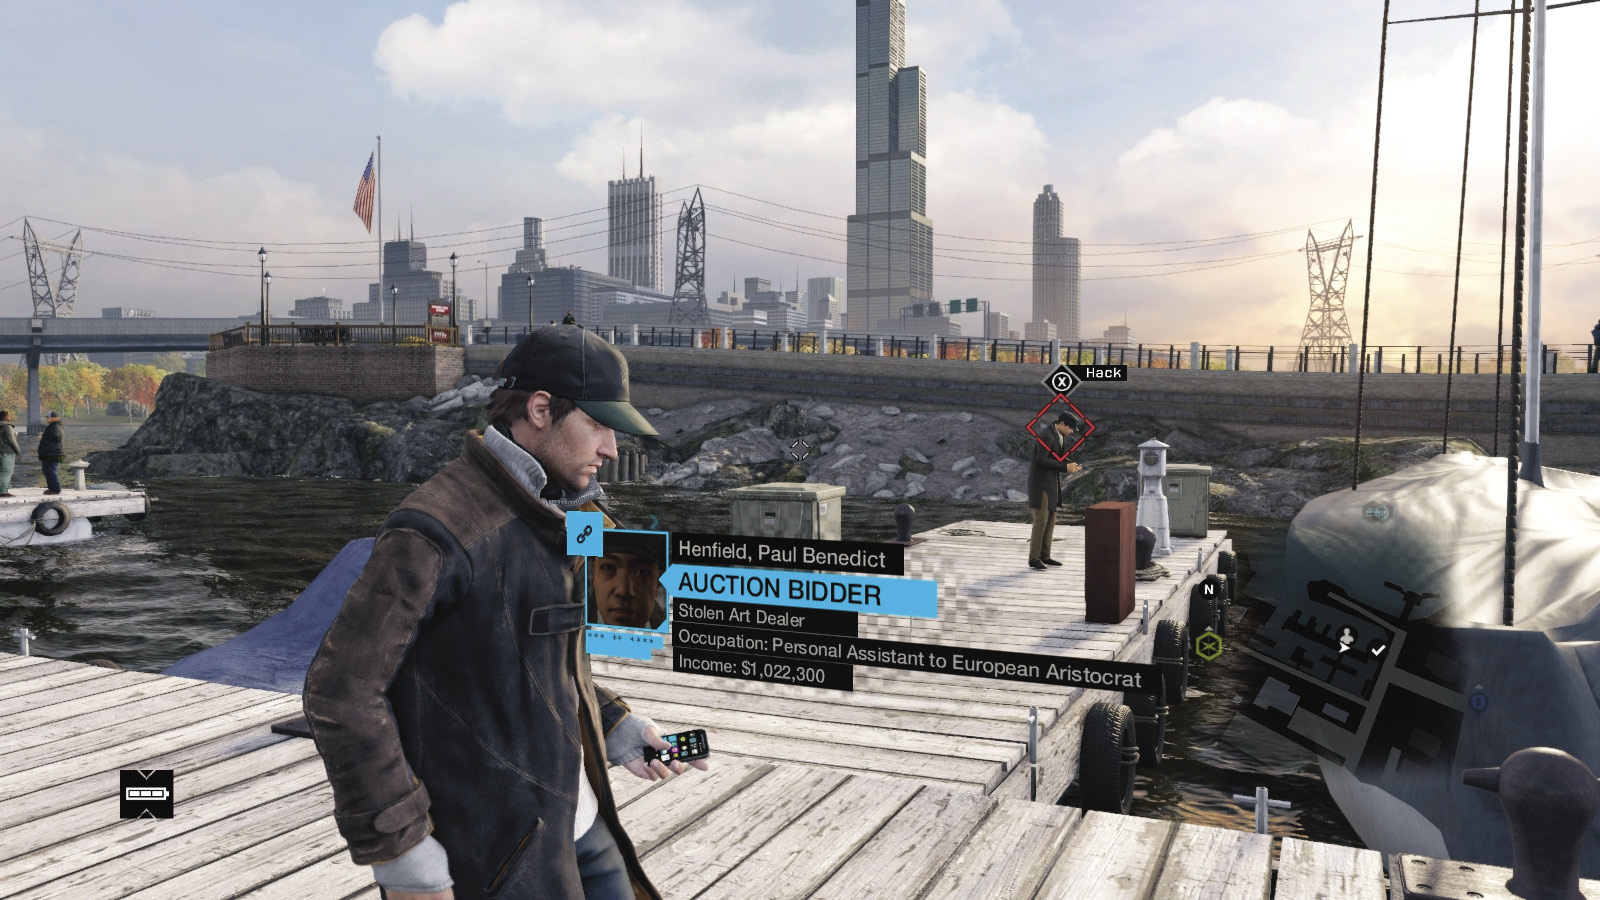
This fiend is standing on one of the jetties along the marina’s western side, which is north of Yolanda’s house and east of the L-train tracks, southeast of May Stadium.
Location / Parker Square // Apartment behind Owl Motel
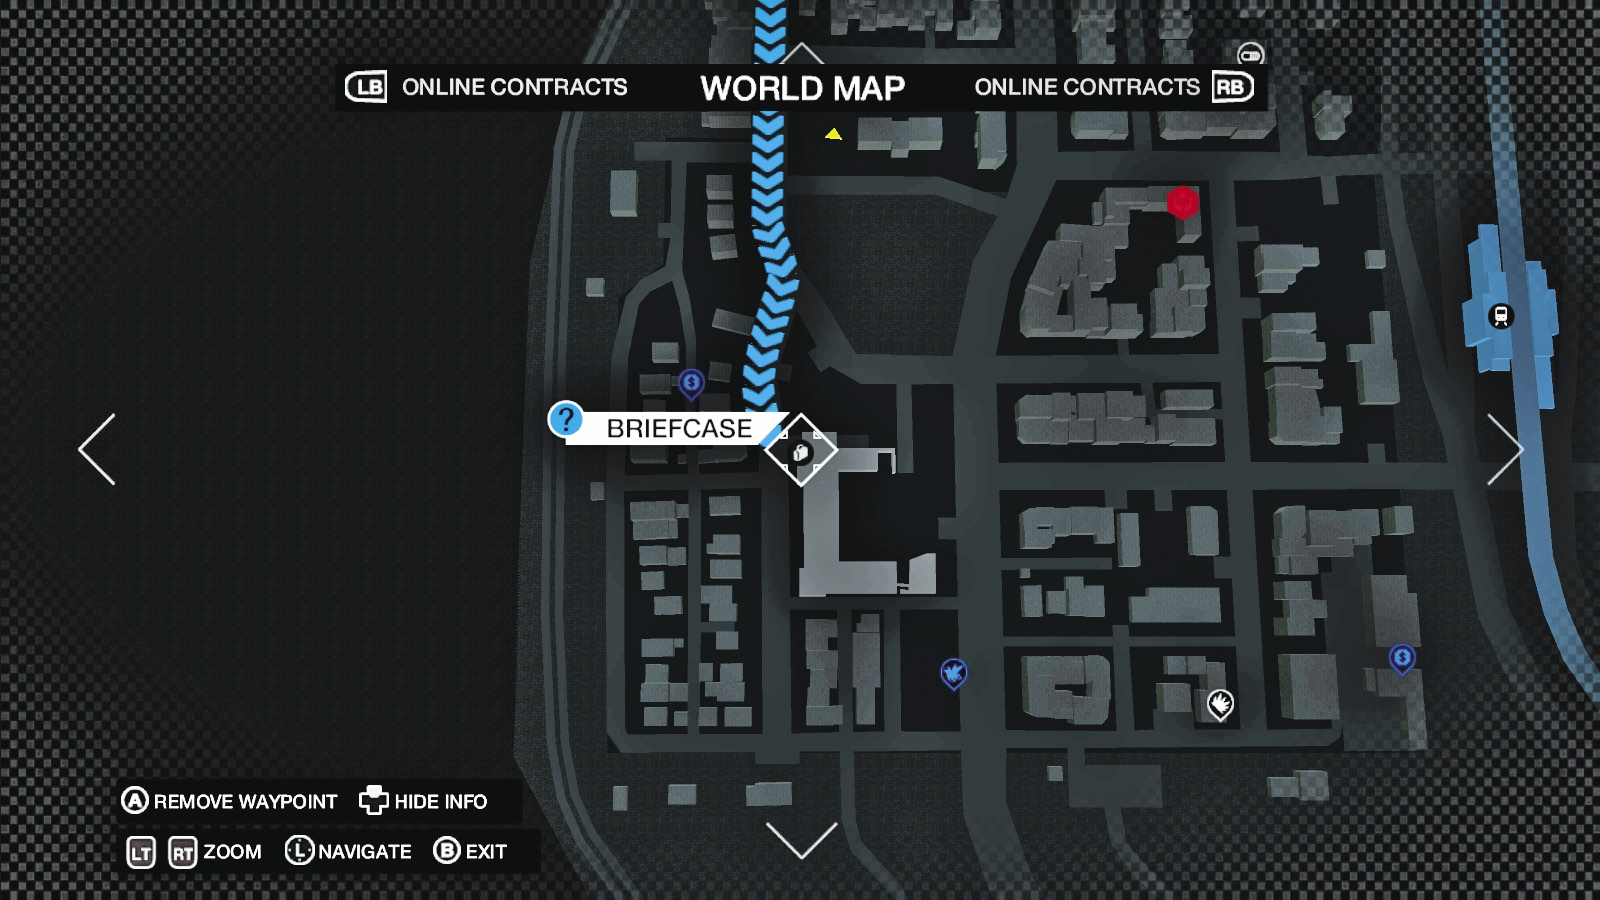
Paul Benedict Henfield’s briefcase is located along the road behind the Owl Motel in southwest Parker Square. Check the northwest corner of this series of attached buildings.
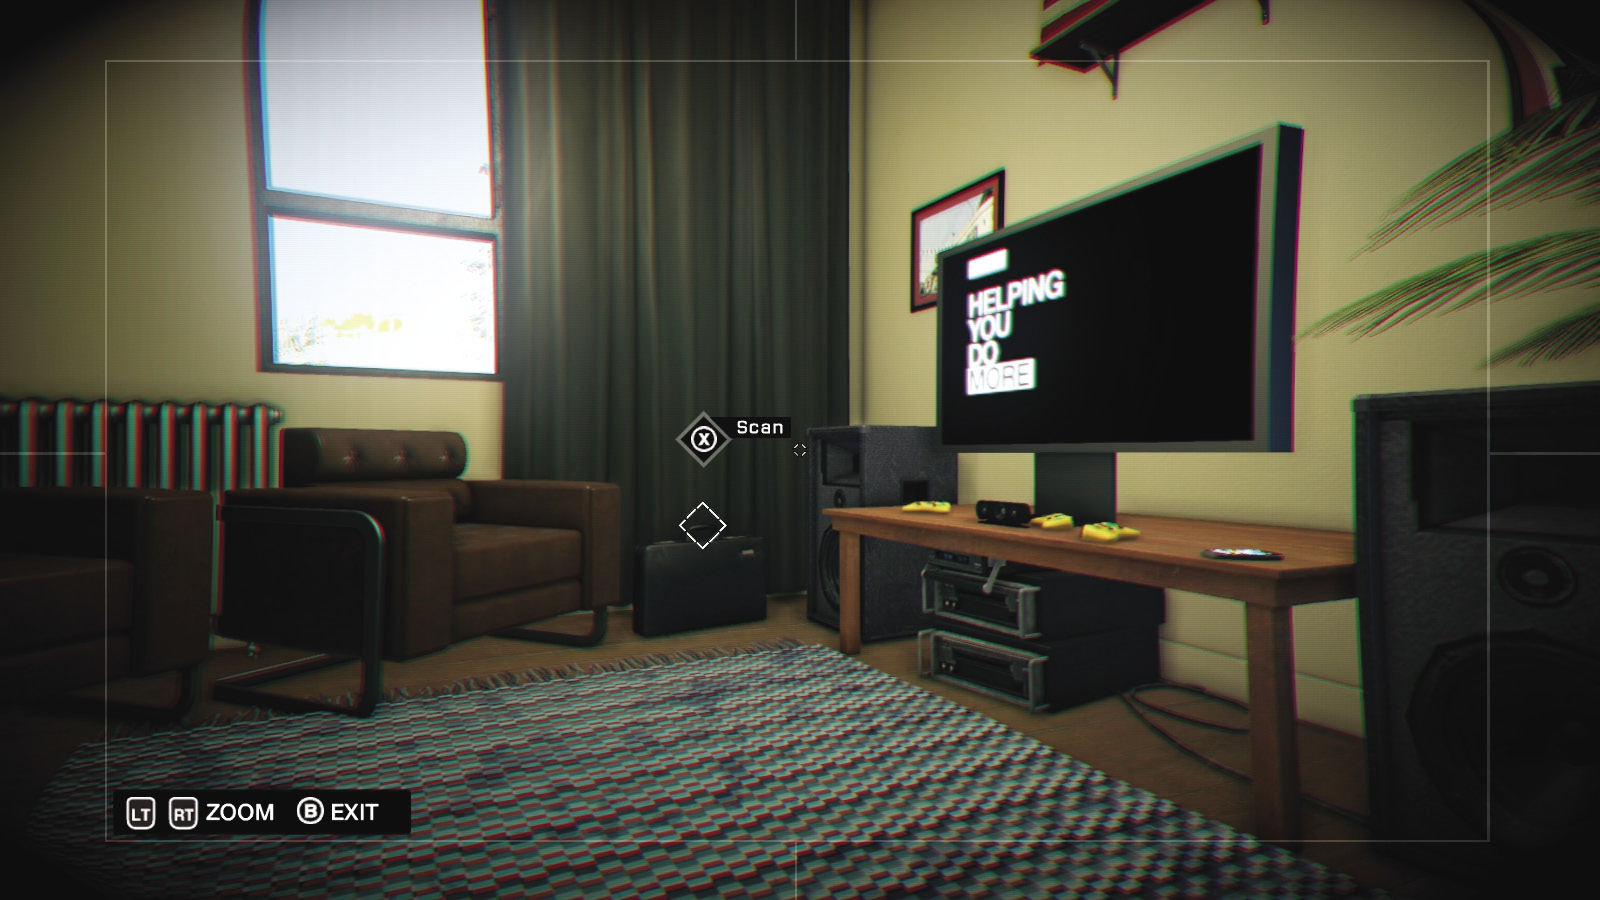
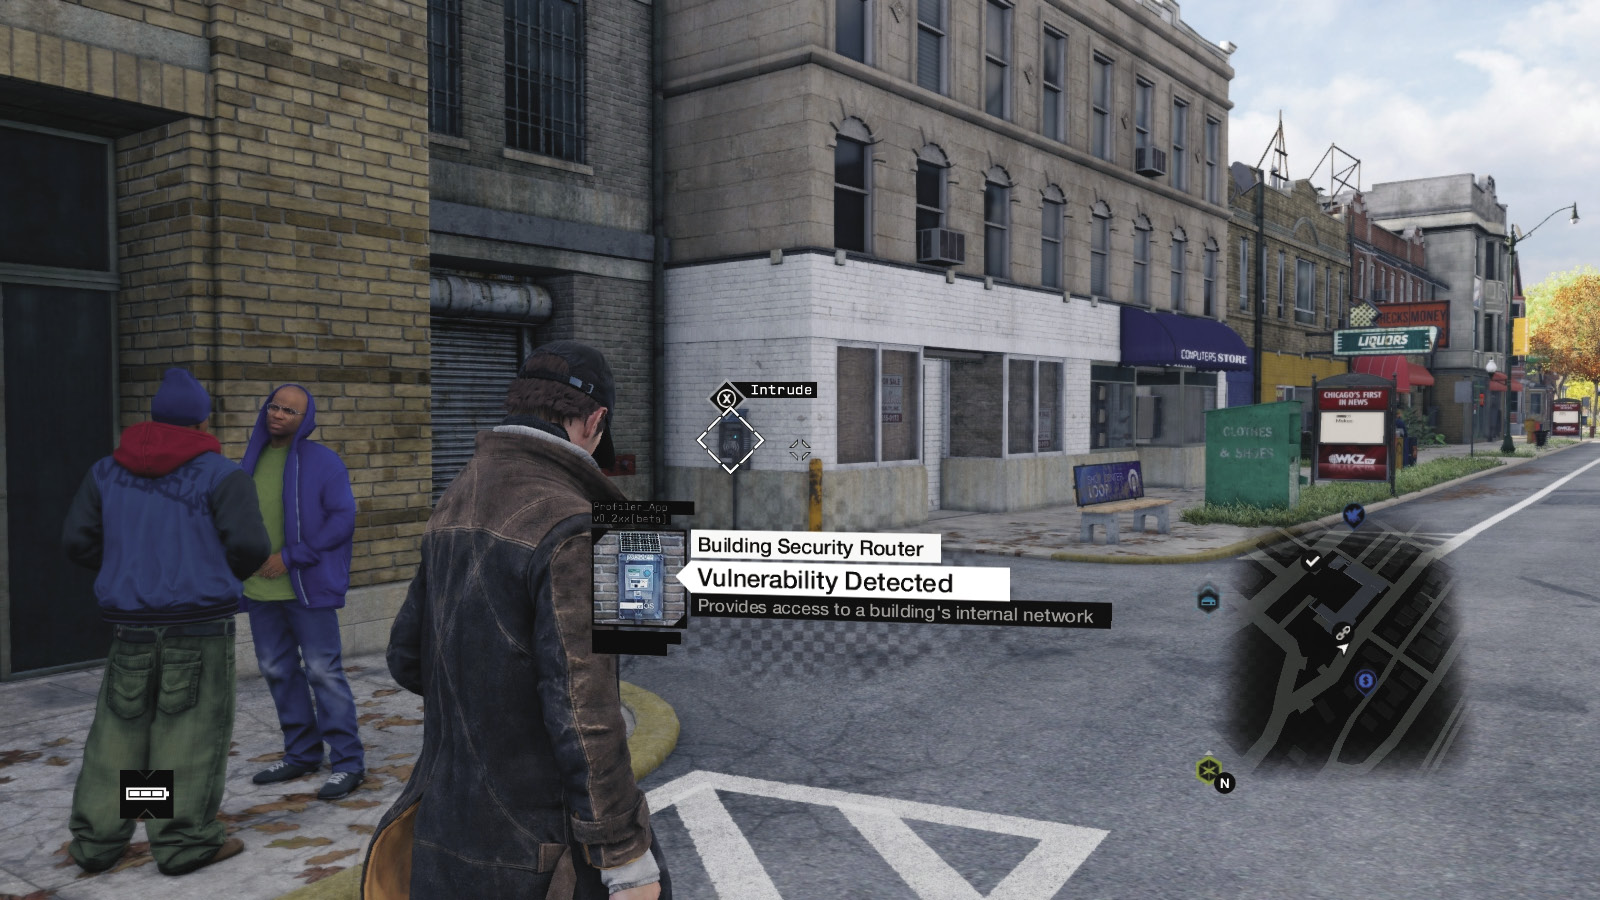
Locate the “computer store” with the blue awning and the white shop front to the left of it. The building security router is attached to the wall here. Don’t forget the phone lying on the TV table.
The Wards / Buyers
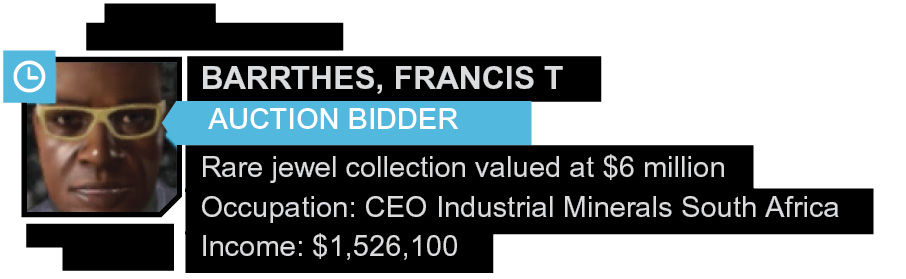
04 // Francis T Barrthes
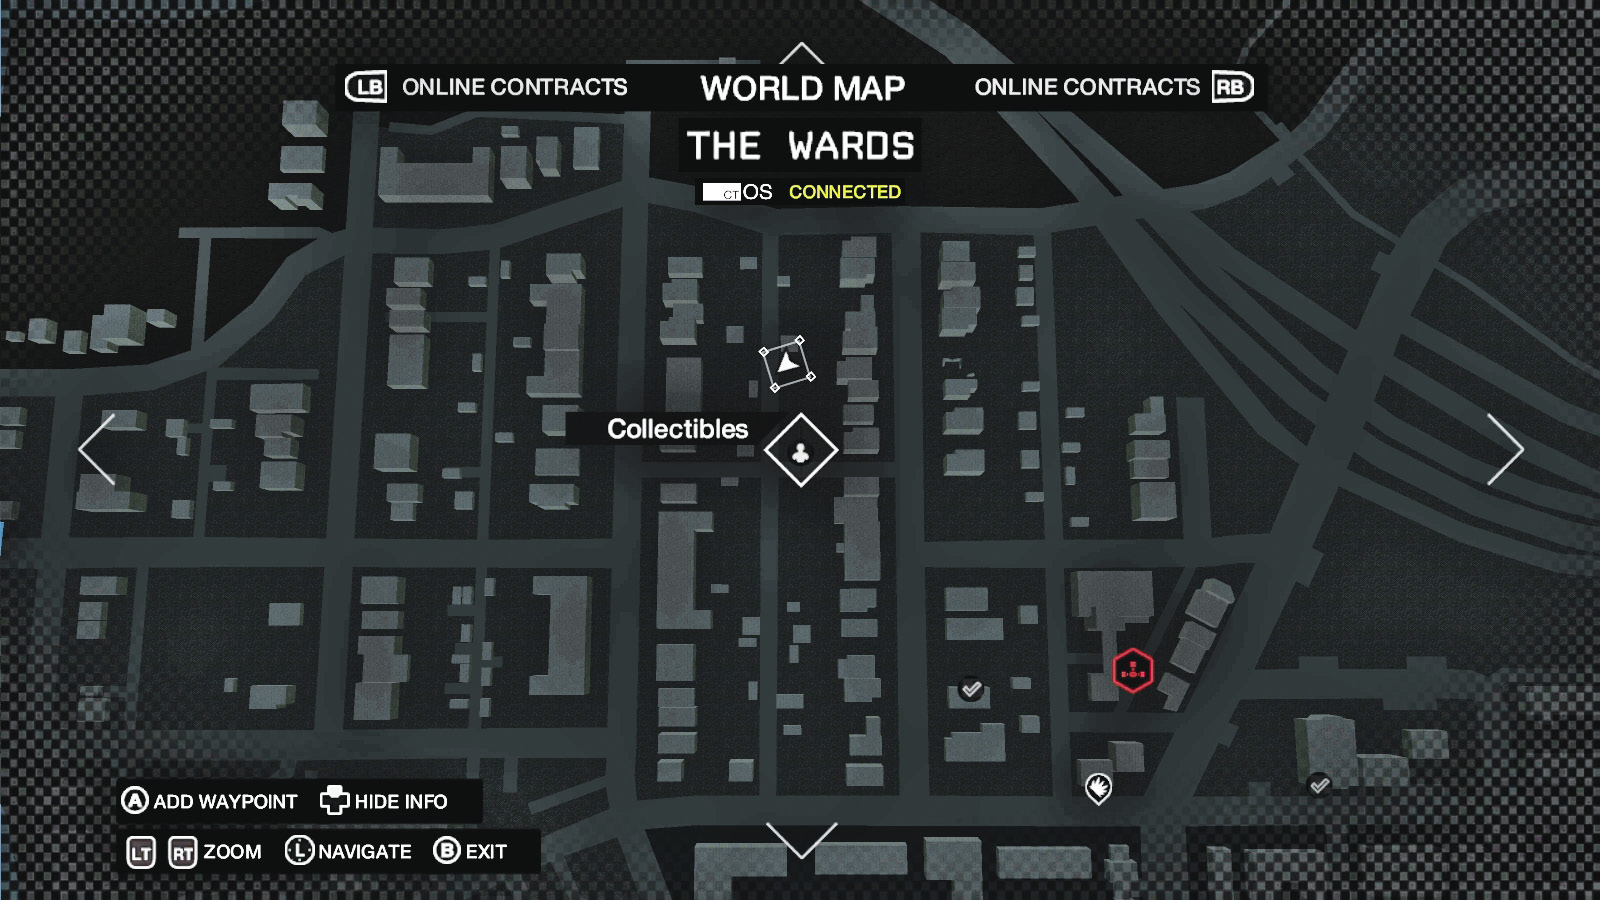
Location / The Wards // Rubble Construction Site
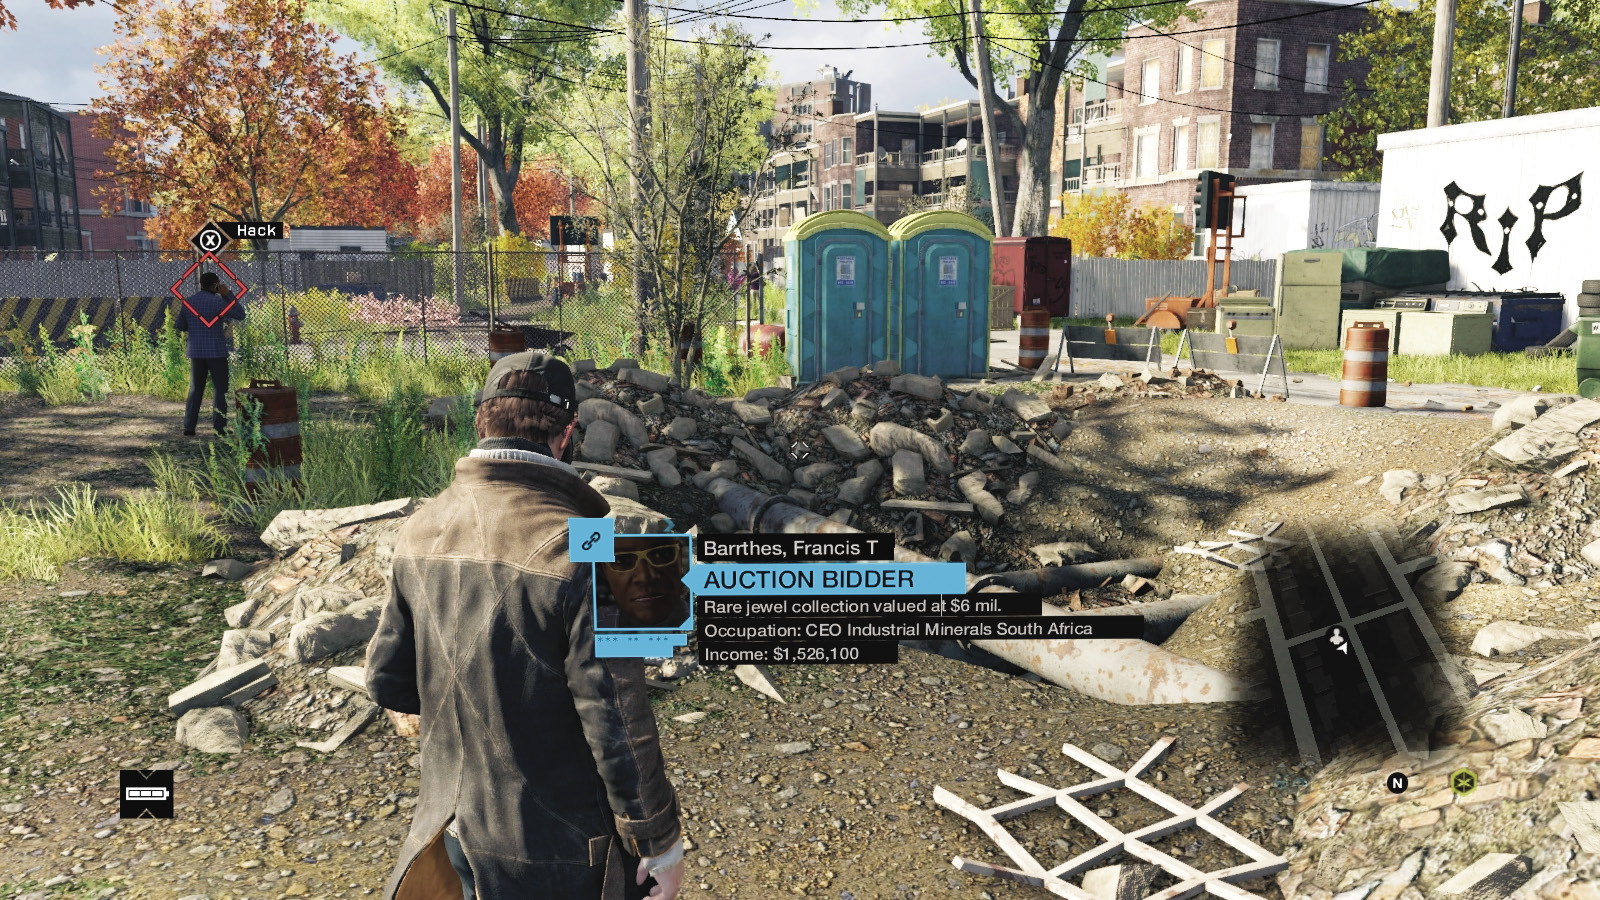
The next street to the west of where you found Chenkov’s briefcase are the backyards of two streets of row houses. Barrthes is chatting by a large excavated pipe near an east-west alley.
Location / Mad Mile // Molar’s Grill area
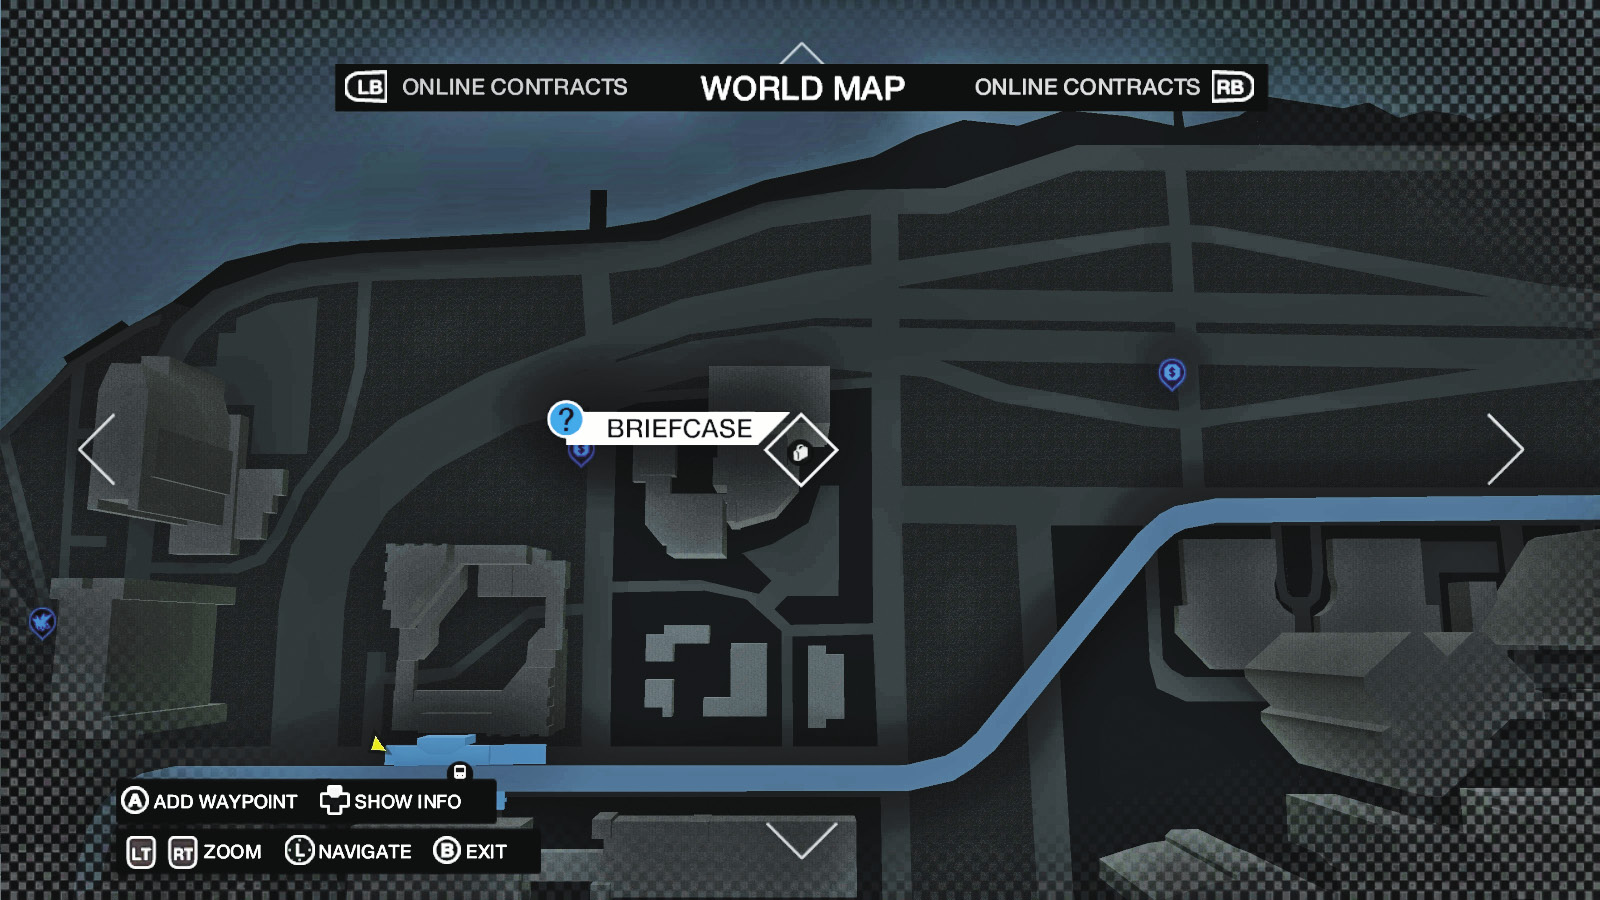
Along the northern waterfront of Mad Mile, between two Cash Run starts, is a large white-windowed office building with a “Molar’s Grill” sign on it. Head up to the glass awning near the parking lot and benches.
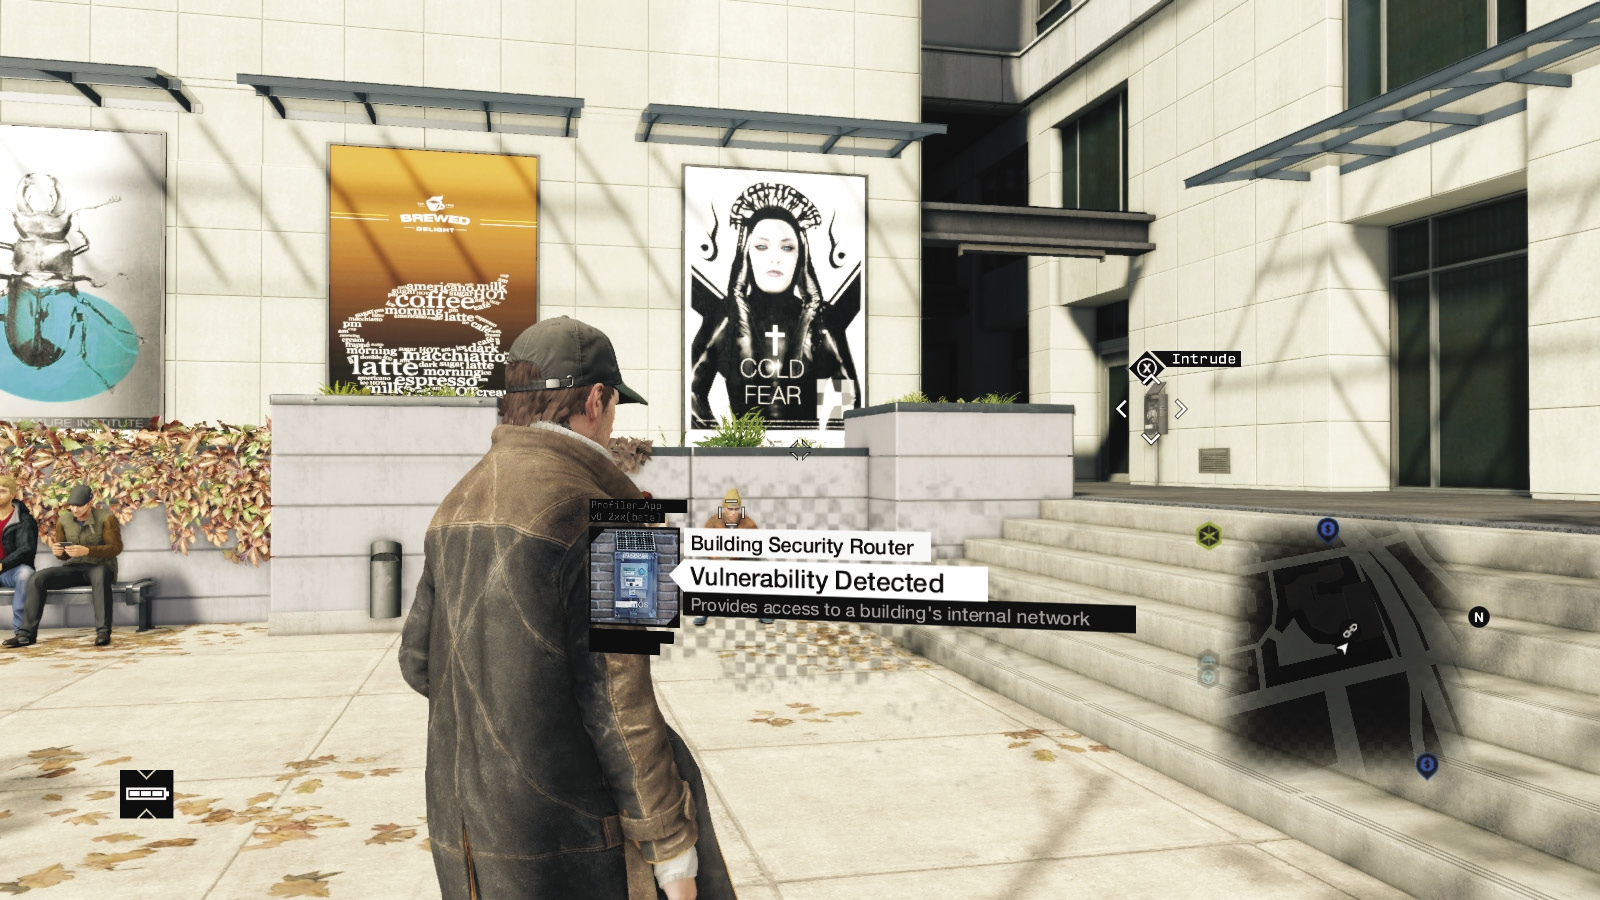
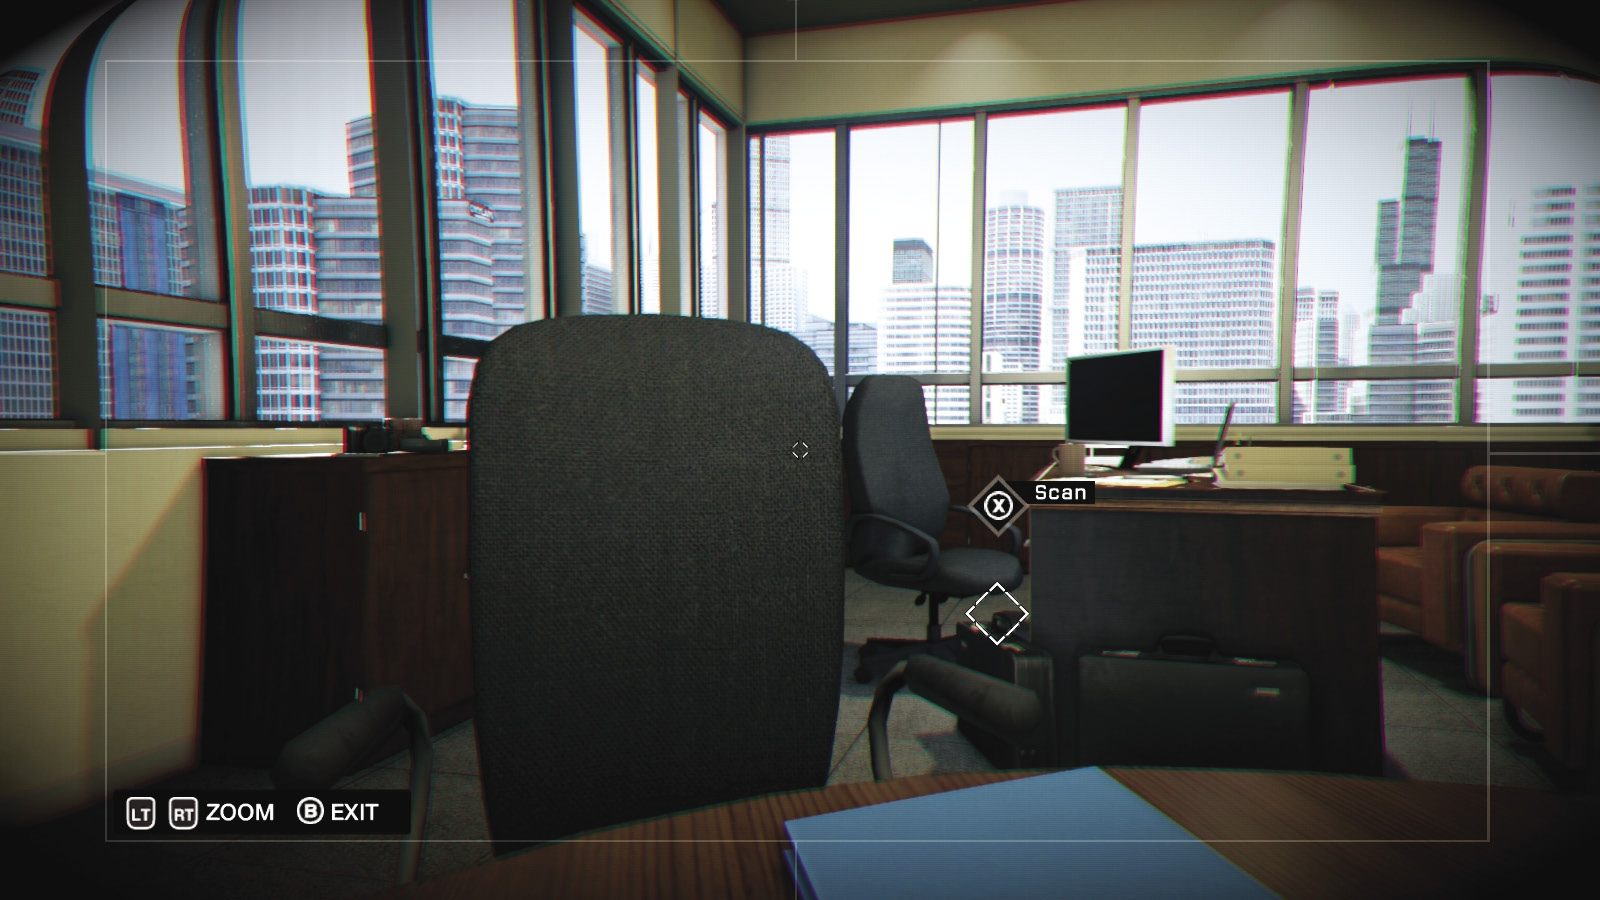
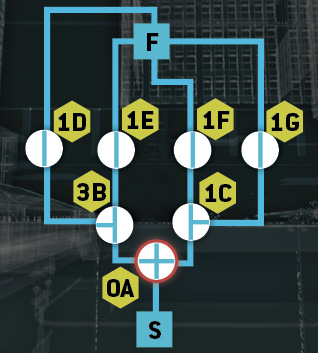
Hack into Barrthes’s office and secure the briefcase data near the office desk, and check the phone on the side cabinet, left of the chair you’re looking at.
Brandon Docks / Buyers
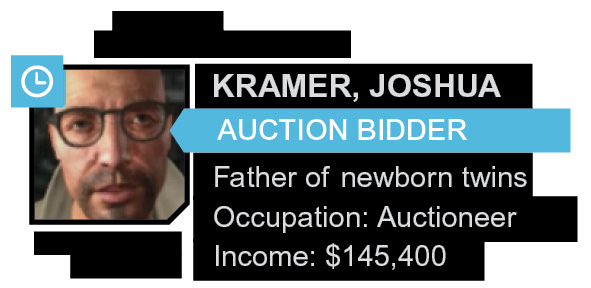
05 // Joshua Kramer
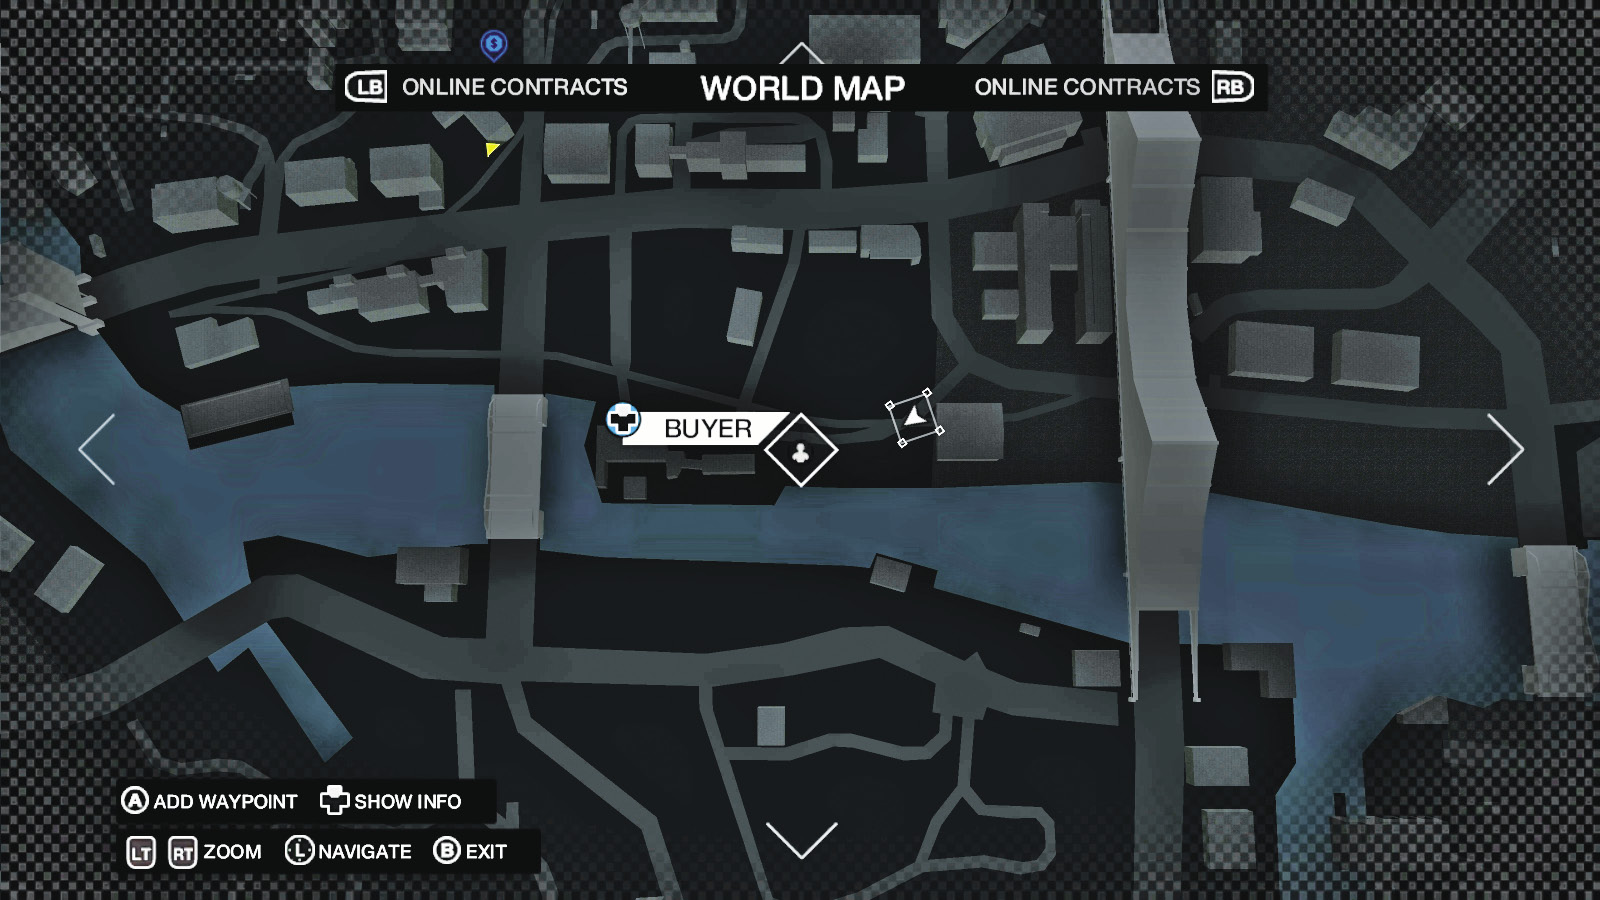
Location / Brandon Docks // Boat Yard Storage
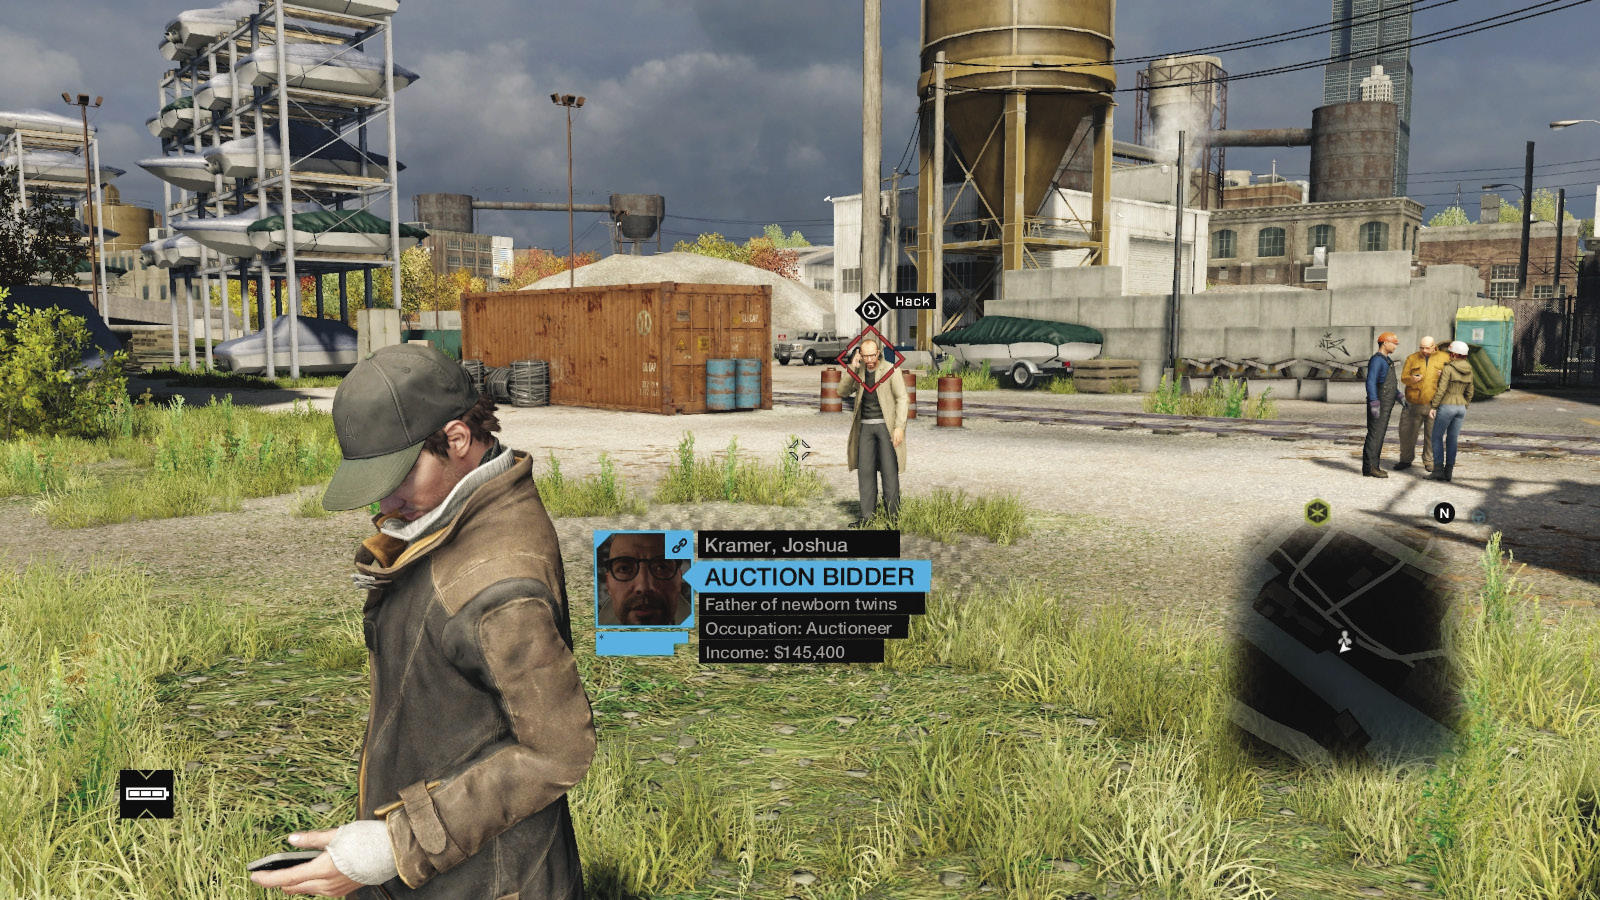
Find the north island and check the southwest area, just east of a large bridge. Kramer can be found standing by the rail tracks near a brick factory, along the river waterfront by a large number of stored boats.
Location / The Loop // Alleyway southeast of Farris Halstead Library station
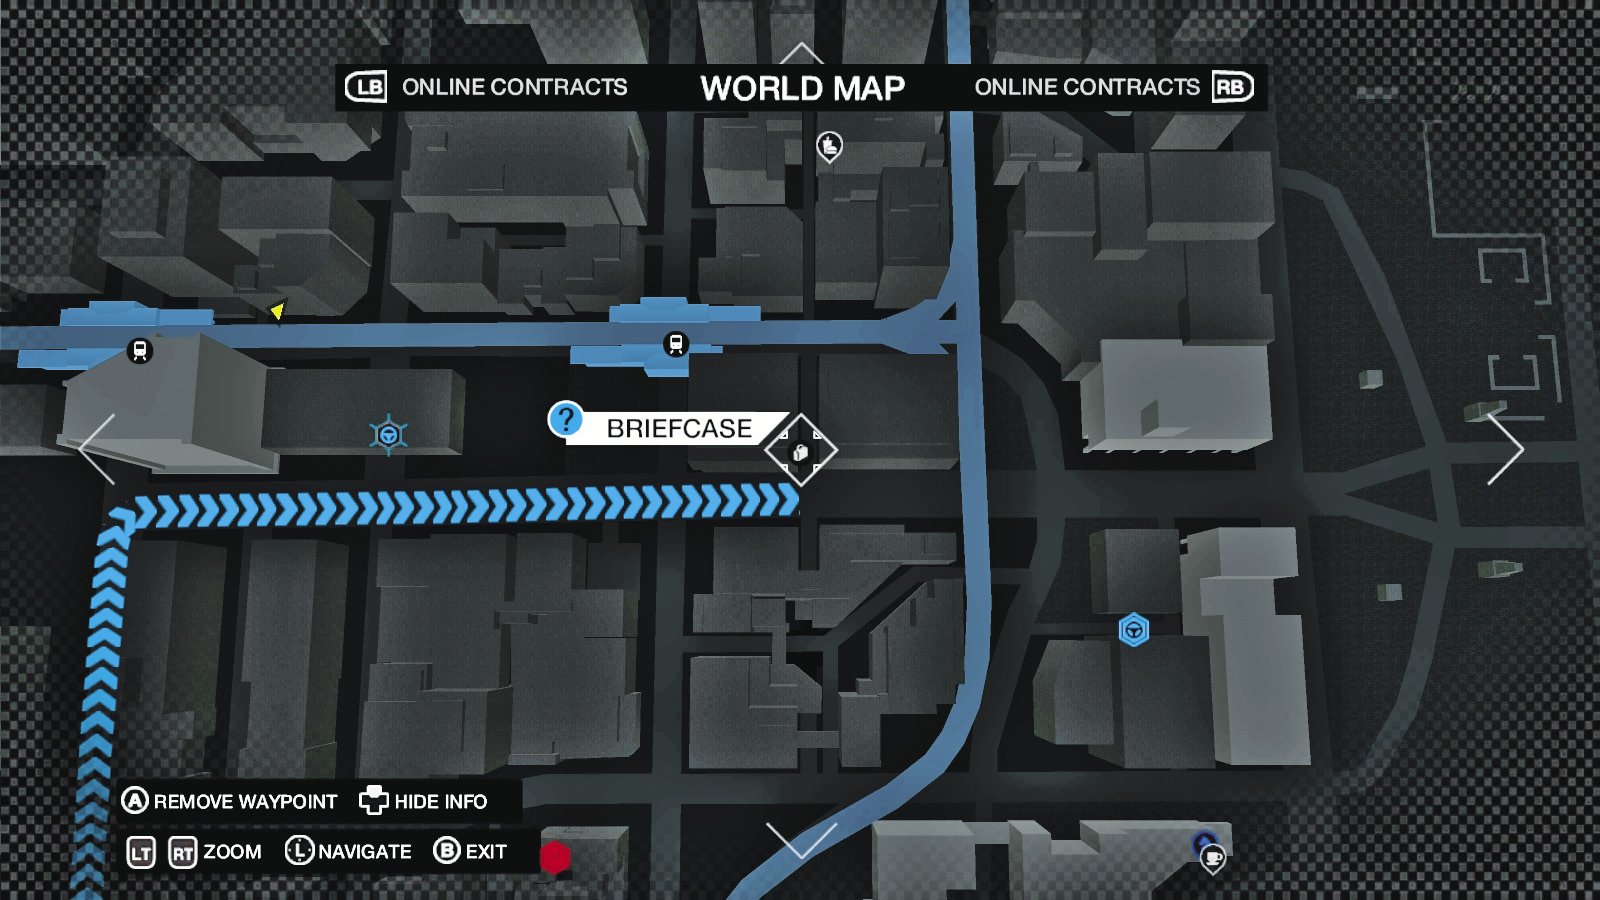
One block to the southeast of the L-train station, across from the Pleasant Stay hotel, is an alley with a building security router attached to it (southern end of the alley).
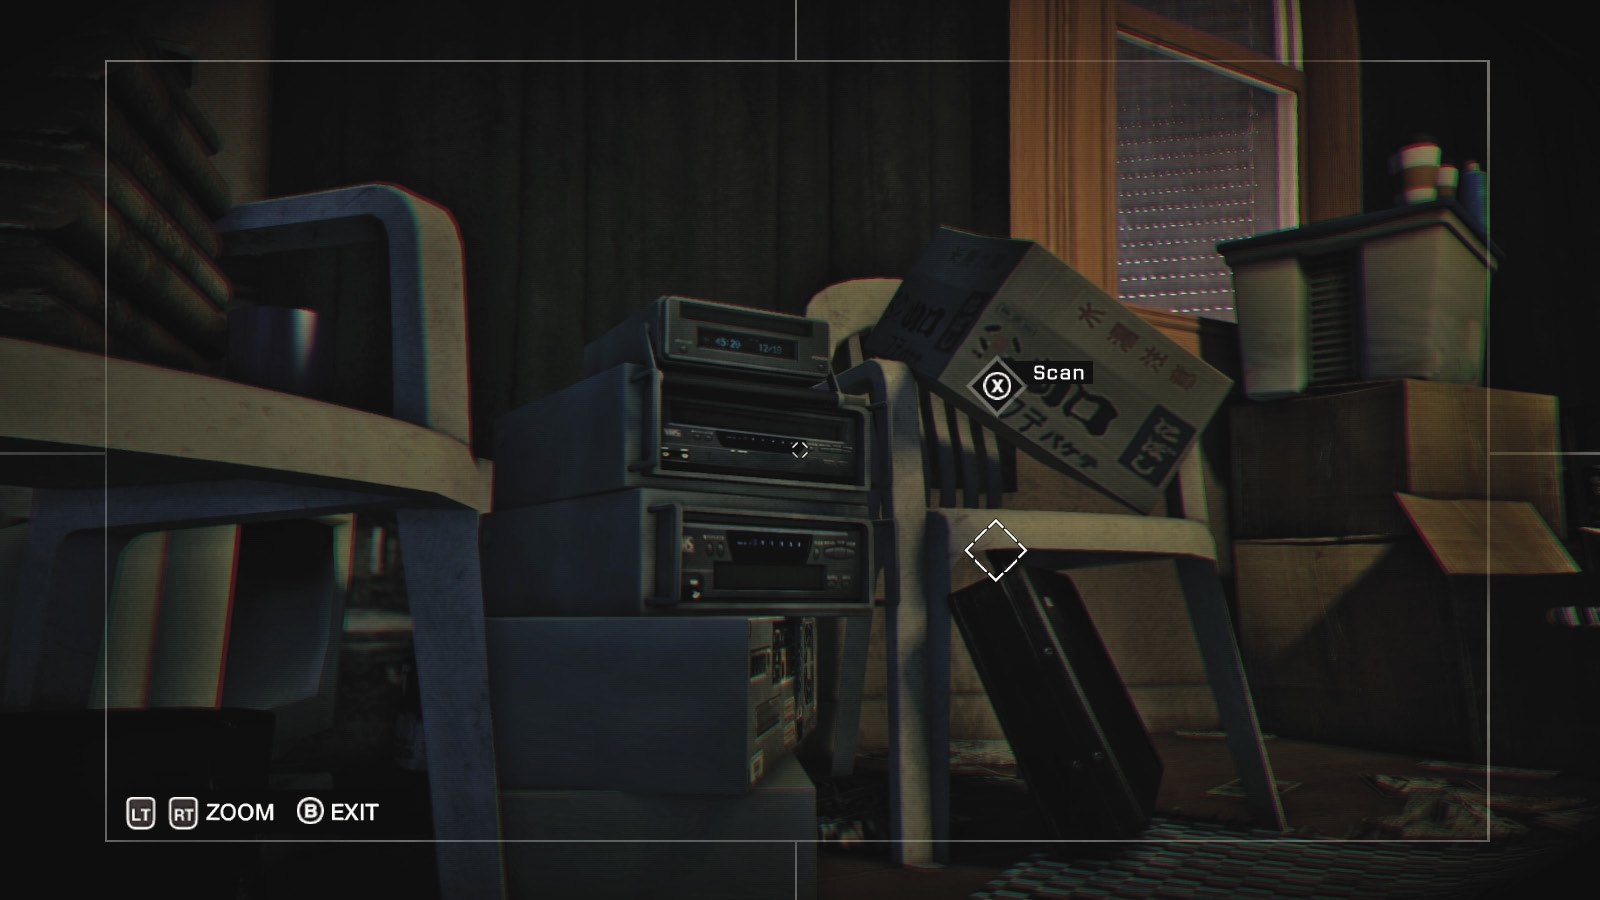
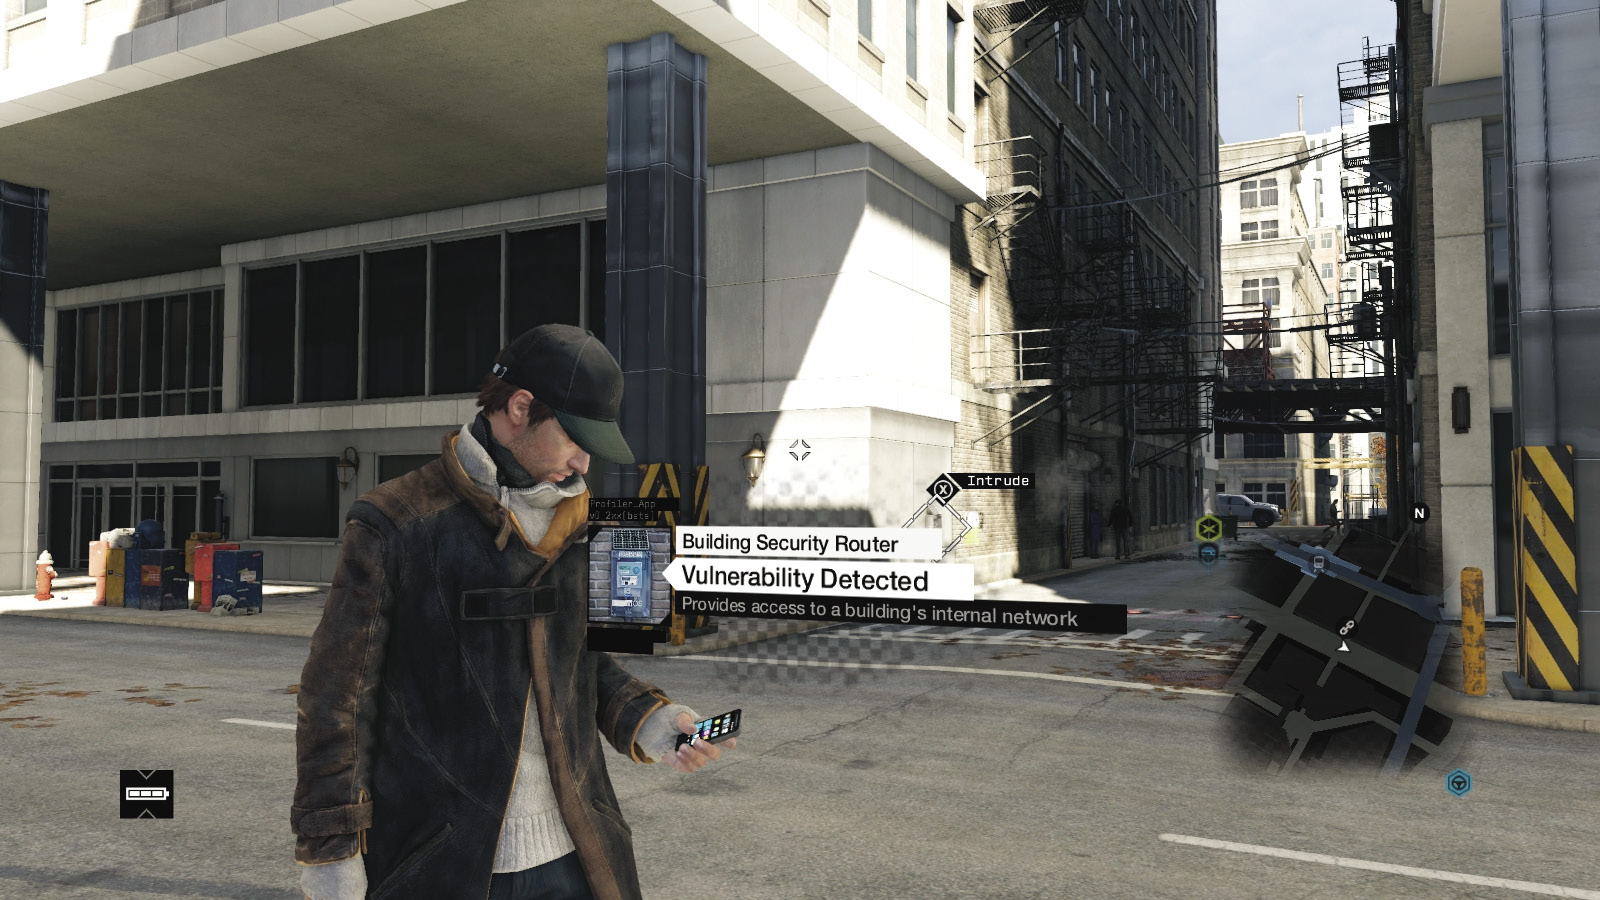
In a particularly messy and small apartment, there’s a phone atop the books on the plastic chair (left), and the case is resting on a second chair below some stereo equipment.
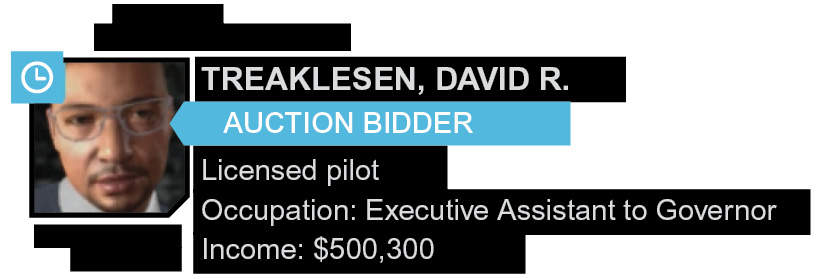
06 // David R. Treaklesen
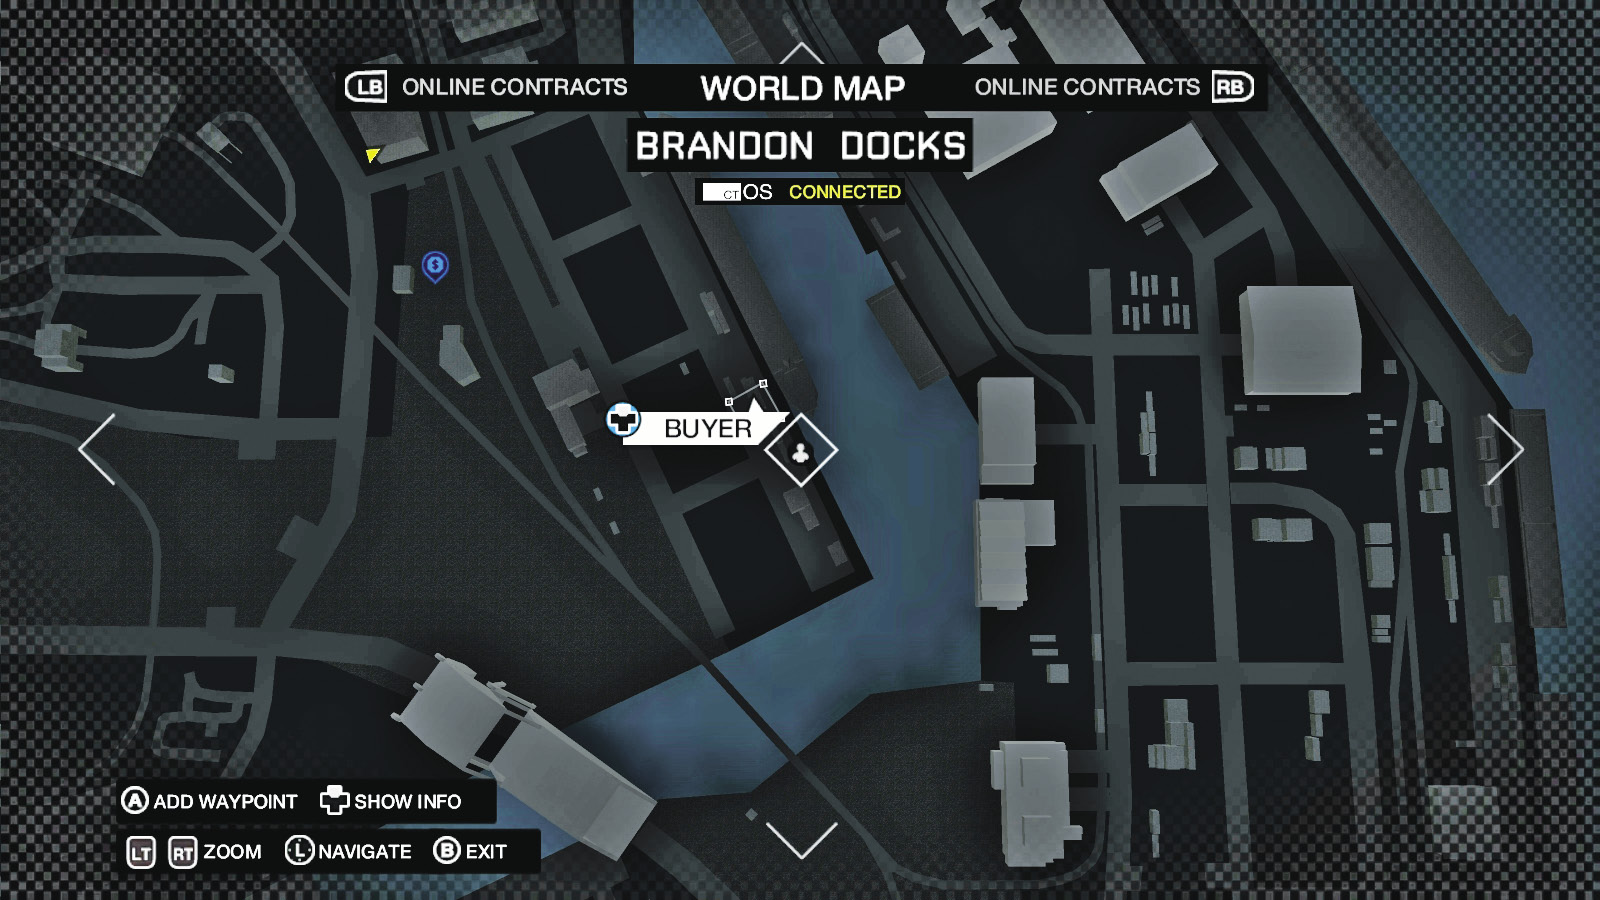
Location / Brandon Docks // Waterfront Unloading Docks
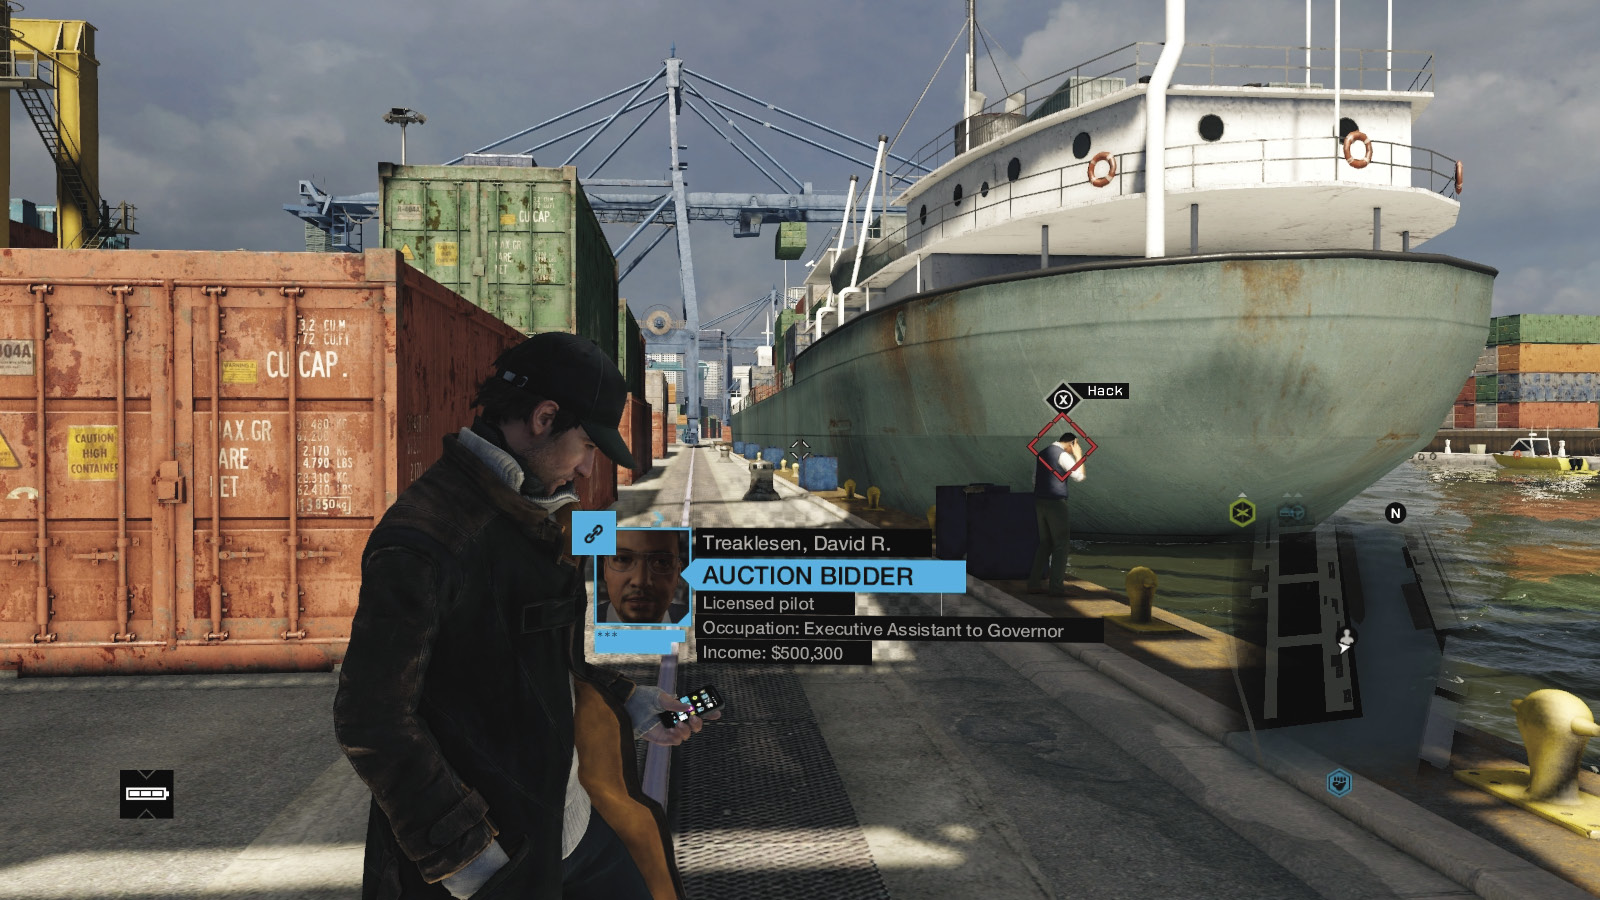
The massive docks along the eastern side of this district is where Treaklesen is mooching about; locate the ship and containers on the main eastern area, not the peninsula, and begin your hack.
Location / The Loop // Chenny’s Noodles Parking Lot
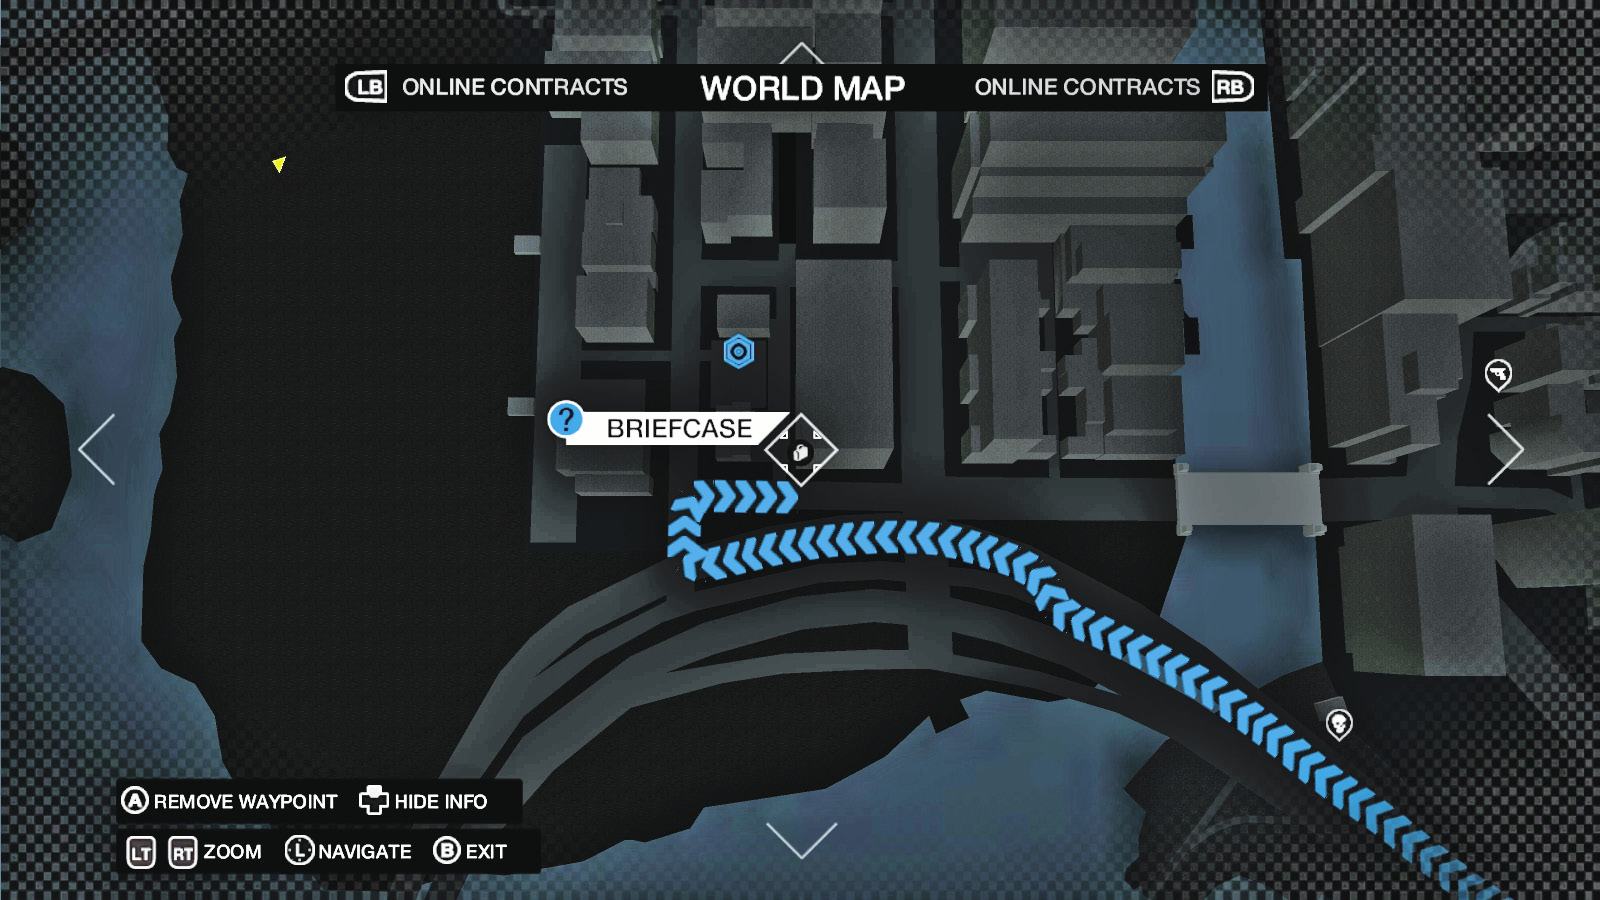
Head to “the island”—the western part of the Loop—and locate the main road along the southern part of this area, just north of the freeway. Find the gray office building east of Chenny’s Noodles.
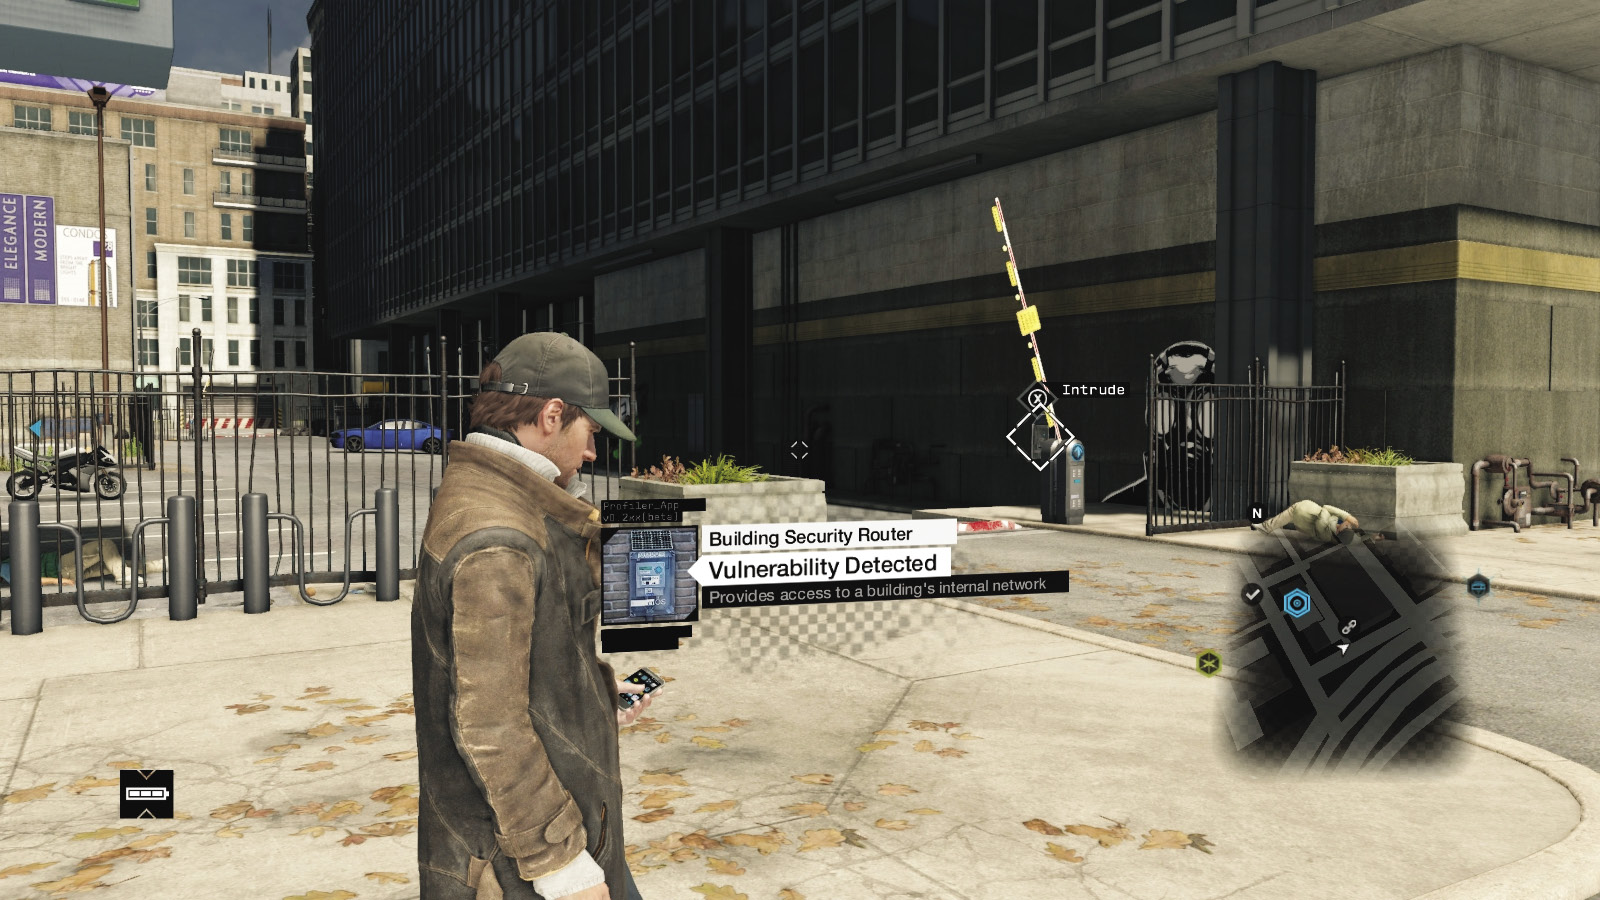
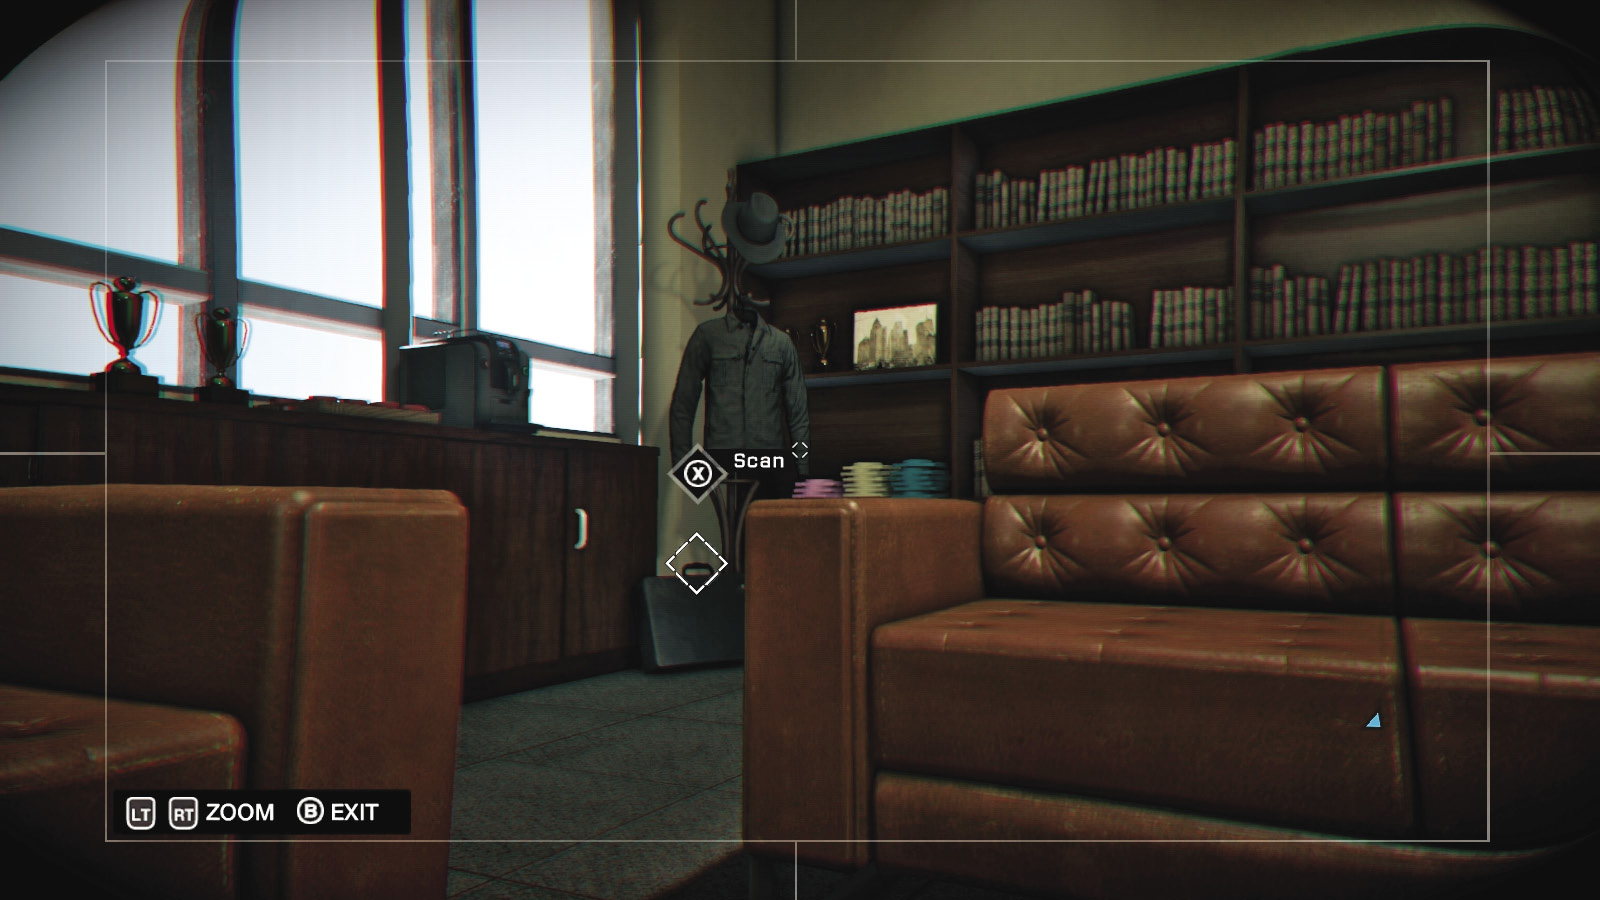
The building security router is by the spikes and parking lot barrier. Inside the rather smart room is a phone resting on top of the bookcase and the briefcase below the coat stand.
The Loop / Buyers
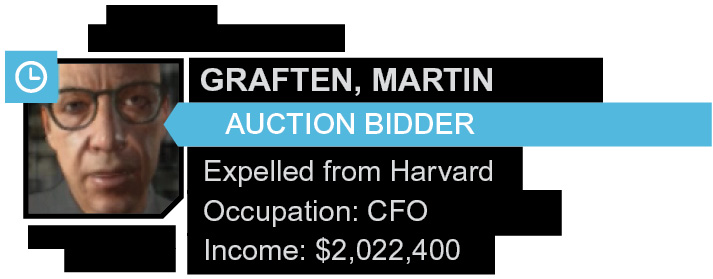
07 // Martin Graften
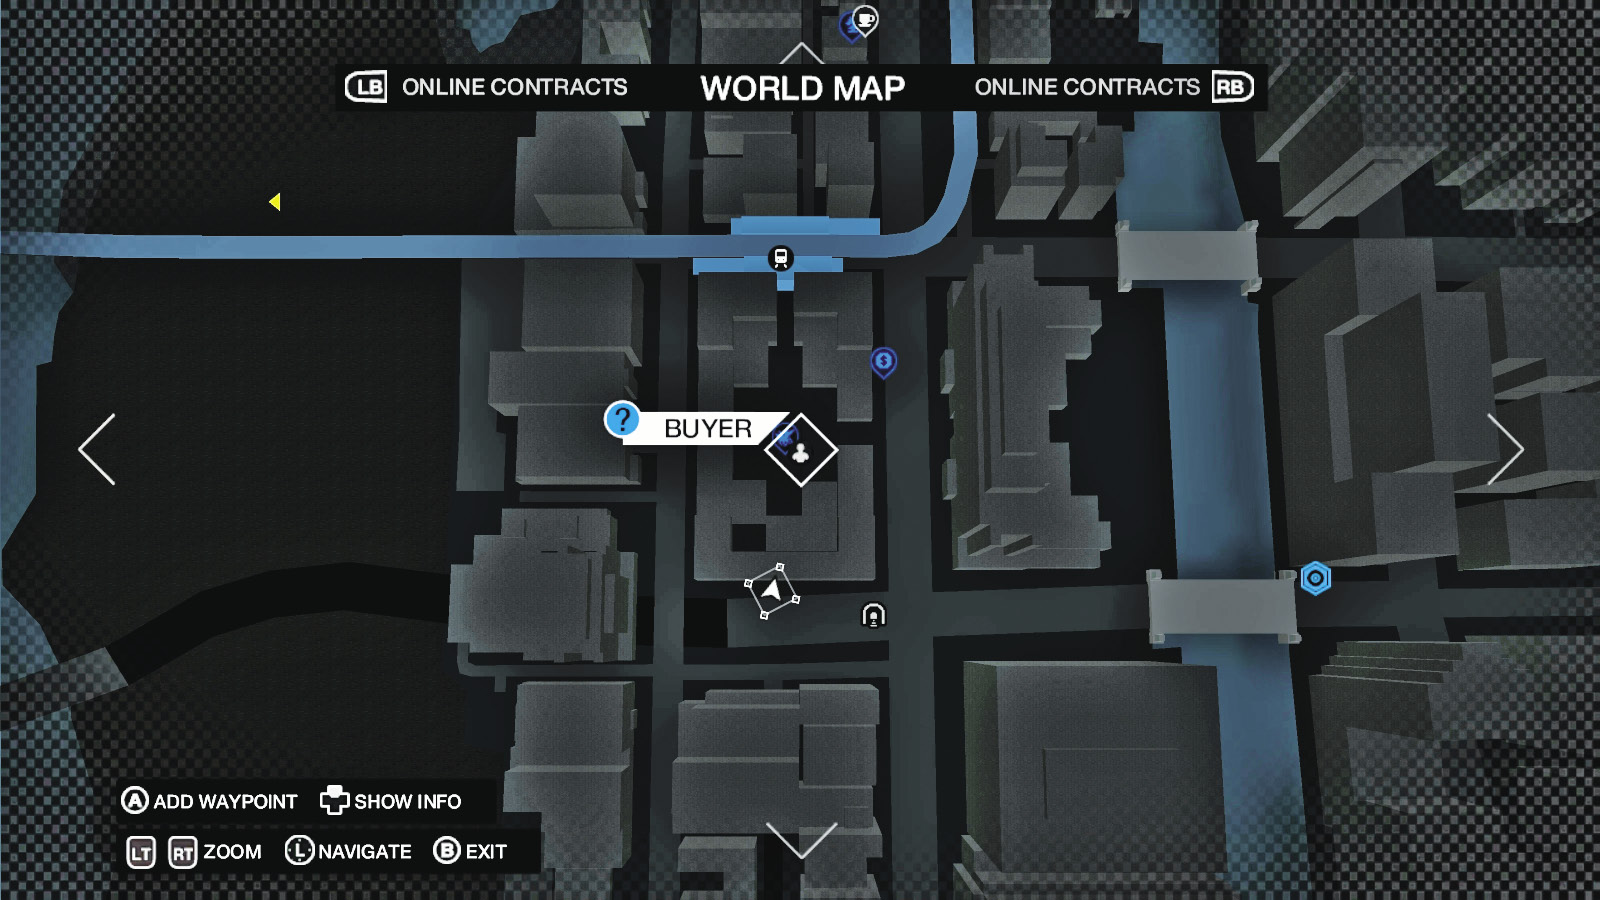
Location / The Loop // Plaza south of Western Station
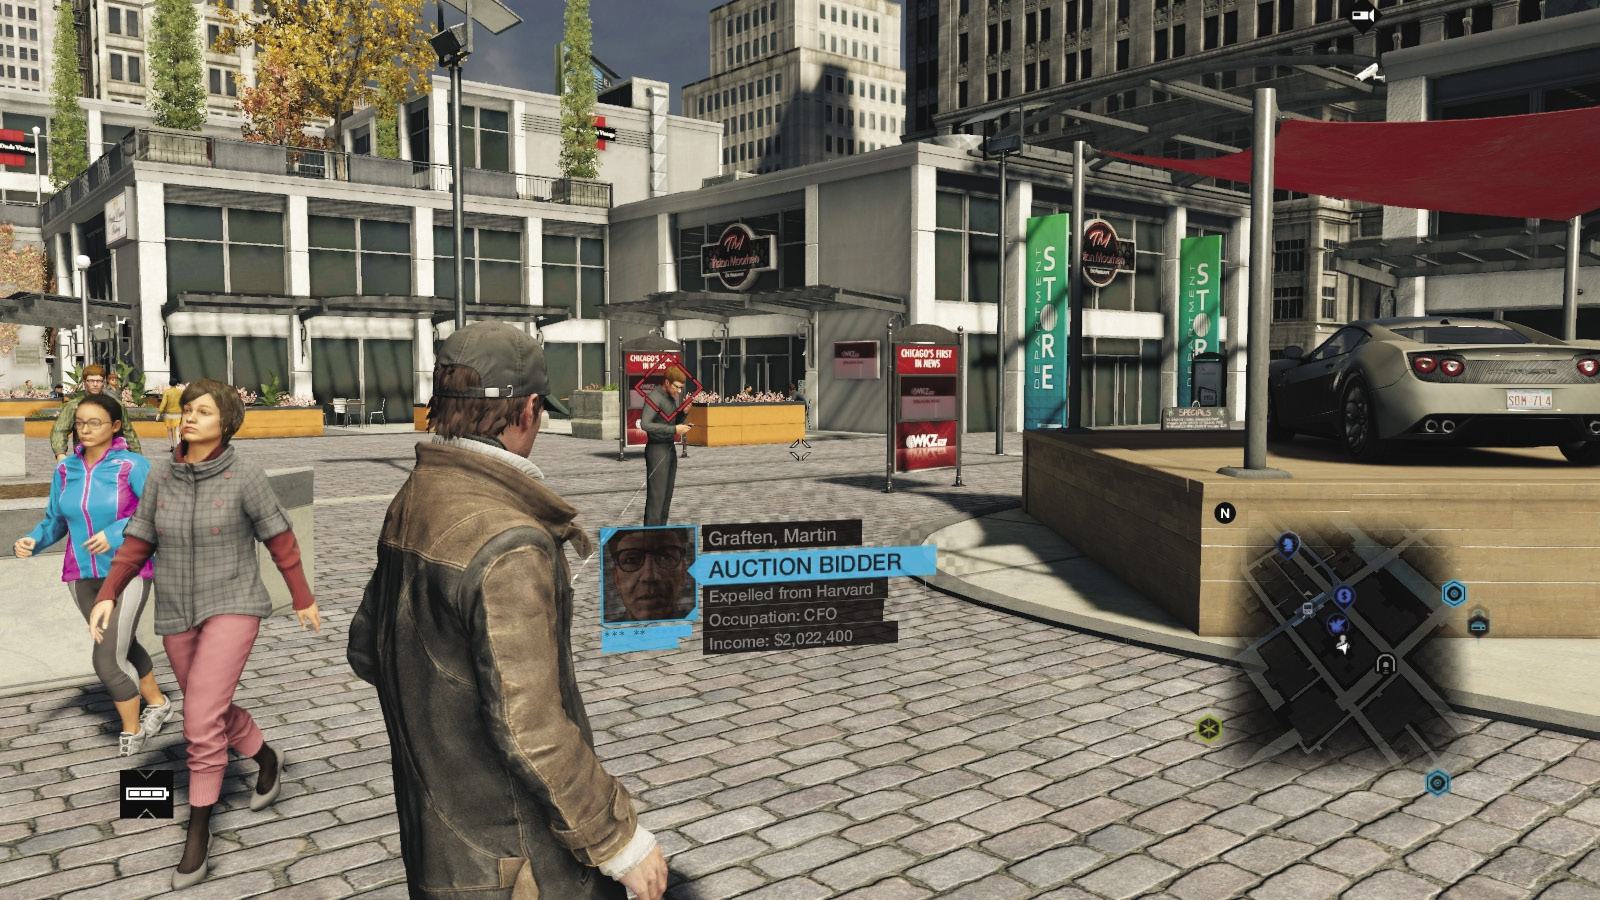
Right in the center of “the island,” on the western side of the Loop, is an open plaza just south of Western Station. Locate Graften near an NVZN start, close to a display car.
Location / Mad Mile // Apartment (Papavero Signage)
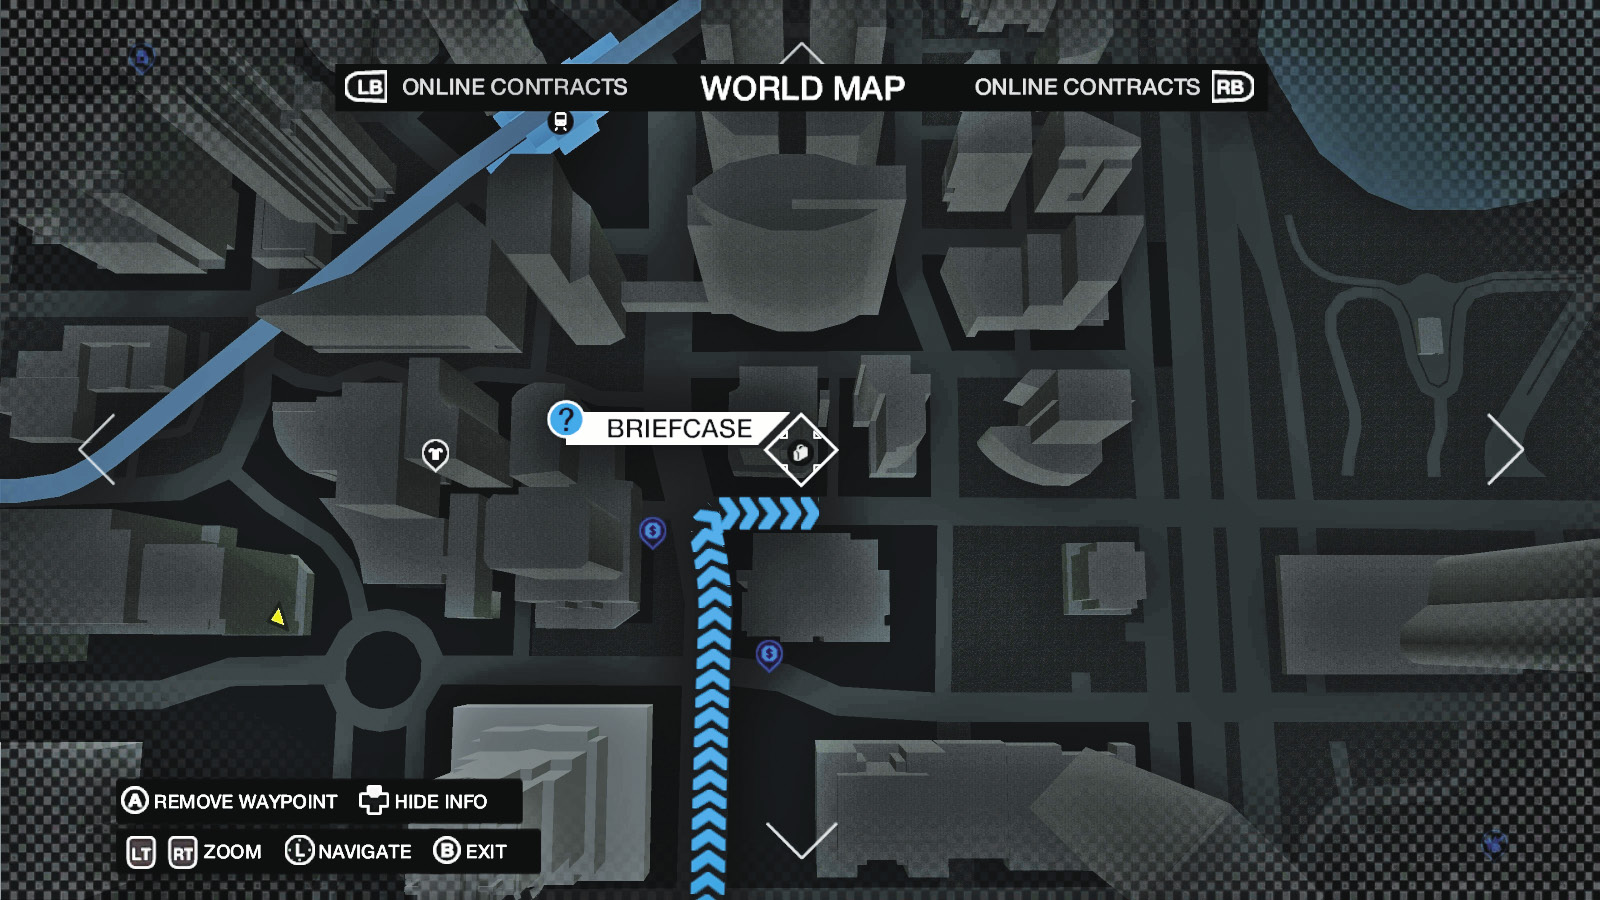
Follow the trail of his briefcase to this apartment building, two blocks east of the clothing store in the eastern part of this district, close to two Cash Run starts. Check between the green pillars.
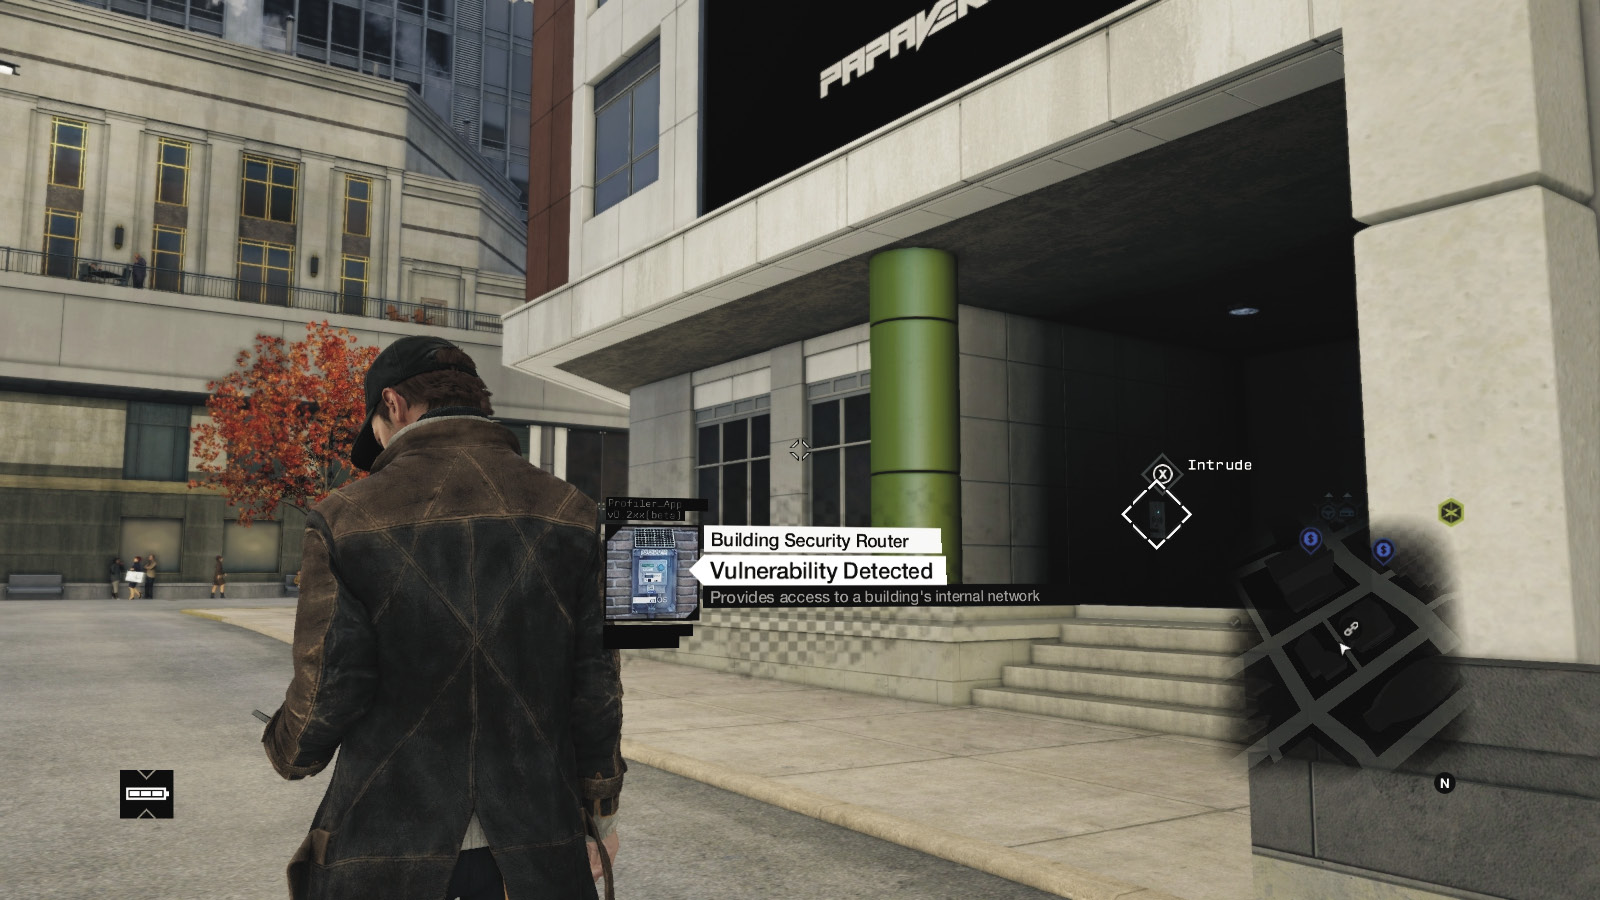
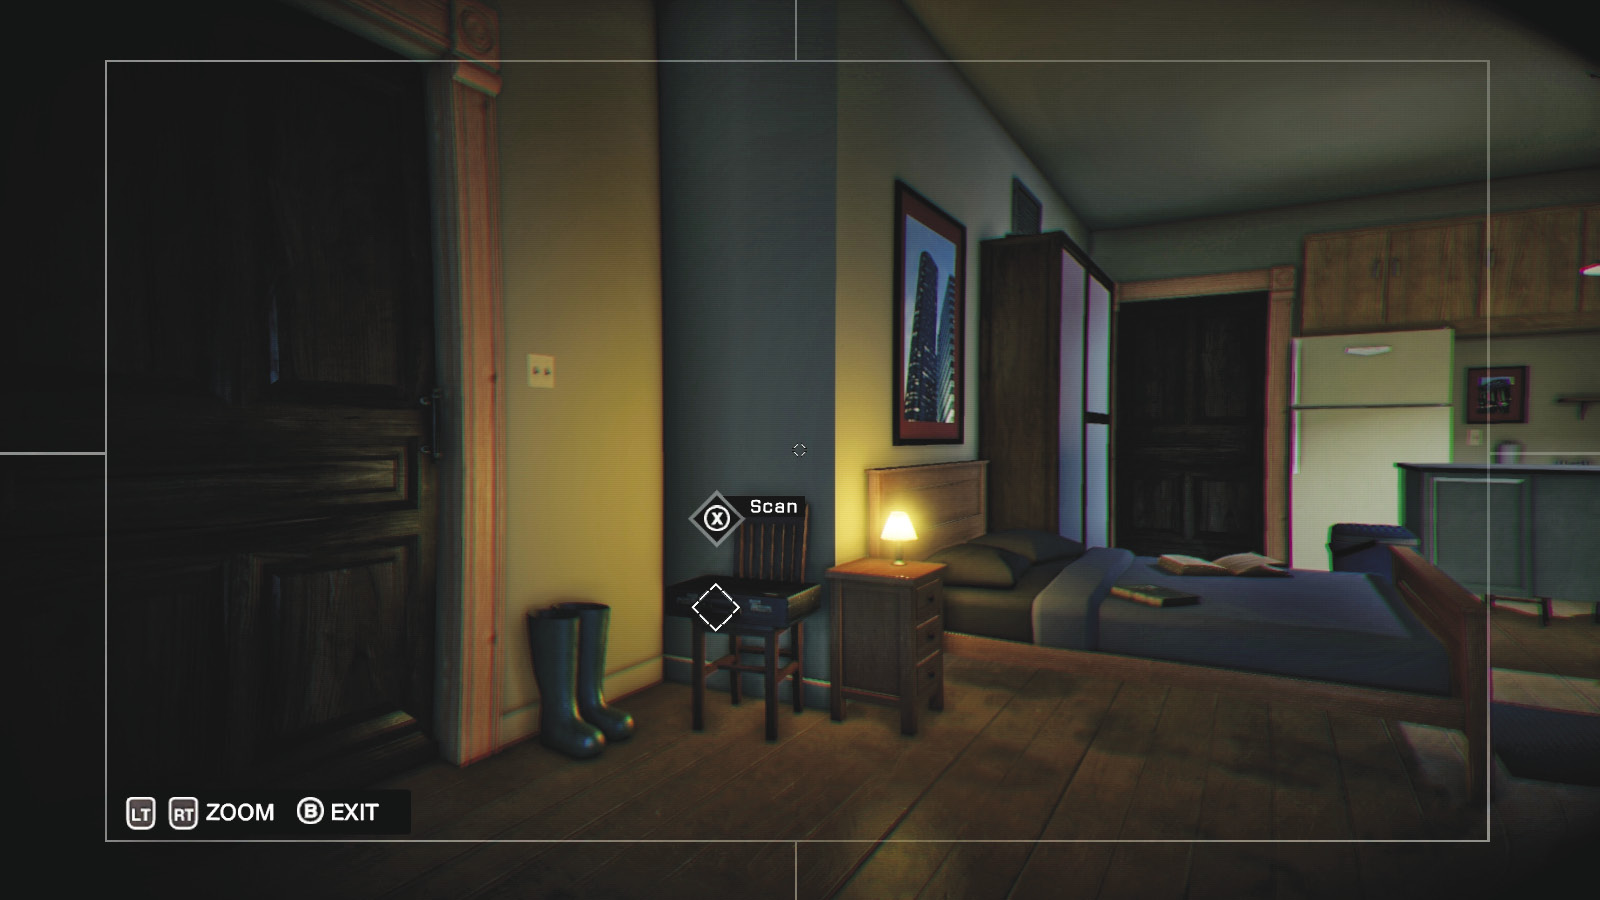
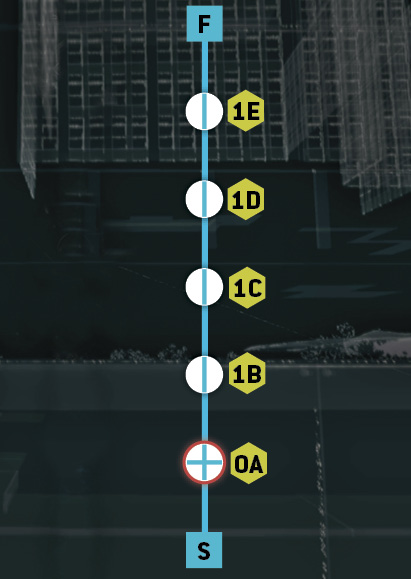
Locate the phone sitting atop the bedside wardrobe. The briefcase is on the chair near the nightstand.
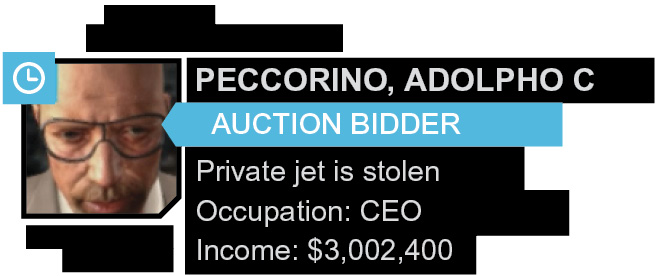
08 // Adolpho C Peccorino
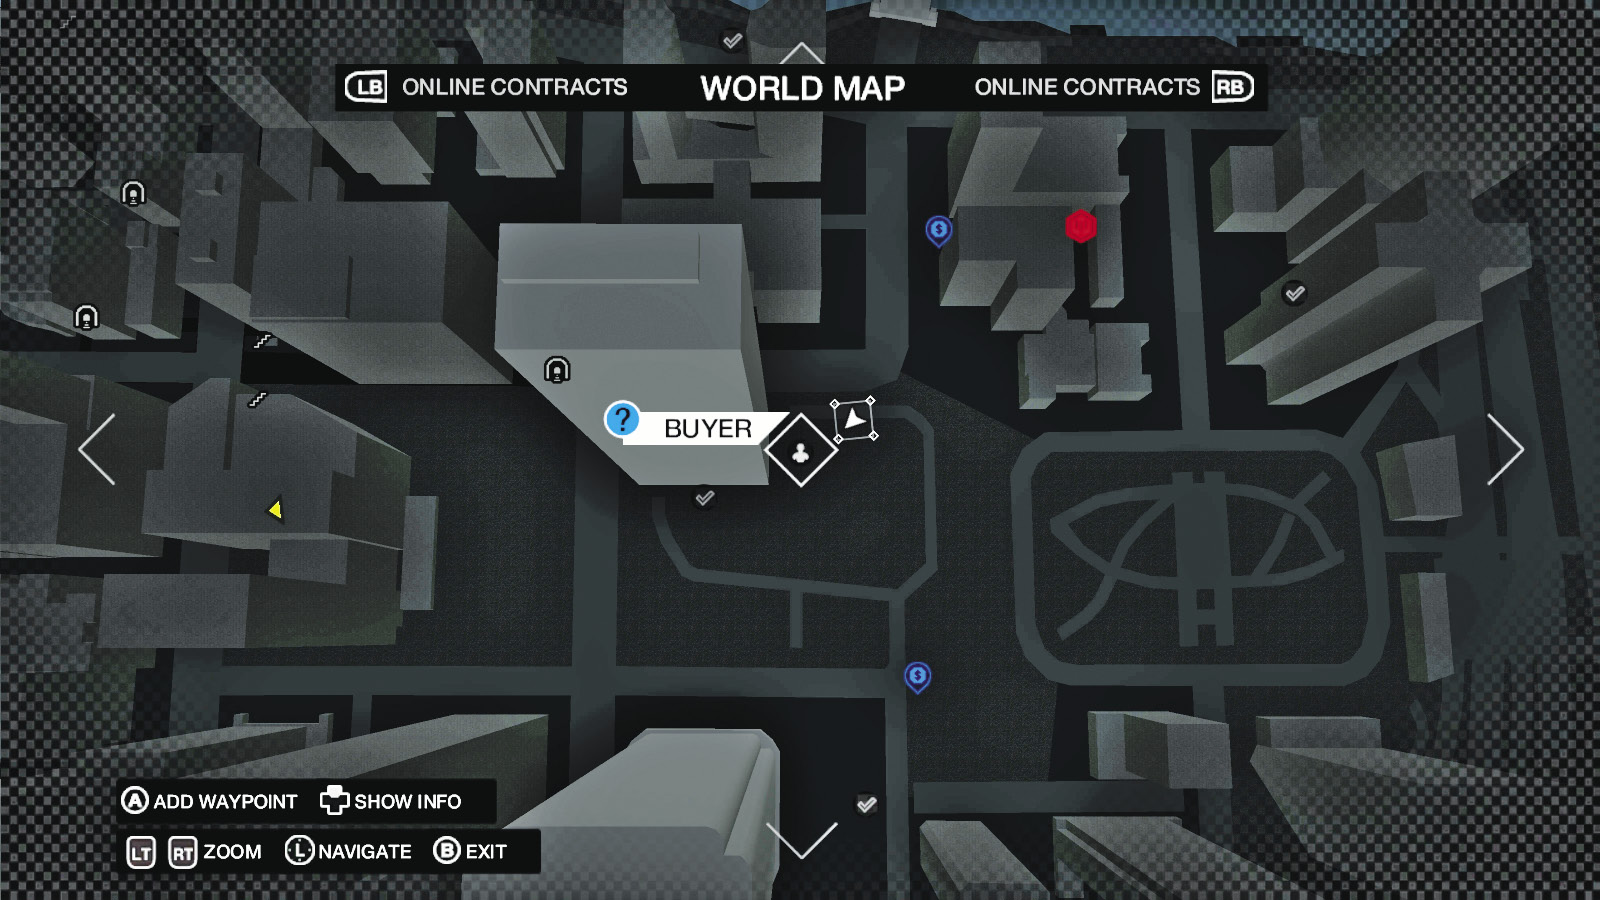
Location / The Loop // Poolside at Ocean Tower
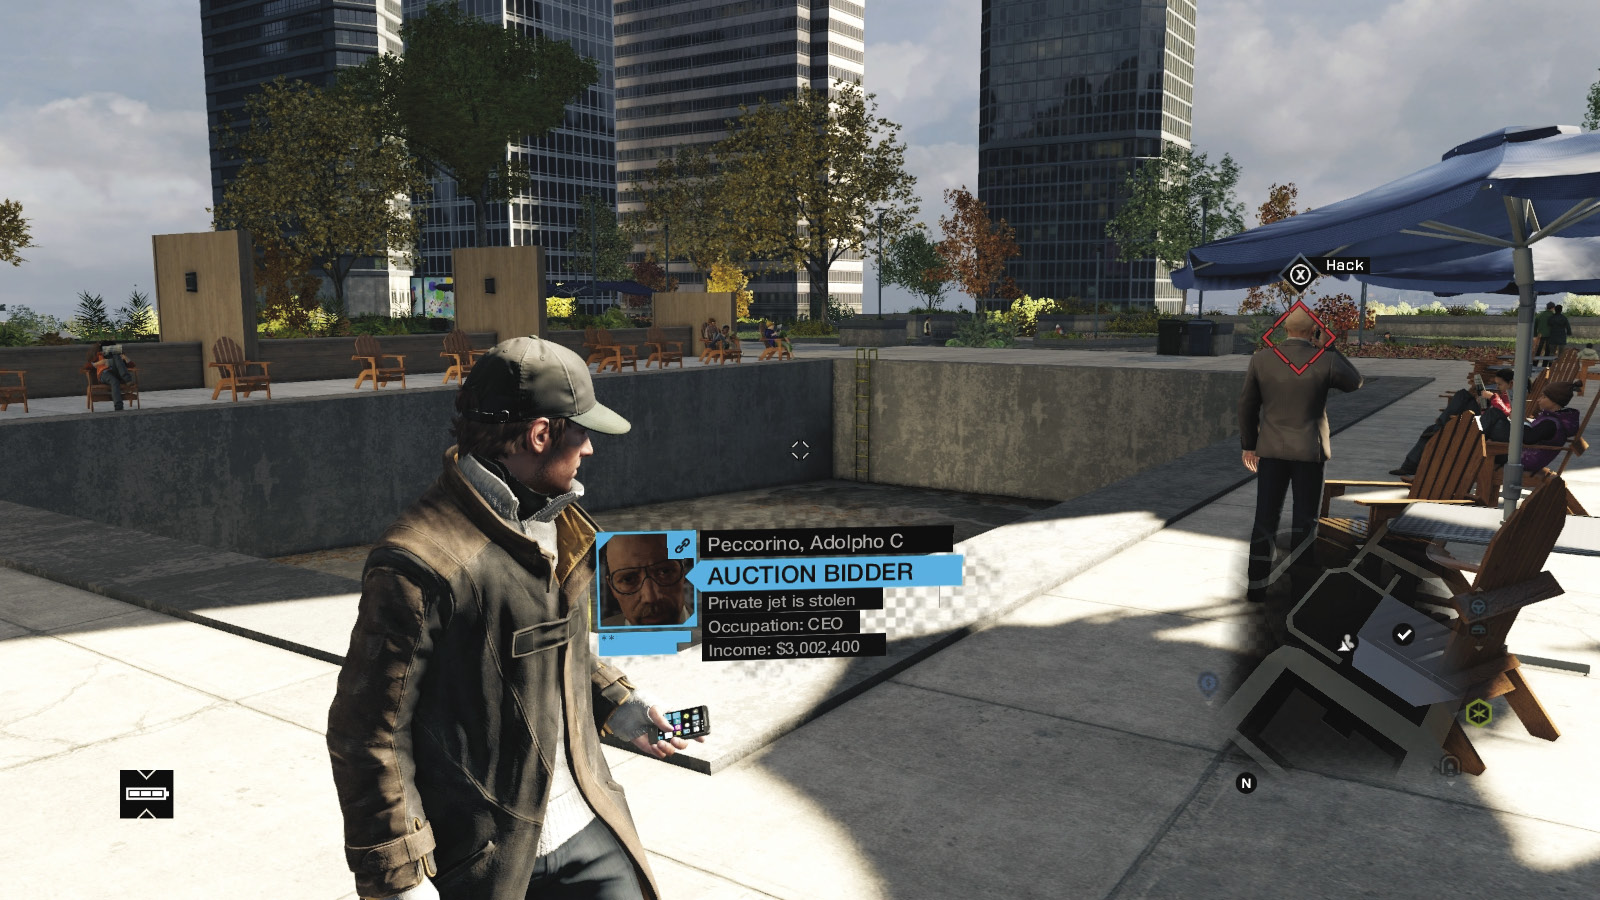
In the northeast Loop, one block southwest of the ctOS tower and in the grounds of the Ocean Tower skyscraper, is a drained pool and some lounging chairs. Peccorino is poolside at this location.
Location / The Wards // Low-rise Tenement Block
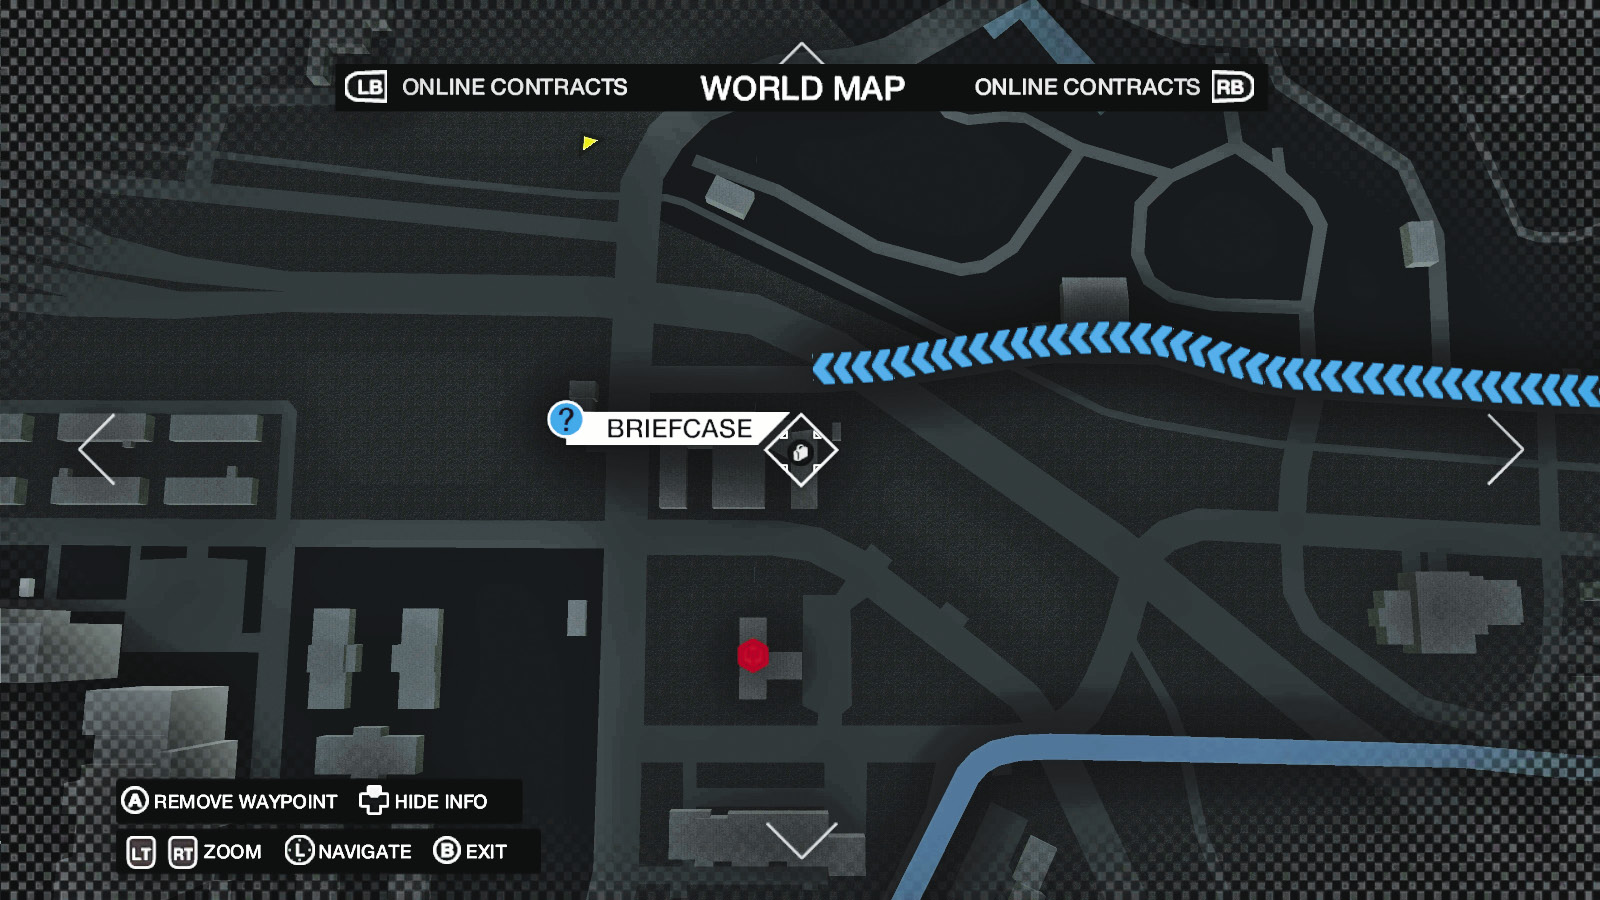
On the very edge of the northeast perimeter of the Wards is a brick tenement complex, adjacent to the freeway and north of a ctOS tower. Hack the building security router inside the complex (exterior wall).
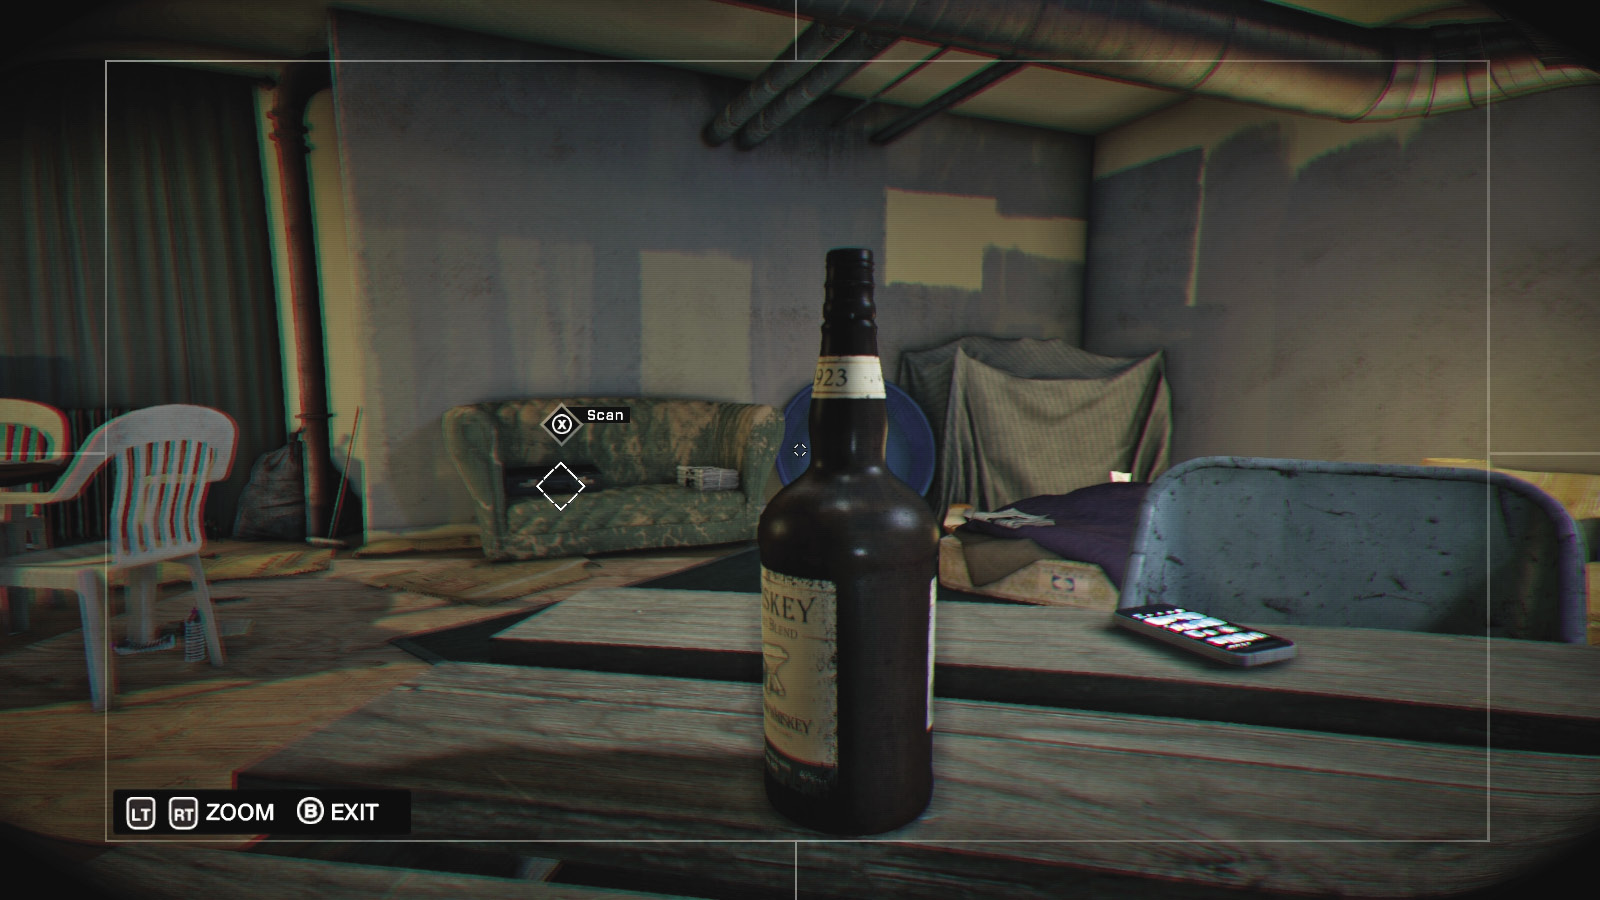
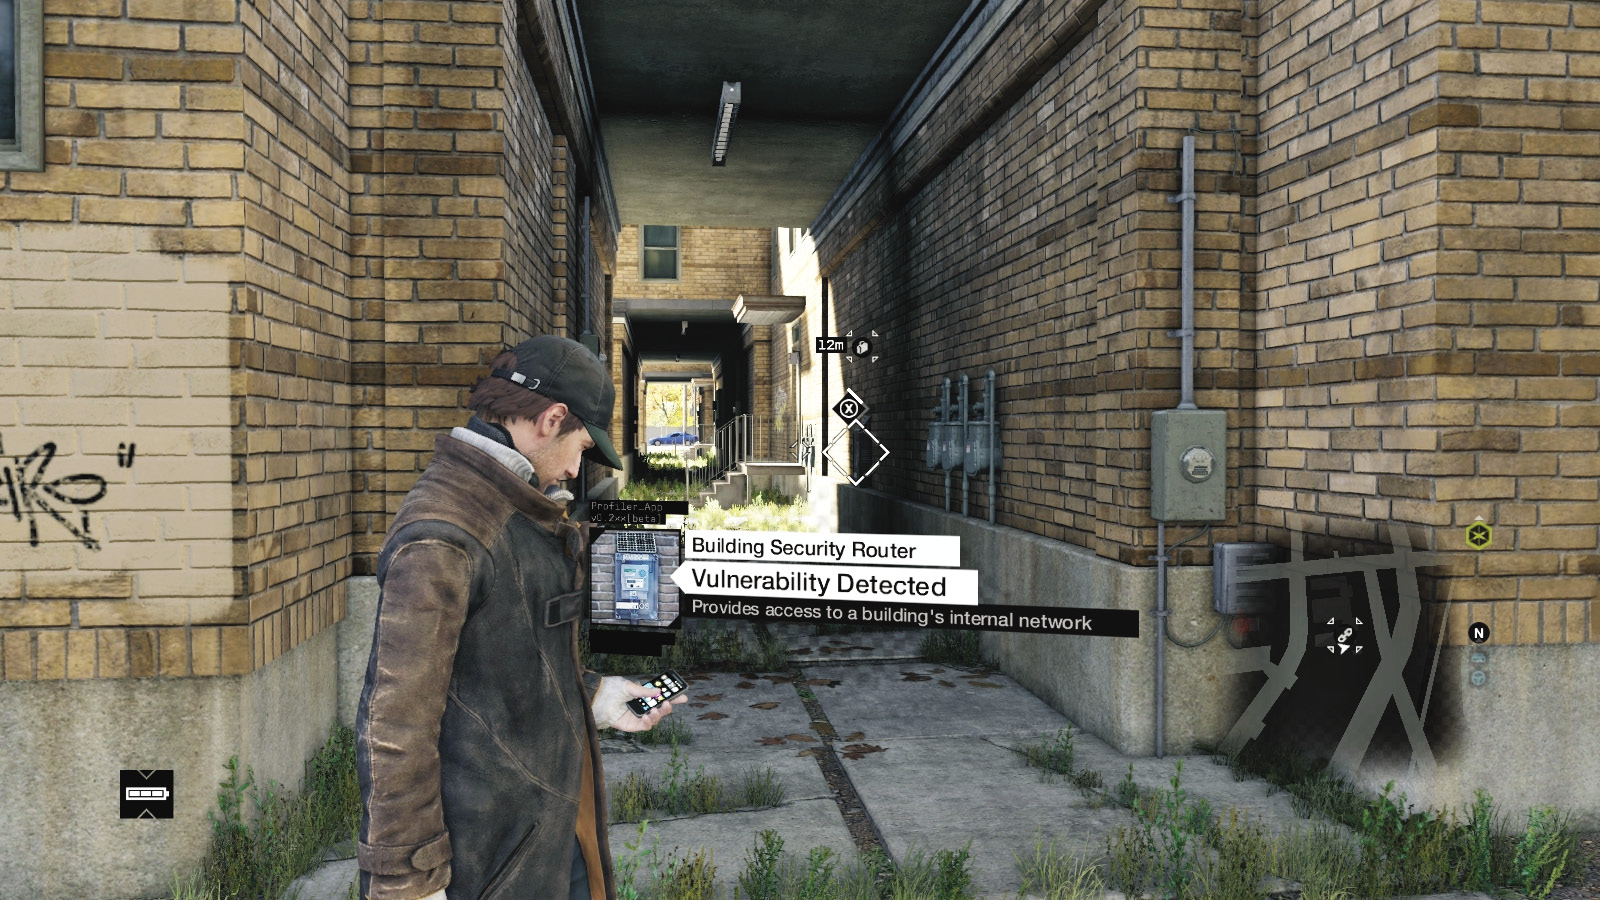
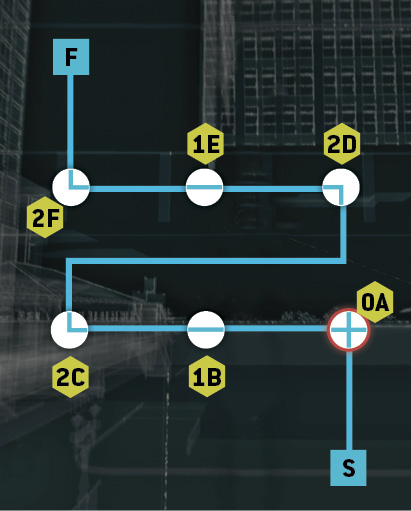
Peer inside a particularly grim slum of half-painted walls and cheap furniture. Check the table near the whiskey bottle for the phone and the briefcase on the sofa.
Mad Mile / Buyers
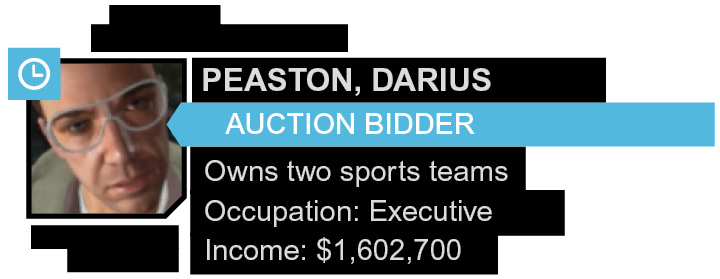
09 // Darius Peaston
Location / Mad Mile // Among the concrete garden planters
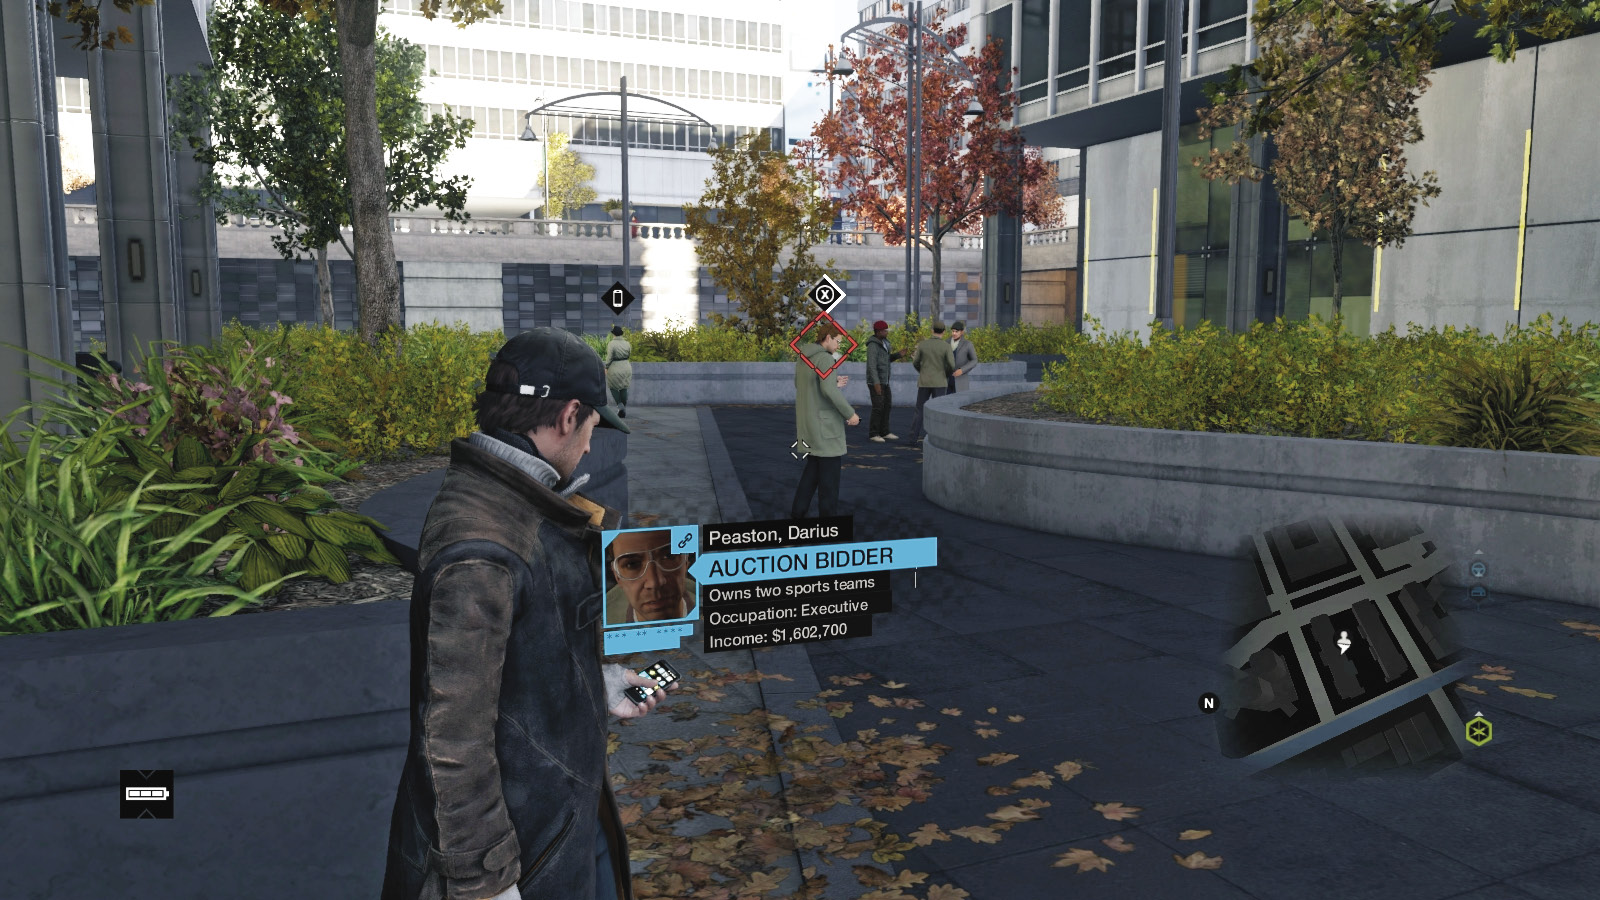
Head to the northwest part of Mad Mile, around three blocks to the southeast of the ctOS tower and close to the L-train tracks. East of them are two office buildings with oval-shaped concrete planters in them. And your buyer.
Location / Parker Square // Theater Parking Lot
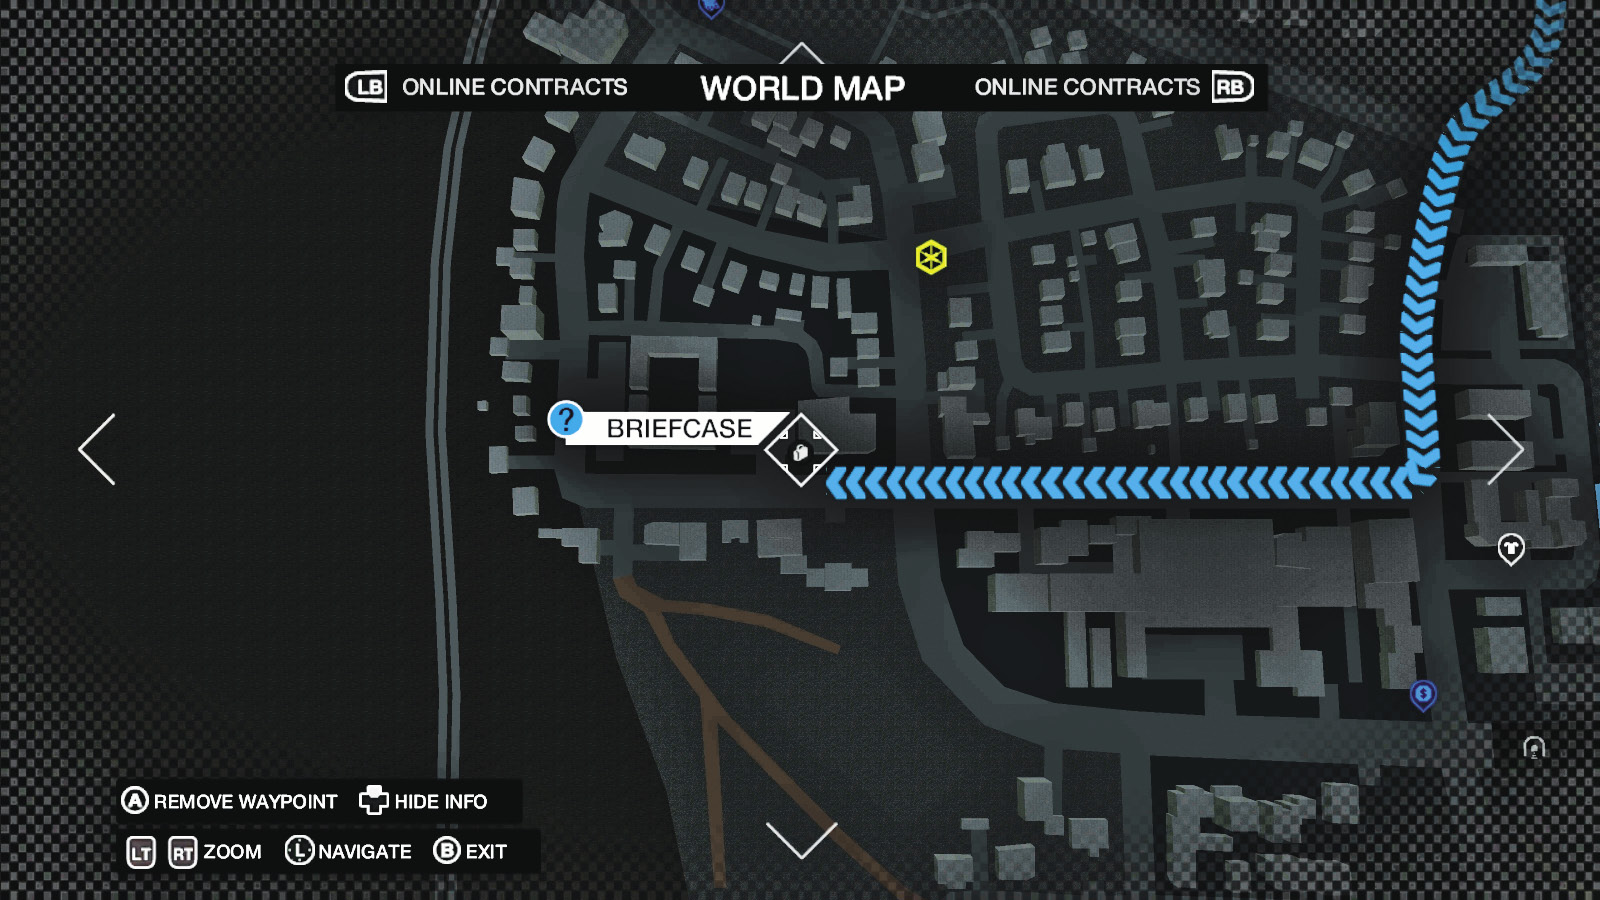
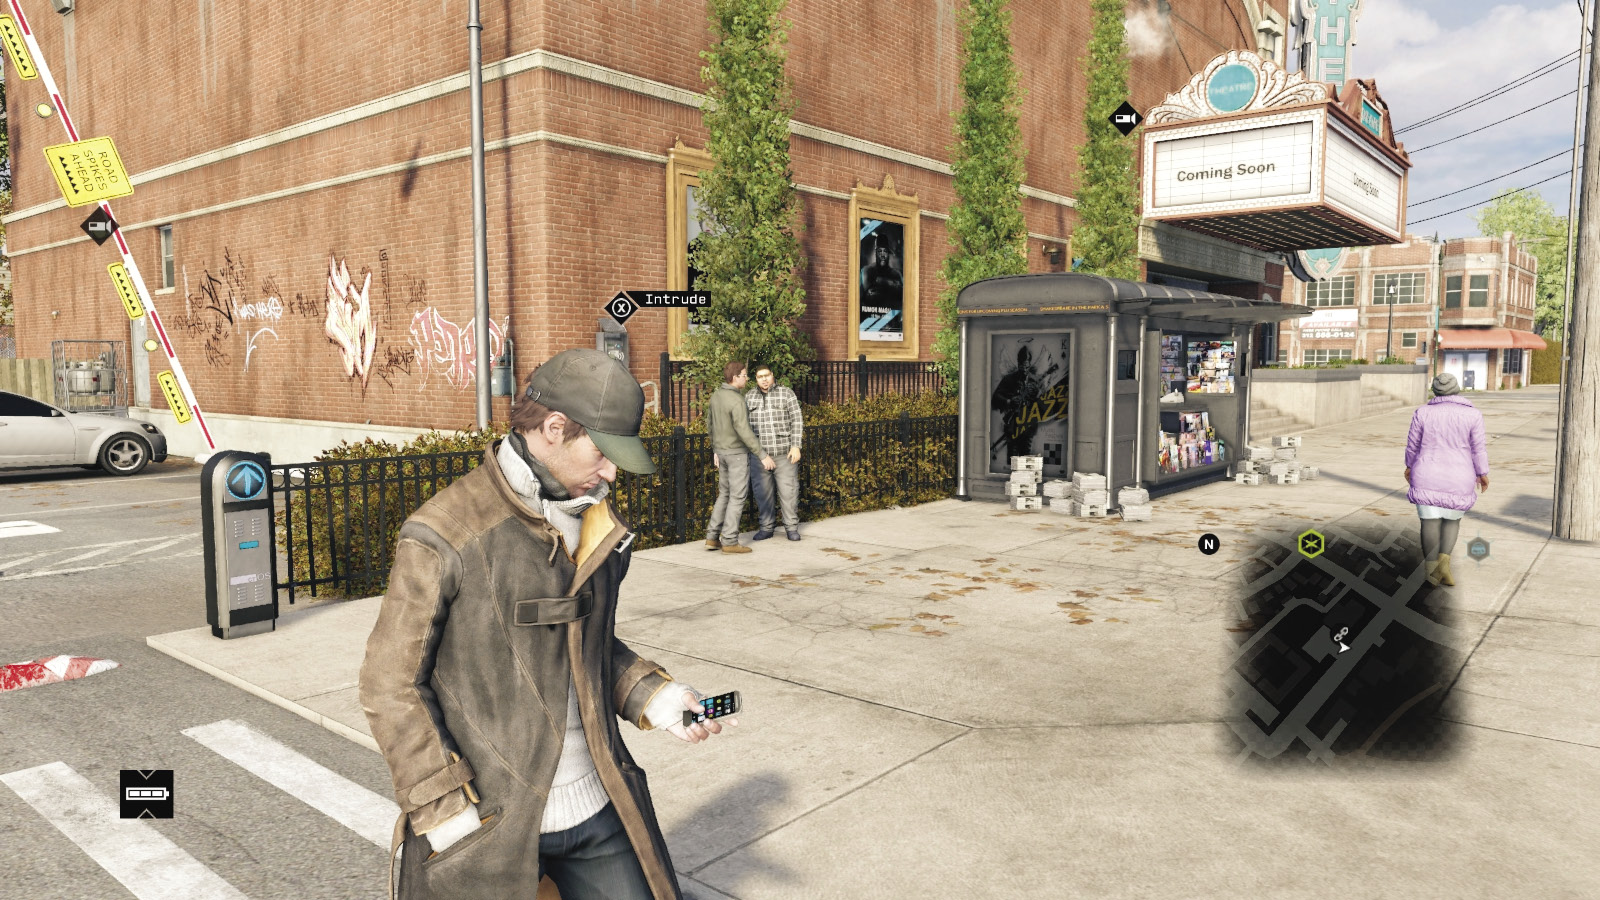
Head to the western side of Parker Square, just south of the gated community and Nicky’s house. Across the road from a Molar’s Grill is a beautiful old theater. Intrude to the rear, behind a newsstand.
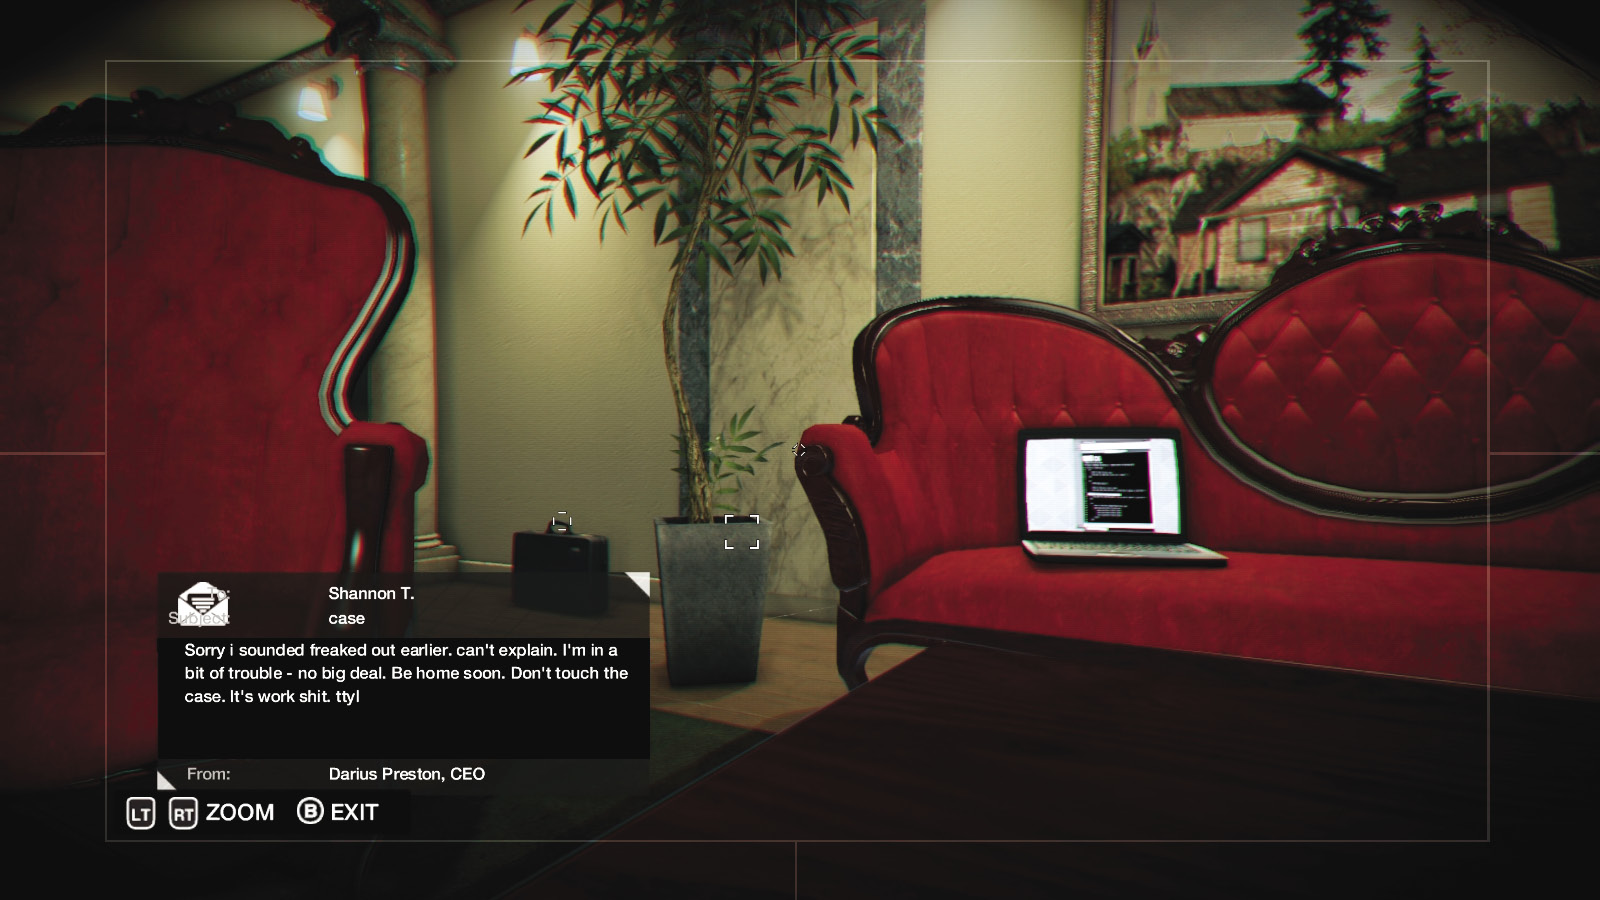
There’s a fancy apartment inside this structure with a laptop computer on a French sofa and the briefcase placed by the wall between the potted plant and pillar.
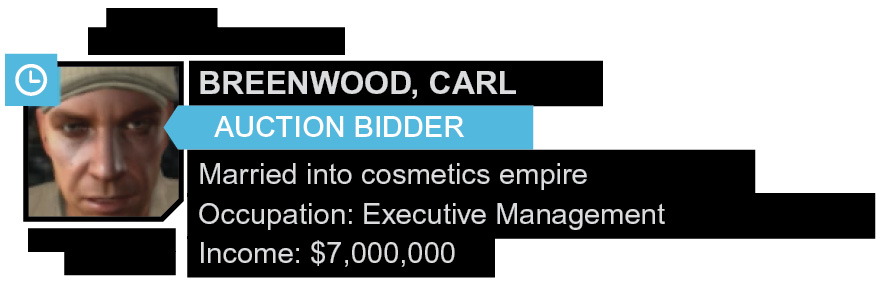
10 // Carl Breenwood
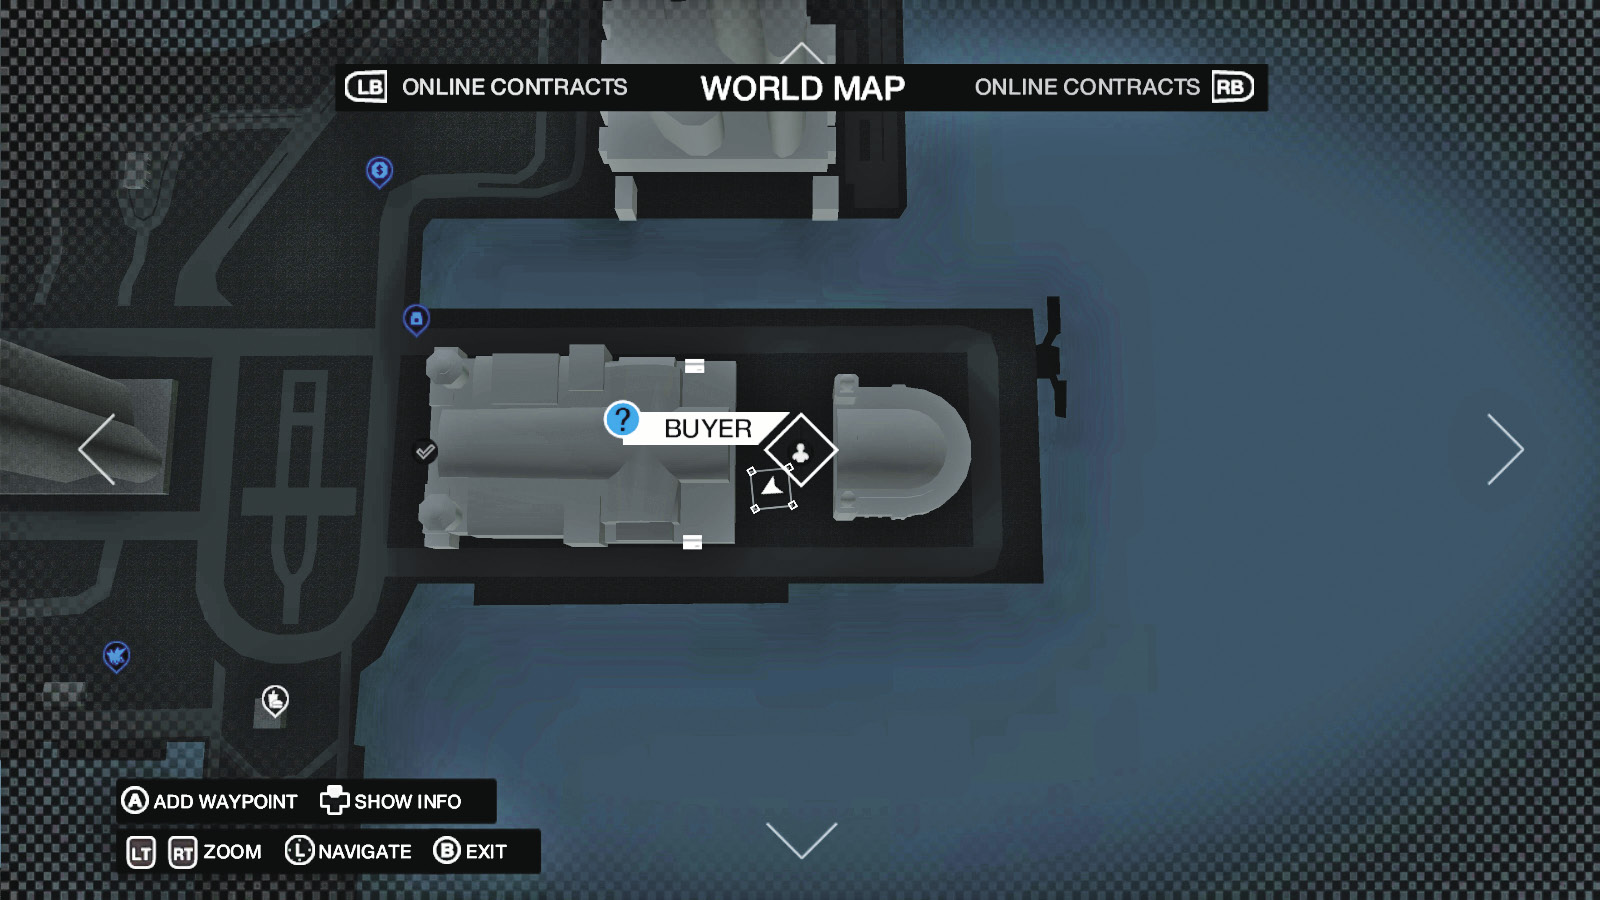
Location / Mad Mile // ctOS Control Center
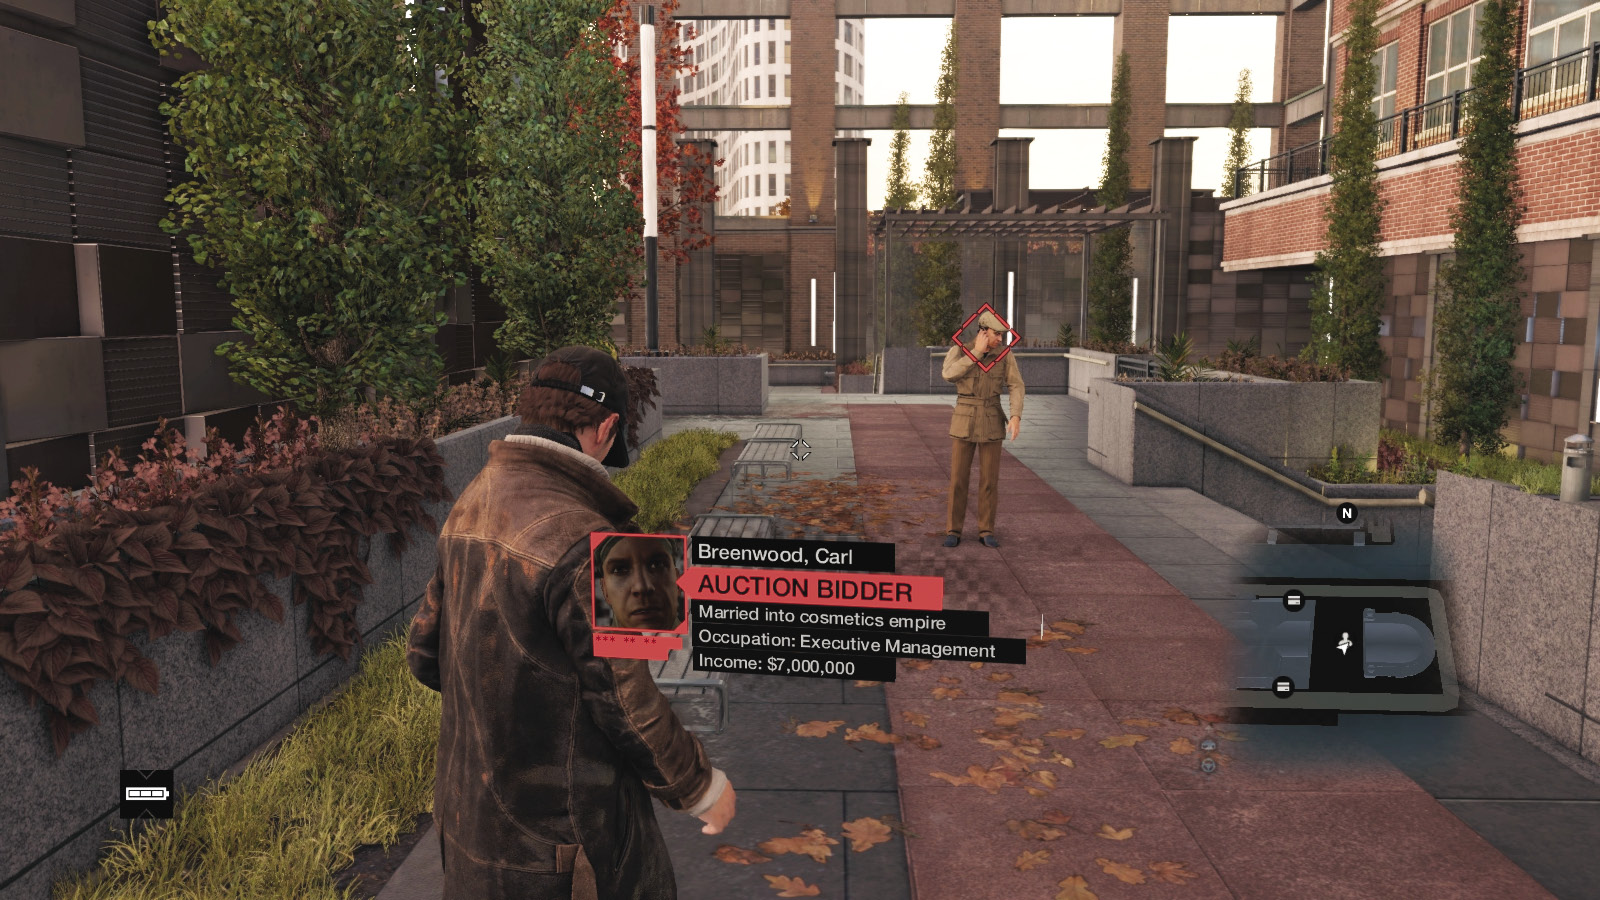
Carl Breenwood is perhaps the easiest buyer to locate; he’s waiting around over at the ctOS control center in Mad Mile, on the upper paved gardens, inside the structure at the far east pier.
Location / Brandon Docks // Tidis Corporation Warehouse
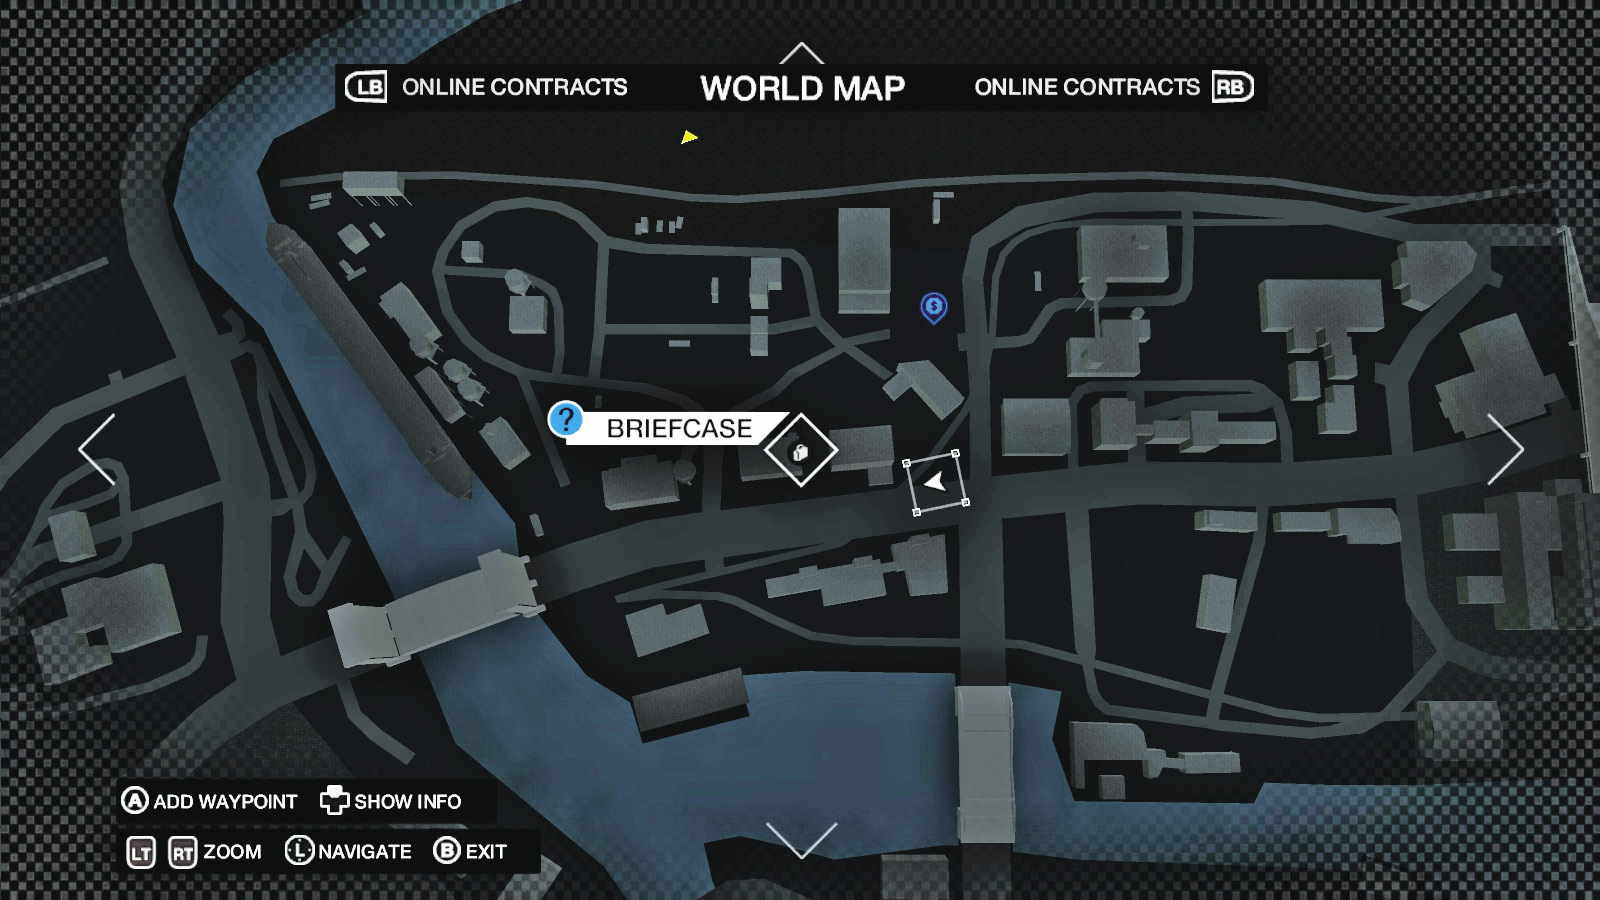
Find Carl’s case by heading south into Brandon Docks, staying on the northern island of this district, and heading to the island’s southwest corner, to the Tidis smelting yard.
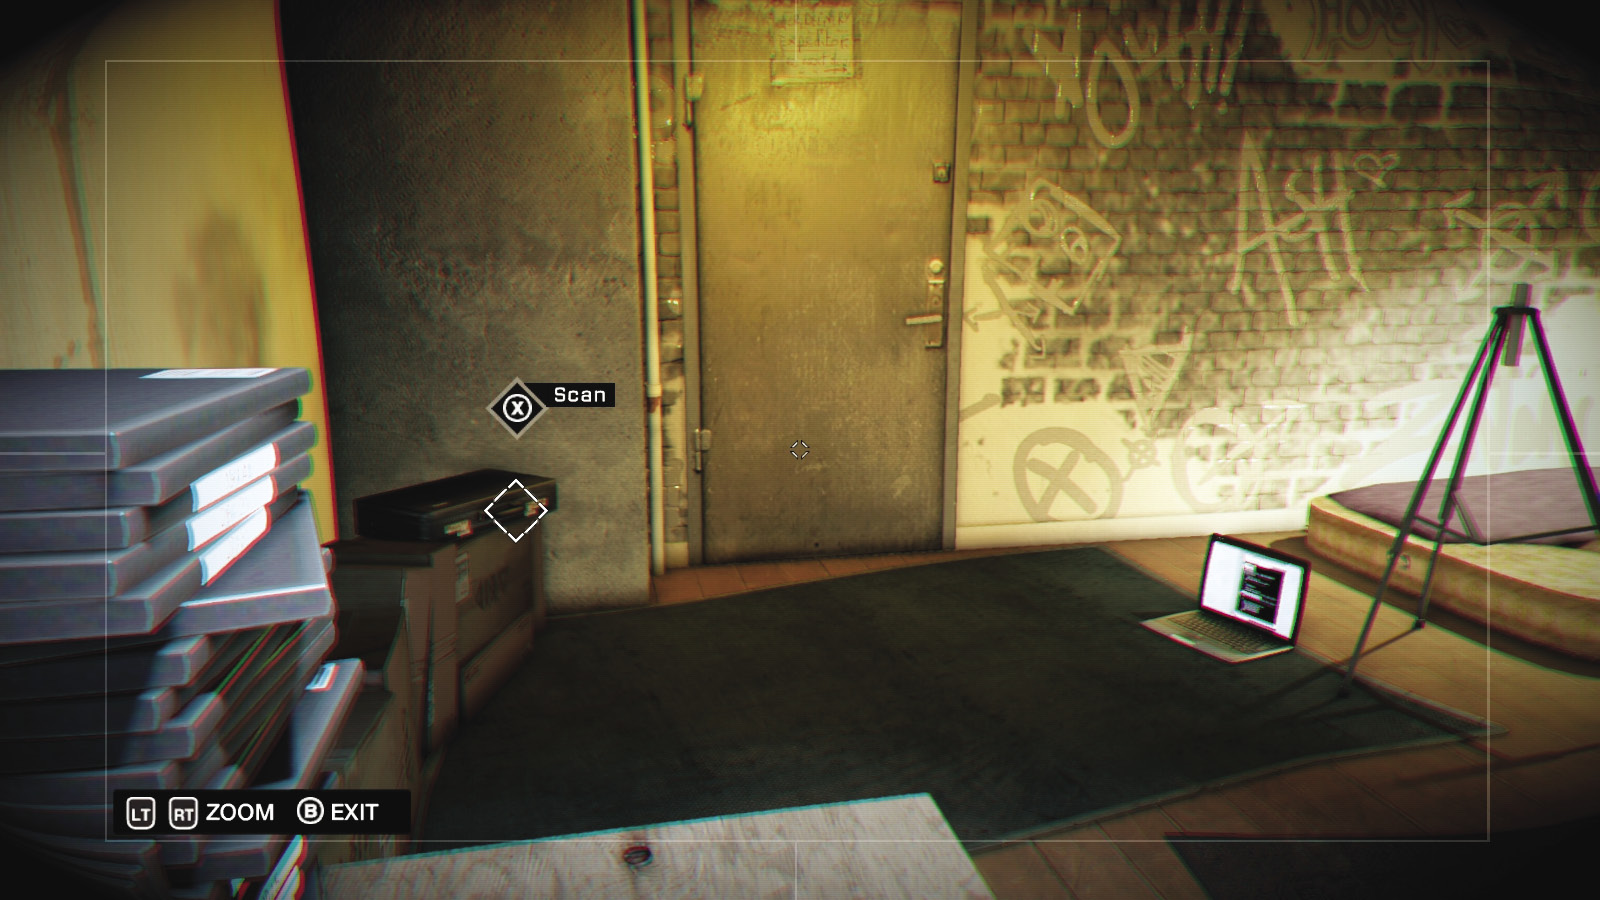
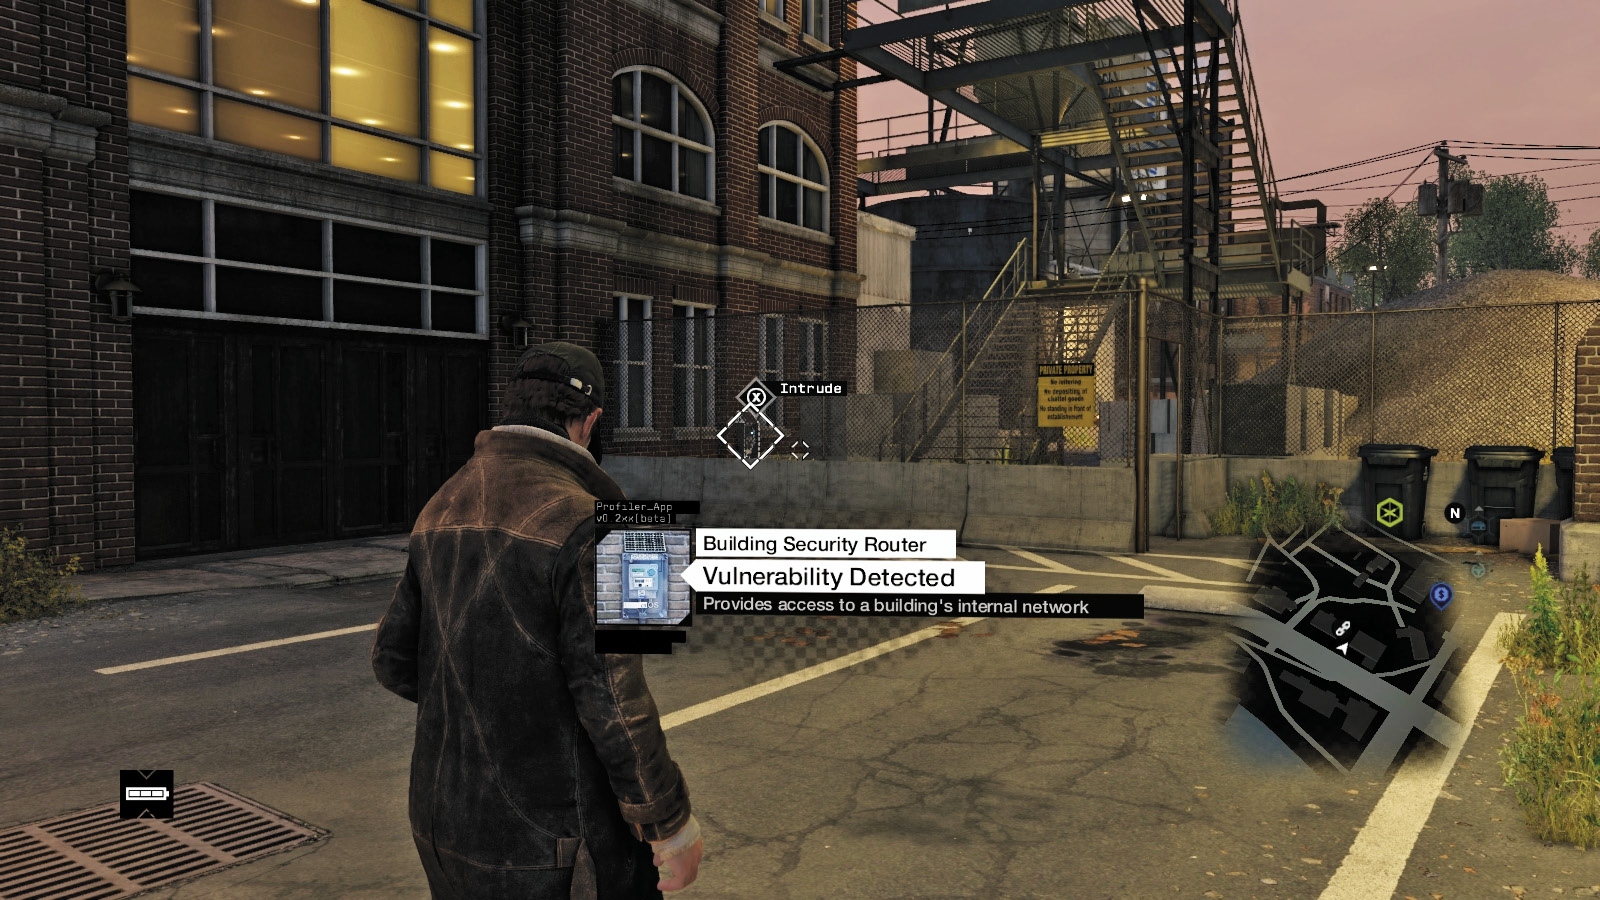
Hack the building security router on the brick structure near the metal staircase (this is where the Weapons Trade Investigation concludes). The laptop and briefcase are easily spotted inside this seedy filming location.
3. DEMARKED MAN
 Location / The Loop // DeMarco’s Apartment
|
|
 Hack into DeMarco’s apartment
 Hack the cop’s phone
 Investigation
 Data Hack
Difficulty: 
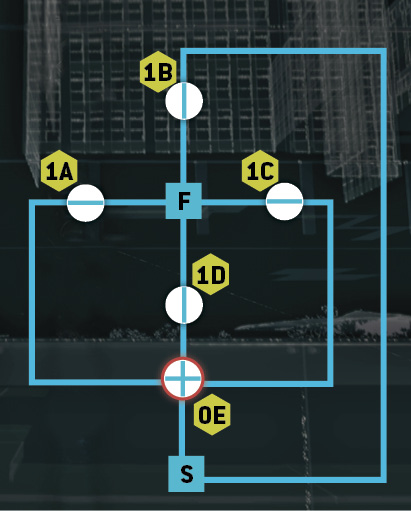
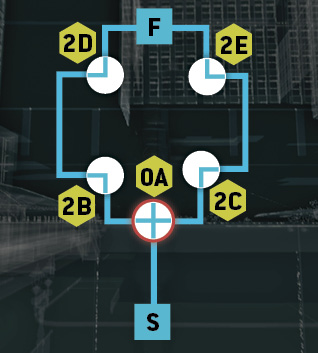
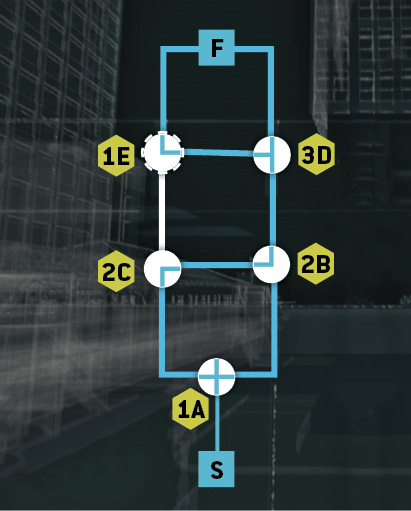
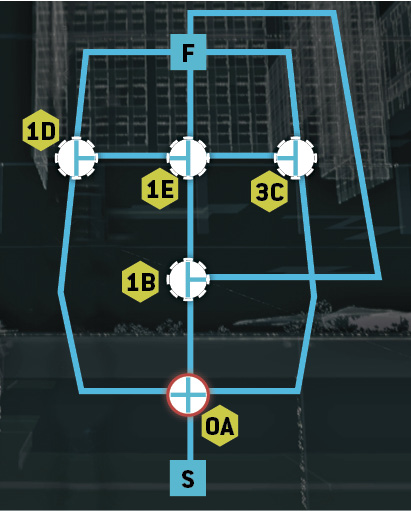
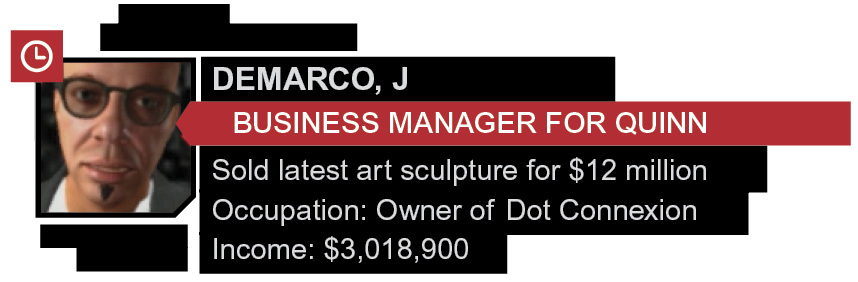
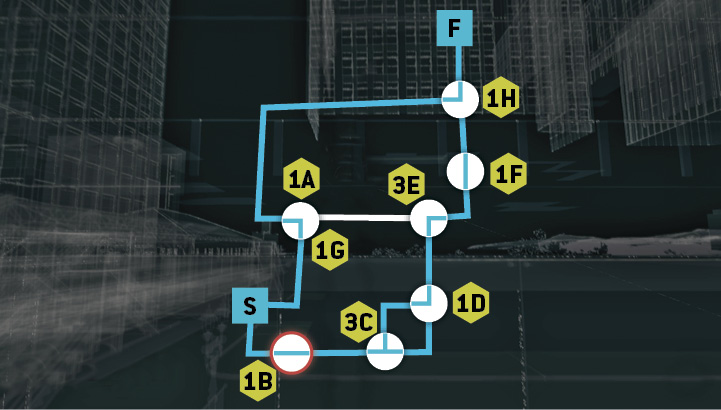
Now that all the briefcases have been scanned, there’s one final scumbag on Aiden’s list; Quinn’s business manager Joseph DeMarco. Head to his apartment, in the northwestern part of The Loop’s island, and head around to his side router. Begin to hack through his Nodal Hotspot, but be quick, as the network resets after 12 seconds, forcing you to start over!
Solution: Hotspot 1
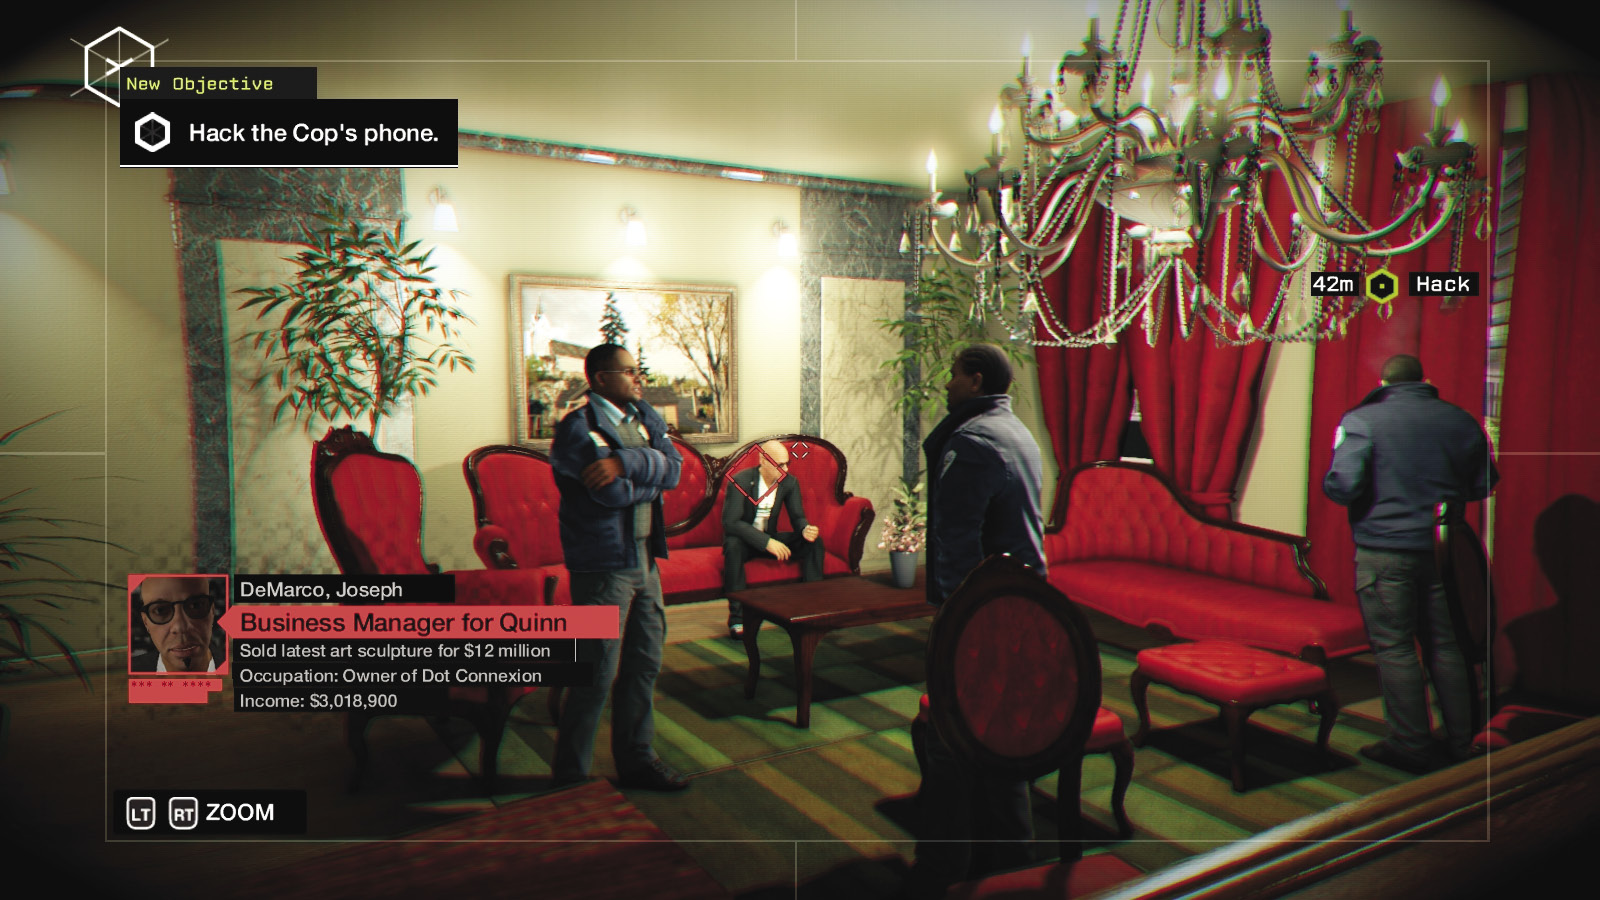
With a successful hack, you view the police in DeMarco’s apartment. Hack the cop’s phone; you soon figure out they are crooked, helped provide security at the auction, and are there to remove DeMarco safely from Chicago, on Lucky Quinn’s orders. You want this fiend off the streets; time to get after the lot of them!
4. OUT OF BUSINESS
 Location / The Loop // DeMarco’s Apartment
 Location / The Loop // Palin Correctional Facility
|
|
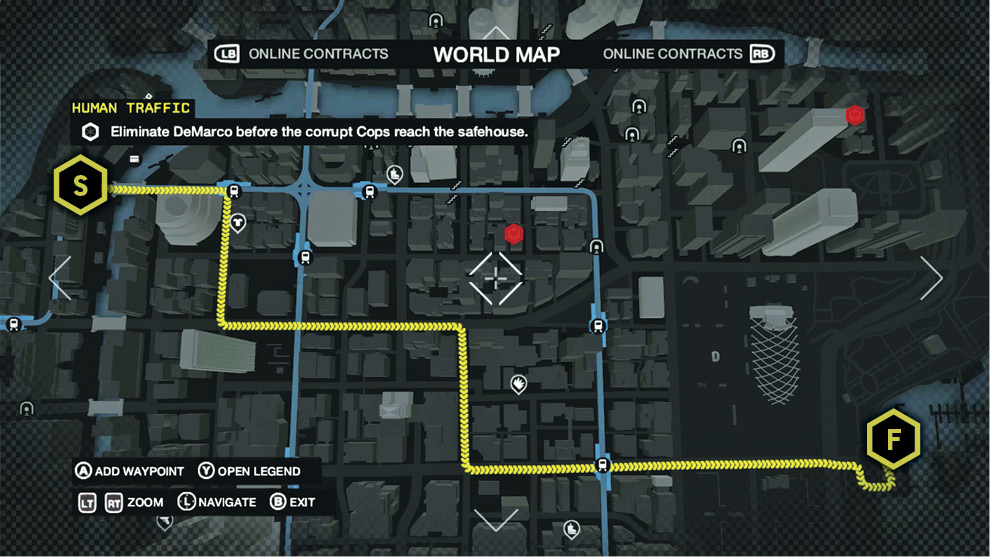
 Eliminate DeMarco before the corrupt cops reach the safehouse.
 Escape the police
 Vehicle Chase
 Foot Chase
 Lethal Force Likely
Difficulty: 
Obtain a vehicle, either the one you drove here in or a sturdy-looking car or truck across the road. Set off to tail the convoy. Or hop on a bike; this isn’t like many of the convoy missions where you have enough time to set up an ambush roadblock along the route the enemy vehicles are taking (although that is an plan, albeit not recommended). Instead, you have a reasonably easy option:
 Driving // Smart: Tactics for the Astute
 Difficulty:
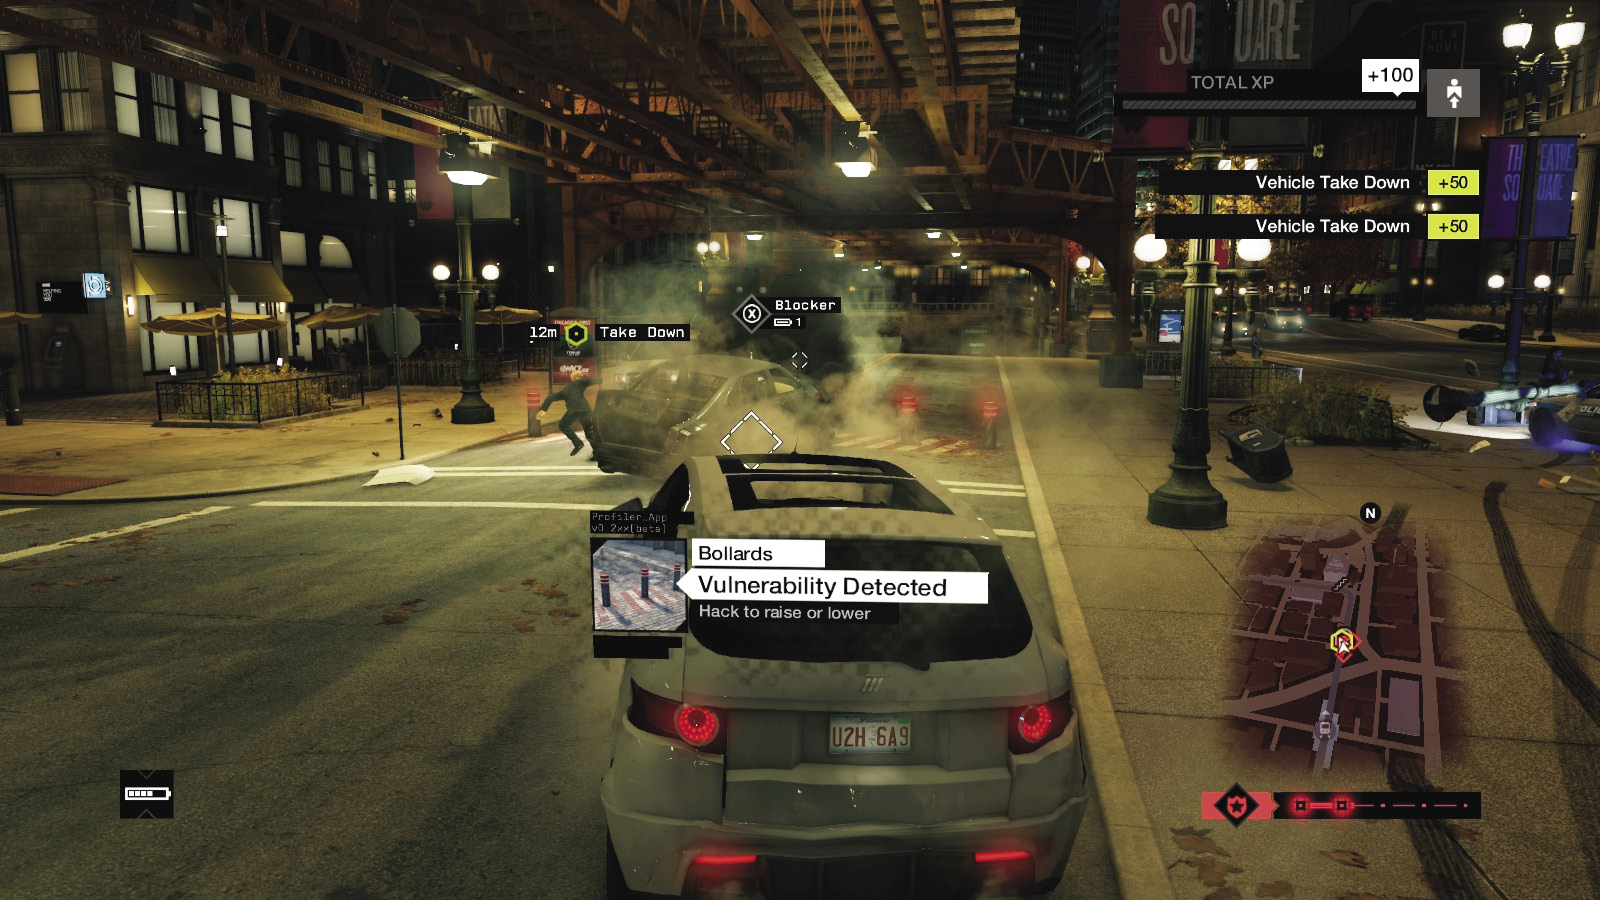
By far the easiest way of ending DeMarco’s journey to the cop shop is by methodically tailing the convoy, keeping DeMarco’s fancy motor in your sights. Then use one of Chicago’s many technological advancements to your advantage:
Prep traffic lights to change so the intersection is blocked or traffic slows, allowing you to start a massacre.
There is a steam pipe to detonate as the convoy turns right (south) for the first time, out from under the L-train tracks.
There are multiple sets of blockers as the convoy turns right (south) for a second time.
If you can’t remove DeMarco as a threat at those two points, try the other main option:
 Driving // Offensive: Ramming Them off the Route
 Difficulty:
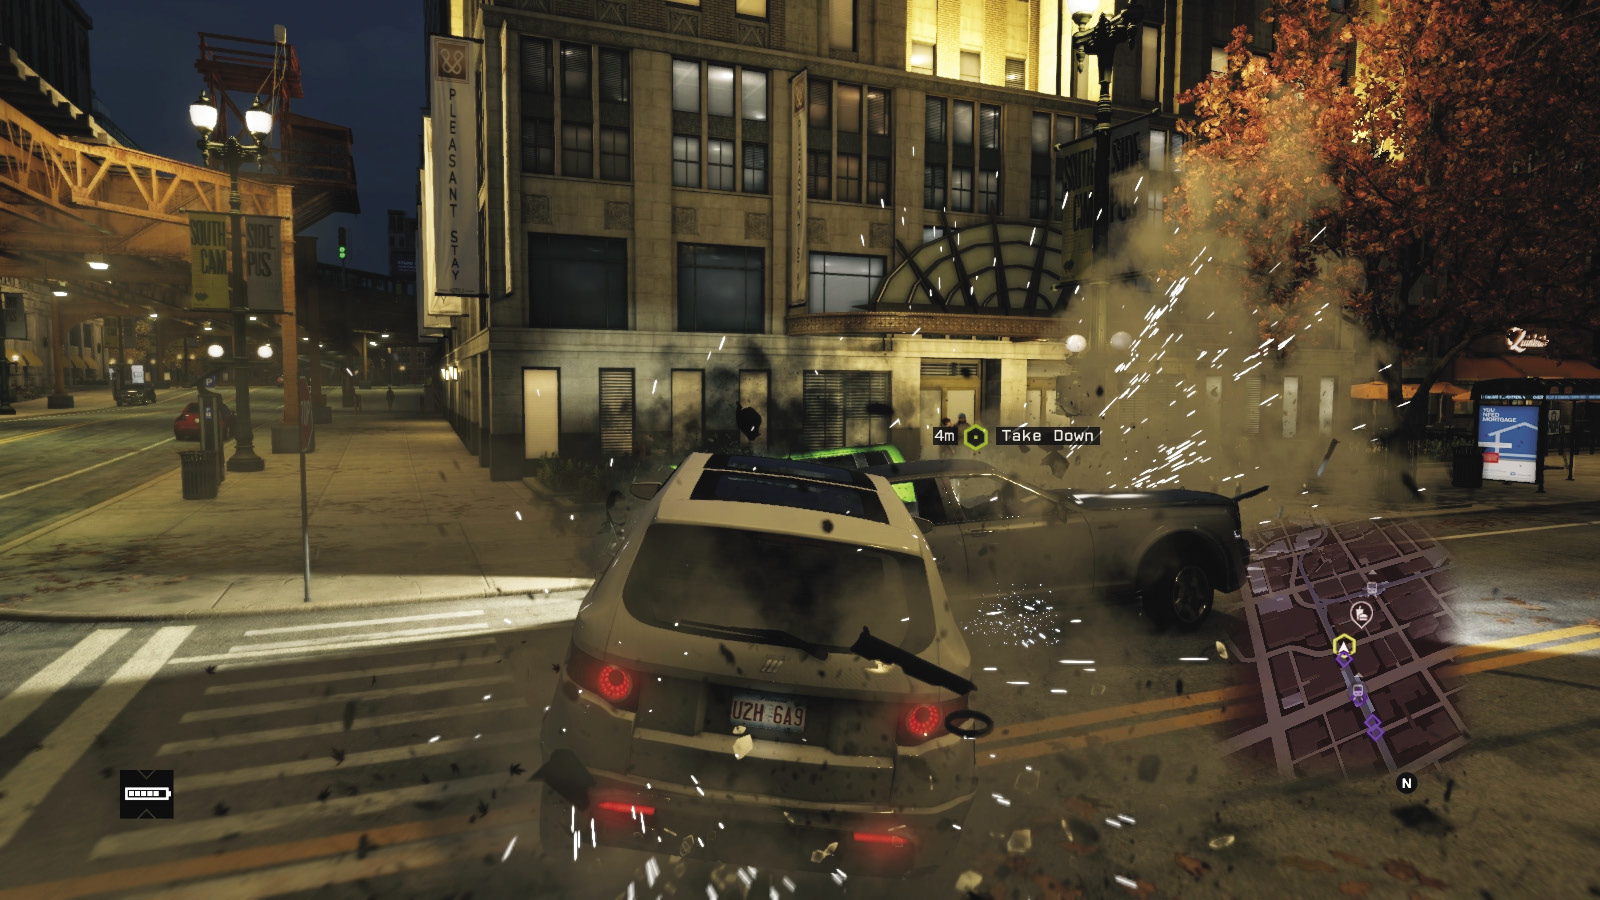
Simply swerve around the rear cop car protecting DeMarco, and ram the foe off the road. Or, speed ahead, skid around and reach the convoy route, and accelerate for a head-on collision. Then drive what’s left of your vehicle and dive into cover, reverse, and start running over DeMarco as he exits, or drop behind your vehicle and start to shoot him.
 Driving // Offensive: Slowing Down the Commute
 Difficulty:
If you need a more tactical ambush involving laying traps and slowing the convoy, drive a heavy vehicle to block the route path. If the ambush location is farther along the route near the prison, you have time to park multiple vehicles and stop the foes, and even finish the blocking by waiting until the foes stop at your vehicle collection, then you drive in and block them from the rear.
 Aggressive // Violence: Earning the Title “Brute”
 Difficulty:
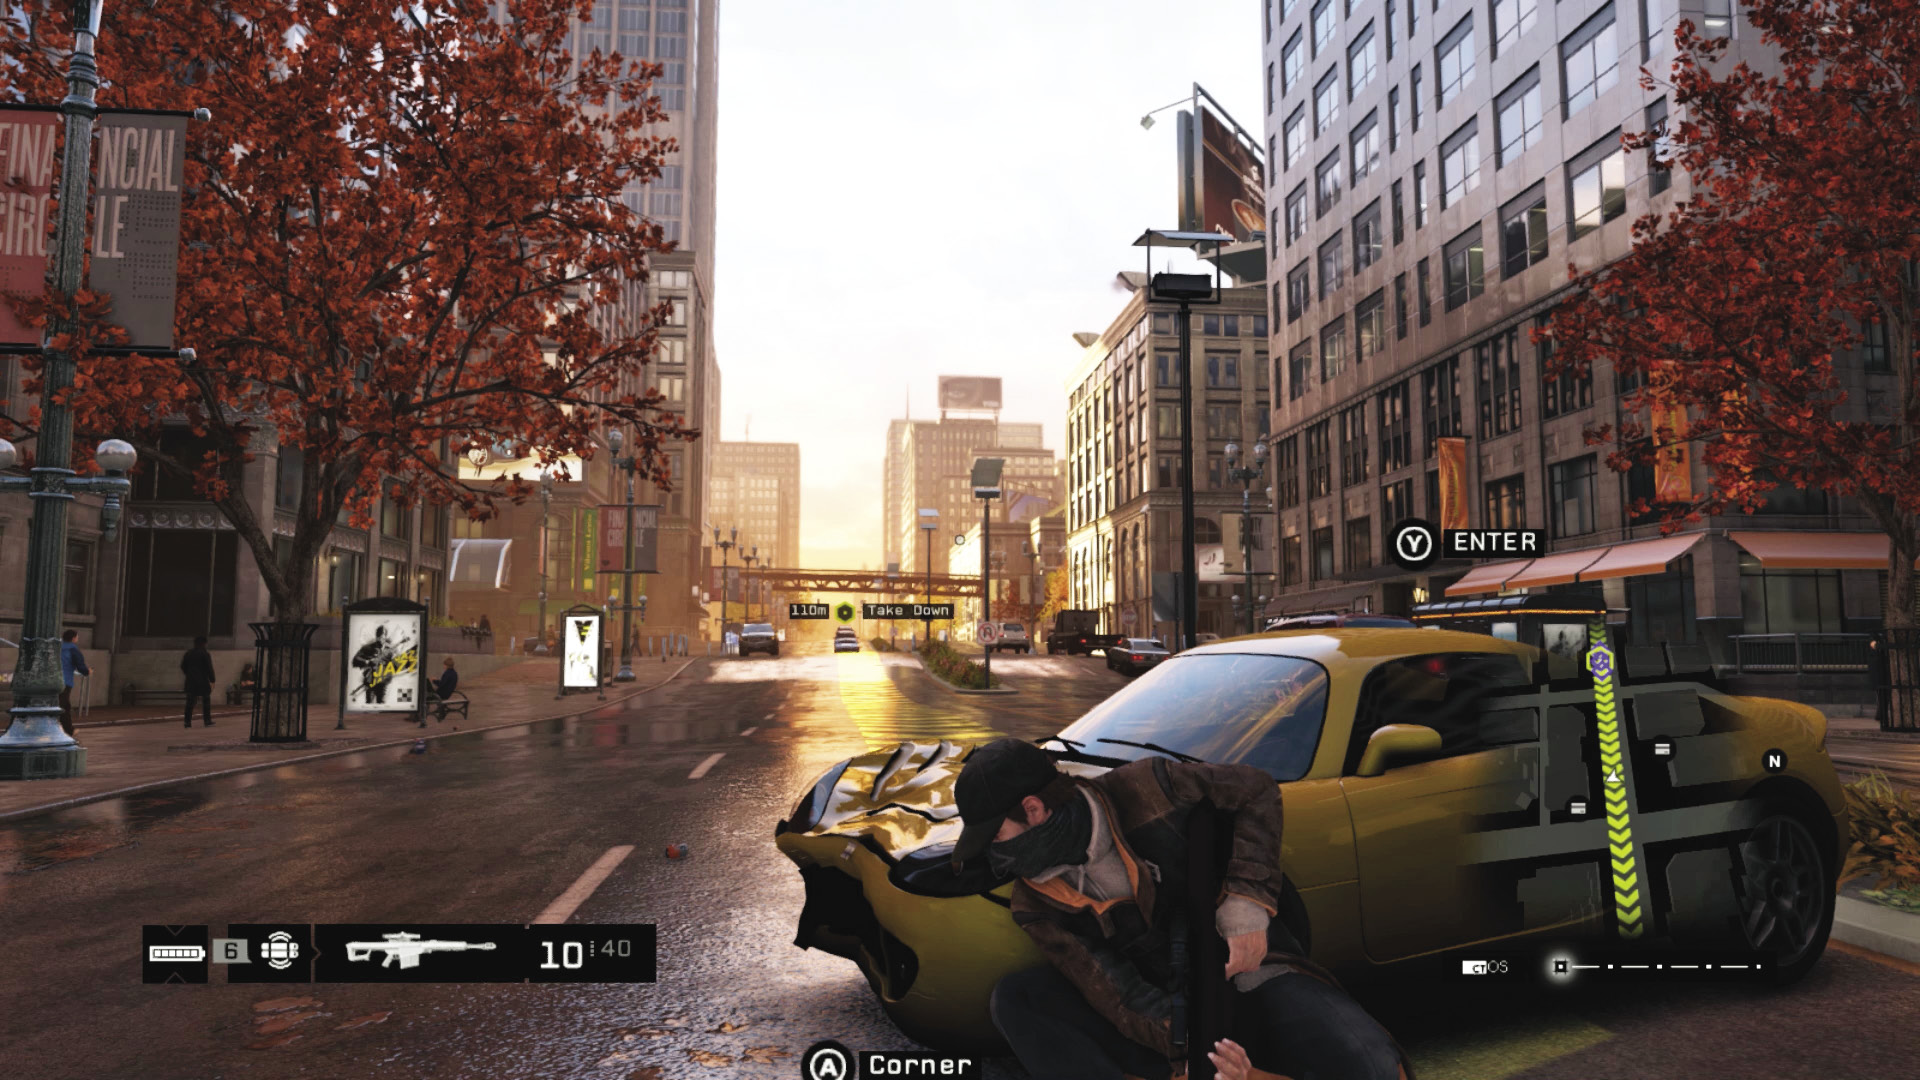
With a heavy vehicle, or any other blockade stopping the foes in their tracks, there comes a time to bring DeMarco down with more than just harsh language. Here are some possible takedown plans:
Projectiles:From an IED, a launcher, or lobbed in conjunction with automatic rifle or machine-gun fire or an explosive lure; destroy the target car.
Sniper Rifle:If you have a great line of sight, aim at DeMarco and drop him with a single shot.
Machine Gun:A rapid-fire weapon is also an option; aim at the tires and windshield of the target car. Attacking from the side is another possibility, though the enemies are more spread out instead of in front of you if you attack from the flank.
DeMarco’s Escape Plan
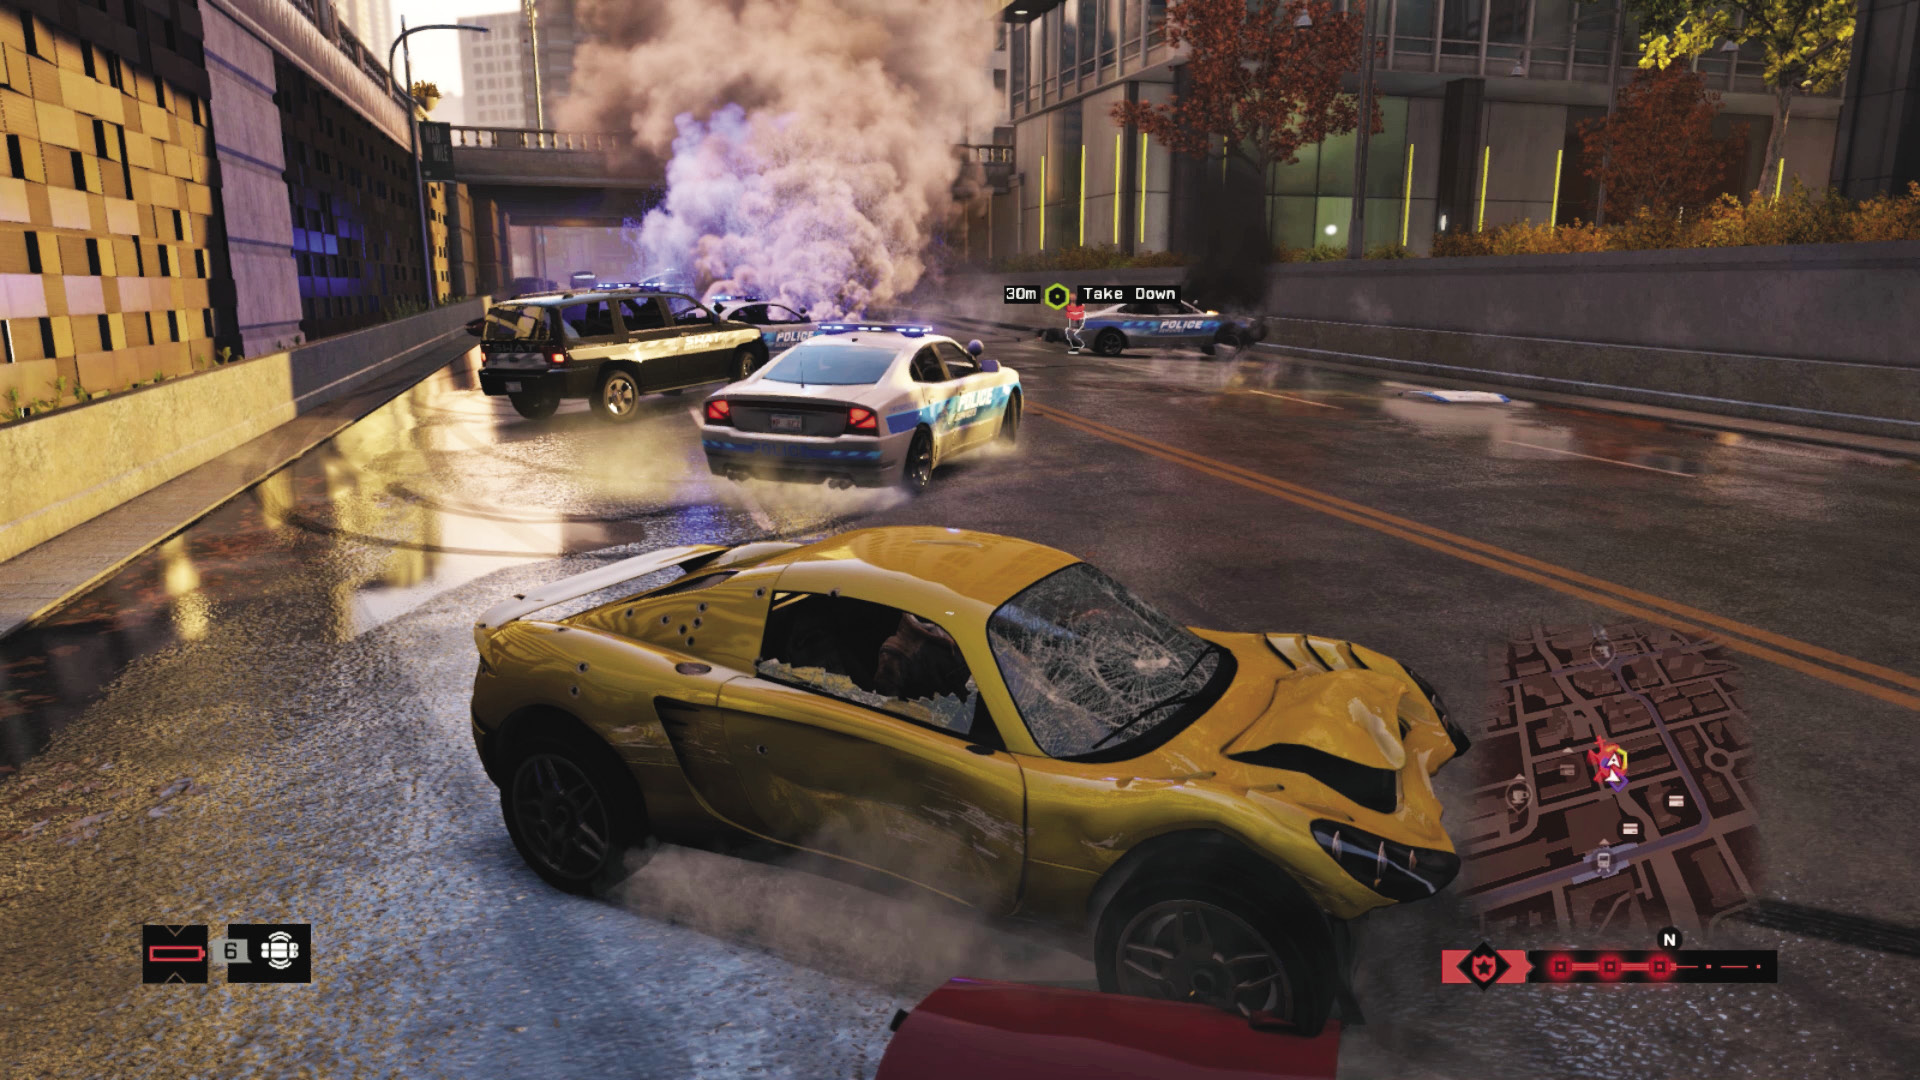
You should usually have DeMarco neutralized after successfully removing his vehicle. But if you fail, you begin a rapid car chase across town. This involves all your previously learned tactics for chasing vehicles.
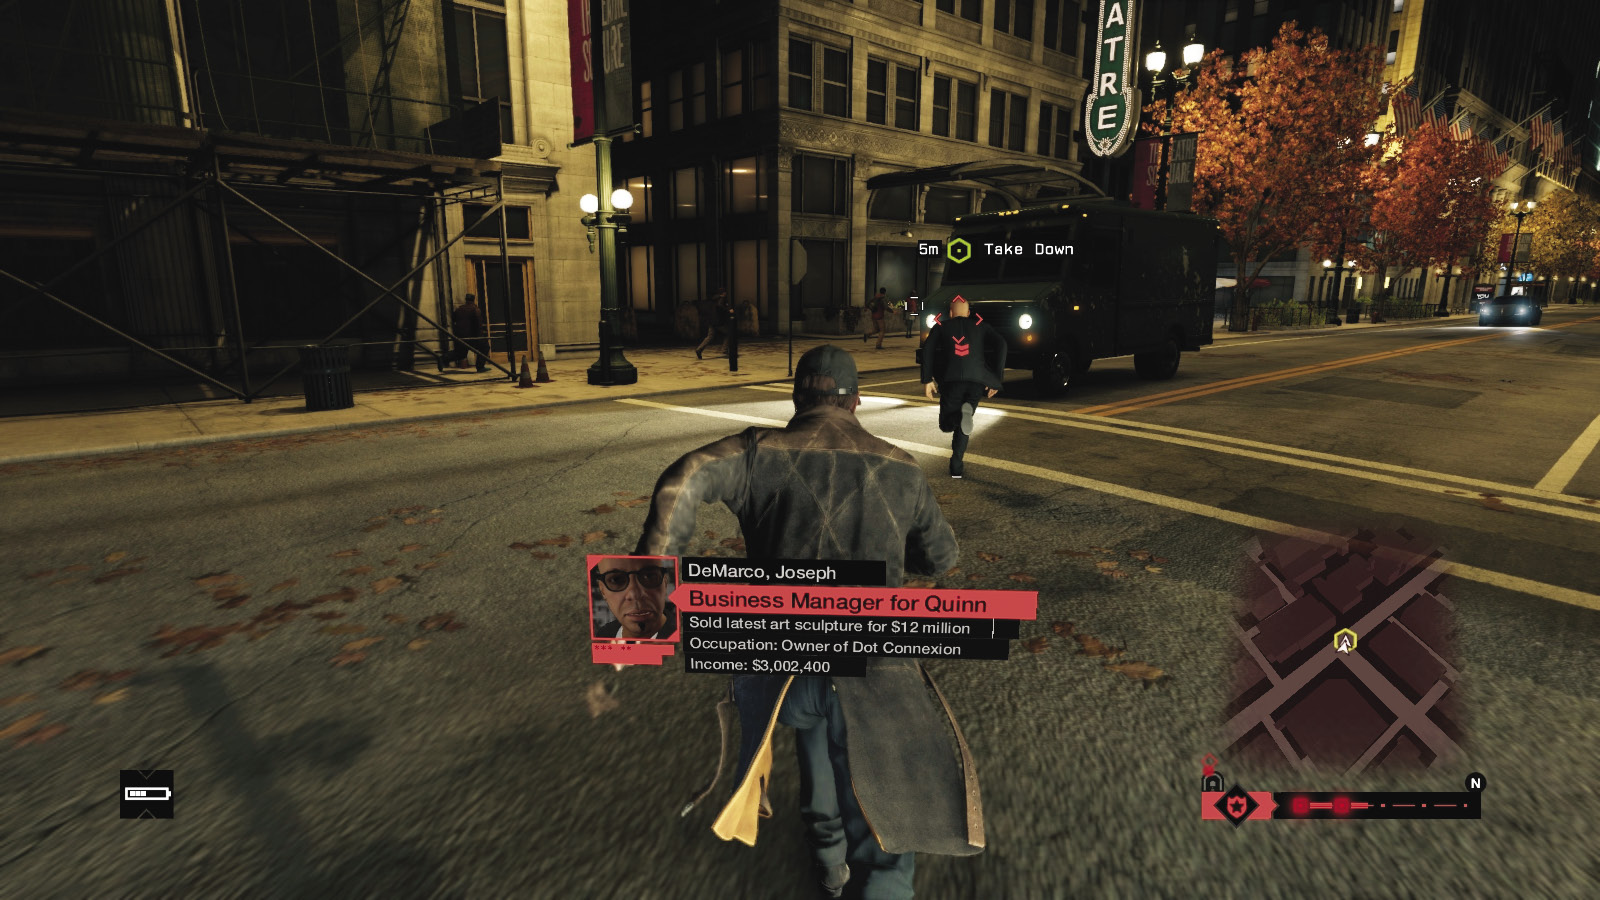
Eventually, when DeMarco’s vehicle is left a smoldering husk, he may try to flee on foot. Shrug off any bullets he grazes you with, and either return fire or launch an impressive melee takedown to finish him off. As soon as DeMarco is vanquished, you still must escape from the police. There are no new tactics here; just the tried-and-true strategies you should already be familiar with. When everything quiets down, this investigation concludes.
MISSION REWARDS (Investigation)No innocents hurt: Reputation Gain Human traffic ring dismantled: Reputation Gain Gained XP (Police Evasion): +250 Gained XP (Mission): +1,000 |
MISSION REWARDS (Unlocks)Find 10 Briefcases: Magnate LE (Vehicle) Complete Act II // 12: A Risky Bid, and complete Briefcases: Revoking Client Privileges (Achievement) |