
_DIGITAL TRIPS
Reality Is Just A State Of Mind
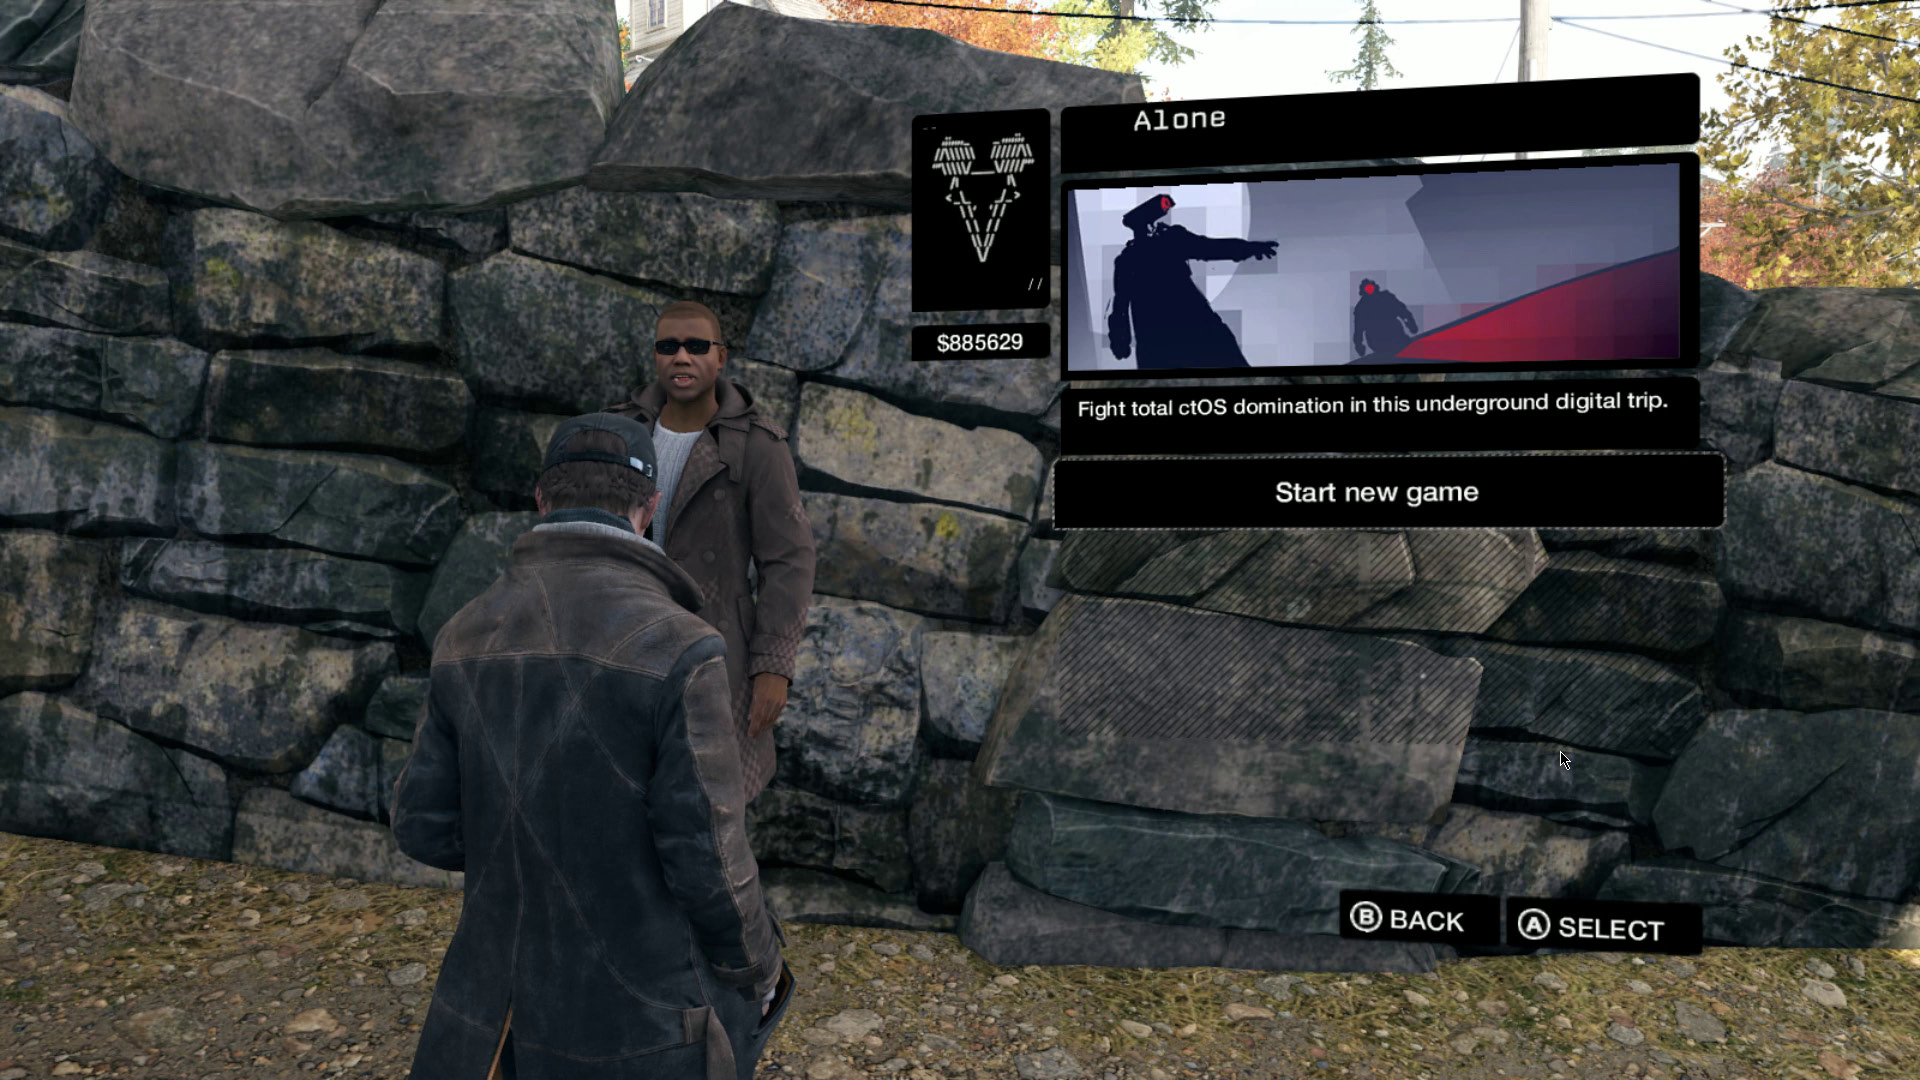
The controversial hacker Defalt has pioneered a new brand of virtual entertainment in Chicago. These “digital trips” provide a custom adventure to their users that’s been compared to a vivid hallucination.
To play any digital trip, visit one of Defalt’s “vendors,” who are labeled on your map with [[_DIGITAL TRIPS ICON_]]. Alternatively, you can dial into the digital trip of your choice from anywhere using Aiden’s smartphone. In either case, digital trips are free.
Defalt’s tastes in game design run towards the conspiratorial and dystopian, however, so digital trips are set within some post-apocalyptic take on Chicago. The street map and buildings are largely the same, but there’s nothing you can hack, all doors and gates are permanently shut, and all businesses are closed.
A digital trip is its own world, and you can’t bring any weapons or equipment with you besides what you can scrounge up in-game. In addition, four out of the five trips have their own independent skill trees, so your points spent in the main game are irrelevant.
All five digital trips can be completed by fulfilling specific objectives, and until you do, each trip saves your progress, current skills, and score. Should you go back into a trip after completing it, you’ll start over, ready to try to beat your previous high score. That score, incidentally, is just there for bragging rights and has no bearing on anything in- or outside the trip.
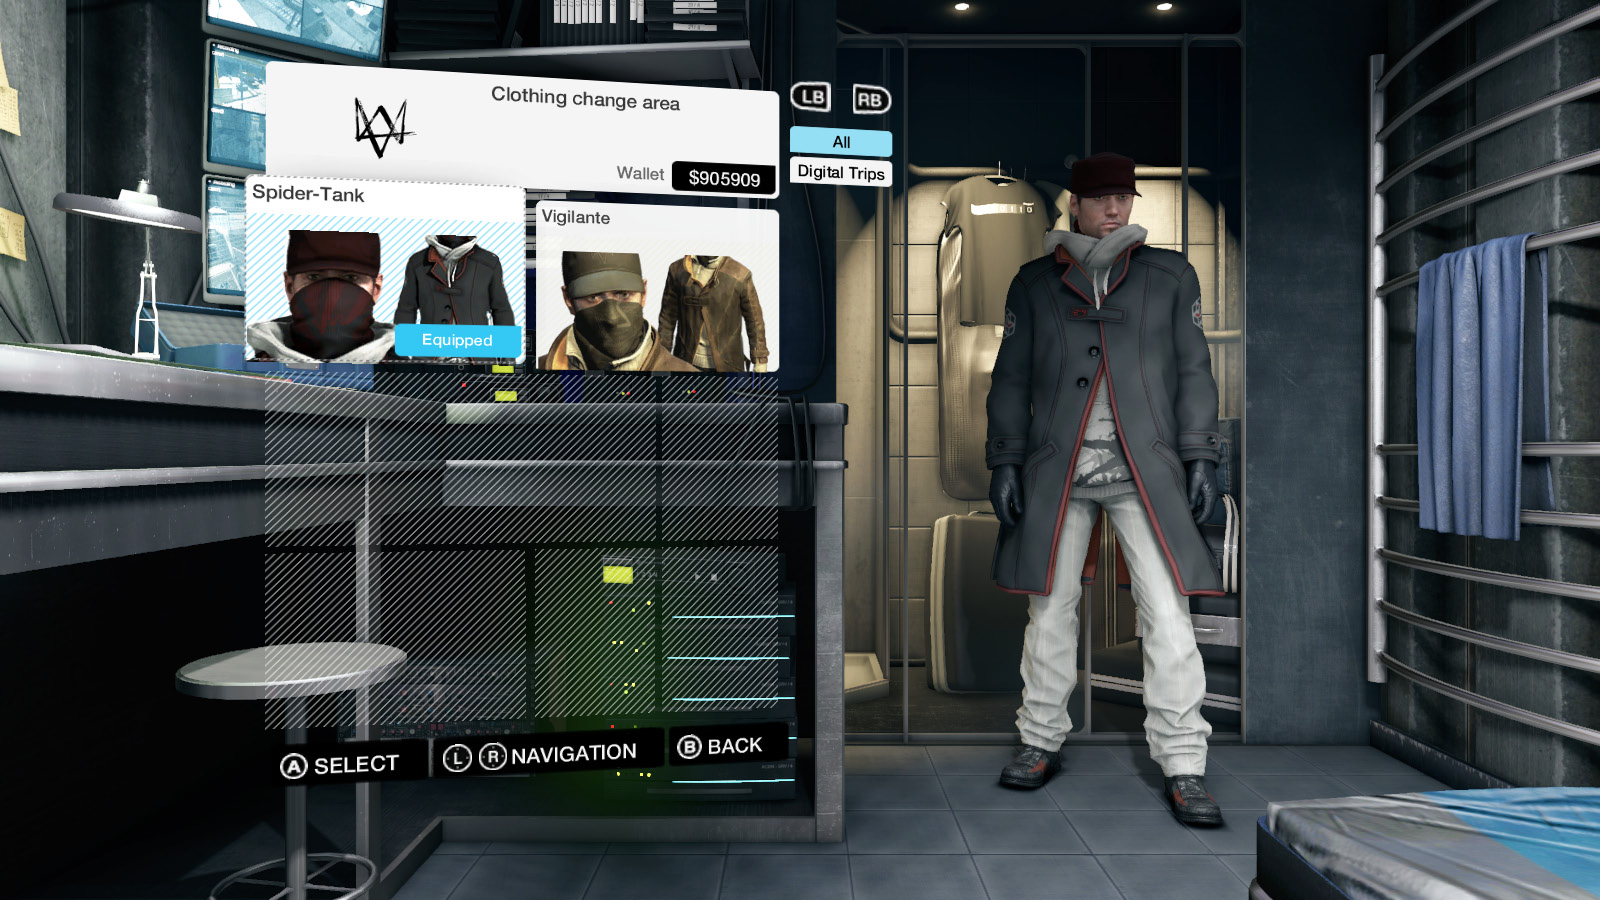
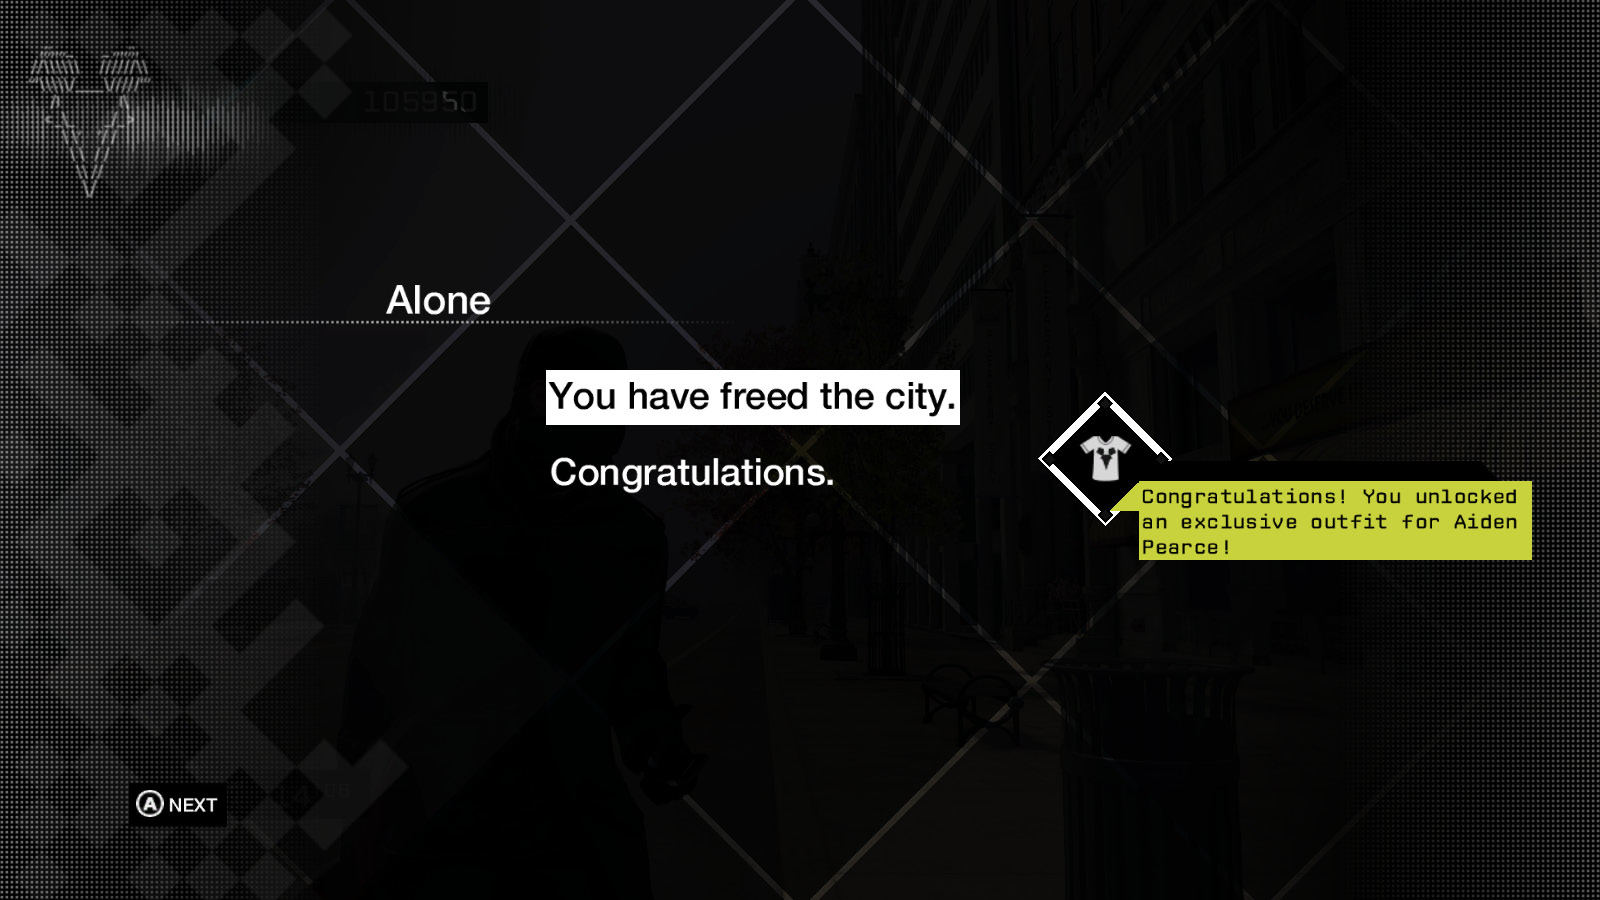
Successfully completing a digital trip rewards you with a new outfit, which becomes available in the wardrobe found in any hideout. This outfit is named after the trip in which it was earned and is similar if not identical to the outfit Aiden wears during the trip. It would appear that Defalt knows not only that you’re playing his games, but where you live.
To quit any digital trip, opt to end it from the pause or statistics screen. You will wake up back in Chicago somewhere near where you started the game.
ALONE
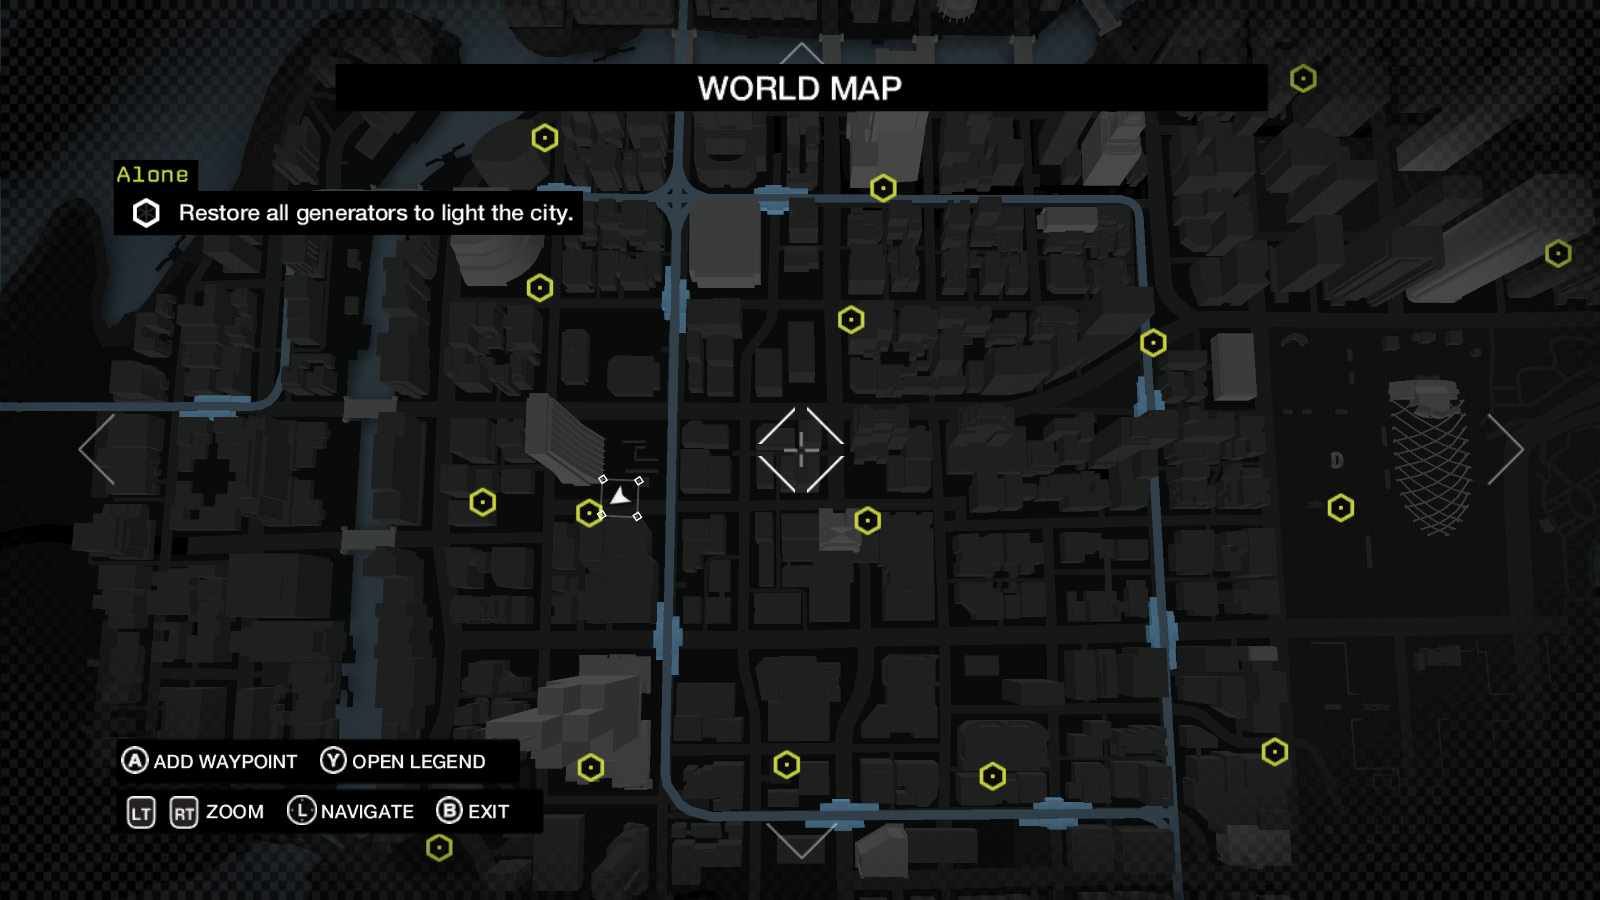
The Loop has been invaded by enemy robots, who are using a series of generators to maintain a force field throughout the city. If you can find and hack all 20 generators in the Loop, you restore power to the city and win the game.
The robots patrol the area around each generator in much the same way as human guards. As such, Alone is one long stealth mission with custom rules, and it uses many of the same gameplay mechanics as a stealthy approach does in the main game.
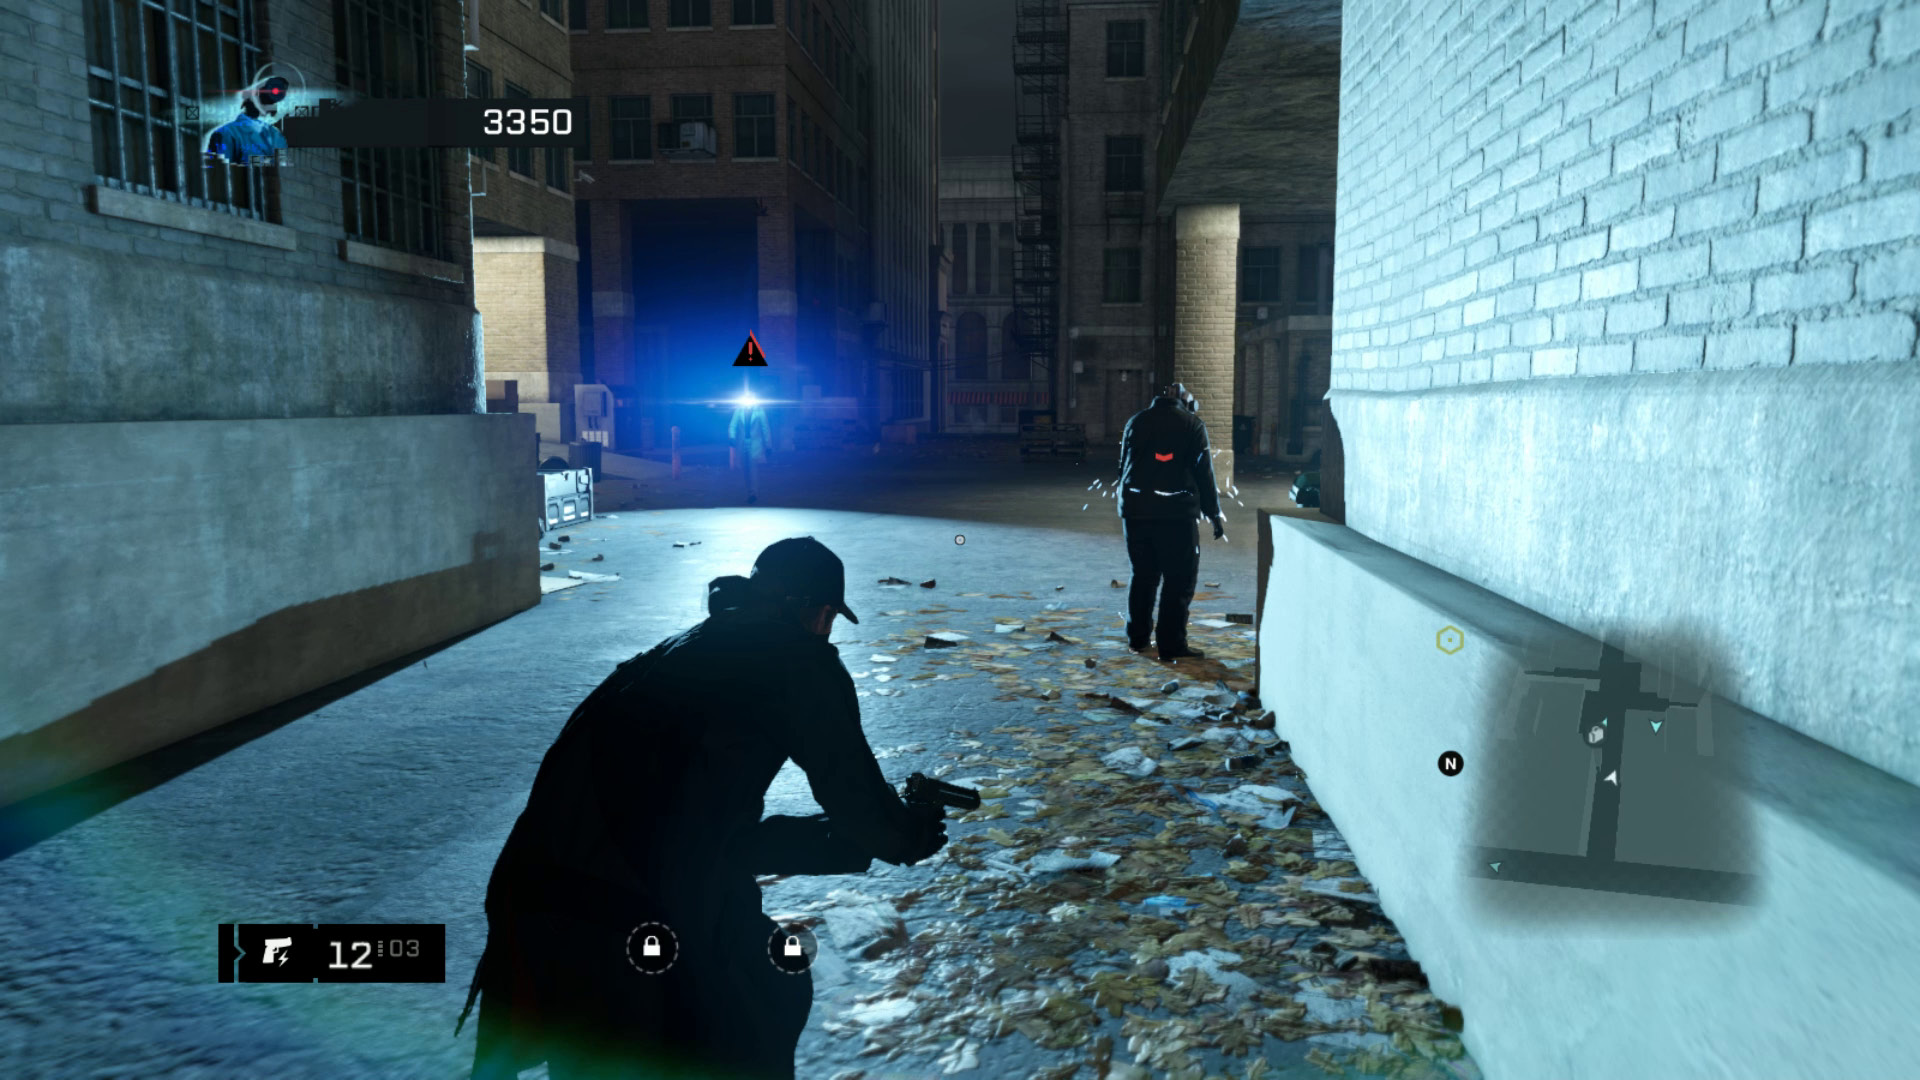
The spotlight on a robot’s head indicates its state of alertness; blue-white means it has seen nothing, yellow means it’s heard you but not yet spotted you, and red means it knows where you are and is about to go on the attack. The attack takes the form of a short-range radiation beam that can penetrate through obstacles to hurt Aiden. A single robot’s beam can kill Aiden in roughly five seconds, with the damage mounting up quickly if multiple robots are allowed to focus fire.
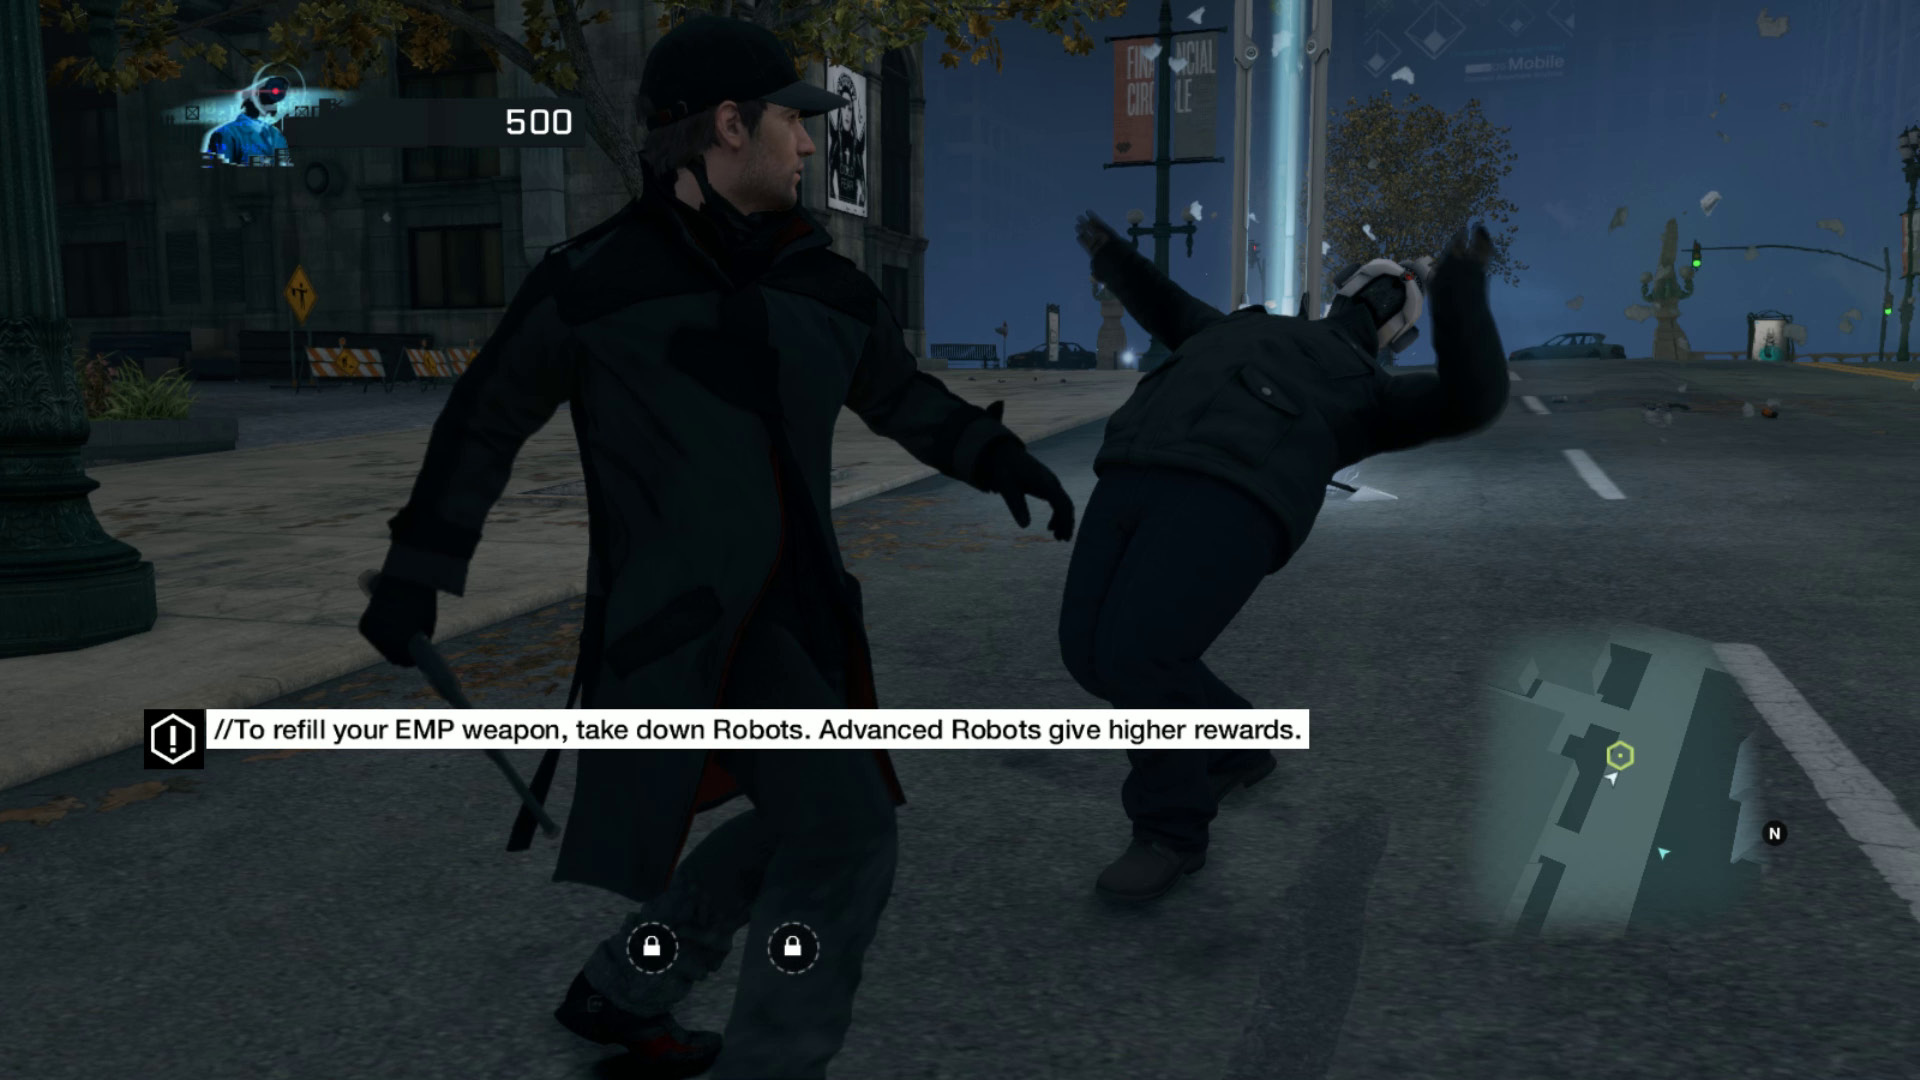
You can overcome a robot in Alone with your baton or, once you find them, with firearms. Fighting isn’t a permanent solution, however, as any robots you eliminate will be replaced within a few seconds via teleportation. You can farm robots for points all day if you want, but the only way to make progress is to hack a generator and free the area. Hacking a generator, which requires you to get within five meters of it, also destroys all surviving robots in the area.
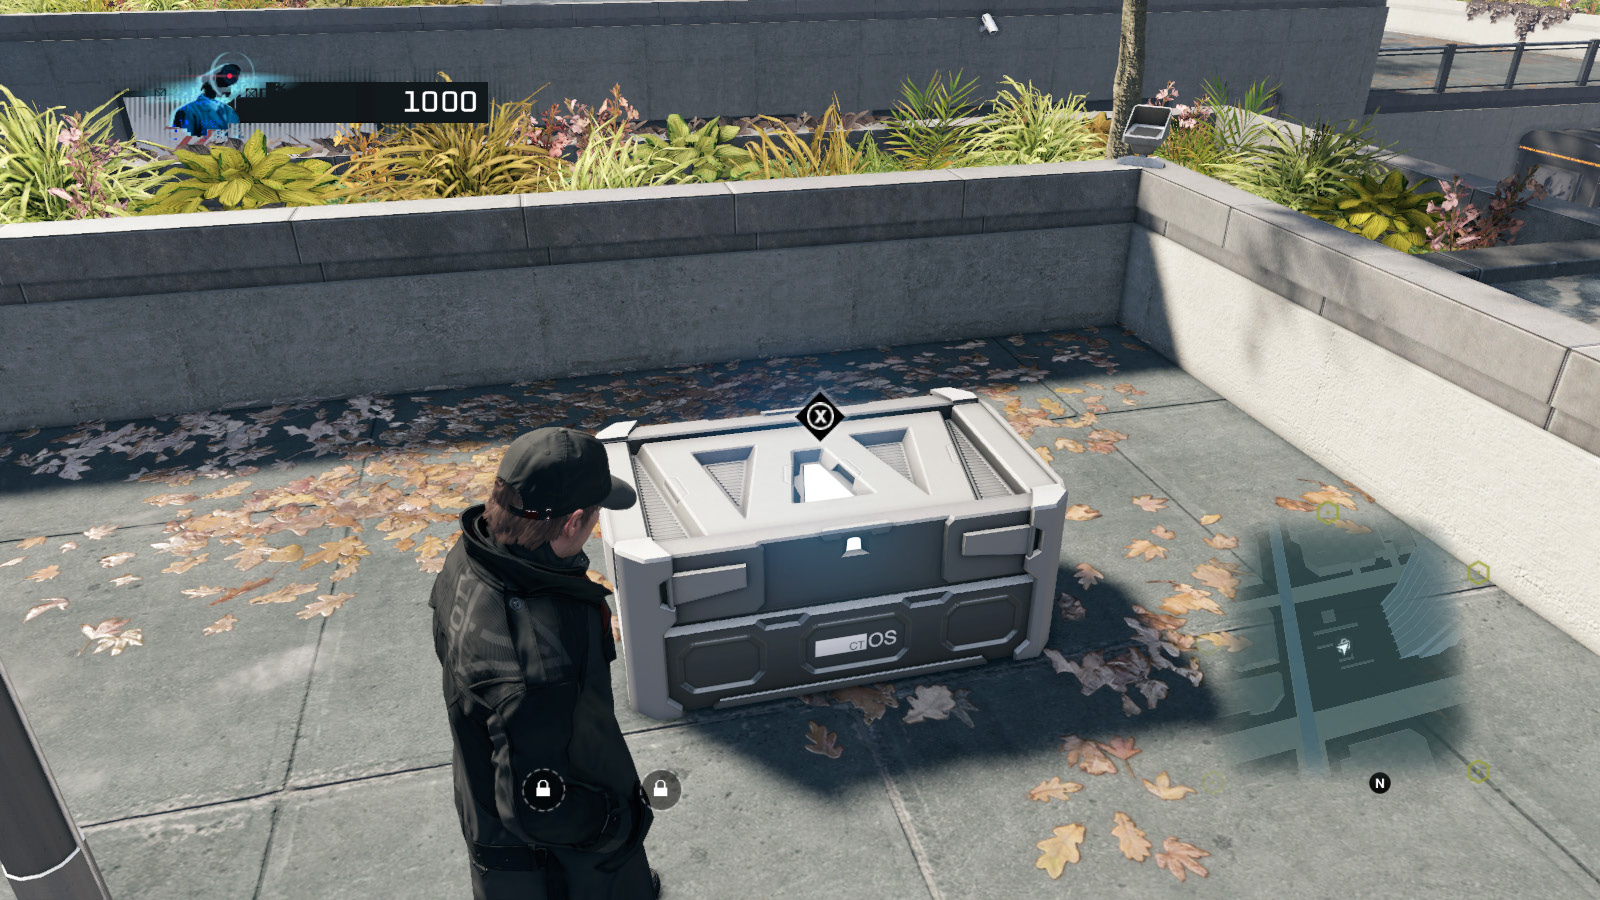
Items labeled on your map with [[_BRIEFCASE_]] are ctOS weapon caches, which contain ammunition and lethal weaponry such as AK-47s and Goblins. The first you find has a full clip and 15 extra bullets; subsequent caches have 15 bullets. Weapon caches are not linked to generators at all, and you can go back for them once you’ve lit an area up.
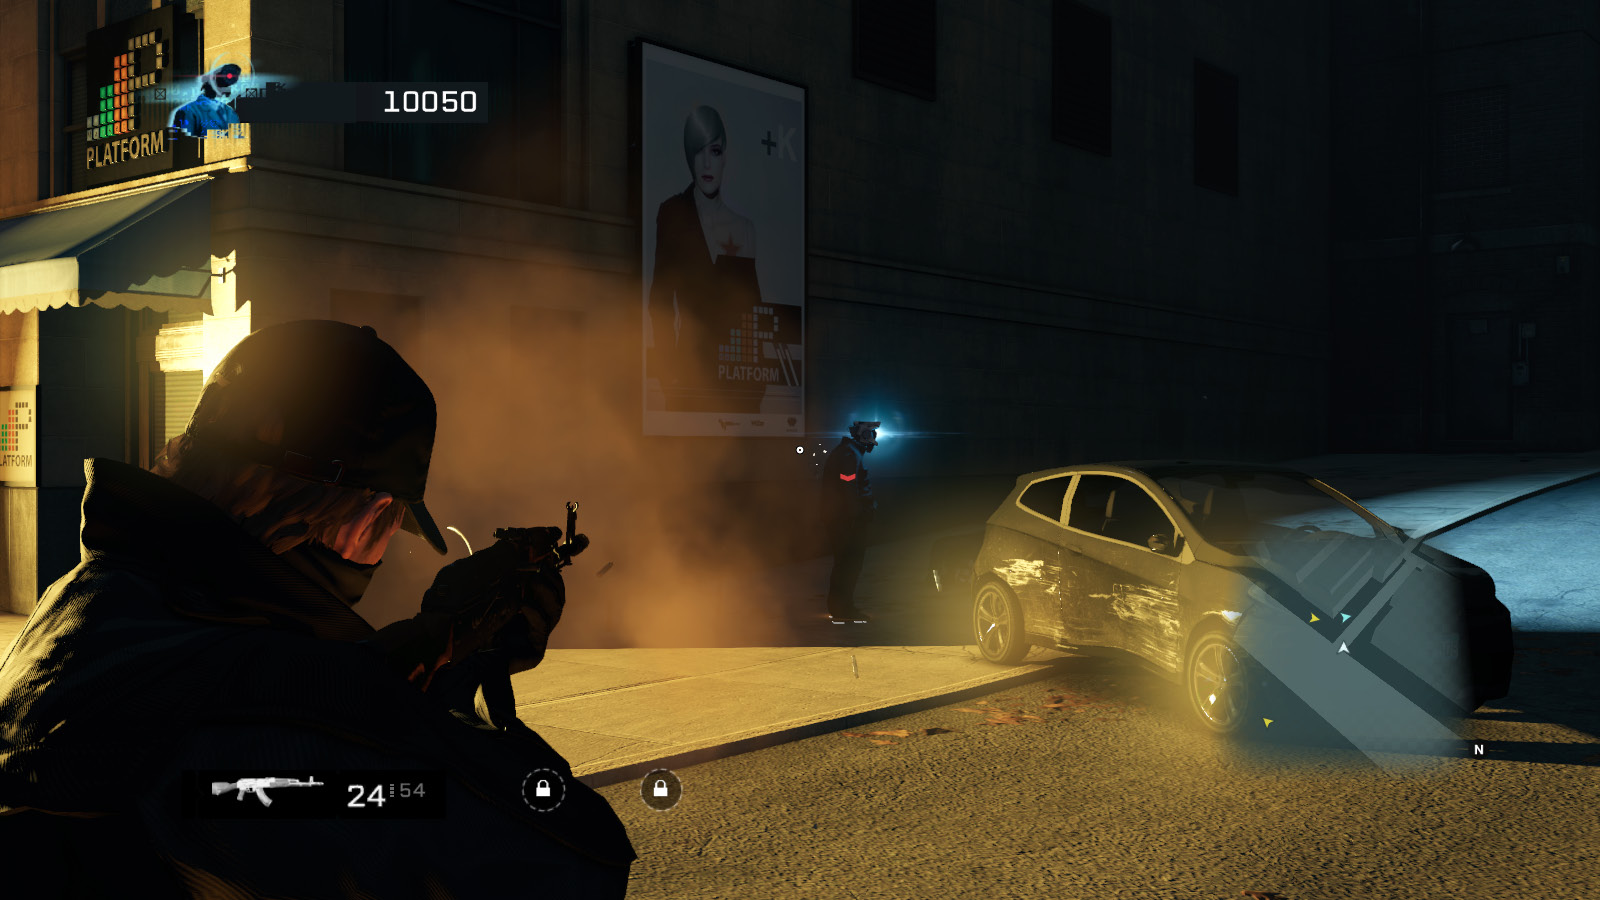
Using lethal firearms against the robots is an option in a desperate situation but has severe drawbacks: Kills with firearms are worth zero points, robots are heavily bullet-resistant unless you score a clean headshot, and any robot within earshot will instantly enter yellow alert status and approach the position you were in when you fired.
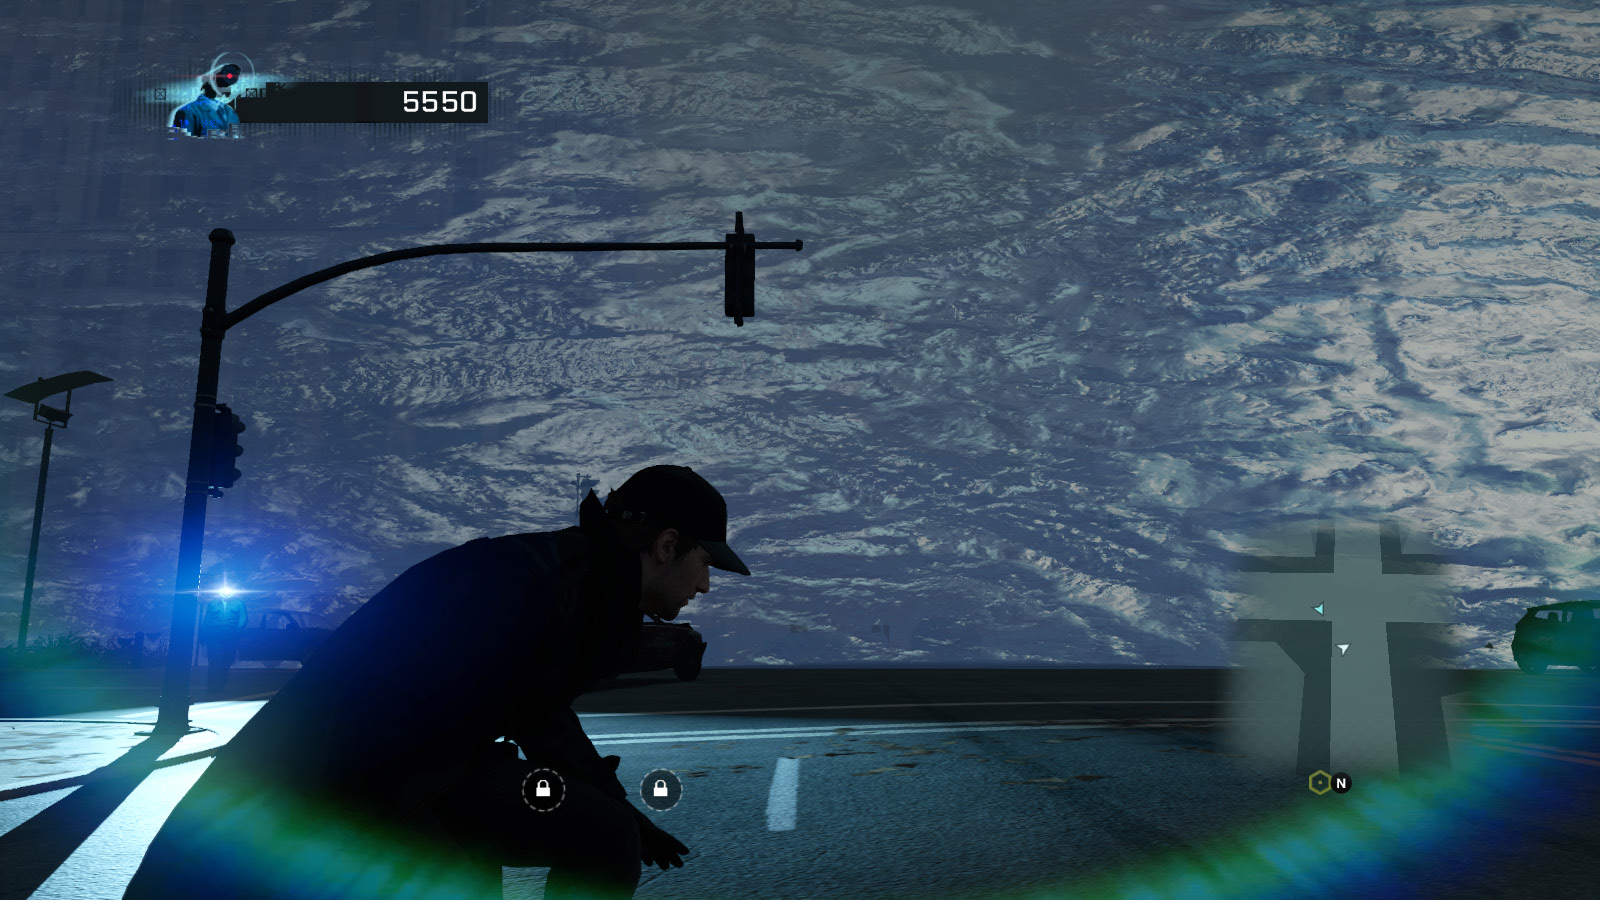
Each generator produces a bizarre force field for a few hundred meters around itself. Within that field, outside light fails and any vehicles that you bring in will instantly stall out. Robots also spawn in the area upon your entering that field. If you leave the area, it does not despawn the robots, and if a robot chases you through the field, it instantly dies, awarding you zero points.
Once you find and hack all 20 generators, you have “won” Alone.
Point Values in Alone
- Stealth takedown: 250 points
- Takedown, yellow: 100 points
- Takedown, stunned robot: 50 points
- Takedown, red: 25 points
- Firearms kill: 0 points
- Generator hack: 1,000 points for the first two, plus 500 points for every generator thereafter
Alone Skill Tree
Each time you hack a generator, you’re rewarded with an increasing number of points, as well as one point to spend on Alone’s particular skill tree. Your overall score does not correspond to skill point acquisition at all; you simply get one per deactivated generator.
| Category | Skill | Cost/Prerequisite | Effect |
|---|---|---|---|
| EMP | EMP Belt | 1 | Push left on D-pad to stun all the robots around you for 7 seconds. Has a maximum of five charges; reload with takedowns on robots. |
| Medium Wave Emitter | 1/EMP Belt | Extends the range of the EMP belt’s pulse. | |
| Long Wave Emitter | 1/Medium Wave Emitter | Vastly extends the range of the EMP belt’s pulse. It now reaches about half a city block. | |
| EMP Gun | 1 | Mechanically similar to a D50 pistol, with a 15-round clip. One shot stuns a robot for 8 seconds. | |
| EMP Grenade | 1 | You must hack the grenade after it’s thrown, much as with IEDs. Affected robots are stunned for 7 seconds. | |
| Alpha Wave Emitter | 1/EMP Grenade | The stun now lasts 7.5 seconds. | |
| Beta Wave Emitter | 1/Alpha Wave Emitter | The stun now lasts a full 10 seconds. | |
| Equipment | Backpack | 1 | You can carry more ammunition for the EMP gun and assault rifle. |
| Anti-Radiation Vest | 1/Backpack | Increases your resistance against robots’ attacks. | |
| Radiation Shield | 1/Anti-Radiation Vest | Vastly increases your resistance to robot attack. | |
| Scavenger | 1/Anti-Radiation Vest | Raises the chance that you’ll receive ammo or grenades from robots. | |
| Hacks | Quick Computing | 1 | The generator hack takes 8 seconds. |
| Security Exploits | 1/Quick Computing | The generator hack takes 6 seconds. | |
| Beta Signal | 1 | Hack generators from up to 10 meters away. | |
| Omega Signal | 1/Beta Signal | Hack generators from up to 15 meters away. | |
| Warfare | Weapon Mastery | 1 | Augments the damage done by lethal weapons. |
| Robot Slayer | 2/Weapon Mastery | Further augments weapon damage. |
In the early game, you’re most vulnerable when you’re hacking a generator, so the Quick Computing and Security Exploits hacks are your most valuable early purchases. If all you want to do is clear Alone for the new outfit, you can speed through it very quickly by emphasizing hack speed and various methods of EMP generation.
Conversely, Weapon Mastery and Robot Slayer are nearly worthless. Even with Robot Slayer, robots are hard to kill with guns, so shooting your way through Alone is an inefficient, noisy, and ultimately pointless way to progress. If you find yourself getting cornered by robots, the EMP Belt skill is an easier way to get yourself out of a jam.
Once you’ve unlocked the EMP Gun and EMP Belt skills via the skill tree, you can get more charges for them and more EMP grenades by using takedowns on robots.
Tips
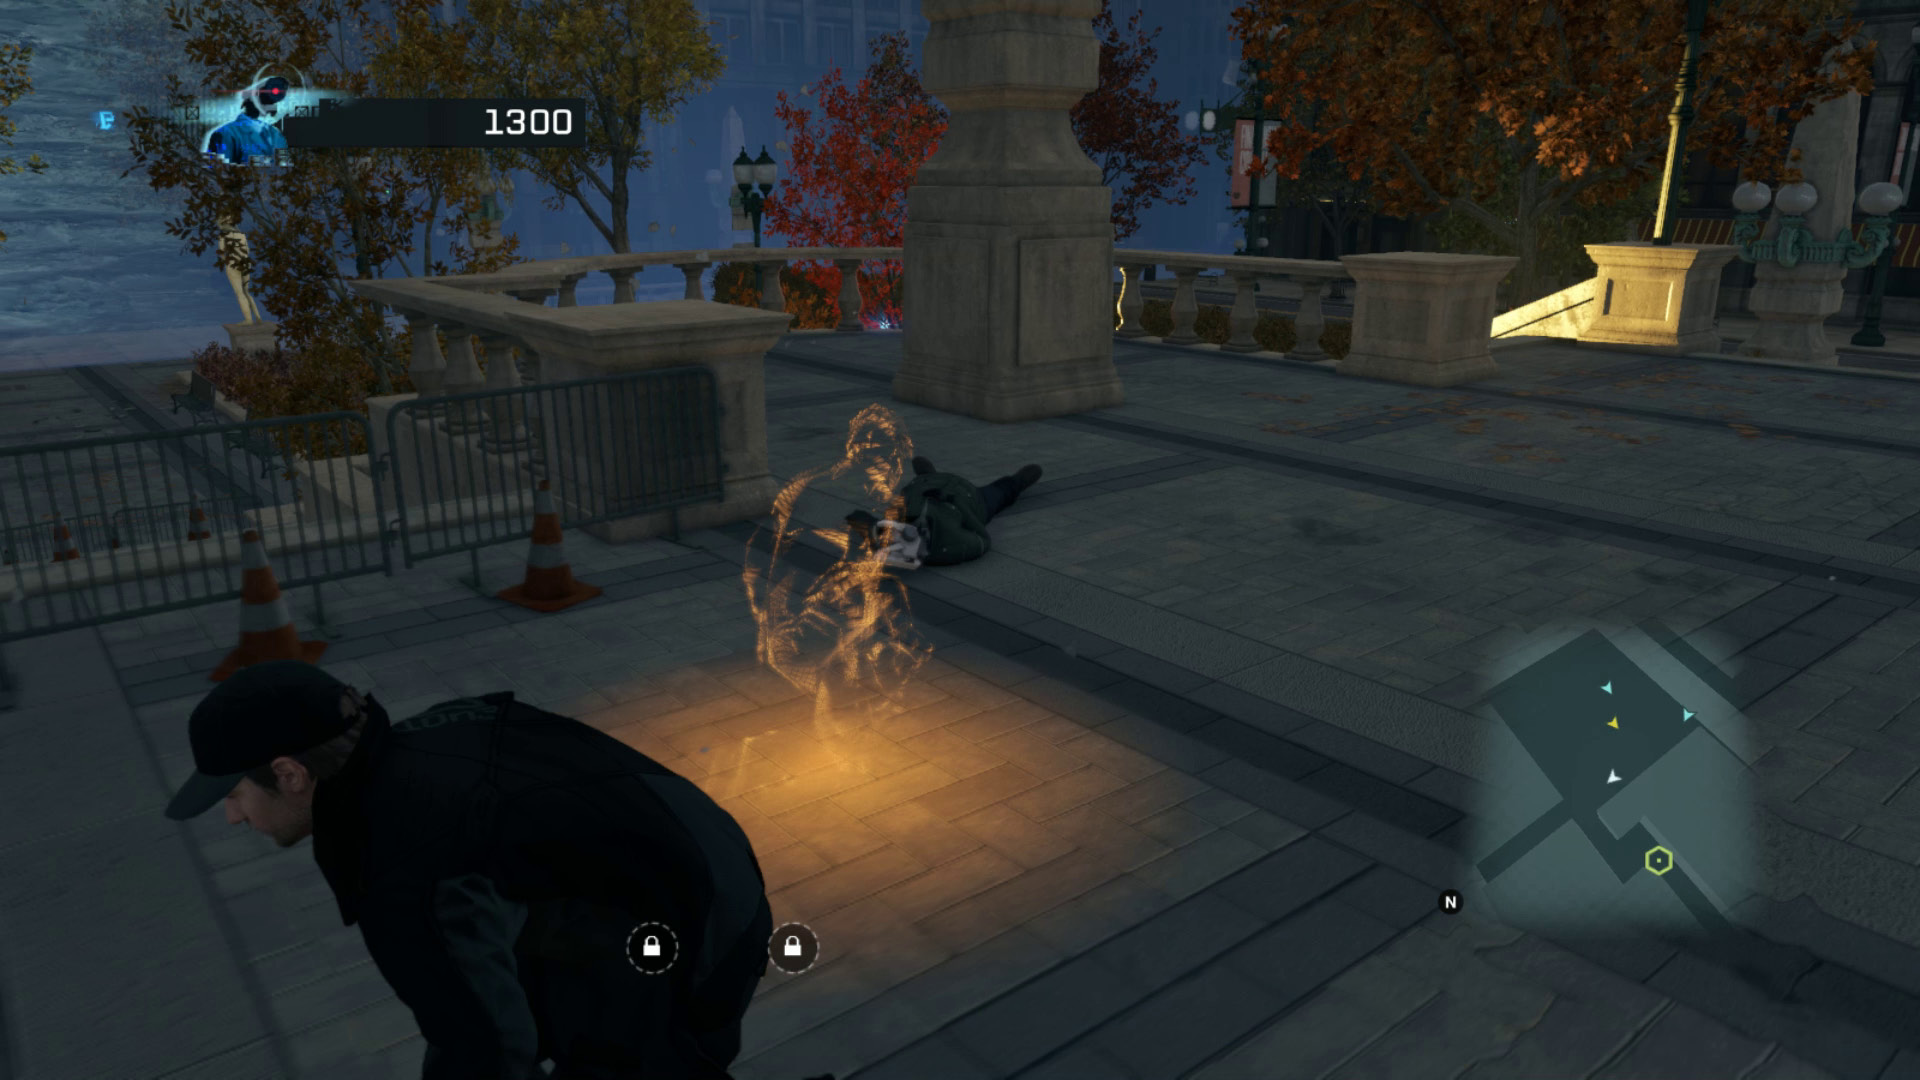
- When you make noise or get spotted, the robots instantly flag you with sonar and create an image of you at your previous location. If you have a decent hiding place nearby, this is a good way to set up an ambush. Fire a shot into the air with your rifle, then plant an EMP grenade and get to cover before the robots arrive.
- A robot’s alert status is reset when it comes out of the stun from an EMP. If you wait until it’s back up and running to take it down, you’ll receive more points for your effort.
- You can and should case a location before you go in. It’s possible to circle many areas in Alone until you find a point of entry that’s relatively close to the generator, which minimizes the chance that you’ll run into any problems.
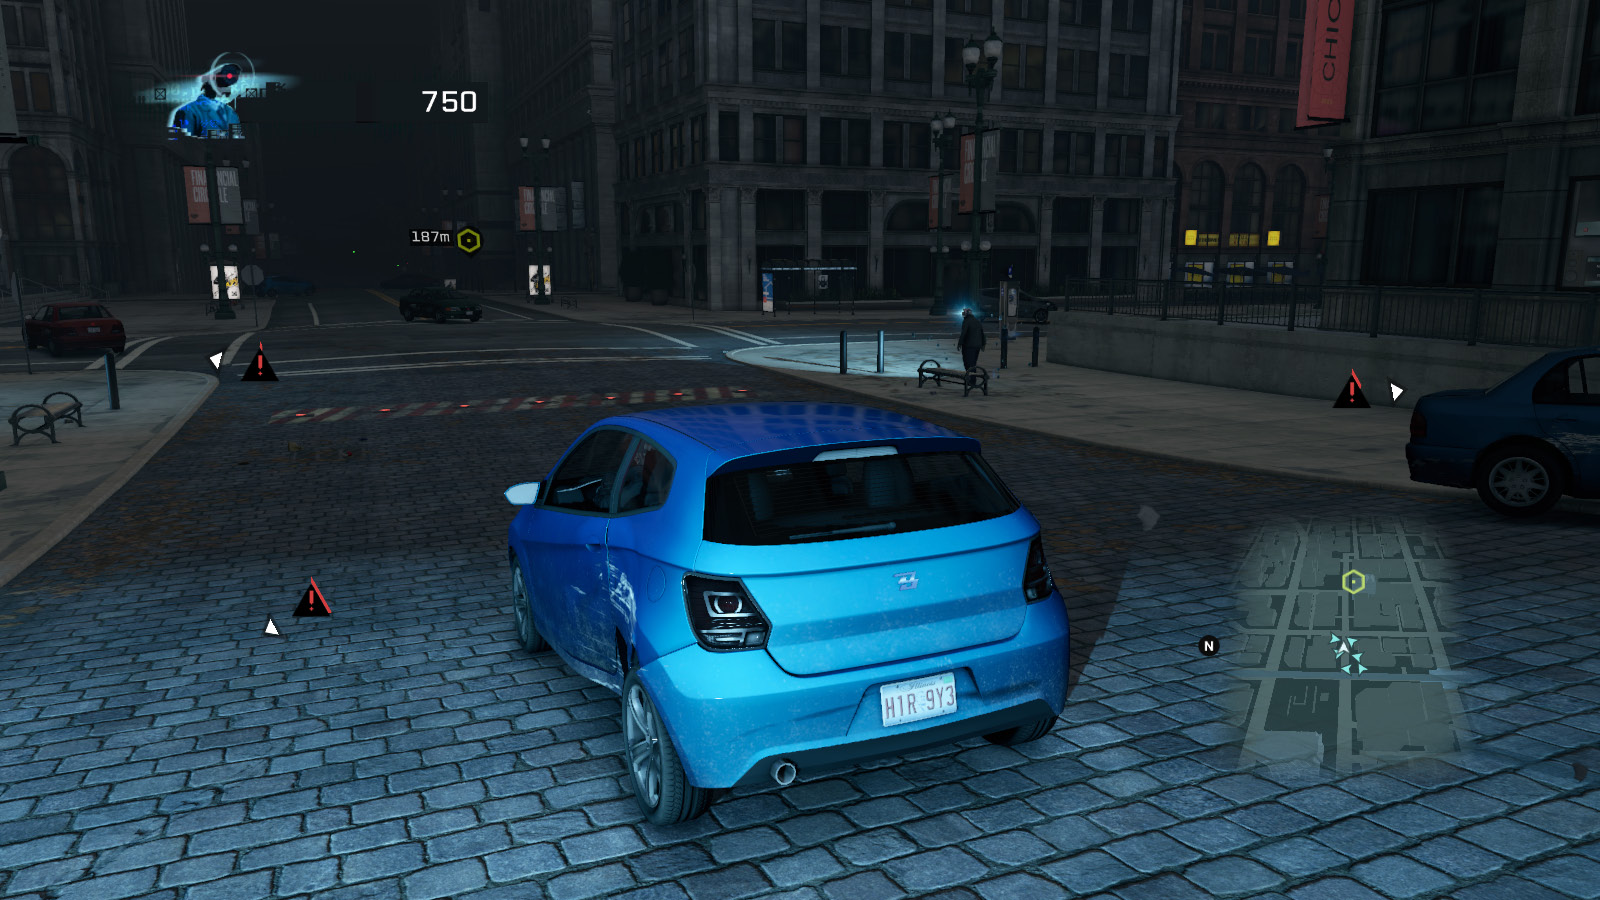
- The abandoned cars throughout the Loop in Alone can be used to quickly get from generator to generator, even though they’ll stall once you take them through the force field. That can still be useful, however, as a car you bring with you can still be used as cover.
- You can throw EMP grenades as a distraction for nearby robots, who will come to investigate the sound of the grenade hitting the ground. Note that EMP grenades are like IEDs, in that you must hack them to set them off.
CONSPIRACY
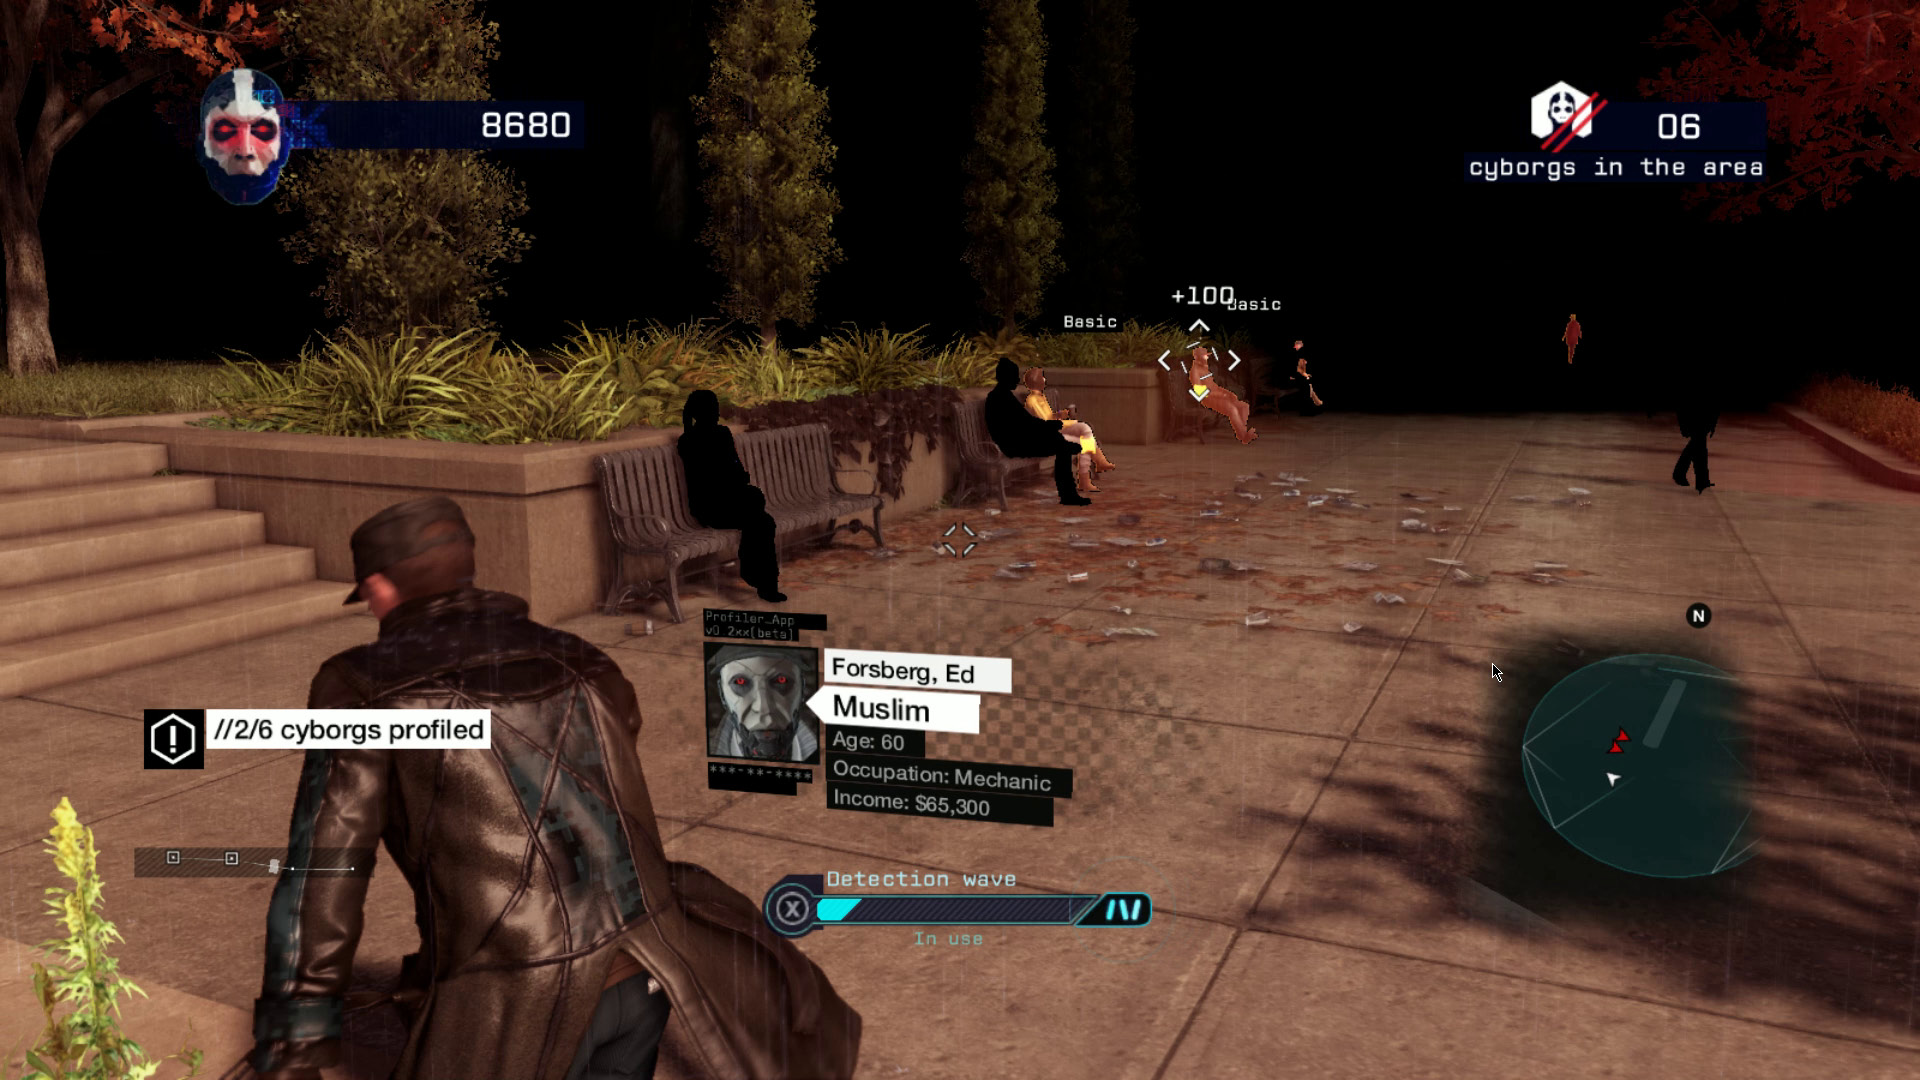
It’s a normal day in Chicago, except for the small matter of the giant alien mothership floating ominously overhead and the evil cyborgs who have quietly infiltrated the population. To protect your fellow humans, you must find and deal with the cyborg intrusion as quietly as possible without alerting them to your presence.
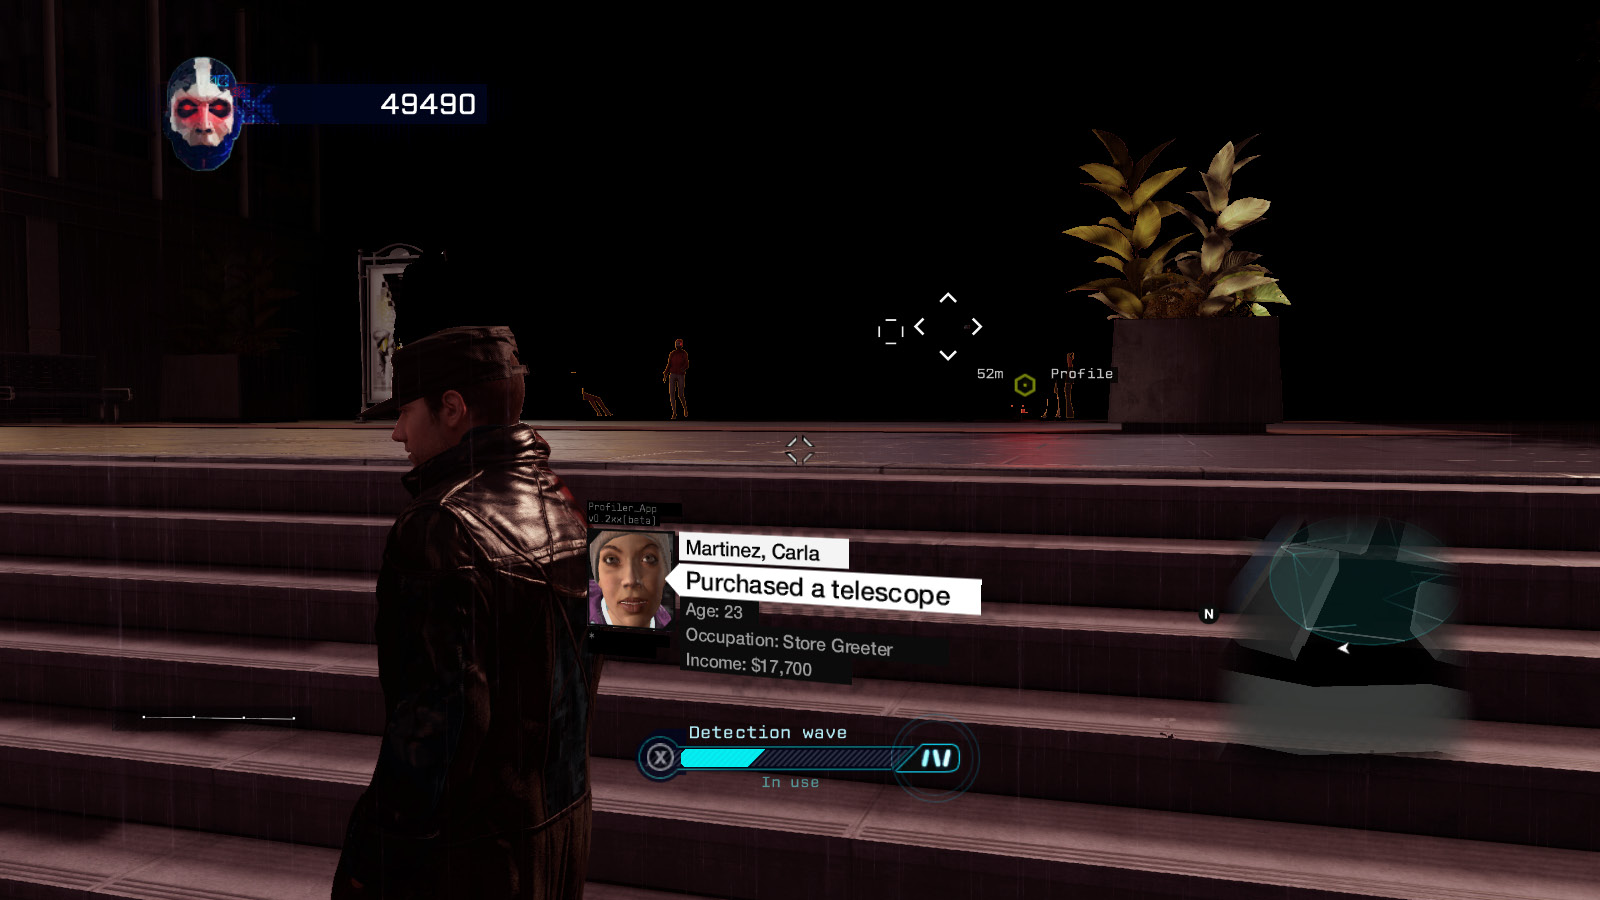
Your profiler in Conspiracy has been augmented with a short-range radar pulse. When it’s active, humans appear in black and cyborgs appear in red. Once you’ve identified a cyborg, you must get close enough to it to run the cyborg through the ctOS’s facial recognition software, and to do so without it noticing you. This will flag the cyborg with a label, letting you know where it is at all times and allowing you to recognize its weak points.
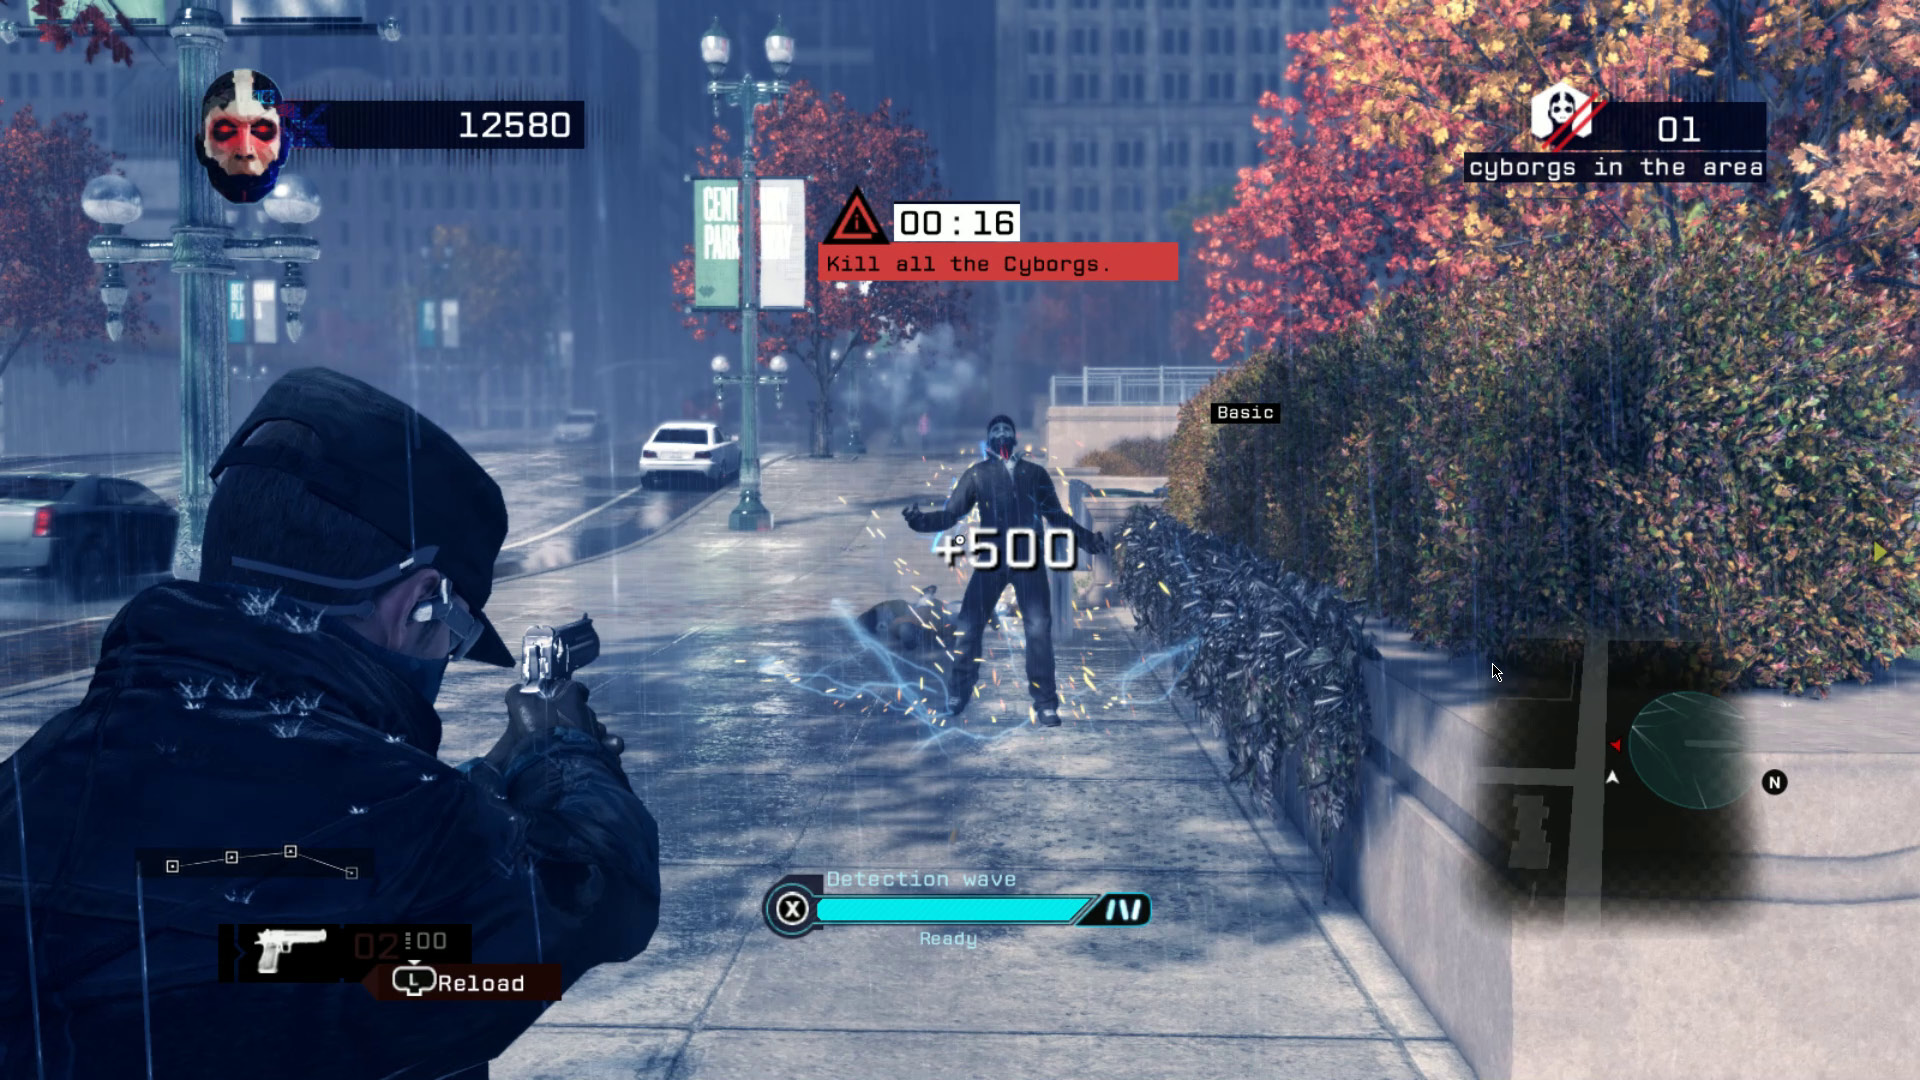
When the cyborgs realize you’re in the area, either because you shot one or they detect you, they will all focus on your position and move towards you. If a cyborg gets close enough, it stands still and engages its self-destruct sequence. The only way to stop it before that point is to land a clean shot to the cyborg’s weak point(s) with one of your guns, which destroys the cyborg. You cannot simply get out of range of the explosion from a cyborg that’s managed to self-destruct; if a cyborg detonates at all, it’s game over.
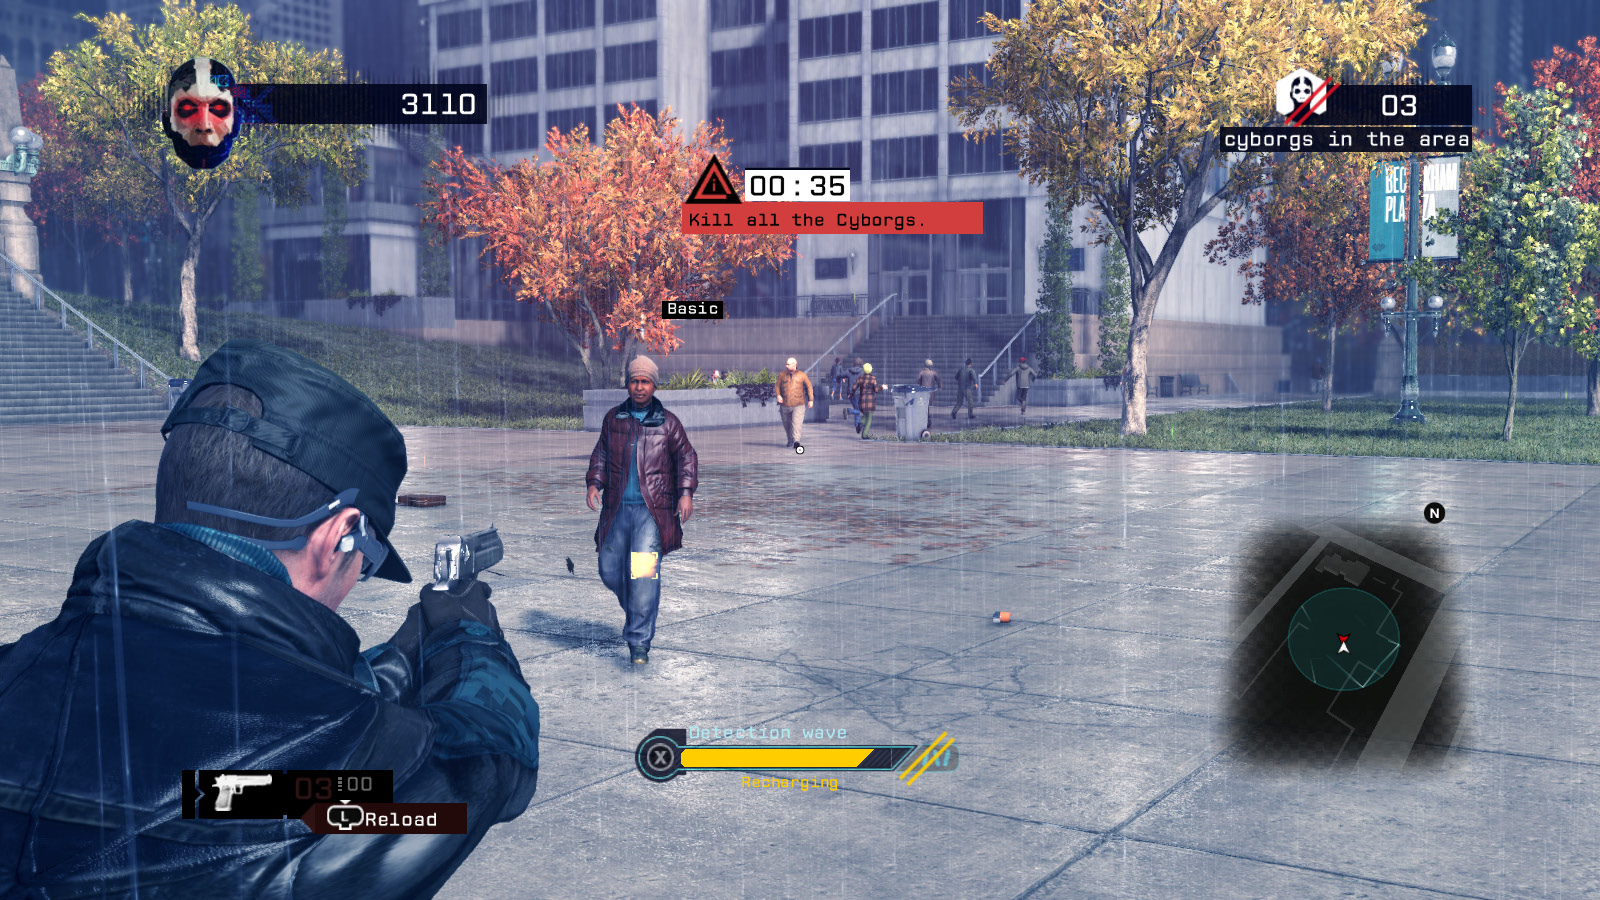
It may seem like a good idea to simply go into Conspiracy with guns blazing, as cyborgs are easily alerted to your presence and will all rush you instantly once they’re alerted. The problem with this approach, aside from not being worth as many points, is that successfully profiling a cyborg also highlights its weak points for you. If you simply cause an alert on the assumption you’ll be able to luck out and hit a cyborg’s weak point before it can reach you, you’re taking a big gamble.
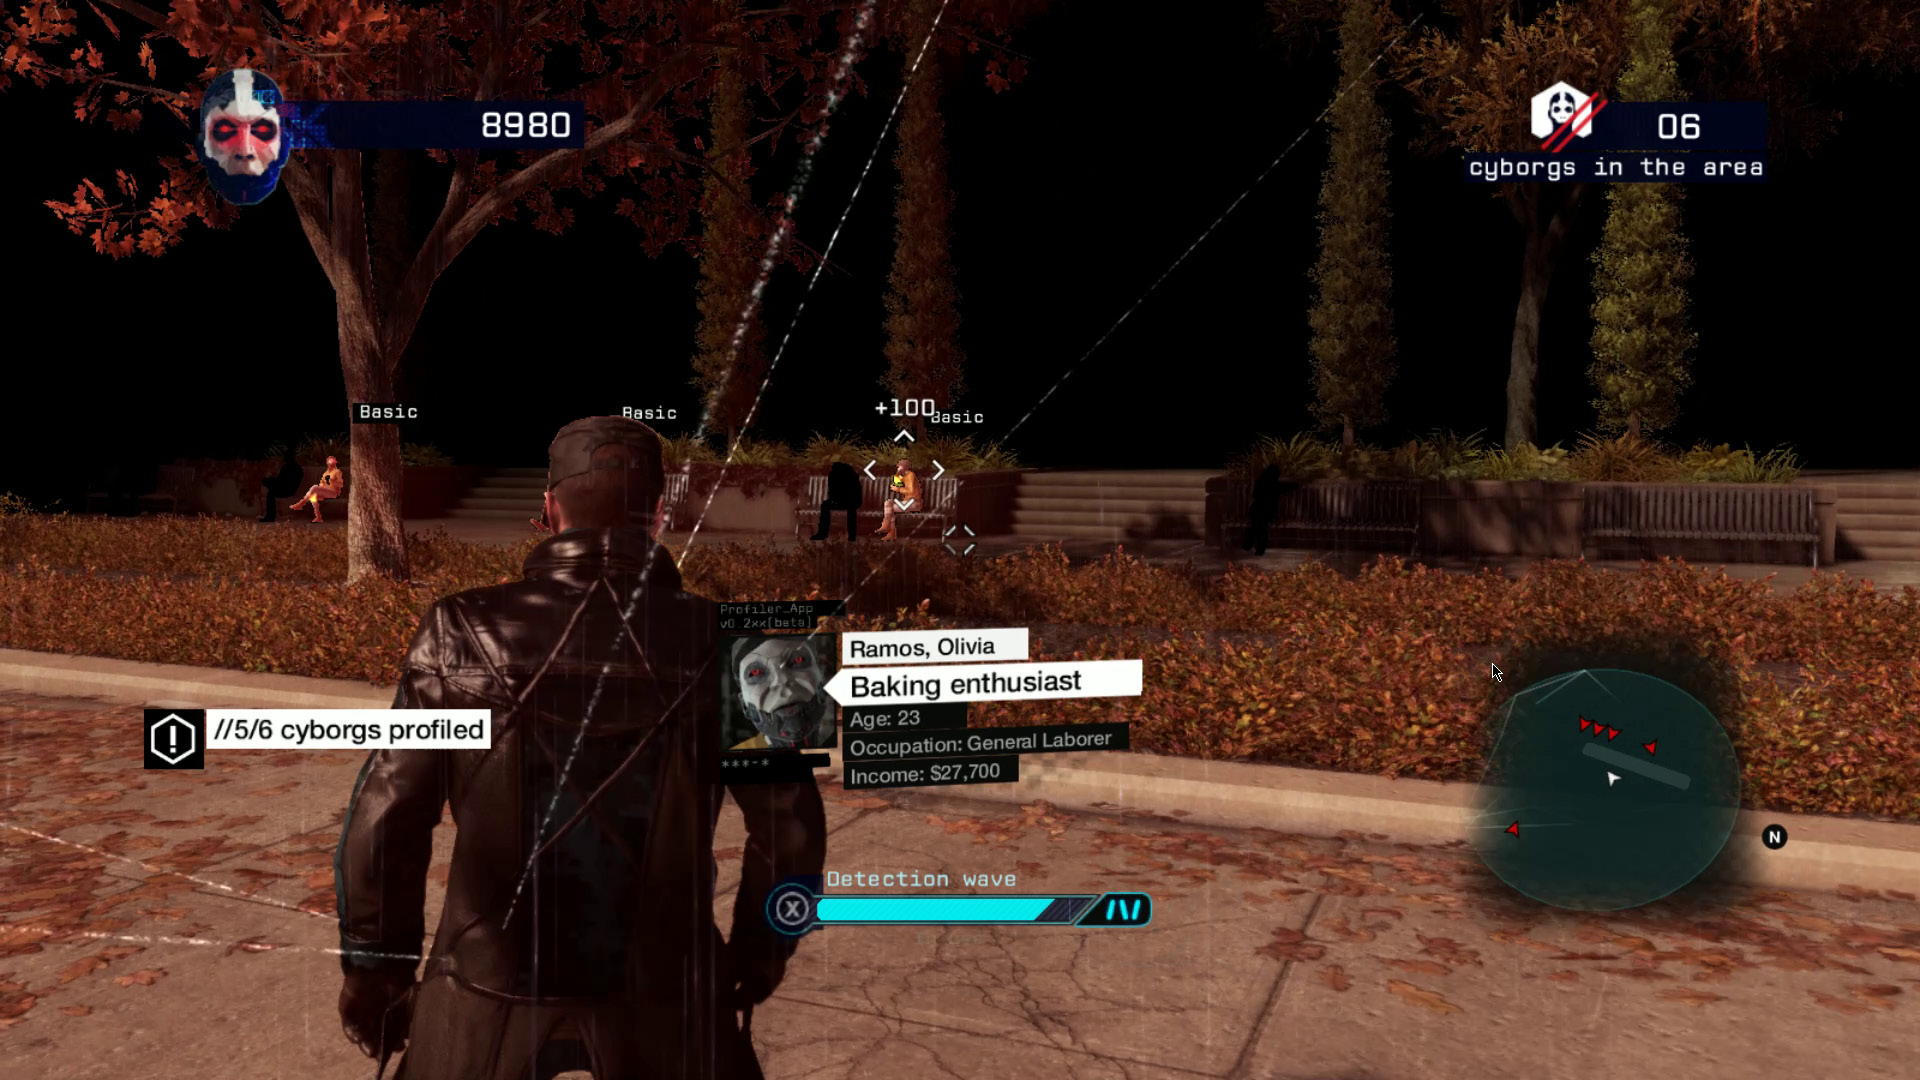
The general idea behind Conspiracy is to stalk and profile your targets, then choose an avenue of approach so you have all the advantages going into the fight. Use alleys and narrow roads as bottlenecks, and make sure you’re aware of each cyborg’s location before you start a fight.
There are 16 areas in Conspiracy’s Chicago that have been infiltrated by the cyborgs; unlike in Alone, you progress through Conspiracy in a linear order, only becoming aware of one area after you’ve cleared the one before it, with each successive area hosting more numerous and more complicated cyborgs. Defeating all the cyborgs in each area completes the digital trip.
Point Values in Conspiracy
- Profile a cyborg without it seeing you: 100 points
- Profile all cyborgs in an area without being detected: 1,000 points
- Destroy a cyborg: 500 points
- Destroy an armored cyborg’s secondary weak spots: 100 points
- Shoot a civilian: -100 points
Cyborgs
Several different kinds of cyborgs participate in the Conspiracy. When profiled, they are referred to by these titles in the labels on your HUD.
Basic
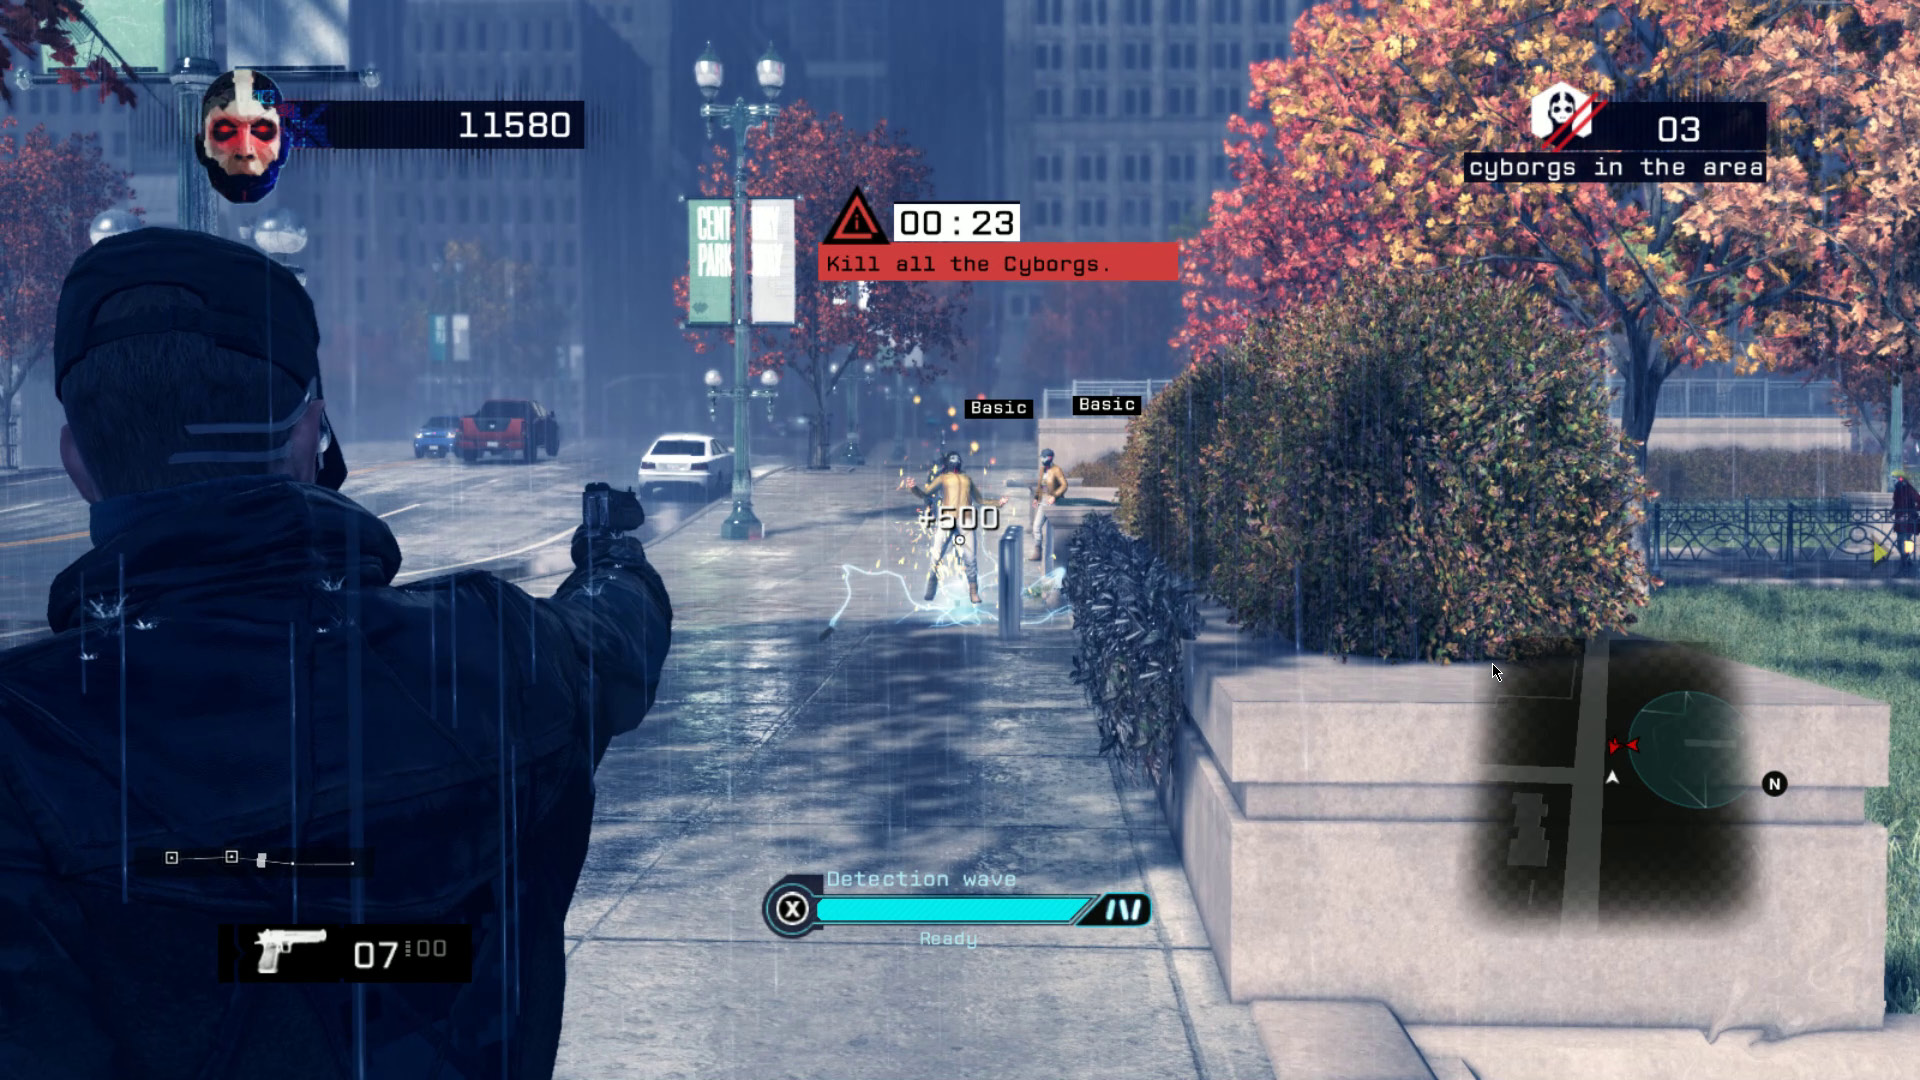
Standard-issue cyborgs. These have a single weak point and walk straight at you when discovered.
Blind
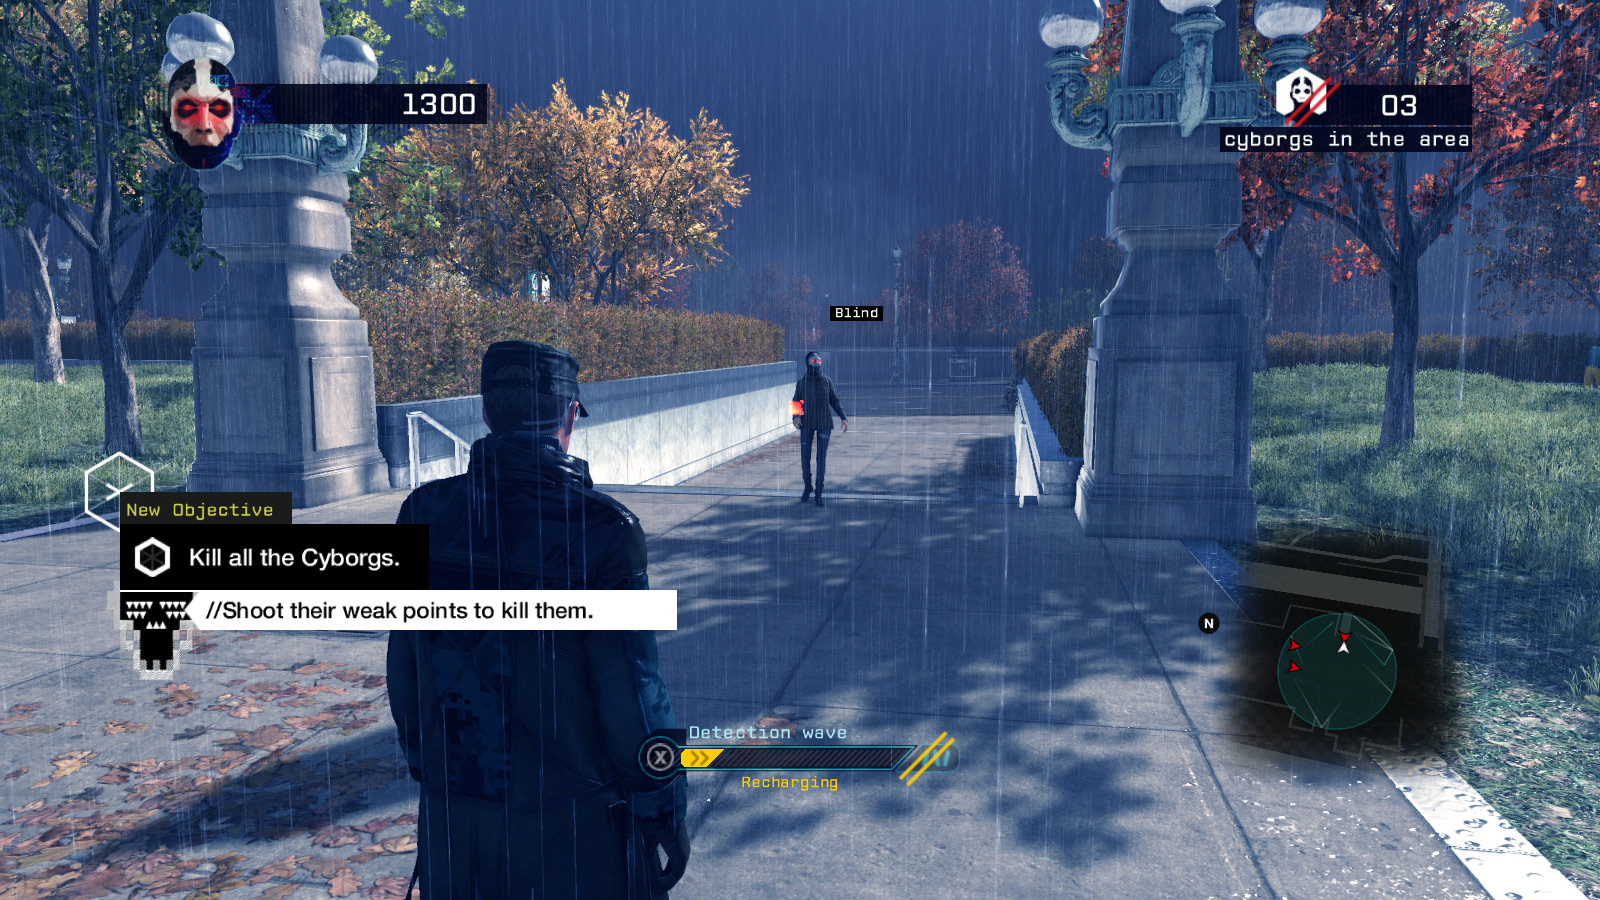
A basic cyborg with malfunctioning eyes. They cannot detect your presence and are not found outside of the first area.
Runner
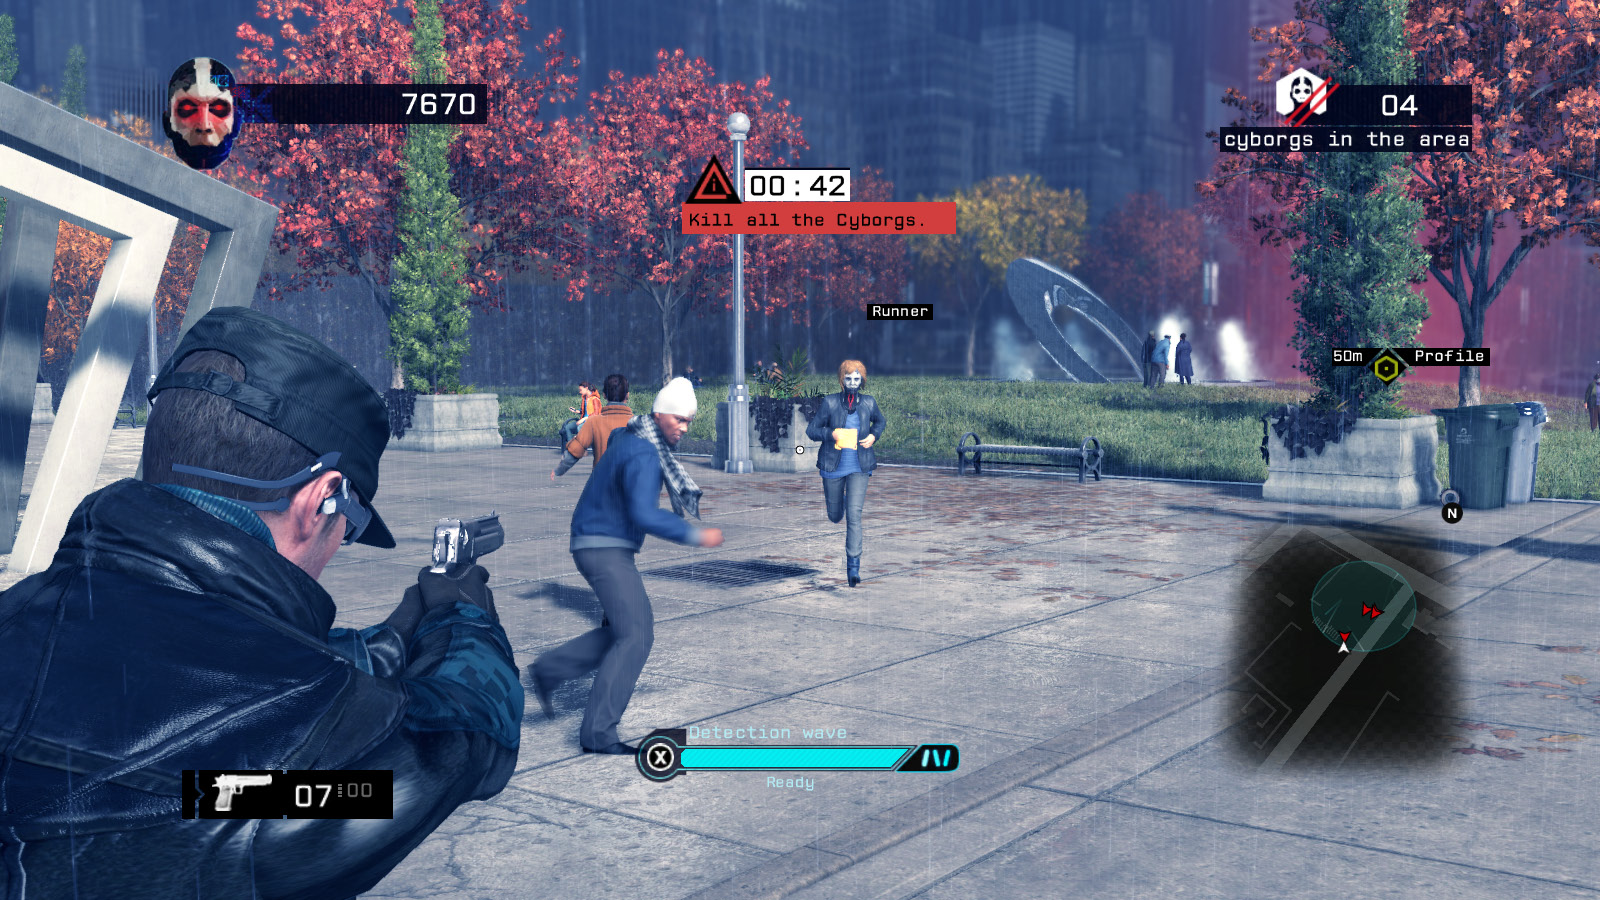
Unlike other cyborgs, these will jog at you, giving you less time to take them out.
Coward
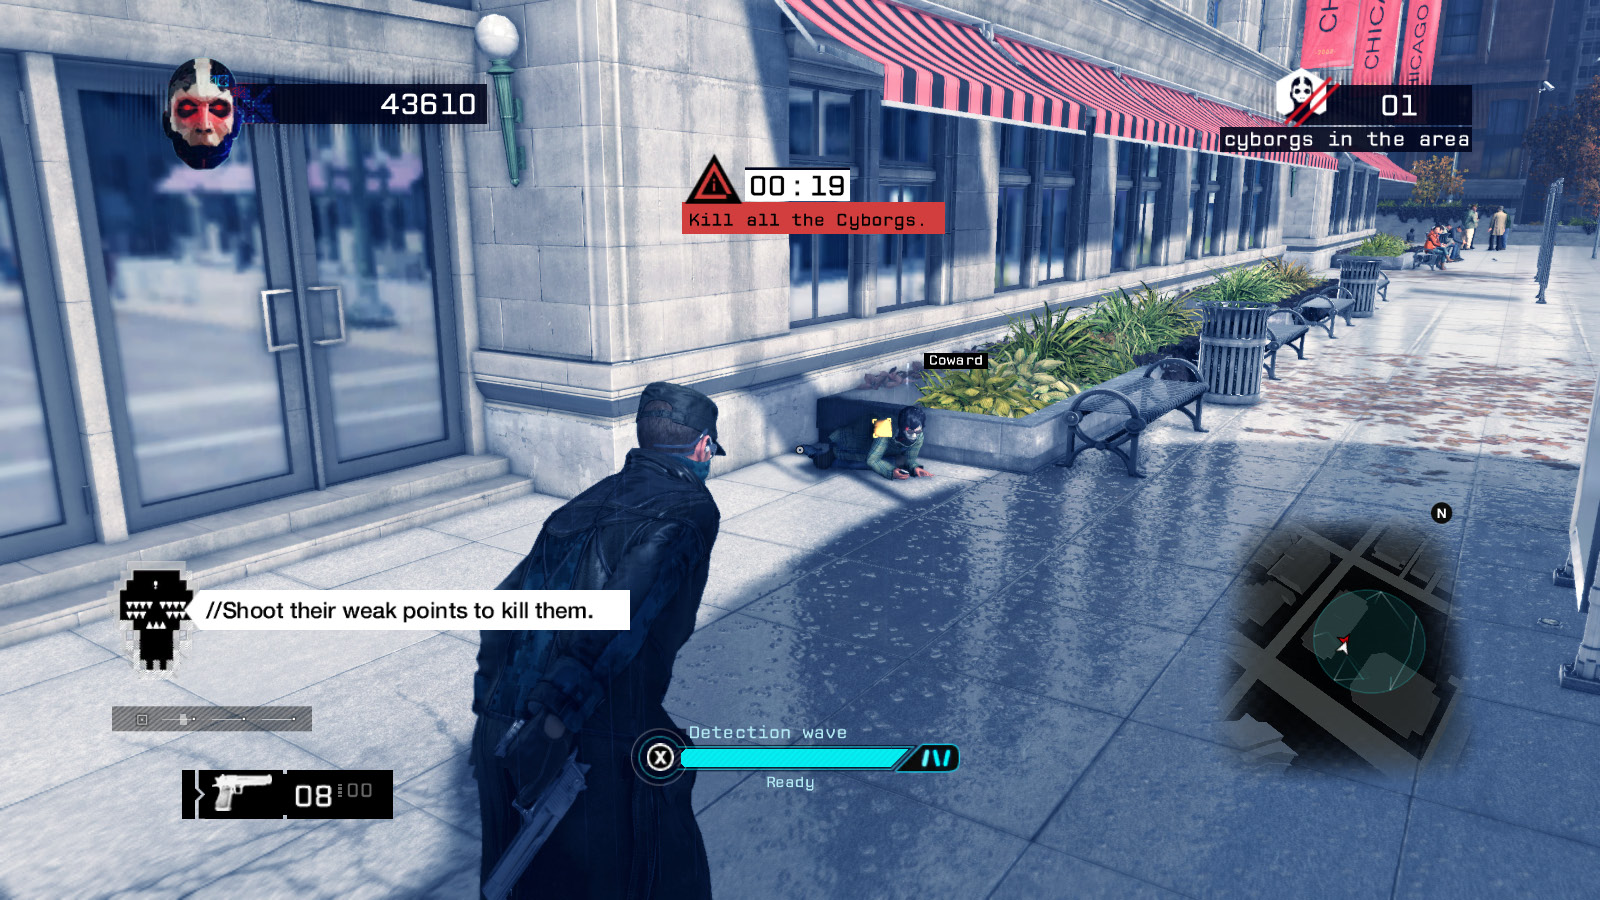
When alerted to your presence, cyborg cowards run away from you and will often fall to the ground and stay there. They won’t detonate their bombs unless you get right up next to them, but they also won’t come running after you. This can be a problem if you haven’t scanned them yet, if you set off an alert from a block away, and/or if you don’t know where they are.
Armored
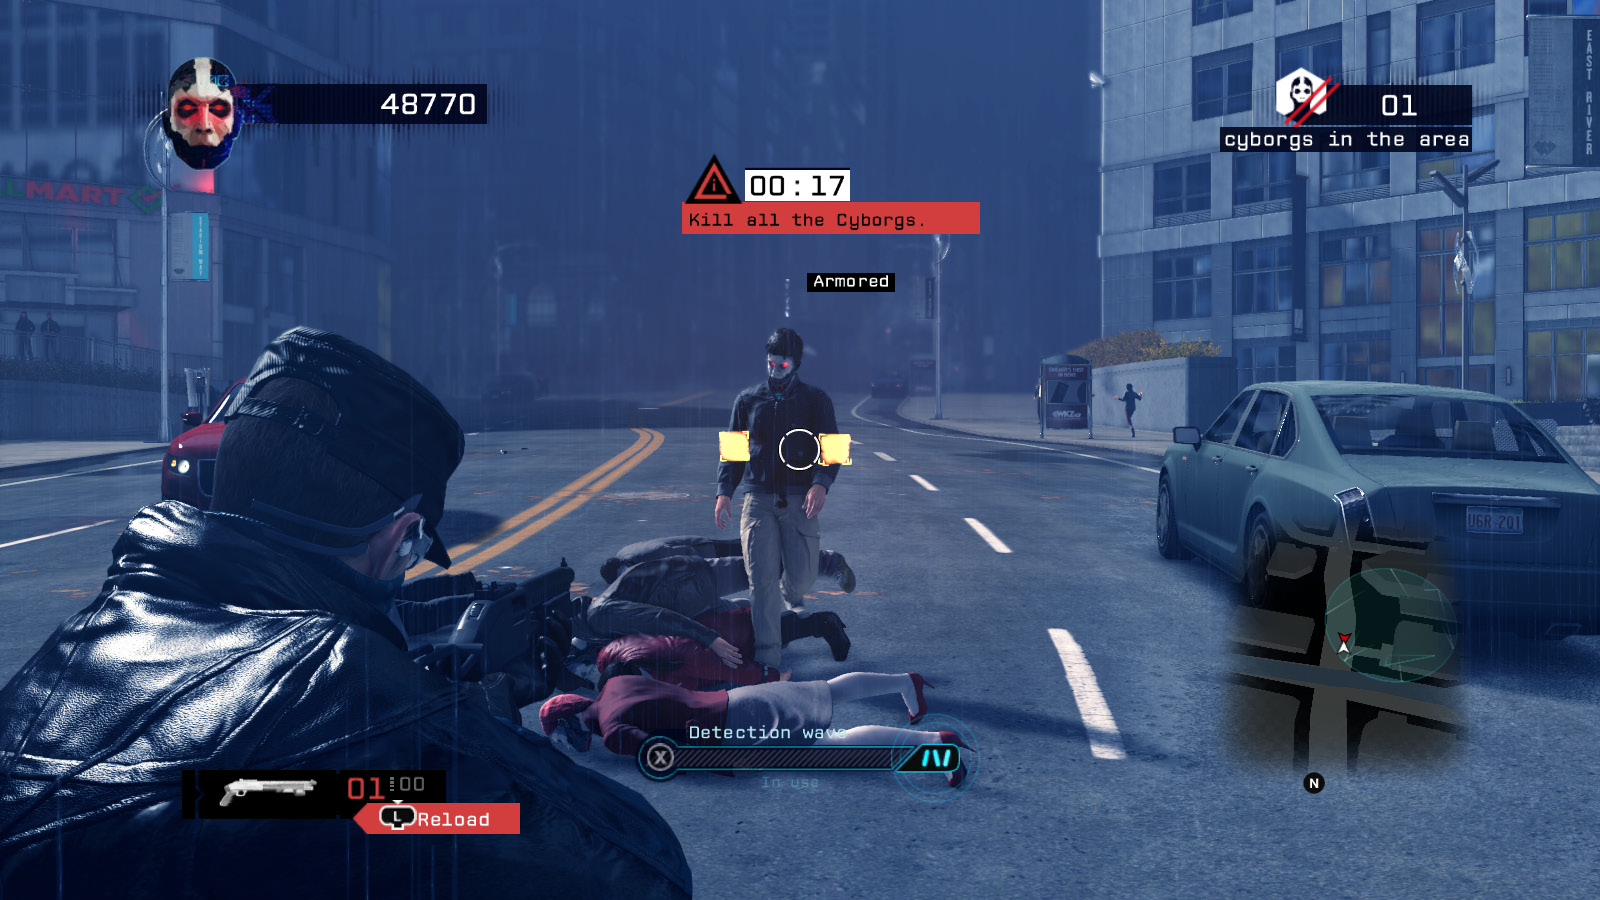
An armored cyborg has multiple weak spots, all of which must be hit to take it down. A shotgun is handy to deal with multiple weak spots at once.
Conspiracy Skill Tree
You receive a skill point every time you clear all the cyborgs out of a given area.
| Category | Skill | Cost/Prerequisite | Effect |
|---|---|---|---|
| Counter | Bomb Timer | 1 | You receive an extra 25 seconds to destroy all cyborgs in an area once you make your move. |
| Bomb Disruptor | 2/Bomb Timer | It takes roughly twice as long for a cyborg that's reached you to set off its bomb. | |
| Detection | Upgraded Battery | 1 | Your scanner recharges faster. |
| Scanner Battery | 2/Upgraded Battery | Your scanner recharges much faster. | |
| Elimination | Concussive Shot | 1 | Shots from your pistol that don't hit their weak spots will stagger cyborgs for a couple of seconds. This will not prevent them from blowing up. |
| Anti-Cybernetic Bullets | 2/Concussive Shot | Gunshots actually freeze cyborgs in place for a couple of seconds before the stagger from Concussive Shot kicks in. | |
| Sniper Rifle | 1 | You gain an SVD semi-automatic sniper rifle. | |
| Shotgun | 2/Sniper Rifle | You gain an SG-90 pump-action shotgun. | |
| Focus | 1 | You can now use Focus in Conspiracy. | |
| Hormonal Boost | 2/Focus | You regenerate Focus faster. |
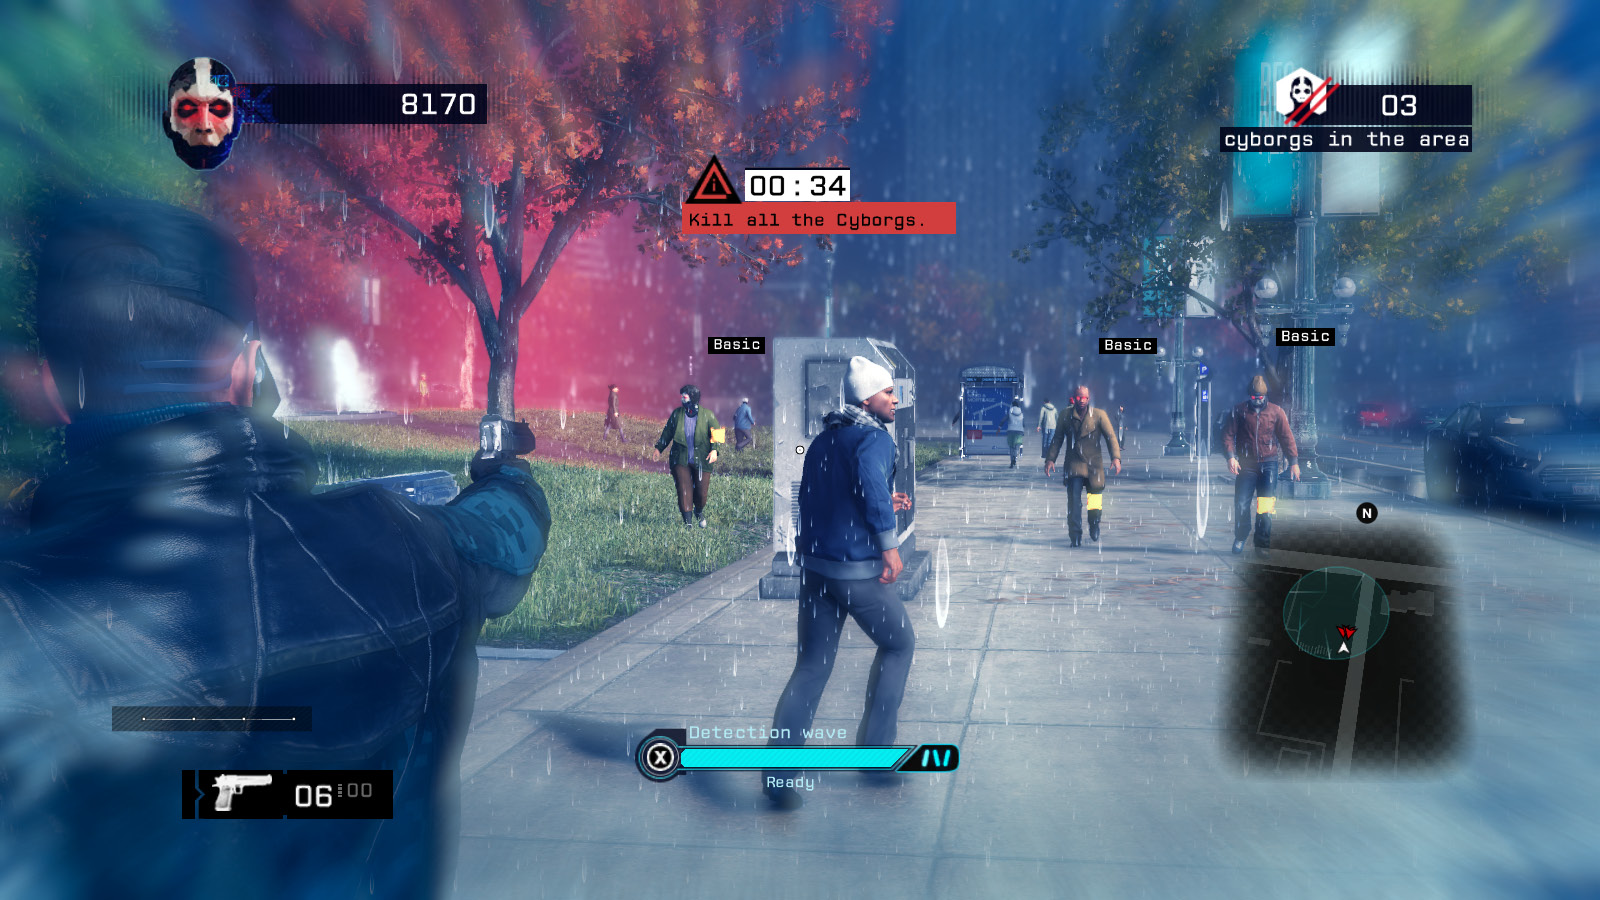
You’ll want to pick up Focus early, as it makes life much easier once runners begin to show up, and Upgraded Battery is handy as you’re learning the ropes. Past that, a lot is down to personal preference. Having the Sniper Rifle skill opens up a lot of tactical options, naturally, and Concussive Shot is a lifesaver.
Tips
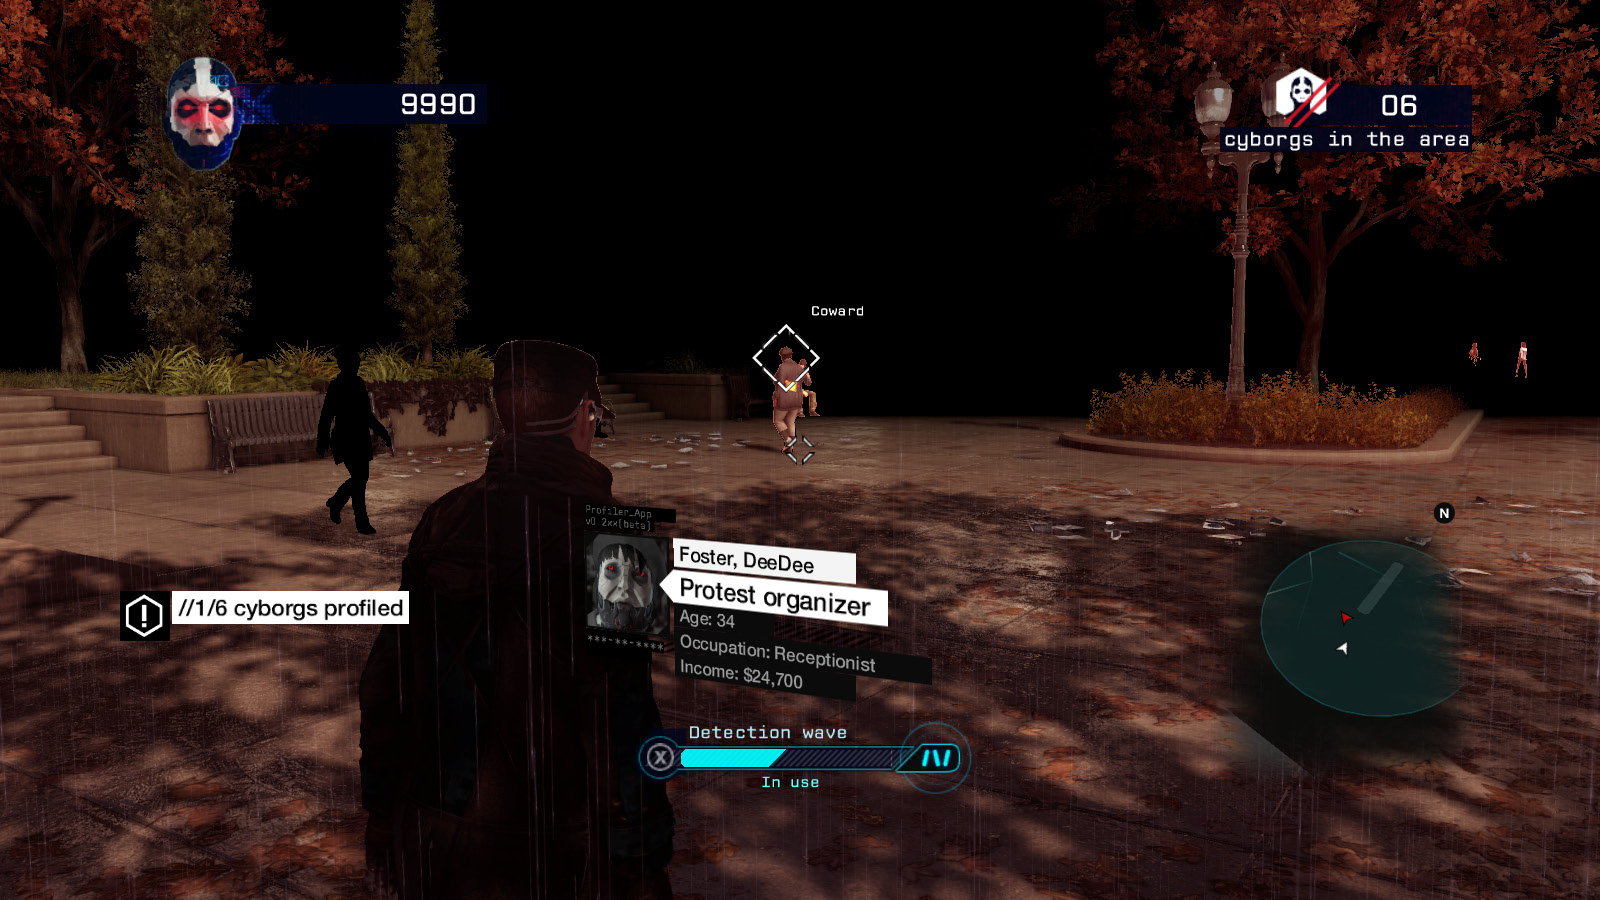
- When you first reach an area, there is no time limit. The rest of the trip is so focused on quick reactions that it can be tempting to rush through the part where you’re profiling target cyborgs, but you can relax. It’s a lot more important to go undetected than to get all your targets profiled quickly.
- You can turn your scanner off early to preserve some of its battery and let it recharge faster.
- Killing cyborgs refills your Focus meter. Use Focus early and often.
- The civilians hanging out in a given area are consistent between attempts and games; for example, there’s always a city worker in a hard hat who’s sweeping the pavement in front of the big statue when you reach the fifth zone. Which of those civilians are cyborgs, on the other hand, is randomized between attempts.
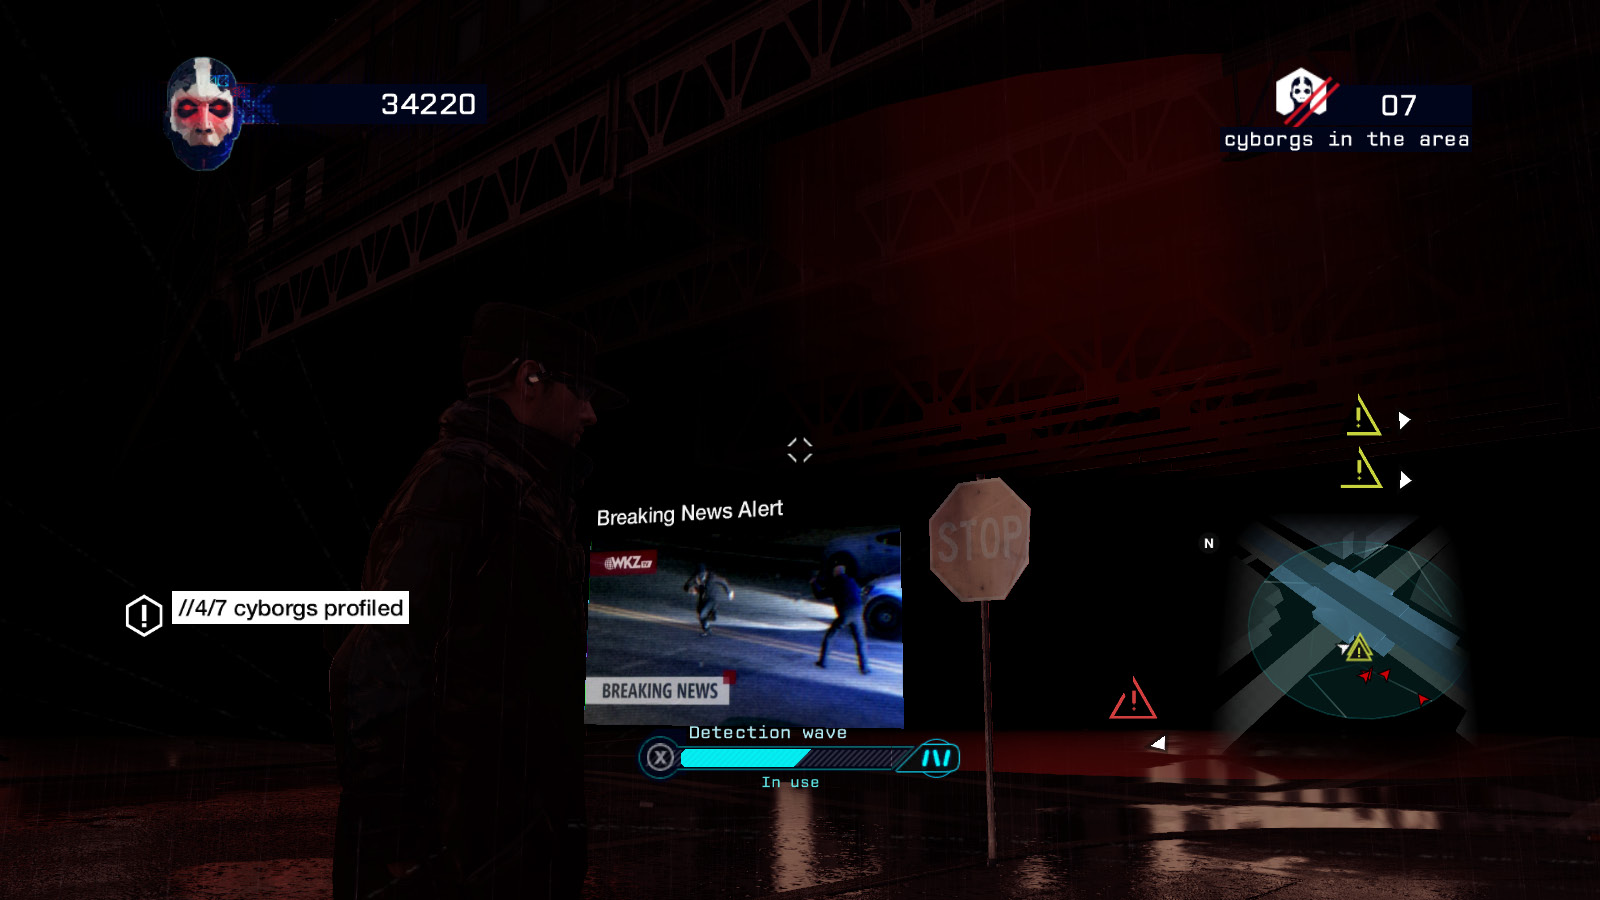
- There’s a chance of news alerts being aired during Conspiracy, which have a chance of causing nearby pedestrians to recognize Aiden as the Vigilante just as in the normal game. This means you must avoid them, because if they call the cops, it has the same effect as if you let a cyborg detect you.
- Once you enter a given mission area, you cannot leave it again without risking mission failure, just as in the main game. However, you can profile cyborgs from outside the mission zone, which can give you a bit more flexibility on your approach by letting you use side roads and alleys that are technically outside the mission’s boundaries. Do as much work as you can from outside before you move in.
- After the cyborgs have been alerted to your presence, you can leave the area without risking mission failure. This allows you to kite the cyborgs for quite a long distance if you have to, which is handy in later areas where you’re fighting seven or eight of them at once.
- Don’t rely on the shotgun. It only holds four shells and doesn’t have as wide a hit radius as the skill’s description would lead you to expect. It’s still useful, but it’s not that useful.
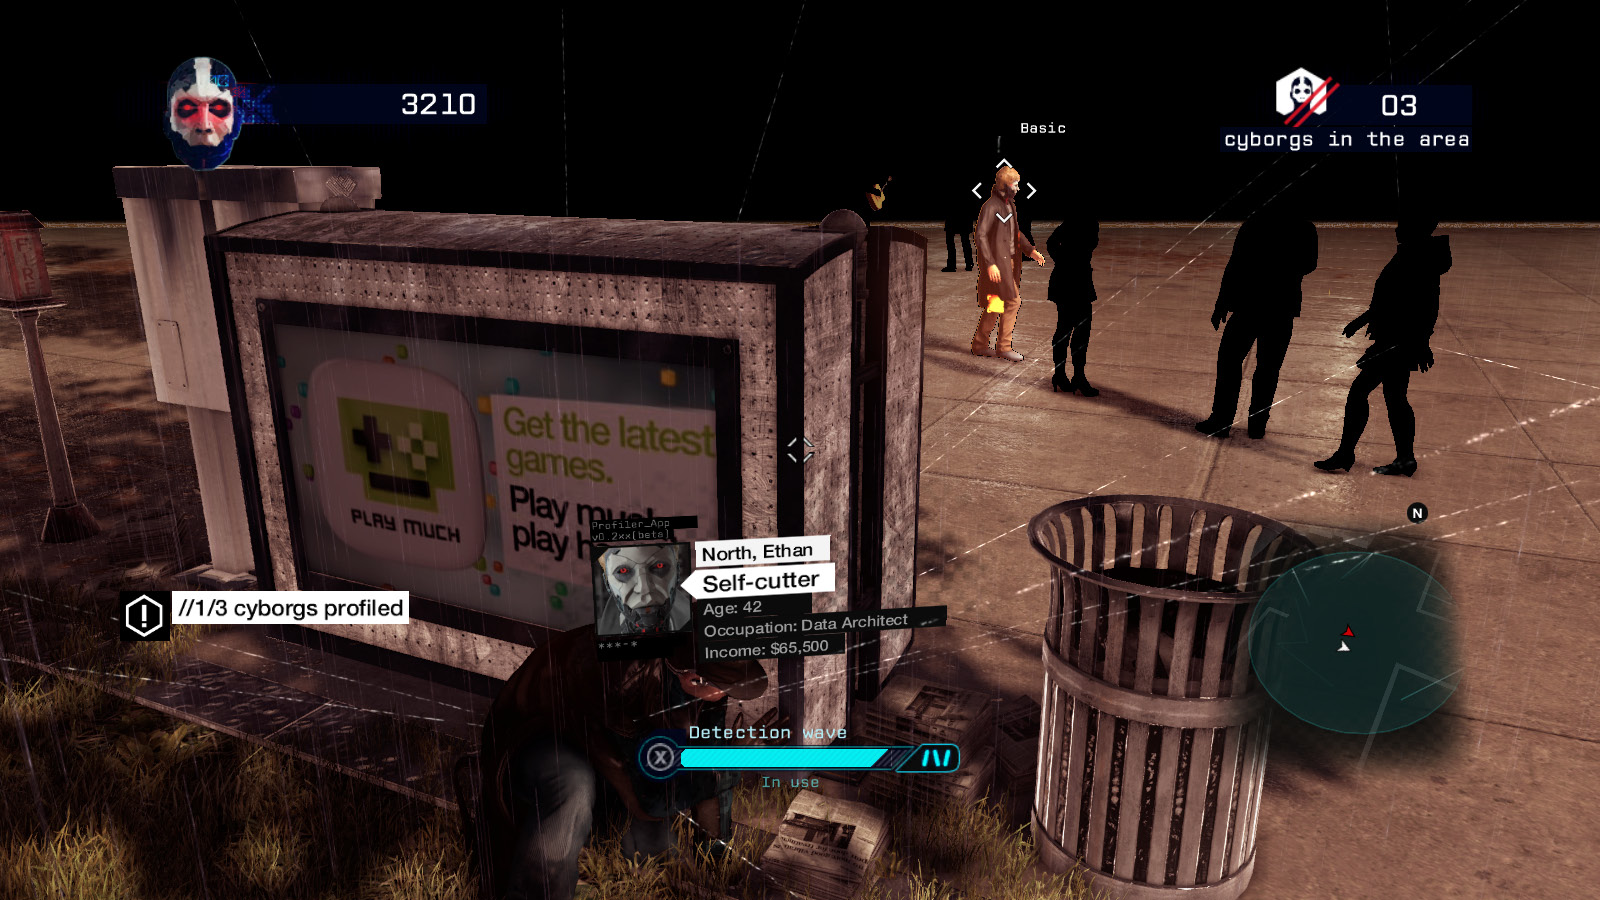
- Don’t forget to take cover. Your profiler can work from behind walls and other obstacles, and breaking line of sight is nearly guaranteed to remove the risk that a cyborg has spotted you.
MADNESS
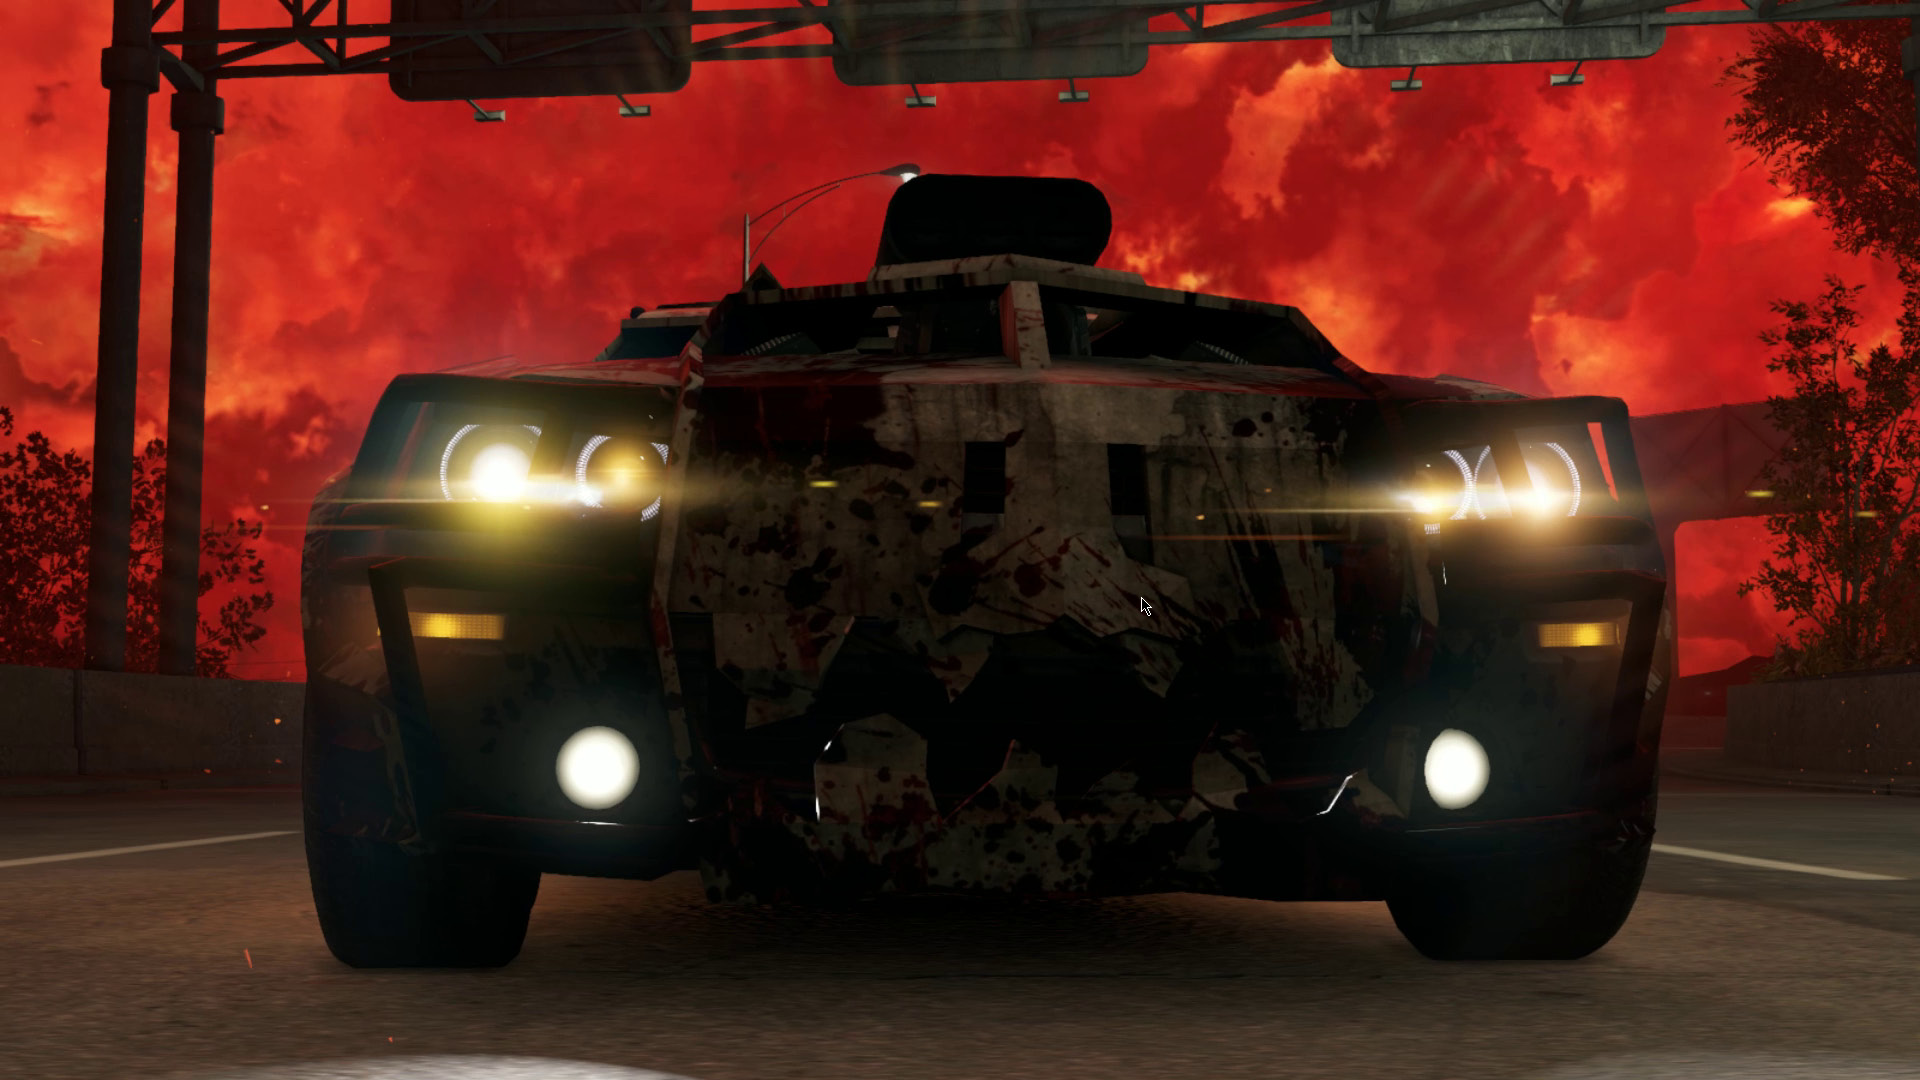
In an alternate reality where Chicago has been taken over by demons, you and your evil talking car are the last line of defense against them. You must run them down in the streets and claim their souls as your own.
In short, it’s a lengthy justification for rampant, relentless vehicular homicide. The more demons you can kill in a row, the higher your killstreak gets and the better your score is.
Your car in Madness is effectively invulnerable. Nothing in the trip can so much as scratch you. The problem isn’t staying alive, but accomplishing your goals before time runs out.
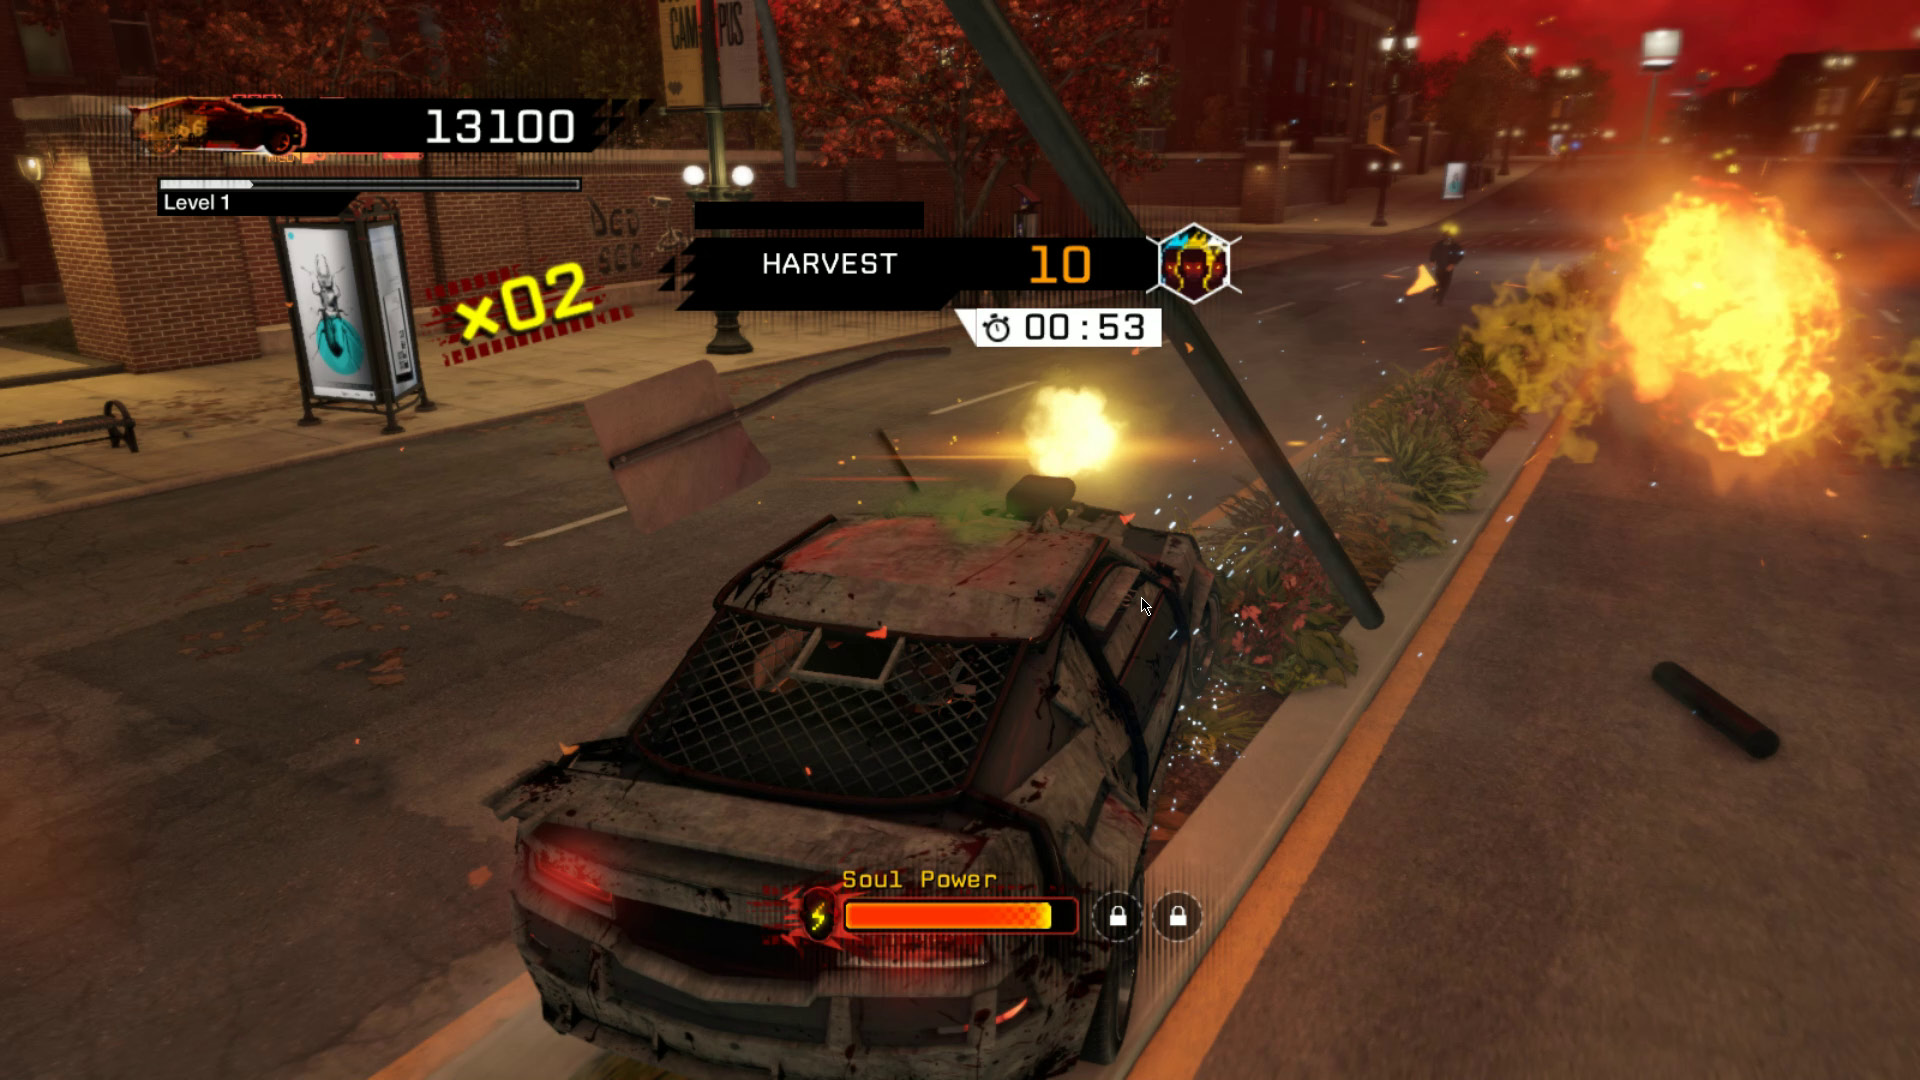
Your car’s abilities are fueled by Soul Power, a resource you gather by killing demons. Red demons provide a slight boost, blue ones refill the meter by 50 percent, and running over a rare white demon will almost fill the meter. Soul Power is then spent to trigger eruptions (similar to steam pipes) and fuel whatever Soul Powers you acquire from Madness’s skill tree.
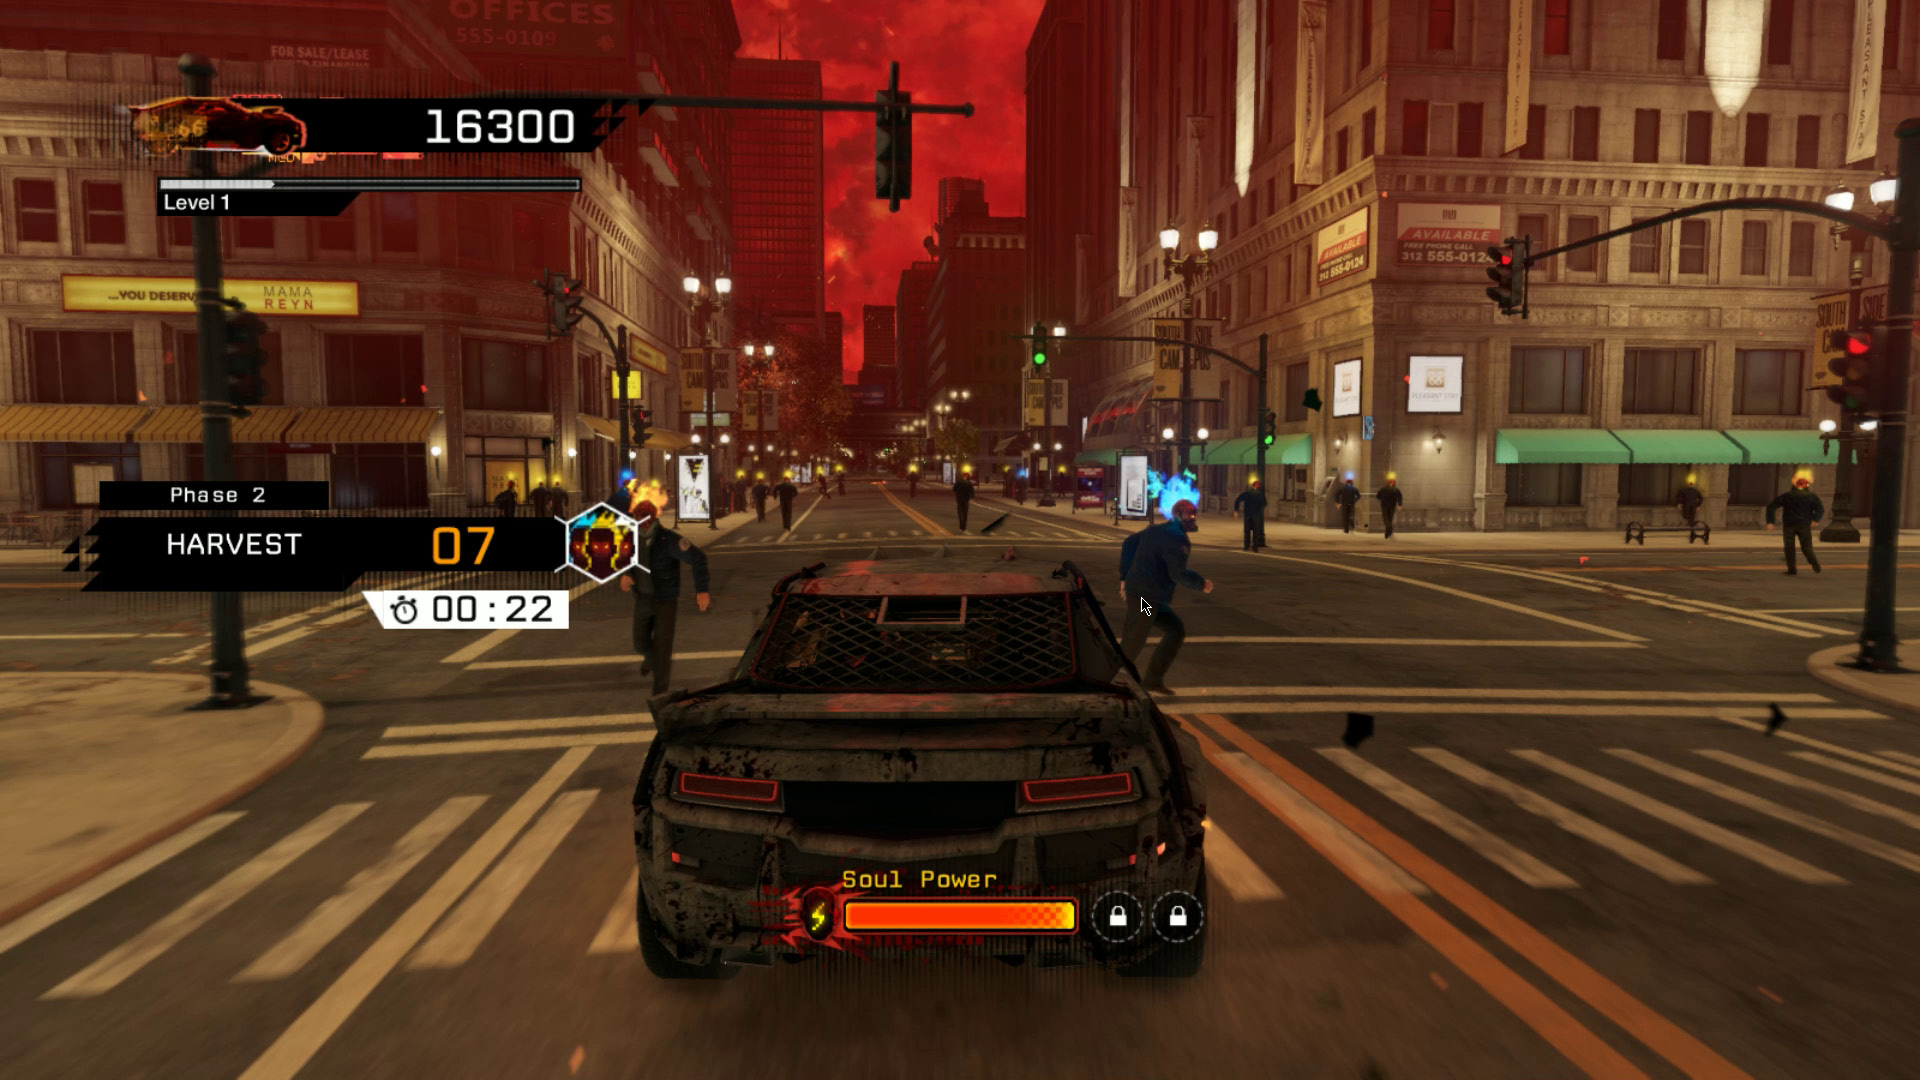
As you may have noticed from the main game, it’s surprisingly difficult to run people over in Watch_Dogs. They have a habit of dodging just as you’re about to hit them, and chasing them down is often more trouble than it’s worth. The key to running demons over is to plow into crowds of them at high speed from as far away as possible and to stay on the move, taking your points where you can. It’s also handy to take advantage of areas on the city map that funnel the demons into a bottleneck, such as freeways and underground tunnels.
The City
You have access to every above-ground location in Chicago during Madness, although all gates and doors are permanently shut. Having a good working knowledge of the city map can be an asset.
Rifts
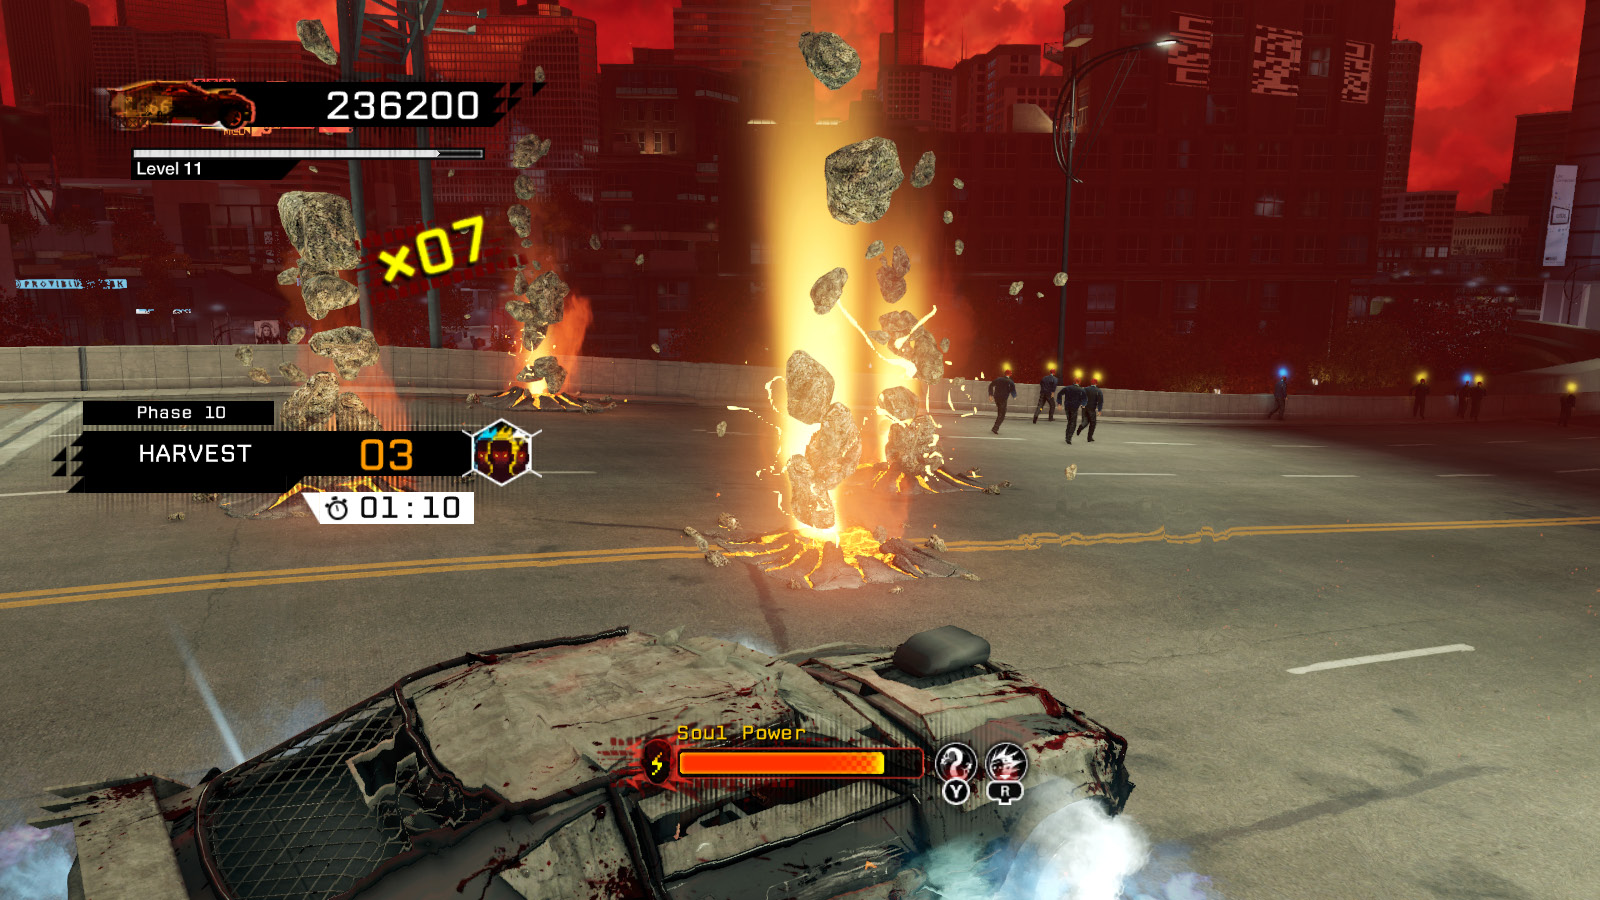
Rifts are giant glowing orange hell rocks that show up periodically and randomly throughout the city’s roads. Touching a rift causes it to explode, throwing you in the opposite direction and draining a slight amount of your stored Soul Power. It also breaks any combos you’ve been working on.
You can destroy rifts early using Soul Blast or Soul Shears, or by forcing cop cars into them. They’re a slight nuisance most of the time and a serious problem during killstreak challenges.
Eruptions
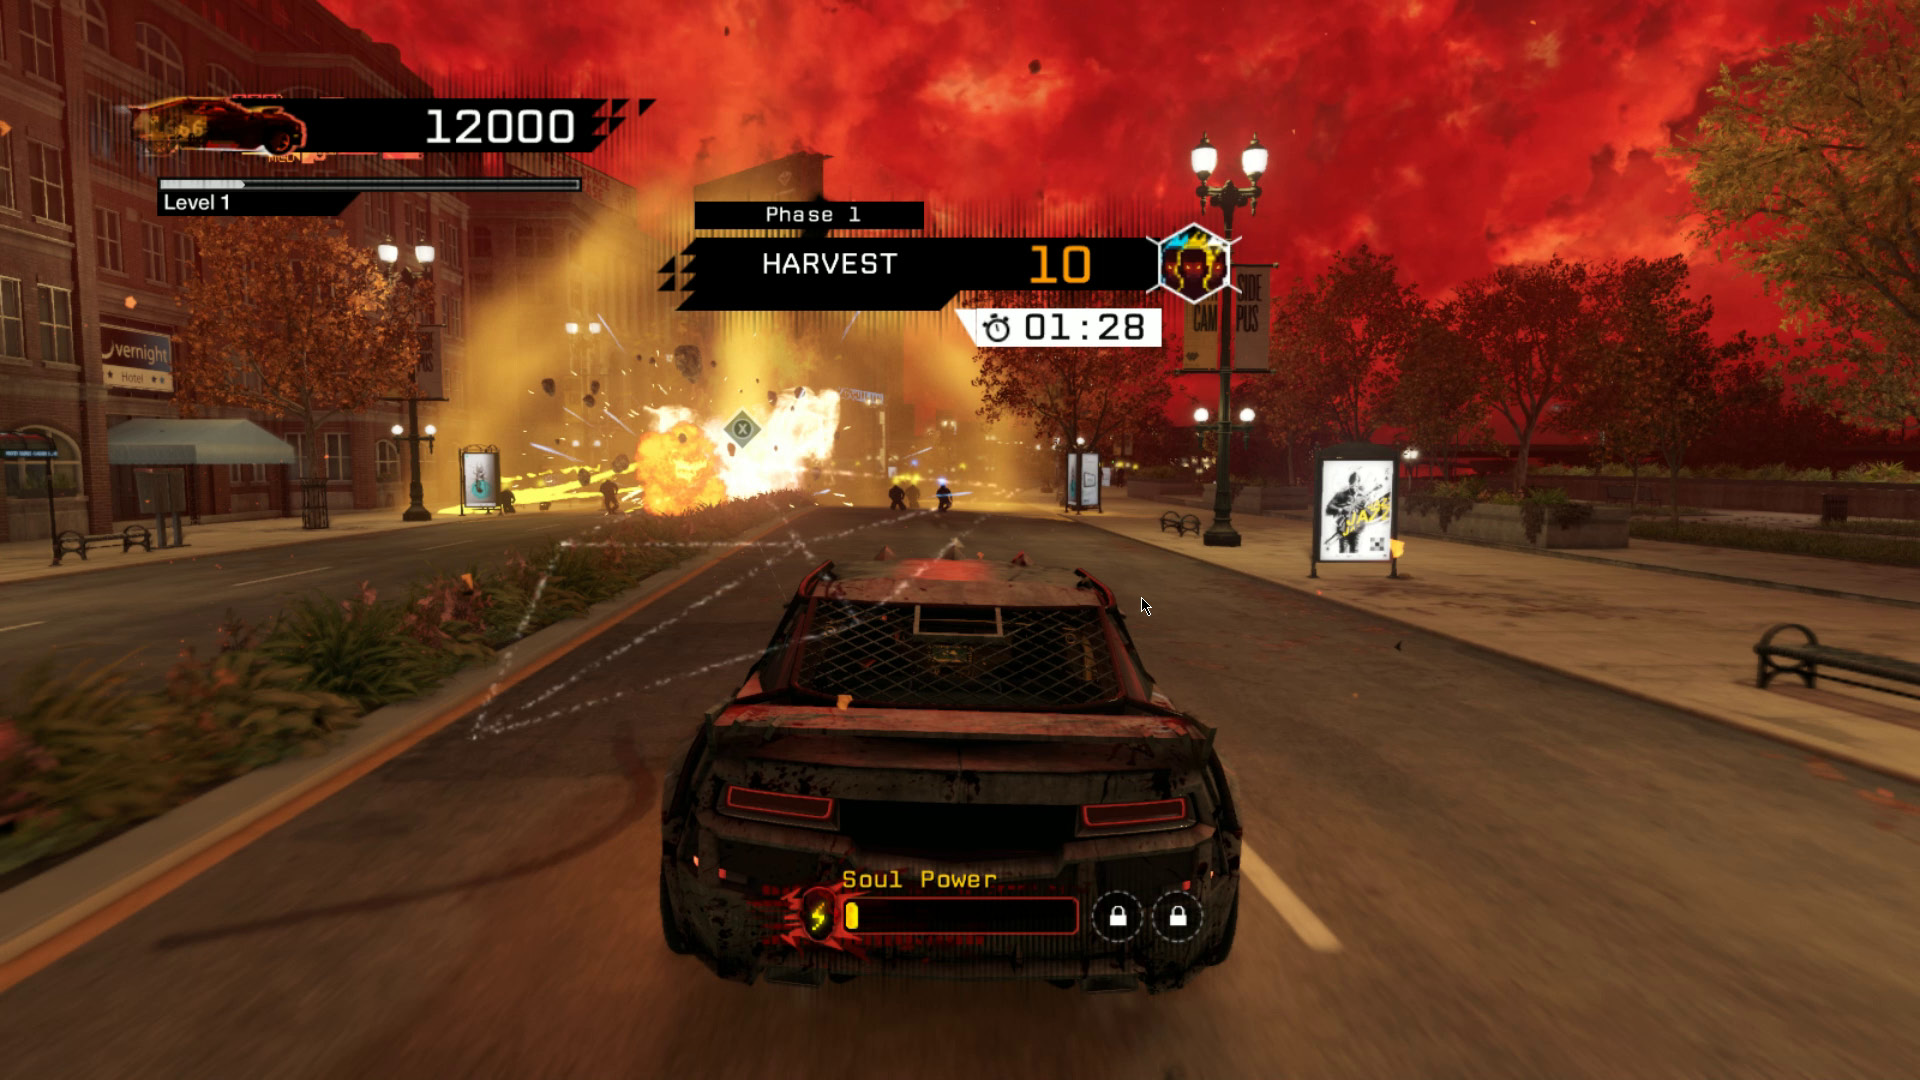
An eruption is functionally identical to the steam pipes you can find in the regular version of Chicago. Setting one off costs Soul Power but triggers a massive explosion that kills any demons in the surrounding area.
Demons that die in eruptions aren’t worth any points, but you can still gather Soul Power from them, which means a well-placed eruption is often worth more Soul Power than you spent to trigger it.
Demons
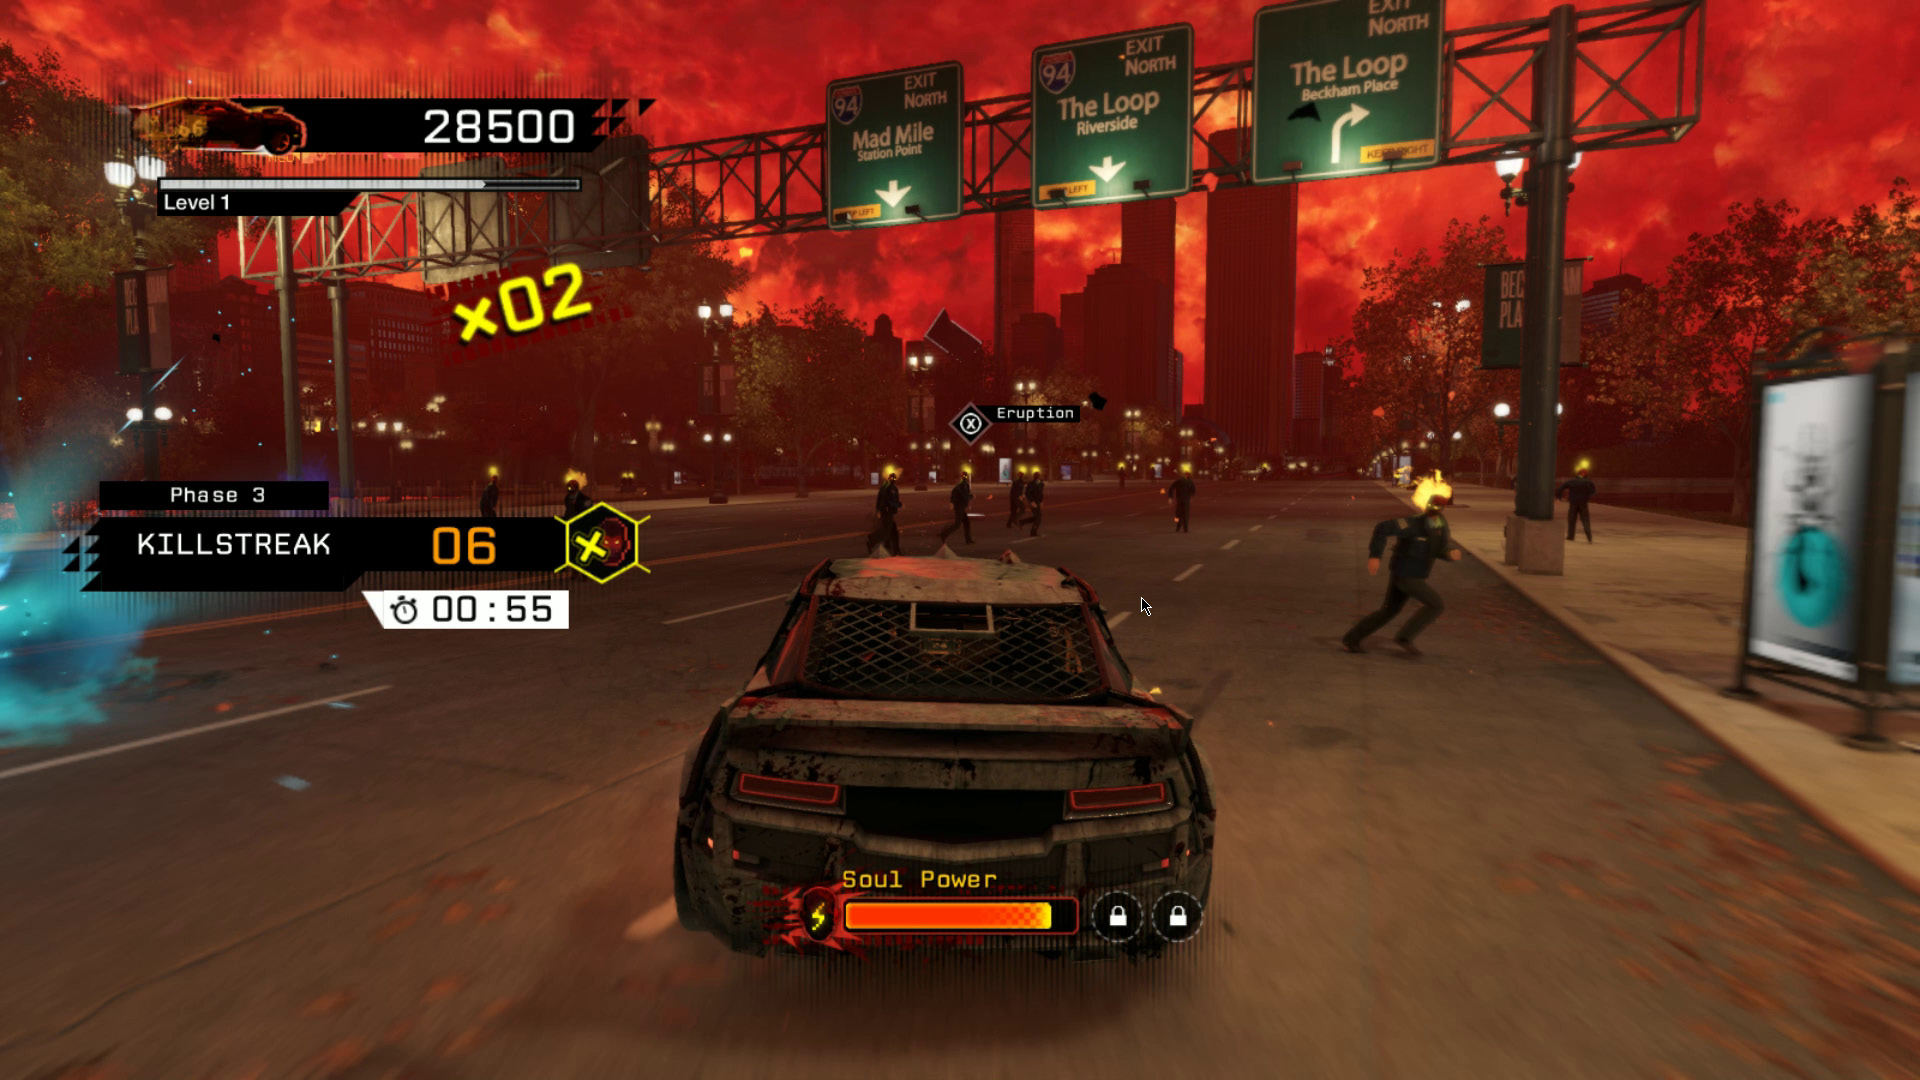
The demons in Madness’s Chicago are mindless drones, fit only to be ground underneath your tires. That said, they don’t really want to be mulched by a hell-car, and they can be startlingly evasive if they choose to be.
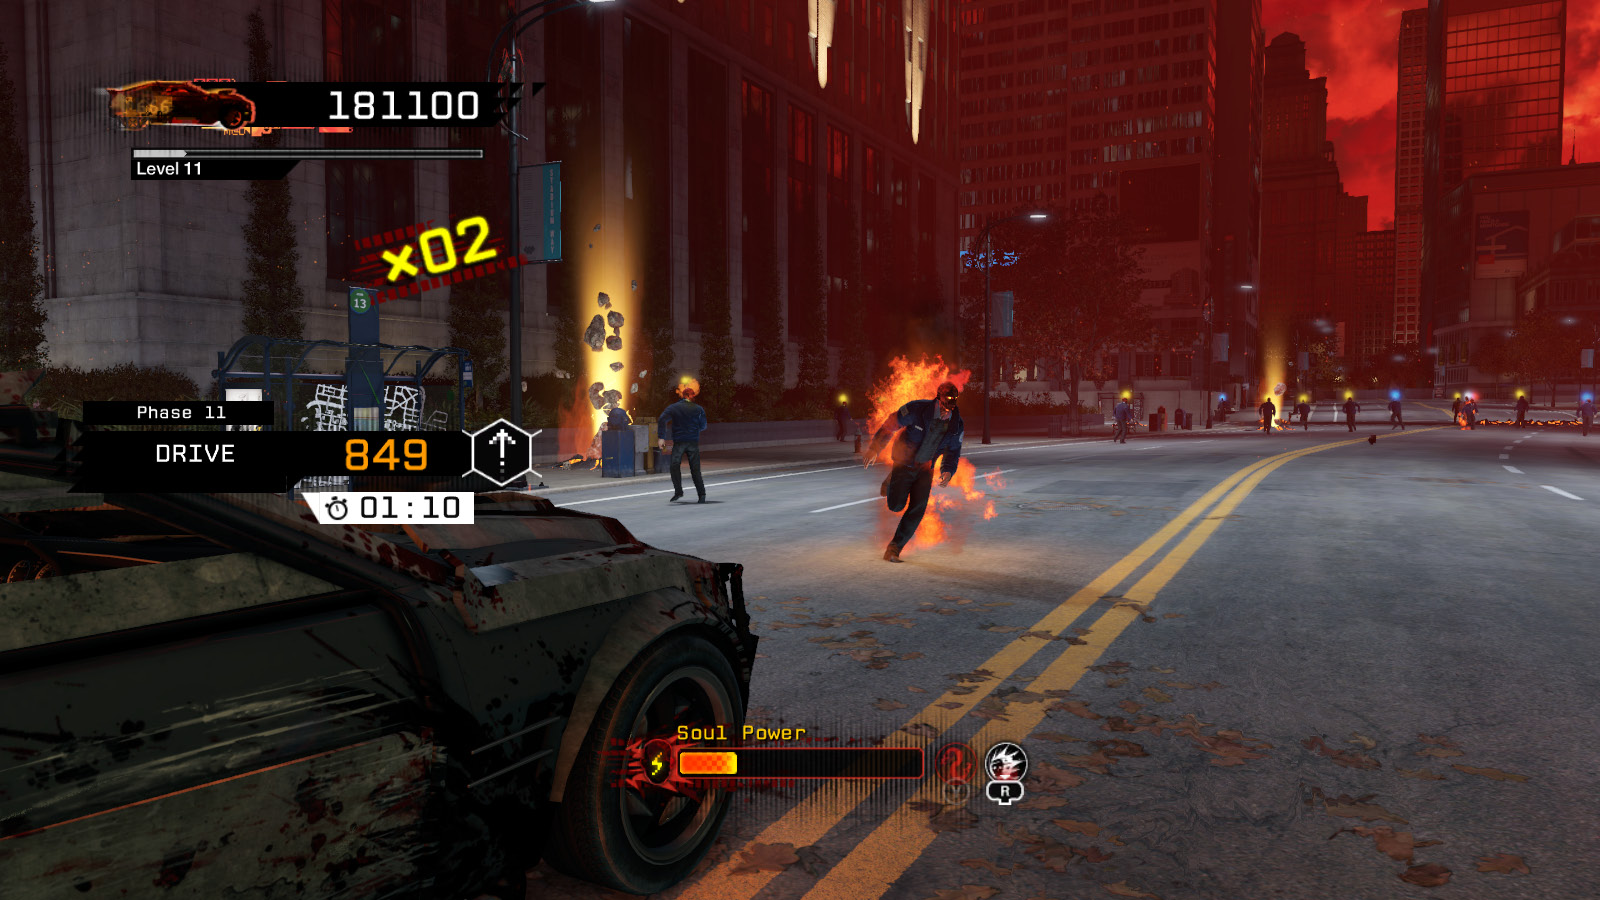
In the latter half of the game, demons are often accompanied by a flaming, soulless variant that is actively trying to run into you. These guys are basically rifts on legs and should be avoided whenever possible. Fortunately, they don’t show up during killstreak challenges.
Control Freaks
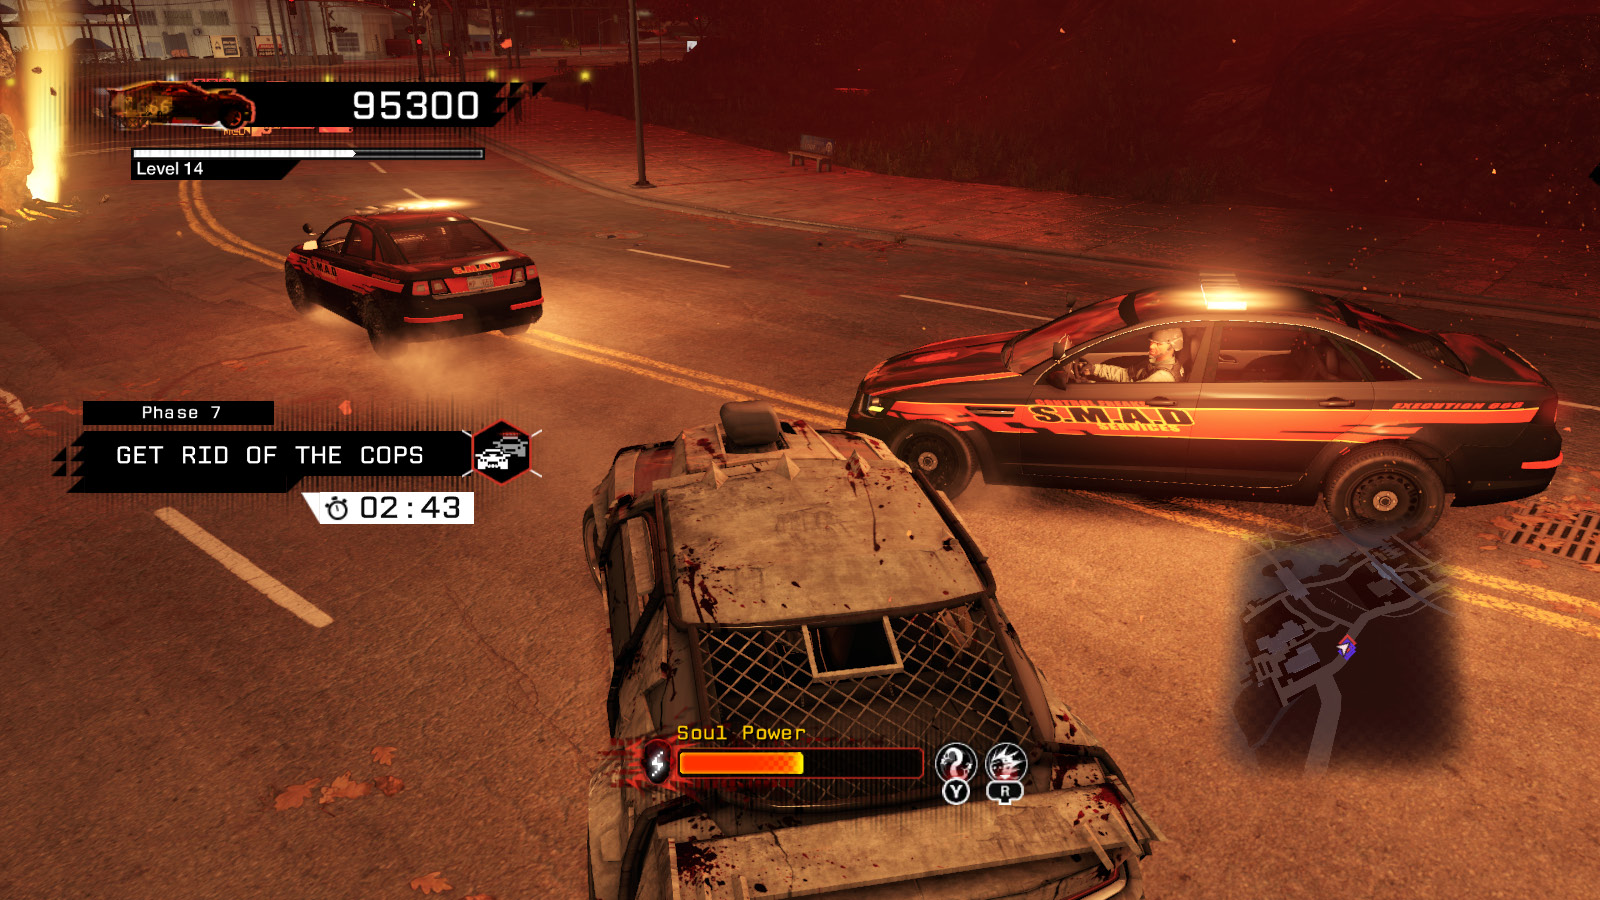
The police in Madness are referred to as the “control freaks,” and they only show up as part of a “Get Rid of the Cops” challenge. As long as you’re moving, the cops act a bit like they do in pursuits during the main game, although Madness’s cops don’t have guns.
If you stop, so do the control freaks. They actually pose no danger to you whatsoever but are somewhat difficult to destroy.
Madness Challenges
Madness takes the form of a series of consecutive challenges, called phases, set in the streets in and around the Loop. If you can complete 30 challenges, you win the game and unlock the Madness outfit.
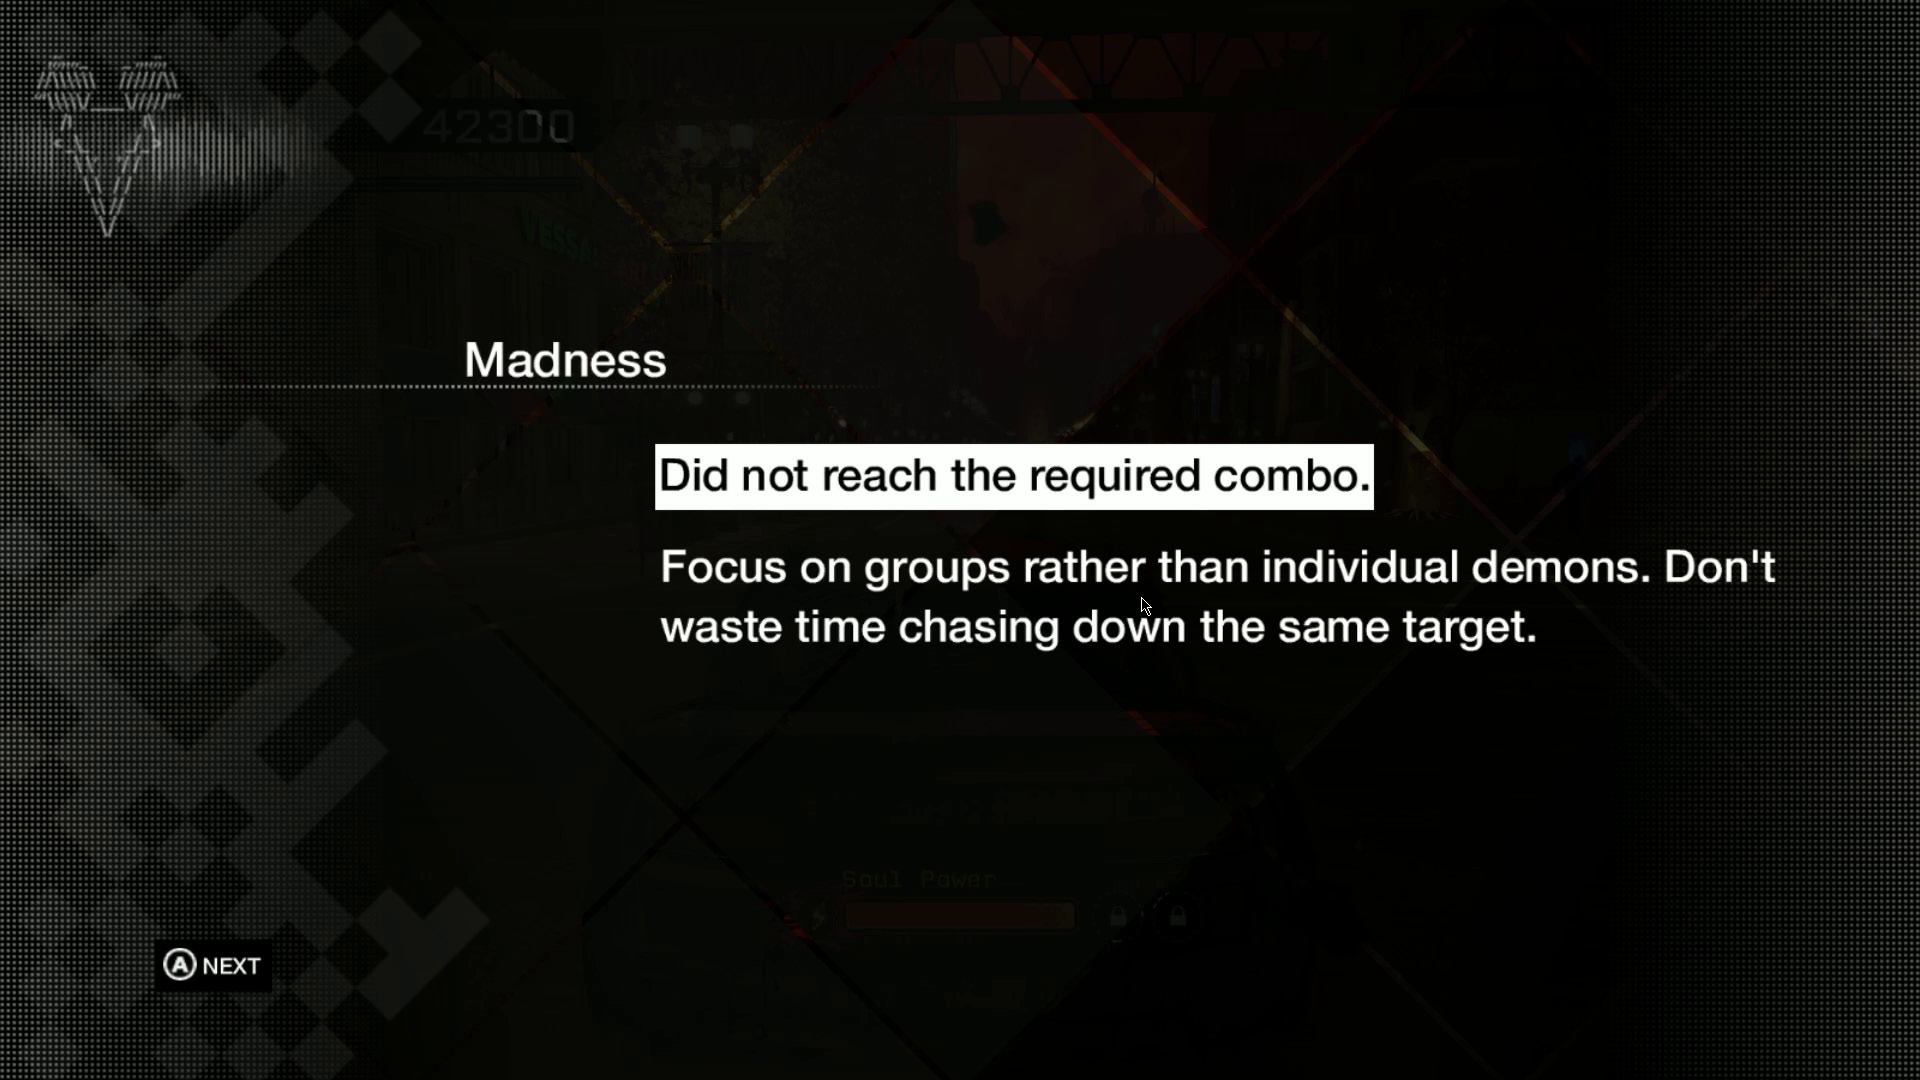
Running out of time is the only way to fail a Madness challenge. That said, it’s a real risk, as the timer is very tight until such a time as you earn enough skill points to purchase Madness Mastery. Even with that skill, later phases have high enough requirements that you’ll need a bit of luck or foresight to pull them off.
Unlike Alone and Conspiracy, where you could theoretically succeed without using skill points at all, in Madness it’s quite likely that you’ll need to make a few unsuccessful runs to gather points and buy skills before you have a realistic chance of completing it.
Harvest
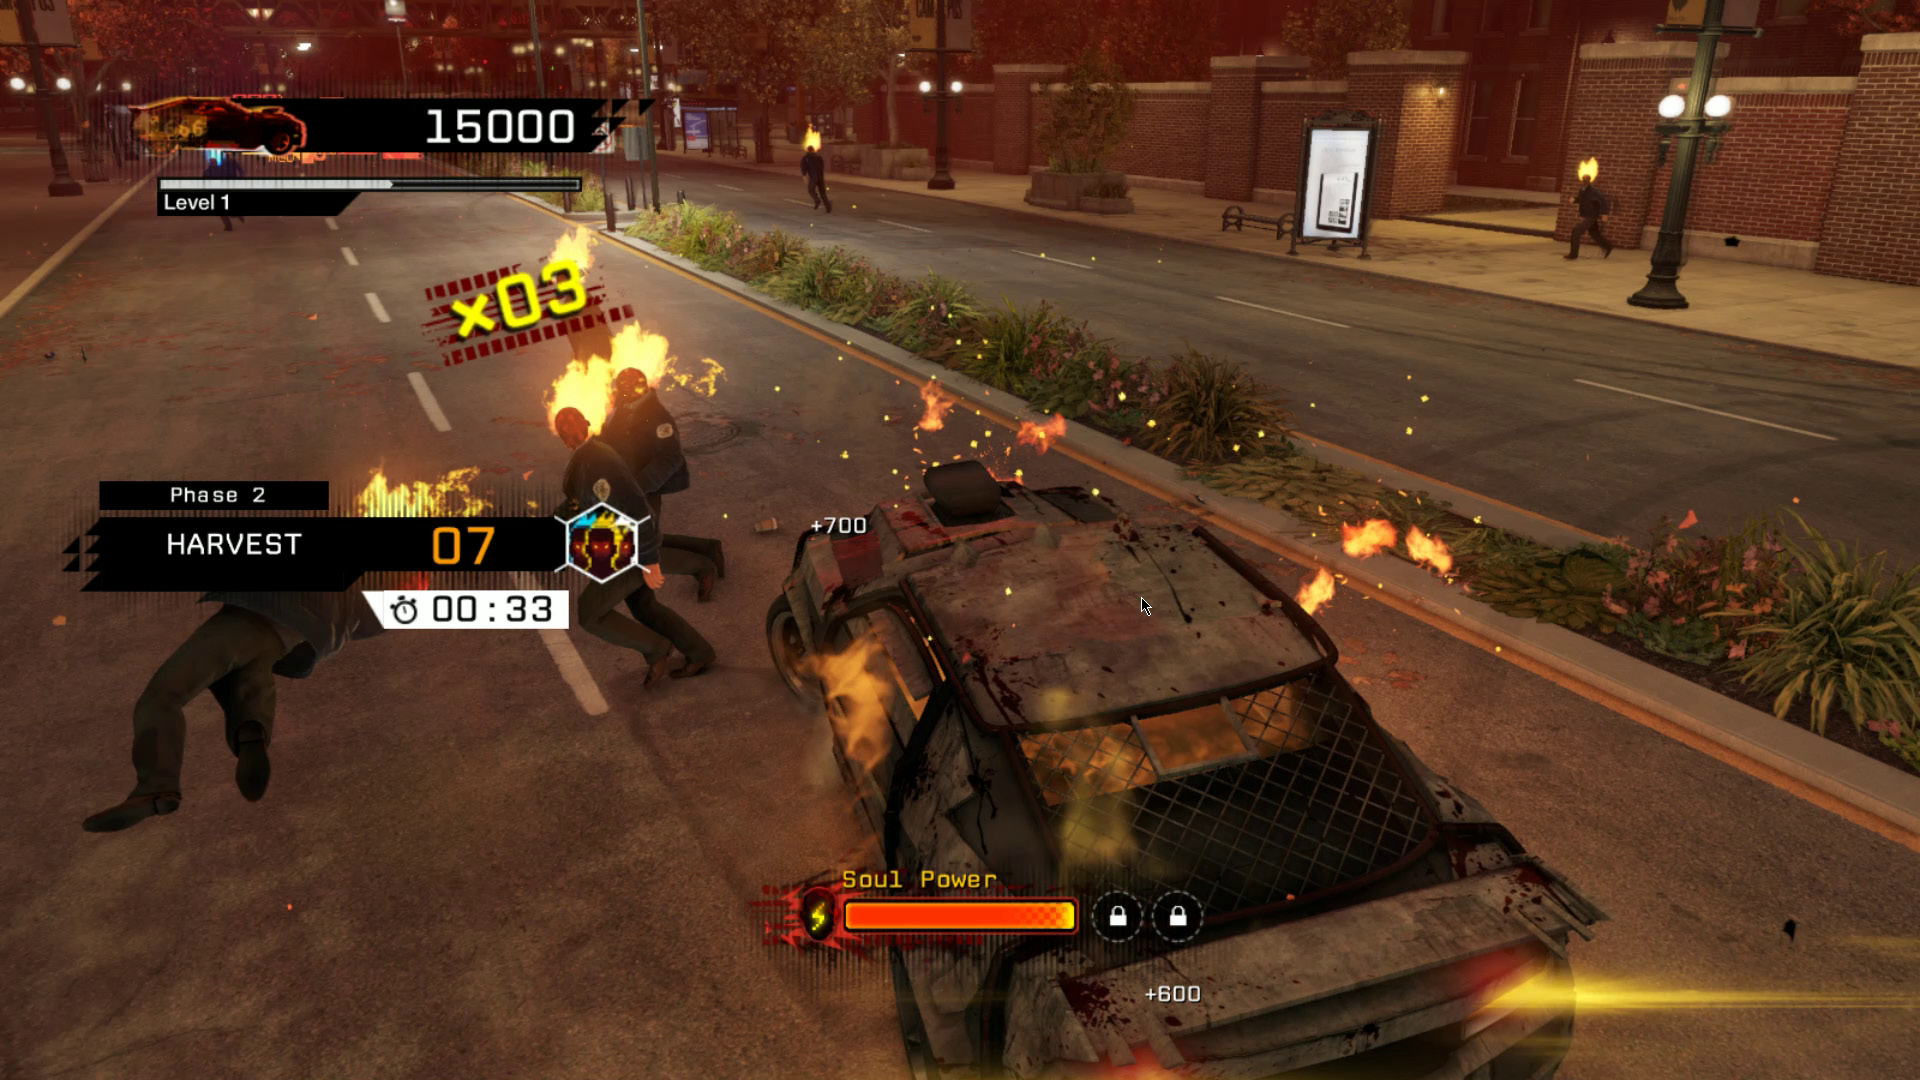
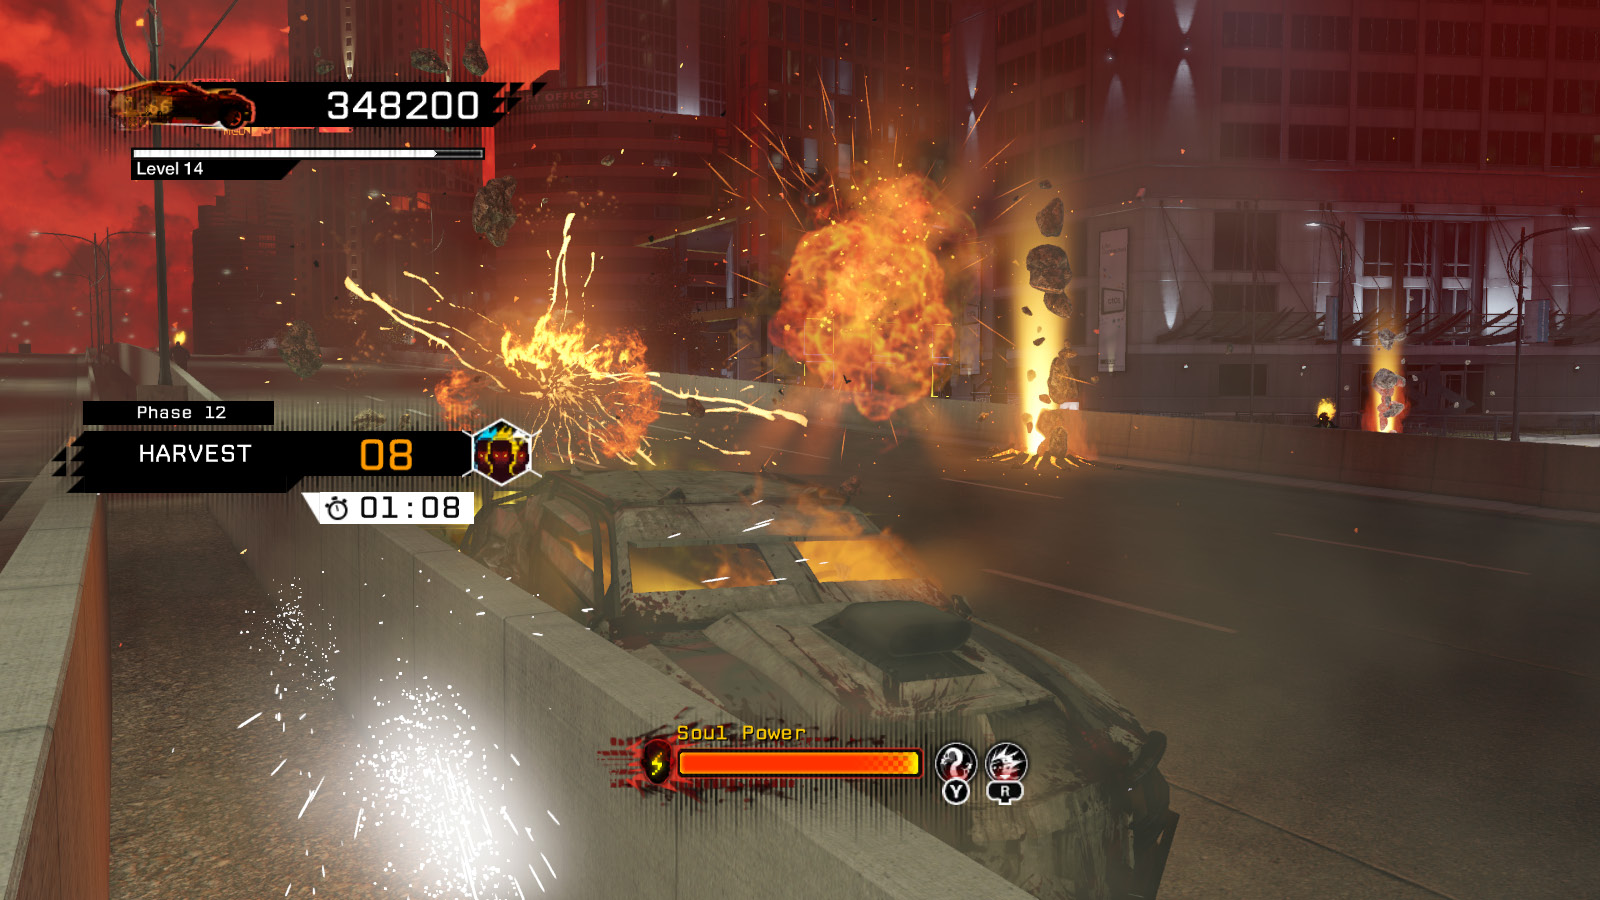
During a harvest challenge, simply kill the listed number of demons within the time limit, using your car, eruptions, Soul Blast, or Soul Shears.
Drive
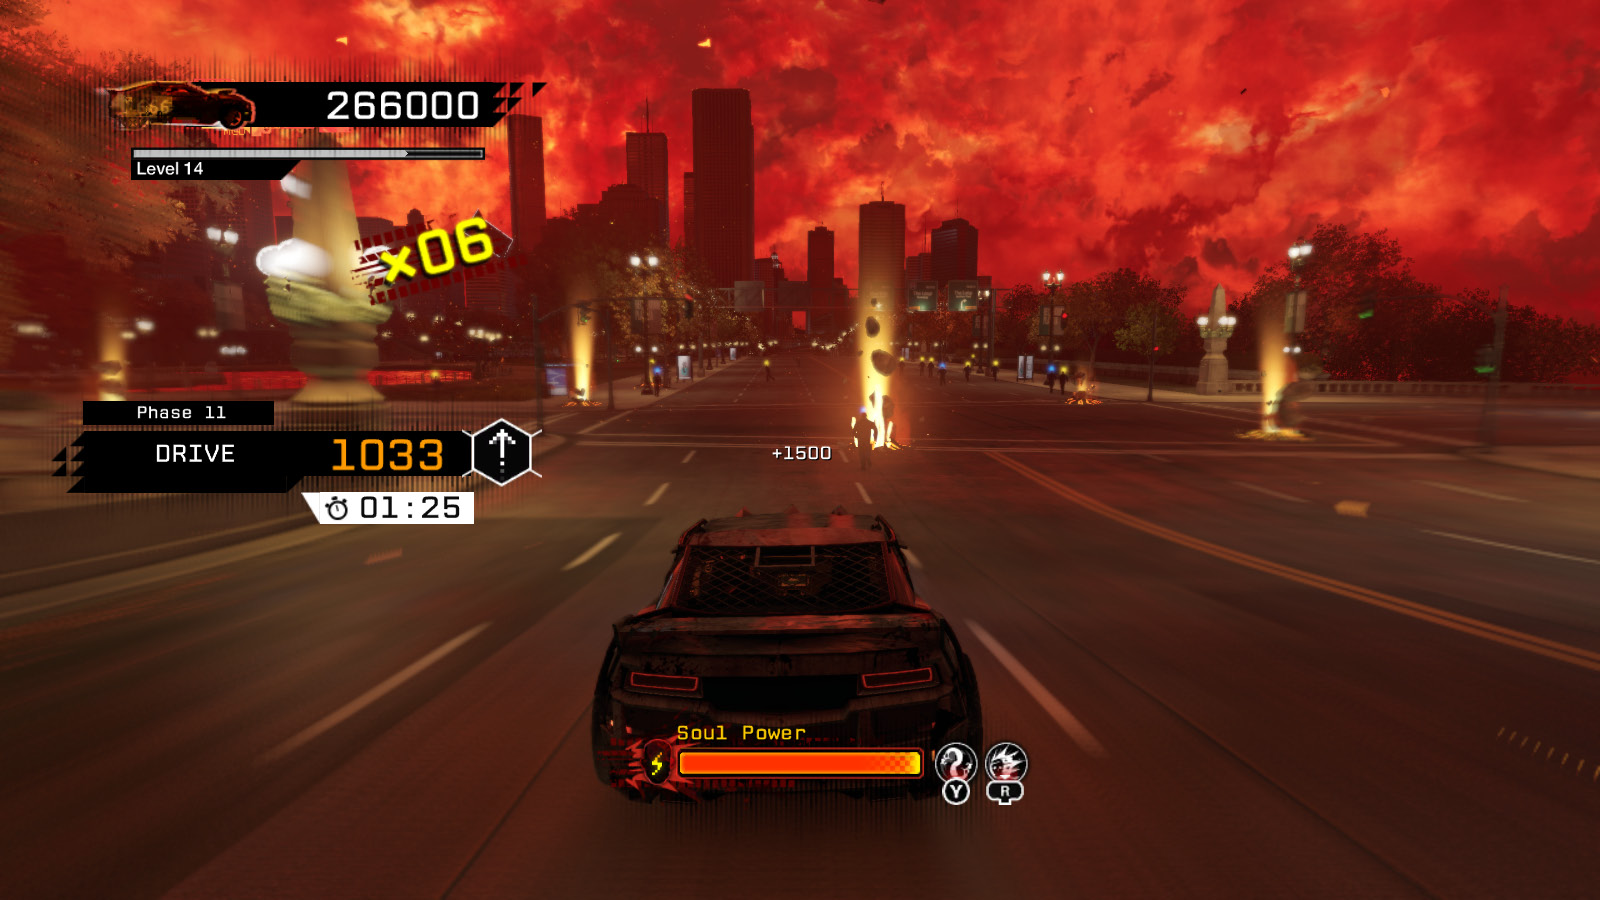
This “challenge” simply requires you to cover a set number of meters within the time limit. There isn’t much to say beyond that. It’s a chance for a breather, to refill your Soul Power or move your run to a different part of the city without having to worry about challenges along the way.
Killstreak
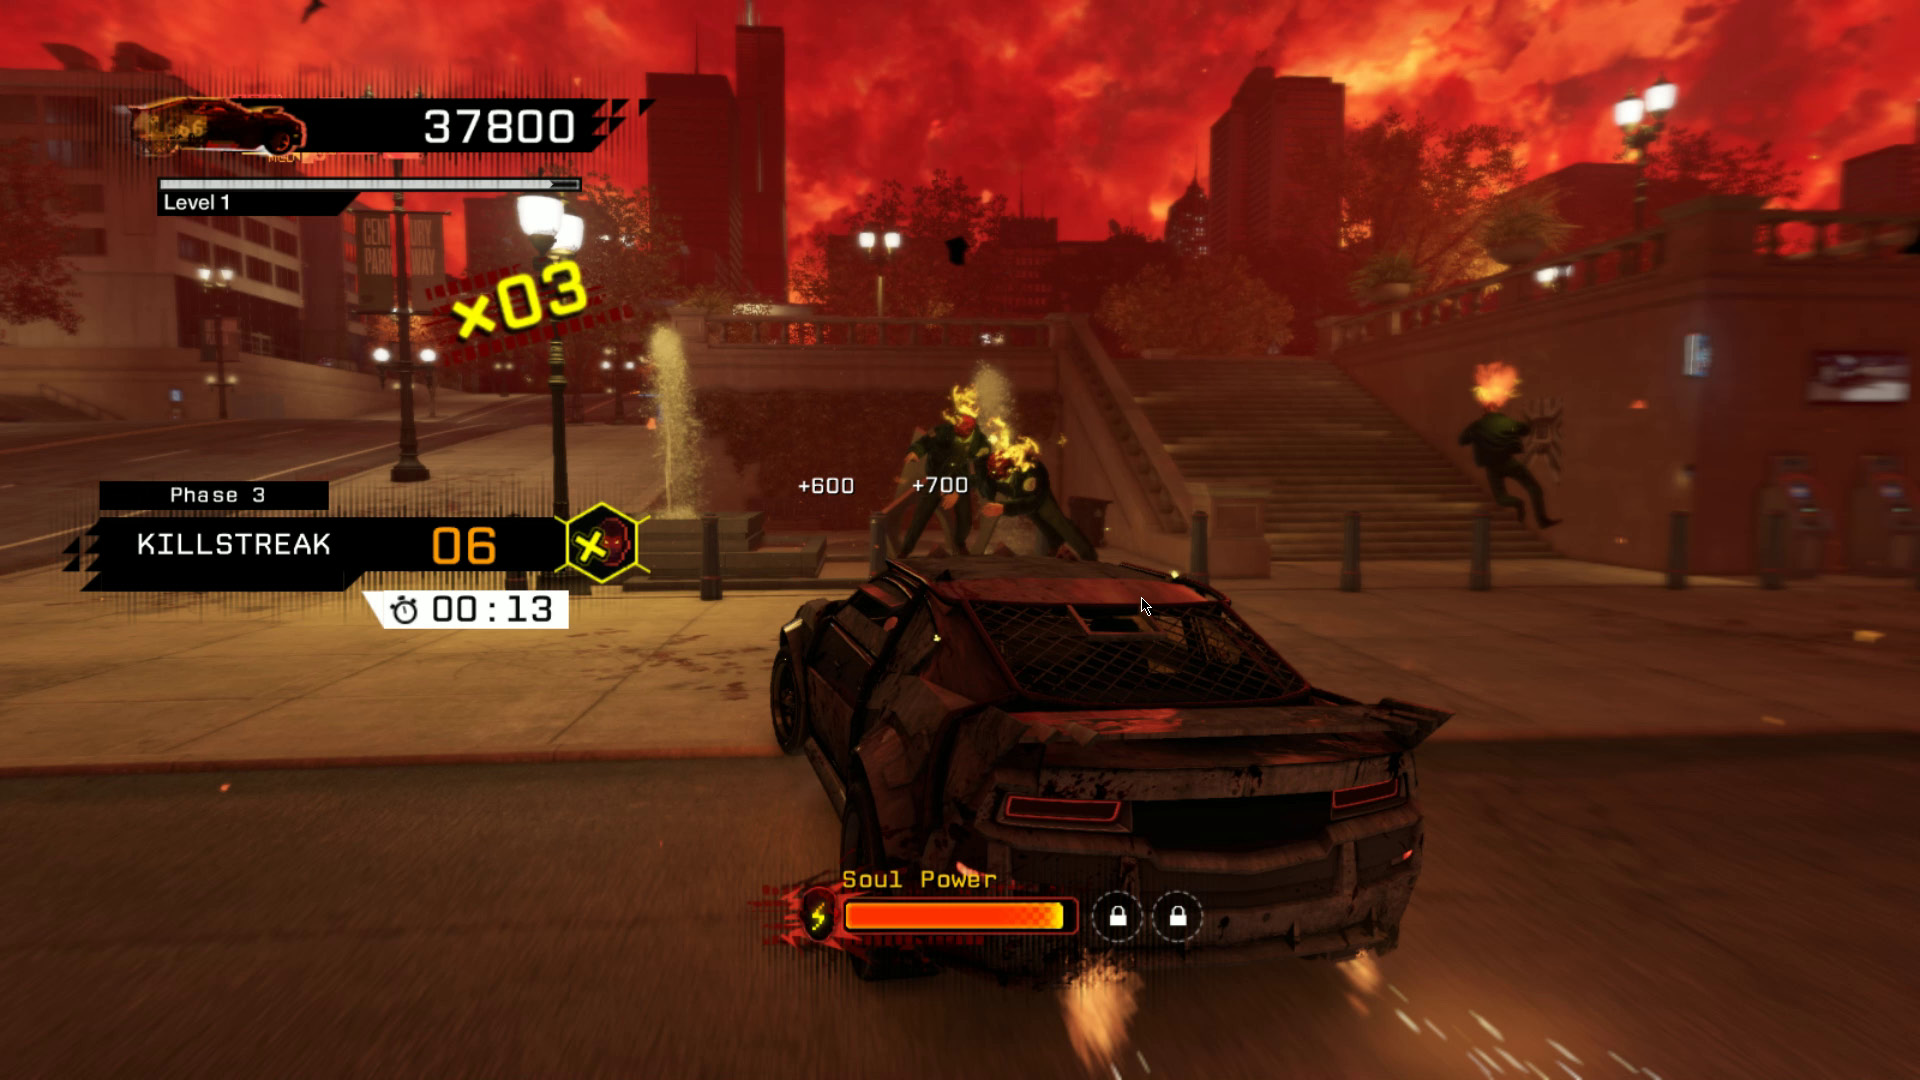
This is likely to be your white whale. Until you acquire the Combo Expert skill, killstreaks have a very short window of opportunity, which means you have to luck into a massive pack of demons in proximity to satisfy the demands of the killstreak. Combo Expert makes this simpler but does not make it trivial, so there’s bound to be an element of luck involved.
Get Rid of the Cops
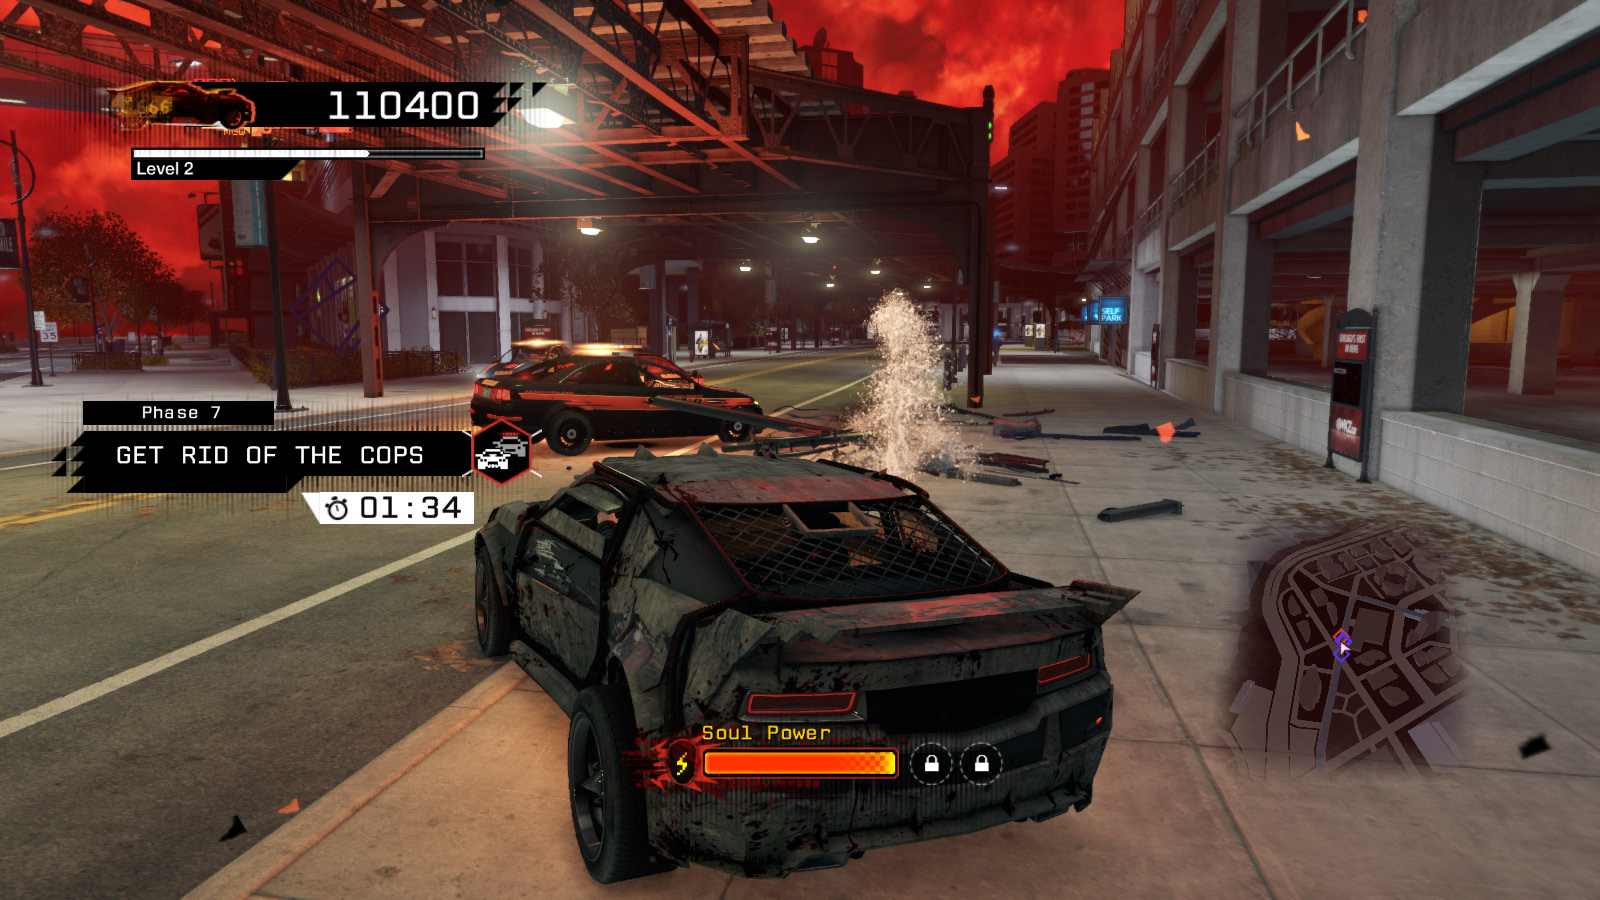
When this challenge starts, at least three cars full of freaks show up and try to run you off the road; in later phases, multiple waves of freaks show up. They don’t have guns, however, and they stop if you do. Since your car is basically indestructible, the challenge posed by the control freaks is being able to successfully destroy all their cars before time runs out, which can be trickier than it sounds.
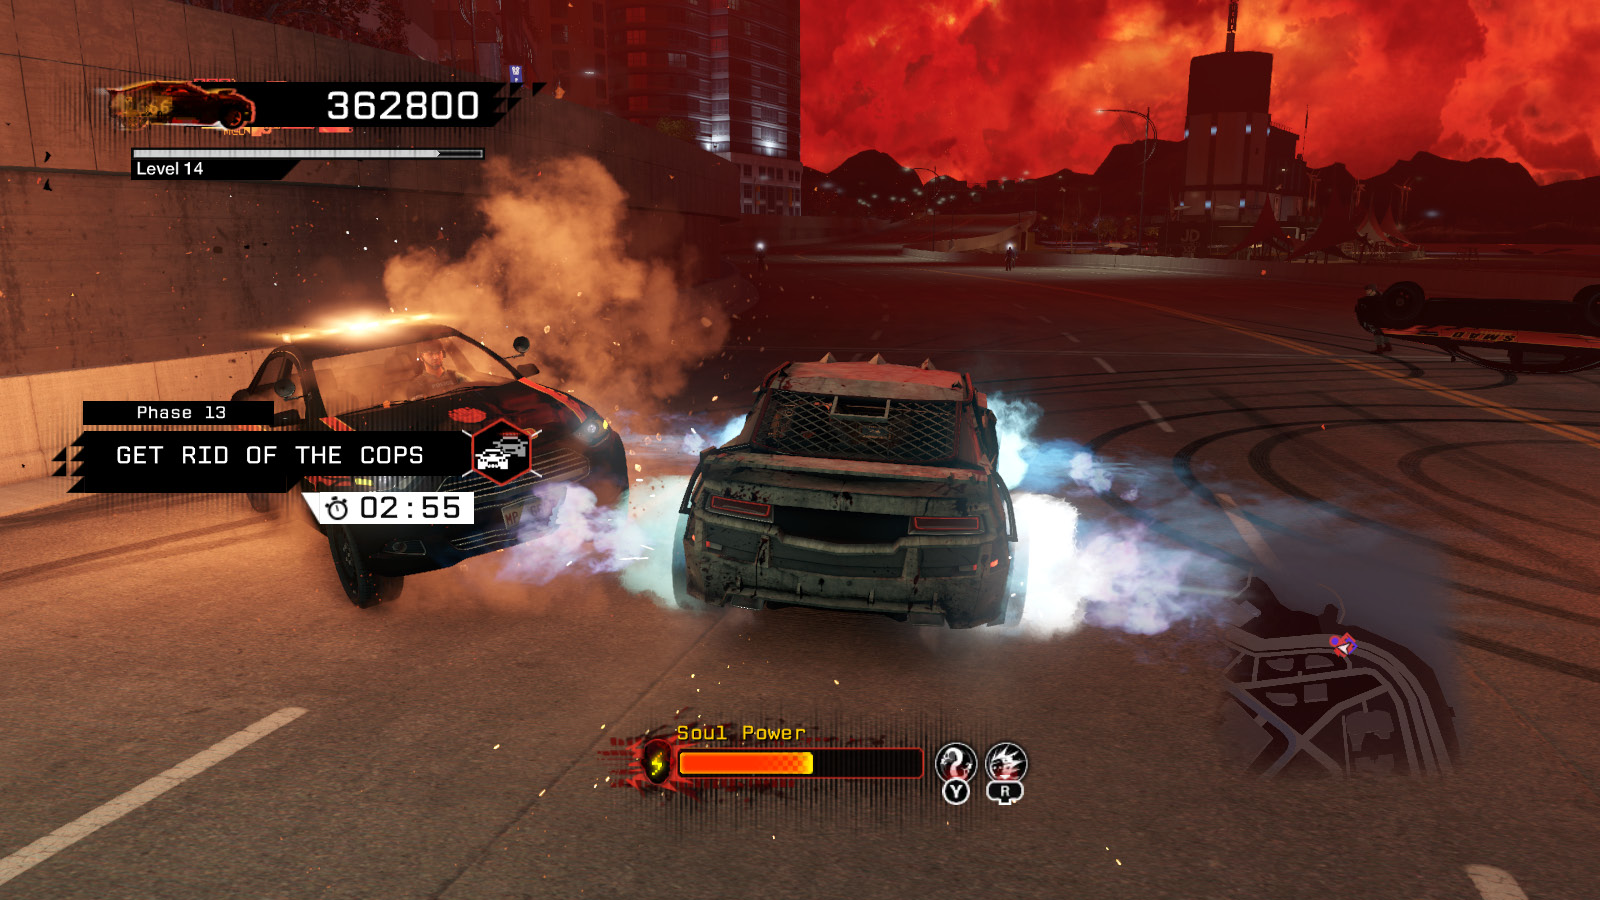
The police cars are very durable if you’re forced to use your car on them, and very fragile if you do anything else. Eruptions can neutralize them in much the same way as you use steam pipes against pursuers in the main game, but the real key to success is to gather a full bar of Soul Power, then wade into them with Soul Shears going. Using Soul Shears vastly augments the damage you do by ramming a target, so one hit will cause a control freak’s car to explode.
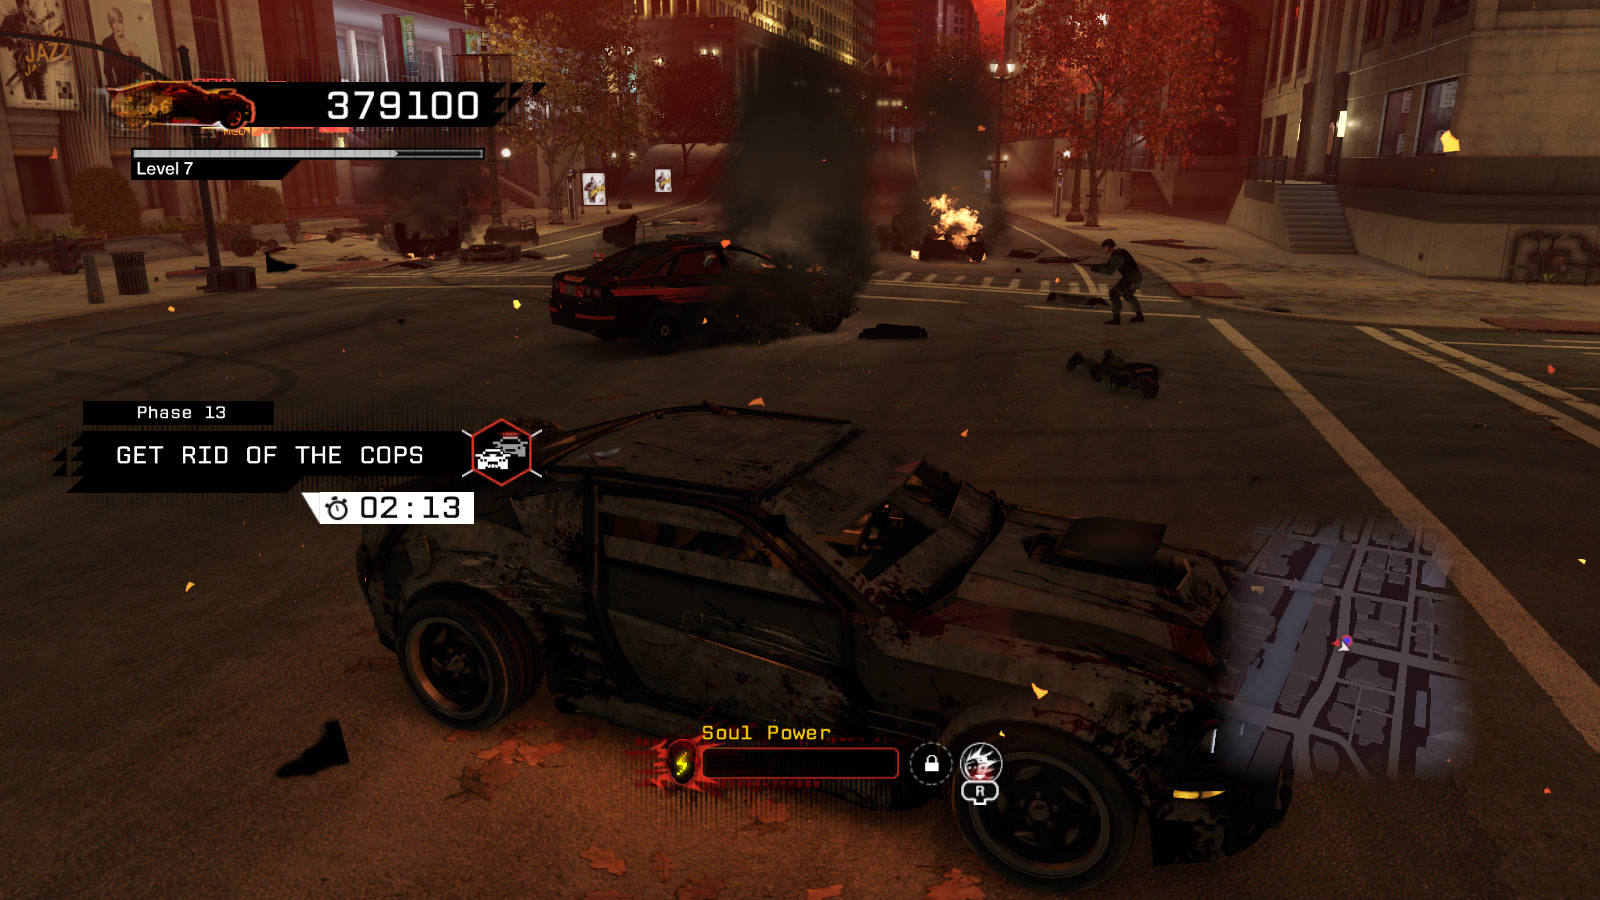
If you manage to roll a police car onto its side or roof, its driver gets out and stands still. It’s easy to forget he’s there in the middle of a pitched vehicular battle, but you must deal with all cops, including ones on foot, to pass the challenge.
Madness Skill Tree
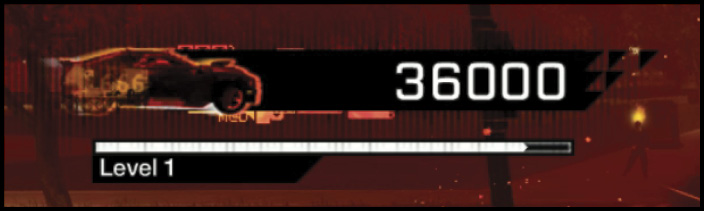
Every time you kill a demon, you receive a small amount of experience towards your next level. When you level, you receive a skill point to spend on Madness’s skill tree. The more demons you kill, the faster you’ll level.
| Category | Skill | Cost/Prerequisite | Effect |
|---|---|---|---|
| Mastery | Expert Driver | 1 | Improves your car's grip and acceleration. |
| Master Driver | 1/Expert Driver | Improves your car's top speed. | |
| Combo Expert | 1 | You get a few more seconds between kills before your Killstreak expires. | |
| Combo Master | 1/Combo Expert | You receive double points from combos. | |
| Madness Mastery | 1/Combo Master | You receive double the time to complete each challenge. | |
| Beta Wave Emitter | 1/Alpha Wave Emitter | The stun now lasts a full 10 seconds. | |
| Powers | Improved Eruption | 1 | It no longer costs Soul Power to trigger eruptions. |
| Eruption Mastery | 1/Improved Eruption | Eruptions do double damage and cover twice the area when they explode. | |
| Soul Blast | 1 | Fires an energy blast from the front of the car that destroys whatever it hits and penetrates through both enemies and solid objects. | |
| Improved Soul Blast | 1/Soul Blast | Soul Blast costs half as much Soul Power to use. | |
| Soul Blast Mastery | 1/Improved Soul Blast | Soul Blast's size is doubled. | |
| Soul Shears | 1 | Push a button to deploy energy blades from your car's tires. They remain until deactivated or until all Soul Power is exhausted. | |
| Soul Shears Mastery | 1/Soul Shears | Soul Shears use 50 percent less Soul Power. | |
| Souls | Demonic Power | 1 | Increases your Soul Power gauge by 25 percent. |
| Harvester | 1/Demonic Power | Increases your Soul Power gauge by 50 percent. | |
| Soul Devourer | 1 | You receive 50 percent more Soul Power each time you gather a demon's soul. | |
| Armored Car | 1/Soul Devourer | The amount of Soul Power lost when you collide with rifts and other obstacles is reduced by half. |
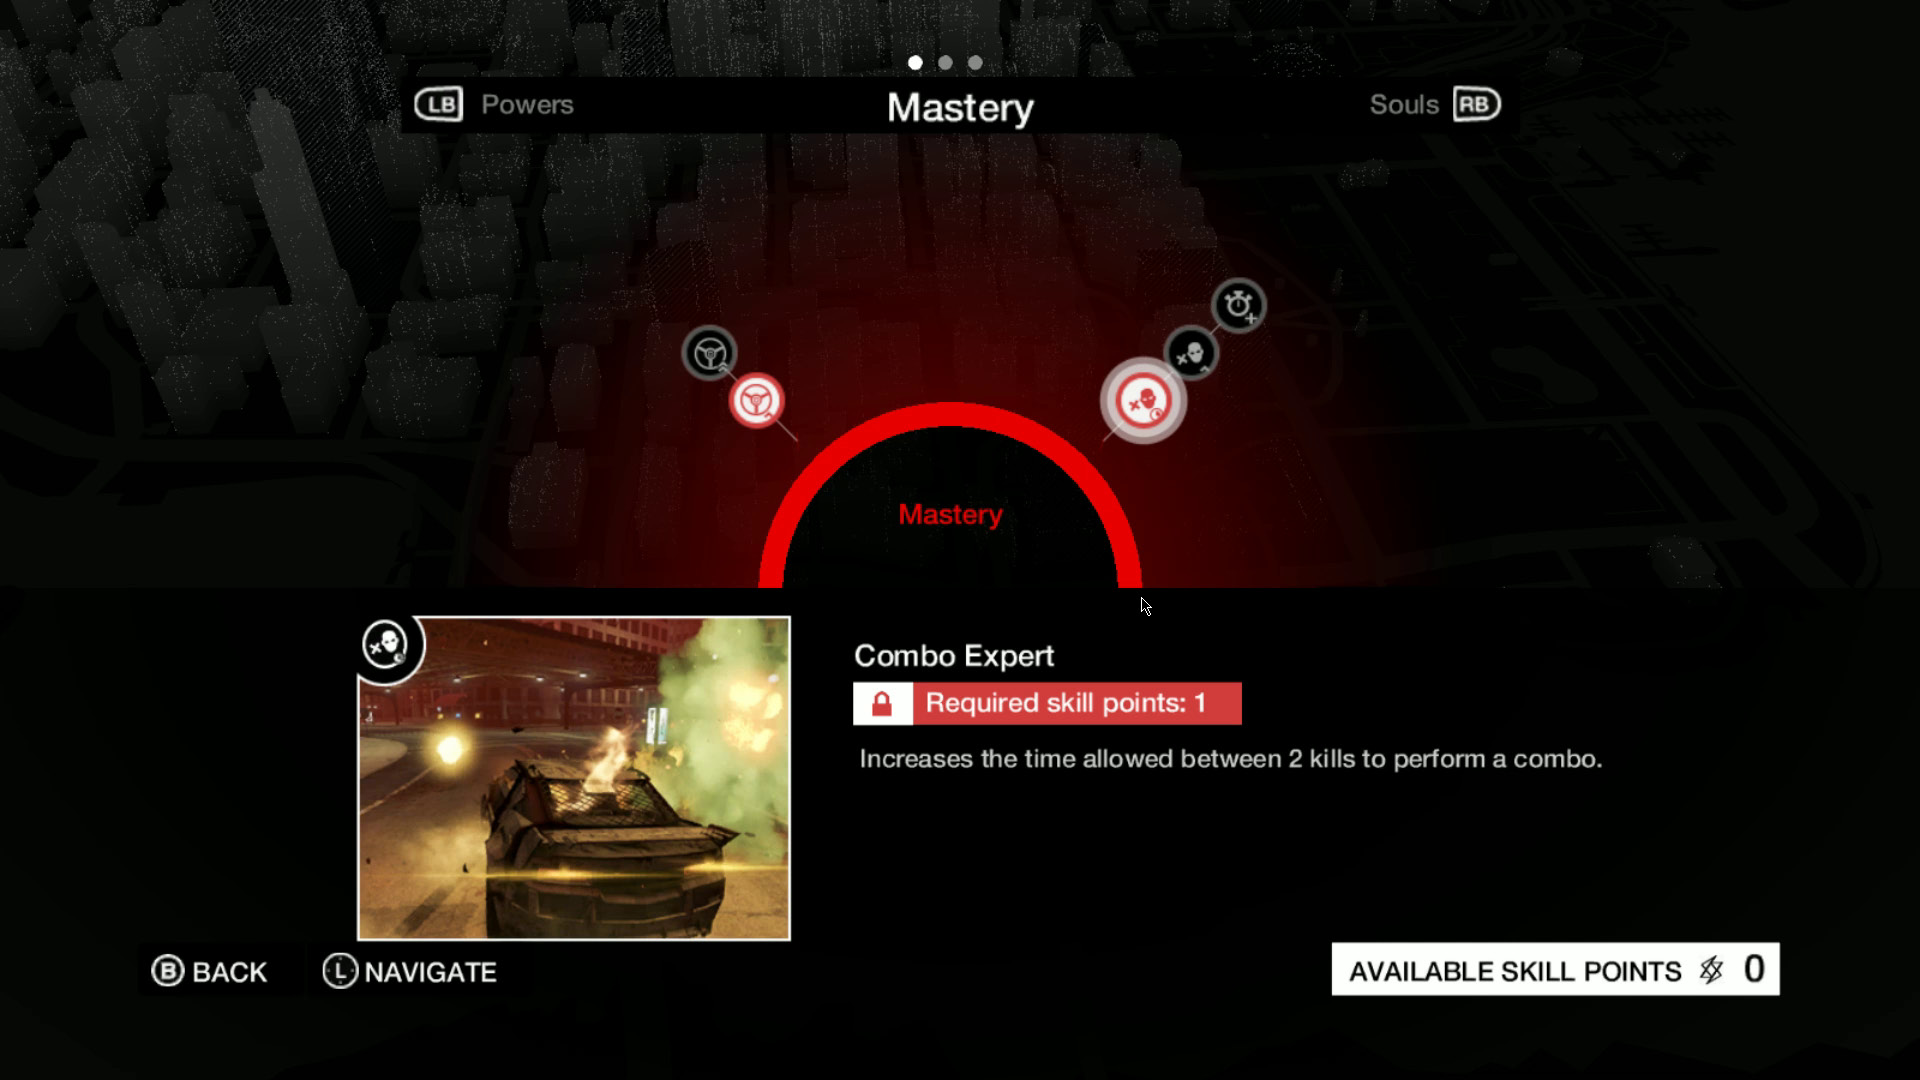
For early success, invest in Combo Expert and subsequent powers, as killstreaks are deceptively difficult unless you luck into getting them in exactly the right parts of the city. Once you fill out that tree and reach Madness Mastery, the rest of the game becomes much easier, as you don’t have to worry quite so much about each challenge’s timer.
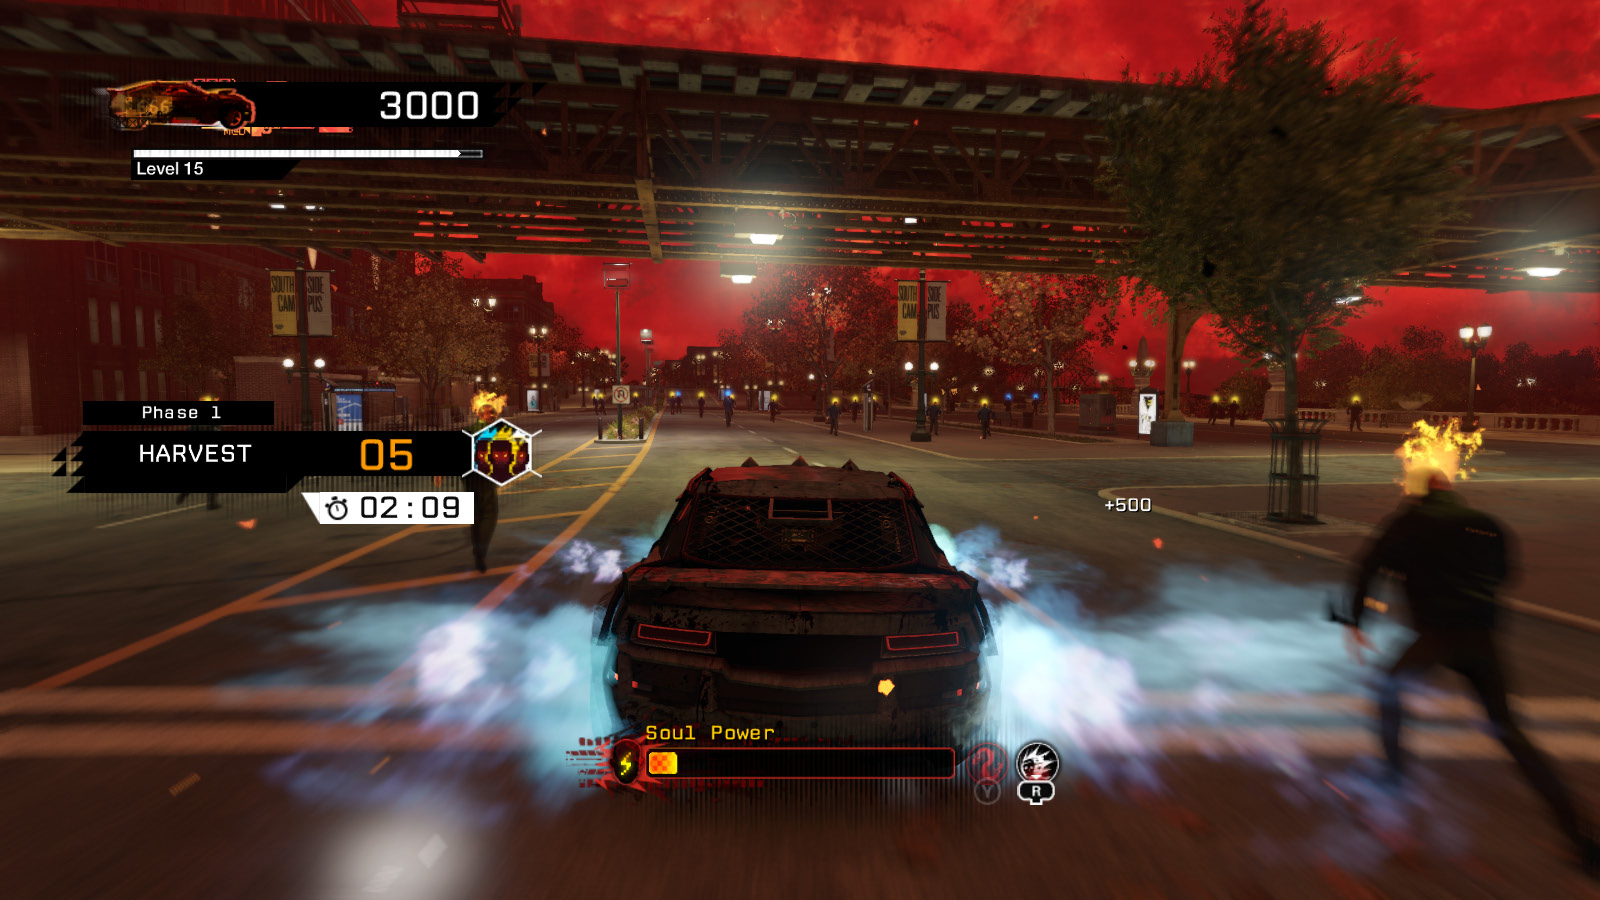
The Soul Shears skill is very useful early on, as you can control how much or little Soul Power you spend and they provide a massive boost to the lethality of your car.
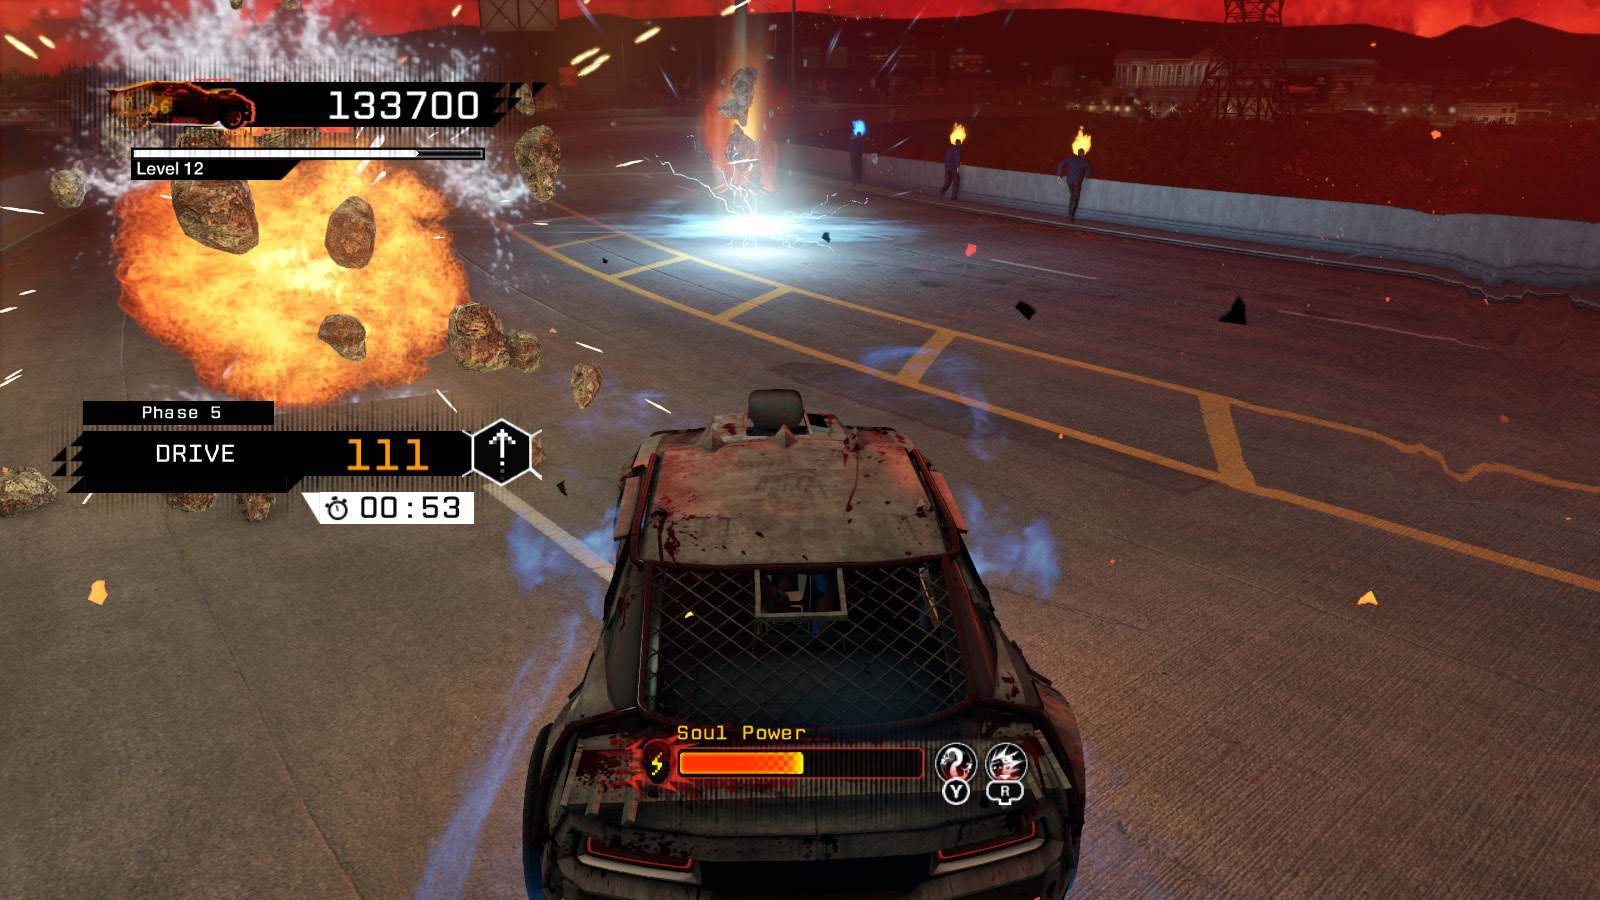
Soul Blast may look like an attractive option, but it’s got a host of drawbacks that make it much less effective than it may initially appear to be. At its first rank, the blast consumes an entire bar of Soul Power in exchange for a wide-range burst that goes in a straight line ahead of you, destroying whatever it touches. This is useful for taking out cop cars and clearing out rifts, but the blast doesn’t add to killstreaks, which means it’s useless for its most obvious possible application. Once you have Soul Blast Mastery, the power comes into its own and is great for the later harvest challenges where you need to kill 30 demons or more.
Tips
- Stick to the roads. You can go flying around the side streets and pedestrian walkways to your heart’s content, but there are few if any demons there.
- You can preemptively retract Soul Blades to save on Soul Power.
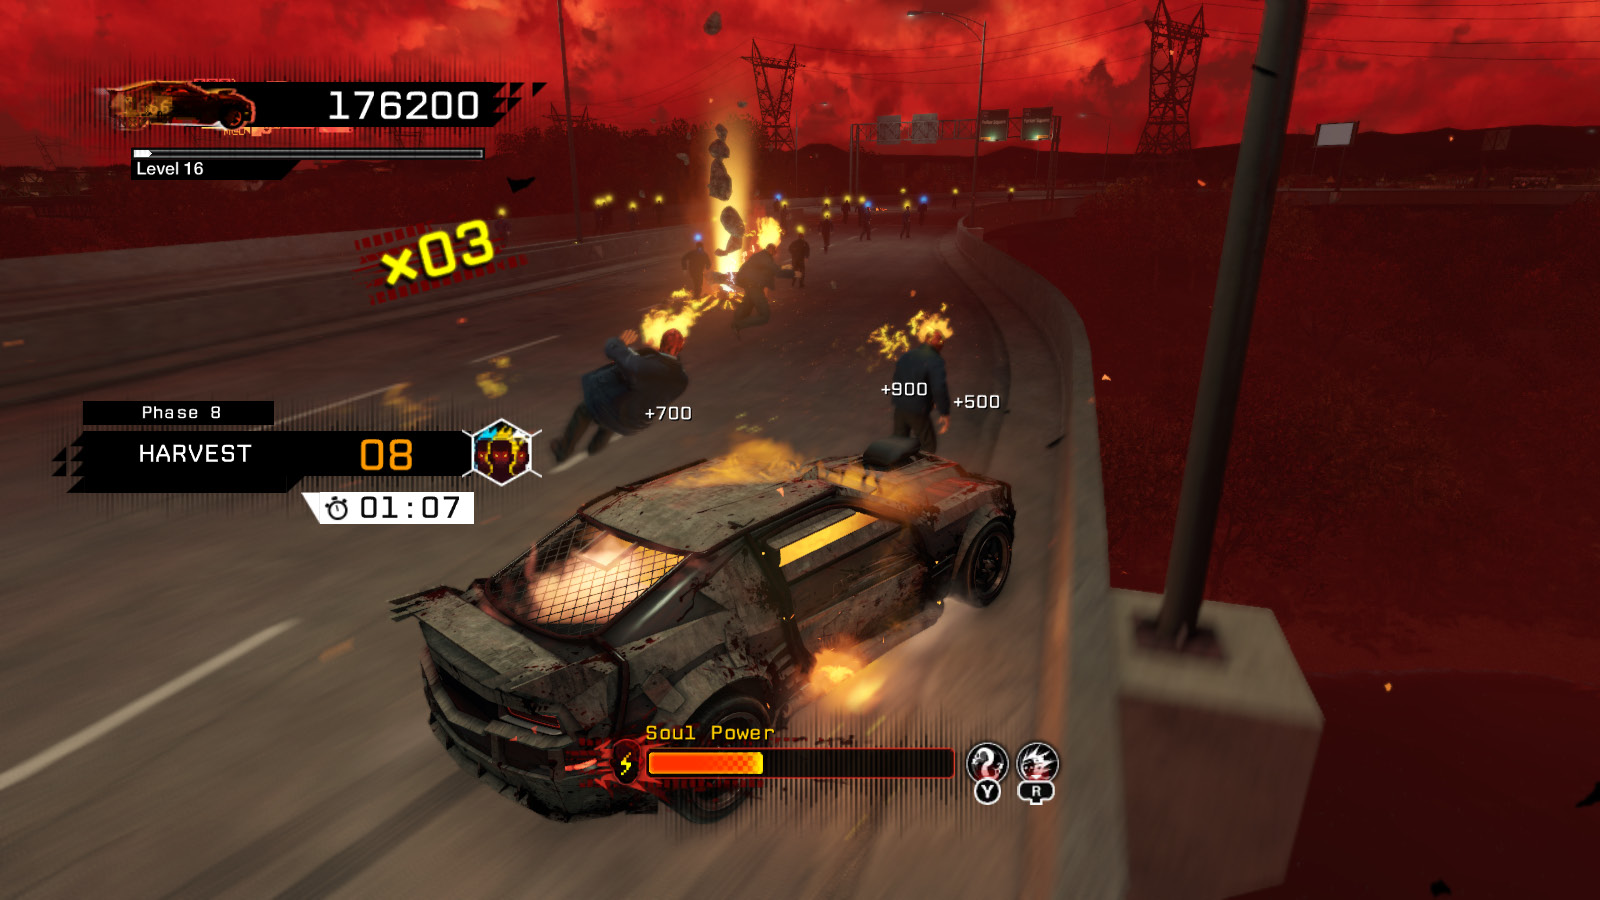
- It’s easiest to complete Madness if you spend most of your time on the freeway along the southern half of the Loop. You lose out on being able to trigger eruptions, but there are enough demons on the freeway close to each other that it’s easy to string together long killstreaks.
- Once you’ve fully augmented your Soul Blast, it’s very useful for destroying rifts and control freaks. Just make sure you don’t accidentally blow away a crowd of demons that you were planning to run over.
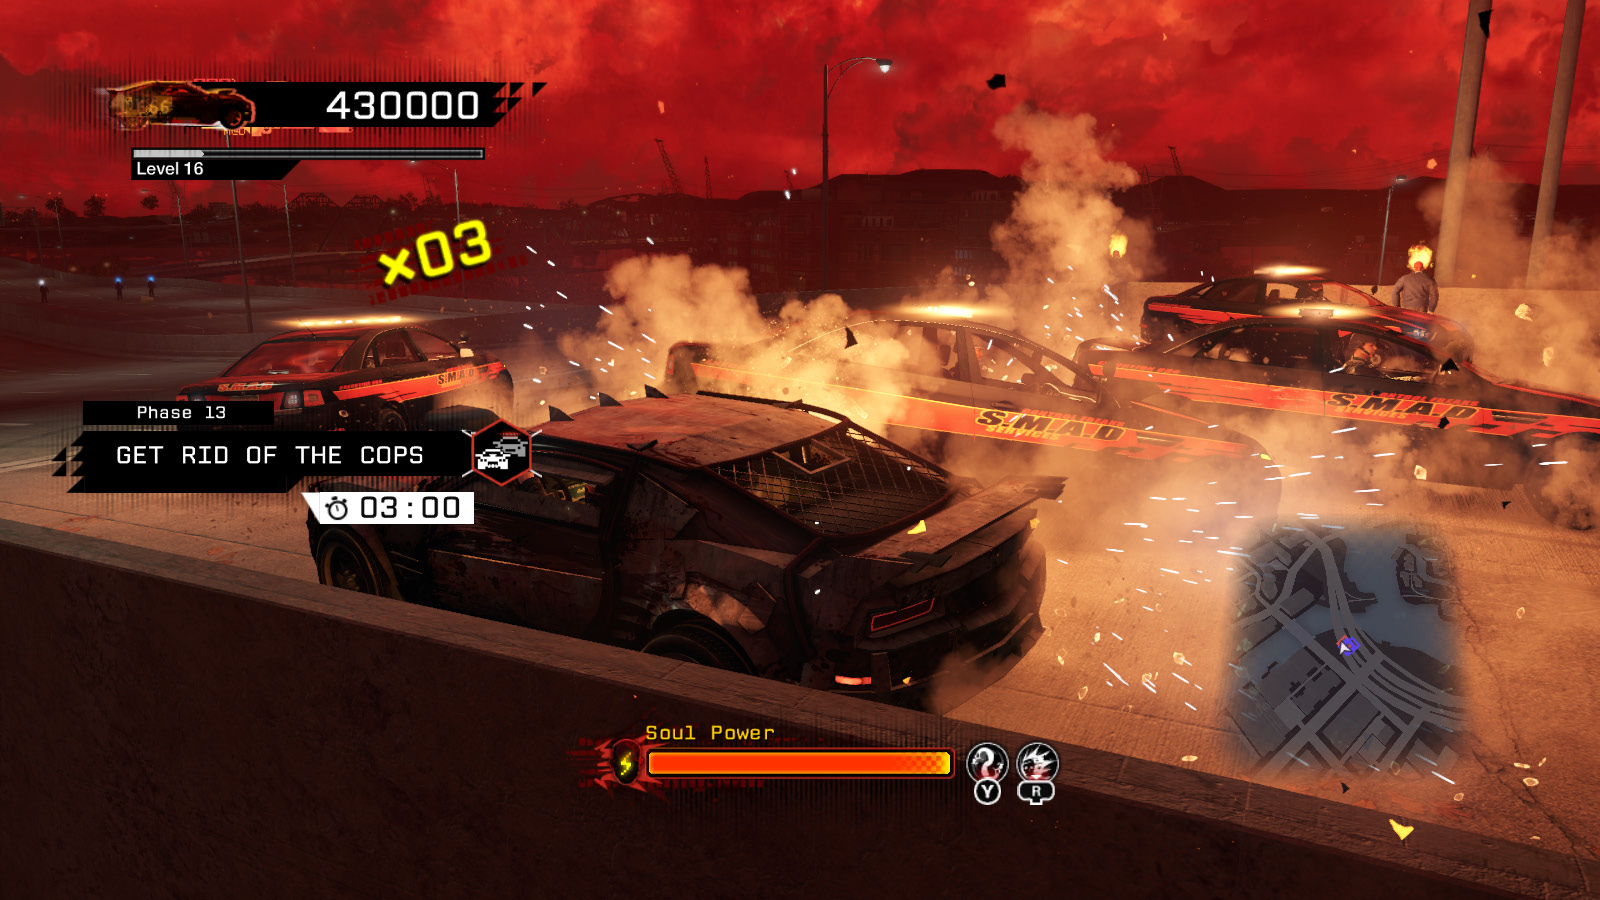
- If you’re trying to ram a control freak’s car to death, watch its lights and your radar. It’s easy to waste time by accidentally pummeling a car that the game already considers destroyed; if its lights are off and it’s not on your radar anymore, the job is done.
PSYCHEDELIC
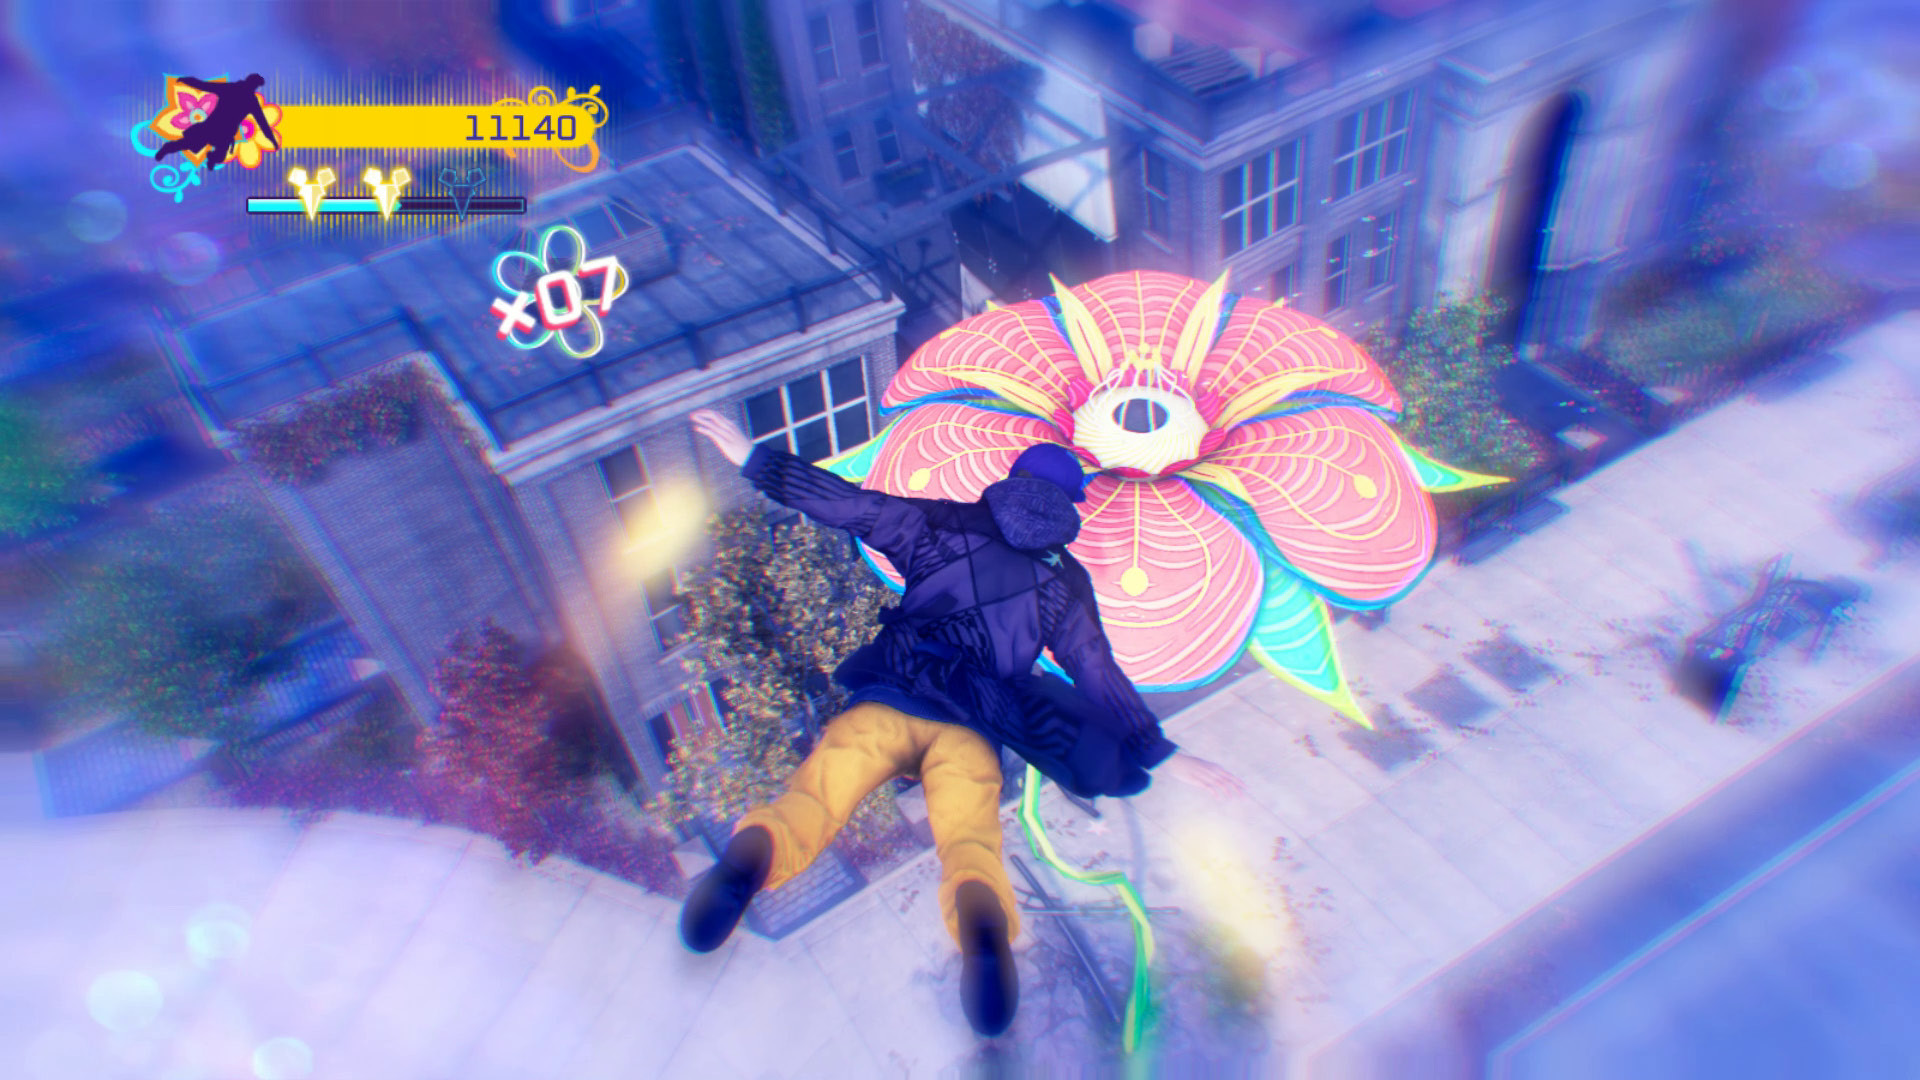
Defalt’s lone concession to non-apocalyptic gameplay, Psychedelic isn’t quite like anything else in the game. At the start, you’re flung merrily into the air, and your goal is to stay aloft for as long as possible by bouncing off of the massive, colorful flowers that sprout in your path.
Use the left thumbstick to control your momentum and steer yourself from flower to flower. You get a fresh burst of speed whenever you hit a new flower, and landing precisely on the center of a flower is worth bonus points.
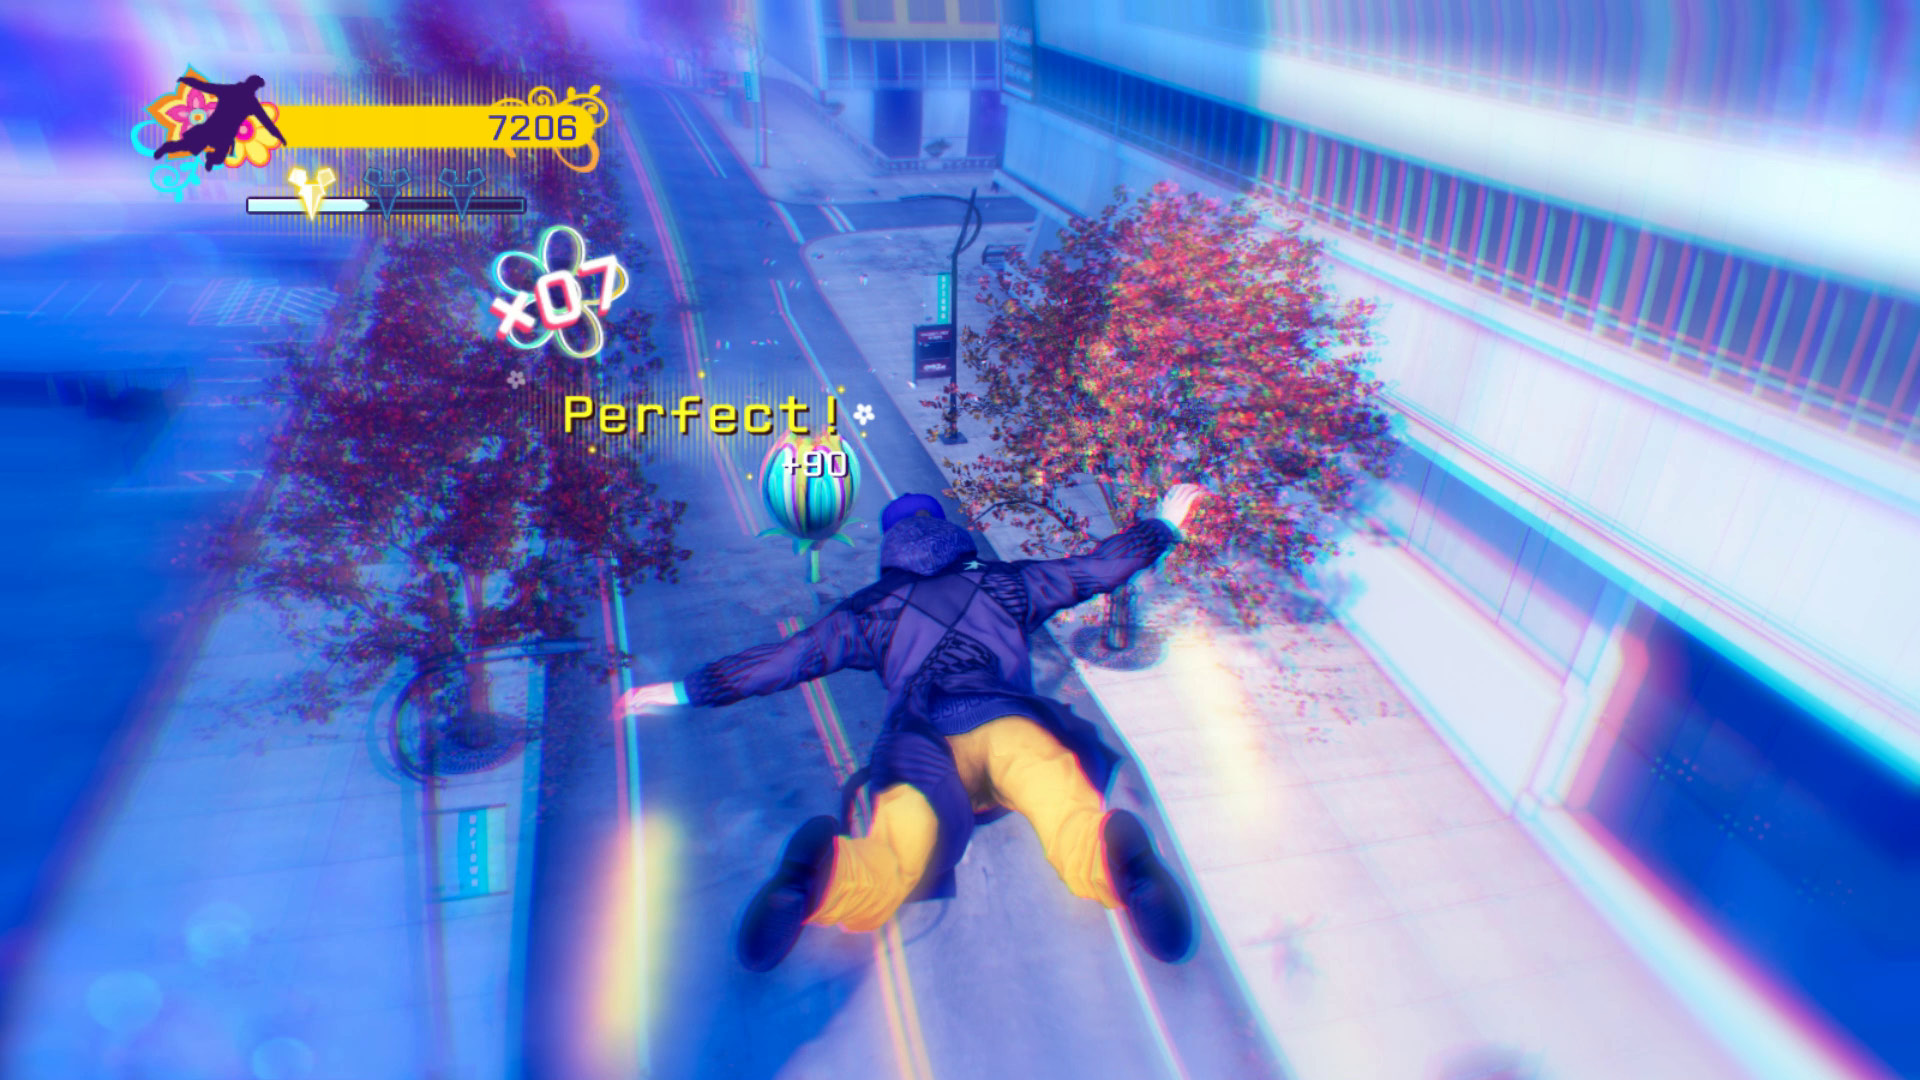
Each flower you hit in sequence gives you a gradually higher score multiplier. If you screw up and hit the ground, your multiplier goes back to zero.
Each stage in Psychedelic has branch points where you can pick different routes to take, but the routes themselves do not change. It’s quite possible to memorize the pattern and get through the game that way.
Psychedelic is deceptively simple in a way that defies explanation. It’s strictly a test of your coordination and perception, and it doesn’t have an associated skill tree. The only way to get through it is simply to practice it until you succeed.
Once you unlock and complete all 18 of Psychedelic’s levels, you unlock its associated costume for Aiden.
Tips

- Give yourself time to learn. Psychedelic has a different rhythm to it than not only the other digital trips but everything else in Watch_Dogs. After you’ve spent some time with it, it will suddenly click and you’ll make progress quickly, but those initial attempts can be frustrating.
- Be subtle. Small adjustments to your trajectory have a major impact.
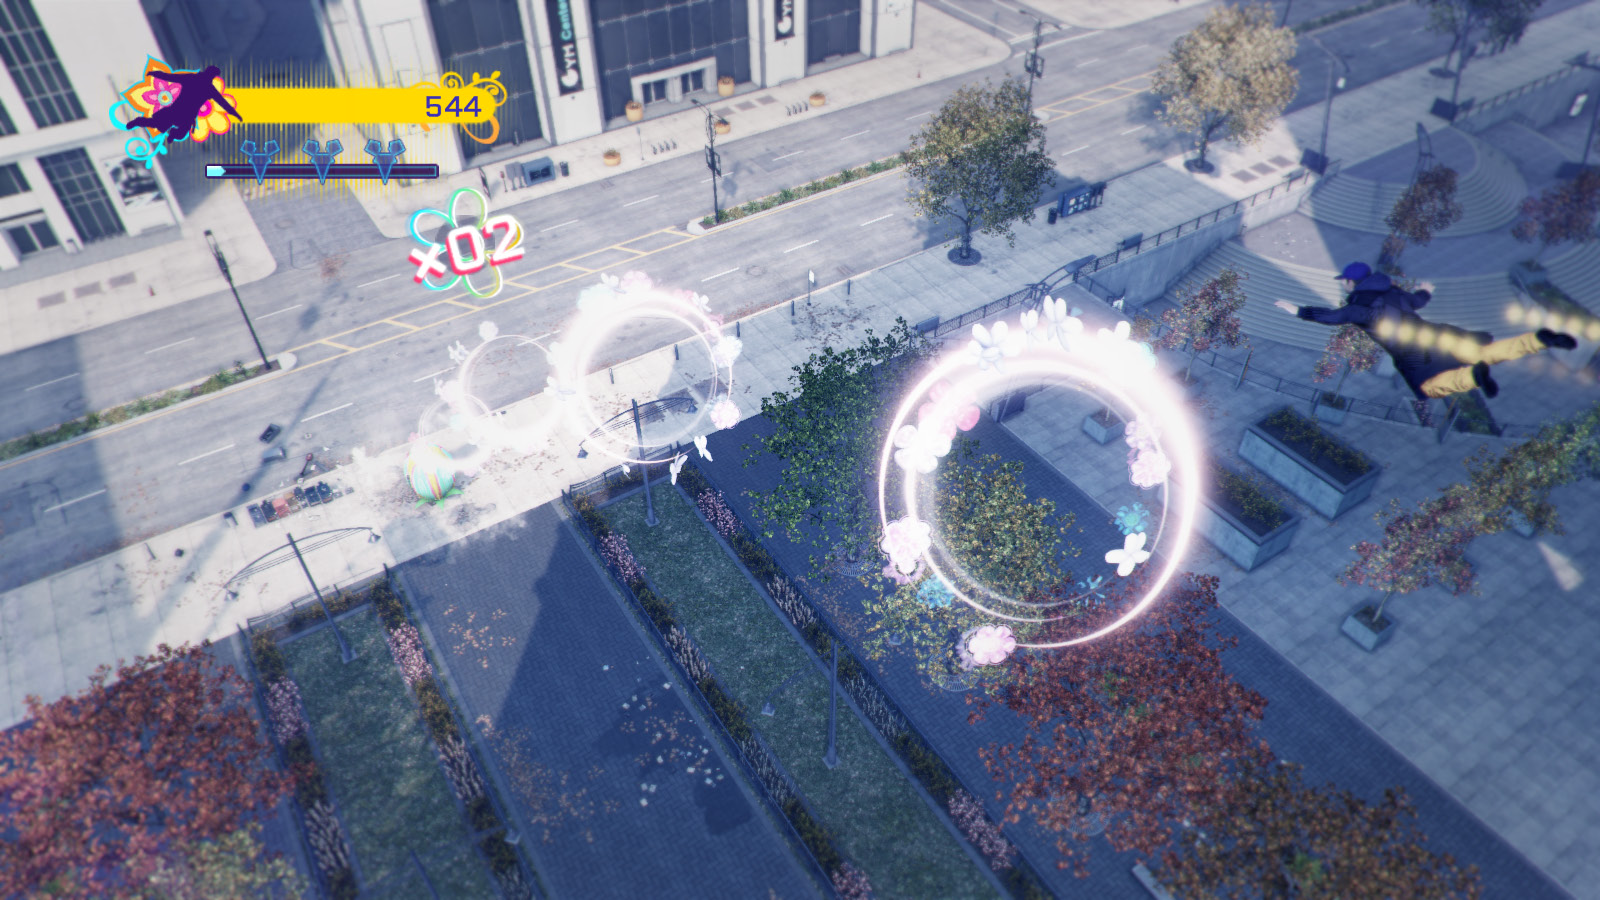
- Use the rings to guide your path. When they show up, they’re not only good for bonus points but can help you guide yourself to the next flower.
SPIDER TANK
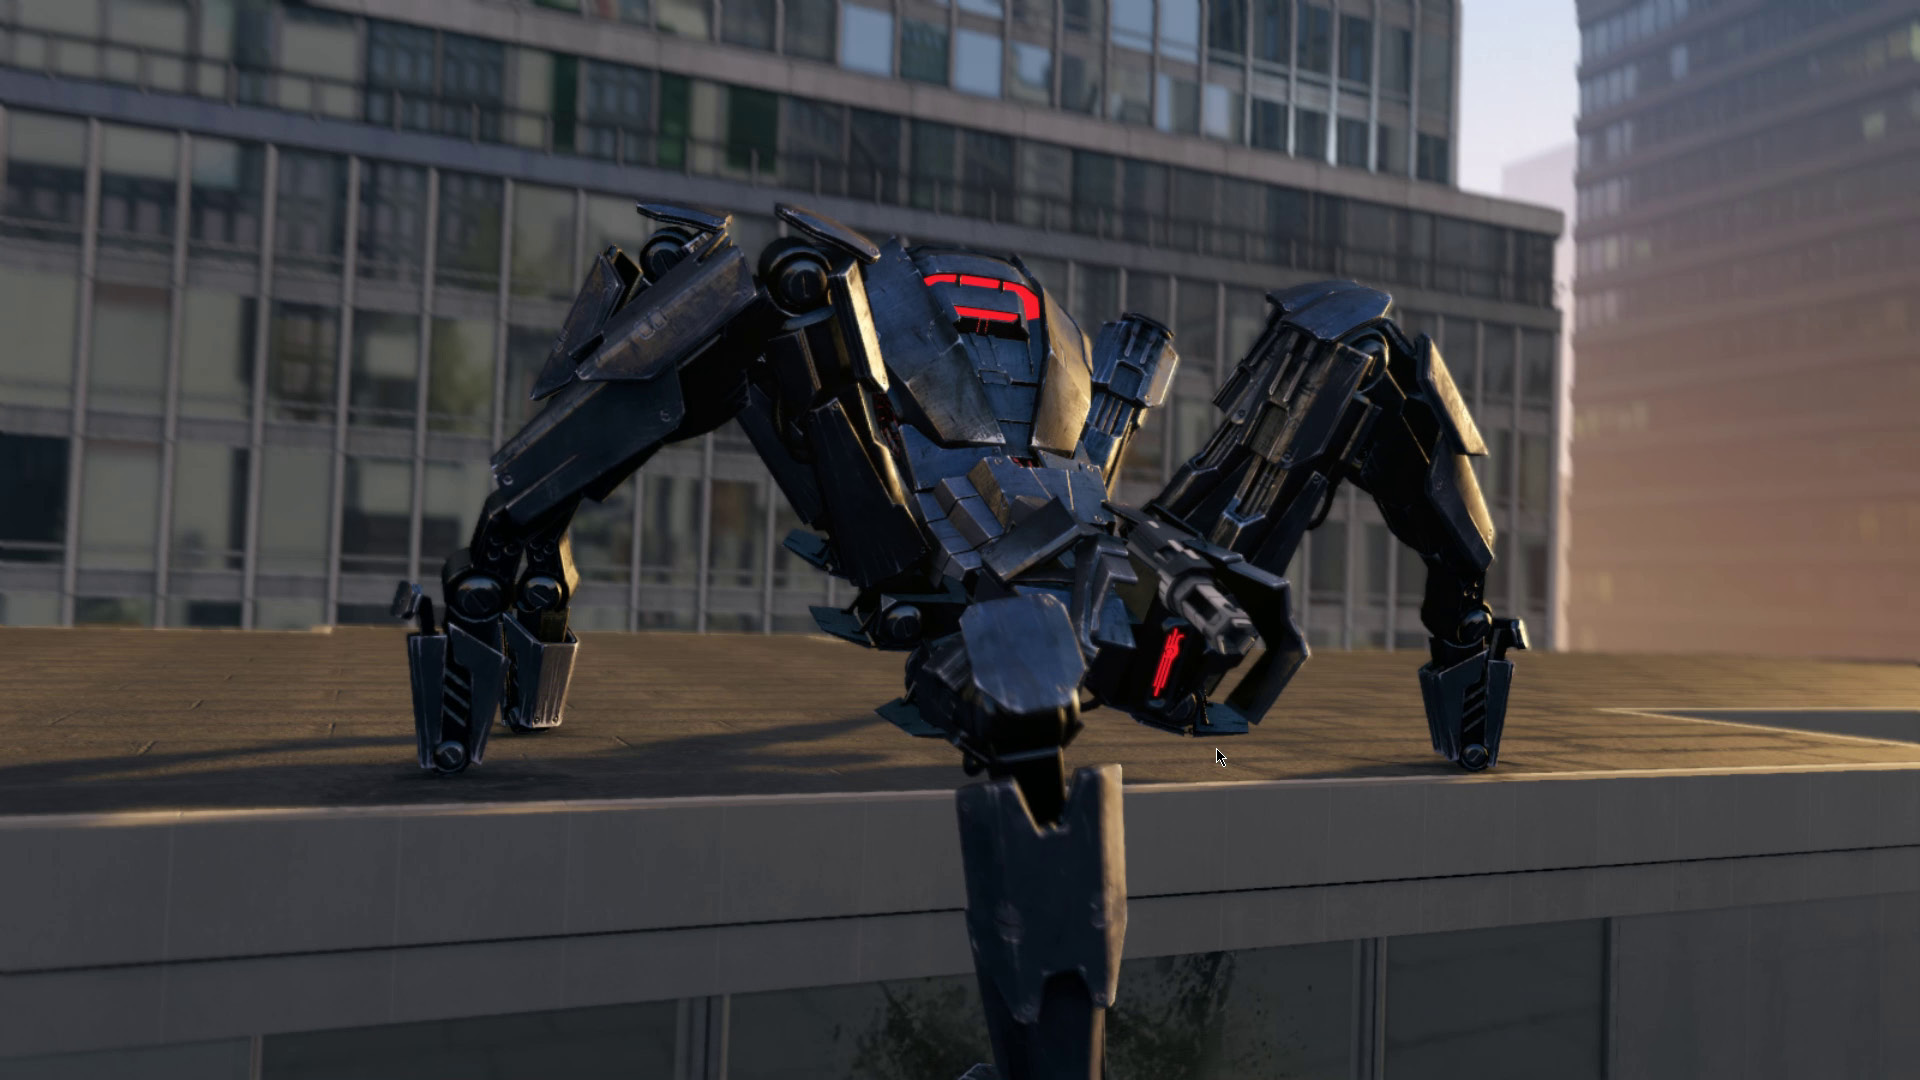
At the beginning of this mode, you’re dropped inside an experimental eight-legged battle tank called the Spider Tank. It’s equipped with a chain gun, a cannon, two devastating claws, and the ability to stick to any wall it can reach.
Your goal is to cause as much mayhem and destruction as possible in the Mad Mile within each level’s time limit, until you’re destroyed, the clock runs out, or you pass level 15.
All of the Spider Tank’s abilities run off of its Energy gauge, which is depleted to some extent when you swing its claws, fire its chain gun, or jump. It recharges quickly, but it’s possible to leave yourself in a bad position if you aren’t careful. You can recharge energy on the fly by grabbing power-ups from wrecked police vehicles.
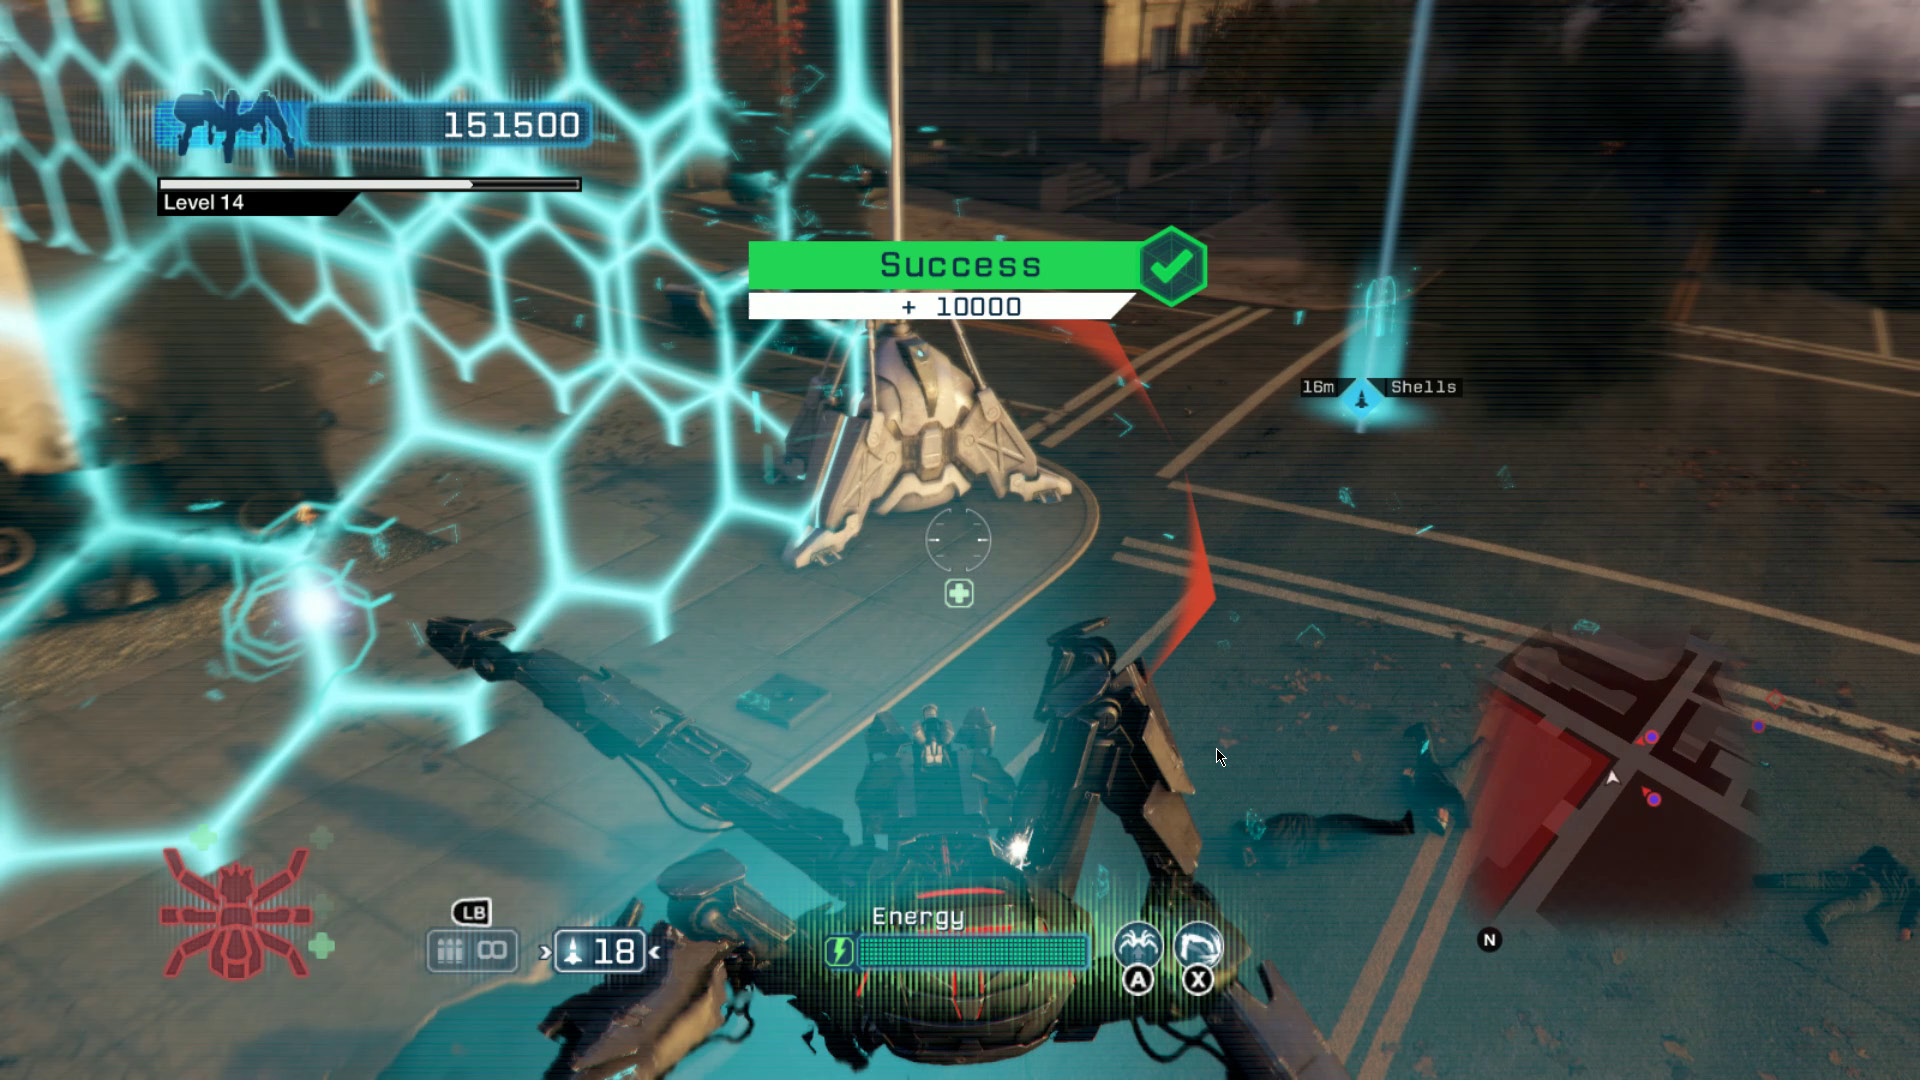
The only way to repair any damage the Spider Tank has taken is by finishing your current challenge, which comes with a free 100 percent repair. While it may seem like the tank can take a lot of punishment, enough cops show up after the first few challenges that you’ll be taking a lot of massed gunfire.
Spider Tank is the easiest and most straightforward digital trip, just the thing if you’re looking for some gratuitous ultraviolence.
Spider Tank Challenges
Like Madness, Spider Tank repeats the same basic challenges until you either die, run out of time, or complete the 15th wave. The later the challenge appears, the harder it will be, by adding more targets to destroy or a less forgiving time limit.
Kill Cops
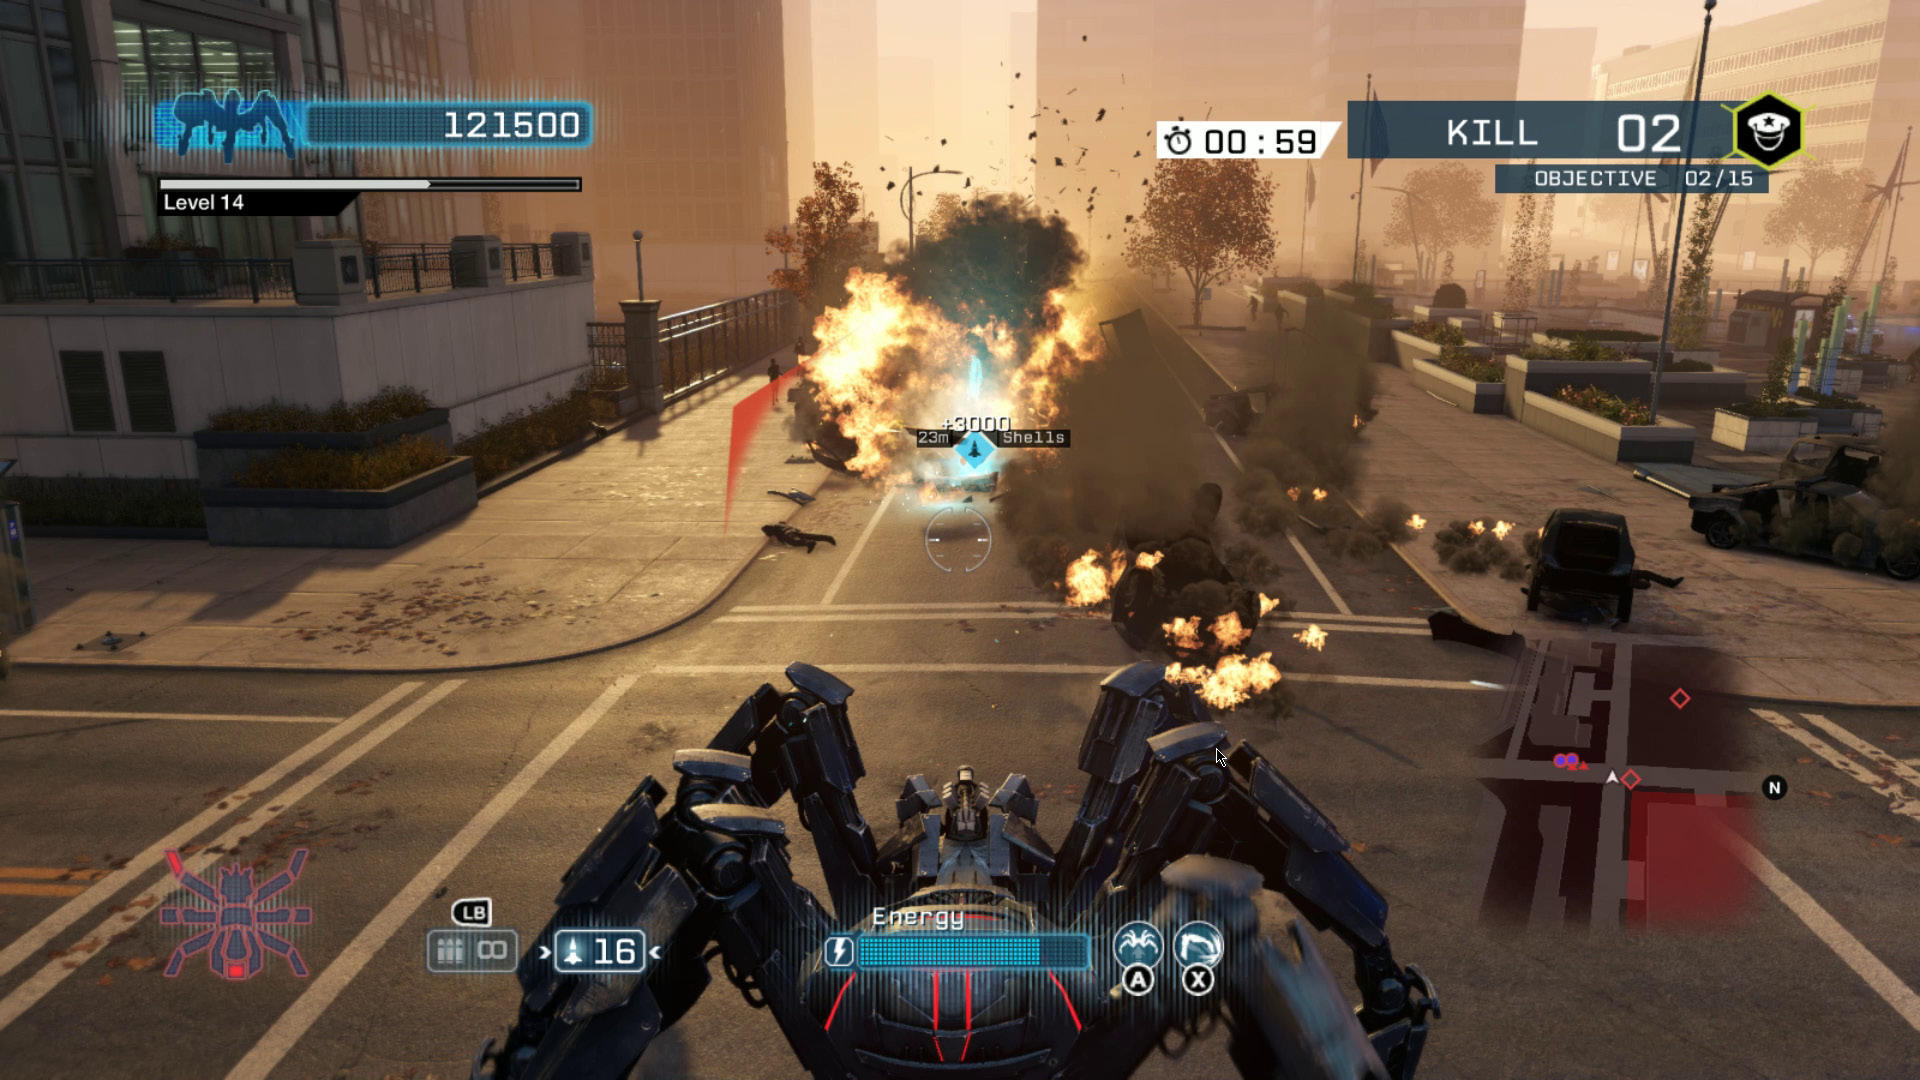
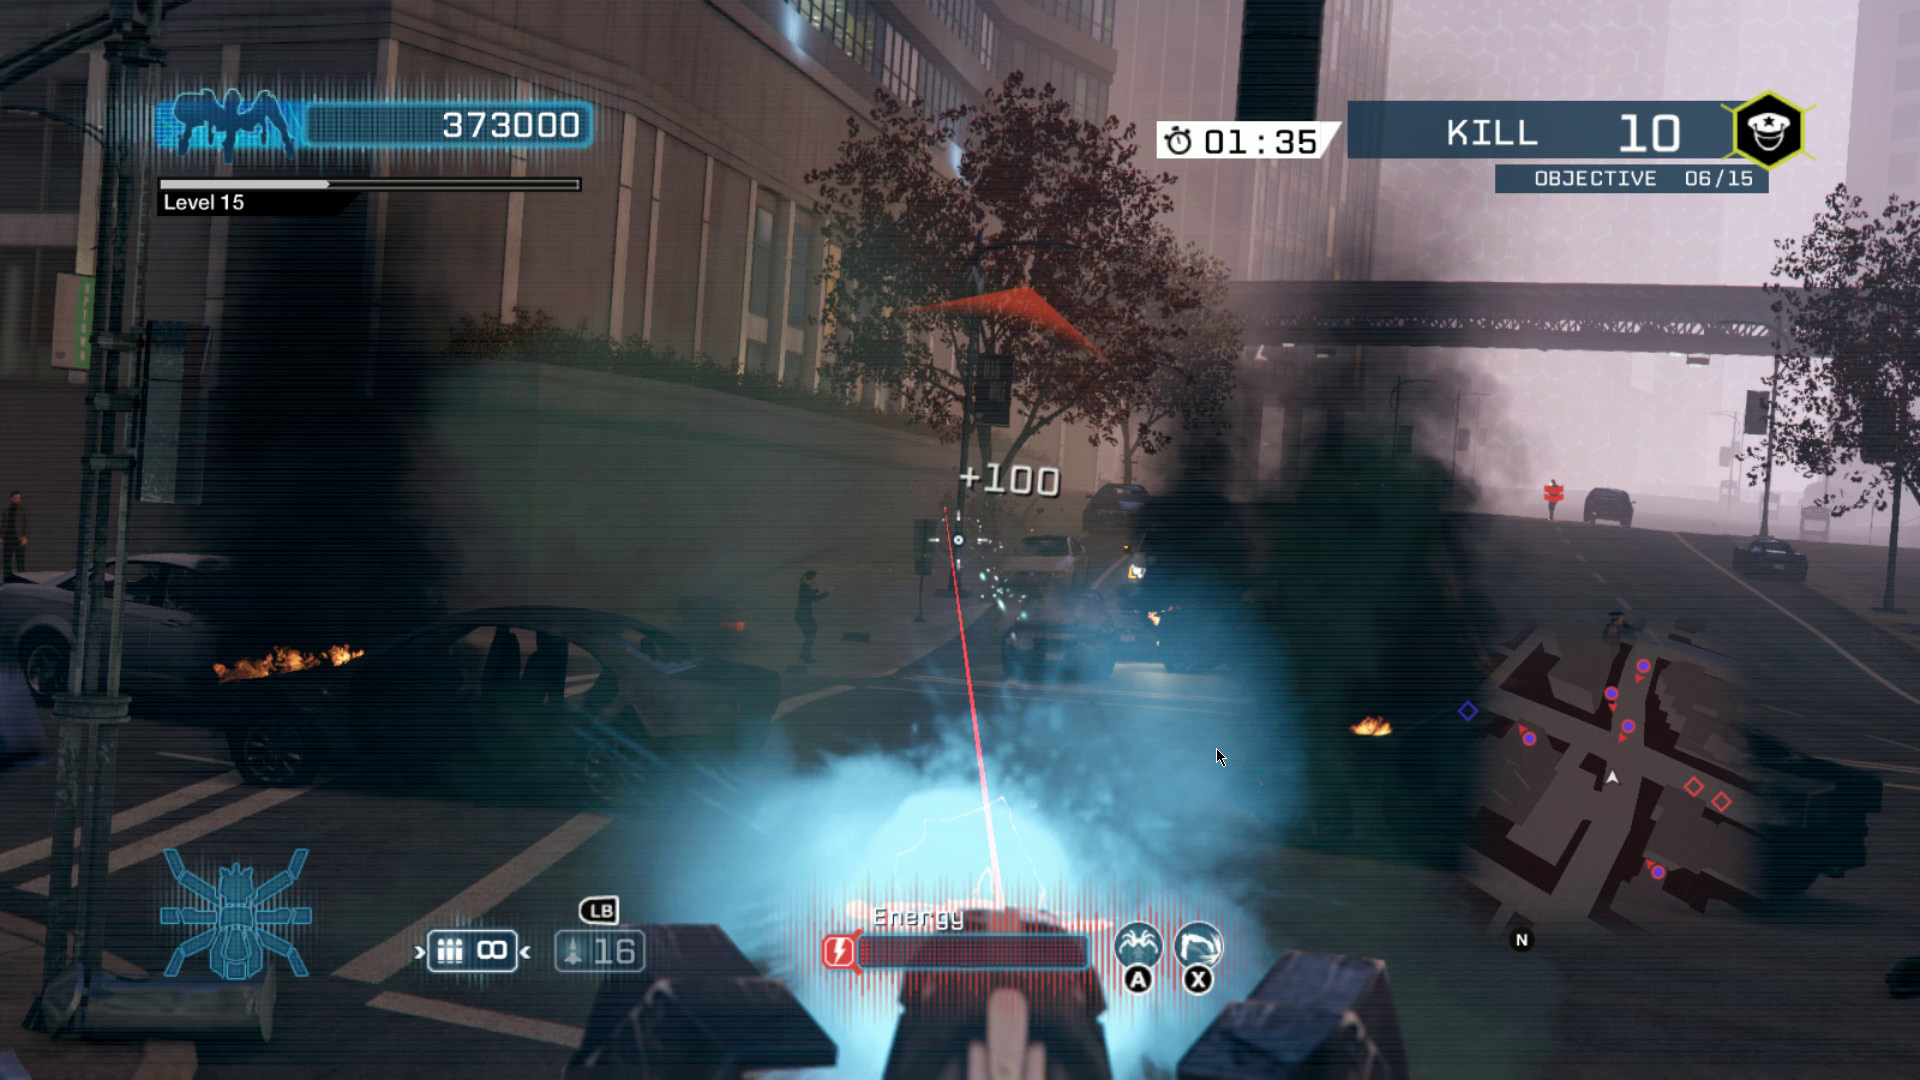
You’re likely to be killing quite a few police officers anyway, as there are dozens of them shooting at you at any given time, and because destroying police cars is the only way to reload on shells. That said, the timing can be tight and you will likely need to return to ground level to get the number of kills you need.
Destroy the Train
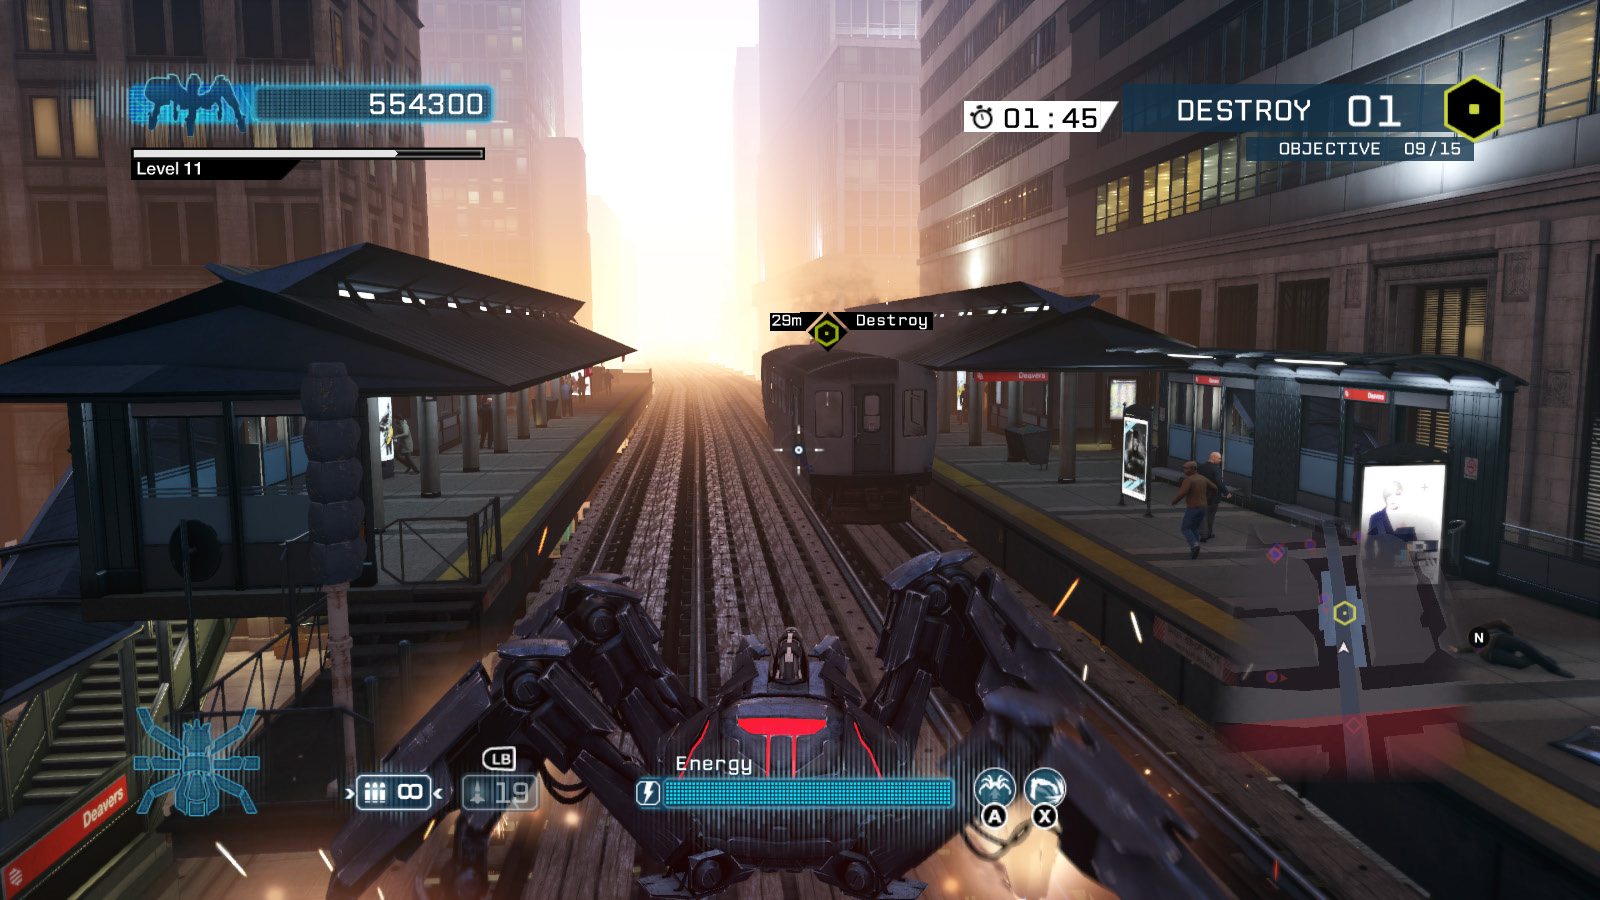
The train shows up on the elevated tracks in the Mad Mile and moves relatively slowly, which makes this one of the easiest objectives. You can use the tracks as cover against police gunfire from the street.
Destroy the Armored Car
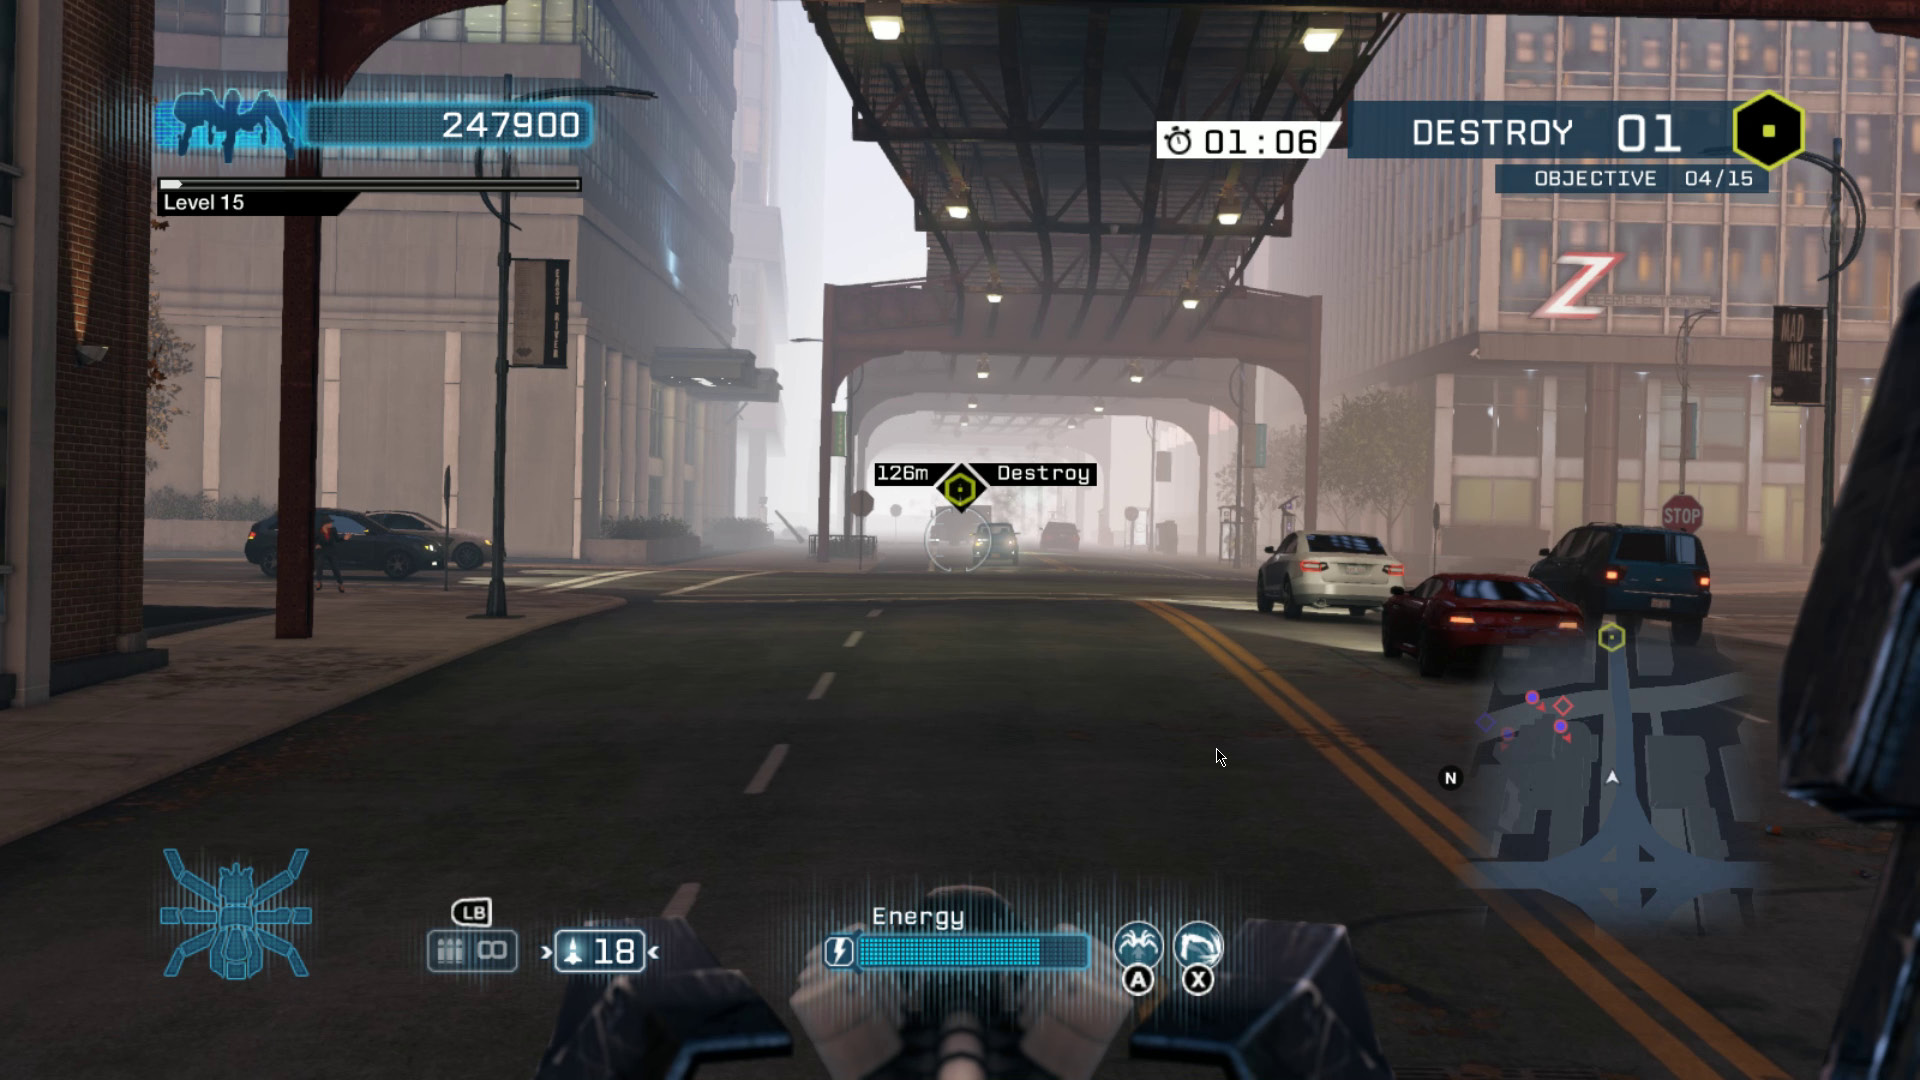
This is a tricky objective, as the armored car shows up at ground level and races around the city at nearly maximum speed, which can make it difficult to chase down. Try to get ahead of it, then ambush it with a couple of well-placed shells.
Destroy Satellite Beacons
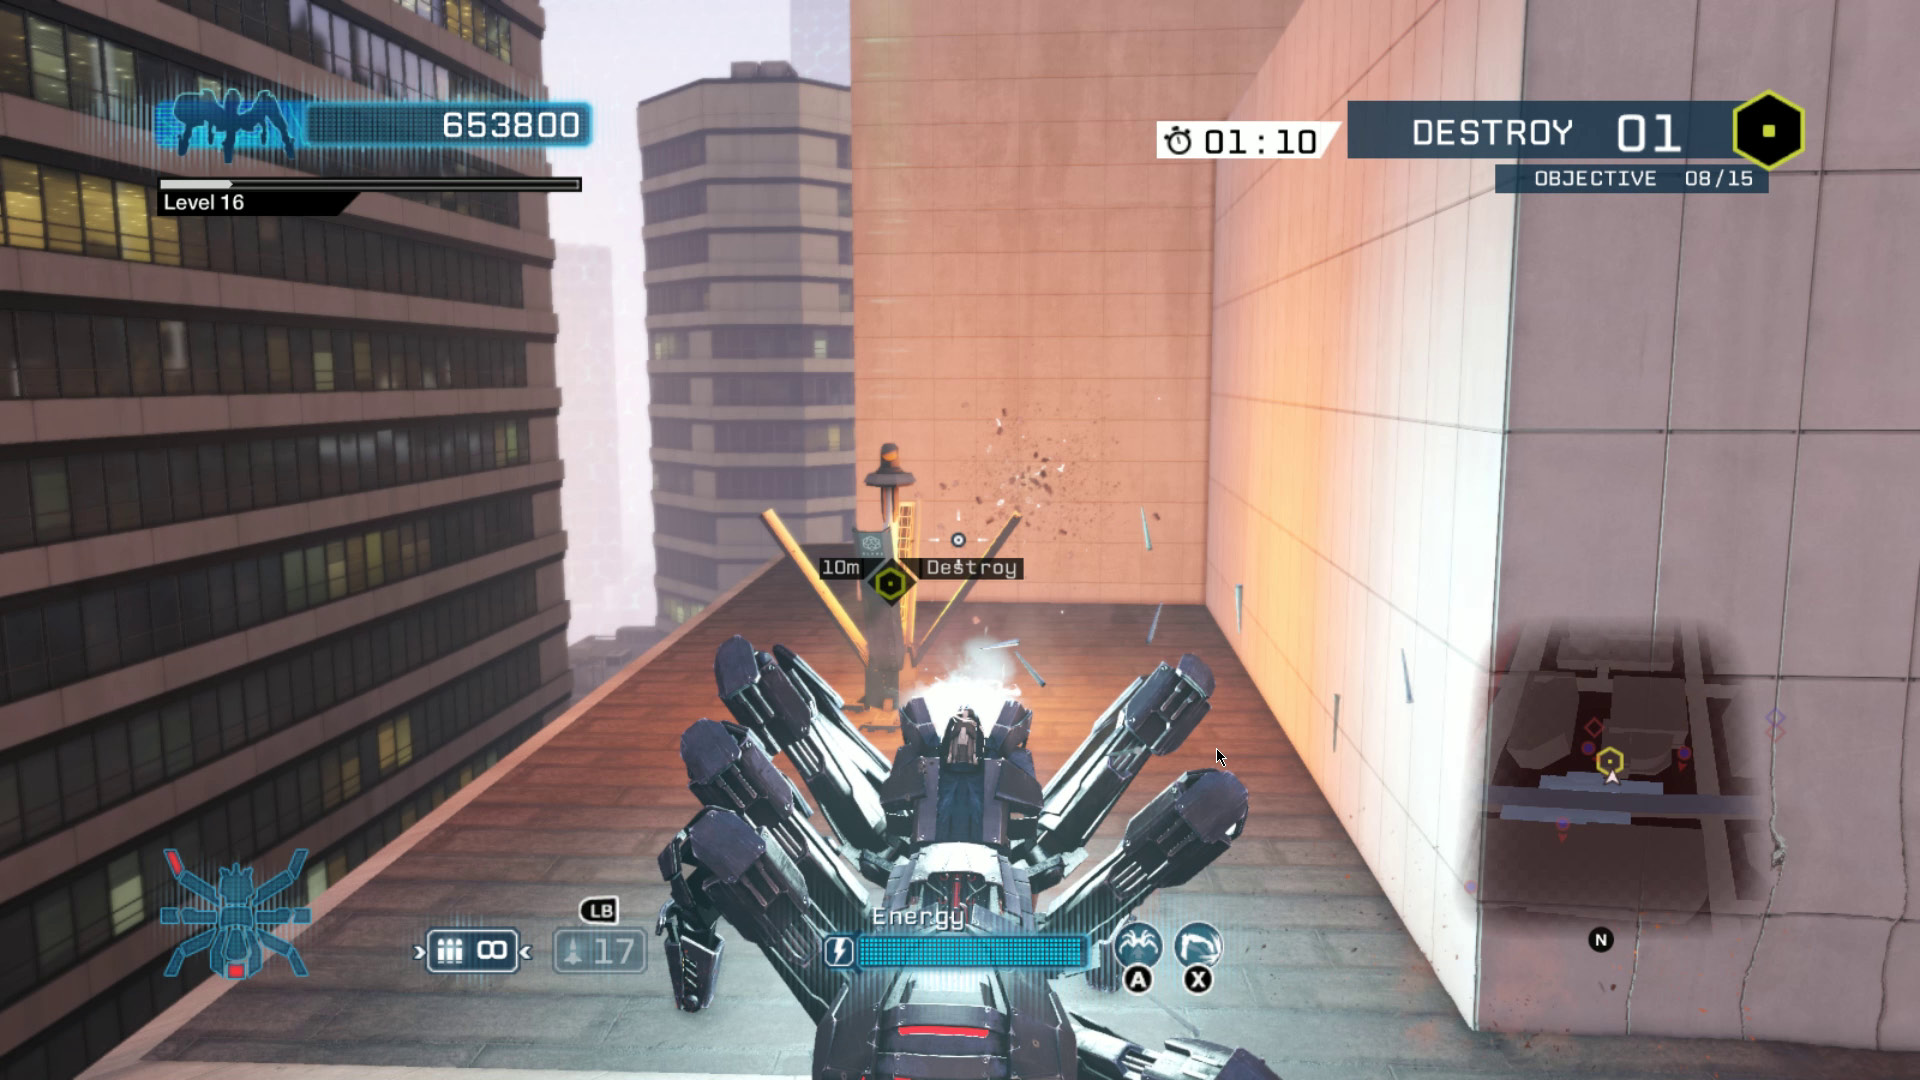
The satellite beacons can show up on any rooftops throughout the part of the city that’s cordoned off for Spider Tank. A short burst from your chain gun is enough to take them out, but they tend to show up far enough away from each other that you’ll need to hustle to reach them all in time. Take advantage of the tank’s jumping and wall-climbing abilities to cover ground quickly.
Destroy Vehicles
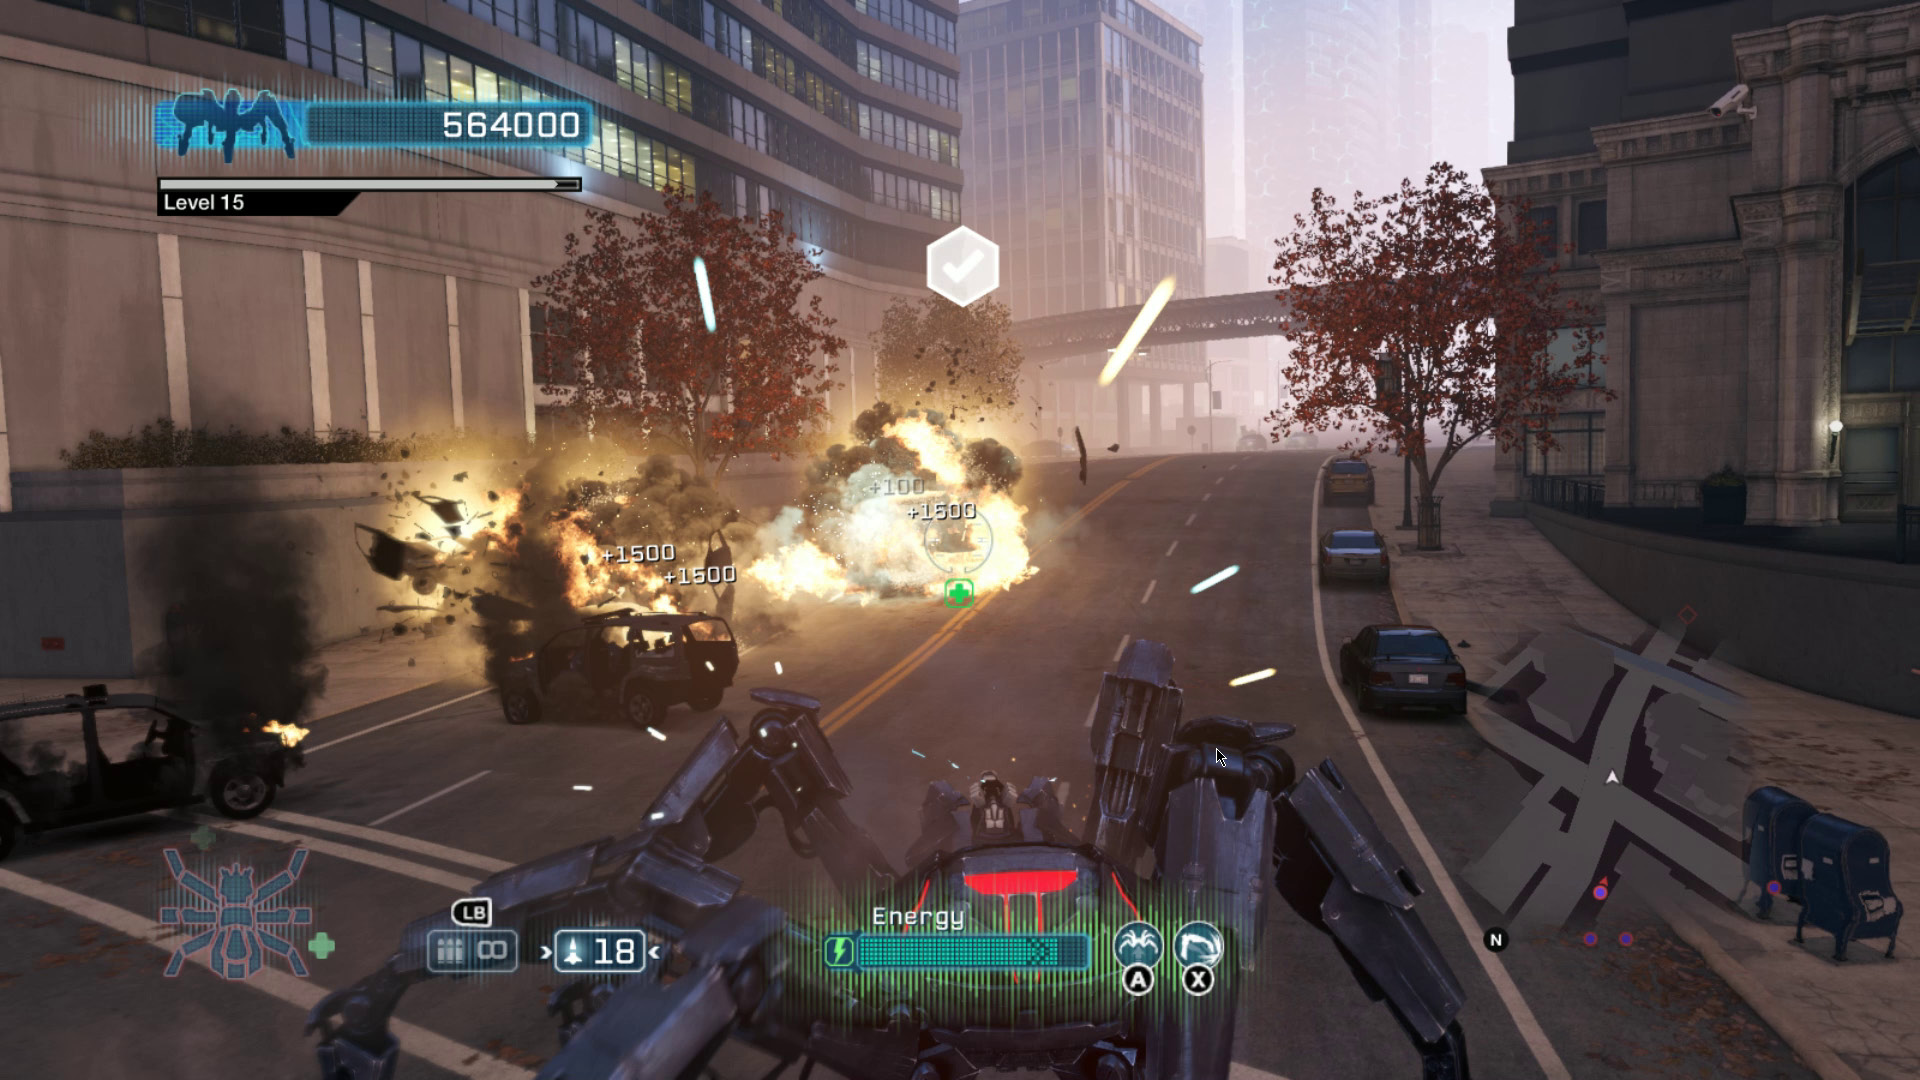
Like it says, destroy the set number of vehicles before time expires, using any and all methods you have on hand. This can include civilians’ cars, police vehicles, and helicopters.
Destroy Helicopter
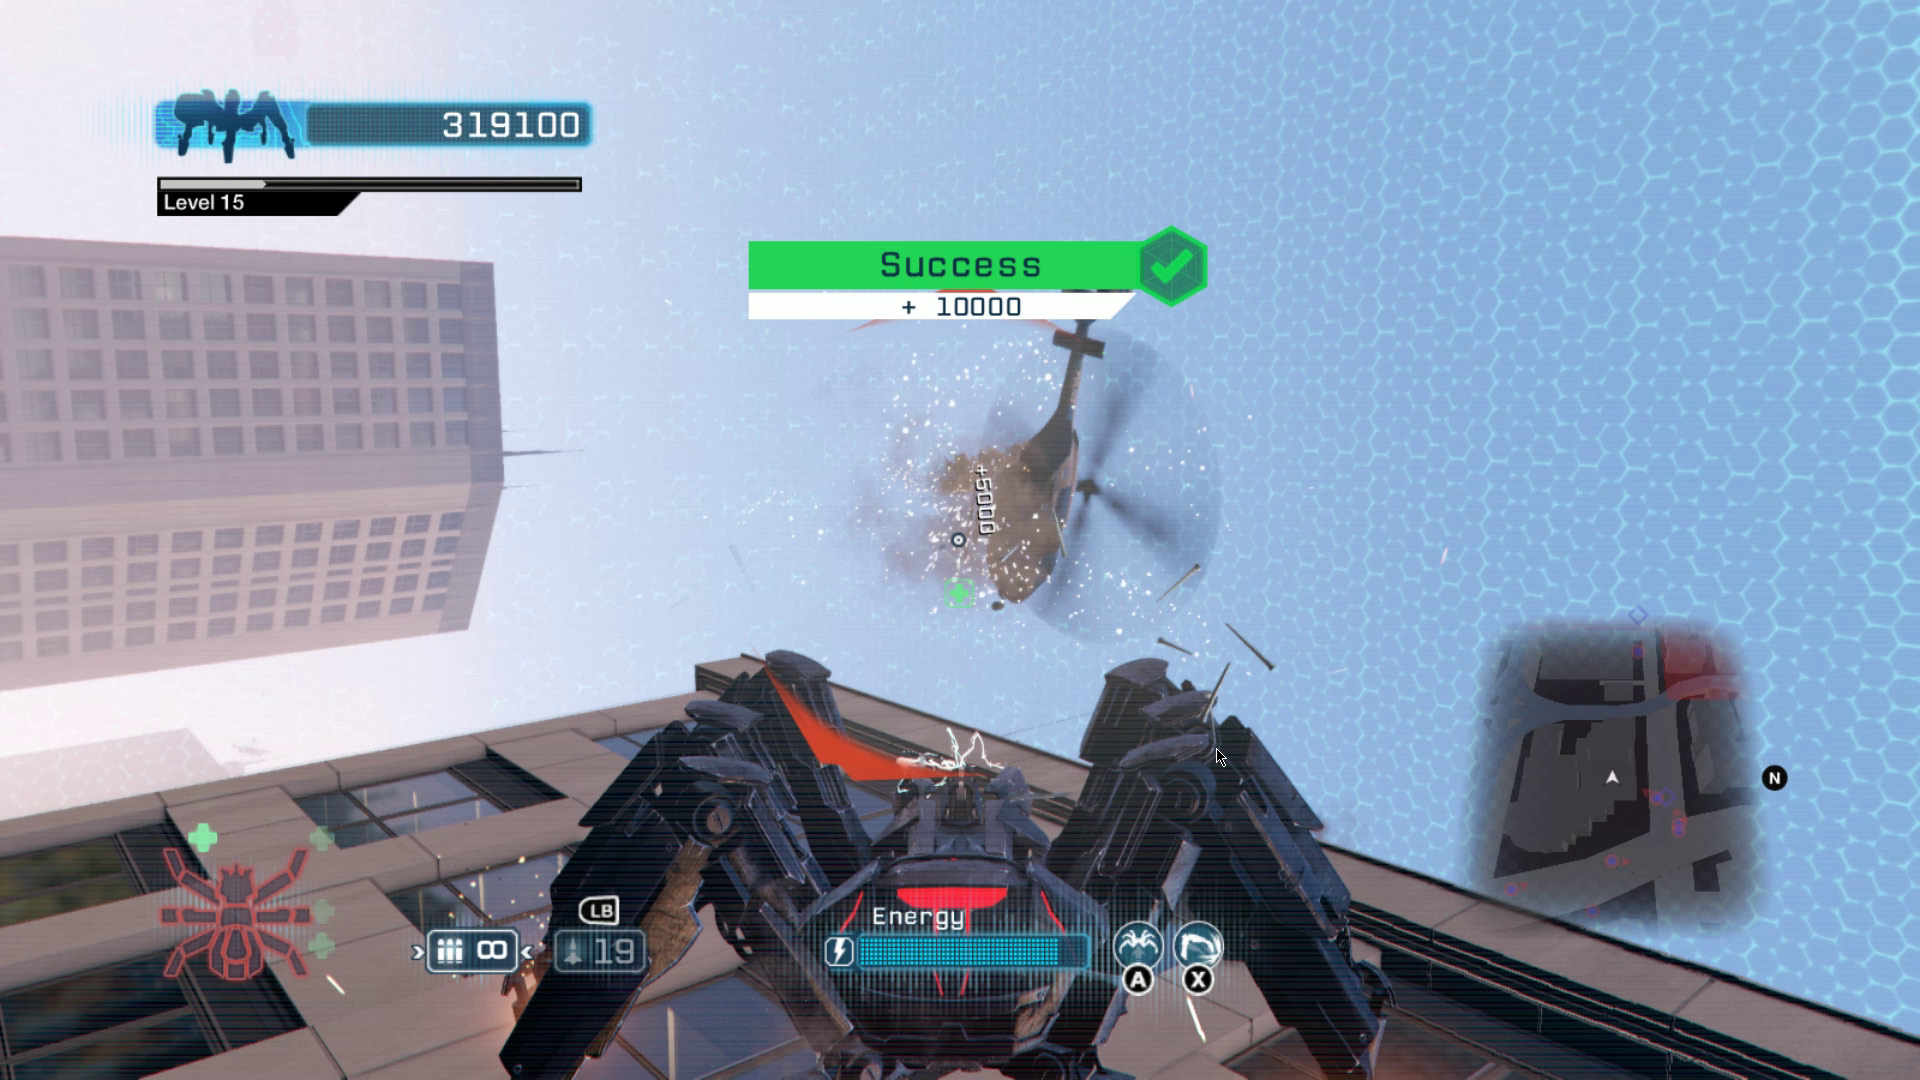
Police helicopters periodically show up with a sniper in tow to provide air support. If you’re on a rooftop, they often hover just above you, high enough that you run into the limit on how high you can aim your cannon. When you want to engage them, be ready to outmaneuver them. They’re quite fragile once you get a clean shot.
Point Values in Spider Tank
- Damage a vehicle or building with your chain gun: 100 points
- Kill a civilian: 500 points
- Kill a cop: 1,000 points
- Destroy a civilian vehicle or armored truck: 1,500 points
- Destroy a police vehicle: 3,000 points
- Destroy a satellite beacon: 5,000 points
- Destroy a helicopter: 5,000 points
- Destroy a train: 10,000 points
- Successfully complete an objective: 10,000 points
Spider Tank Skill Tree
Reinforced Plating and Titanium Plating are obvious candidates for an early purchase. Since you can’t repair in mid-challenge and the cops go tactical very early into the trip, anything you can do to minimize the damage you take is a solid plan.
| Category | Skill | Cost/Prerequisite | Effect |
|---|---|---|---|
| Abilities | Hydraulic Claw | 1 | Using the claw takes less energy. |
| Sharpened Claws | 2/Hydraulic Claw | The claw's damage is dramatically increased. | |
| Spider-Crush | 1 | Press [[X]] in mid-air to perform a Spider-Crush, flattening anything underneath you. | |
| Basics | Reinforced Plating | 1 | The Spider Tank takes less damage from enemy gunfire. |
| Titanium Plating | 2/Reinforced Plating | The Spider Tank takes no damage from small arms. | |
| Extra Reactor | 1 | The Energy gauge grows by 50 percent. | |
| Thermal Fusion Reactor | 2/Extra Reactor | The Energy gauge grows by 33 percent of its previous size. | |
| Energy Recycling | 1 | The Energy gauge recharges faster if the tank has taken heavy damage. | |
| Emergency Protocol | 2/Energy Recycling | If the tank is below 50 percent remaining health, the Energy gauge recharges very quickly. | |
| Weapons | Overloaded | 1 | You can now carry 20 shells. |
| Proton Shell | 1/Overloaded | The splash damage from exploding shells is increased. | |
| Upgraded Chain Gun | 1 | The chain gun costs less energy to fire. | |
| Piercing Bullets | 2/Upgraded Chain Gun | The chain gun does more damage. | |
| Improved Weapon Engine | 1 | It takes half as long to switch between the cannon and the chain gun. |
Overloaded is another good option, as shells are very useful for destroying distant or armored targets. If you’re planning to purchase it, try to exhaust your magazine beforehand, as taking Overloaded also reloads your shells.
Tips
- Shells are useful and powerful, but they have a slow rate of fire and can only be reloaded by picking up power-ups from wrecked police vehicles. Use them sparingly and make each one count.
- You can only move the Spider Tank’s cannon so far up. When you’re fighting helicopters, be ready to move.
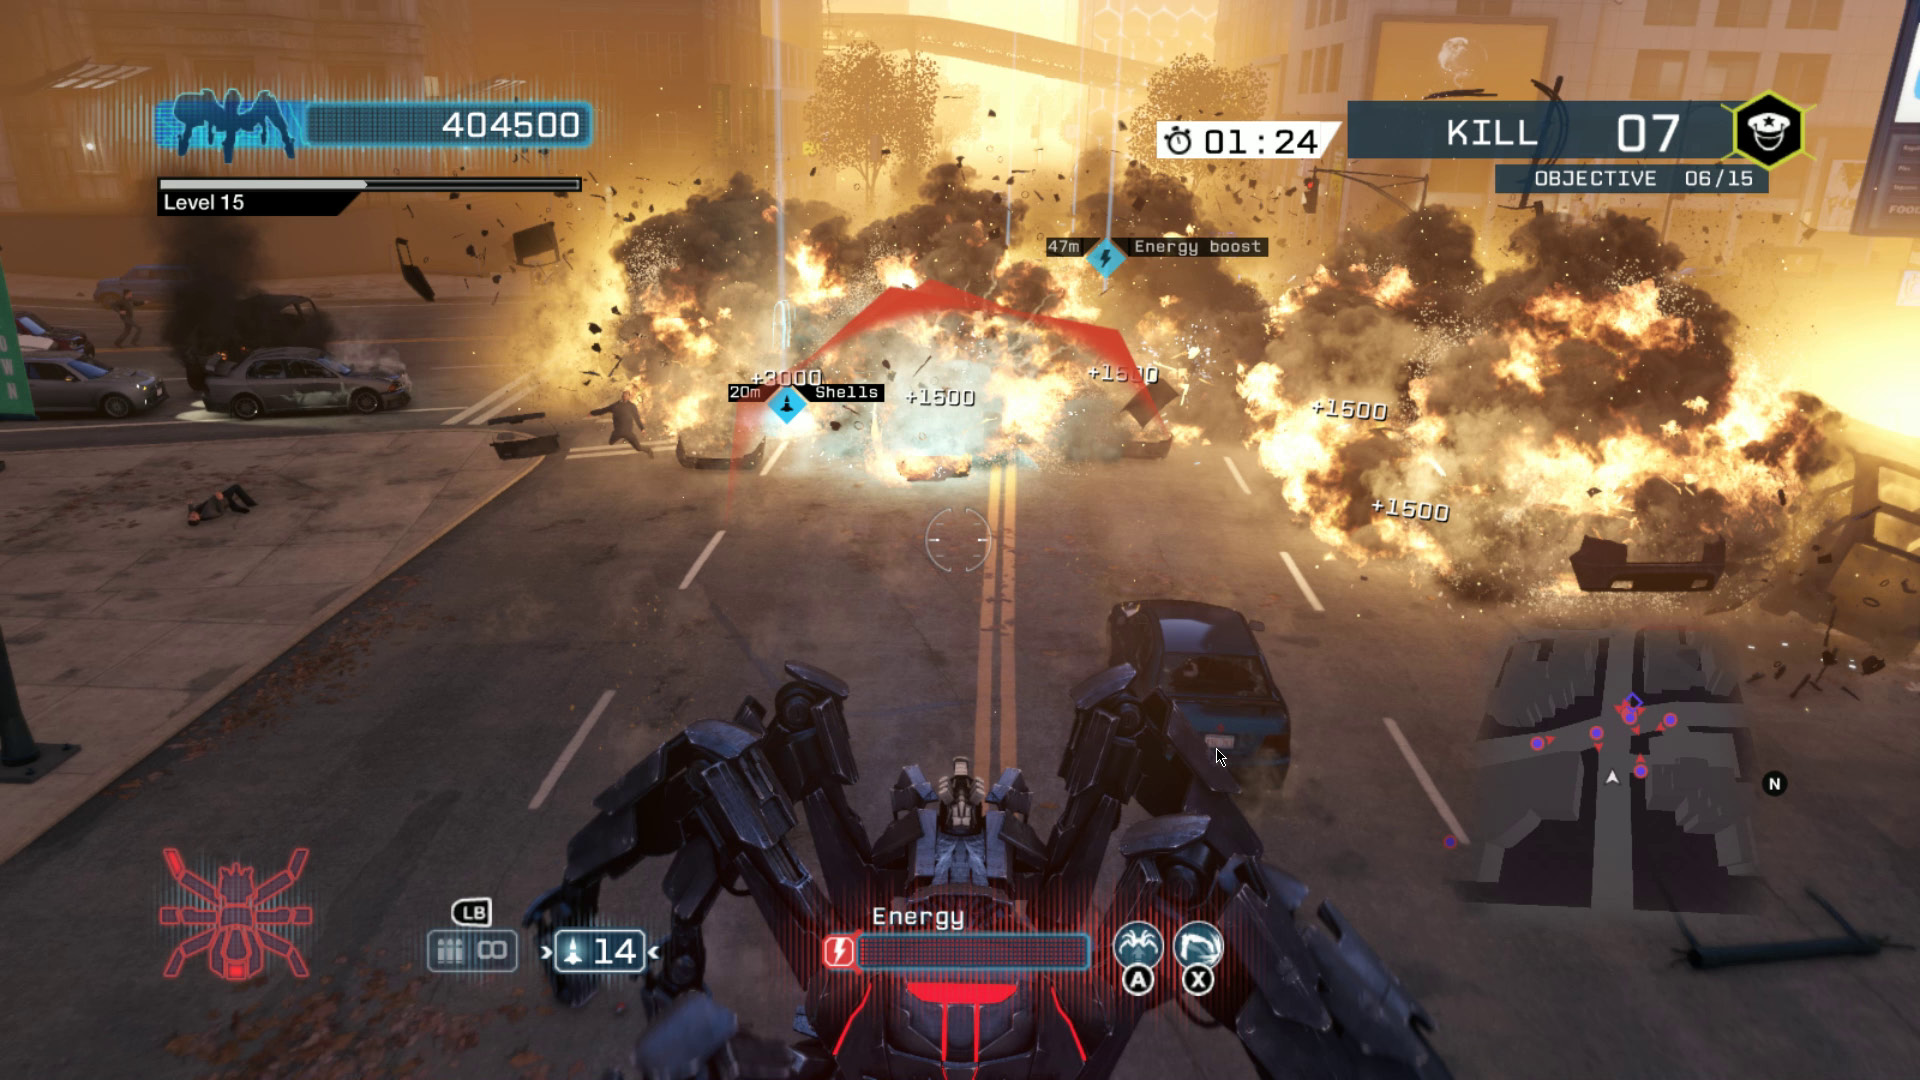
- Don’t underrate the Spider Tank’s claws. Hit for hit, they’re the most powerful weapon in your arsenal, and the only drawback is their short range. When you have to trash vehicles, the claws are your fastest option.
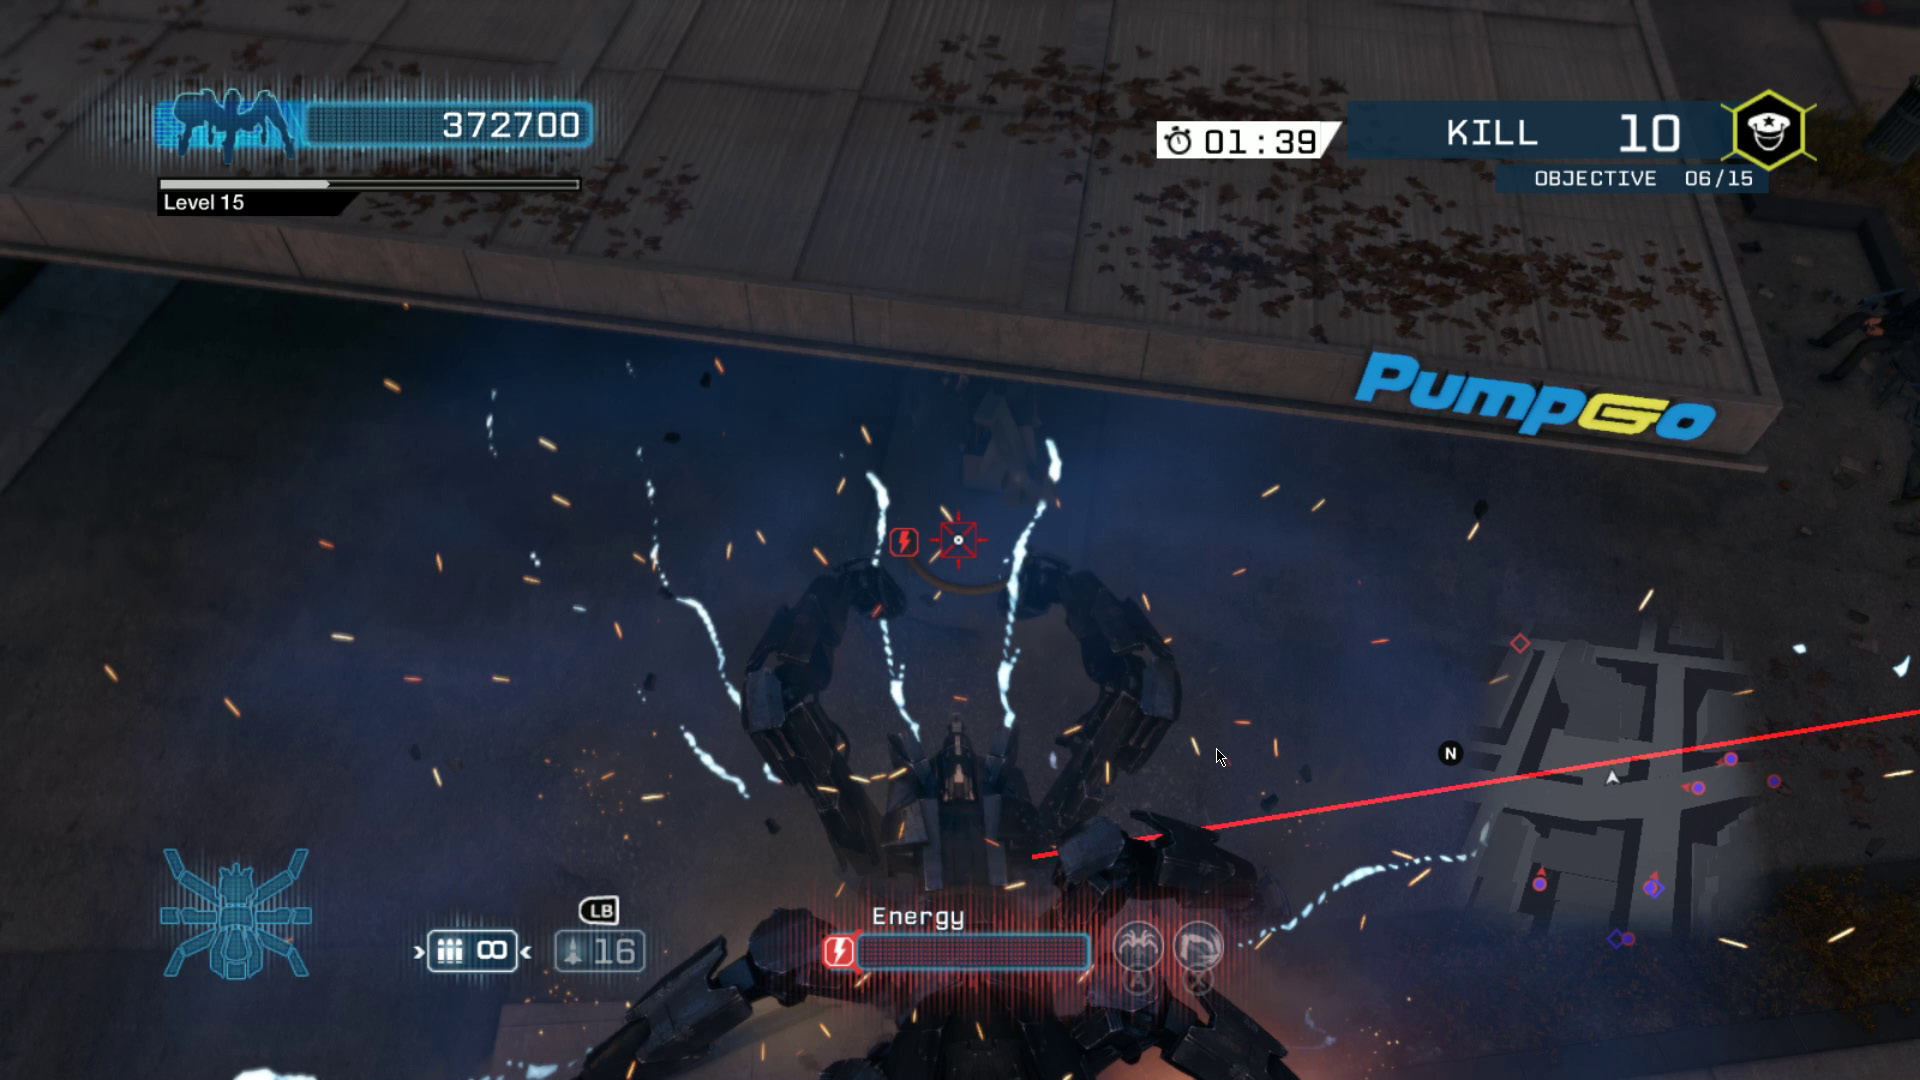
- As the police response escalates, stop hanging out at ground level. Your best weapon is your mobility, as you can scale skyscrapers and stay well out of range of the cops’ gunfire. For destructive challenges, you can always rain death on them from above.
- The chain gun is better than it looks, particularly with the Upgraded Chain Gun skill. It does significant damage for minimal energy expenditure and can chew up vehicles.