
Watch Dogs Guide MAIN MISSIONS MAIN MISSIONS /// Act I
_THANKS FOR THE TIP
MINOR SPOILER
OBJECTIVES
|
 Reach the signal source
 Access is locked. Use the Profiler.
 Find and activate the ctOS Boxes (2)
 Access the building network
 Investigate the apartment
 Hack the phone
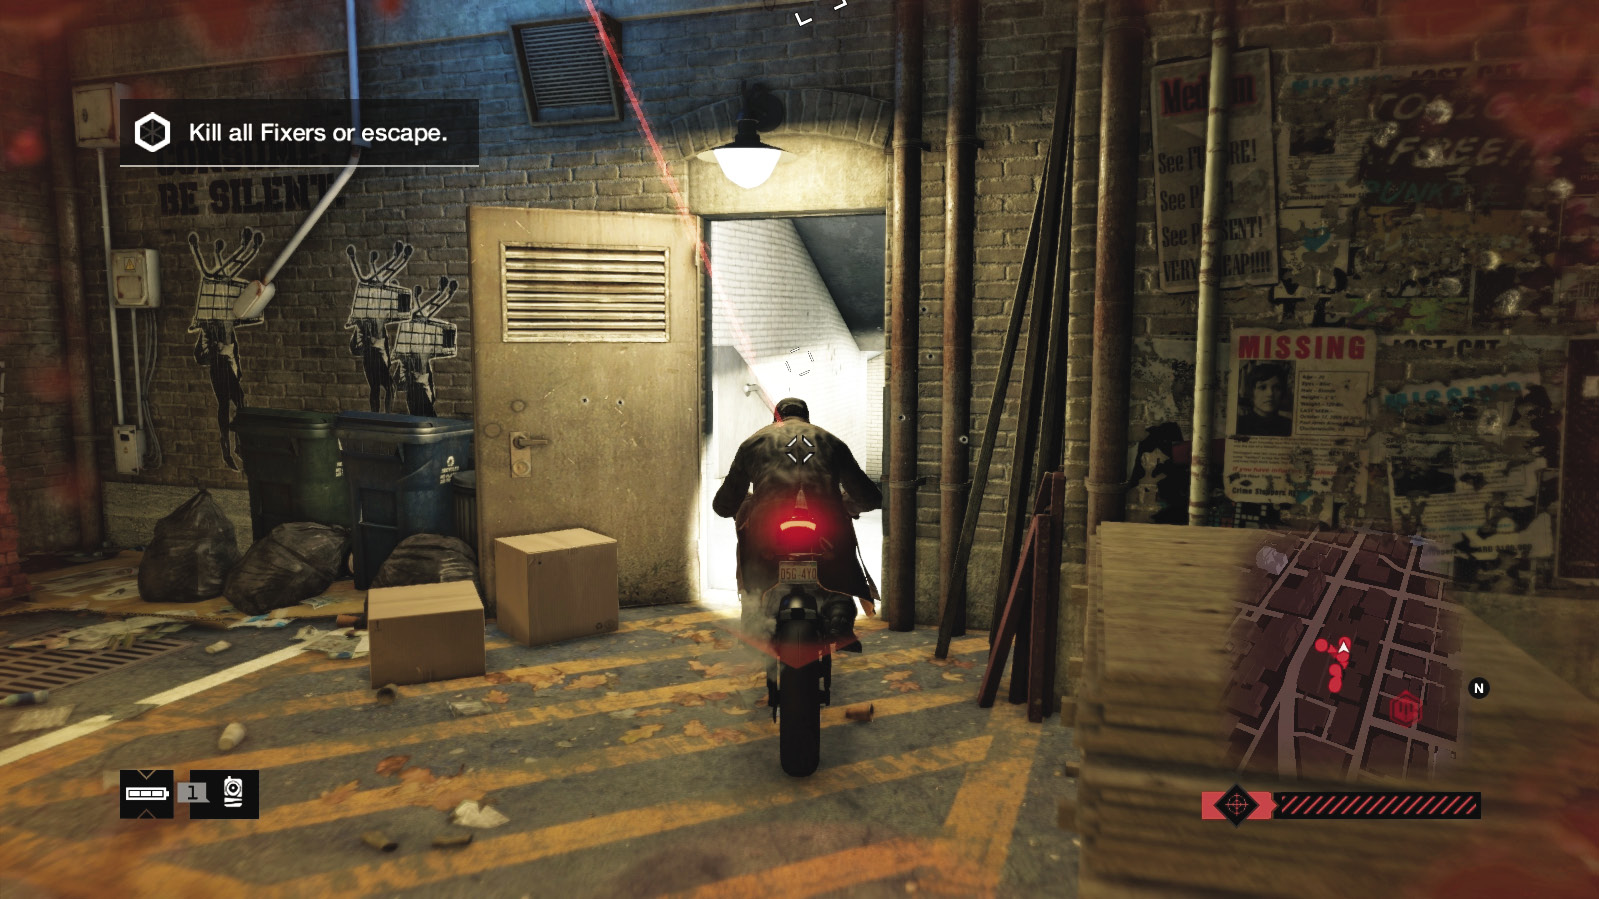
 Kill all Fixers or escape
 Follow the traced call
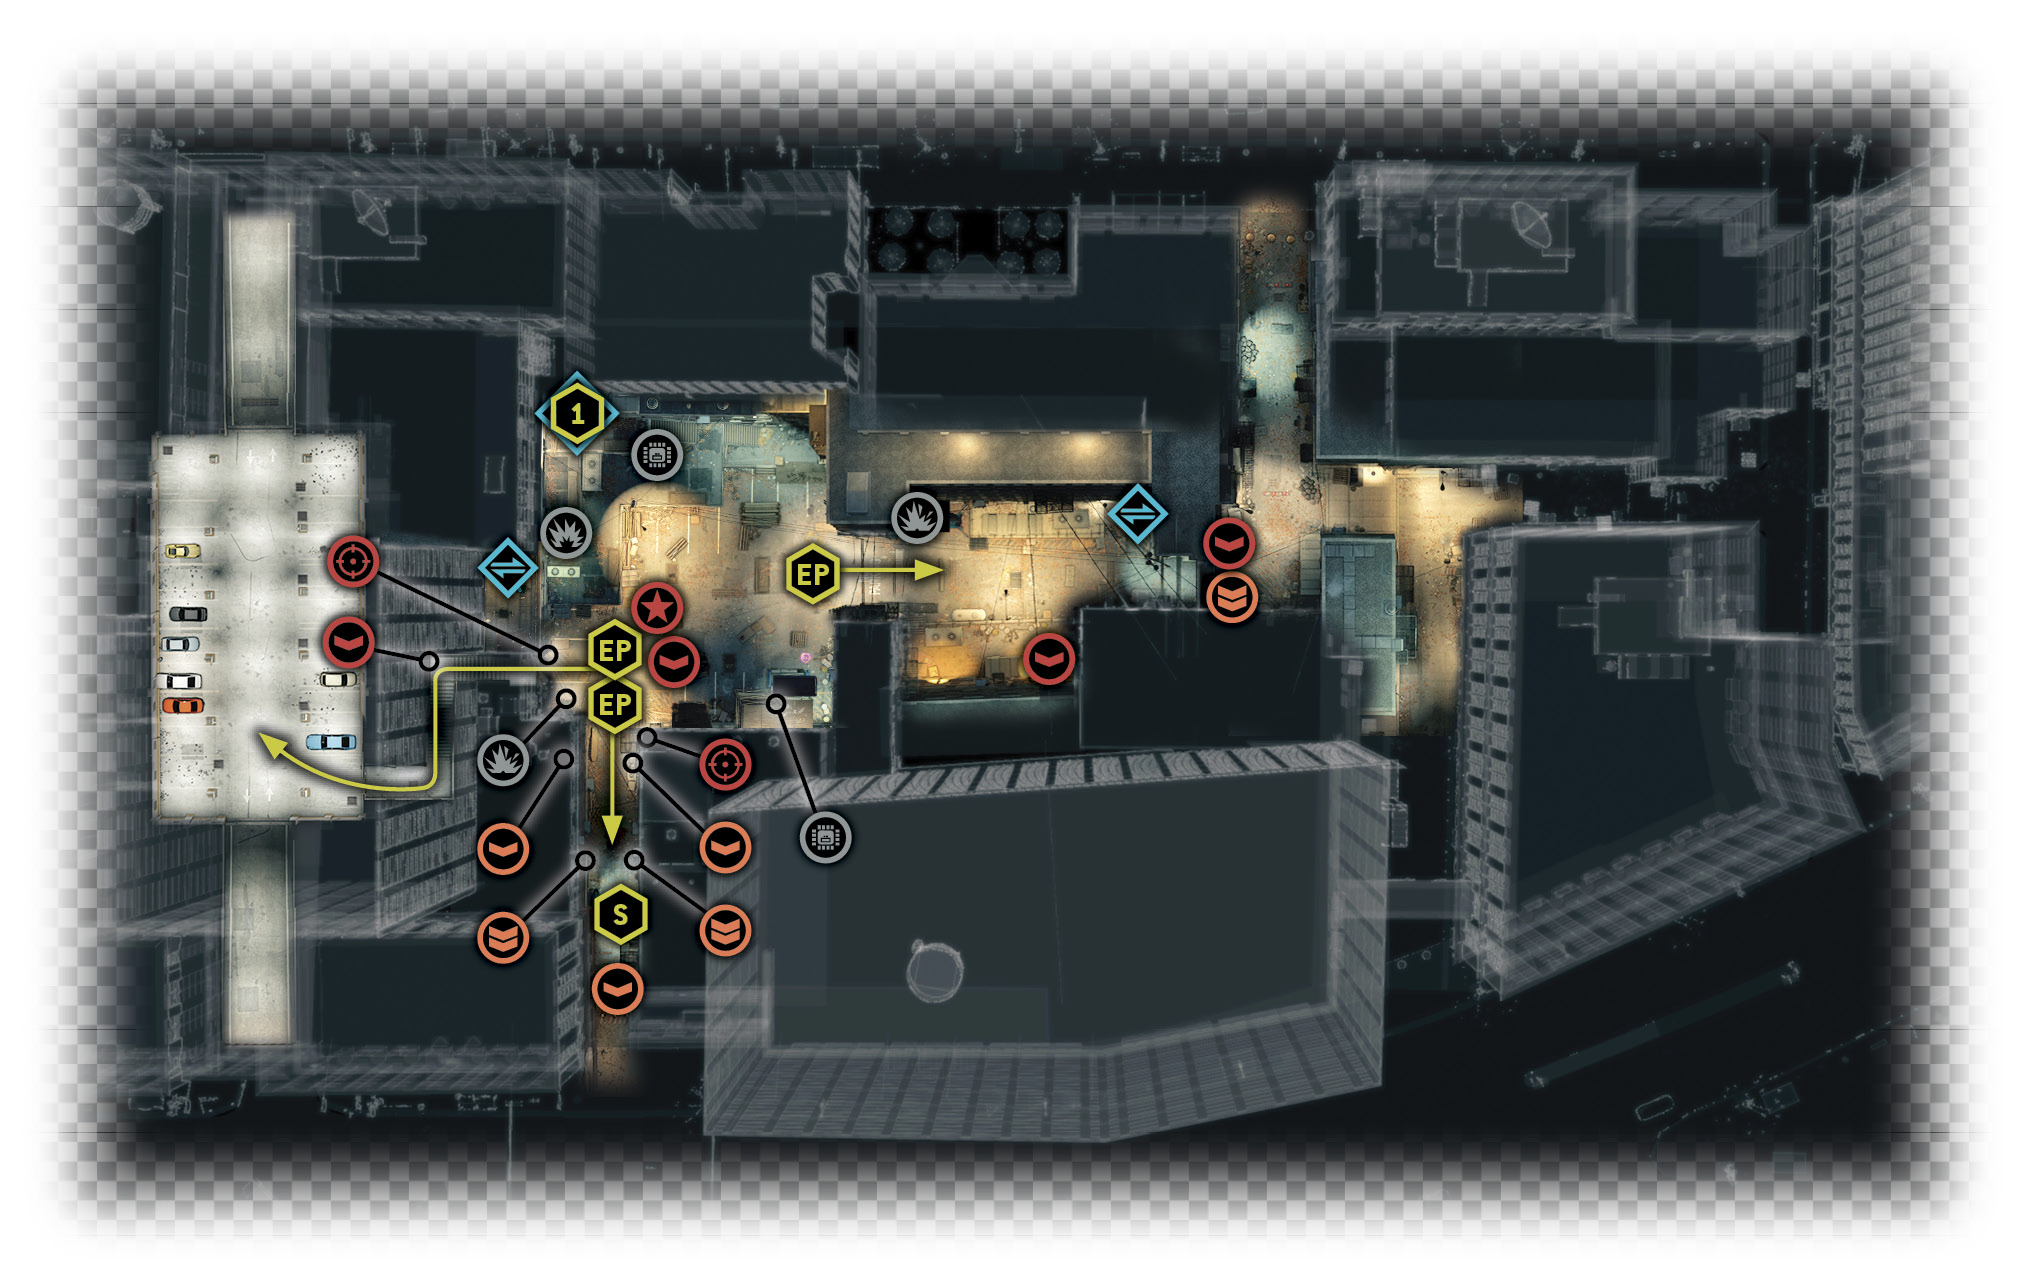
LOCATIONS // MAP
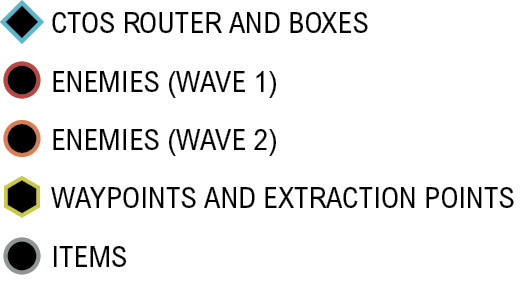
Location / The Loop // Marked Alley
6.1 I THINK HE WANTS YOU TO FIND HIM
 Location / The Loop // Marked Alley
|
|
 Reach the signal source
 Investigation
Difficulty: 
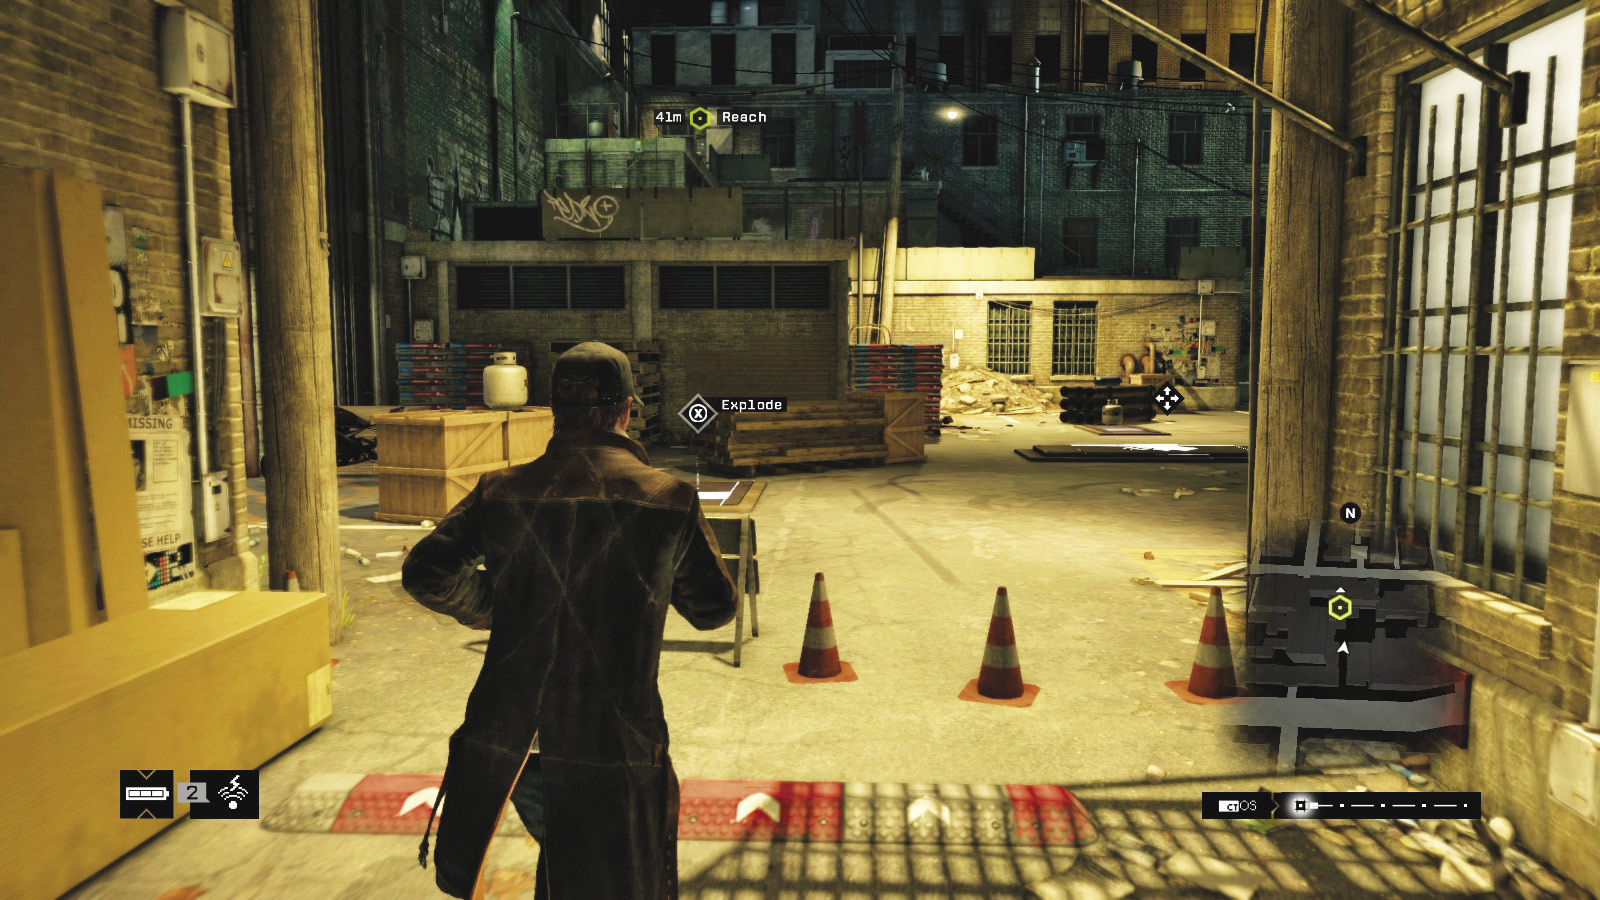
With an update on your text man’s whereabouts, Clara sends you to a slightly ominous-looking alley to the right of the Proviblue Bank in The Loop. Begin the mission by checking the blockers and raising the bollards at the alley’s entrance...you know, just in case of an ambush.
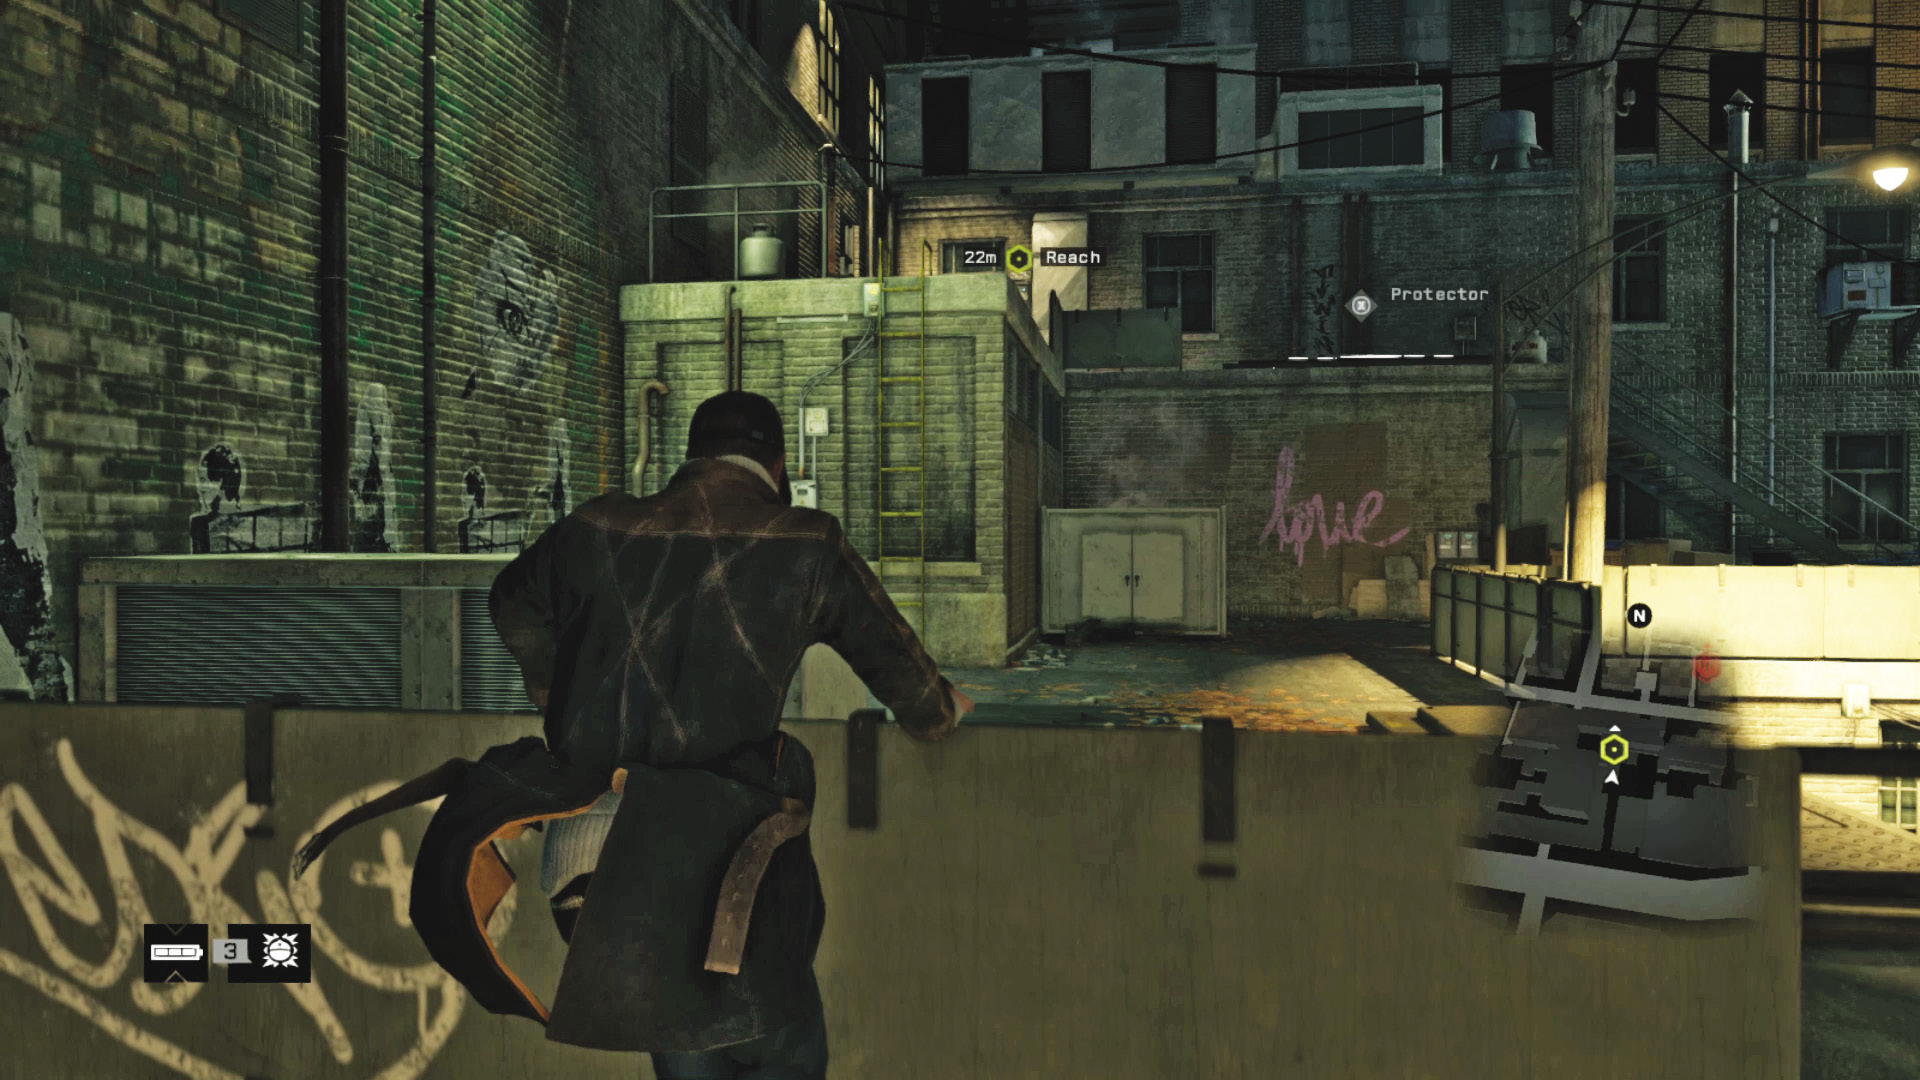
You should be familiar with the basics of Parkour by now. Hold down your Parkour button so you can climb in a fluid motion without stopping, and ascend to the roof via the pallets, an AC unit, and a ladder. Up on the L-shaped roof, you find an access box. Profile it, ideally as you’re profiling all the hacking opportunities of this alley area.
6.2 CRANK CALLER
 Location / The Loop // Marked Alley
|
|
 Access is locked. Use the Profiler.
 Find and activate the ctOS boxes (2)
 Investigation
 Data Hack
Difficulty: 
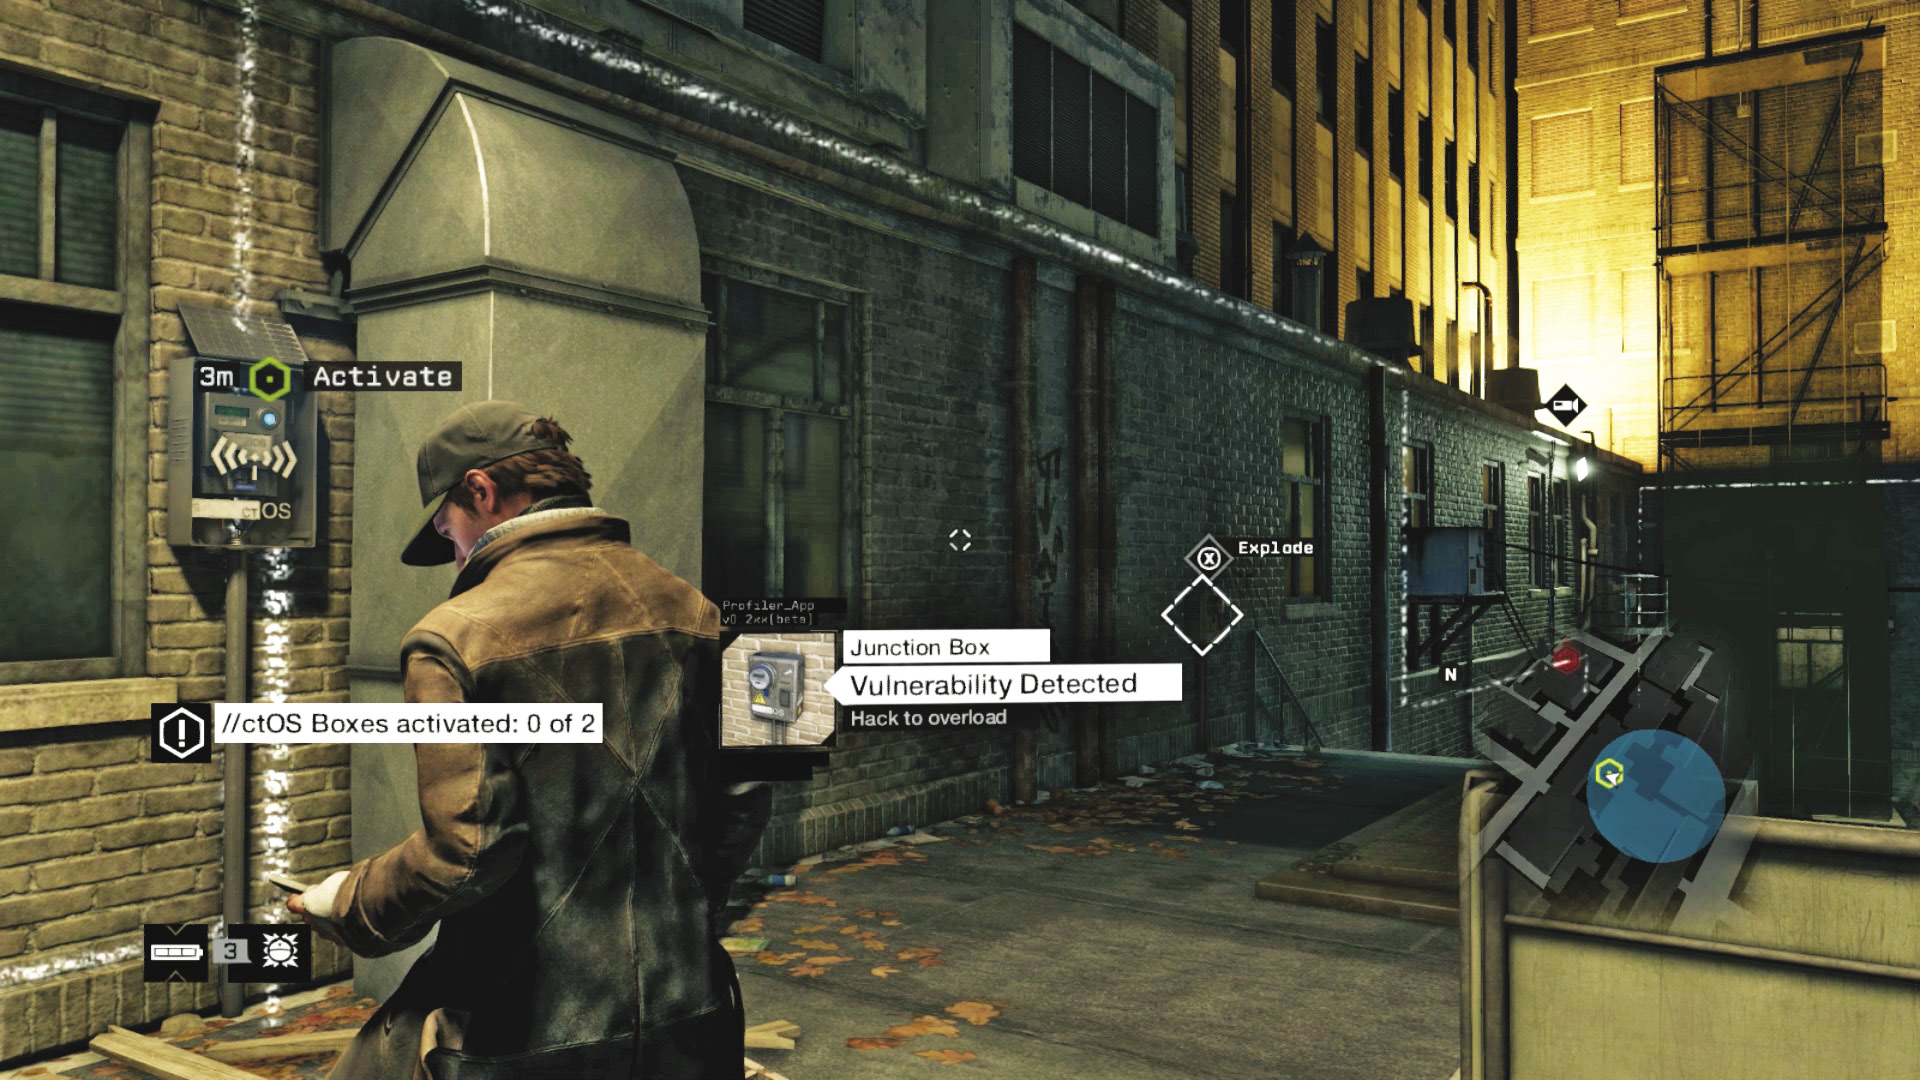
You can’t hack the access point until you activate two ctOS boxes. They are in your general vicinity, and finding their general location is relatively straightforward. Seeing them to hack and activate each one is somewhat trickier. Find both node points by tracing the data flow (the faint, crackling lines) arcing through the brick building perimeter above you. Search for either node; the order is unimportant.
 Passive // Smart: Notes on Node A
 Difficulty:
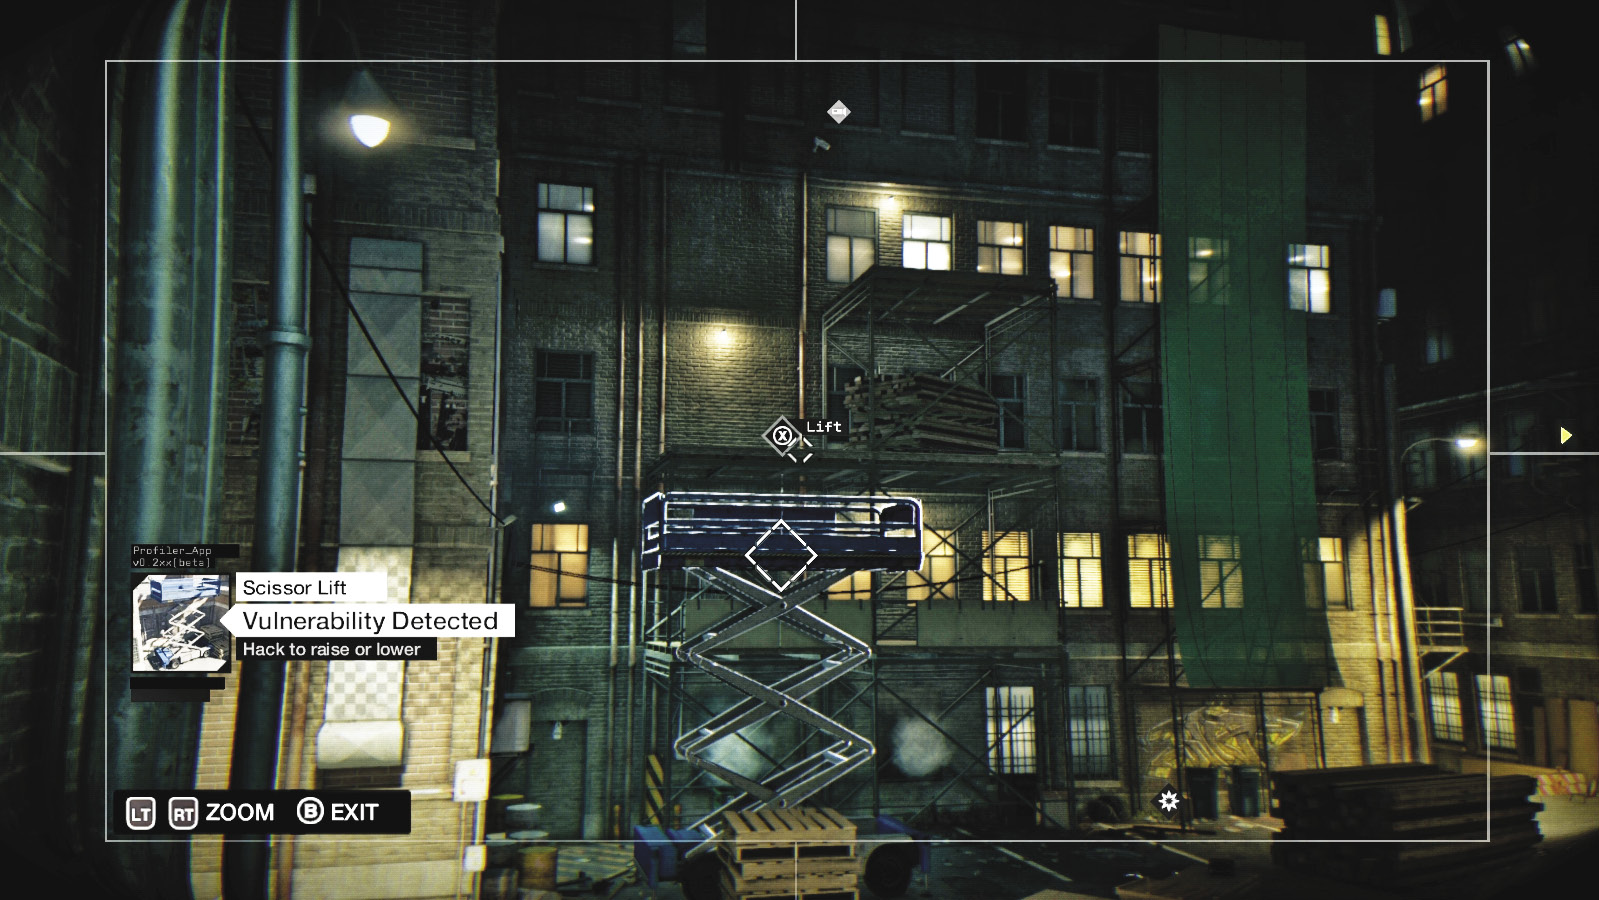
This node is behind and to your left, tucked away on a roof alcove you can’t reach or see. To “see” this node, move (either physically or via security camera) to the opposite corner of the alley area, near a scissor lift. Optionally climb onto the lift and activate it so the lift descends. Then peer up while profiling. Access the camera above the scaffolding platform. This allows you to see and access a second camera opposite the node (which is otherwise hidden from view). Unlock this node and step onto the platform to search for a possible crafting item.
 Passive // Smart: Notes on Node B
 Difficulty:
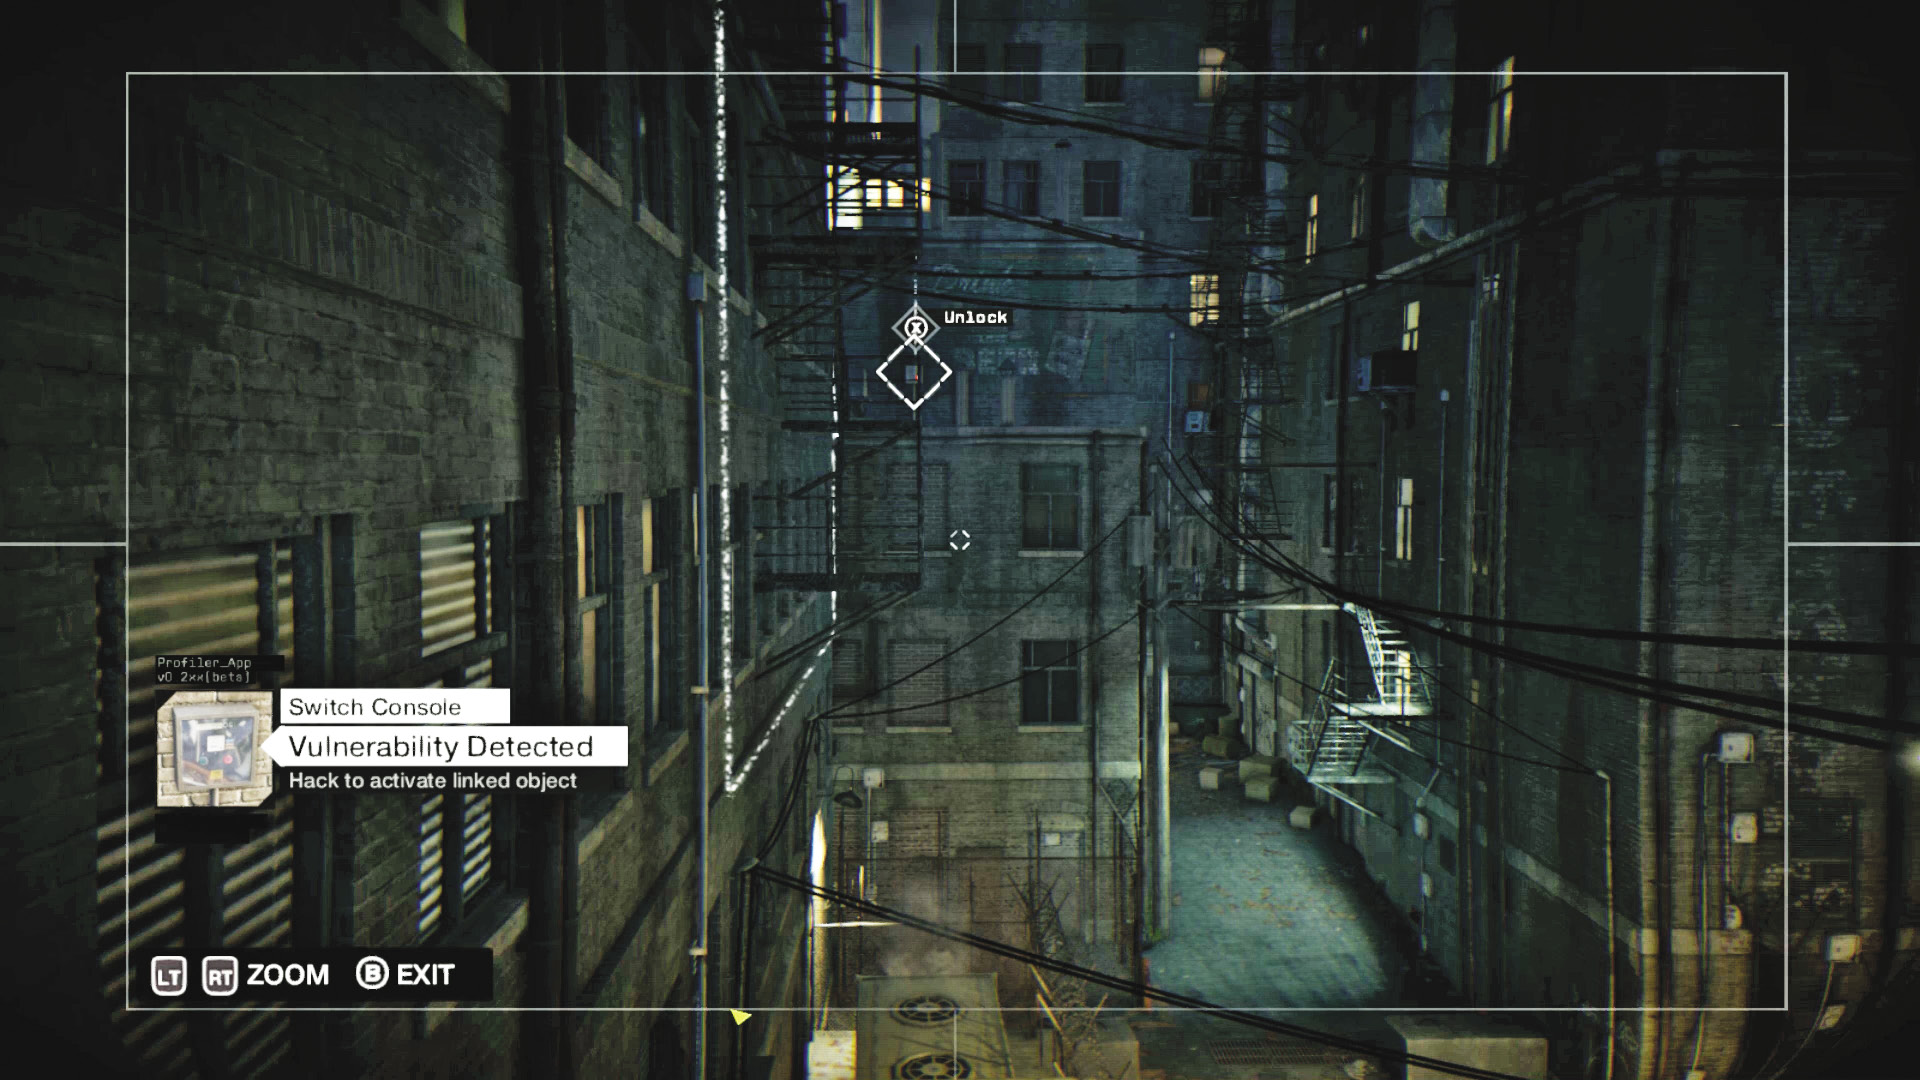
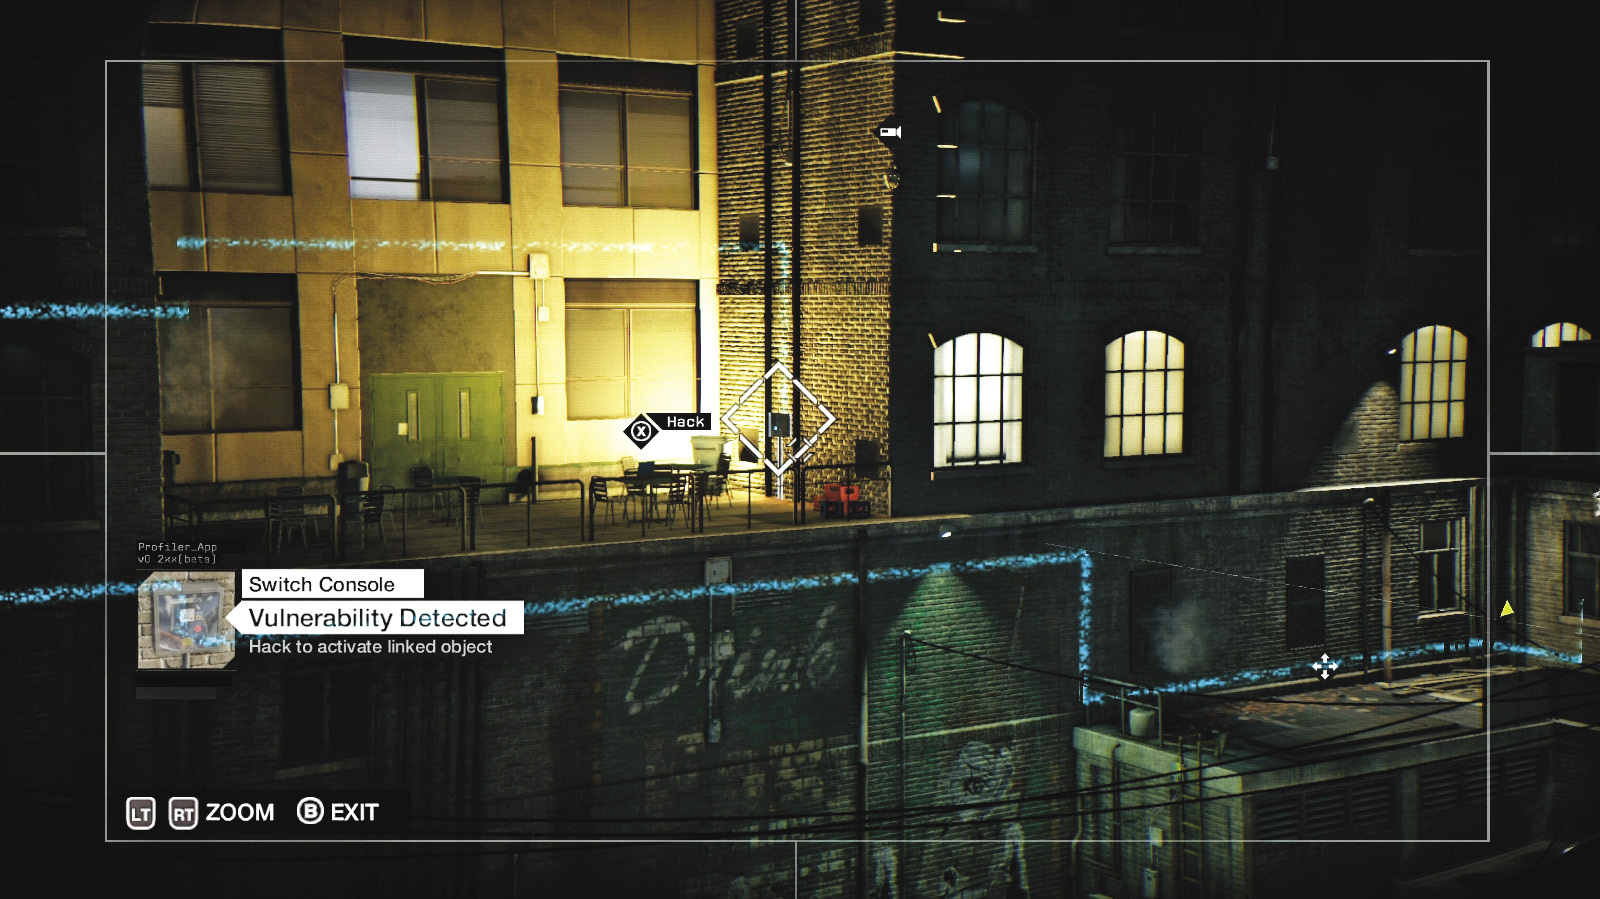
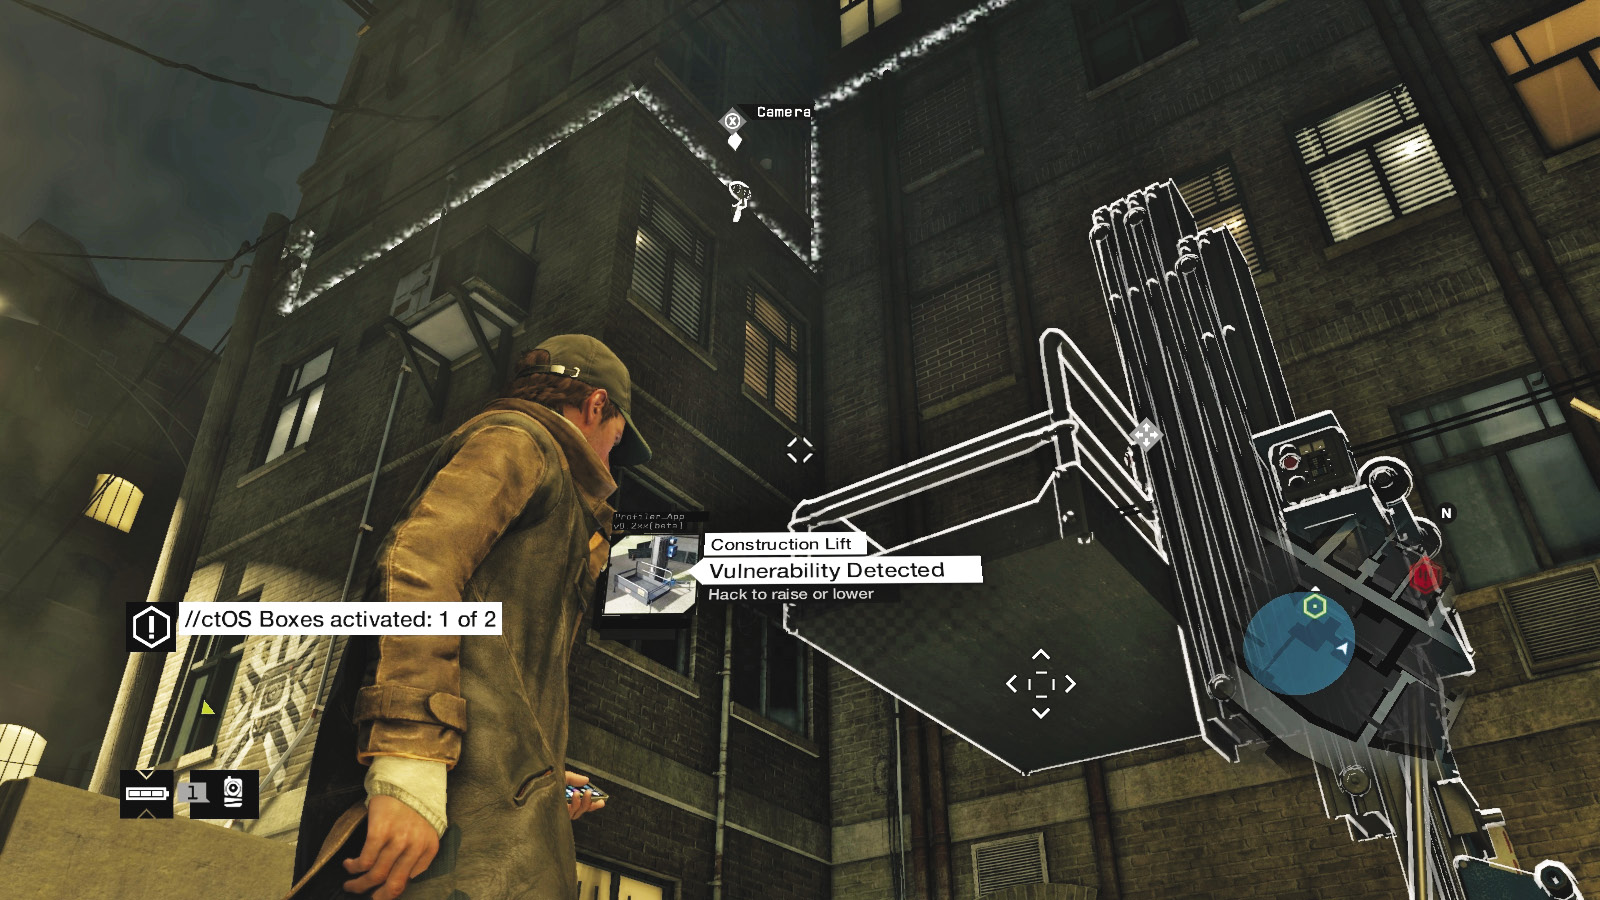
Trace the second data flow across the brick structure to the right of the access point. Peer up to the top of the wall to your right (east) to see the flow disappear toward the eastern alley. Head down there, stopping at a construction lift. Access the camera adjacent to the lift, then send the lift down. Focus ahead and across to the switch console on the opposite wall. Unlock this node.
|
|
 Access the building network
 Investigate the apartment
 Hack the phone
 Investigation
Difficulty: 
Return to the access point, which you can now hack, and enter the hotspot inside the adjacent apartment complex. Consult the Training chapter for more information on hacking hotspots.
Solution: Hotspot 1
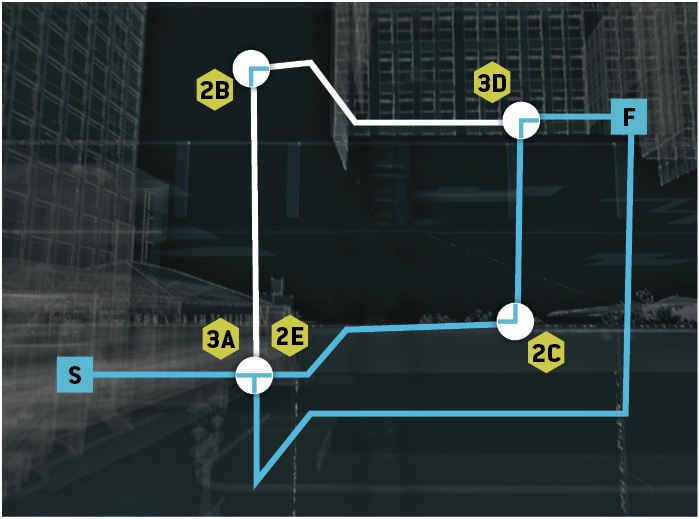
Solution: Hotspot 2
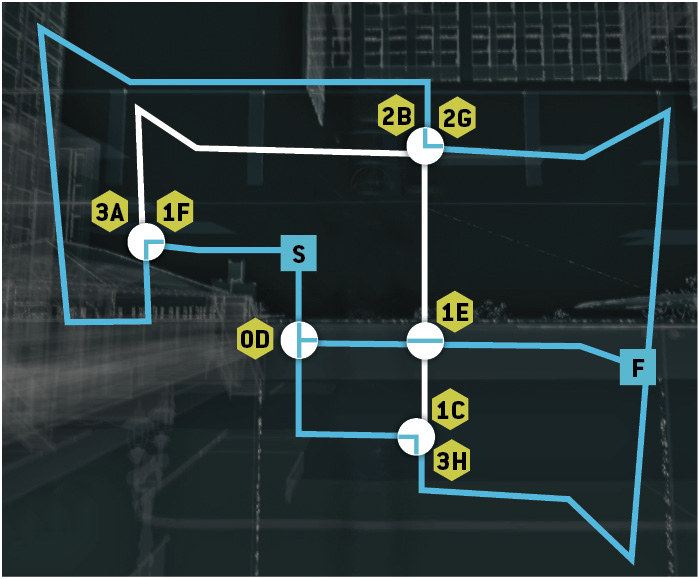
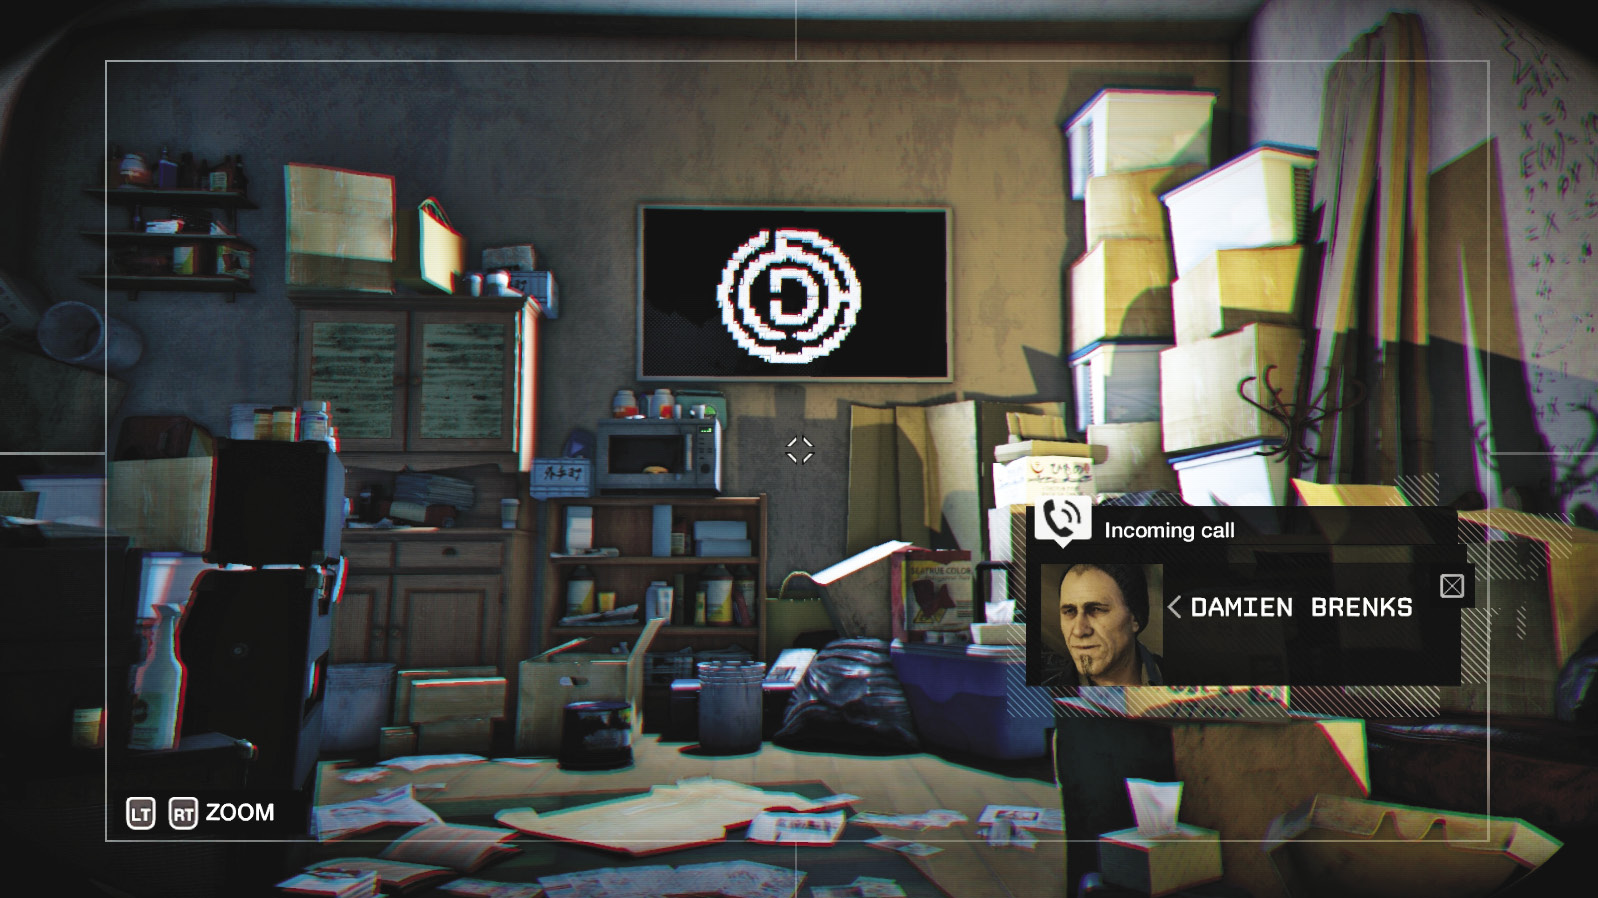
After solving the hotspot flow conundrums, you hack into a camera inside a particularly messy apartment. A phone is ringing; perhaps there’s a clue from your text man? However, when you hack it, you receive a strange and alarming message: Your position has been triangulated, and Fixers are on their way to kill you. It’s a trap!
6.3 THEY’RE COMING. YOU BETTER RUN?
 Location / The Loop // Marked Alley
|
|
 Kill all Fixers or escape
 Foot Chase
 Vehicle Chase
 Lethal Force Likely
Difficulty: 
Overview
 Completion Point: Anywhere in Chicago away from the incoming Fixers.
 Dangers (Wave 1): 7 Fixers (Gunmen x4, Elite x1, Marksmen x2), on foot and in one car.
 Dangers (Wave 2): 6 Fixers (Gunmen x3, Veteran x3), on foot and in three cars. They appear after three foes are defeated from Wave 1. All may not appear at the same time.
Progression Plans
You’re hemmed in with few narrow exit possibilities. See below to determine when you should try to escape and how many Fixers you slay before you do so.
General PreplanningFixer Fighting: Unlike with the police, you won’t impede your Reputation by slaying these rivals. If you haven’t really engaged with guns up until this point, feel free to change your passive ways. Cameras: There are several cameras around these alleys, and you may wish to mark all the Fixers before engaging in combat (from a cover position, obviously). Extraction Points: Remember there are Fixers appearing from both main exits, meaning a swift departure is tricky, and you’re easily surrounded if you make the wrong move. Don’t forget the third exit too (see below)! Escape Vehicle: Prior to triggering this objective, consider parking an escape vehicle at one of the three extraction points. |
When the trap is sprung, expect two marksmen to take up sniping positions on separate balconies above you, while a Fixer vehicle drives down the alley you first entered. Four Fixers emerge, and to your left (east), around four additional foes head in on foot to intercept you from the other alley.
 Aggressive // Smart: Darkness and Detonations
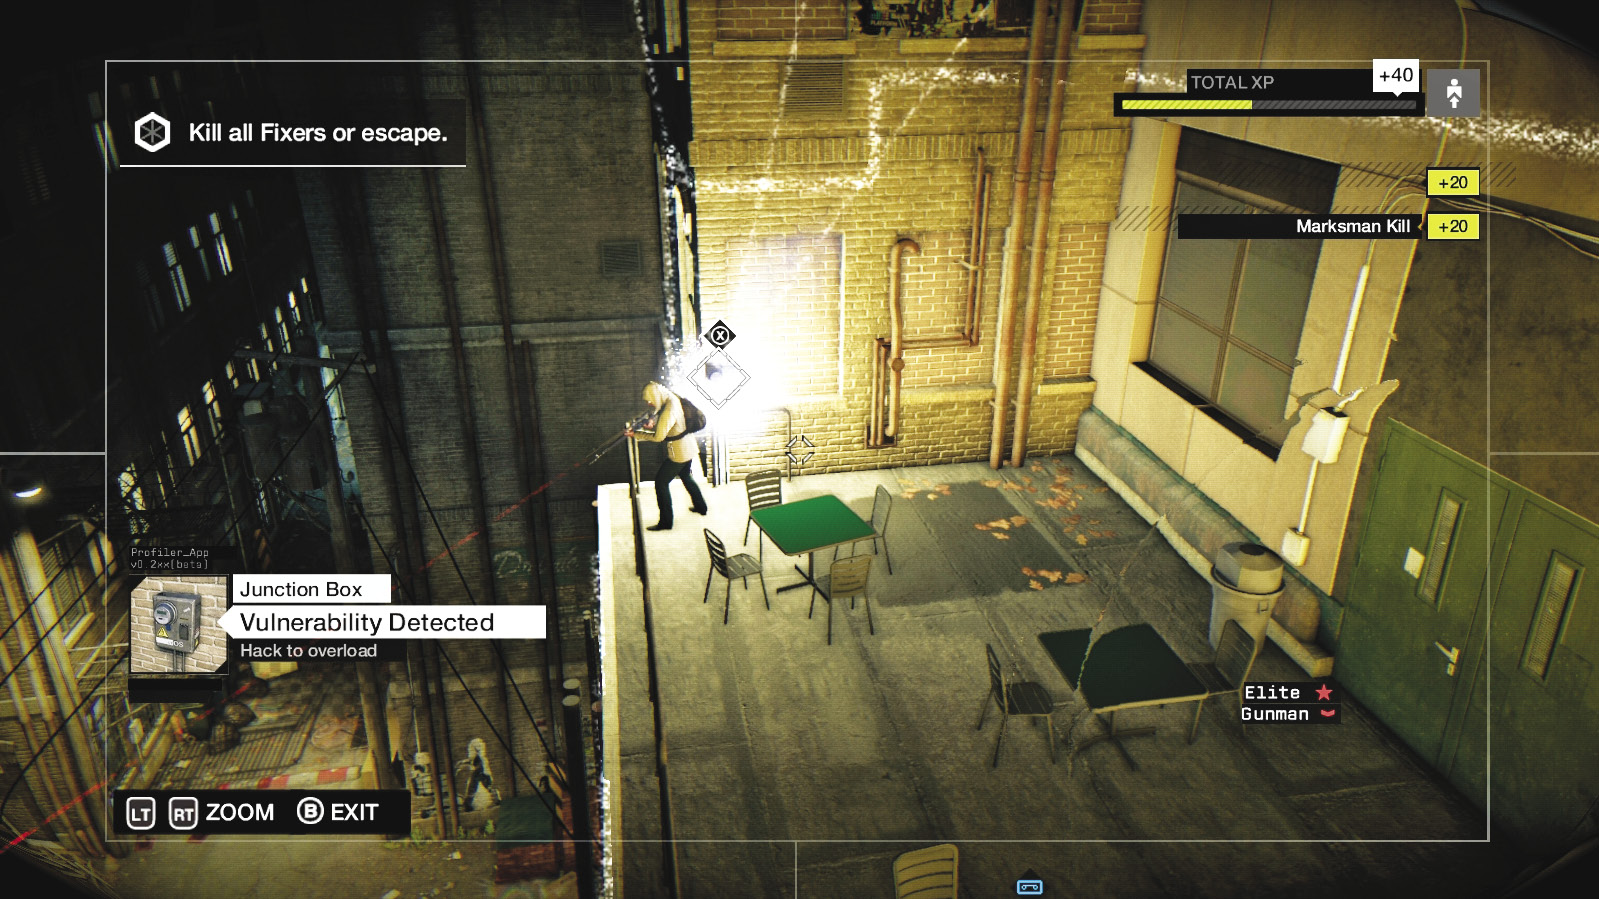
 Difficulty:
Your knowledge of junction boxes, blockers, and the transformer vaults comes into play right now. The only real recommendation for both the marksmen is to hack and explode the junction boxes behind each of them. Do this immediately!
Those Fixers parking their vehicles can be stopped if you already activated the blockers. If they move farther into the alley, you need to hit them hard, so explode a nearby transformer vault and then escape. Try melee-strike sneaking or blasting away with your weapons. Or, if foes are alert but not aggressive, watch their routes and explode the junction boxes as they step close to either of these (especially as they ascend the stairs to your left). The lifts and forklift can also be used to distract. You can even cause a blackout (without crafting) by driving a vehicle into the corner electrical pole, which plunges the alley into darkness, making takedowns easier (as long as you’ve tagged everyone already).
 Aggressive // Stealth: Lurking and Patience
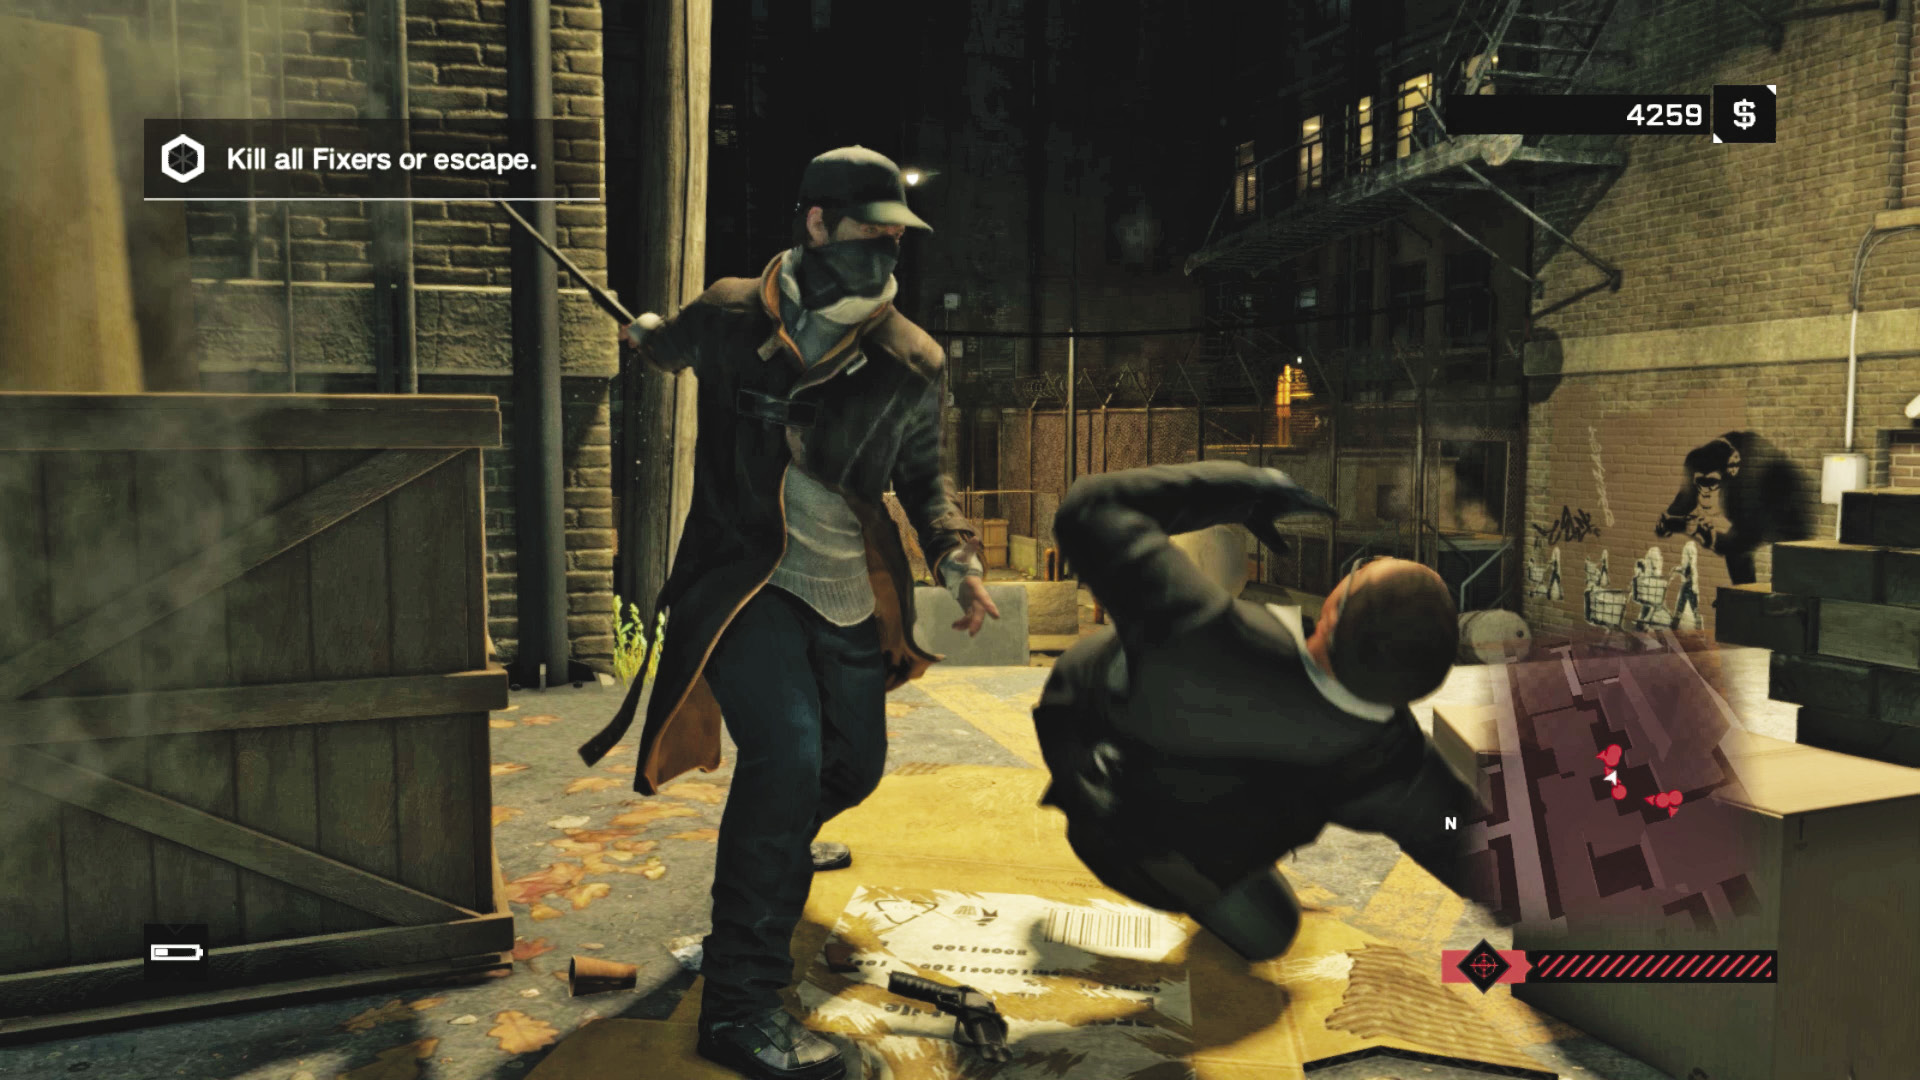
Difficulty: 
Speed is vital if you’re trying to tackle these foes using only a baton and cover opportunities. Deal with the marksmen as detailed previously. Then head down the steps to the left and hide behind the piles of wood. Let the Fixers move toward you before grappling them one at a time. Use the cameras to mark the foes while you’re hiding, or throw out a lure if no one is approaching your ambush spot. To exit, move toward the left alley or around the cars, depending on where your foes have positioned themselves.
Another option is to sprint down the stairs, ignoring the four foes in the vehicles. Rush directly at the slightly bewildered Fixers in the alley after vaulting over the mesh fence. Batter them, then spin around and approach the remaining foes, knowing you won’t be surrounded. Or, flee the scene.
 Aggressive // Violence: Explosive Expectations
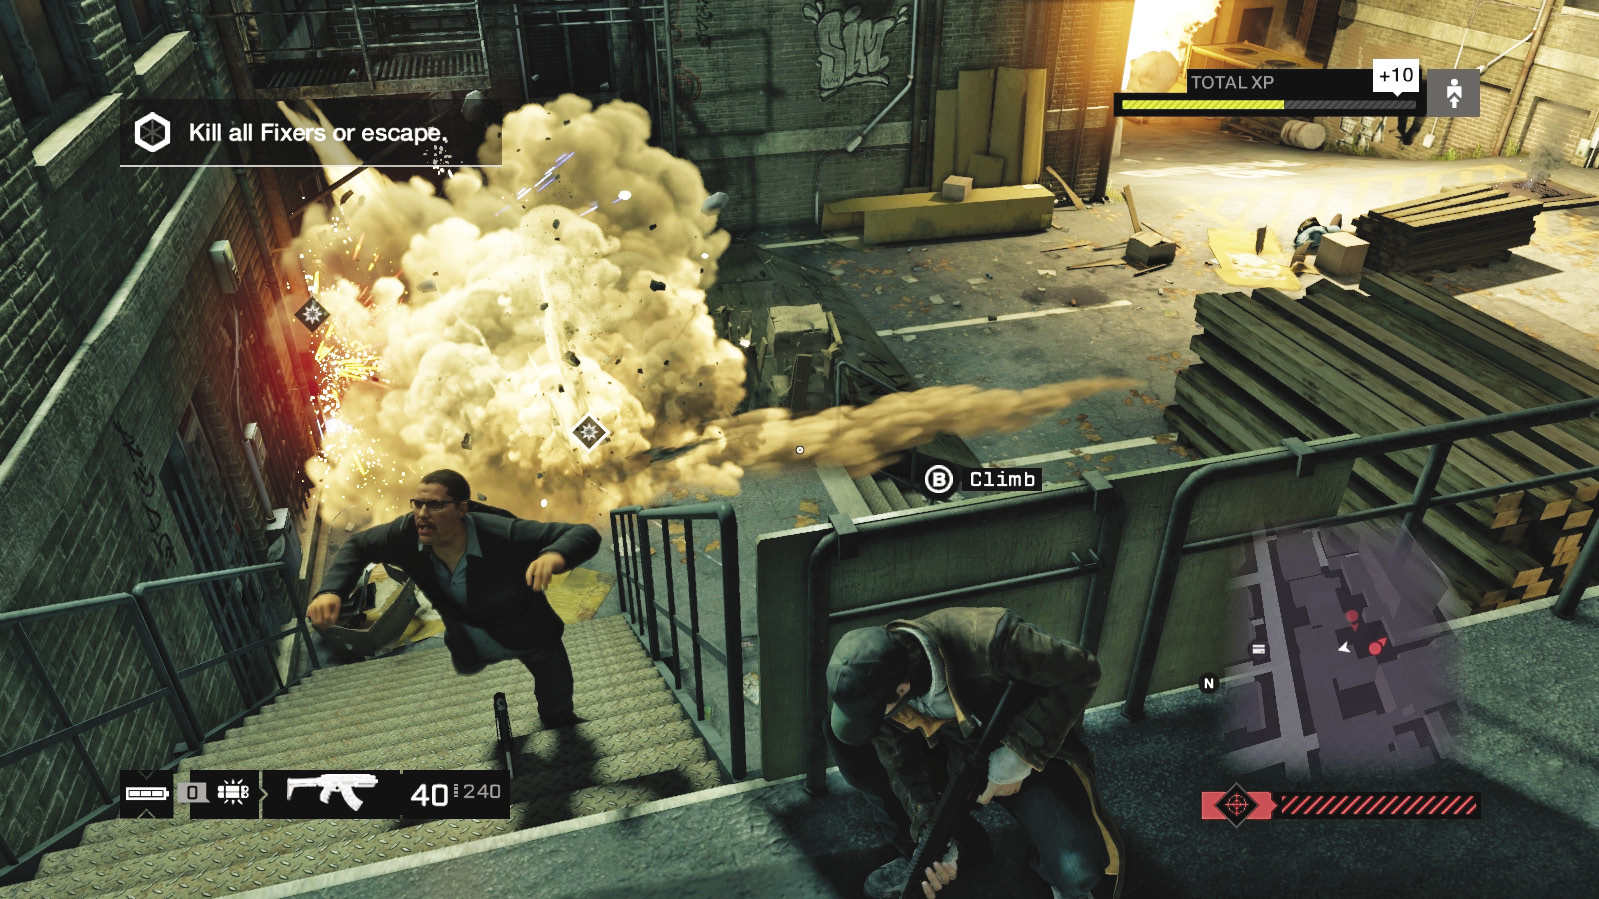
 Difficulty:
Bring out your favored weapon, and return fire from your current location. Although you’re somewhat pinned into a corner, you have the height advantage. Concentrate first on dropping the two marksmen with automatic fire or hacking the junction boxes; then peer over the rail and tag foes below as they drive in and as they emerge from their vehicle. Move to the edge of the current rooftop (toward the ladder) or to the slightly lower rooftop (quickly using cameras to mark the foes if you want), watching for the enemies from the alley on your left; they sometimes sneak up the metal stairs.
Scoot up against the metal corner fencing at either location, and pan left and right; either point allows you to see both alleyways, and the foes within. Then methodically drop each foe from this vantage point. You can employ the following possible tactics if you have the necessary implements:
Lob a grenade or IED into an area, or near the cars as they park, and watch (or trigger) the explosions.
If the foes aren’t completely gung ho, lob a lure into an open area, activate it, and drop any foe who goes to investigate. Another option (if you’re close to the ground and near an enemy) is to throw it so a foe in cover moves away from his hiding spot, allowing easier or quicker takedowns.
Pistol headshots are quick and effective if you’re excellent at aiming. Otherwise, drop foes with raking automatic gunfire.
Use the explosive canisters to your advantage, blasting them if a foe is dug in near one.
Remain on your highest roof perch and employ a sniper rifle. Check that foes aren’t ascending the steps on your left.
Use offensive hacking opportunities to explode or distract enemies, especially those close to scenery that detonates.
Sprint to a scissor lift, raise it, and fire down from above using automatic guns or dropping grenades. Do this just after tackling the marksmen.
 Passive // Flee: Safety Evaluations
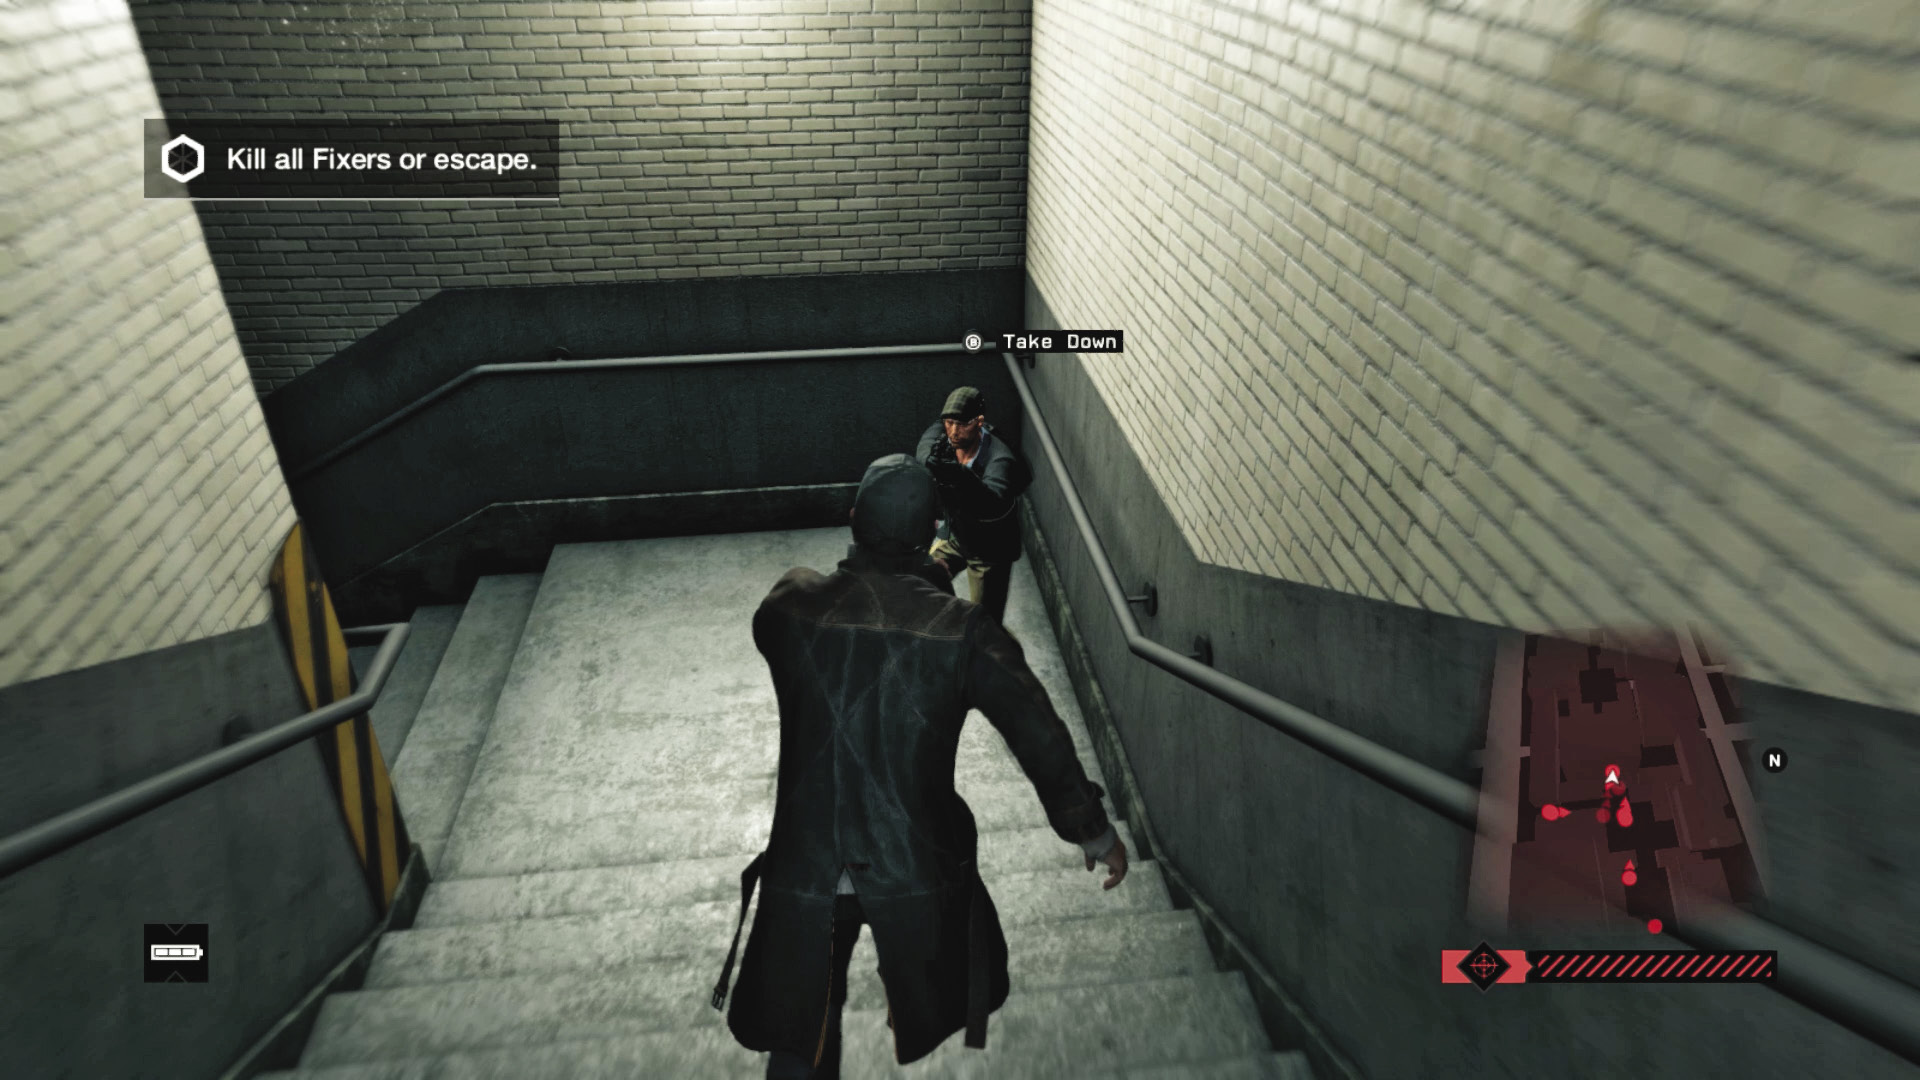
Difficulty: 
There’s no need to stick around here; sprint to either the parking lot staircase or the left alley, where there are fewer Fixers to waylay you (assuming you drop down from your starting point as soon as possible). You needn’t concern yourself with killing anyone, although you aren’t accruing as much experience. Descend to the parking lot, obtain a vehicle, hack the garage door, and flee.
 Driving // Offensive: Vehicle Appropriations
 Difficulty:
If you brought a bike with you into the alley, you can scoot past the Fixers, activate the blockers, and then flee the scene quickly and effectively.
Or, you may wish to advance on the foes exiting their vehicles, strafing them with automatic gunfire and stealing one of their cars! Reverse and J-turn out of the alley and escape.
Or, you can flee to the parking lot and appropriate a vehicle there, as mentioned previously.
Extraction Points
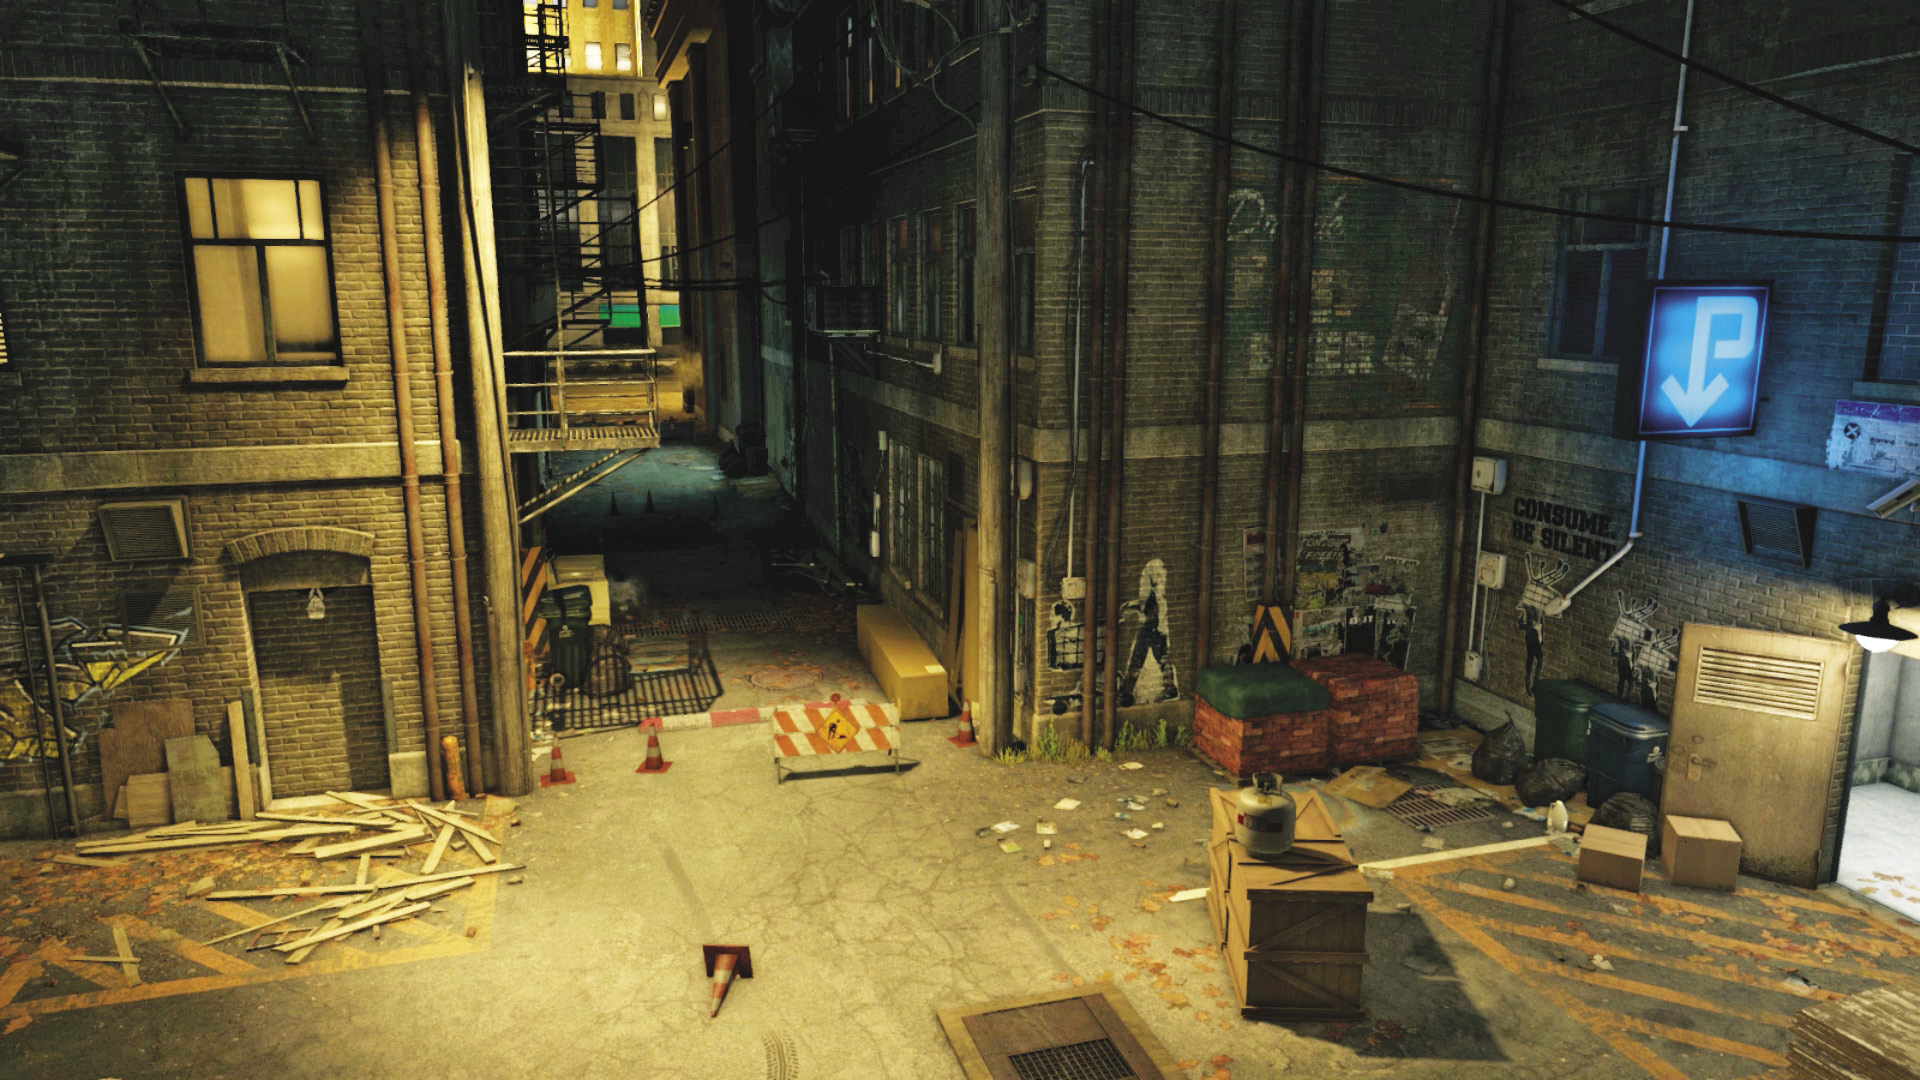
Fixer Car Alley (Entrance)
Accessibility Level: 
This is the least desirable of the three possible exits, as the majority of the foes appear from here. You usually have to engage in a fierce (but rewarding) gun battle to whittle down the foes before fleeing into the alley you came from, either on foot or in one of the Fixers’ own vehicles. There’s numerous scenic devices to hack here to help minimize the threats (such as the transformer vault to blow up, allowing fewer enemy threats).
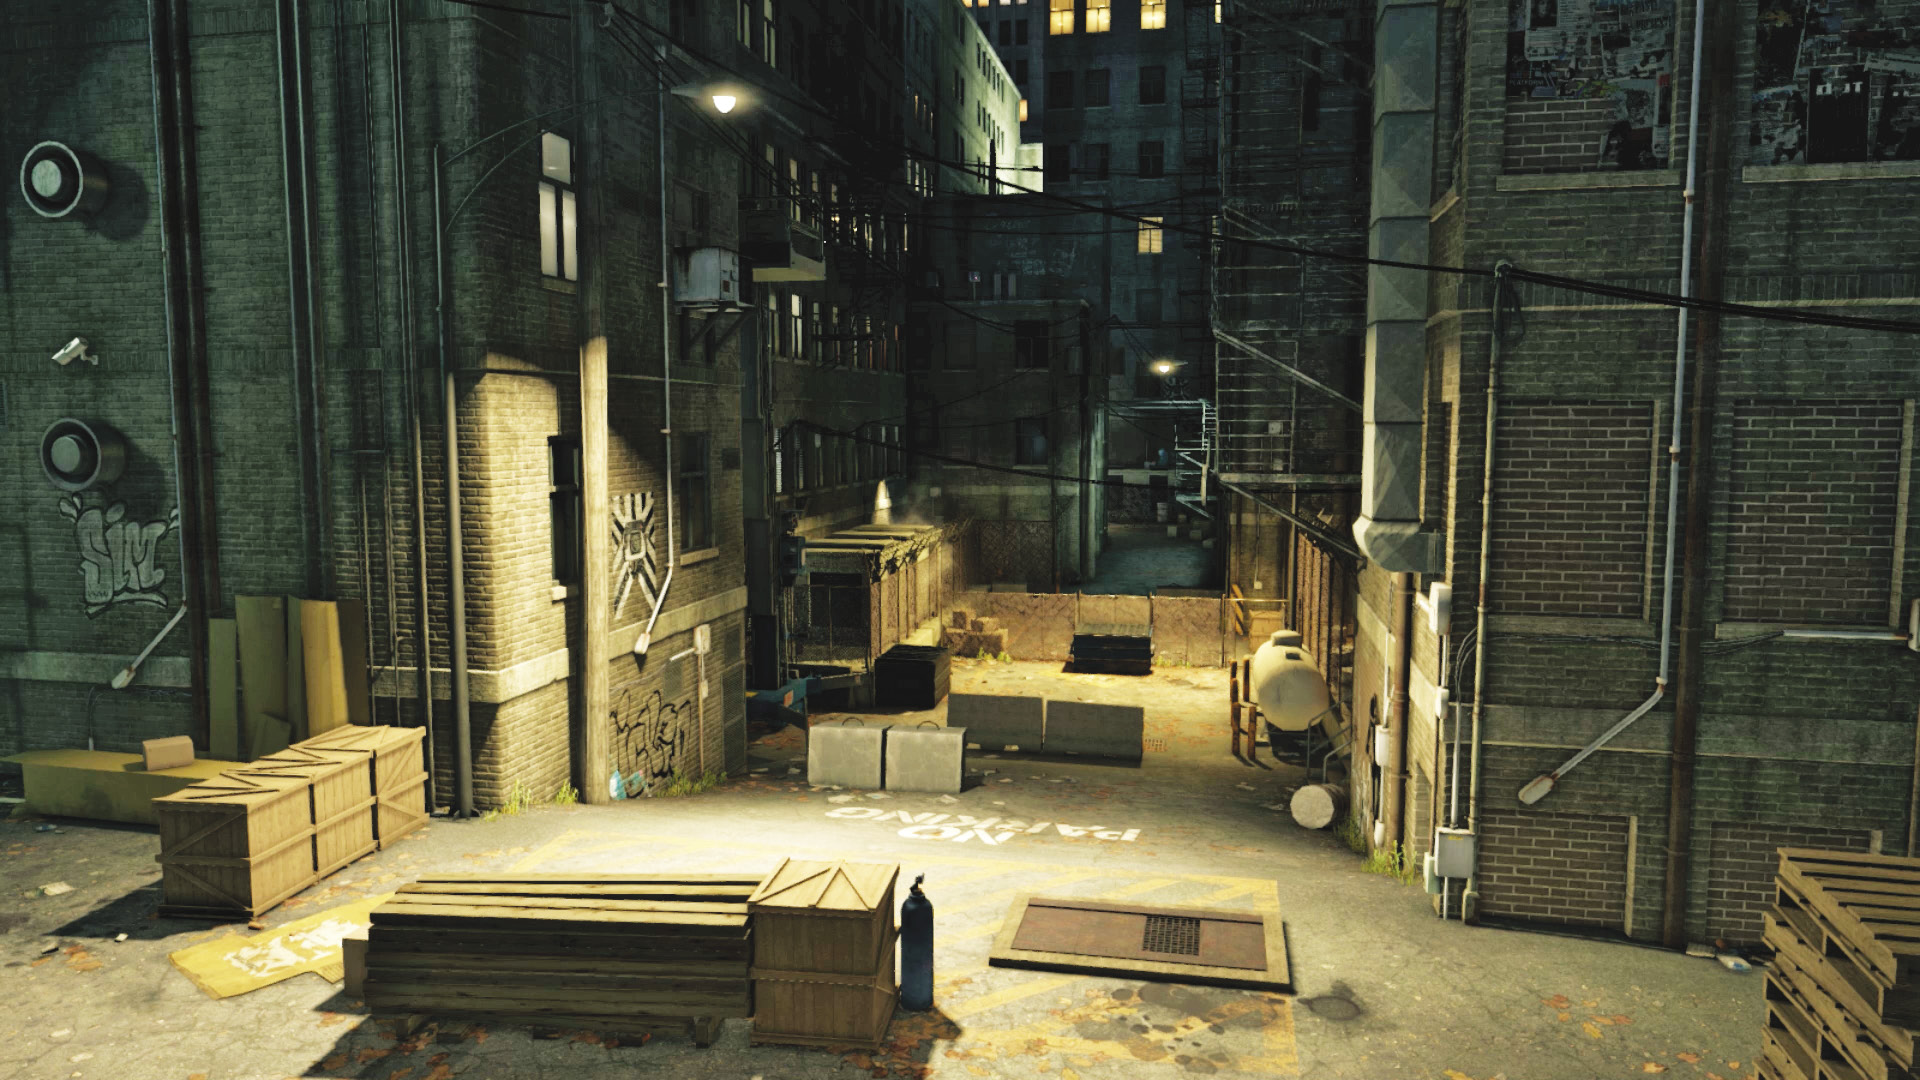
Long Exit Alley
Accessibility Level: 
The alley to the left is long, features a fence to leap over and numerous obstacles, and usually has two to four Fixers. Turn the corner heading left (north) and climb into a side alley on your right (east), or you can continue into the street. You may wish to head here immediately, then double back and fight the Fixers knowing they are all in front of you.
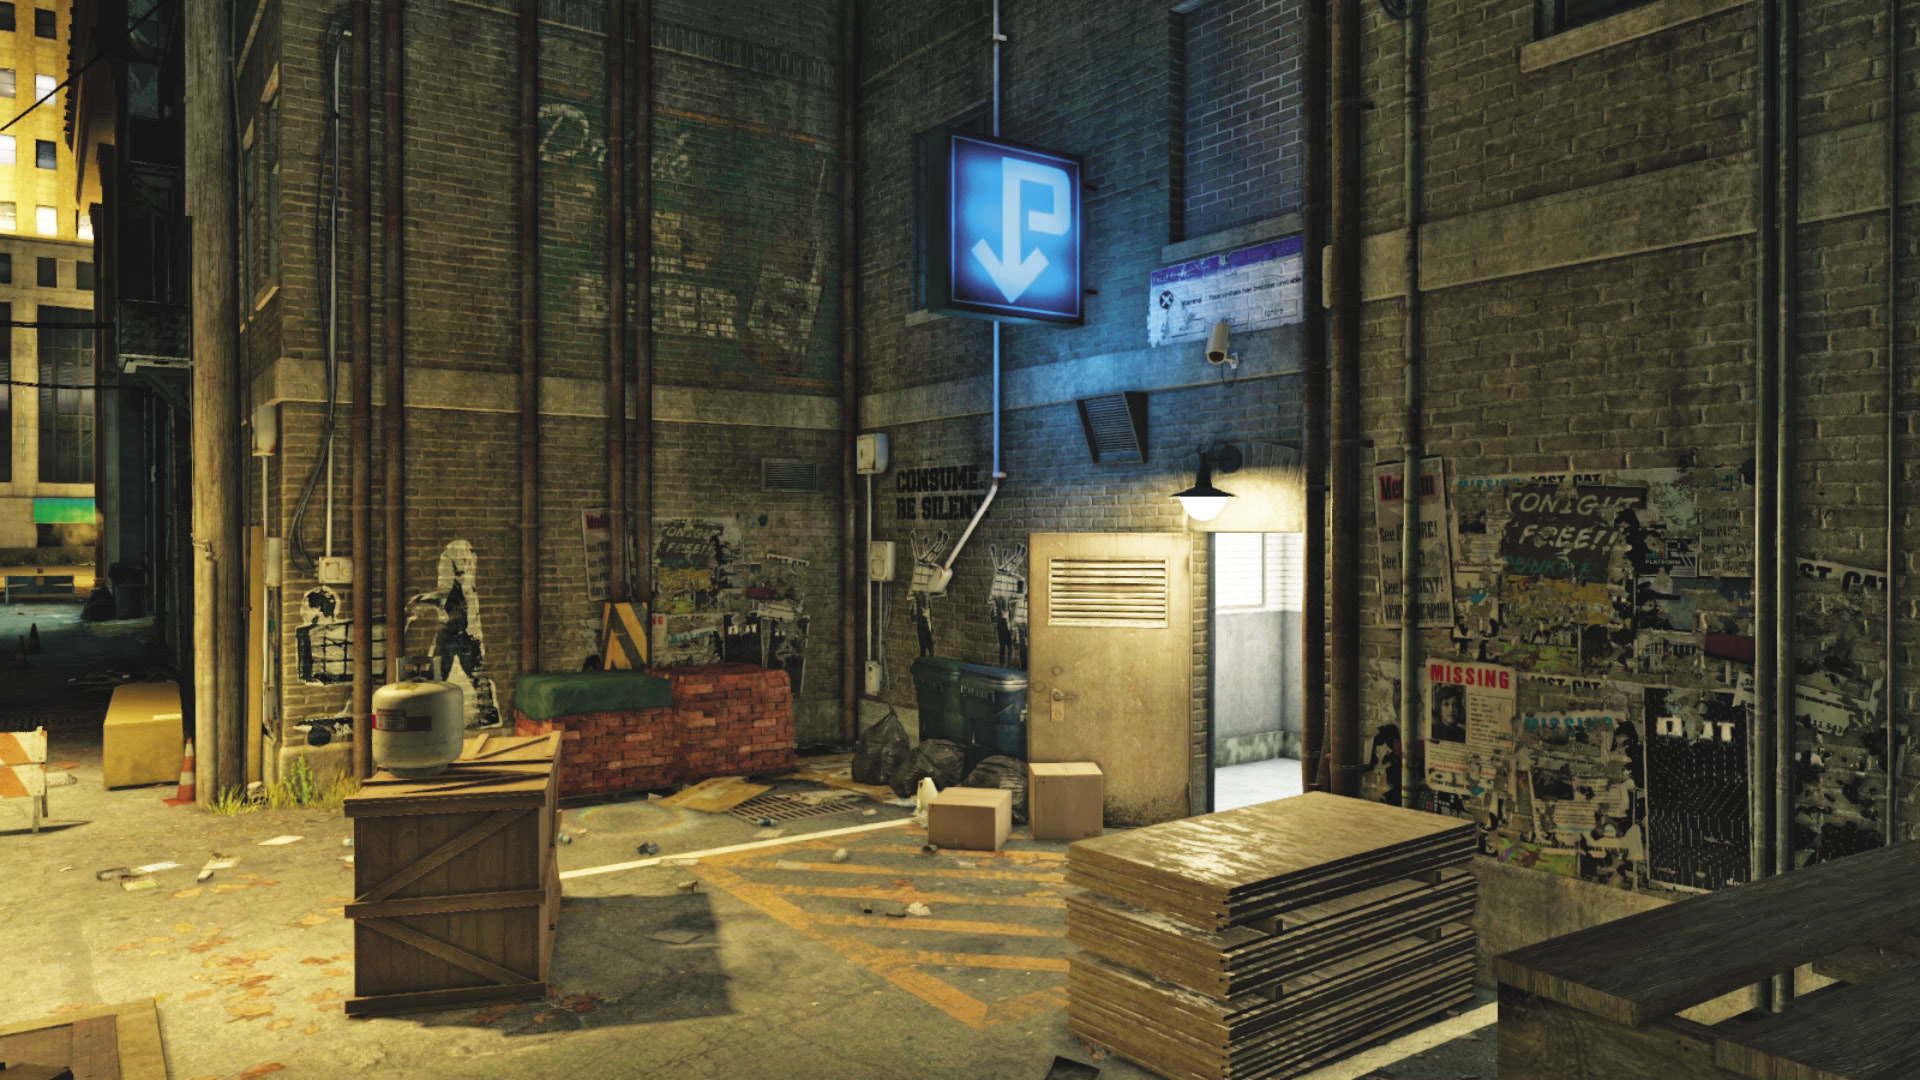
Underground Parking Lot
 Accessibility Level:
Don’t overlook the neon parking garage sign, which allows a swift and relatively safe exit down into a parking lot, where a great choice of vehicles is available. Assuming you can operate a hacked garage door, pick a vehicle and drive away immediately; this easily completes this mission.
 Driving // Smart: Evasive Maneuvers
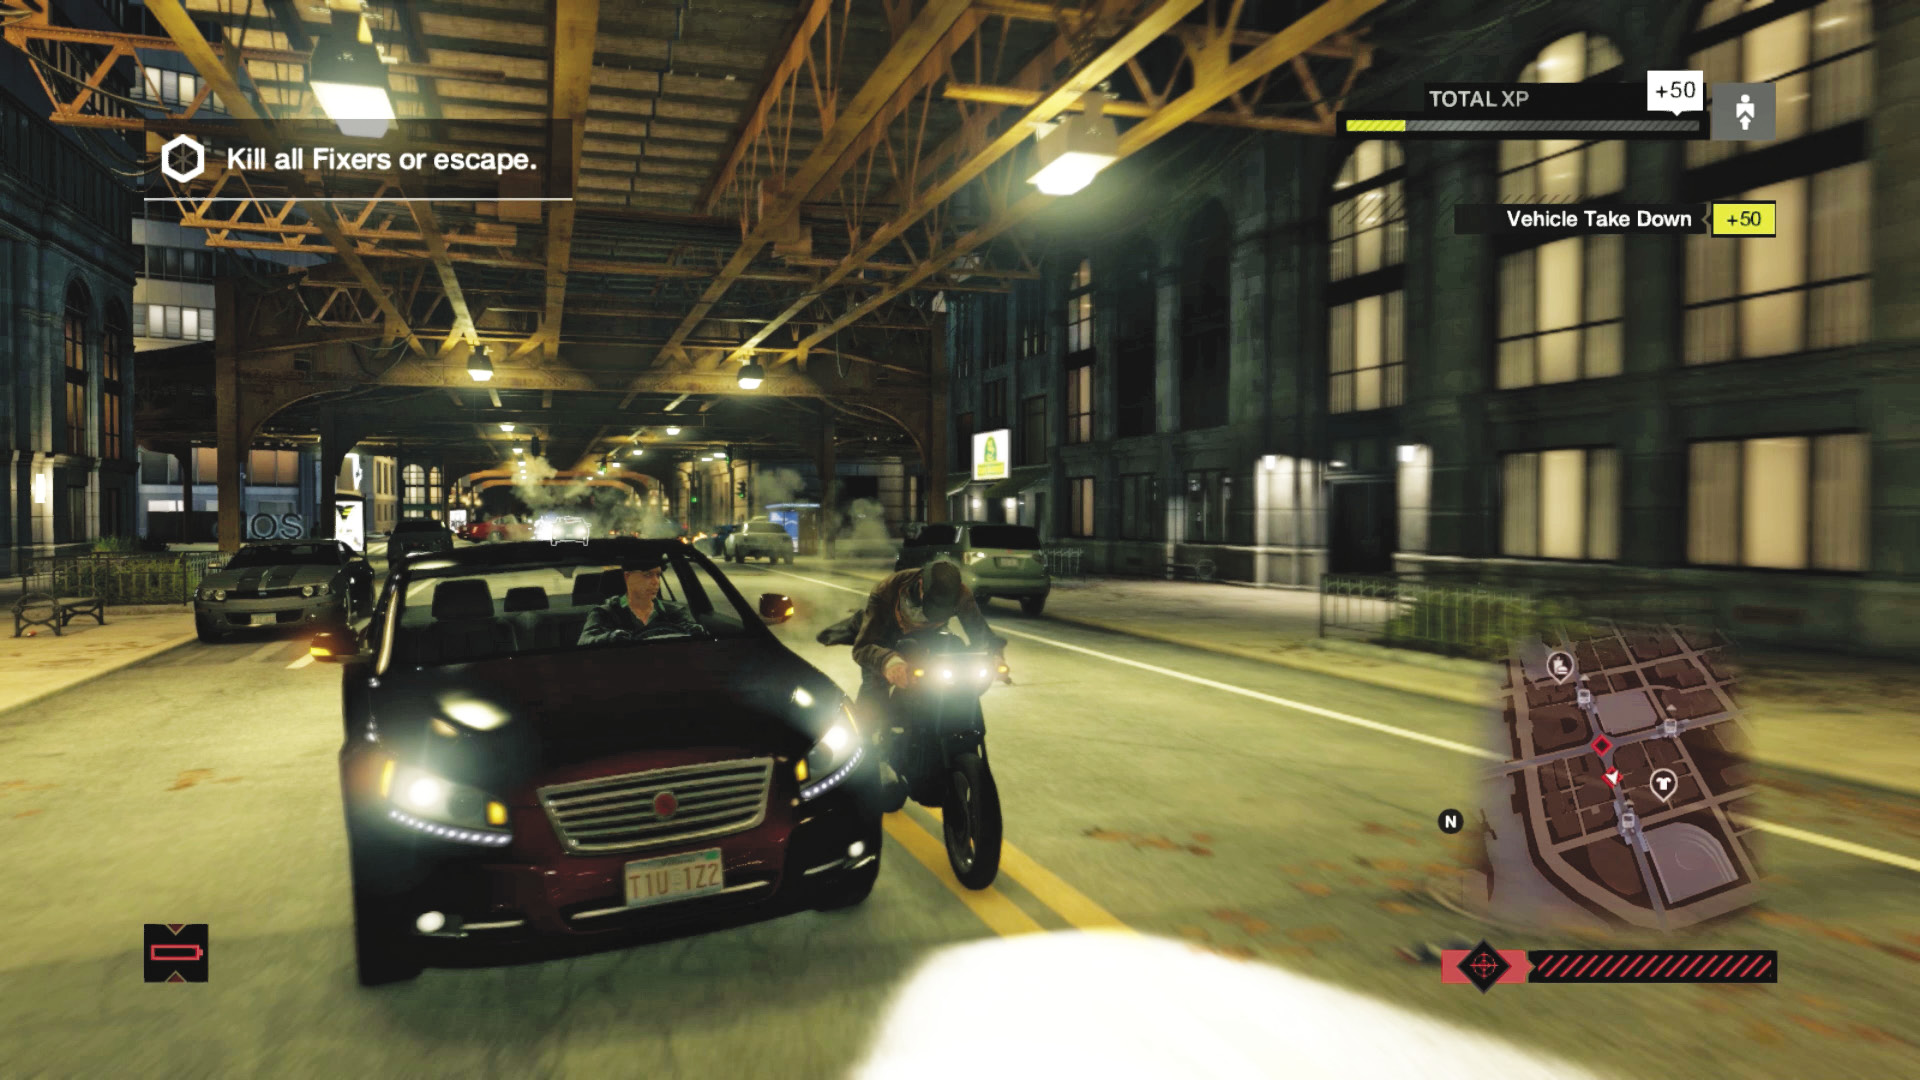
 Difficulty:
Escaping in a vehicle may be necessary if you flee the scene with Fixers still pursuing you. Consult the general escape tactics, remembering what you did to lose the Search Area circle in previous missions when fleeing the police (see the Training chapter). If the situation calls for it, and if you’ve unlocked enough Skill Points to access certain hacks, try the following (and remember to avoid the ensuing accident if it occurs!):
Hack traffic lights to cause congestion.
Hack bollards so they rise just after you pass over them, stopping the vehicle.
Hack bridges so they rise, slowing your Fixer vehicles.
Hack spikes so the Fixers’ car tires blow out.
Hack steam pipes so they blow (be sure you’ve already passed over these pipes), disintegrating the vehicles.
Open a garage door, head inside, close it behind you, and wait.
 Driving // Defensive: Clandestine Mover
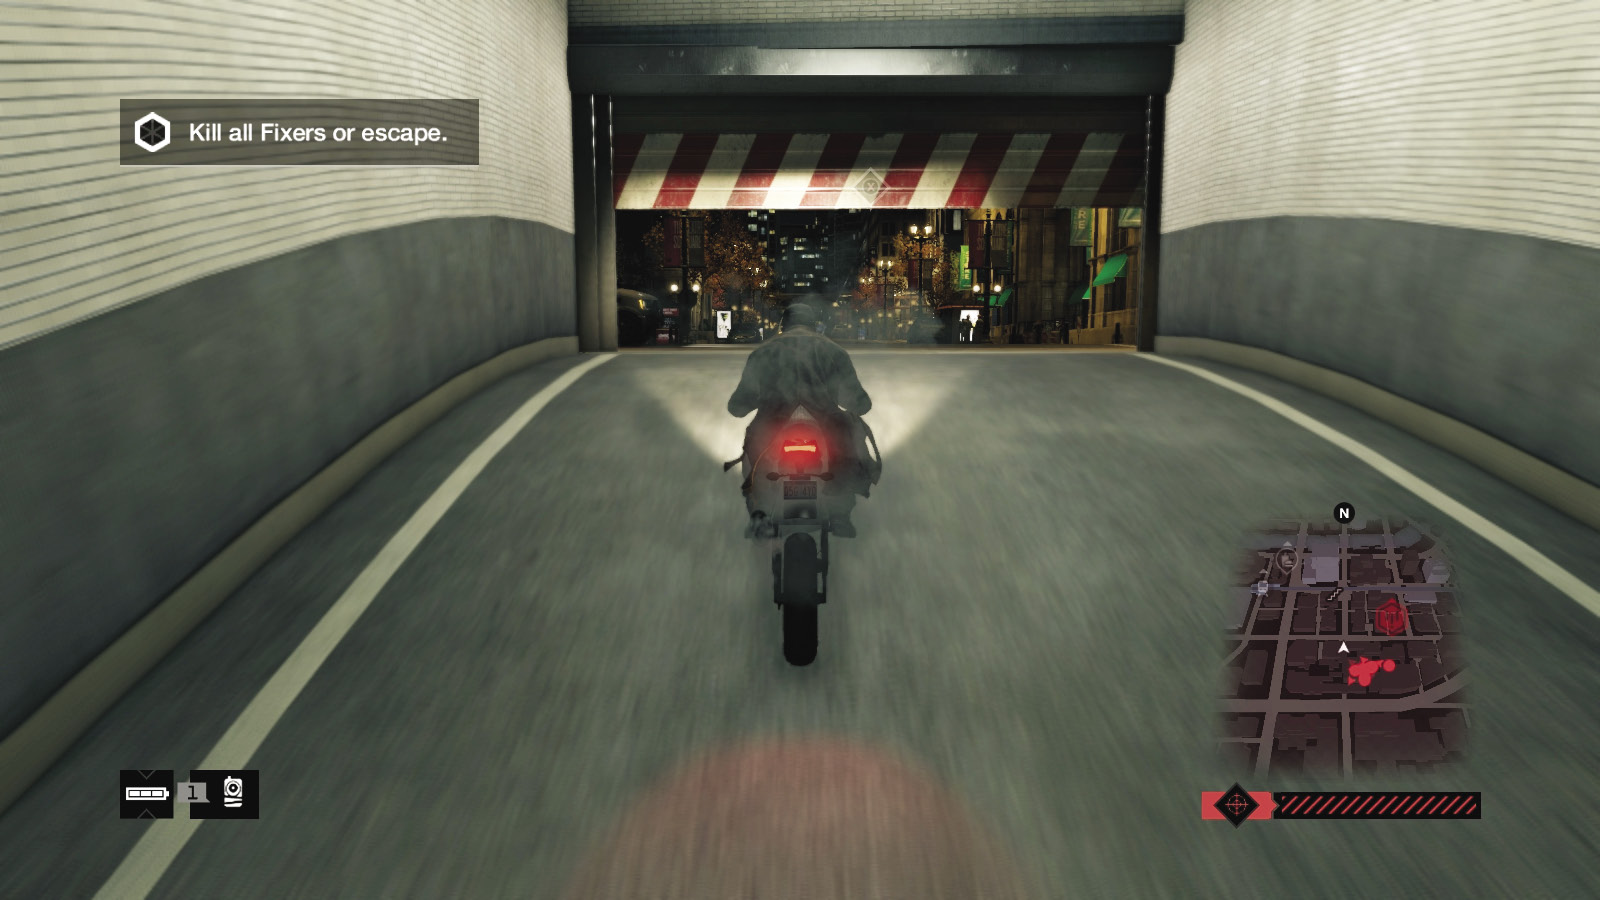
 Difficulty:
In this particular area of The Loop, you can also try the following:
Flee The Loop to another district.
Weave in and out of alleys and main roads to confuse and lose your foes.
Use ramps to change height and locations quickly, fleeing into and out of the traffic tunnels.
Hide under overpasses or bridges, away from city streets.
6.4 I COME BEARING GLAD TIDINGS
 Location / The Loop // Forever Sculpture
|
|
 Follow the traced call
 Driving Investigation
Difficulty: 
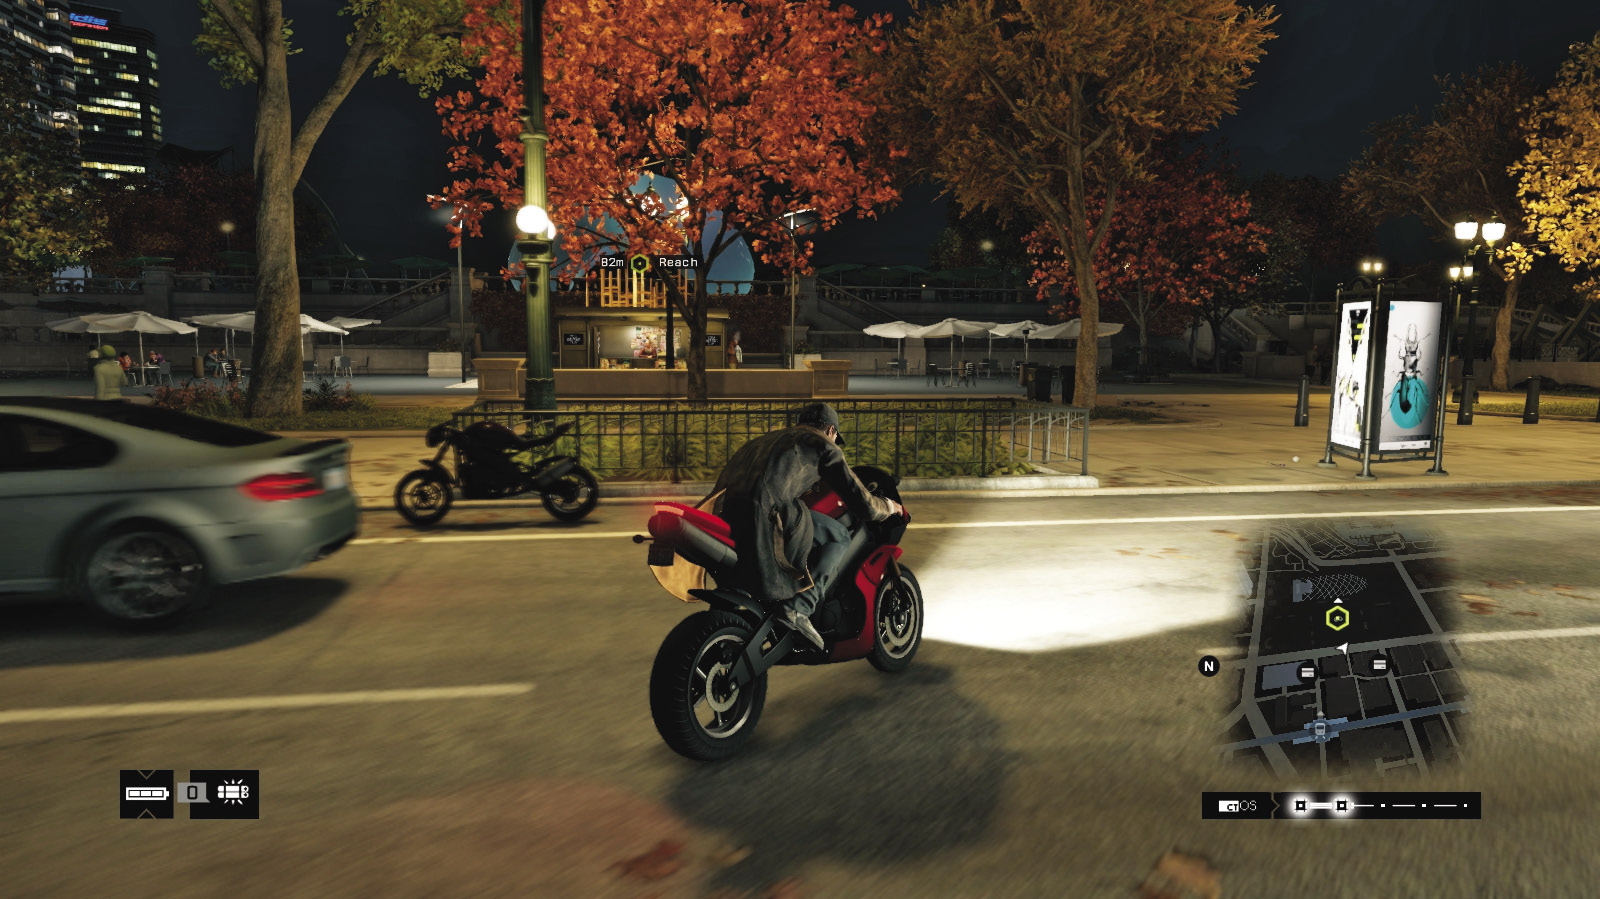
Once the Fixers’ allies can’t locate you anymore, the mission objective updates. Flag the Forever Sculpture in the park to the east of The Loop, and head there immediately. You may wish to ditch your vehicle in favor of a bike, which can (if you’re careful) negotiate the pedestrian walkways, stairs, and grass without incident.
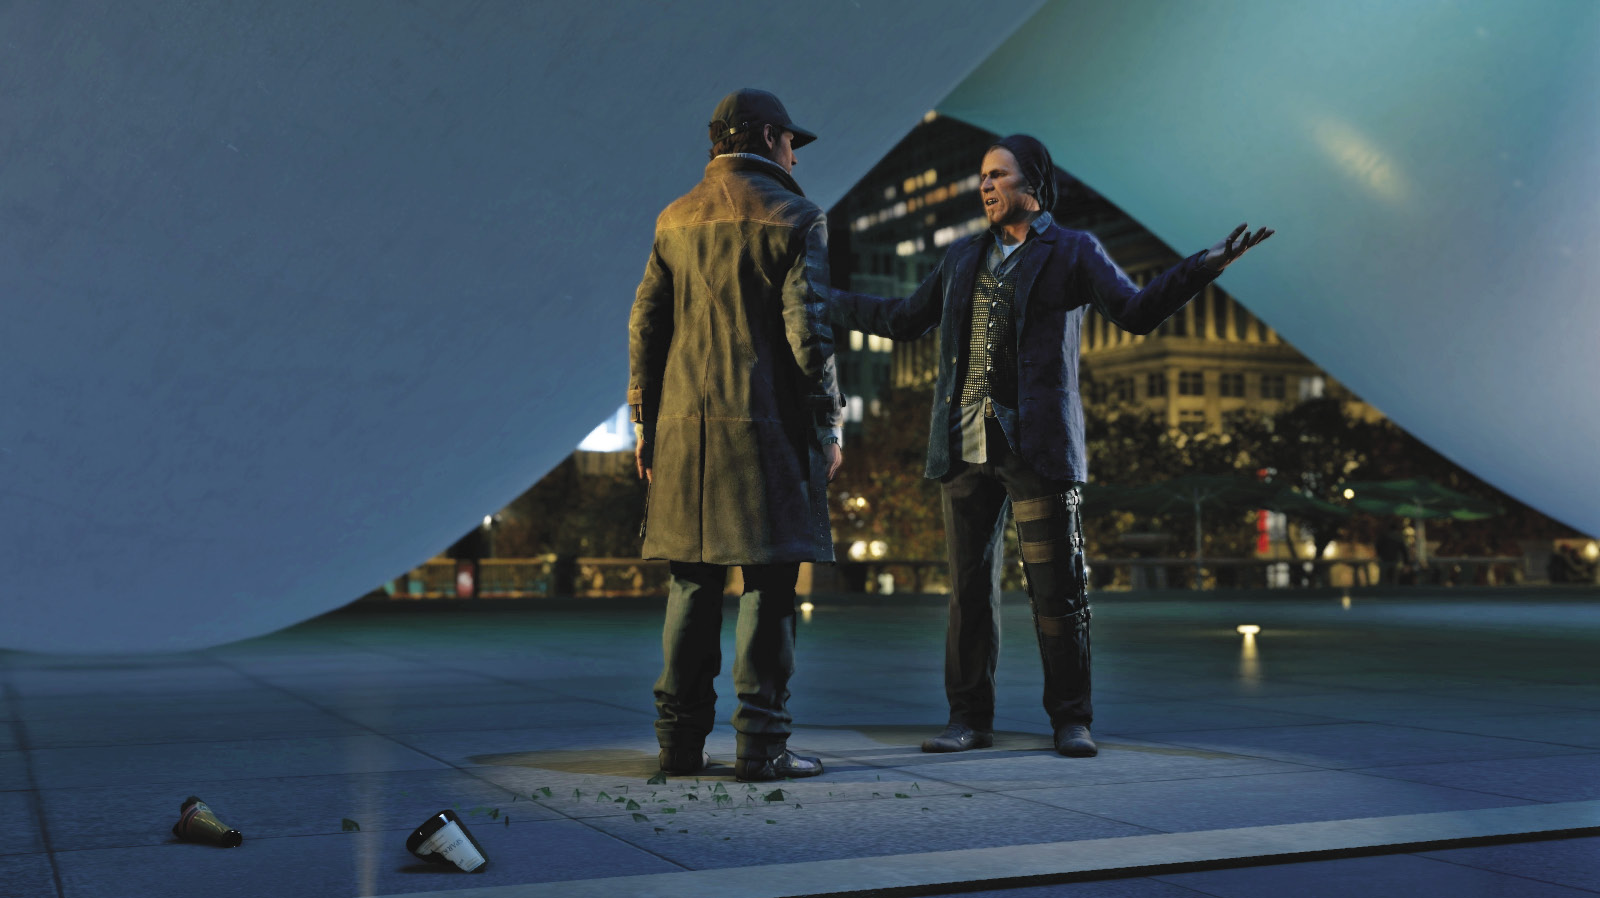
You’re met by a disheveled, craggy-faced man with a limp, your ex-partner Damien Brenks. Brenks has information on a second hacker. You thank him for the tip but have no wish to work with this lunatic, not after what he did to your family and the death of your niece.
MISSION REWARDGained XP +500 |