
Watch Dogs Guide ONLINE MISSIONS
_RACES
Available Races
| Race District (Start) | Number and Name |
|---|---|
| Pawnee | 01/True Grit |
| Parker Square | 02/Downpour |
| Parker Square | 03/Mountaineers |
| Parker Square | 04/Railroaded |
| Brandon Docks | 05/Endurance |
| Brandon Docks | 06/Freeway Force |
| Brandon Docks | 07/Open Road |
| Brandon Docks | 08/Slum Runners |
| The Loop | 09/Cutting Corners |
| The Loop | 10/Home Run |
| The Loop | 11/Thrown for a Loop |
| The Loop | 12/Up and Under |
| Mad Mile | 13/Mad Streets |
| Mad Mile | 14/Return to the Island |
PAWNEE
01_TRUE GRIT
Starting location / Pawnee trailer park
Vehicle / Kuruhawa Motorsport 450
Difficulty: 
NUMBER OF LAPS: 1
NUMBER OF CHECKPOINTS: 12
TIME TO AIM FOR: 03:03 BEAT THIS: 02:57 (Chris Finlay)
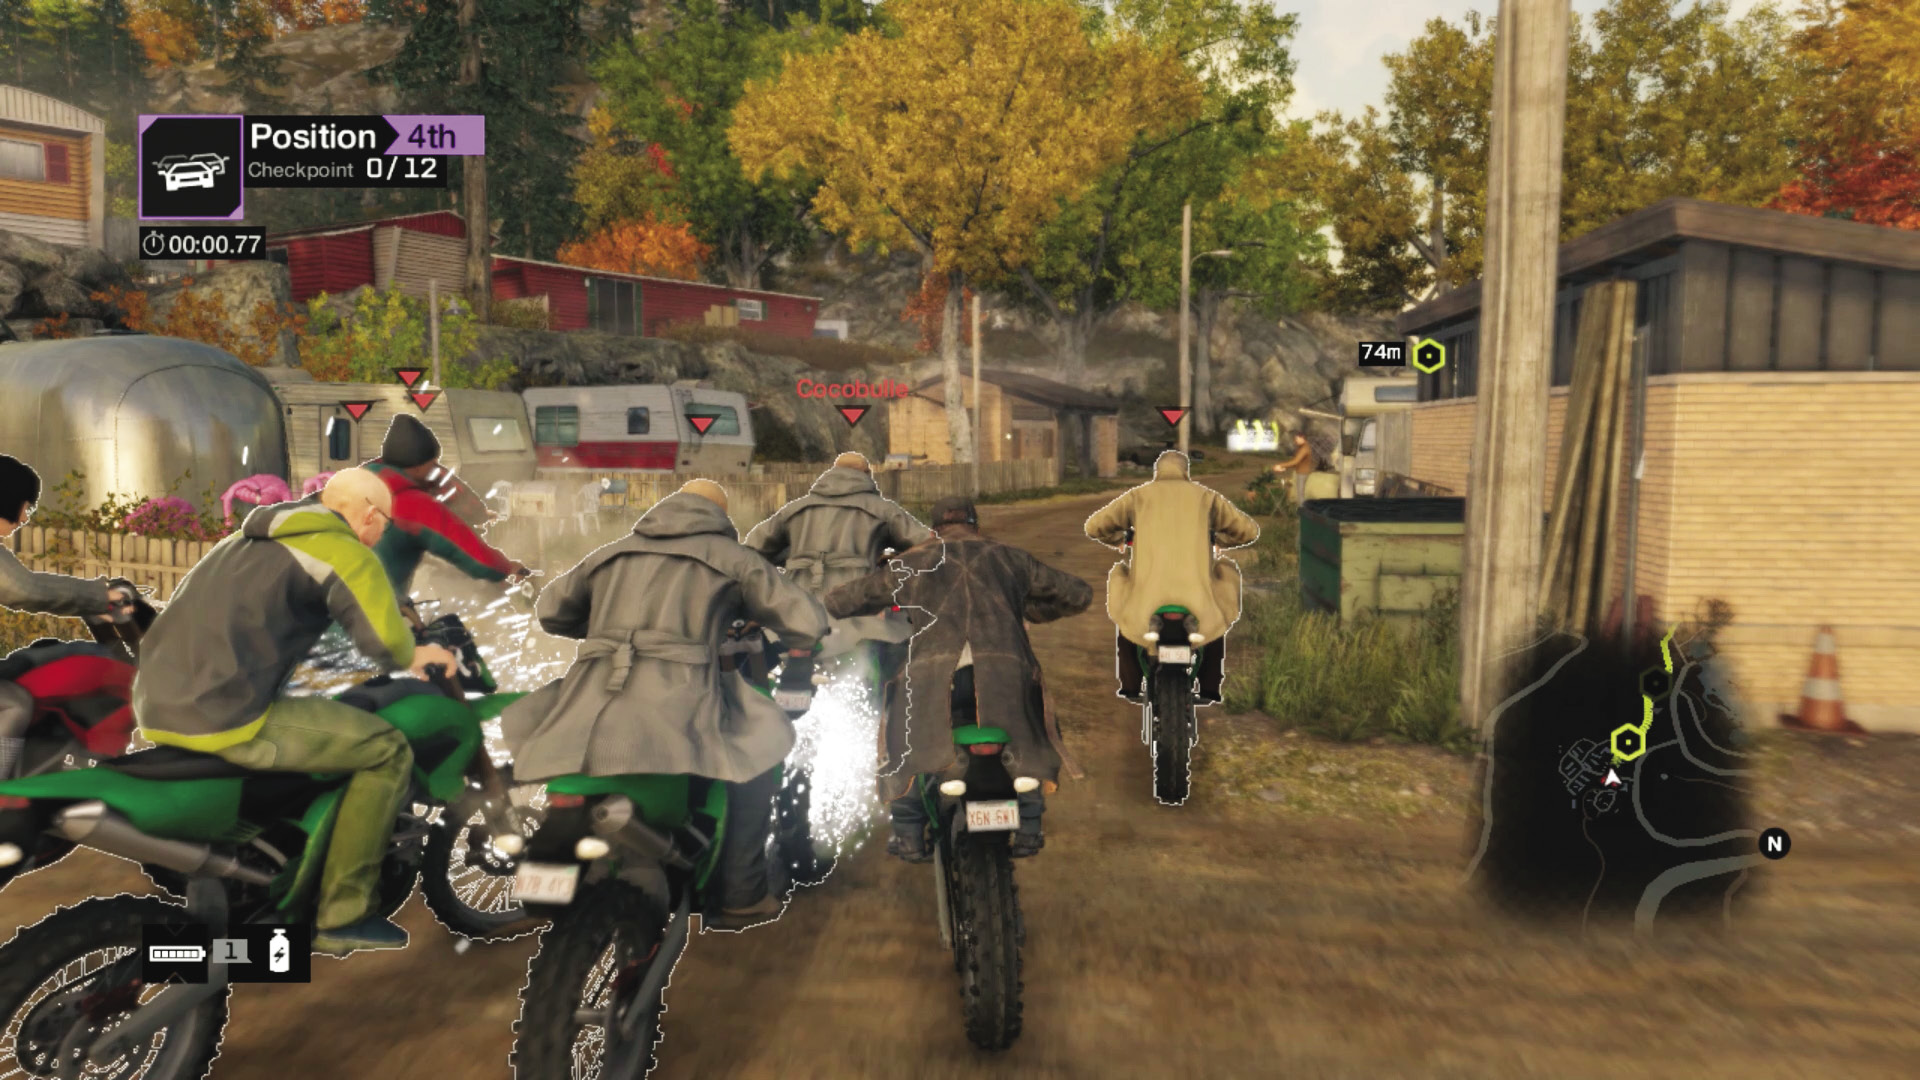
You begin in Pawnee’s infamous trailer park. Be sure you’ve memorized Pawnee’s many off-road trails, as you’re about to use most of them!
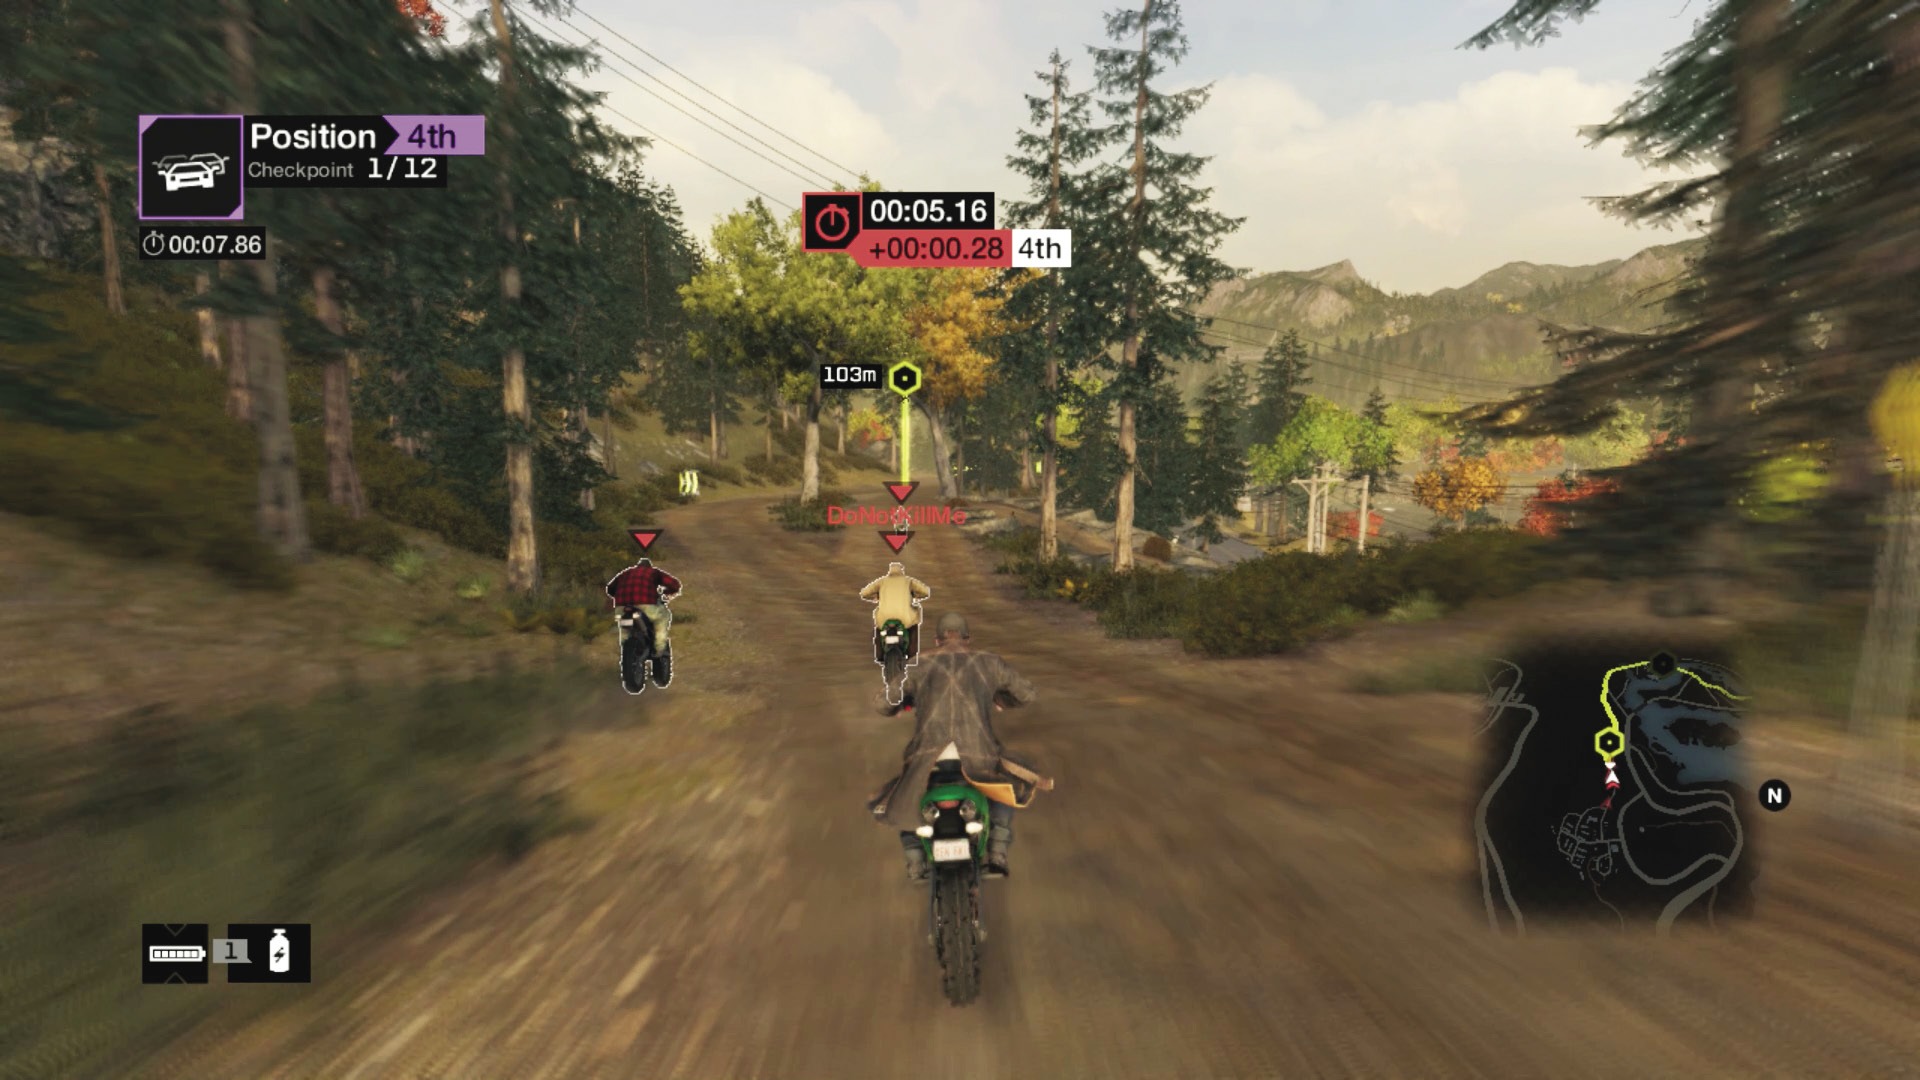
Checkpoints 1 and 2 (No Shortcut): Stay to the middle as you head out of the park and down the bumpy mud road with the jump across the marsh. Shunt just as you jump to send a foe out of control, then tap the brakes to line up properly for the covered bridge and sawmill on your right.
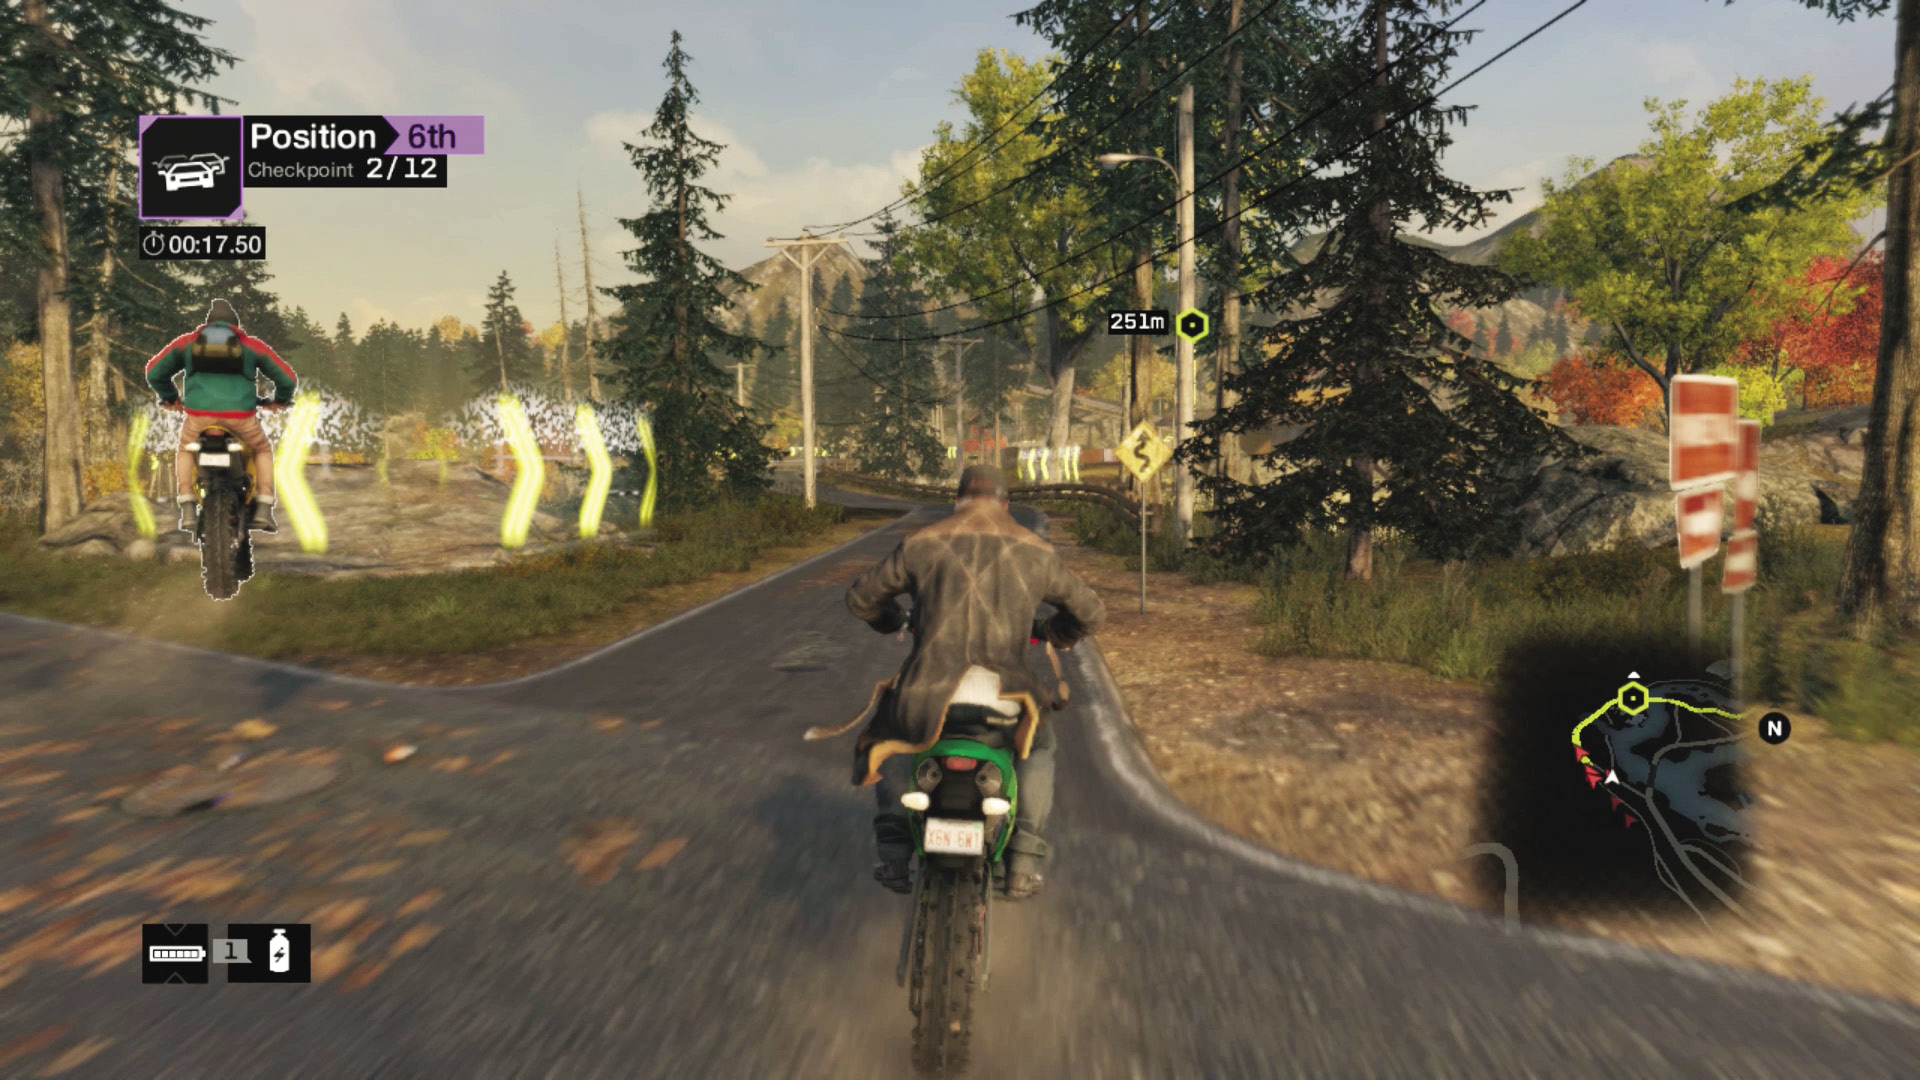
Checkpoints 1 and 2 (Shortcut): Or, you can take the right path just after checkpoint 2, use the stone ramp, and keep right. Use the short road and bridge, accelerating up and into the sawmill. This route is shorter, but it’s very difficult to steer accurately at speed (and there are pedestrians to watch out for). This can be a great shortcut for the skilled player, however.
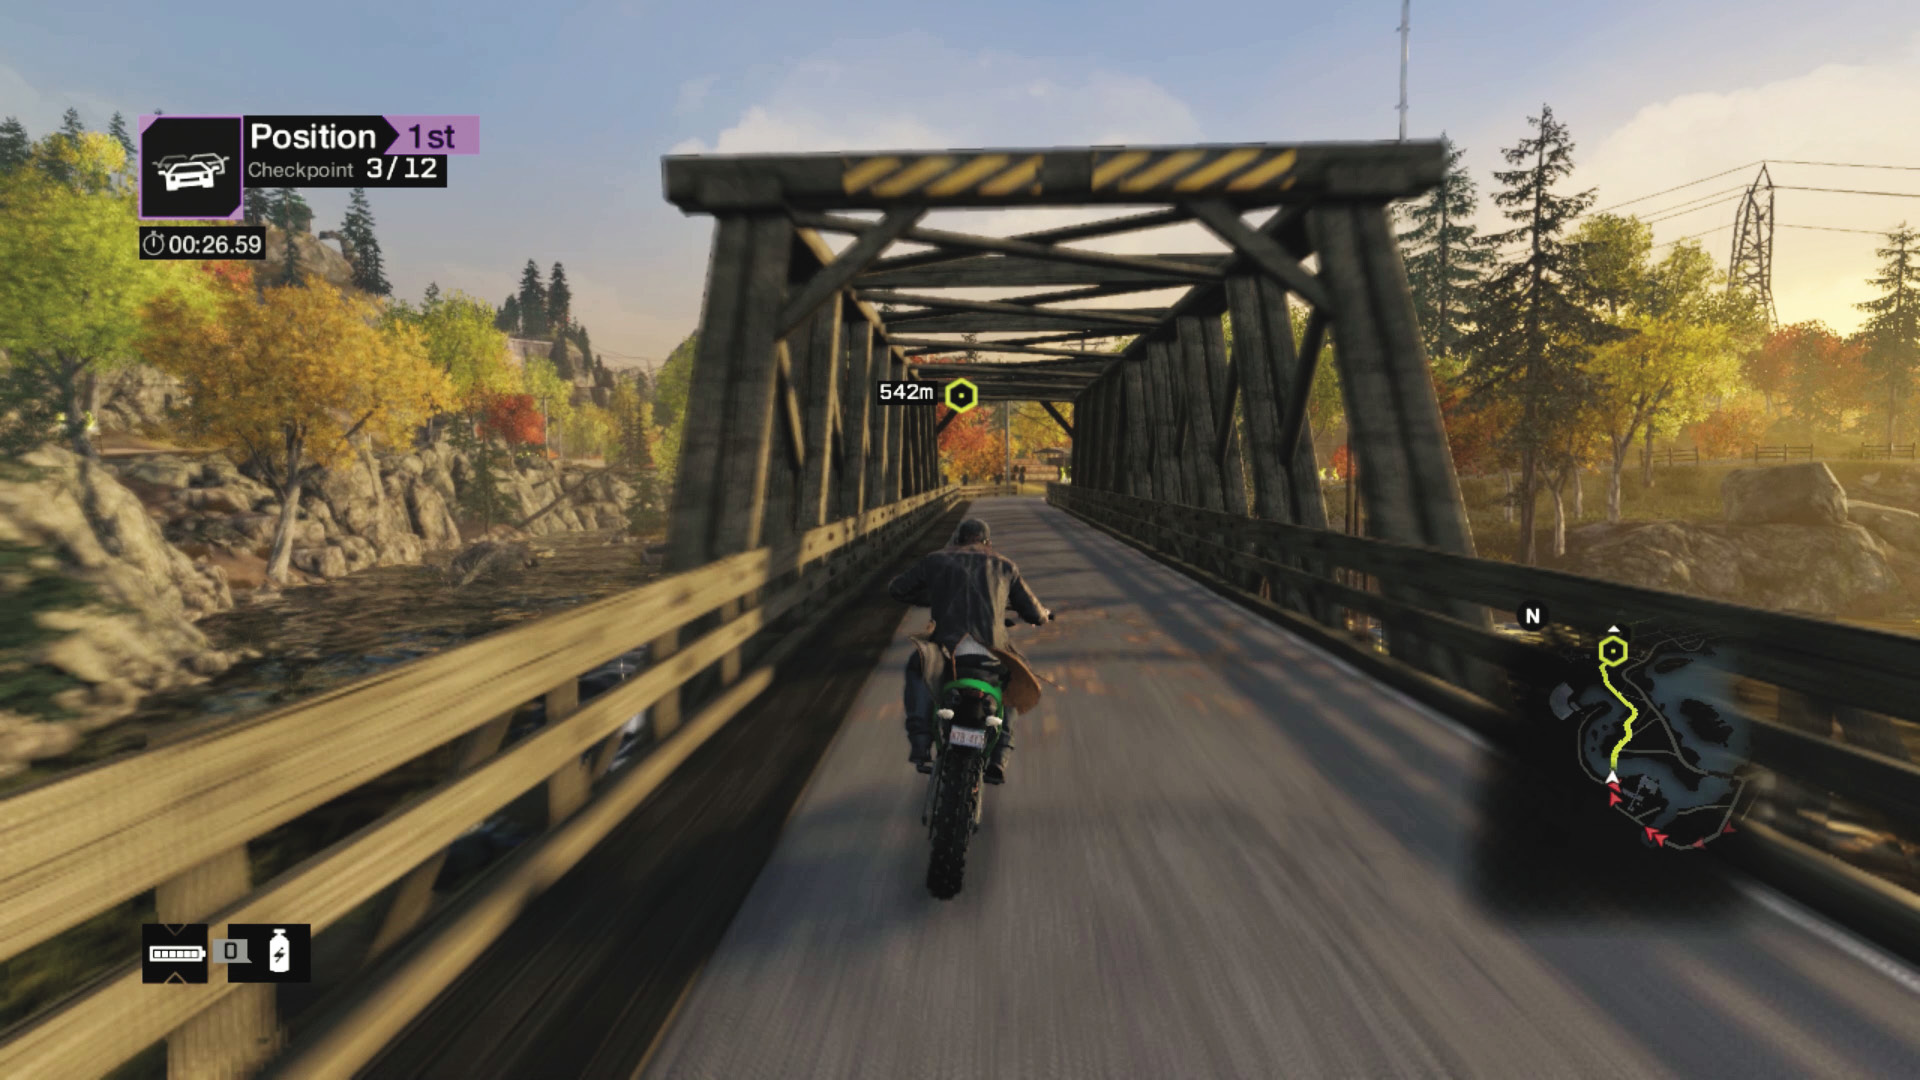
Checkpoints 3 and 4 (No Shortcut): Remain on the long rural road and follow the GPS route, passing the lake on your left and a dirt road (another shortcut) to the right. The road eventually winds to a junction by the side of the militia base at the gas station. Make a sharp left to checkpoint 4.
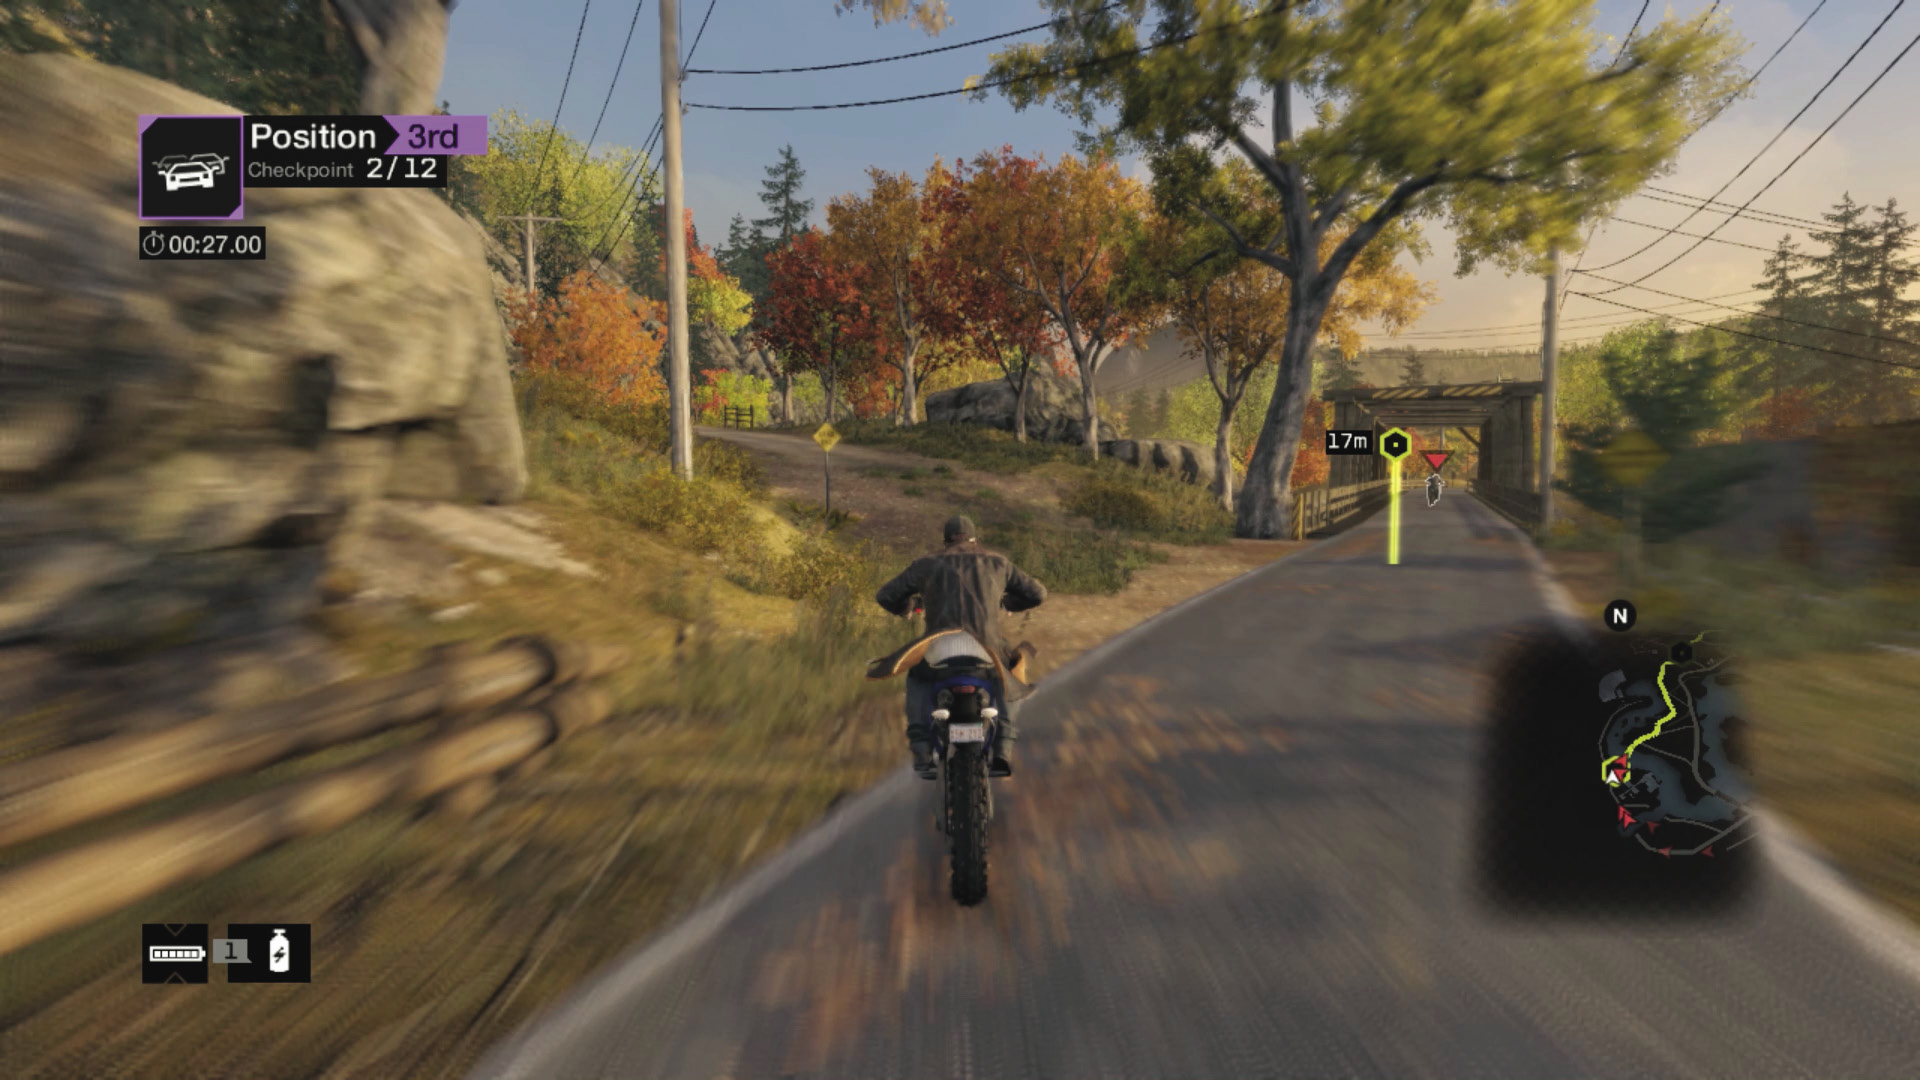
Checkpoints 3 and 4 (Shortcut): Whether you took the sawmill shortcut or not, ignore the road and head up the dirt path, passing one of T-Bone’s sculptures. Launch yourself over the lake and continue up the dirt road. Then take the main road and a savage left turn at the gas station.
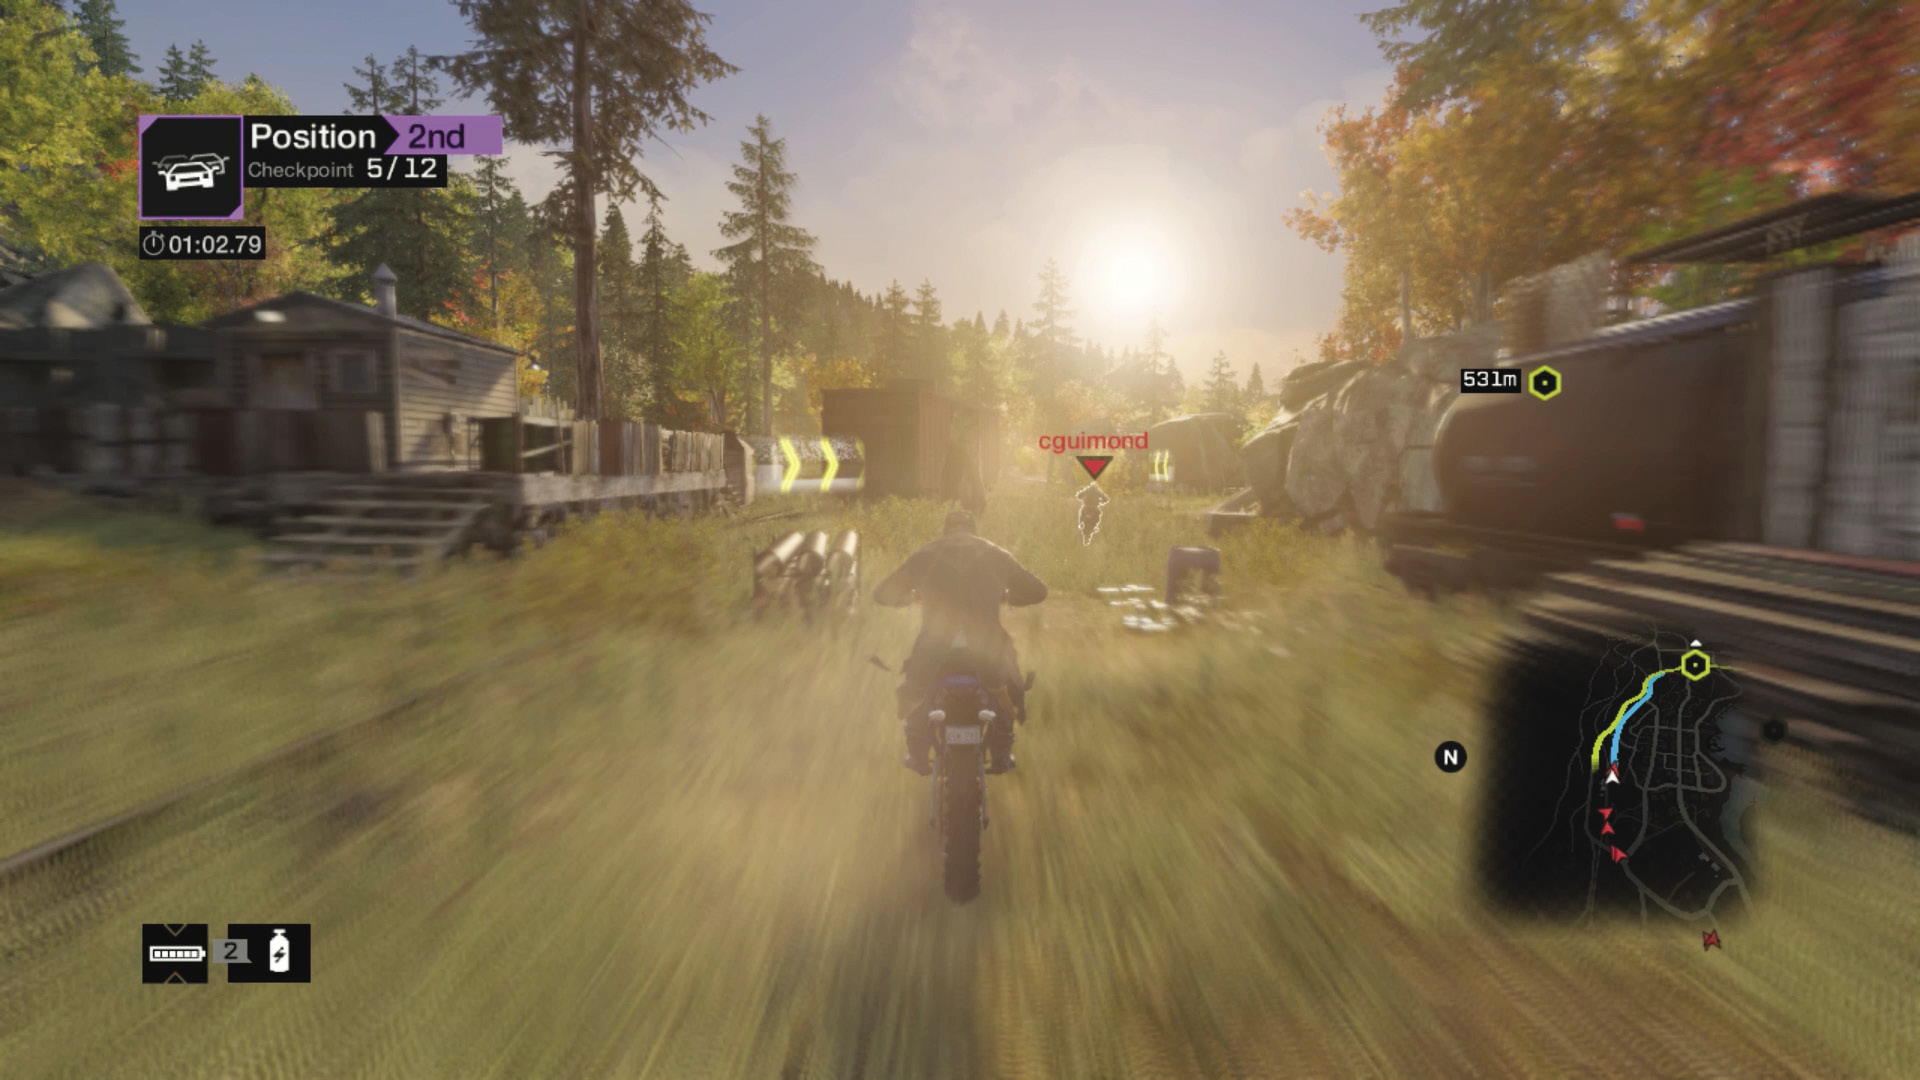
Checkpoints 5 and 6 (Shortcut): Pass through checkpoint 5 and bear right, onto the railroad tracks. As long as you aren’t hitting any of the large objects (trains, shacks of wood, etc.), you can continue along the rail lines at high speed, using a nitro; this is much more effective than the tarmac road on your left. Line up the two jumps and slow down just a little so you don’t bounce off into the bushes.
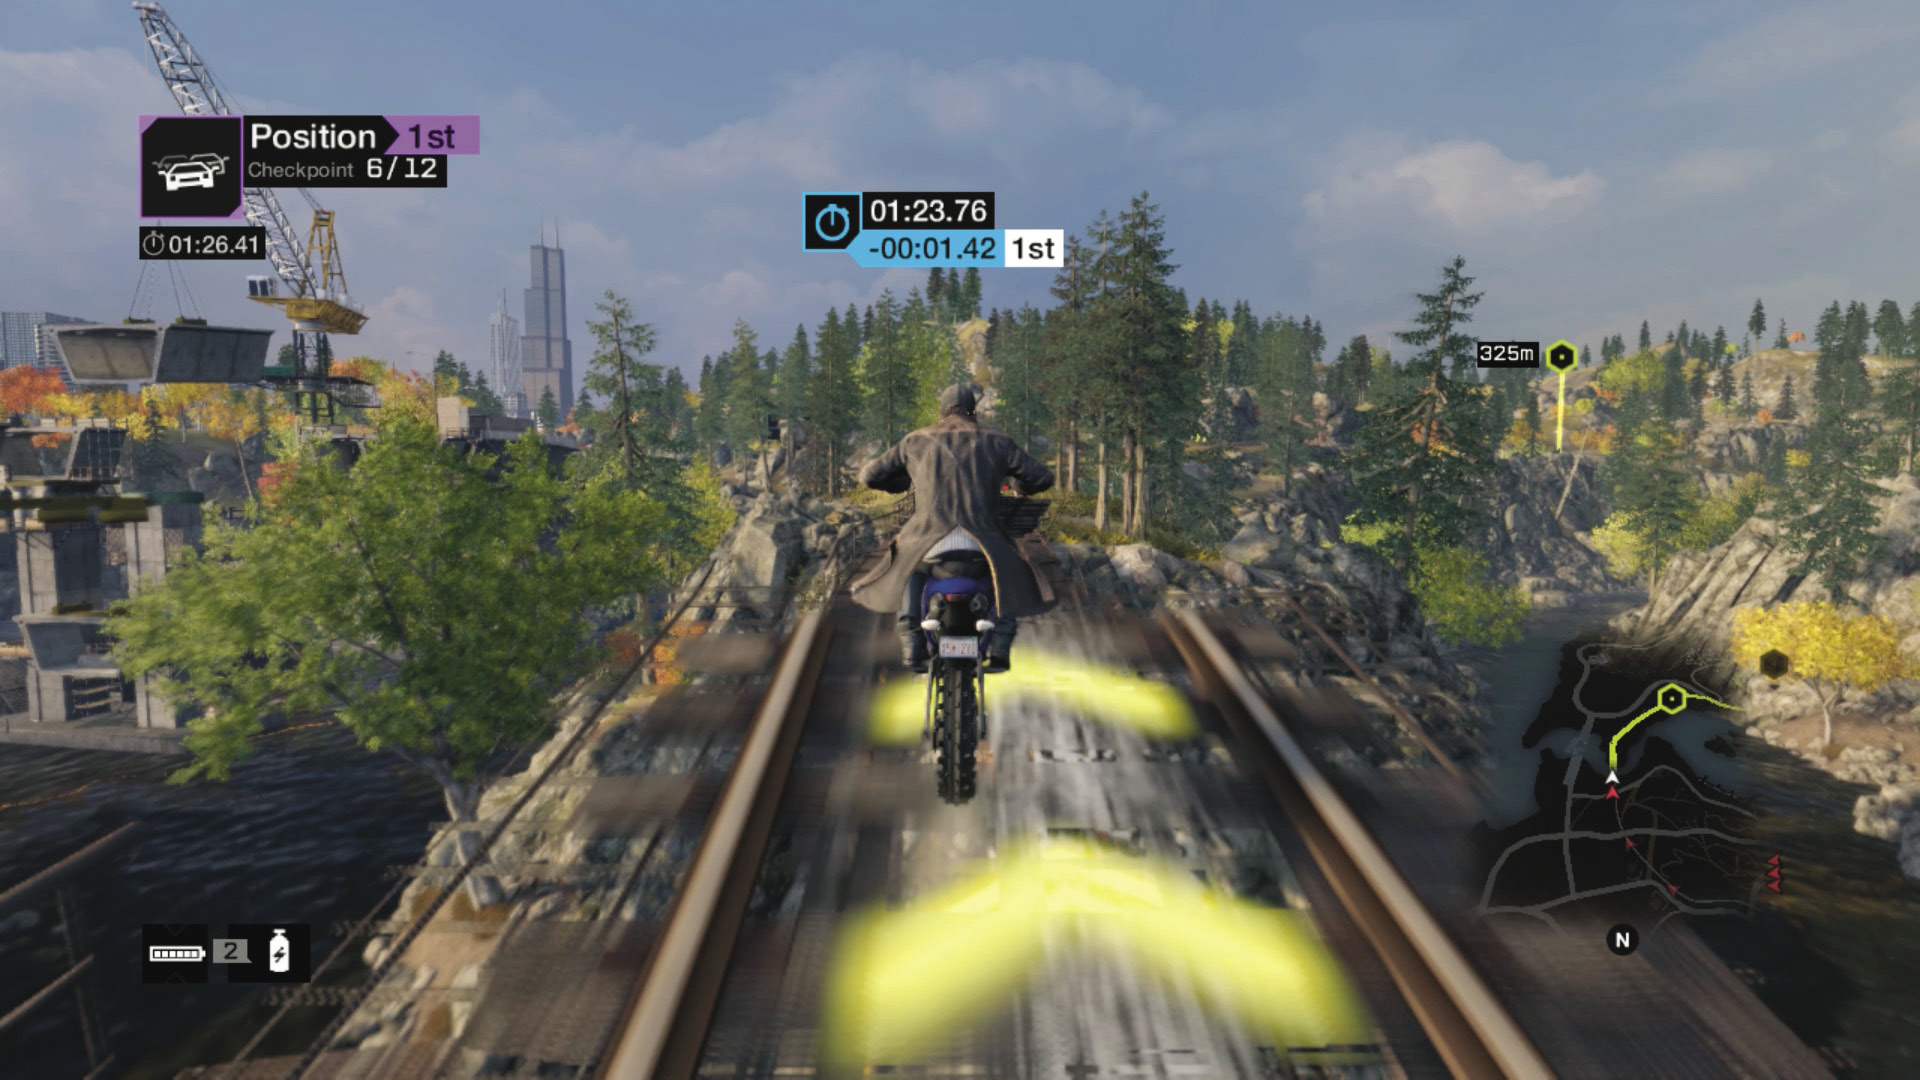
Checkpoints 7 and 8: Slow down slightly from top speed as you launch over the ravine, then turn right at the blocked train tunnel. Remain on the dirt path and take the jump, hitting it in the middle. Weave back onto the tarmac road. Then take the right fork in the road, down past Pawnee beach and up to checkpoint 8; it’s slightly quicker than the higher road on the left.
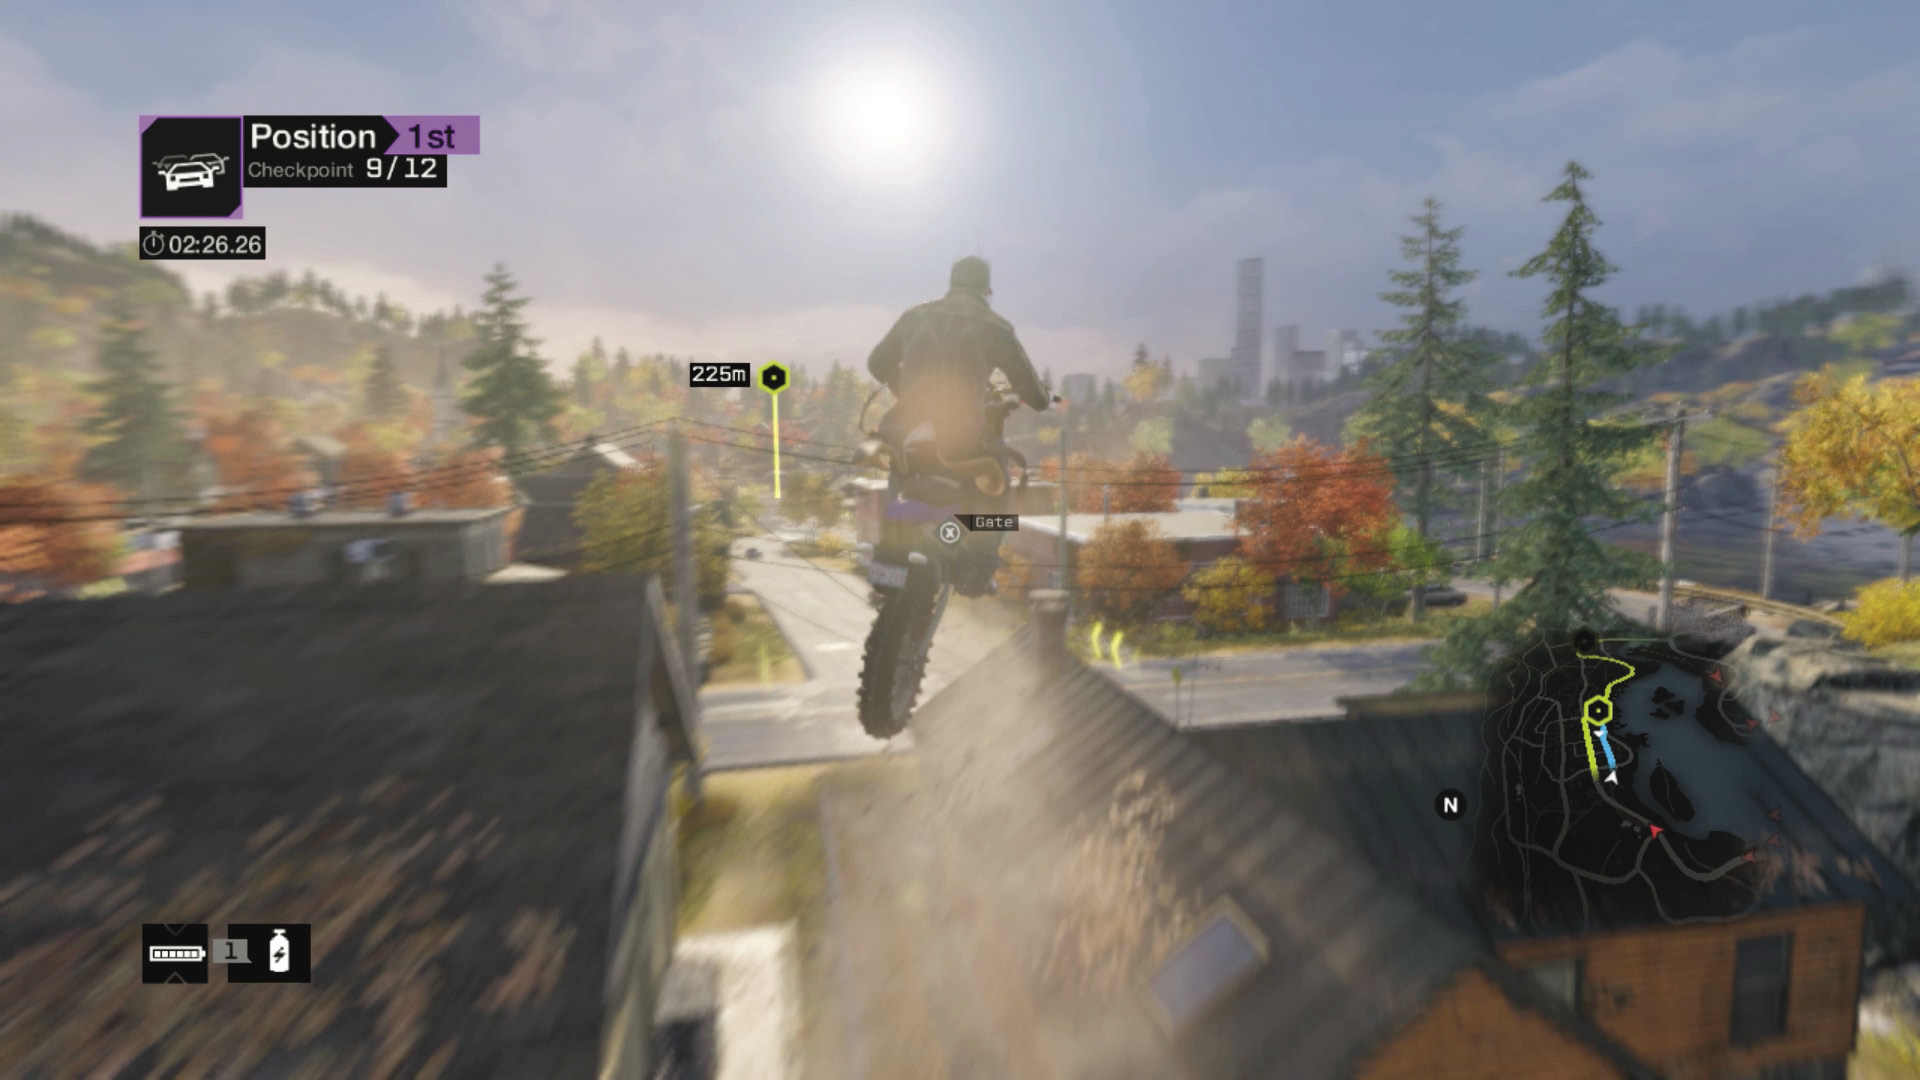
Checkpoints 9 and 10 (Shortcut): Accelerate and use a nitro along the main tarmac road back toward the gas station. Steer right just before the Pawnee wooden arch sign so you can use the ramp to leap the building and line up for checkpoint 10. Watch the blockers!
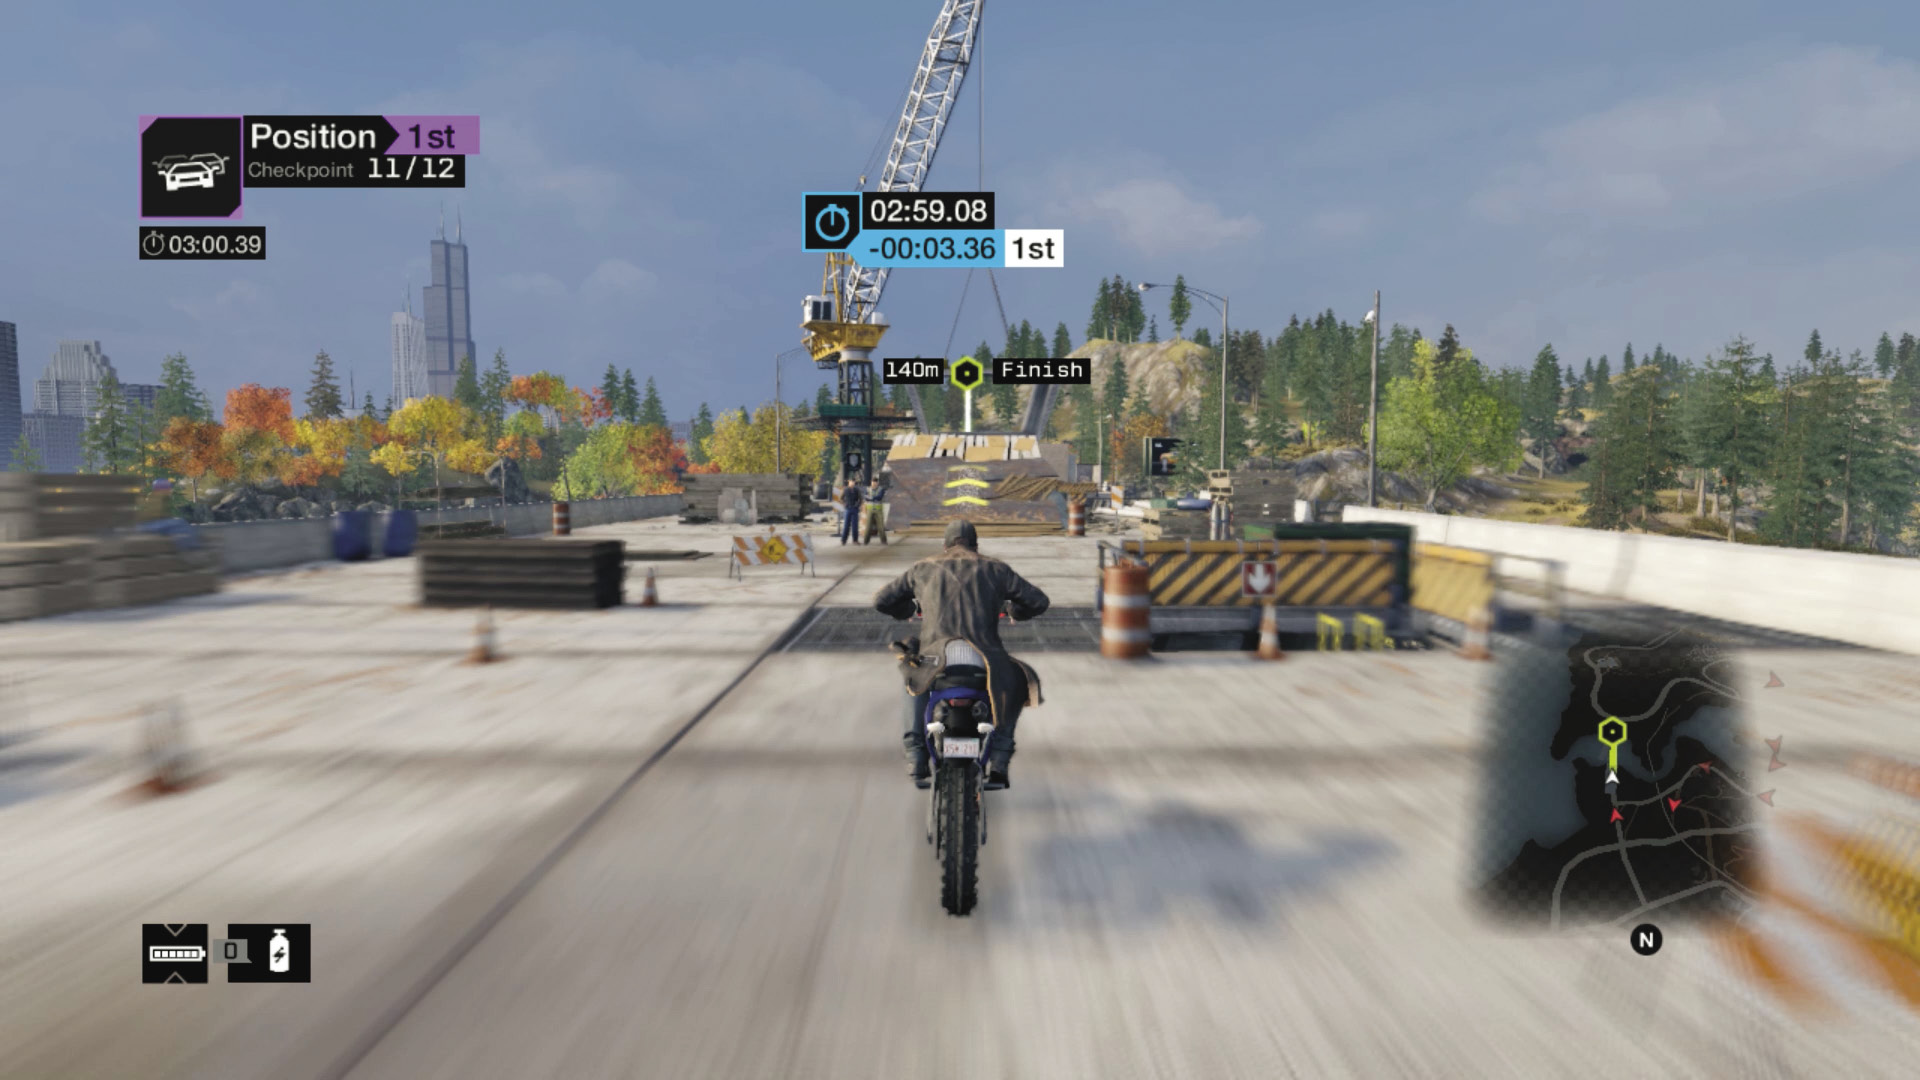
Checkpoints 11 and 12 (Shortcut): As you head up the hill, look for the caravan and parked car and scoot to the left of them, up a dirt road. Then follow the chevrons to the rail track and around to the right and checkpoint 11. Then it’s a straight shot up the ramp, across the construction bridge (watch the use of nitros because if you’re too quick, you can crash into the floating concrete tunnel section) and to victory!
PARKER SQUARE
02_DOWNPOUR
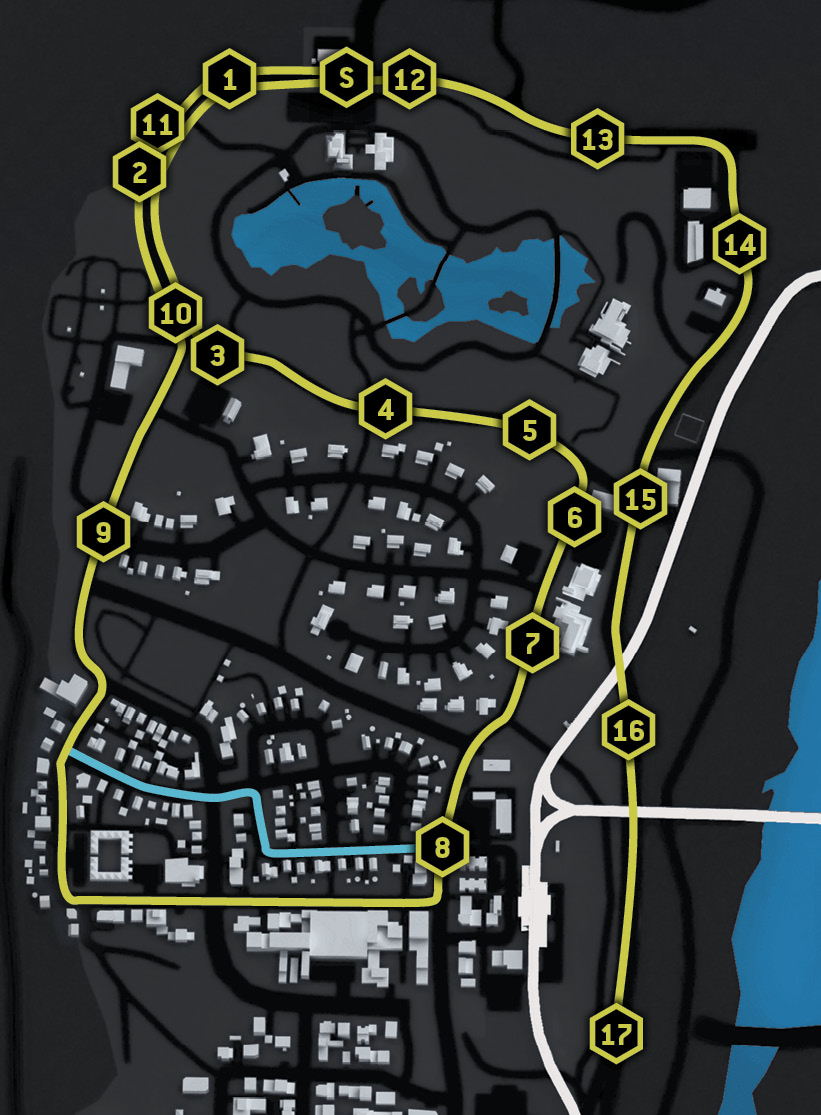
Starting location / Botanical Gardens
Vehicle / Sonarus LX
Difficulty: 
NUMBER OF LAPS: 1
NUMBER OF CHECKPOINTS: 17
TIME TO AIM FOR: 02:08 BEAT THIS: 02:02 (Jean-Daniel Villeneuve)
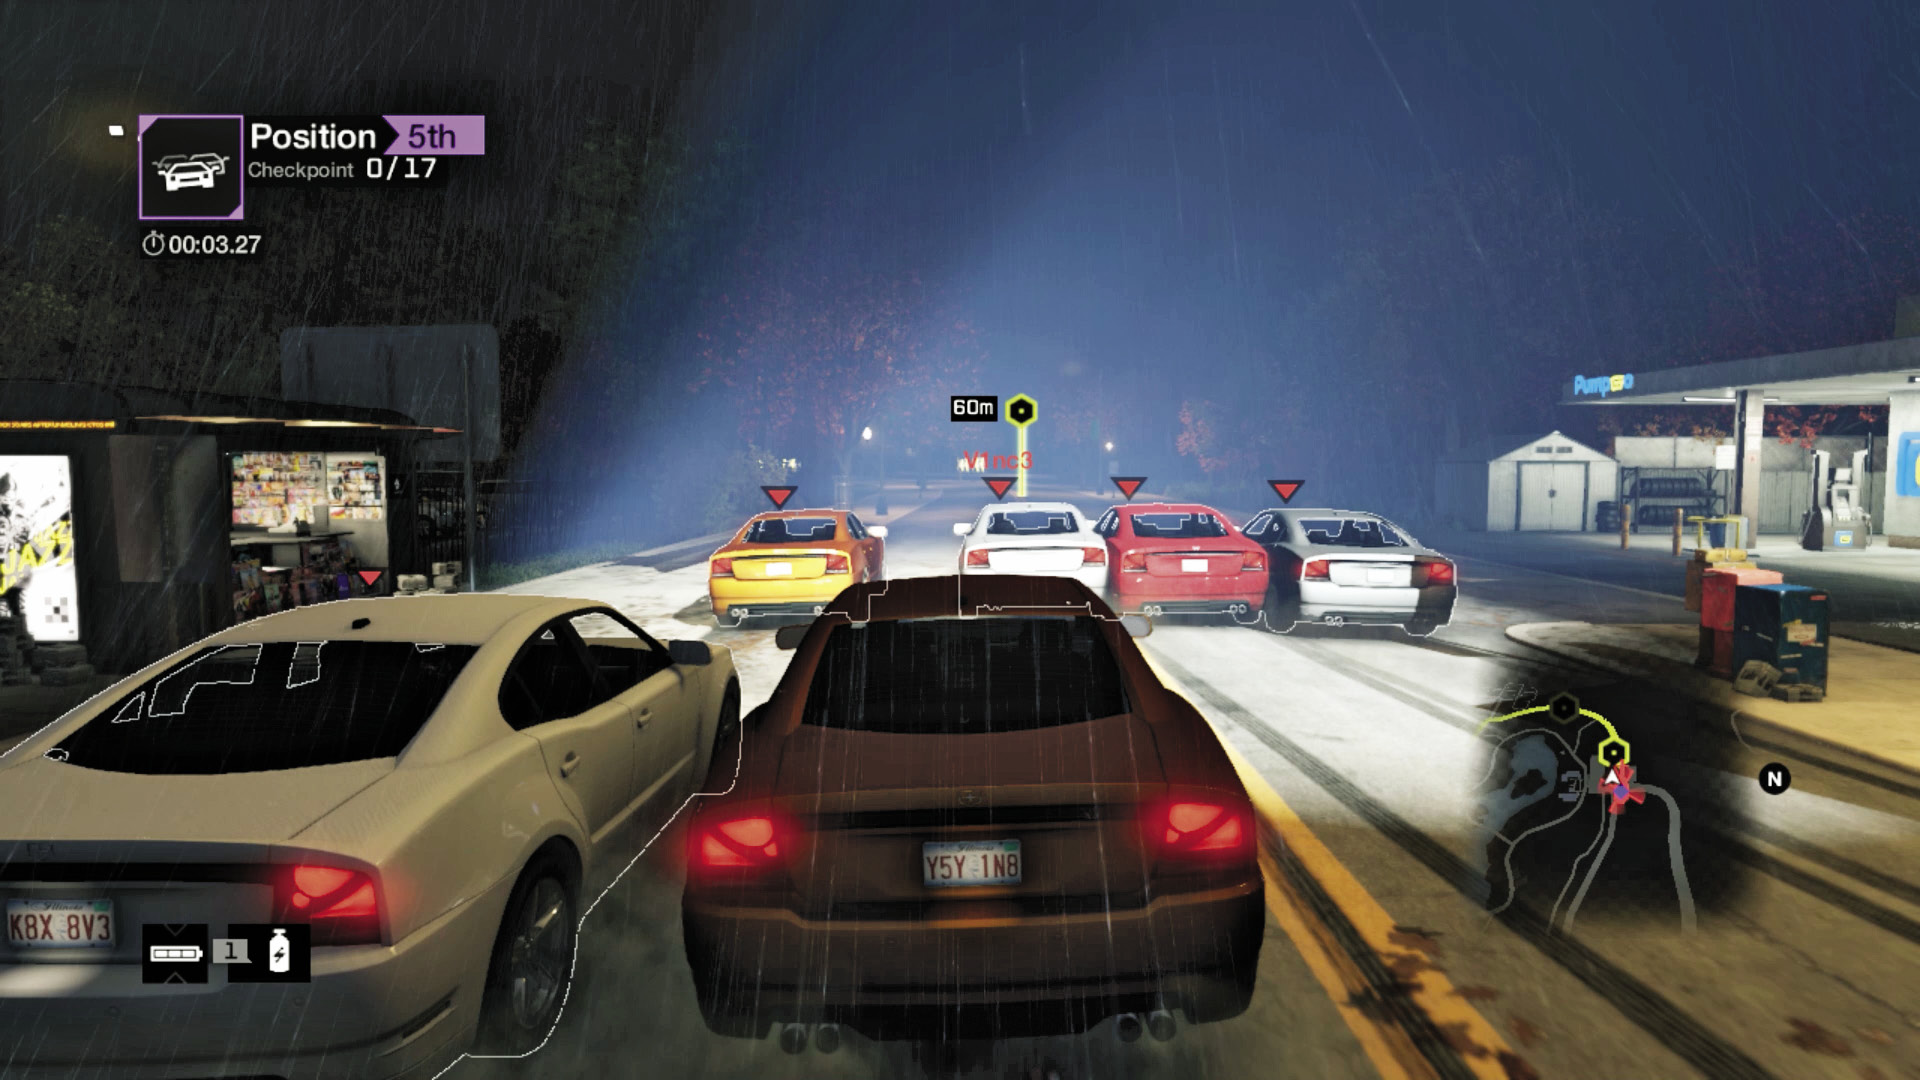
You begin just north of the botanical gardens, close to a gas station and the main road to Pawnee. You’re racing west, around the park perimeter.
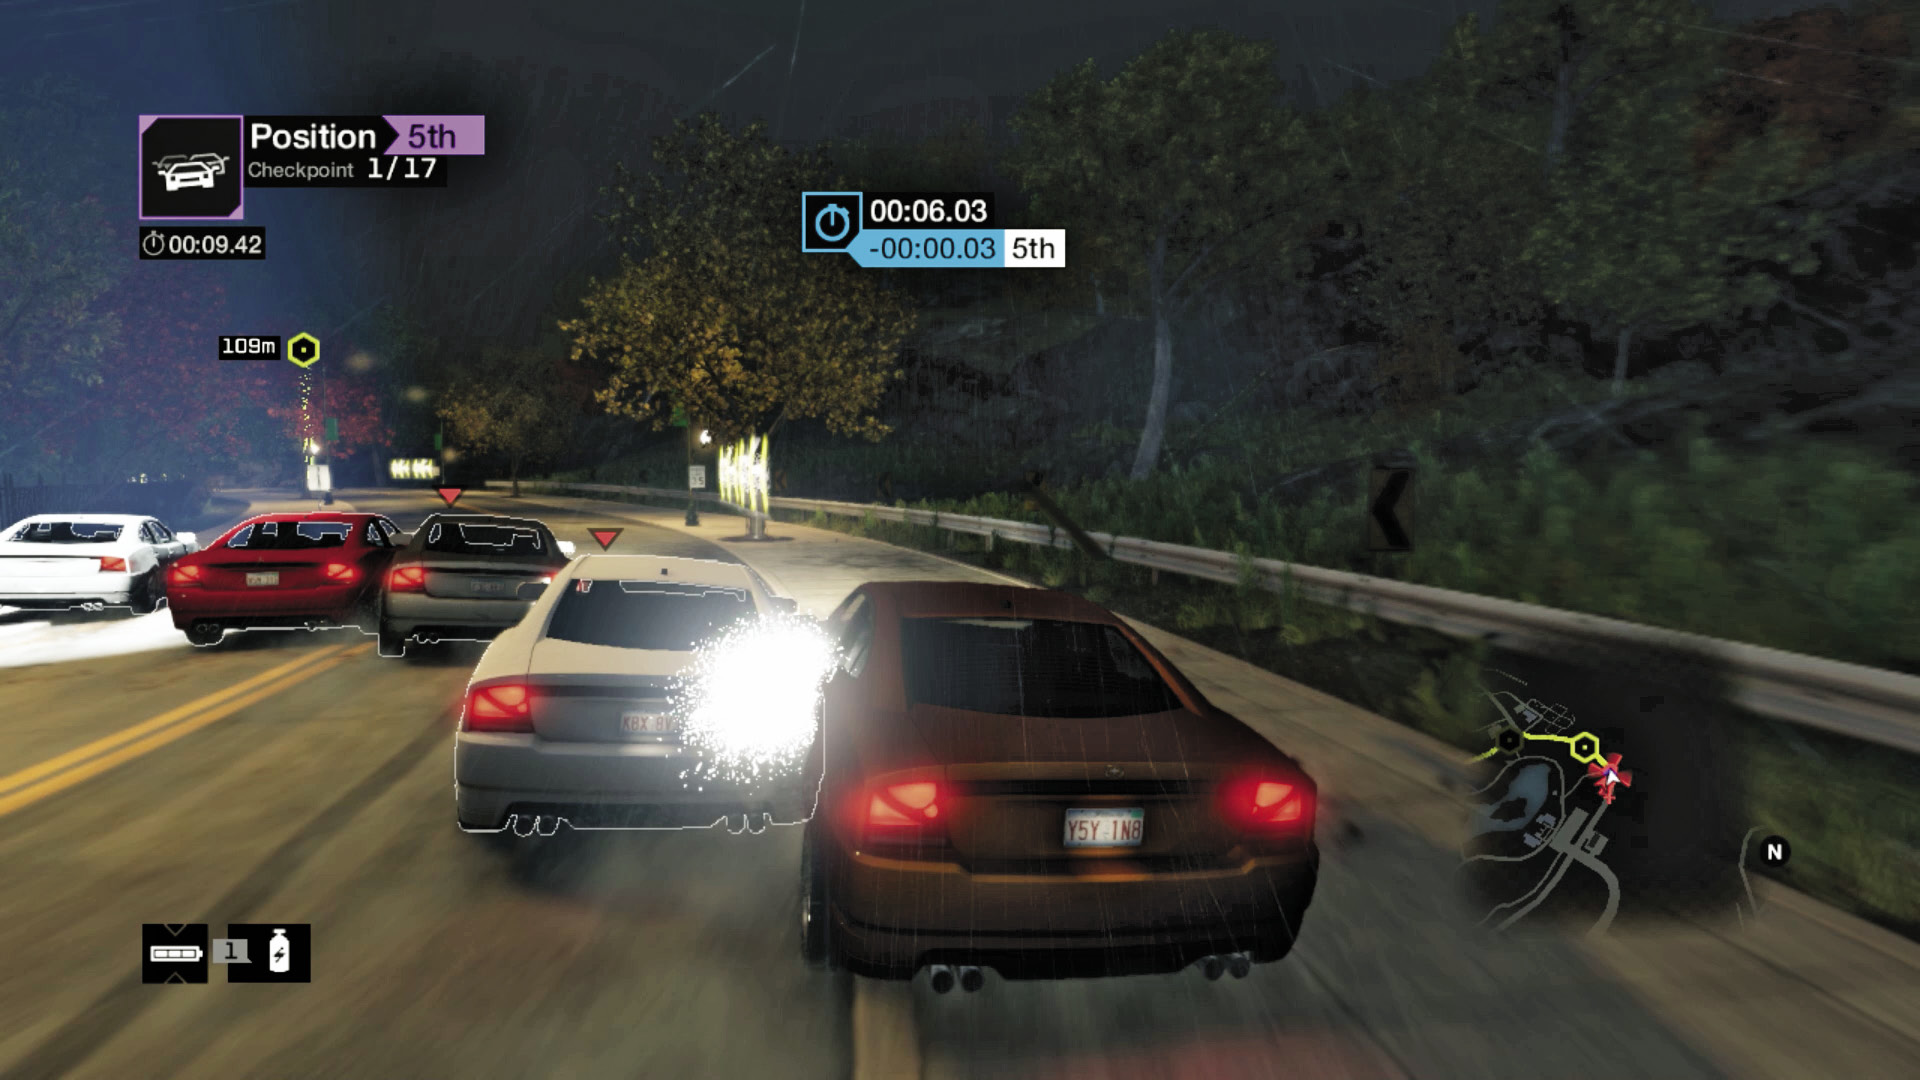
Checkpoints 1–4: Begin the race by jostling other drivers, ideally into one of the trees on either side of the long curving roads you’re racing down. Slow down the opposition with some nasty side-shunts so they crash into any of the foliage.
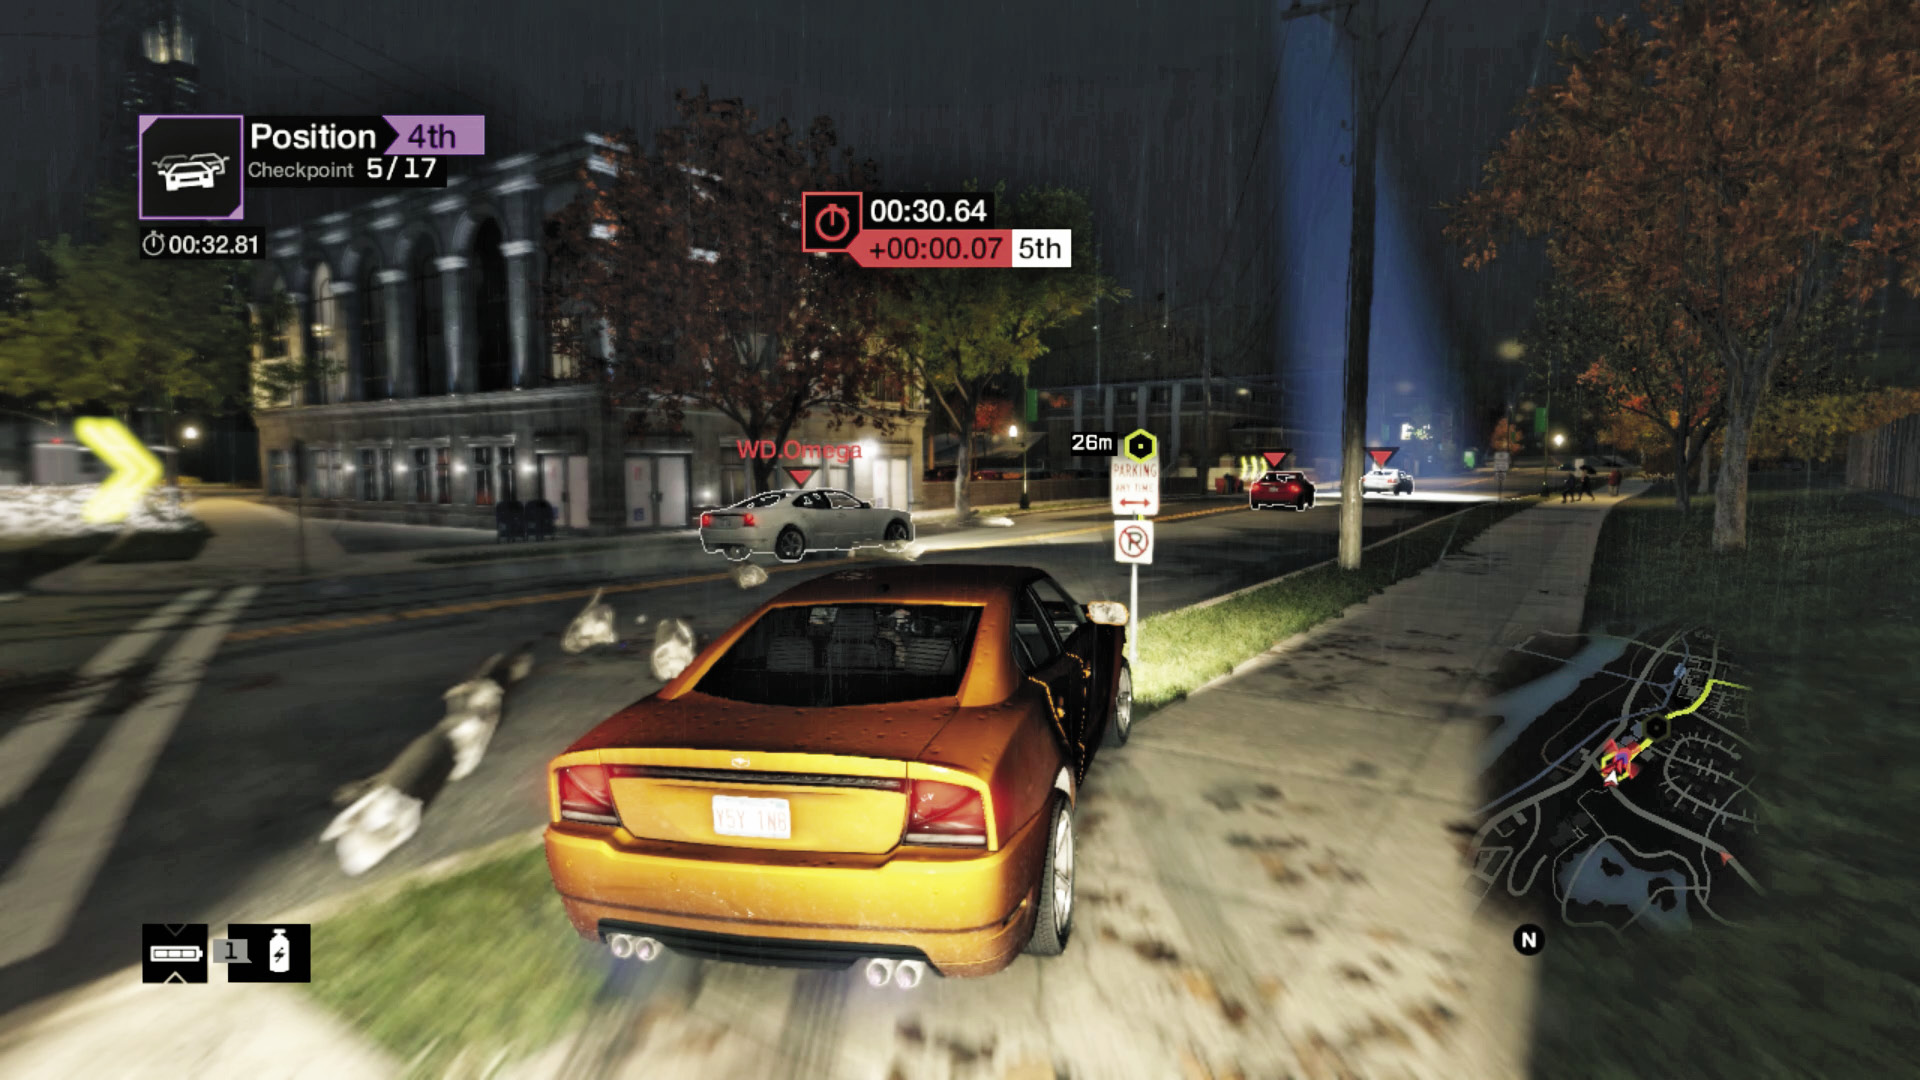
Checkpoints 5–7: Cut in hard on the right as you aim for the right of checkpoint 6; you can use the grassy shortcut to gain on rivals or increase your lead. Then it’s up the hedge-lined road that’s reasonably straight and nitro-approved! Try shoving foes into the gas station for hilarious consequences!
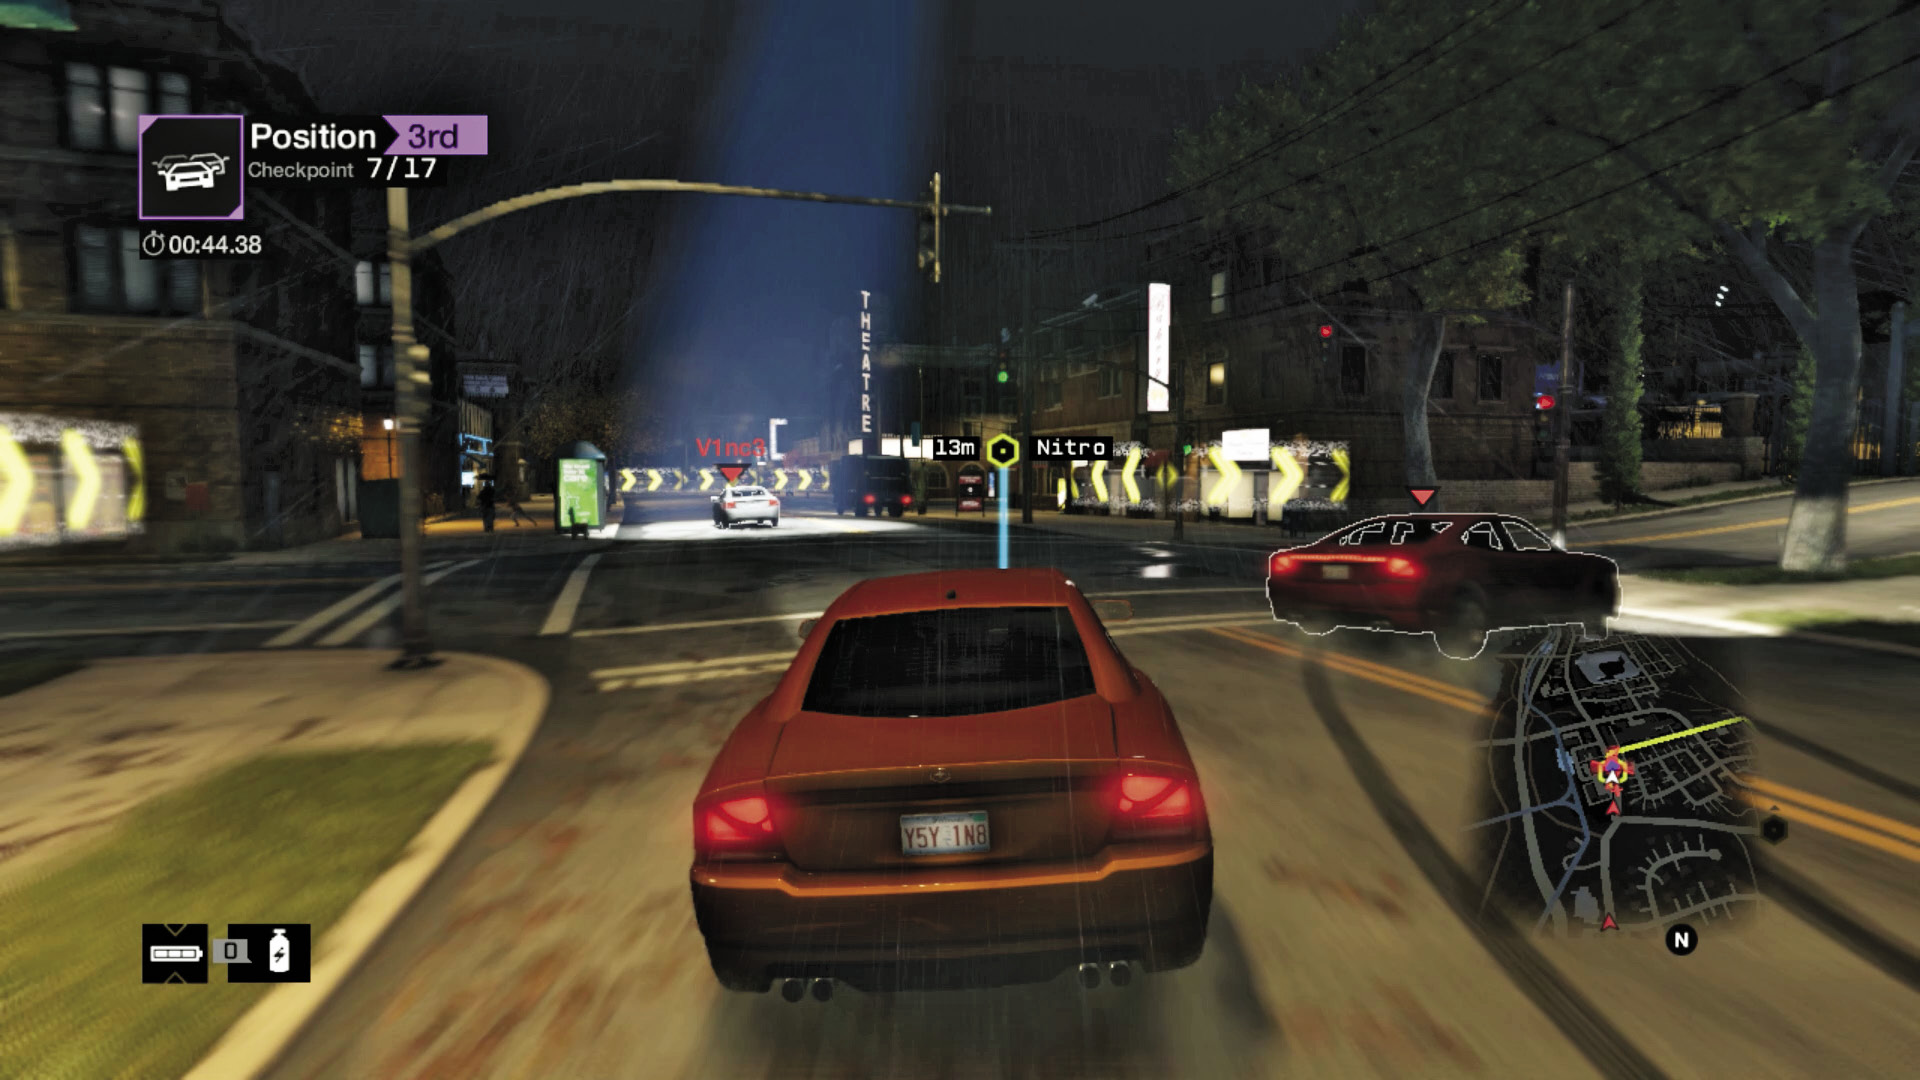
Checkpoints 8 and 9 (Shortcut): There’s a great shortcut to try at checkpoint 8; skid sharply right, ignoring the main (yellow) route GPS markings, and enter the open High Grove gates. You can shave a couple of seconds off your time before rejoining the throng—just be sure to brake when making those sharp turns during the shortcut.
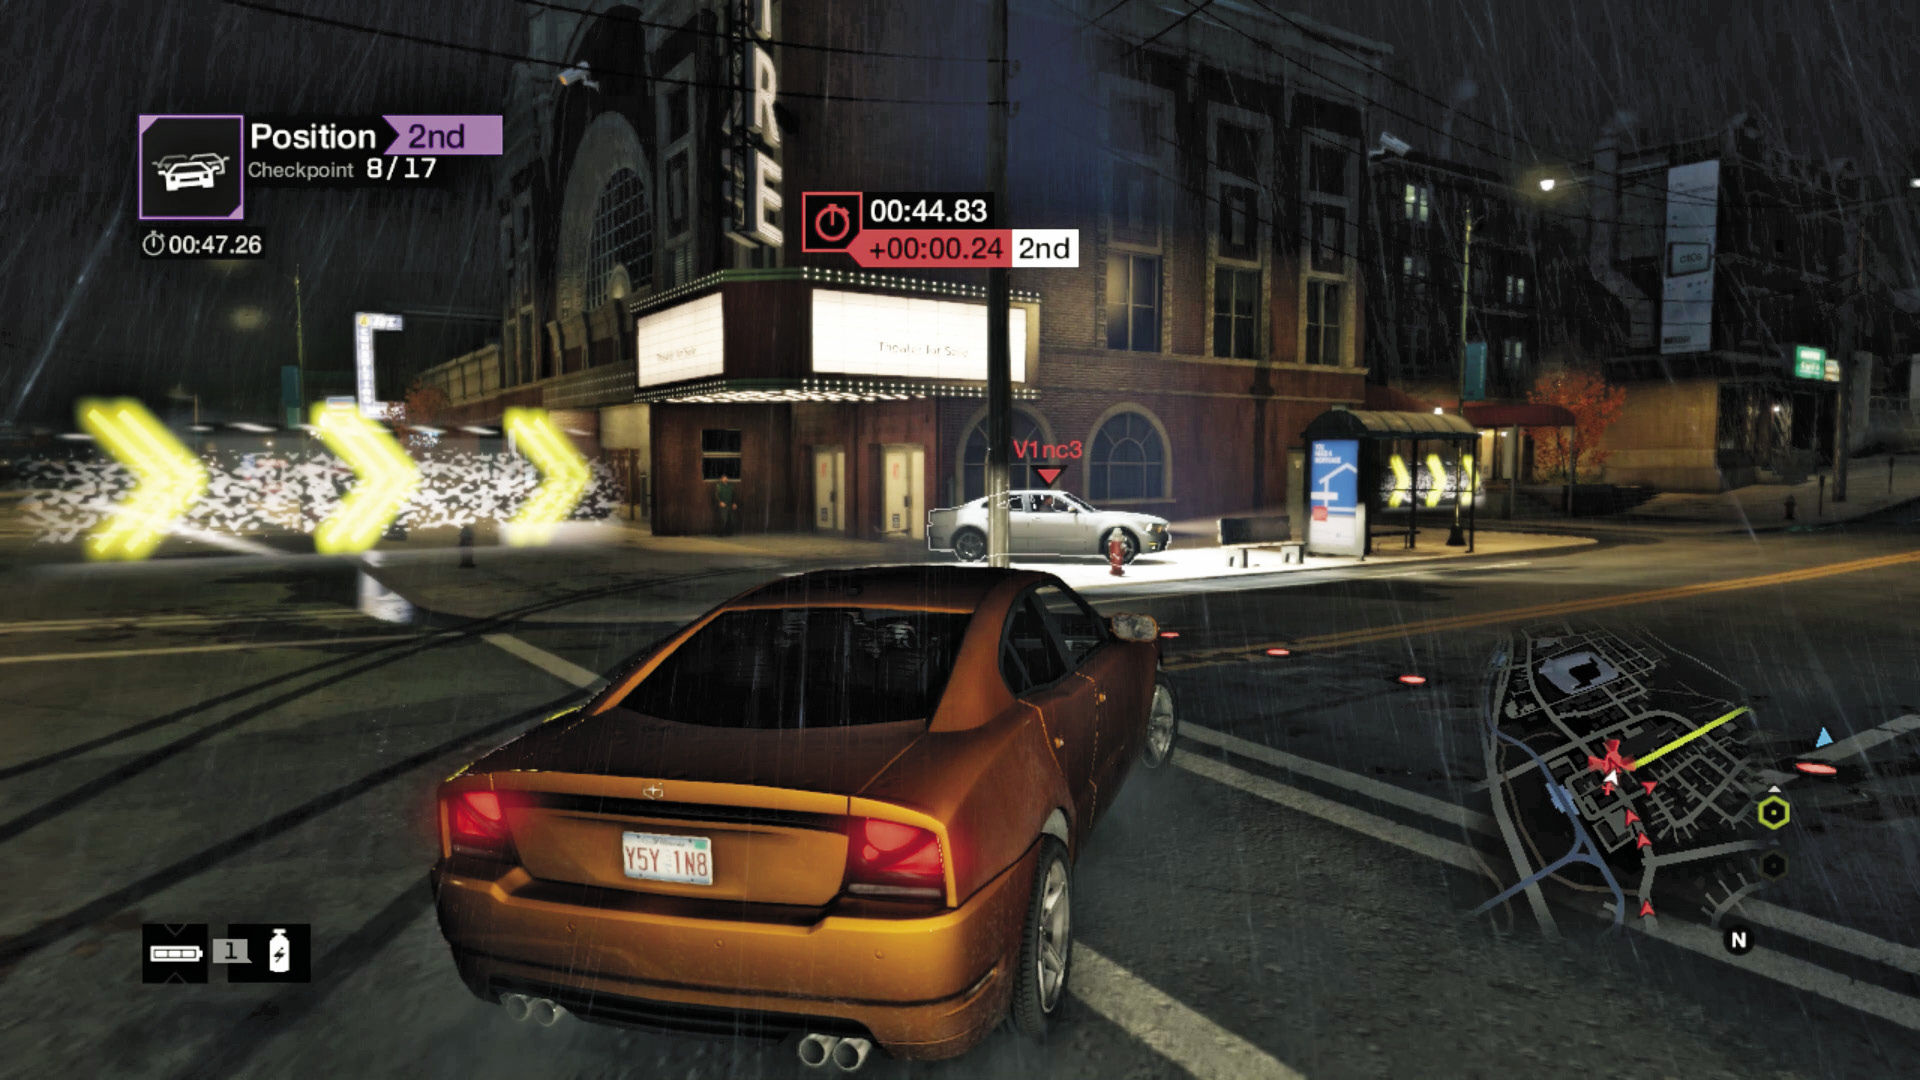
Checkpoints 8 and 9 (No Shortcut): If you miss or ignore the shortcut, use the straight road to nitro up, and watch for the unforgiving low wall on the right corner as you turn north; that’s a great place to snarl a foe!
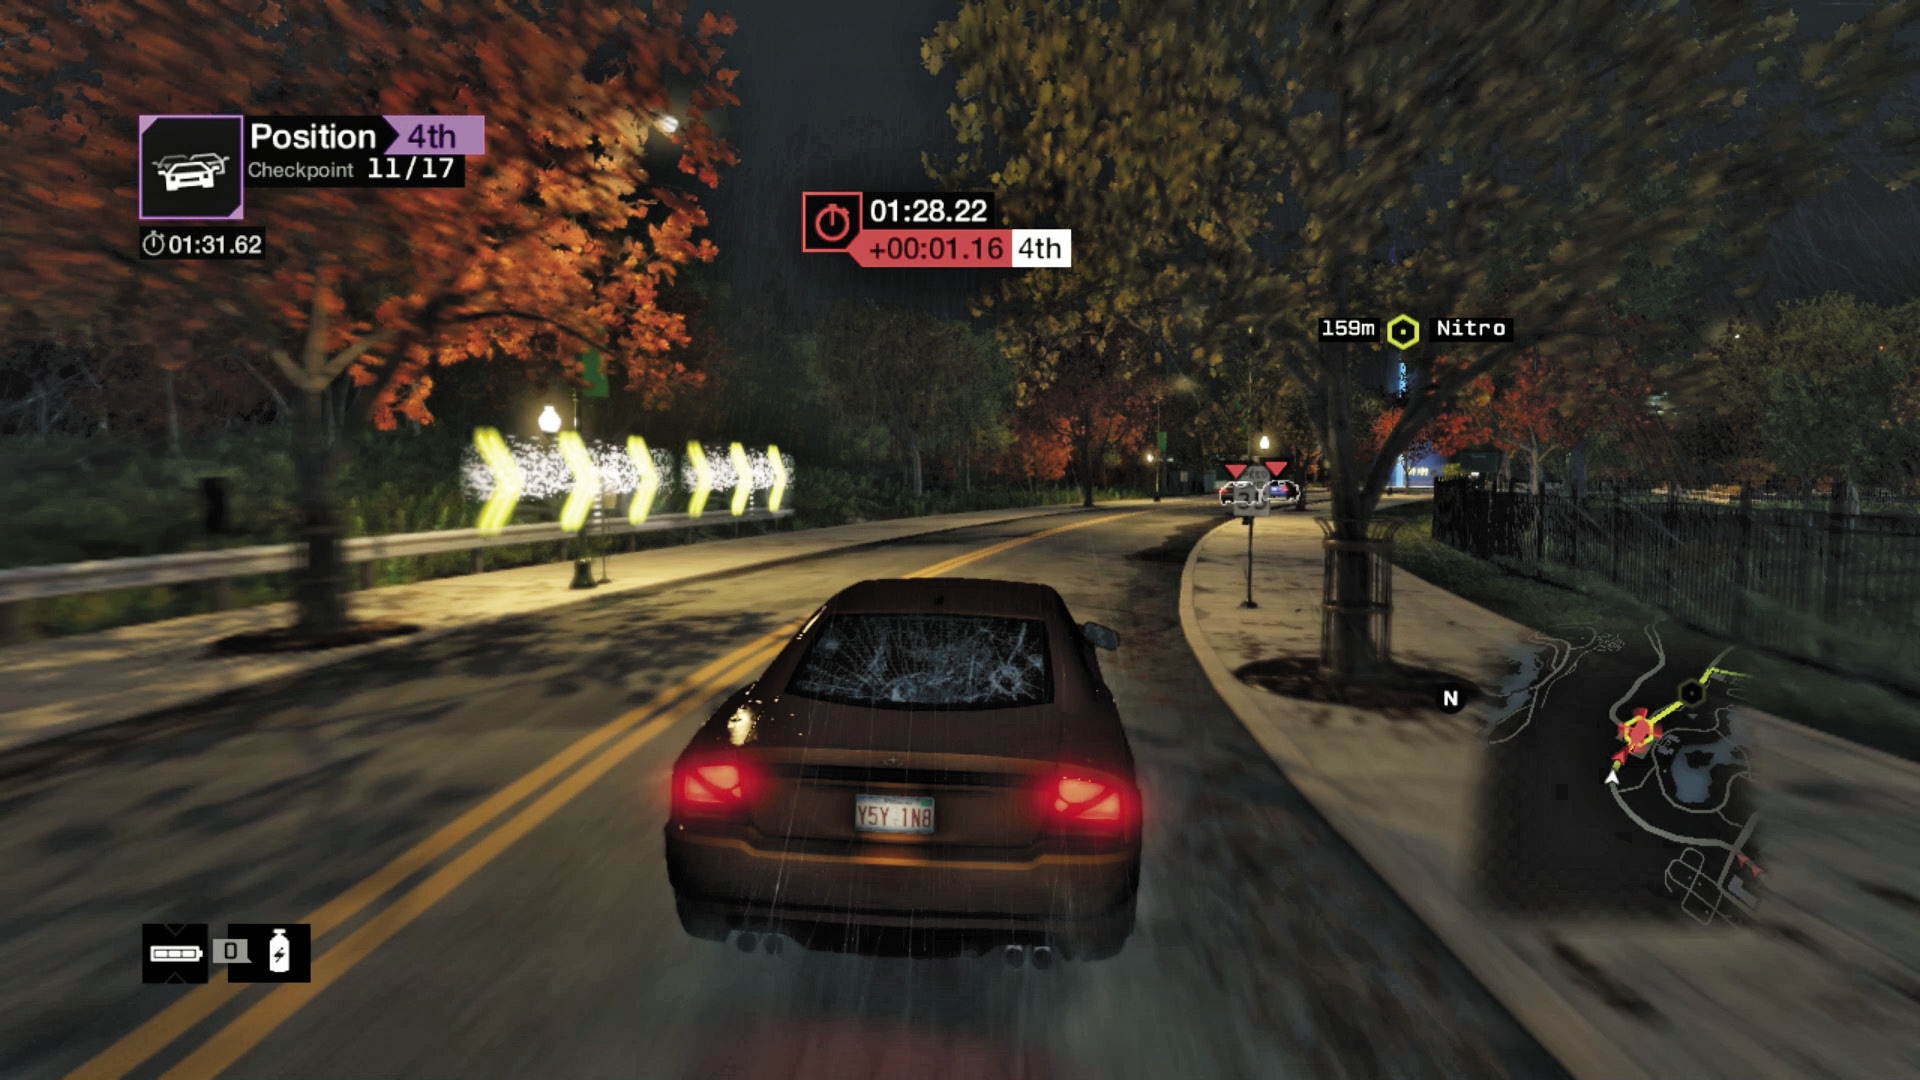
Checkpoints 10–13: You’re back on the long park road with a lengthy right curve to navigate. The spacing of the checkpoints means moving onto the grass isn’t viable. But shunting into trees is! Cut in through the fencing on your right as you approach checkpoint 14.
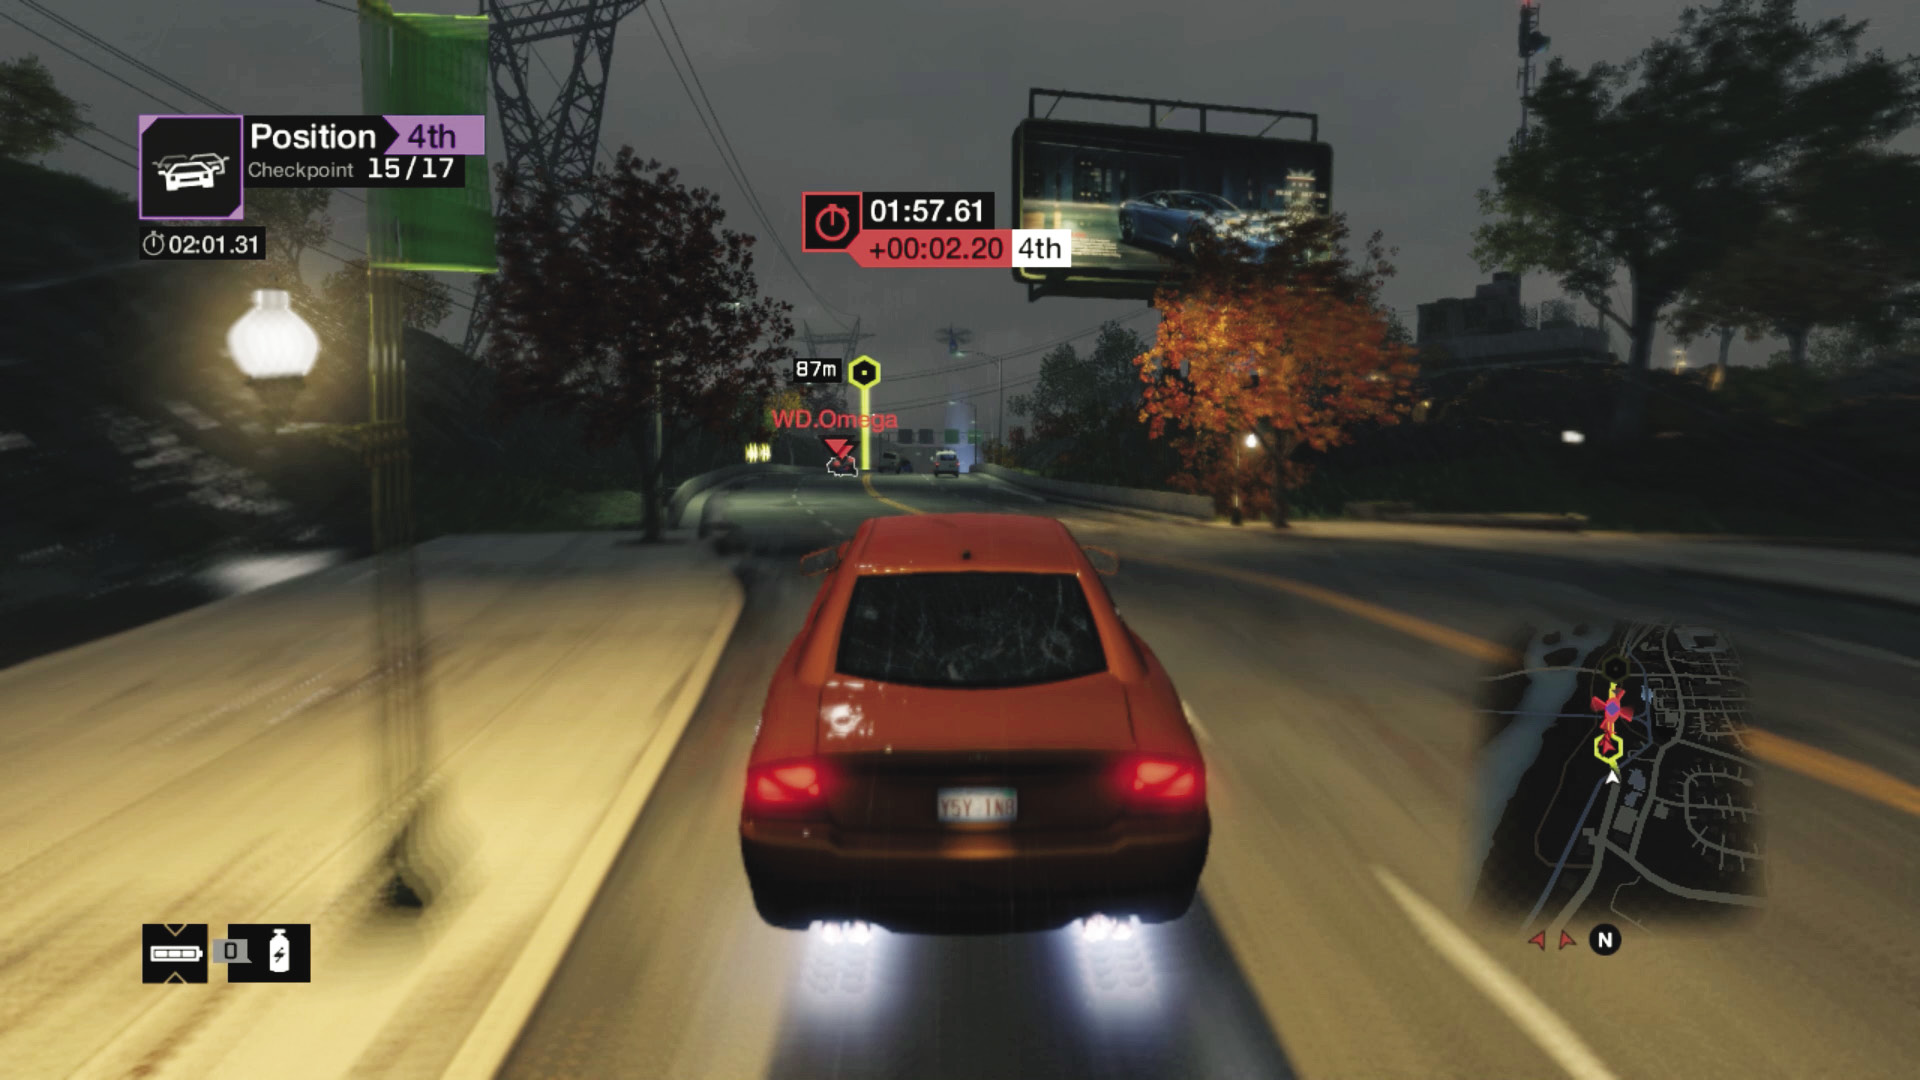
Checkpoints 14–17: The road becomes a four-lane freeway with some cross-town traffic that may get in your way. Stay to the middle, cutting in on the corners, and nitro to the last checkpoint and a hopeful victory!
03_MOUNTAINEERS
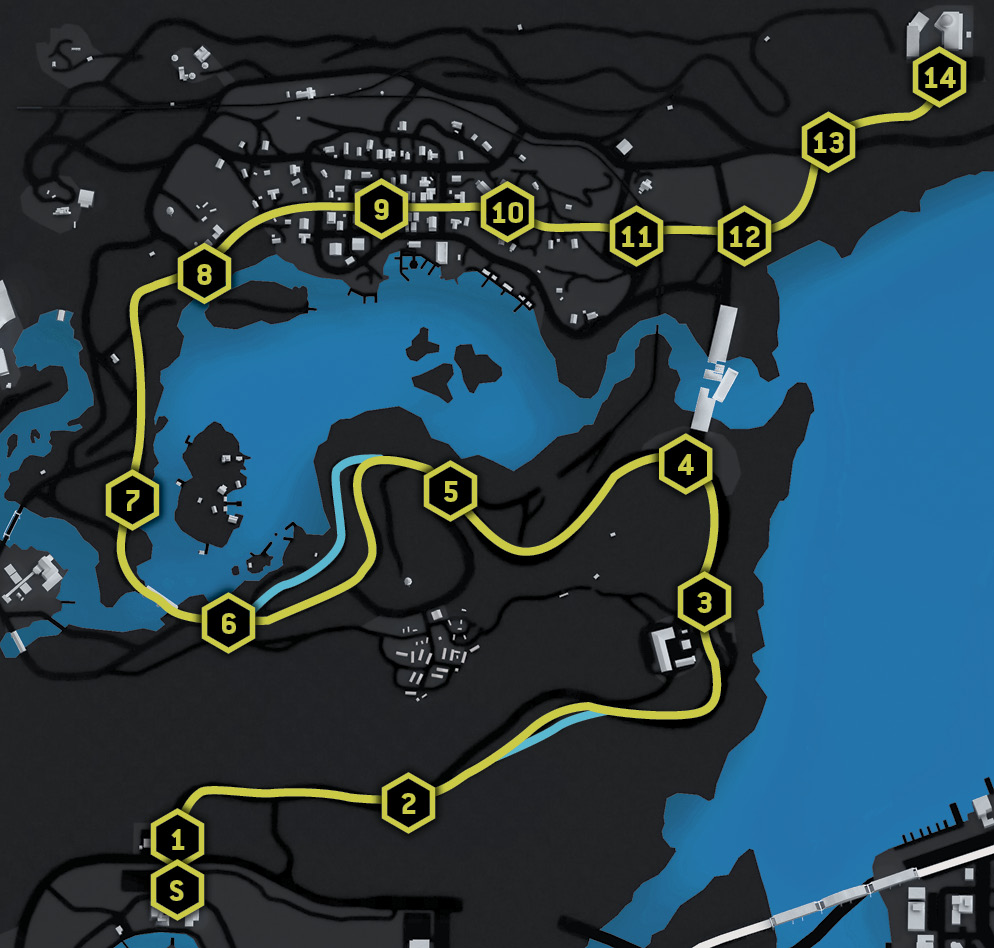
Starting location / BOTANICAL GARDENS
Vehicle / Zusume R
Difficulty: 
NUMBER OF LAPS: 1
NUMBER OF CHECKPOINTS: 14
TIME TO AIM FOR: 02:13 BEAT THIS: 02:05 (Alexandre Brisebois)
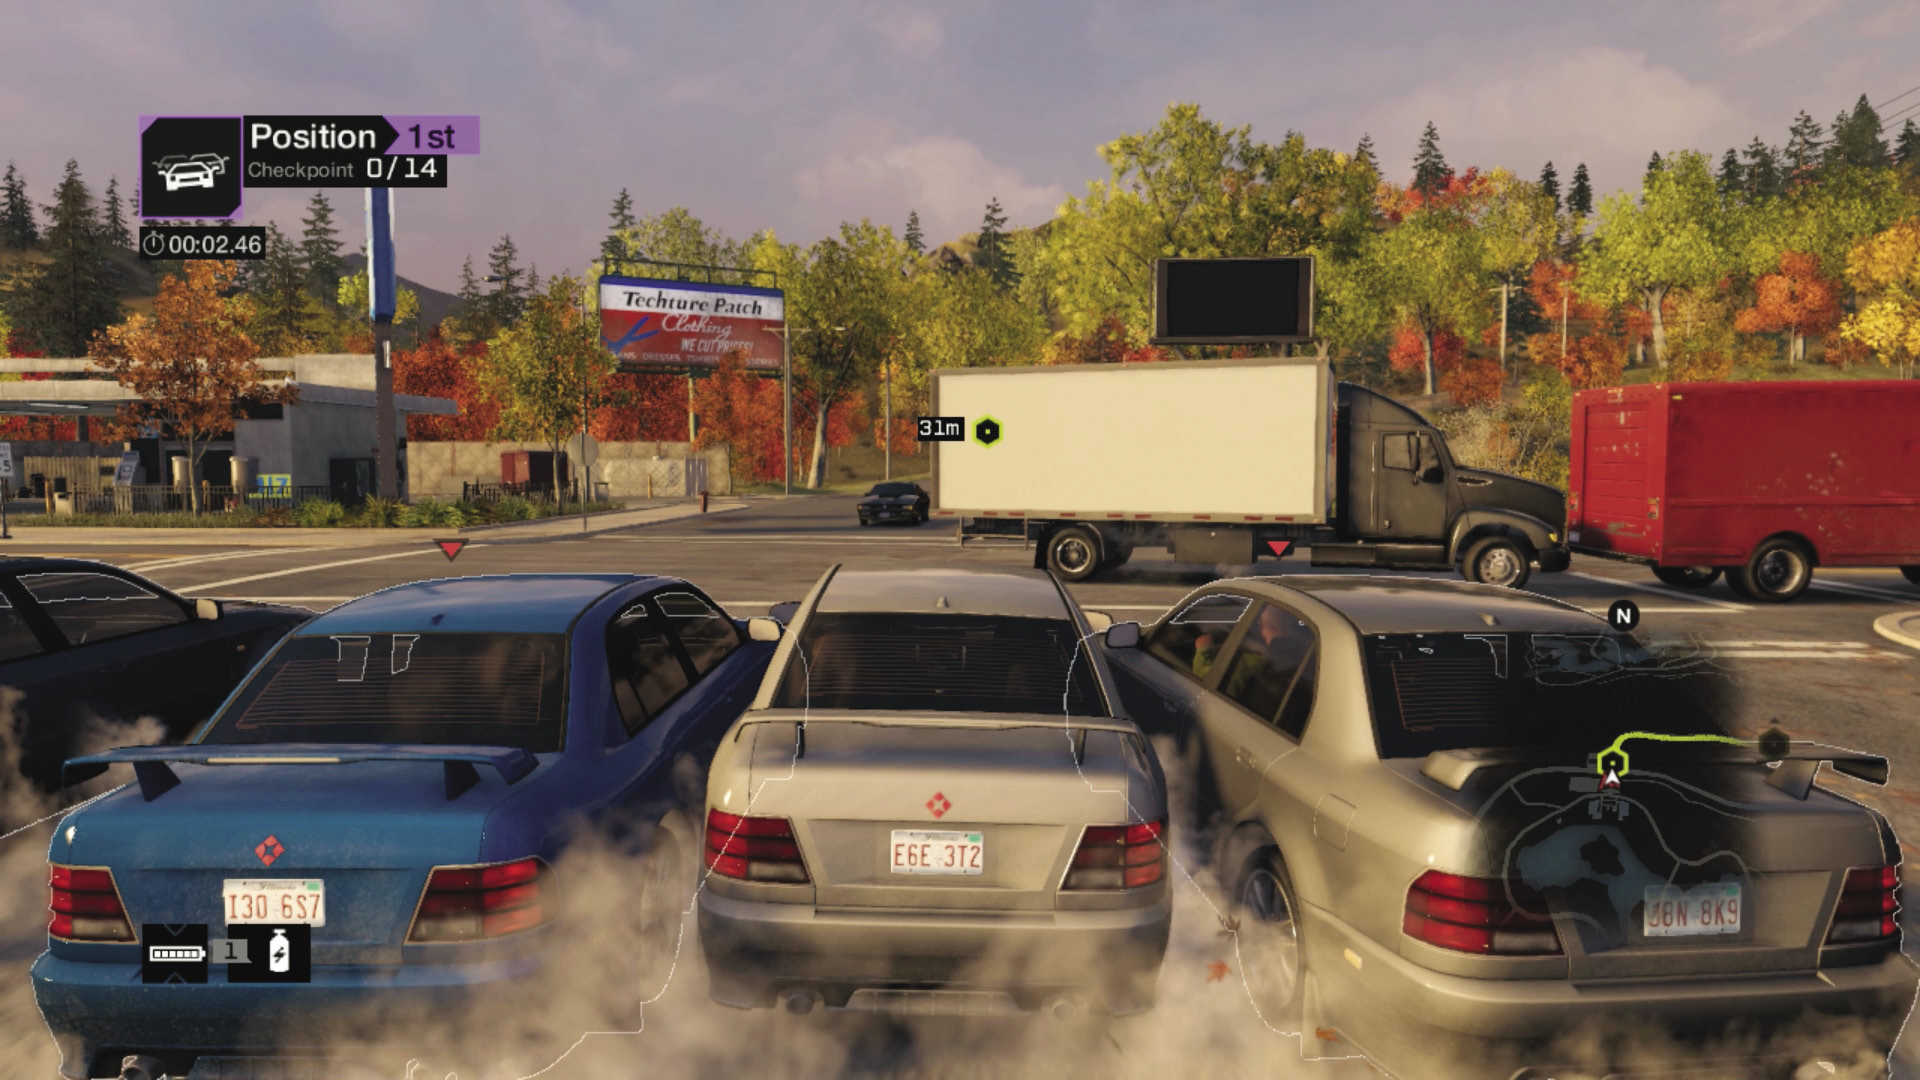
Checkpoint 1: You’re heading north from Parker Square into Pawnee. Slam your foe to the left, into oncoming traffic. Then take the long right turn up to the second checkpoint.
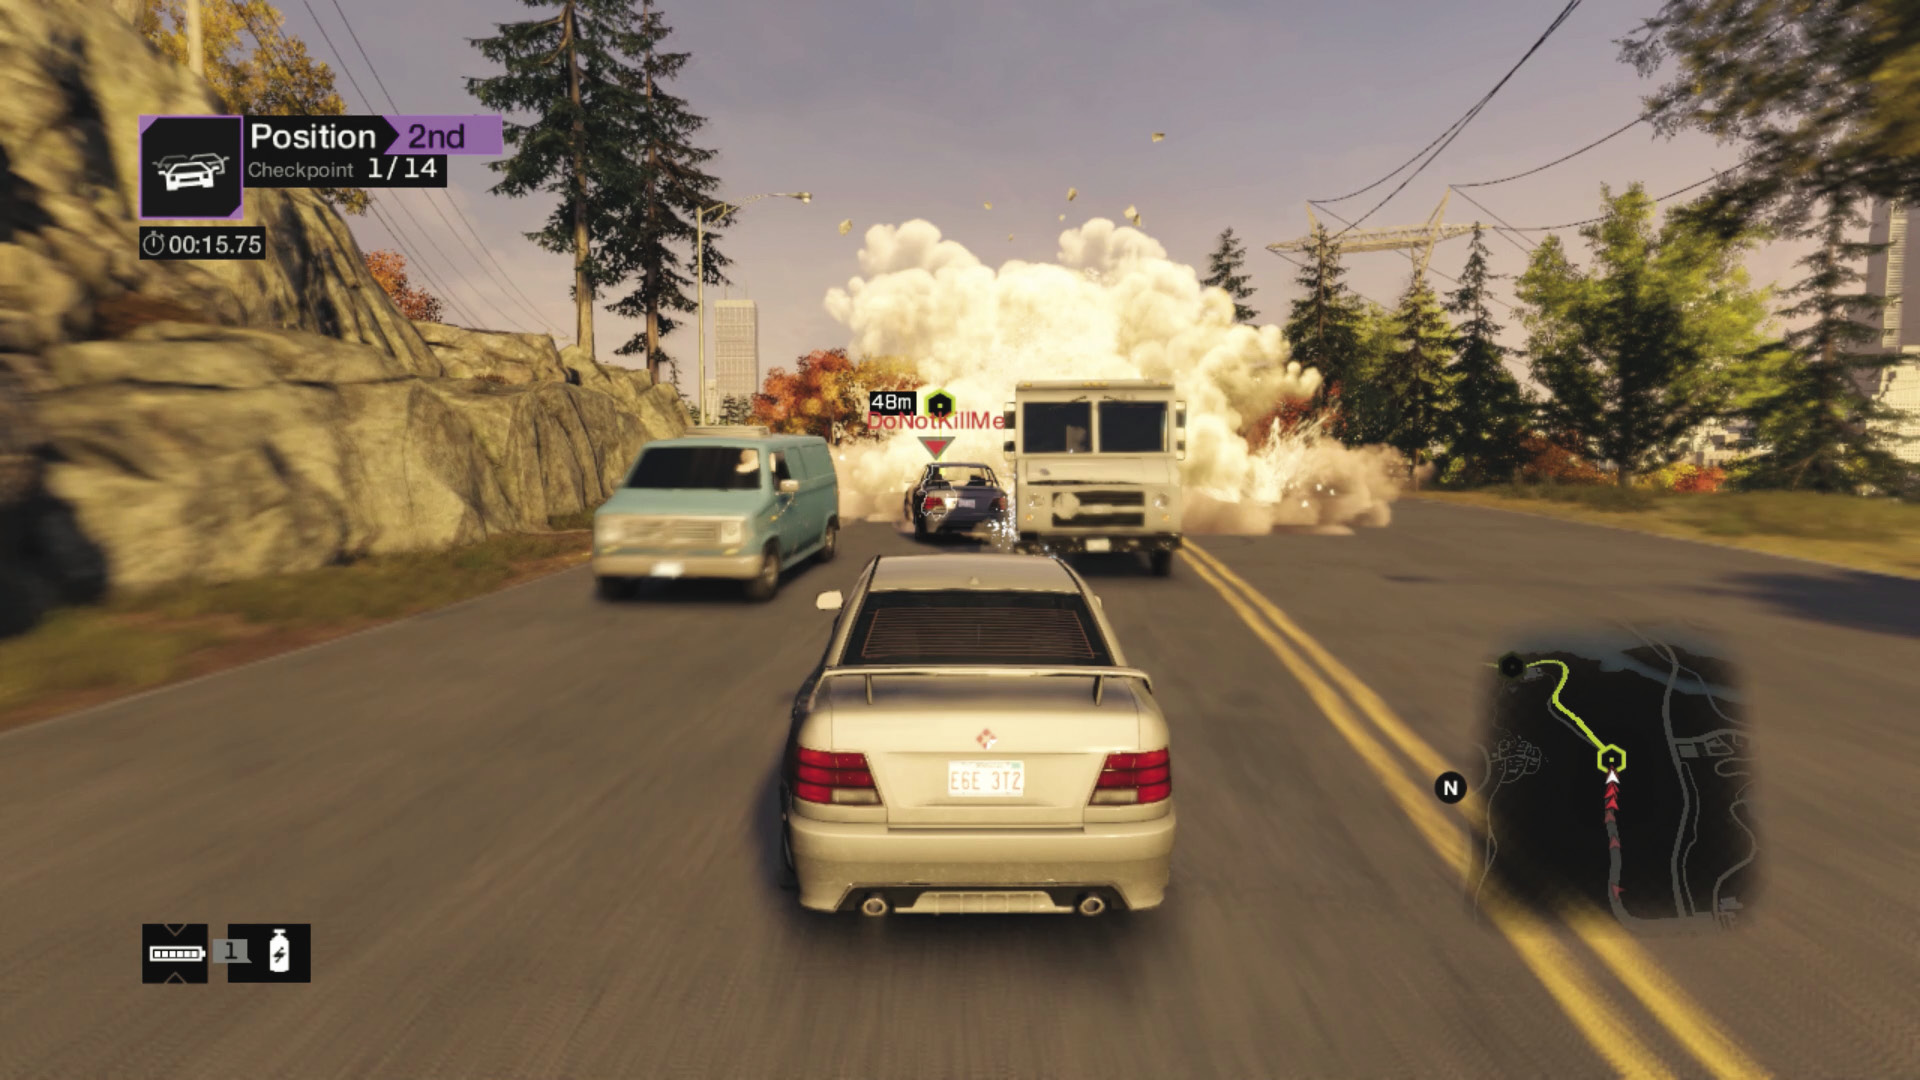
Checkpoint 2: Just before checkpoint 2 is a steam pipe. That, plus oncoming traffic, can cause havoc for those behind you, so try nitroing here first to avoid getting caught in the carnage. Head down the hill, staying to the right (which is faster and doesn’t feature oncoming traffic. Ignore the metal ramp to the right, though).
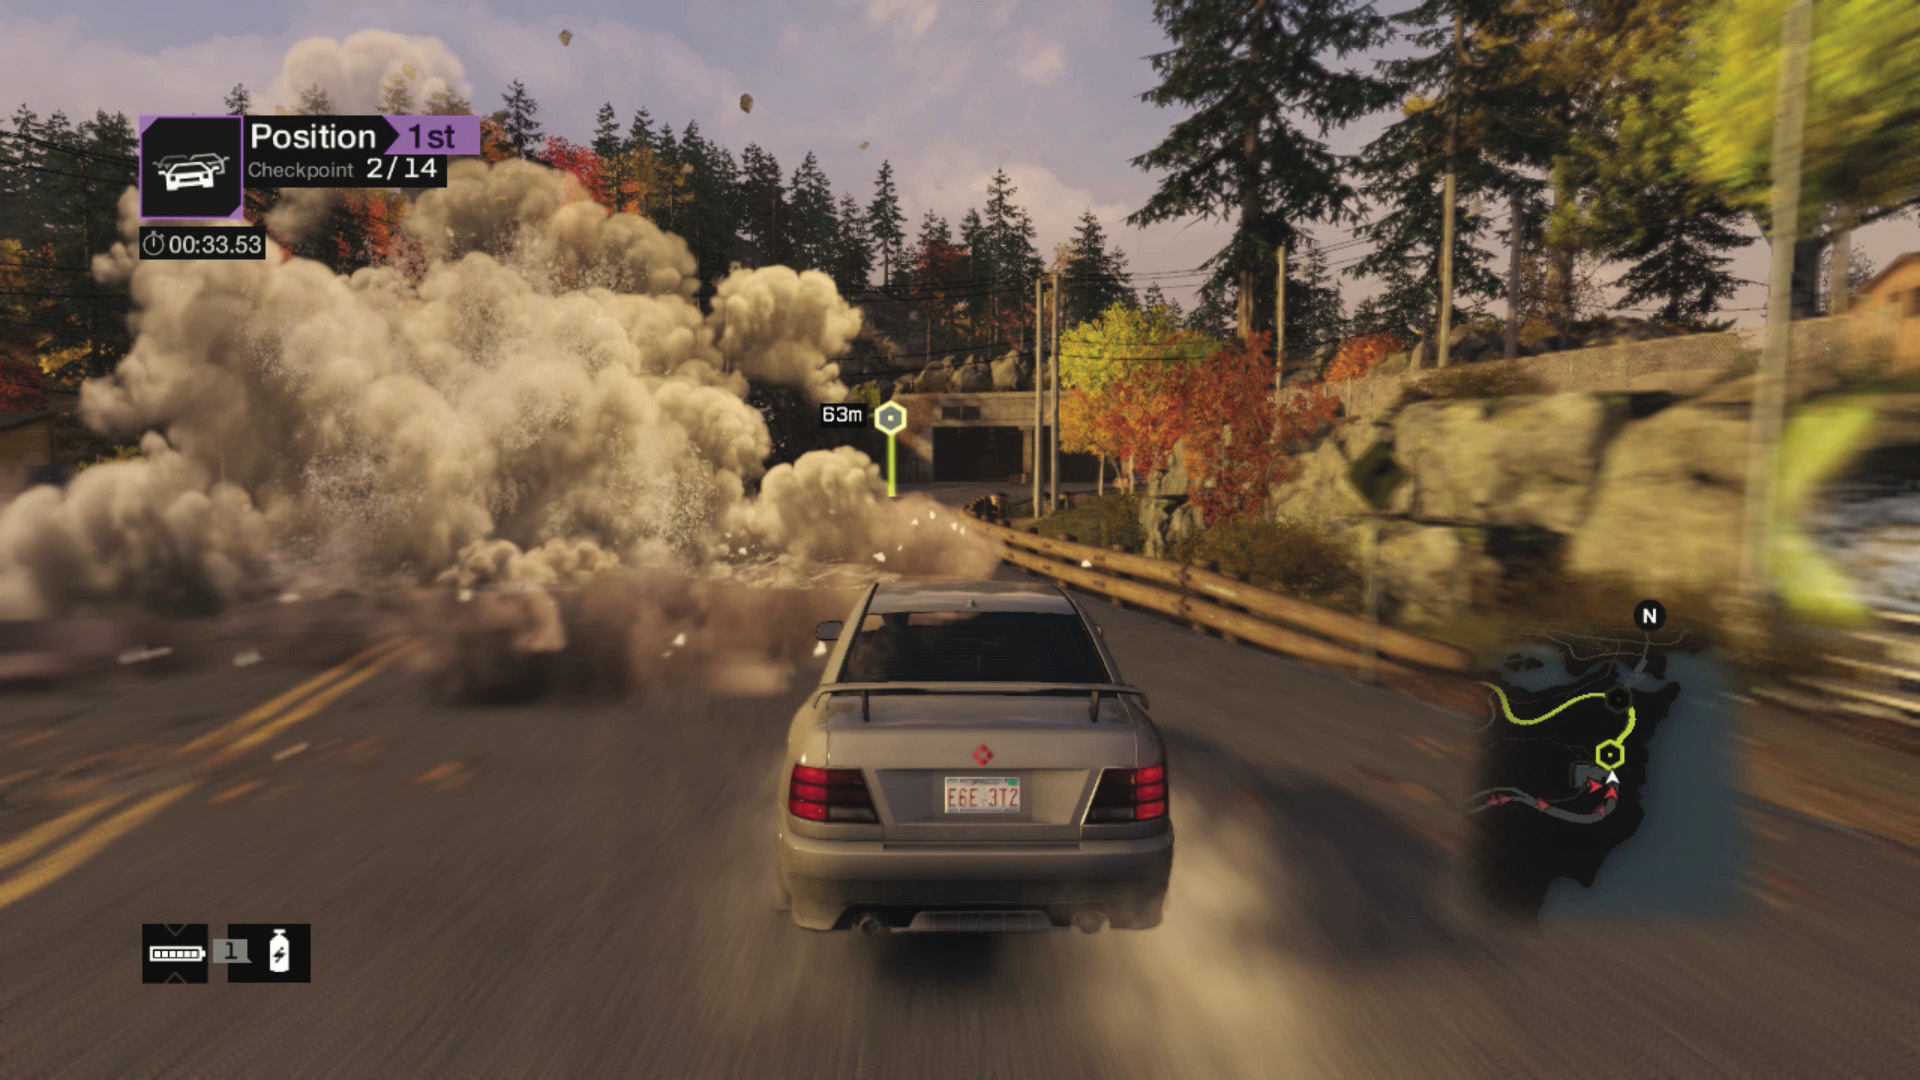
Checkpoints 3–5: Ignore the shortcut on your left that heads through Crazy Moose Inn; it’s far too narrow to be helpful and slows you down. However, it does help avoid the steam pipe just before checkpoint 3 and the two road tunnels. Weave through the tunnel pillars if you want to keep the quickest path through the corners.
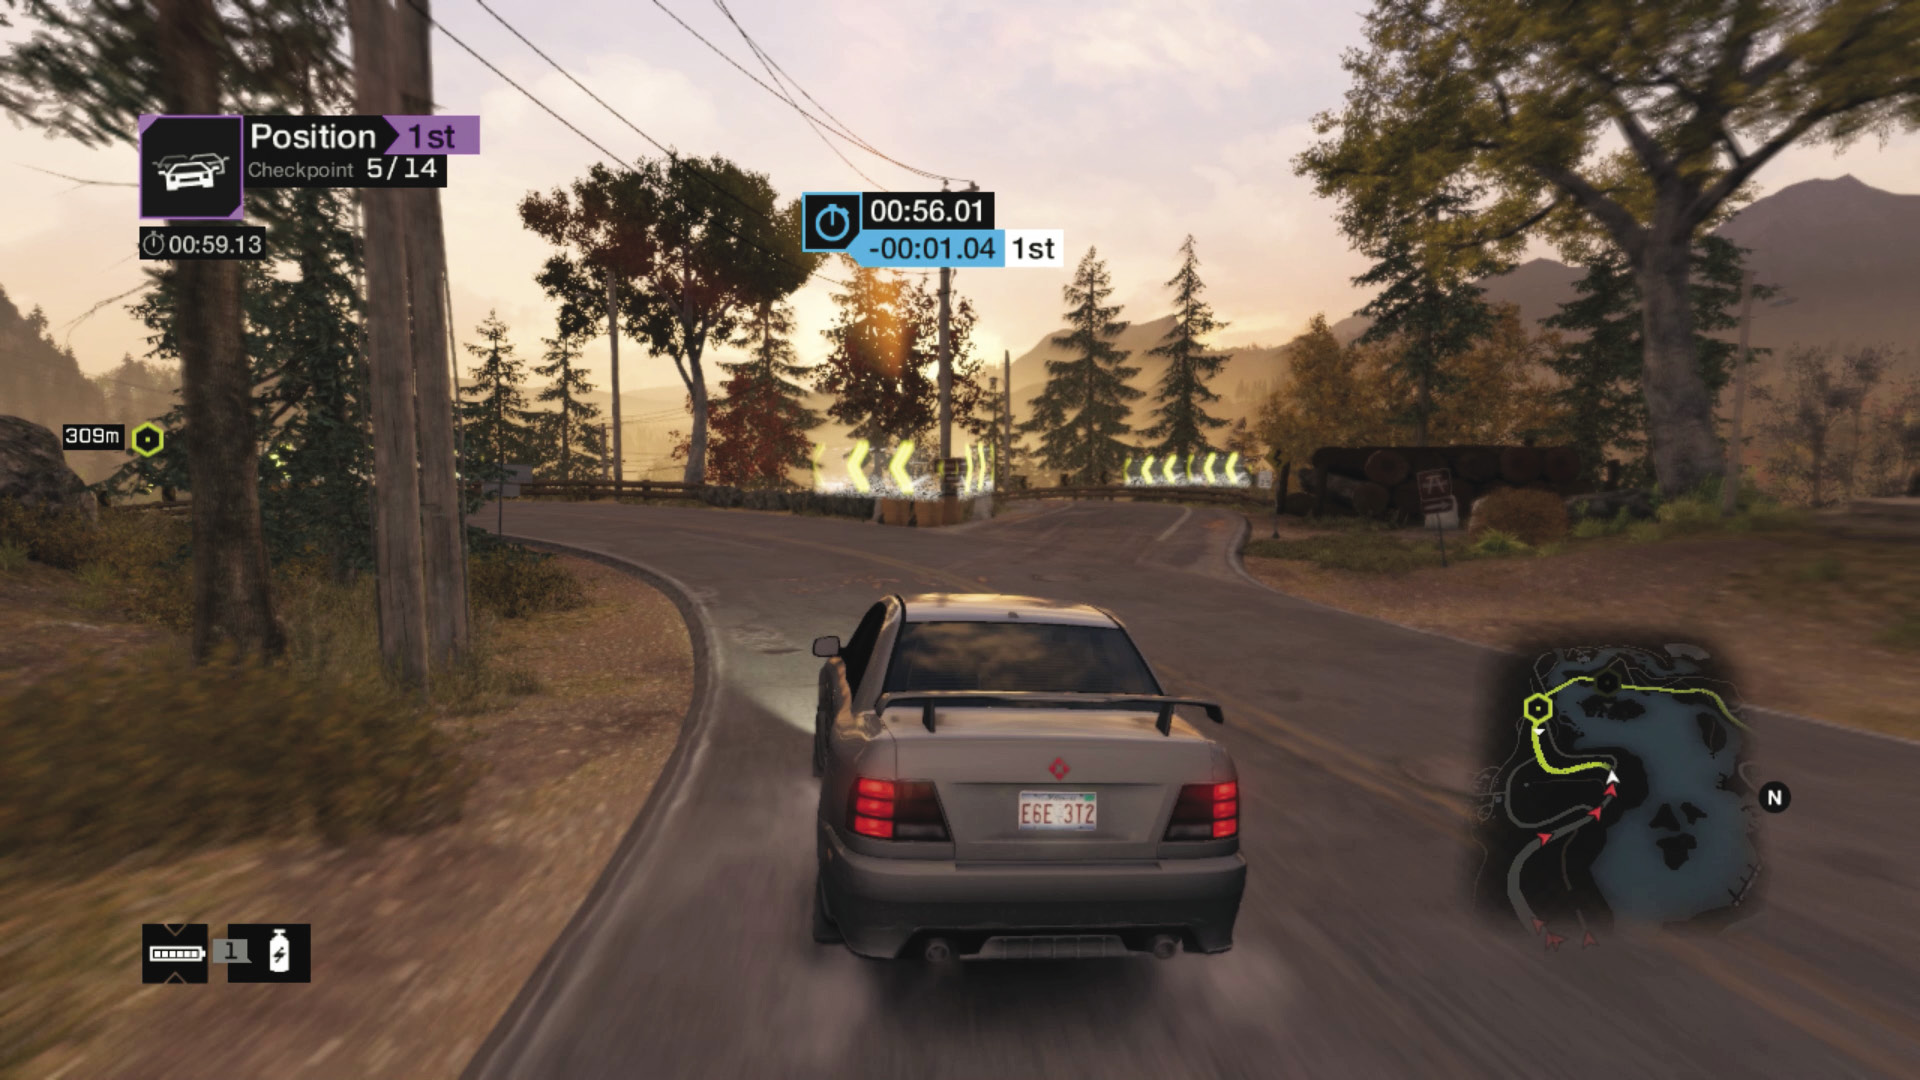
Checkpoint 5 (Shortcuts): Just after checkpoint 5, you have a choice of roads; the right one leads down to Pawnee beach and is a little quicker than the left, upper path. Plus, the upper road has a steam pipe that can hinder your progress (or wreak havoc if you hack it).
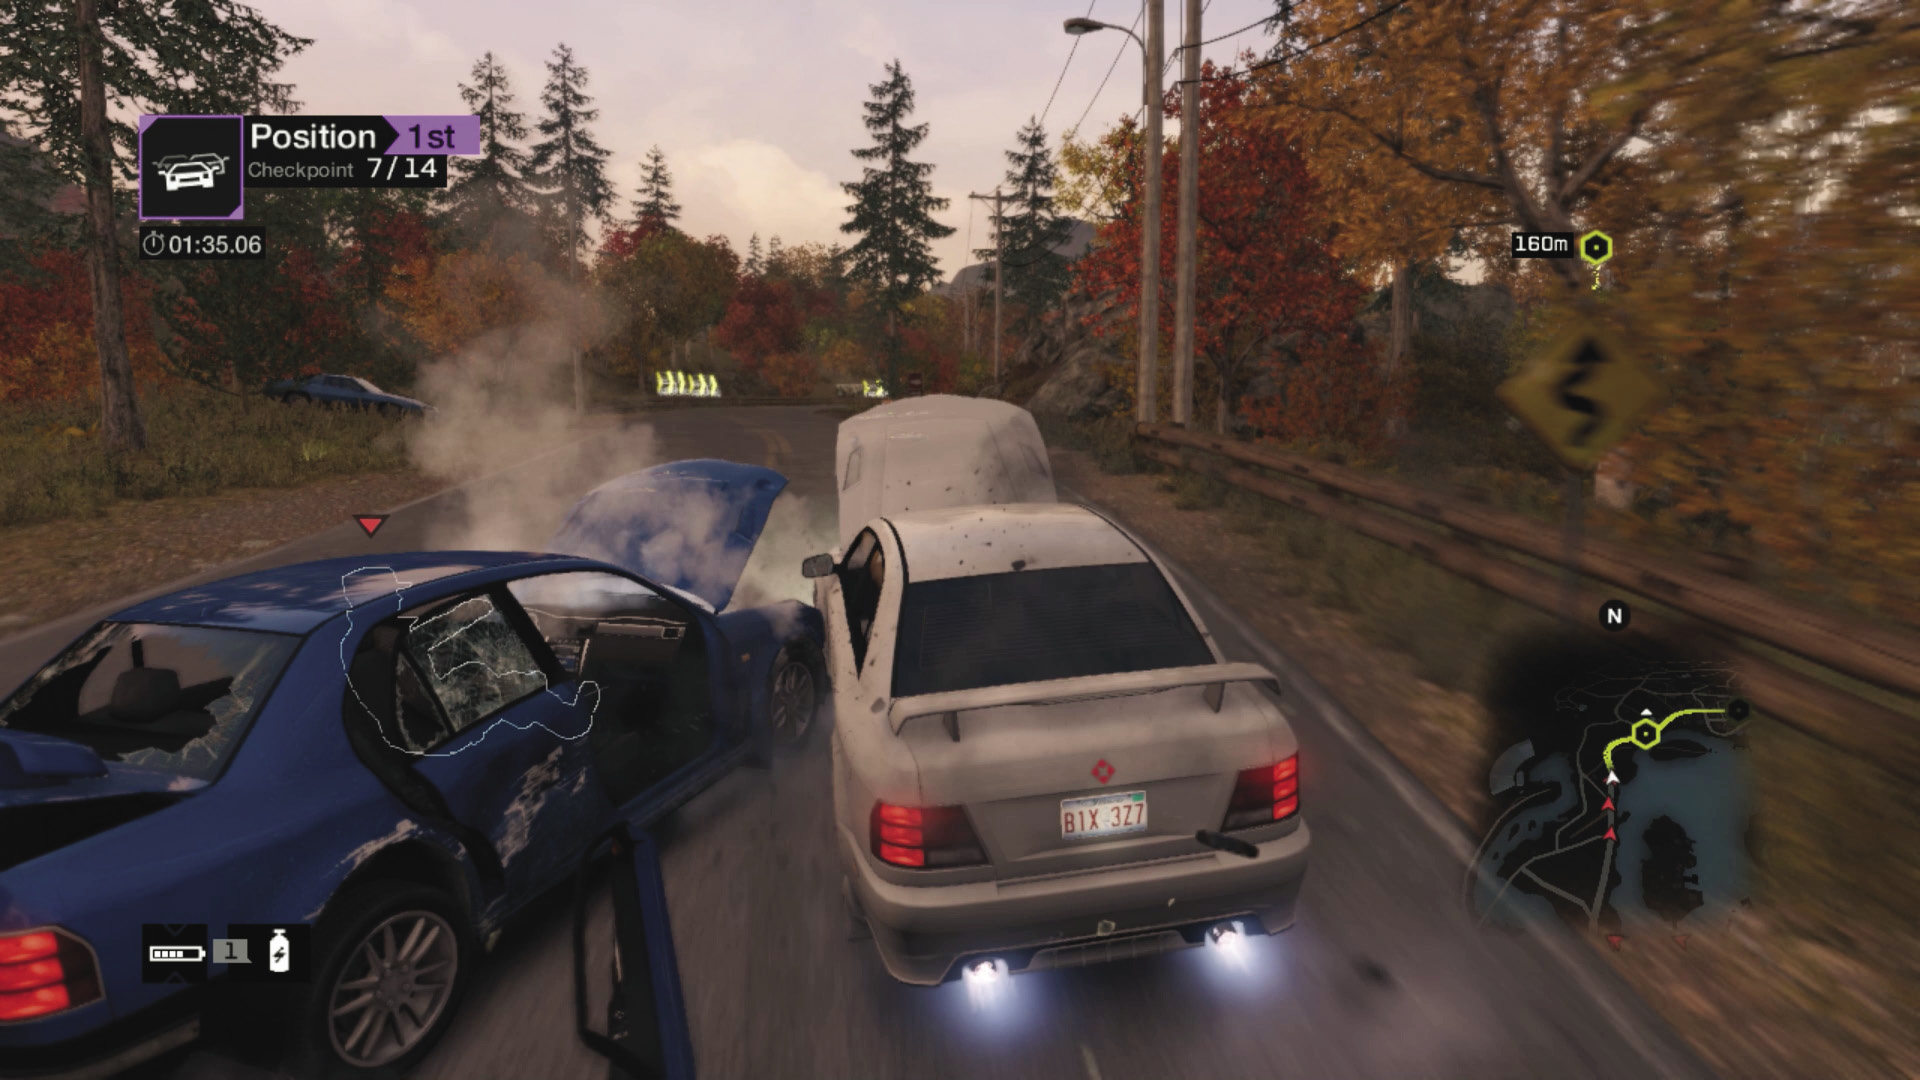
Checkpoints 6–9: From the covered bridge at checkpoint 6 to the nitro-fueled straight of the main Pawnee road through checkpoint 9, expect a steam pipe battle and no shortcuts!
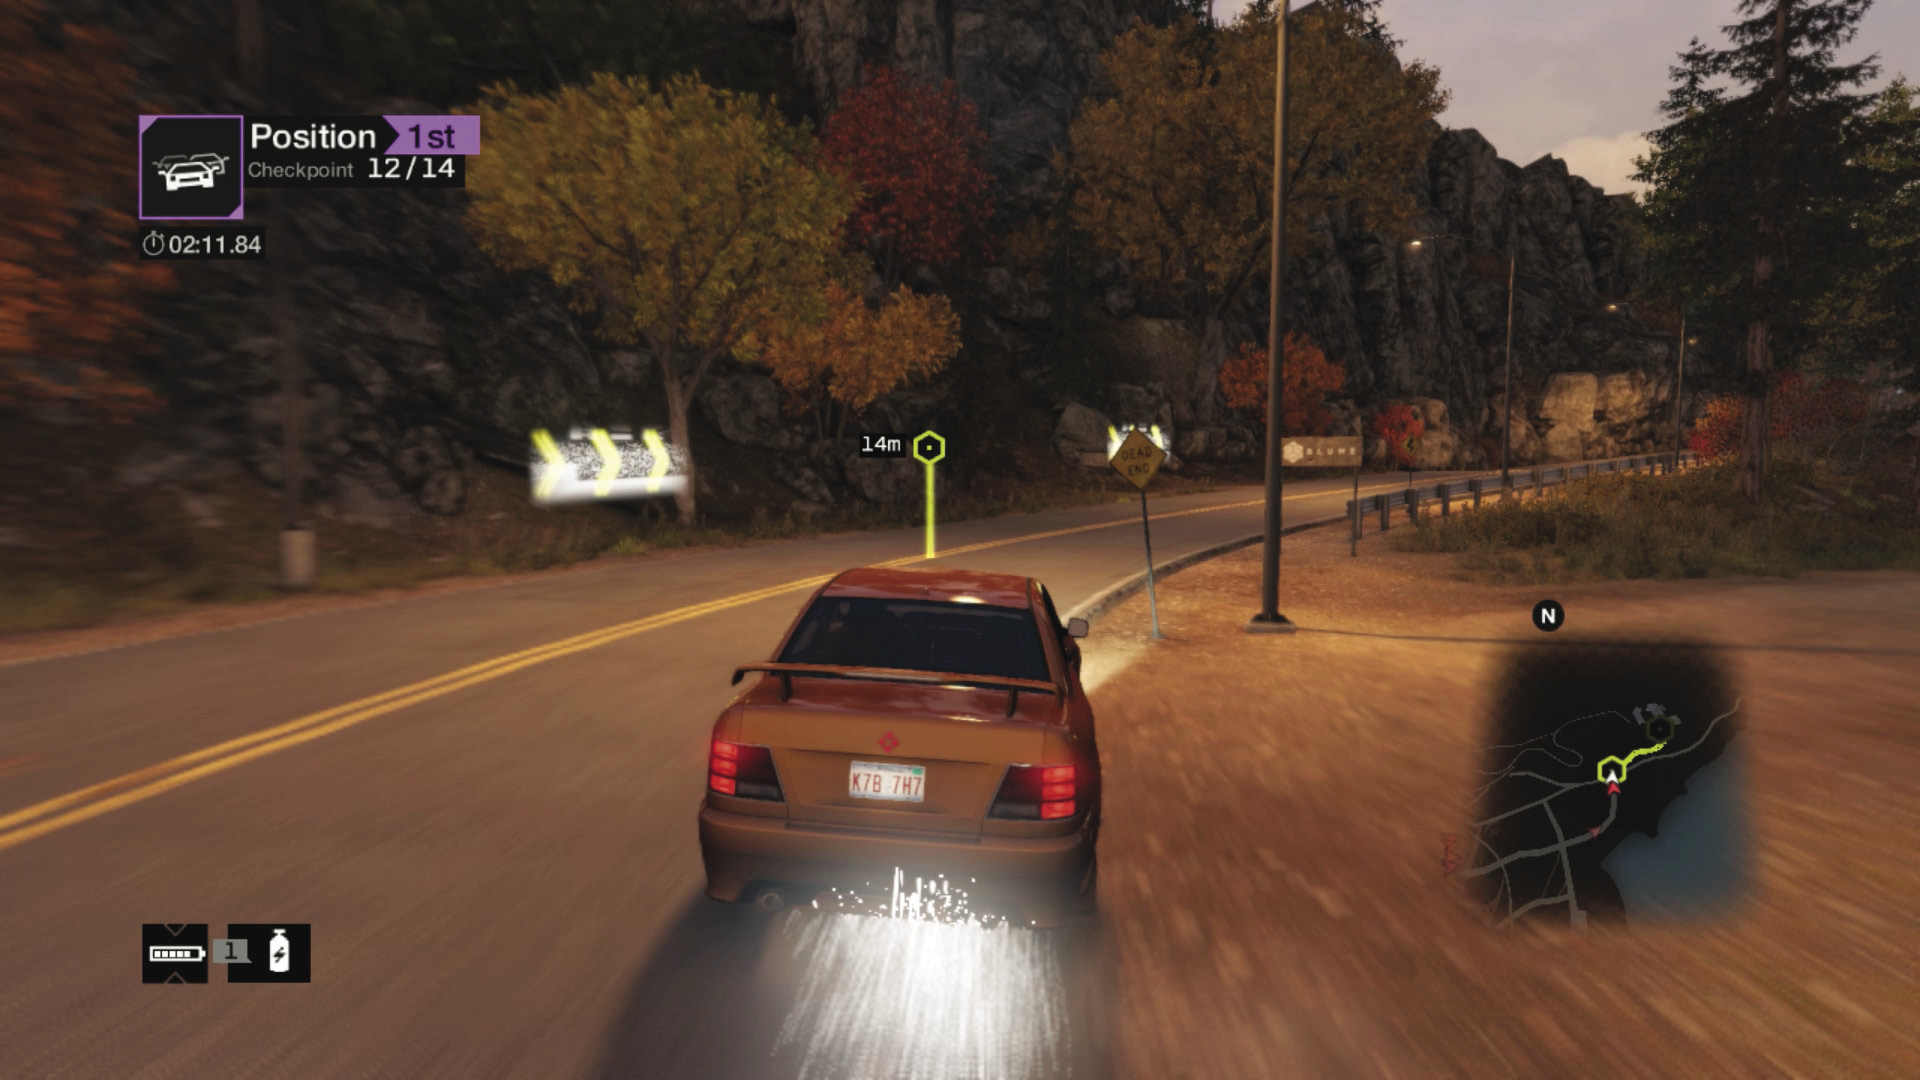
Checkpoints 10–14: Continue along the main road out of Pawnee, ignoring side trails, as they don’t lead to the remaining checkpoints. The last steam pipe chance is between checkpoints 11 and 12. After that, cut in on the shoulders and increase your speed as you take the winding final road up to the finish line at Blume’s headquarters.
04_RAILROADED
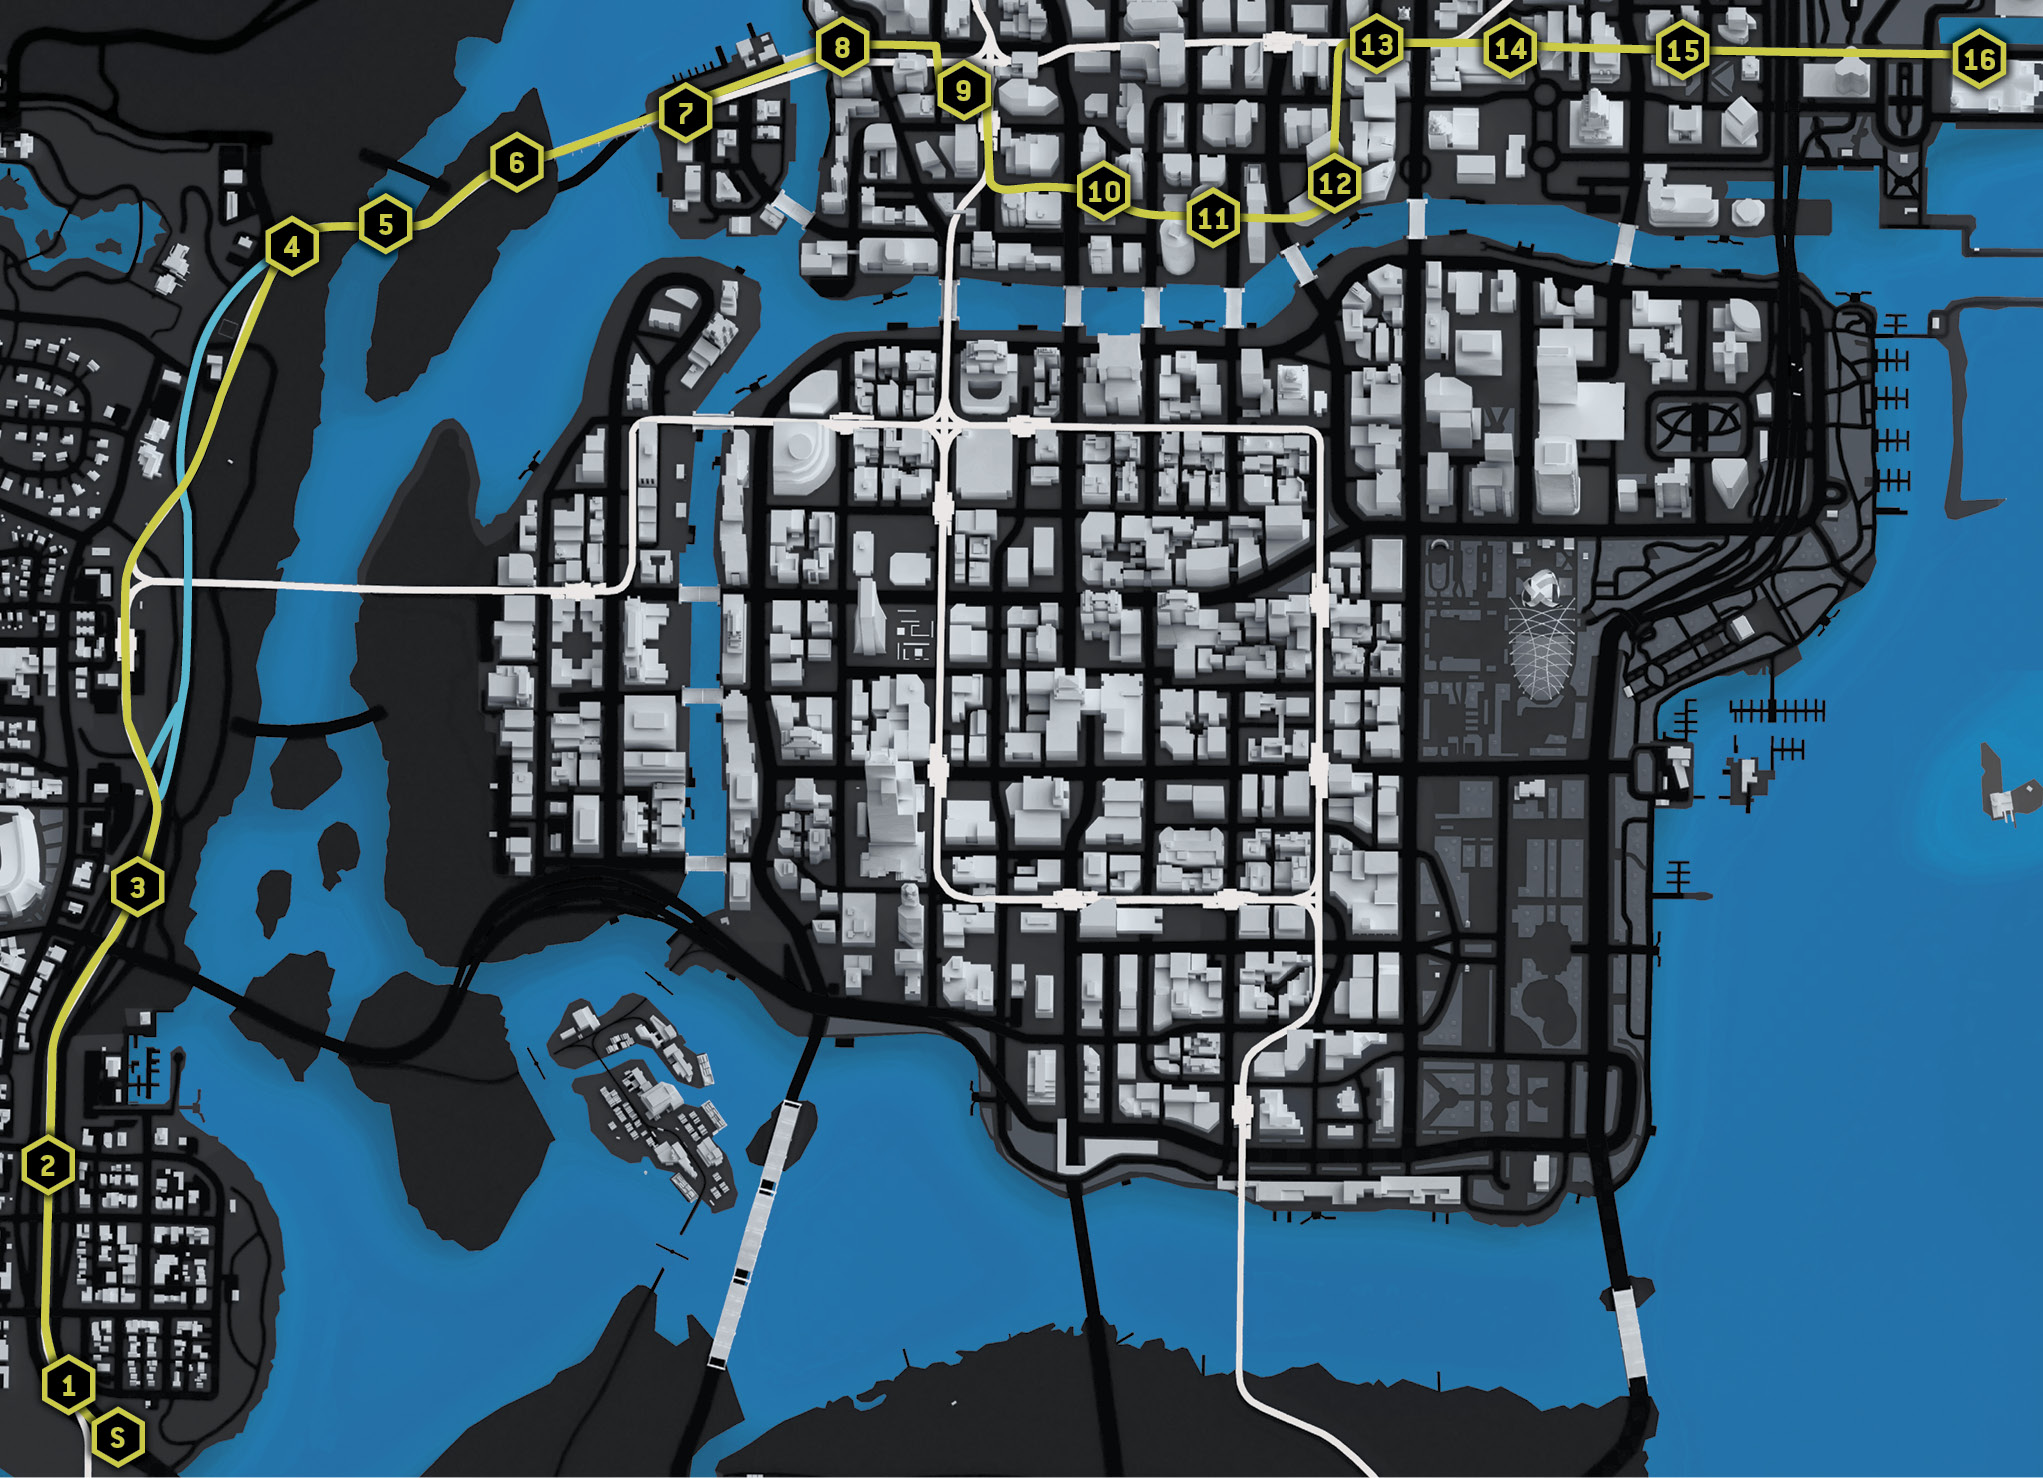
Starting location / Under the Freeway, South Parker Square
Vehicle / Kodachi
Difficulty: 
NUMBER OF LAPS: 1
NUMBER OF CHECKPOINTS: 17
TIME TO AIM FOR: 02:53 BEAT THIS: 02:45 (Daniel Batoff)
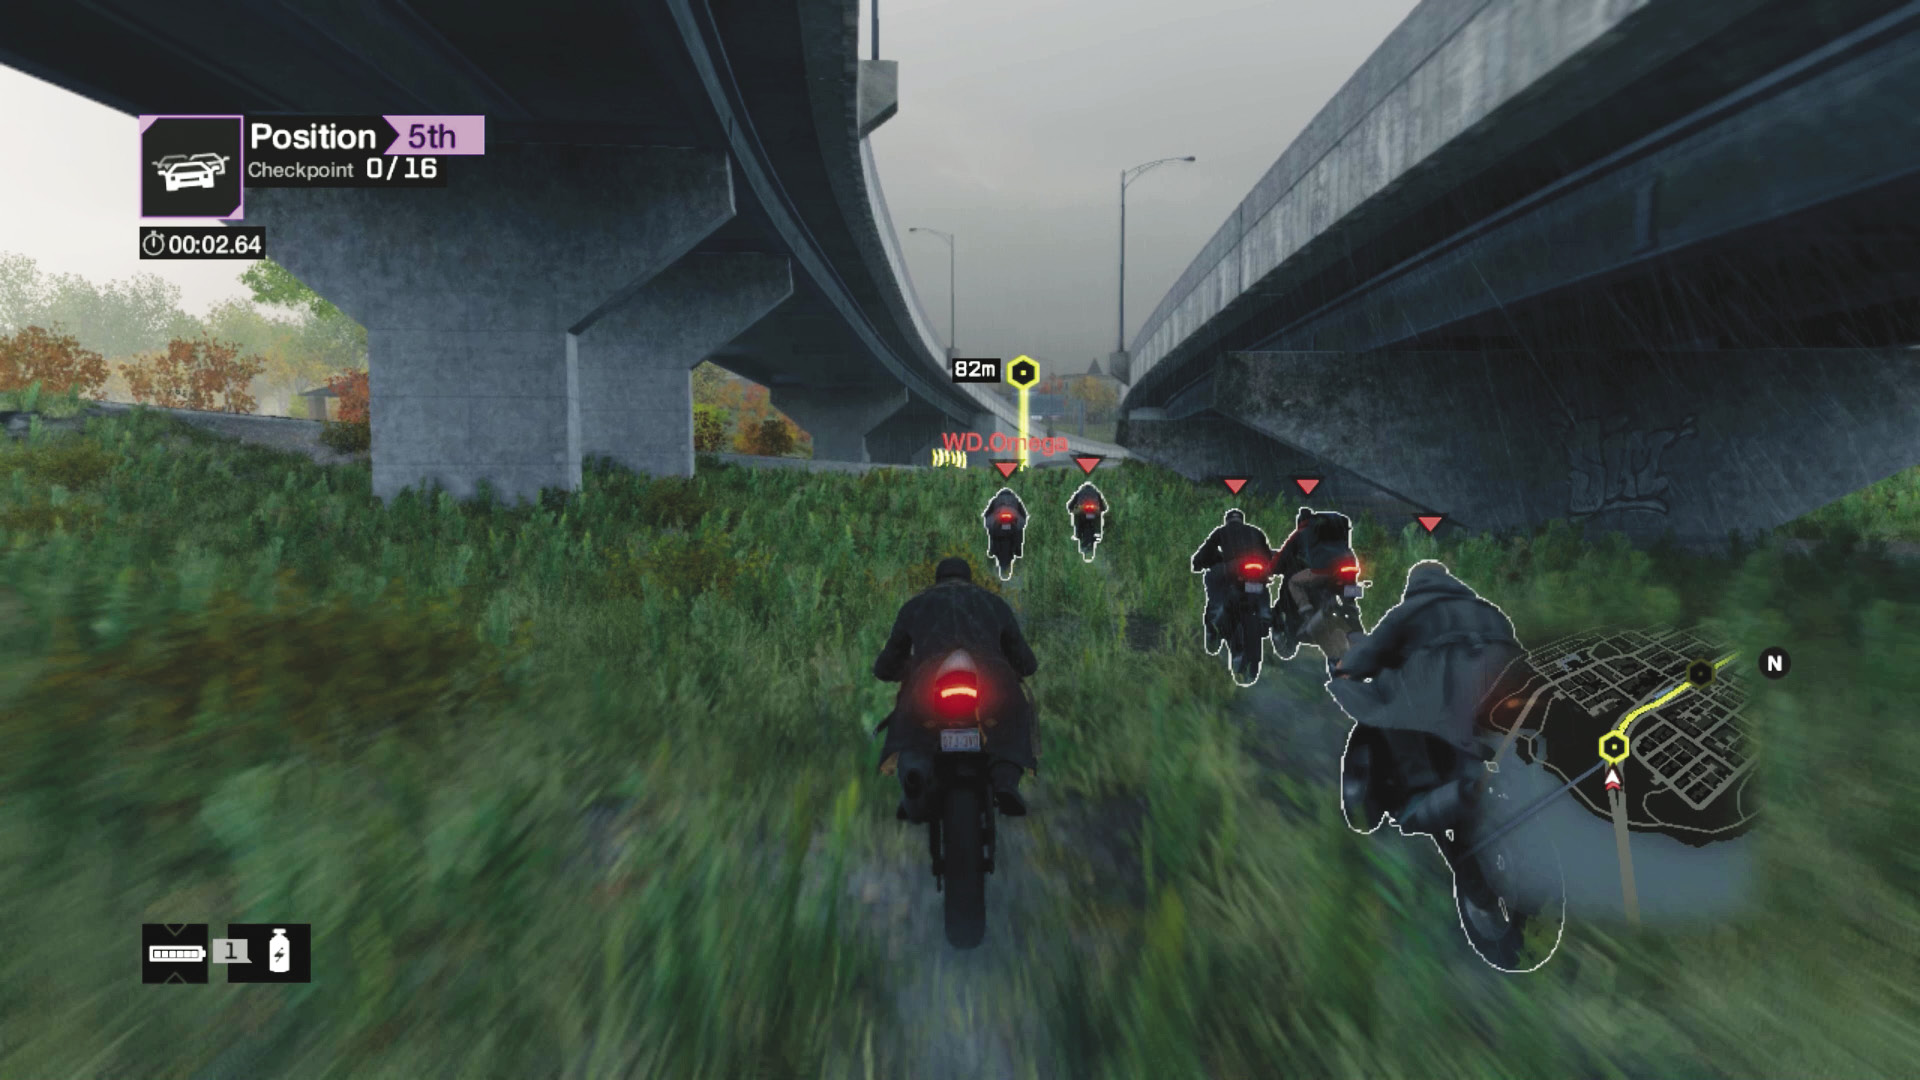
Starting on the dirt under the freeway, you quickly ride up onto the rail tracks, which is where the first bout of aggressive driving takes place. Attempt to jostle foes into walls and the upcoming train station, and hit that nitro hard!
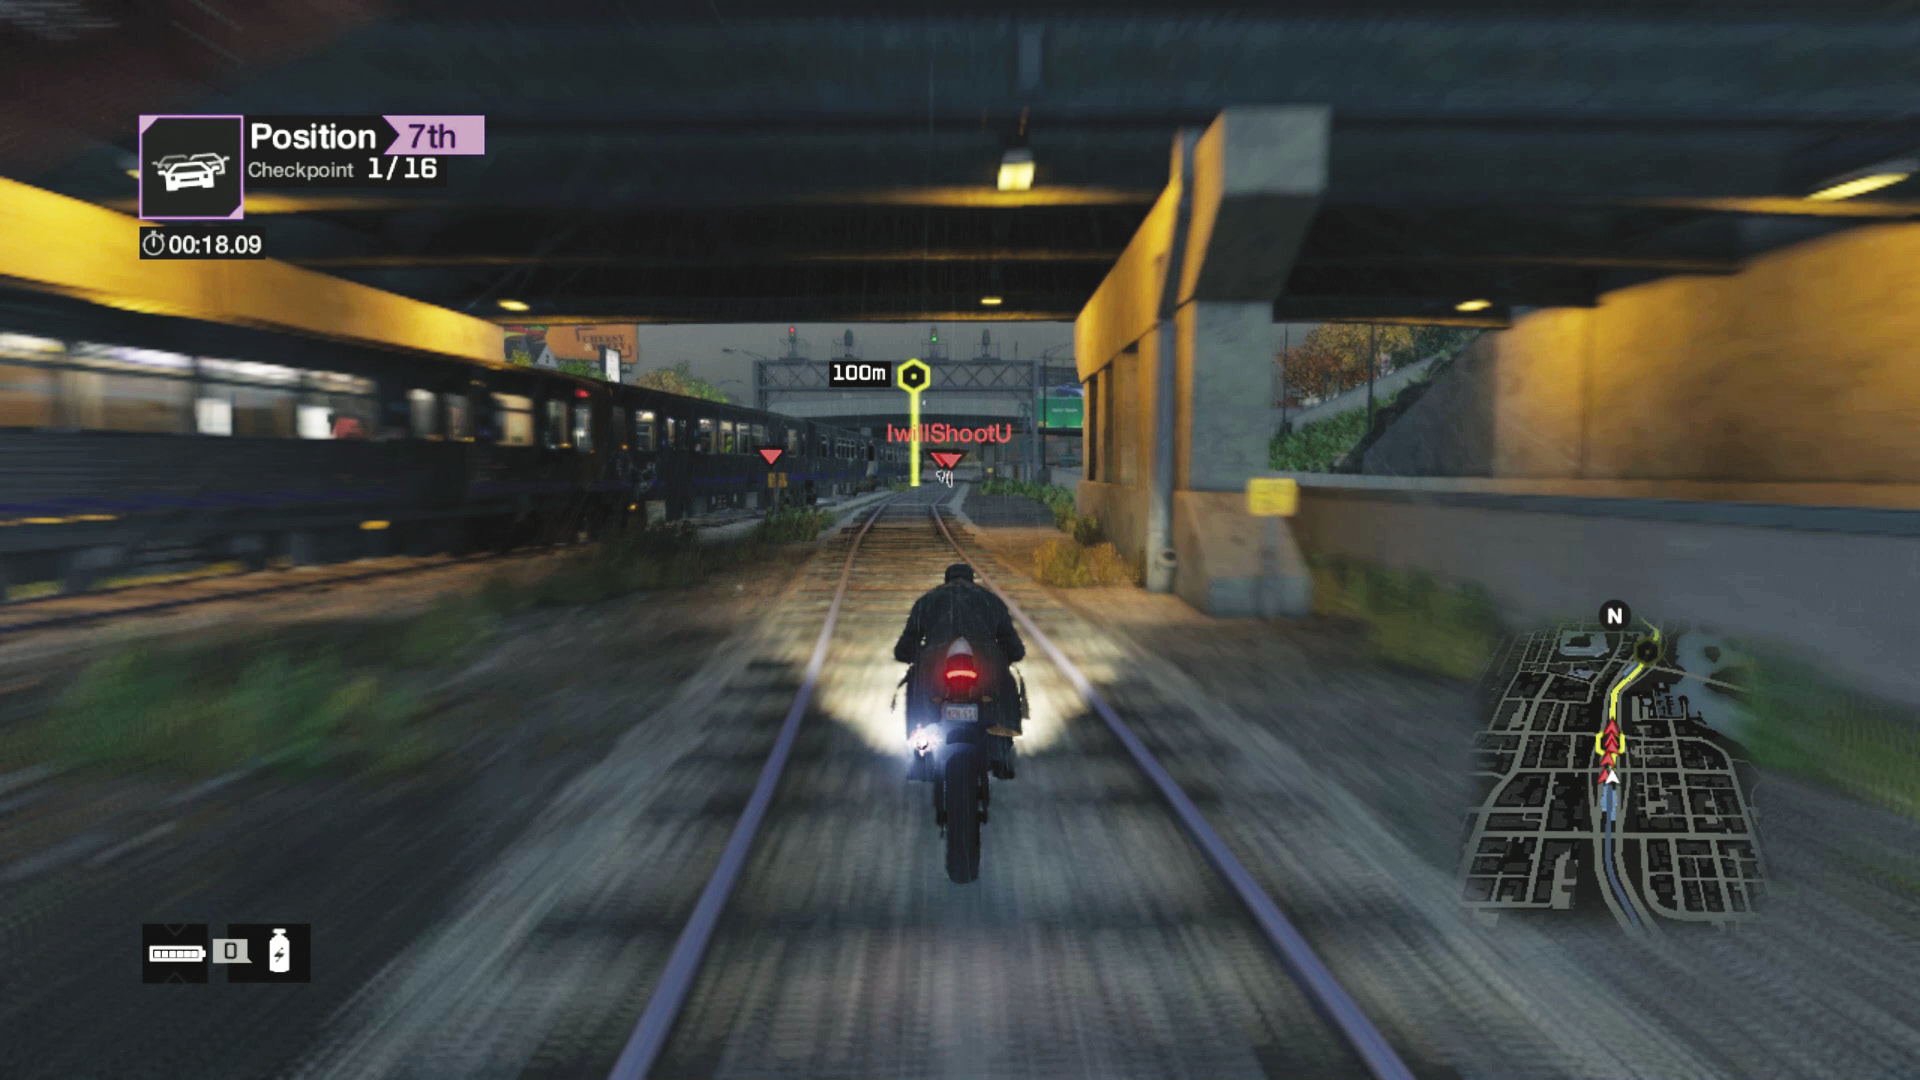
Checkpoints 1–3: Stay right as you reach the station, as there’s usually an oncoming train to your left. Continue to move at extreme speeds through checkpoint 2, another train station (keep right), and checkpoint 3. Then quickly decide which shortcut you want to take.
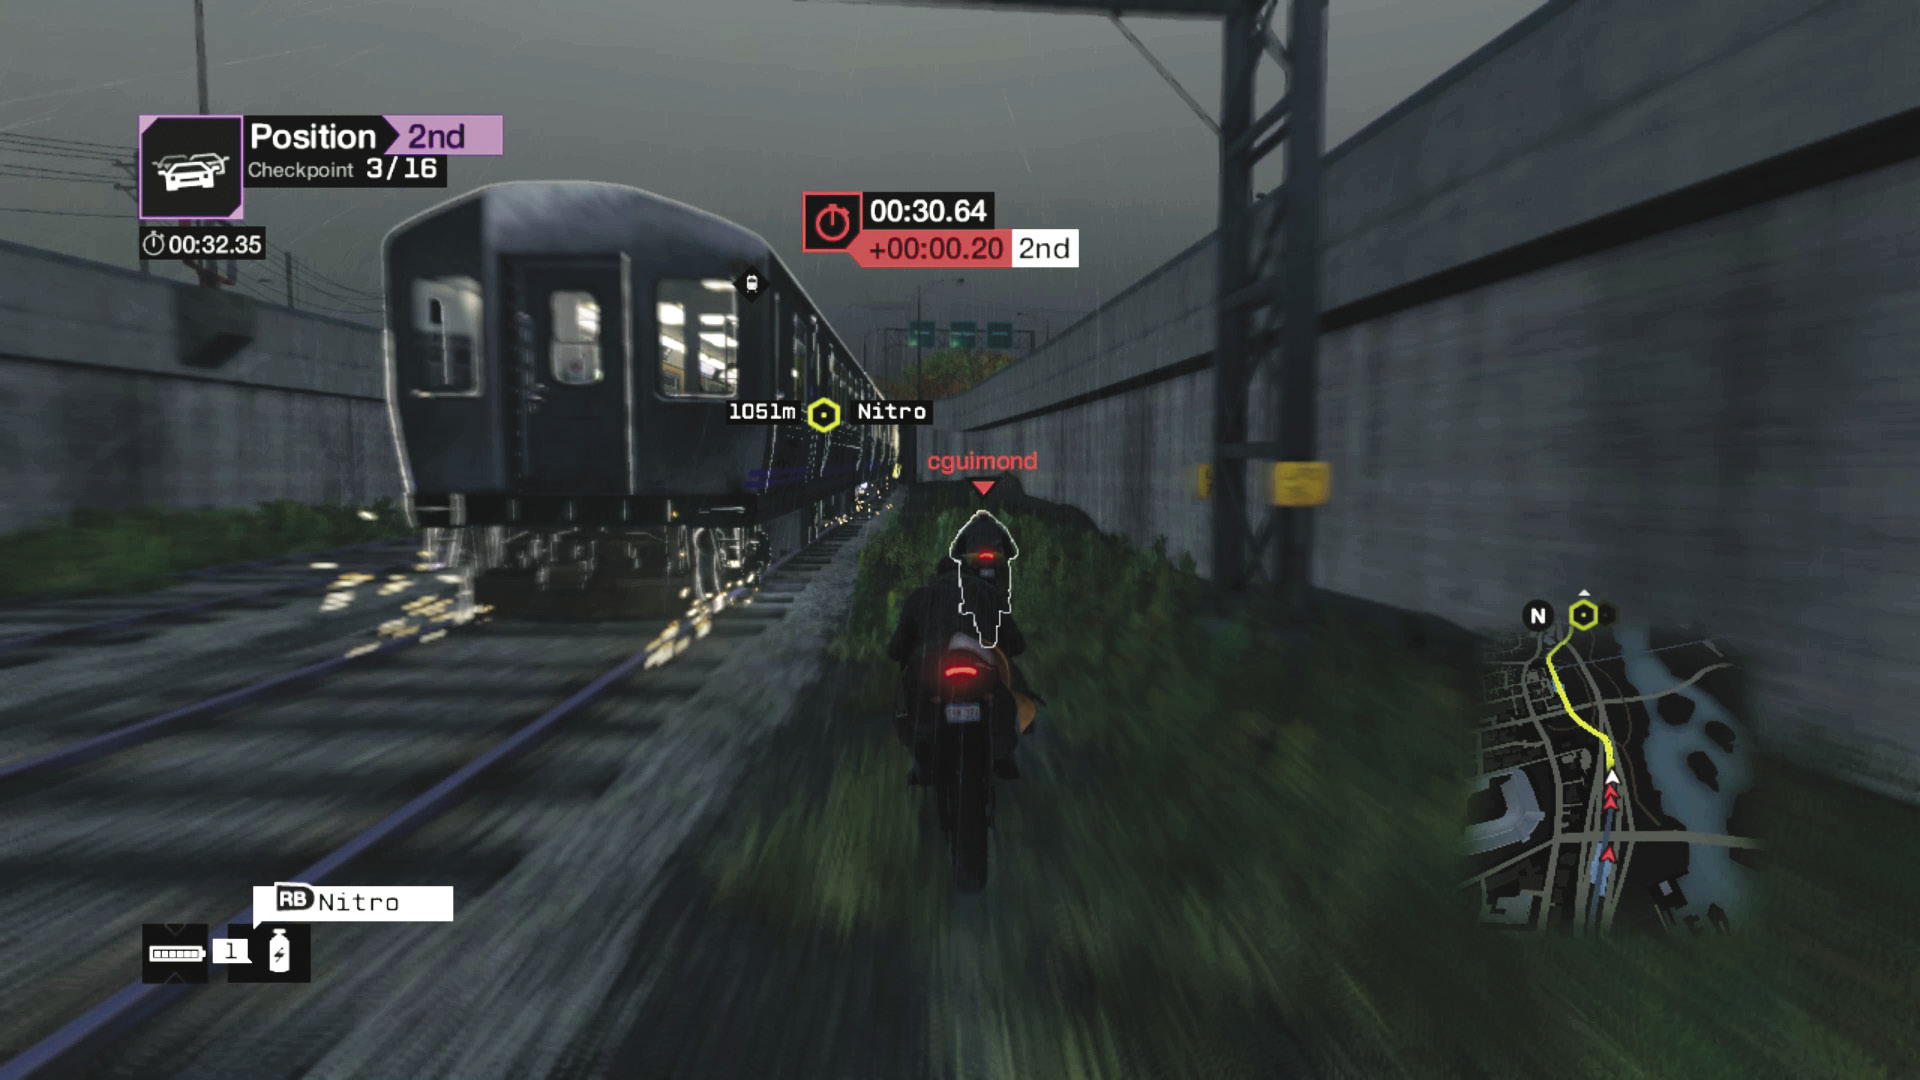
Checkpoint 4 (Shortcut 1): Stay to the right (this is a tight squeeze if there’s a train heading in the same direction!) and launch up the ramp and onto the freeway, which is a much shorter route to checkpoint 4. The GPS router adds some time to your lap, so take it only if you must.
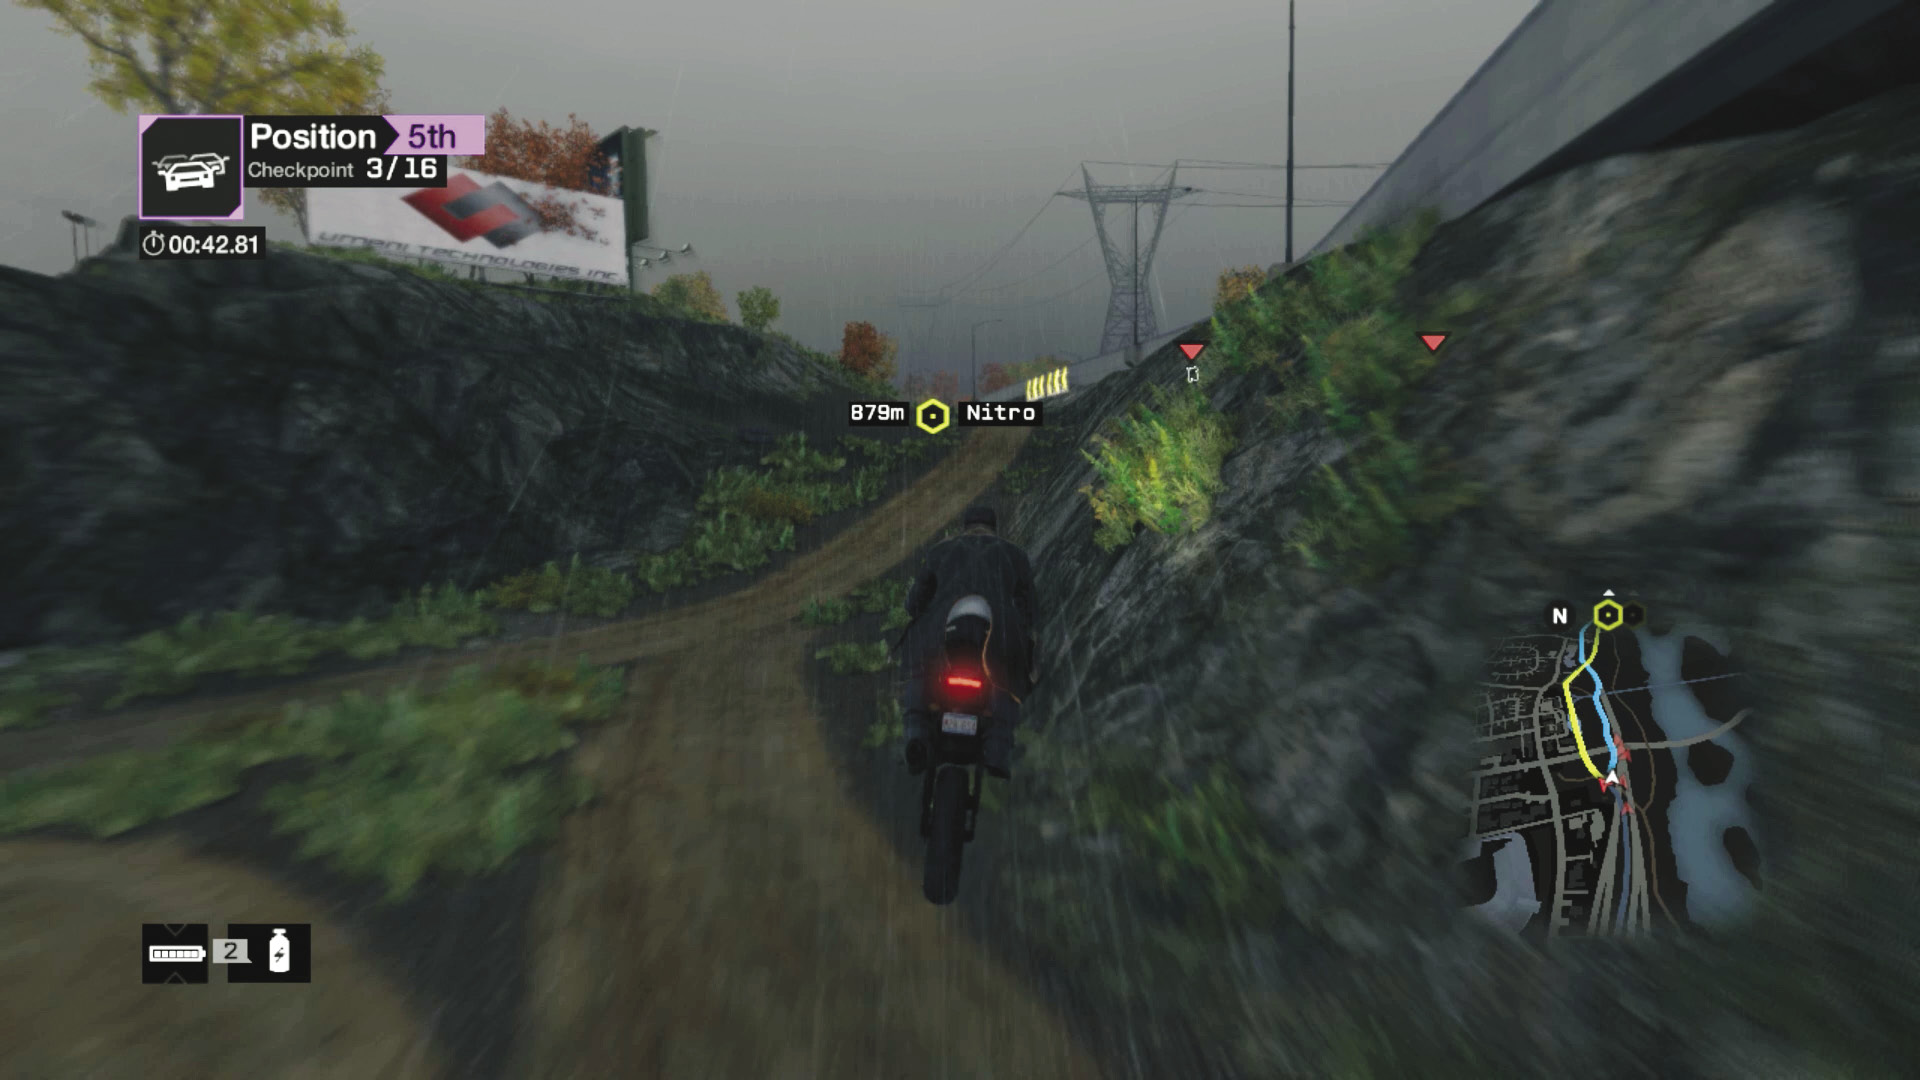
Checkpoint 4 (Shortcut 2): Or, stay to the left of the tracks, pass under the freeway, and immediately swing right, onto the dirt trail parallel to the freeway; there’s a jump onto the freeway at the end of it. This is slightly quicker than the previous shortcut. With either route, crash through the fence (don’t use the jump, which slows you down) to return to the tracks and checkpoint 4.
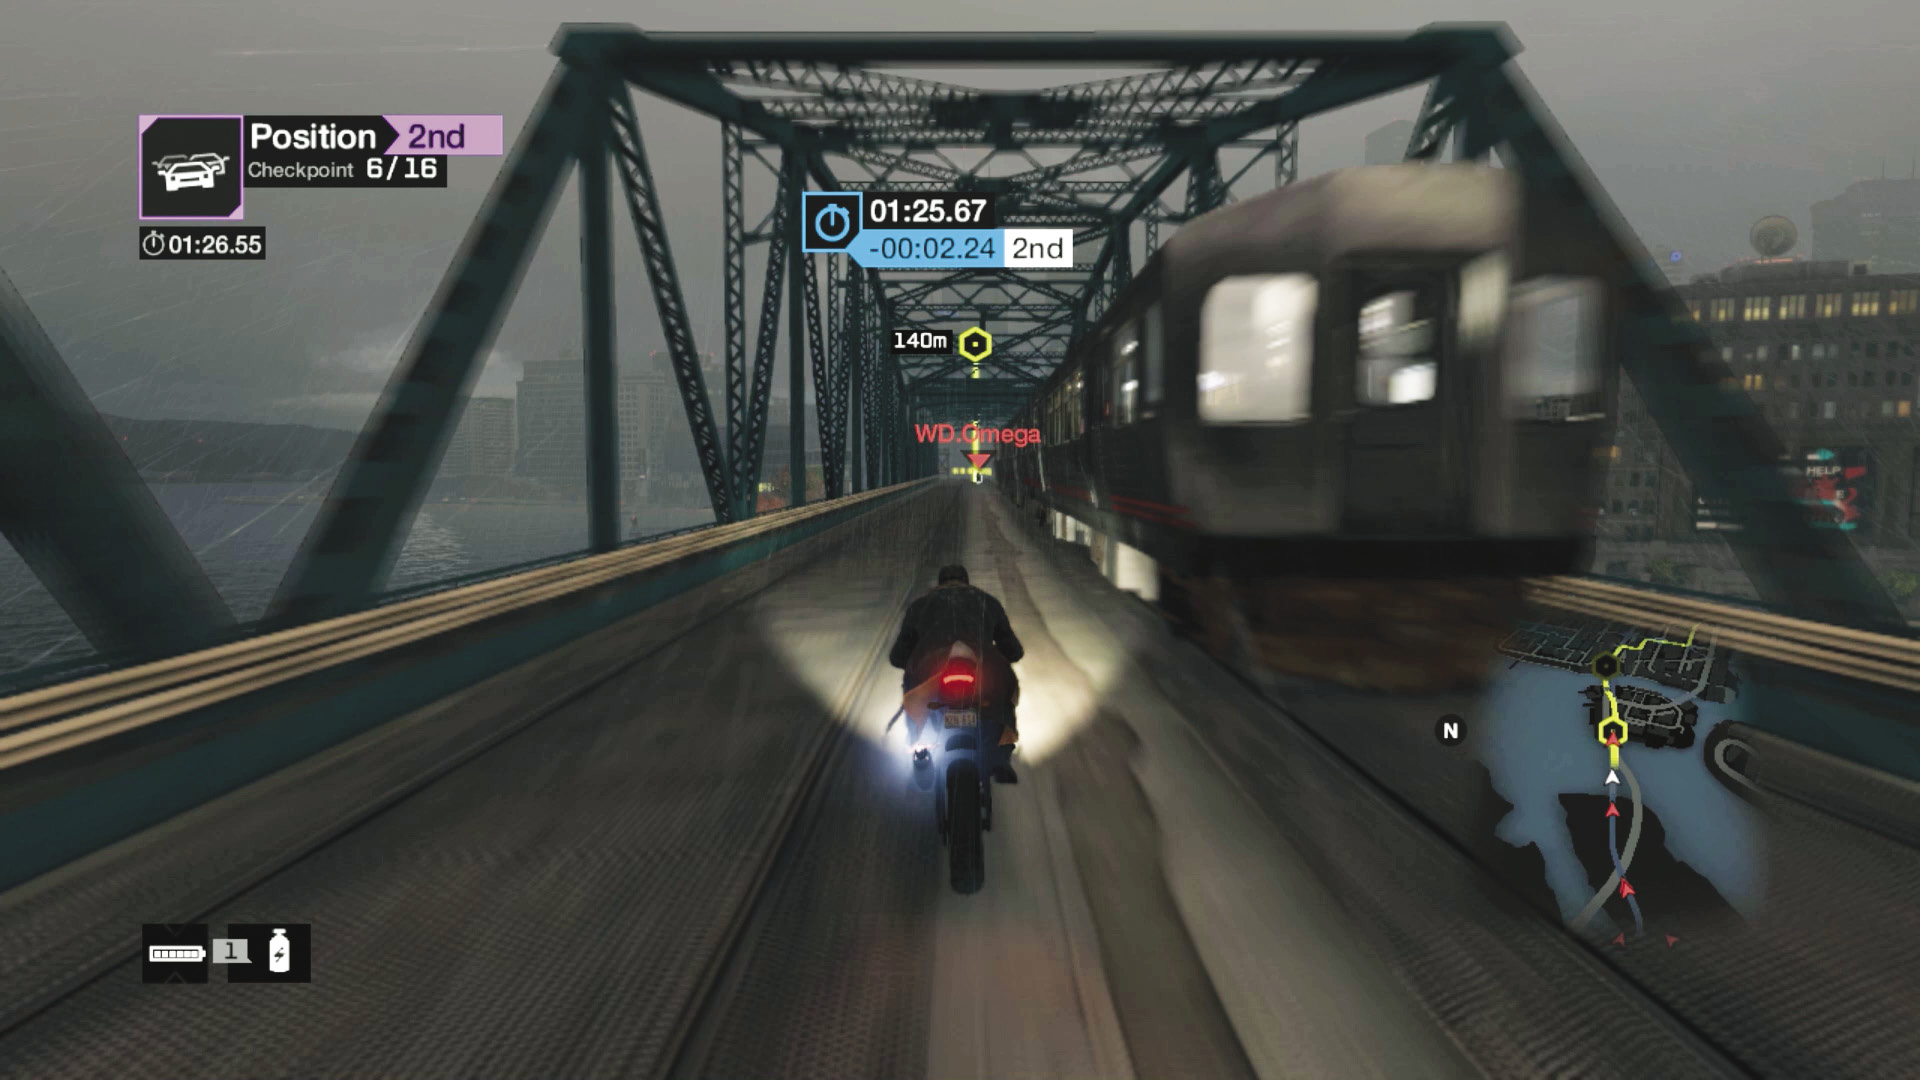
Checkpoints 5–8: This is a slightly terrifying series of turns along the elevated L-train tracks and over the bridge. Weave around trains (or hack them to stop and delay your foes), and use your nitro if you dare! When you see the chevrons, drop onto the traffic bridge (which you can also raise to delay enemies); if you stay on the train tracks, you miss checkpoint 8.
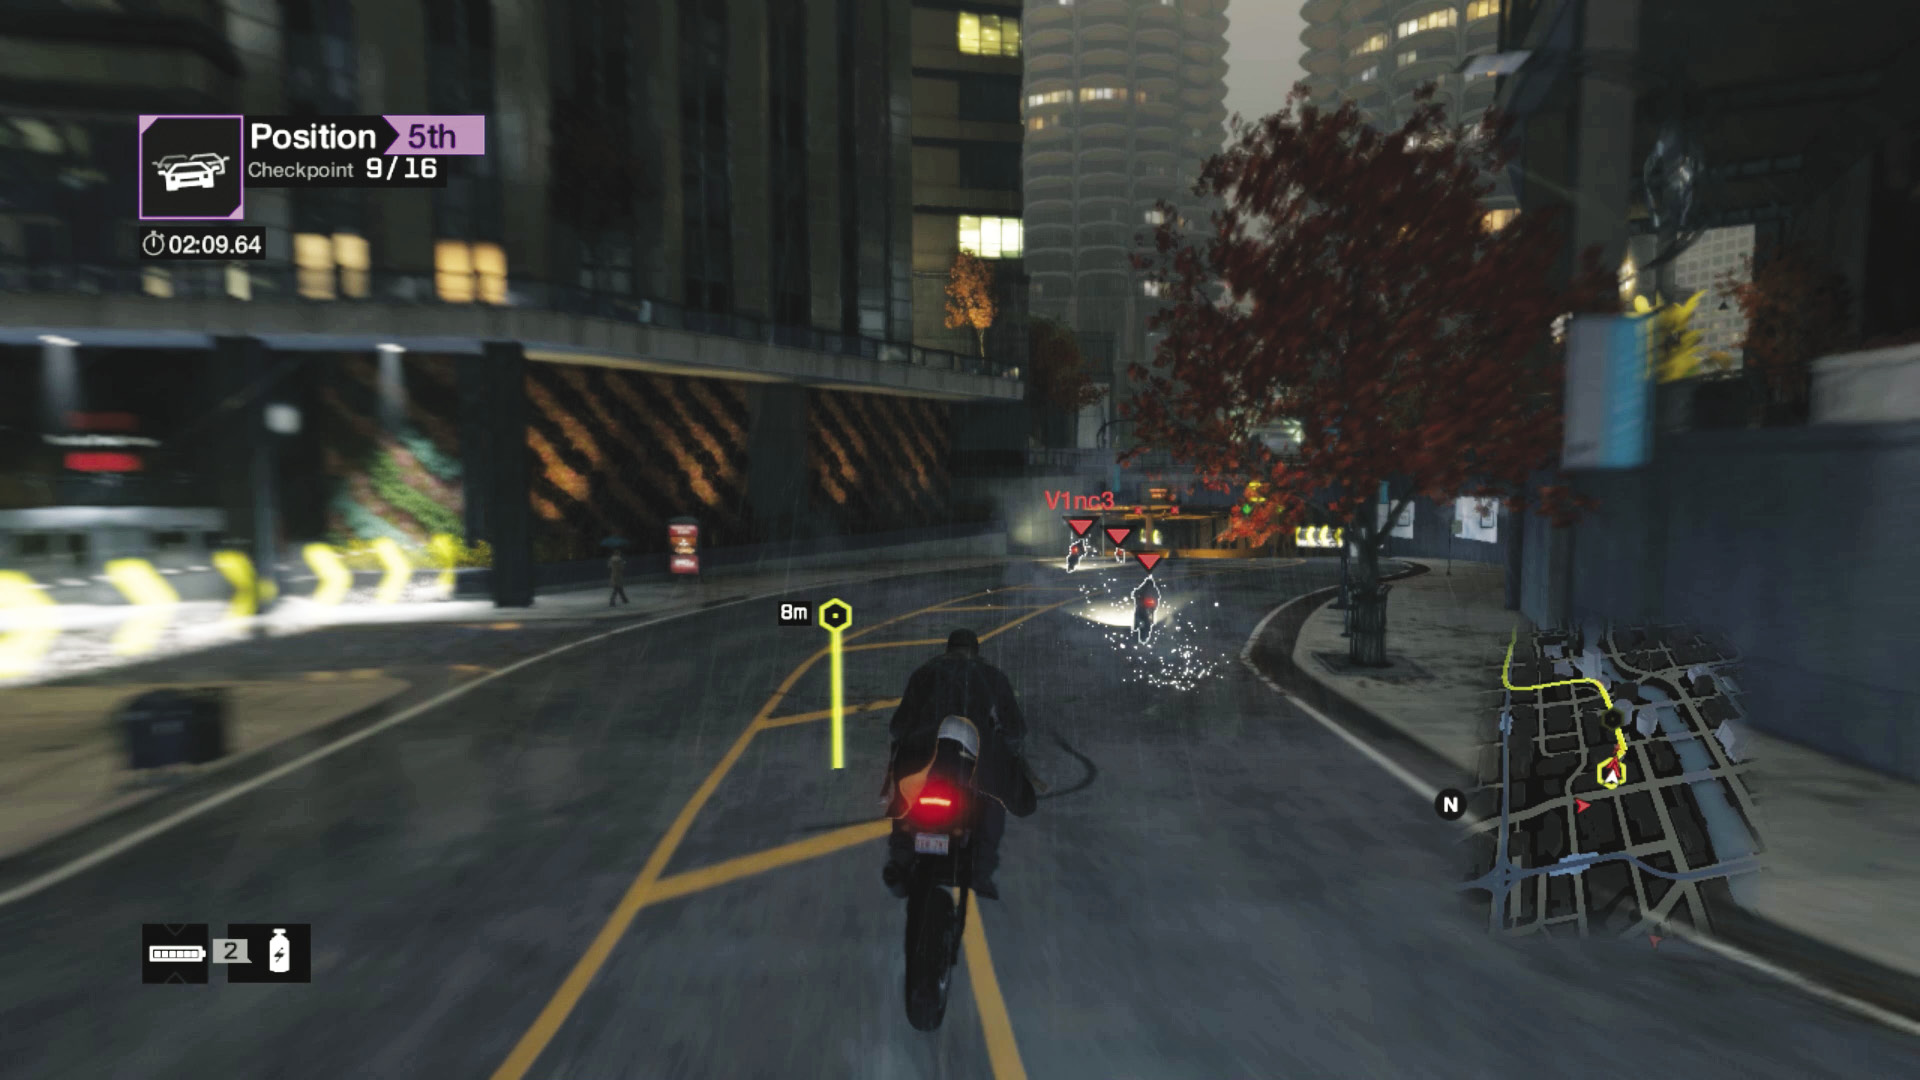
Checkpoints 9 and 10: There’s a right and left turn to checkpoint 9, a left turn to cut in on (use the left sidewalk), and a short tarmac hill up to checkpoint 10. Then you’re into the traffic tunnels; stay right to avoid oncoming traffic if you don’t trust your weaving skills.
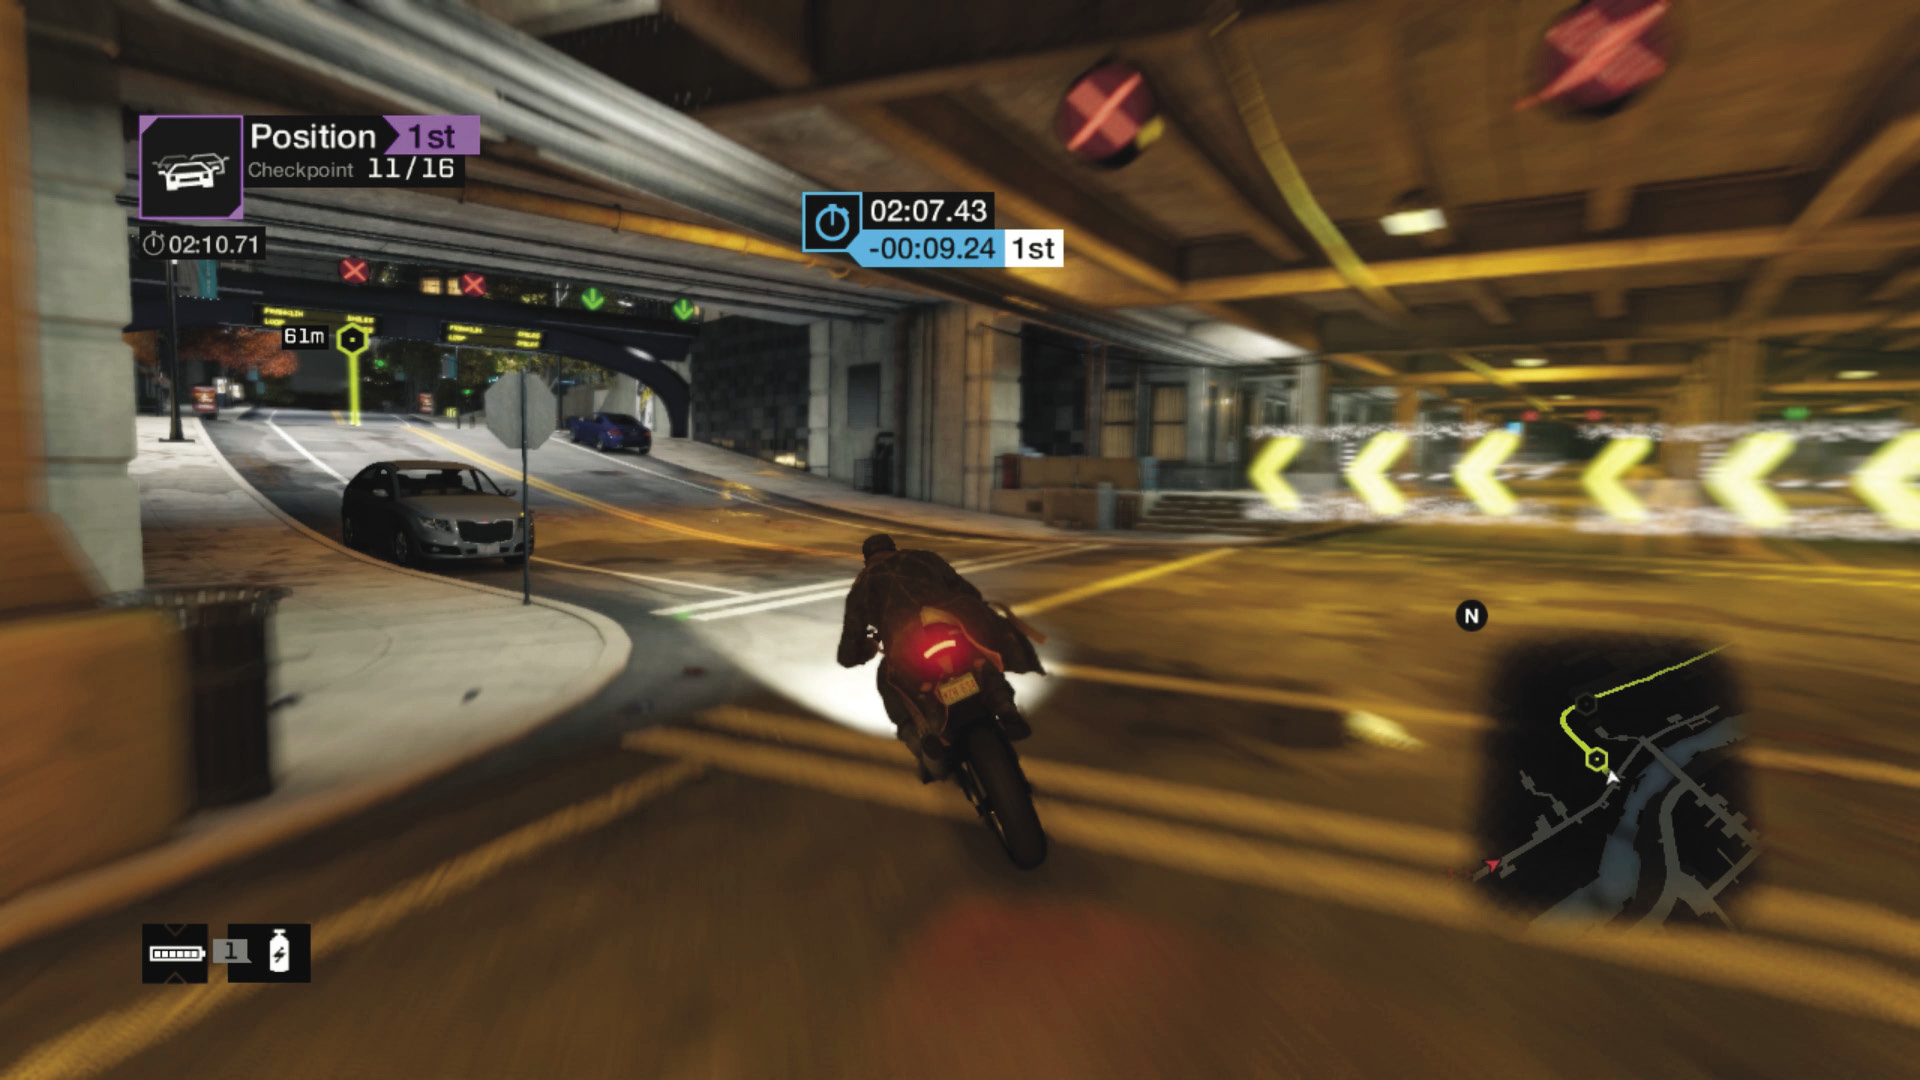
Checkpoints 11 and 12: Swing left on the way up to checkpoint 12. You can drive up the metal stairs on the left, just after checkpoint 11, but this slows you down and makes reaching 12 more difficult. After that is a long straight, past a steam pipe you can detonate.
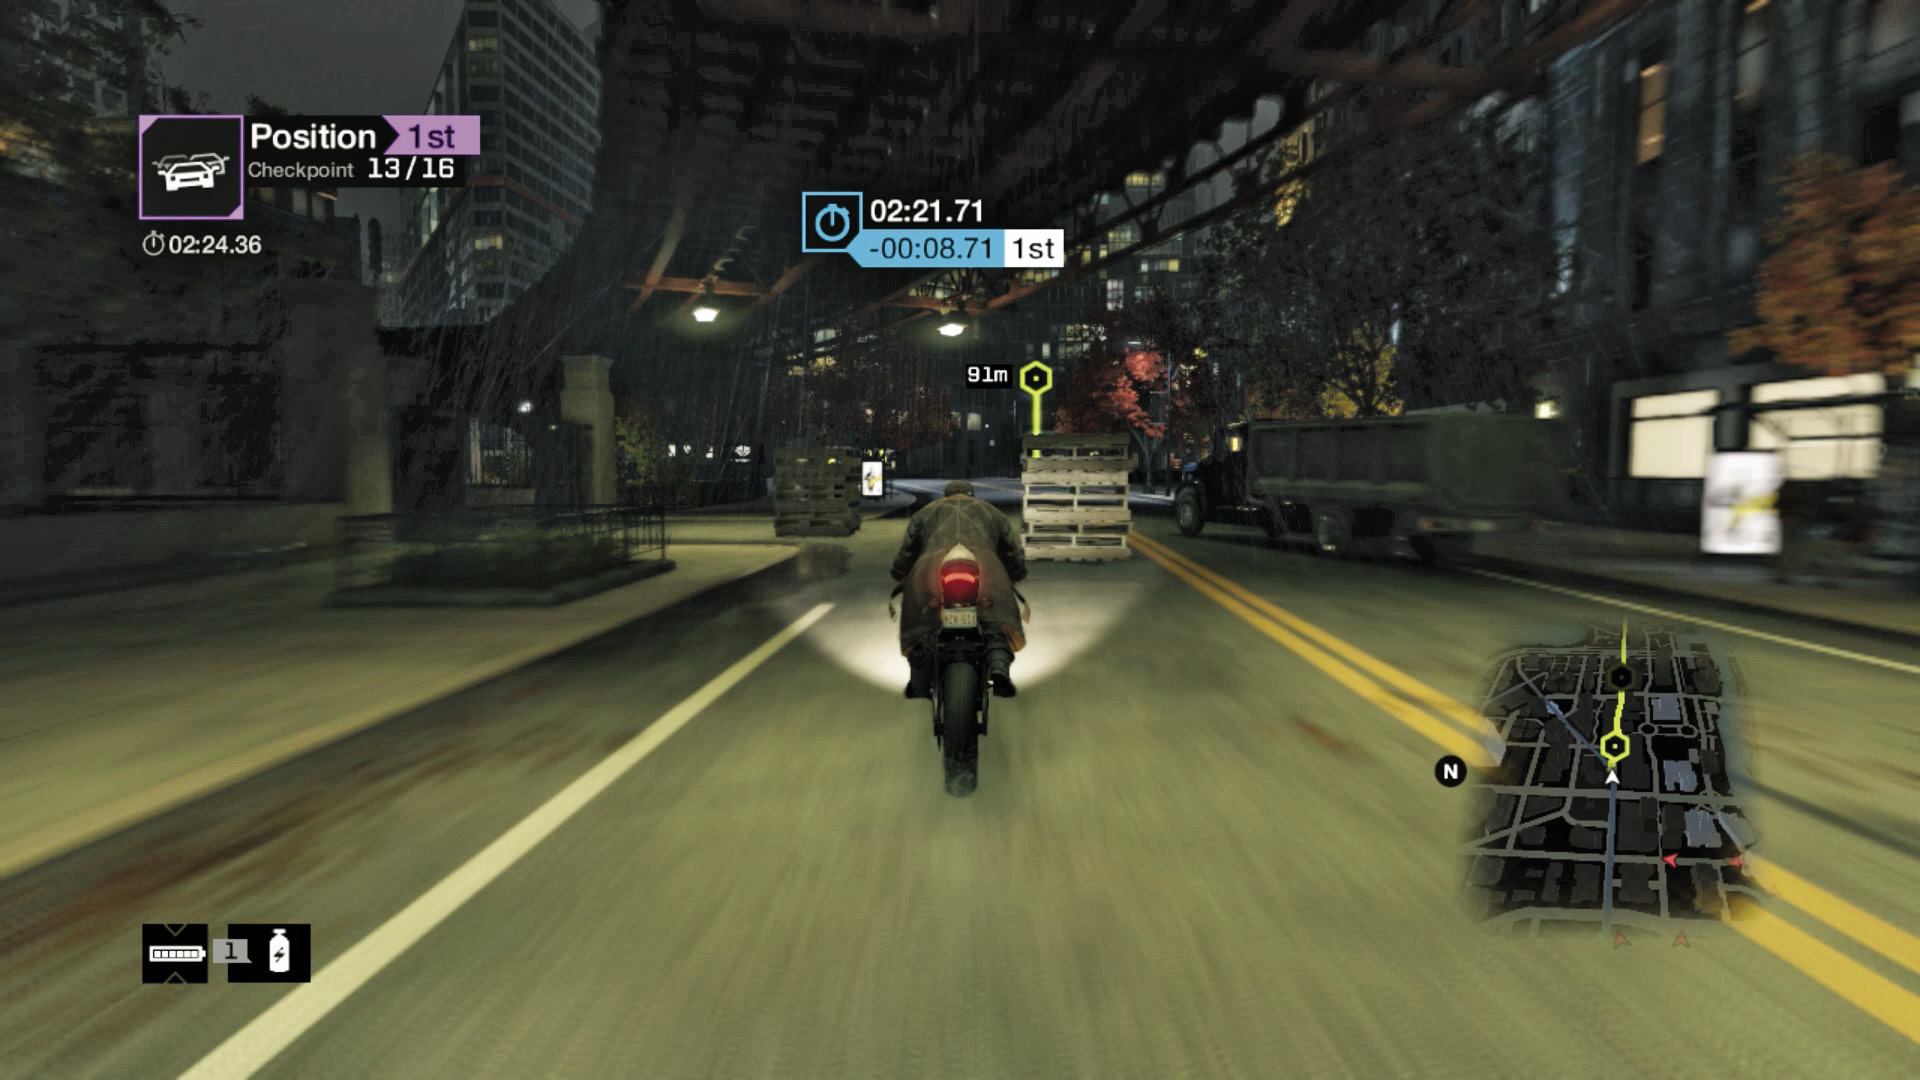
Checkpoints 13 and 14: Make a sharp right corner, under the L-train. Use a nitro, and stay to the middle-left of the road so you don’t hit any of the pallets and other obstacles (you’re only likely to strike a road works sign). Watch for another steam pipe as you head off the main road to checkpoint 14.
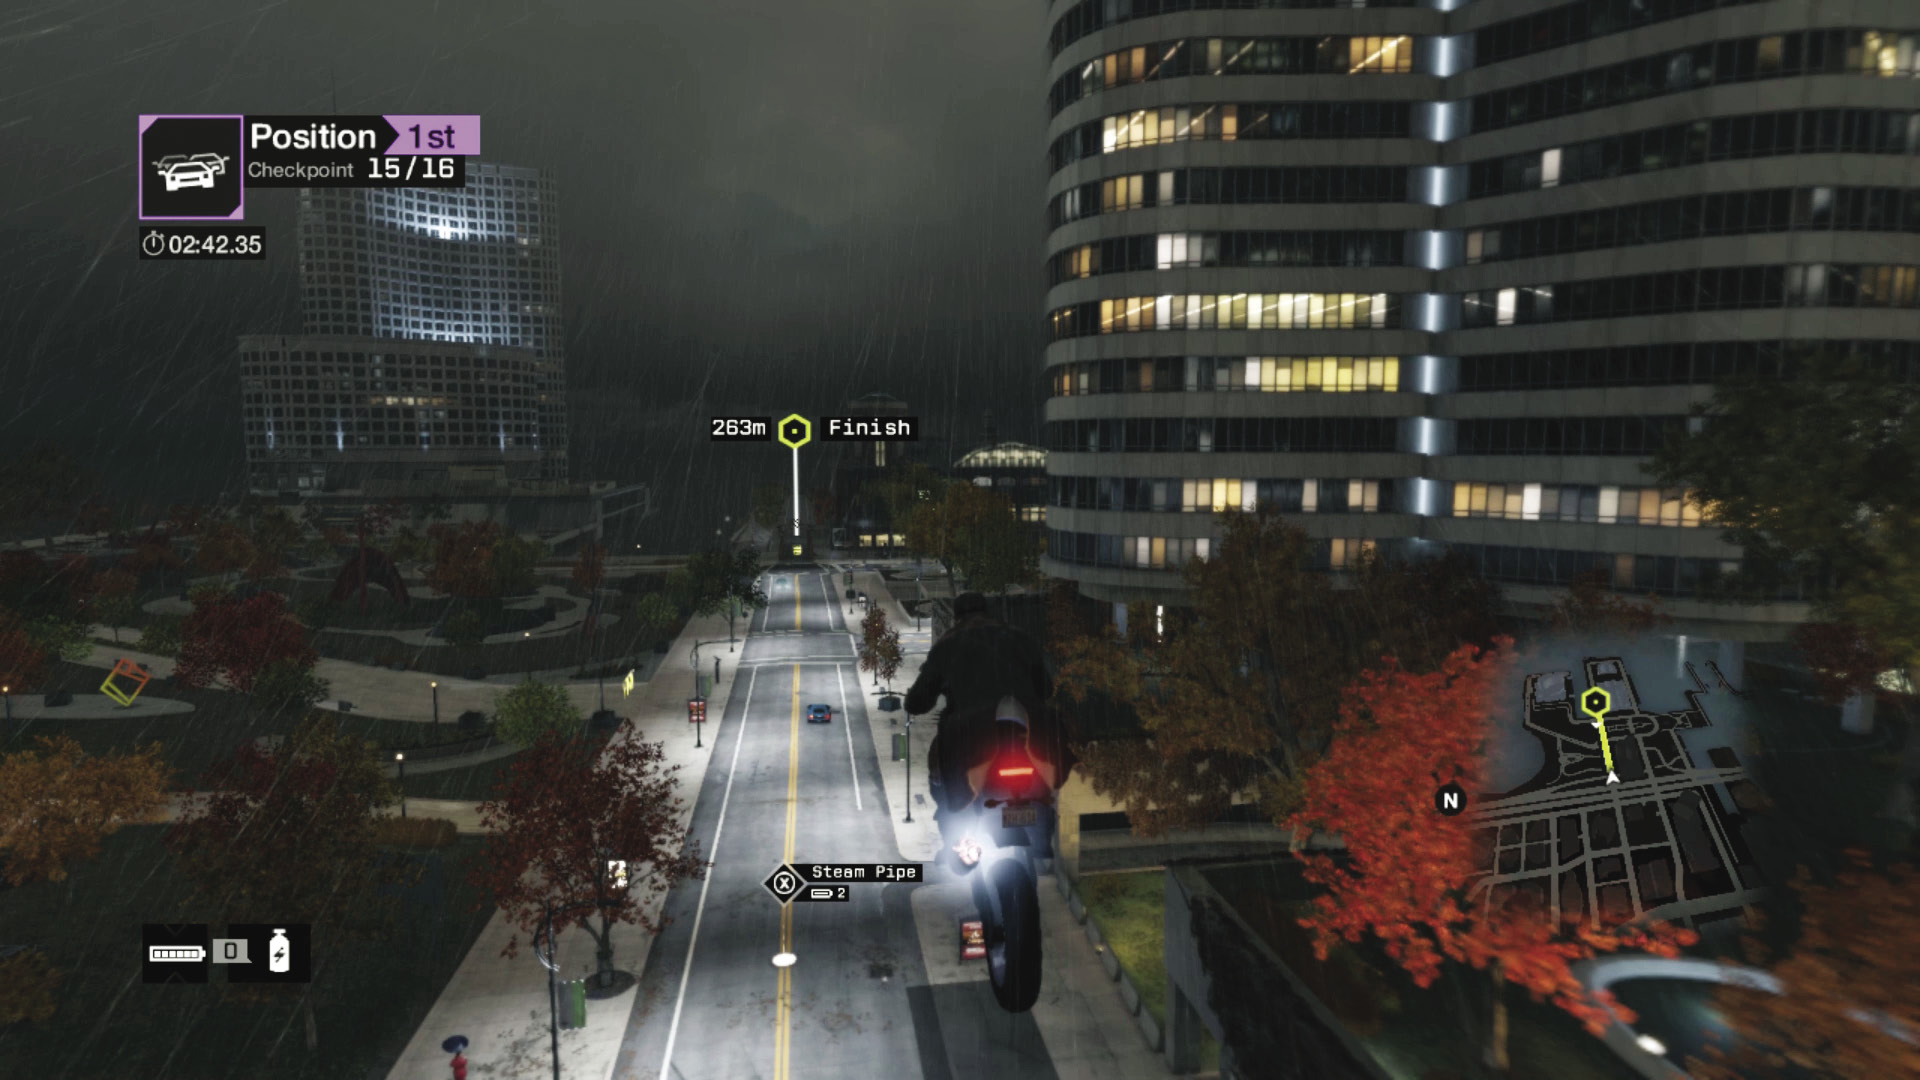
Checkpoints 15–17: Enter the pedestrian alley and move slightly right, through the garage. Watch for cross traffic as you emerge. Now it’s simply a matter of utilizing all your nitros and racing to the finish; there’s a jump (steer to the left so you don’t lose speed by jumping), a steam pipe, and a final jump (stay on the ground for the same reason).
BRANDON DOCKS
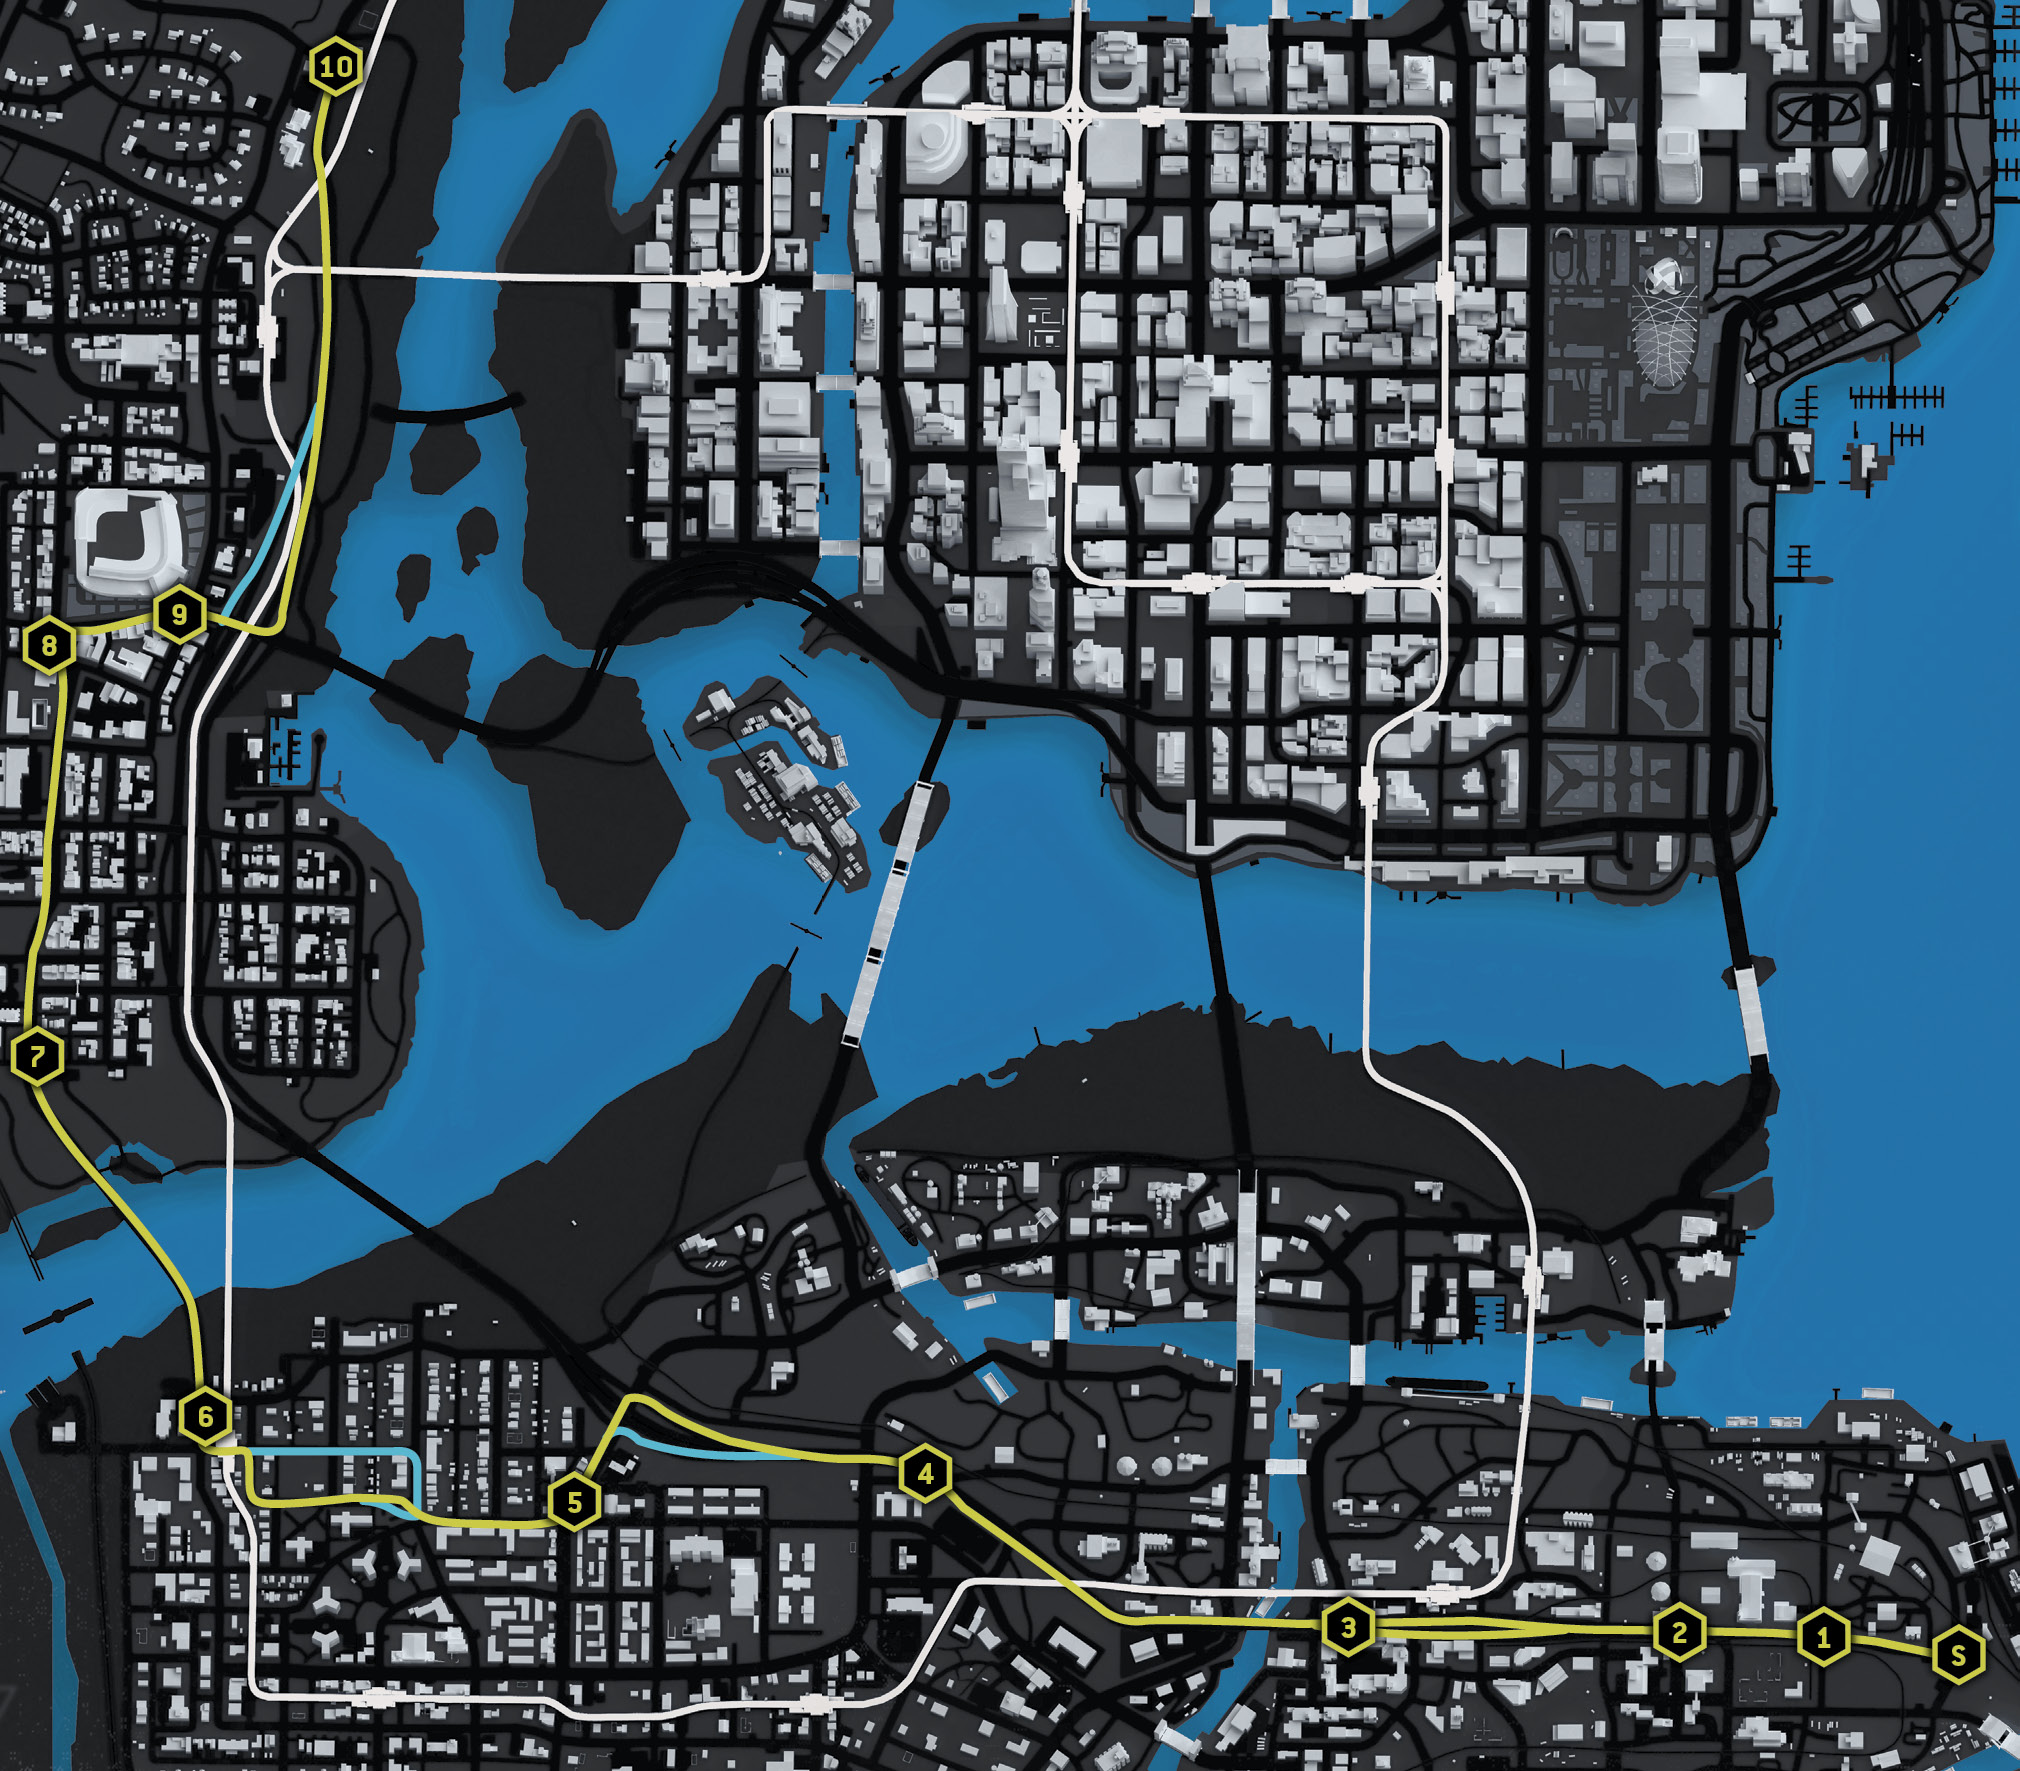
05_ENDURANCE
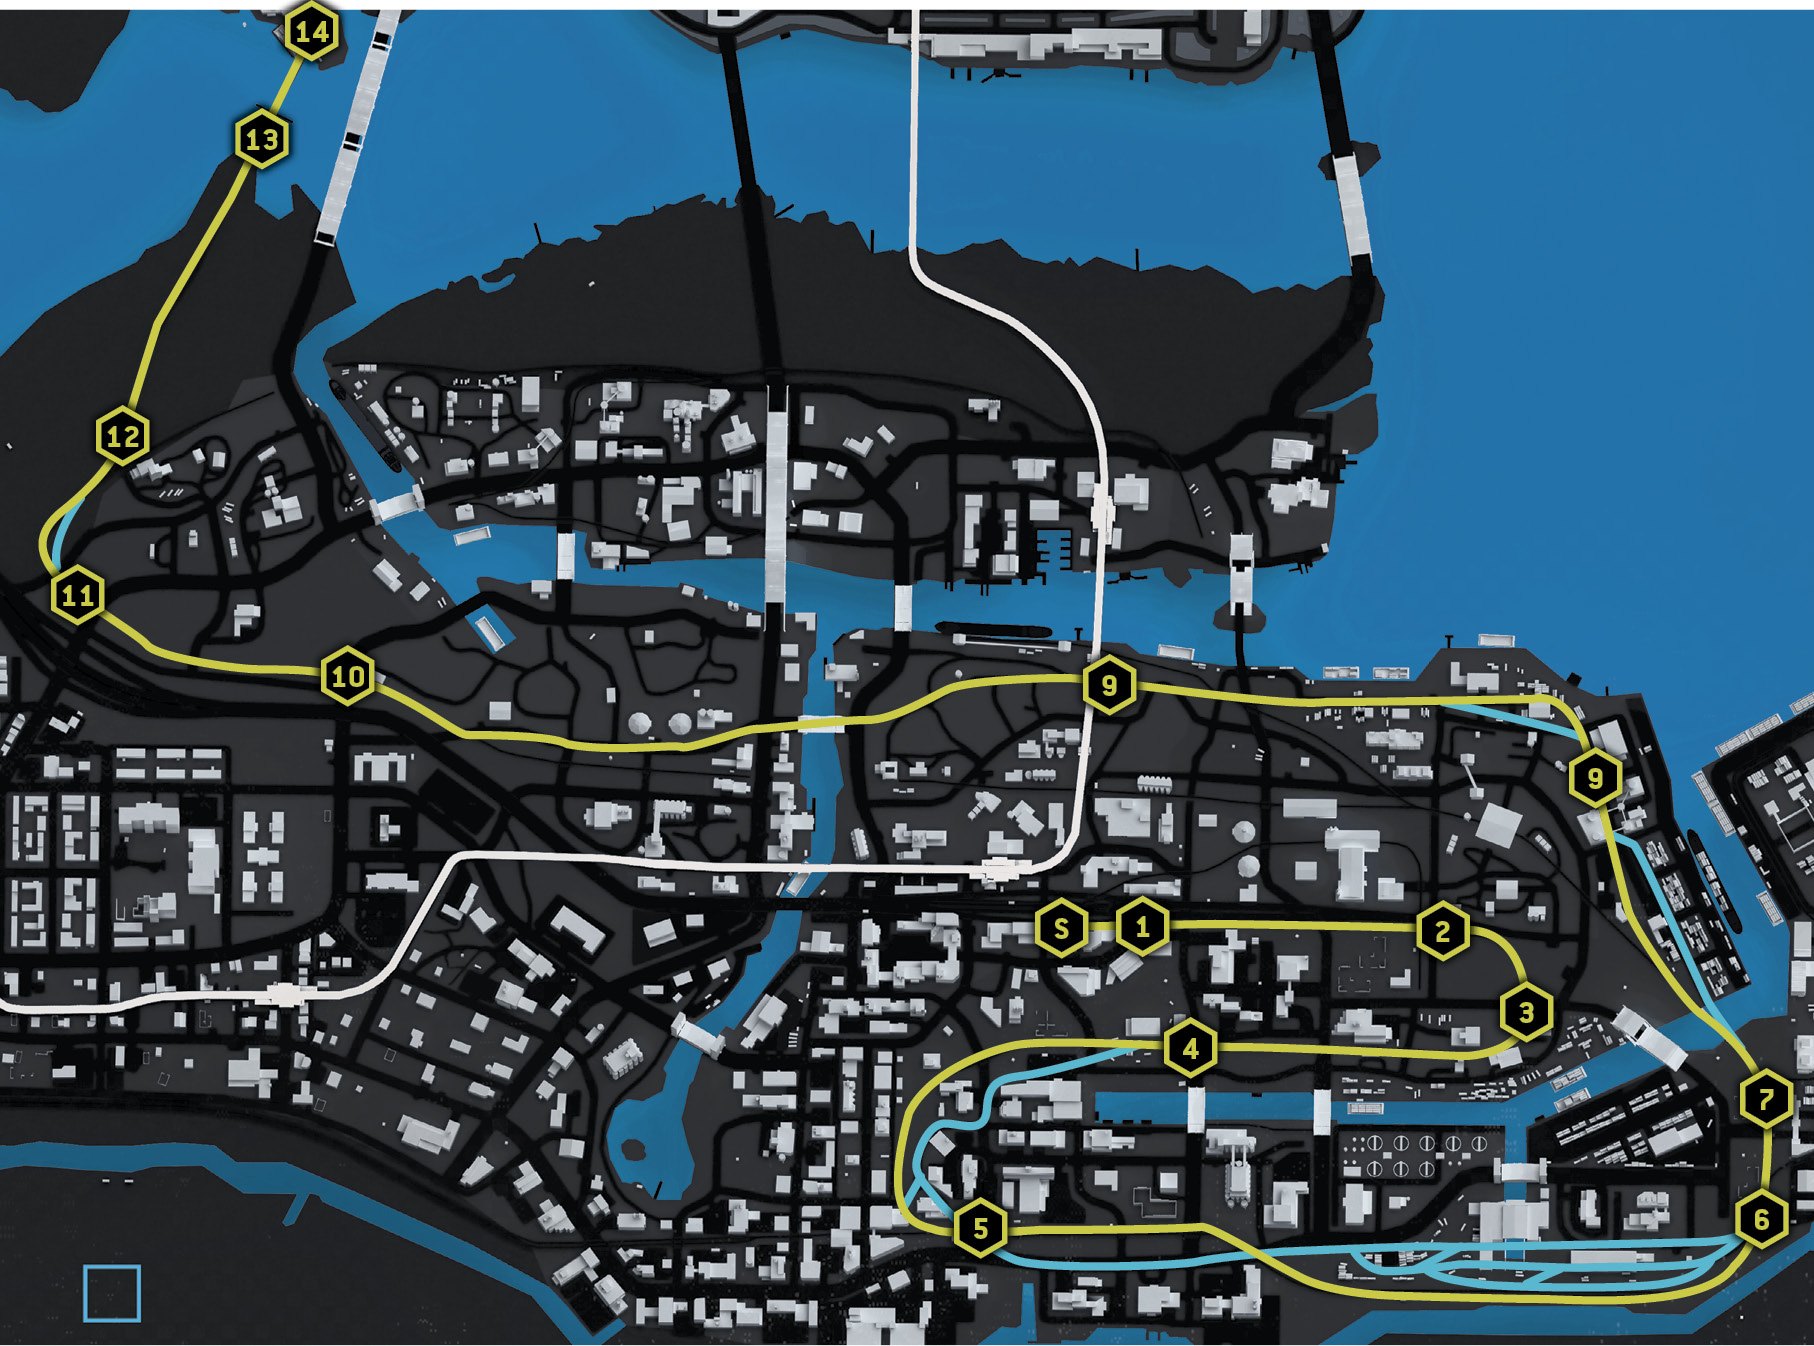
Starting location / EAST ON THE RAILROAD TRACKS
Vehicle / Kodachi
Difficulty: 
NUMBER OF LAPS: 1
NUMBER OF CHECKPOINTS: 15
TIME TO AIM FOR: 03:50 BEAT THIS: 03:41 (Thomas Di Tota)
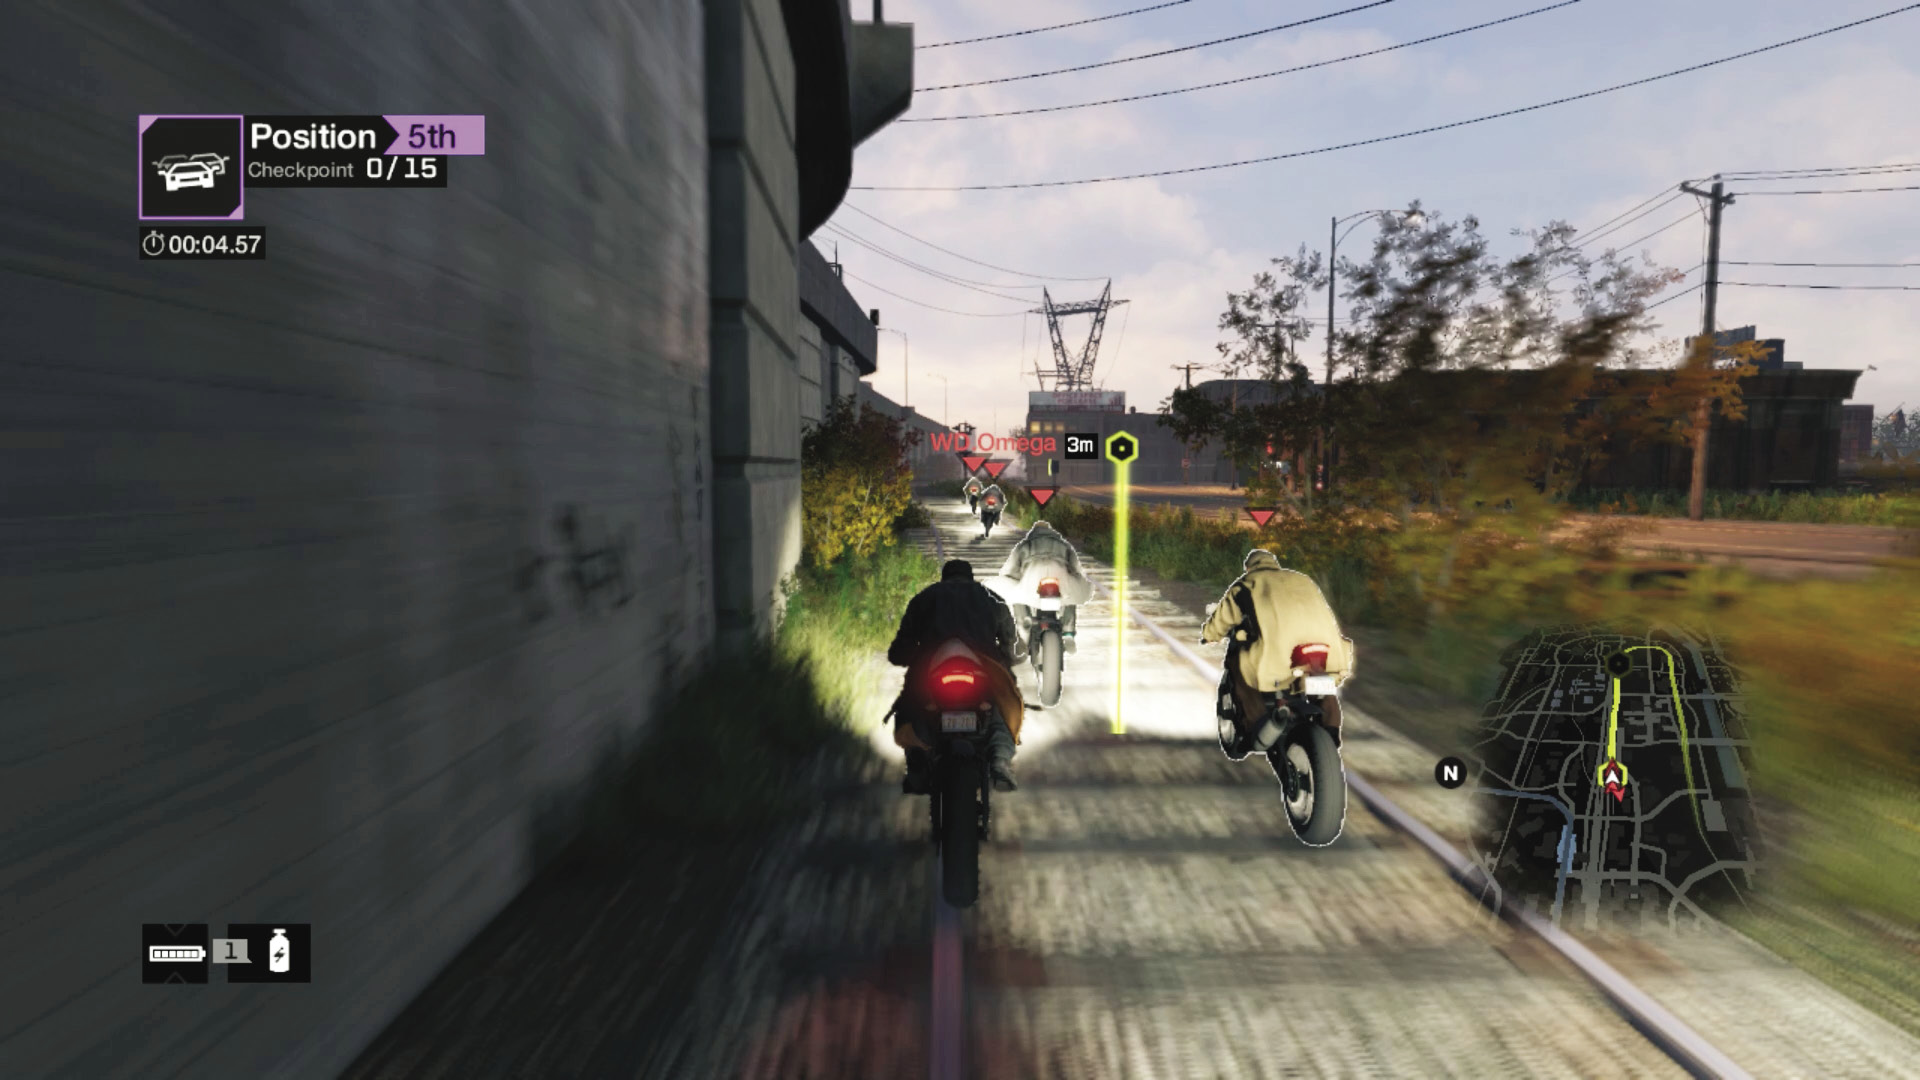
Checkpoint 1: This course features a few more jumps than normal and a vehicle that can easily take a spill, so remember to keep tapping the Respawn button if you’re sent flying! Start by hanging back or zooming along the railroad track, through checkpoint 1.
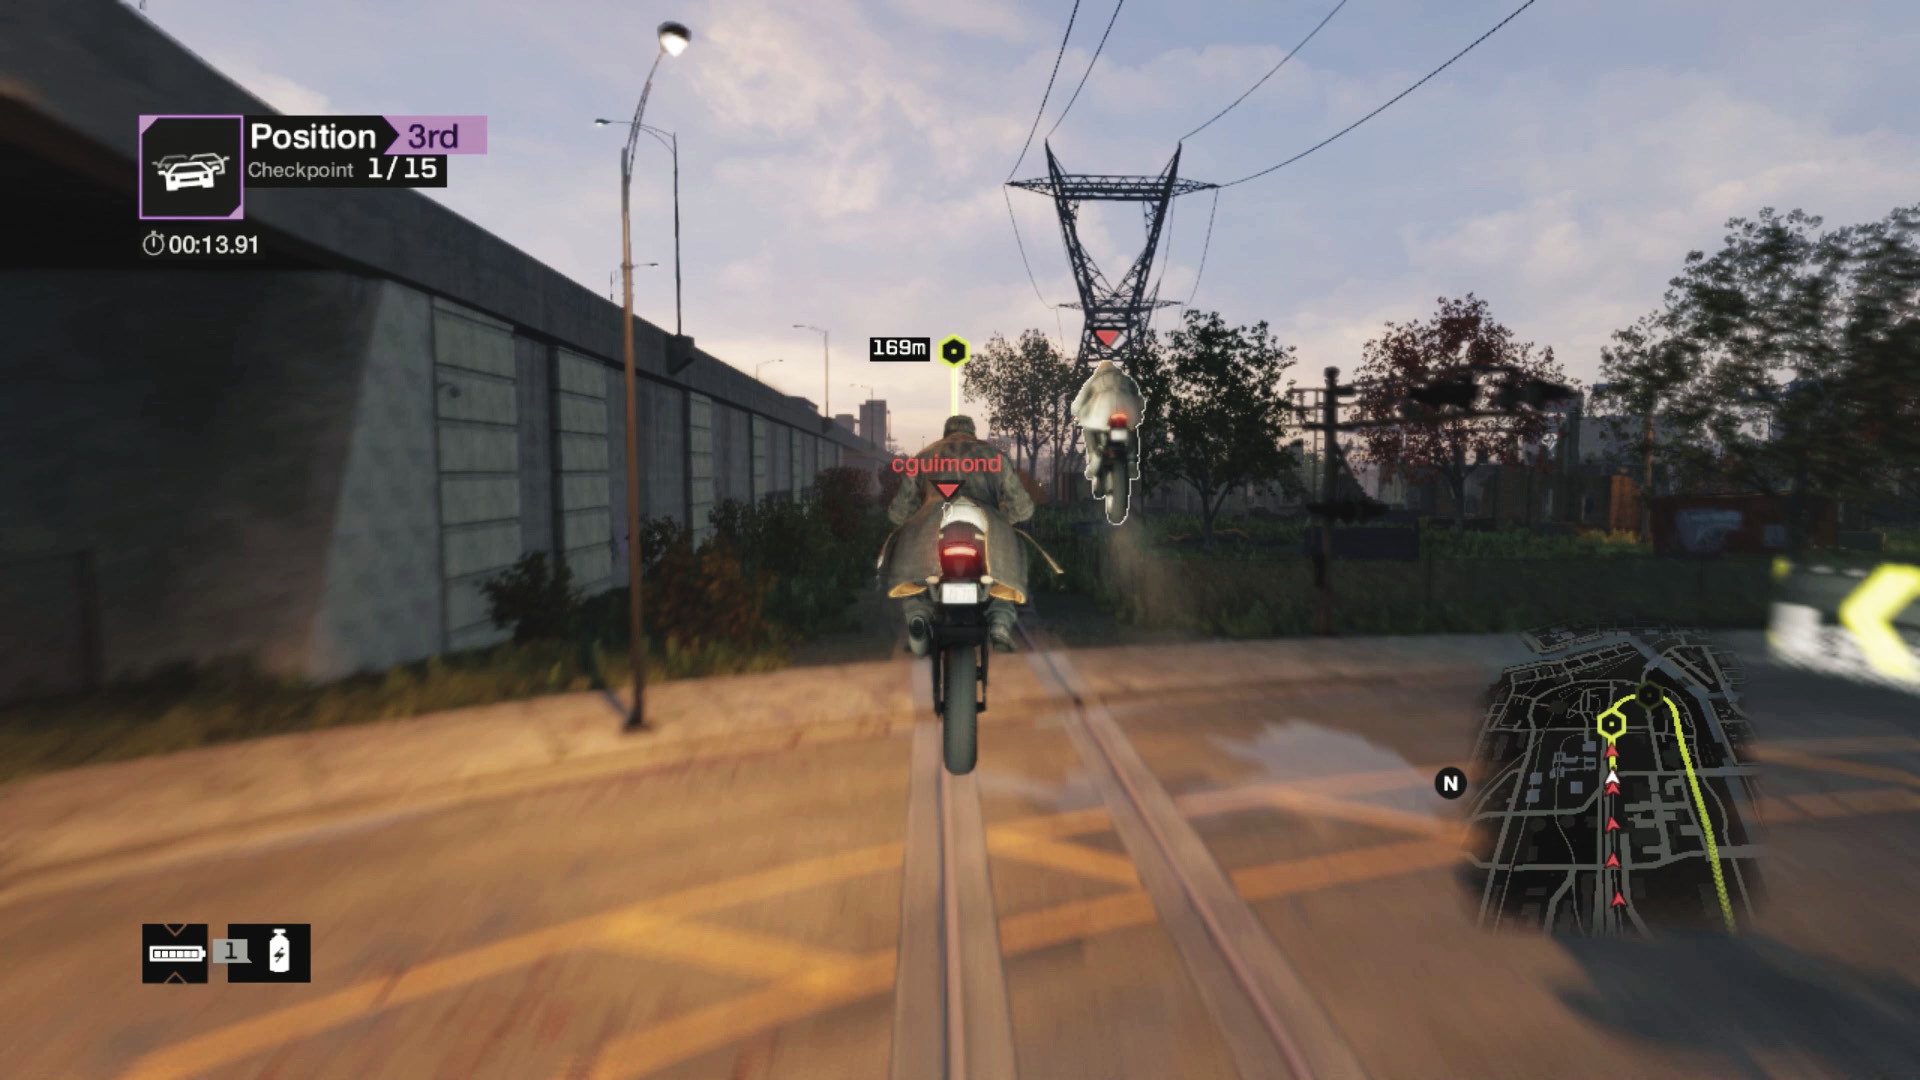
Checkpoint 2: There’s a jump, then checkpoint 2, then a jump again. It’s usually okay to use the jump, as the road has cross traffic and you don’t lose too much speed. Don’t overshoot the second jump, as there’s a relatively sharp right corner to take as you land.
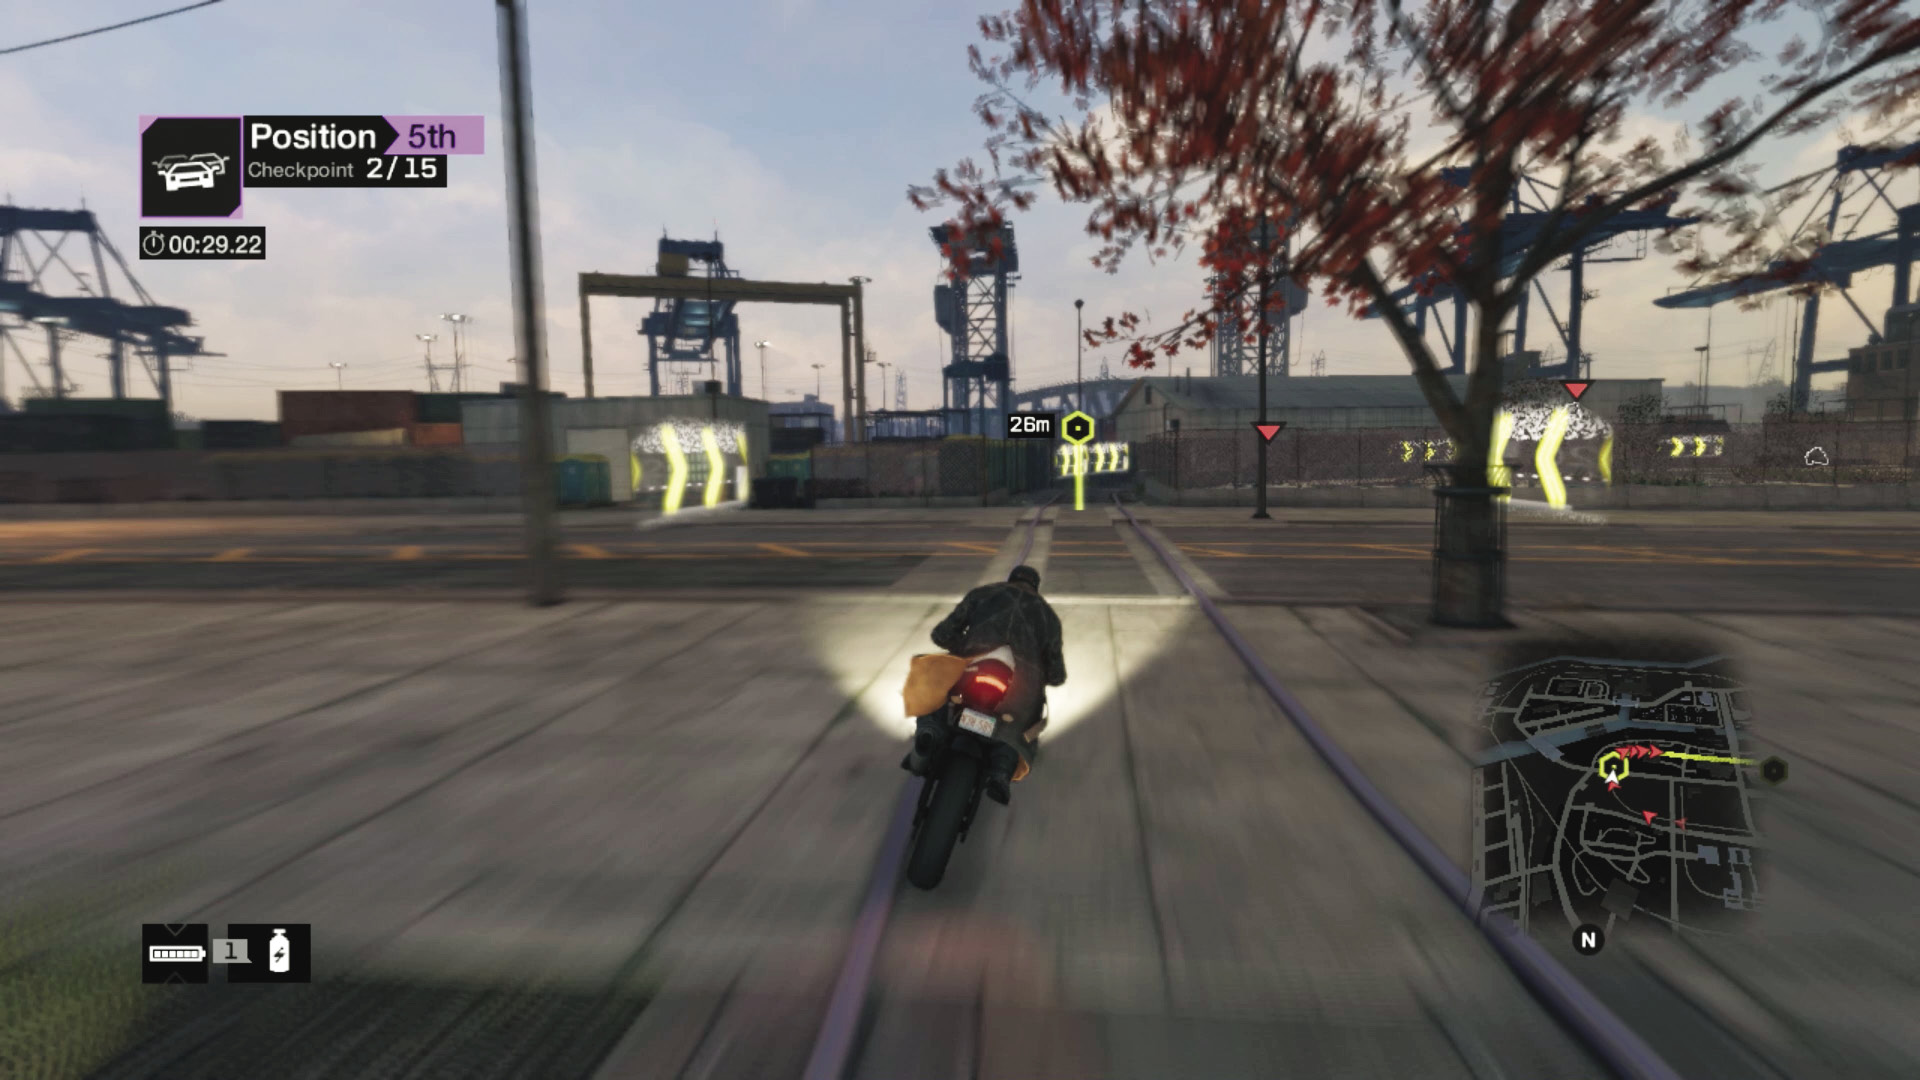
Checkpoints 3 and 4: Slow down (or practice this corner) as you pass through checkpoint 3; the tracks are narrow with walls on either side. Then accelerate after the corner, using a nitro as you power through checkpoint 4, watching for cross-traffic just beforehand.
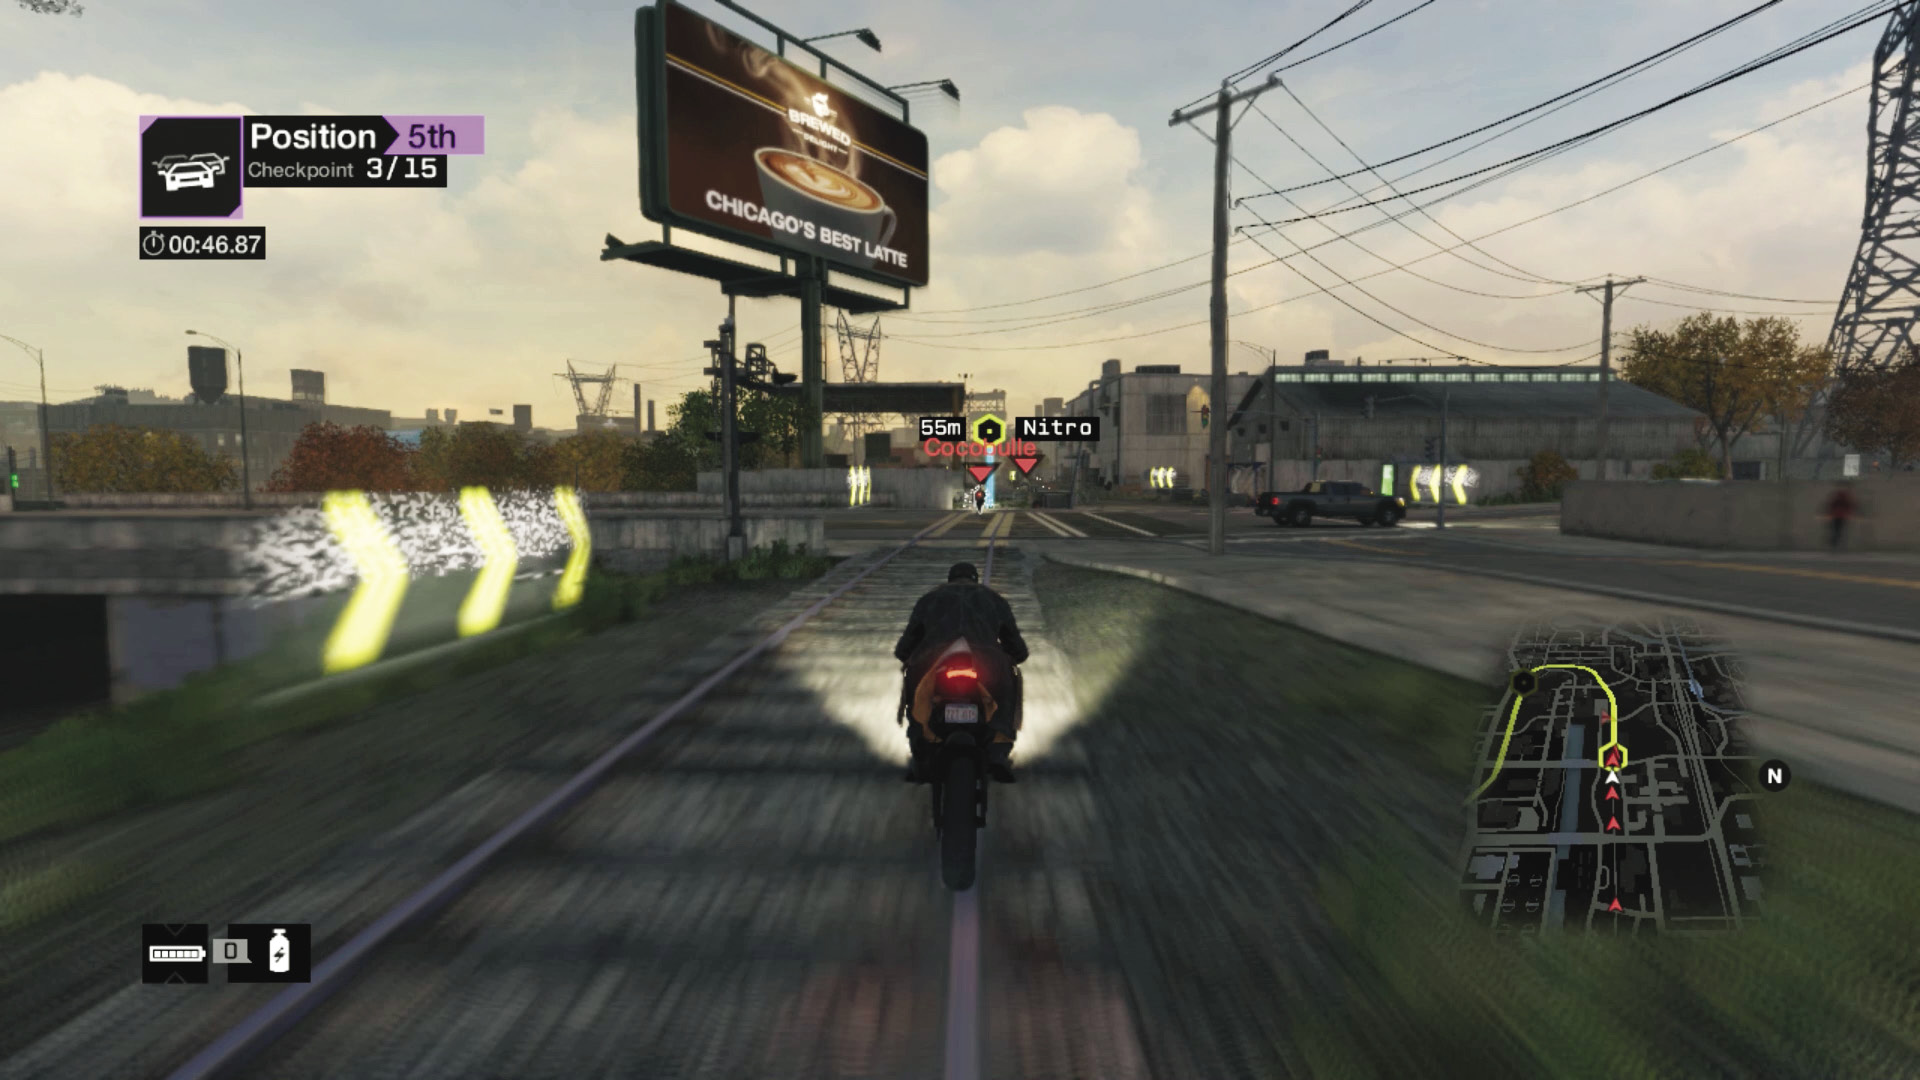
Checkpoint 5: There are many shortcuts to take between checkpoints 4 and 6. If you don’t want the risk, remain on the rail tracks, taking a long left turn to checkpoint 5. Afterward, you can remain on the tracks or lean right and head down to the road, off the GPS course.
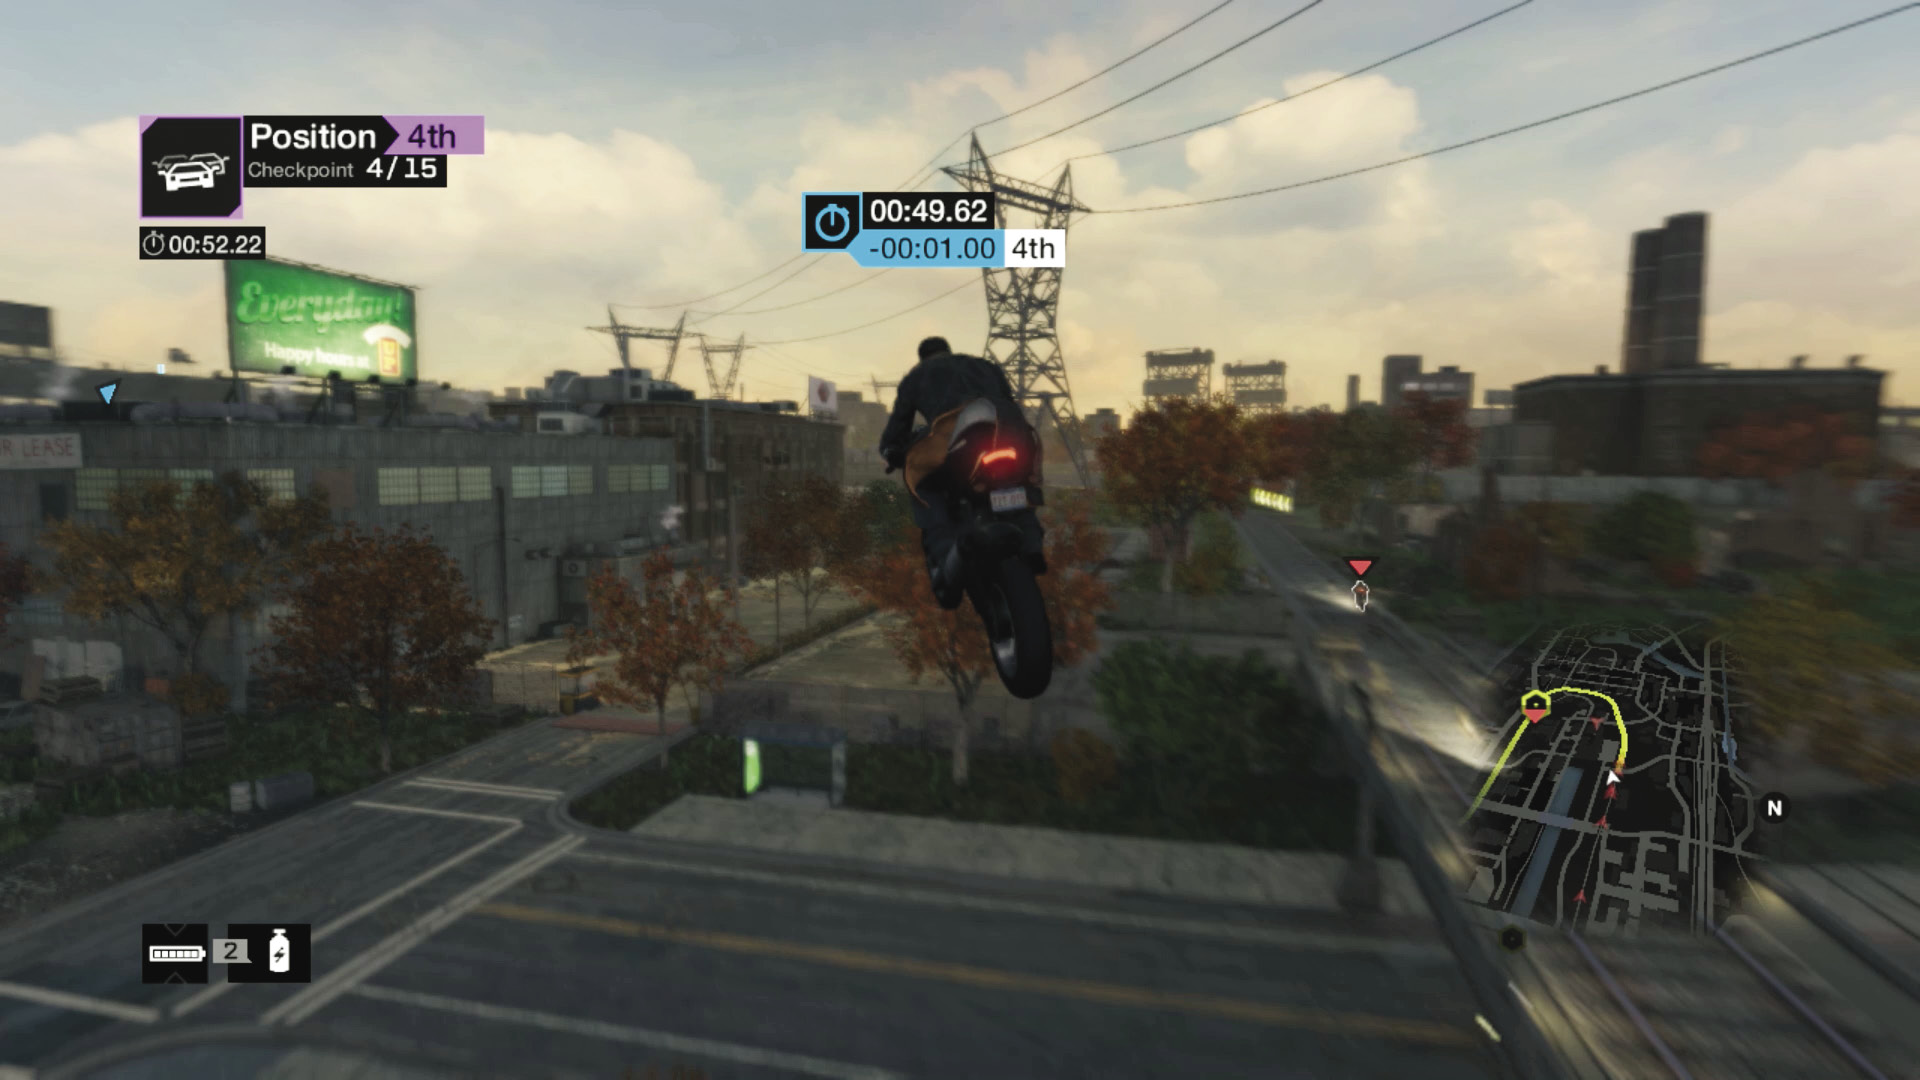
Checkpoint 5 (Shortcuts): Or, there’s a container ramp about a second after you pass checkpoint 4. Position the jump correctly so you land on the left side of the parking lot, and squeeze past the concrete building. Then zigzag up the side road (there’s a steam pipe here to waylay pursuers).
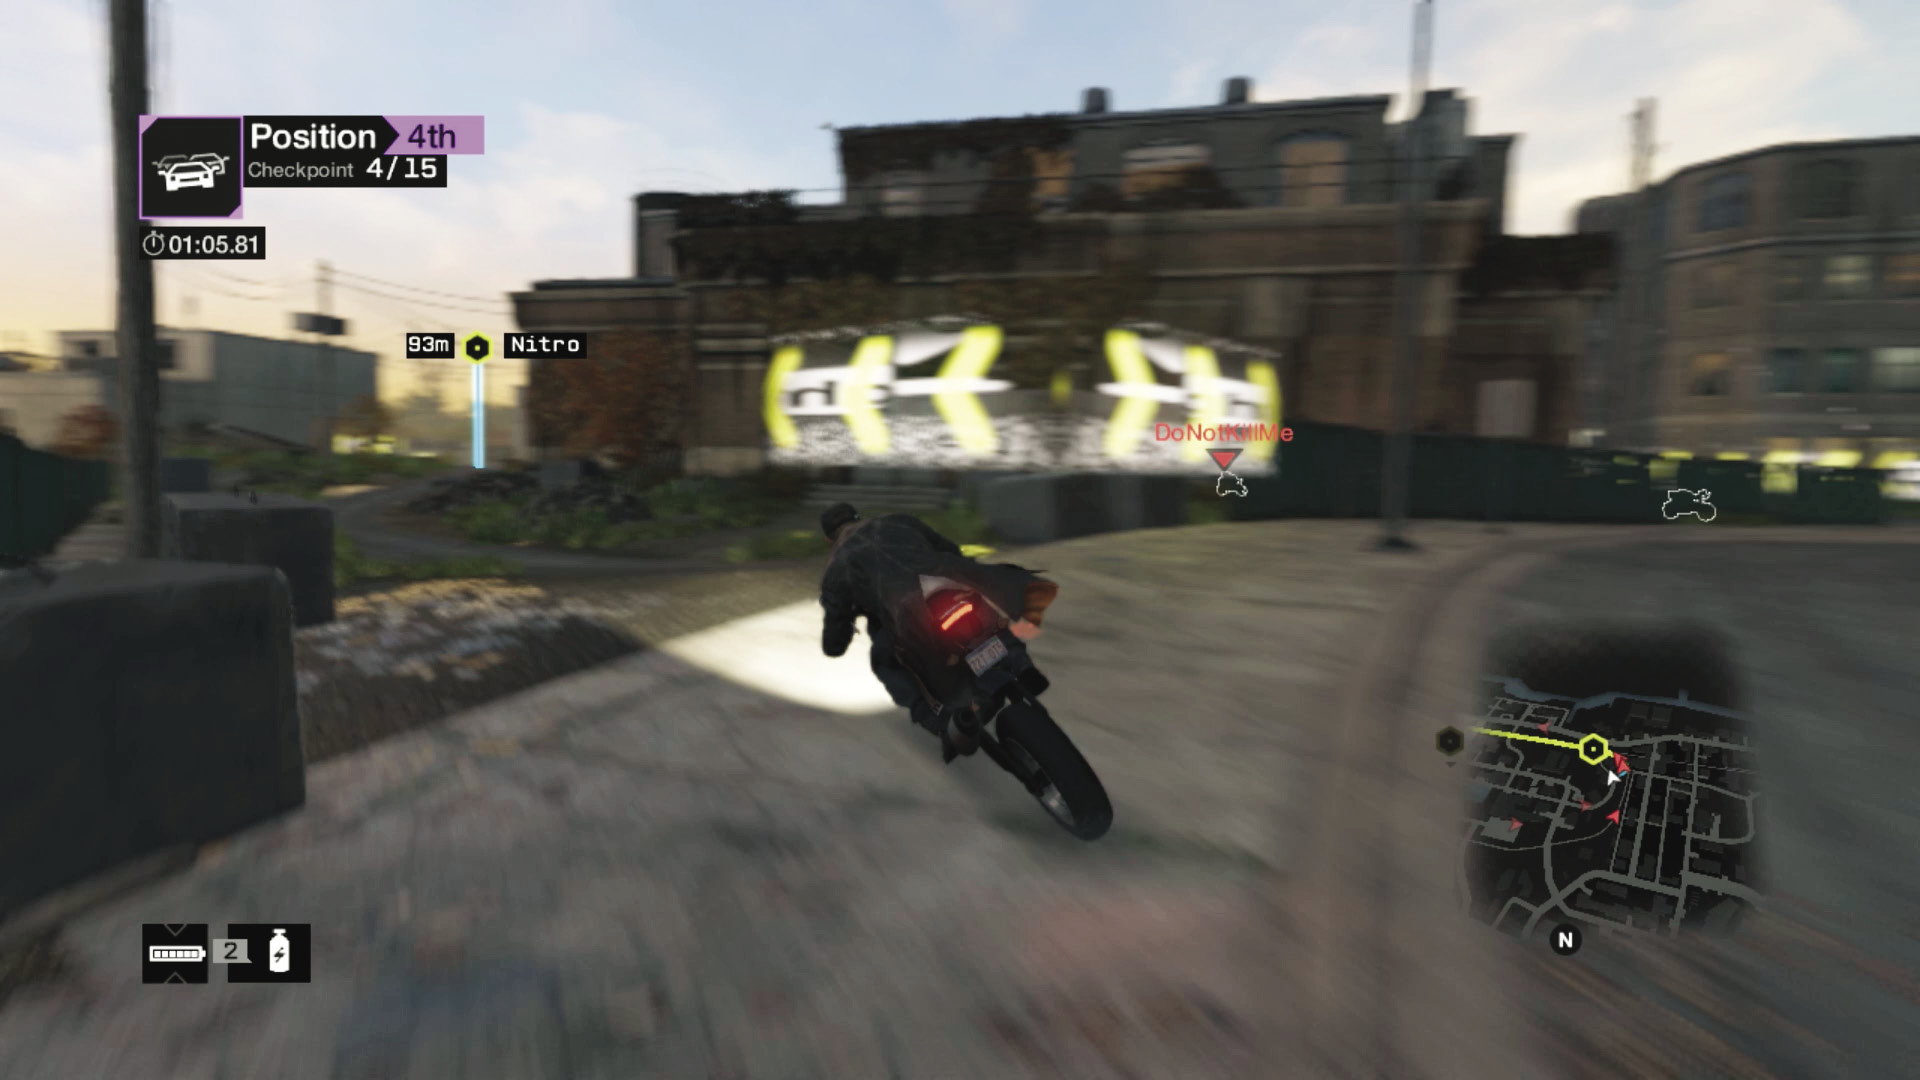
Checkpoint 5 (Shortcuts): Stay to the right, and you reach the railroad. Take a sharp left so you’re back on course for checkpoint 5. Or, just after the steam pipe, you can skid left, up a shortcut dirt path to checkpoint 5, which sets you up for a second shortcut down on the main road.
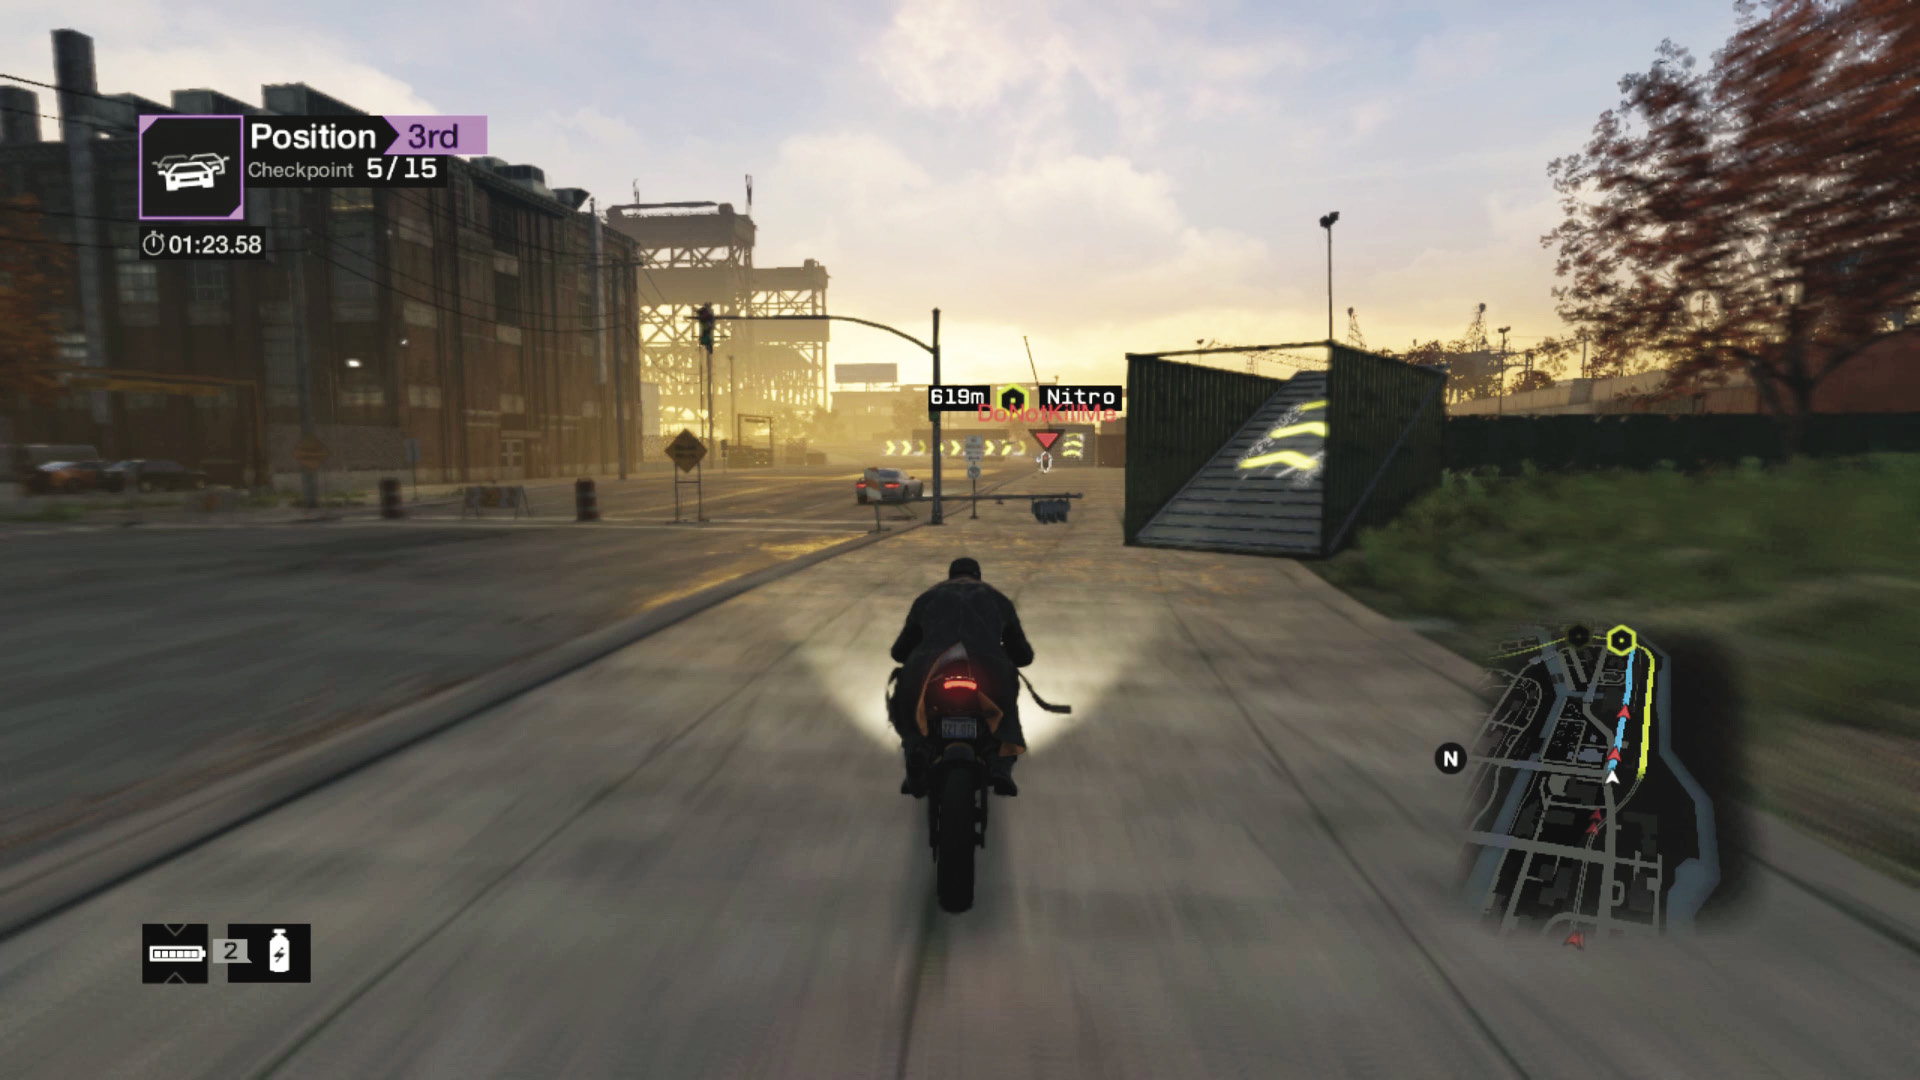
Checkpoint 6: Everyone is heading east but may be using the railroad or the main road below and right of it. The GPS route (the railroad) ends in a jump or a continuation along the railroad all the way to checkpoint 6. The jump is slower than taking the street, which is wider but has a steam pipe.
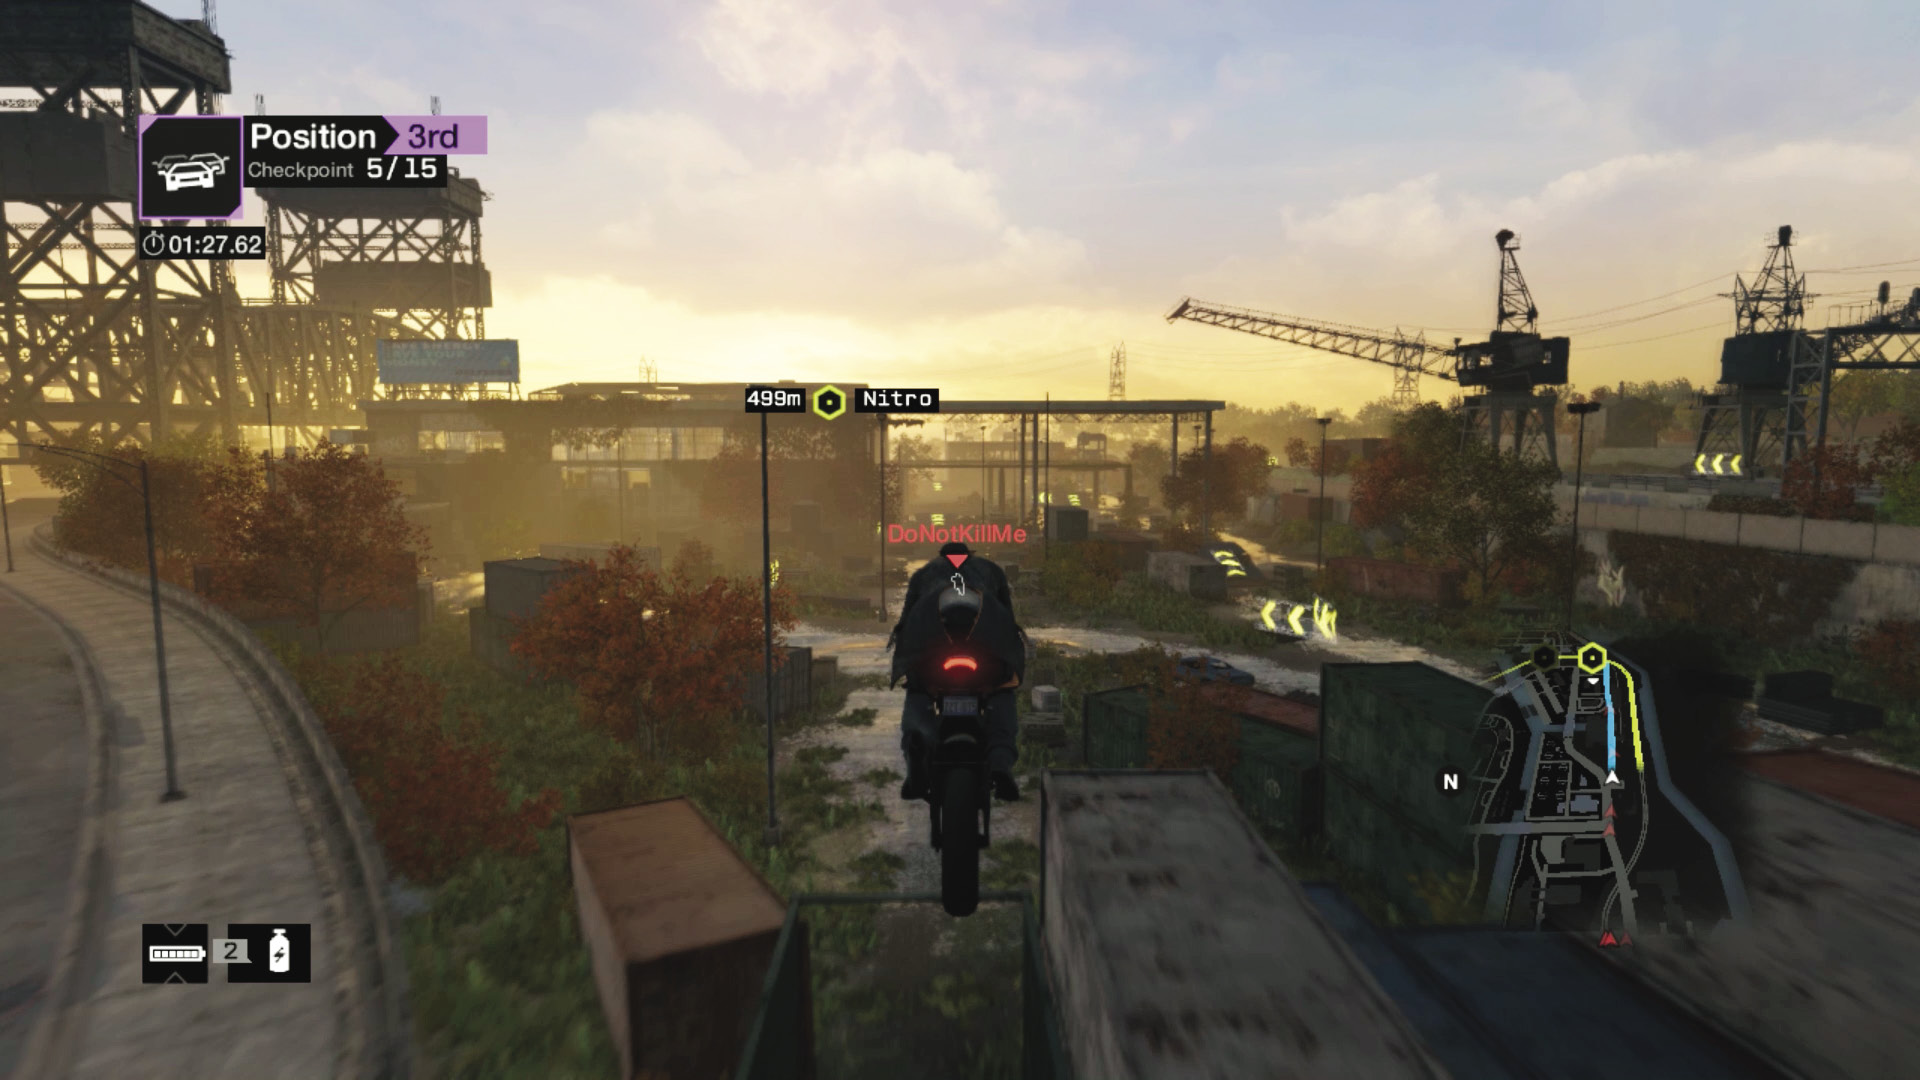
Checkpoint 6 (Shortcuts): Just after the steam pipe, you have two chances (container jumps) to fly into the container yard, which is the only option if you ignored the GPS course. Take the farther of the two jumps, as the subsequent two ramps inside the container depot are more direct to checkpoint 6. As you hit the grass, watch for the burned-out car!
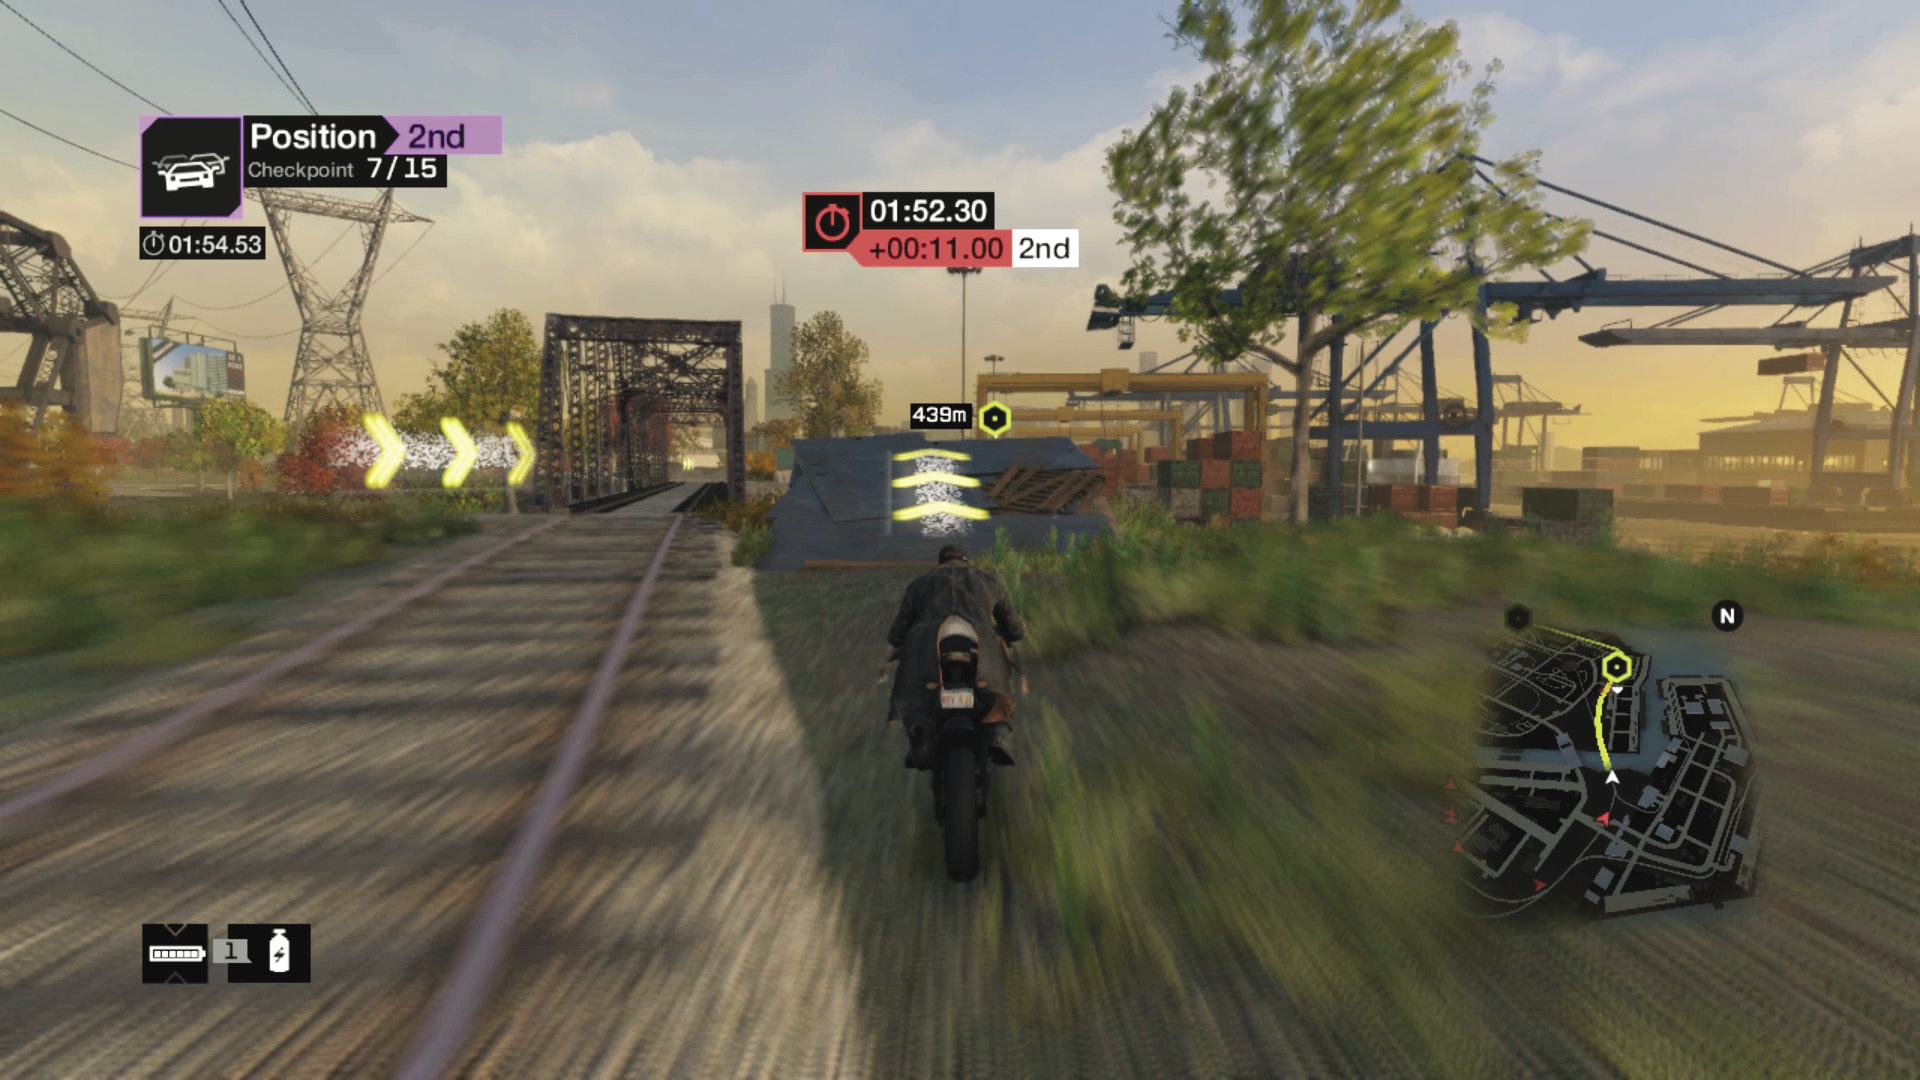
Checkpoints 7 and 8 (Shortcut): Stay to the right of the ramp just before checkpoint 7, as it slows you down. Then pick either the rail bridge or the ramp over the river; the latter is a shortcut, but both paths are relatively straight. Land on the lower road and scoot left as you line up for checkpoint 8.
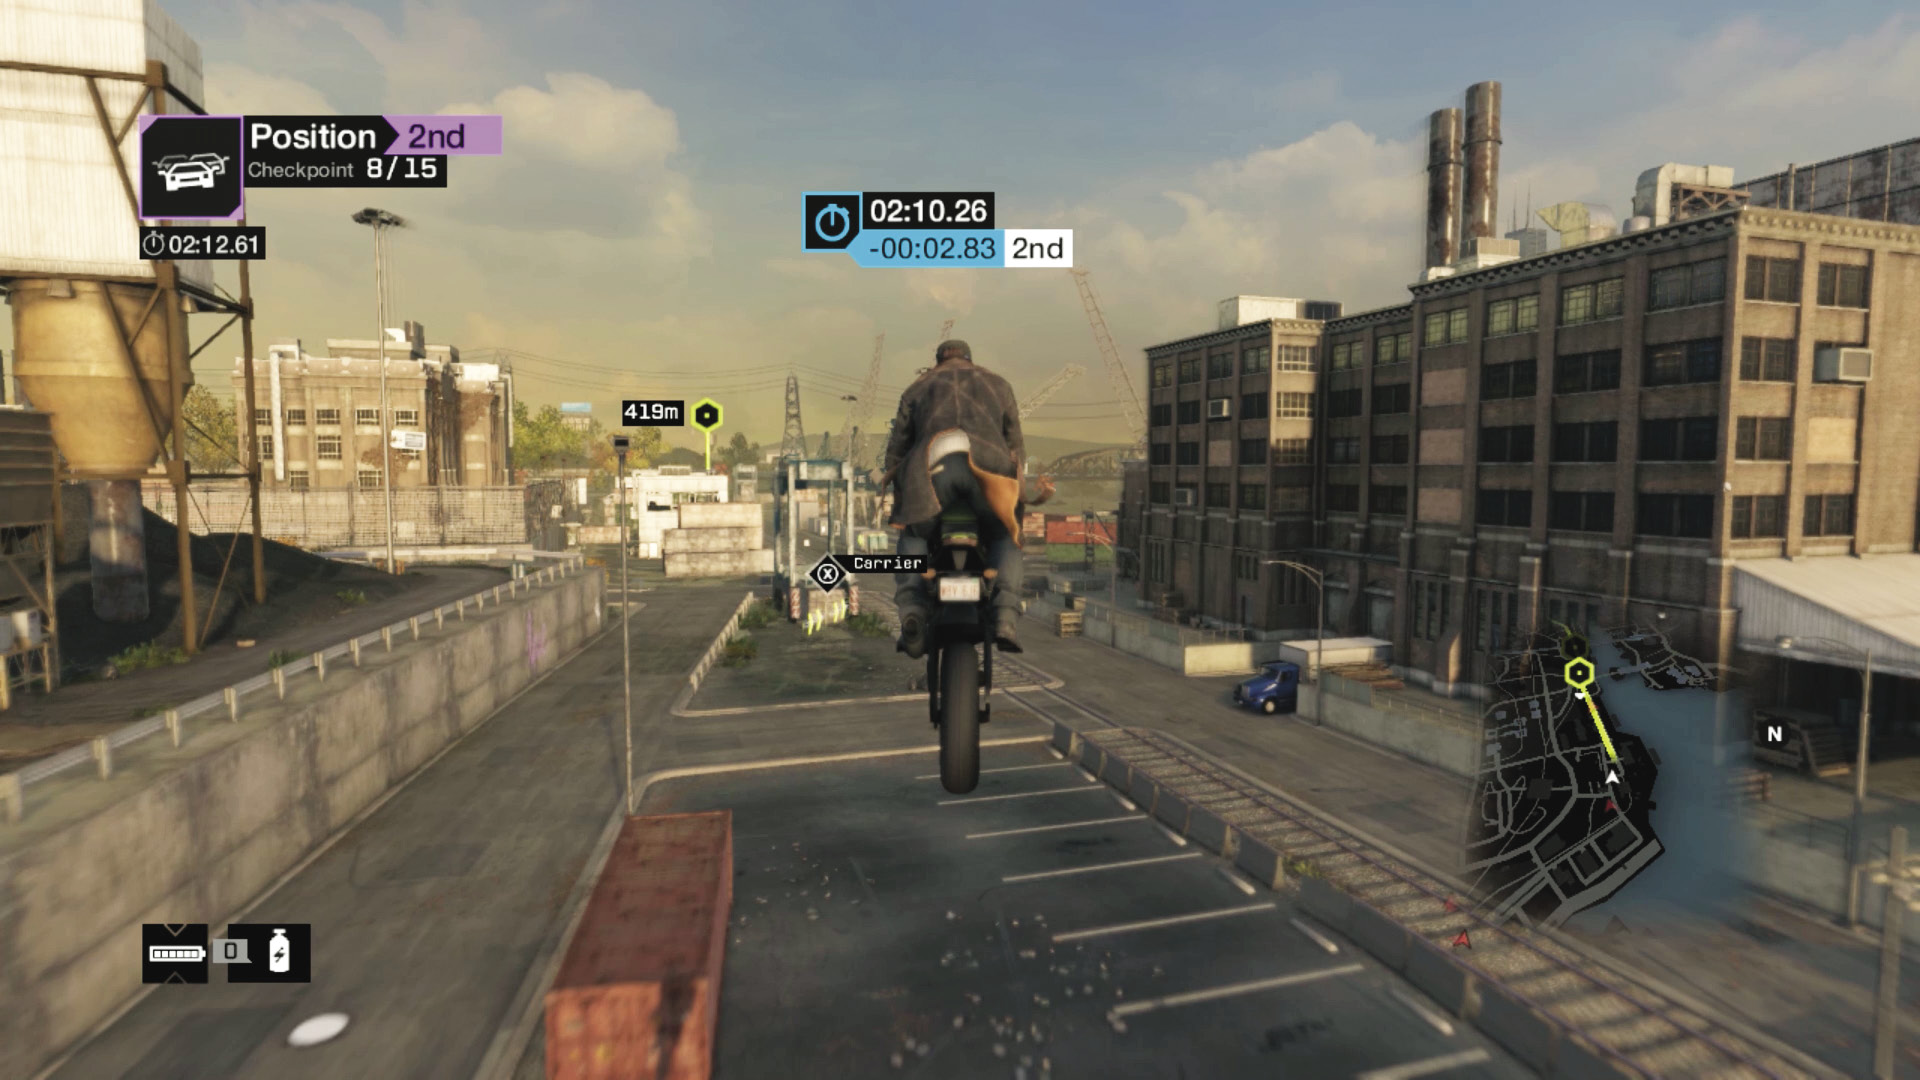
Checkpoints 9 and 10 (Shortcuts): Swerve left just after checkpoint 8, and line yourself up for a container jump, which is slightly quicker than taking the GPS left turn. The paths now merge. Stay left of the carrier you can hack (as a rival can drop it on you!), and zoom under the freeway bridge, through checkpoint 9, and into the coal yard and checkpoint 10.
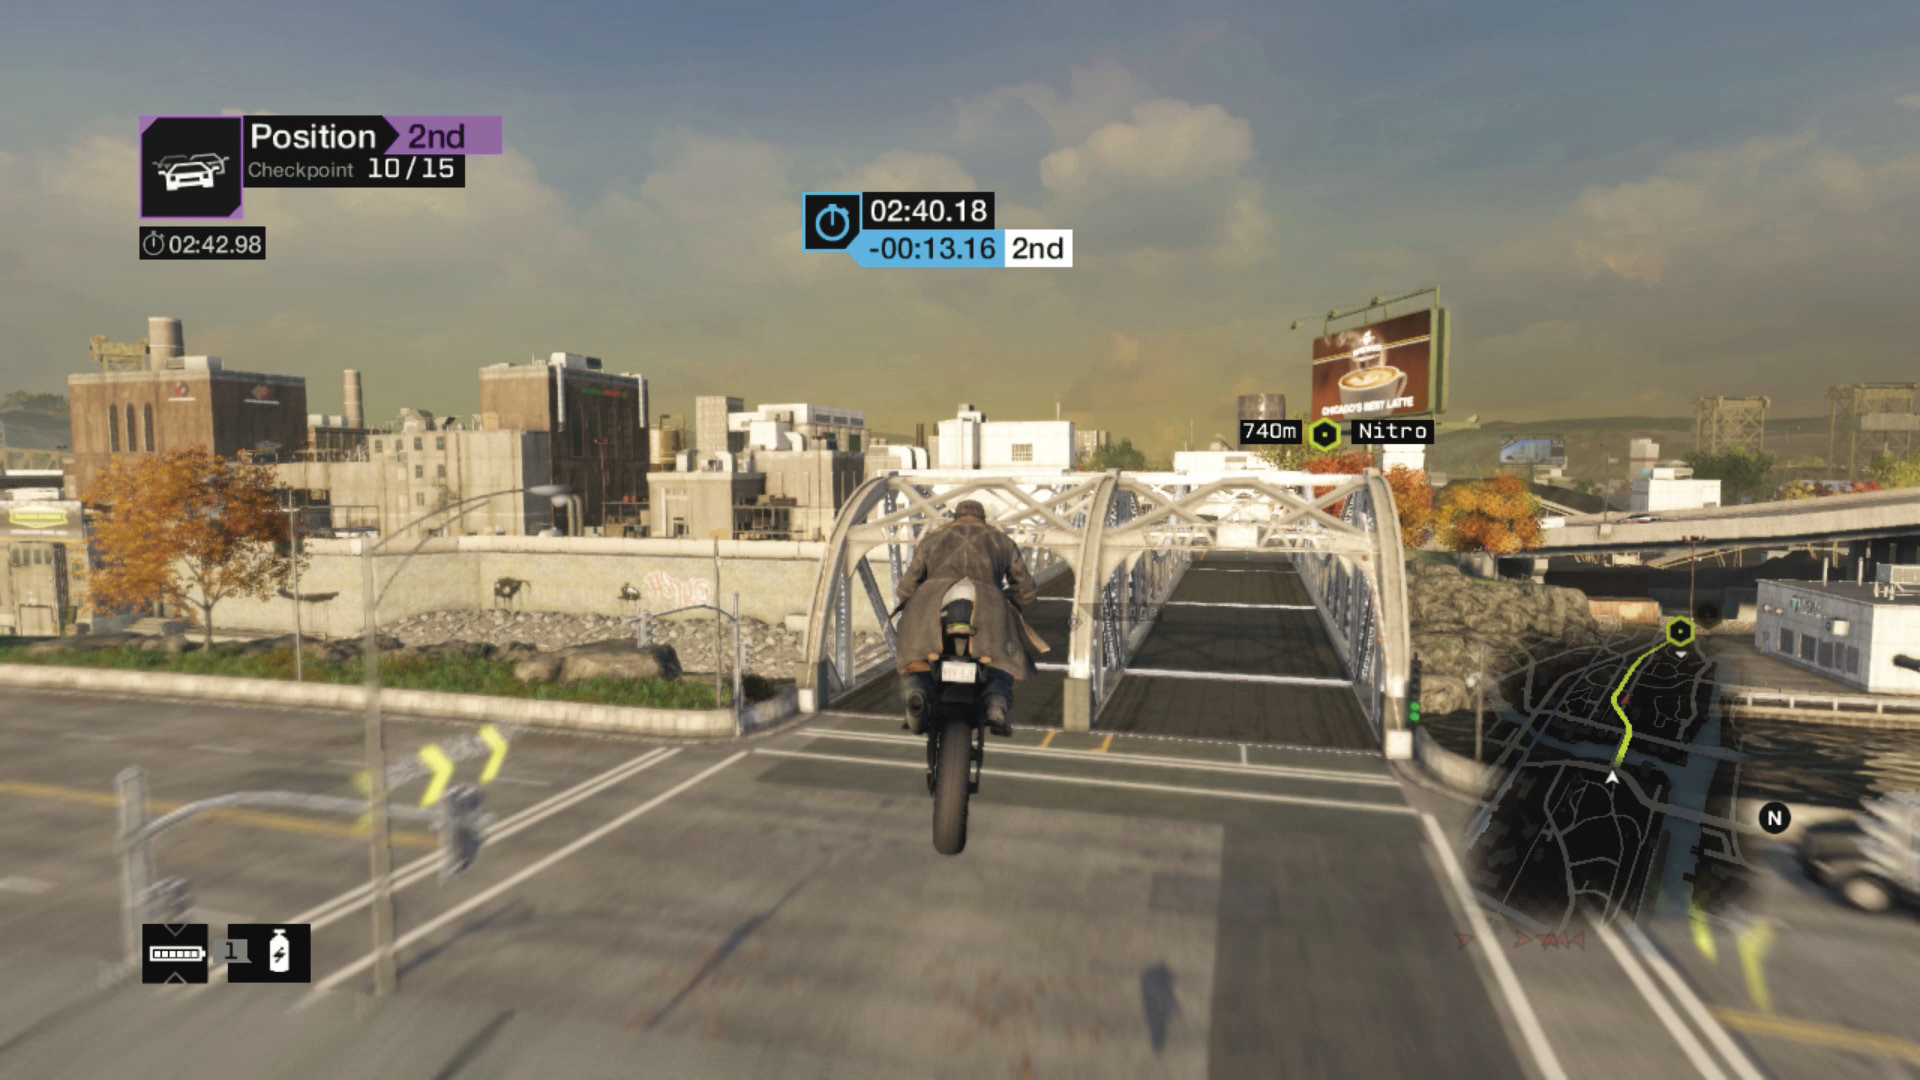
Checkpoints 11 and 12: Stay on the yard (ignore the right turn and dip just after checkpoint 10), following the main dirt road to the jump down to the metal bridge; stay left but watch for traffic. Ignore the railroad on your left, and stay on the main road, keeping to the middle to avoid traffic. Then lean right just before the bridge so you’re back on the railroad tracks. Follow them to checkpoint 12.
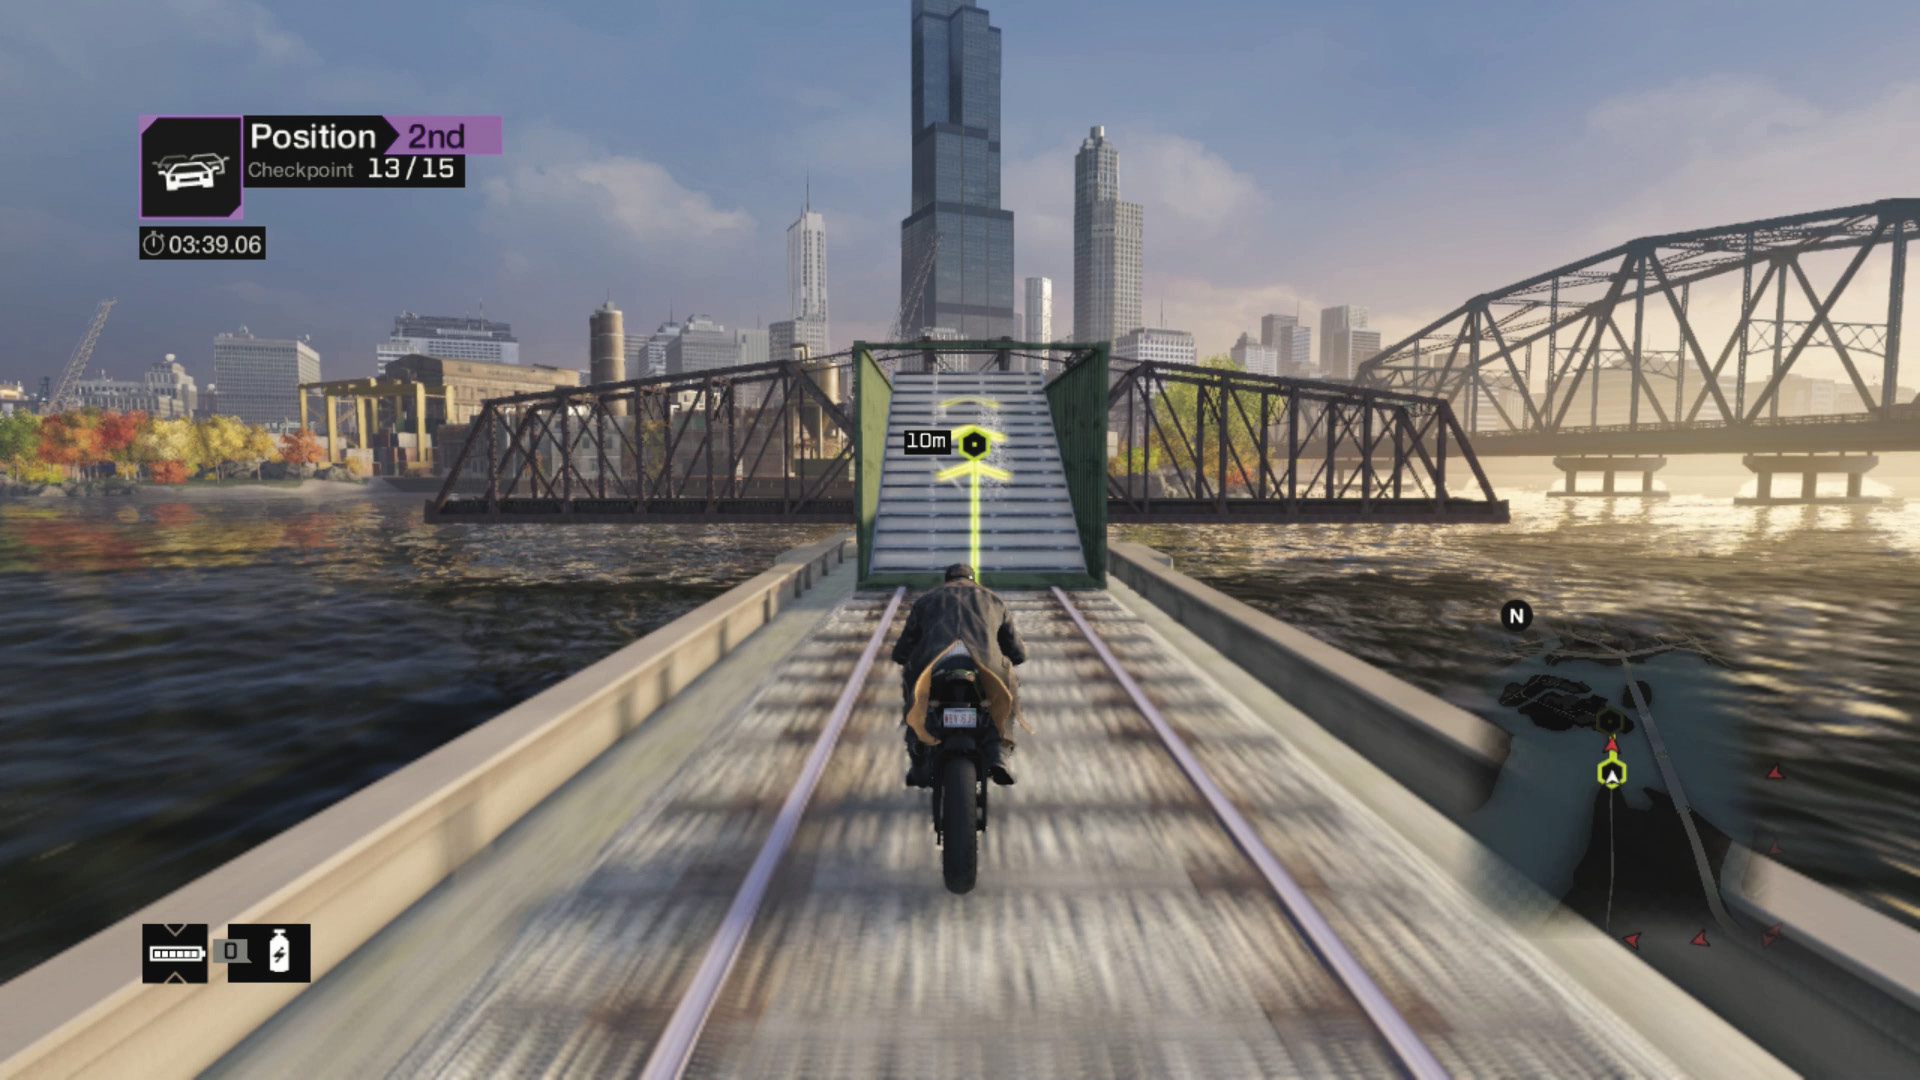
Checkpoints 13–15: Cut in on the grass to the right as you corner, just after checkpoint 12. You’re through the worst of it! Now comes a nitro-filled blast along the tracks. Aim for the remaining checkpoints, and line up for the massive container jump across the river to the finish.
06_FREEWAY FORCE
Starting location / Papavero
Vehicle / PERFORMANCE // PAPAVERO
Difficulty: 
NUMBER OF LAPS: 1
NUMBER OF CHECKPOINTS: 10
TIME TO AIM FOR: 02:47 BEAT THIS: 02:40 (Alexandre Brisebois)
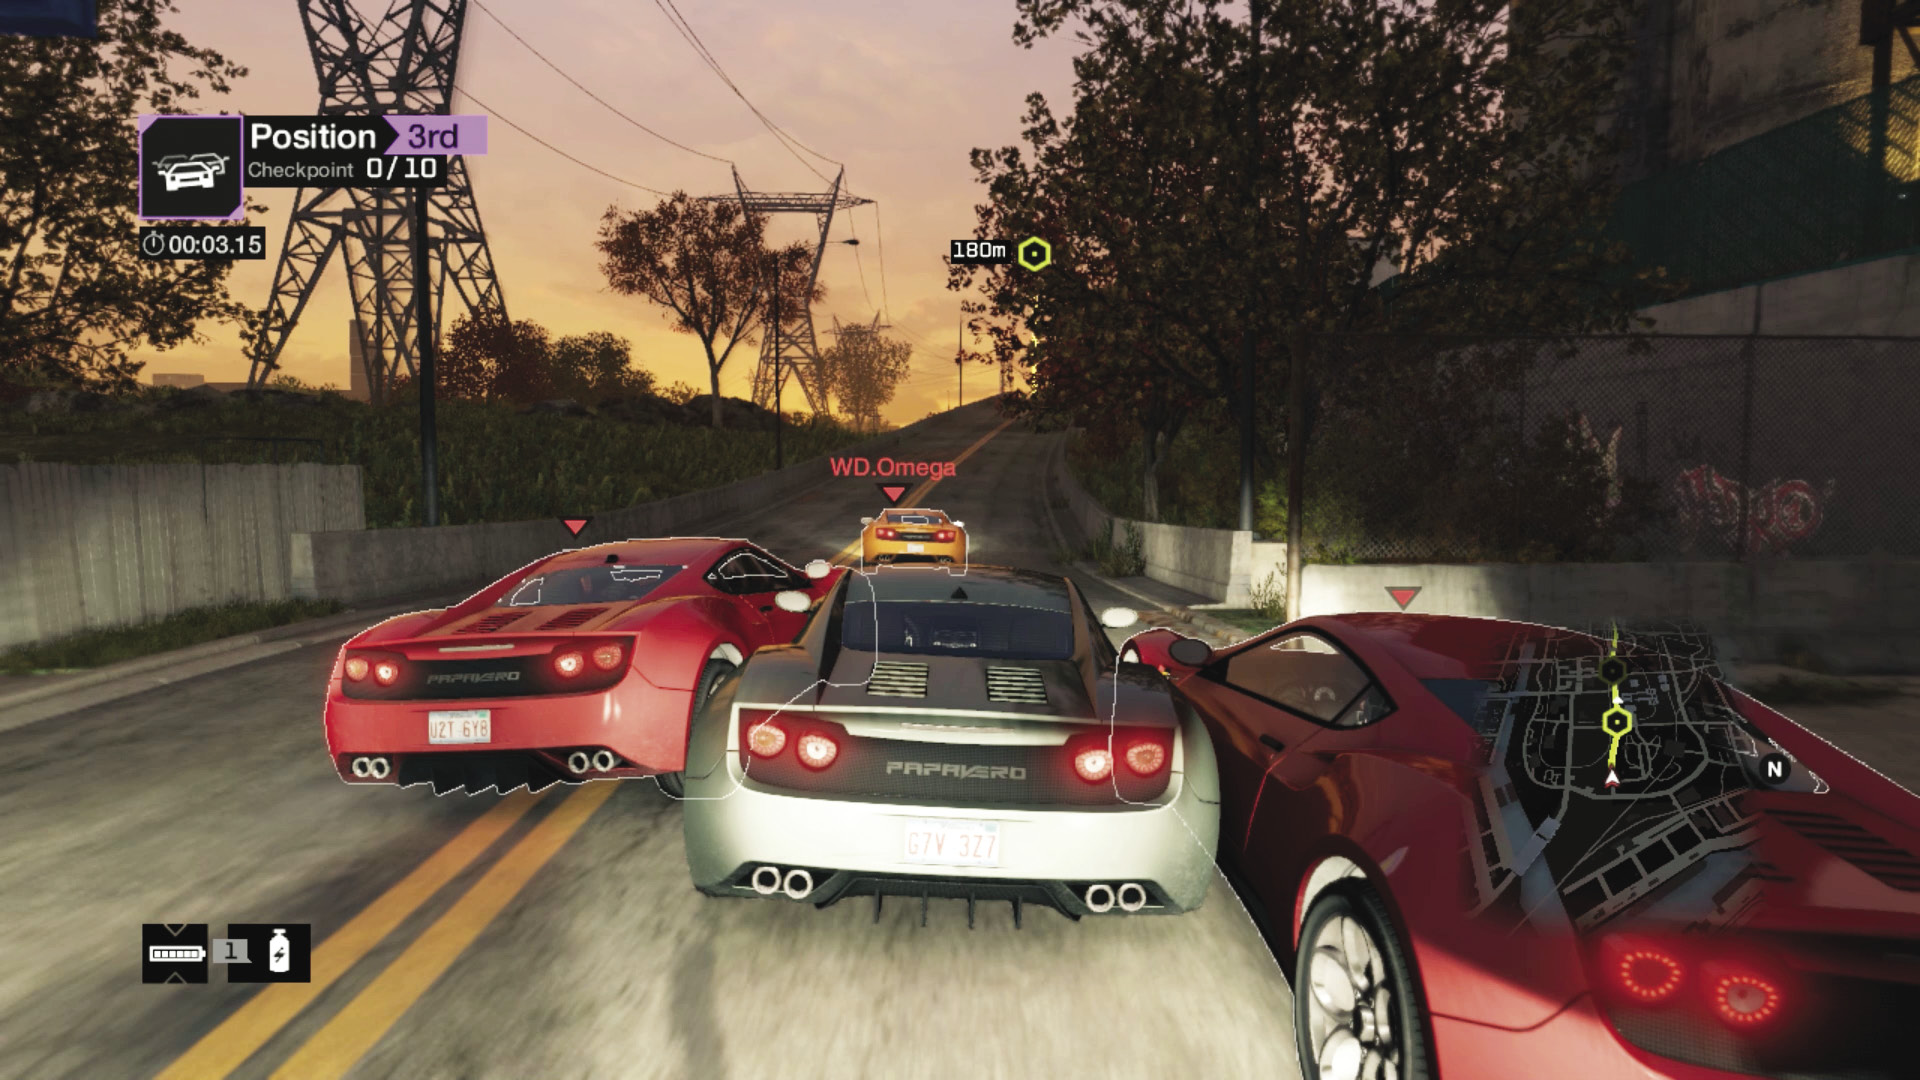
Checkpoint 1: The vehicle you’re in is fast, so expect high-speed collisions and frightening interactions with oncoming traffic. For the first checkpoint, though, accelerate hard or hang back and wait for others to make a mistake.
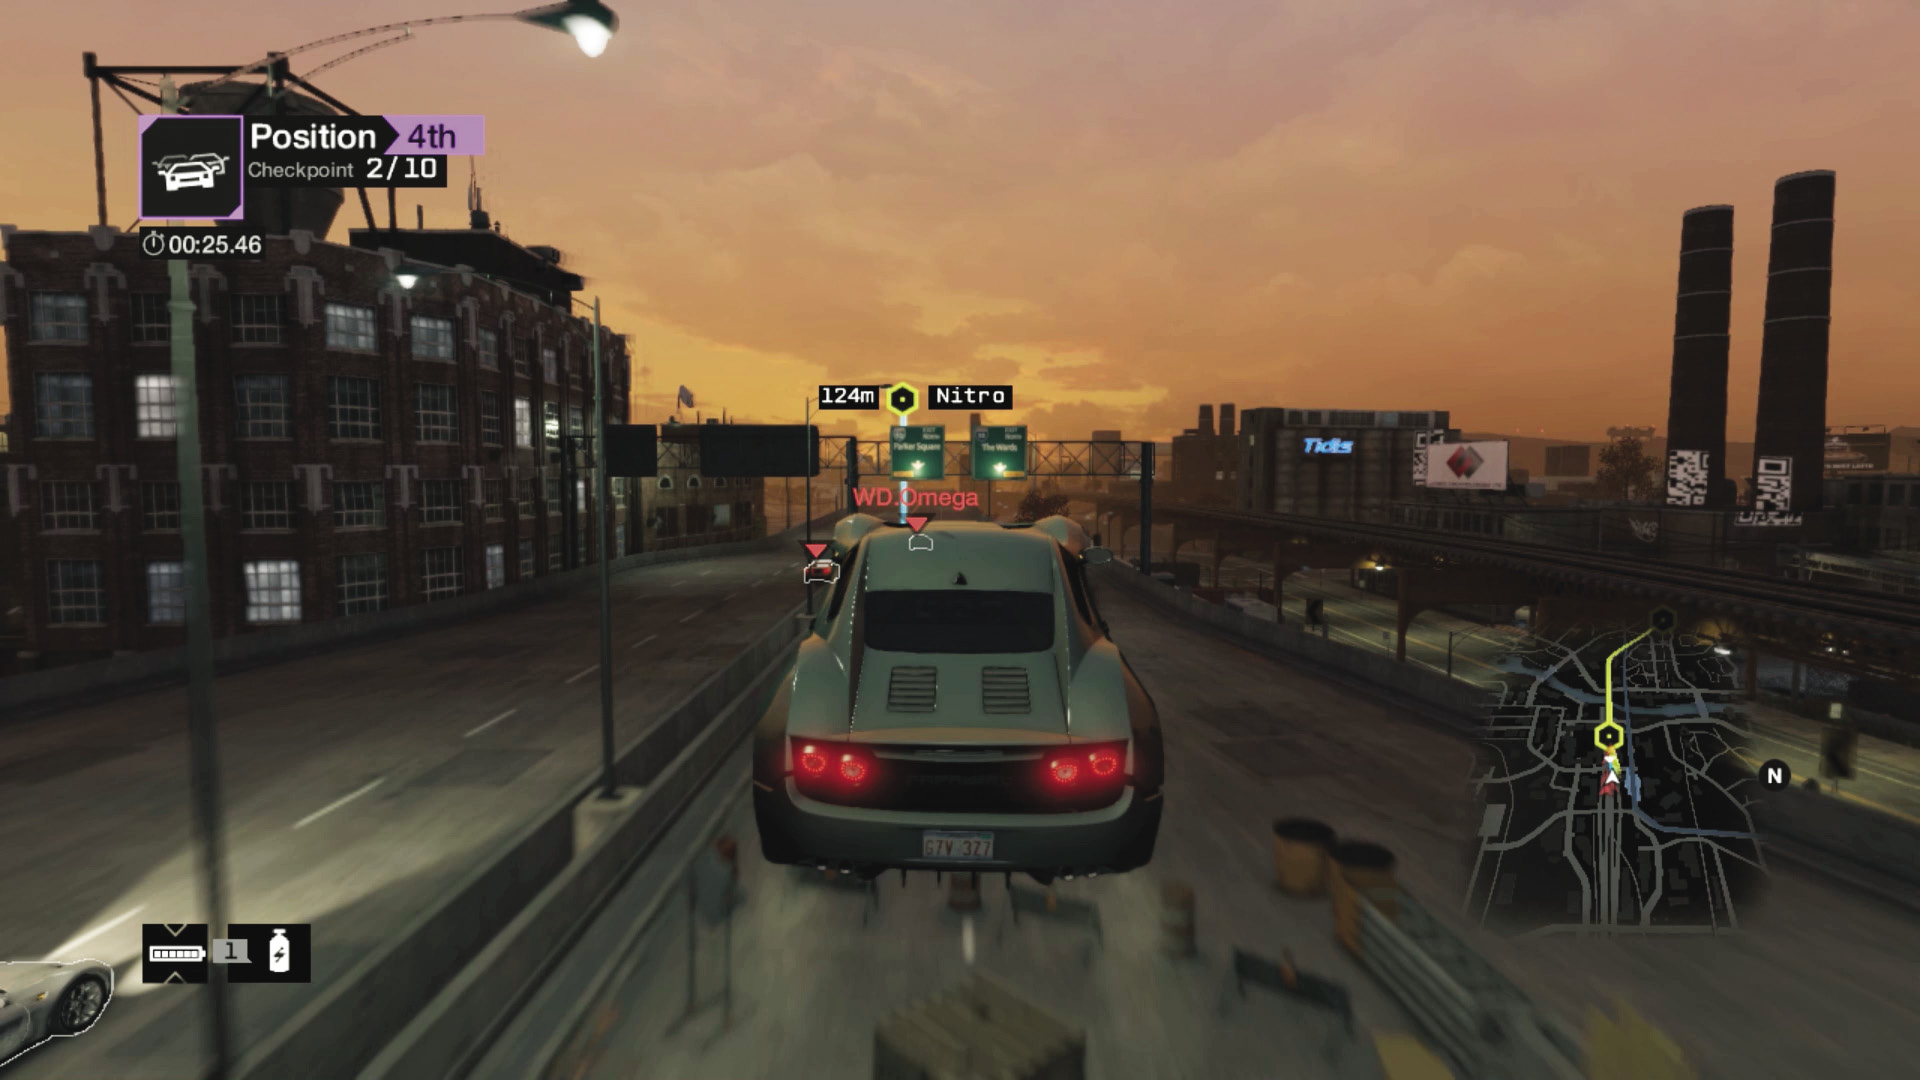
Checkpoints 2 and 3: The freeway is reasonably sealed as a roadway, so concentrate on accelerating and picking a side just after checkpoint 2. Left leads to oncoming traffic but is slightly quicker than right, which involves missing a parked cement truck and a ramp back onto the merged freeway at checkpoint 3.
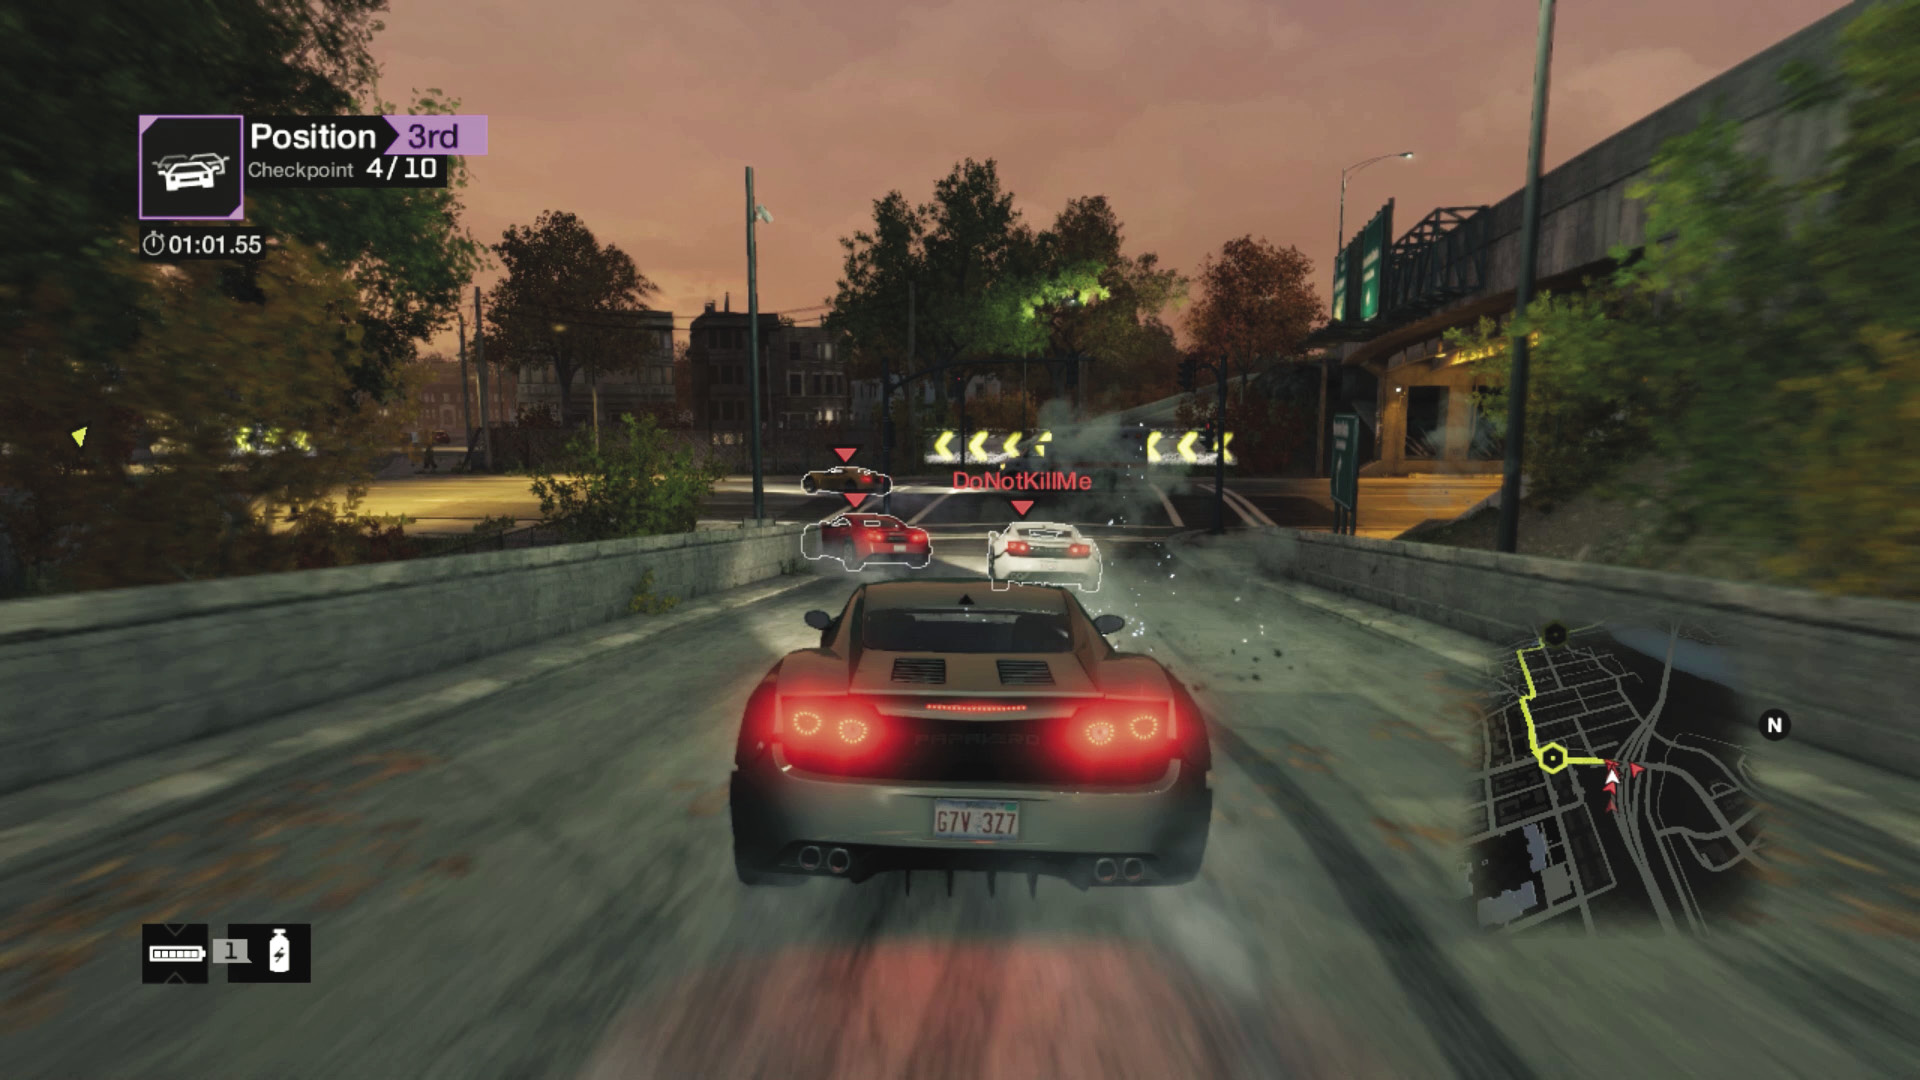
Checkpoints 3 and 4: Try to maintain a good racing line as you continue along the freeway, bumping foes into oncoming traffic if you can. The off-ramp to the right is the GPS course, but the shortcut is on the left; both merge soon afterward as you head into the Wards with a left turn to checkpoint 5.
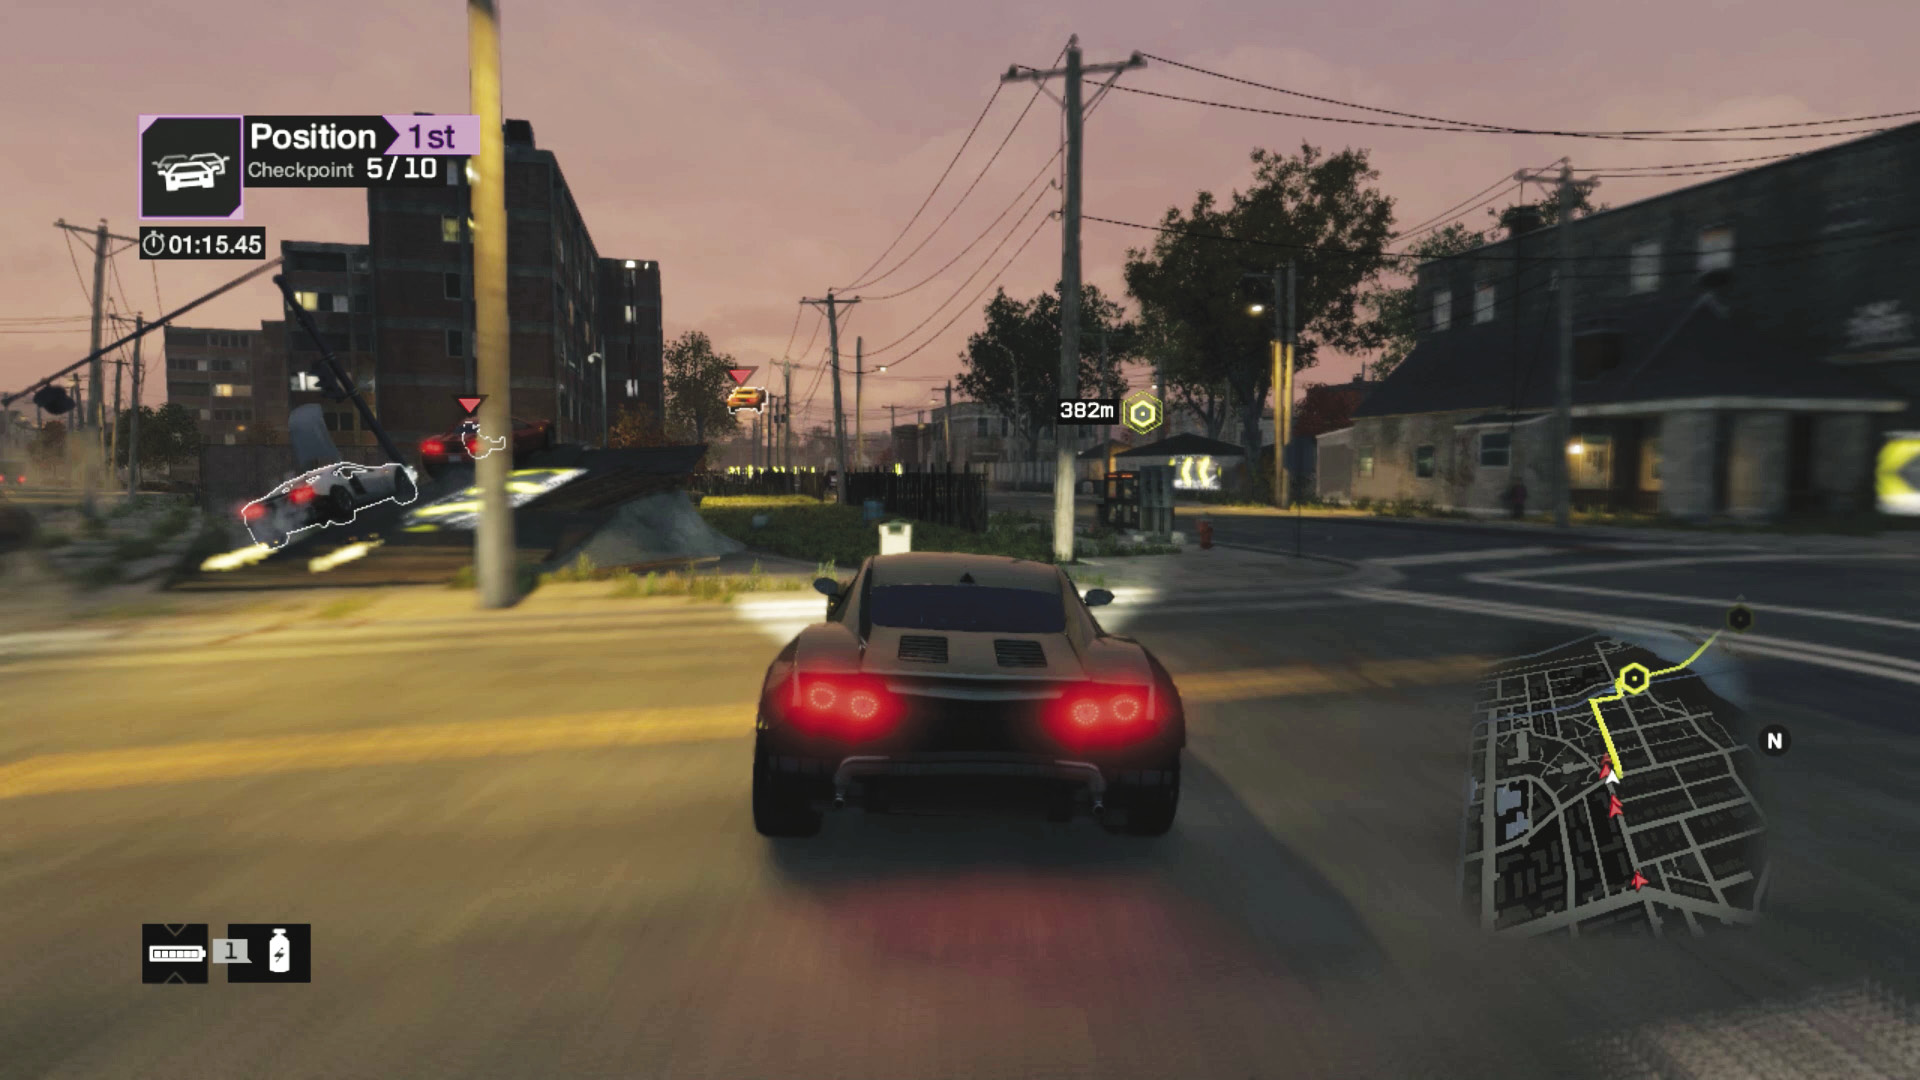
Checkpoints 5 and 6: As you head west toward checkpoint 6, there’s a ramp to take. Stay on the right and avoid the possible enemies snarling up the area, then quicken your pace through the fence and onto the main GPS road. Minimize your swerving as you head under the L-train to the checkpoint 6 at Quickie’s (and a steam pipe to watch for).
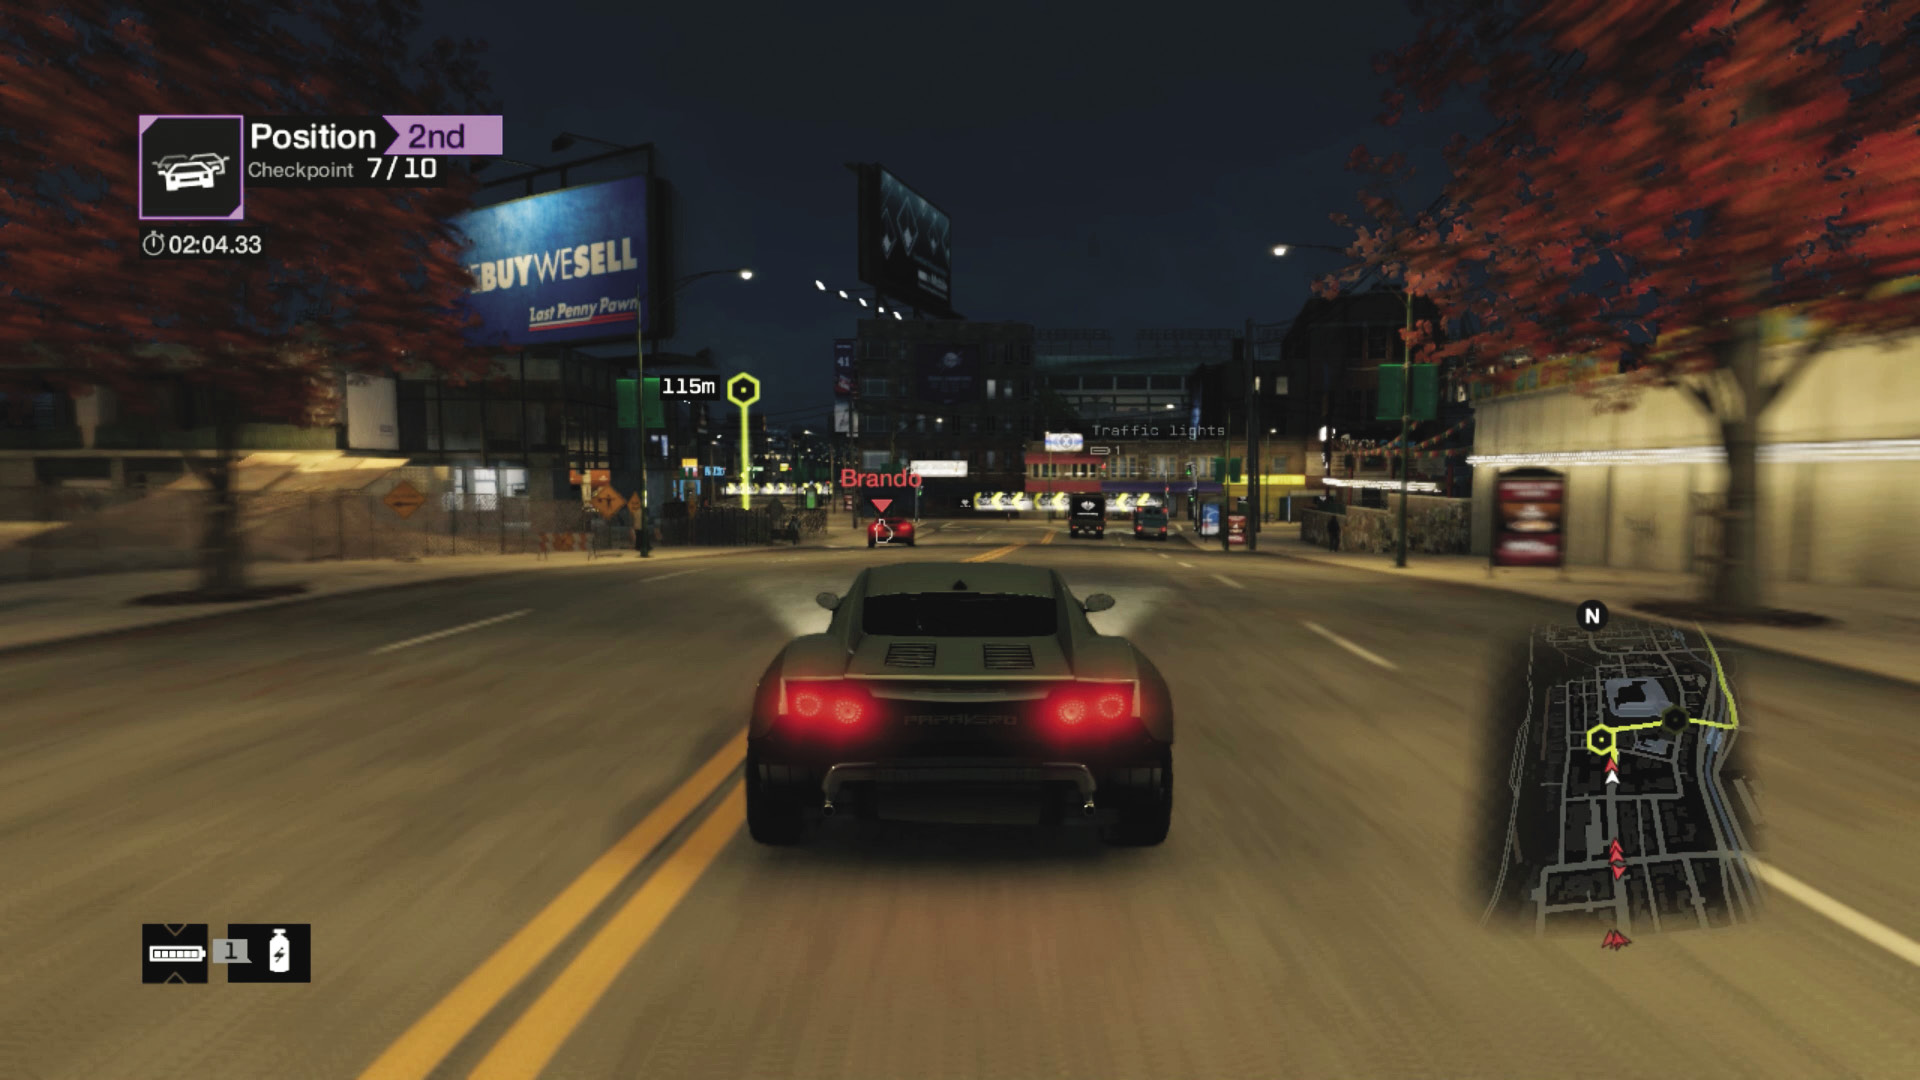
Checkpoints 7 and 8: The freeway takes you north into Parker Square. Stay on the main GPS road through checkpoint 7, and ignore the ramp through the building balcony at checkpoint 8; there’s a sharp right turn afterward you don’t want to overshoot.
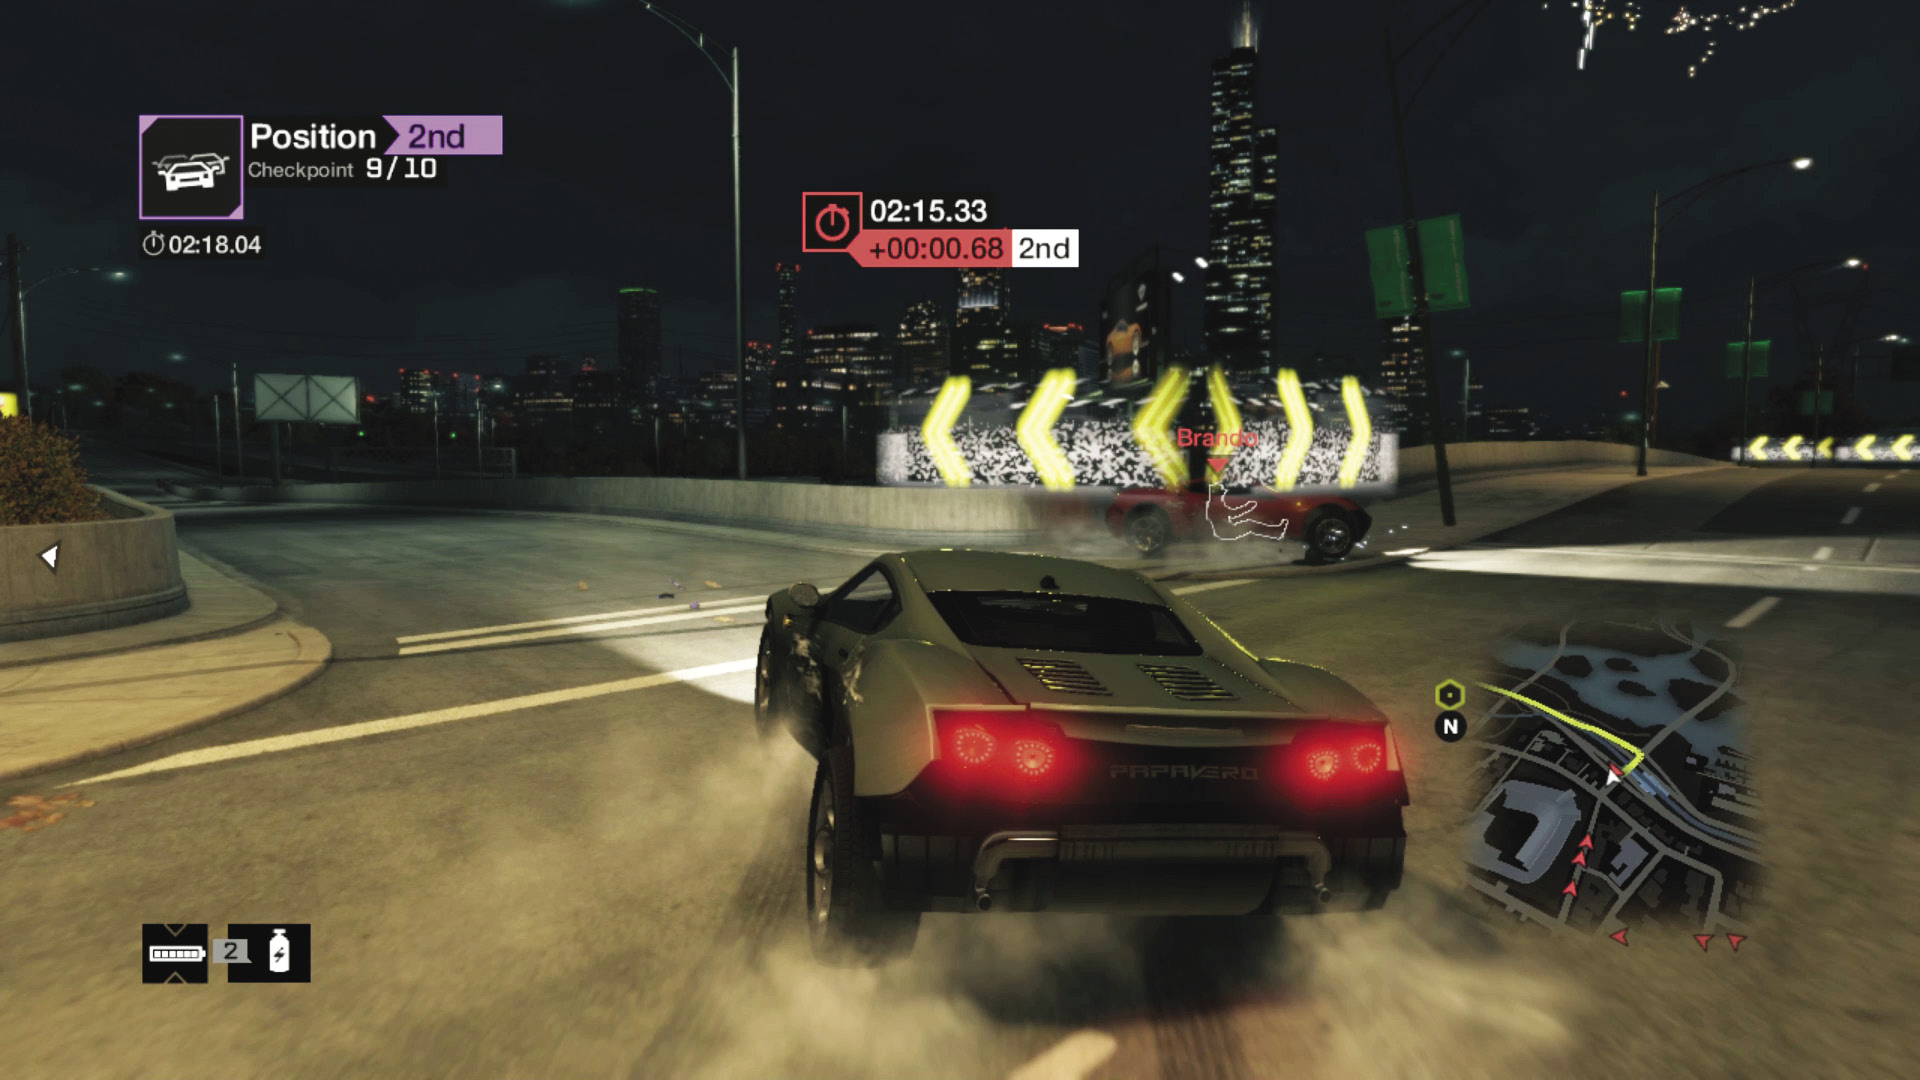
Checkpoints 9 and 10: Just after checkpoint 9 is the final freeway; the entrance before the bridge you drive over leads you into oncoming traffic, but it’s quicker! Chance it if you want a quick time. Then simply nitro and avoid traffic (and a steam pipe) all the way to the finish, near SoSueMe’s mansion.
07_OPEN ROAD
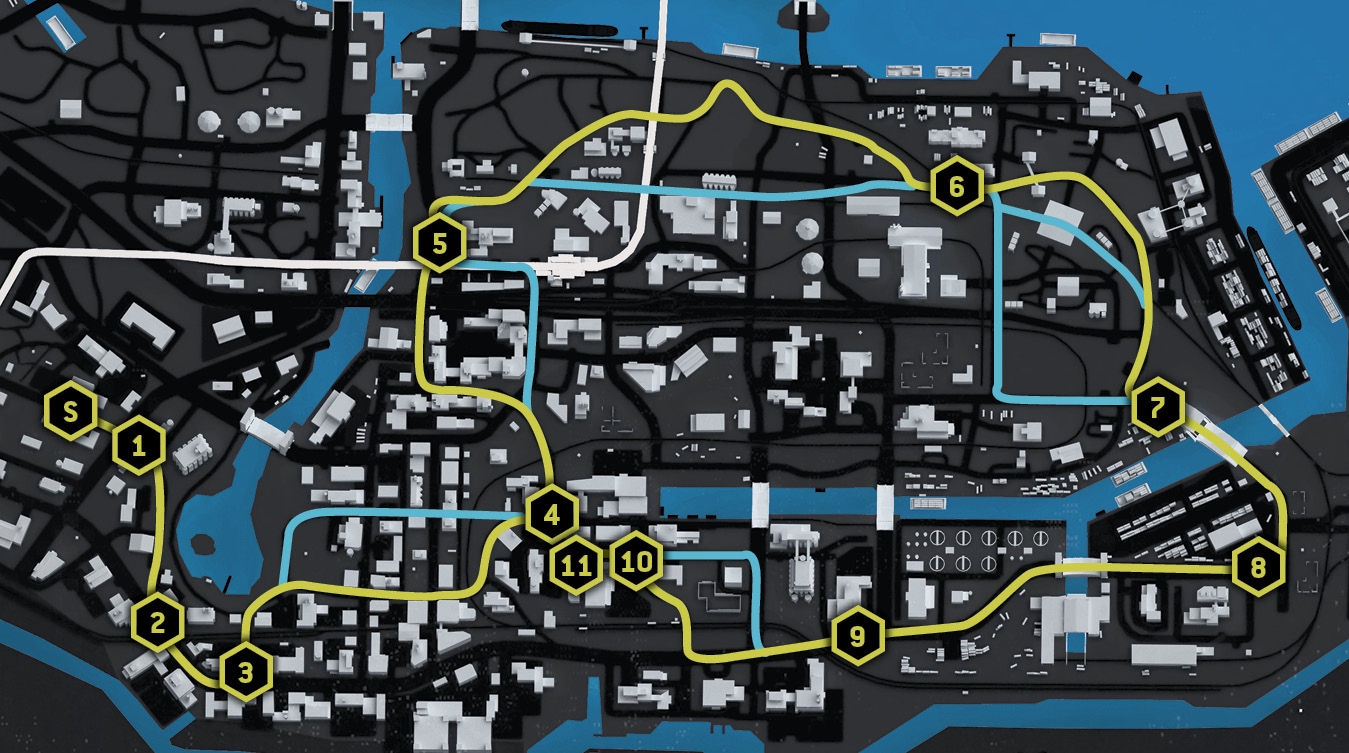
STARTING LOCATION / TIDIS WAREHOUSES
Vehicle / Amargosa Turbo
Difficulty: 
NUMBER OF LAPS: 1
NUMBER OF CHECKPOINTS: 11
TIME TO AIM FOR: 02:26 BEAT THIS: 02:20 (Daniel Batoff)
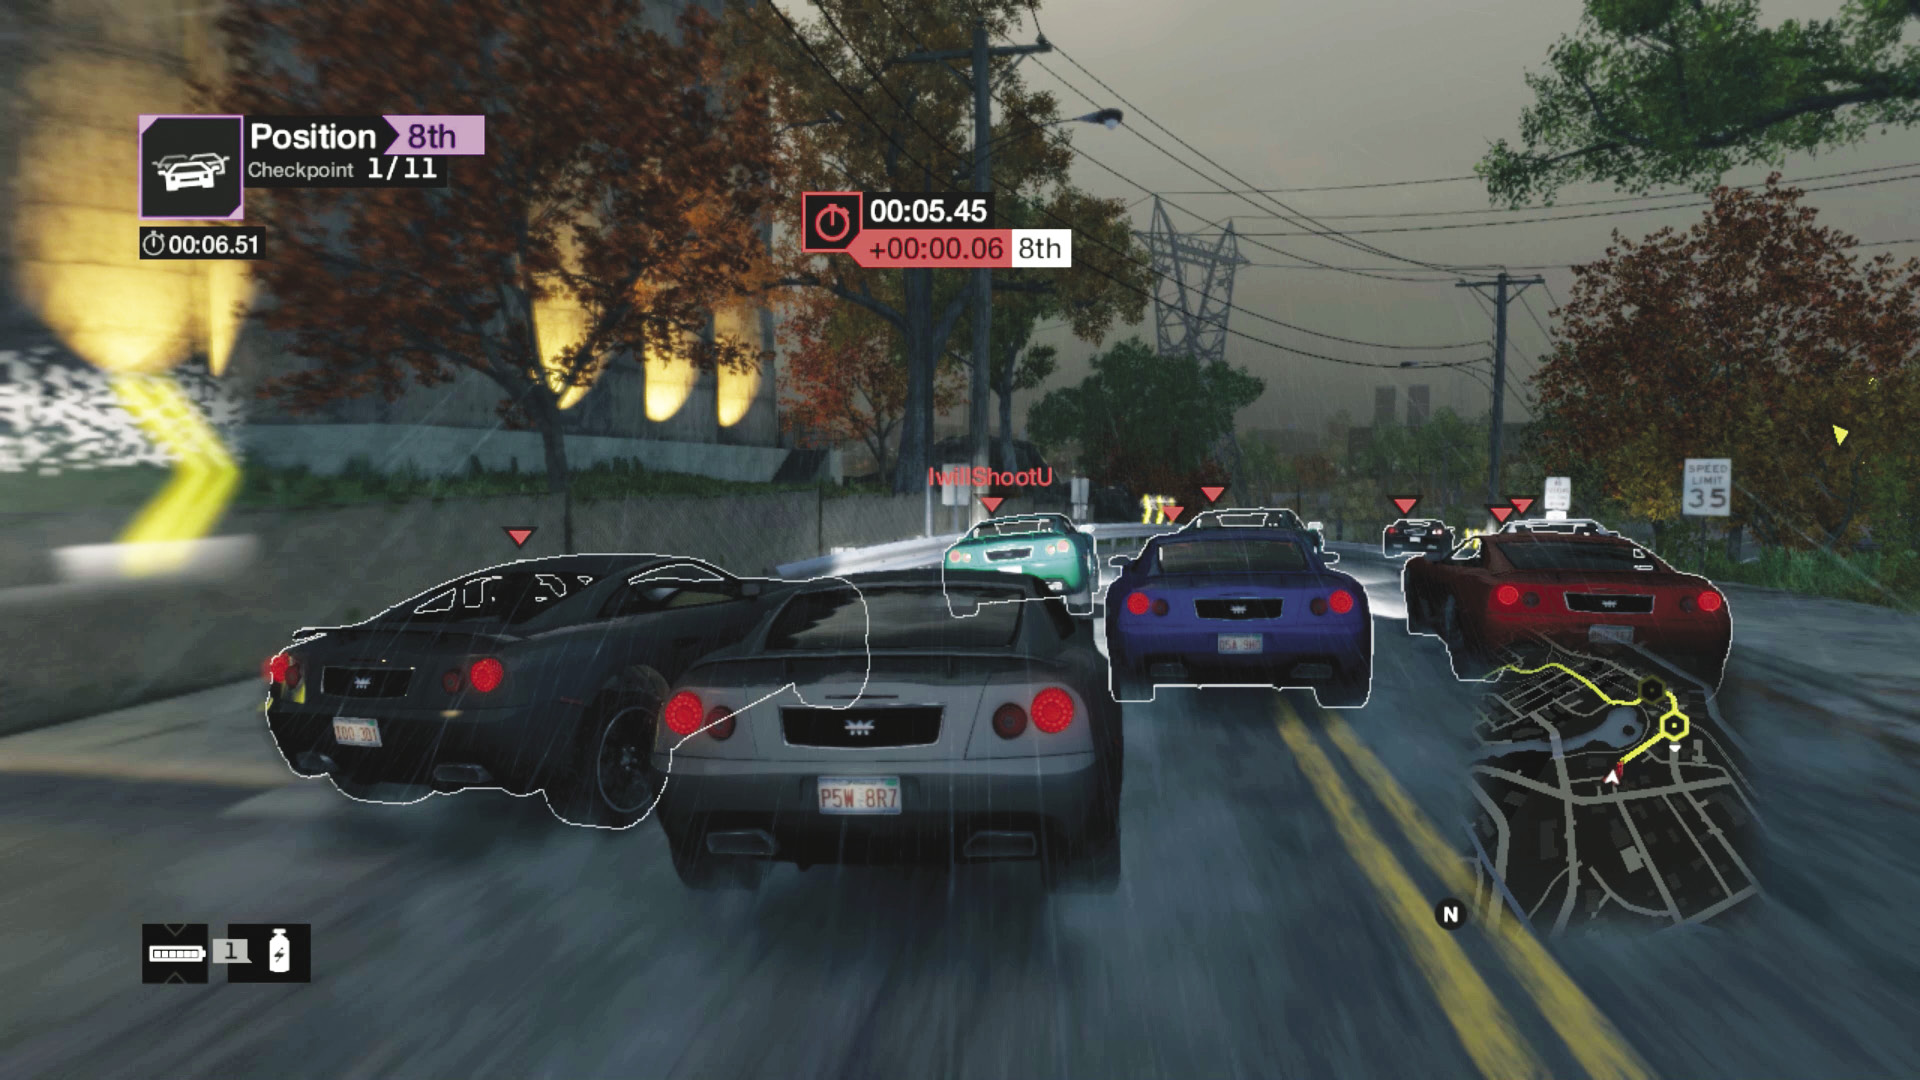
Checkpoint 1: In the initial jostling for position, there are two places to shove a foe: into the guardrail to your left or into a tree on your right; both can really put a foe down for a few seconds as you pass through checkpoint 1.
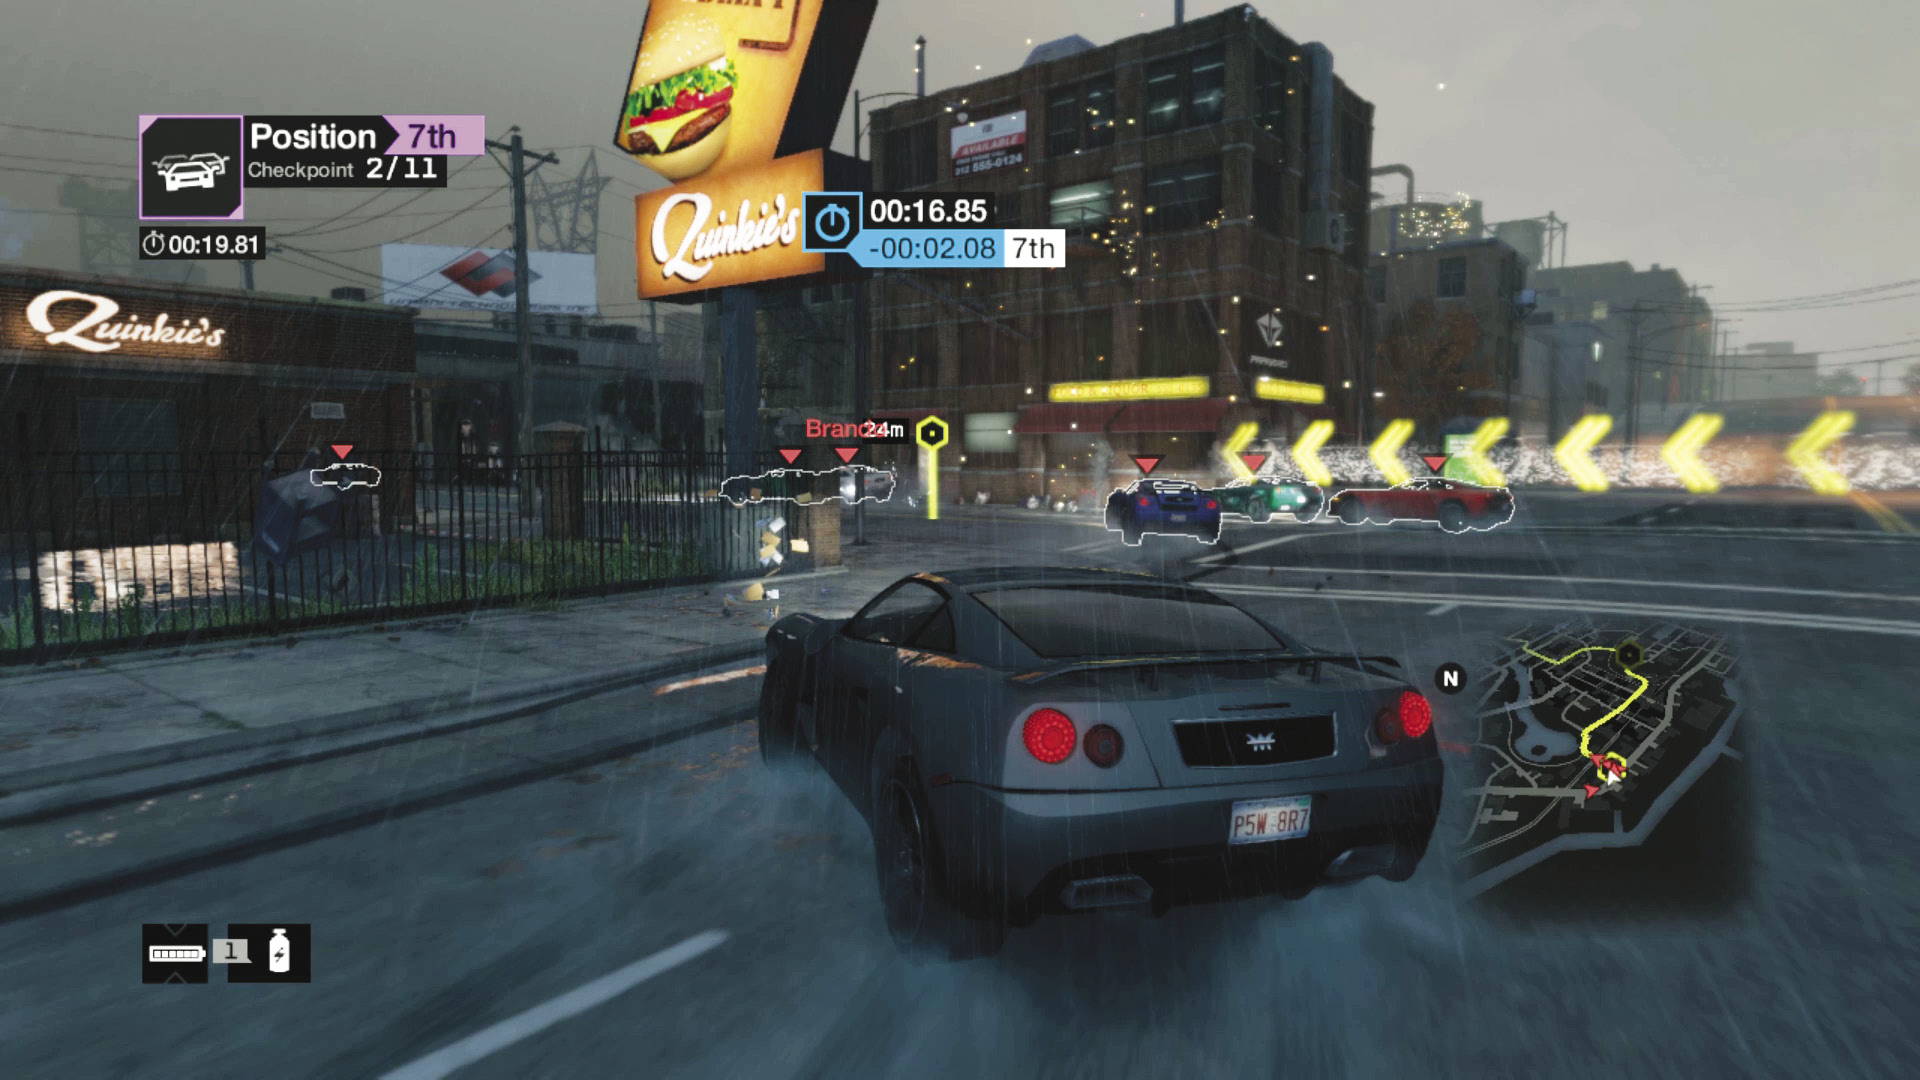
Checkpoints 2 and 3: Stay on the main road as you accelerate through checkpoint 2 on a long left turn, which sharpens at checkpoint 3 and the Quinkie’s. After passing under the freeway bridge and turning right, the path splits.
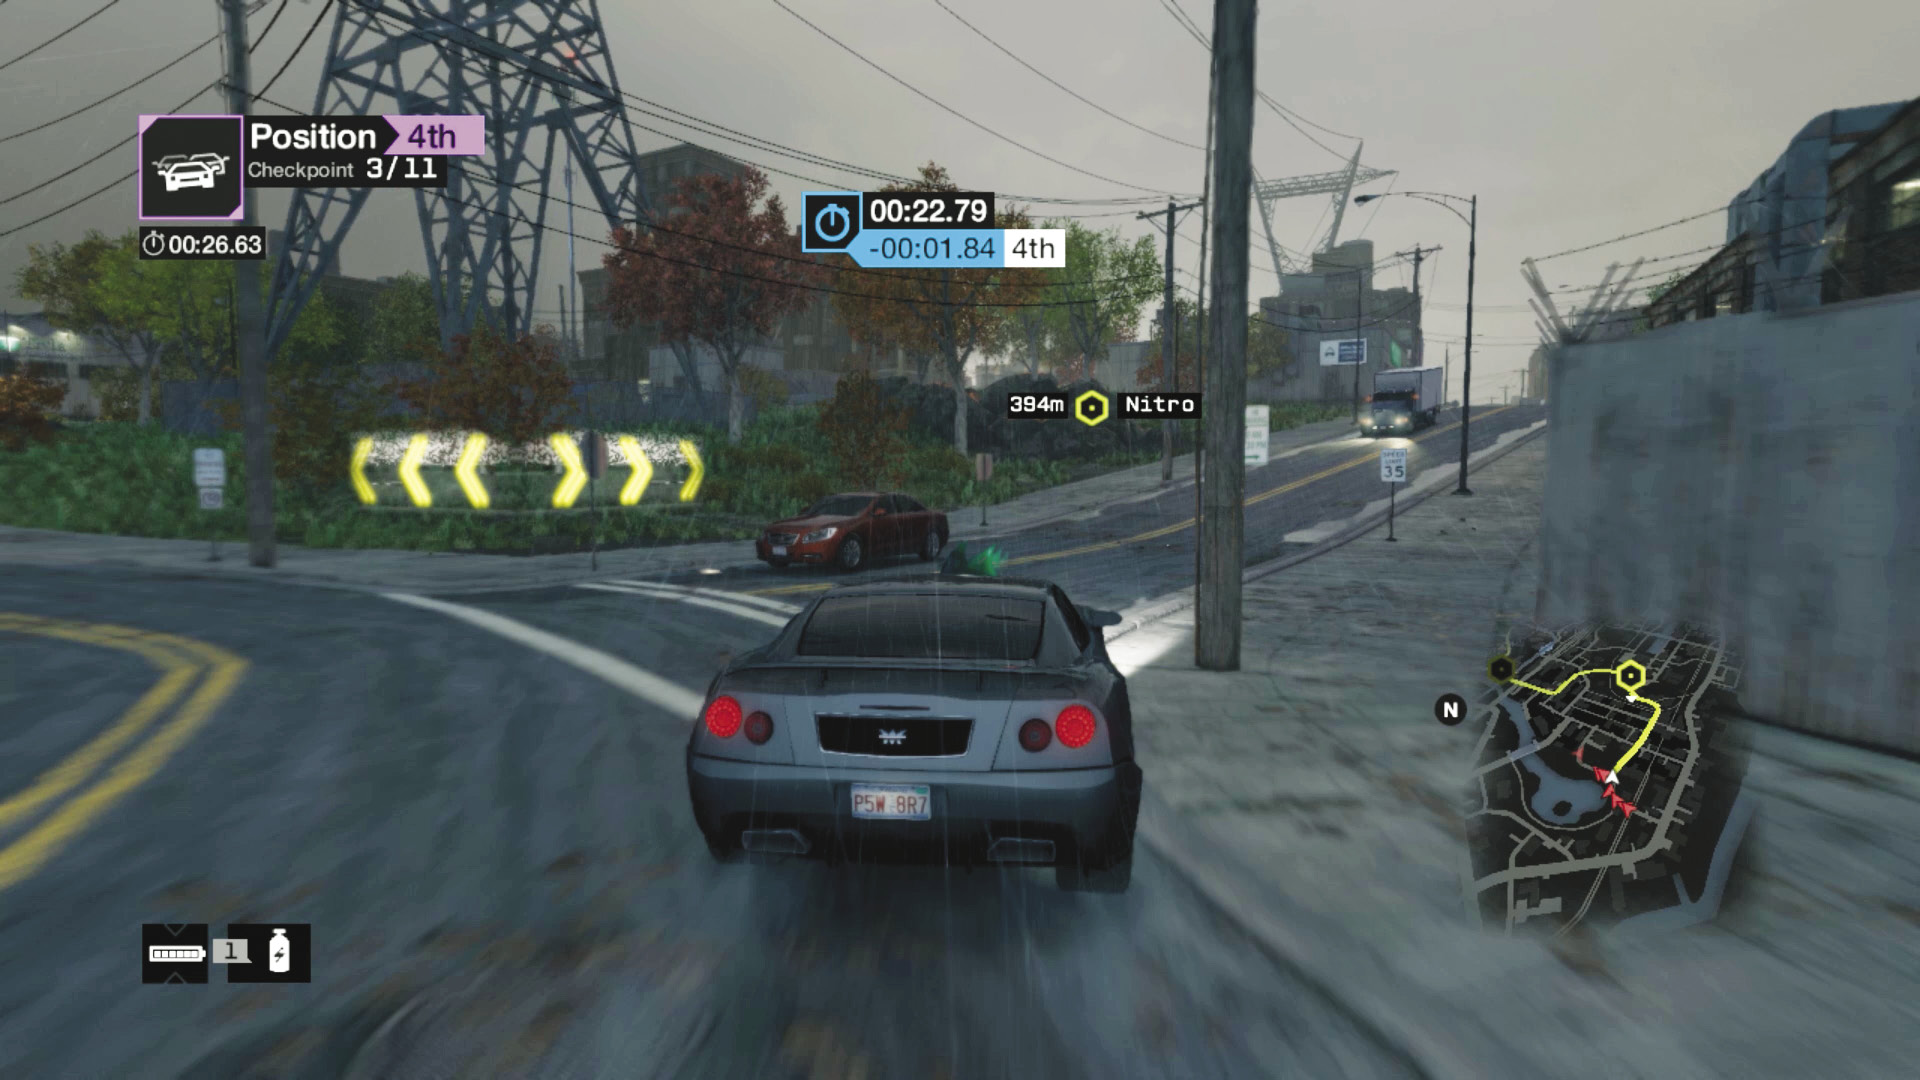
Checkpoint 4: You can head right, remaining on the winding tarmac road that heads down to a rocky bank where the shortcut culminates in a strong left turn through checkpoint 4. Head under the bridge, and make another shortcut choice at the next set of traffic lights.
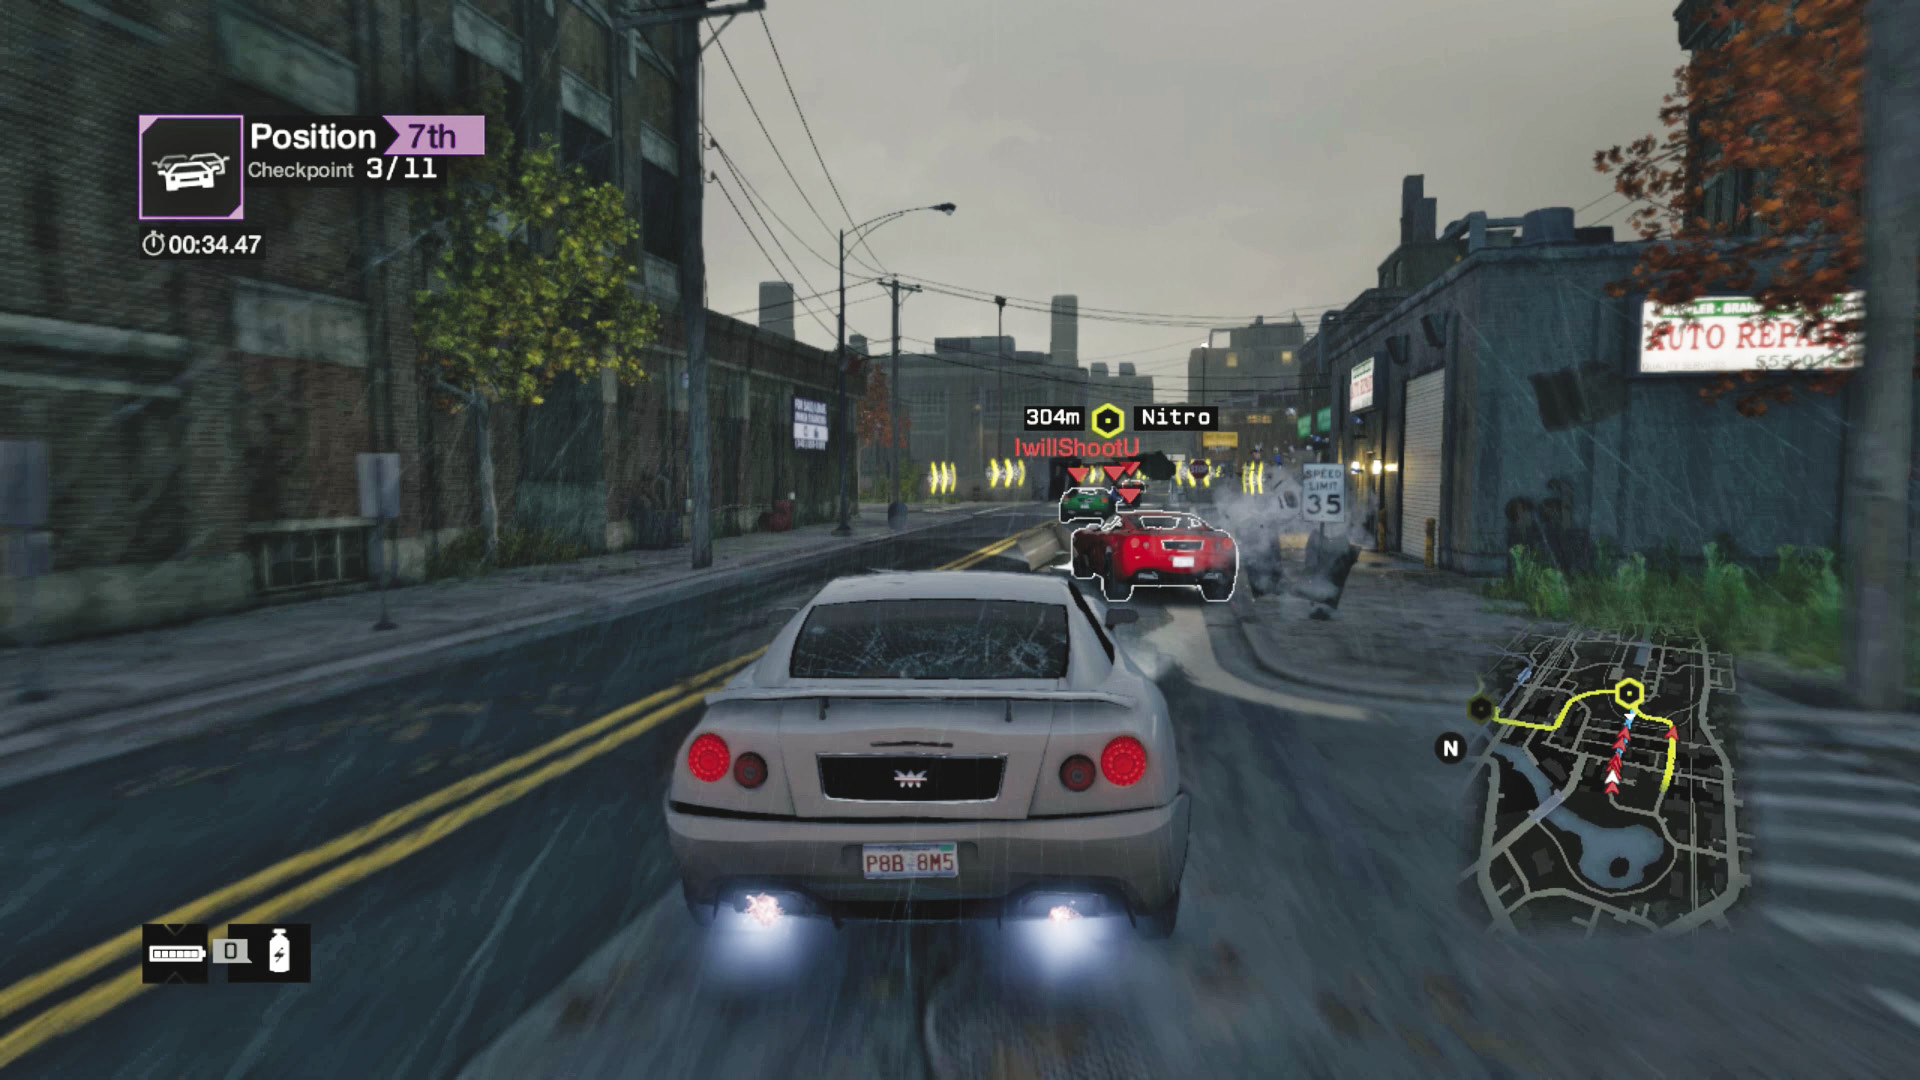
Checkpoint 4 (Shortcut): Or, you can head left, up the road that winds around to the right, and a narrow straight through some industrial buildings, finishing with a drop down off a rocky bank and back onto the GPS course. This is a great place for a nitro (if you’re early enough), but the narrow space is risky if others are cramming in.
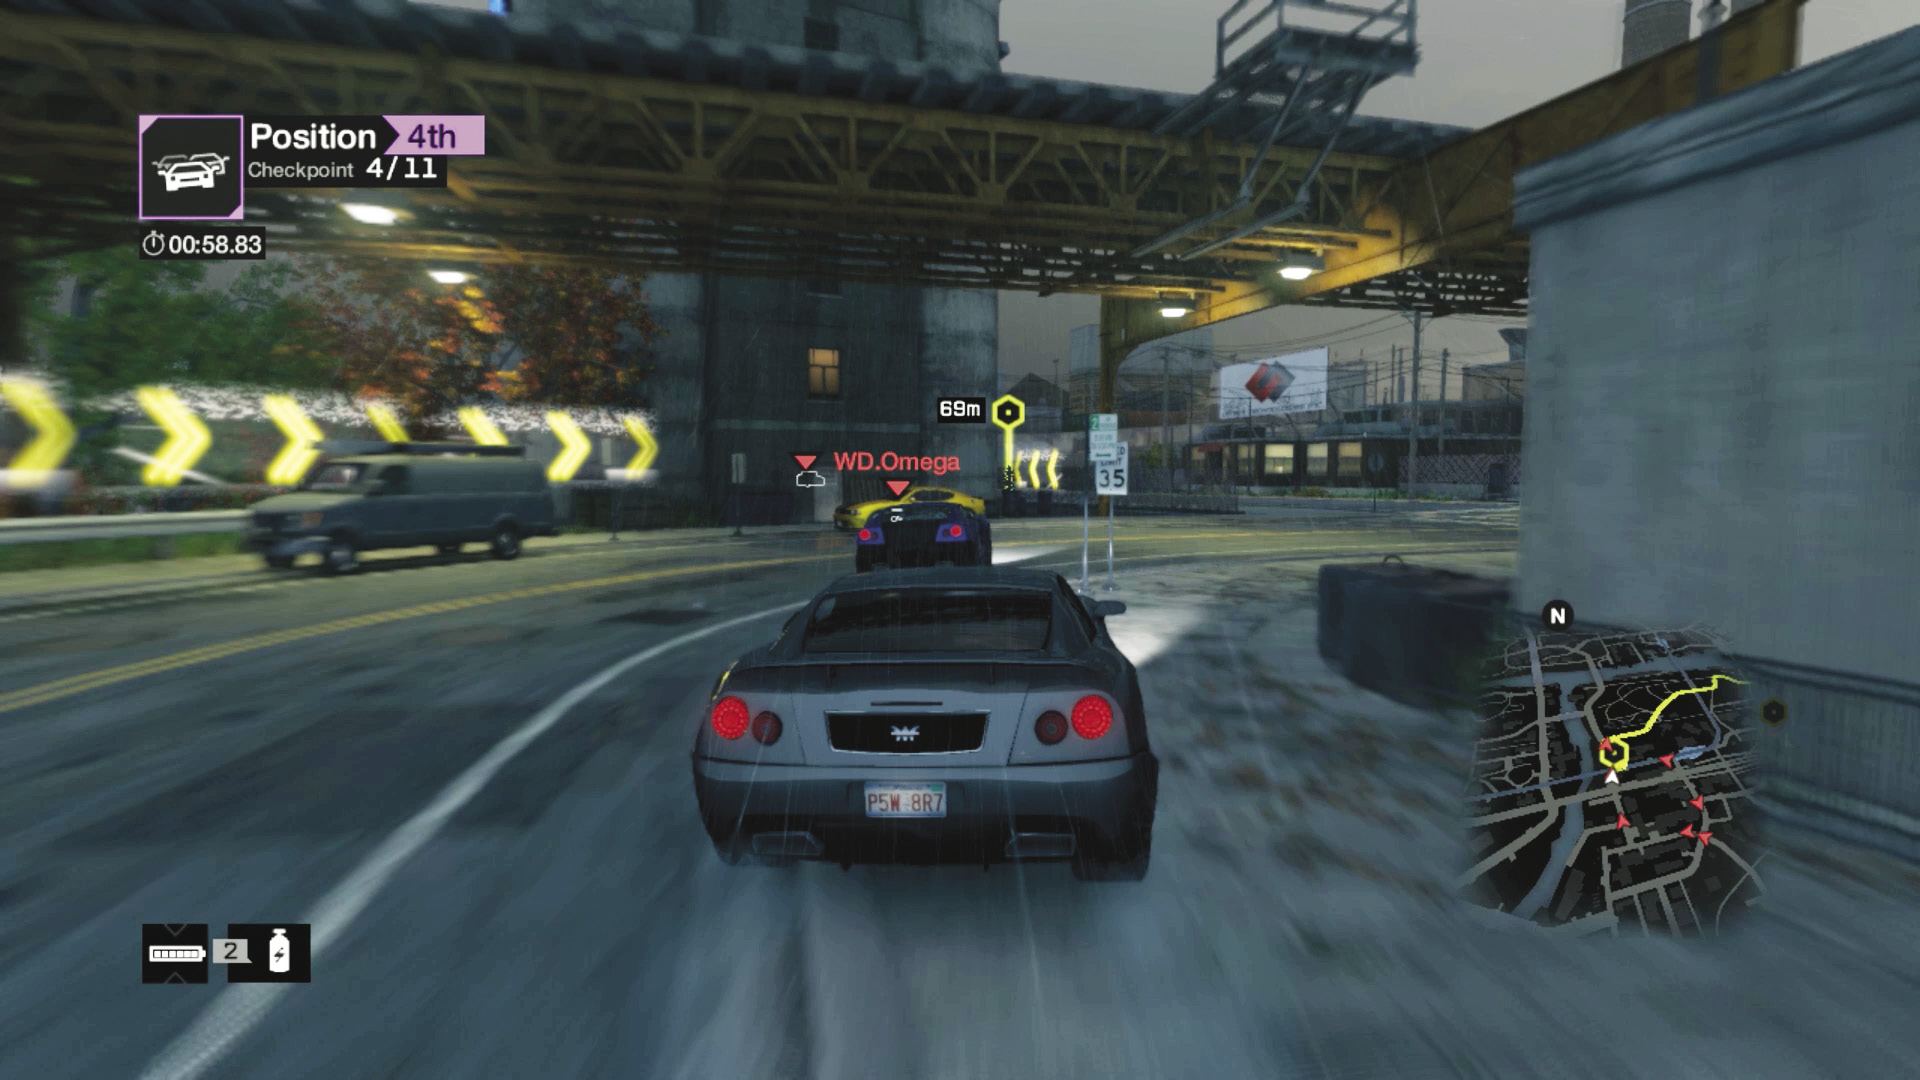
Checkpoint 5: Head left up the road, skidding right at the Pharmingtons on the corner. With a possible nitro, head with a right diagonal racing line, aiming for checkpoint 5. Take a straight line at the corner under the L-train tracks, passing left of the support strut. Stay right of checkpoint 5, up the dirt and hill heading right.
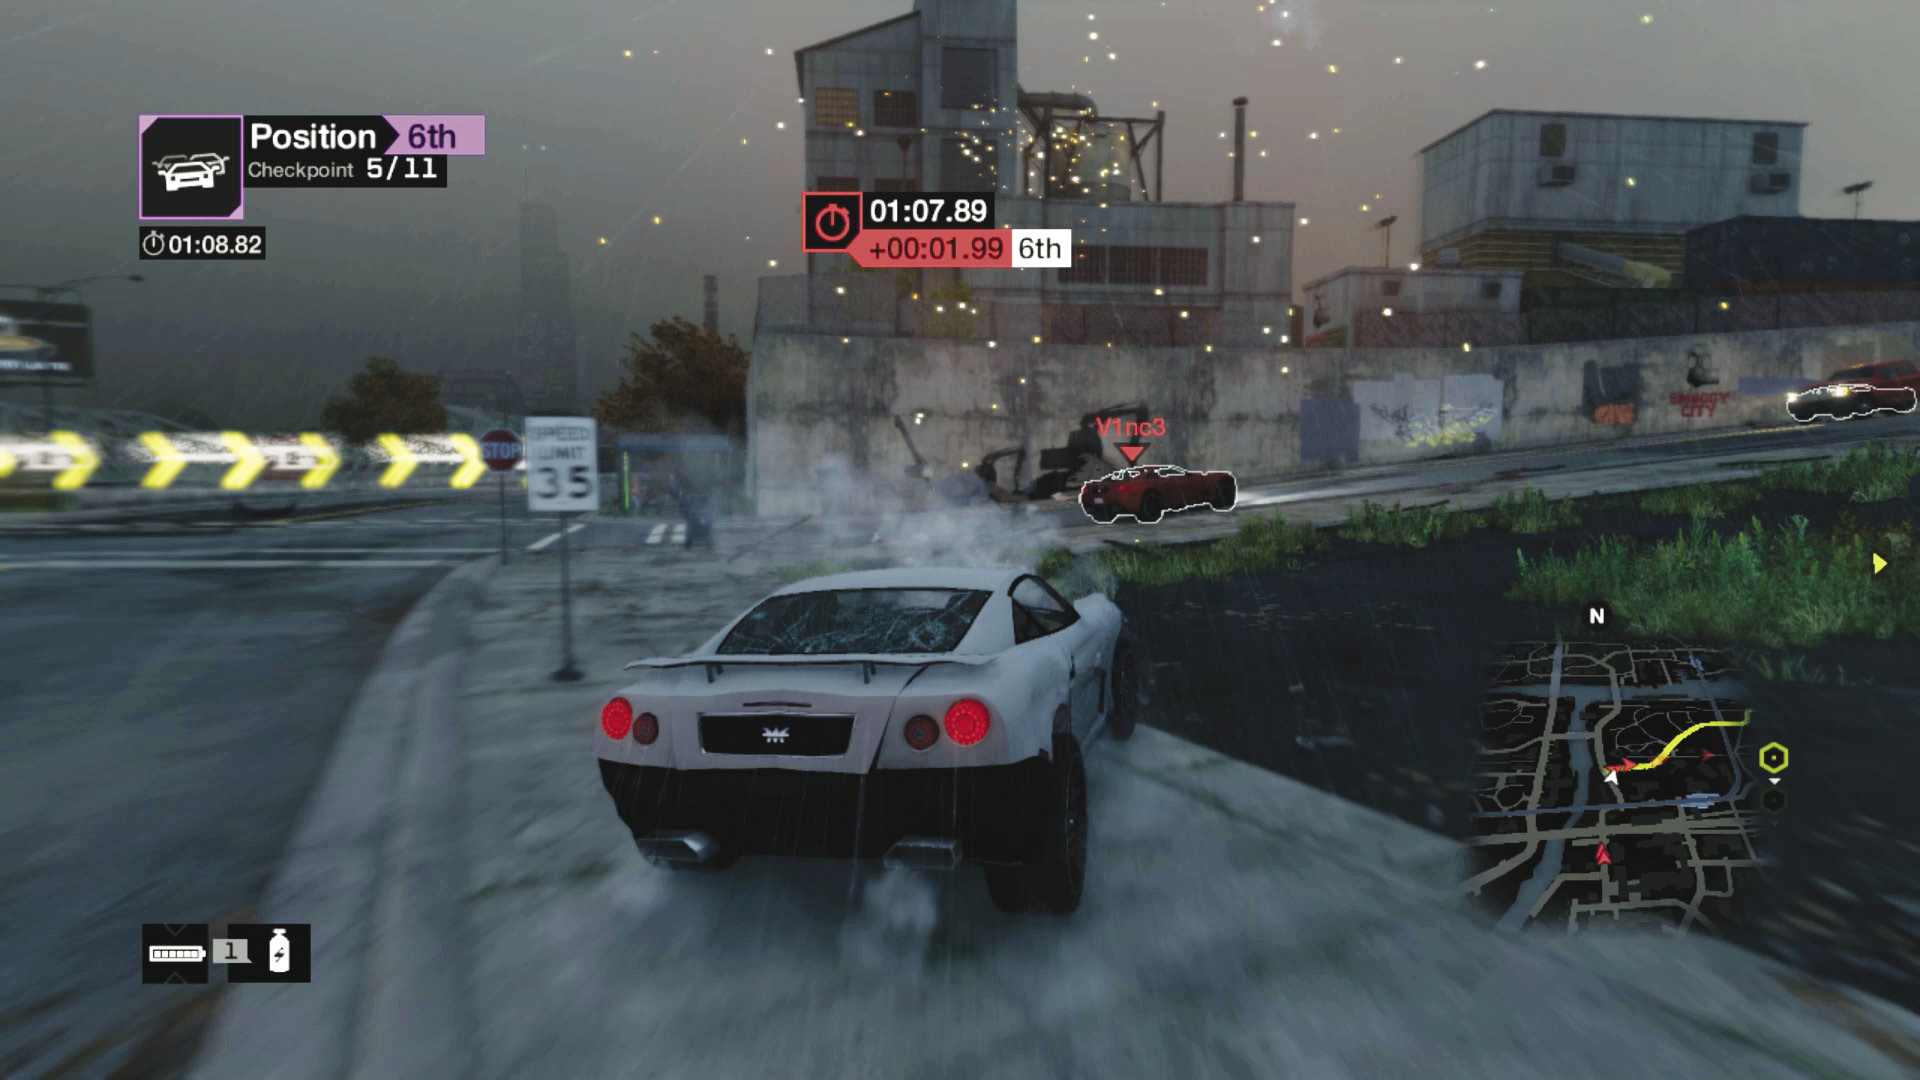
Checkpoint 5 (Shortcut): Or, you can aim right at the traffic lights just past the bridge, heading right of the bus stop and tree, across the grass, and down a block to the L-train elevated tracks. Skid left and drive under them, then merge back onto the main GPS course, cutting in hard on the right as you pass checkpoint 5.
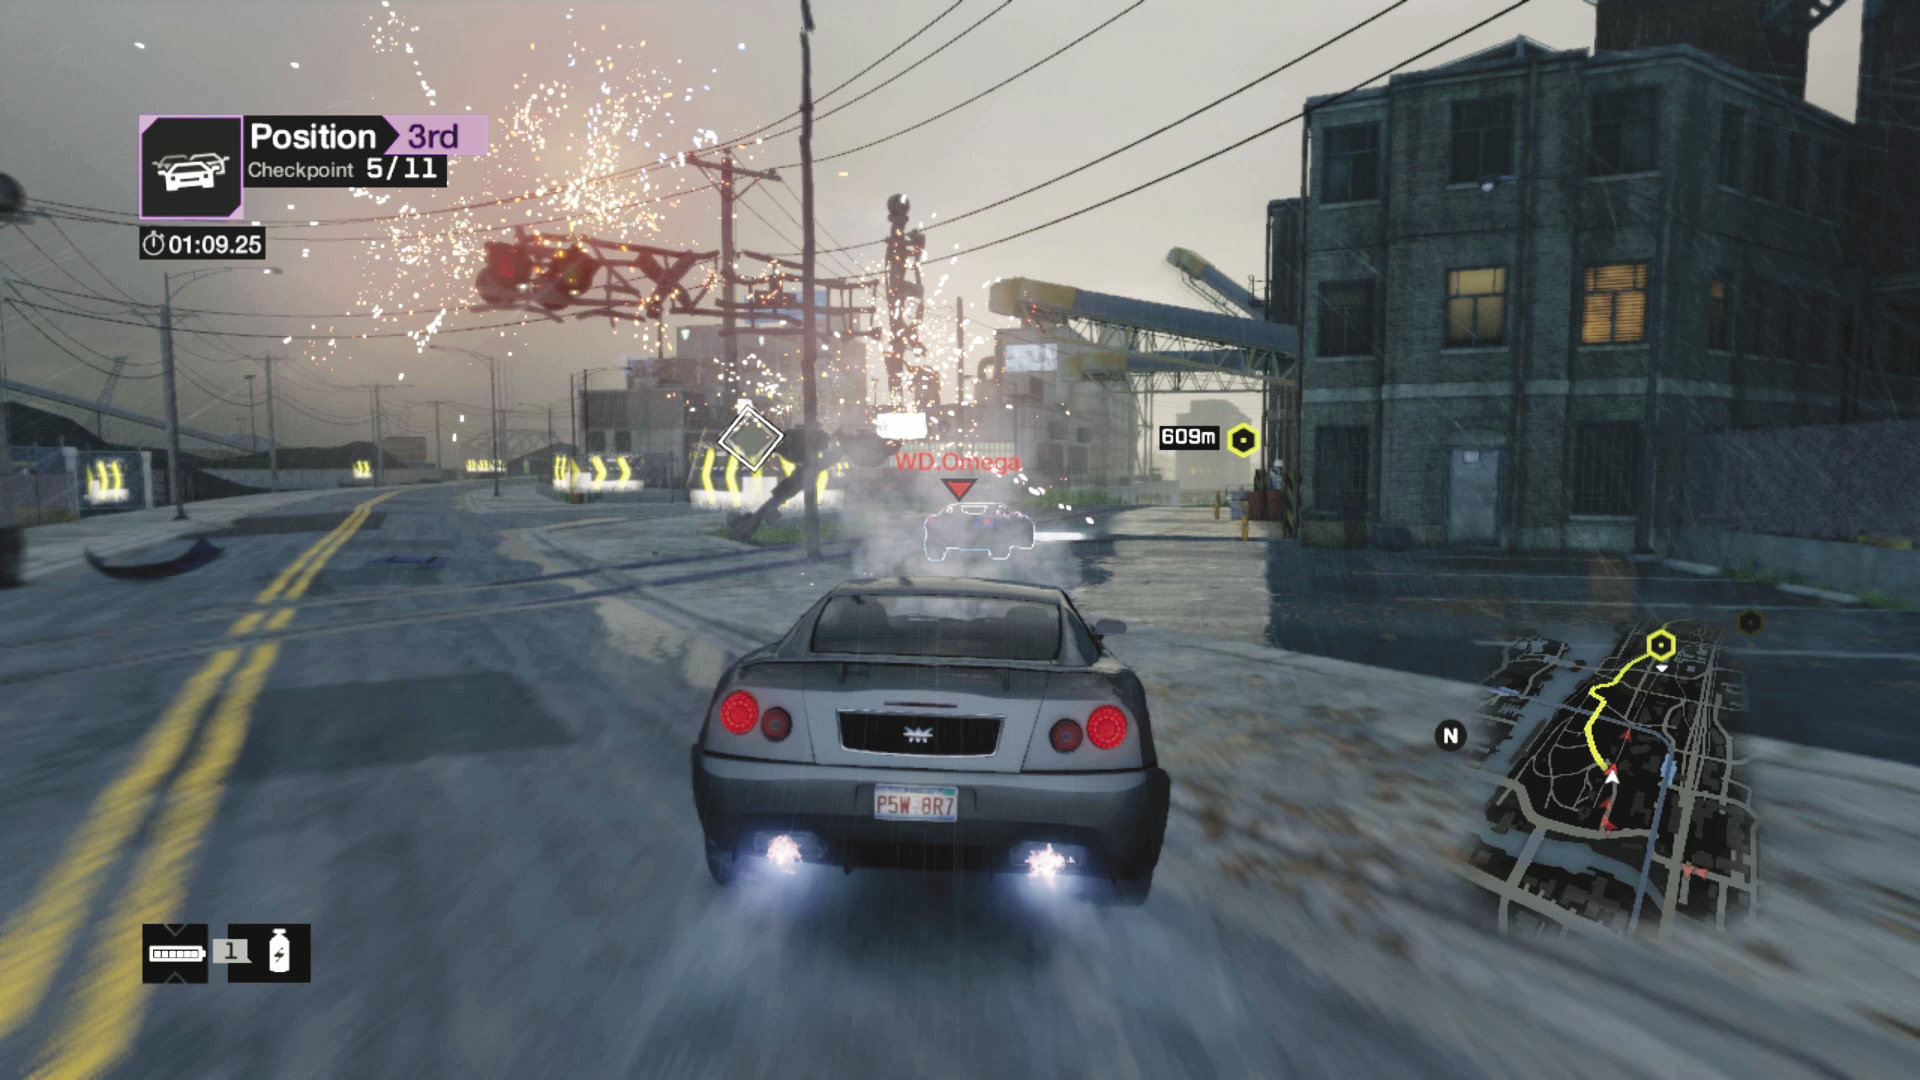
Checkpoint 6 (Shortcut): It’s generally unwise to remain on the road when reaching checkpoint 6; head right onto the rail tracks immediately, watching for the rusting engine and edge of the bridge as you race (and nitro) down to checkpoint 6, back onto the road.
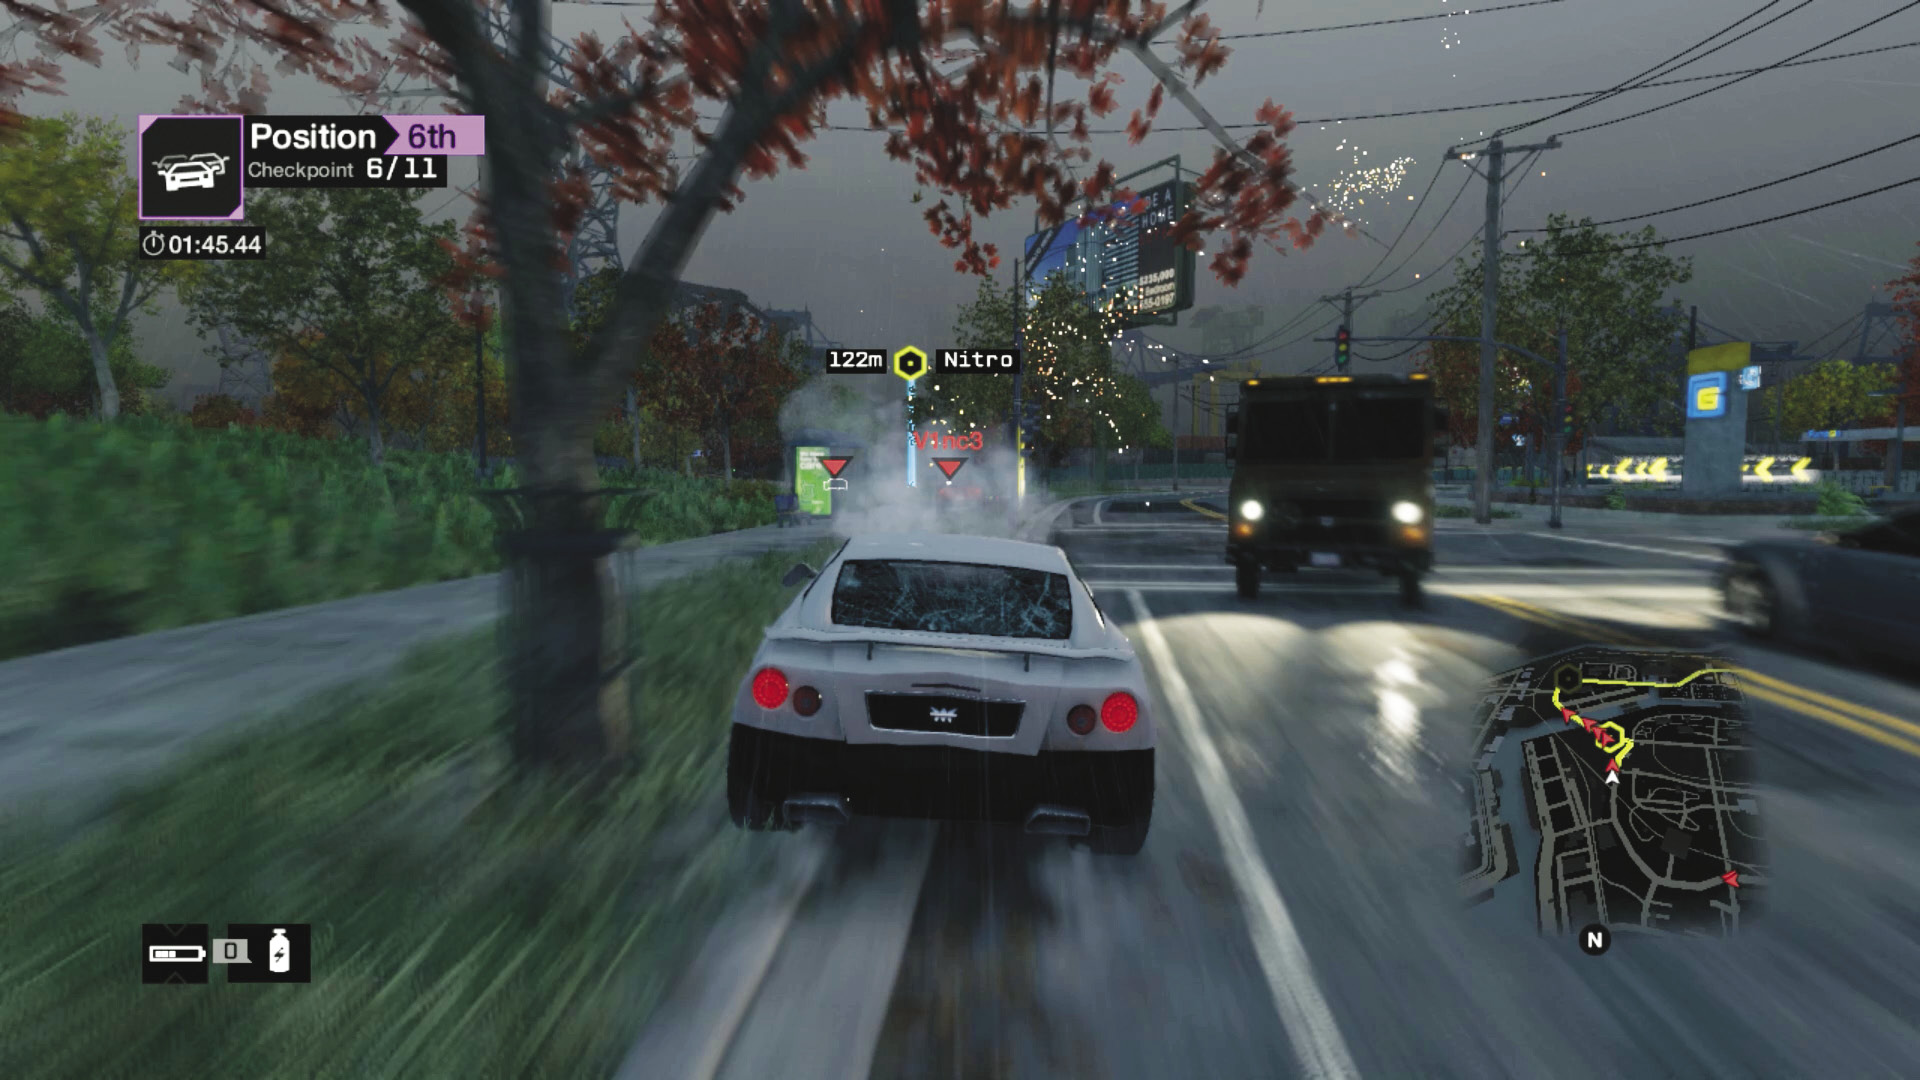
Checkpoint 7: Remain on the main road for the long right turn. When you drive under the bridge, stay to the left; avoid the intersection traffic and move onto the grass, avoiding trees and staying right of checkpoint 7. Choose either lane as you cross the bridge (oncoming is quicker but more dangerous).
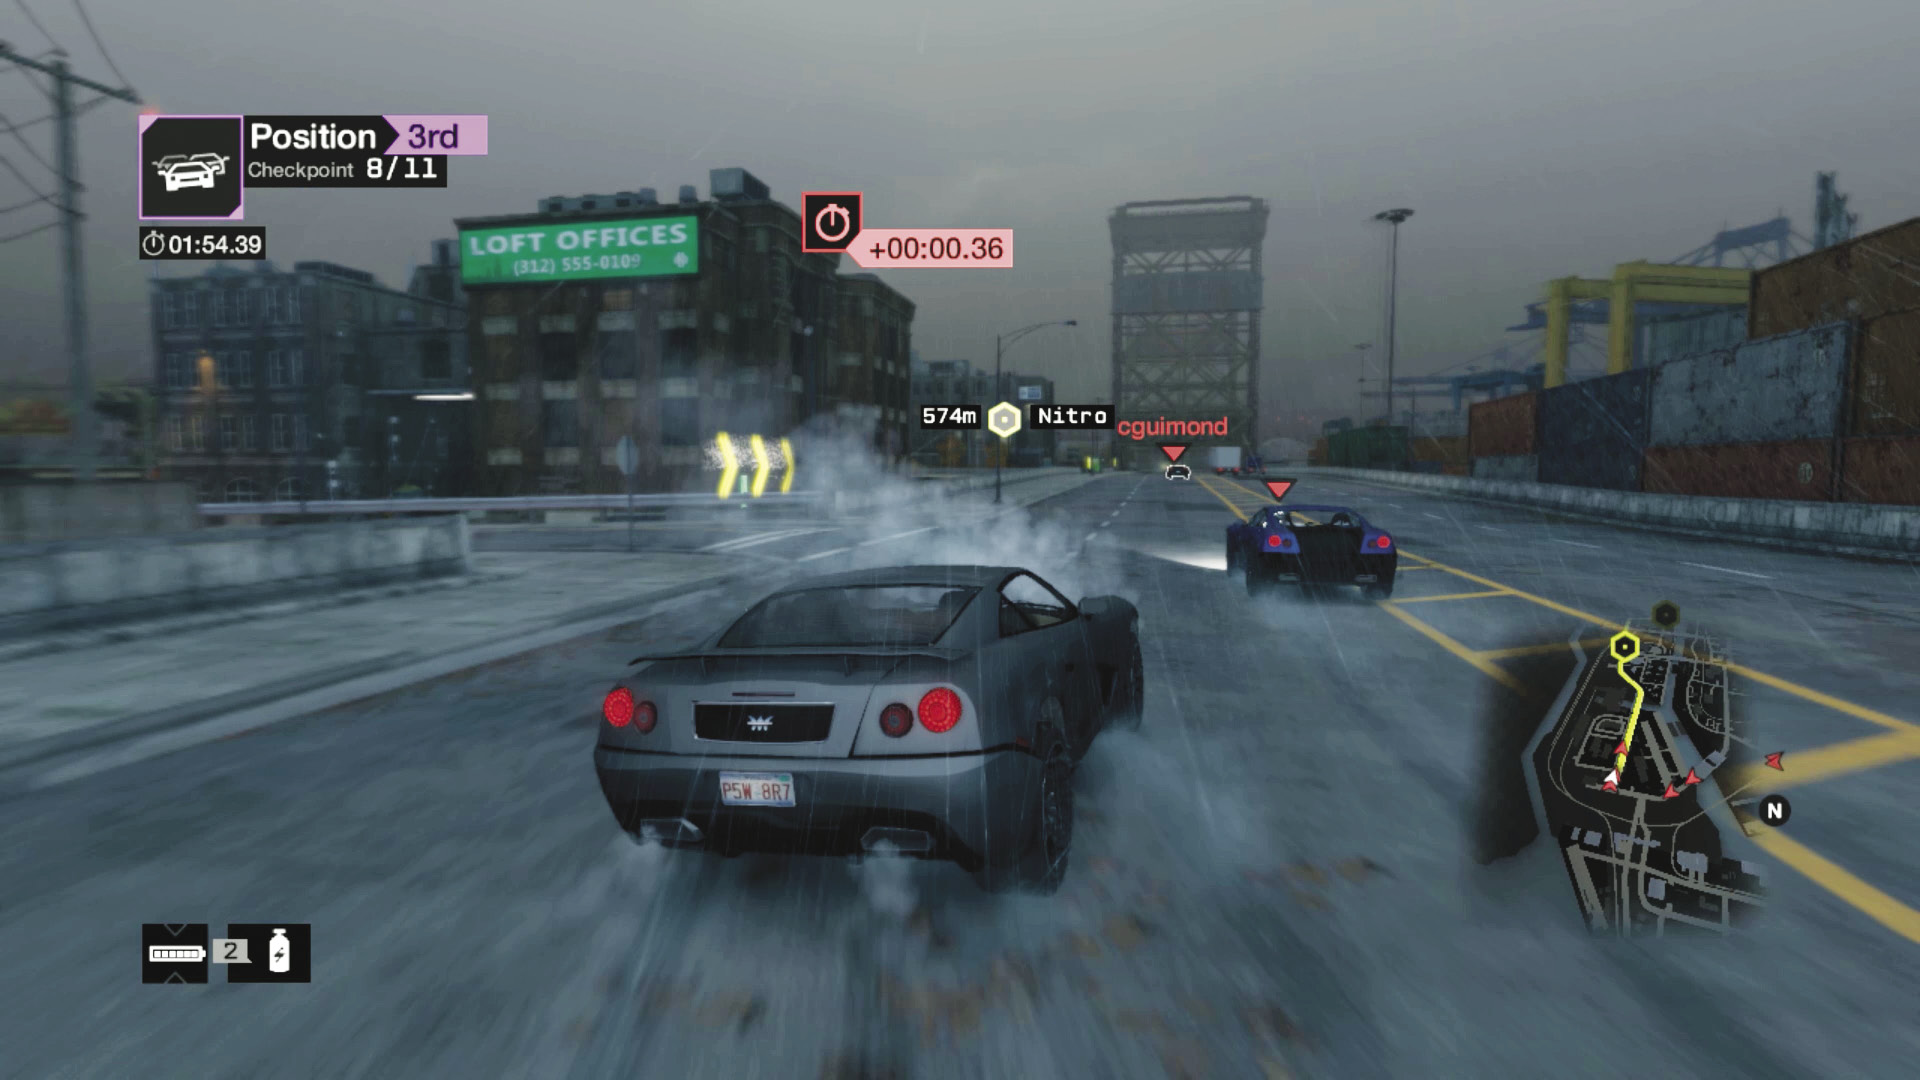
Checkpoints 8 and 9: You’re following the sharp right turn in the road and the larger main thoroughfare, over a bridge and through both checkpoints, remaining on this wide road and using your nitros as you position yourself for victory. Cut in on the corners when you can.
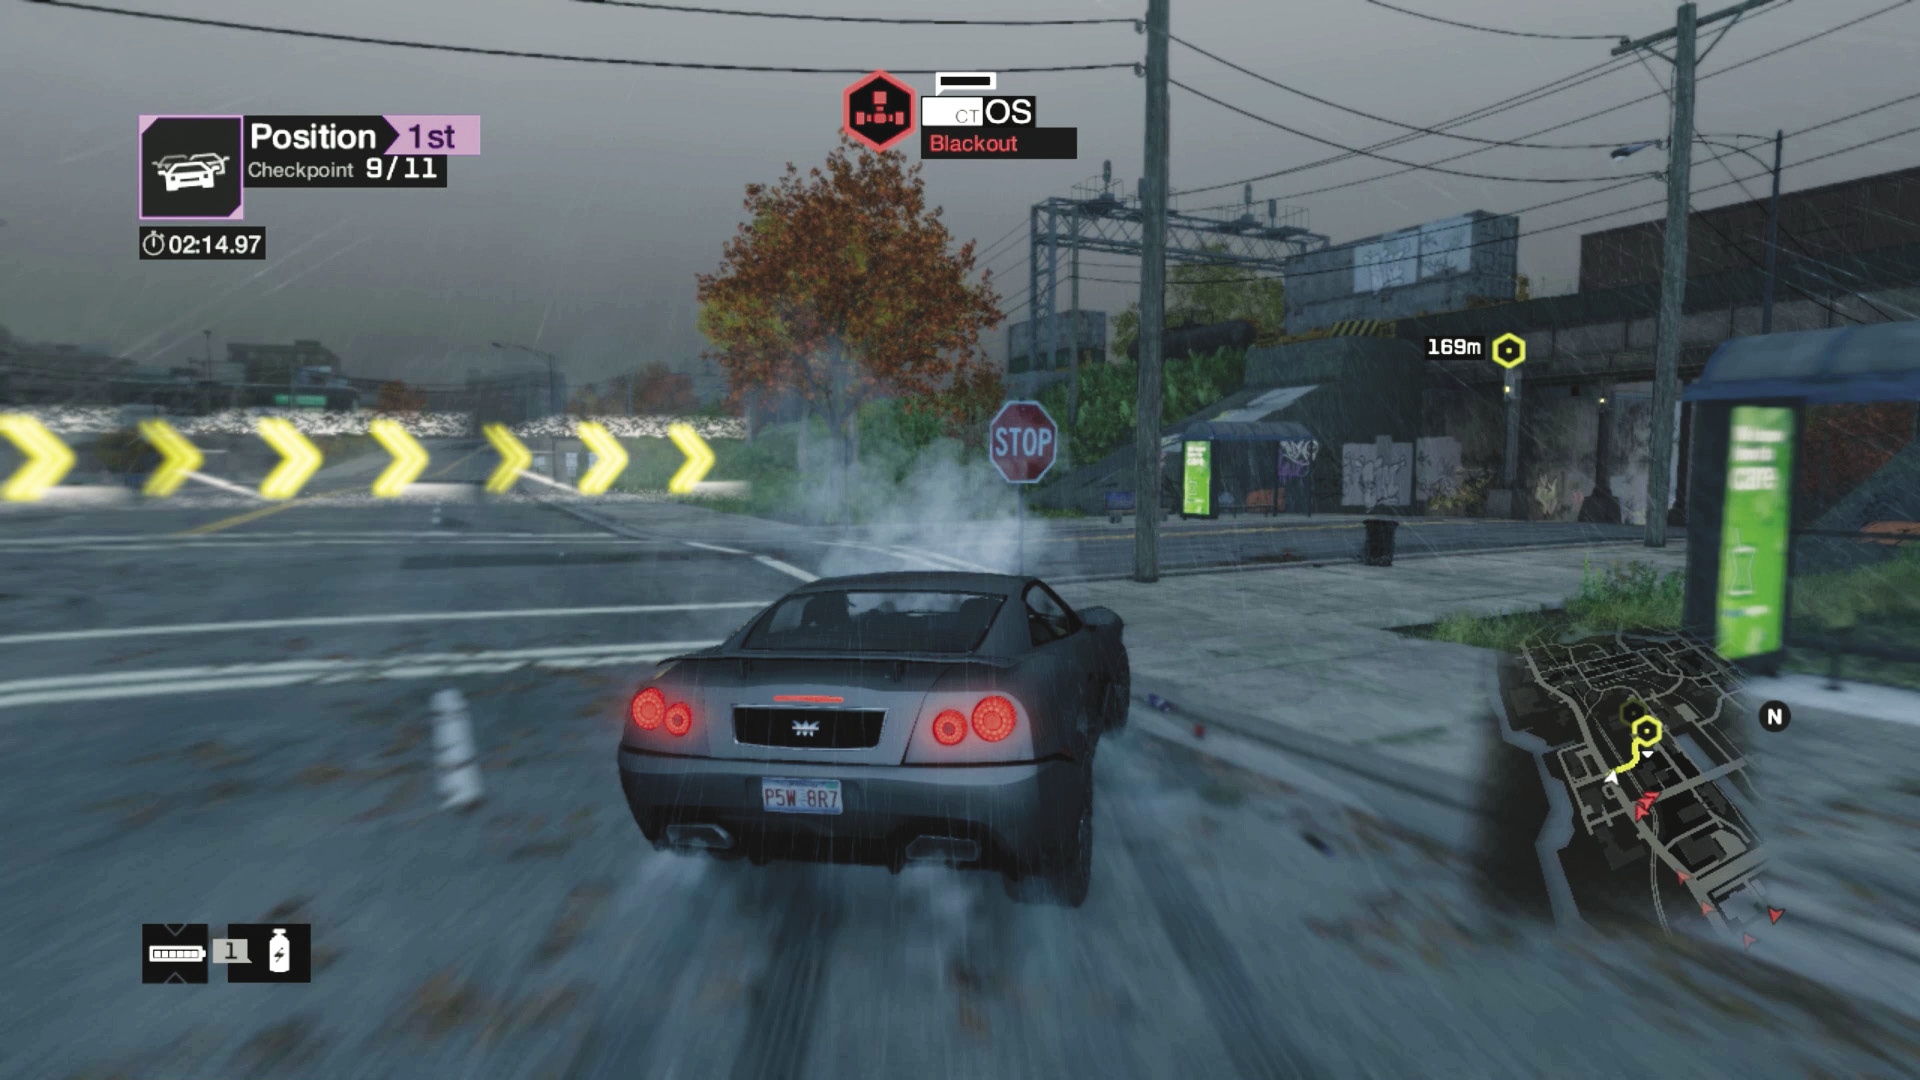
Checkpoints 10 and 11: There are two right turns you can choose from; the farther one (the GPS route) isn’t quite as quick but requires less braking and is recommended over the shortcut. The shortcut is a right turn just before this. Either is fine to pick, so use the route with fewer foes.
08_SLUM RUNNERS
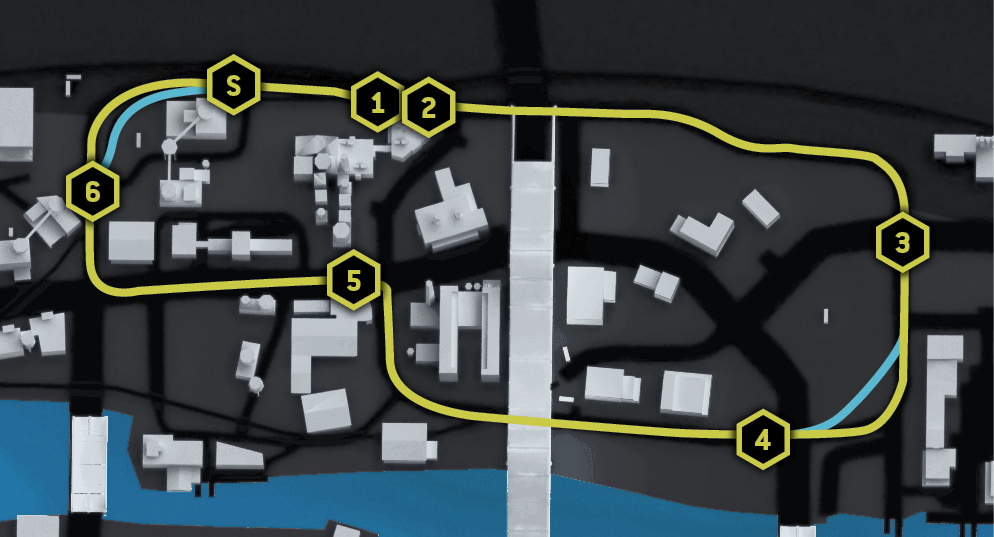
Starting location / Boat Yard and Railroad Tracks
Vehicle / Vespid 5.2
Difficulty: 
NUMBER OF LAPS: 3
NUMBER OF CHECKPOINTS: 6
TIME TO AIM FOR: 02:25 BEAT THIS: 02:17 (Chris Finlay)
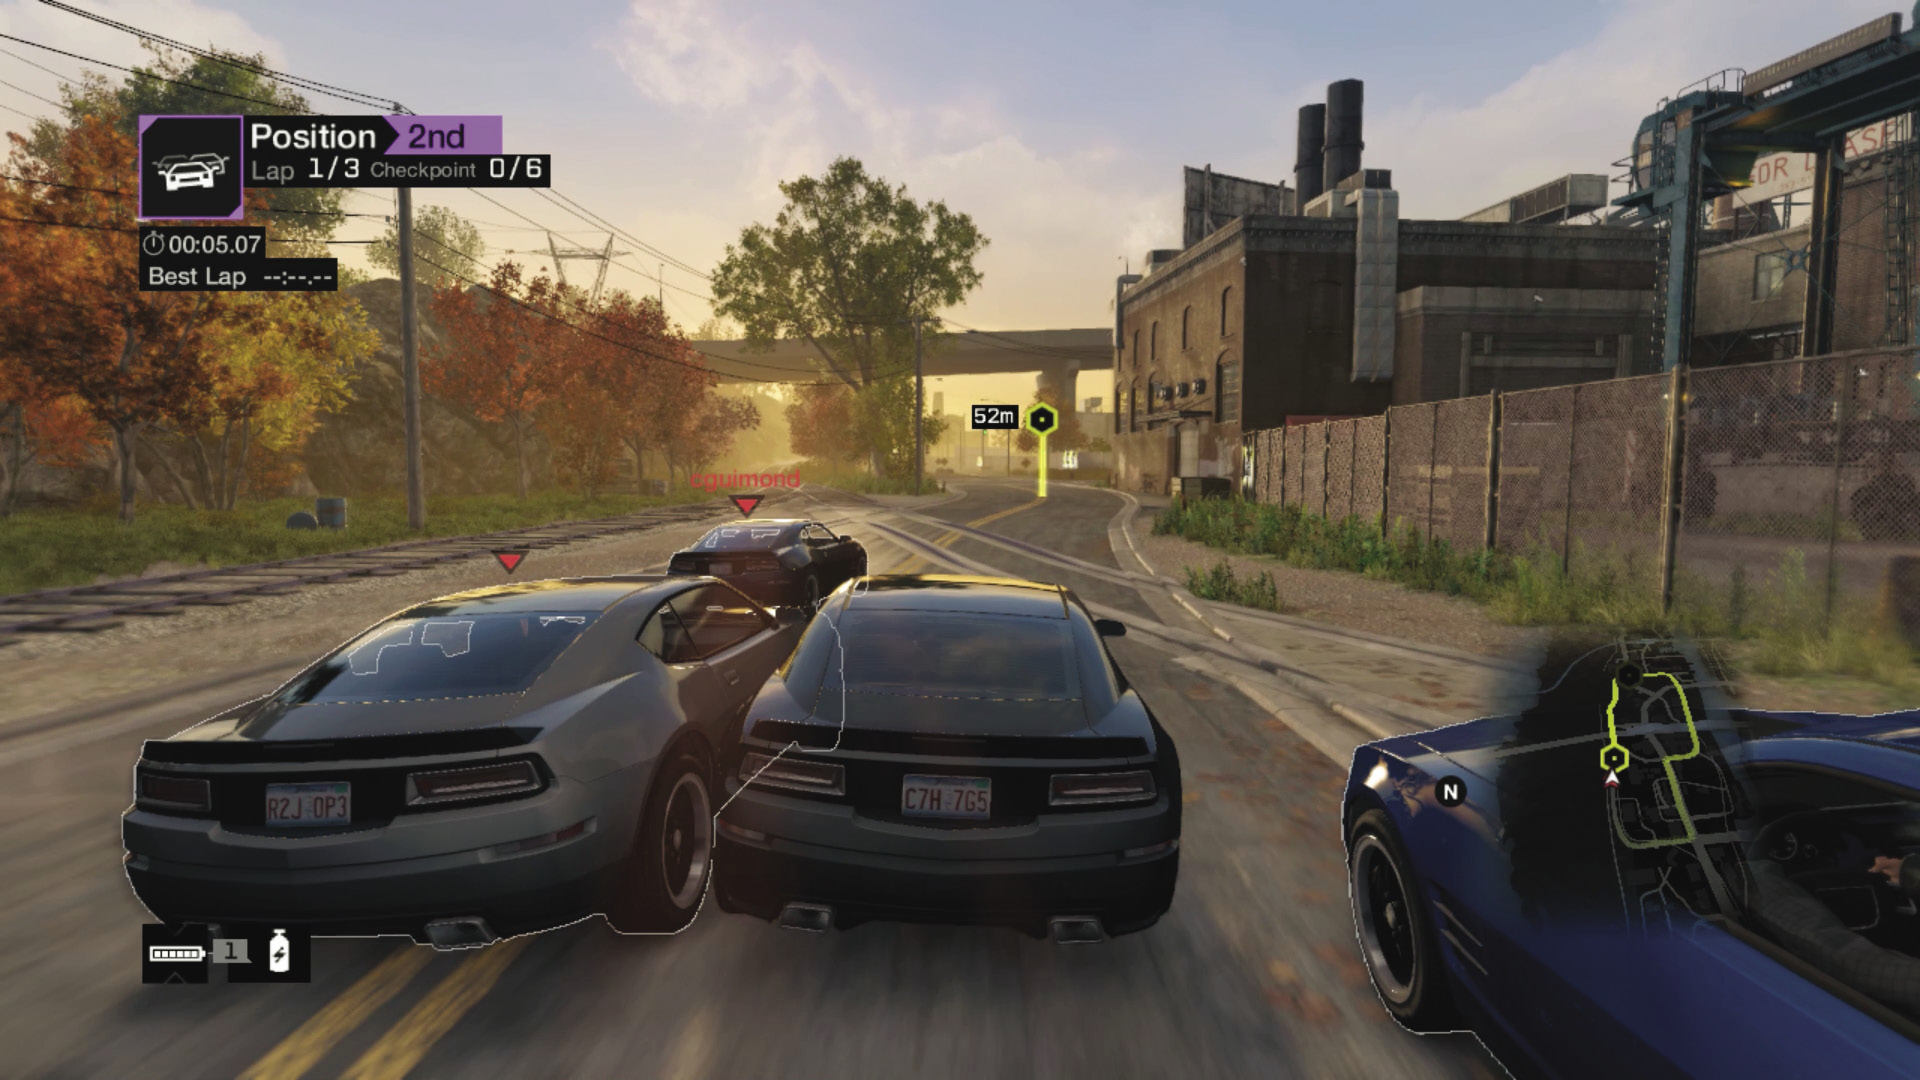
Checkpoint 1: There’s more jostling for position than in most races here, due to the relatively narrow road and wide vehicles. As you’ve three laps to traverse, you may wish to initially hang back while the shunting takes place. Or aim for a rival and knock them into the rough terrain, passing checkpoint 1.
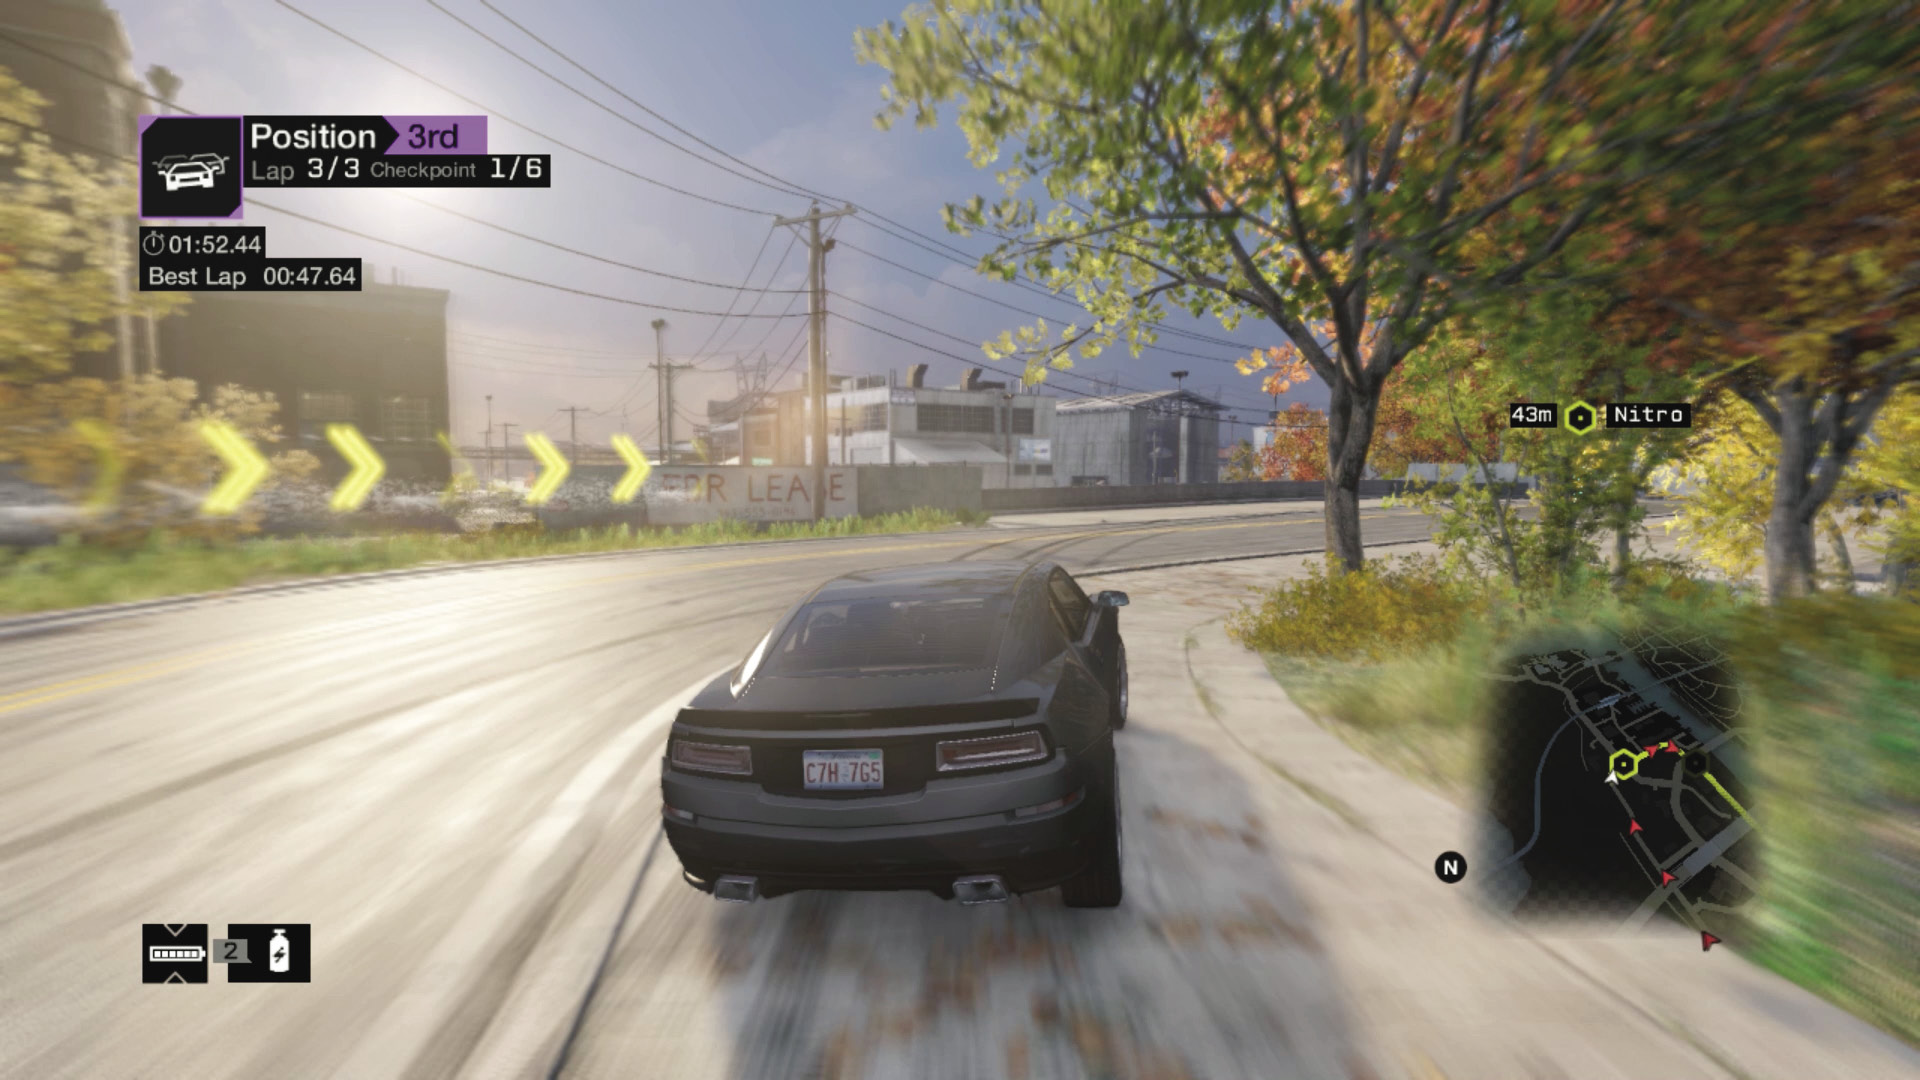
Checkpoint 2: This checkpoint is on a bridge, just after a right turn with no real shortcut accessibility. Remember you need to line yourself up by heading to the right slightly, as you pass through this checkpoint.
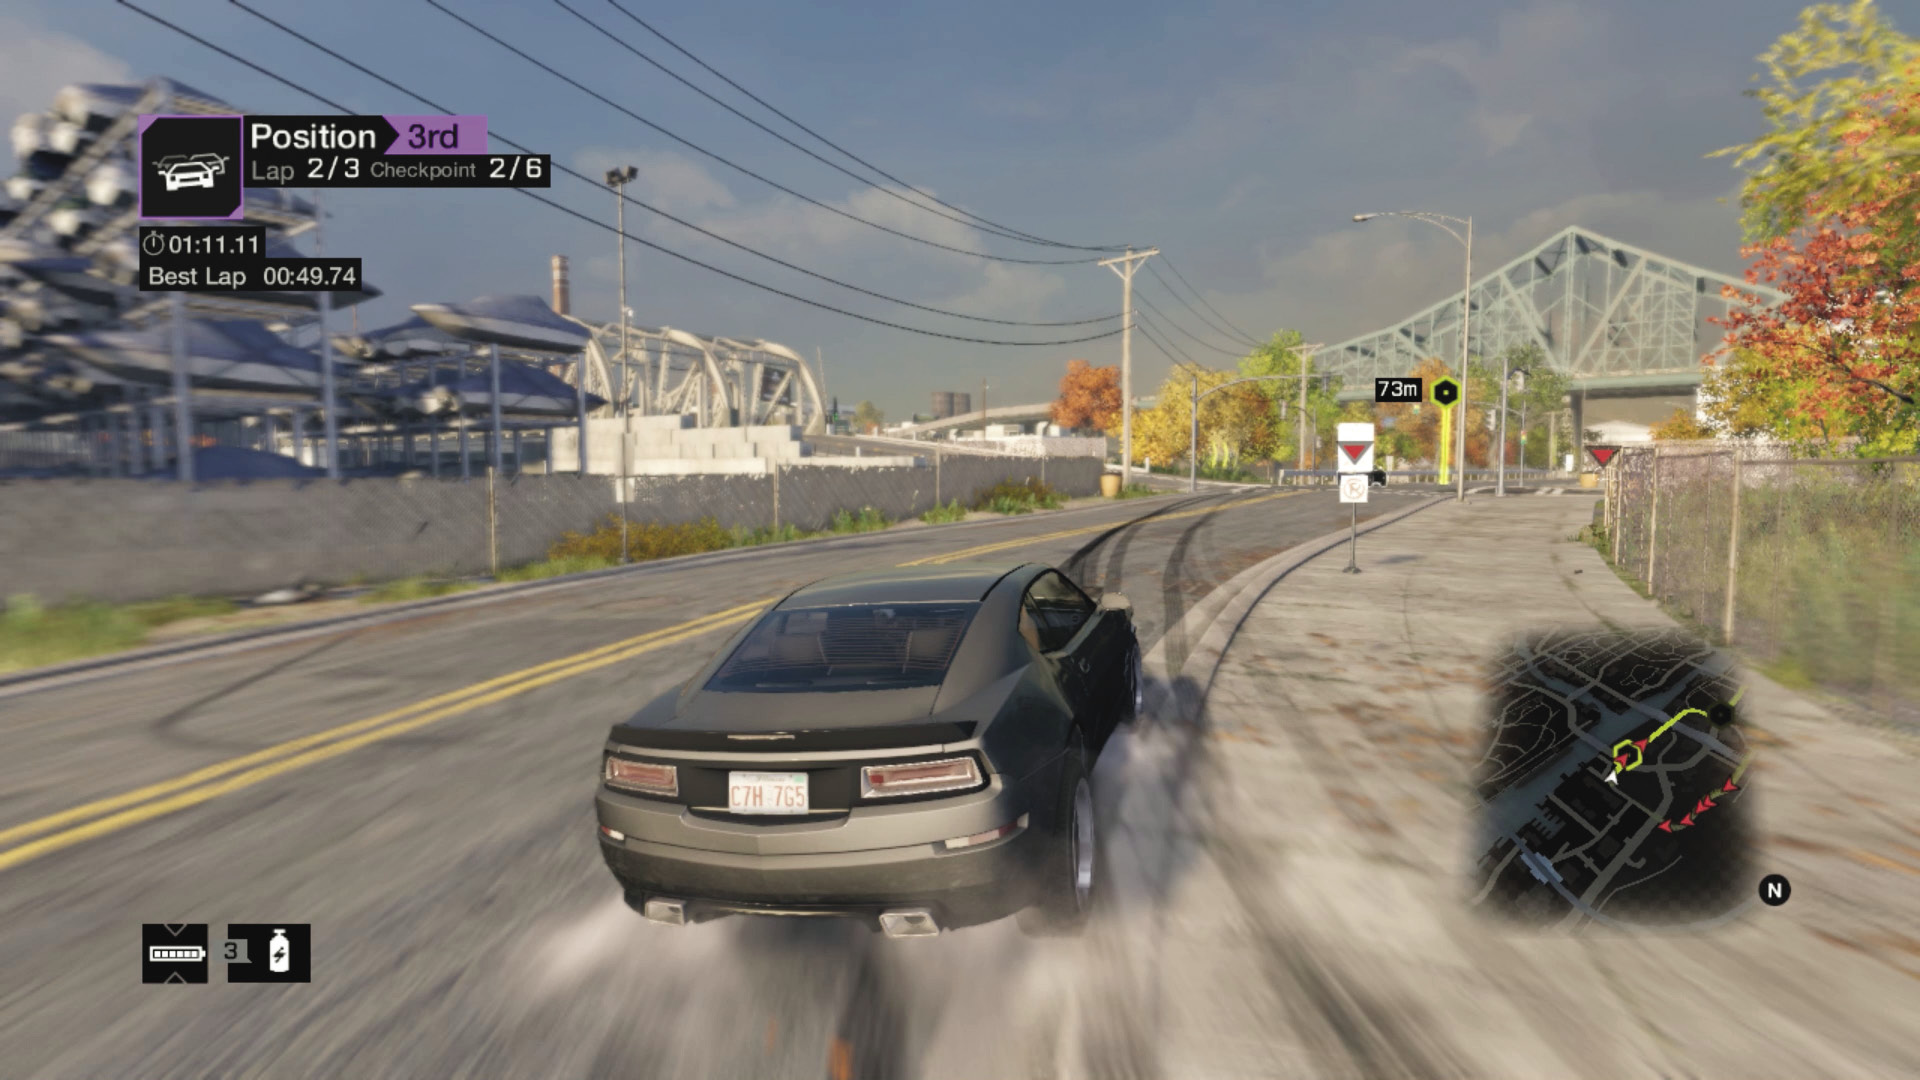
Checkpoint 3: There’s another right turn before this checkpoint and a possible shortcut through the fencing (just after the bridge and checkpoint 2) and across the grass. But this is dangerous, and a proper turn on tarmac along with a nitro is both faster and safer.
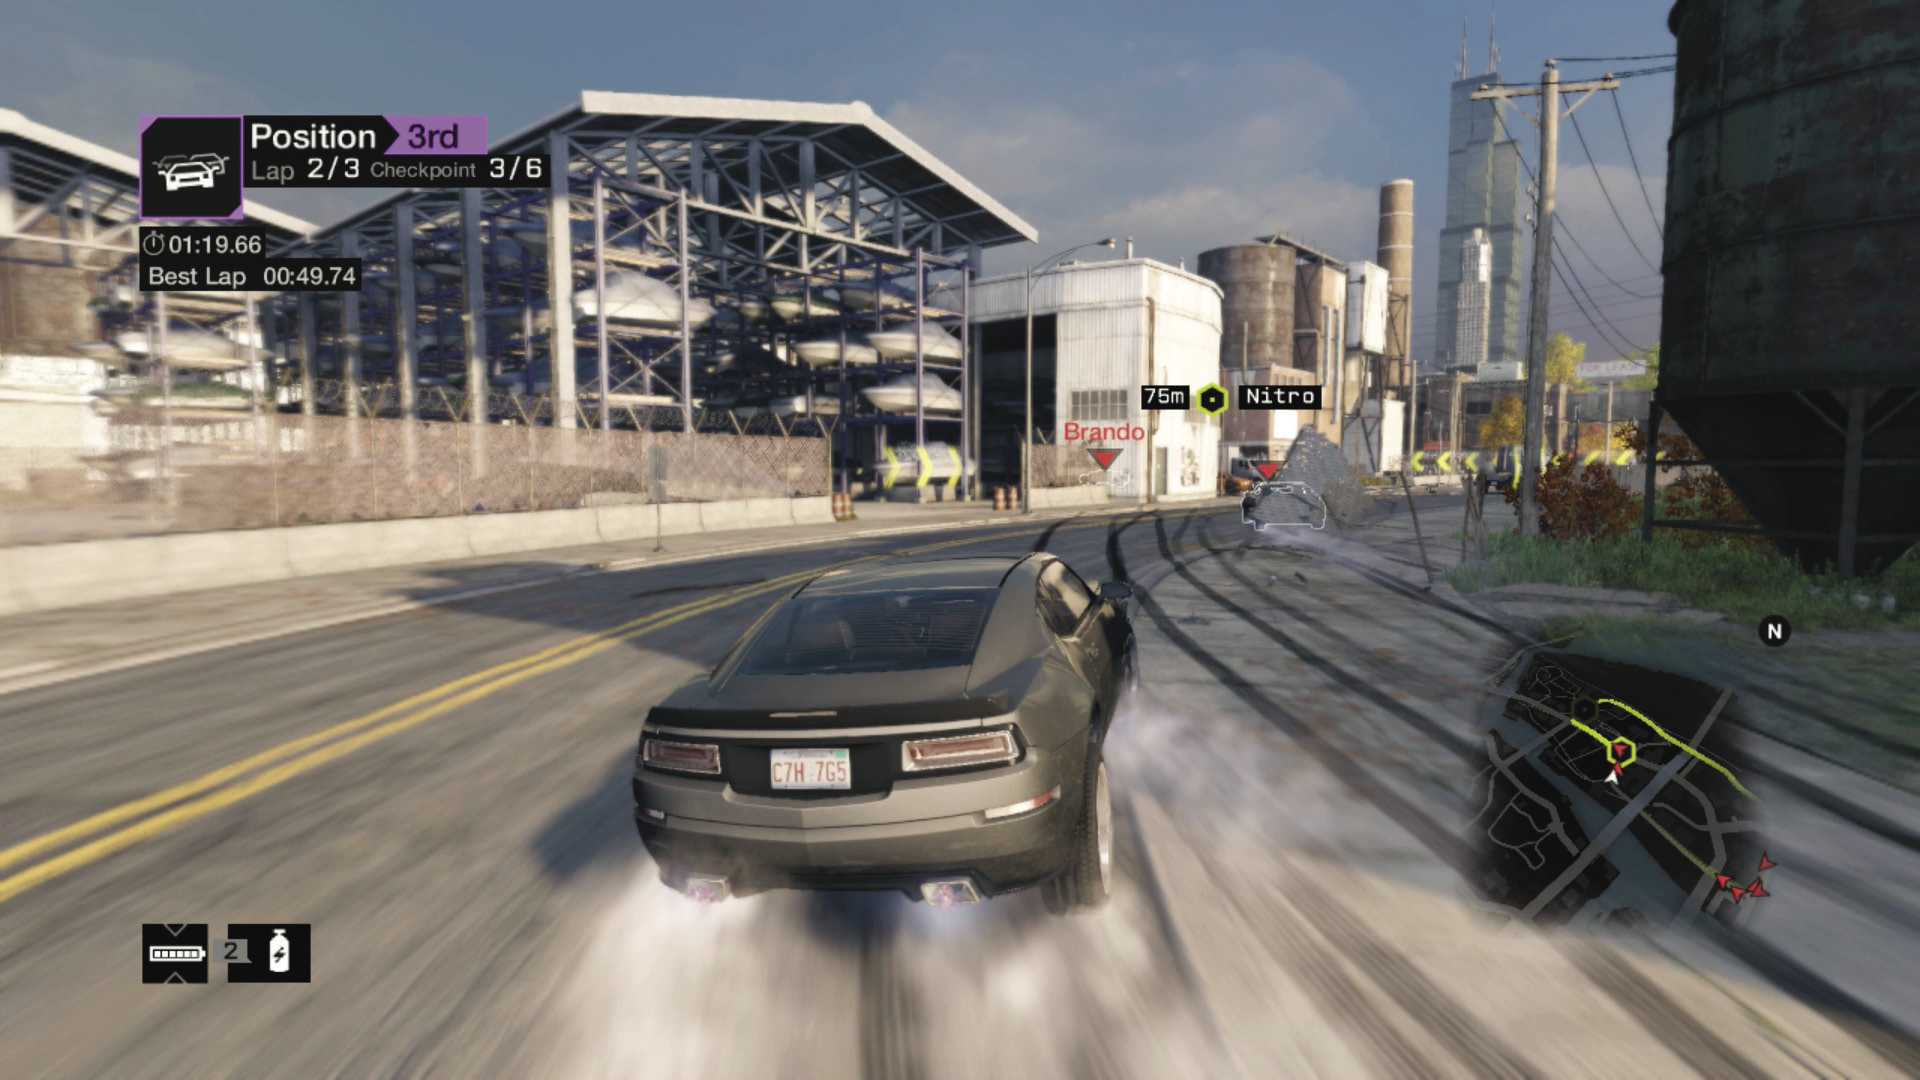
Checkpoint 4: At the next right turn, try to maintain a racing line diagonally toward checkpoint 4, which is around the left bend behind the warehouse. Don’t head into the warehouse through the flashing chevrons, or you’ll be off course. But this is a good place to shunt a foe!
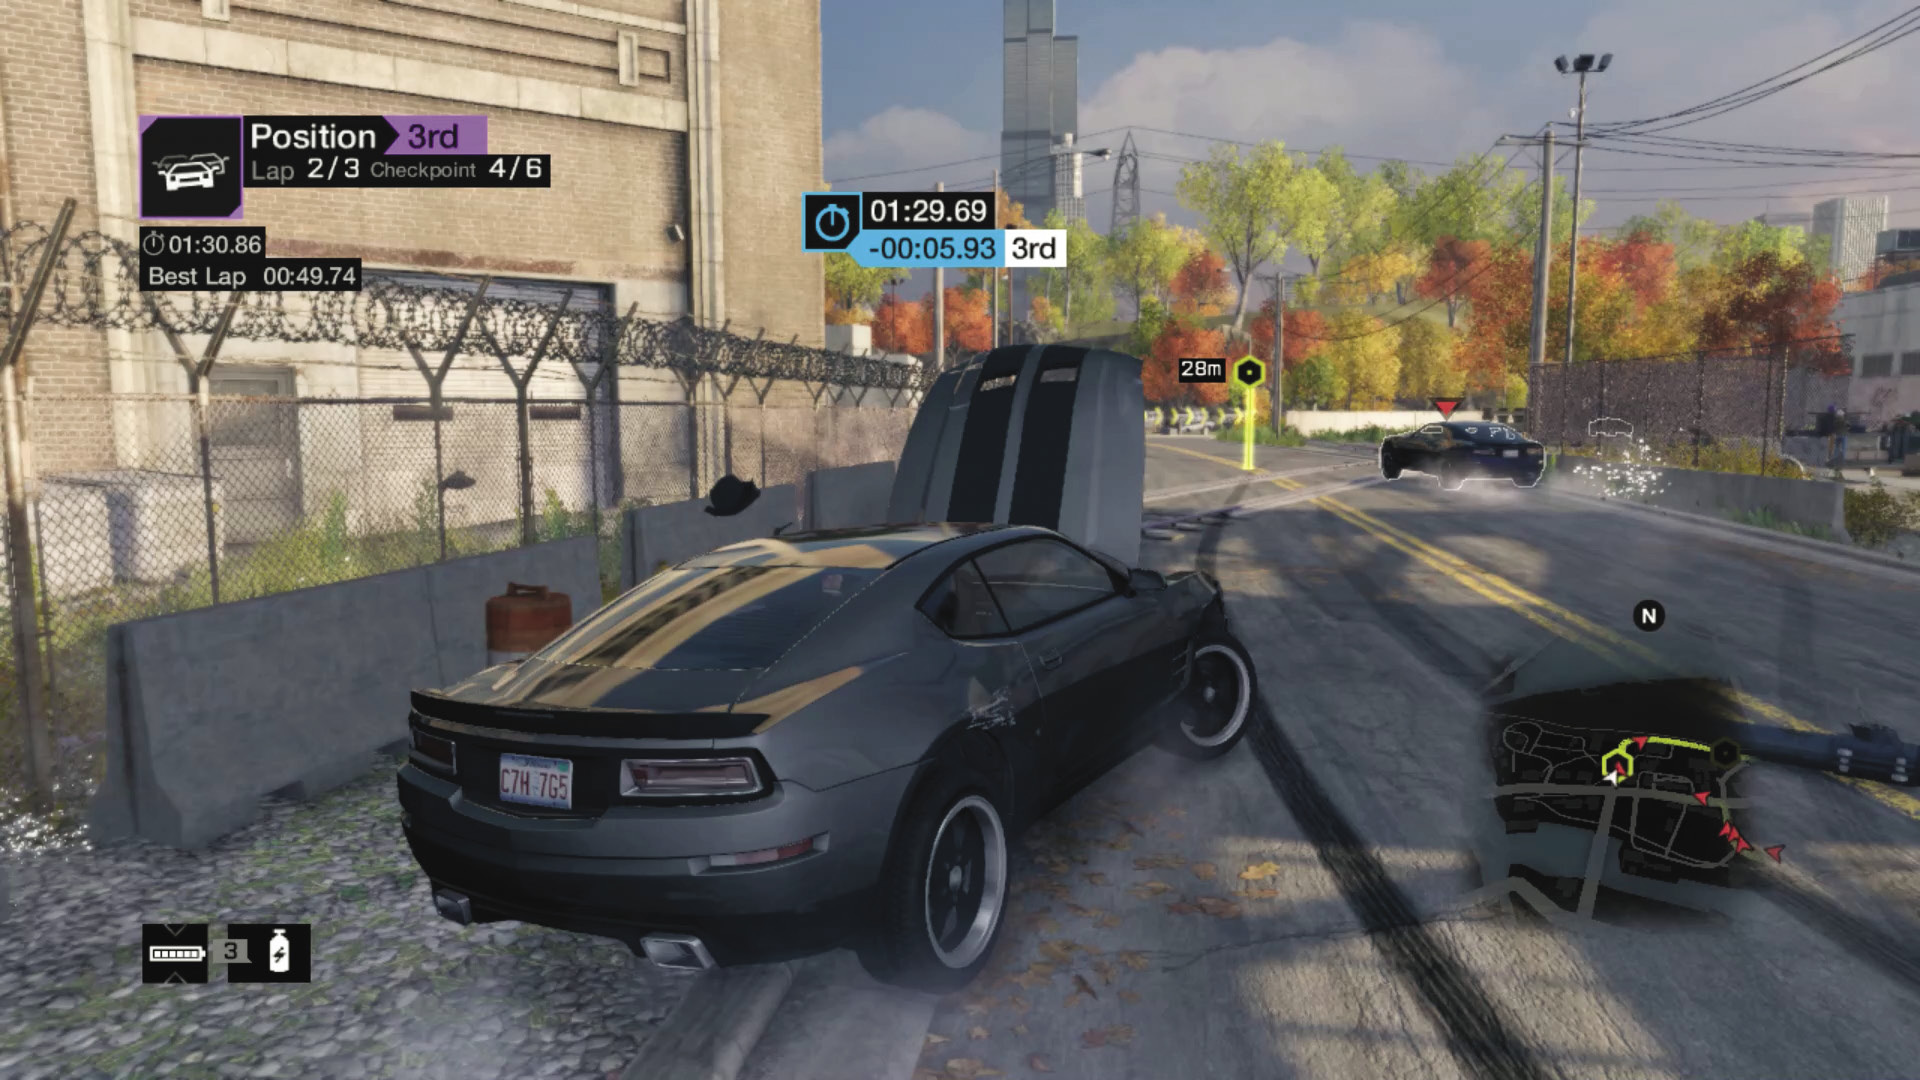
Checkpoint 5: The right corner before this checkpoint is the nastiest turn of the race and comes up sooner than you’d expect (you’re not driving to the bridge you can see ahead of you). The corner is also a problem, as there are concrete barriers on both sides, meaning an exact racing line is needed; bash foes here if you can.
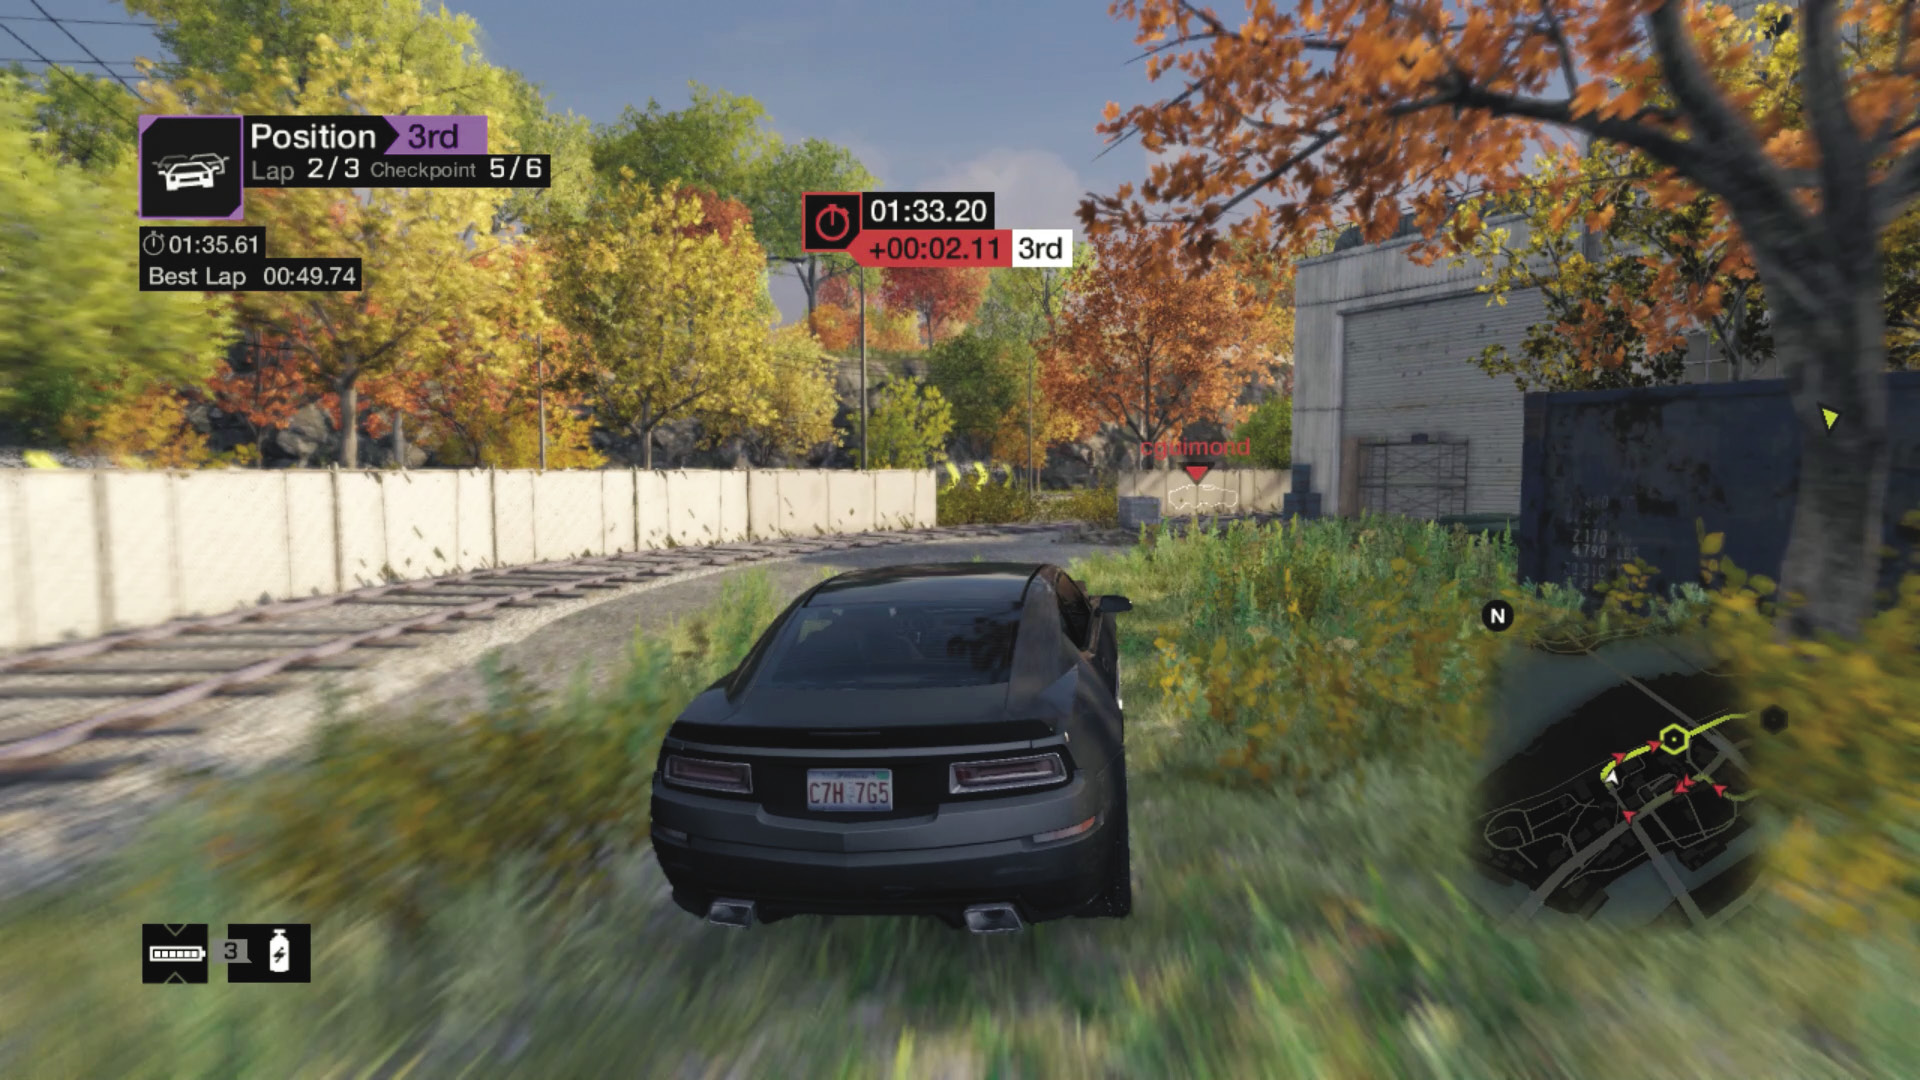
Checkpoint 6 (Shortcut): Between checkpoints 5 and 6, there’s an area of rail tracks and fencing you can drive over, as long as you avoid any concrete blocks and trees; stay on the road’s right side (but don’t hit every fence section, as that slows you down) until you wish to merge, usually at the final checkpoint.
THE LOOP
09_CUTTING CORNERS
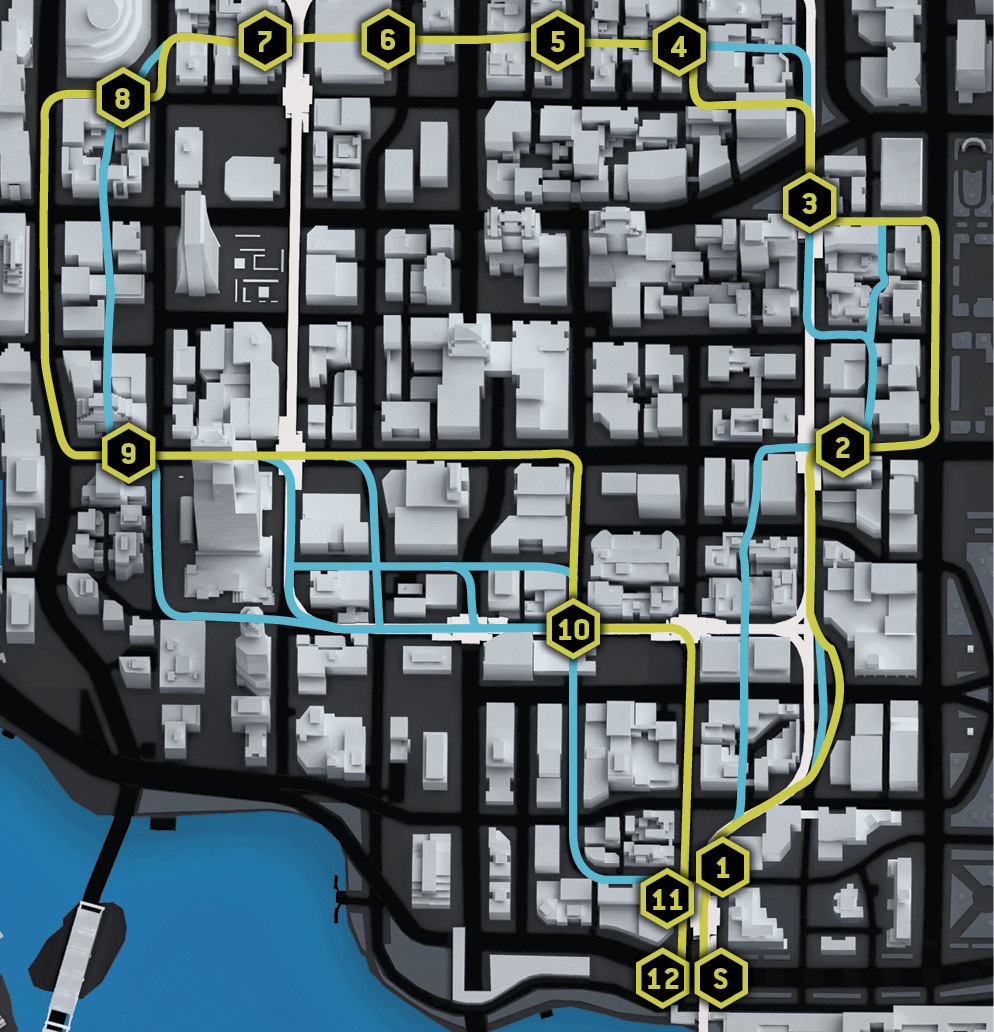
Starting location / Hollenkamp Station
Vehicle / Carrozza
Difficulty: 
NUMBER OF LAPS: 1
NUMBER OF CHECKPOINTS: 12
TIME TO AIM FOR: 02:20 BEAT THIS: 02:10 (Thomas Di Tota)
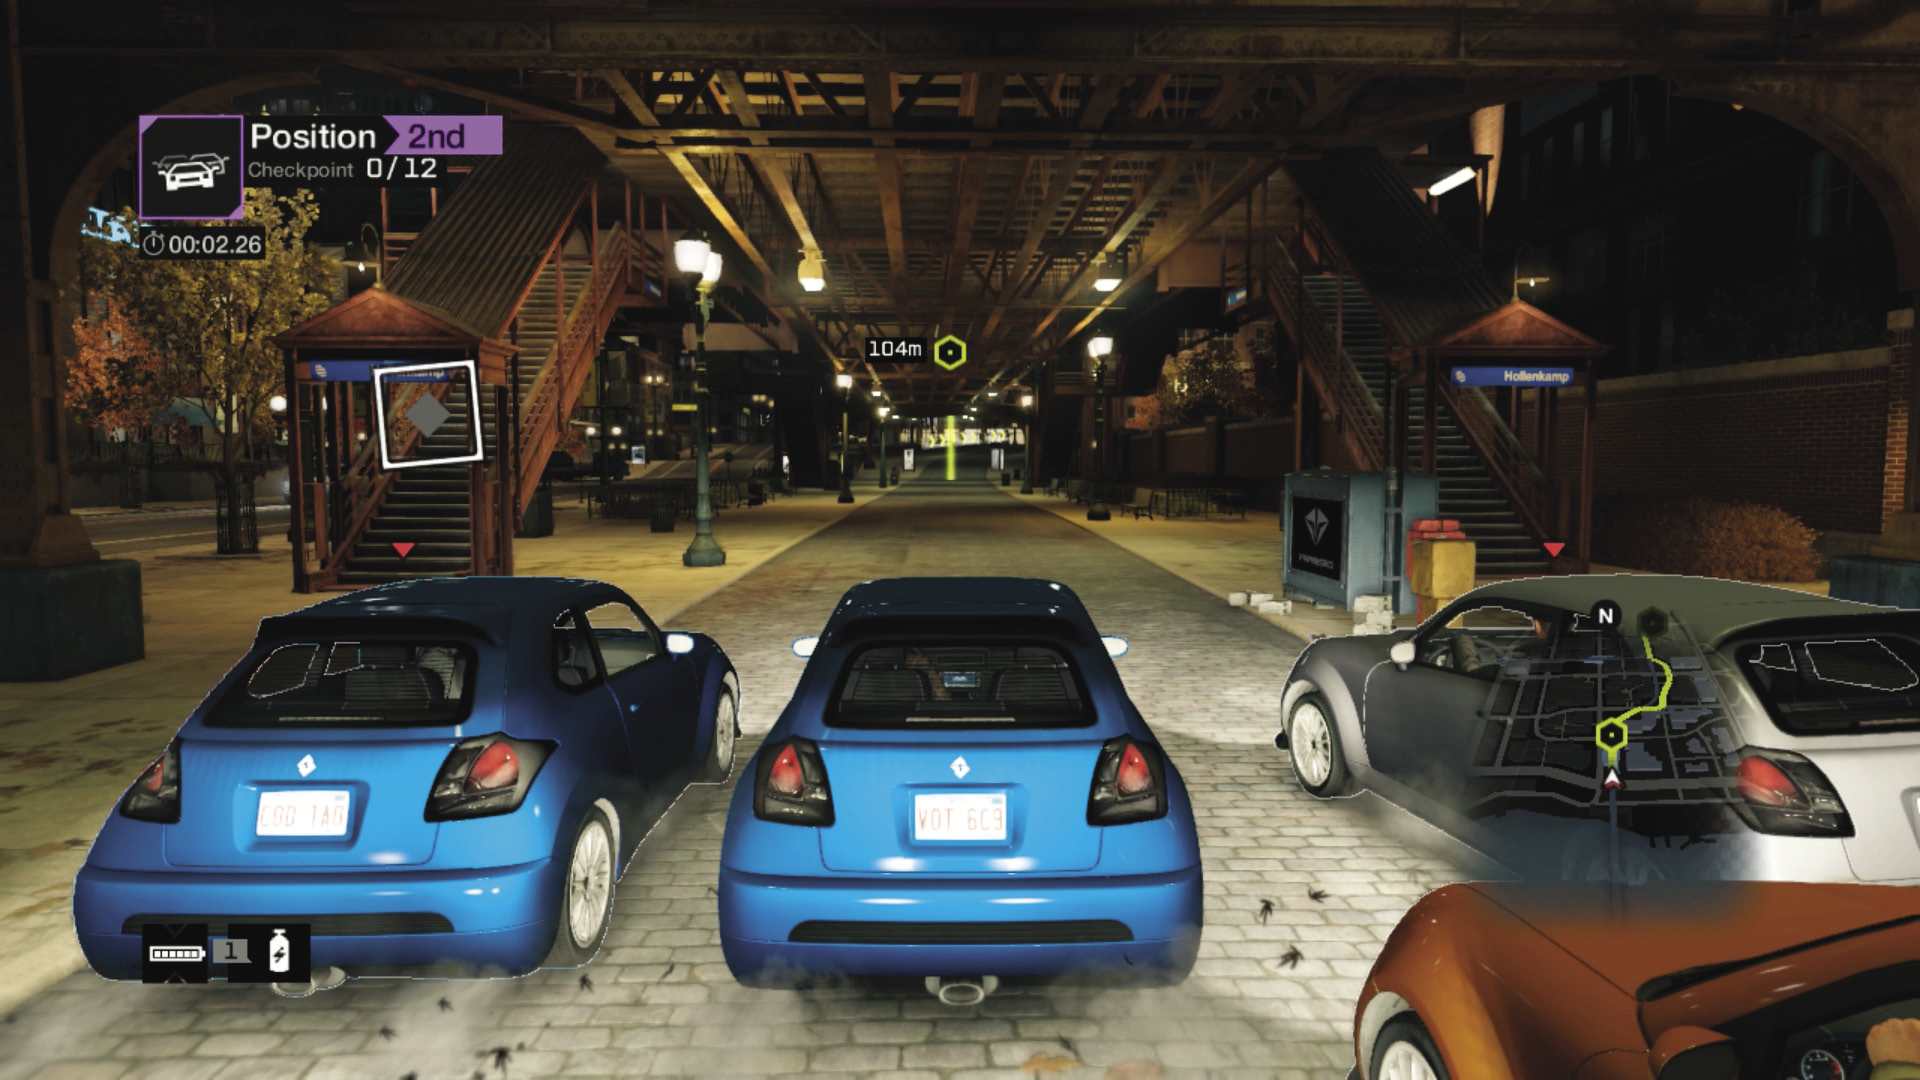
Checkpoint 1: This track has a load of shortcuts, mostly at the beginning of the race. The slim and boxy vehicle is perfect for such maneuvers, but don’t underestimate the easier steering you can achieve on the wider main course. Start with a right turn as you follow the L-train tracks and through checkpoint 1.
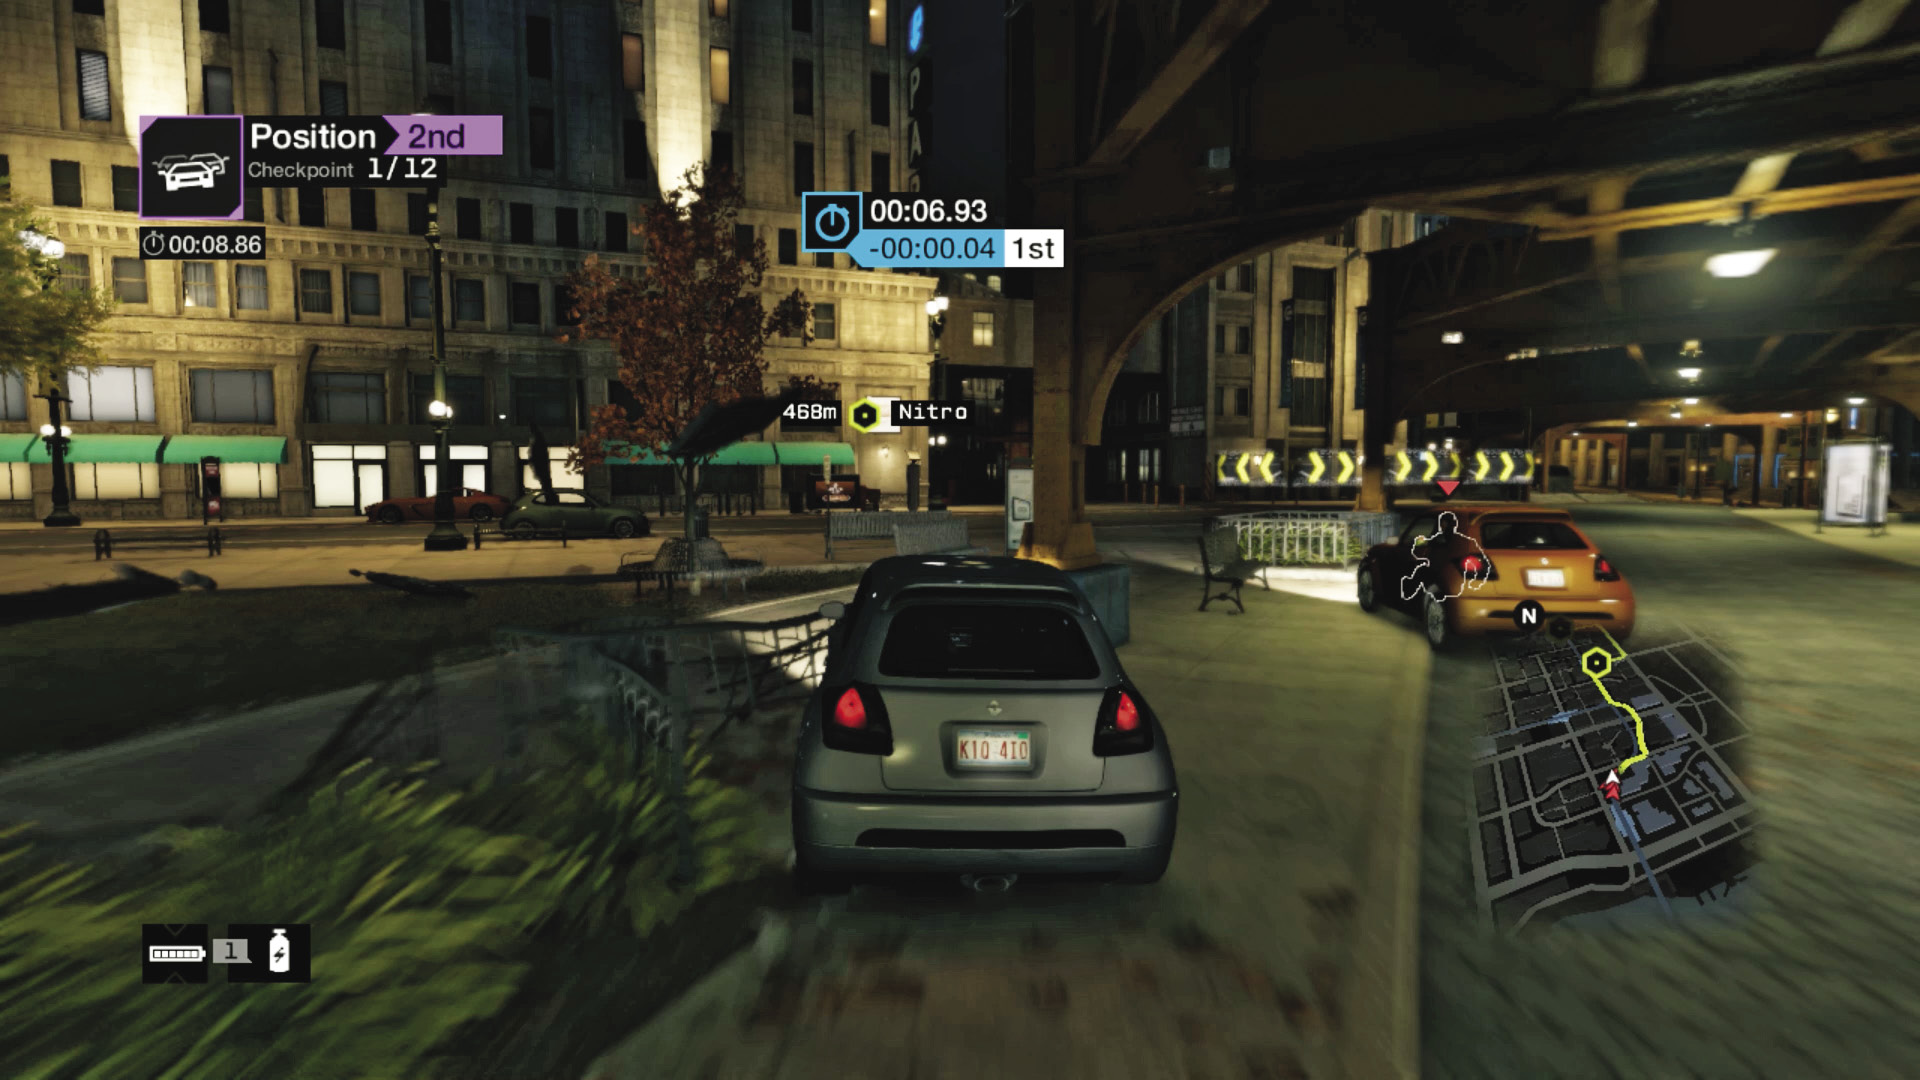
Checkpoint 2 (Shortcut): Scoot left at the first alley you can to enter a shortcut. The main GPS path turns left soon after. There’s three blocks of alleys you can head down before you must make the right turn to reach checkpoint 2.
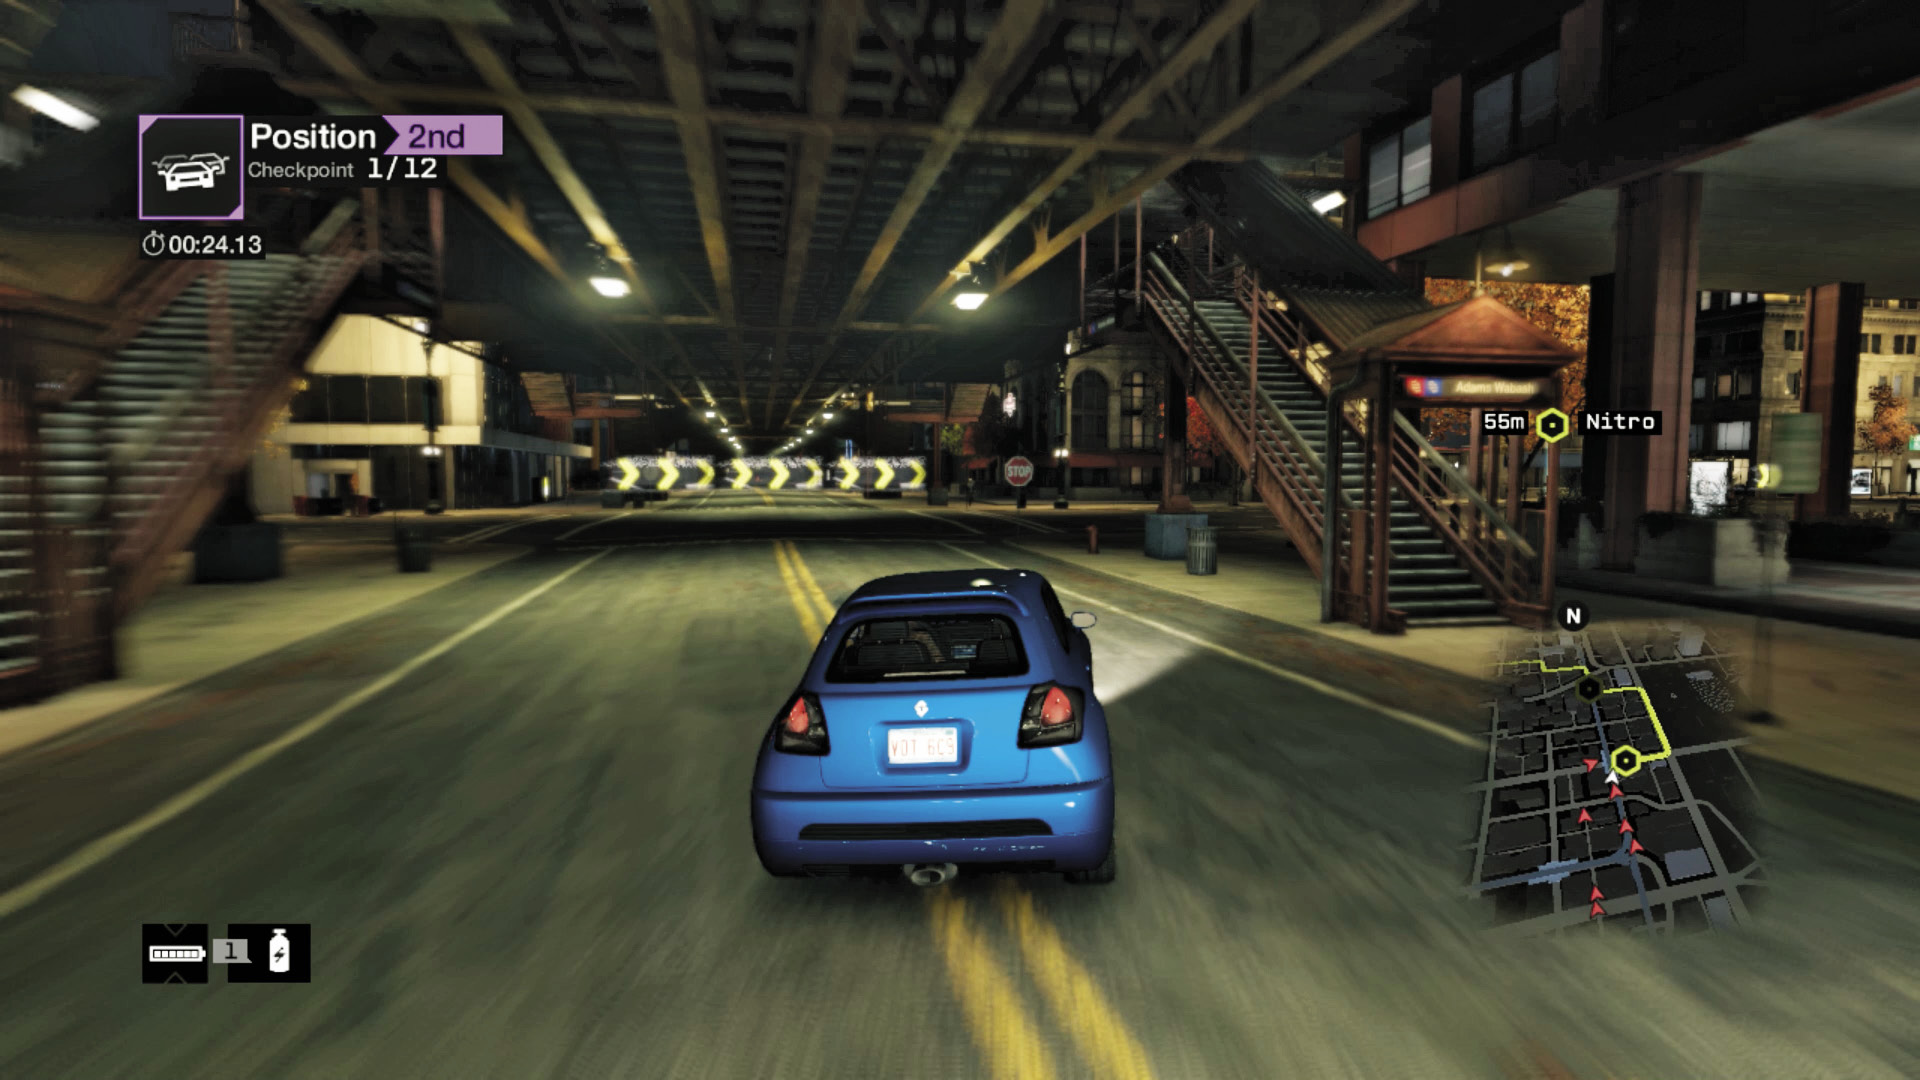
Checkpoint 2: Or, you can stay on the GPS path, optionally driving on the left, through the rectangular sculptures, and getting a straight shot to the checkpoint. Watch for infrastructure hacks along the way.
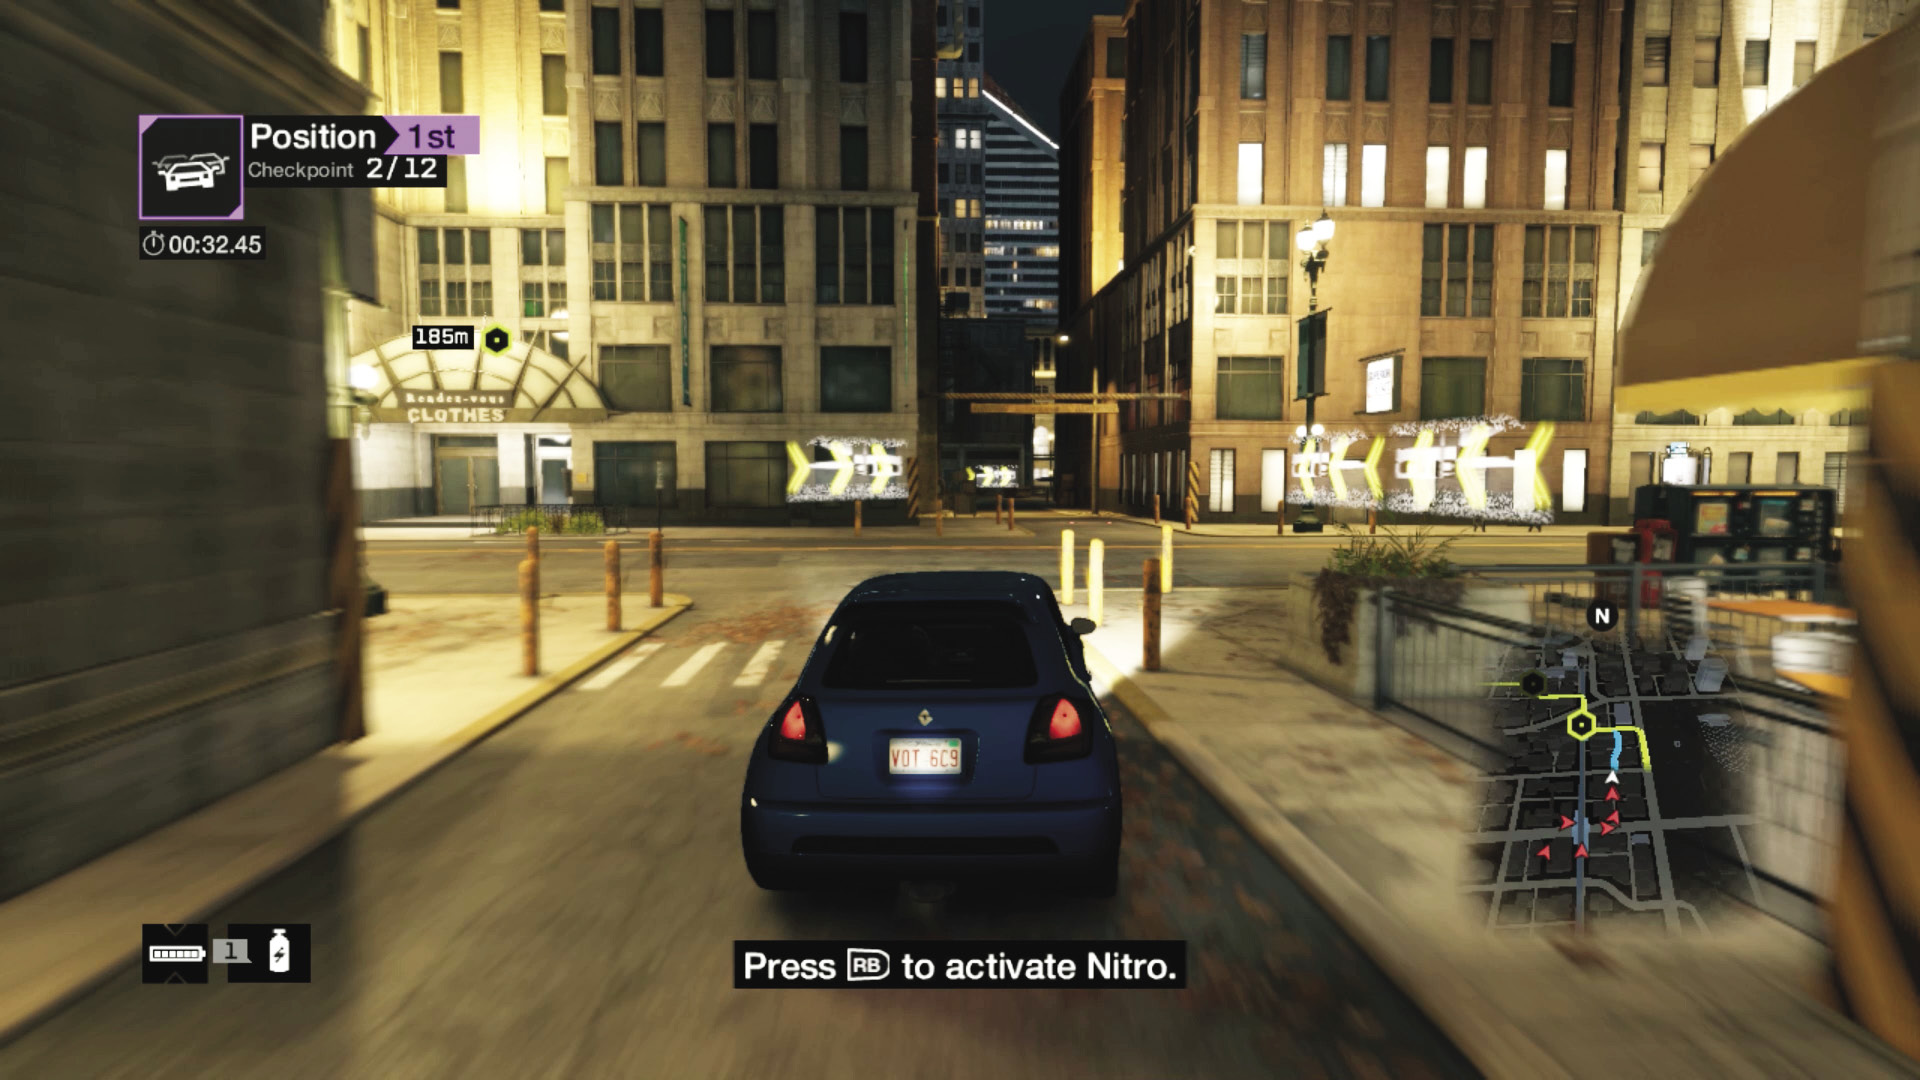
Checkpoints 3 and 4 (Shortcut): After checkpoint 2, take the shortcut down the left alley, but don’t overshoot as you reach a main street (with the scaffolding on your left). Turn left so you don’t miss checkpoint 3. Then take the GPS route to checkpoint 4, using the sidewalks to cut in on every corner.
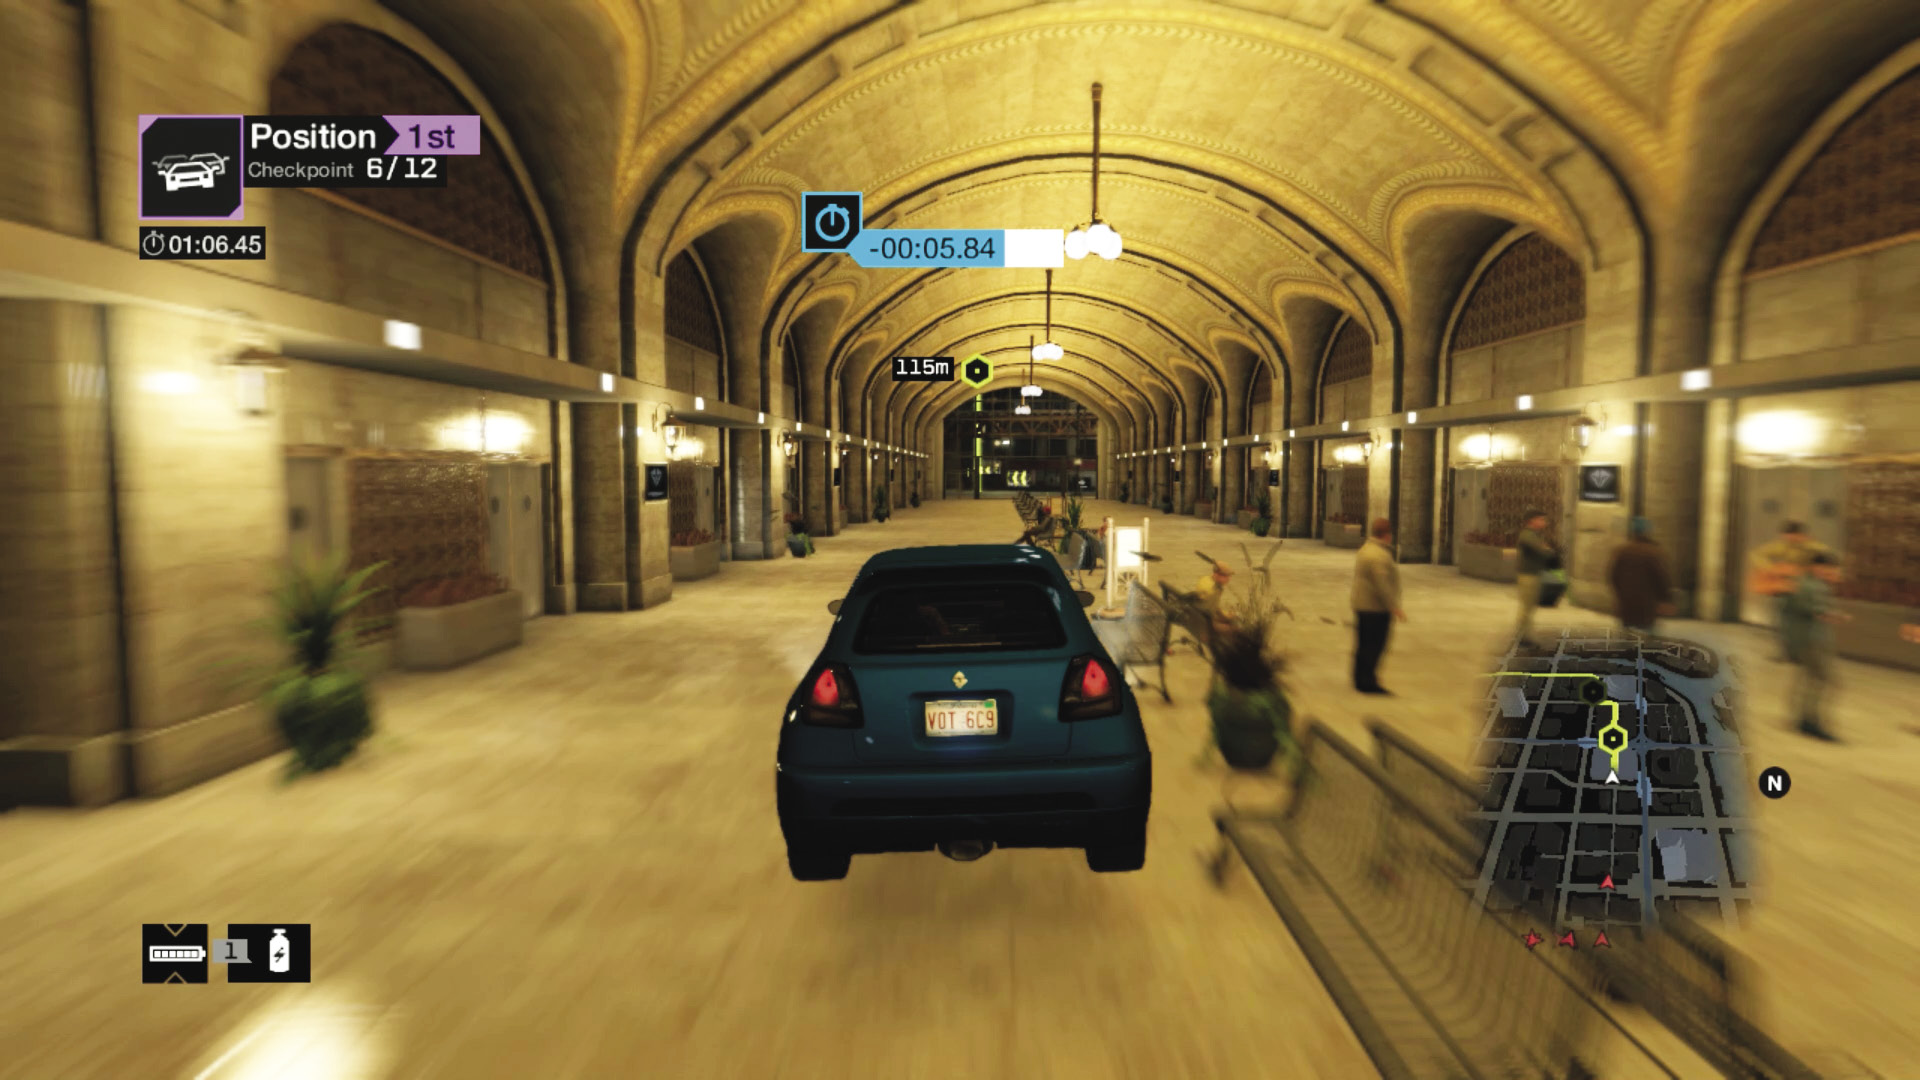
Checkpoints 5–8: The GPS route takes you through an alley where you must crash through city hall and out the other side! Watch the side walls, and as you emerge a block from checkpoint 8, skid left, and then cut across the concrete and low bushes on the right of the junction, setting yourself up for checkpoint 8.
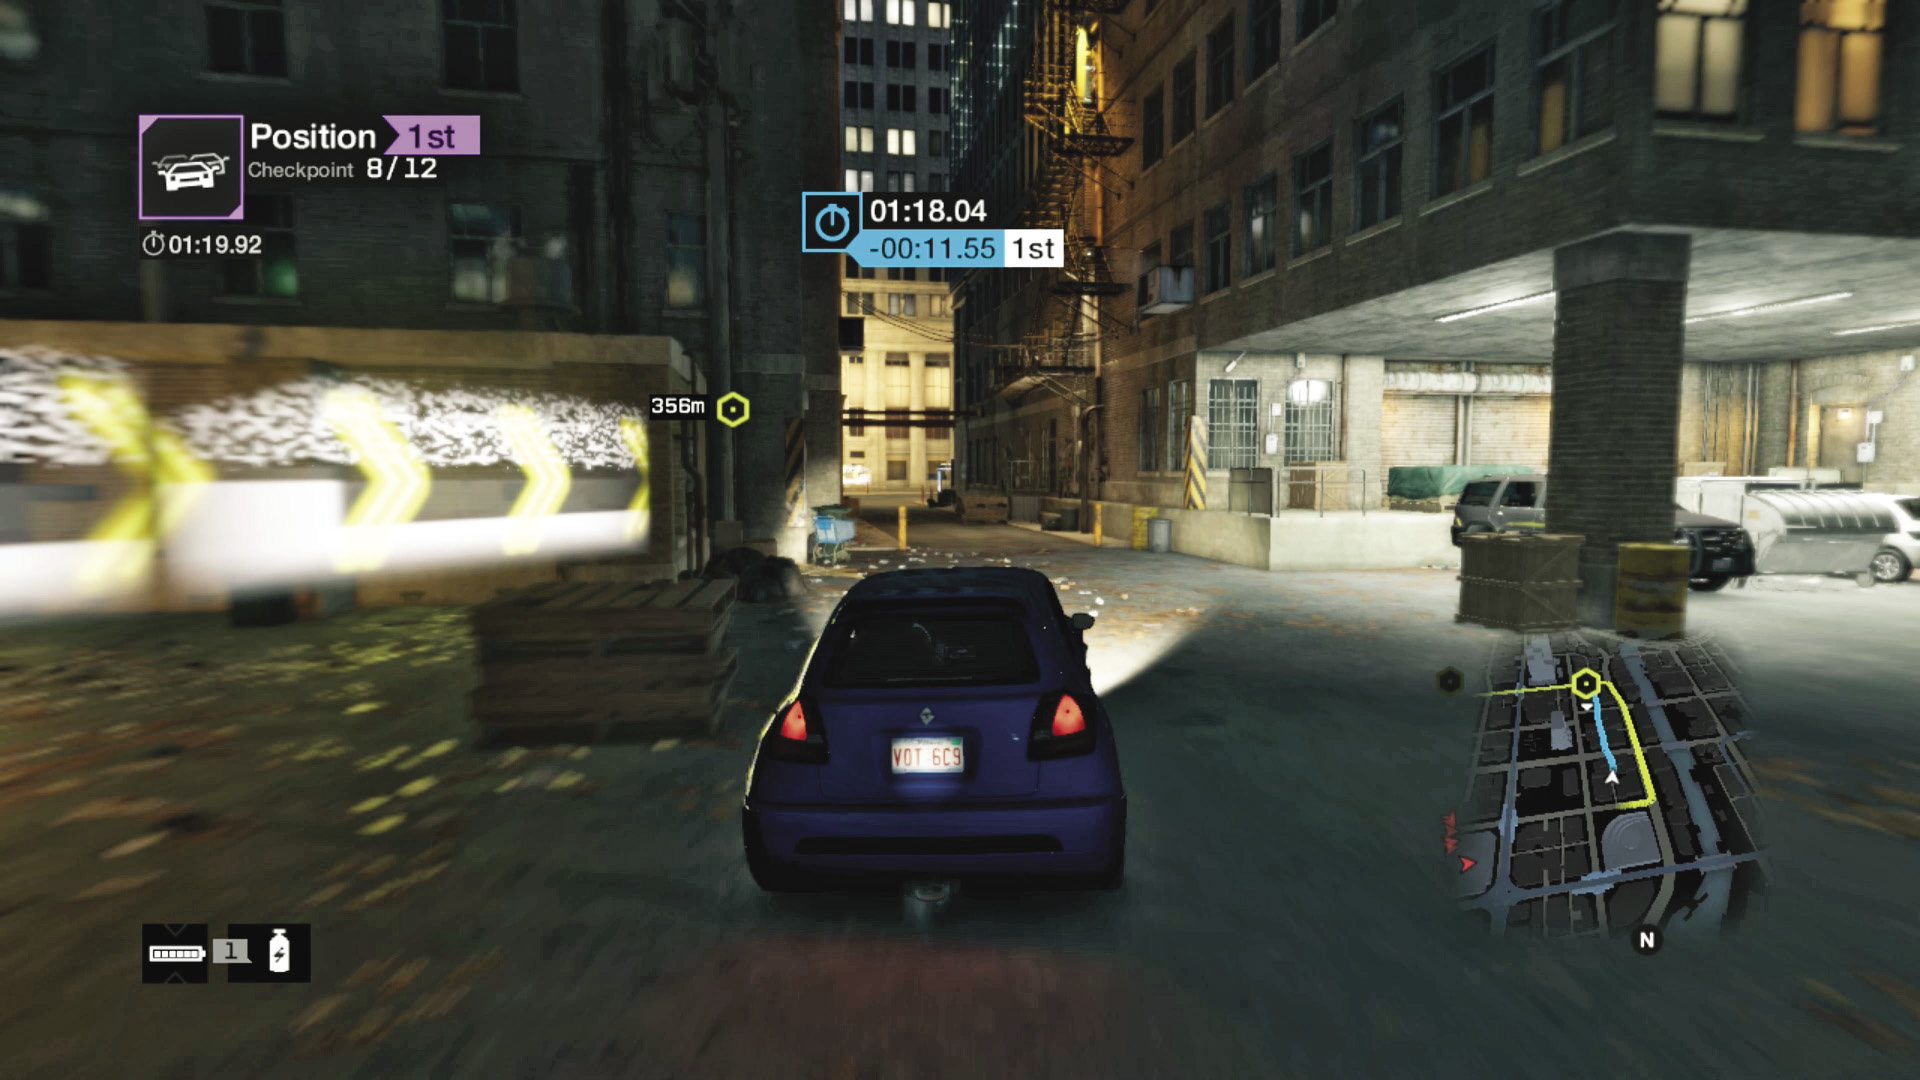
Checkpoint 9 (Shortcut): This allows you to use the alley shortcut running along the left side of the main GPS path. Stay to the right as you launch yourself up the steps; staying left means you’re likely to hit the building jutting out. Make a left after the cafes, back on the main road at checkpoint 9.
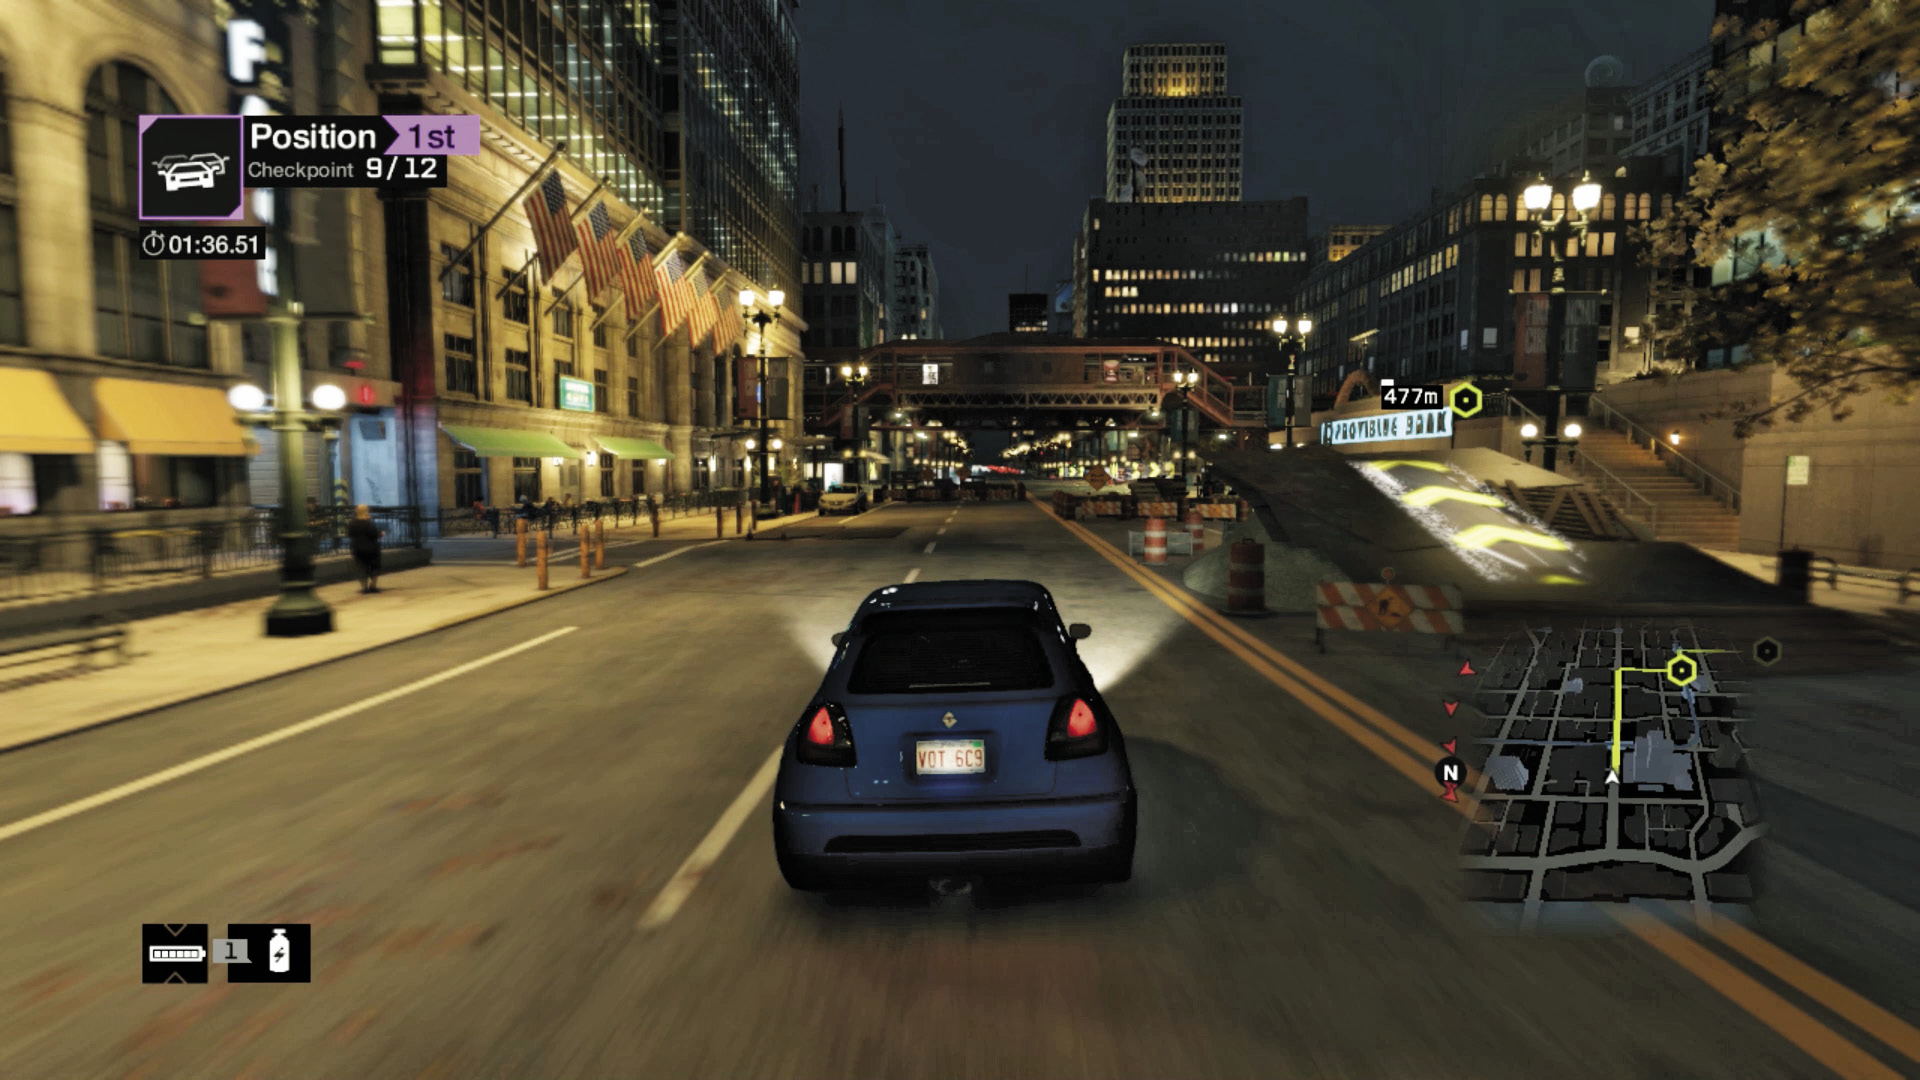
Checkpoint 10: Now comes a main road chicane and jump; ignore the ramp on the right, as it just slows you down. Instead, nitro and weave through the chicane, under the L-train tracks. Ignore the side roads on your right; your speed is greater if you keep going down the GPS route.
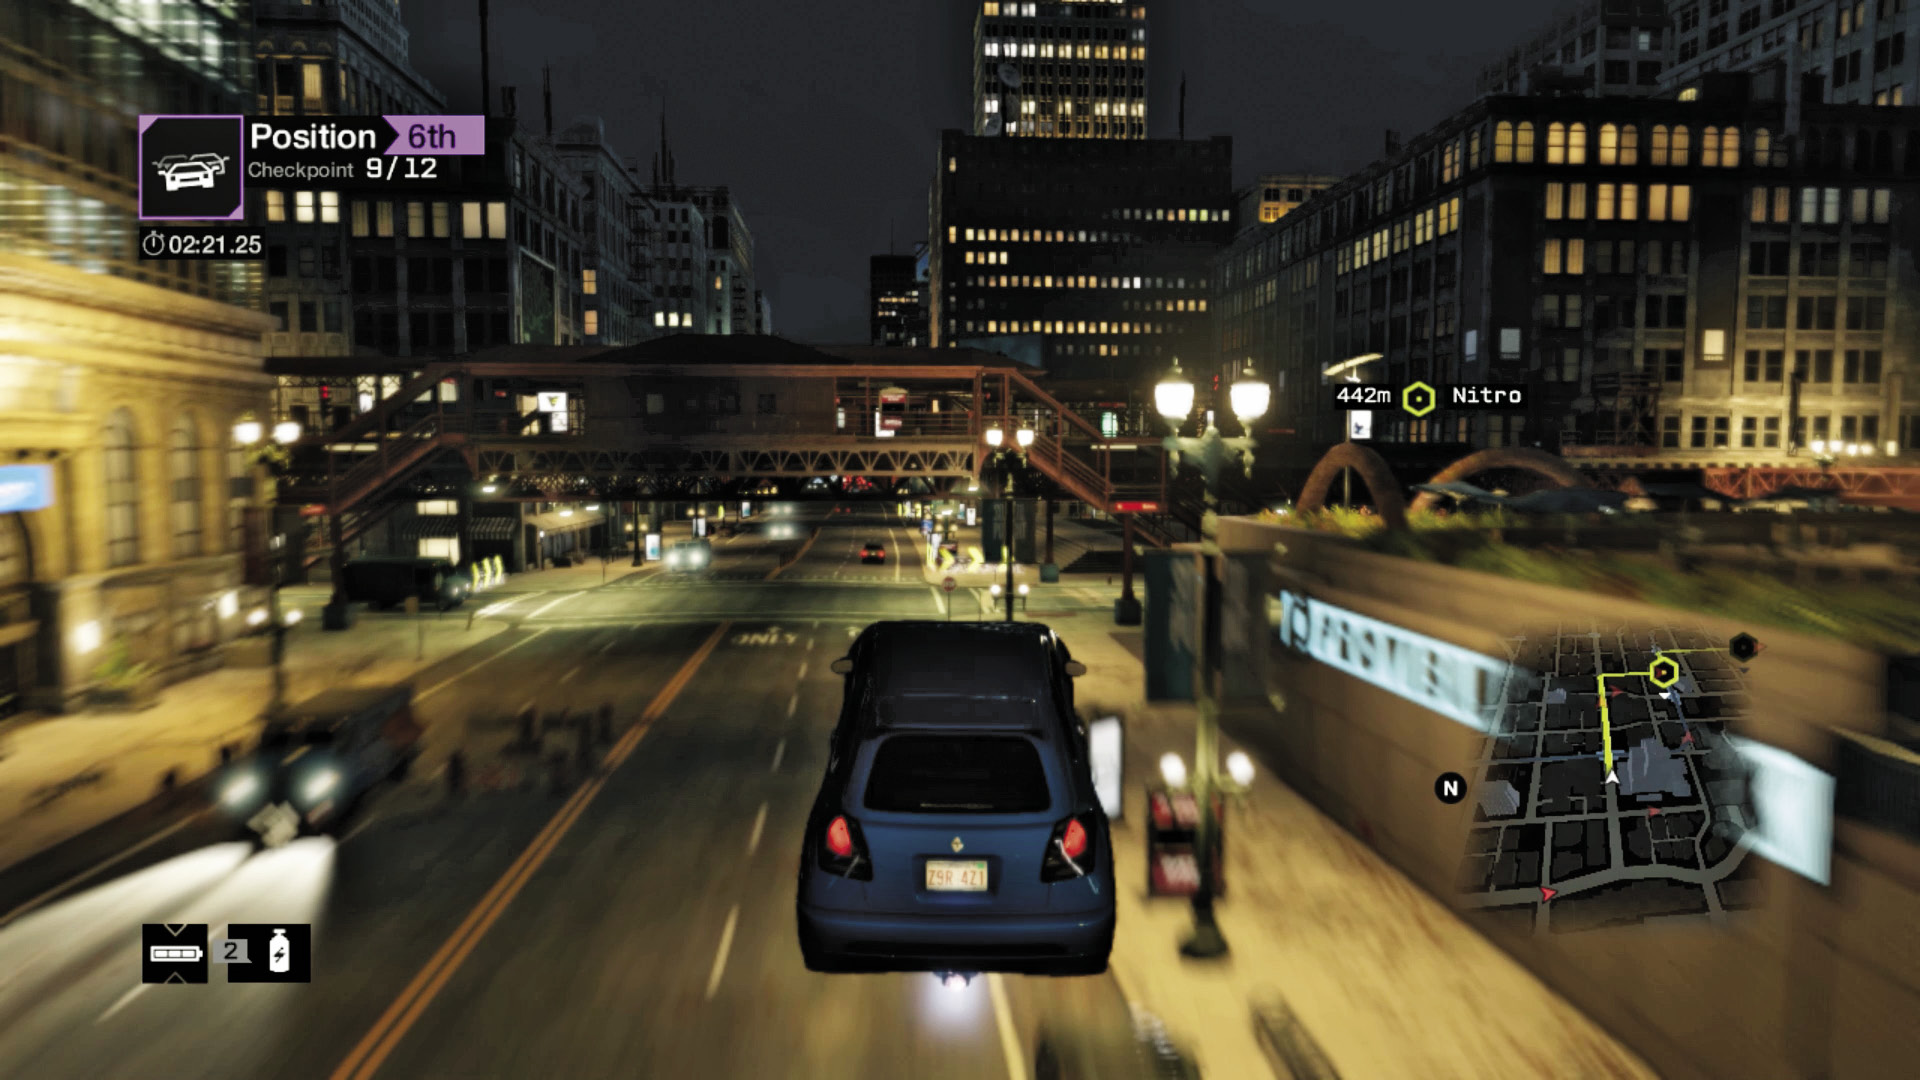
Checkpoint 10 (Shortcut): Or, you can throw caution to the wind, launch off the ramp, barrel over the stepped plaza on your right, and take the right shortcut.
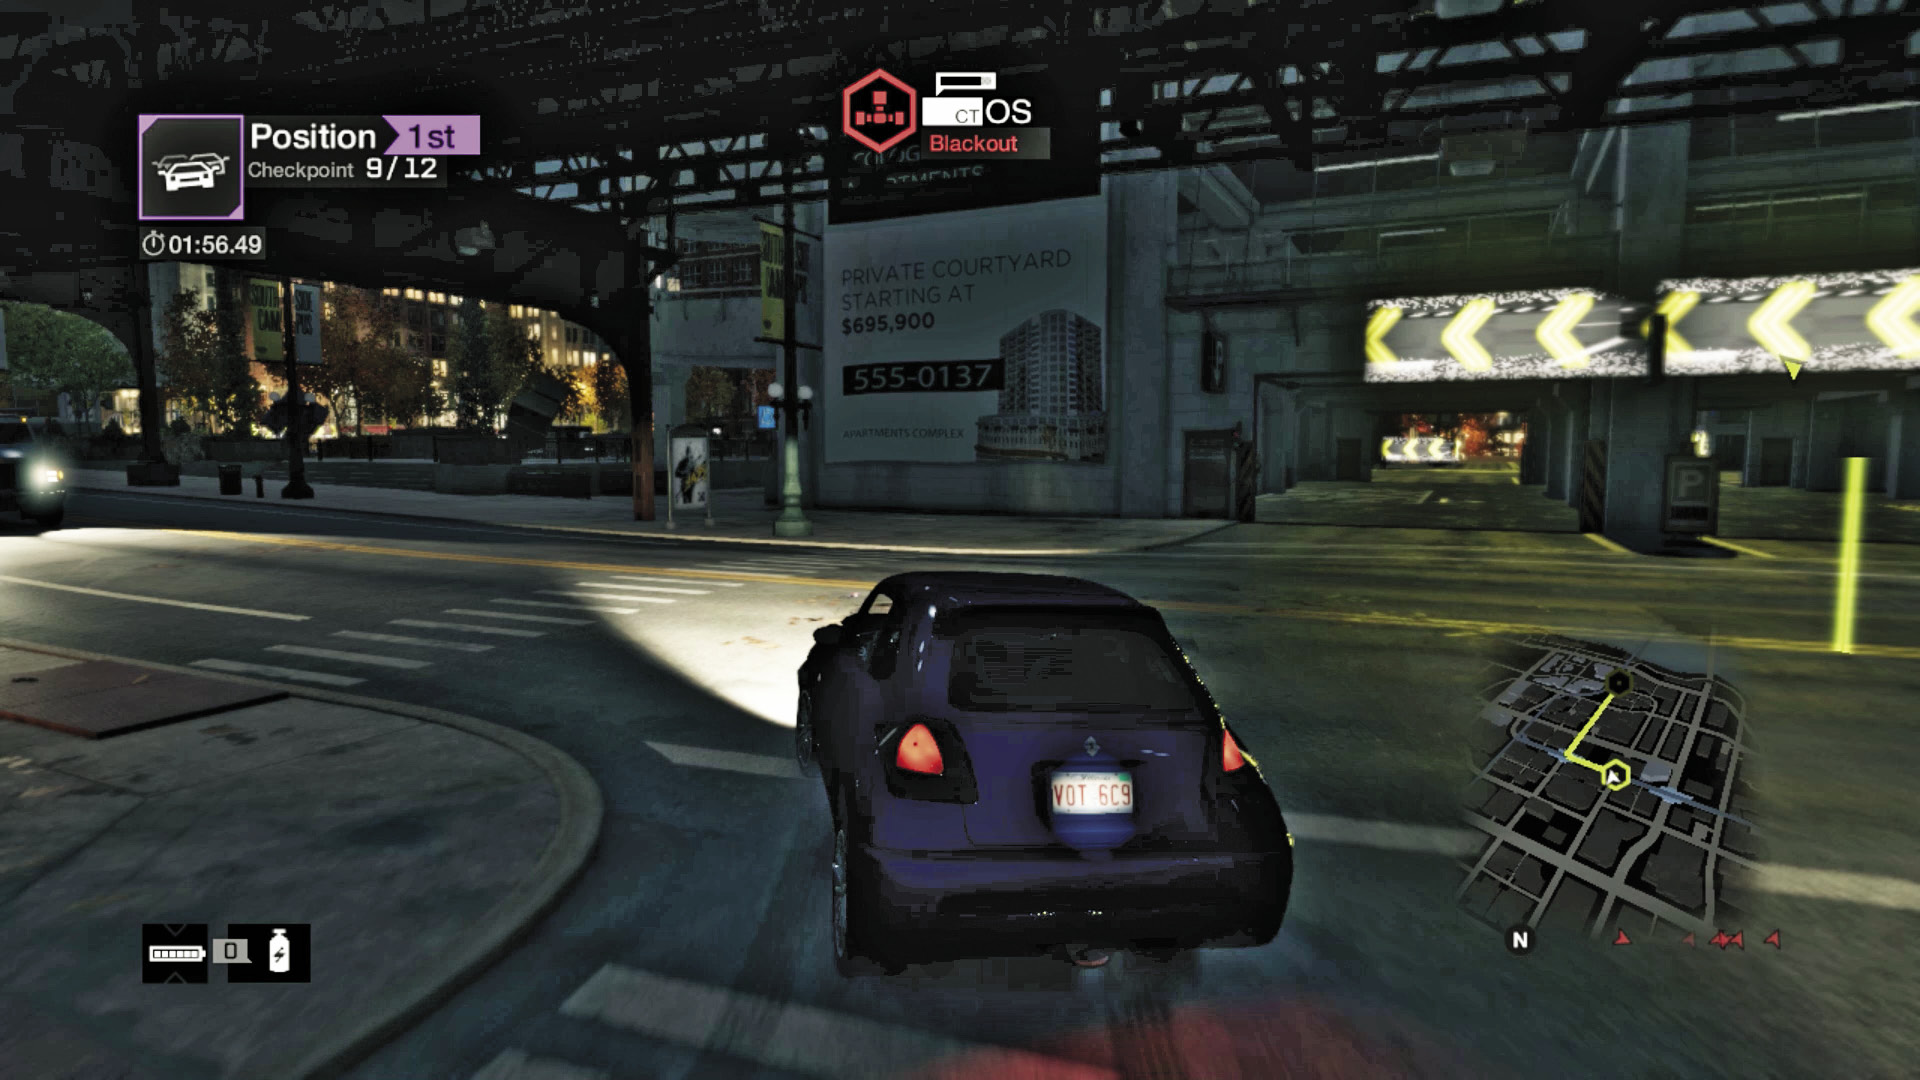
Checkpoints 11 and 12: At checkpoint 10, swing left, follow the road for a block, skid right, and then nitro to the finish.
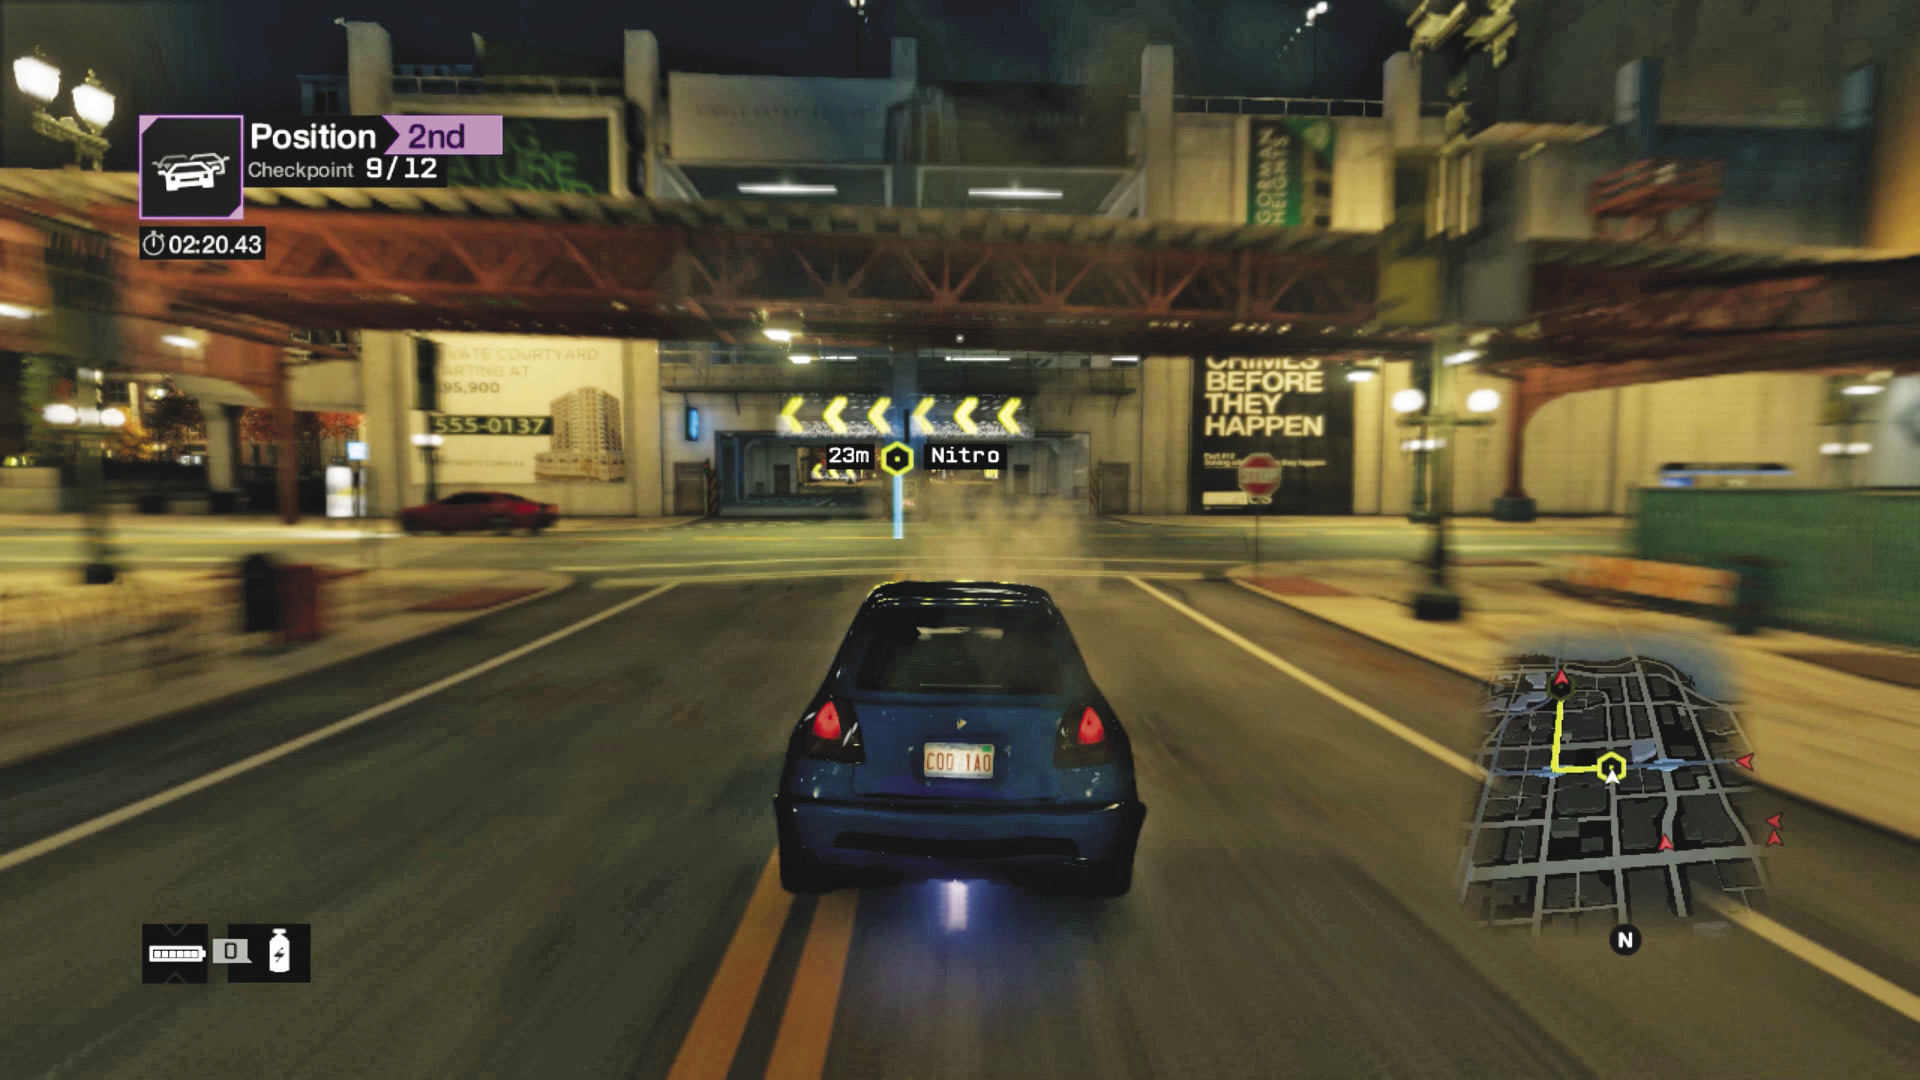
Checkpoints 11 and 12 (Shortcut): Or, head through the open garage and down the narrow side road (with a steam pipe), which bends to the left and requires you to cut in on the right when passing through checkpoint 11.
10_HOME RUN
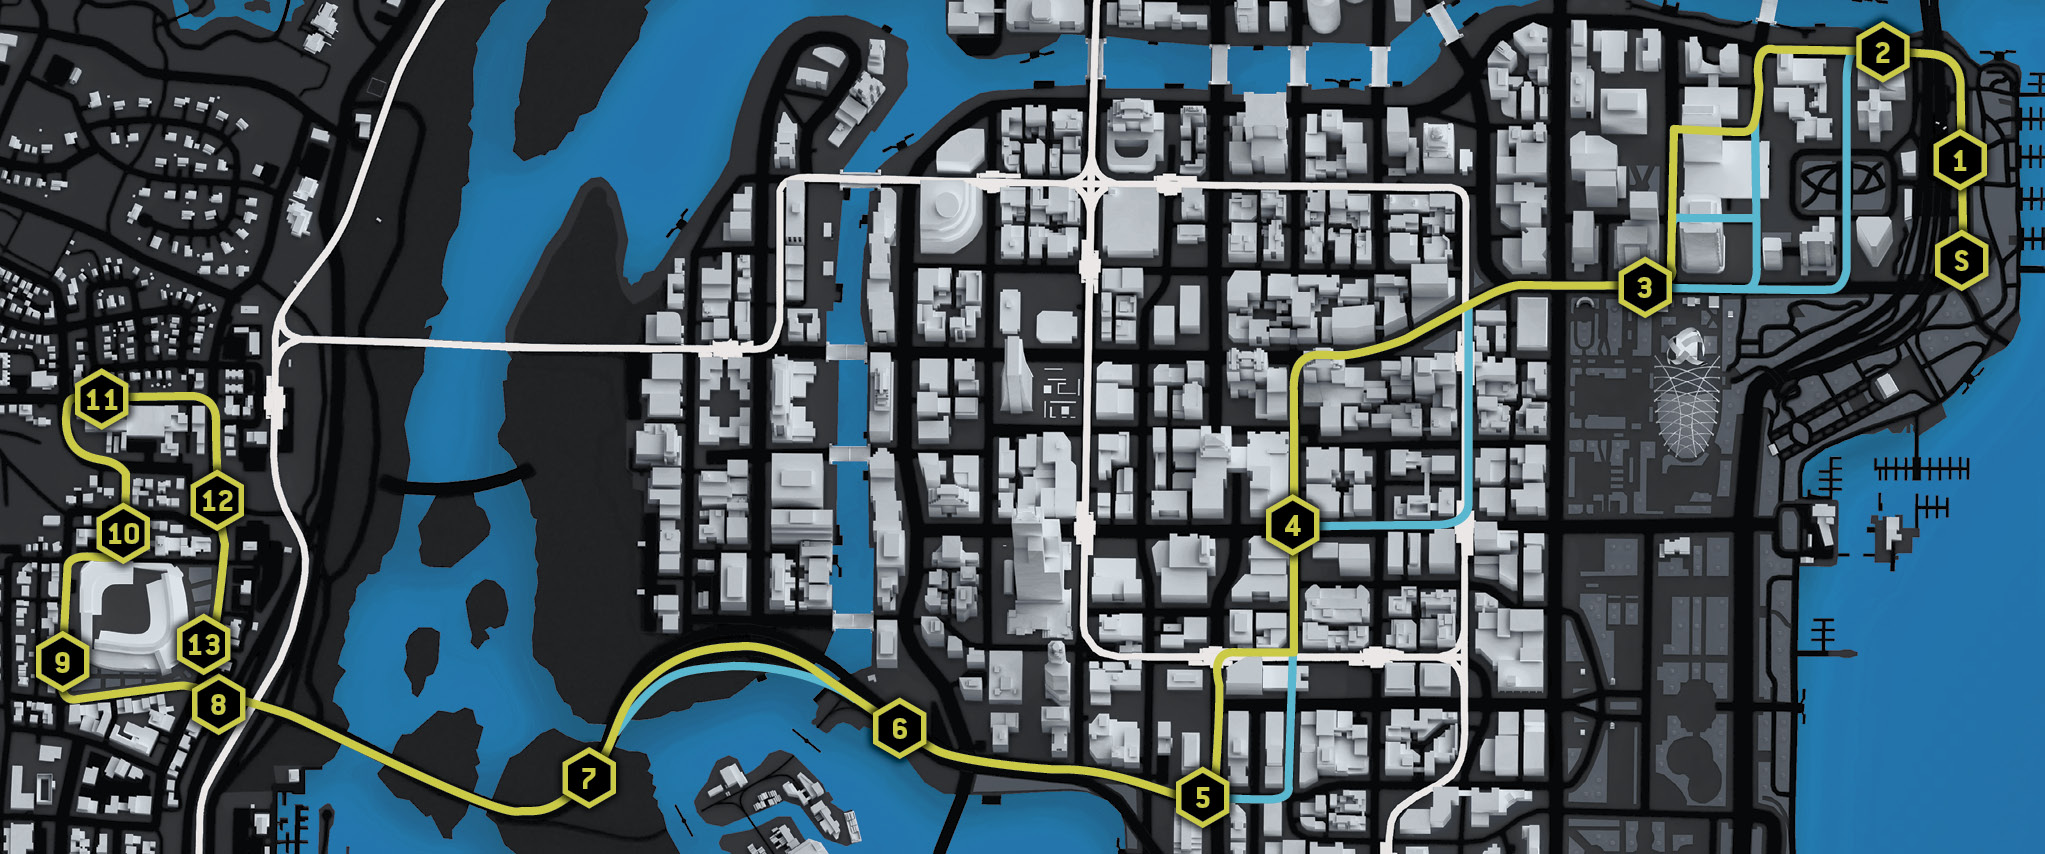
Starting location / ROAD BETWEEN ELEVATED FREEWAY AND RIVERSIDE PARK
Vehicle / Livraga 350
Difficulty: 
NUMBER OF LAPS: 1
NUMBER OF CHECKPOINTS: 13
TIME TO AIM FOR: 02:57 BEAT THIS: 02:52 (Jean-Daniel Villeneuve)
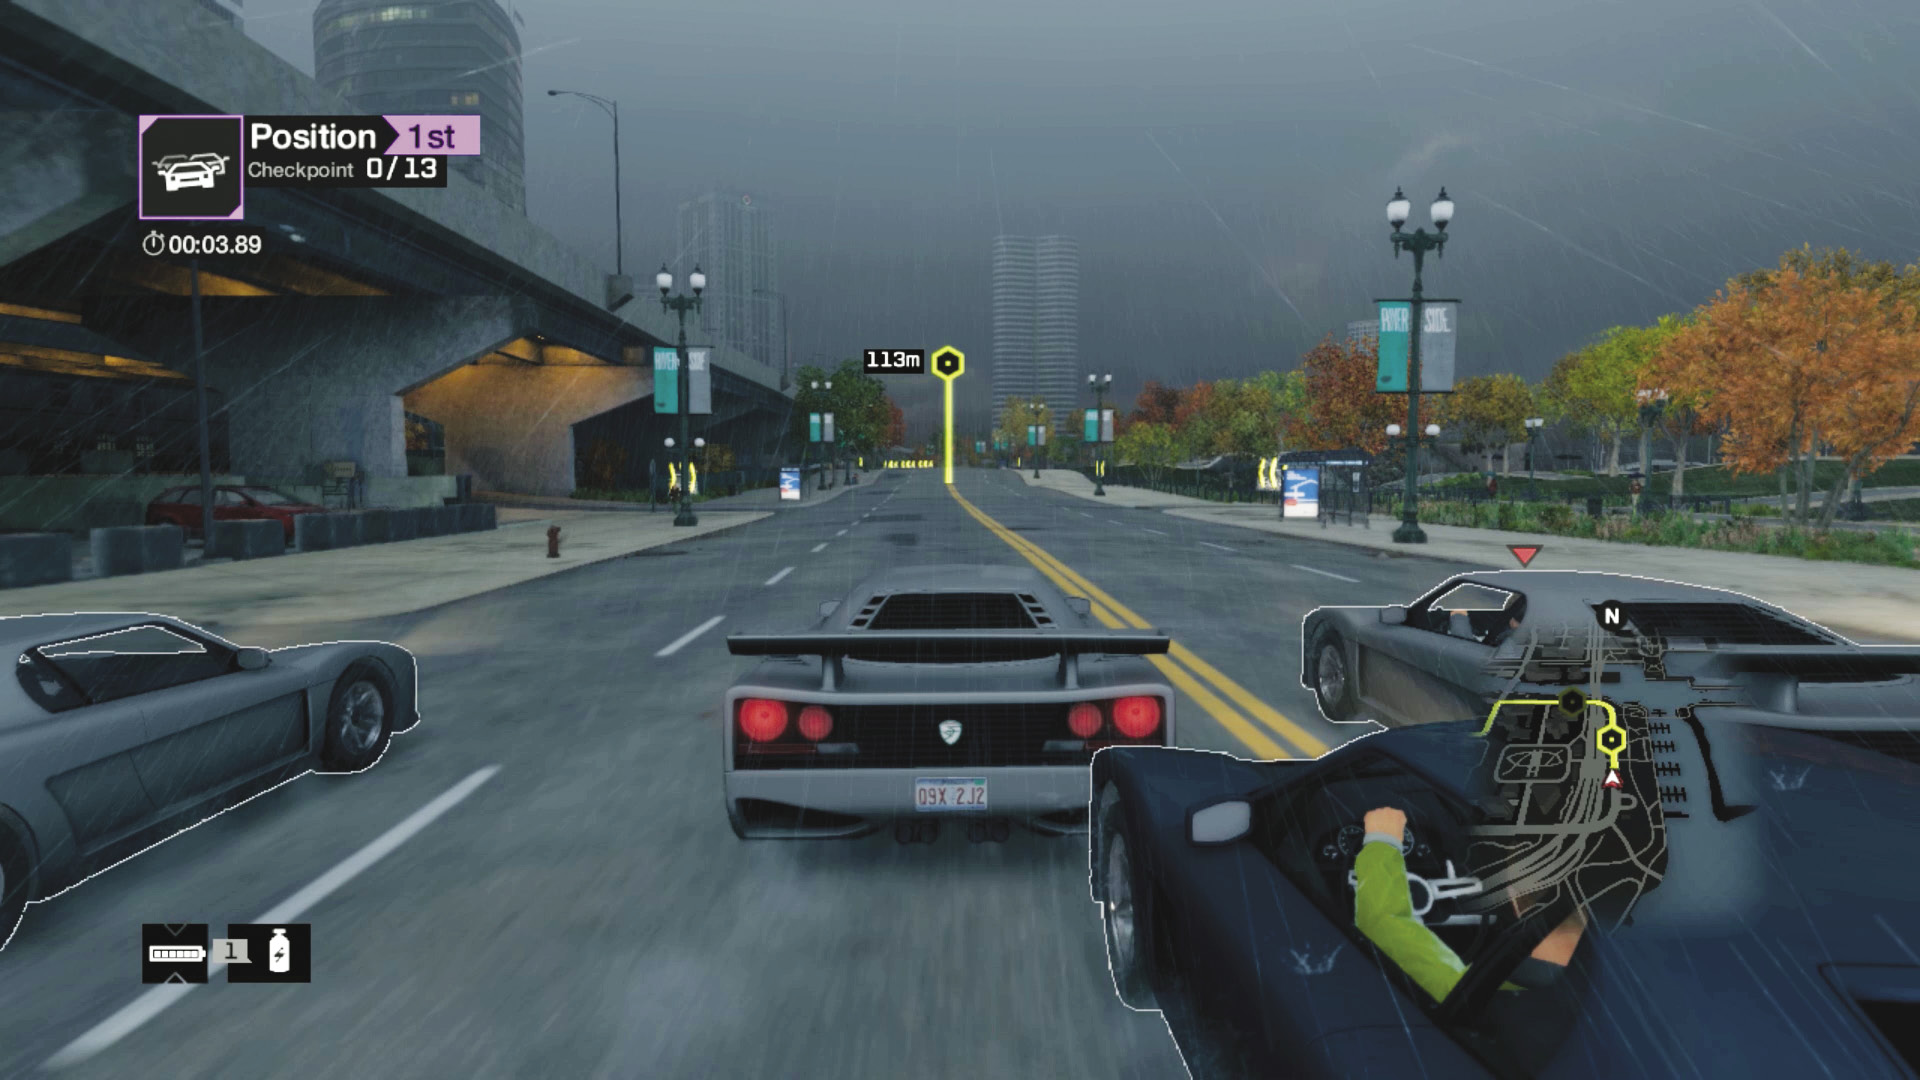
Checkpoint 1: Fast cars mainly on tarmac is the plan here, with a wide road to start and some shortcuts that require hacking rather than swerving to reach. Begin by jostling through checkpoint 1, readying for the first left turn.
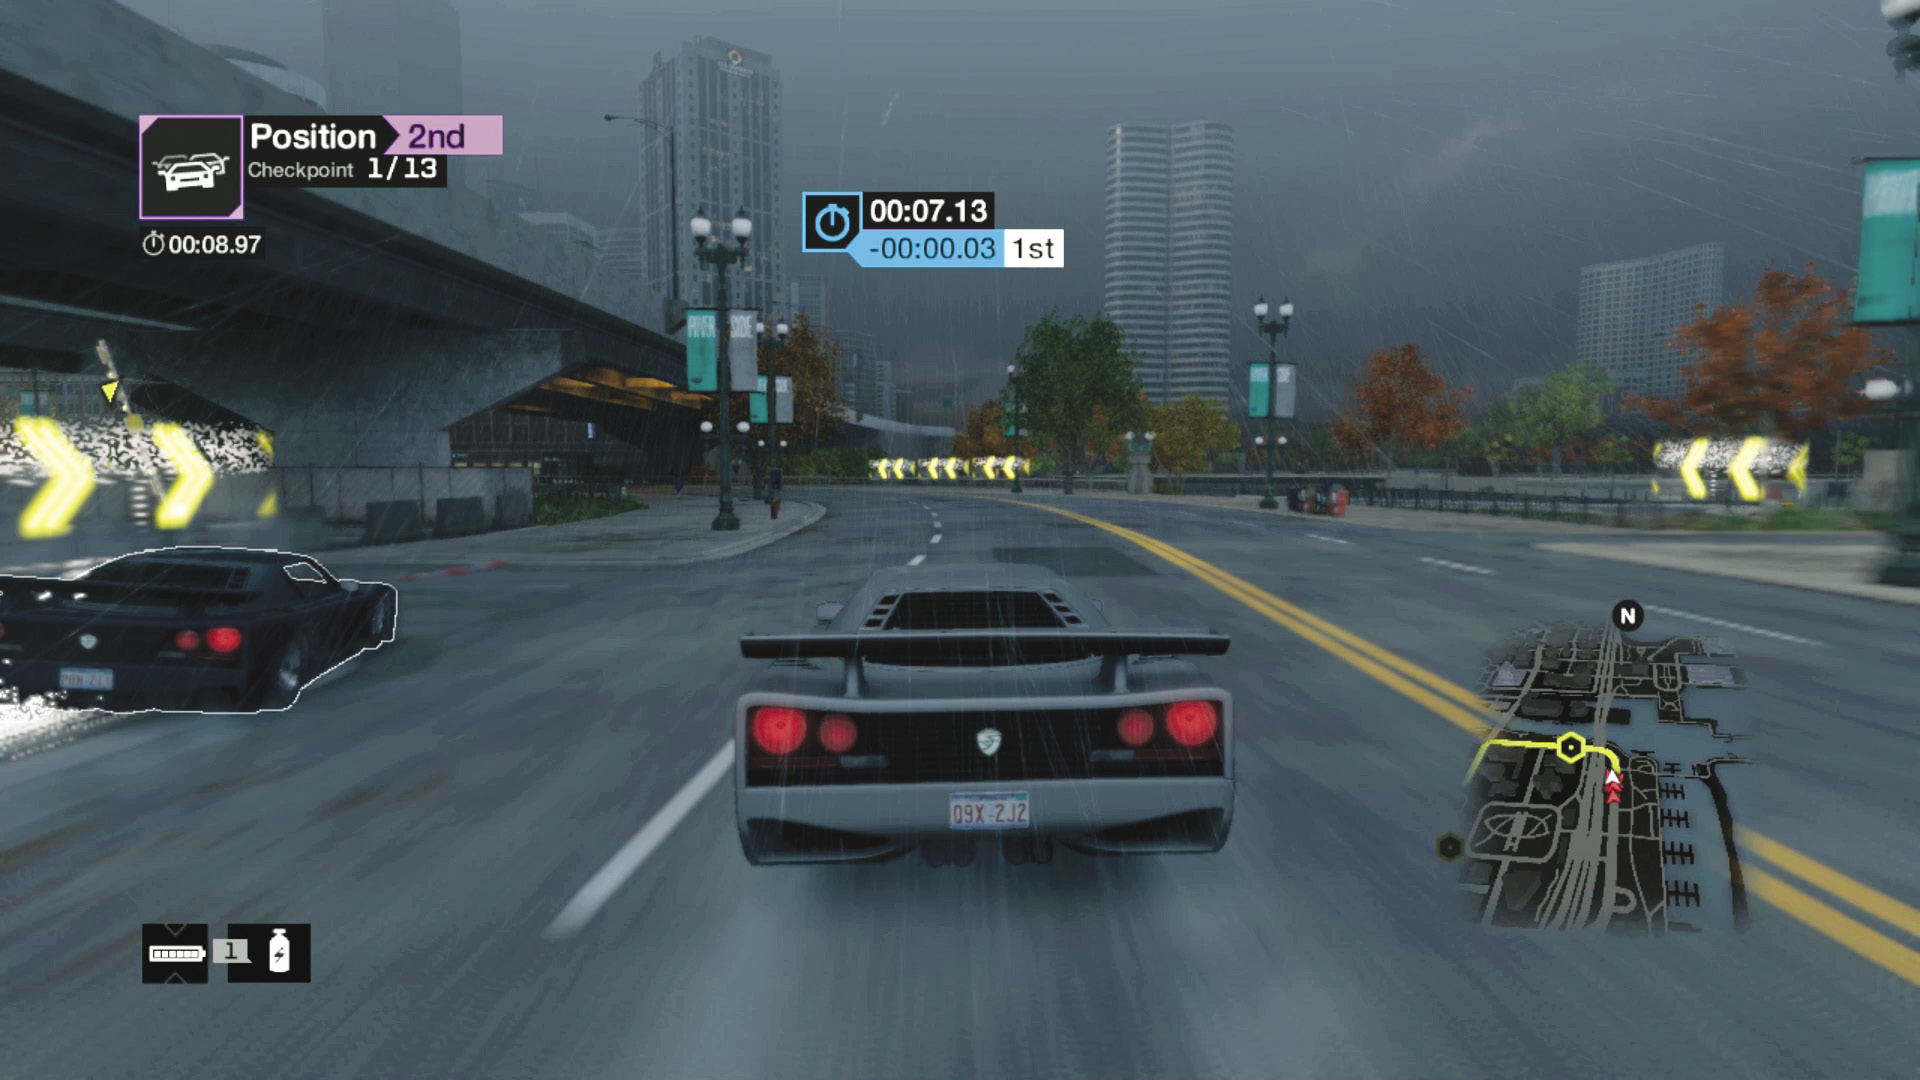
Checkpoint 2: Take the turn under the freeway bridge to the left, but don’t hit the guardrail and grass, as you may lose speed. Pass through checkpoint 2, and ignore the chevrons pointing left; that course isn’t as precise as the GPS one you’re currently on.
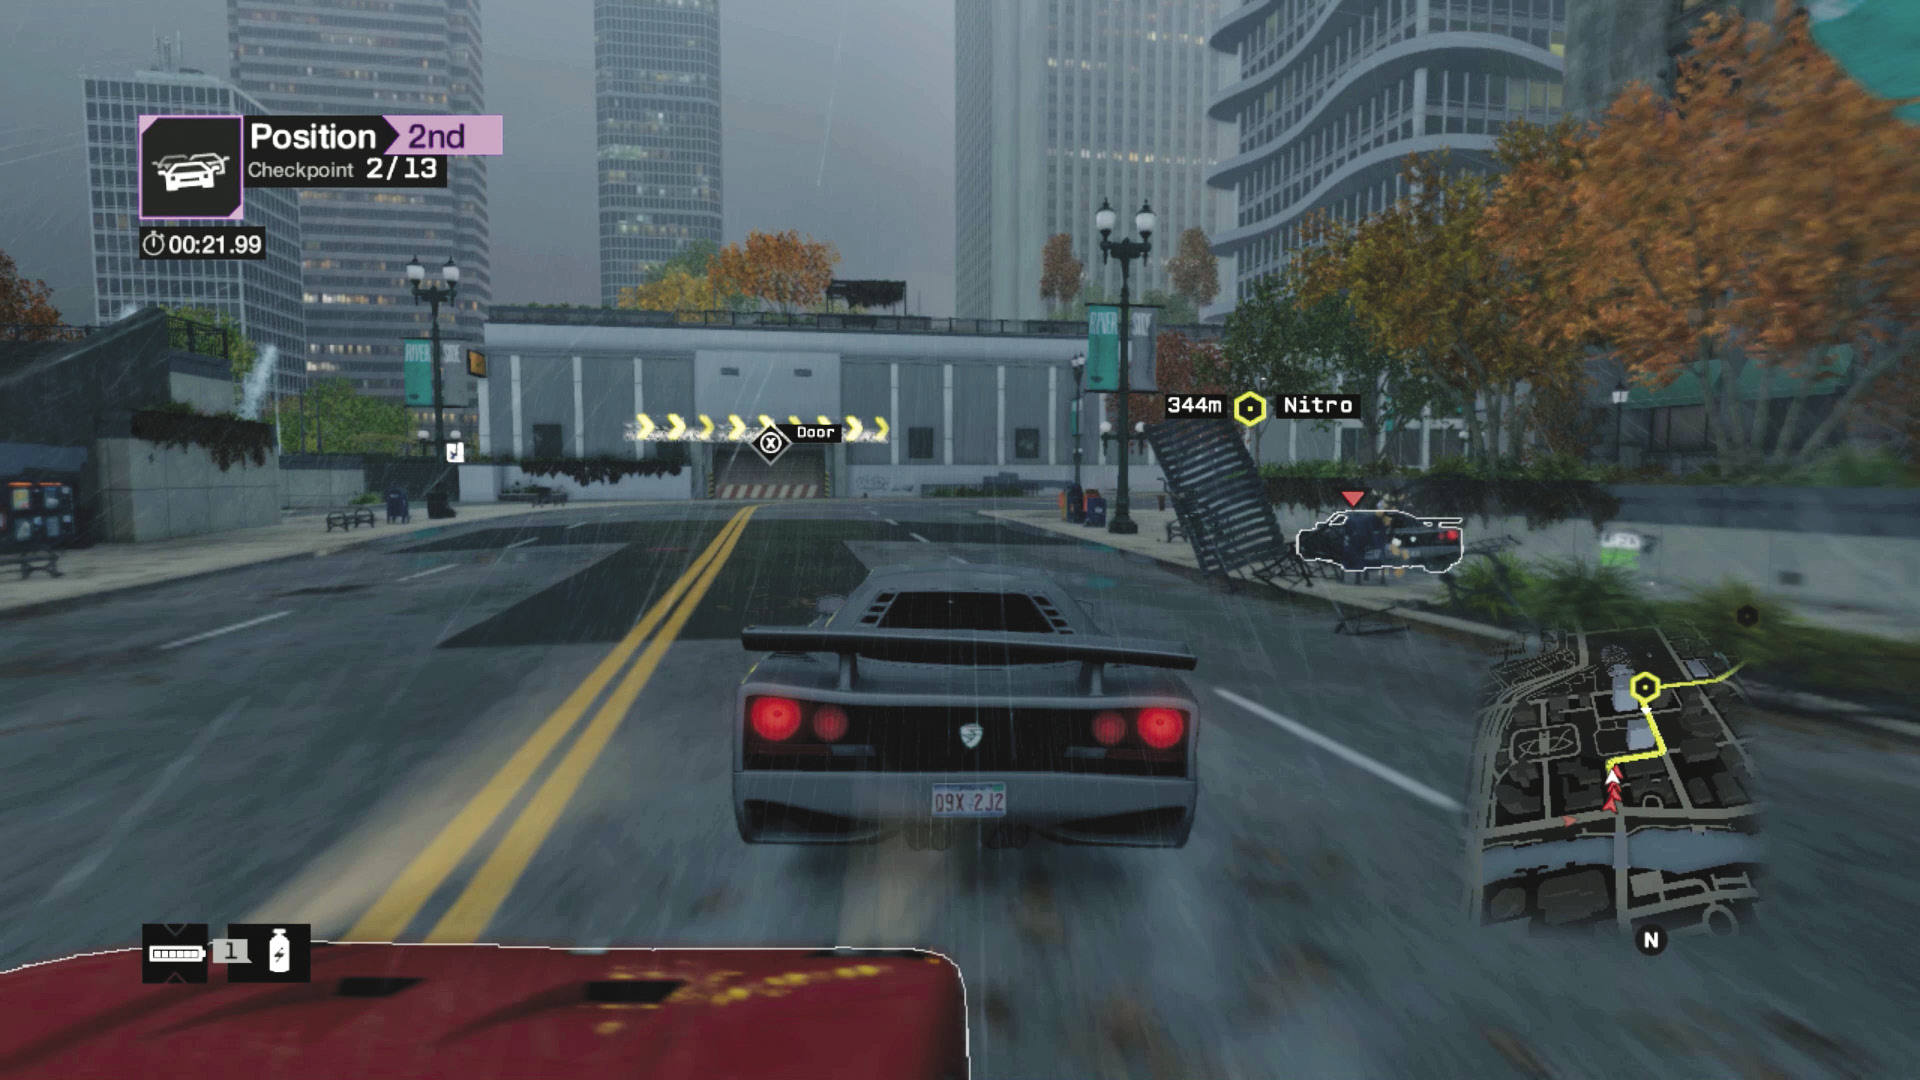
Checkpoint 3: Skid left, using the sidewalk on the left as you go, and line up for a hard right a block later. Optionally open the garage doors ahead of you (or hack them closed if a foe tries this shortcut). Follow the road through two sets of lights, and prepare for some nasty collisions with cross-traffic as you go (and hack the lights).
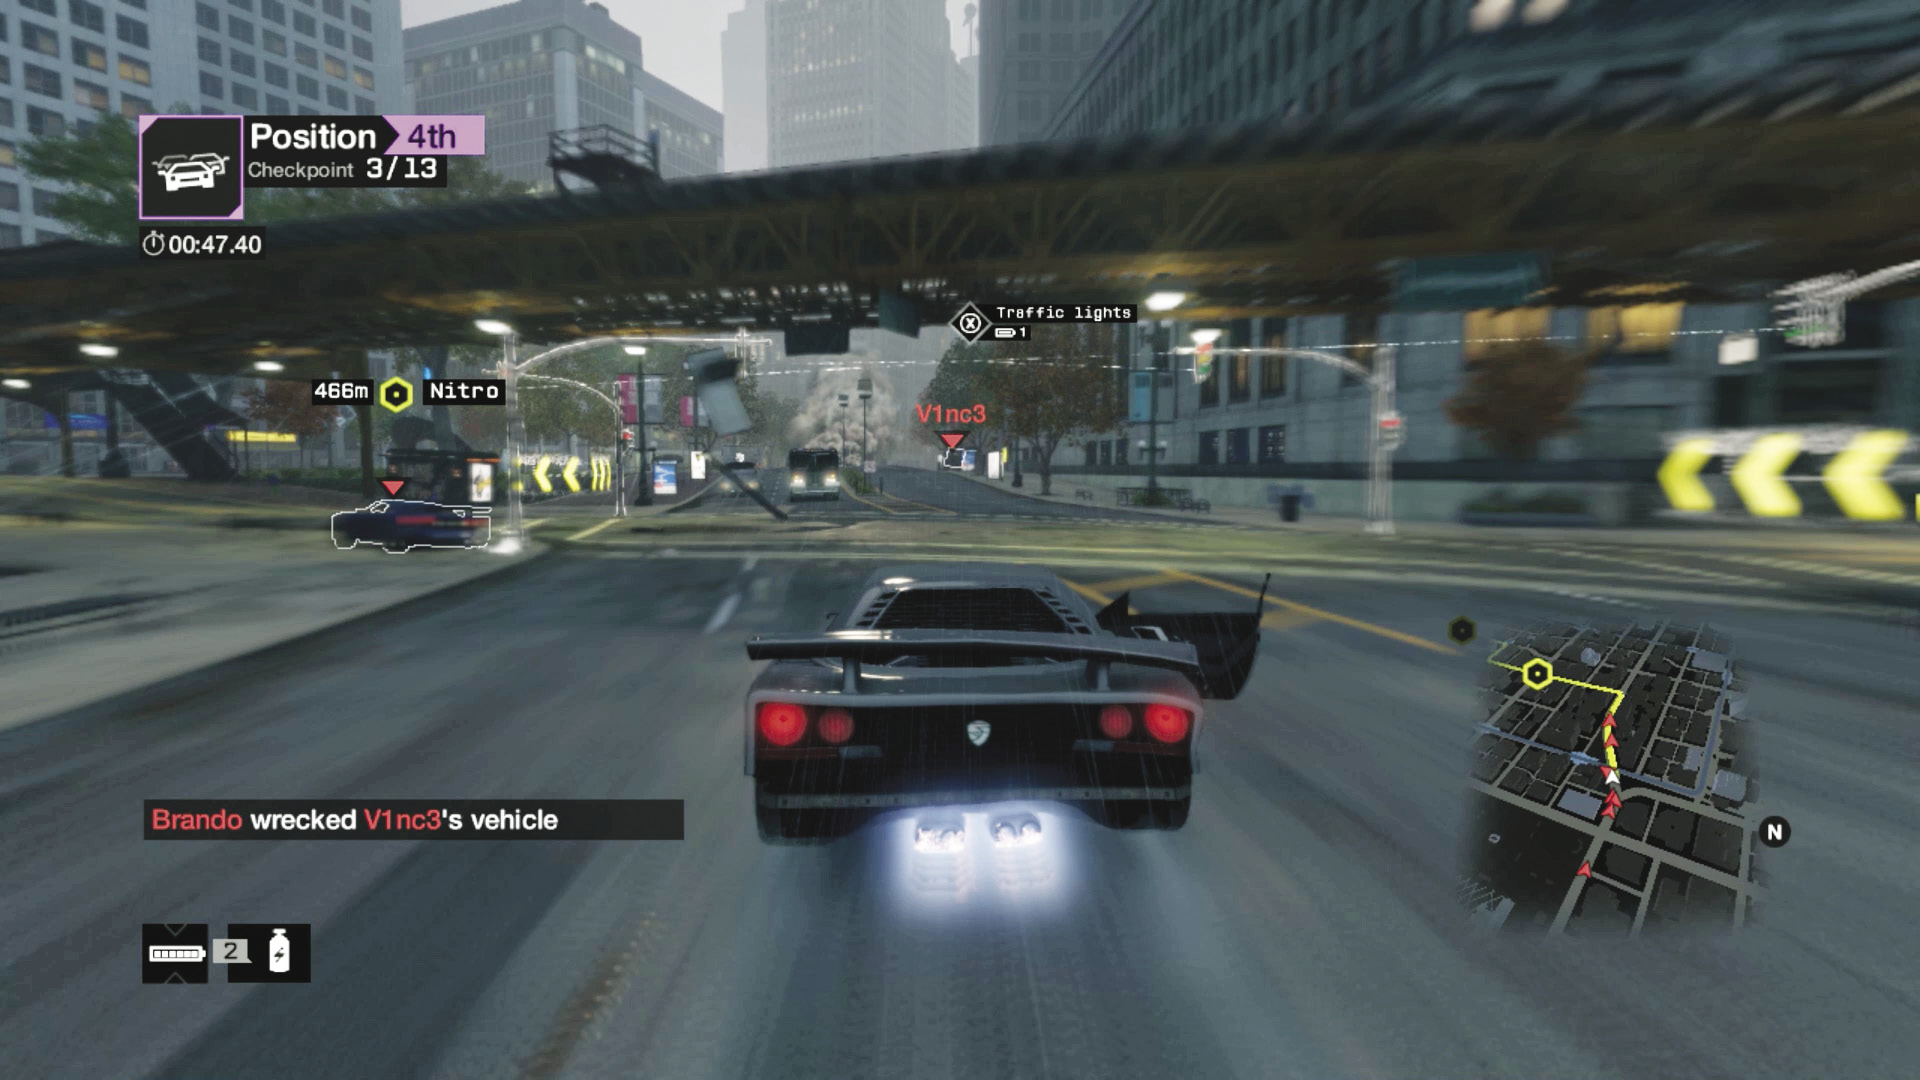
Checkpoints 3 and 4: Once you’re past checkpoint 3, take the main road through more traffic lights and a possible shortcut to the left, just as you reach the elevated L-train tracks. That shortcut (where you drive under the L-train for two blocks, then make a right and accelerate to reach checkpoint 3) isn’t as quick as the GPS route, though it might be quieter. Watch for steam pipes on the GPS route as you head to checkpoint 4.
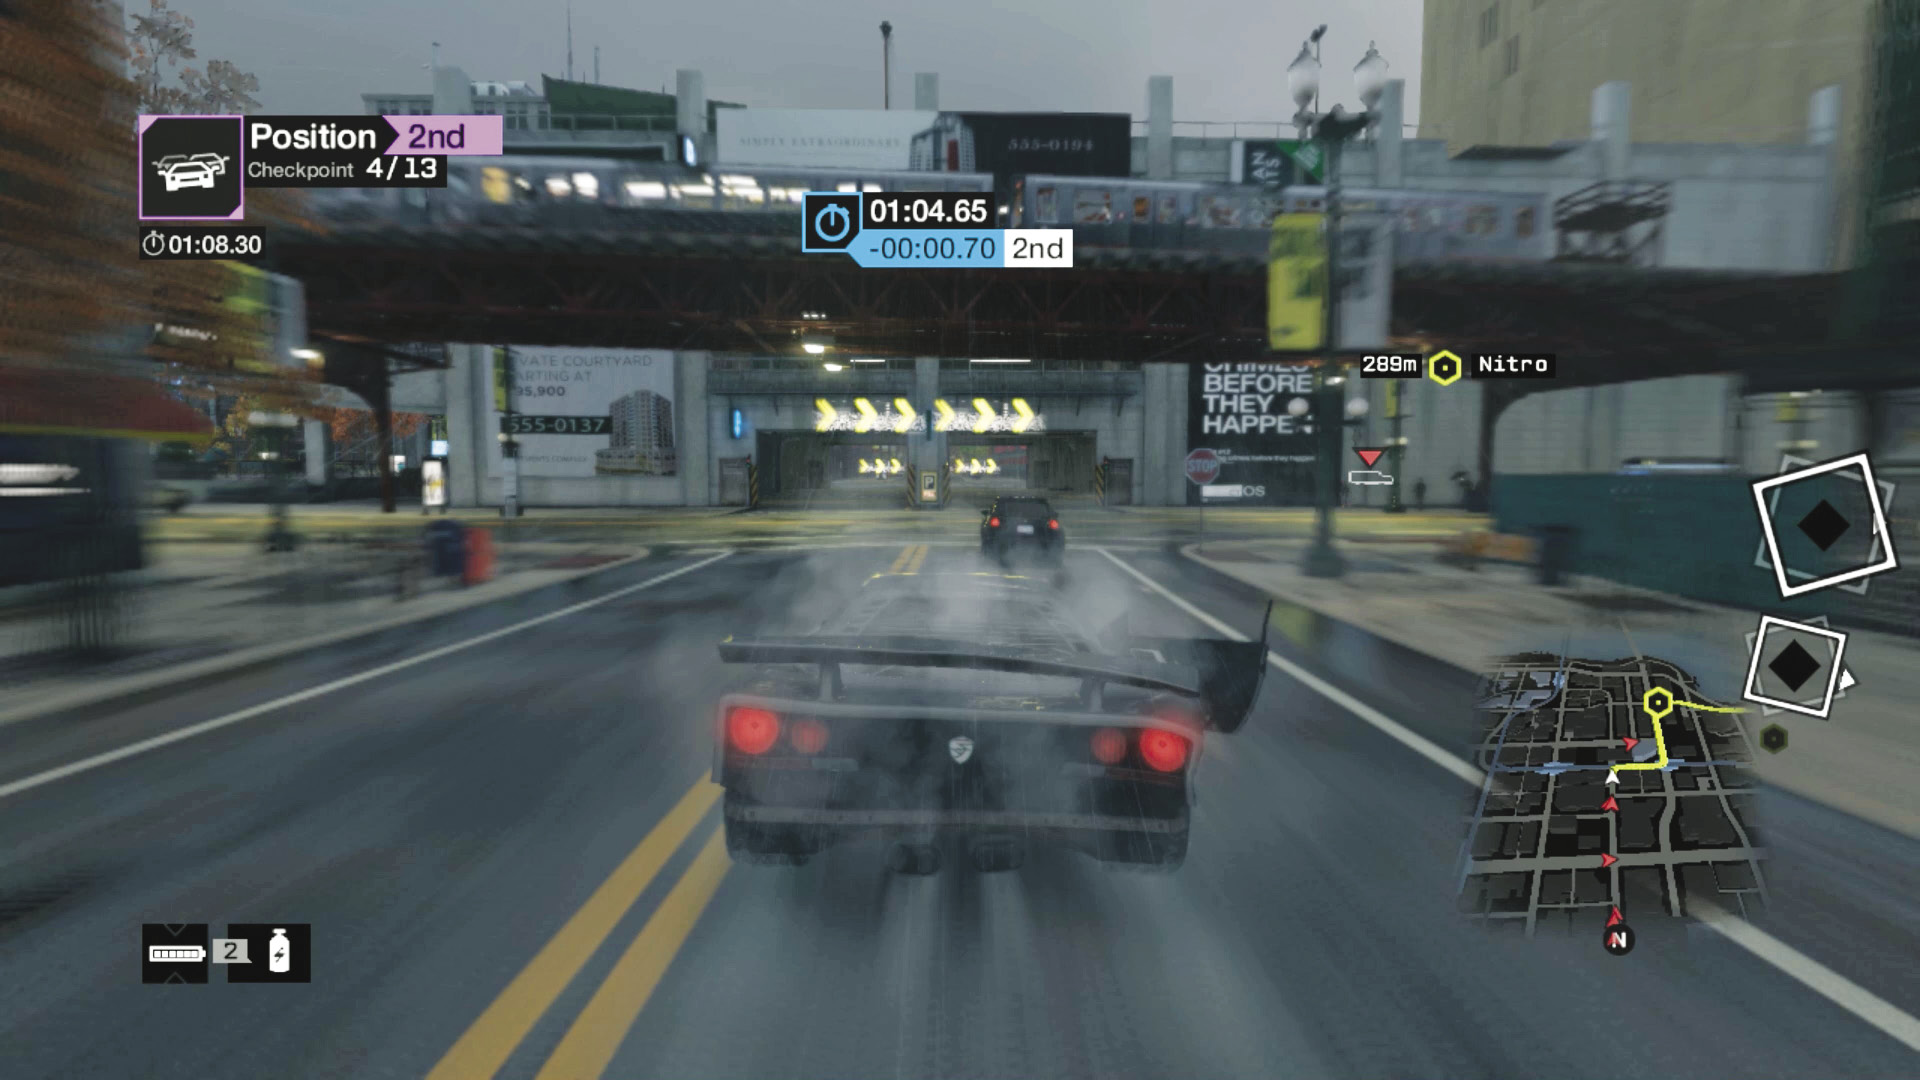
Checkpoint 5 (Shortcut): Head through the open garage shortcut and make an immediate sharp right; it’s quicker than the GPS route. Ignore the alley on your left afterward; it’s better to head back to the main route and wider road as you position yourself to hit checkpoint 5.
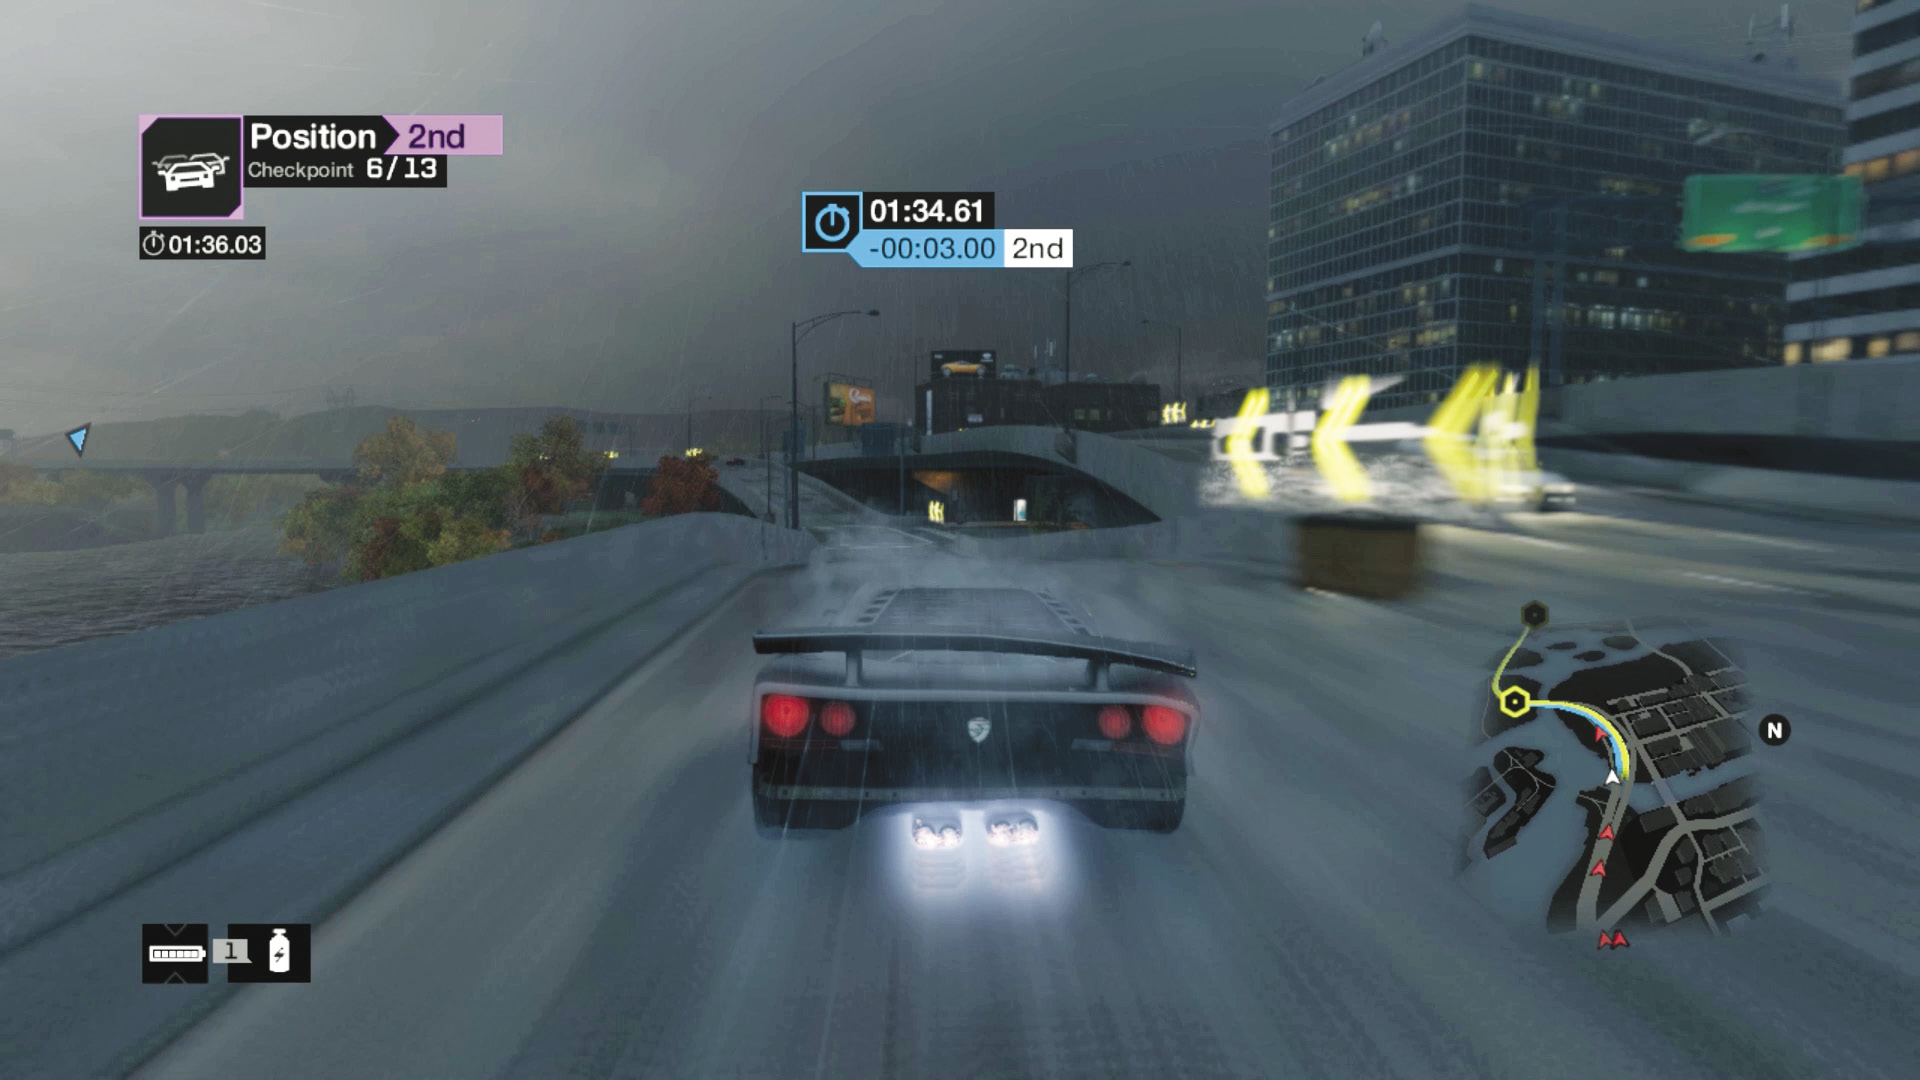
Checkpoints 6 and 7 (Shortcut): Head onto the elevated freeway, maintaining a good racing line without veering too much into oncoming traffic. When you see a split in the freeway, steer left and then left again, down the on-ramp and up the other side—the quickest way to reach checkpoint 7.
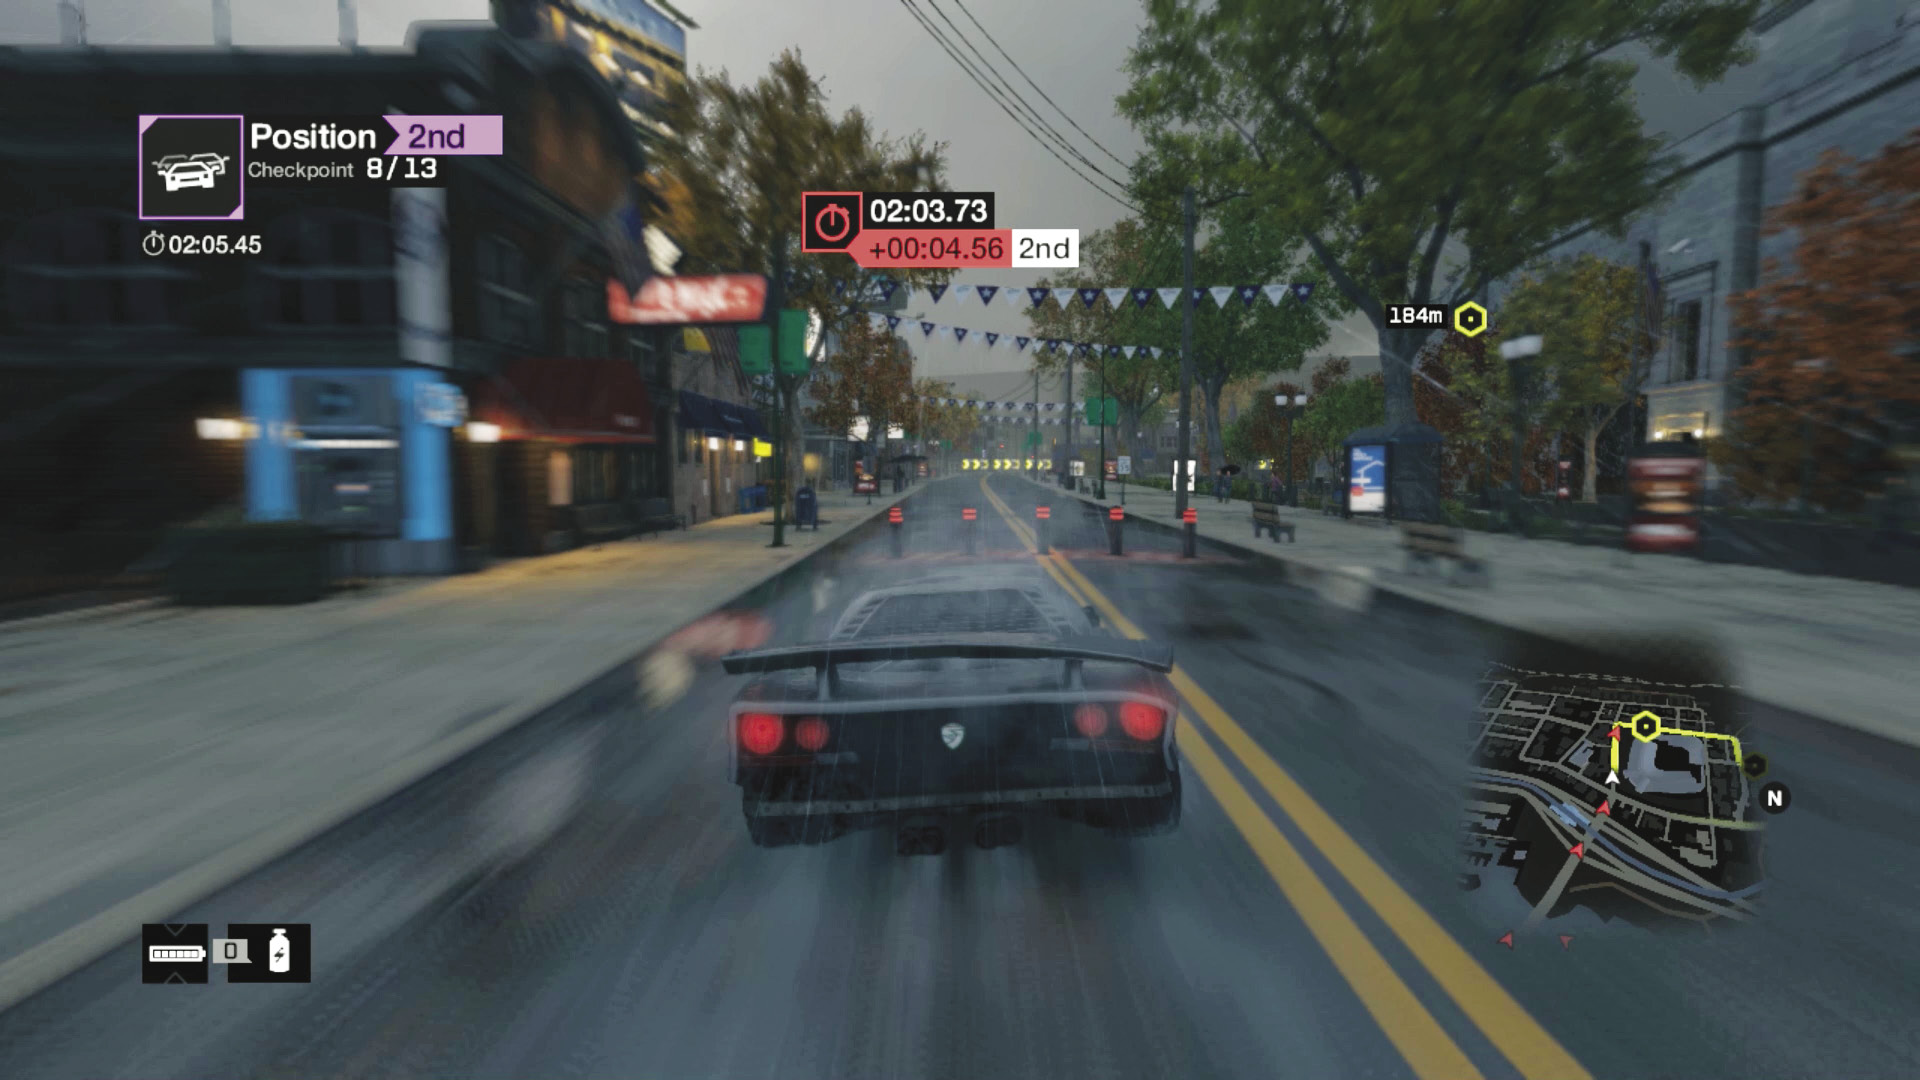
Checkpoints 8–10: Head toward May Stadium. Beware of the steam pipe before checkpoint 8 and the lights just afterward. Then there’s the possibility of blockers as you maneuver around May Stadium! Stay on the edges of the roads, but don’t head off the GPS path. Keep this up as you reach checkpoint 10.
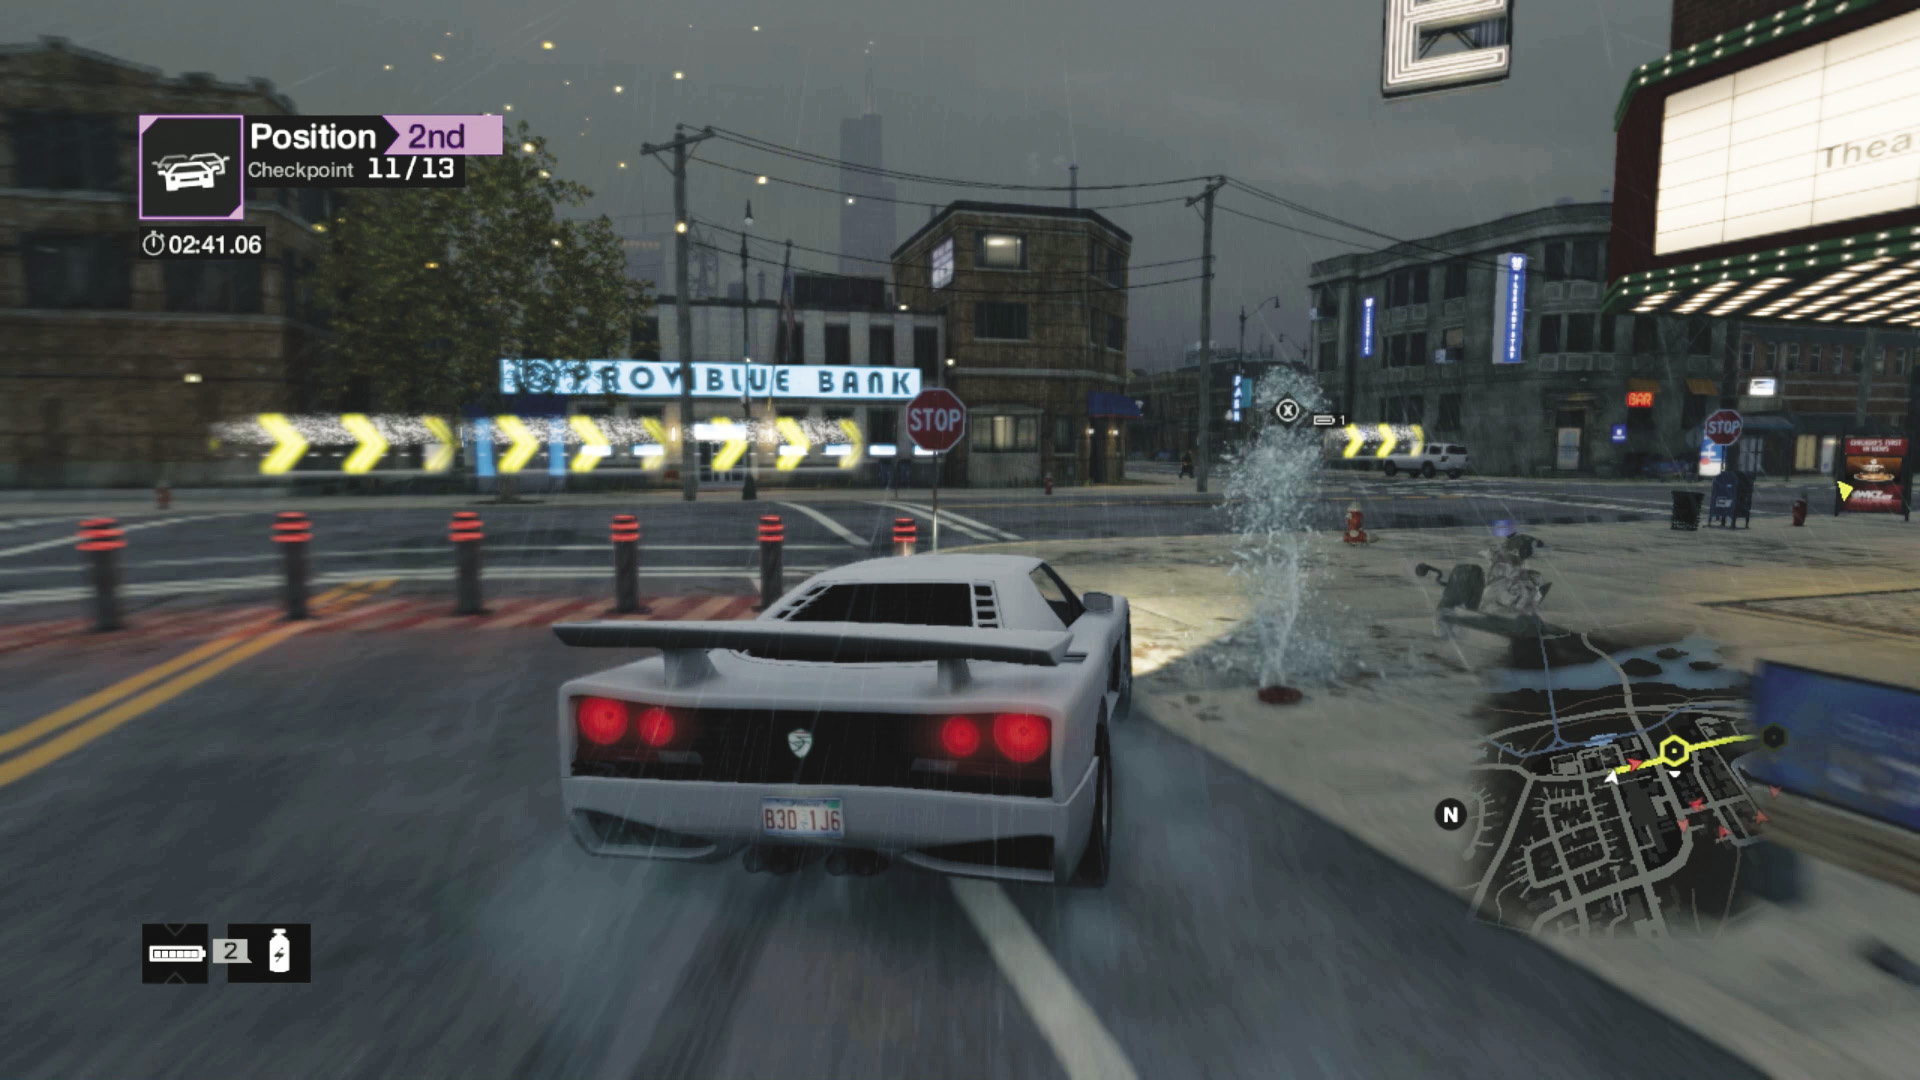
Checkpoints 11–13: Head up the right turn hill, make a sharp right at the top, through checkpoint 11 and another steam pipe, and avoid more blockers at the end of the street before the right turn. Then it’s simply a matter of avoiding a final steam pipe and accelerating (and nitroing) to the finish.
11_THROWN FOR A LOOP
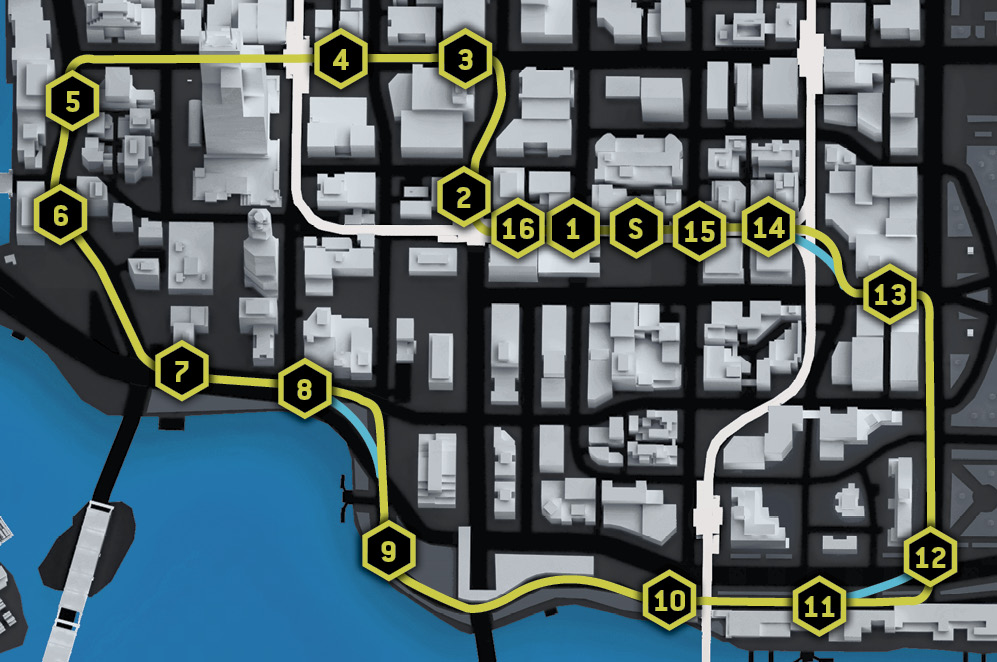
Starting location / UNDER THE L-TRAIN TRACKS
Vehicle / Sayonara
Difficulty: 
NUMBER OF LAPS: 2
NUMBER OF CHECKPOINTS: 16
TIME TO AIM FOR: 03:02 BEAT THIS: 02:50 (Daniel Batoff)
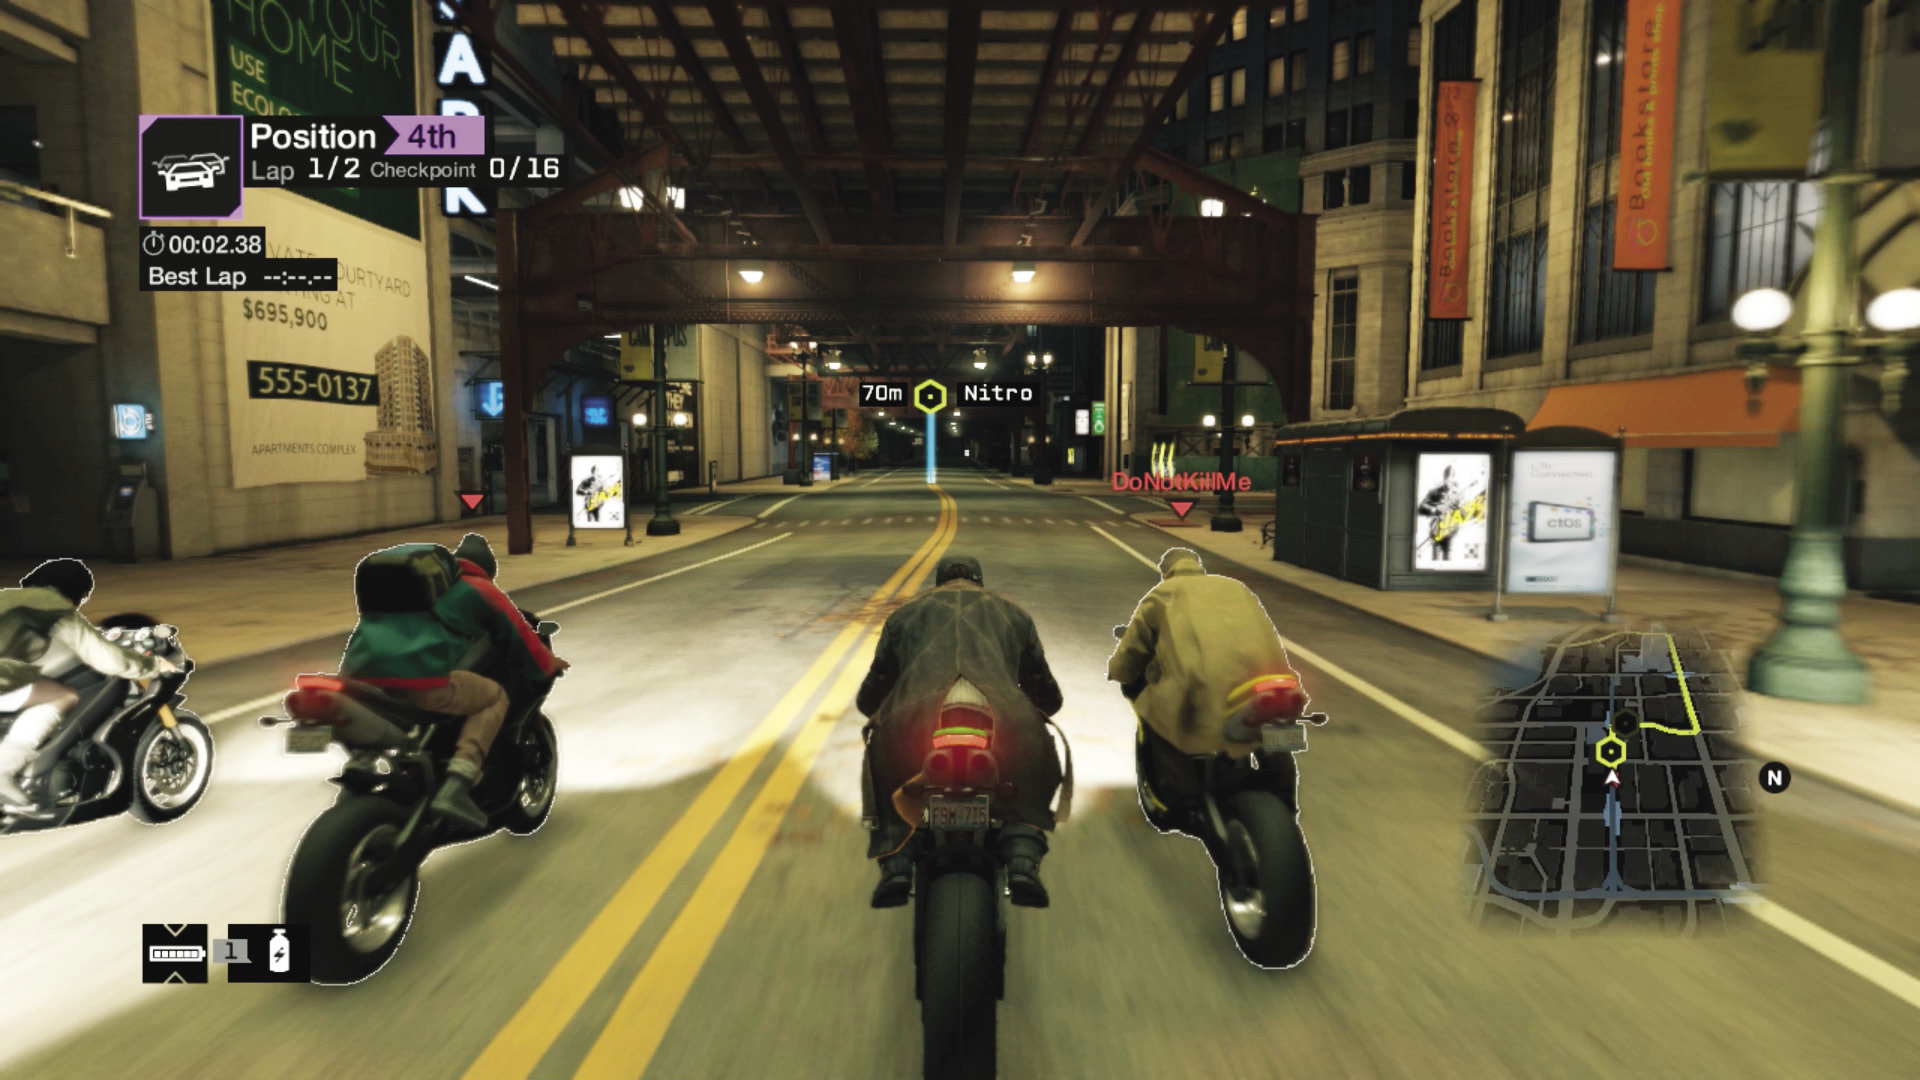
Checkpoint 1: This course has almost no shortcuts and no alleys to head down, despite the multitude of side streets; the checkpoints aren’t set up to allow this, so you’re focused on avoiding enemy hacks and bashing foes off course. Begin with a cut in on your right at the first corner.
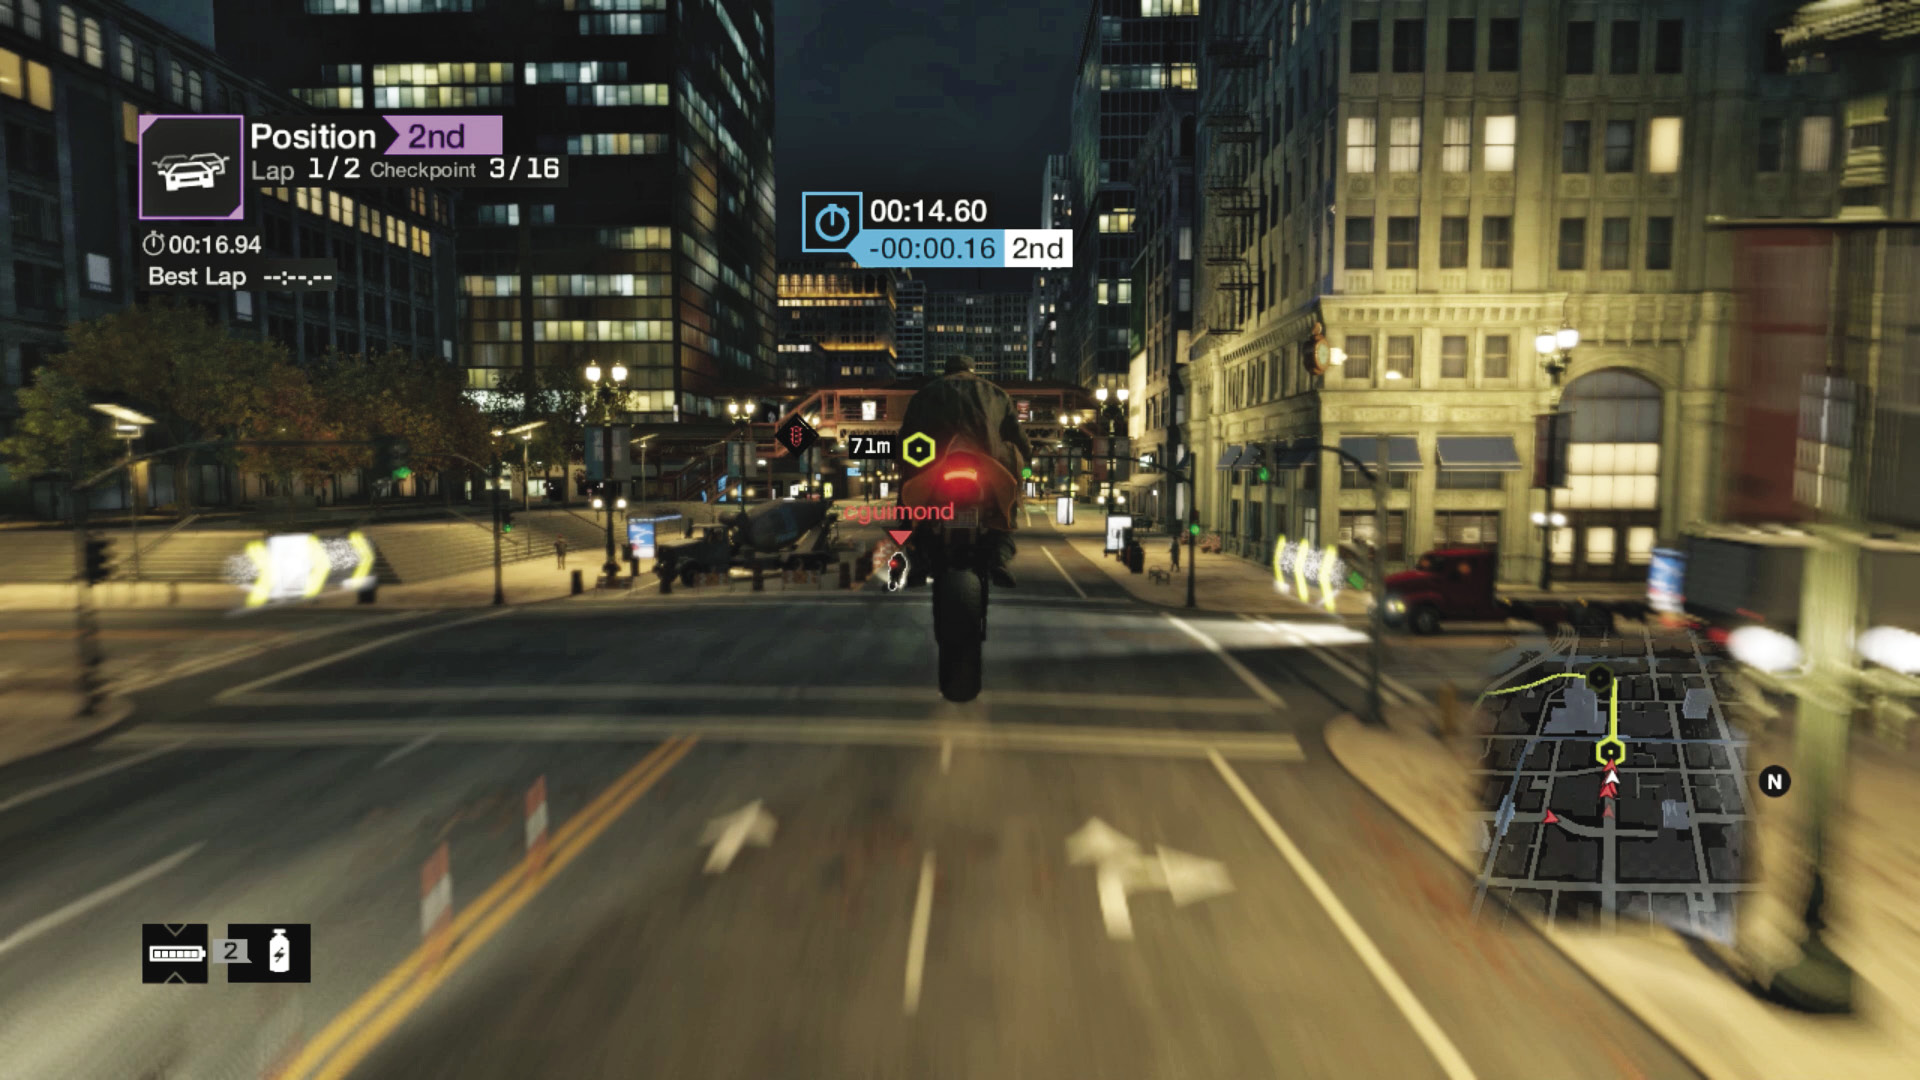
Checkpoints 2–4: You head left a block after checkpoint 2. Swerve and line up for the ramps and chicane; dodge the ramp if you don’t want to slow down in the air, or stay to the right if you want to avoid a potential snarl-up on the ground.
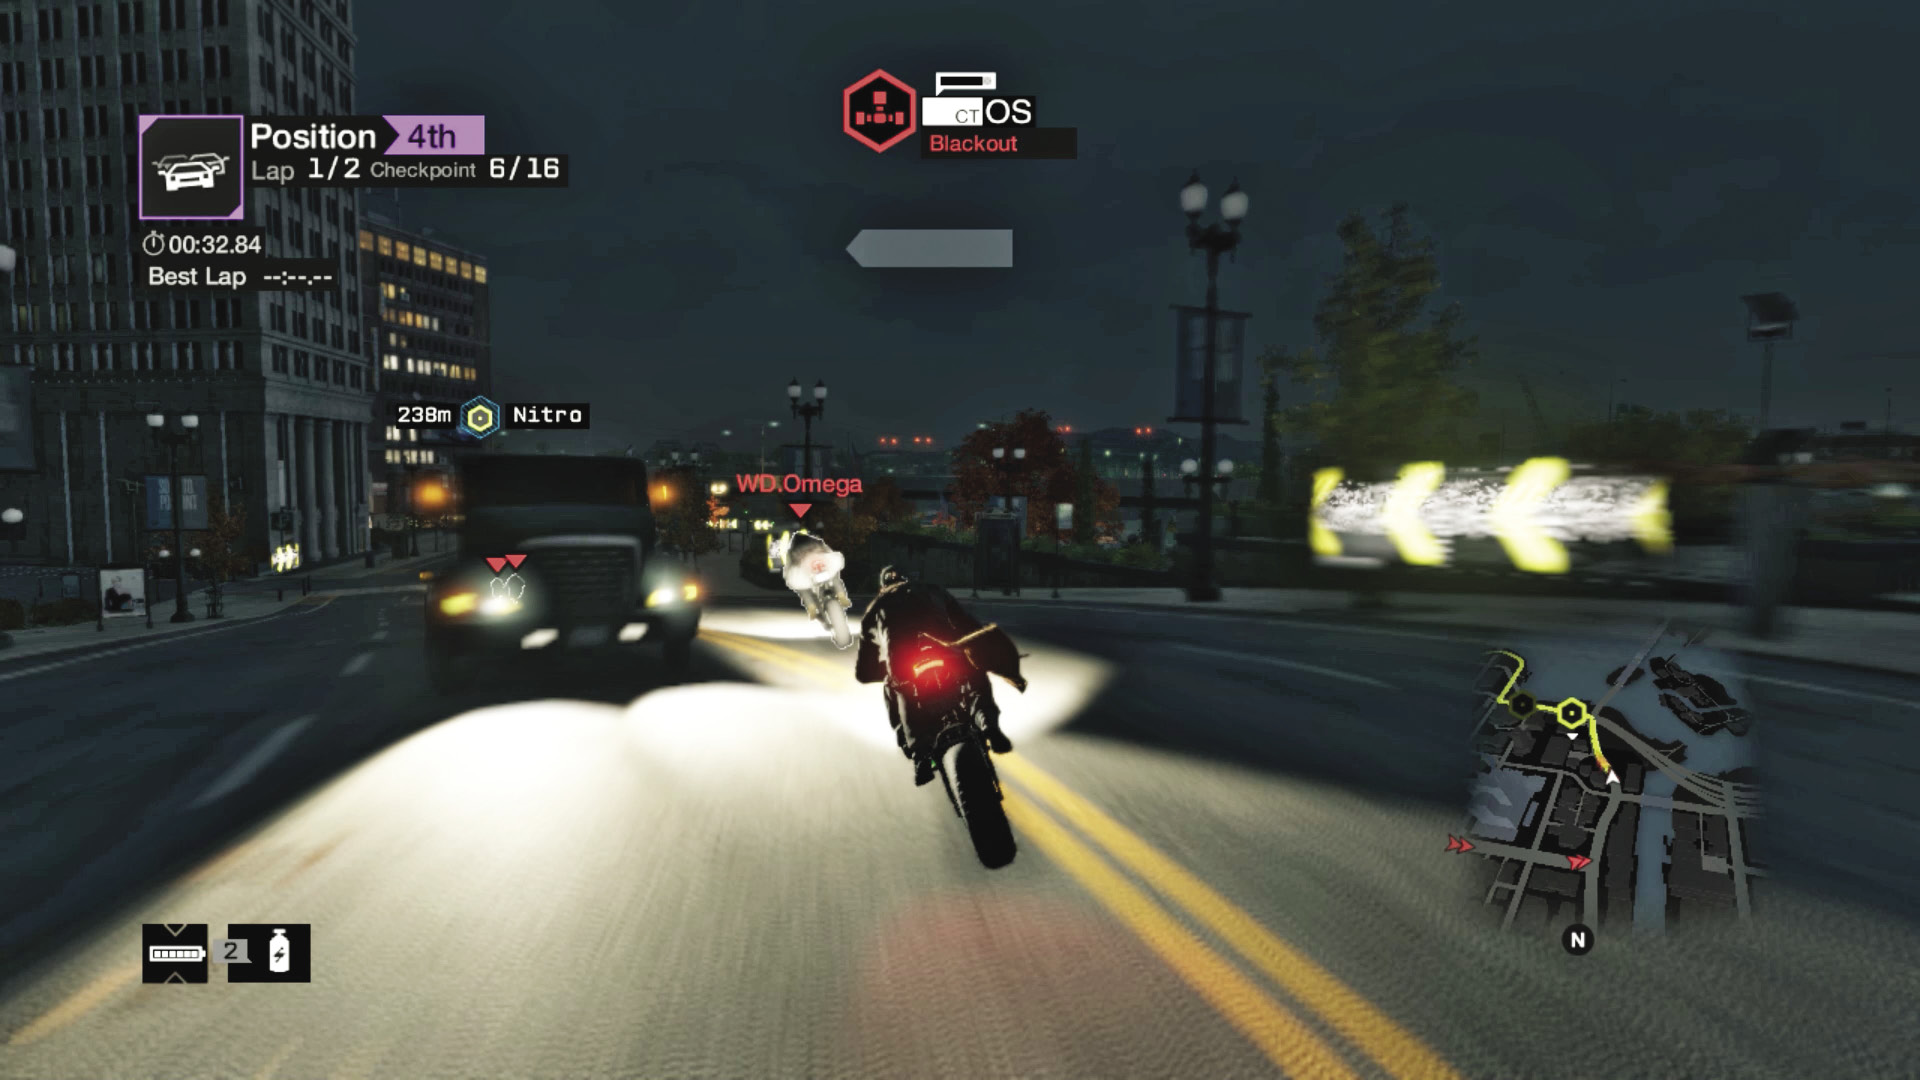
Checkpoints 5 and 6: Watch for cross-traffic as you zoom up the street, make a sharp left (use the sidewalk corner), and fly through checkpoint 5. The ride gets a little more terrifying at checkpoint 6, with a winding road down to the elevated freeway; slow and avoid traffic—commuters and bikers alike.
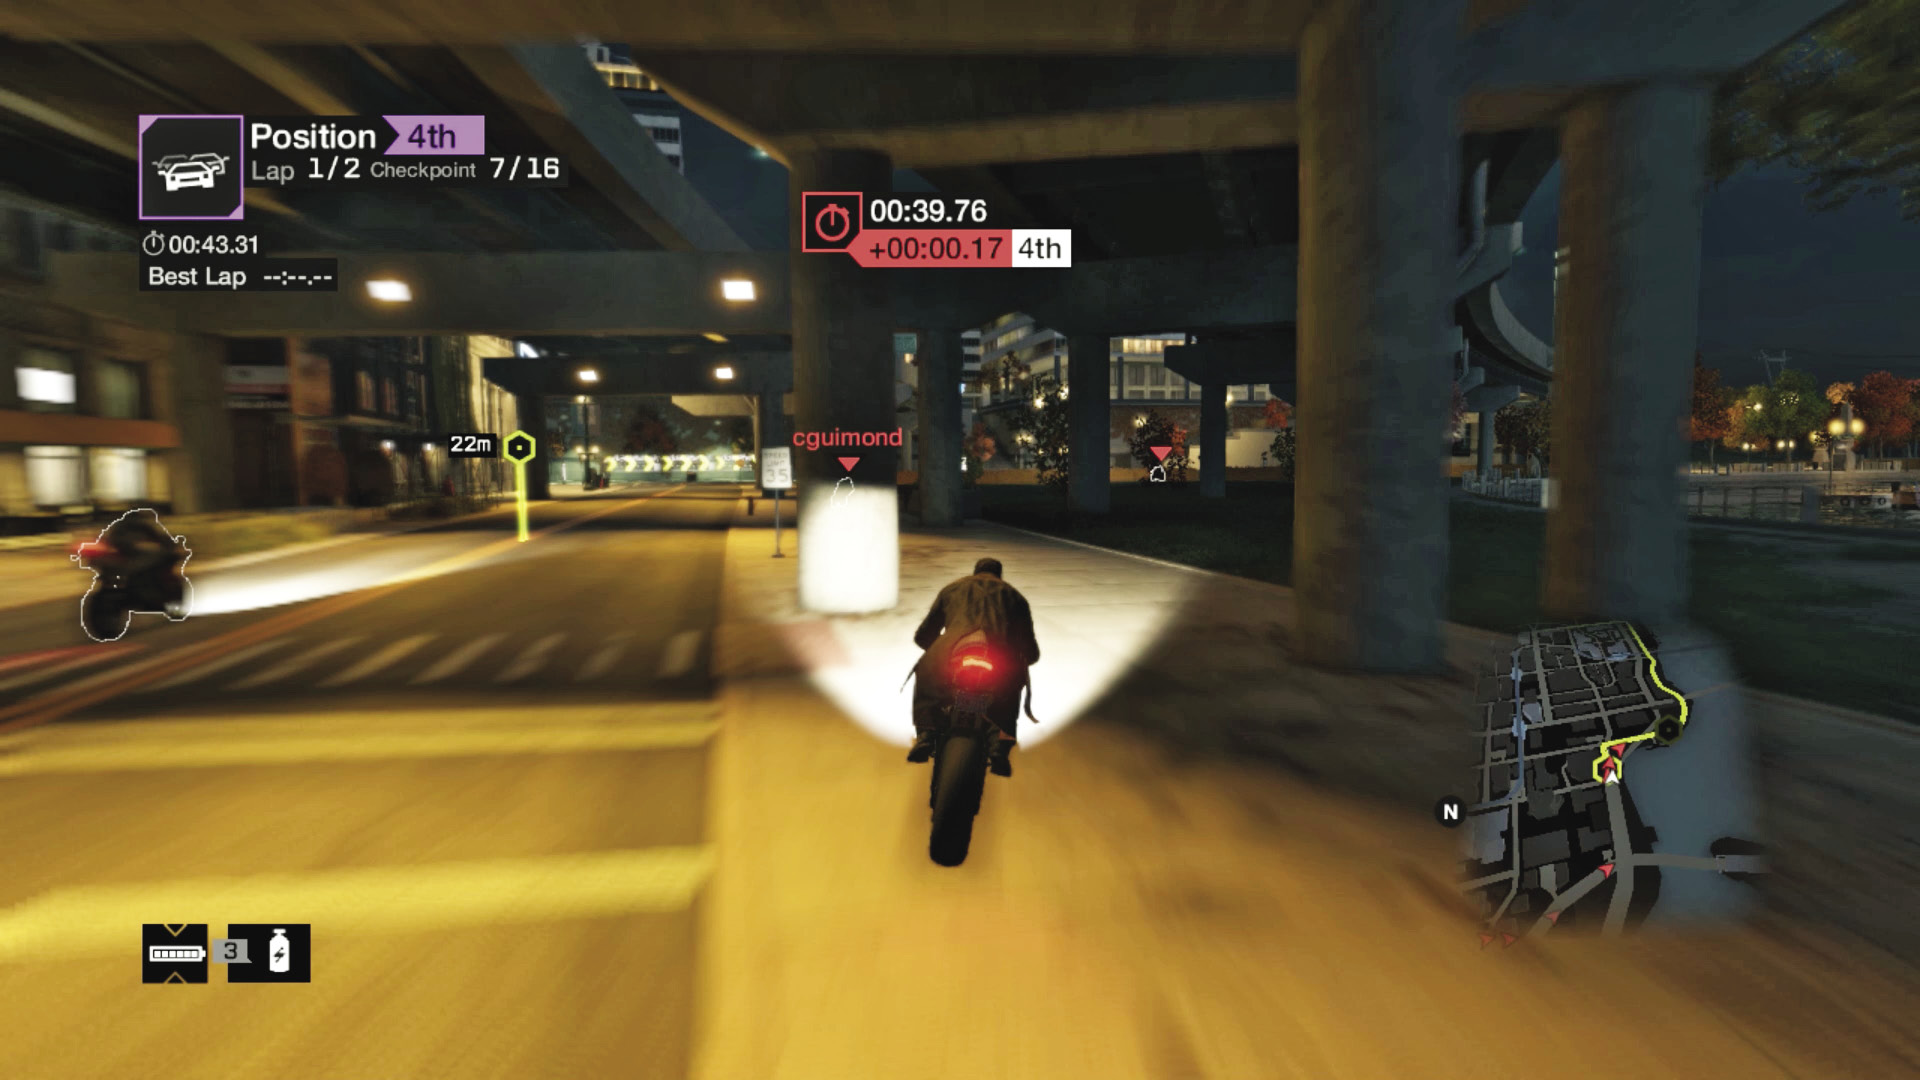
Checkpoints 7 and 8 (Shortcut): Cut in to the left, just as you ride under the freeway and through checkpoint 7. Then try a relatively cunning shortcut by leaning to the right of checkpoint 8, through the freeway support pillars, across the grass and hedge, and cut the road junction out entirely.
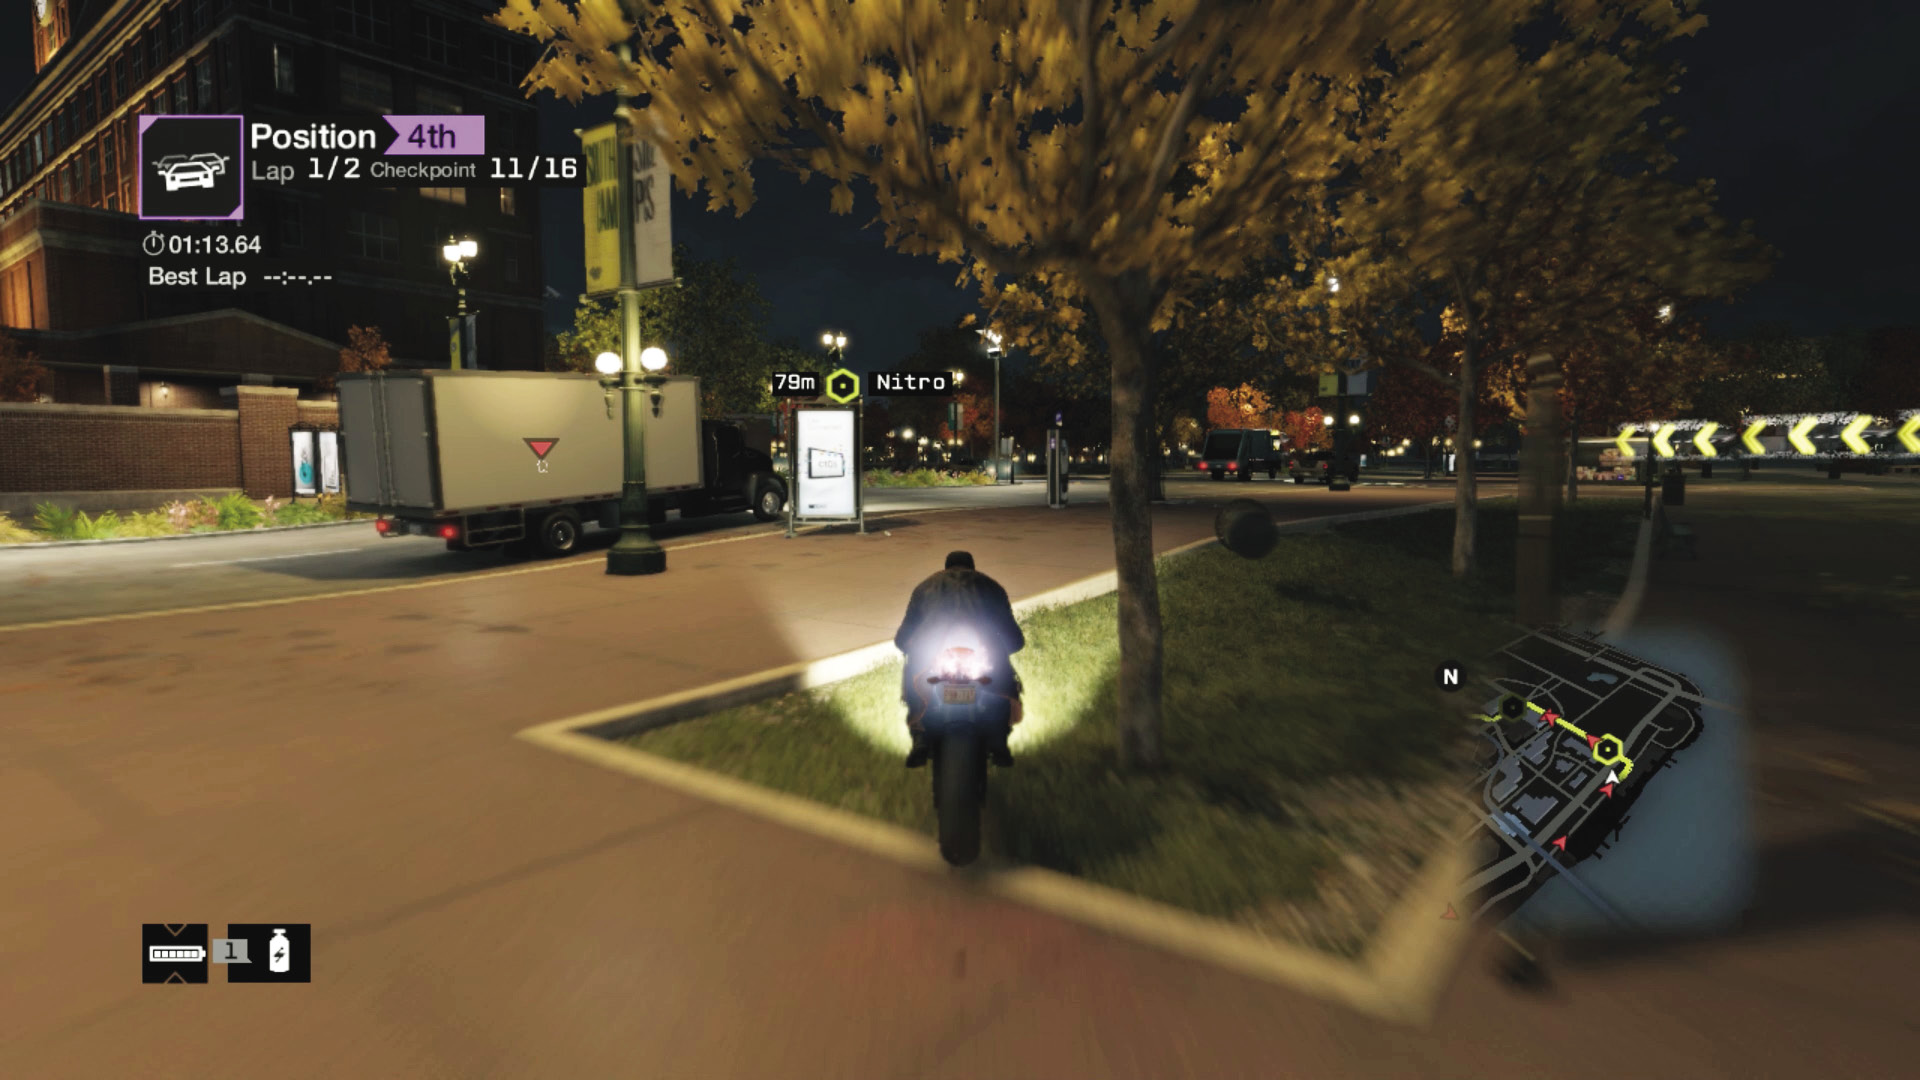
Checkpoints 9–12: The access road between checkpoints 9 and 10 is narrow and is the perfect place for ramming foes and causing them to lose control. Once you’re out on the cobblestone street, pass through checkpoint 11 and cut across to the left if there are no obstacles. You reach checkpoint 12 more quickly, though it’s more dangerous.
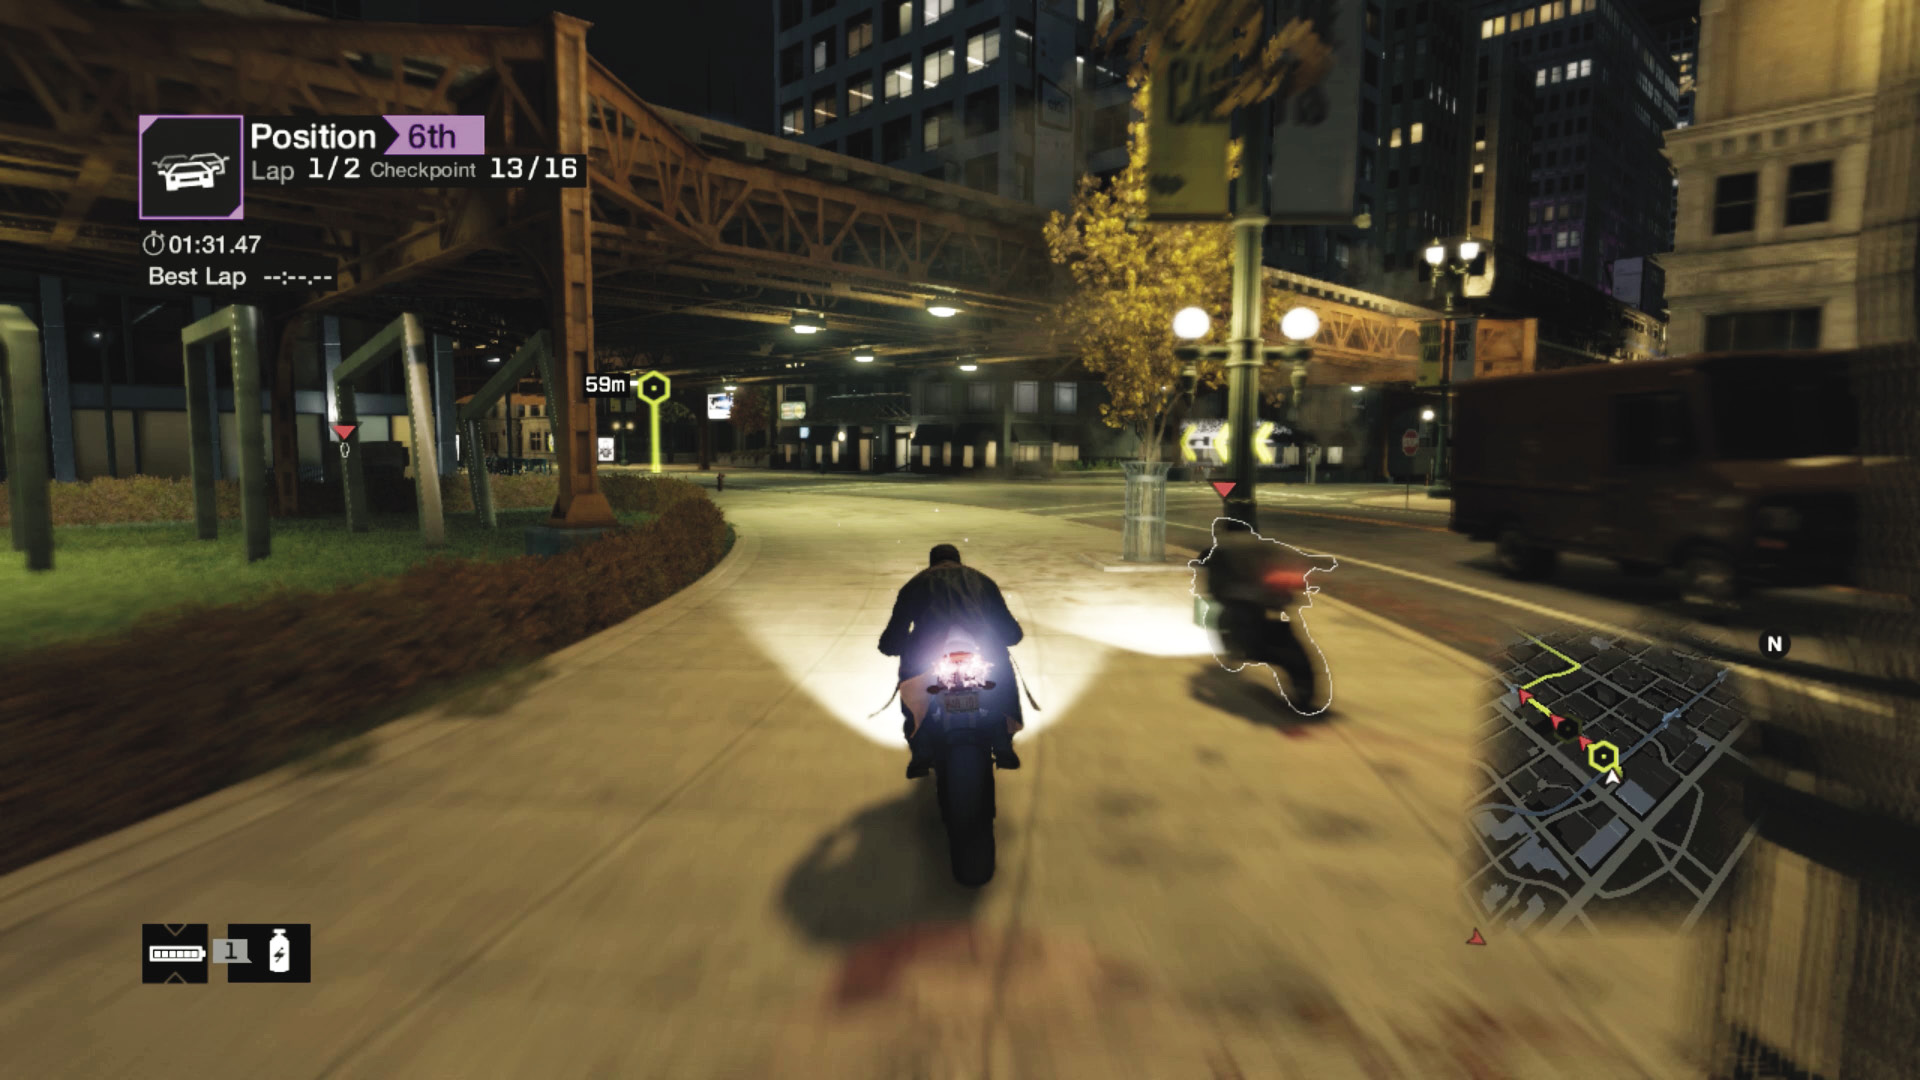
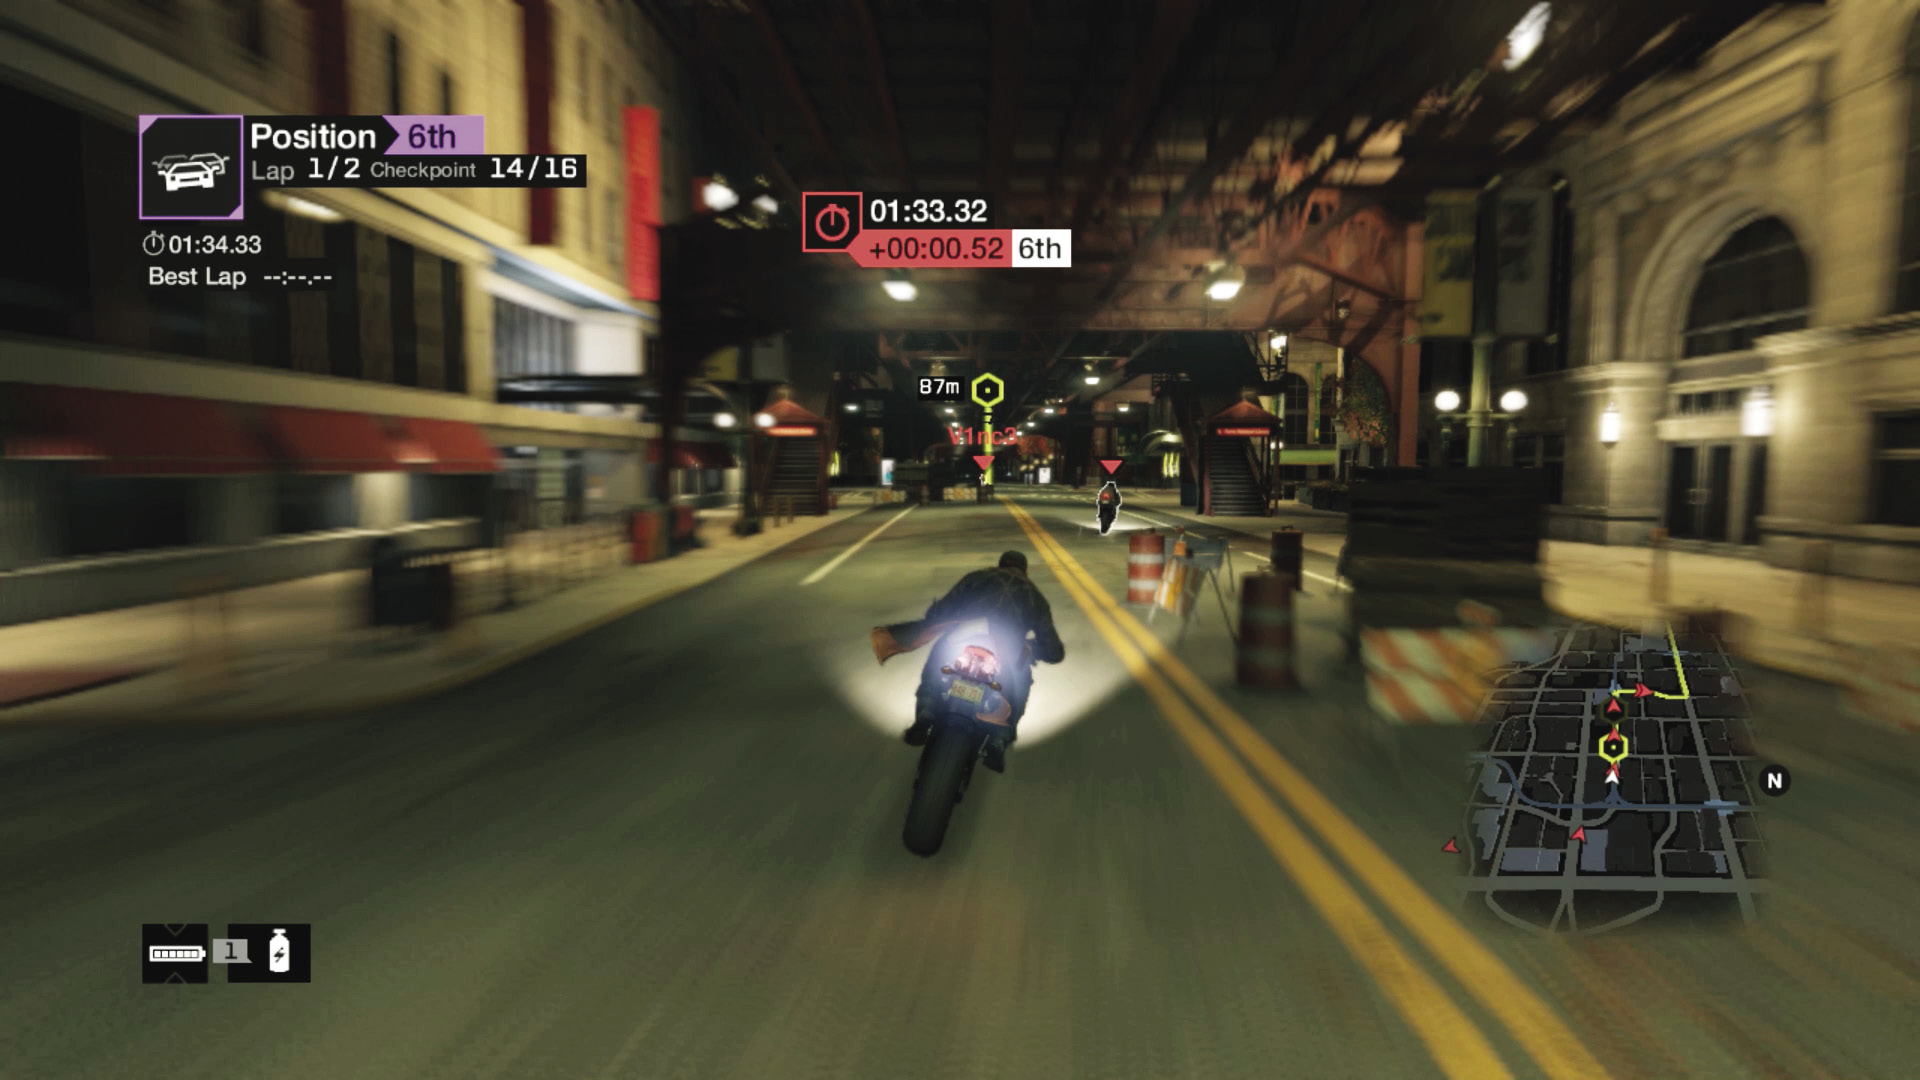
Checkpoints 13 and 14: Nitro down past the traffic along the main road and take a sharp left at the chevrons, before the steam pipe (which no one should hack, as it’s technically off the course). Weave right, then left through checkpoint 14 as you head under the L-train tracks. Watch for metal supports as you go!
Checkpoints 15 and 16: Weave left and then right through the chicane of pallets, and complete your lap. Don’t rest yet; there’s another one to go! Save your nitro for the right corner as you reach checkpoint 2 again.
12_UP AND UNDER
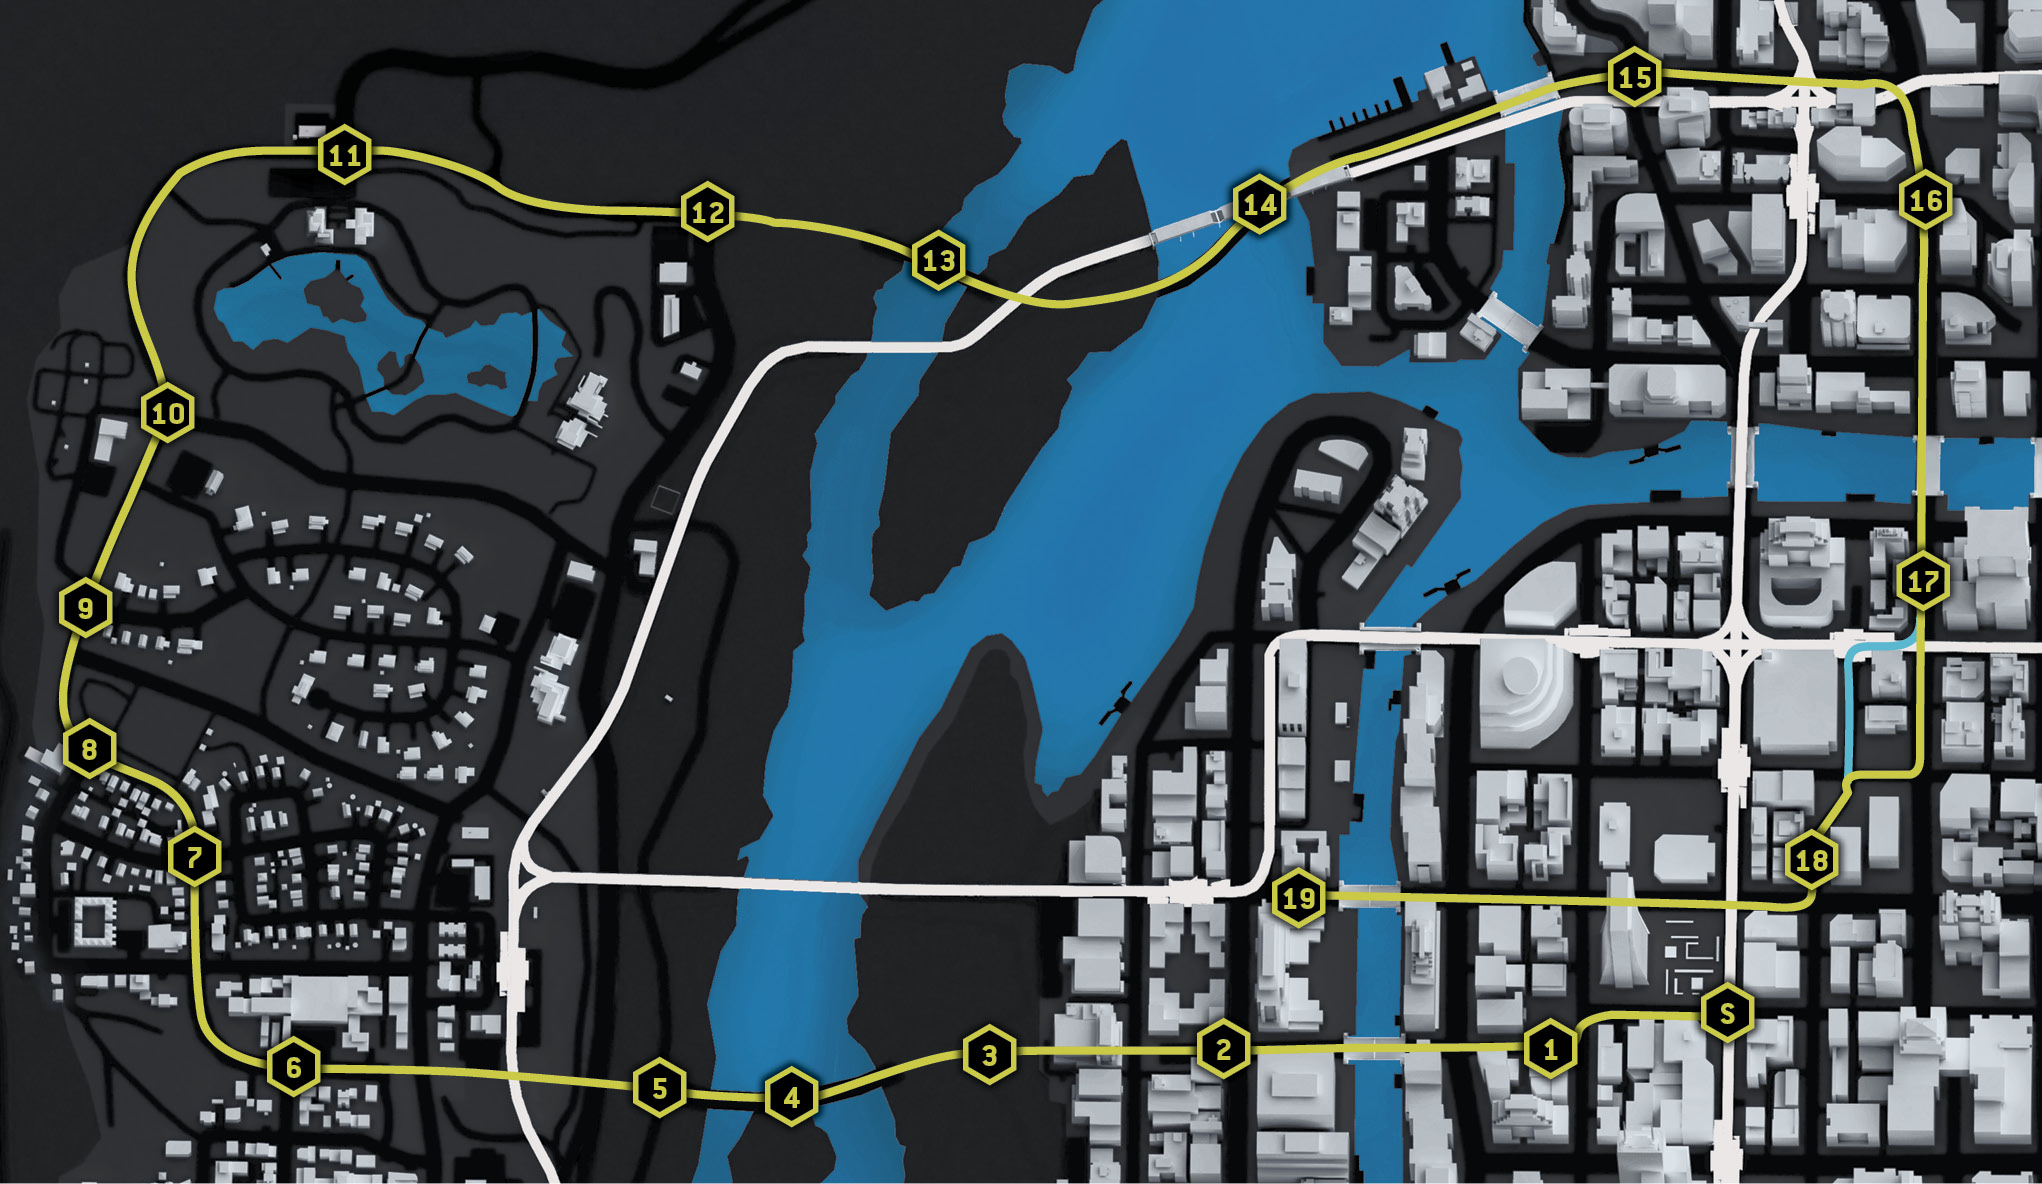
Starting location / L-TRAIN TRACKS, CENTRAL LOOP
Vehicle / 336-TT
Difficulty: 
NUMBER OF LAPS: 1
NUMBER OF CHECKPOINTS: 19
TIME TO AIM FOR: 02:57 BEAT THIS: 02:48 (Daniel Batoff)
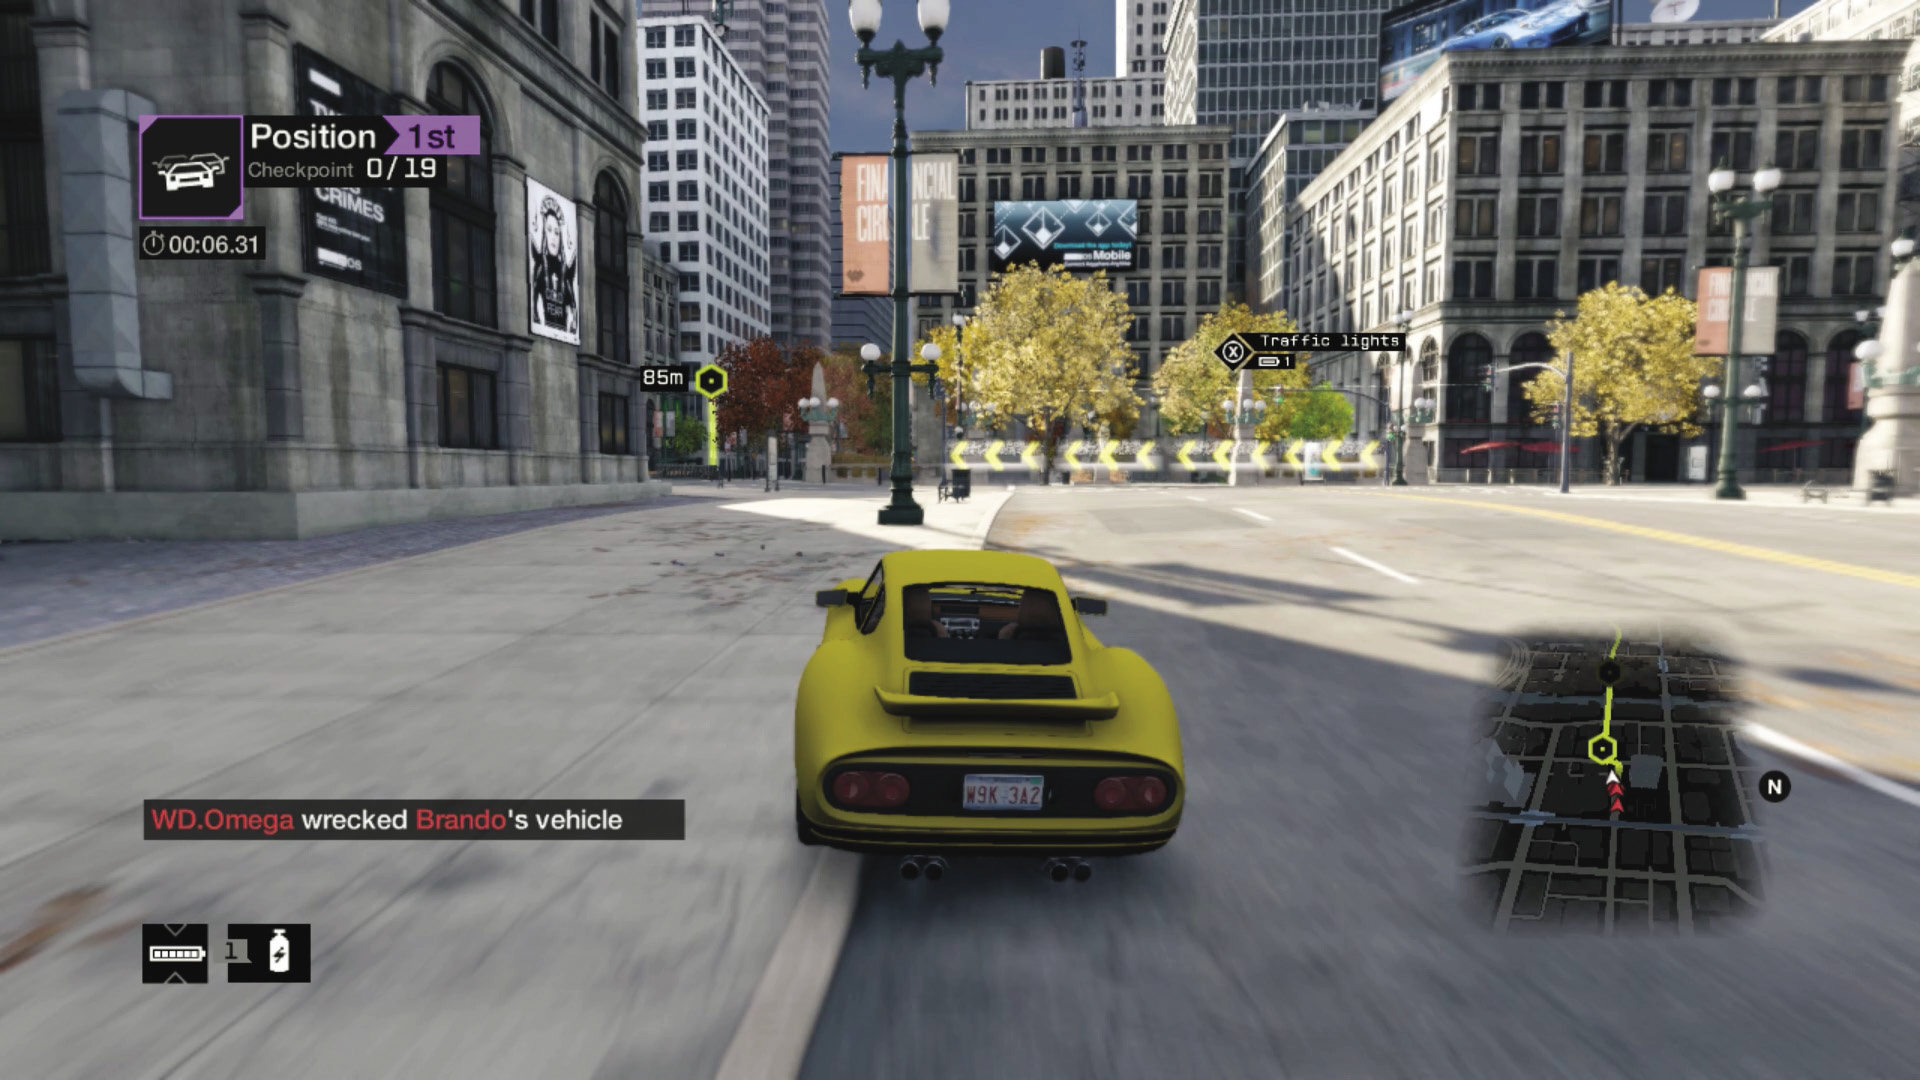
Checkpoint 1: The road is wide, but an immediate steam pipe can cause a violent beginning to any race; try to steer to the sidewalk, preferably the left side so you can cut across the corner and down the road to checkpoint 1.
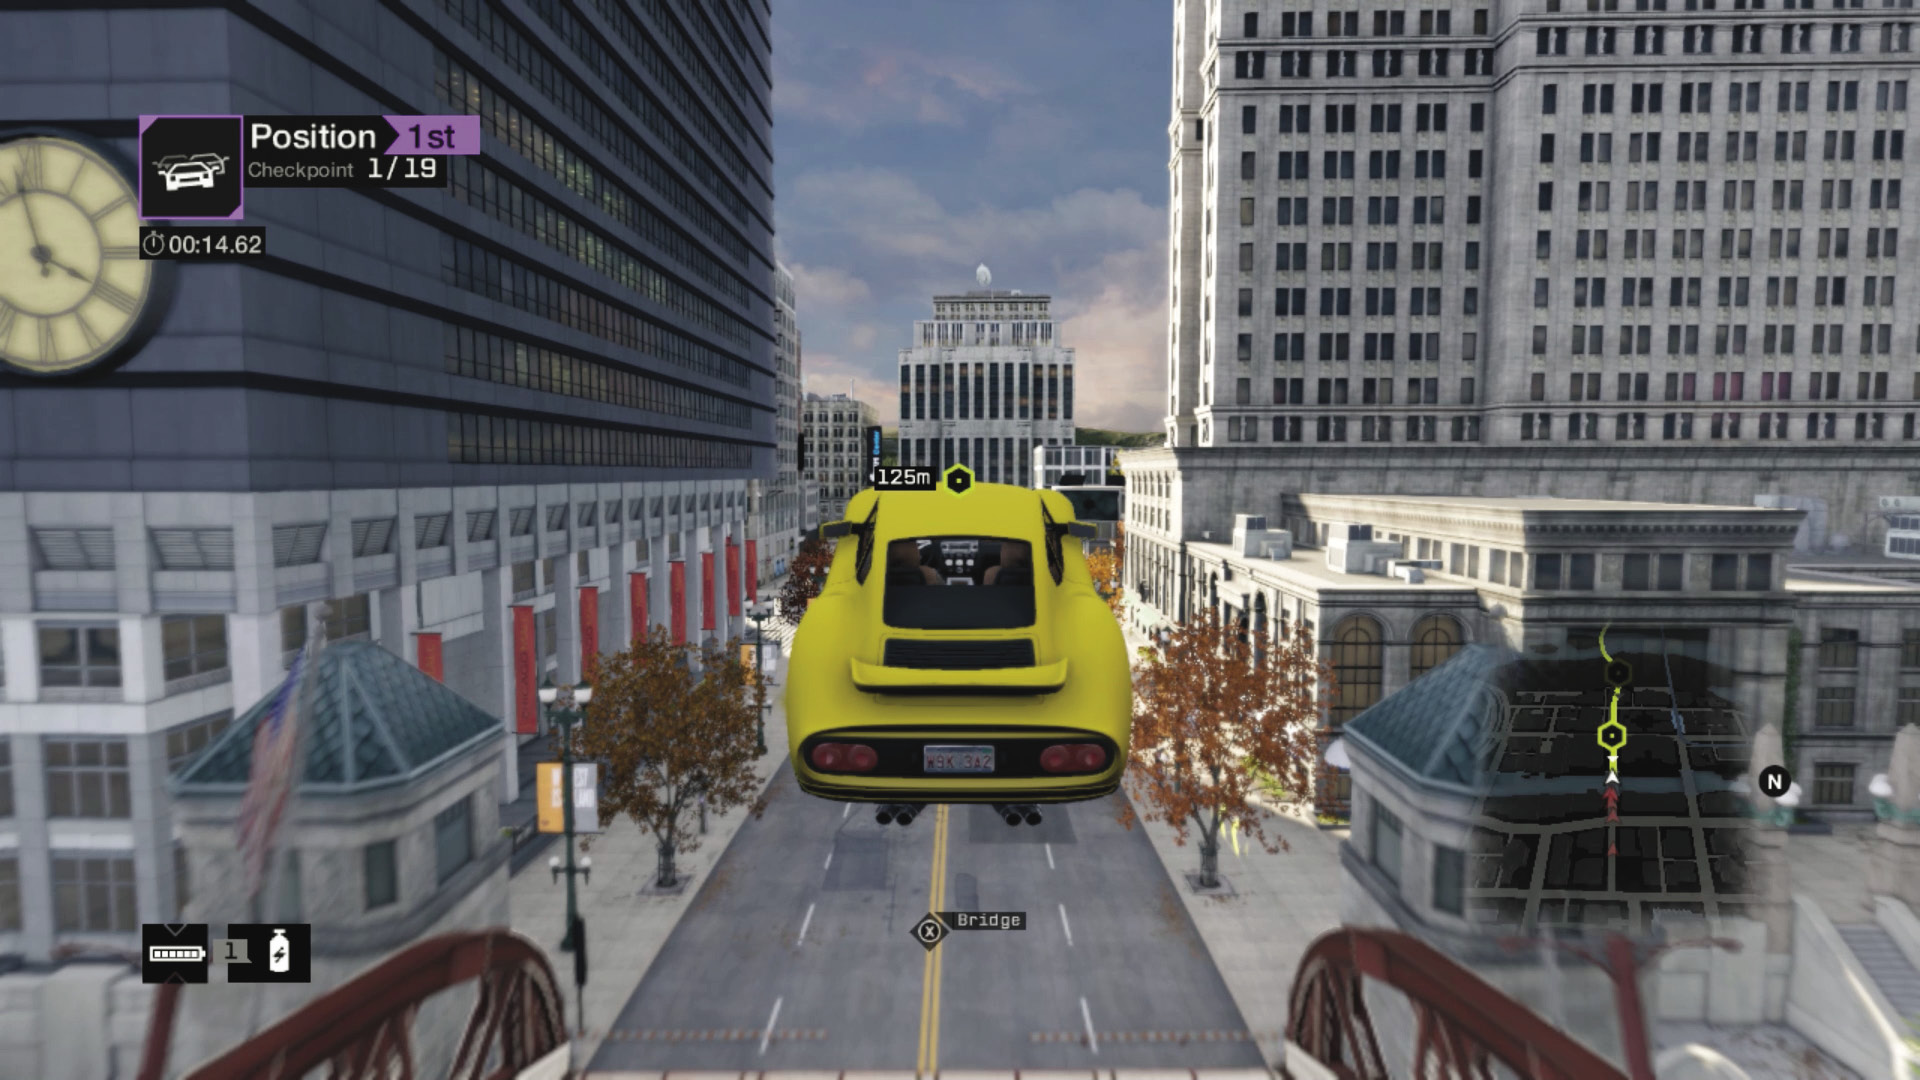
Checkpoints 2–5: Nitro over the opening bridge. Then land and dash at top speed through the tunnel, the elevated freeway over the water, and a second tunnel leading into Parker Square. There’s plenty of time to shunt foes into traffic or the central pillars.
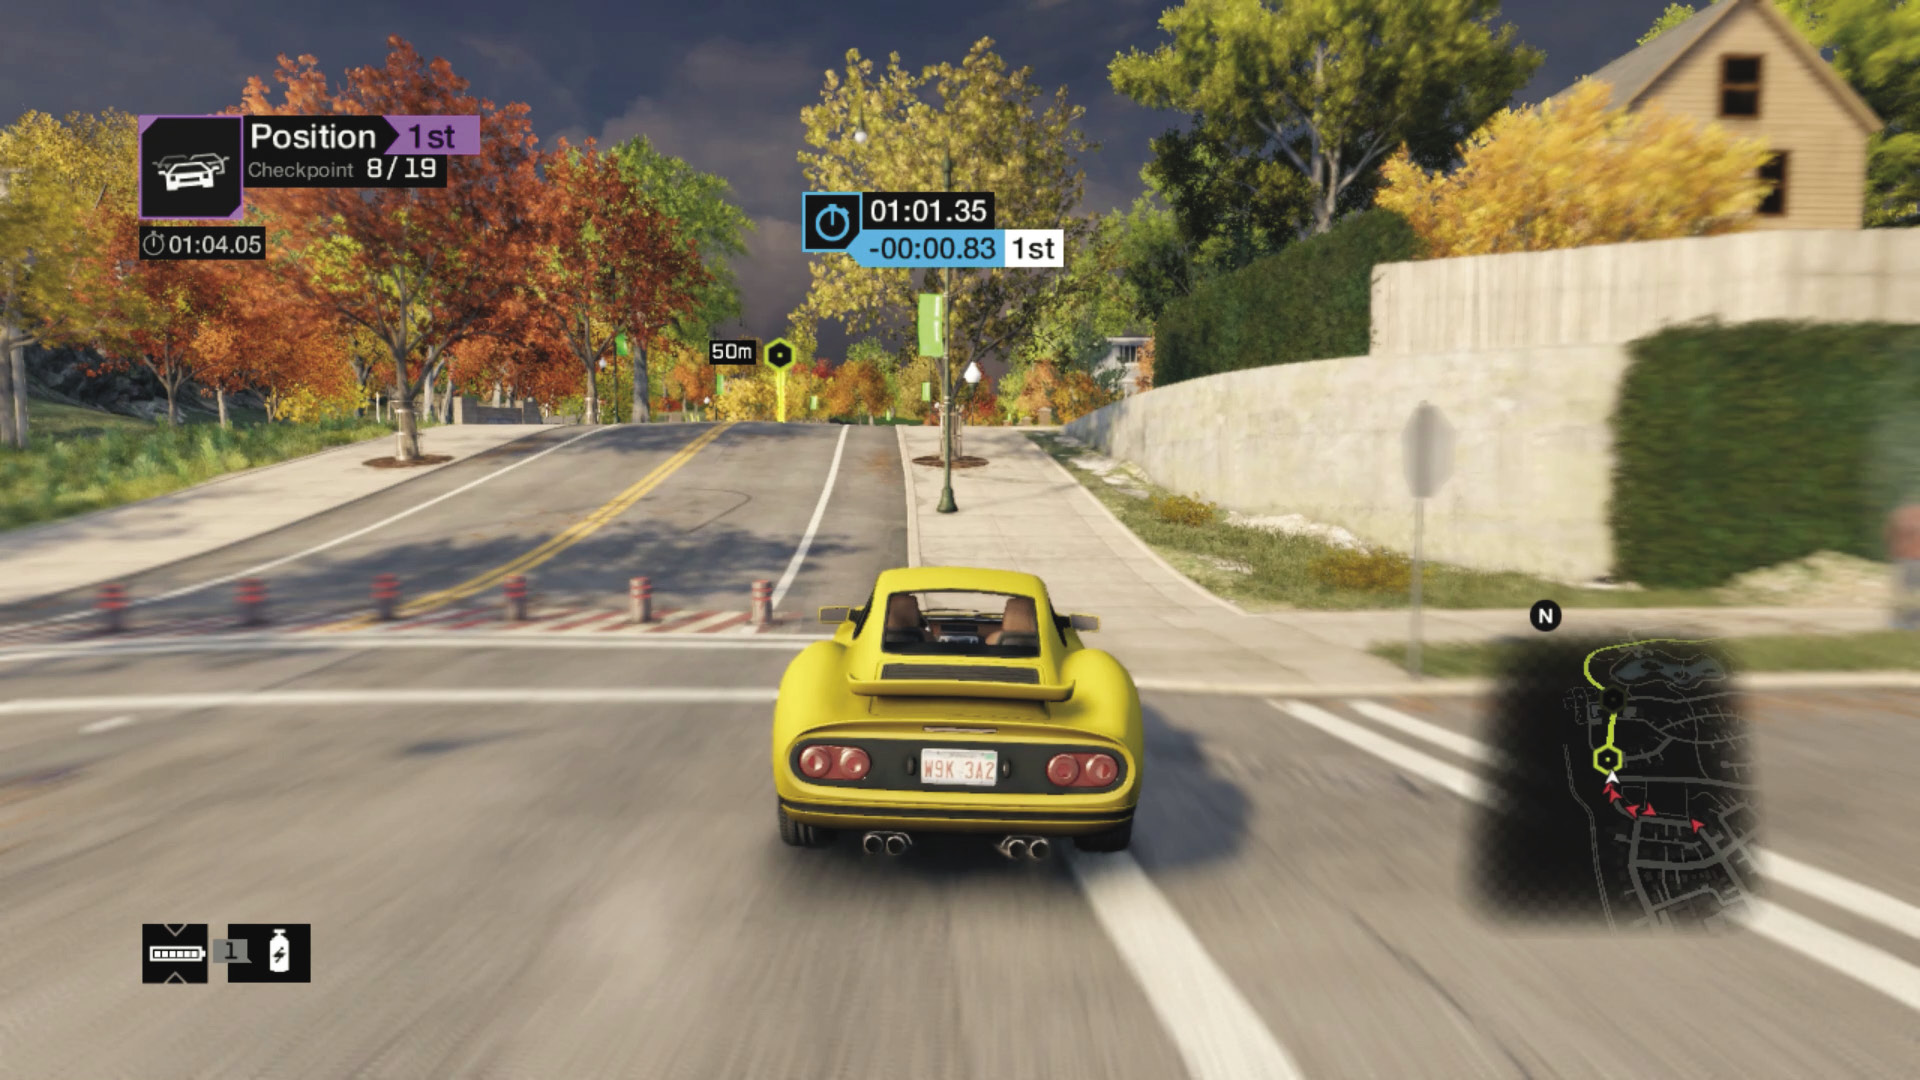
Checkpoints 6–9: As you approach checkpoint 6, watch for the steam pipe. Then head along the road through the lights and into and out of Parker Square. Start maneuvering around the edge of the park in a clockwise route. Checkpoint 9 is at the cemetery’s southern edge (on your left). Use the edge of the sidewalk and grass, but watch for those sturdy trees!
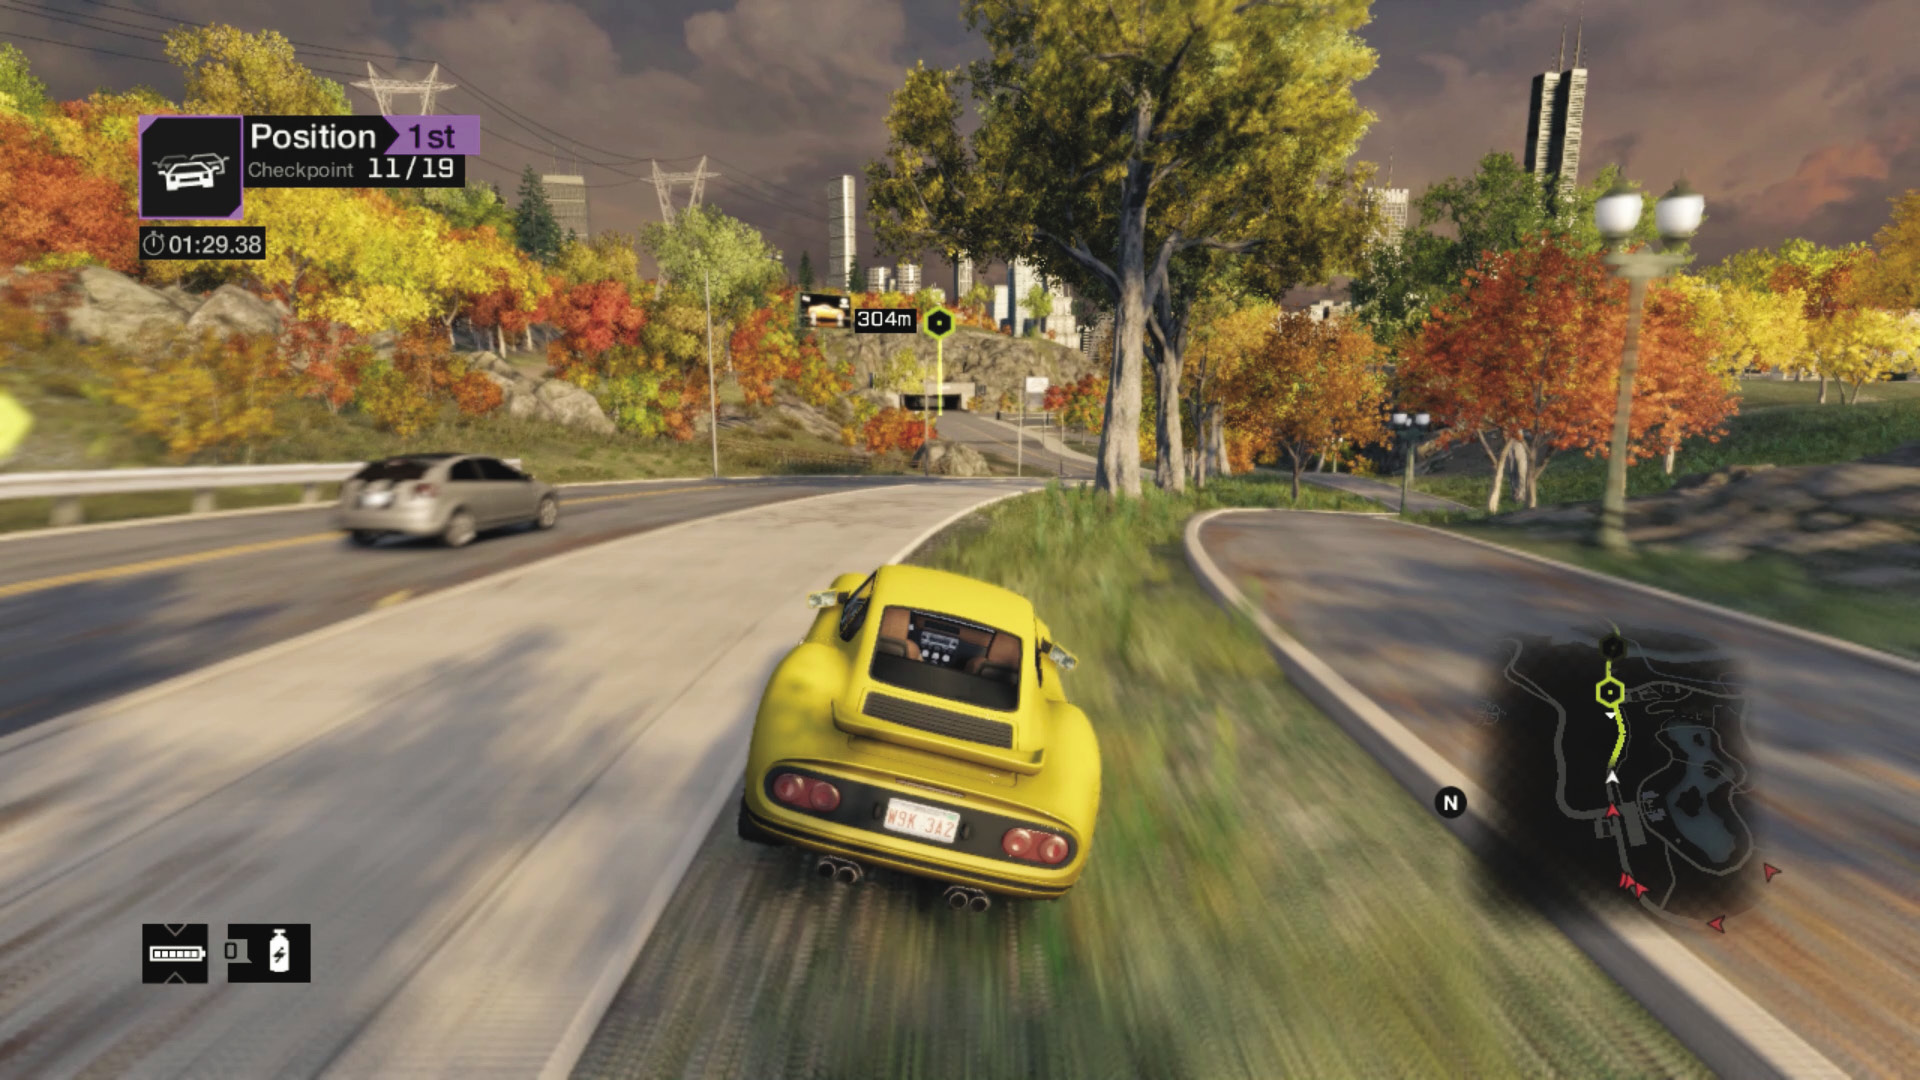
Checkpoints 10–12: There’s more time for a nitro as you travel this long right turn, ending in a downhill dash, passing a steam pipe, and going through checkpoint 12, into the traffic tunnel. Watch for traffic and overzealous rivals.
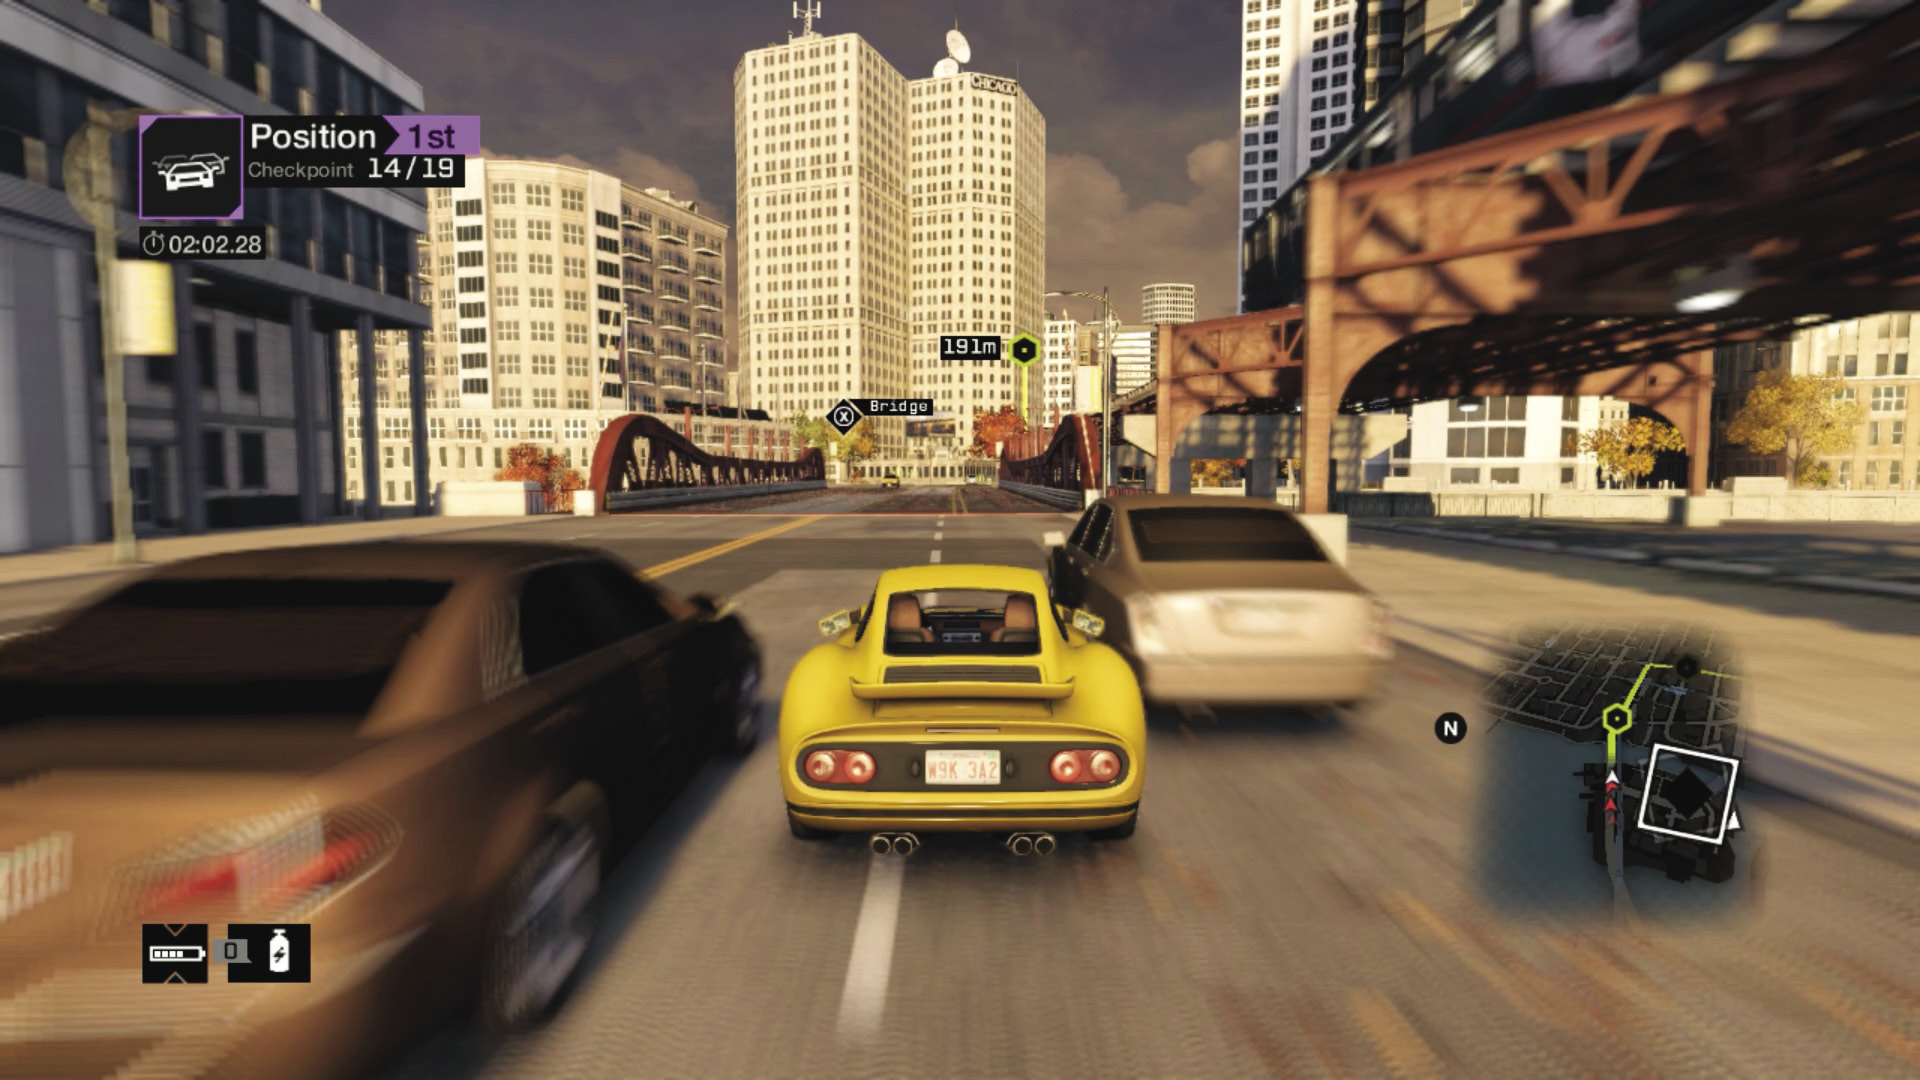
Checkpoints 13–16: Keep a good racing line through the linking freeway back into Mad Mile, watching for the rising bridge and a quick right bend as you race under the L-train tracks at checkpoint 15. Keep your speed up as you reach a sharp right corner; take it on the right verge, pass another steam pipe, and hit checkpoint 16. Although you might be first, there’s cross-traffic to watch for at some of the intersections, especially after checkpoint 16!
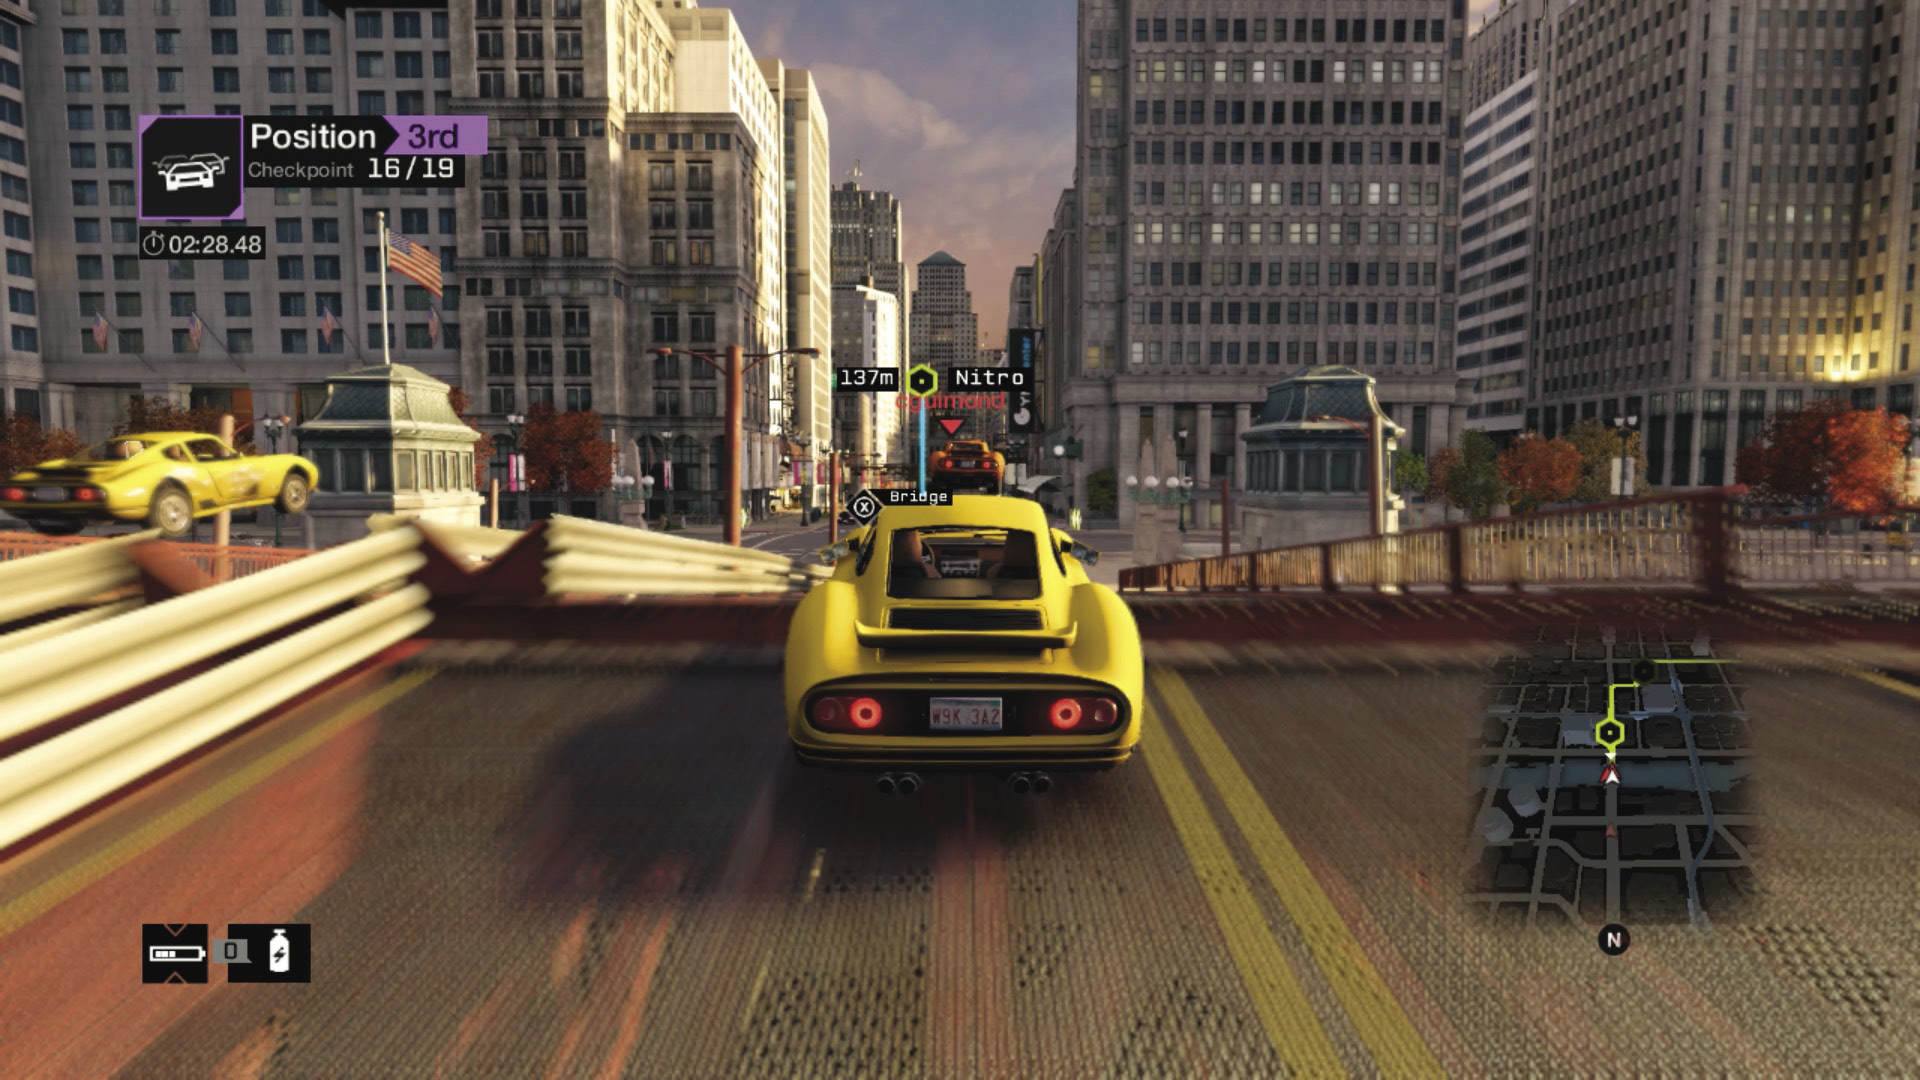
Checkpoints 17–19: Head over another bridge, through checkpoint 17, and cut in early at the sharp right turn; it arrives earlier than you think based on the chevrons ahead of you! Zigzag through the road near checkpoint 18, avoiding traffic as you make a final right turn. Pass the last steam pipe (a frantic last bash into the central sculpture pillars is also possible) and cross a final bridge and the finish!
MAD MILE
13_MAD STREETS
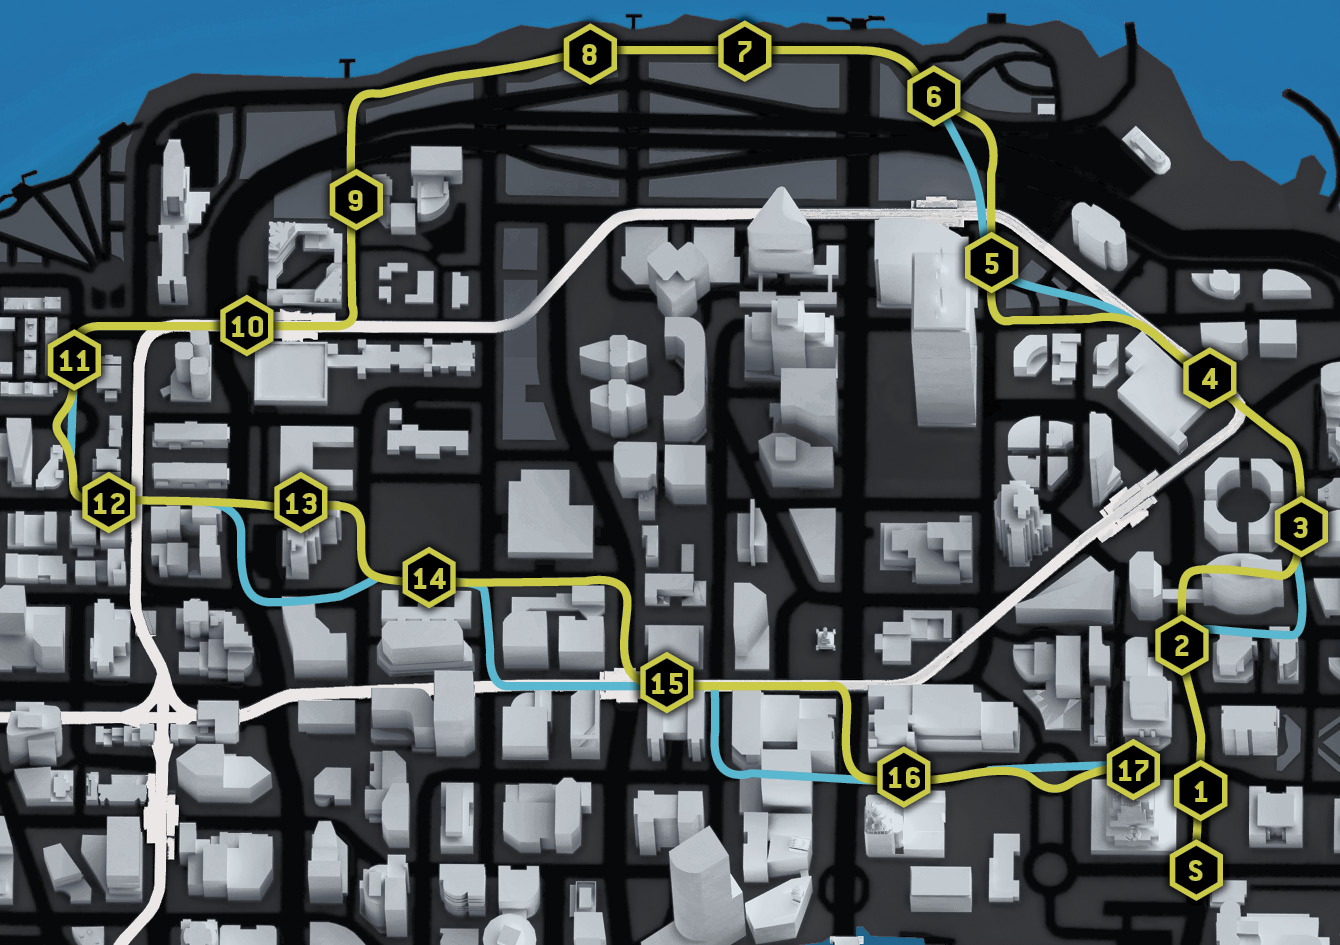
Starting location / MAJOR Road
Vehicle / Sunrim
Difficulty: 
NUMBER OF LAPS: 1
NUMBER OF CHECKPOINTS: 17
TIME TO AIM FOR: 02:08 BEAT THIS: 01:51 (Daniel Batoff)
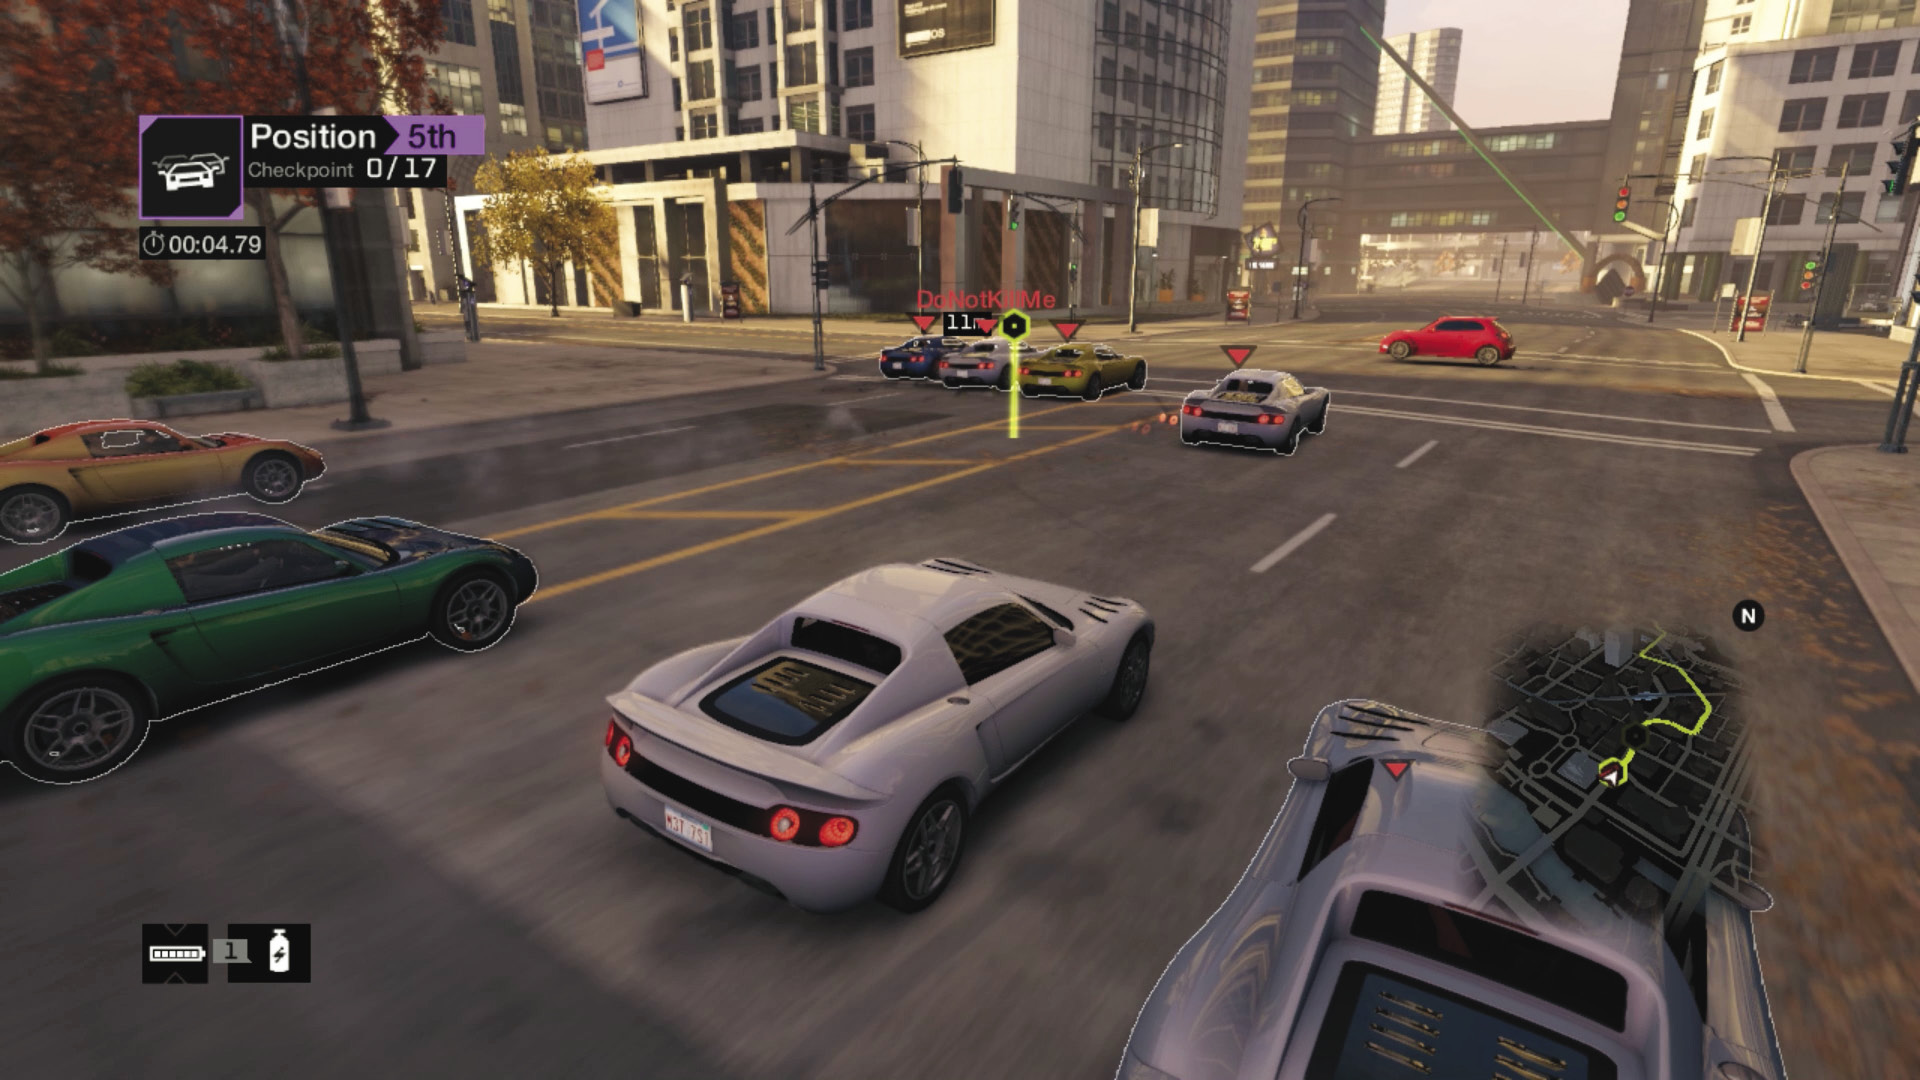
You begin heading north along a wide thoroughfare. Watch for a commuter car moving right to left. Hopefully someone else hits it and not you! Save your infrastructure hacks for the steam pipes; there are a few along the route.
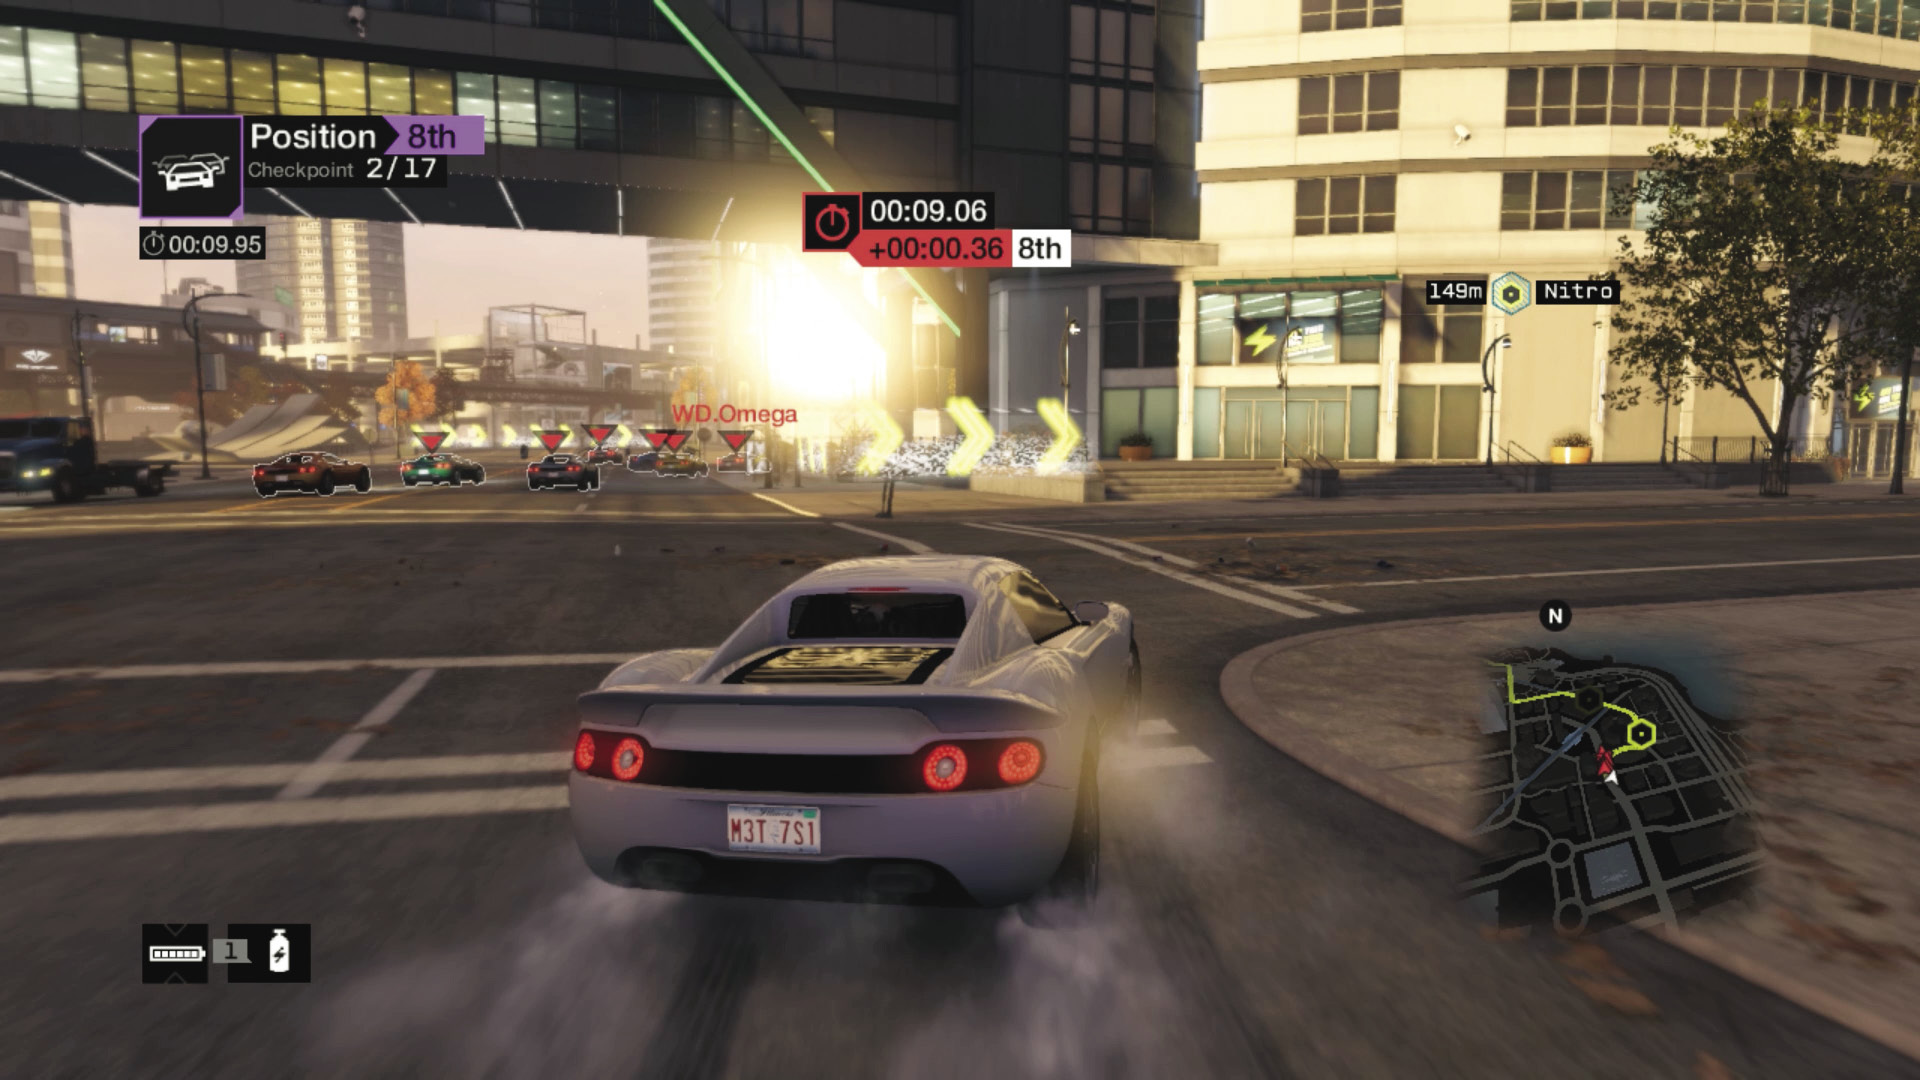
Checkpoints 1 and 2 (Shortcut): Just after checkpoint 2, there’s a sharp right shortcut (turn left after a block to rejoin the main route). During the mayhem of this initial part of the race, this shortcut can be a great idea.
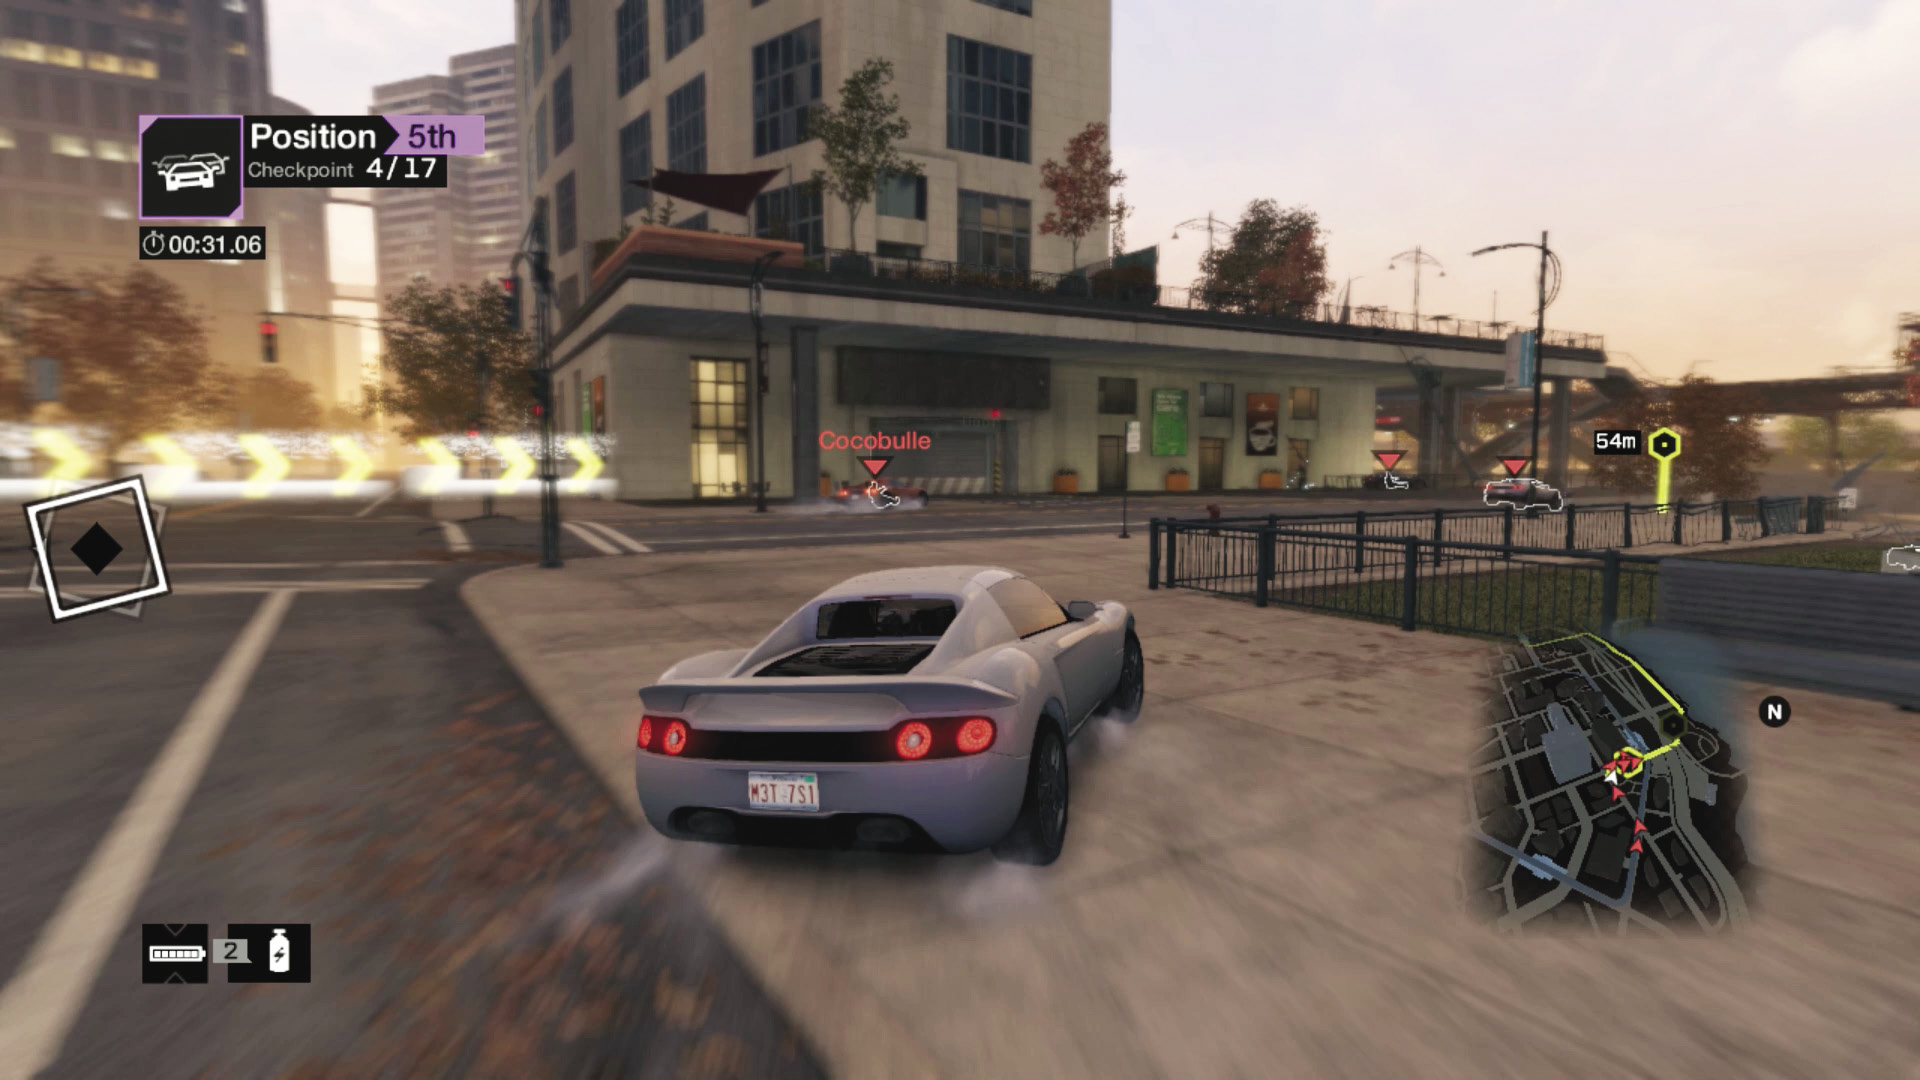
Checkpoints 3–5 (Shortcut): A block north of checkpoint 3 is the first steam pipe that’s worth exploding; avoid it if you aren’t detonating it. Then head under the L-train tracks to reach checkpoint 5. Cut right across the park, avoiding the two stepped ramps if you want a shortcut to checkpoint 5.
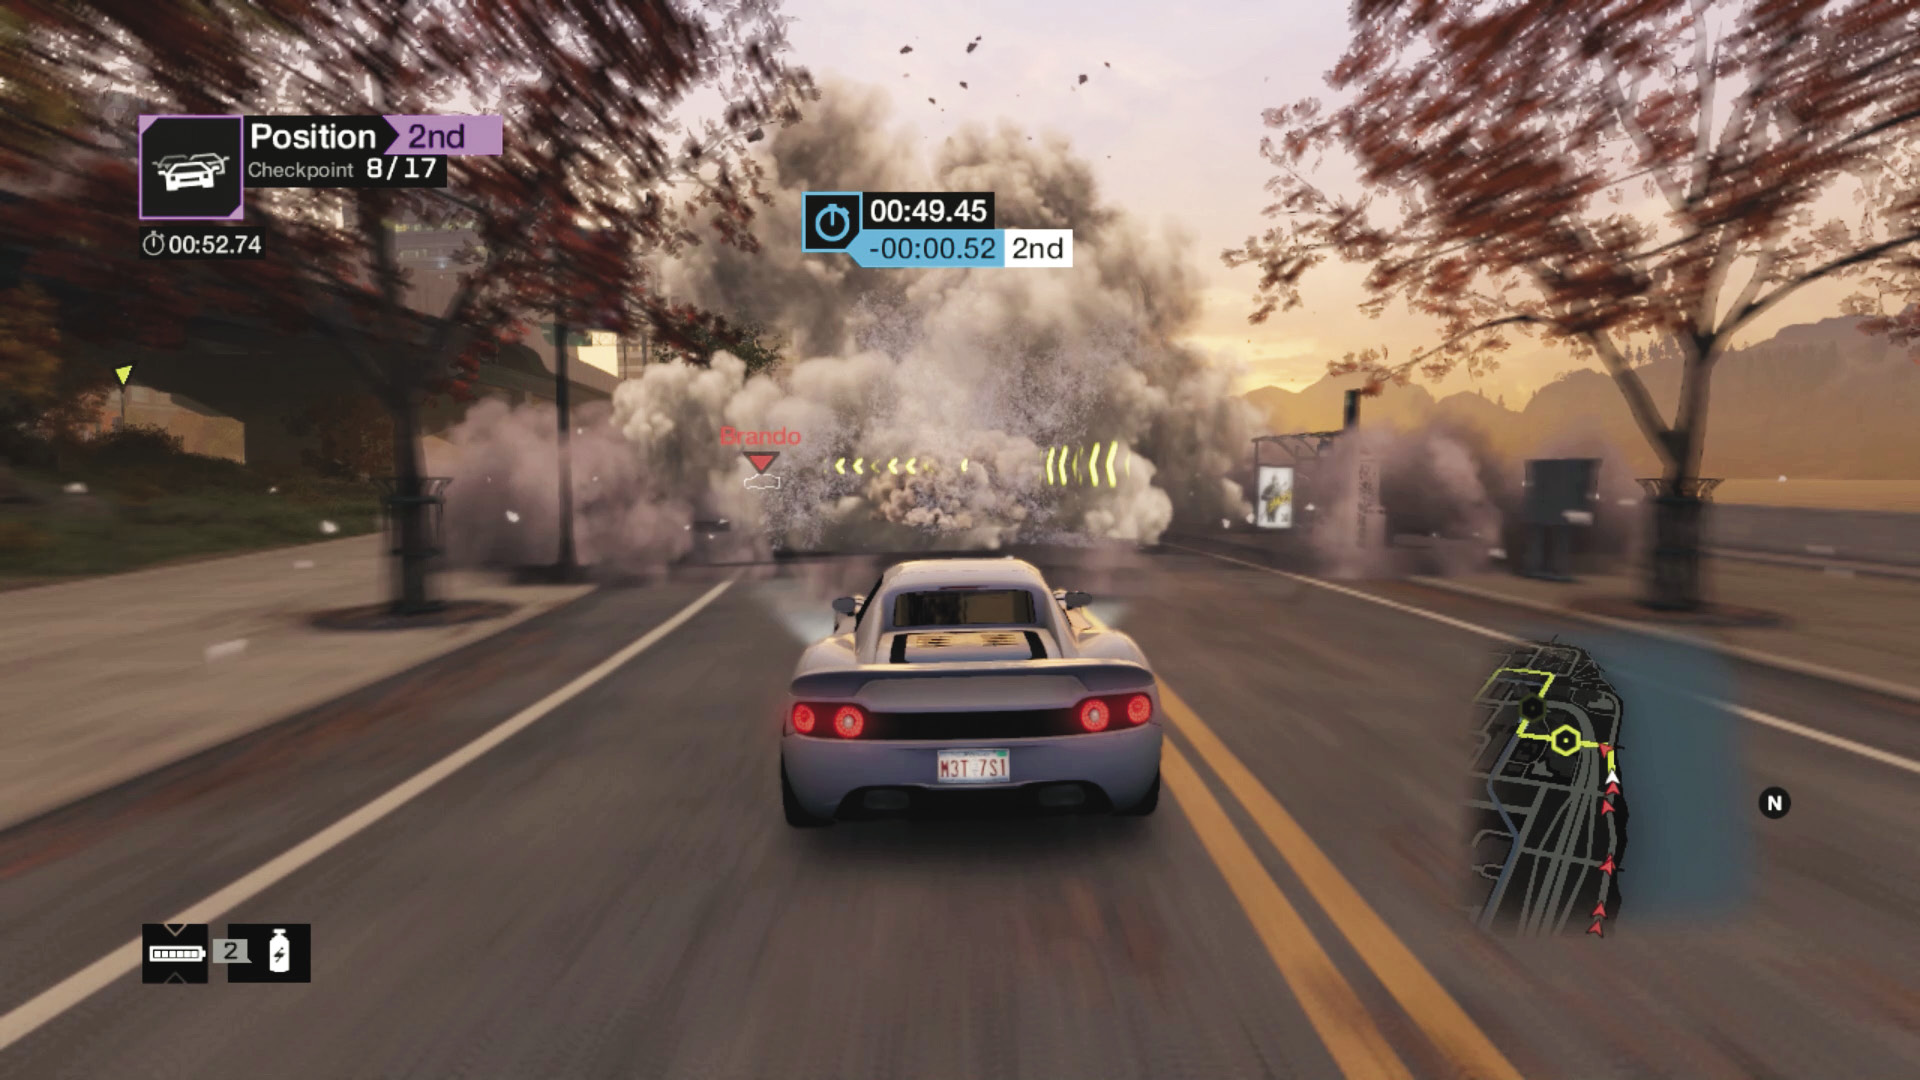
Checkpoints 6–8: Head under the freeway, using the grassy bank on the road’s left to line yourself up with checkpoint 6. Then it’s a long straight road (use your nitro) and another nasty steam pipe after the lights, just after checkpoint 8.
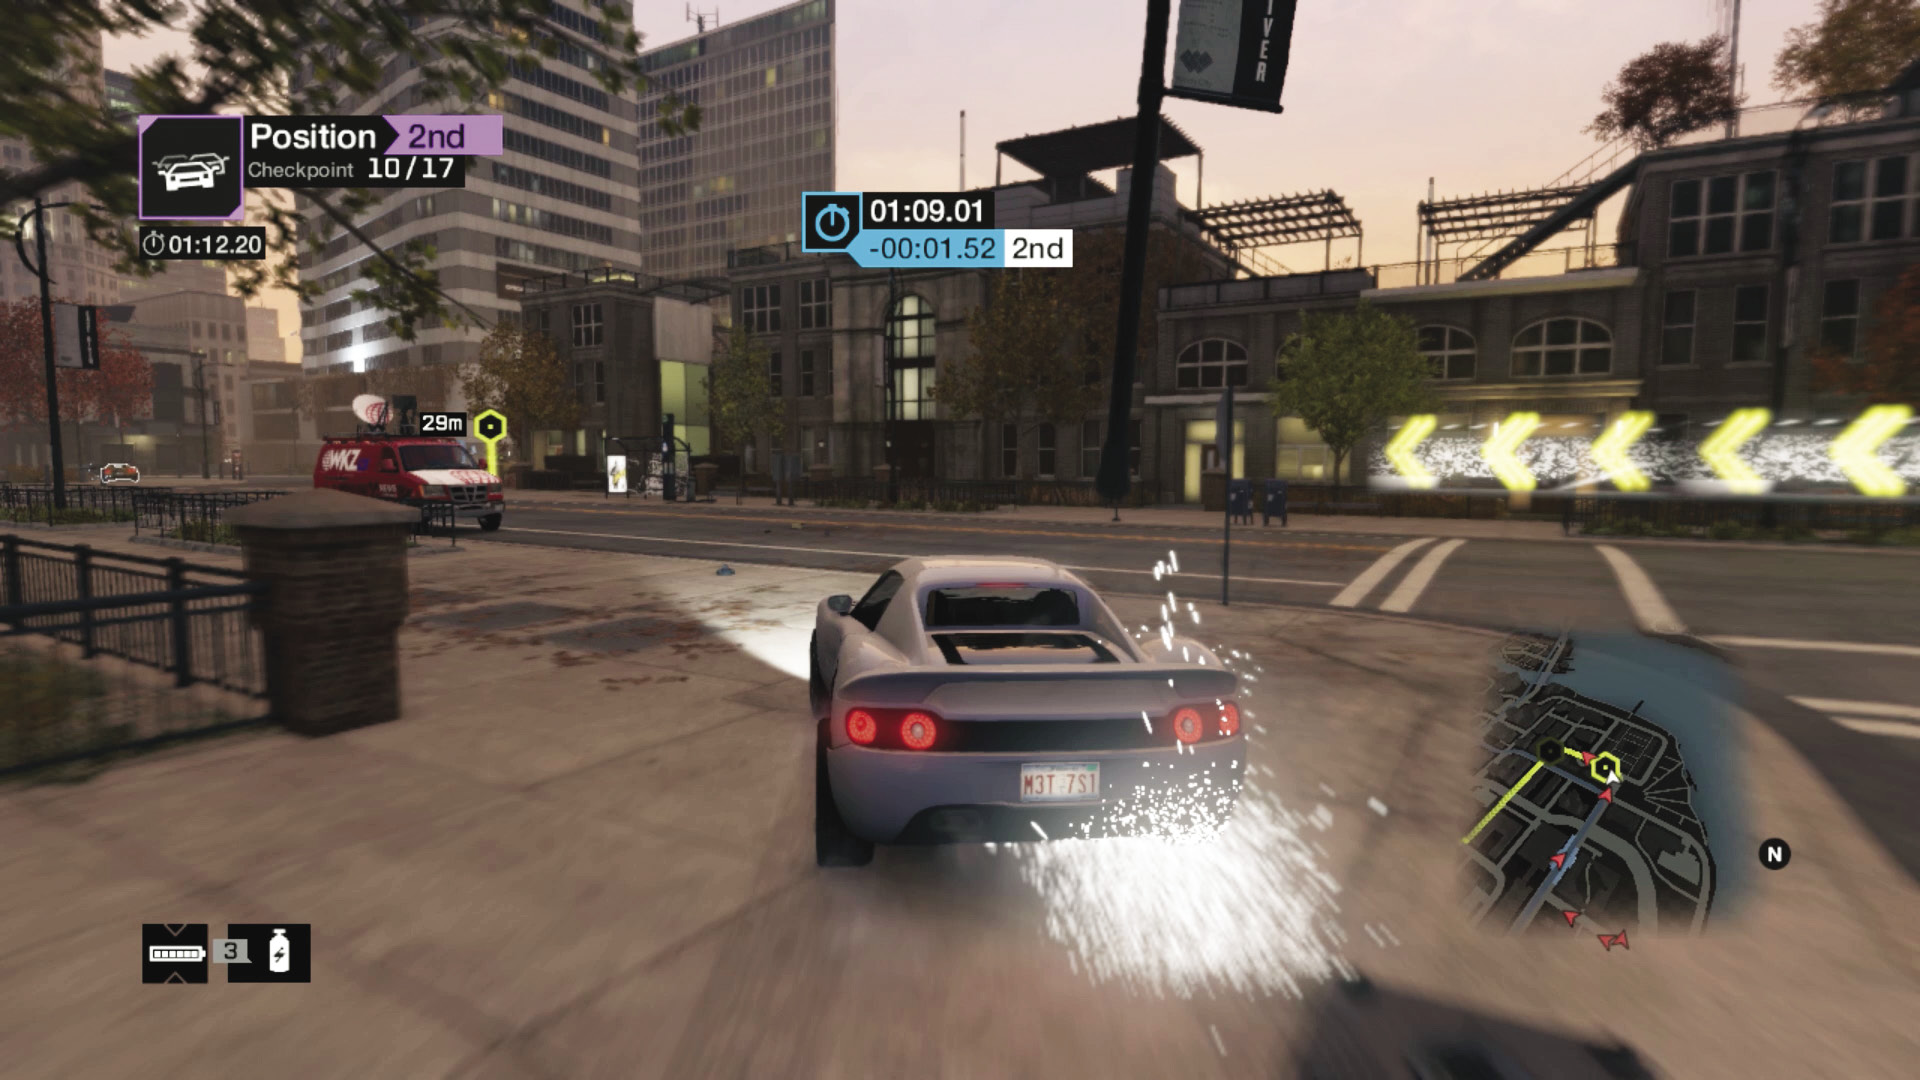
Checkpoints 9–11: Take the grass to the left if you need to cut in as everyone makes a sharp left turn to checkpoint 9. After that, cut in on the right corner sidewalk as you head under the L-train tracks again, through checkpoint 10. Skid left to reach 11.
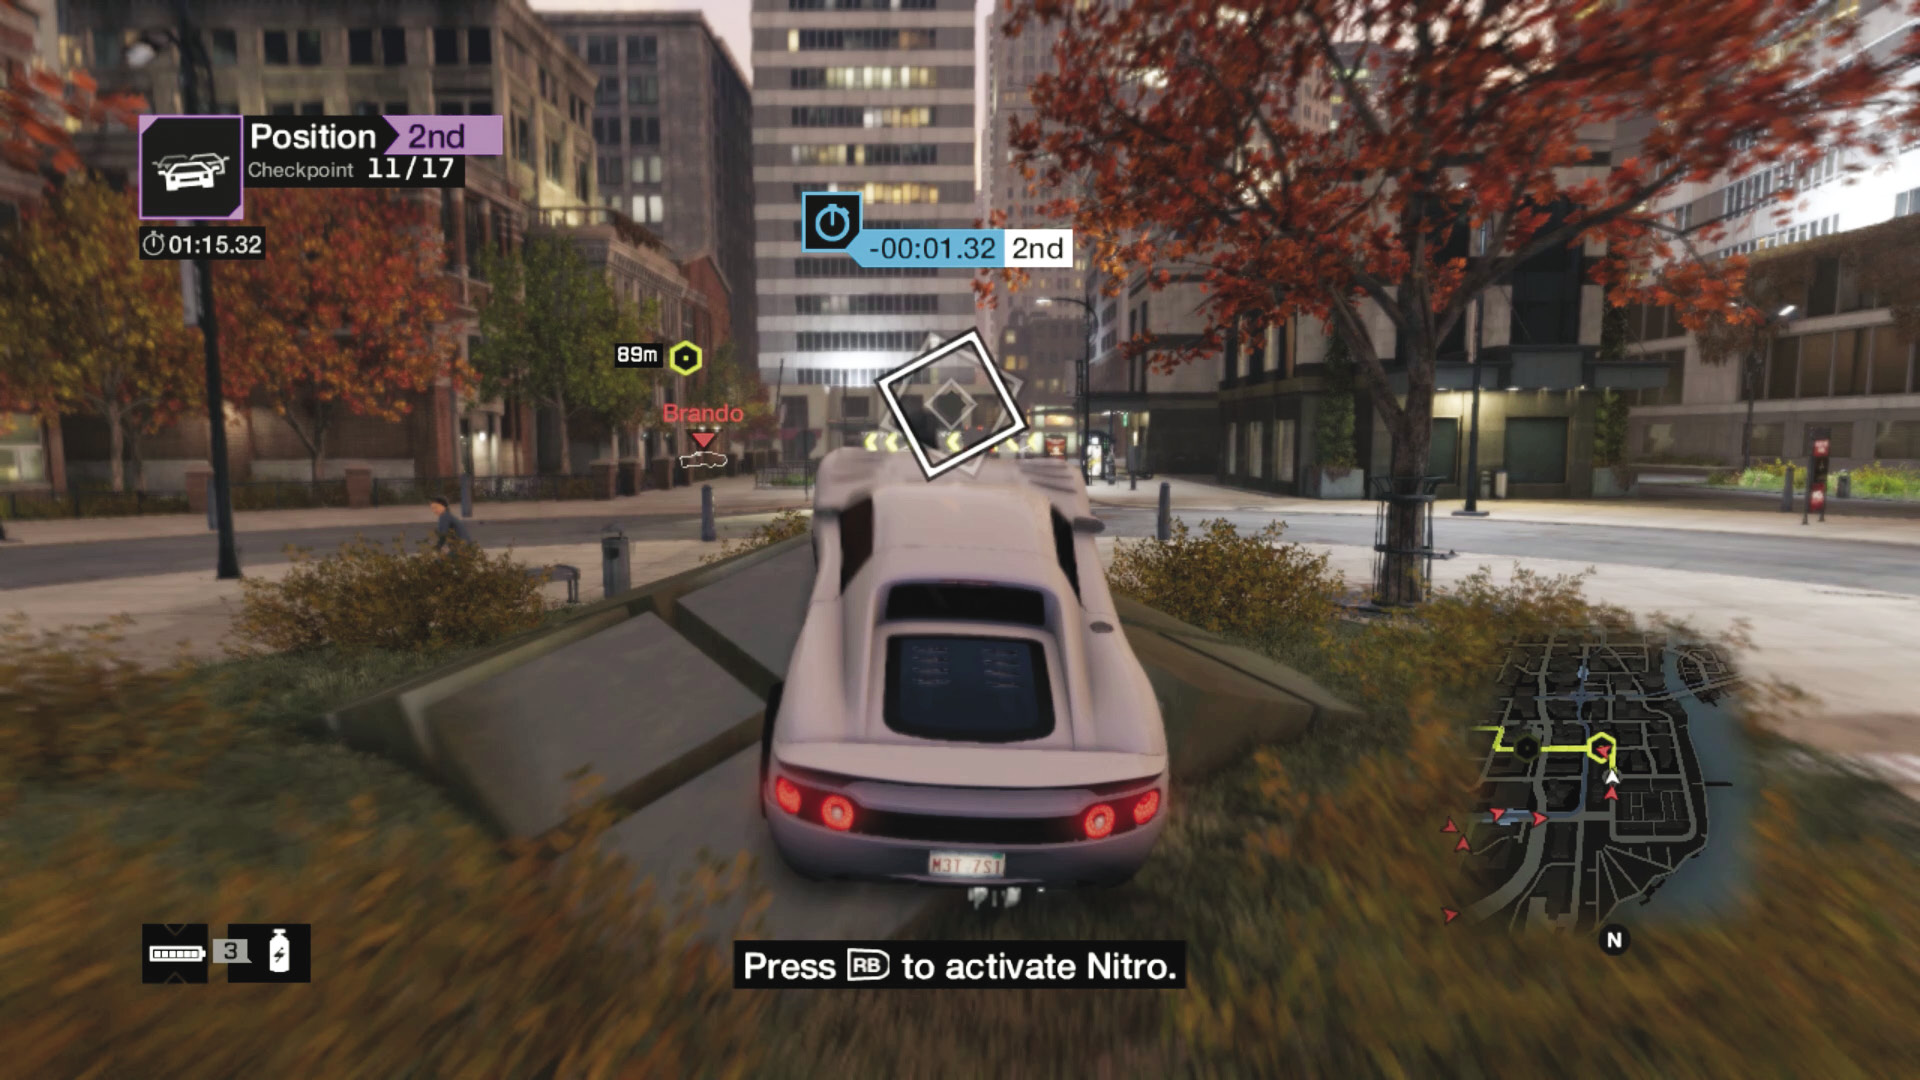
Checkpoints 12 and 13 (Shortcut): Line yourself up with the diamond-shaped block ramp in the roundabout area, and watch for another steam pipe (or detonate it) before a sharp left turn and a nitro-filled acceleration through checkpoint 13.
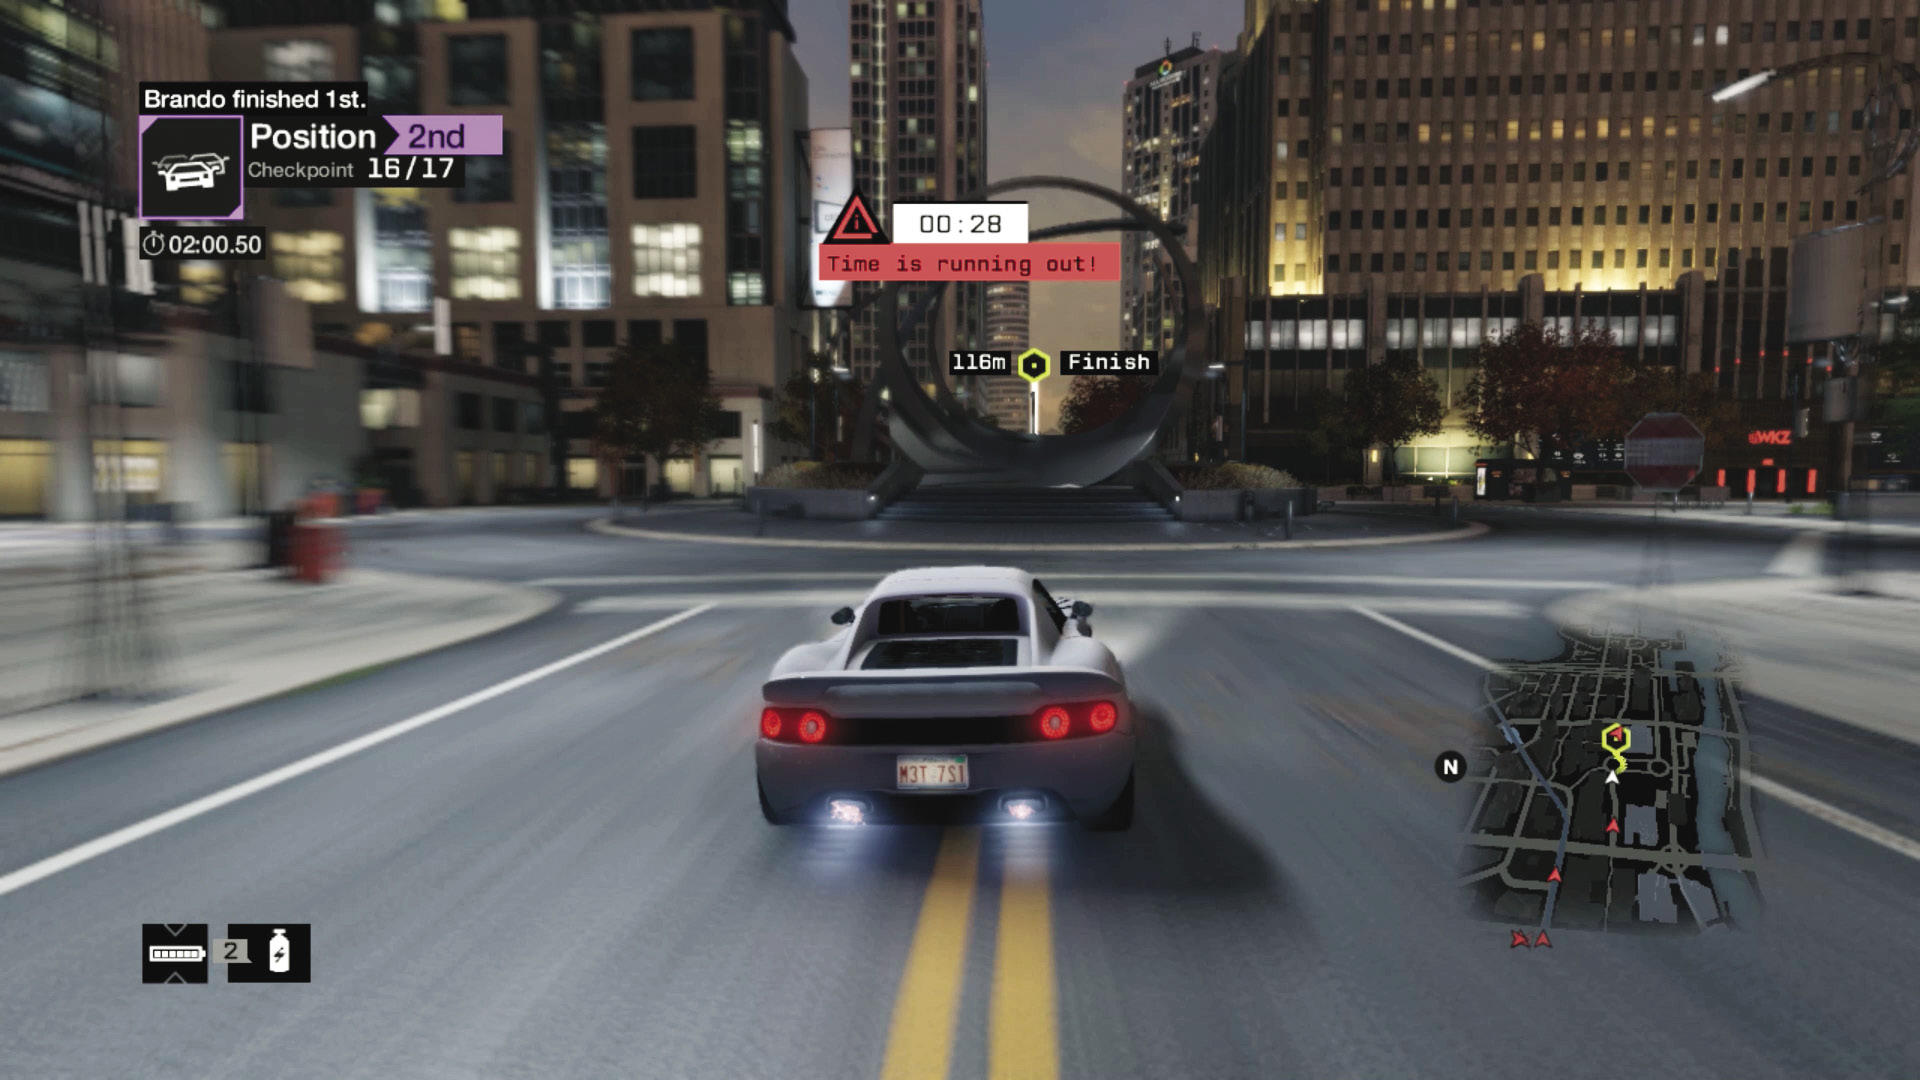
Checkpoints 14–17: Turn right as you pass through checkpoint 13 so you cut in on the right turn and avoid the concrete-planter-filled park on your left. Use the GPS route to drive through the remaining checkpoints; although there are side roads to try, they aren’t as wide and don’t save any time. Watch the steam pipe just before the sculptural jump before the finish (you might wish to nitro and miss the ramp, as the jump through the air can slow you down slightly).
14_RETURN TO THE ISLAND
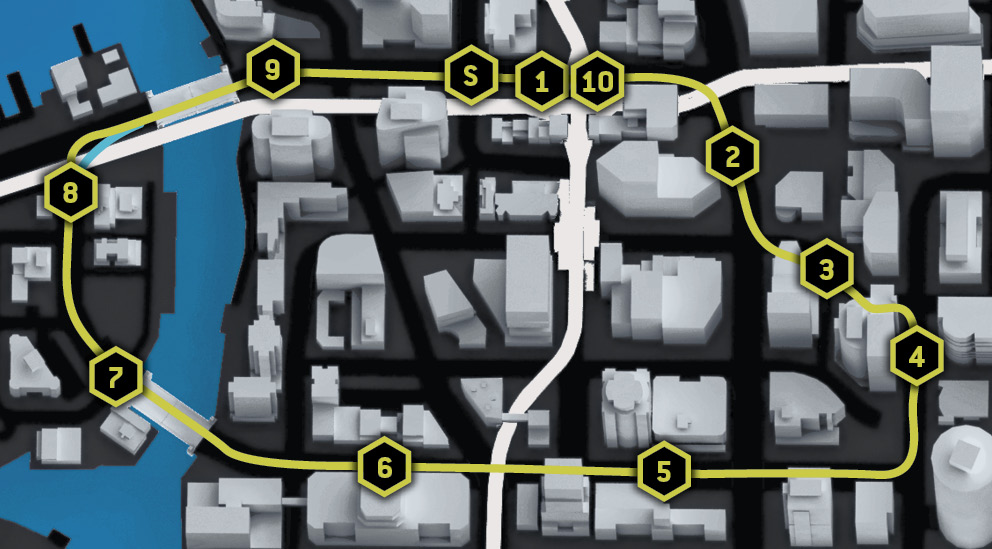
Starting location / UNDER THE MAD MILE L-TRAIN
Vehicle / Scafati GT
Difficulty: 
NUMBER OF LAPS: 3
NUMBER OF CHECKPOINTS: 10
TIME TO AIM FOR: 02:23 BEAT THIS: 02:17 (Chris Finlay)
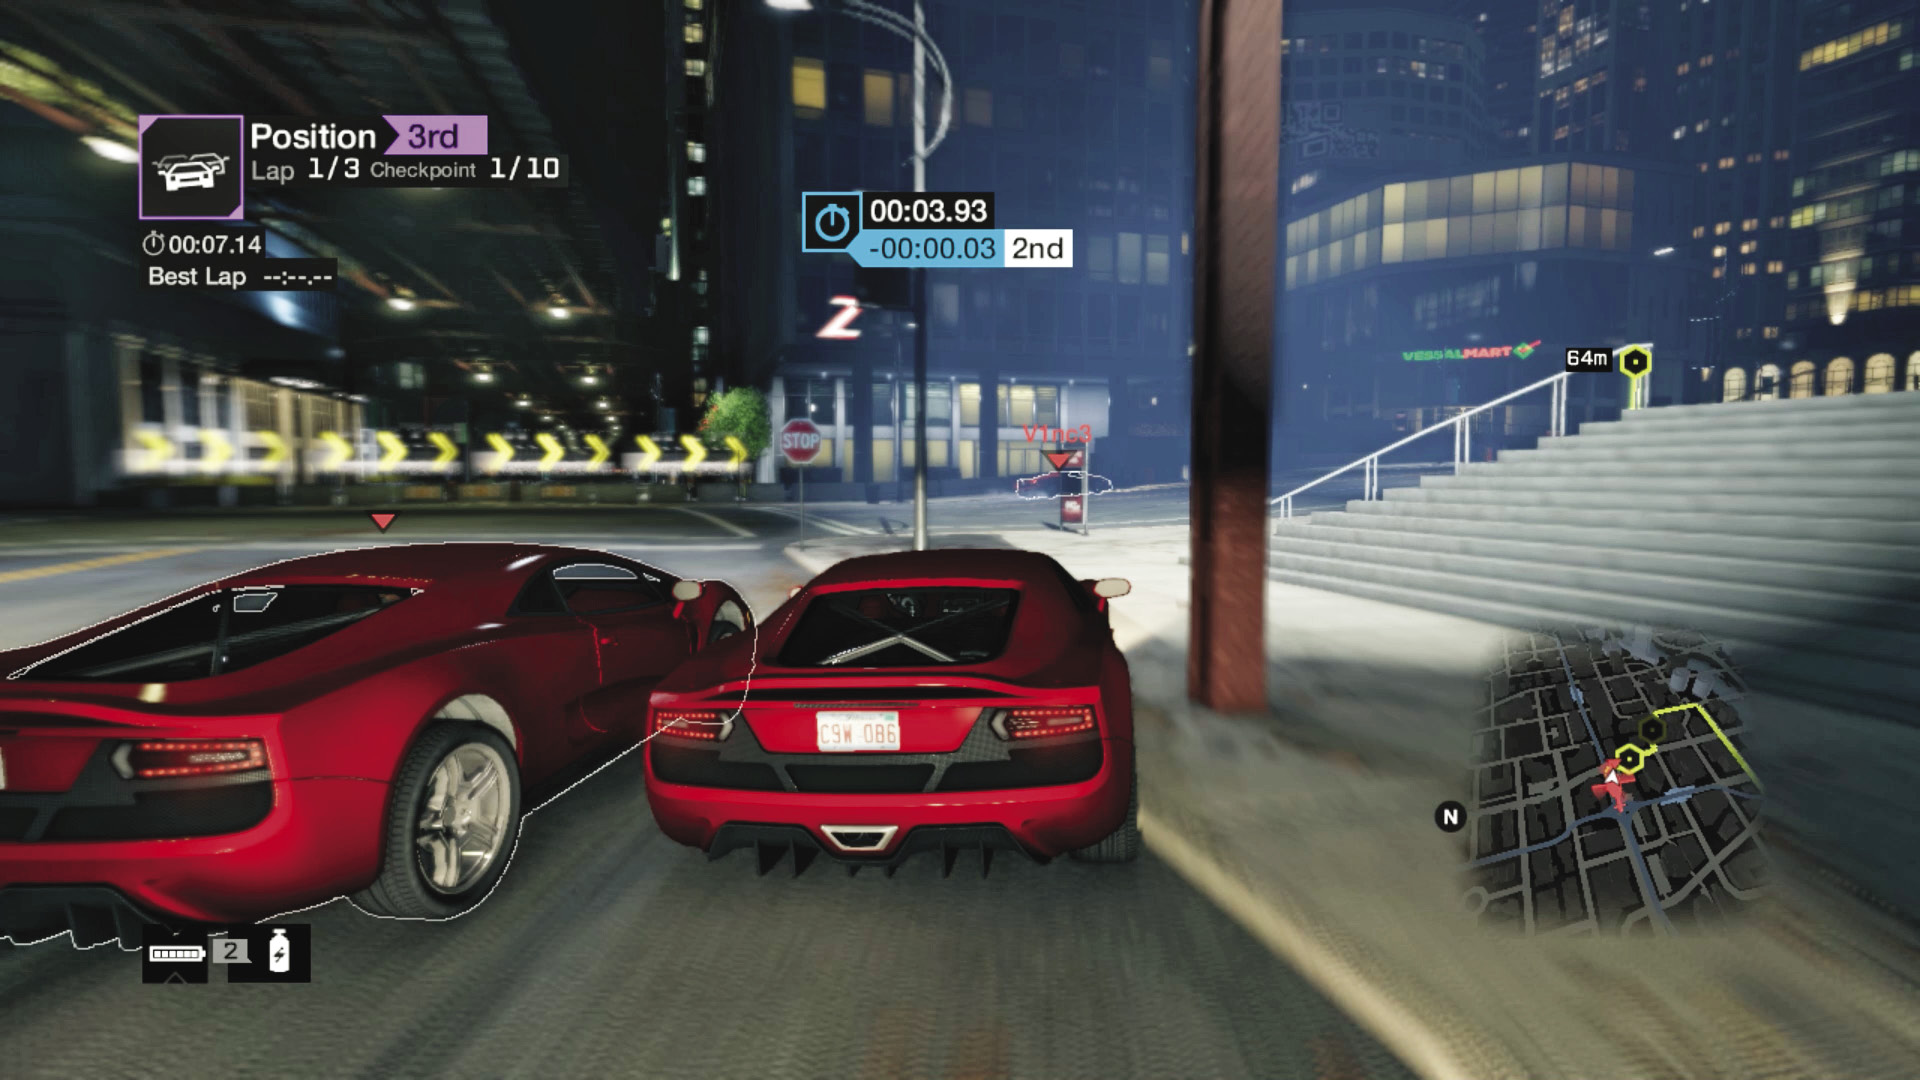
Checkpoint 1: A powerful vehicle and sharp corners make this a hair-raising race experience. The initial road is wide enough to avoid most of your foes’ attempts to thwart you. Try moving into the right as you take the first corner, narrowly missing the brown L-train support.
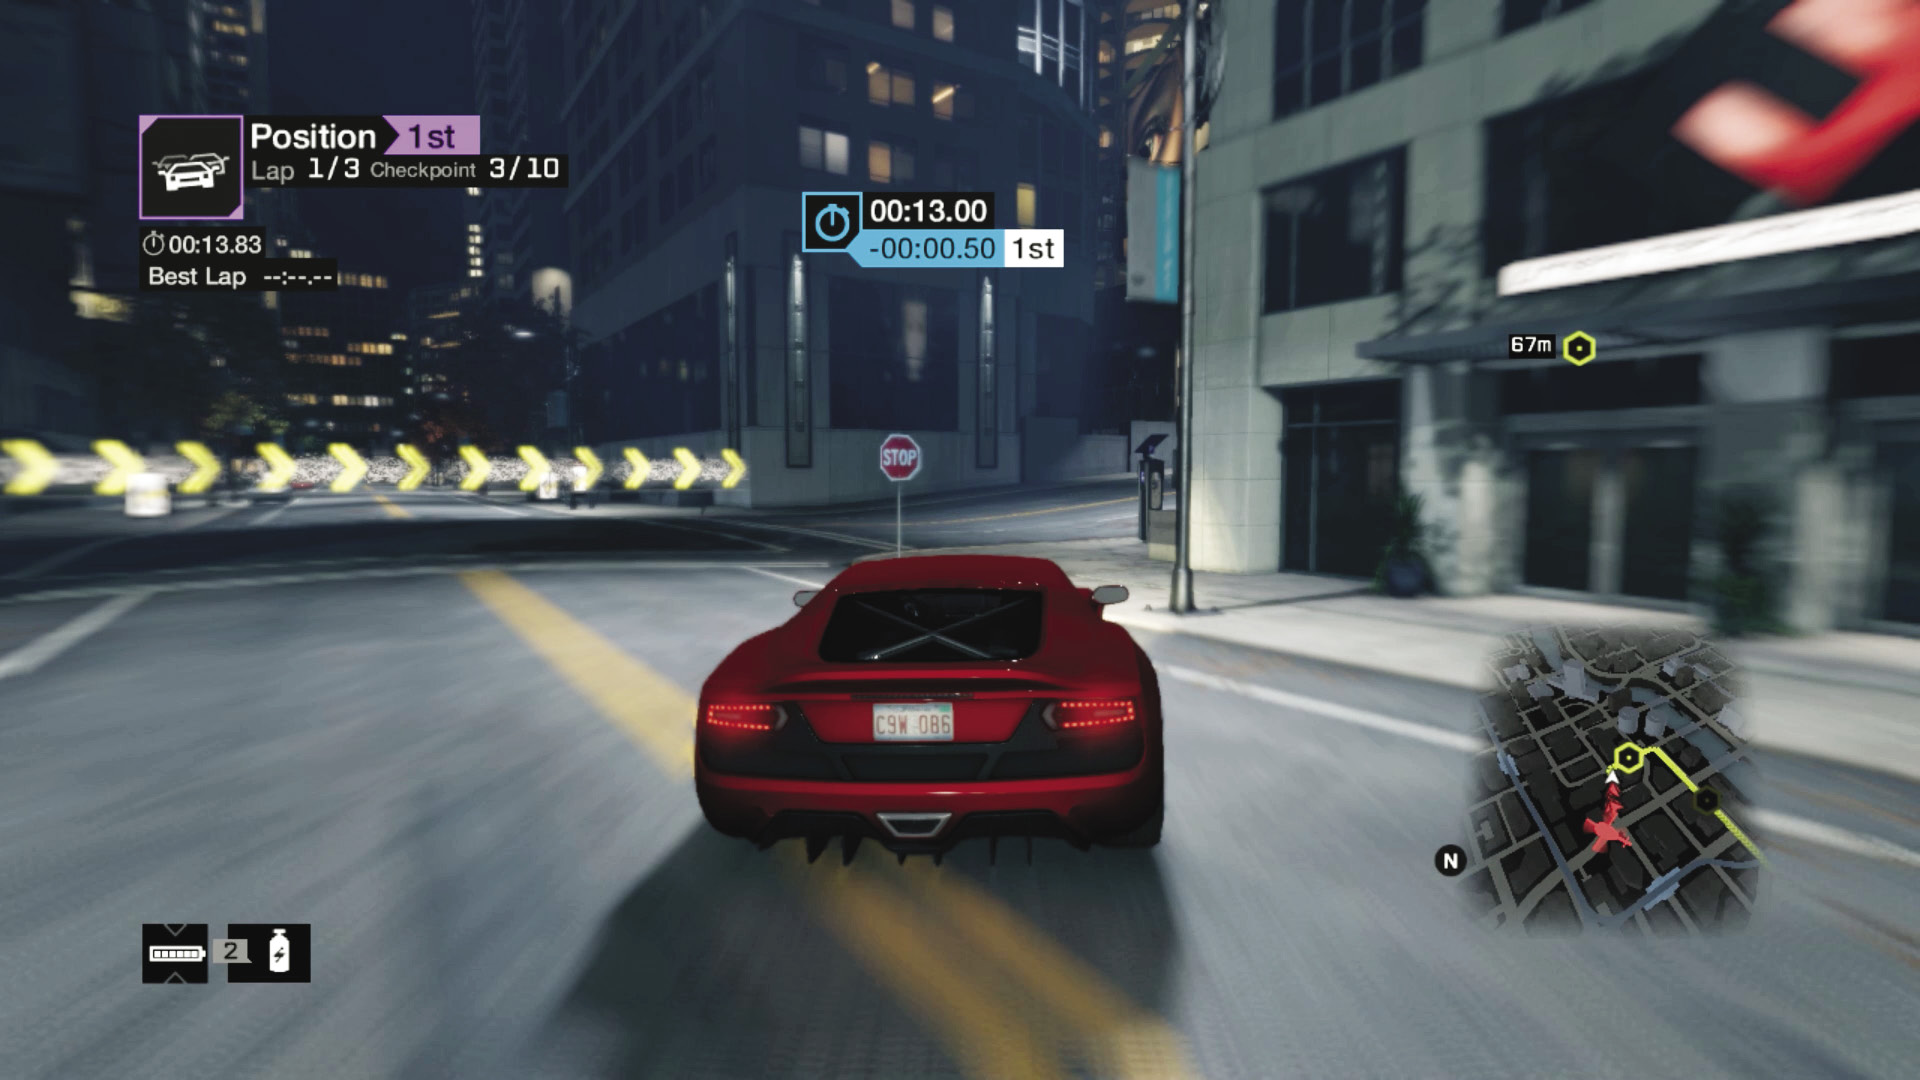
Checkpoints 2–4: Move to the left as you approach the left corner just after checkpoint 2. Then keep your car relatively straight through the winding road and right turn up to checkpoint 4; let your wheels touch the sidewalk on each side as you make a perfect racing line, cutting in tight on the right just before checkpoint 4.
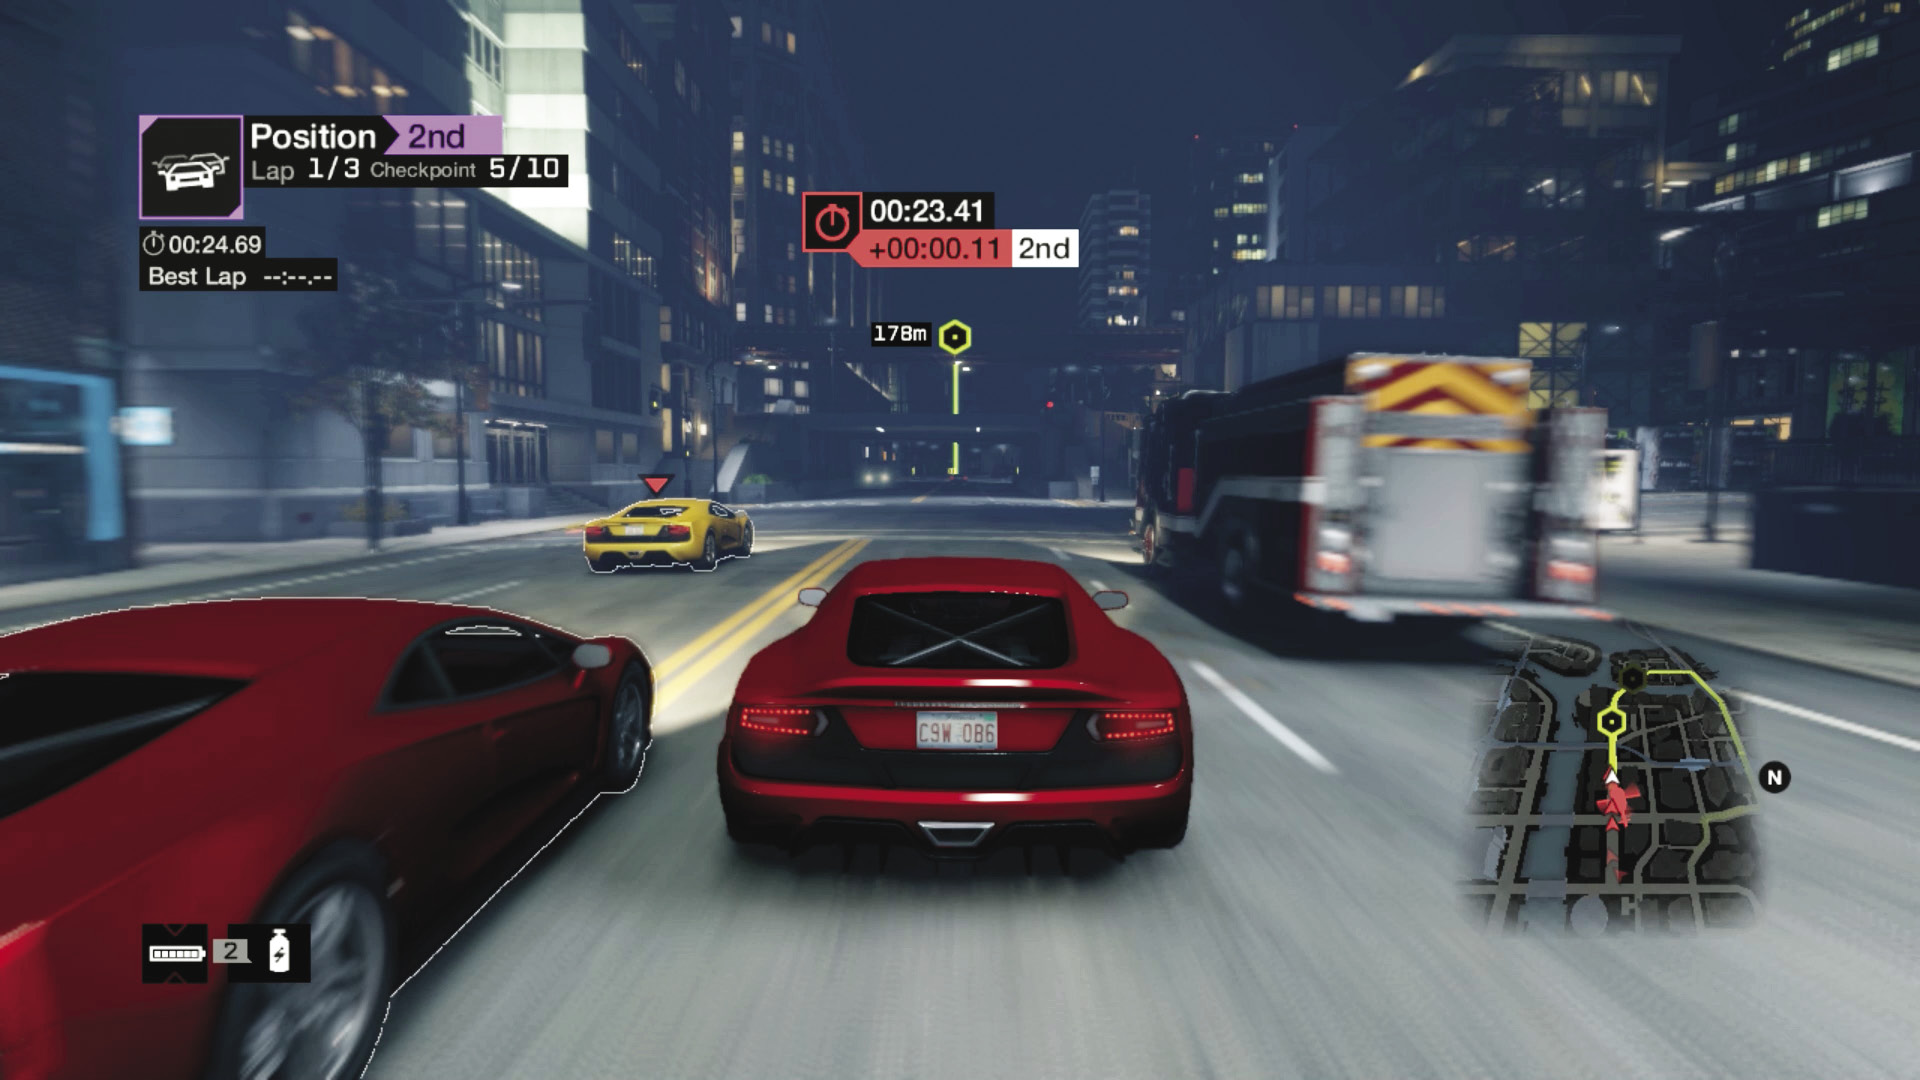
Checkpoints 5 and 6: You can really cut in on the right side just after checkpoint 4. Scrape the right side of your car against the tree, just missing the lamppost on the left, and then utilize a nitro as you whistle down the long straight. Stay to the right; the racing line is better and there’s no oncoming traffic (though vehicles are great for shunting foes into!).
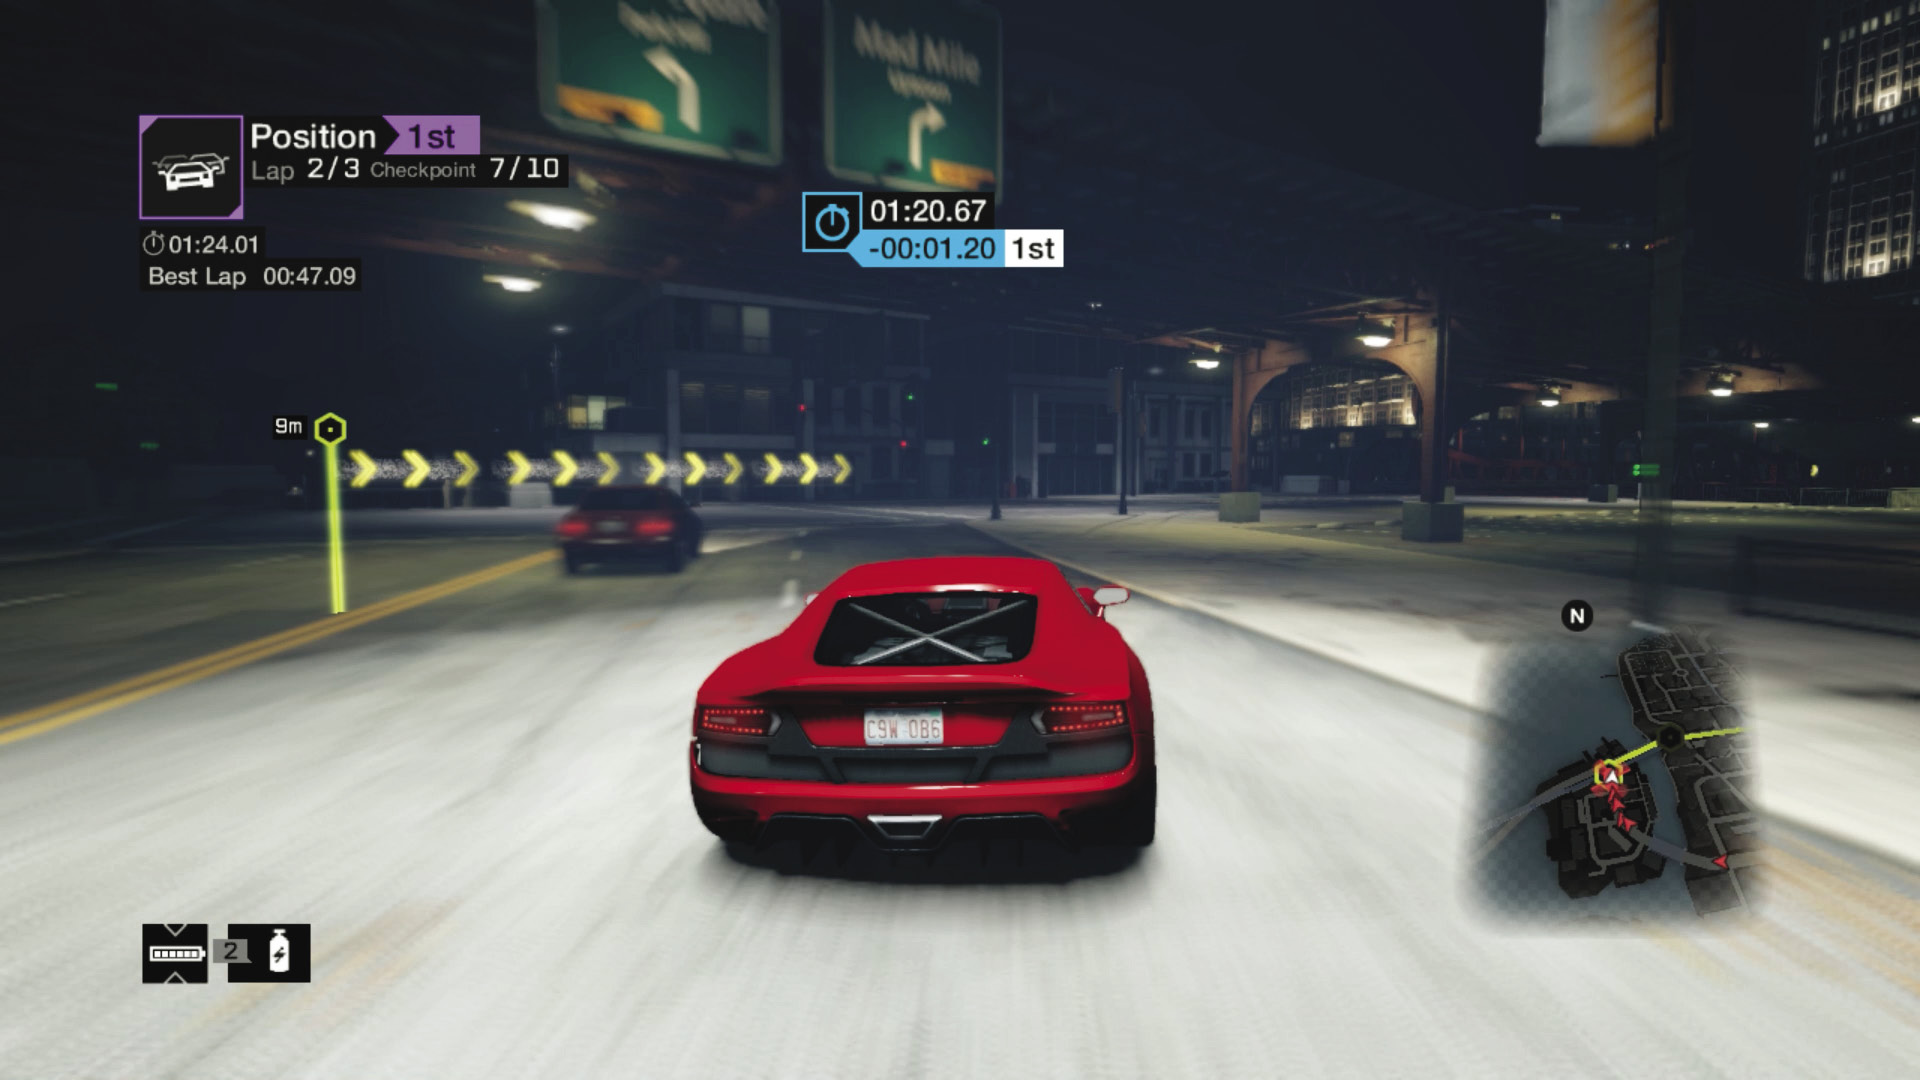
Checkpoints 7 and 8: Approach the first bridge by keeping to the right, as you start a very long right turn. Stay on the right as you pass checkpoint 8, driving just left of the concrete bases of the L-train supports. You can drive between the supports, but that’s dangerous. Hit the bridge at full speed.
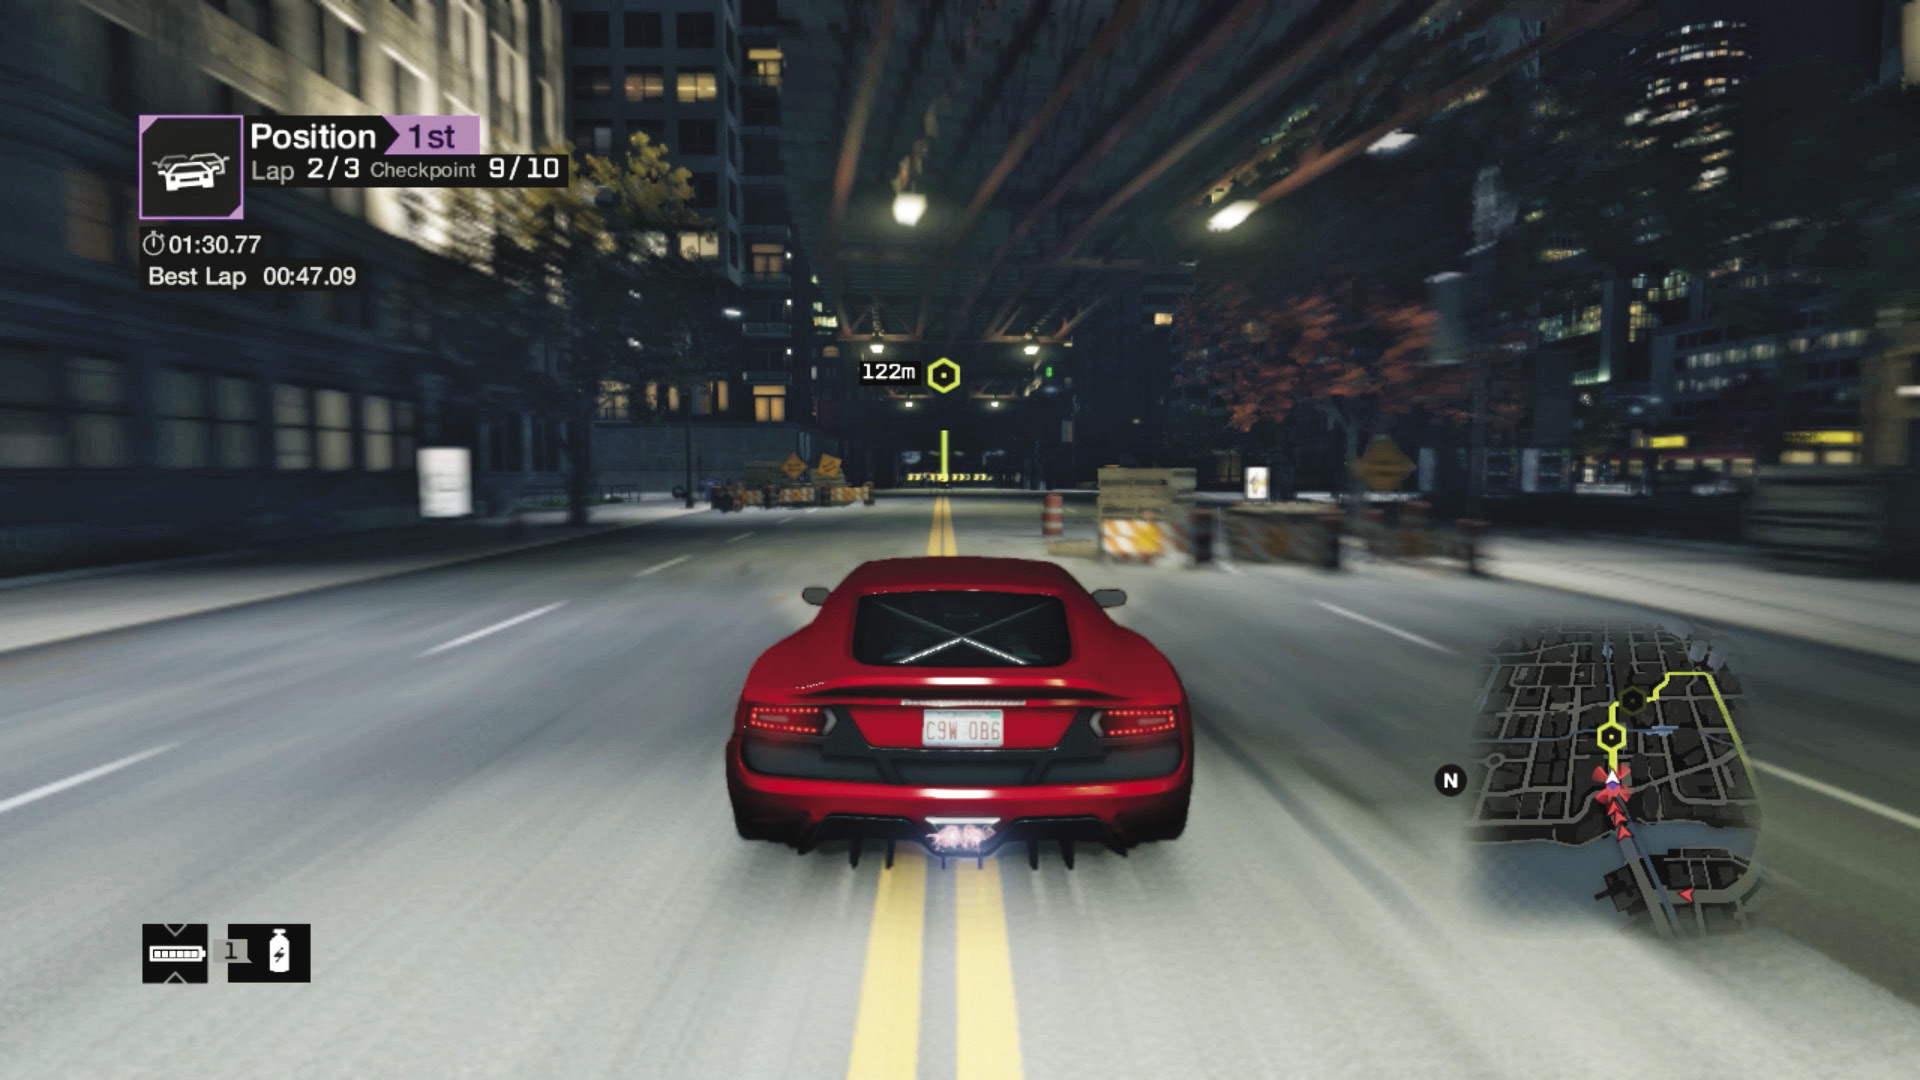
Checkpoints 9 and 10: Complete your lap with a nitro and stay in the middle of the road, avoiding the piles of boxes in the makeshift chicane as you go. These are the last areas you can shove an enemy into before the lap begins again. Don’t expect to gain any ground finding shortcuts in this race.
MISSION REWARDS (PER RACE)*1st: NOTORIETY POINTS GAIN (MAJOR) 2nd: NOTORIETY POINTS GAIN (MAJOR) 3rd: NOTORIETY POINTS GAIN (MINOR)** 4th: NOTORIETY POINTS GAIN (MINOR)** 5th: NOTORIETY POINTS LOSS (Minor)*** 6th: NOTORIETY POINTS LOSS (Minor)*** 7th: NOTORIETY POINTS LOSS (MAJOR) 8th: NOTORIETY POINTS LOSS (MAJOR) |
* Assumes all racers have a similar notoriety level.
** Depending on the Notoriety level, these could be losses if you have a high Notoriety and your rivals’ are significantly lower.
*** Depending on the Notoriety level, these could be gains if you have a low Notoriety and your rivals’ are significantly higher.
MISSION REWARDS (Unlocks)COMPLETE 9 ONLINE RACES: Livraga LE (Vehicle) COMPLETE 10 ONLINE RACES: Superhighway (Achievement) |