
Watch Dogs Guide MAIN MISSIONS MAIN MISSIONS /// Act II
_NOT A JOB FOR TYRONE
OBJECTIVES
|
 Find access to Bedbug’s home
 Install tracker on Bedbug’s phone
 Follow Bedbug to get blackmail. Remain unseen
 Follow Bedbug to get blackmail. Remain unseen (continued)
 Use cameras to follow Bedbug
 Call Rabbit
 Guide Rabbit safely through the Viceroys
 Leave the area
LOCATIONS // MAPS
Location / The Wards // Rabbit’s Yard
8.1 A BEDBUG CAN GET INTO ANY LADY’S BED
 Location / The Wards // Bedbug’s House
|
|
 Find access to Bedbug’s home
 Install tracker on Bedbug’s phone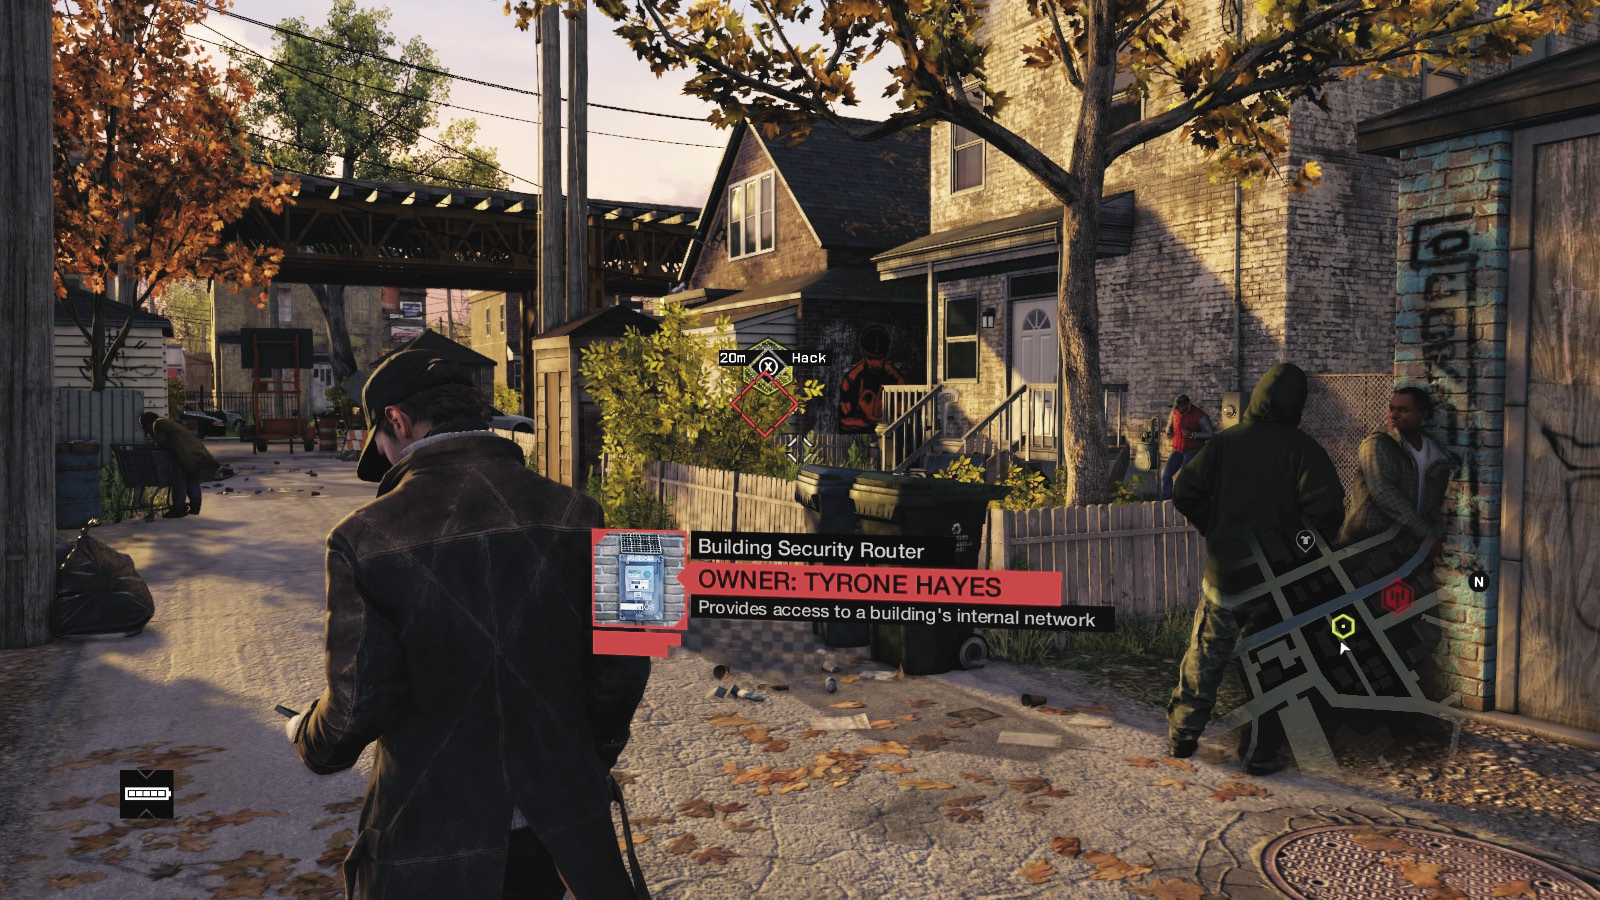
 Investigation
 Data Hack
Difficulty: 
After a call from Clara, head to the alley behind Bedbug’s house, located in the western end of the Wards and a block south of the Woodpark West ctOS tower. When you begin the mission, you’re tasked with locating blackmail and using it against Bedbug. Wander northwest toward the L-train track, and stop at the brick house with the Viceroy graffiti. Intrude into the building security router.
Solution: Hotspot 1
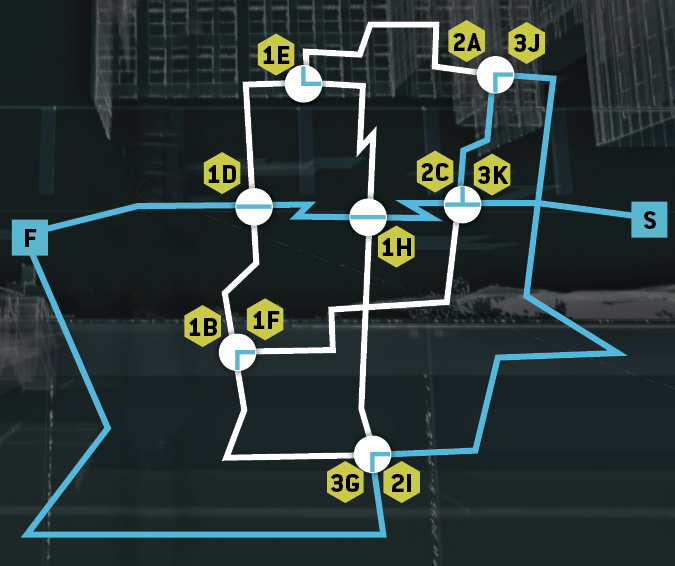
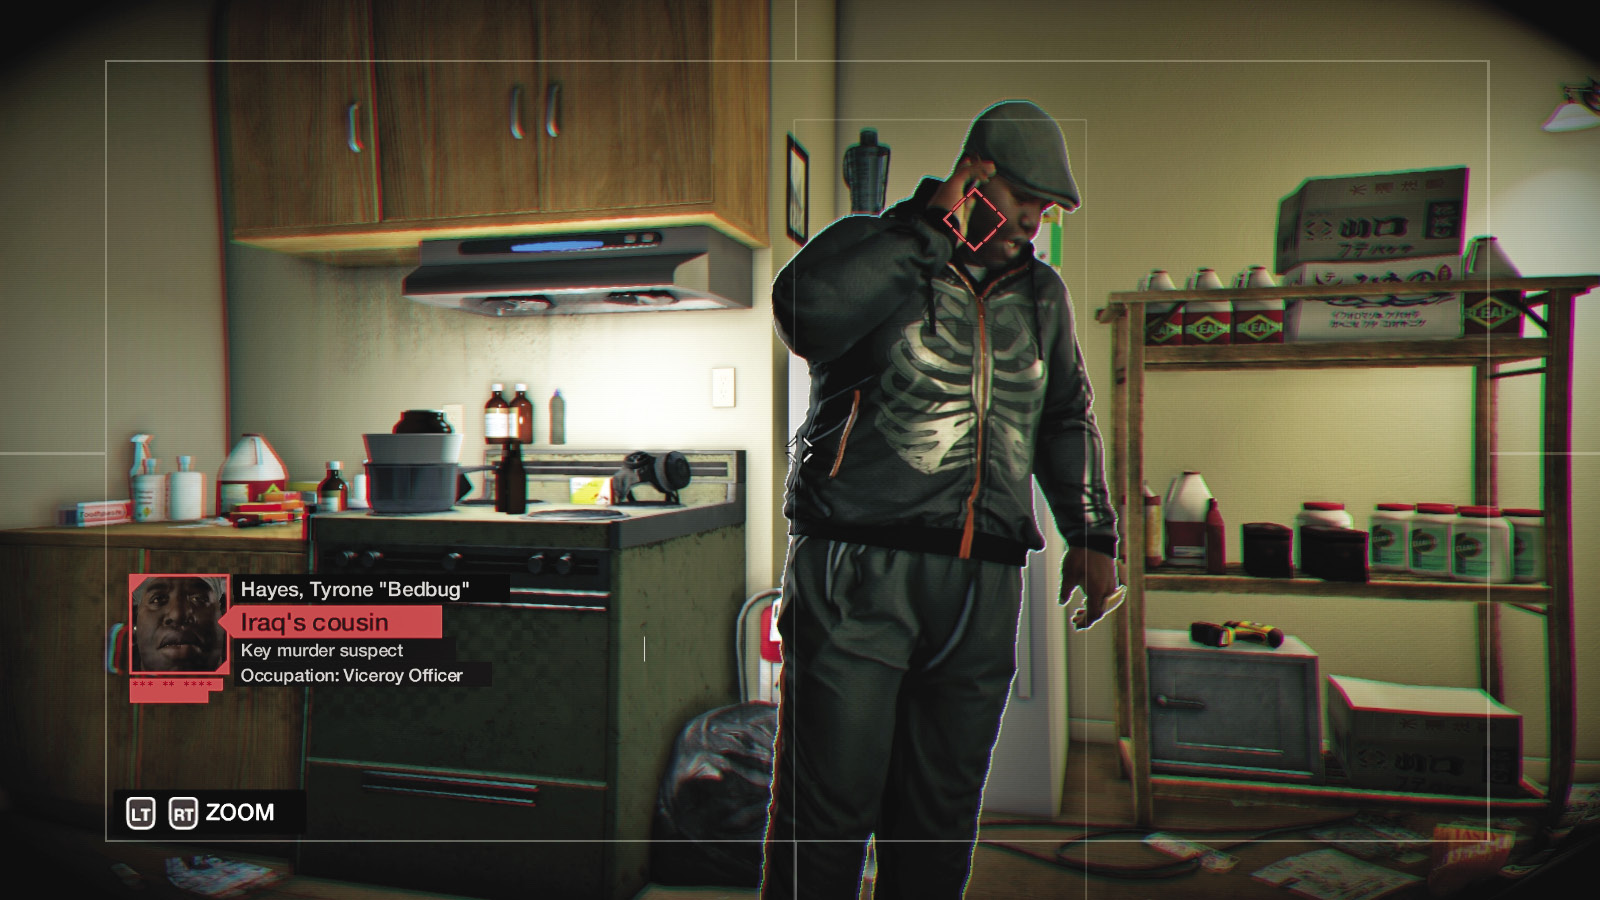
Solve the hotspot, and view a conversation with Bedbug and his grandma through his laptop webcam. As soon as you can, install the tracker at the onscreen prompt, and listen in as he receives a light scolding for his nickname; then leave the premises.
8.2 YEAH, B. LET’S ROLL
 Location / The Wards // Bedbug’s House
 Location / The Wards // Rabbit’s Yard
|
|
 Follow Bedbug to get blackmail. Remain unseen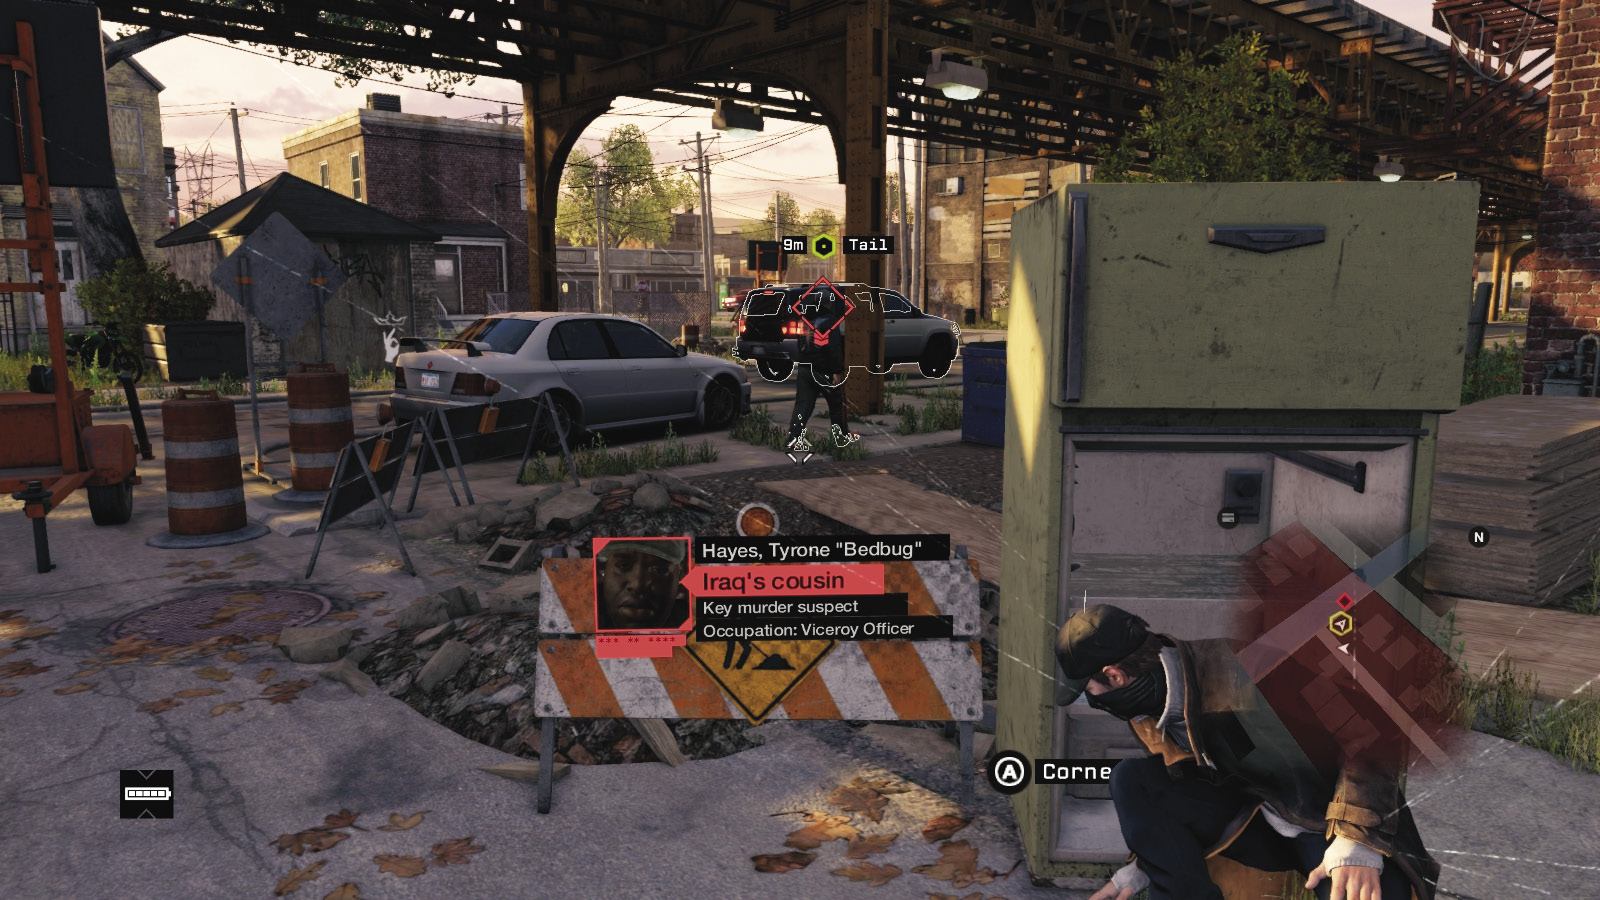
 Driving Investigation
Difficulty: 
At this point, a Viceroy SUV pulls up at the alley’s end (under the L-train tracks). Bedbug is on the phone with his boys. He enters the vehicle, and it slowly pulls away as you listen to Bedbug start to incriminate himself. Creep to the refrigerator, then the blue refuse bin just as he enters the SUV; don’t get closer or you’ll be spotted. At the side of the street is a parked vehicle that’s ideal to use.
Progression Plans
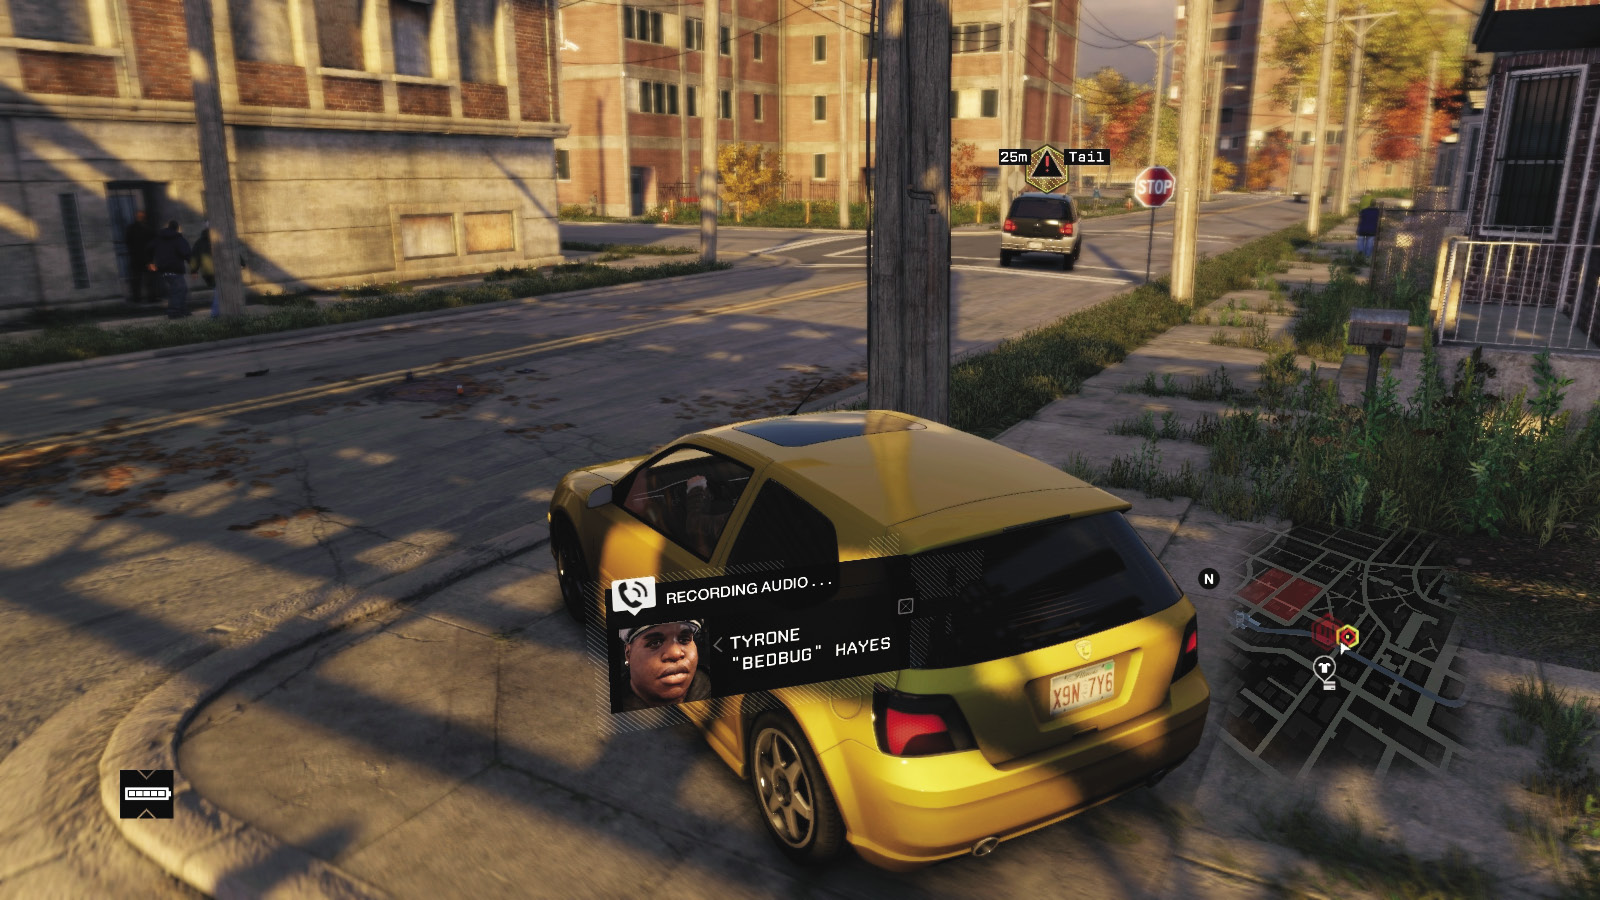
You now need to follow the instructions of the objective to the letter; there are several ways to fail this, so careful, slow driving is the key to success.
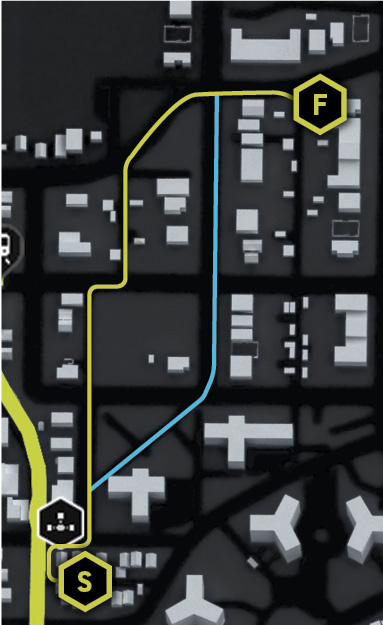
General PreplanningNear and Far: It’s important to check how far you are from Bedbug. Move within 25 to 30 meters, and Bedbug begins to be alerted to your presence. Stop and back up if necessary. Move farther than 65 to 70 meters away, and you begin to lose your target and have 20 seconds to find the SUV. If Bedbug spots you or you lose the SUV, the mission fails. Stay Holstered: You’re here to gather intel, not shoot up the place. Stay in your vehicle or you’ll lose Bedbug (unless you attempt a sprint along the edge of the route detailed below). When Not to Follow: Bedbug moves through two gang checkpoints, and you need to avoid them. You can’t follow an identical path, as you’ll be stopped and probably shot. Which would be foolish. Path Planning: The SUV’s path is the same each time you try this mission, so you are free to vary the direction of the stalking. But the plan below is optimal for your needs. |
Drive from the starting point under the L-train tracks, and make an immediate right. Slow to a crawl so you’re not spotted.
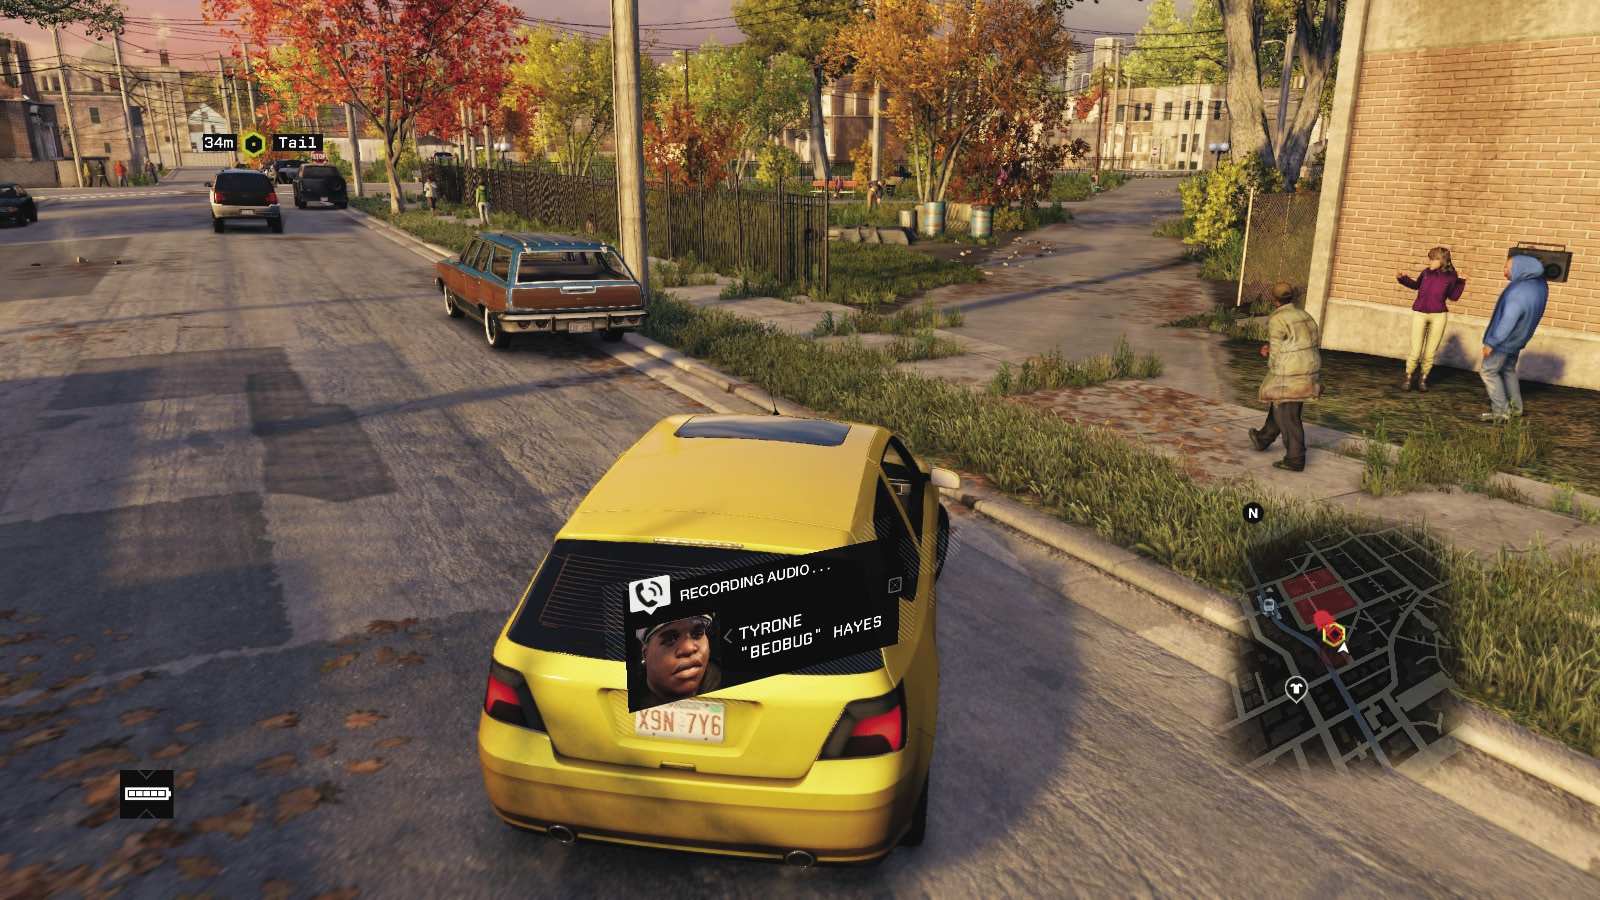
While Bedbug gives a talk on street fundamentals, keep your distance and make an immediate left, heading north down the street. Slow down at the last tree on your right as the SUV crosses to a checkpoint.
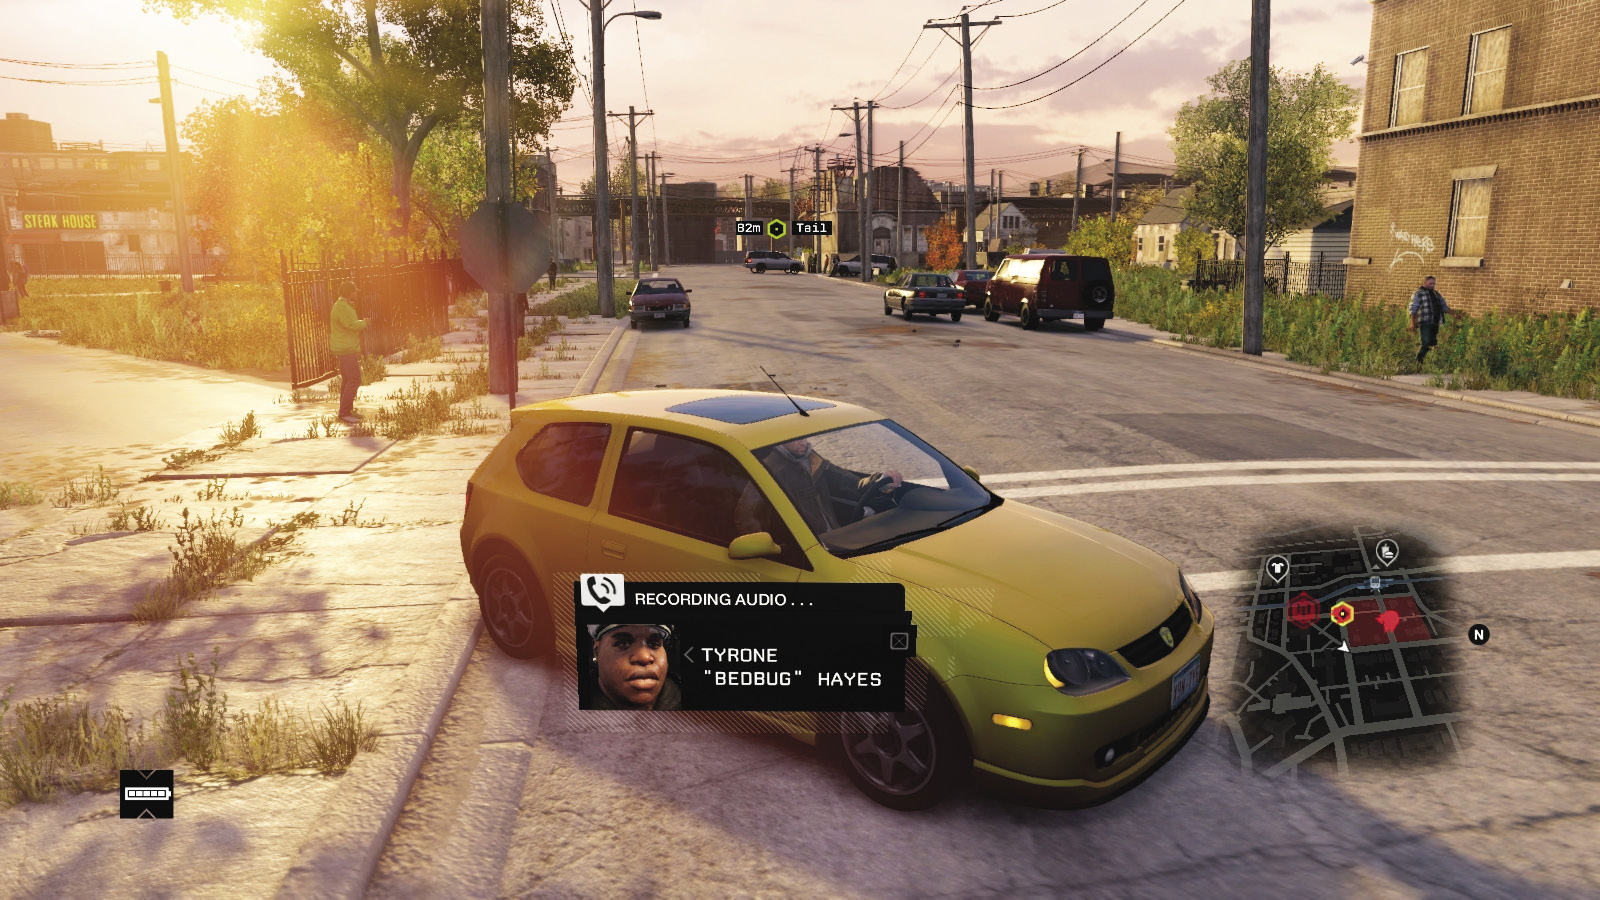
Slow down completely, edging to the right, and when the SUV starts to move again, don’t follow it into the checkpoint, but turn right at the junction or cut across the grass. Head east around the perimeter of the restricted area.
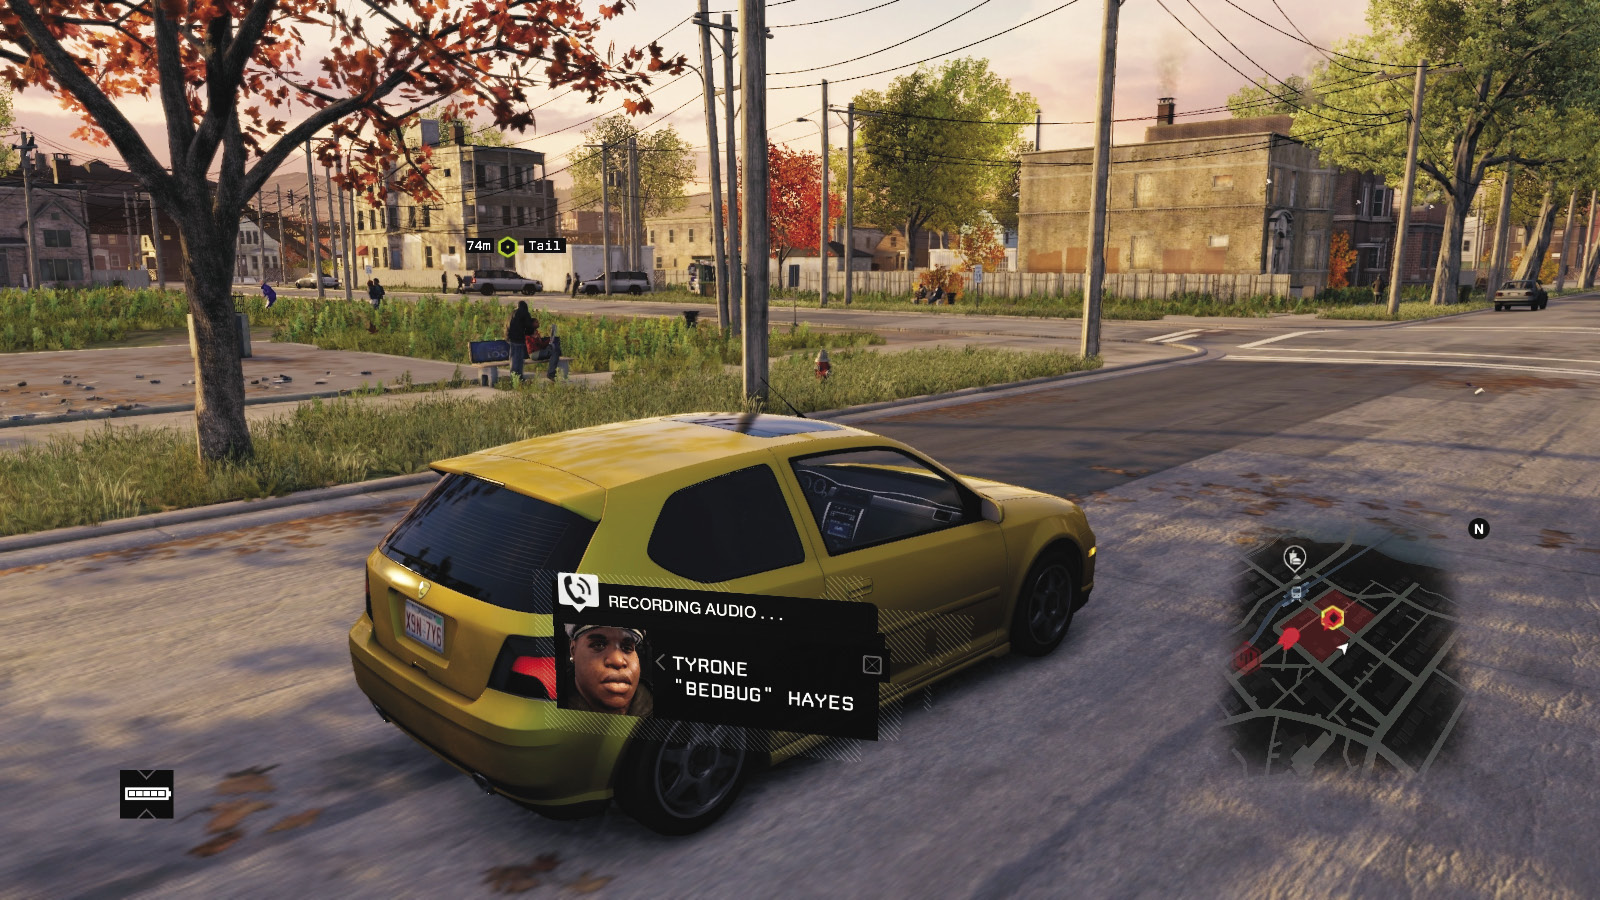
Make the next left, heading north. Move the camera so you can see the SUV parallel to you, heading through a second Viceroy checkpoint. Cross the next junction and continue north.
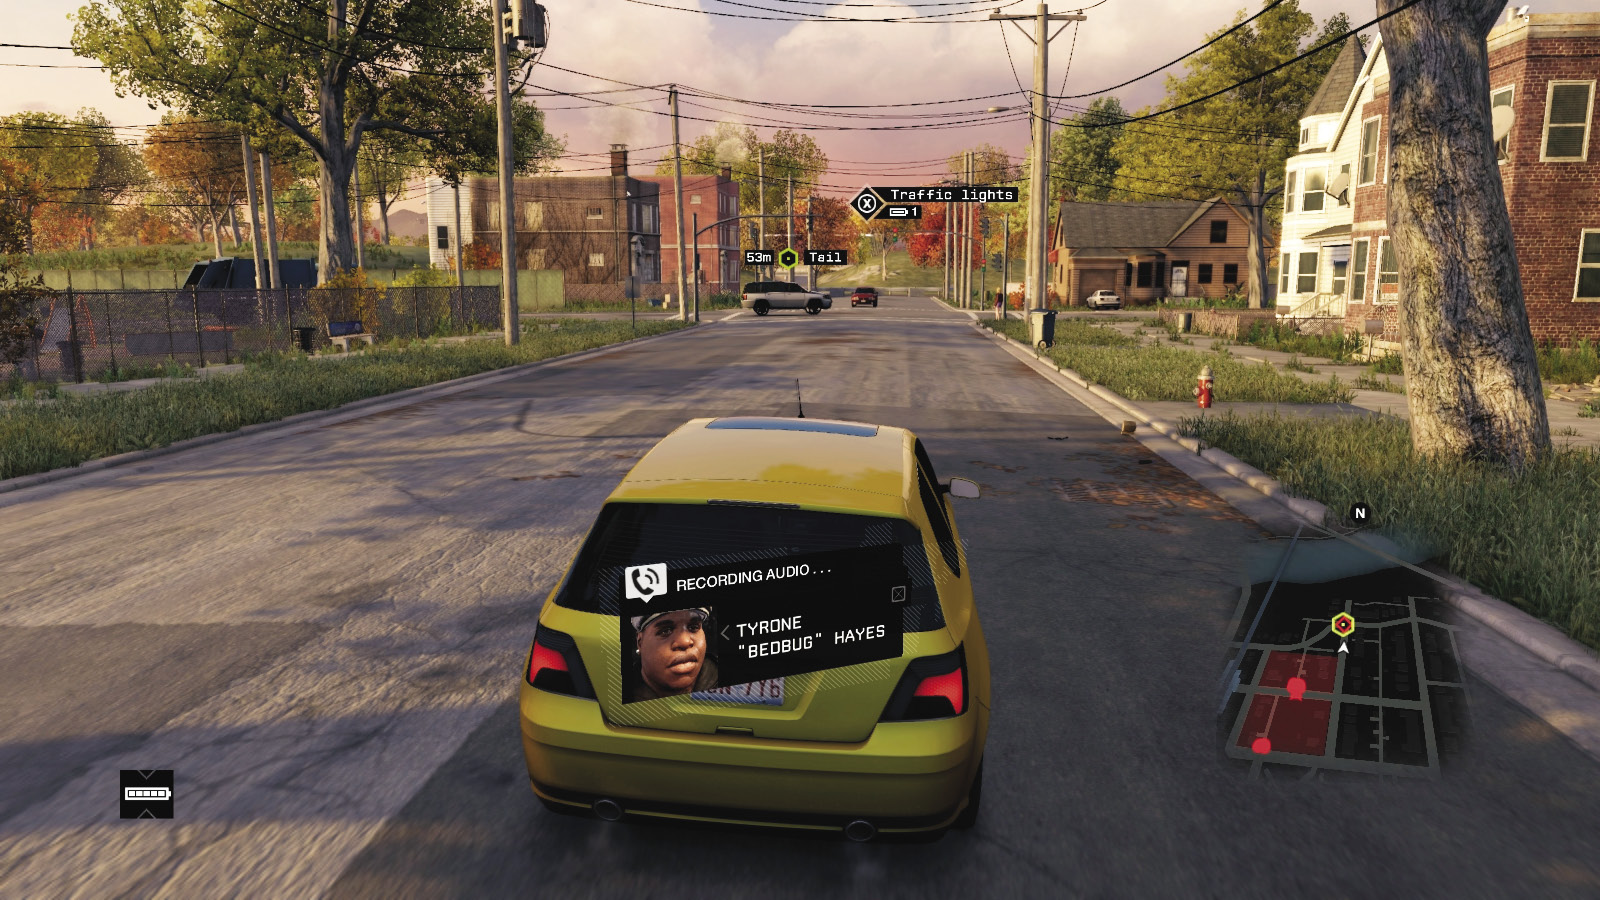
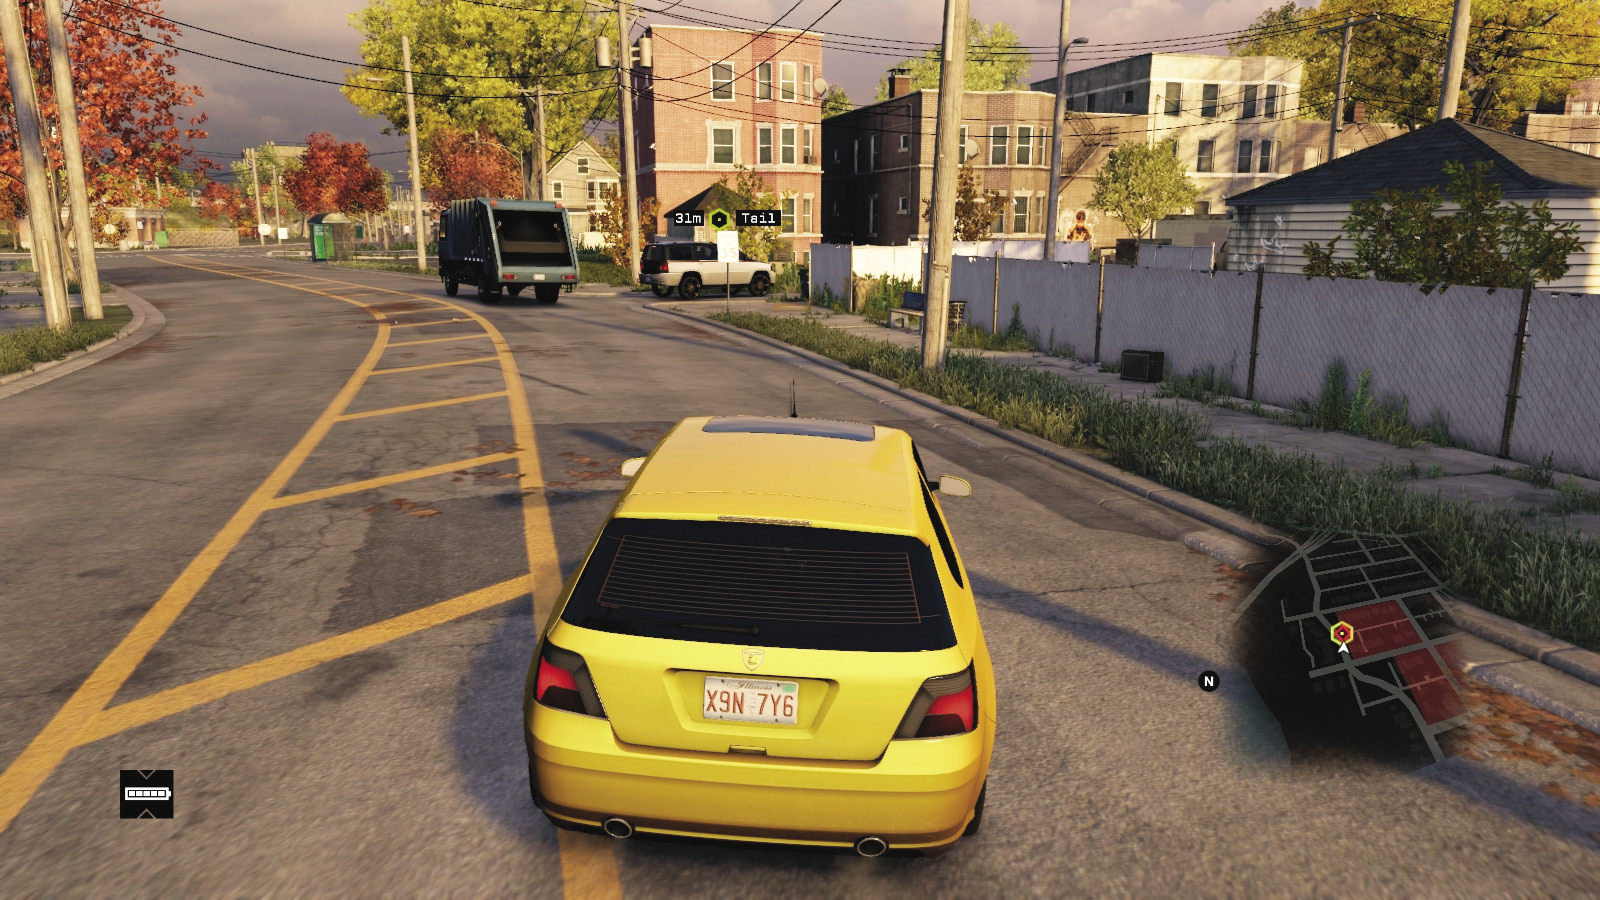
You may lose the target briefly as you pass the buildings on the left. Don’t worry; slow down as you reach the next junction (with the traffic lights), ideally around 50 meters from the junction, near the last tree on your right; the SUV passes from left to right without spotting you.
Make a right (east) turn and park up by the gap in the white mesh fencing. Bedbug’s SUV pulls in around the corner, into a series of backyards populated by gang members. He’s out to take a little stroll. Your objective continues on foot.
8.3 DON’T WORRY ABOUT IRAQ...WORRY ABOUT ME
 Location / The Wards // Rabbit’s Yard
|
|
 Follow Bedbug to get blackmail. Remain unseen (continued)
 Use cameras to follow Bedbug
 Investigation
 Data Hack
 Melee Force Likely
Difficulty: 
Overview
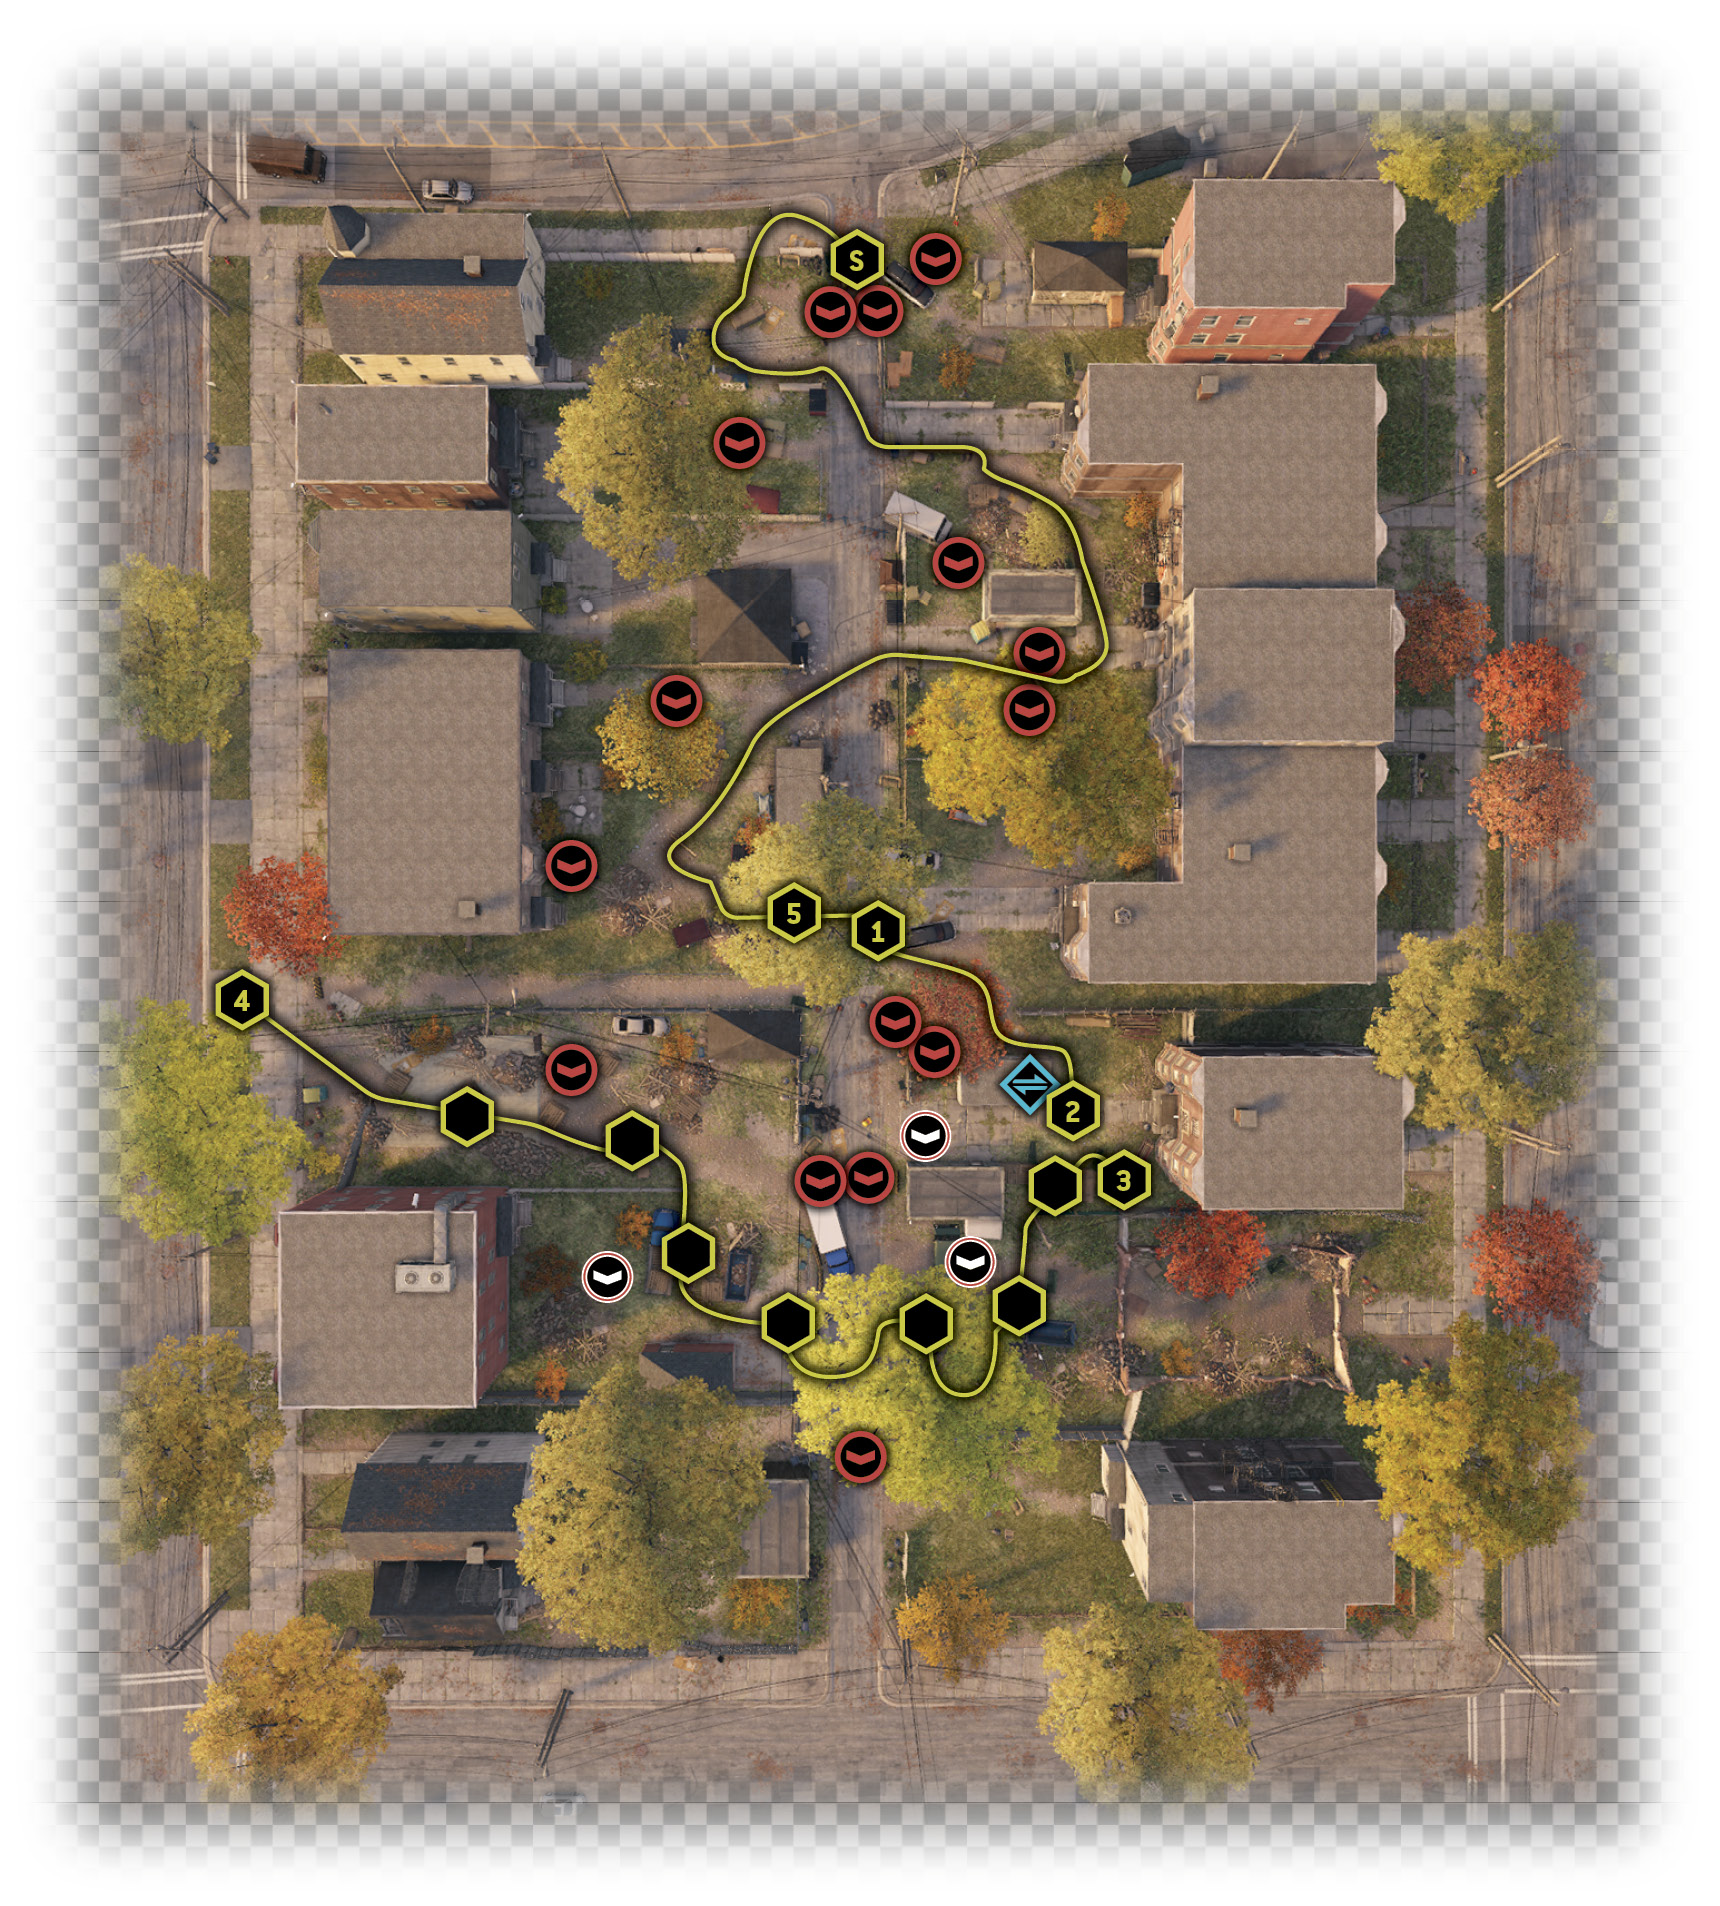
Completion Point: An escape route for Rabbit, one of Bedbug’s soldiers.
Dangers: Approximately 14 Viceroys scattered throughout the yards (Gunmen x14), all on foot, armed with pistols, shotguns, and machine guns.
Dangers: Three of these are Shot-Callers, able to command reinforcements of up to three additional soldiers.
Progression Plans
There are no intrusion points; you continue stalking Bedbug and there is only one route that is recommended. As soon as you take control of Rabbit, though, and Bedbug has left the area, you are free to add wanton violence to your offensive repertoire.
General PreplanningPresupposition: The following assumes you’ve already learned the elements referenced in all earlier missions, so information isn’t repeated too often. Cameras: Remember that this yard has cameras everywhere, and it’s worth locating them all now, as some of them become imperative later on. Use them to tag enemies, too, but not at the expense of losing Bedbug. A ctOS scan is also very helpful, but you may not wish to use up one of these craftable items, as your enemy tagging occurs quite slowly. No Noise: Clandestine operations are called for. Melee strikes are tolerated if no one spots you. But gunfire fails this mission while you’re tailing Tyrone. |
 Passive: On Rabbit’s Tail
 Difficulty:
This is the preferred path when following Bedbug, from the time he disembarks from his SUV to the conversation he has with Rabbit.
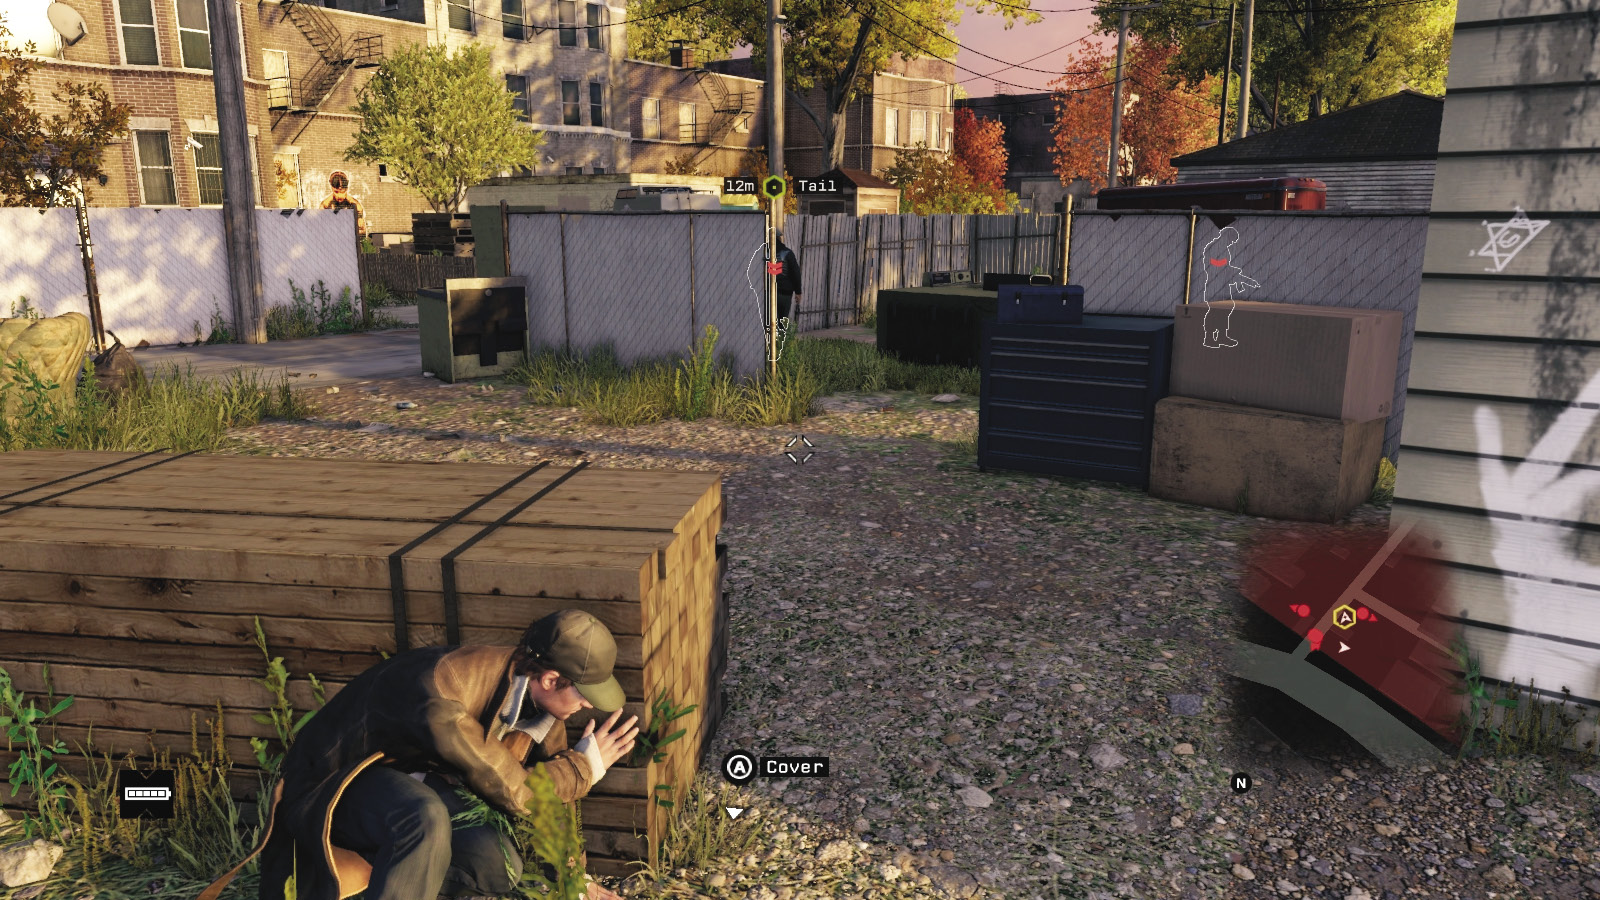
Yard 1 (Right): Drop behind the fencing. Step behind the stack of wood when Bedbug steps into Yard 2 and asks about the police. Then move to the blue tool cabinet and rusting stove in the far left corner.
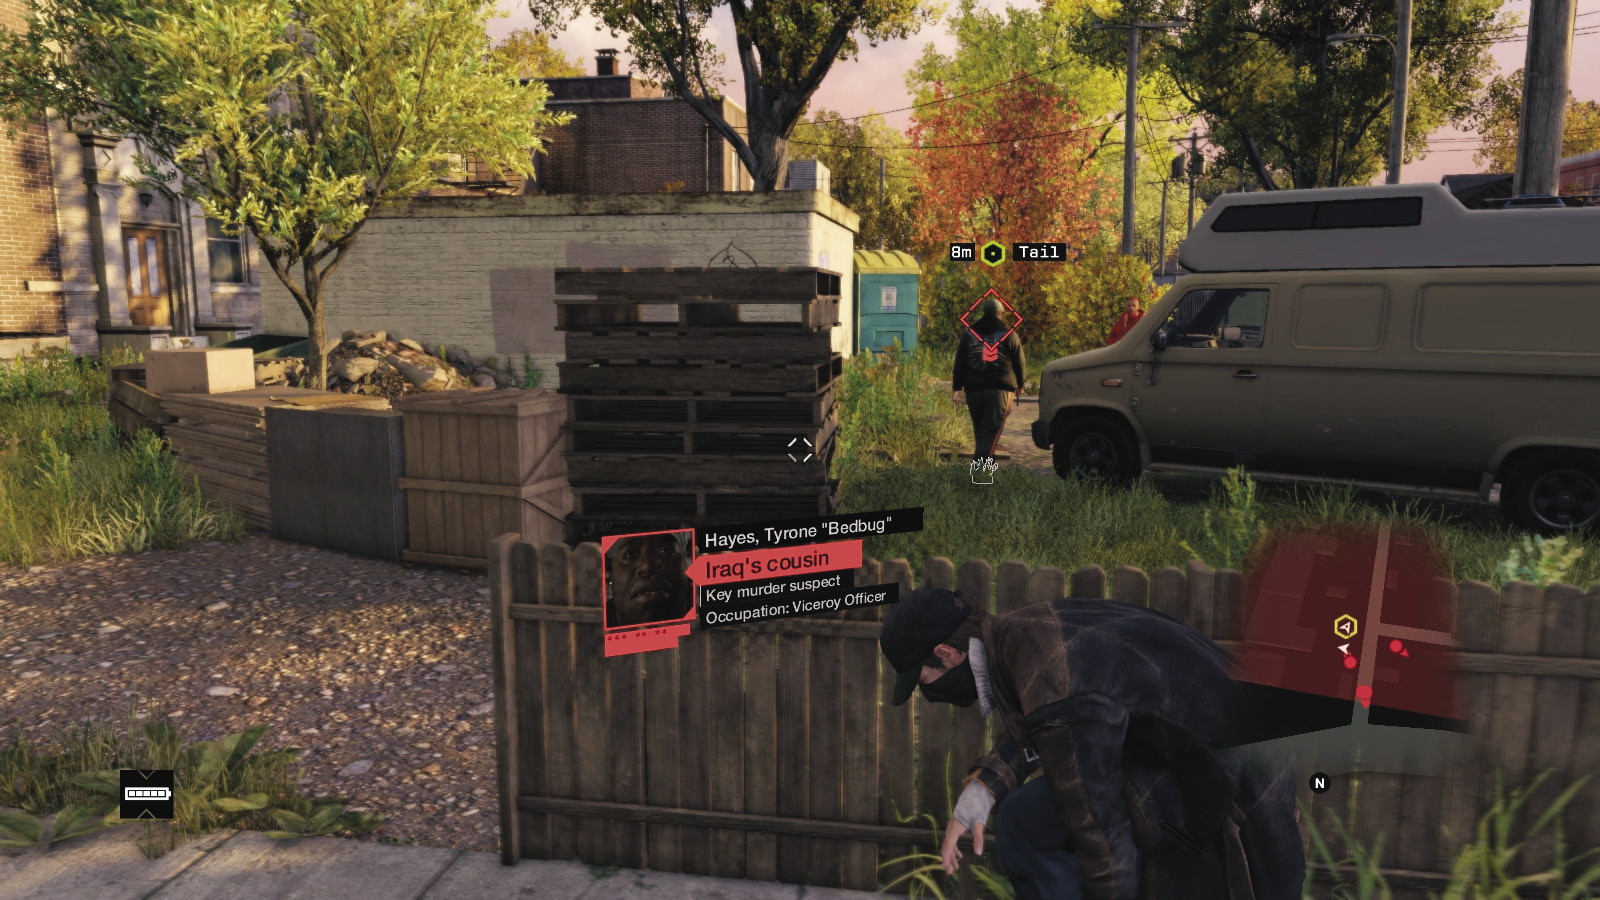
Yard 2 (Left): Head across the alley. The foes behind and left of you never look your way. Stop by the refrigerator and creep along the low fence as Bedbug moves around the front of the van.
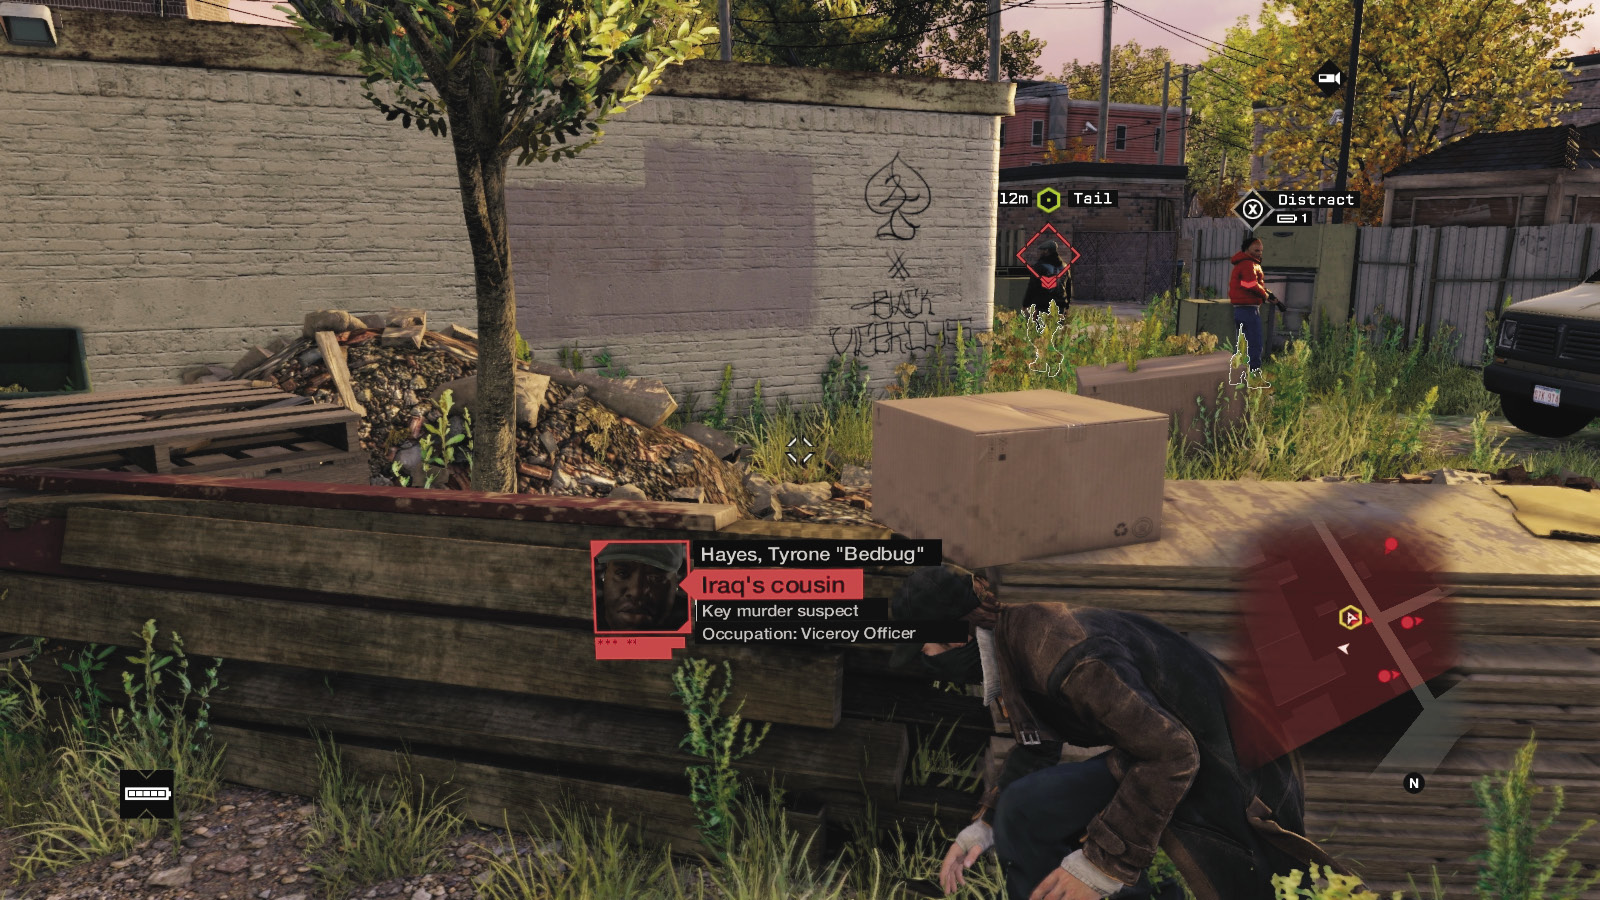
Yard 2 (Left): Move to the selection of wood pallets, crates, and other stacks in a curve ahead and left of you as Bedbug talks to one of his soldiers about shady ATM cards. Tag the foes using the nearby cameras or simple smartphone Profiling while the conversation is going on.
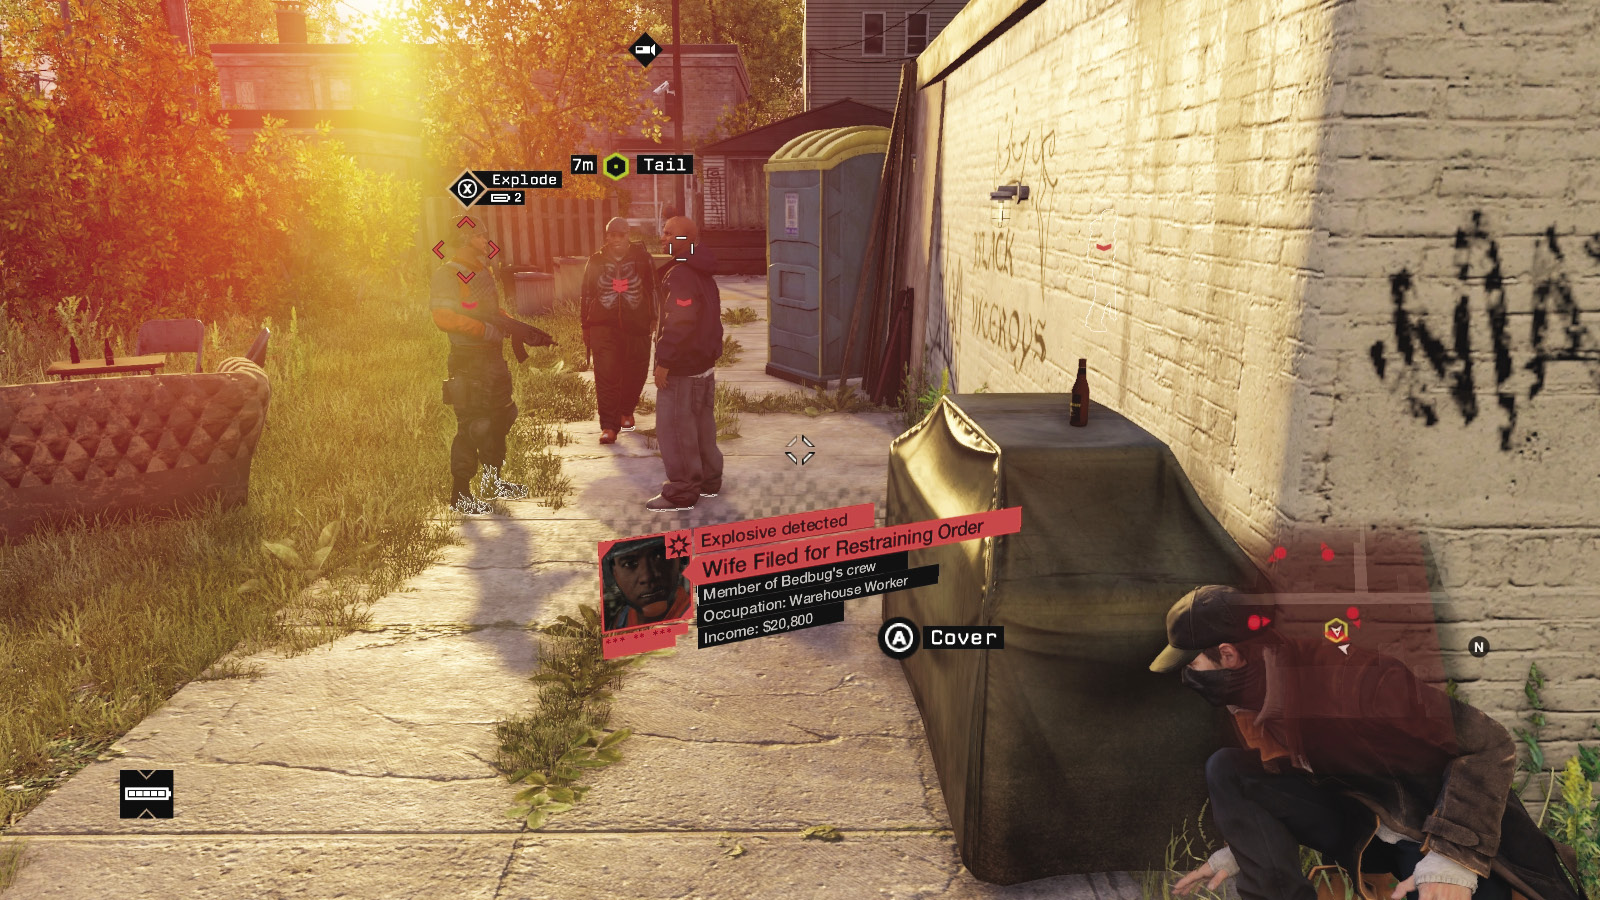
Yard 3 (Left): Follow the curved wood stacks around to the back of a white-washed garage, and stop at the covered barbecue. Watch as Bedbug talks to two of his crew. One moves away out of sight, and the other moves to the rotting couch. Pass behind him, or bring him down with a melee strike (that’s one less foe to worry about later).
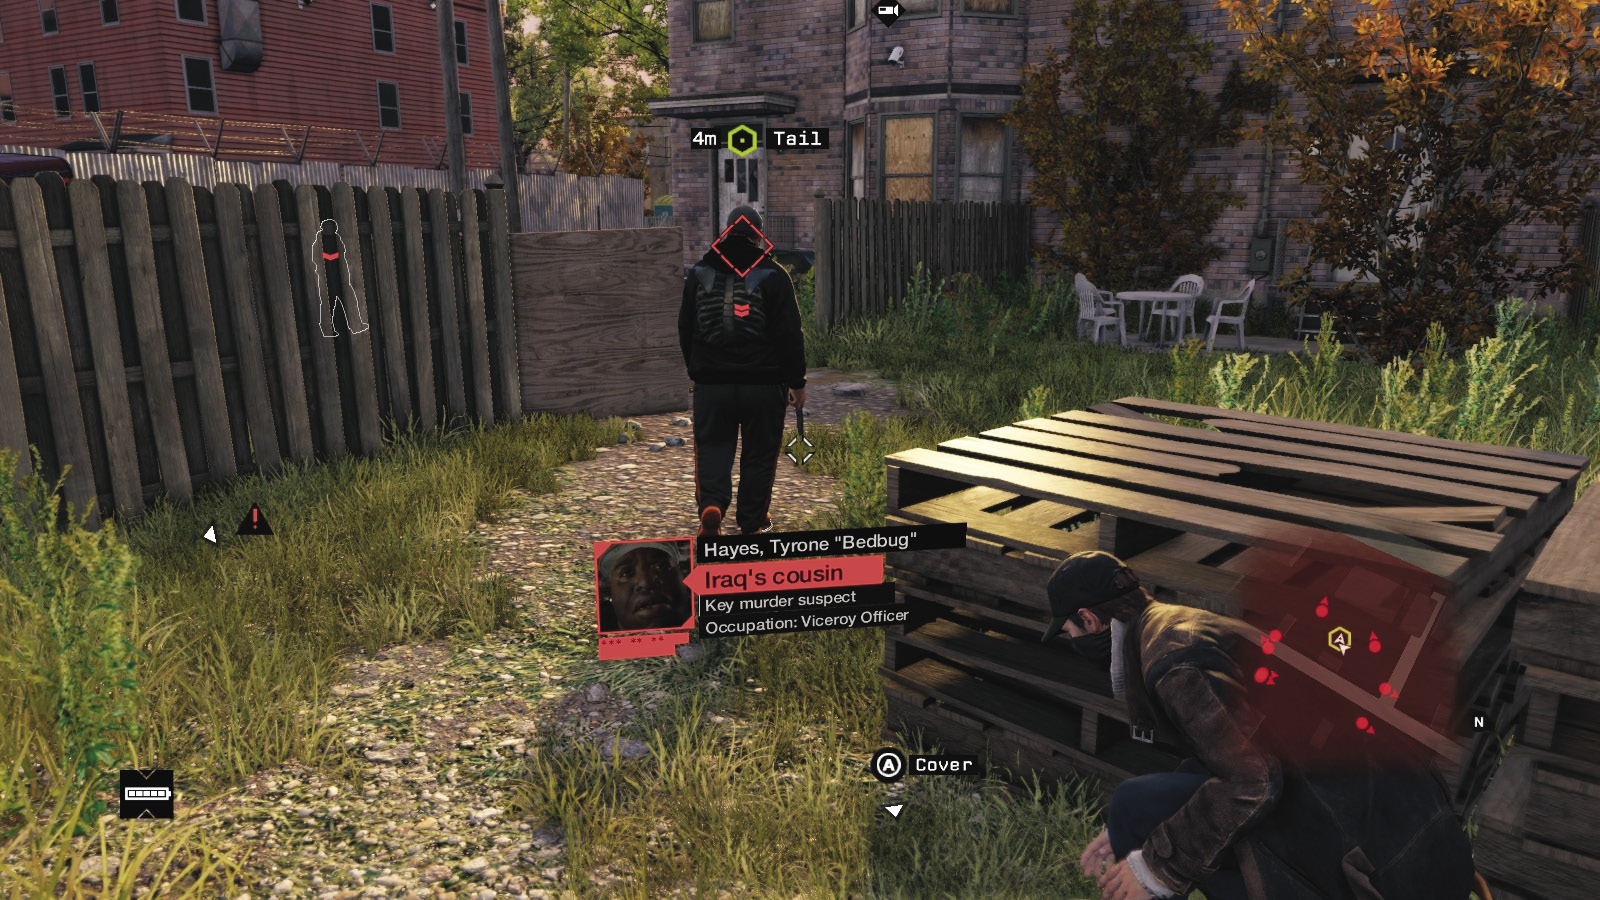
Yards 3 and 4 (Right): Move toward the alley, pass across, and hide by the refuse bin. When the patrolling soldier looks away, move to the right yard and then into yard four. Stop by the pallets and again at the board propped up at the gap in the wall.
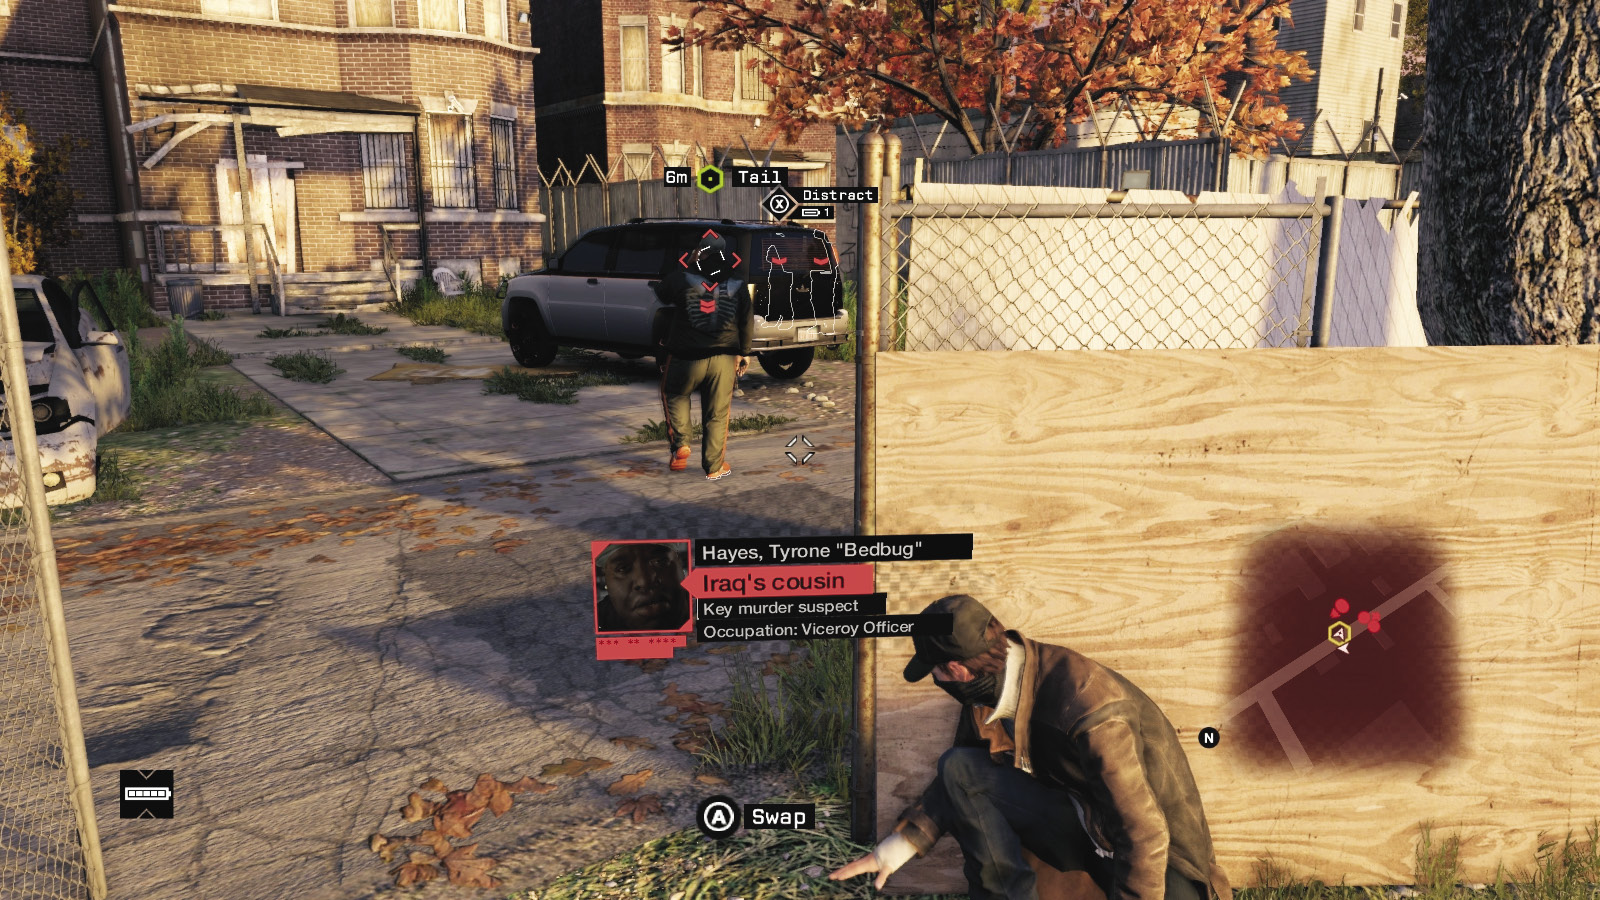
Yard 5 (Right): Head around the board, passing the patrolling guard when he’s looking the other way (melee-striking him is a great idea if you’re fast). Then quickly move past the trailer, to the green refuse bin, and another board by the alley as Bedbug talks to his crew once more. When Bedbug moves from this point, tail him using the cameras. Hide behind the board or the truck parked across the way (but watch for the three soldiers in the alley on your right).
 Aggressive // Stealth: Make a Few Soldiers Flail
 Difficulty:
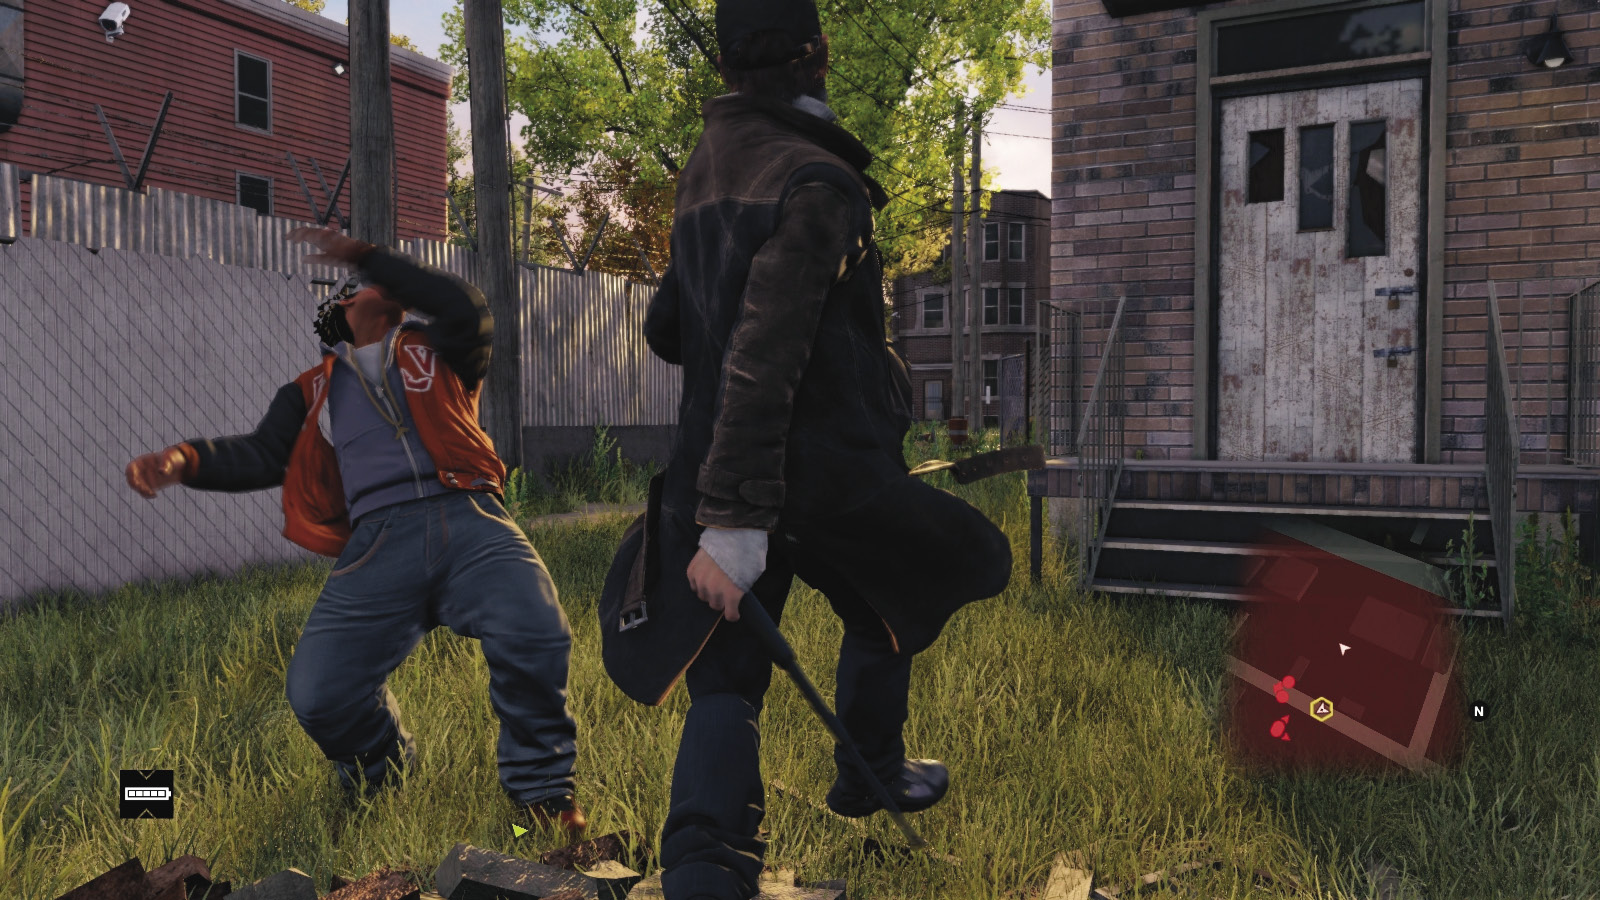
Want to try combat on the path that was just detailed? Well, there’s at least three opportunities to melee-strike the soldiers along the way, which adds to your experience, as well as the prospect of being spotted. Here are some targets to try (and remember, no guns!):
Yard 2 (Right): The patrolling soldier around and right from the initial yard.
Yard 3 (Left): The foe standing by the couch after his talk with Bedbug, after Big B leaves.
Yard 3 (Right): The patrolling soldier; wait for him to walk away from you, then sneak and throttle him.
Yard 5 (Right): The soldier leaning against the wall, after you pass by the board.
 Passive: On Rabbit’s Tail (Continued)
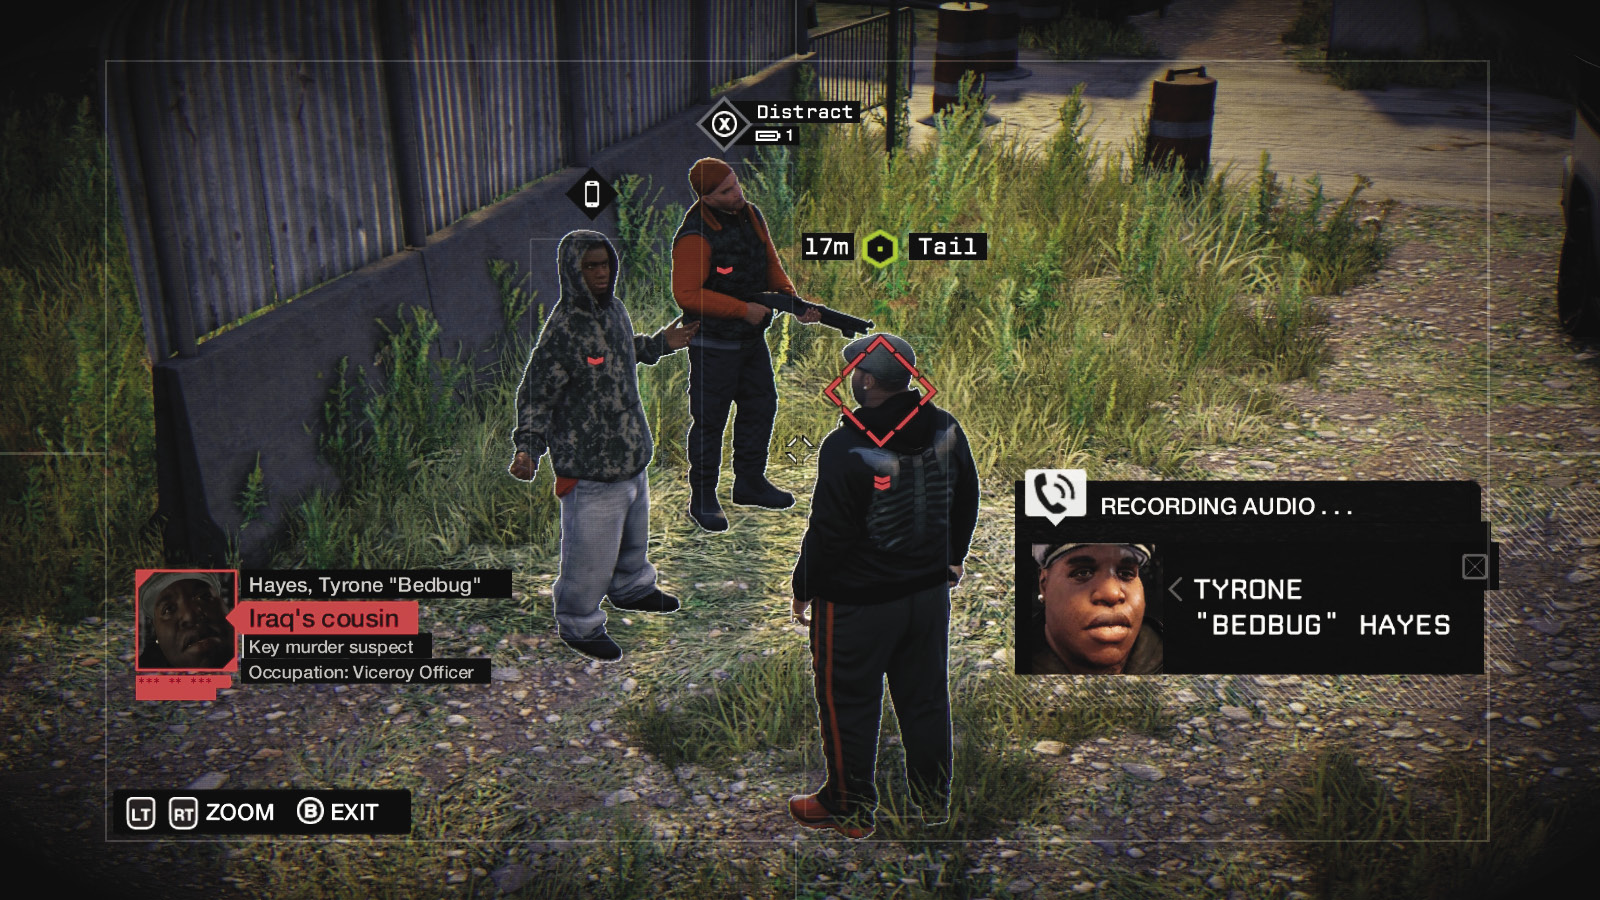
Stay in cover, using the cameras to move to the two thugs Bedbug is talking to. Wait for him to move around to the back of a garage near a junction box, where Rabbit is standing. Don’t worry about any proximity warnings about losing your target; he eventually walks into view. Be sure you’re using this camera for the conversation.
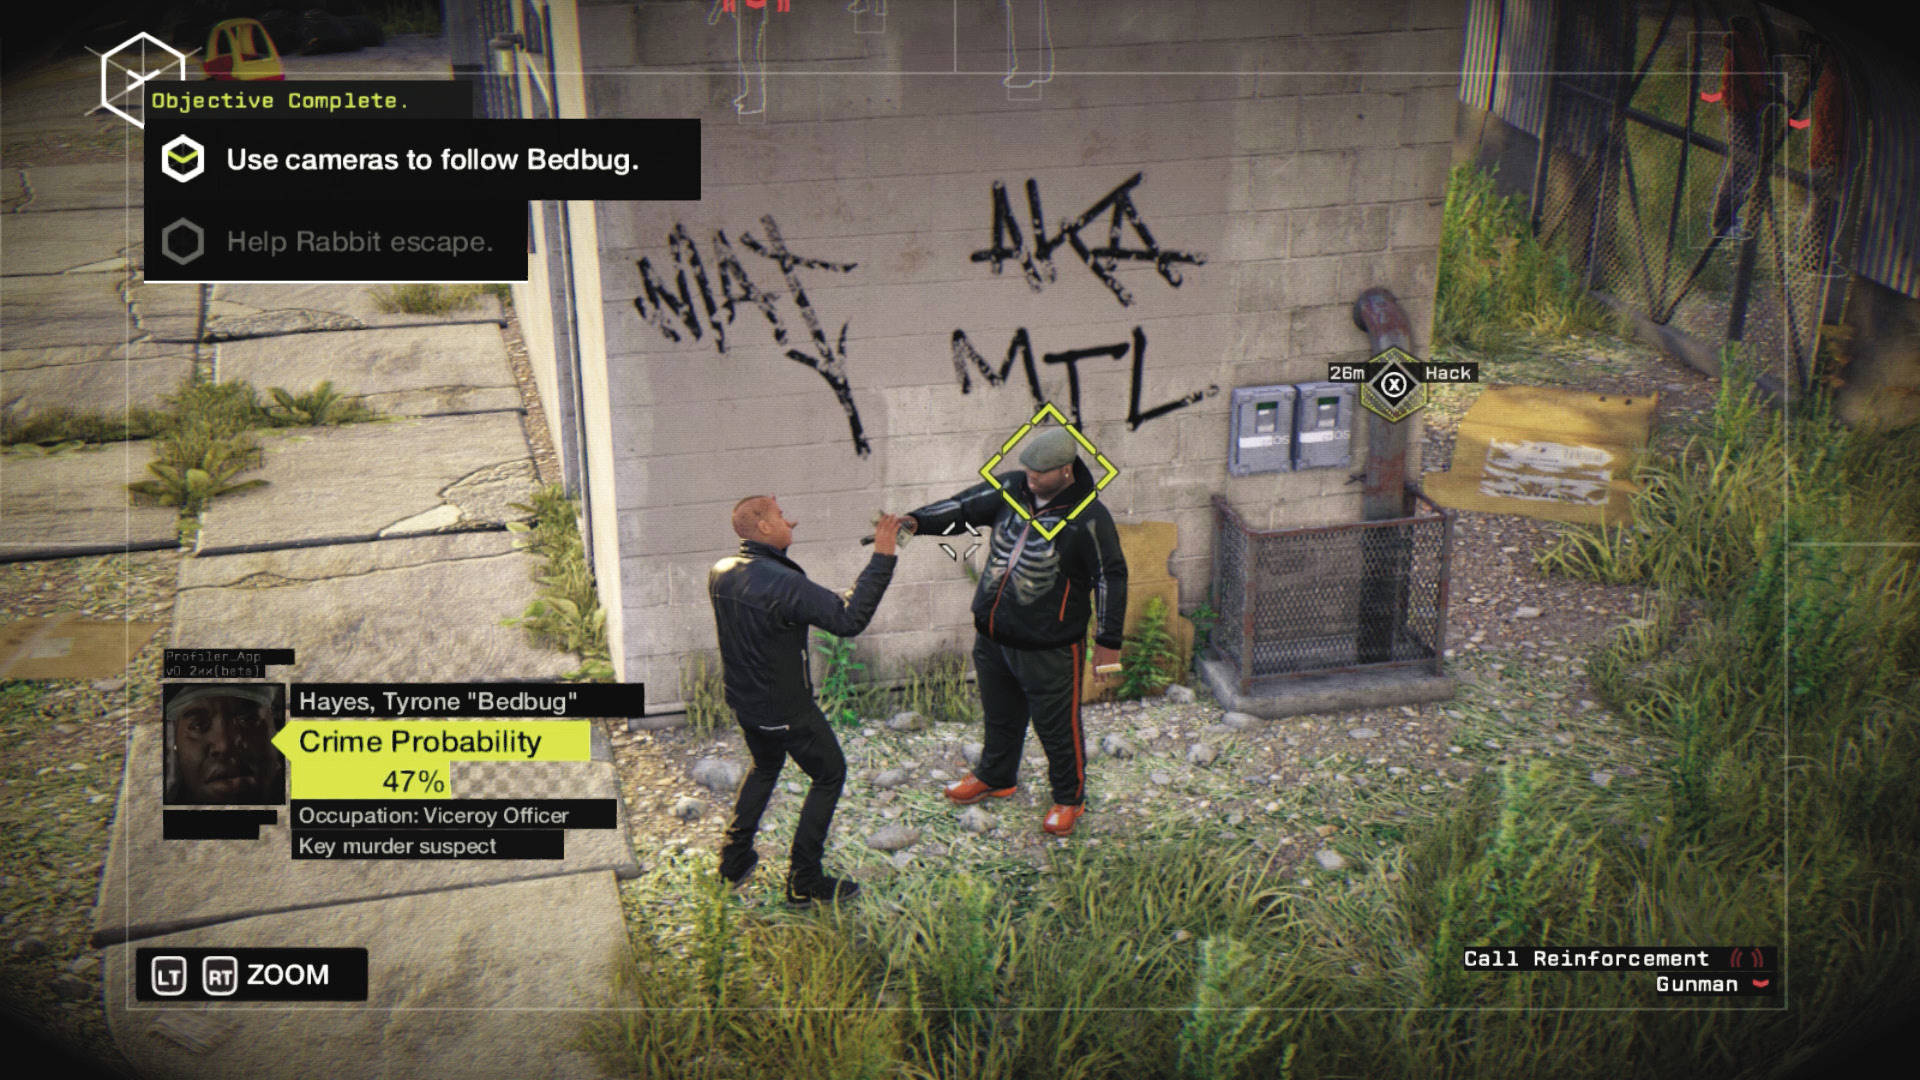
It doesn’t end well. With Rabbit refusing to kill Iraq, Bedbug draws on him. Your objective updates. Quickly hack the junction box just behind Bedbug so it explodes. In the confusion, Rabbit ducks behind cover and Bedbug orders his men to shoot the traitorous Rabbit on sight. Time to make a call.
8.4 I’M OUT, V’S. DO THIS RIGHT
 Location / The Wards // Rabbit’s Yard
|
|
 Call Rabbit
 Guide Rabbit safely through the Viceroys
 Leave the area
 Data Hack
 Escort
 Escape
 Lethal Force Likely
 Melee Force Likely
Bedbug leaves his soldiers to track down Rabbit. Bad move. You’re able to call him up, gain more information to use against Bedbug, and then help Rabbit (and yourself) out from his unsafe warren.
 Passive // Smart: Guiding Rabbit out of This Maze
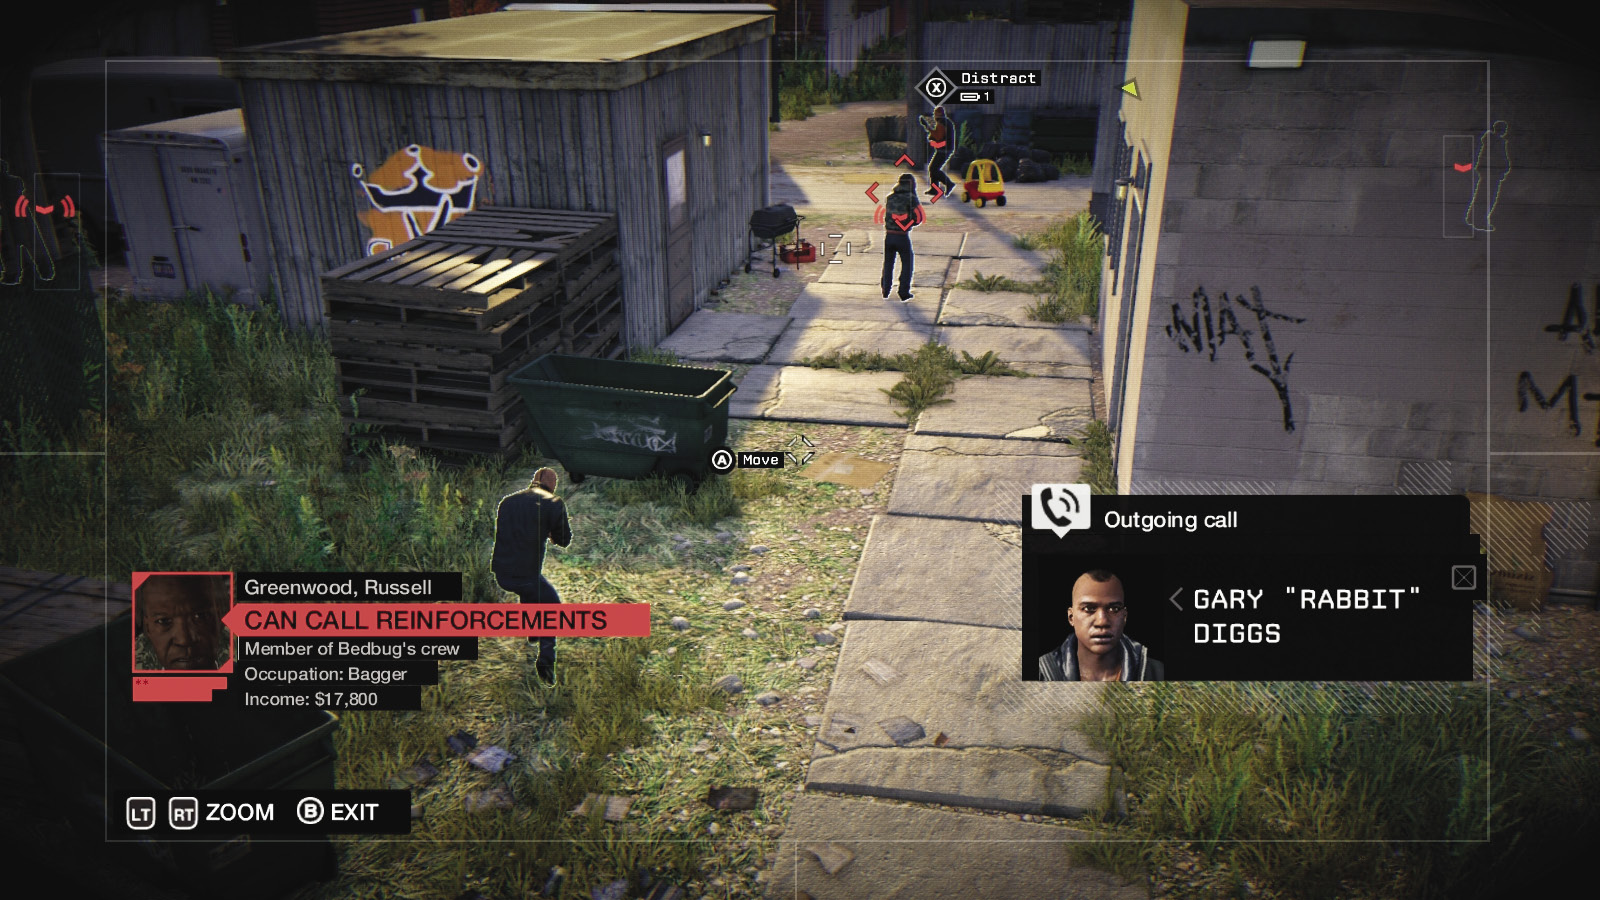
 Difficulty:
This involves the use of the security cameras and a sense of timing. From this camera’s position, move Rabbit to the stack of pallets when the soldier is walking away from the camera.
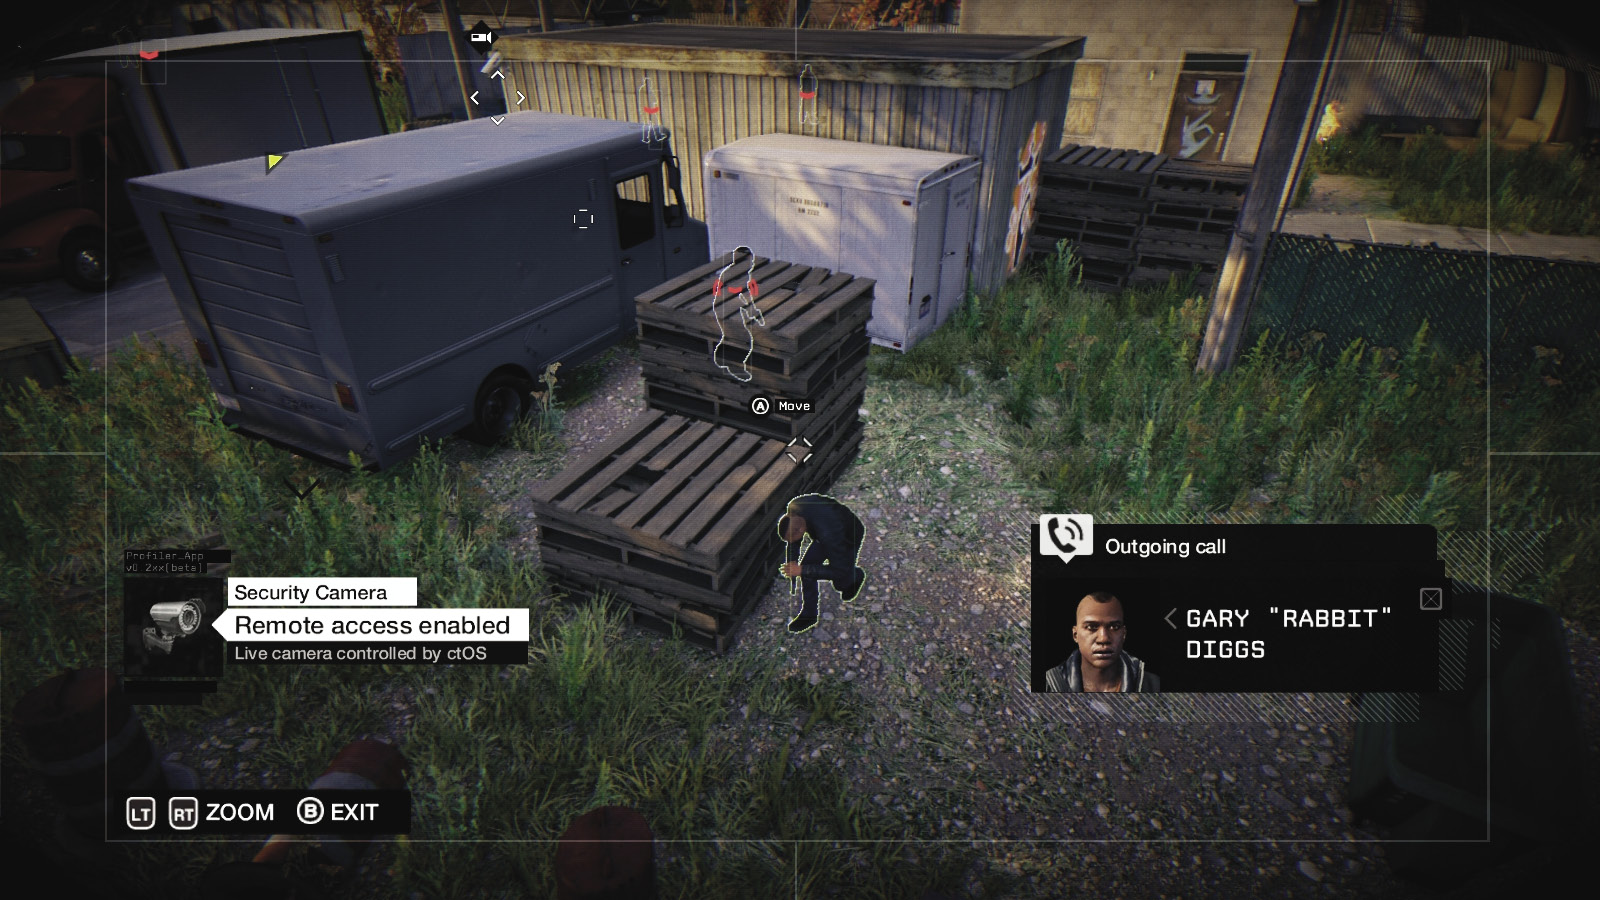
Switch to this camera, moving Rabbit to this small stack of pallets when the soldier is walking away to the left.
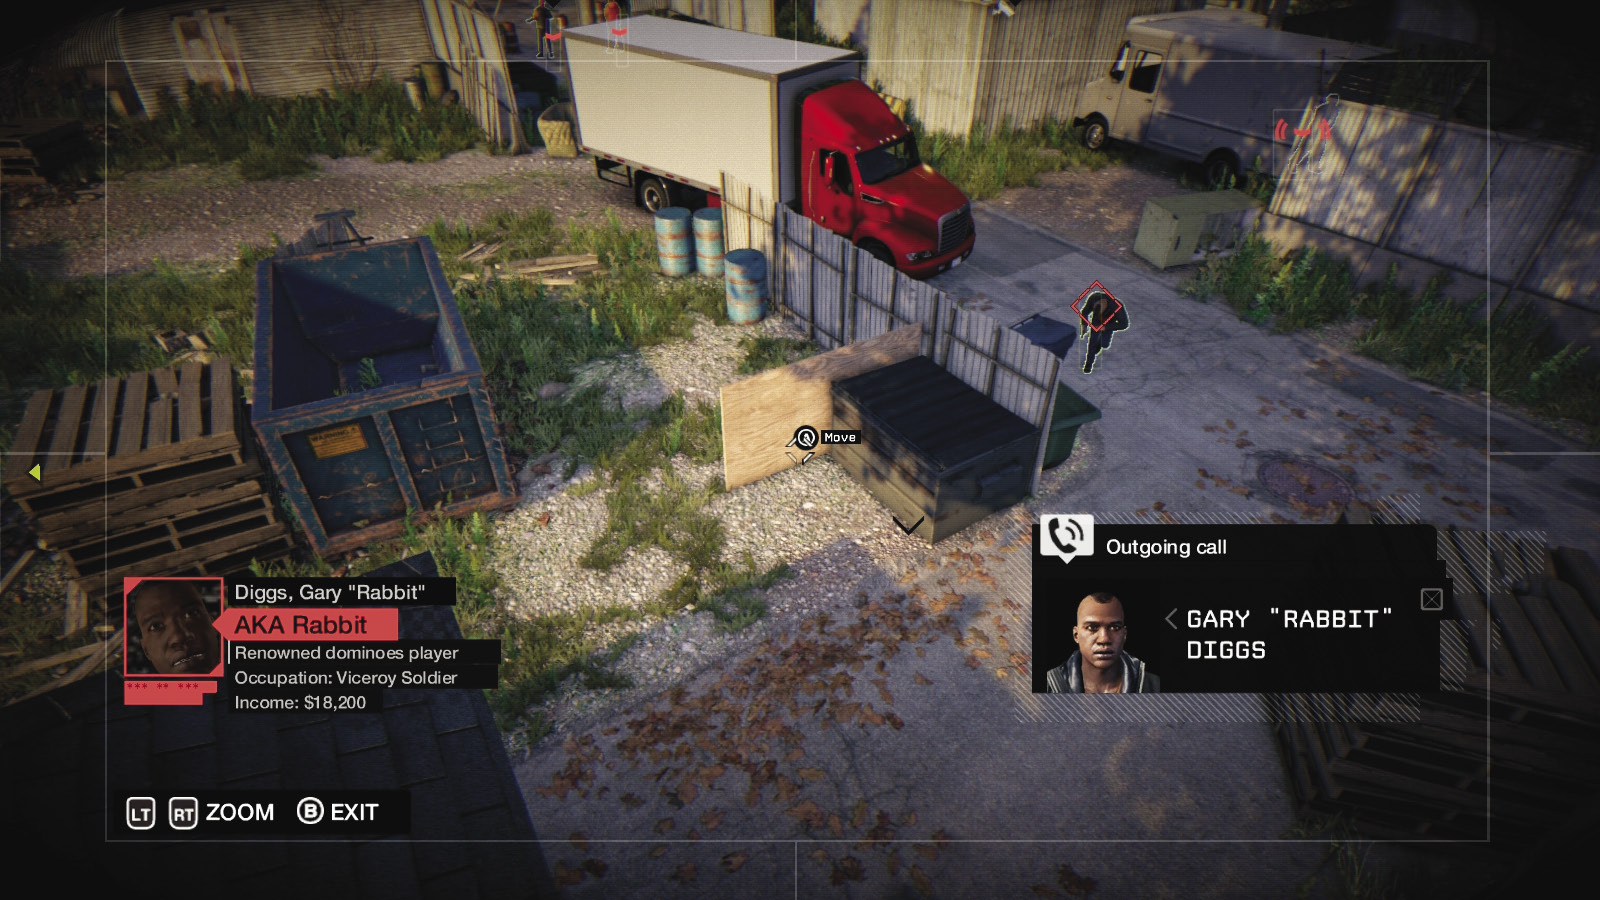
When the foe in the alley turns and walks away to the right, switch to this camera and guide Rabbit across the alley to the wooden board on the fence’s other side. Keep Rabbit moving to the blue container and pallets.
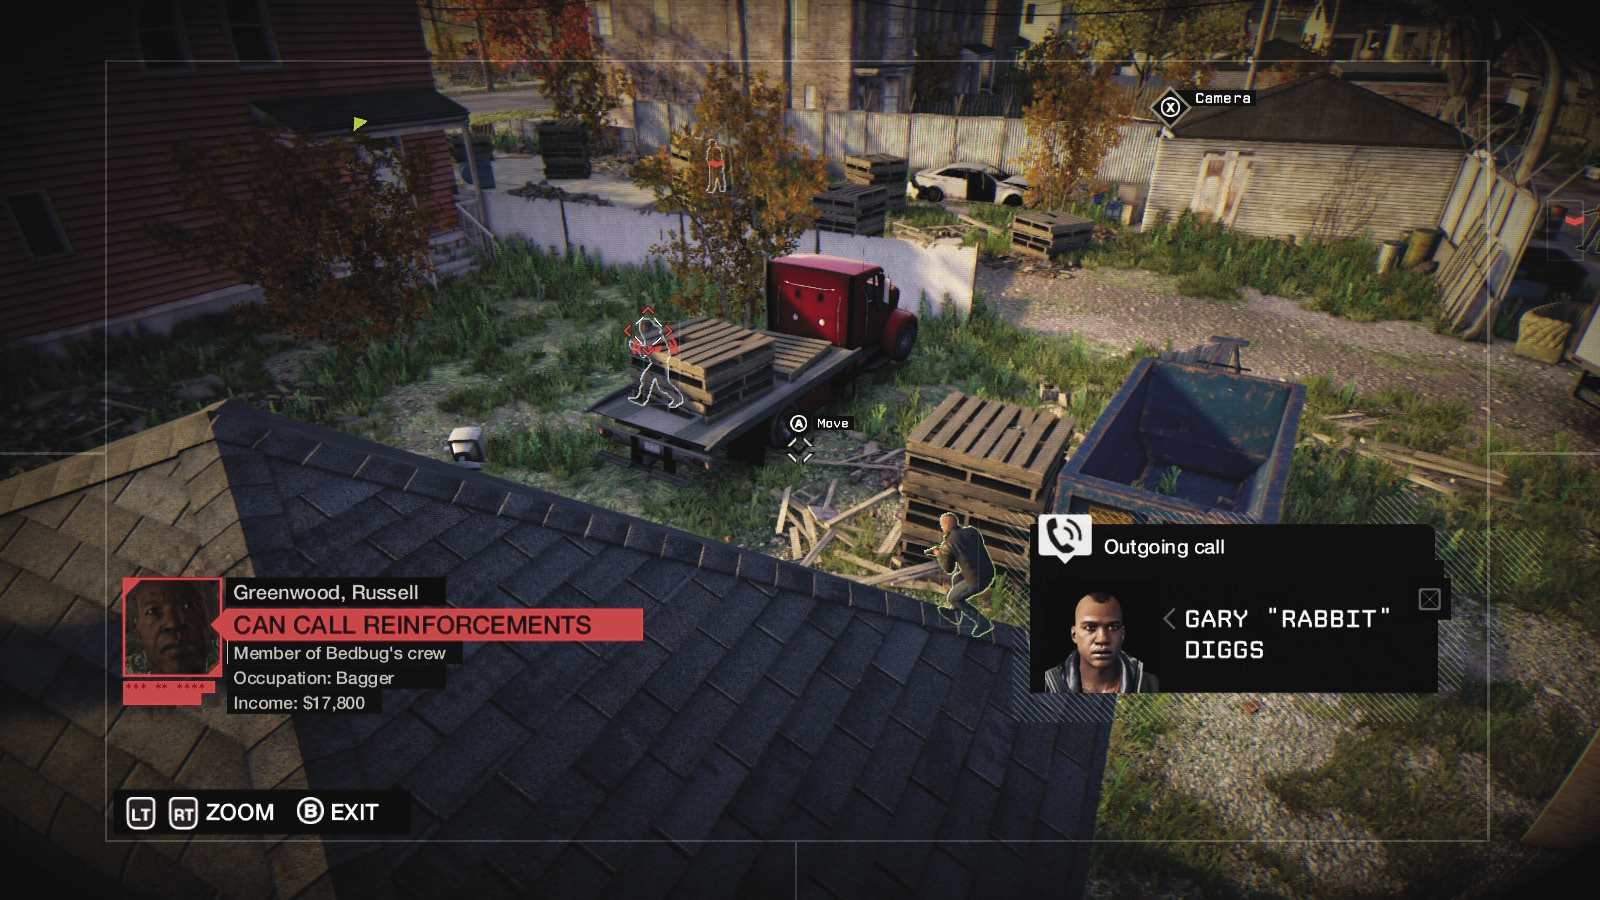
Move to this camera, watch for the foe behind the flatbed truck, and move Rabbit below the side of the truck, then across to these pallets.
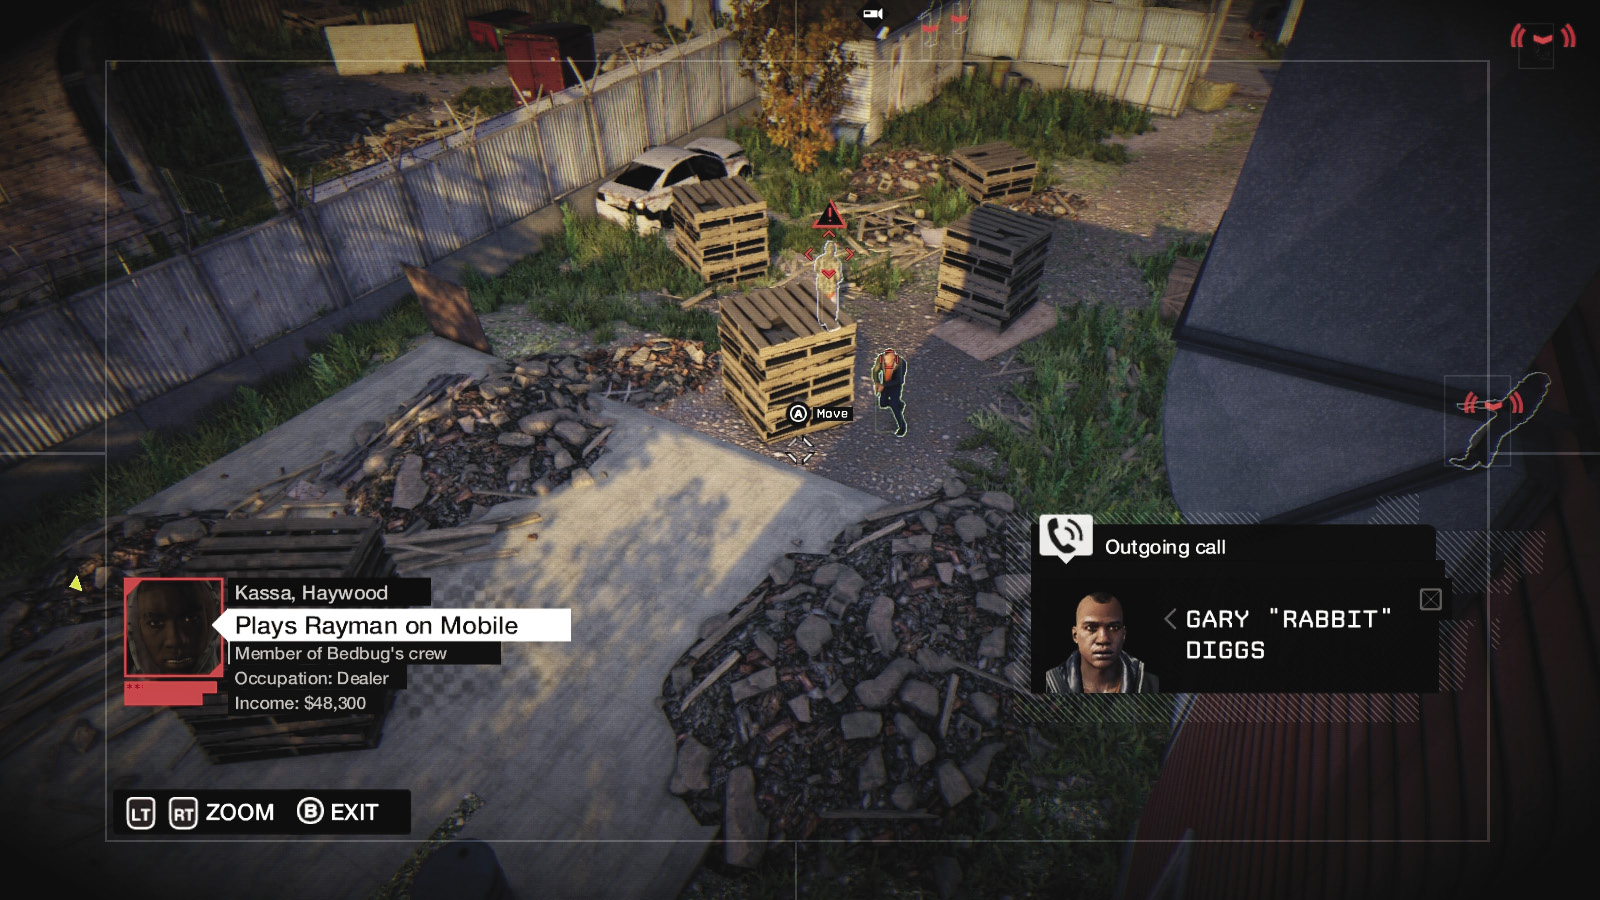
Switch to this final camera, and position Rabbit on the right side of the pallet stack. Have him move on the near side to the camera, between the soldier’s patrol, and out of the yard to the street. He tells you of a Viceroy hideout and gives you more information on Bedbug. Your mission objective updates.
 Aggressive // Violent: Death Doesn’t Phase
Difficulty: 
If you’re an uncaring sort, simply allow Rabbit to be detected at any point during his escape, so he’s taken out by the other Viceroys. Then locate his phone, hack it, and receive the information about the Viceroy meeting.
 Passive: Being a Pacifist Pays
 Difficulty:
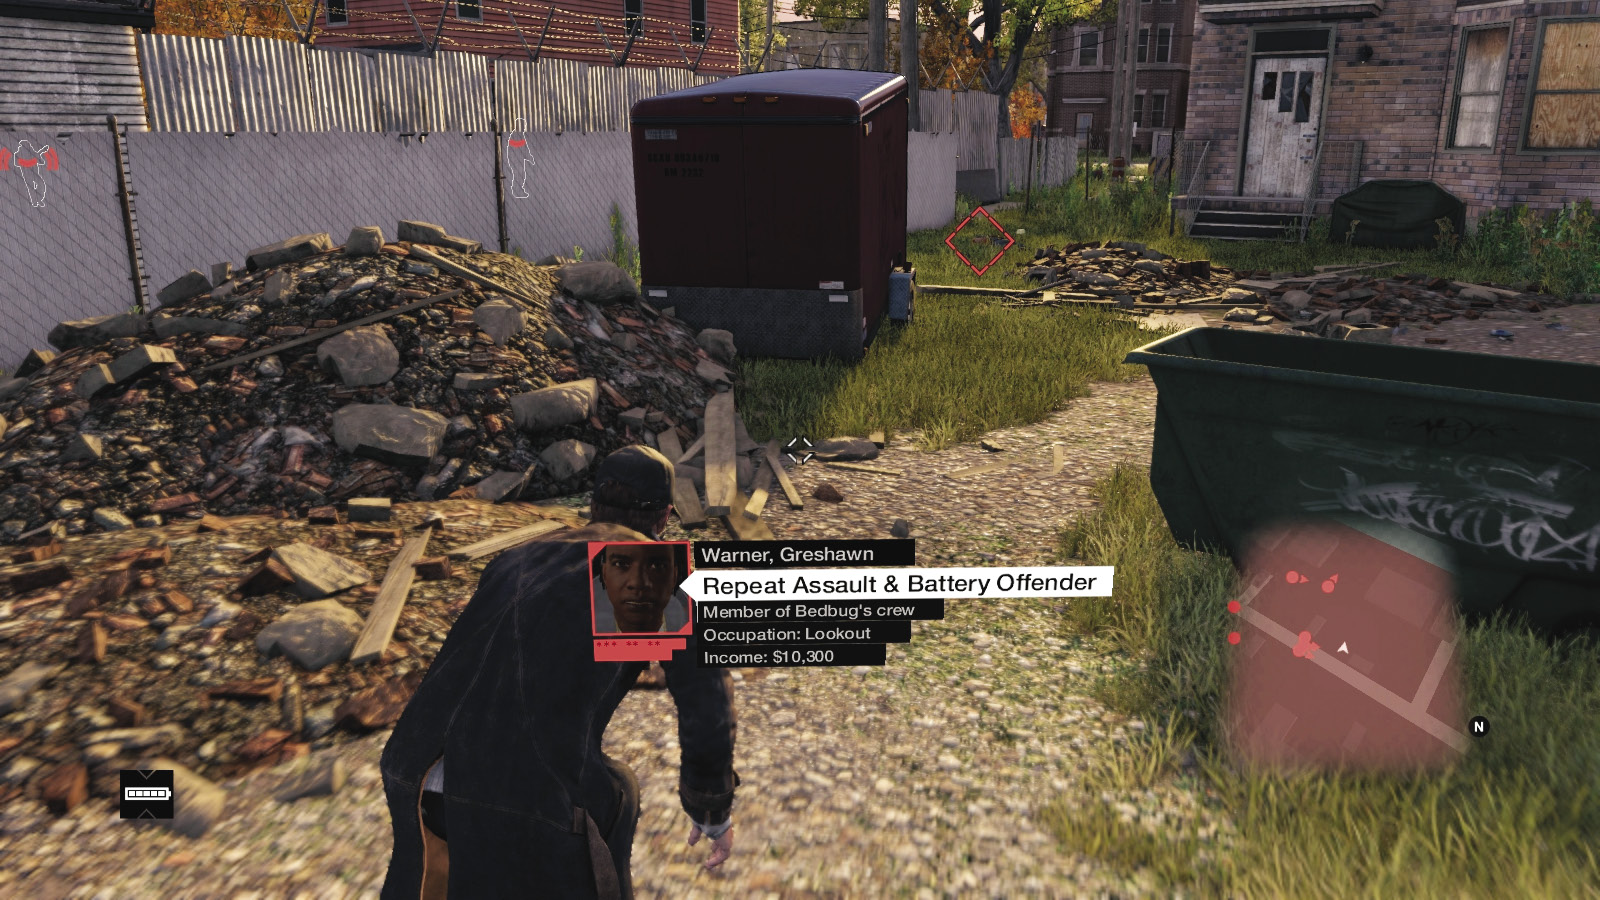
You don’t need to encounter any more foes. Simply run down one of the narrow alleys between the boarded-up homes, where no foes are patrolling, and exit the restricted area. This is simple and effective!
 Passive // Smart: Using Your Cellular Ways
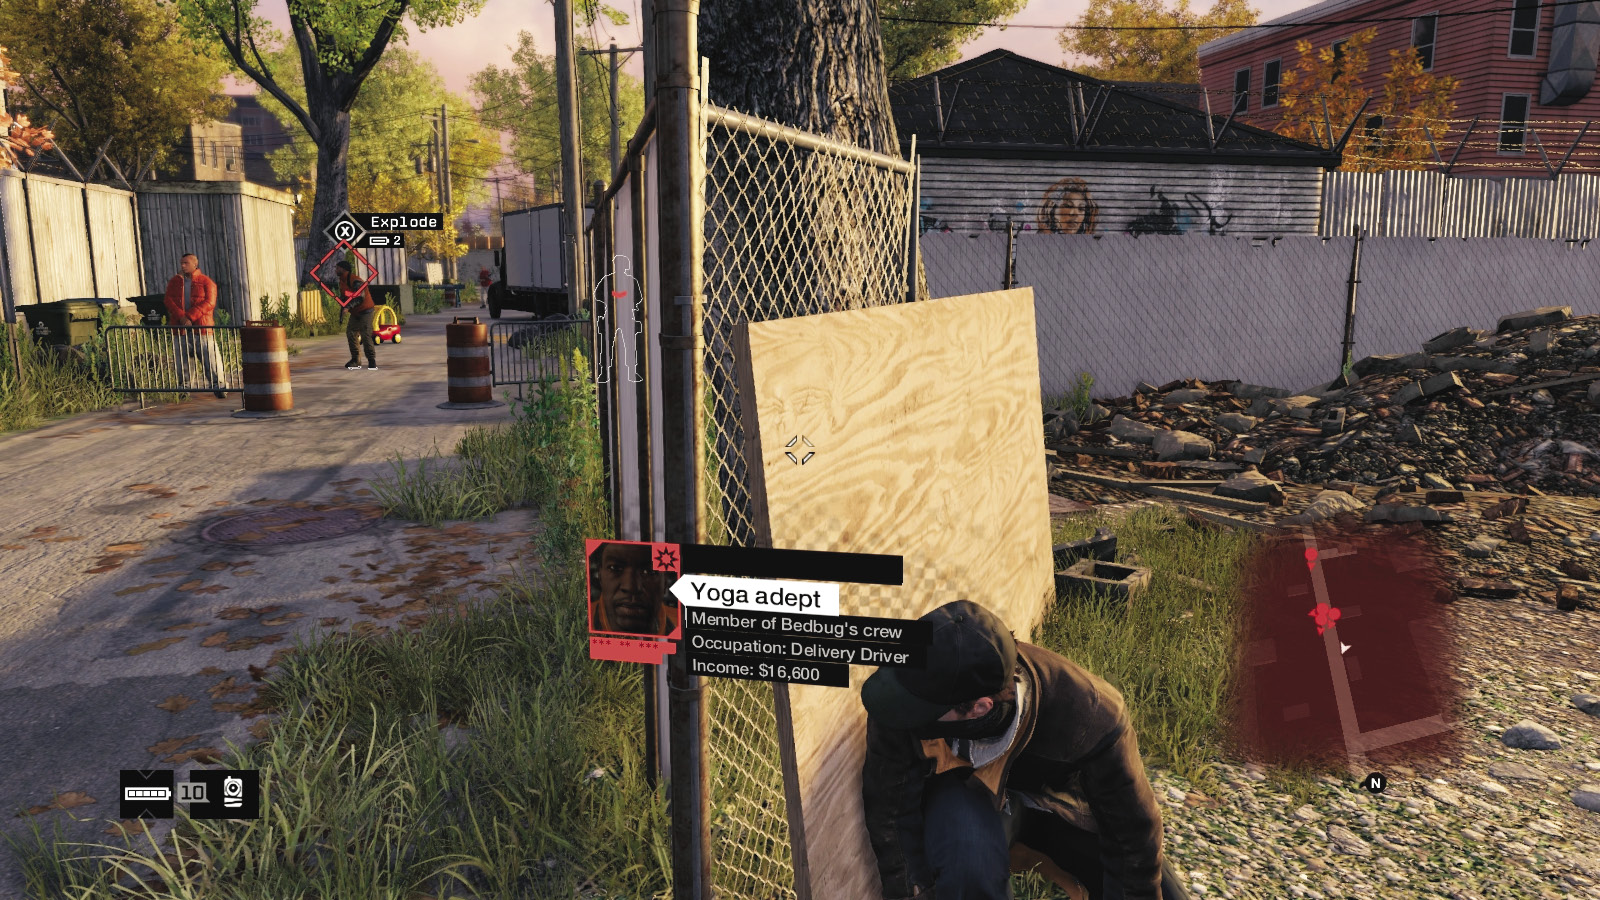
Difficulty: 
You can lure foes to the main junction box in the alley and can drop lures just around fences or other obstacles before lying in wait to lunge and strangle enemies. The sheer number of hiding places allows you to create your own takedown methods using attractions and then melee strikes. Just be sure you have your phone Profiling and the cameras rolling (or have a ctOS scan active) at this end of the yard; tag all the remaining enemies so you can see them before they move around a corner.
 Aggressive // Stealth: Employing a Baton to Graze
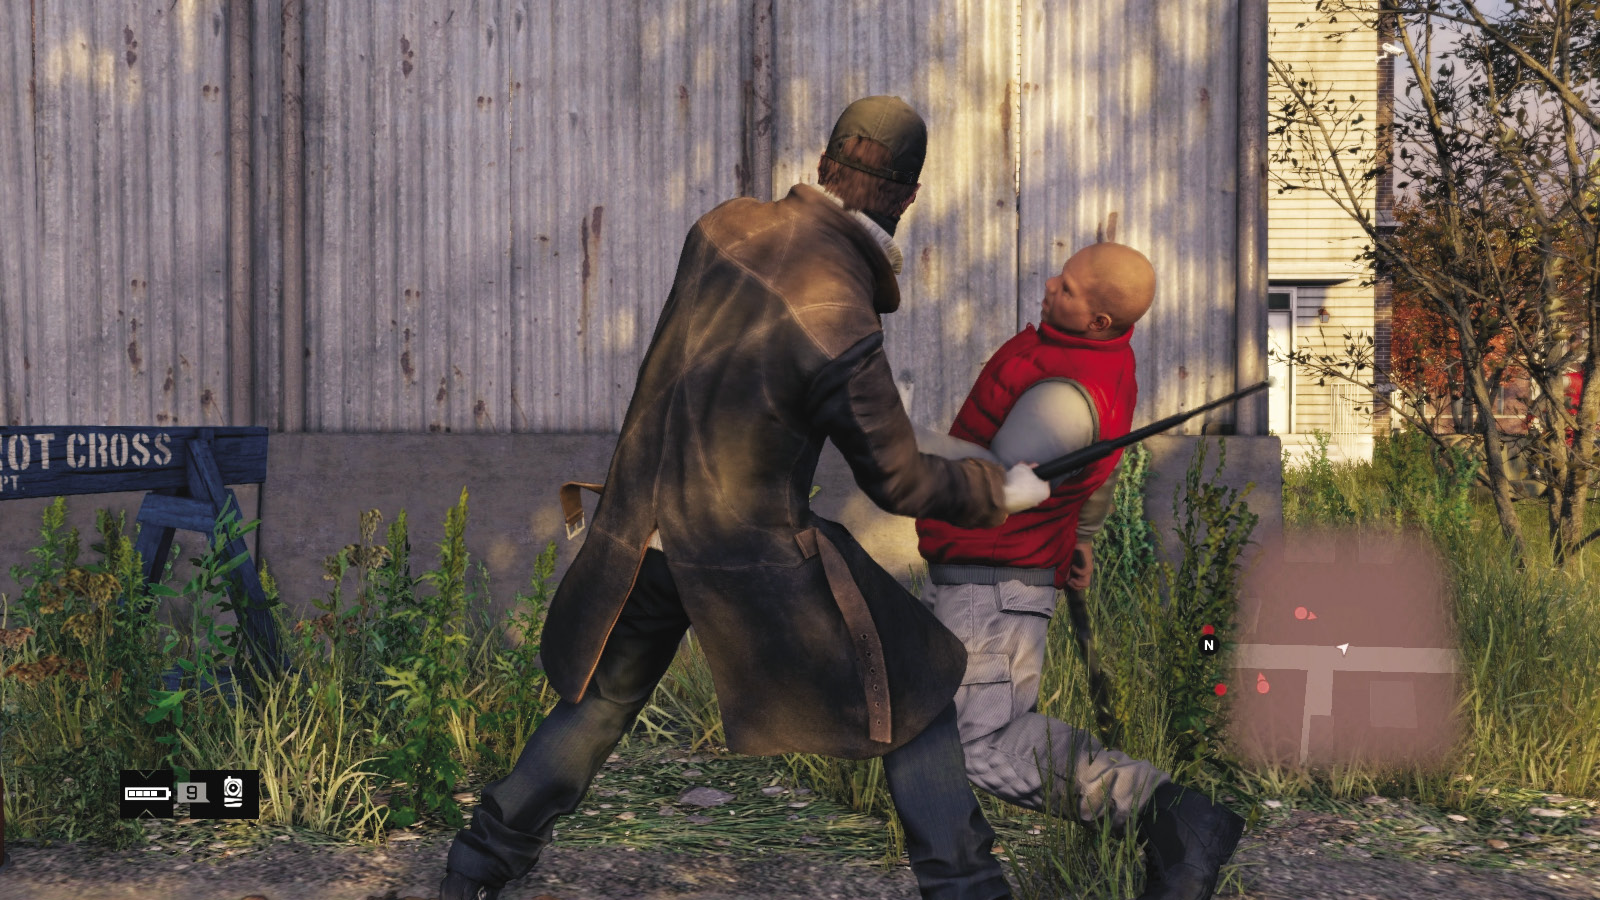
Difficulty: 
It’s possible to tackle all the remaining foes by waiting for the lone patrollers to turn their backs on you and then throttle them. The group in the alley, however, are more difficult to tackle before they turn violent and a firefight erupts. Deal with them last. With three left, grab the first, then the second; you can usually strangle or flip two foes before the third gets a shot off. Shrug that off and deal with the last foe. Or, switch to guns.
 Aggressive // Violence: Dropping Viceroys in a Blaze
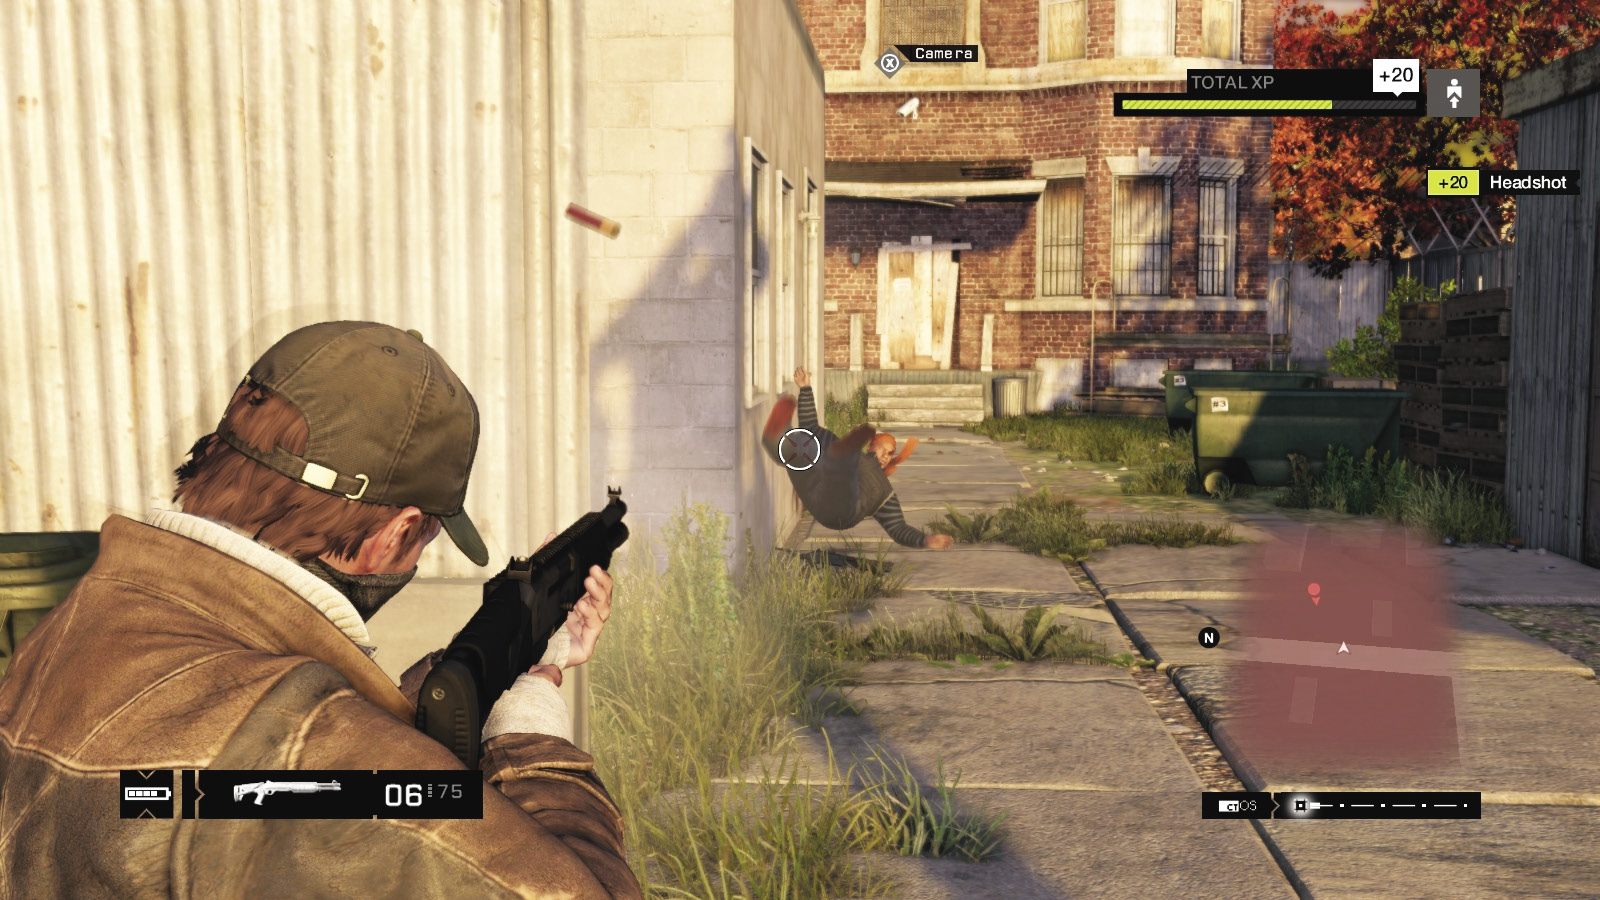
 Difficulty:
With all your arsenal available, you shouldn’t flee the scene and waste this opportunity to earn experience points (XP). Even if reinforcements are called, you have a wealth of hiding locations to choose from and a huge number of escape routes in all directions:
Naturally, darting out of cover with a headshot primed is a key plan. But why not start your offense by dealing with the group in the alley? A grenade to startle, followed by machine-gun fire when they run.
Or a sniper rifle atop the central brick garage adjacent to the ctOS box.
An IED near a group of foes is worthwhile, especially if they don’t see it. Then walk out, explode it, and watch the Viceroys scatter. A similar effect occurs if you hack a foe’s grenade to explode.
Use the fencing to freak out your enemy. Seek them out, leaping over walls, and drop them with melee or gun blasts. If they dodge behind a wall, leap it. If they dodge back, leap back, then finish them.
Or, use the running-and-gunning plans. Shotguns at close quarters are excellent, and even a sniper from where you first entered the yard, down the alley, is an option.
 Driving // Offensive: Knockdown Driving, No Delays
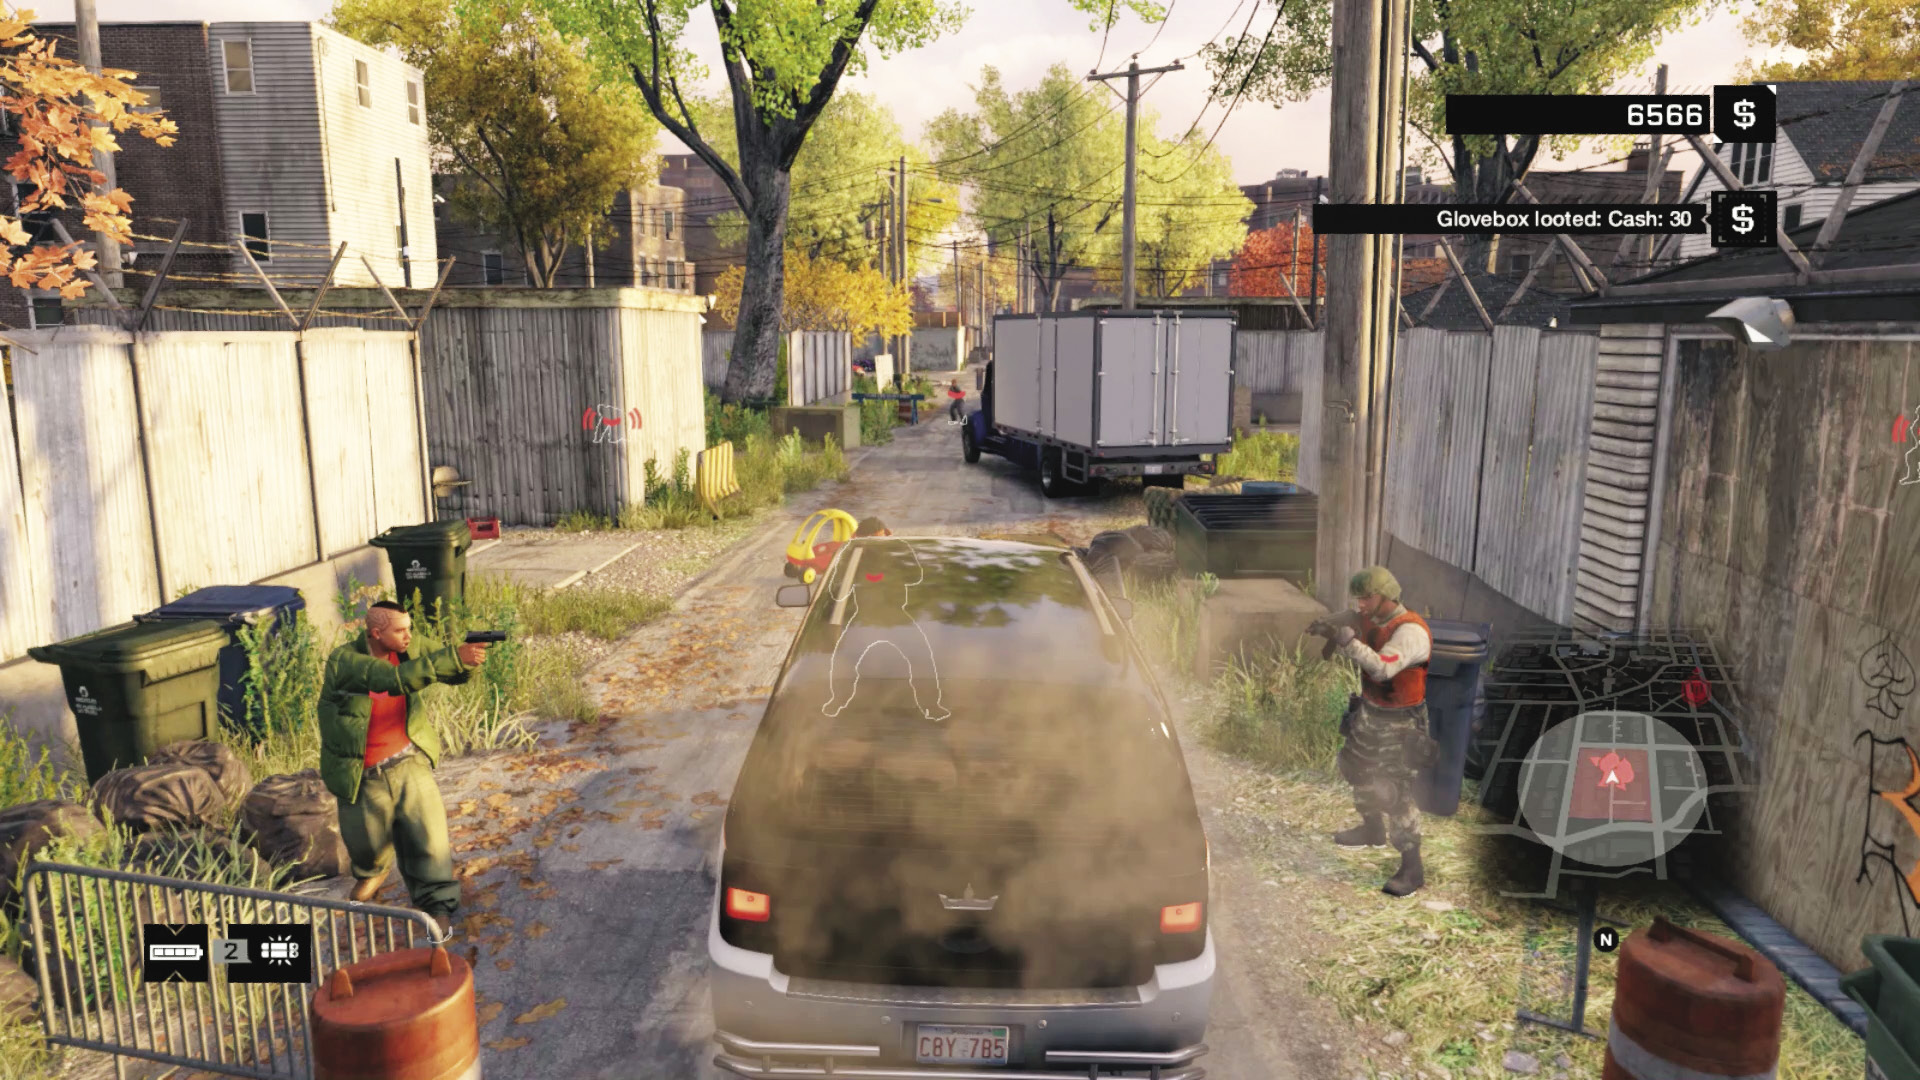
Difficulty: 
That truck parked close to your position offers great armor and a ramming potential if you get into it, reverse, and drive into the cluster of foes, taking out four or five enemies before escaping. These are easy kills, and you can even move up and down the alley, popping enemies and sitting behind the truck on either side, using it as cover. Once you flee the Viceroy search area, the mission concludes.
MISSION REWARDSGained XP +1,000 |