
Watch Dogs Guide SIDE MISSIONS
_GANG HIDEOUTS
GANG HIDEOUTS Overview
As a roving free agent, you are sometimes called upon to intimidate a target (or group of targets) under a particular set of circumstances. There are 15 such “Gang Hideout” jobs to undertake and one Exclusive mission.
TOTAL/15 (+1) Missions: In order to complete the Gang Hideouts section of the Progression Tree, you must successfully finish all 15 of these missions. They appear randomly as follows:
As you complete main missions, more Gang Hideouts become available.
As you profile and hack civilians bearing the Gang Hideout icon.
Gang Hideouts become available once you complete specific main missions:
- Phase I ($2,500 Reward): These are accessible once Main Mission Act I/7: Thanks for the Tip is completed.
- Phase II ($5,000 Reward):These are accessible once Main Mission Act II/6: Jury-Rigged is completed.
- Phase III ($10,000 Reward):These are accessible once Main Mission Act III/3: A Pit of Paranoia is completed.
You are contacted via the world map when one is available, so the order these are presented in this guide isn’t necessarily the order you’ll complete them in. We present them by district, then alphabetical order.
Here is a complete list of Gang Hideouts:
Available Gang Hideouts
| District | Number and Name | Phase | Number of Targets/Total Foes | Reward |
|---|---|---|---|---|
| Pawnee | 01/Beached | II | 3/9 | $5,000, 2 Skill Points |
| Pawnee | 02/Burning Bridges | III | 3/10 | $10,000, 2 Skill Points |
| Pawnee | 03/Decapitated | III | 1/10 | $10,000, 2 Skill Points |
| Pawnee | 04/Out of the Woodwork | III | 2/5+6 | $10,000, 2 Skill Points |
| Parker Square | 05/Union Dues | I | 1/9 | $2,500, 2 Skill Points |
| The Wards | 06/Compliments for the Cook | II | 1/10 | $5,000, 2 Skill Points |
| The Wards | 07/Swap Meet | I | 1/10 | $2,500, 2 Skill Points |
| Brandon Docks | 08/Gone in a Flash | II | 1/10 | $5,000, 2 Skill Points |
| Brandon Docks | 09/Packing | I | 1/9 | $2,500, 2 Skill Points |
| Brandon Docks | 10/Port Authority | I | 1/9 | $2,500, 2 Skill Points |
| The Loop | 11/No Parking | I | 1/10 | $2,500, 2 Skill Points |
| The Loop | 12/Street Cleaning | I | 1/7 | $2,500, 2 Skill Points |
| The Loop | 13/Two for One | I | 1/10 | $2,500, 2 Skill Points |
| Mad Mile | 14/The Low Road | III | 1/10 | $10,000, 2 Skill Points |
| Mad Mile | 15/The Tower | I | 1/10 | @2,500, 2 Skill Points |
| The Wards | Special/Signature Shot | After Act I/8 A Wrench in the Works and CTOS Centers Unlocked | 1/10 | +800XP, Viceroys Outfit, Biometric Rifle |
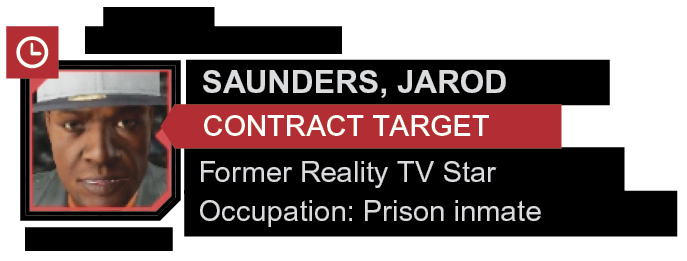
GANG HIDEOUTS OBJECTIVES // OVERVIEW
|
|
 Reach the target location
 Profile the target(s) and take them down
 Target is attempting to escape
 Leave the area or eliminate the remaining enemies
 Kill all [enemies] or escape
 Infiltration
 Vehicle Chase
 Escape
 Lethal Force Likely
 Melee Force Likely
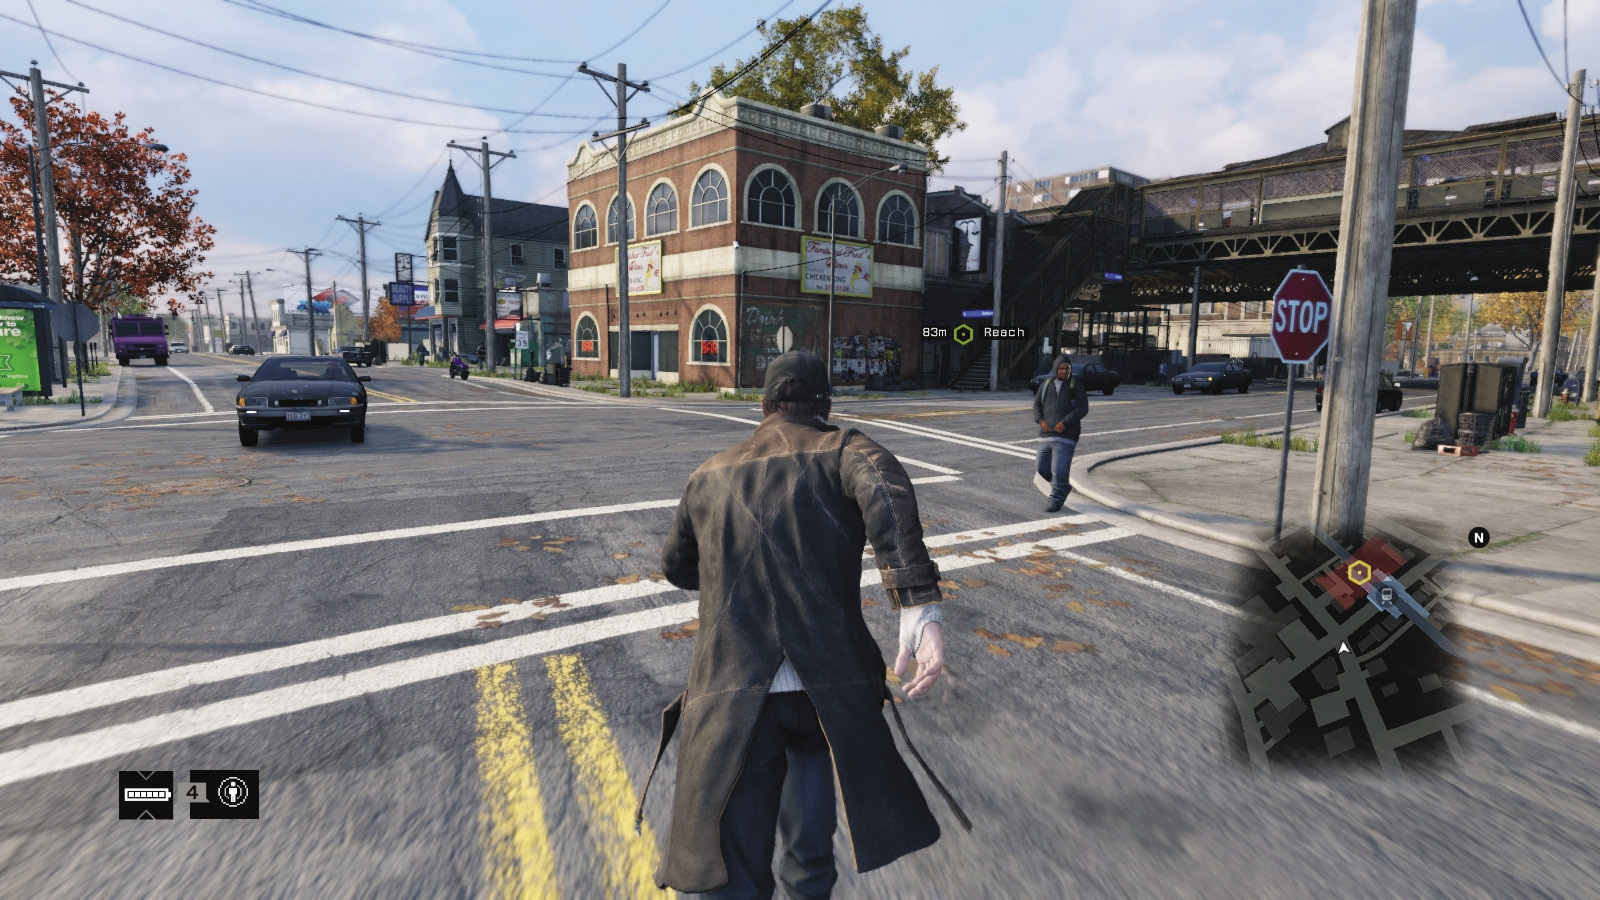
Your job is to head to a particular location, which could be anywhere close to a ctOS camera in one of the six districts, and await further instructions. Once you activate the mission, the job is explained. Although there are variations, this mission type always takes a similar form.
|
|
 Reach the target location
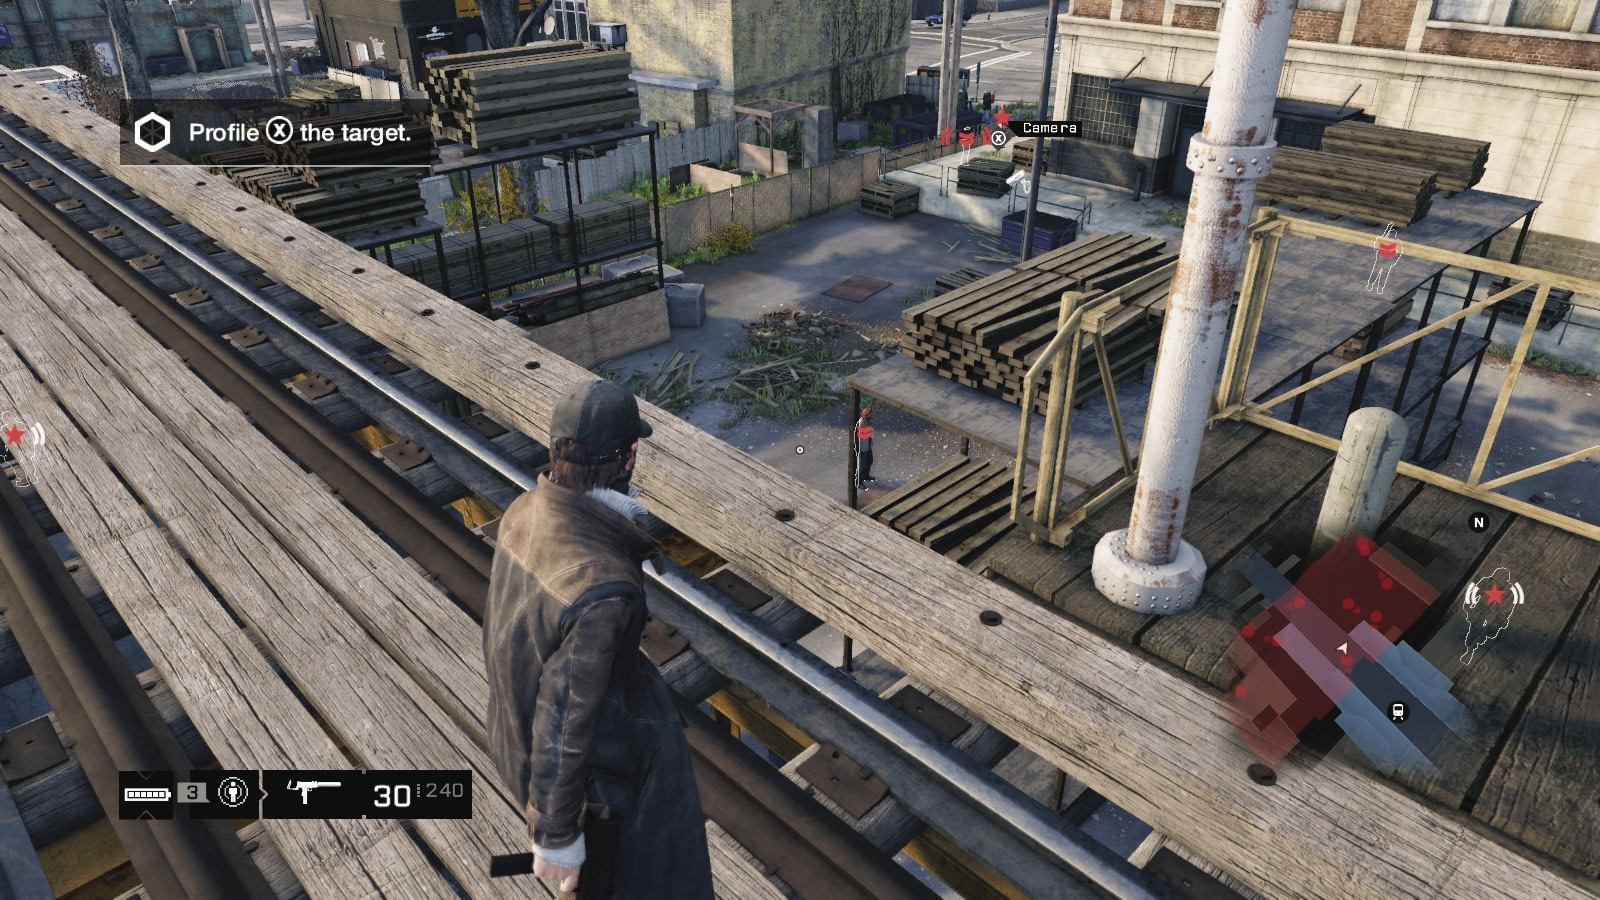
Close to your starting point is a “restricted area” (denoted by a red boundary on your minimap), with several enemies of a particular faction. This could be a plot of land, a parking lot, or a building of some kind. You can move in and out of the “restricted area” as you wish, but you can’t stray too far outside the area boundary, or you receive a countdown to mission failure.
|
|
 Profile the target(s) and take them down
 Target is attempting to escape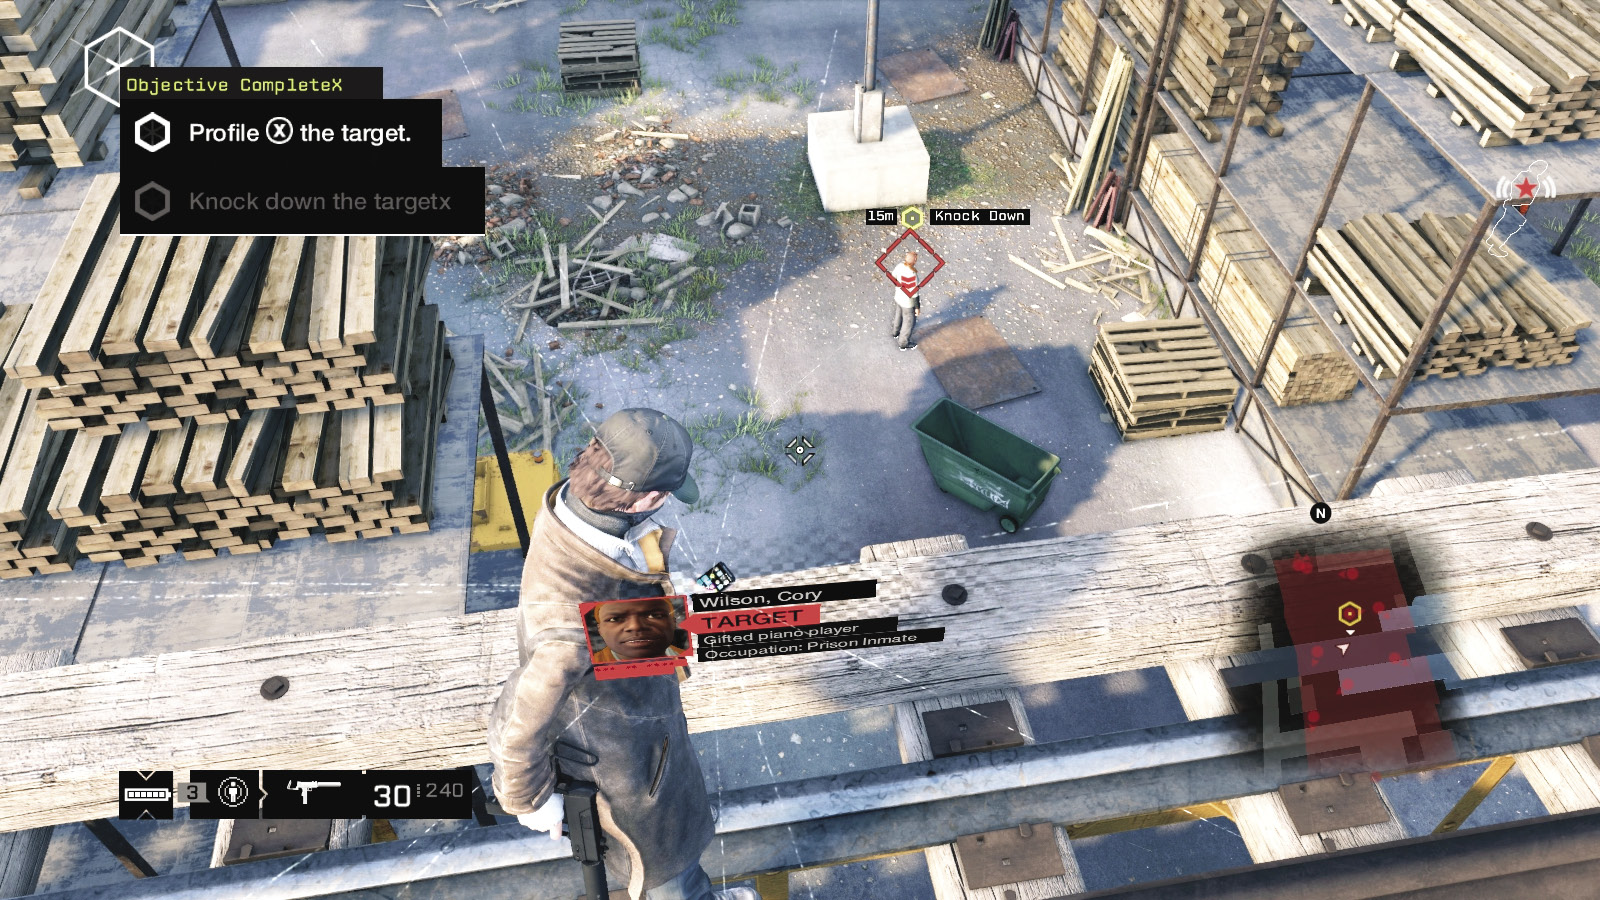
The plan is always the same; you have a target that isn’t immediately visible to you. Profile him by bringing out your smartphone and moving close to him until the yellow target marker appears over him, or by accessing any security cameras and panning around until you can mark him remotely. Also use these cameras to learn the layout of the area. (ctOS scanning is excellent for tagging all the enemies within a restricted area, but won’t show the target.)
As you profile the target(s), you can also mark the henchmen guarding him, allowing you to see them move through obstacles and walls. Some foes are fitted with cameras, allowing you to gain more knowledge of patrol routes and the layout of the area.
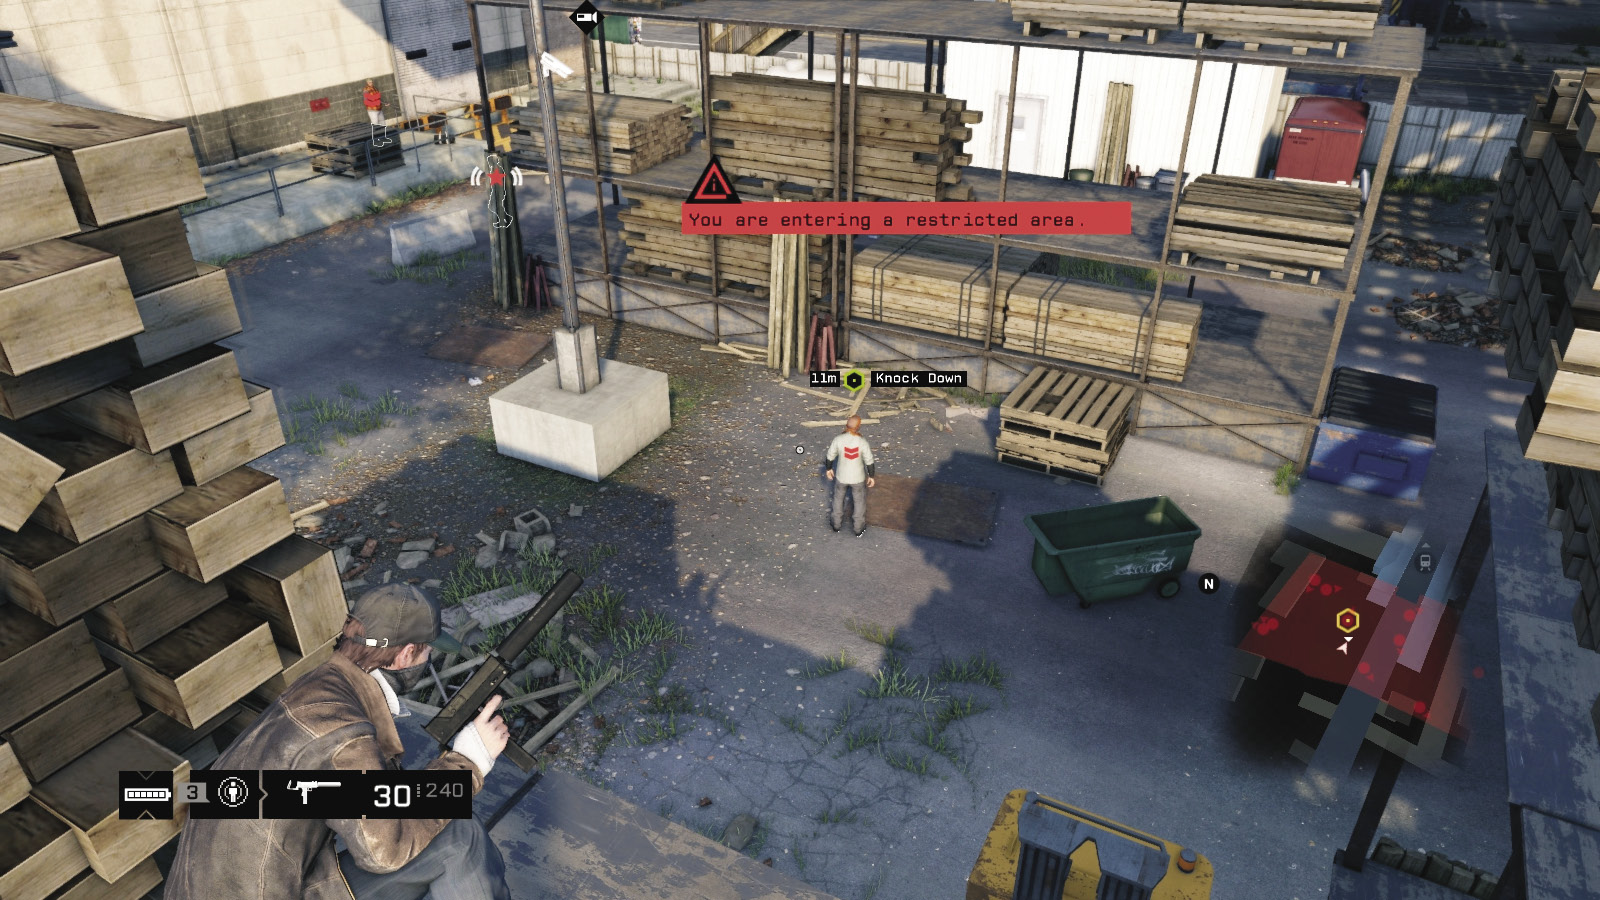
You’re almost always called upon to utilize nonlethal force to bring down your target (as the goal of this mission type is “intimidation,” not “massacre”). This means stealthy tactics are preferred over gunplay, unless otherwise specified. Sneak up on your foe and bring them down with a melee strike. If the alarm is raised, you still need to use melee attacks against the target (but for anyone else, take them down with any weapon you wish, as long as the target isn’t hurt collaterally).
|
|
 Leave the area or eliminate the remaining enemies
 Kill all [enemies] or escape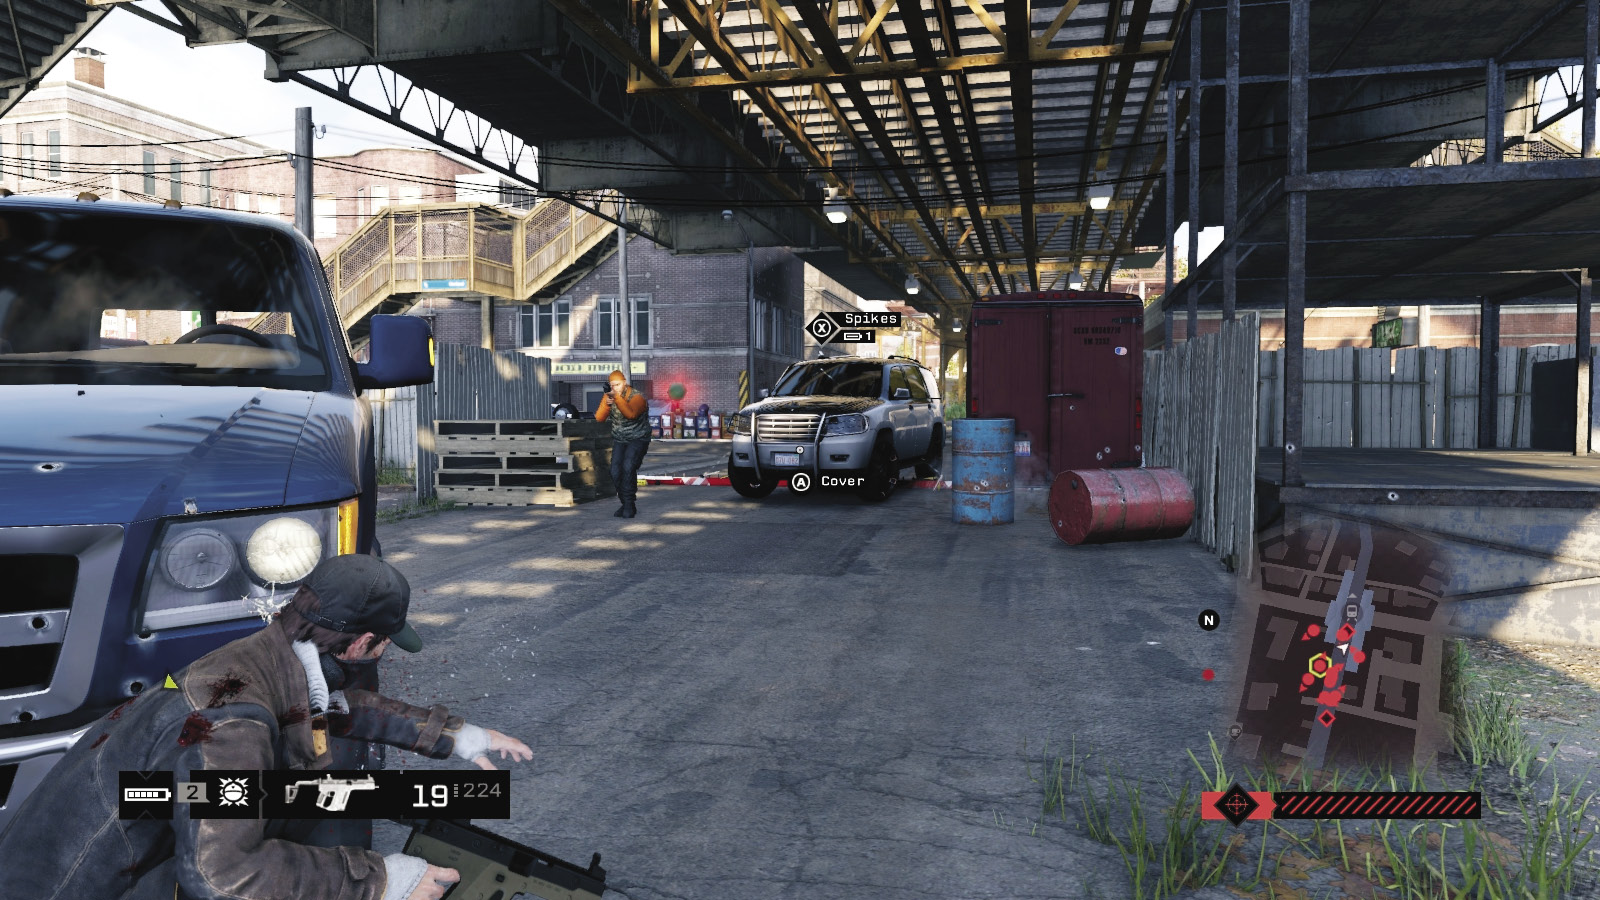
When the target is removed (and any foes between you and the target), you can eliminate any remaining enemies or reinforcements if the alarm is raised. Anyone who isn’t a target can be killed in whatever way you wish, unless otherwise specified. You can gun down everyone except the target. Or you can use stealth to take down the targets and then all the remaining enemies, or switch to guns after the targets are down.
If reinforcements are called (which usually happens once you’re discovered), look for their incoming vehicles on the map. There are usually two, four, and sometimes up to six foes. Use the general tactics for escaping or facing these reinforcements.
If no reinforcements are called, simply ignore or defeat any nonessential enemies to complete the mission.