
Watch Dogs Guide MAIN MISSIONS MAIN MISSIONS /// Act I
_OPEN YOUR WORLD
MINOR SPOILER
OBJECTIVES
|
 Reach the target area
 Reach the ctOS executive offices
 Enter through the underground loading zone
 Locate guard with the access code
 Hack the guard for the access code
 Hack the access point in the server room
 Upload Clara’s code to the laptop
 Escape the plaza
 Escape the police scan undetected
LOCATIONS // MAP
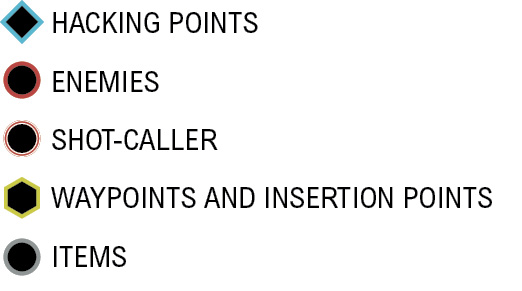
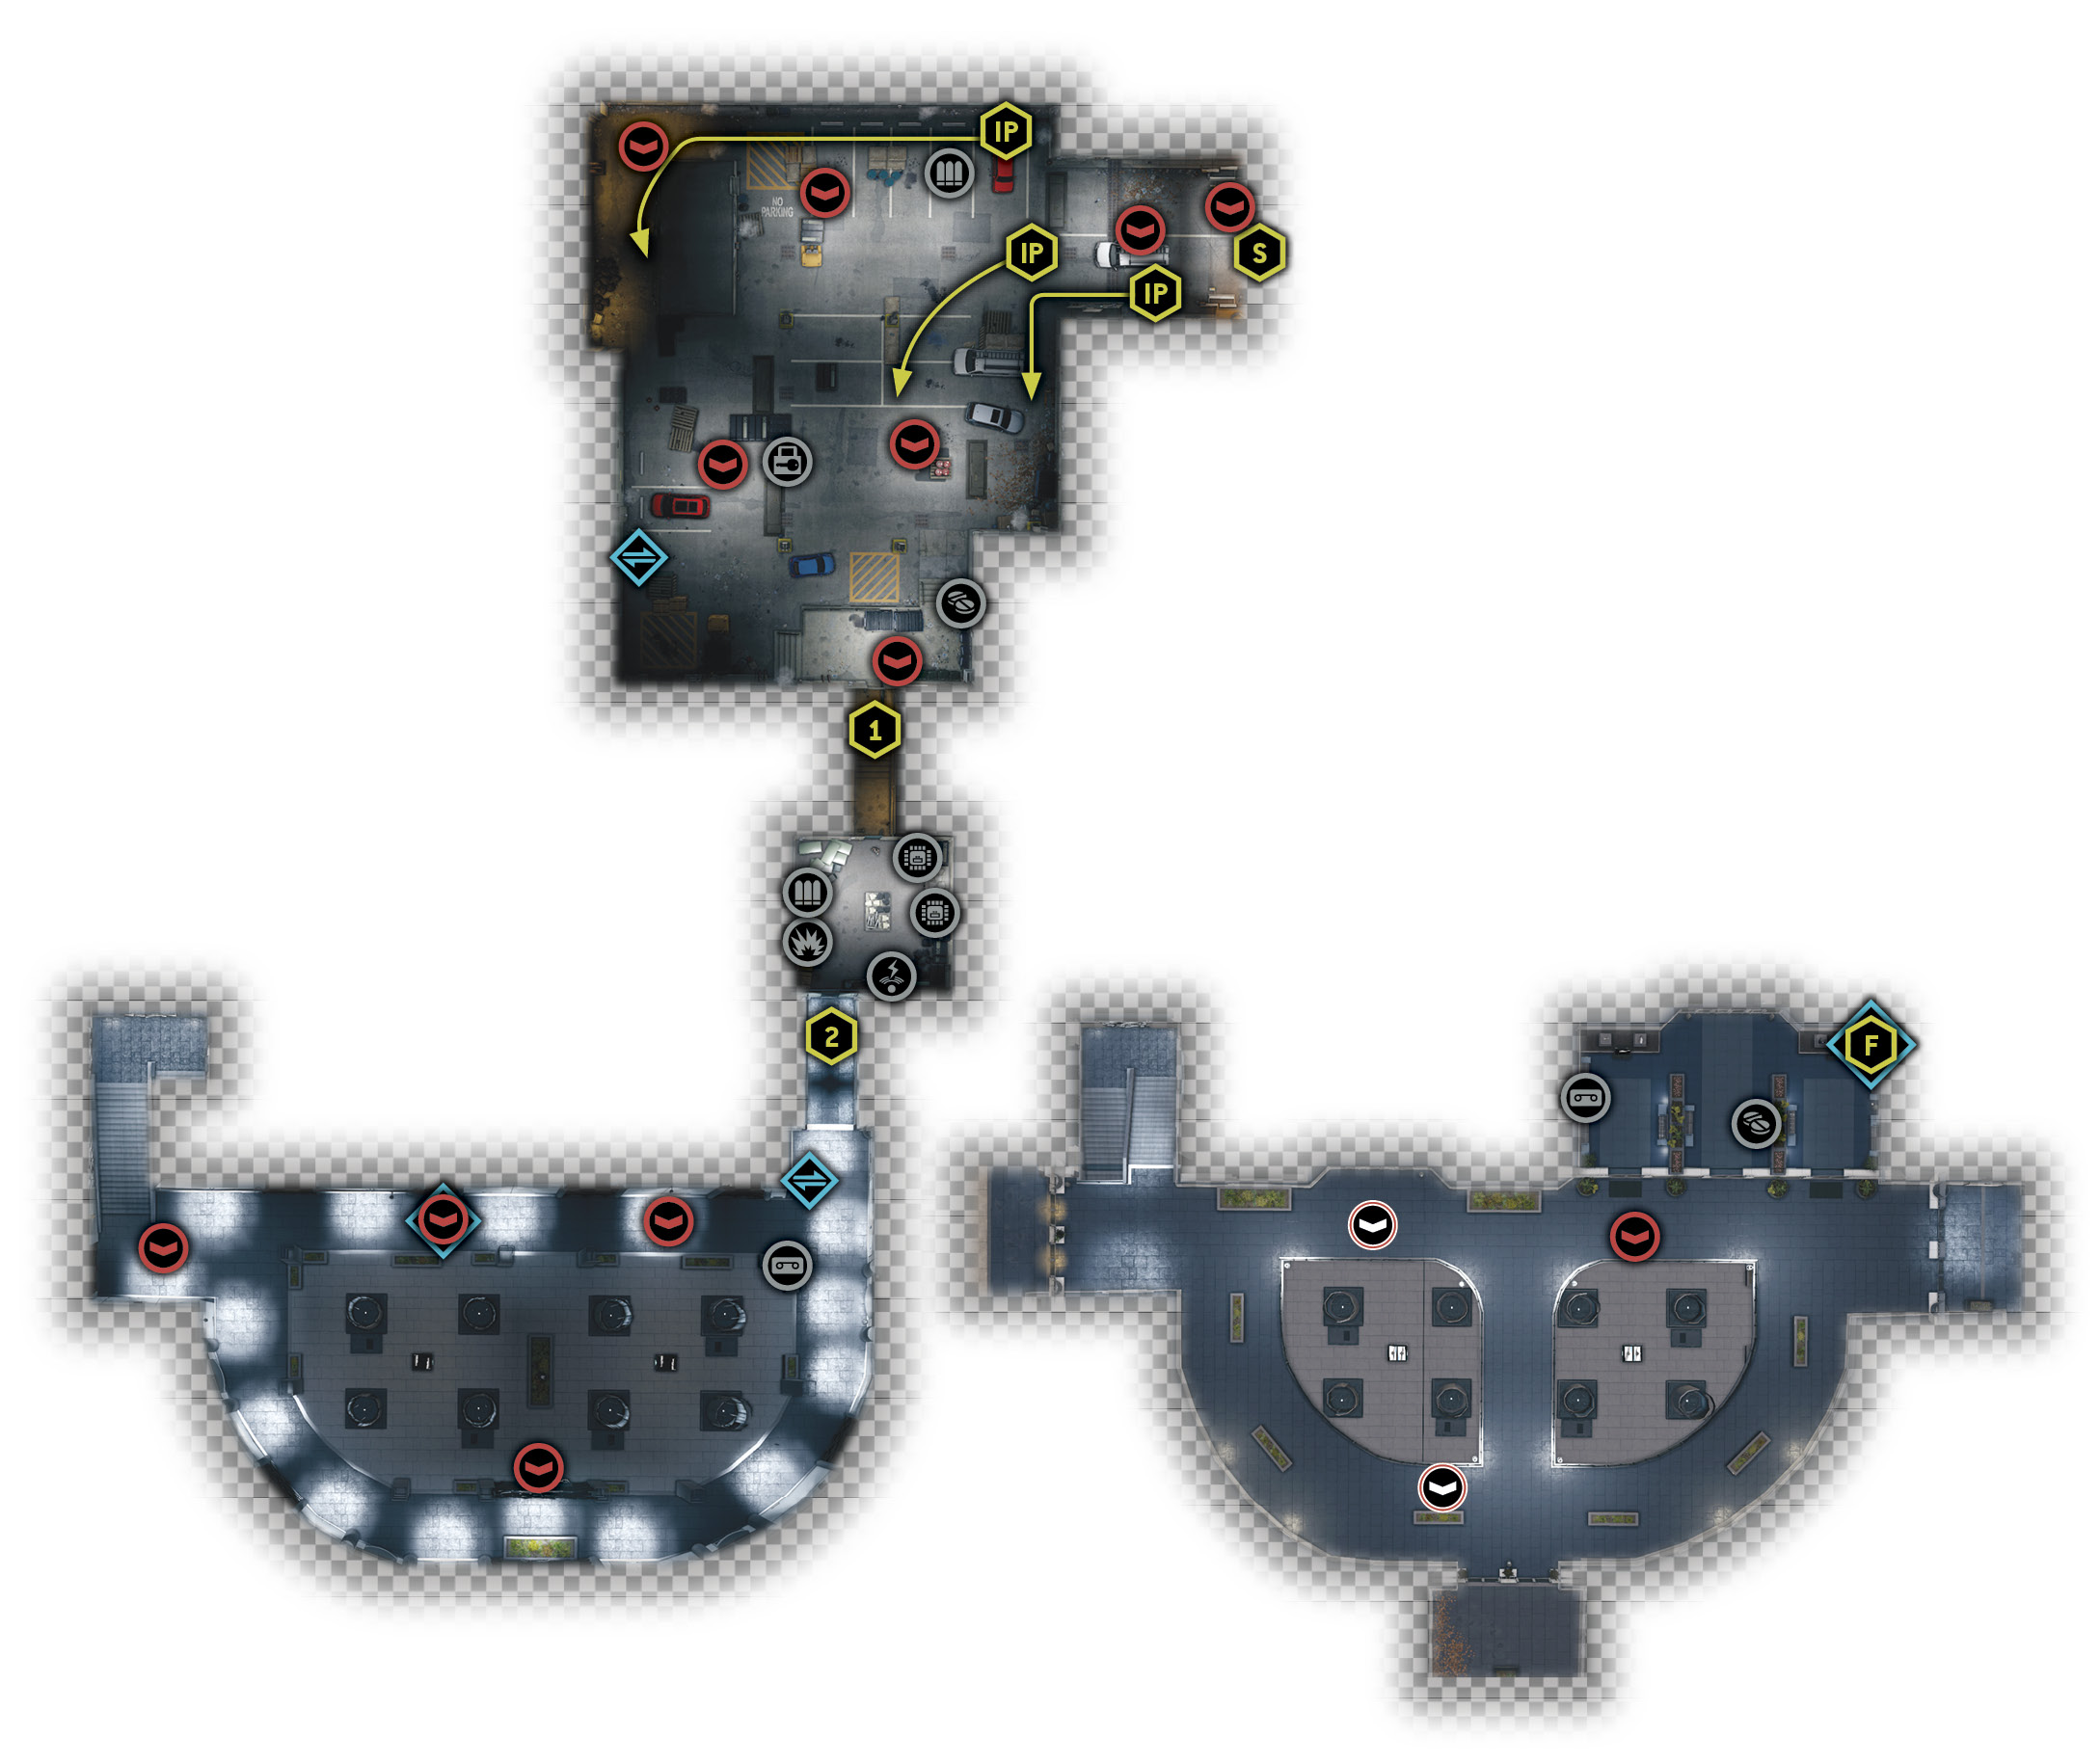
Location / The Loop // ctOS Executive Offices
5.1 YOU LOOK LIKE A WILD CARD
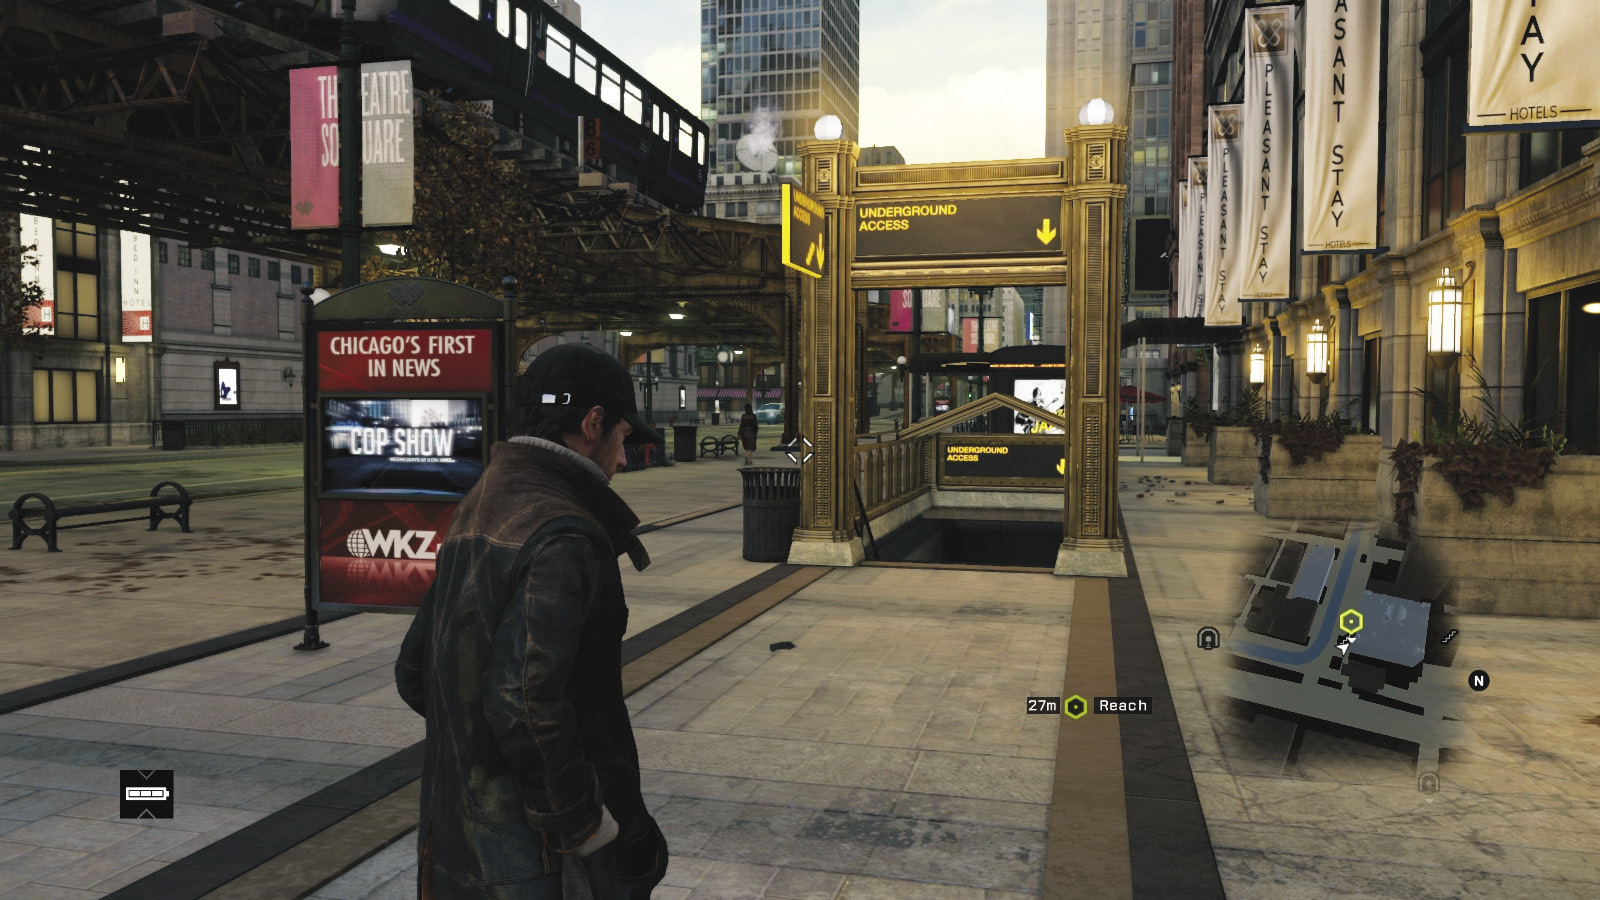
 Location / The Loop // Traffic Tunnels under Tremont House Hotel
 Location / The Loop // Traffic Tunnels under ctOS Executive Offices
|
|
 Reach the target area
 Investigation
Difficulty: 
BadBoy17 wants to meet up...in person. It’s a strange and intriguing request, and one that involves you locating the Tremont House Hotel in the northern part of The Loop and continuing to the traffic tunnel entrance just to the east, on the same block. When the mission starts, you simply need to descend the steps, searching for the infamous “bad boy.”
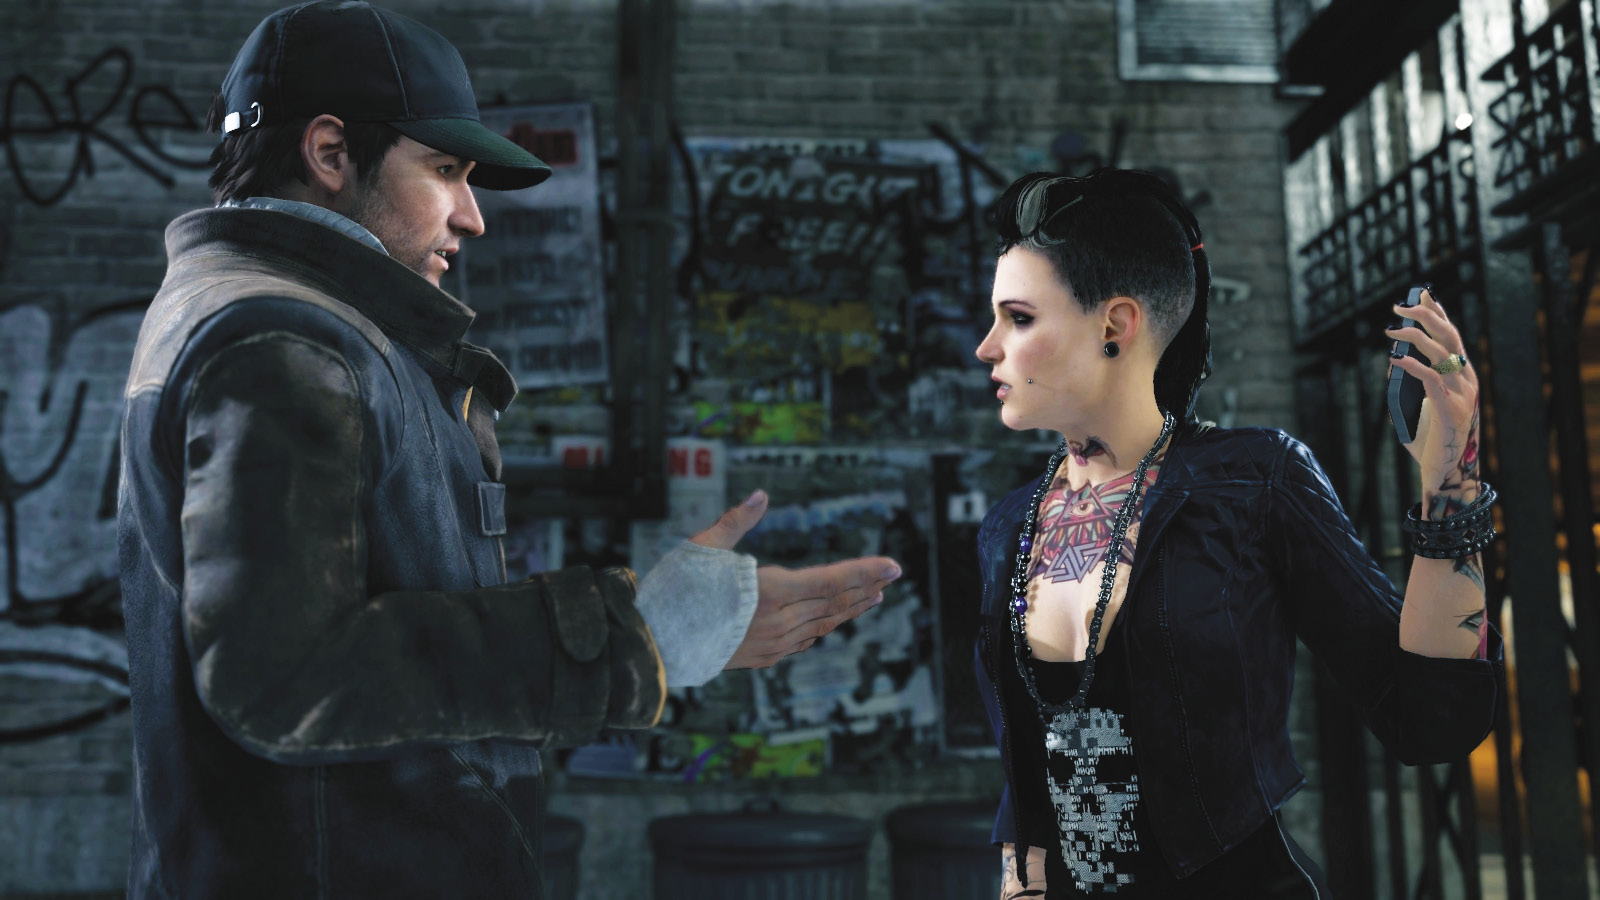
After a somewhat surprising conversation, during which Clara Lille offers to “open your world,” a DedSec-hacked smartphone allows you access to many secrets of ctOS. Although trust is still to be earned, you agree to partner with Clara and hunt down the person responsible for texting the crank caller. When you part ways, you have a new task to complete.
5.2 YOU GOT ME IN
 Location / The Loop // Traffic Tunnels under Tremont House Hotel
 Location / The Loop // Loading Zone under ctOS Executive Offices
|
|
 Reach the ctOS Executive Offices
 Driving Investigation
Difficulty: 
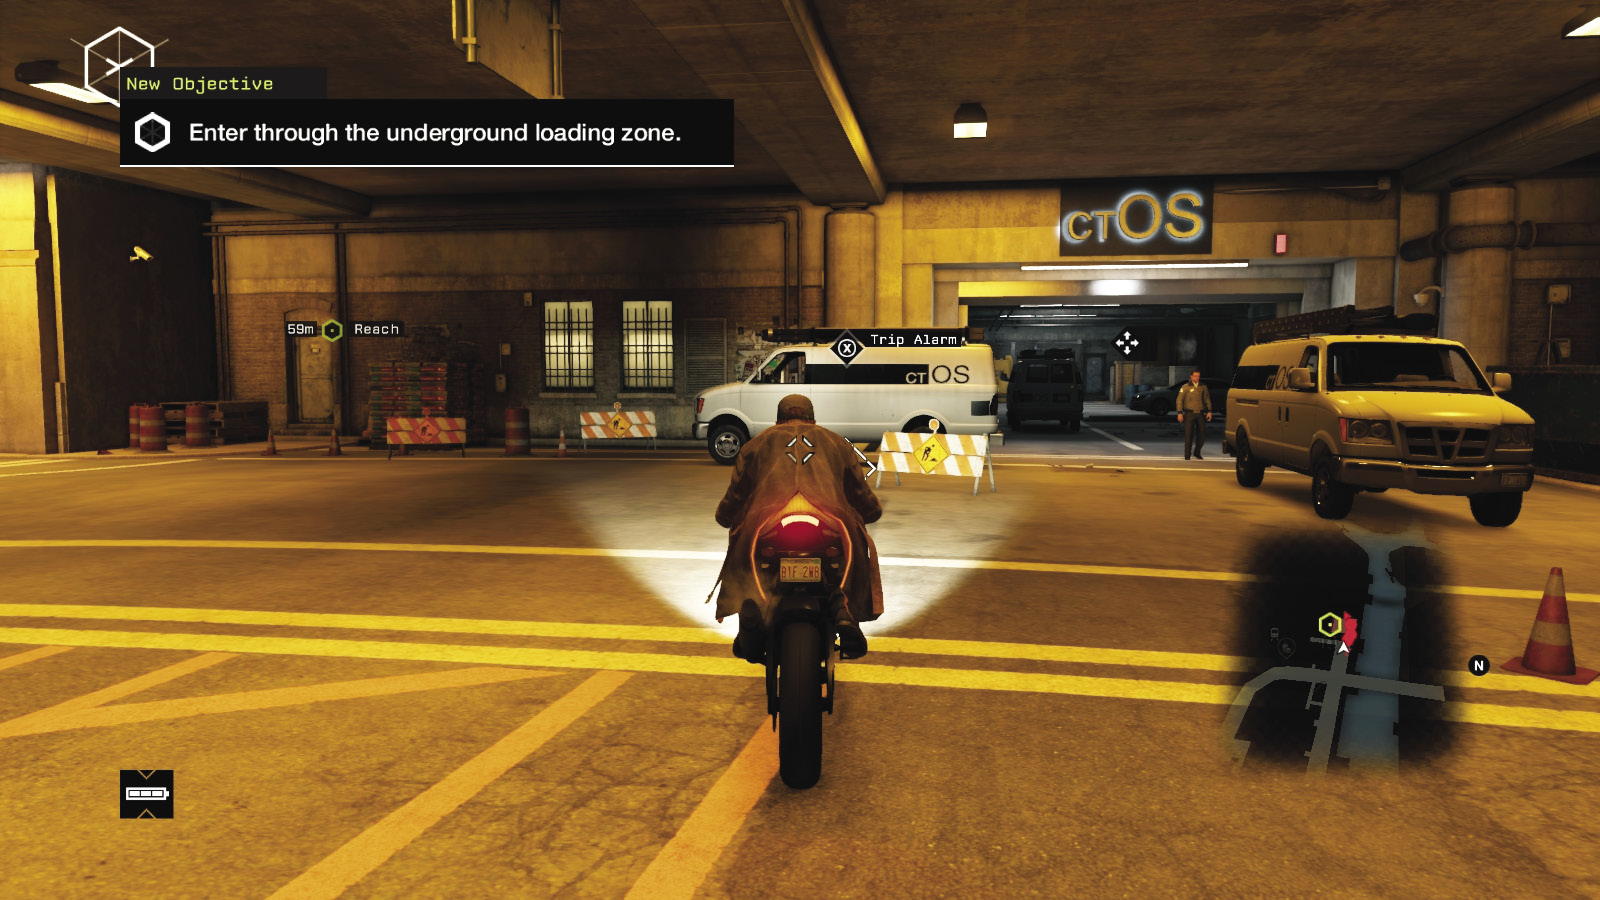
After your conversation concludes, stay in the tunnels. Grab a nearby vehicle, ideally a motorbike. Plot a course on your GPS to the ctOS underground loading zone, which is incredibly easy to reach; follow the tunnel down and as it curves to the right. Then make a quick left, slowing as you reach the entrance.
5.3 UNLOCKING THE LOADING ZONE
 Location / The Loop // Loading Zone under ctOS Executive Offices
 Location / The Loop // Loading Zone Storage Room
|
|
 Enter through the underground loading zone
 Data Hack
 Infiltration
 Lethal Force Likely
 Melee Force Likely
Difficulty: 
Be careful as you disembark from your vehicle; there’s a ctOS guard and he’s on edge. Make a thorough sweep of the area before you decide on your best course of action:
Overview
 Completion Point: Door to ctOS storage room, at the far end of the L-shaped loading zone.
 Dangers: SevenctOS guards (Gunmen x7), with pistols and machine guns.
Insertion Point (Initial)
Loading Zone Door
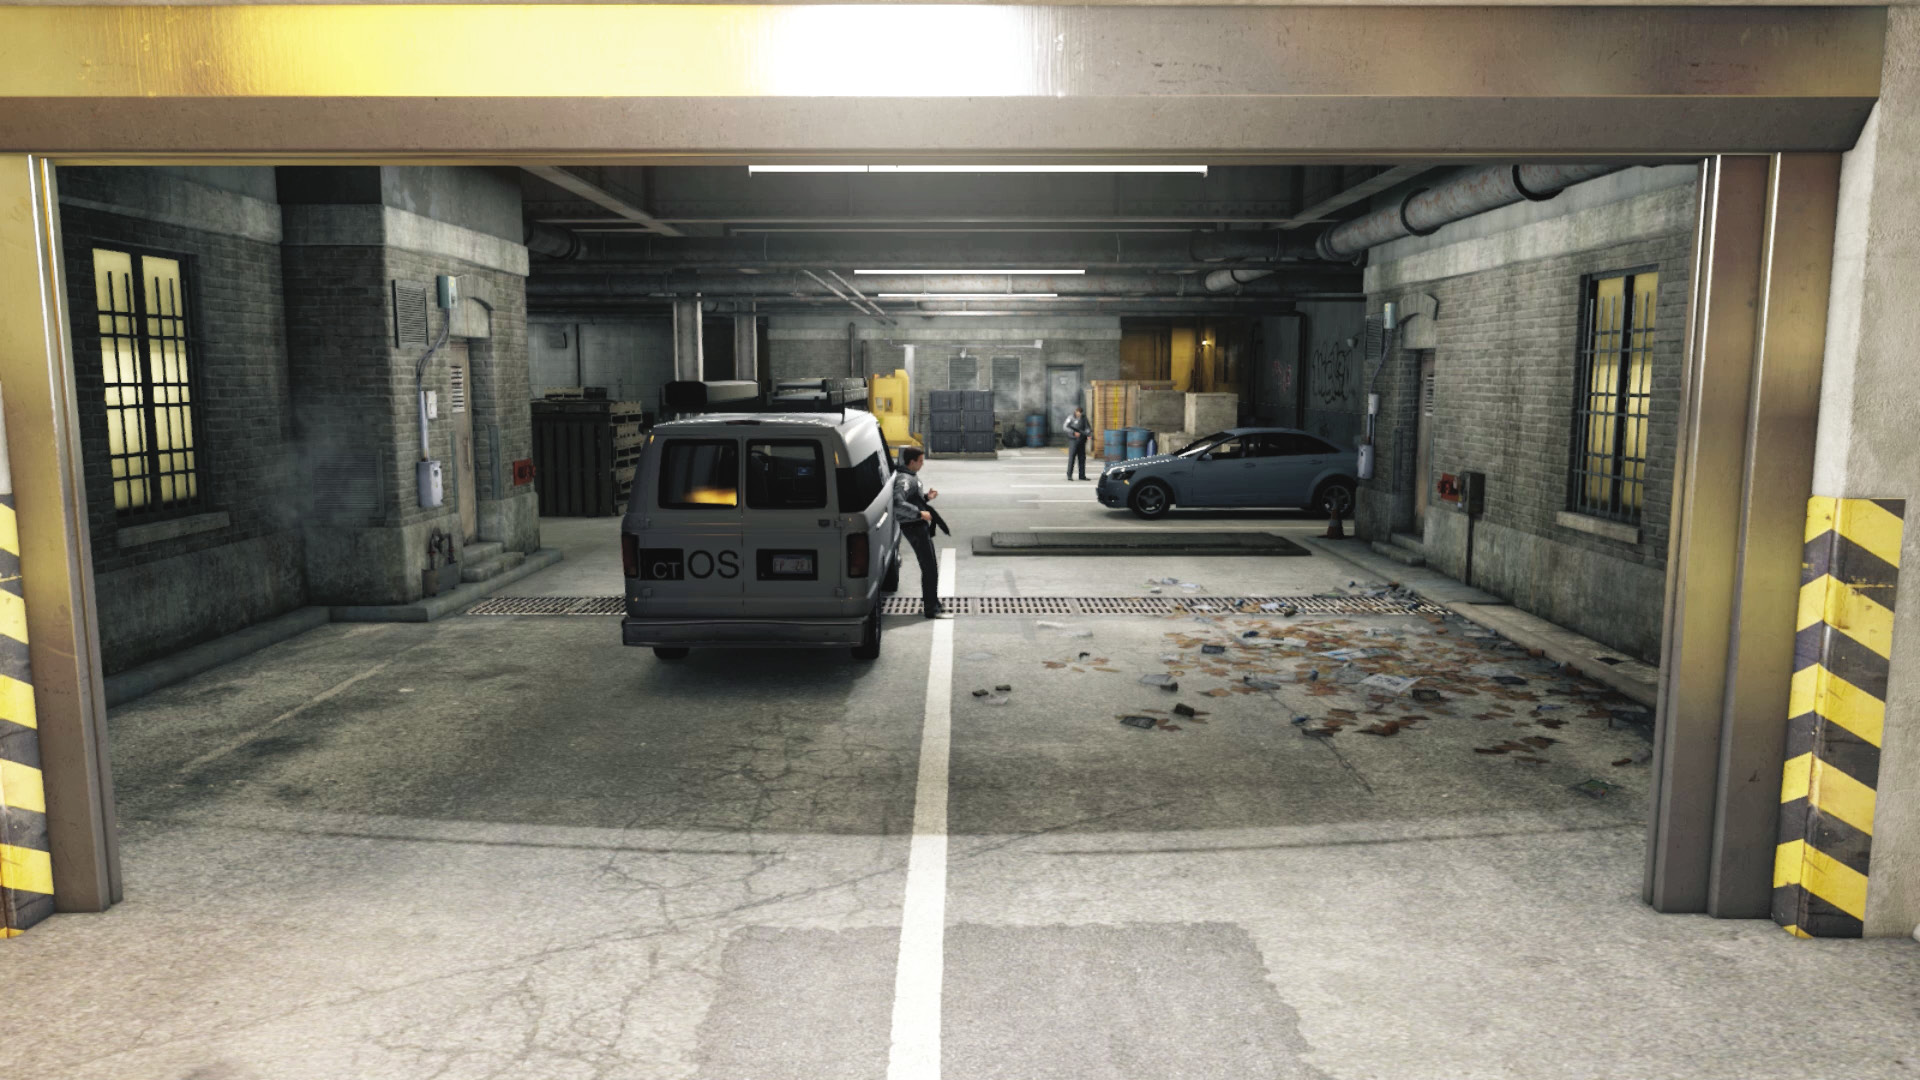
Accessibility Level: 
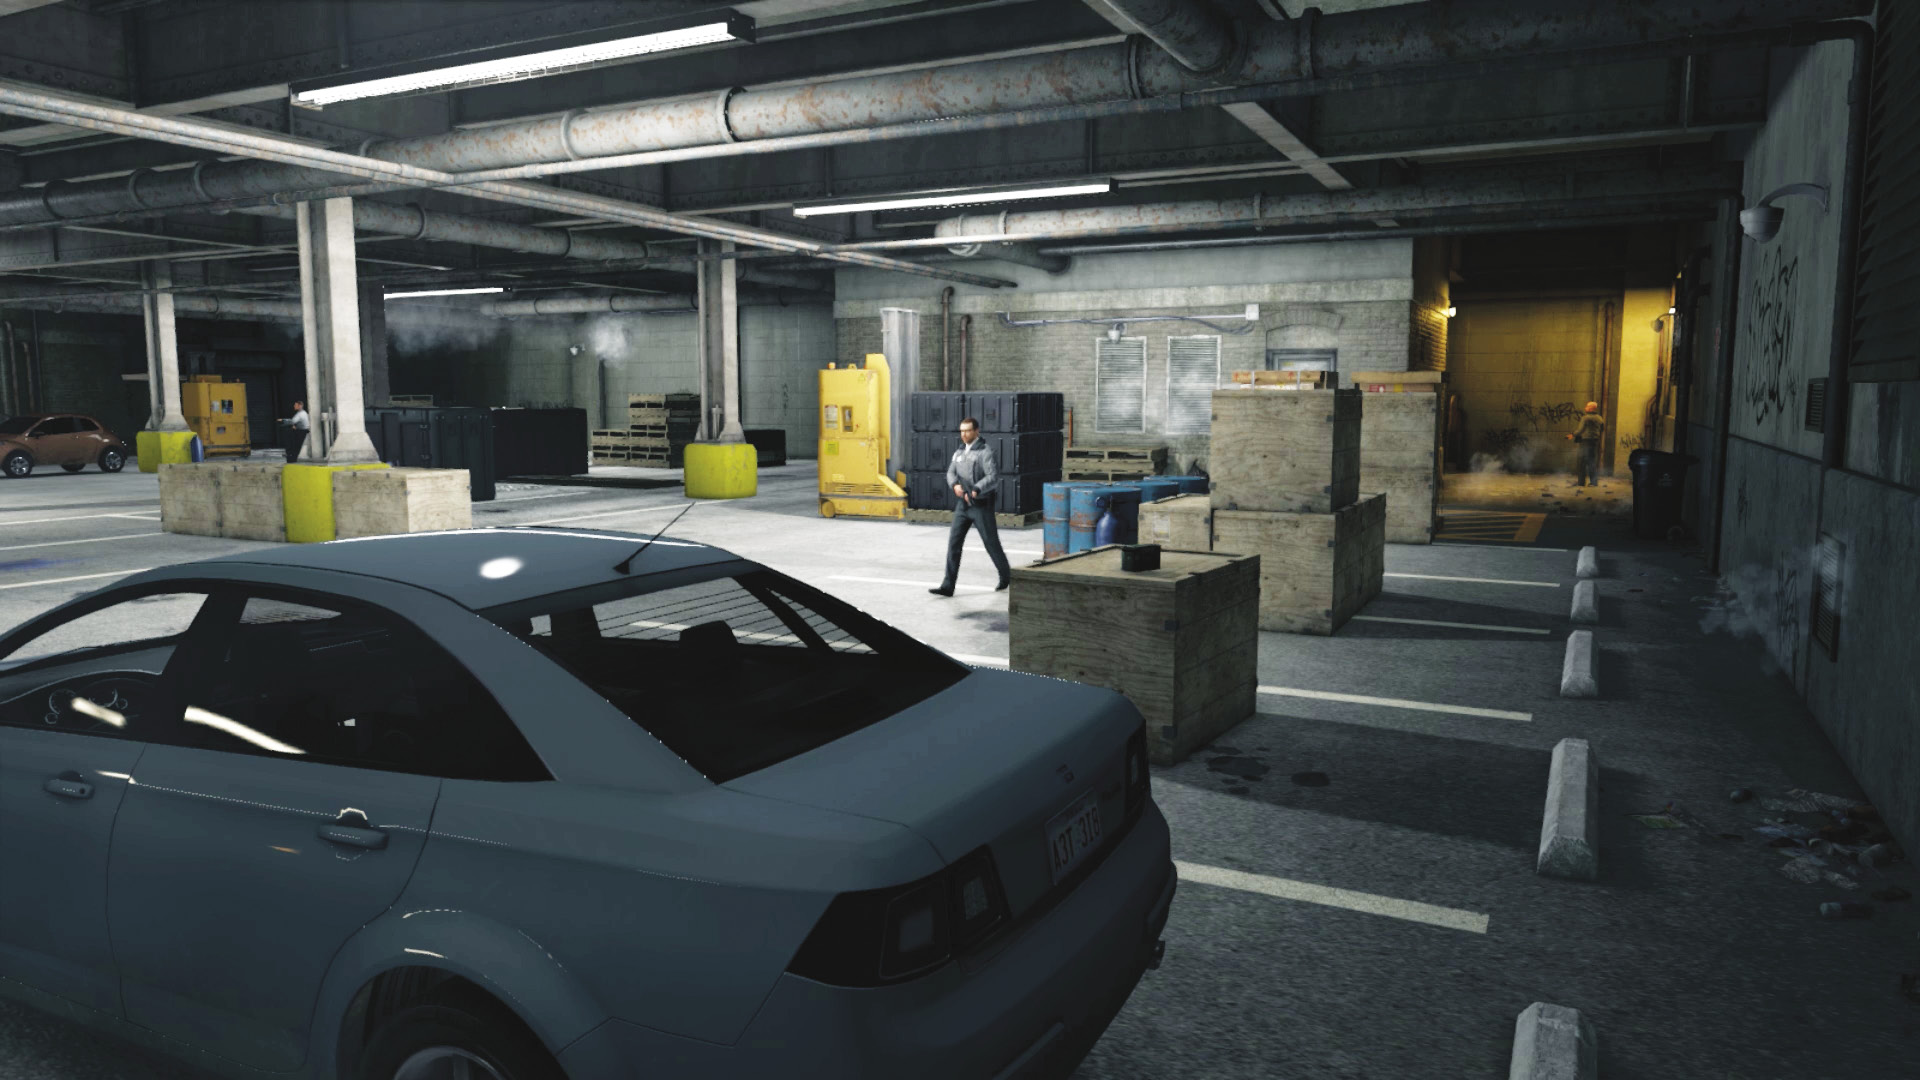
There is only one initial insertion point—the open garage door with the parked vehicles and a guard standing to the side of it. After choosing a method of passing this brute (see below), the zone opens up to a parking lot with six additional guards. At this point, there are three new insertion points to think about traversing:
Insertion Point (Main)
Left Wall and Vehicles
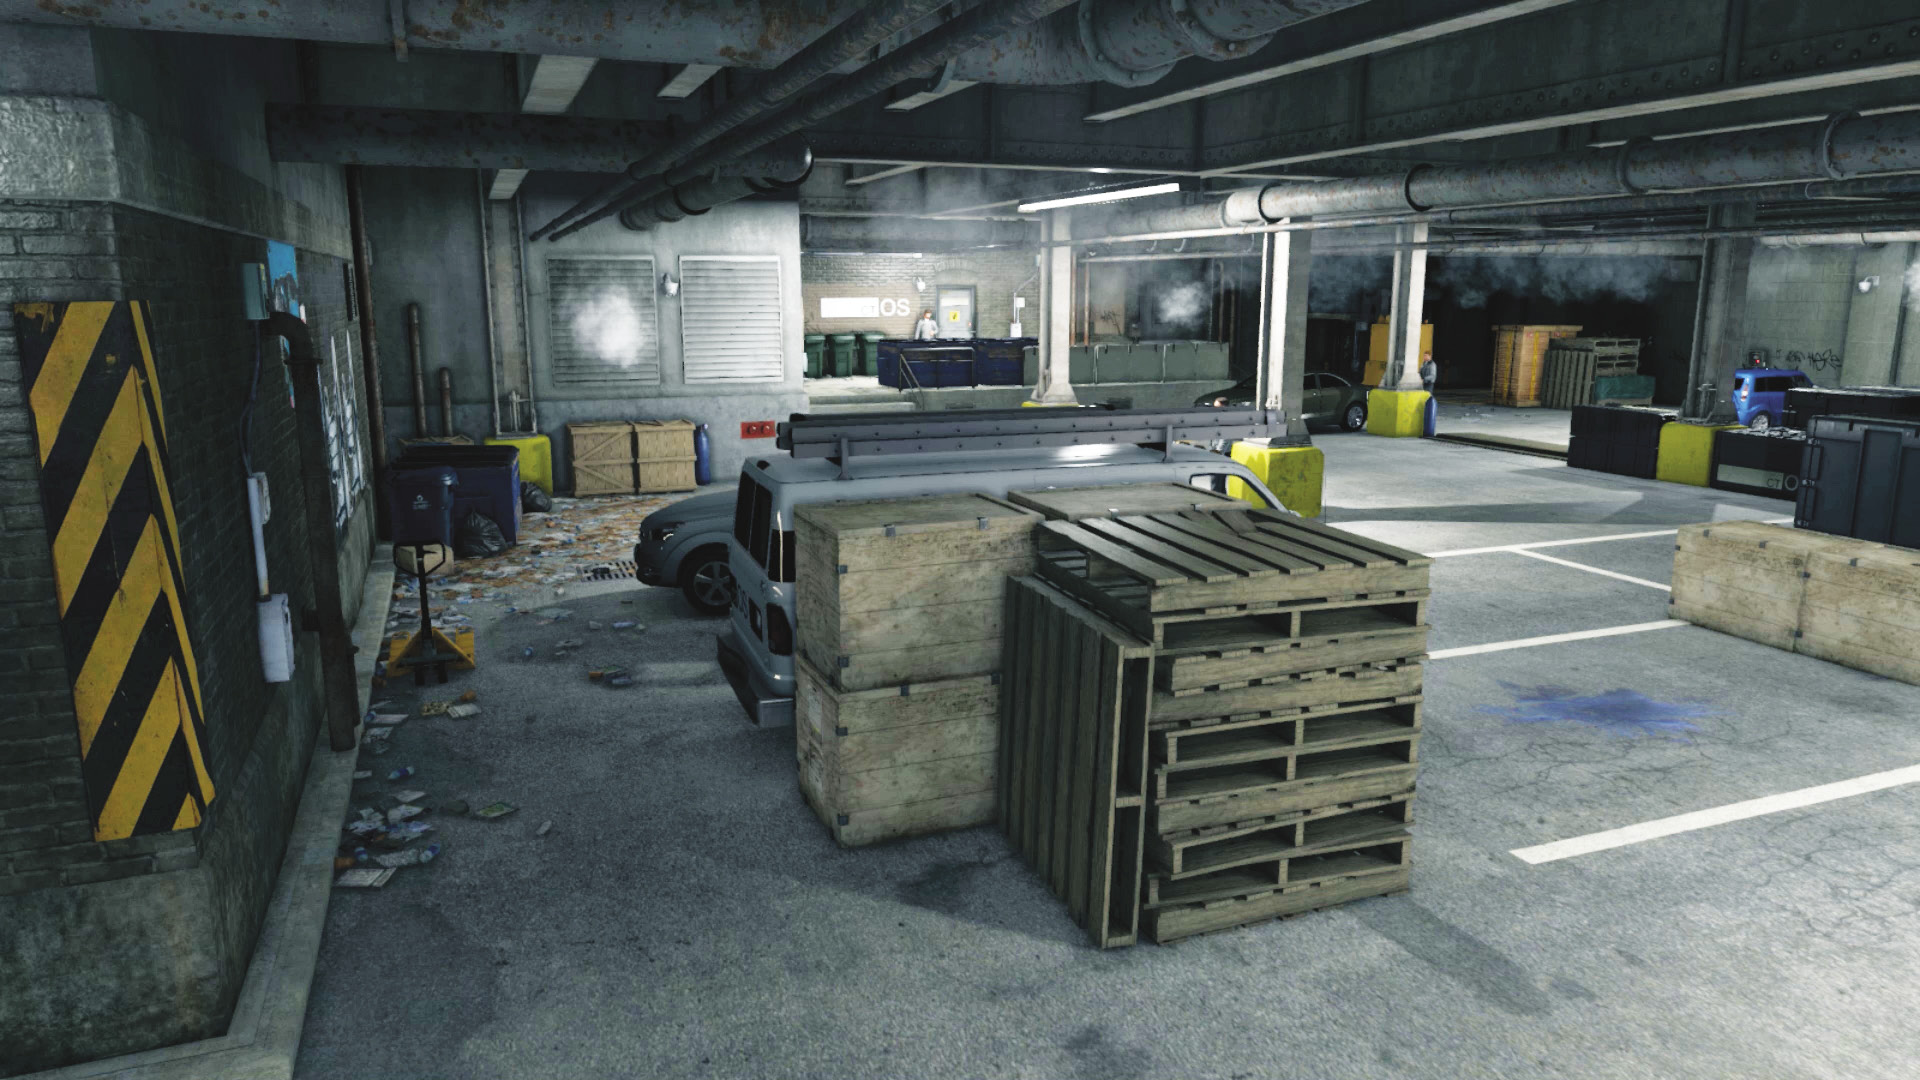
Accessibility Level: 
Creep past the parked truck and hug the left wall, being very aware of the enemies patrolling this area. Though passing the parked vehicles is the shortest route to the door you need to unlock, it has the fewest cover opportunities, and you’re most likely to engage in violent gun battles. Or you could try sprinting here and up to the door before the guards spot and unload on you.
Insertion Point (Main)
Middle Room Cover
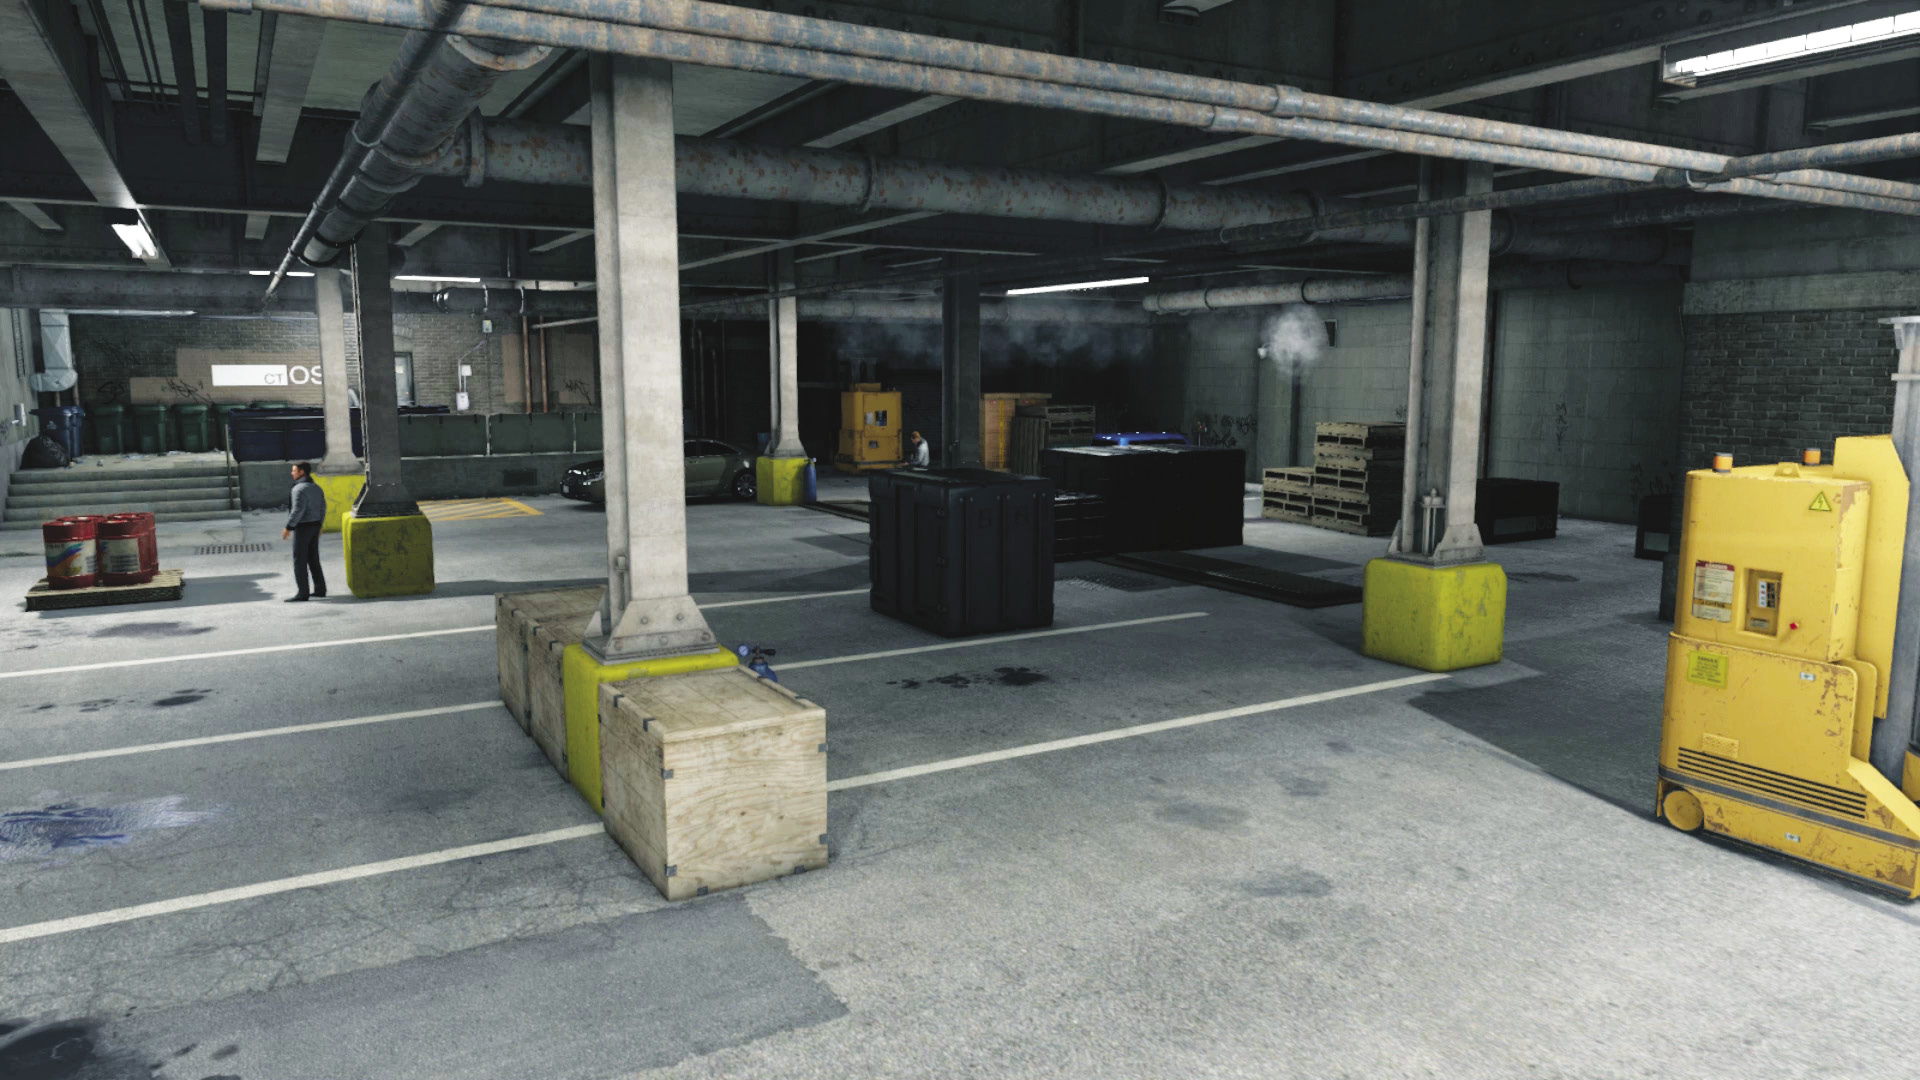
Accessibility Level: 
With numerous pieces of scenery to disturb and preoccupy the enemy, and three Protector shields to activate, this route isn’t subtle; however, it is direct and usually allows stealth and eventually gunfire, when you’re finally discovered. You have the advantage of fleeing to the edges of the loading zone, but foes can more easily surround you. Worth a try if you’re not interested in stealth as much as action.
Insertion Point (Main)
Right Wall and Side Corridor
 Accessibility Level:
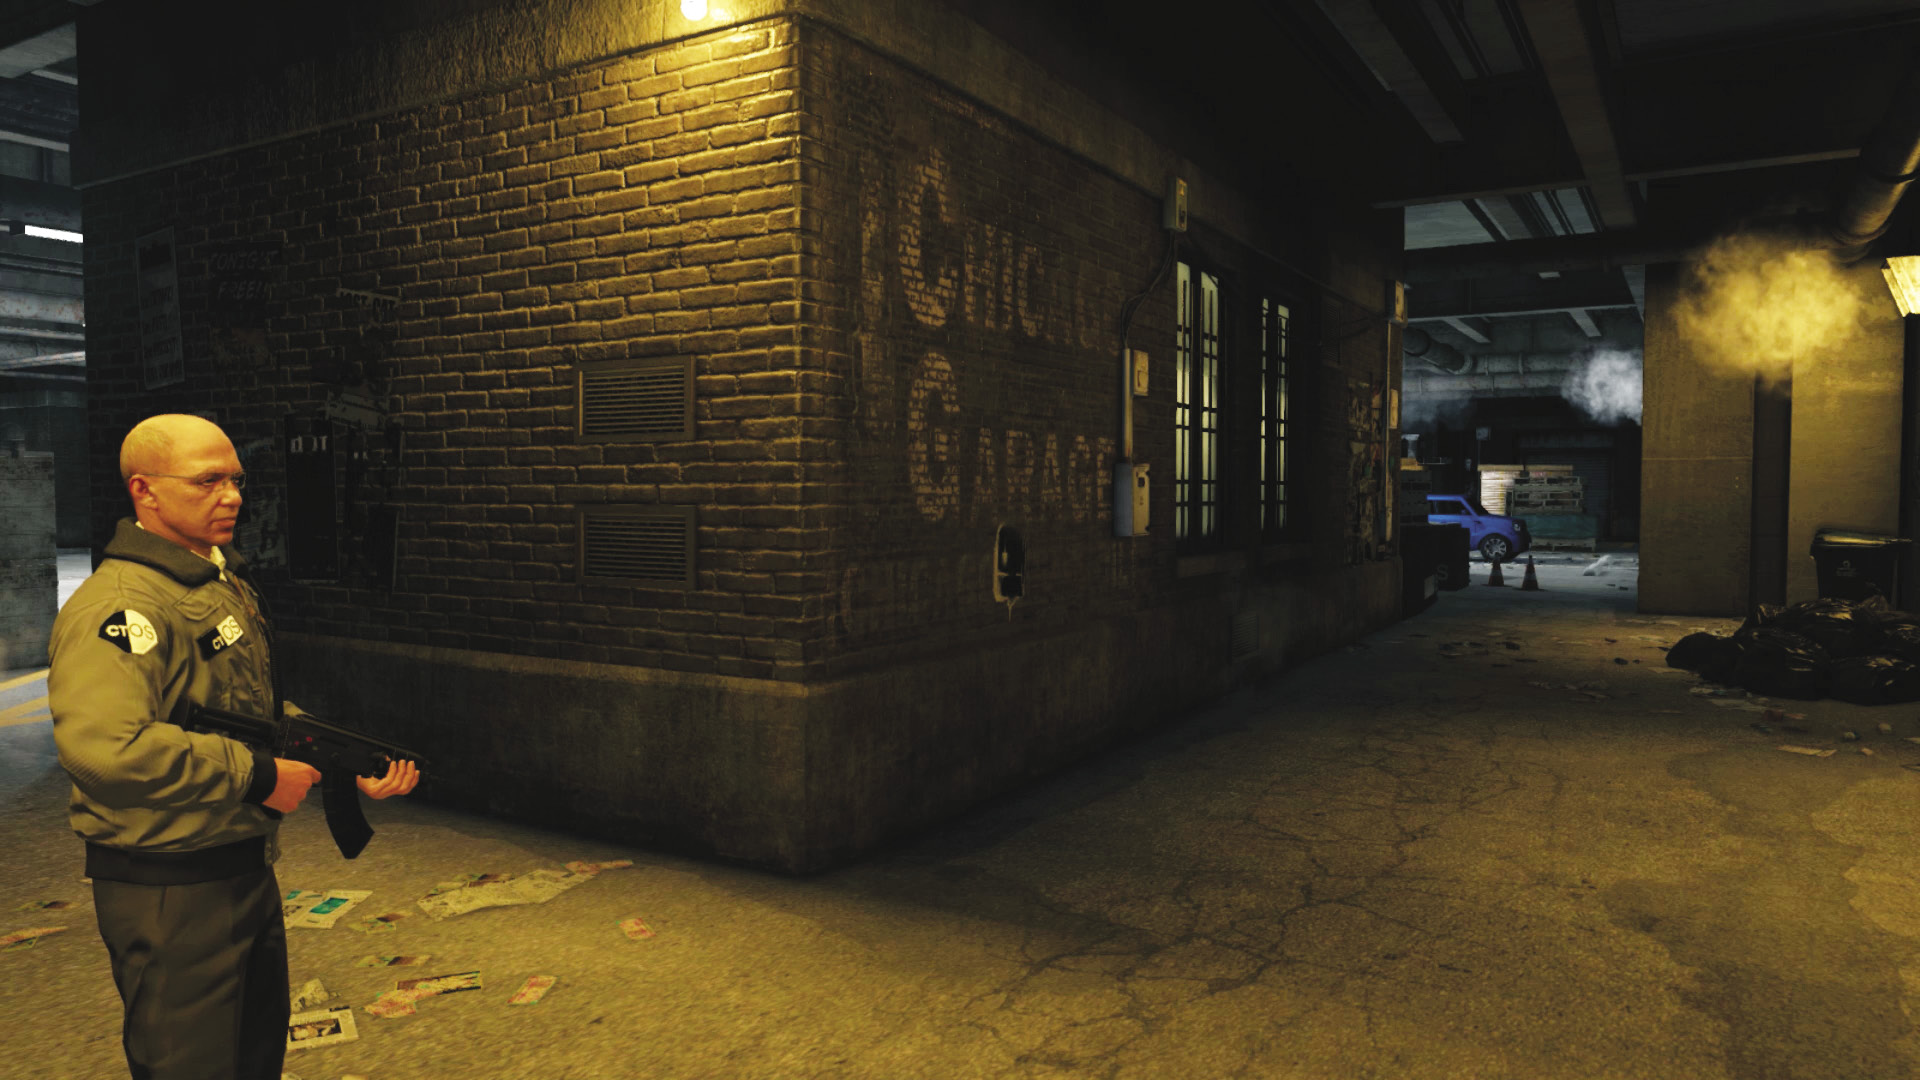
This is an excellent way to circumvent the patrolling guards in this relatively compact aggression zone. You can remove threats without foes noticing until the very end. Use your phone to coax foes away from their paths, and take down the guard standing by the brick wall in the corner; then sneak behind the parking area and down the brick corridor. Peek out and fire or melee strike foes from the vehicles and crates before hacking and then reaching the door.
Progression Plans
You may now try one, parts of, or any combination of the following methods of navigating this area.
General PreplanningPresupposition: The following assumes you’ve already learned the elements referenced in all earlier missions, so information isn’t repeated too often. Camera Marking: Access all the security cameras, marking all seven guards, and inspect the zone remotely. As some cameras aren’t accessible until you move farther into the zone, a mixture of stealthy creeping and camerawork is required. Guard Routes: Study the position of all seven guards. Some are stationary, while others patrol a small area. Time your movements so a nearby guard is facing the other way. Unlock First: If the situation gets tricky, you may need to flee through the exit door at speed. However, it is locked, with a switch console in the far corner of the parking lot. Hack that first, ideally before engaging the enemy. Be Smart: Your smartphone also shows areas of interaction. Use them, as described below, if the situation calls for it. |
 Aggressive // Smart (Garage Entrance): Smartphone Aloft, Raising the Alarm
 Difficulty:
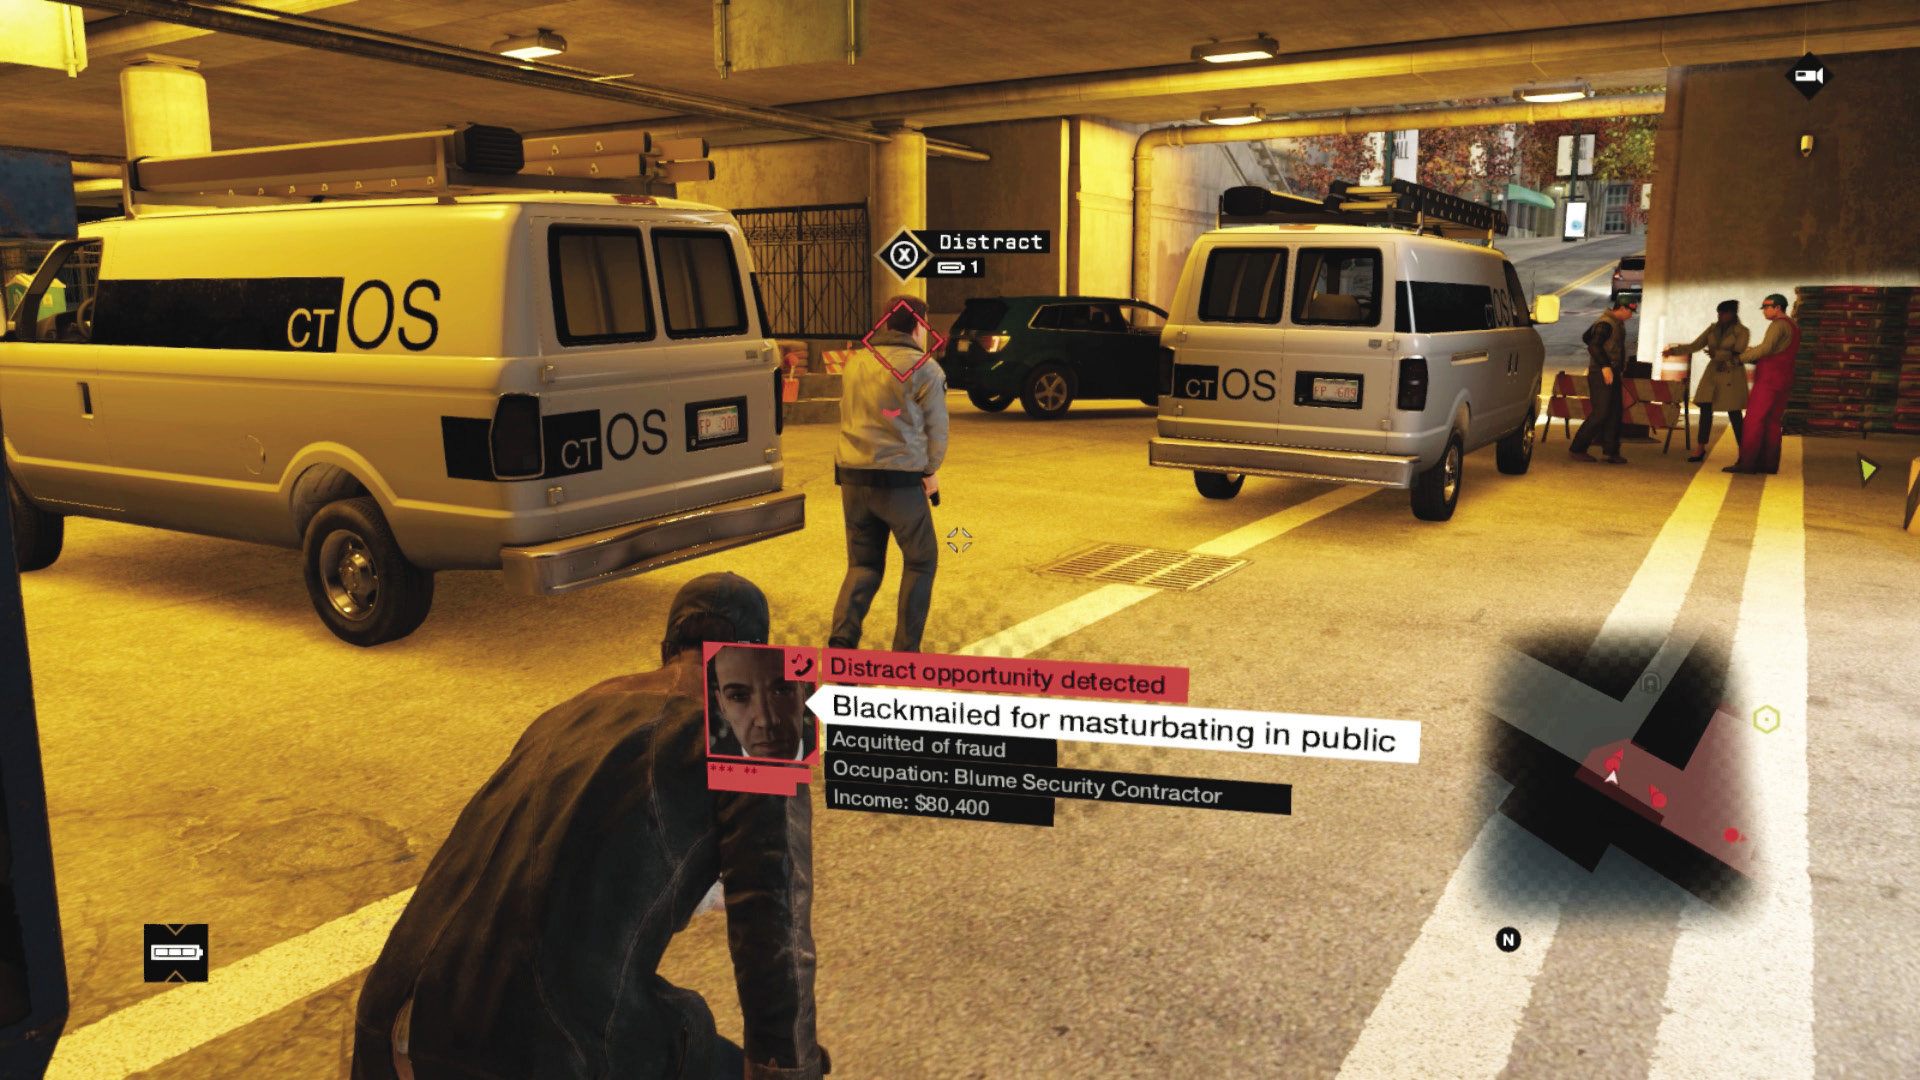
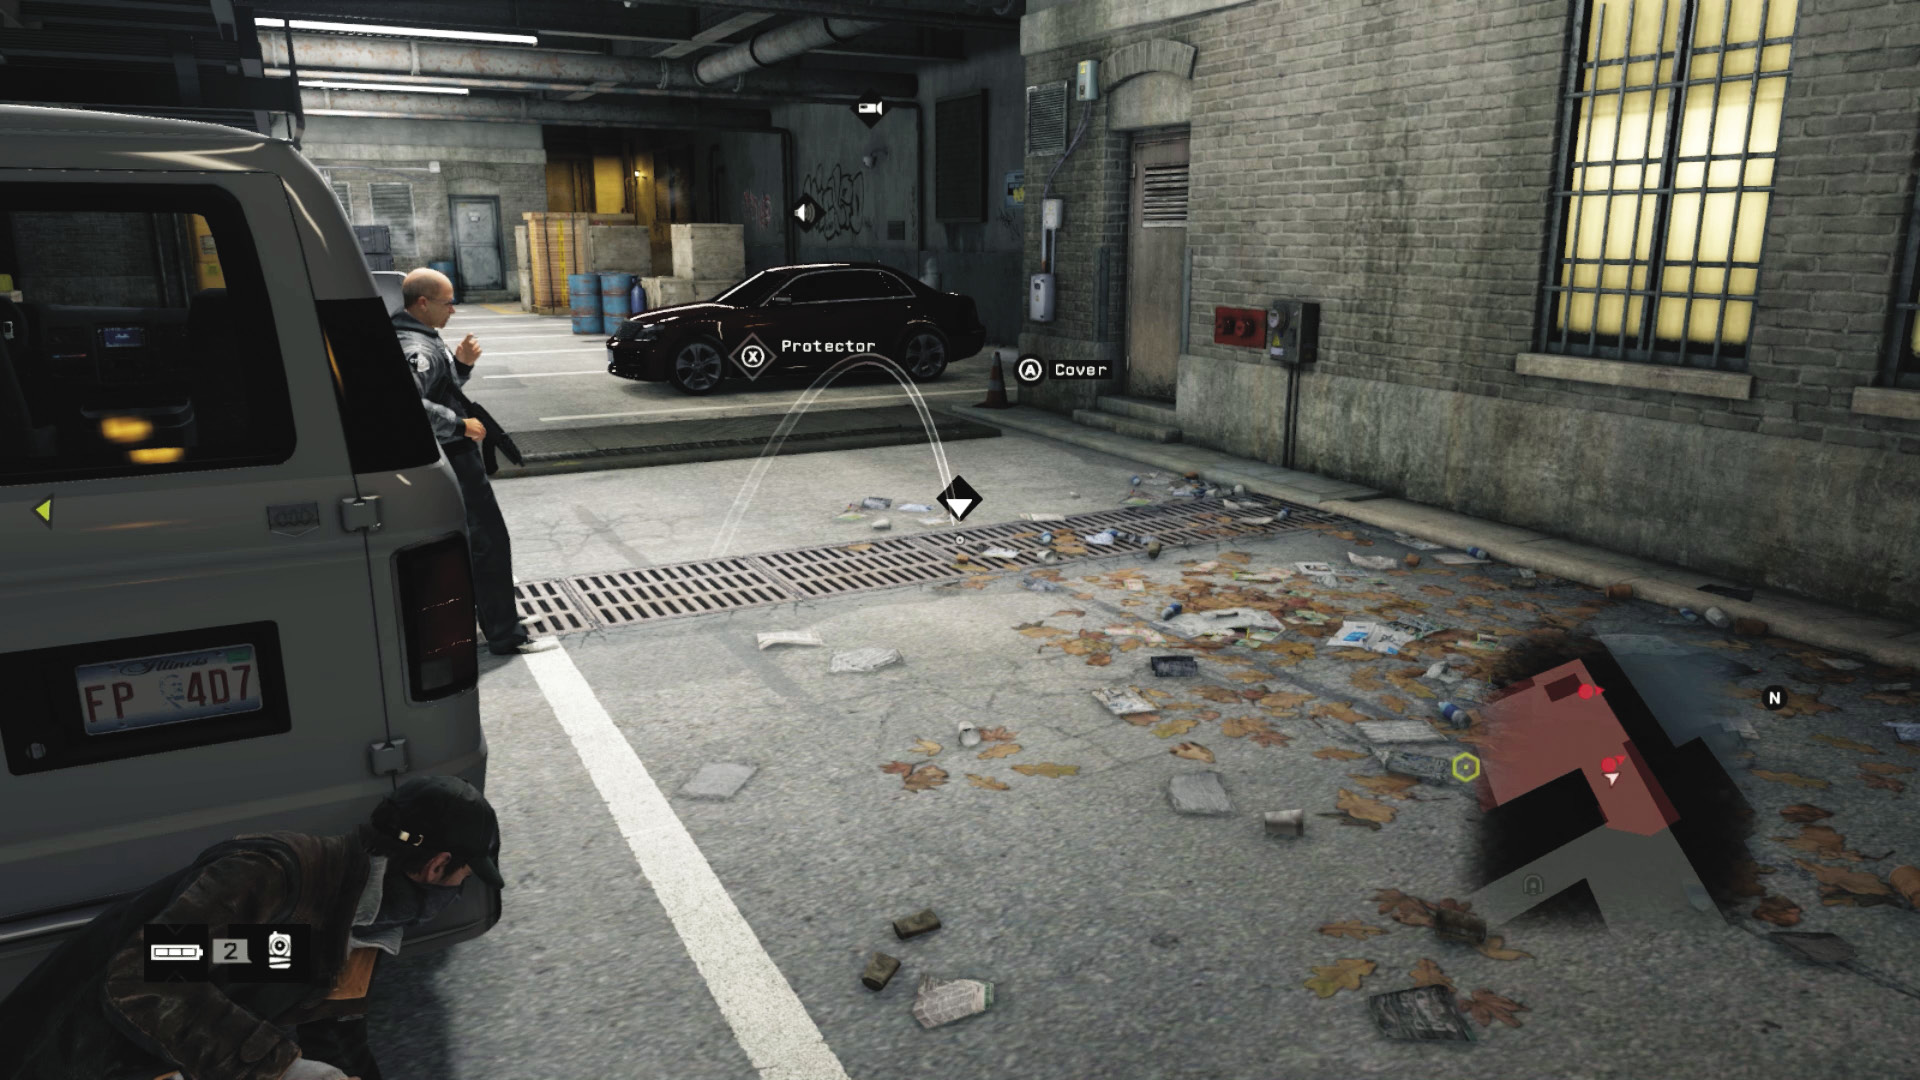
The initial guard is quick to raise the alarm and can easily spot you if you aren’t using the vehicles or Dumpster as cover: This presents a conundrum if you want to infiltrate without resorting to gunfire. Fortunately, the parked van has an alarm you can trigger, which coaxes the guard away for a moment. Or, creep around to the right, by the refuse container. Hit the alarm, and melee strike the guard as he investigates. Then creep up and tackle the guard by the van. This allows you to enter without the remaining guards seeing what you’re up to (although sometimes one or two may be alerted).
If you’re using lures, you can attempt something similar if you throw a lure and activate it. Of course, the lure’s position allows you to place the two initial guards in positions advantageous to you (behind vehicles so you can easily tackle them one at a time without anyone hearing or seeing you).
You can also roll the garage door down, allowing you to batter the first guard without the others hearing you, though the garage door closing and opening attracts attention.
 Aggressive // Violence (Garage Entrance): Massacre with a Murderous Calm
Difficulty: 
Of course, you can also try any number of takedown attempts with a weapon. Here are some of the more interesting:
A pistol shot to the head for the closest two foes, then ranged combat at the entrance as the other enemies investigate.
A melee strike without using the van-alarm distraction tactic; this usually forces you to shoot the guard near the interior van and the other enemies as they investigate.
Sniper rifle or otherwise long-ranged attacks from behind a parked car (that you may have moved into a position of cover beforehand).
A nice grenade explosion, planted at the foot of the first guard.
 Aggressive // Smart (Zone Interior): Coaxing Guards Out
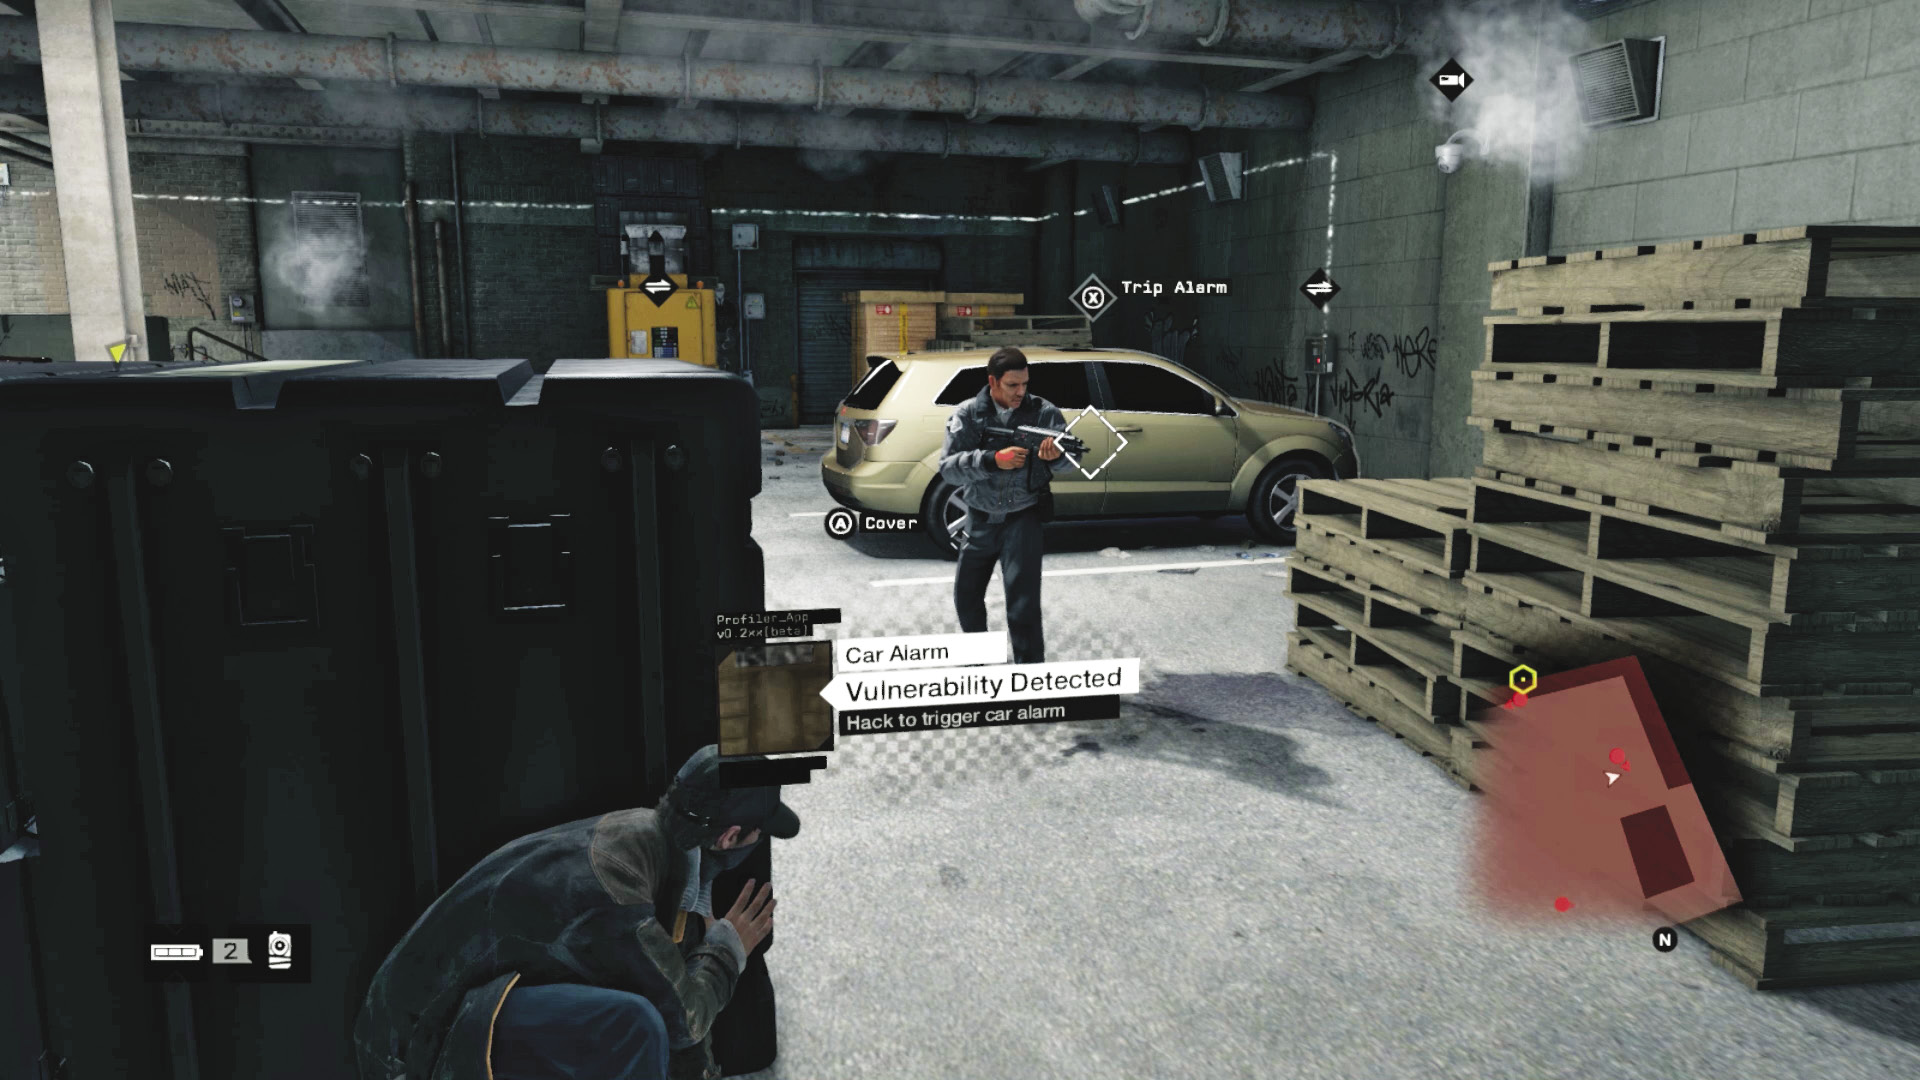
 Difficulty:
While you’re planning one of the three previously mentioned routes, employ any of these distractions along the way:
Cameras are important; use them to scan the interior for access points to act as distractions and to unlock the door at the zone’s far end so you aren’t waiting (possibly taking damage) to get into the building.
Aside from the van outside, there are two more vehicles whose alarms you can trip.
There are four protectors (one at the entrance and three toward the back of the loading zone) that you can use to attract foes (before suspicions are raised or a firefight has started). Also raise them to hide behind if a firefight is getting out of hand or if you need to lob projectiles from cover.
Descend the forklift’s crate to see more cameras and cause a foe to investigate.
You can also bring your own ready-made lures and lob one at a location where a foe won’t be seen when you throttle them.
 Aggressive // Stealth (Zone Interior): Silent Strikes and Creeping About
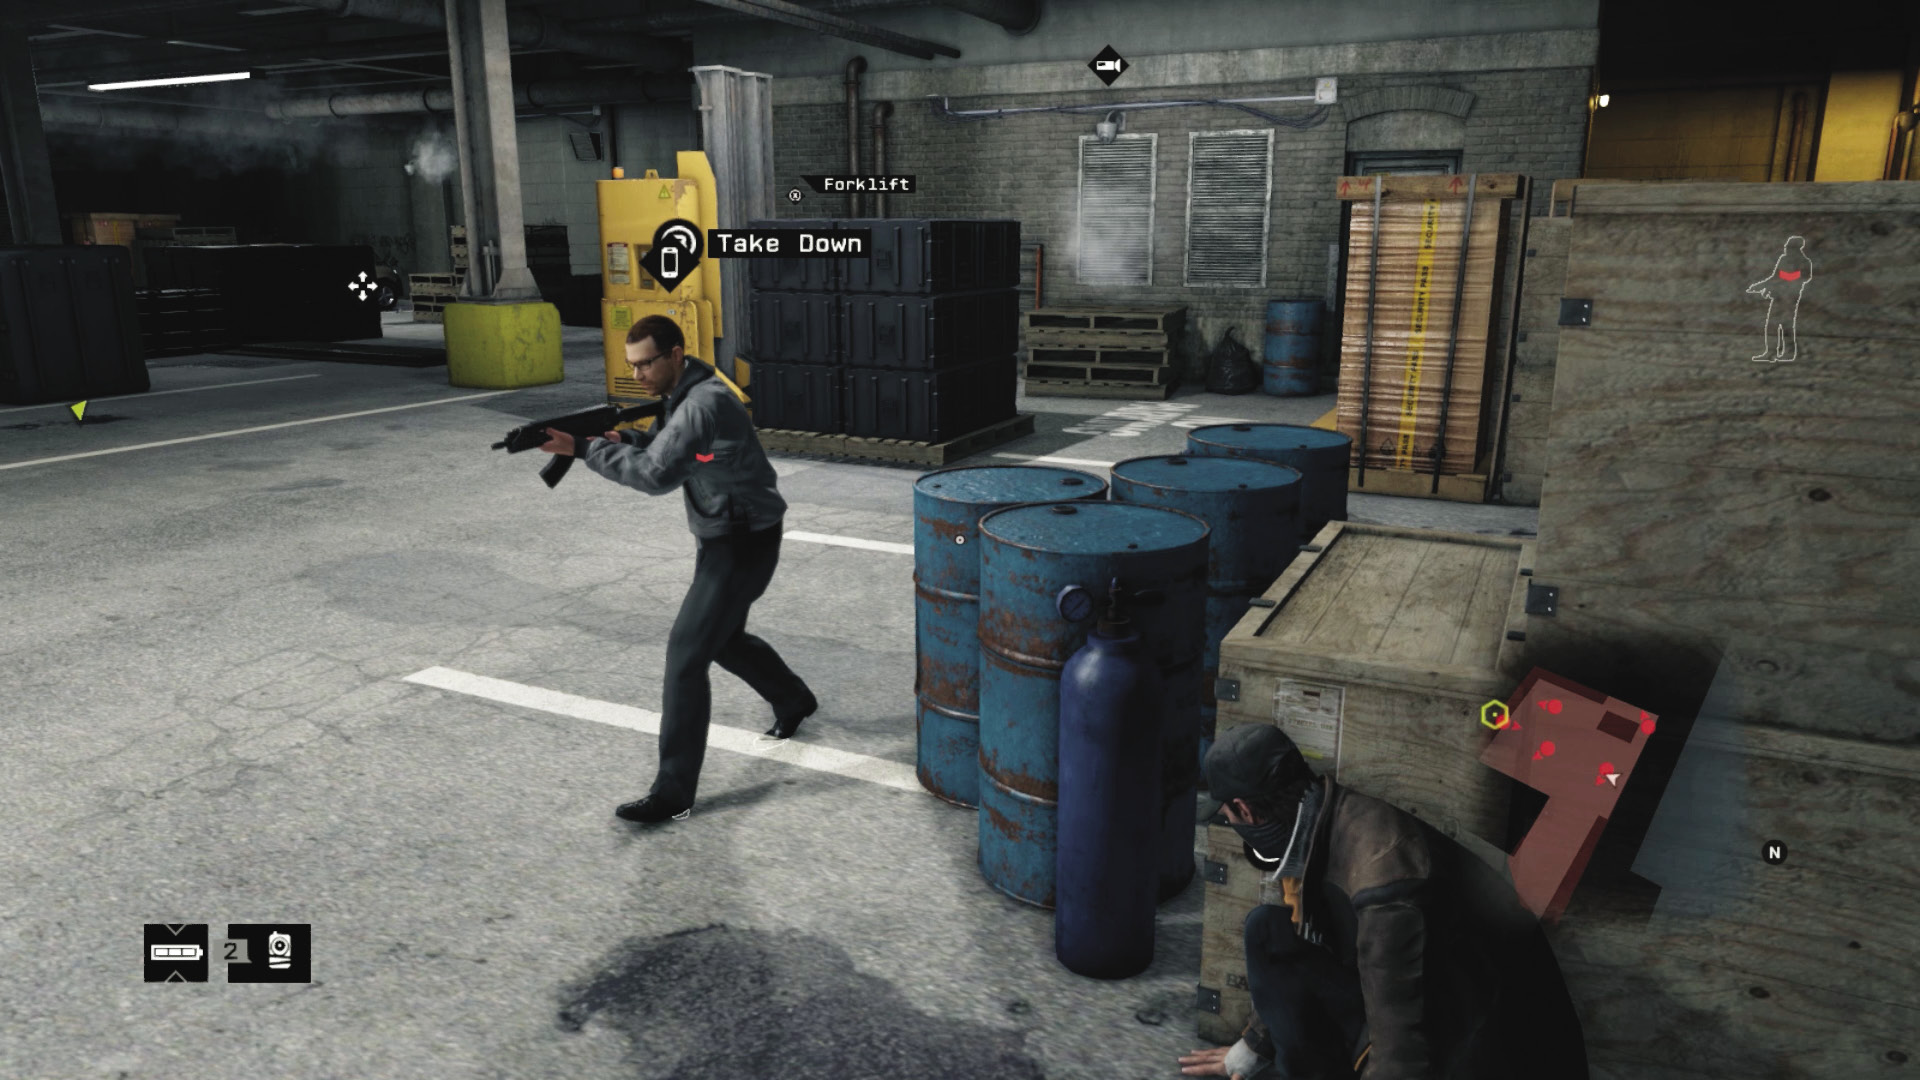
 Difficulty:
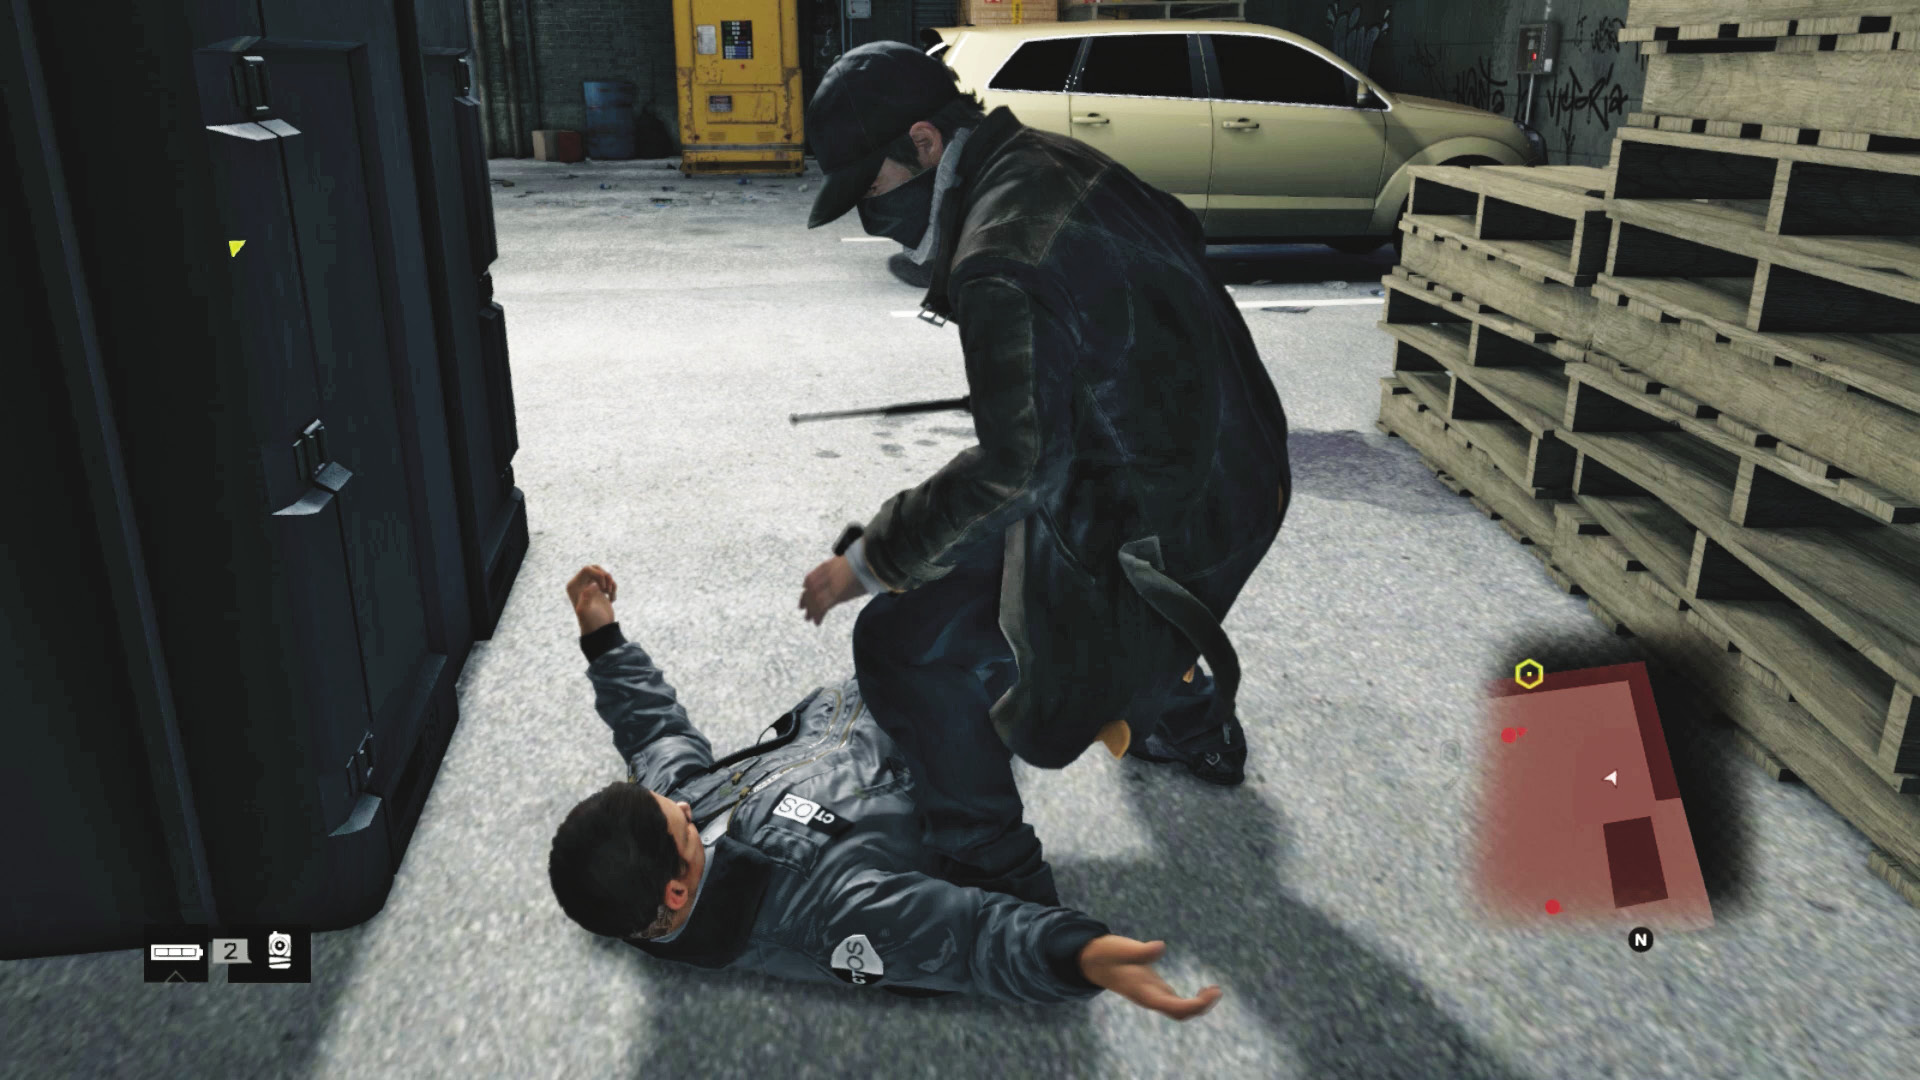
Crouch, and move from cover to cover. There’s a guard by the van, just inside the garage entrance; see what he is doing. Hopefully he stays where he is or moves to investigate the gurgling at the garage entrance when you throttled the first guard. Step around from the front of the truck and dispatch him. Then move to the guard by the car and forklift. Tackle him from behind the crates to your right. The other guards should still be none the wiser at this point.
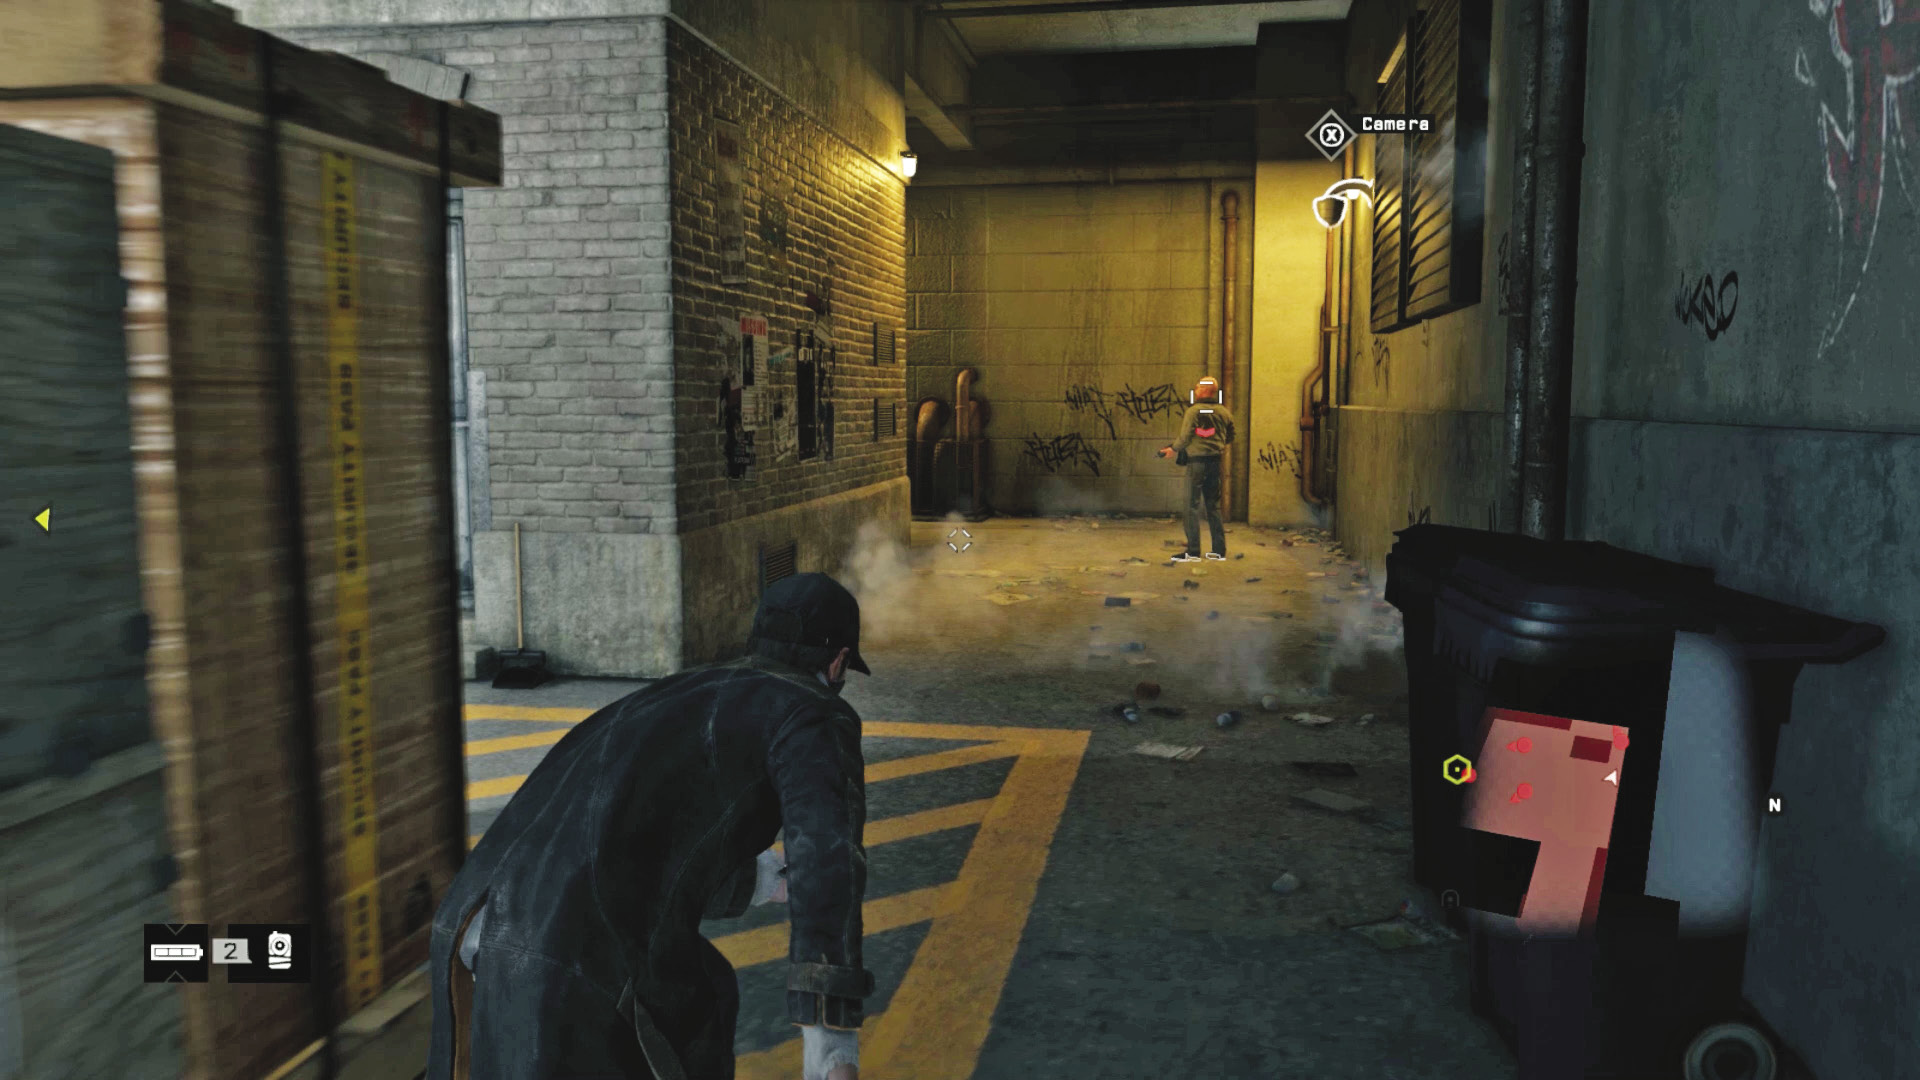
Hug the wooden pallets near the right wall, and move west toward the tall wooden crates. Hide there, then step out and move swiftly to dispatch the guard in the corner. Be fast, or he raises the alarm.
Head around and move down the brick passage. Creep to the parked car and low pallets; the steps and door to unlock is to your right. Silence the closest guard carefully as he passes on his patrol route with his back to you. Then use the forklift or the vehicle alarm to attract the guard away from the exit door; creep up and club him. Finish the final guard (usually milling about in the middle of the room) in whatever way you wish.
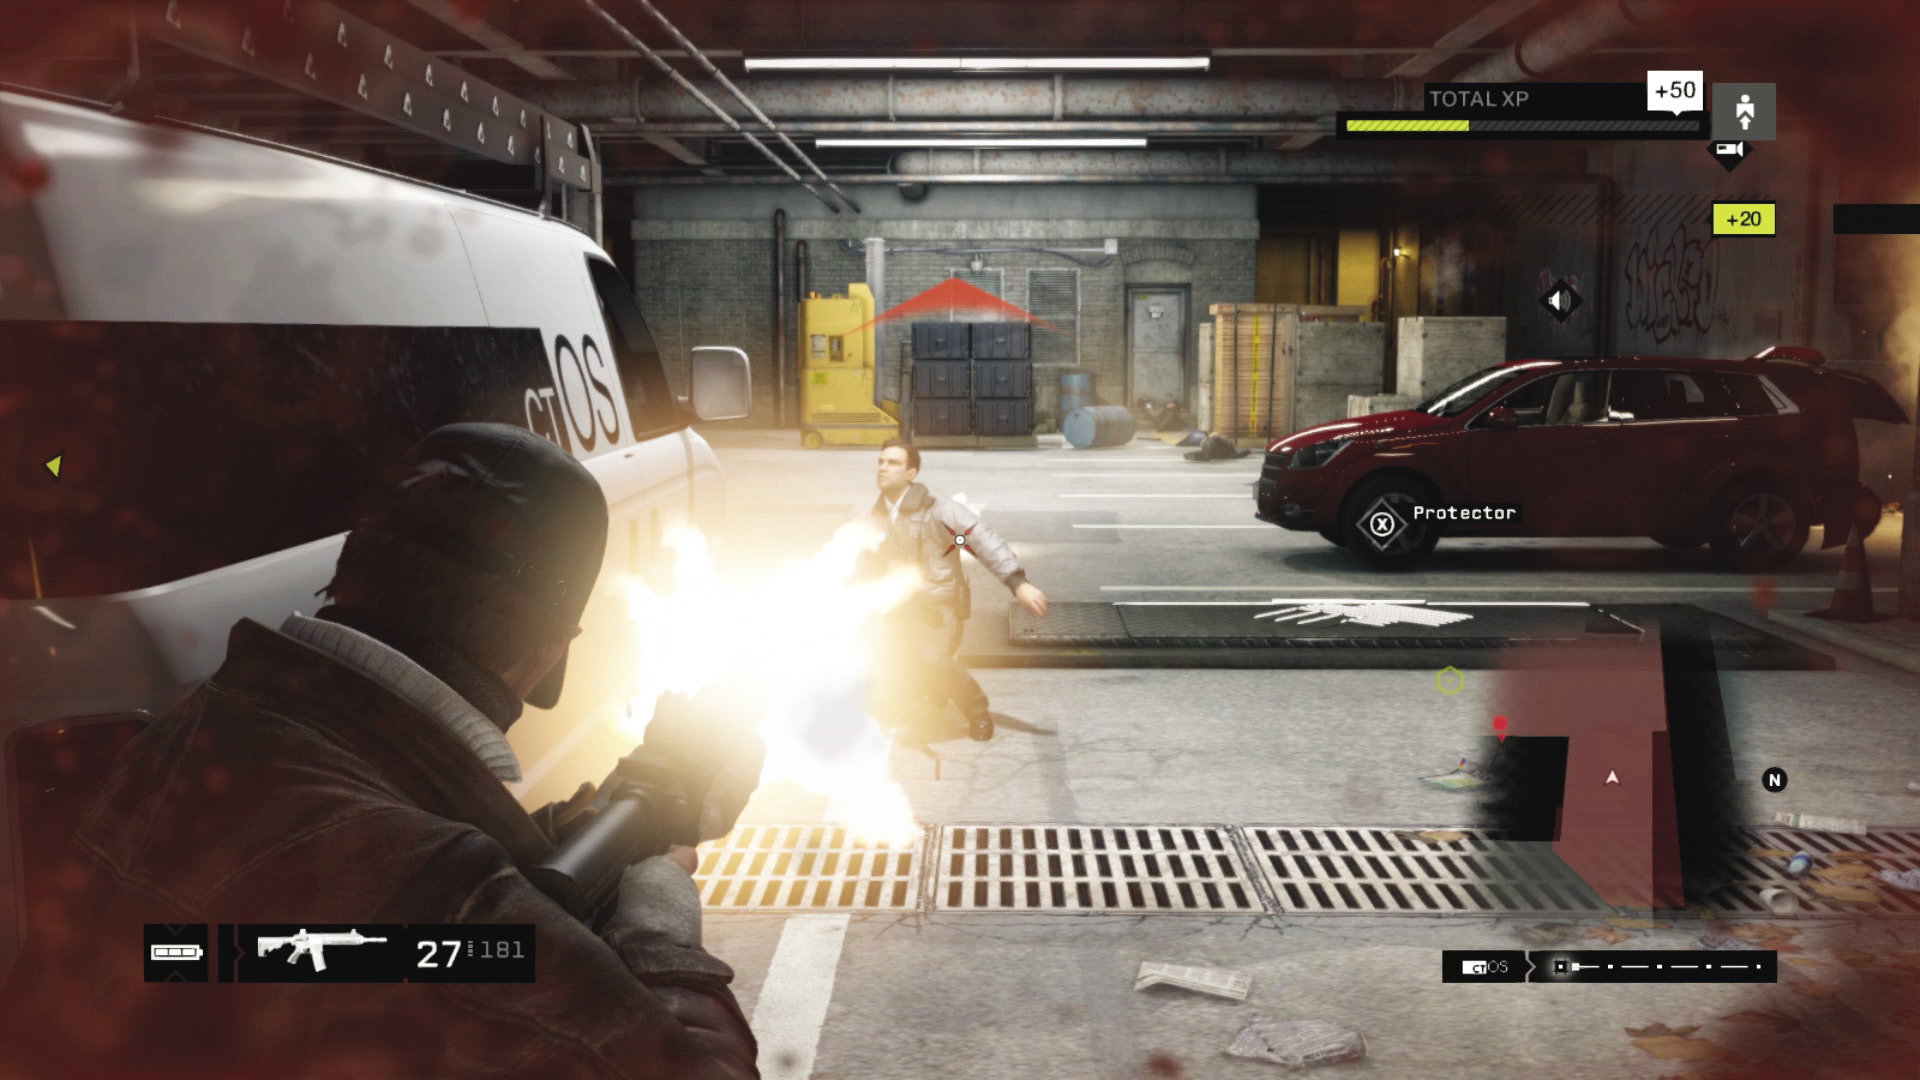
 Aggressive // Violence (Zone Interior): Bringing Some Hardware and Clout
Difficulty: 
Depending on your mood swings, the arsenal you’ve brought with you, and how badly foes are tagging you, there’s some violent retribution you can muster if sneaking isn’t going well:
Step through the garage, hide behind one of the parked vans, and execute guards. Retreat as they swarm to investigate. Your line of sight back at the entrance (or even way back into the traffic tunnels) is excellent; it’s a long corridor that can turn into a bloody shooting gallery.
Dispatch the guard ahead and right, using distraction or shooting; then watch for foes on your left and the one behind the brick corner ahead and right. Rush the latter while blasting, then drop each enemy who tries to move to the left or right of the brick corridor.
Lures and grenades are a winning combination. Lob one into the area by the stack of explosive barrels and watch the fireworks; follow up with machine-gun fire.
Or simply lure or wait for a foe to move near the blue gas canisters, the pallet, or the red barrels and blast them.
5.4 YOU GO PLACES WE CAN’T
 Location / The Loop // ctOS Executive Offices
|
|
 Locate guard with the access code
 Hack the guard for the access code
 Data Hack
 Infiltration
 Lethal Force Likely
 Melee Force Likely
Difficulty: 
Overview
Completion Points: Camera, plaza security officer, opposite end of lower plaza, upper floor server room.
Dangers (Lower Floor): FourctOS guards (Gunmen x4), with pistols and machine guns.
Dangers (Mezzanine Balcony): ThreectOS guards (Gunmen x3, Shot-Callers x2), with pistols and machine guns.
Reinforcements: Up to three additional guards per callout (Gunman x3).
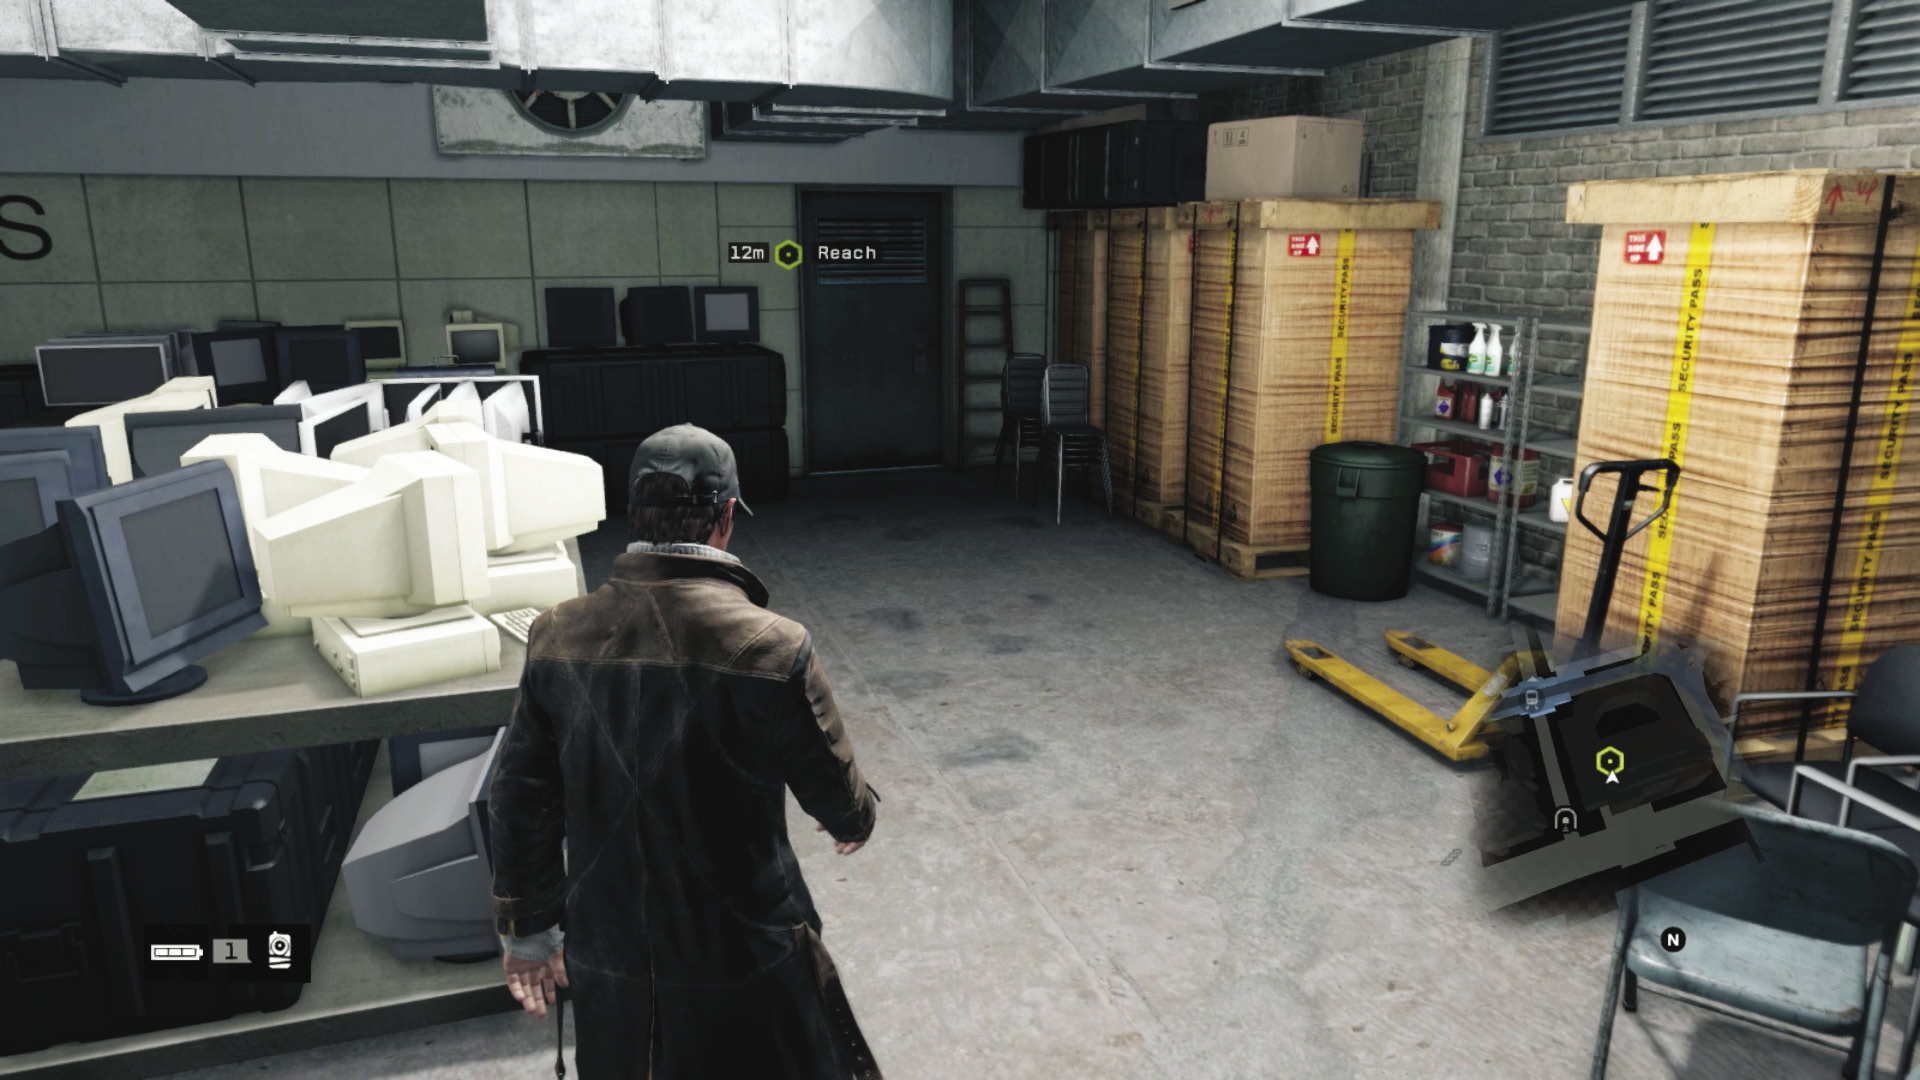
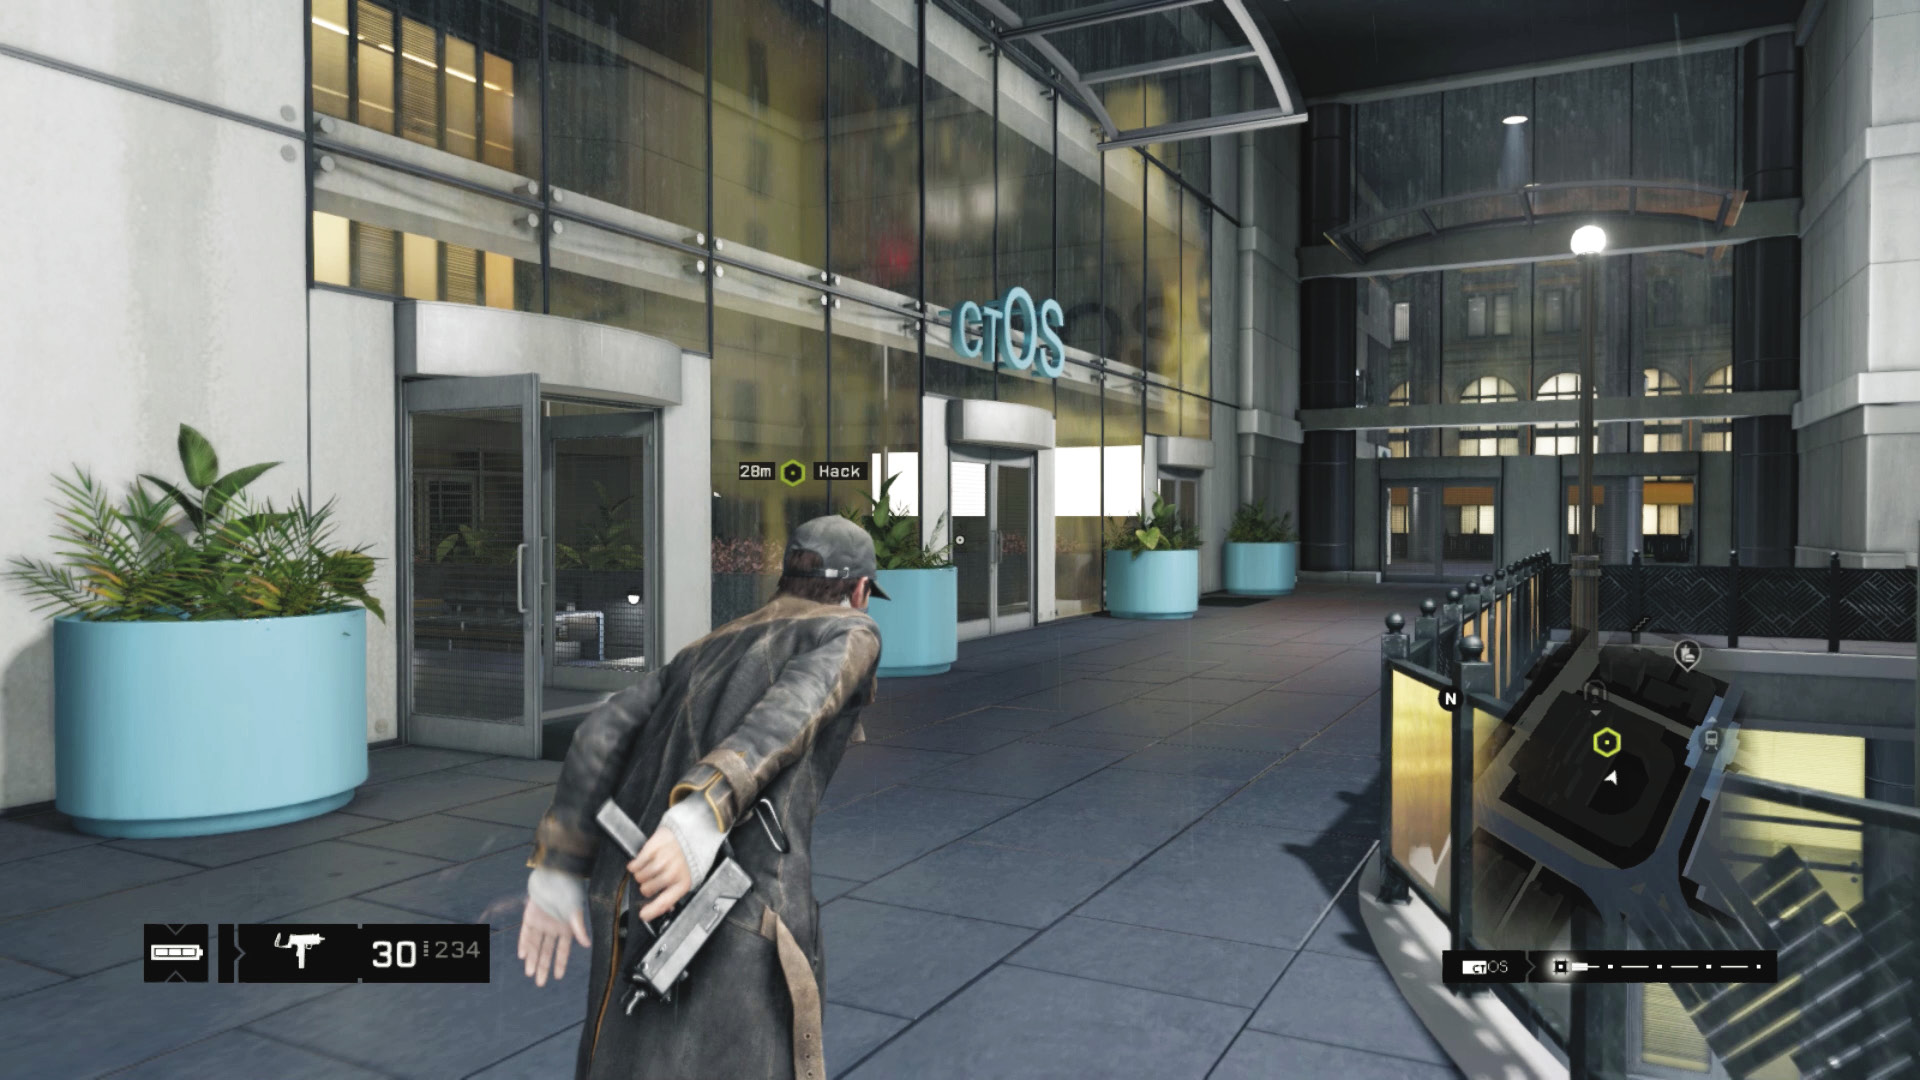
After a phone chat with Clara, move through the storage room of old CRT monitors and crafting components to a large office plaza. Look around the soda machine to the first camera you’re able to hack, and access it. Next, hack the phone on the concrete planter right in front of you for another Audio Log. Now profile the plaza security.

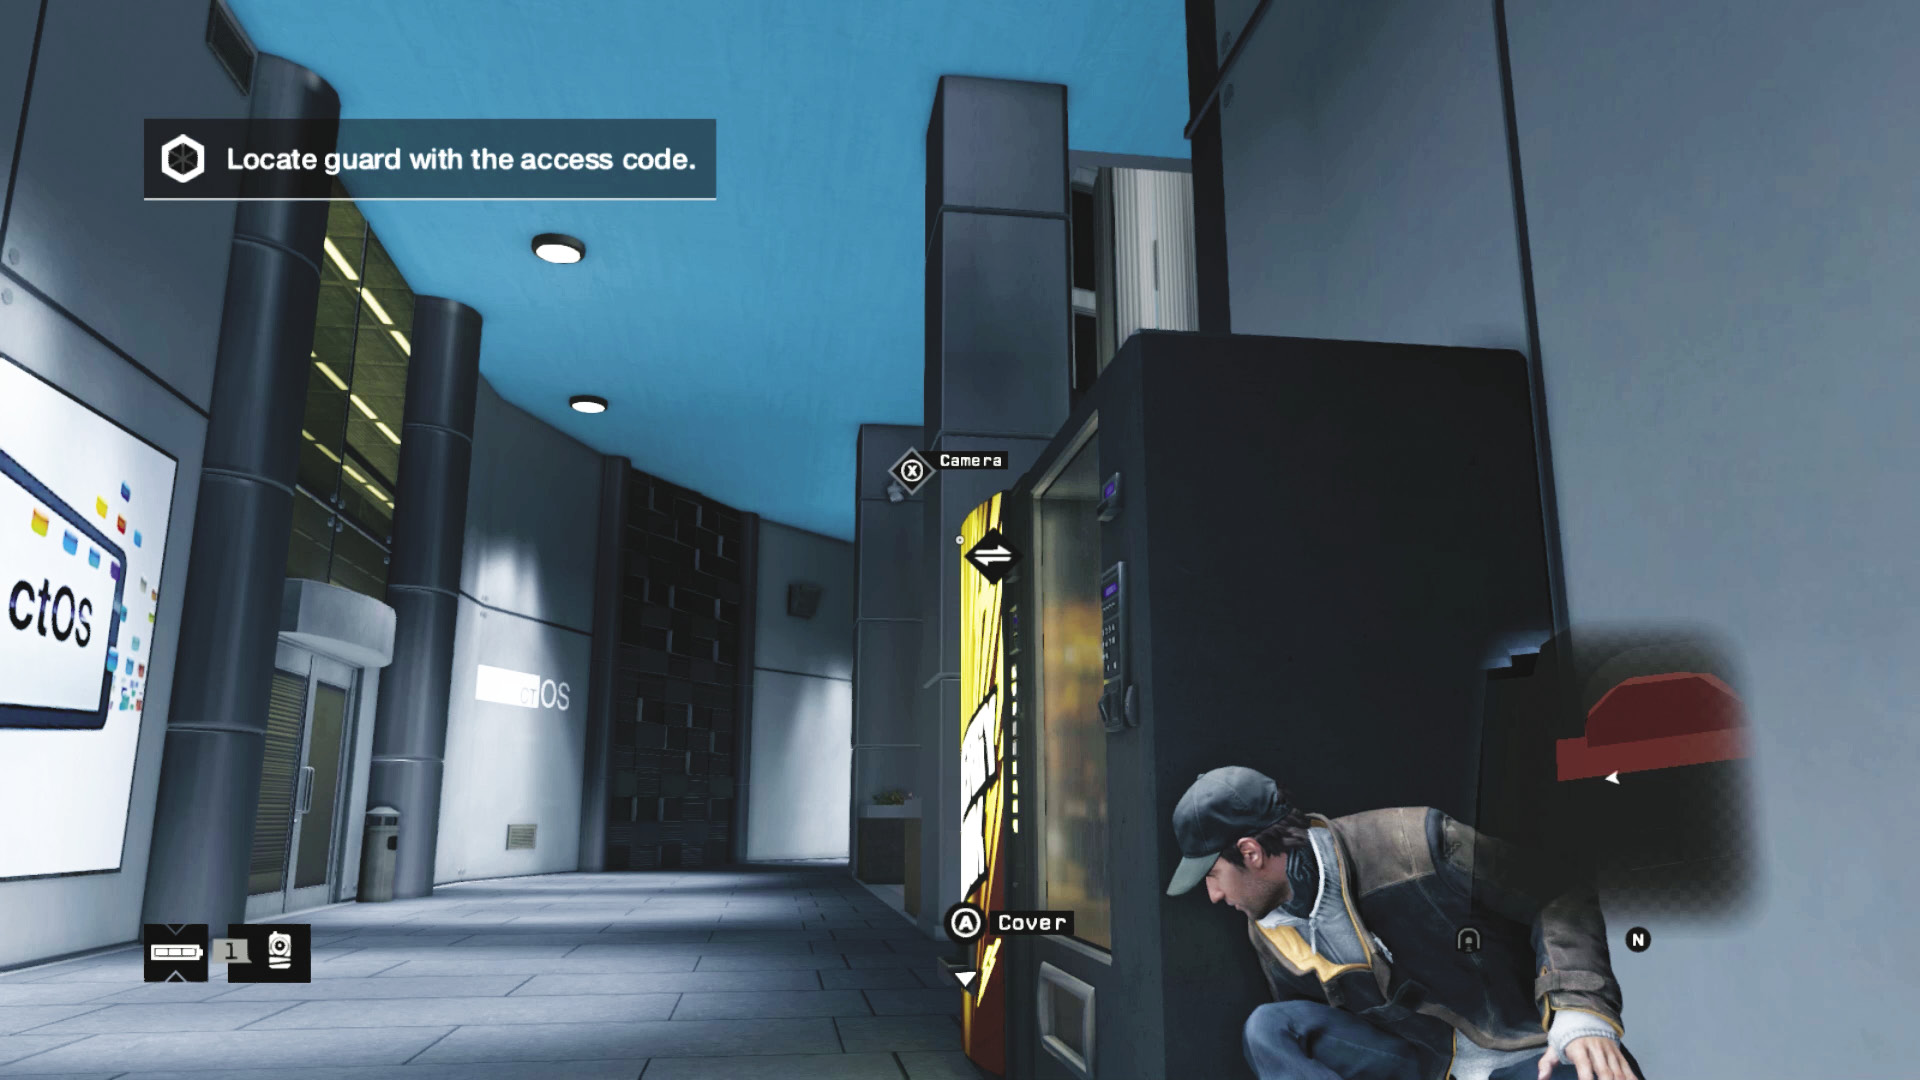
The plaza has two floors. The basement (which is where you are) has a large open area completely surrounded by an upper balcony. Move from camera to camera, marking the security officers you spot; there are four on the basement floor and three overlooking your position on the balcony above. The direction everyone is facing and their patrols are obviously important for your actions to come.
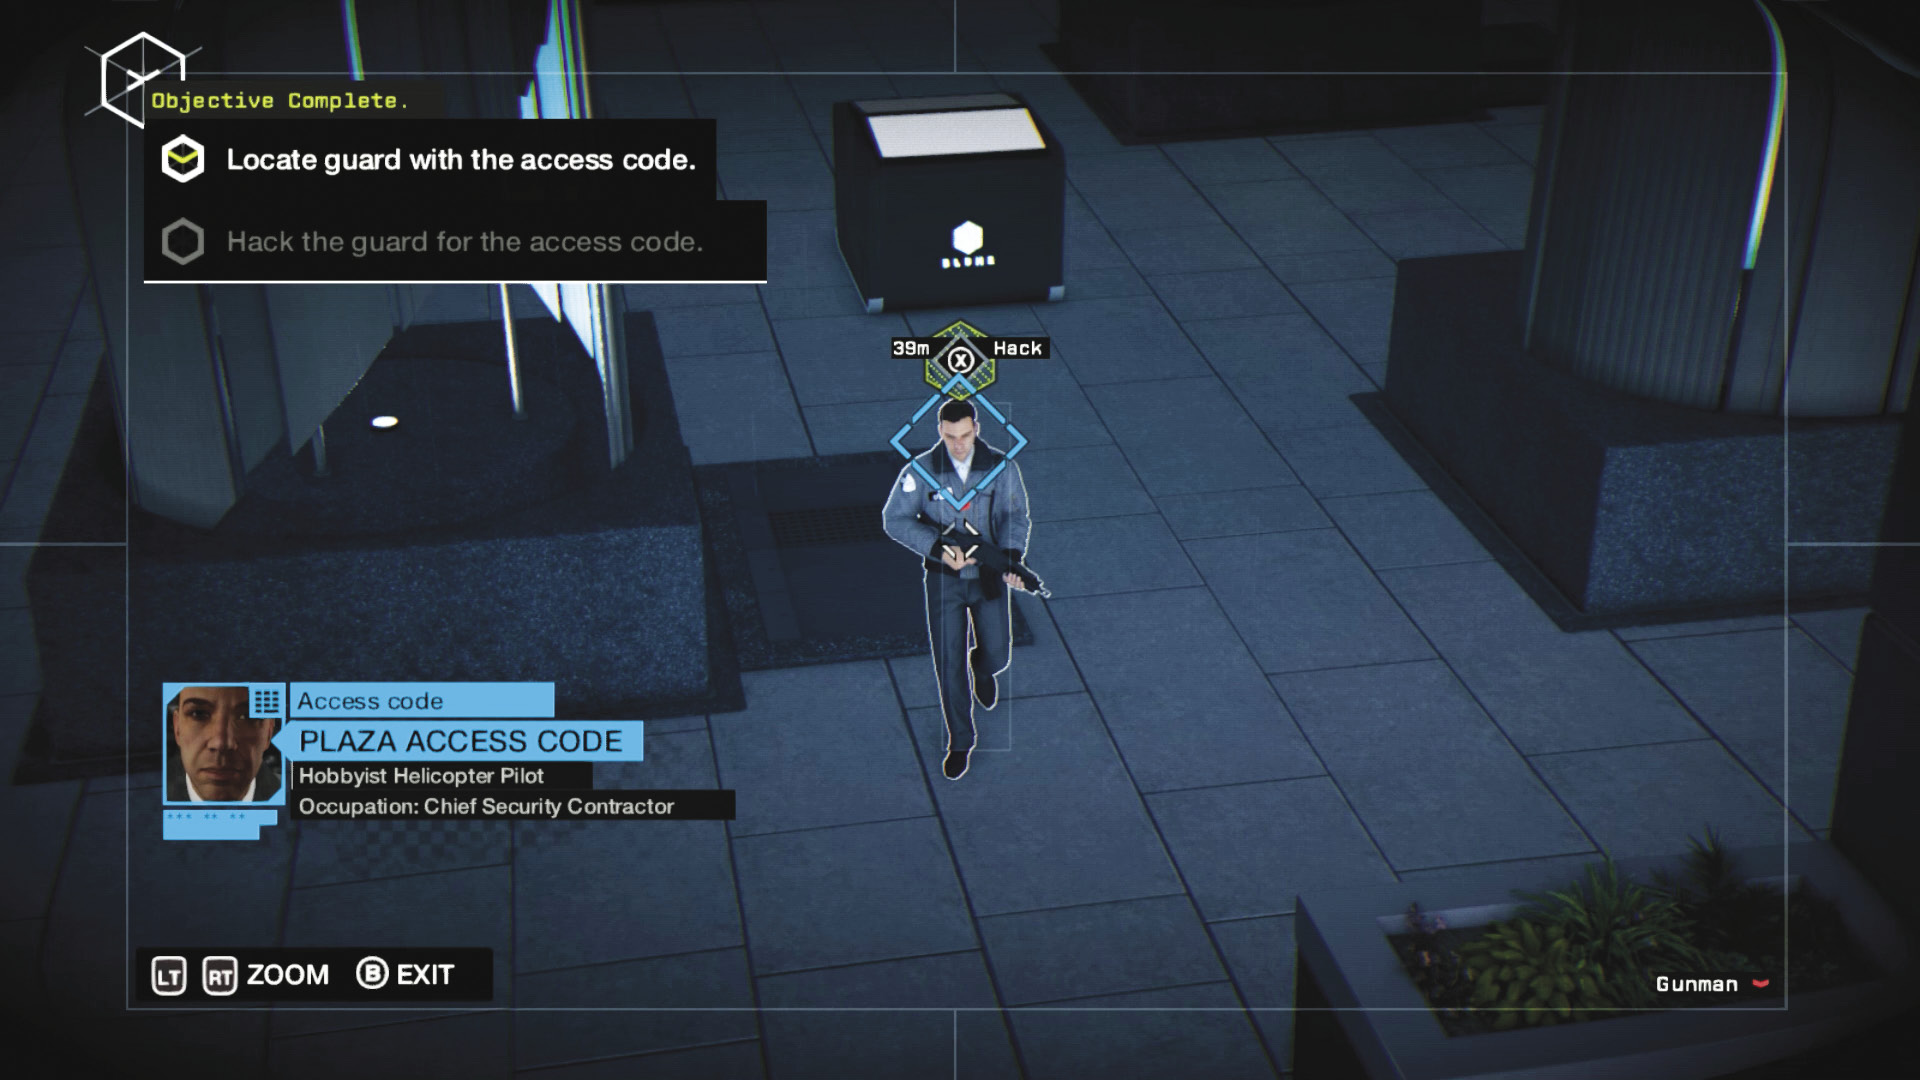
The guard with the access code you need is patrolling along the plaza’s right side, just around the corner from you. Simply focus one of the cameras on him (after marking all seven guards so you know their positions), and hack. Your next objective involves reaching the server room, which is far more involved.
Progression Plans
You may now try one, parts of, or any combination of the following methods of navigating this area.
General PreplanningCover: Move using crouching and creeping, unless you want a firefight. Be aware of the three guards looking down on you from above. Cameras: Mark everyone before you start moving into the plaza. Plan of Attack: You may wish to figure out how you want to remove your threats before continuing. |
 Passive // Smart: Camera-Wrangling Precision
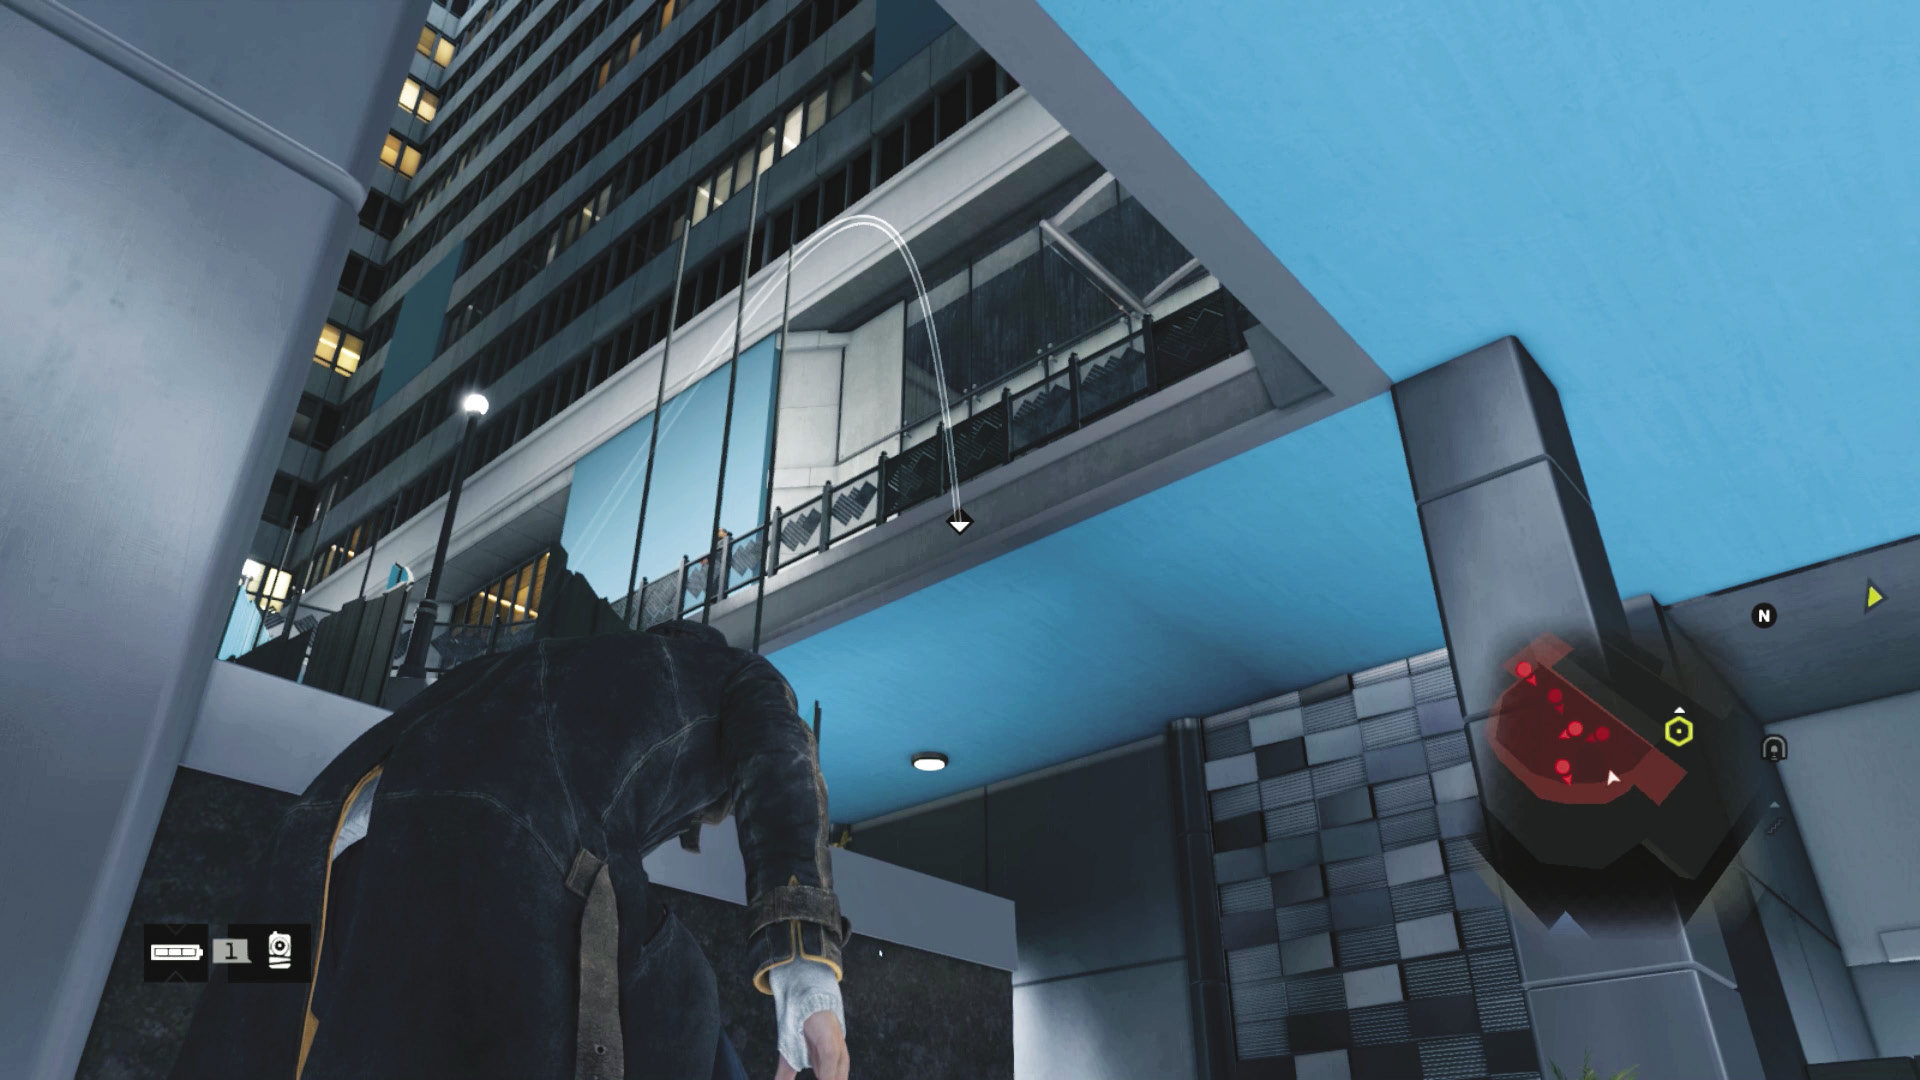
 Difficulty:
It’s possible to hack the ctOS server without actually stepping into the plaza! After accessing the camera and access code from the guard, move from camera to camera until you reach the patrolling officer upstairs with his own camera. Wait for him to move, then pan around until you can see the server access point. If he isn’t looking in the direction you want him to, step out from cover, lob a lure so it sticks to the balcony fencing next to him, then attract him to it so that he turns his camera and you get a better look at the intrusion point. Then “Intrude” immediately; after this, you can simply escape the same way you came (through the traffic tunnels)!
 Aggressive // Stealth: Guard Peripheral Vision
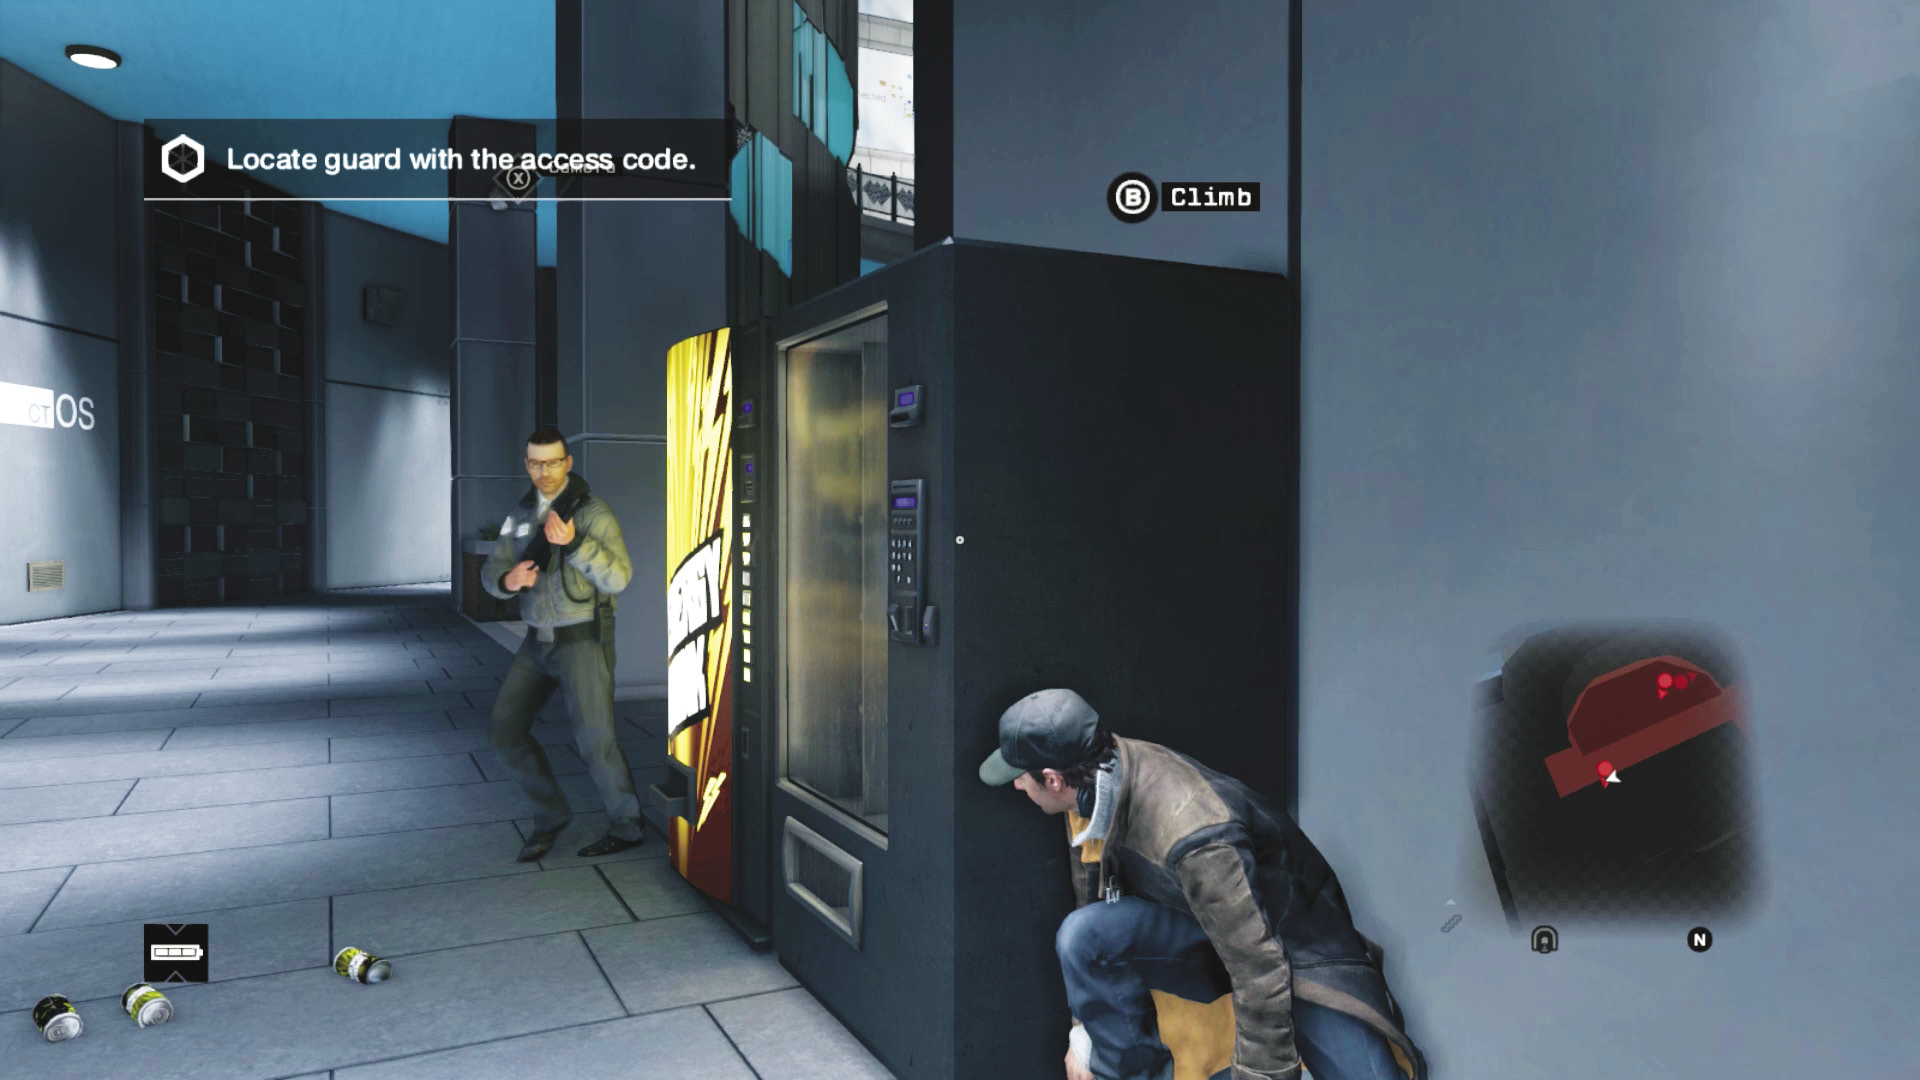
 Difficulty:
If you wish, use the soda machine so the clattering cans attract the first guard’s attention. Hide behind the machine and bring down the first guard immediately. Be quick, so the remaining six guards aren’t any the wiser. Wait a few moments for the guard you need to hack to move past the pillars and into the center of the plaza, then creep along the plaza’s right side, with the low planters on your left.
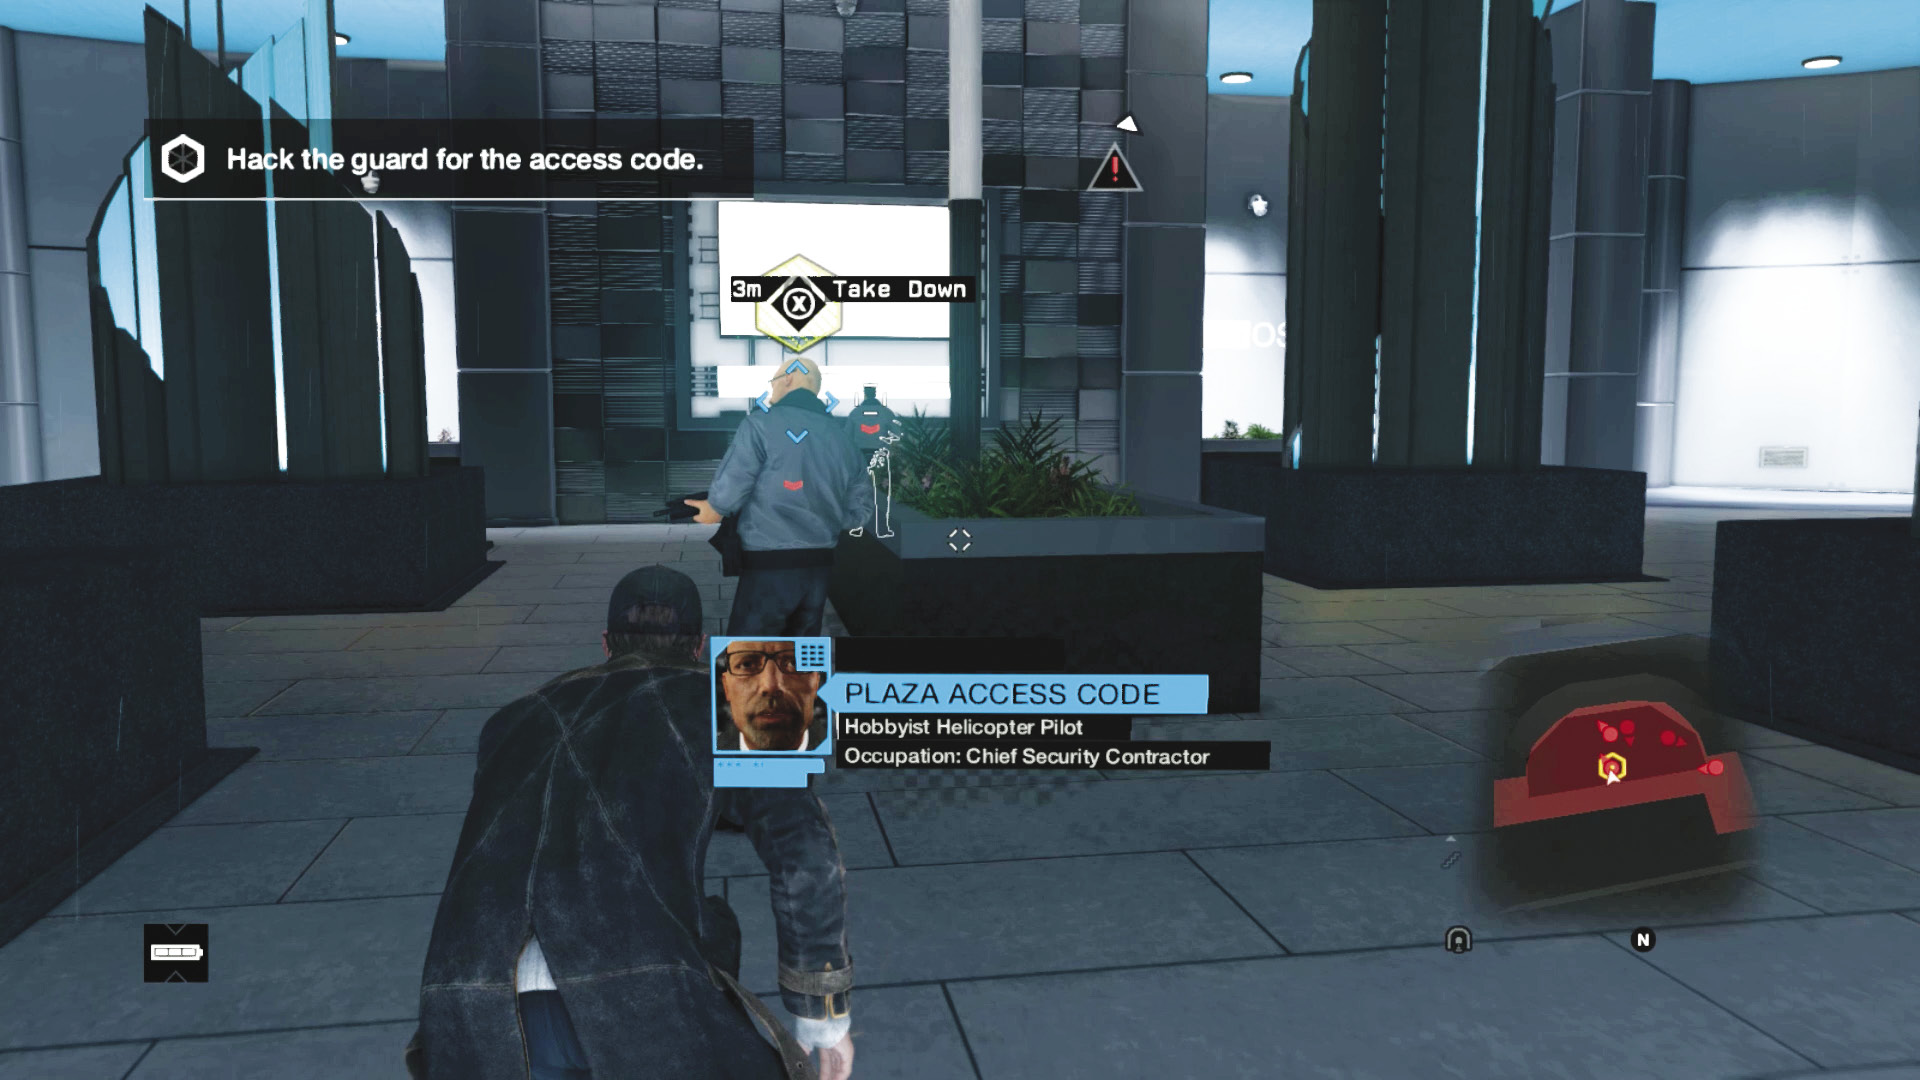
When the guard you need to hack moves close to one of the spinning cylindrical sculptures, take him down. Be aware of the guards above you; don’t move too far into the middle of the plaza or you’ll be spotted. Retreat the way you came, back to the soda machine. Move clockwise, with the curved perimeter wall to your left.
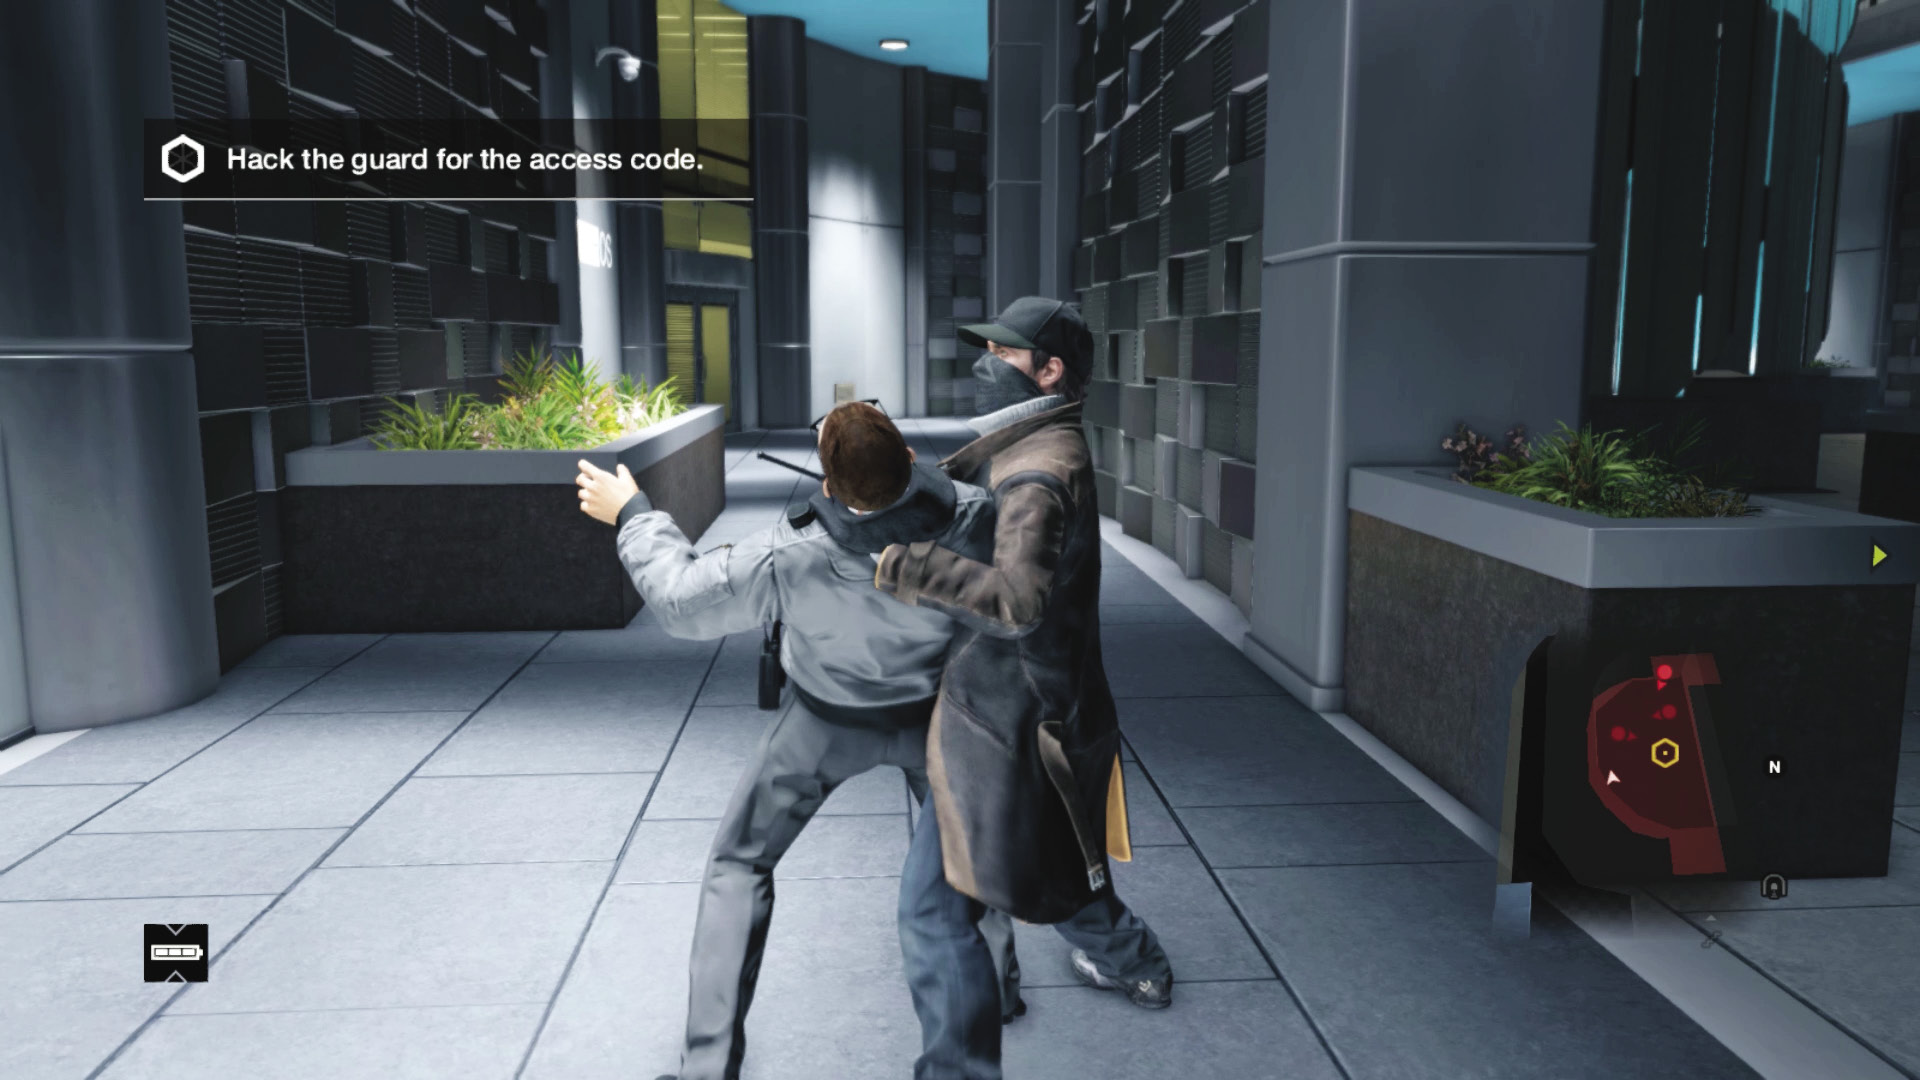
The third guard to tackle eventually moves to a pillar and patrols between some perimeter planters on your left and a metal wall to your right (with a monitor on the other side). Sneak behind and throttle the guard when he’s in this area to avoid being seen by the guards above.
The last guard on the lower floor is the trickiest, as the balcony guards almost always spot you striking him, and one of them may be heading down the stairs to investigate your takedowns at this point. You can simply take him down and complete the remaining takedowns with the upper guards on alert, or you can remain near a planter or pillar on the plaza’s edge or near the perimeter wall (underneath the upper guards so only the lower guard will see you). Wait for the descending guard to pass the stationary guard by the stairs, then step out and back into cover, coaxing the lower guard to move. Strike him when he’s under the balcony. A better plan is using a lure (see below) or a Spec-Ops weapon to maintain silence.
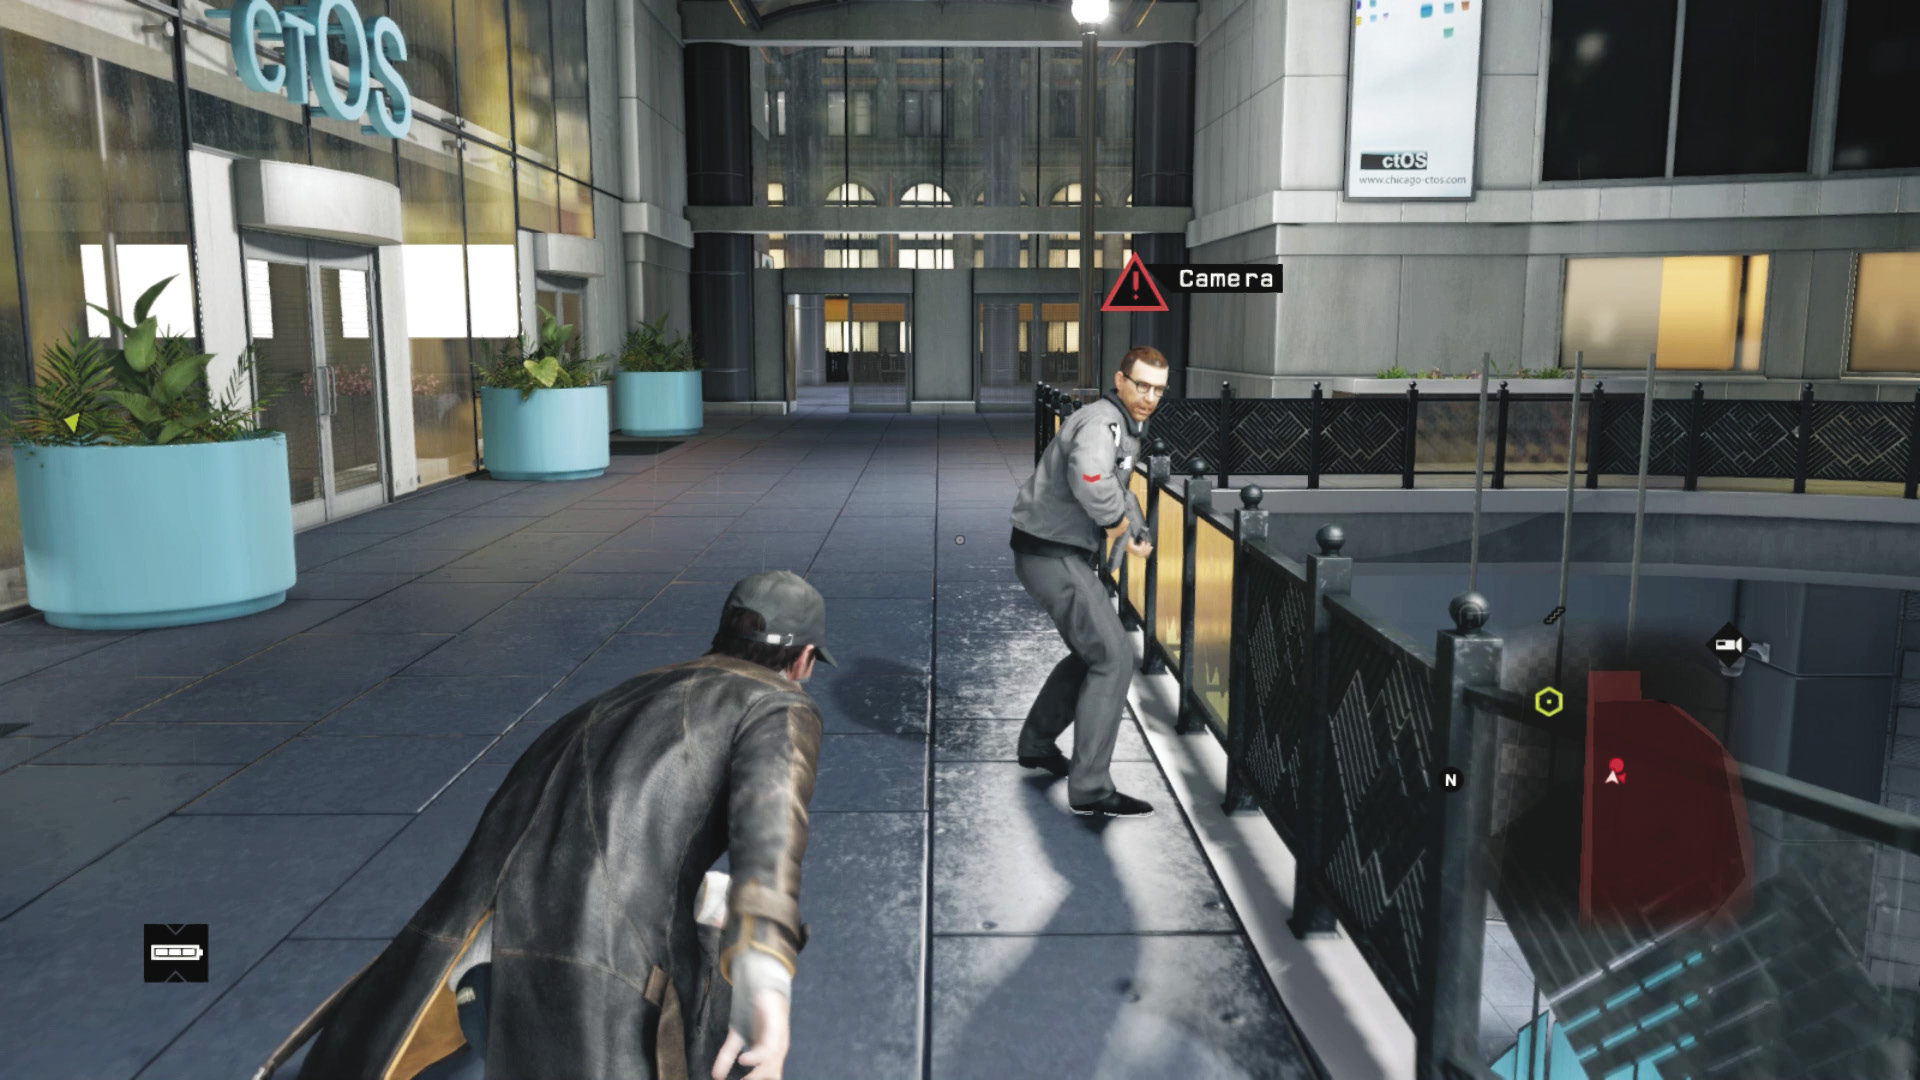
There’s a small chance the three upstairs guards haven’t spotted you yet. If this is the case, ascend the steps and work counterclockwise around the planters, striking the guards when they look away and using cover. It is relatively straightforward to strike the remaining three guards down, and you end up next to the server room, too!
 Aggressive // Violence: A Gun Battle Incision
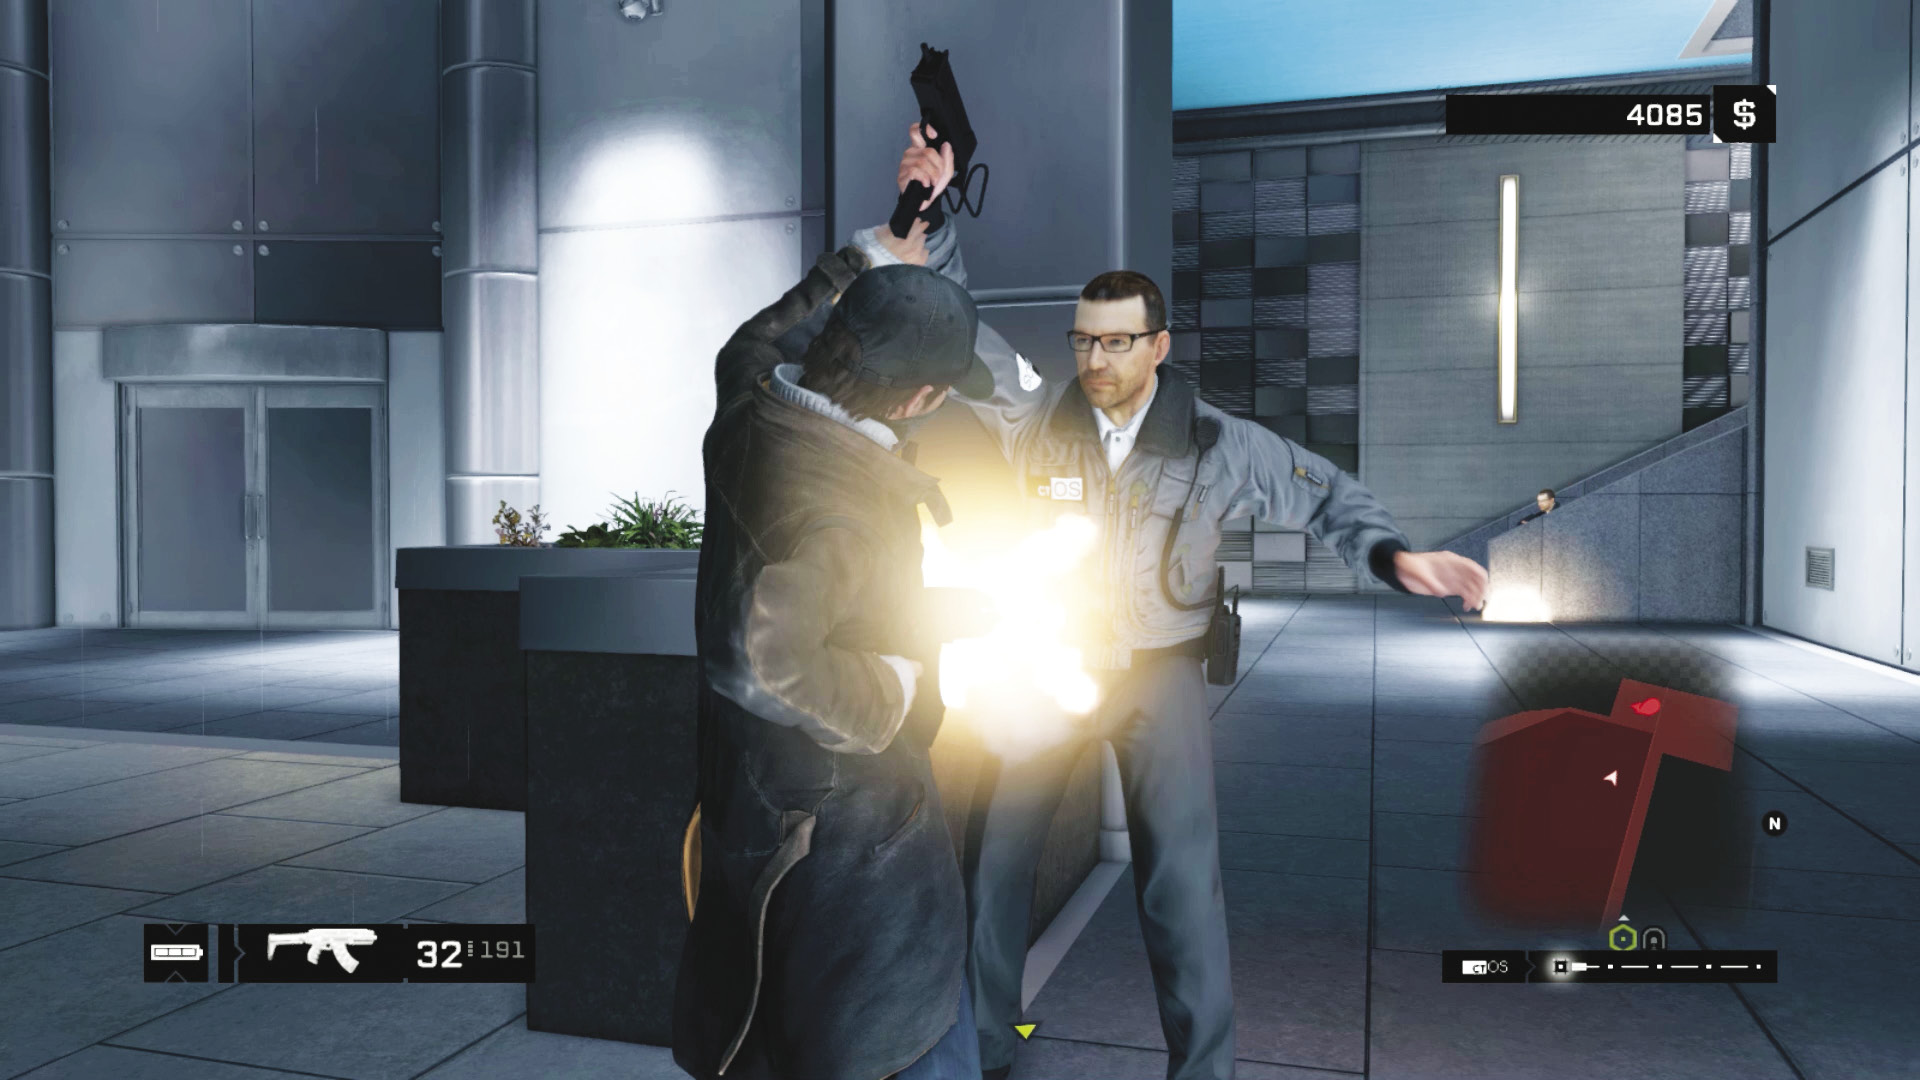
Difficulty: 
Although you may have to end your assault upstairs with a gun battle, after you’re spotted trying a melee takedown, you can always blast your way out of here. The following plans are all battle-tested:
Discharge a pistol round to alert more guards, making them move. Lie in wait and melee strike or blast away.
Melee strike the first guard, then use the planters as cover. Crouch and sneak halfway along the right wall, look up, and execute a headshot to both the upper guards you can see. Retreat back so the third upper guard has difficulty aiming at you, and remove the remaining threats. Dealing with the upper guards means they can’t strike you.
Stay under the balcony so you can see all foes in a 180-degree arc (so you’re not struck from behind). Remain behind a planter near the perimeter wall and take down foes one at a time.
Grenades, machine guns, and other ordnance are also useful here, but a pistol is just as effective.
You may wish to deal with the basement guards first and then ambush three upstairs guards; wait them out at the bottom of the stairs (from behind a planter near the waypoint), and execute each one as they appear.
Running and gunning isn’t effective, as you’re shot from all directions. Popping out of cover is preferred.
Stalk foes using a Spec-Ops gun, which are silenced. Watch that your corpses don’t alert the other foes. Try a mixture of melee and silent gunfire for best results.
You can also backtrack to the loading zone and up the traffic tunnel ramp. Run around to the building’s exterior, peering in to see the patrol patterns of the upper guards. But you can’t enter the doors.
However, you can rush upstairs and then flee the building, taking the battle to the streets. This gets messy and isn’t recommended.
|
|
 Hack the access point in the server room
 Upload Clara’s code to the laptop
 Data Hack
Difficulty: 
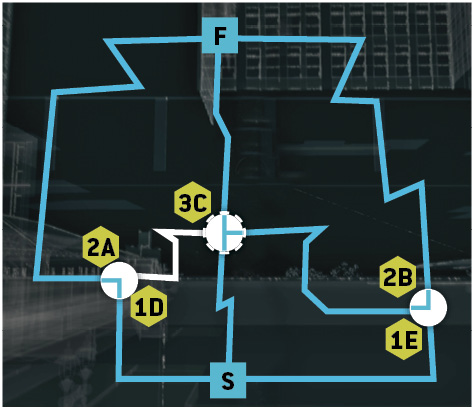
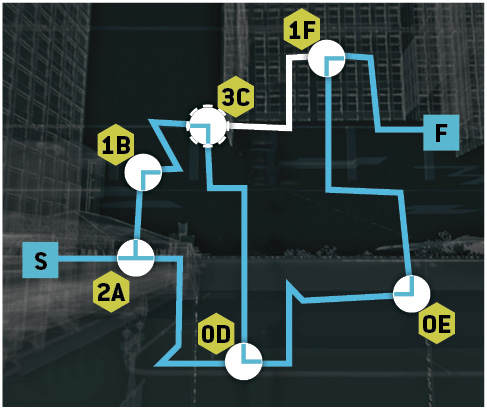
Move into the foyer with the intrusion point visible (usually on foot or via camera if you wish). After hacking the two hotspots, you reach the executive office.
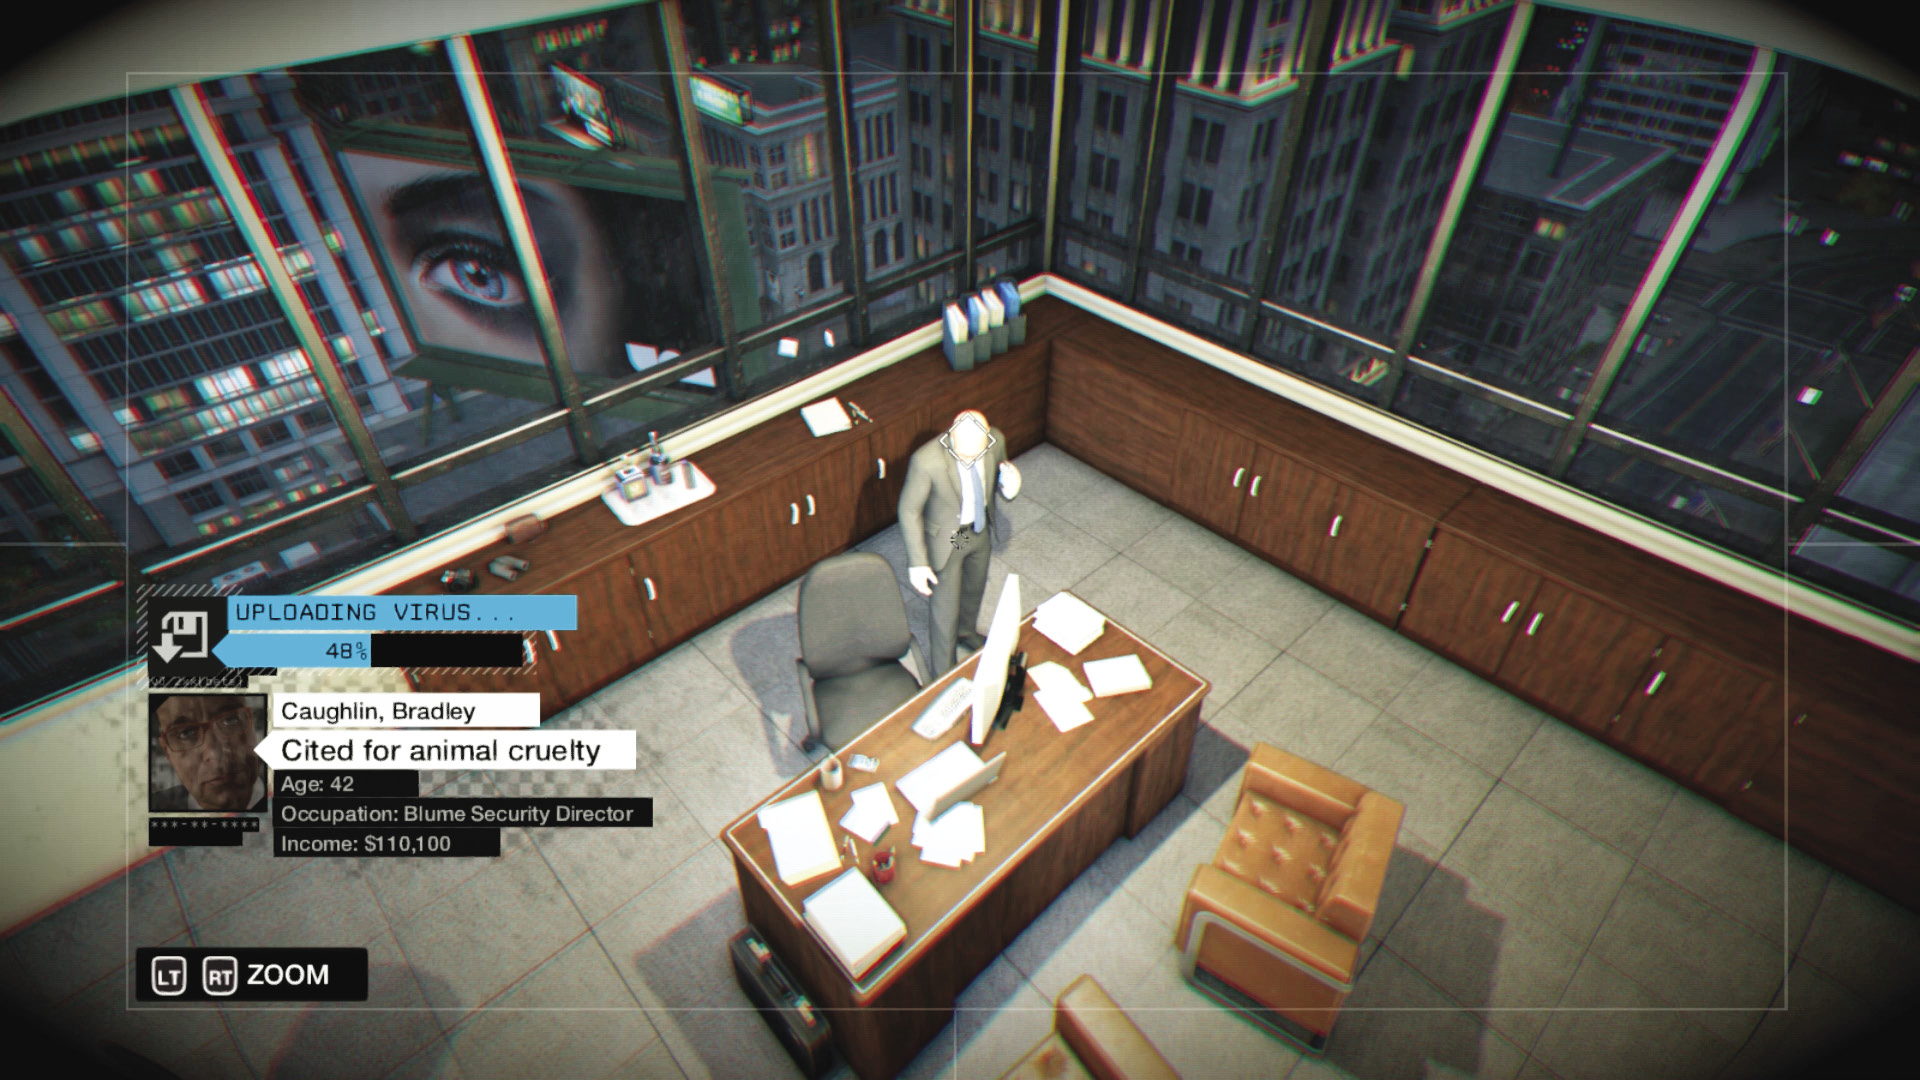
Be sure to snag the Audio Log by the foyer couch. After (optionally) listening to the phone call of the Blume Security director, upload the virus into the workstation.

Solution: Hotspot 1
Solution: Hotspot 2
5.5 GETTING OUT OF A JAM
 Location / The Loop // ctOS Executive Offices
|
|
 Escape the plaza
 Escape the police scan undetected
 Driving Infiltration
 Vehicle Chase
Difficulty: 
Overview
Completion Points: Anywhere in Chicago
Dangers: Chicago police (scanning)
Reinforcements: Up to six additional guards during escape from building.
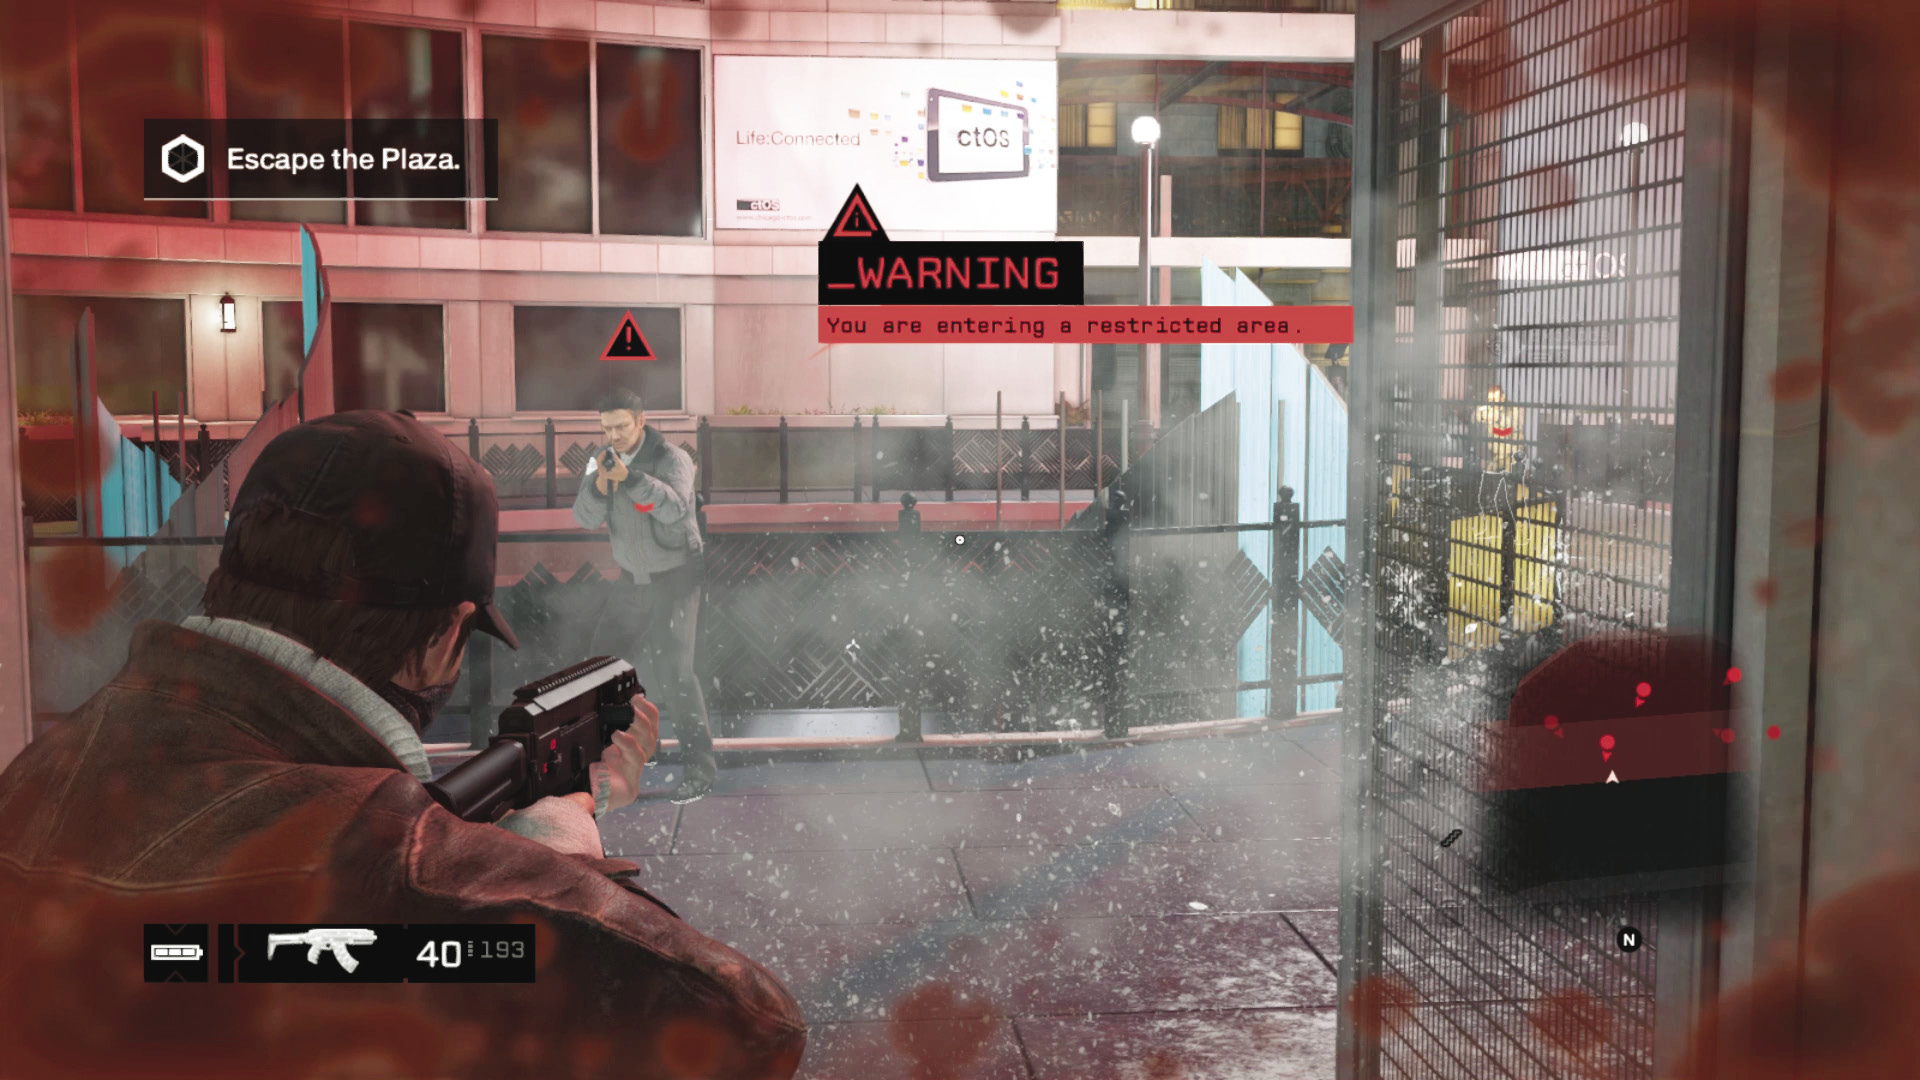
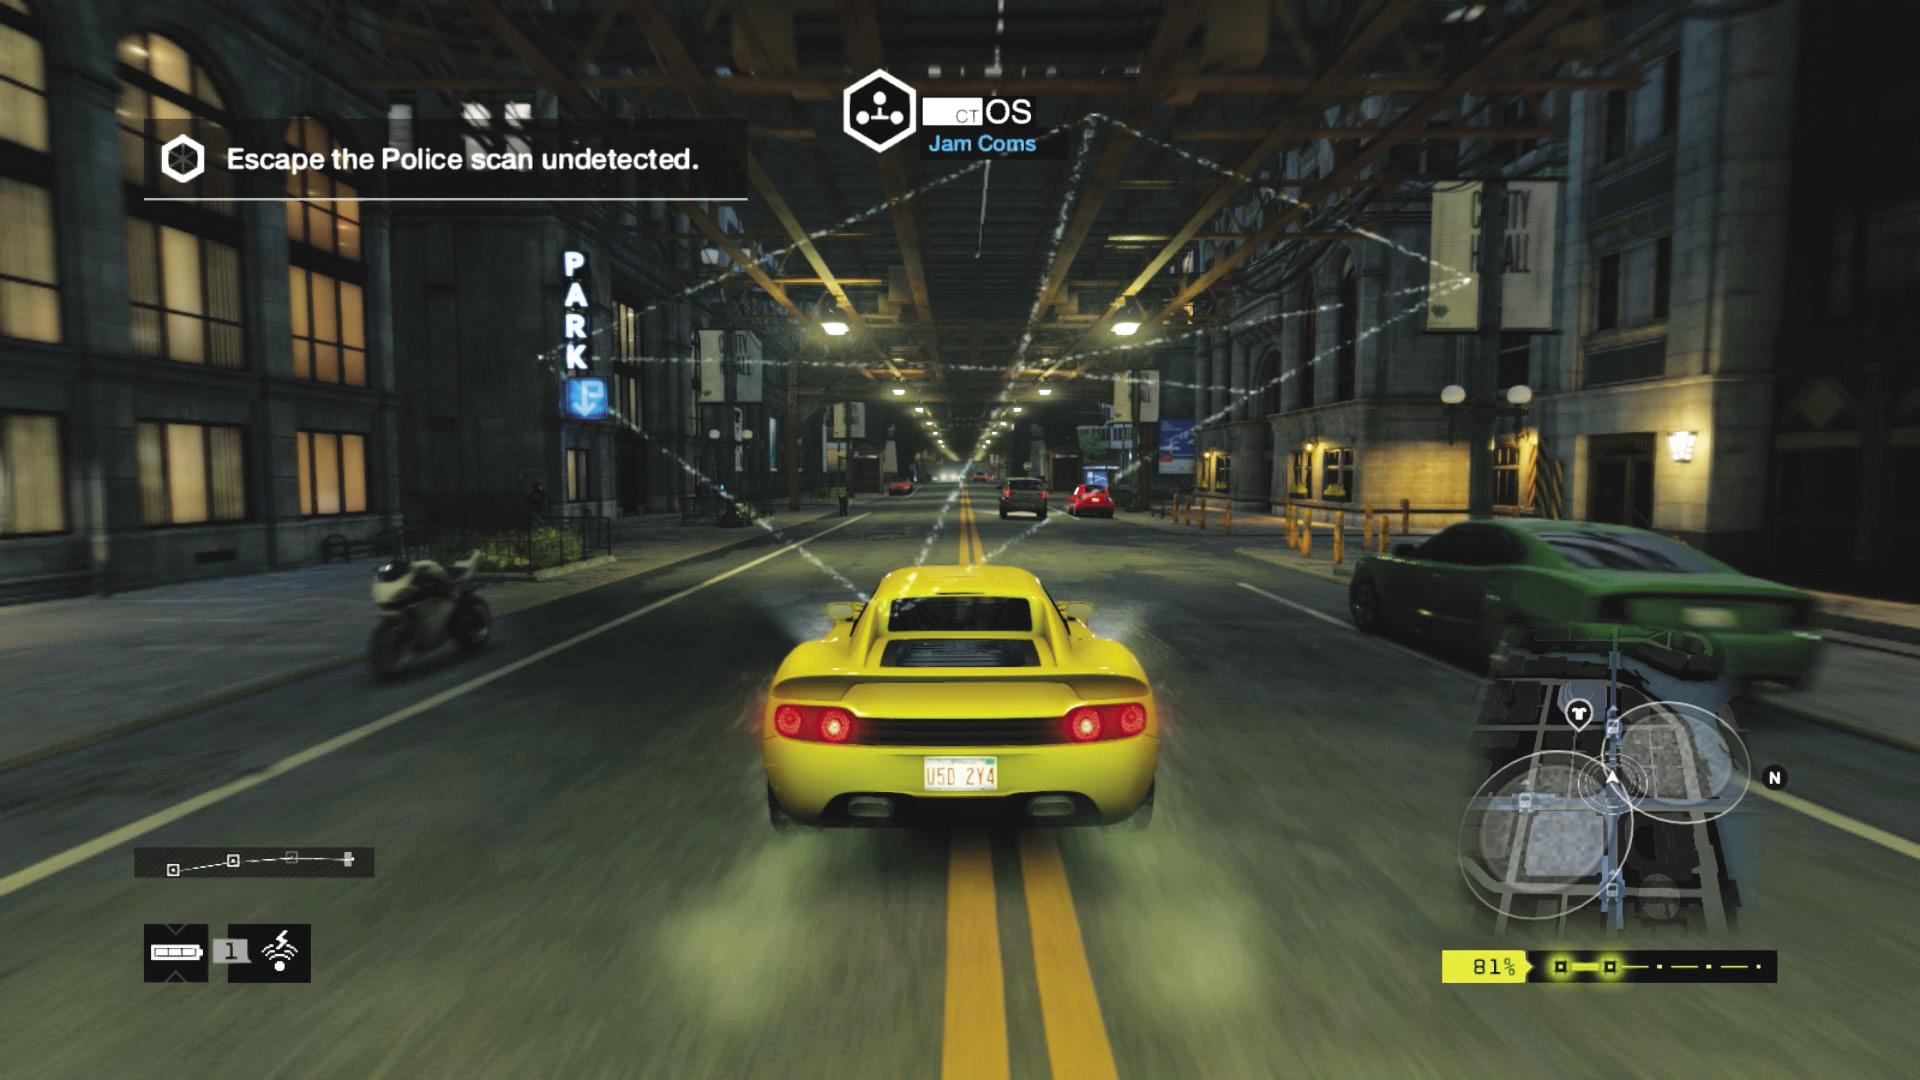
Clara chimes in; the police are scanning the area, and you need to leave. To prevent yourself from being captured, Clara uploads Jam Coms to your smartphone, which disrupts police communications. Consult the Training chapter for more information on how to use it. There are usually additional ctOS guards who arrive; it’s wise to simply remove them quickly with violence, (stay in the foyer, flag them with a ctOS scan or cameras) or flee.
Sprint out of the building via the balcony level; there are double doors to the left (east), ahead (south), or right (west) of you. Or, if you’re close to the soda machine, escape via the parking lot to the traffic tunnels.
 Driving // Defensive: Jam Competency
 Difficulty:
There’s only one way to escape, and it’s by employing Clara’s disruptions at the correct time. Check your minimap for the expanding yellow circle of multiple police scans, which are gradually filling in. As the scans triangulate your position, the percentage bar underneath rises to 100 percent, meaning you’re spotted and a Felony escape begins. So you need to jam before that occurs. Here’s the easiest way to escape:
You’re not being actively chased, just scanned for. So find a street that’s extremely long and straight, and accelerate down it as quickly as you can without causing a major wreck.
Periodically, the police scans attempt to find you; jam at around 70 to 80 percent, and you are essentially rendered invisible to them.
Now continue to move quickly away from the ctOS offices and watch the scanning percentage plummet. Use the same techniques you did during Main Mission: Backseat Driver.
Continue this plan until the police give up and lose your presence, or you escape their search area. At this point, your mission completes.
MISSION REWARDSPolice Scan Evasion XP +225 Gained XP +250 All Skills Available for Purchase |