
Watch Dogs Guide MAIN MISSIONS MAIN MISSIONS /// Act II
_JURY-RIGGED
OBJECTIVES
|
 Disable all three security terminals
 The gate is open, unlock the ctOS tower
 Kill all Viceroys or escape
LOCATIONS // MAP
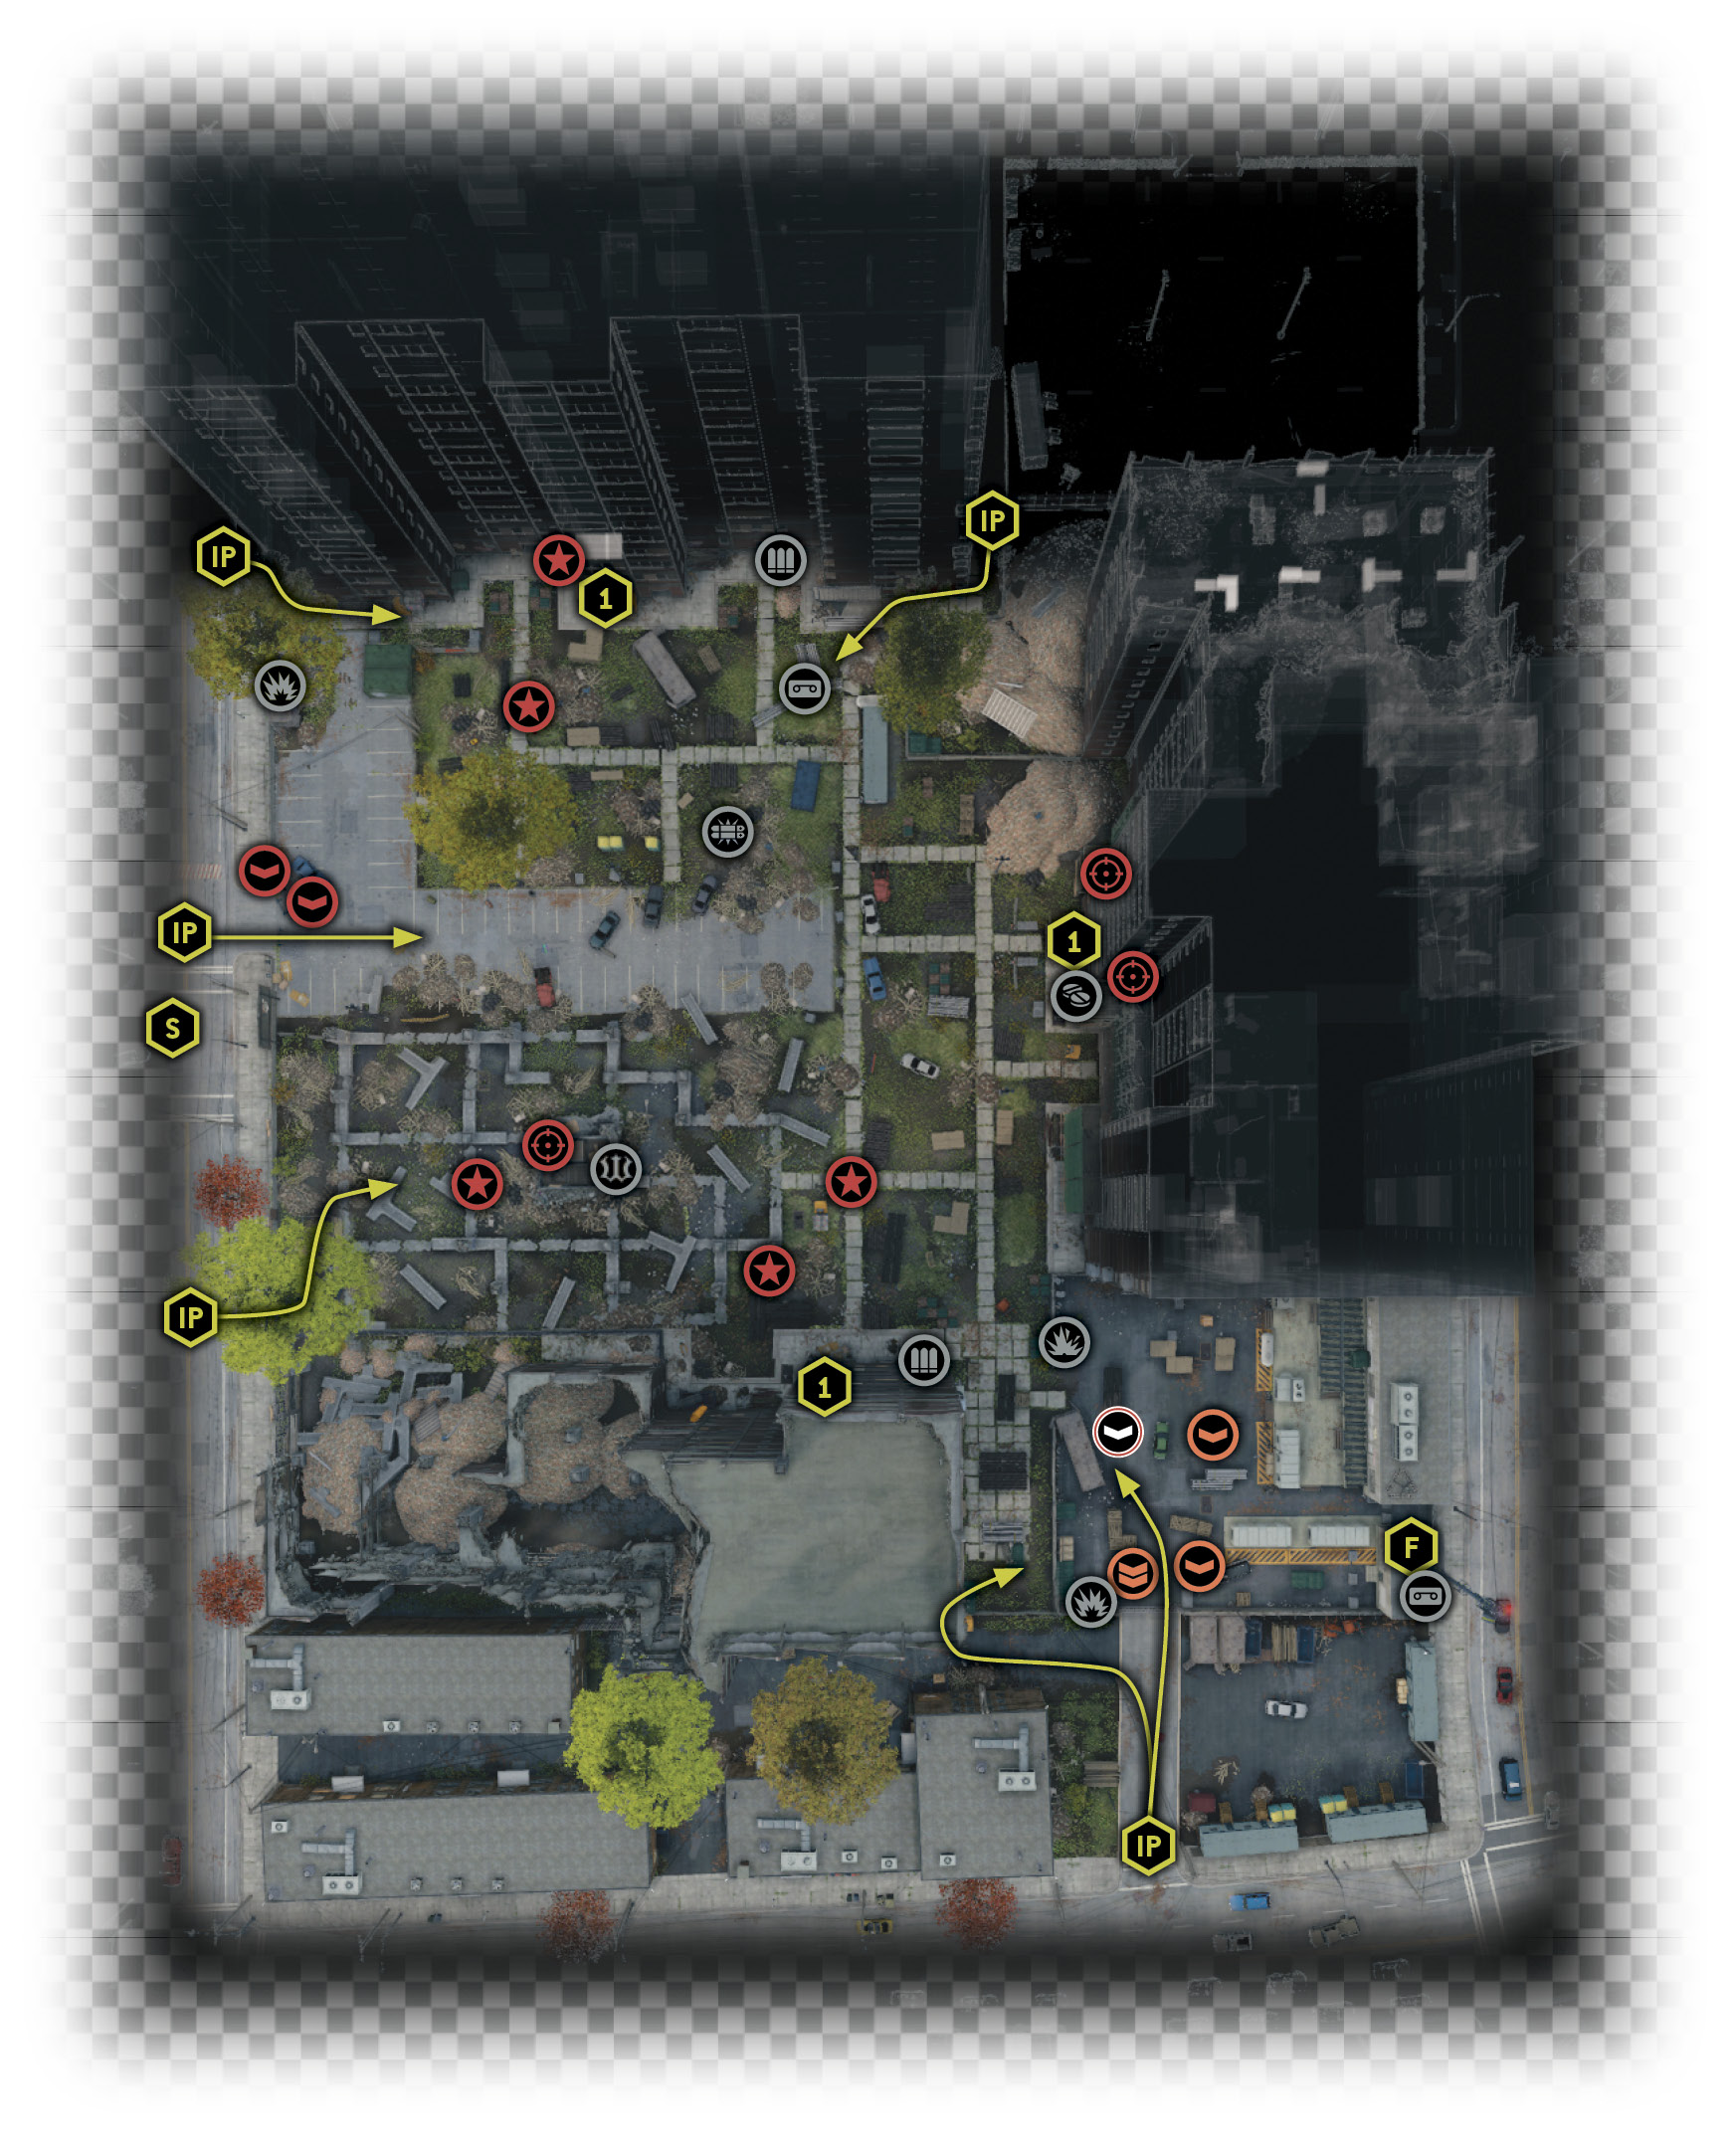
Locations / The Wards // Rossi-Fremont Tenements and ctOS Tower
6.1 STOMP THE YARD
 Location / The Wards // Rossi-Fremont Tenements
|
|
 Disable all three security terminals
 Infiltration
 Data Hack
 Lethal Force Likely
Difficulty: 
Overview
Completion Point: The three ctOS security terminals, one on each side of the three tenement blocks.
Dangers: Ten Viceroys (Gunmen x2, Elite x5, Marksmen x3), with pistols and machine guns (ground level). Two Marksmen are on the upper balconies of the far (east) block. One Marksman on the concrete tower ruins in the yard. No Shot-Callers.
Reinforcements: A vehicle arrives, parking in the center of the Tenement yard (four foes inside—Gunmen x2, Veteran x1, Elite x1) once Viceroys are down to four remaining foes.
Reinforcements: Two Viceroys arrive after you hack first and second terminal (Veteran x2, one Shot-Caller). Shot-Caller summons three Viceroys (Gunmen x3).
Reinforcements: Two Viceroys arrive after you hack first and second terminal (Veteran x2, one Shot-Caller). Shot-Caller summons three Viceroys (Gunmen x3).
Insertion Points
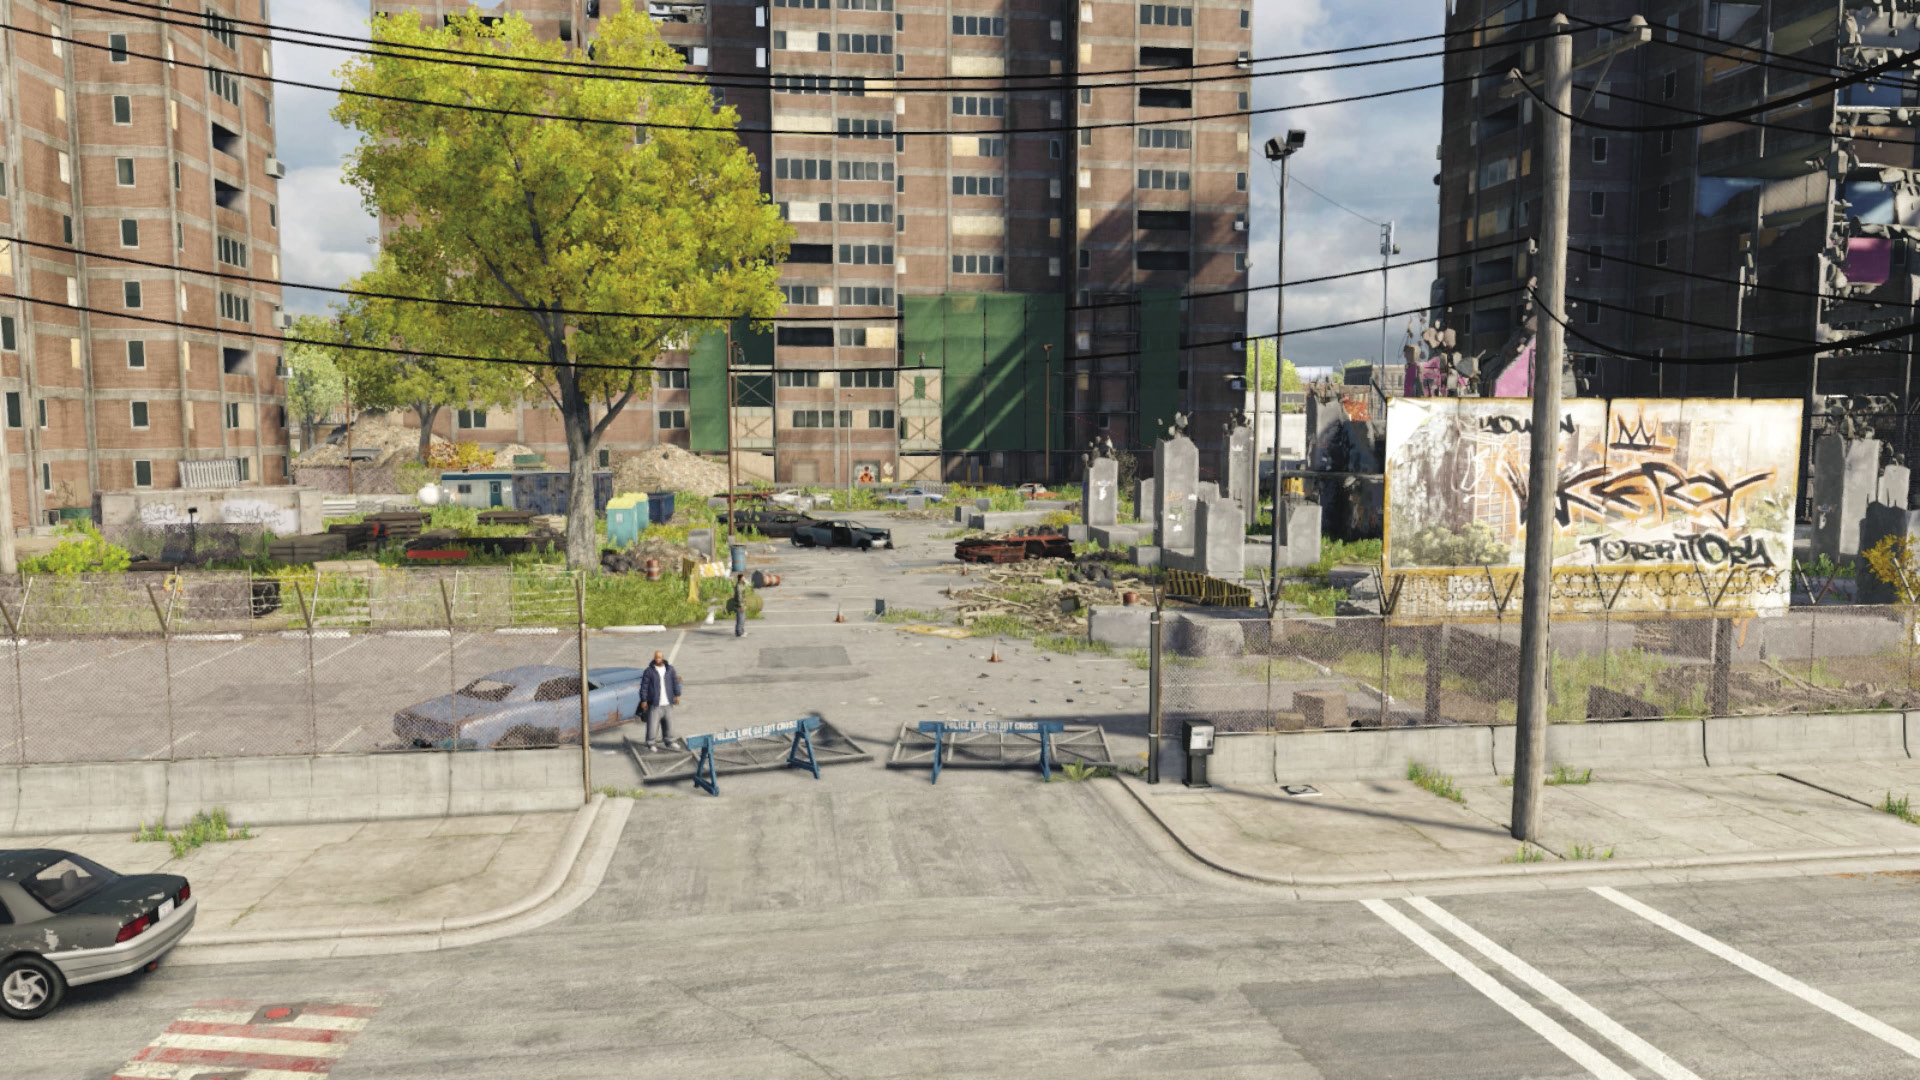
Street Entrance (West)
Accessibility Level: 
This is the open parking lot with a couple of gangbangers and some parked vehicles. It’s also where Viceroy reinforcements drive in from, so parking a fire engine or other large truck and car collection prior to starting this mission is a great plan. From here, you have the entire yard at your disposal; you can remove the single Viceroy at the entrance, then sneak left to the north tenement terminal, rush up the middle if you don’t care about safety, or head right to the concrete ruins. The choice is yours.
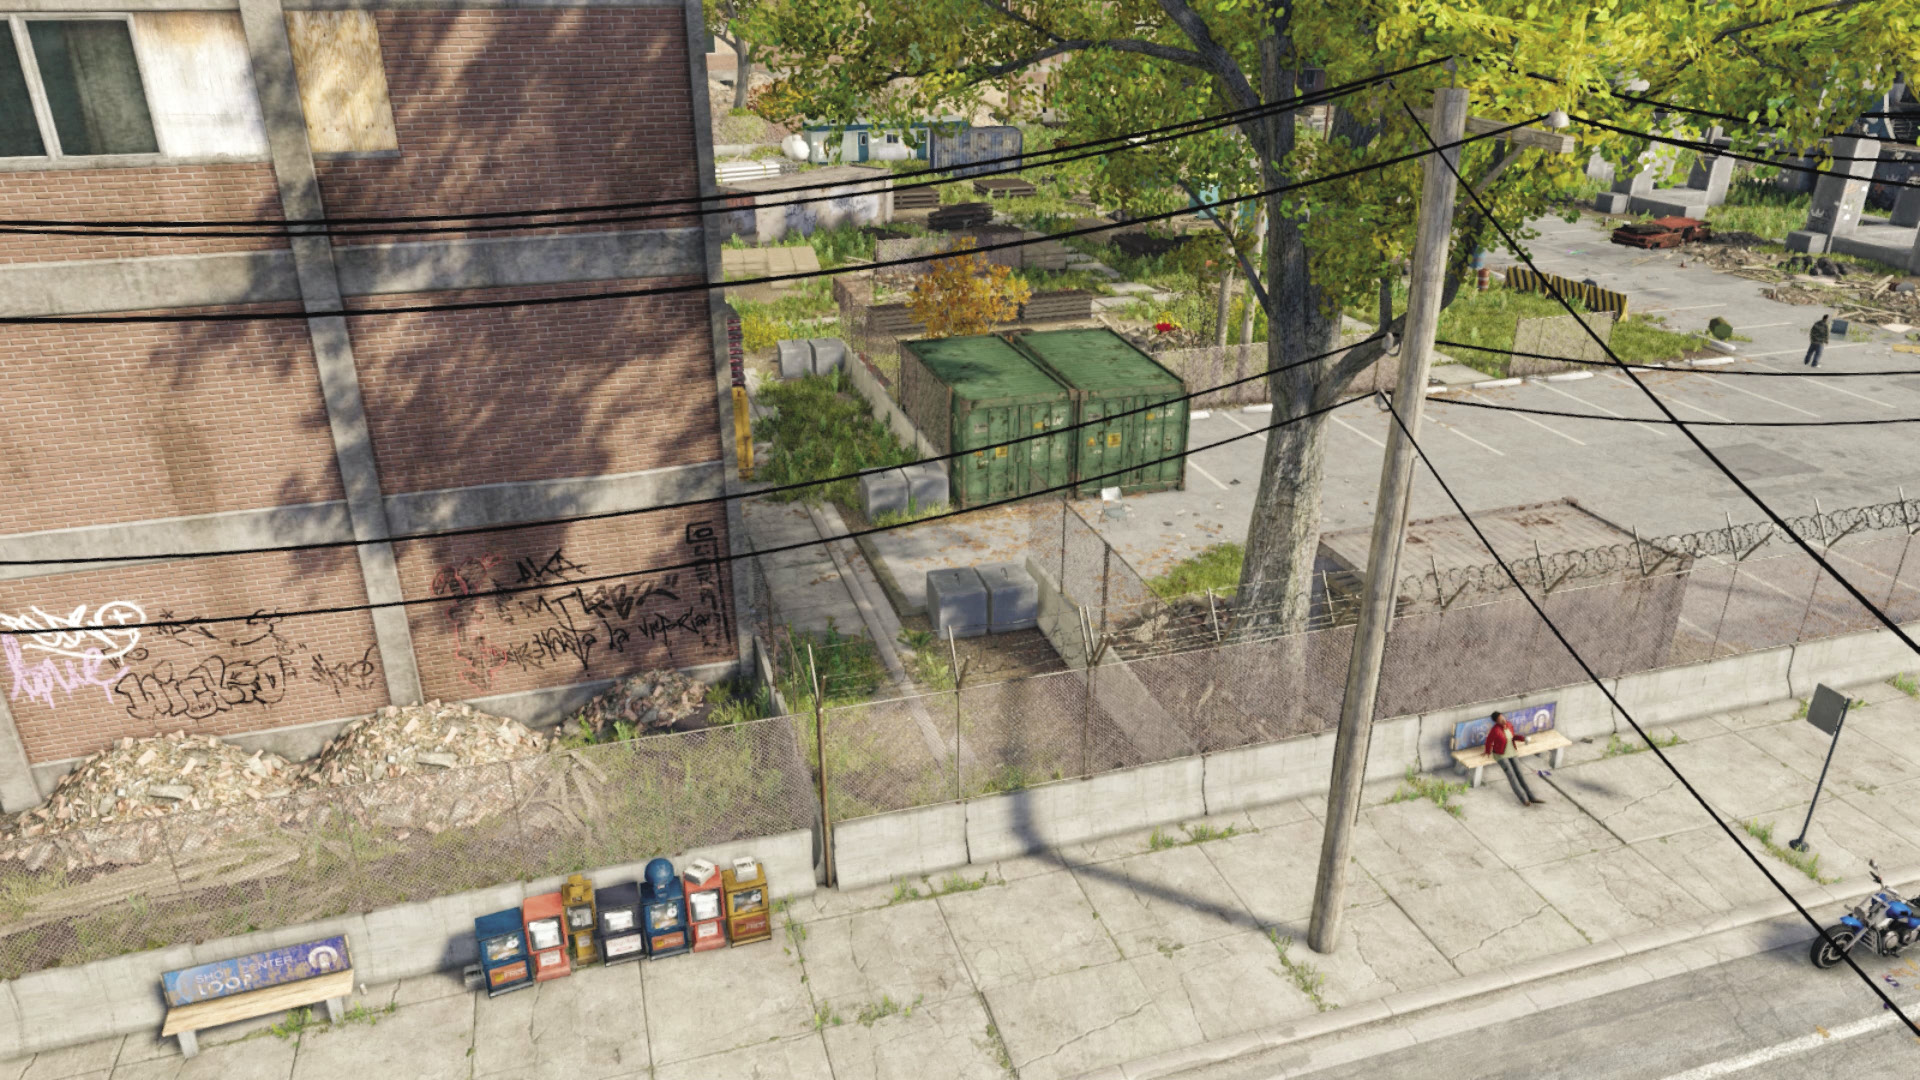
Left Tenement Fencing (Northwest)
Accessibility Level: 
Instead of announcing your presence at the street entrance, avoid confrontation and head through the open gate to the north. Hop over some fences to reach the corner of the north tenement building in the yard’s northwest corner. Watch for foes watching you. Now you can sneak around the perimeter of the yard, melee-strangling as you go. Watch for the snipers, though.
Concrete Ruins (Southwest)
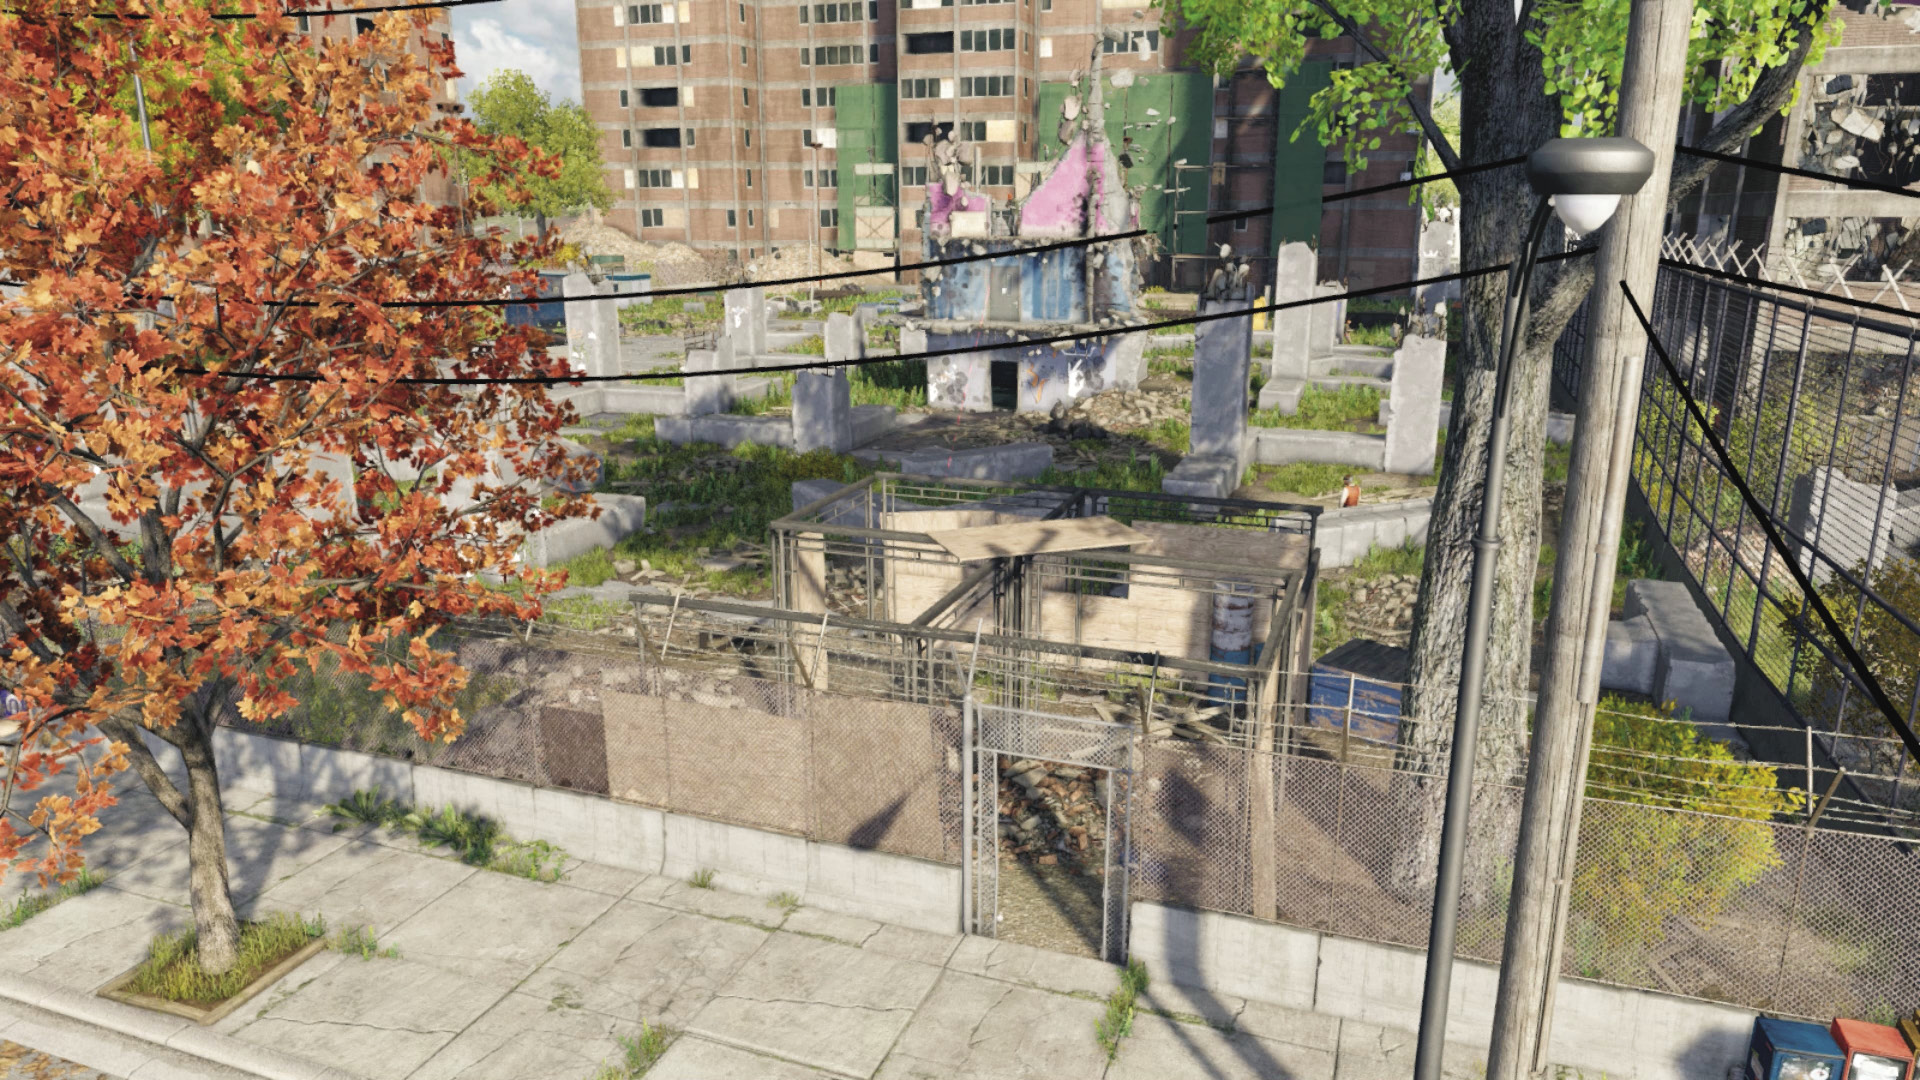
Accessibility Level: 
There’s an open gate to the right of your starting position, in the yard’s southwest corner. This leads to the patched wooden panels and scattered concrete ruins of an old crumbling tenement tower. The Viceroys have a sniper atop this tower, so this is a great way to sneak in and tag or melee-strike him if you’re careful to avoid being spotted. You can sneak counterclockwise around the perimeter from this location, too, and there’s one of Maurice Vega’s burner phones (which also contains an Audio Log) to gather (usually in a lull between battles).


Left Tenement Fencing (Northeast)
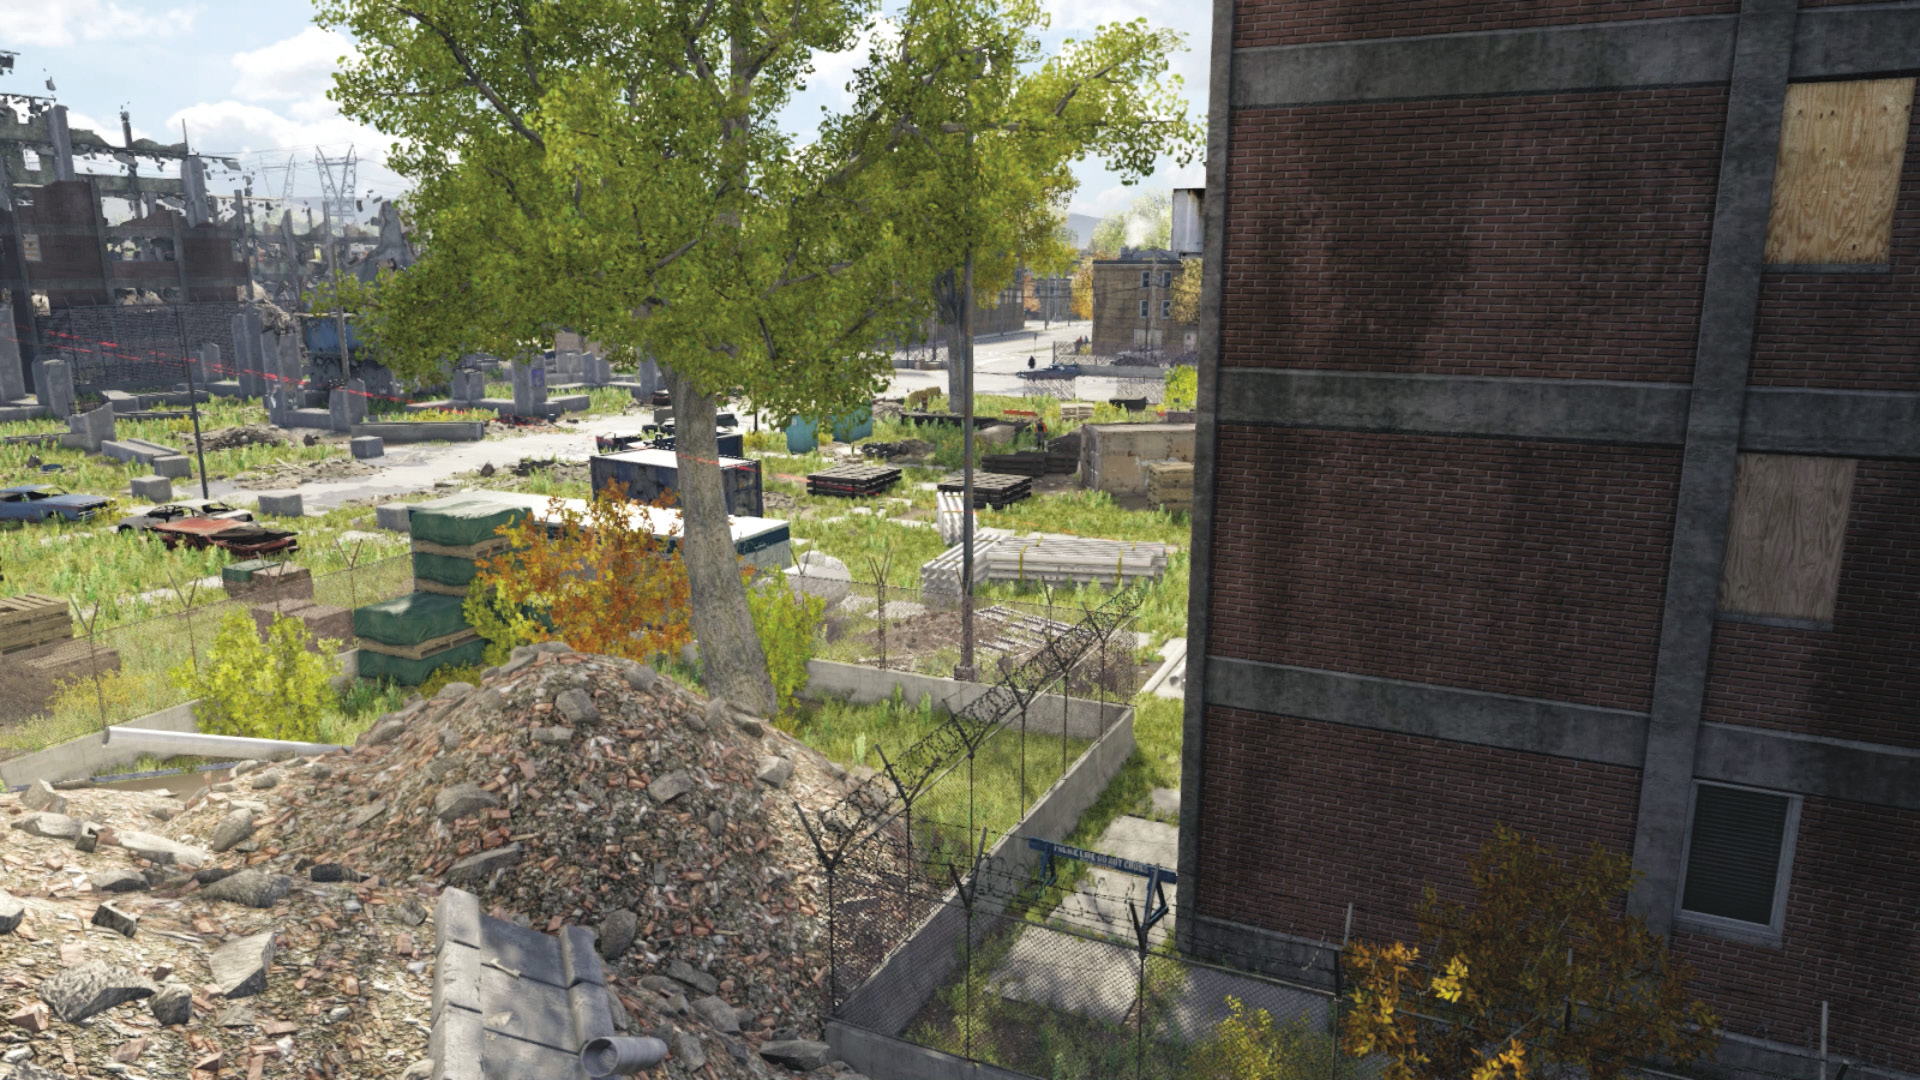
Accessibility Level: 
Run around the rear of the left (north) tenement block to reach a rarely used parking lot, a load of brick rubble, and grass-lined pavers in the yard’s northeast corner. There’s a huge propane tank to explode with your weapons nearby (great for distracting or removing multiple threats). Just before you enter the area, bring out a sniper rifle or your pistol and tag the sniper on the east tenement balcony; this way you won’t be winged if a battle erupts. Remember there’s one on the other side, too! This is the easiest place to reach the first Audio Log (on the stack of white pipes close to the propane tank).

ctOS Tower Yard (Southeast)
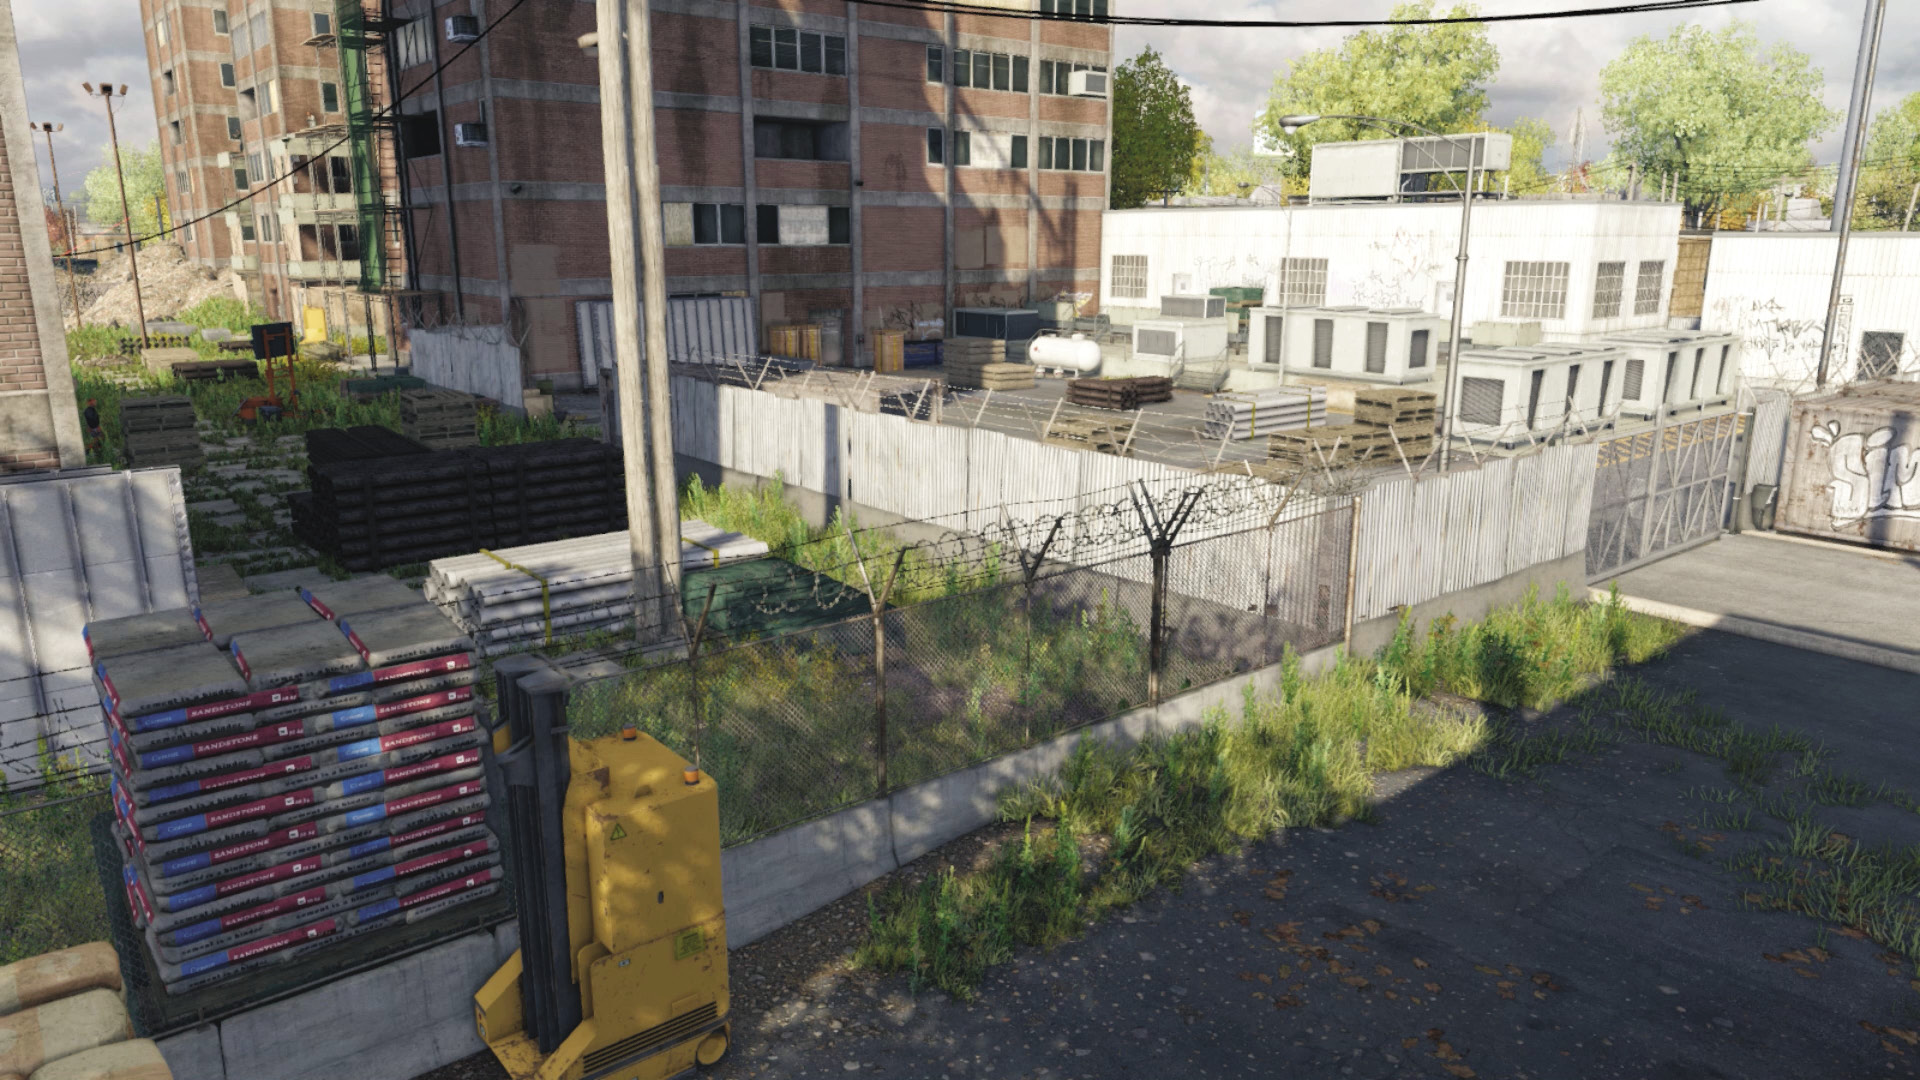
Accessibility Level: 
If you haven’t explored this area, do so before you complete the first objective. The ctOS tower yard is a small, self-contained area with a gate to access and a fence you can use a forklift to hop over, allowing access to the main yard’s southeast corner. This is great for figuring out where the actual ctOS tower is (southeast corner of the tower yard) and for sneaking in from a different angle and tagging the sniper on the east tenement balcony. Remember there’s a second one, too!
Progression Plans
You may now try one, parts of, or any combination of the following methods to access the three terminals. Remember the entire yard is accessible, so you don’t need to limit yourself to these plans.
General PreplanningPresupposition: This mission requires sneaking and usually combat, so make sure you’ve already learned the elements referenced in all earlier missions. No Cameras: Although there’s a camera overlooking the tenement yard near your starting position, the yard is devoid of cameras, so marking the Viceroys is tricky. Rely on your minimap, have your smartphone Profiling so you can mark within your phone’s radius, and heed the knowledge listed below. Or utilize a ctOS scan to instantly find and mark all the enemies; this is most helpful! Viceroy Routes: Of the three snipers, two are stationary (east balconies) and one sometimes changes weapons (concrete tower). The other foes are usually bunched two or three to the general area of each terminal. Time your movements so a nearby guard is facing the other way. Be Prepared: There are fewer hacking points, so it is wise to carry your favored weaponry for this mission. Although it’s possible to finish this without combat, be sure you have a sniper rifle, machine gun, pistol, and grenades at the very least. Be Overprepared: Add IEDs, perhaps a grenade launcher, and other powerful weapons to your inventory if you’ve finished side missions or if you’ve just come from the gun shops or pawnshops. |
 Driving // Smart: Keeping the Viceroys at Bay
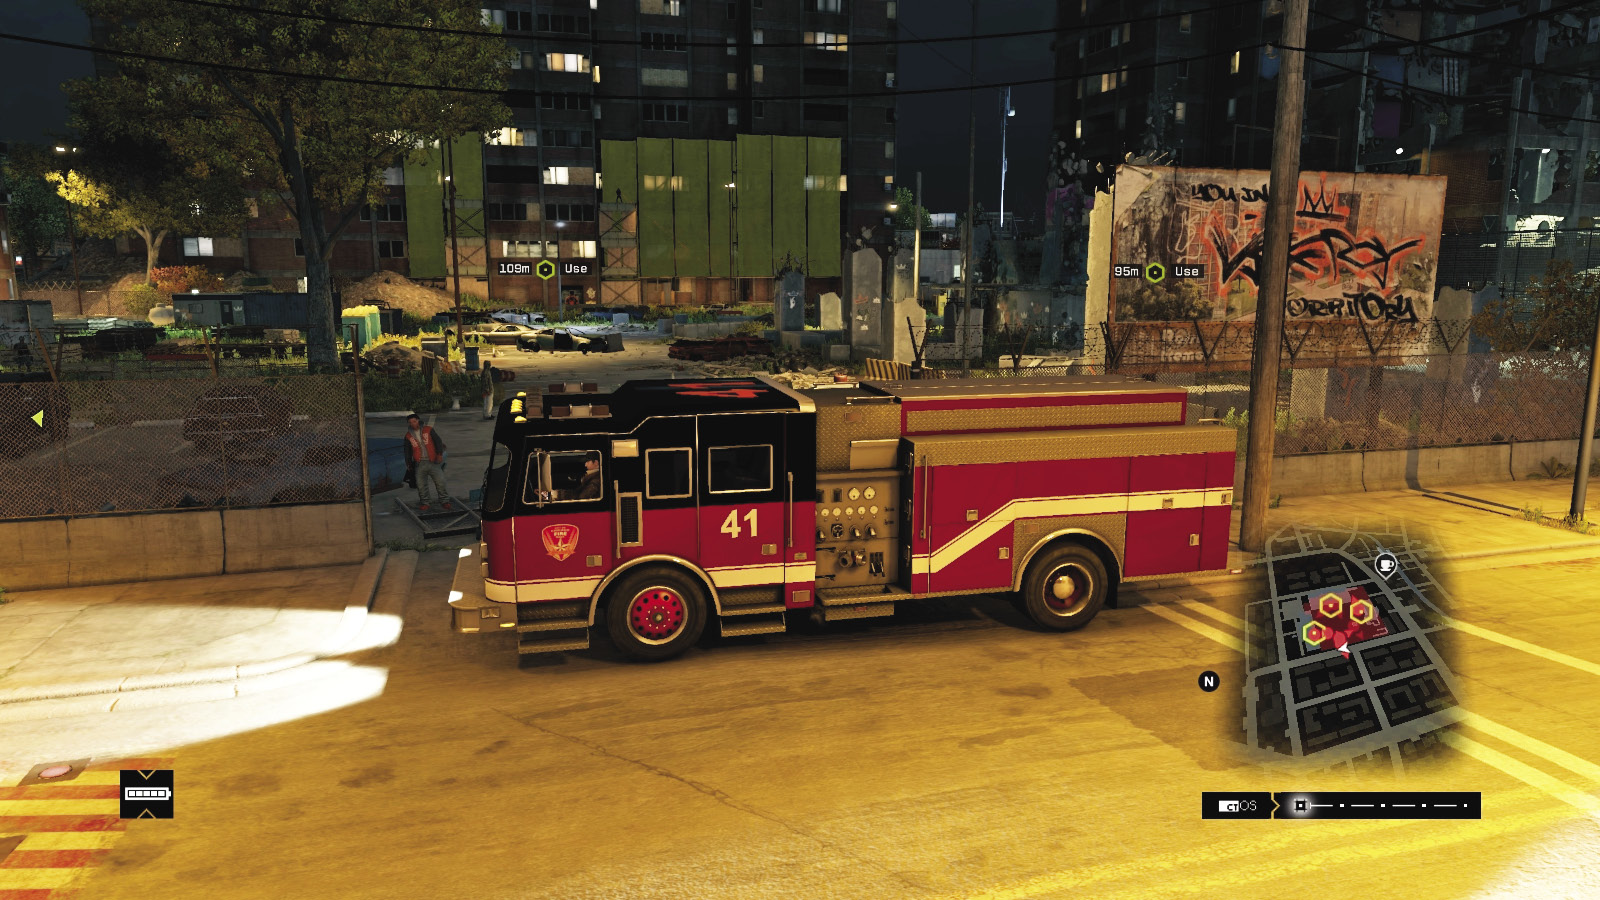
Difficulty: 
Be sure you’re out of the restricted area, and study the main entrance where the Viceroy vehicle arrives from and the entrance gate near the ctOS tower; these are insertion points. Bring a fire engine, dump truck, or collection of vehicles and park them across the entrance area, two or three deep. This ensures the Viceroys called as reinforcements become stuck in this jam. It won’t stop them all (as they’ll head out on foot through the insertion points), but it certainly slows them down. You may wish to create some traffic havoc before you venture on:
Street Entrance (West): There are blockers to raise, too, after you finish your crazy parking.
ctOS Tower Yard (Southeast): Block the gate to the tower yard, as well as the main street entrance by the portable cabins.
 Aggressive // Violence: Street Sniping to Slay
Difficulty: 
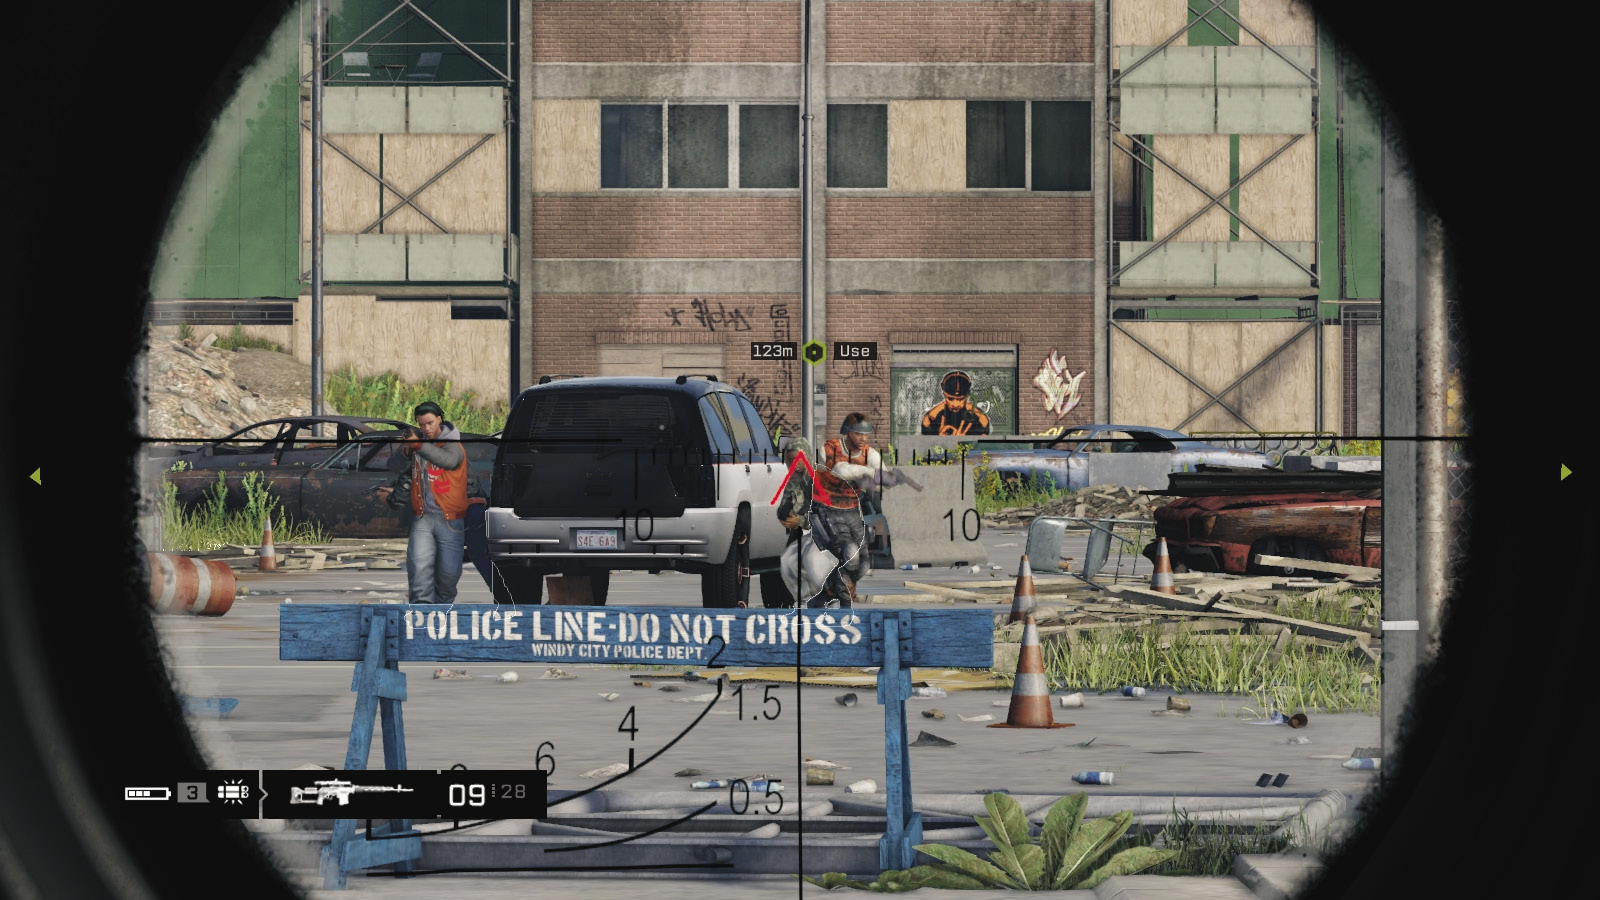
Before you even step foot inside the restricted area of the main yard, you can make your presence felt by parking a vehicle to hide behind and start a sniper battle with a crack shot or two. Target the sniper inside the concrete tower or the Viceroy at the parking area at the entrance first. The two snipers on the far (east) balconies can’t move, so they’re easy to pick off. Then slowly advance into the yard (usually to the concrete ruins) to continue your precise takedowns, before switching to other weapons for quicker combat.
 Passive: An Impressive, Stealthy Display
 Difficulty:
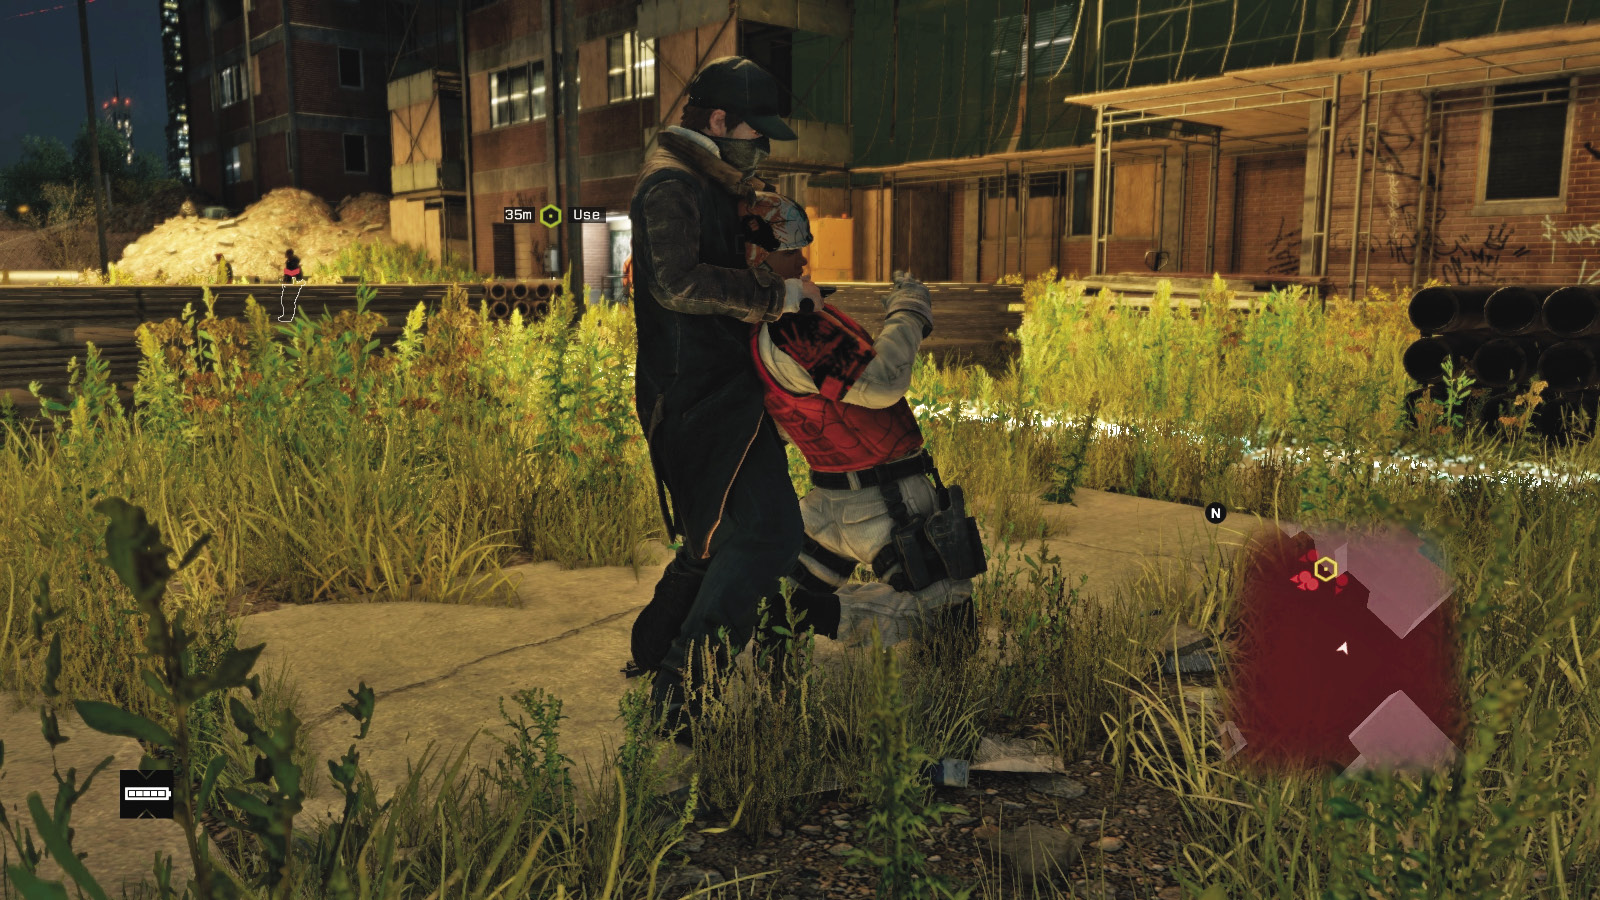
It’s pretty difficult to finish this objective without a drop of blood being spilled. This takes time and patience (stopping to ensure any foe isn’t looking your way), as rushing almost always reveals you to your foes. It also requires multiple insertion points to minimize the chances of you being seen, but you can attempt to reach each terminal in any order:
Left (North) Terminal: Approach from the northeast or northwest corner, hugging the perimeter wall and using a lure or melee strike to tackle the foe standing guard by the terminal.
Far (East) Terminal: Approach from the northeast or southeast corner, keeping out of view of the two snipers. If necessary, use the propane tank and containers in the northeast rubble corner for cover.
Right (West) Terminal: This is the easiest, as you can watch the Viceroys patrol just like the left terminal and can creep in between the patrol patterns. Approach from the southeast or southwest, but watch for snipers spotting you in either direction.
 Aggressive // Violence: Making the Viceroys Your Prey
 Difficulty:
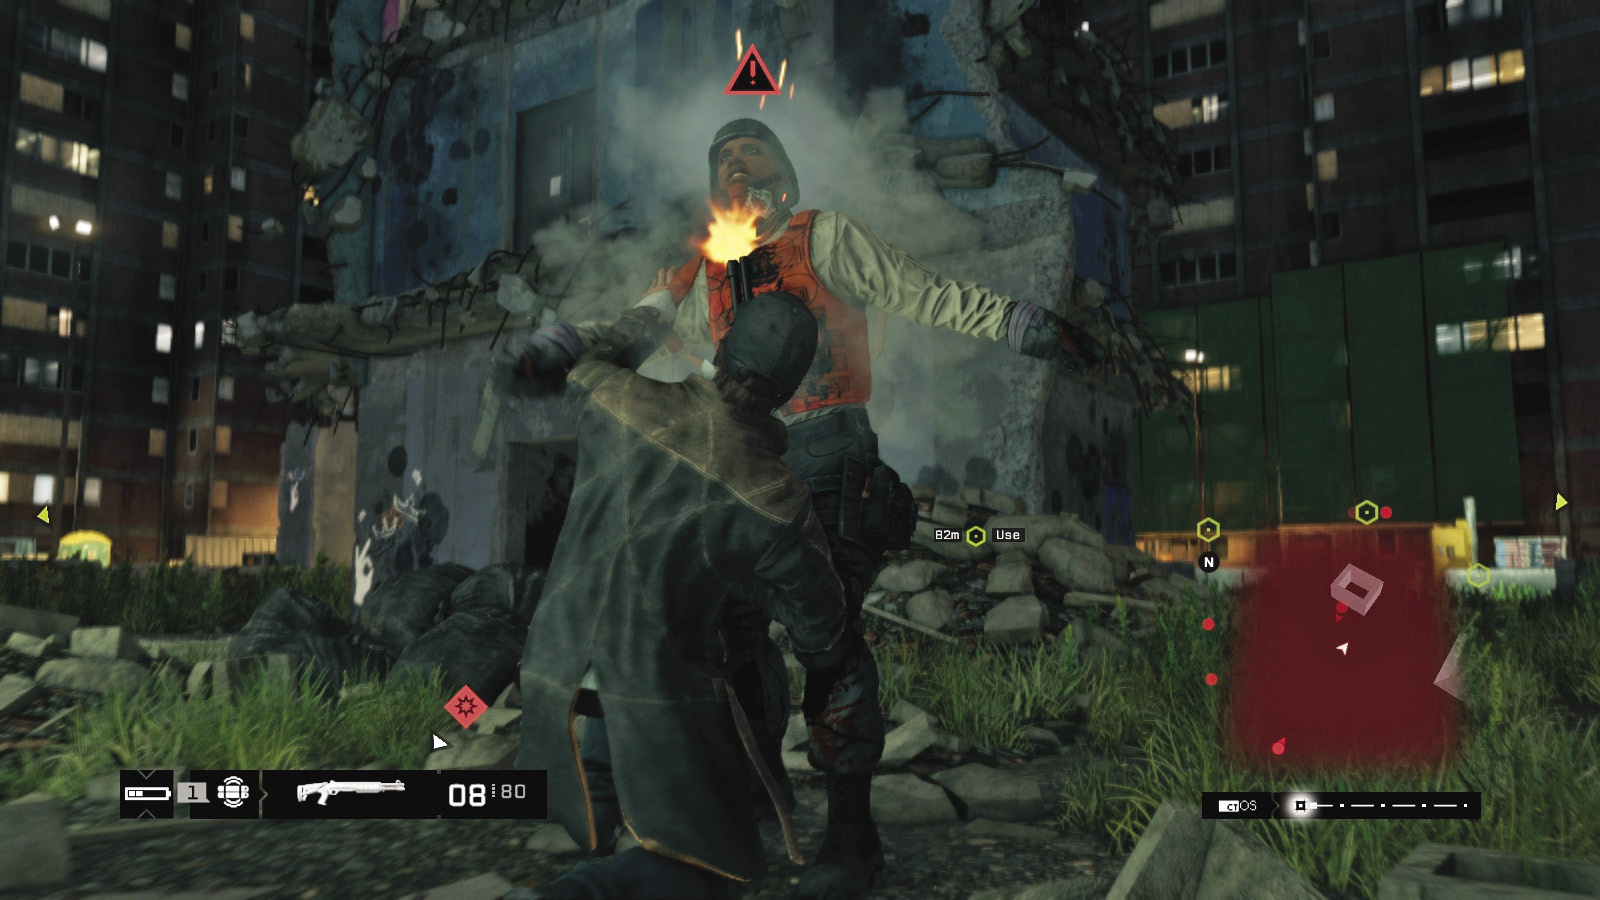
After a couple of melee strikes, you are usually spotted, and the situation turns chaotic. If this occurs, switch to your favored weapons and prepare for a protracted battle. As you get into an advantageous cover position and ignore the Viceroy taunts, be sure you prepare for or employ many of the following tactics:
Snipers Away:Deal with the three snipers first; two are on the east balcony and one is on the concrete tower. Watch for the reinforcements in the vehicle once you reduce the previous foes to four.
Shot-Callers: They are trouble (but appear only after you hack a security terminal), so if you spot one starting to make a phone call, do everything you can to stop that call going through—perform a headshot, charge and do a melee takedown, hack them if you have the skill, or lob a grenade.
Concrete Jungle:It’s usually a good idea to take refuge in the yard’s southwest part by the tower. The fallen support beams make great hiding opportunities, there’s minimal chance of being surrounded, and you can use the tower to gain height and tag foes behind cover at range. Another option is the northeast open container and low cover; you’re near an alleyway escape where you can coax foes to a slaughter or blast the propane tank for a great explosion.
ctOS SOS:If the battle is becoming problematic, you can always retreat to the starting point across the street, using pedestrians and parked vehicles as cover. Or, you can move into the ctOS area. Although reinforcements pour in from here, the area has better cover for you and fewer aiming opportunities for the enemy.
Viceroy Vehicles:Damn! Here comes the cavalry! Well, ensure you know the foes are coming and that you’re prepared for them. As they appear from the ctOS and the western parking lot, you can move to the northeast area so you’re not surrounded. Try raking the vehicle just as the foes disembark so you can take them down before they spread out; a grenade works wonders here! Or better yet, prepare the area by laying an IED where the vehicles park, especially the SUV in the main yard. Then detonate as the foes emerge.
 Driving // Offensive: Bringing a Motorbike to Play
Difficulty: 
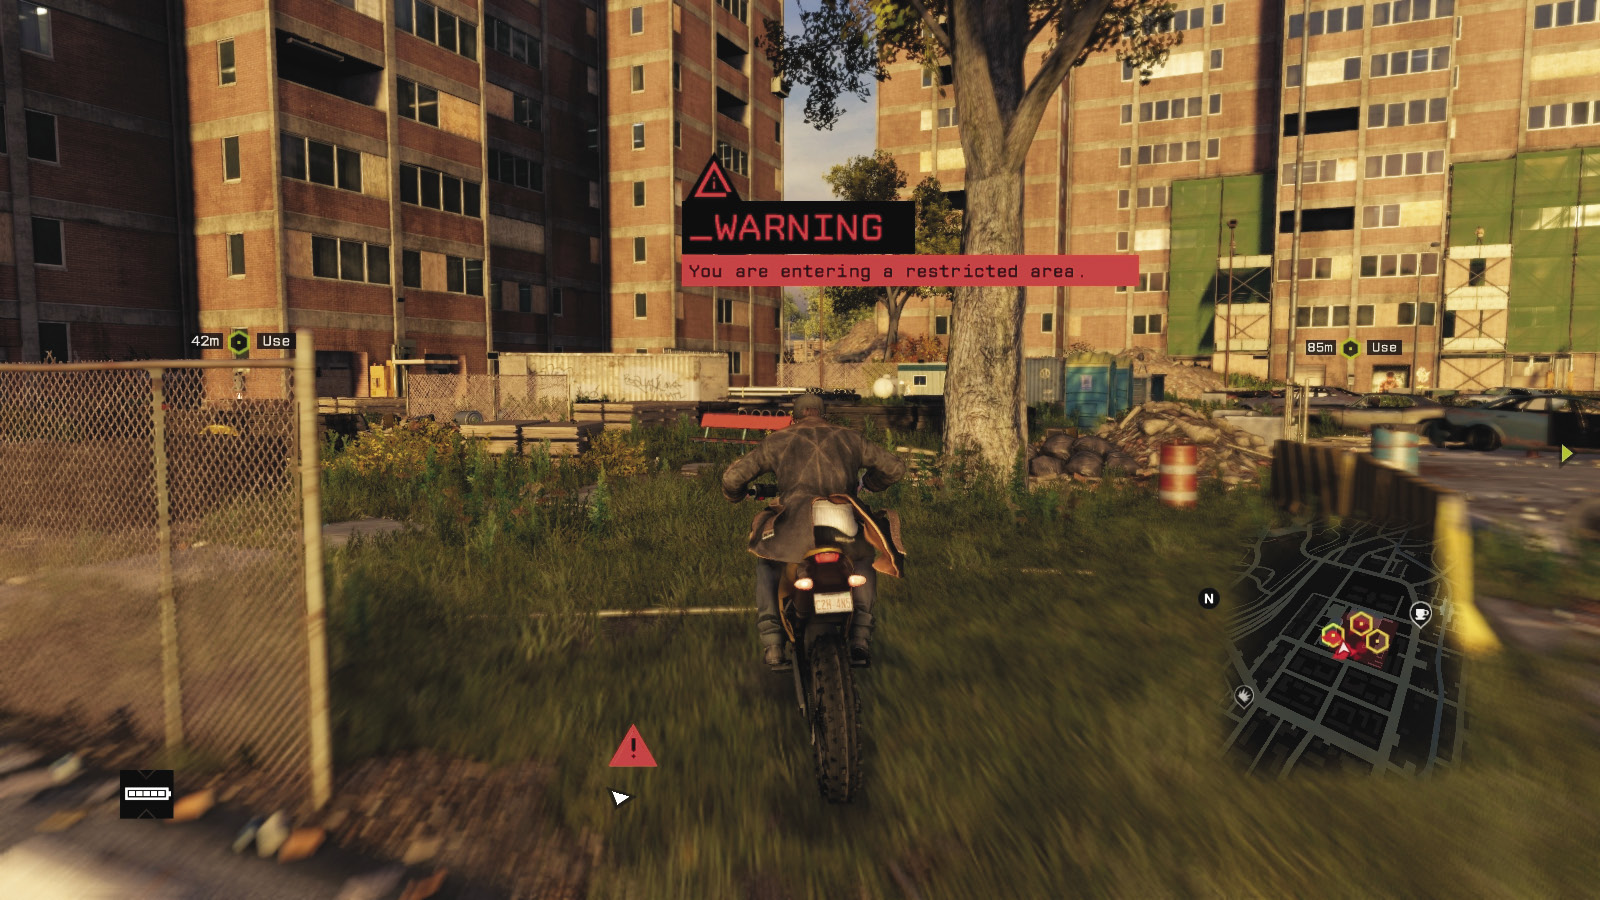
Back on the bike again? If you’re ready and mad enough, zoom straight through the western parking lot, aiming at the far (east) terminal. You reach there just as the Viceroys realize what’s going on. Weave around the obstacles to the south terminal, and scoot across (or exit the restricted zone and use any insertion point) to the last terminal. Try to skid and park your bike for a quick getaway as you reach low cover when hacking, and shrug off enemy shots. This is improbable, but possible!
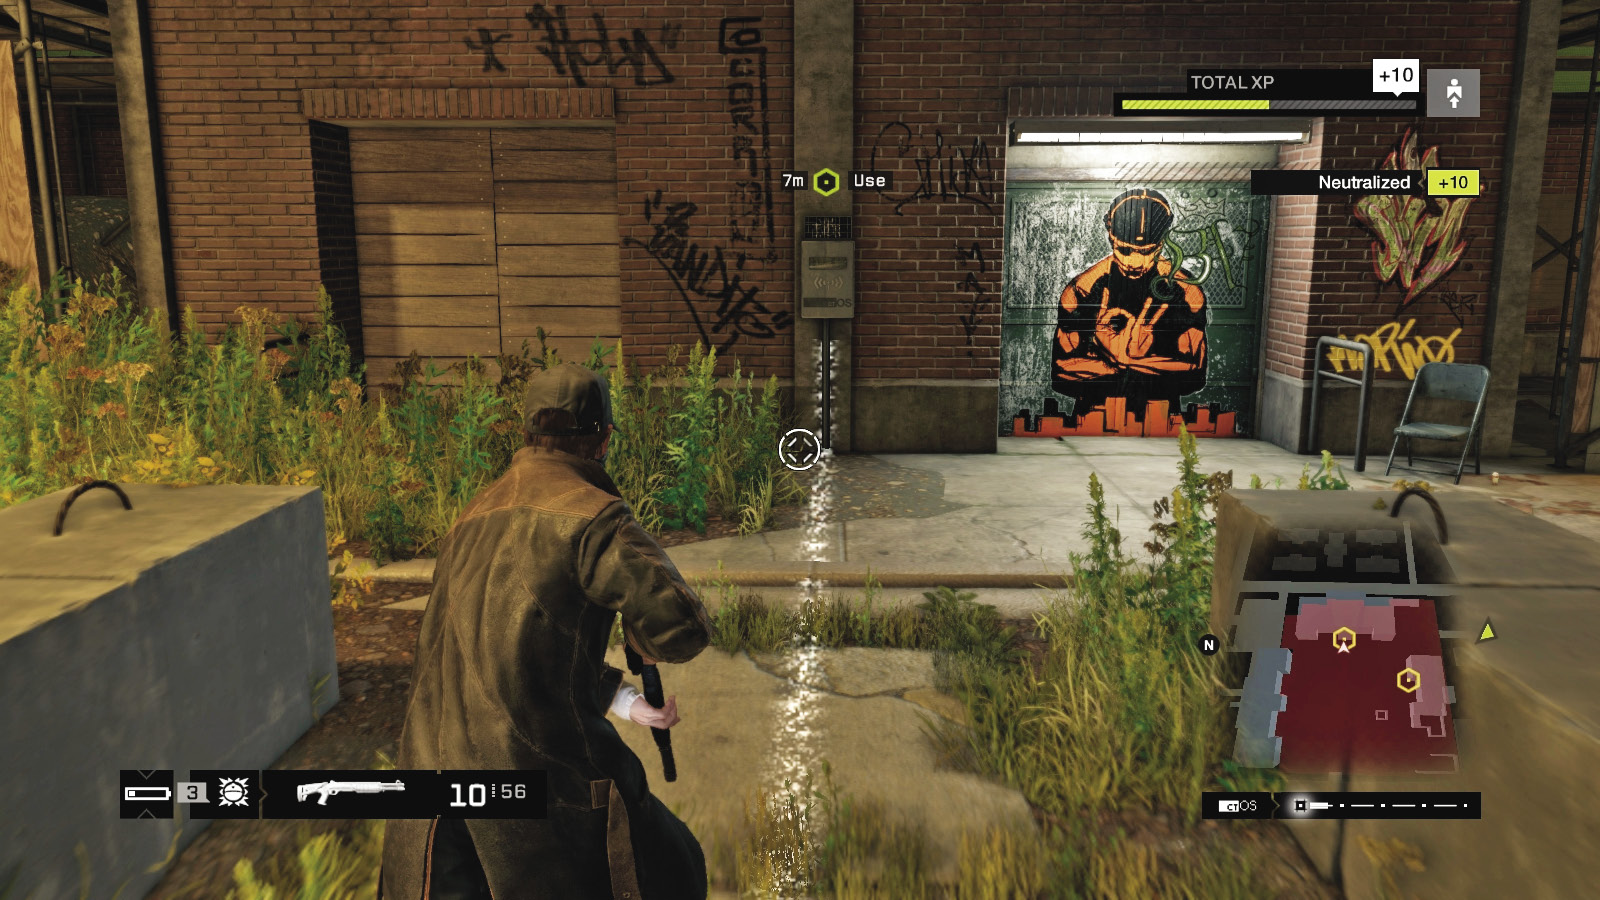
Have your smartphone out as you reach each terminal, hacking it in a moment. Watch for two additional foes appearing close to the remaining terminals! As soon as you hack the third terminal (in any order), the objective updates.
6.2 TOWER TROUBLES
 Location / The Wards // Rossi-Fremont Tenements
 Location / The Wards // Rossi-Fremont ctOS Tower
|
|
 The gate is open, unlock the ctOS tower
 Kill all Viceroys or escape
 Infiltration
 Data Hack
 Lethal Force Likely
 Vehicle Chase
Difficulty: 
Overview
Completion Point: The ctOS tower in the southeast corner of the tower yard.
Reinforcements: Four Viceroys arrive after you hack the third terminal (Gunmen x3, Veteran x1; one is a Shot-Caller). Shot-Caller summons three Viceroys (Gunmen x3).
Reinforcements: Up to four Viceroy vehicles after you hack ctOS tower (each with two foes; Gunmen x6, Veteran x2).
Insertion Points
Yard to Yard (West)
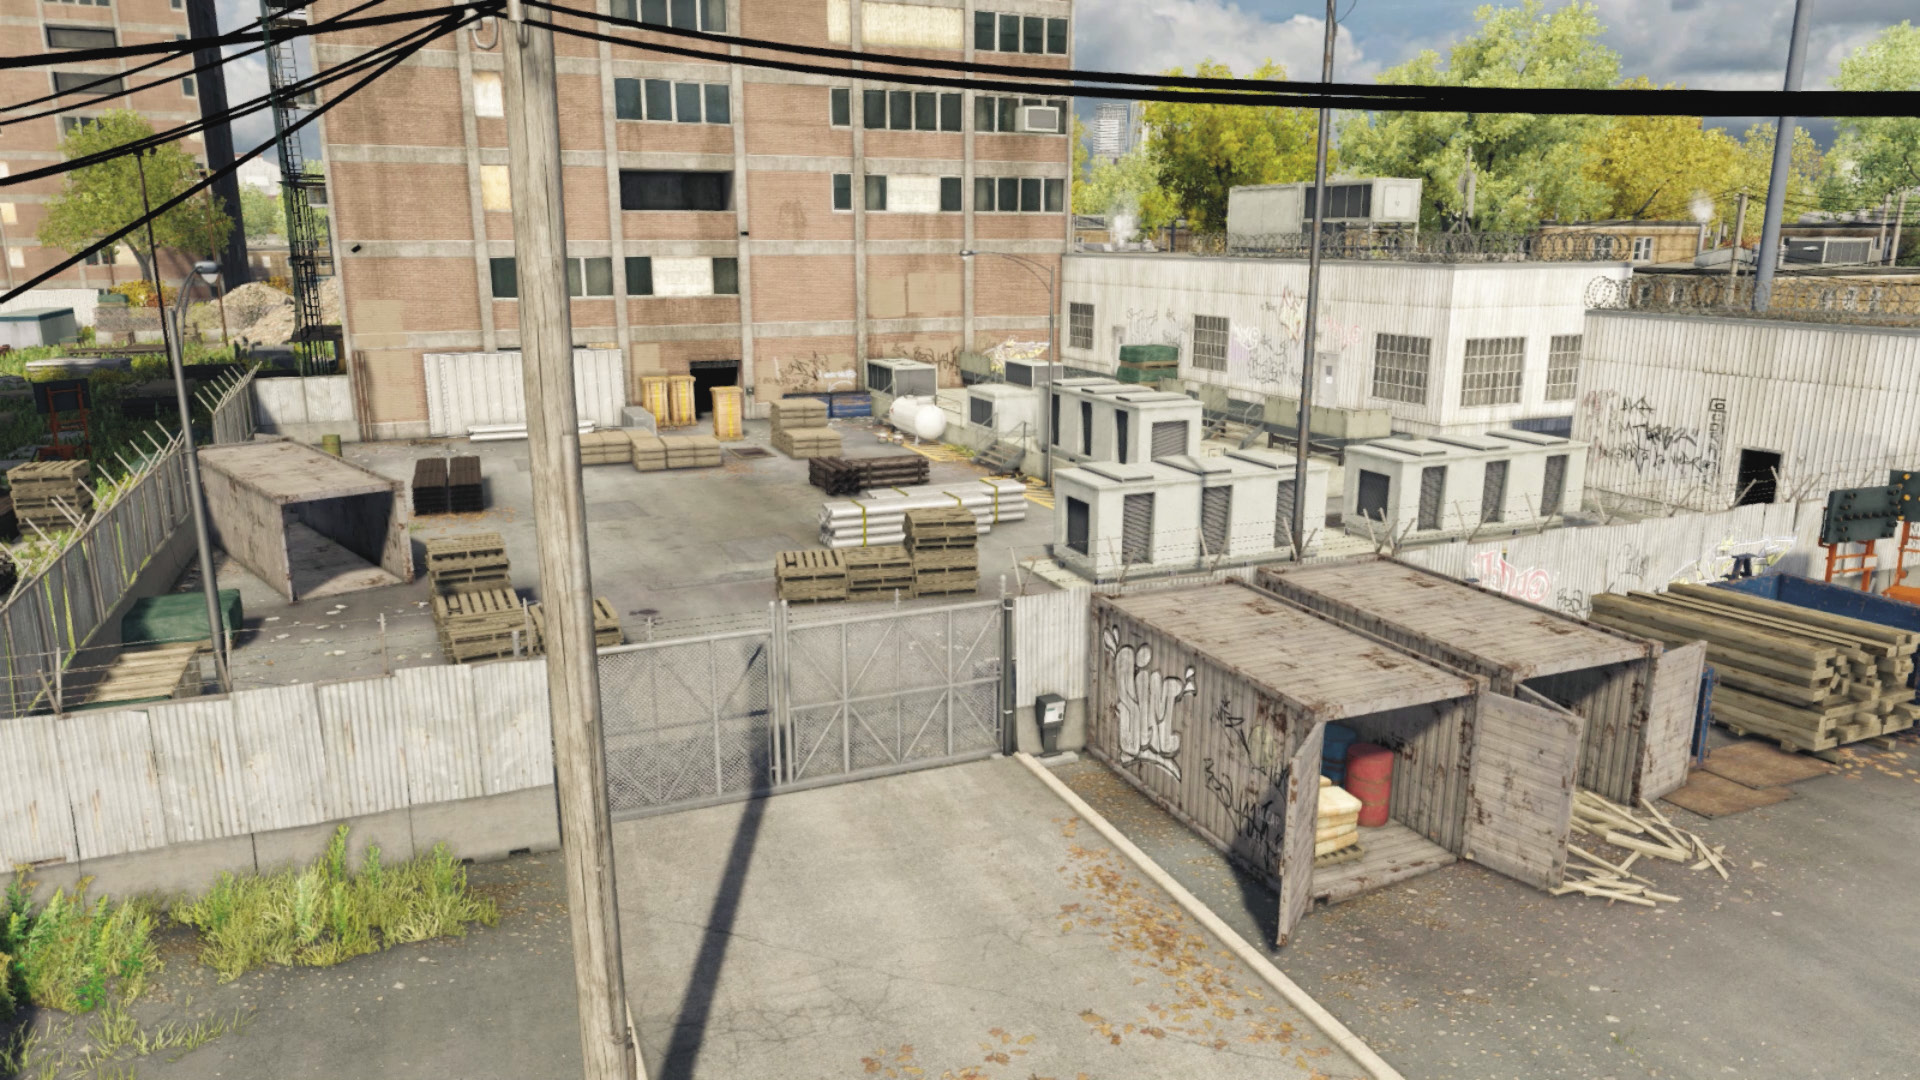
Accessibility Level: 
The gap between the yard’s southeast corner and the tower yard is where you’re likely to be stuck, usually with two or more foes to contend with. If you successfully slew all enemies prior to this objective, only two remain. Otherwise, reinforcements are crowding the tower yard gate. The gap is narrow, but there are numerous cover opportunities as you insert yourself and run for the tower in the opposite (southeast) corner.
Tower Yard Gate (South)
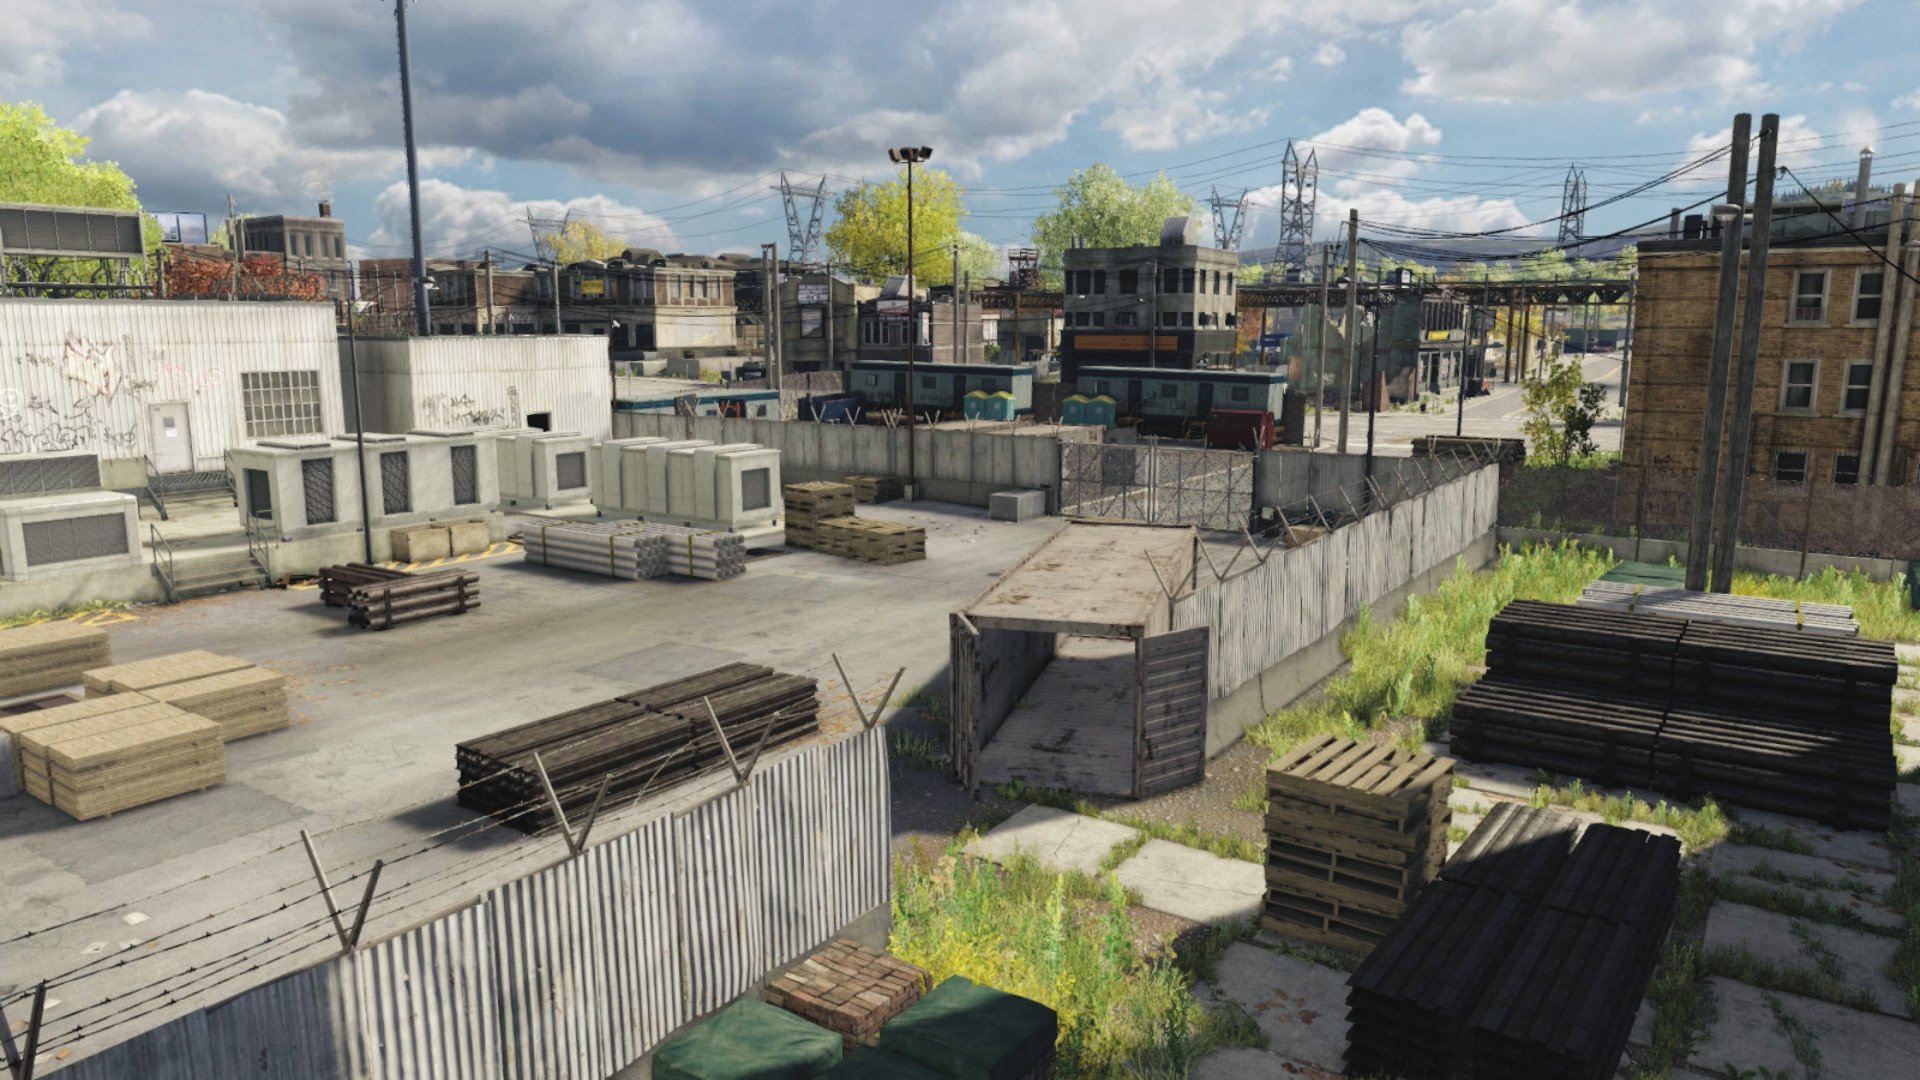
Accessibility Level: 
The other method to gain entry into the tower yard is via the gate. Access this from the street after moving out of the restricted area and driving here. There may be foes milling about at this gate; employ the tactics shown below as you escape.
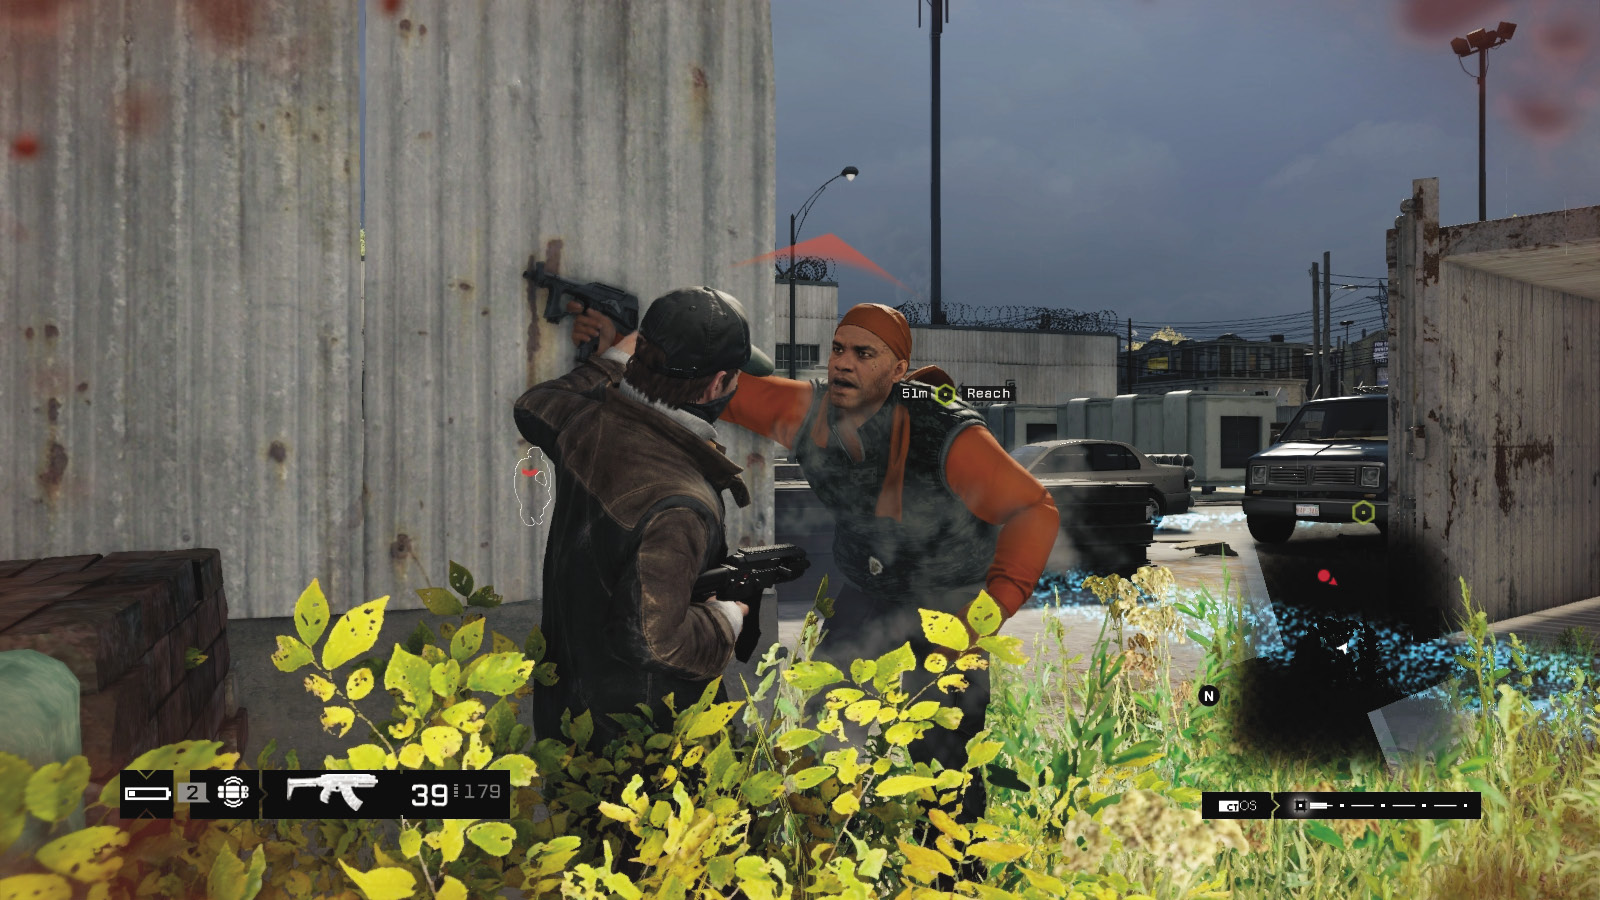
After taking down any foes in the vicinity, rush to the tower gate (now unlocked), hack the tower, and prepare for an exit (don’t forget to hack the Audio Log in this metal hut beforehand). With eight additional reinforcements in up to four vehicles, you need an escape plan, and now!

Progression Plans
You may now try one, parts of, or any combination of the following methods to escape. While there’s a junction box and propane tank to detonate, these aren’t in a high-traffic area, so prepare for two main options to conclude this mission:
 Driving // Defensive: Leaving Little Trace
 Difficulty:
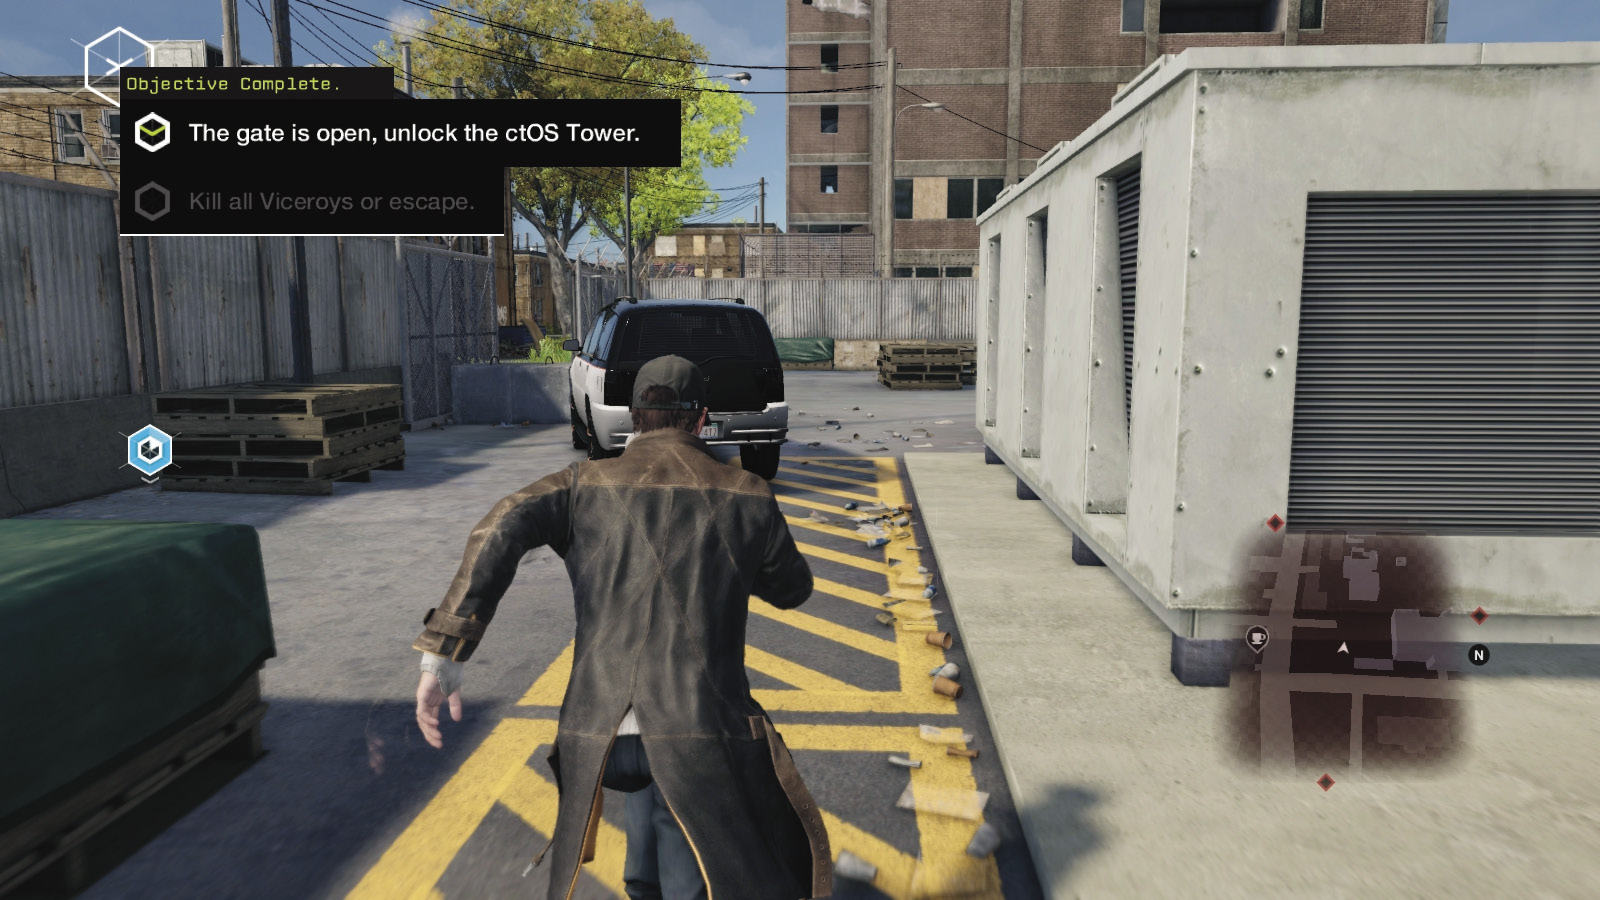
Before hacking the tower, in the brief moments of quiet, locate a vehicle and position it facing the gate. This is your escape vehicle. As soon as the reinforcements are triggered, rush to the vehicle and speed away. You can even use the Viceroy’s SUV parked near the gate. At this point, the usual plans of driving to hide from foes searching for you within their area come into play. Simply head as far from the tenement blocks as you can, varying your route. Employ the previously learned tactics too.
 Aggressive // Violence: Murder Was the Case
 Difficulty:
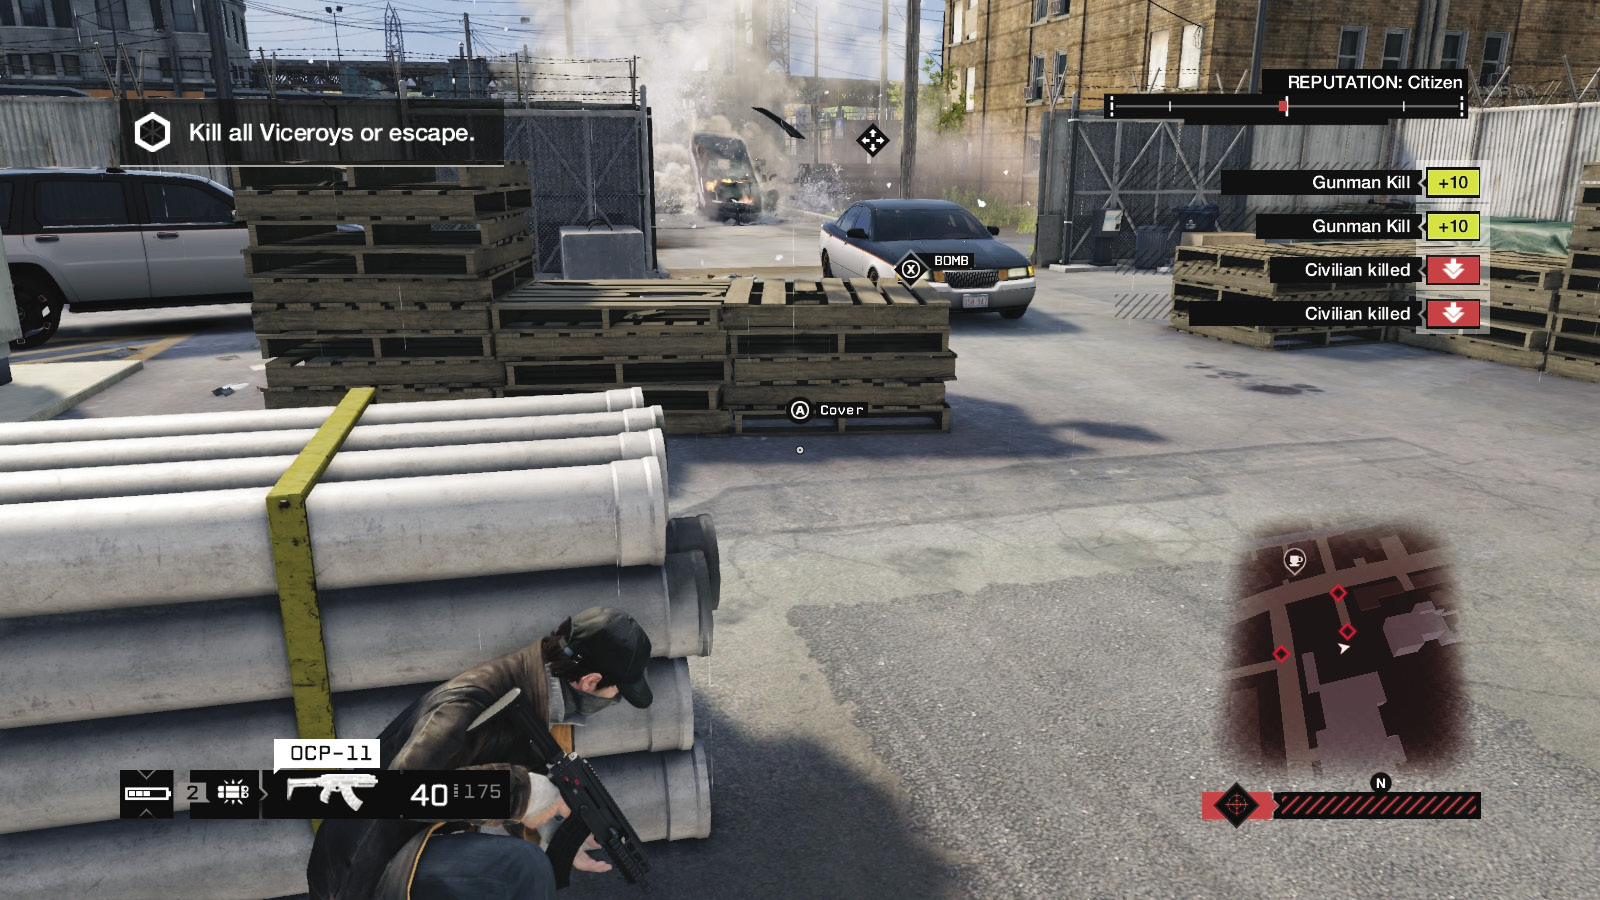
Packing some serious heat? Or didn’t preplan your escape? Then prepare for up to four vehicles filled with foes. They all pull up around or through the gate, allowing you numerous combat possibilities:
Step back and detonate a steam pipe close to the gate, and remove at least one or two vehicles.
Close the gate so the foes can’t access the tower yard, then shoot them through the gaps in the gate.
As the vehicles pull up, lob grenades and IEDs into this packed area, and hope for multiple casualties. Hack foes carrying grenades to create further havoc.
Pull out a sniper rifle or automatic weapon and retreat to the opposite (north) wall behind the parked truck and stacked wood or pipes. Then start blasting.
Vary your location from the rear of the yard to the threshold of the two yards, retreating back if you’re being swarmed.
As soon as you’ve slain all the Viceroys in the immediate vicinity, or you’ve fled from them and lost them in a driving chase, the mission concludes.
MISSION REWARDSGained XP +1,000 INVESTIGATION: WEAPONS TRADE AVAILABLE |