
Watch Dogs Guide MAIN MISSIONS MAIN MISSIONS /// Act II
_ONE FOOT IN THE GRAVE
OBJECTIVES
|
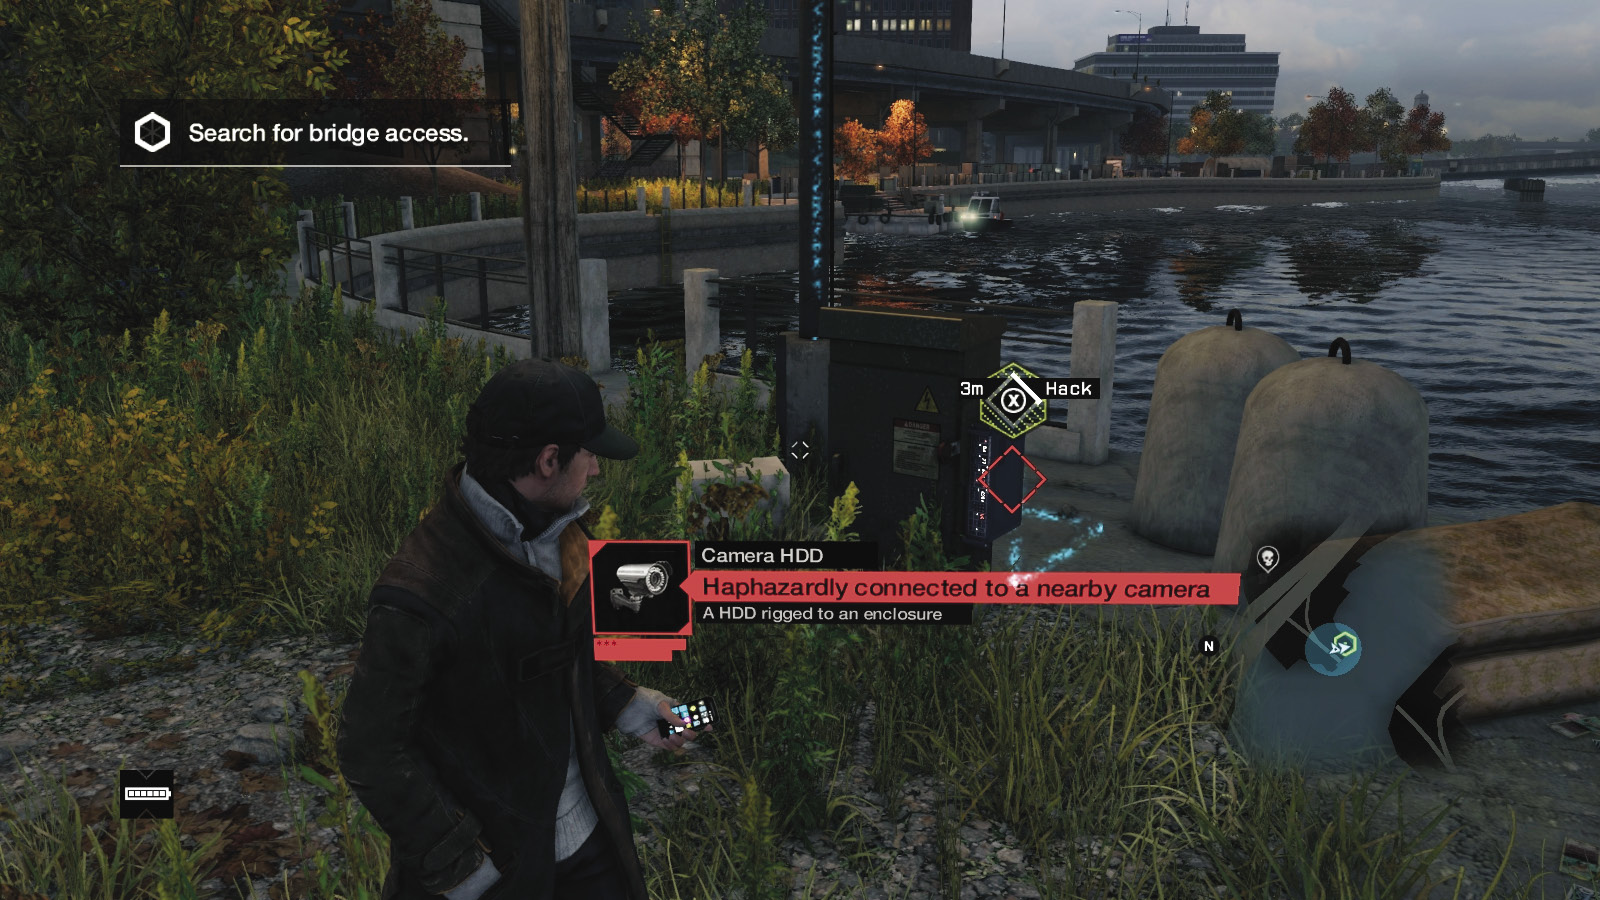
 Search for bridge access
 Follow Clara
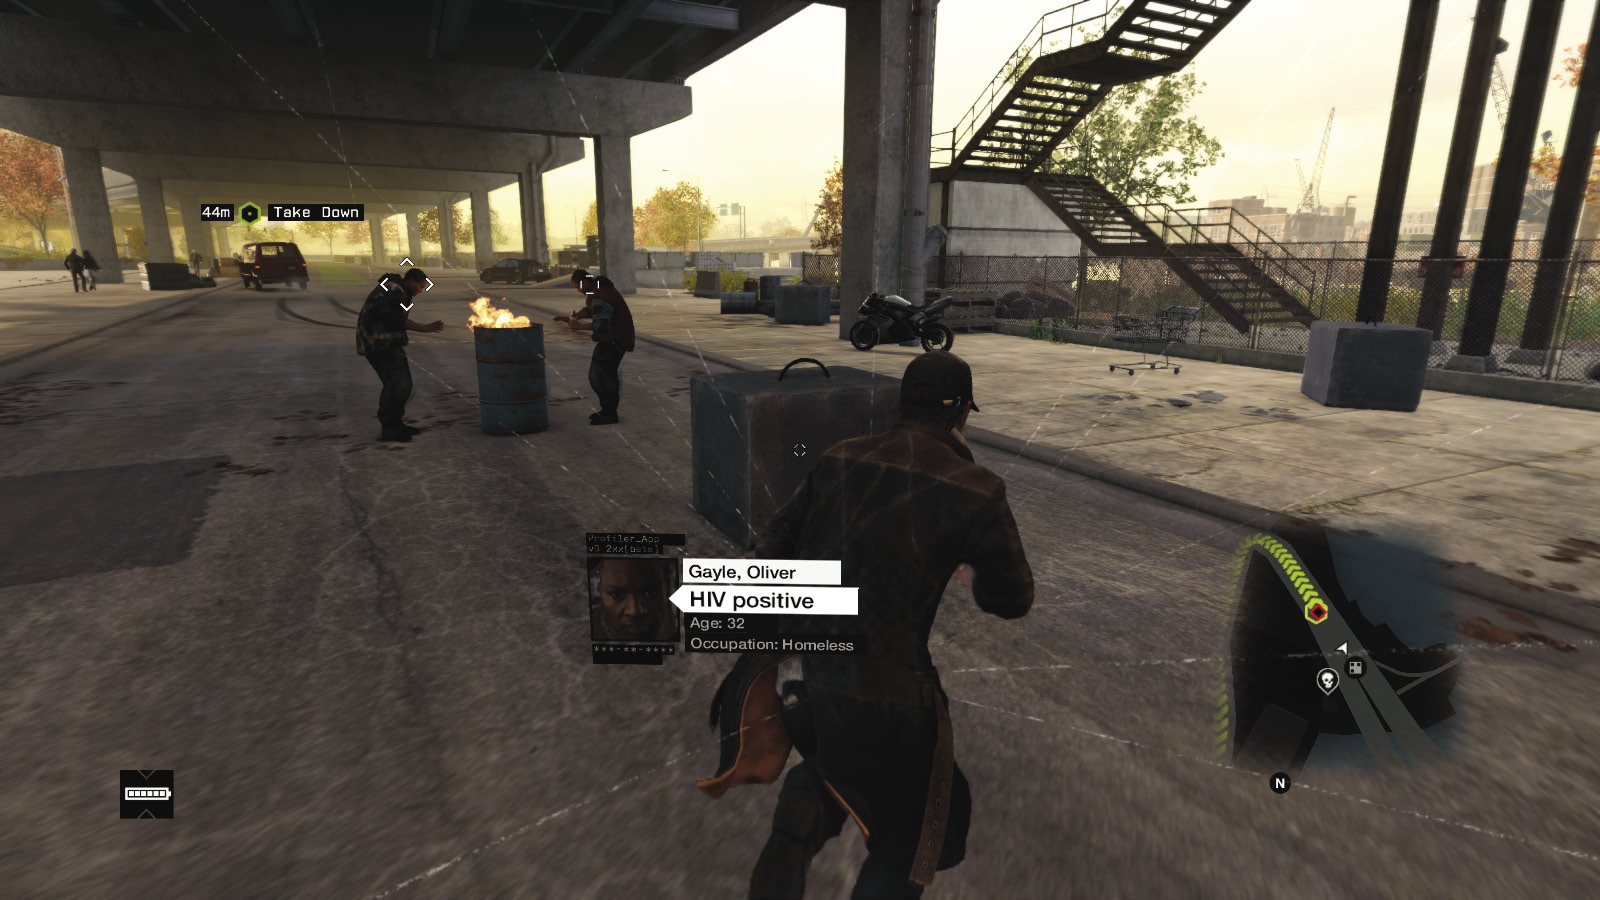
 Profile the homeless for clues
 Hack the caller
 Kill the Fixer before he reaches Tobias
 Kill the Fixer’s backup or escape
 Reach the poker game
 Join the game and draw out Tobias
 Catch Tobias. Do not kill him
LOCATIONS // MAP

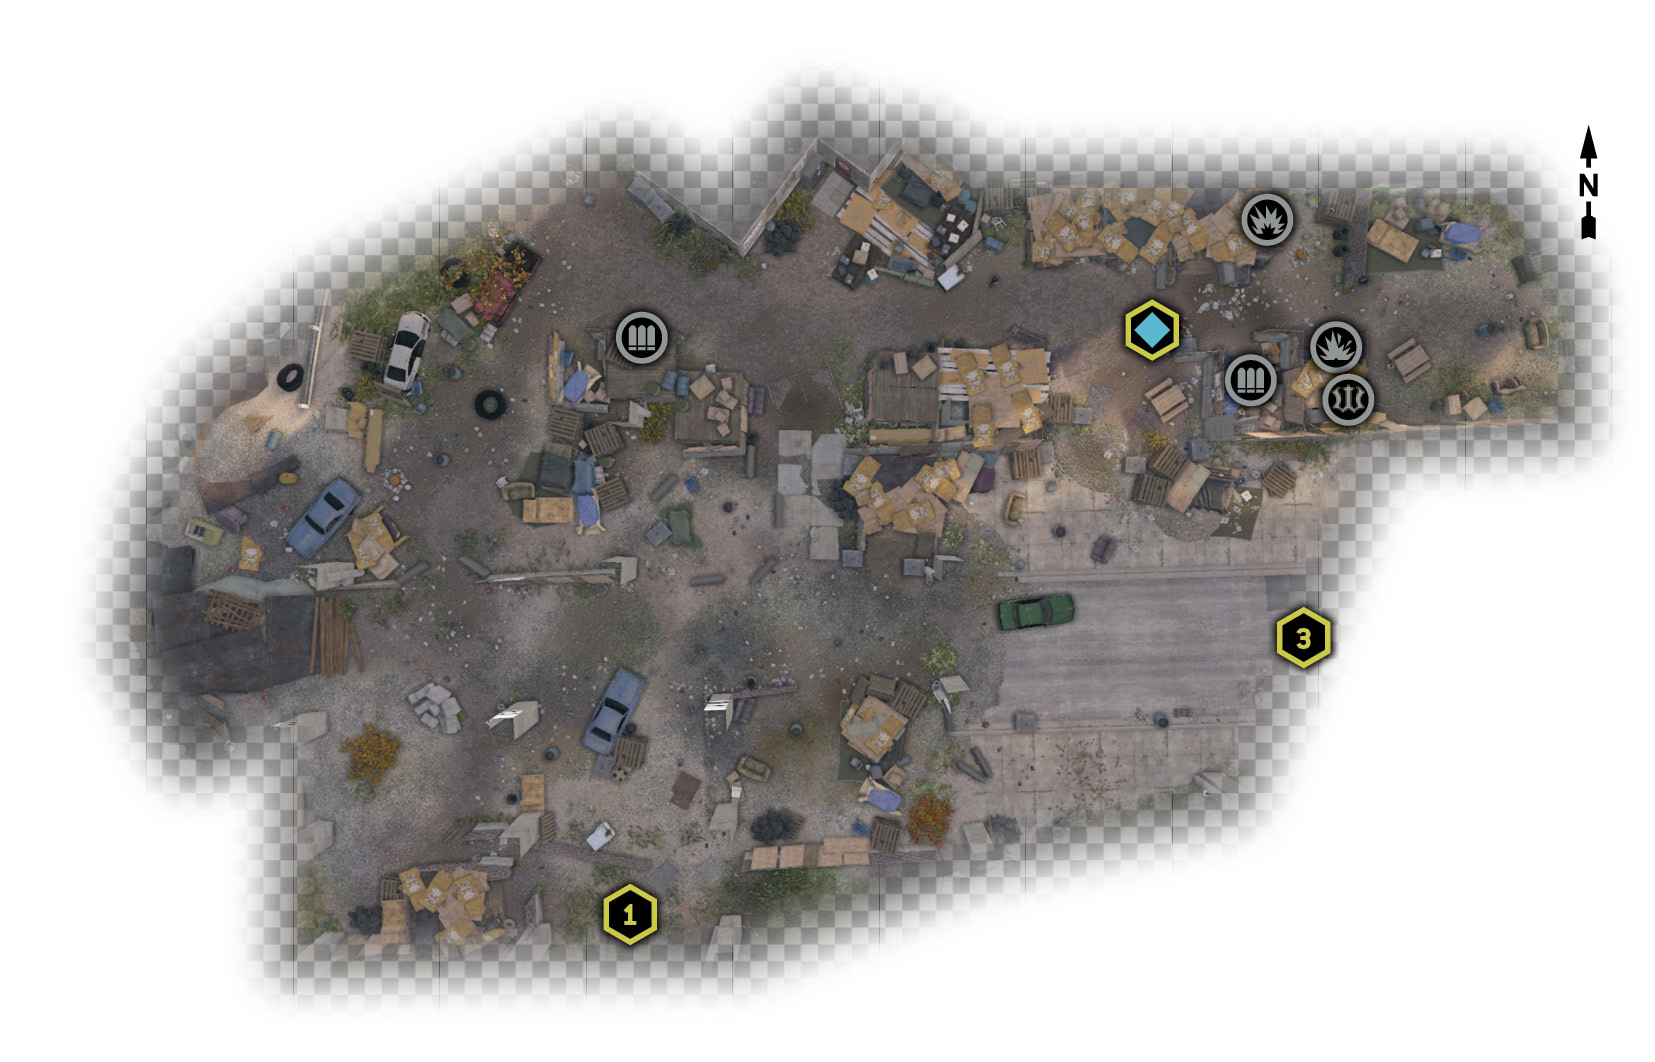
Location / The Loop // Swing Bridge and Homeless Shanty Town
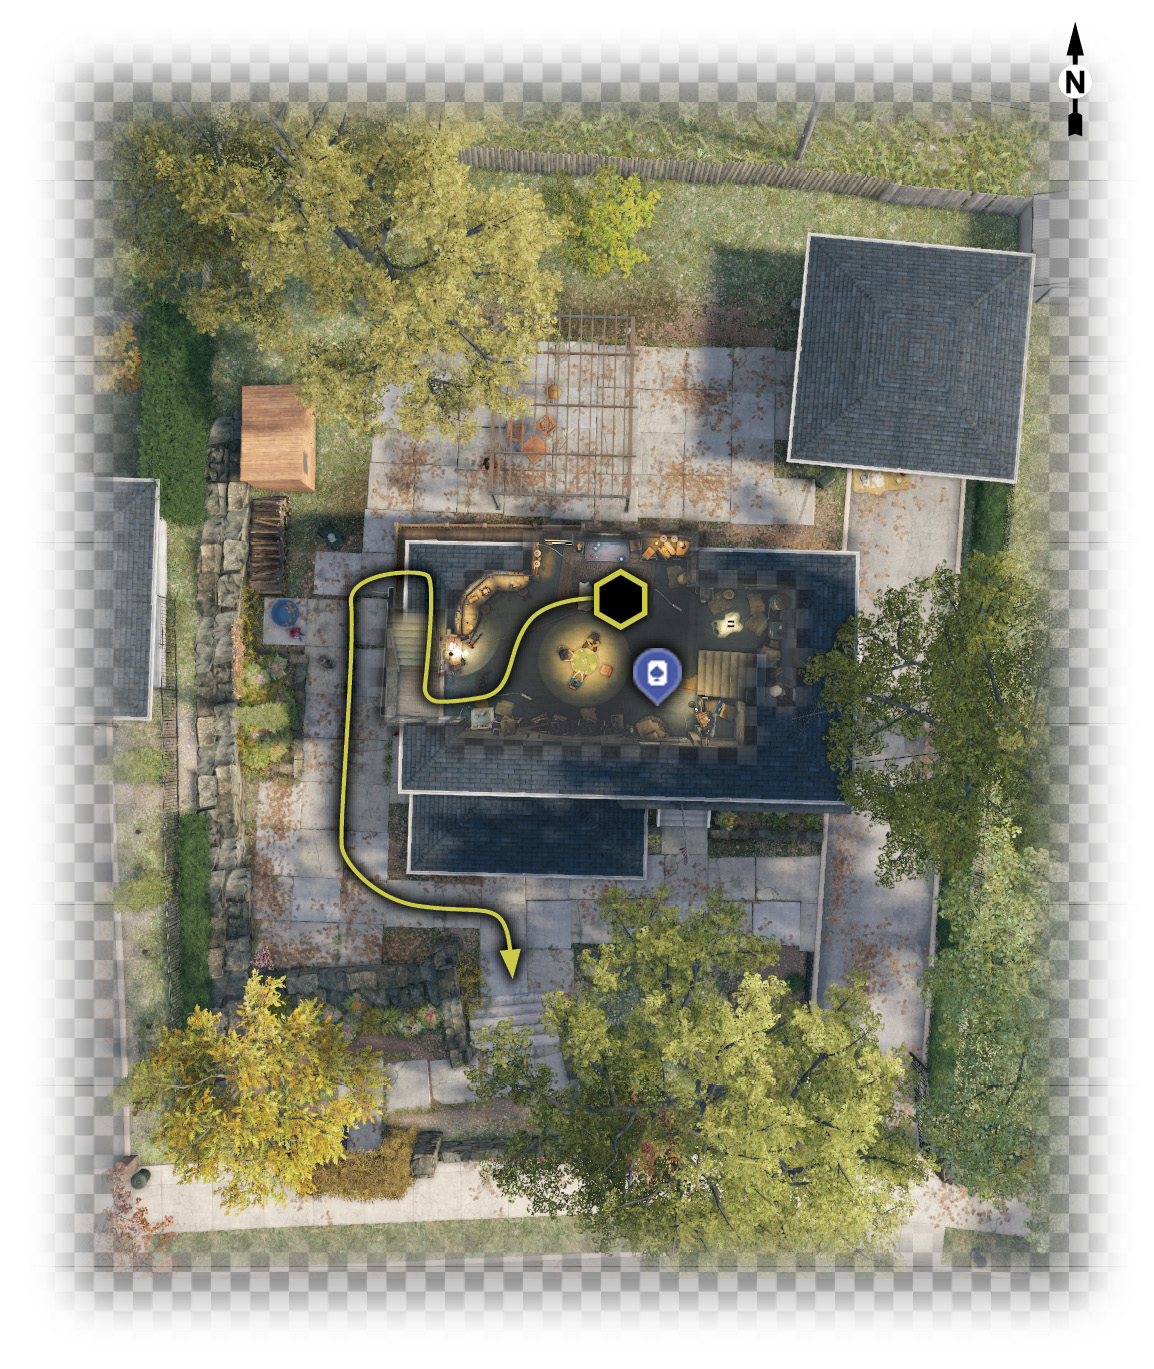
Location / Parker Square // Poker Game and Tobias Chase Route
4.1 THERE’S A BLANK SPOT IN EVERY MAP
 Location / The Loop // Swing Bridge and Homeless Shanty Town
|
|
 Search for bridge access
 Follow Clara
 Profile the homeless for clues
 Hack the caller
 Investigation
Difficulty: 
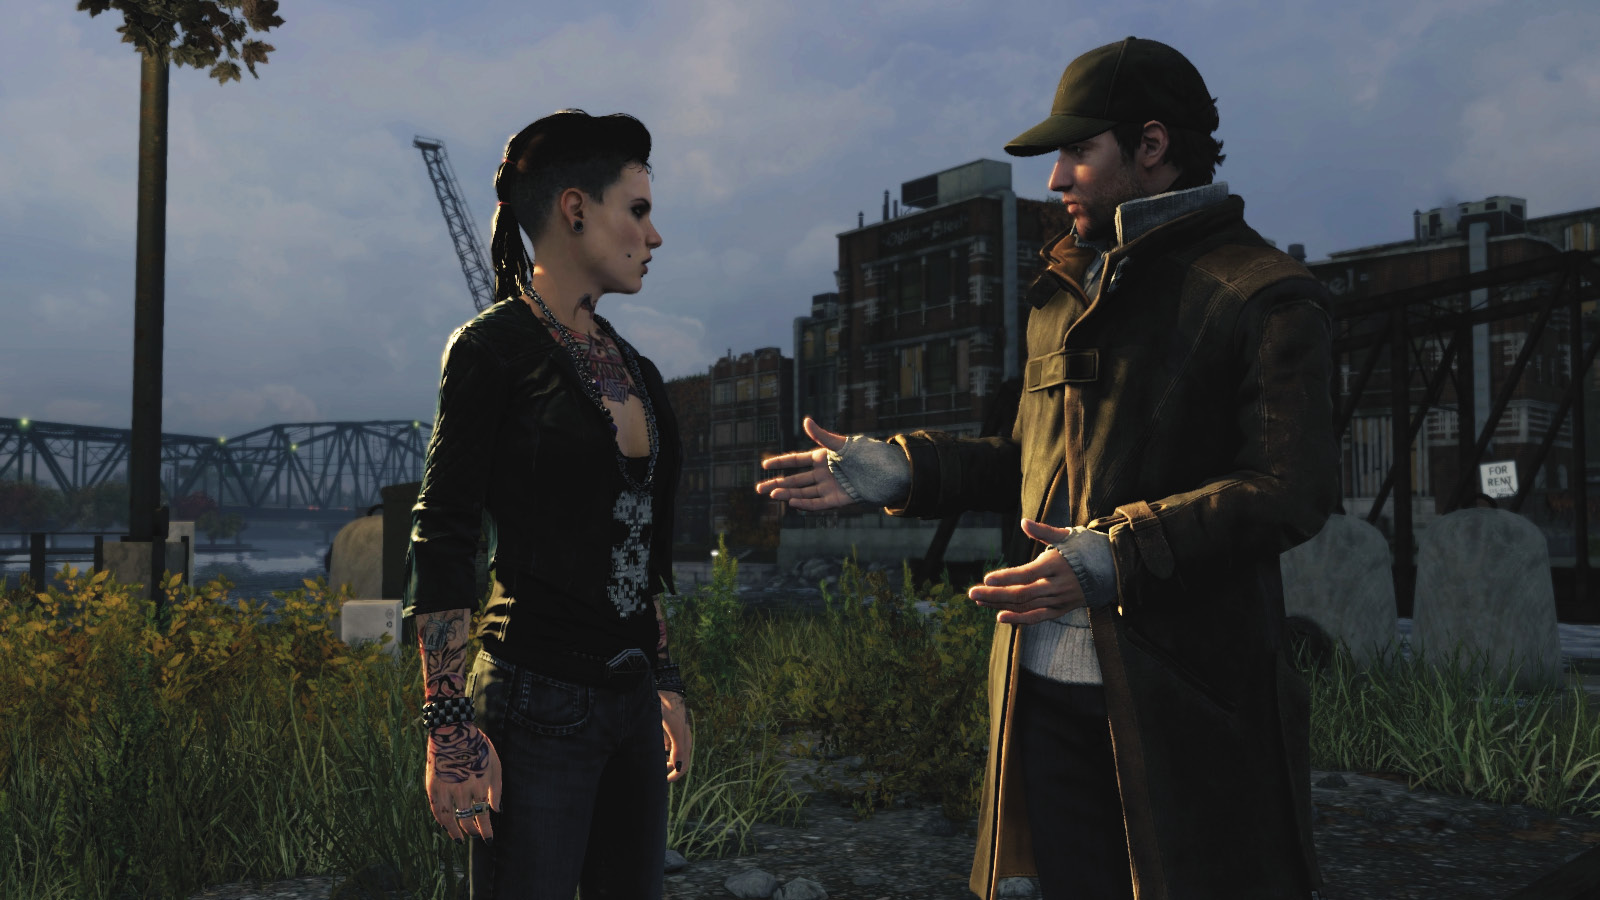
After arriving at a patch of scrub at The Loop’s southwestern tip, close to the border with The Wards, Clara appears with information from DedSec and an appeal for trust. After talking it out, Clara mentions an old ctOS place known as “The Bunker,” which has undetected access to the whole city. Time to find access to it. That swing bridge looks promising....
Slowly wander your immediate location, Profiling until you see a camera HDD haphazardly connected to an enclosure and a lighting pole with a camera atop it. Hack it to uncover footage of a homeless named Tobias, remote control accessing the bridge. Time to talk to that guy. Before you do, scout the area for crafting items, ammunition, and one of Maurice Vega’s Burner Phones. Do this before you start hacking the homeless caller.

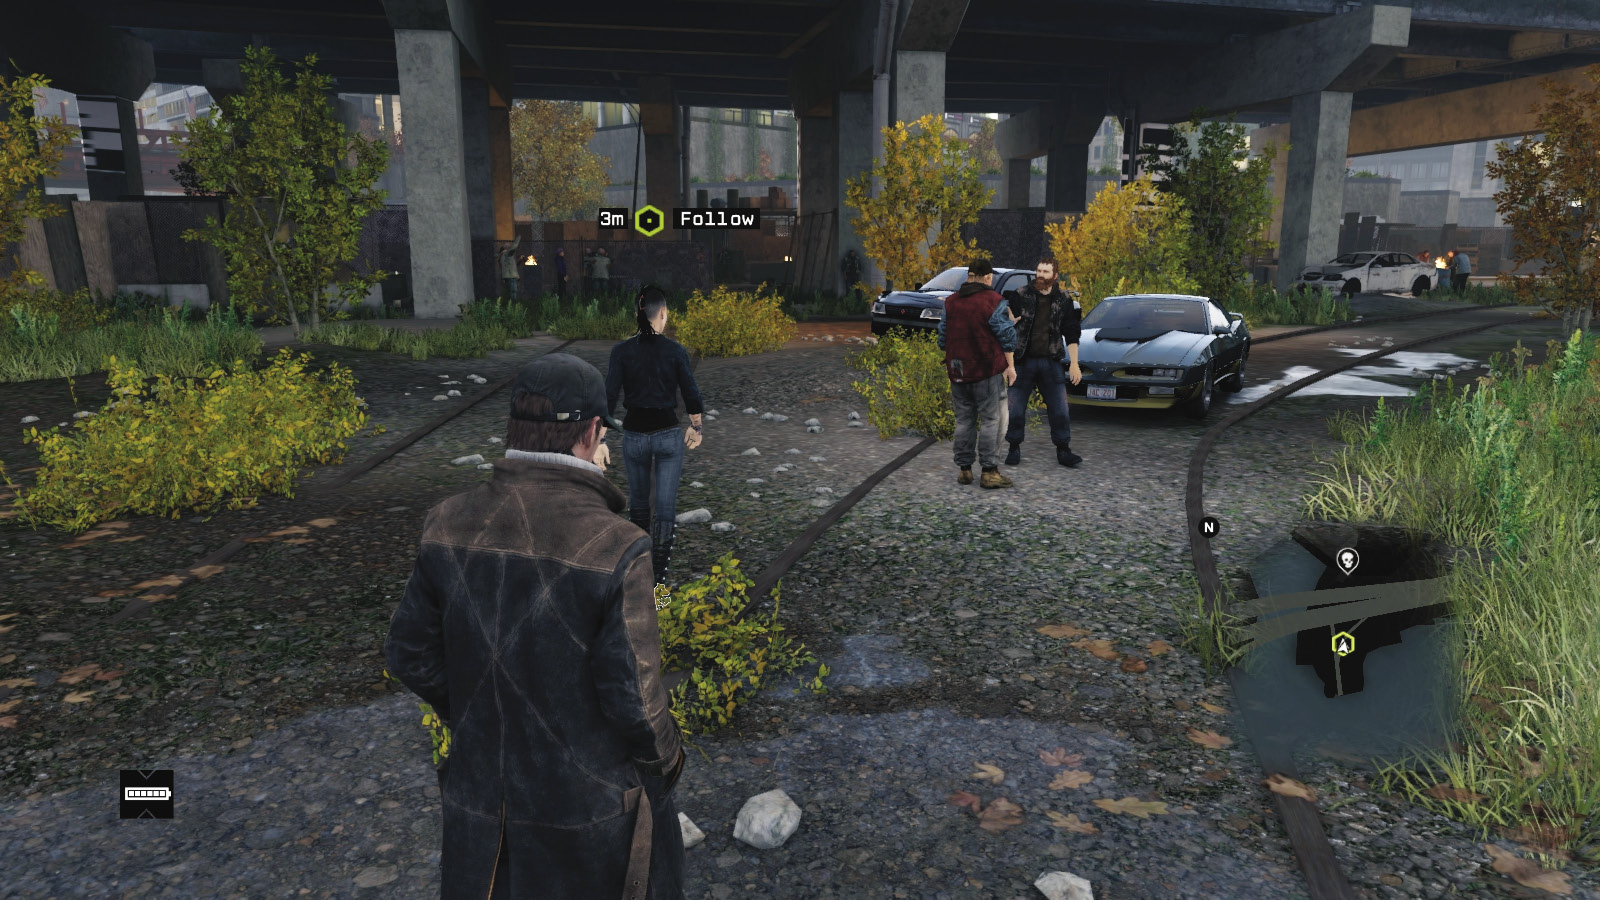
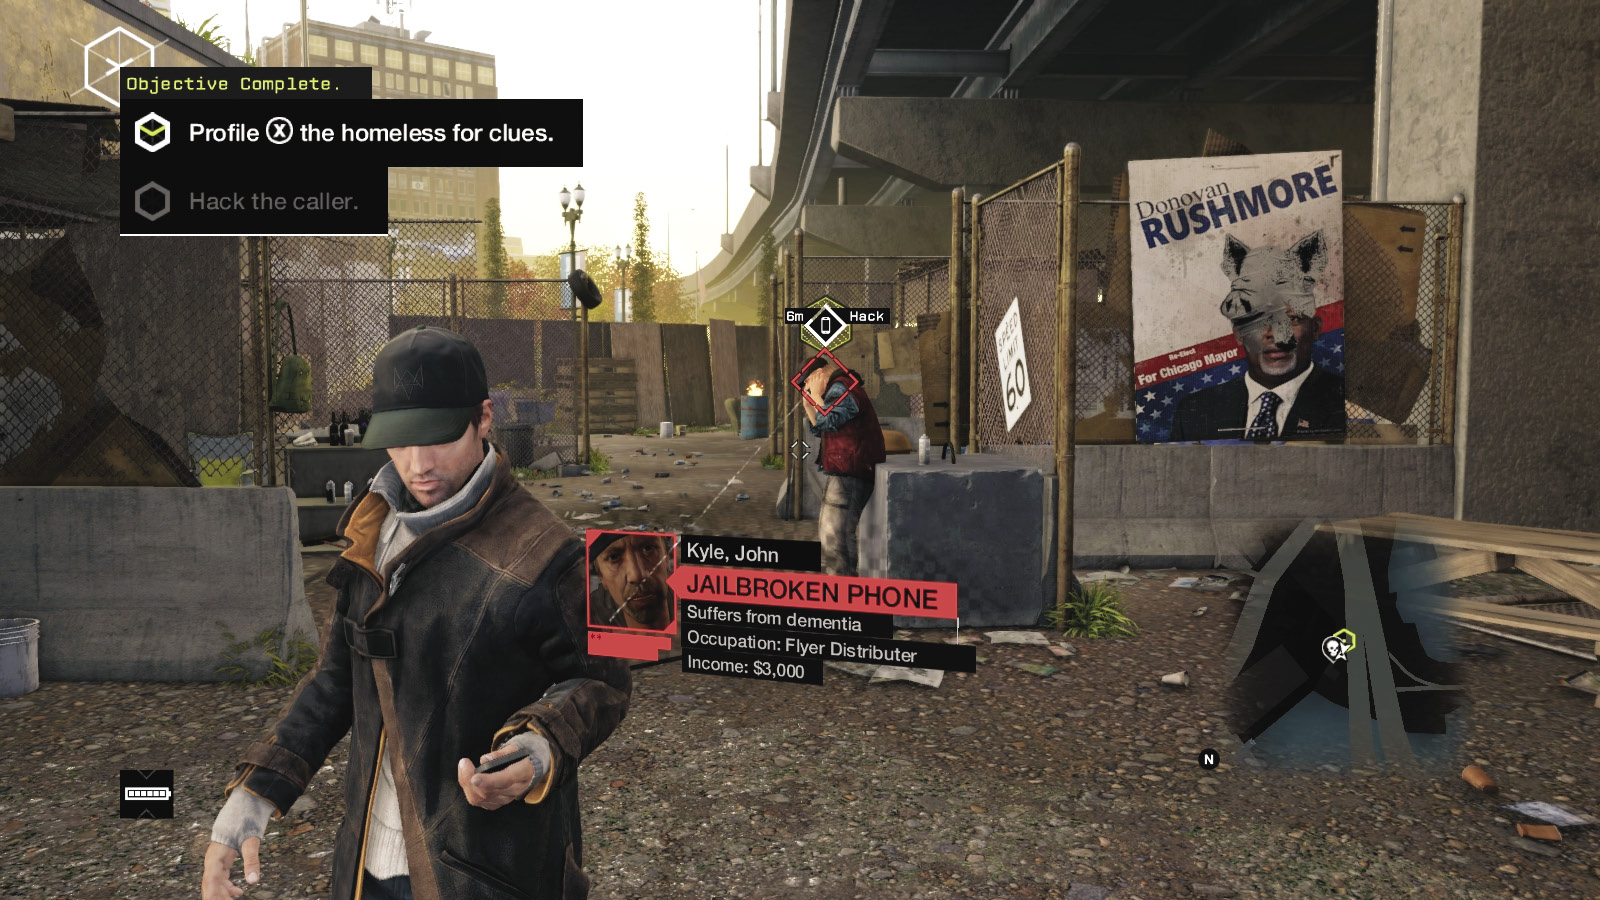
Apparently, the guy’s name is Tobias Frewer. Follow Clara as she tells you about her father and wanders into a small homeless shanty area under the freeway. After stopping at a bolt hole, Clara mentions Tobias has set up a trade here, selling more potent hacking schematics. Search the area for crafting items. Continue to where a homeless man, near some fancy tech, is calling Tobias on a jailbroken phone. Unfortunately, a nearby Fixer is also listening in on the call and has the location for Tobias. He sets off to remove this security threat, and you need to stop him!
4.2 FREEWAY FRACAS
 Location / The Loop // Swing Bridge and Homeless Shanty Town
 Location / Parker Square // Poker Game (Residential House)
|
|
 Kill the Fixer before he reaches Tobias
 Kill the Fixer’s backup or escape
 Reach the Poker game
 Vehicle Chase
 Lethal Force Likely
Difficulty: 
Overview
Completion Point: Locate a vehicle and chase the Fixer across to Parker Square (or wherever he goes) before he reaches the poker game.
Dangers: Dennis Klein, and numerous allies of this Fixer, in their vehicles. There are at least three vehicles, two foes in each vehicle (Gunmen and Veterans).
General PreplanningVehicle Choice: Don’t spend time panicking as the van speeds away; pick a vehicle and give chase! Competency and Prediction: Watch for pedestrian casualties, and study the map of the route the foe is taking. There are a few shortcuts (see below), but this is mostly a freeway battle. Remember to perfect squeezing through oncoming traffic, cutting corners, and using sidewalks. Street Smarts: There aren’t that many opportunities to use the scenery to your advantage, but keep an eye open for steam pipes or traffic lights as you near your target. It’s also better to follow the van rather than try finding parallel streets, as he takes a pretty quick route to the poker game, and you must intercept him before he reaches there, or the mission fails. General Chase Planning: Consult the Training chapter for more information. |
 Driving // Smart: Let Hacking Opportunities Provide
Difficulty: 
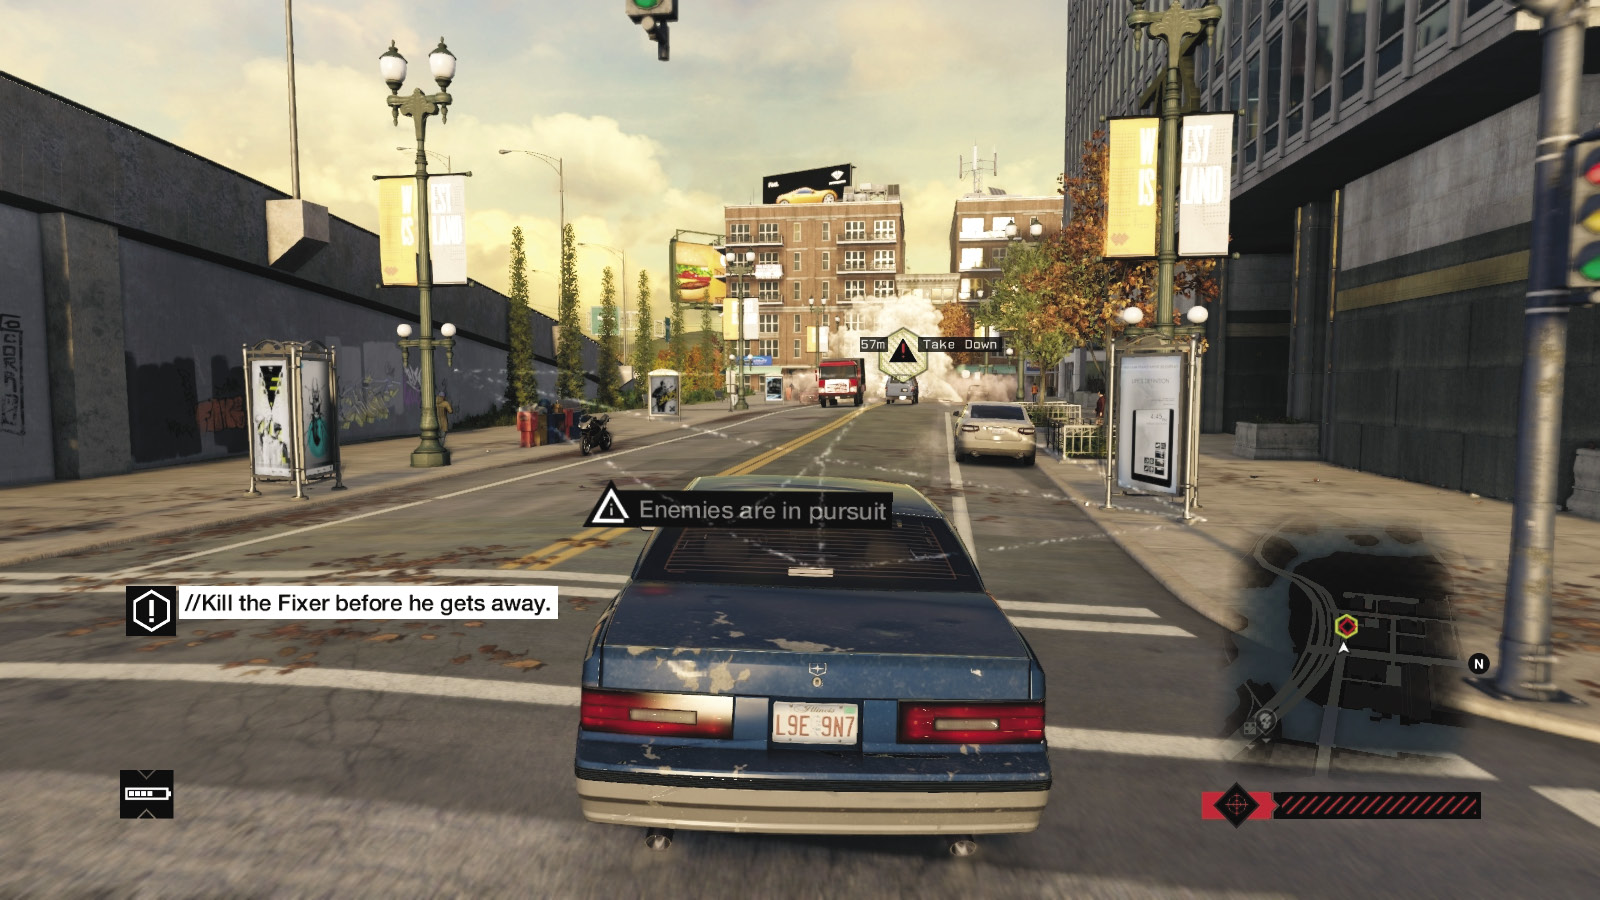
Your foe is driving a Landrock Workvan. His allies usually drive Koln or Leo. Follow the target under the freeway, making a sharp left and following him west to the freeway on-ramp. You should have caught up just by the on-ramp, but there’s a steam pipe opportunity (as well as traffic lights and the bridge) just before the quick left and right turn onto the freeway. This is the earliest opportunity to stop the foe.
Otherwise, continue along the freeway, watching for another steam pipe as the van approaches May Stadium. After that, there are really only traffic lights that help slow the foe down, and only slightly: Ramming is a better way to stop this driver.
 Driving // Offensive: Picking a Quality Ride
 Difficulty:
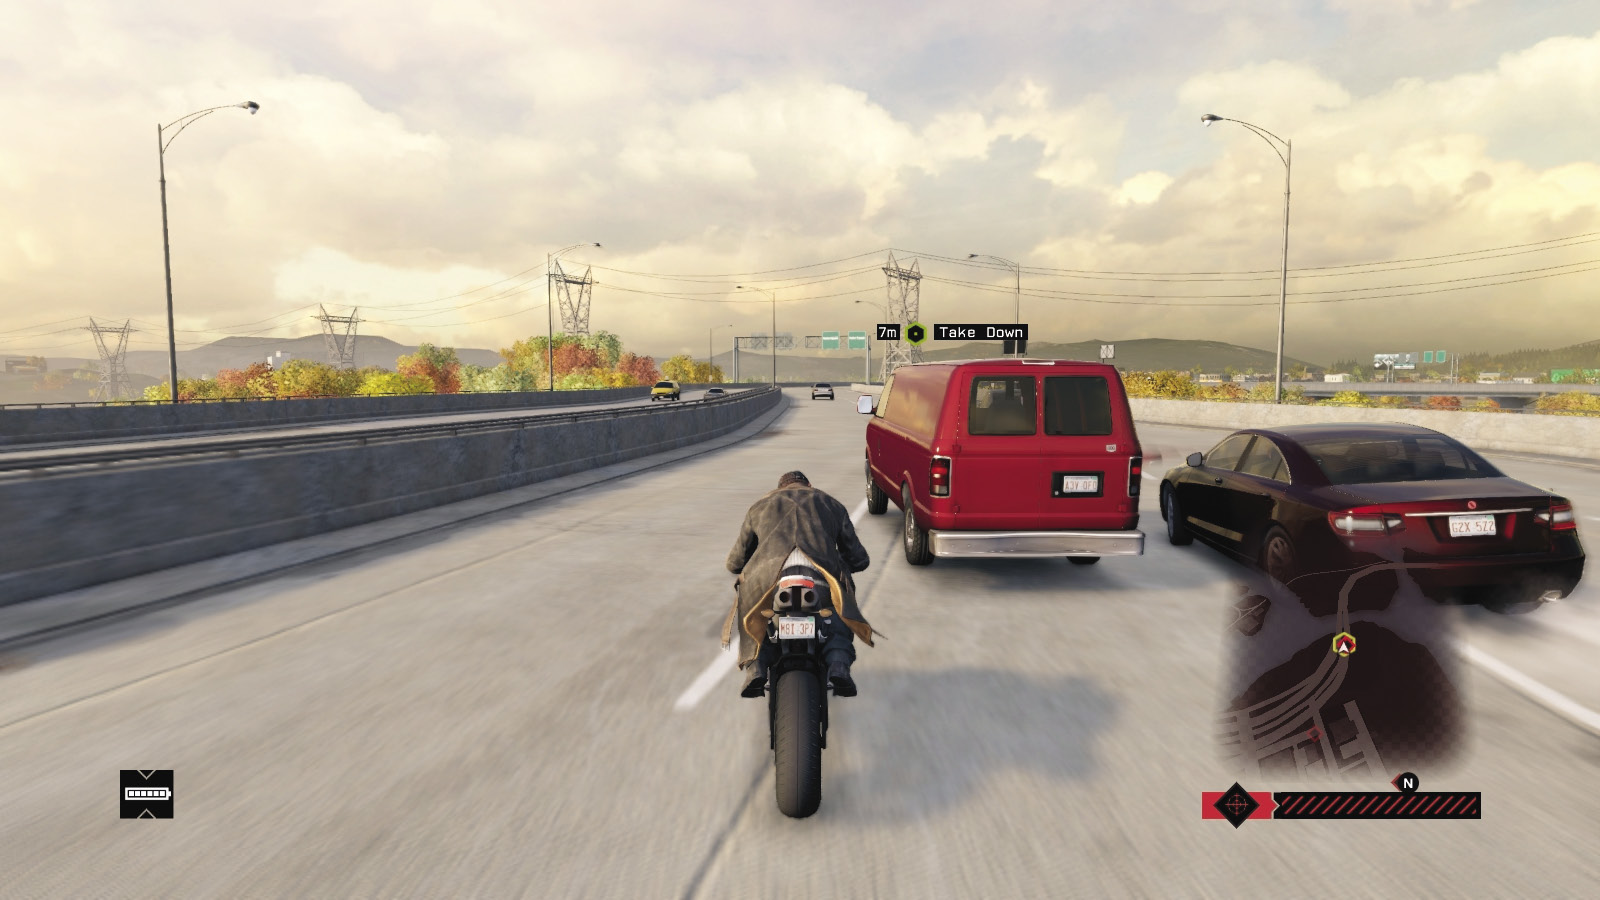
Although the chase is on, you have some options when it comes to picking vehicles. The nearest vehicle parked near the homeless shelter is a perfectly adequate car to give chase with. But you should have brought your own favored vehicle. Park it close to where the van takes off from or facing the route the foe takes and close to where the chase begins. Or, you can:
Run to the road under the freeway as quickly as possible, and choose the jalopy parked there. It isn’t the quickest or sturdiest vehicle, but it gets the job done. There’s usually a second one parked farther along the road.
Or, sprint up the road and secure a parked motorbike—if you’re planning on swift maneuvers, shortcuts, and hacking infrastructure to stop the foe, as ramming him isn’t a wise idea on a bike!
Or, sprint a little farther up the road to secure a more modern vehicle with a better top speed and handling. All are fine ideas; just pick the one you want to try.
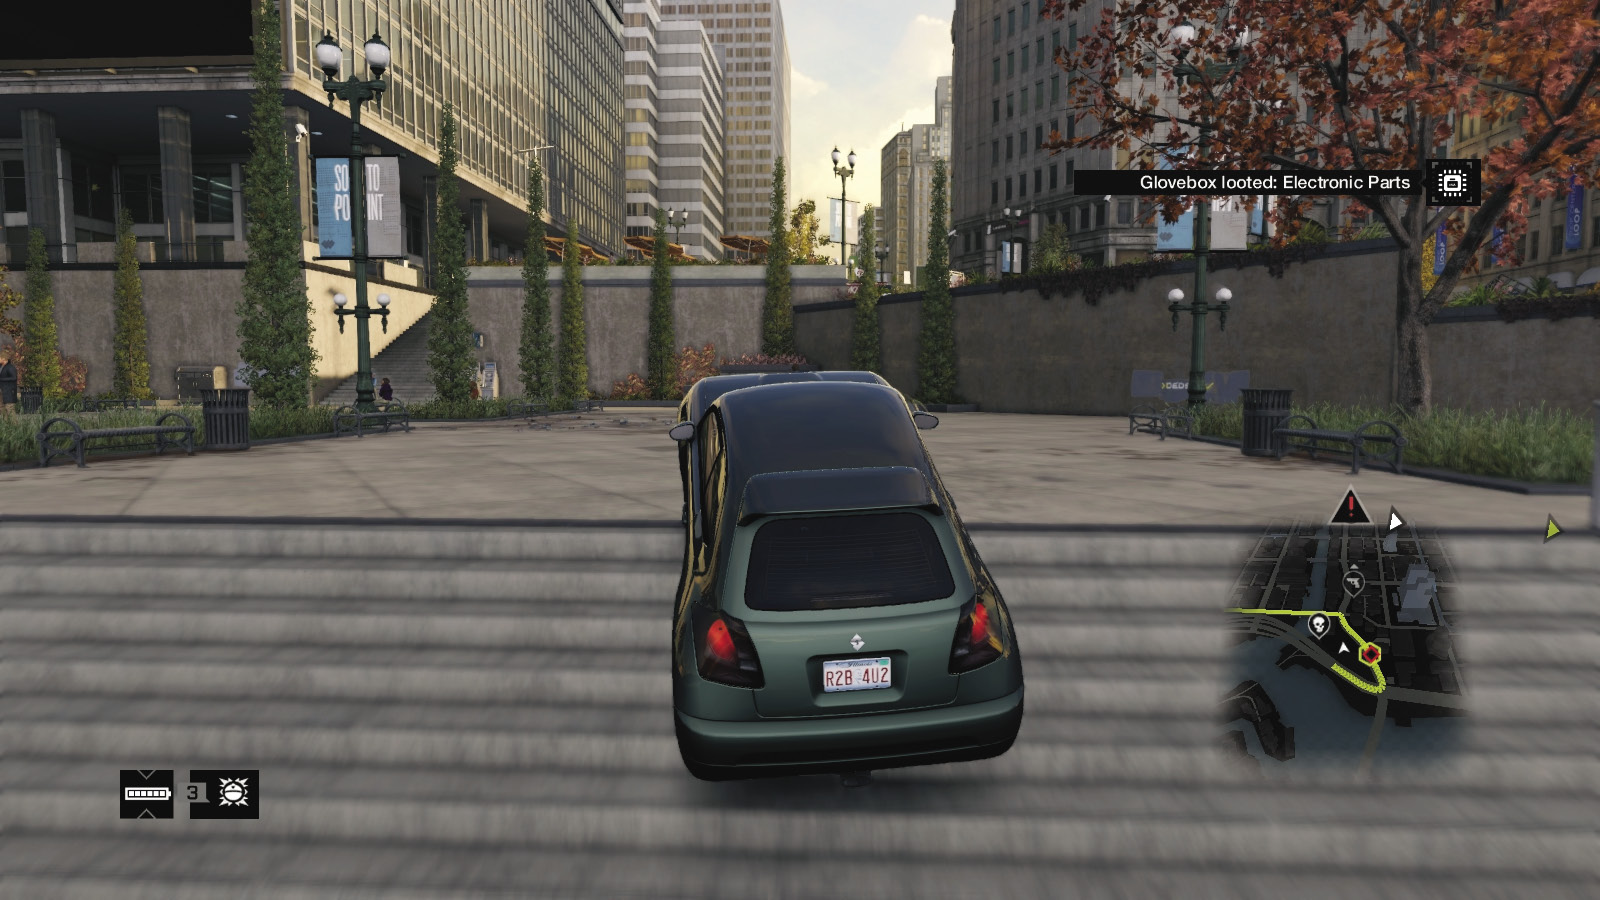
You have two route options; follow the Fixer’s route exactly (starting with the severe left turn), or take a shortcut across the plaza and up the sets of concrete steps that are just past the homeless camp. This saves you a little time, but watch the pedestrian casualties.
 Driving // Offensive: Flagging Down Topside
Difficulty: 
You don’t have to find a vehicle immediately. The route the Fixer takes to the freeway enables you to run up and over a fence to the metal maintenance steps close to where the van departed from. Ascend onto the freeway, hop over the concrete divider to the traffic heading west, flag down and hijack a vehicle, and set off in pursuit.
 Driving // Offensive: Attempting to Collide
 Difficulty:
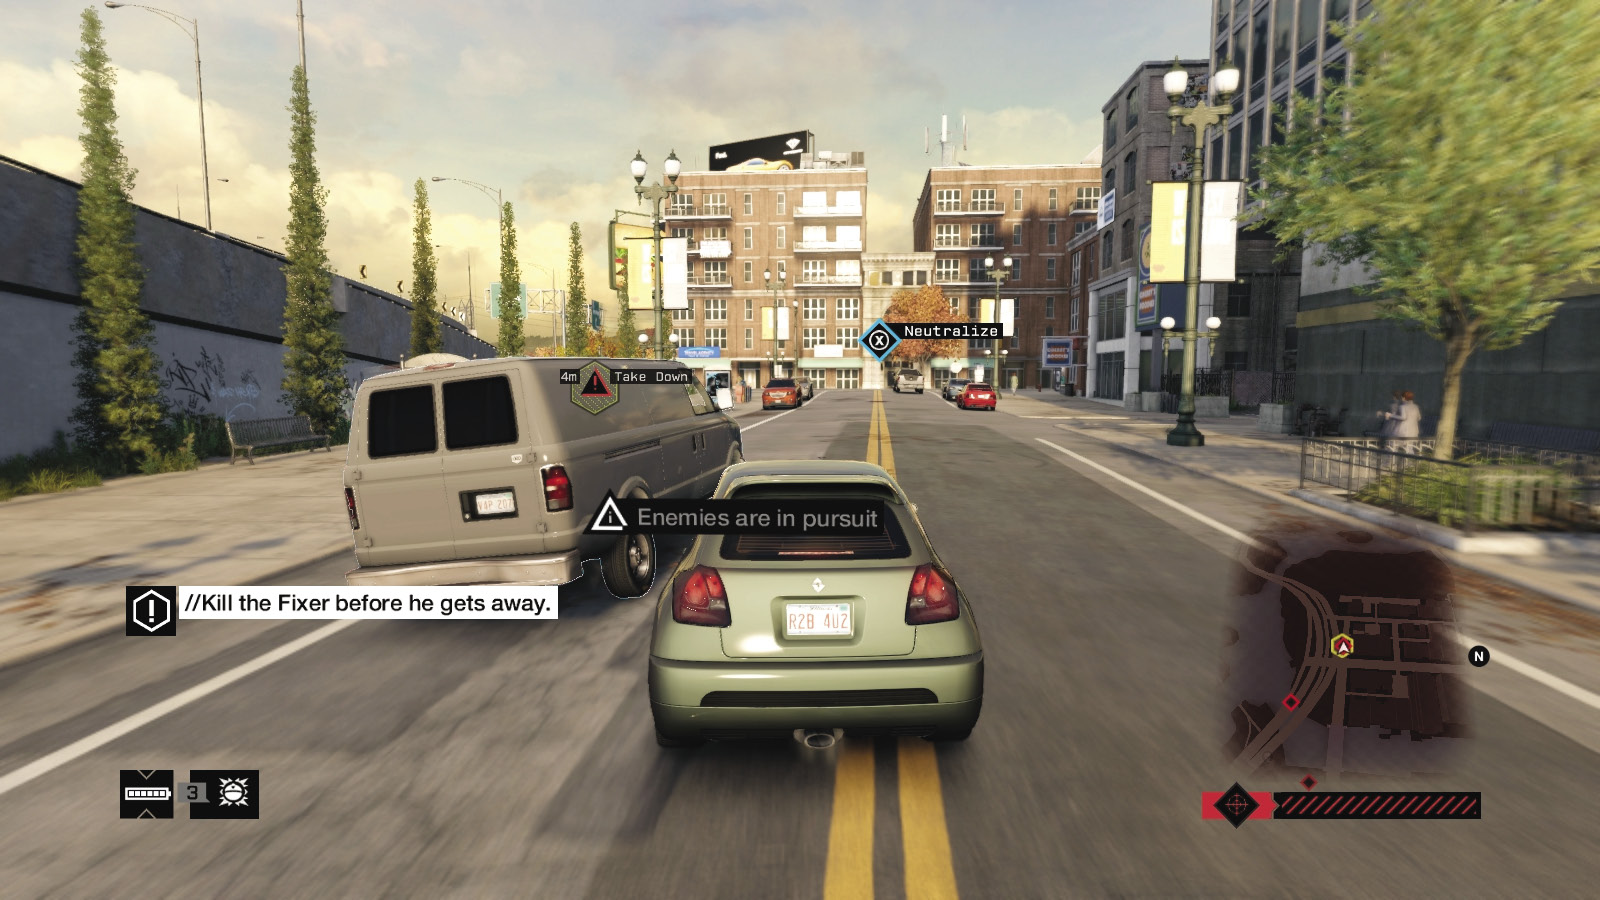
As the chase heats up, focus on reaching the van and then ramming it. Ignore any of the Fixer’s allies. If you’re behind the enemy, try these maneuvers:
Ram straight into the back of the van.
Attempt a PIT maneuver by striking the van’s rear corner, sending it fishtailing.
Sideswipe the vehicle so it veers off and hits the side of a guardrail or the road.
Predict where the van will be, and intercept it with a sideswipe.
Predict where the van will be, and intercept it with a head-on collision.
Try to push your vehicle and the van into a jam with other vehicles, where it can’t drive around you.
Continue to ram the target car until it billows black smoke and the target exits.
If your vehicle becomes inoperable, quickly locate a new one and resume the chase.
Accelerate to unsafe speeds and pass the van, then execute blocking maneuvers.
Accelerate to unsafe speeds and pass the van, then drive in front so it sideswipes you, and you both crash and slow down.
At any point you can block the vehicle or slow it down enough for you to exit, and begin raking the vehicle with gunfire (particularly the tires and windshield).
 Aggressive // Violence: Shooting from Outside
 Difficulty:
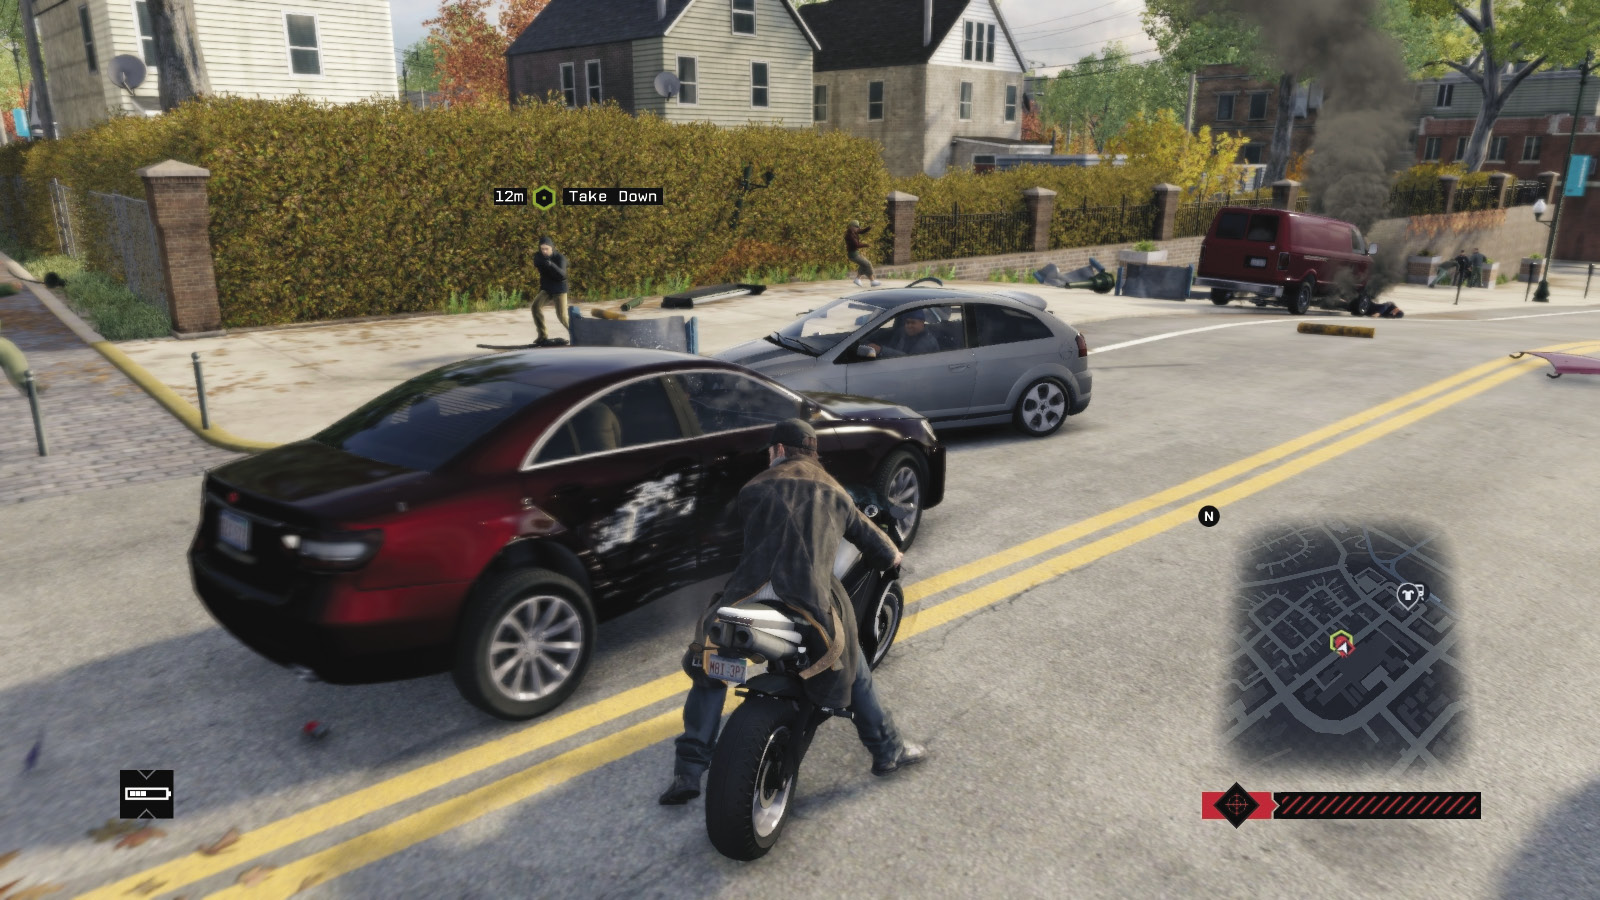
A favored weapon (ideally something automatic, unless you’re a crack shot with a pistol or sniper rifle) is another way to end this chase. Your foe doesn’t need to live, so any of the following activities are recommended:
Target in van: Shoot out the tires.
Target in van: Shoot the driver in the head, or spray the windows and windshield with bullets.
Target in van: Lob a grenade to detonate close or under the van.
Target outside: Drive over him in your vehicle.
Target outside: Shoot him in the head with your pistol.
Target outside: Strafe him with any automatic rifle or machine gun.
Target outside: Watch him sprint off, then tag him with a sniper rifle.
Target outside: Chase, leap, and tackle him to the ground.
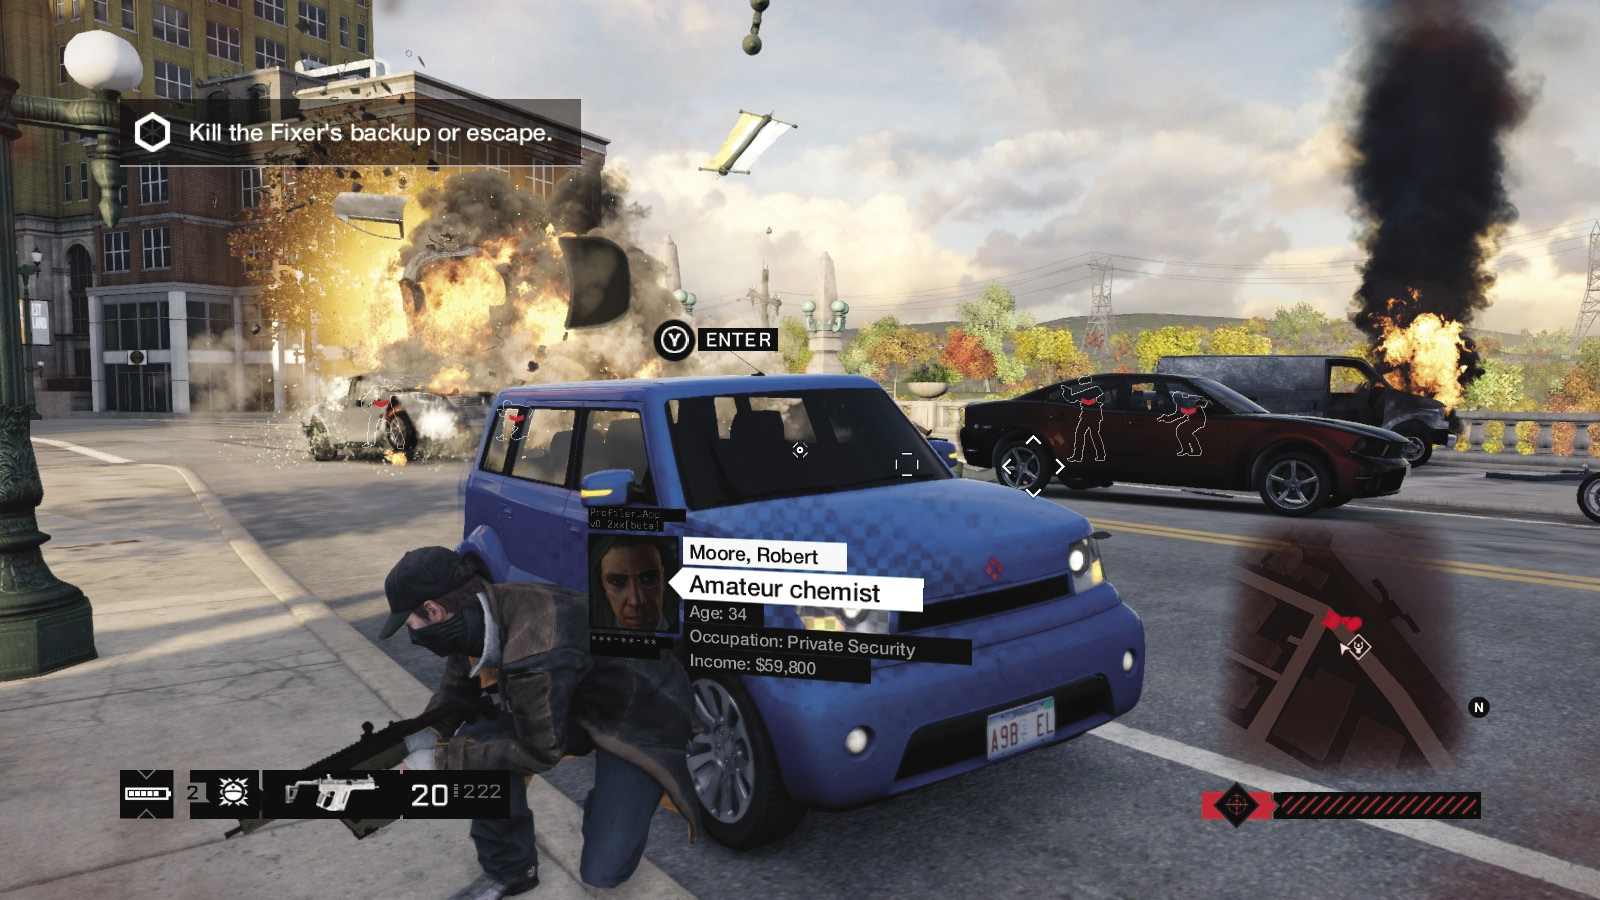
Once you defeat the target, you need to deal with the Fixer’s backup—a few squads of goons in red luxury cars. Perform the techniques you’ve successfully employed to either defeat or escape from the police or other adversaries:
To defeat, drive to an area where there’s lots of cover, ensure you have plentiful ammunition, and exit your vehicle. Shoot any approaching Fixer vehicle and kill the occupants as you have in the past. Check the Training chapter for more information. Using cover, laying down machine-gun fire, hacking the electronics on your foes, and lobbing grenades or IEDs are all tried-and-true plans.
To escape, you must be moving out of their scanning search area so they stop searching for you. Avoid the red diamonds while they search, continuing along the route to the poker game so you can reach there quickly.
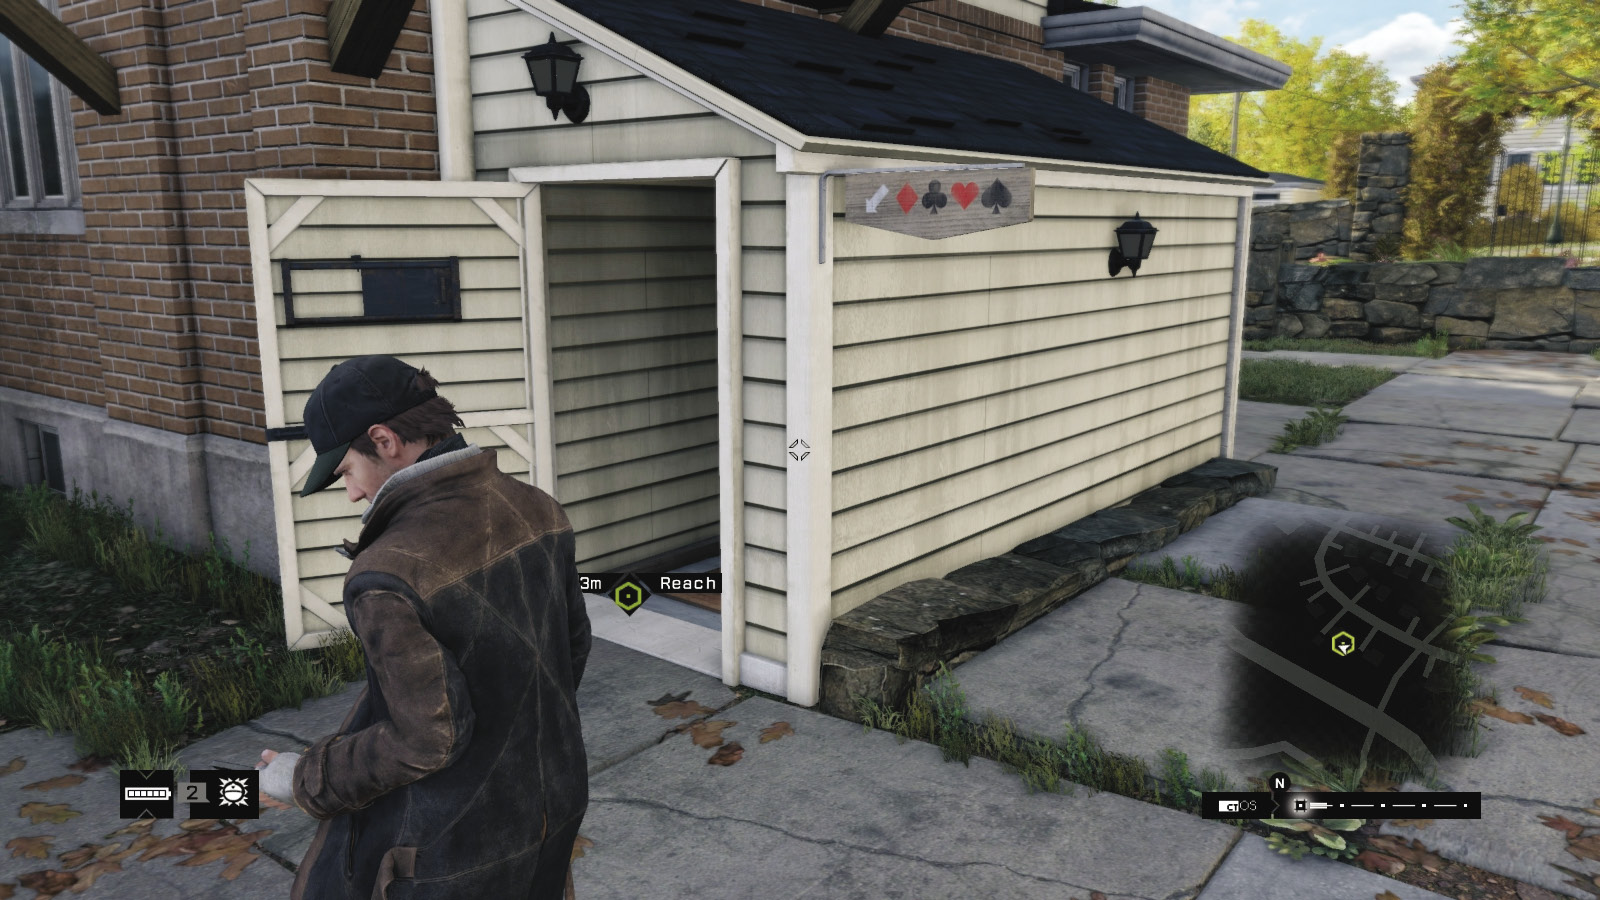
Head north, past May Stadium and eventually to Parker Square’s more prosperous northern part, into the high-hedged estates close to the park. This leafy suburb is the stage for a poker game with the twitchy Tobias. Find the house with the American flag flying, a couple of guys standing around by the cellar entrance, and a root cellar/man-cave, where the poker game has already started.
4.3 TOBIAS’S TELL
 Location / Parker Square // Poker Game (Residential House)
|
|
 Join the game and draw out Tobias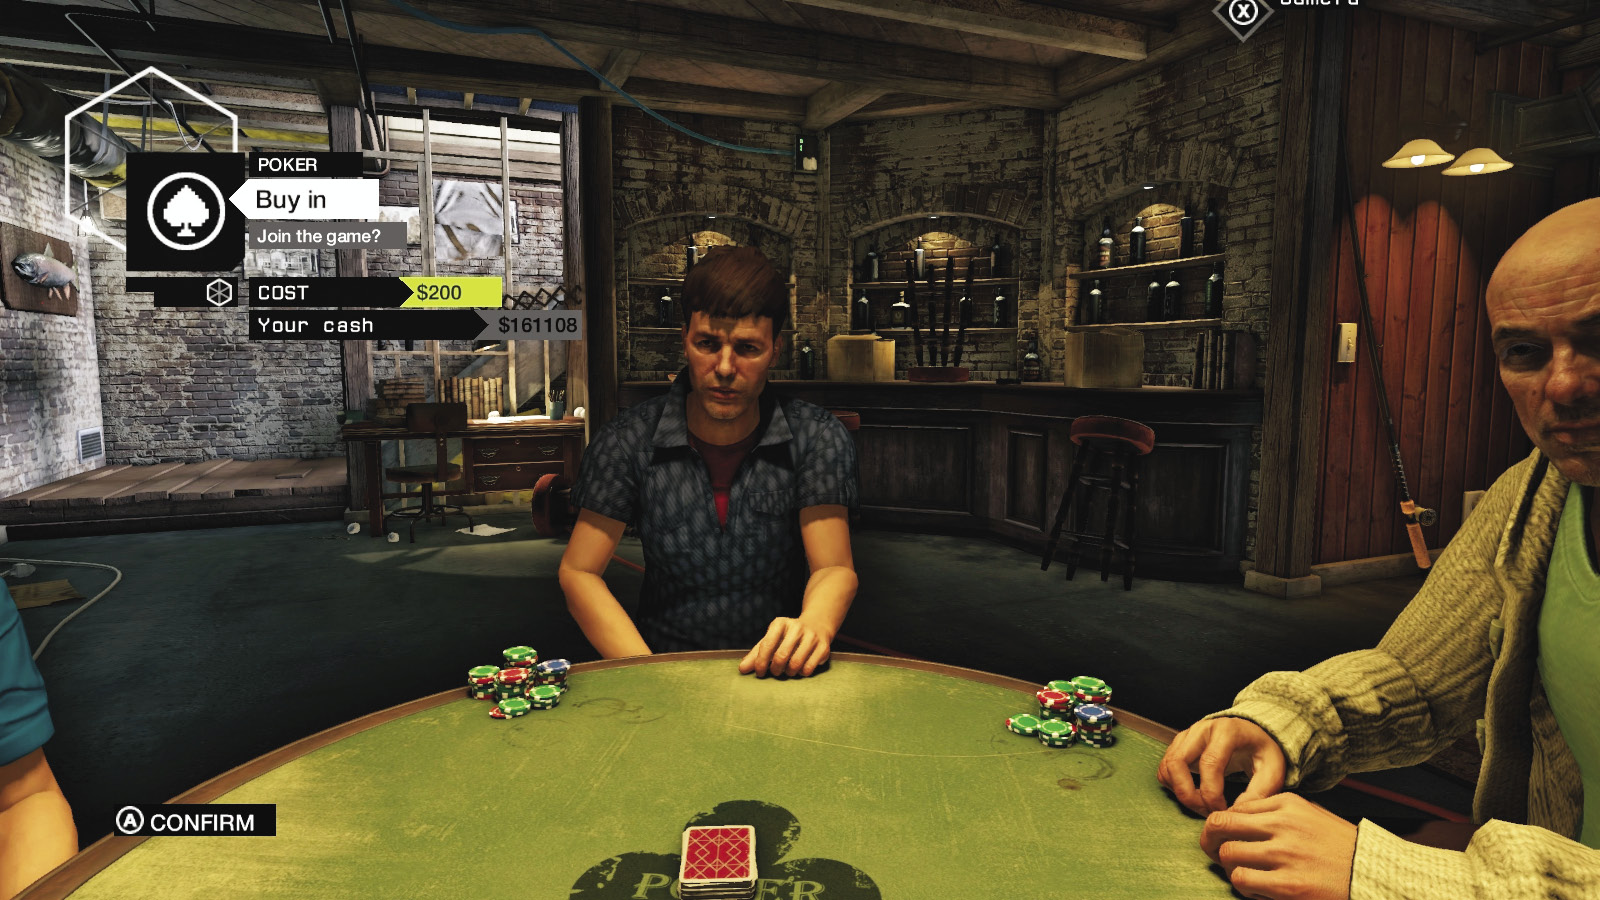
 Investigation
 $200 Needed
Difficulty: 
Check the room and gather any craftable items. Sit down at the poker table with Tobias (the bald chap on your right) and two lads with interesting pasts (Profile everyone in the room for their secrets). Pay in your $200 for this game of low-stakes Texas Hold ’Em, skipping ahead to the betting if you wish. As you play your hand (in whatever way you wish), you begin goading Tobias with talk of ctOS running everyone’s lives. It doesn’t take long for Tobias to get overly nervous, overturn the table, and flee the game.
4.4 MIGHT AS WELL CALL THAT PLACE A TOMB
 Location / Parker Square // Poker Game (Residential House)
 Location / Parker Square // Farris Halstead Library
|
|
 Catch Tobias. Do not kill him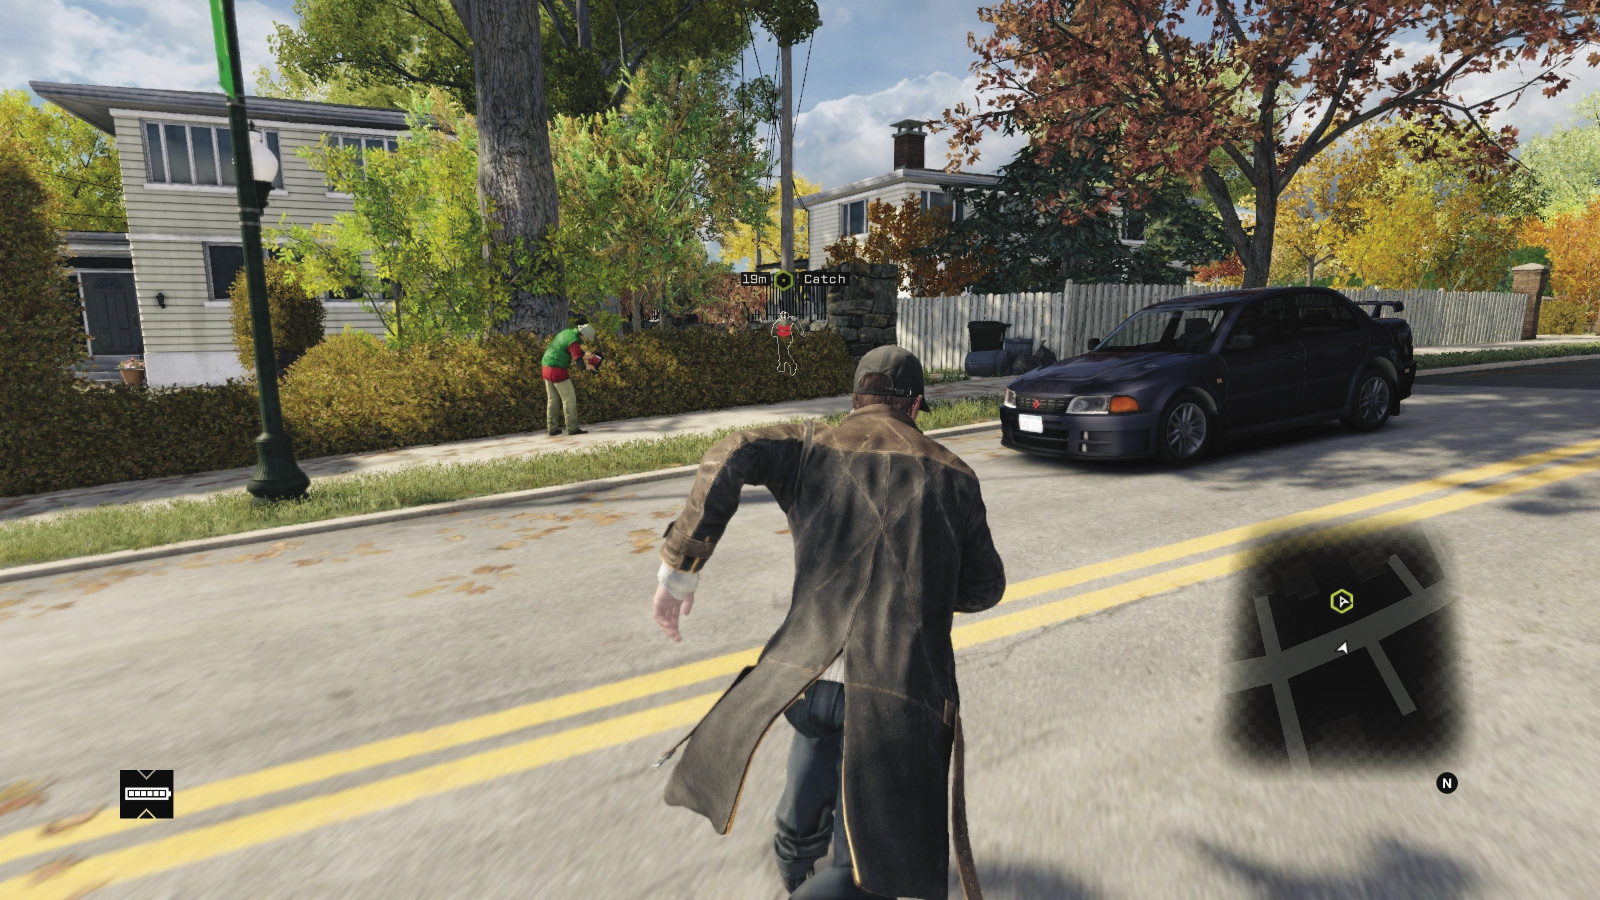
 Foot Chase
 Melee Force Likely
Difficulty: 
Rush up the cellar steps, make a left turn, and sprint after Tobias. Press and hold your Vault button to scale any of the obstacles Tobias maneuvers across. Holster any weapons you have; you want Tobias alive and talking. He takes off, out of the house and across the road. Here are some general tactics to follow as you gain on him in this footrace:
Focus on gaining ground by cutting across locations to reach him more quickly.
He occasionally looks back and fires at you. Shrug off any winging bullets; they won’t kill you.
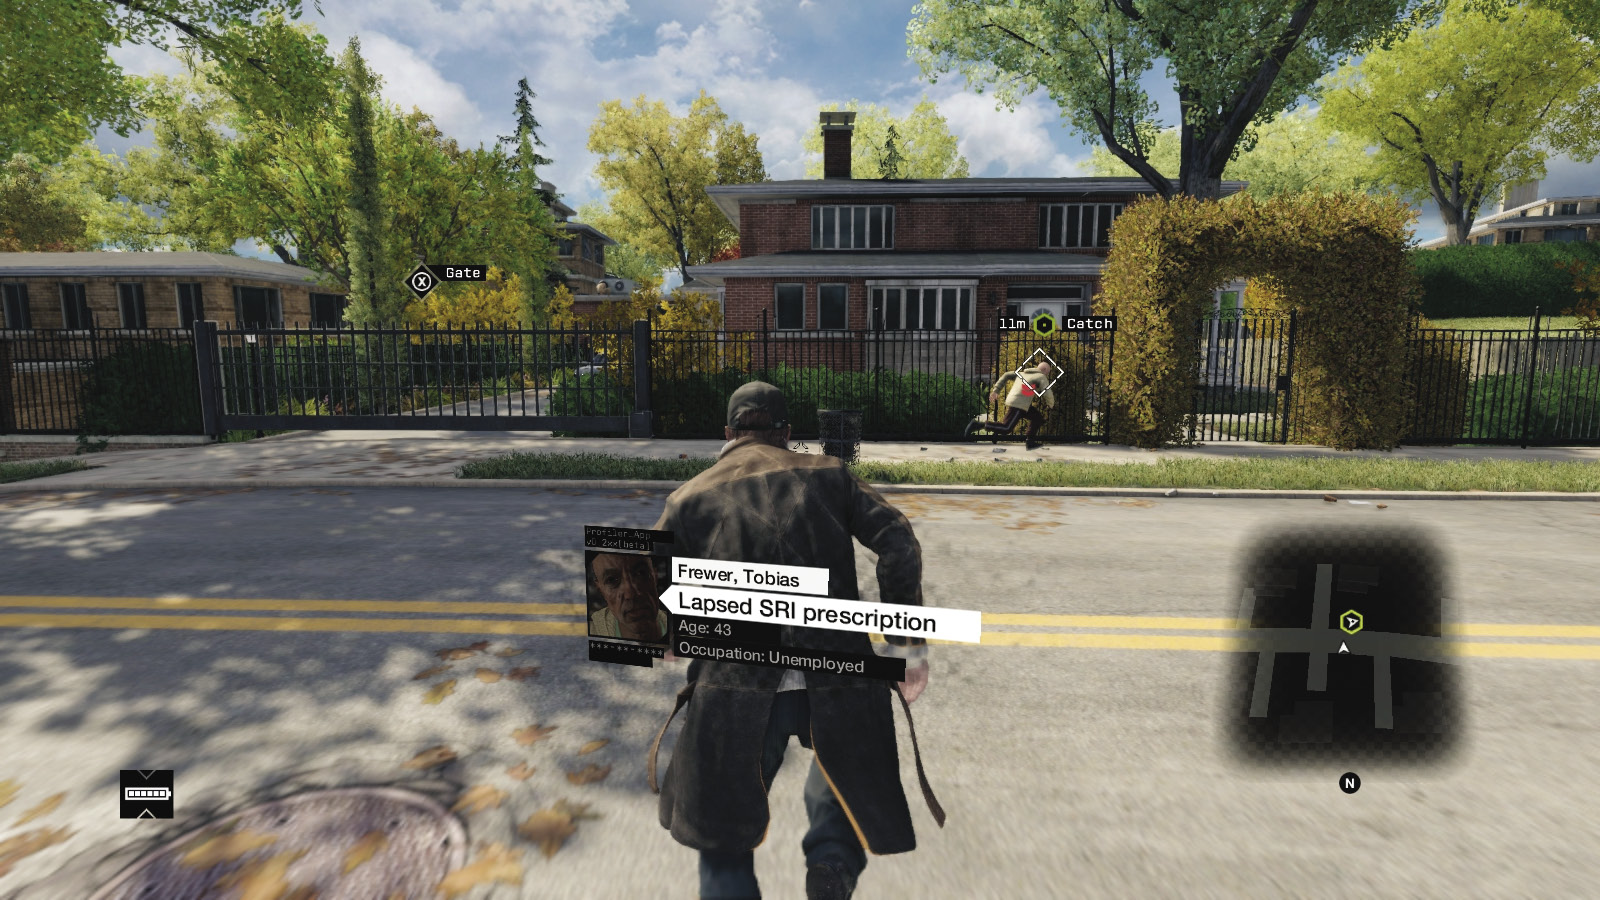
As the chase progresses, Tobias takes an active disliking to backyard barbecues, blasting the gas cans to wound and throw you off (this happens at least five times). Circle around these explosions or shrug them off.
You have a couple of occasions to detonate a junction box and knock Tobias off his path, affording you time to reach him. Unless these are regulators, this isn’t wise in case the detonation occurs too close to your fleeing subject and kills him.
If you already know Tobias’s path, you can simply wait for him or drive to the library and intercept him.
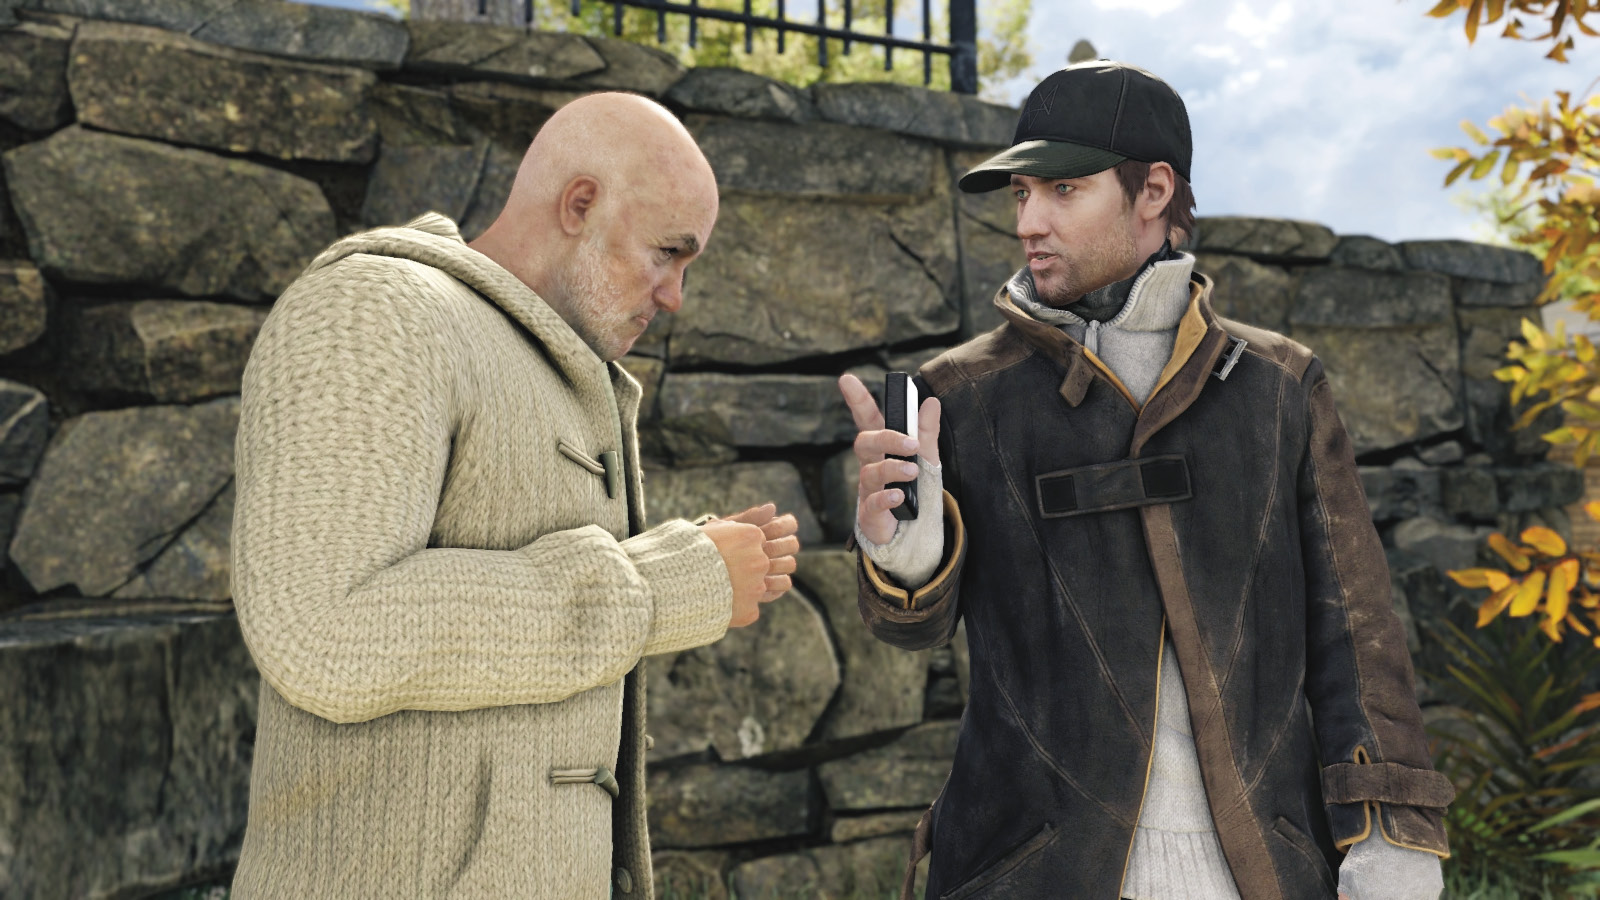
Eventually you reach Tobias and bring him tumbling to the ground. You soon disarm him and have a little chat about the bunker, or “the tomb” as he calls it. After more paranoid ramblings, Tobias hands over the bridge remote, babbling about helping you out with additional tinkering. After you let Tobias go, the mission concludes.
MISSION REWARDSGained XP: +500 Tobias’s Shop Now Available (Homeless Shanty Town) Swing Bridge Hack Now Available |