
Watch Dogs Guide INVESTIGATIONS /// EXCLUSIVE CONTRACTS
_THE PALACE
OBJECTIVES
|
 Reach SoSueMe’s mansion
 Hack to gain access to SoSueMe’s mansion
 Find and deactivate the ctOS boxes
 Access and hack the ctOS server
 Hack SoSueMe’s laptop
 Take down SoSueMe
 Escape the police
LOCATIONS // MAP
Location / Parker Square // SoSueMe’s Mansion
|
|
 Reach SoSueMe’s mansion
 Hack to gain access to SoSueMe’s mansion
1. Hacked Off
 Location / The Loop // Alley close to LeSalle Station
 Location / Parker Square // SoSueMe’s Mansion
 Driving Investigation
 Infiltration
 Data Hack
Difficulty: 
Overview
Completion Point: SoSueMe’s router, two ctOS boxes, then the router again, and finally SoSueMe.
Dangers (Mansion Infiltration): Ten Fixers (Gunmen x3, Veteran x5, Marksmen x2; hidden cameras x3, Shot-Callers x4).
Reinforcements (Mansion Infiltration):Up to six Fixers (Gunmen x6), approaching on foot.
Begin this lengthy mission at an alley in the Loop, just west of LaSalle L-train station. DedSec has uncovered some worrying information regarding a rich hacker named Danny SoSueMe, who recently stole data from them. That includes some personal information about your family. While DedSec is calling, plot a GPS route to Parker Square and drive to SoSueMe’s mansion immediately. Bring weapons and projectiles for this one.
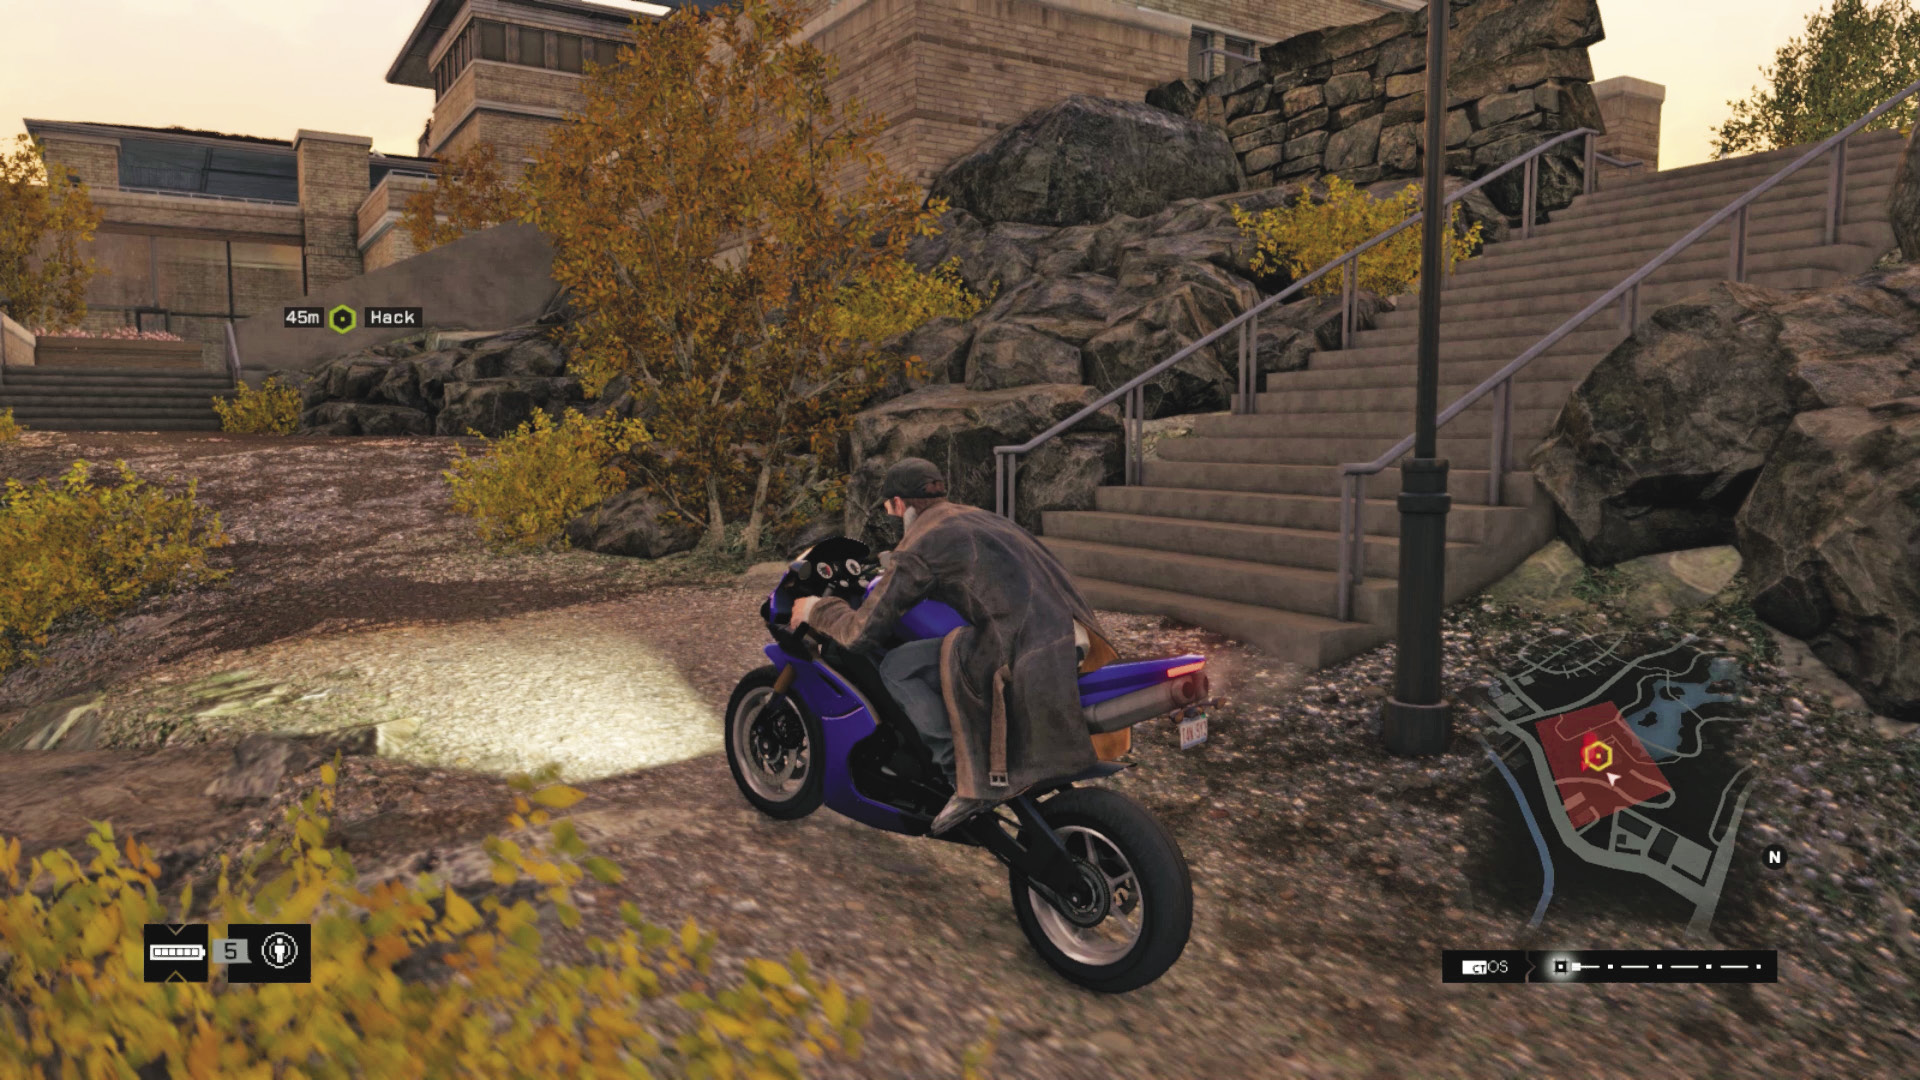
Choose one of the insertion points at the mansion’s perimeter (detailed below), and move directly to the security router in the windowed walkway under the deck, close to the cliff ledge. There are no enemies between the front gate and here, so this is the best way to reach this location. Profile the router so the objective updates and you can begin your proper infiltration: for two ctOS power boxes.
|
|
 Find and deactivate the ctOS boxes
 Access and hack the ctOS server
2. at the mansion
 Location / Parker Square // SoSueMe’s Mansion
 Infiltration
 Data Hack
 Lethal Force Likely
 Melee Force Likely
Difficulty: 
Insertion Points
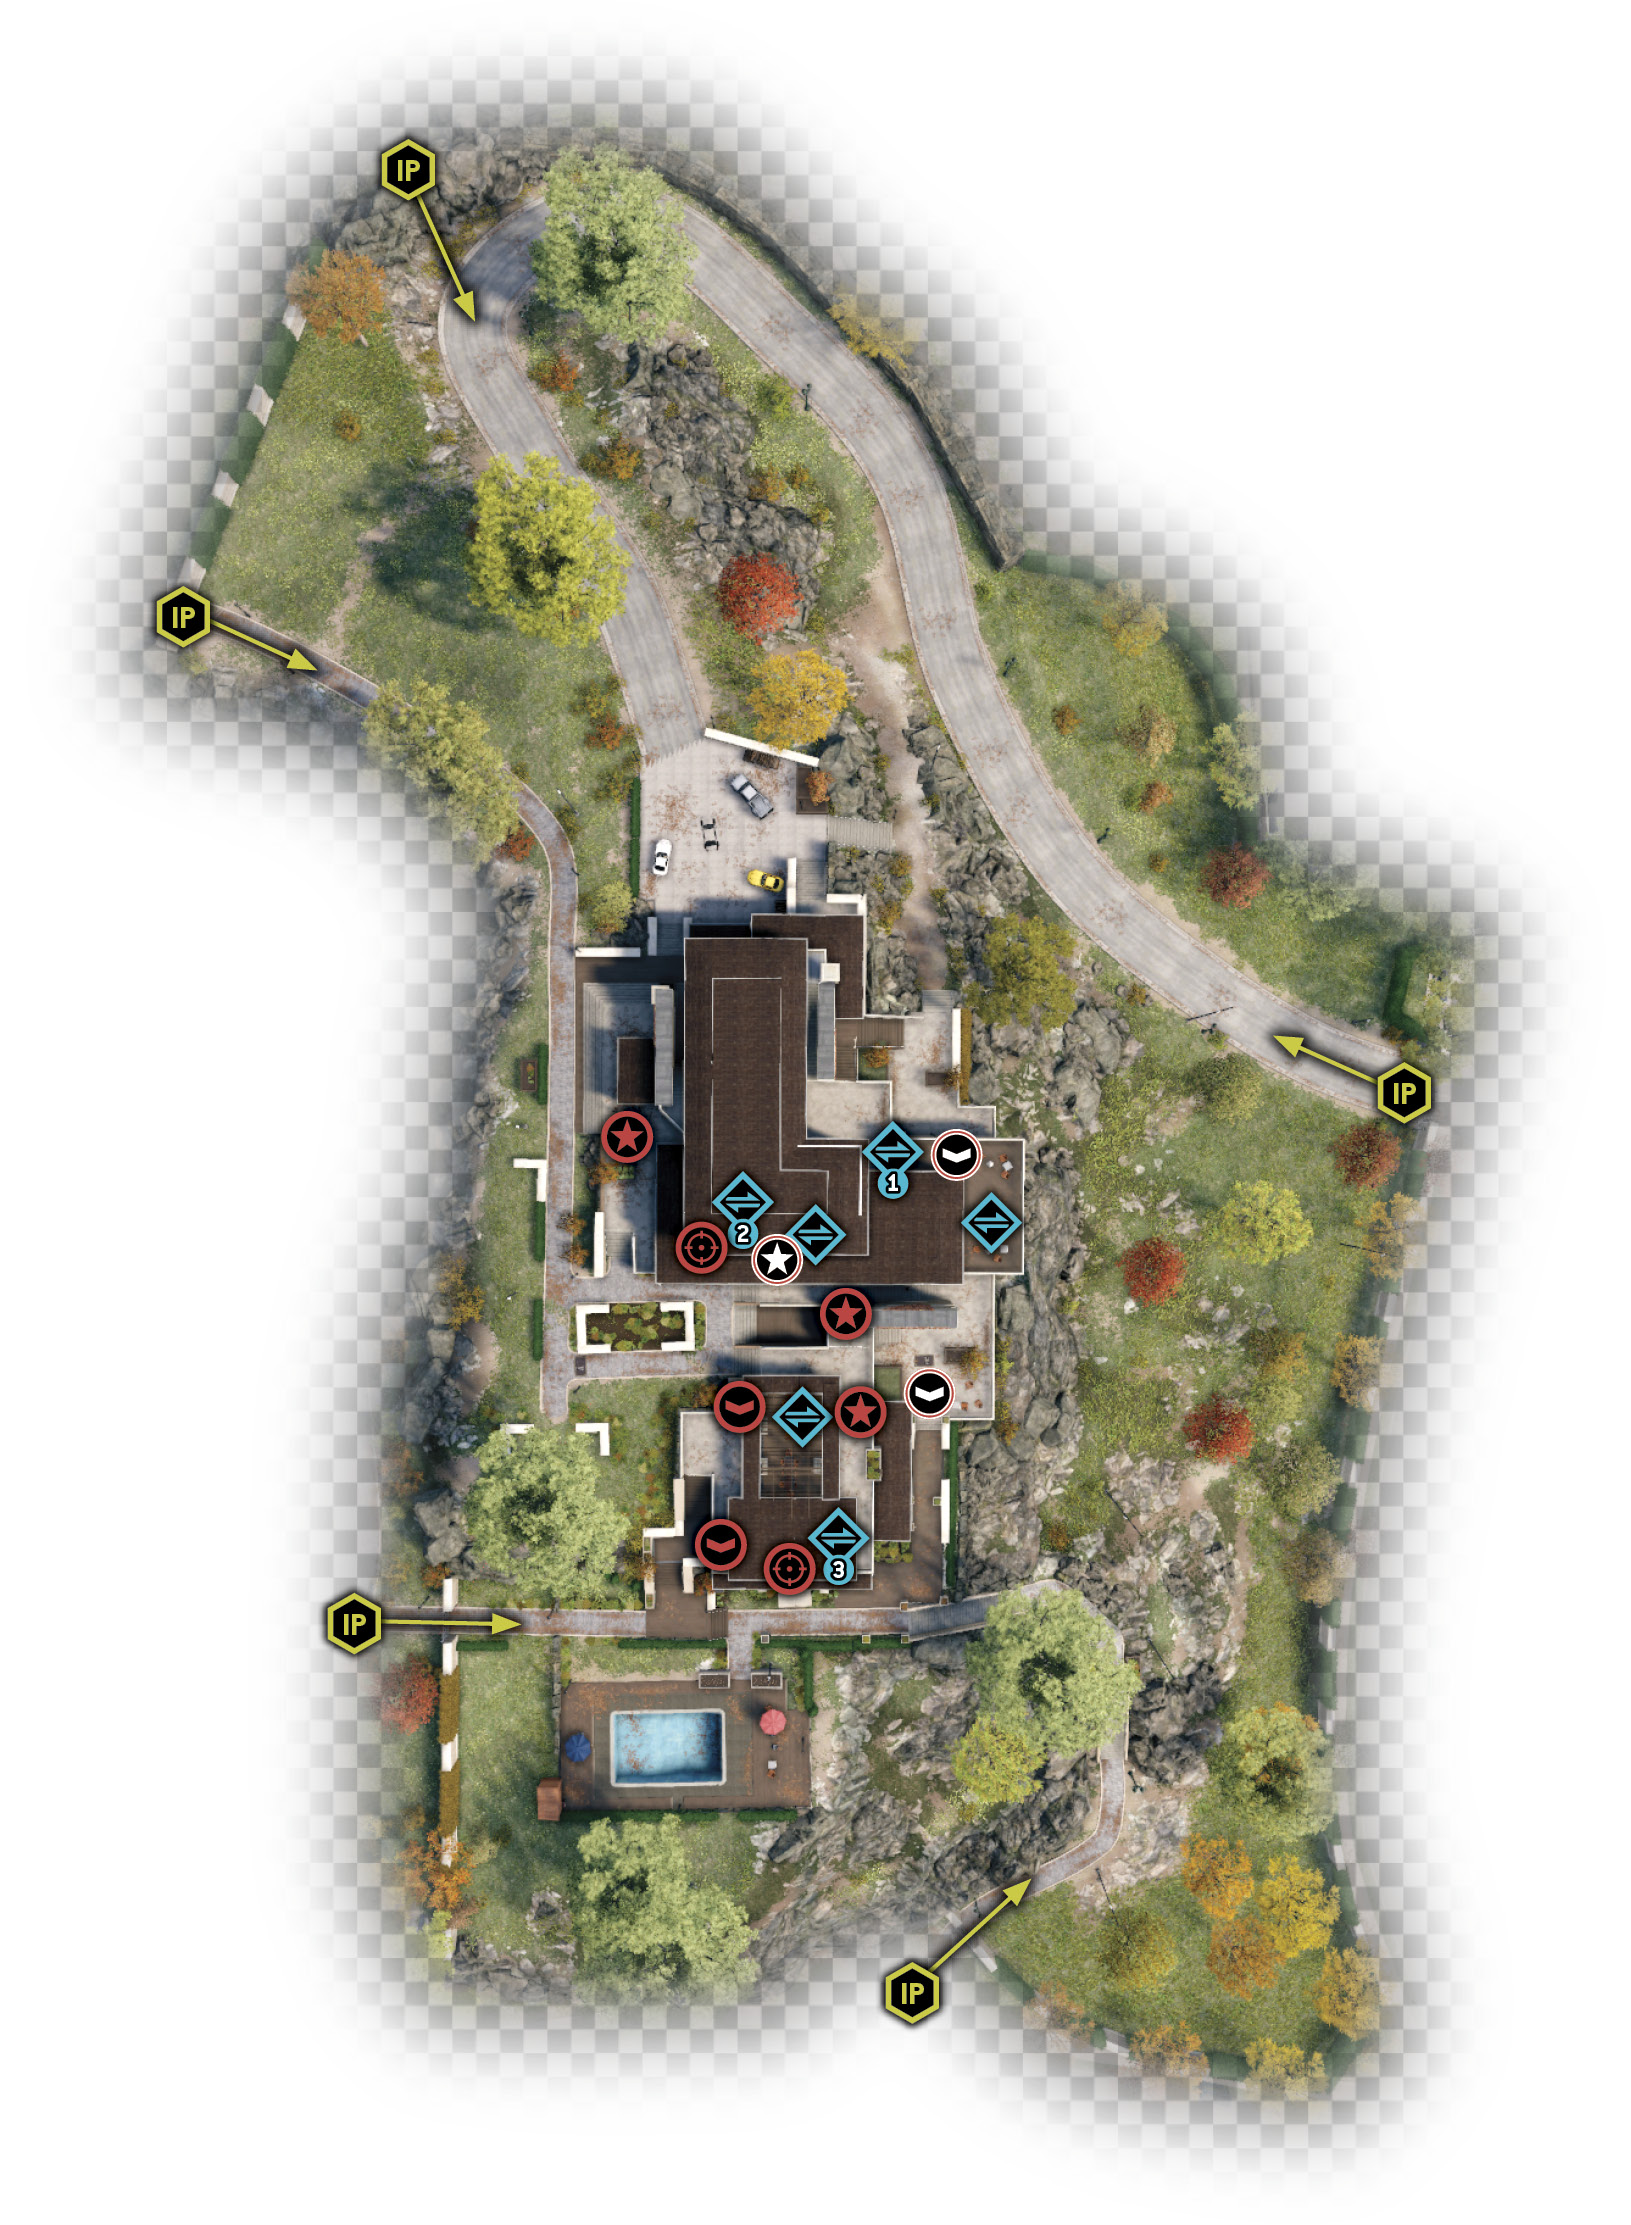
SoSueMe’s mansion is sprawling and has an outer perimeter, where you first gain access, and the layout of the actual building exterior where his guards are patrolling. So think of this as two sets of insertion points:
Outer Point: Main Gates (Southeast)
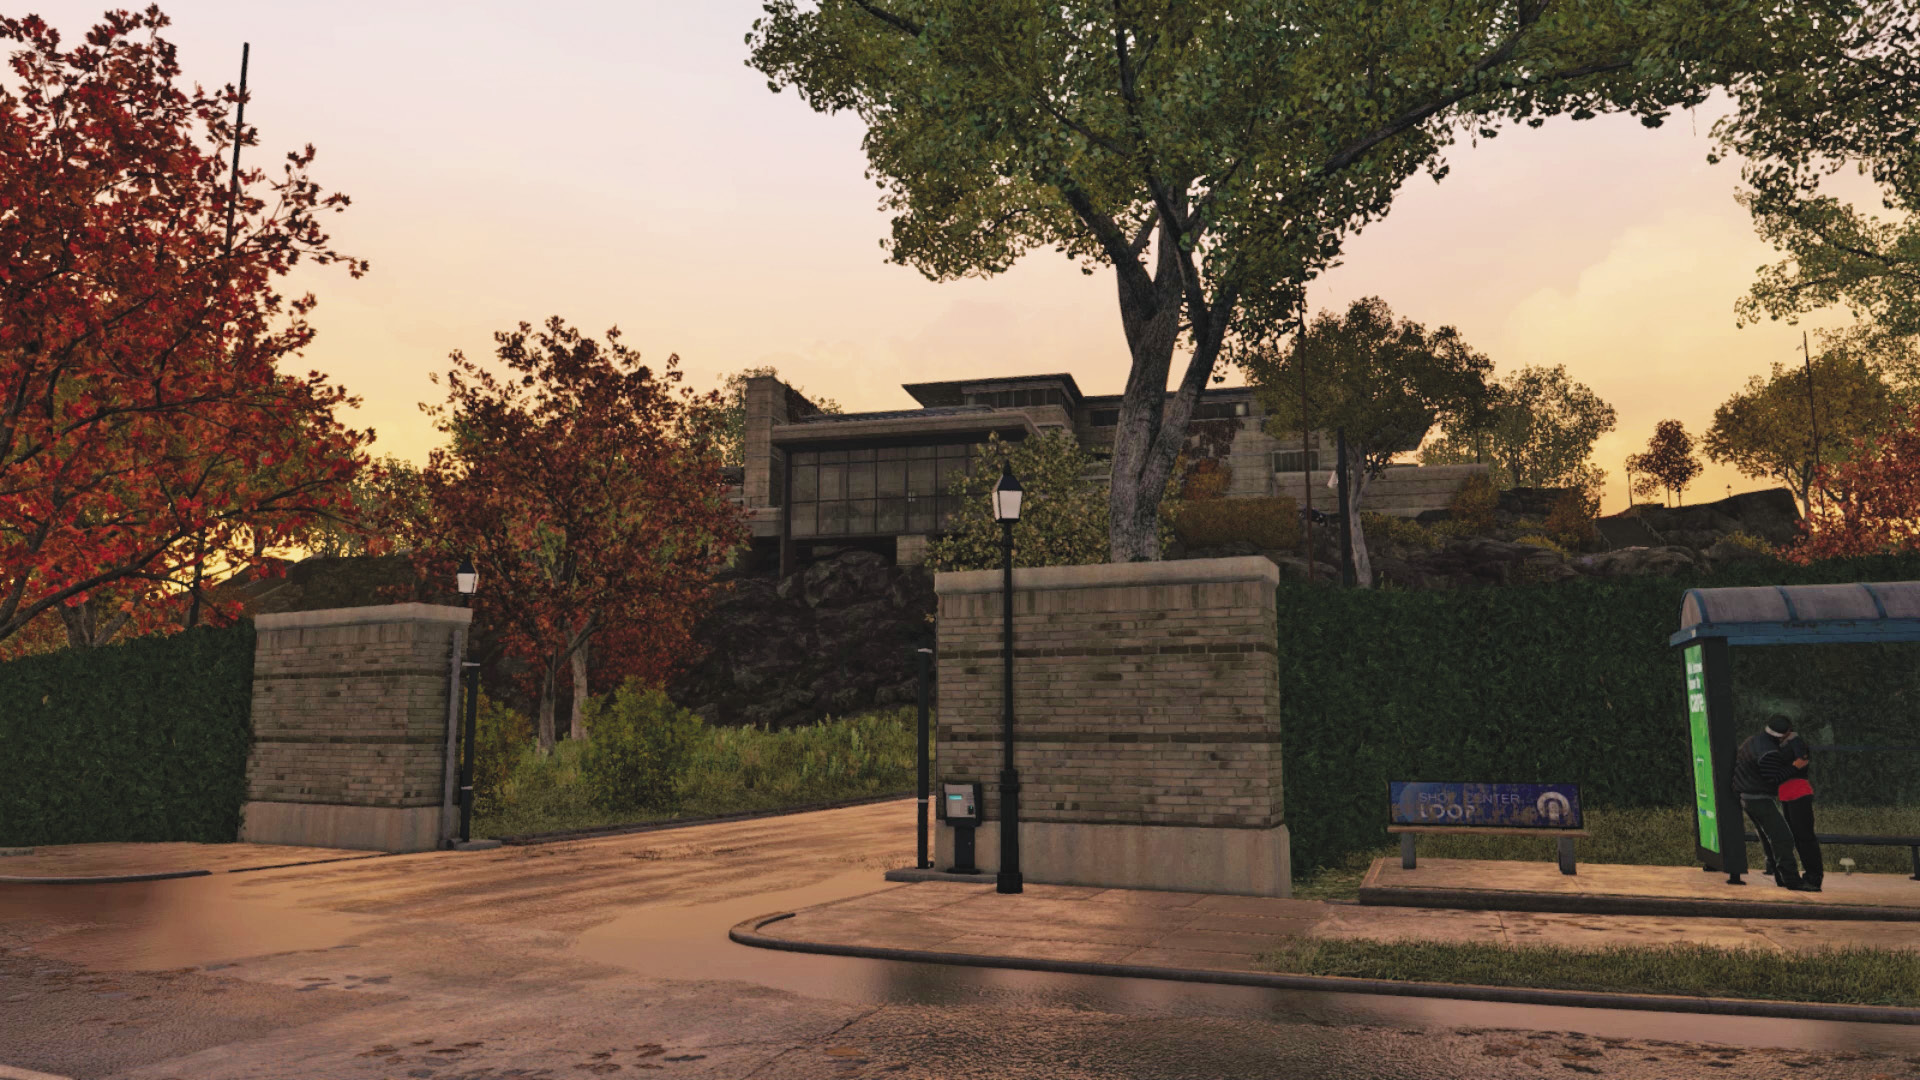
When you arrive, open the gate and drive up the winding path. Though it isn’t very clandestine, there are no enemies in this part of the grounds, so you’re safe. This is also the escape route for SoSueMe; a carefully placed IED might be helpful to halt him.
Outer Point: Curved Stone Wall (Northeast)
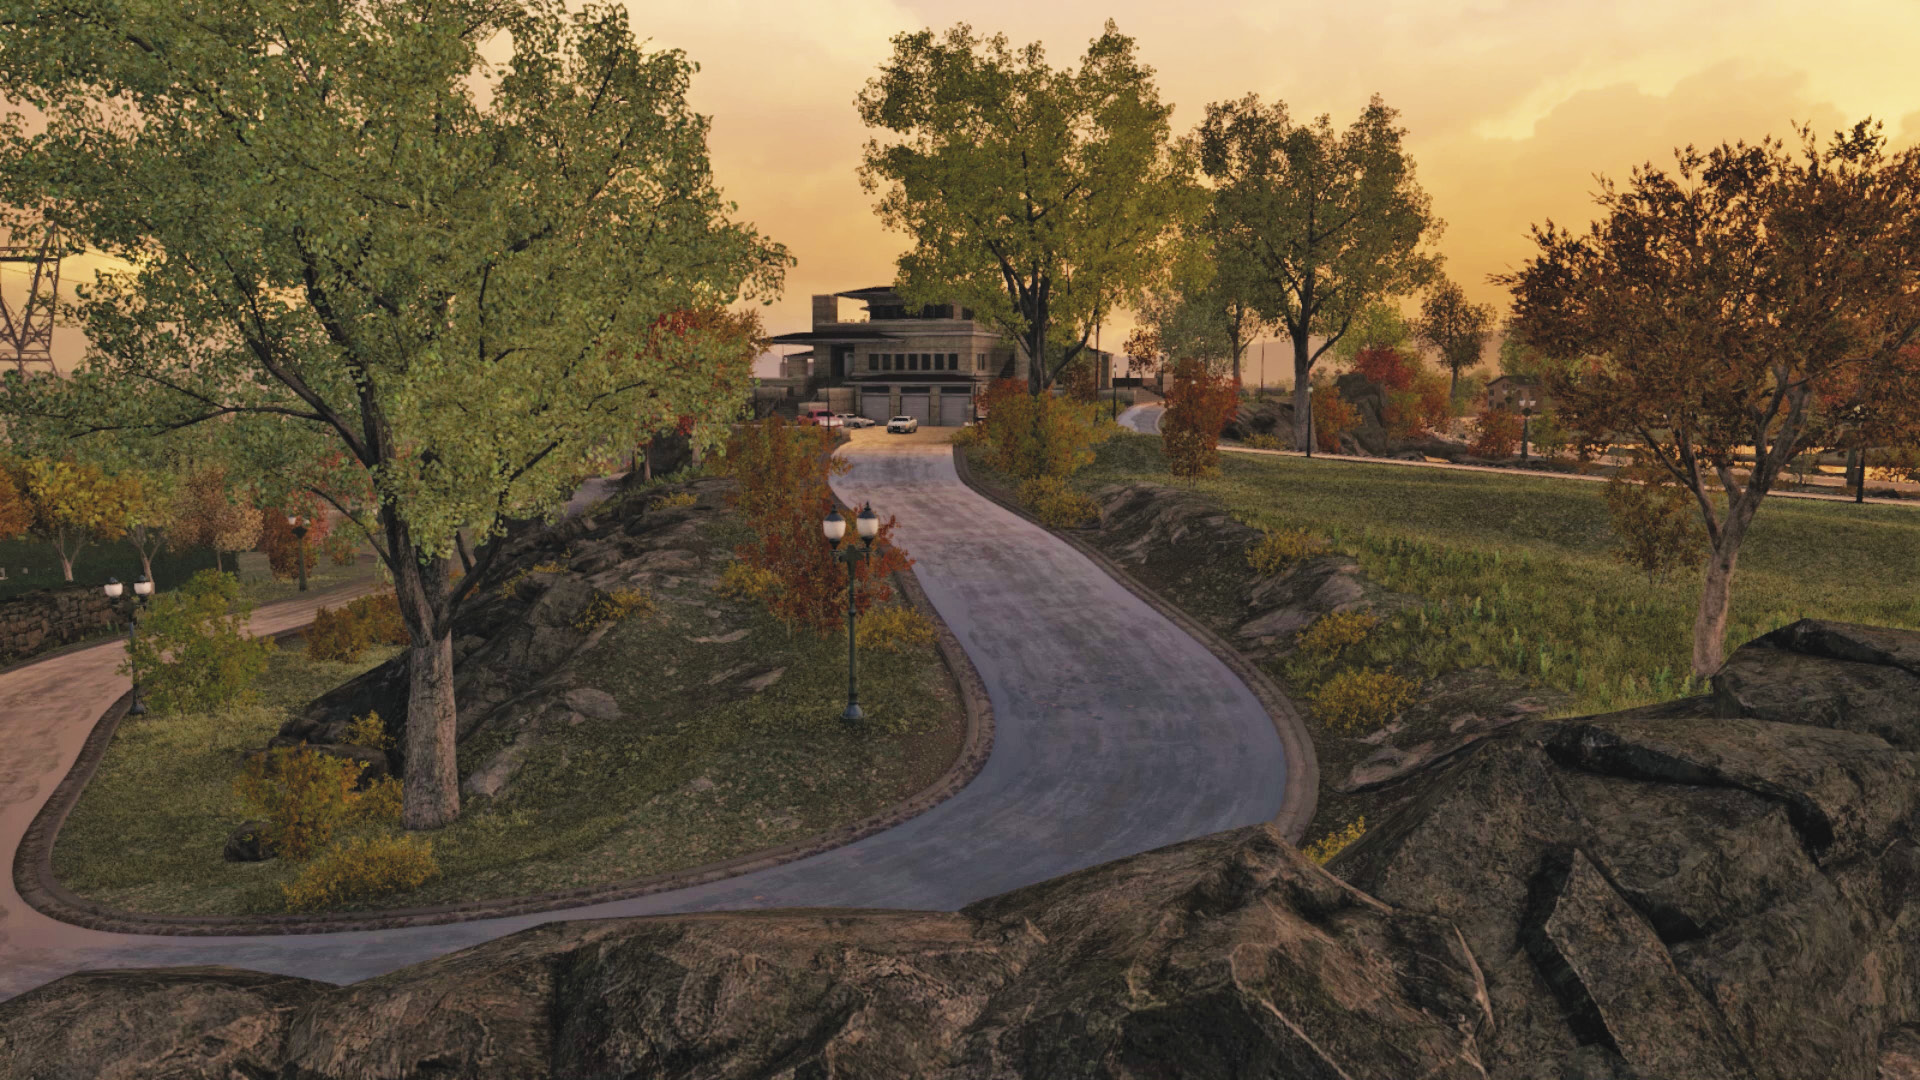
You can clamber around the perimeter and locate the stone wall and rocky outcrop adjacent to it. Hoist yourself over to the curved driveway and the garage forecourt. Drop a proximity IED on this drive to really annoy SoSueMe during the last stages of this mission when he tries to drive away.
Outer Point: Gate by the Lake (North)
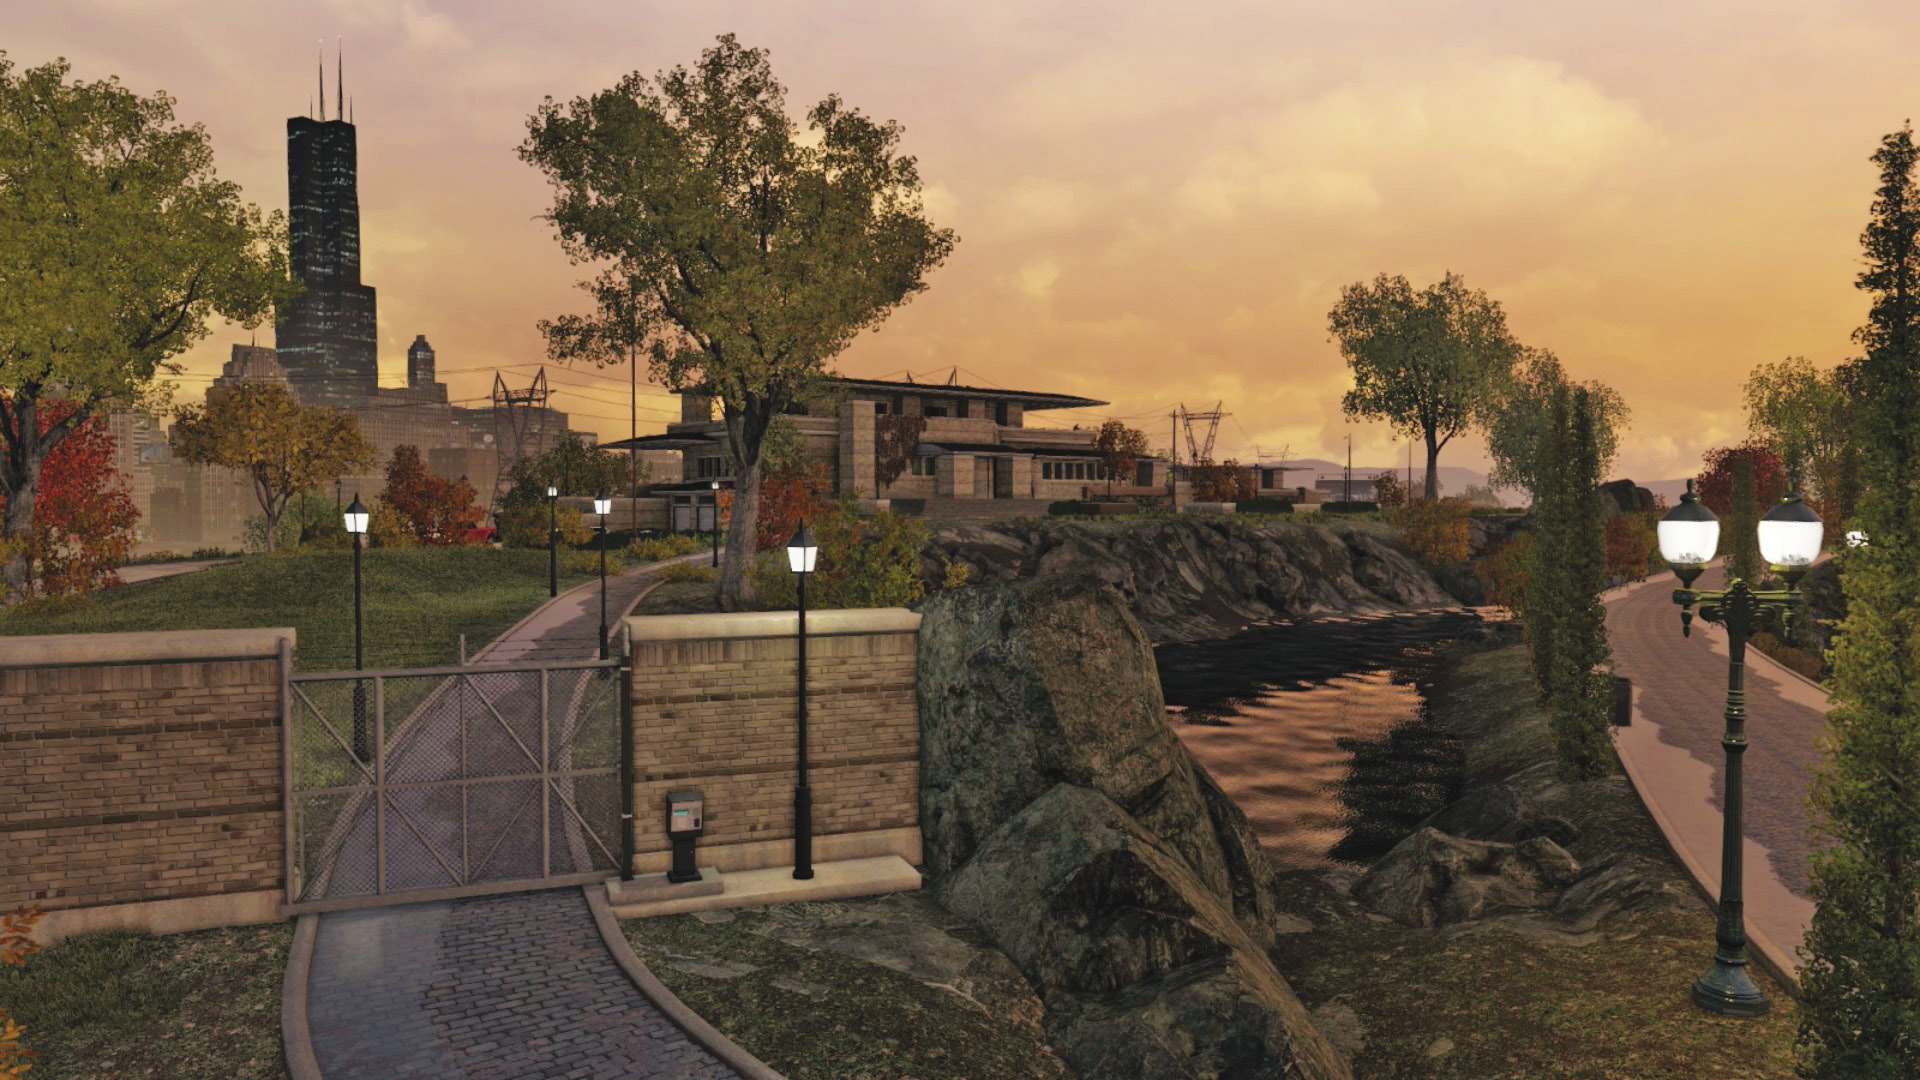
Unlock this gate so you can walk down the cobblestone path overlooking the lake, with the mansion just up ahead. This is an easy infiltration point but isn’t usually used because it’s quicker and just as safe to maneuver up from the southeast. On this side, however, you soon reach the lakeside porch.
Outer Point: Gate by the Restrooms (Northwest)
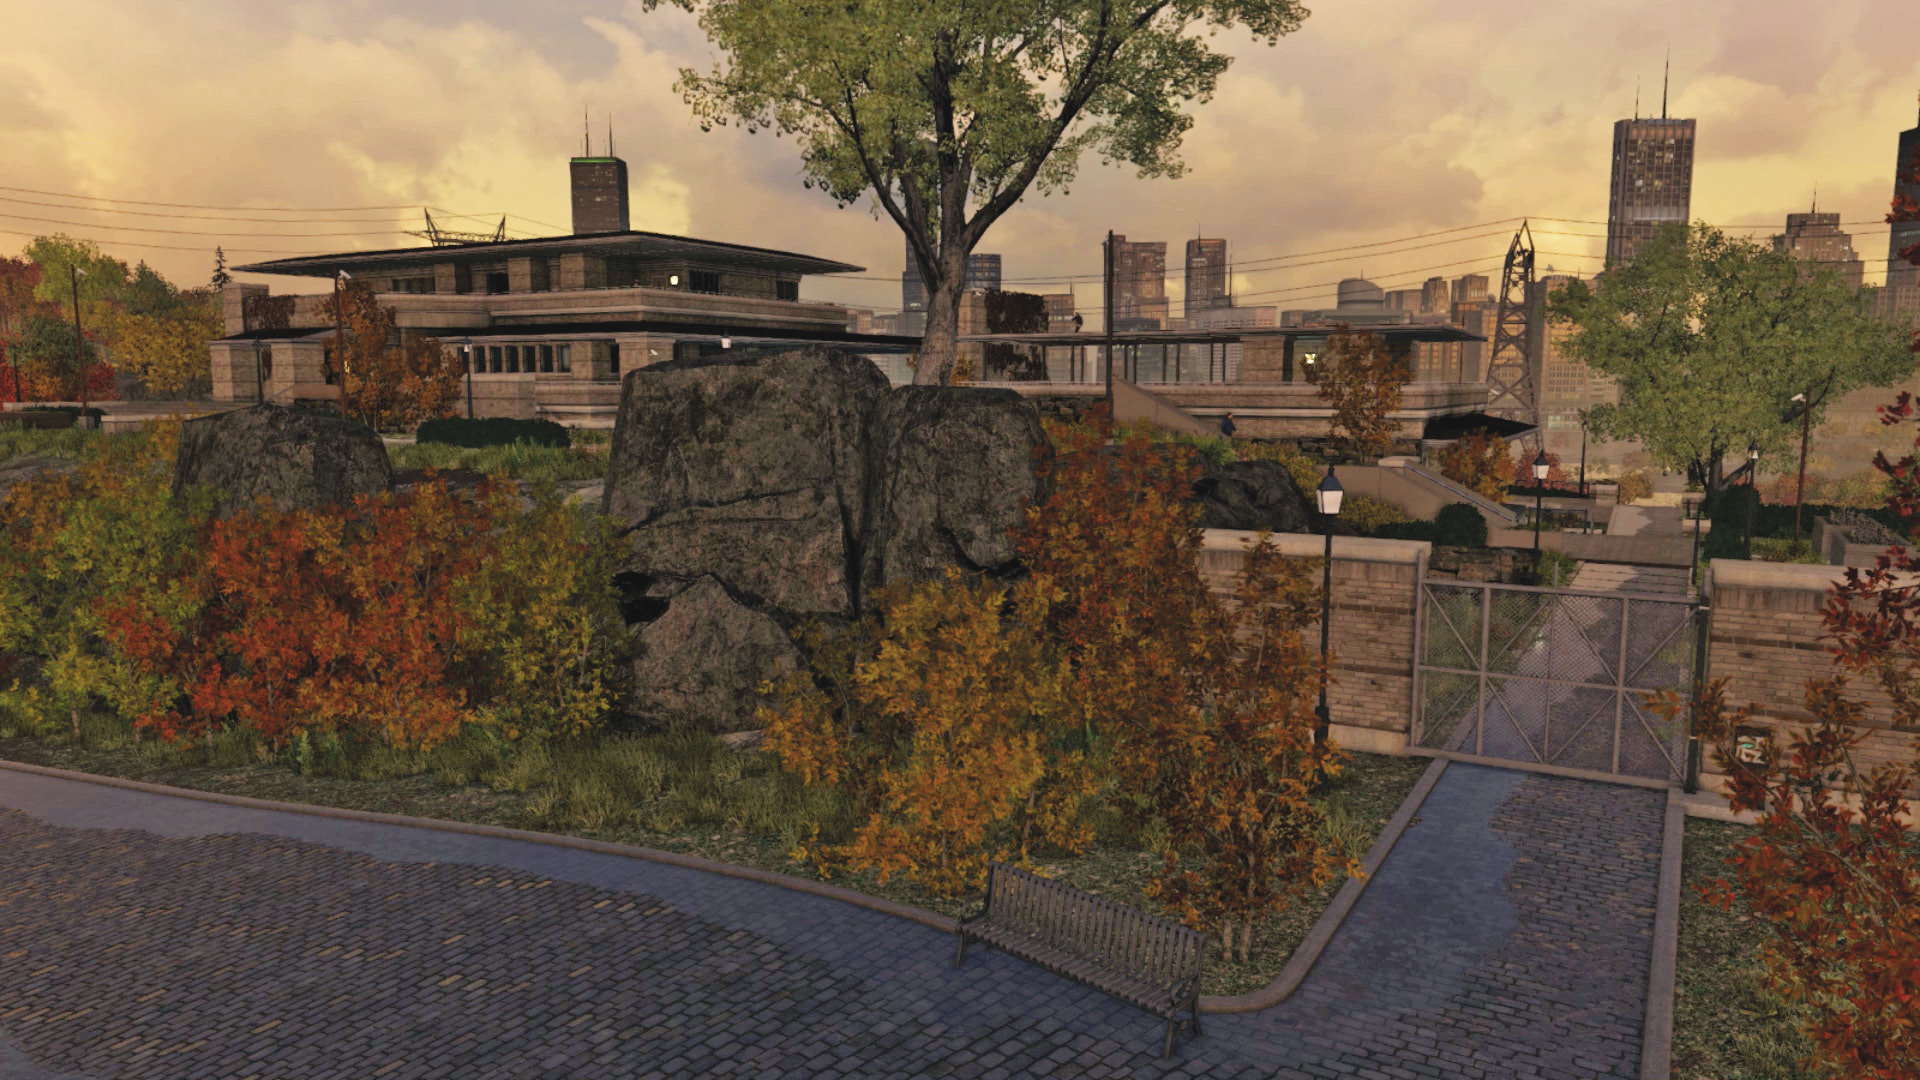
This gate allows access to the western grounds, but tactically, this isn’t very helpful; the guards are all ahead and above you (to the left or north), and both snipers can easily spot you wandering the cobblestone path below the gazebo.
Outer Point: Gate at the Bottom of the Hill (South)
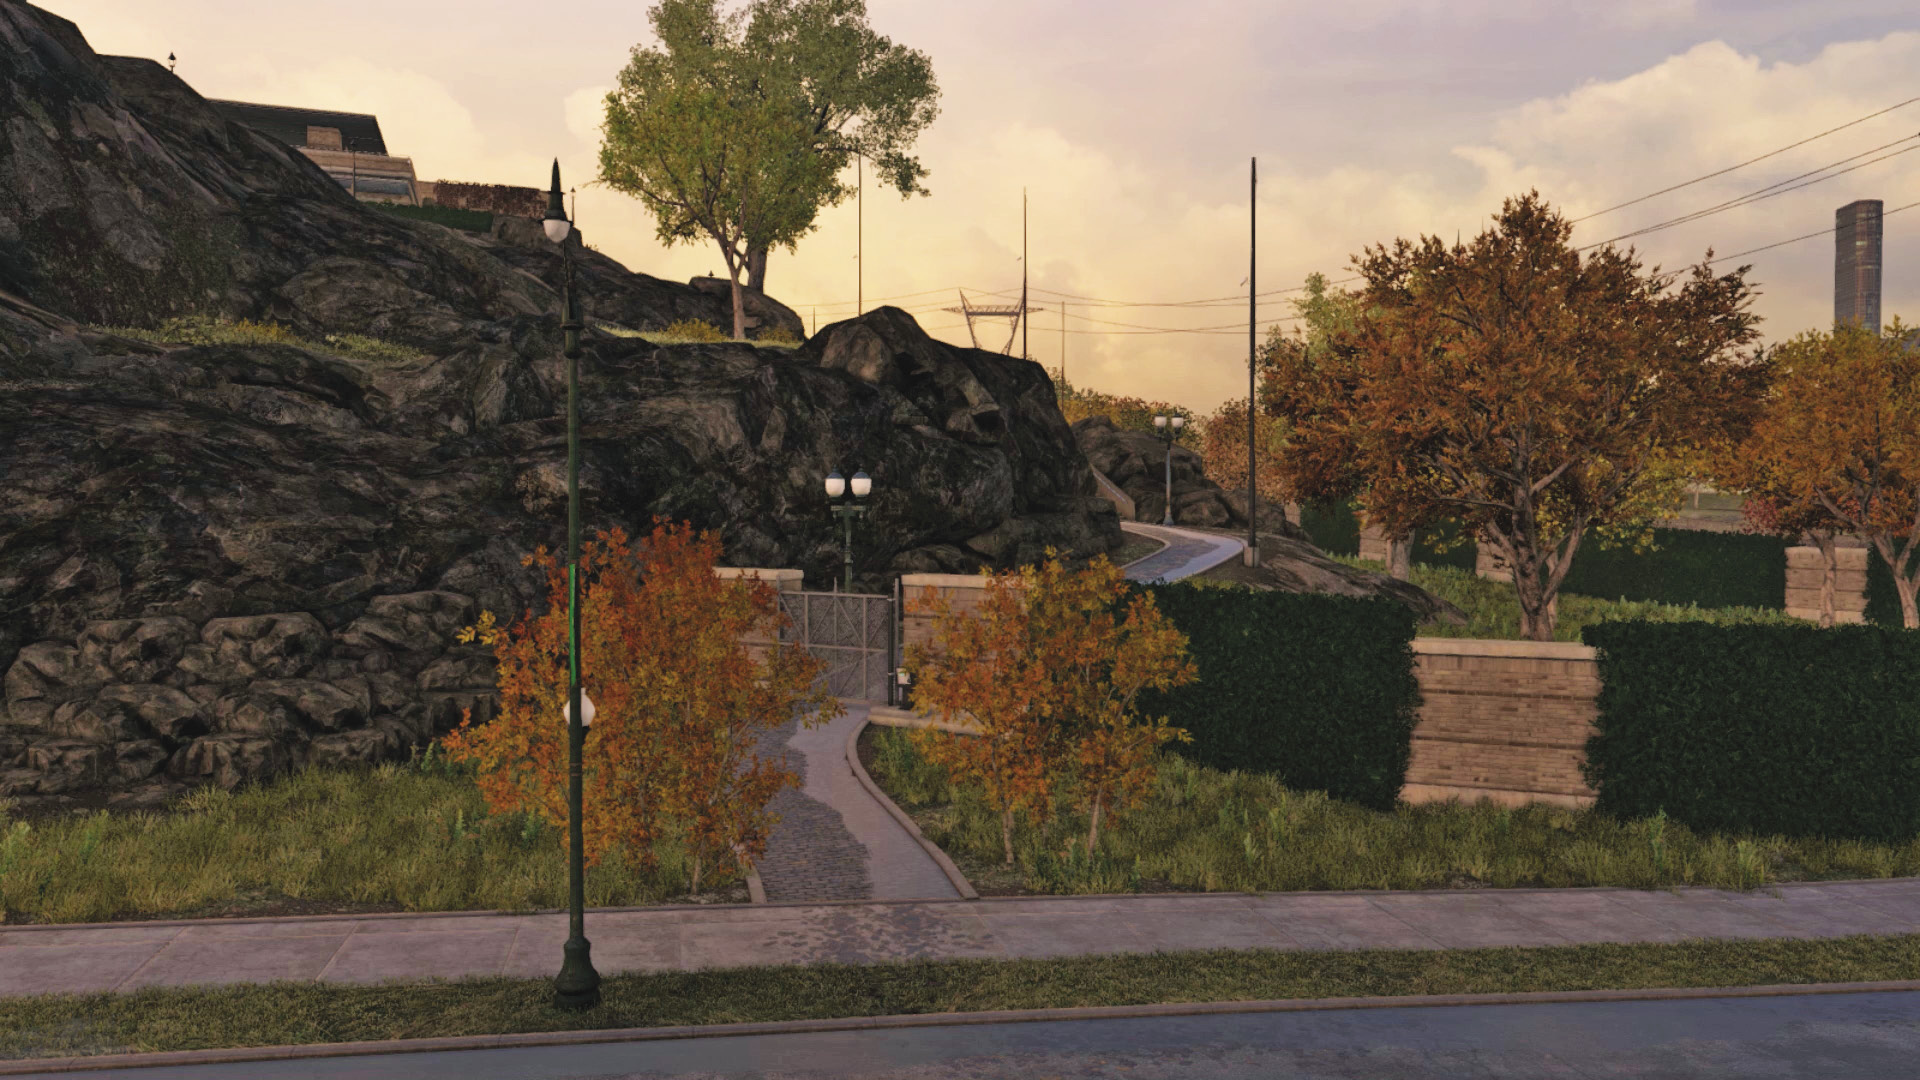
This gate offers access to the south patio and gazebo area. This is slightly more helpful than the gate by the restrooms, as you can lurk close to the patio and start dispatching foes. But as the initial objective here is on the opposite side of the mansion, you need to do some extra legwork.
Inner Point: Front Door and Garage Forecourt (Northeast)
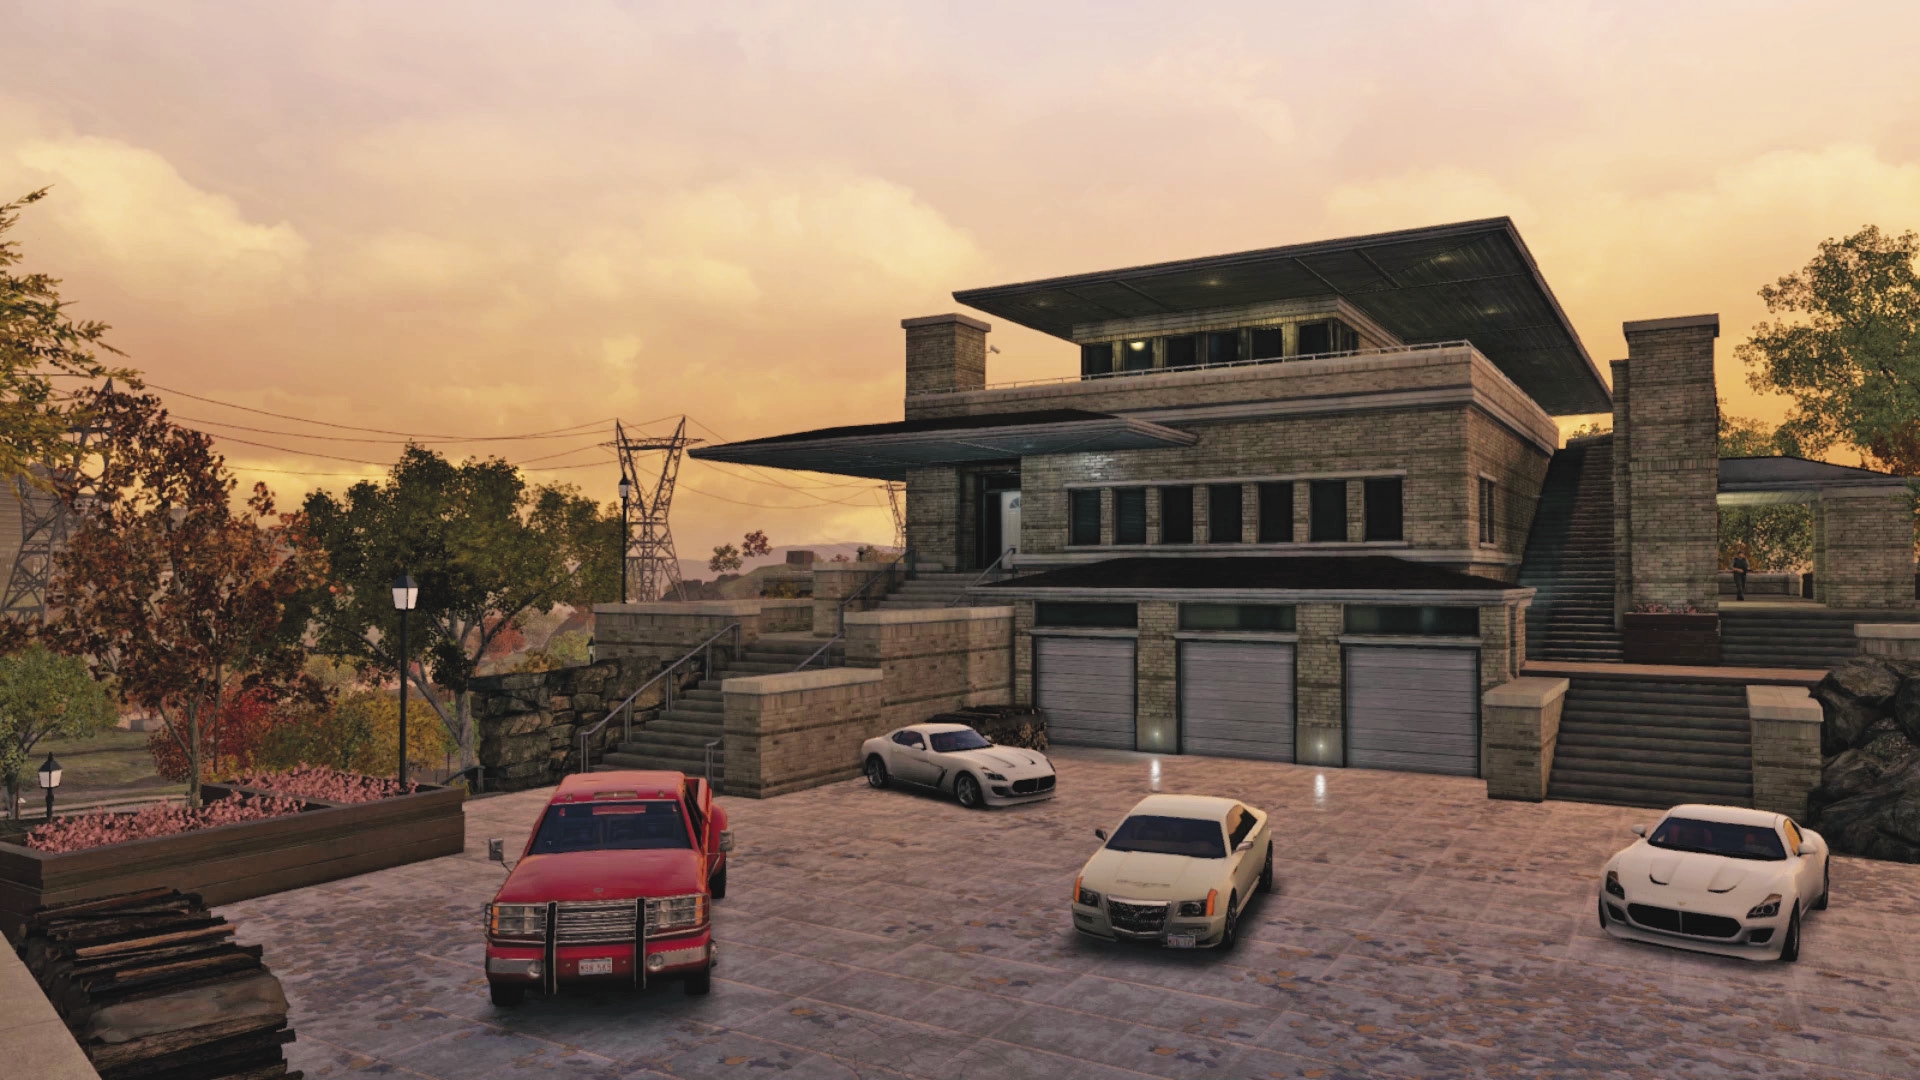
The front door is locked, and there is a collection of vehicles in the forecourt. Puncture their tires or launch grenades at them, although your firing alerts the guards. There’s access to the steps to the upper balcony level of the mansion, and two sets of steps down to the cliff ledge where the router is located. SoSueMe escapes from here, so be sure you know how to easily reach this area.
Inner Point: Cliff Ledge and Window Deck (East)
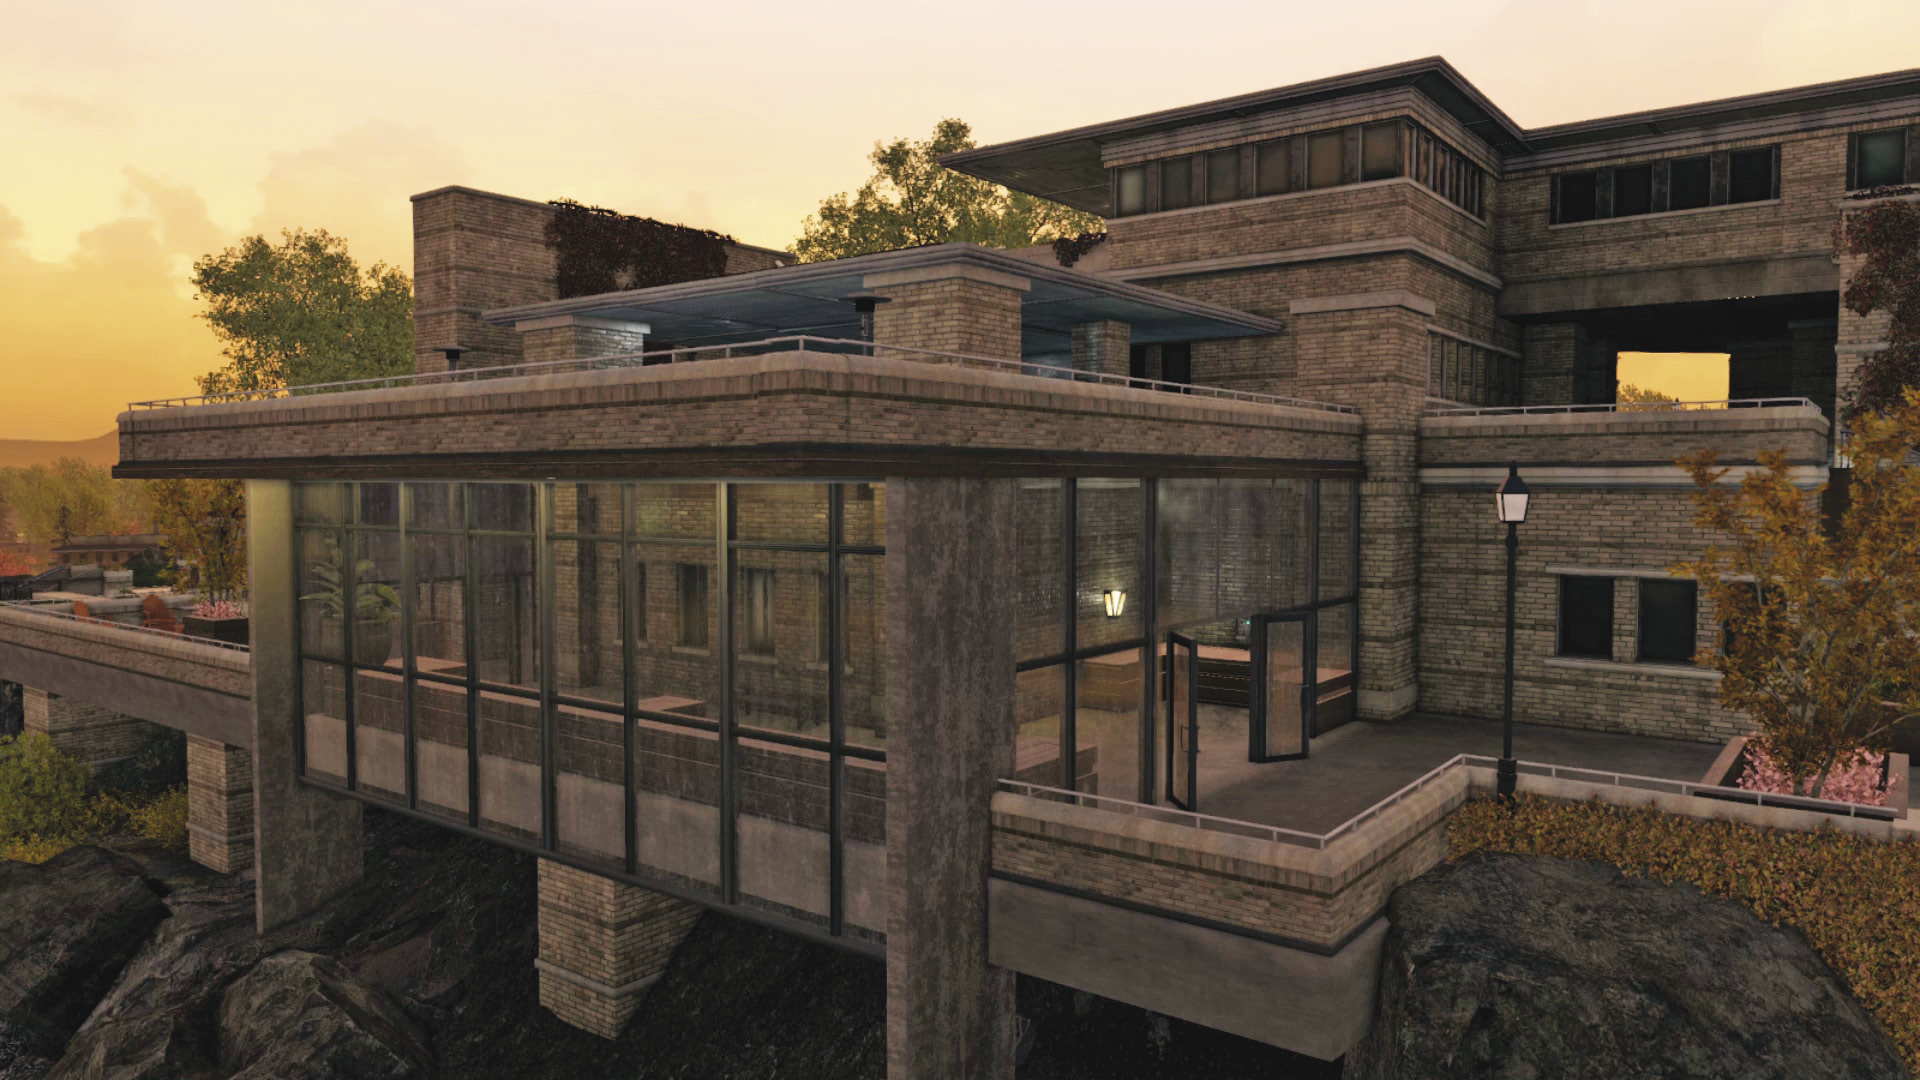
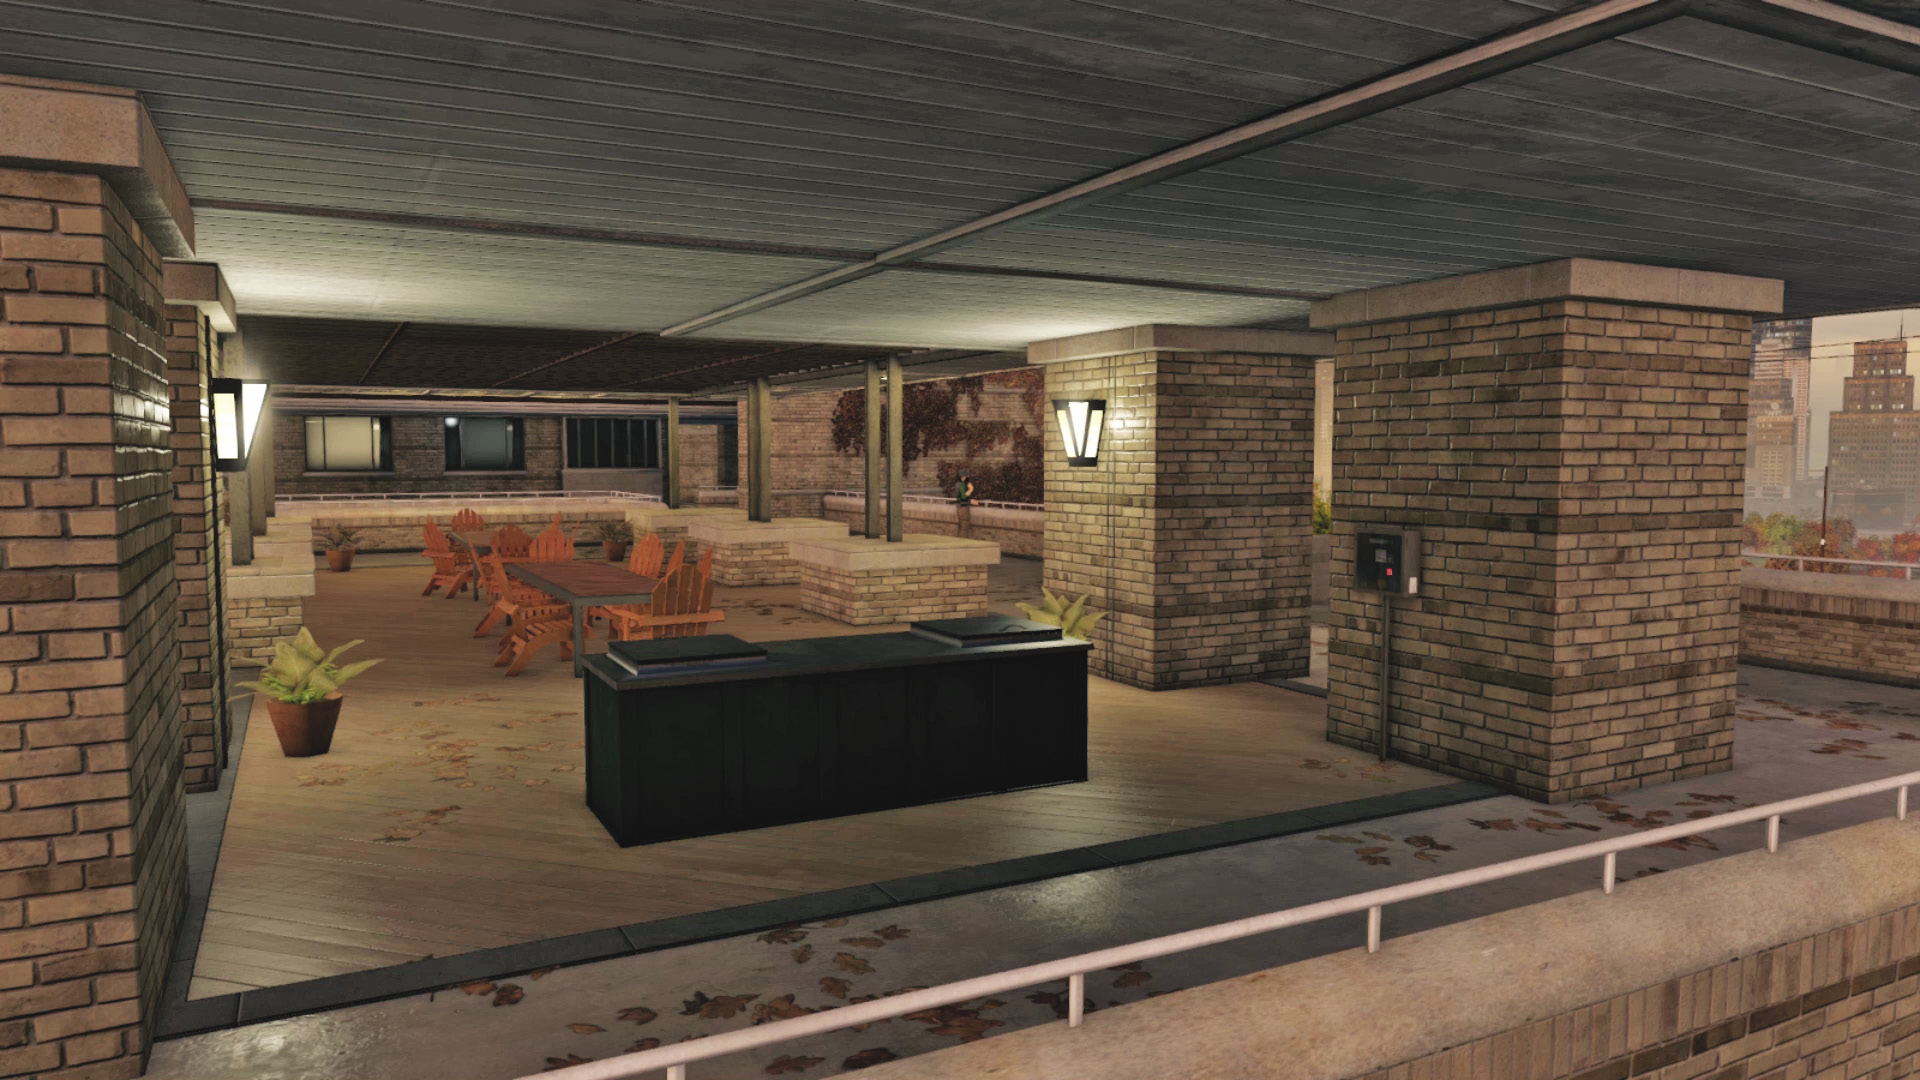
The majority of your movements end up here: the lower windowed walkway near the (sealed) door where the router is (and where you trace the data flow to the two ctOS boxes) and access to the patio. Directly above is a deck with a barbecue, a covered area leading to stairs, and access to the massive gazebo. There’s a connecting corridor opening to the porch too.
Inner Point: South Patio
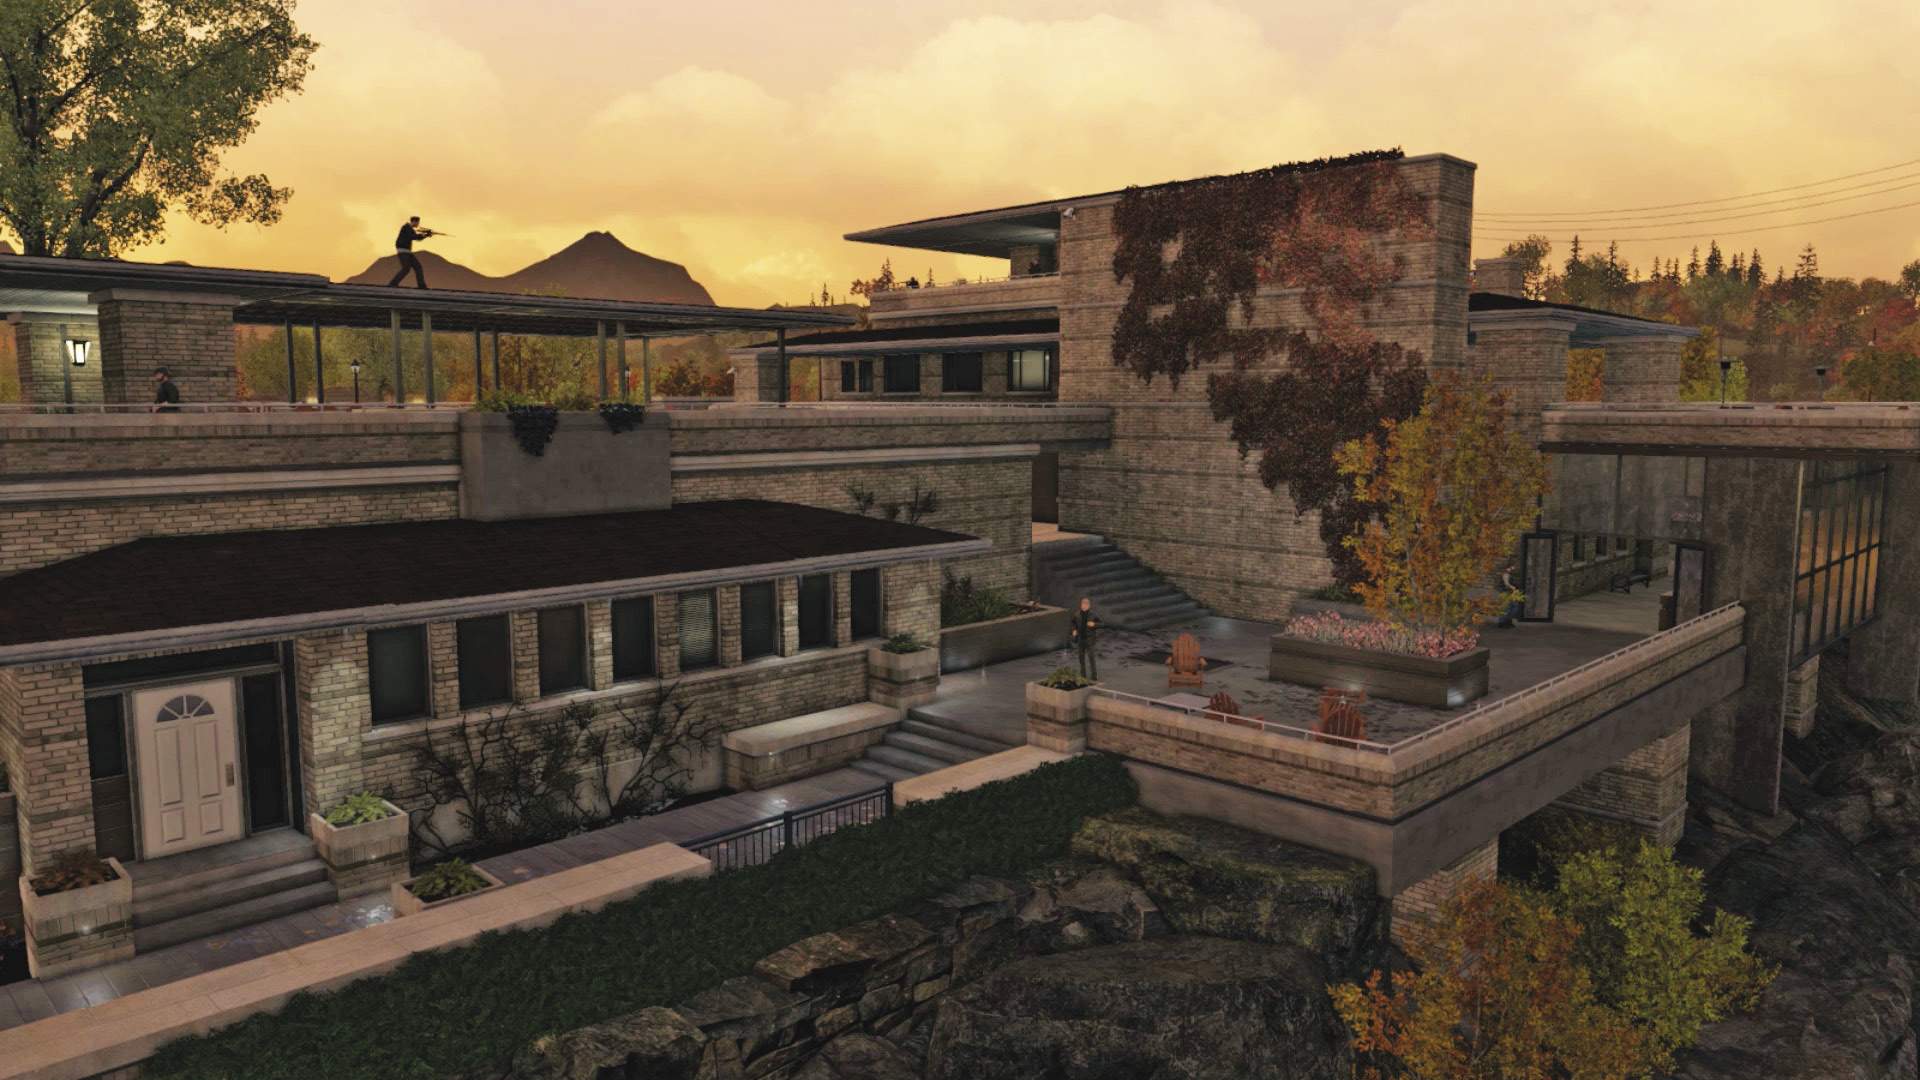
Note the two sets of stairs here, both leading up to the patio. Follow one of the data flows along here. Watch for a guard with a camera patrolling here, plus others up on the gazebo balcony who can see you from their height advantage. There’s a vault to blow if you want to make noise.
Inner Point: Large Dining Gazebo (Southwest) (ctOS Box)
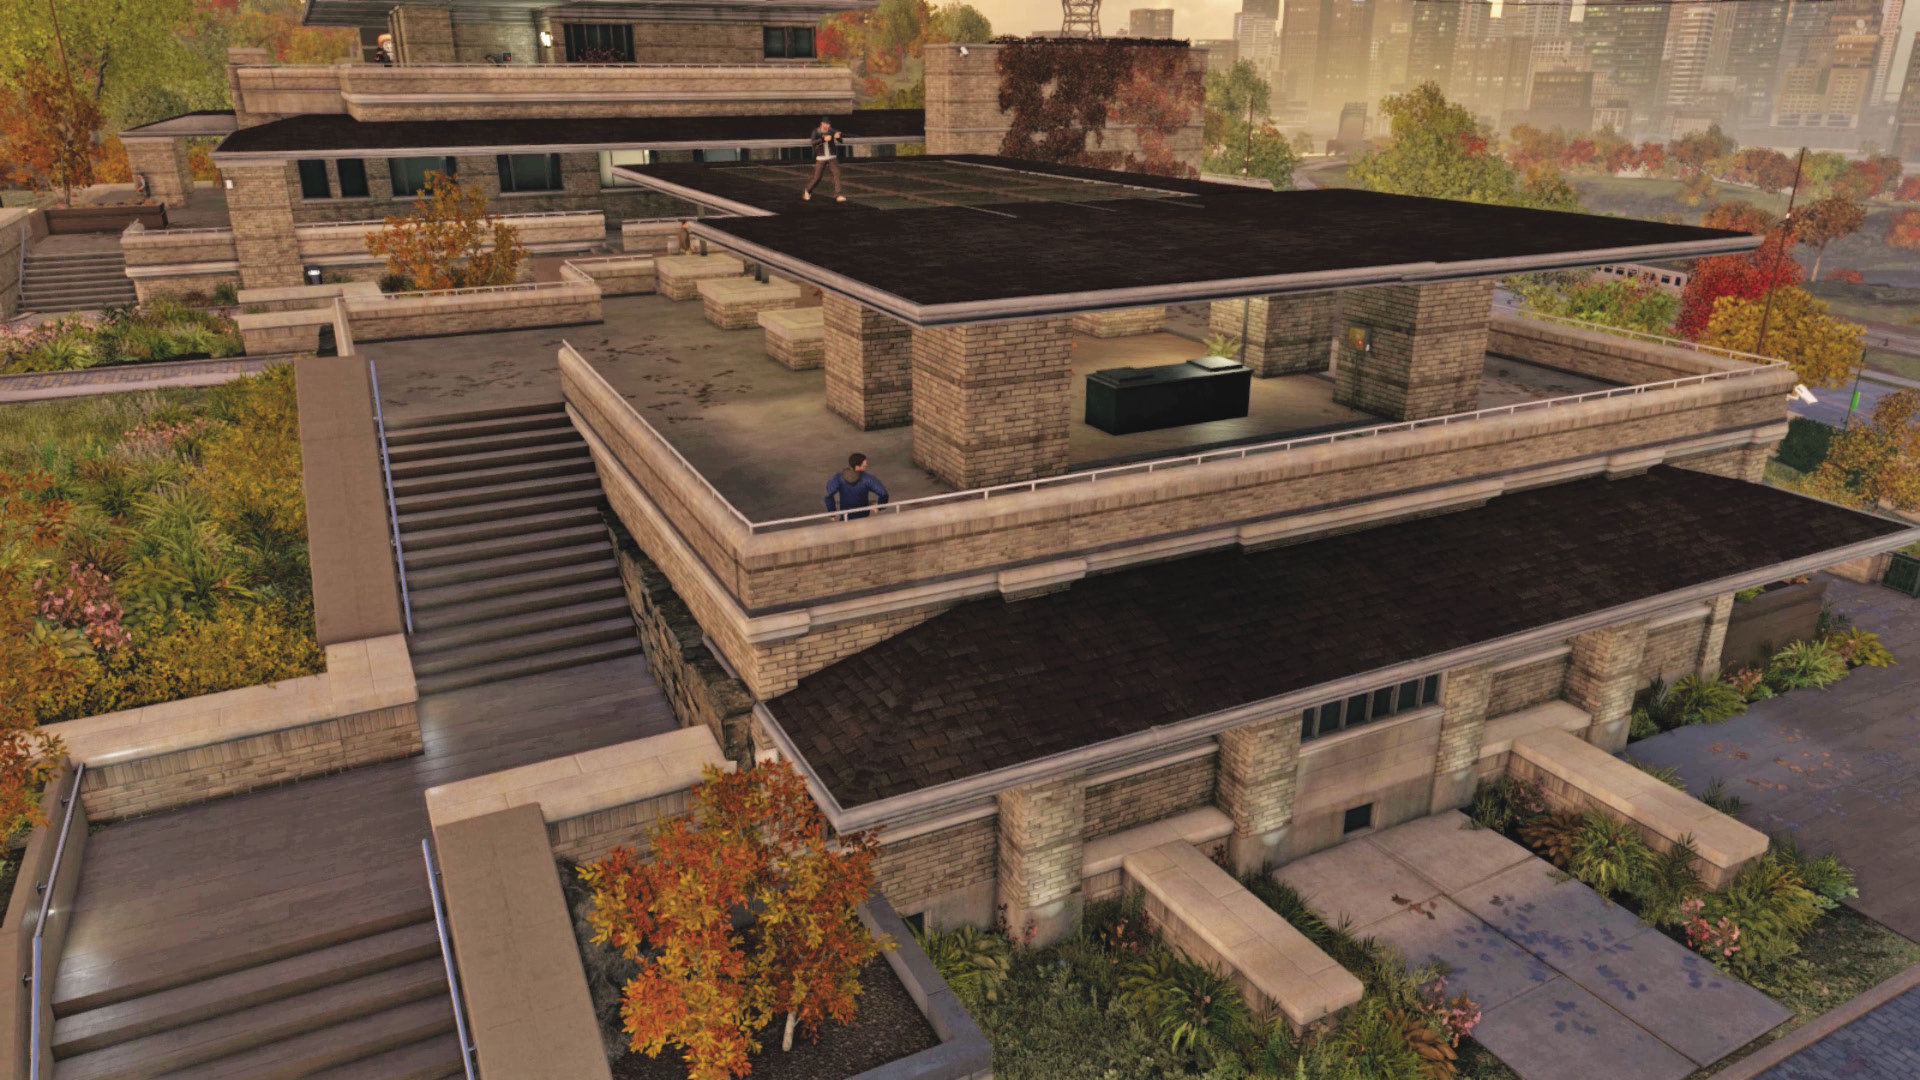
This has the tightest security of all the locations and should be the last place you investigate if you’re killing guards as you go. There’s seating for 16, and one of the ctOS boxes is on a pillar next to the barbecue. Watch for a foe you can’t actually reach with melee strikes—a sniper prowling the gazebo roof. There’s good access around to the porch and patio and to the connecting corridor bisecting the mansion.
Inner Point: Lakeside Porch (Northwest)
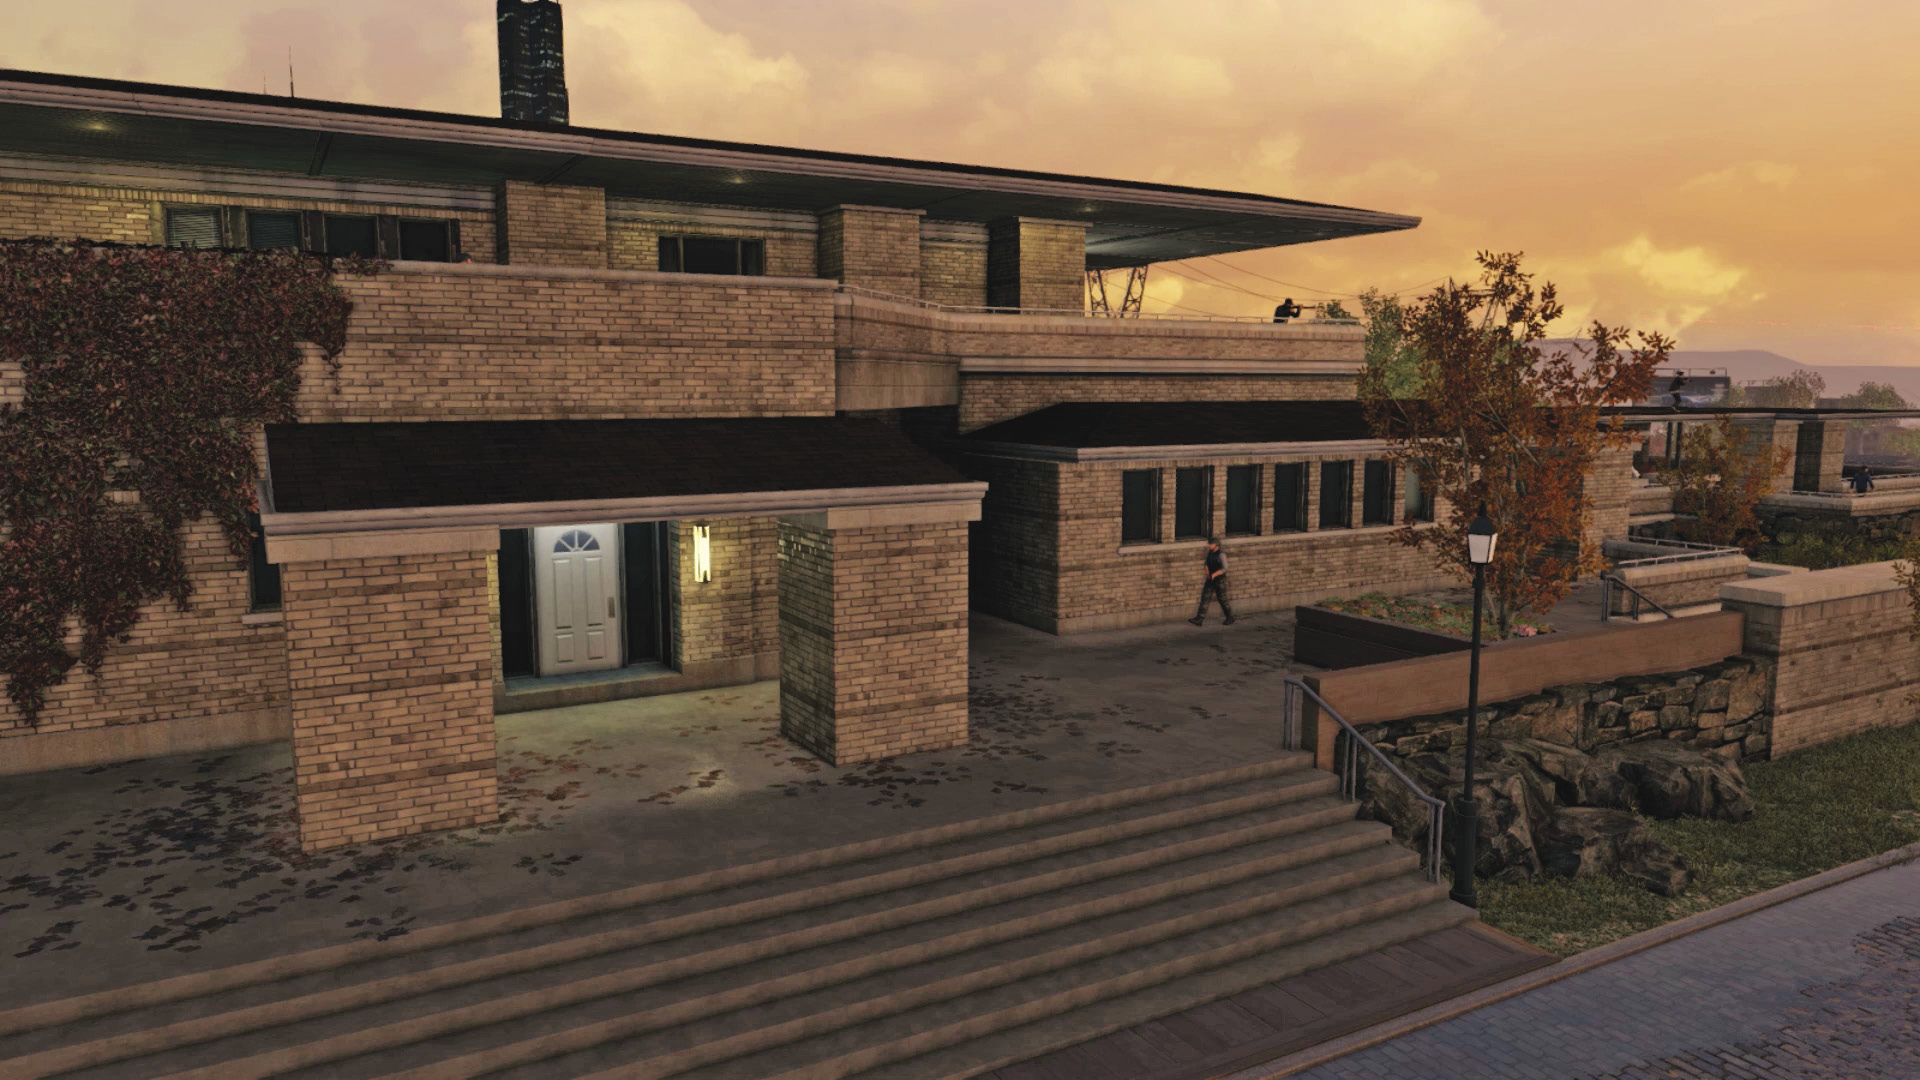
There are fewer foes on this side, but this still offers quick access around to the gazebo grounds, the connecting corridor to the window deck, and stairs up from the forecourt to the sniper’s roof. If there are too many foes elsewhere, head here during your infiltration.
Inner Point: Sniper’s Roof (ctOS Box)
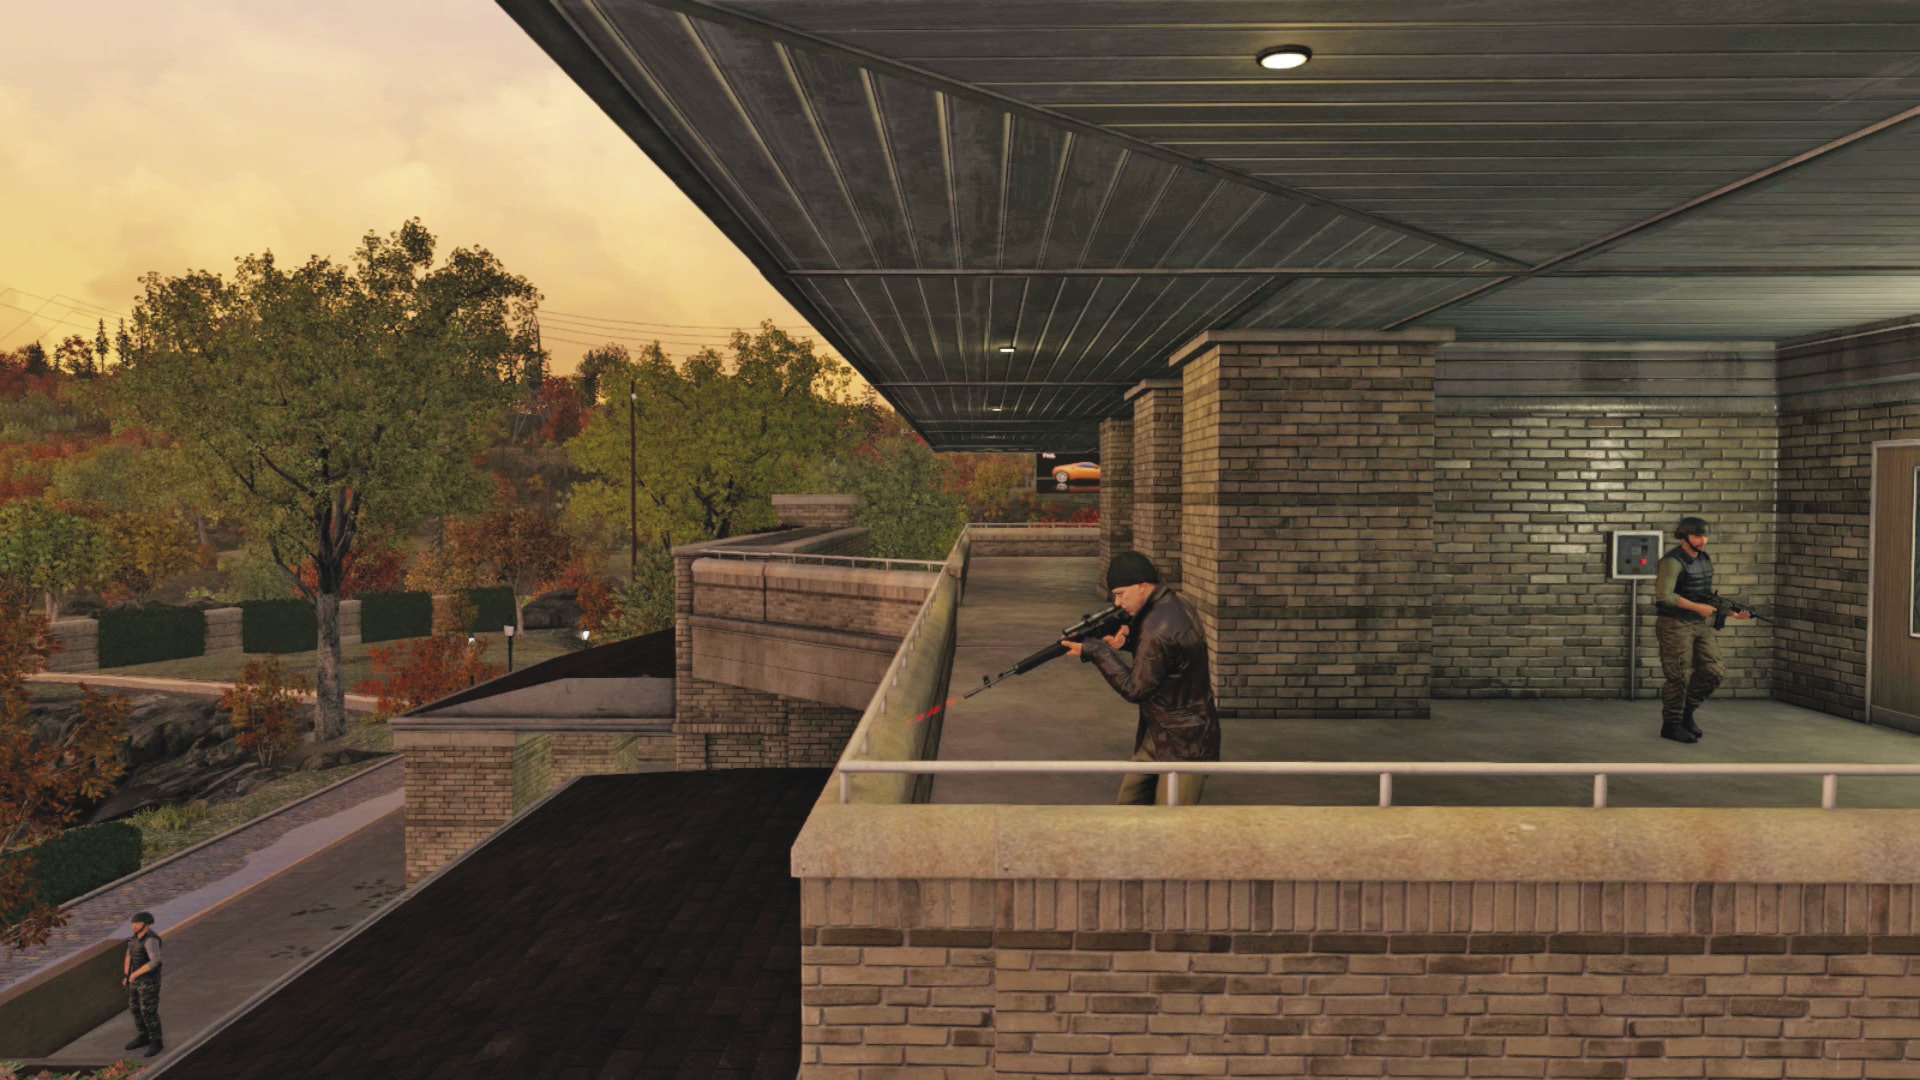
A sniper lurks on the balcony up here, right next to one of the ctOS boxes you need to access. Two staircases connect to this roughly U-shaped balcony: one from the connecting corridor near the window deck, and the long set of stairs from just above the garages. You can also leap onto the lower roof overhang if you wish (to gain extra sight of foes below you).
Work your way (without being seen) to the access router at this point, in the windowed walkway under the deck, close to the cliff ledge where a bike has been parked. Bring out your smartphone and profile the area; the data flow to each ctOS box is now visible (the thin pulsing lines).
Progression Plans
It soon becomes apparent that you need to focus your attention on the locked access router and two ctOS boxes to unlock it. Plotting a course to each ctOS box is the best plan here, but wanton disregard for Fixer life is part of the following plans too:
 Passive // Smart: No Need for a Mess
 Difficulty:
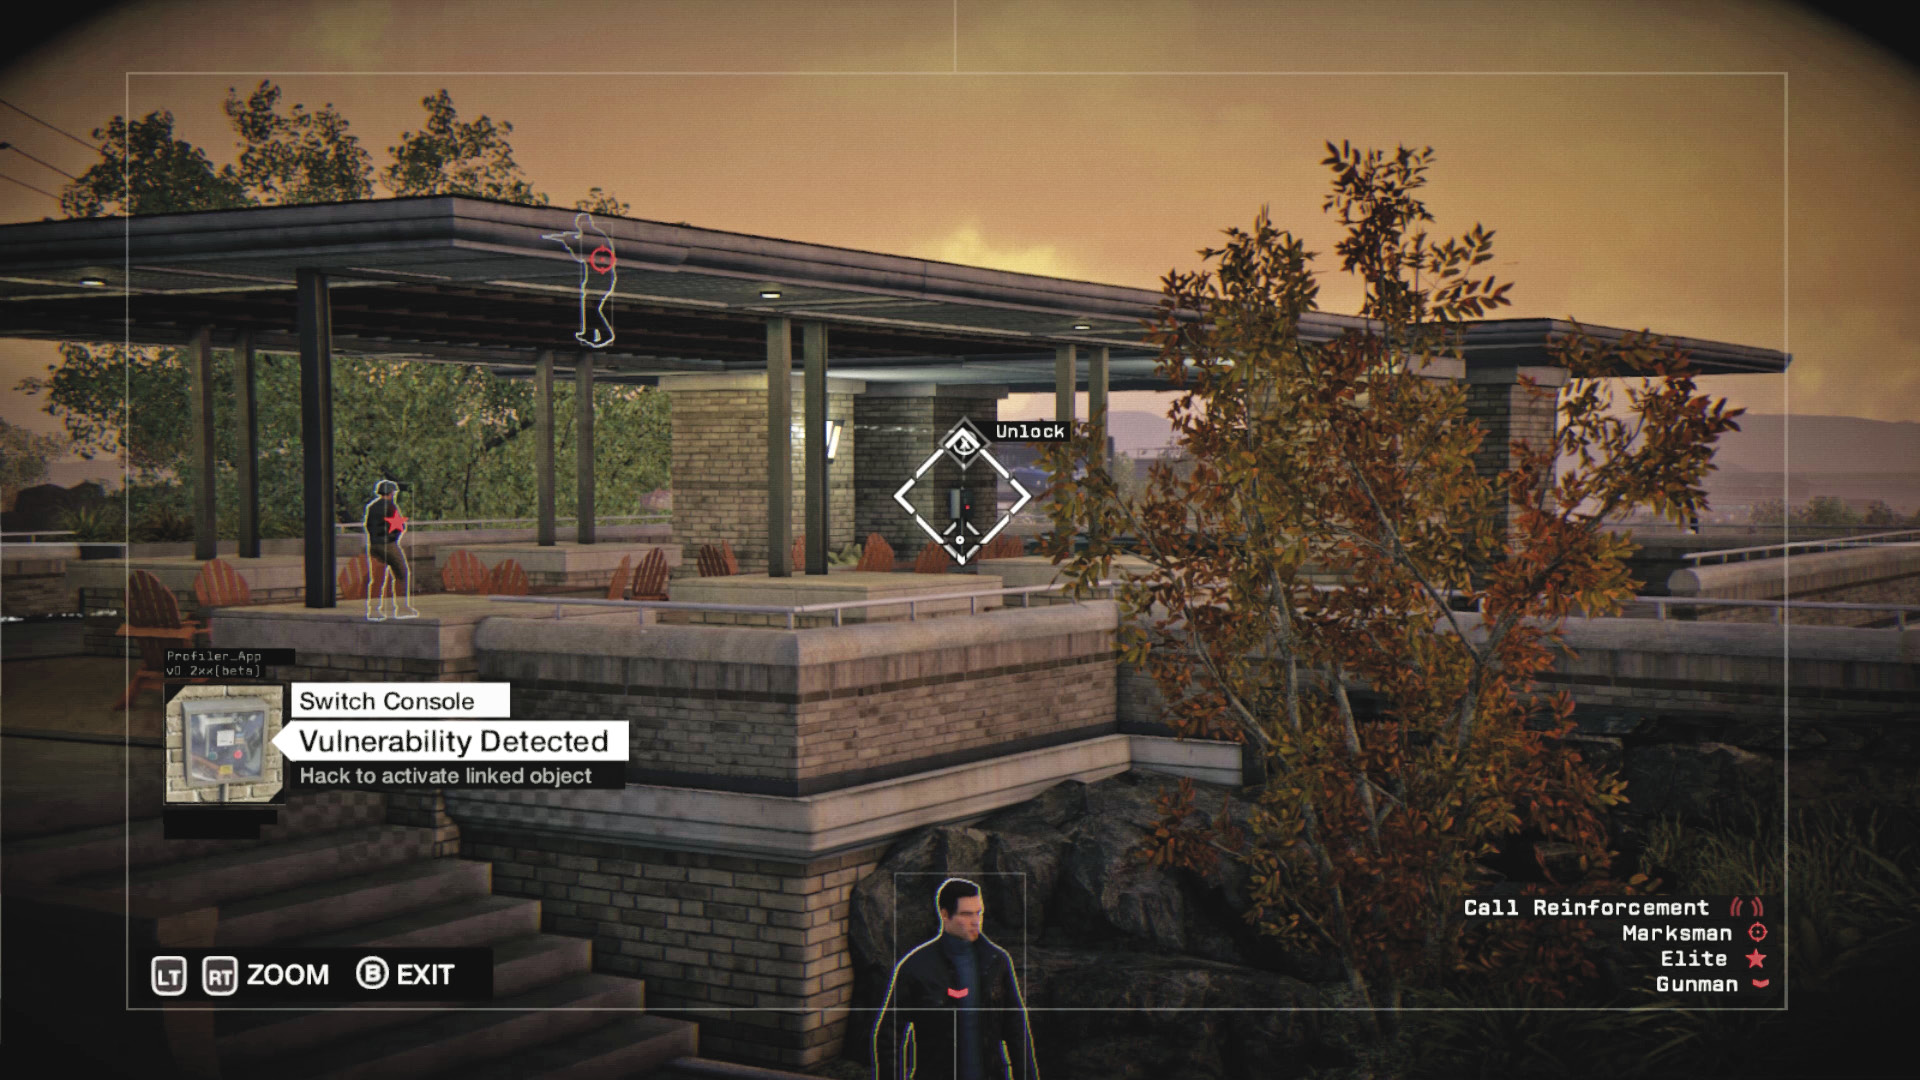
ctOS Box 1: After the “Find and activate the ctOS boxes” objective starts, it’s possible to hack both ctOS boxes and this access point, with zero casualties. Crouch by the corner of the windowed walkway and wait for the foe with a camera to wander by. Look up and across at a camera overlooking the gazebo.
Then access the camera by the stepped garden area under the sniper’s balcony. This allows you to view the ctOS box at the gazebo and unlock it.
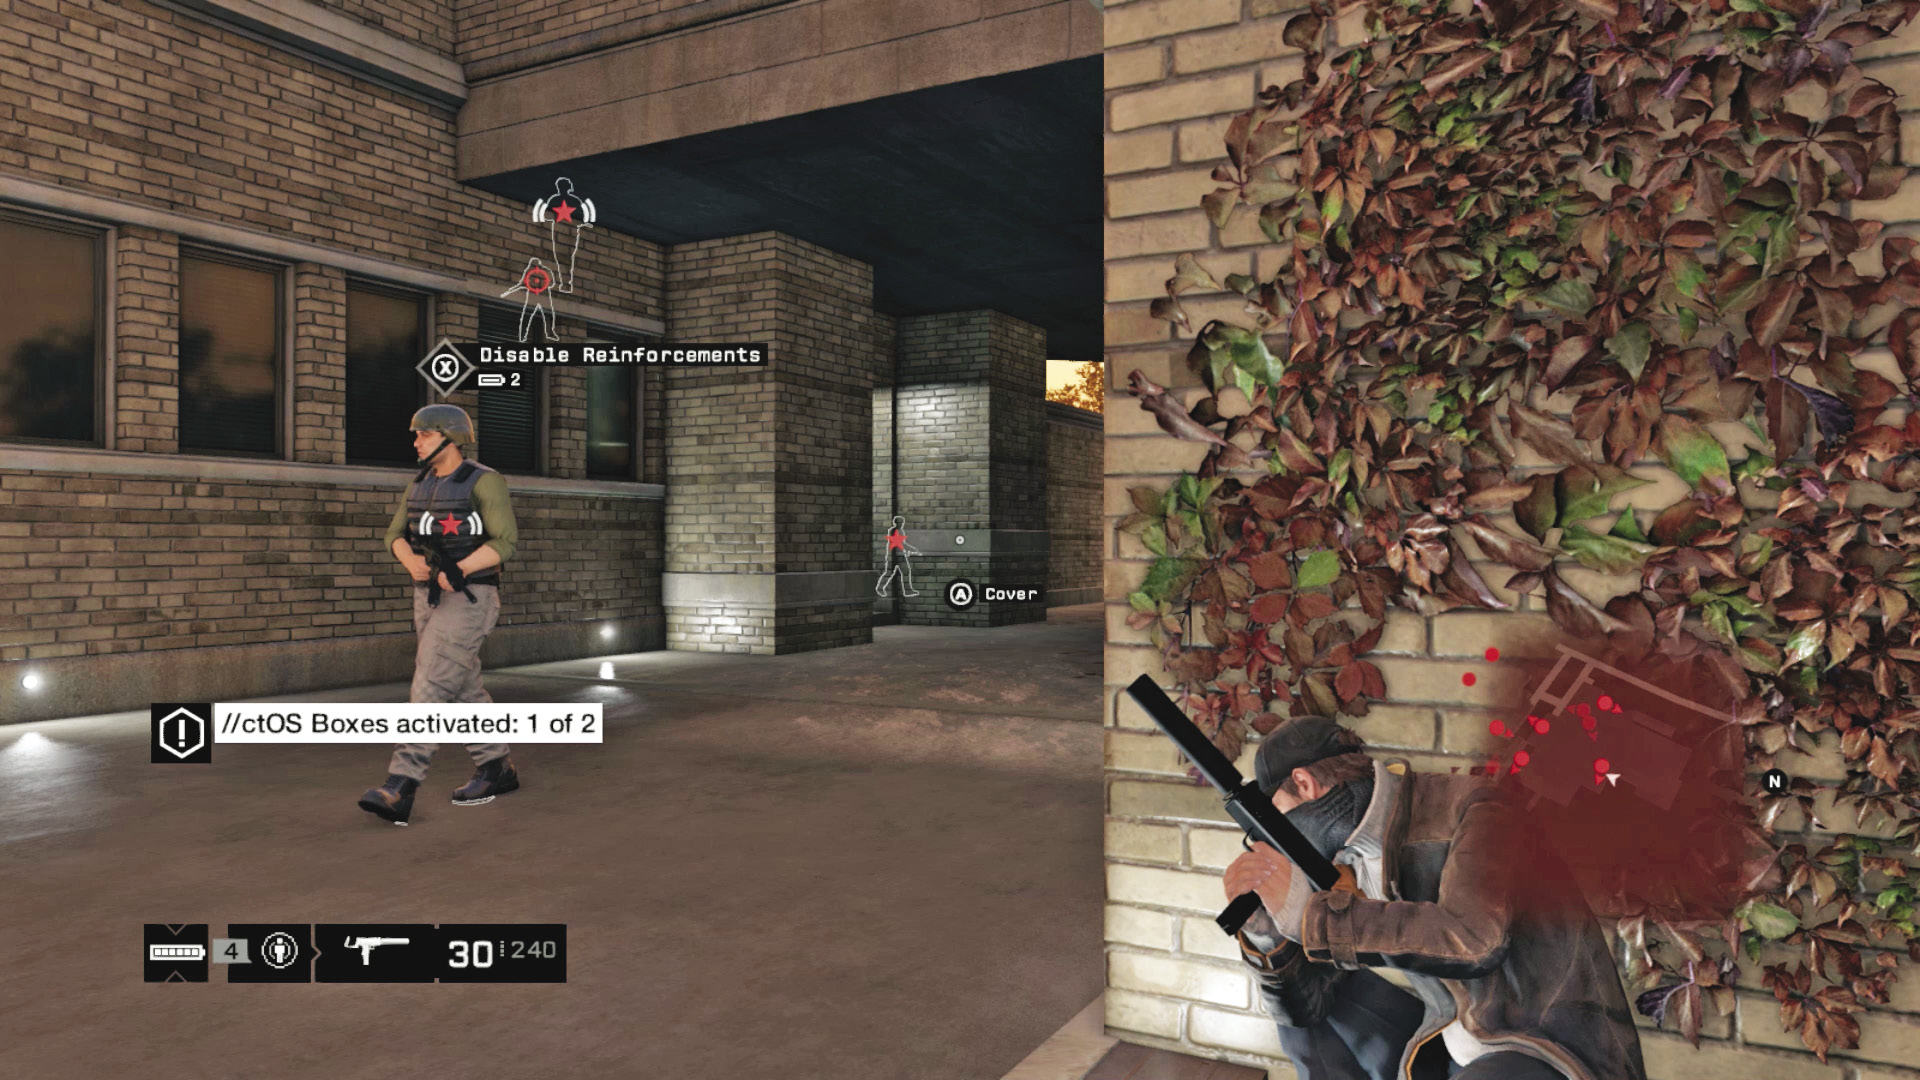
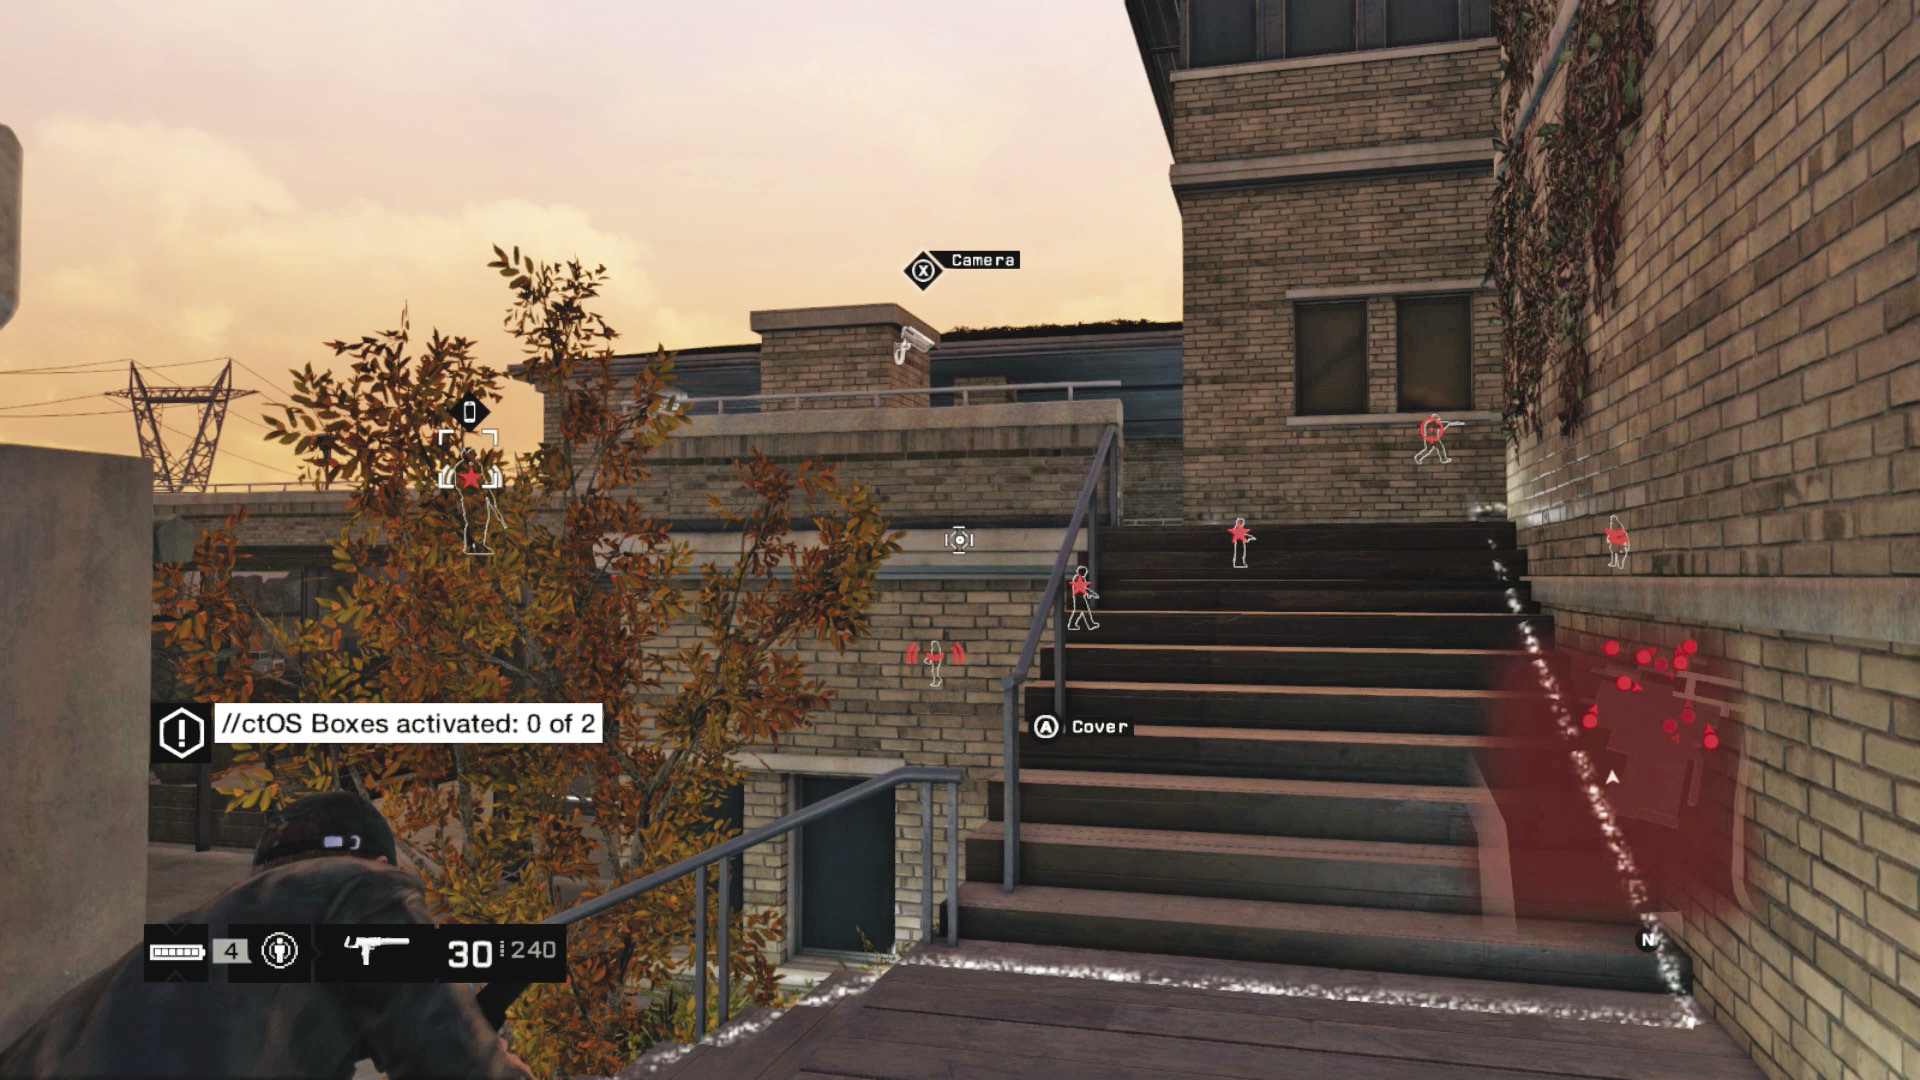
ctOS Box 2: There isn’t a camera that looks directly at the second ctOS box (which is right behind the sniper on the mansion balcony), so creep around the front of the garage, then up the long flight of steps (as there are fewer foes here to bump into). Move to the area right behind the sniper and drop to a crouch.
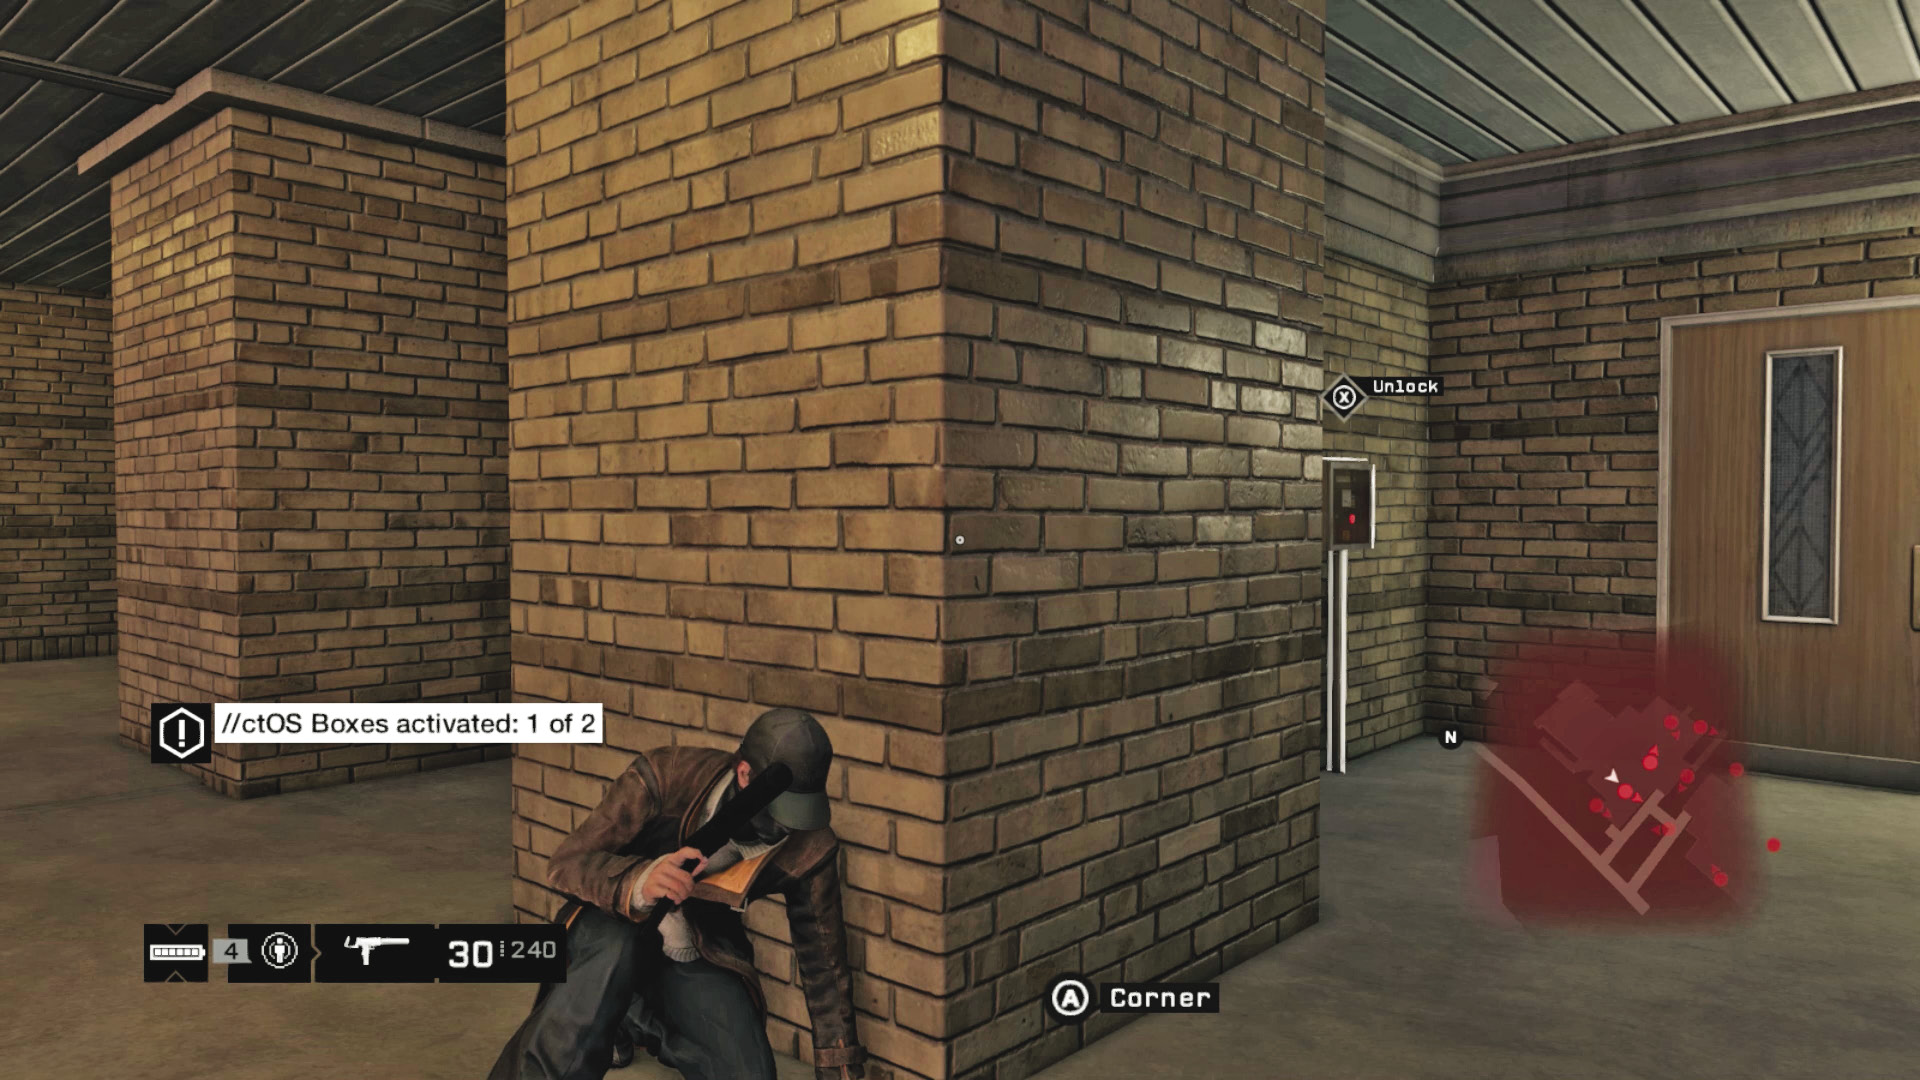
There’s likely to be a second foe near a phone to “attract.” Ignore that but wait for both foes to look away from you. Then creep around the corner, unlock the ctOS box, and retrace your steps to the router. Hack it to reach the server. Simple!
 Aggressive // Stealth: Silence to Suppress
 Difficulty:
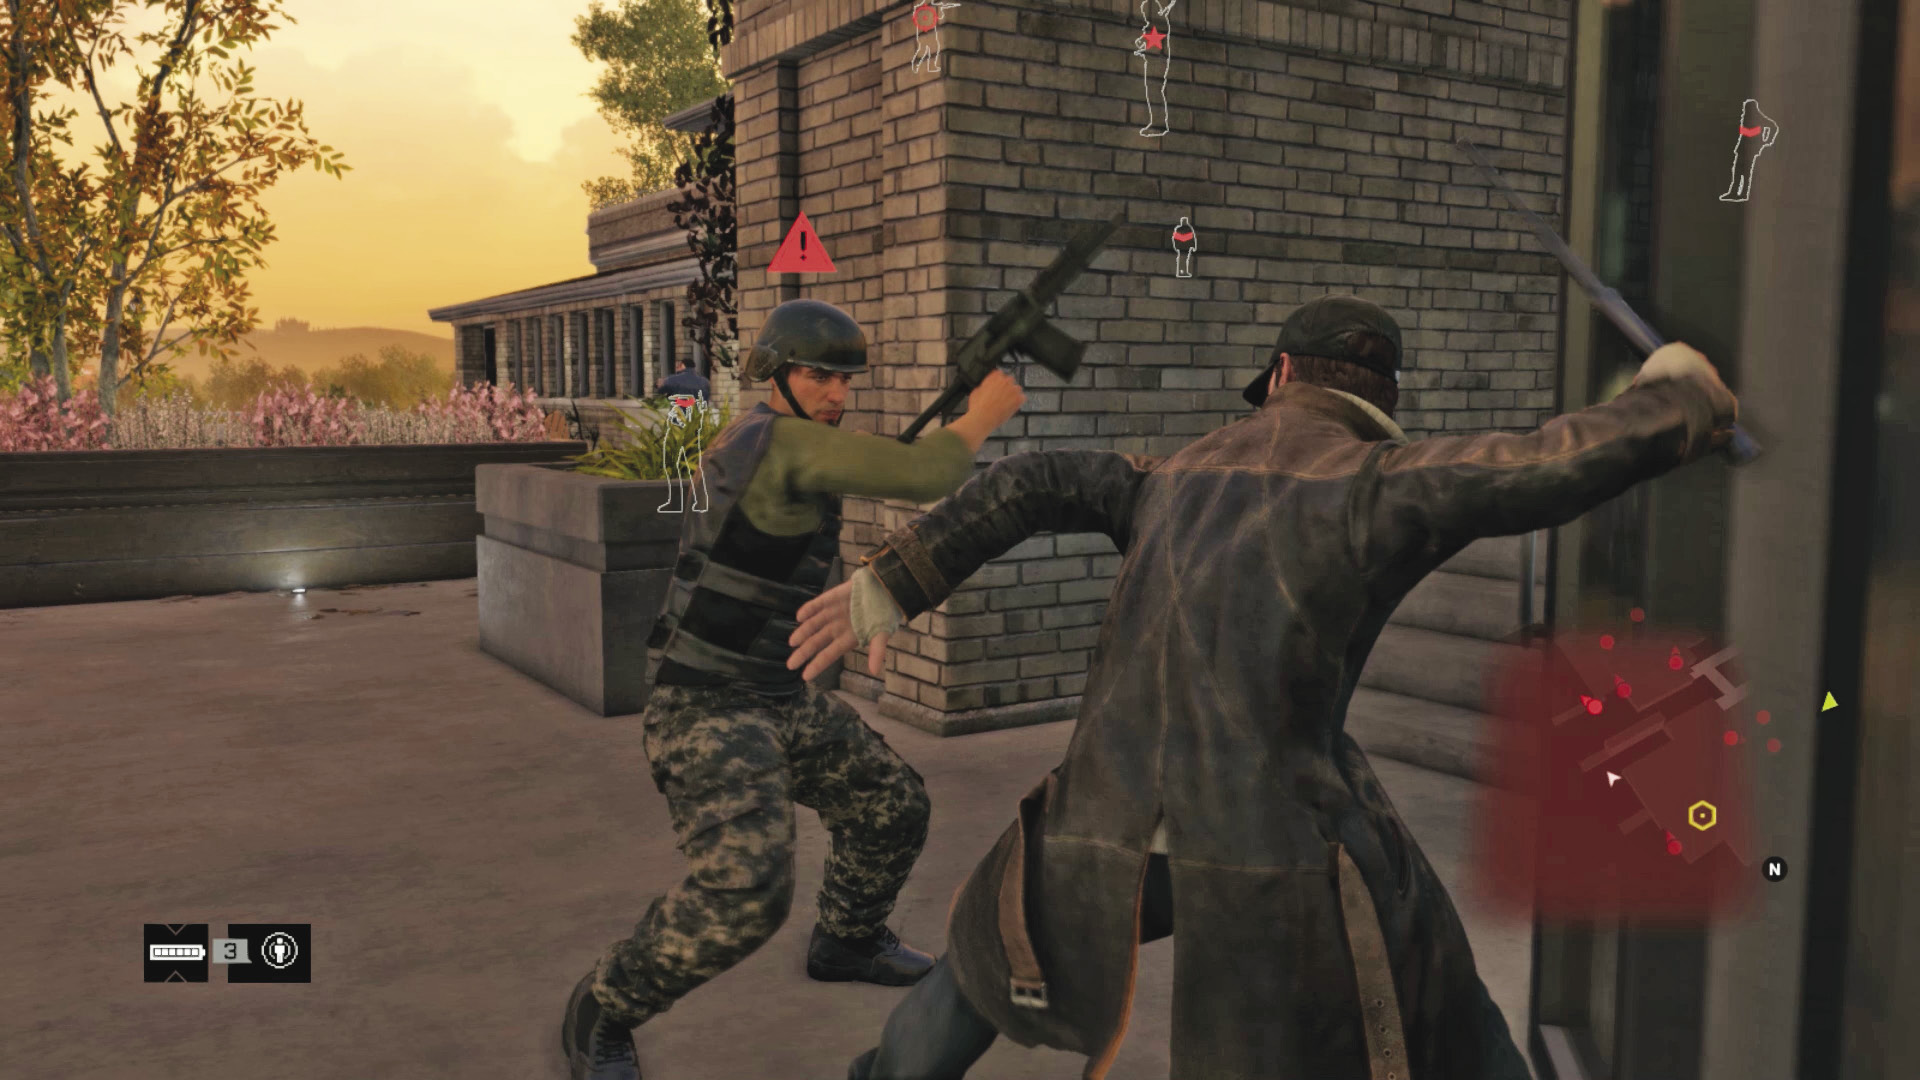
If you want to minimize gun use, you can use melee strikes to remove all but one of the ten foes (or use a mixture of melee takedowns and Spec-Ops weapon shooting). As this mansion is sprawling, several routes are available, but this is optimal. Attempt it once you see the data flow and the ctOS boxes are ready to be unlocked.
Head into the patio and remove the foe with the camera from his patrol path. Watch for a foe on the gazebo balcony above; he might spot you, but this is handy as he heads down the stairs, and you can strangle him as he appears. Then follow another foe up the long stairs and drop him before he walks into the open and spots you.
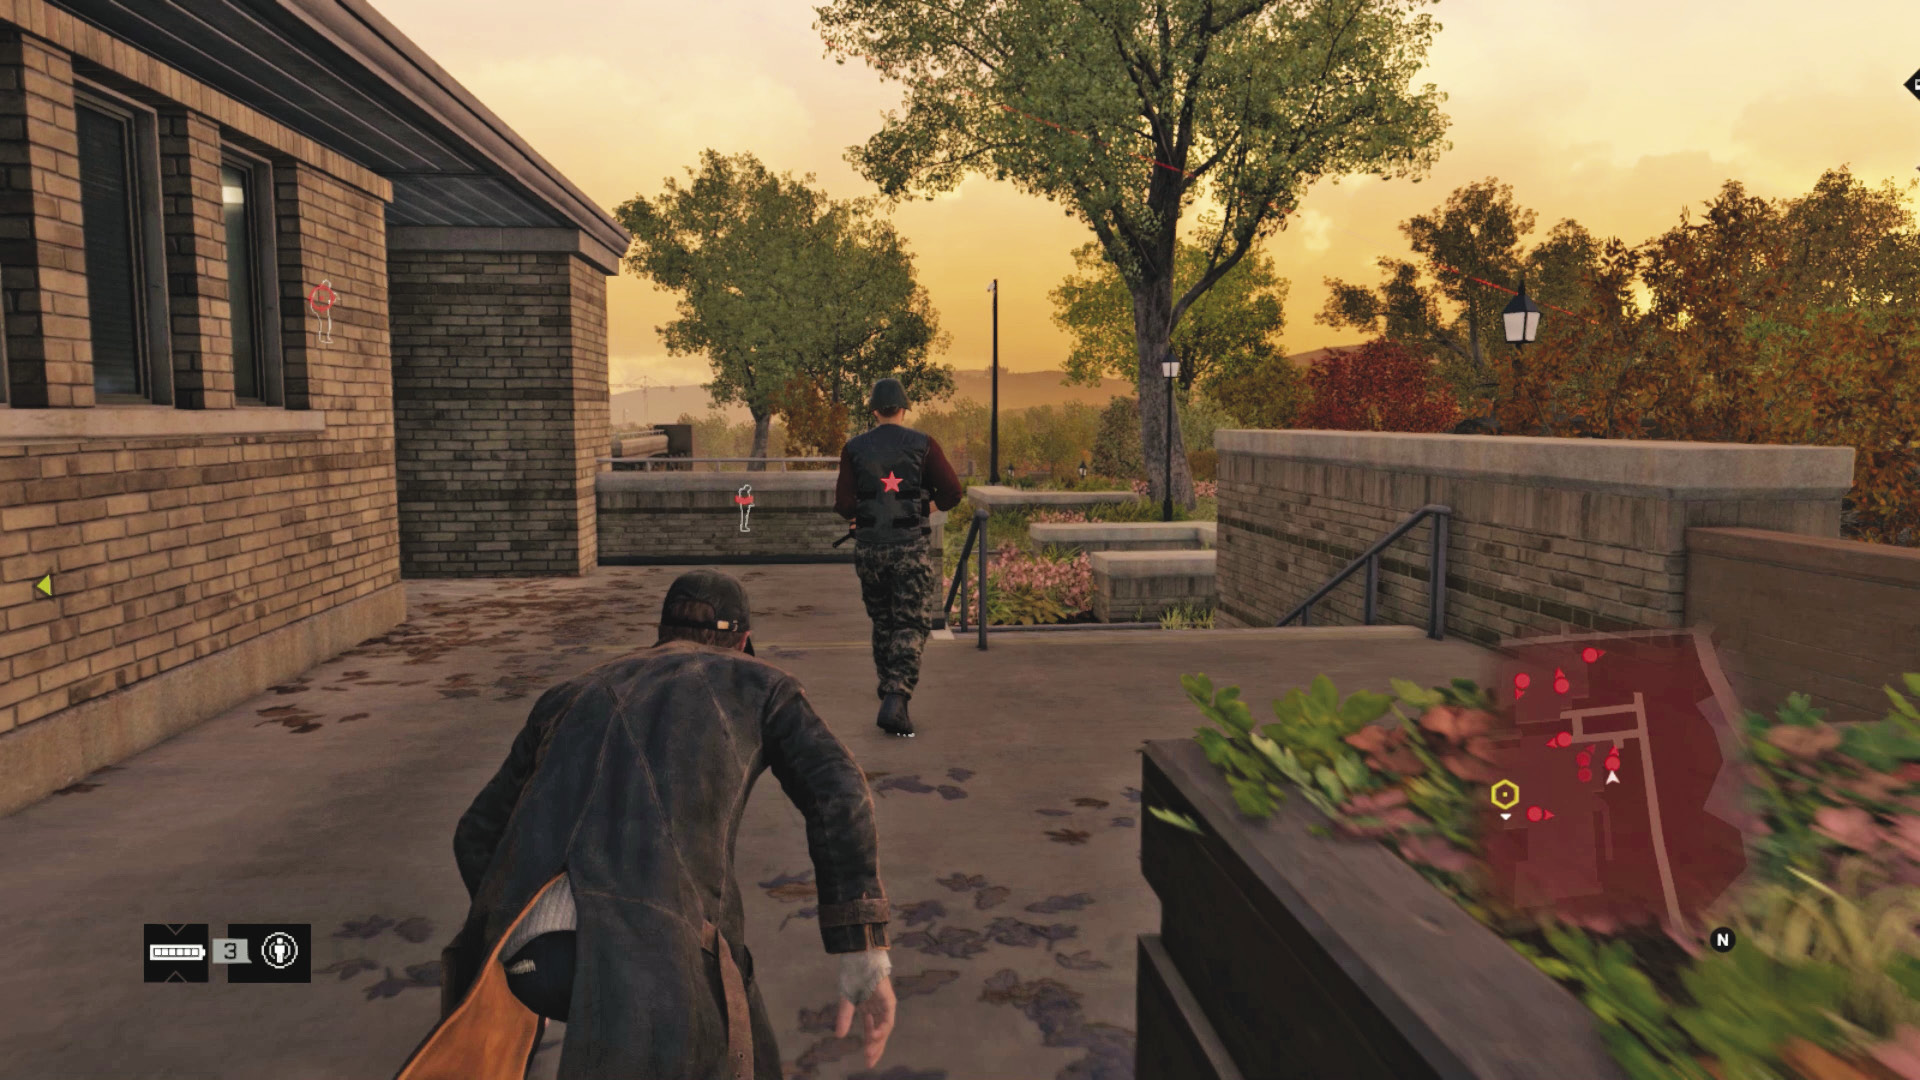
Move counterclockwise around the upper mansion walkways, beginning with a takedown on the deck with the barbecue (you can attract the foe here using the phone nearby, but creeping and darting out to drop him works just as well). Now continue around on this level to the lakeside porch area, and tackle a patrolling foe here. Don’t venture out from the roof overhang, as you don’t want the sniper to spot you. But he’s next!
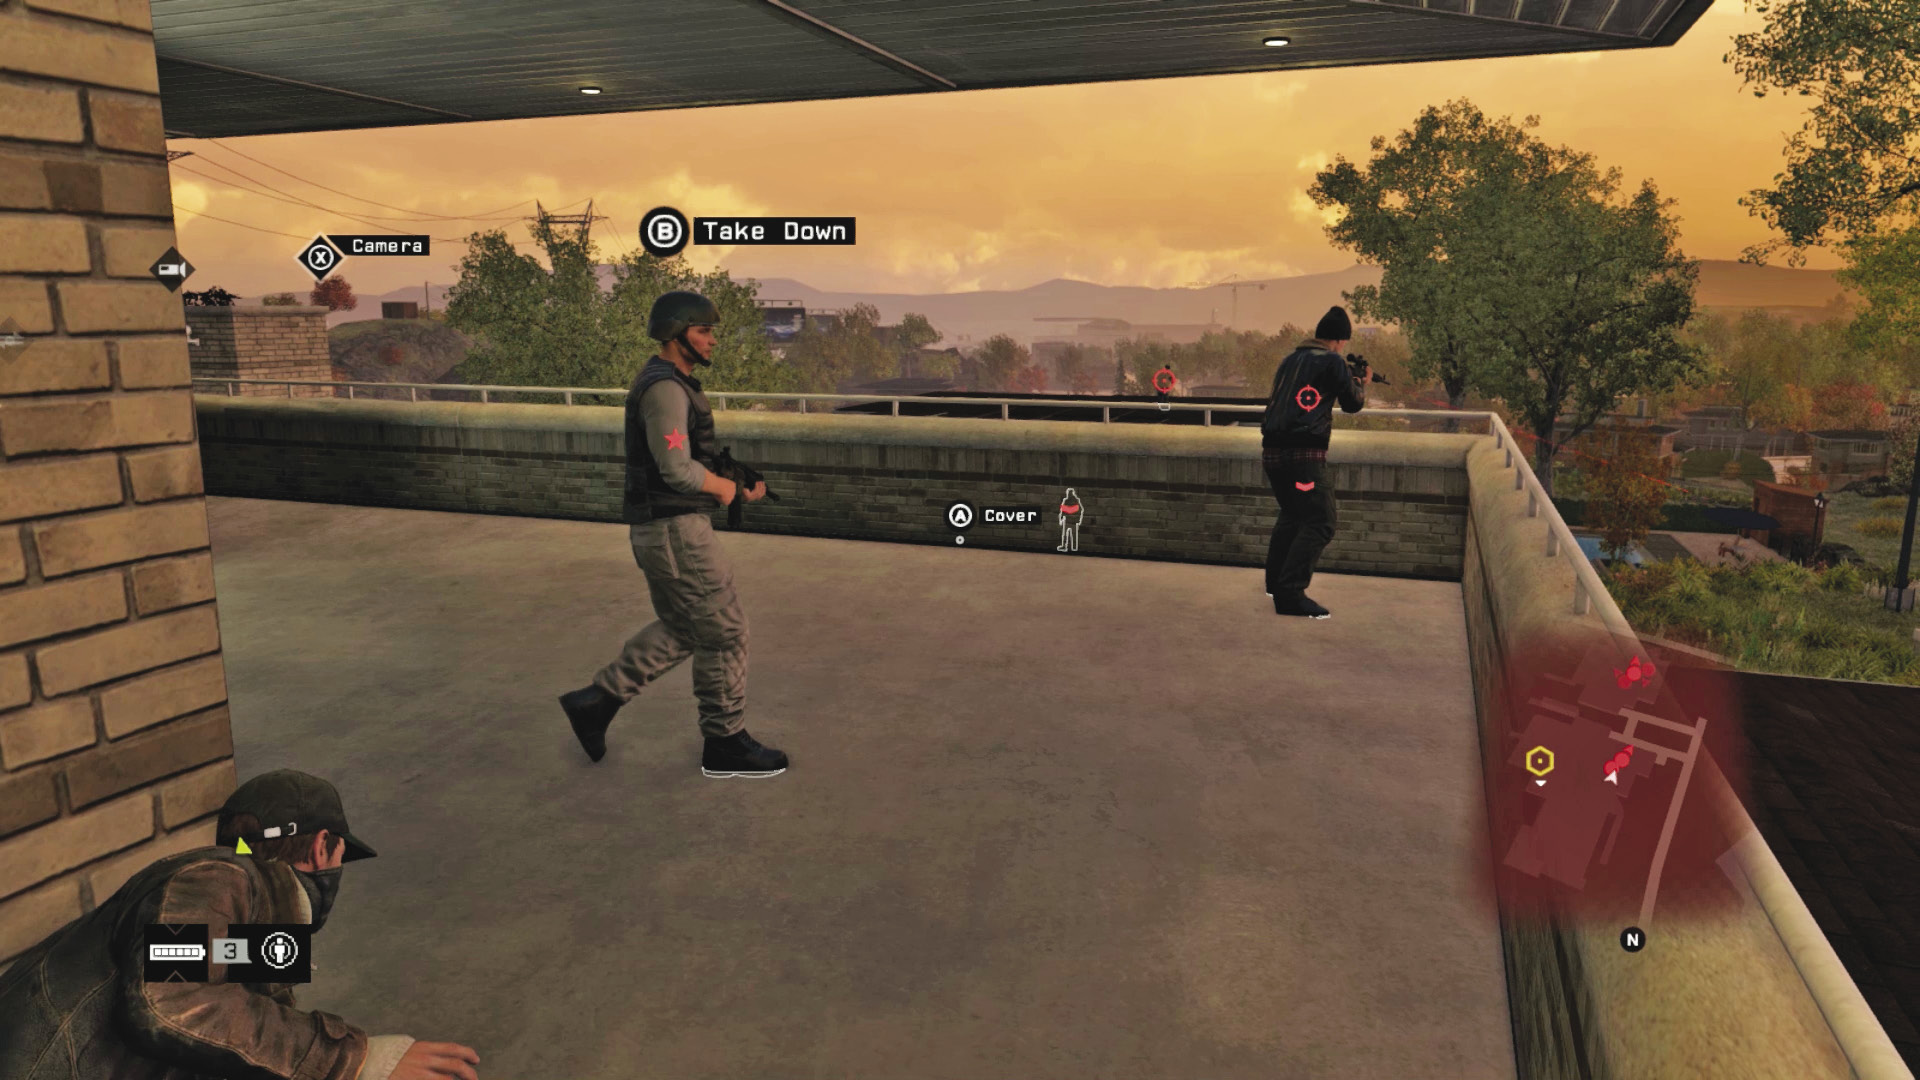
Locate either set of steps up to the sniper’s balcony, and approach the foe ahead of you. Watch for a second foe close by. Ignore the phone on the planter and quickly deal with the sniper, then the second foe immediately, so no alarm is raised. Hack the ctOS box and head down to the gazebo area.
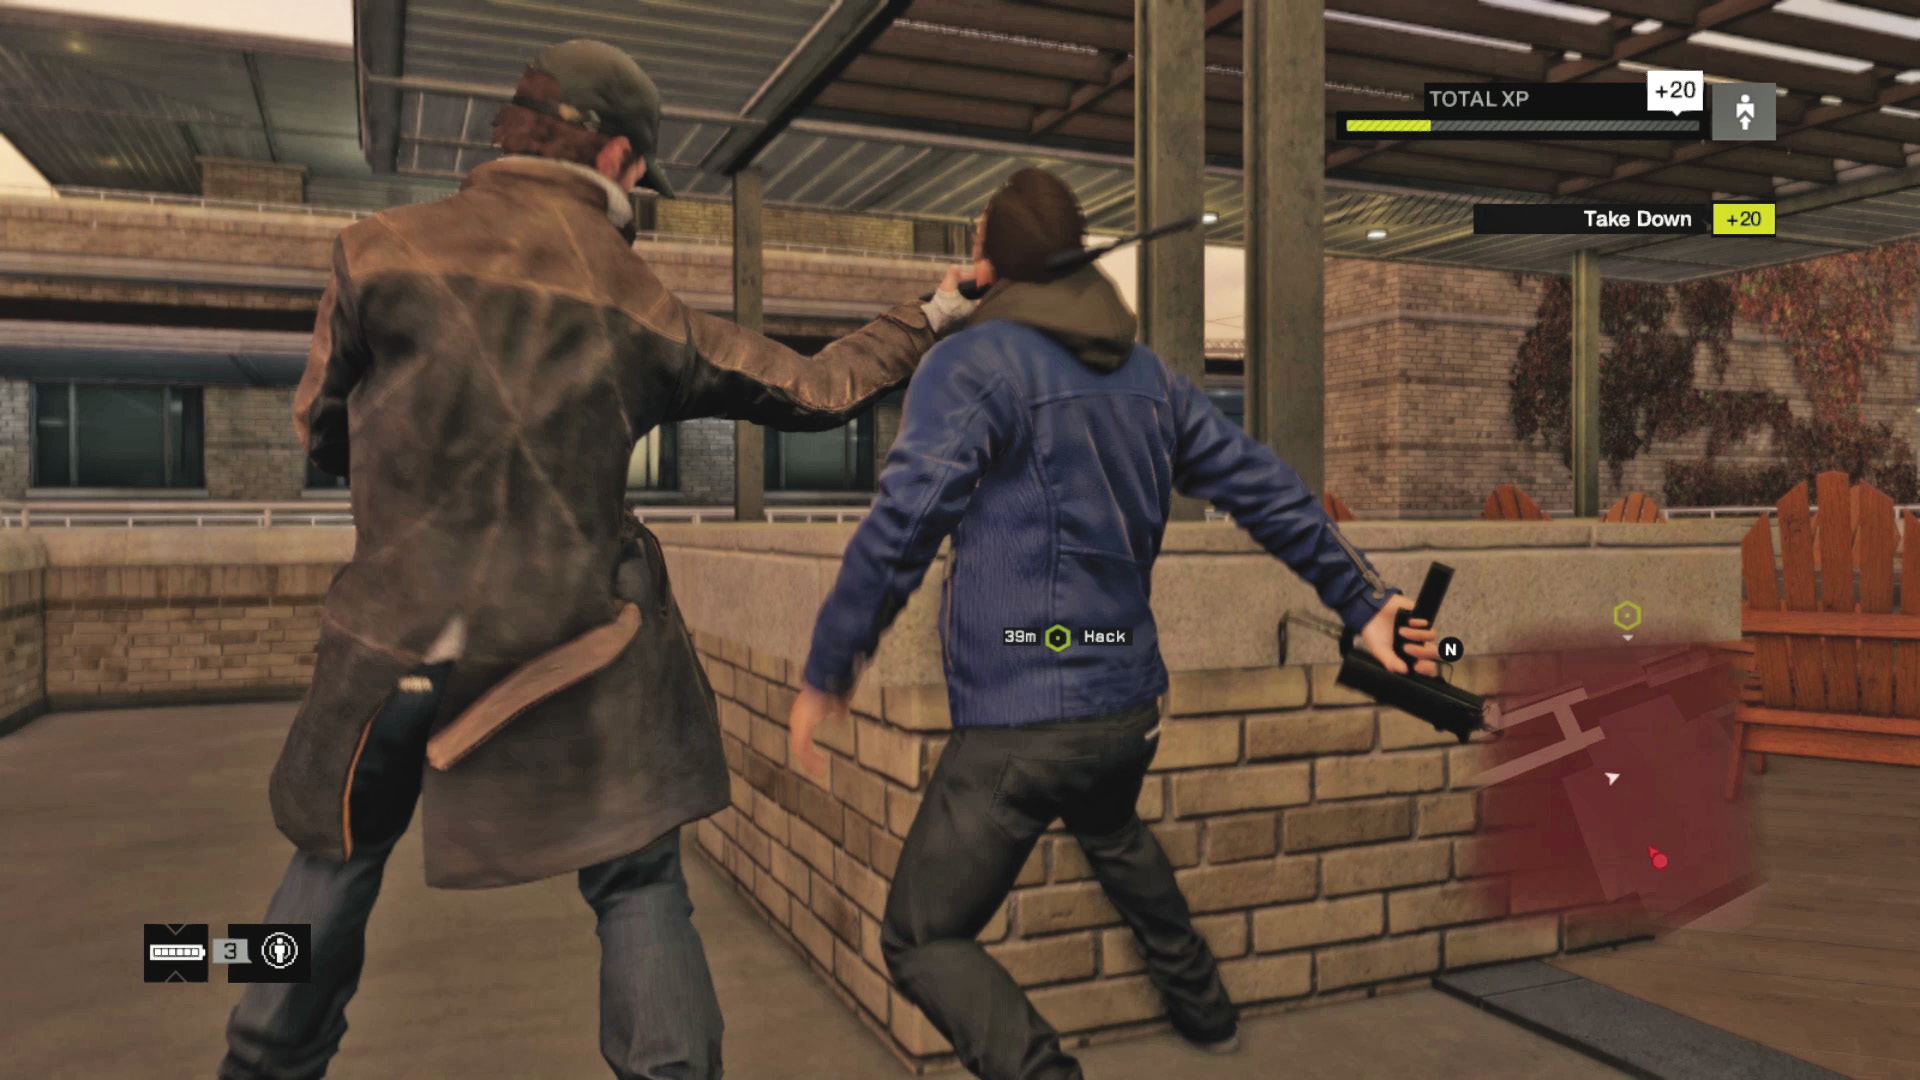
There are three foes left, and all should be in this area. Without the sniper on the balcony, it’s easier to maneuver in this area now, so locate the nearest foe and throttle him. Then enter the gazebo and find the final foe with the camera (the sniper atop the gazebo doesn’t usually see you). Unlock the other ctOS box near the barbecue, and turn your gun on the final sniper atop the gazebo roof; fire from the open, not through the gazebo.
 Aggressive // Violence: Slaughter to Excess
 Difficulty:
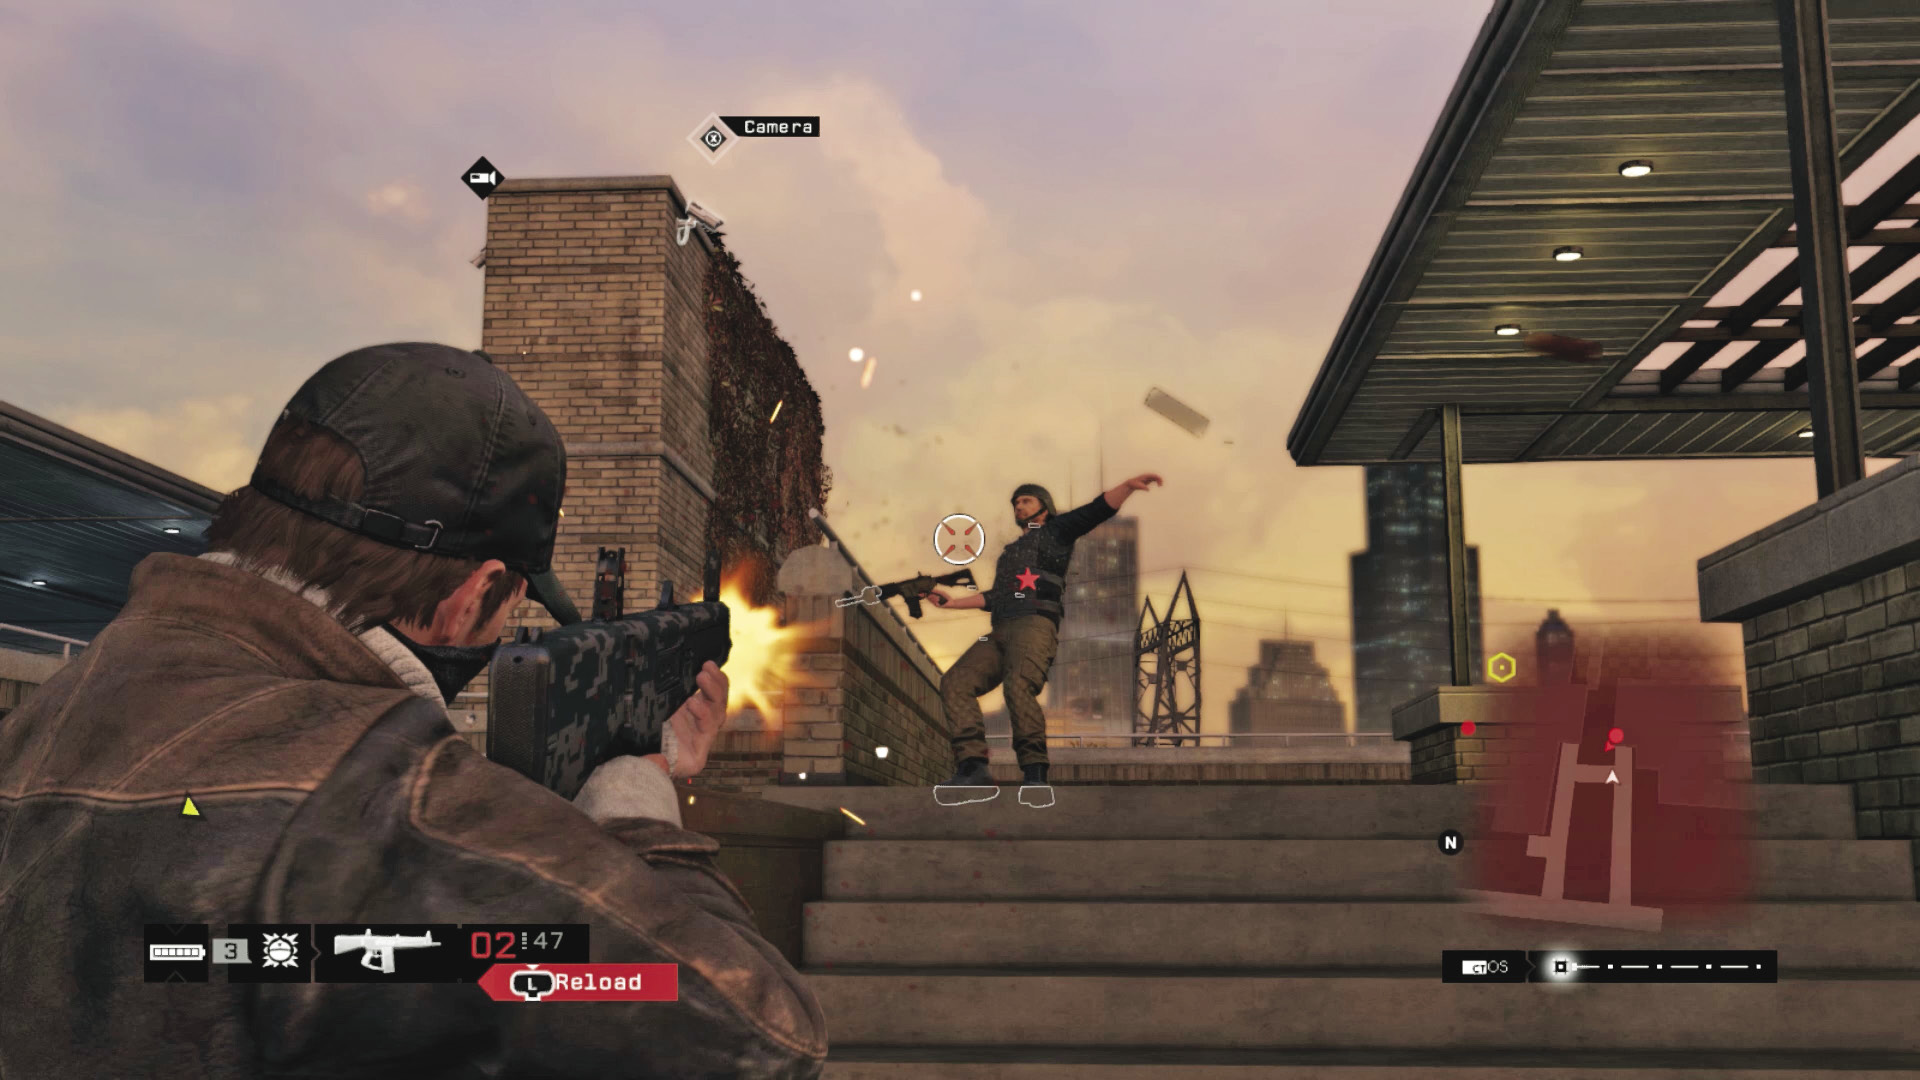
Bring barbarism to SoSueMe’s henchmen, and expect an entertaining few minutes of carnage. Your options for living are increased if you try any of the following:
There are no explosive canisters and only vaults to detonate (such as the one in the south patio). Rely on your ability to hack any carried enemy grenades, and use weapons instead of the environment. Peering out from cover and working in a circle, use an assault rifle or shotgun to take down any foe you meet.
The problems arise when you’re facing the two snipers, so head up to the balcony overlooking the gazebo first, and shoot the snipers here. Then drop down and tag the sniper on the gazebo before you vault onto the roof and start firing down on the foes below.
Watch for enemies congregating behind you if you stay on the balcony. This is actually helpful, as you can leave an IED and detonate it (near the top of the stairs) or lob in a grenade.
Slay from the roof and balcony, as the height advantage, ability to drop grenades, use sniper rifles, and drop down to rush any foes you can’t kill from range, makes this a very versatile area.
Or you can lurk by the gate near the restrooms and snipe foes from the perimeter, in a war of attrition.
3. So long, sosueme
 Location / Parker Square // SoSueMe’s Mansion
|
|
 Hack SoSueMe’s laptop
 Take down SoSueMe
 Escape the police
 Data Hack
 Foot Chase
 Vehicle Chase
 Escape
 Lethal Force Likely
Difficulty: 
Solution: Hotspot 1
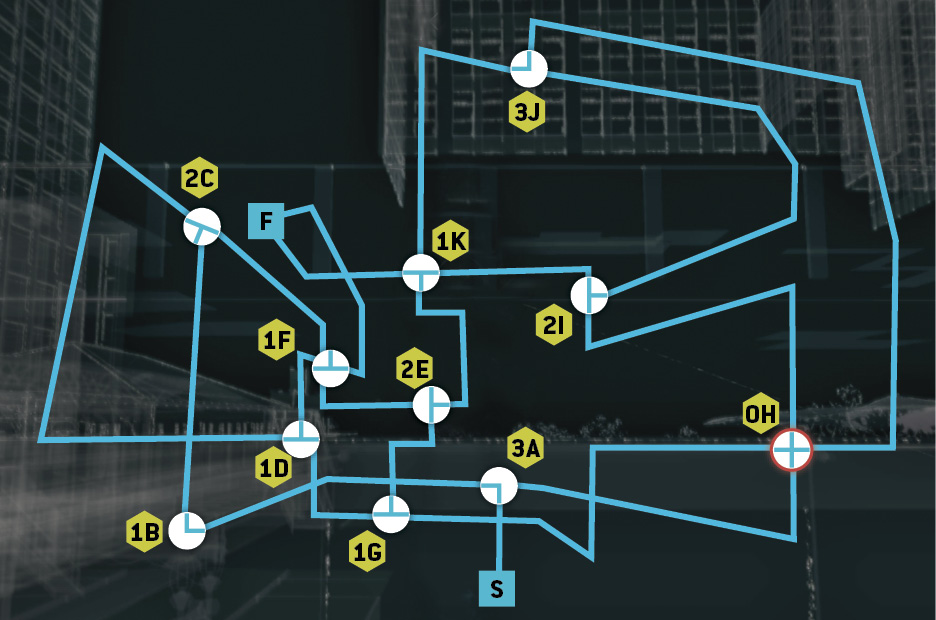
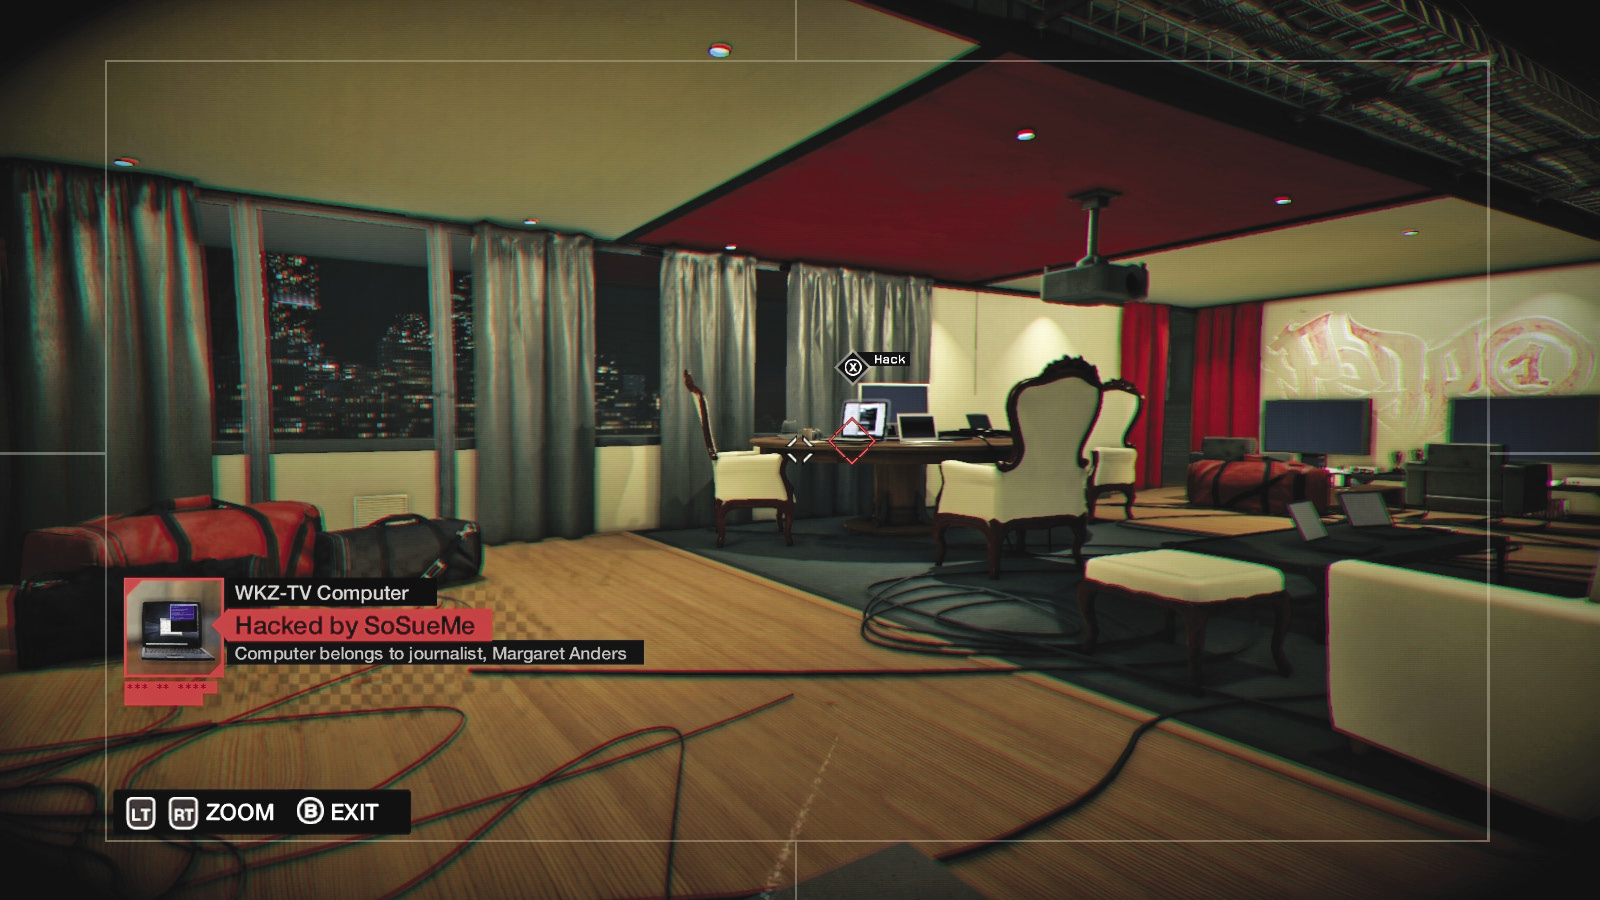
You’re in! Once you’ve navigated the hotspot, access the camera you can see in the living room, and scan the room for the laptop. Hack that, and you’re successful. However, SoSueMe is escaping his mansion; take him down!
Overview
Completion Point: SoSueMe, then out of the search area of the police.
Dangers (Mansion Escape): Four Fixers (Gunmen x4). No Shot-Callers.
Dangers (Target): Danny SoSueMe (Gunman)
Reinforcements:Police vehicles (up to four) with 2 occupants in each (Gunmen and Veterans), plus police helicopter (Marksman)
Progression Plans
At this point, you have a couple of options when dealing with this master criminal and his particularly fast car:
 Aggressive // Violence: SoBlowMe (Up)
Difficulty: 
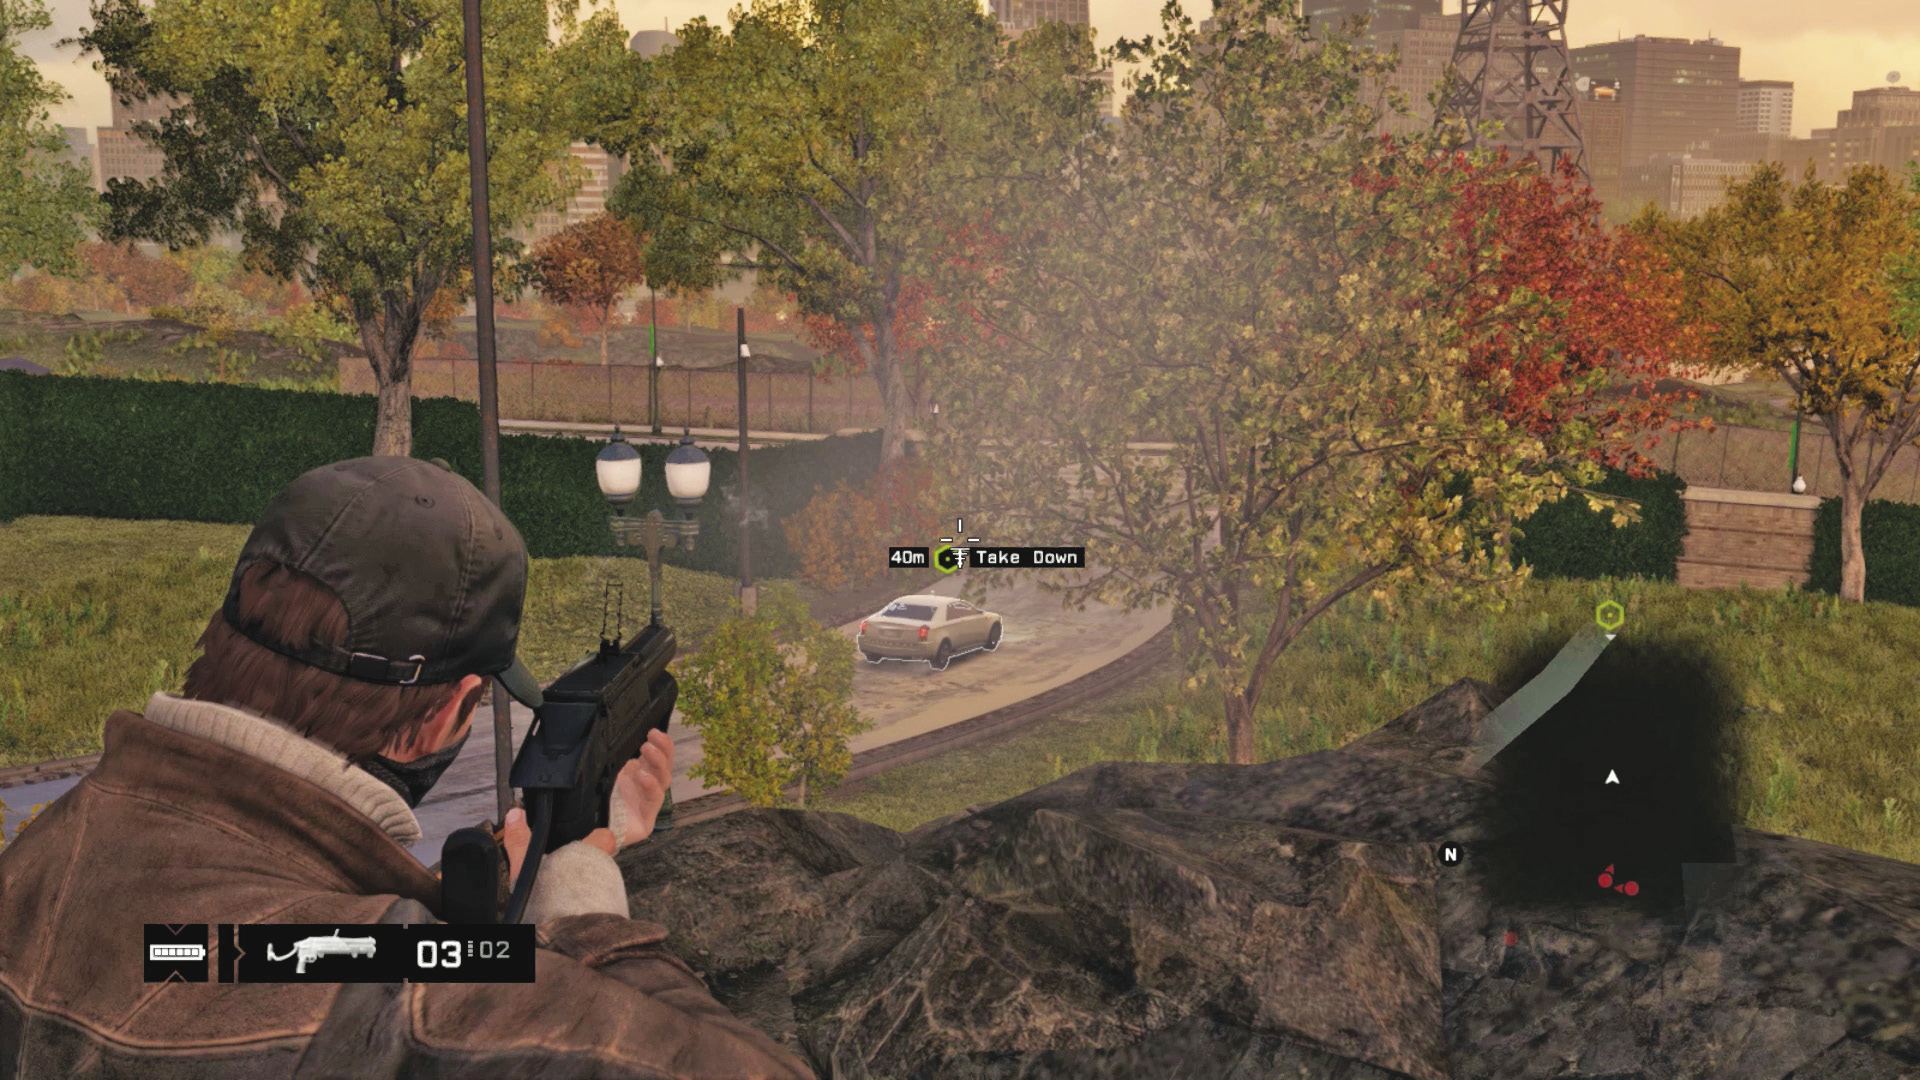
Quickly deal with the closest Gunman reinforcements. Then run out onto the cliff ledge, armed with a grenade launcher or proximity IEDs, and punt explosives onto the winding driveway that he uses to escape. The results are explosive and harmful; the car should take a battering, and SoSueMe usually dies in the detonation. But rush down and finish the job if he’s still alert.
Or you can rush down to the front gate and hack it closed, biding you some time (he usually opens it, so close it again); if there’s time, stand and watch the car approach, and blast away at the tires, windshield, and SoSueMe. Dive out of the way if you don’t cripple the vehicle in time.
 Driving // Smart: OutSmartMe
 Difficulty:
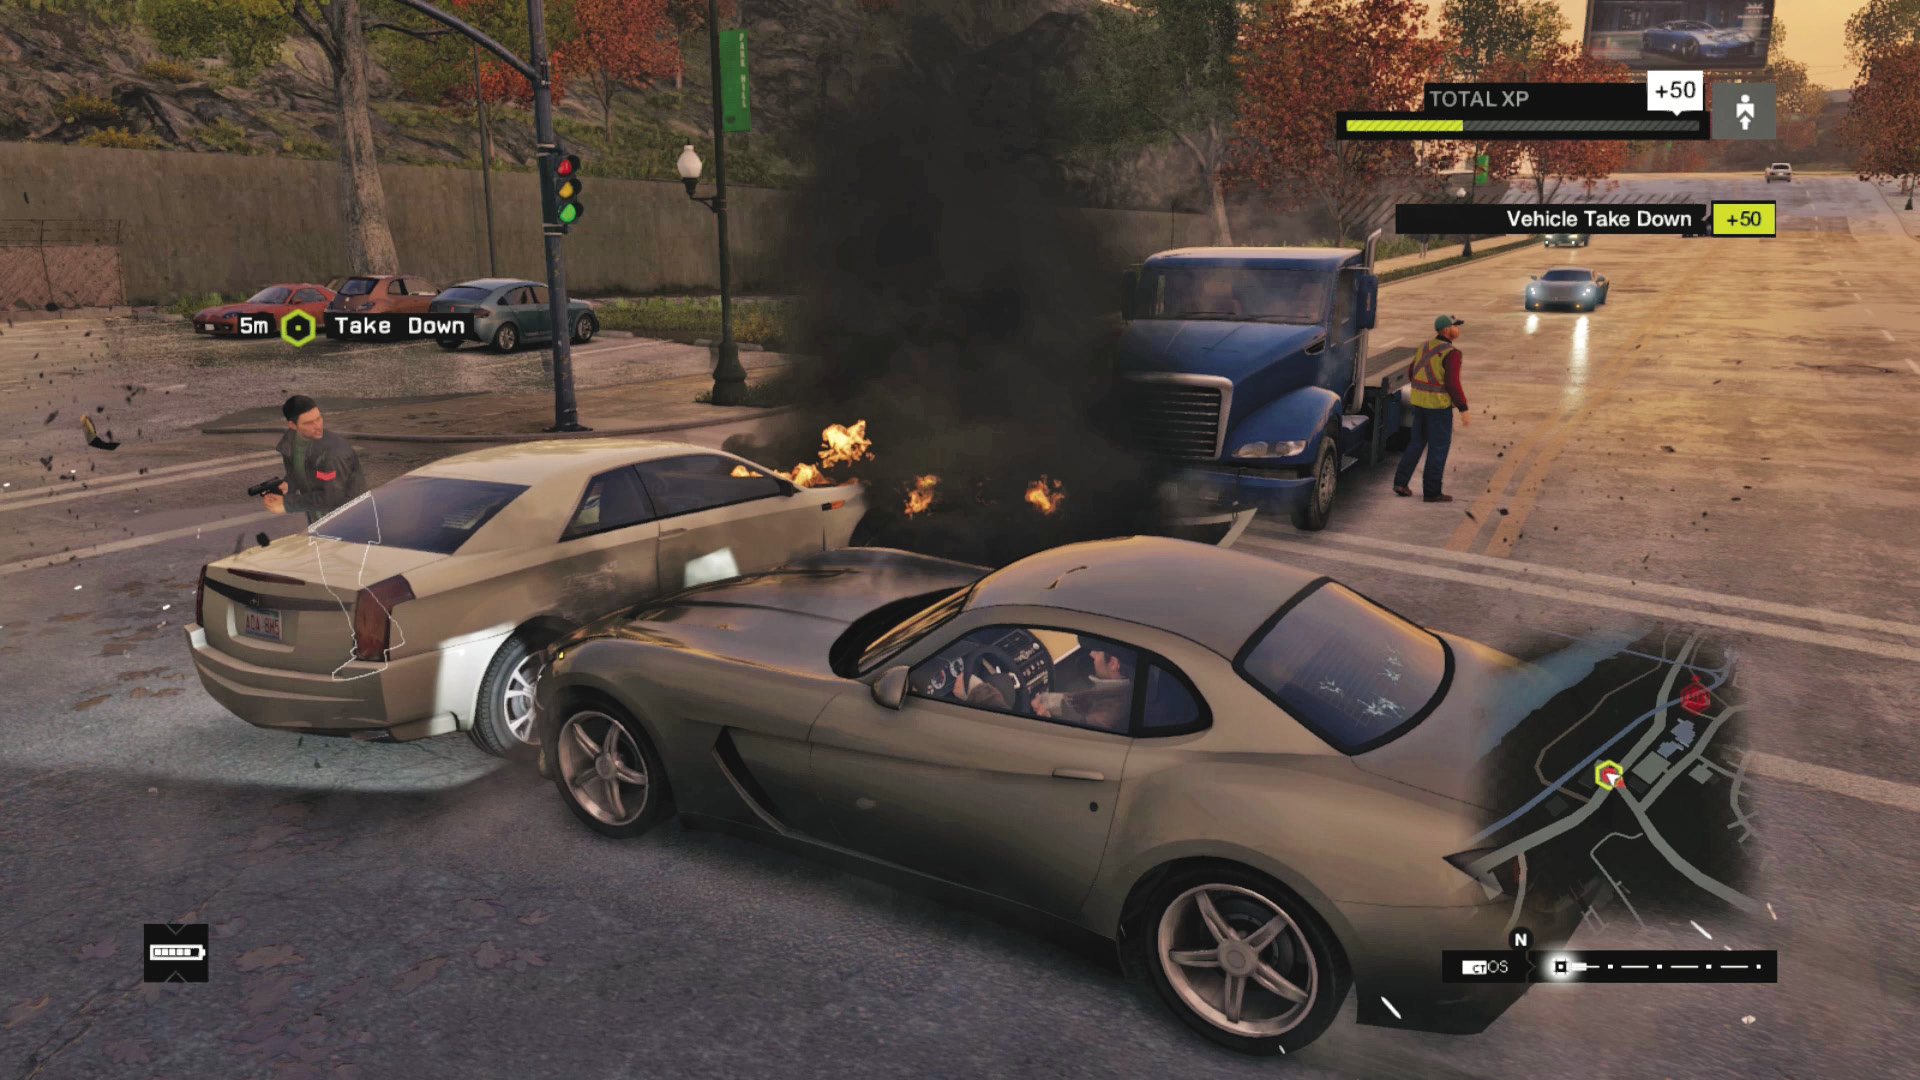
Otherwise, this is a vehicular chase. Though there’s a bike parked on the cliff ledge, you may wish to steal one of SoSueMe’s luxury vehicles if you intend to batter him with your own vehicle. But the bike is handy for keeping up, and if you plan to use infrastructure hacks to blow him up.
He sometimes heads left out of the mansion gates and drives up the winding road (steam pipe). Then he makes another left (west) along an uphill road (steam pipe) and around the perimeter of the park (two steam pipes, bollards). When he reaches a junction (traffic lights), he turns right and speeds around the residential streets, heading back to the junction (traffic lights). This time he turns left (steam pipe).
During this time, any one of the infrastructure indicated (in parentheses) can be hacked to stop him.
 Driving // Offensive: SoShuntMe
 Difficulty:
Or, you can use your vehicle as an offensive weapon or use the scenery to stop him: crash, bash, shunt, or otherwise maneuver the target into a crash or until the vehicle catches fire and the foe escapes. Then shoot him or run him over.
At this point, the police show up, and your Heat level is around 4. Escape the police by employing the strategies already set out earlier in this guide or driving away at speed, changing direction every block, taking off-road areas and alleys, and using scenery to waylay the police.
After escaping the police, you begin a conversation with a news reporter who was working on a piece about Danny SoSueMe. You tell her the operation has been shut down. This might explain why the black market has been flooded with hard drives with a variety of sensitive information on them! Apparently, they’re all over town. The mission concludes, but you can still find the hard drives.
MISSION REWARDSPOLICE EVASION (XP) +250 Gained XP +800 |

4. HARD DRIVE COLLECTING
 Location / Chicago // All Districts
Pawnee / Hard Drives
Hard Drive 01
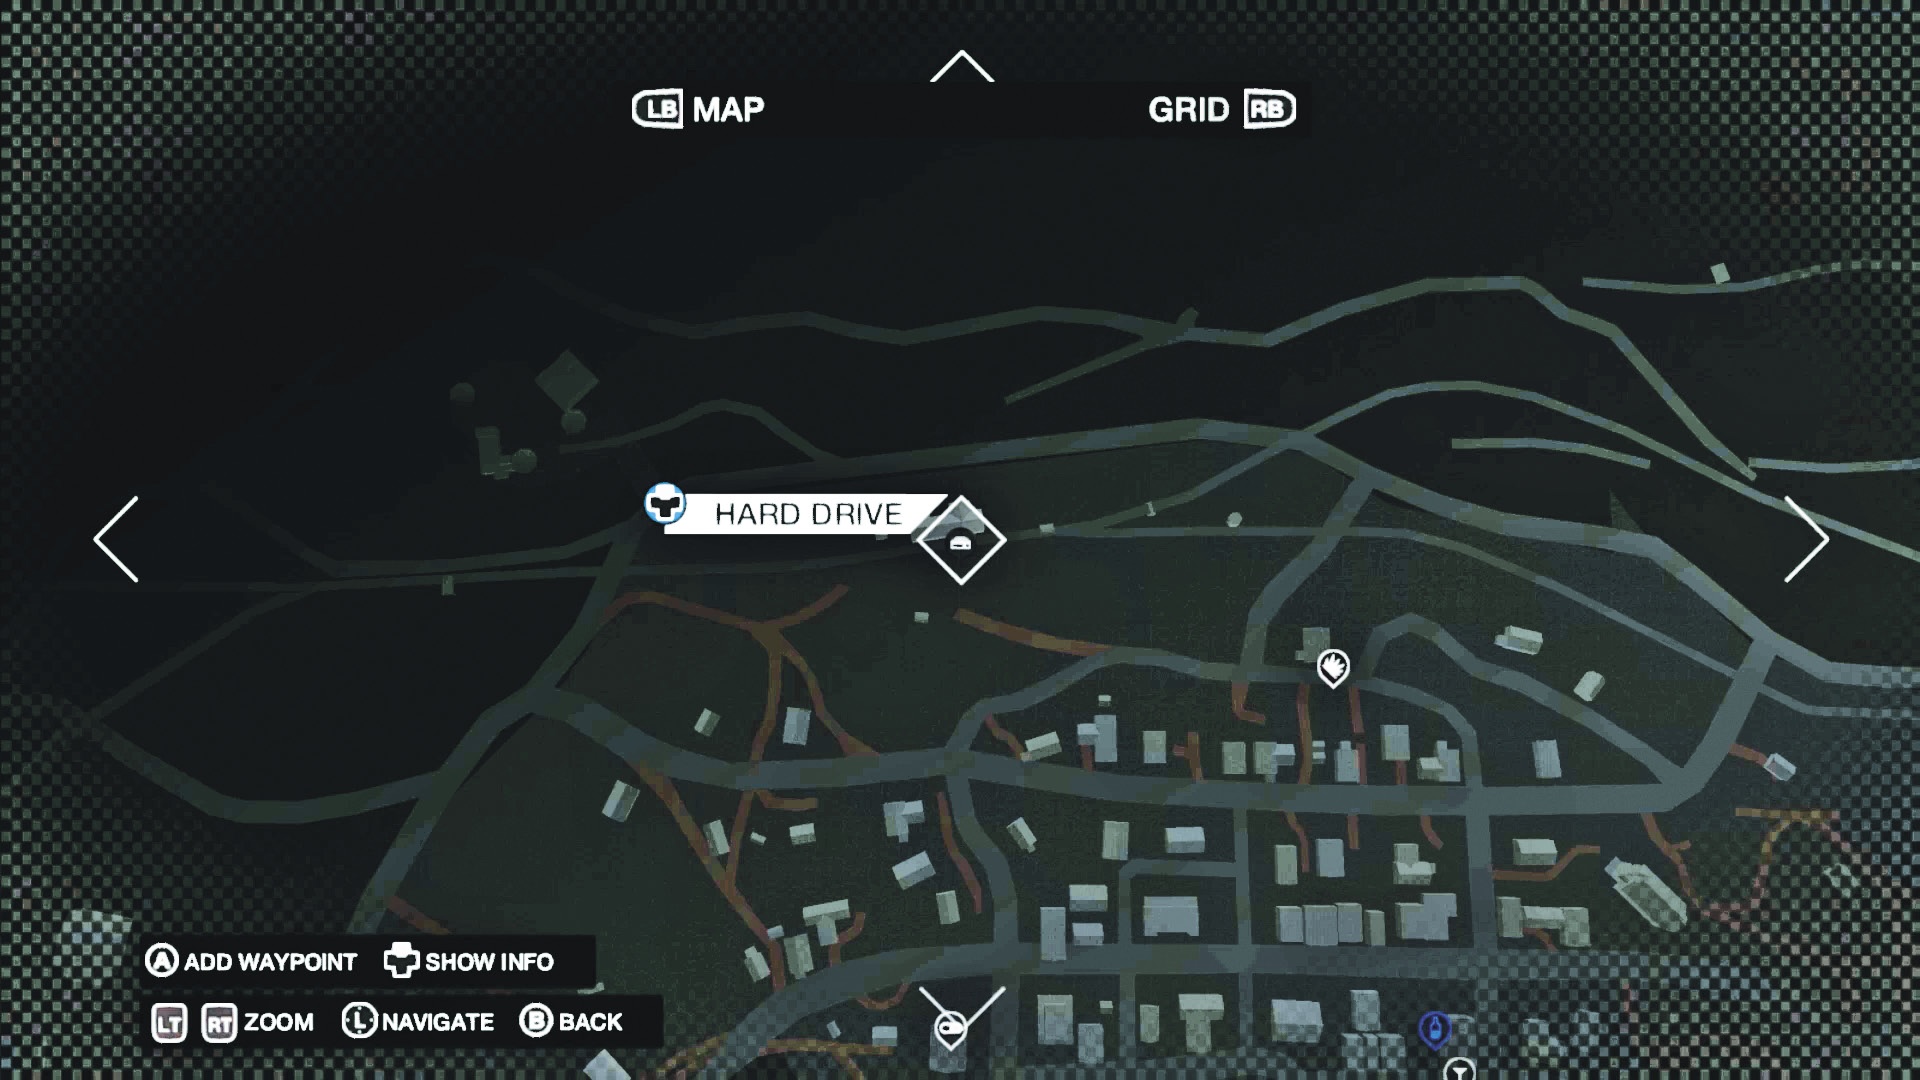
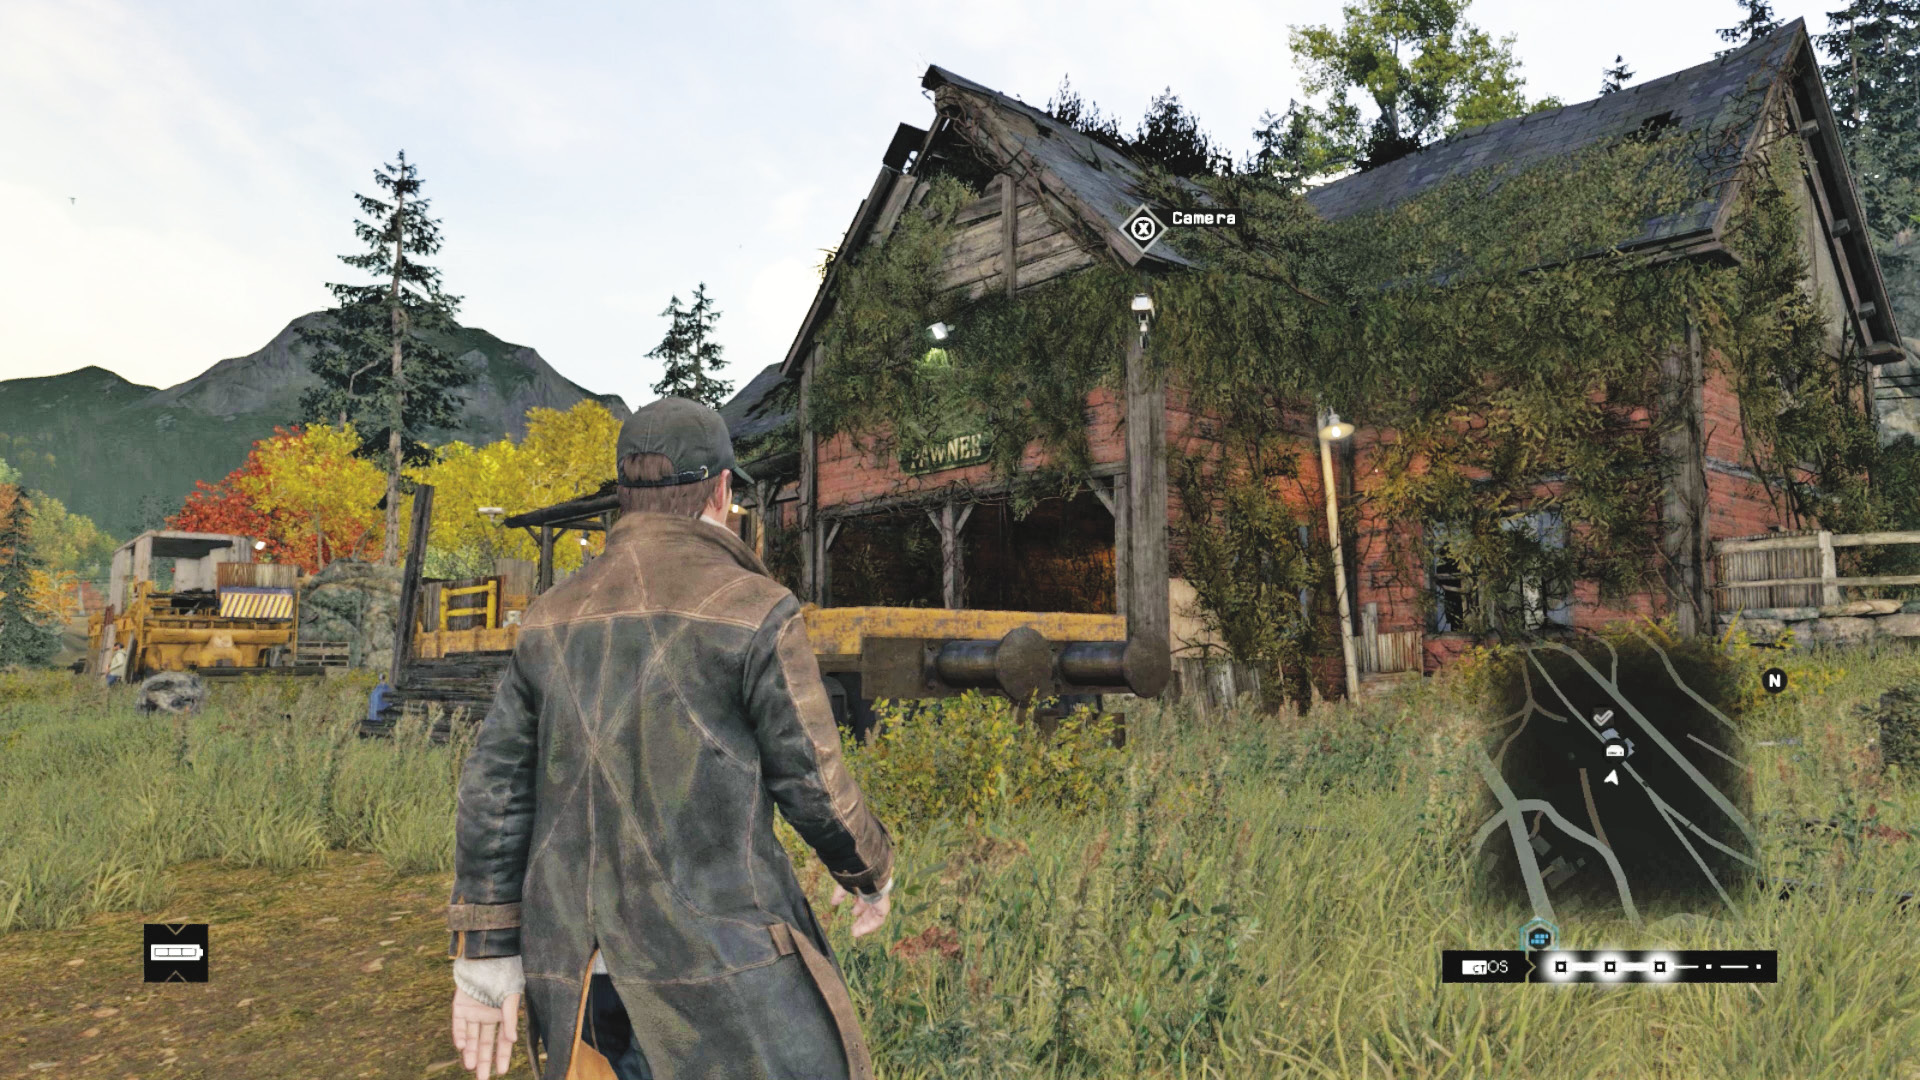
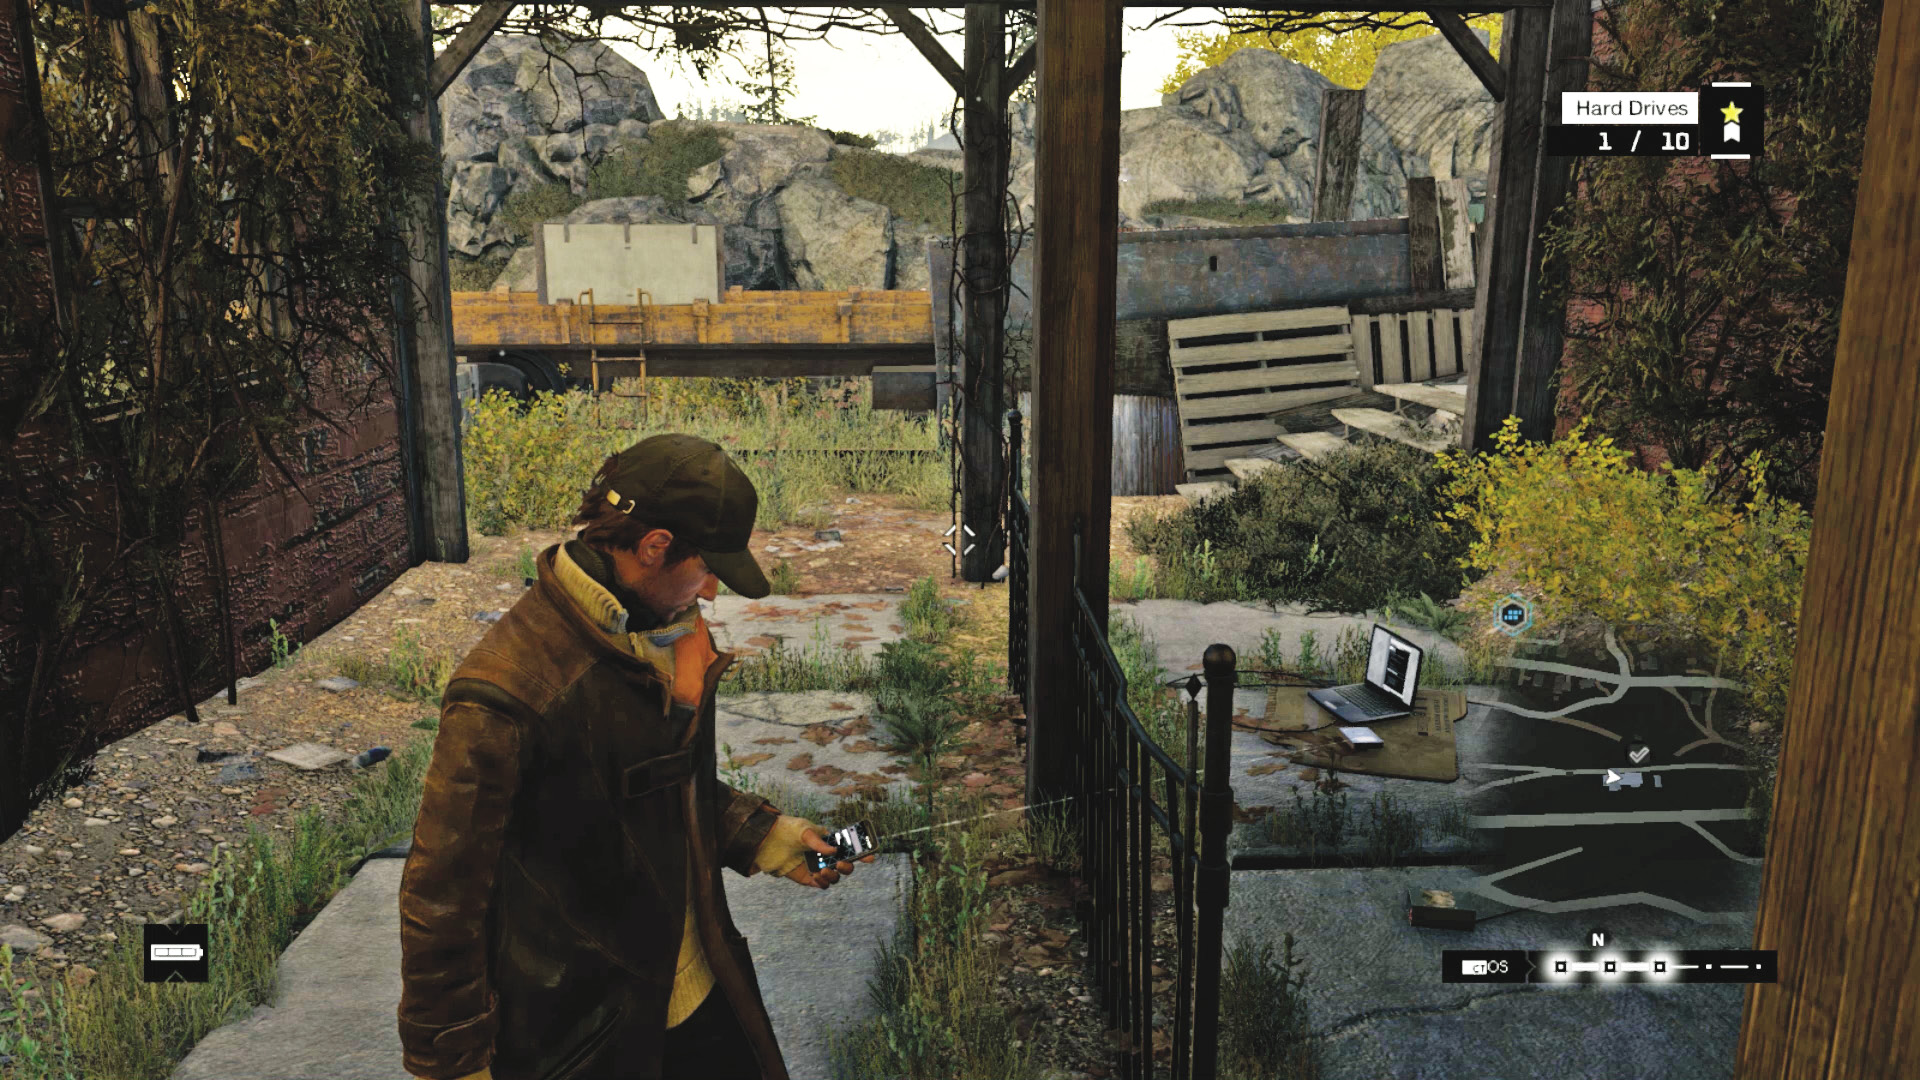
Location / Pawnee // Abandoned Rail Station
Up in the wilds of Pawnee, just south of the northernmost road below the bike trails, is an overgrown rail yard and a dilapidated station platform with a tumbledown red station building. Inspect this location, where you find the first hard drive on the low ground concrete pavers under the Pawnee sign.
Hard Drive 02
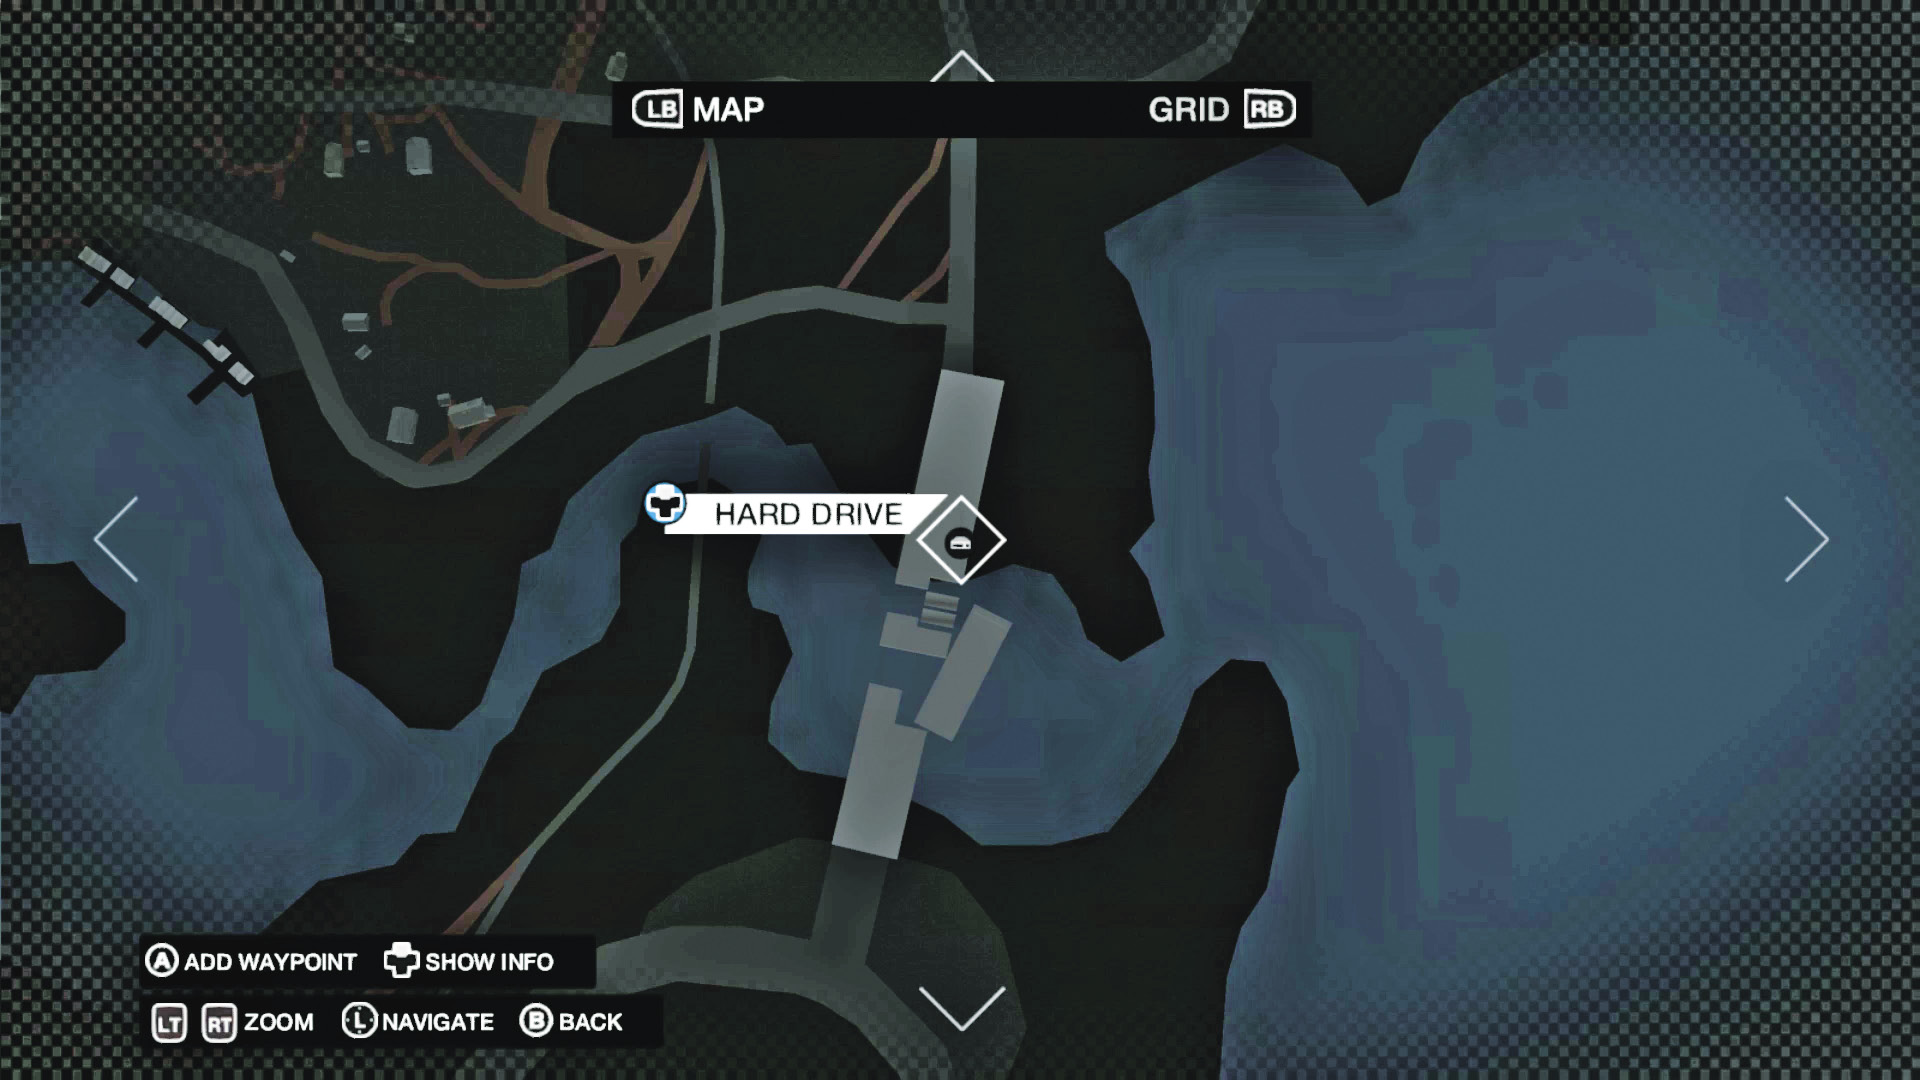
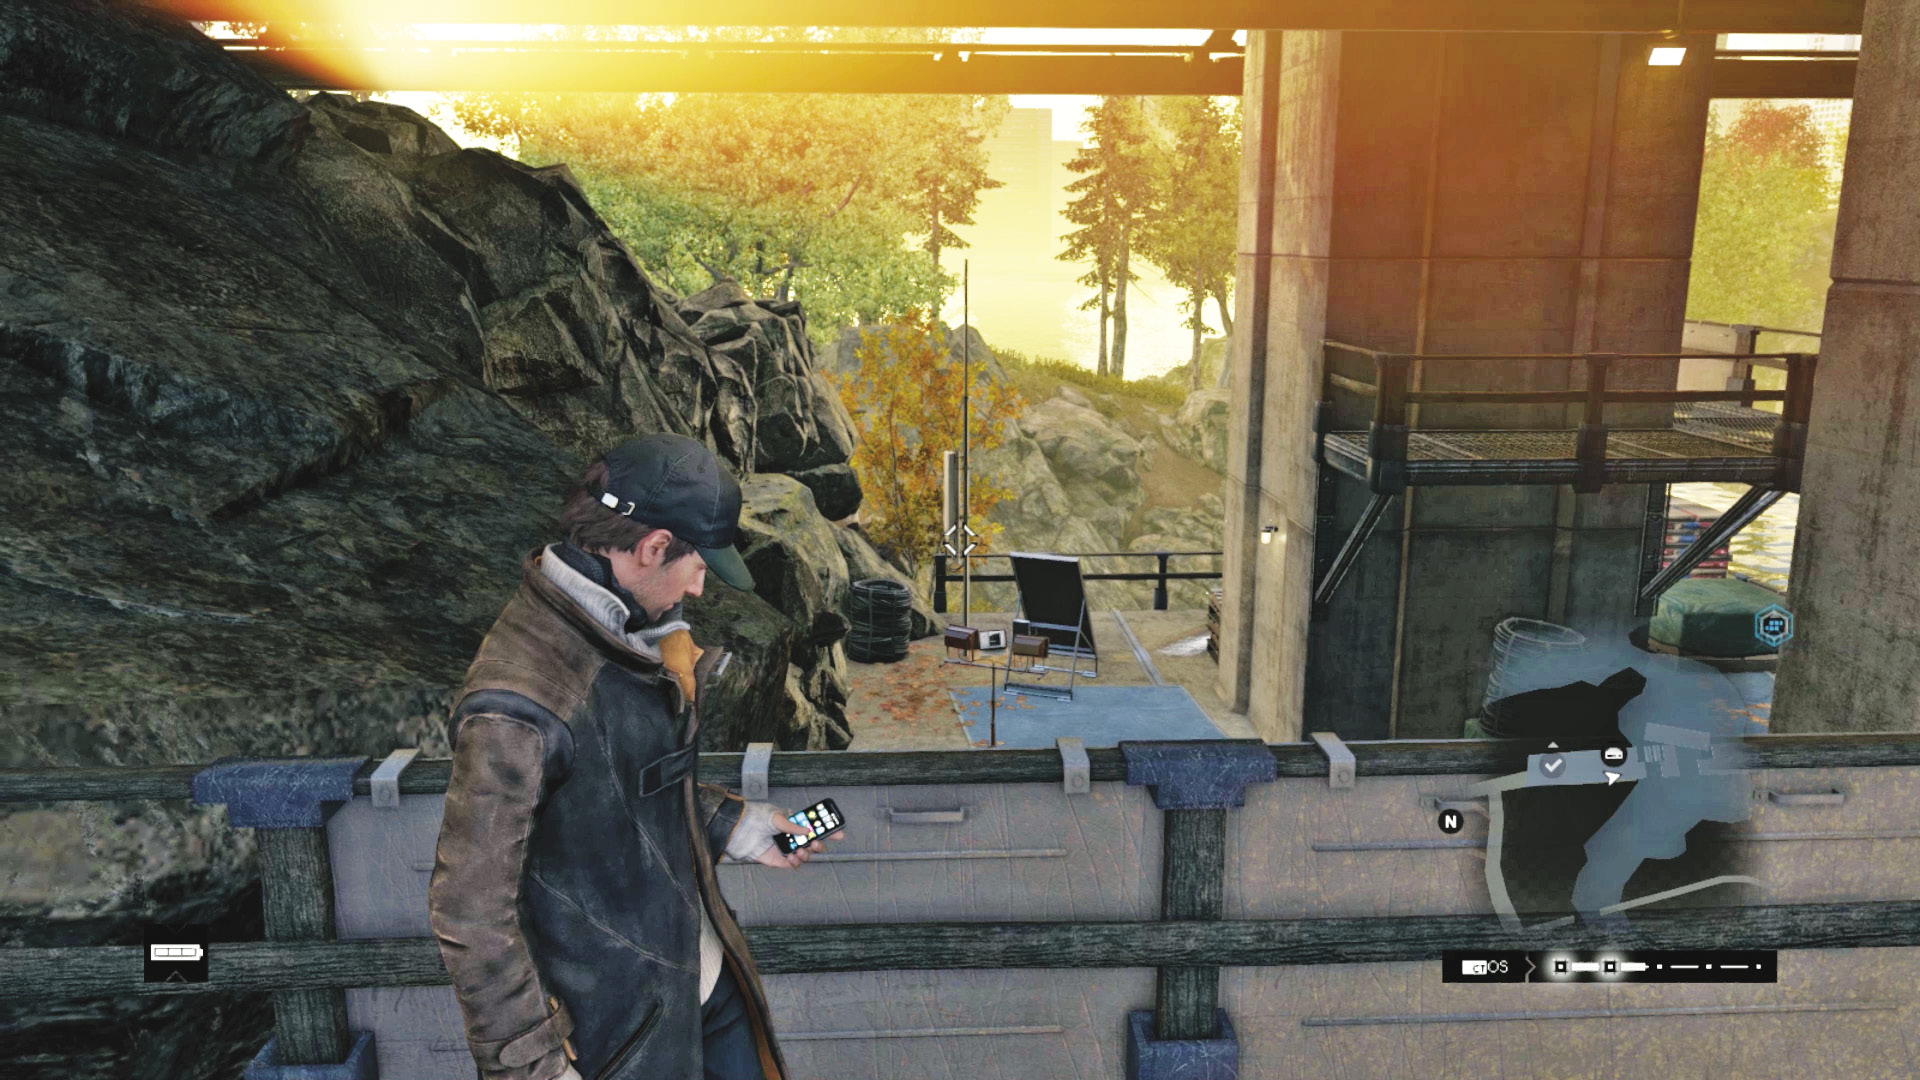
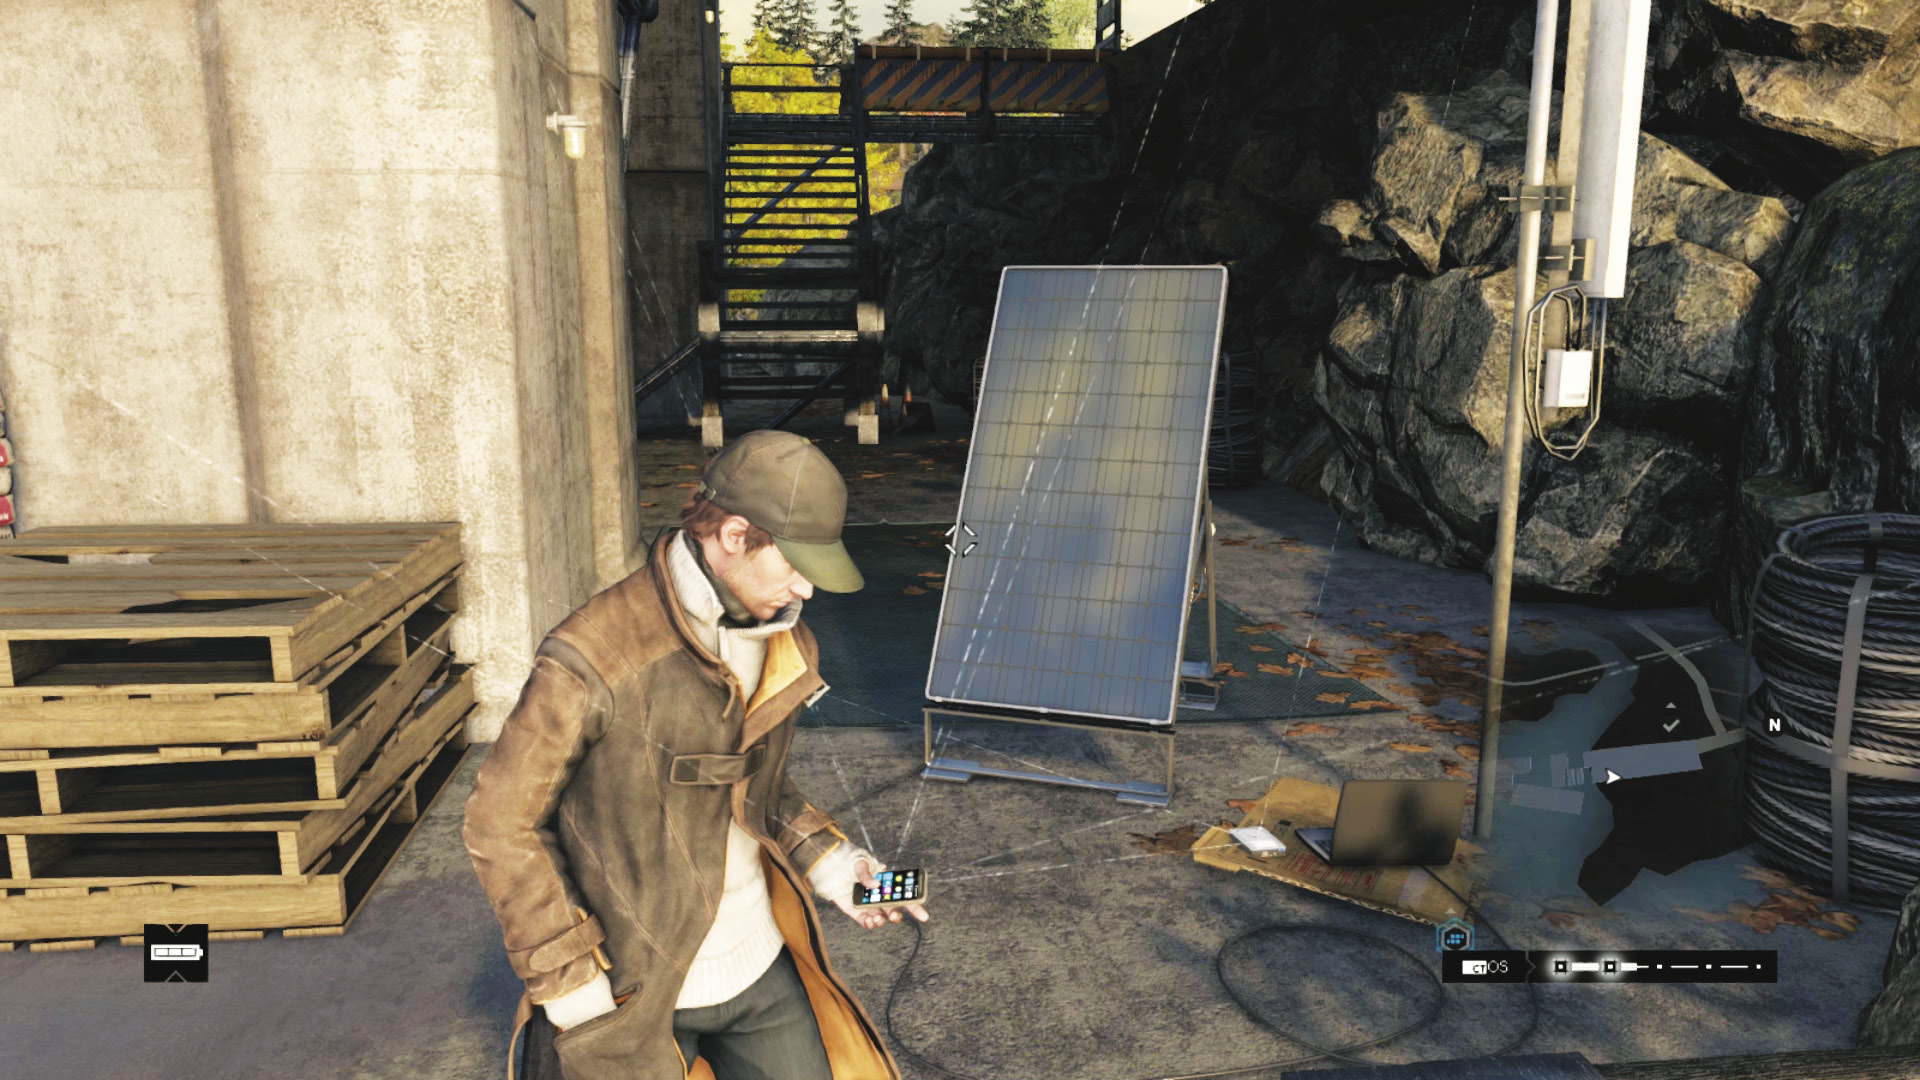
Location / Pawnee // Construction Bridge
Look for the large construction bridge over the ravine in the western part of Pawnee. Approach from the north section, heading down under the main bridge structure. Use the gantry stairs to reach a huge set of concrete pillars and buttresses. The hard drive is on a concrete ledge near one of the pillars.
Hard Drive 03
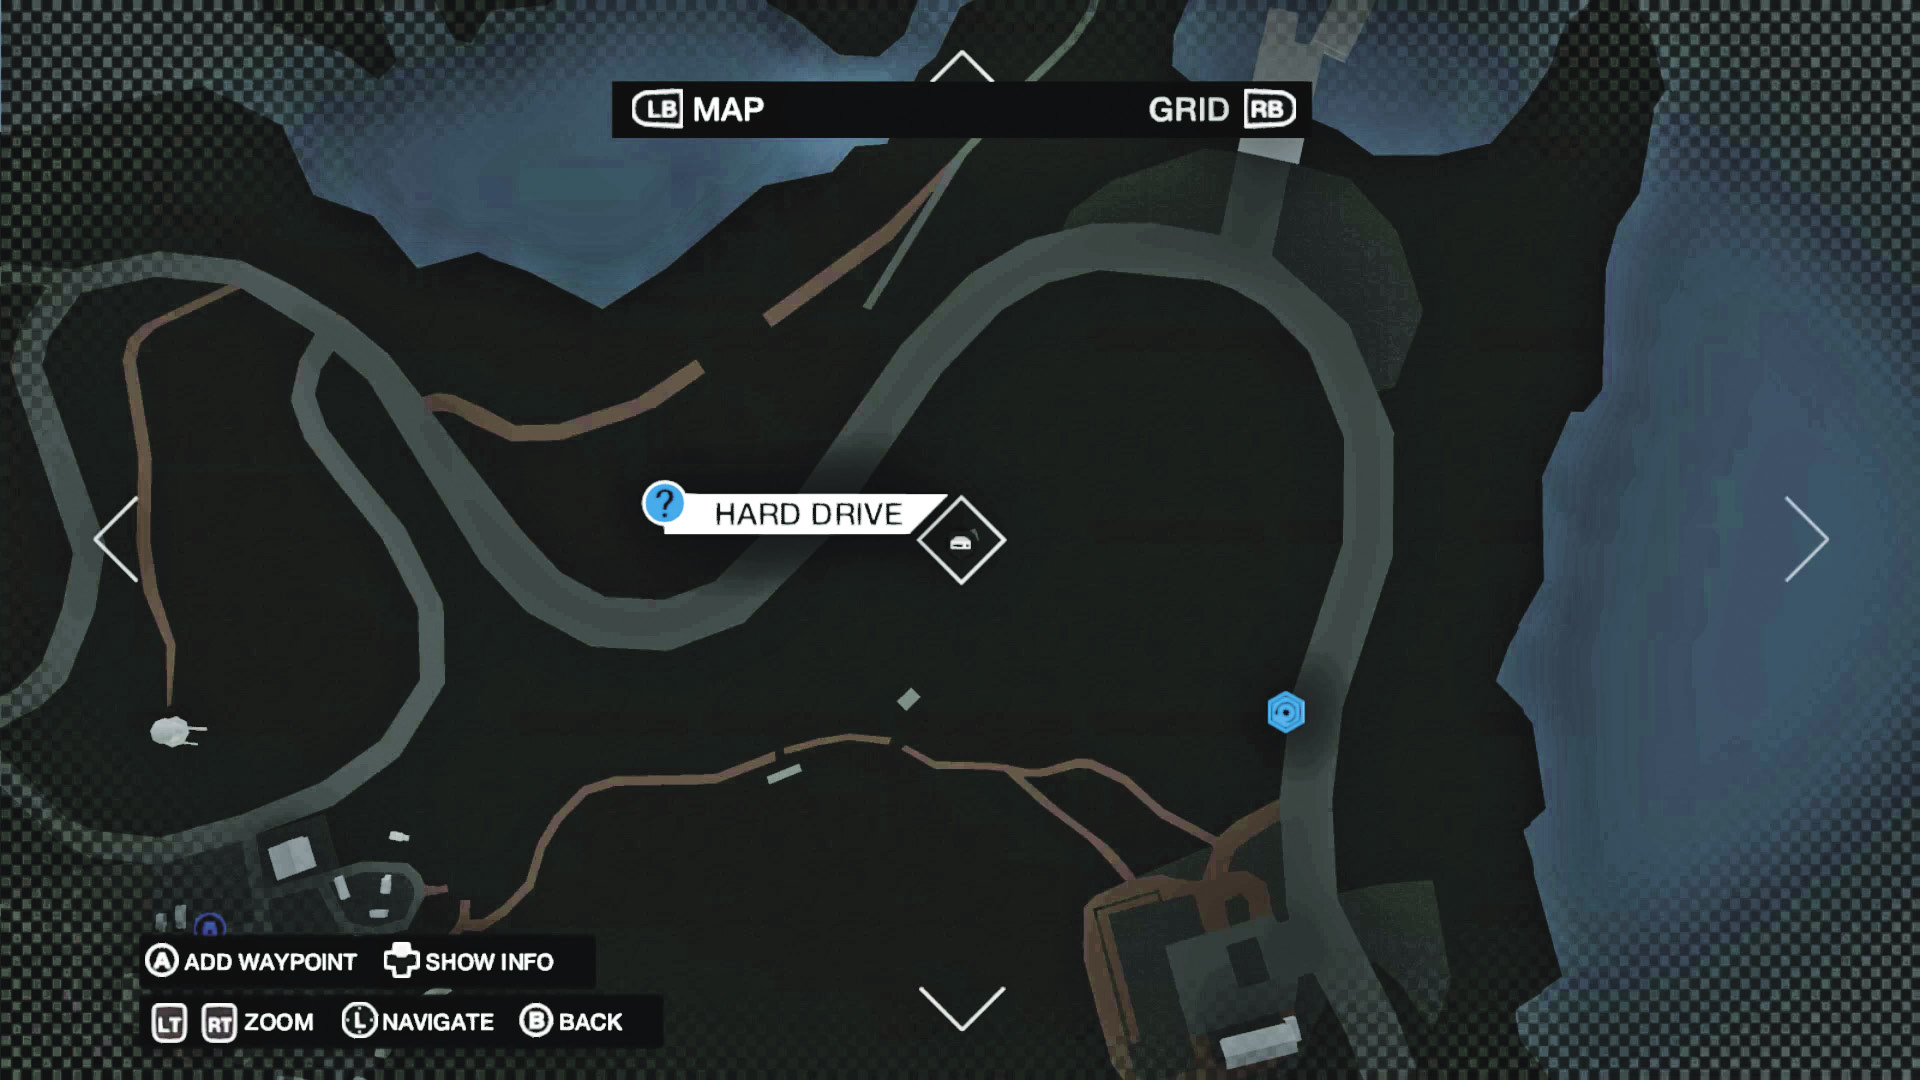
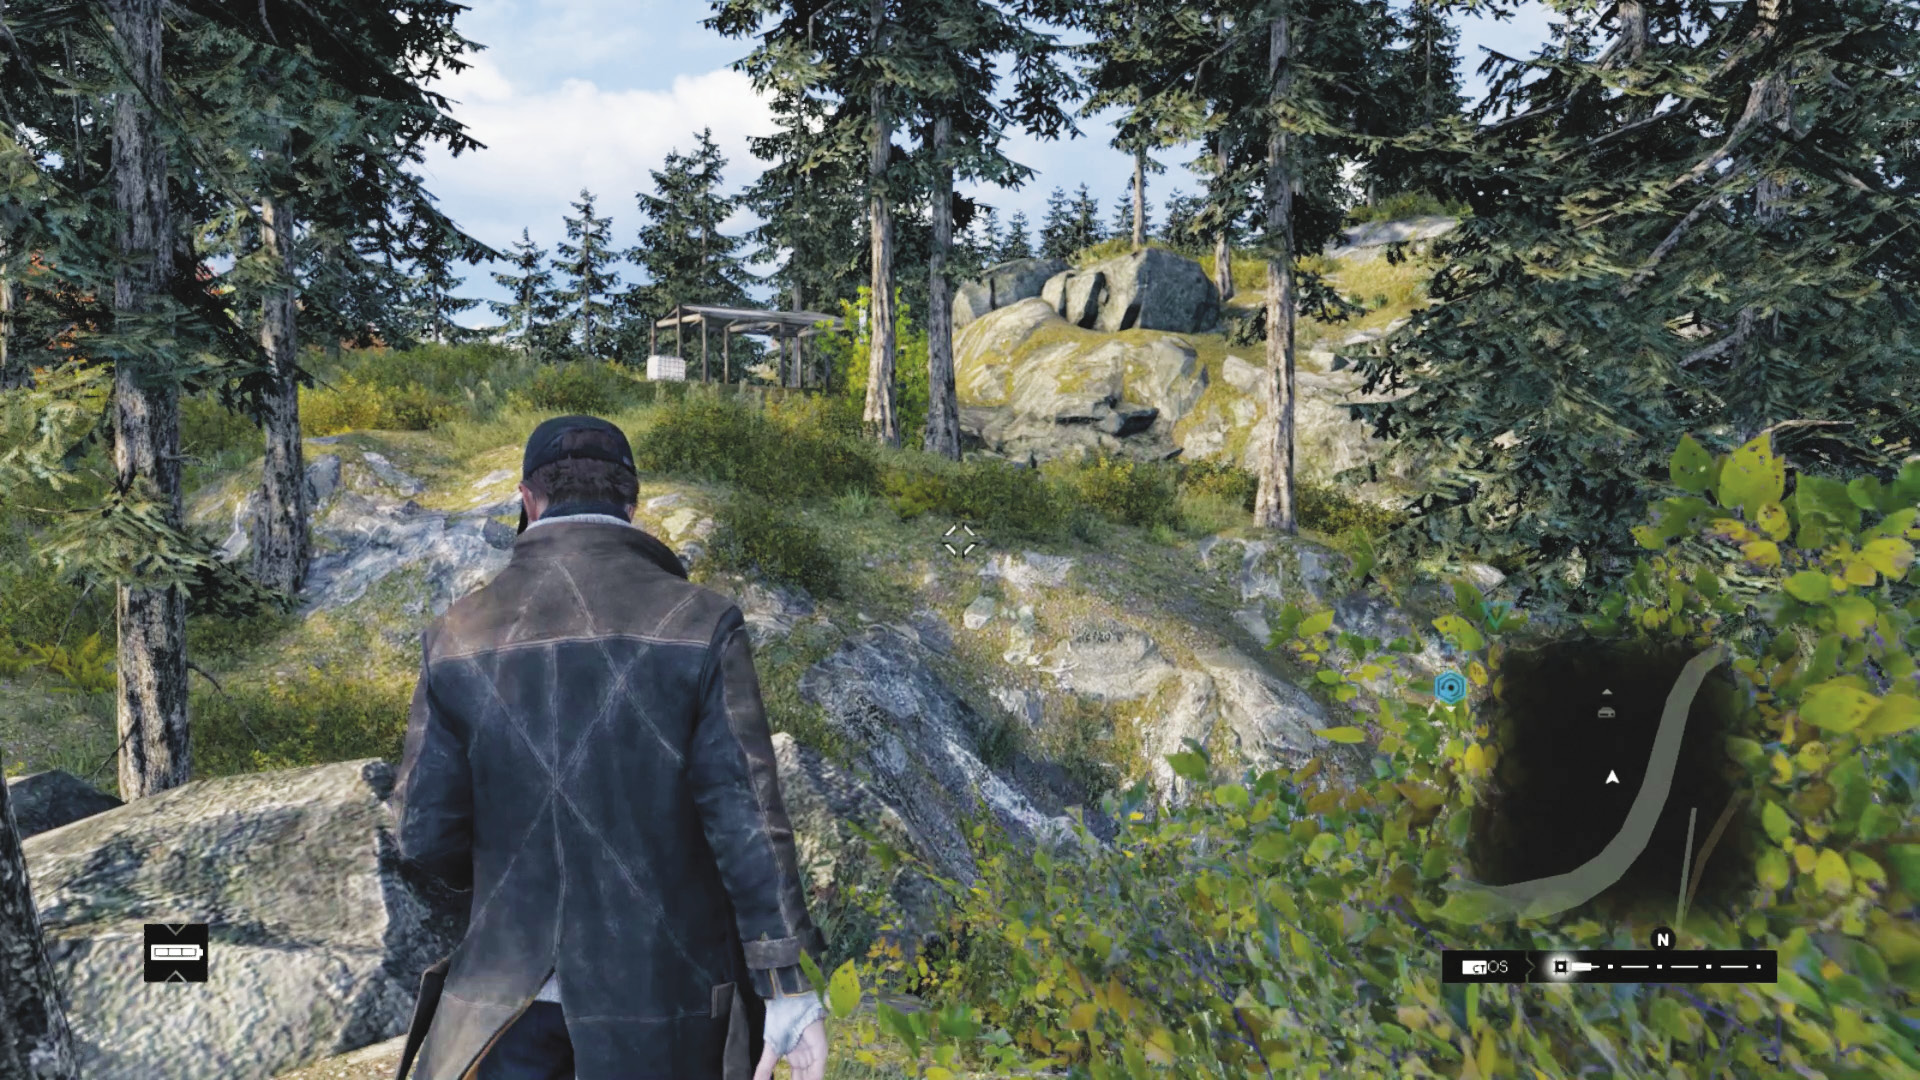
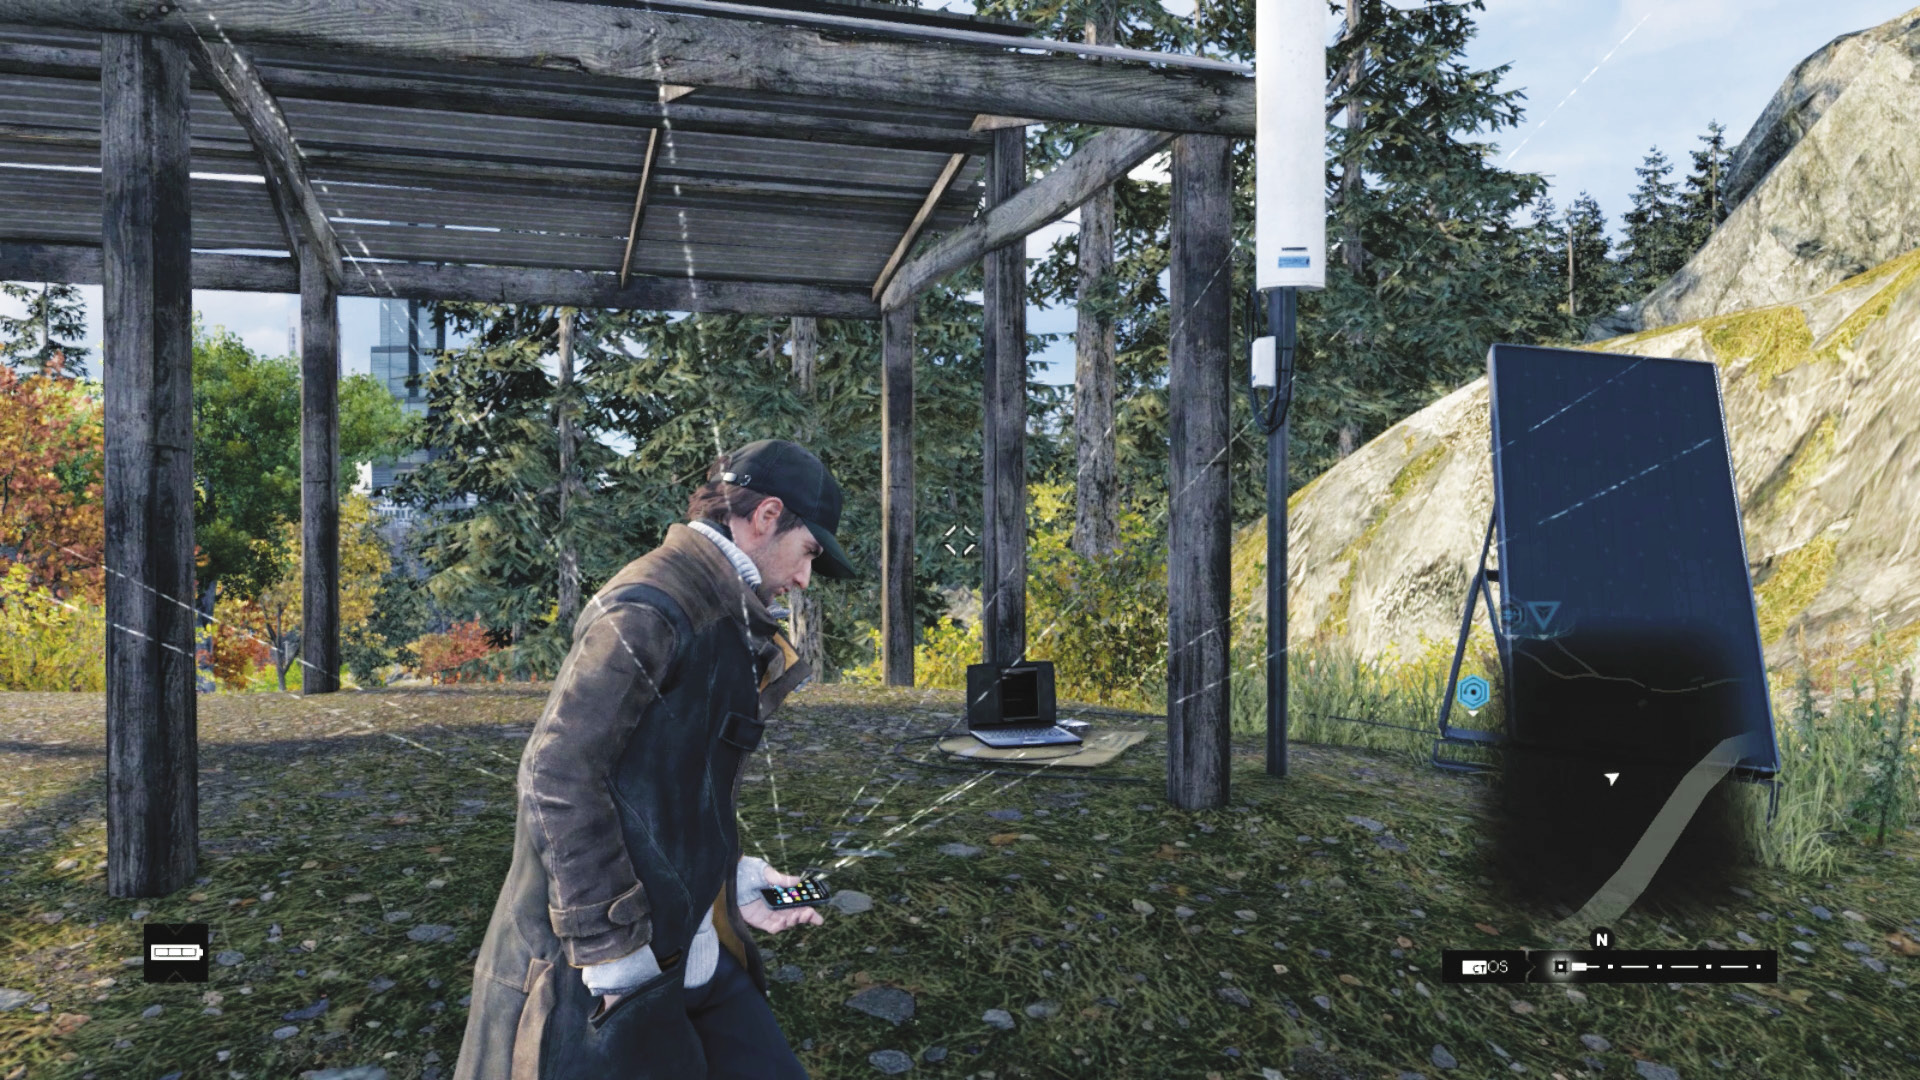
Location / Pawnee // Hunter’s Shack
Out in the wilds of southeast Pawnee, above the winding tunnel where Lena was killed, is a hunter’s shack. Reach it by heading up the rocky area to the left (east) of the dead-end train tunnel, just south of the broken train bridge and east of the rock ramp. The shack is atop a hill.
Parker Square / Hard Drives
Hard Drive 04
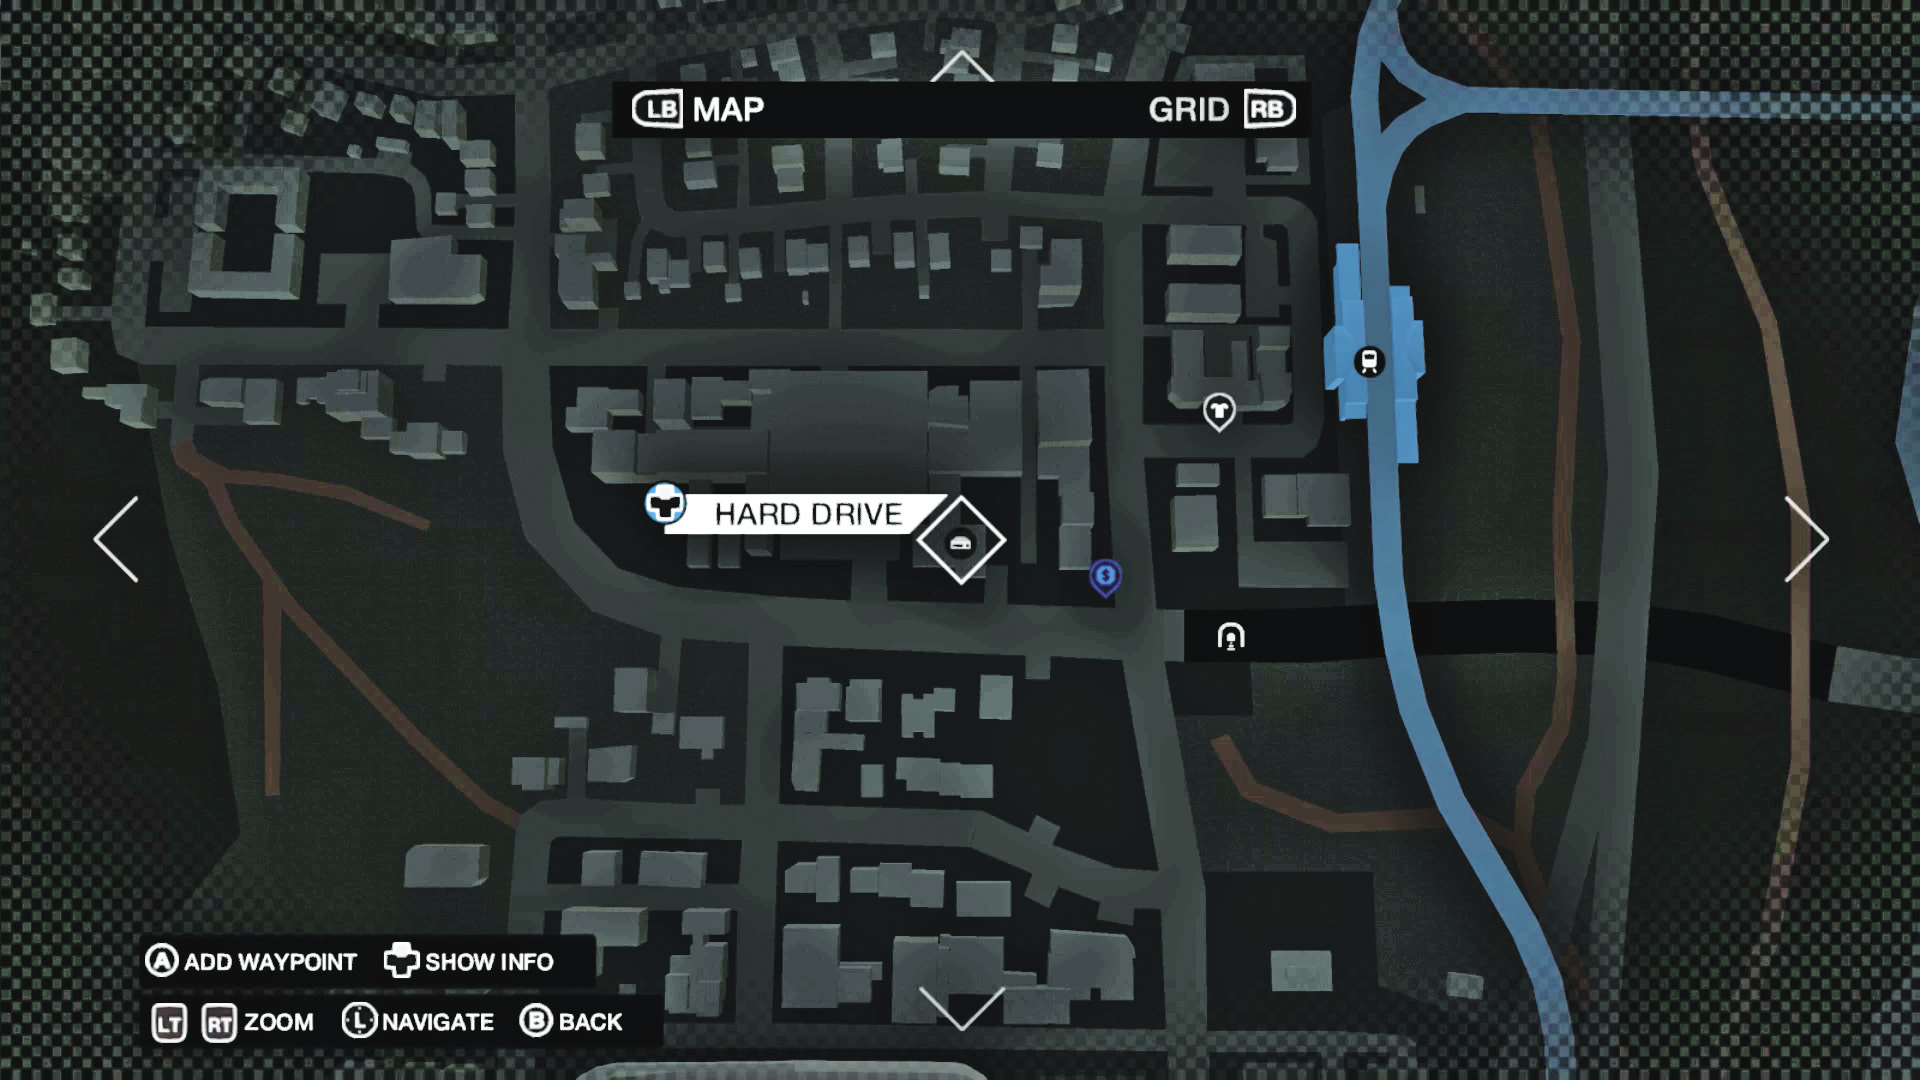
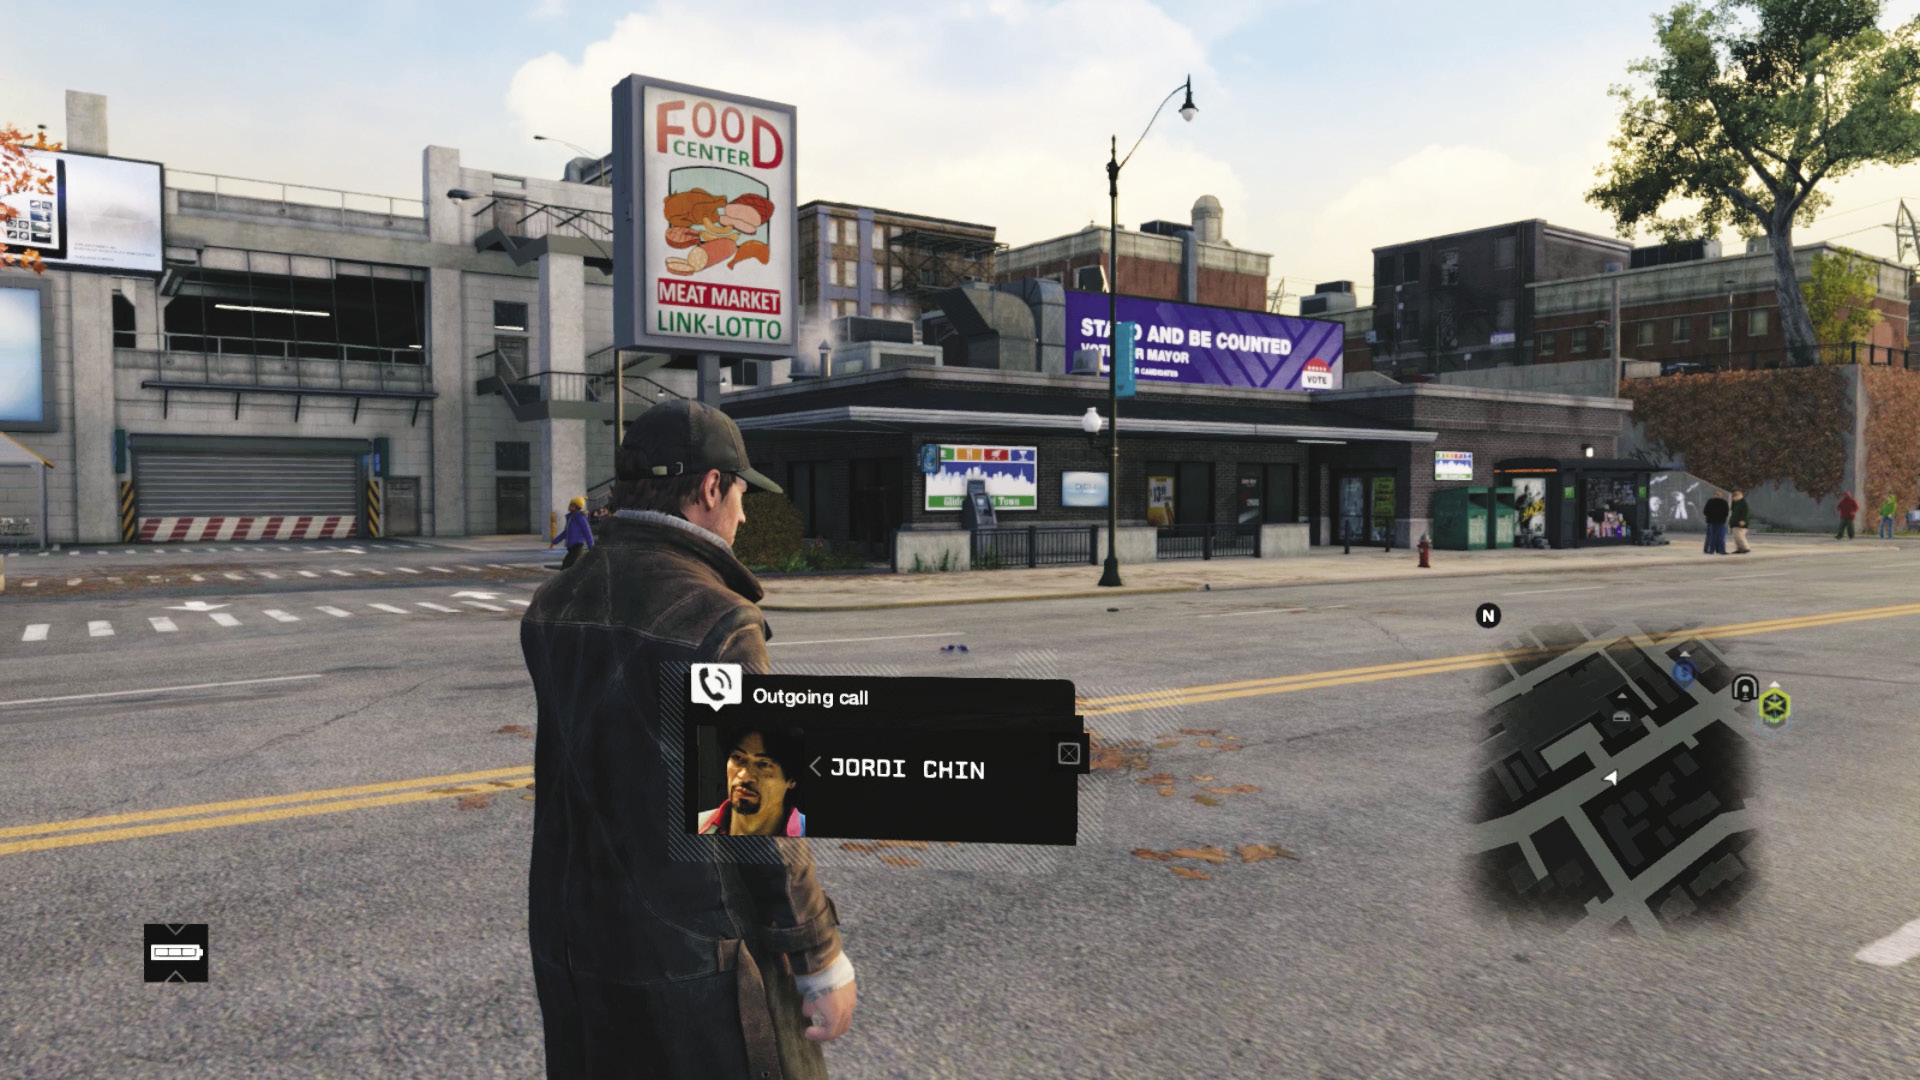
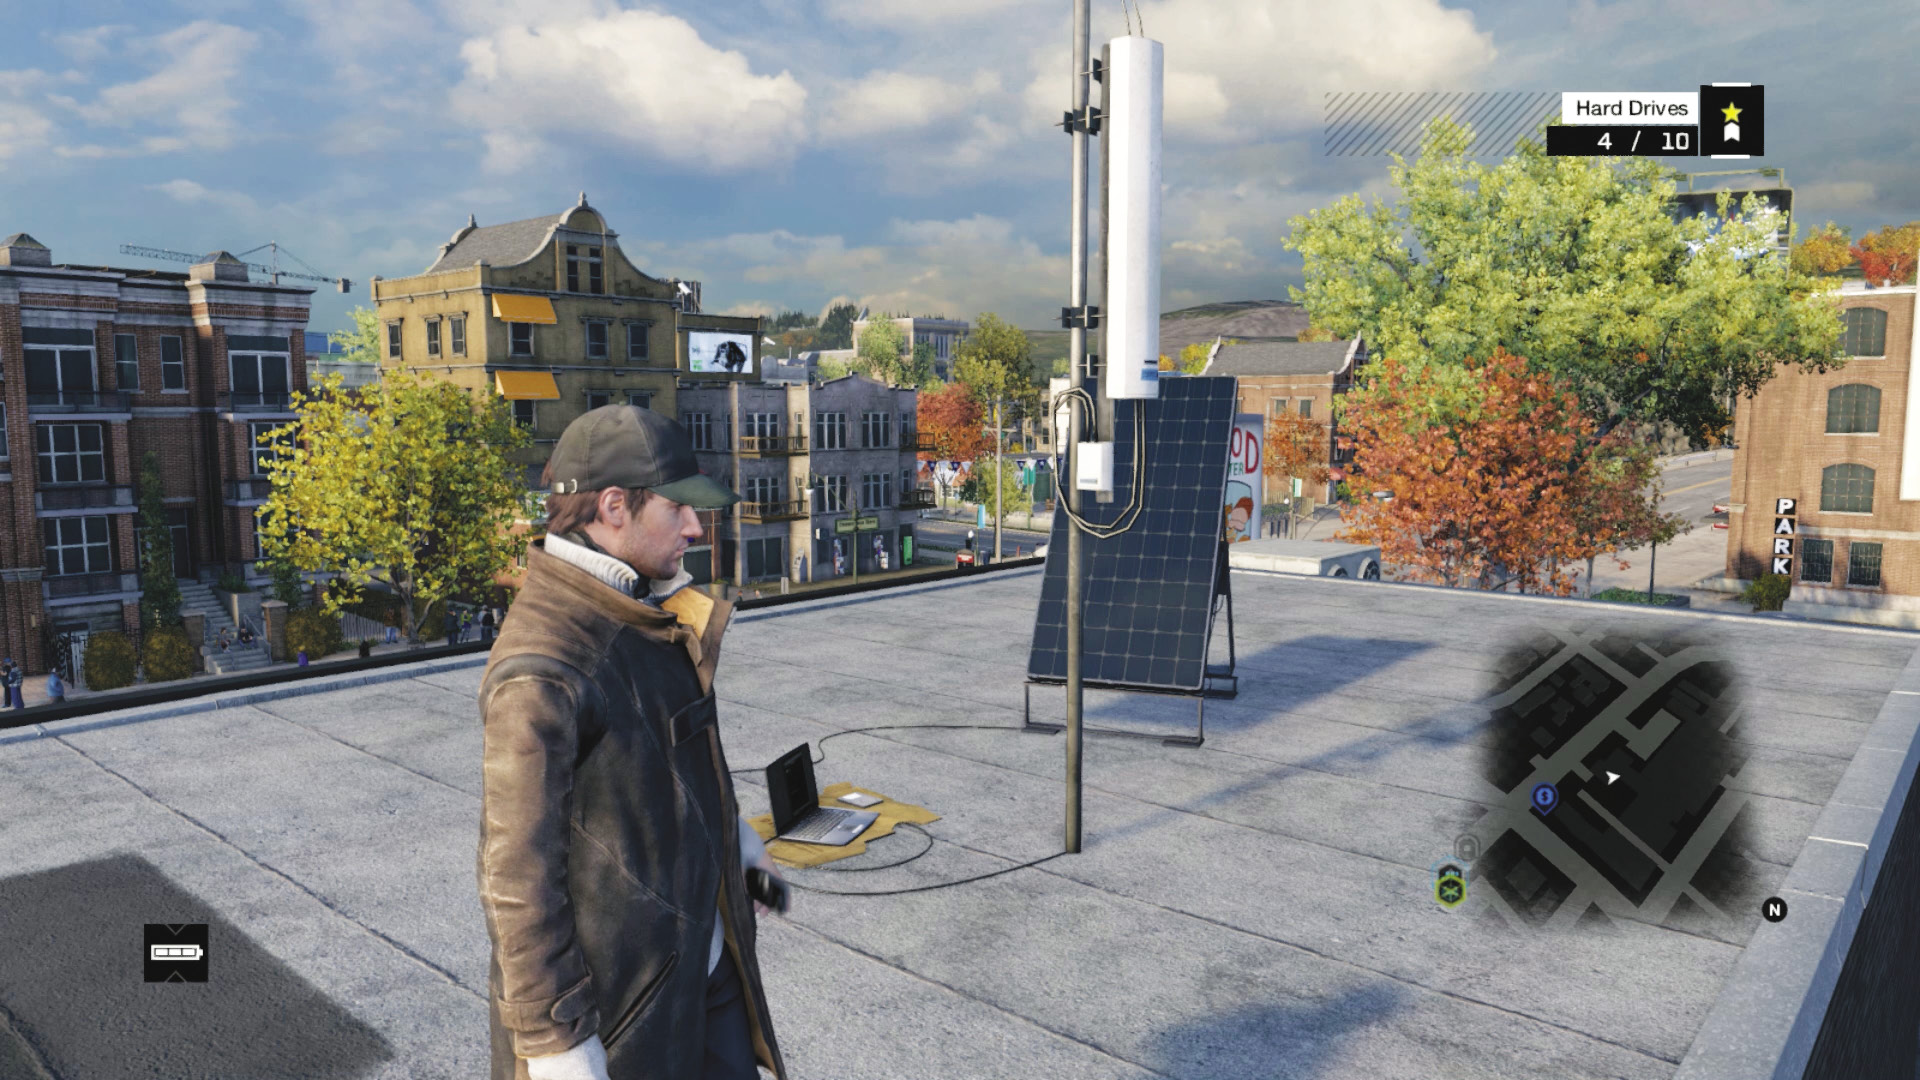
Location / Parker Square // Meat Market Rooftop
On the curved main road down from Nicky’s house to the freeway, close to Keele station, is a food center with a garage and concrete steps behind it. Scale the steps o you can drop down onto the roof. Now climb and head across the AC units onto the roof behind the billboard, and secure another hard drive.
Hard Drive 05
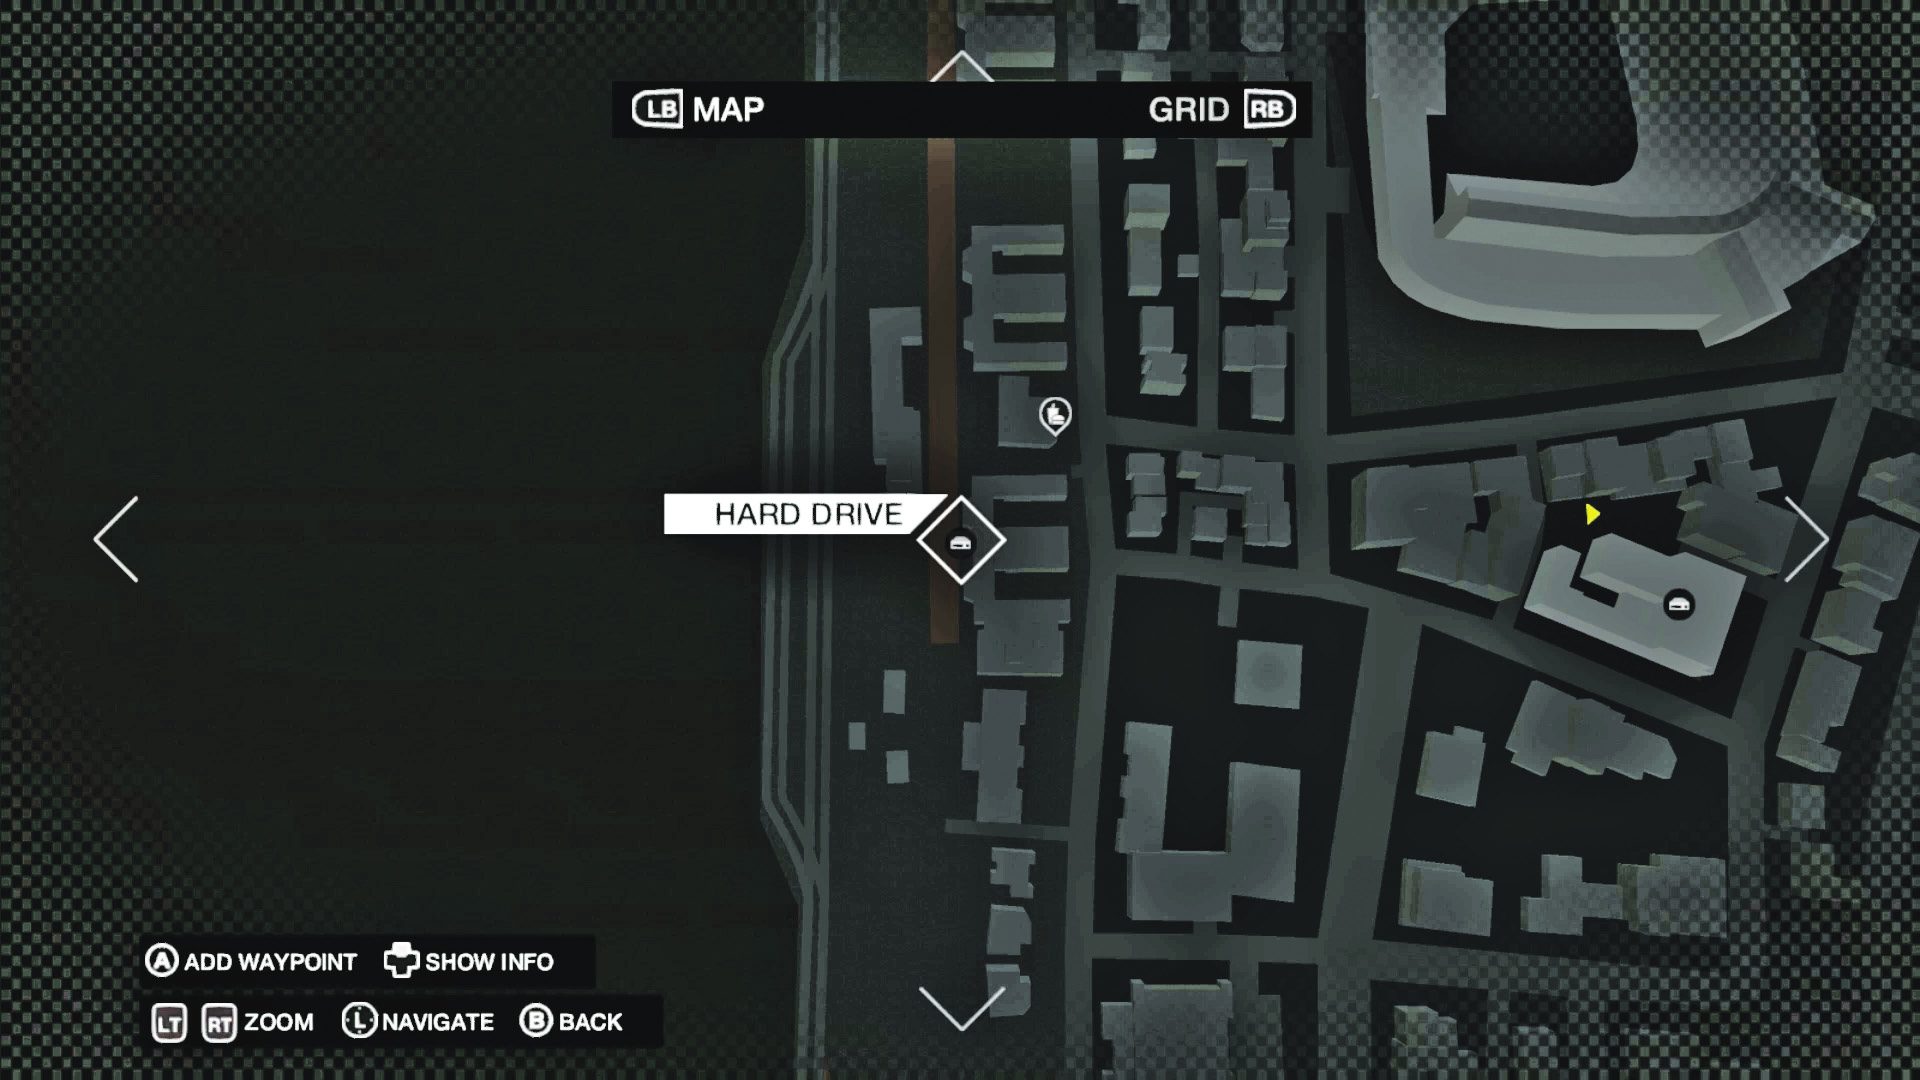
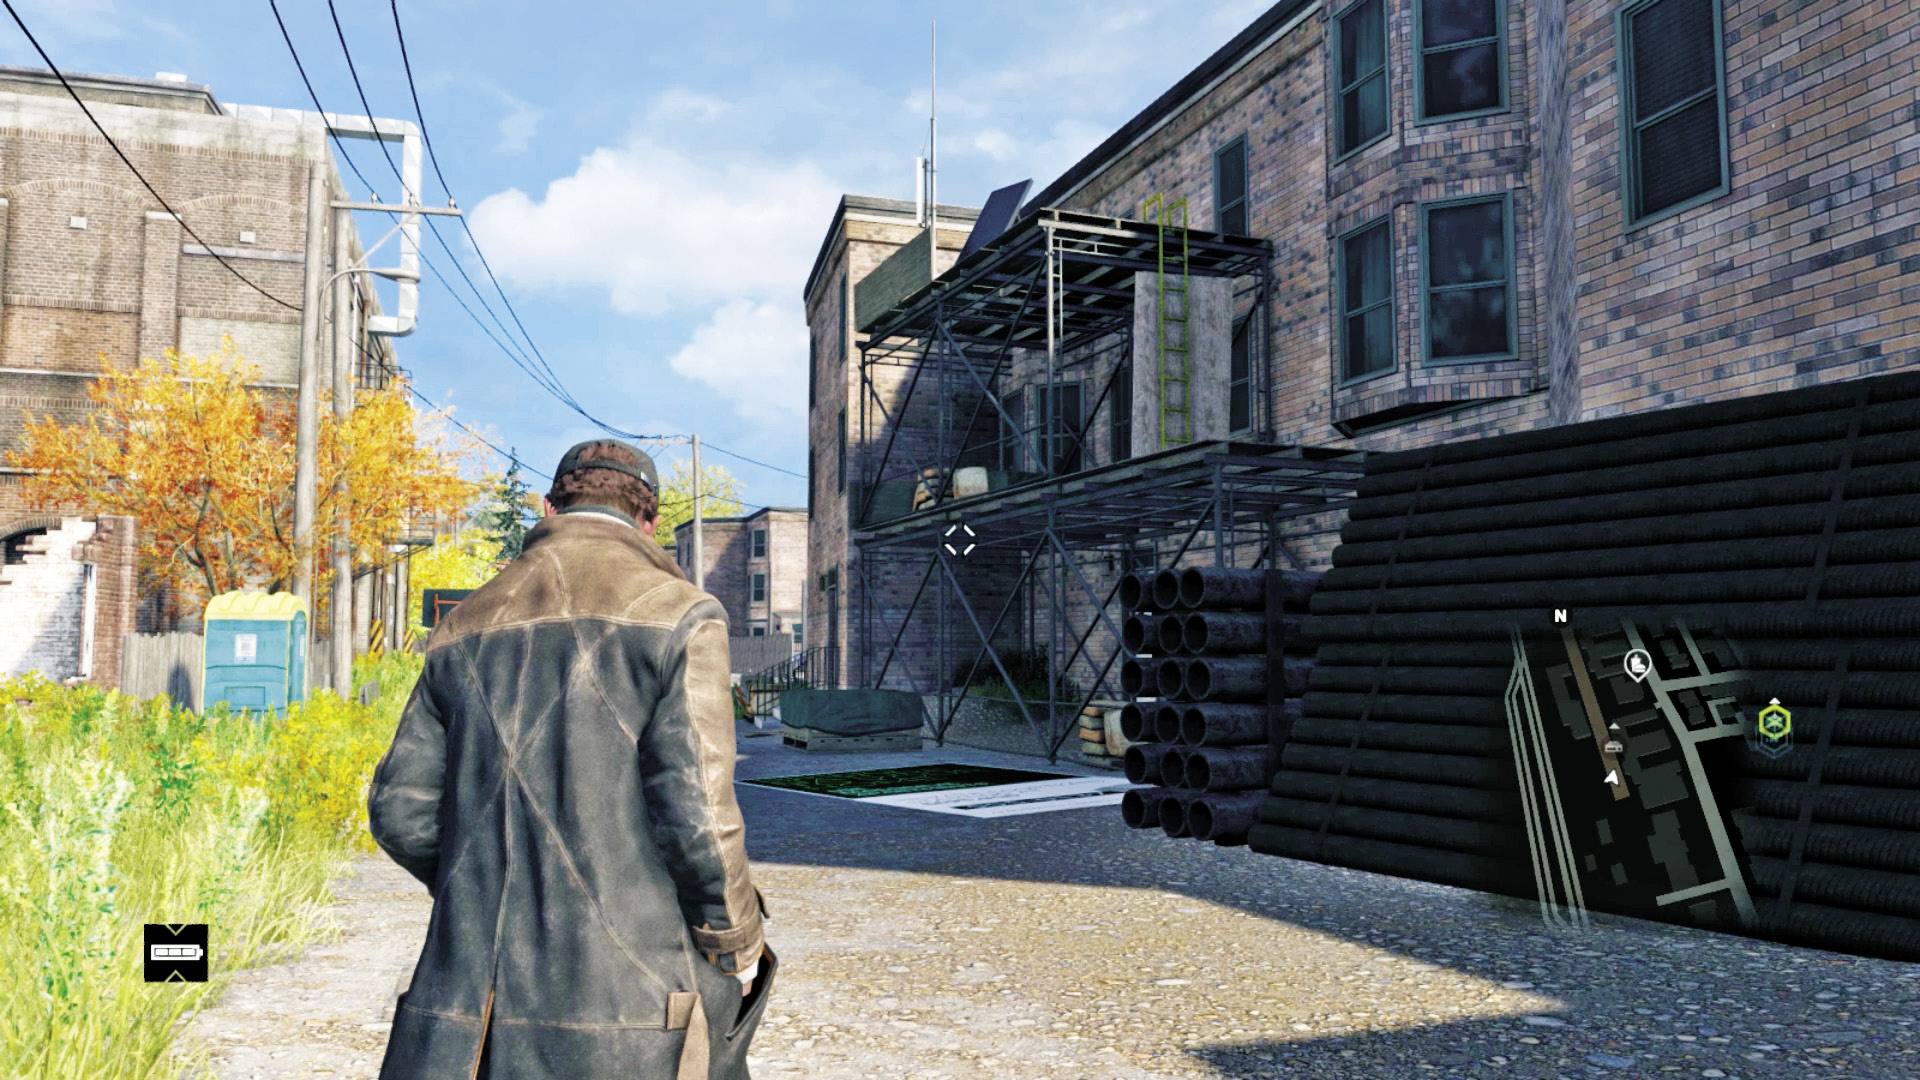
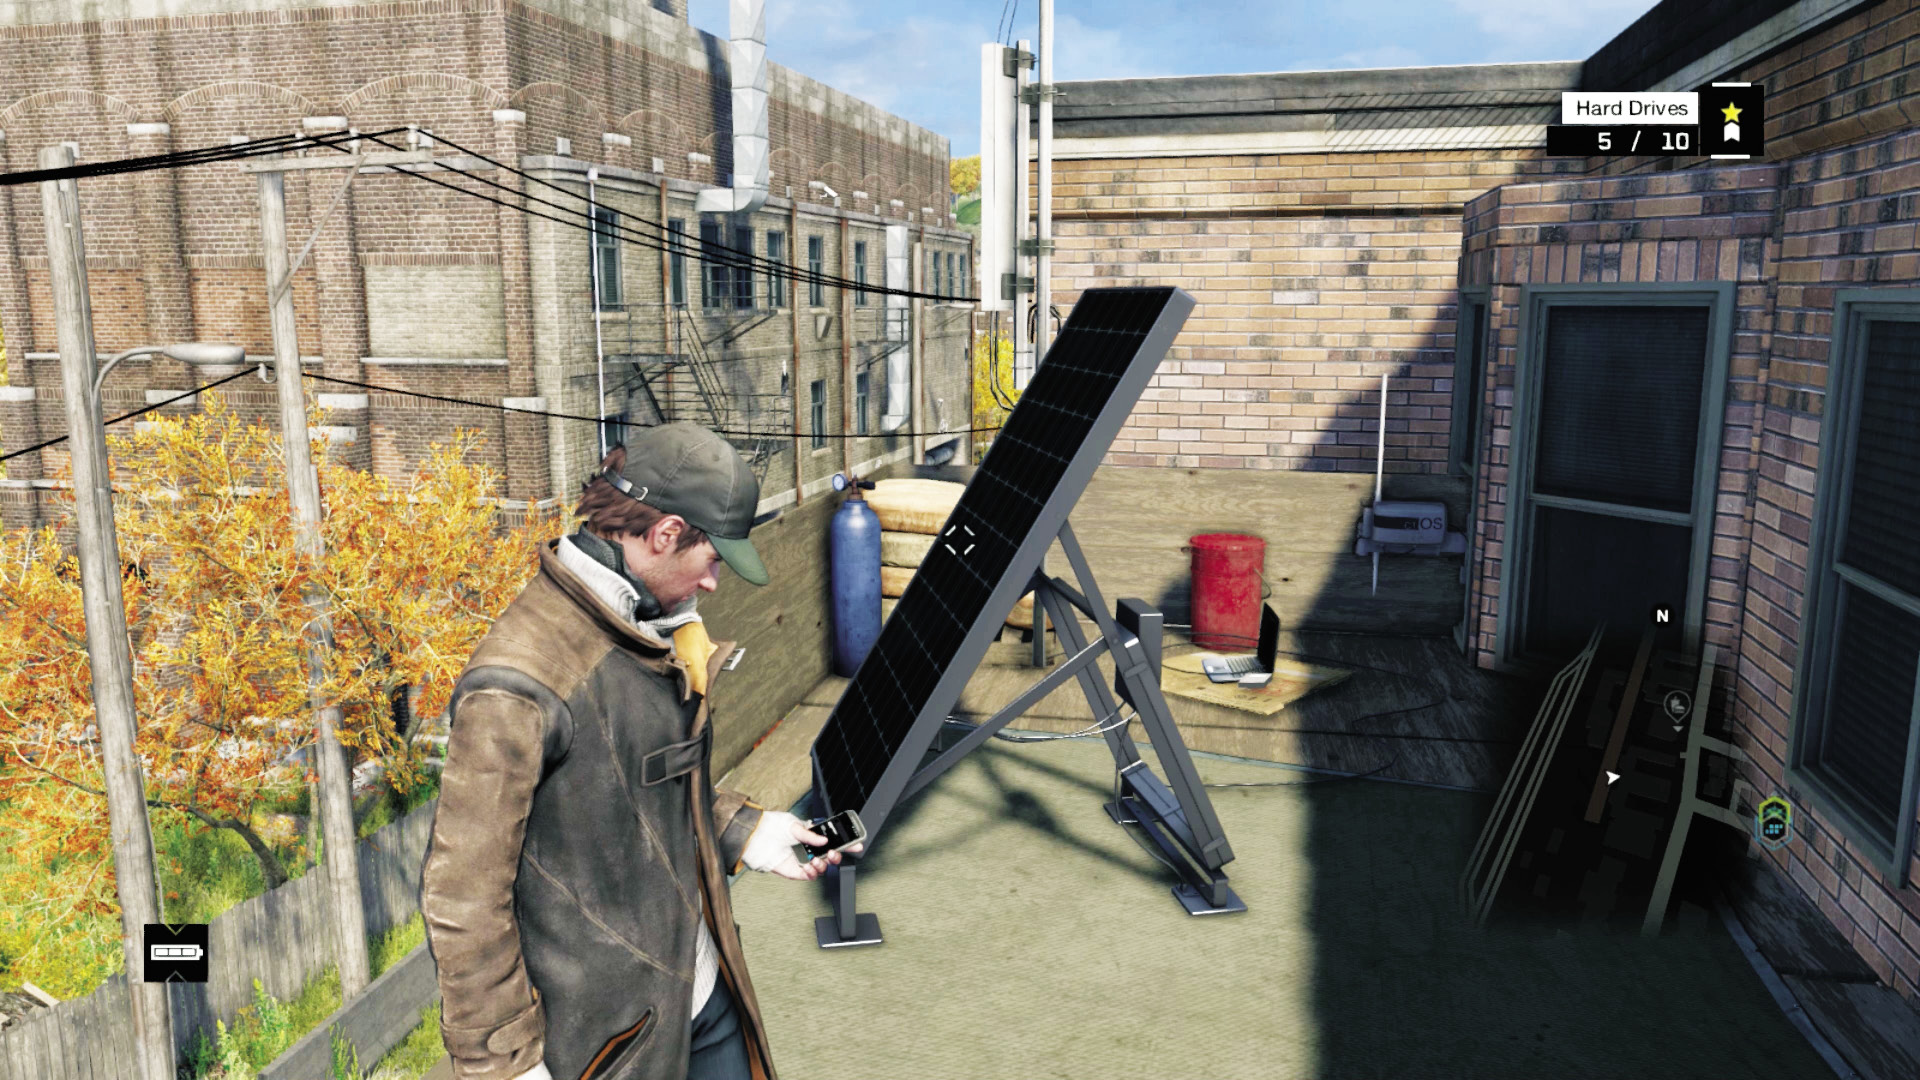
Location / Parker Square // Western Row House Alley
Find the long alley running north to south, close to the rail lines and a hideout, along the western edge of Parker Square. Scour the area for a yard of rubble opposite a row house with scaffolding on it. Climb the scaffolding to the platform, where you find the hard drive.
Hard Drive 06
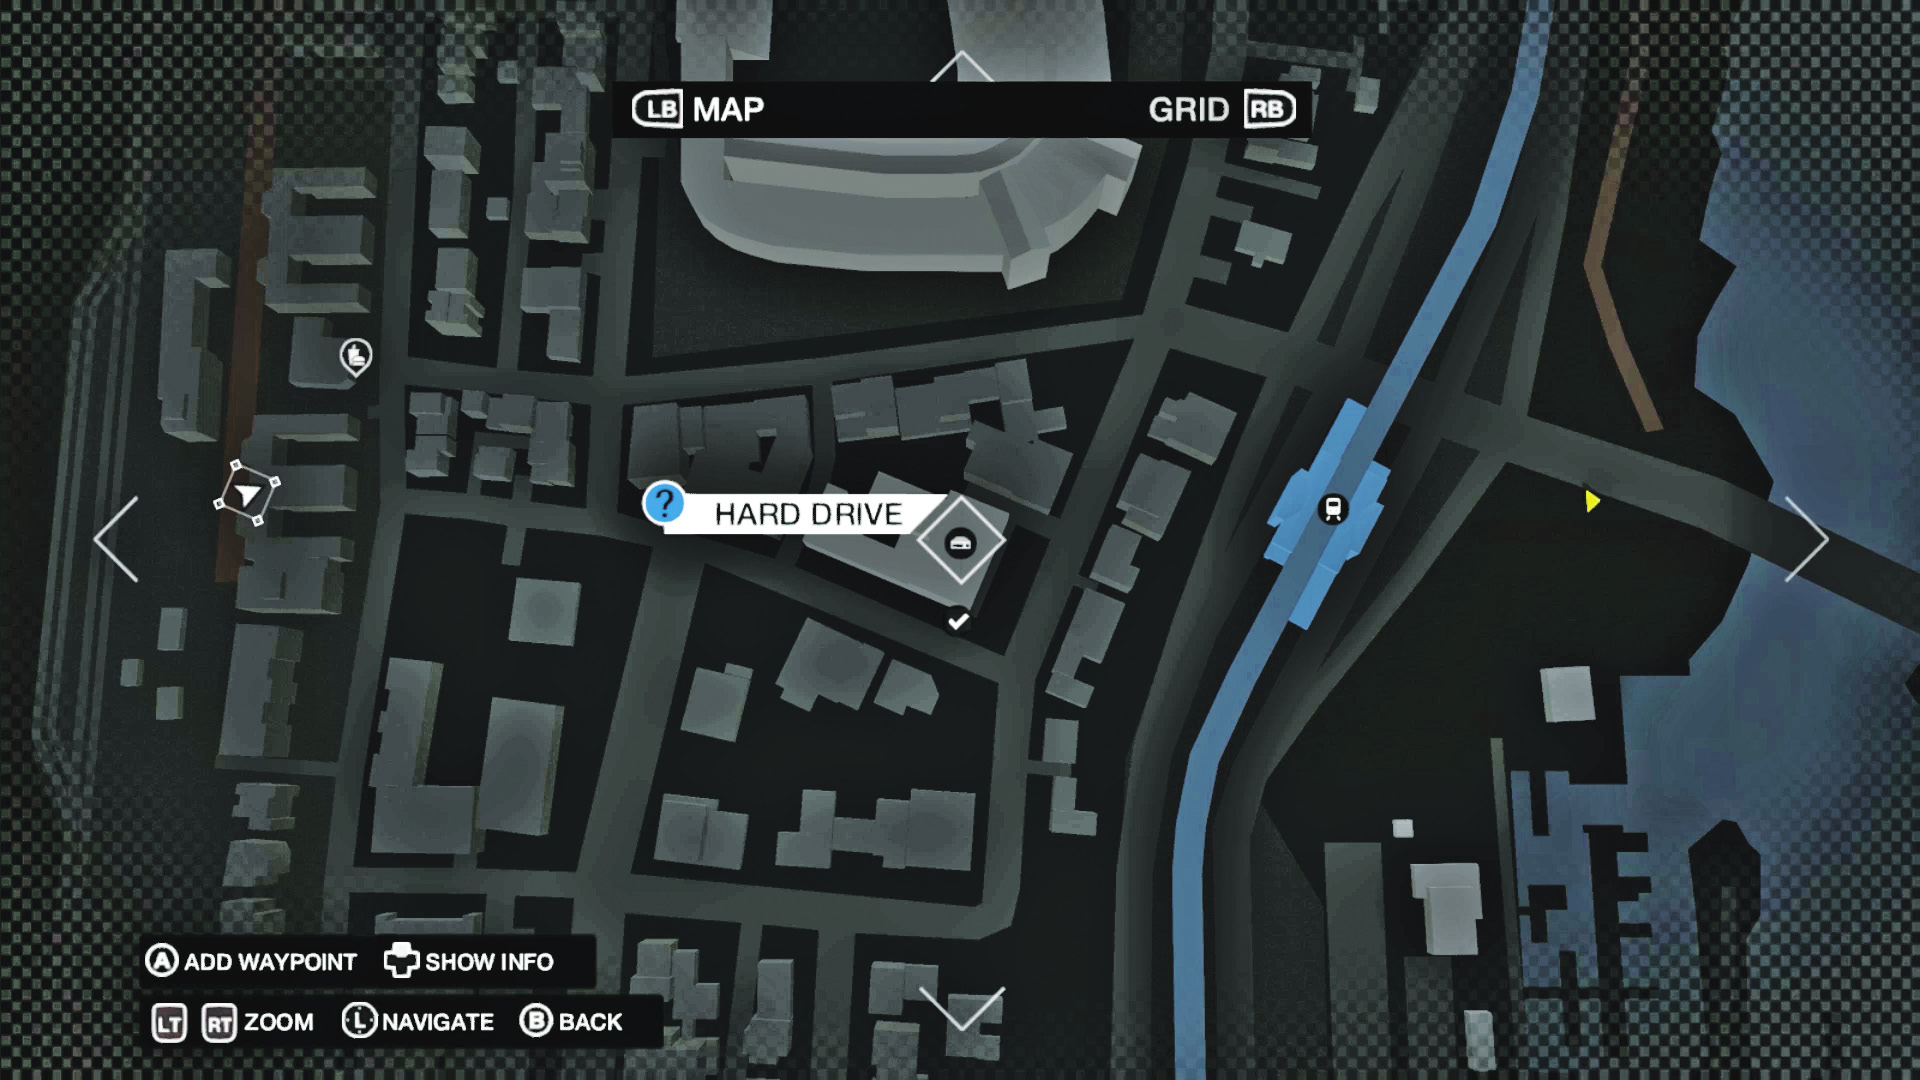
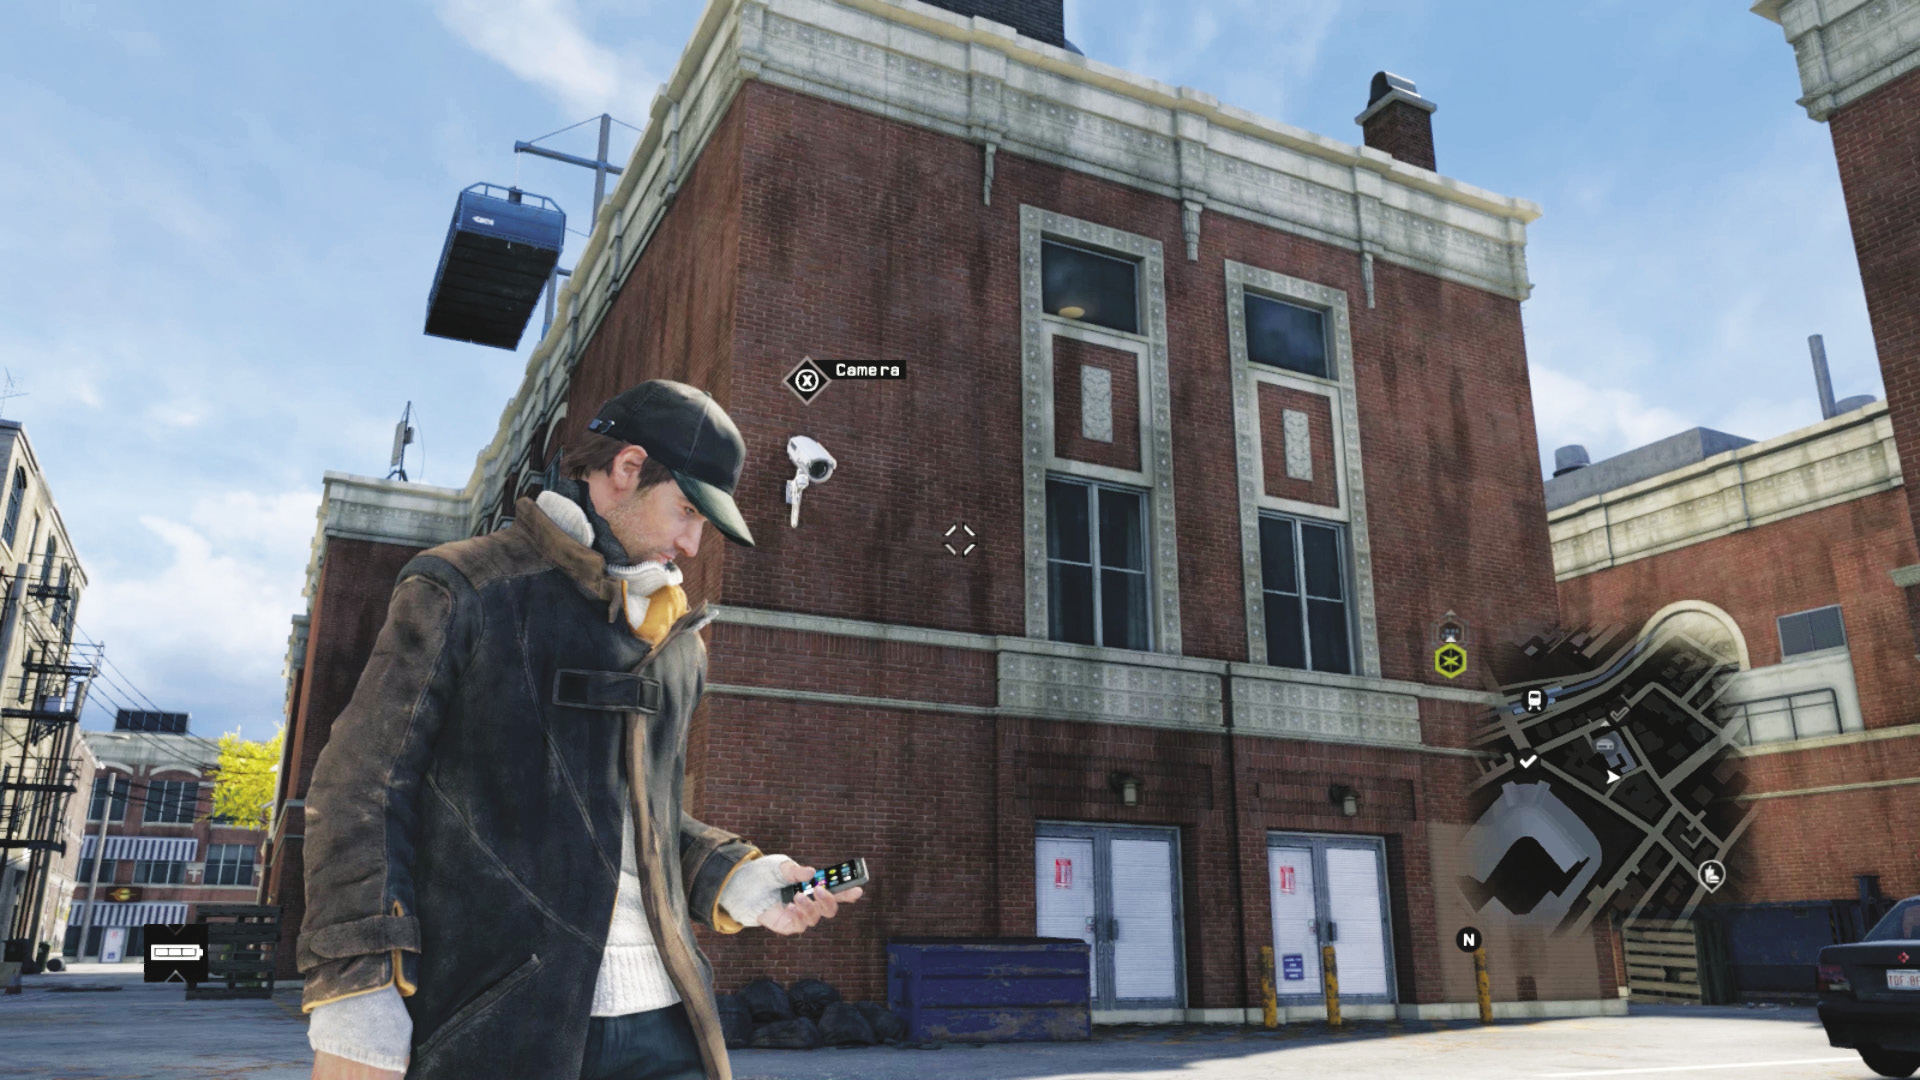
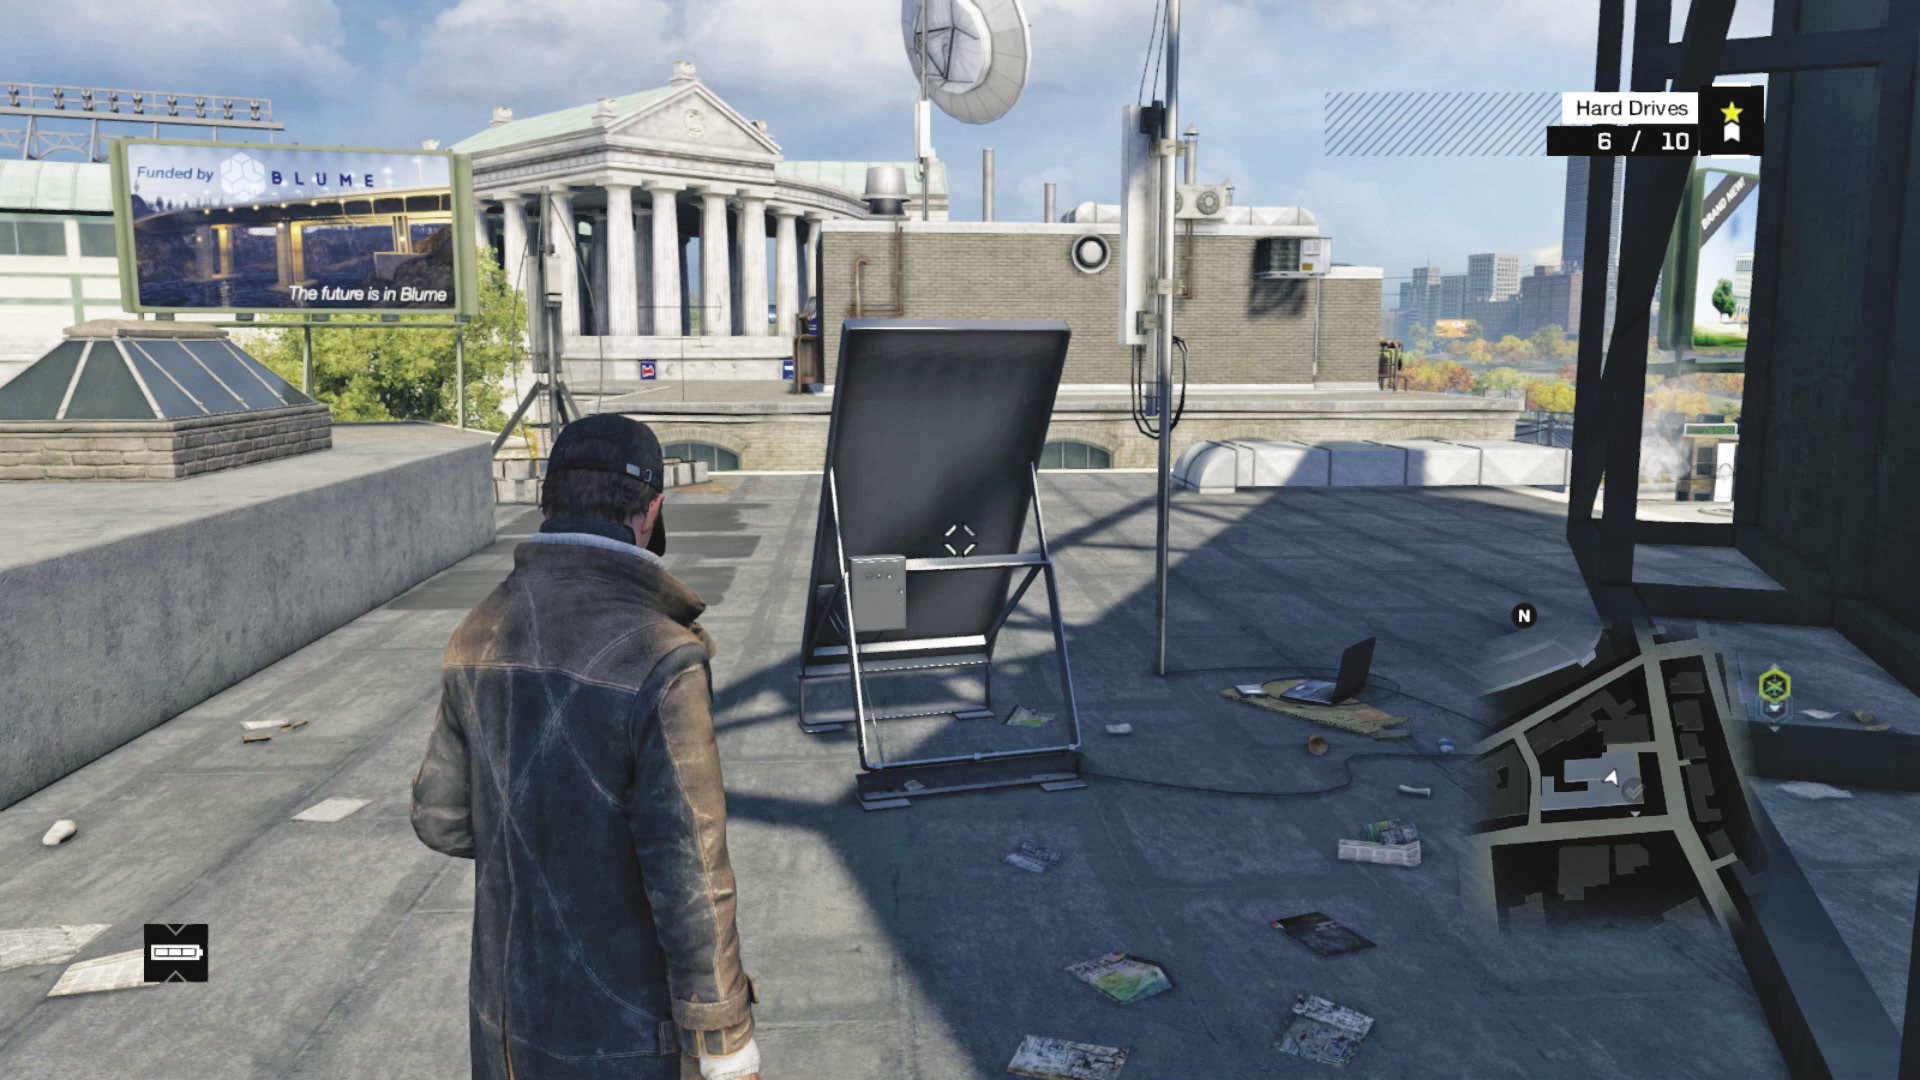
Location / Parker Square // Roof of Phoebus Theater
Head to the Phoebus Theater one block south of May Stadium, and head around the side alley of this imposing brick structure. Activate the swing stage so you can ride up onto it and the rooftop. Or, run around to the alley between the theater walls, and climb the levels to the rooftop without the aid of the lift.
The Wards / Hard Drives
Hard Drive 07
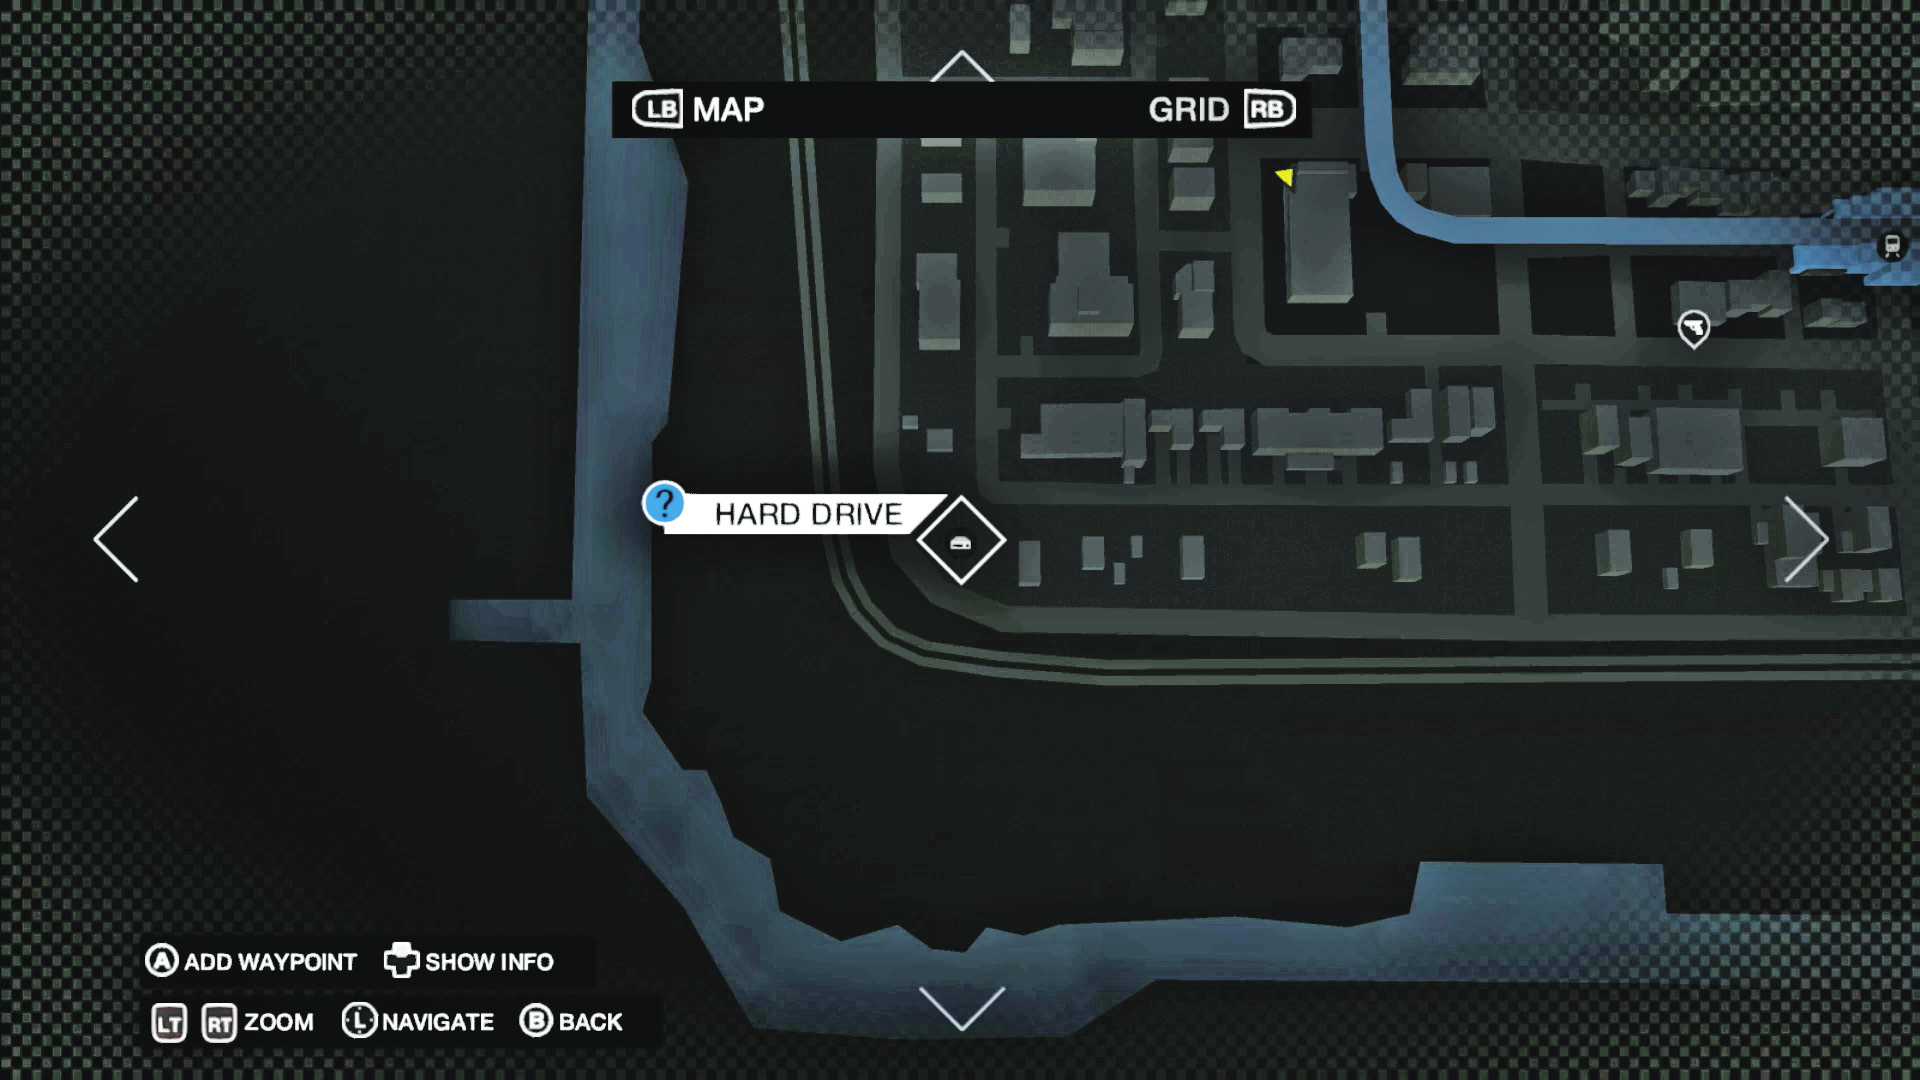
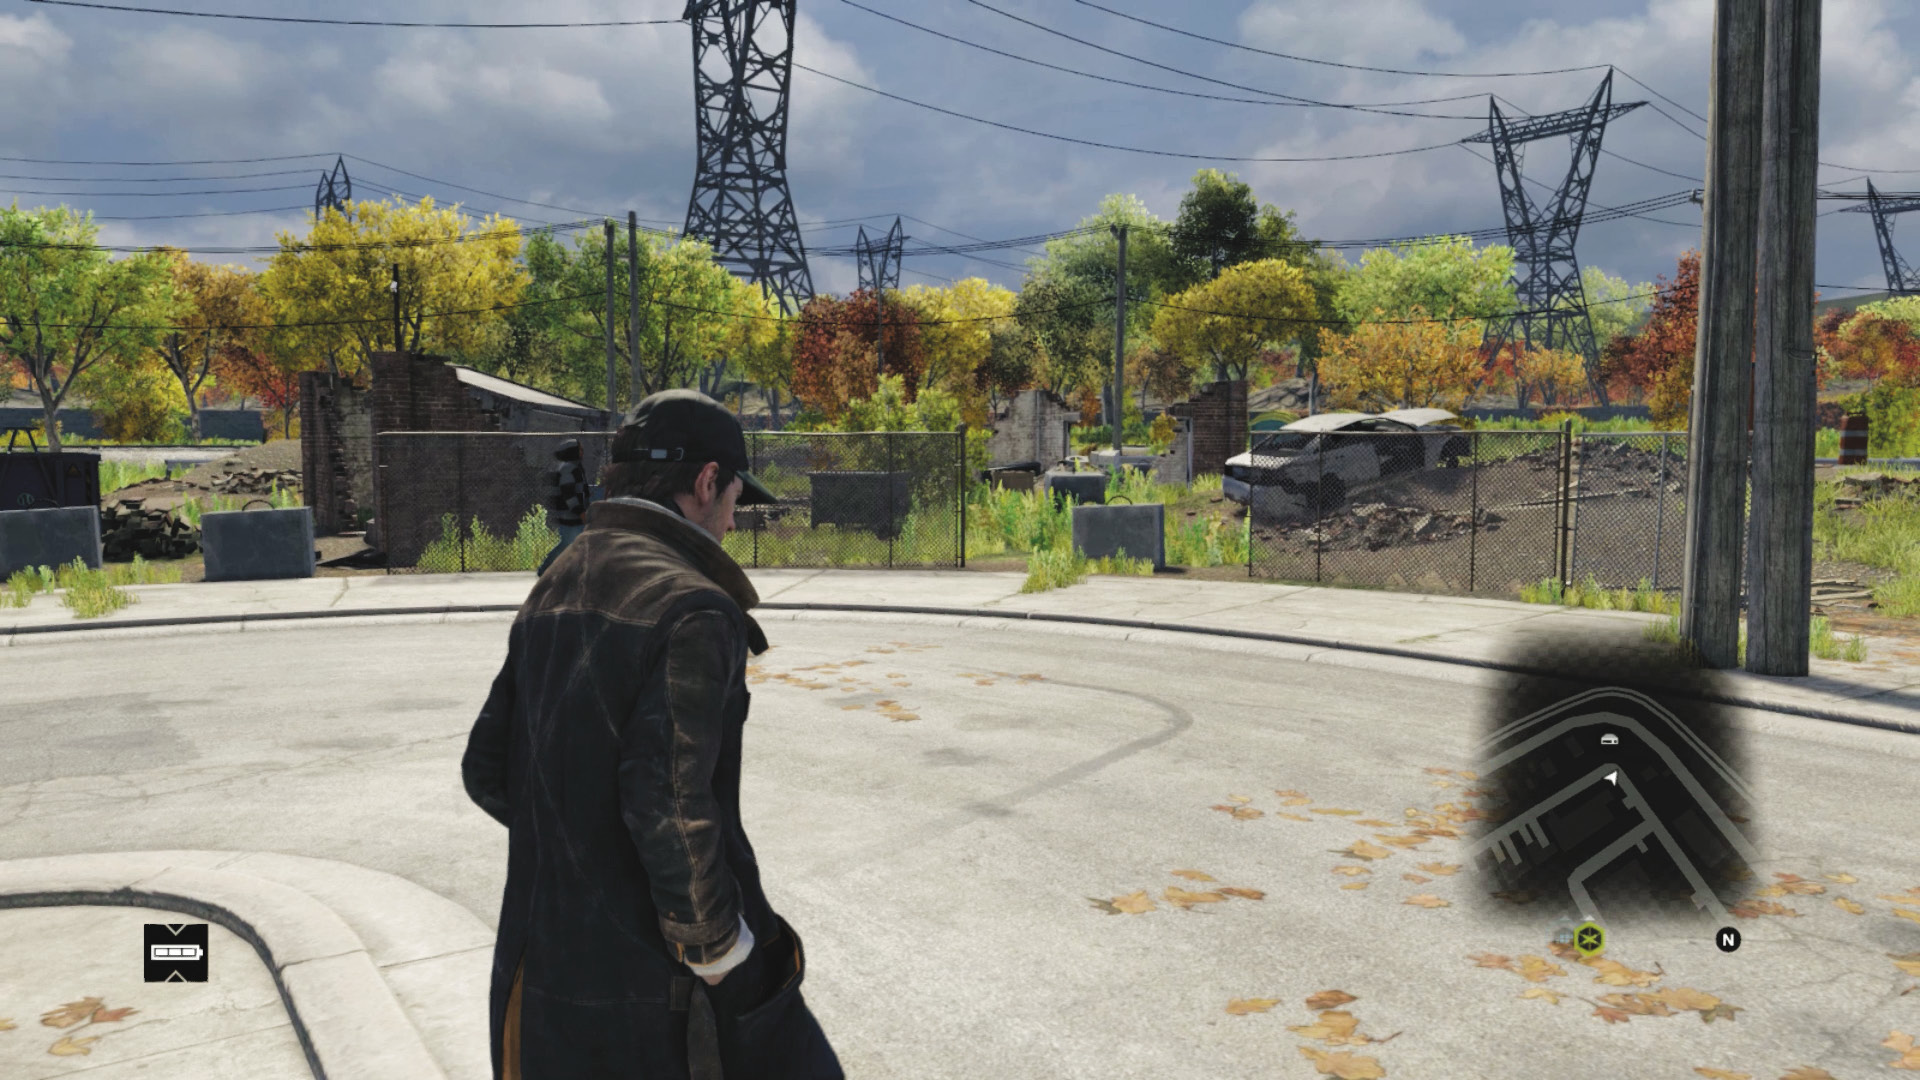
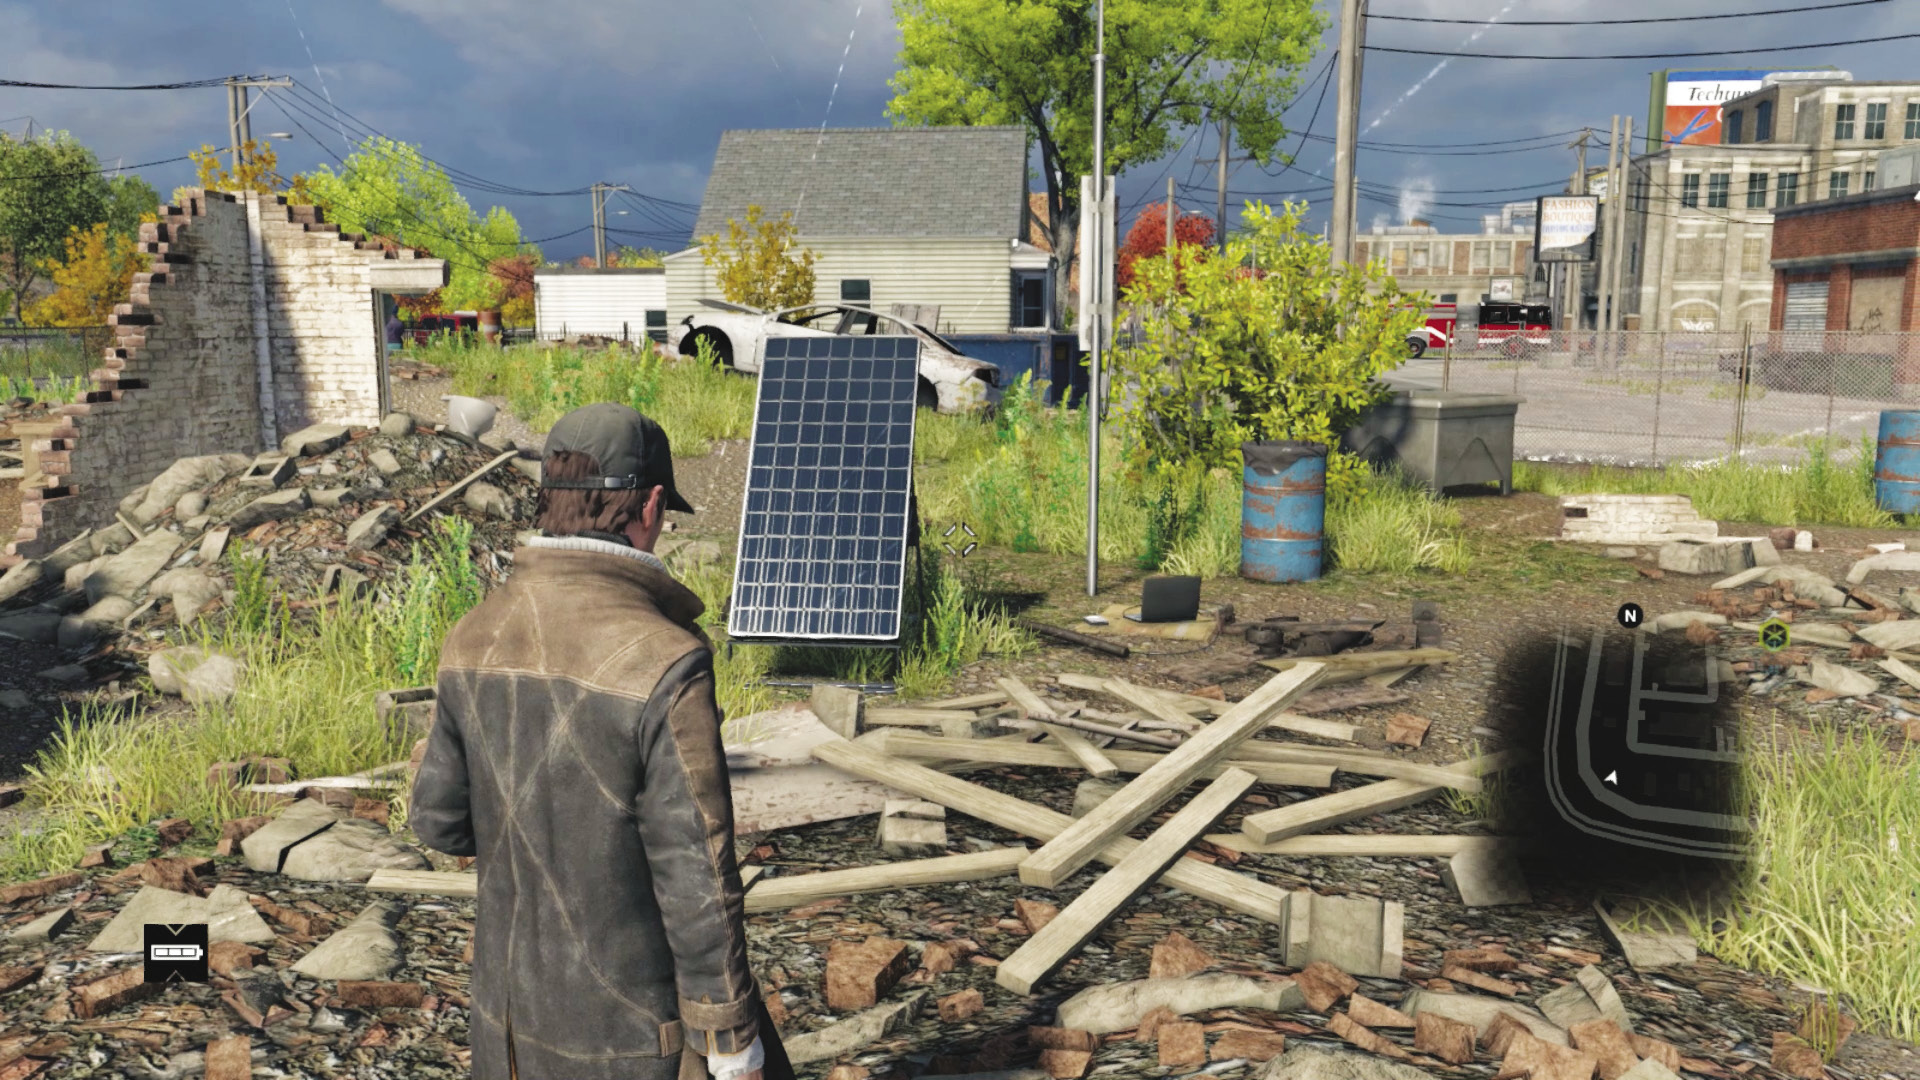
Location / The Wards // Southwest Rubble Yard
In the southwest corner of the Yards is a no-man’s-land of ruined, rubble-filled yards overgrown with grass and detritus. Near some concrete blocks and a large metal container is the hard drive, among the strewn bricks and wood.
Brandon Docks / Hard Drives
Hard Drive 08
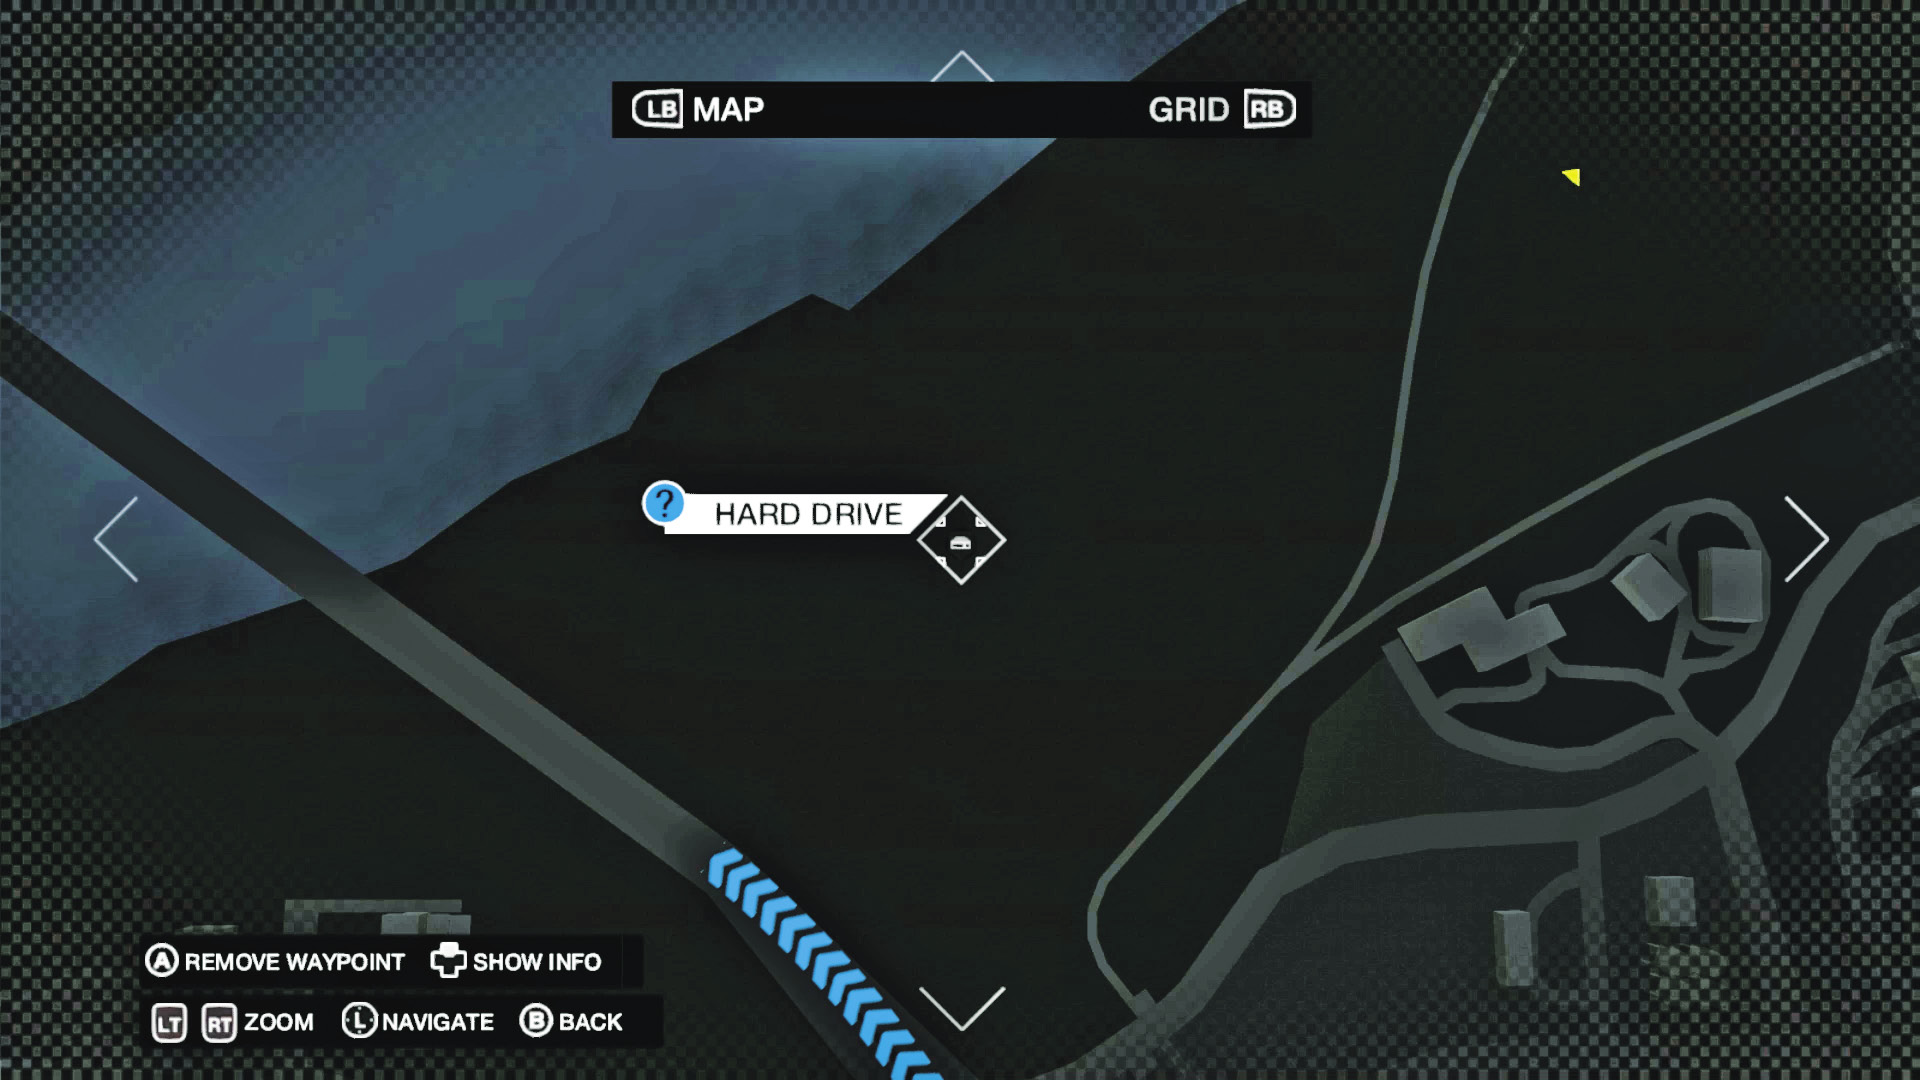
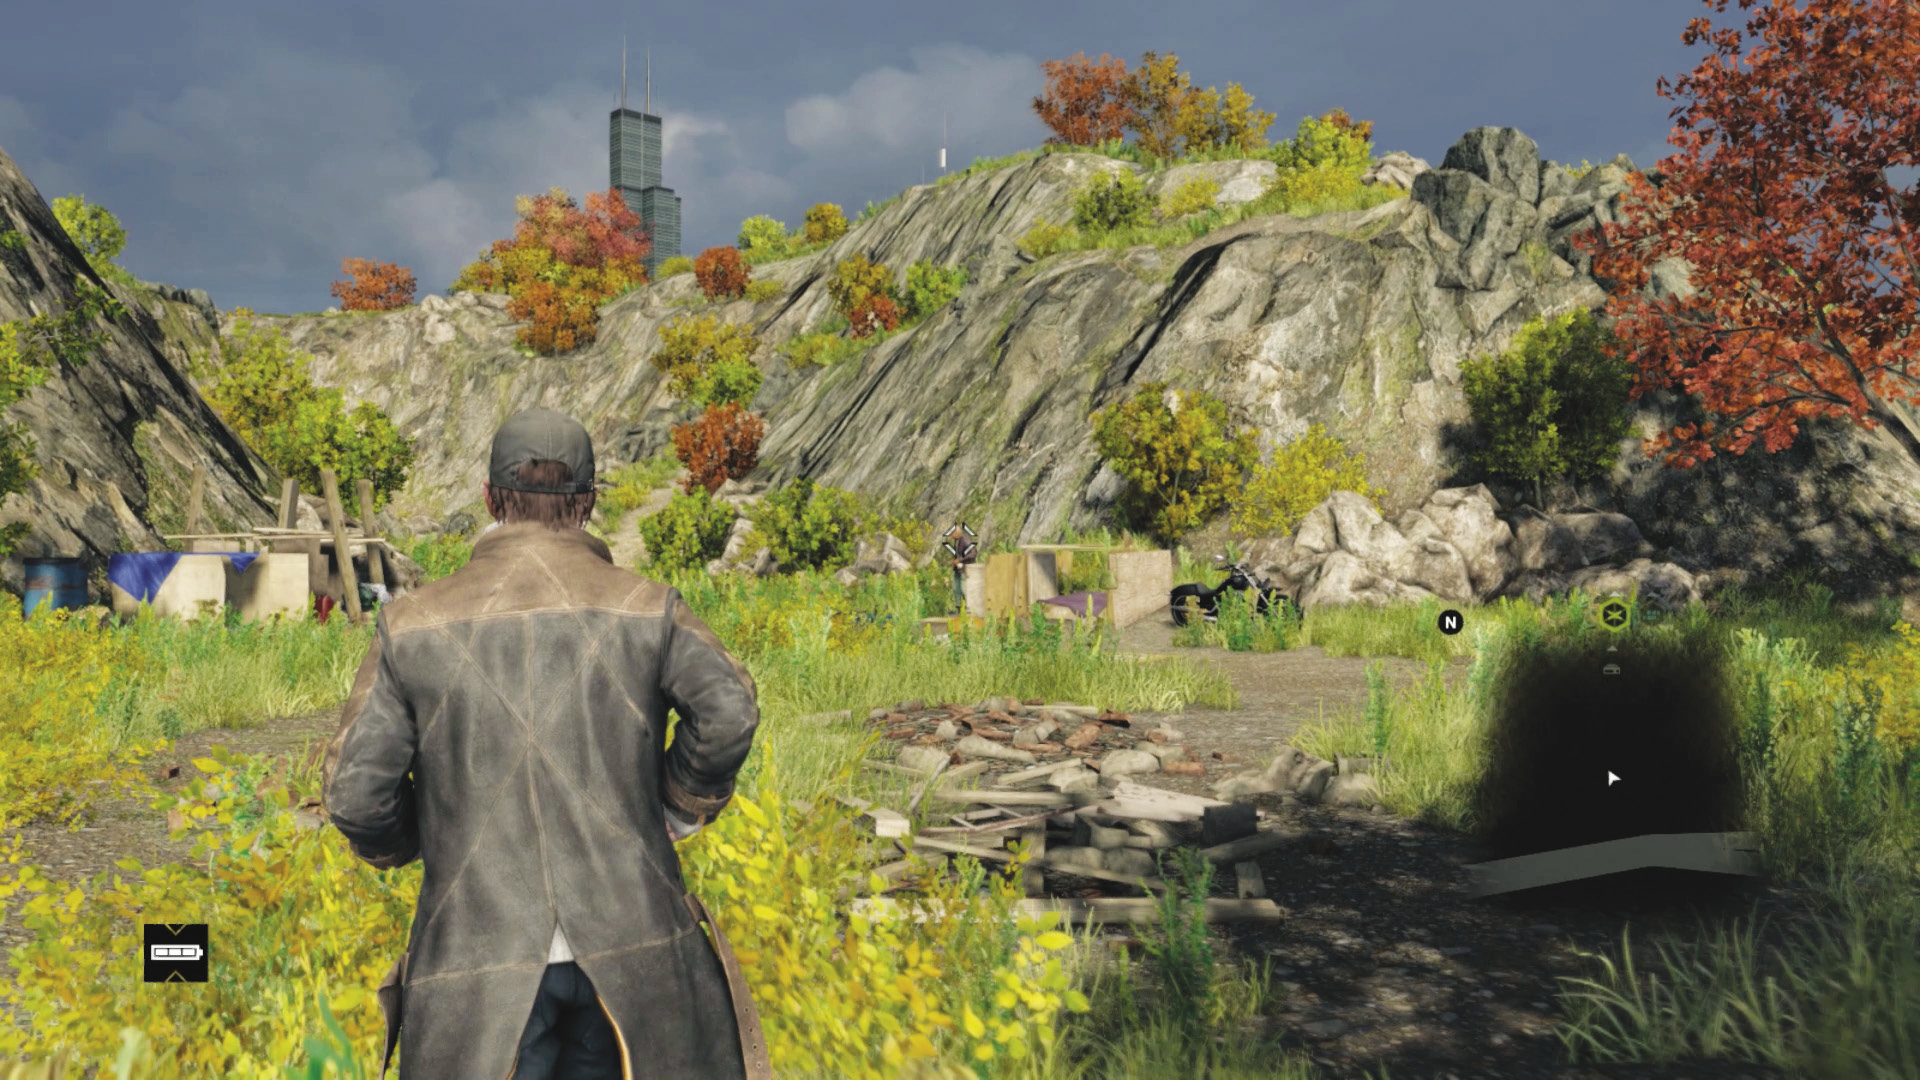
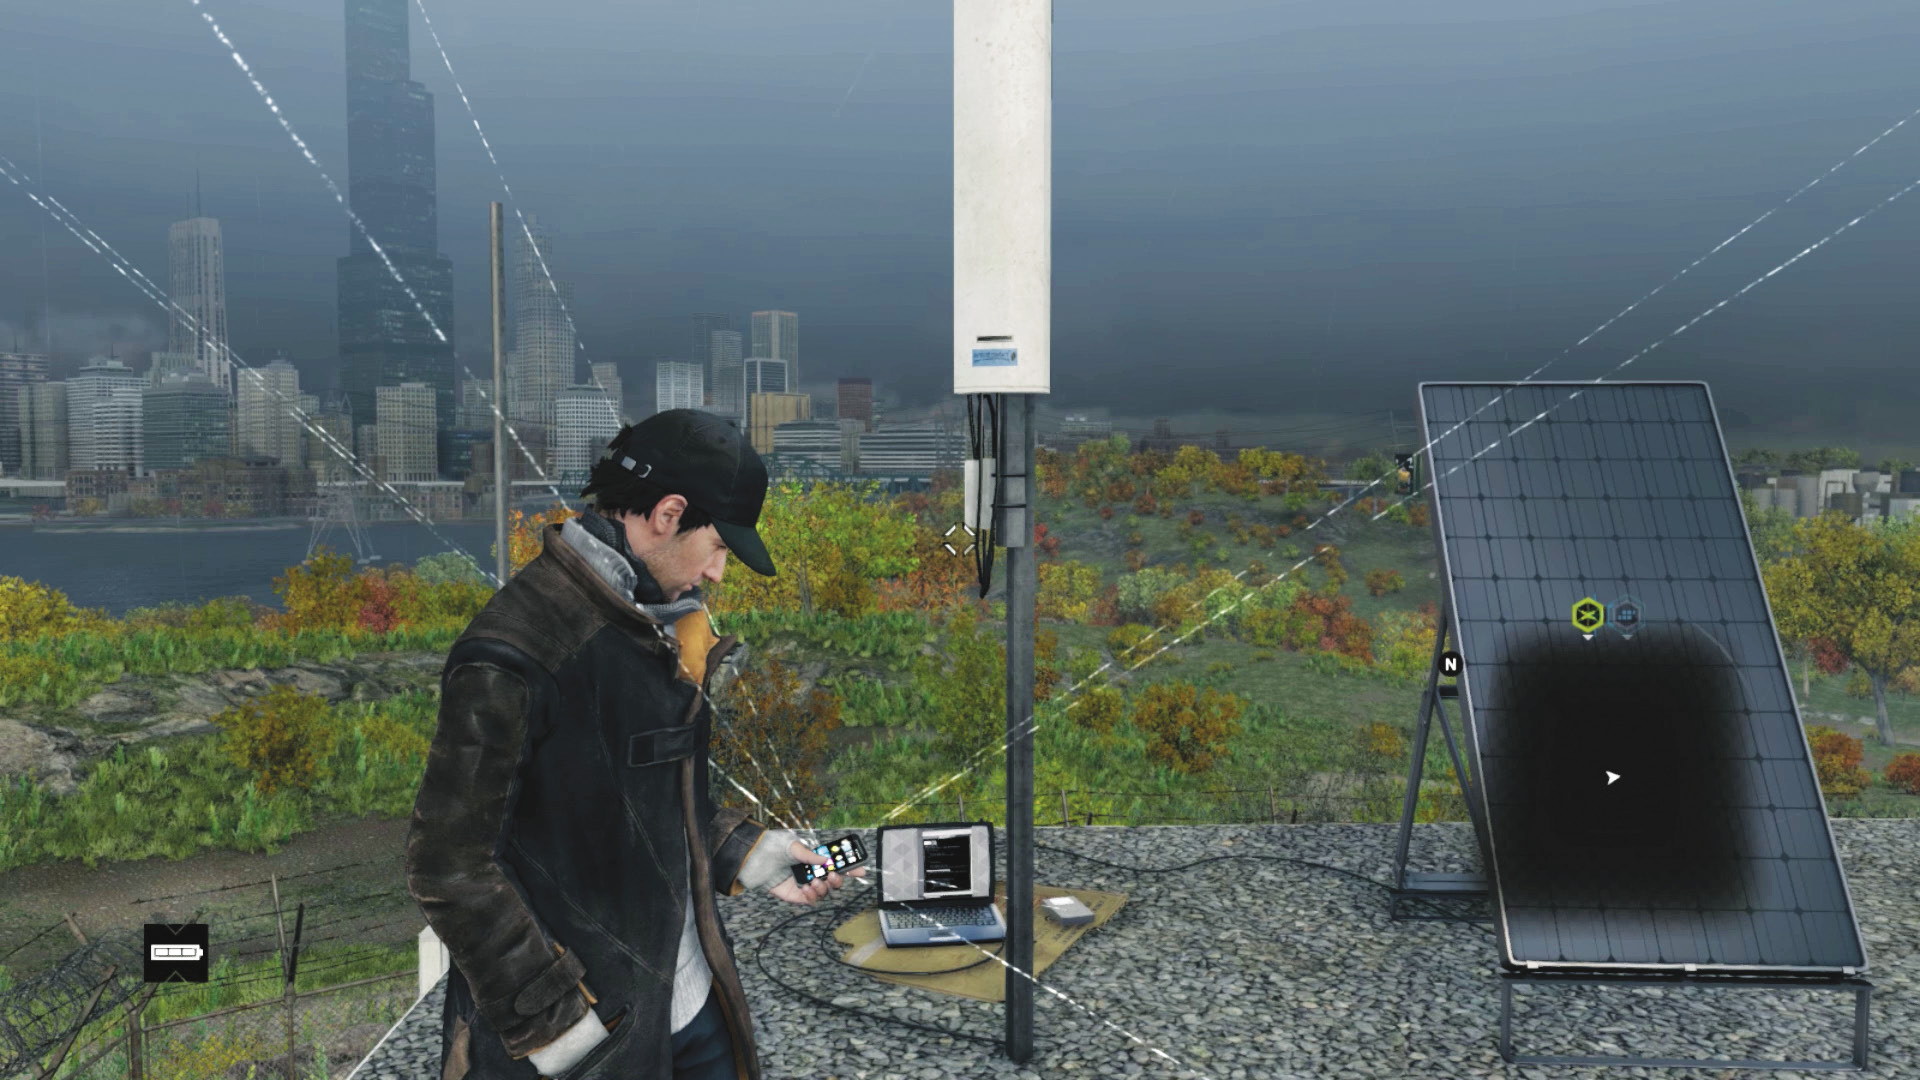
Location / Brandon Docks // ctOS Box, above Shanty Hamlet
On the northwest corner of Brandon Docks is a large expanse of rocky ground, close to the freeway, by the river. Stop at the freeway, hop over the concrete side, and locate a small homeless hamlet at the base of a rocky outcrop. The hard drive is at a small ctOS outpost (with a box) atop this hill.
The Loop / Hard Drives
Hard Drive 09
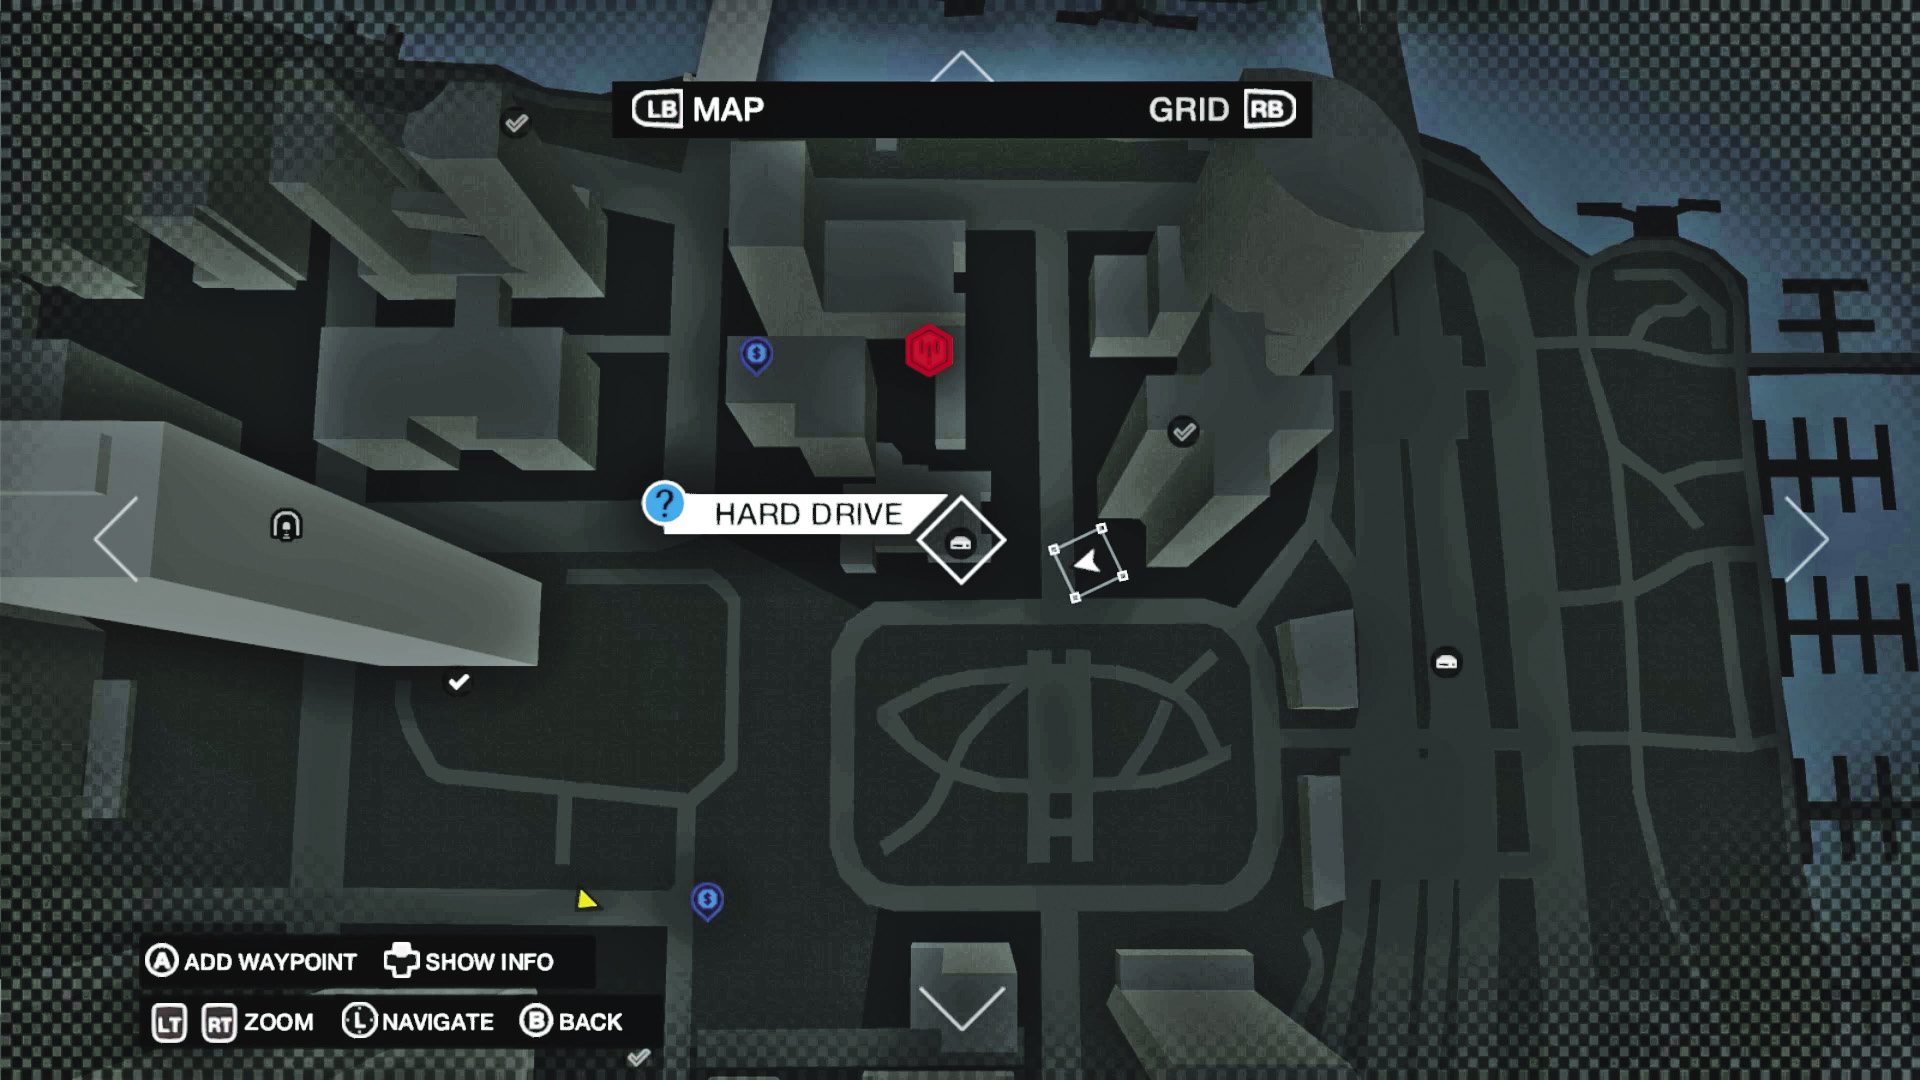
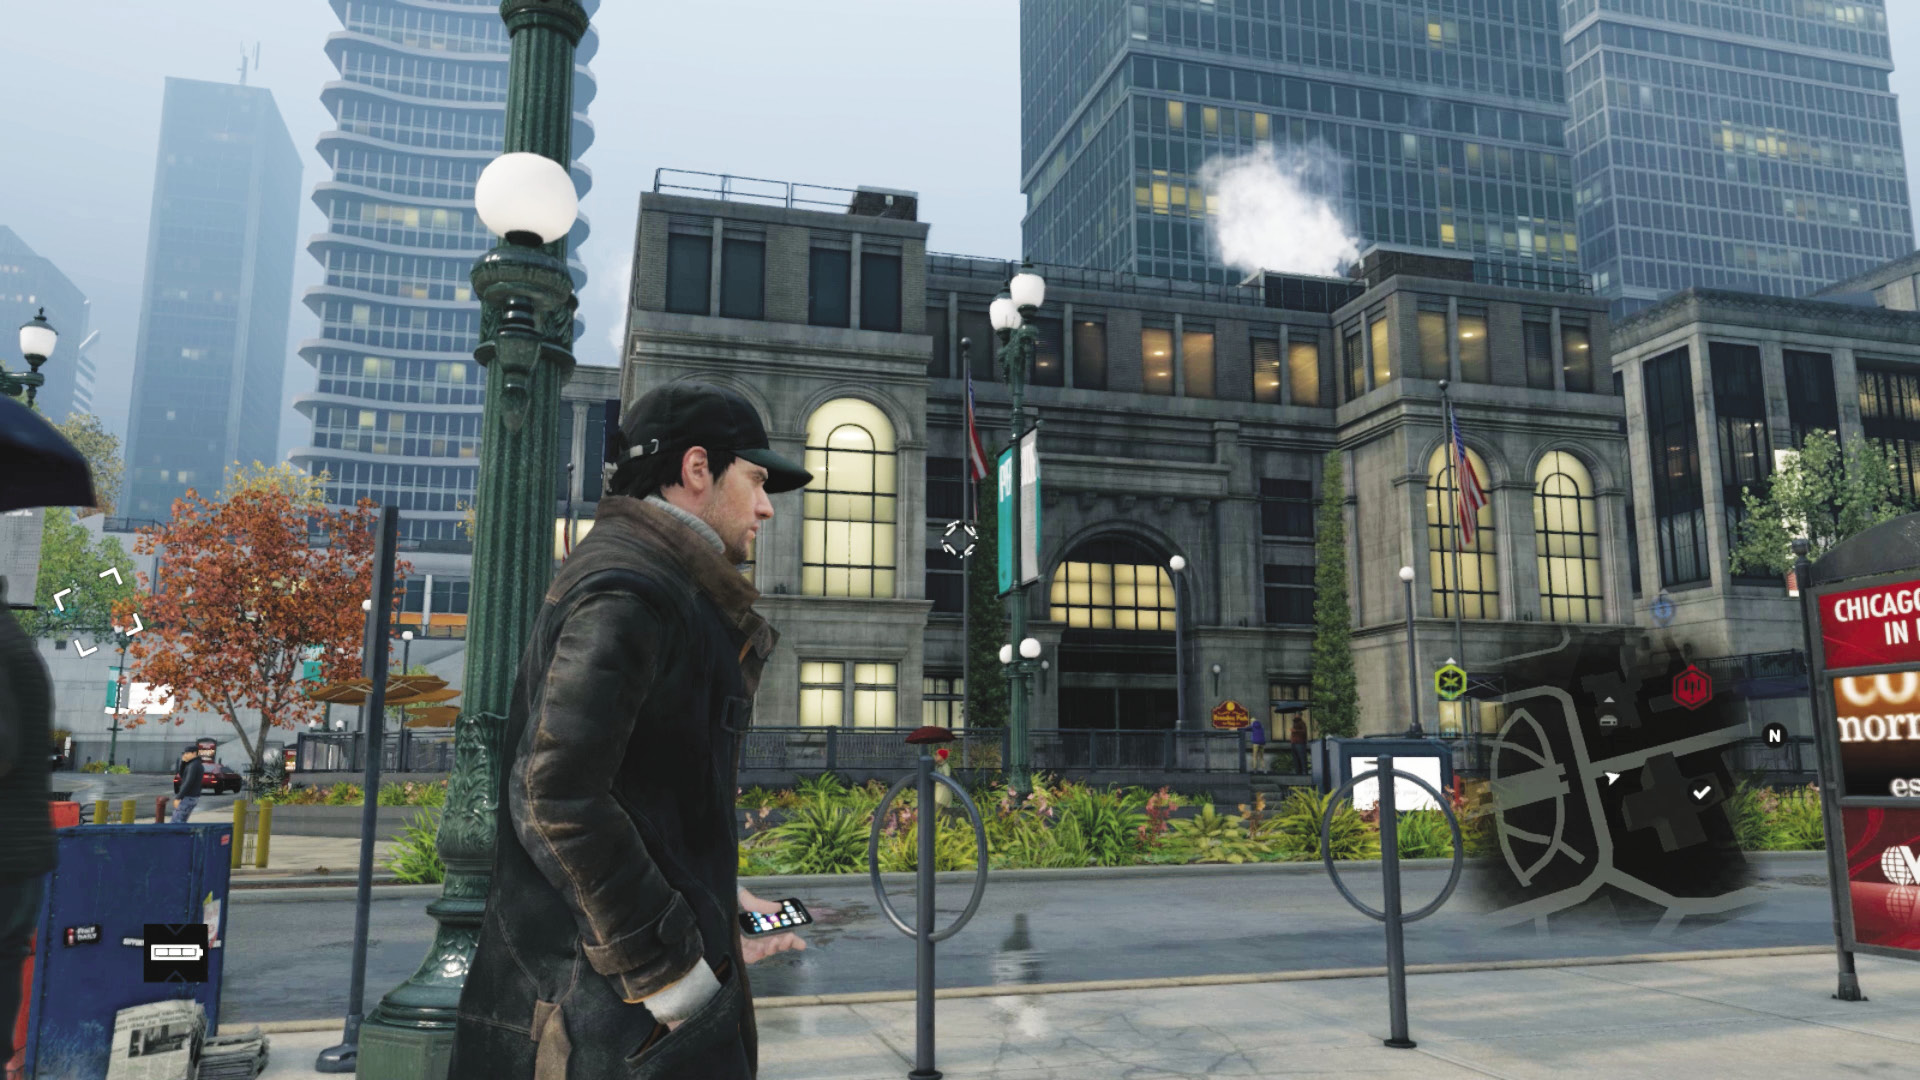
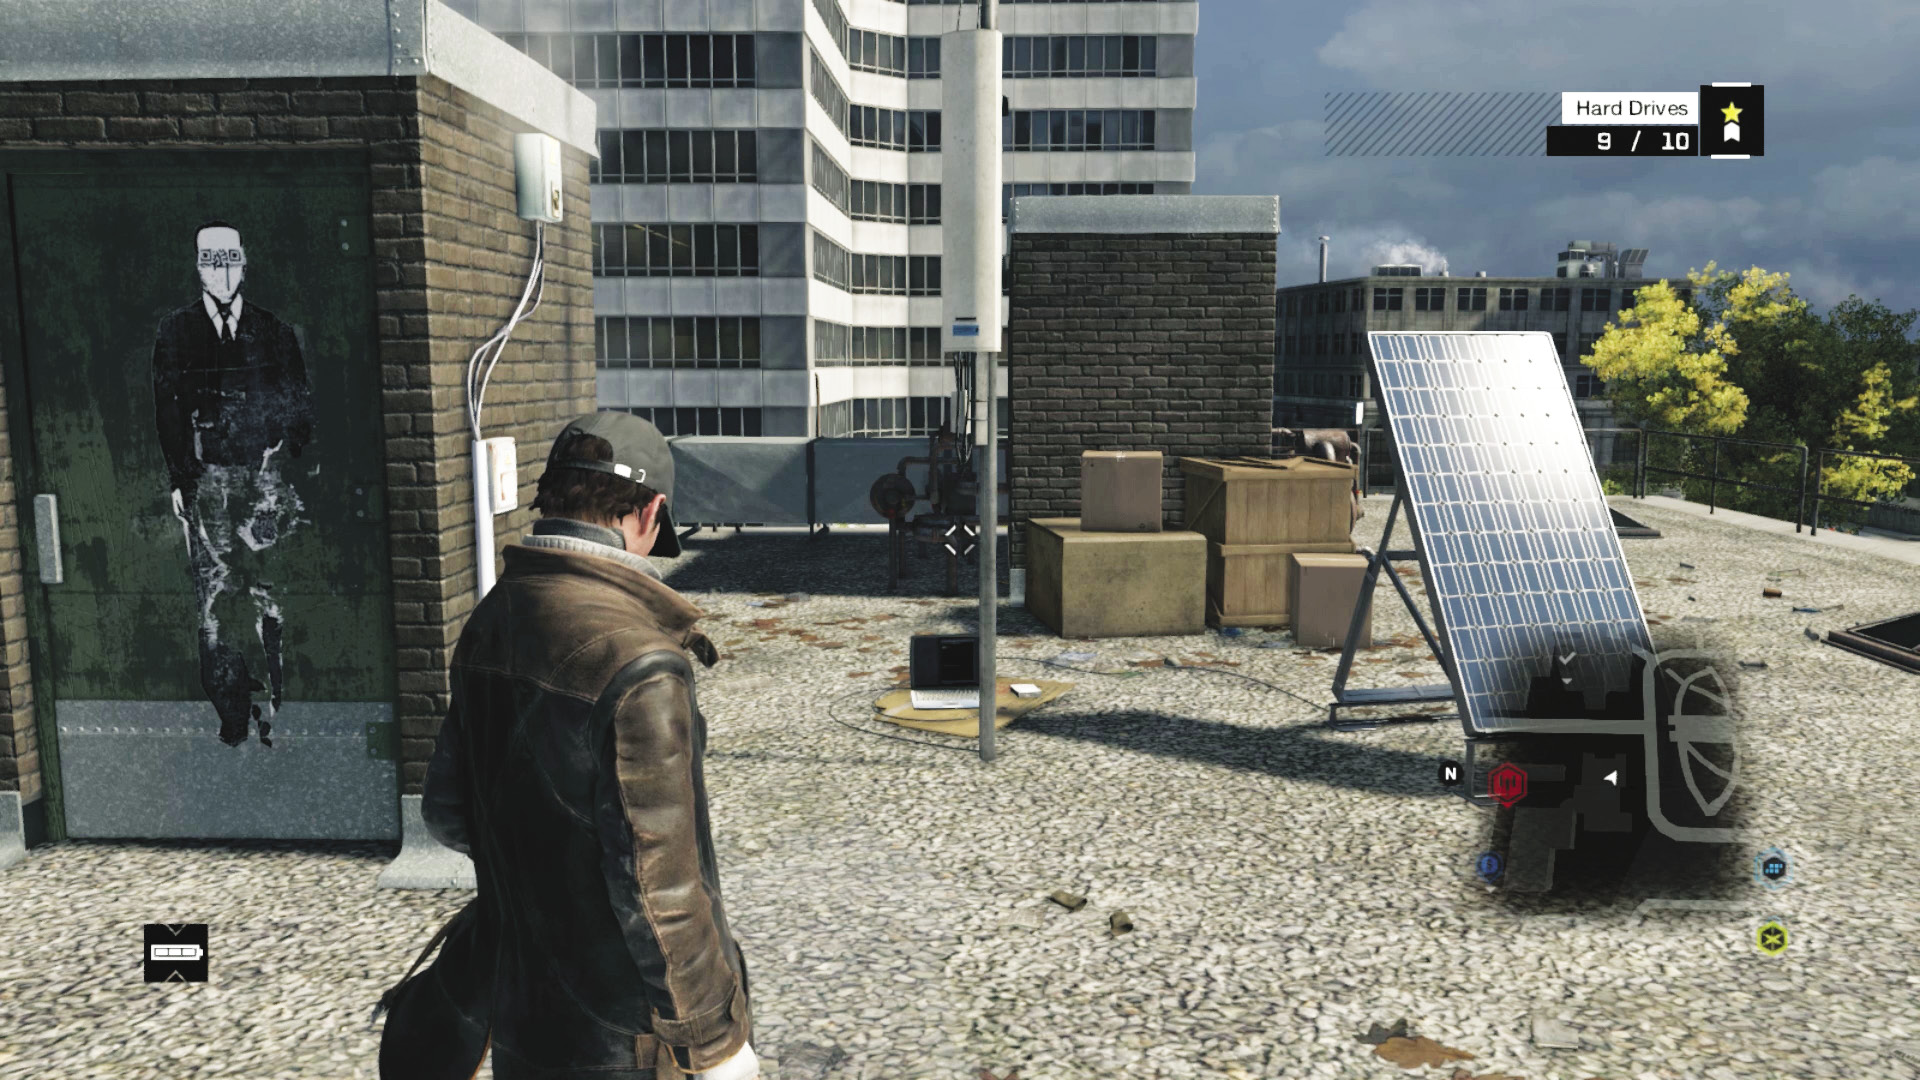
Location / the Loop // Ornate Stone Building Rooftop (near ctOS Tower)
Find the ctOS tower and within the same block, find this ornate stone building, with an alley to its north. Instead of using the swing stage to reach the ctOS tower, climb the ladder by the propane tank, then scale the various levels of roofs (or approach from a plaza to the west) to the gravel rooftop near the DedSec graffiti.
Hard Drive 10
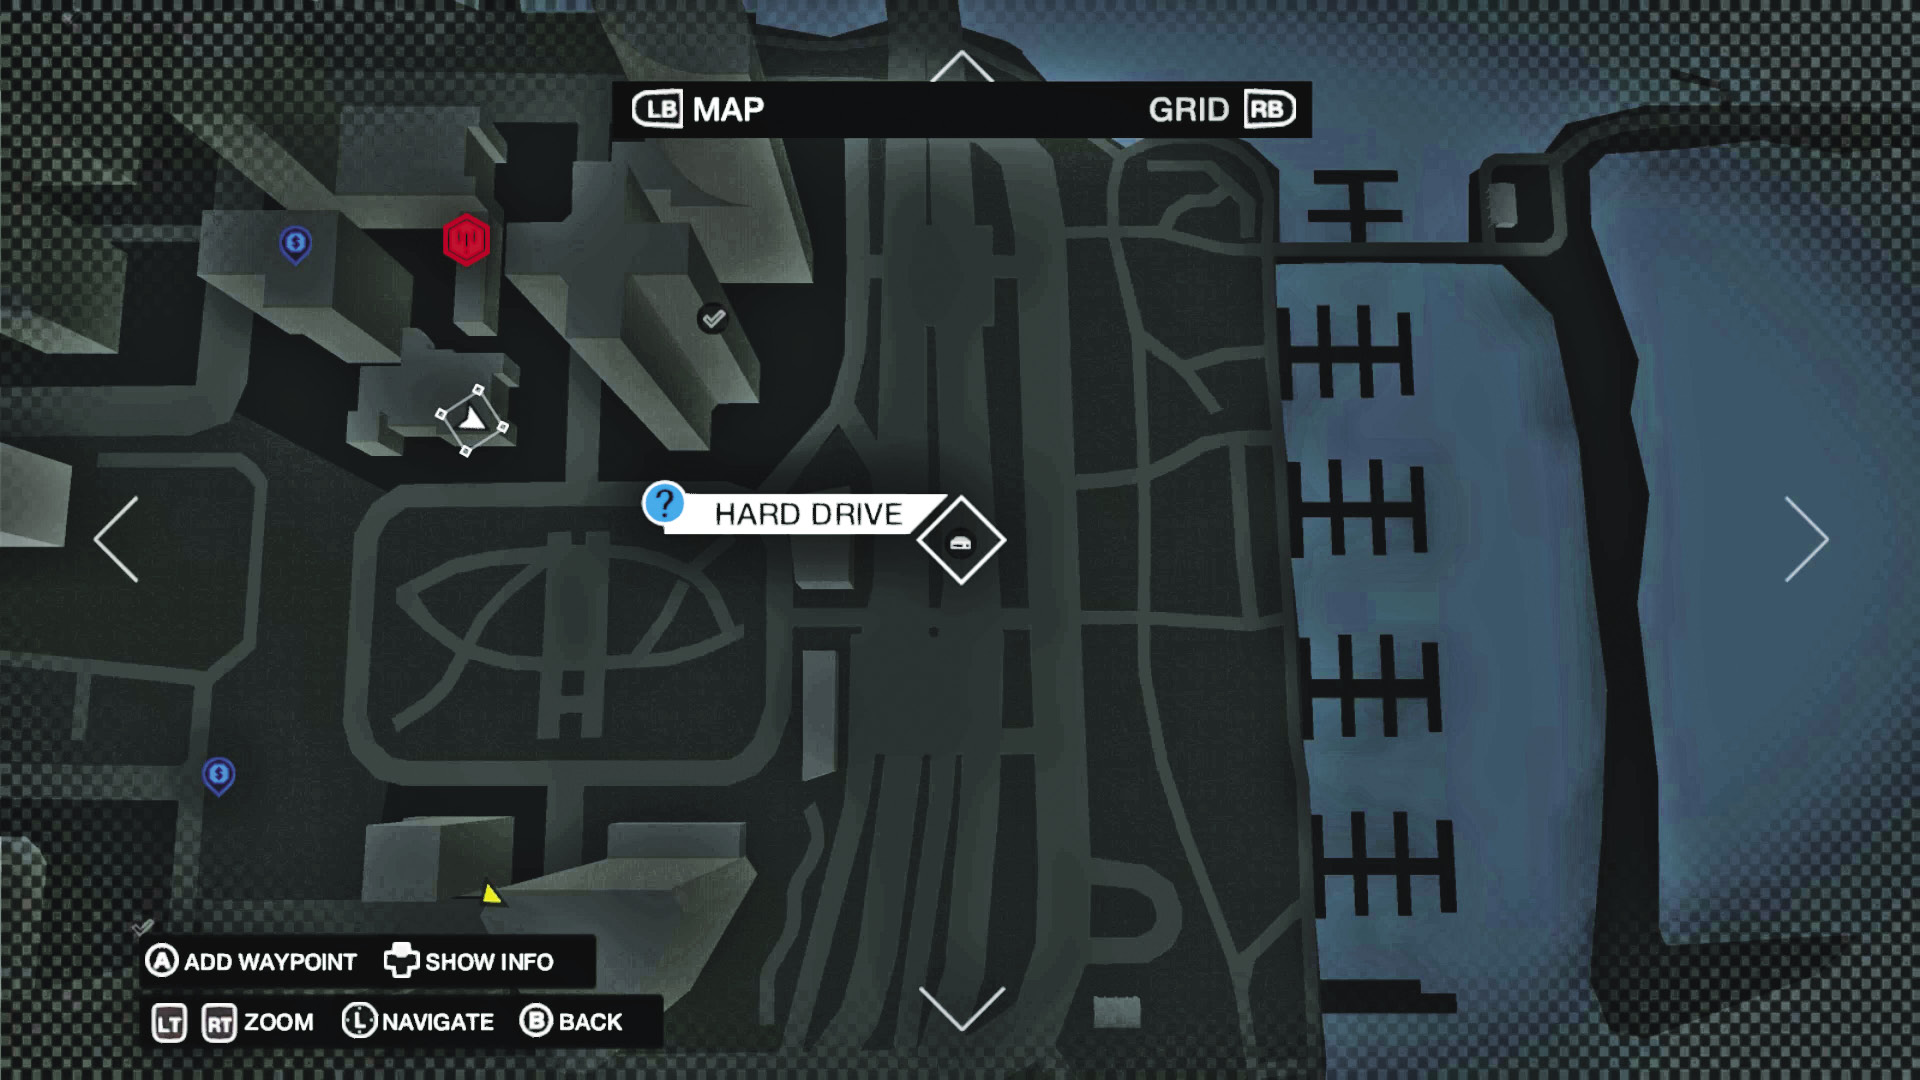
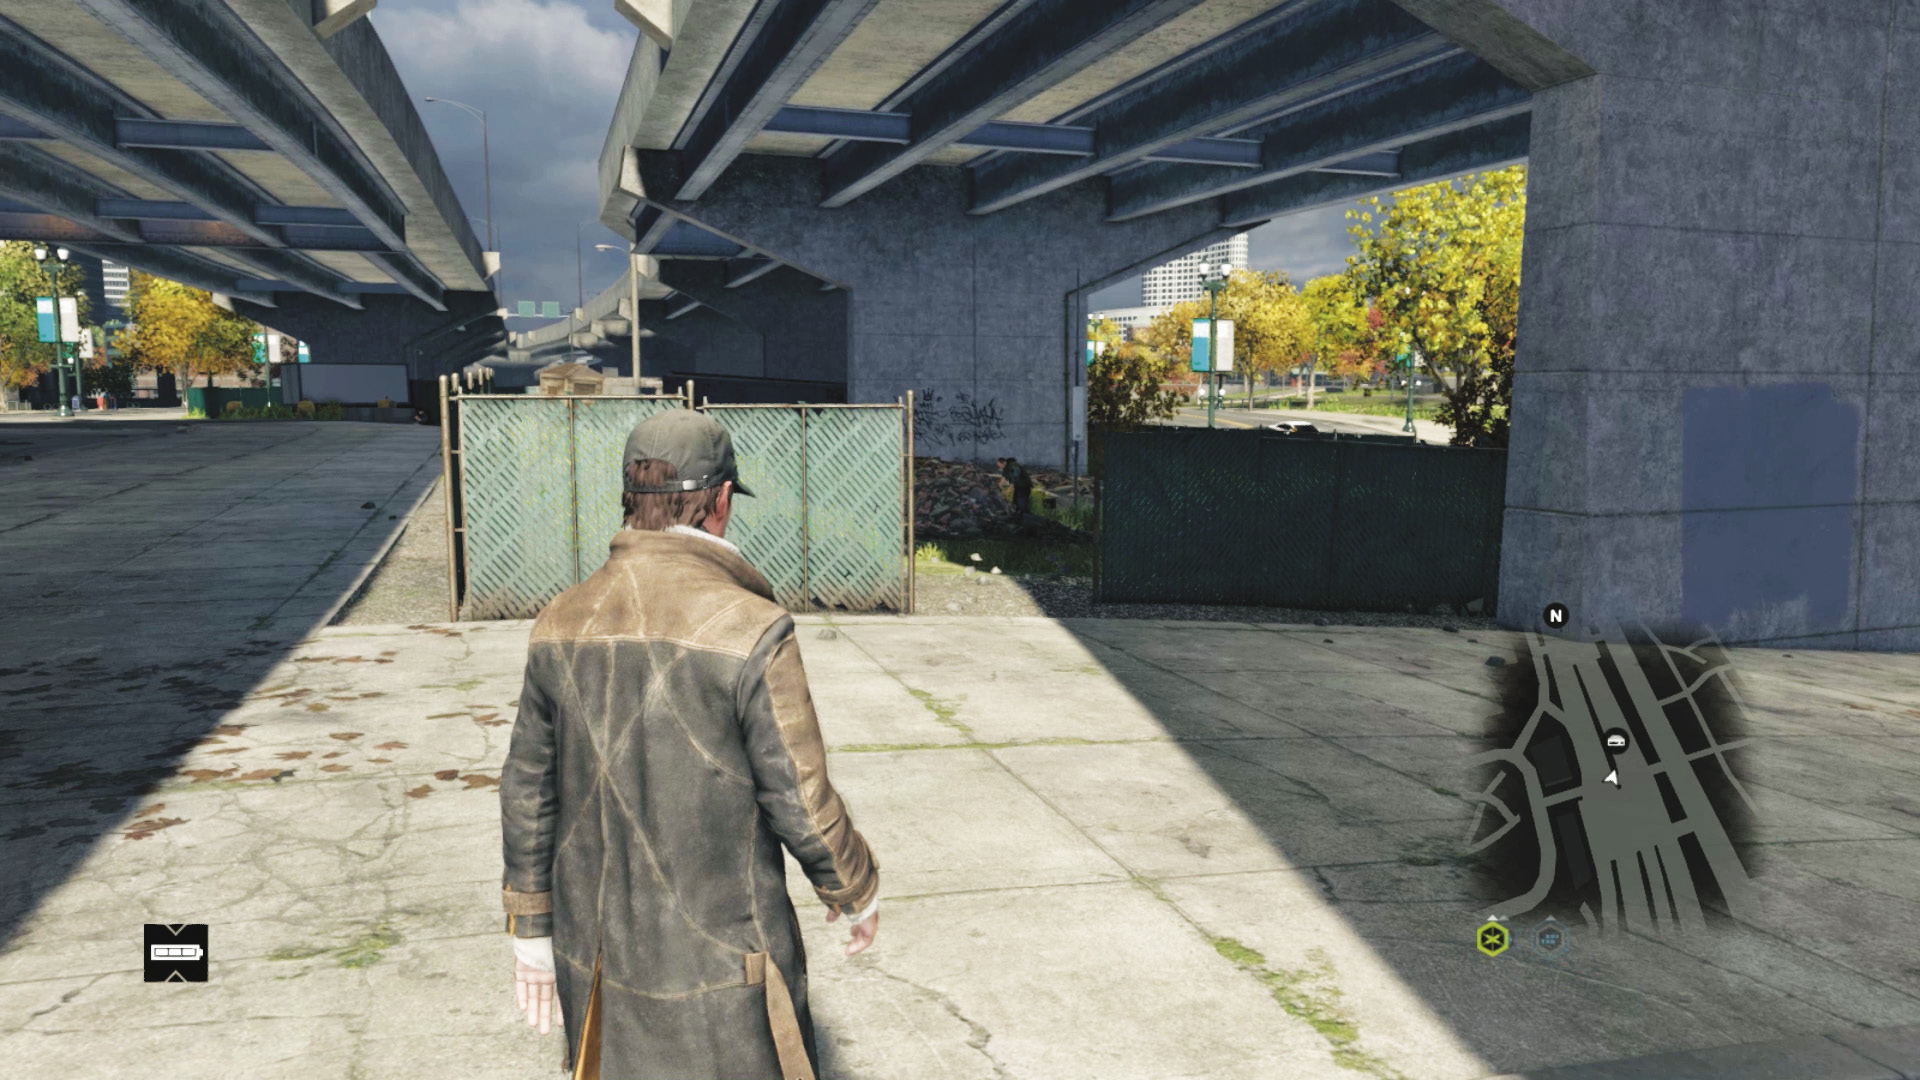
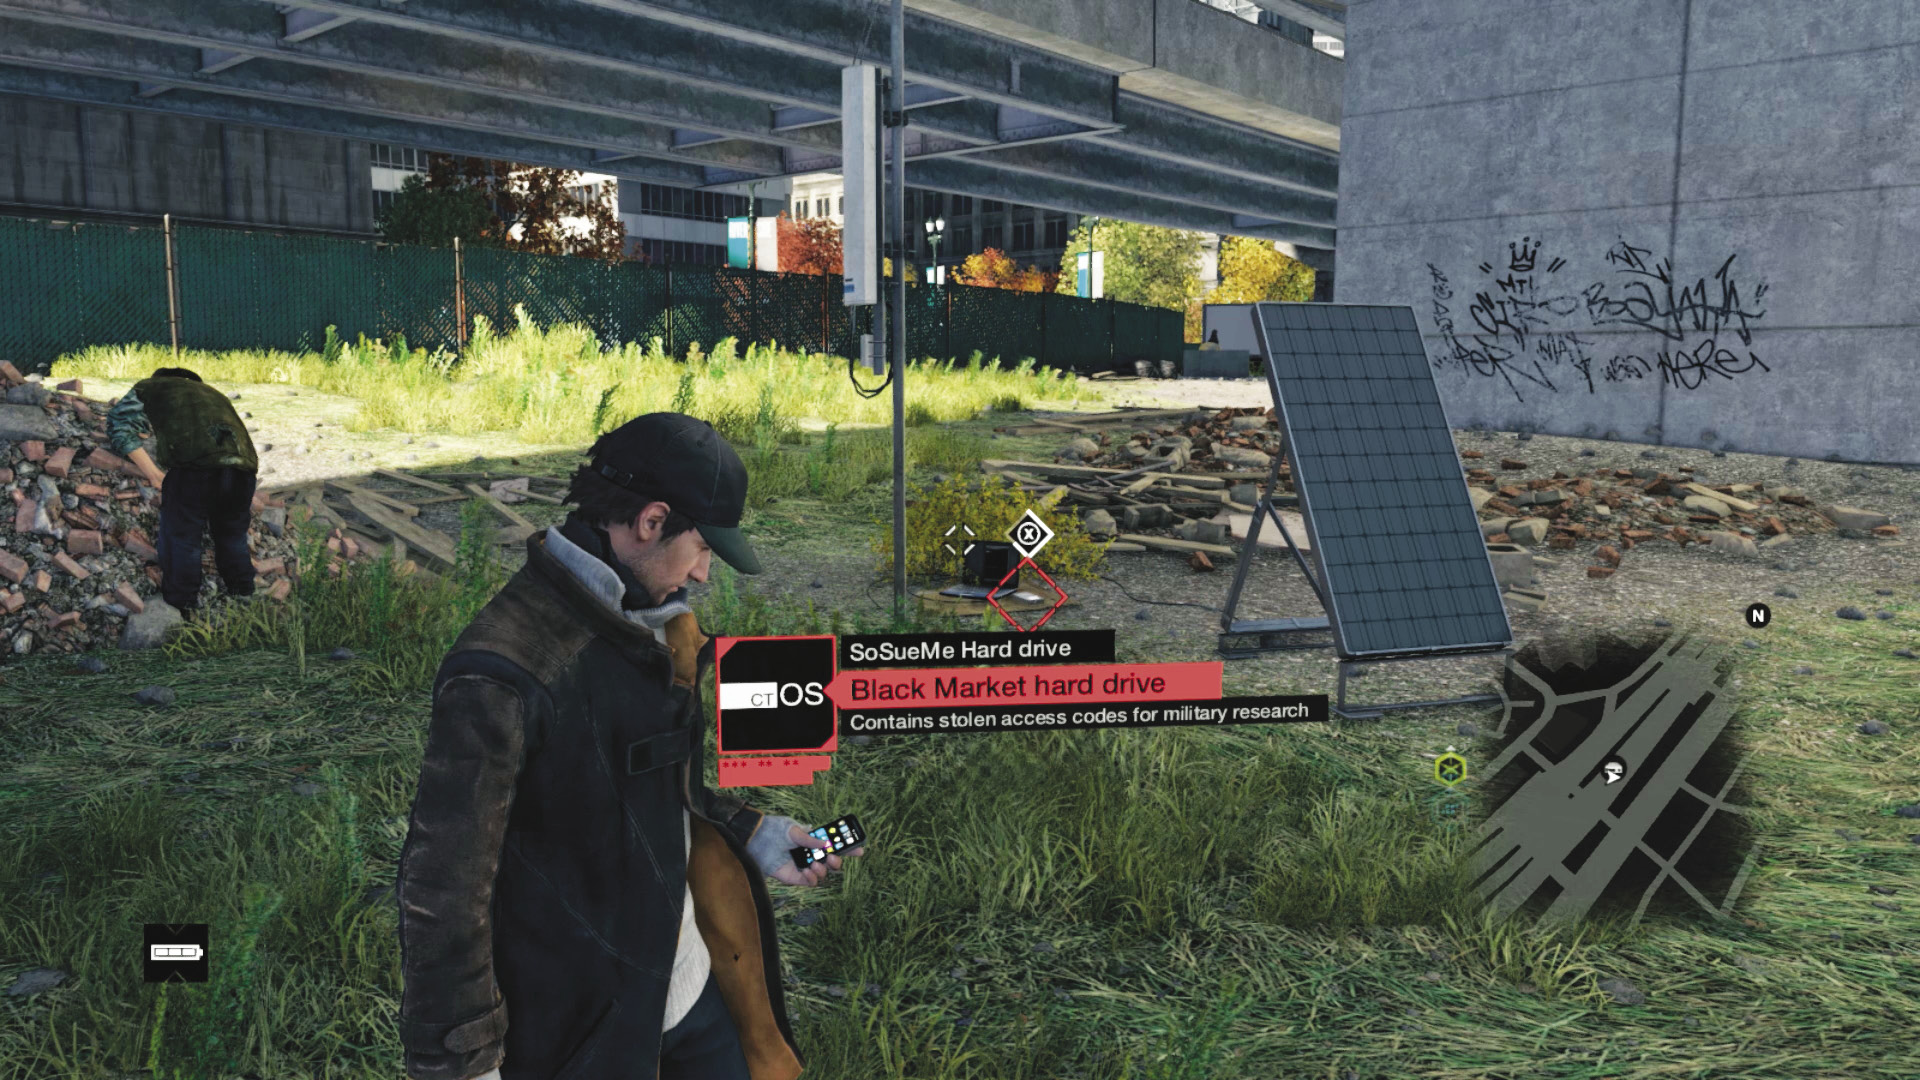
Location / The Loop // Under the Northeast Freeway
There’s a huge elevated freeway that runs around the northeastern corner of the Loop. Descend below this super-structure, to a construction area surrounded by a green fence. Enter and head under the freeway, to a yard of grass and piles of bricks. Among this trash is your final hard drive, near a massive freeway support pillar.
MISSION REWARDS (HARD DRIVE COLLECTING)Gained XP: +500 |