
Watch Dogs Guide SIDE MISSIONS
_TRANSPORTER CONTRACTS
|
OBJECTIVES
|
 Acquire the vehicle
 Deliver the vehicle to the drop-off location
 Acquire the next vehicle
 Deliver the vehicle to the drop-off location
 Driving Infiltration
 Vehicle Chase
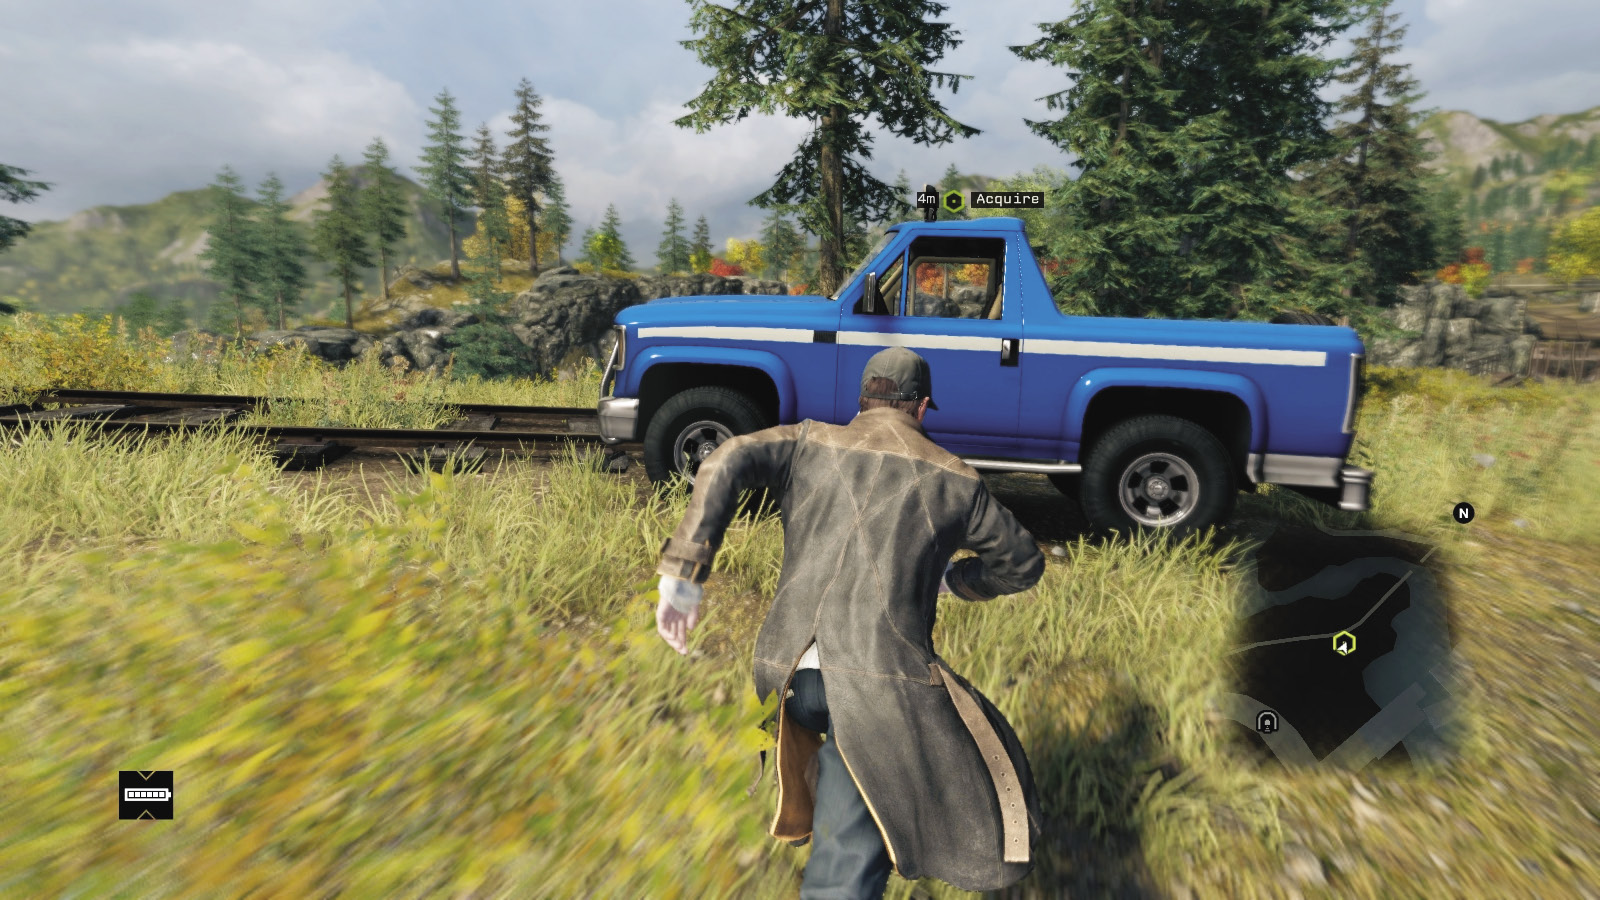
Your job is to head to a particular location, which could be anywhere close to a ctOS camera in one of the six districts, and await further instructions. Once you activate the mission, you are contacted and your job is explained. Although there are variations, this mission type always takes a similar form:
|
|
 Acquire the vehicle
 (Acquire the next vehicle)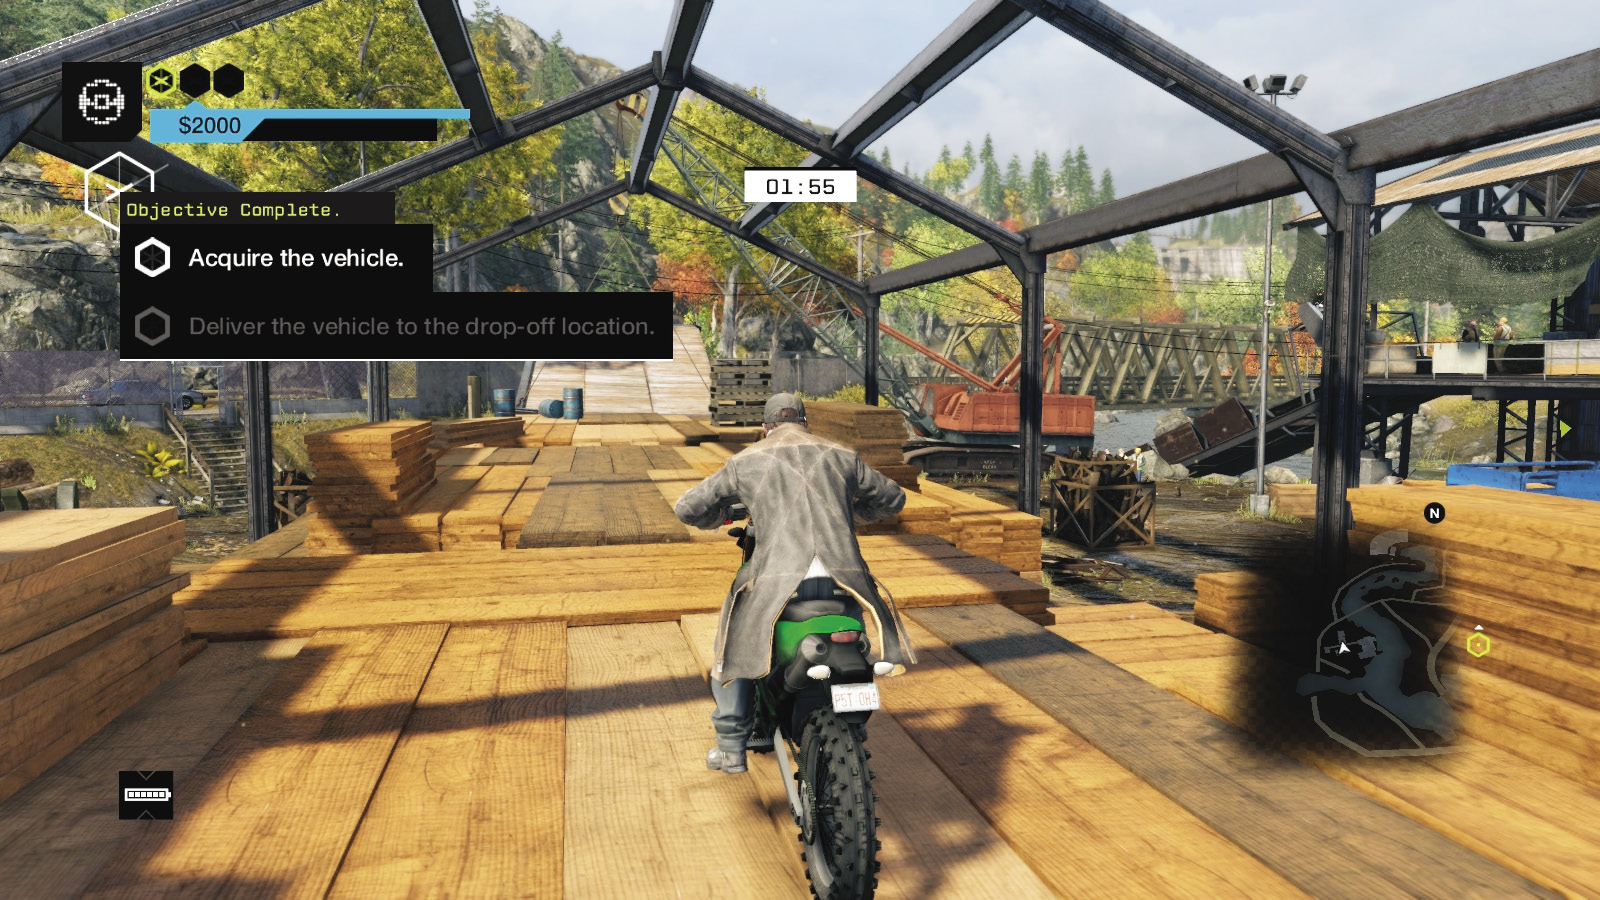
Look to your minimap and secure the vehicle in question, which is about a block away from your starting point, or the drop-off point if this is the second or third vehicle you are to drive. As soon as you enter the vehicle, the objective updates:
|
|
 Deliver the vehicle to the drop-off location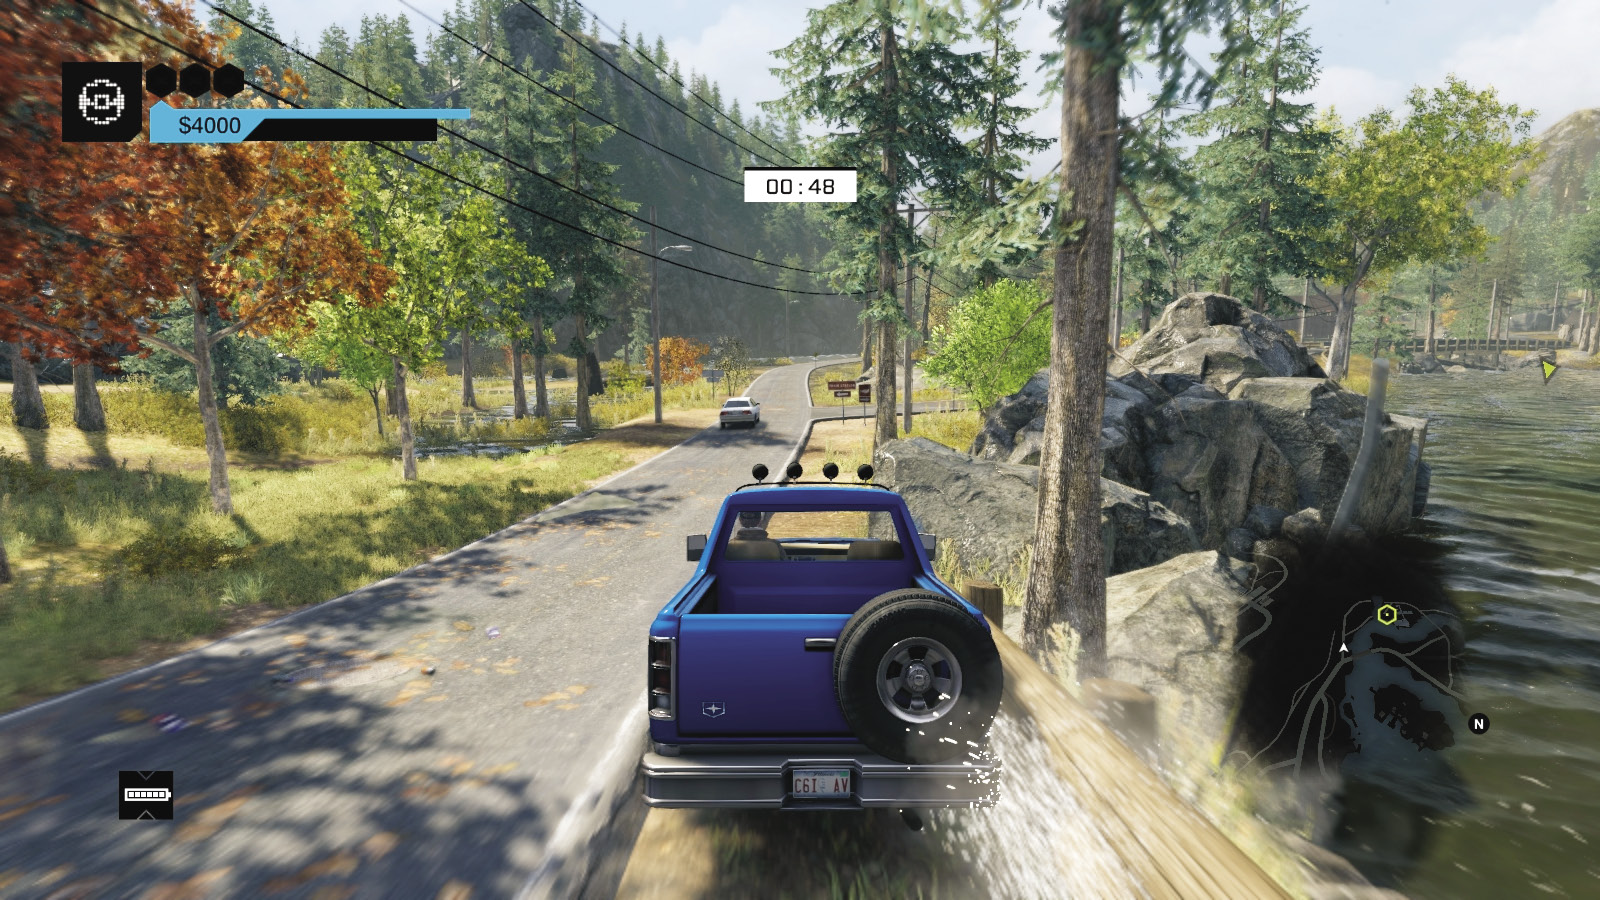
Several elements now appear. A damage meter is in the upper-left corner of your screen. This shows how much damage you can cause your vehicle before it becomes worthless to sell and the mission fails. Feel free to smash, crash, or otherwise scrape the vehicle up to, but not to exceed, the damage rating (this doesn’t affect your reward).
The number of vehicles you’re transporting (usually three) appears as gold hexagons, which fill in as the mission progresses.
Now check your map, which has the drop-off location. This is always the same and is either the location of the next vehicle you’re transporting or the final location, which ends the mission.
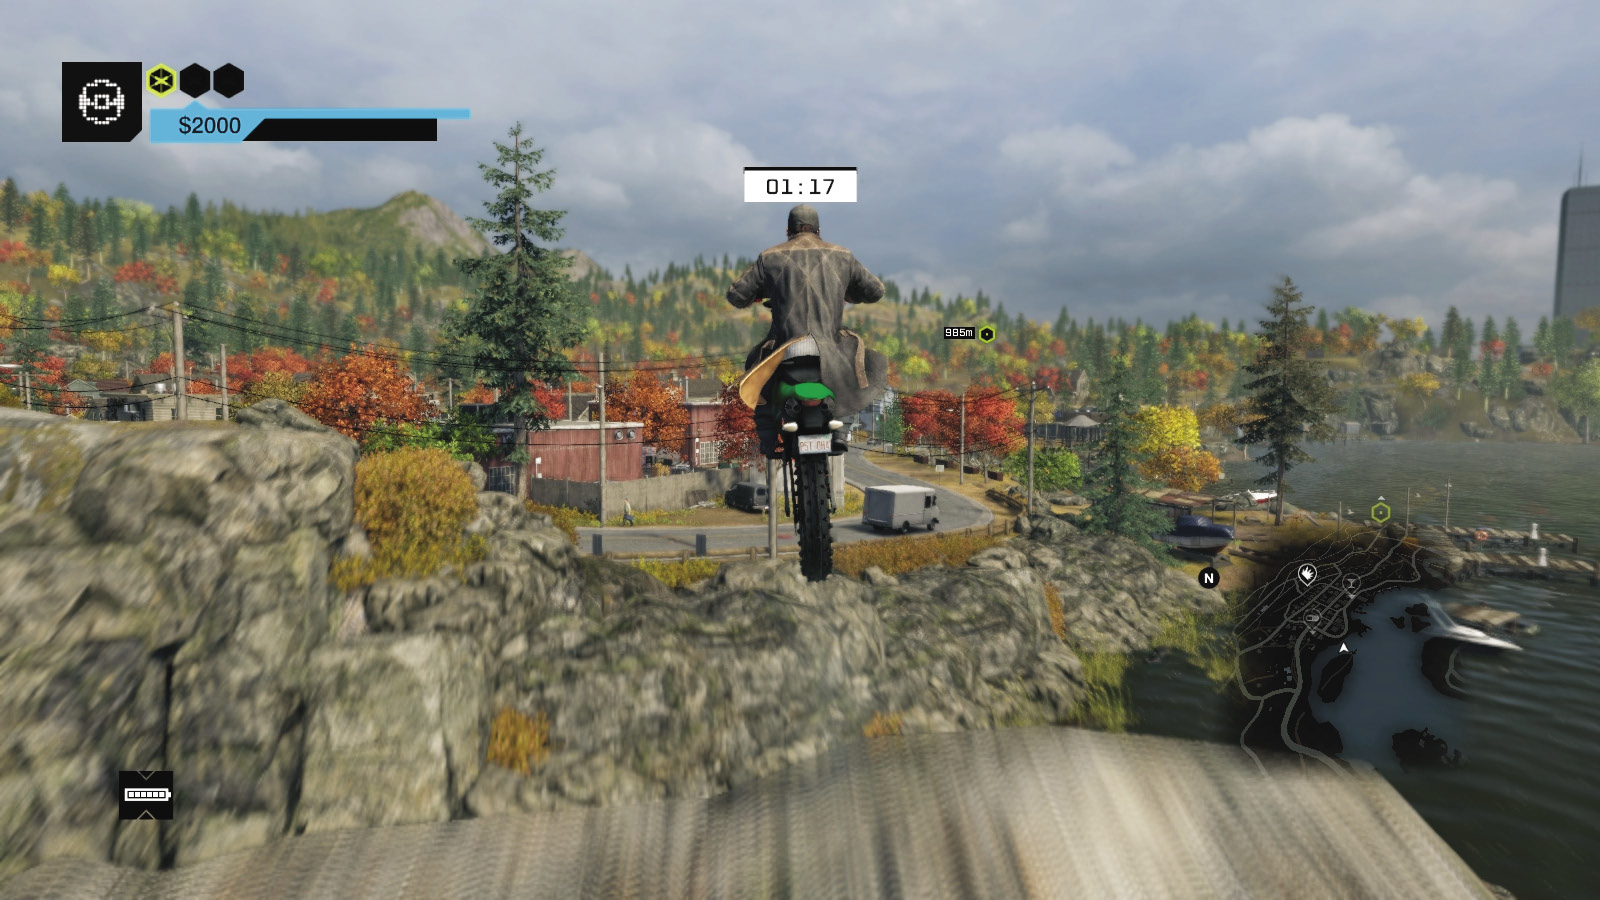
Plot a course to this objective checkpoint (or follow the advice to come), using shortcuts as you see fit. Also be aware of the following:
You’re attempting to complete this as quickly as possible. Don’t crash, take detours, or hit pedestrians to the extent the police are summoned, as this can cause minimal cash rewards or fail the mission entirely.
Each time you drop off a vehicle, an amount of time (listed below) is added to your clock. Complete the last drop-off with the longest time remaining that you can.
There are ways to land vehicles (with bikes, have both wheels land on the ground at the same time) without incurring damage. Take ramps a little slower than you might think so you don’t lose control.
Vehicles ending up in the water (with boats being the obvious exception) fail this mission.
PAWNEE // TRANSPORTER CONTRACTS
01_THE BADLANDS
Starting location 1: freeway Construction site
Starting location 2: Pawnee Sawmill
Starting location 3: BLUME FACILITY
FINISHING location: Crazy Moose MOTEL GROUNDS
Vehicle 1: $4,000 / Steadfast 3000
Vehicle 2: $2,000 / Kuruhawa Motorsport 450
Vehicle 3: $16,000 / Boxberg LE
Difficulty:
+01:30 // +$10,000
+00:30 // +$9,000
+00:00 // +$8,000
BEAT THIS: 02:27:00 (Jean Michel Lavinge)
Start Time: 01:30
Finish Time: 00:40 (00:50 seconds)
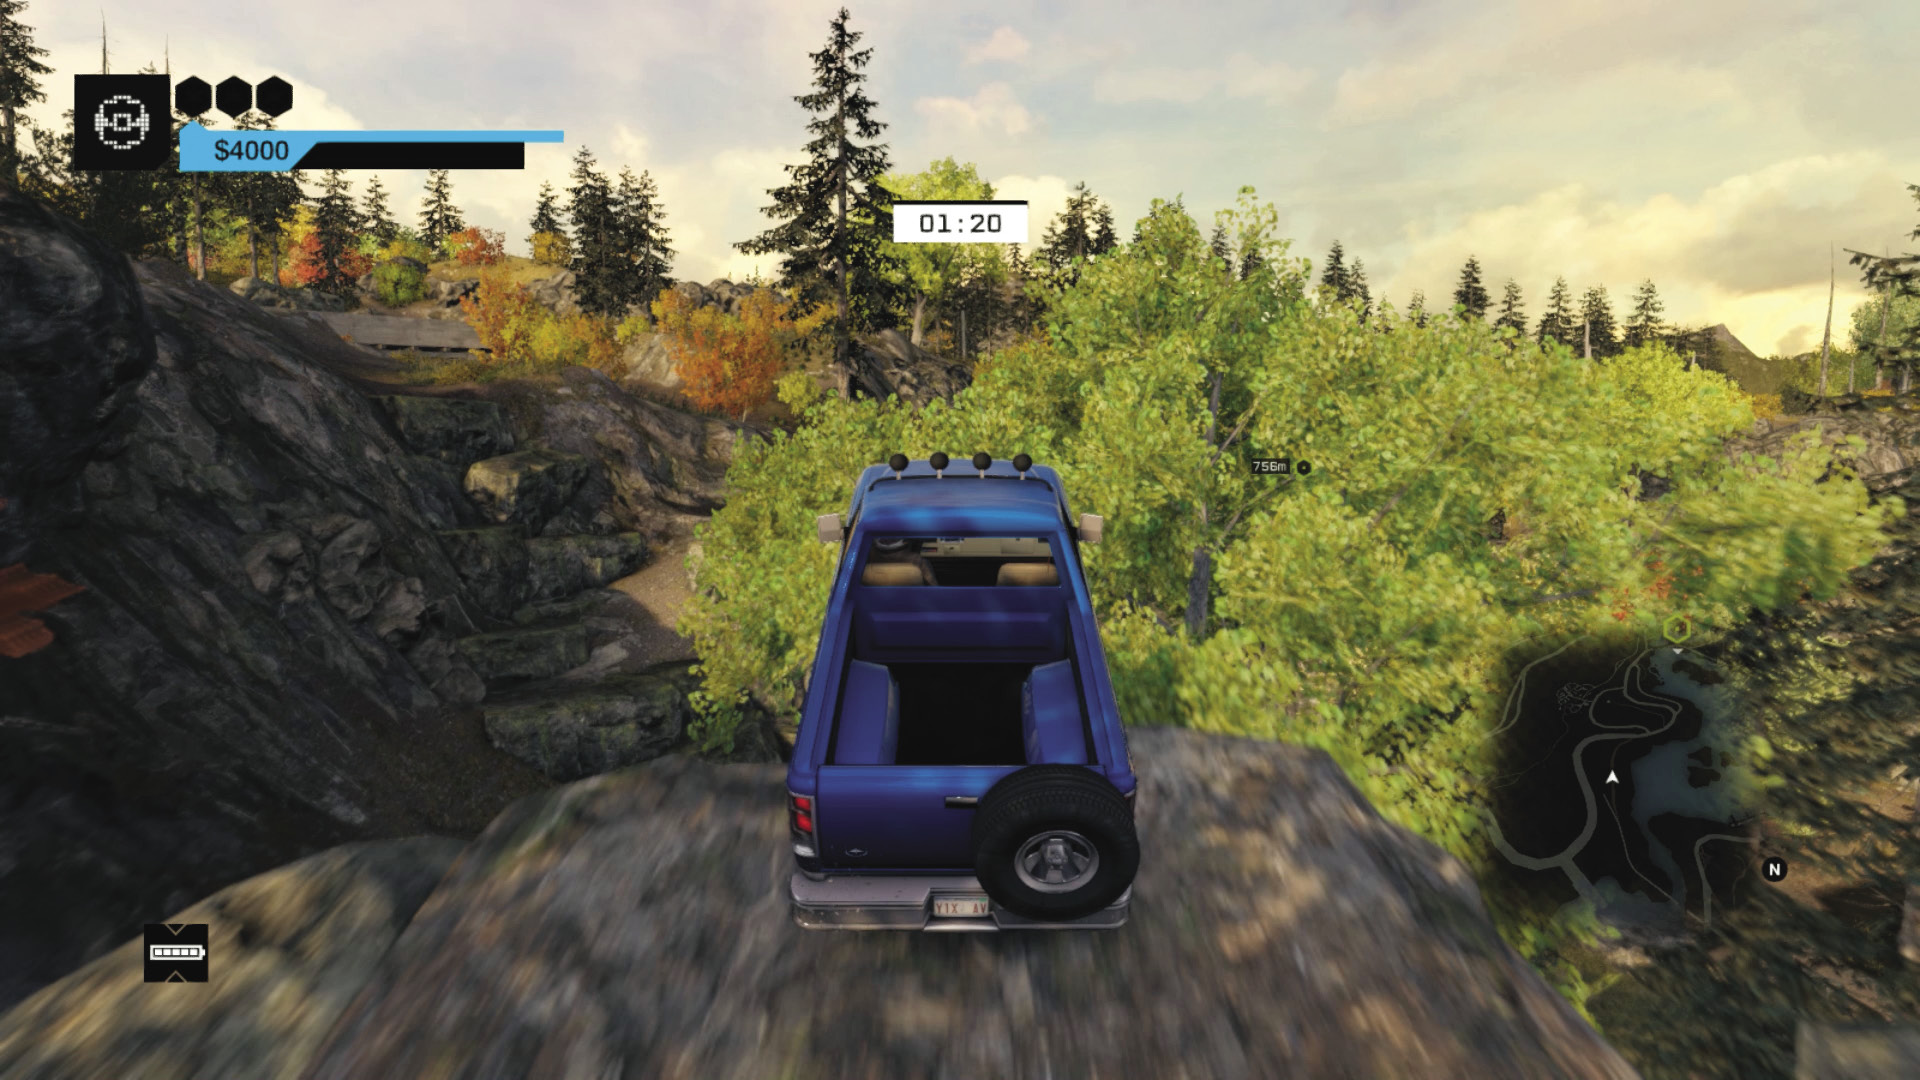
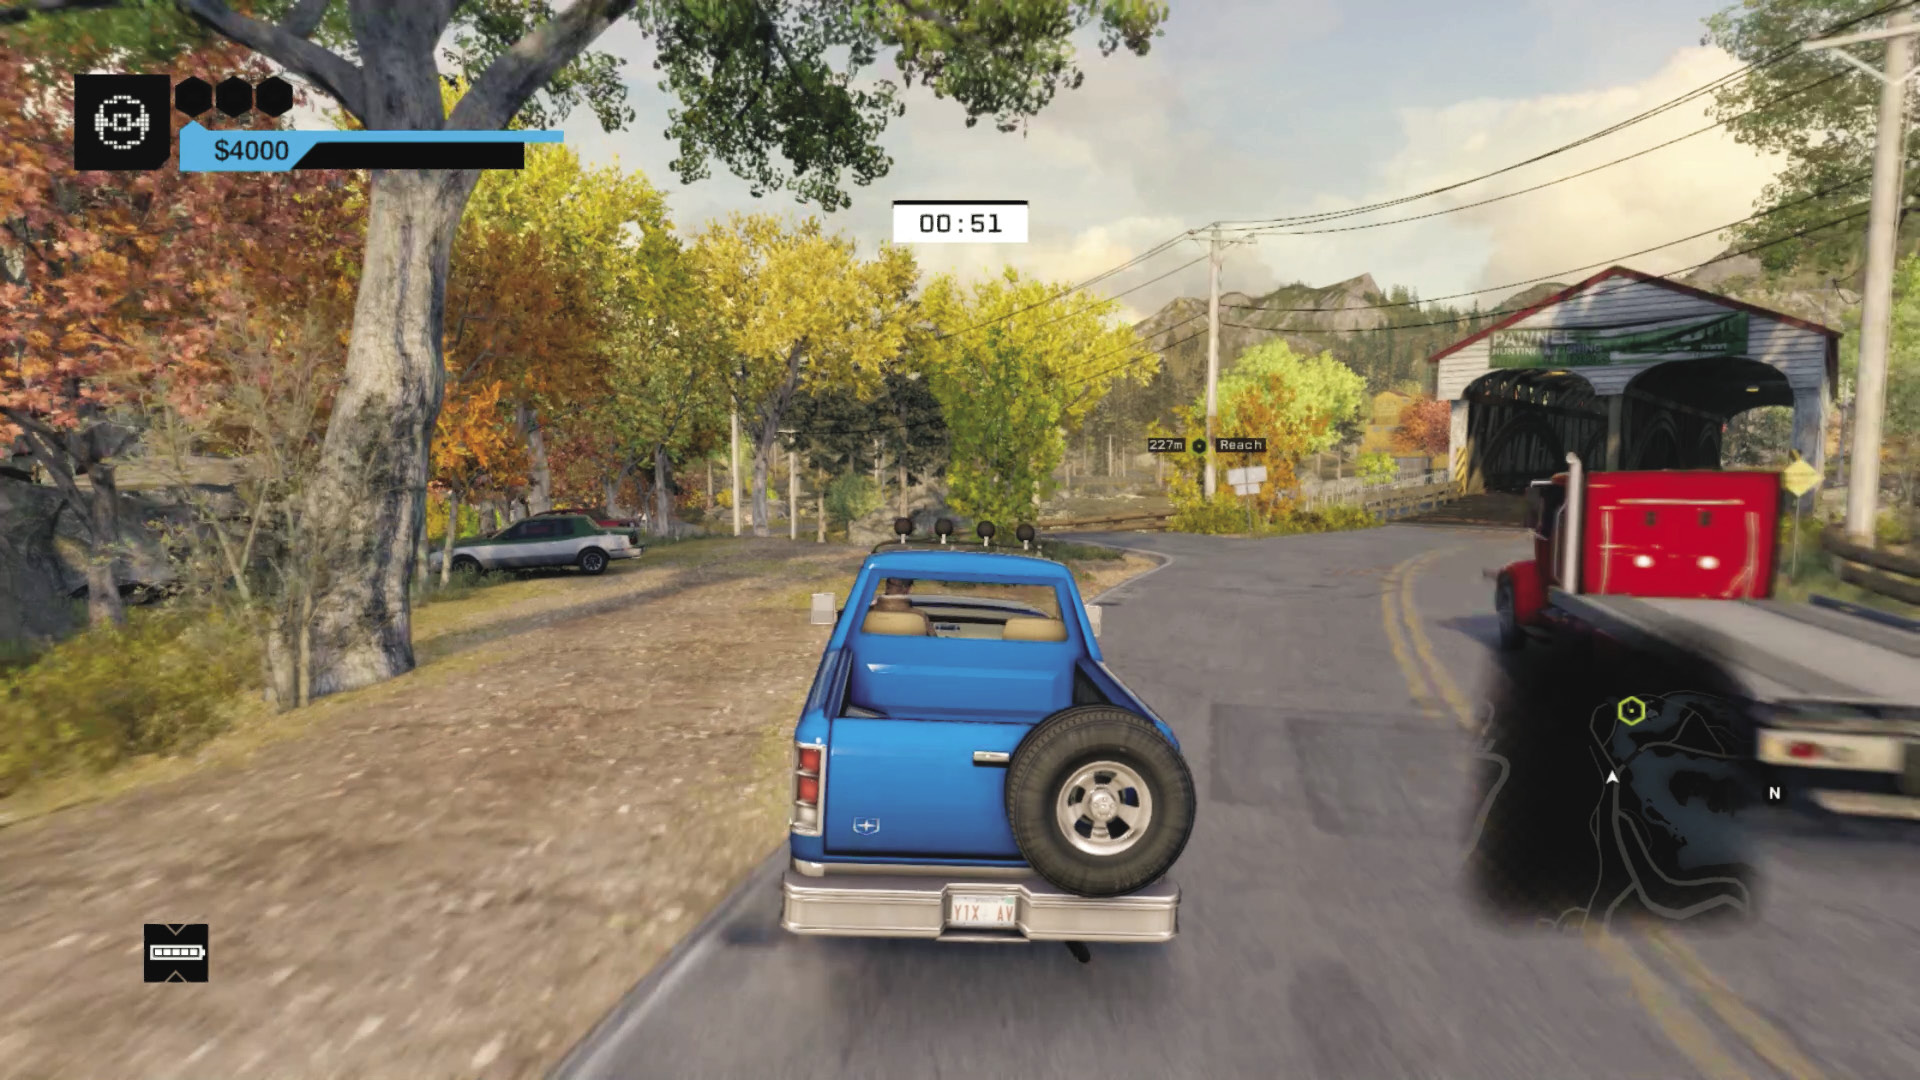
Vehicle 1 Route: Head to the right of the train tunnel, over the jump (don’t accelerate too hard). Follow the dirt trail to the main road. Take the (slightly quicker) winding road to the right, passing Pawnee Beach. Rejoin the main road at this covered bridge, bearing left before the bridge across the dirt and slowing down at the marsh. Weave over to the open bridge and the sawmill. Park the truck, then vault up the wooden piles to the bike sitting atop them.
Start Time: 02:10 (+01:30 seconds)
Finish Time: 01:00 (01:10 seconds)
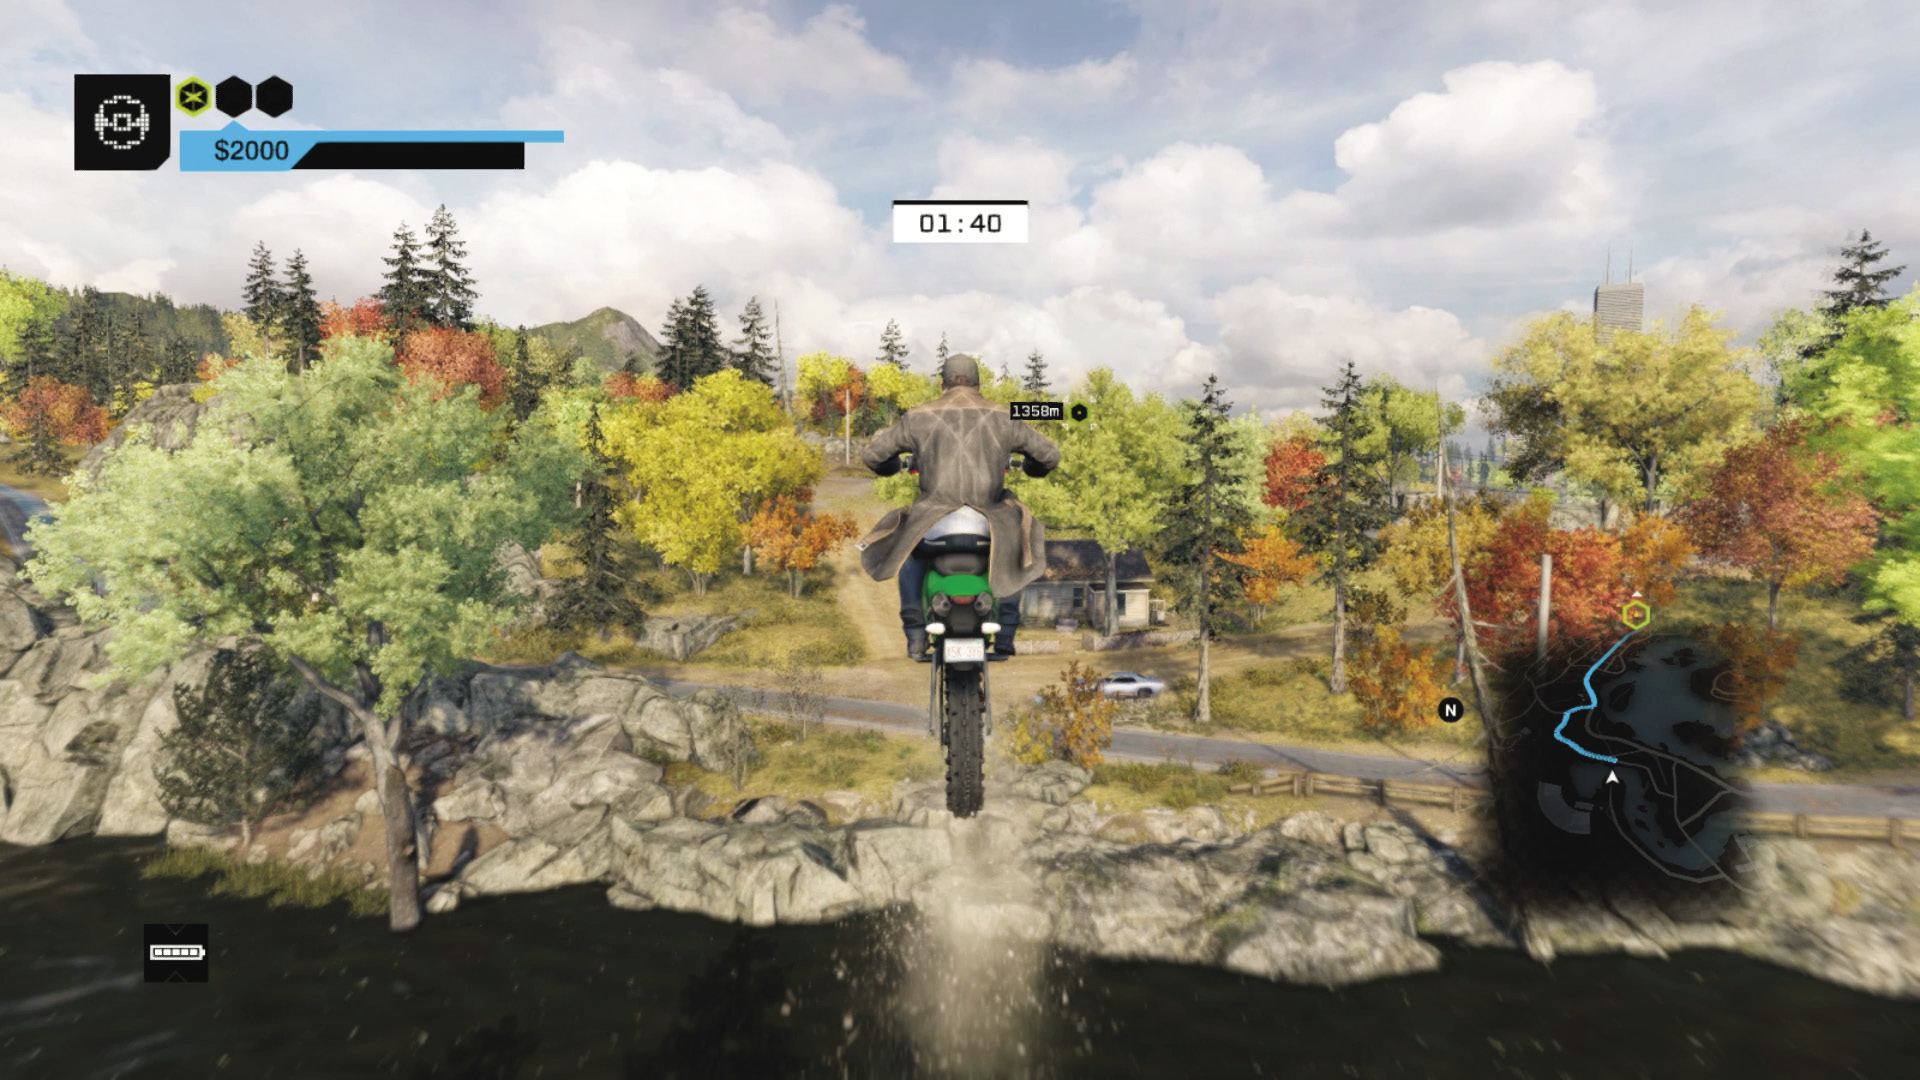
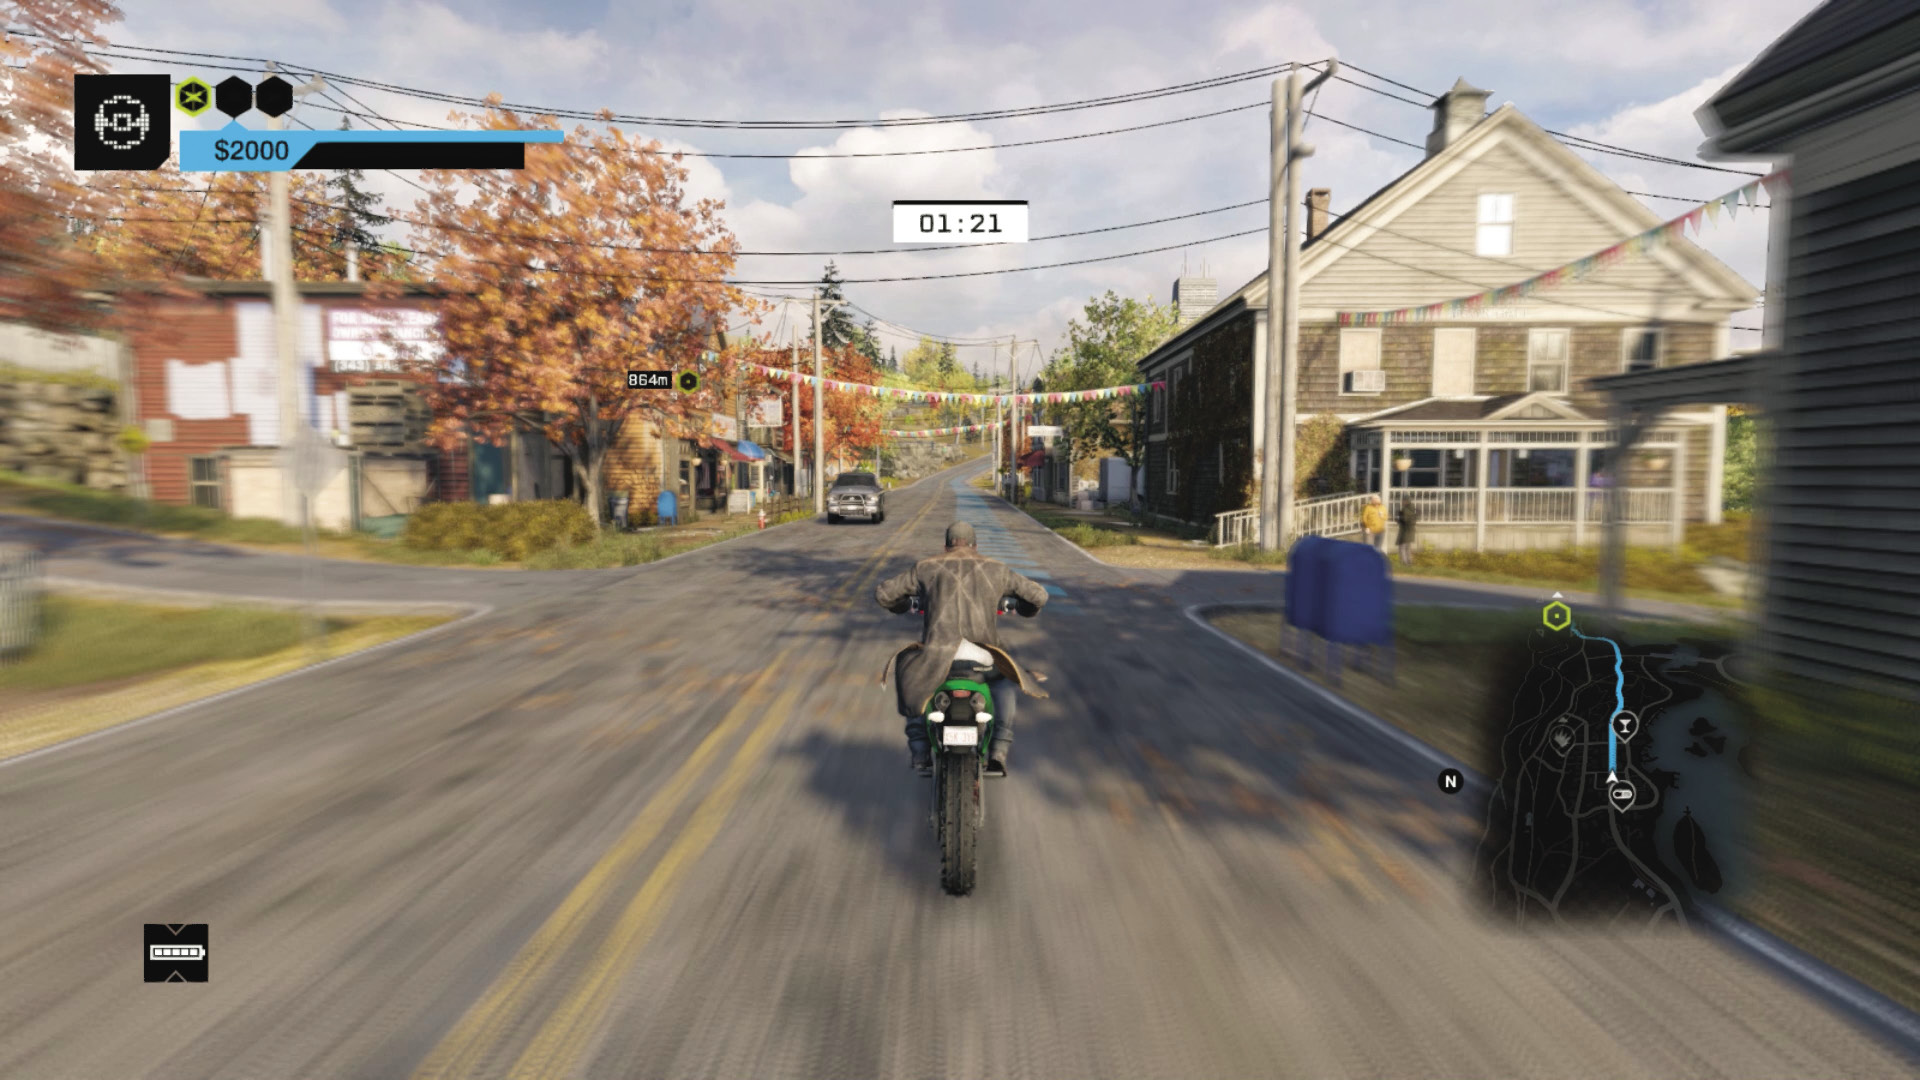
Vehicle 2 Route: Launch off the ramp, making sure you hit the dirt trail with both wheels to avoid damaging the bike (do this for any jumps). Drive down the dirt path, over the rock ramp across the dam pond, and onto the main road. Though you can keep the crazy jumps going, it’s actually quicker to stay on the main Pawnee tarmac, passing the gas station and heading straight through town all the way to Blume. Drive quickly and accurately into the parking lot at the Blume building, and secure the final vehicle.
Start Time: 02:50 (+01:50 seconds)
Finish Time: 02:05 (00:45 seconds)
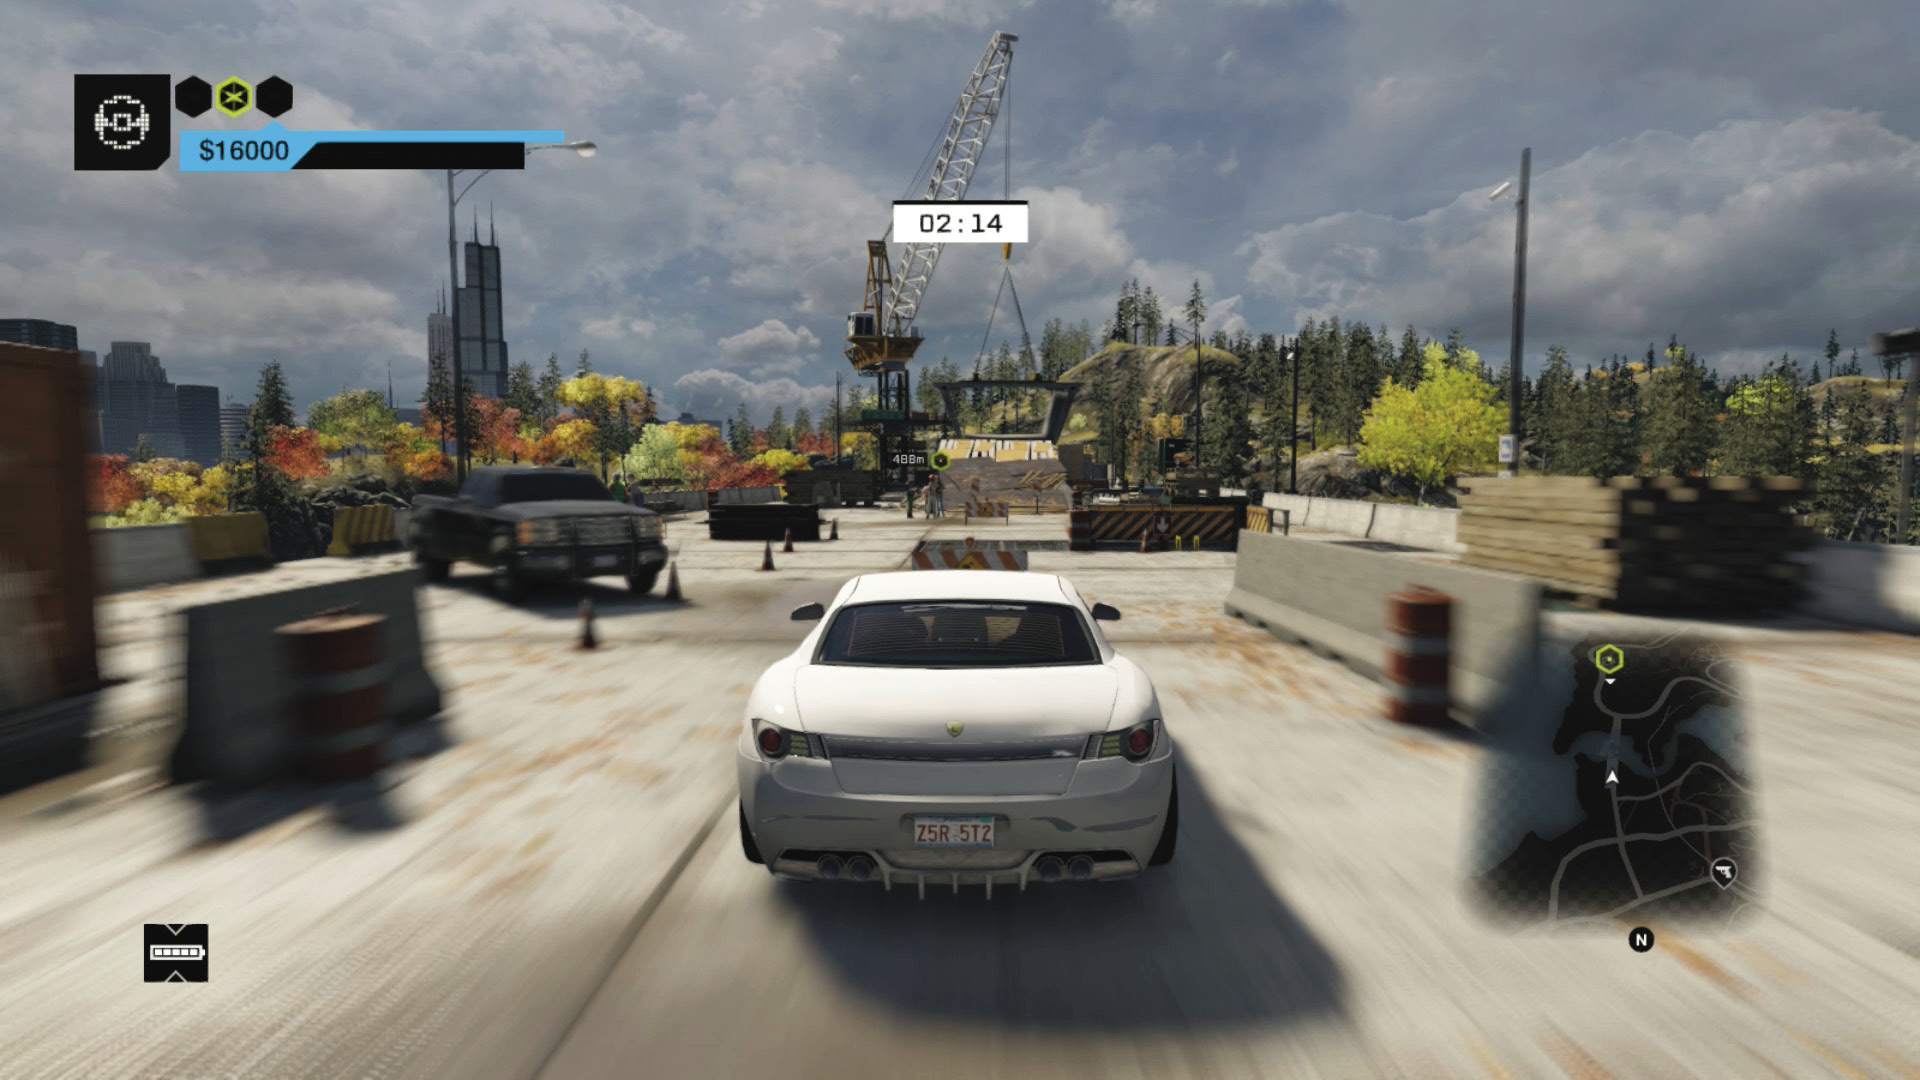
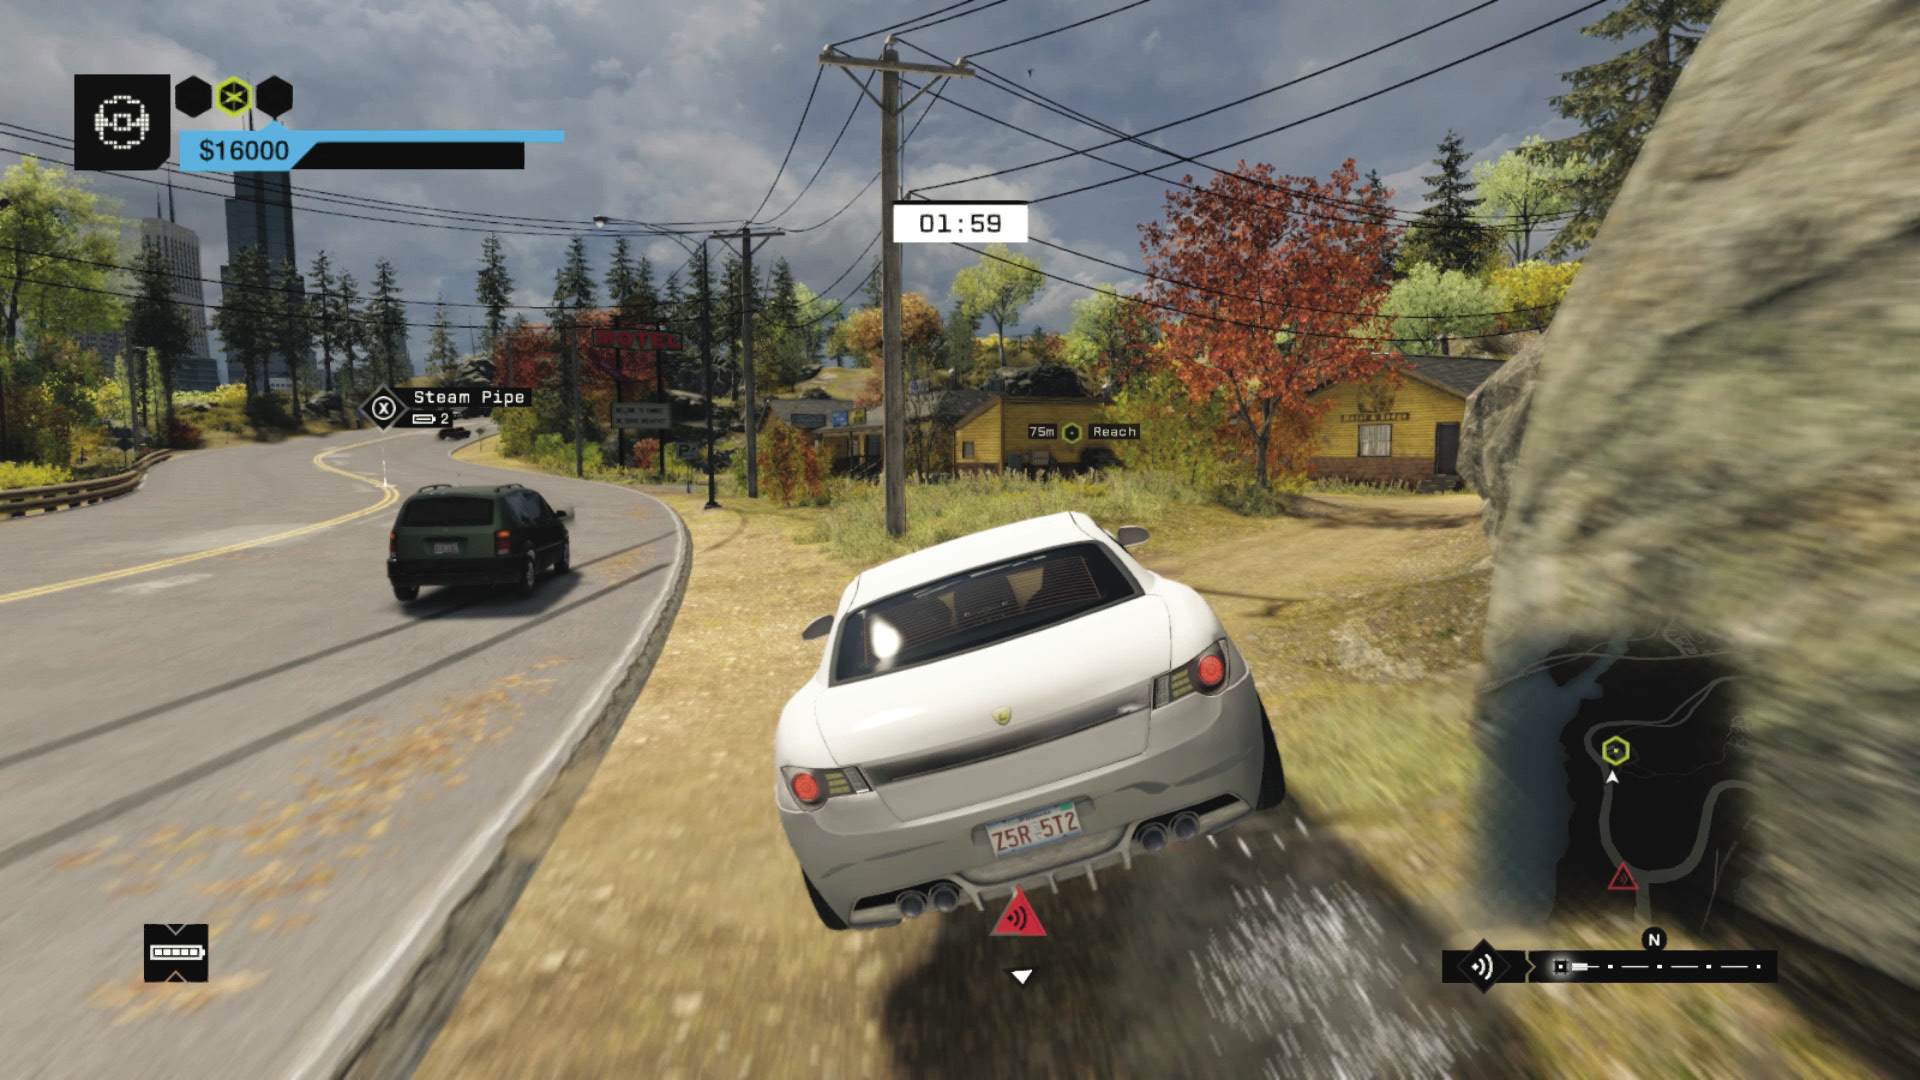
Vehicle 3 Route: This motor is speedy but a little wide to be supremely nimble. At the second junction on the way down the hill, turn left so you’re heading straight for the freeway construction site. Aim accurately, easing off the gas as you jump through the suspended freeway section and land on the other side. Head through the tunnel, and swerve right just before the motel to crash through the fence to the finish point.
PARKER SQUARE // TRANSPORTER CONTRACTS
02_HOT PROPERTY
Starting location 1: SOUTHEAST PARKER SQUARE
Starting location 2: DIRT GROUND, WEST PARKER SQUARE
FINISHING location: Alley, northwest Loop
Vehicle 1: $5,000 / Core-T
Vehicle 2: $5,000 / Kirscher
Difficulty:
+00:30 // +$3,000
+00:20 // +$2,000
+00:00 // +$1,000
BEAT THIS: 00:46:43 (Anthony Renomeron)
Start Time: 01:30
Finish Time: 00:35 (00:55 seconds)
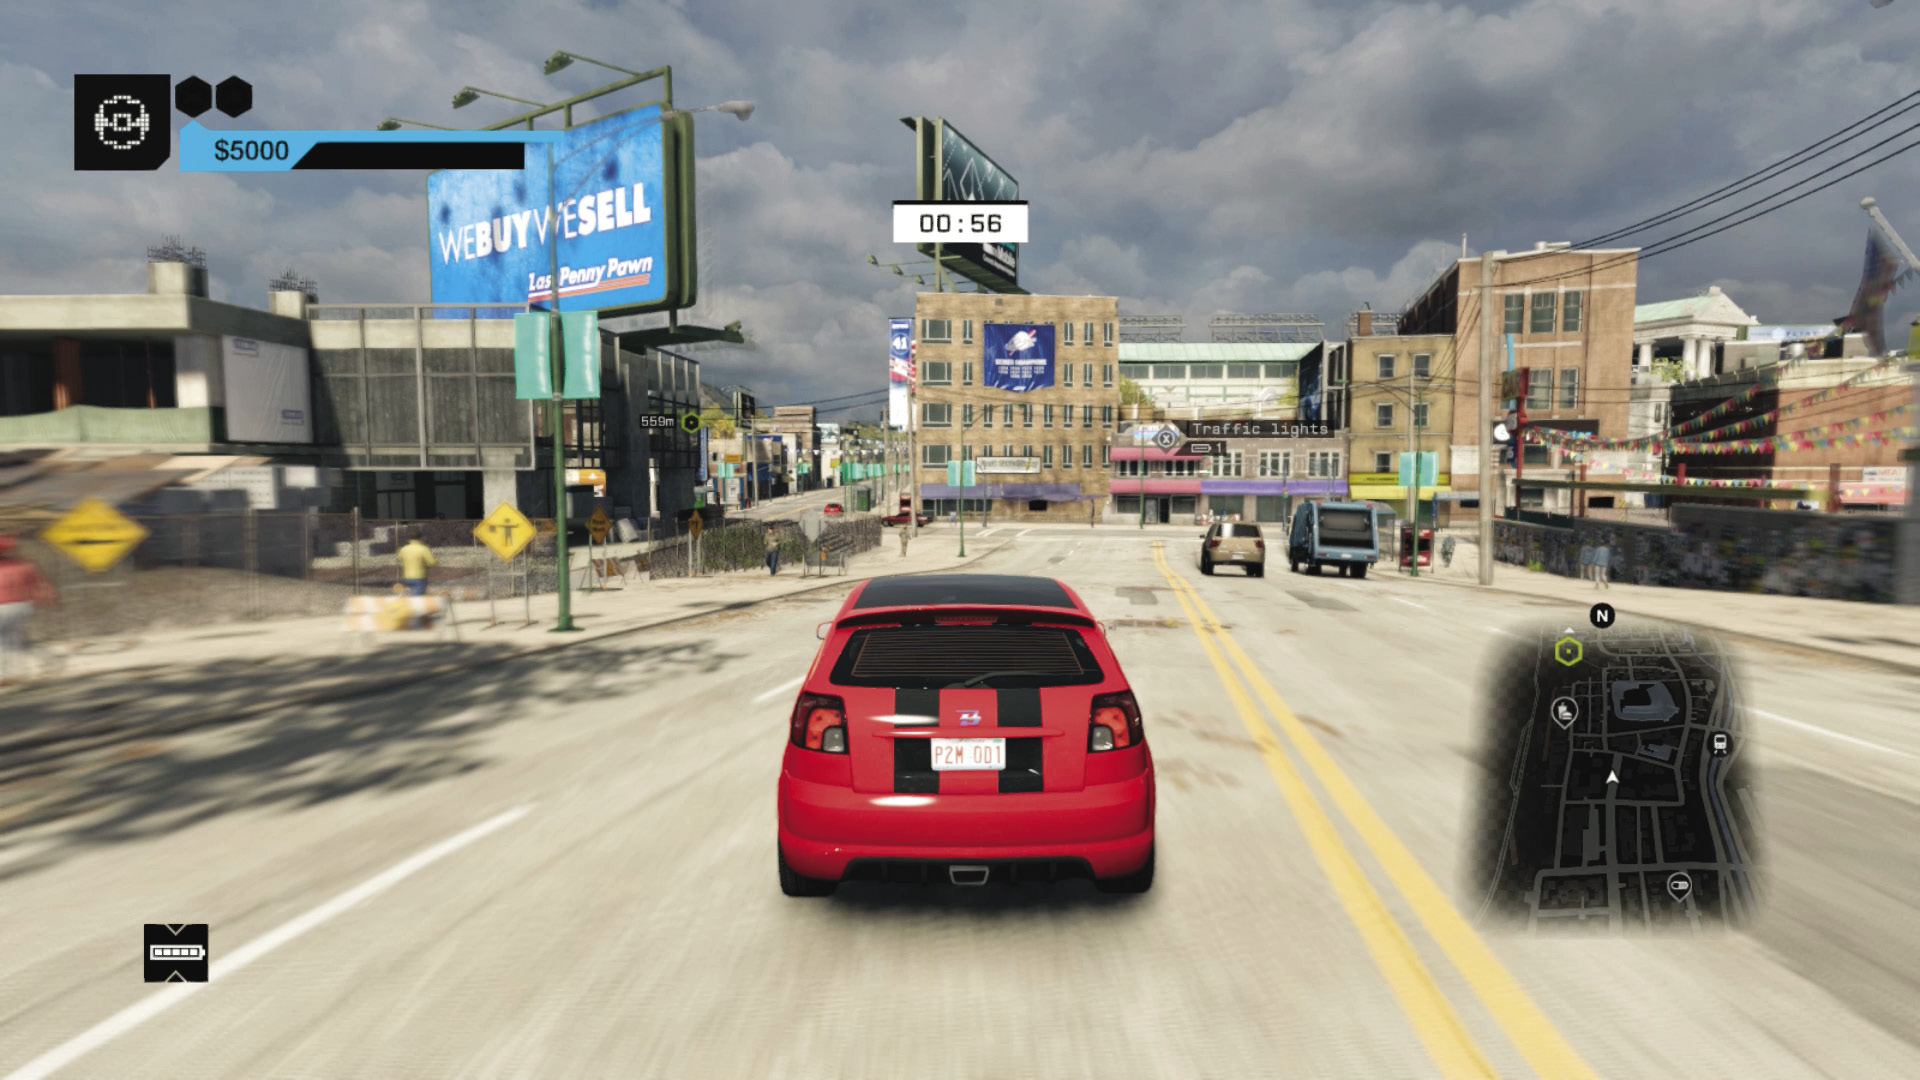
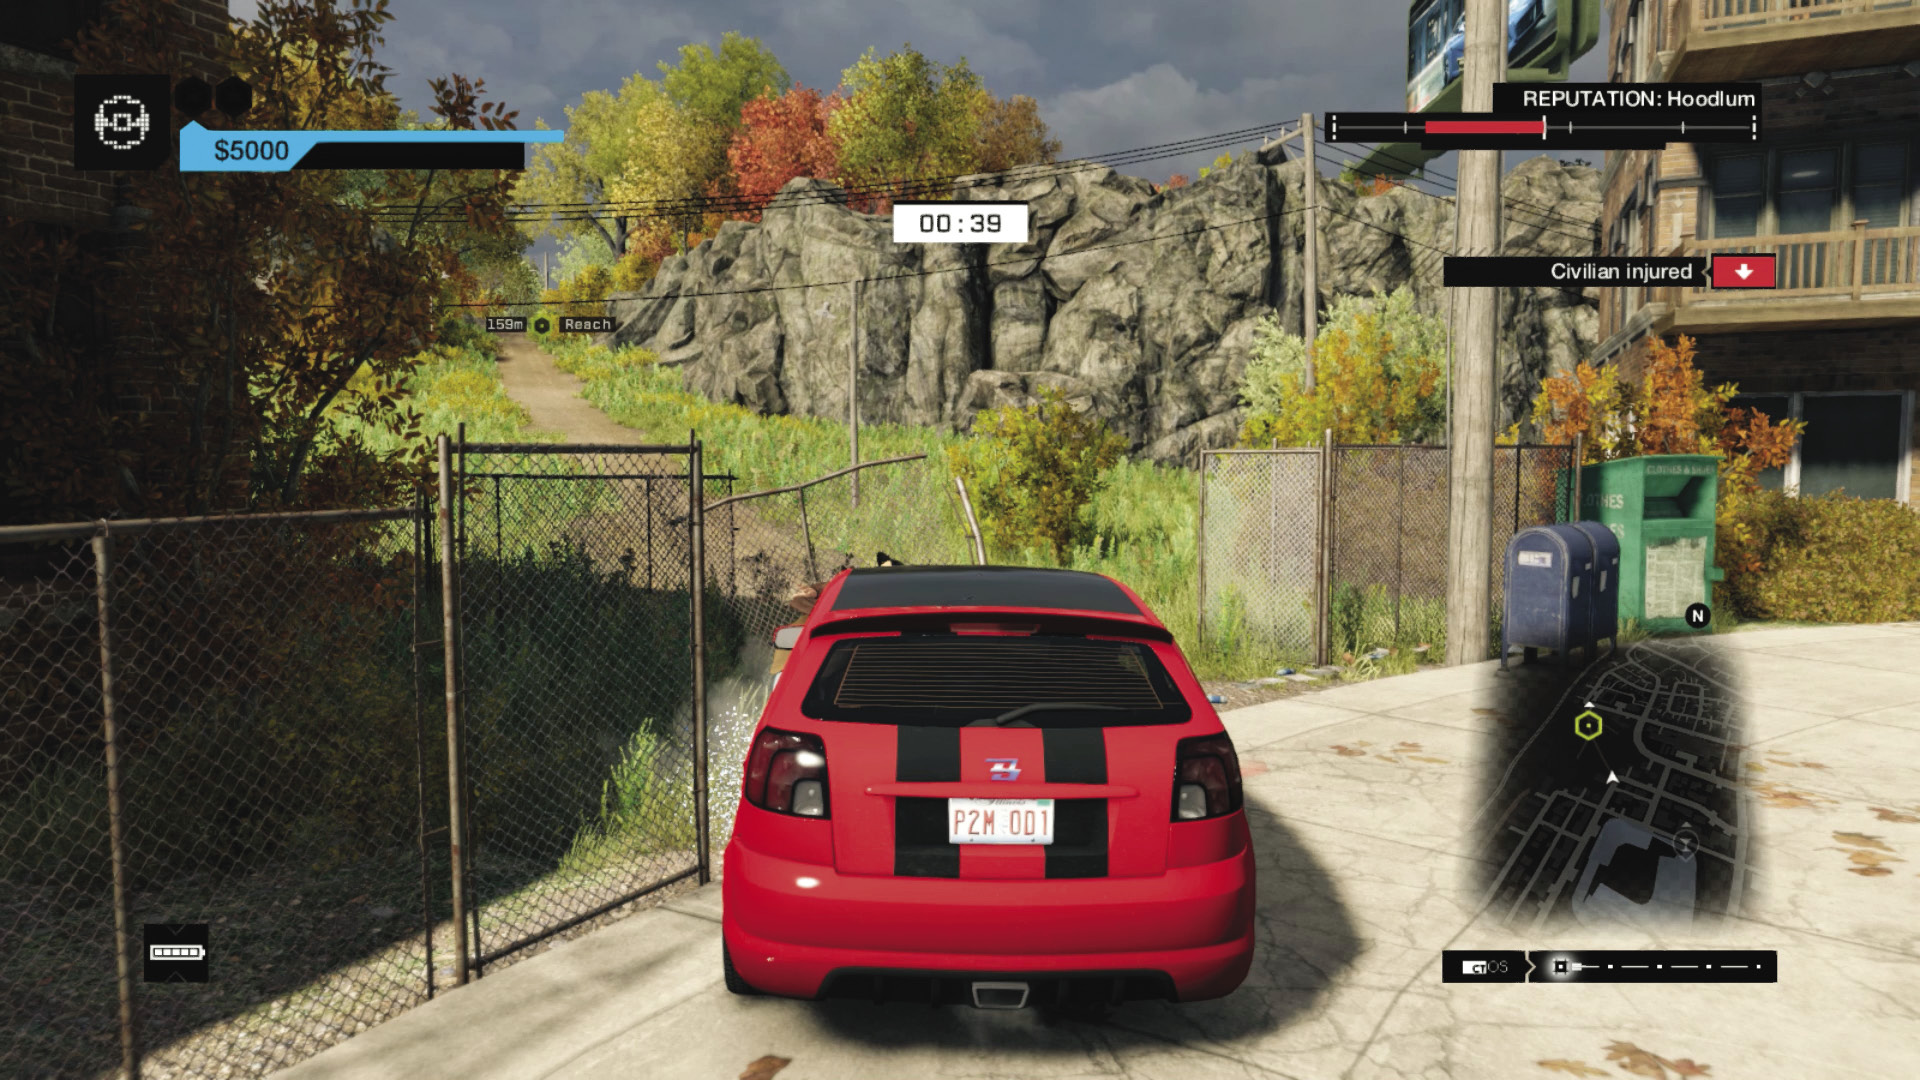
Vehicle 1 Route: Sometimes it’s easier to take the streets, so accelerate west, avoiding the traffic and remaining in the middle of the road, passing over the train tracks and freeway, under the arch clock, and head right (north) at the Owl Hotel. Keep this up, watching for the odd zigzag just before you head behind May Stadium (there’s a ramp on your left near the zigzag, but this can slow you down when you smash through the half-finished building). When the road ends in a right turn, slow slightly and head left, onto the dirt path to the next vehicle. Drive up between the rocks and avoid the trees, then rush across to the parked car on the grass.
Start Time: 02:05 (+01:30 seconds)
Finish Time: 00:50 (01:15 seconds)
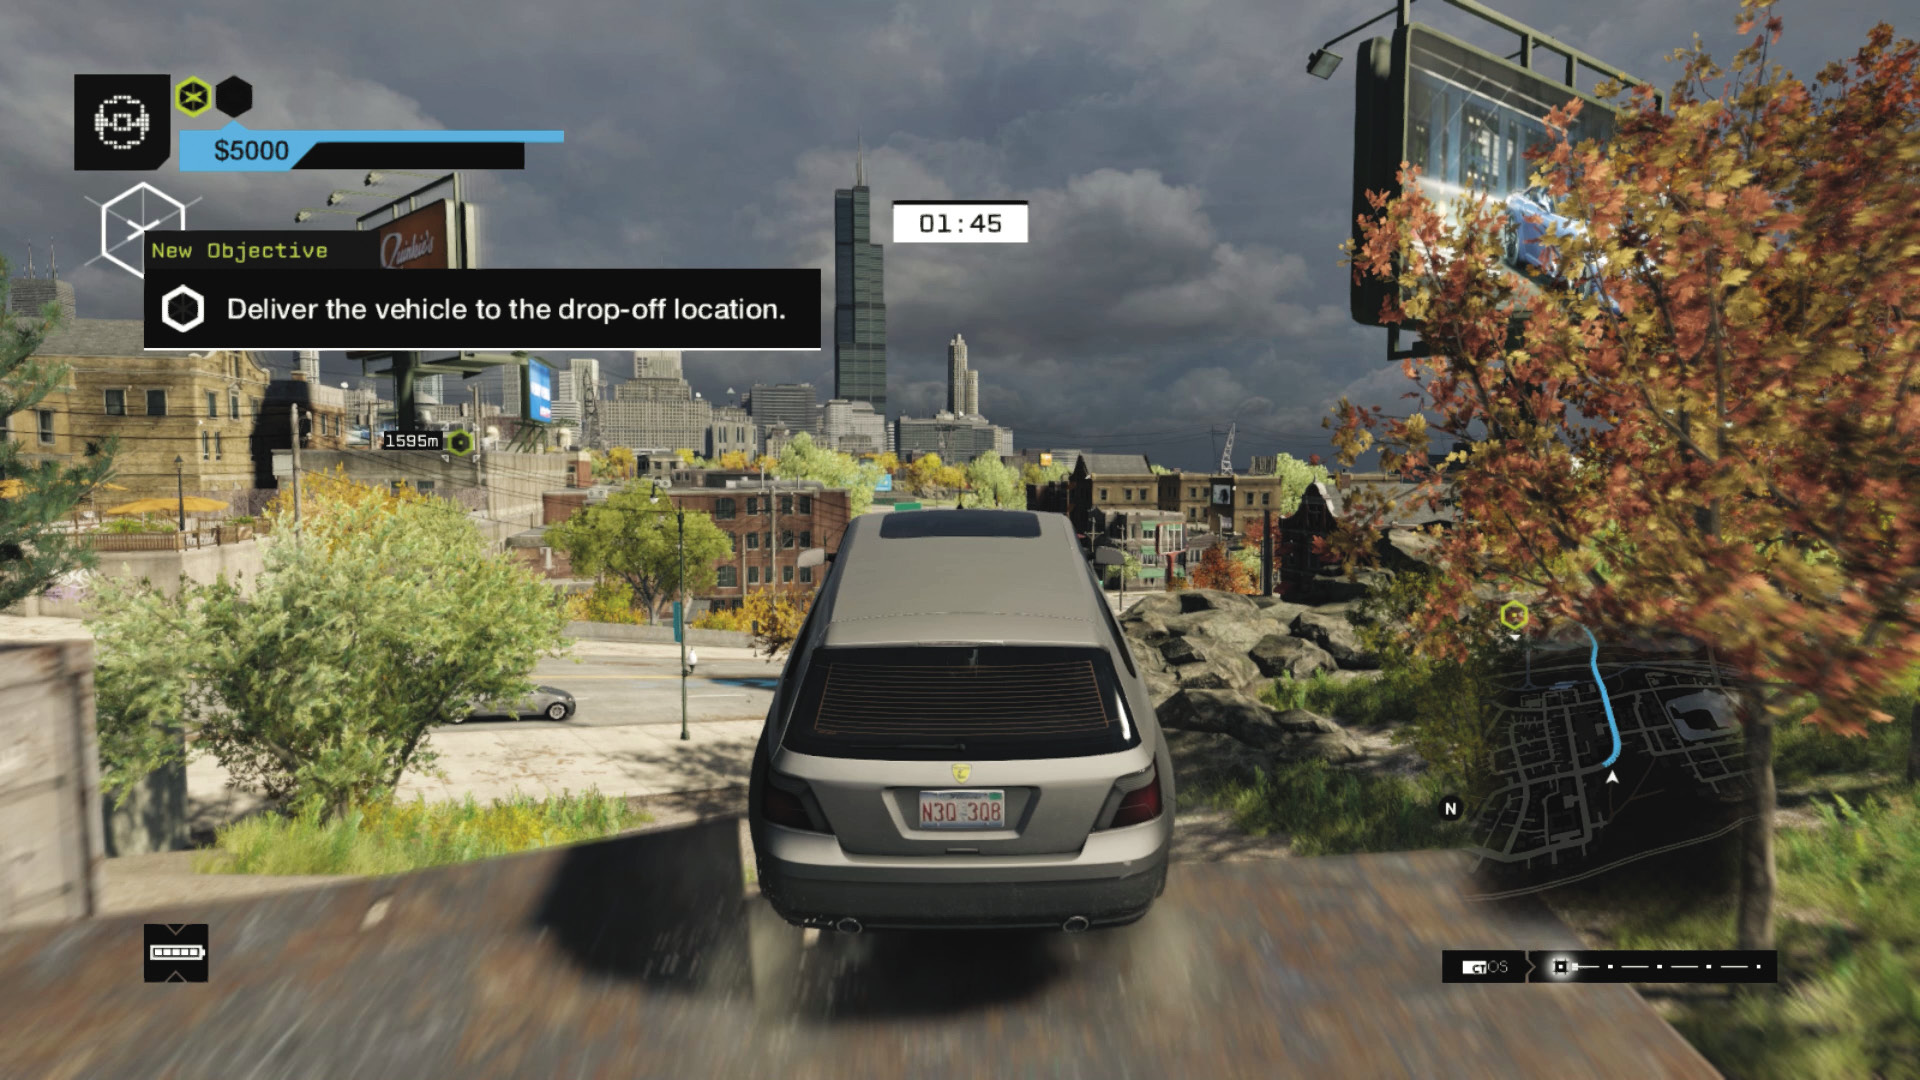
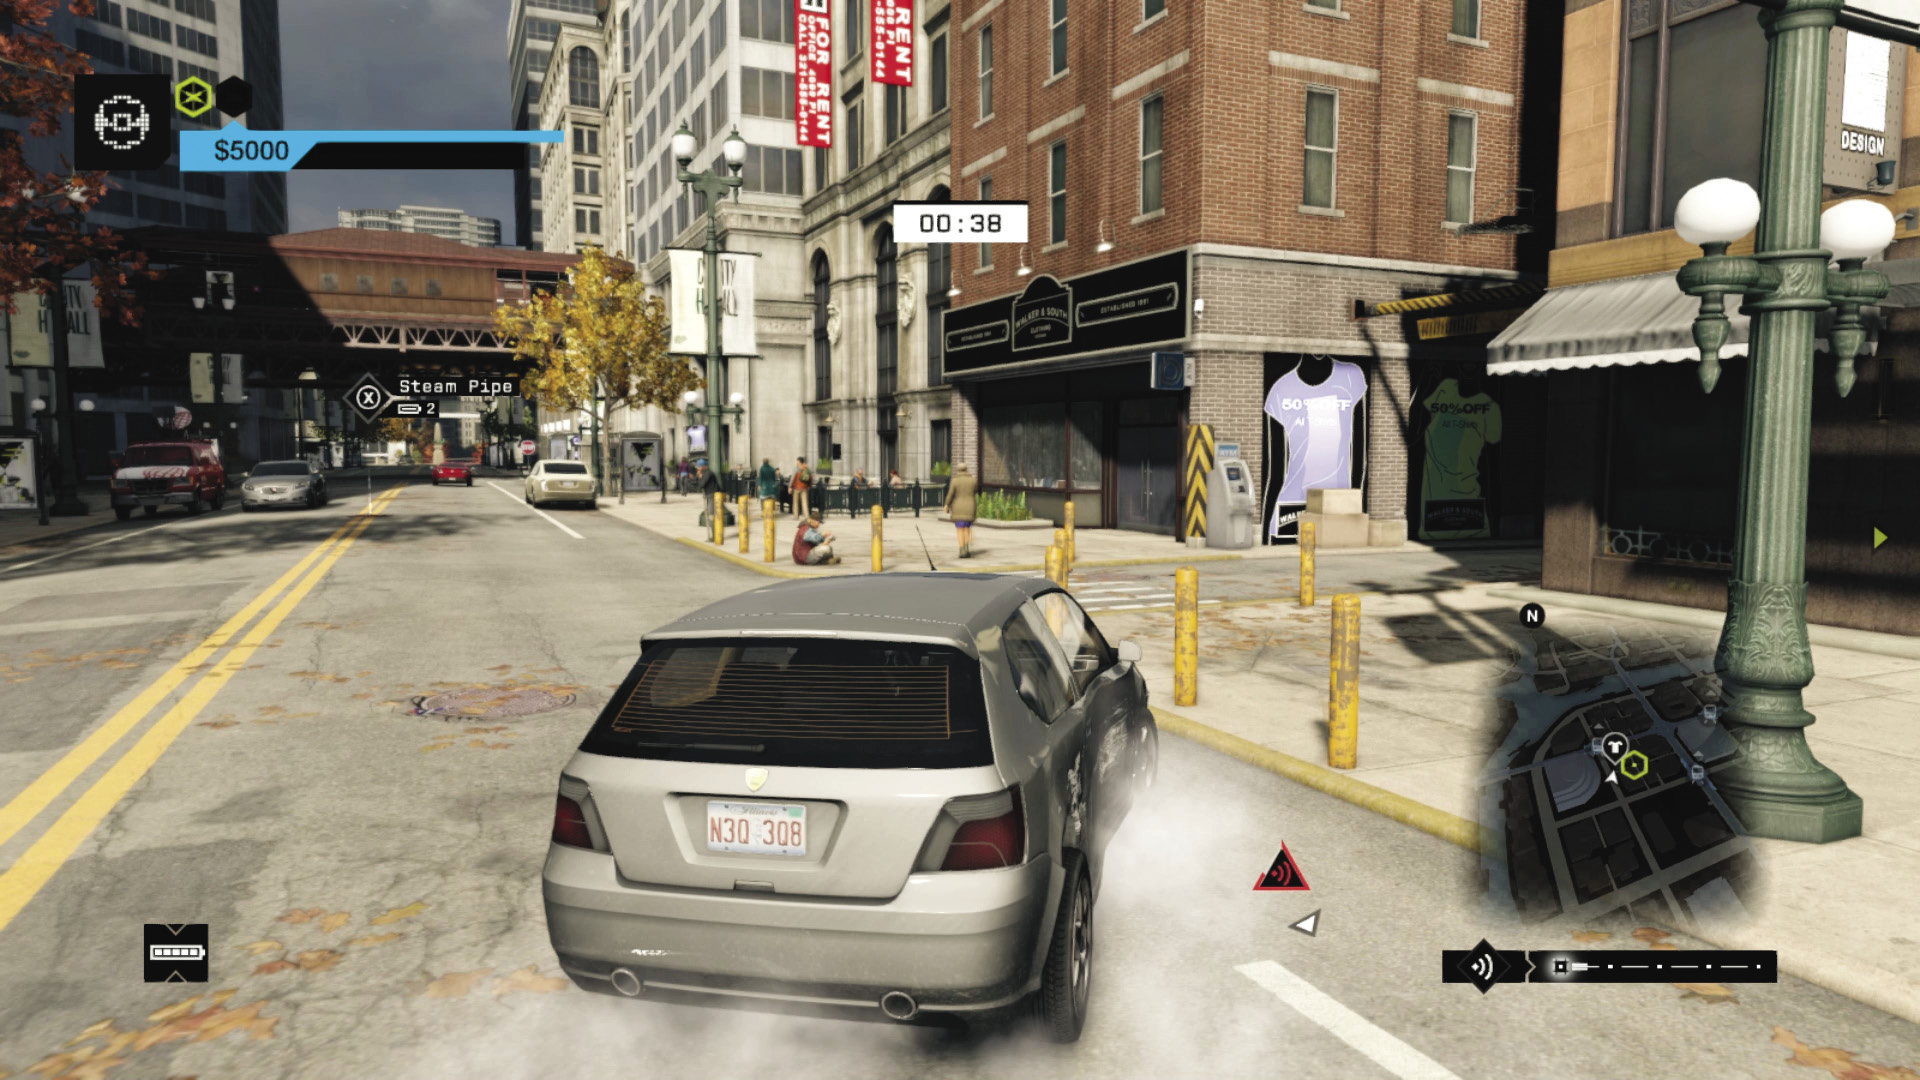
Vehicle 2 Route: Accelerate off the ramp and land on the road without crashing and slow enough not to damage the vehicle. Head down the freeway tunnel, straight into the Loop. Go into town and cross the bridge, using the GPS to guide you to the left turn. Continue accelerating north, then brake and skid right half a block before the L-train, into an alley and the finish.
03_STRAIGHT AND NARROW
Starting location 1: WEST BAKERY, PARKER SQUARE
Starting location 2: ALLEY, SOUTH LOOP
FINISHING location: OVERNIGHT HOTEL, MAD MILE
Vehicle 1: $5,000 / Carrozza
Vehicle 2: $4,000 / 3.9T
Difficulty:
+00:20 // +$3,000
+00:10 // +$2,000
+00:00 // +$1,000
BEAT THIS: 00:45:00 (David S J Hodgson)
Start Time: 01:40
Finish Time: 00:30 (01:10 seconds)
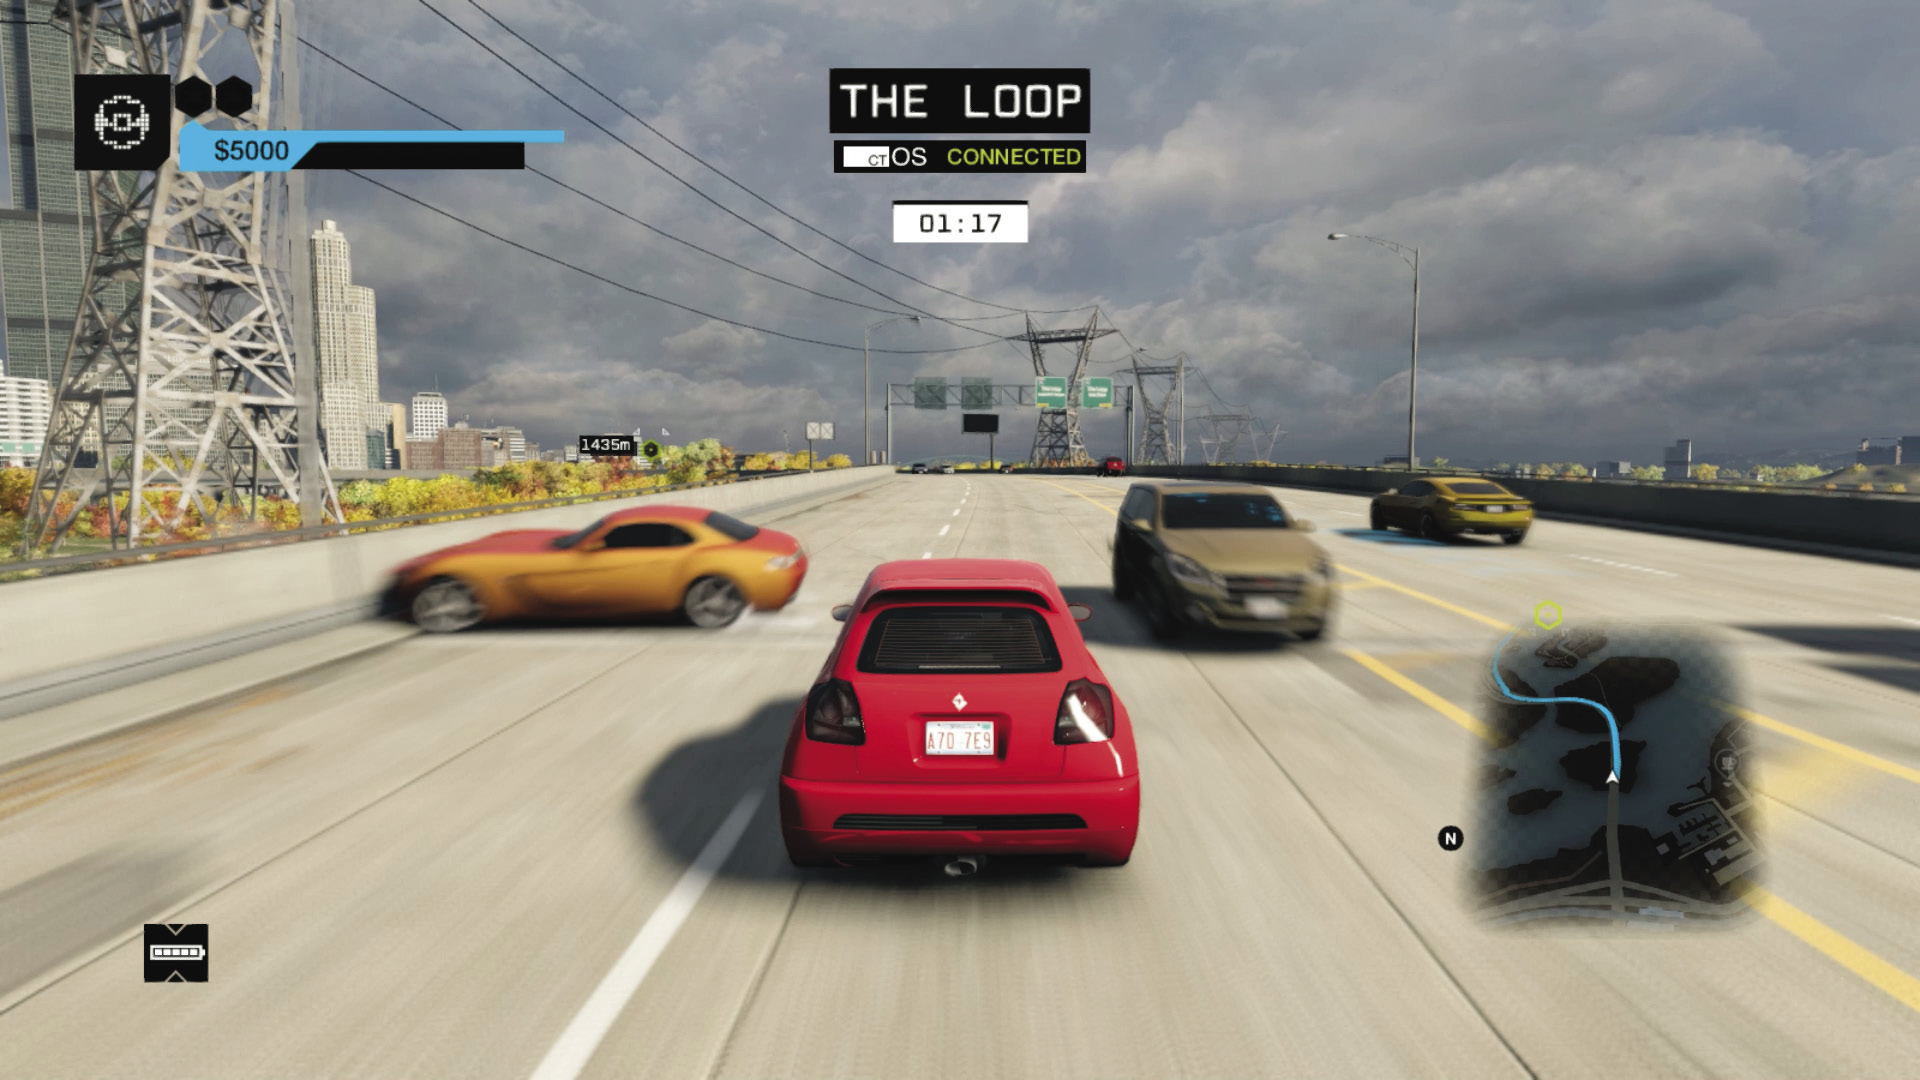
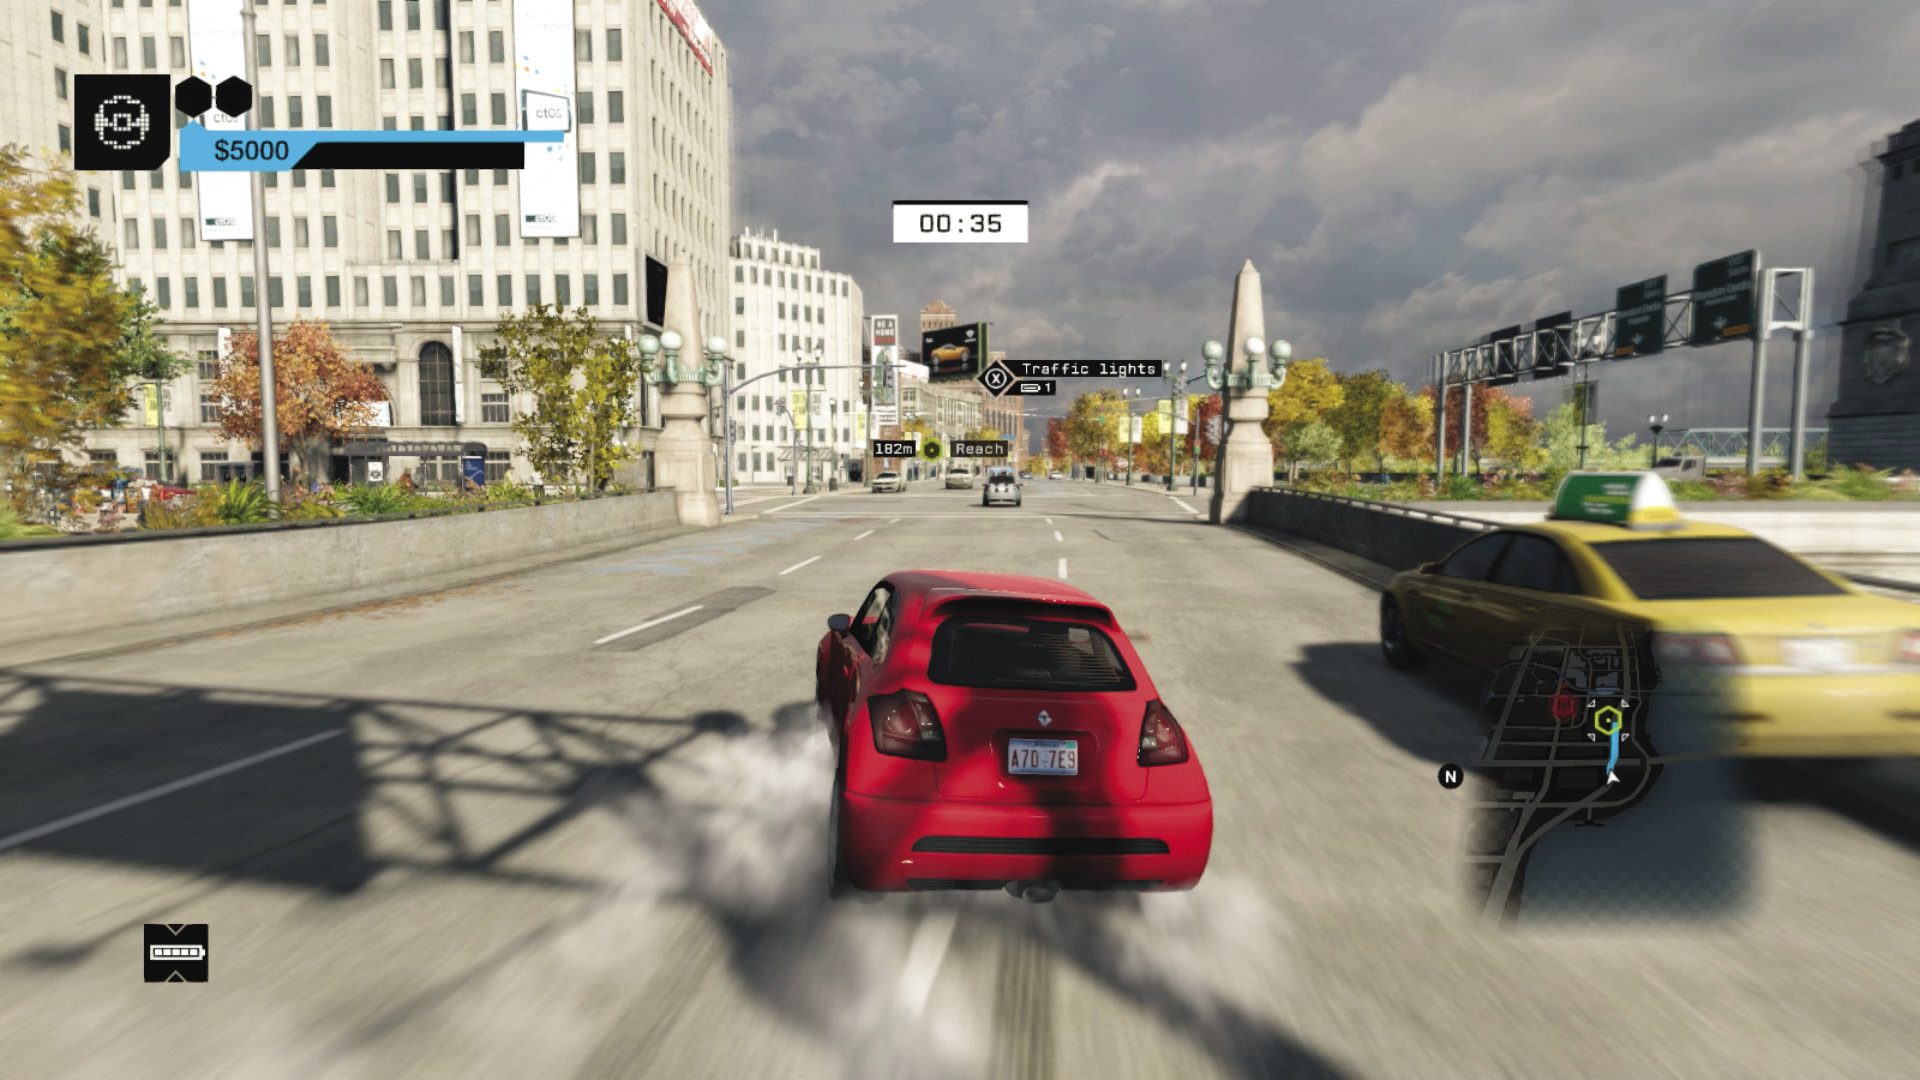
Vehicle 1 Route: It’s a straight road across Parker Square to reach the freeway that heads leads to your checkpoint. Accelerate hard, and if you have the skill, keep to the left (into oncoming traffic) as the freeway bends around to the left. Then follow the best driving lines to cut corners along the freeway’s curves. You don’t need to leave this freeway, as it finally becomes part of the Loop. Stop at the checkpoint in the alley one block to your left.
Start Time: 01:50 (+01:20 seconds)
Finish Time: 00:40 (01:10 seconds)
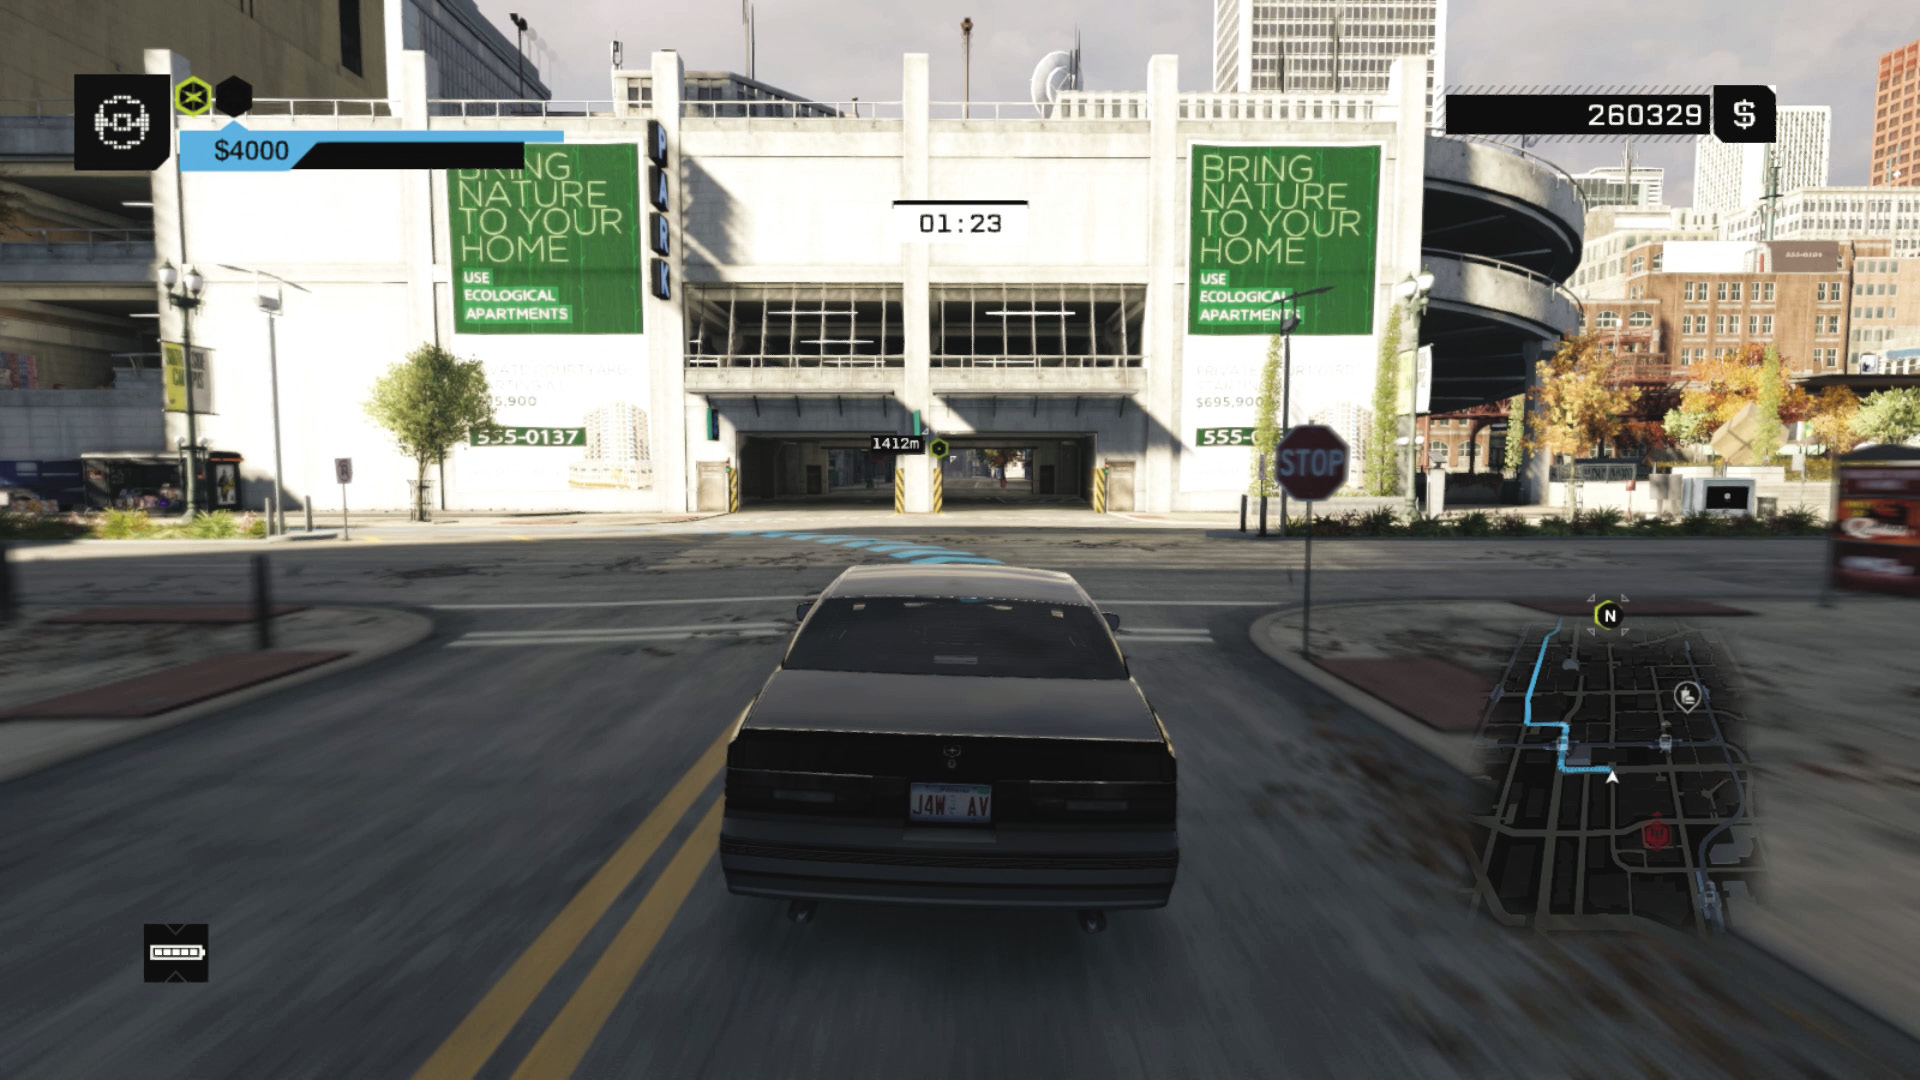
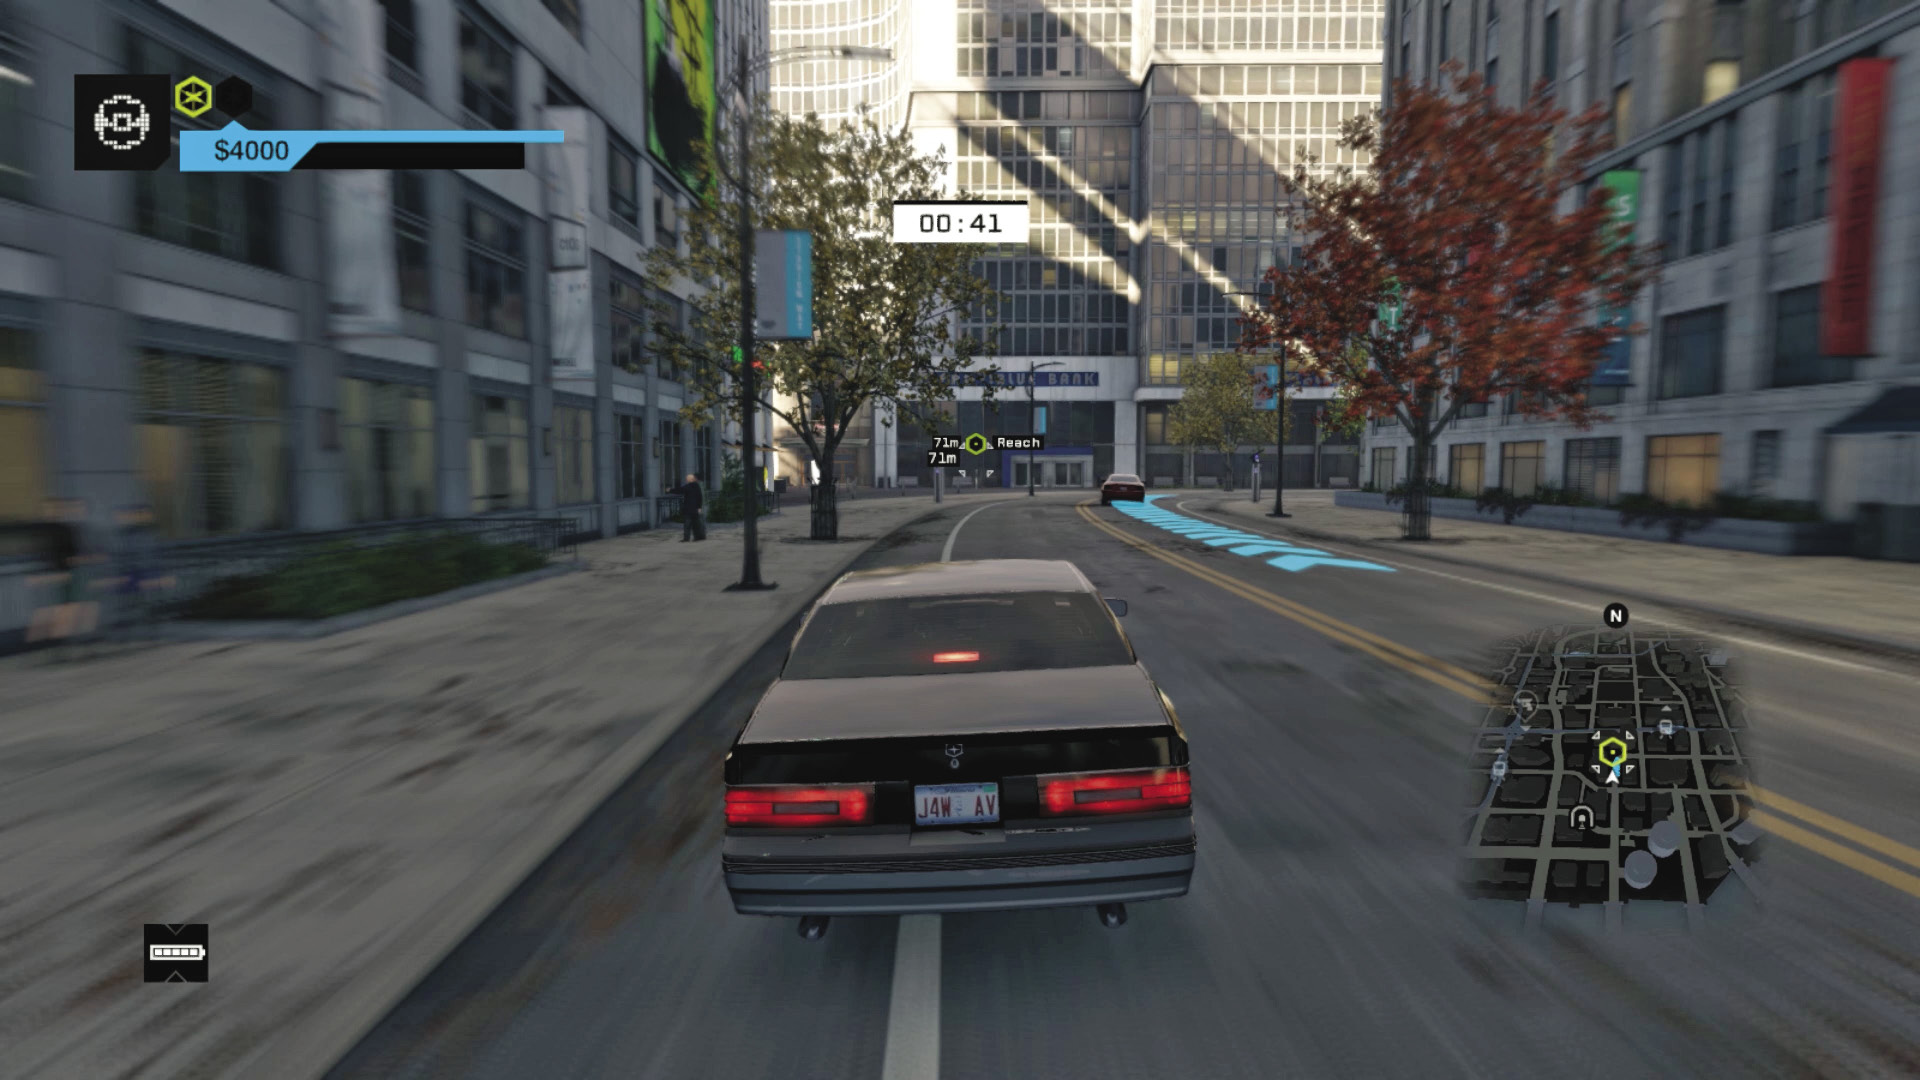
Vehicle 2 Route: With poor handling and top speed, it’s worth trying to find a straight shot to the finish line, which is fortunate, because that’s eminently possible: Head left out of the alley, around the corner, and head north. Open the garage door ahead of you, and drive into and out of the garage after opening the second door (you need to slow here). Then speed up, continuing straight, braking at the second garage. Plow straight through and up the exit (open that door). Then drive to the finish outside the hotel. Easy!
THE WARDS // TRANSPORTER CONTRACTS
04_GRAND TRIATHLON
Starting location 1: STRIP MALL (SOUTHWEST WARDS)
Starting location 2: MARINA (EAST PARKER SQUARE)
Starting location 3: JETTY (SOUTHWEST ISLAND, MAD MILE)
FINISHING location: Garage (East Mad Mile)
Vehicle 1: $5,000 / Sayonara
Vehicle 2: $8,000 / Speedboat
Vehicle 3: $12,000 / Scafati GT
Difficulty:
+00:20 // +$10,000
+00:10 // +$9,000
+00:00 // +$8,000
BEAT THIS: 00:48:64 (Anthony Renomeron)
Start Time: 01:25
Finish Time: 00:25 (01:00 seconds)
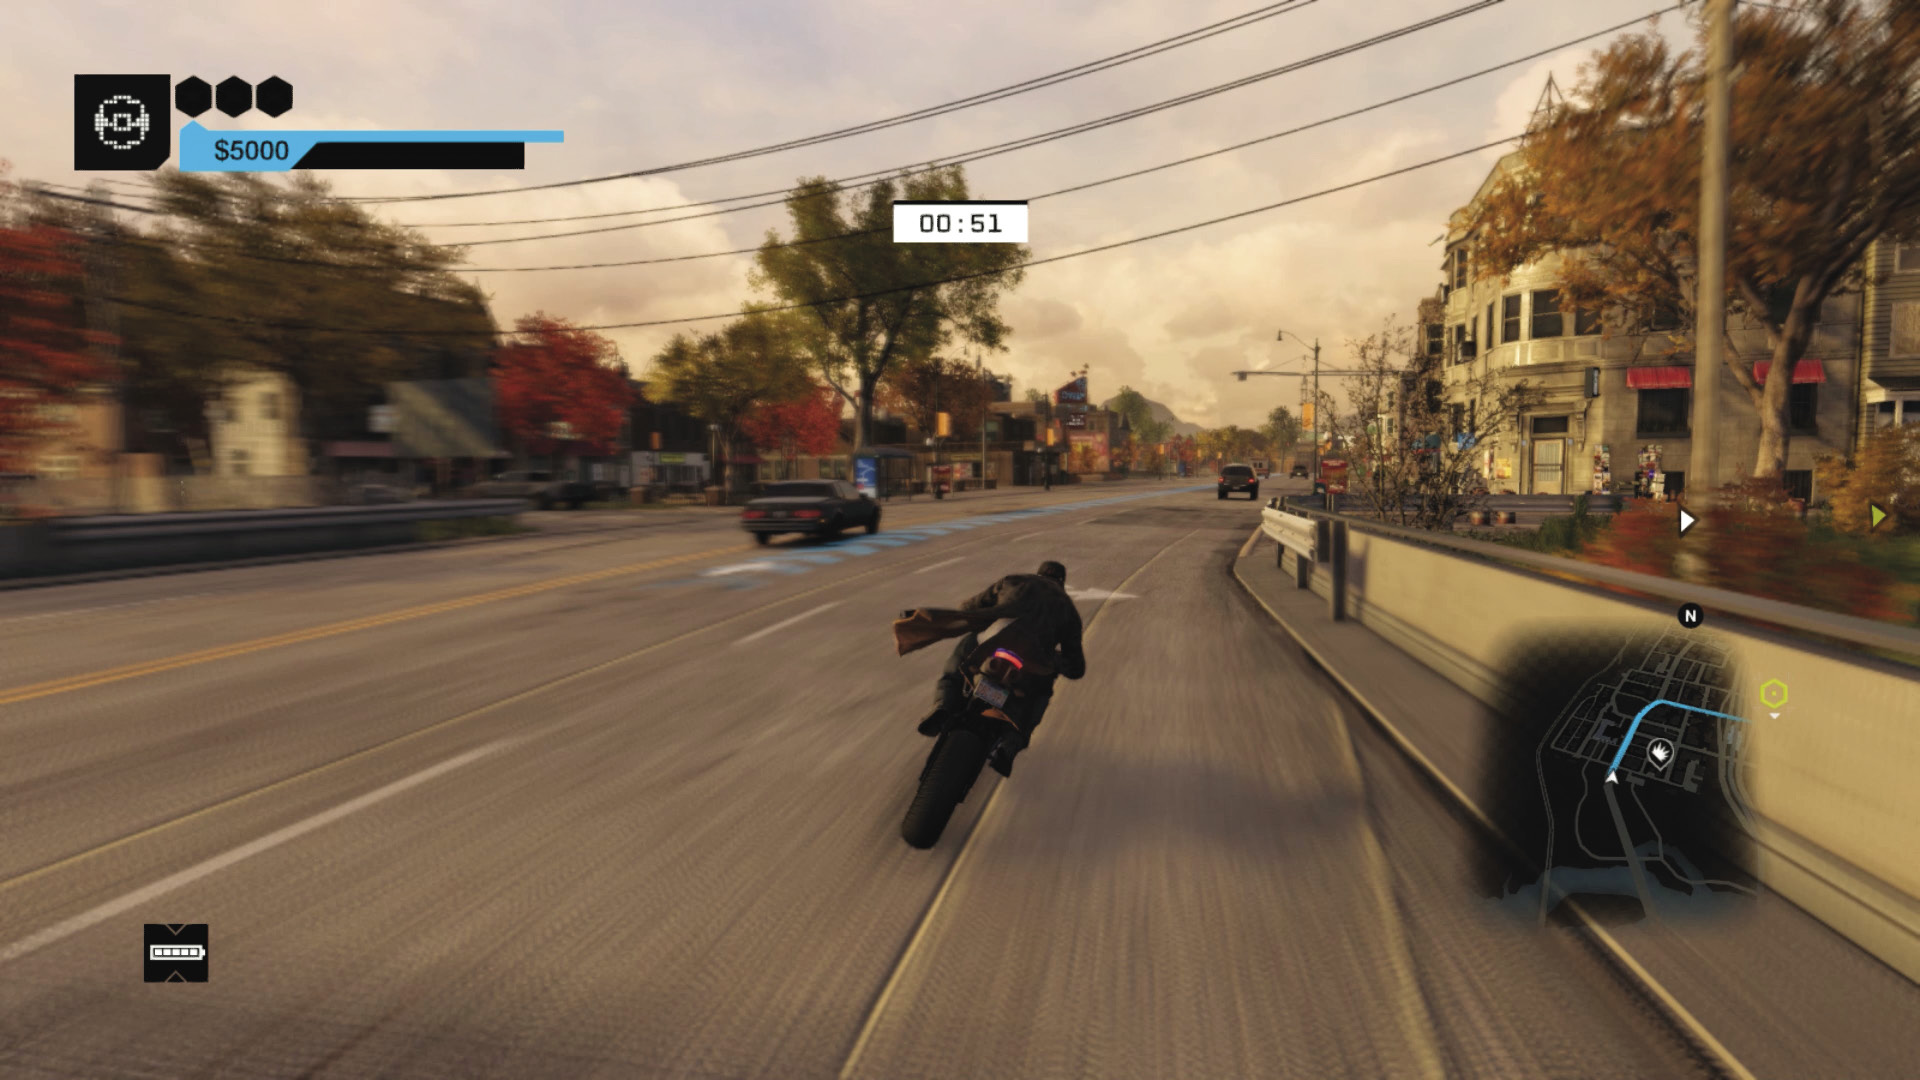
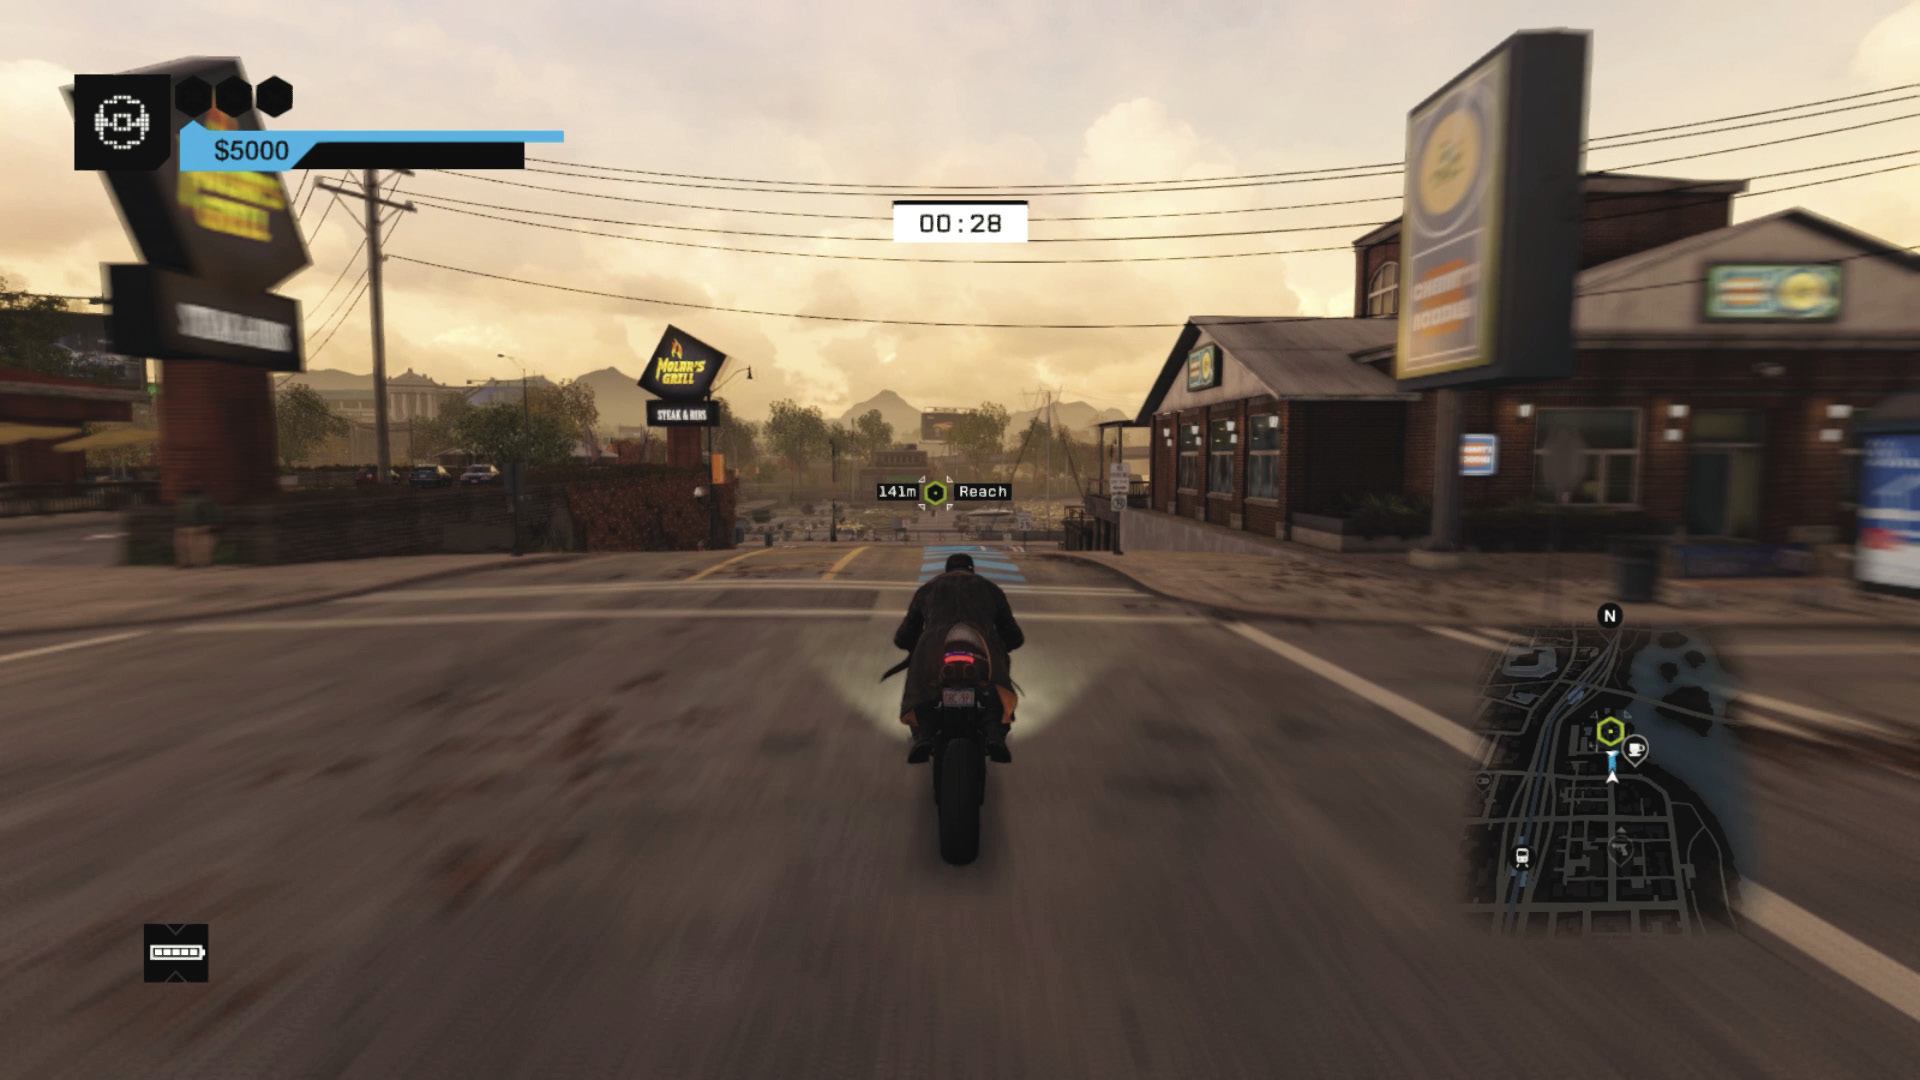
Vehicle 1 Route: Though main roads aren’t recommended by your employer, they provide the quickest route on your bike. Heading under the L-train tracks or using the rail lines actually takes longer. Instead, follow the main road north, onto the freeway into Parker Square. Continue to the right corner with the park on your left, over the bridge (freeway). Turn left, lining yourself up with the marina to the north. Crash through the railing and land on the marina jetty; try not to overshoot.
Start Time: 01:55 (+01:30 seconds)
Finish Time: 00:50 (01:05 seconds)
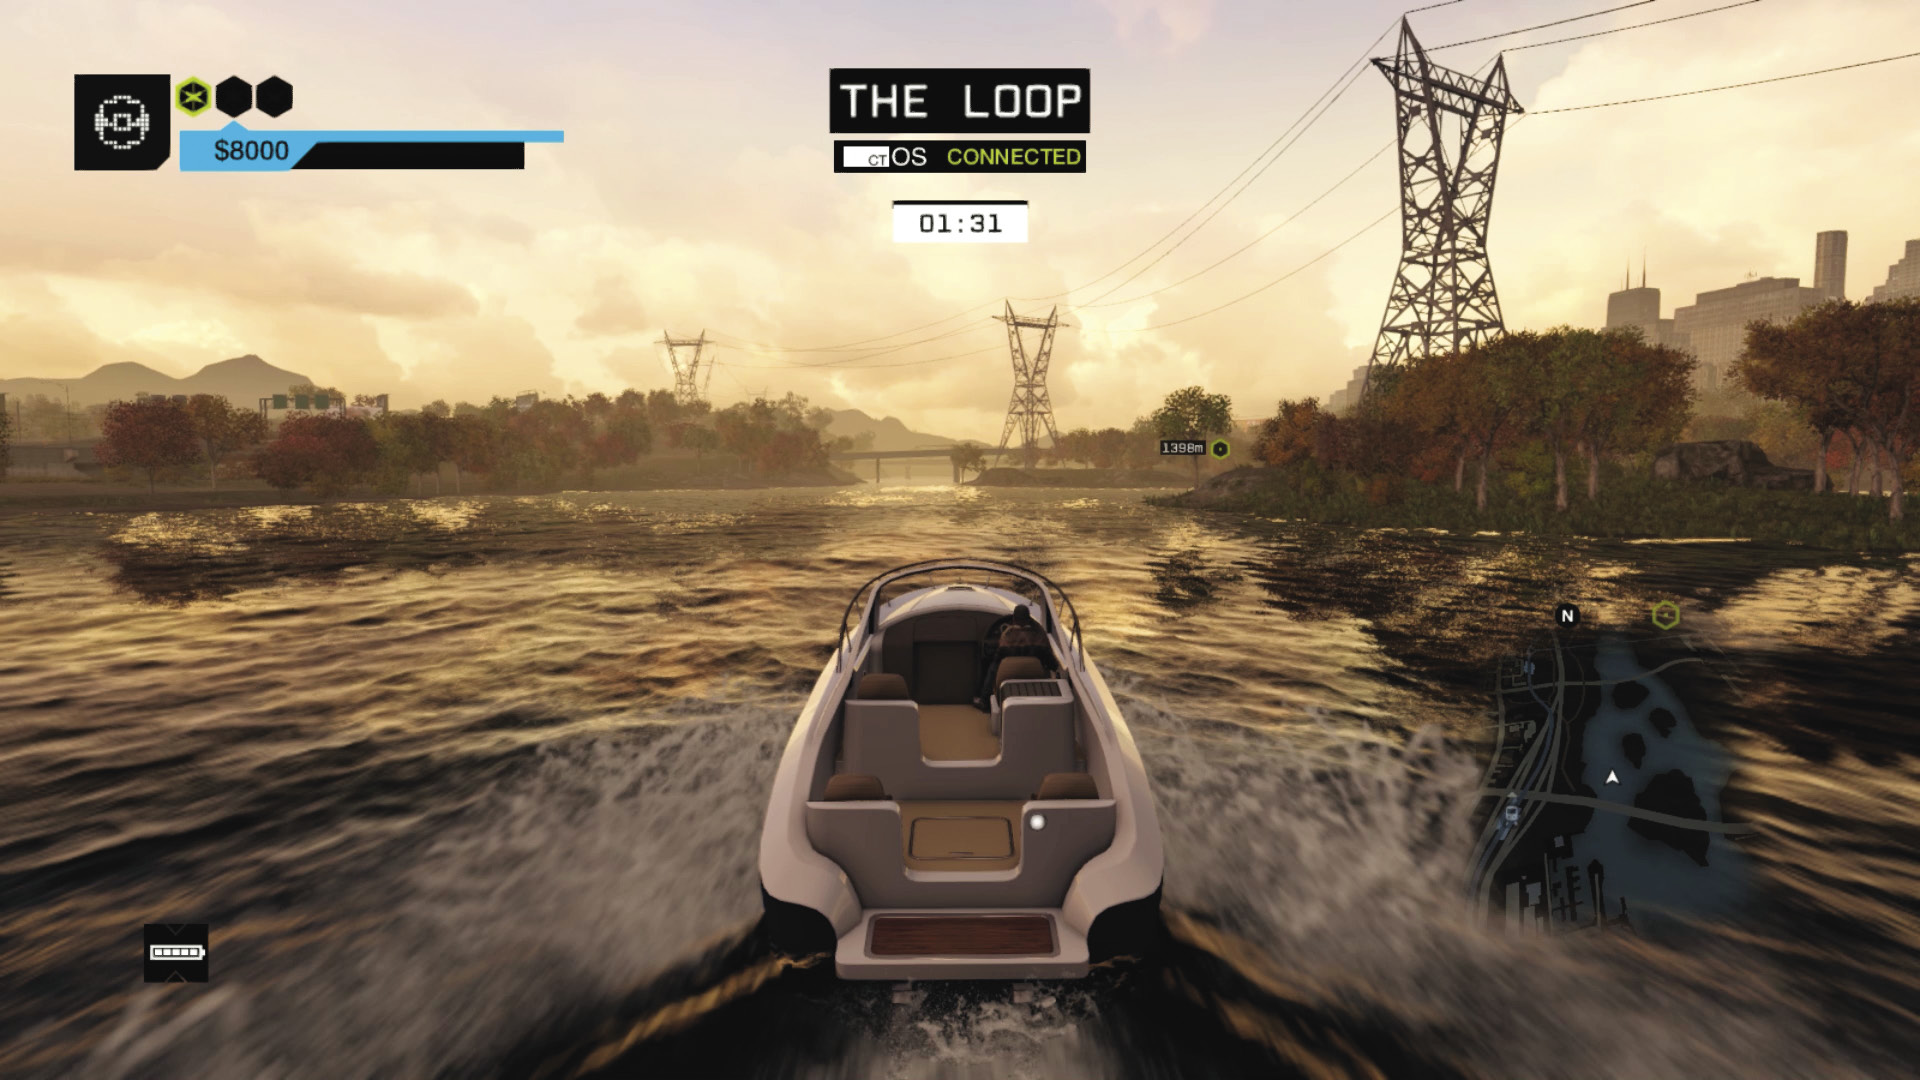
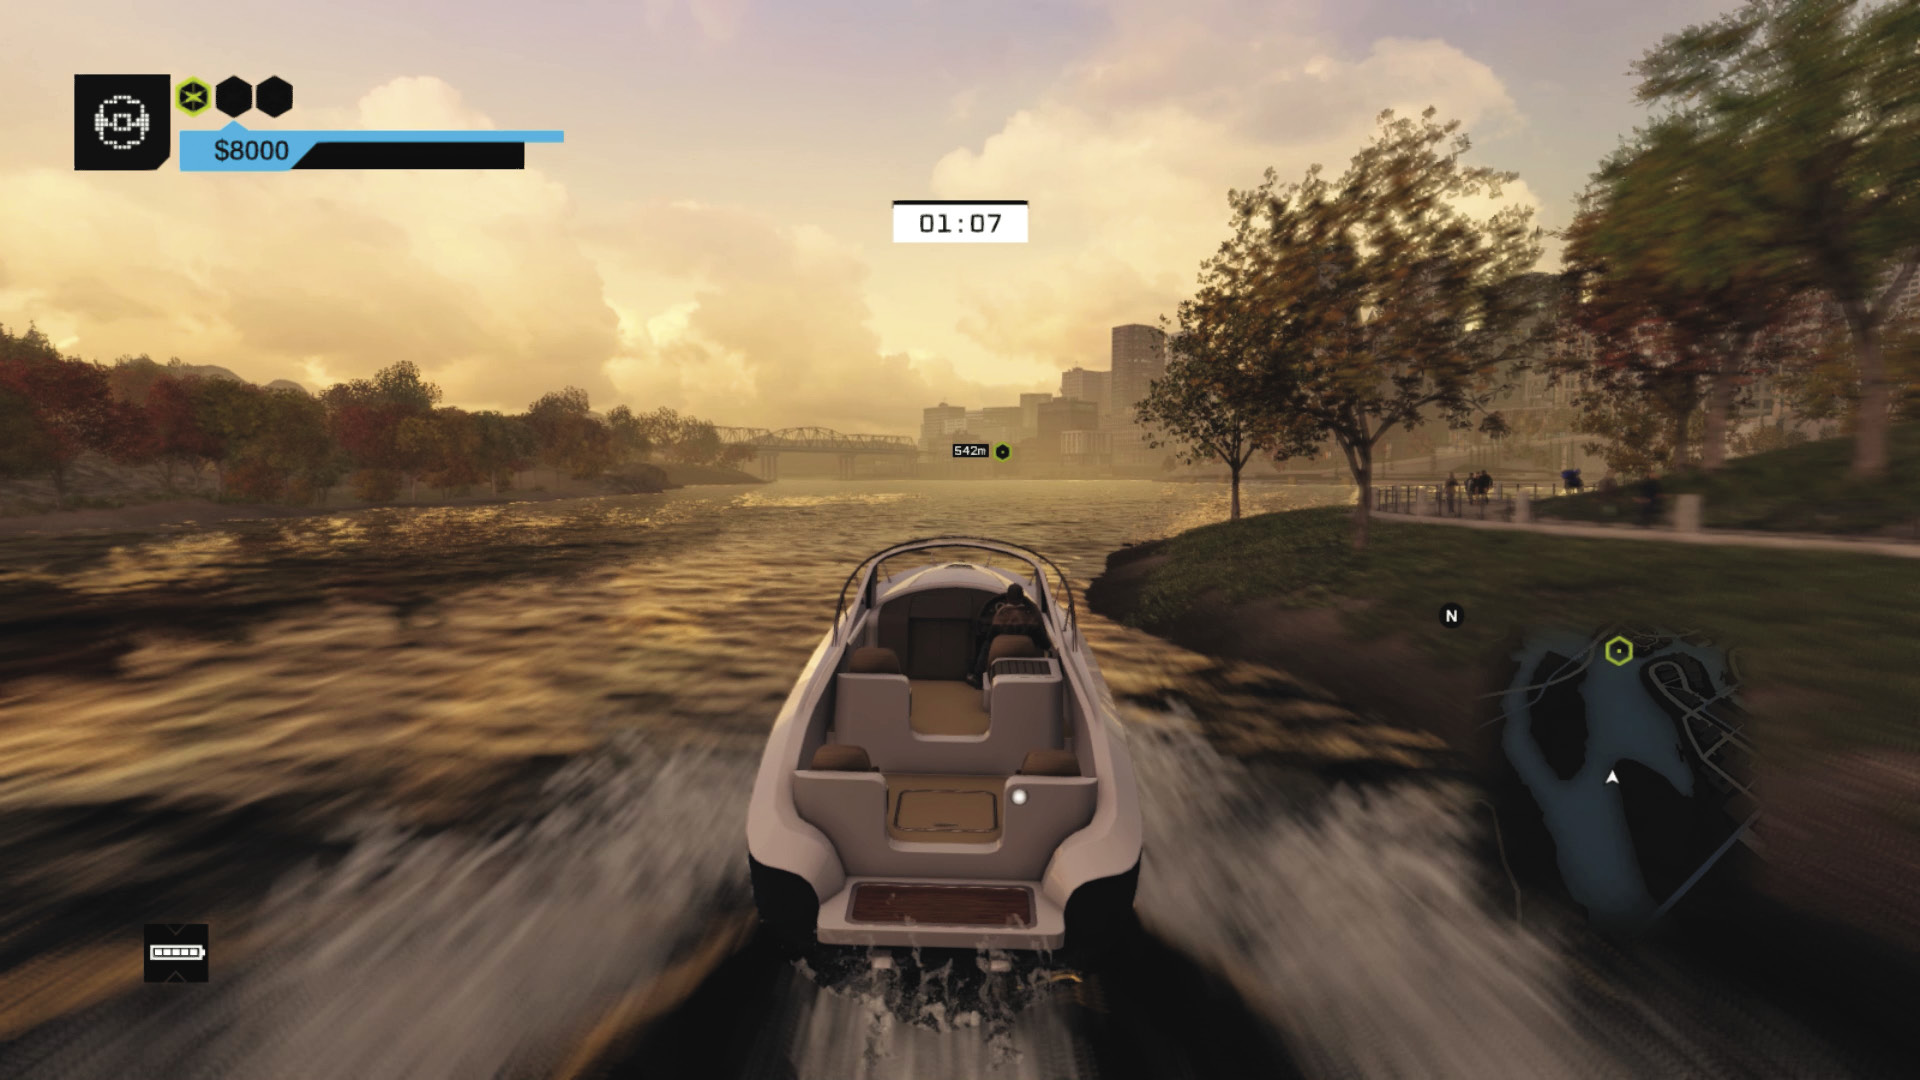
Vehicle 2 Route: Sprint to the boat, which offers an extremely straightforward journey from the marina to a jetty on the island southwest of Mad Mile. Head roughly northeast, staying to the left of the three islands and avoiding the concrete supports as you pass under the freeway and rail bridges. Watch the land on the right; glance past it as the water opens up into the bay with a direct line to your checkpoint. Continue on a collision course with this pier, slowing at the last second and pulling up parallel, so you can exit and hop onto the pier, not into the water.
Start Time: 02:15 (+01:25 seconds)
Finish Time: 01:05 (01:10 seconds)
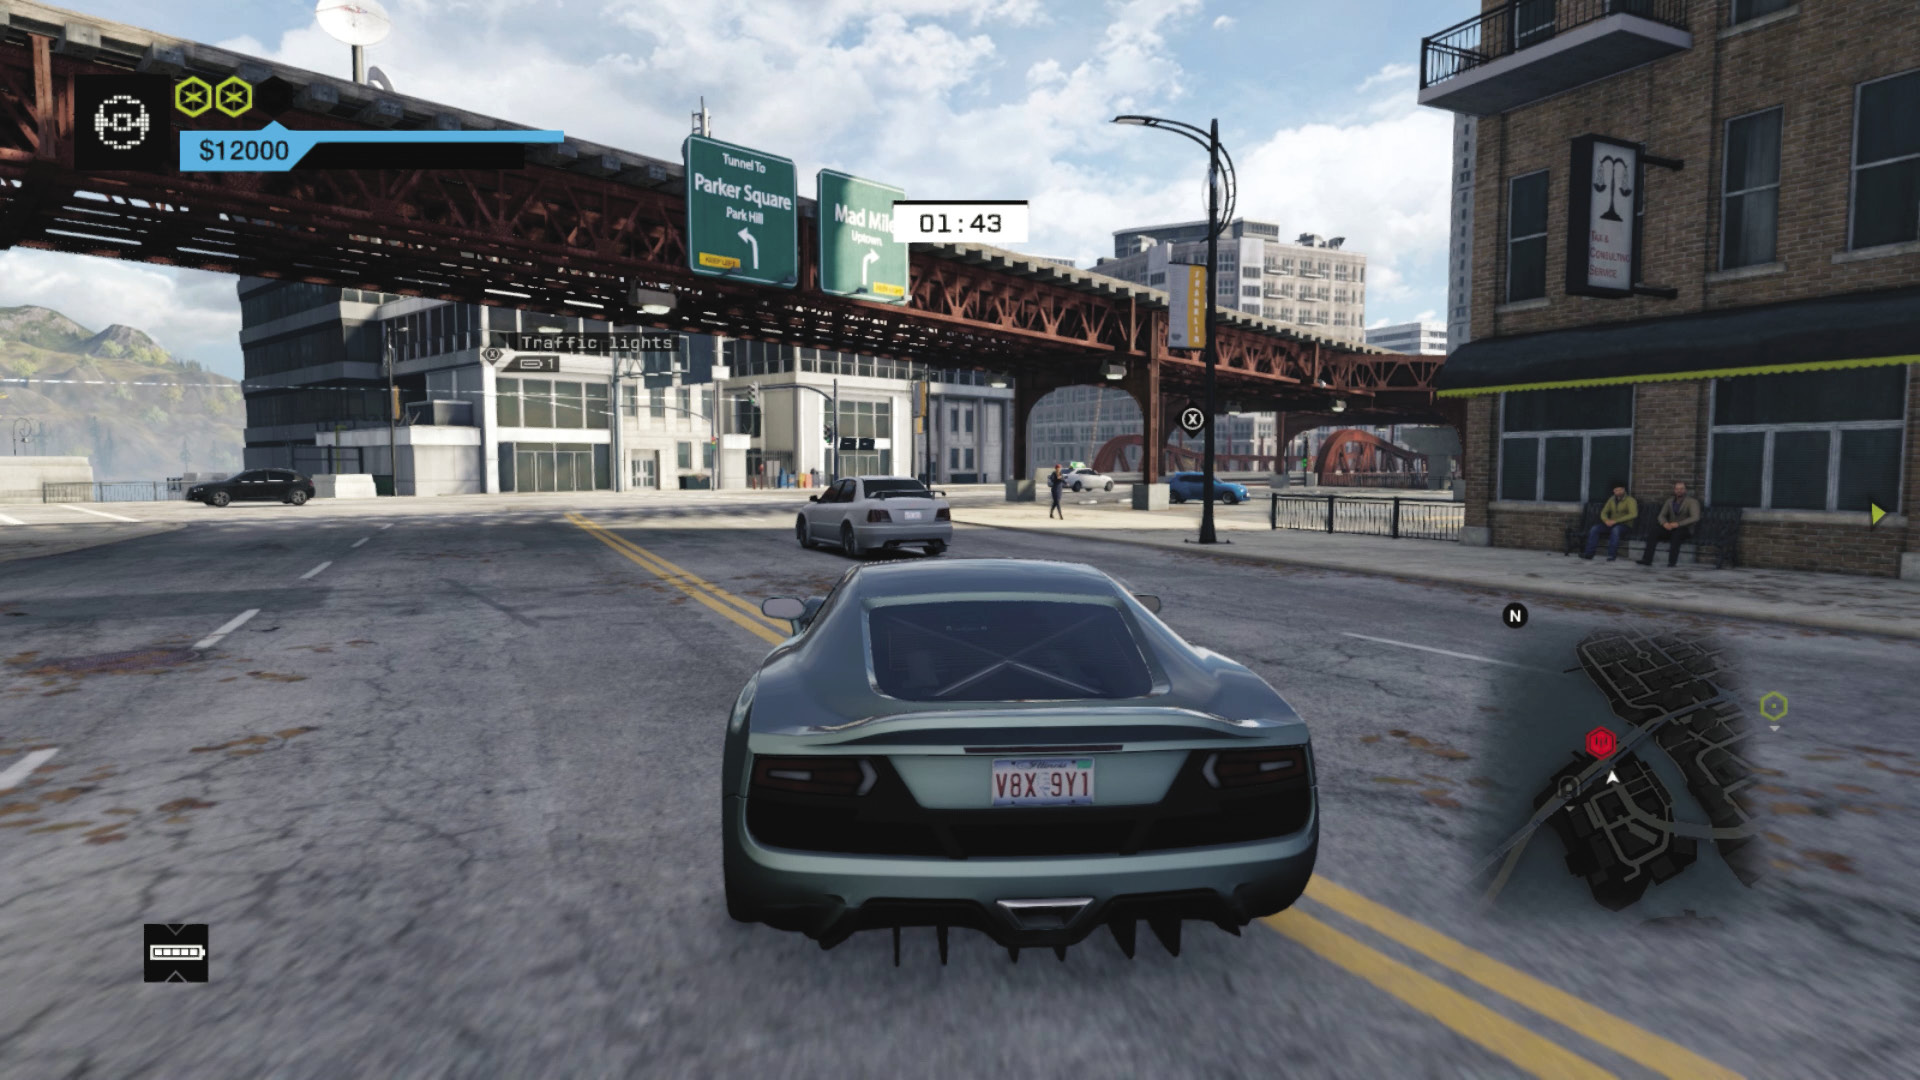
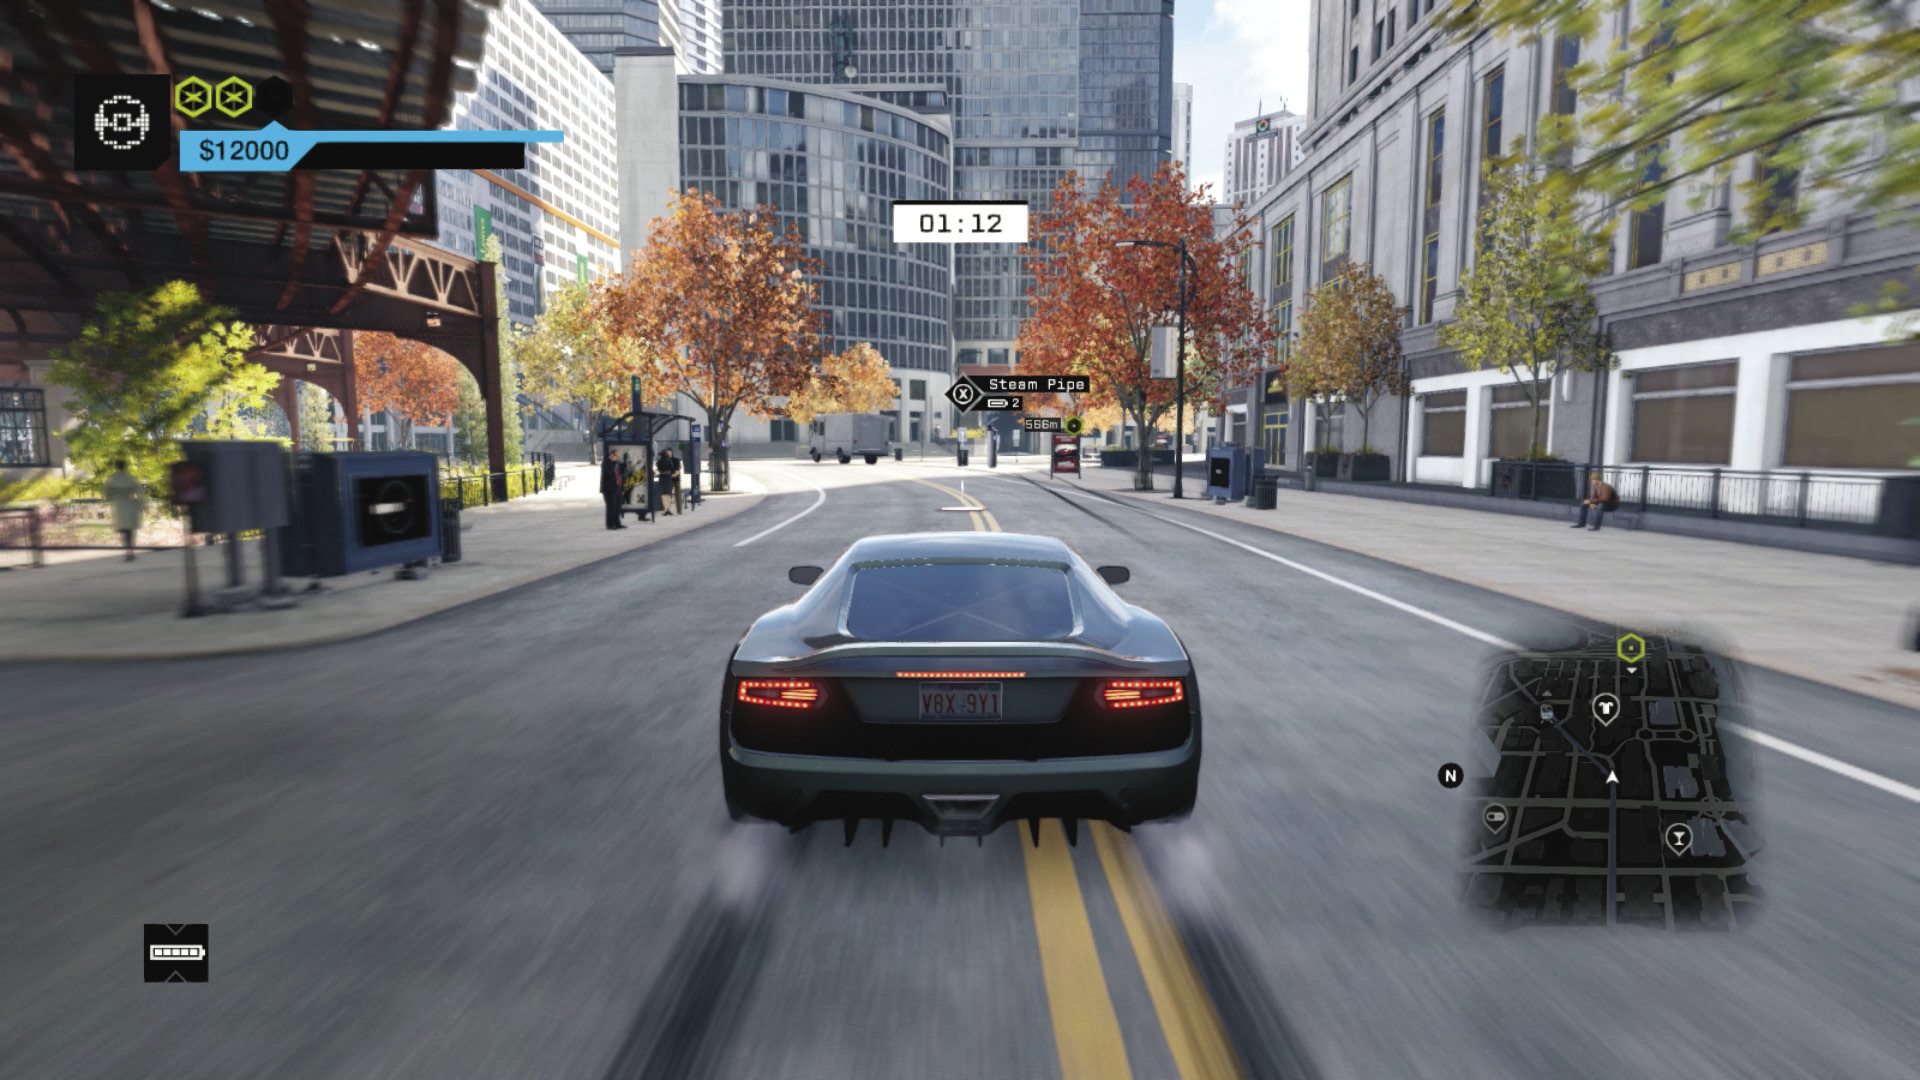
Vehicle 3 Route: Vault across the concrete planter and race up the stairs to your monstrous motor. Take a few seconds to spot the finish area—a garage over on the eastern side of Mad Mile. You can use the GPS, but there’s an easier route with fewer turns: Make a left, then follow the road around the tight right corner. Cut diagonally left toward the bridge, heading east, and accelerate hard as you follow the L-train line until it curves to the left. Slow and skid right, into the pedestrian area, down an alley heading east. Open a garage door, then a second almost instantly. You’re then three blocks in a straight line from the garage on your right, and the finish inside this structure.
BRANDON DOCKS // TRANSPORTER CONTRACTS
05_DELIVERY MAN
Starting location 1: SOUTHEAST RAIL YARD
Starting location 2: SOUTH RIVER JETTY
Starting location 3: UNDERPASS JETTY (THE LOOP)
FINISHING location: NORTHWEST ALLEY (THE LOOP)
Vehicle 1: $5,000 / Vespid HMI
Vehicle 2: $5,000 / Speedboat
Vehicle 3: $5,000 / Carrozza
Difficulty:
 +00:30 // +$6,000
 +00:20 // +$5,000
 +00:00 // +$4,000
BEAT THIS: 00:43:92 (Anthony Renomeron)
Start Time: 01:30
Finish Time: 00:35 (00:55 seconds)
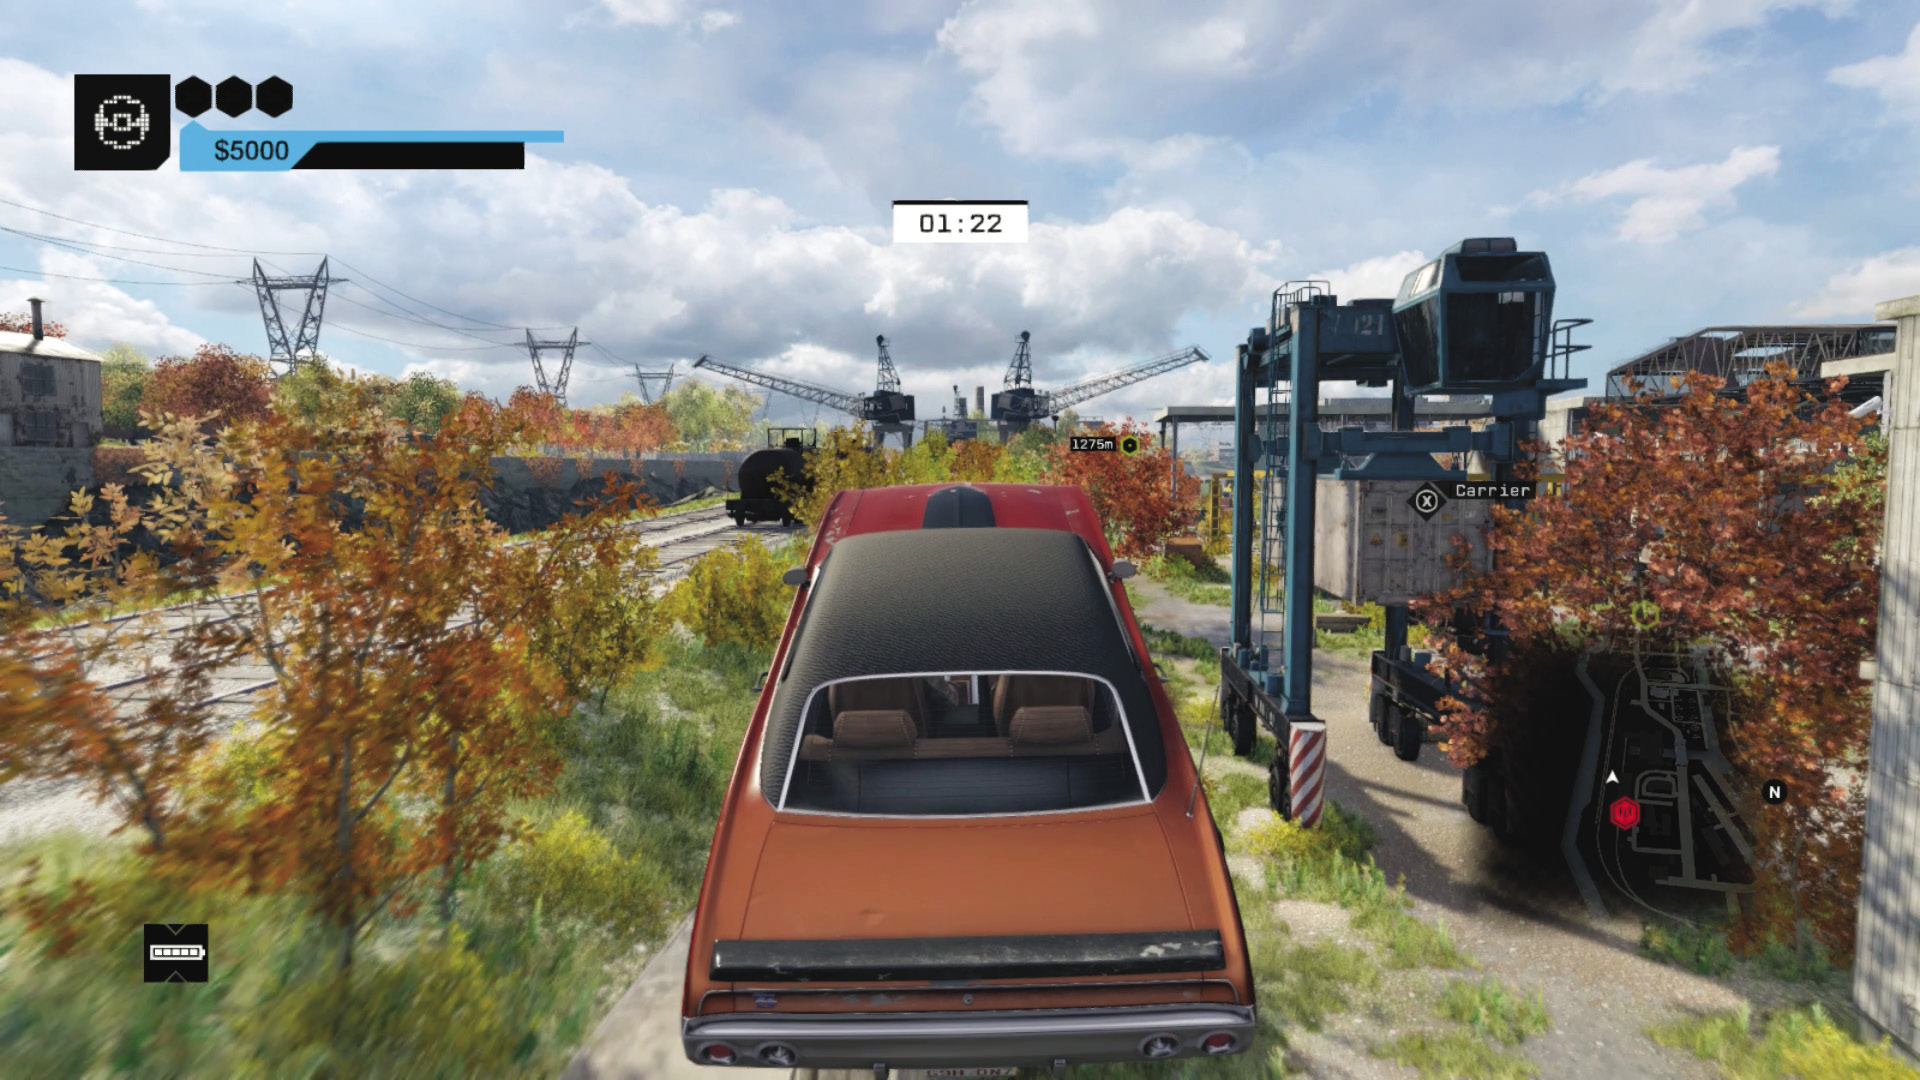
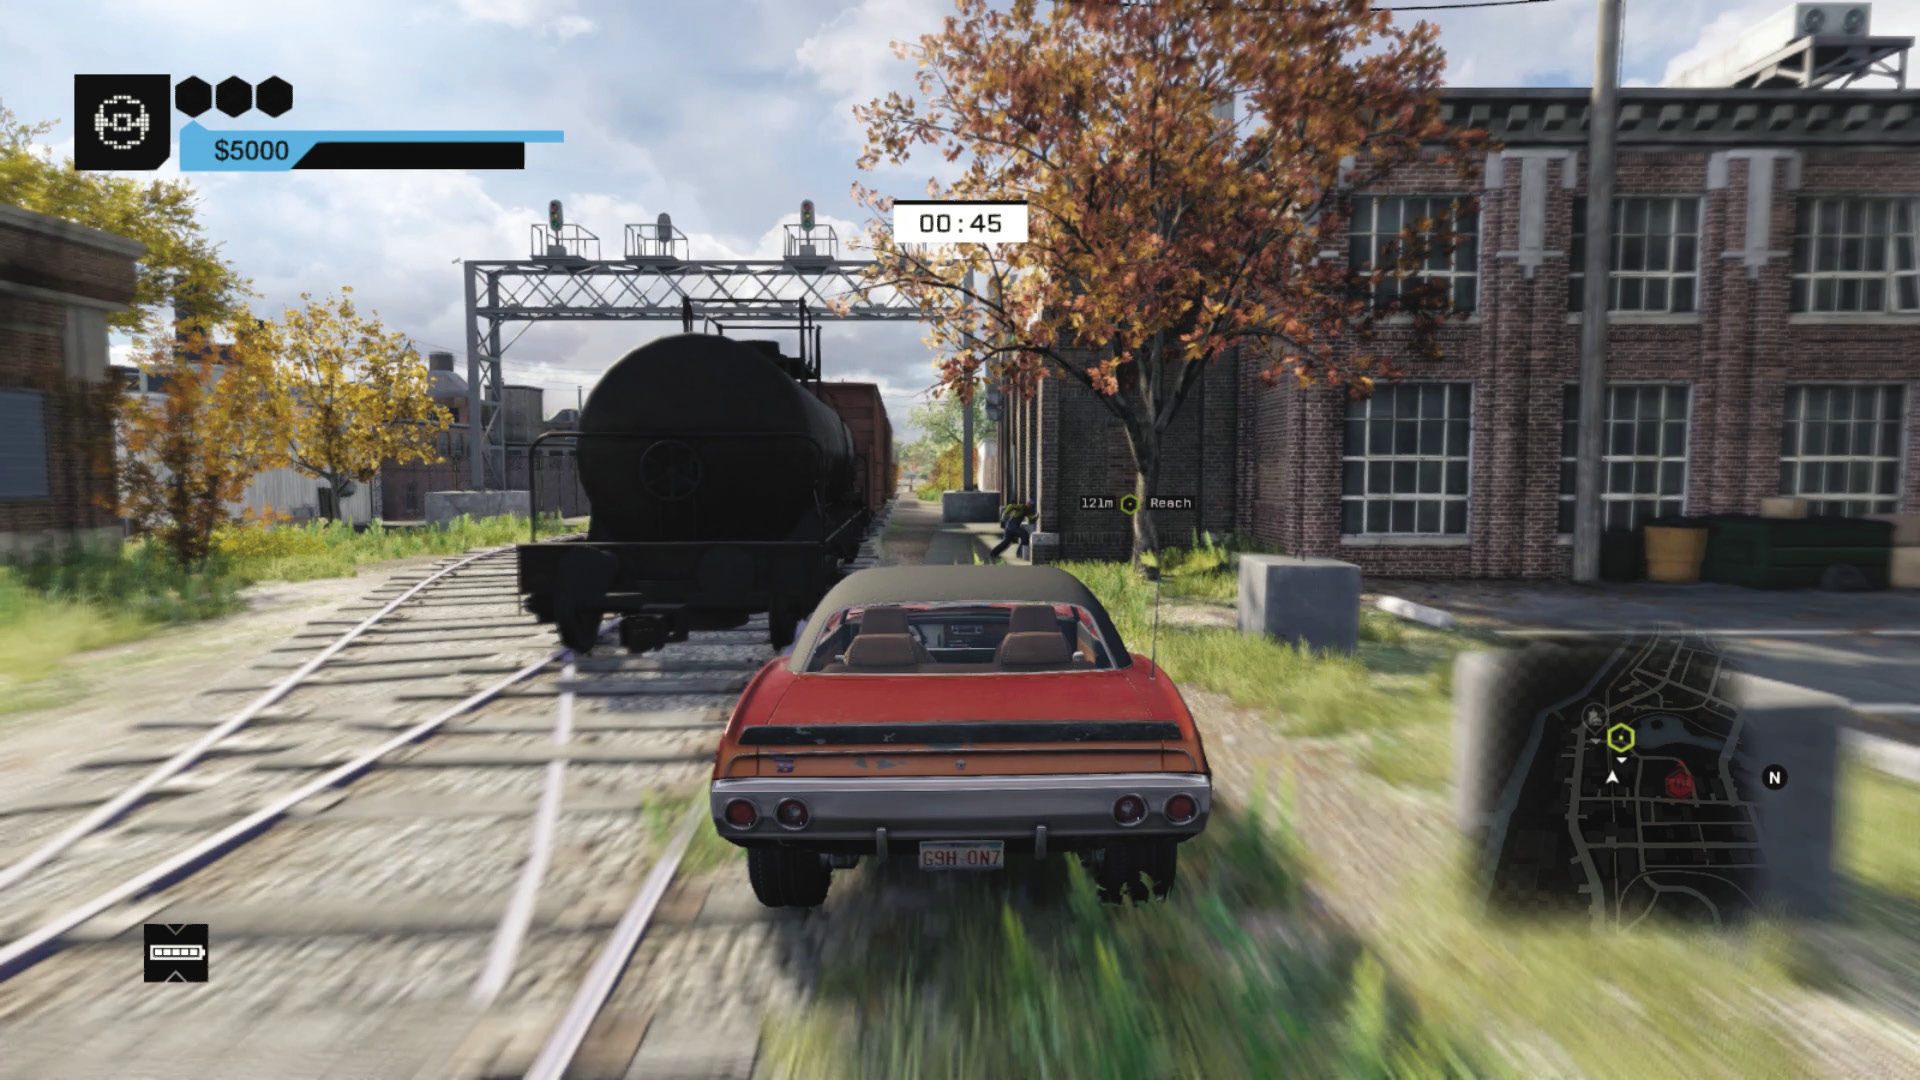
Vehicle 1 Route: There are rail tracks to the right, which are easily spotted and lead to a garage and the yard, which is tricky to navigate through, especially with a vehicle that has imprecise cornering! Instead, drive over the grass to the left, up the container ramp, and onto the left rail tracks. This allows you to progress quickly and directly to the checkpoint. Line up for the metal warehouse entrance, bear left around the carriage, and watch the traffic as you cross the road. Drift right at the cylindrical engine carriage and slow down. Very slowly drop off the concrete side of the rail tracks onto the road below, making a sharp right turn and roll onto the checkpoint.
Start Time: 02:35 (+02:00 seconds)
Finish Time: 00:50 (01:45 seconds)
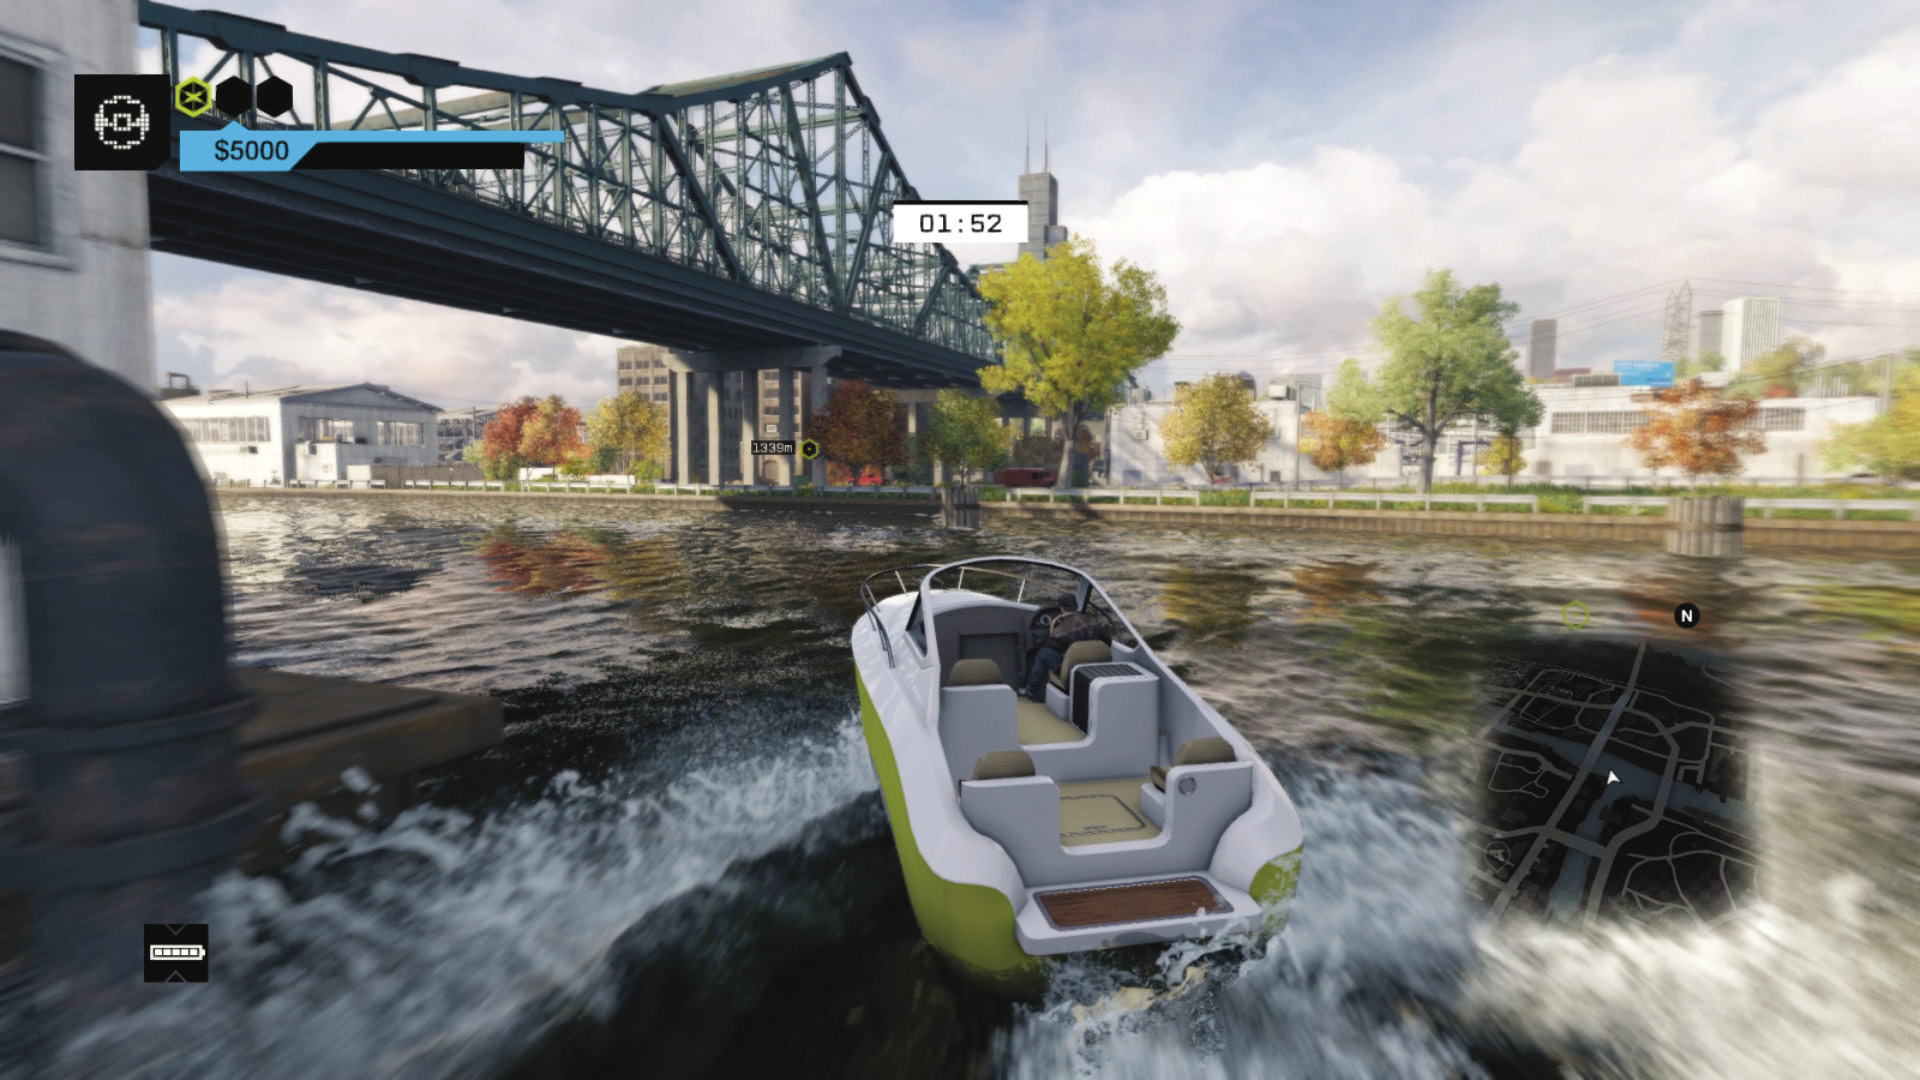
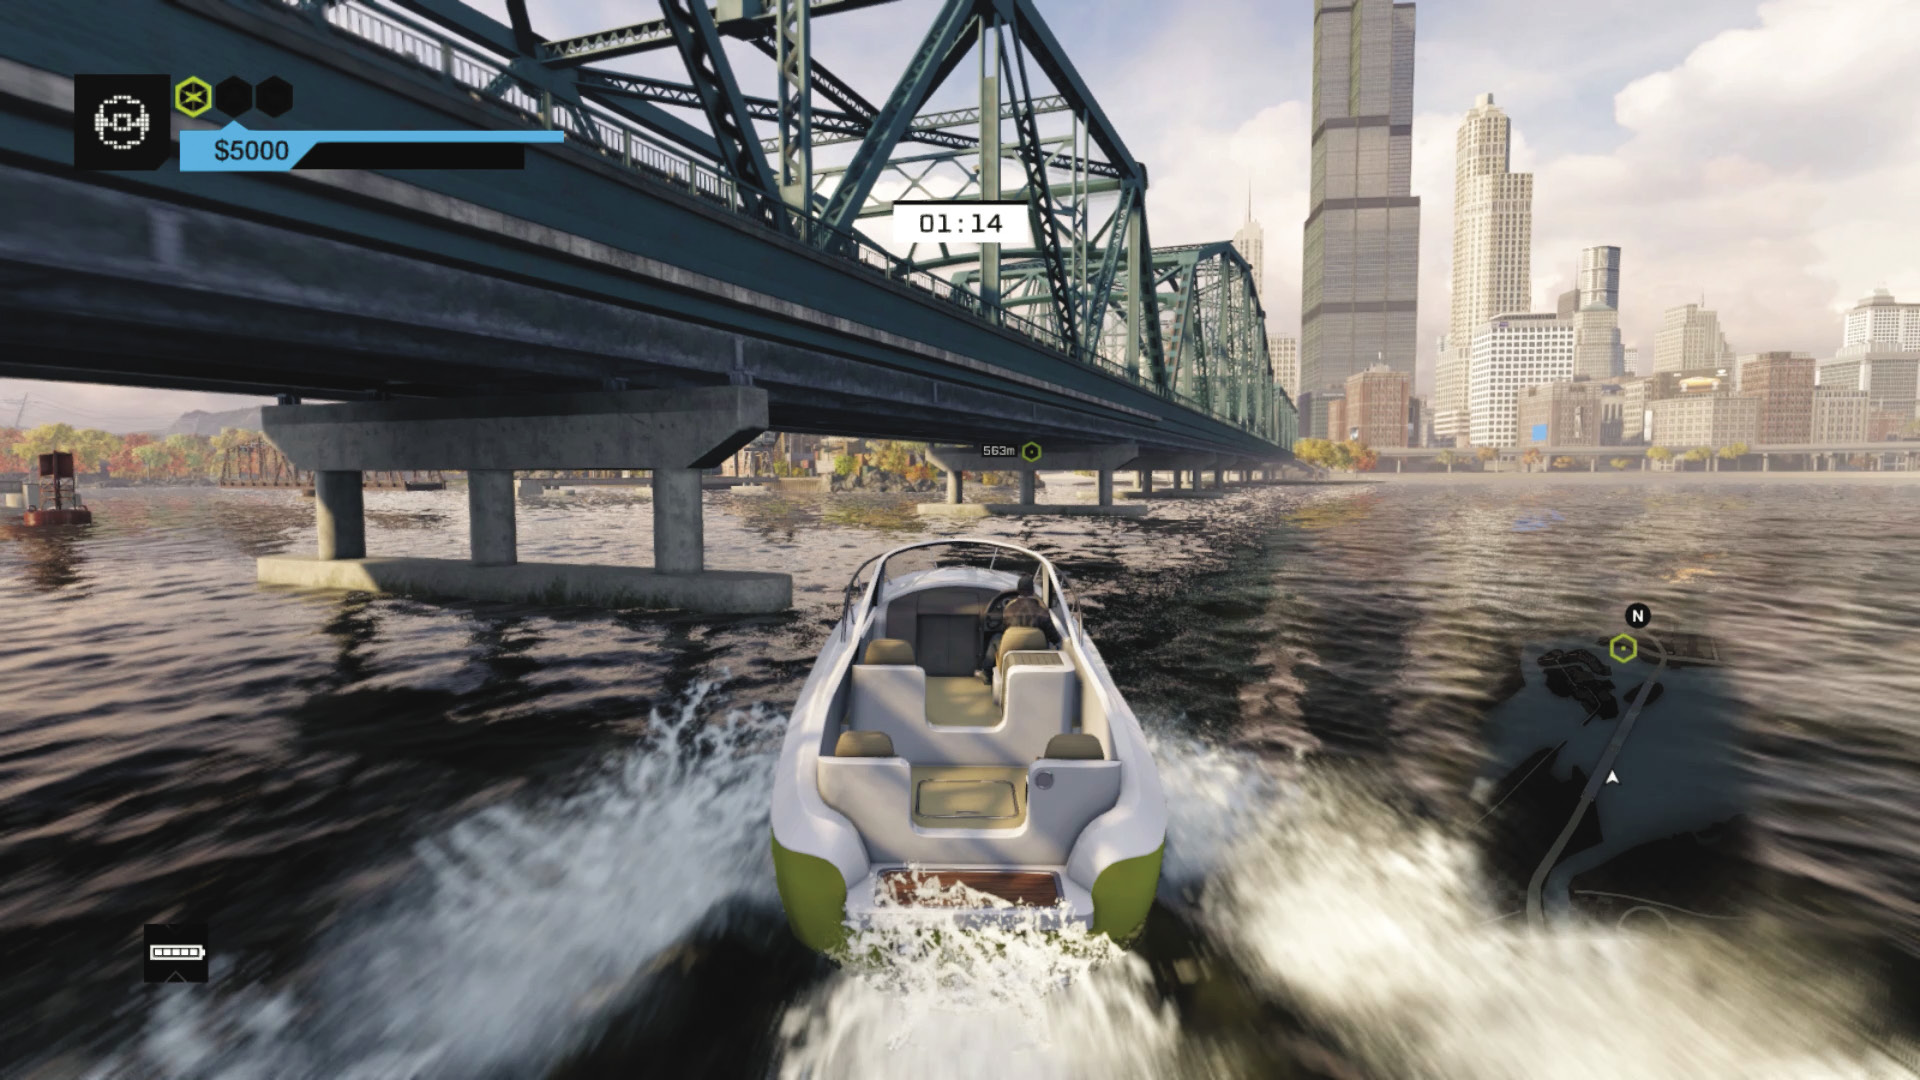
Vehicle 2 Route: Rush to the right of the cluster of crates, down the path to the small jetty, and accelerate quickly along the water; avoid wooden buoys and the edges of piers so you aren’t slowed down. At the end of this river area at the junction, head left (west), then northwest, and finally north, watching for more buoys. Bridges automatically rise, so slow down and scoot under the lifting one rather than hacking it (which lowers it, wasting your time). In the wide expanse of water, plot a direct path to the checkpoint but avoid the bridge supports; weave around them, as they can stall you if you try to sneak between the narrow gaps of the columns. Moor your boat at the Loop jetty, parallel so when you disembark you land on the wooden platform, not the water.
Start Time: 01:50 (+01:00 seconds)
Finish Time: 00:55 (00:55 seconds)
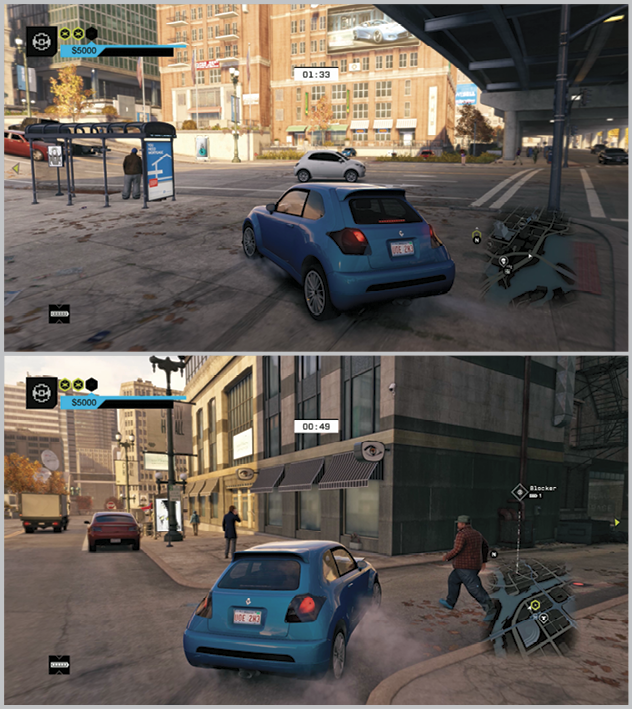
Vehicle 3 Route: There are numerous shortcuts, but this is the best way: head right, cutting the left corner as you reach the road with the bumps heading up. Plot a GPS course to your goal. You can try cutting right, up the steps to the two-lane road that leads to the checkpoint, or heading east a block and then north, up this street. The goal is the alley on your right, just before the road hits the river, between the buildings with a “Design” sign and an eye insignia.
06_INDUSTRY STANDARDS
Starting location 1: NORTH DOCKS RAIL LINE
Starting location 2: UNLOADING BAY, THE WARDS
Starting location 3: GARAGE PARKING LOT, WEST DOCKS
FINISHING location: GRASSY INDUSTRIAL ZONE, SOUTHERN DOCKS
Vehicle 1: $6,000 / Tributary 1500
Vehicle 2: $3,000 / Kuruhawa Motorsport 450
Vehicle 3: $4,000 / Zusume R
Difficulty:
 +00:35 // +$6,000
 +00:20 // +$5,000
 +00:00 // +$4,000
BEAT THIS: 00:47:58 (Anthony Renomeron)
Start Time: 01:25
Finish Time: 00:30 (00:55 seconds)
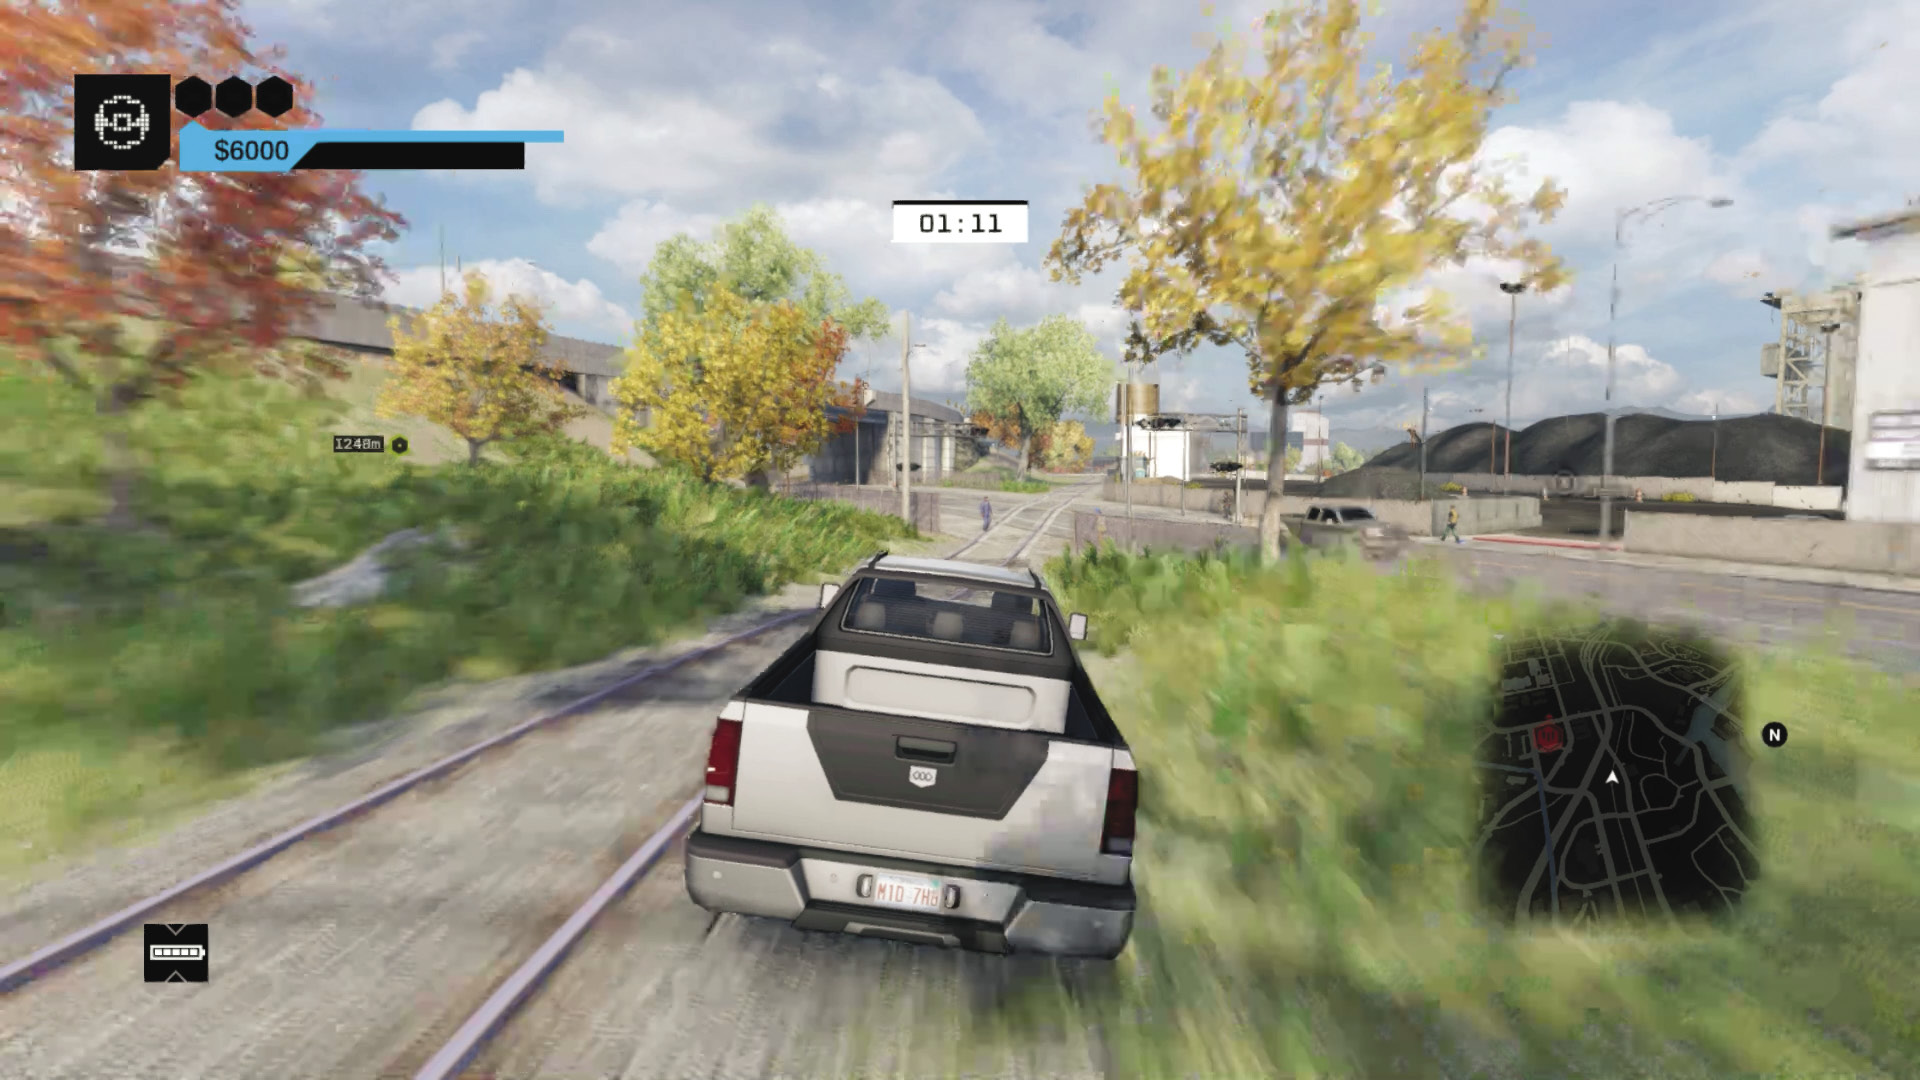
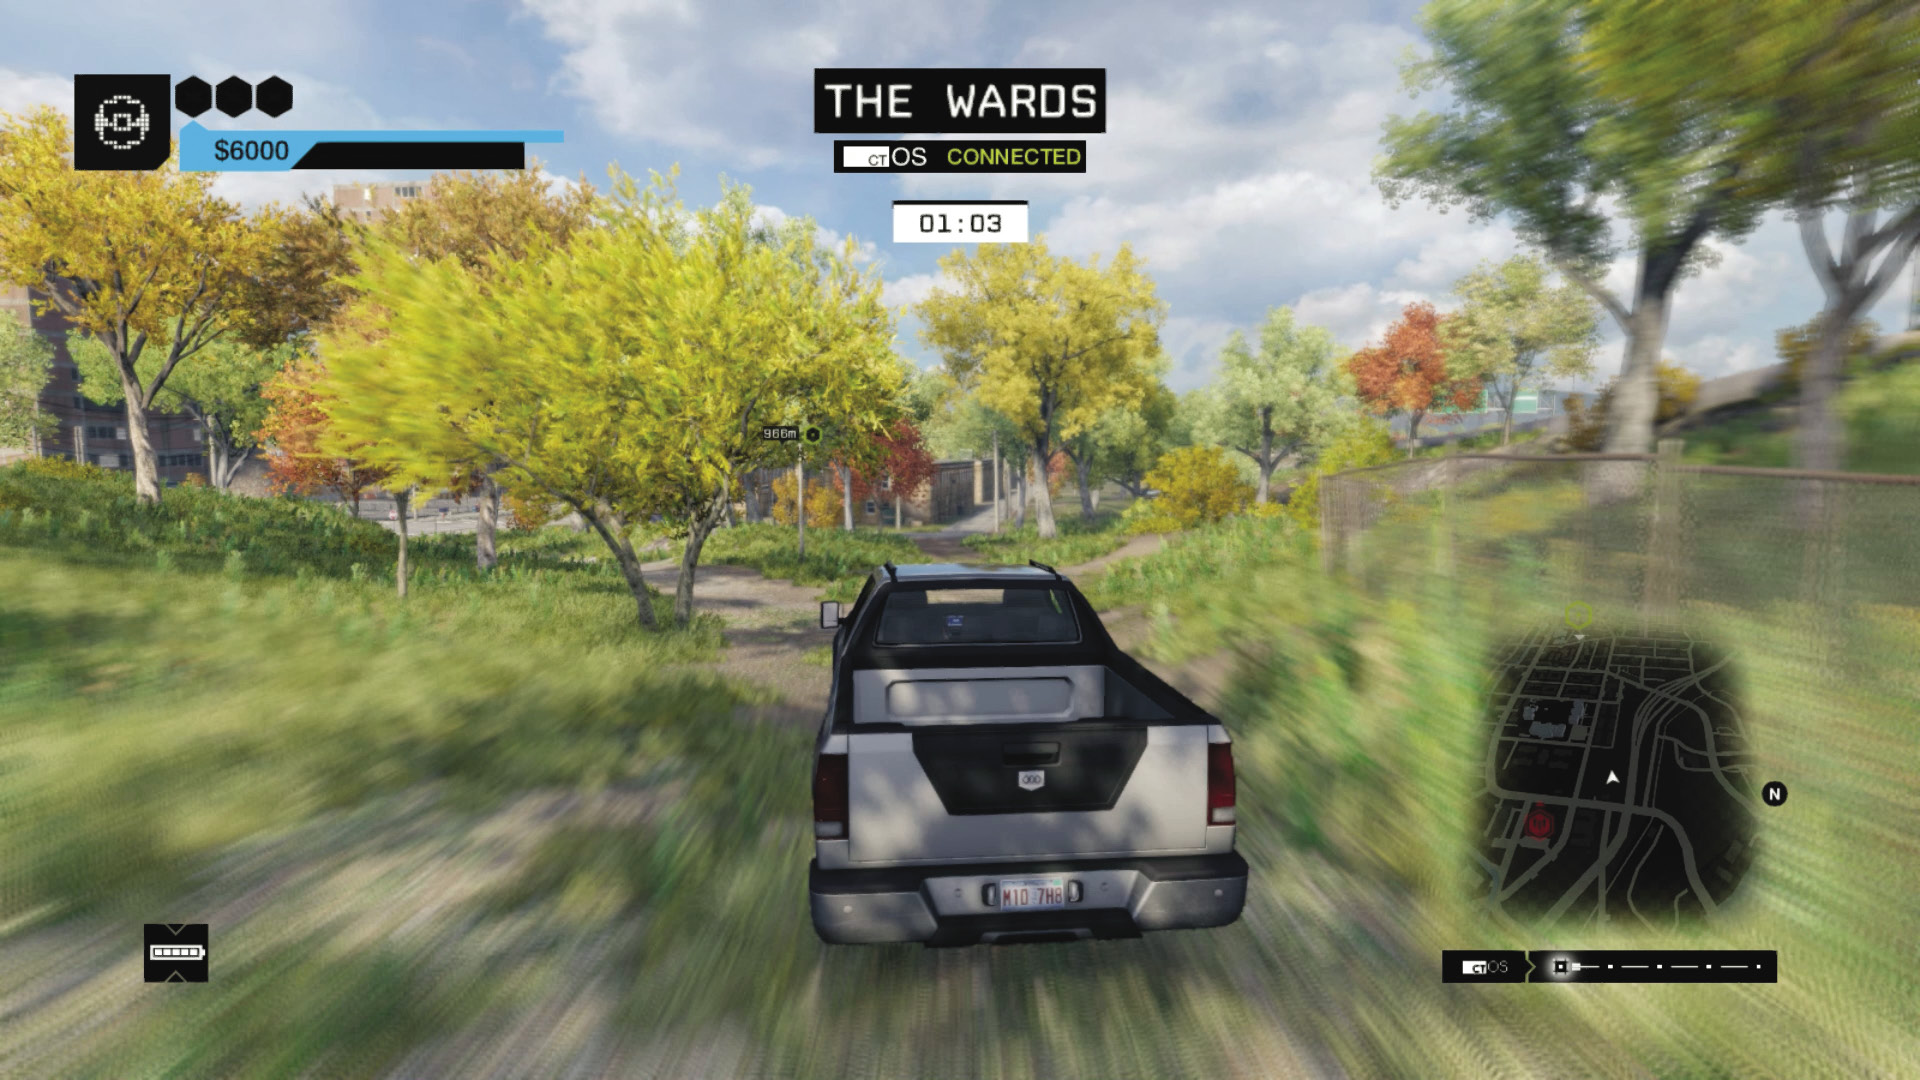
Vehicle 1 Route: Open the gates of the rail line first so you don’t slam into them; accelerate quickly as you head west. Though you can head left onto the road, another option is to follow the rail line as it bends right slightly, then get off, swerve left under the bridge, and cut across the fenced gardens in a diagonal off-road maneuver through the next streets. Watch for parked cars, and accelerate hard along the road, passing the apartment buildings of the Wards. Follow the road as it bends to the left. Then smash through the parking lot fence and avoid the L-train pillars to gain some time as you reach the unloading bay and checkpoint.
Start Time: 01:45 (+01:15 seconds)
Finish Time: 00:55 (00:50 seconds)
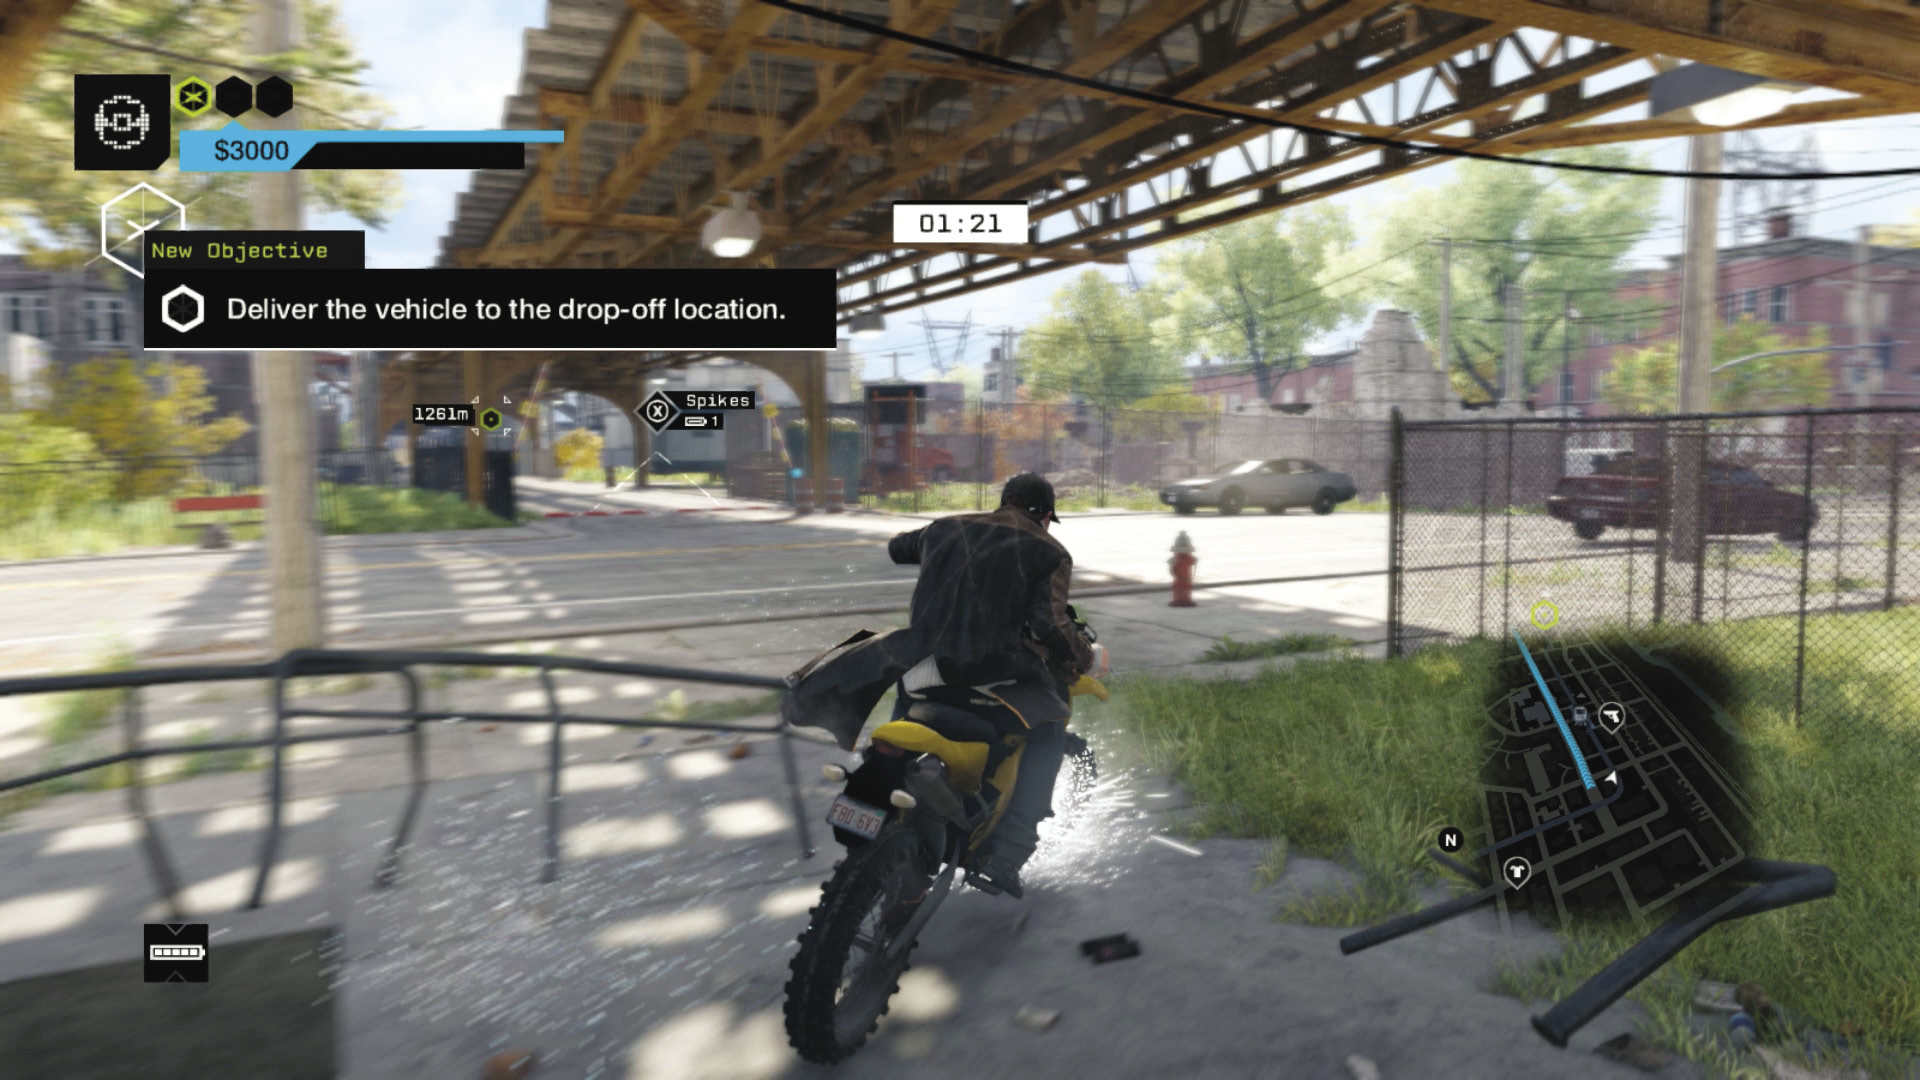
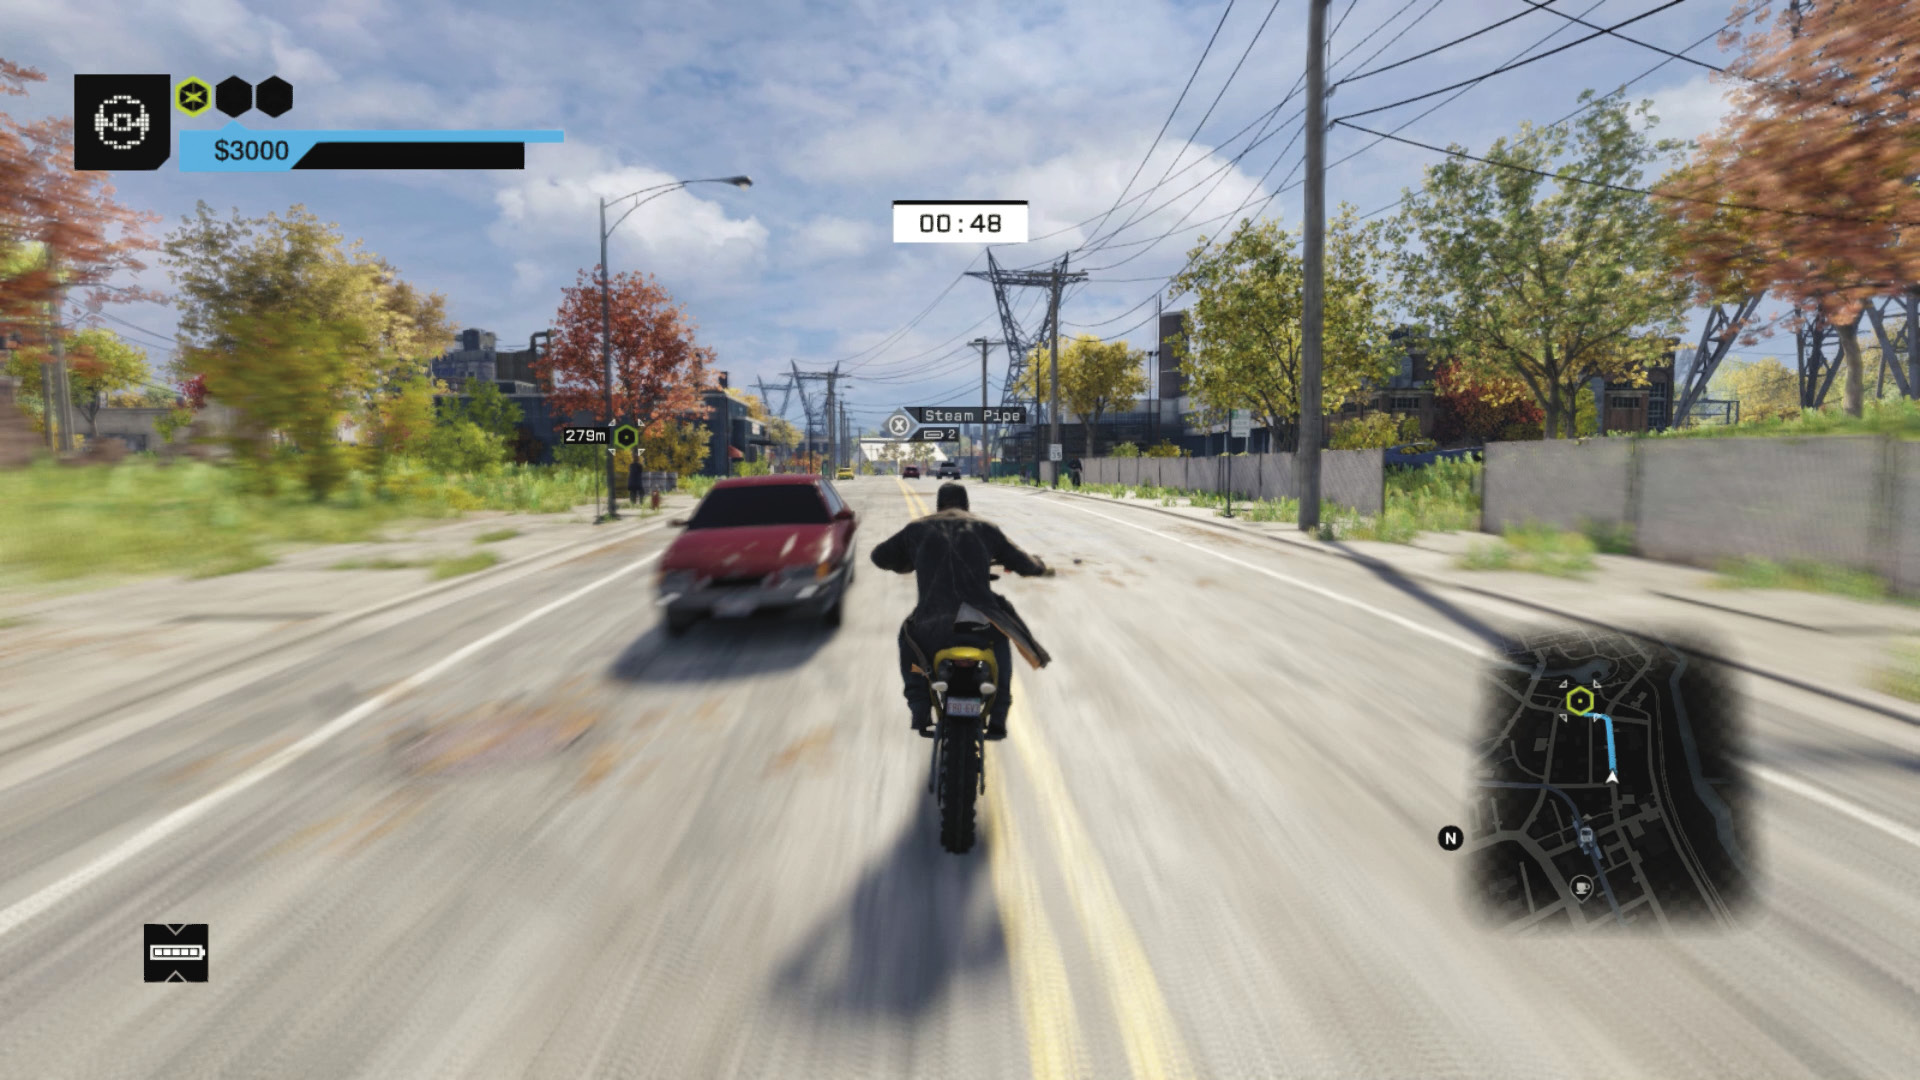
Vehicle 2 Route: Rush south, under the L-train tracks to reach the bike (not the car parked in front of it!) at the family dining cafe. Check the map; you can drive under the L-train tracks and exit right onto the dirt ground to reach the garage checkpoint. But the cross-traffic and debris can cause accidents. It’s just as quick to head right and then left (east), along the main road parallel and just south of the L-train, where you can reach a faster top speed. Ignore the road lanes and cut any corners you can. The checkpoint is the side of the parking area in front of a garage.
Start Time: 02:05 (+01:10 seconds)
Finish Time: 01:15 (00:50 seconds)
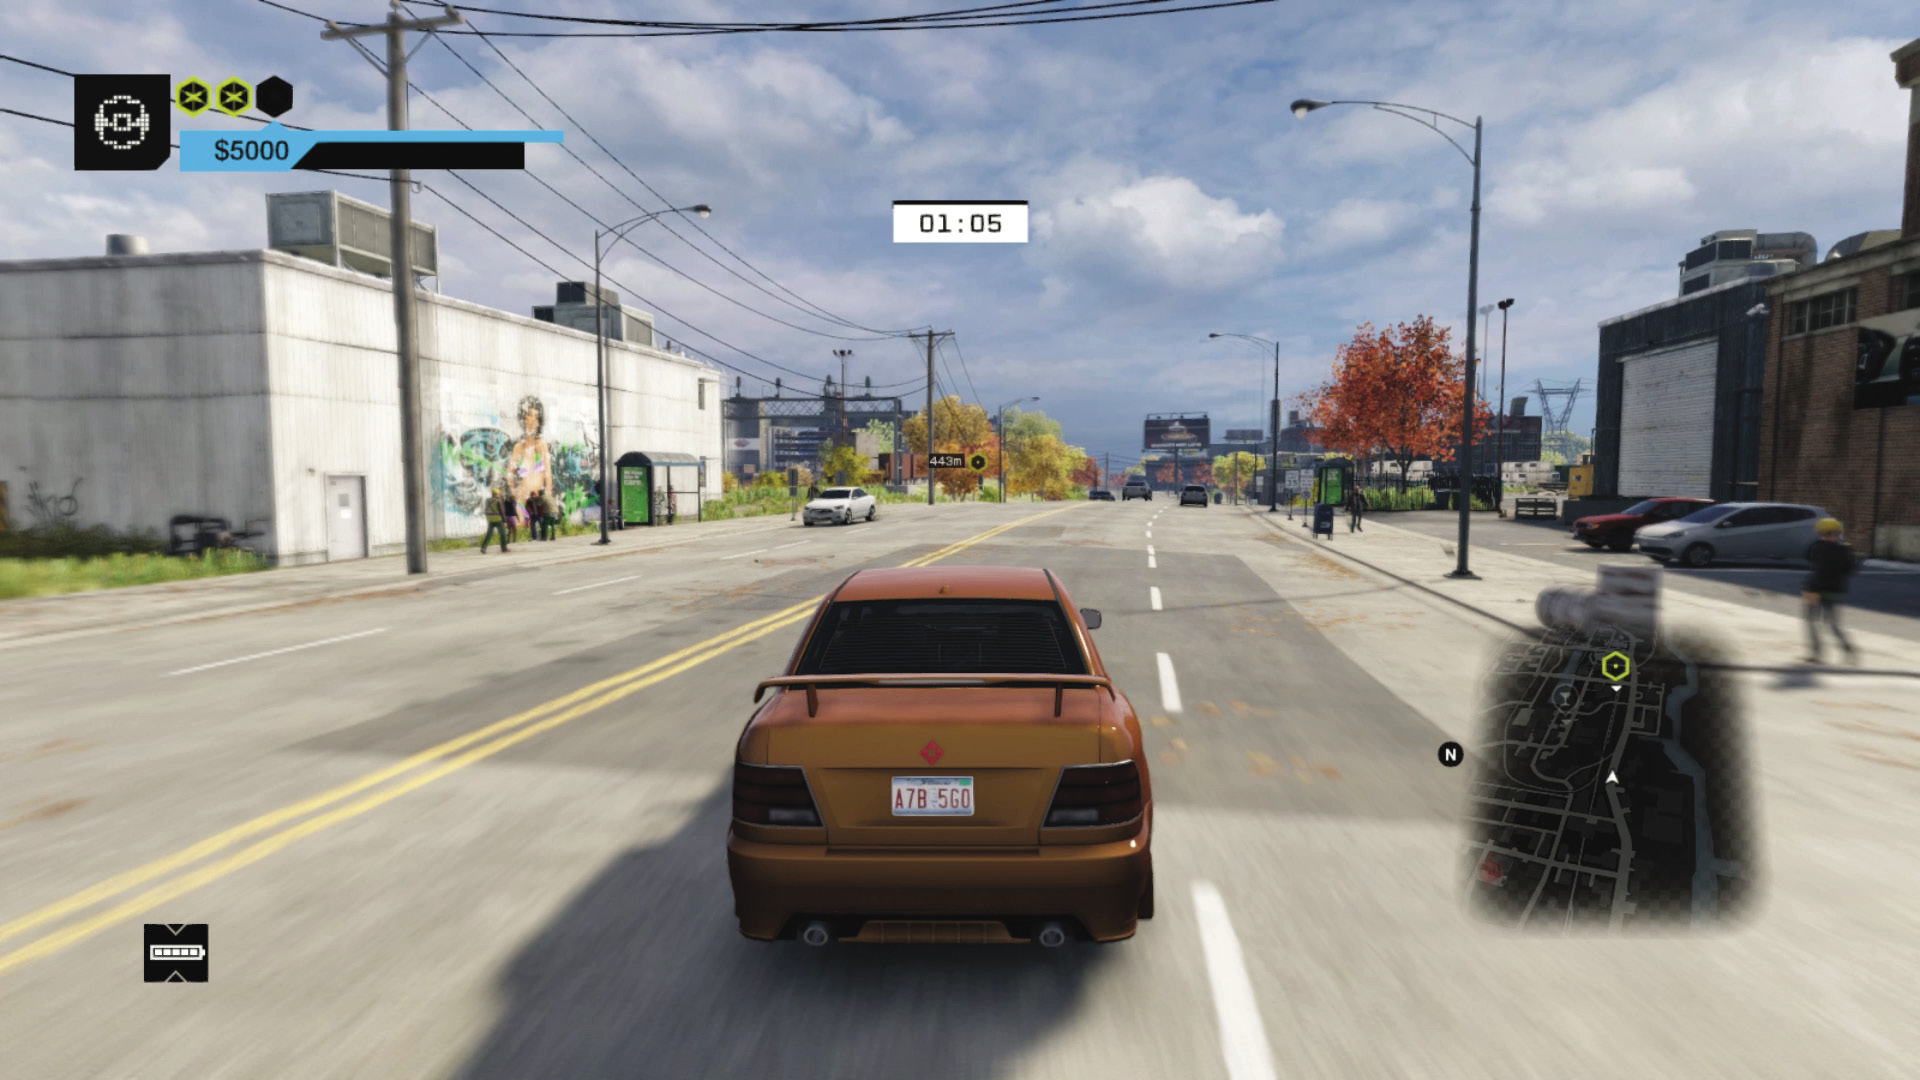
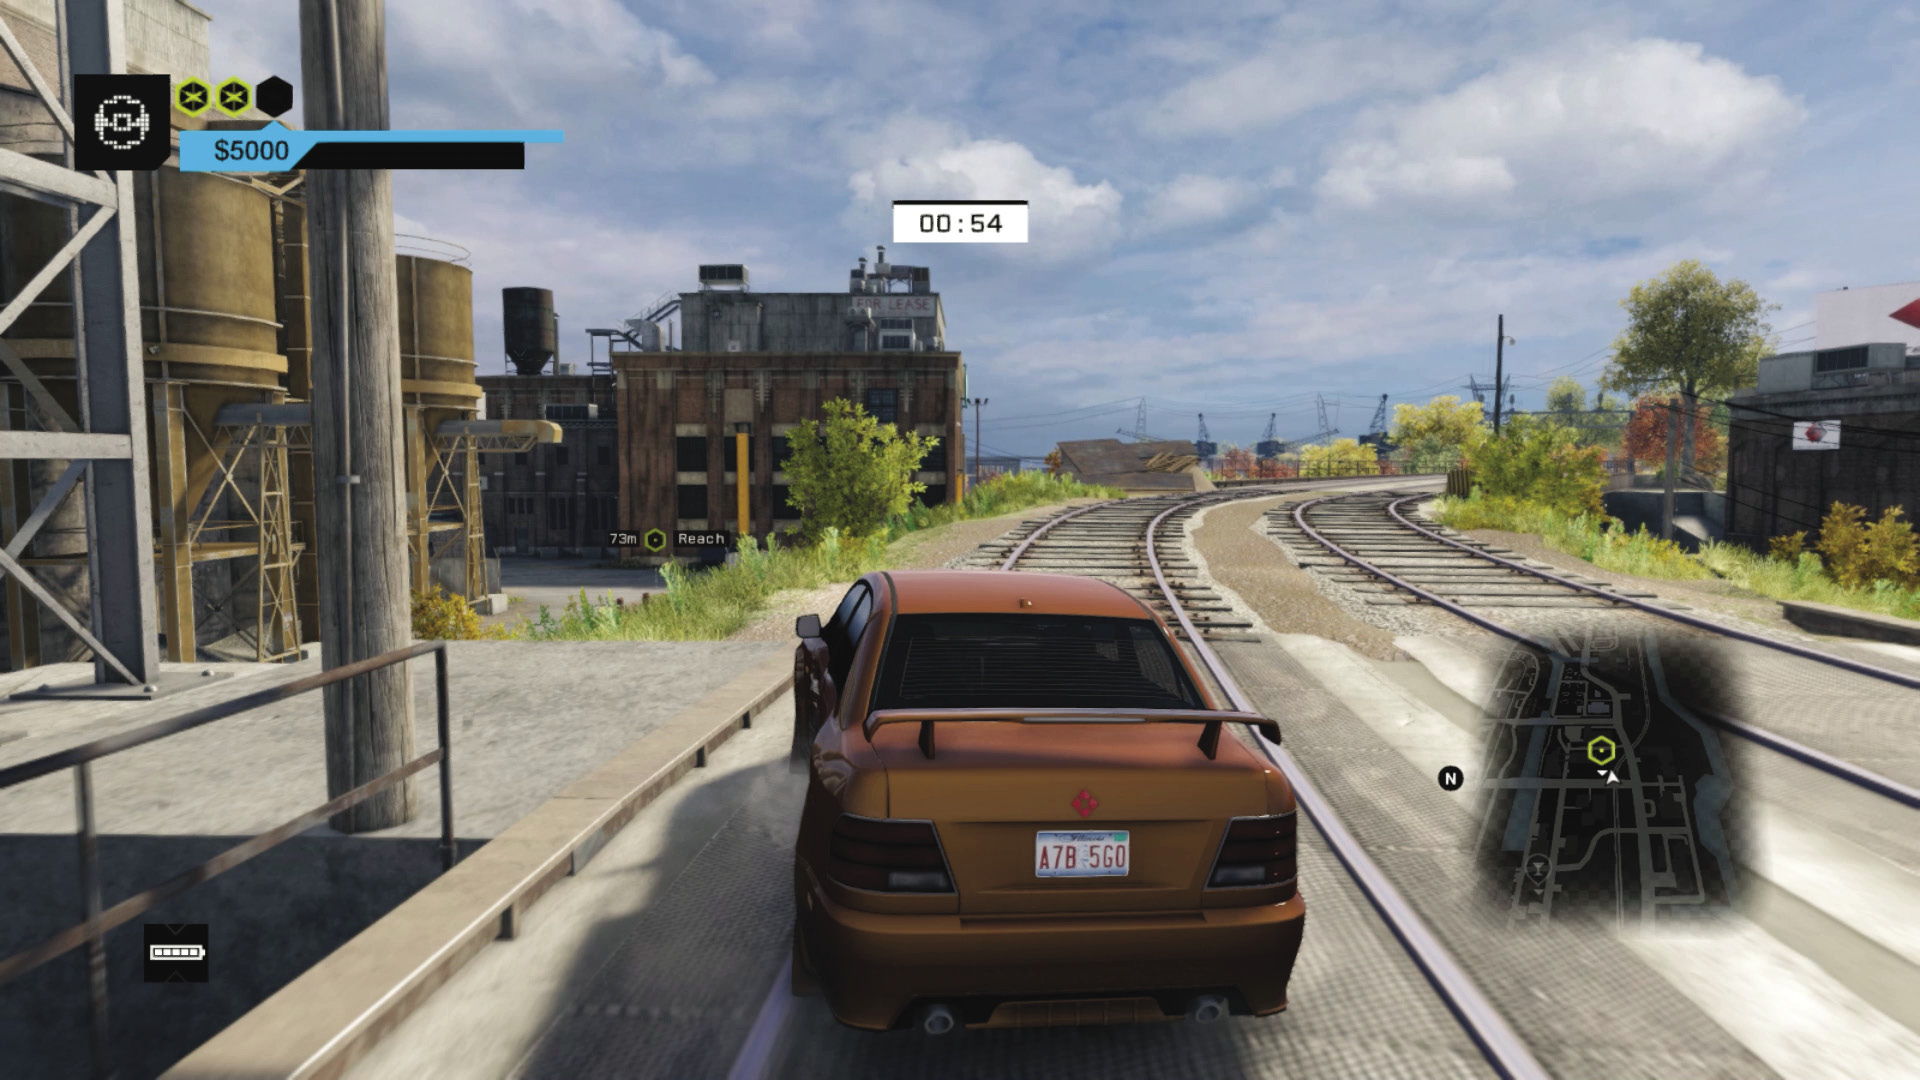
Vehicle 3 Route: Enter the vehicle, and drop to the right. Turn left at the junction so you pass under the rail tracks and drive along the four-lane road, avoiding traffic and cutting corners. When you see the white metal building with the graffiti on your left, swerve left just after it, onto the rail tracks, and avoid the stationary carriages. Just as the rail line curves right, slow and drive down the grassy embankment to the finish.
07_PIER PRESSURE
Starting location 1: Shipyard, PARKFIELD TRAIN STATION
Starting location 2: NORTH EAST LOOP PIER
Starting location 3: EAST MAD MILE PIER
FINISHING location: WEST ISLAND, MAD MILE GARAGE
Vehicle 1: $5,000 / Boxberg LE
Vehicle 2: $5,000 / Patrol Boat
Vehicle 3: $5,000 / Kodachi
Difficulty:
 +00:30 // +$6,000
 +00:20 // +$5,000
 +00:00 // +$4,000
BEAT THIS: 00:39:08 (Anthony Renomeron)
Start Time: 01:40
Finish Time: 00:35 (01:05 seconds)
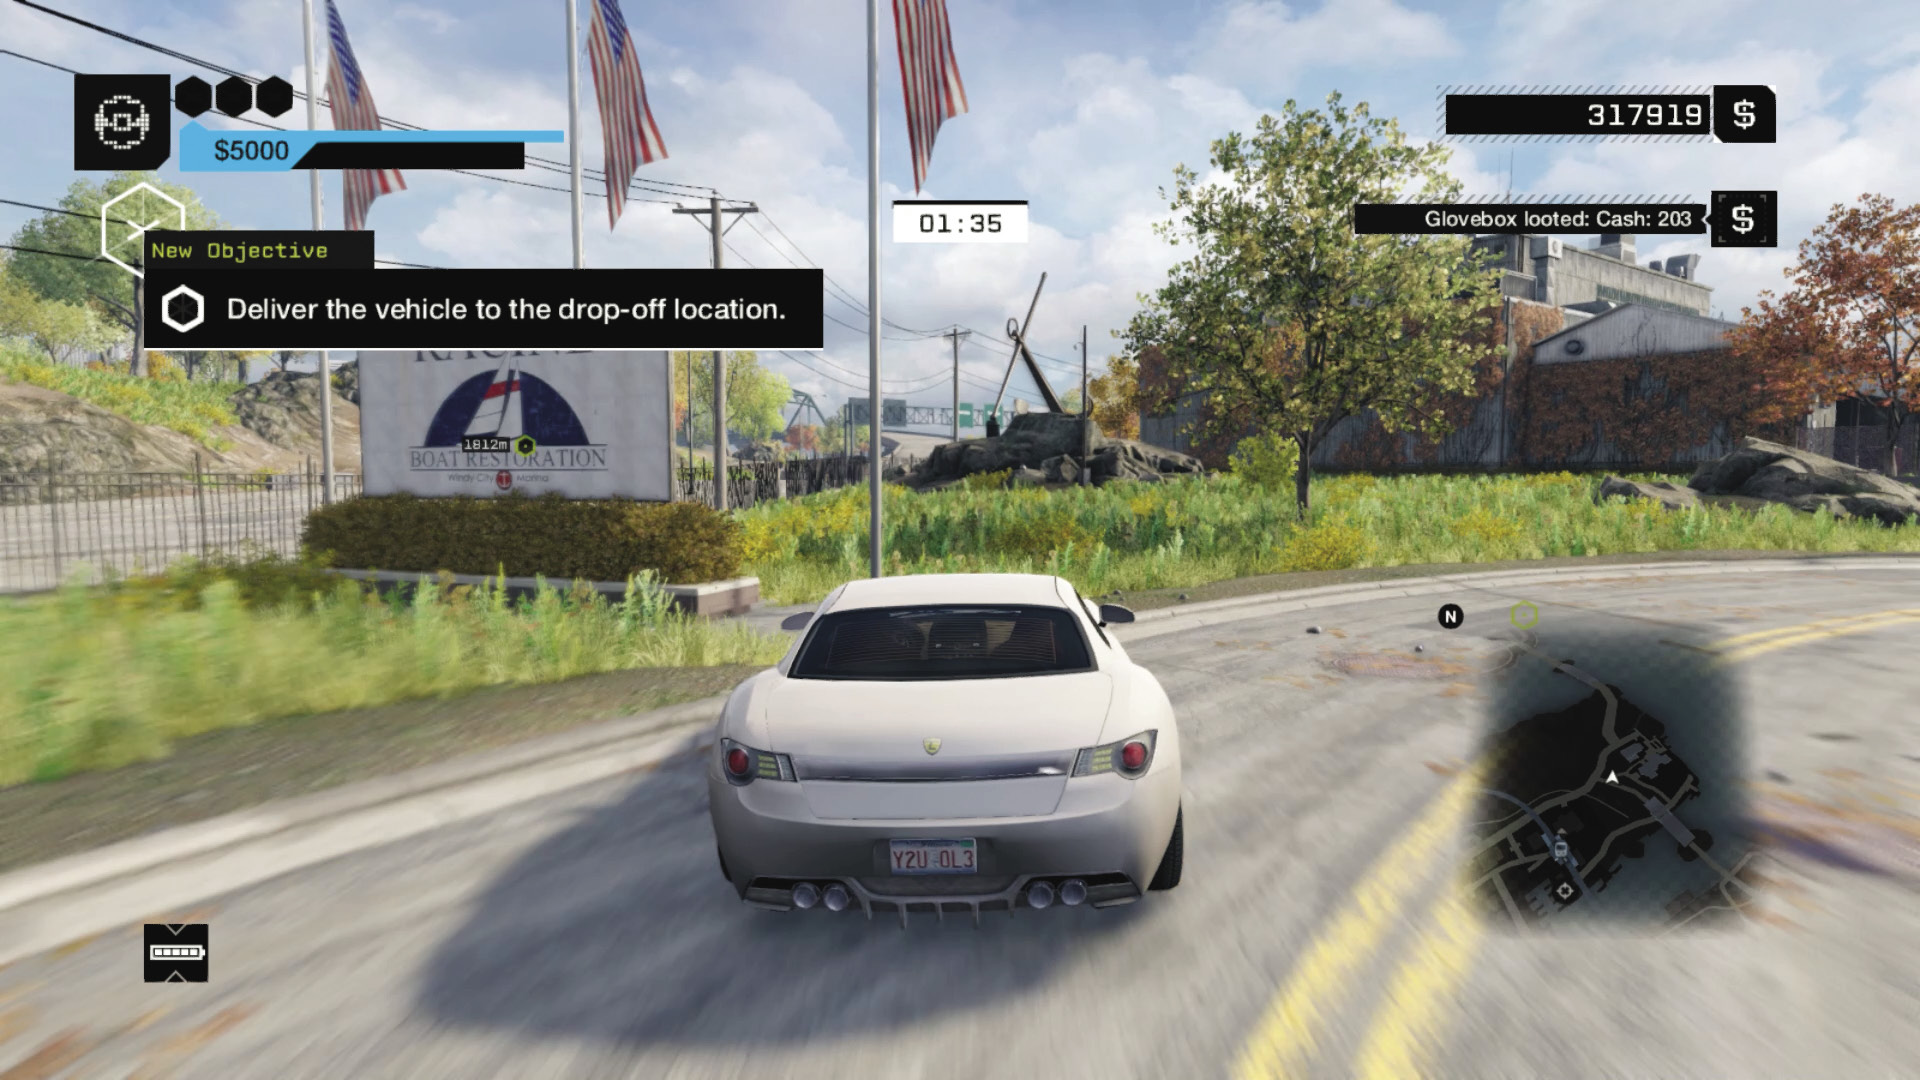
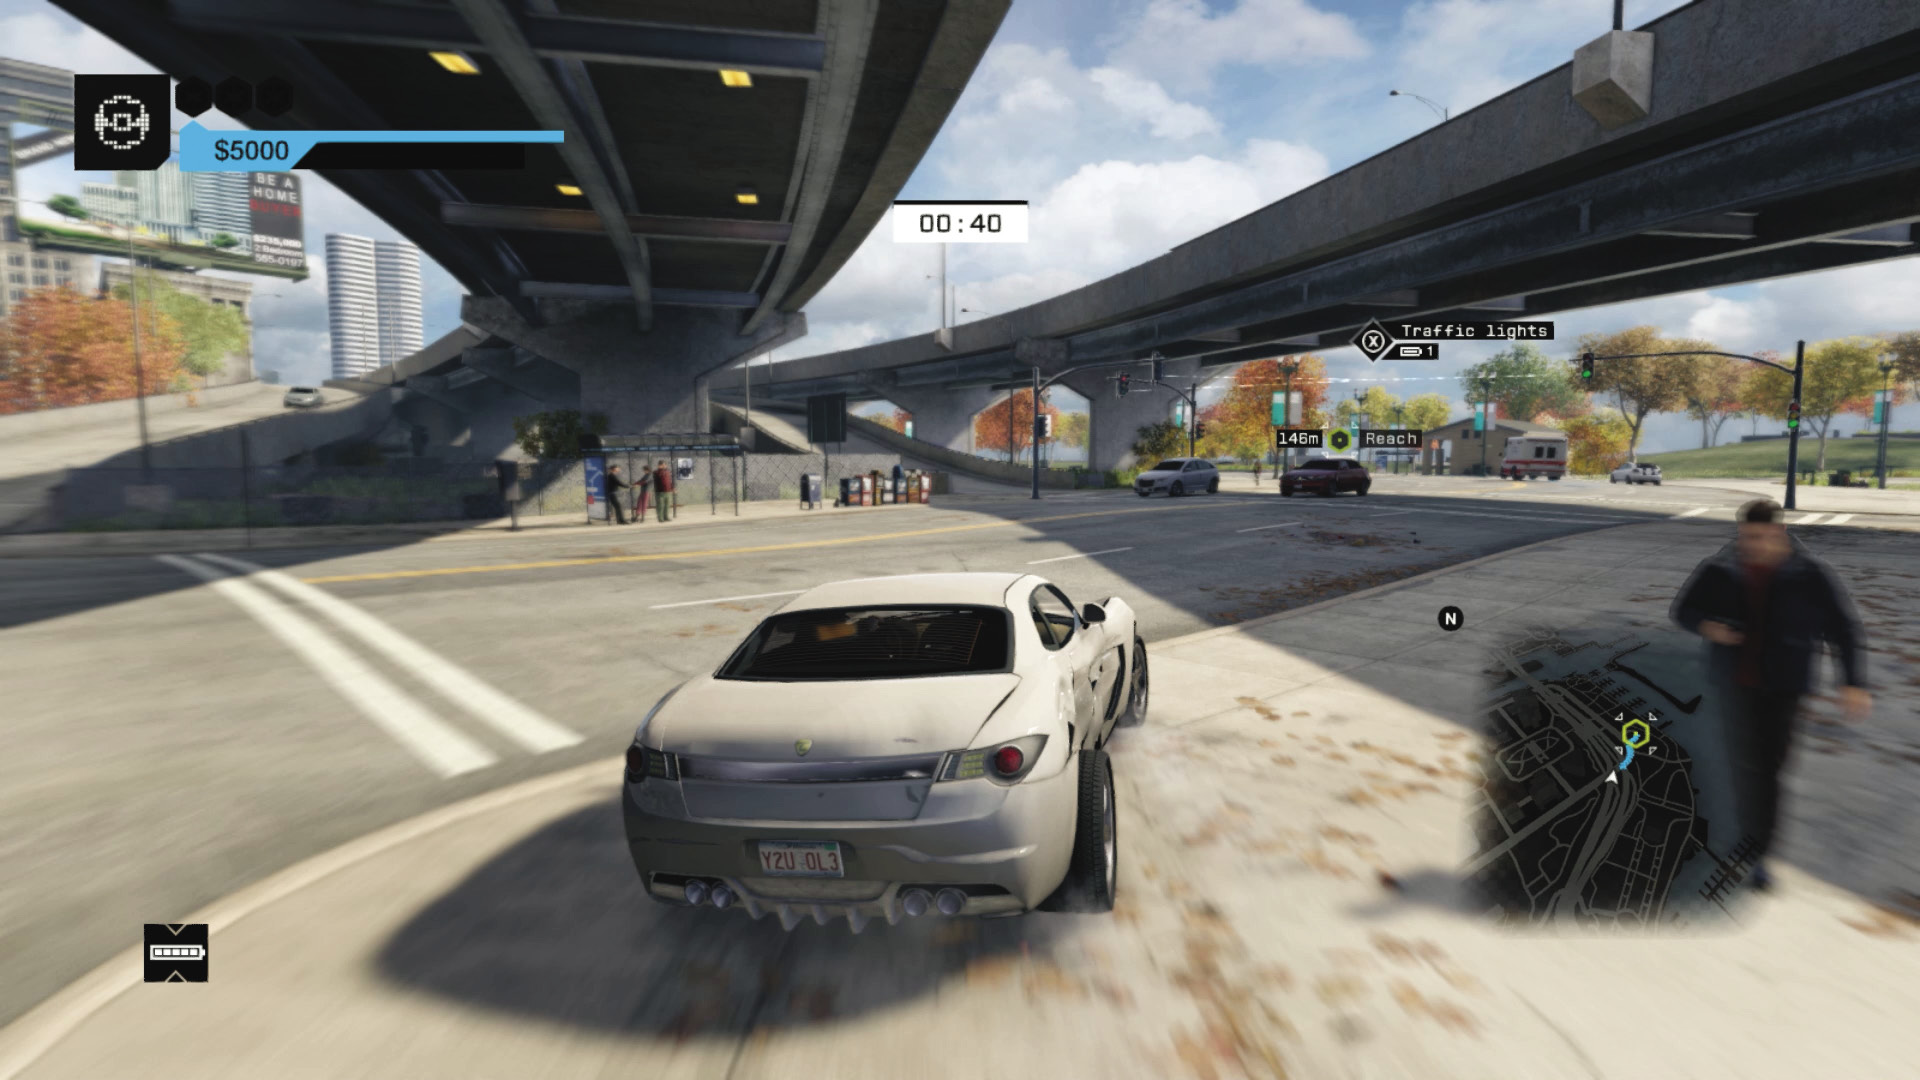
Vehicle 1 Route: Stomp on the gas and head over the tracks, onto the road, watching the curb as you drive past the Racine sign. Cut across traffic to the freeway entrance. At this point, ignore lane discipline and weave through traffic, squeezing between lanes of traffic. Plot a GPS along the freeway, using the off-ramp marked “The Loop Riverside.” Slow down at the ramp’s end (use the on- or off-ramp, depending on which side of the freeway you’re on) to avoid slow-moving traffic. It’s only a few meters to the drop-off point in the curved turn-about area near the small brick building. Sprint across to the pier now, heading east.
Start Time: 01:45 (+01:10 seconds)
Finish Time: 00:45 (01:00 seconds)
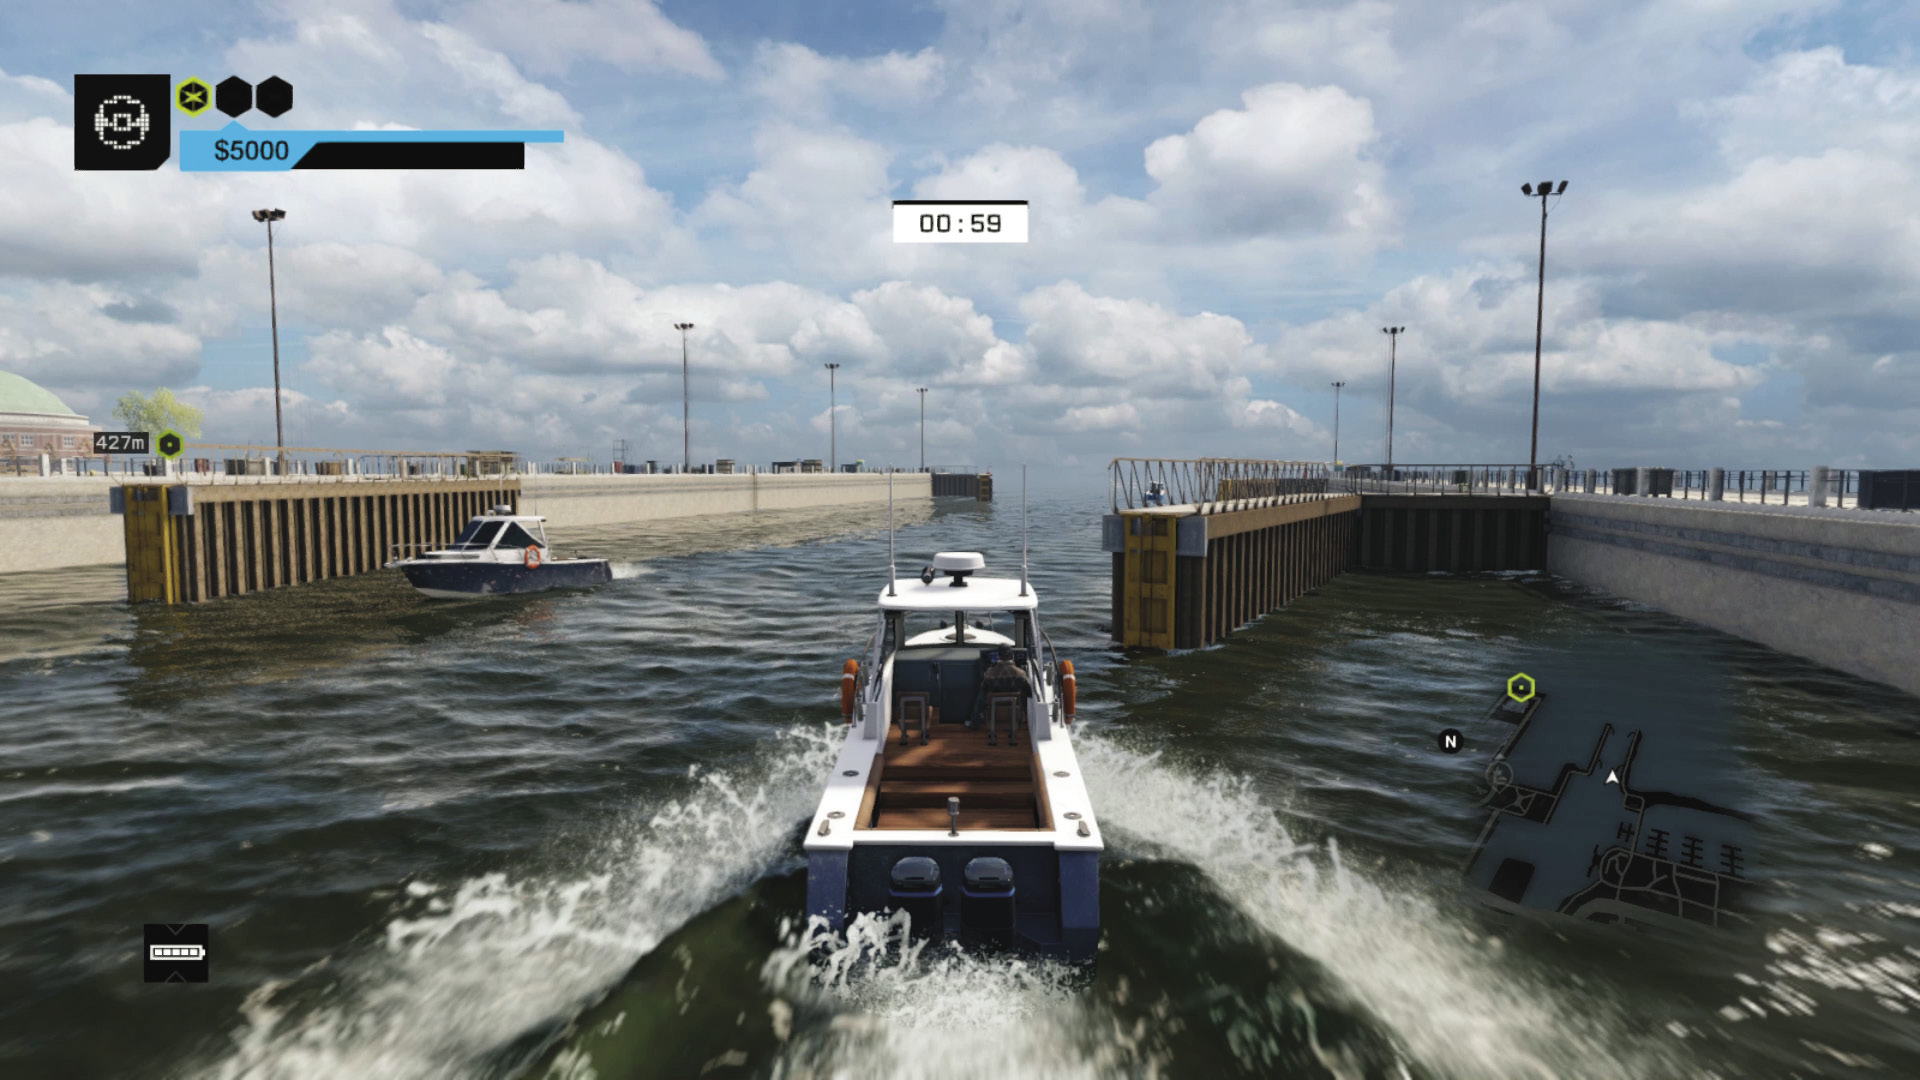
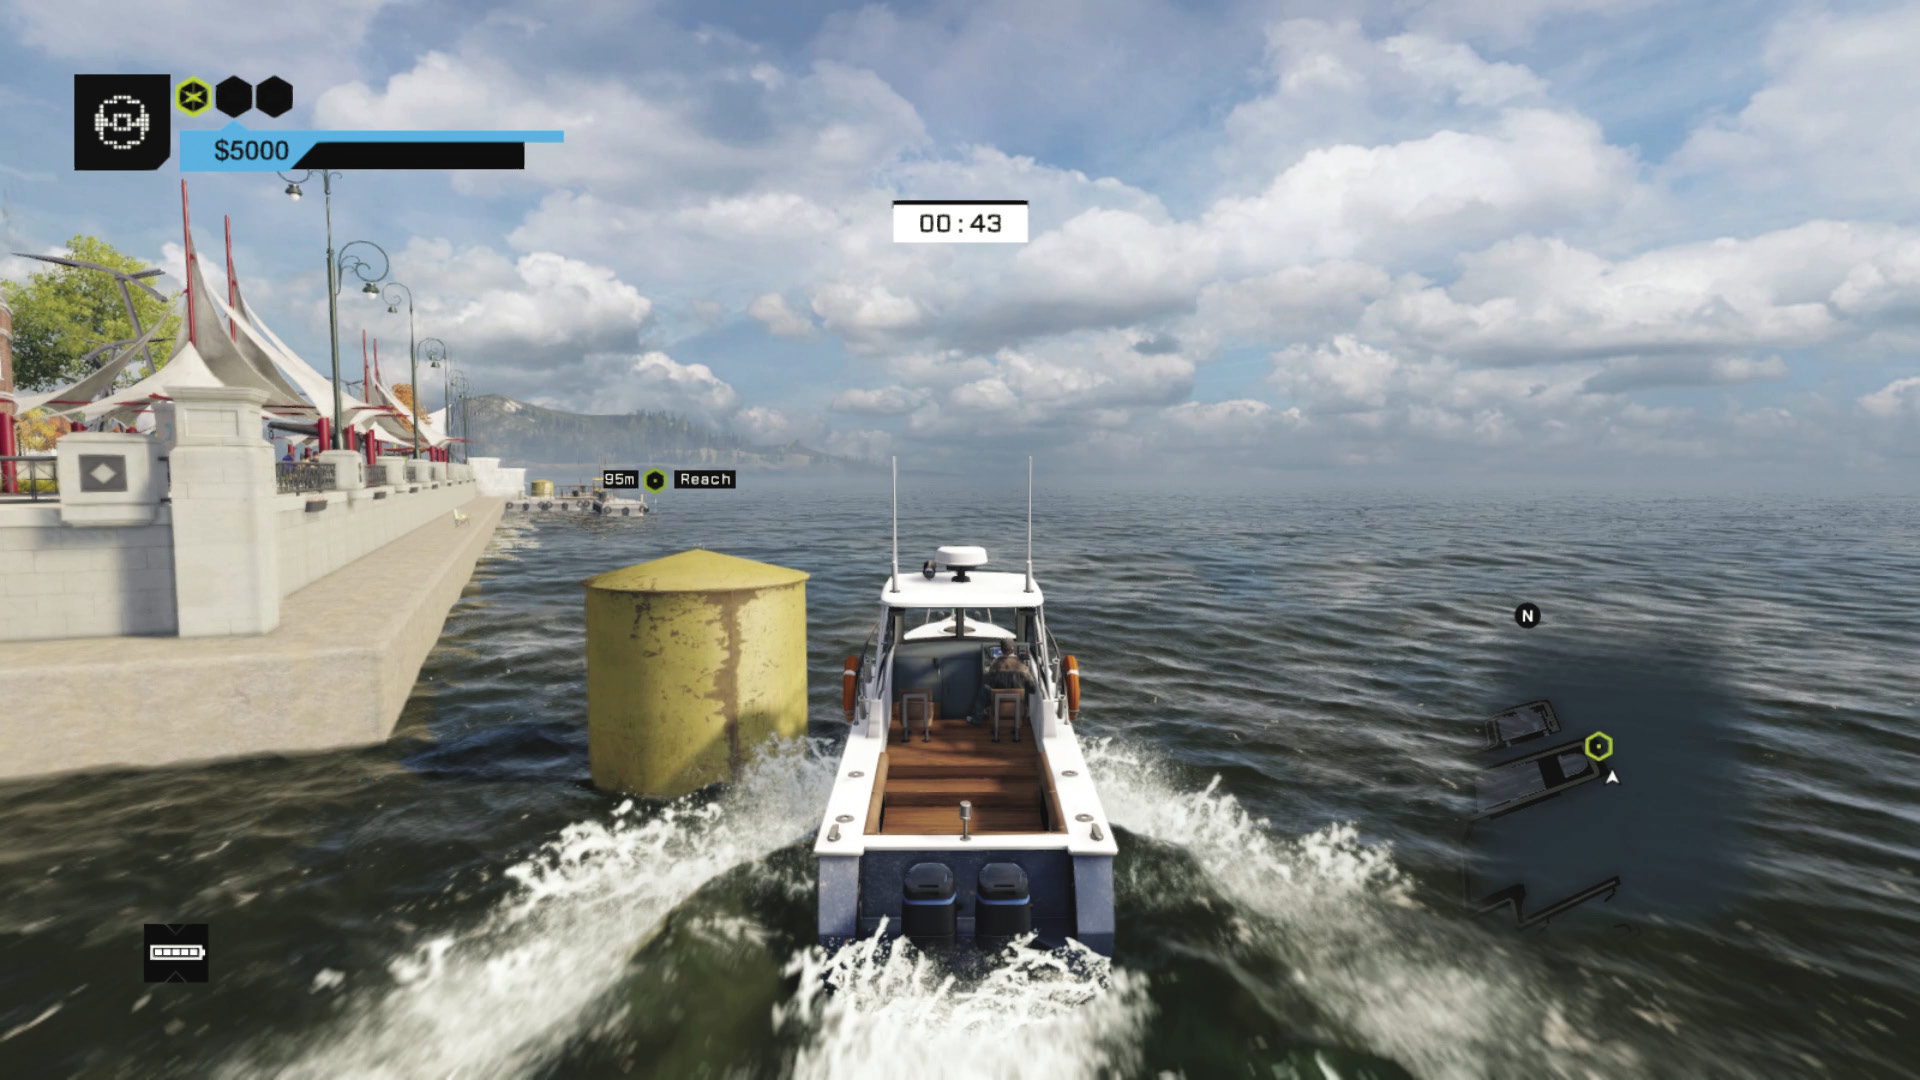
Vehicle 2 Route: Take to the east bay on your police boat, heading north under the bridge, then east out into the deeper waters. Turn left as the bay opens up, but hug the land to the left as close as you can without hitting anything. Watch the concrete buoy. Just after the buoy is the dock to land at; be sure you’re parallel and can hop off easily, not into the water.
Start Time: 02:15 (+01:30 seconds)
Finish Time: 00:55 (01:20 seconds)
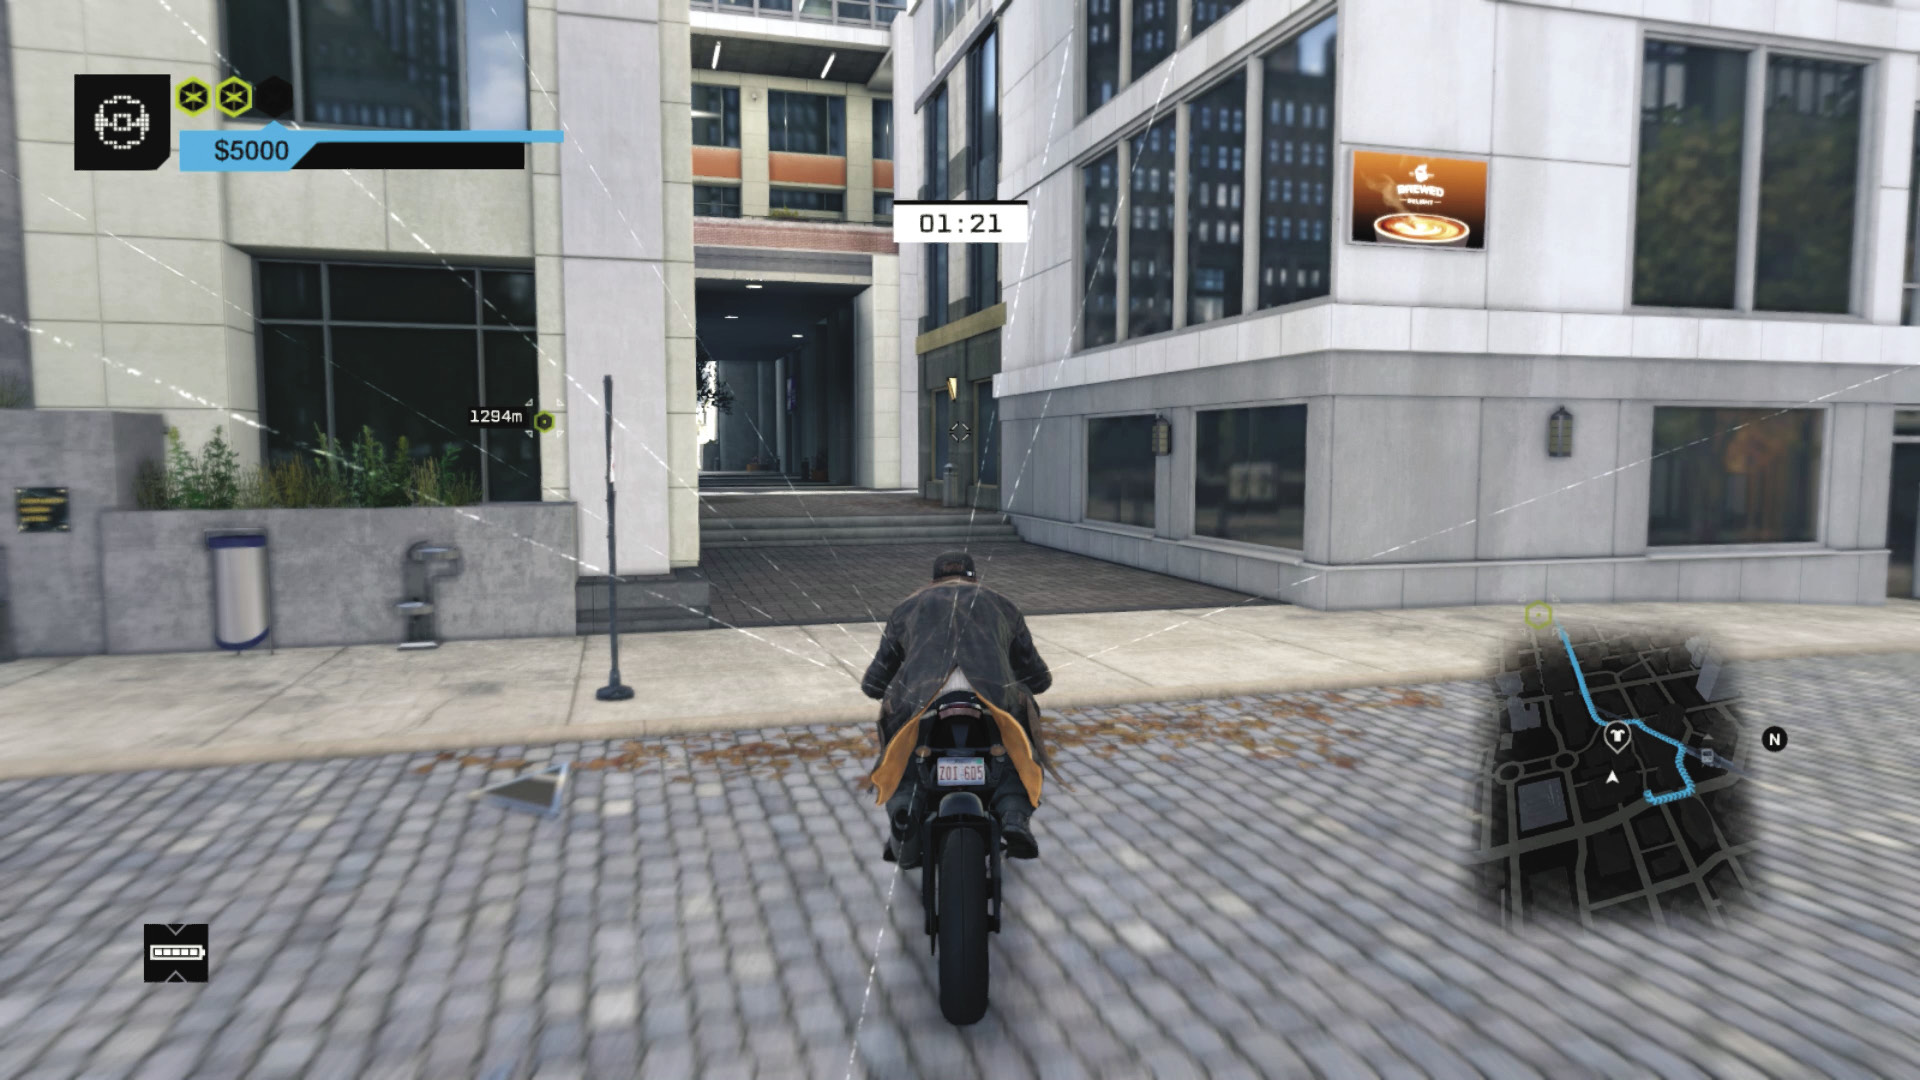
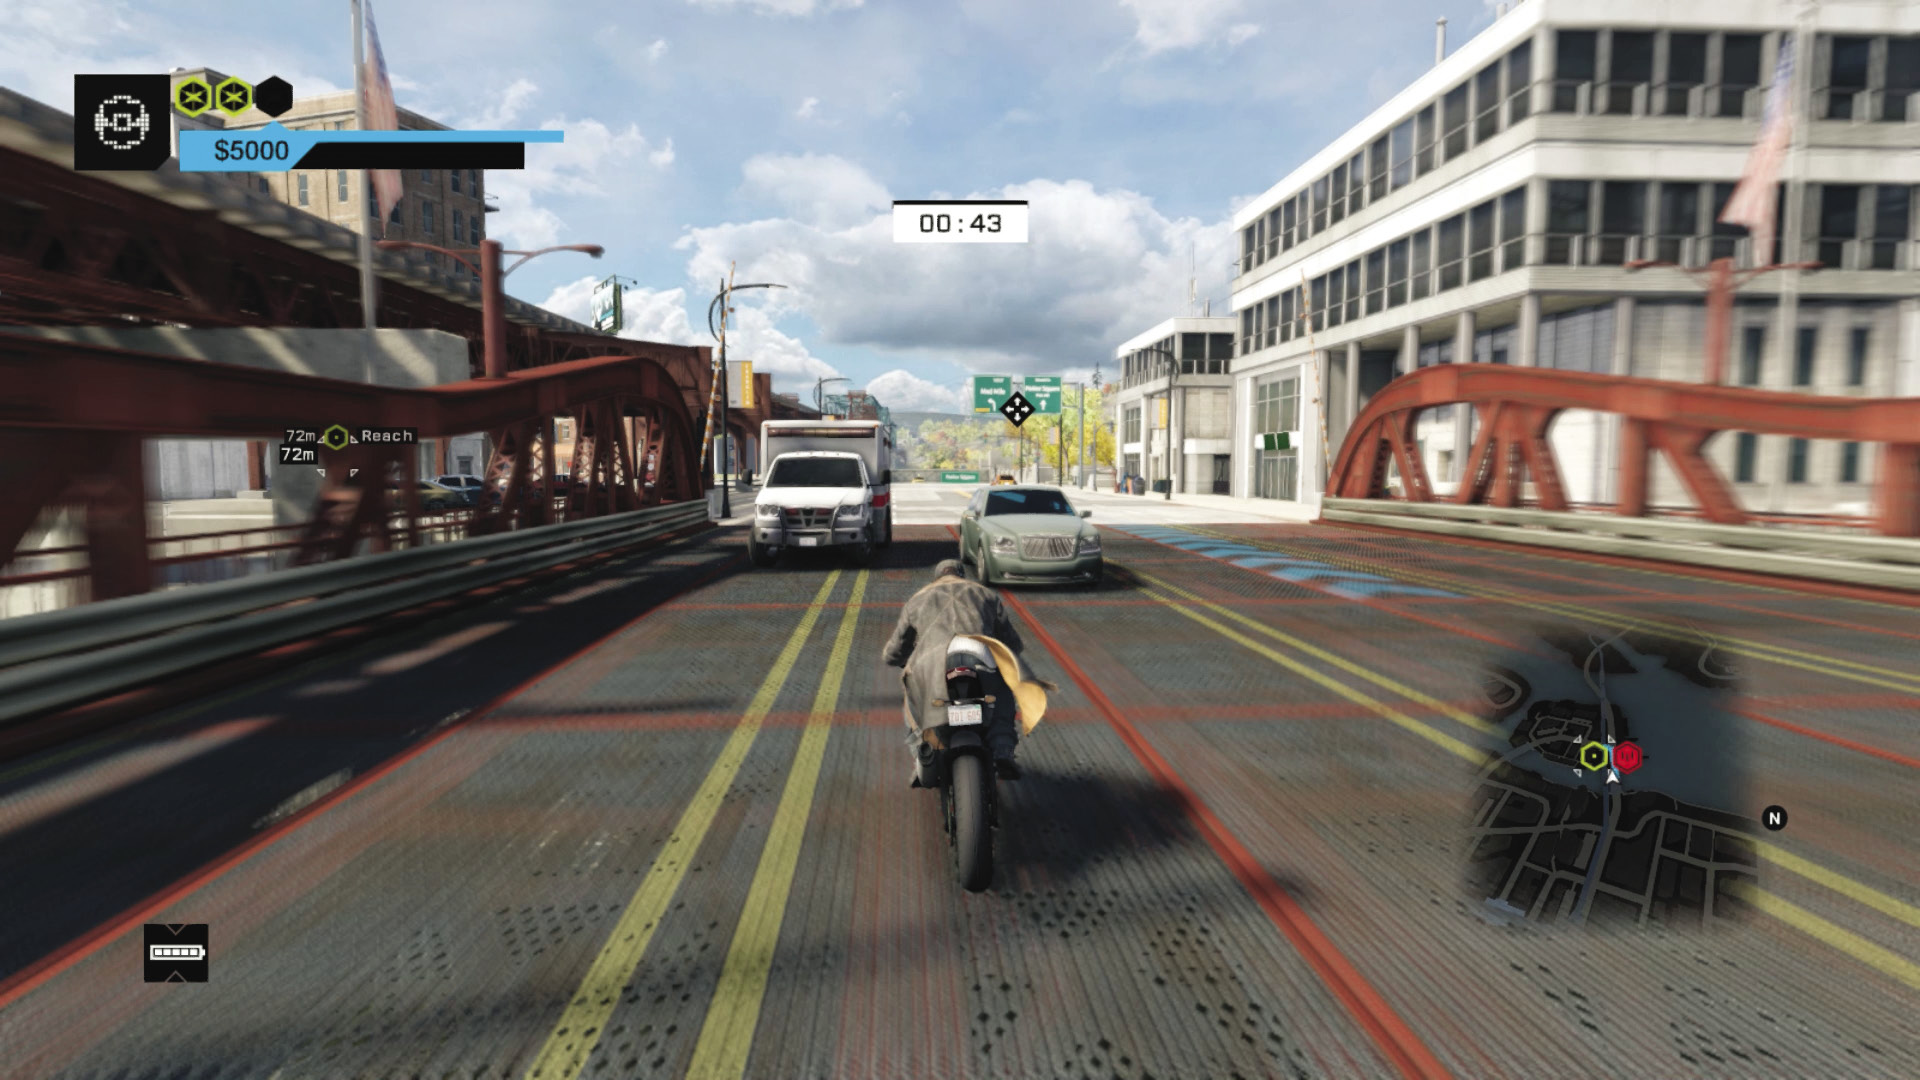
Vehicle 3 Route: Sprint up to the bike on the edge of the cobblestones, and zoom west. Continue up this path as it turns into a road. Open the garage, which allows you to head through without making any turns. Slow a little as you slightly lean right, into the alley with the shallow steps; position yourself so you’re through the alley without hitting any protruding walls. Then it’s a simple matter of accelerating wildly as you pass under the L-train tracks, all the way to the bridge. Brake severely and skid left, weaving through the parked cars to the checkpoint outside the garage.
THE LOOP // TRANSPORTER CONTRACTS
08_MUSCLE MEMORY
Starting location 1: WIND HILLS SPA, SOUTHWEST LOOP
Starting location 2: ALLEYWAY, NORTH PART OF THE ISLAND
Starting location 3: Gang Alley, North part of The Loop
FINISHING location: Taxi Drop, North Mad Mile
Vehicle 1: $5,000 / Sonarus LX
Vehicle 2: $8,000 / Hailkal R
Vehicle 3: $6,000 / Adamant S-Series
Difficulty:
 +00:20 // +$3,000
 +00:10 // +$2,000
 +00:00 // +$1,000
BEAT THIS: 00:09:27 (Anthony Renomeron)
Start Time: 01:00
Finish Time: 00:25 (00:35 seconds)
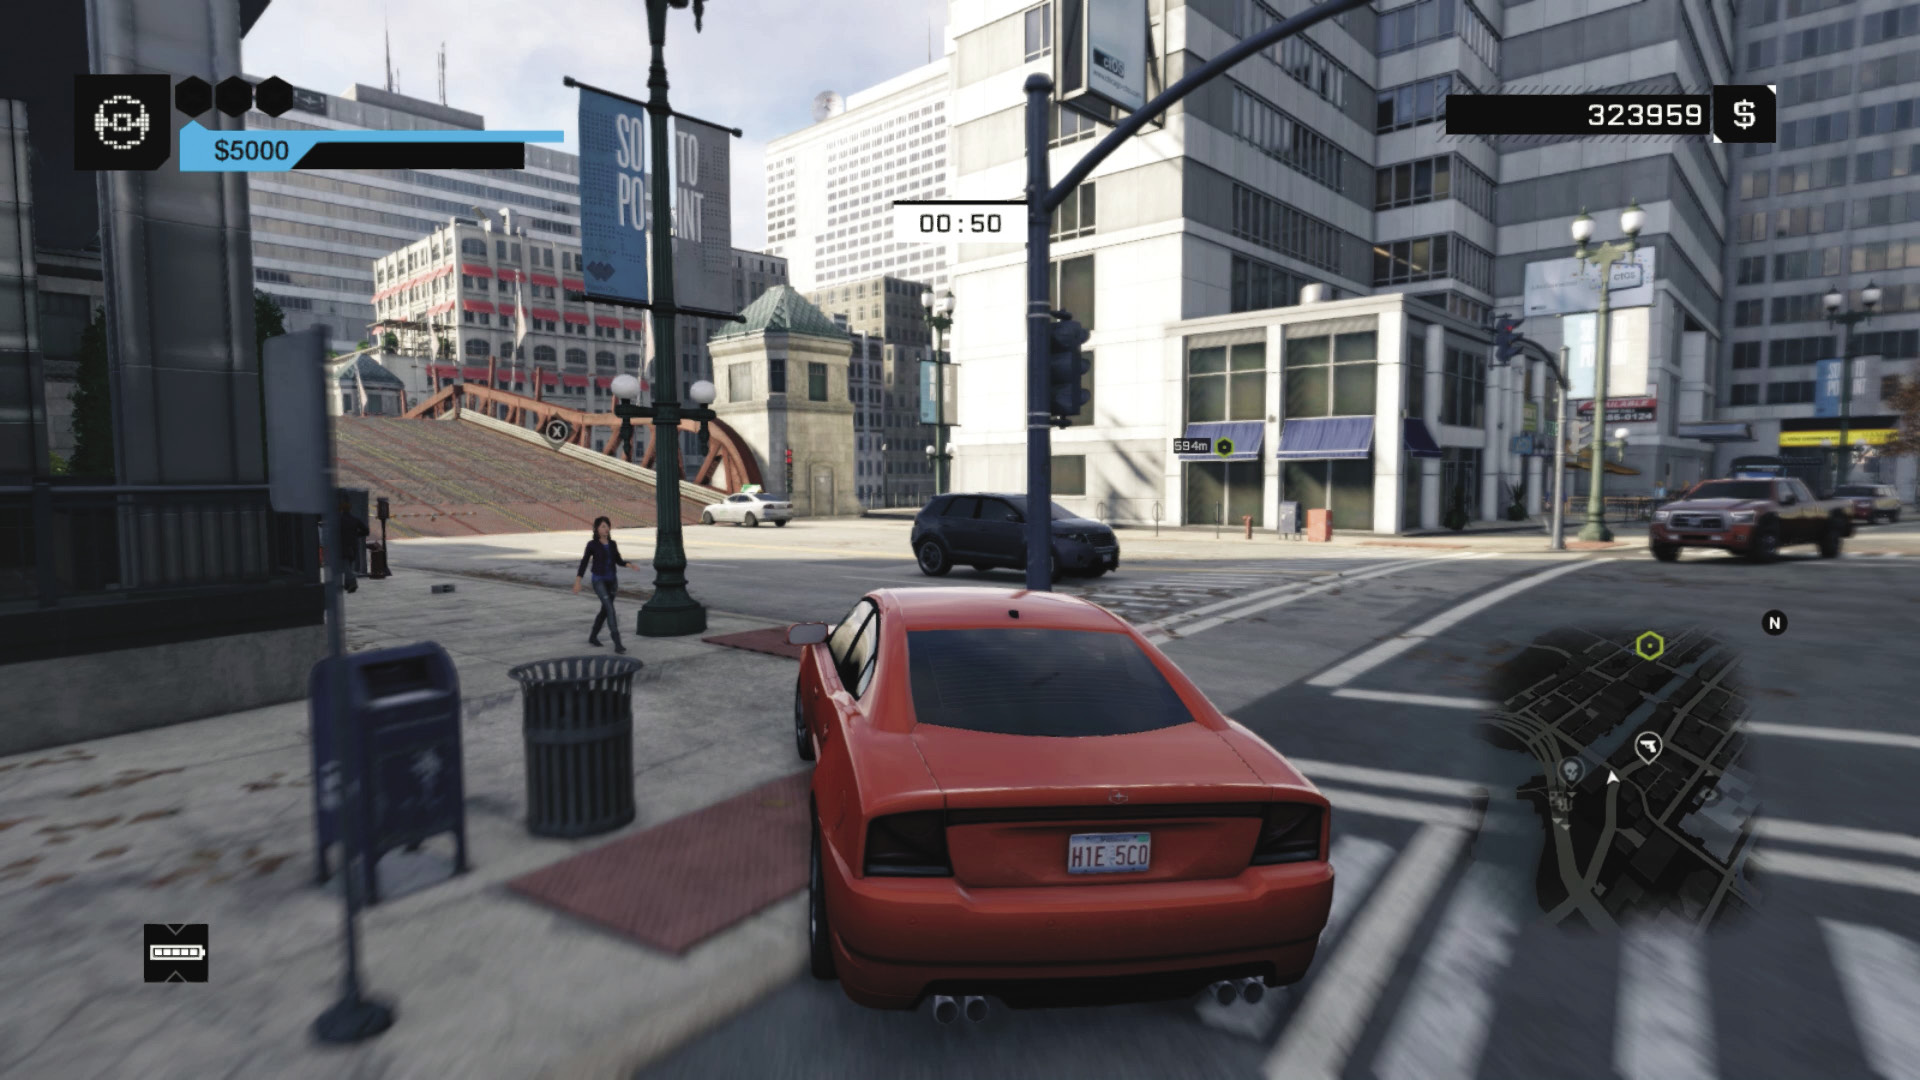
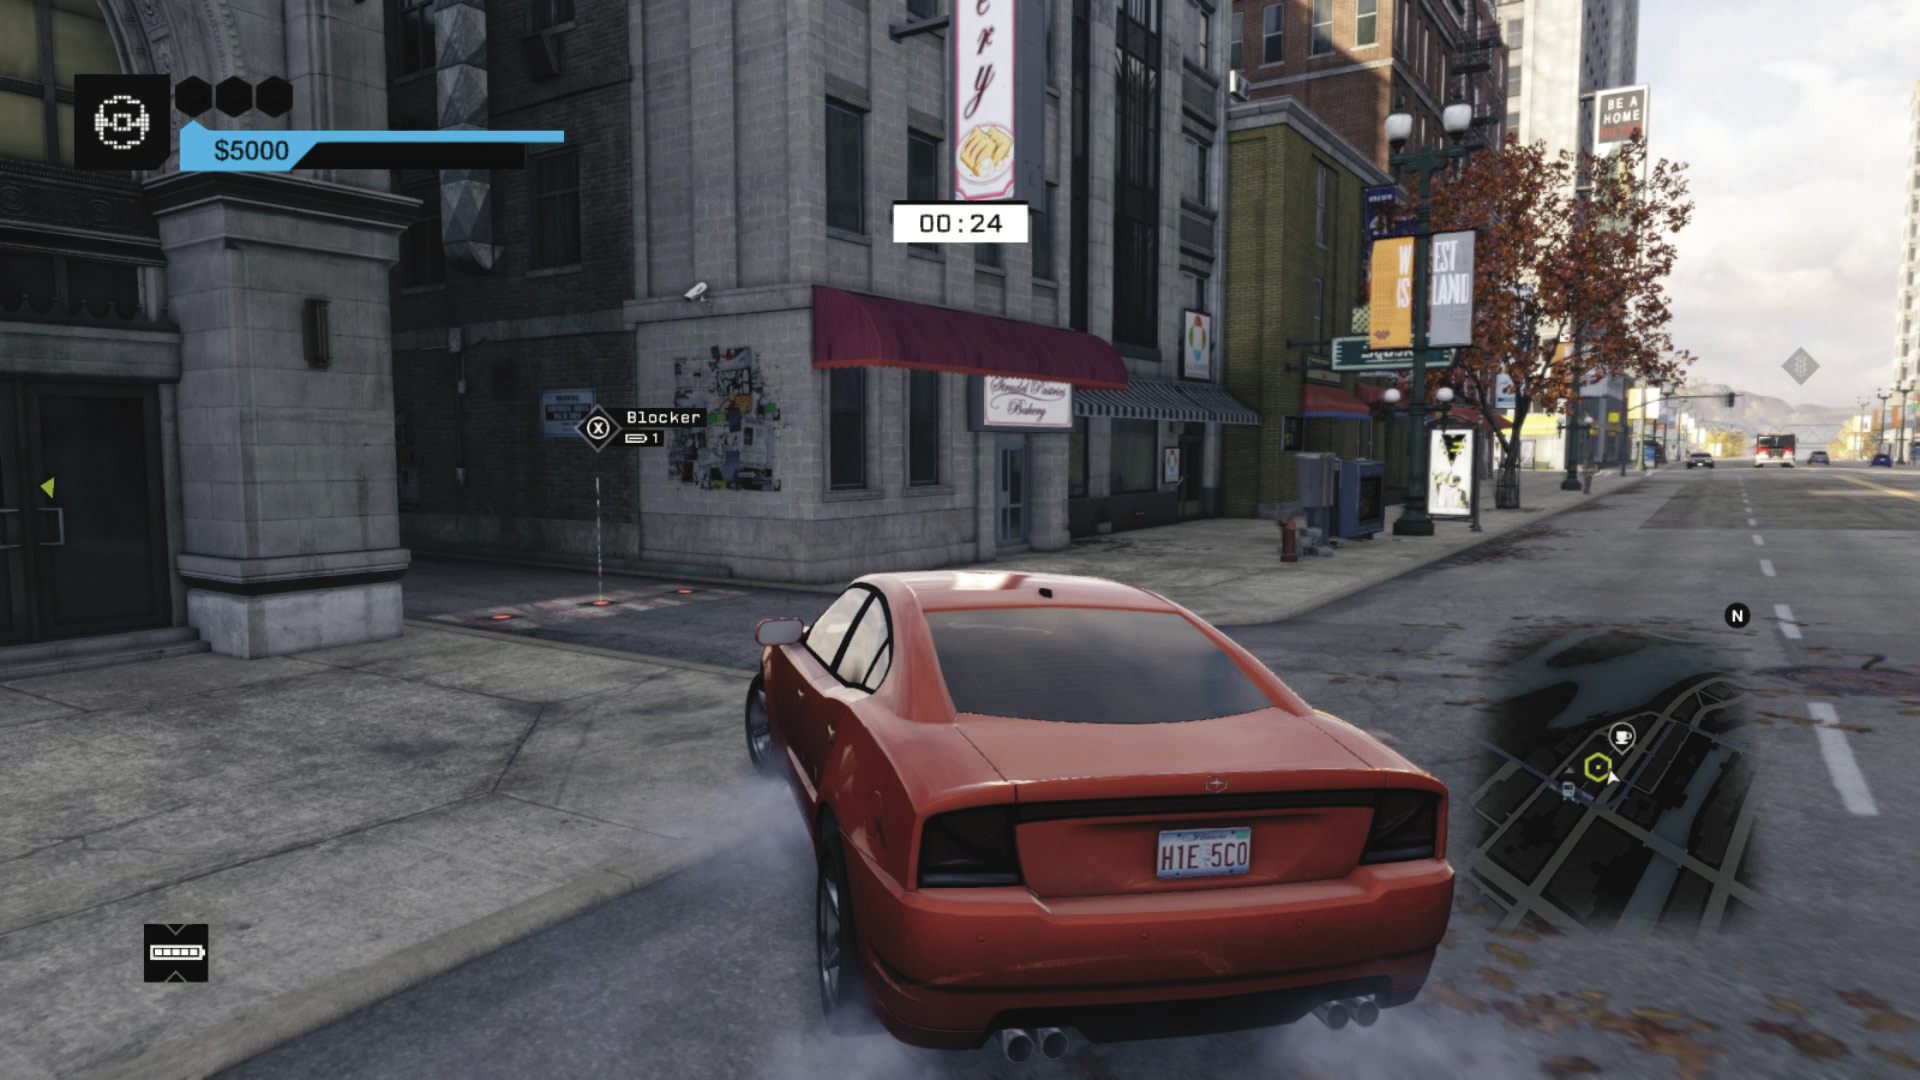
Vehicle 1 Route: The trick here is to know which bridge to cross. Although your GPS points to staying on the first road and heading north for a while, it’s better to cut across the sidewalk as you set off, and again at the lights, and cross the bridge on your left at the top of the hill. Then it’s a right one block later, lining you up with a straight run toward the L-train overpass. As soon as you go under the L-train tracks, brake and look for the alley half a block later on your left; park down here.
Start Time: 01:40 (+01:15 seconds)
Finish Time: 00:35 (01:05 seconds)
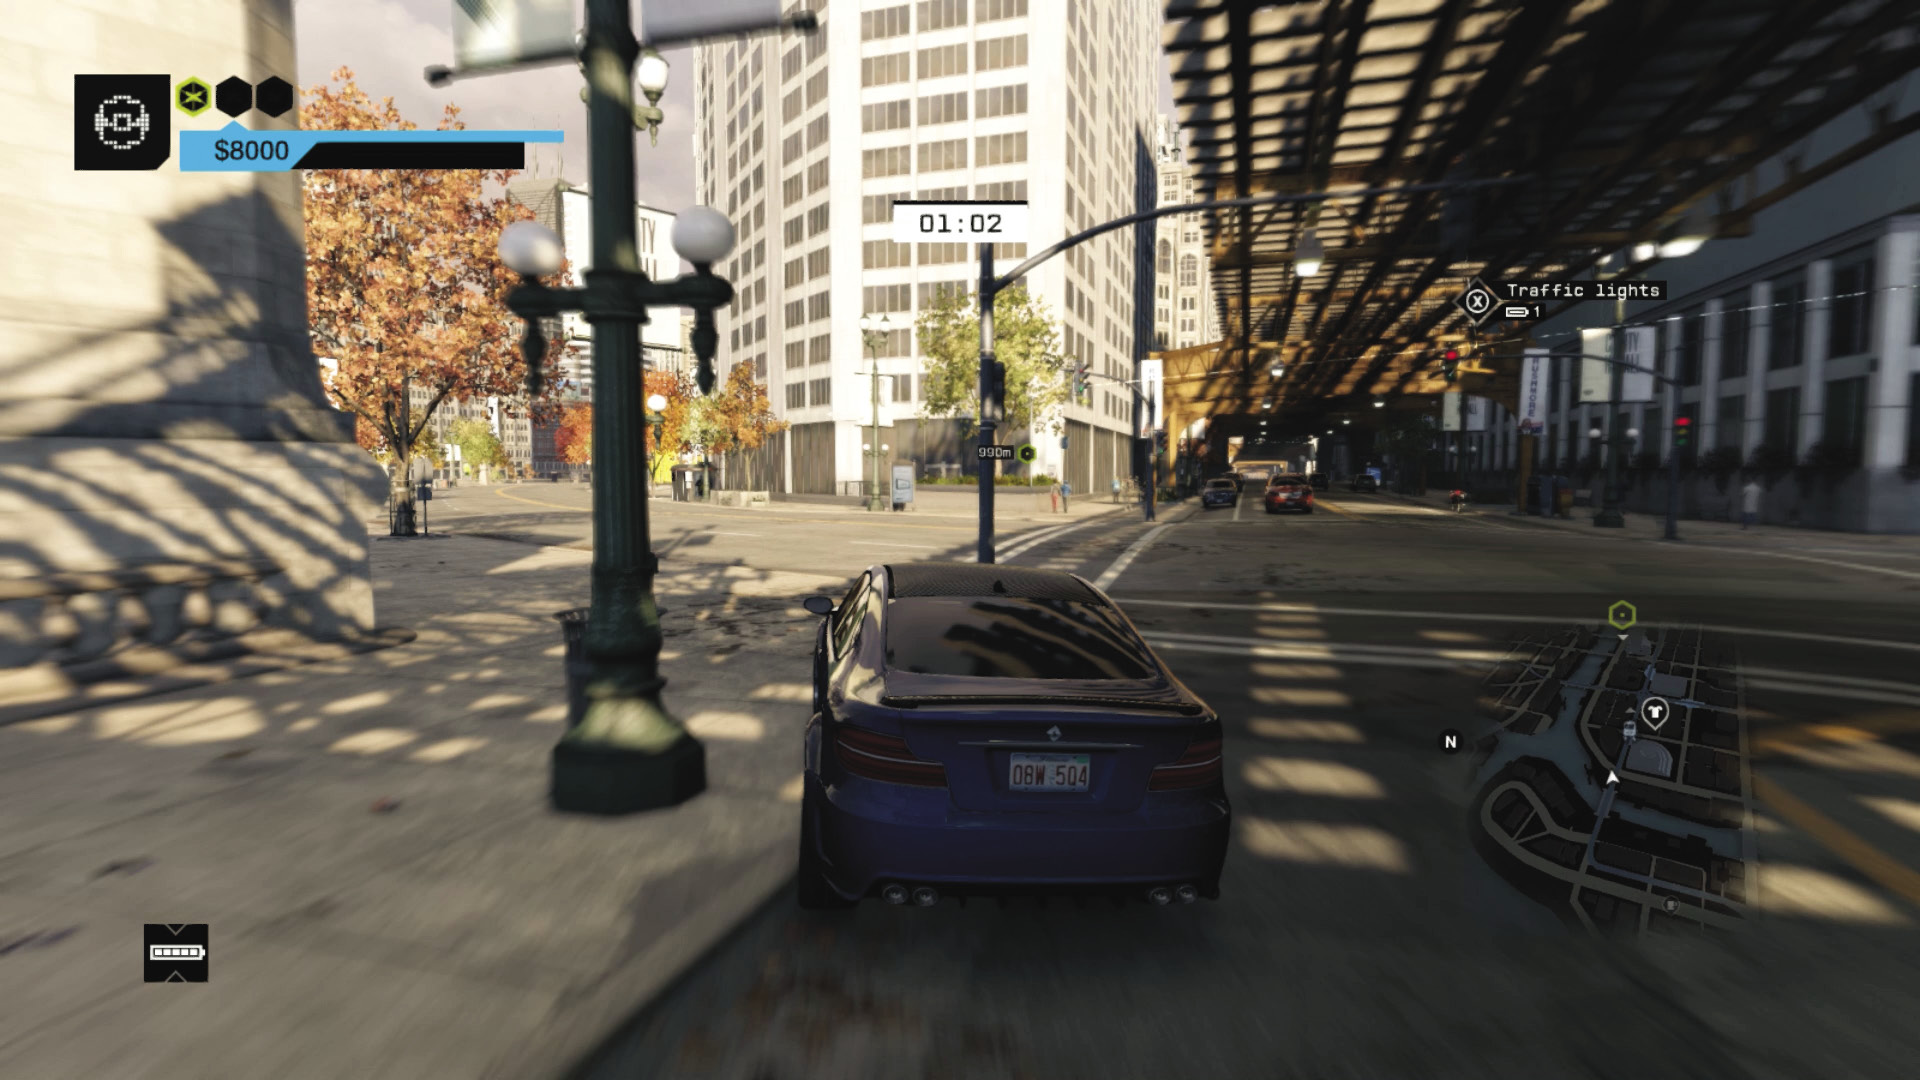
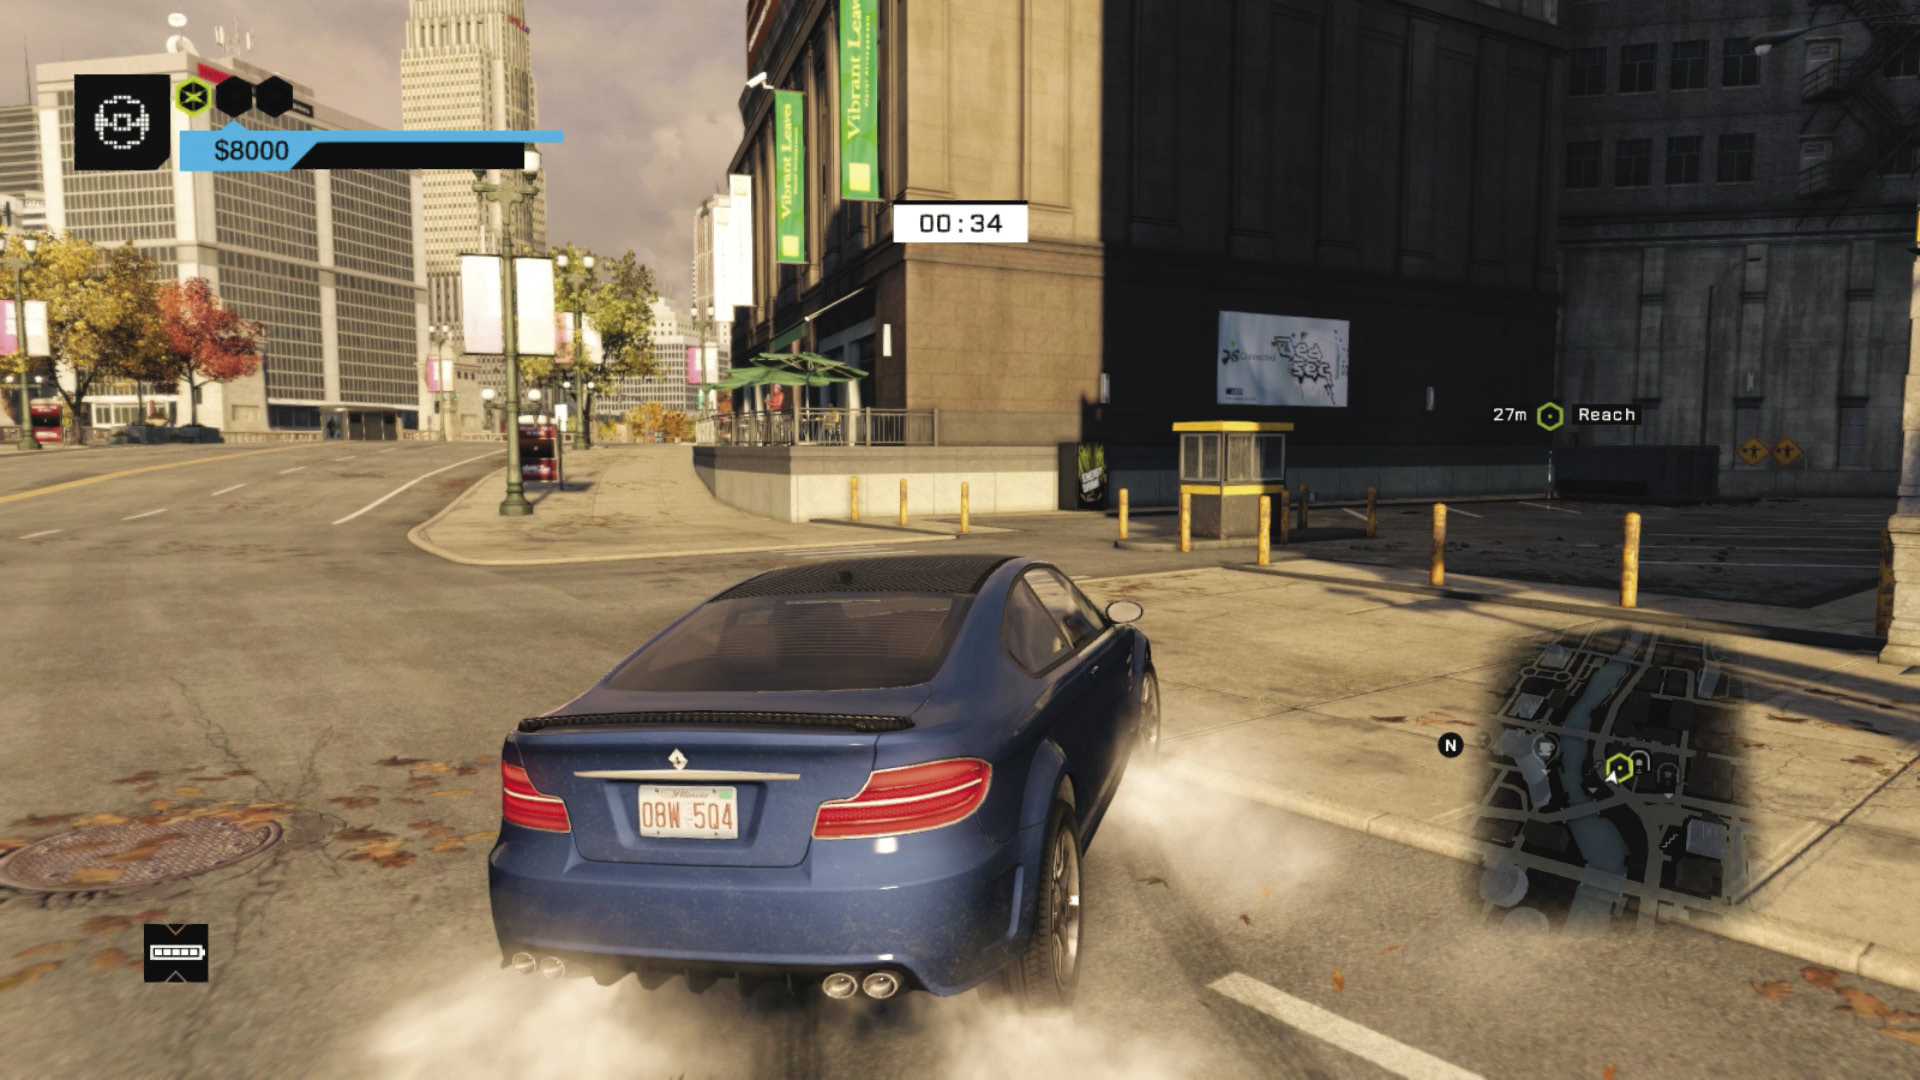
Vehicle 2 Route: After a mad dash north to the second vehicle, cut diagonally onto the road you just came from, cutting in on the right turn toward the L-train tracks and the bridge; then cut in onto the curved left turn and the road that follows the river. Follow it with your foot firmly planted on the gas, slowing only as the road starts to bend left. Look for the small parking lot with the hut, and keep to the right. Park and vault off the left side of the concrete wall to land on the pallets to break your fall.
Start Time: 01:35 (+01:00 seconds)
Finish Time: 00:45 (00:50 seconds)
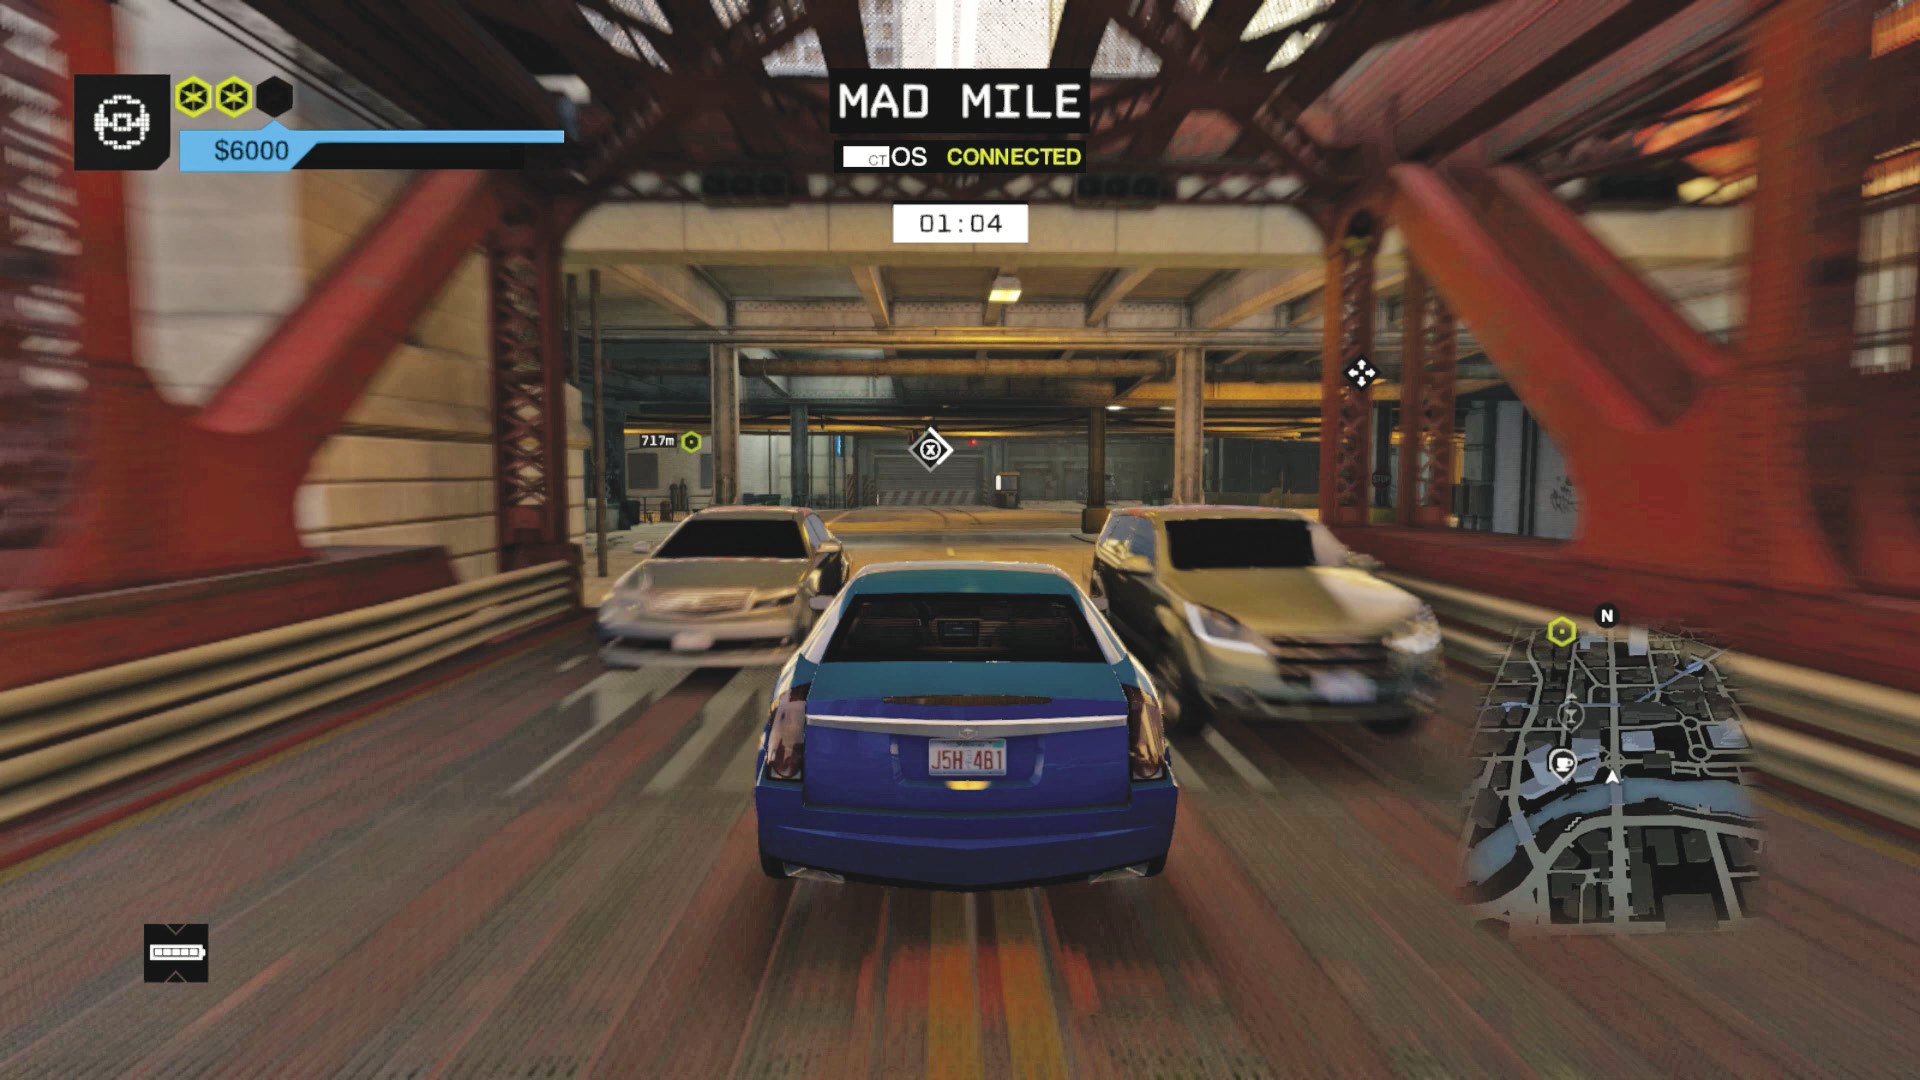
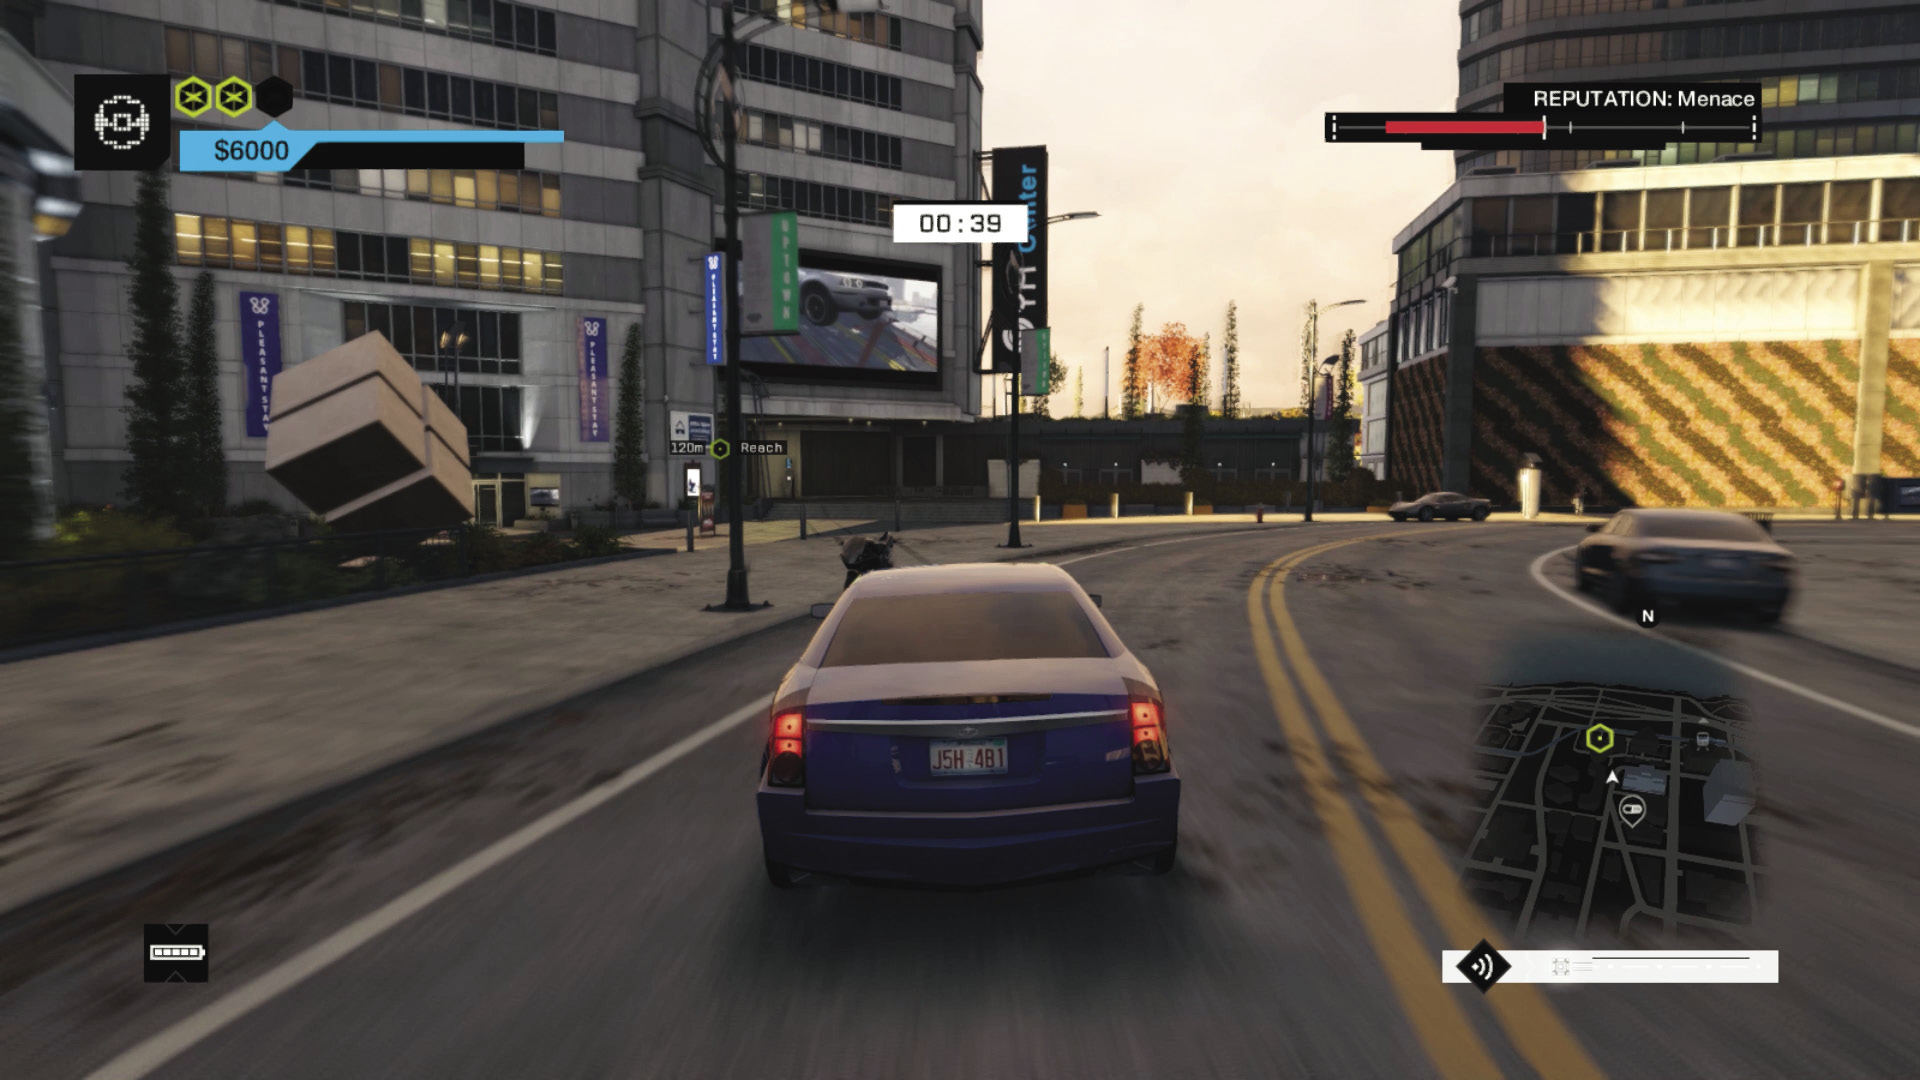
Vehicle 3 Route: Though you can maneuver up and out the steps, using the underground traffic tunnels and other shortcuts is slightly quicker if you know where you’re going: Open the garage door and the second one leading to a sharp left turn into the traffic tunnels. Approach the bridge on the left side (oncoming) and open the garage door ahead. Slow as you enter the winding tunnel, stay to the very right to avoid the low concrete wall, open another garage door, and you’re out onto a proper road for one block; cut to the left over the pedestrian area, then back onto the road to the YM Center. Skid left, head up the steps, and go through the gap to the stairs and the taxi drop point and finish.
09_URBAN EXPLORATION
Starting location 1: NORTHWEST LOOP (WASHINGTON/WELLS STATION)
Starting location 2: UNDER THE FREEWAYS, SOUTHEAST LOOP
Starting location 3: NORTHEAST BUSINESS PARK, MAD MILE
FINISHING location: HOTEL ENTRANCE, NORTHWEST MAD MILE
Vehicle 1: $4,000 / Chopper
Vehicle 2: $10,000 / Papavero
Vehicle 3: $8,000 / Sunrim
Difficulty:
 +00:25 // +$6,000
 +00:15 // +$5,000
 +00:00 // +$4,000
BEAT THIS: 00:23:05 (Michael Camiré)
Start Time: 01:15
Finish Time: 00:30 (00:45 seconds)
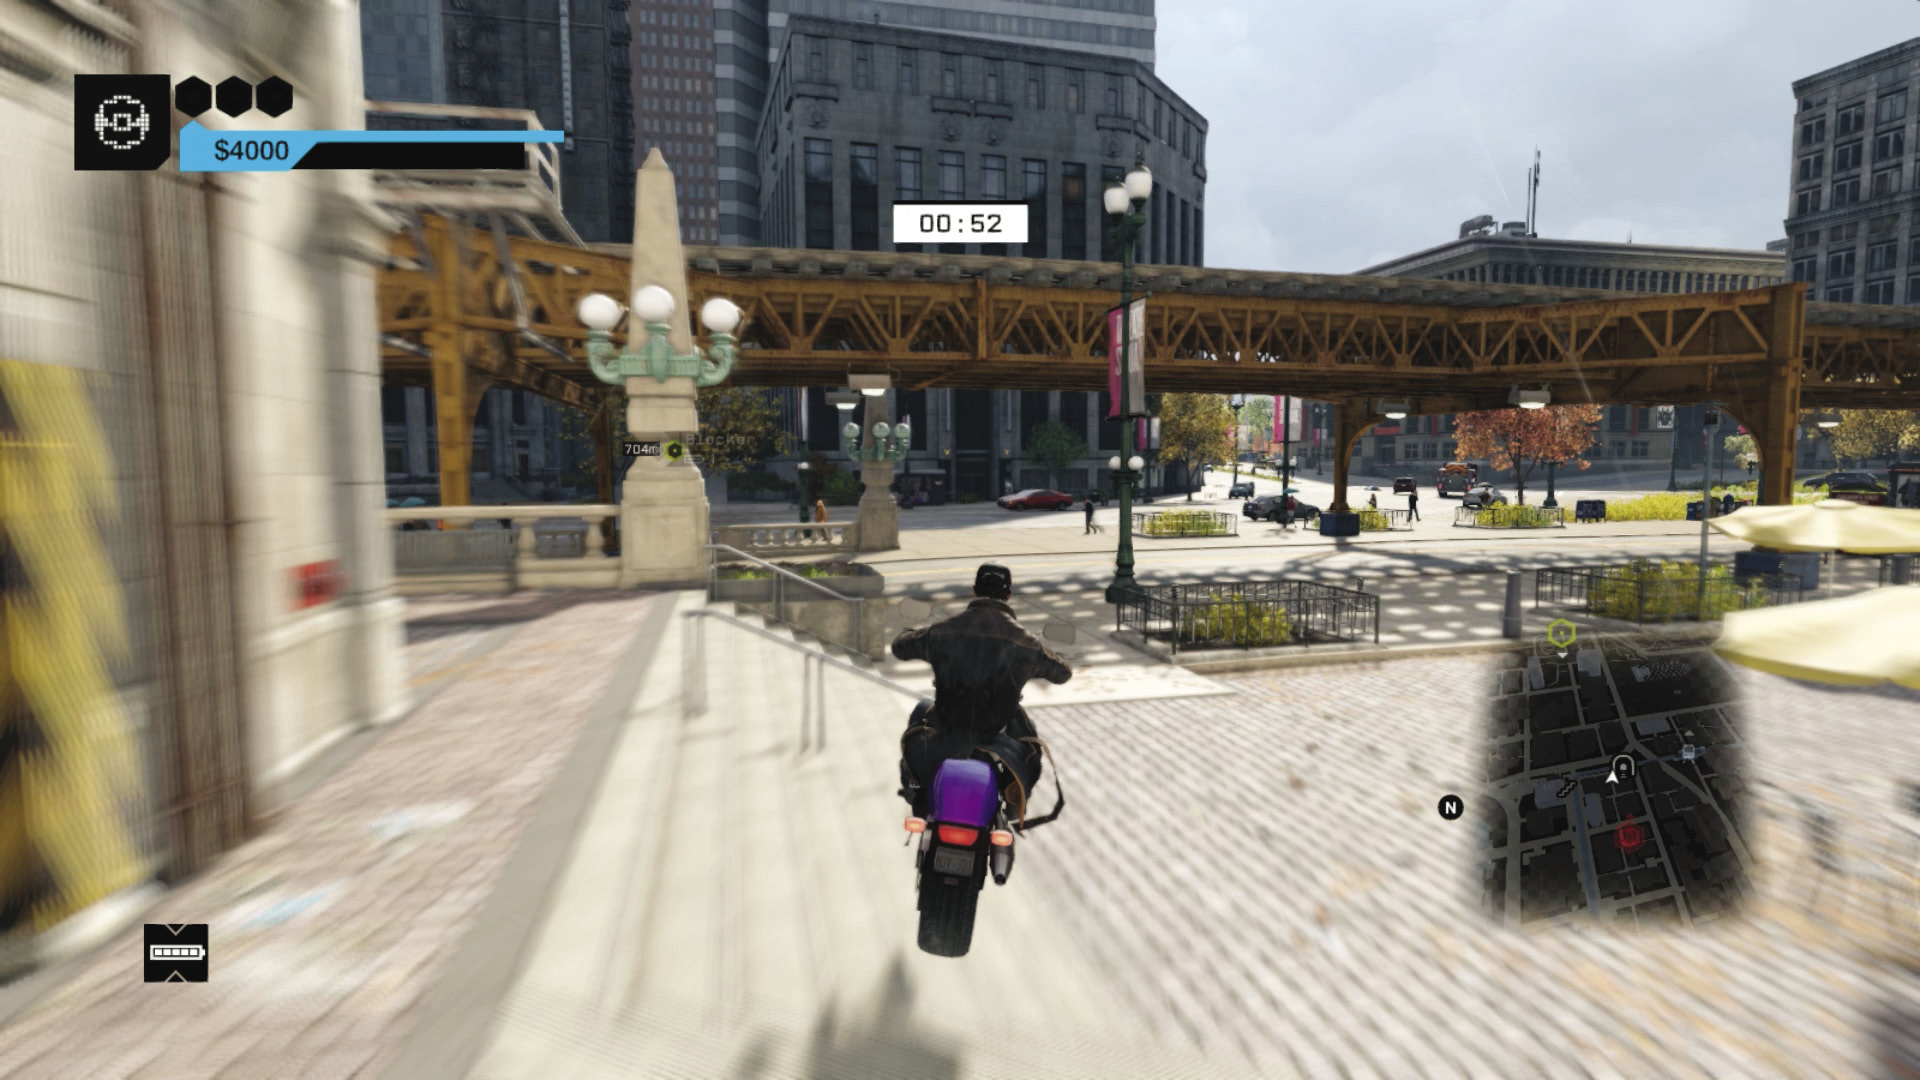
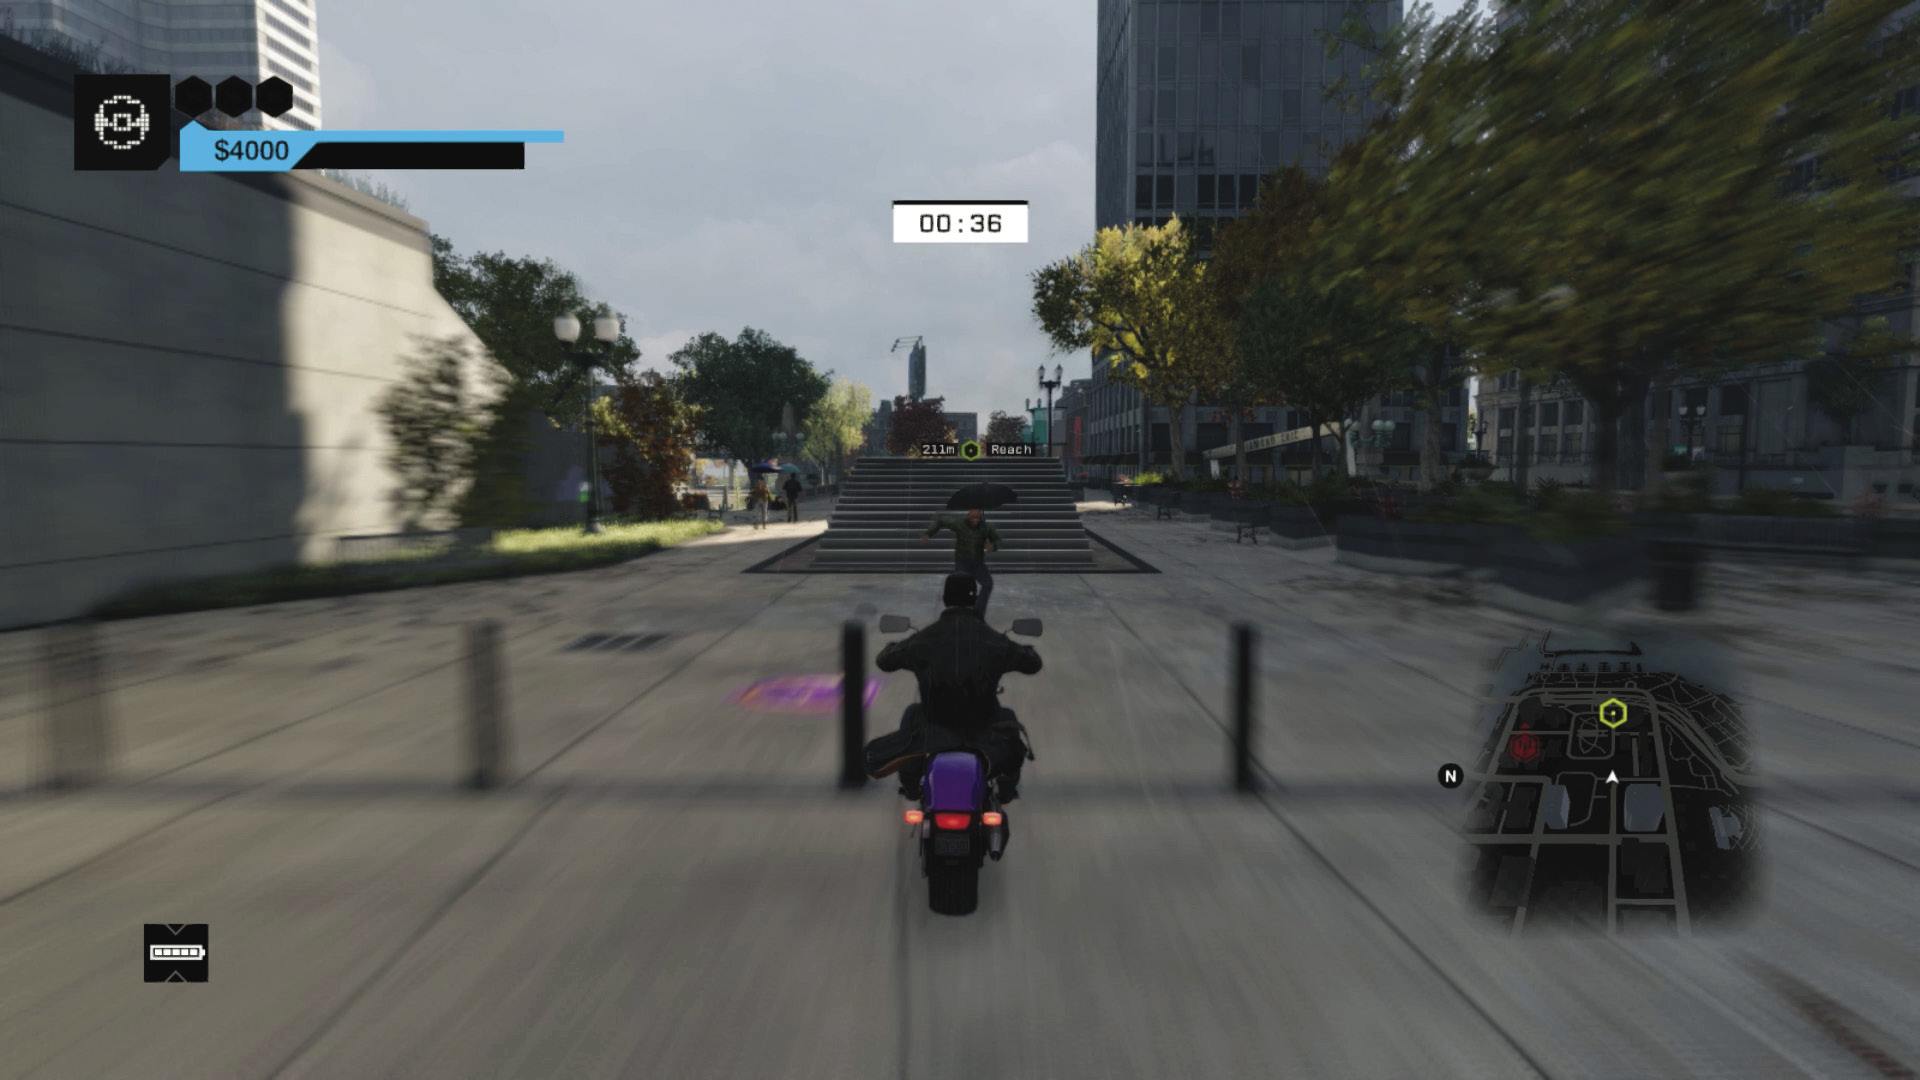
Vehicle 1 Route: You’re heading almost directly due east, so floor it, head down the alley, cross the street, and go into the concourse of city hall. Crash out the window at the far end, and lean left and right as you reach several alleys to jet down. When you reach the steps and L-train, turn right, then left as you cross the street and into another alley. Swing left to avoid the building, then continue in a roughly straight line. Head over a ramp, landing with both wheels on the ground. Stop at the left curve a block later.
Start Time: 01:40 (+01:10 seconds)
Finish Time: 00:40 (01:00 seconds)
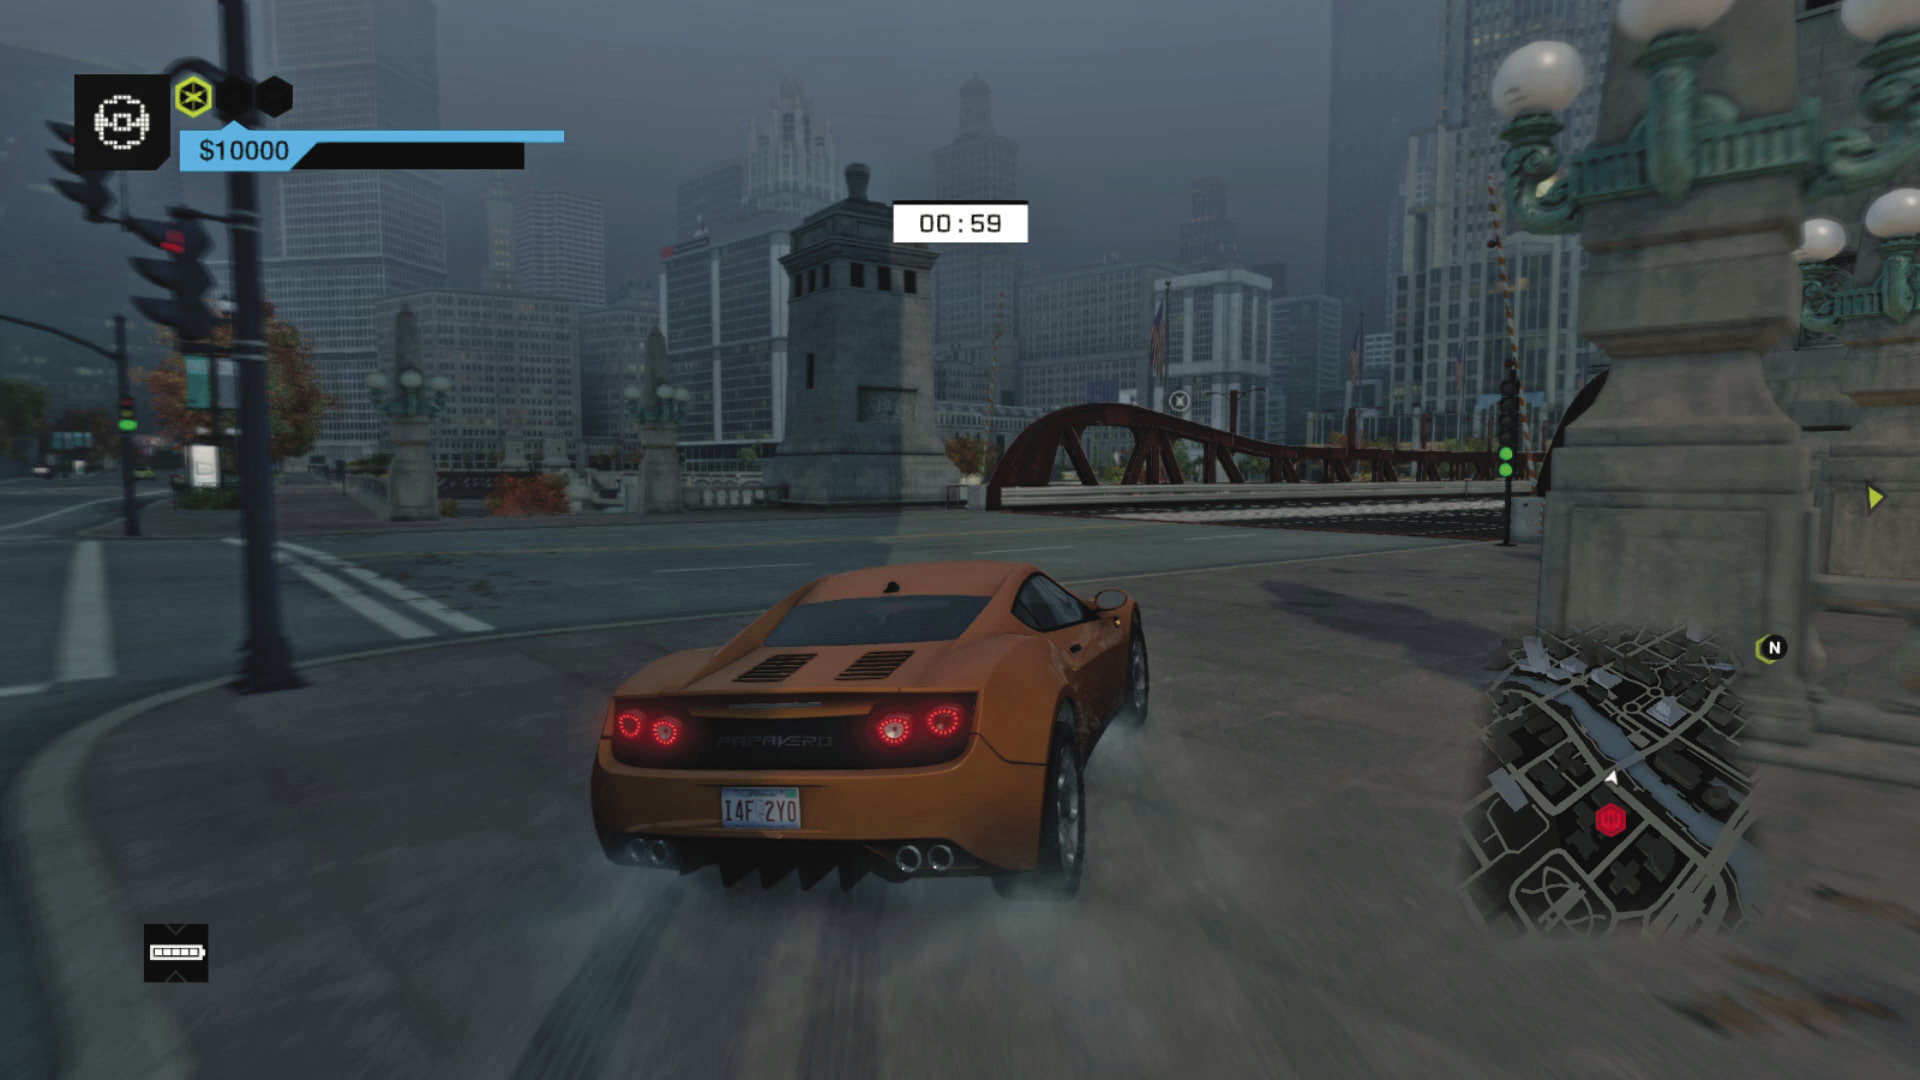
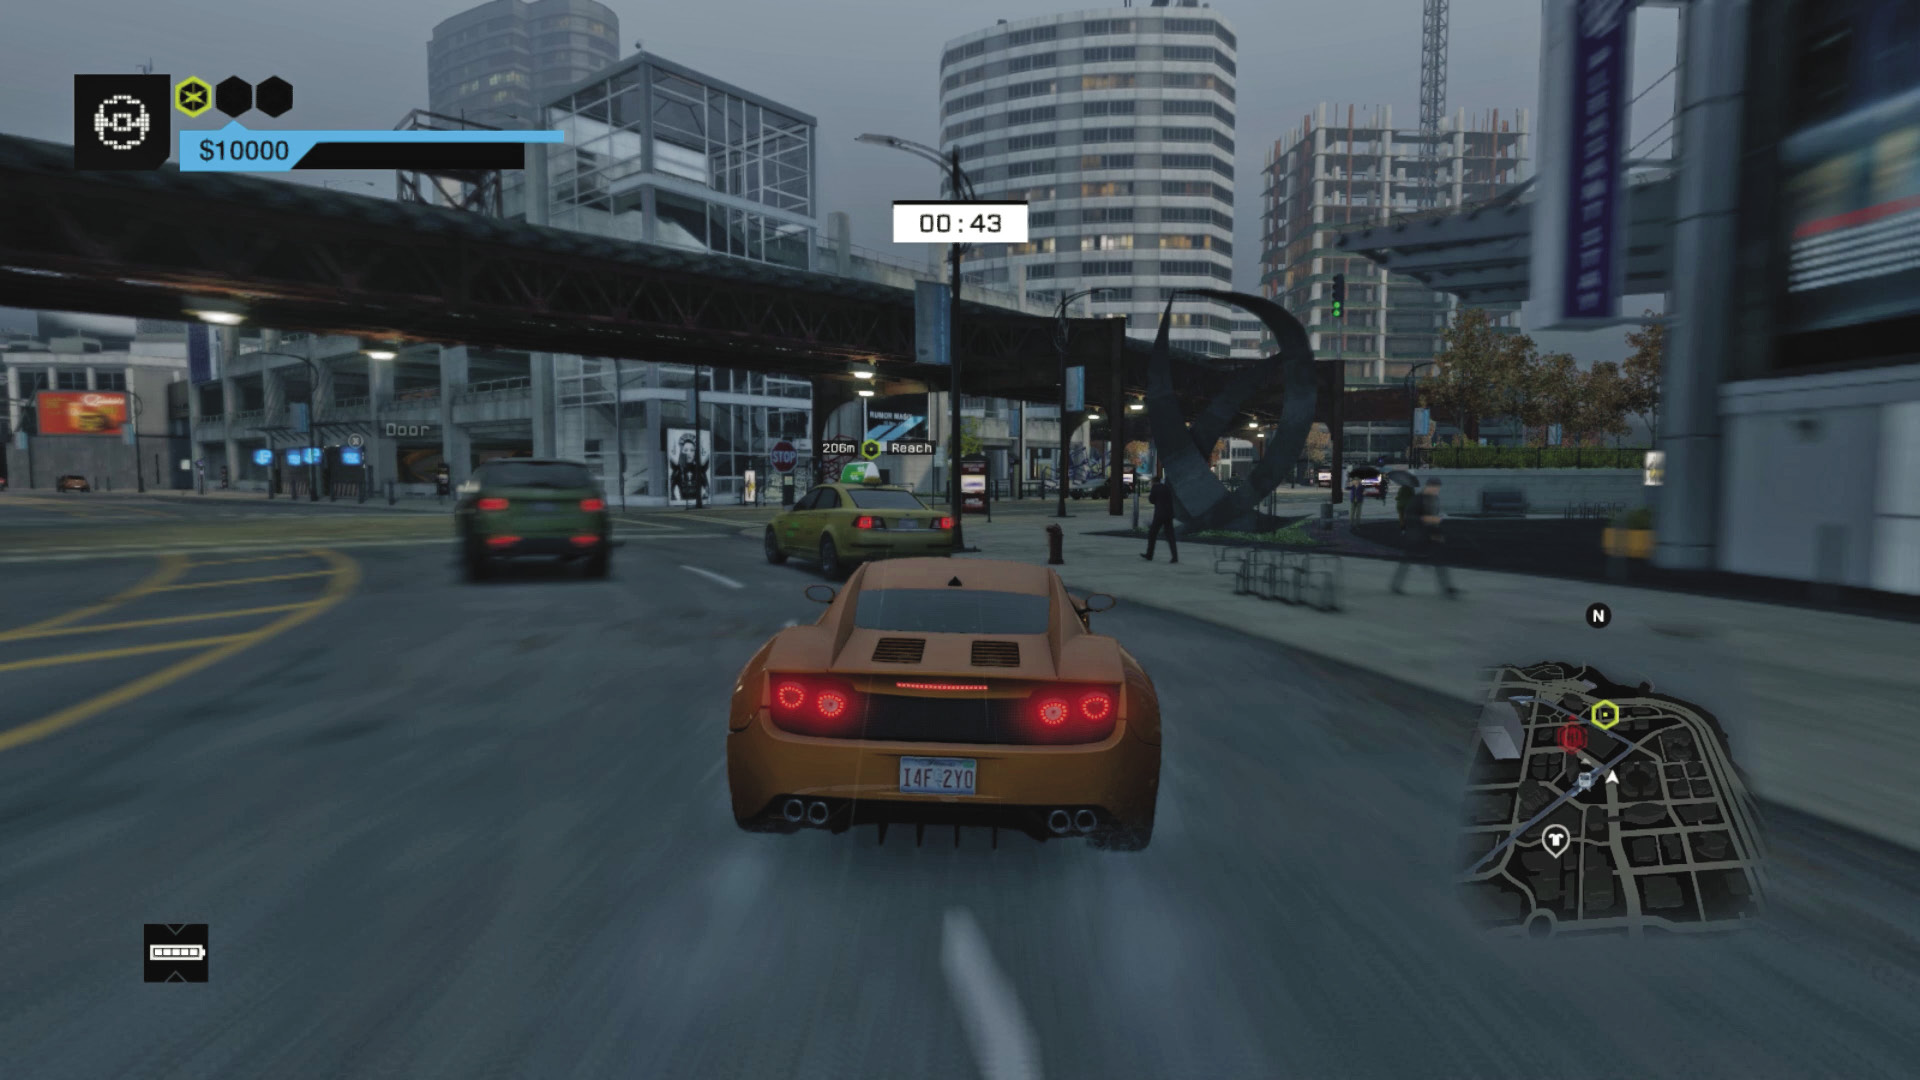
Vehicle 2 Route: This route is significantly more difficult, as there isn’t a direct path across the river. Don’t get caught up using the freeway; instead head up the steps, go north toward the river, and swing left. Make the first right, across the bridge. Continue north, running straight down this major artery until you pass the ramp sculpture and go under the L-train tracks. Brake and steer left, opening the garage door and brake. Then enter the garage and open the door opposite, leading you out and easily into the checkpoint.
Start Time: 01:45 (+01:05 seconds)
Finish Time: 00:40 (00:55 seconds)
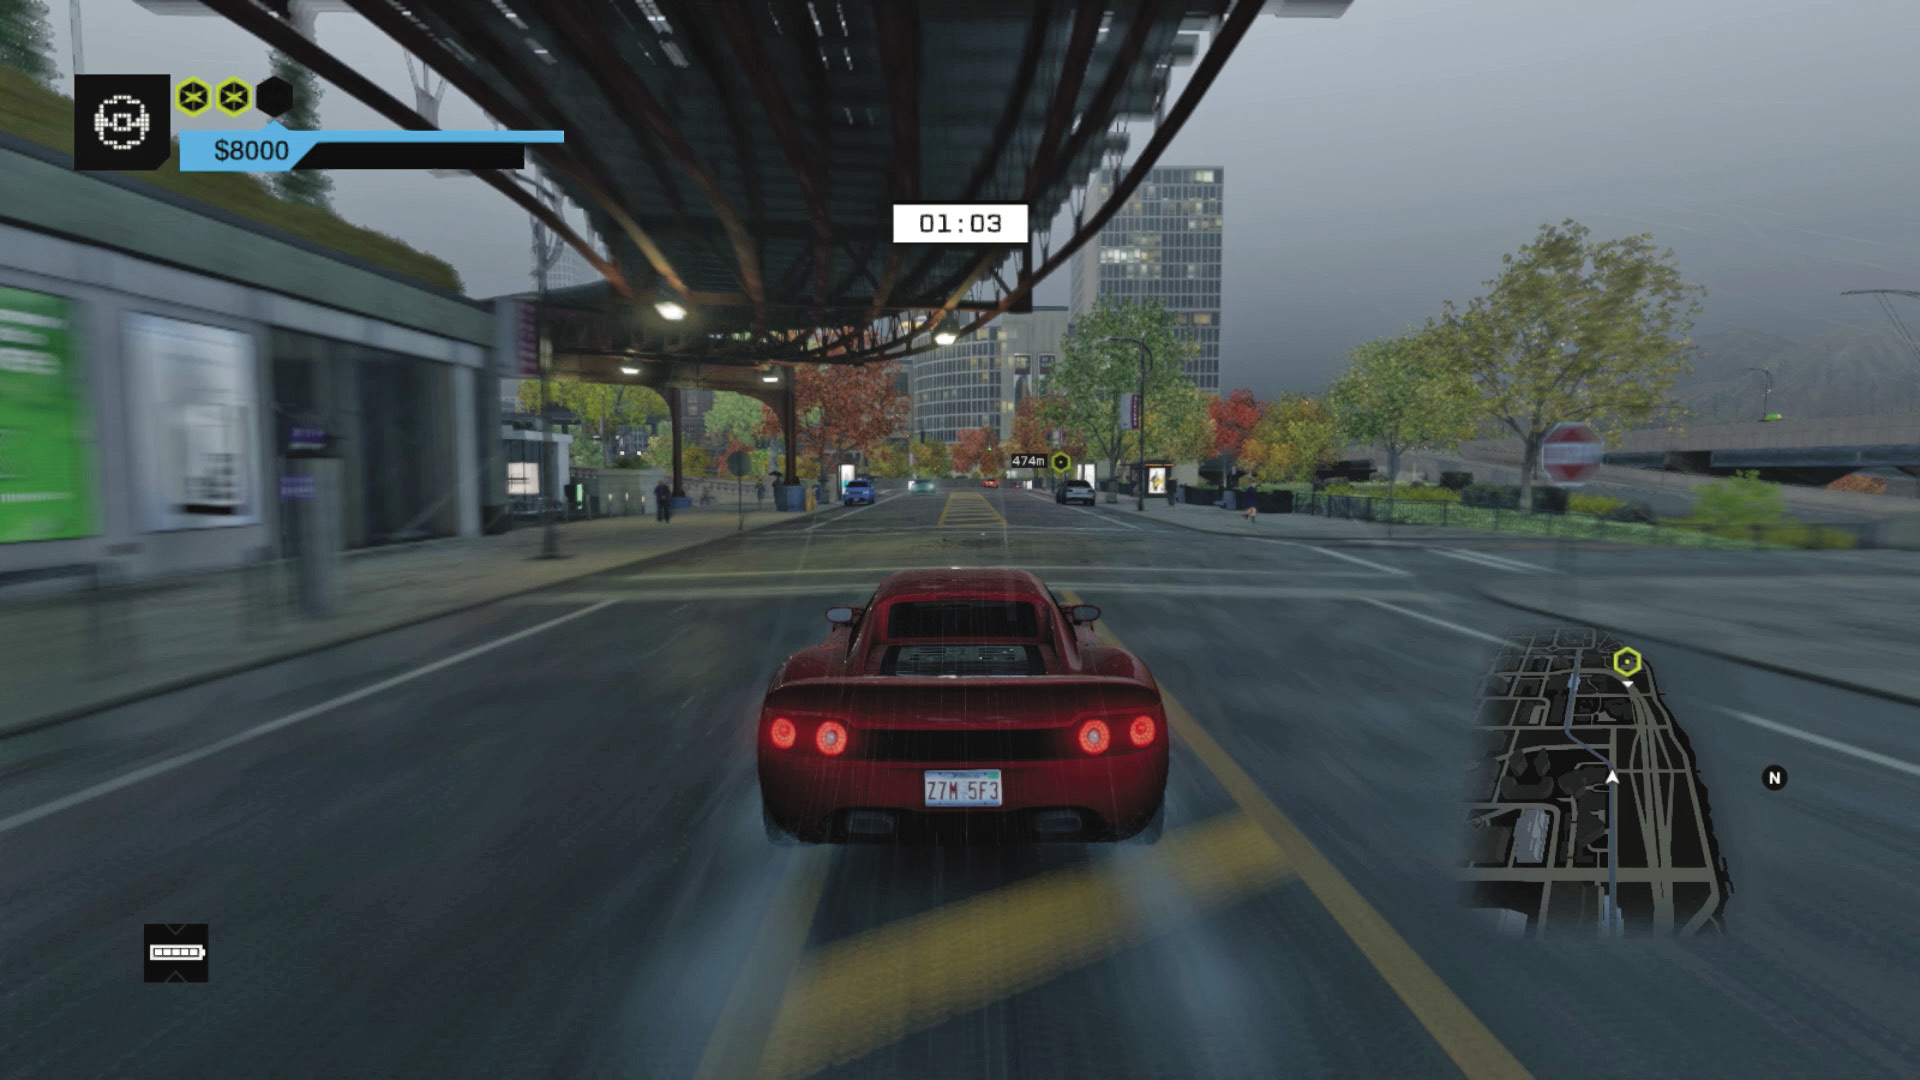
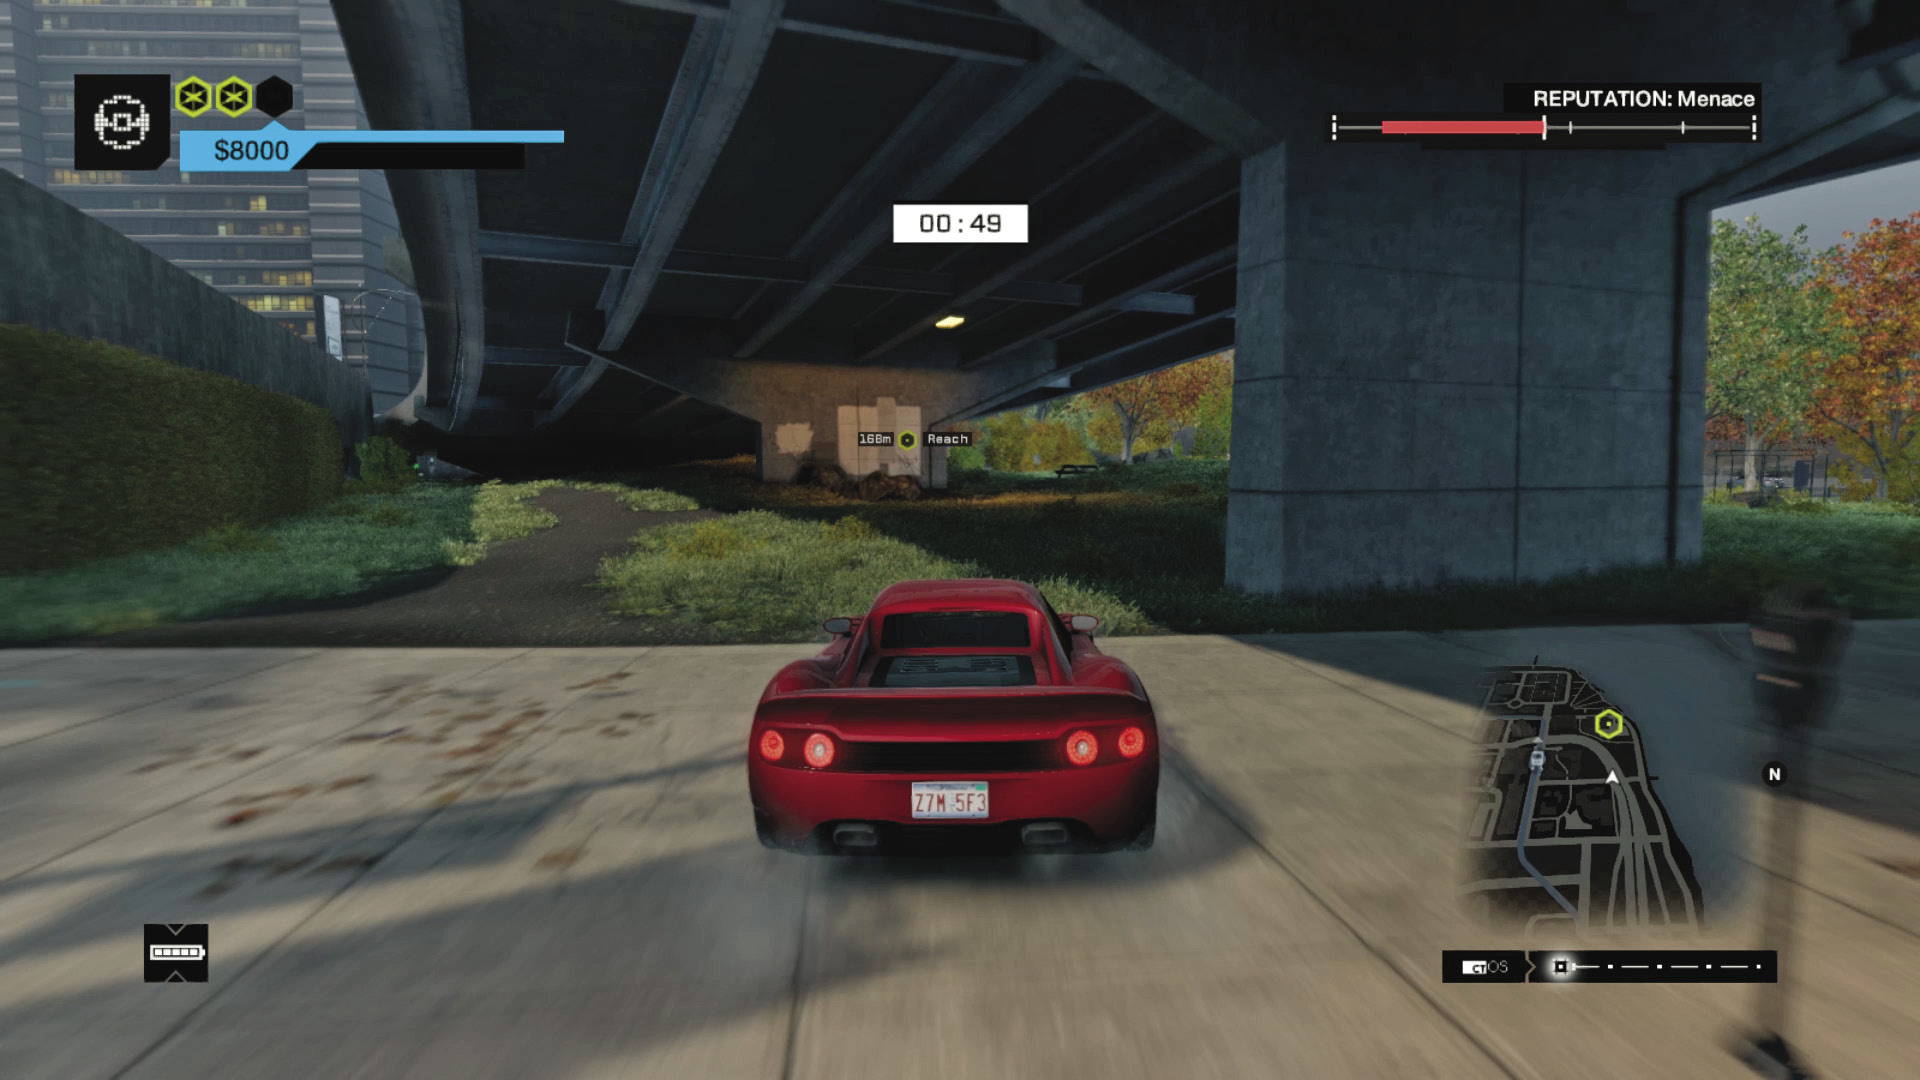
Vehicle 3 Route: Now for a spot of lunacy. Ignore the GPS route and accelerate out across the sidewalk, following the L-train tracks above you. When they disappear, try to skid right, crossing the grassy area and moving along the road with the freeway above and right of you. Or, if you can’t avoid the rocks, continue on the road to the dip and skid right, then left, toward the bottom of the freeway. Then line up the gap just left of the massive freeway pillar, crash through the trees (you can pass through the shrubs), and bounce into the parking lot and the finish.
MAD MILE // TRANSPORTER CONTRACTS
10_LAP OF LUXURY
Starting location 1: PARKING LOT, WEST MAD MILE
Starting location 2: GARAGE, PARKER SQUARE NORTH
Starting location 3: ALLEY, TWO BLOCKS NORTH OF MAY STADIUM
FINISHING location: ALLEY, NORTHEAST WARDS
Vehicle 1: $12,000 / 550S
Vehicle 2: $8,000 / Rotor
Vehicle 3: $10,000 / 336-TT
Difficulty:
 +00:25 // +$10,000
 +00:15 // +$9,000
 +00:00 // +$8,000
BEAT THIS: 00:39:51 (Anthony Renomeron)
Start Time: 01:20
Finish Time: 00:30 (00:50 seconds)
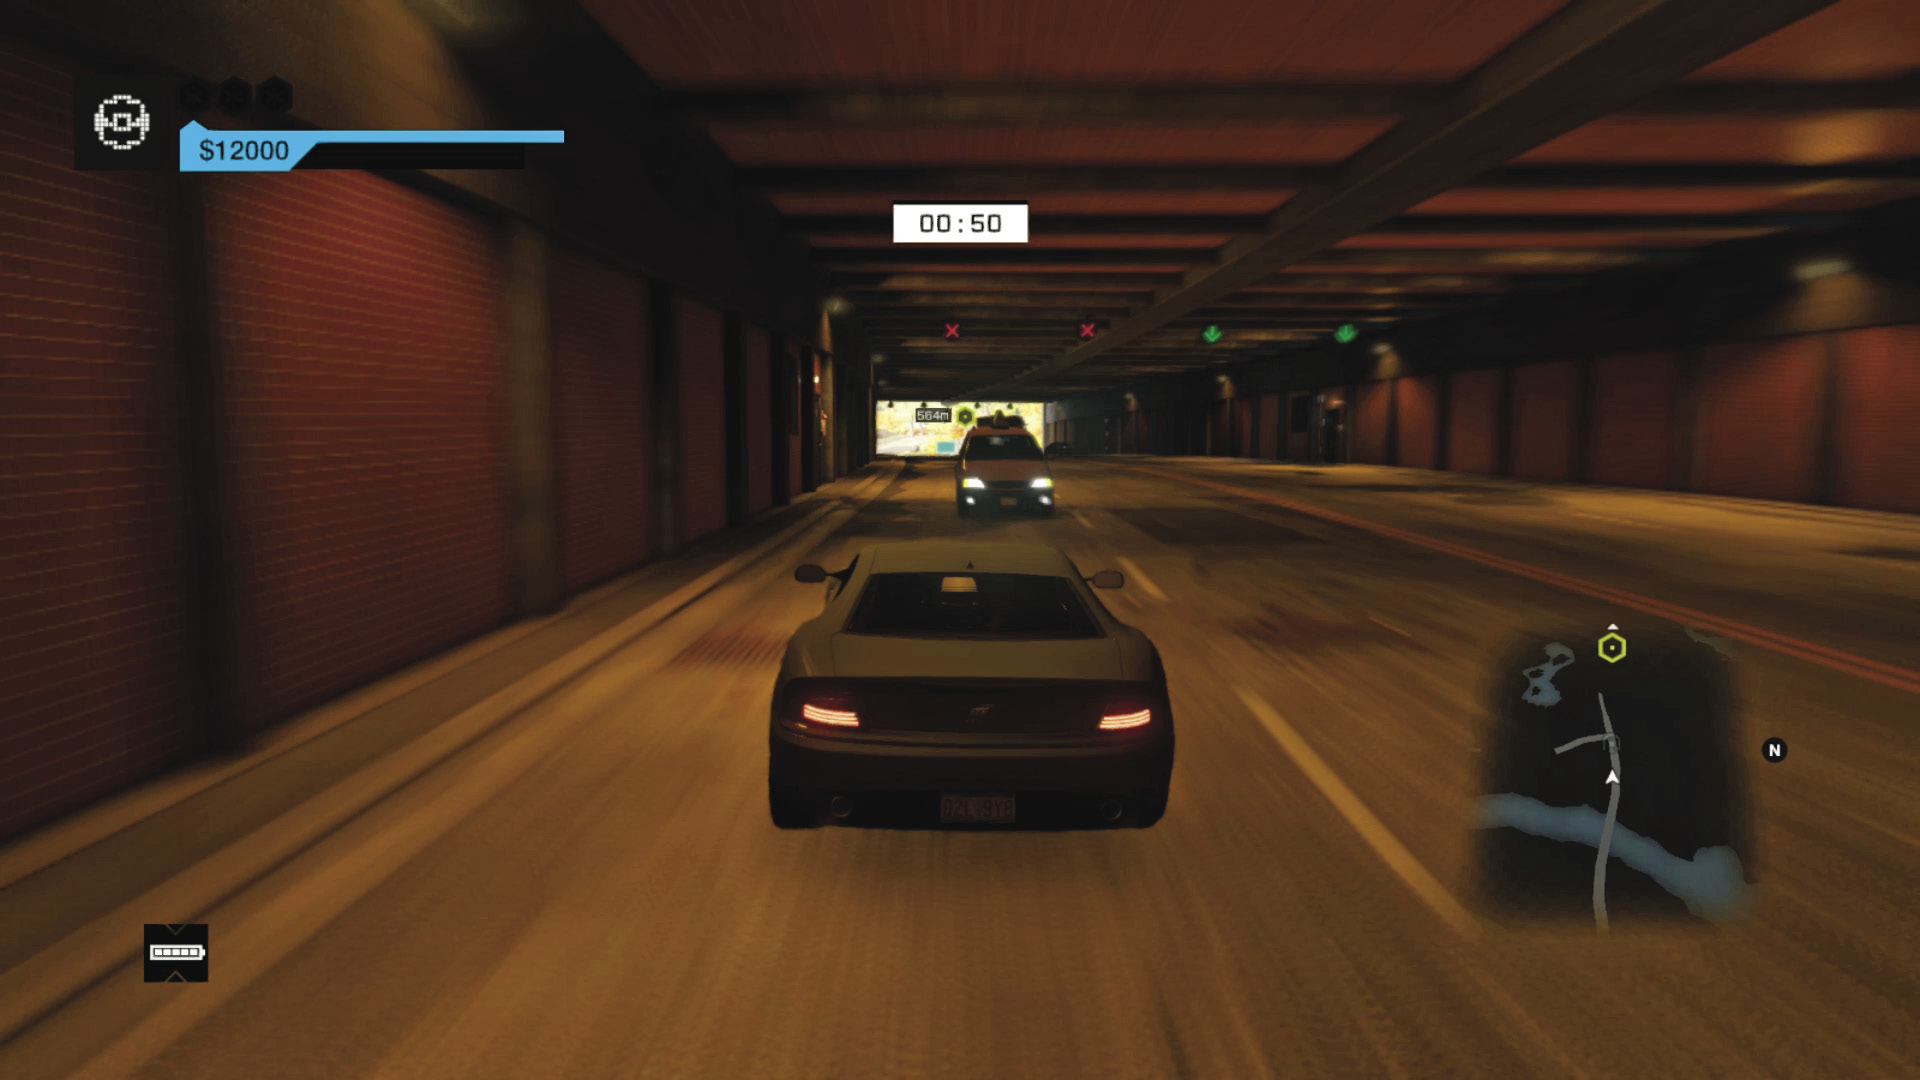
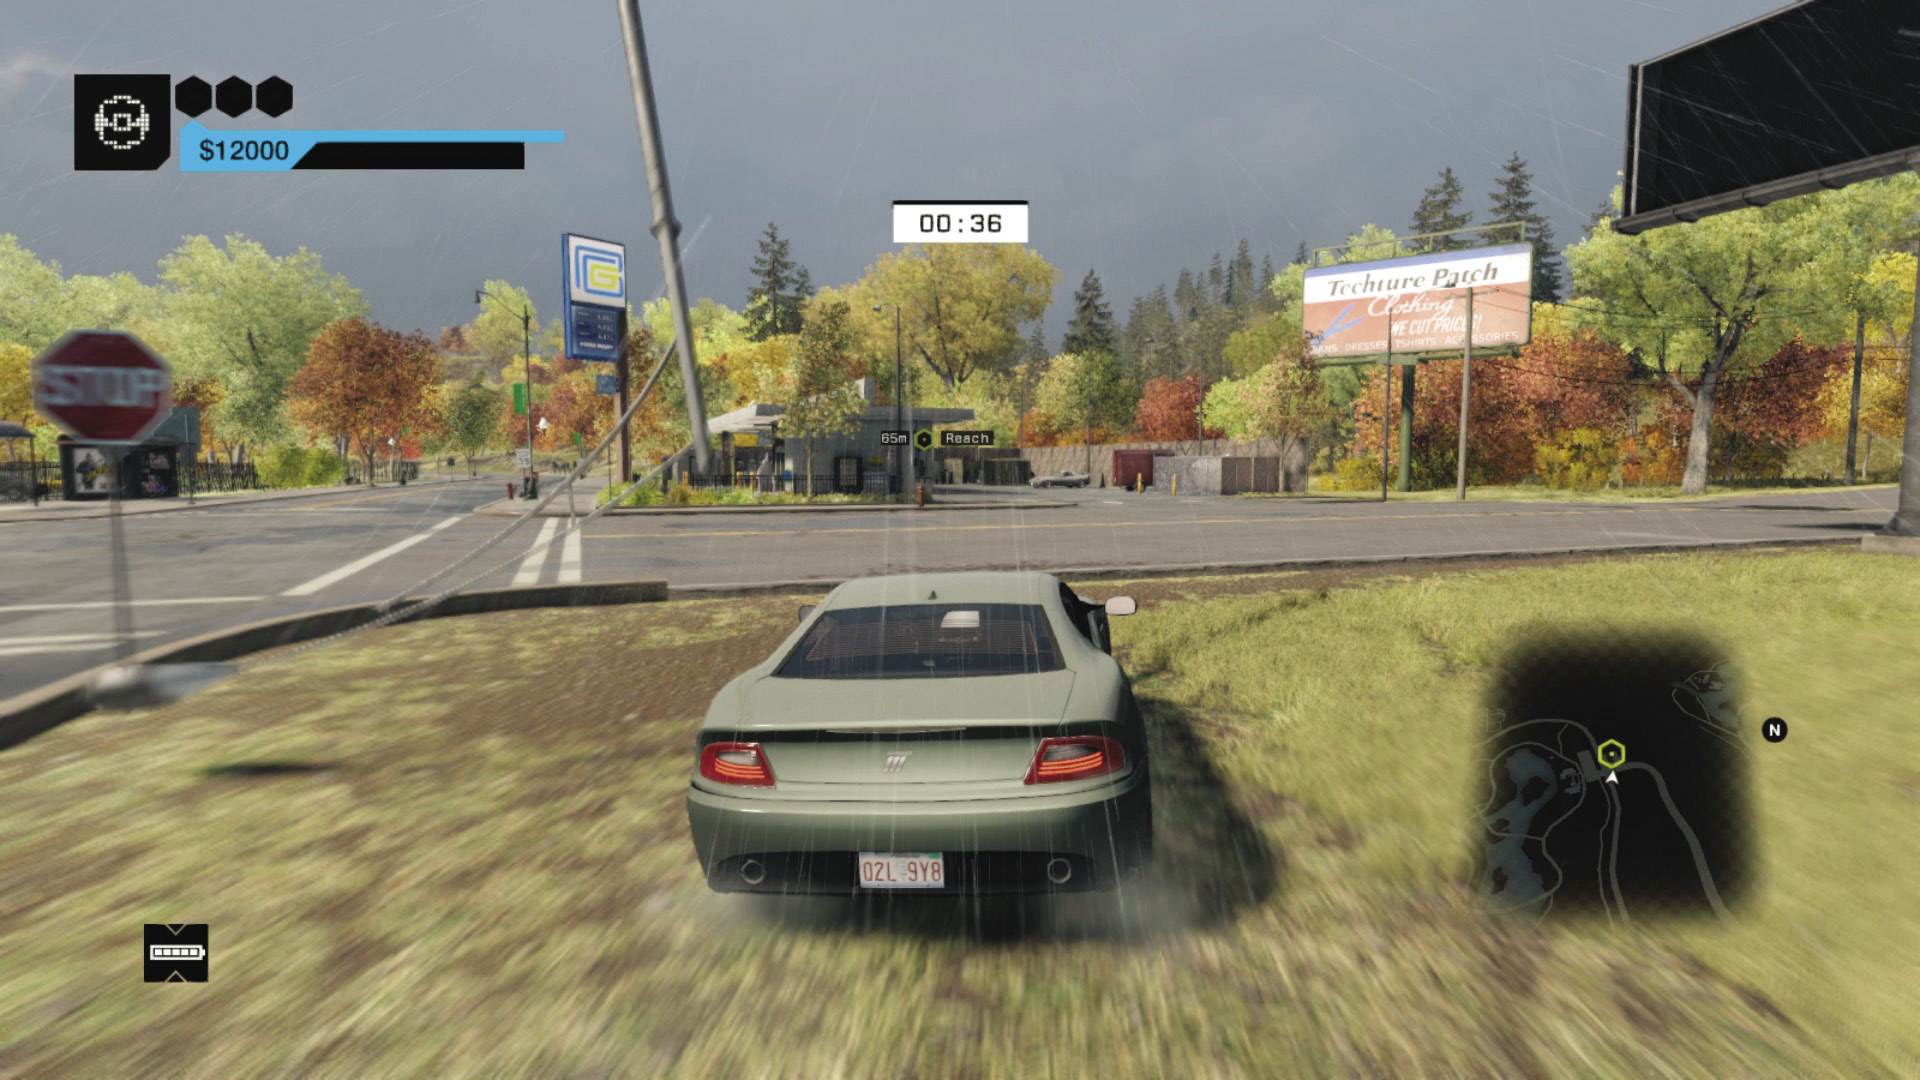
Vehicle 1 Route: This first route should be planned to gain you extra seconds compared to the more tricky subsequent routes. Crash through the fence onto the main road heading west, with the L-train on your left. Speed over the bridge, down into the tunnel (stay in the middle to avoid ramming into traffic), then cut inside the corners as you accelerate into Parker Square. Slow slightly as the road narrows, but stay away from the grass or sidewalks so you don’t hit anything fleshy. Cut in, over the grass and across the road into the gas station. Park behind it, scrambling to reach the second car.
Start Time: 01:40 (+01:10 seconds)
Finish Time: 00:20 (01:20 seconds)
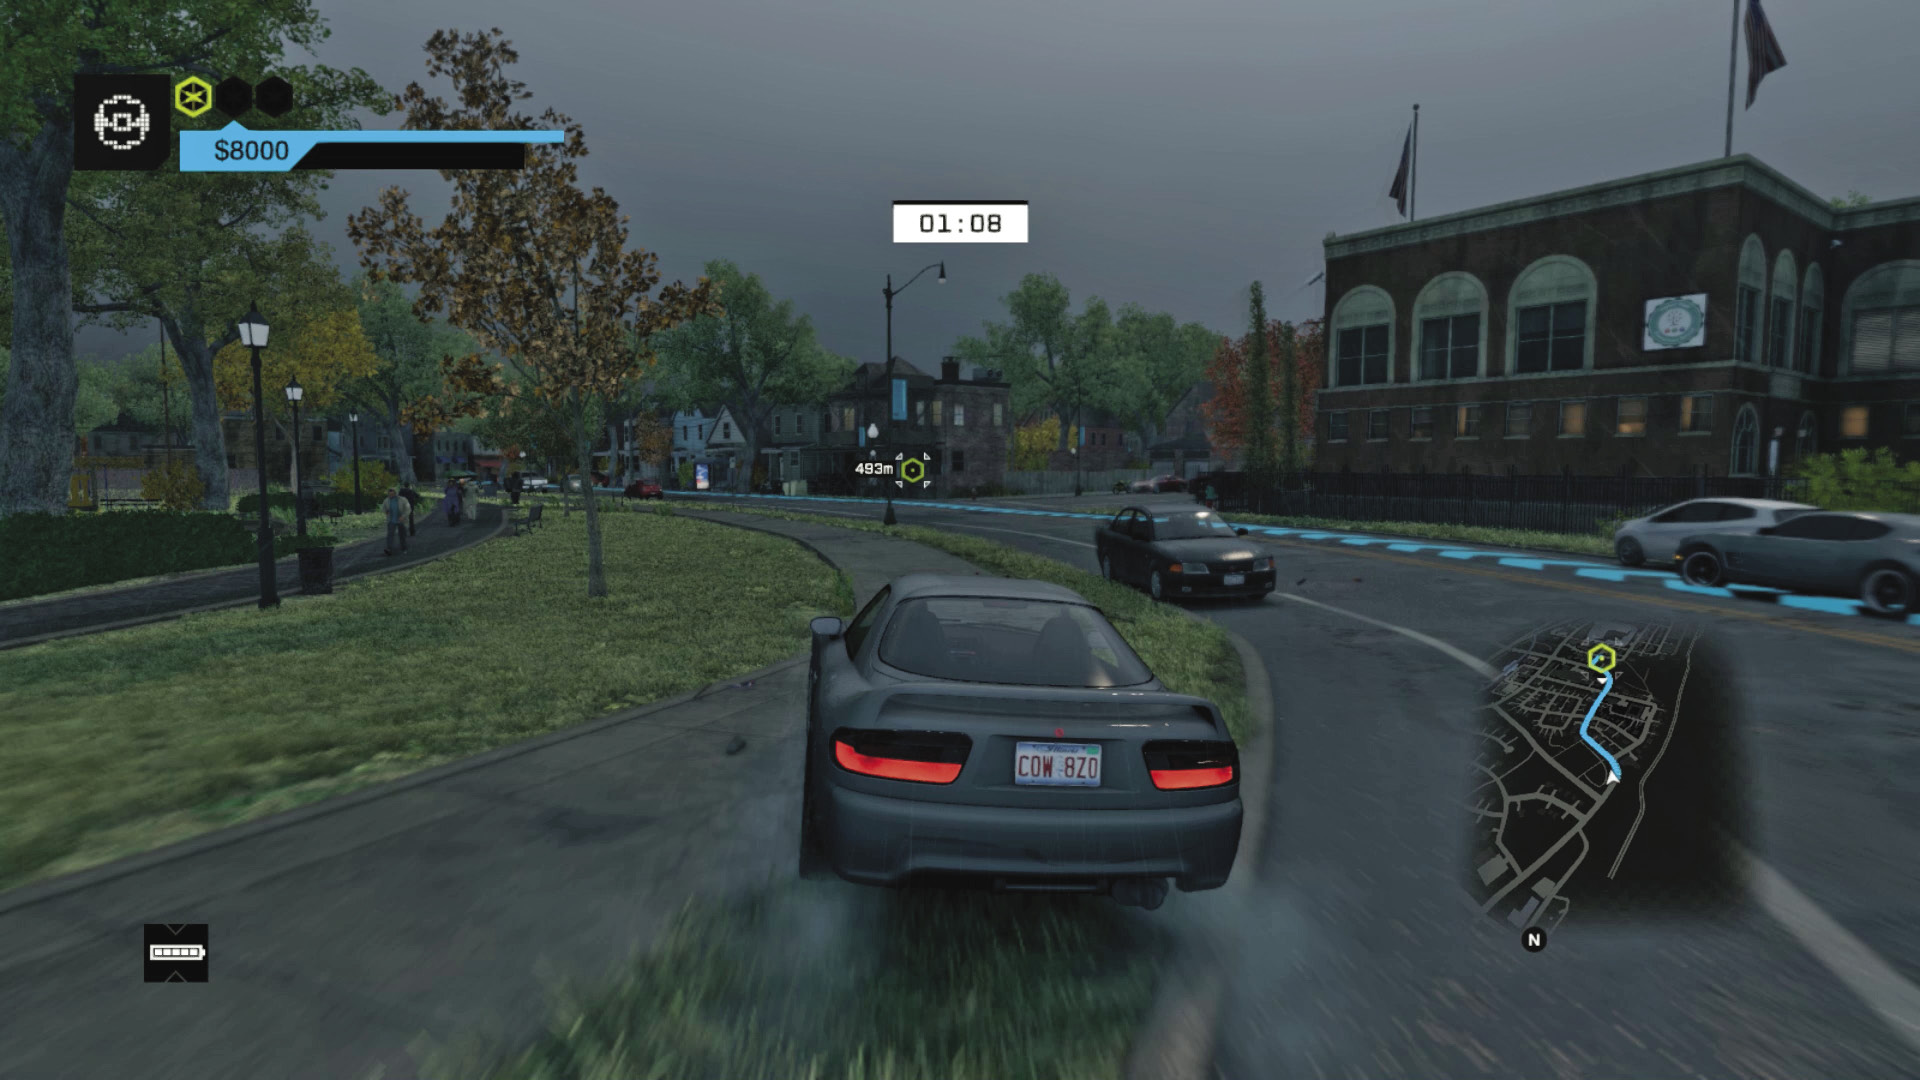
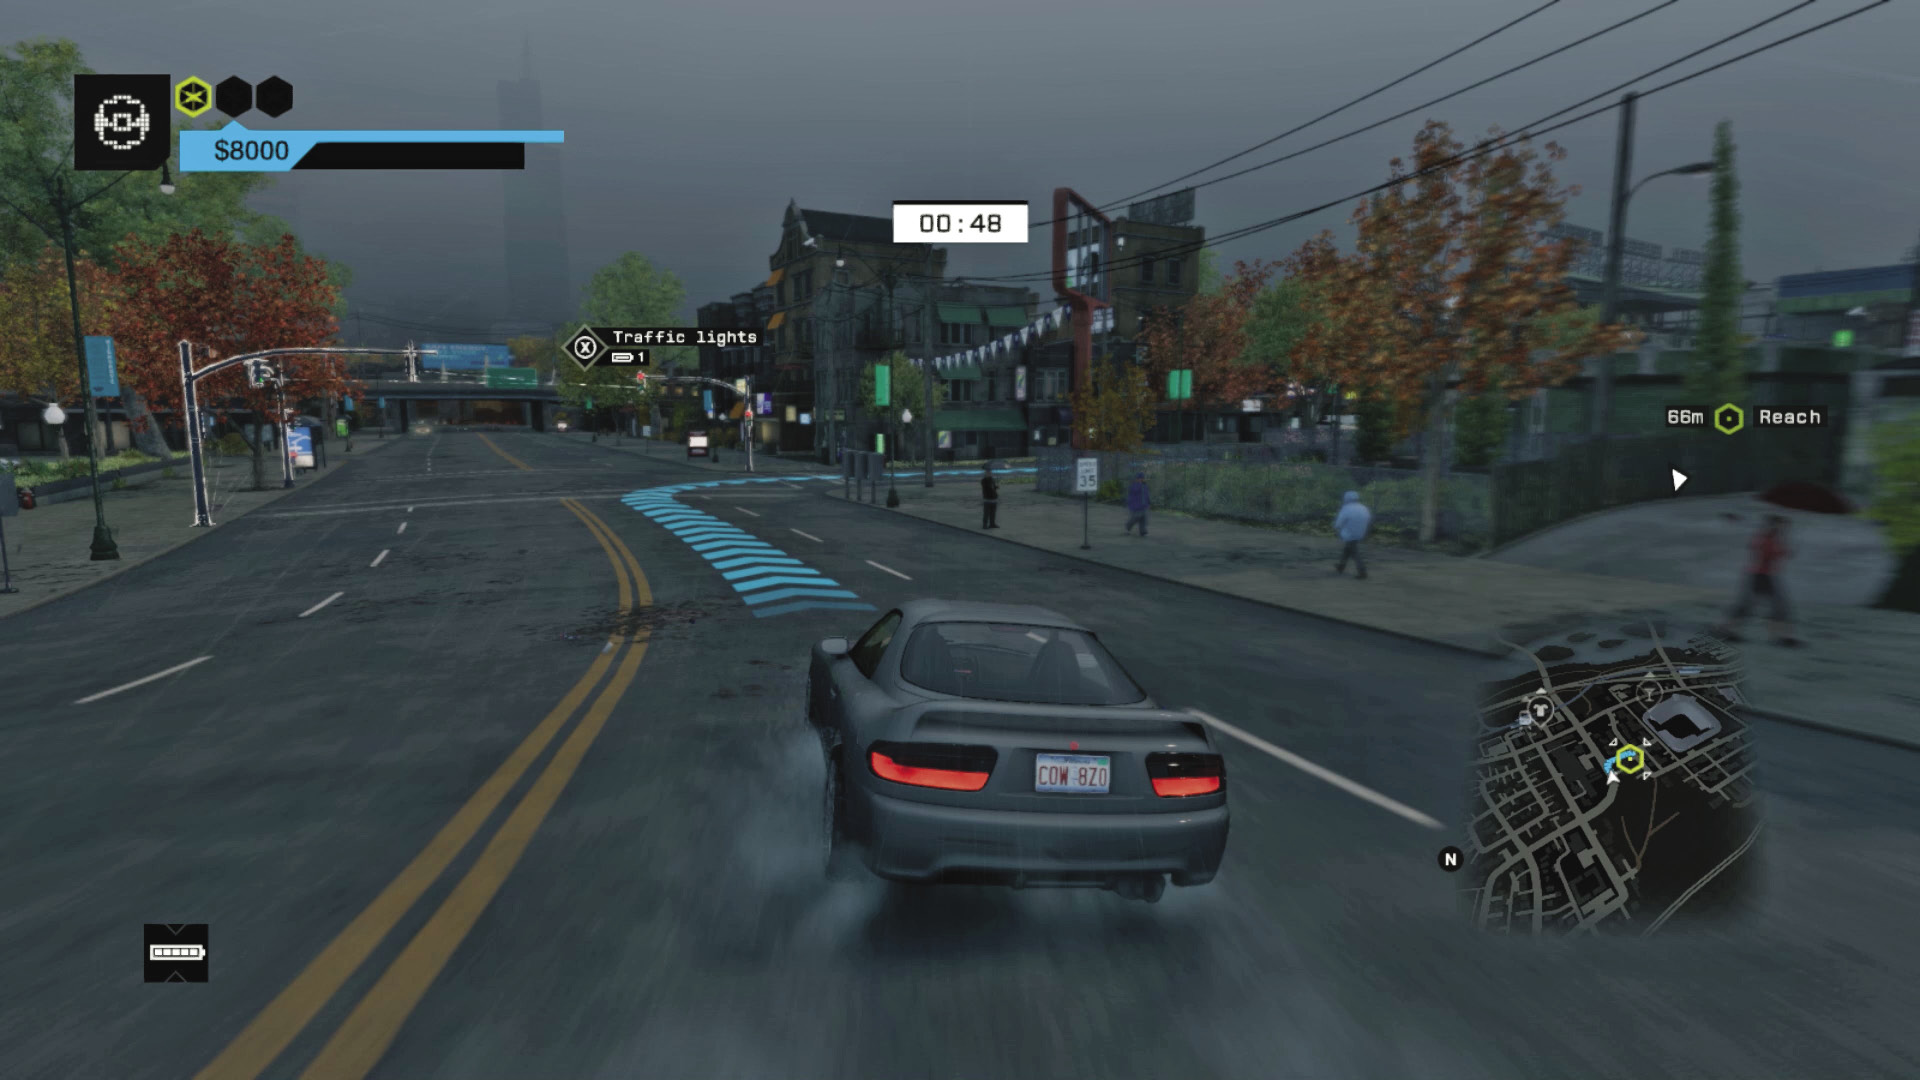
Vehicle 2 Route: You can cut across the park, but you risk dipping into the lake and killing dozens of people, and the bumpy grass slows you down. You can take a shortcut onto the rail lines to the west (right), but that’s also slow as you need to maneuver down the grassy embankment near the checkpoint. So simply follow the GPS route without slowing down or hitting anything; it’s actually quicker than these shortcuts! Speed right out of the garage, following the road as it curves left. Go downhill (cutting in on the sidewalk where you can) to another sharp left curve, then one to the right. Cross a couple of busy intersections, weaving down to the fenced grass area; even this can result in a crash, so stay on the road, left of the checkpoint, and park. Sprint east, behind the building with the red awning, over the small wooden fence to reach the last vehicle.
Start Time: 01:25 (+01:05 seconds)
Finish Time: 00:35 (00:50 seconds)
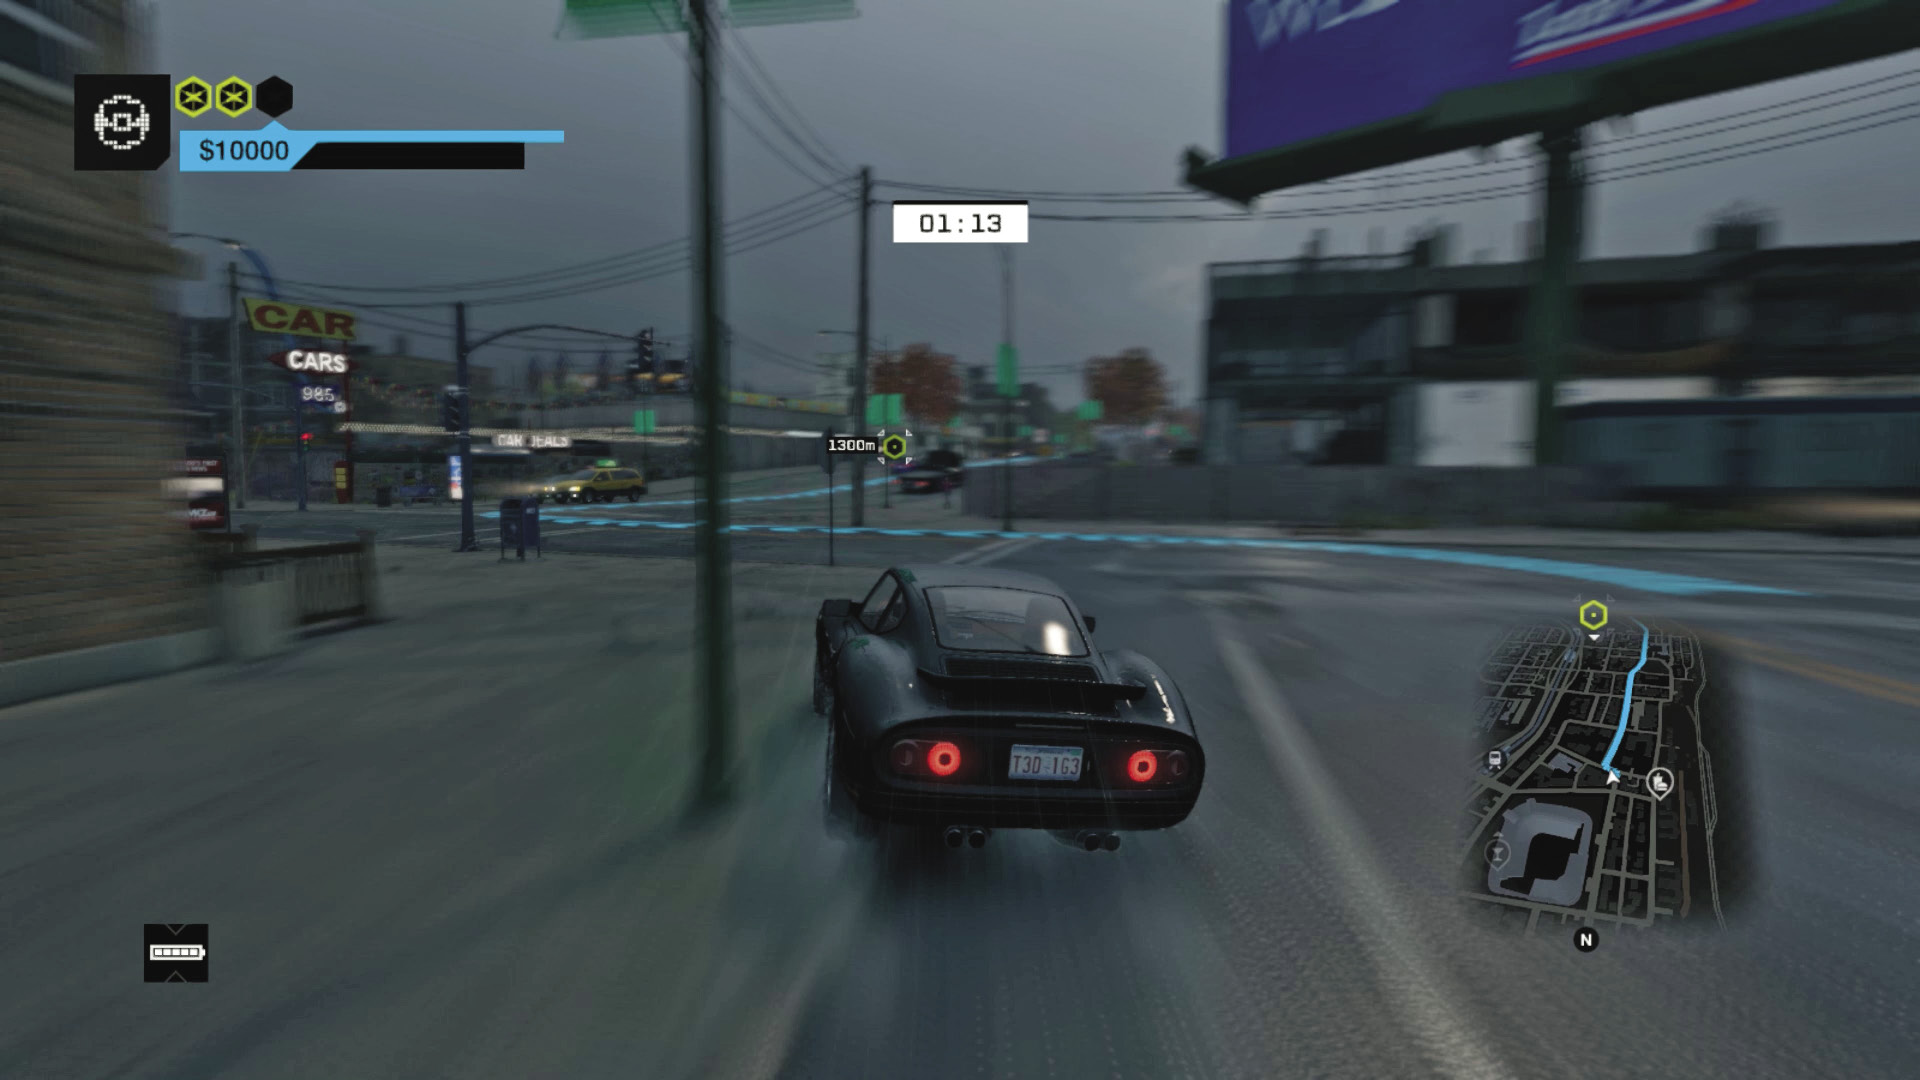
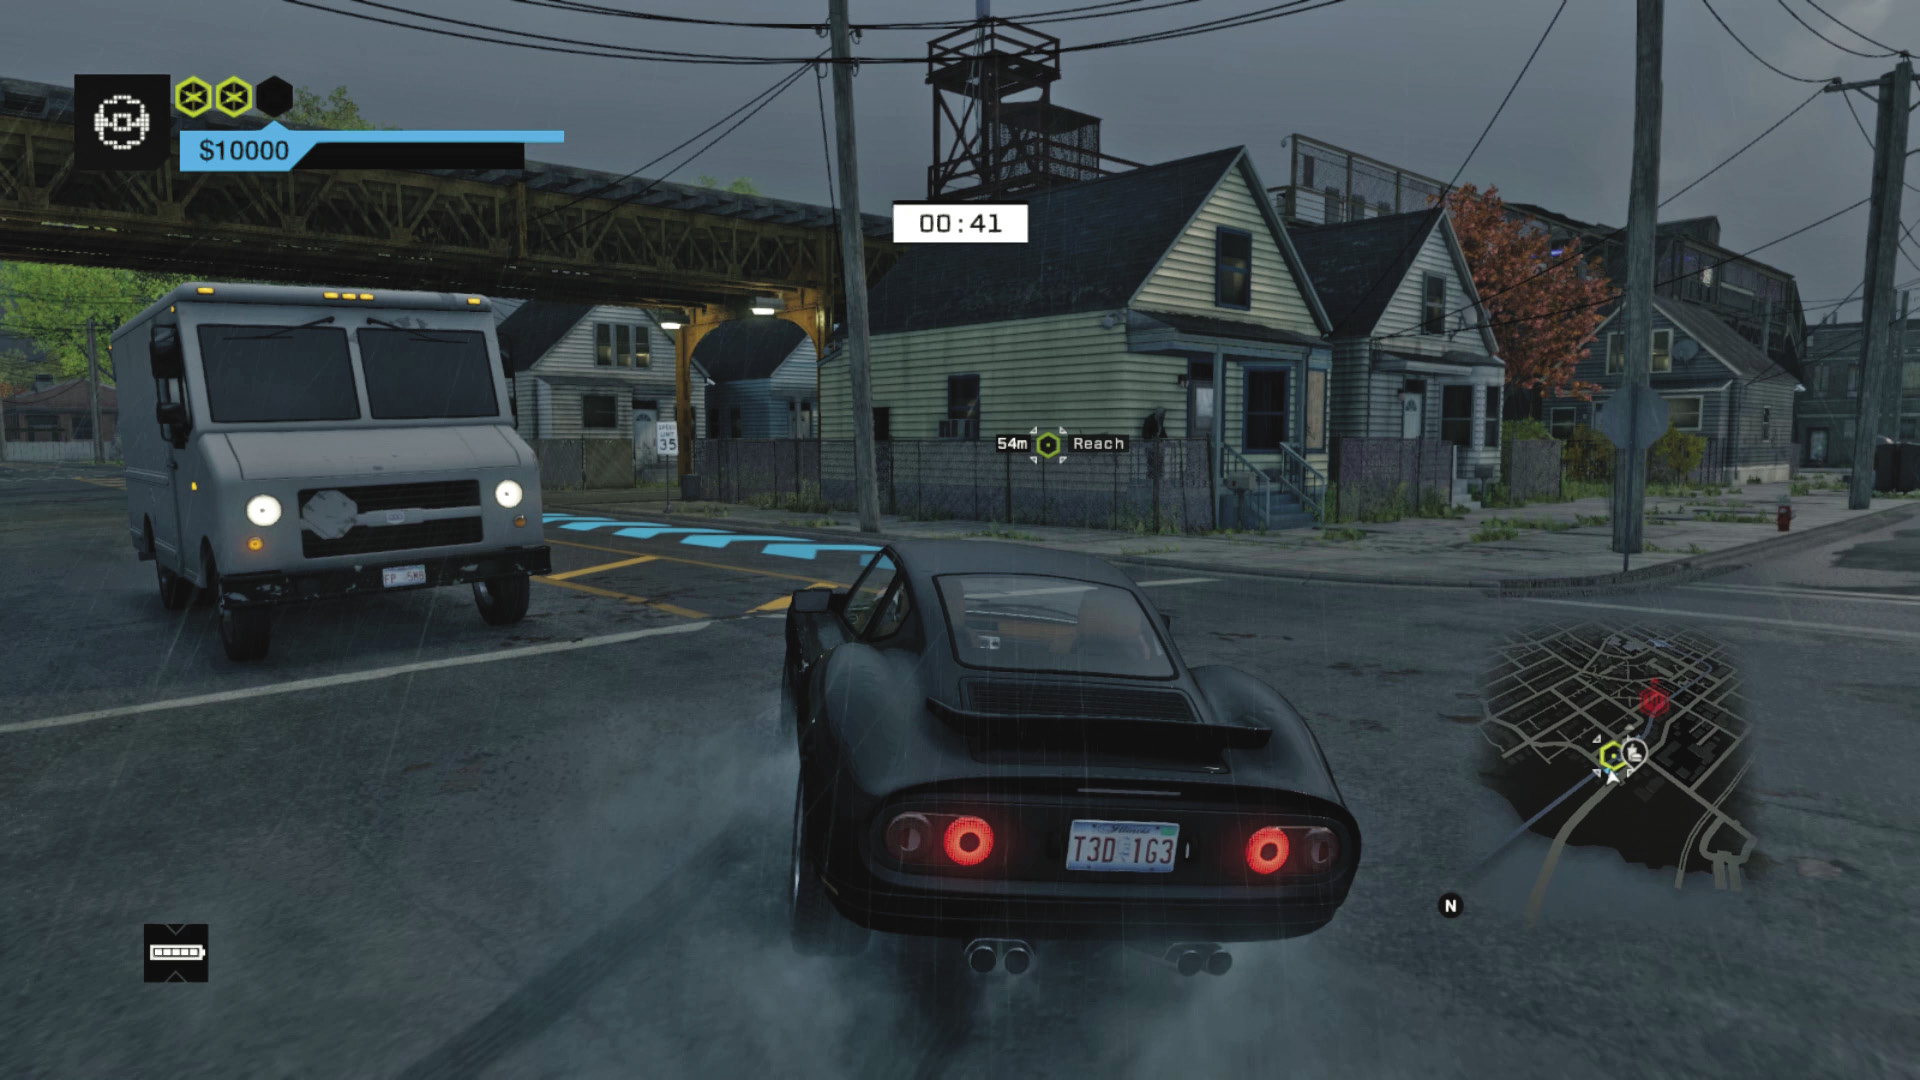
Vehicle 3 Route: Getting to the Wards in under a minute? Madness! Well, unless you keep to the main road that’s directly south of here. Accelerate hard, staying in the middle of the road with May Stadium to your left. Cut left and right at the junction (plowing through the fence slows you down). Weave through traffic without slowing, then onto the freeway. Stay right of the water barrels and concrete divider so you don’t hit oncoming traffic. As the freeway ends, brake hard and skid left and immediately right, into the alley and the finish.