
Watch Dogs Guide ADVANCED TRAINING
/ _CRAFTING
Crafting is the process of combining components into a variety of helpful devices: projectiles, which are thrown and usually explode or distract enemies, or tools, which help you out of a difficult situation or scan for information. Crafting is straightforward and well worth learning.
// CRAFTING /// Crafting Components
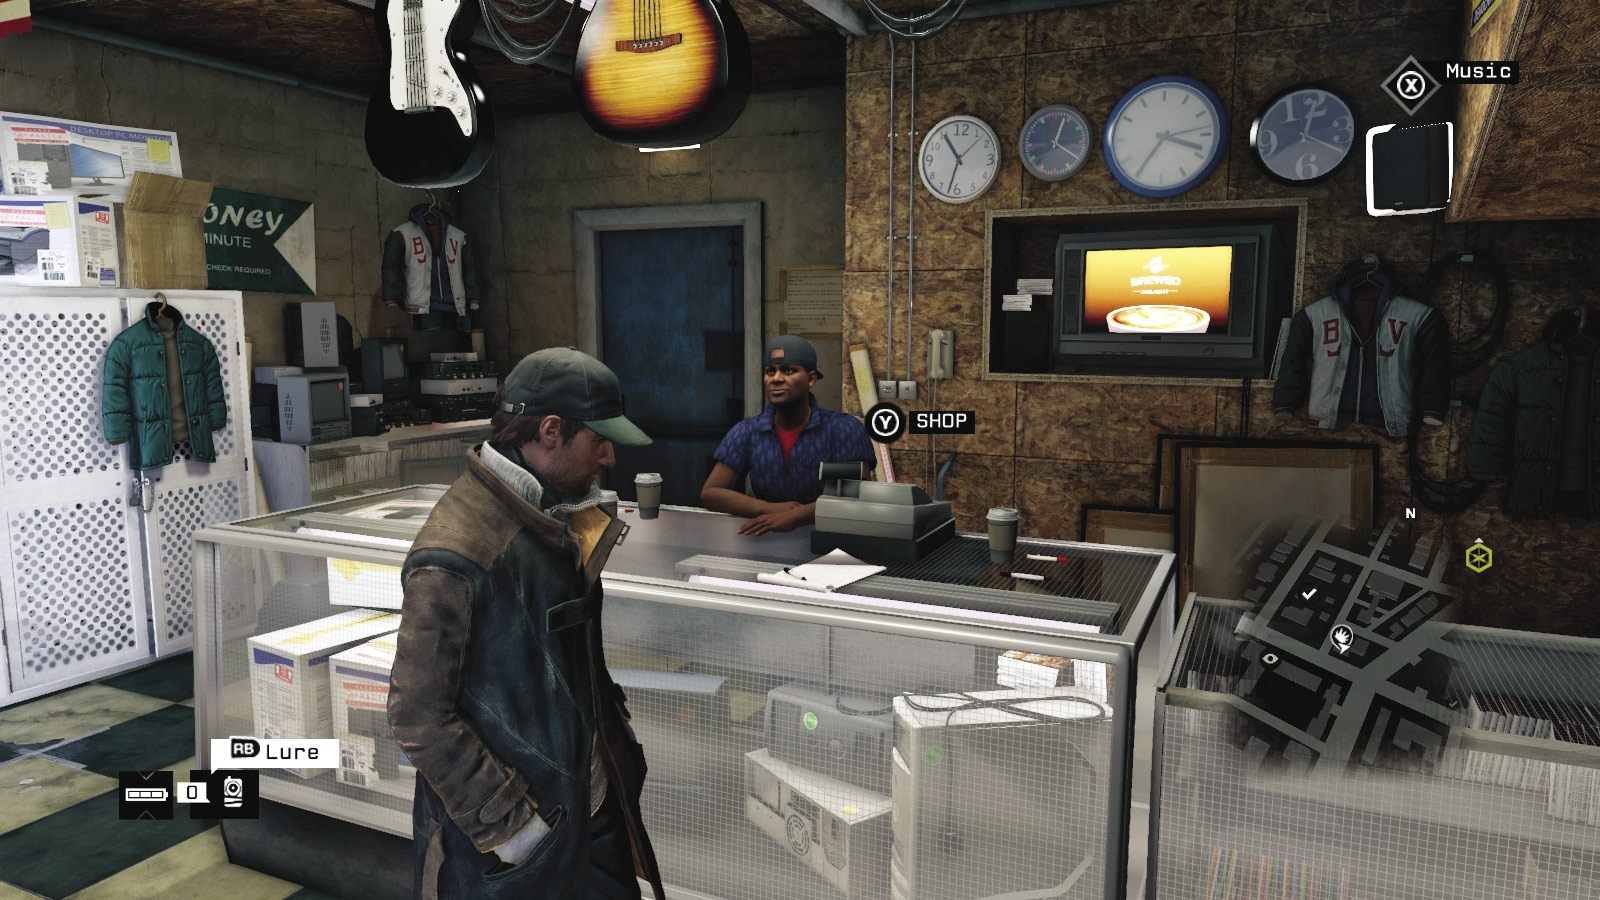
There are five crafting components to gather during your time in Chicago. Obtain these as soon as you can. Find them in a variety of ways, but (aside from the system key), the easiest way is to purchase them from either pharmacies or pawnshops. System keys can be farmed by successfully completing Hacking and Tailing Online Contracts. Other ways to come across components include locating components lying around (usually during missions), hacking the general public (system key only), and finding bags or items of interest (nonexplosive components only).
Components
| Component | Used to Craft | Cost | Description |
|---|---|---|---|
 Meds Meds |
Focus Boost | $200 | Find these pills at any of the Pharmingtons pharmacies across Chicago. They are used for just one tool type, so you should only buy them if you use Focus a lot. When gathering them, note that meds look like a pill bottle with a white lid, but Focus Boost Plus (which you can also find during missions) has a blue lid. |
| Remember that Focus Boost only shows up as a crafting item, and meds can only be used after you unlock the Focus ability in your Combat Skills. | |||
 System Key System Key |
Blackout, ctOS Scan, Jam Coms | $N/A | This is the most difficult-to-find item. During single-player outings, the easiest way is to locate them on citizens of interest. The three tools you make with them aren’t projectiles and provide less explosive solutions to your problems. But ctOS scan is a helpful item to have at the start of every infiltration. Carrying capacity: 8 |
 Electronic Parts Electronic Parts |
Blackout, ctOS Scan, Lure, Jam Coms, IED, IED: Proximity | $50 | The easiest way to acquire these parts, which are used in six of the eight crafting items, is to purchase them from a pawnshop. They are reasonably inexpensive, offer a wide variety of components to craft, and can be purchased up to ten at a time. Have the most of this item on hand at any one time. Your effectiveness with tools is most affected by this component. Carrying capacity: 20 |
 Chemical Component Chemical Component |
Frag Grenade | $100 | If you’re in the market to make frag grenades, then stock up on this component, available from pawnshops and other locations. As this explosive projectile is most helpful to your cause and is much cheaper than the Unstable Chemical Component, this is the item for an anarchist on a budget. Carrying capacity: 6 |
 Unstable Chemical Component Unstable Chemical Component |
IED: Proximity, IED | $250 | Don’t mix up the two canisters of explosive compounds. Buy this tub of goodness from a pawnshop, and use both types of IEDs for more colorful detonations. As the flexibility of both IED types are most helpful, it’s worth making these if you can afford them. Carrying capacity: 6 |
The following table shows the components needed to create each type of tool.
Tool Components
| Crafting Device | Tool Type | Meds | System Key | Electronic Parts | Chemical | Unstable Chemical |
|---|---|---|---|---|---|---|
|
Blackout |
Tool |
– |
2 |
1 |
– |
– |
|
ctOS Scan |
Tool |
– |
1 |
1 |
– |
– |
|
Focus Boost |
Tool |
1 |
– |
– |
– |
– |
|
Frag Grenade |
Projectile |
– |
– |
– |
1 |
– |
|
Lure |
Projectile |
– |
– |
1 |
– |
– |
|
Jam Coms |
Tool |
– |
1 |
1 |
– |
– |
|
IED: Proximity |
Projectile |
– |
– |
1 |
– |
1 |
|
IED |
Projectile |
– |
– |
1 |
– |
1 |
_Crafted Items
8 SKILLS // 13 SKILL POINTS REQUIRED
Crafted items are unique in that you can obtain them without having the necessary skills to make them. Once you understand how powerful these items are, you’ll be scouring locations and stopping at pharmacies and pawnshops for the necessary components. The low skill points required to unlock these items, and their high use and effectiveness, make crafted items an absolute priority.
// CRAFTED ITEMS /// Overview
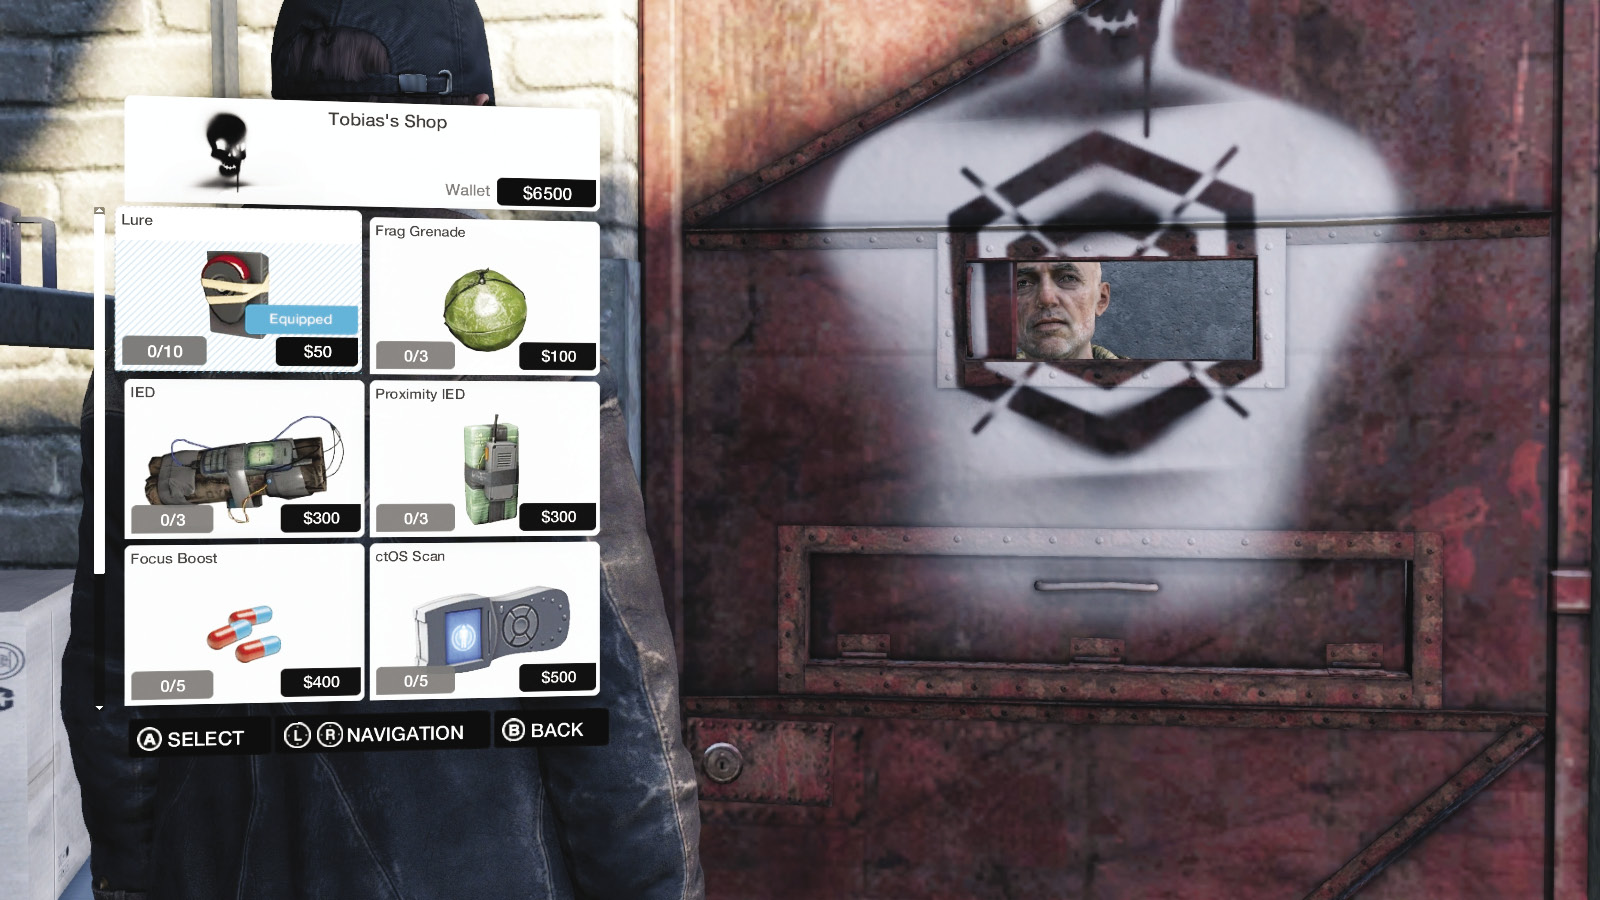
There are eight crafted items (aka “tools” and “projectiles”) to make with your components. Acquire them in the following ways:
Found on surfaces during missions.
Unlocked as skills (see below).
Purchase them from Tobias’s shop, which is a quicker but more expensive way of gathering this equipment. (Tobias only opens his homeless shanty after you complete Act II / 4: One Foot in the Grave.)
Tools and projectiles are then added to your Inventory (Weapon) Wheel, where you can choose which four of the eight tools you can add to an inventory slot. Swap these at any time; you can access any tool you want, but it’s important to prep the tool you want to use ahead of time, so you aren’t fumbling with your Weapon Wheel during combat.
_LURE
Point Cost: 0
Requirements: None
Components required: Electronic PartS (1)
MAXIMUM Number carried: 10/15/20
Cost (Tobias): $50
Cost (COMPONENTS): $50
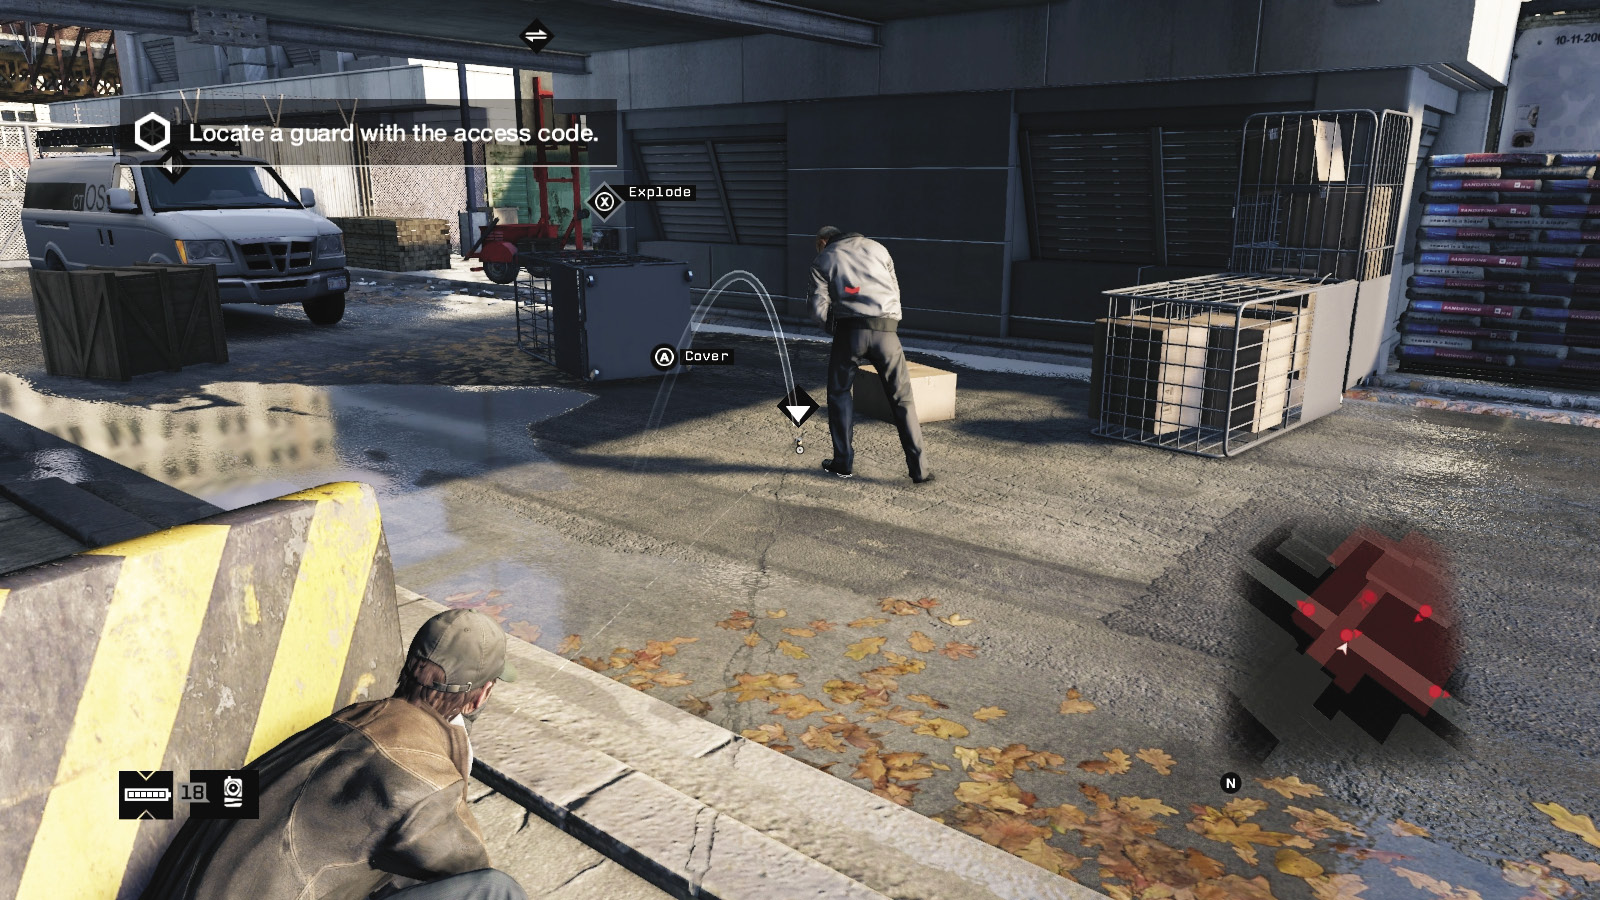
A simple, nonlethal electronic device you can use to distract and draw in enemies. These are your basic lures that act in the same way as a hacked gate, forklift, or Attract phone. Throw a lure by pressing the button, or hold the button first to aim (an arc appears) before releasing to throw. Hold your Hack button to activate the lure and attract a nearby enemy. Then either pass them by or maneuver them into a position so you can attack them easily (and quietly).
These are simply portable attractors; they can move a foe to a different part of an area but won’t damage them. However, you can position them under a more dangerous hackable object (like a container crane). Usually, you can simply move a foe you don’t want to interact with and sneak past them while they are preoccupied.
Use a lure to move a foe near some dangerous explosive canisters you can shoot and destroy or in front of a vehicle you’re about to use to ram into them.
Use a lure to coax a foe out into the open so you can get a clear shot and start a gun battle. But lures aren’t effective when you’ve been spotted and combat is occurring. Replace lures for more explosive projectiles as you progress through a mission, and the battle turns from stealth to slaughter.
_JAM COMS
Point Cost: 1
Requirements: LURE
COMPONENTS NEEDED: System Key (1), Electronic Parts (1)
MAXIMUM Number carried: 5
Cost (Tobias): $500
Cost (COMPONENTS): $50 + System Key
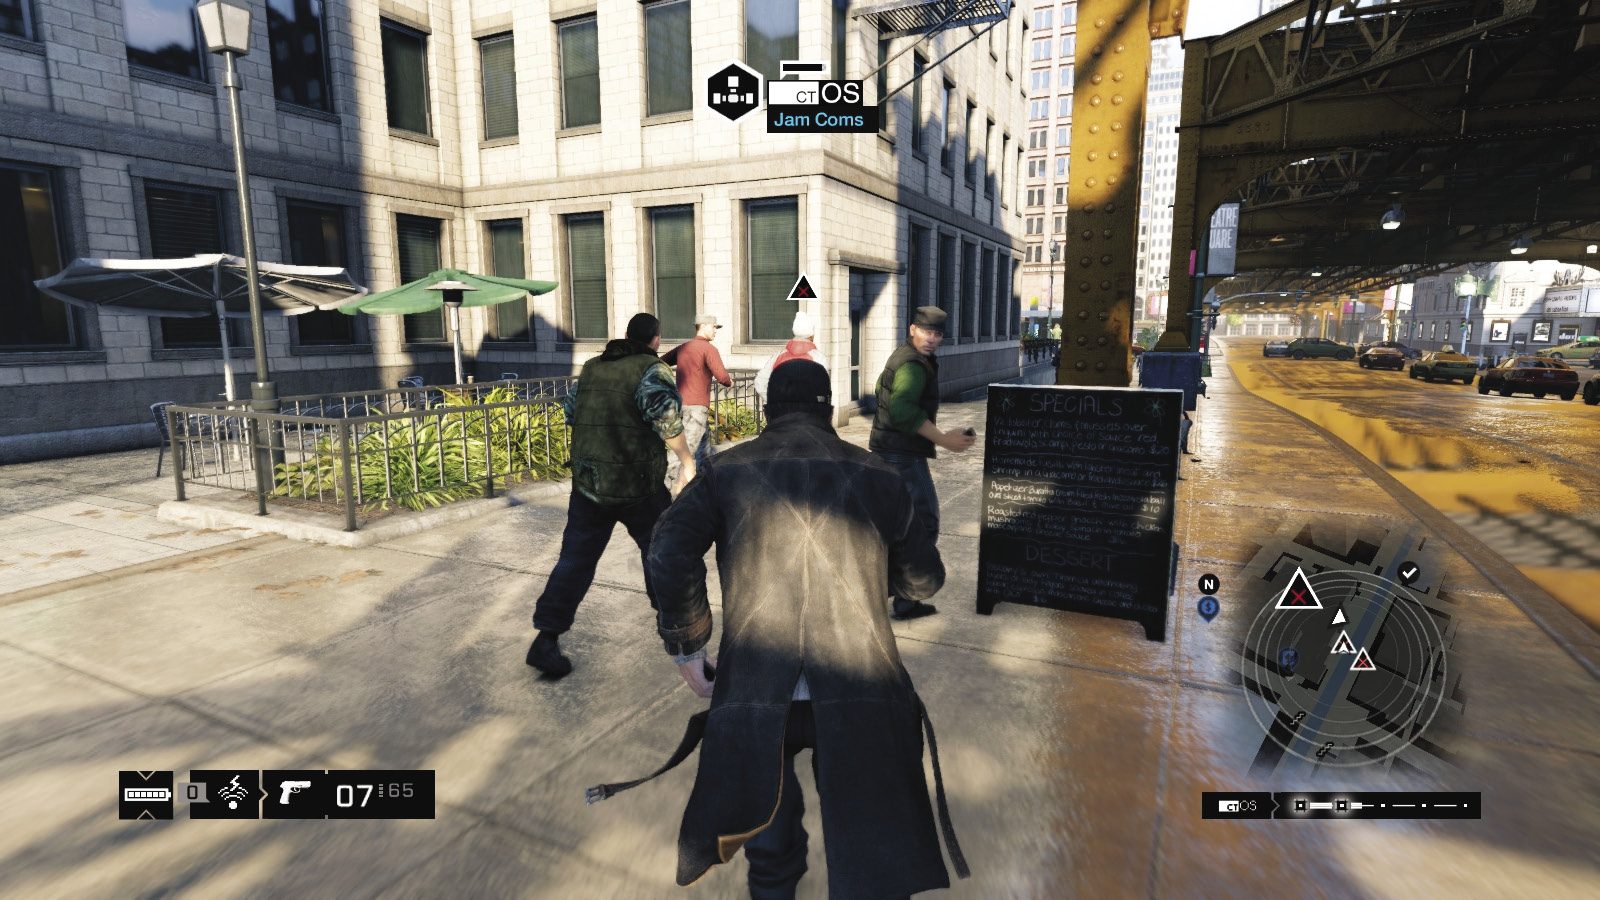
This is a ctOS communication system exploit; you first see it when Clara demonstrates it for you in Main Mission Act I / 5: Open Your World (though you can unlock the skill earlier). Once you learn to make or buy these yourself, press the button to shut down all communications, such as:
Televisions and monitors displaying news broadcasts regarding the “vigilante.”
The felony or “Heat” scans (the yellow circular scans on your minimap) the police use when searching for you.
A witness call (no range limit); a red triangle appears over citizens if you commit a violent act.
An enemy calling in reinforcements (look for the same red triangle before activating).
This is incredibly helpful when the police are scanning for you but haven’t found you yet; simply activate the Jam Coms when the alert level (heat) is yellow in the bottom-right of your screen, and you remove the threat. This makes escaping the police exceptionally easy. This works with any faction using the ctOS scans too.
You can also use it to stop news broadcasts or if citizens recognize you: These occur more frequently if you have a negative Reputation, and you can easily move away from any concerned citizens before they call the police.
Any time you see the purple, green, or red alert triangle, use this function if you can’t physically stop the phone call. Stop news broadcasts from ruining your purchases at a shop; “change the channel” before the shopkeeper realizes who you are and refuses to serve you or calls the authorities.
This is also very helpful during infiltrations, where you stop a Shot-Caller from requesting reinforcements.
Use this in Online Decryption and Hacking battles, to temporarily halt the hacking of information.
Remember that you can take the phone from a citizen trying to contact the police, saving a Jam Coms for more important matters.
Craft this item so you have one at the start of every mission where the police are likely to pursue you or where you’ll face multiple Shot-Caller threats who call up reinforcements and you don’t want the additional battling. Or, craft this if you want to commit violence with impunity.
_BLACKOUT
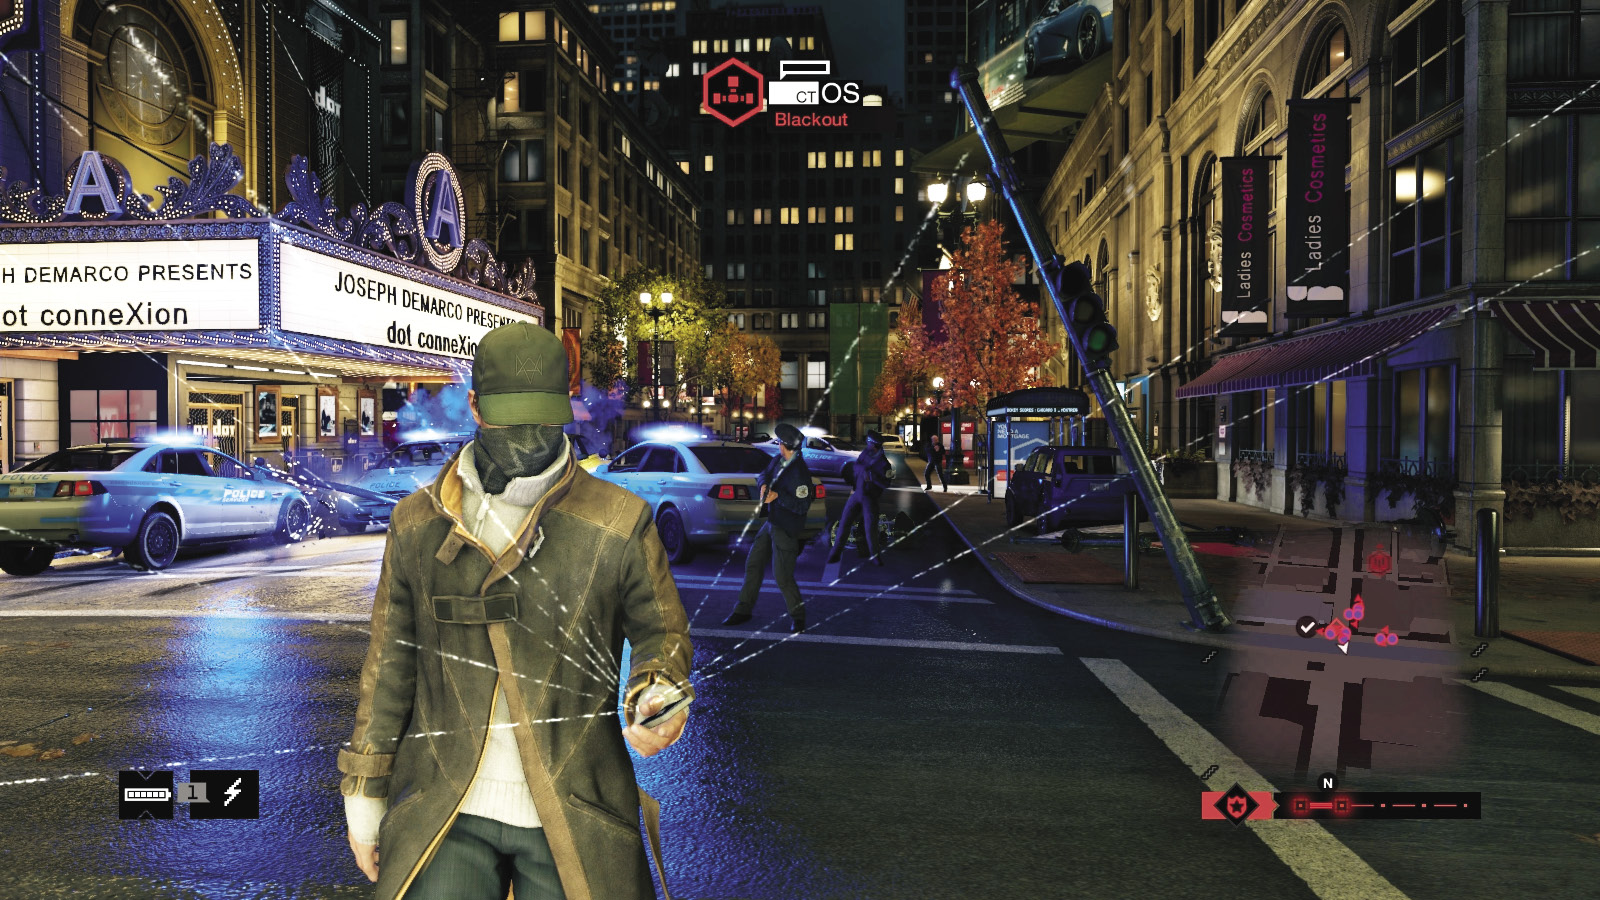
Point Cost: 1
Requirements: JAM COMS, 2nd-Tier Skill
COMPONENTS NEEDED: System Key (2), Electronic Parts (1)
MAXIMUM Number carried: 4
Cost (Tobias): $2,000
Cost (COMPONENTS): $50 + System Keys (2)
This is a ctOS electrical exploit. Once equipped, you can use a Blackout to cause a massive power outage. This only works well at night, as enemies lose sight of you and have reduced visibility, allowing easy takedowns (either with melee strikes or Focus and gunfire). Blackouts disable anything electrical and last for 20 to 30 seconds, so make this count. During the day, only the electrical elements of the city are disabled, which can hamper your progress (particularly hacking). Tobias’s cost for these items is pretty astronomical, so you’re better off crafting your own (and buying four other items for the same price).
Use this to escape from an area where you feel yourself outmanned or outgunned. Sparks caused by exploding ctOS infrastructure can hurt foes, but don’t rely on takedowns. This also works during police escapes. But remember, hacking isn’t possible, so you may want to rethink a police pursuit if you want to use infrastructure hacks, such as changing traffic lights.
During Multiplayer Races, Hacking, Tailing, and Decryption, Blackouts can hamper your opponents in exactly the same ways. Just make sure you know where you’re going in the dark!
_ctOS SCAN
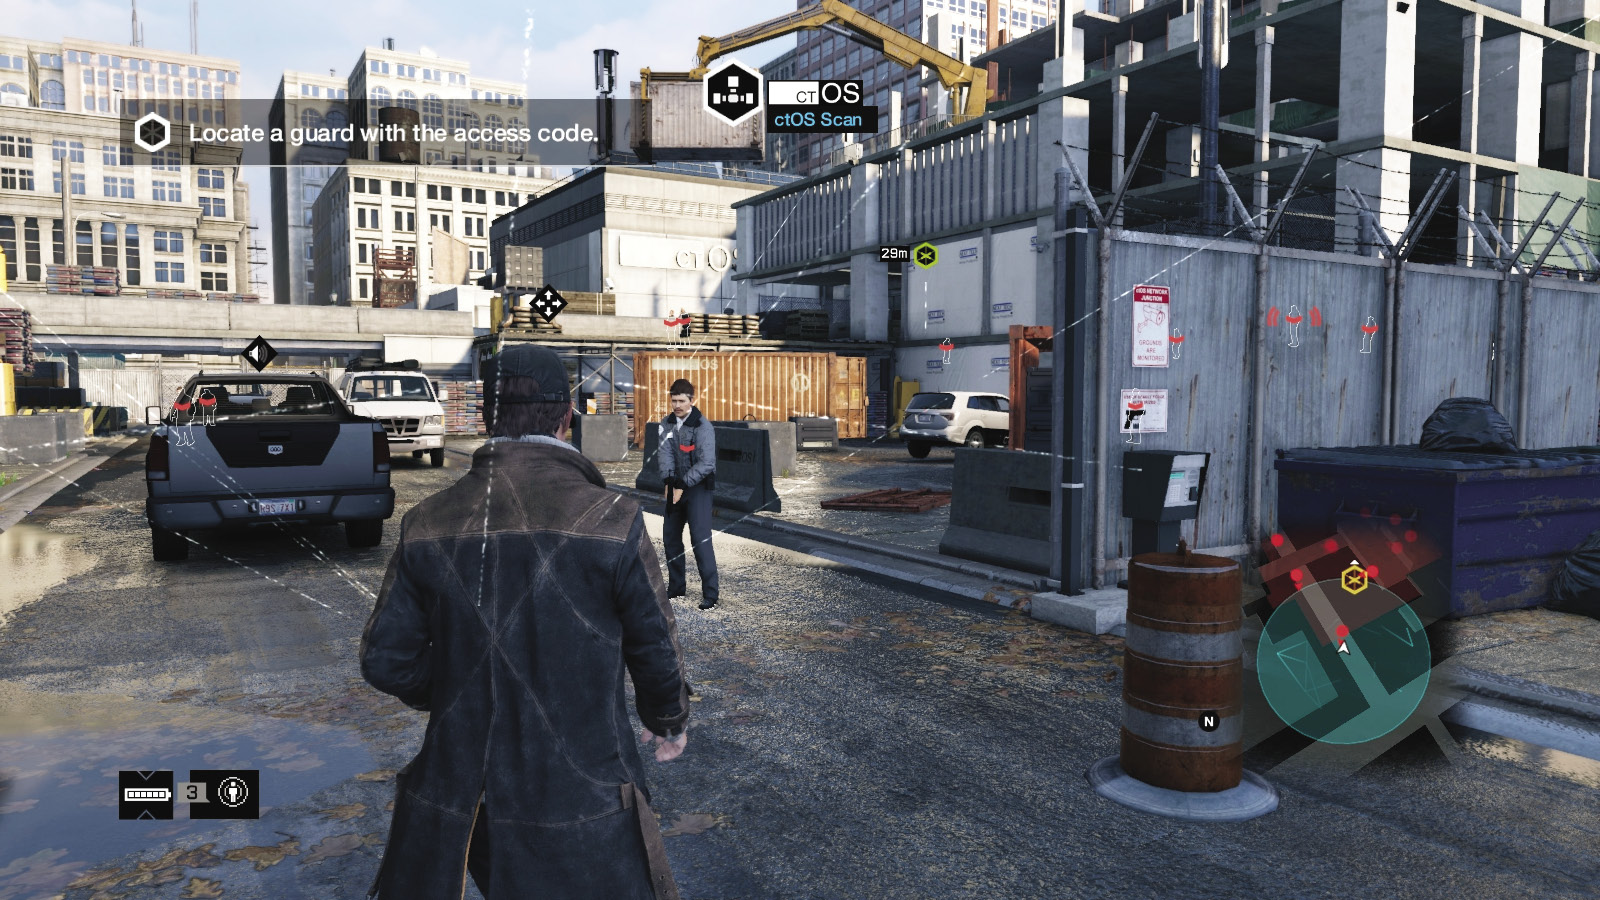
Point Cost: 3
Requirements: BLACKOUT, 2nd Tier Skill
COMPONENTS NEEDED: System Key (1), Electronic Parts (1)
MAXIMUM Number carried: 5
Cost (Tobias): $500
Cost (COMPONENTS): $50 + System Key
This automatically marks all enemies in the area. Simply press the button to scan. This “instant tag” function is exceptionally useful if you want to immediately know where everyone is and how they are patrolling a location, particularly if the foes may be above, below, or behind you. It also finds every foe!
You don’t need to worry about missing an enemy with a manual scan using cameras or profiling. However, you only need to use this once or twice per mission, so you may wish to place a more potent item in the slot, and you can achieve more or less the same effect using patience and manual scanning.
Scanning immediately and quickly allows you to see everyone and their shapes through walls, so you can quickly study patrol paths without resorting to camera work, or see in areas where cameras aren’t present.
Need to know where a foe is during multiplayer matches? Then scan away! If a fluid situation is unfolding before you (e.g., a group of Fixers is closing in after a Convoy mission goes wrong), simply tag them all and instantly know where everyone is. This is one of the most helpful, nonviolent abilities you can possess. Get this and use it often!
_FOCUS BOOST
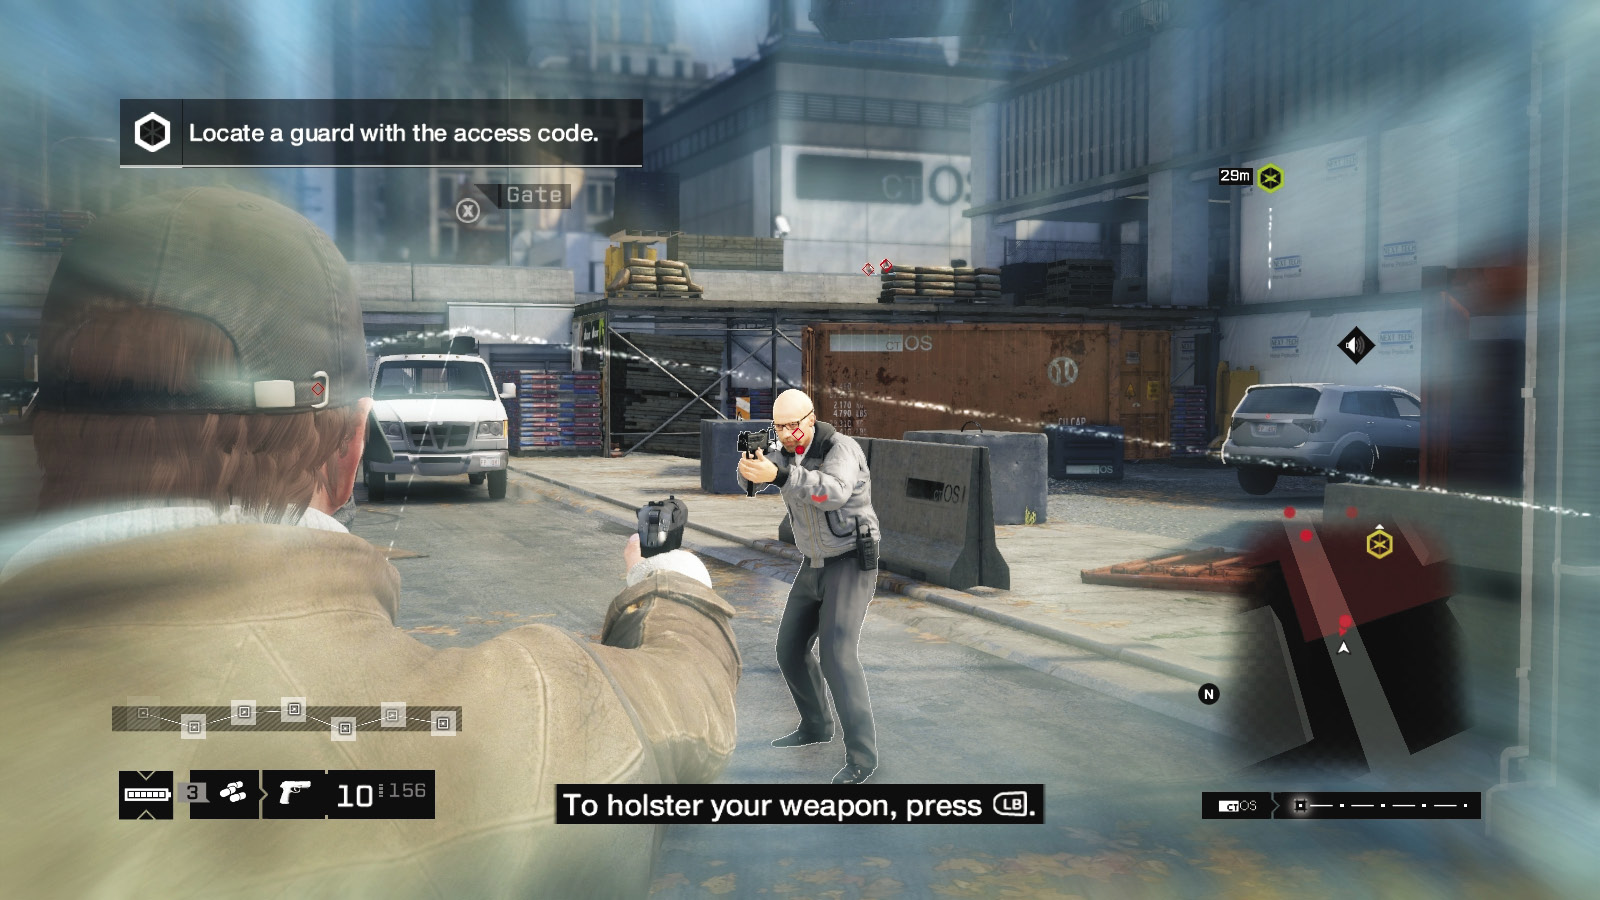
Point Cost: 2
Requirements: Lure, 2nd Tier SKill
COMPONENTS NEEDED: Meds (1)
MAXIMUM Number carried: 5
Cost (Tobias): $400
Cost (COMPONENTS): $200
For a massive instant recovery of Focus, equip this in your Inventory Wheel. For those who use this feature and have added enhancements to the ability through Combat Skills, this is exceptionally useful. The advantages of Focus is slowing down time so you can access narrow alleys or pinpoint numerous enemies for a variety of amazingly adept and quick takedowns; now this is increased up to fivefold! You can rush a location of a dozen foes, arming yourself with a single weapon, and tag each one, refilling as you go!
Wait until your Focus runs out before using these pills, or you waste their effectiveness. Combine these with drinks purchased from stores for even more Focus boost.
If you gather the maximum number of carried Focus boosts, have meds on hand to make more, and take a swig of a drink before you go, you can actually complete most of the combat portions of some missions in slow motion!
Remember that lining up headshots isn’t the only option when using Focus; find an infrastructure hack that you’d normally pass by too quickly and activate it.
_FRAG GRENADE
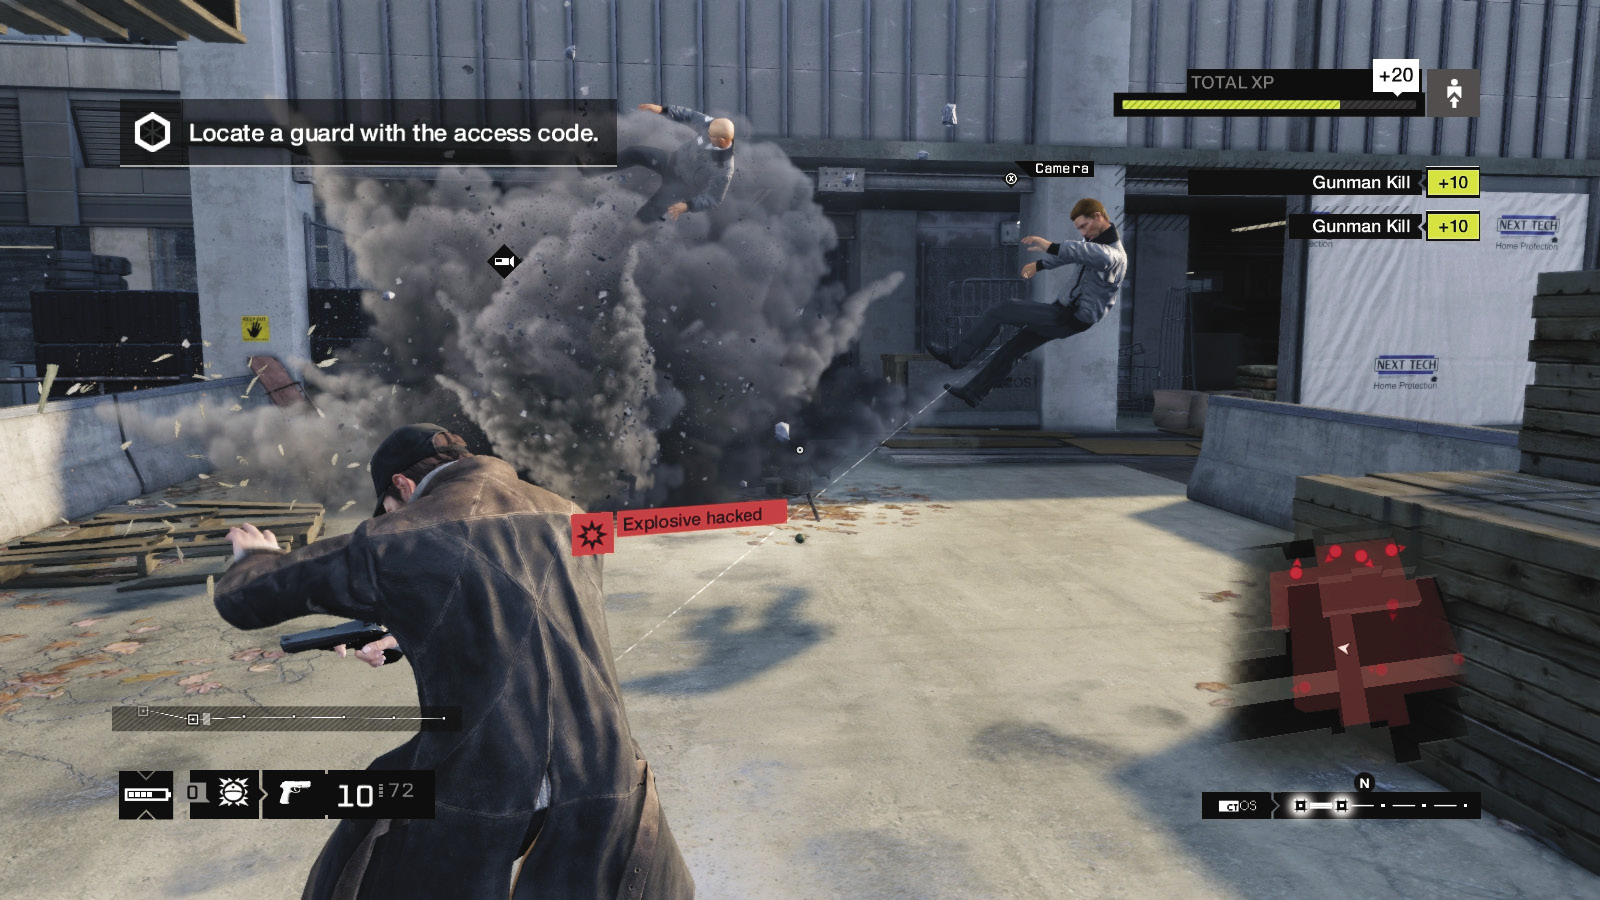
Point Cost: 1
Requirements: LURE
COMPONENTS NEEDED: Chemical ComponentS (1)
MAXIMUM Number carried: 4/5/8
Cost (Tobias): $100
Cost (COMPONENTS): $100
An explosive that spreads shrapnel upon detonation. Equip this in the Wheel, tap the button to throw it or hold to aim it (an arc appears onscreen), and let go to throw. Frag grenades blow up three seconds after being thrown. You can’t “overcook” a grenade (i.e., hold it until it explodes), so you can keep one prepped in areas where it’s wise to use it. This is a great backup weapon that flushes foes out and detonates nearby explosive scenery.
Try these from a narrow area or corner in locations where a cluster of enemies is approaching. Flush foes out of a location or cover by lobbing a grenade at them, then finish using your gun or favored weapon.
Grenades can be used to explode vehicles, too, though it’s easier if they are stationary and you drop one close by; timing the explosion as a car passes can be spectacular (but difficult)!
Use these to drop Enforcers more effectively than gunfire.
_IED
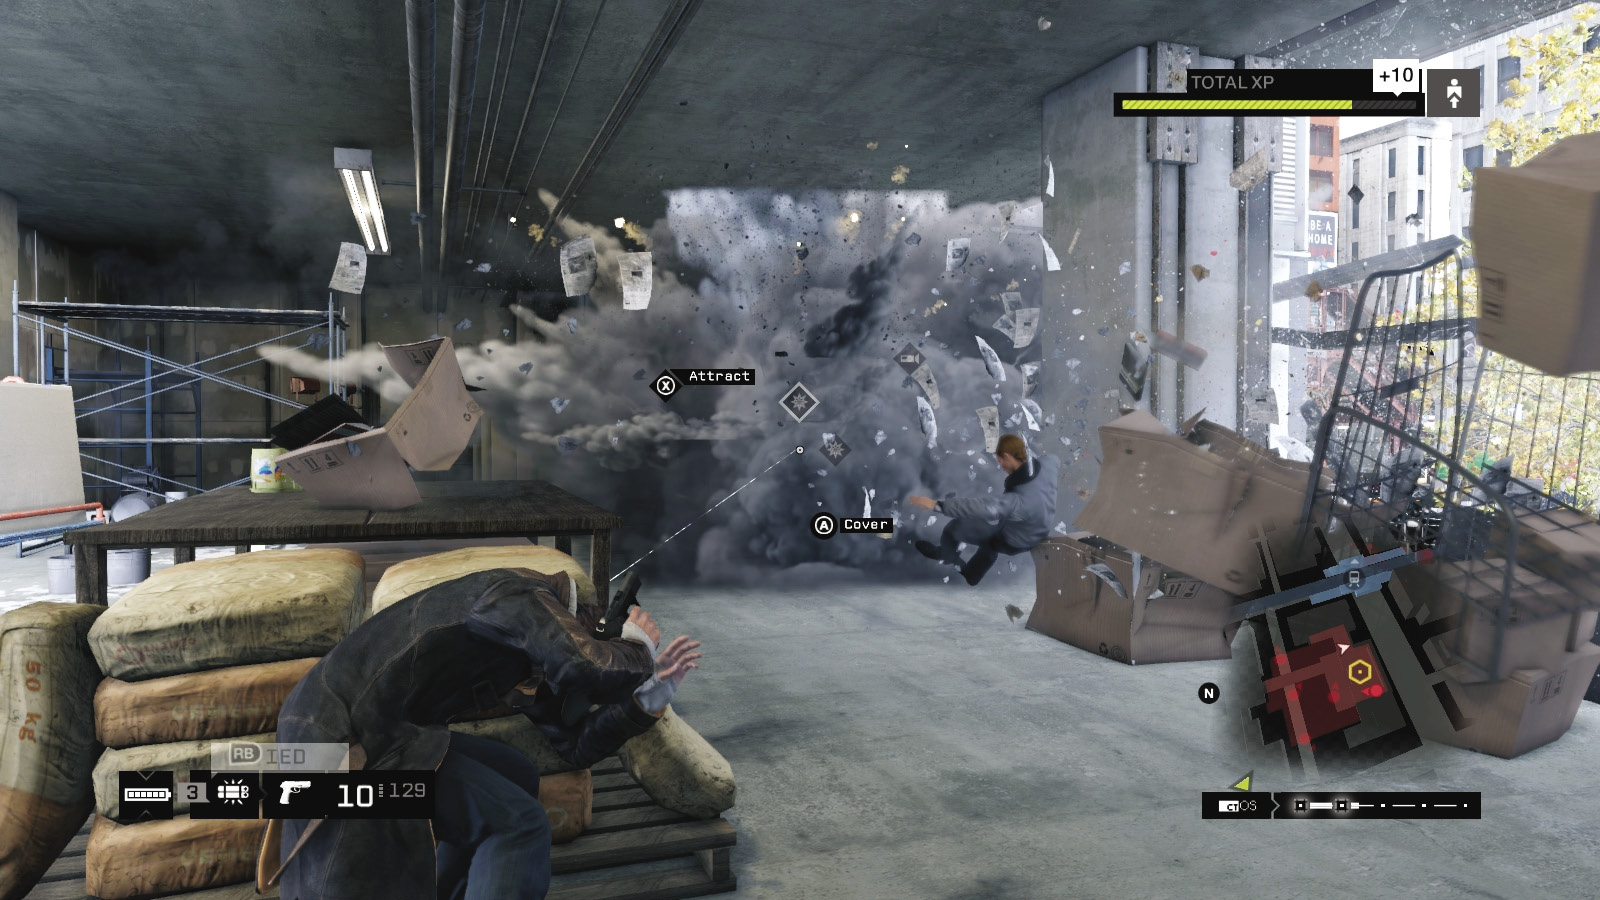
Point Cost: 2
Requirements: FRAG GRENADE, 2nD-Tier Skill
COMPONENTS NEEDED: Electronic PartS (1), Unstable Chemical ComponentS (1)
MAXIMUM Number carried: 4/5/8
Cost (Tobias): $300
Cost (COMPONENTS): $250 + $50
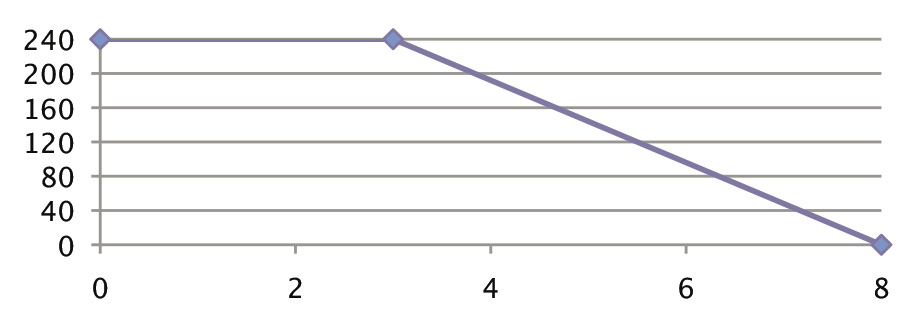
IEDs are remotely detonated homemade sticky explosives. With one equipped, throw it or hold the button so an arc forms; then throw it at any surface. If the IED isn’t activated, you can approach it and peel it off, adding it to your inventory for reuse. Then detonate via a hack. This alerts every enemy in the area, so isn’t useful during stealthy attempts to complete a mission. However, it is useful for removing vehicles (especially moving ones) and for laying traps in areas where foes are likely to tread. Another mandatory skill purchase!
IEDs have the explosive nature of a frag grenade, and you have the versatility of detonating them whenever you wish (unless they are caught in a nearby explosion, in which case they automatically detonate).
Throw these on moving vehicles that are heading into a restricted area, and detonate close to foes. Place these on stationary vehicles that are close to foes, and detonate. Throw these on the ground where a foe or enemy will stop, and detonate when they reach this point.
Place these on walls, around corners, on ceilings, or at the tops of stairs, anywhere that could be deemed a “choke point” where the enemy must pass, ideally in groups.
Place these on lifts, raise them to an enemy’s location, and detonate. Place these on forklifts or any other distraction (like an Attract phone) that coax enemies over to investigate, and detonate.
Place these close to or on explosive canisters, and detonate to create a chain reaction. Place multiple IEDs or other explosive projectiles (in a line similar to “breadcrumbs”) to create a mass chain reaction, removing multiple foes at once.
Shoot the IED with a weapon or lob another explosive projectile at it instead of hacking it, so it explodes.
Use these to drop Enforcers more effectively than gunfire.
_PROXIMITY IED
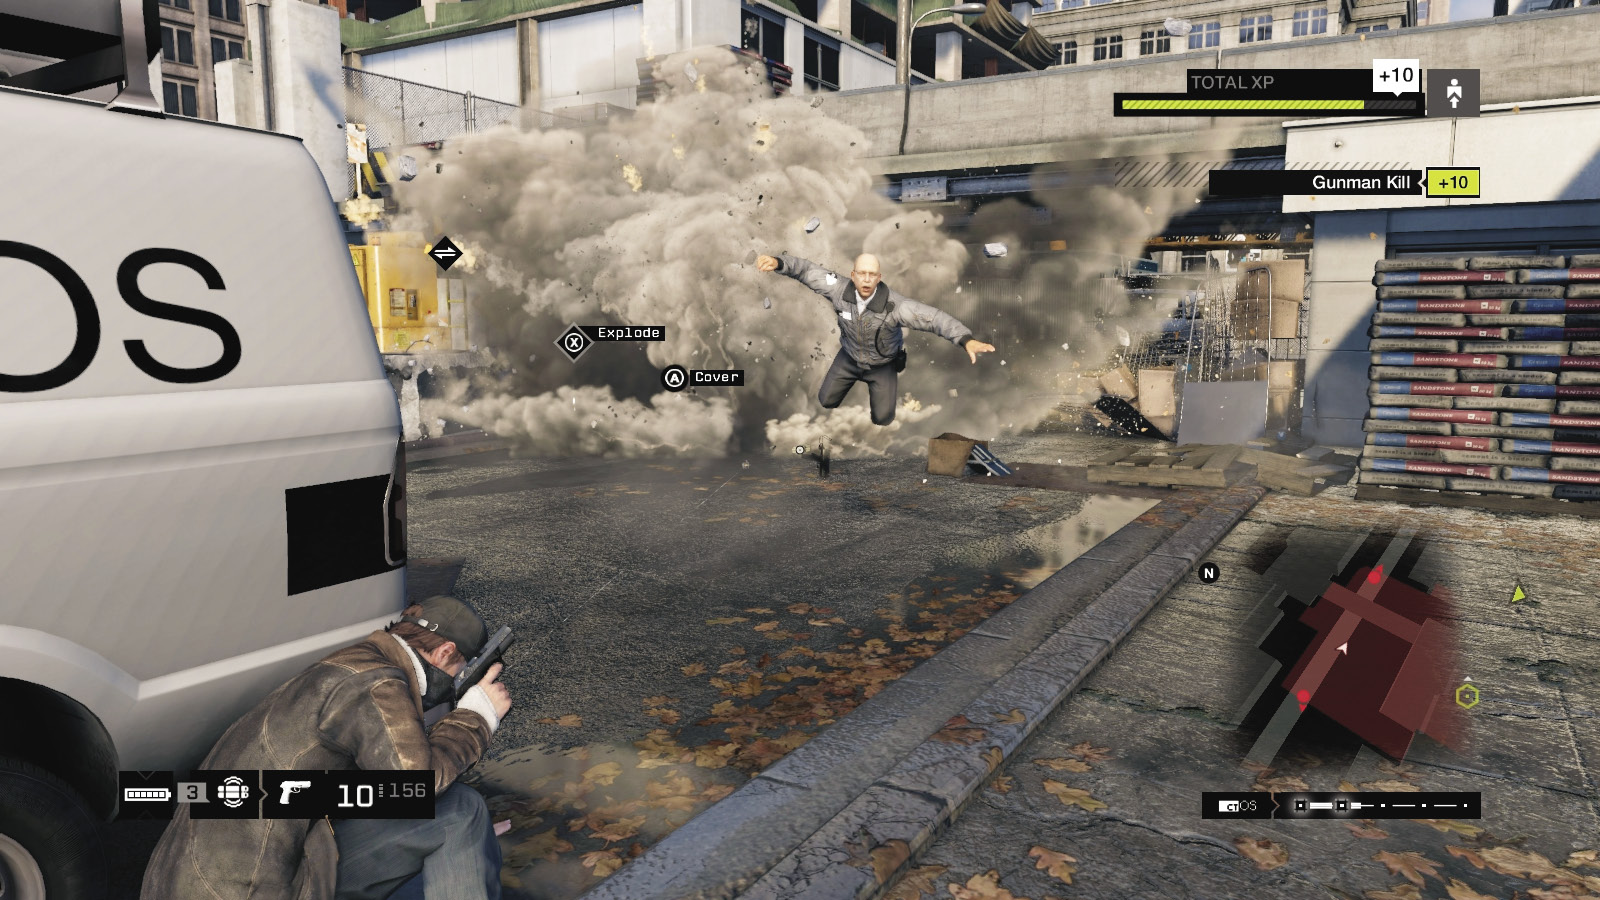
Point Cost: 3
Requirements: IED, 2nD Tier Skill
COMPONENTS NEEDED: Electronic PartS (1), Unstable Chemical ComponenTS (1)
MAXIMUM Number carried: 4/5/8
Cost (Tobias): $300
Cost (COMPONENTS): $250 + $50
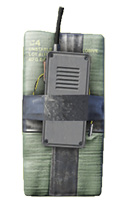
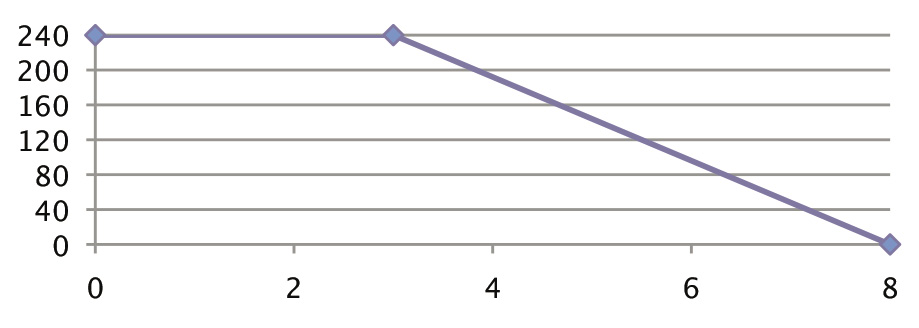
Proximity IEDs detonate when they detect movement: Equip one on your Inventory (Weapon) Wheel, then tap to throw or hold to aim. When an arc appears, release to throw. Once thrown, the proximity IED detects movement within a short radius and explodes upon detection. This bomb alerts every enemy in the area; despite this, you’ll use these frequently if you favor explosions over subtlety.
The previous list of uses applies to this type of IED as well.
This is great for placing or throwing along a guard’s patrol route. It can act as a distraction if you’ve moved to a different part of the restricted area; follow up with flanking attacks.
Proximity IEDs also react to your movement and to enemy foes and vehicles. Therefore, it’s imperative you stay away from one you’ve primed to avoid a death most embarrassing!
This can be a problem if you didn’t want to detonate the IED quite yet, but a foe does this either near you (removing some of your cover) or before you reach a tactically significant place.
Remember you can shoot the IED to explode it, if need be.
This is great for placing on parked vehicles you know foes will use to escape in; they won’t get far as they reach that vehicle!
Also try dropping it into high-traffic areas or at an enemy.
/// Projectiles Statistics Table
The following table details the specific statistics for each tool that you throw (as the Blackout, ctOS Scan, Focus Boost Plus, and Jam Coms are instant-effect items that aren’t used to specifically defeat enemies). Here’s what each column of information means:
Name:The name of the item in the game and guide.
Description:A quick overview of the item.
Damage Over Distance:How much damage (HP) the item does over distance (meters).
Rate of Fire:How quickly you can throw this item, per second.
Physical Strength:How wide a circle the item creates when it explodes.
Maximum Carried:How many you can carry in an Inventory slot.
Craftable:Whether the item is craftable at your Inventory (Weapon) Wheel.
Triggered by Hack:Whether you can hack (or shoot) this after dropping or throwing it.
Timed:Whether this item automatically explodes after a certain amount of time.
Sticky:Whether this item can be placed on walls, vehicles, or vertical locations.
Explodes on Proximity:Whether this explodes when other exploding items detonate.
SP (Single-Player):Whether this item is available to you during the single-player game.
SP Foes:Whether enemies can be equipped with this item.
MP (Multiplayer):Whether this item is available to all during the multiplayer game.
Lure
| Description |
|---|
|
Small device that produces a sound when the player triggers it |
| Rate of Fire | Phys Strength | Max Carried | Craftable |
|---|---|---|---|
|
1 |
N/A |
10 |
X |
| Triggered by Hack | Timed | Sticky |
|---|---|---|
|
X |
X |
| Explodes on Proximity | SP Player | SP Foes | MP Players |
|---|---|---|---|
|
X |
| Damage |
N/A |
|---|
Frag Grenade
| Description |
|---|
|
A homemade explosive grenade that spreads shrapnel upon detonation. |
| Rate of Fire | Phys Strength | Max Carried | Craftable |
|---|---|---|---|
|
1 |
MED |
4/5/8 |
X |
| Triggered by Hack | Timed | Sticky |
|---|---|---|
|
X |
| Explodes on Proximity | SP Player | SP Foes | MP Players |
|---|---|---|---|
|
X |
X |
| Damage |
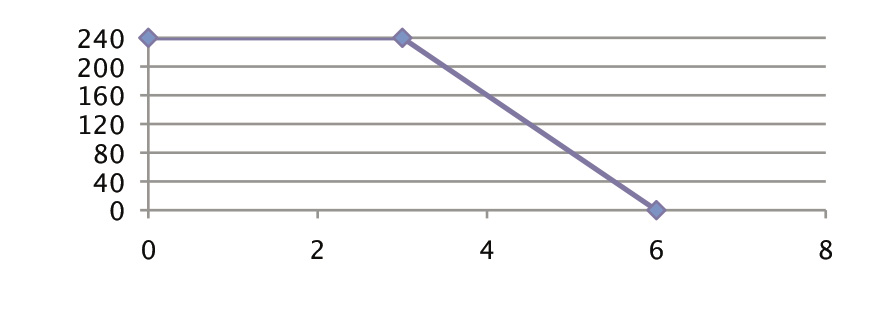 |
|---|
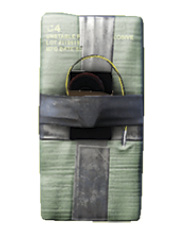
Explosive Lure
| Description |
|---|
|
Device that produces a sound when the player triggers it, then blows up when movement is detected near it |
| Rate of Fire | Phys Strength | Max Carried | Craftable |
|---|---|---|---|
|
1 |
HIGH |
5 |
X |
| Triggered by Hack | Timed | Sticky |
|---|---|---|
|
X |
X |
| Explodes on Proximity | SP Player | SP Foes | MP Players |
|---|---|---|---|
|
X |
X |
| Damage |
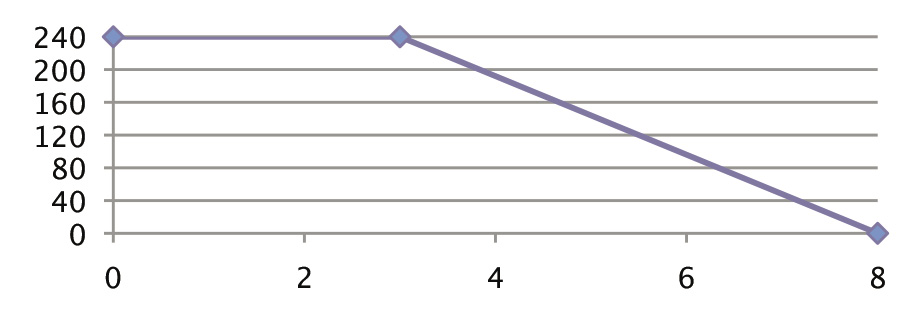 |
|---|
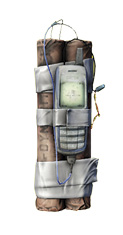
IED
| Description |
|---|
|
Homemade, powerful explosive. Sticks to surfaces and blows up when Aiden triggers it |
| Rate of Fire | Phys Strength | Max Carried | Craftable |
|---|---|---|---|
|
1 |
HIGH |
4/5/8 |
X |
| Triggered by Hack | Timed | Sticky |
|---|---|---|
|
X |
X |
| Explodes on Proximity | SP Player | SP Foes | MP Players |
|---|---|---|---|
|
X |
X |
| Damage |
 |
|---|
Proximity IED
| Description |
|---|
|
Homemade, powerful explosive. Sticks to surfaces and blows up when it detects nearby movement |
| Rate of Fire | Phys Strength | Max Carried | Craftable |
|---|---|---|---|
|
1 |
HIGH |
4/5/8 |
X |
| Triggered by Hack | Timed | Sticky |
|---|---|---|
| Explodes on Proximity | SP Player | SP Foes | MP Players |
|---|---|---|---|
|
X |
X |
X |
| Damage |
 |
|---|
Shock Lure
| Description |
|---|
|
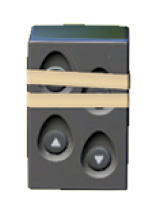
Devices that produces an electrical discharge, which can kill nearby enemies in relative silence. |
| Rate of Fire | Phys Strength | Max Carried | Craftable |
|---|---|---|---|
|
1 |
LOW |
5 |
X |
| Triggered by Hack | Timed | Sticky |
|---|---|---|
|
X |
X |
| Explodes on Proximity | SP Player | SP Foes | MP Players |
|---|---|---|---|
|
X |
X |
| Damage |
 |
|---|
/ STATISTICS
On the Statistics menu, you’ll see the following information:
Experience:A bar showing your Experience and the amount needed for the next level, as well as your current level out of 50 (the maximum level you can reach).
Money and Valuables:The total amount of money you’ve accrued, including bank accounts you’ve yet to withdraw from an ATM machine, and looted goods (which are sometimes stolen when you hijack a vehicle). Sell any of these valuables at a pawnshop.
Reputation:How the general public perceives you; whether they fear and hate, or love and applaud your actions.
ctOS Control:Showing the ctOS towers you’ve hacked (out of 13).
// EXPERIENCE /// Overview
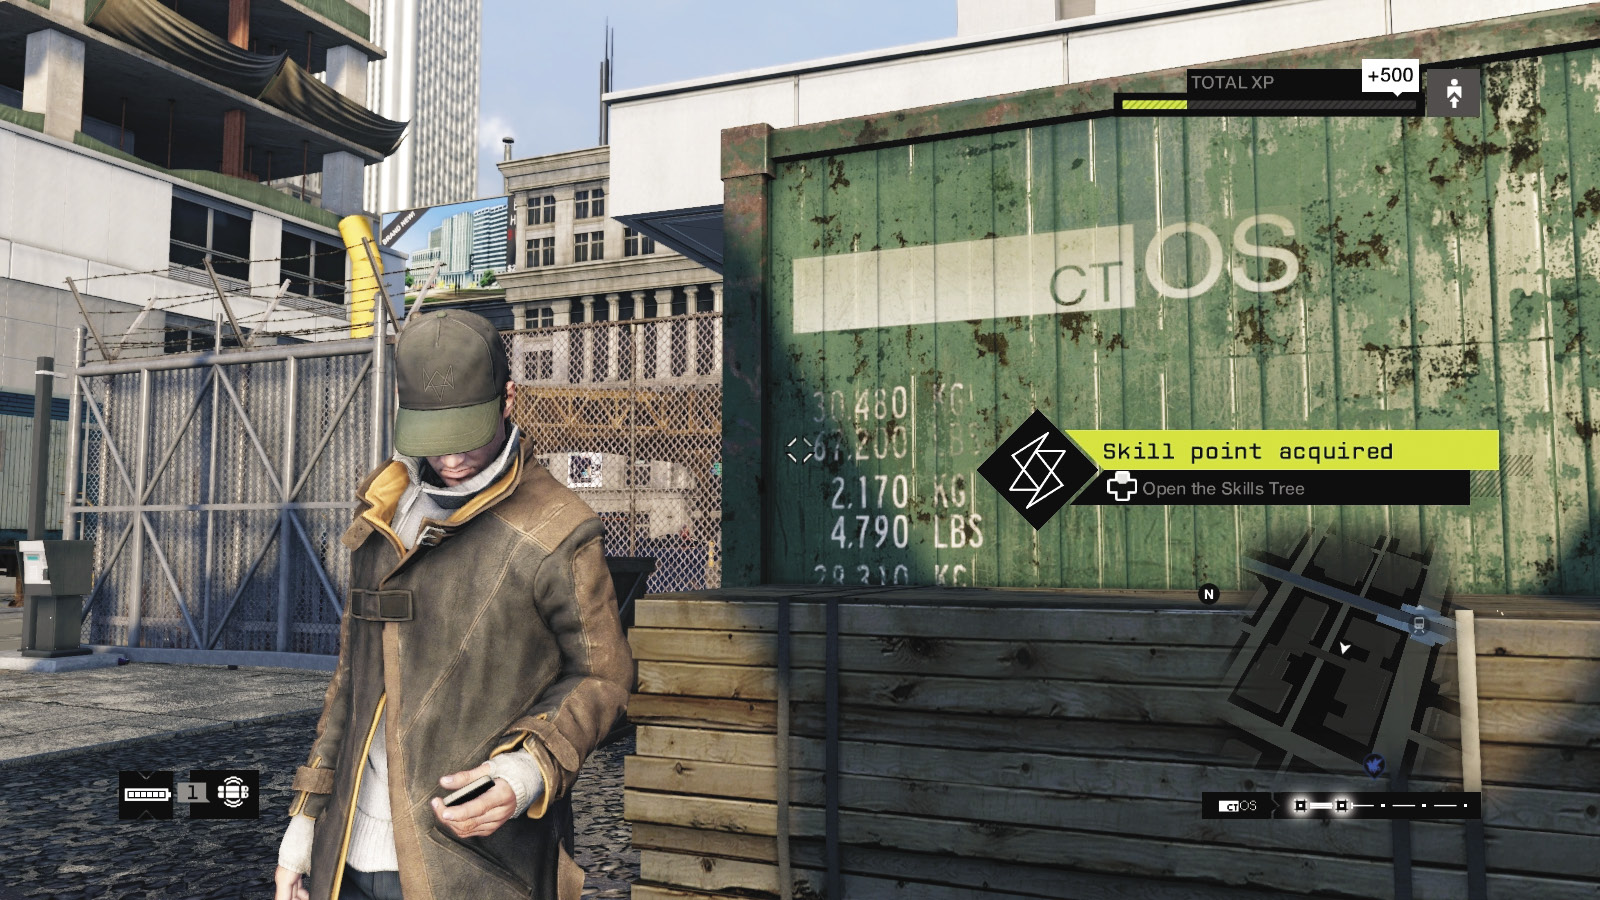
Experience marks how much of Chicago you’ve explored, how you’ve grown with the knowledge you’ve acquired, and how competent you generally are. Online rivals can see your level, and online activities add to your XP and your Notoriety level. You gather Skill Points as a result of gathering Experience Points. During your activities, your XP bar is constantly updated when you complete something notable. The following list indicates the different types of actions that add XP:
Completing main missions
Unlocking all the ctOS control centers
Completing Side Missions: Crimes Detected contracts
Completing Side Missions: Convoy Contracts
Solving investigations
Unlocking all the ctOS towers
Completing ctOS breaches
Completing ctOS mobile missions
Achieving success in an online hacking
Achieving success in an online tailing.
Performing various actions, from hacking to taking down a vehicle, in single- and multiplayer modes.
Escaping the police, based on your Heat level.
// REPUTATION /// Overview
The Reputation system provides long-term feedback to your actions. It defines how the city perceives the vigilante. Having a positive (blue) or negative (red) Reputation provides additional challenges and benefits. When you perform any of these significant actions in view of a civilian, your Reputation ranking changes:
 Killing a cop
 Wounding a cop
 Kneecap takedown on a cop
 Killing a civilian
 Wounding a civilian
 Rescuing civilians
 Using explosives. Only modified if a civilian witnesses both the throw and the explosion that follows.
 Destroying a large explosive area of scenery (e.g., large propane tank, gas station, electric transformer, etc.)
 Holding up at a business
 Watching a random event occur, such as busker, a mime artist, or other event
 Completing a main mission or investigation. After successfully completing a mission, the player can receive a Reputation feedback.
 Participating in vigilante events
 Having a witness complete an emergency call to the police
// REPUTATION /// Feedback
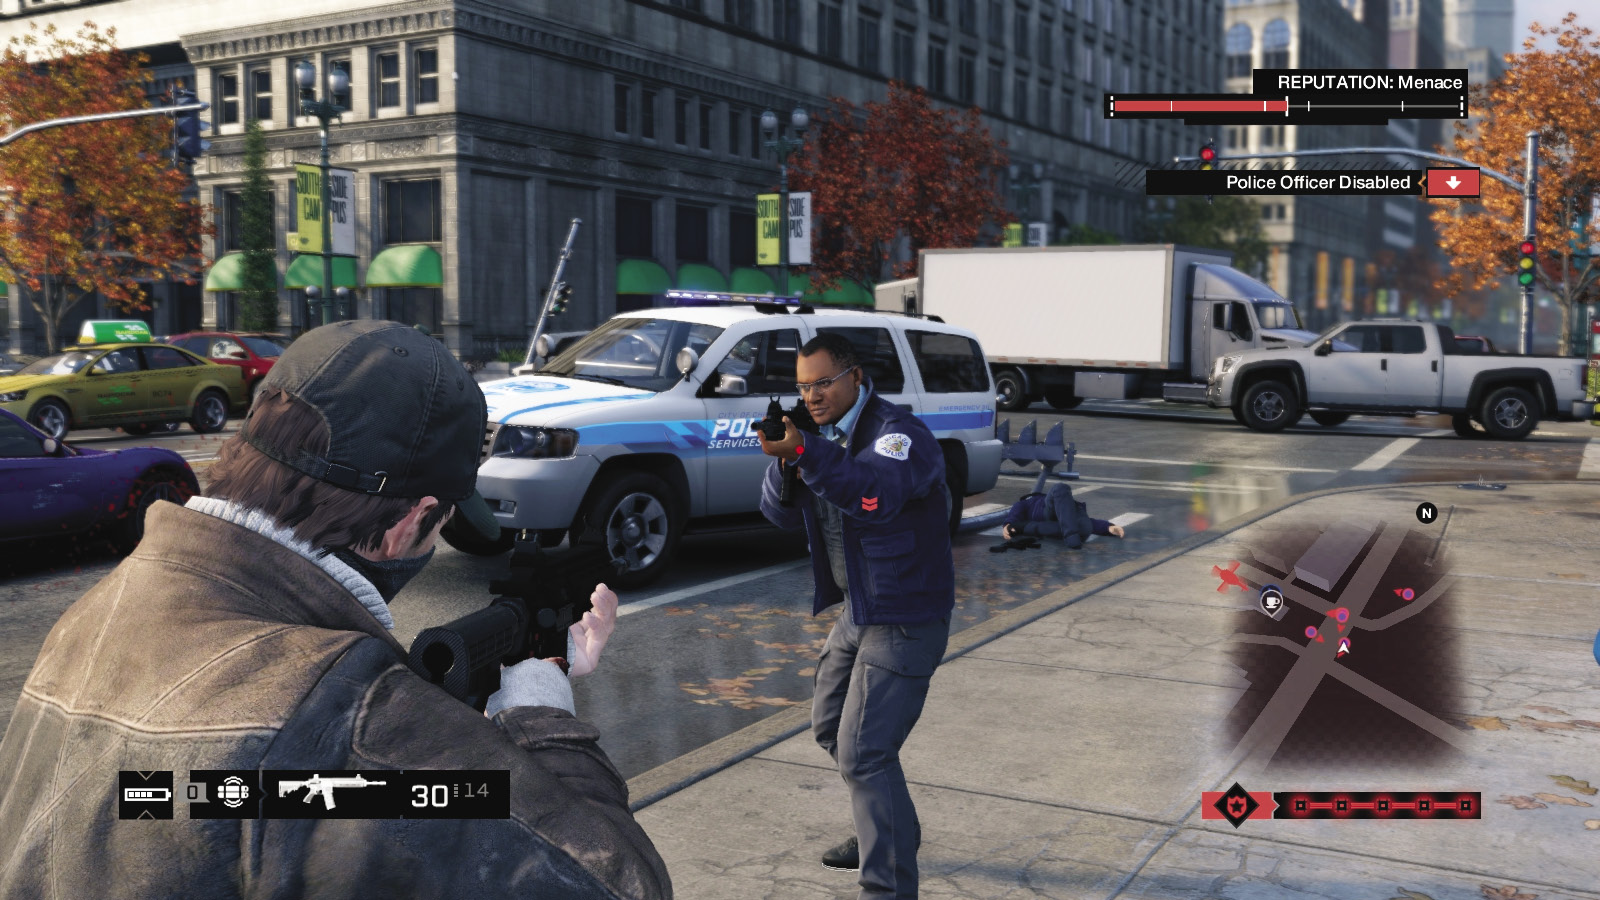
When you perform an action significant to your Reputation, you receive a Reputation modifier (a single or double arrow). Reputation feedback is briefly displayed (red or blue rectangle, followed by a short descriptor). You also receive additional feedback if you change your Reputation rank.
// REPUTATION /// Criminal Activities
If you’re attempting to complete a Criminal Activity, Reputation is awarded for your actions:
 Killing the criminal.
 Doing a nonlethal takedown of the criminal.
 Saving the victim.
 Letting the criminal flee.
 Killing the victim or letting them be killed.
// REPUTATION /// Ranking
Aiden’s Reputation is initially neutral, but will change depending on how honorable or unpleasant you are. There are five Reputation ranks:
/// Ranking //// Vigilante
 Very Good Reputation: A significant part of Chicago’s population approves of Aiden Pearce’s actions. Civilians are less likely to report you and you will show up far less frequently in news.
/// Ranking //// Protector
 Good Reputation: Some people in Chicago approve of Aiden Pearce’s actions. Civilians are less likely to report you and you will show up in fewer news broadcasts.
/// Ranking //// Citizen
 Neutral Reputation: Chicago’s media and its civilians have mixed opinions about Aiden Pearce’s actions. Your Reputation has no significant impact on civilians or the media.
/// Ranking //// Anarchist
 Bad Reputation: Many people in Chicago disapprove of Aiden Pearce’s actions. Some civilians who recognize you will fear you and you will show up in more news broadcasts.
/// Ranking //// Menace
 Very Bad Reputation: A majority of Chicago’s population disapproves of Aiden Pearce’s actions. Some civilians who recognize you will fear you and you will show up more frequently in news broadcasts.
// REPUTATION /// News Reports and Alerts
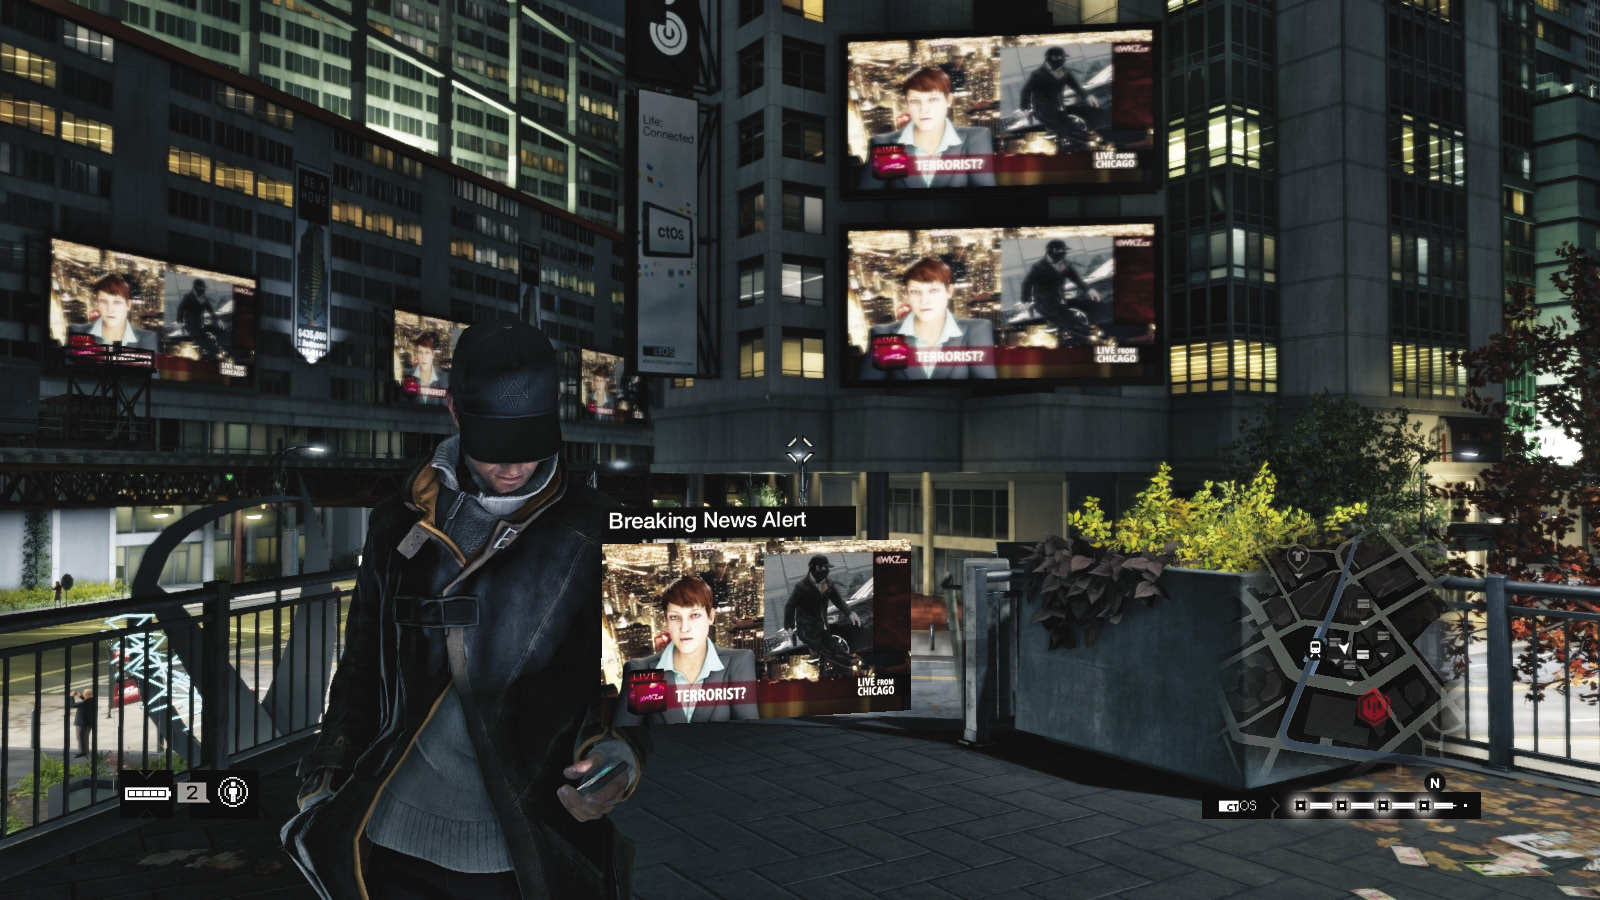
If your Reputation is low, news reports detailing your nefarious activities appear on virtual billboards all over Chicago. These alert citizens to your presence. If you perform a deed that a citizen objects to, an alert triangle appears over the citizen’s head:
/// Alerts //// Witness Calls
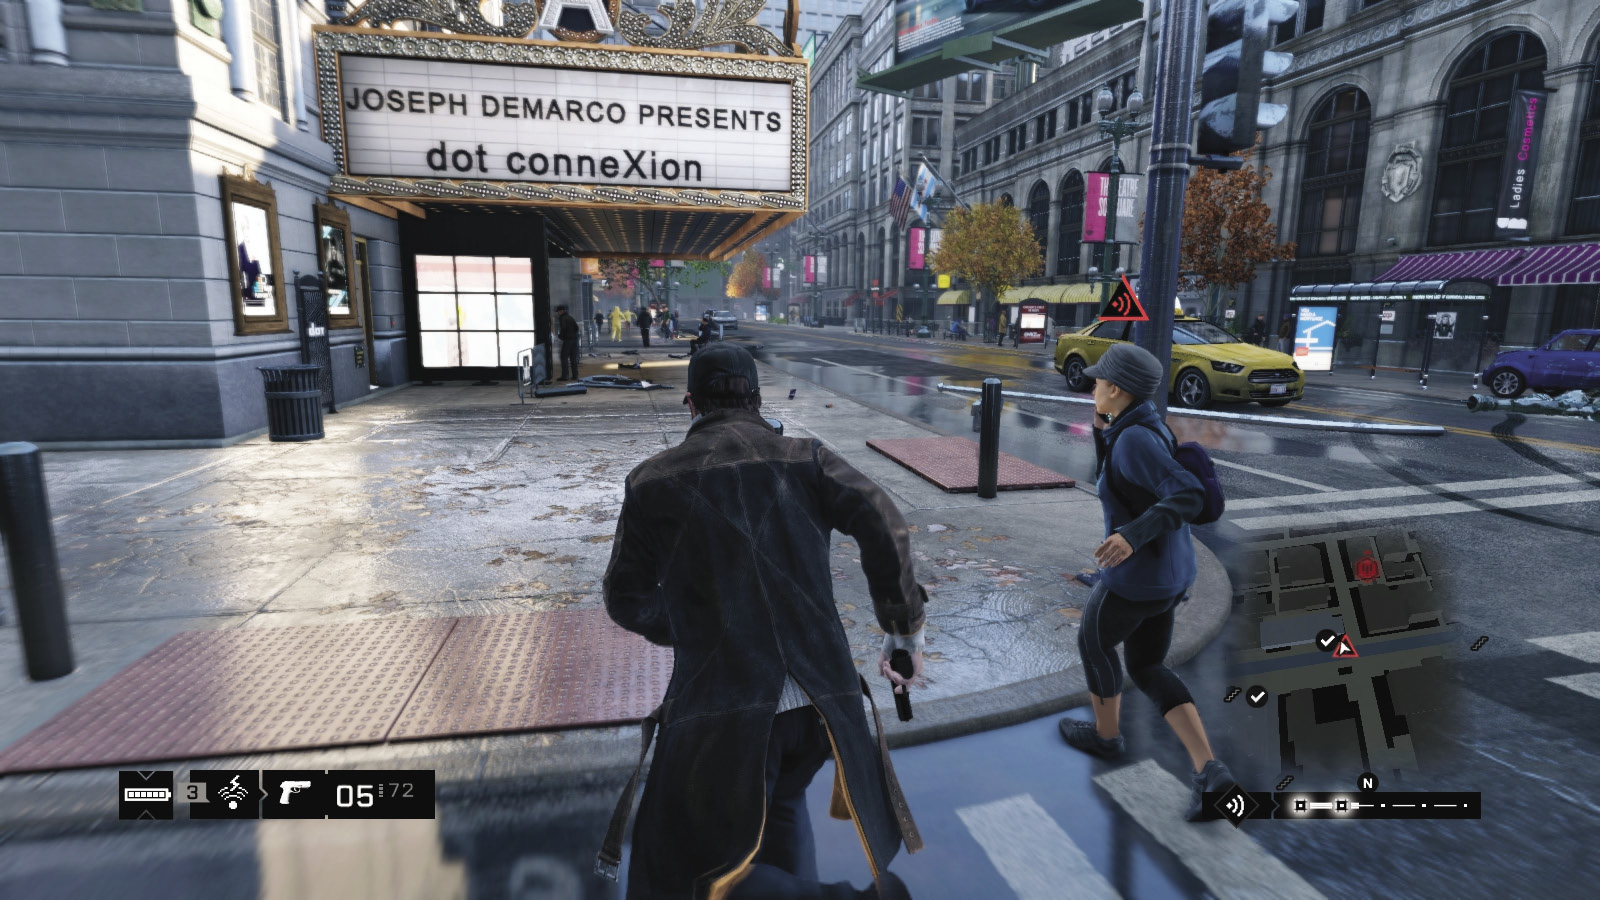
YOUR ACTION: Violence against a citizen or the police.
OUTCOME IF LEFT UNCHECKED: A 911 call to the police, after which a ctOS scan begins.
 If you perform a violent act (killing someone in cold blood or shooting up vehicles like a madman), expect the public to call the police to stop this insanity!
/// Alerts //// Citizen Alerts
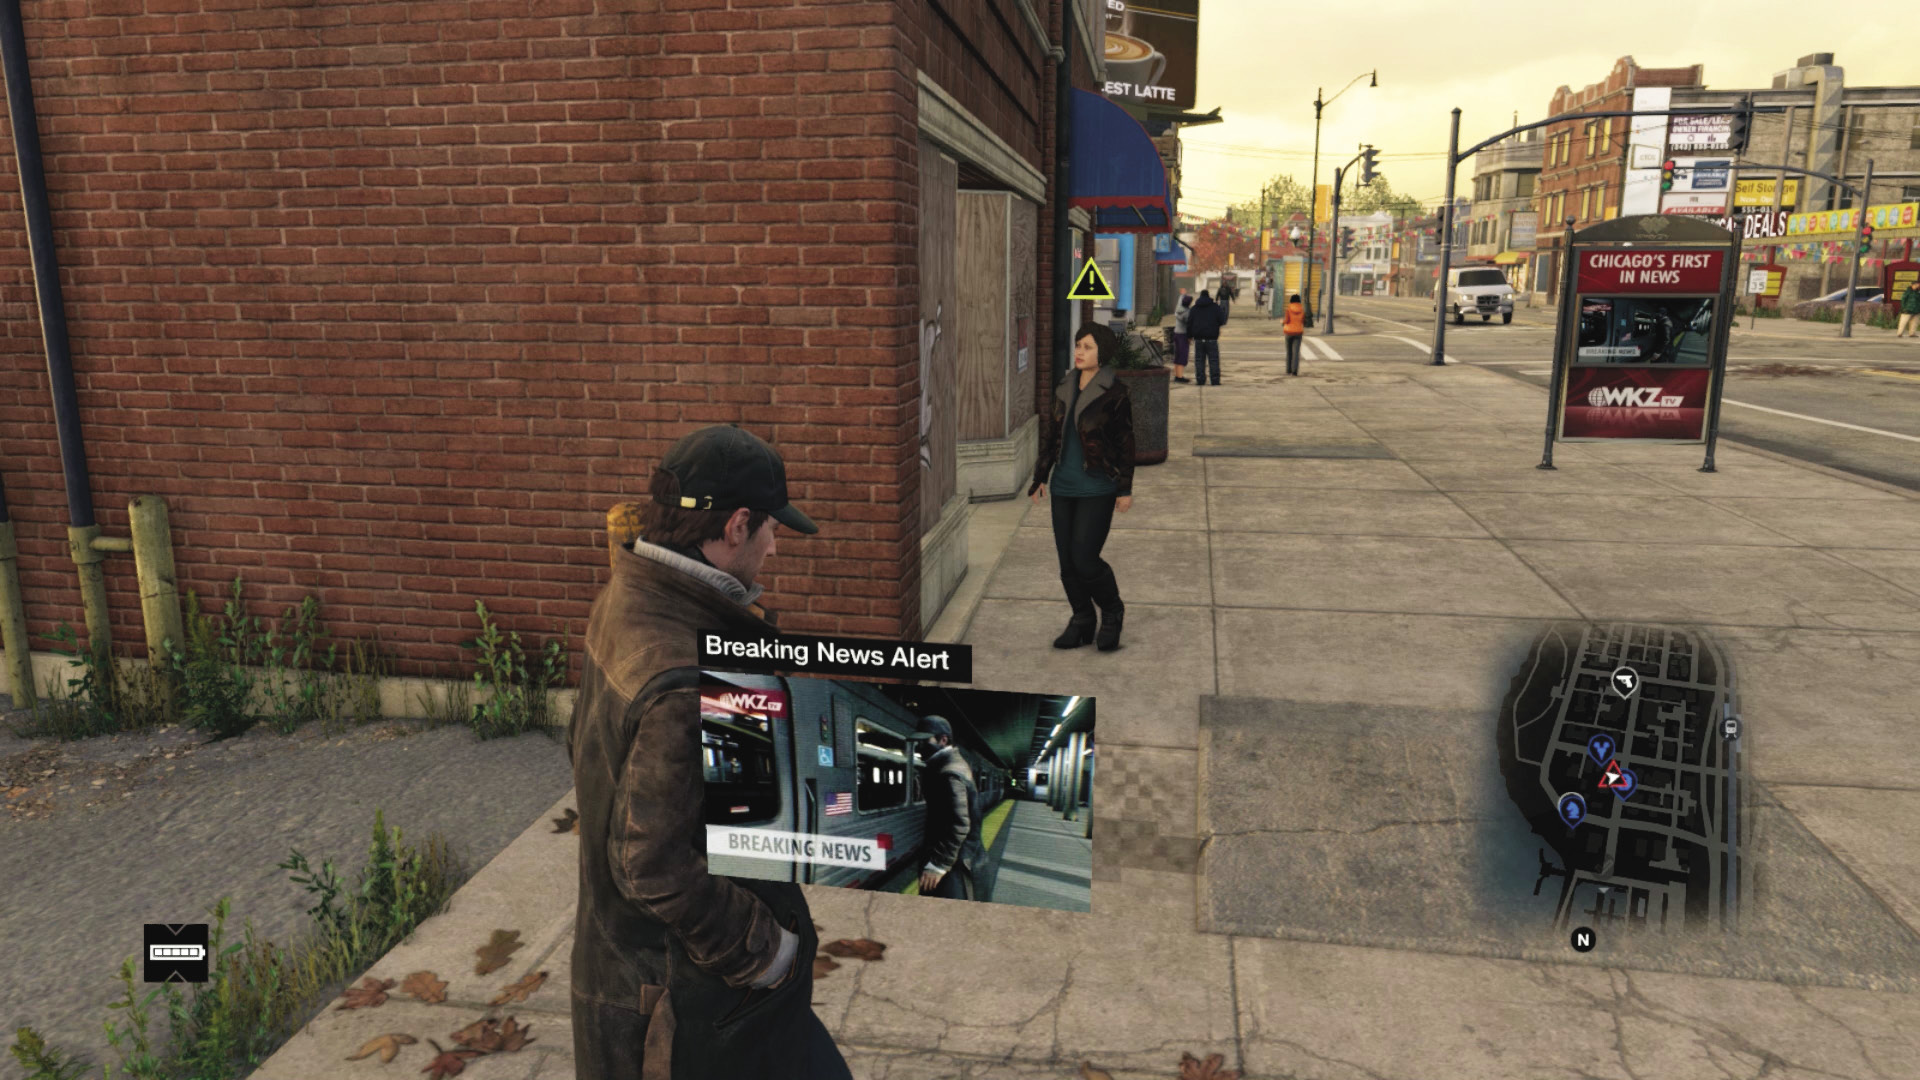
YOUR ACTION: Poor Reputation and news broadcast reports.
OUTCOME IF LEFT UNCHECKED: A 911 call to the police, after which a ctOS scan begins.
 If you’re close by when a news report casts you in an unfavorable light, or your Reputation has made the public fear you, expect them to see and call the police even if you don’t perform a violent act!
/// Alerts //// Bounty Calls
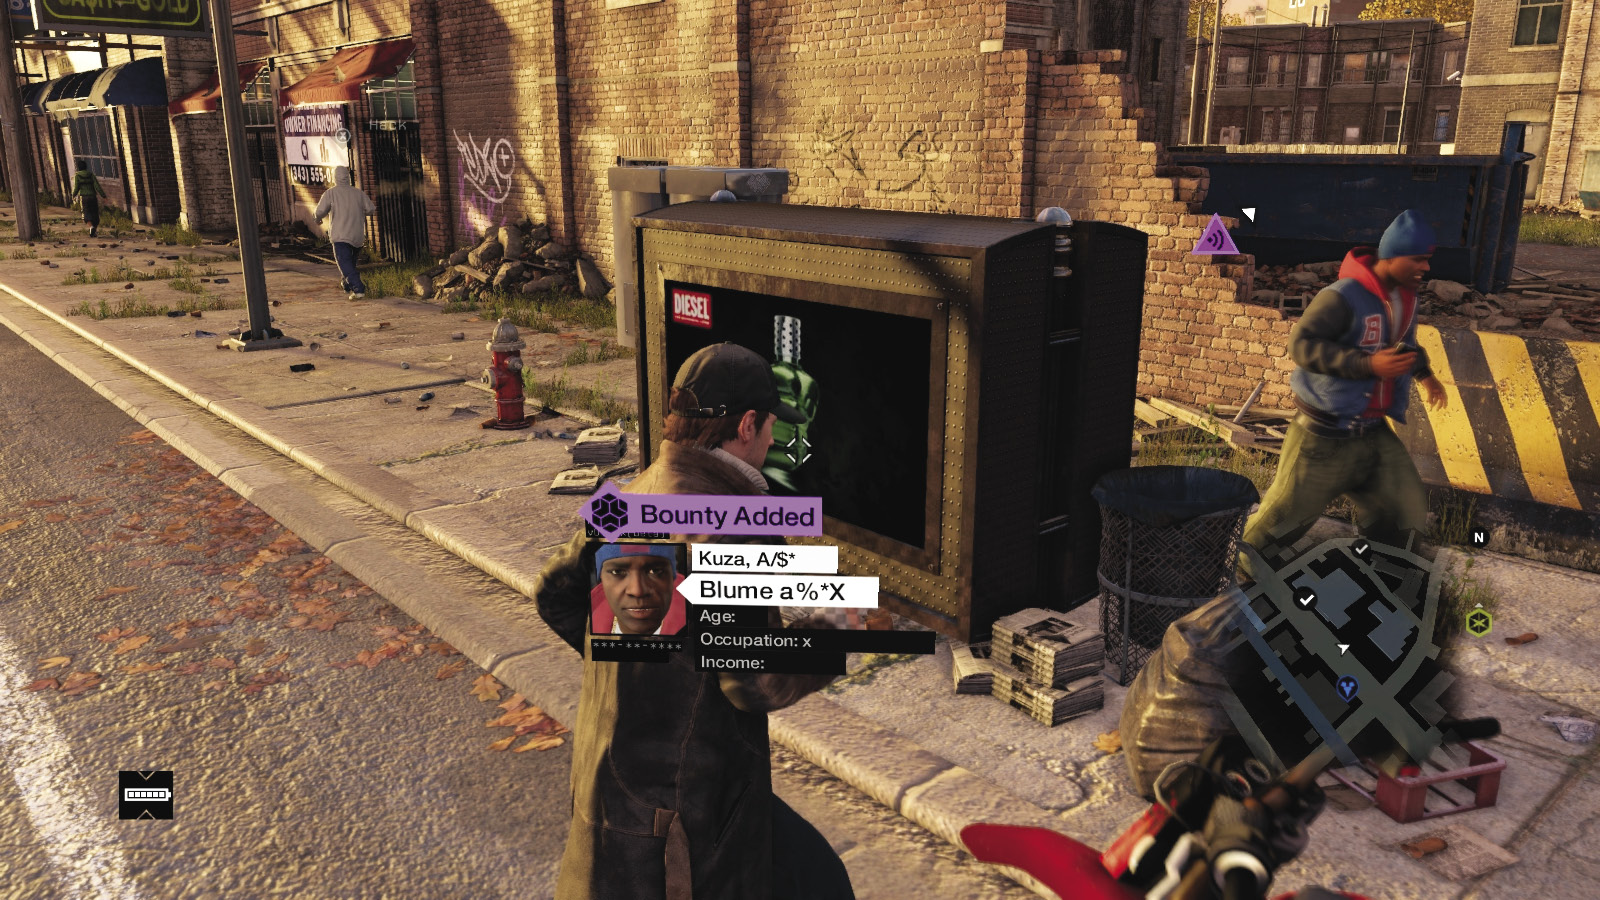
YOUR ACTION: Hacking a Blume Agent
OUTCOME IF LEFT UNCHECKED: A call to Fixers and an online bounty placed on your head.
 If you (accidentally or otherwise) hack a citizen with “agent of Blume” in their profile, they attempt to alert any Fixers and place a bounty on your head. This affects online hacking, and you are more susceptible to attack.
/// Alerts //// Jam Coms
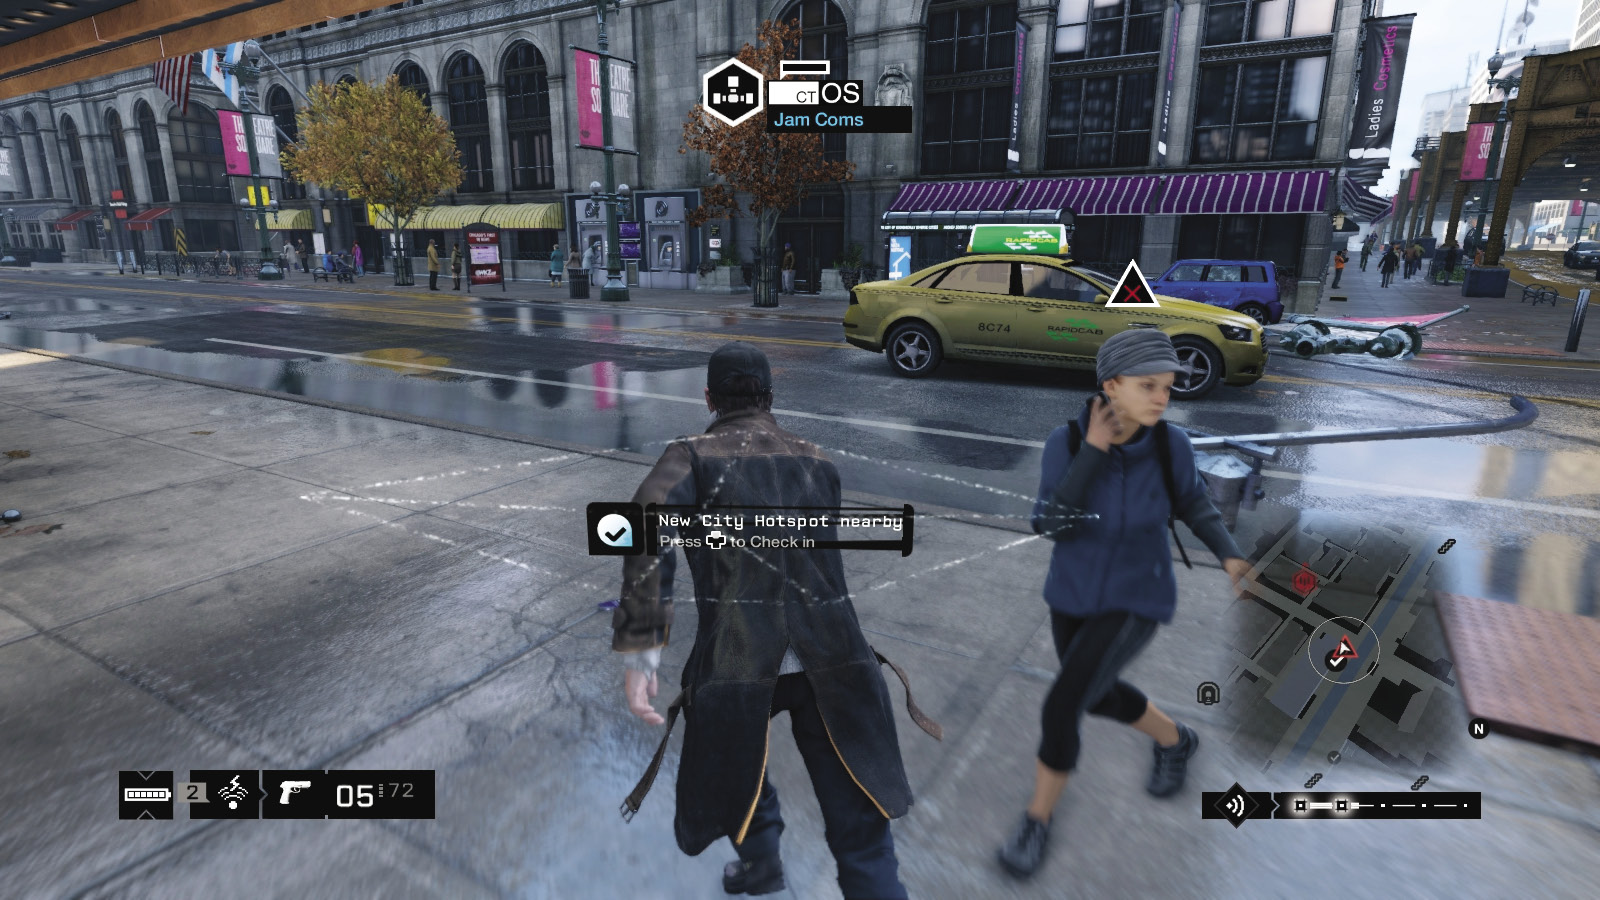
YOUR ACTION: You utilize Jam Coms during an alert.
OUTCOME: The citizen’s alert is jammed and counteracted.
 Successfully jam a smartphone signal from a citizen or Blume agent (the icon won’t appear when jamming police). When encountering a witness call, citizen alert, or bounty call, you can:
Knock the phone out of the citizen’s hands before they finish the call.
Aim (but don’t shoot) at them until they hang up.
Immediately block the call with Jam Coms.