
Watch Dogs Guide MAIN MISSIONS MAIN MISSIONS /// ACT III
_LETS PLAY MAKE A DEAL
OBJECTIVES
|
 Follow T-Bone
 Activate T-Bone’s trap
 Follow T-Bone
 Steal back T-Bone’s truck
 Drop off the truck
 Kill all militia members or escape
LOCATIONS // MAP
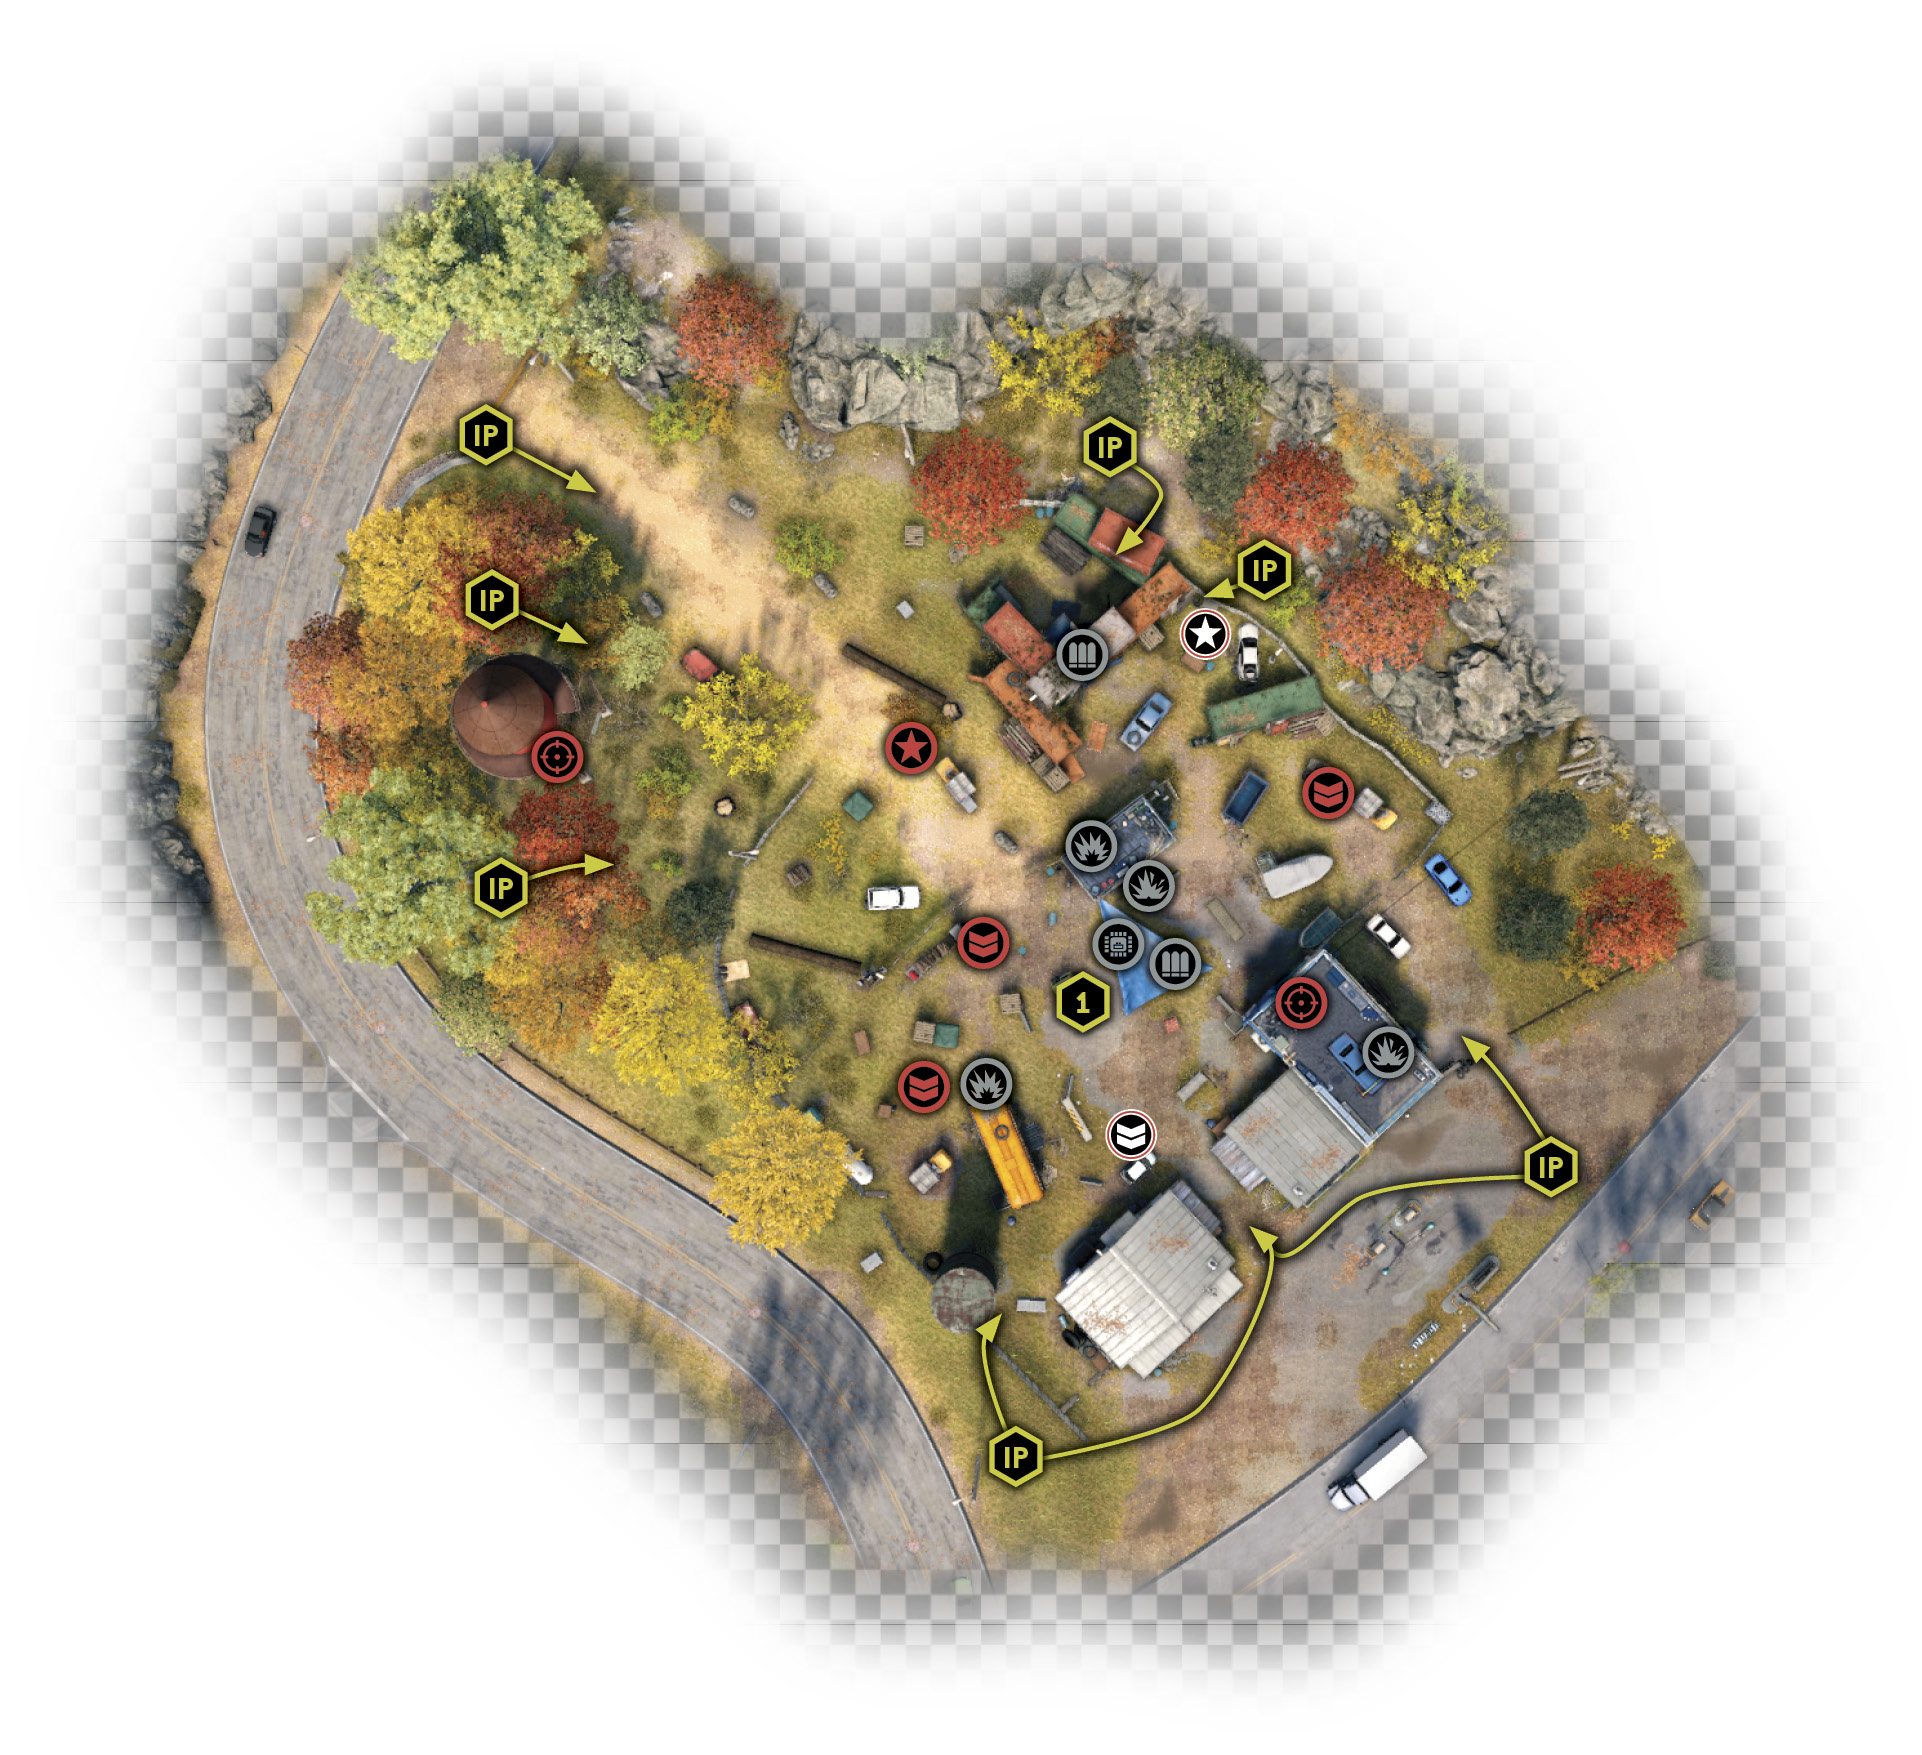
Location / Pawnee // Gas Station
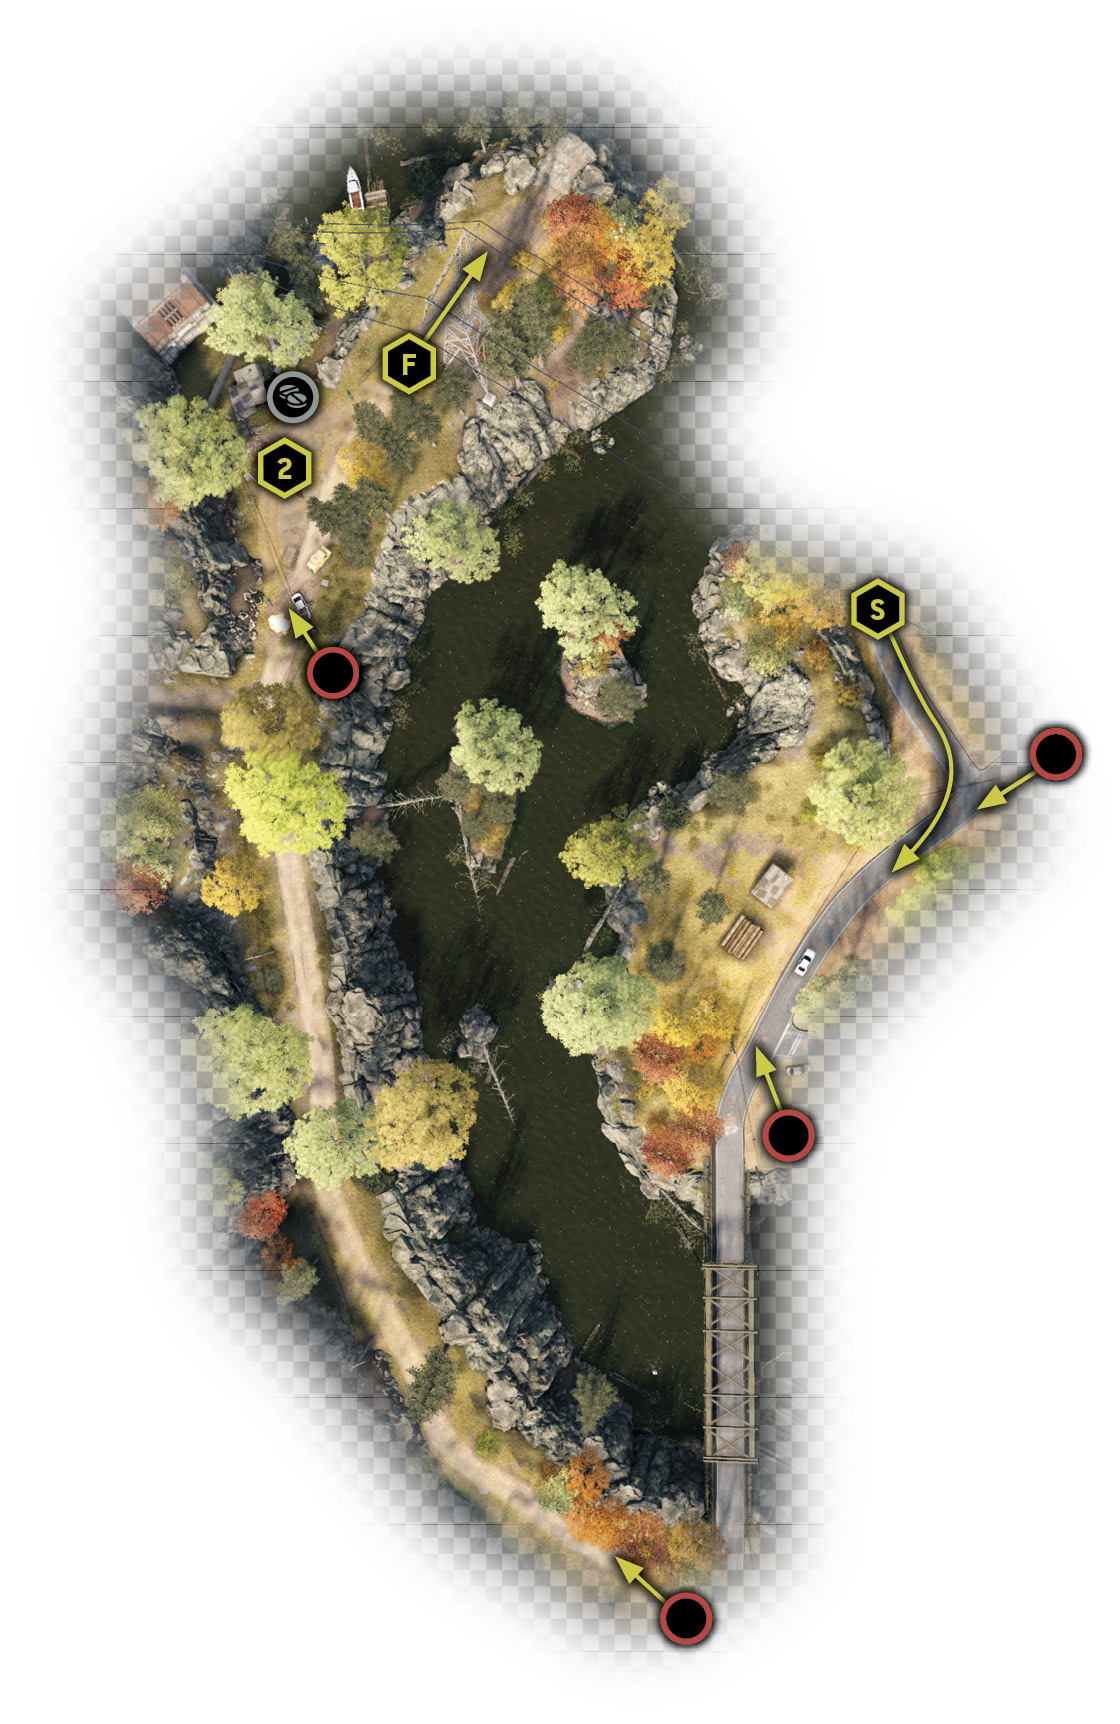
Location / Pawnee // Dam (Roadside Sculpture)
|
 Follow T-Bone
 Activate T-Bone’s trap
 Follow T-Bone
1.4 YOU THINK I’M IN THIS DUST BOWL BECAUSE OF THE AMBIANCE?
 Location / Pawnee // Junkyard
 Investigation
 Data Hack
Difficulty:
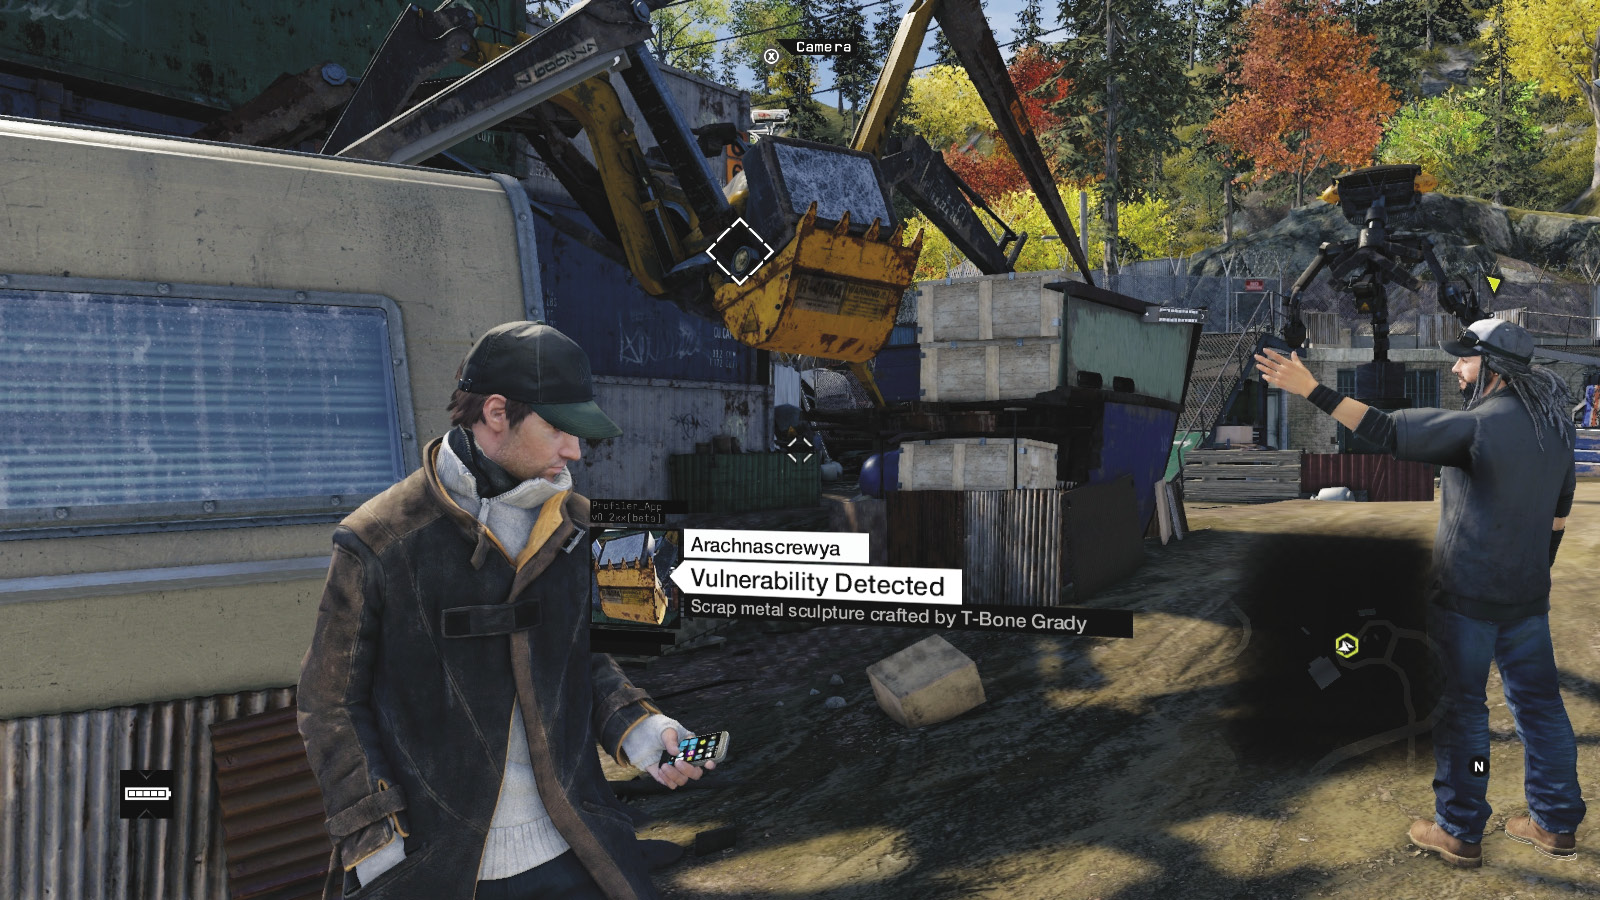
Once a discussion with T-Bone, he beckons you to follow him across his junkyard. He’s quite the sculptor, fashioning giant monstrous forms from machinery and vehicle parts. He reveals that the giant collection of metal friends he’s crafted do more than simply rust in the sun.
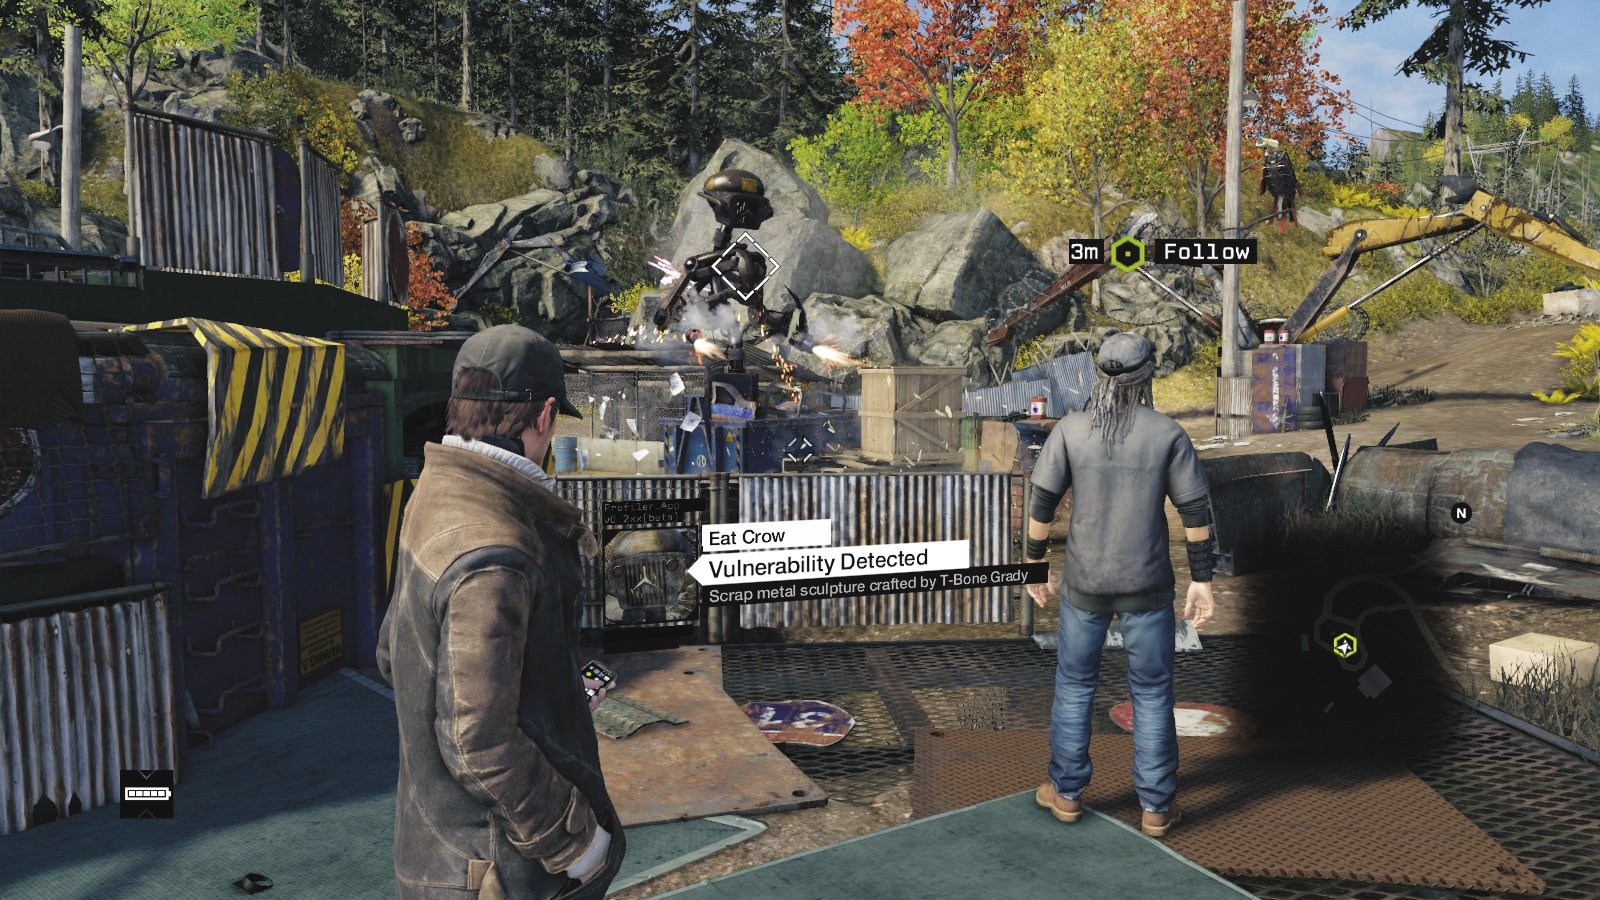
He fires up “Eat Crow,” and the sculpture spins around, firing a pair of Gatling guns indiscriminately. T-Bone gives you the codes, so hack the device, sending it spinning and firing in a circle. Satisfied, T-Bone walks you to the edge of his compound and asks you to swing by the gas station; the Pawnee militia is holding his old truck, and he wants it back. You grudgingly accept this task.
|
 Steal back T-Bone’s truck
1.5 GIVING YOU THE RUNAROUND
 Location / Pawnee // Junkyard
 Location / Pawnee // Gas Station
 Infiltration
 Escape
 Lethal Force Likely
 Melee Force Likely
Difficulty:
Overview
 Completion Point: Marked van, parked in the center of the gas station yard.
 Dangers: Nine militia (Marksmen x2, Veteran x5, Elite x2), armed with shotguns, automatic weapons, and sniper rifles (Shot-Caller x2).
Reinforcements: Up to four militia vehicles with two to four foes per vehicle (Veterans and Elite).
Insertion and Defensive Points
The entire gas station and the yard behind it is heavily guarded. However, it is also porous, with a shoddy perimeter fence that’s half fallen in and numerous gaps to maneuver through. Detailed below are some of the most prominent ways to enter. During your assault on the gas station, you may wish to hole up in one of the following locations within the perimeter. The areas marked “defensive” offer particular benefits.
Insertion Point: North Scrub
Defensive Point: Water Tower
Defensive Point: Tree Stump Hill
 Accessibility Level:
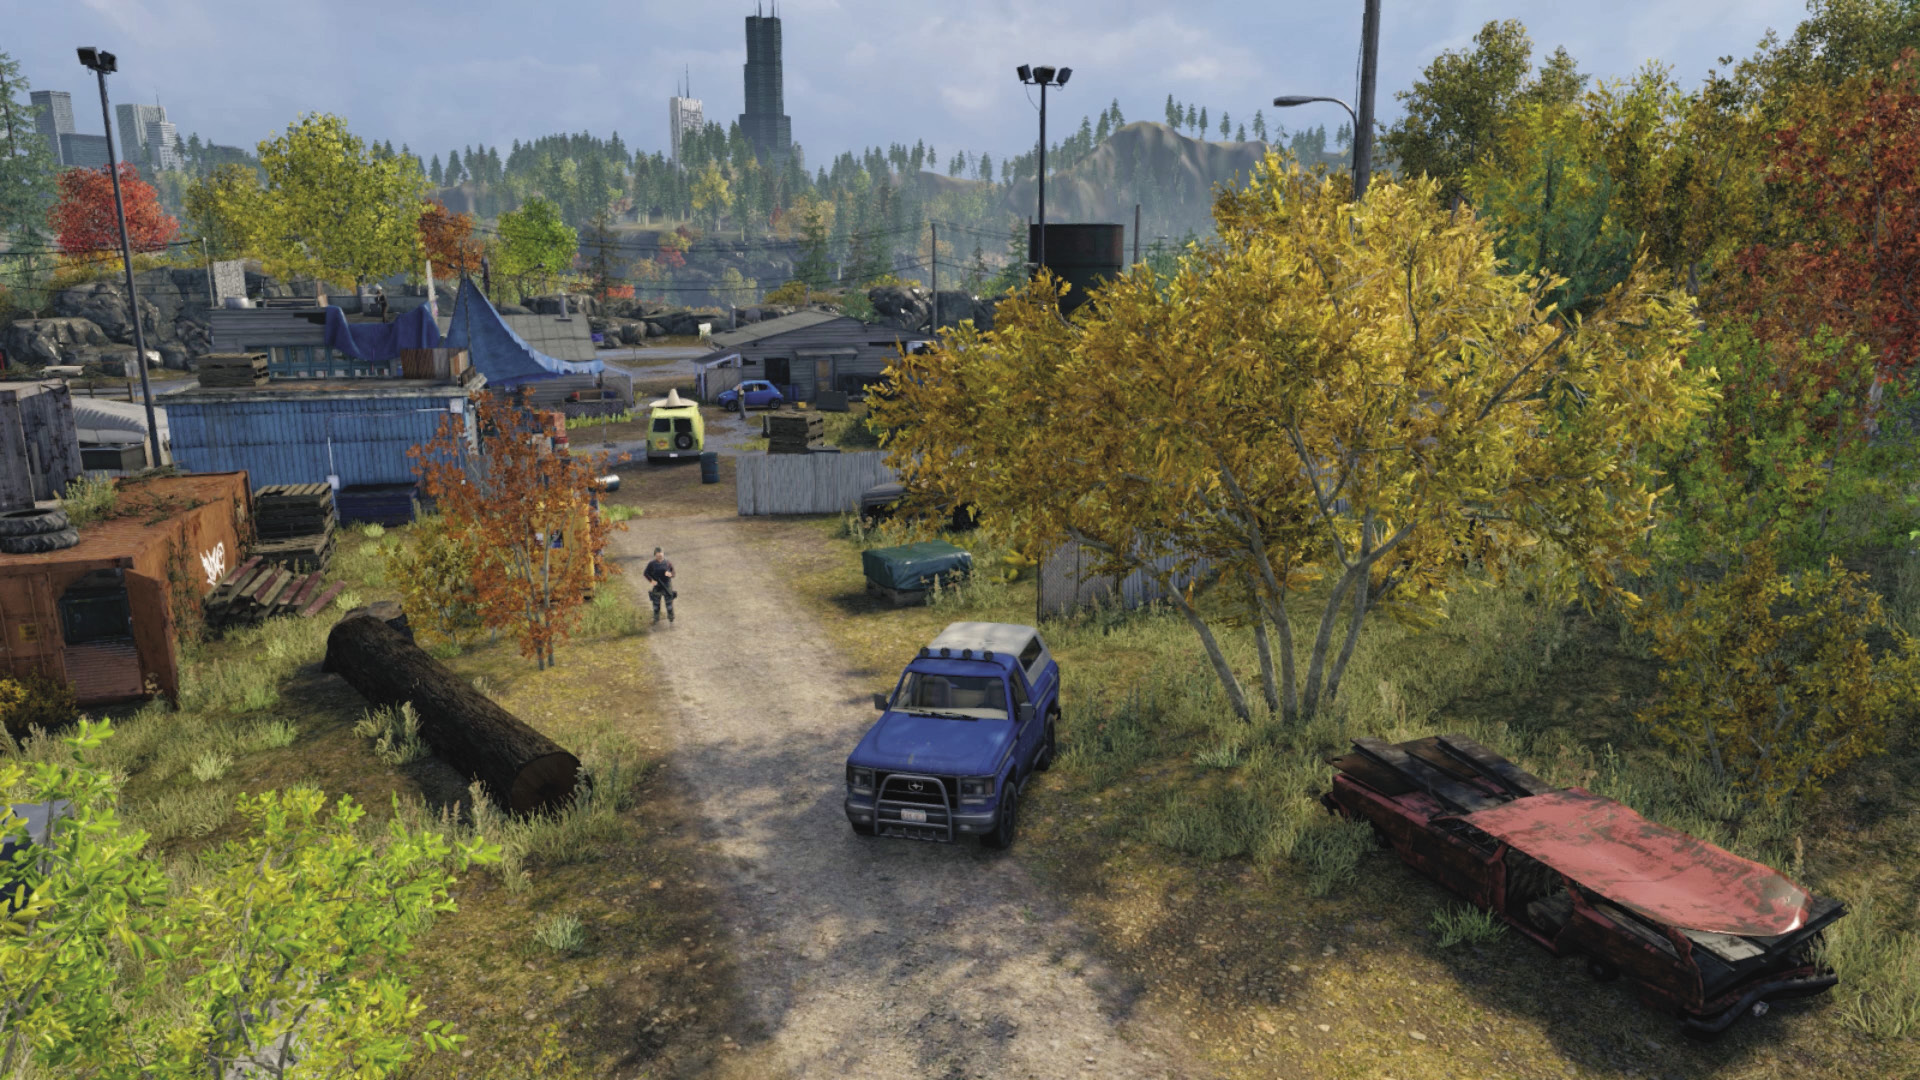
North Scrub: This is a dirt path from the entrance, with rocky outcrops, small trees, and a water tower to the northwest. Reinforcements plow down this road if called upon or once you take the truck. This is also an escape route if you want to reverse out from here. Skulk around the northeast rocks as an option if combat is getting too hot farther into the yard.
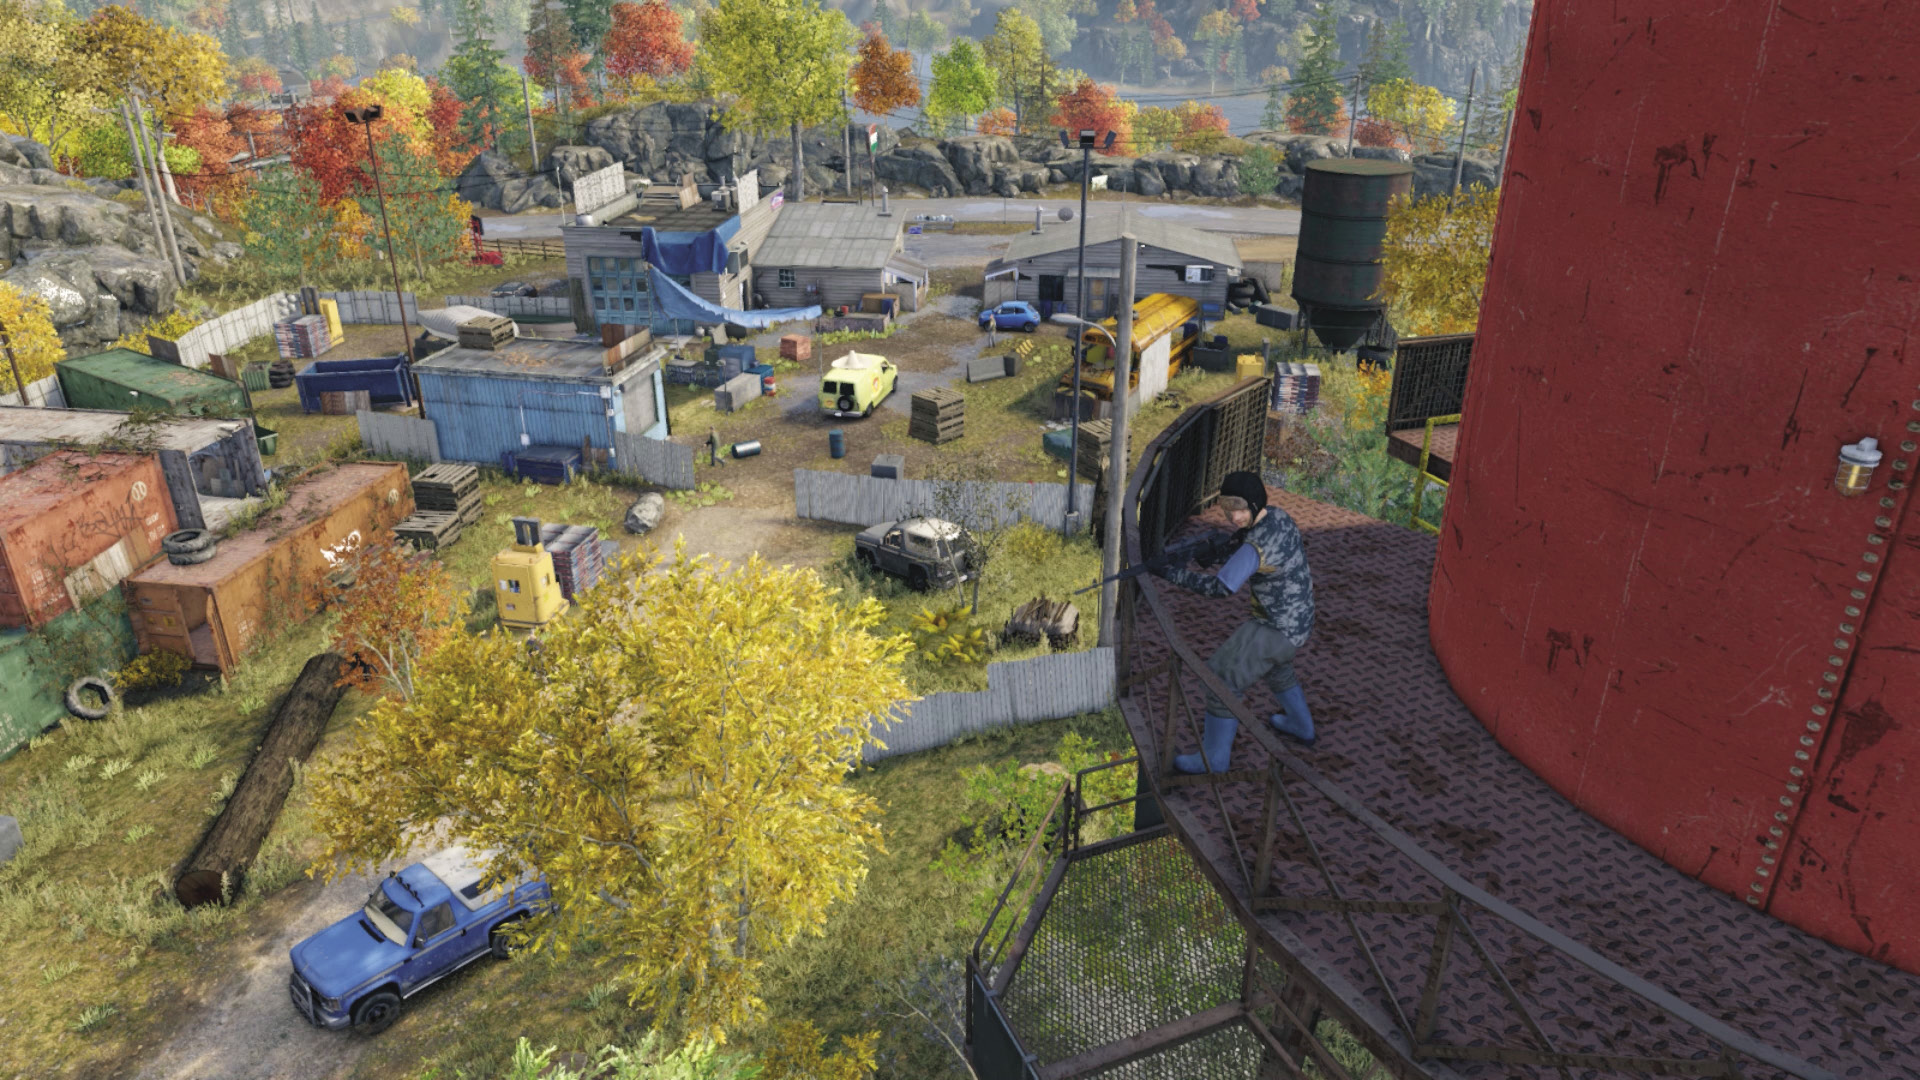
Water Tower: The enemy here spots you almost immediately if you don’t take him out, which involves either climbing up the tower or delivering a headshot with a sniper rifle from across the road to the south. This is a reasonably defensible position, and sniping foes is entertaining. Grenade launching from here is also recommended. But watch your lack of escape route.
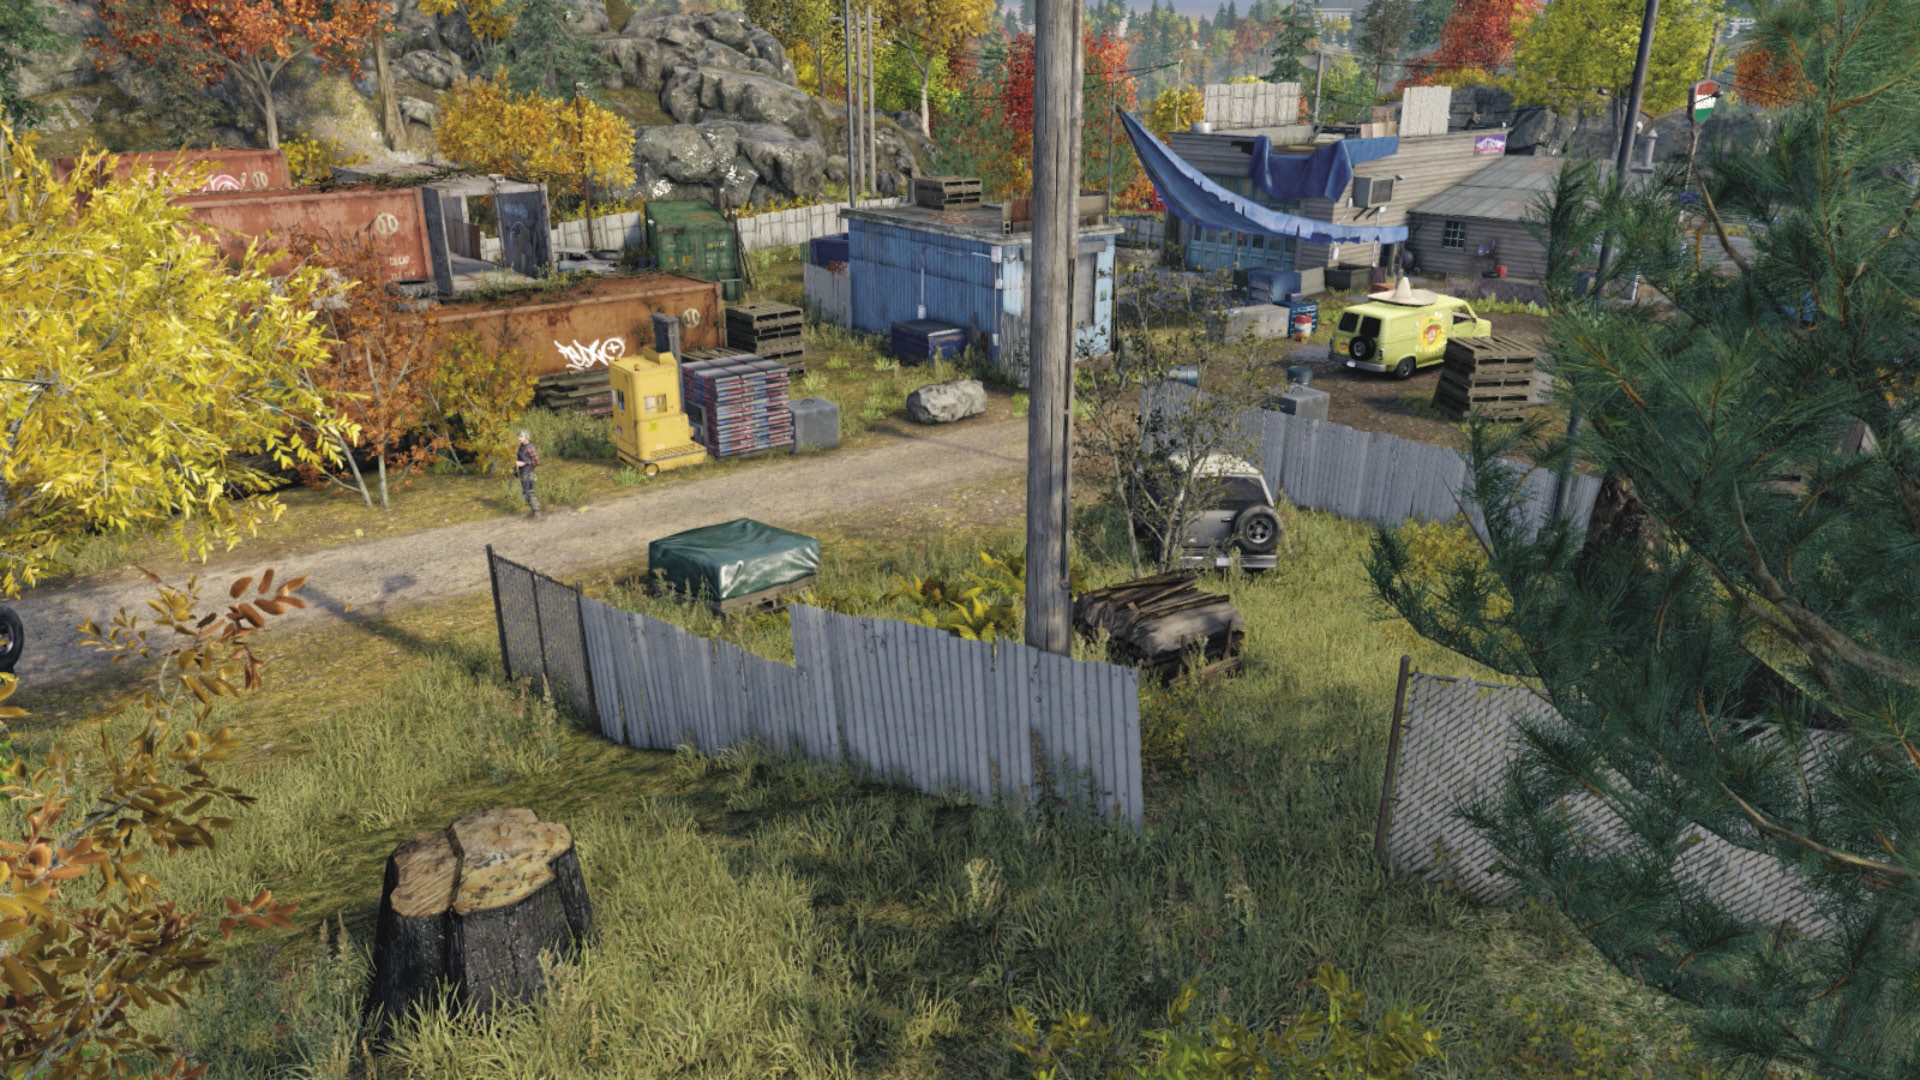
Tree Stump Hill: West of the dirt path is a shallow hill of scrub grass and a large tree stump, with light cover and fences. The slightly higher ground means you have a reasonable view of the gas station and yard and are elevated enough to fire on foes. The lack of cover is a problem, though.
Insertion Point: East Fence and Container Stacks
Defensive Point: Container Stacks
 Accessibility Level:
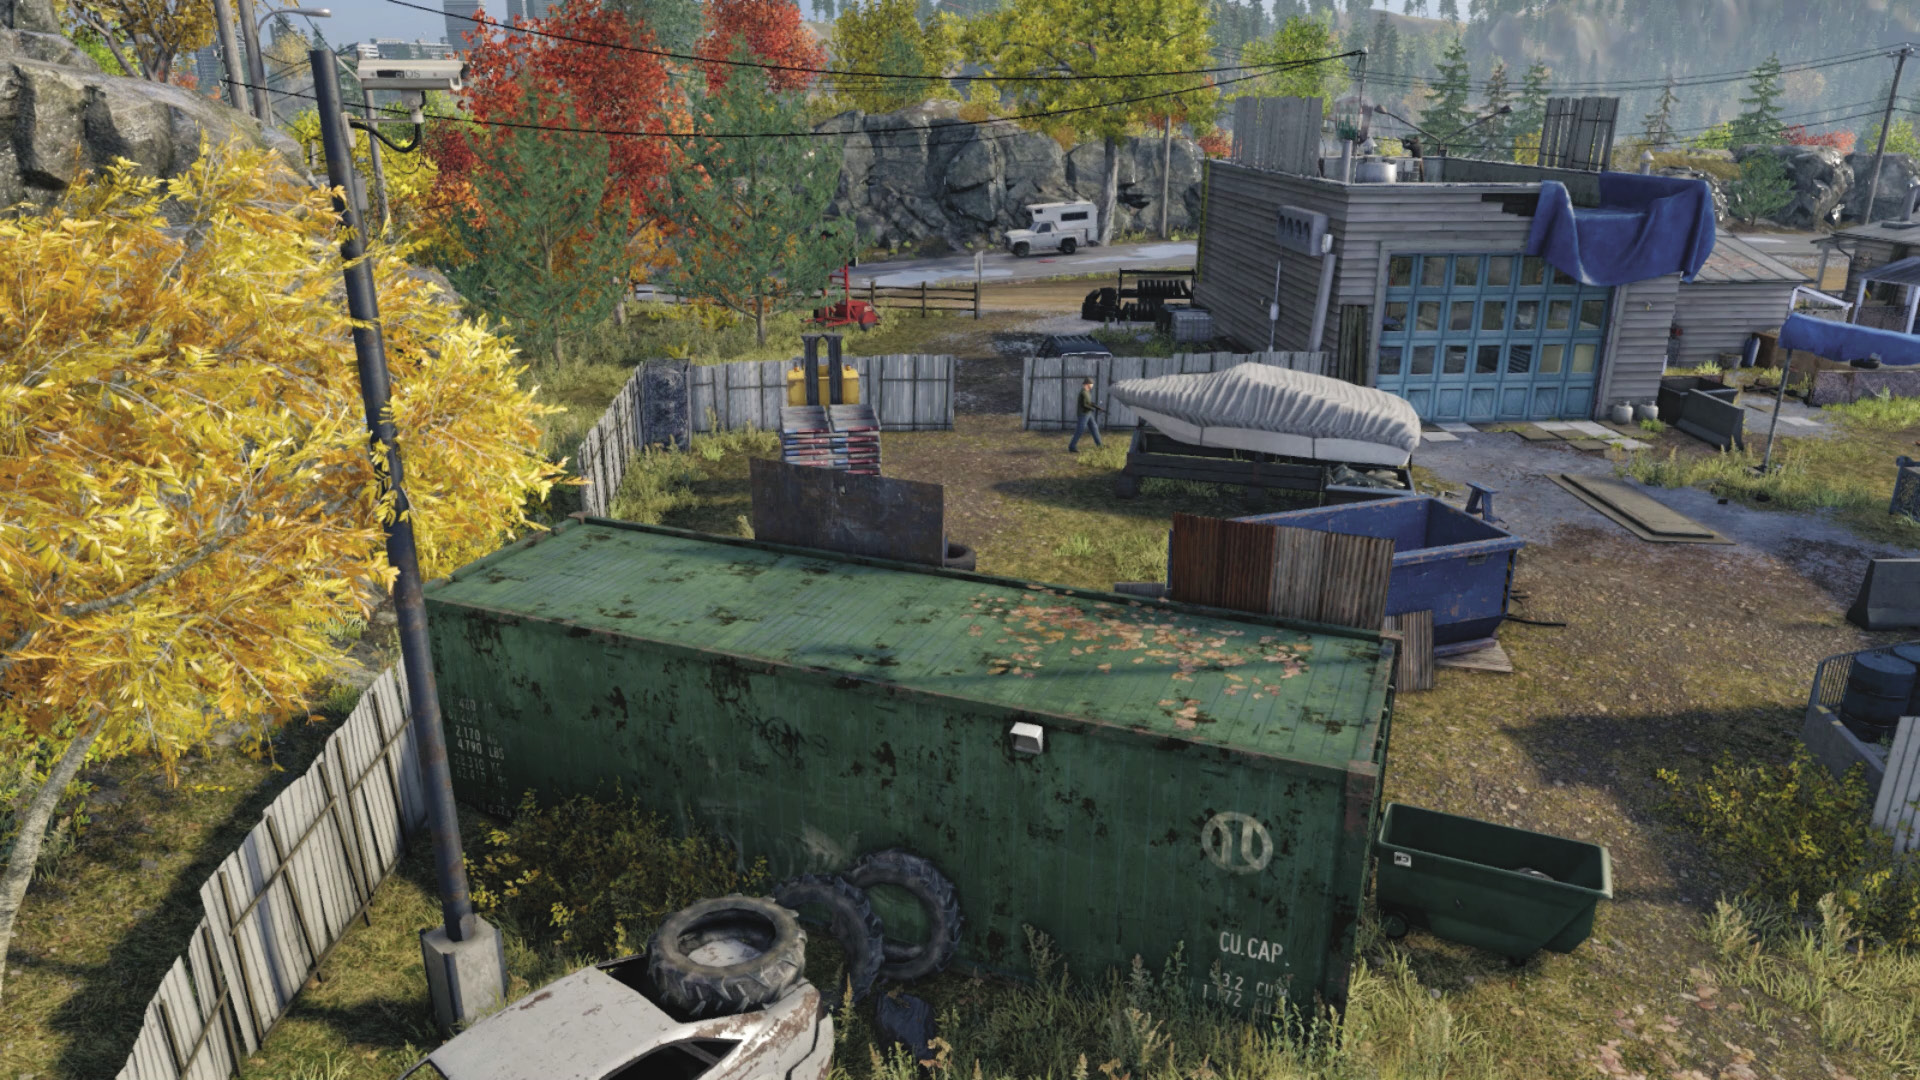
East Fence: Don’t overlook this perimeter; you can easily sneak to the opposite end of the yard without being spotted, and guards sometimes scale this wall and head along here looking for you. The fence can be jumped at any point aside from when blocked by the green Blume container, so mark your foes and creep up and down here, waiting for an ambush opportunity.
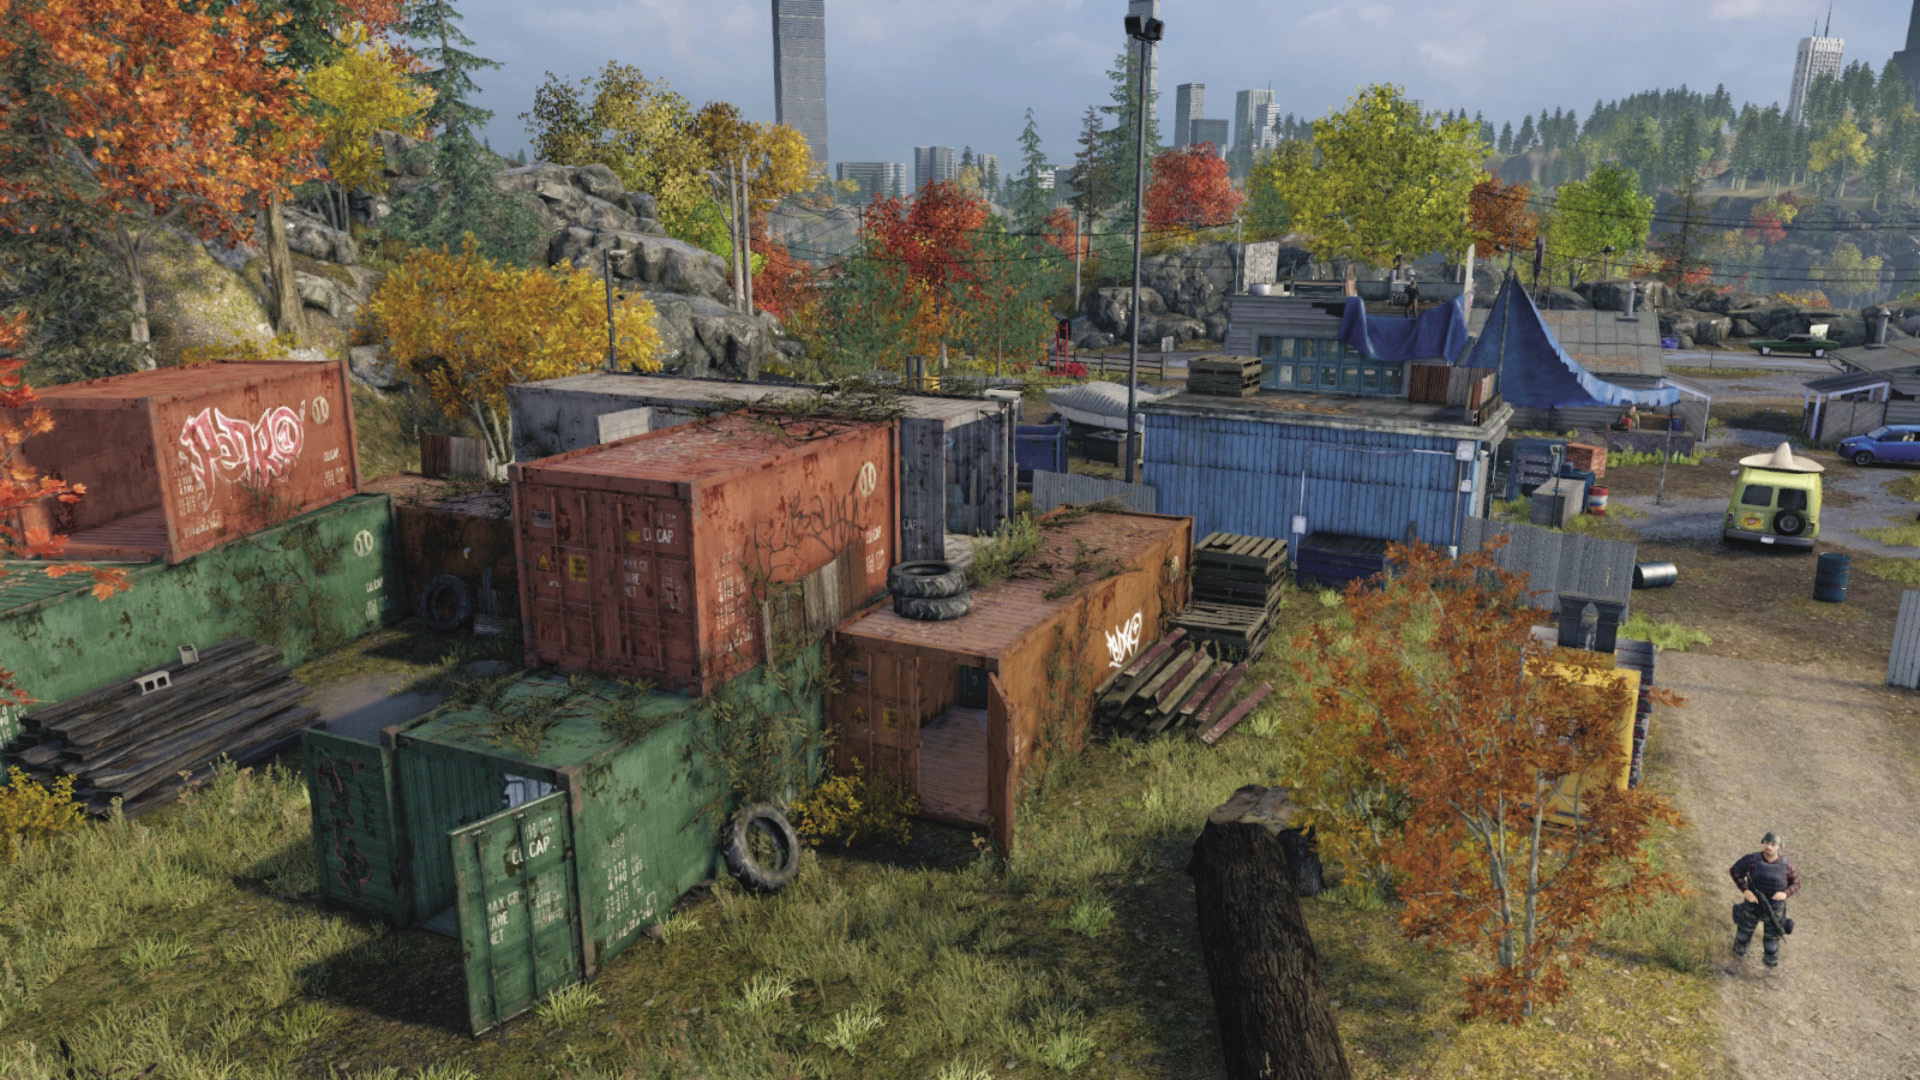
Container Stacks: More than just a collection of rusting shipping containers with a camera attached, this selection of open containers is a mini-maze. Remaining here, using the cover, dodging around to ambush foes, or climbing to the top of either container stack affords sniping opportunities aplenty. You can easily escape to the east too. A great place to prowl!
Insertion Point: South Roadside
Defensive Point: Gas Station
 Accessibility Level:
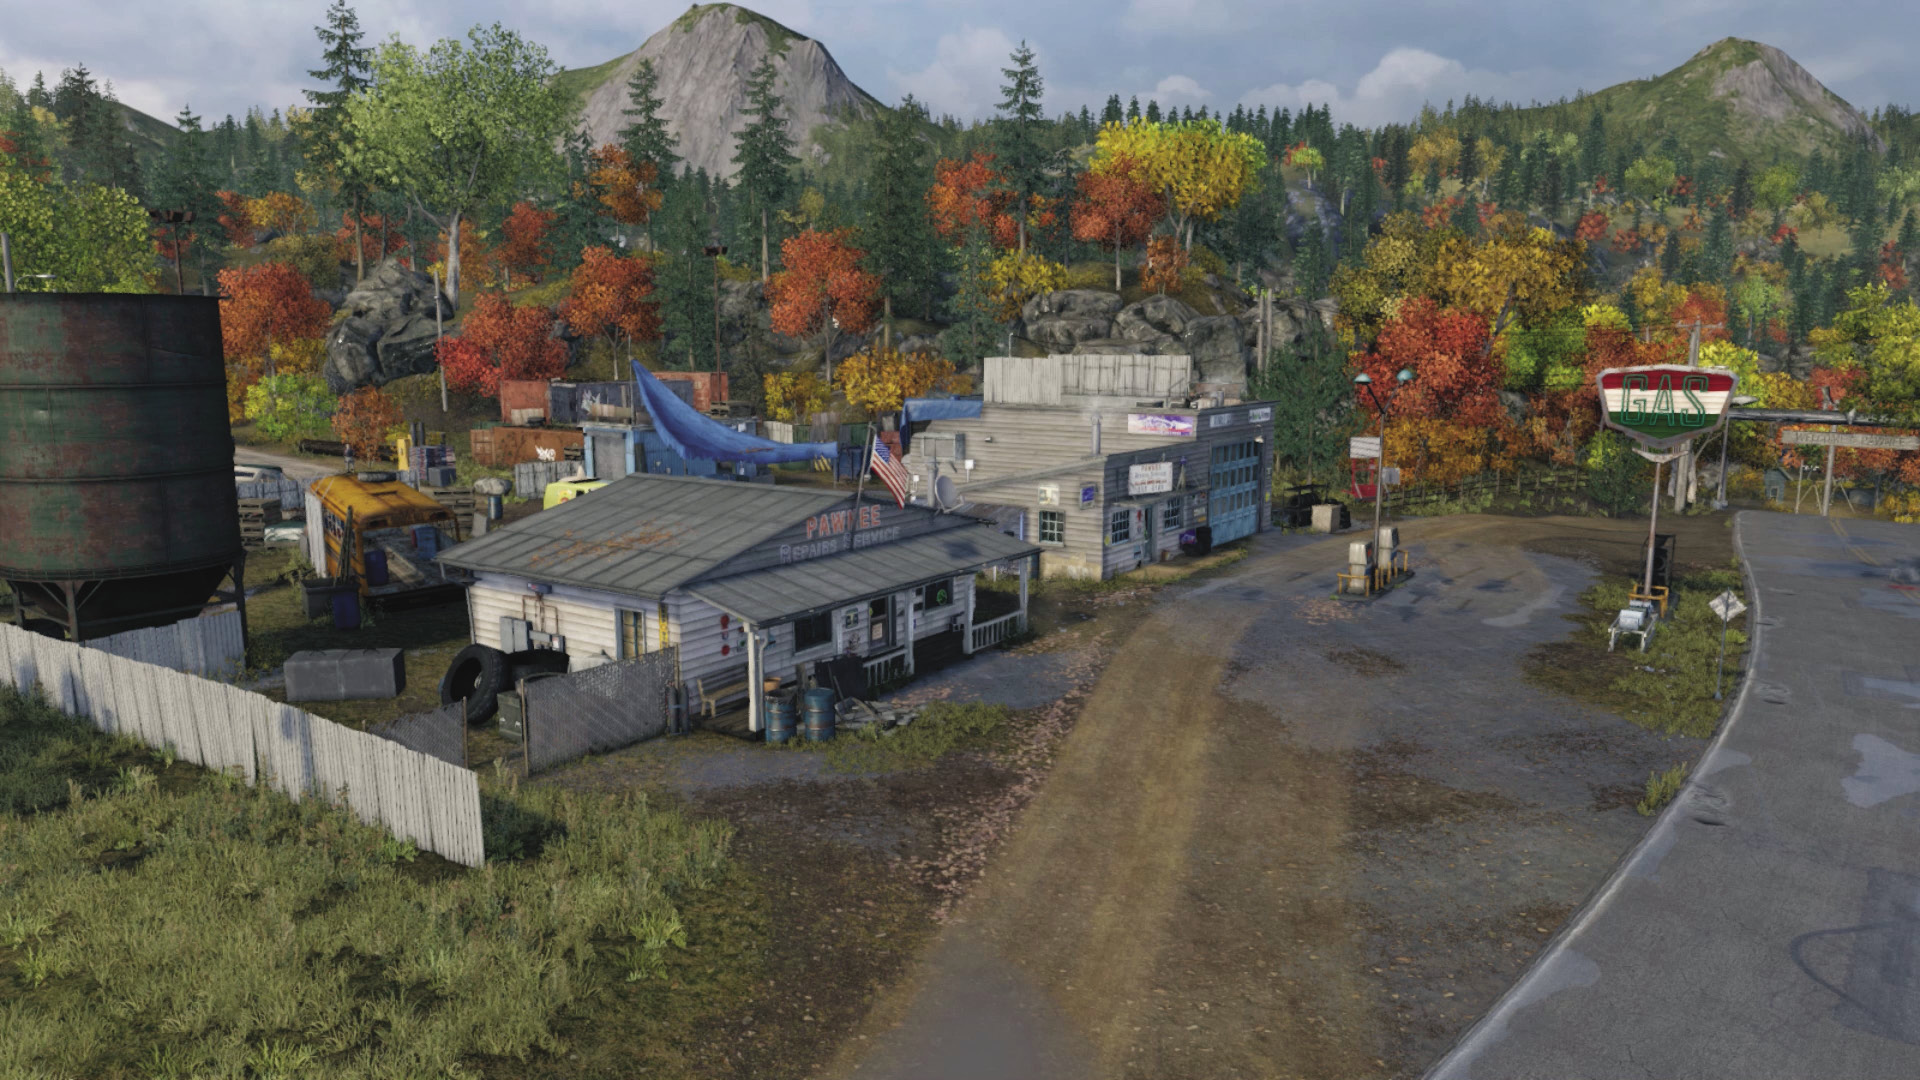
South Roadside: The main road to Pawnee where the gas station is located is the other entry point for the enemy reinforcements and usually the route you use to escape. There’s a problematic sniper on the garage roof and another foe who’s often overlooked inside the garage. Be careful maneuvering here if the enemy hasn’t seen you. Lay traps, especially for the reinforcements to come, and even snipe from the roads south of here.
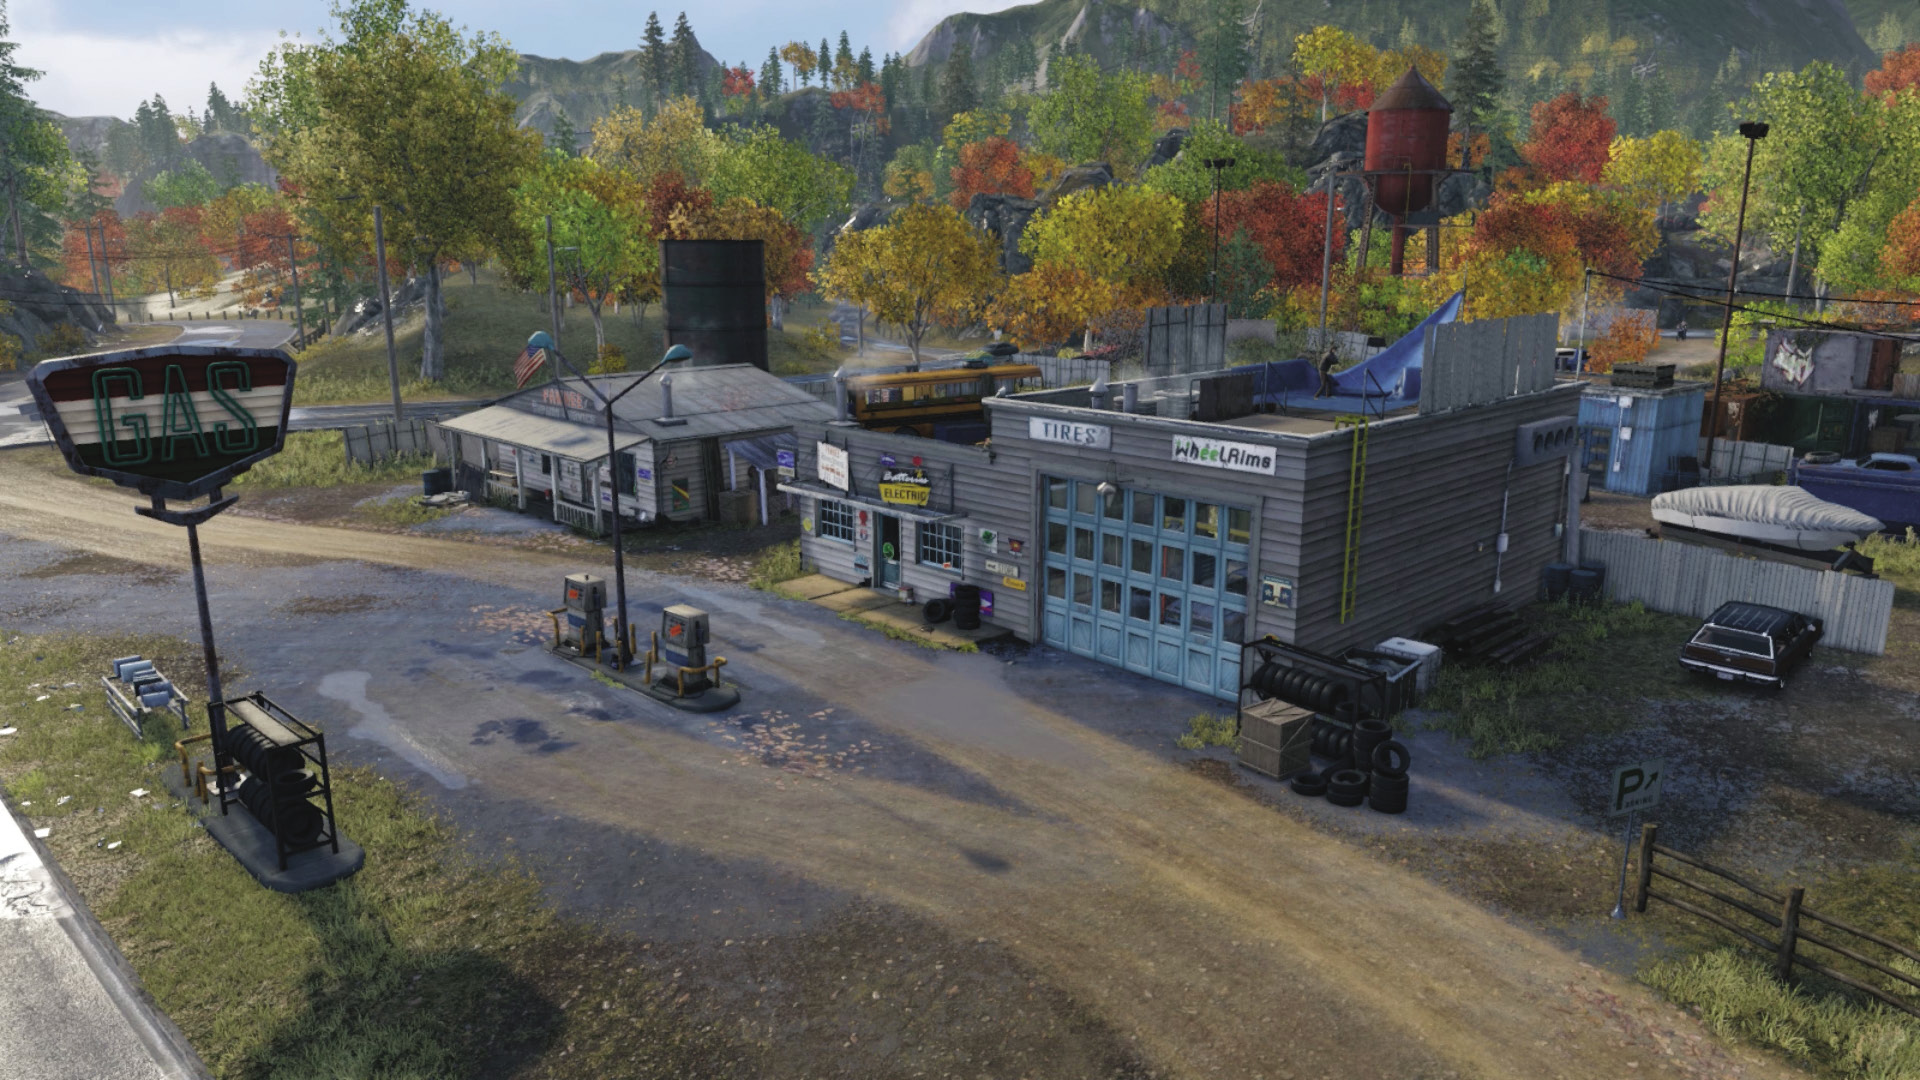
Gas Station: The shop is closed up, but you can open the garage doors on each end. The fencing along the south side has a gap in each corner, and there’s a ladder to the roof (which is an amazing sniping point). Remember you can climb atop the roofs of both buildings by using the scenery and vaulting. If combat outside gets too frantic, use these structures for protection and for funneling foes to.
Insertion Point: West Fence
Defensive Point: School Bus
Accessibility Level:
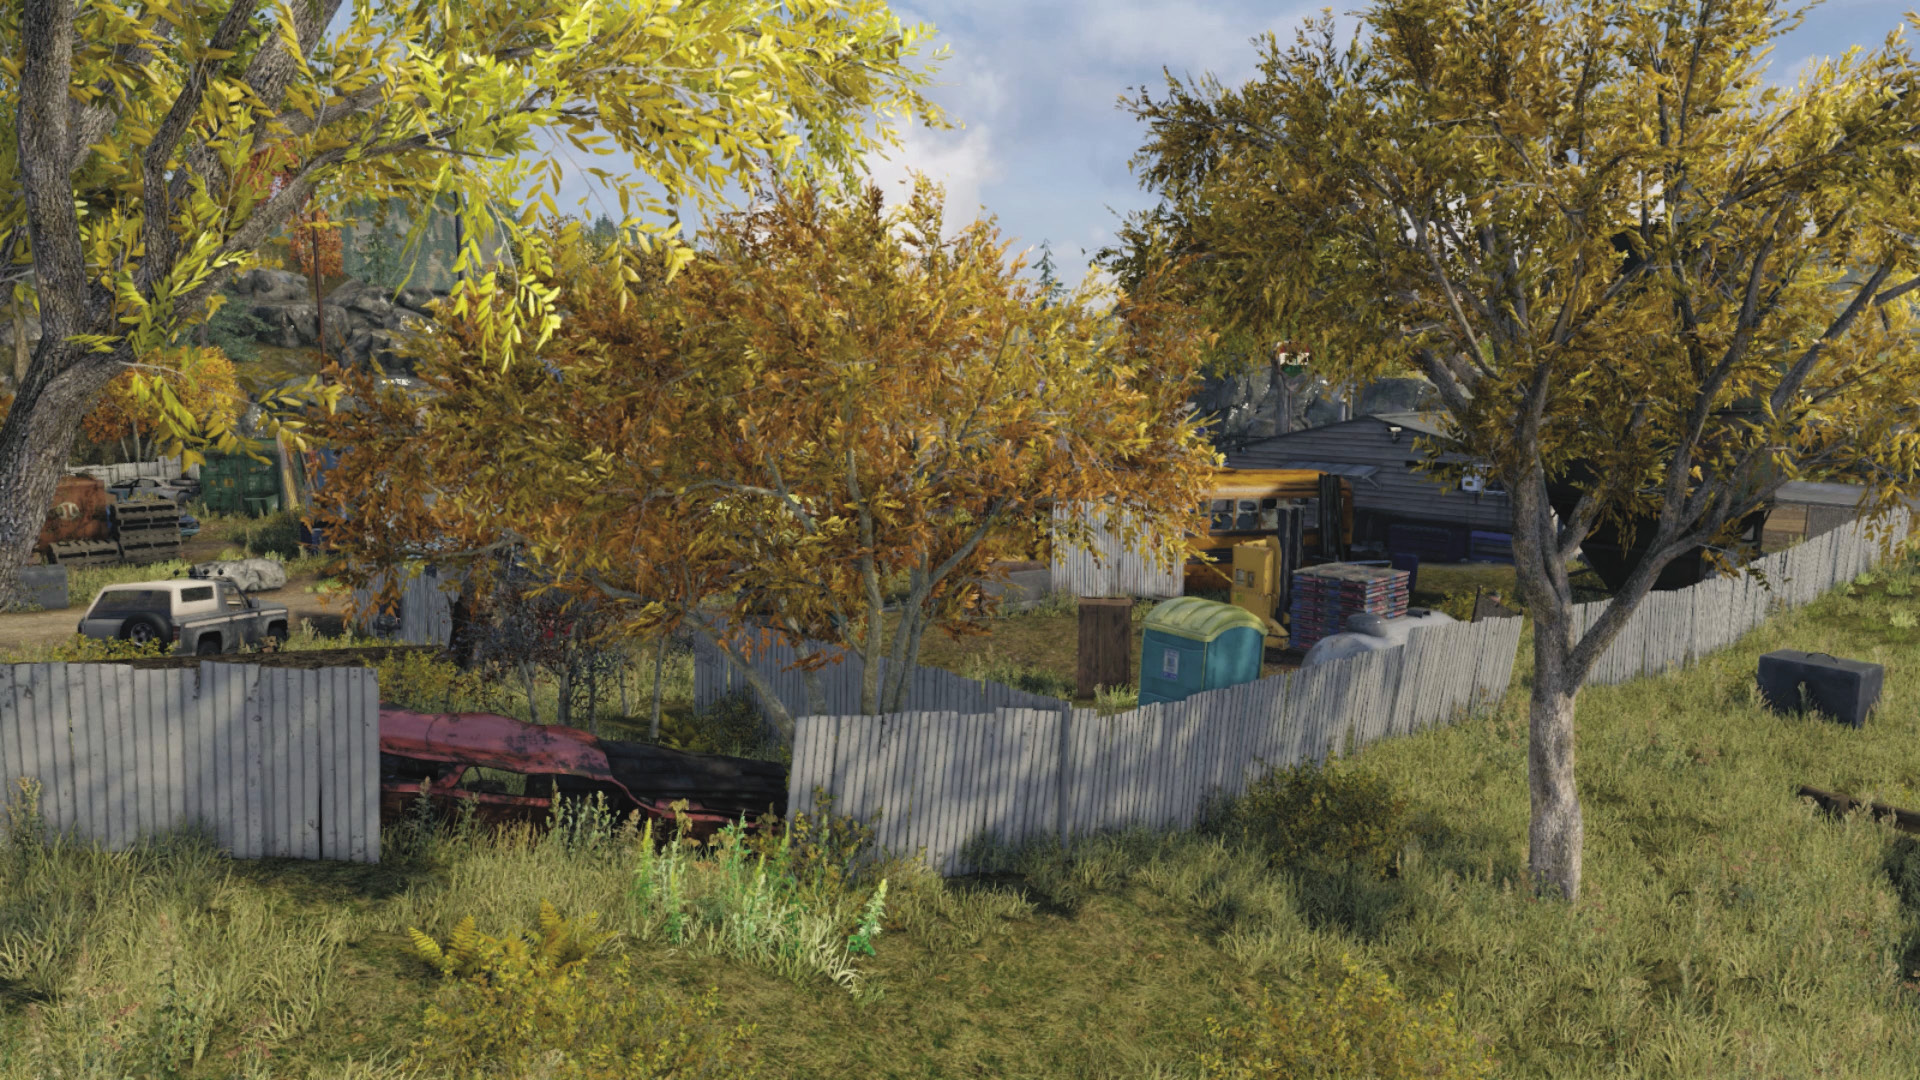
West Fence: Starting to the south, there’s a cement truck (use as cover or to block reinforcements on either path), an inaccessible water silo, and rickety fencing that you can easily hop over. Watch for the propane tank if you’re using this fence as cover to hide behind, and remember you can drive through everything except the guardrails.
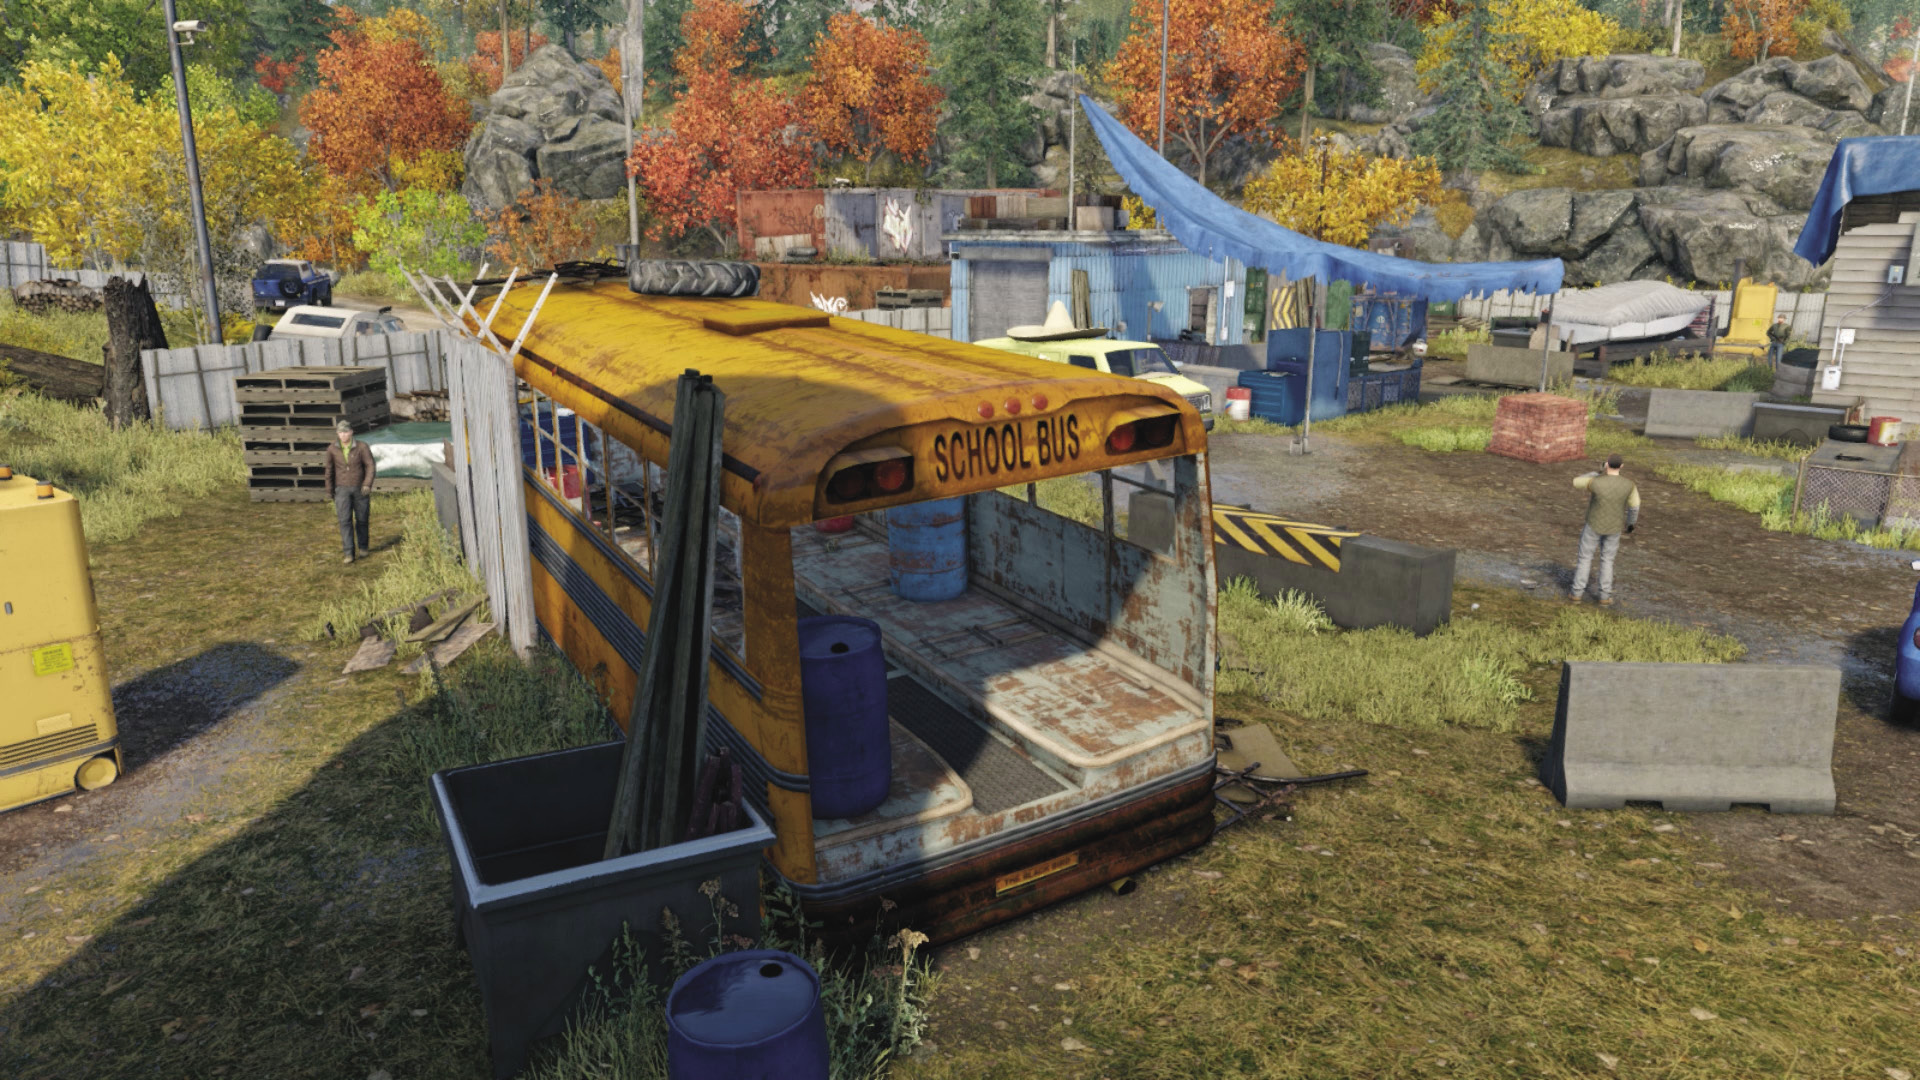
School Bus: You can sneak in here and use the bus as cover or as a place to fire out from, but watch the explosive items here, which can seriously damage you if hit by enemy fire. You can pull in a vehicle to block the rear exit, hemming you in but not allowing the enemy to reach you except from the front door. Remember you can climb onto the roof of the bus, too, though there’s little protection.
Defensive Point: Tool Shed
Accessibility Level: 
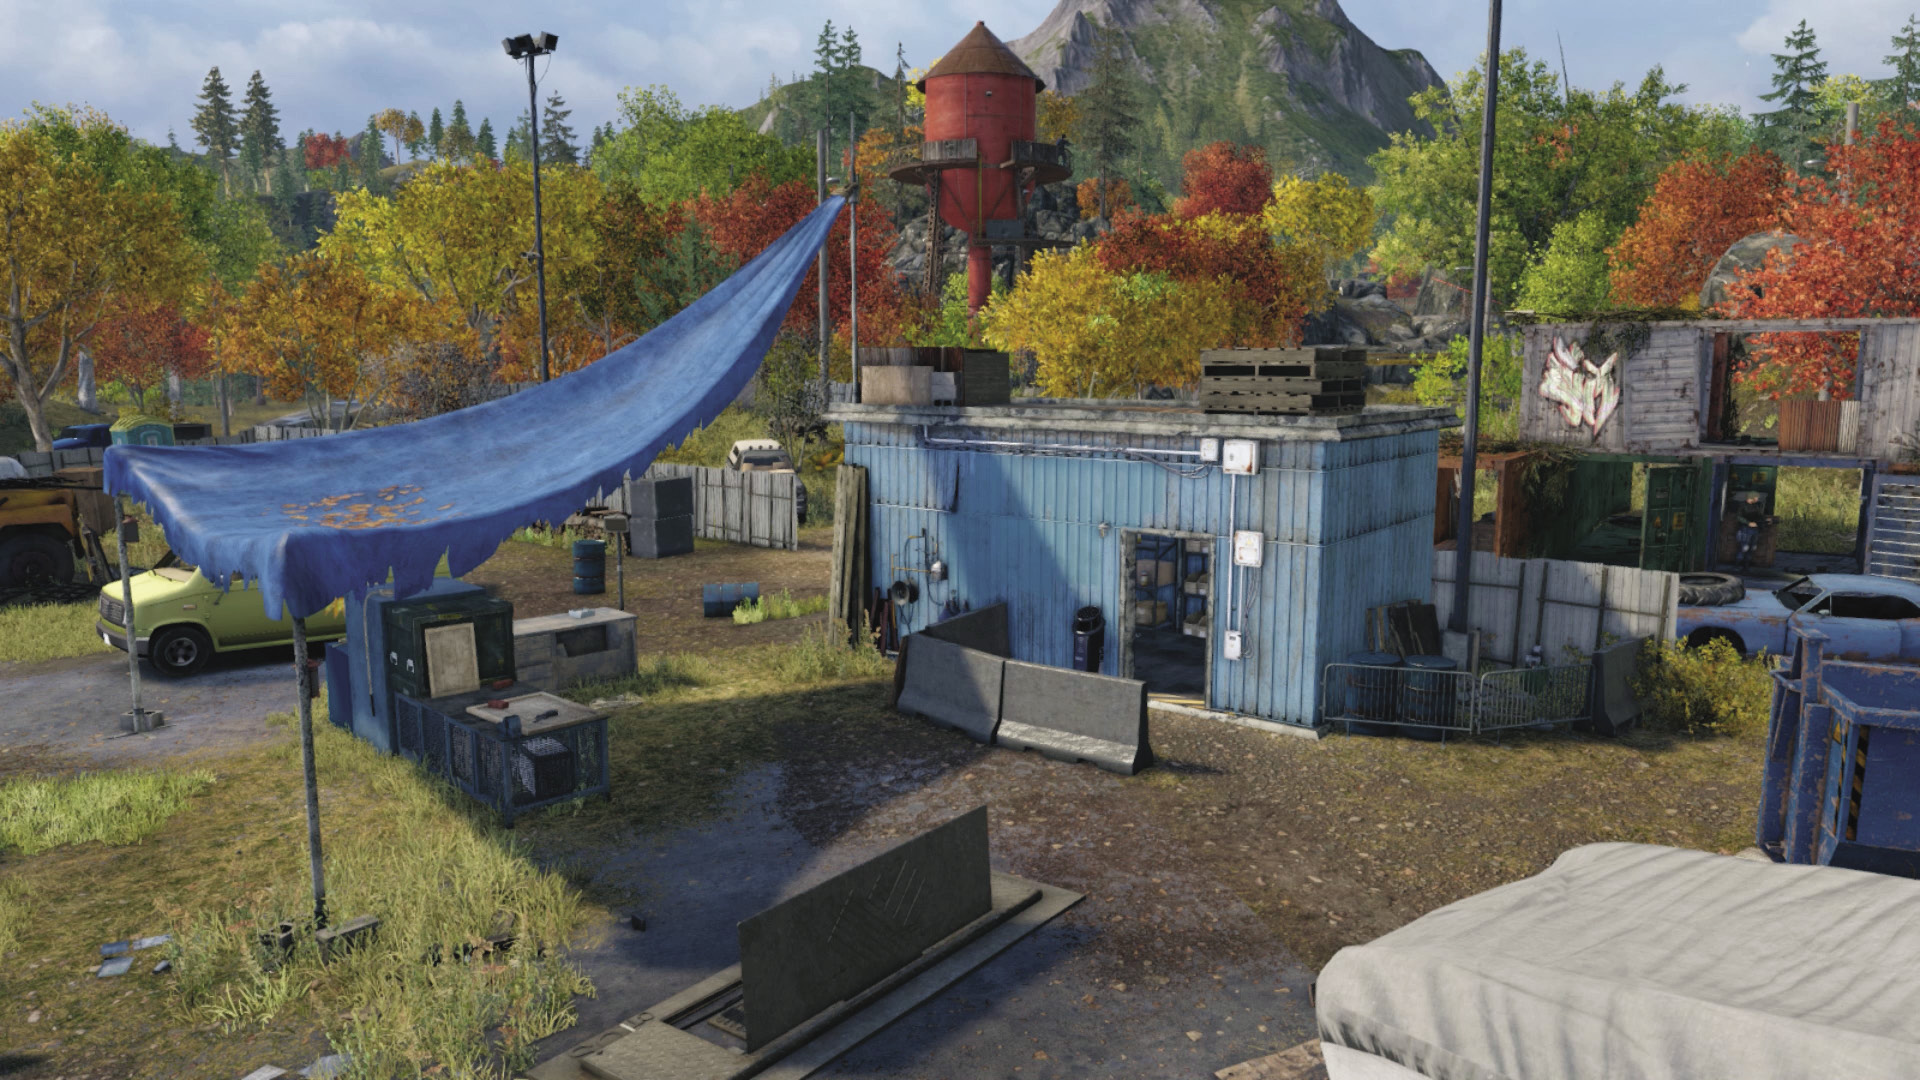
Although exposed and completely surrounded, the tool shed can provide cover, and the shutter is helpful for blocking enemy fire (or opening to allow you to shoot foes). The explosives here are a problem if detonated, but the roof is a reasonable place to stay, as it has some good protective elements. Plus, you’re right next to T-Bone’s truck.
Progression Plans
You may now try one, parts of, or any combination of the following methods to reach the truck and escape with it.
 Passive // Flee: Spending No Time in the Gas Station
Difficulty:
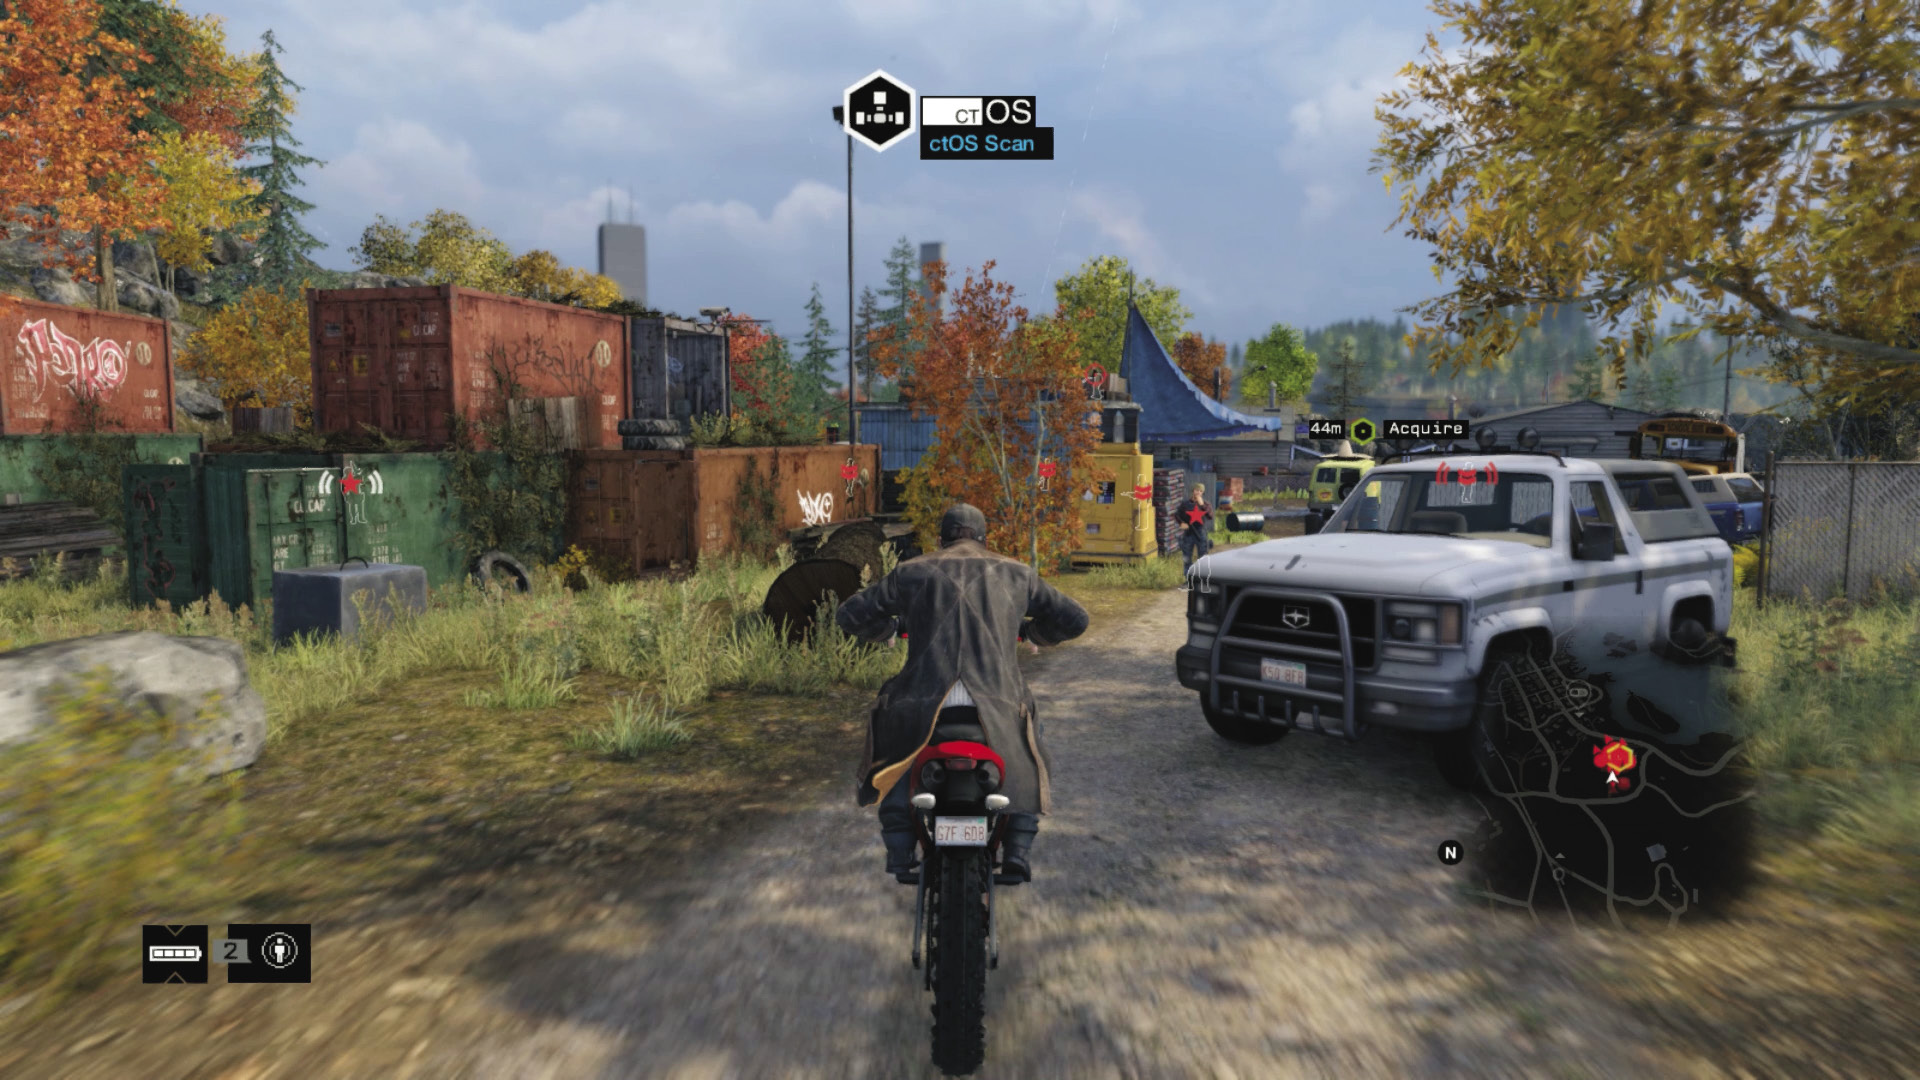
Not a huge fan of experience points? Then why not ignore the enemies completely and simply rush to the truck parked in the middle of the backyard and hightail it out of here? This is possible, but expect heavy retaliation when you’re spotted. Therefore, it’s better to try a modicum of stealth, heading in from the school bus, rather than just rushing past all the guards. Don’t dawdle or you’ll be cut to ribbons. The subsequent objective becomes a little tougher, as more foes chase you to your destination.
 Aggressive // Stealth: Silent Takedowns Heighten Elation
 Difficulty:
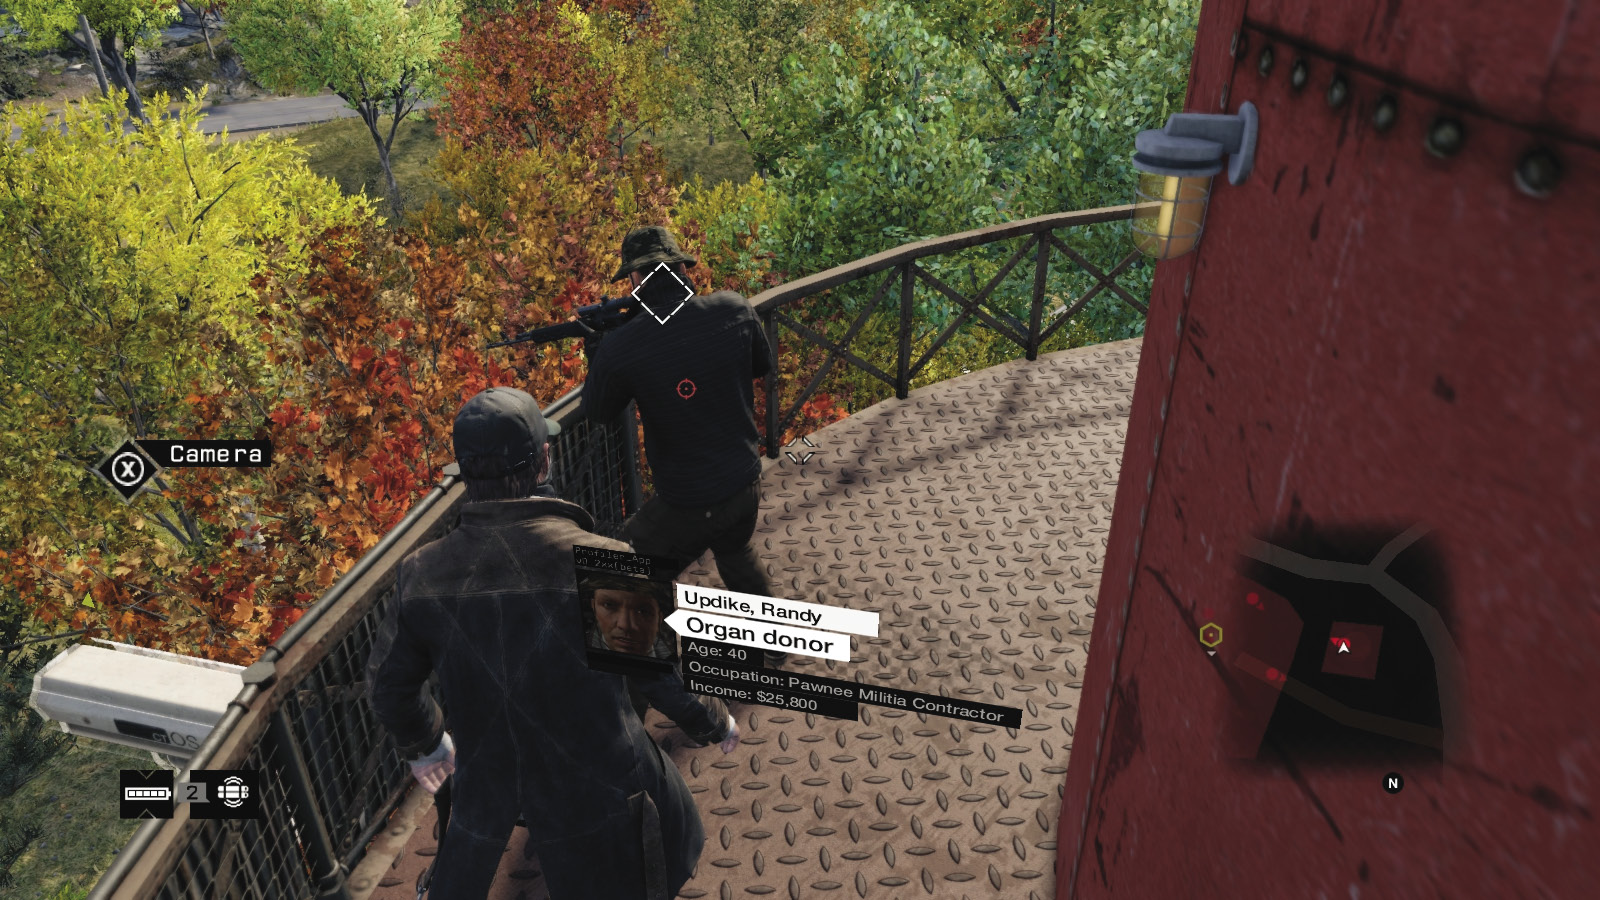
The following tactics and route allow you to remove all nine threats with no further reinforcements prior to stealing the truck and not fire a single shot. It’s perhaps the optimal method of finishing this objective. Be sure you have your smartphone Profiling so you can see the outlines of all enemies, or launch a ctOS scan before beginning.
The first step is to nullify the snipers on the upper vantage points. From the north entrance, climb the water tower and quickly remove the sniper threat. Do this quickly as he spots you, then descend.
Leave the restricted area, and jog around to the gas station buildings to the south, by the main road into Pawnee. Find the ladder attached to the garage, climb up, and strangle the sniper on this rooftop. Drop down into cover as the foe between the two south buildings ascends to investigate.
If he climbs onto the roof, wait for him to arrive and throttle him. If he doesn’t, drop back down to the ground and grab him between the gas station shop and garage.
Another option is to save him for last, though you risk him spotting you from his elevated position.
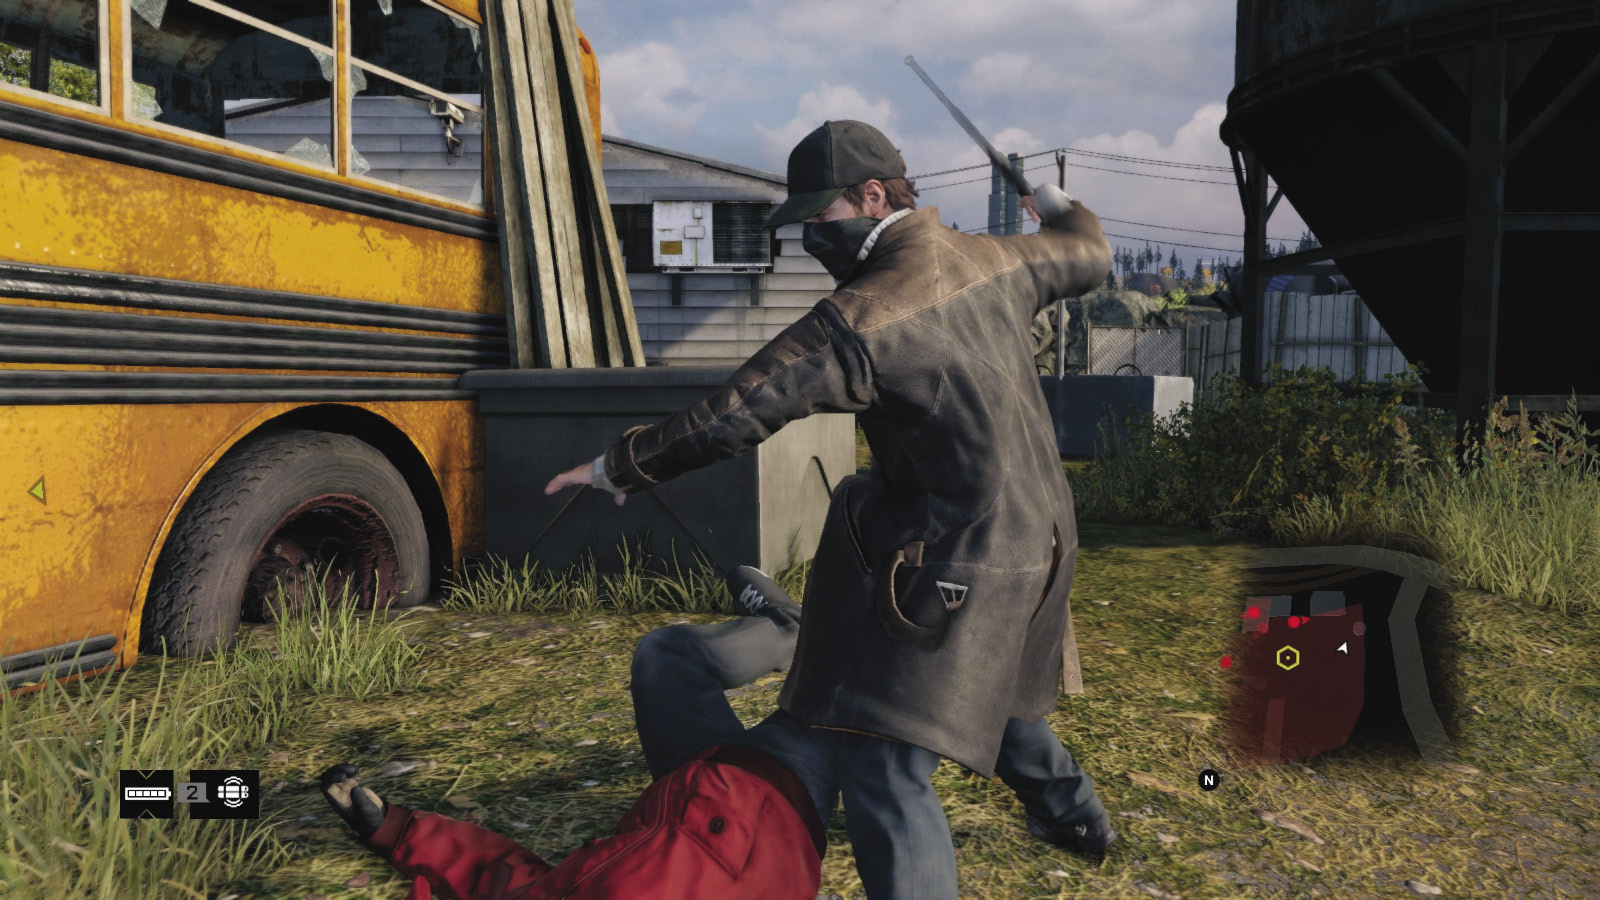
Clear out the remaining five guards now: Jog to the left of the shop, enter the gap in the fence in the southwest corner, drop to cover by the bus, and strangle the guard near the stack of drywall.
Creep around the left side of the pallets near the log stacks. There’s a foe here. Wait for him to turn his back, and pounce!
Move quickly and silently to Tree Stump Hill. Vault over the tree, hide by the vehicle, then pounce on the guard looking north, on the main path into the back of the yard.
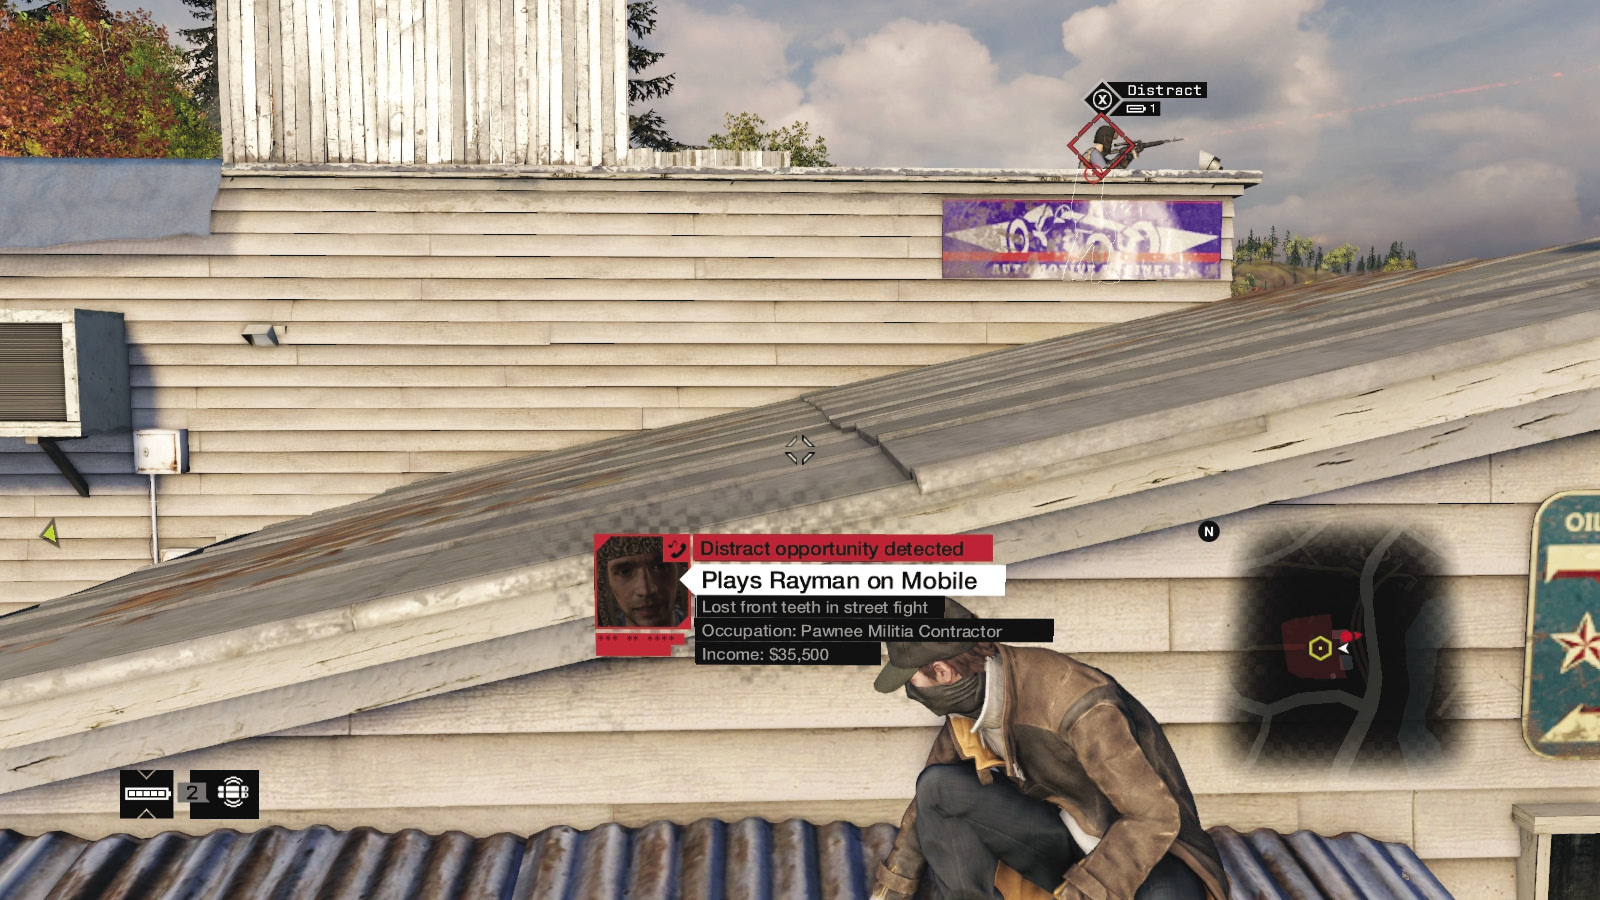
Now creep into the container stacks, noting the direction the foe is moving in. Use either of the two open containers to move around and behind the foe before throttling him.
Two more to go! Head toward the garage, dropping to cover between the blue refuse container and the boat. Tackle the patrolling guard here. Only the foe inside the garage is left; he’s easy to strangle if you leave the doors and step through the side entrance between the garage and shop. Then saunter over to the truck you’re stealing with a smile on your face.
 Aggressive // Smart: Making Full Use of Your Current Location
 Difficulty:
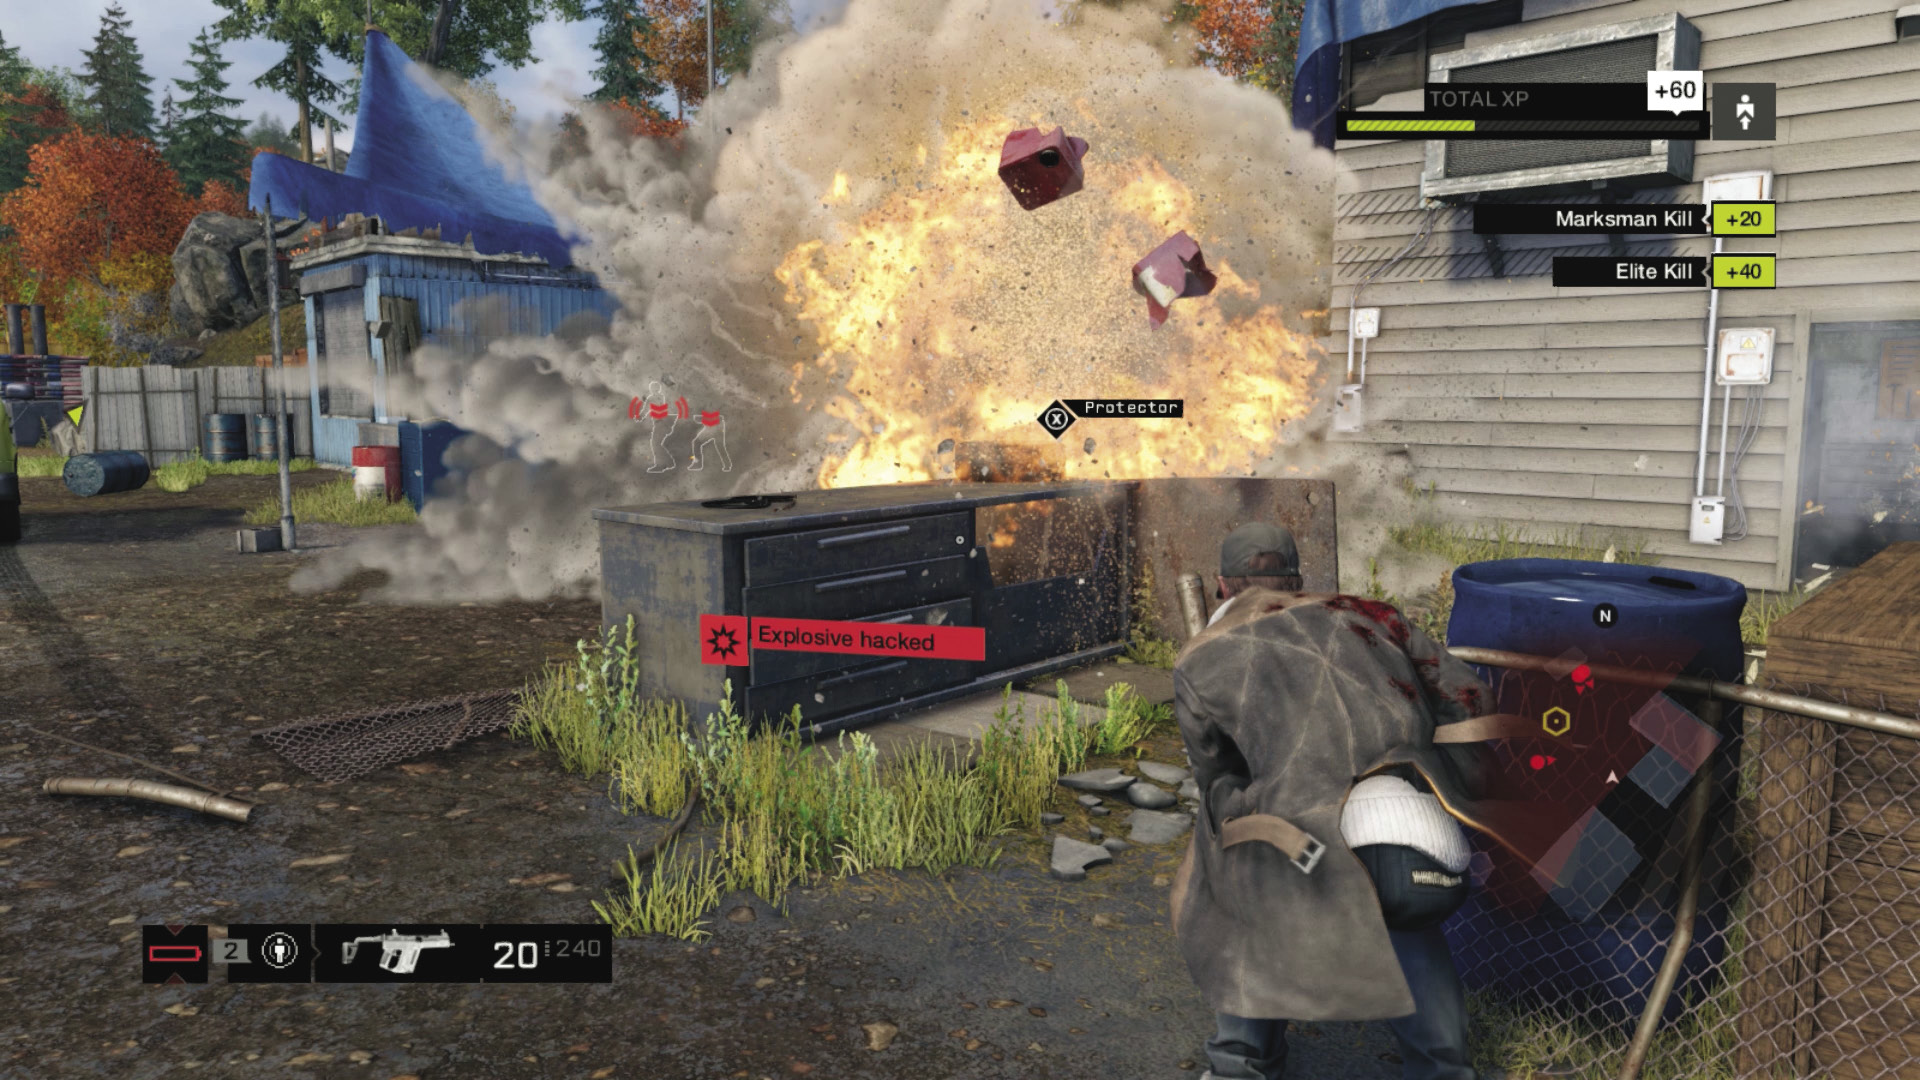
As you progress through here, use the various technology you can access with other types of tactics. Cameras are helpful for scanning the area for paths and foes to mark. Forklifts and the protector near the garage are more useful for attracting enemies, as are the phones and grenades the enemies are carrying, allowing you to disrupt and melee-strike or explode a grenade and cause chaos. But if you’re ready to cause more havoc, burst the transformer vaults near the north threshold and the junction boxes at the garage.
 Aggressive // Violence: Turning This into a Conflagration
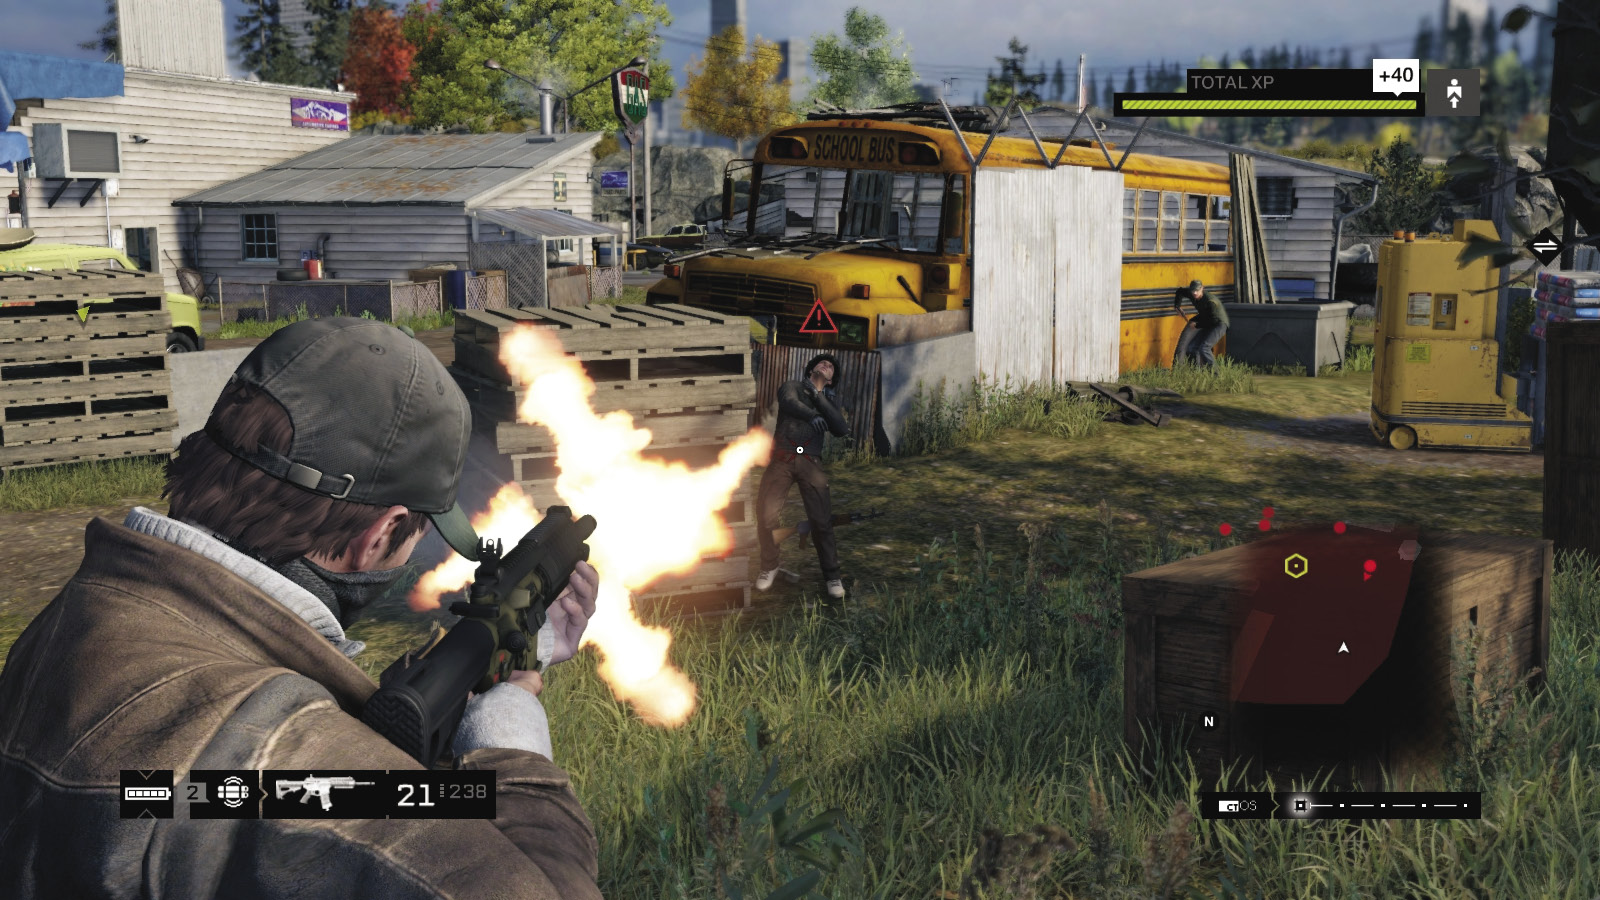
Difficulty:
You can use guns, but unless you’re amazingly adept at targeting all the Shot-Callers, you have around double the number of enemies to face, compared to stealthily throttling foes during your gas station stroll. If you’re content with these odds, try some of the following tactics:
Obviously, using the cover areas specified earlier is particularly helpful. The areas aboveground are great for dropping grenades on foes or for sniping. The container stacks are also good, as you have a reasonably complete line of sight.
In addition, combine your violence with lures and destruction of scenery.
As always, execute enemies by rushing their positions if they are dug in close by and if the action is reasonably safe.
You can also scale the water tower or the garage roof, steal the guard’s sniper rifle, and then use it on the foes milling about below you. Grenade launchers are another option, as is any other preferred weapon. Drop to the metal railing protectors when you’re feeling the enemies’ bullets.
Though you can’t get too far away, you can set up camp on the grassy treed area near a small shack to the west, the rocks on the opposite side of the main road to the south, and halfway up the rocky hill to the east. Rain death down from above using your longer-ranged weaponry.
Attempt one headshot execution and wait for foes to investigate, then continue the battle in one compact area, such as the container stack; this allows you reasonable freedom without being swarmed or surrounded.
There’s much in this yard that can catch fire, either from exploding scenery or from shooting canisters. There’s a large propane tank near the bus, the red tank near the wood pile, barrels and blue canisters near the garage and tool shed, and a stack of canisters in the southeast corner. Detonate them!
Grenades and IEDs are exceptional at flushing foes out, and the launcher can also stop enemy reinforcements before they depart their vehicles; it all depends how much offensive destruction you wish to wreak.
Before combat occurs, learn that reinforcements head into the gas station from the north (dirt path) and south (main road). Drive vehicles to block these enemies, and when you escape in T-Bone’s truck, smash any of the fencing instead of blocking yourself in. You may also wish to prime IEDs on these vehicles for a nastier surprise.
 Driving // Offensive: Vehicles in the Yard; Tricky Navigation
Difficulty:
Vehicles can be helpful, though they are usually more of a hindrance if you don’t have an escape plan when attacking here. Try the following:
Park a vehicle by a perimeter fence, climb to the vehicle’s roof, and snipe away.
Use a vehicle as movable cover, staying to the south of the garage and removing the perimeter fence by driving through it to open up the area for attacks.
Use a bike to drive straight to the truck and switch vehicles.
|
 Drop off the truck
 Kill all militia members or escape
1.6 EATING SOME DAM CROW
 Location / Pawnee // Gas Station
 Location / Pawnee // Dam (Roadside Sculpture)
Escape
Driving Infiltration
Lethal Force Likely
Melee Force Likely
Difficulty: 
Overview
 Completion Point: Shack near the dam, by the roadside sculpture, once enemies are nullified.
 Dangers: Up to four militia vehicles, each with two or more occupants (gas station).
 Dangers: Up to four militia (including a Marksman) on the road to the dam.
 Dangers: One militia vehicle close to the dam trail road.
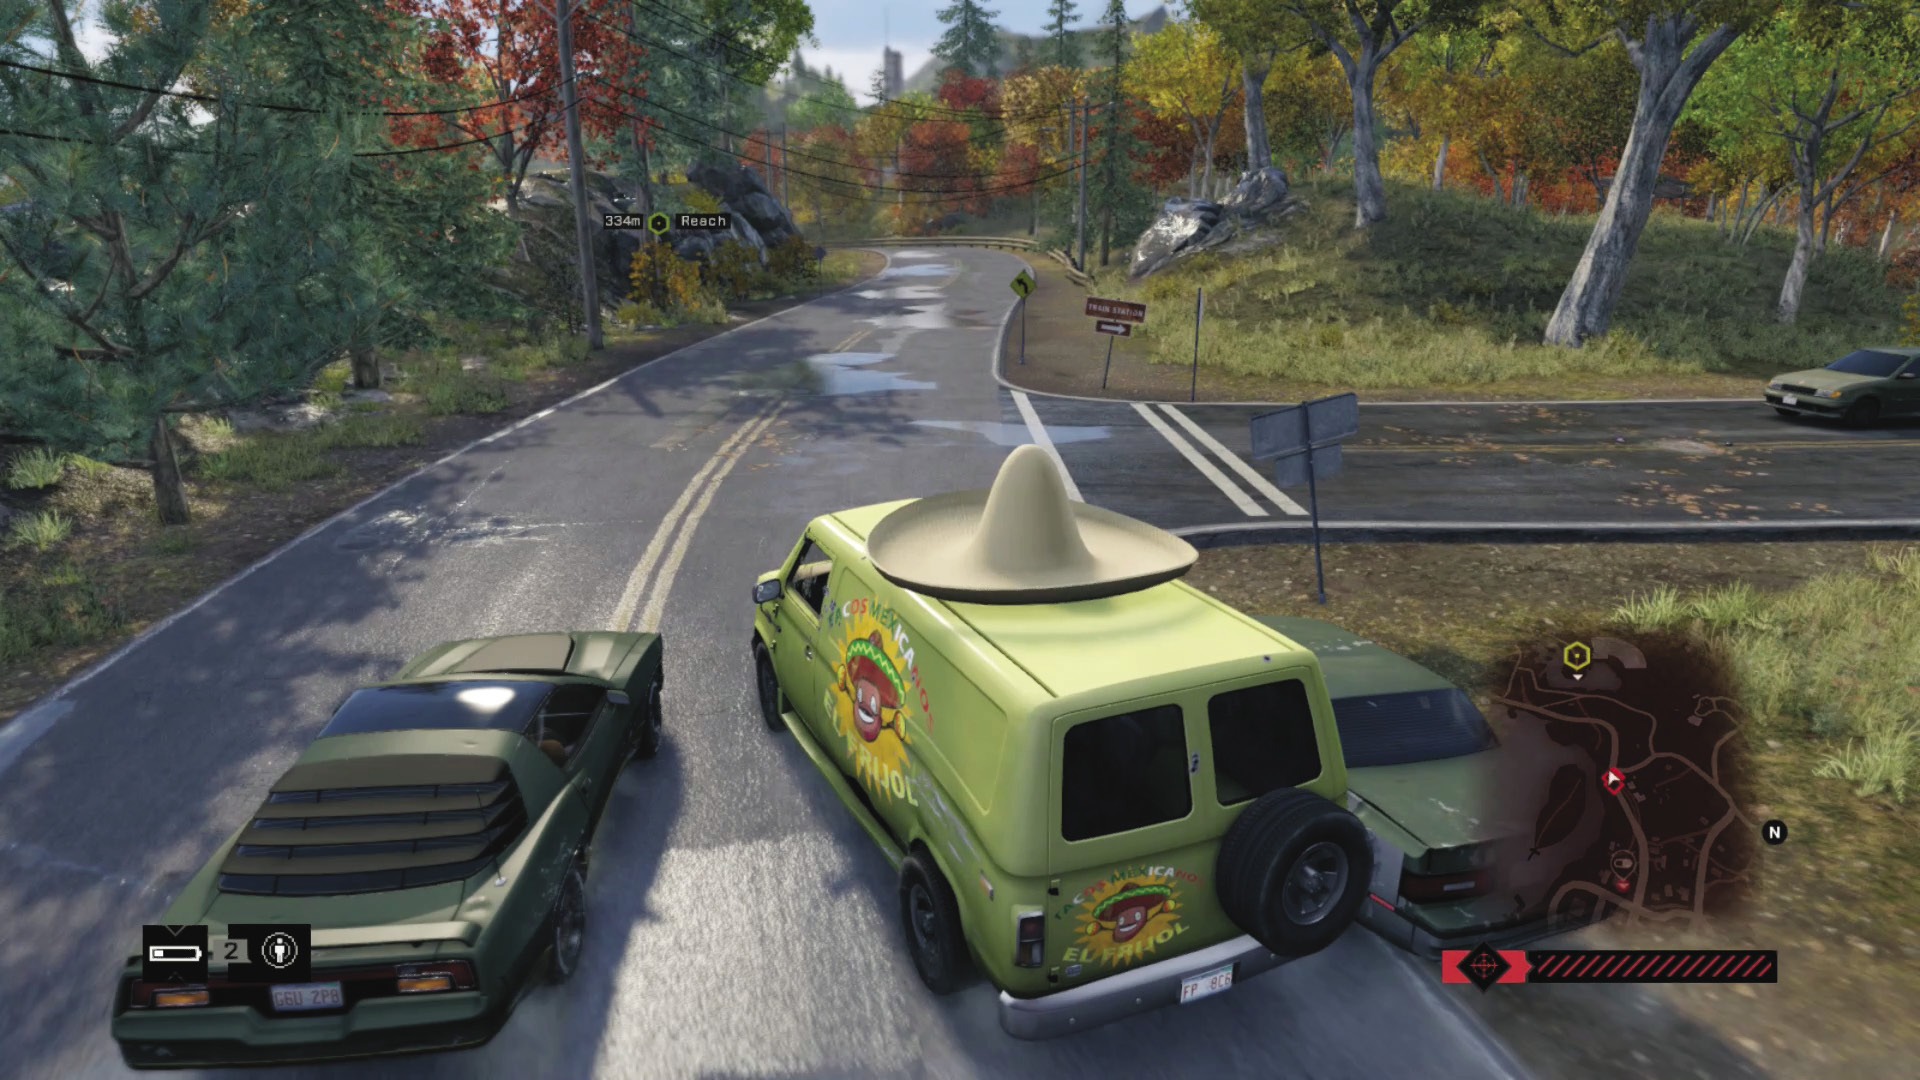
The moment you enter the truck, your objective updates and T-Bone flags an area to the west where he wants you to drop off the truck. Naturally, this isn’t a scenic ride, as there’s a sizable militia contingent en route to stop this delivery. Drive south out of the gas station, reverse north, or weave west through the fencing (which isn’t as safe).
Progression Plans: The Chase
Here are some plans for limiting the ferocity of the militia’s attacks:
General PreplanningFamiliarity Breeds Competency: Before this mission starts, it’s a great idea to plot a path from the gas station to the dam. The GPS shows you the main road, but there’s a minor shortcut over a dirt path and hill, which can slow down your pursuers a little. T-Bone’s Truck: You’re fortunate that T-Bone’s truck is hard-wearing; it can still be destroyed, but it takes a while, allowing you to figure out if you want to deal with foes en route or at the dam shack instead. |
 Driving // Smart: Evasive Moves for the Technology Spotter
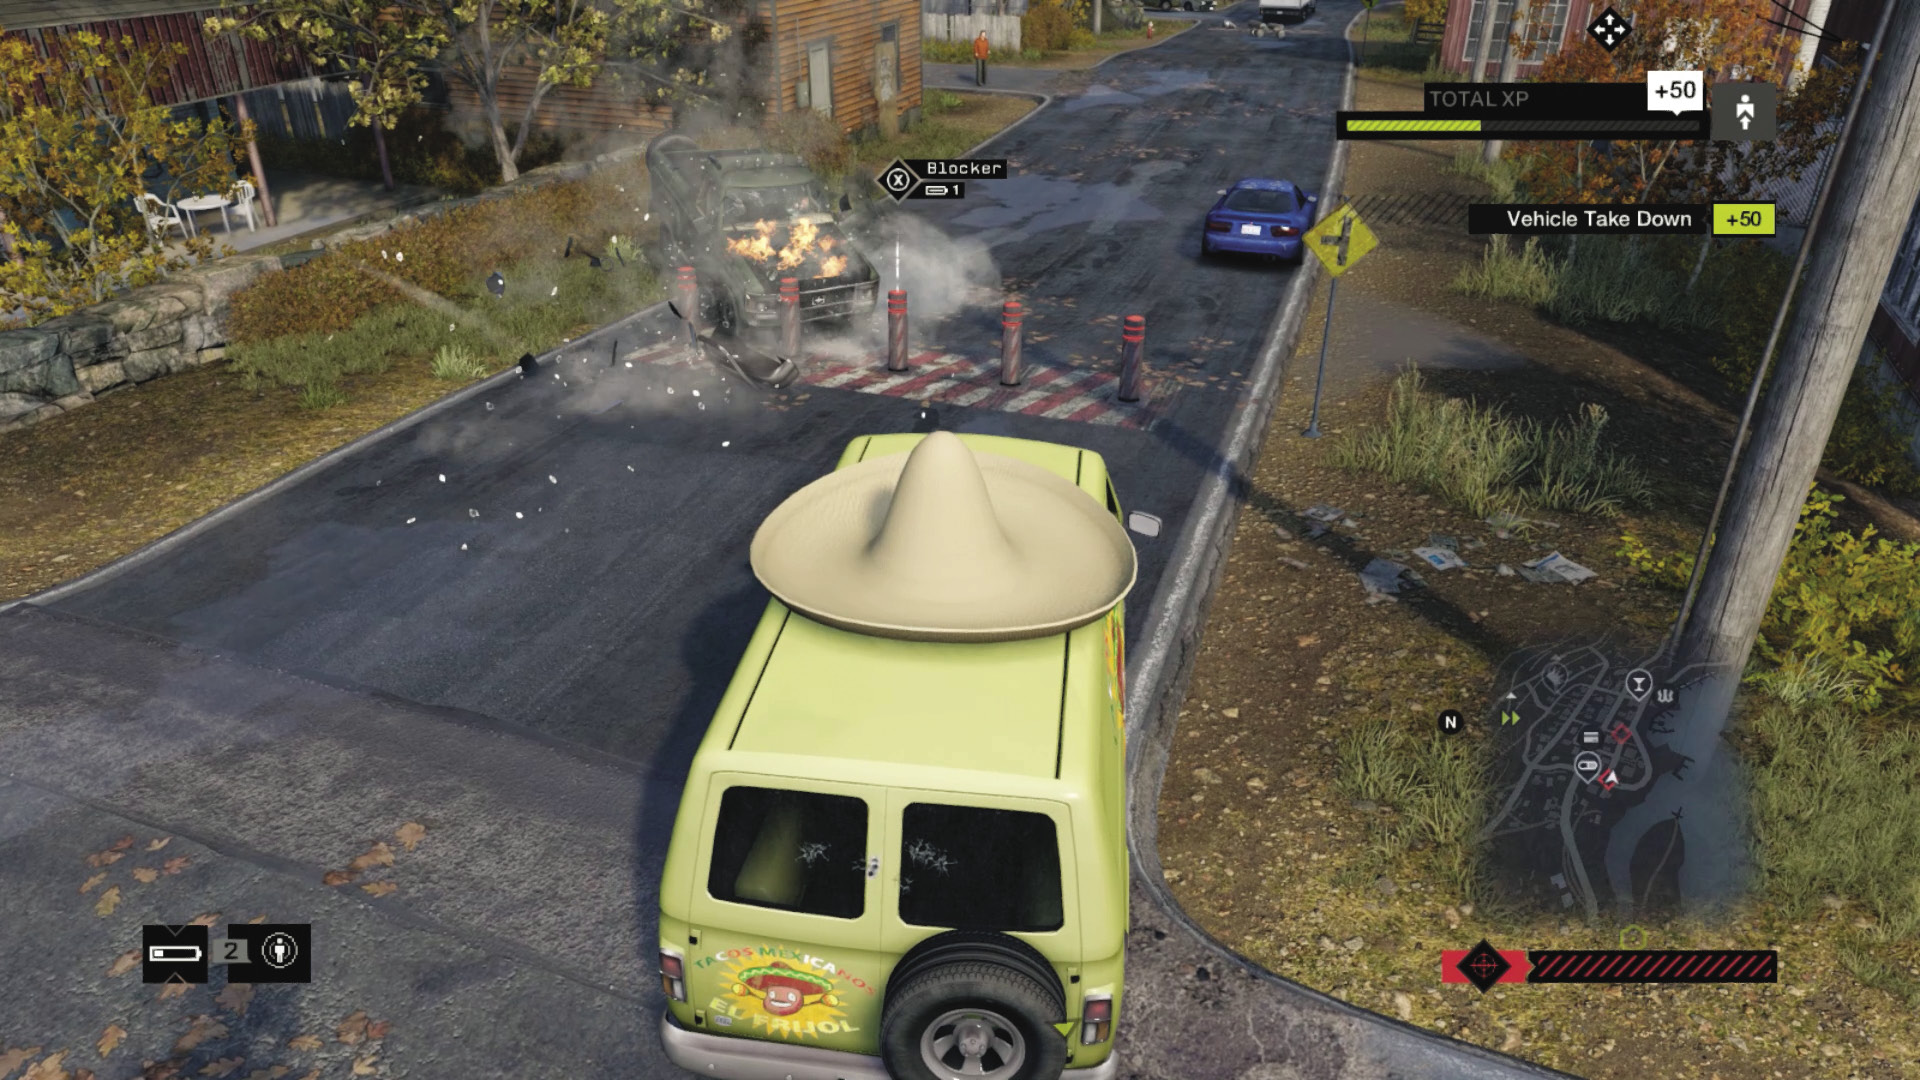
 Difficulty:
Wait! It might be time to take a short jaunt into Pawnee as your pursuers reach the gas station. There’s a ramp you can use if you want to make a scene, but before you drop down to the main drag, why not detonate the steam pipe in the main road and rid yourself of at least one foe?
Then go into town, locating the bollards and gradually utilizing the scenery to stop your foes in their tracks. You can remove all three vehicles chasing you if you set up traps in town for them. But don’t worry too much if you can’t line up the foes; head to the dam or try a more violent method of disposing them.
 Driving // Defensive: Measured Driving for the Course Plotter
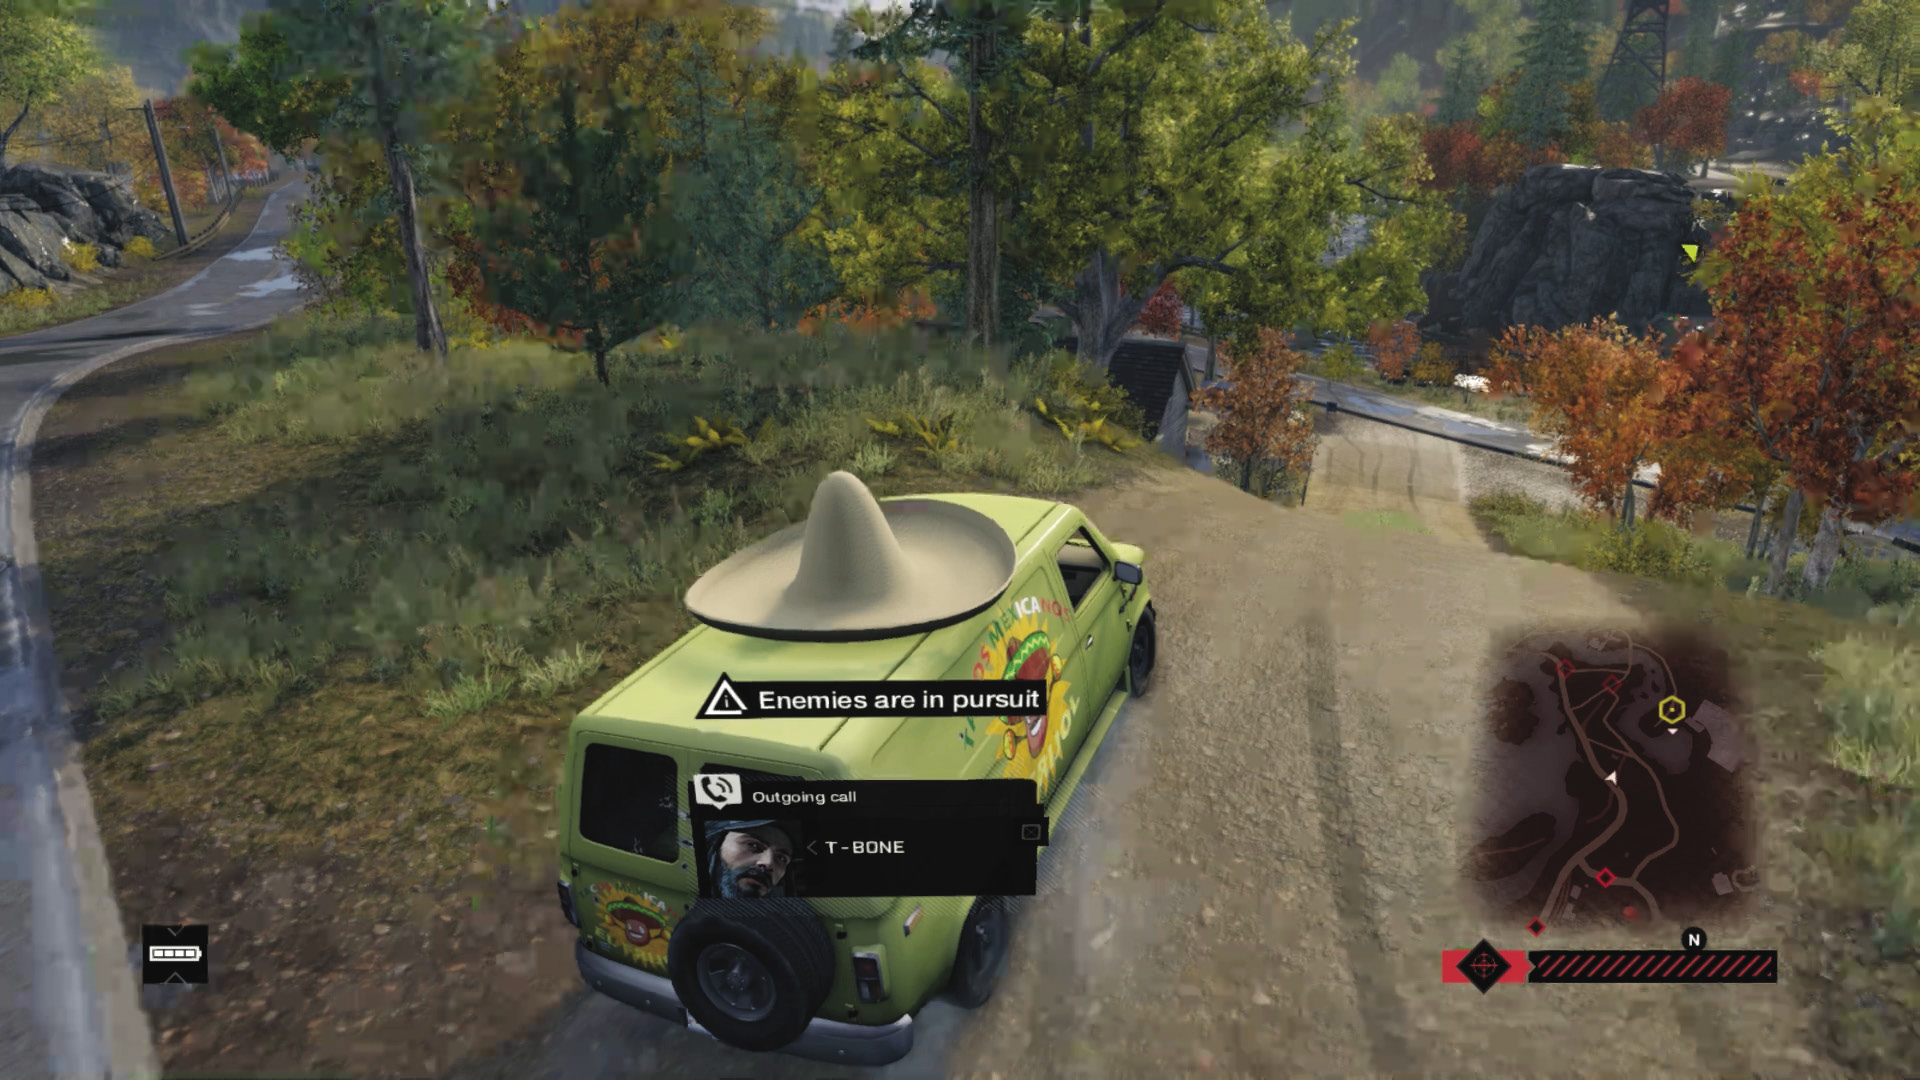
 Difficulty:
Your remaining plans are to drop off the truck and escape the militia; it doesn’t matter if you lead the foes to the location you’re heading to; take this head start and use it as an advantage. Head west, optionally using the shortcut over the dirt hill by the small shack and ignoring the sniper and reinforcements by the wooden bridge near the sawmill. If you stop and fight here, you may be overwhelmed.
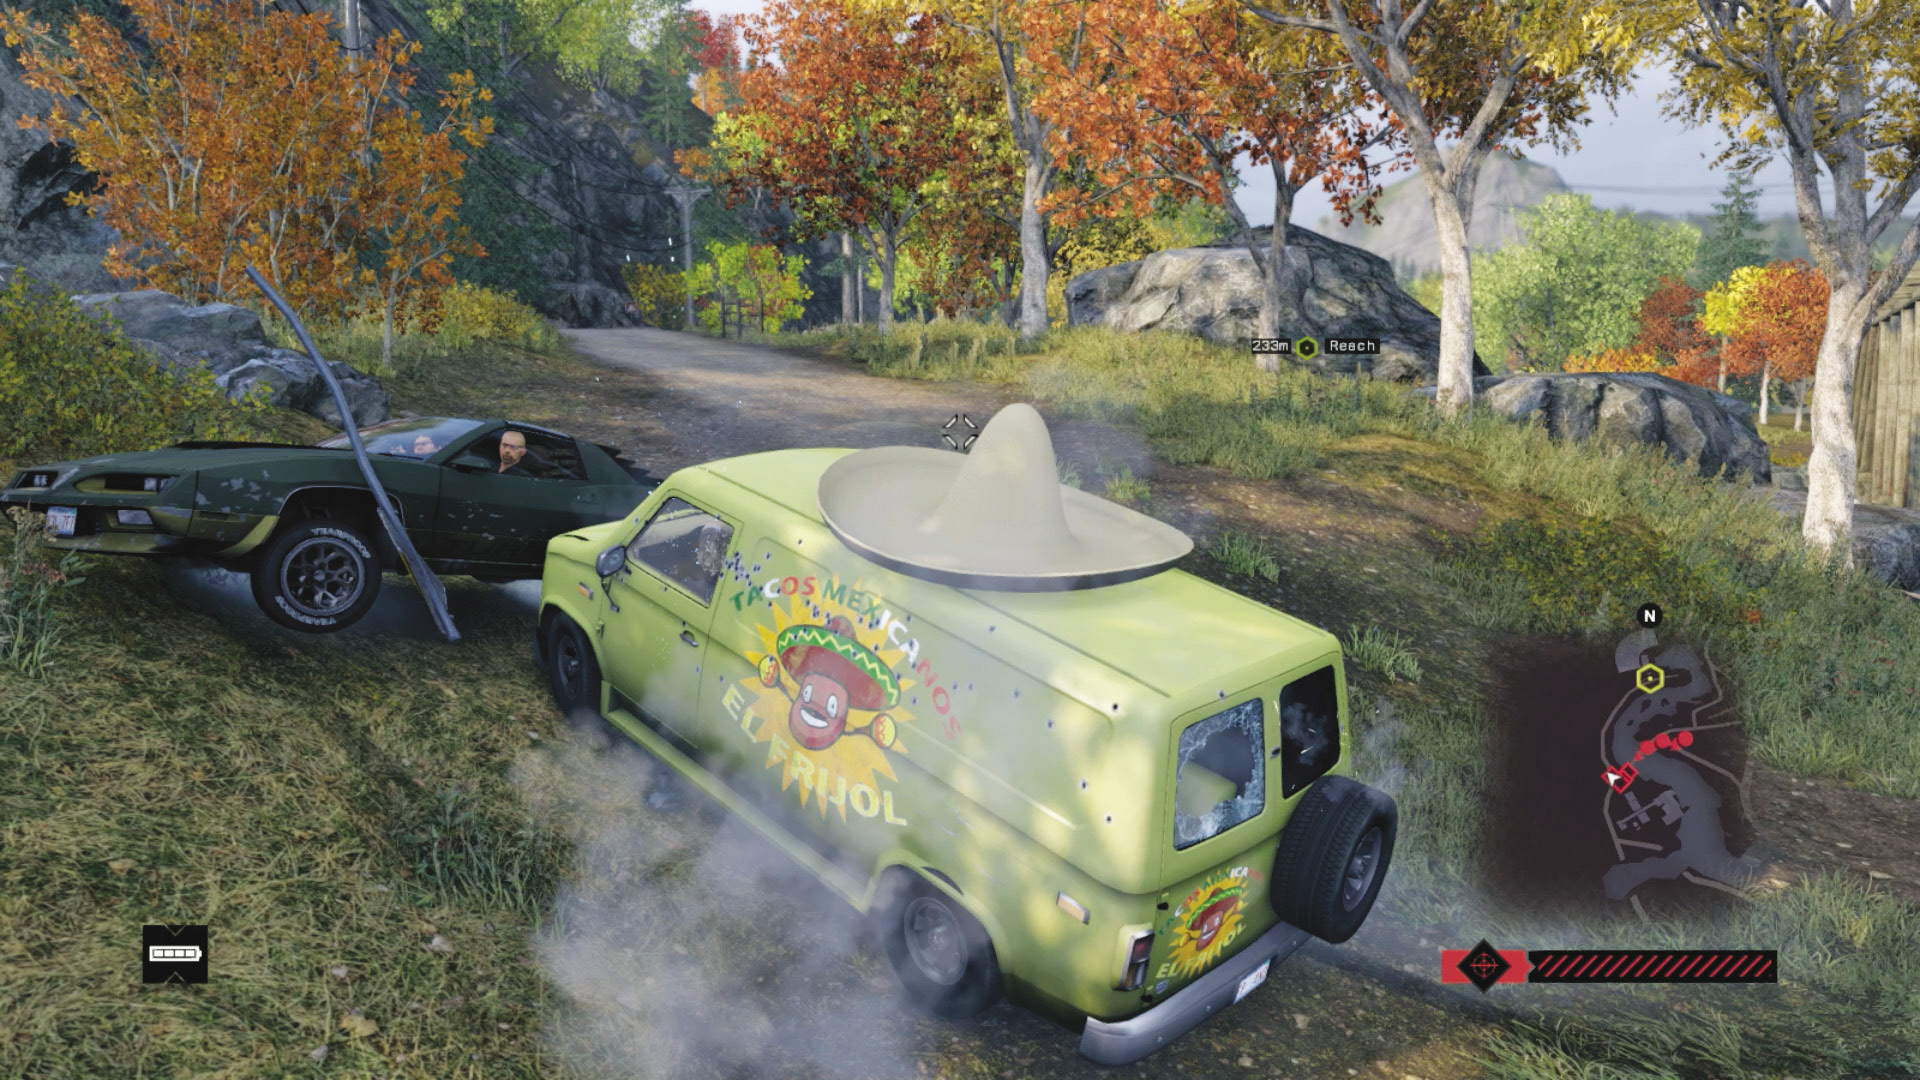
Just after the bridge, make a swift right turn, onto the cliff-side dirt road above the water, and drive to the drop-off point. At this location, you can temporarily exit the truck and find a method of escaping these militia, if you haven’t dealt with them already.
 Aggressive // Violence: Pausing the Escape for a Slaughter
Difficulty: 
If the prospect of passing the militia at the sawmill bridge and not killing all of them infuriates you, then drive over the ones near the parked vehicle, on the hill just left of the bridge entrance. Before stopping the truck or getting out (ideally behind the truck as you’re being sniped), check the minimap and Profile the locations of several foes, or use a ctOS scan. Execute them quickly, before further reinforcements arrive. This is difficult and unnecessary, though.
 Driving // Offensive: Shunting Foes into the Water
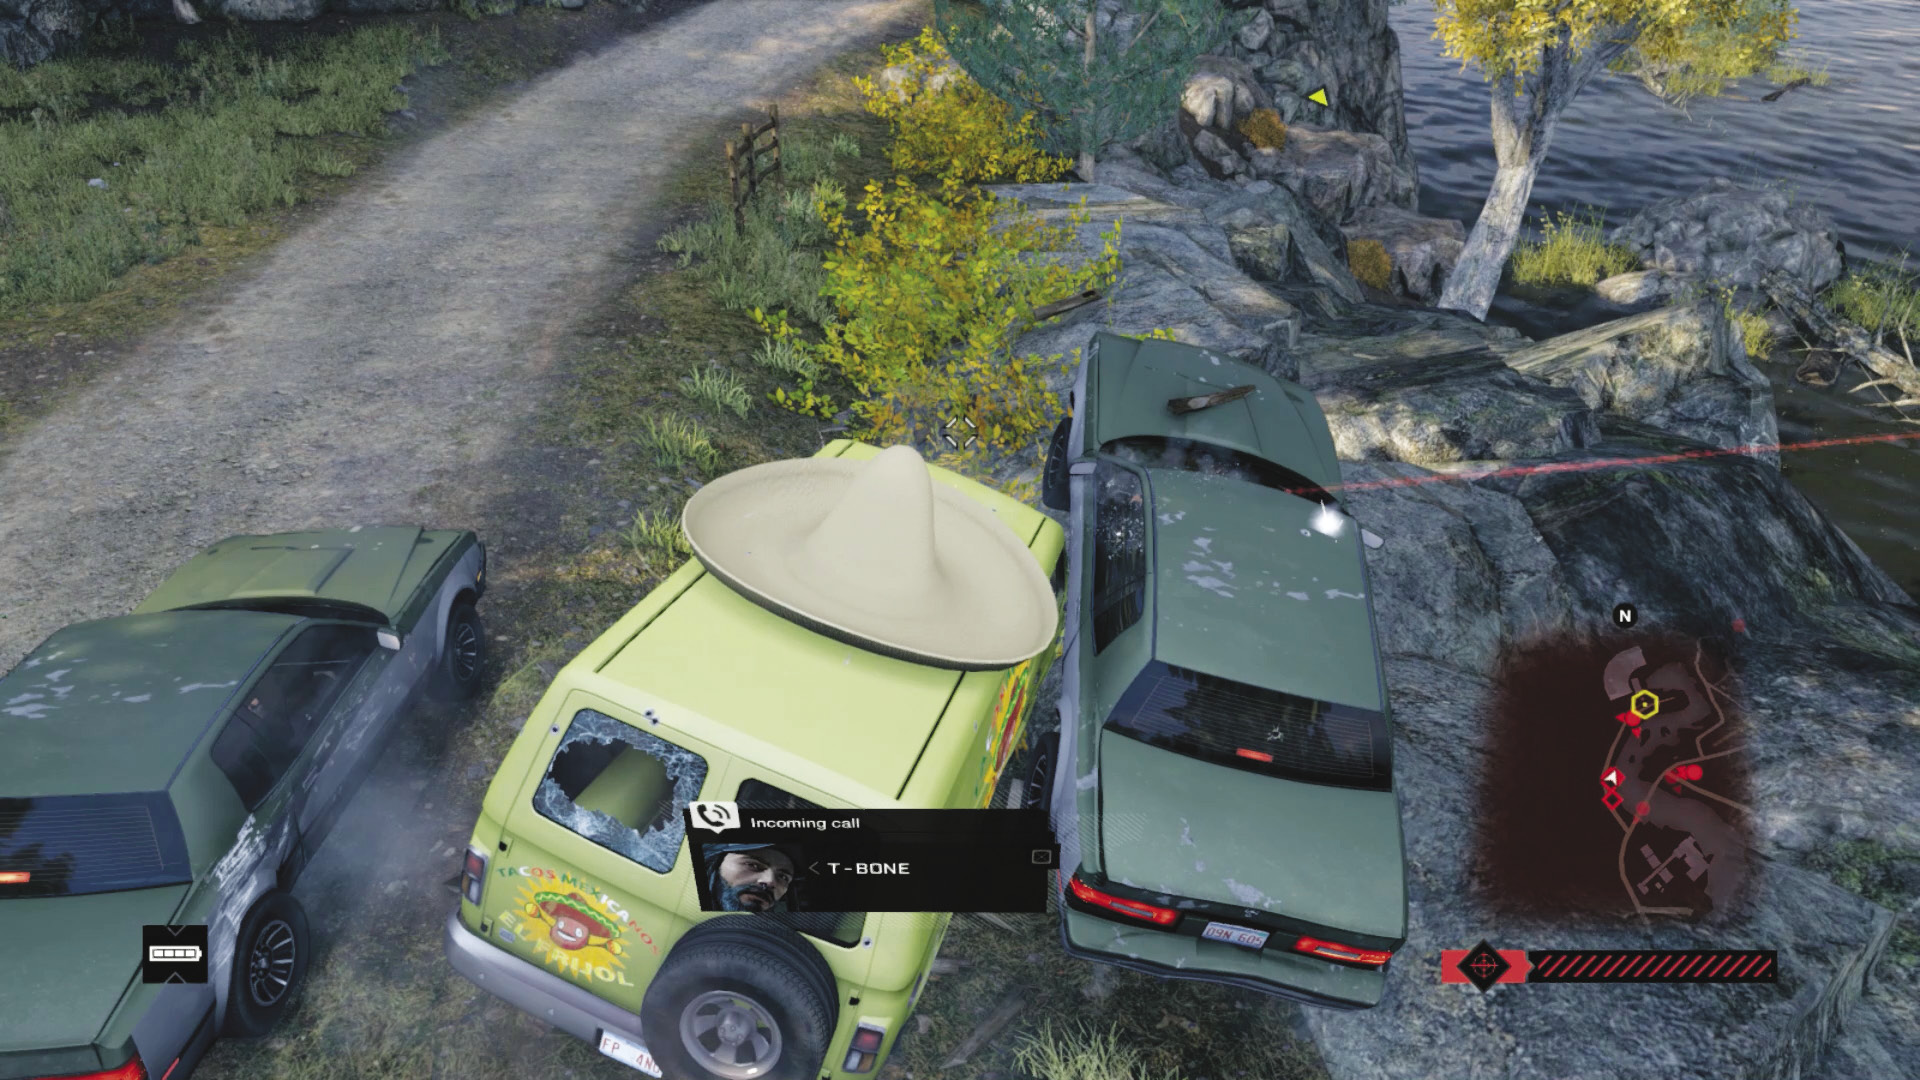
 Difficulty:
As you weave around foes near the sawmill bridge, think about slowing down as you reach the cliff-side path to the dam shack and let an enemy vehicle approach your right side. Then shunt it off the cliff and into the water. Spectacular, satisfying, and you have fewer foes to worry about!
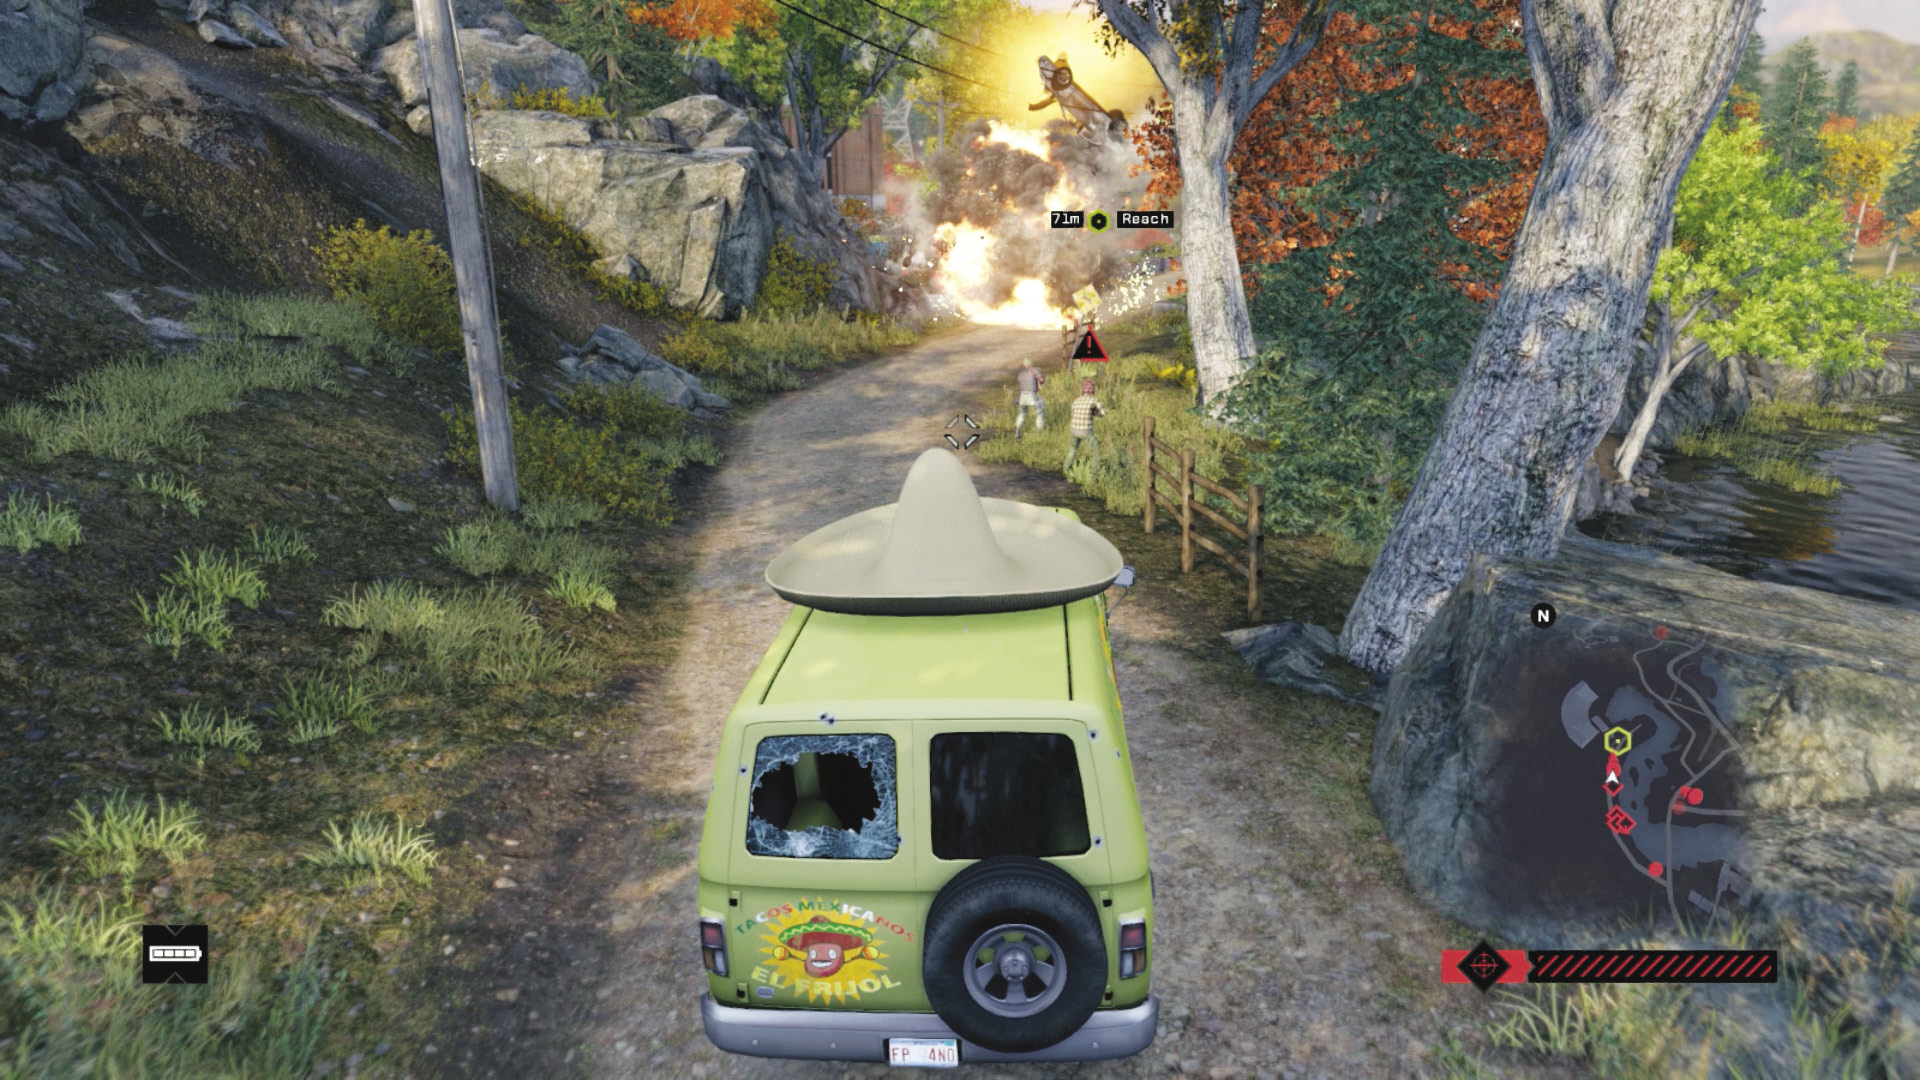
When you finally reach the drop-off point—a shack near Pawnee dam—there’s about four foes and a vehicle blocking your path. T-Bone activates the “Eat Crow” sculpture, and the enemy car explodes! Try driving over any remaining foes and then locate the drop-off point. Now you need to escape any militia still tailing you.
Progression Plans: The Drop-off
There are two reasonable courses of action to finish this mission:
 Aggressive // Smart: Mowing Down the Hicks
 Difficulty:
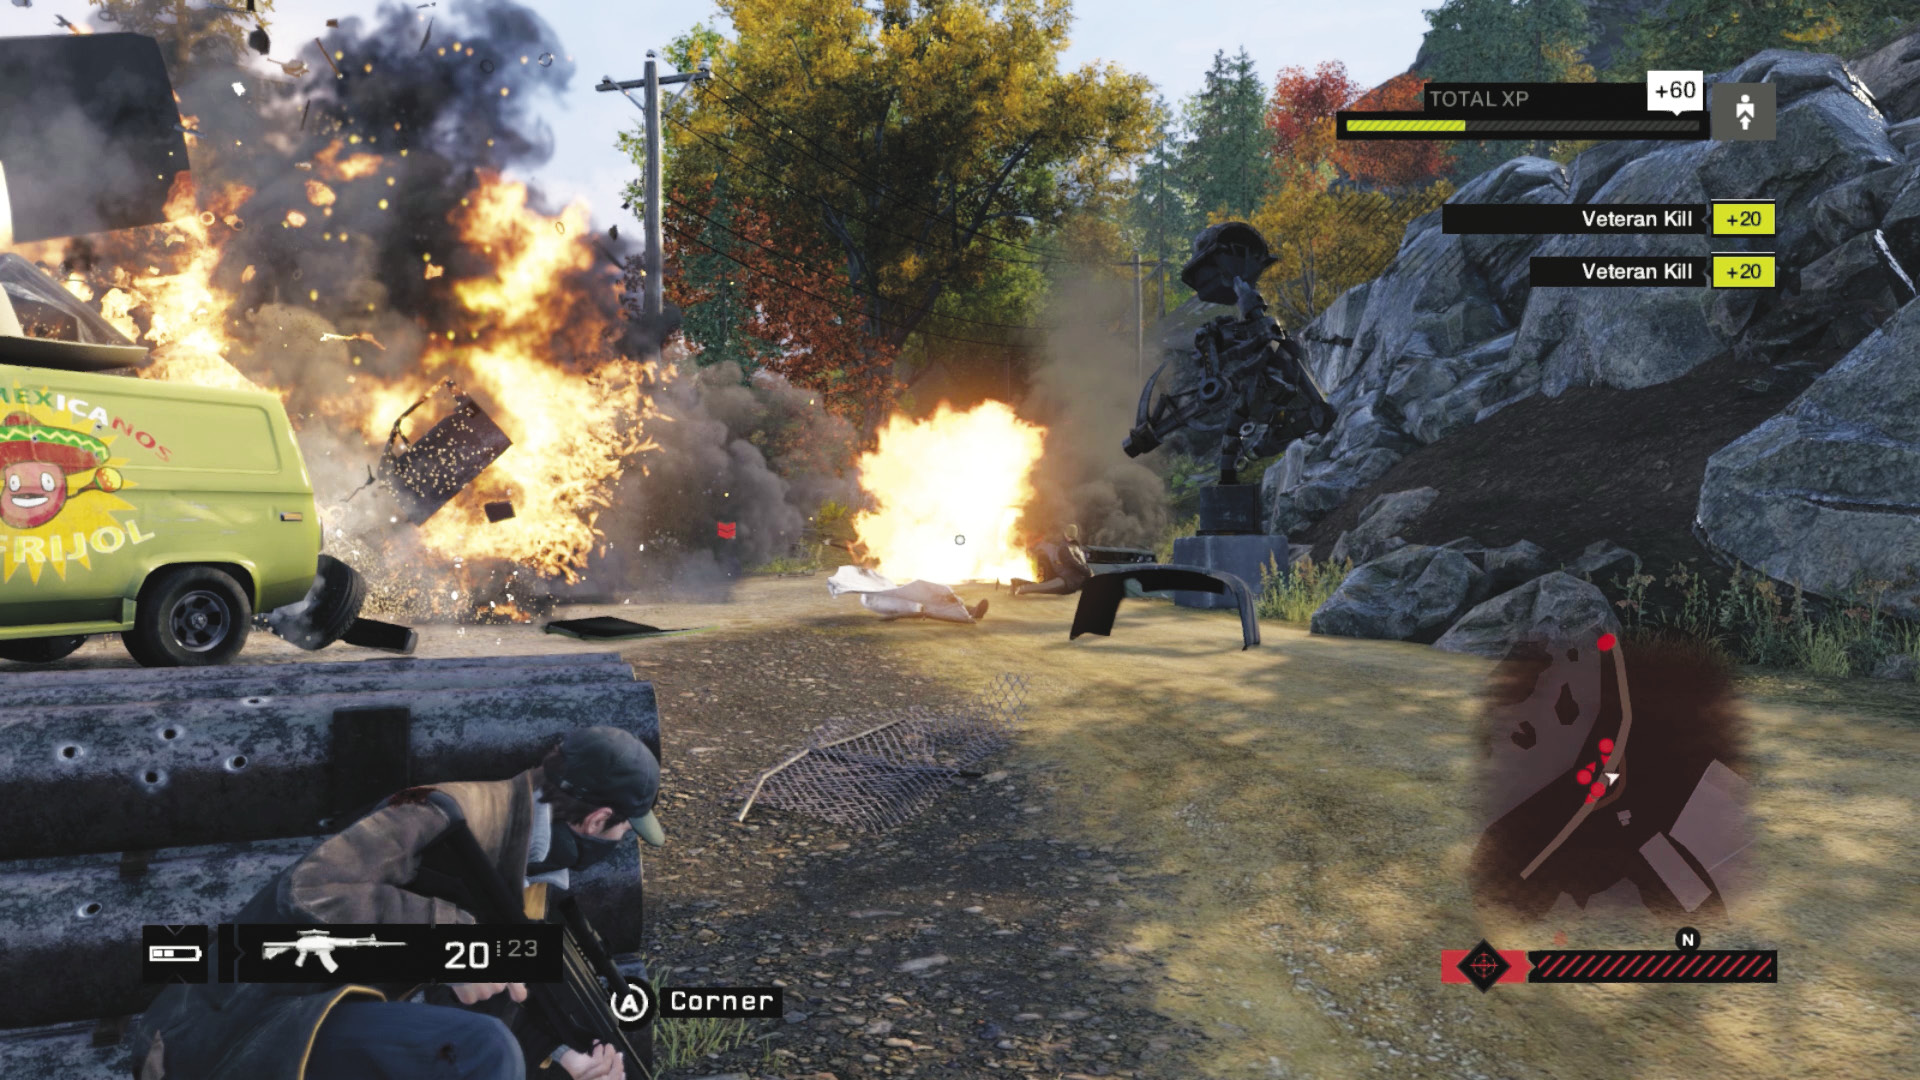
Dive into cover close to the shack. Check to see the number of incoming foes. You are fortunate that they can only reach you from the path you took, so train your sights and try any of the following:
Use the camera or a ctOS scan to mark foes, especially any reinforcements.
Make copious use of Eat Crow; let its Gatling guns loose on the enemies.
The shack has some decent defensive positions; head around the back, onto the roof for better viewing, or the rocks close to where the bike is parked.
Then choose any of the usual combat methods to rid yourself of these lunatics. Grenades and IEDs are great to lay on the road, if you have time. Just beware of accidentally blowing up T-Bone’s truck if you’re too psychotic with your explosive destruction!
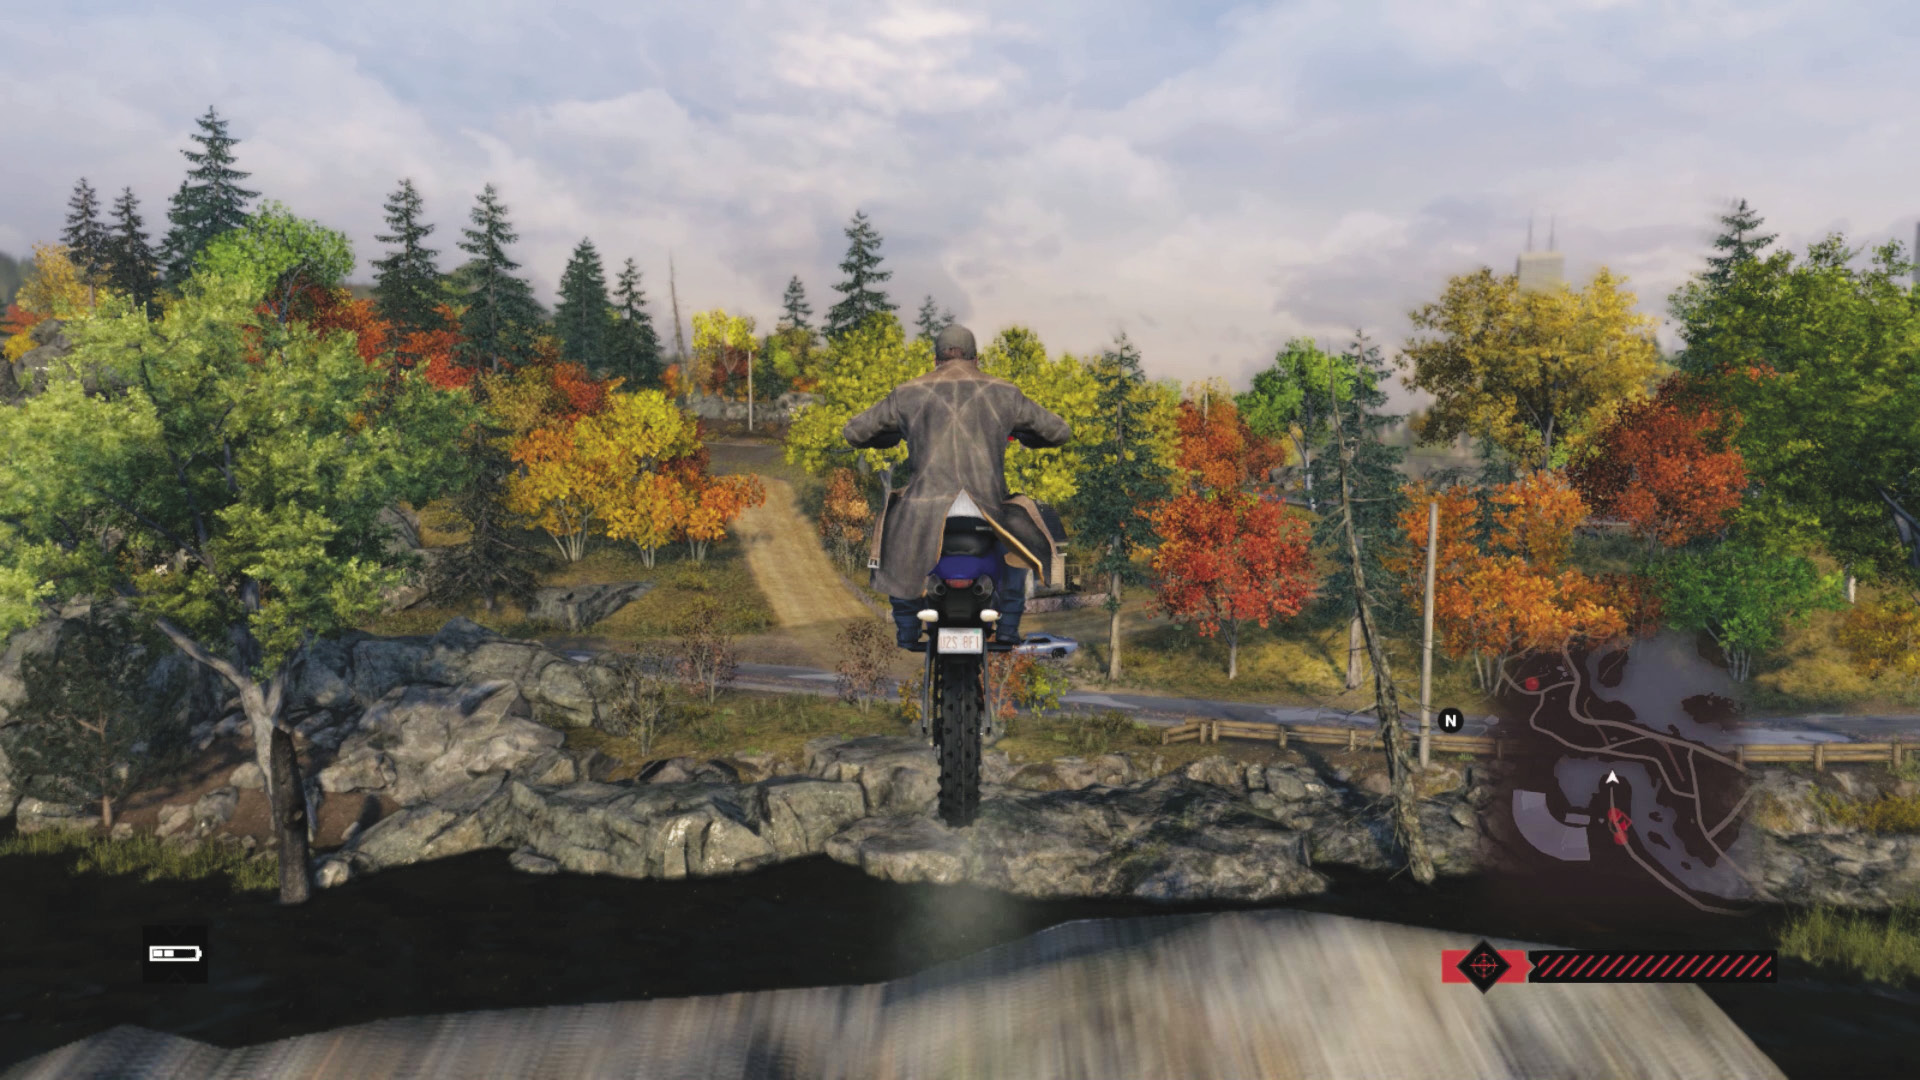
 Driving // Defensive: A Ramped Jump for Kicks
 Difficulty:
Fleeing is also an option, but not by T-Bone’s truck! Instead, think of the following actions:
There should be a bike close to the shack. Find it, then make a sharp left (east) turn, accelerate hard, and launch yourself up the stone outcrop. Fly across the water, to the road on the opposite side. Then flee if you still have the militia searching for you.
A less cunning plan is to head right, back along the cliff-side path, which may lead to more militia confrontations. But the bike can easily outrun the enemy if you’re skilled in moving through narrow gaps.
Or, you can dive off the small dock and swim for it! There’s a shack to the left (north) with a garage and a boat inside. Steal that, and use the waterways to escape.
Once the militia are no longer a threat, T-Bone calls you and the mission concludes.
 BONUS TACTIC! / Driving // Defensive: A Rapid Deployment Fix
 Difficulty:
You can complete this mission with fewer than two shots being fired at you! Simply drive a bike from T-Bone’s junkyard, through the north entrance of the gas station to T-Bone’s truck. Enter the truck immediately and leave the gas station by the south exit. Drive straight toward the sawmill and the dirt road, drop off the truck while the roadside sculpture removes most of the militia already there, locate the nearby bike, and leap across the water to escape!
MISSION REWARDSGained XP +1.000 Access: T-Bone’s Sculptures |