
Watch Dogs Guide MAIN MISSIONS MAIN MISSIONS /// Act II
_BREADCRUMBS
OBJECTIVES
|
 Wait for a briefcase handoff
 Follow the briefcase unseen
 Tail the boat with the briefcase aboard
 Locate the briefcase unseen
 Infiltrate the marina to reach the briefcase
 Escape the marina
LOCATIONS // MAP
Location / The Loop // City Marina
10.1 CASING THE JOINT
 Location / The Loop // South Riverside Wharf
|
Follow the briefcase unseen |
 Track the auction briefcase and watch for hand-offs
 Investigation
 Data Hack
Difficulty: 
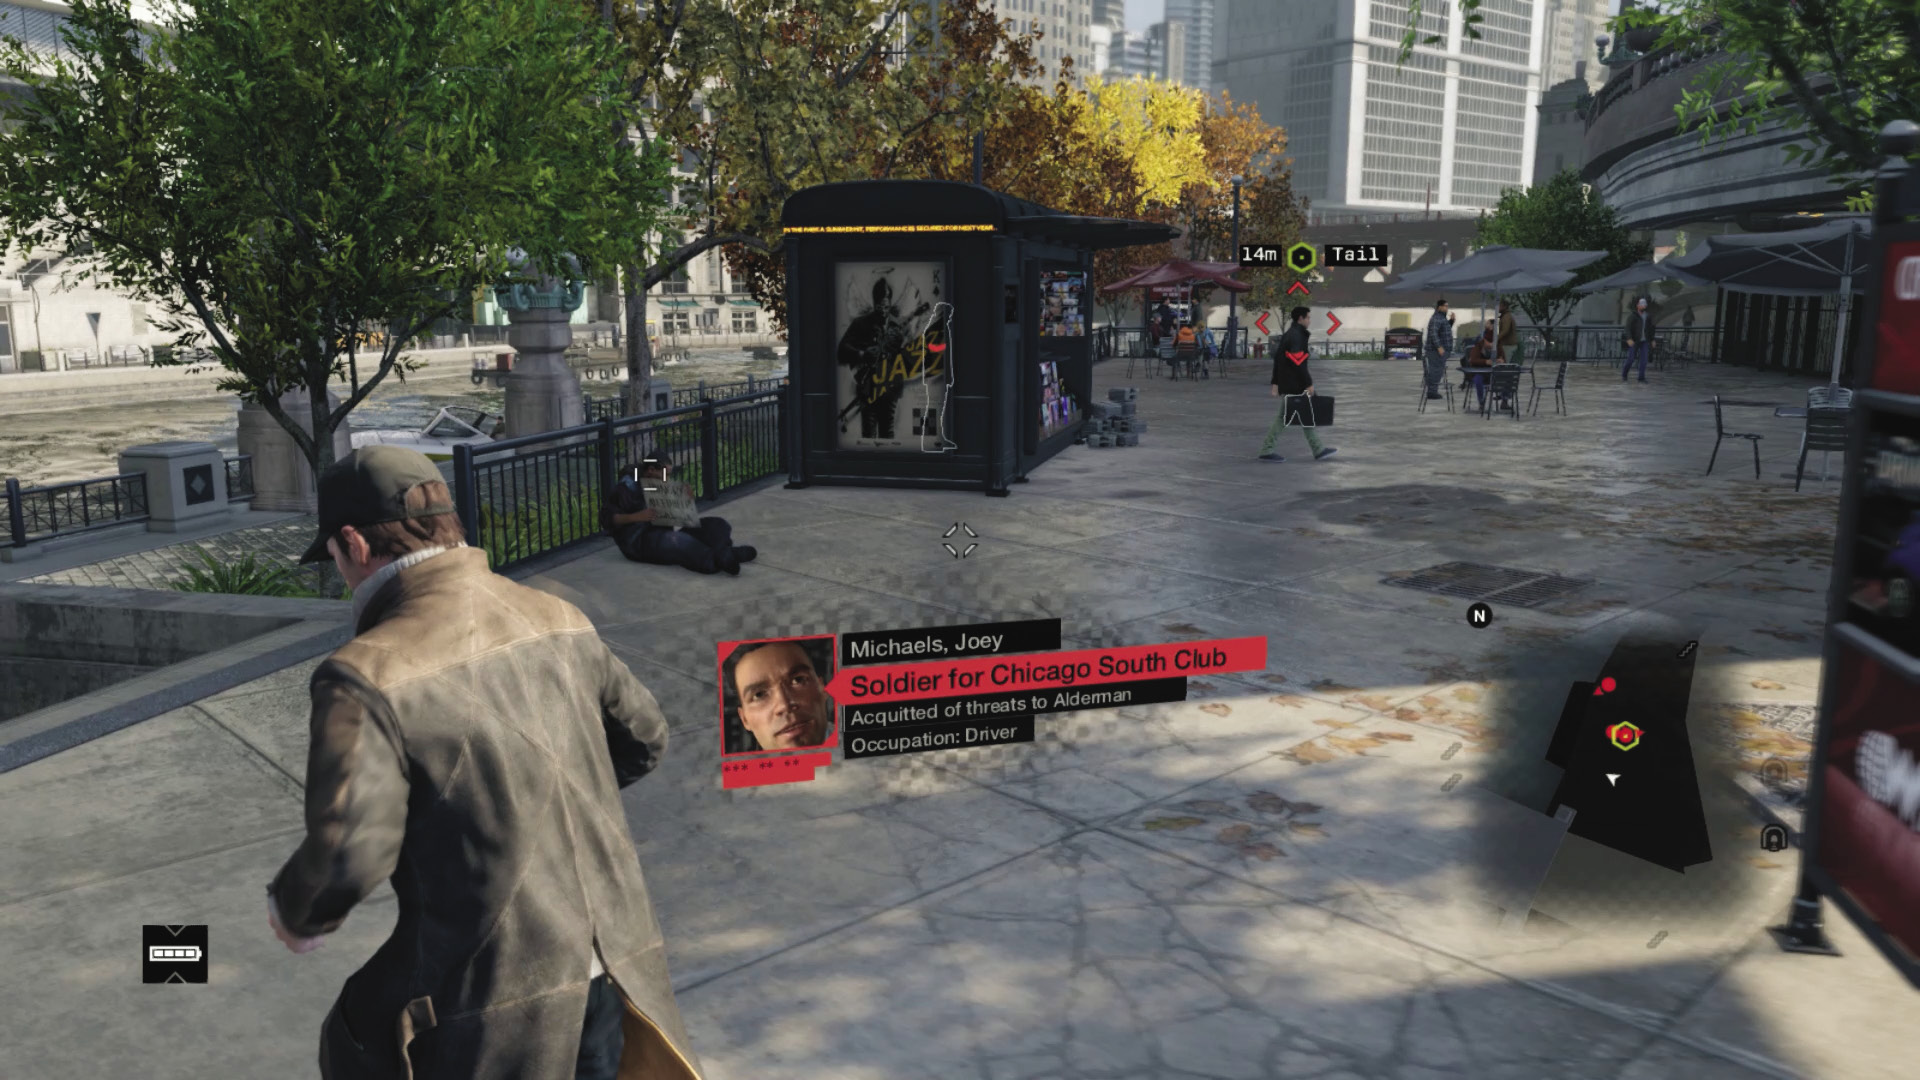
With a final bearing on the briefcase you’ve been searching for, head to the wharf and begin this mission. When the objective appears, wait a moment, focusing your attention on the newsstand, with your smartphone Profiling. A few moments later, there’s a handoff. Remain on the tree’s near side, more than ten meters away from the Club associate who has taken the case. Begin a very slow dawdle.
 Passive // Smart: From Newsstand to Speedboat
 Difficulty:
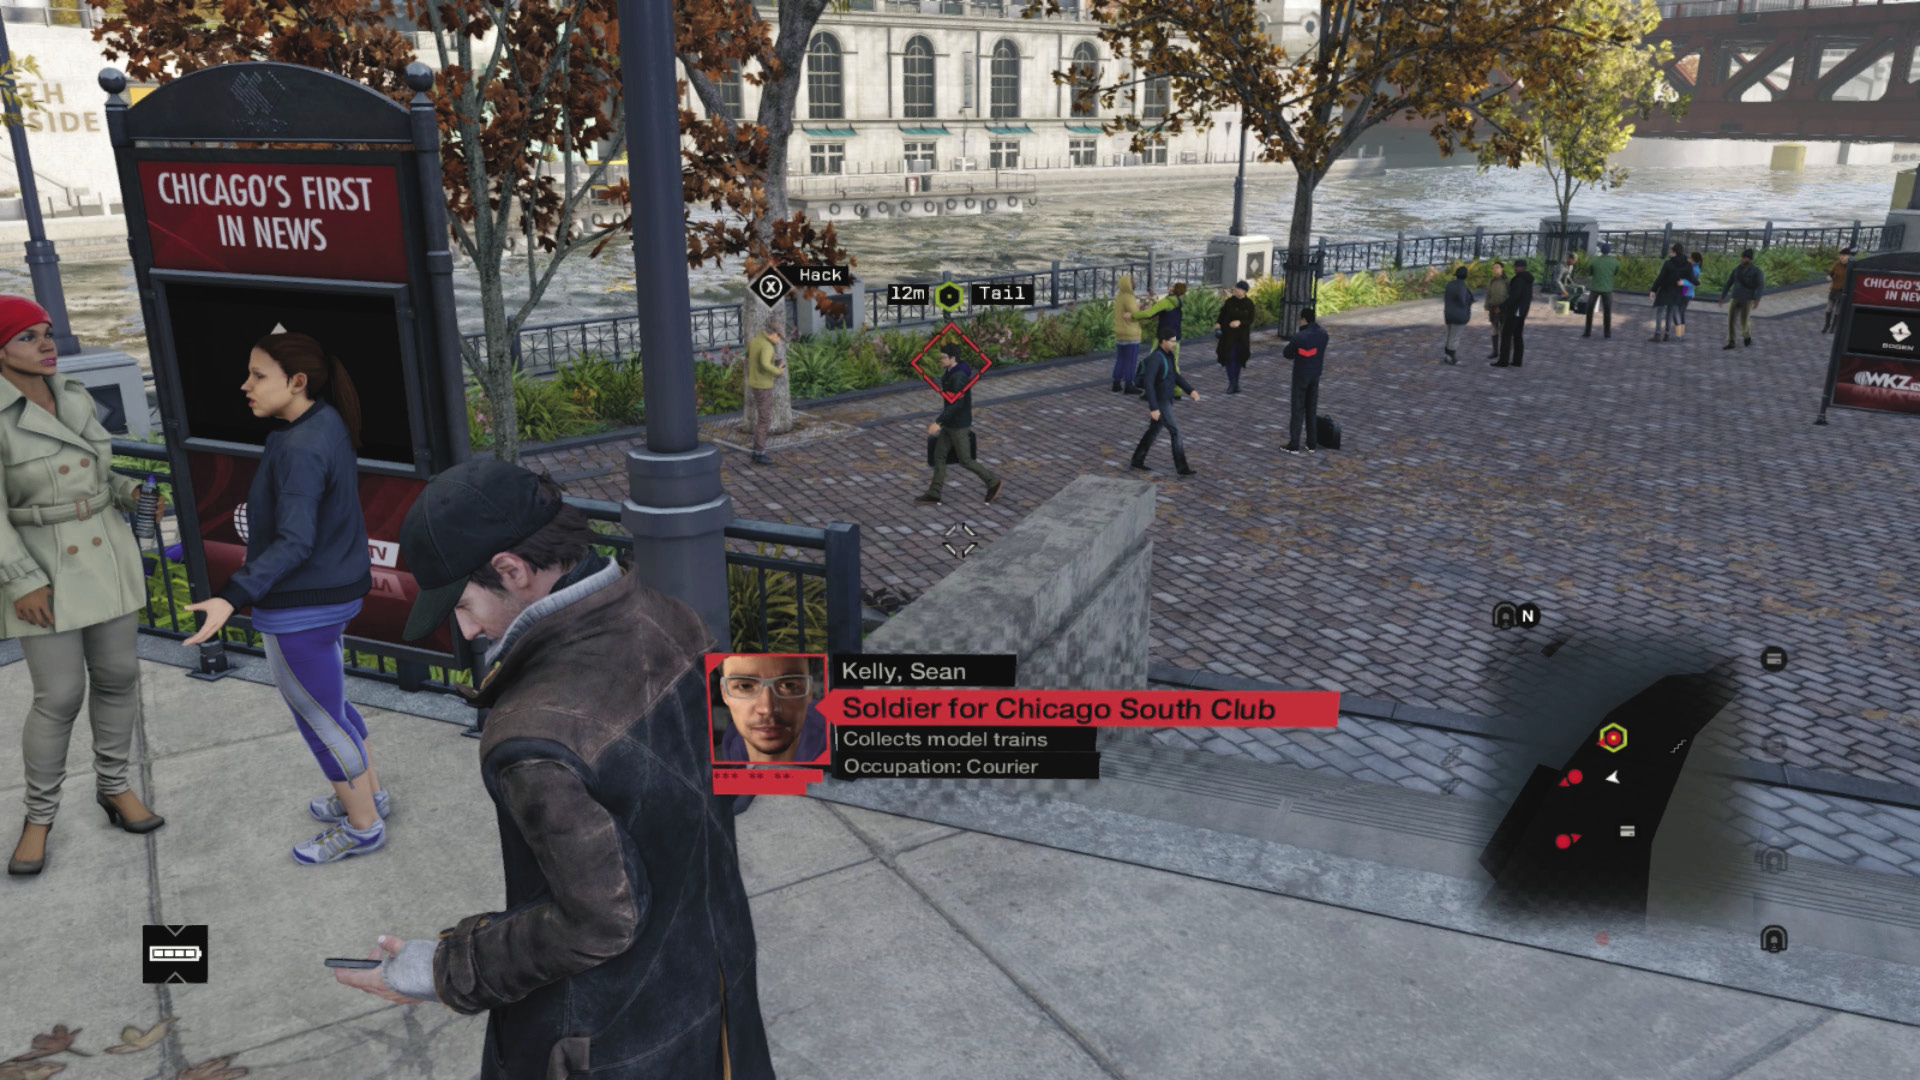
There’s only one real method of remaining on the tail of this briefcase, and that’s to watch all the subsequent handoffs without being spotted. You can remain on the concrete patio, but it’s far easier to head down to the path by the river, which is farther away from the target but still within visual range. The Club associate hands over the case to a second man waiting by an ATM below the road balcony.
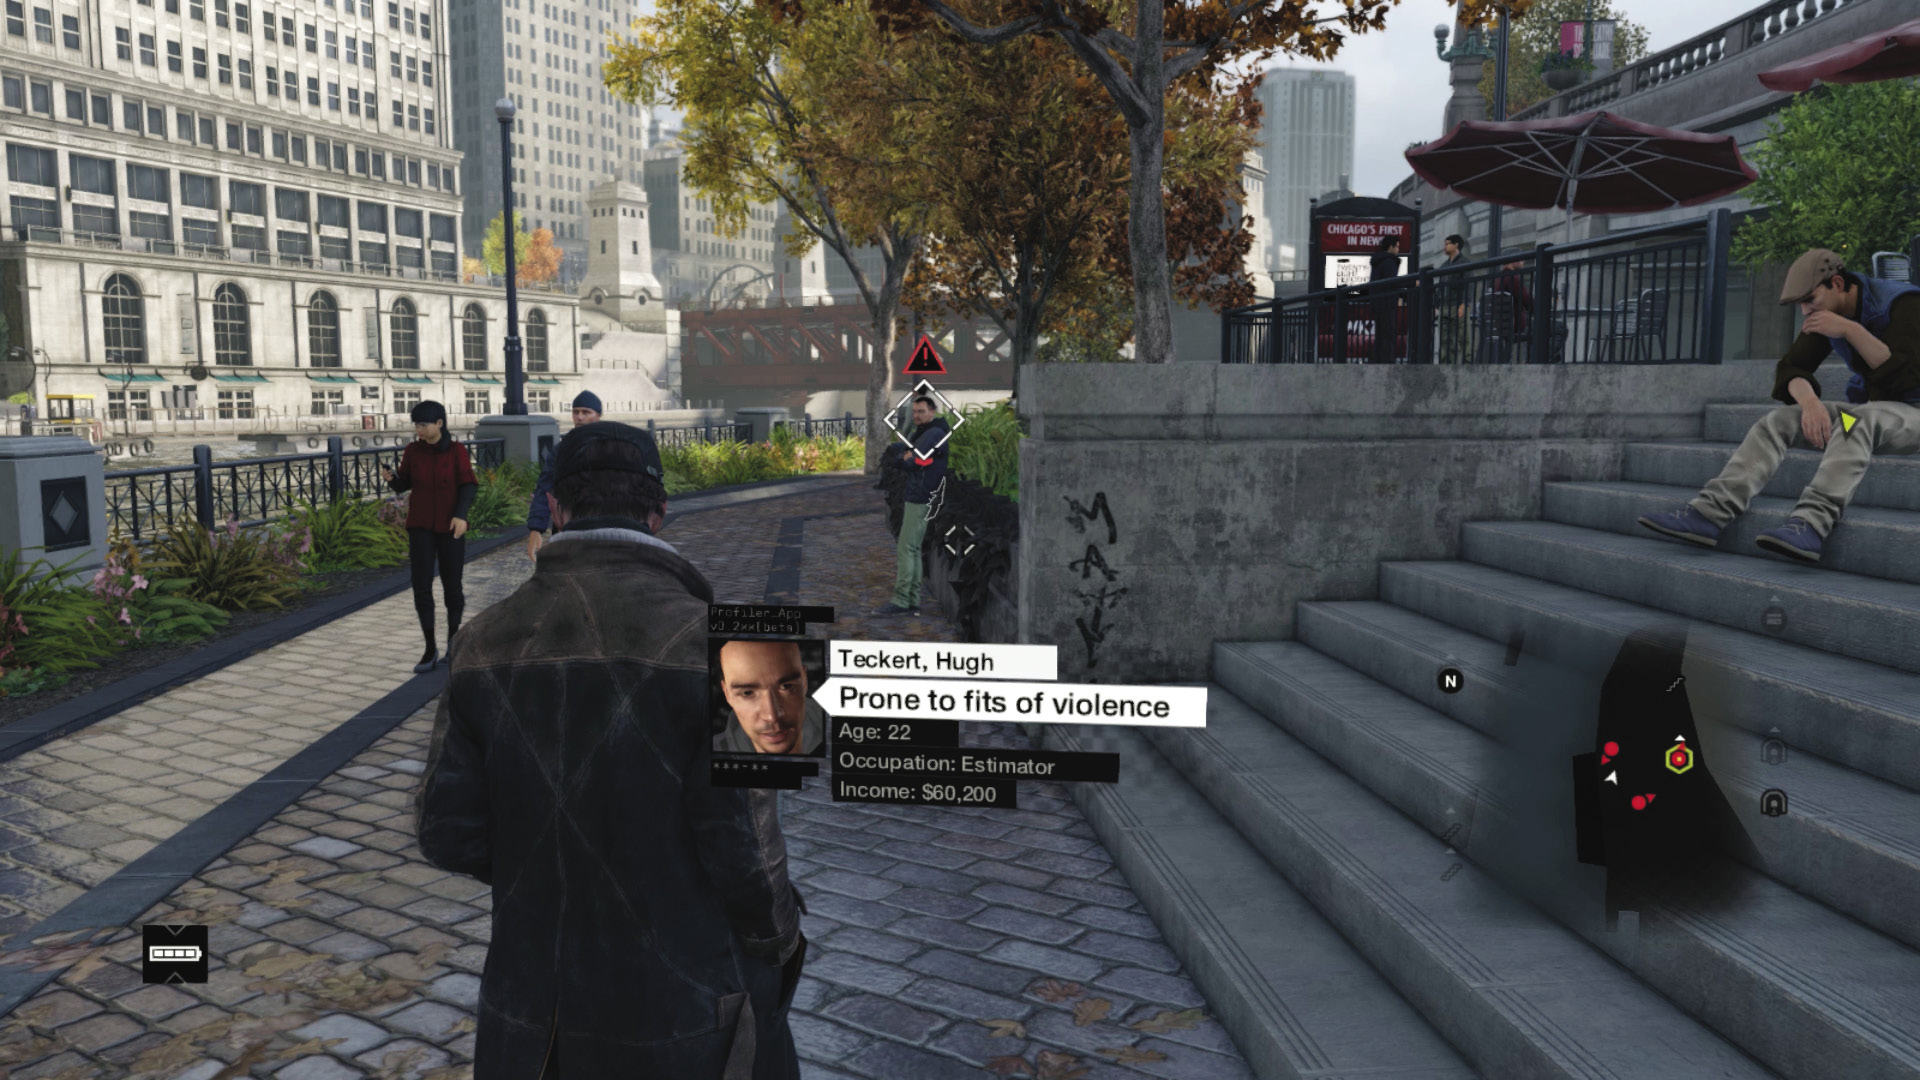
During your viewing of the briefcase movements, you may be temporarily distracted by:
One or more members of The Club watching for suspicious activities. They’ll spot you when you move too close to them.
One or more members of the general public recognizing you and attempting to call the police to turn you in. This only occurs if you have a low (bad) Reputation level. Watch for the light green triangle warning. Focus on this problem first.
Even if you head out of range of the briefcase search, you can quickly and easily return into the area to see it.
At this point, you have three options, which you probably already attempted if you were spotted previously:
Move (or run) out of the area where the person is looking, so the warning triangle disappears. This isn’t particularly helpful here, as you can’t run toward the briefcase holder or the mission fails.
Step up to the person once they start to call the police, and slap the phone out of their hands. As long as this isn’t in the area where the briefcase is, you can remove the inquisitive citizen who tries to turn you in.
Perform a ctOS scan and block the phone call.
You can also spend your time hacking any “blue” citizens for their bank accounts, cars, system keys, or songs.
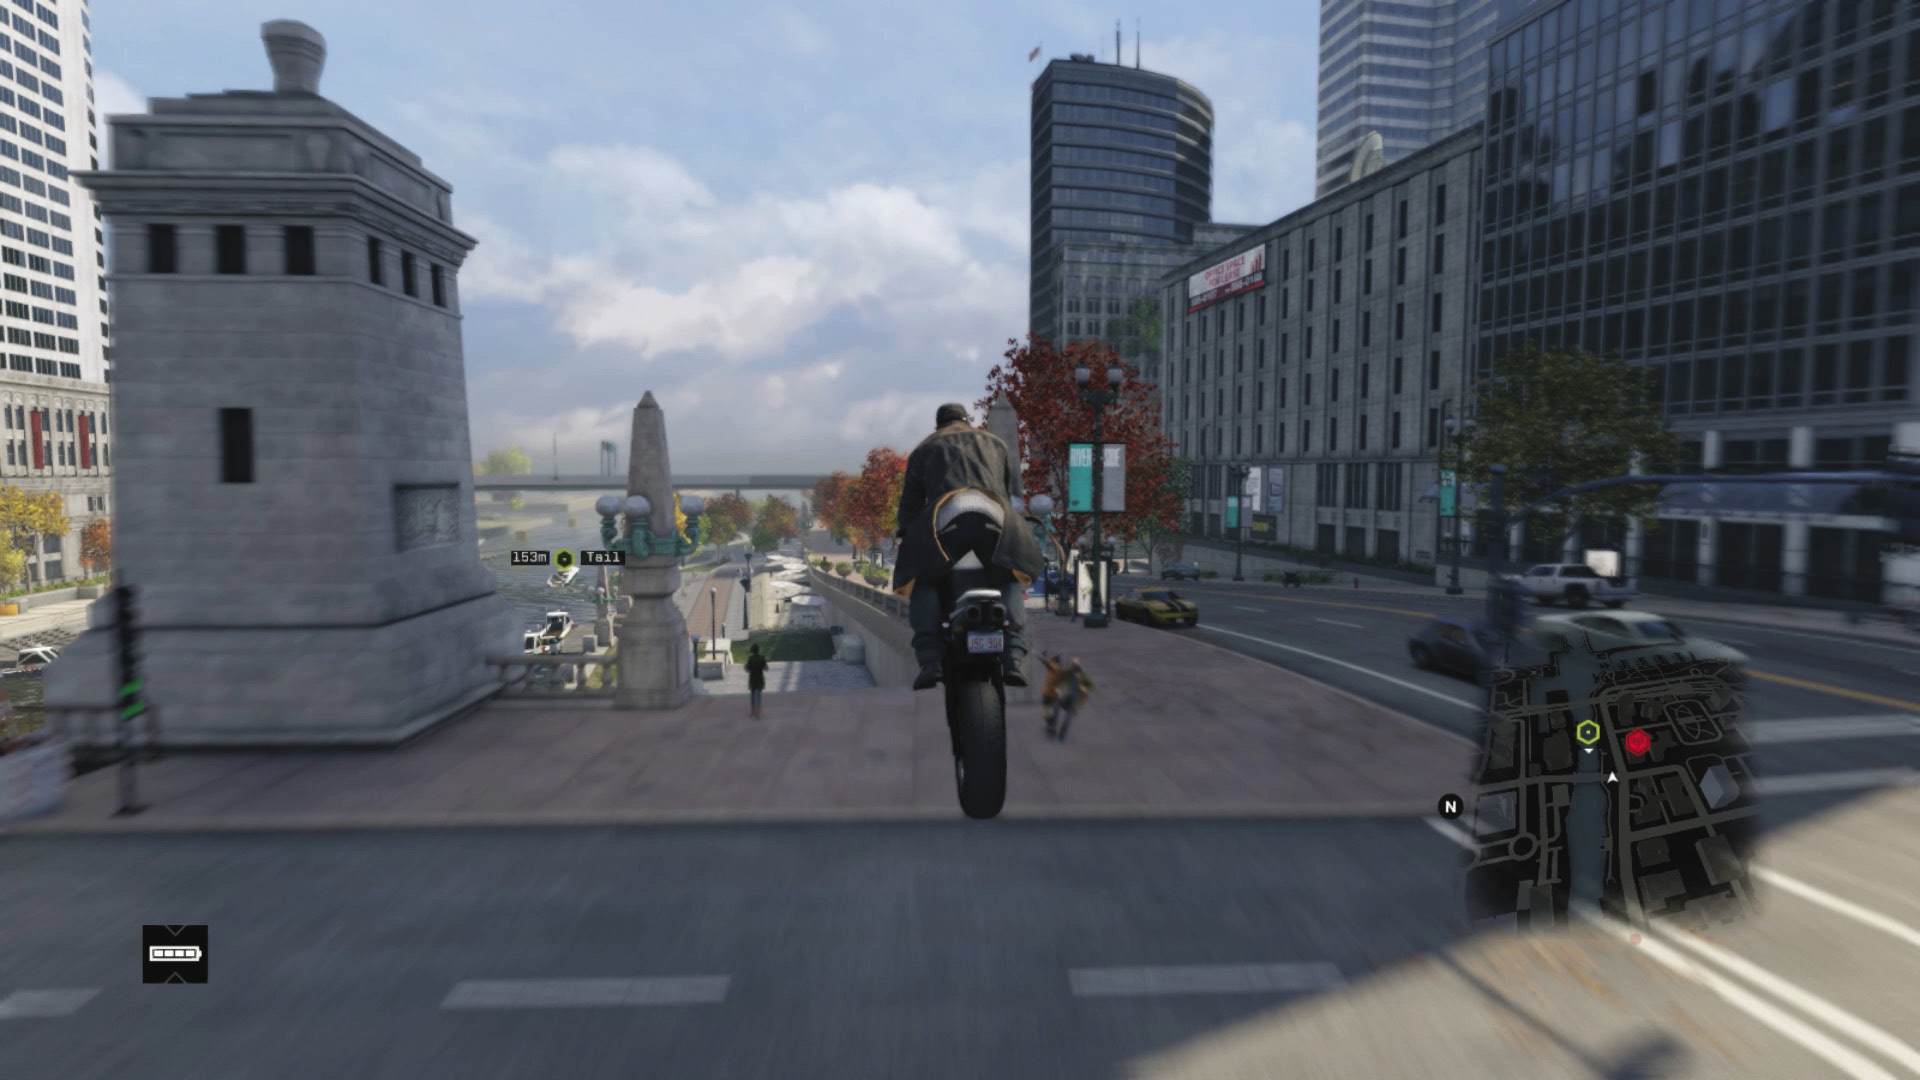
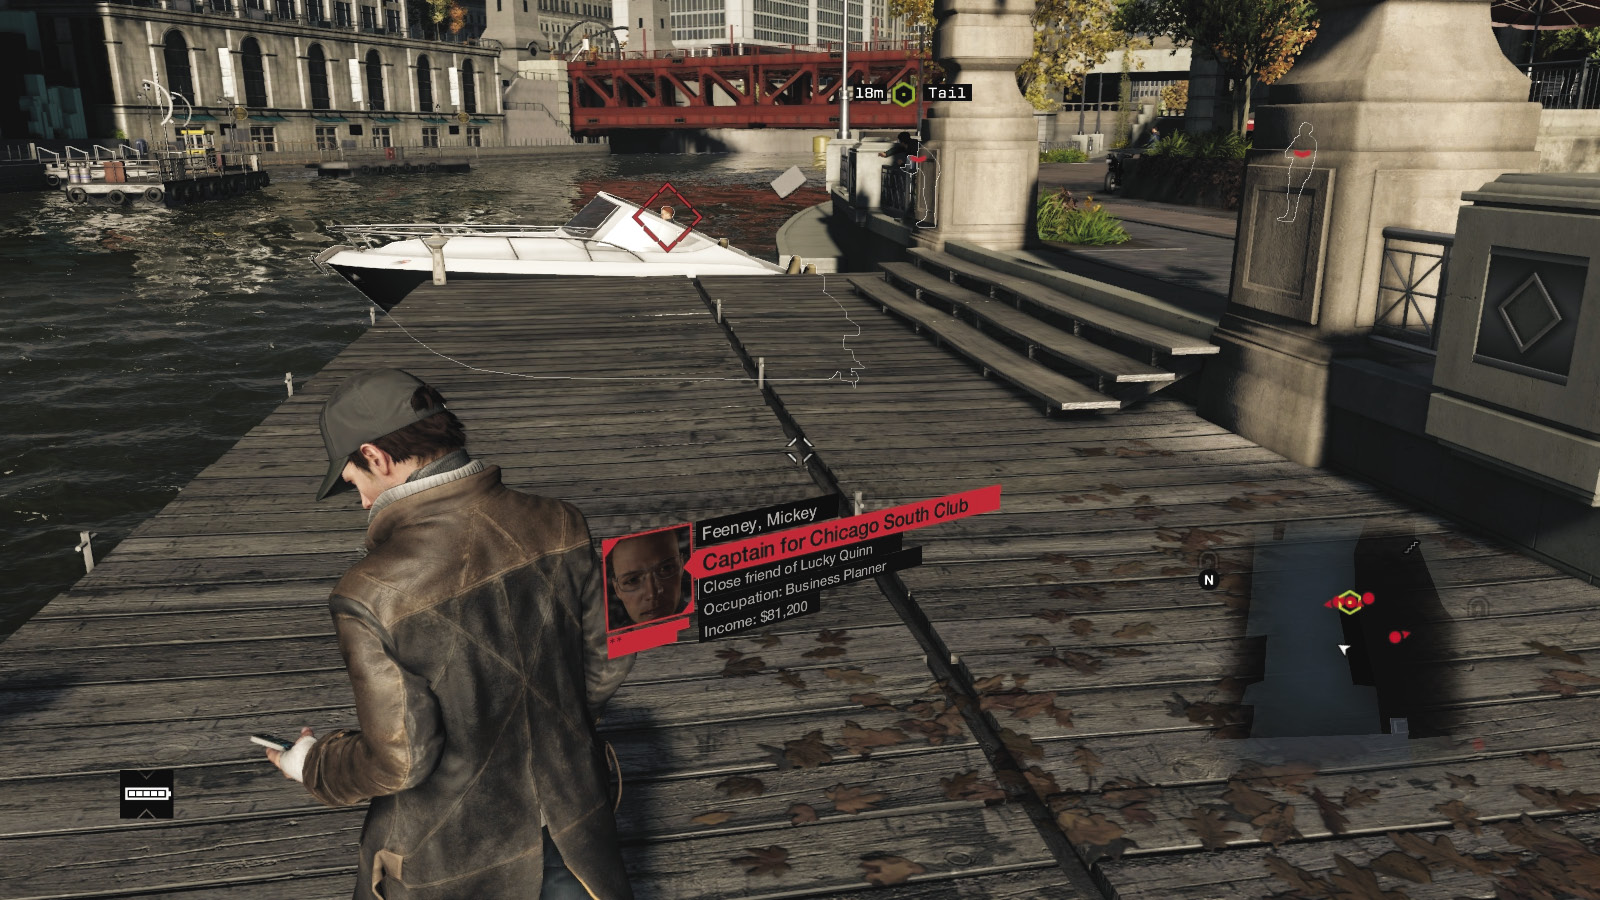
Head back to watch the briefcase movements, as the next fellow strolls over to the edge of the wharf, waits a few moments, and then nonchalantly throws the briefcase into a waiting boat. At this point, or even before the briefcase movement takes place, you should locate a preferred method of transportation and prepare for the next objective.
10.2 COASTING FOR THE CASE
 Location / The Loop // South Riverside Wharf
 Location / The Loop // City Marina
|
|
 Tail the boat carrying the briefcase
 Driving Investigation
Difficulty: 
At this point, you have two possible modes of transportation you can use to follow the departing speedboat:
 Driving // Defensive: Boating for the Briefcase
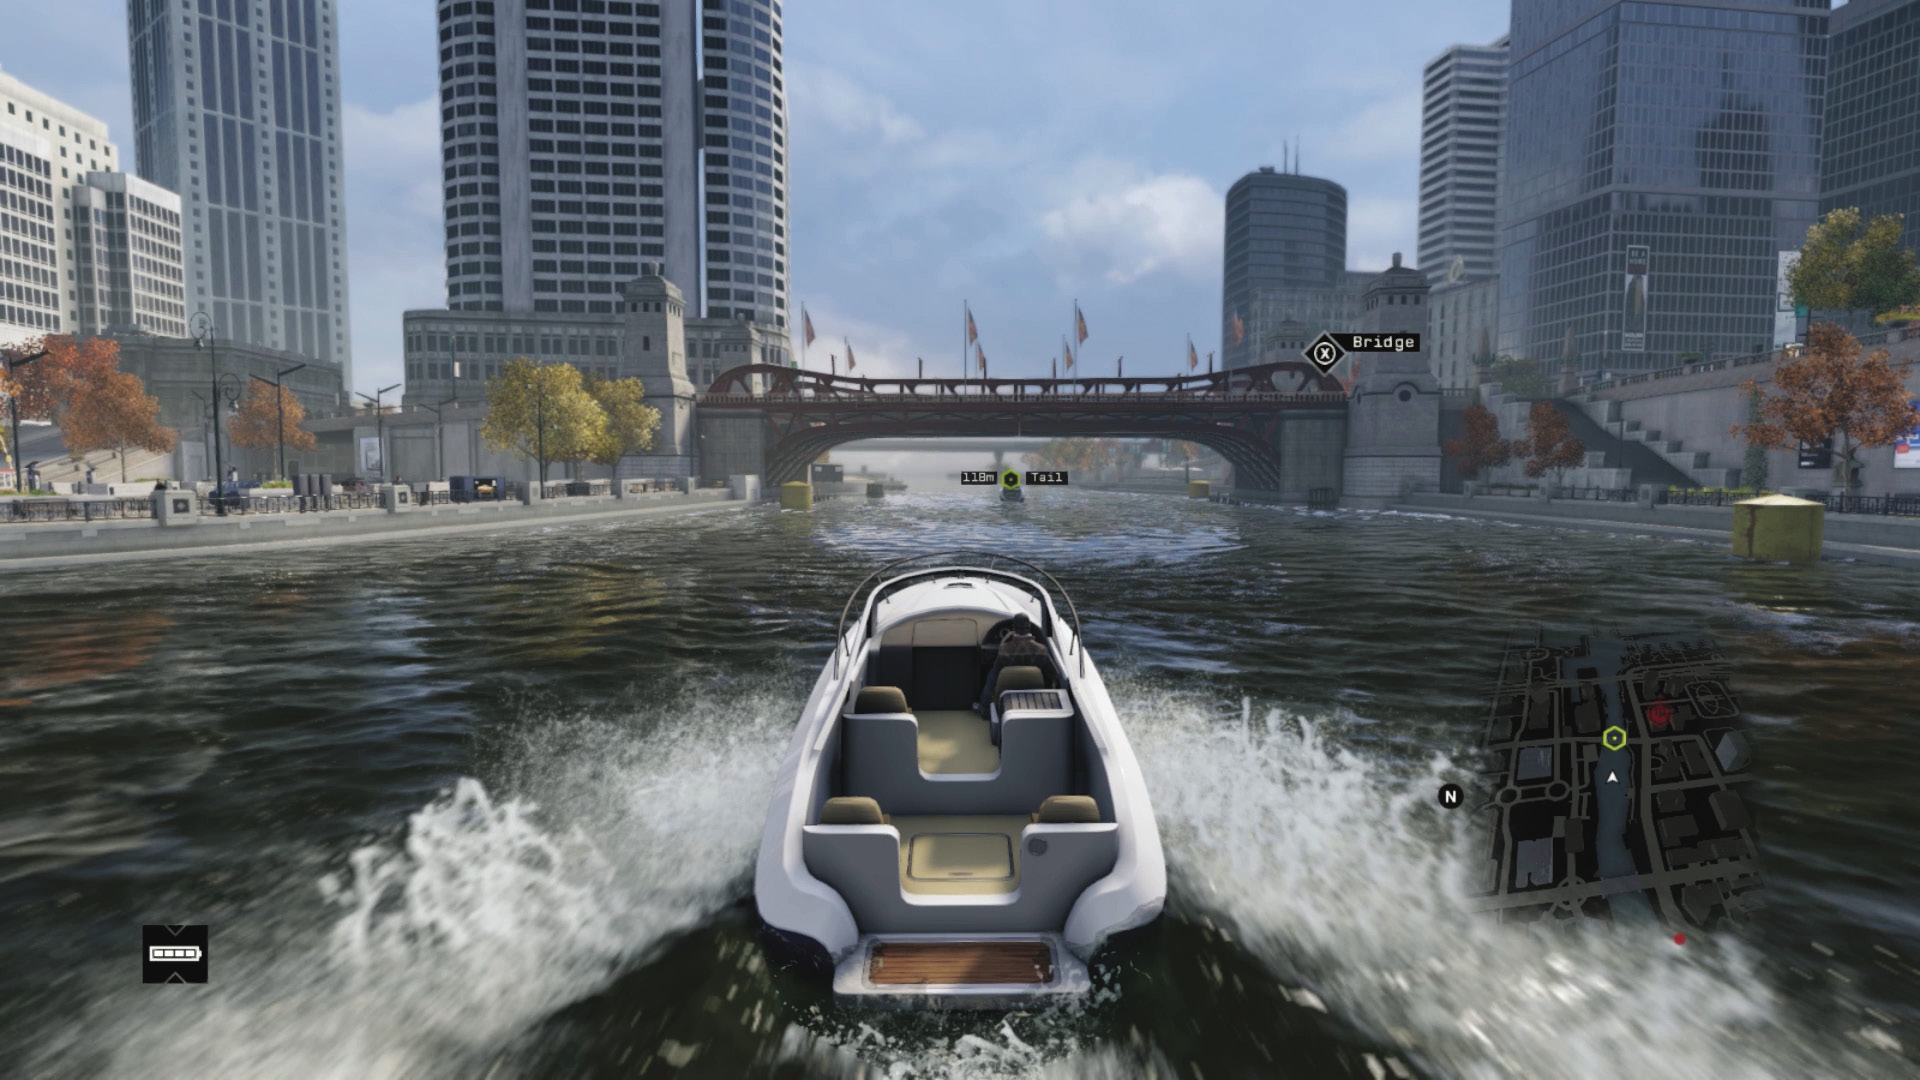
Swim to a nearby boat (there’s usually one on the opposite wharf in Mad Mile). Start your boat just before the craft you’re tailing departs from the wharf, and follow it roughly east at a reasonably slow speed. You pass under the steel bridges (which you can lift for fun). Stay farther than 45 to 50 meters away from the boat, or suspicions are aroused and you may be spotted. Slow down immediately if the foe is alerted.
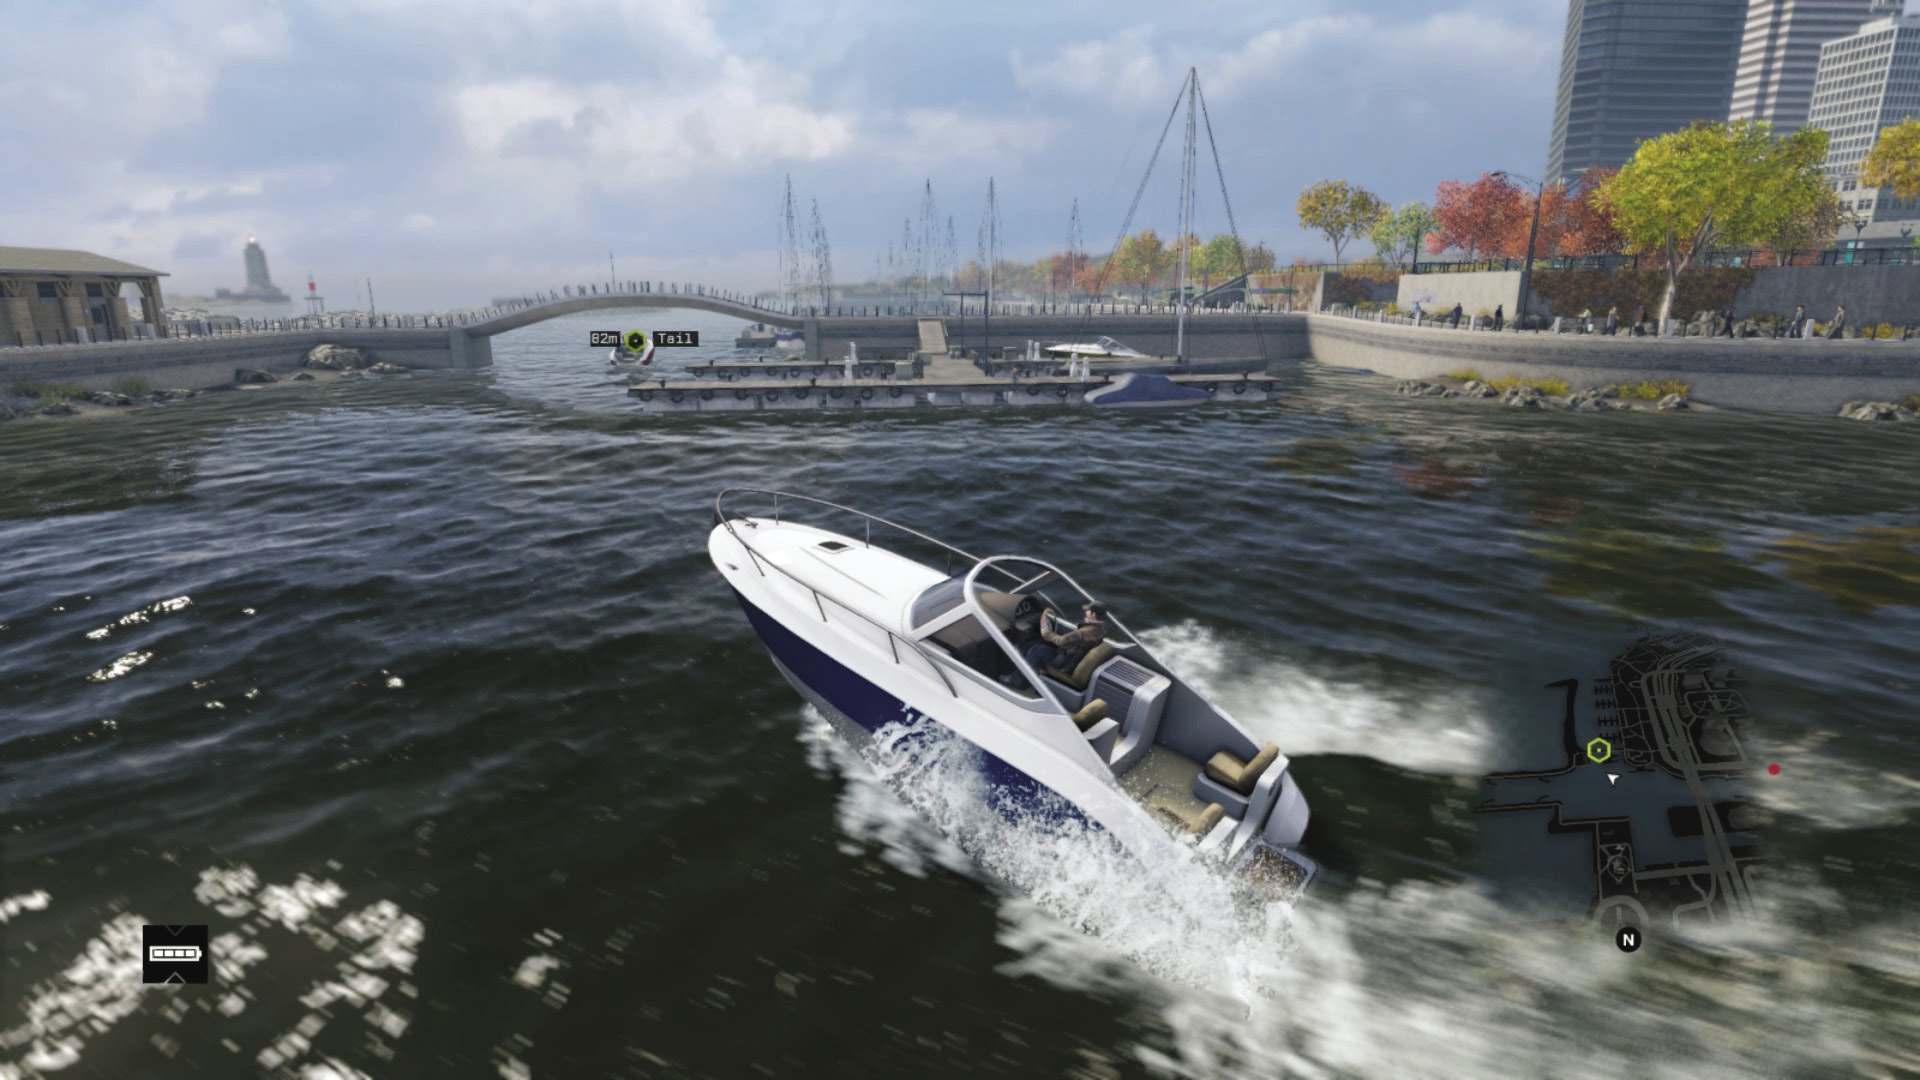
The boat you’re following turns slightly right (southeast), heading through the area between the jetties on the right and the breakwater on the left. Continue to track this enemy, increasing your speed a little as the boat does. The boat continues for a few moments before slowing down and coming into dock at the City Marina wharf.
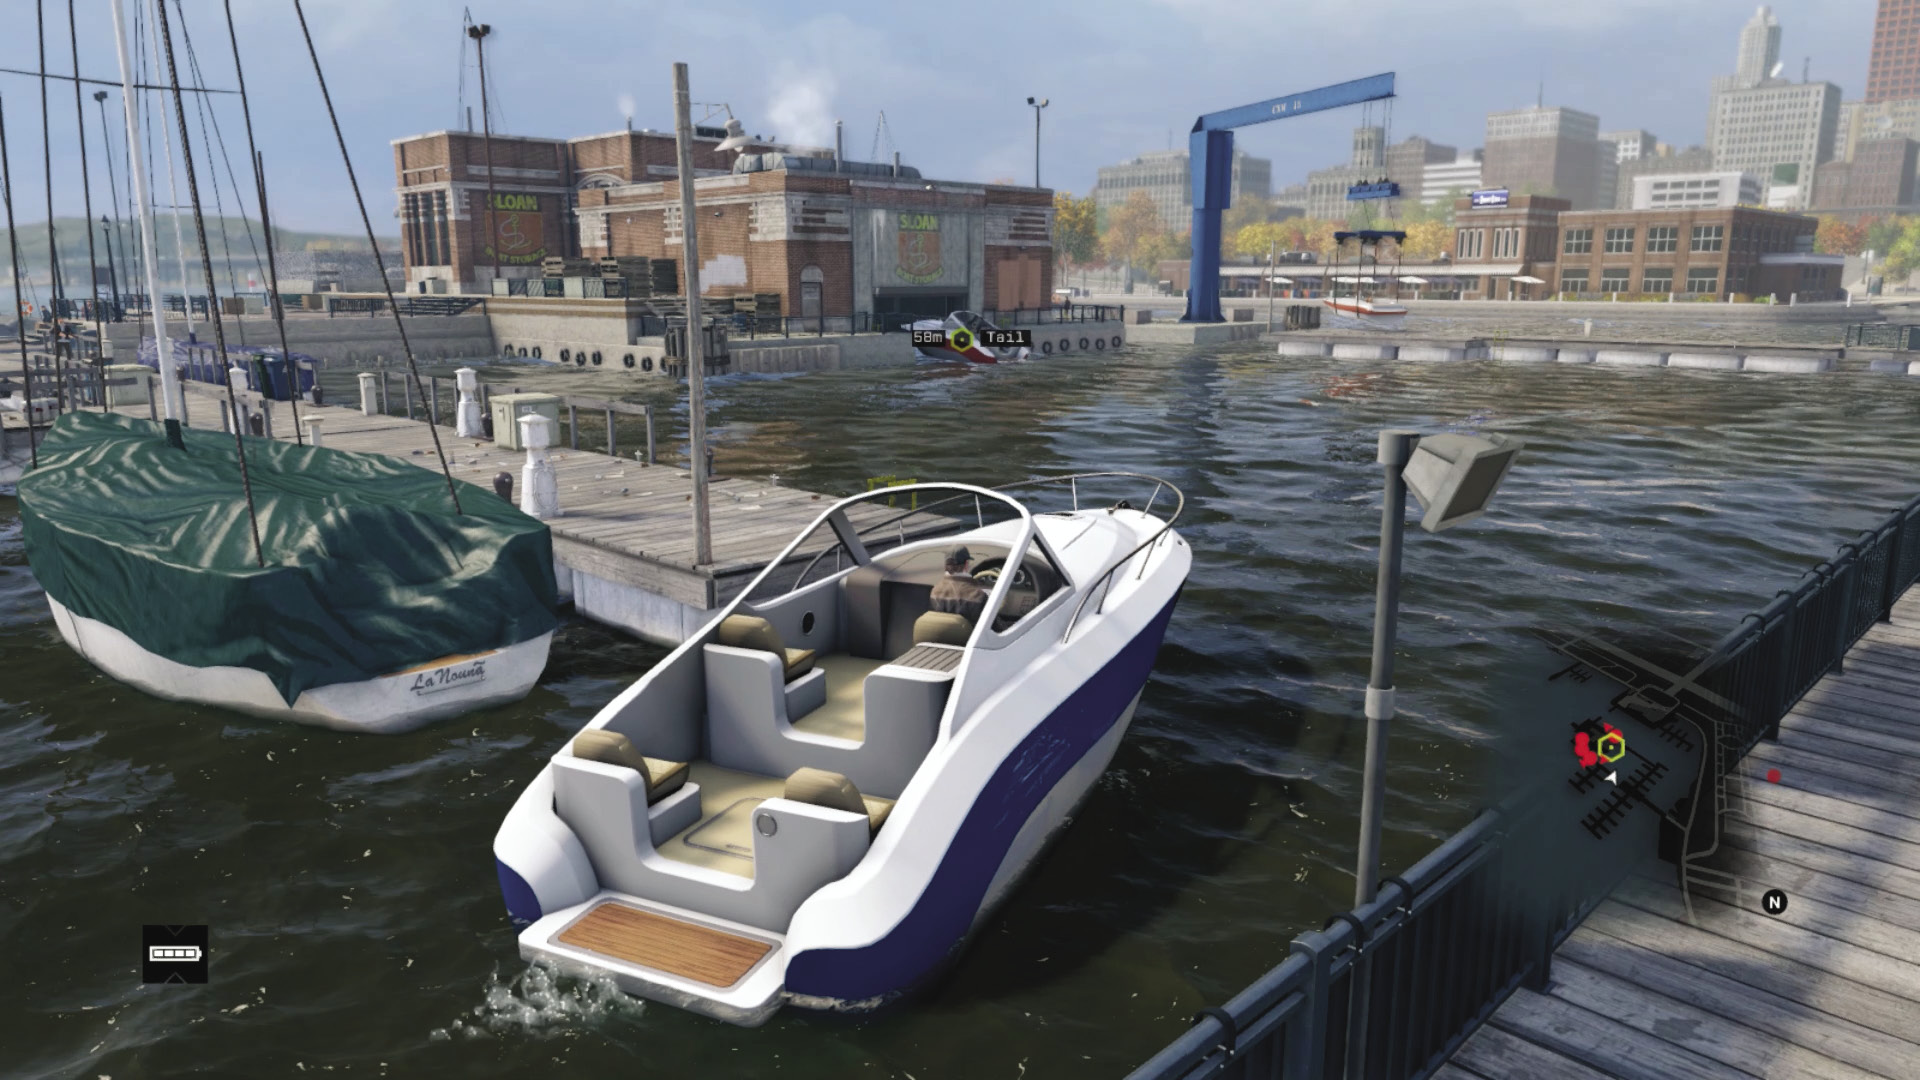
Follow the boat using exactly the same route it took, or you may be stranded during this next infiltration. Head through the gap in the movable dock walkway, and watch as the boat you’re tailing enters a garage with the door closing behind it, at the main wharf building. Remain no closer than 50 meters and slow to a stop. You can watch as the briefcase carrier eventually appears on the dockside and walks around the building to the left (east). Your objective now updates.
 Driving // Defensive: Biking for the Briefcase
Sit astride one of the motorbikes parked in the initial plaza, and as the boat departs, follow it along the pedestrian walkway (without raising the alarm of the driver). You’re moving along a narrow riverbank with numerous innocent citizens, so it’s usually a good idea to keep your top speed down and your ramming speed minimal. Don’t overshoot stairs and launch over roads to such an extent that you lose control and crash; it’s embarrassing and can cause the boat to get away. Slow down more than usual to maintain control.
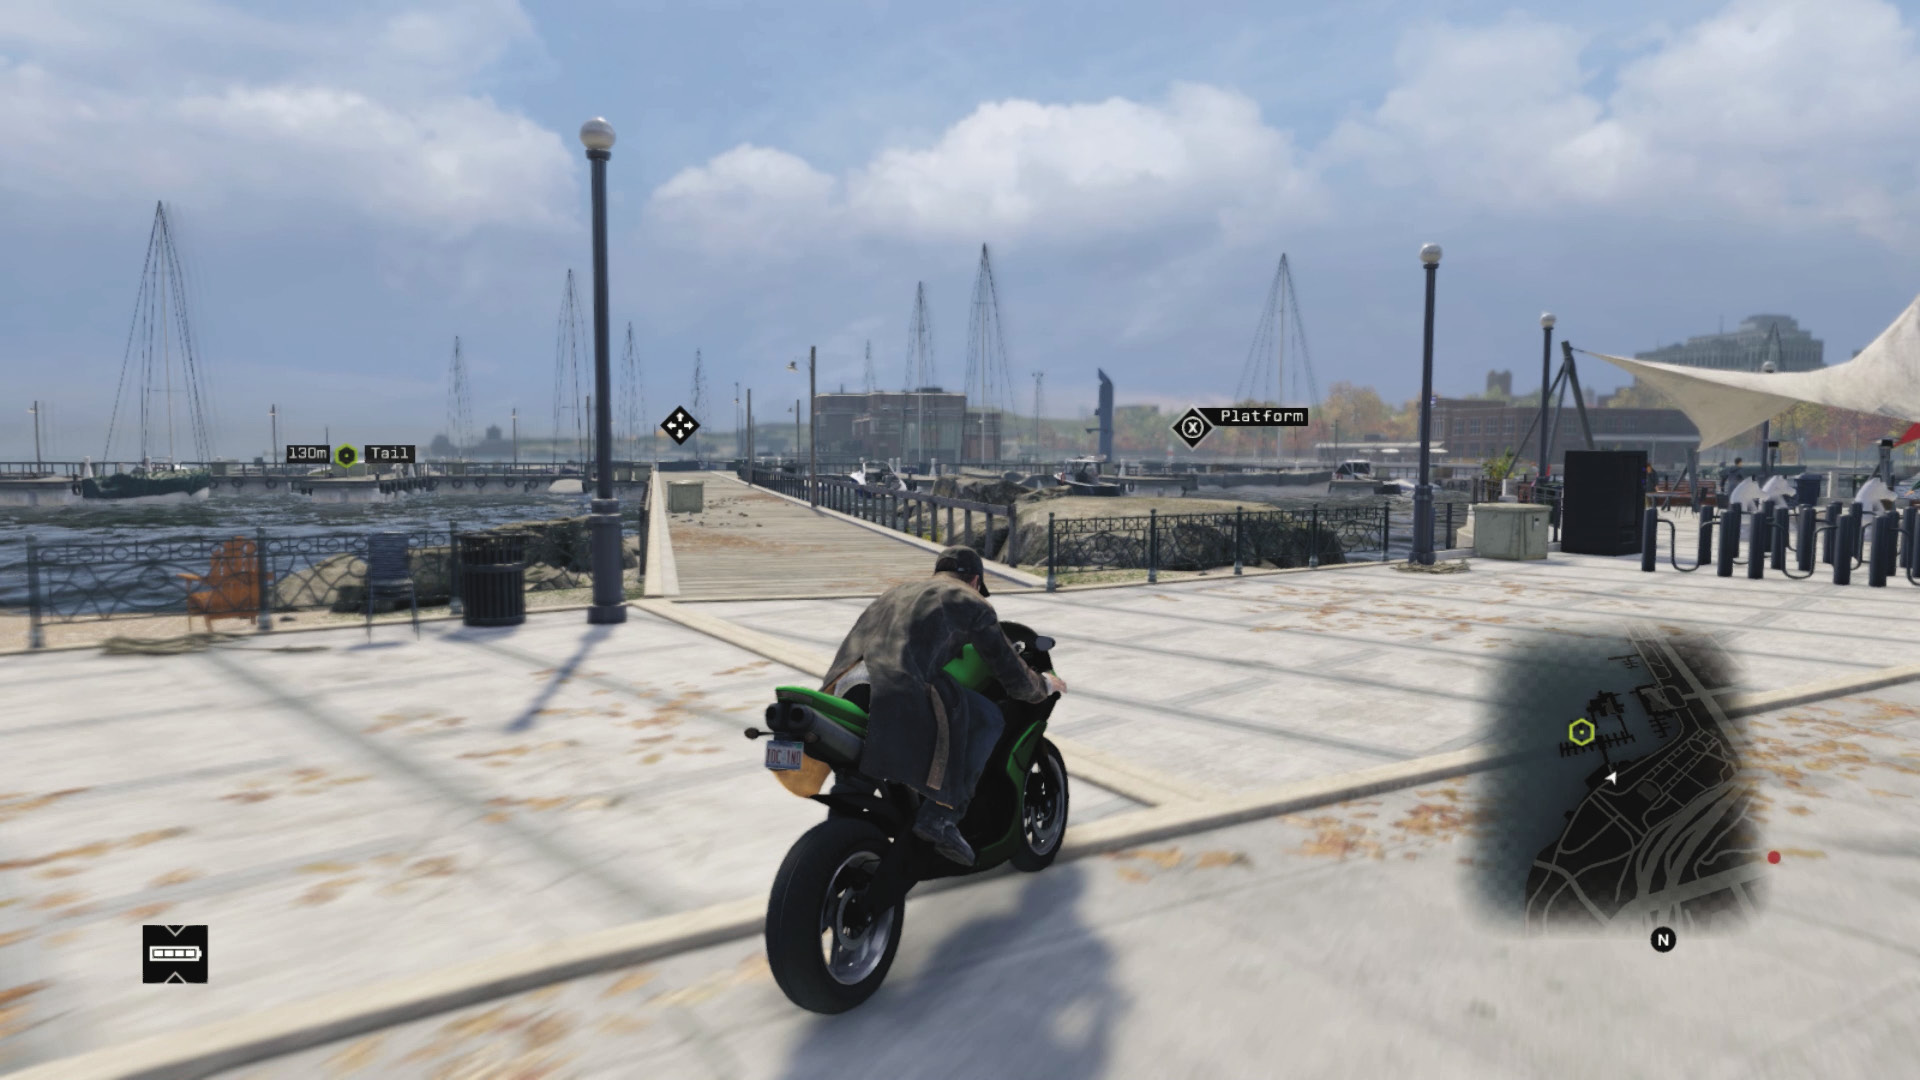
Only hit the throttle on the straights or if you have a keen knowledge of the pathway ahead. Be aware of cross traffic as you leap across roads and down the stairs. You could take the main road, but it’s quicker to keep an eye on the boat by staying on the coast, weaving through the park, and eventually reaching the dock before the briefcase carrier eventually appears from a garage. Ditch the bike and sneak across the bridges to being an infiltration.
10.3 DOCK AND COVER
 Location / The Loop // City Marina
|
|
 Locate the briefcase unseen
 Infiltrate the marina to get the briefcase
 Infiltration
 Data Hack
 Lethal Force Likely
 Melee Force Likely
Difficulty: 
Overview
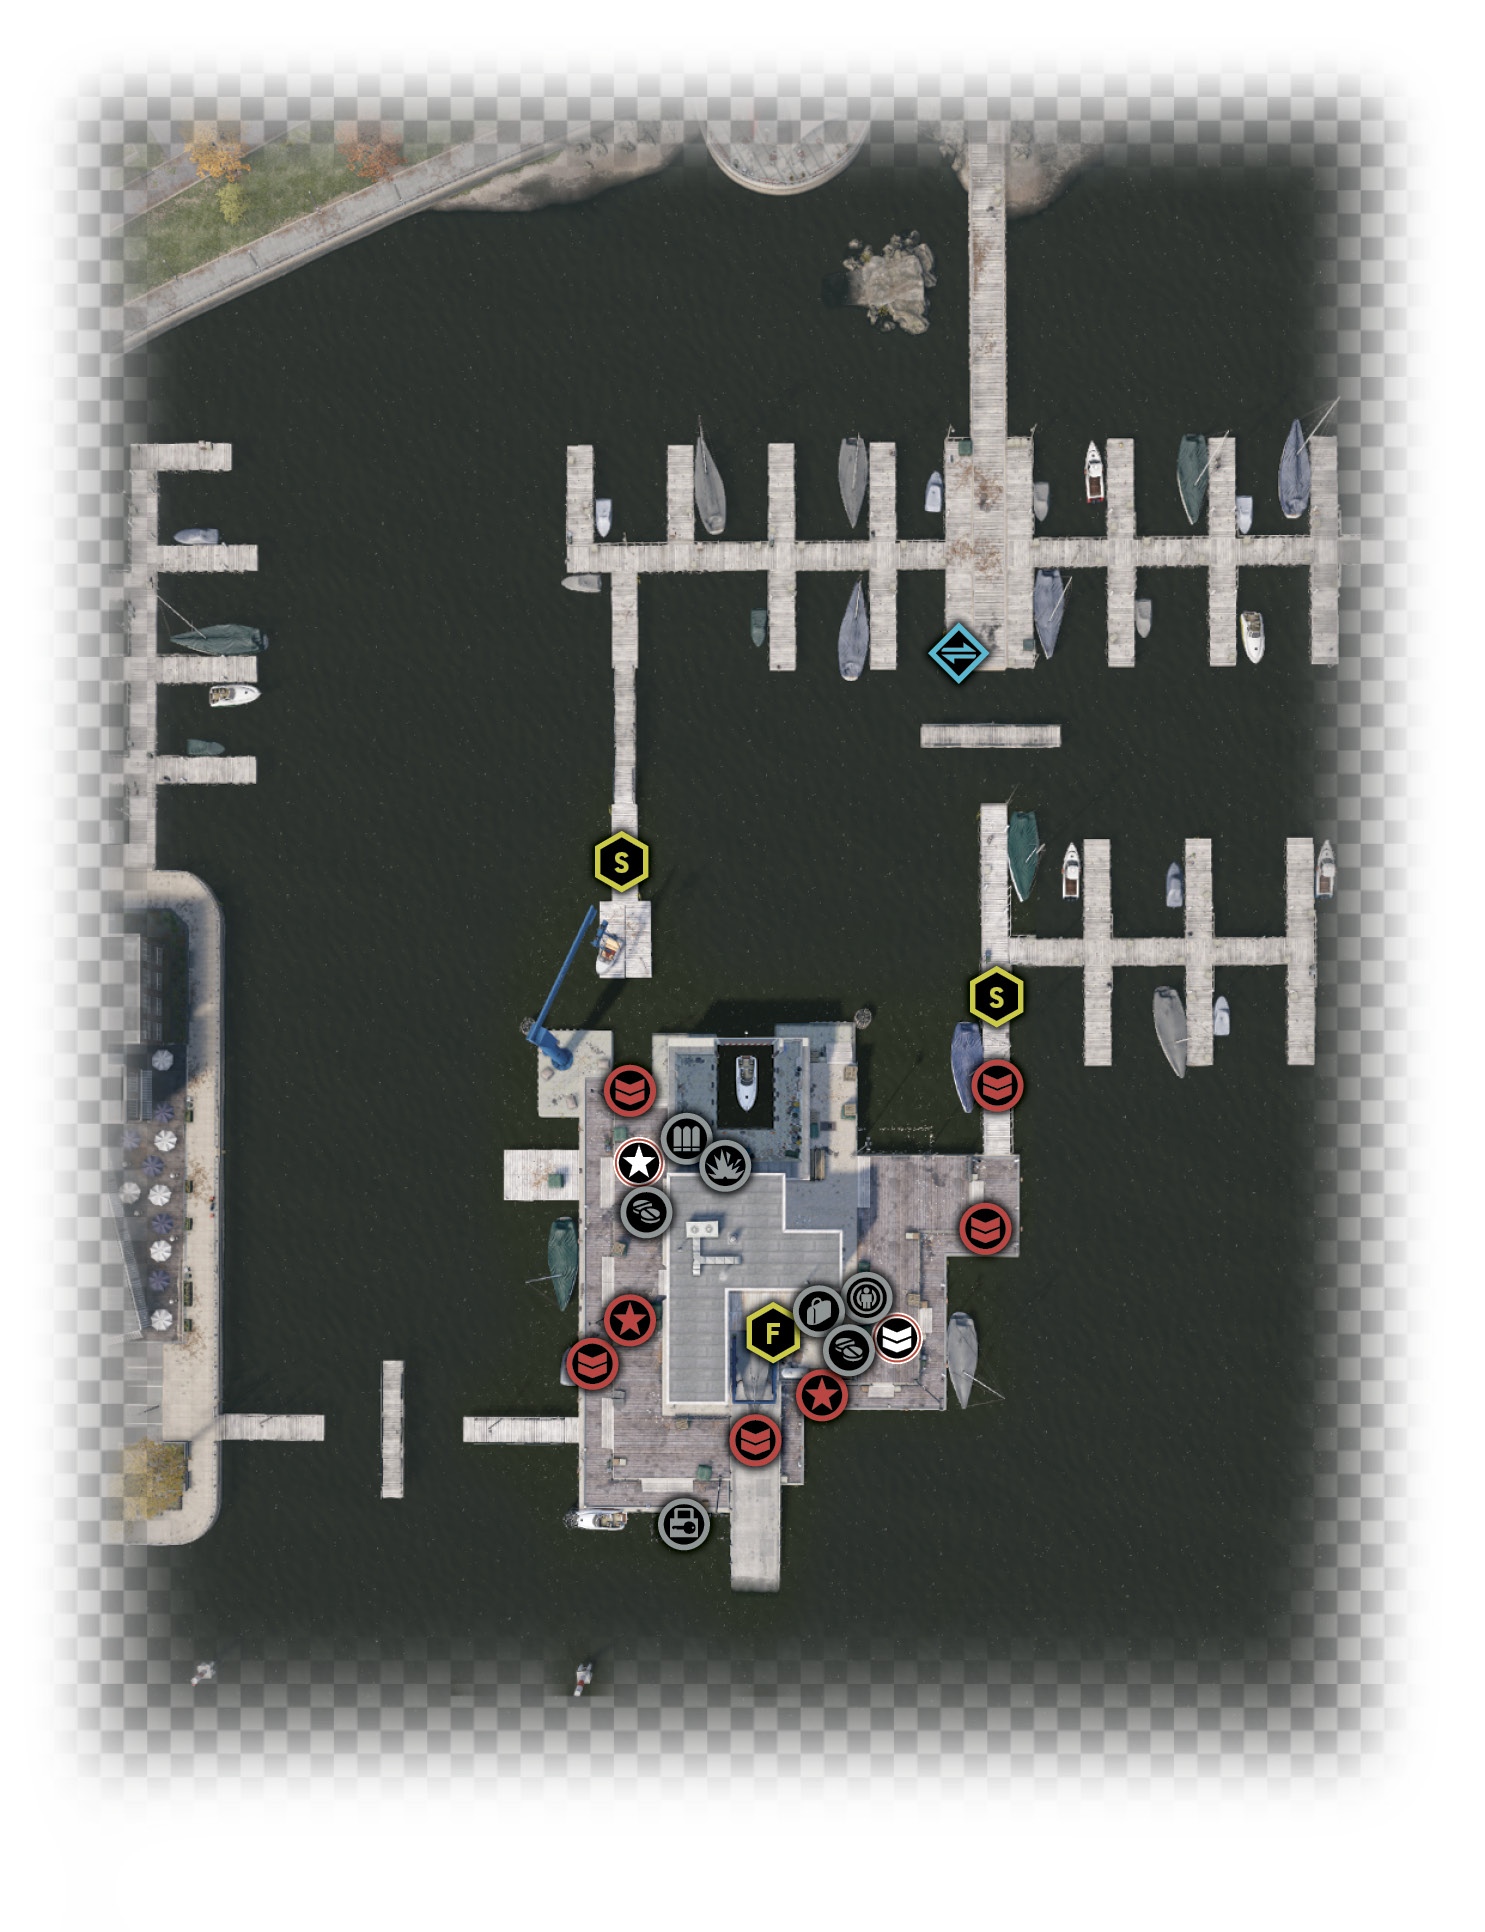
Completion Point: Briefcase, on the far (south) side of the marina.
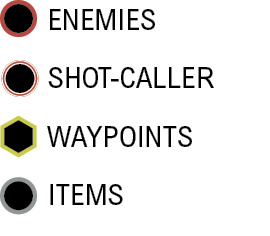
Dangers: Eight Club members (Veteran x4, Elite x4, armed with shotguns and automatic rifles).
Dangers: Shot-Callers x2. At least three reinforcements if called.
Insertion Points
At the marina, you can moor your boat at any point if you can avoid being spotted. However, this mostly puts you at a tactical disadvantage, so you may wish to consider the following insertion options:
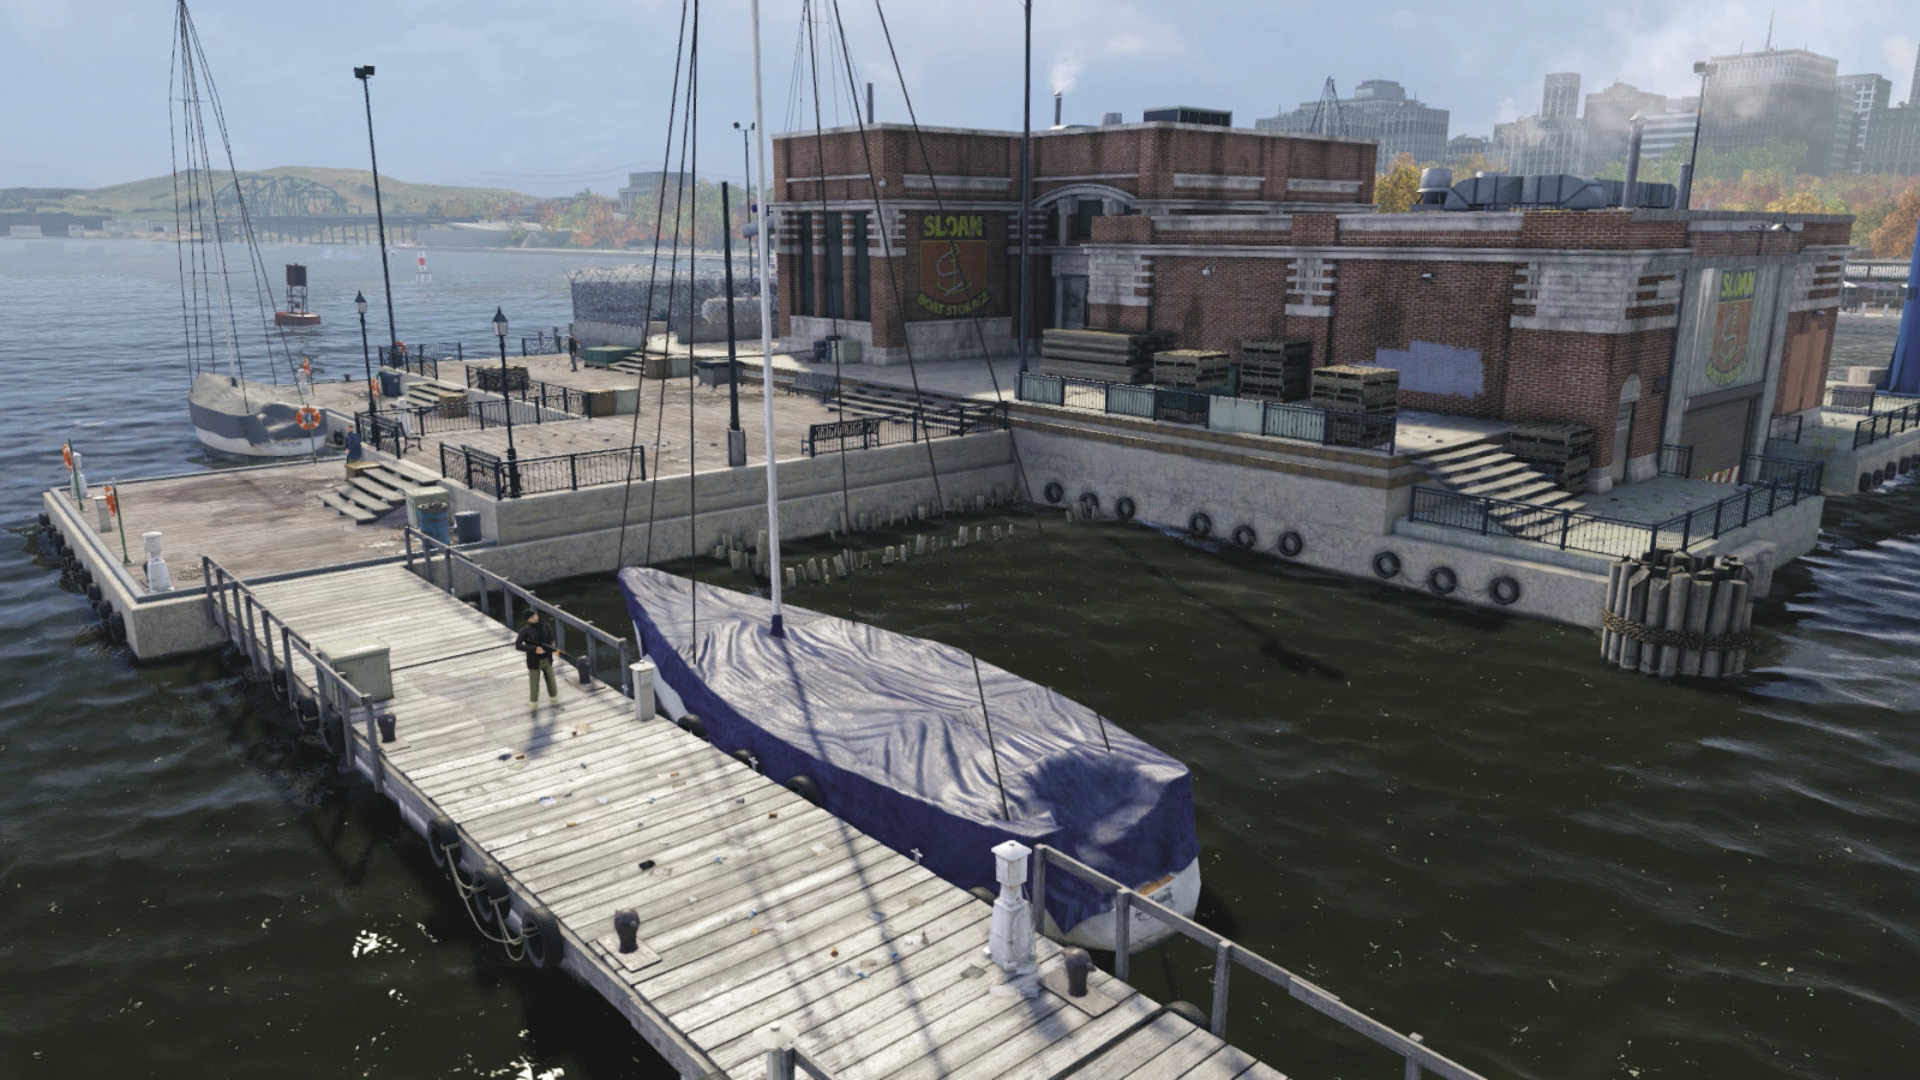
Northeast Jetty
Accessibility Level: 
This has two guards waiting to prevent you from accessing this area. Though you can move your boat around them and disembark, this is dangerous. It’s usually wiser to swim or claim a boat and move to another insertion point rather than trying to find the briefcase from this area.
Northwest Jetty and Boat Crane
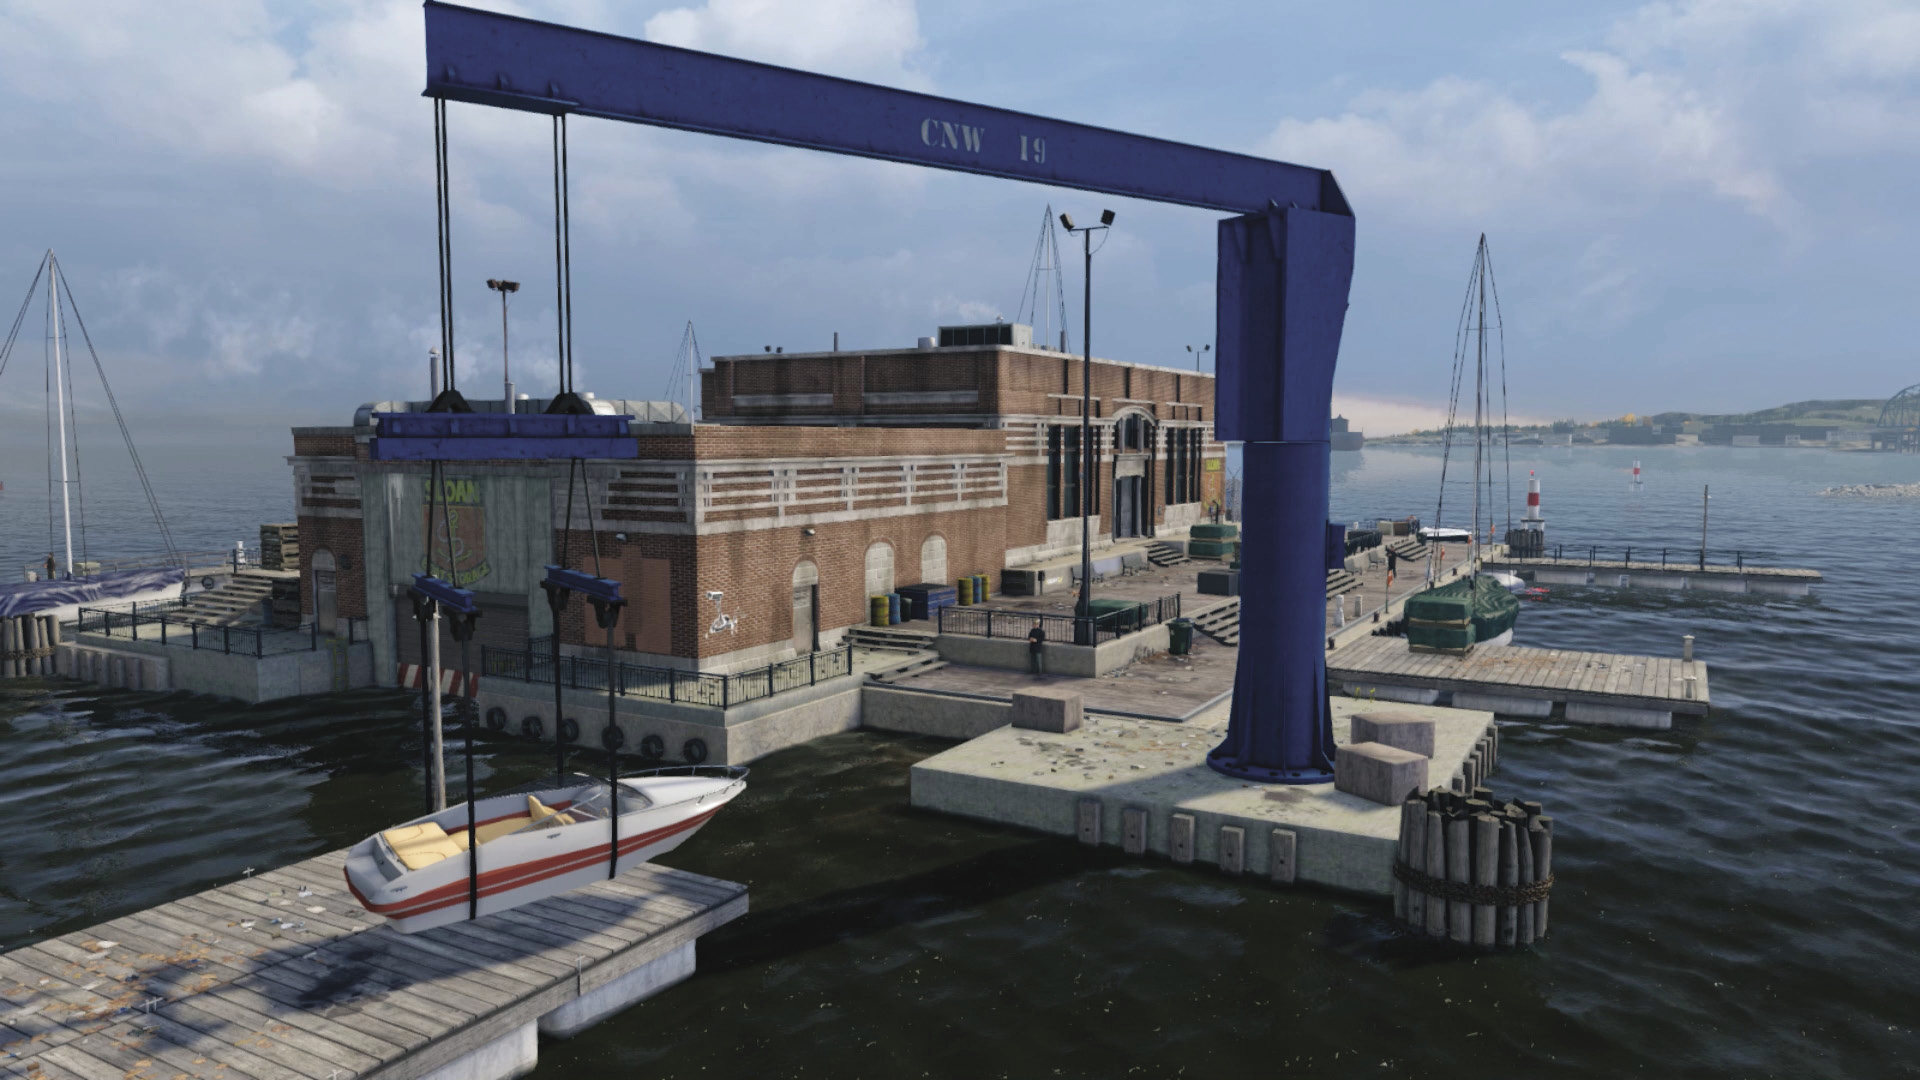
 Accessibility Level:
Pulling up to this crane and boat allows you to climb on the suspended vessel and ride it around to the wharf’s northwest part before beginning a clandestine assault on the premises. This involves the least amount of risk, and you can choose whether to access the garage to the east or the wharf perimeter.
North Garage
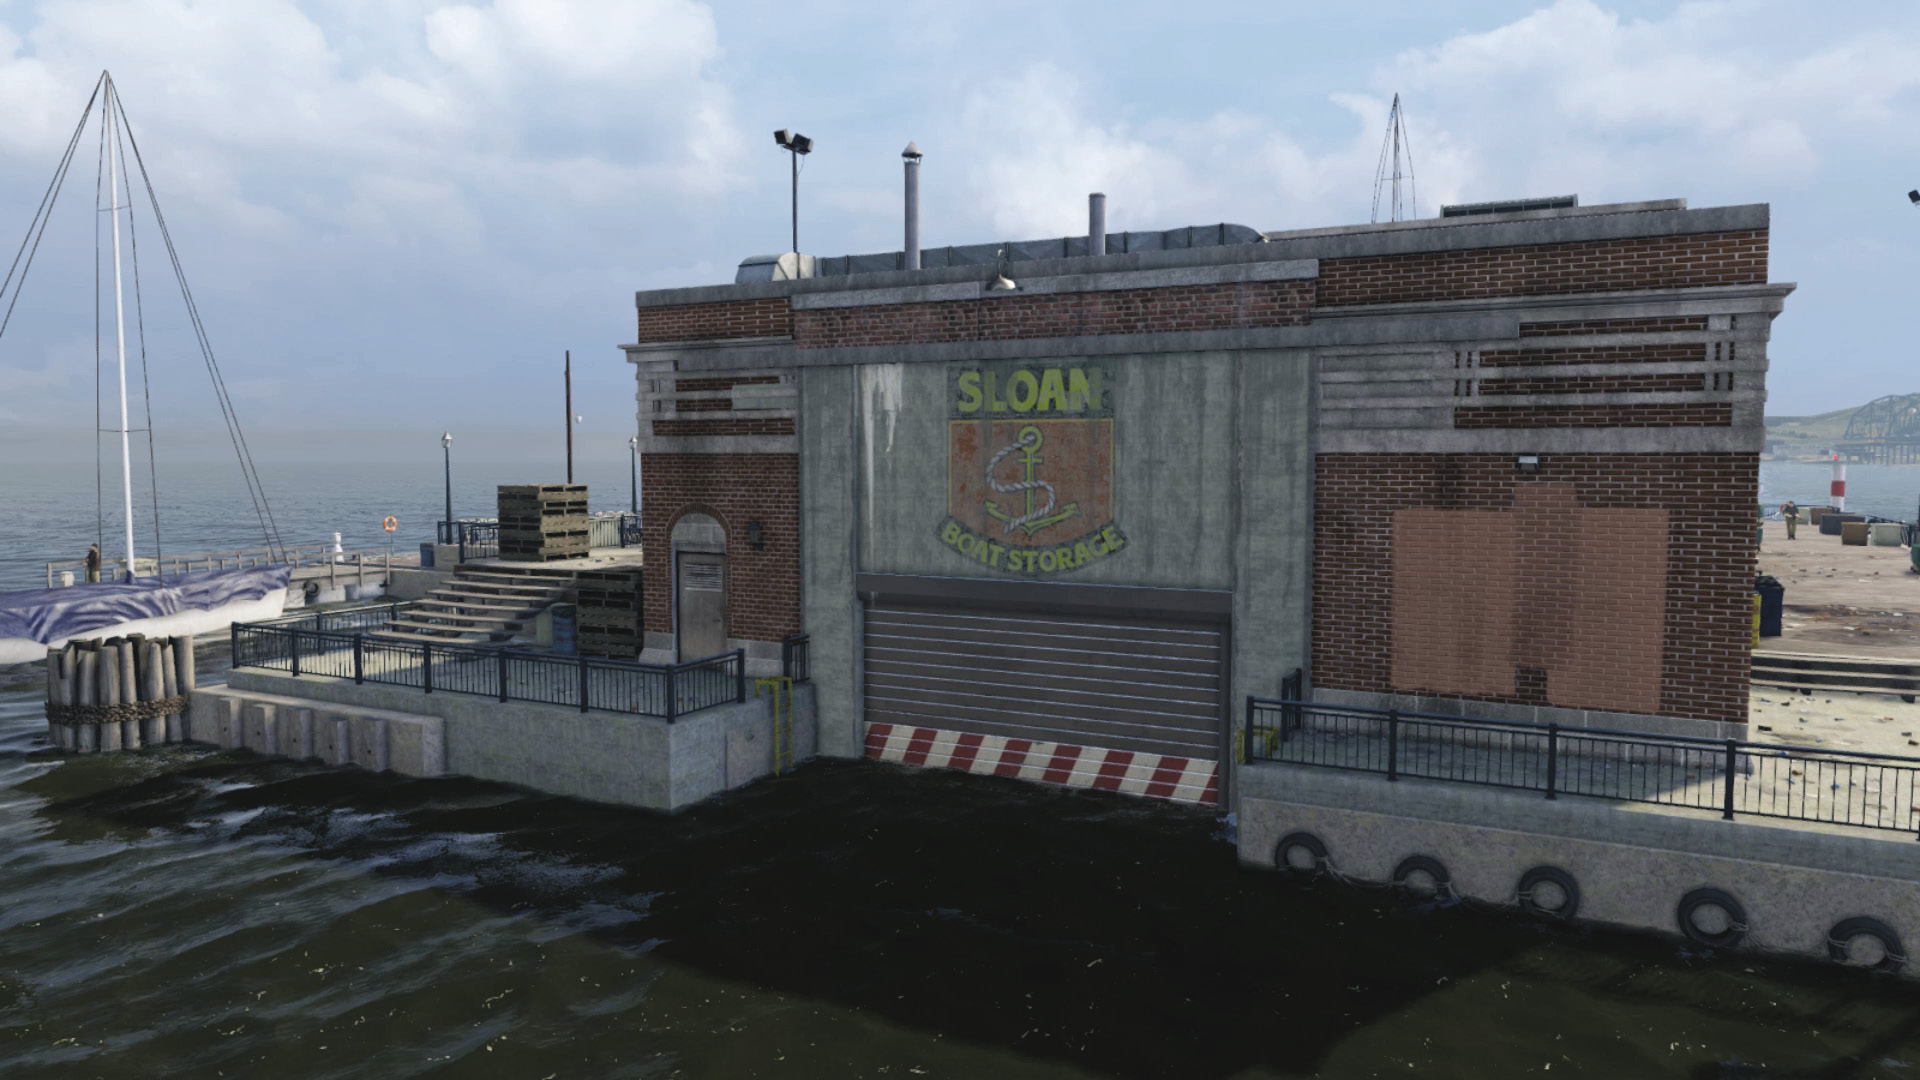
Accessibility Level: 
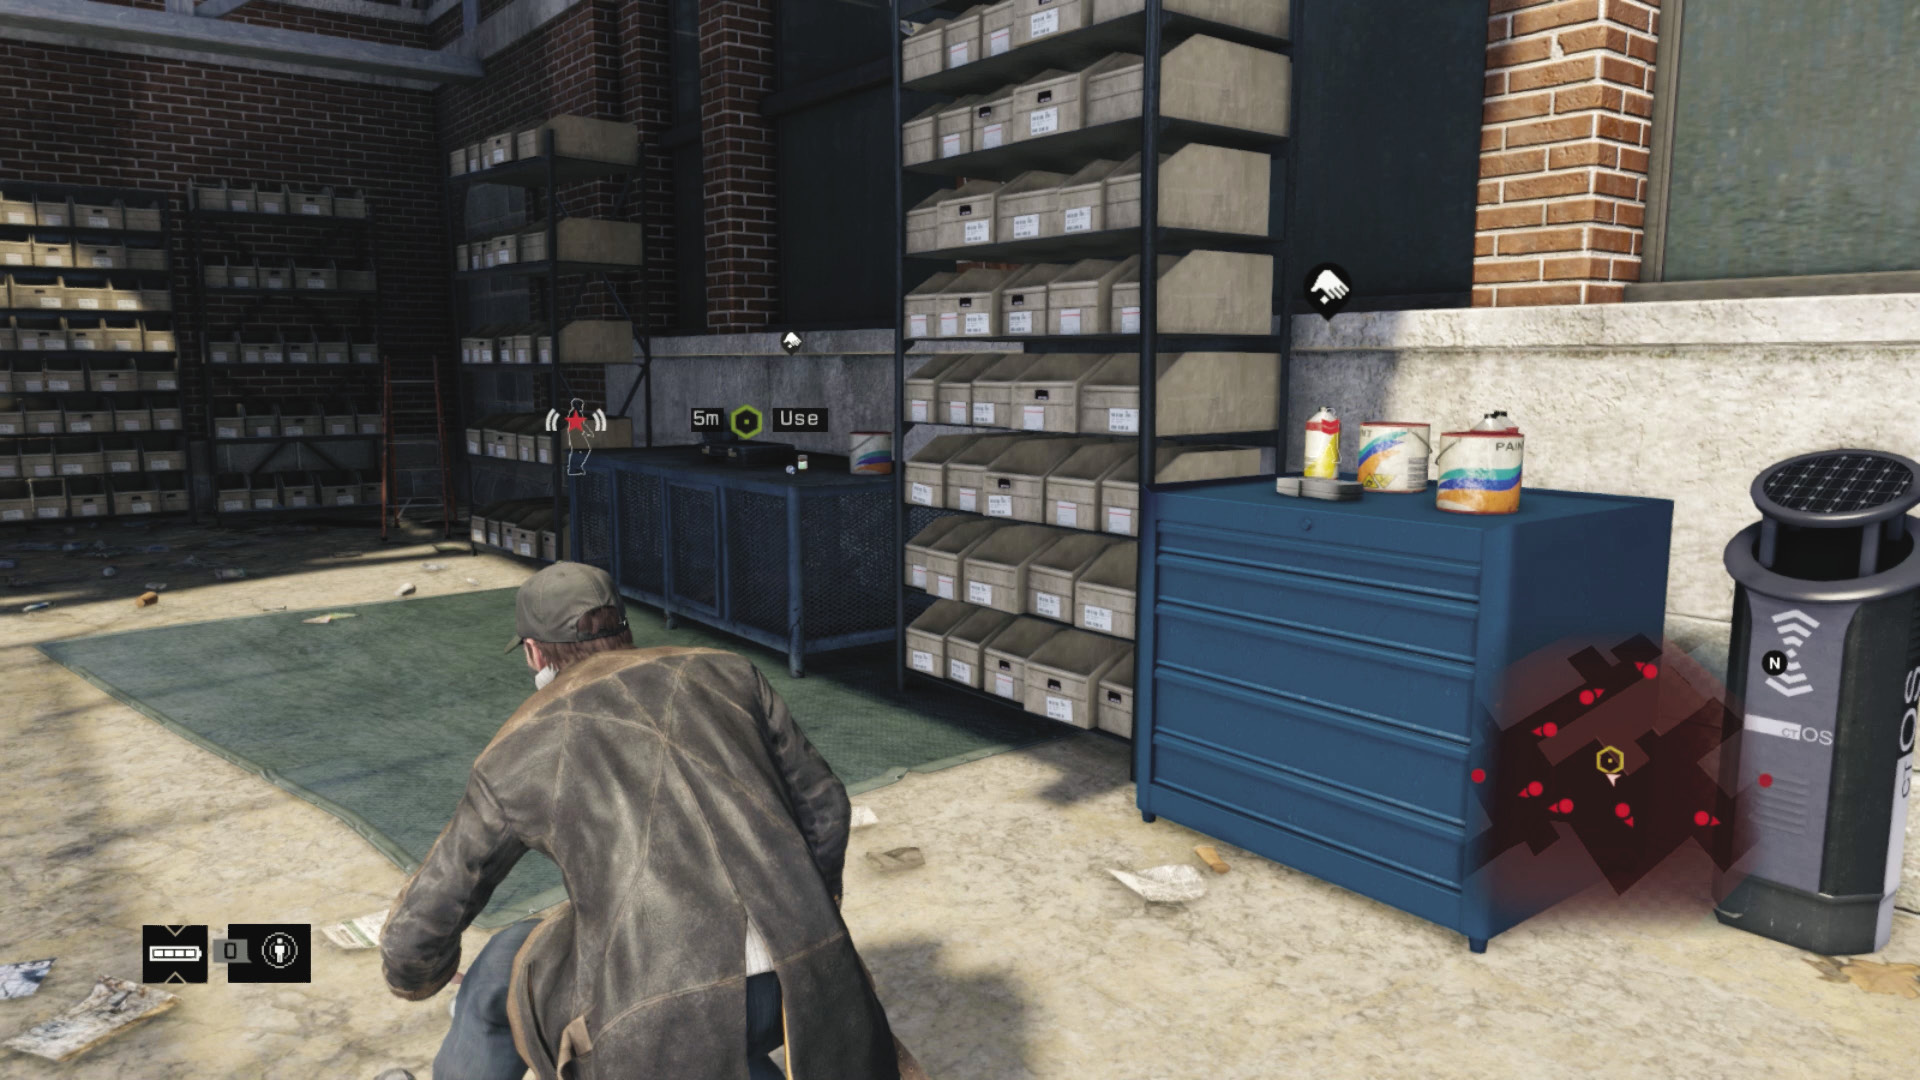
Wait until the briefcase carrier has left the area before opening this door. You can enter, climb up the ladders and onto the concrete walkway, and begin a stealth assault, but the noise may alert enemies and fail the mission. There are crafting items in here, too.
South Slipway
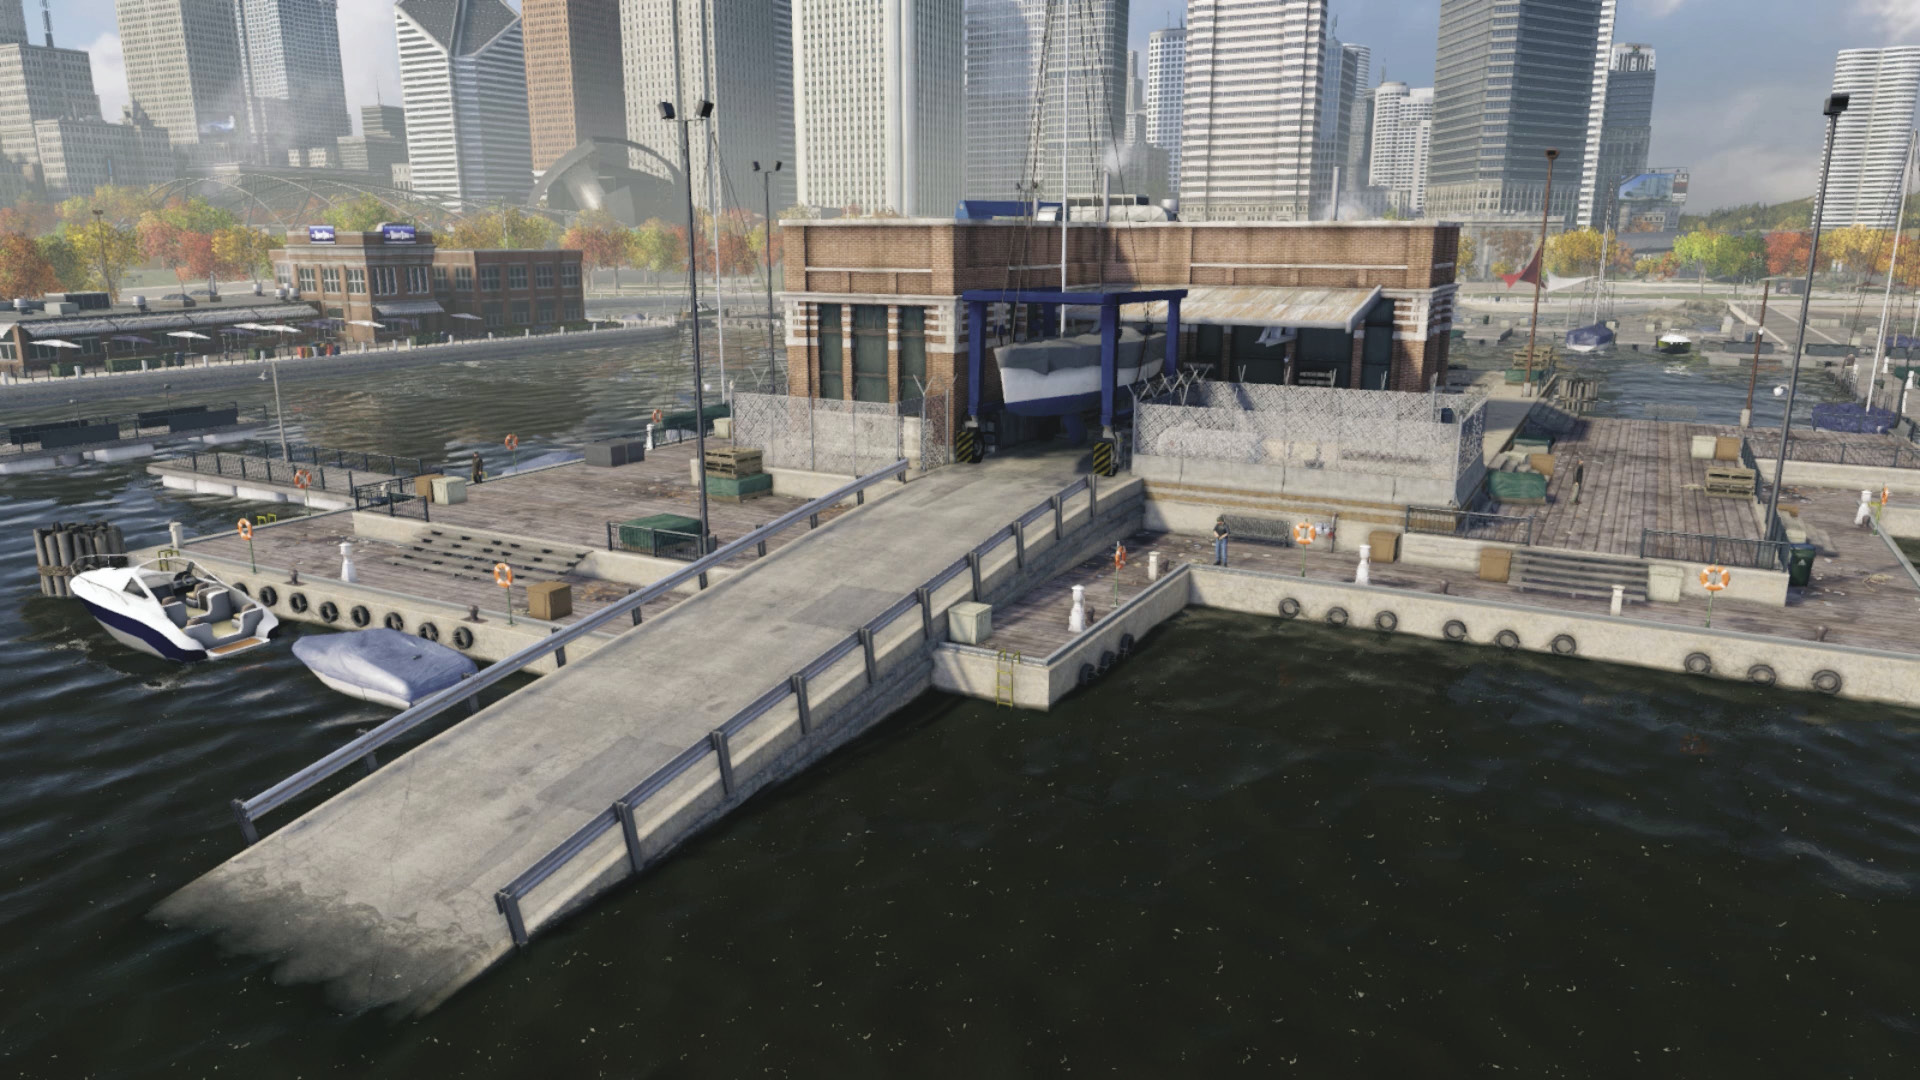
Accessibility Level: 
A great place to run aground if you’re throwing caution to the wind, as the briefcase is located at the slipway’s far end. You obviously won’t be winning any stealth awards using this insertion point.
Progression Plans
You may now try one, parts of, or any combination of the following methods to access the briefcase.
General PreplanningCamera Access: Cameras are helpful to your progress here, as you can access some of the wharf without moving more than a couple of times. Study patrol routes before you act. Optionally use the ctOS scan to sweep the area in seconds and tag everyone. Melee Mayhem Preferred: Due to the lack of escape options, it’s usually better to rely on your baton and fists, though this is purely optional. |
 Driving // Defensive: Part 1: No Fights: Cameras, then Action
Difficulty: 
Follow the target carrying the briefcase until he places it on a workbench near the south slipway. Locate the northwest jetty and hack the cameras, moving counter-clockwise until you watch the briefcase being placed in this location. Once the objective updates, you are free to use any methods you wish to retrieve the case.
 Driving // Defensive: Part 1: Boating for a Briefcase Extraction
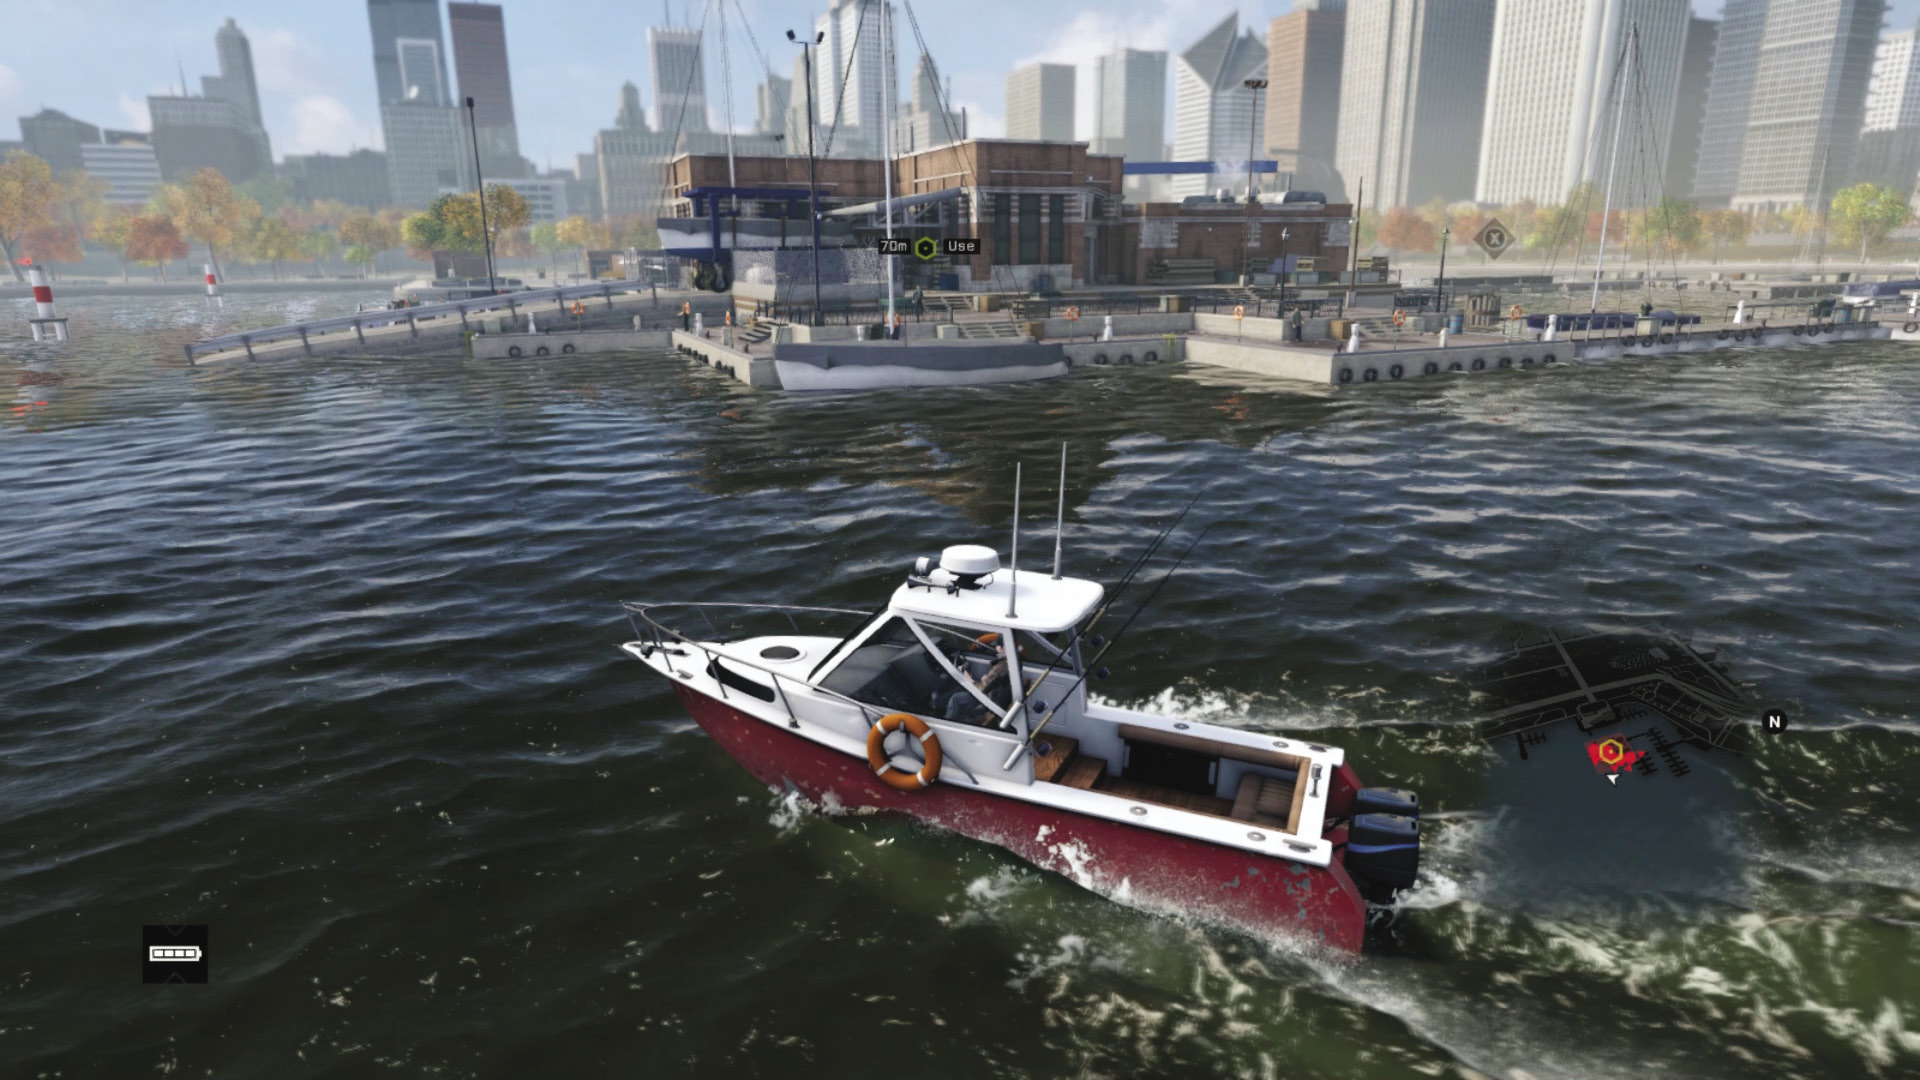
Difficulty: 
Another way to verify the briefcase location is to stay on the boat (or locate one) and move slowly around to the south slipway. Don’t stray too far from the mission area, and circle around until you spot the case on the metal workshop table at the slipway’s far end. Now you can assault the premises using any method you like!
 Passive: Part 2: Sneaking Around
Difficulty: 
If you wish to moor near the garage, you can actually head inside the structure. You can either open the door and enter by boat, go through the walkway doors from outside, or climb the ladders from the water. Make an extremely well-timed sneak east and south. Go up the steps, heading past the stacked pallets and going around the corner to the right, to the briefcase. You can do this without combat, but you’re usually challenged by patrolling guards at the briefcase.
 Driving // Offensive: Part 2: Running Aground
Difficulty: 
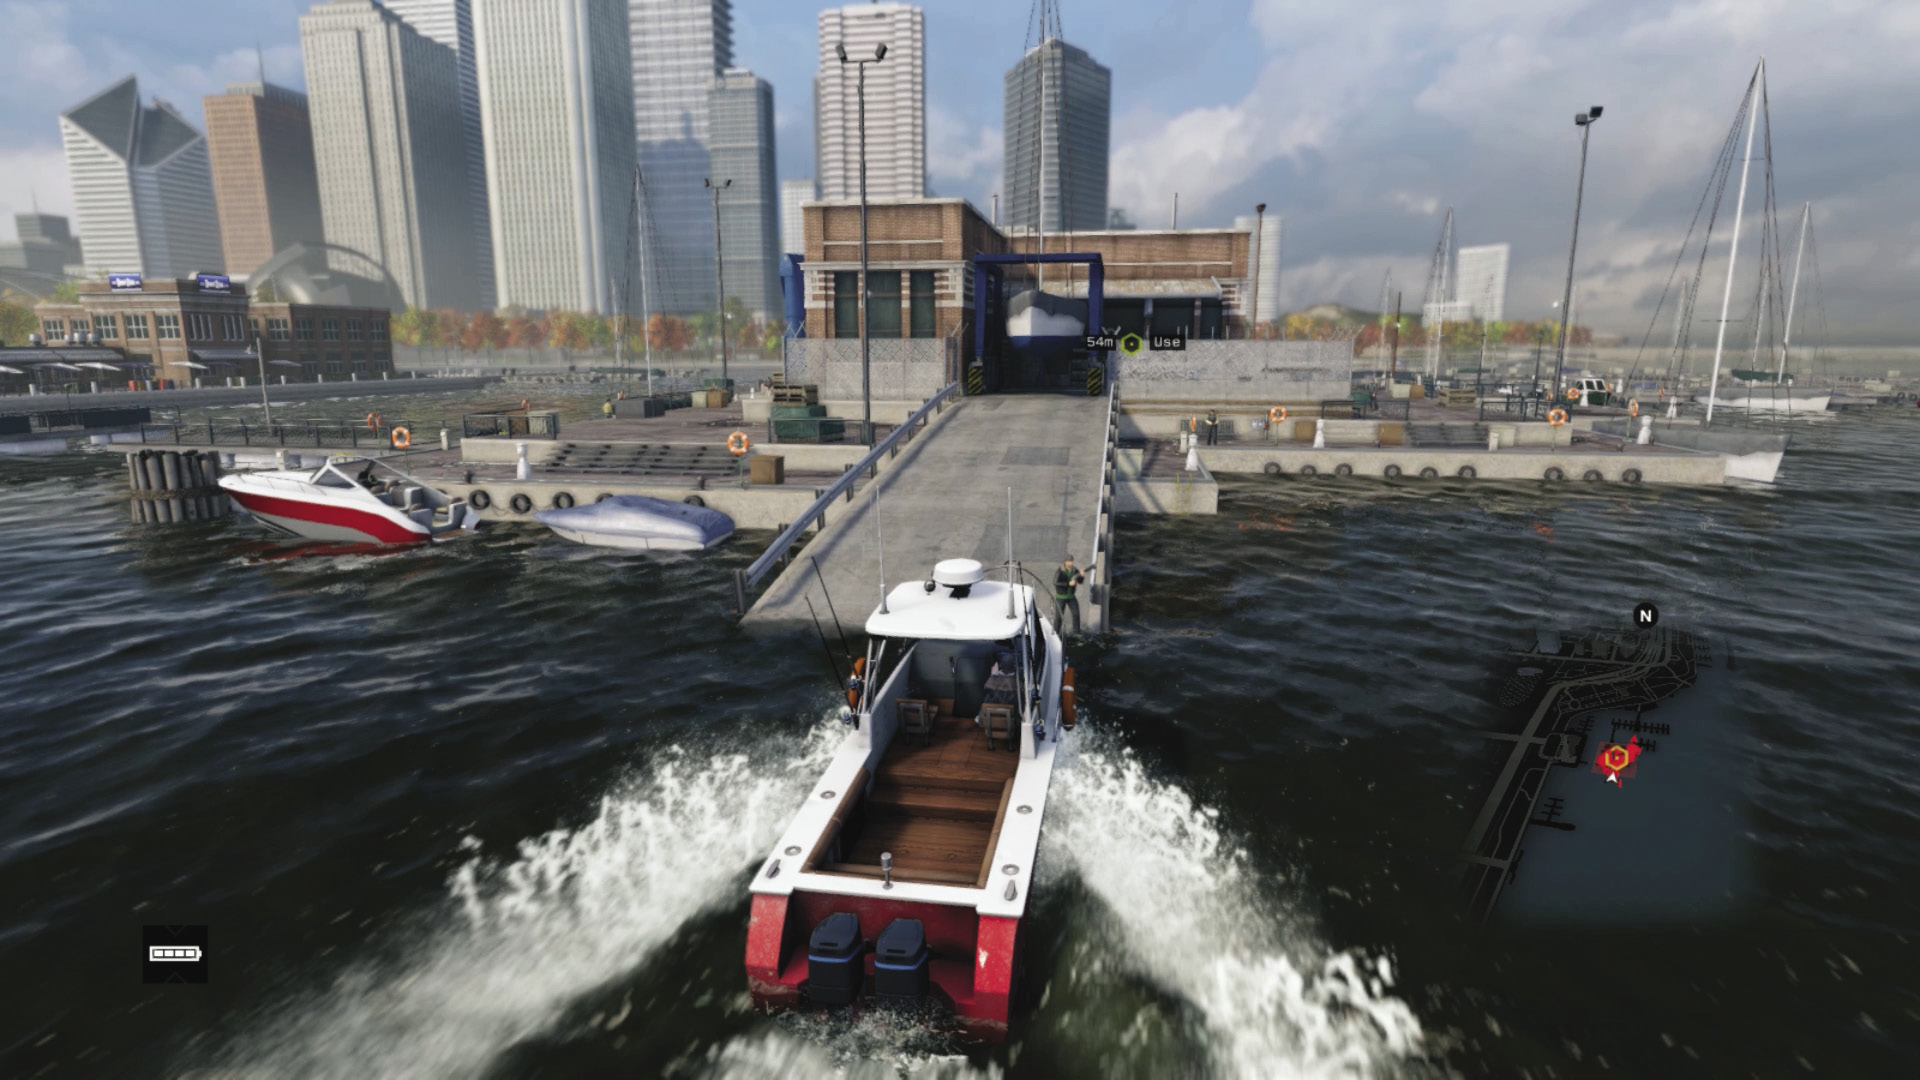
If you want to complete this mission in the fastest possible time and can withstand a few bullets, use a boat to hove around to the southern slipway. Accelerate so your boat runs up the slipway, ideally crushing one of the patrolling guards! Then access the briefcase.
 Aggressive // Smart: Part 2: Gaining Ground
 Difficulty:
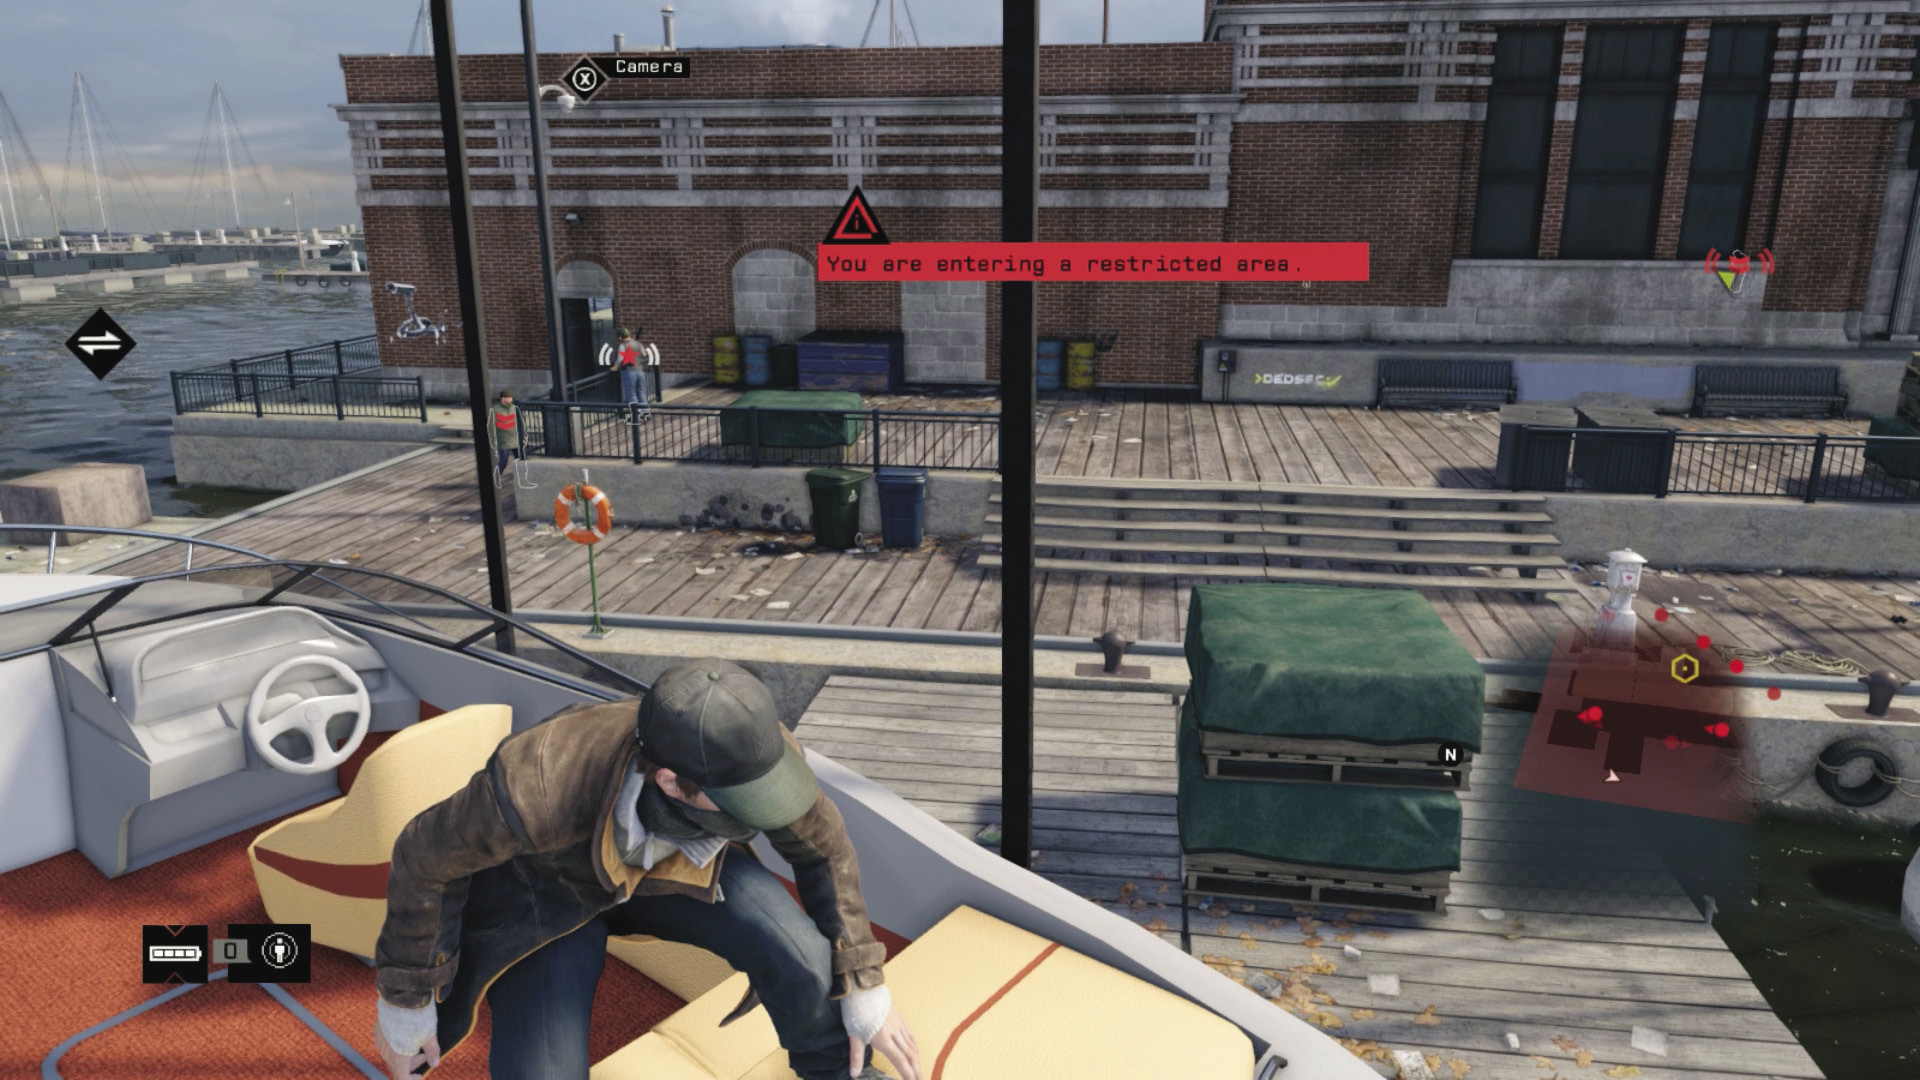
When the briefcase-carrying foe enters the garage, moor your boat (or access the area) at the northwest jetty, close to the boat crane. Climb onto the boat attached to the crane. Hack the crane to be transported to the western wharf area. As the crane moves, optionally access the cameras to mark the foes ahead of you. Drop down behind the boat as a foe comes over to investigate; then throttle him and begin a series of cunning stealth attacks.
 Aggressive // Stealth: Part 2: Takedowns to Confound
 Difficulty:
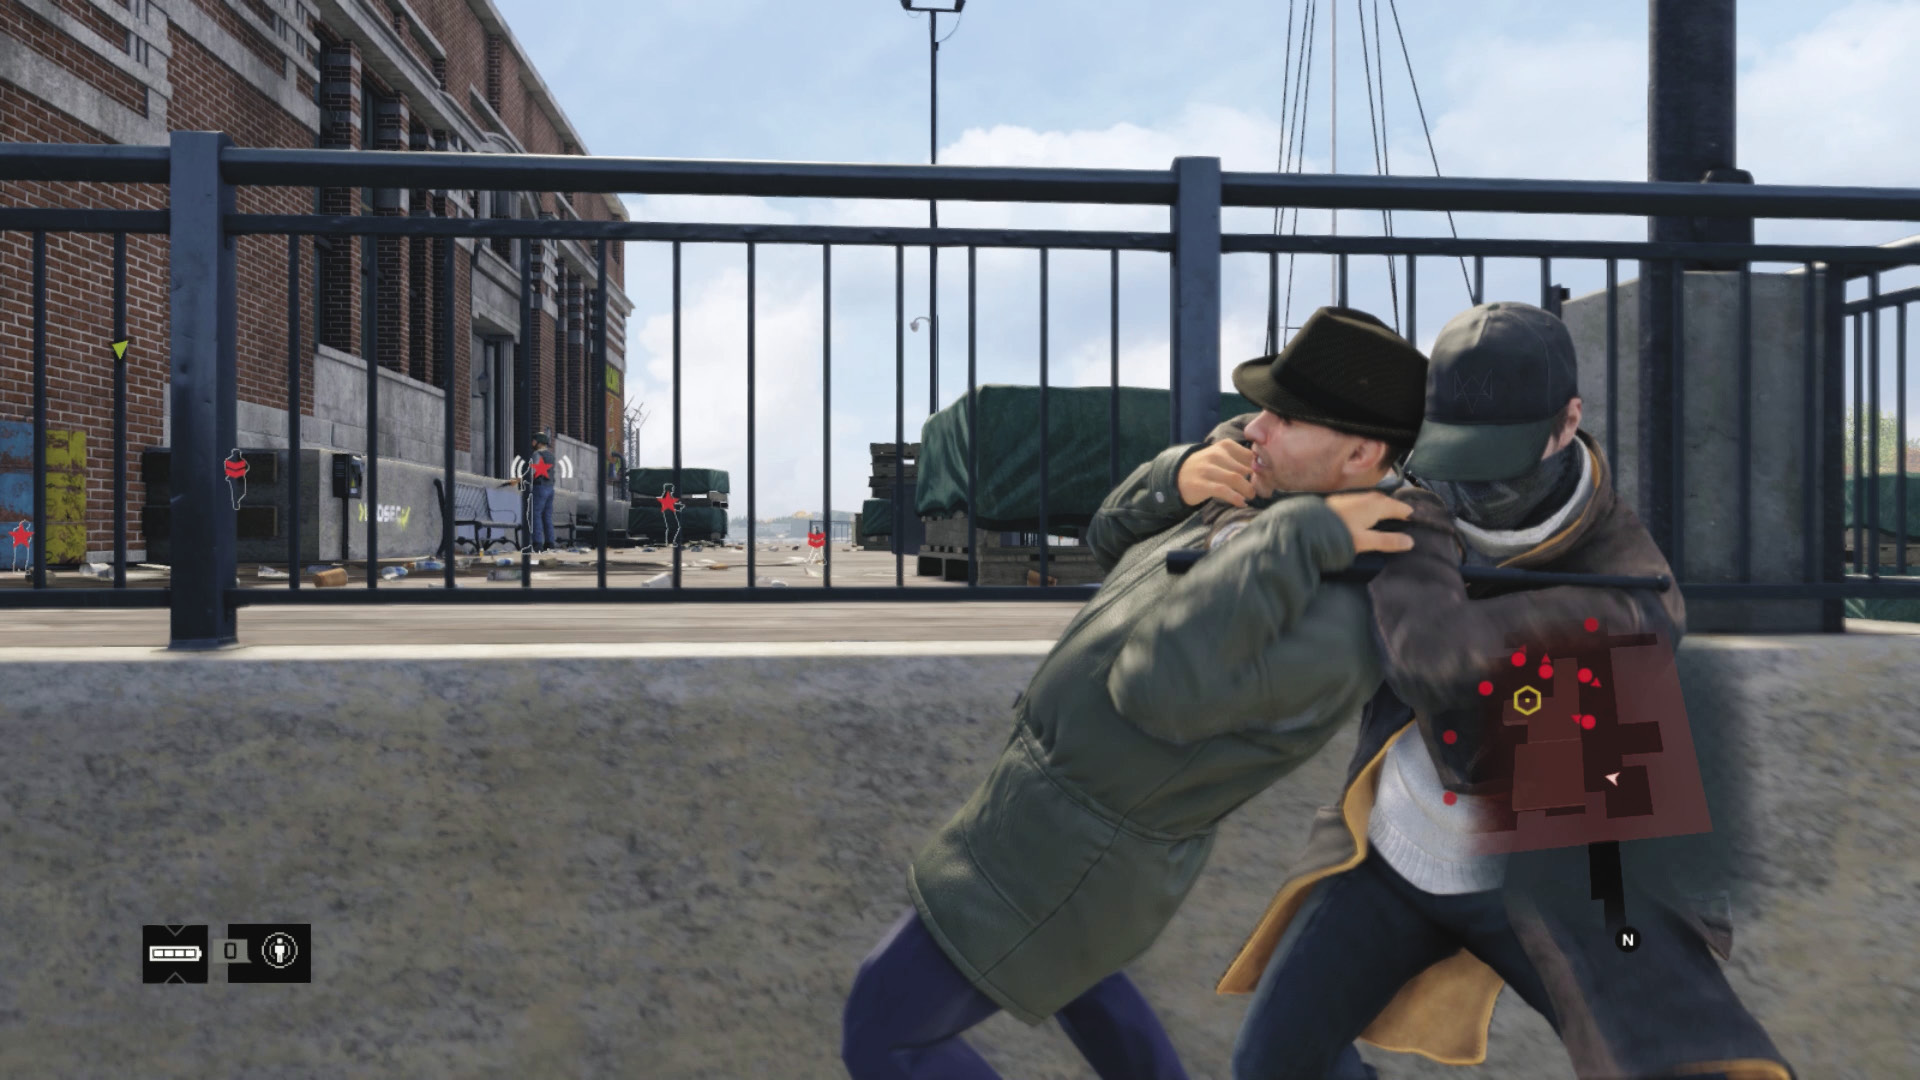
You’re able to strangle or baton most of your enemies. After dropping down from the boat on the crane, work your way along the wharf from north to south, watching for patrol patterns and tackling the enemies one at a time. Watch for the patrolling guard on the slipway; access him by creeping by the brick building. Then to be safe, defeat the two foes on the corner area before accessing the briefcase. There are two final foes over on the northeast jetty; leave them alone and follow up with ranged fire or lures after accessing the briefcase.
Or, you can tackle the foes with melee strikes starting at the northeast jetty, but you’ll need to distract the first foe, as it’s difficult to rush him without being spotted.
Or, you can simply dive into the water and sneak around the concrete perimeter. However, if you’re discovered, it’s very difficult to survive while treading water and dodging bullets.
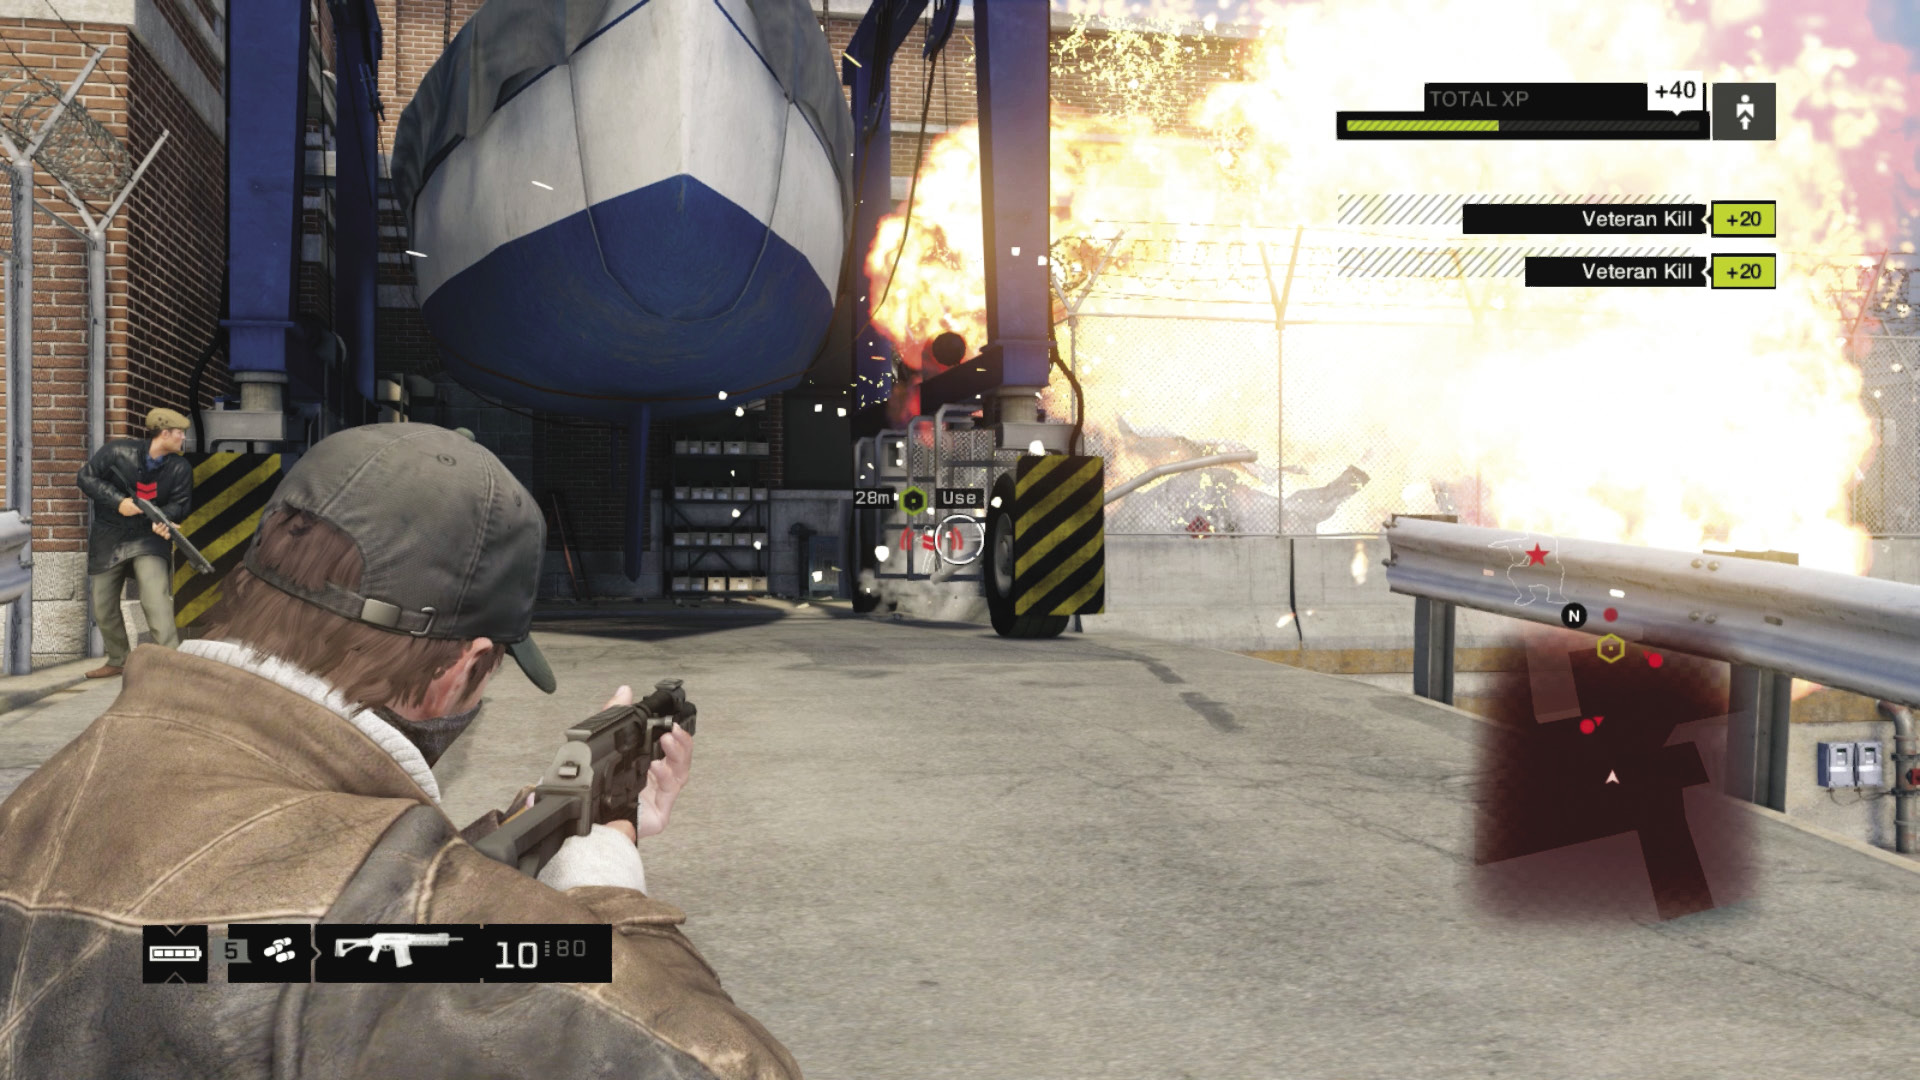
 Aggressive // Violence: Part 2: Your Gun Skills Are Renowned
Difficulty: 
Bring ranged death on the guards of the marina! Pistols or automatic weapons are always ideal, but there are other ways to kill your way to the case:
Speed around the marina’s perimeter in a boat, stopping periodically to snipe at foes from your moving camping position.
Use the large propane tank, a foe with a grenade you can explode, or junction boxes; lure as many foes as you can to the danger and then detonate it.
Stay around the garage area, which has exit doors and cover, compared to the low pallets and open area of the marina.
10.4 BACK ON DRY LAND
 Location / The Loop // City Marina
|
|
 Escape the marina
 Escape
 Lethal Force Likely
 Melee Force Likely
Difficulty: 
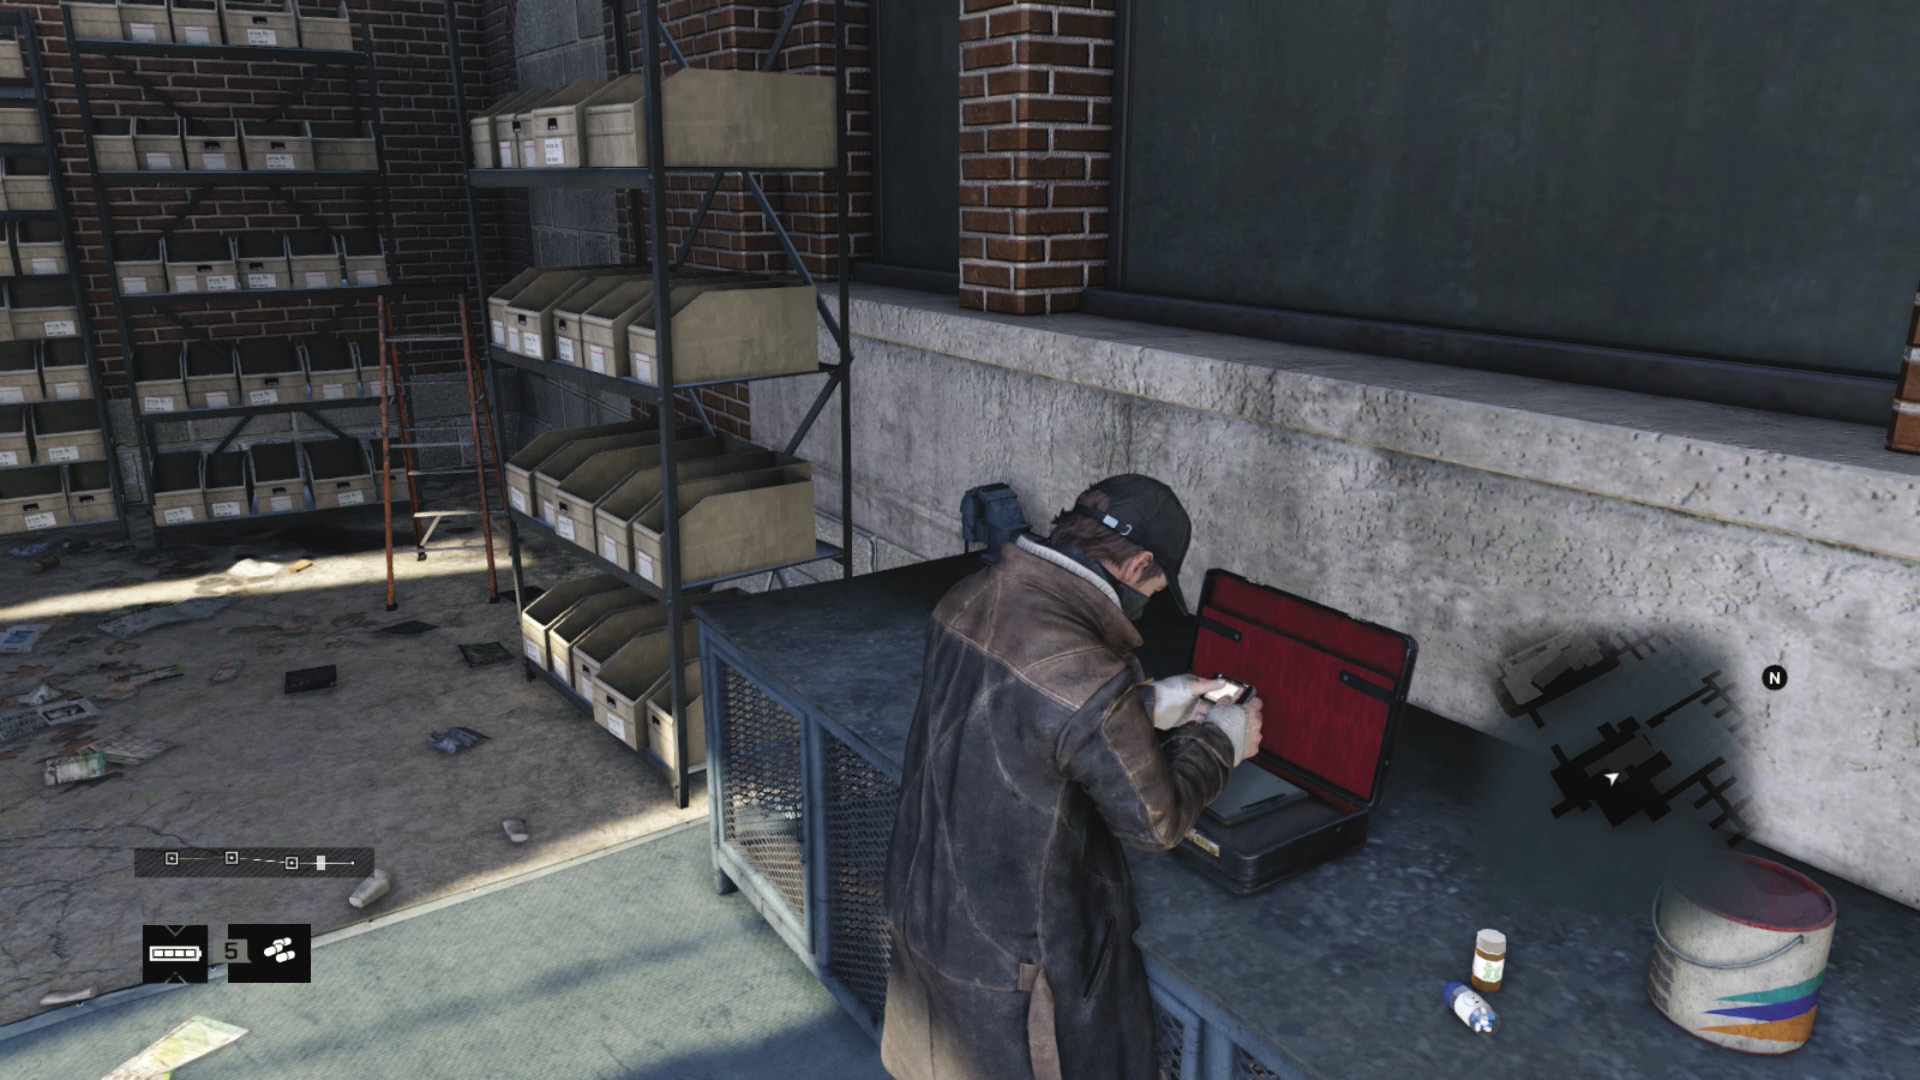
When you reach the case, claim any nearby crafting items, then open and scan the contents, whether there are enemies left or not. Then it’s a simple matter of escaping the marina. Achieve this in one of two recommended ways:
Rush the jetty to the northeast or southwest, accessing the rotating bridge with your smartphone.
Locate the nearest boat and flee to the water; this is advisable if reinforcements are arriving and if the boat is close by. Remember, there’s always the boat the briefcase carrier used!
Once you’re away from the marina and have lost any foes, the mission concludes.
MISSION REWARDSGained XP +1,000 ctOS Center: MAD MILE MUST BE UNLOCKED |