
Watch Dogs Guide MAIN MISSIONS MAIN MISSIONS /// Act II
_ROLE MODEL
|
OBJECTIVES
|
 Eliminate all enemies
 Defend against reinforcements
 Reach Jackson
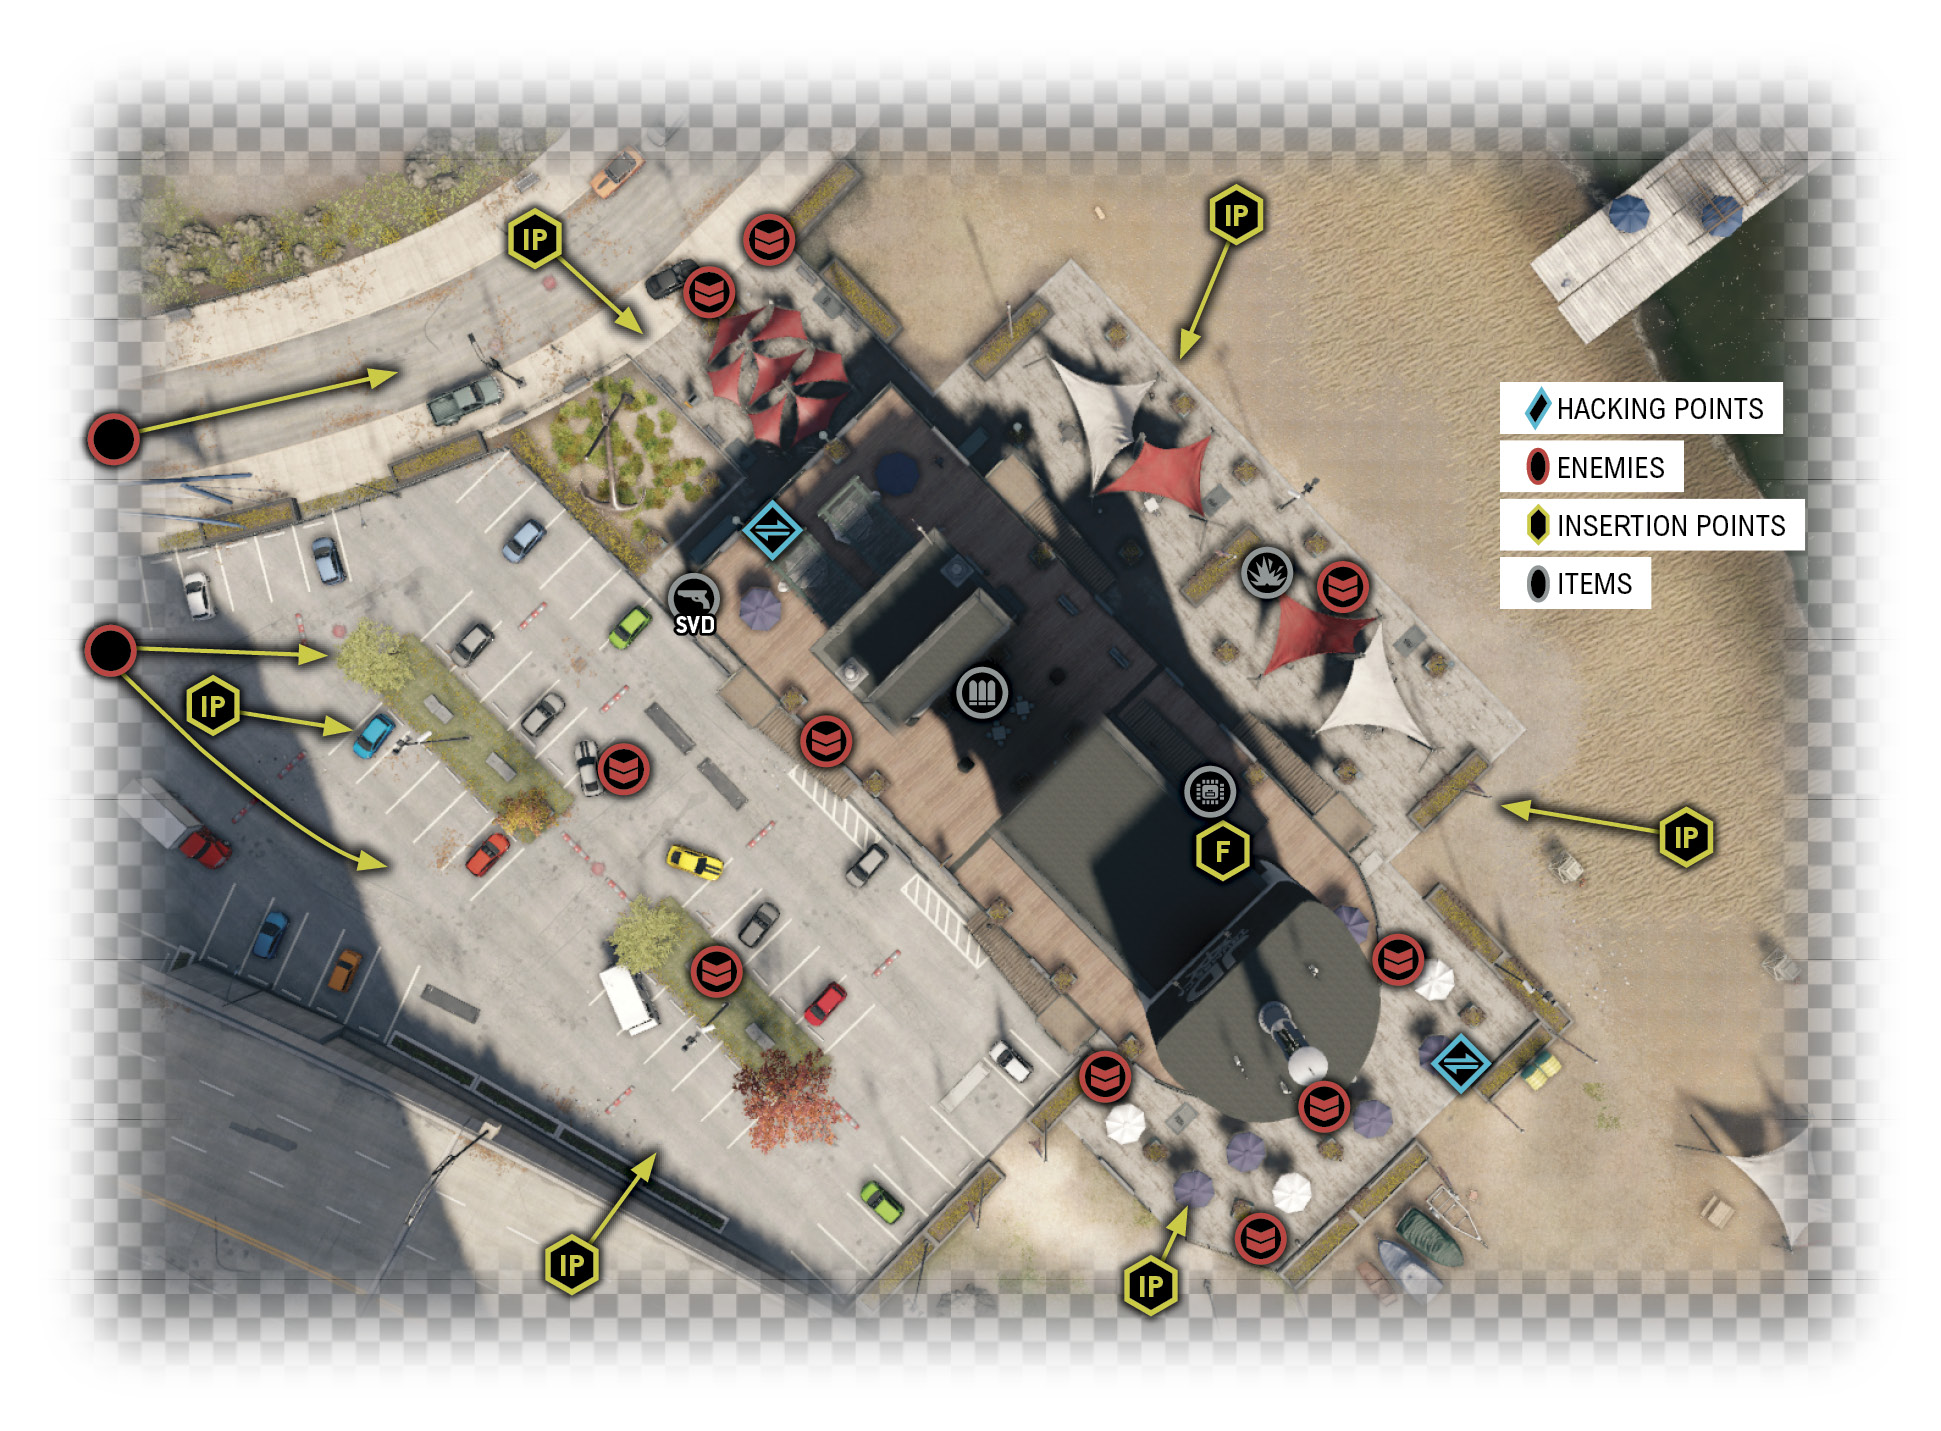
LOCATIONS // MAP
Location / Mad Mile // JD Trumbet’s Seaside Restaurant
|
|
 Eliminate all enemies
13.1 JACKS AND LOST
 Location / Mad Mile // JD Trumbet’s Seaside Restaurant
 Infiltration
 Lethal Force Likely
 Melee Force Likely
Difficulty: 
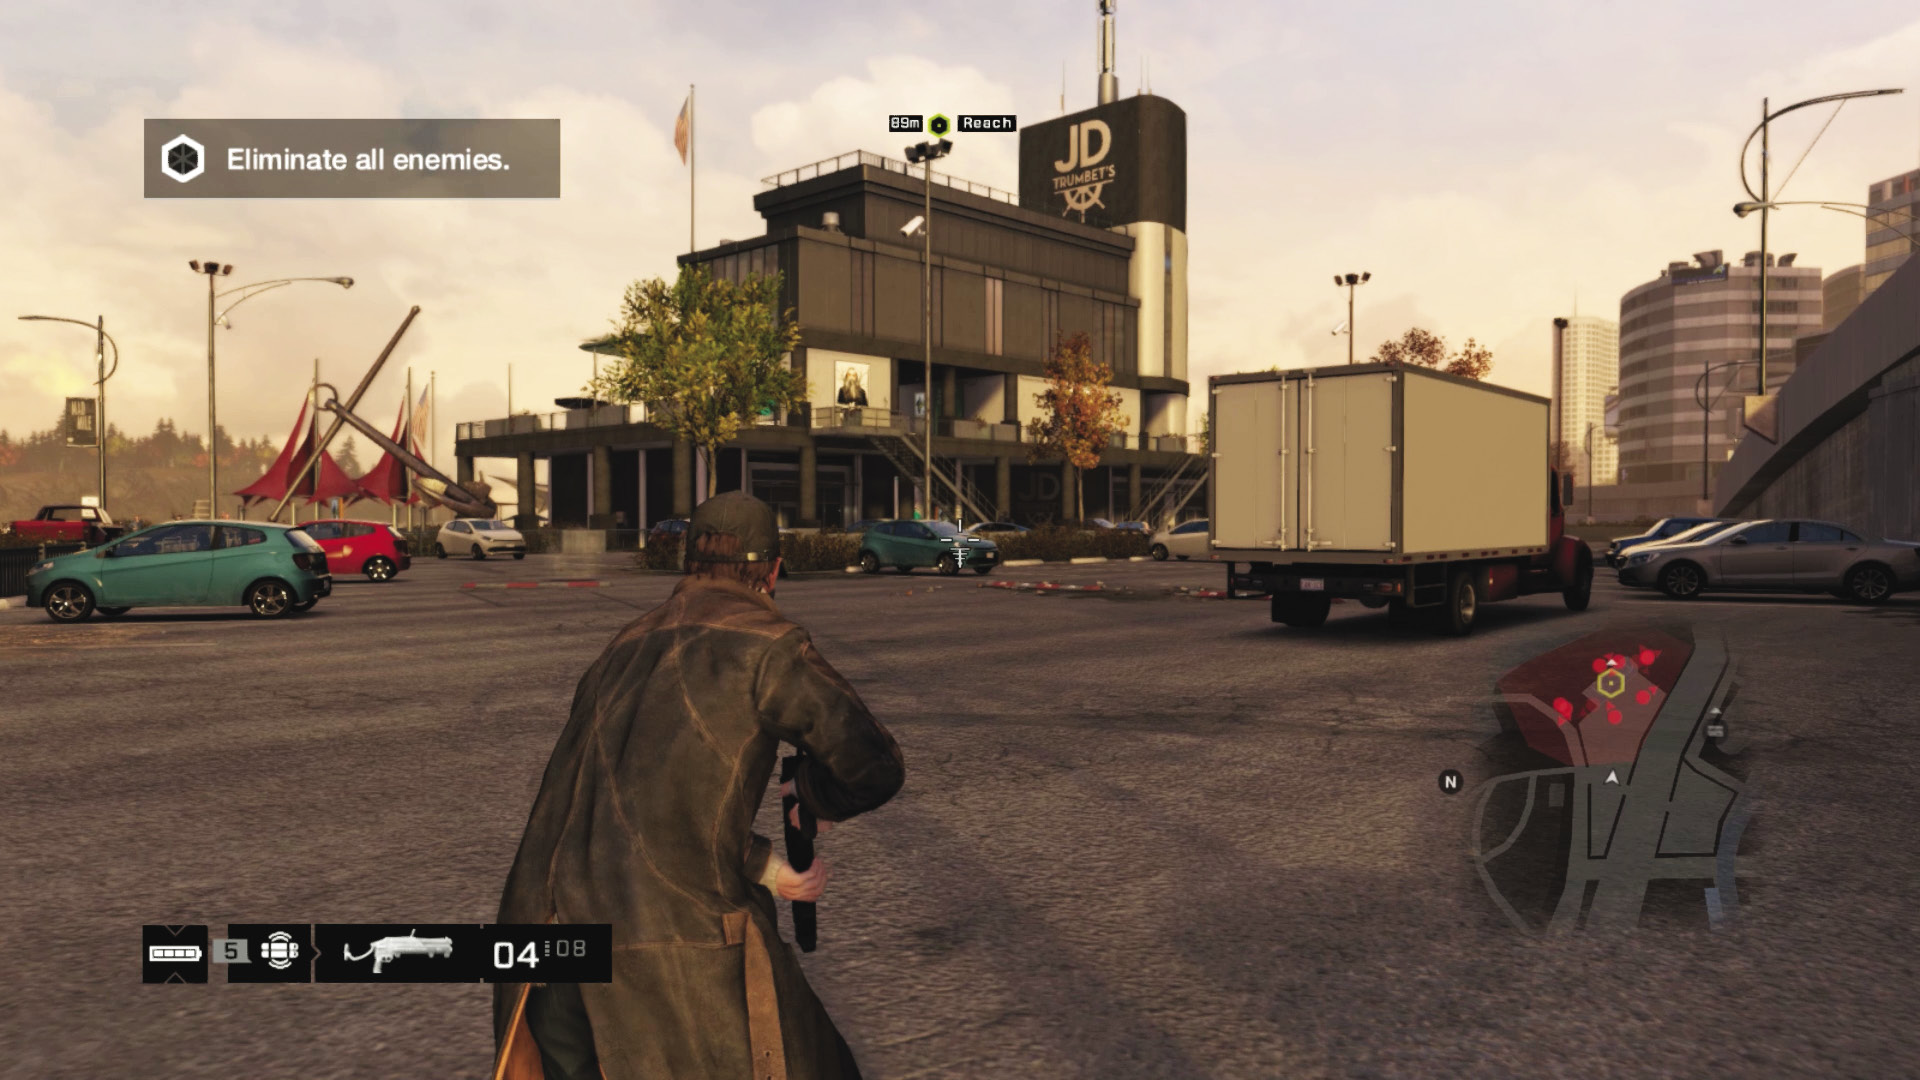
You receive a troubling call from Yolanda—Jacks has wandered off. You don’t want the police involved and tell her you’ll take care of it. He’s holed up in a security office on the top floor of a seaside restaurant in Mad Mile. Time to go fishing. Head to the parking lot close to the restaurant to begin your search-and-destroy mission.
Overview
 Completion Point: The vehicle on the warehouse’s northeast interior.
 Dangers: Ten Fixers (Veteran x10), carrying shotguns and assault rifles. No Shot-Callers.
Reinforcements (once initial foes are dispatched): Two vehicles (#1 and #2). If further reinforcements are called, each additional vehicle appears one at a time:
Vehicle 1: Veteran x3, Elite x1 (all Shot-Callers)
Vehicle 2: Veteran x3, Enforcer x1 (all Shot-Callers)
Vehicle 3: Veteran x3, Elite x1 (all Shot-Callers)
Vehicle 4: Veteran x3, Enforcer x1 (all Shot-Callers)
Vehicle 5: Veteran x2, Elite x1, Enforcer x1 (no Shot-Callers)
Insertion Points
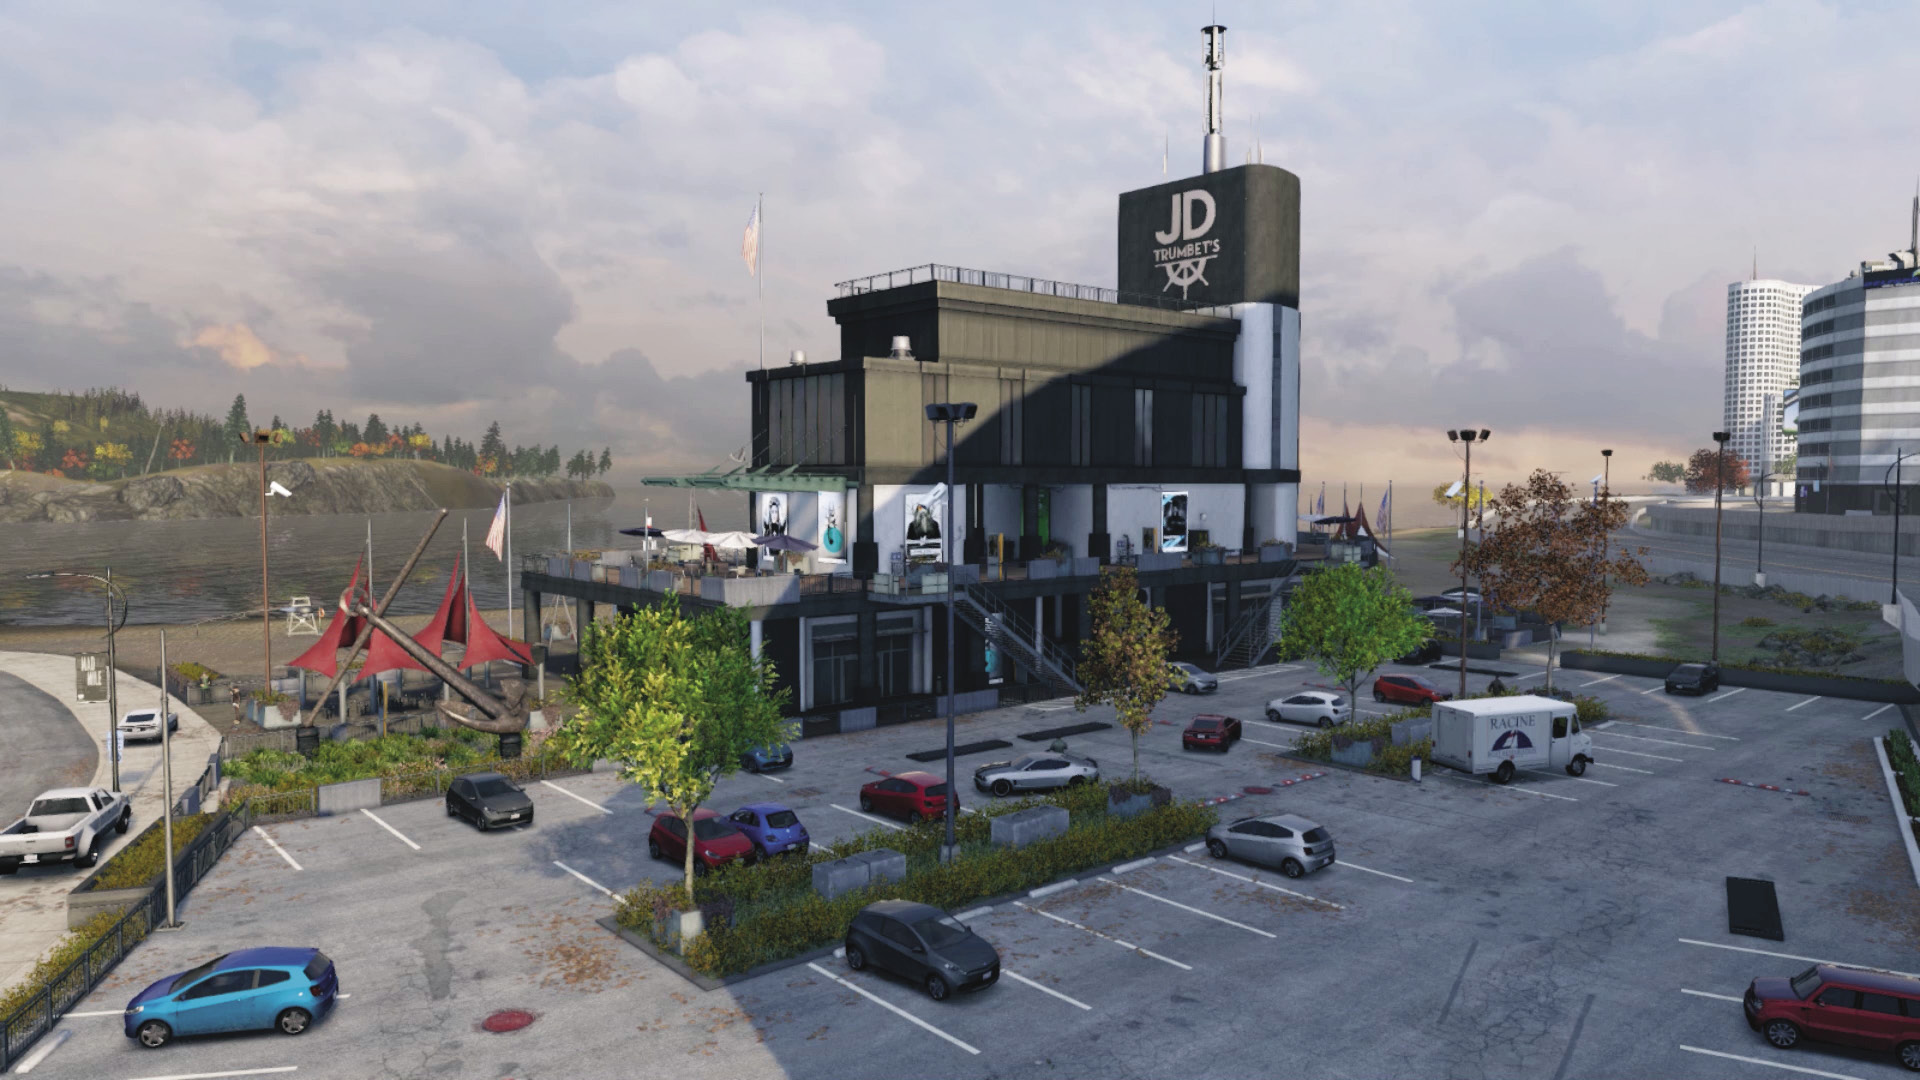
This location is extremely porous; you can assault it from every side. Here are the four different angles to consider approaching from, along with a quick overview of the restaurant structure you’re combing through.
Parking Lot (West)
 Accessibility Level:
As long as the foe walking the balcony doesn’t see you, approaching from here is an excellent plan. The stairs to the midlevel balcony are easy to reach, and you can swiftly deal with the two foes in the parking lot if you can hide behind cars. There’s good lines of sight from the underpass (or atop it) if you favor long-range combat.
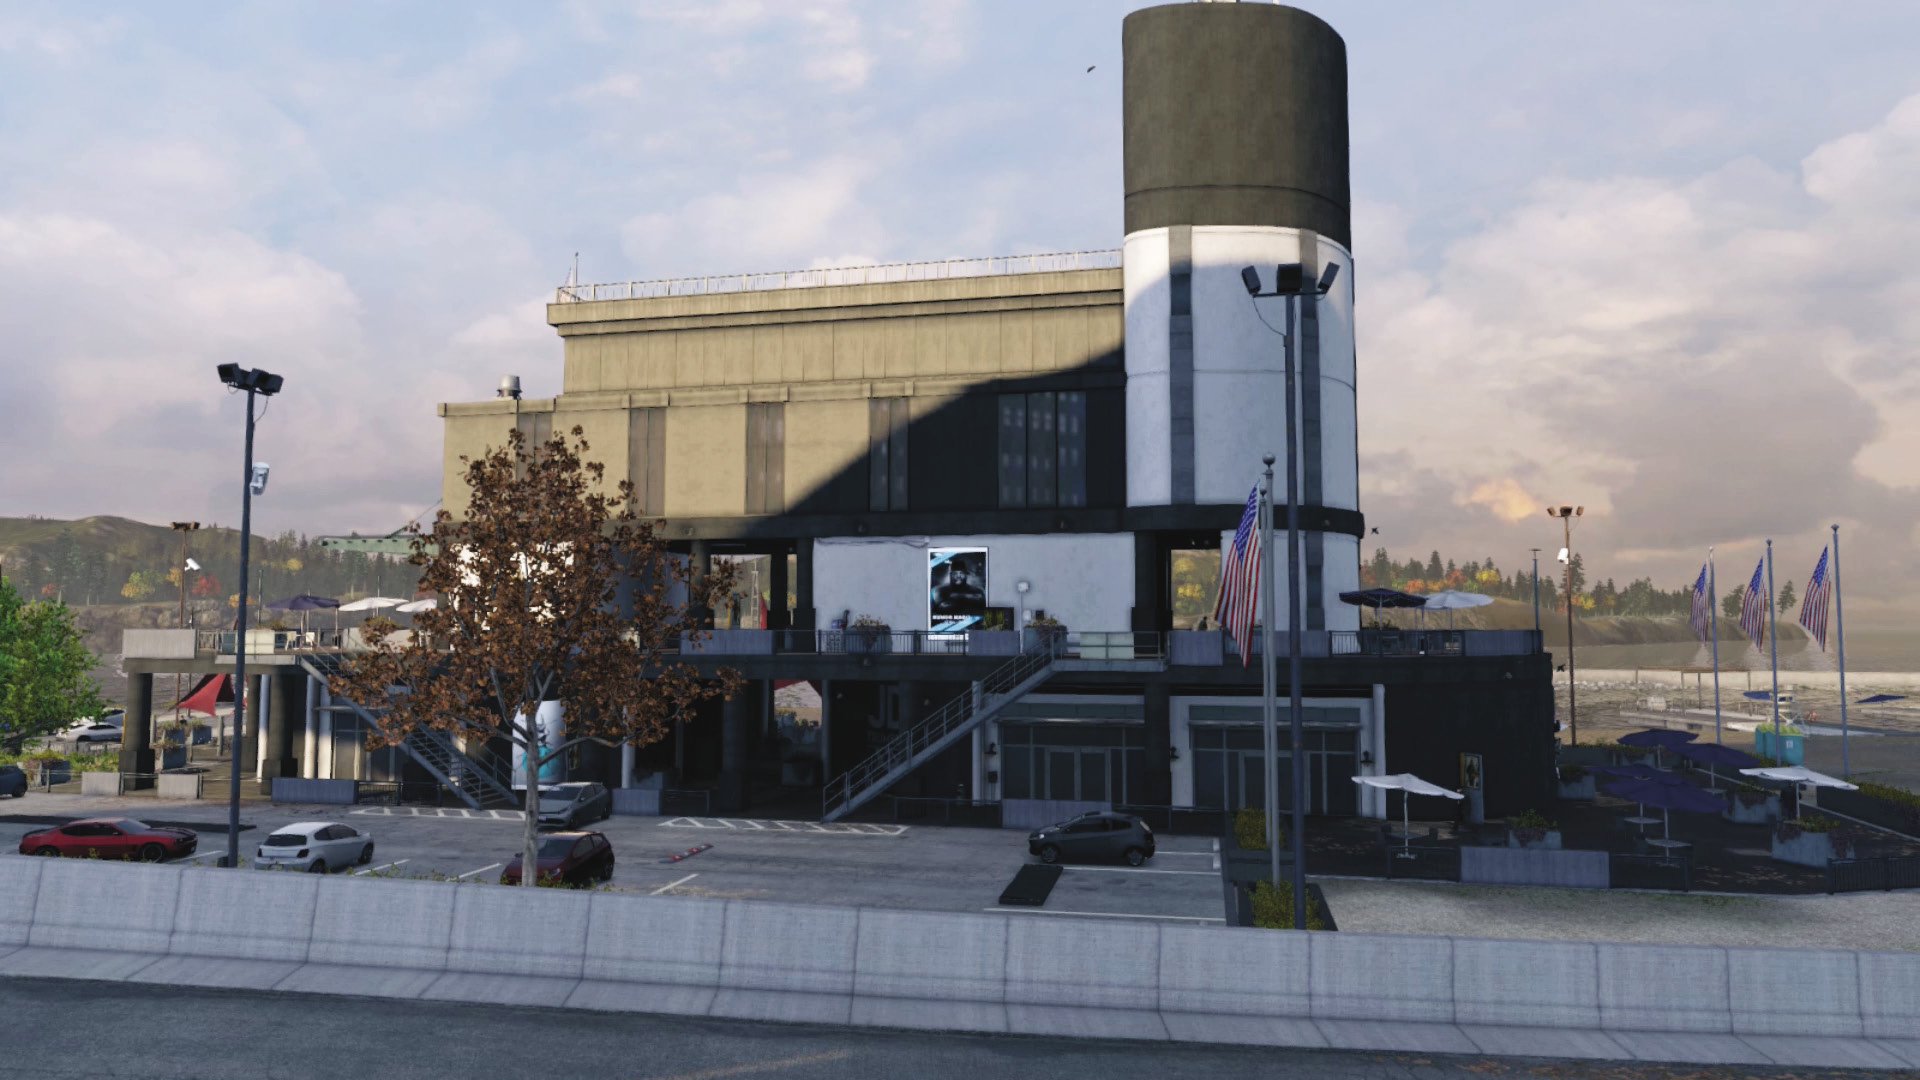
Freeway (West)
 Accessibility Level:
You can park up here and start firing off sniper rifle rounds into the foes patrolling, but the distance away means the foes on the beach side won’t be accessible, and you’ll give your position away. Not tactical, but entertaining!
Grassy Area (Southeast)
 Accessibility Level:
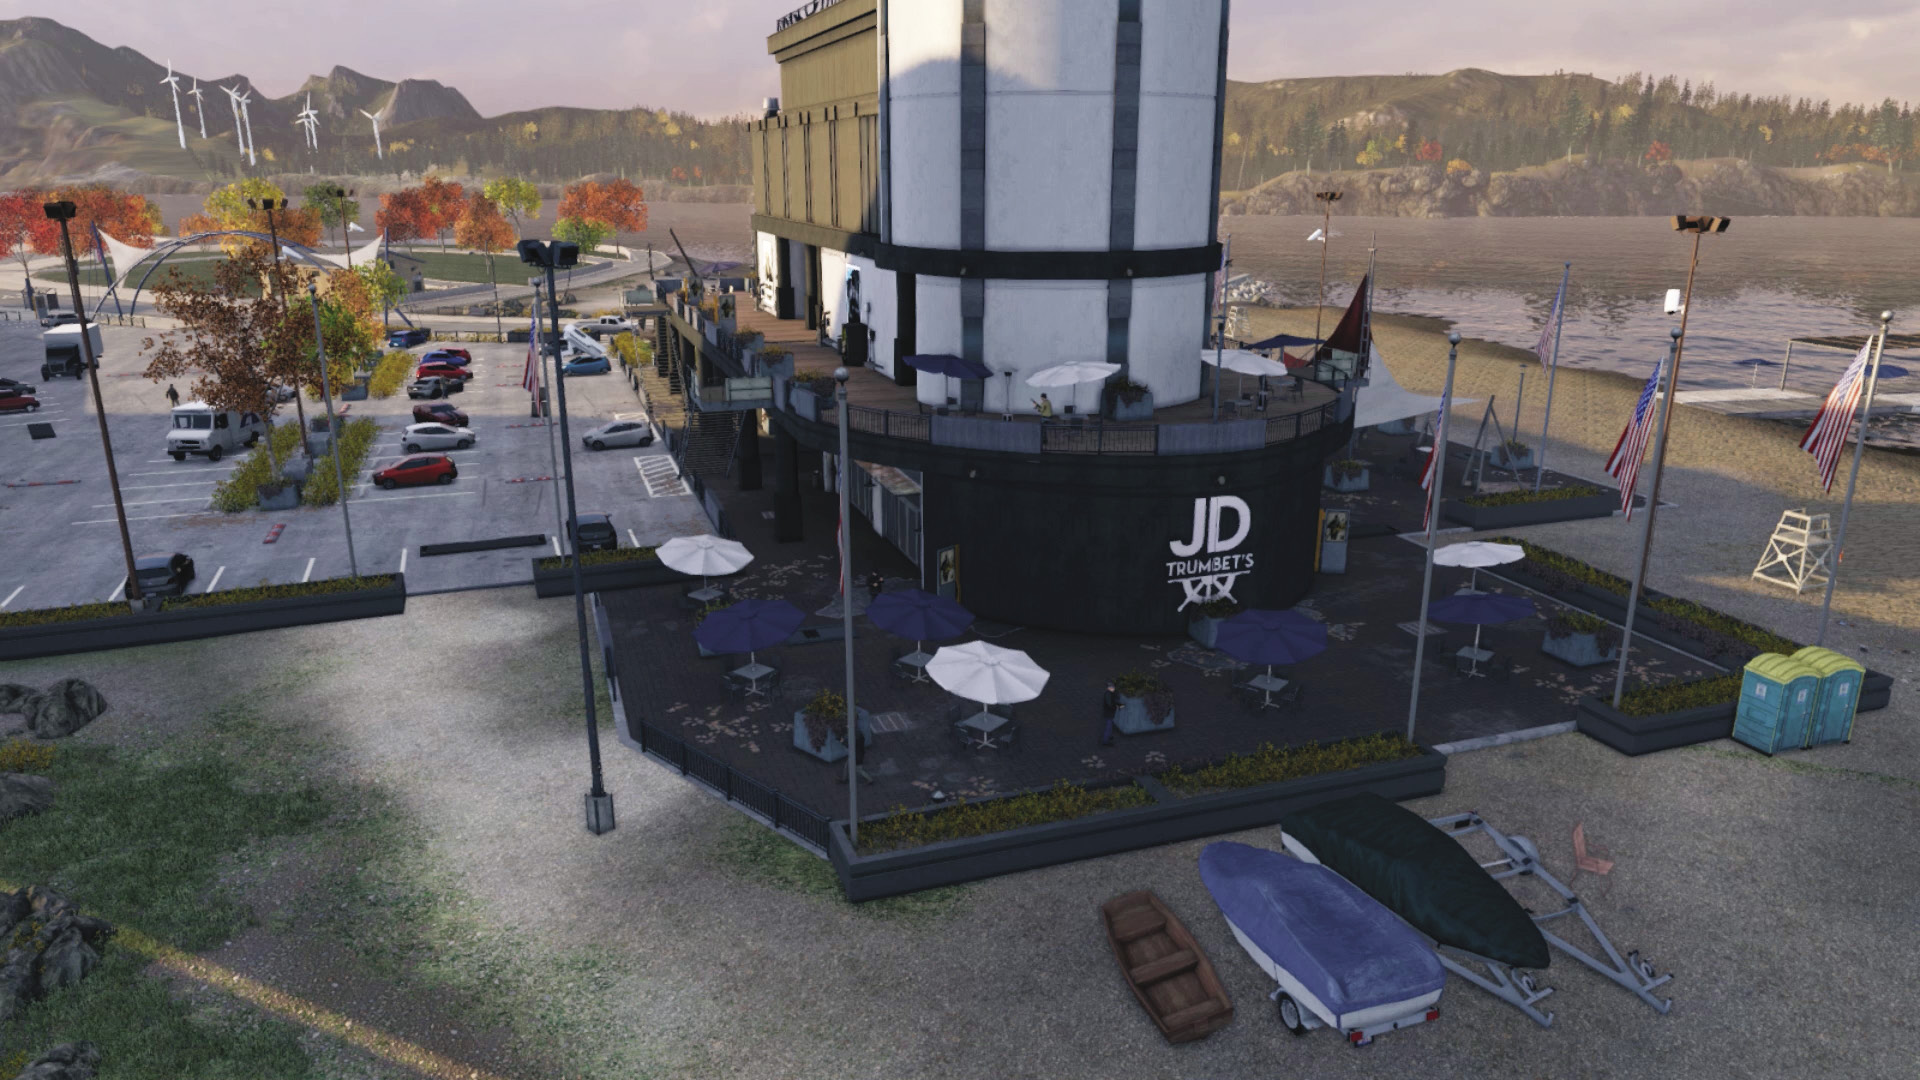
You need to make an elongated loop from the starting point to reach this open expanse of grass, which has limited hiding places until you reach the boats near the umbrella-topped seating area where three foes patrol. It’s better to approach from the sides of the building or around the perimeter of the planters.
Beach (Northeast)
Accessibility Level: 
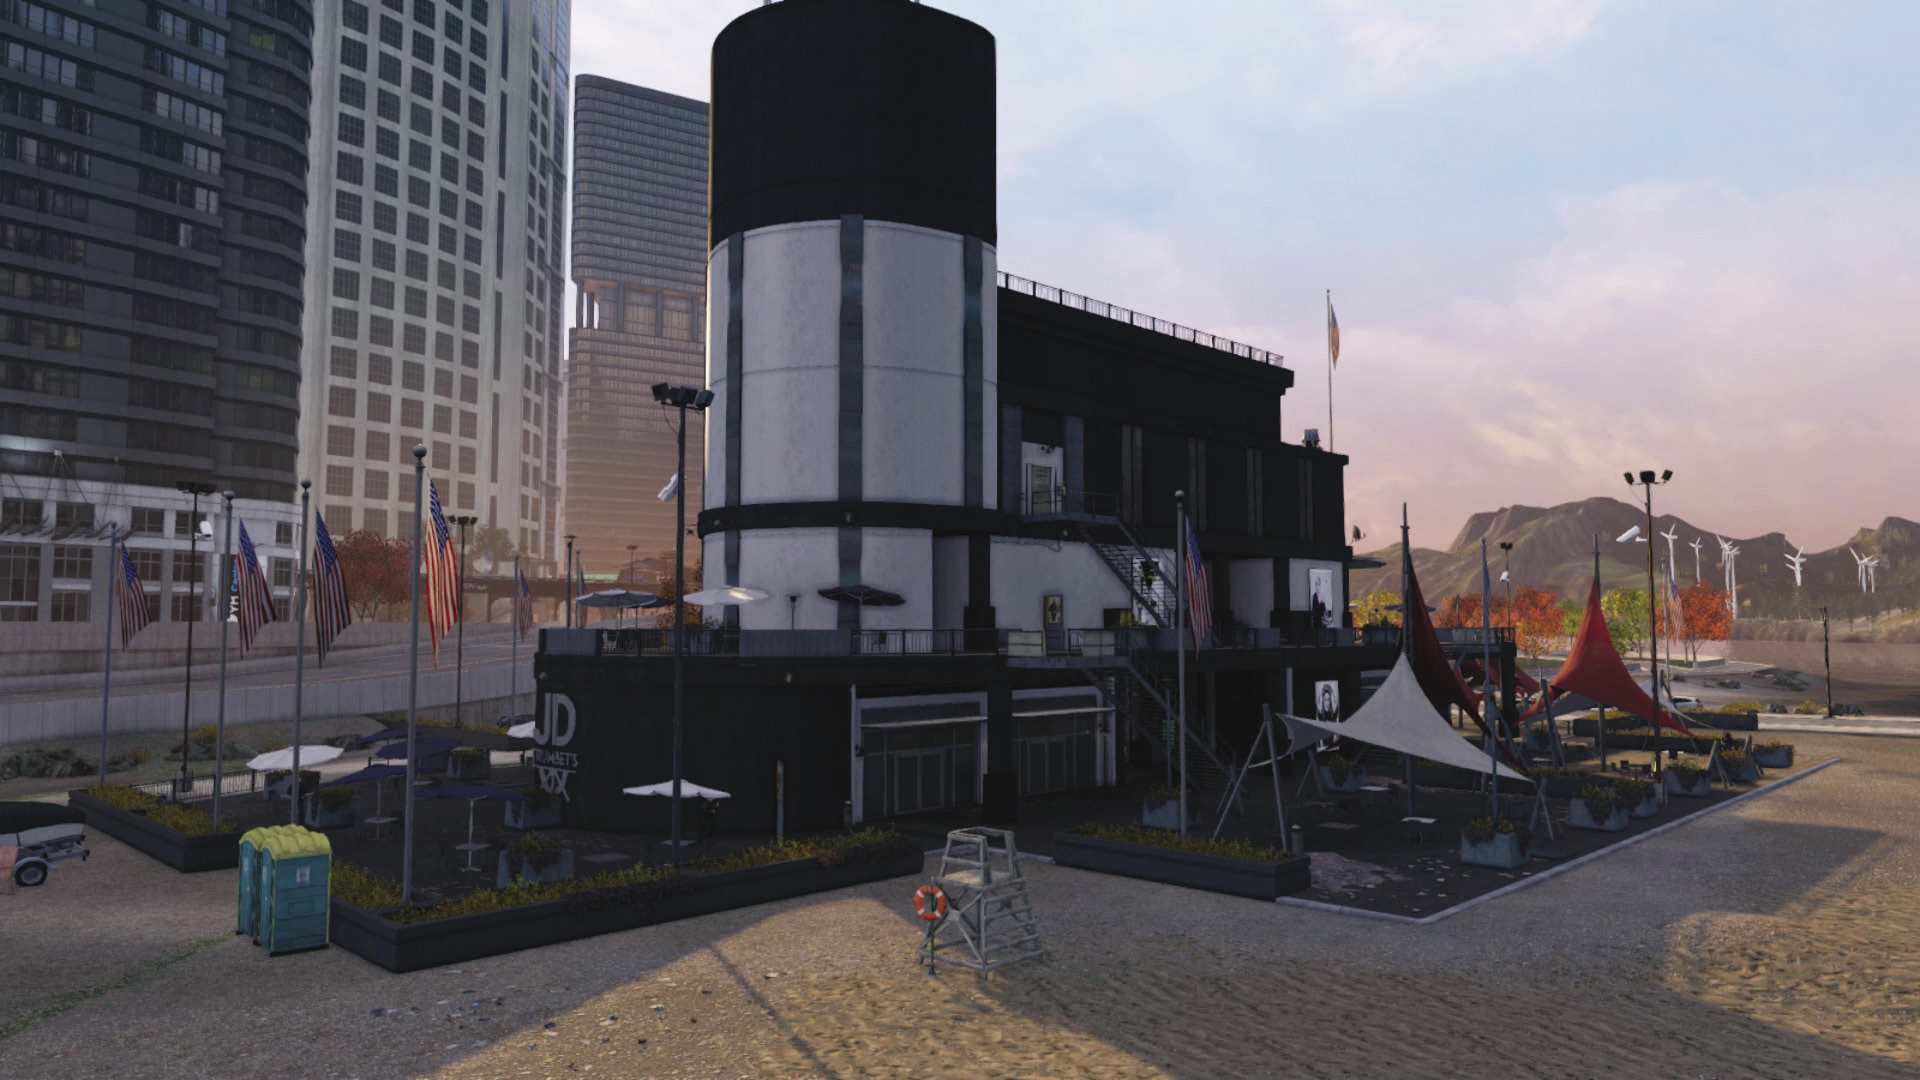
You can quite easily drive onto the beach, but don’t maneuver too close to the foes at the front of the restaurant. Take it slowly so the foe or two on this side doesn’t realize what you’re up to. There are similar metal stairs to the parking lot to access, too, and numerous planters for cover.
Giant Anchor and Main Entrance (Northwest)
 Accessibility Level:
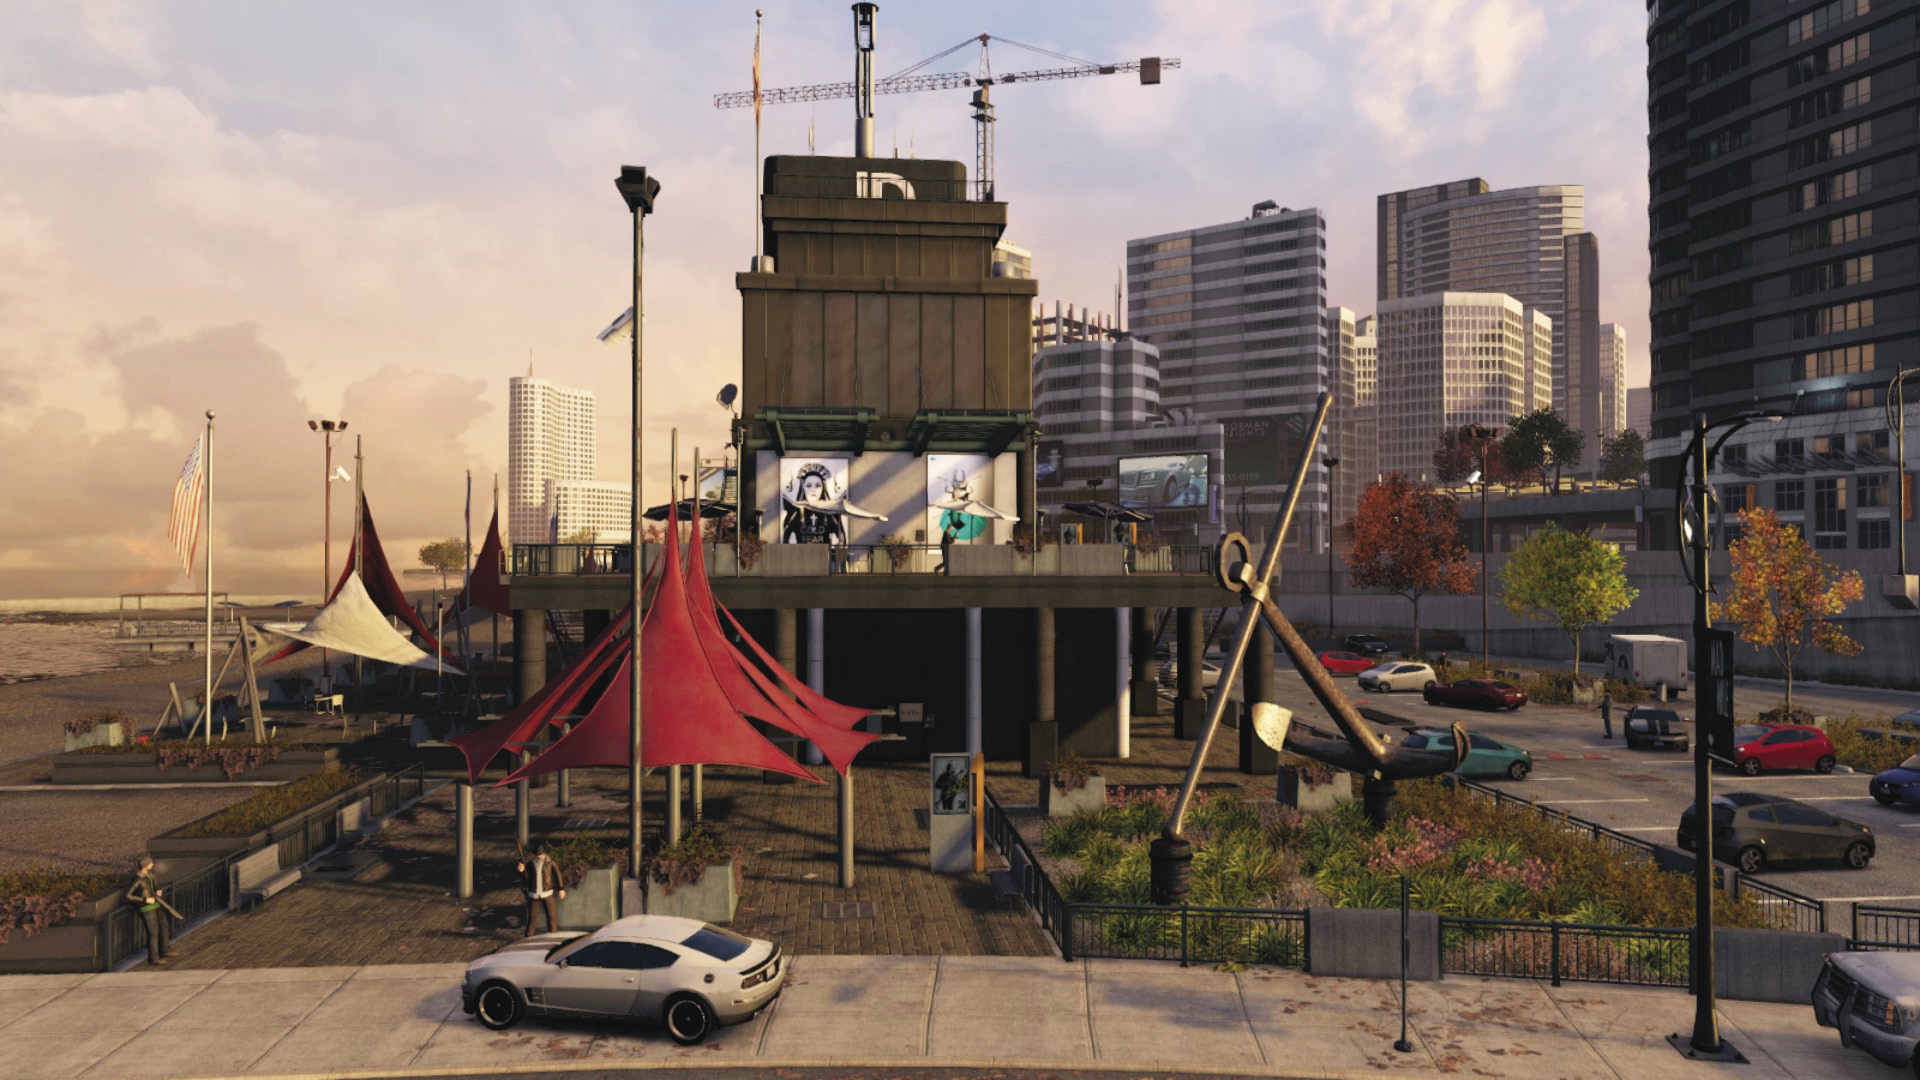
Though very accessible, the foe on the balcony above and the two standing close to each other make stealth attacks somewhat difficult unless you’re using lures. But you can easily reach cover under the balcony and start your assault from this position.
Seaside Restaurant
 Accessibility Level:
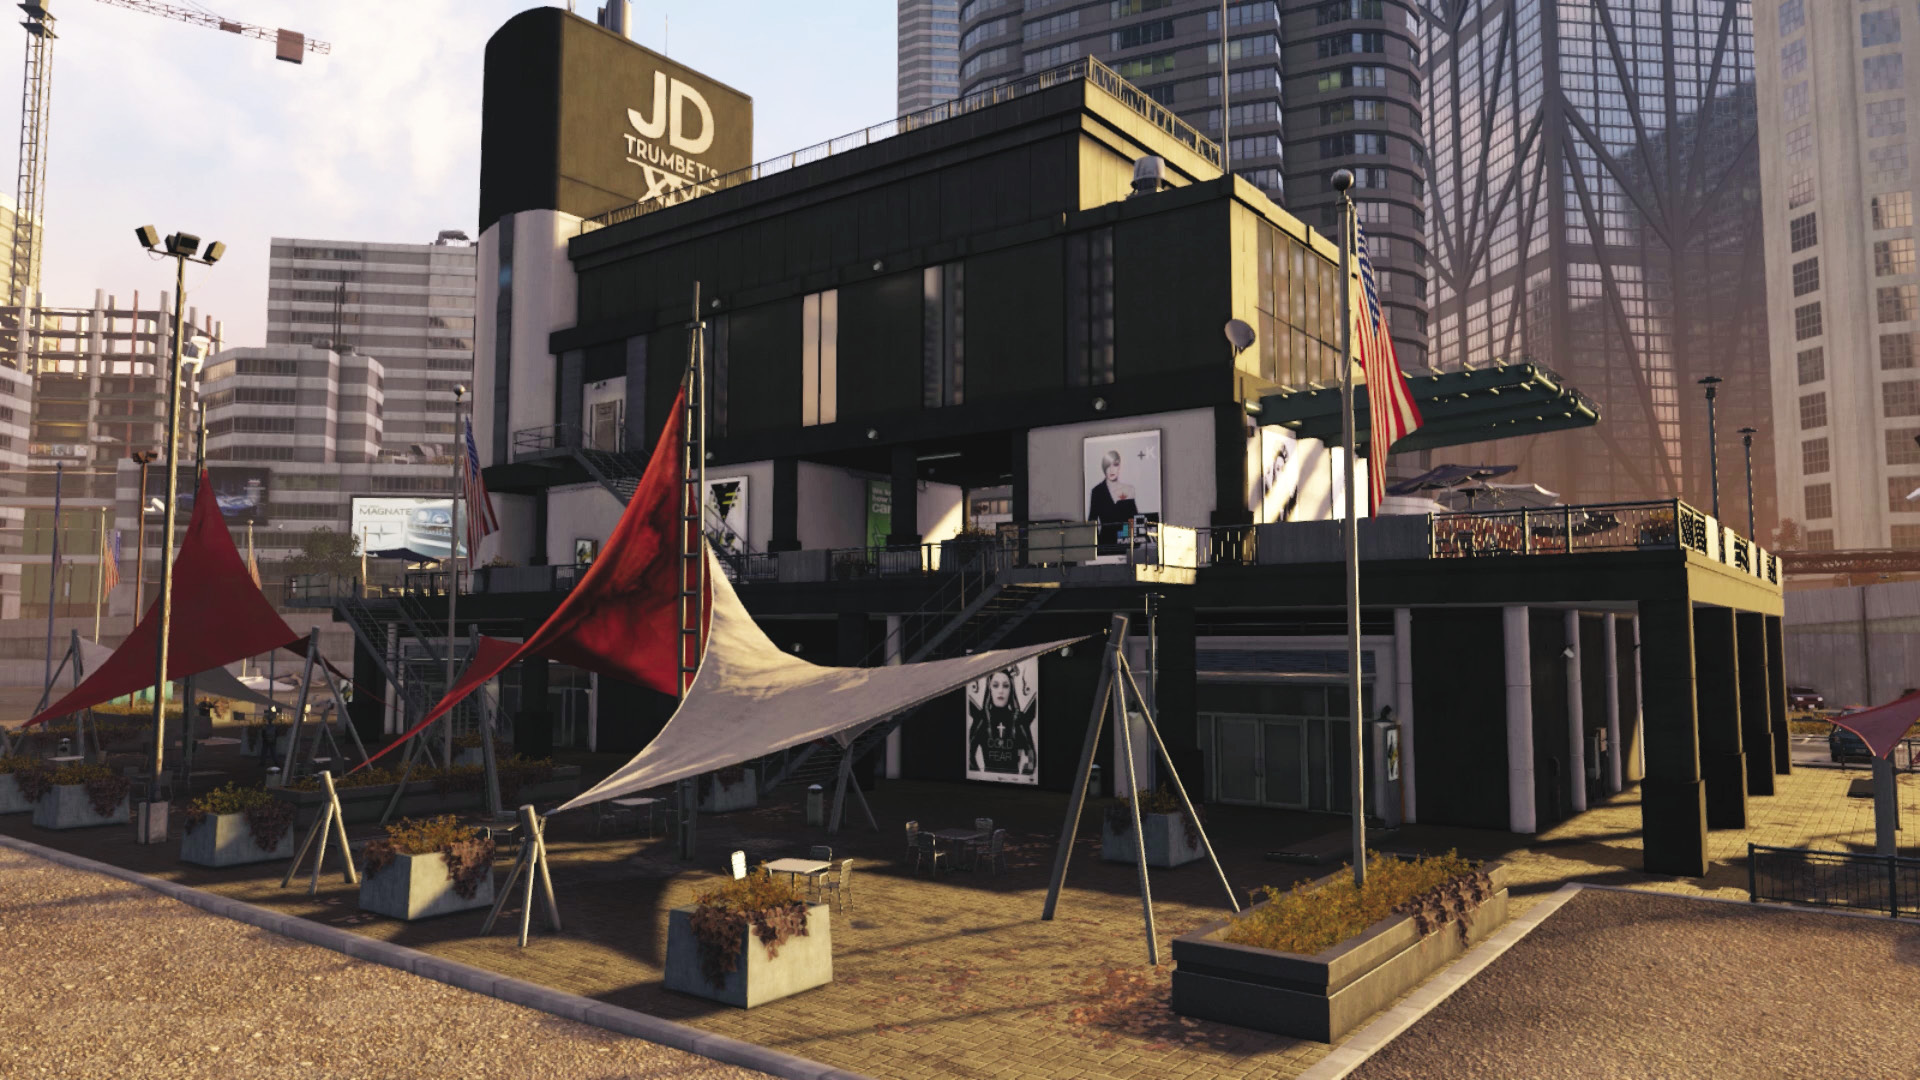
Ground Level: There are two sets of metal stairs on each side and a covered walkway with additional steps up to the balcony level. If you’re under the balcony, foes above can’t see you but you can see them if you’ve marked them. There are numerous planters and hiding spots, as well as transformer vaults and junction boxes.
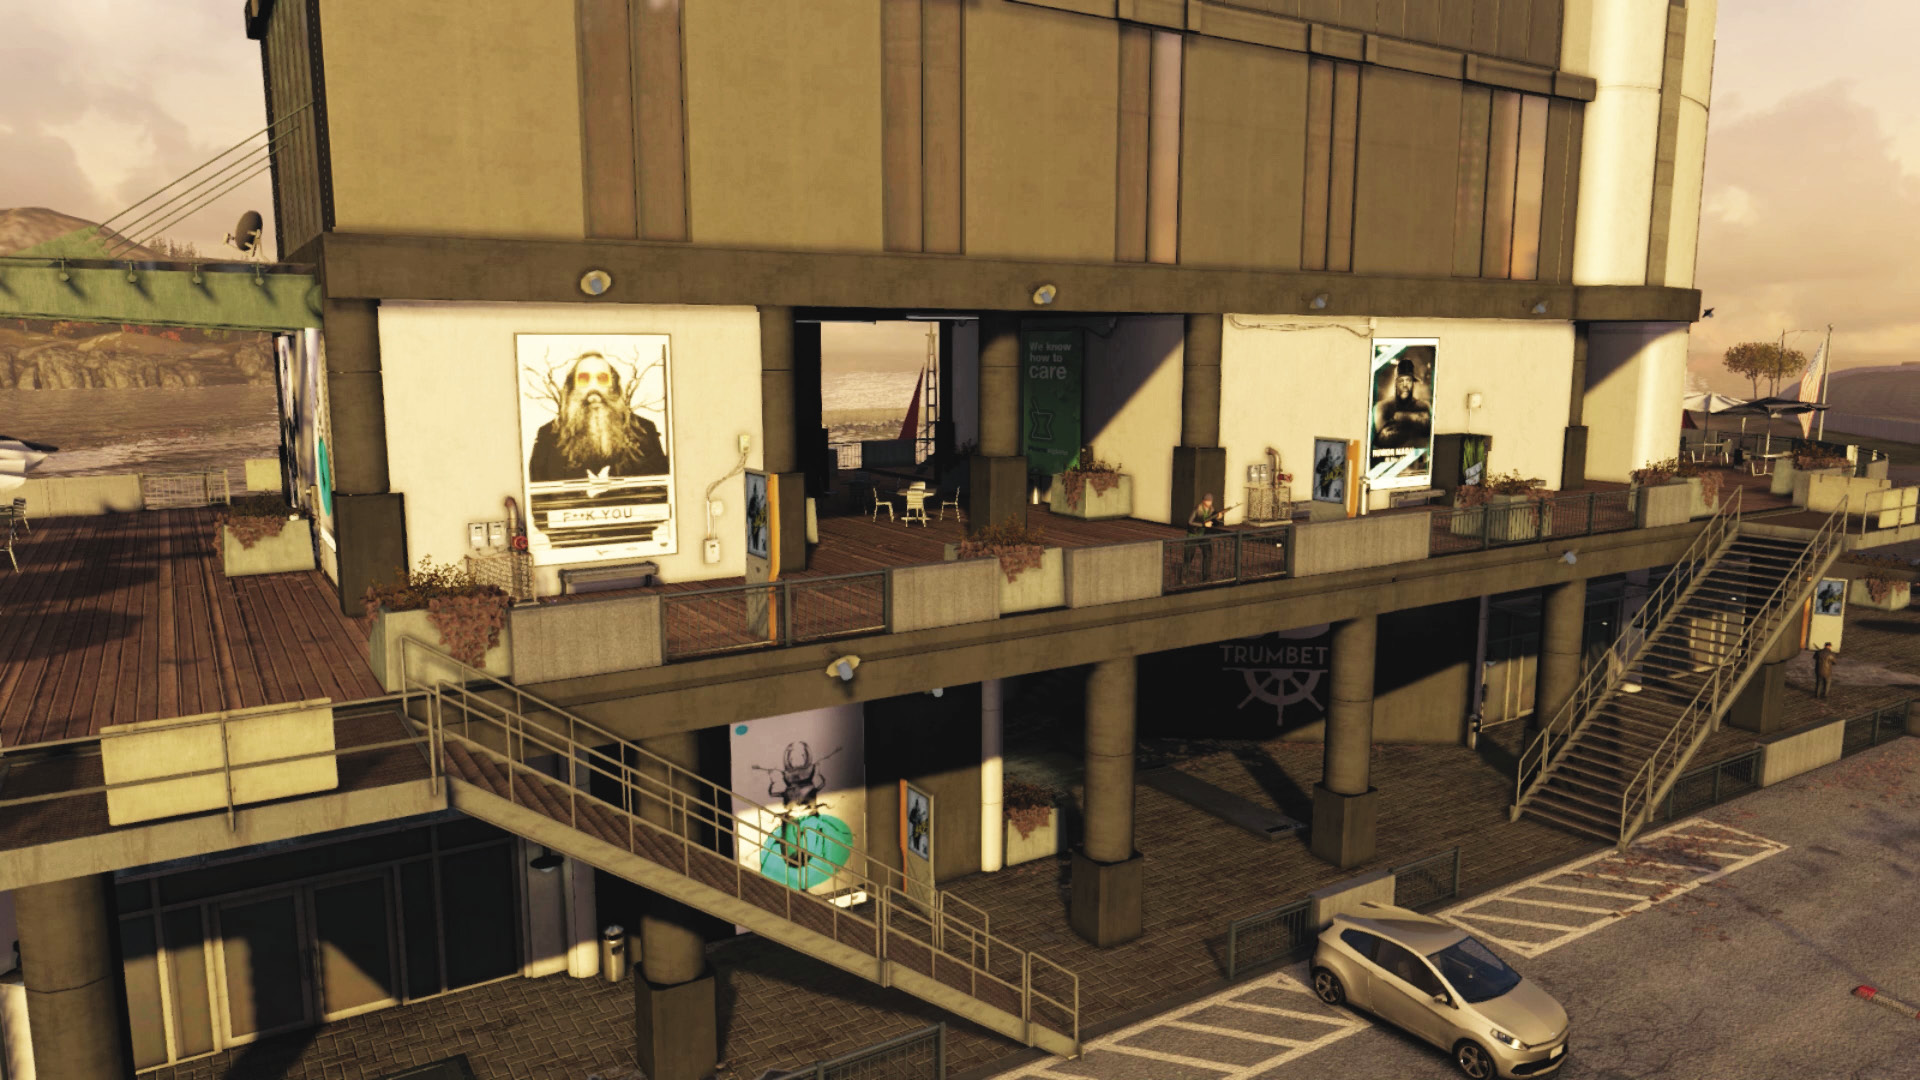
Balcony Level: This area is tricky to defend due to the many stair access points and the two walkways (one atop the interior stairs and another at the front of the building). If you’re holed up here, stay at the front first so you can remove the incoming vehicles quickly; then move to the back, letting the enemies come to you so you’re less prone to flank attacks. Remember you can vault over the railings and down to the ground if you’re becoming overwhelmed or need to reach incoming foes.
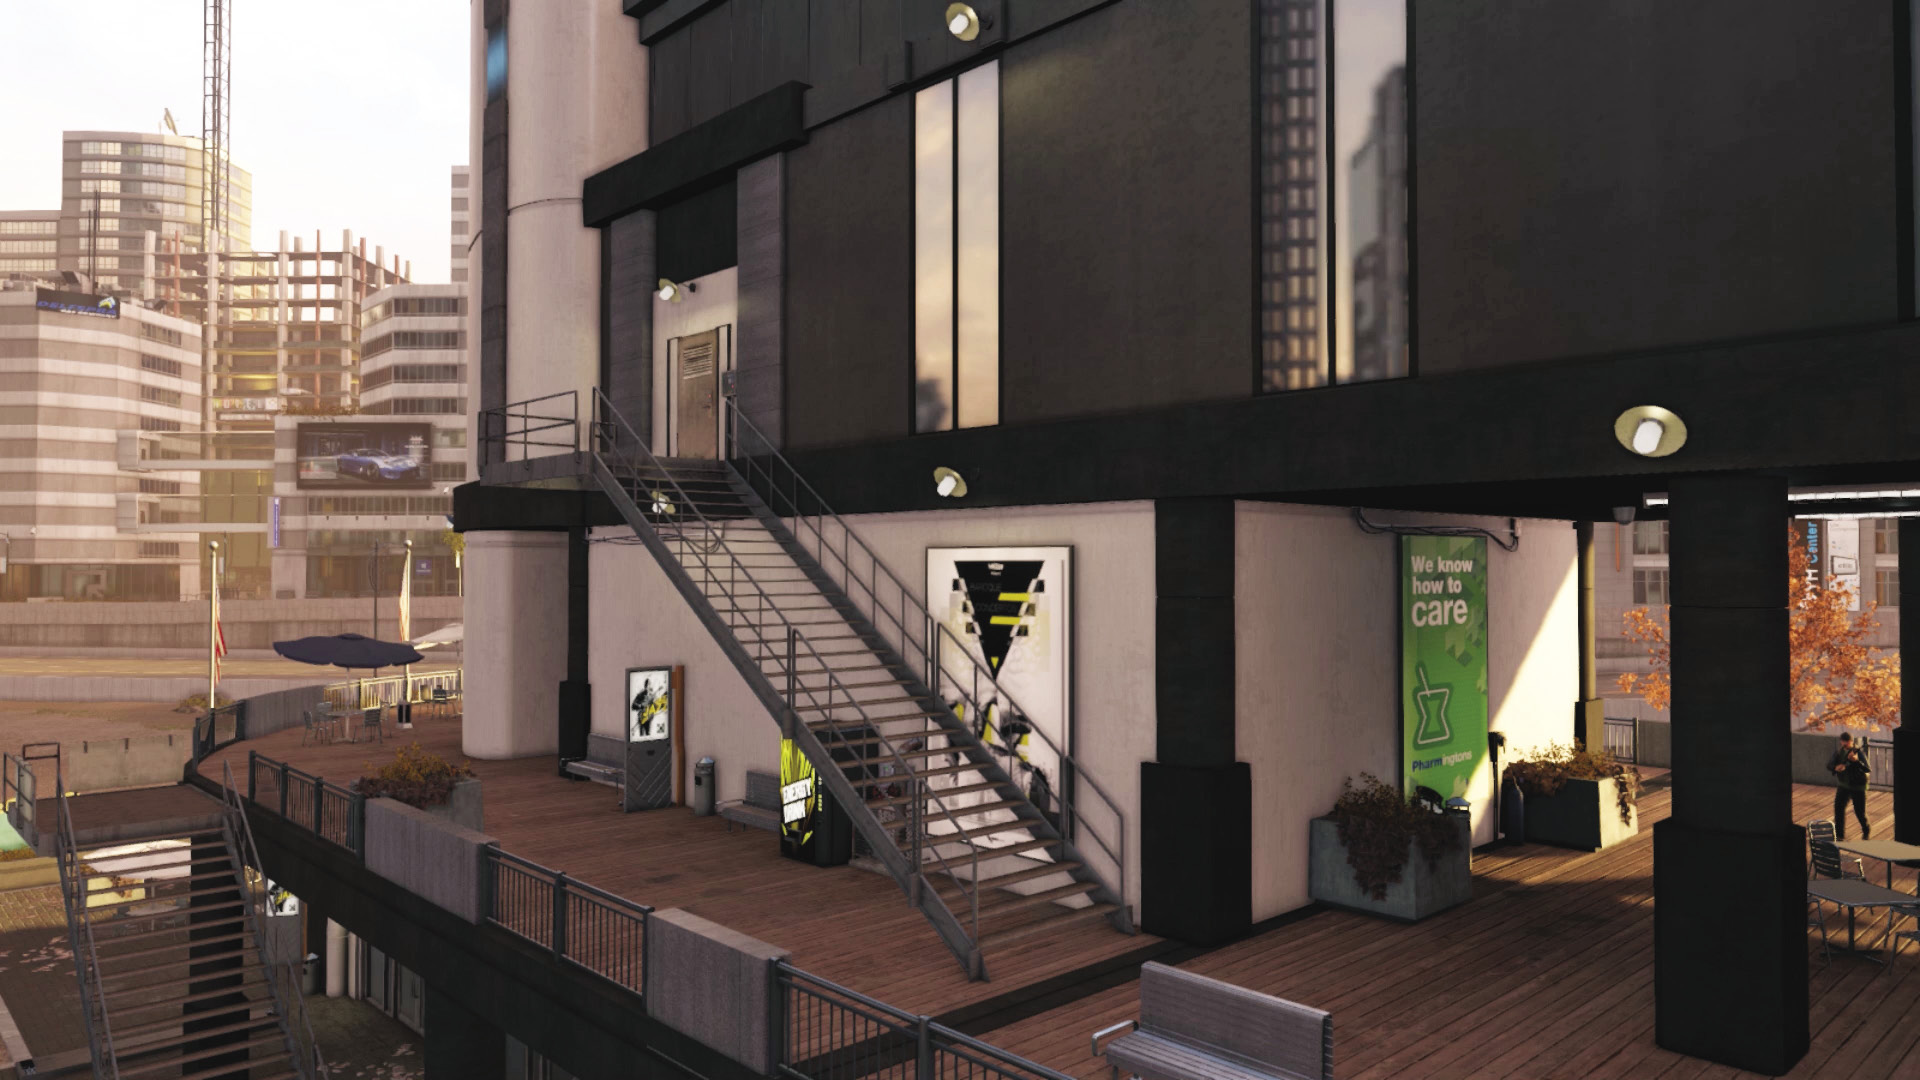
Upper-Level Security Office: The stairs up here are very exposed, and there’s little cover. Venture up here only when the objective flags it as safe to do so; Jackson is hiding within the door to hack, in the security office.
Progression Plans
You may now try one, parts of, or any combination of the following methods to nullify the current dozen foes who are patrolling this structure and the surrounding grounds.
General PreplanningCameras: It’s well worth using the cameras on the poles and those placed on a few of the patrolling guards to get a feel for the area. You can count the enemies and can determine where they are, which ones are stationary, and where any scenery is you can explode. Not Here for a Chat: Your objectives explicitly state removing the Fixer enemies by force. Abandon passive techniques in favor of stealth, violence, or stealthy violence. Firepower: This favor for Clara needs a good deal of firepower in order to succeed, and it’s helpful if you bring out the big guns—a grenade launcher, grenades, IEDs, and plentiful ammo for your favored assault rifle or machine gun. Also remember to pinpoint the ammo bag on the upper balcony floor. Reinforcements: The first nine foes are the easy part, as they aren’t Shot-Callers. But if you can’t nullify the vehicular enemies with swift and explosive action, prepare for an extremely drawn-out fight with over 30 enemies to defeat in waves. |
 Aggressive // Stealth: Using Hands and Sneaking to Reach
 Difficulty:
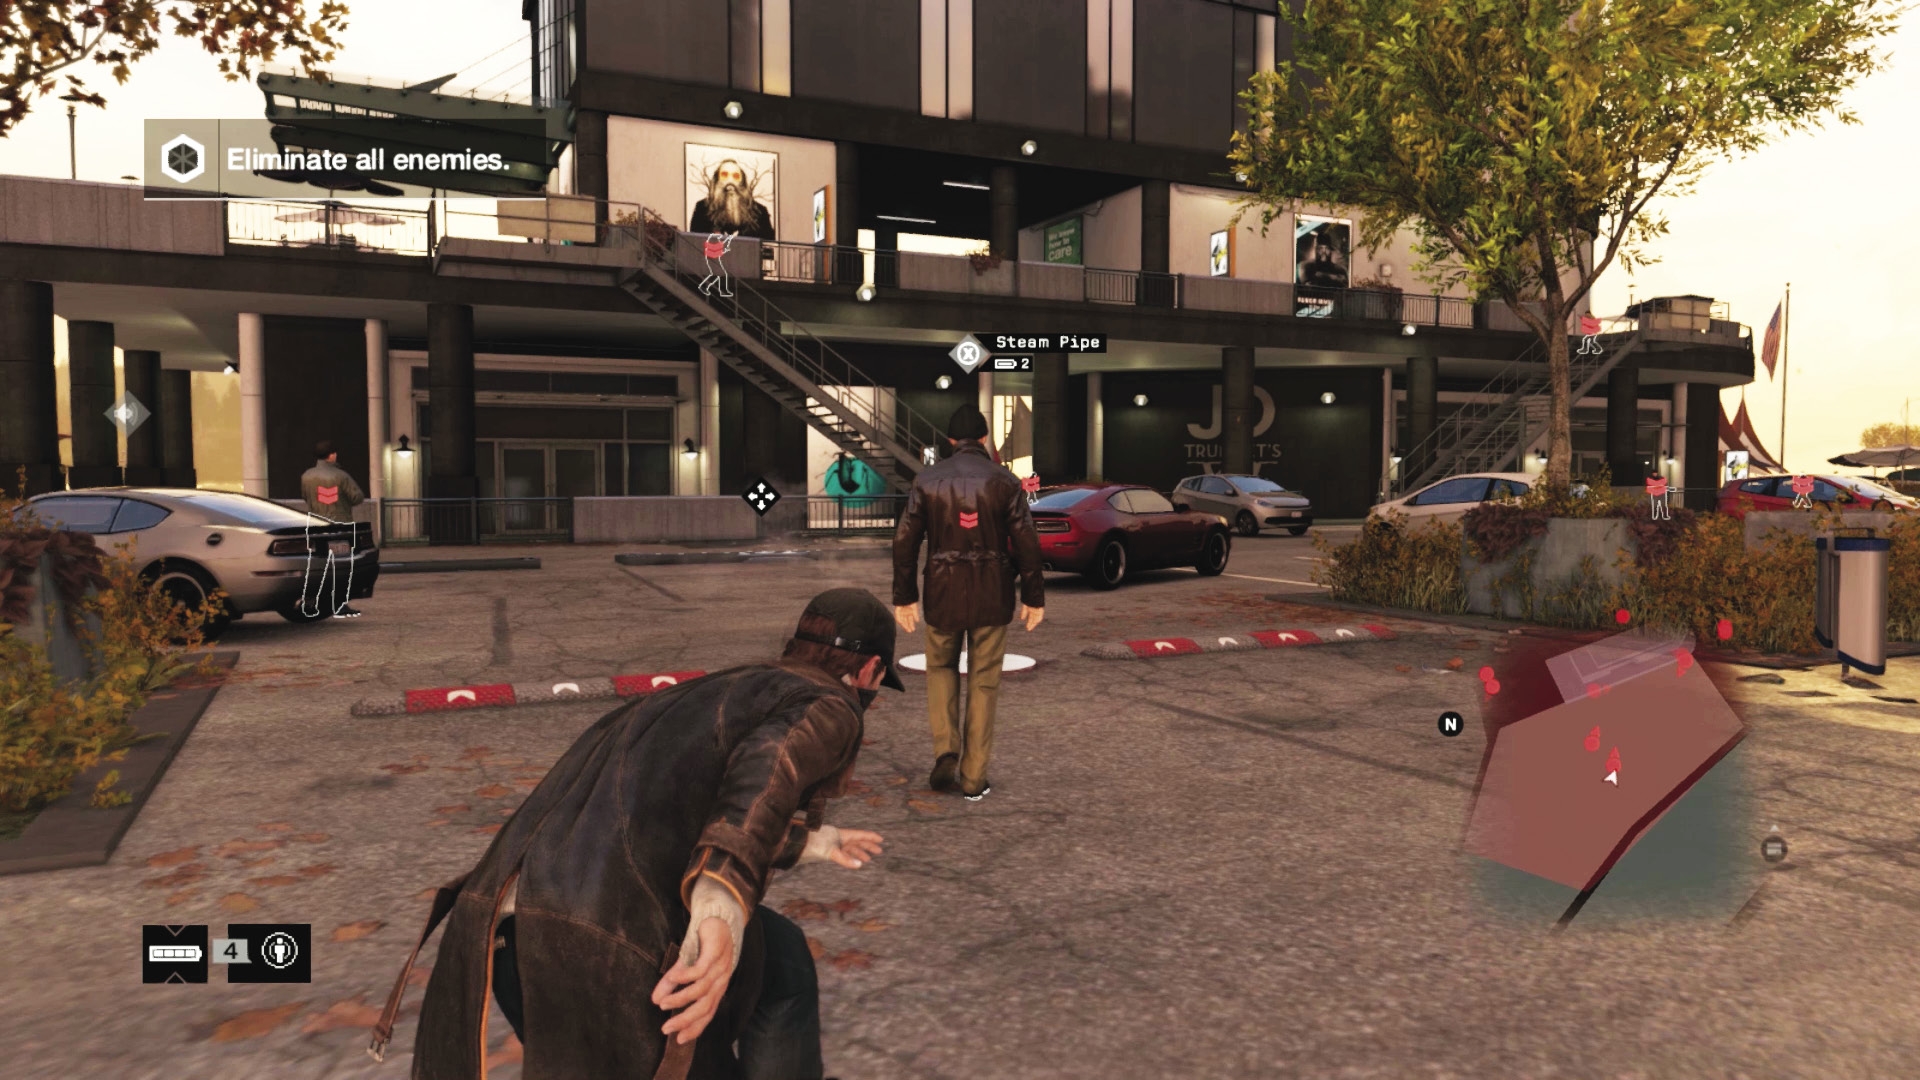
If you wish to remove nine foes without firing a shot, it’s not only possible, but also extremely entertaining. Here’s the optimal route to take (though you can vary the maneuvers to your liking):
Cross the parking lot, watching for the patrolling foe on the balcony and the other in the parking lot, to the stationary foe’s right. When neither are watching, remove the standing foe, then the other enemy at ground level.
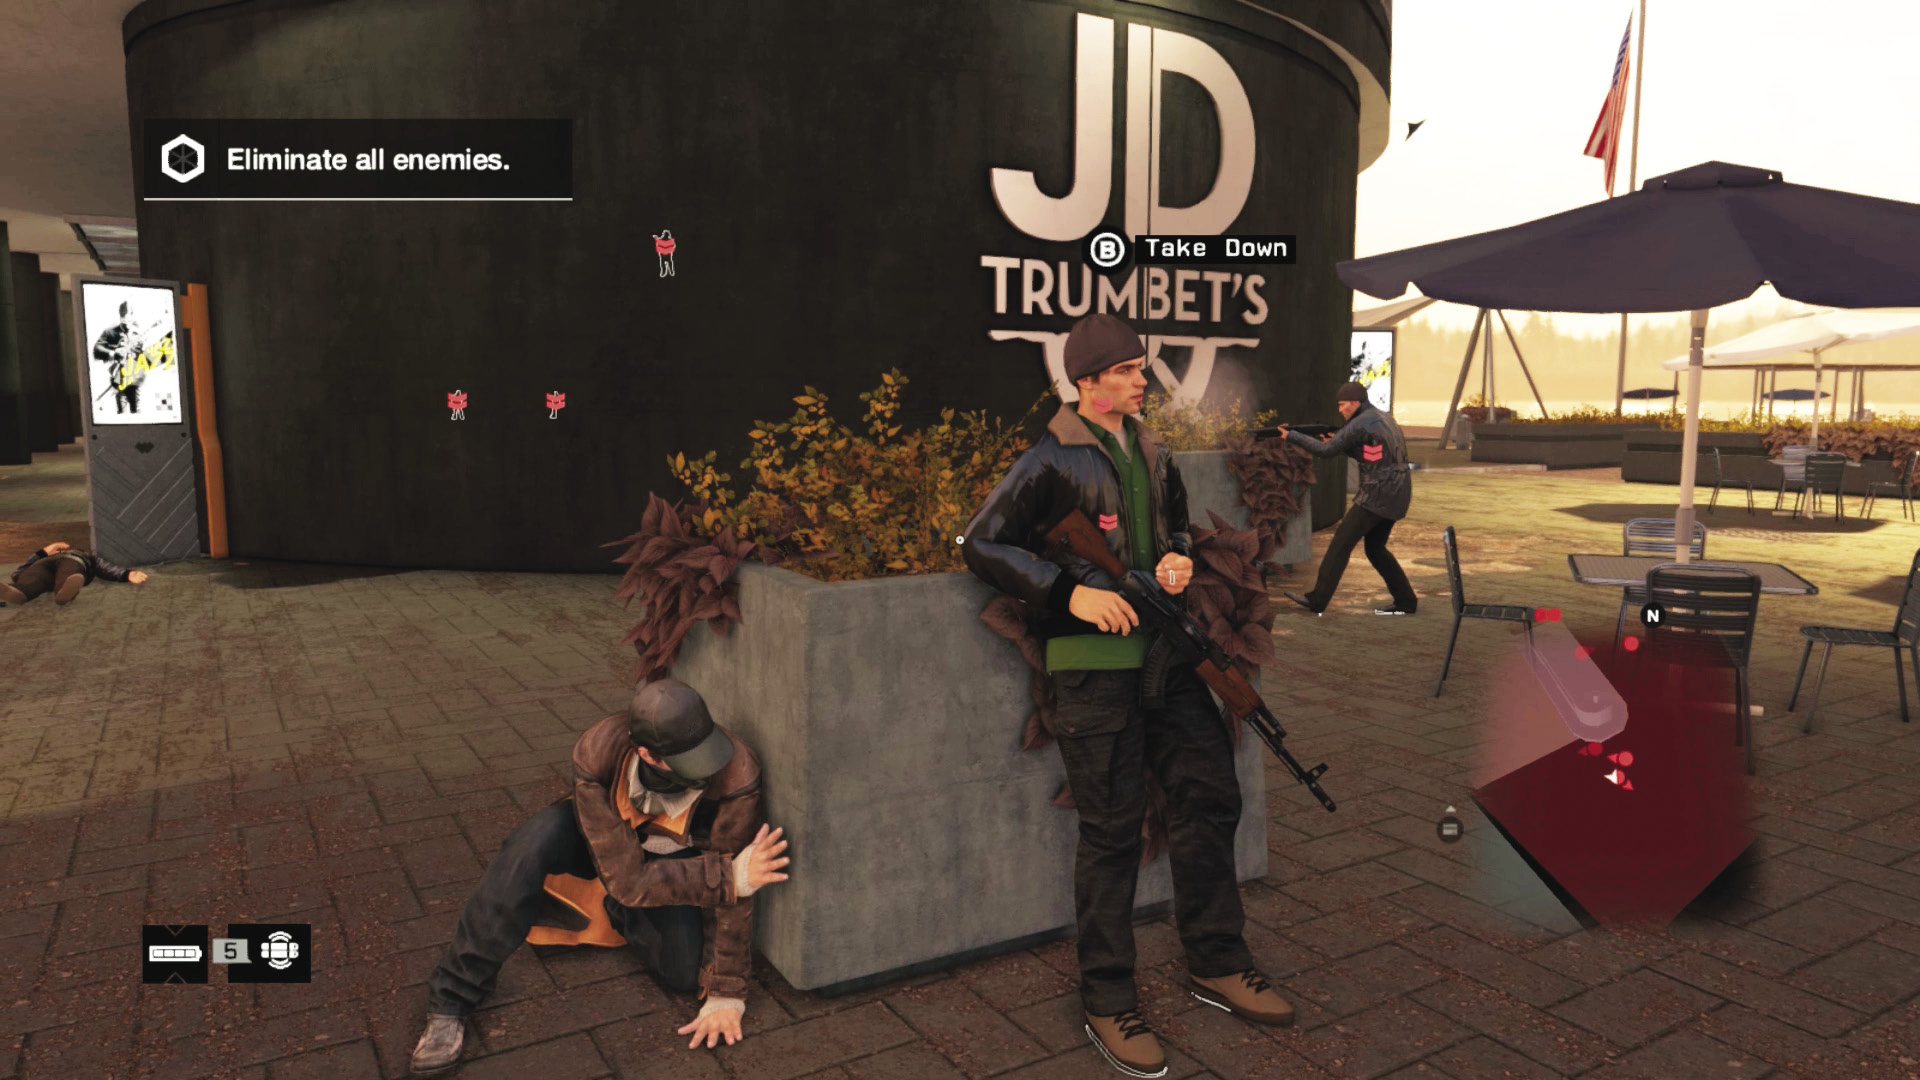
Move toward the rear of the building and the seating area. There are three foes here and some explosive transformer vaults. Ignore the vaults and wait for a moving foe to come around the corner. Tackle him, the other enemy that comes to investigate, and the standing foe. Your head count now should be five.
Head around to the beach side of the building, where a single foe is on patrol. Bring him down, then use the nearby stairs to reach the balcony level. Remove the single foe from up here.
You now have only the two foes guarding the front of the building near the anchor. These reprobates are too close to each other to remove without one seeing you, but you can strike them down quickly before taking fire. Next, race to the balcony and plan the second phase of this mission.
 Aggressive // Smart: Technology Breach
Difficulty: 
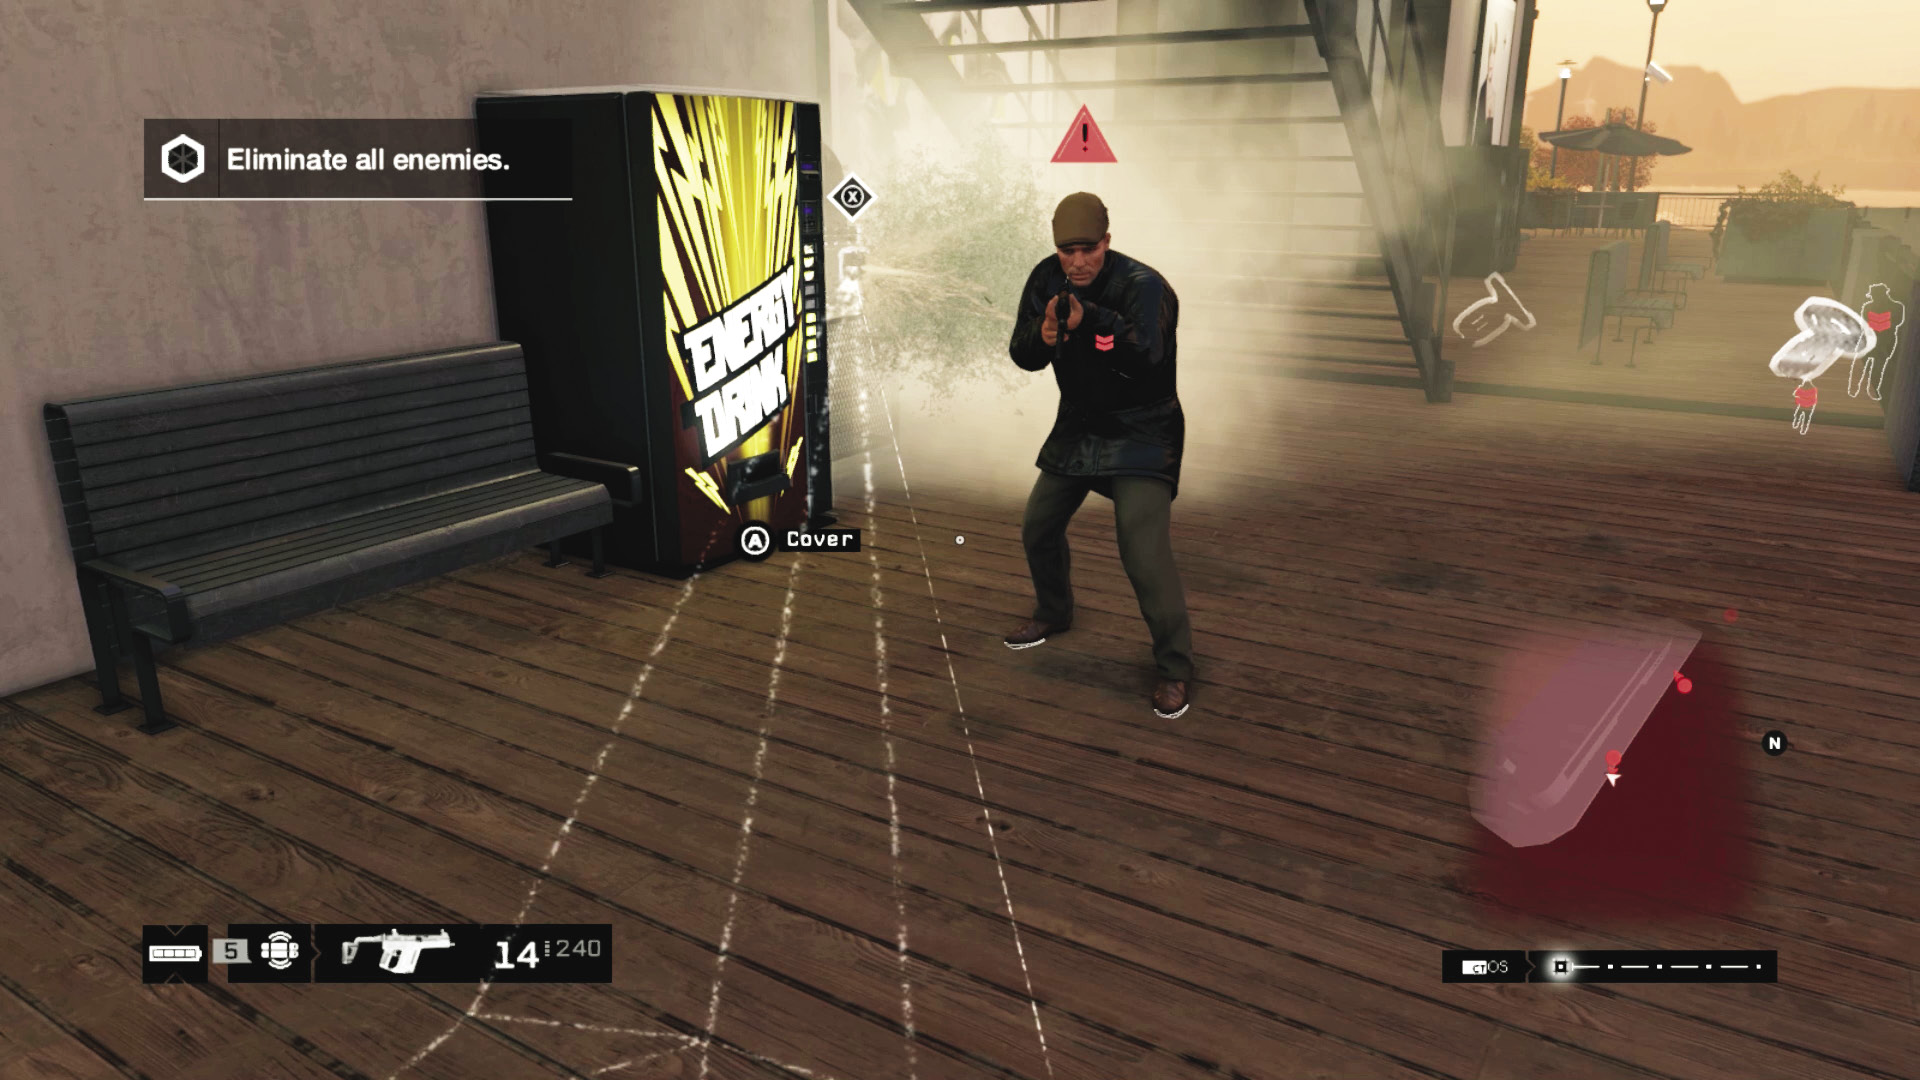
There are several scenery elements you can interact with, though in this mission, they aren’t as helpful as concentrated bursts of violence from your hands or weapons. In general, use these devices while removing the second wave of foes, after the vehicles come; you may need the explosive nature of these hacks to drop any Enforcers.
There are around six transformer vaults on the ground, which are handy for removing enemies, creating distractions, or coaxing foes nearby into your line of sight.
There are two junction boxes and regulators, fitted to the walls and handy in the same way.
There are three steam pipes—one on the road and two in the parking lot. Save those for the vehicle reinforcements.
There are also hackable grenades carried by foes, which is a better plan as it leaves the infrastructure hacks intact for later.
 Aggressive // Violence: Blood on the Beach
 Difficulty:
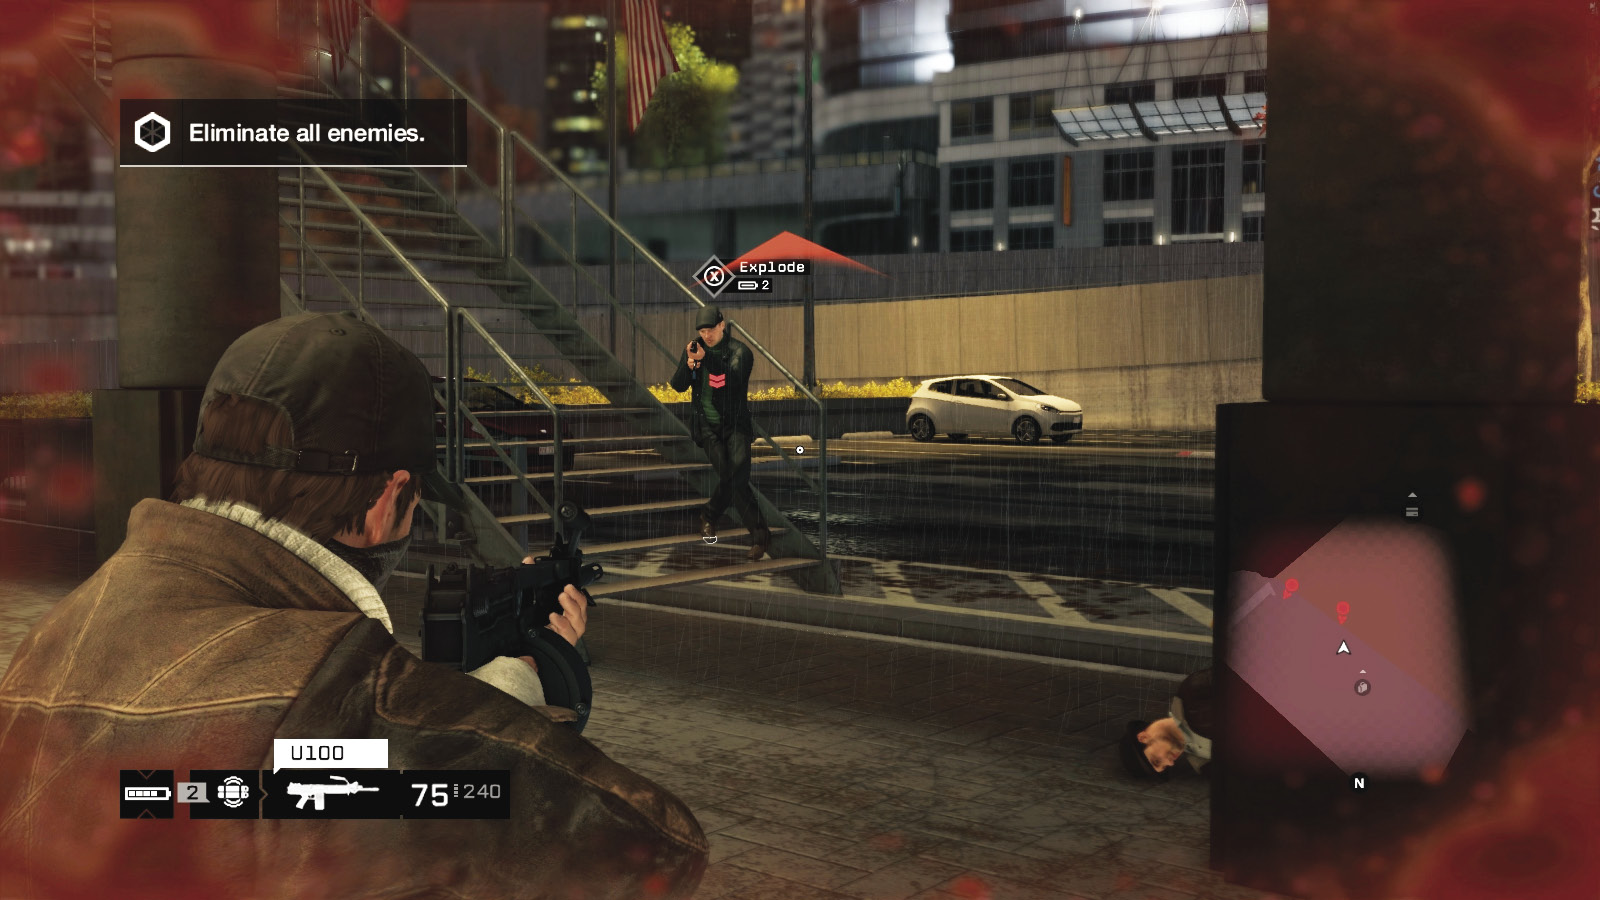
Approaching the enemy with simple violence is actually less dangerous because there are no Shot-Callers in this wave of nine foes. This means you can:
Saunter up to the front of the building, dropping the two foes and using the parked vehicles as cover. Next, remove the foe on the balcony and wait for incoming enemies to reach your line of sight.
Rush in and rake the parking lot of foes; attacking from the sides is slightly less cunning, as you don’t have the greatest line of sight down the sides of the building that you do if you attack from the front or rear.
Also try sneaking or rushing up one of the balcony stairs, removing foes down on the ground (headshots and grenades are a good combination). Move to the rear of the building and use the long side balconies for great line-of-sight opportunities.
The planters are plentiful on the beach side. Move from one to the next, peeking out to fire; this is extremely safe and effective.
General running and gunning is excellent and straightforward. Simply check foes aren’t above or below you when you’re searching for them and you’re not outflanked.
Grenades and other more esoteric devices aren’t necessary and are much more handy during the next phase of the fight, so refrain from using them.
Sniping from a camping spot under or on top of the freeway or from behind the beach lifeguard hut is an entertaining method of finishing this objective; however, attacking from the beach means there’s nowhere to run and hide.
 Driving // Offensive: Running Over Foes with a Screech
Difficulty: 
If you feel like it, try killing foes with your vehicle. It’s obviously ineffective for foes on the balcony, unless you try ramming every foe with a bike, which is insane but possible. Start with the two foes at the front of the building, as they’re close together. Then use the parking lot and flee the vehicle when enemies move behind planters you can’t reach.
You can also try bringing a longer vehicle to use as movable cover from the beach or parking lot sides, getting out to snipe, then driving it to another vantage point.
|
|
 Defend against reinforcements
13.2 VEHICULAR MANSLAUGHTER
 Location / Mad Mile // JD Trumbet’s Seafood Restaurant
 Lethal Force Likely
 Melee Force Likely
Difficulty: 
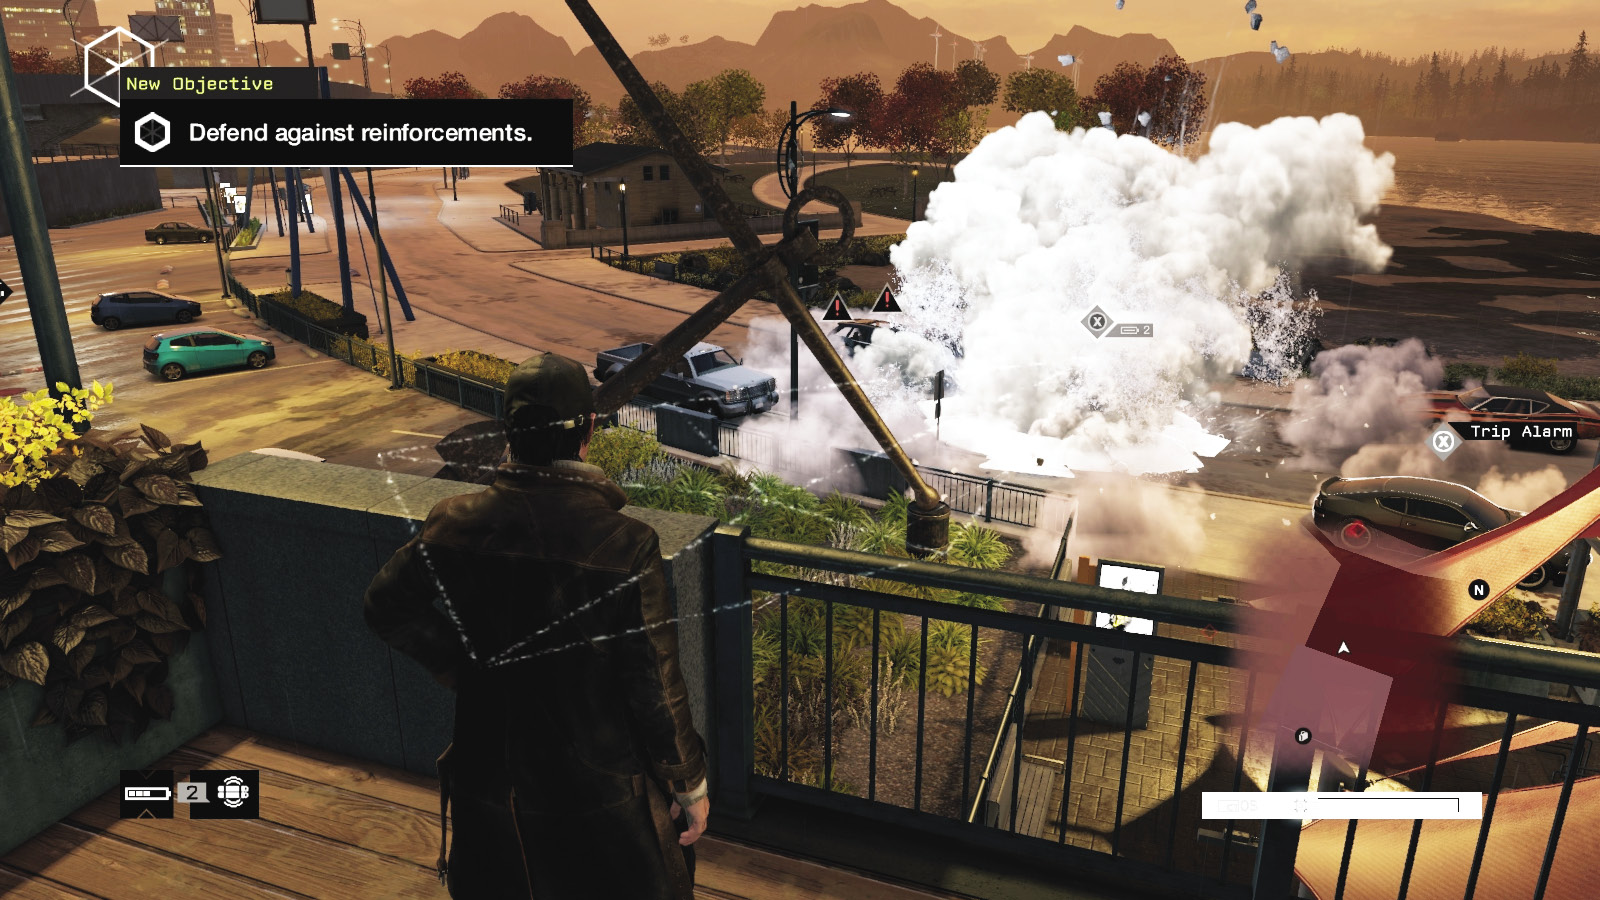
Once you’ve defeated the ninth foe, reinforcements are called. These take the form of two vehicles, one parking in the lot and one on the road in front of the restaurant. Each has four foes inside—one of them is an Enforcer, and all of them are Shot-Callers! You must defeat all the foes. Expect up to three additional vehicles and up to two more Enforcers if you don’t rid yourself of the Shot-Callers.
The subsequent vehicles park in the lot and the street in front of the restaurant. Foes quickly leave their vehicles and advance into the building, swarming on your location. This can be an extremely hard-fought battle, taking every bullet you have and hiding spot to survive. Use all the previously listed tactics, and stay at the structure’s far end (usually on the balcony level so you have height to quickly spot and counteract foes) or between the openings. Move continuously—you don’t want to be shot from multiple angles. However, there are much easier ways to complete this objective:
 Aggressive // Violence: Leaving the Fixers Harassed
 Difficulty:
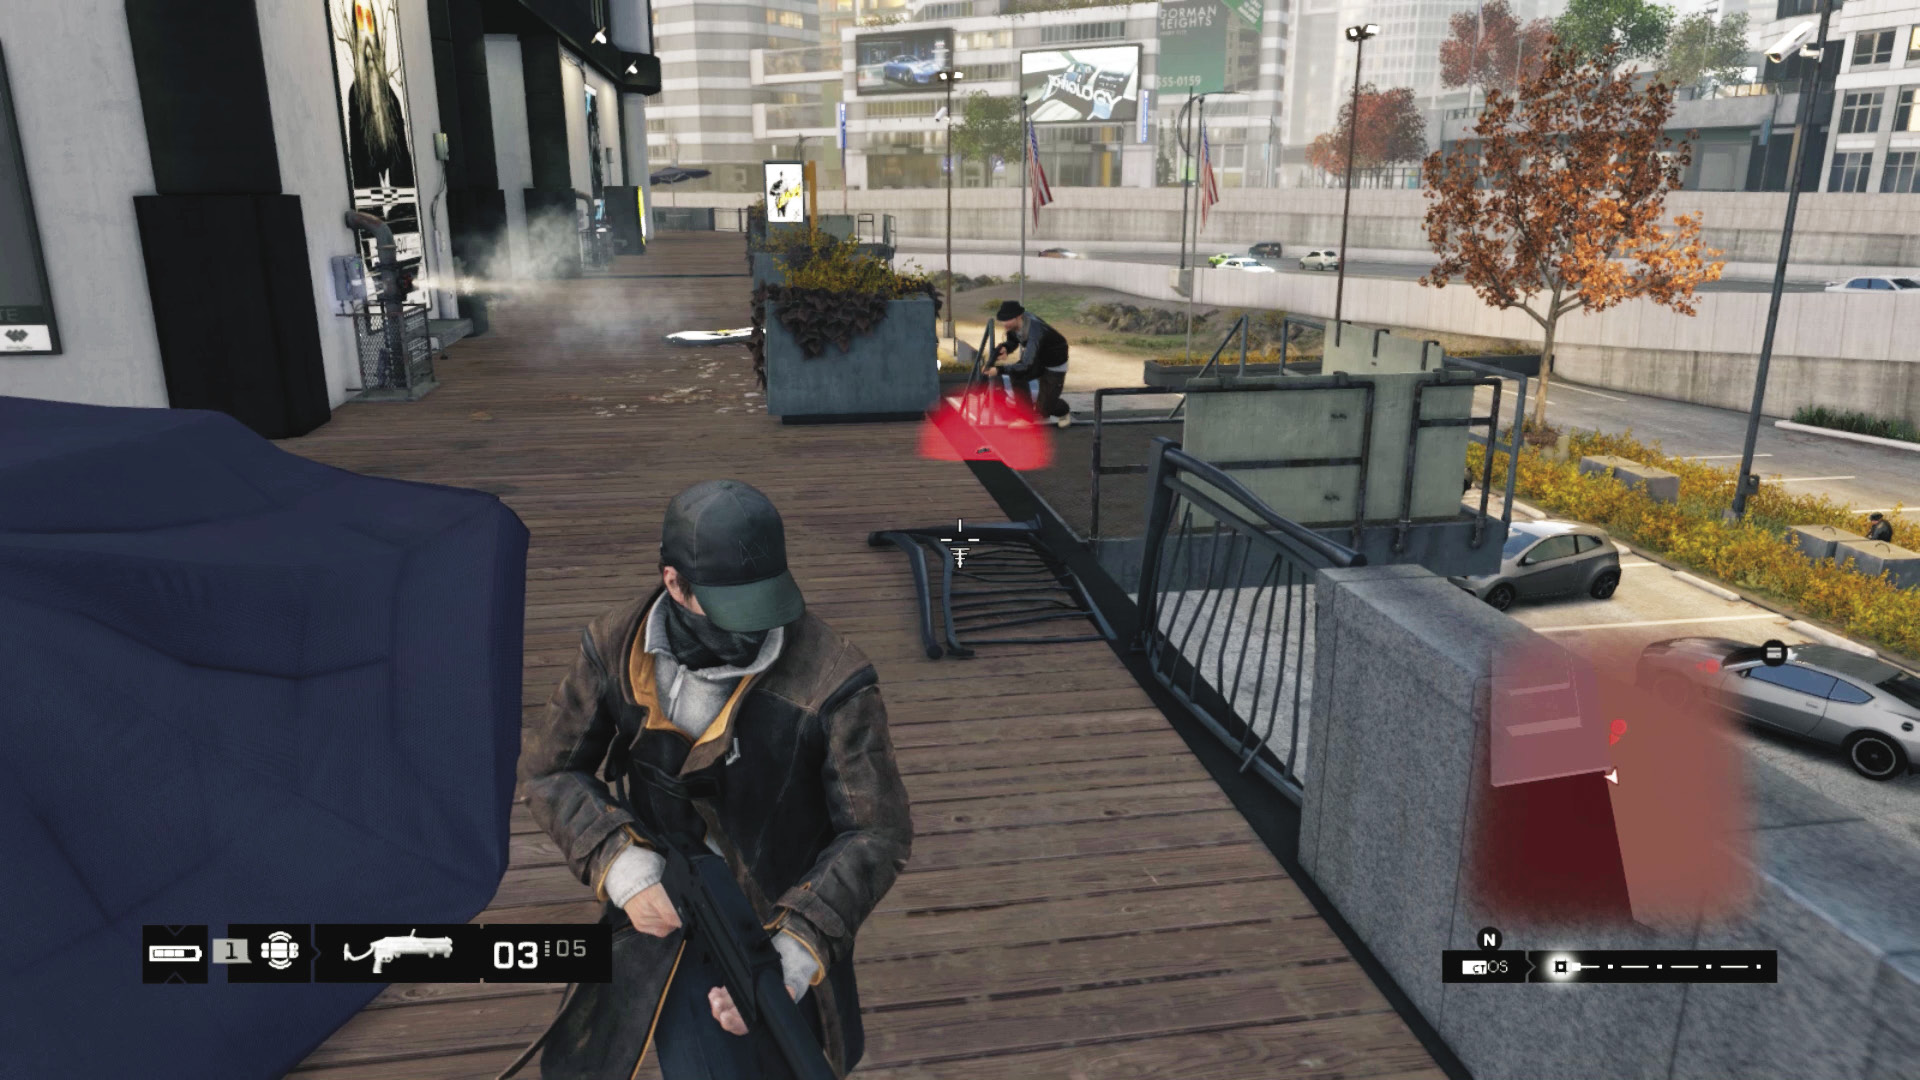
Preparation is the key to success here. Consider leaving one of the previous waves of enemies alive while you prepare the building for the forthcoming fireworks and re-equip at the ammo bag. Or, lay the following traps as you infiltrate the building, killing the foes already here:
Place IEDs on parked cars near to where the enemy vehicles stop.
Place IEDs on the tarmac where the enemy vehicles stop.
Place IEDs at the bottoms or tops of stairs, and detonate as foes reach them.
Now begin combat with an added benefit, a series of defenses you can utilize throughout the combat to come. If you’re on the balcony, you have a better chance of coaxing foes into these traps. Then employ any regular violent takedowns previously mentioned.
With Enforcers, the transformer vaults and junction boxes become very important; if you are low on grenades or IEDs and can’t manage 20 shotgun blasts to the face with conventional weapons to bring them down, coax them near these objects and detonate. Or, if you have the skill, melee-strike each one to death.
 Aggressive // Violence: Three Spectacular Blasts
 Difficulty:
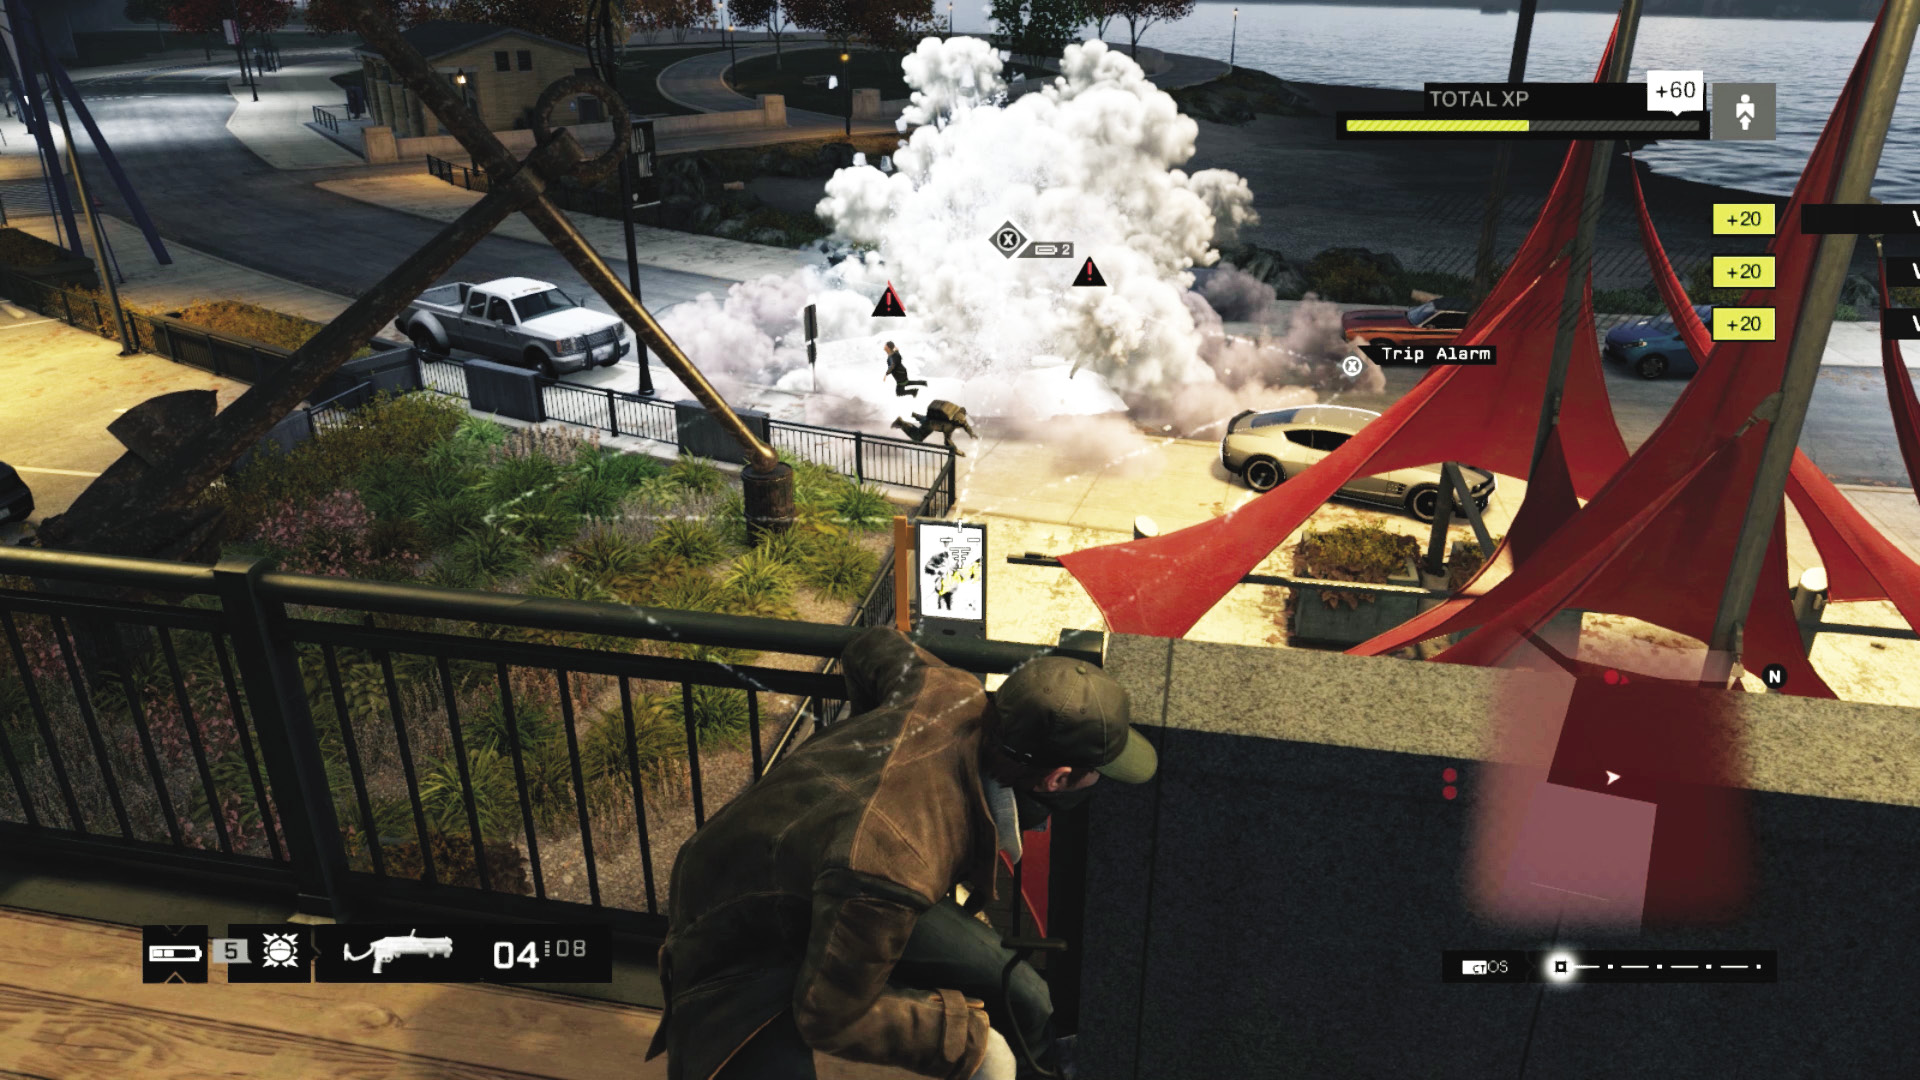
This tactic stops all reinforcements and makes this objective last seconds, not minutes. It requires you to have a grenade launcher (or grenades or IEDs, but it’s far more difficult with them) and the ability to detonate a steam pipe. Here’s the plan:
As soon as you remove the last foe from the previous wave, sprint to the balcony level at the front of the building. Spot the two black vehicles approaching.
One stops at the front of the restaurant. Explode the steam pipe as the foes emerge, killing all four without resorting to a weapon; there’s an Enforcer among these foes, so this should be your primary concern.
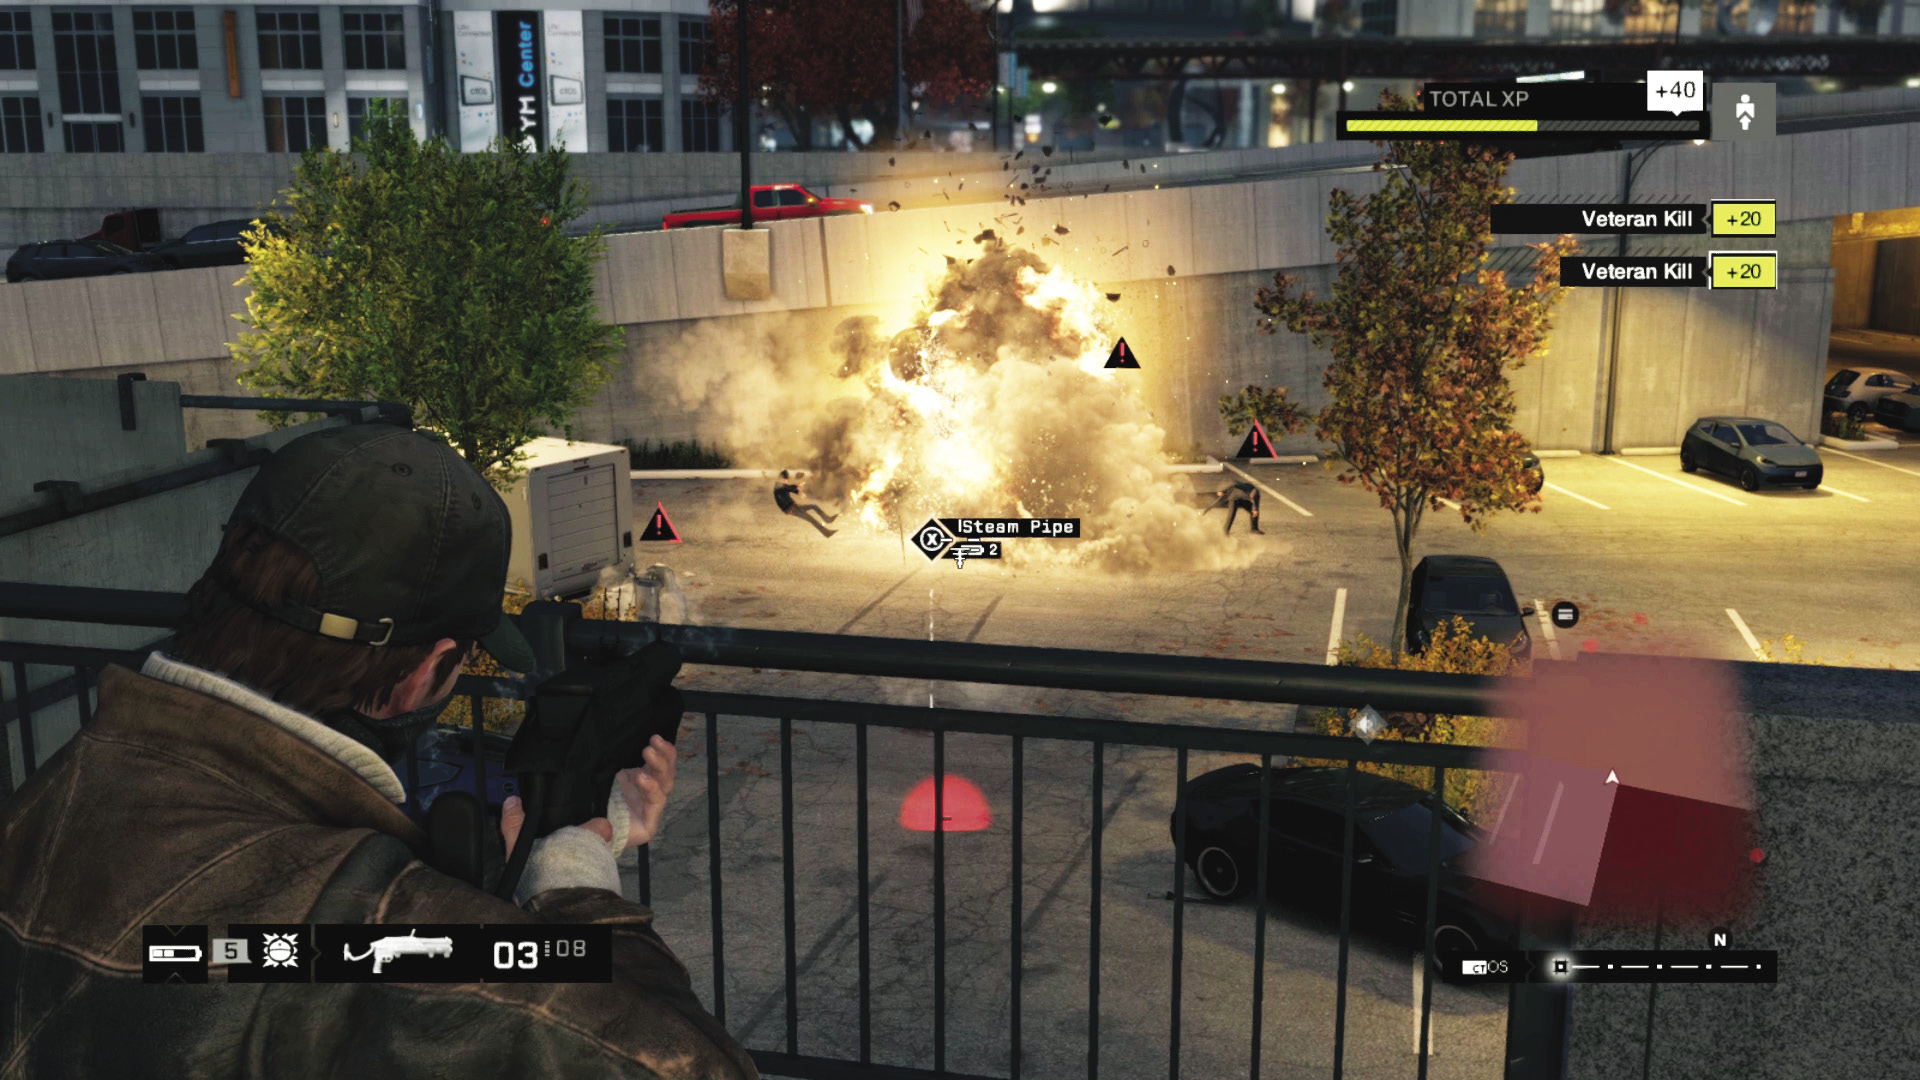
Quickly switch directions and look out over the parking lot to your left, as the second quartet of foes emerges. Punt a grenade so it explodes the vehicle, killing all four of them. There’s a steam pipe here, too, so use it if you have enough battery power.
A third vehicle screeches down the road, heading for one of the previous insertion points (the parking lot or the front of the restaurant). You can punt a grenade so it explodes, leading the enemies to emerge from a fiery wreck, after which you can tag them before they can stagger off the beach. Or simply wait for the car to stop and the foes to emerge, then massacre them all with a single grenade. Follow this plan to the letter, and no further reinforcements are called.
|
|
 Reach Jackson
13.3 YOU’RE THE HEALER. EXCEPT THAT’S JUST A GAME
 Location / Mad Mile // Seafood Restaurant
 Location / Parker Square // Yolanda’s House
 Escape
 Data Hack
Difficulty: 
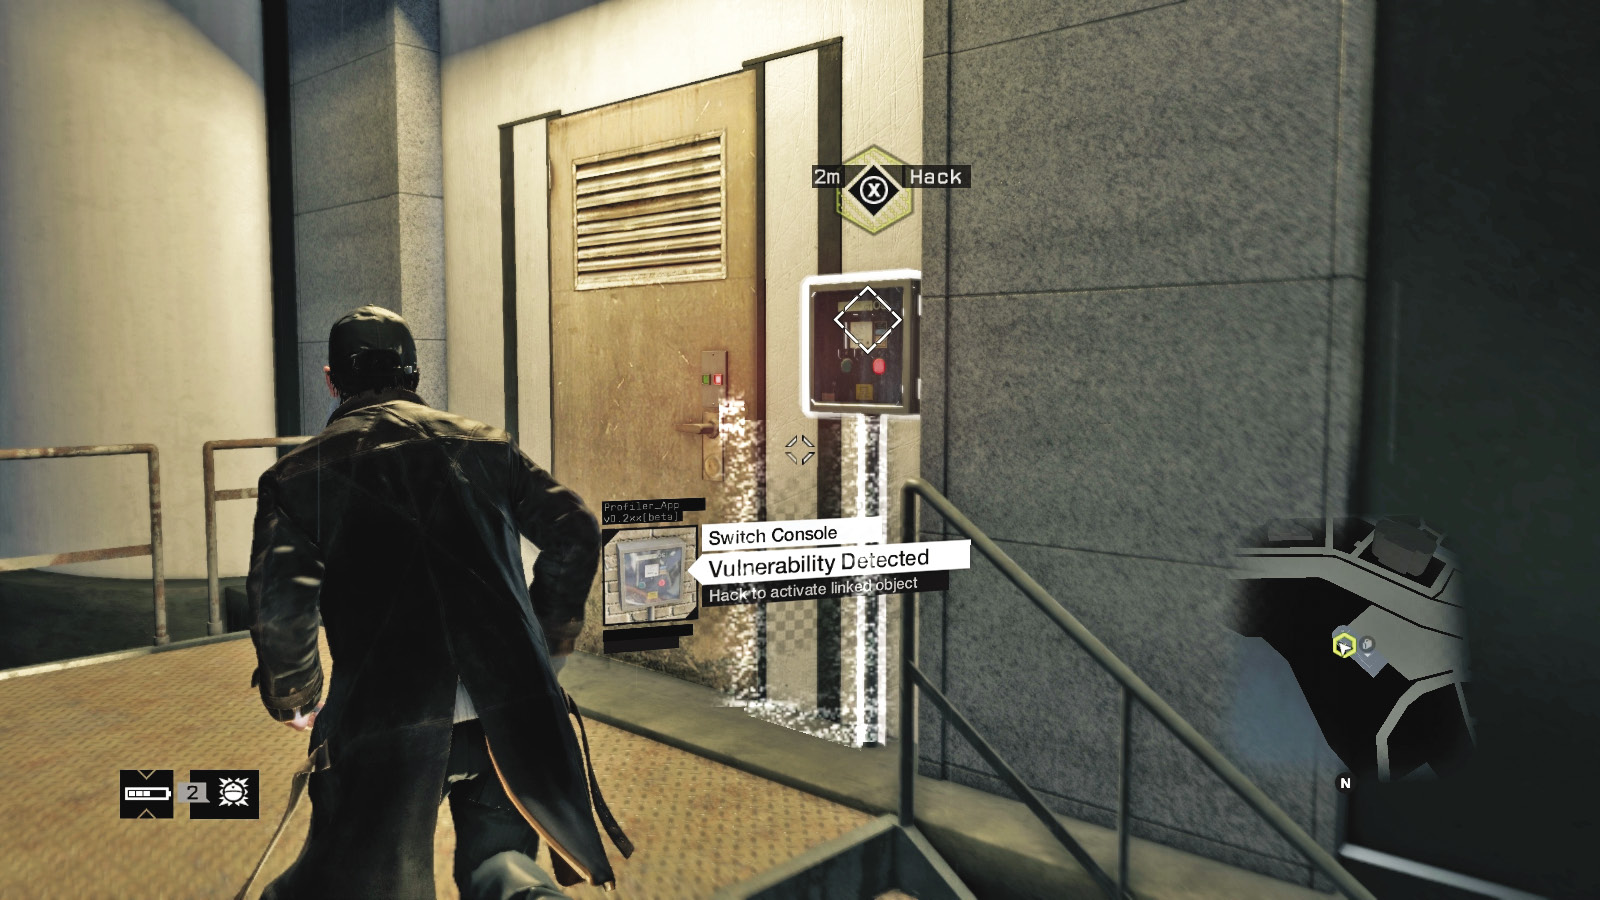
Now for your nephew’s rescue. Sprint southwest along the balcony level, up the metal steps to the switch, and hack it. You enter the security room, where Jackson is huddled under a table, unfortunately watching your previous antics on a bank of computer monitors.
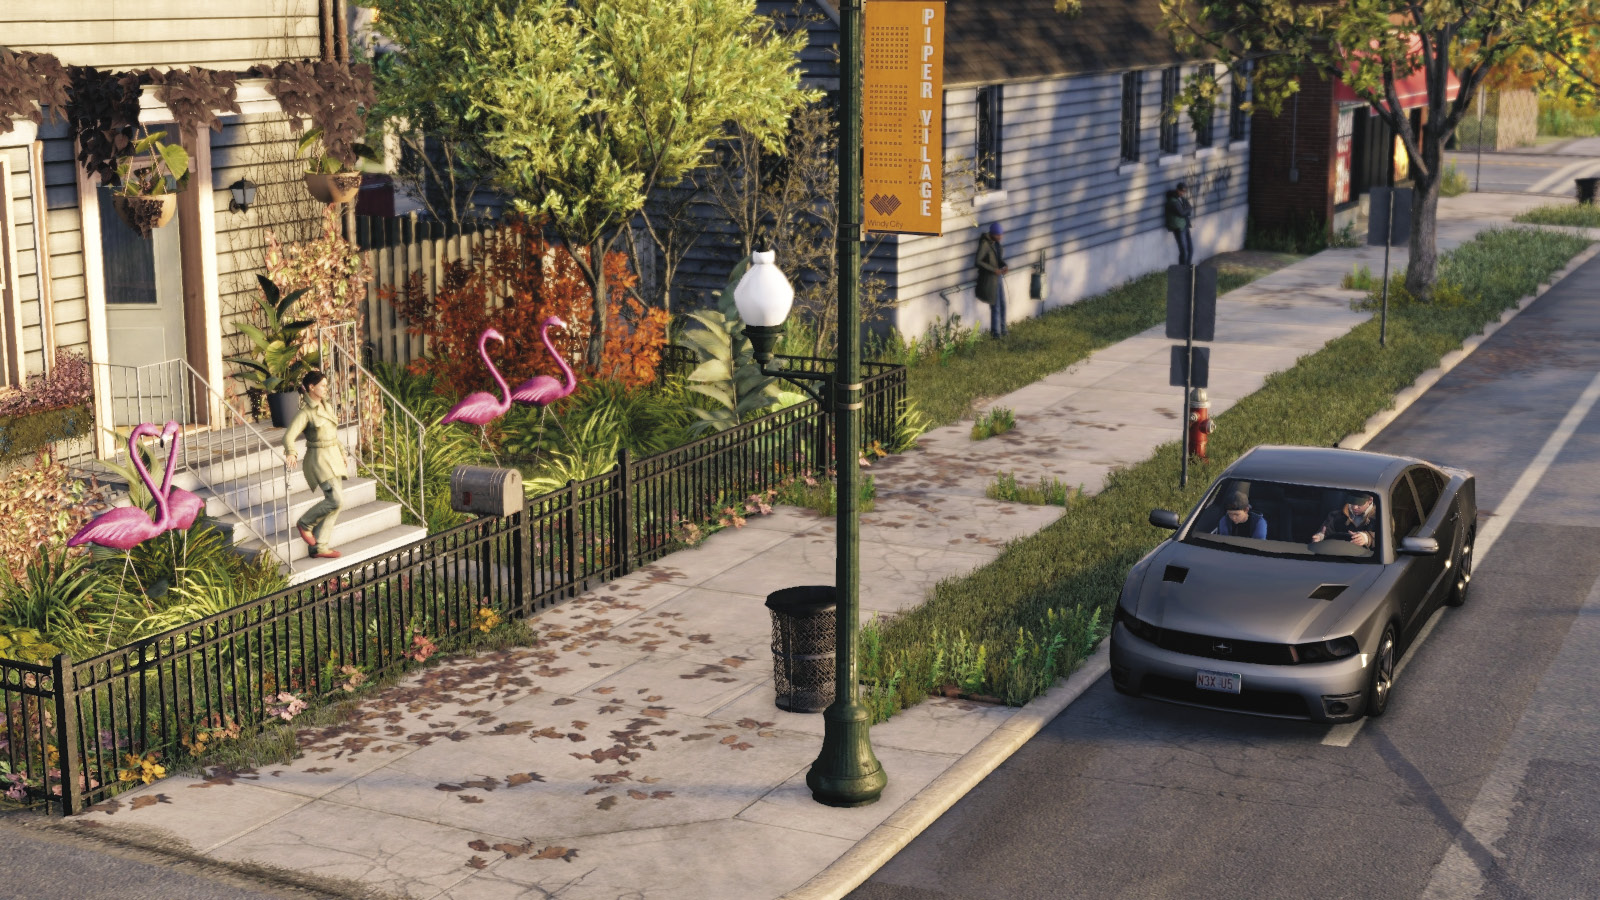
You gather him up and depart for Parker Square. An extremely worried Yolanda waits for Jackson’s arrival. You explain that you need to deal with the bad guys, and Jackson understands but can’t forget those images. He just wants his mom back. Yolanda threatens to call the police if you can’t get everything sorted. As you pull away from Yolanda’s, the mission concludes.
MISSION REWARDSGained XP +1,000 |