
Watch Dogs Guide MAIN MISSIONS MAIN MISSIONS /// ACT III
_A PIT OF PARANOIA
OBJECTIVES
|
 Tail the helicopter
 Hack the chopper’s camera and find the 2 security chiefs
 Infiltrate the park and find the security boss
 Take down both Blume security chiefs
 Chase and eliminate the security boss
 Hack the security boss’s ID
 Kill all militia members or escape
LOCATION // MAPS
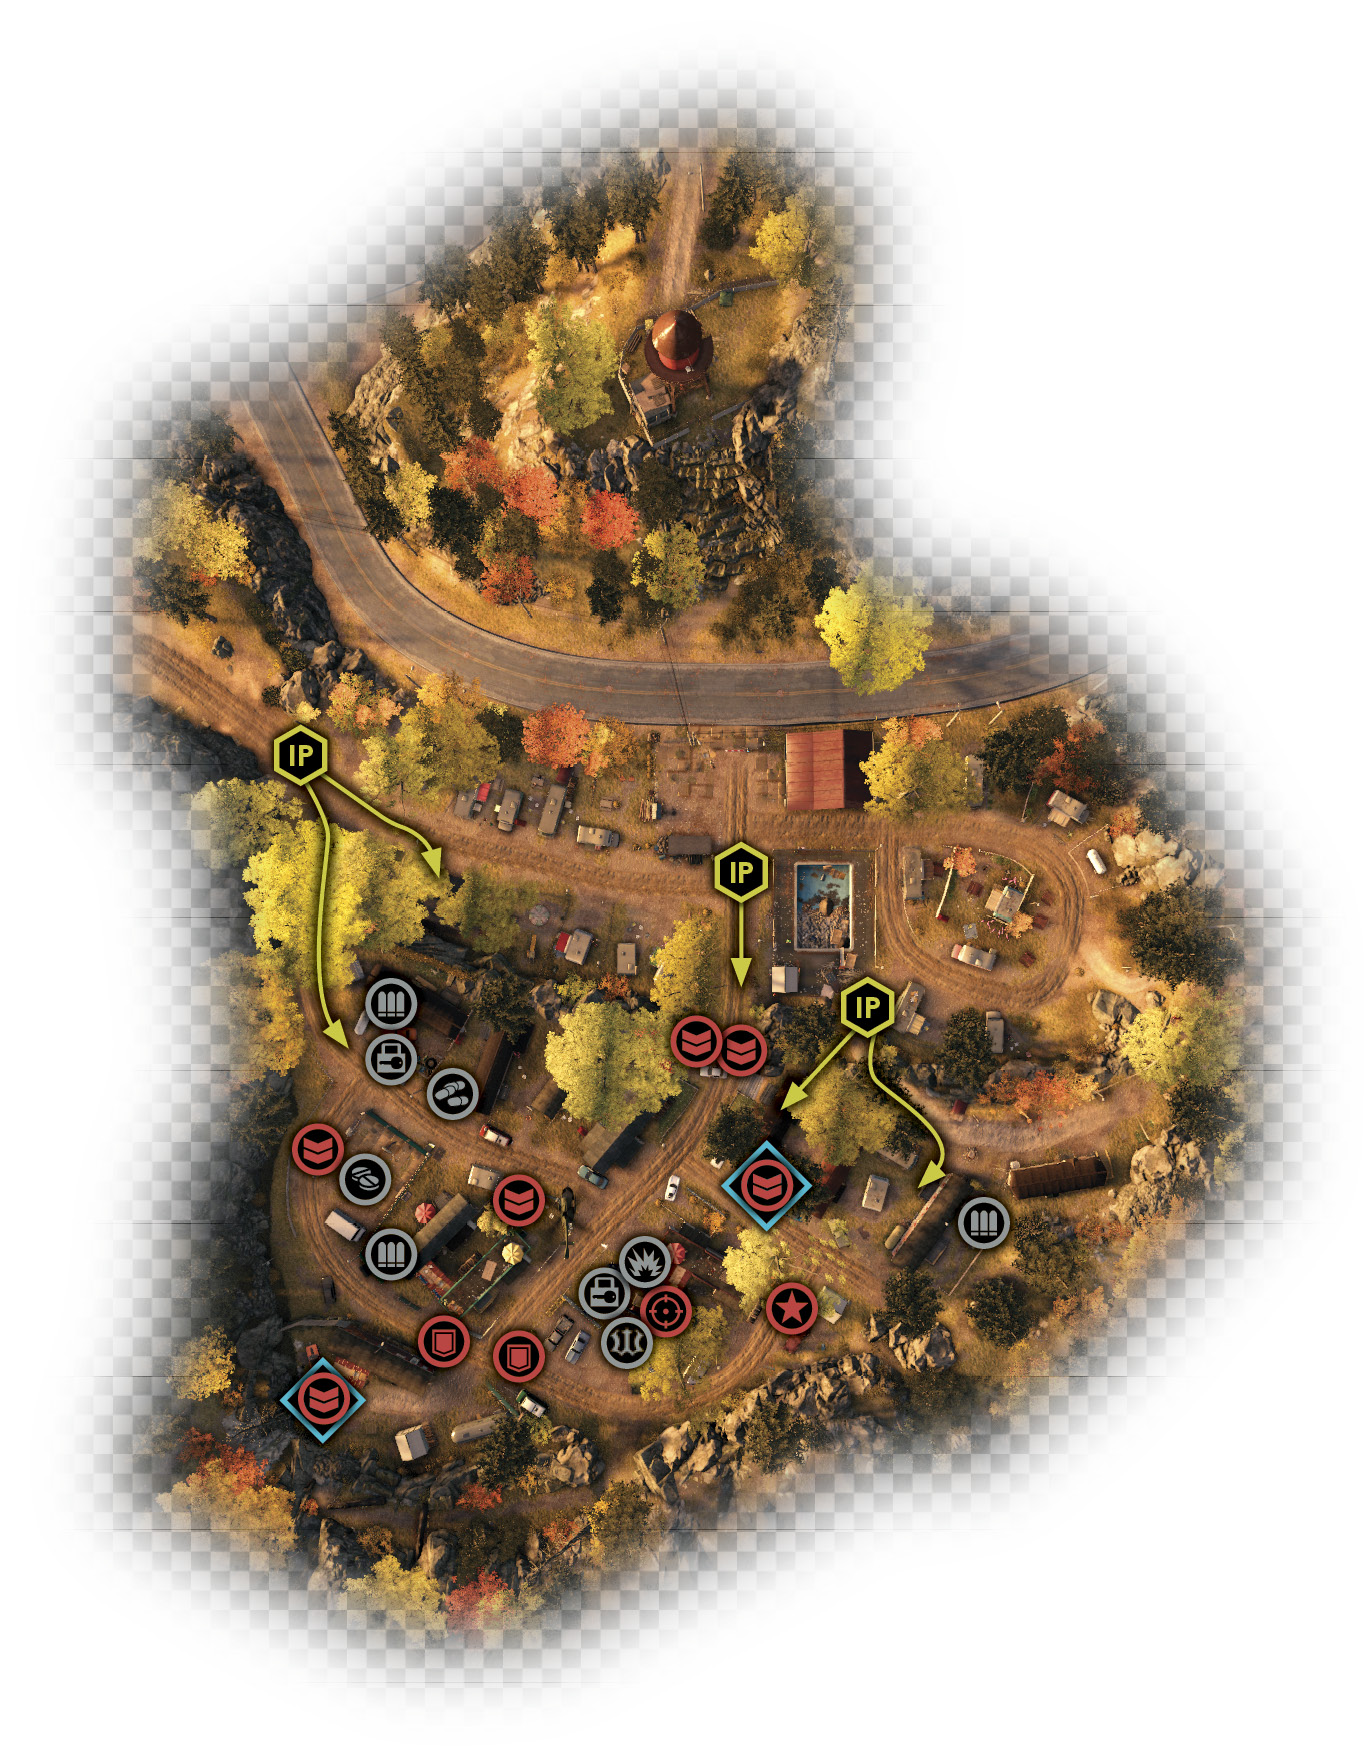
Location / Pawnee // Pawnee Trailer Park

|
 Tail the helicopter
 Hack the chopper to find 2 security chiefs. Stay undetected.
2.1 VISITING THE GATED SUBURBS
 Location / Pawnee // Trailhead Campground
 Location / Pawnee // Pawnee Trailer Park
 Driving Investigation
 Vehicle Chase
Difficulty: 
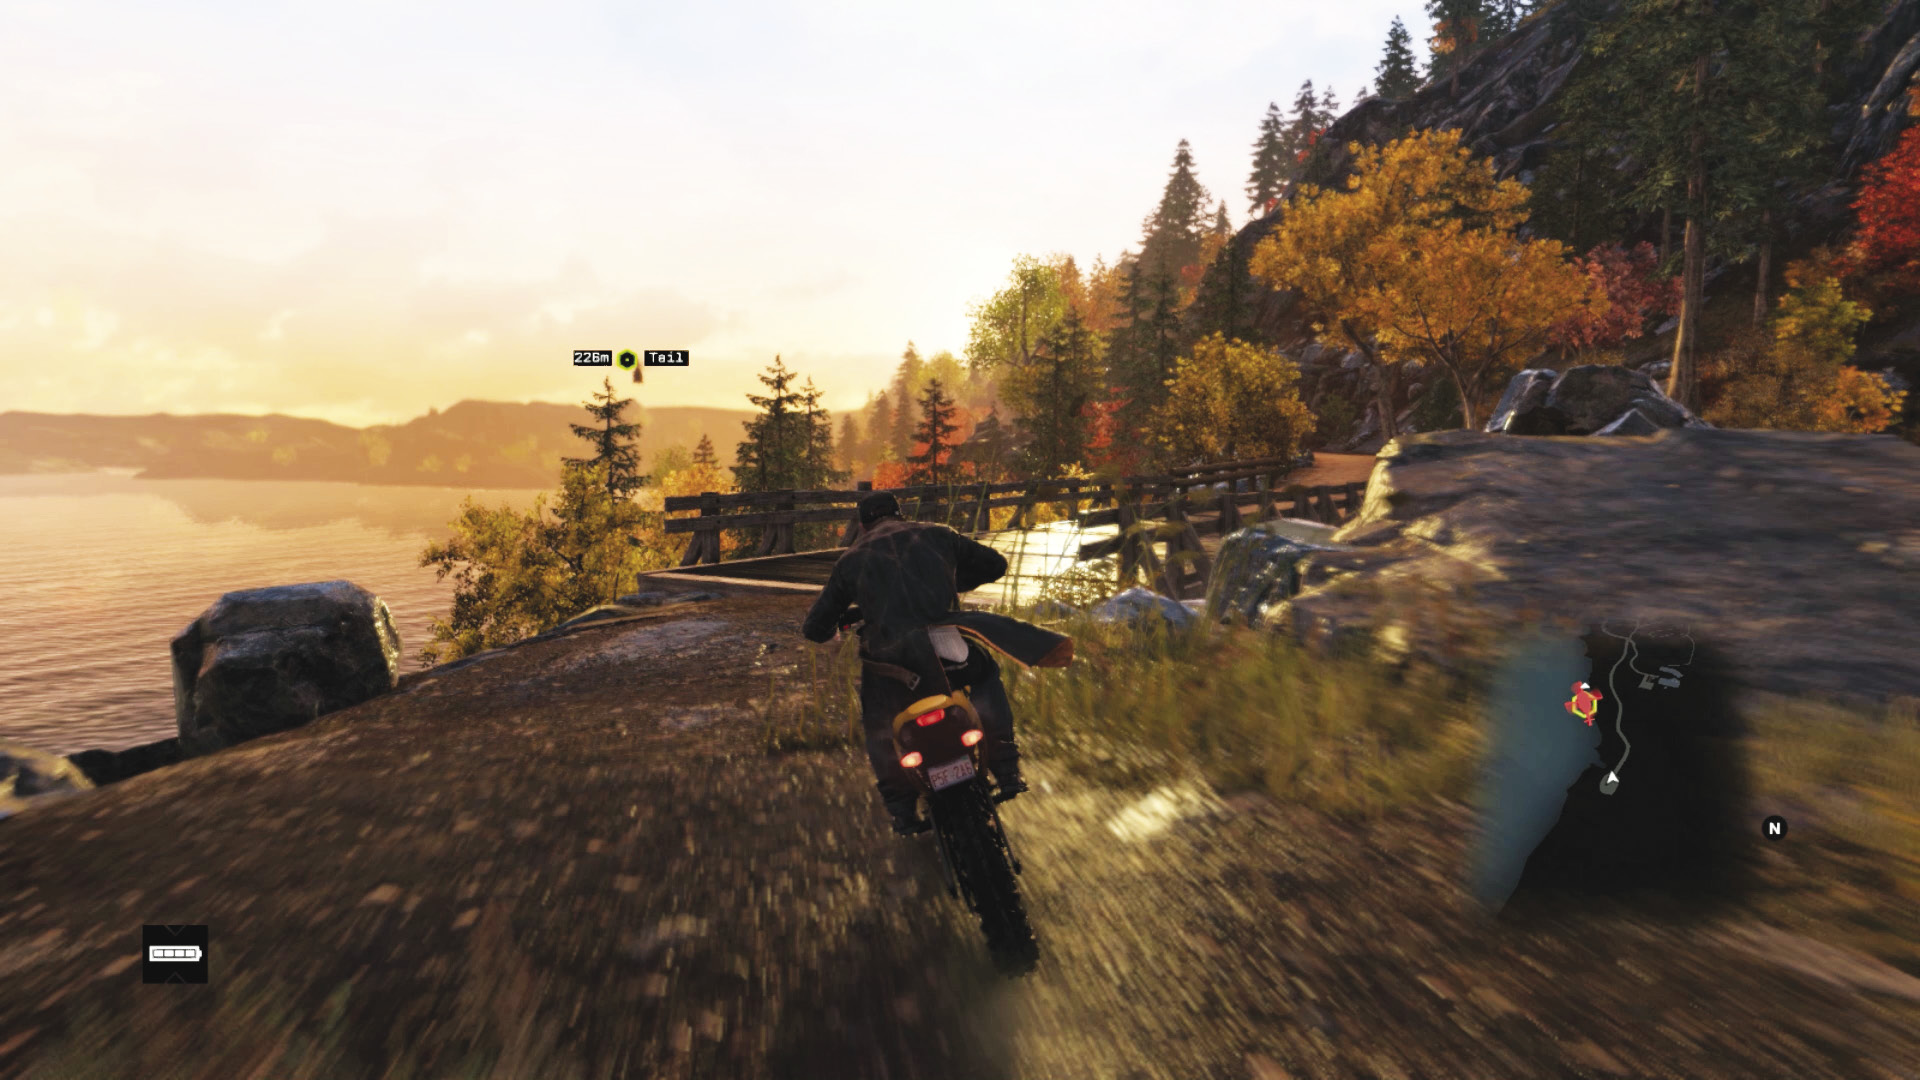
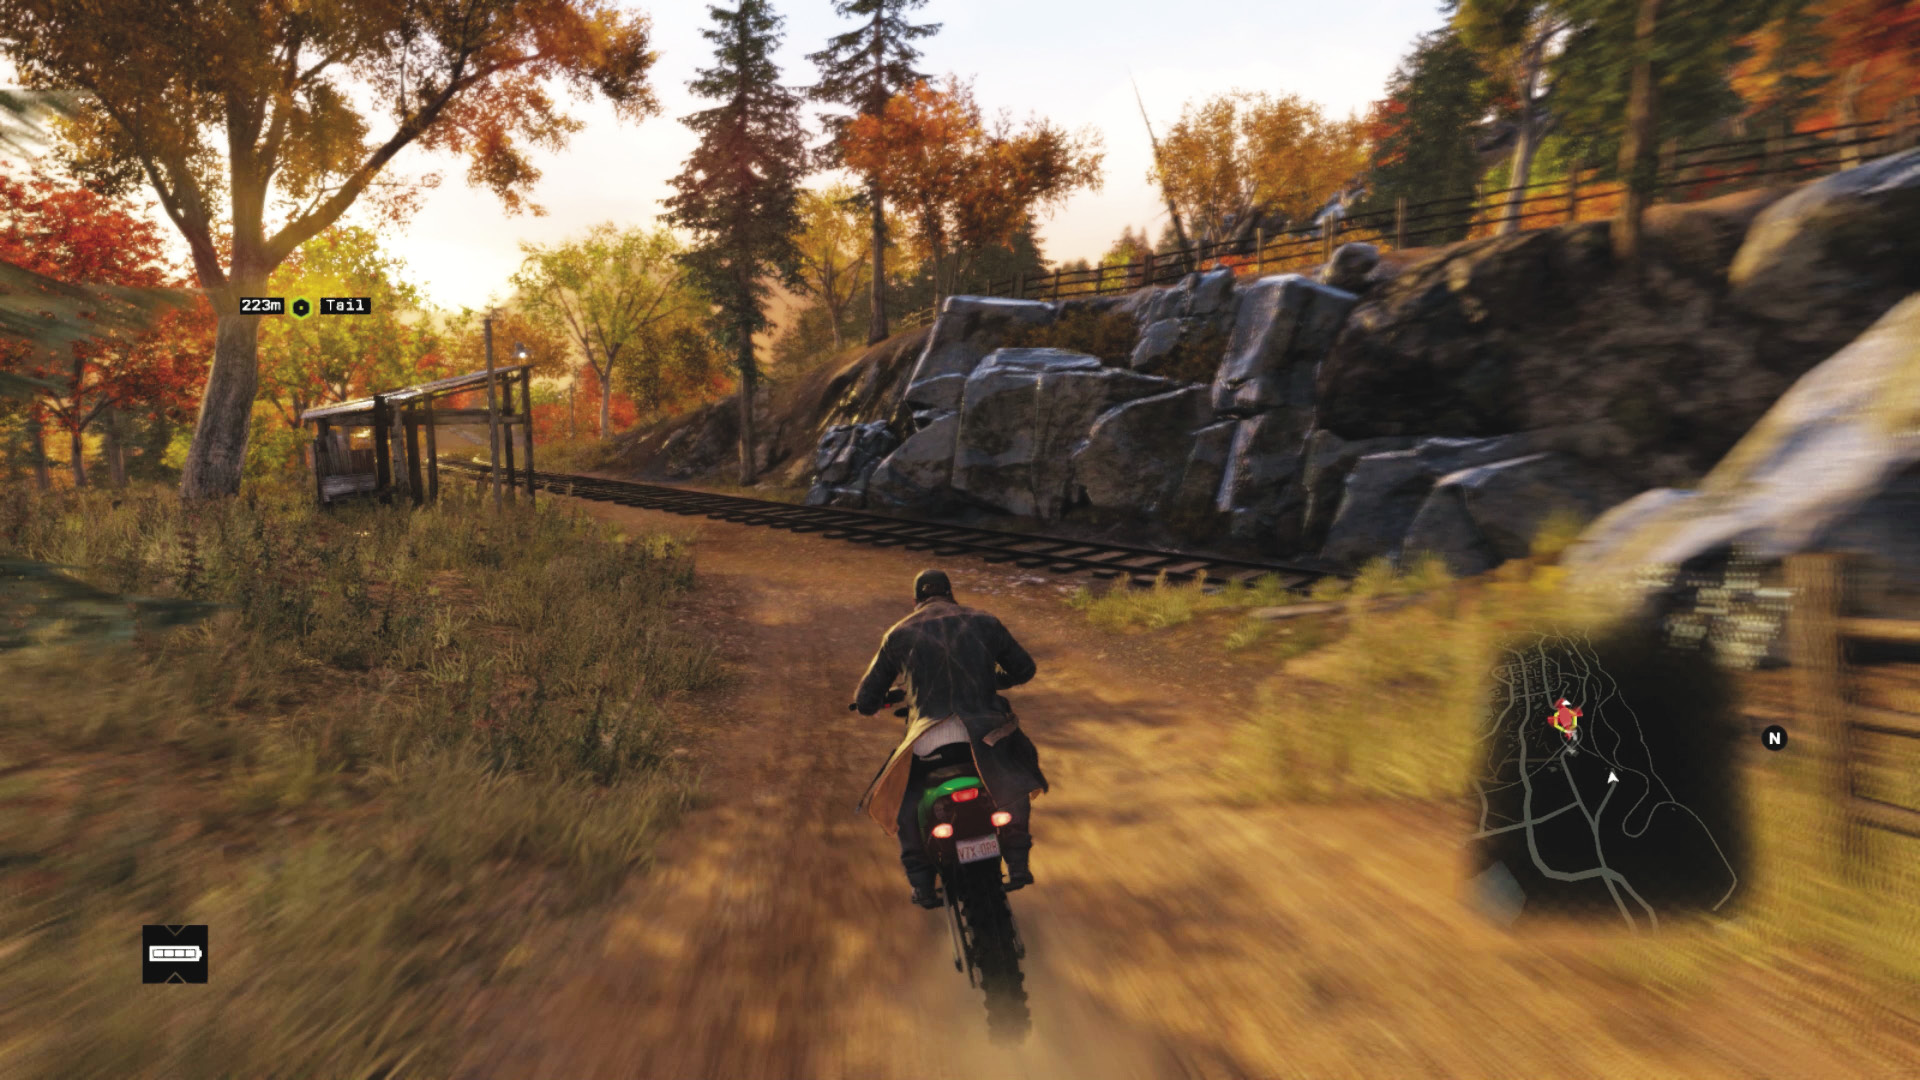
Head toward the campground at Pawnee’s eastern edge. You receive a phone call; it’s T-Bone, talking to you about helicopters. Is he overly paranoid? Probably, but on this occasion, he’s correct: One of them appears over a wooded hill and holds the key to Blume’s involvement. Time to tail it. Take the vehicle you came in or grab a nearby bike; we recommended the bike, as you can more easily navigate any off-road trails.
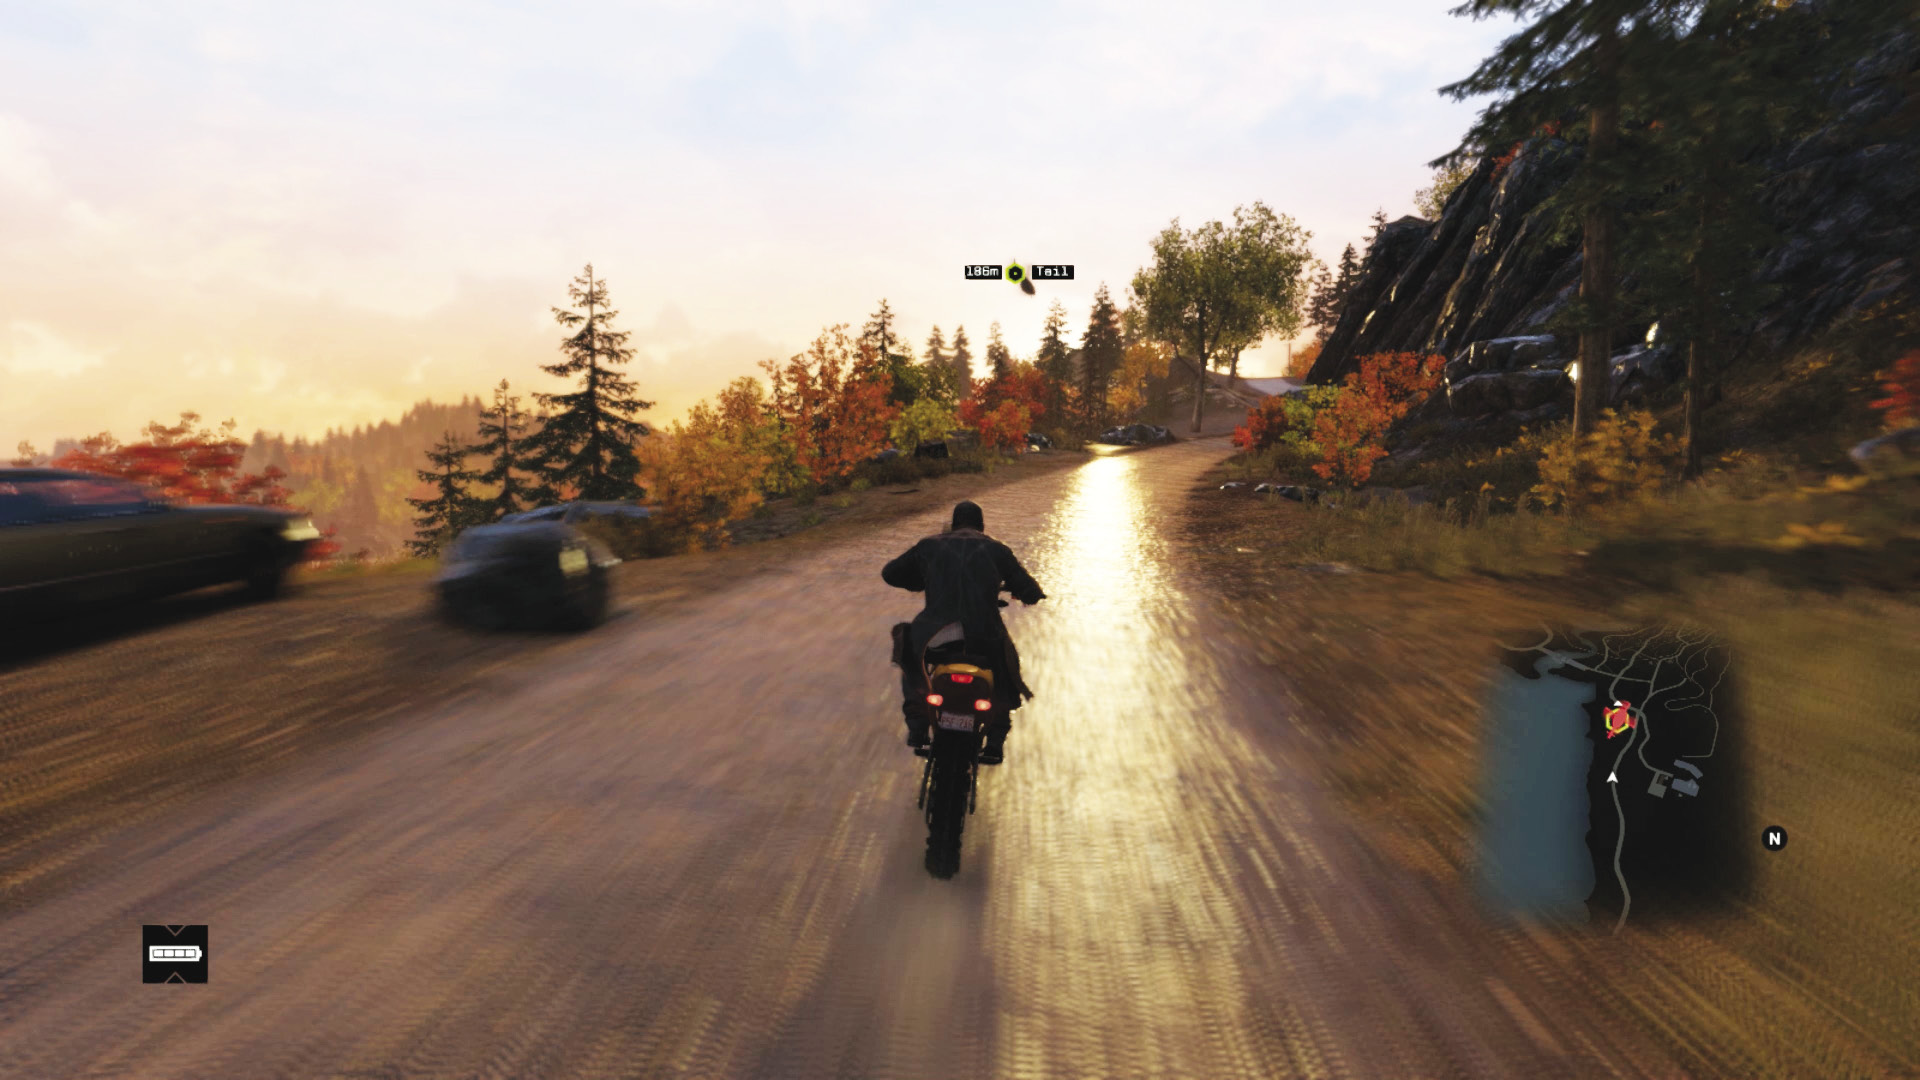
The chase begins. You’re moving from the Trailhead Campground all the way through Pawnee (or the backwoods trails close by) to the Pawnee Trailer Park. Before you start this, it’s wise to remember a few tactics:
The chopper can’t be more than around 400 meters away, or you begin to lose sight of it and have 20 seconds to reacquire a visual.
The sun is likely to be in your eyes, and you’re traveling at speed. This can lead to numerous accidents, so slow down a little more frequently than normal so you have enough reaction time to avoid obstacles (fences, oncoming vehicles, etc.).
Immediately utilize your world map, and mark the trailer park’s location on it (even though it hasn’t appeared as a waypoint yet). You’re heading here, so move there while still remaining within tracking distance of the chopper.
You don’t need to visually track the helicopter; just stay within range of it and concentrate on navigating the roads. The following routes are advisable once you emerge onto the first tarmac road junction:
Prowling through Pawnee
 Accessibility Level:
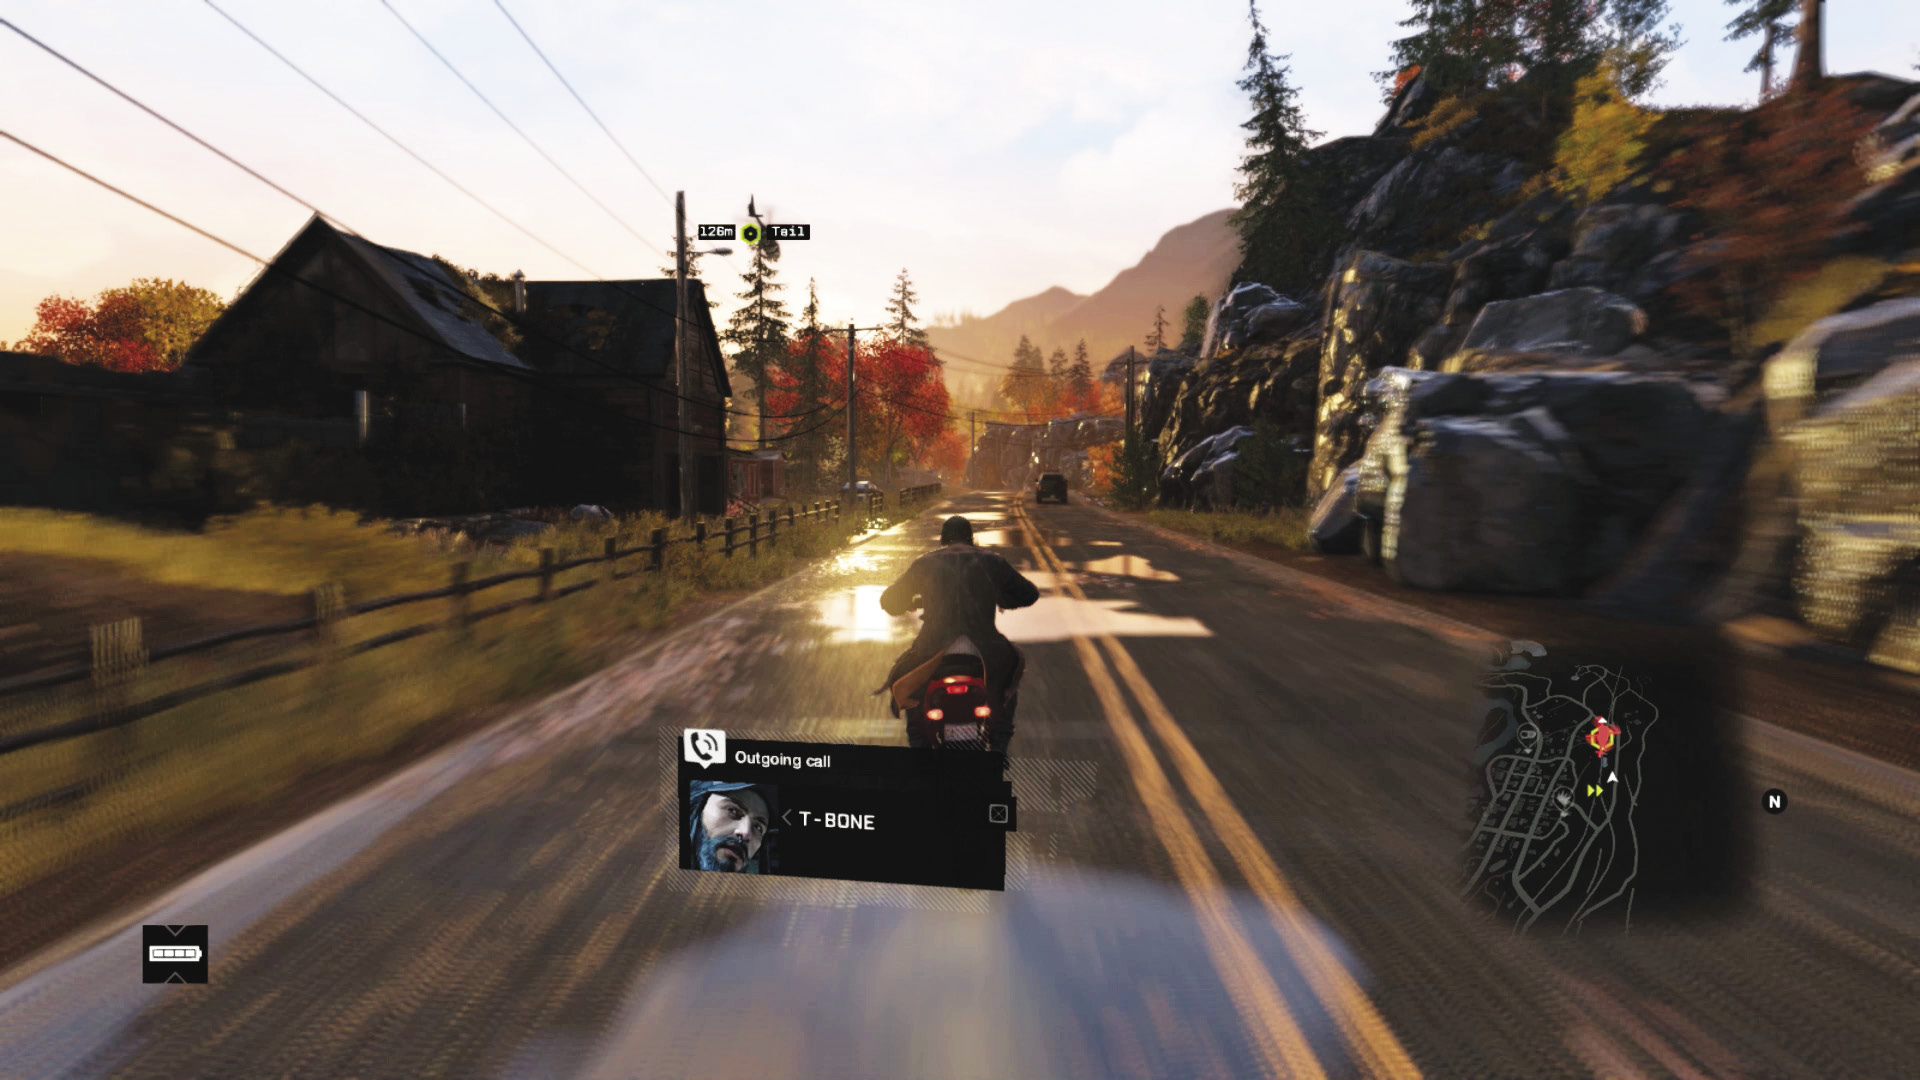
Simply select the trailer park on your GPS and follow the route. Make sure you eventually turn left and drive down the main drag of Pawnee, then pass the gas station as you head out of town. You can simply ignore the helicopter while taking this route and reach the trailer park before the chopper gets there (but without losing it)! But don’t get too far past the chopper or you may be discovered in the Trailer Park, and fail the mission.
On and Off Road
Accessibility Level: 
If you feel the need to keep a constant eye on the skies, you can take the northern roads through Pawnee (heading west), before heading off road from the gas station, taking the side roads near the dam. Cross the covered bridges and the sawmill, and drive through the marsh grounds and up to the trailer park’s western edge. This is the escape route for one of the security chiefs, if you’re discovered during your subsequent infiltration.
Larking on the Lake
Accessibility Level: 
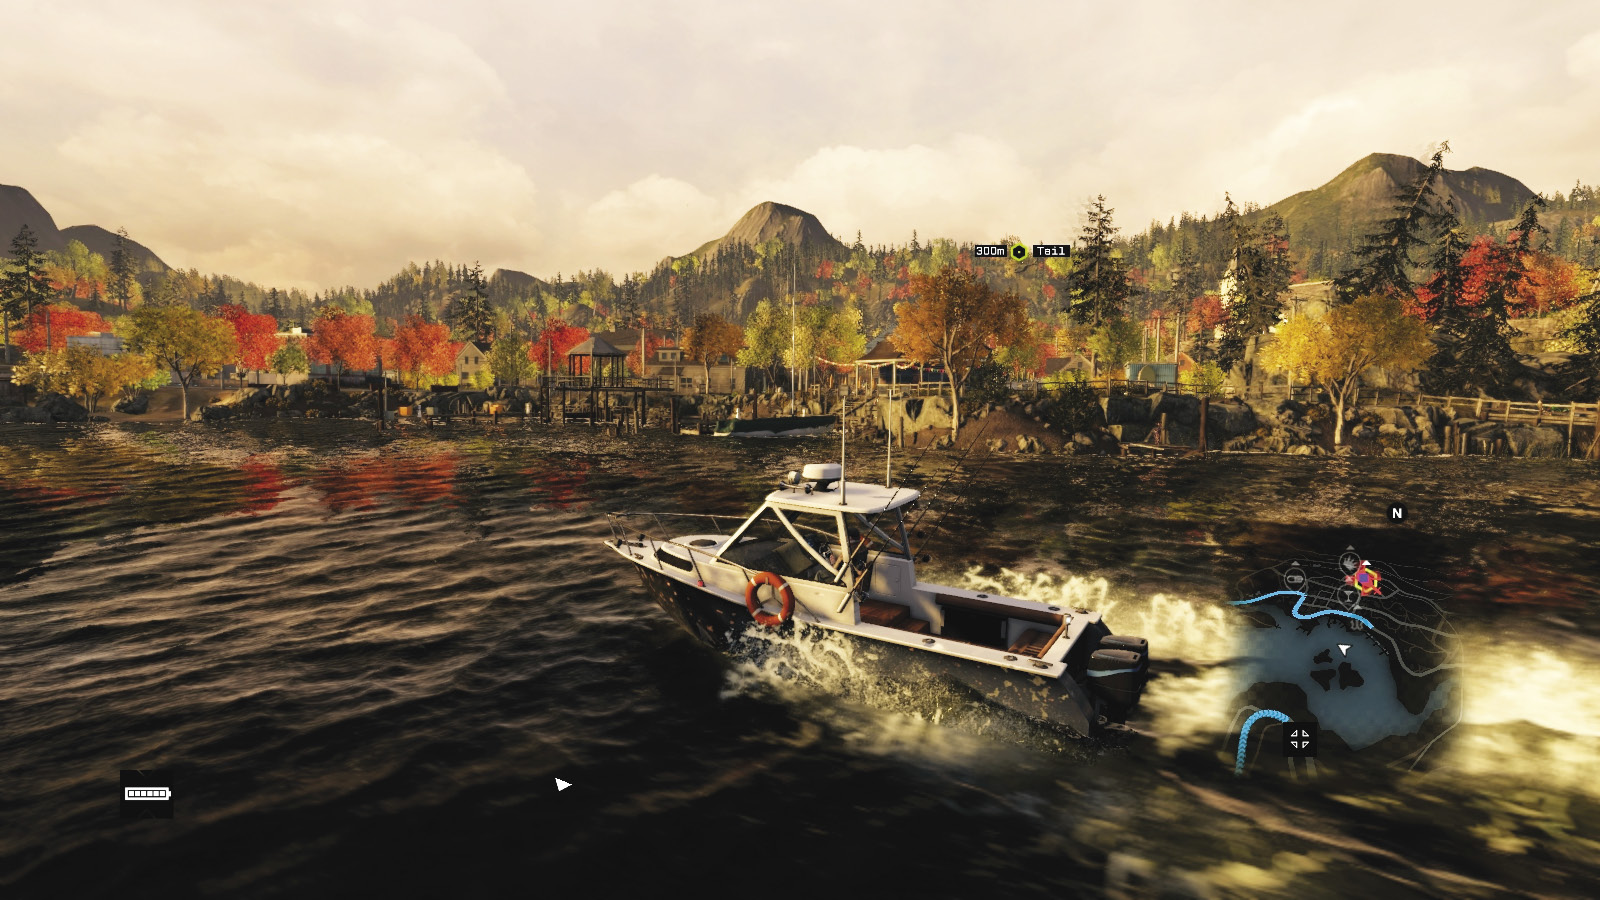
A more leisurely chase is possible by running down to the small wooden jetty south of the campground and climbing aboard the boat. Pilot it west, through the ravine and partly constructed bridge (you can move over the booms on the water). Stay close to the northern shore and pause to let the helicopter come into maximum range. Continue heading toward the lake’s south shore, running around near the Vyvyn K. Turner Bridge (hotspot) by Pawnee Beach, just northwest of the trailer park. Then finish the journey using one of the parked vehicles.
Just over a covered bridge is a large rise and a side road leading to a red-roofed general store and the sprawling park, where the helicopter starts to circle.
At this point, do a ctOS scan (crafted item) of the trailer park. You instantly uncover all ten foes (which makes the infiltration to come much easier, as moving from camera to camera is more tricky). However, you don’t uncover which are security chiefs (though tagging everyone makes finding them during the helicopter hack much easier too).
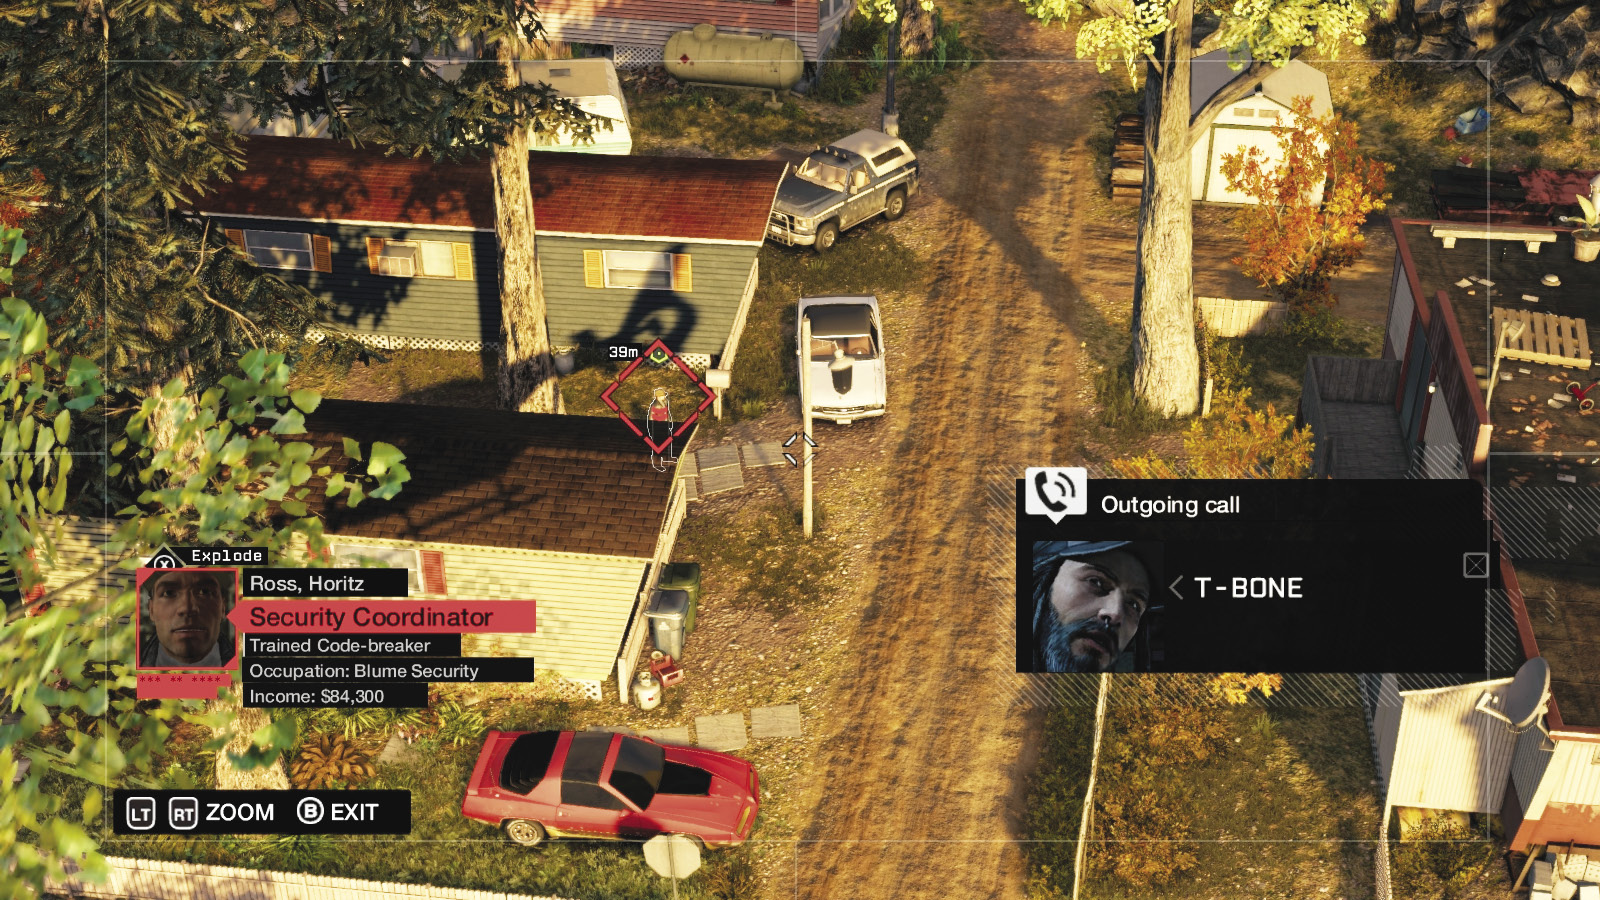
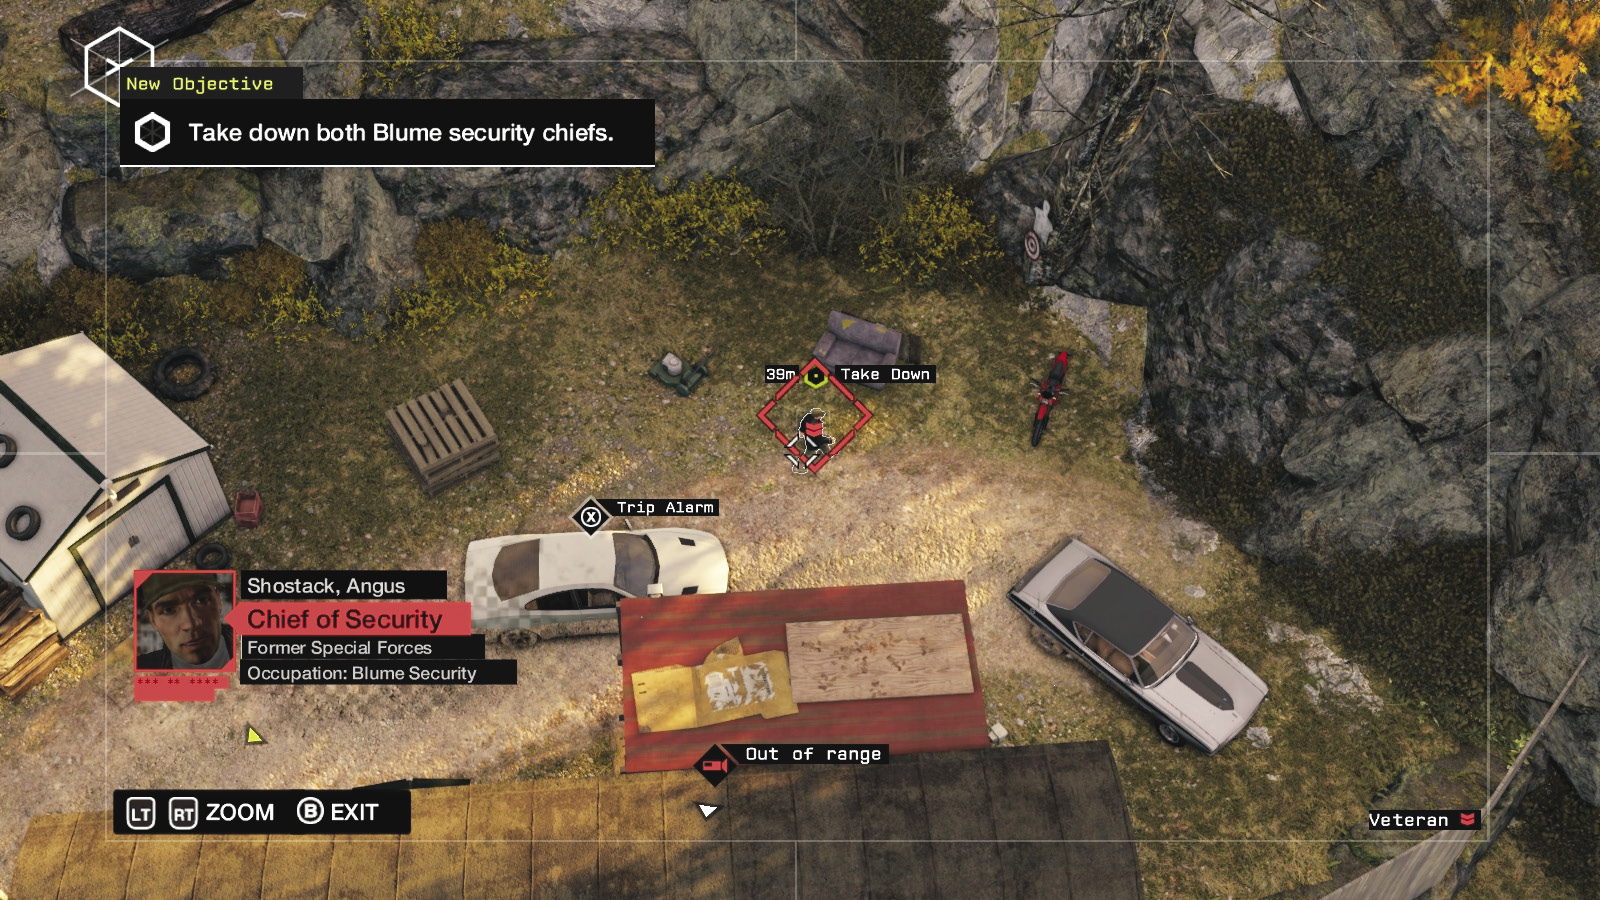
Find a good hiding spot (out from the restricted area), look up at the chopper, and hack it. You’re attempting to pinpoint two security chiefs. These are indicated on the guide map and on the screenshots here. Be quick in your scanning, and zoom in on each chief before the chopper pilot notices your hack.
One of them is standing on the ground between two trailers, in the eastern part of the park just north of the sniper on the trailer roof. The other is behind a fence and trailer, close to two parked vehicles along the park’s southern edge.
|
 Infiltrate the park and find the security boss
 Take down both Blume security chiefs
2.2 ARMED TO THE TEETH. THEY DON’T LIKE VISITORS
 Location / Pawnee // Pawnee Trailer Park
 Infiltration
 Data Hack
 Lethal Force Likely
 Melee Force Likely
Difficulty: 
Overview
 Completion Point: Chiefs of security, within the trailer park (hack the phone).
 Dangers: Ten militia (Veteran x6—two are the chiefs; Elite x1; Enforcer x2; Marksman x1), with pistols, rifles, and machine guns. One is a sniper. No Shot-Callers unless an escape occurs. Second Marksman in the helicopter.
Reinforcements: Two militia vehicles (Gunmen x2 in each), appearing once you defeat four or more foes and are spotted.
Insertion Points
This trailer park is surrounded by a steep hillside on the far (south) side, meaning approaching from the north is the only viable option. However, only part of the park (the upper area) is in the “restricted area,” and the park is porous, with no impenetrable gates or walls. But, there are specific areas of the upper park to think about as a starting point:
Pink, Brown, and Blue (Northeast)
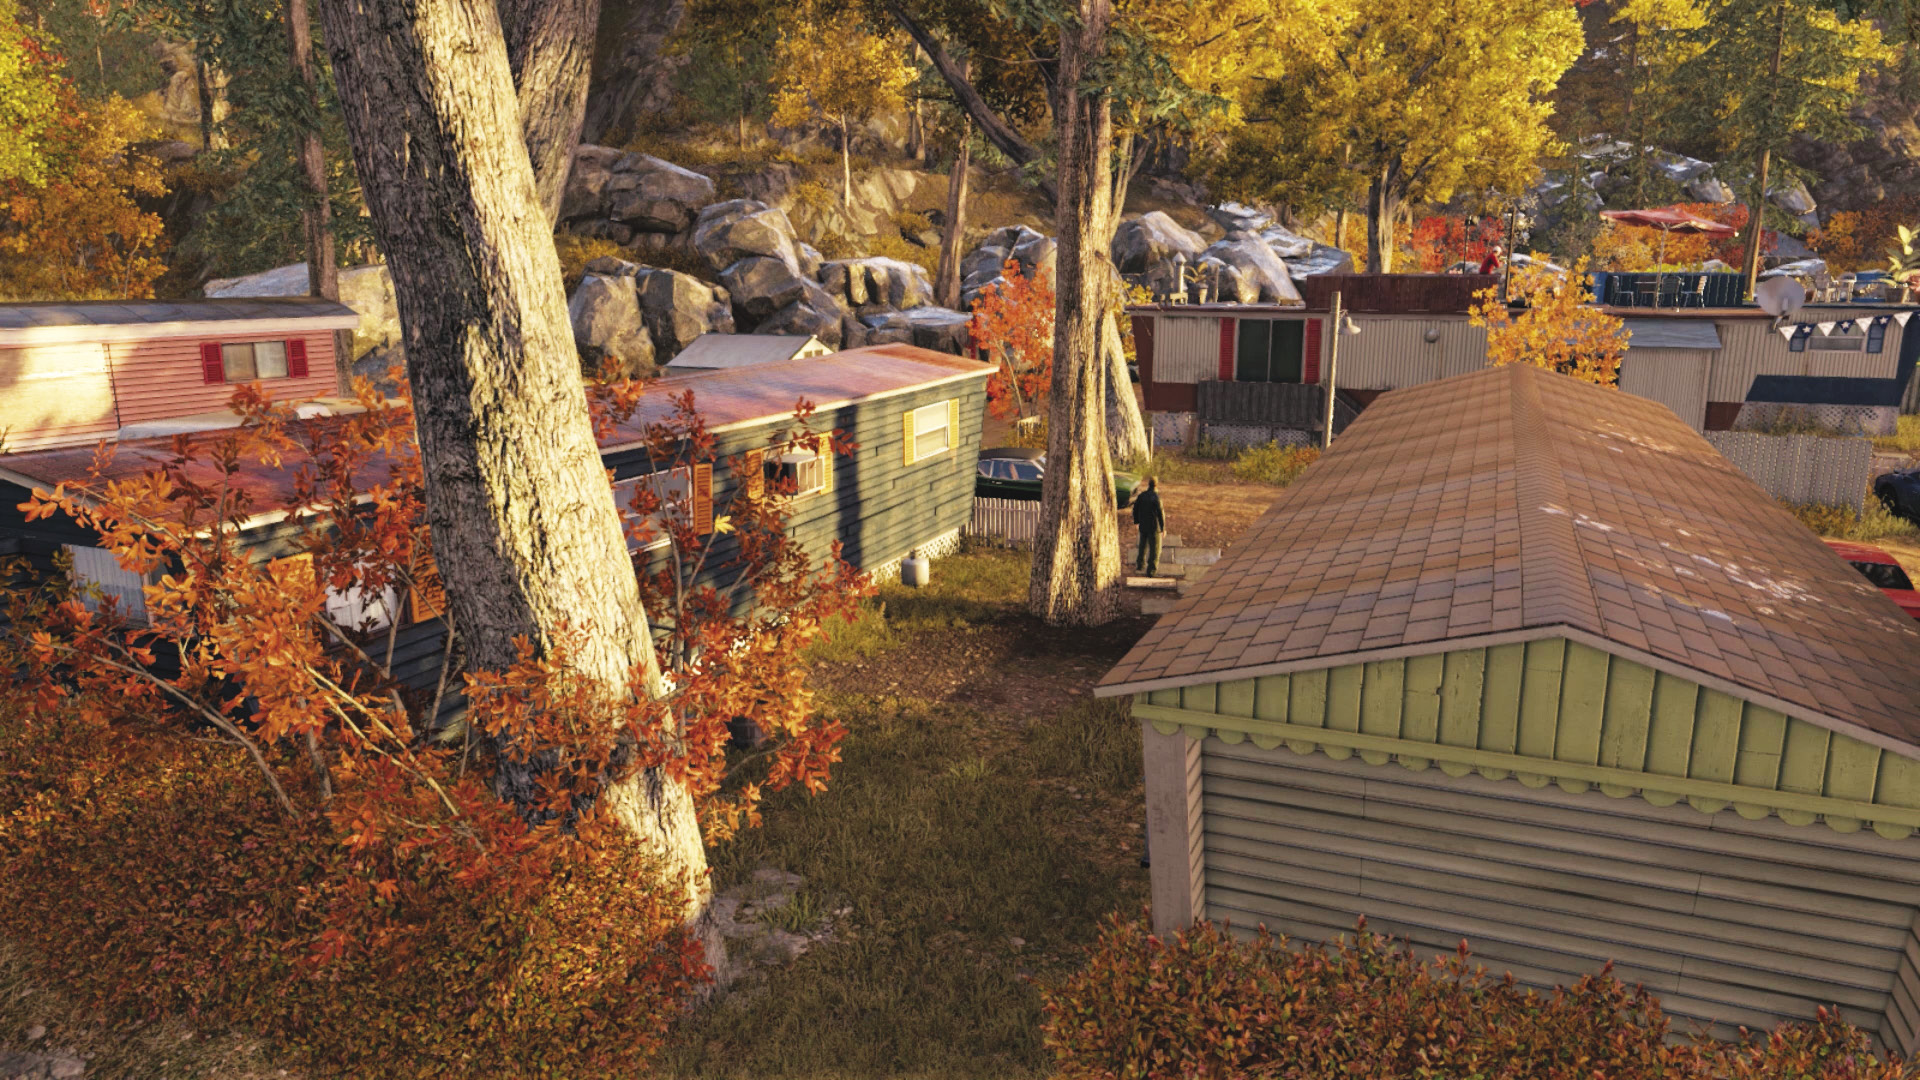
 Accessibility Level:

Approach from the empty swimming pool just below the pink, brown, and blue trailers, and enter between any of them. This insertion point enables you to navigate with the minimum of combat (as there’s only one militia member close to your location) and is the perfect route if you’re playing passively and wish to easily bring down the chief standing between the two trailers in this vicinity. This also enables you to reach the upper ridge area behind the campground more easily than the other insertion points. Note the Marksman on the linked trailers just north of the first chief; he’s a primary takedown target. A railing atop the trailer roof where he patrols holds one of Maurice Vega’s burner phones, which you should claim now or after this mission.

’Murica Militia (North)
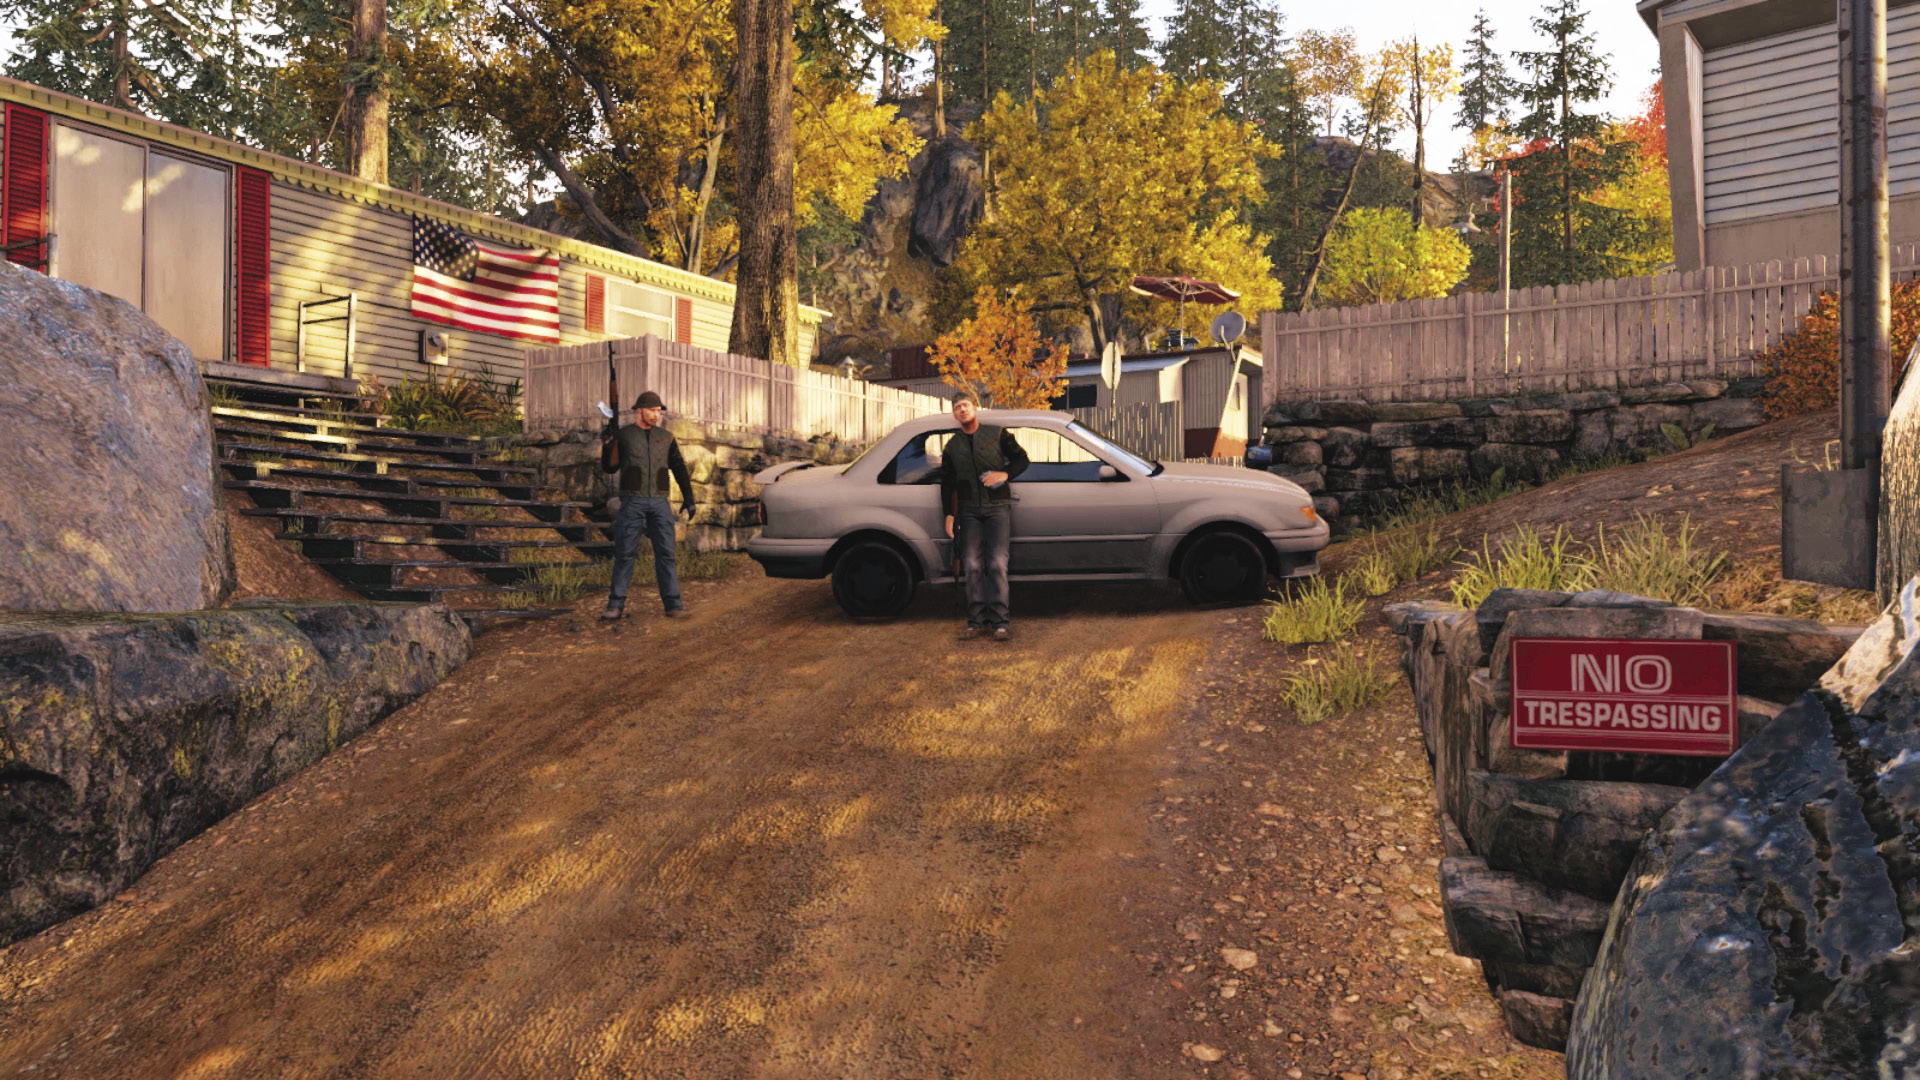
Accessibility Level: 
The main dirt road up the middle of the trailer park has a vehicle blocking your path, two gun-toting yokels, and a “no trespassing” sign. Although you can sneak around and behind them both (using the cell phone on the nearby rock to distract), approaching from the dirt road gets you into combat quickly and ineffectively. There are better ways to utilize violence than making your presence known early.
Up from the Playground (Northwest)
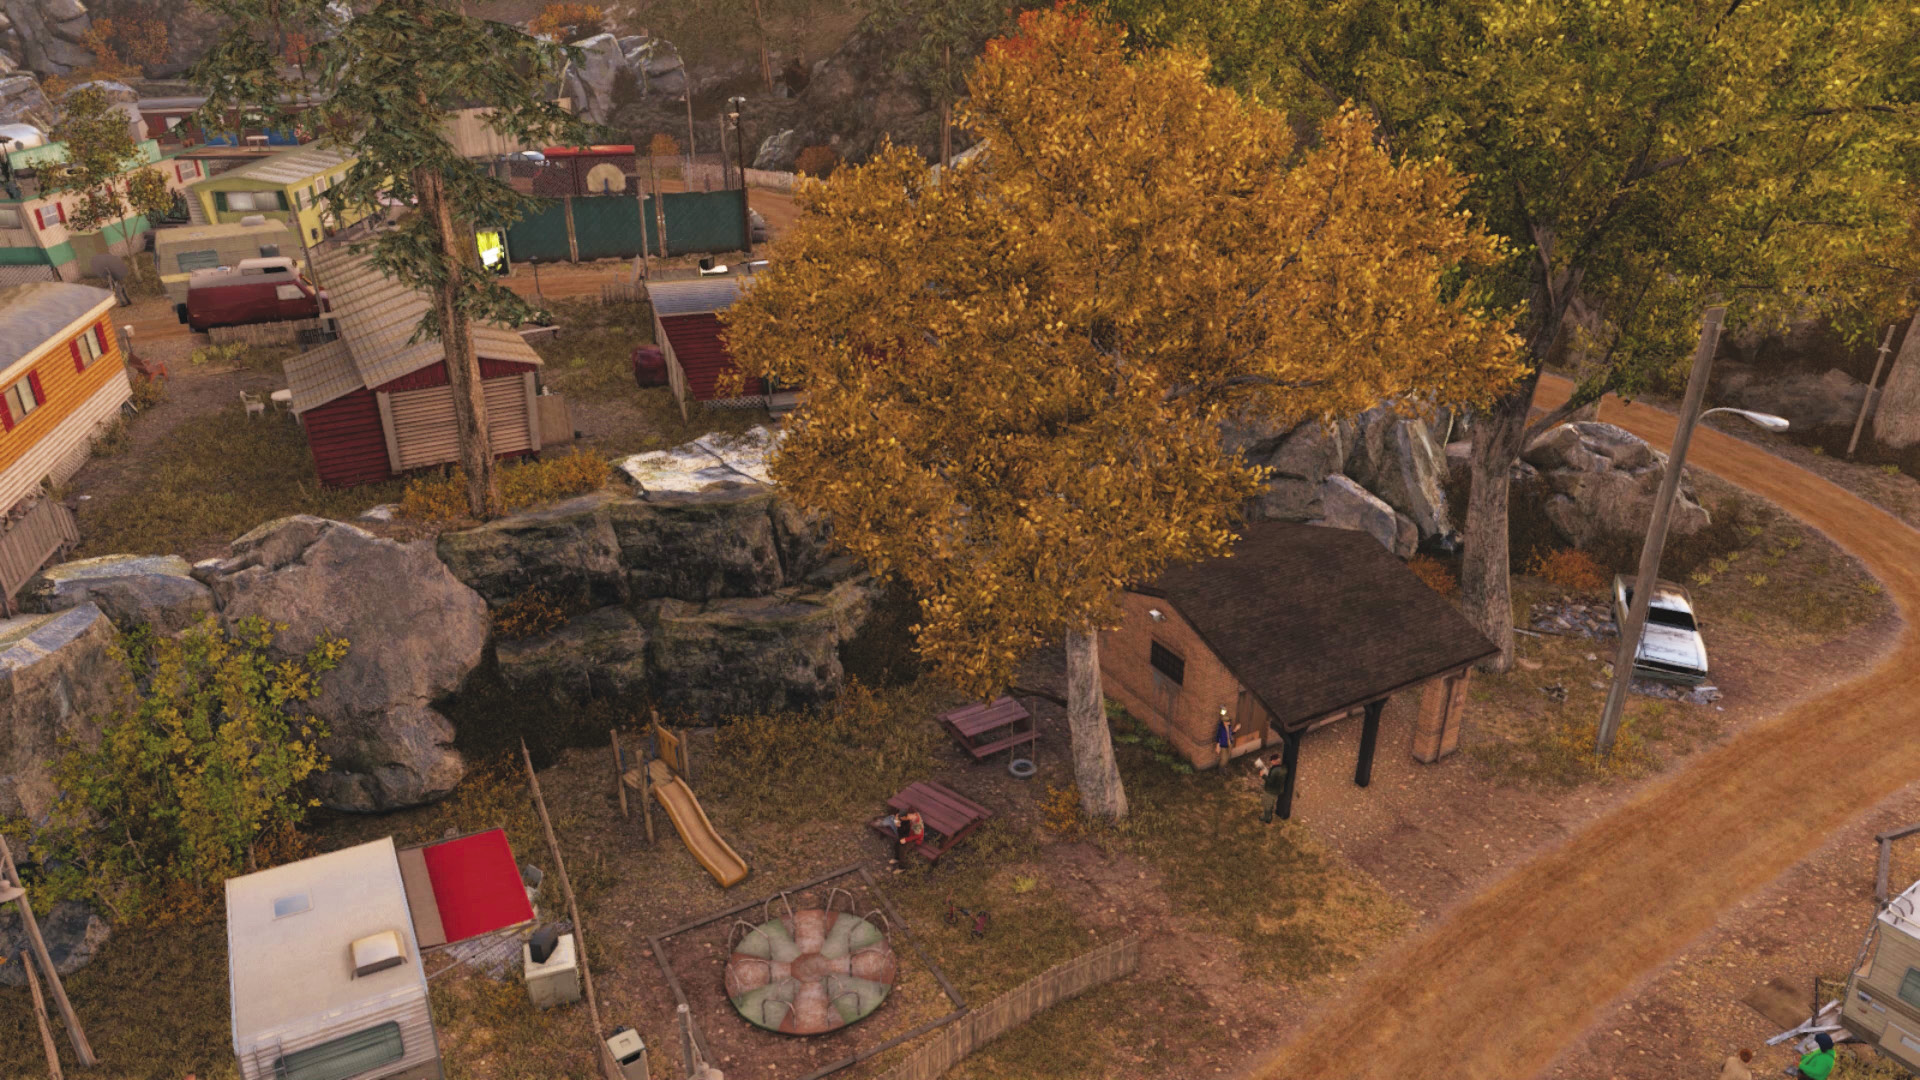
 Accessibility Level:
The jutting rocks between the playground and the upper trailers area is a good place to clamber up, as there are numerous hiding opportunities as you reach the road that bisects this upper park. Watch for two foes near the small caravan and camper van; worry about being spotted from all sides if you venture forward and up the middle too quickly, too soon. However, you can assault and step back into cover easily from here or even take the camper van and flee!
Trail to the Basketball Court (West)
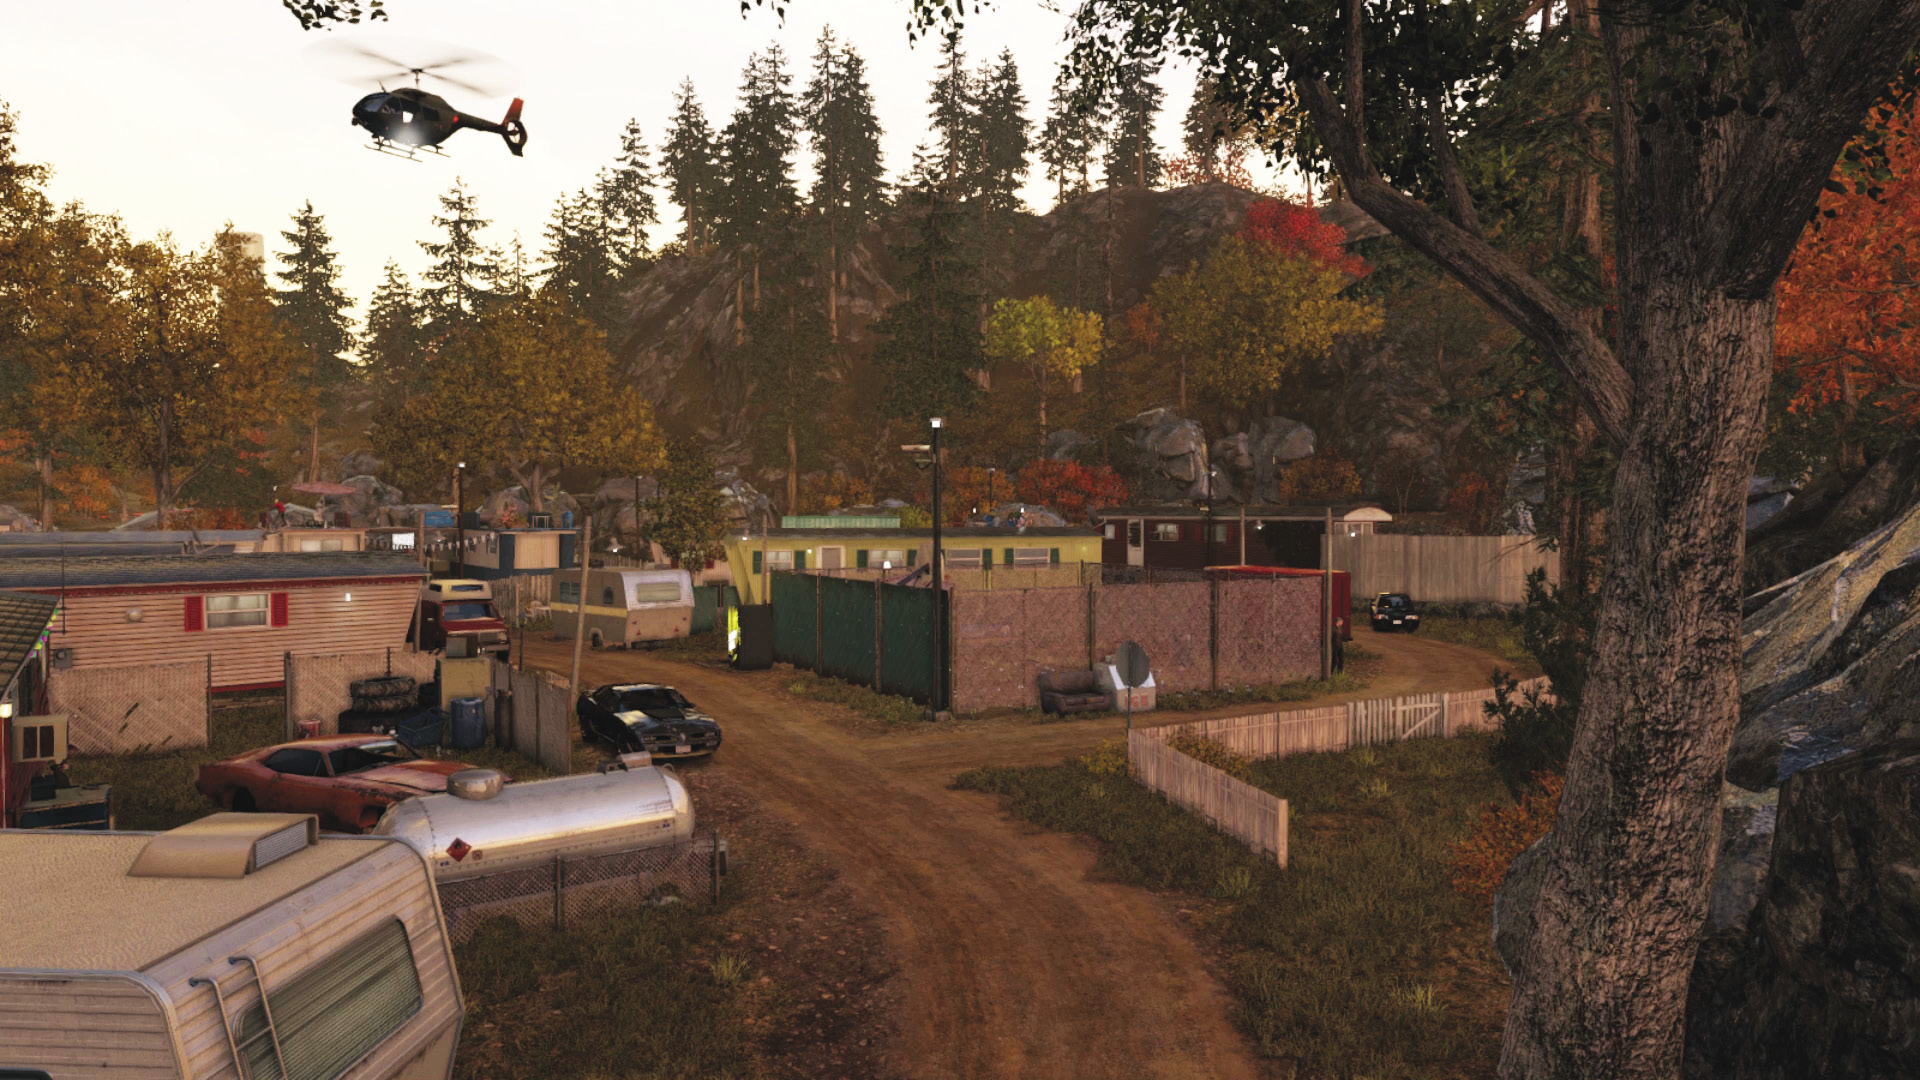
 Accessibility Level:
Although the propane tank and openness of this area may be disconcerting, the militia don’t have this side of the park very well guarded. There’s a single foe at the corner of the basketball court who is easily distracted or throttled. Conversely, this is a good place if you want to try driving to reach your goal, though this is dangerous due to the impressive firepower your foes are wielding; try this only when the southern chief is left. Don’t try climbing the fence to reach the target on the other side; it’s too tall and can leave you open to attack.
Progression Plans
You may now try one, parts of, or any combination of the following methods of ignoring or taking down the militia guarding the target you need to hack:
General PreplanningThe Order of Business: You now have the entire trailer park to infiltrate from. This means you can choose which chief to take down first and utilize stealth or violence to accomplish this. You can’t hack these foes from afar. Fleeing Foes: You can tackle enemies violently or clandestinely; if you go with the former, expect the second chief to make an escape run in a vehicle. The security ID you need is always on the second chief, no matter which order you tackle them in. Chaos and Confusion: Your subsequent actions can make matters easy or chaotic, so think about the infiltration and watch for the helicopter above you. It can spot and alert everyone as well, which causes the enemy to actively search you and readies the remaining chief to flee. Cover: This trailer park has more cover opportunities than most, so making use of them is advisable and is far safer than a gung ho approach. Cameras: The relatively small area you’re working within means there are plenty of cameras to use to mark the enemies you need to avoid or remove. The militia are also fond of using cameras on their persons, so hack into these moving eyes and ears when you’re scouting the area, looking for a route or a takedown opportunity. Collateral: The trailer park isn’t completely filled with militia; there are more peaceful denizens here, and it’s advisable to leave them alone between avoiding or tackling the enemy. Violence: You don’t need to massacre the inhabitants of this place, but if you do, prepare for a skittish target that may try escaping and enemies that turn hostile very quickly (especially if you’re using stealth takedowns but leaving corpses out in the open to be seen). It’s wise to do a quiet infiltration until you’re discovered. |
 Passive // Smart: A Stealthy Creep Uphill
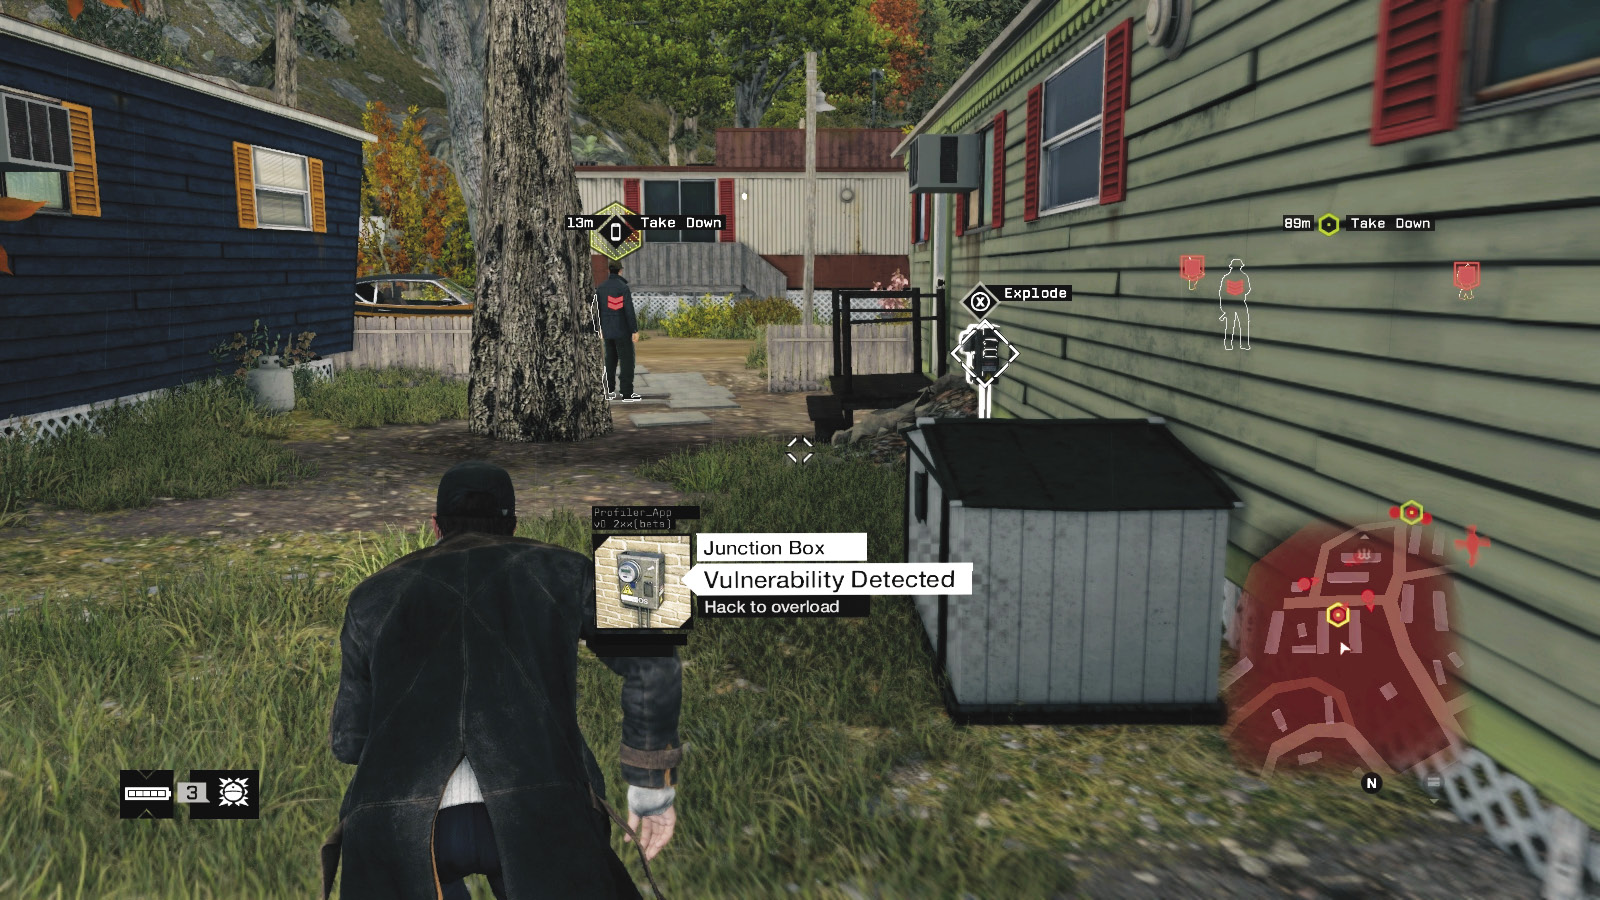
 Difficulty:
This is easily accessible from the northeast insertion point (the pink, brown, and blue trailers). Watch the patrol of the Elite guard by the small white hut and the helicopter above. Approach behind the first security chief, dropping him with a melee strike. Then move toward the white hut, watching for the sniper atop the nearby trailer. It’s possible to move between the trailers he’s on, climbing onto a fridge and across the planks; throttle him to avoid being spotted.
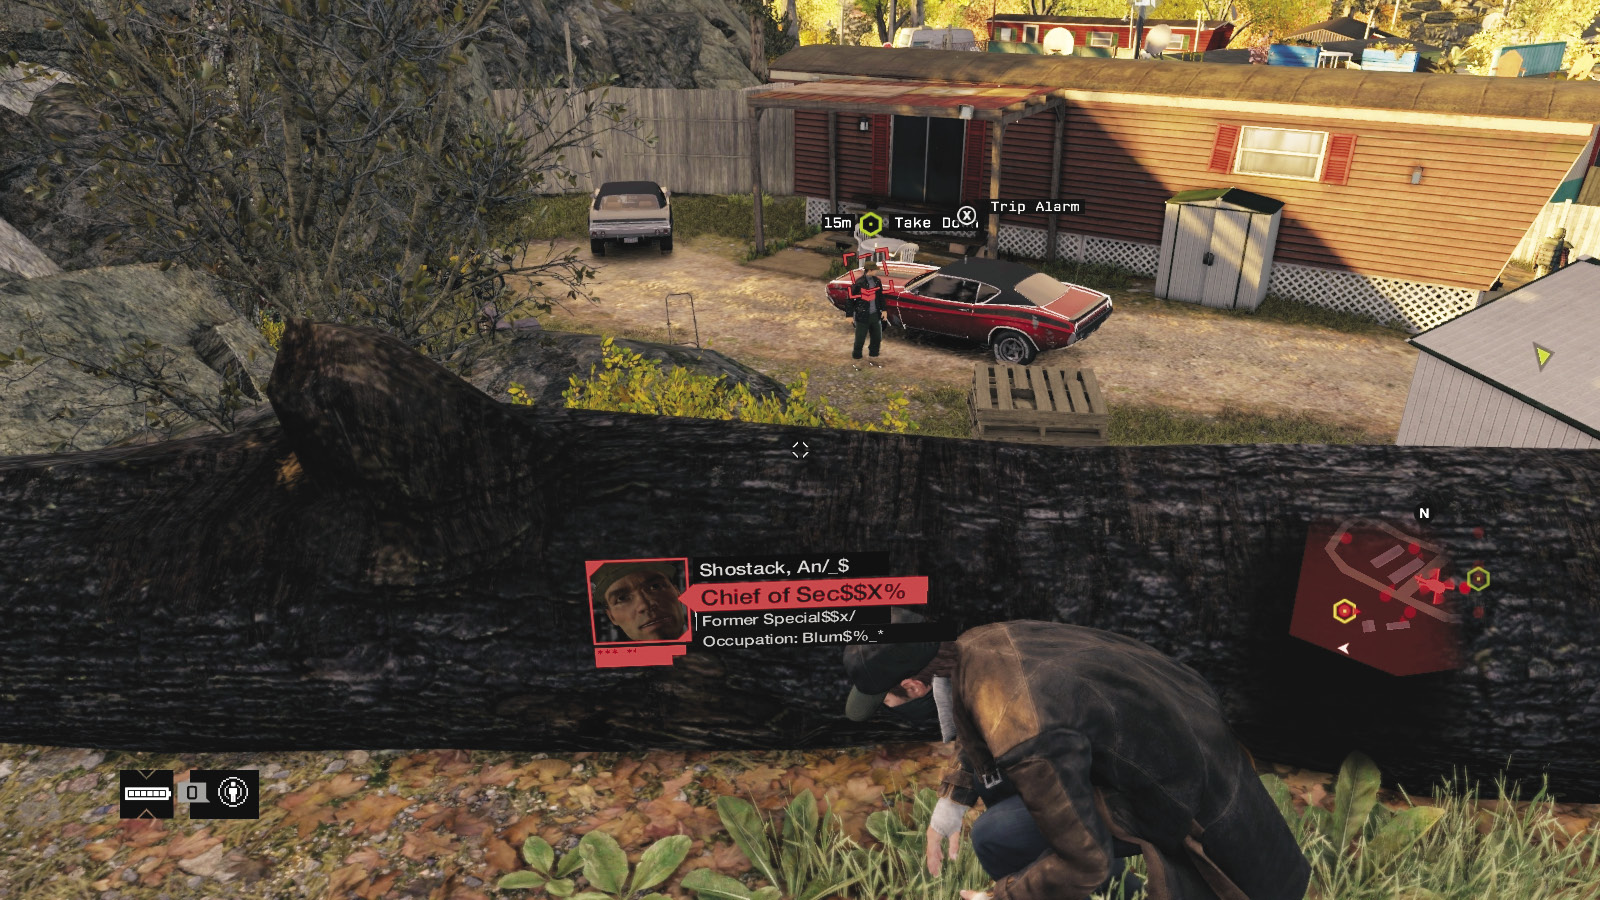
Wait for one of the Enforcers to move away from the dirt slope between the rocks on your left. Then maneuver and skirt around them, away from harm. Head up the dirt slope to a narrow, flat path with fallen tree trunks, including one overlooking the second security chief. You can simply watch his patrol path, then drop down, sneak up, and strike him (or shoot him in the head). Then flee through the fence, using the chief’s own parked car.
 Aggressive // Stealth: No Guns for the Thrill
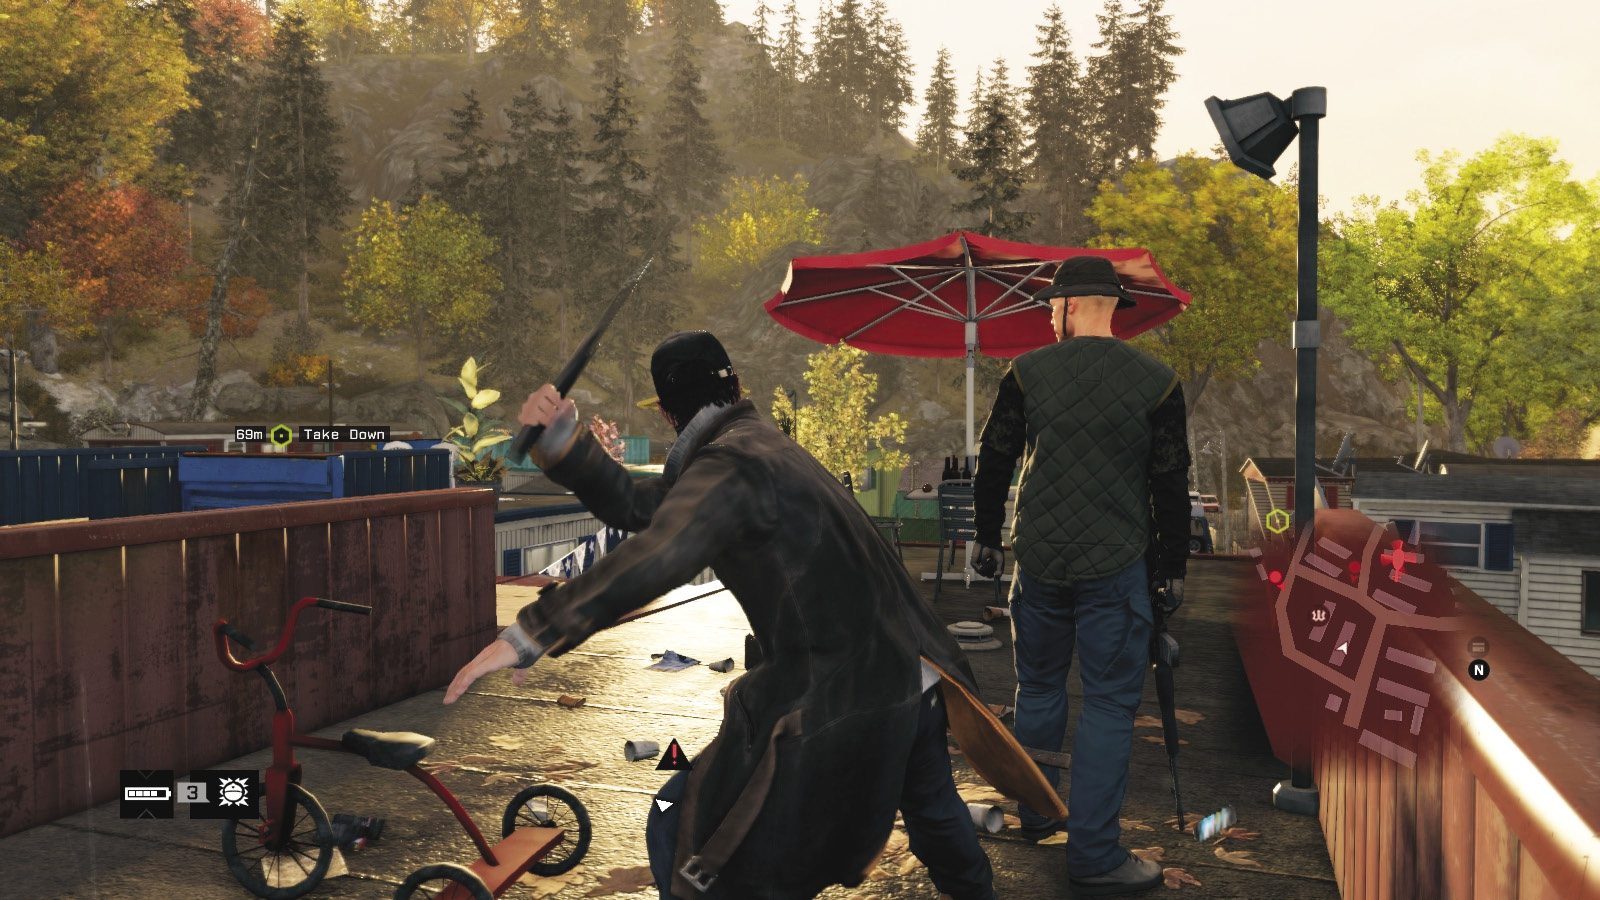
Difficulty: 
By now, you should be reasonably skilled at tackling multiple foes one, or even two at a time, without resorting to a weapon. Skulking about this trailer park allows you to easily throttle the waiting guards (especially using lures or attract phones). However, the sniper and his two Enforcer buddies, at the entrance to the red trailer where the second chief is located, present the trickiest takedown. As long as these three are the only foes left, you can sneak up above the sniper, drop down behind the silver trailer, run and strangle him, then charge both foes and melee-strike them in the confusion (only if you have the necessary skill). You may be shot a couple of times, and the chief might flee, but it’s doable!
 Aggressive // Smart: Confusion to Instill
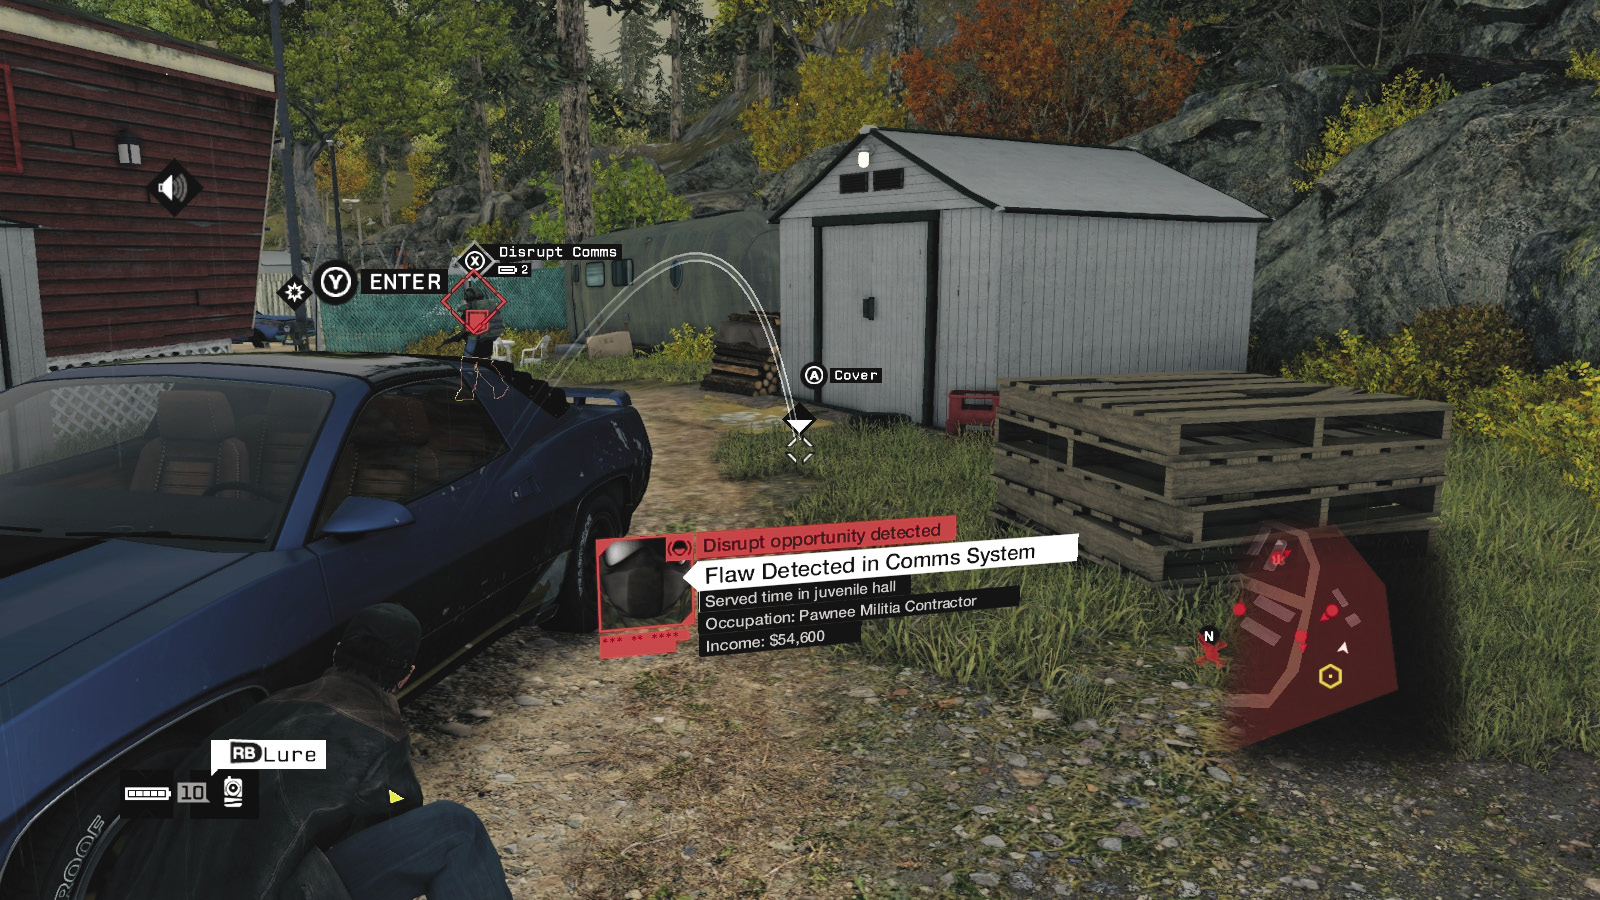
 Difficulty:
Though there’s a couple of large propane tanks, they are well away from the action and useful only for blowing up from the opposite side of the camp to attract the enemy, leaving a more open path to your target.
There are two soda machines near the b-ball court that are extremely useful in keeping foes busy while you sneak by or into position to tackle them.
There are also several junction boxes and regulators, located on most of the trailers; however, most aren’t in locations that close to the enemy. You can raise their alert by becoming briefly visible; when they investigate, explode a junction box as they walk by. Or, you can use lures.
 Aggressive // Violence: Sniping from Down the Hill
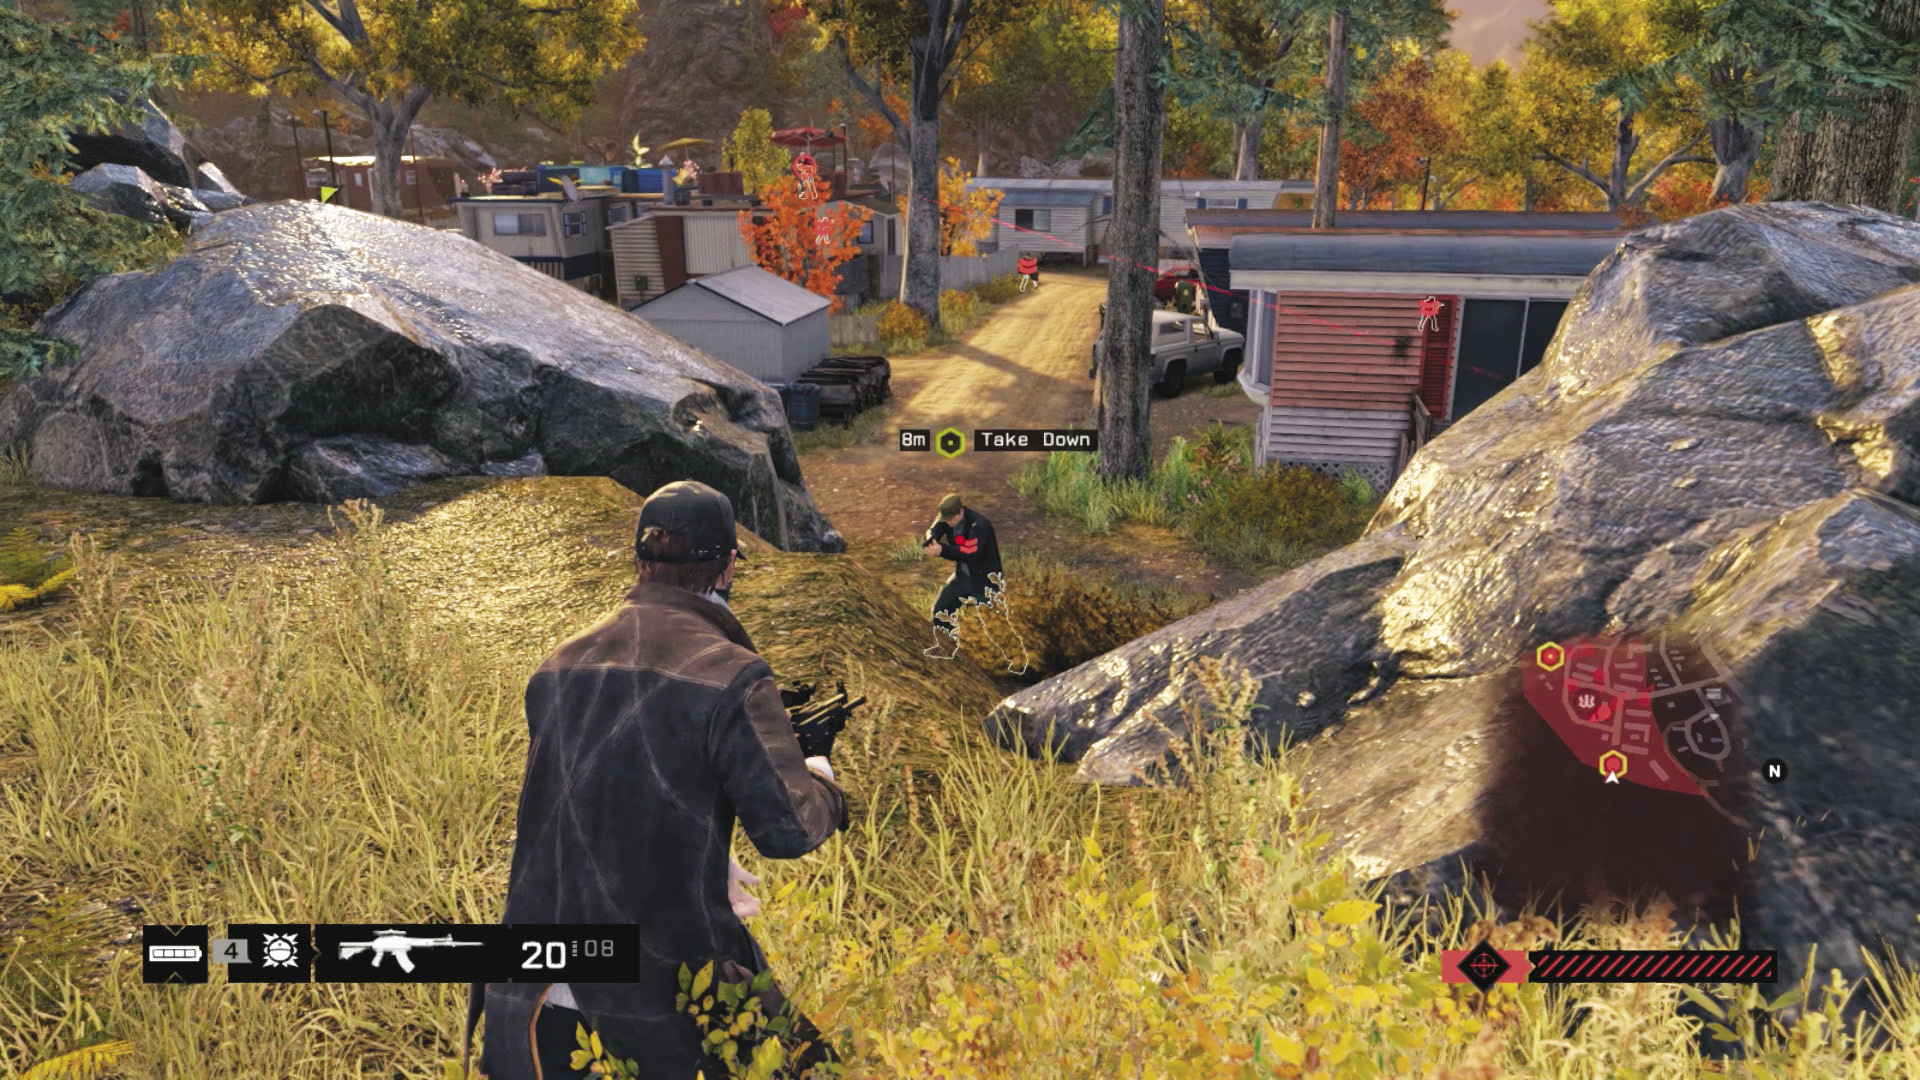
Difficulty: 
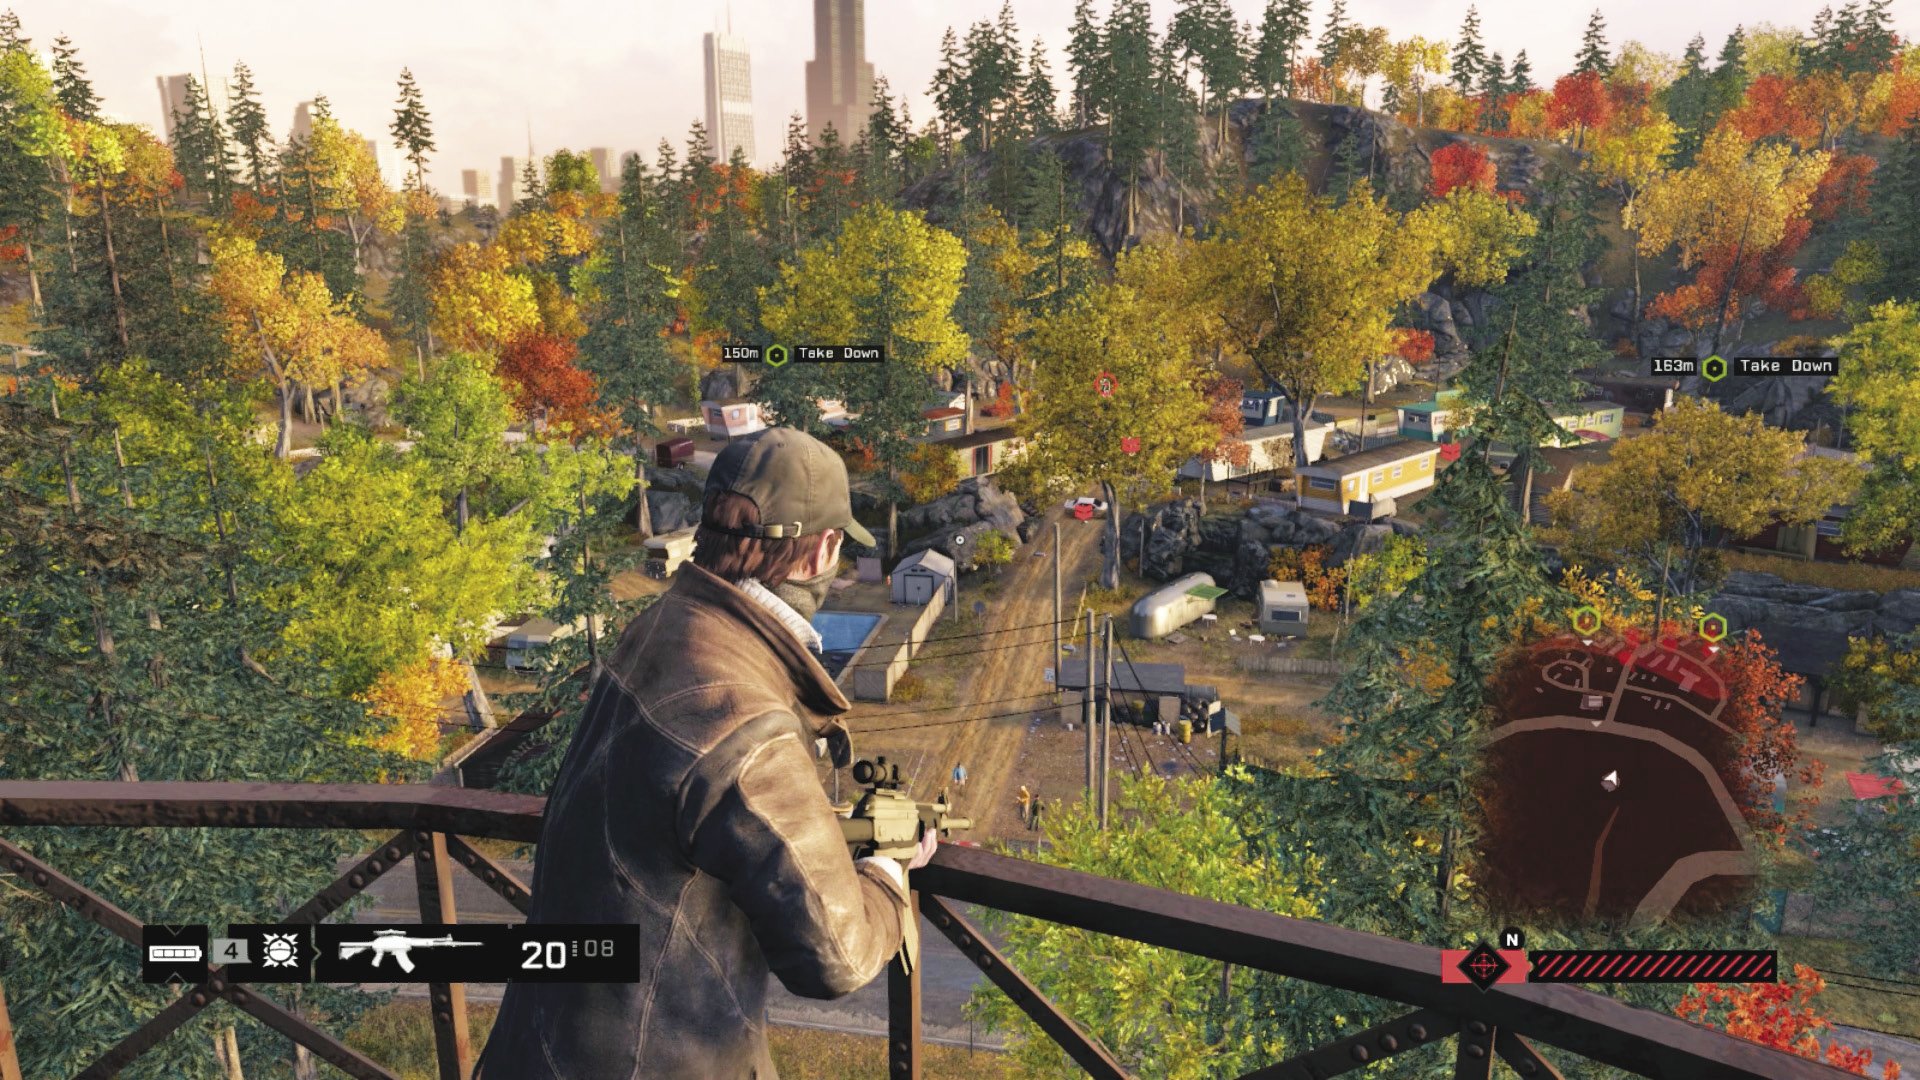
The sniper rifle is an excellent way to take down foes from afar, but as you need to be within hacking range to receive the download from the chief, you still need closer weapons. In fact, the chiefs have great protection from his fence and the trailers; there are only two spots from which you can practice an extreme-distance takedown:
Rocky Hill:Move up the rocky hillside southeast of the park, until you have a clear line of sight down to the back of the trailer. You can tag both chiefs from here, watch as his brethren mill about, and use the passive route (previously) to reach the hackable phone.
Water Tower:Or, head across the road to the north, unlock the mesh door via the partly hidden box, and climb to the top balcony of the water tower. There’s a slight chance you can blast the chiefs from here, but you can tag his underlings, though this is a long and protracted battle.
 Aggressive // Violence: Time to Kill
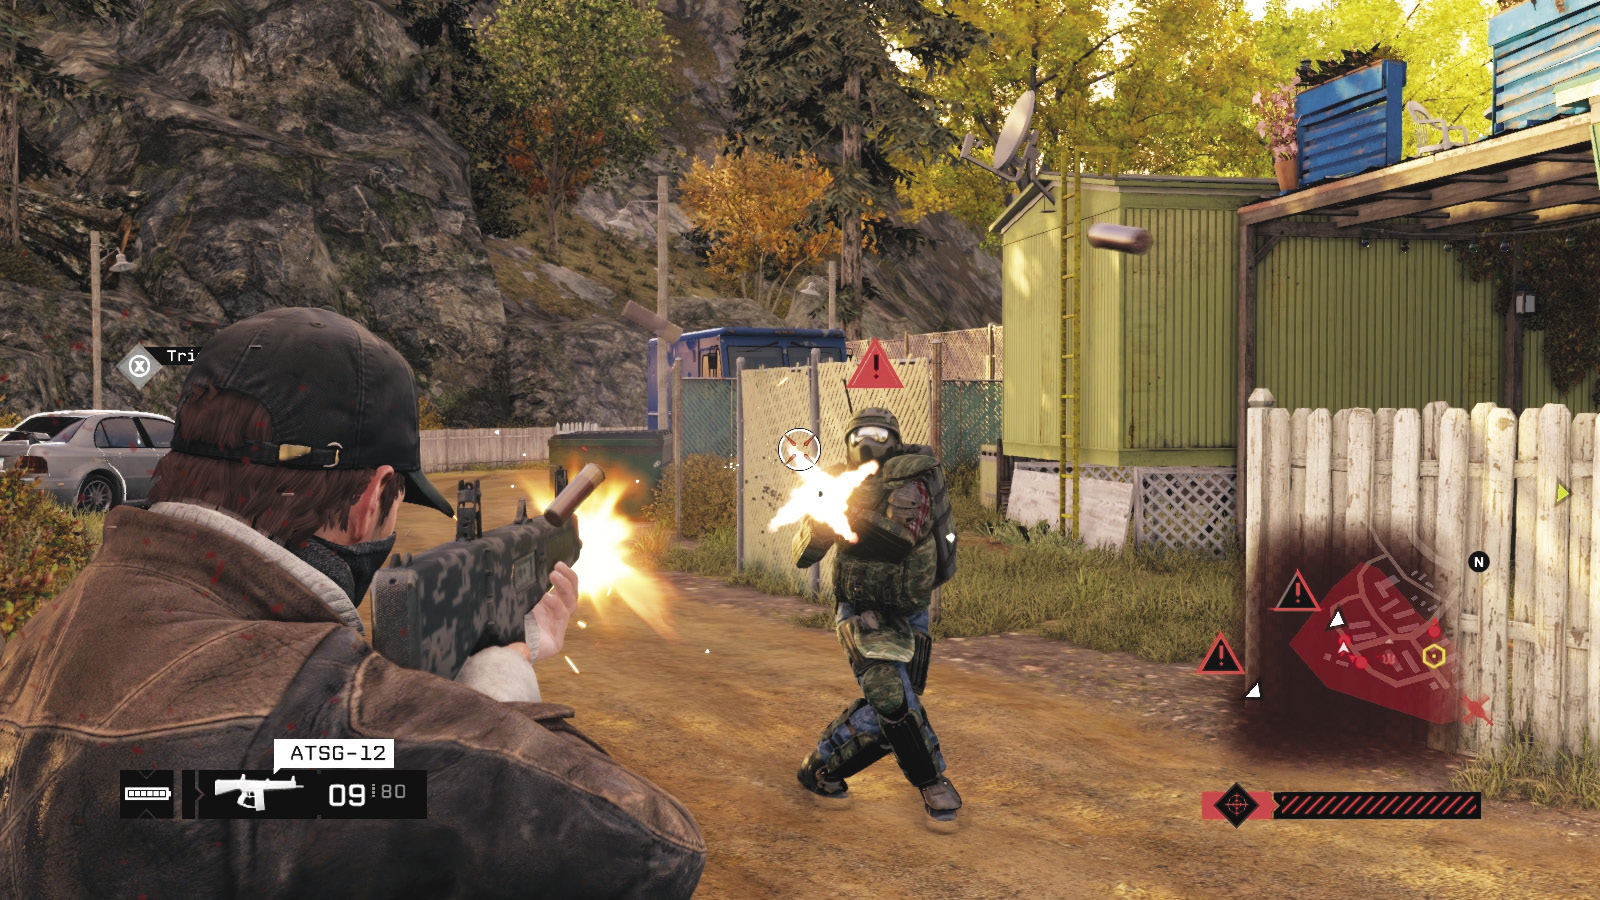
 Difficulty:
Combat can take a turn for the violent at any time, and there are numerous ways to remove the enemy threats. However, it’s best to sneak and take down five of the ten militia to minimize reinforcements. If you want grand carnage at the trailer park, try some or all of the following:
Use cover and gunfire, slowly working your way east to west, or west to east, minimizing chances of being surrounded.
Lob grenades or IEDs at clusters of foes.
Confuse foes searching for you by hiding behind a trailer, then climb on its roof and shoot down (although you’re a sitting duck if you remain up here). Some of the trailers have low fences on the rooftops that make great cover, and you’re now much more difficult to shoot at.
 Driving // Offensive: Militia Blood on Your Grill
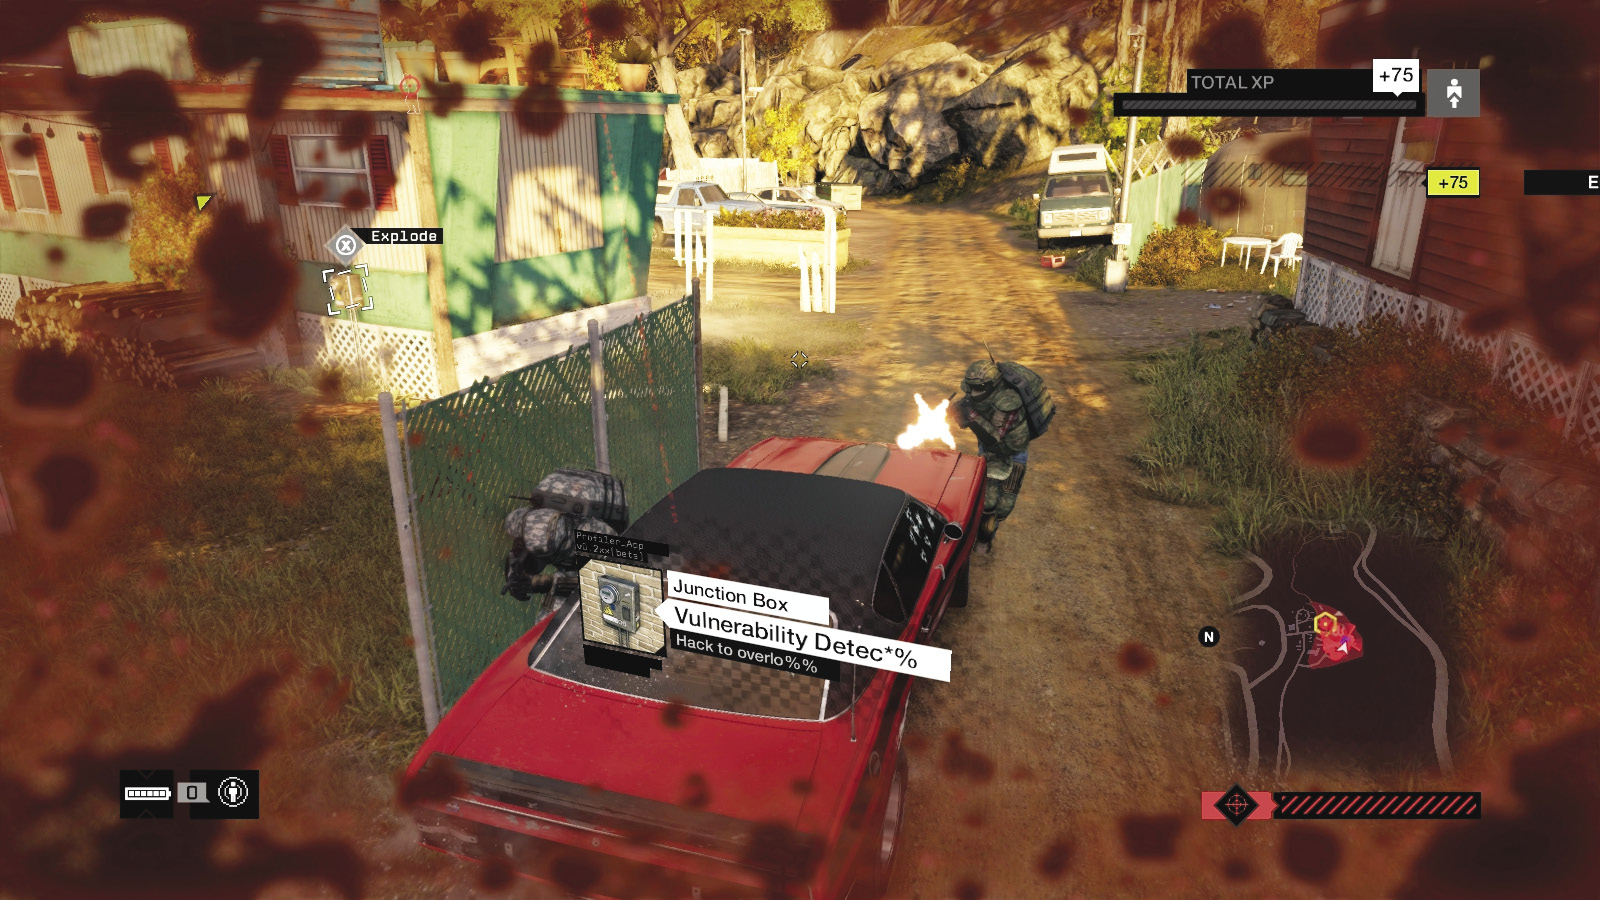
 Difficulty:
While you can simply steam into the trailer park in a vehicle without stopping, you’re soon outgunned and brought down. So approach from the dirt road to the east, moving past the b-ball court and ramming clusters of foes—hit the sniper and two Enforcers by the southern chief’s trailer first.
Better yet, you can use stealth to bring down the first chief, then execute the southern chief by driving up with the b-ball court on your left, hitting one of the guards. Park below the chief’s fence, get out, climb on your vehicle’s roof, hop over the fence, and kill the chief (or watch him escape and give chase). Amazingly, you can ignore most of the enemy’s gunfire, as this happens so quickly!
|
 Chase and eliminate the security boss
2.3 (OPTIONAL) SEE THE SIGHTS OF GLORIOUS PAWNEE
 Location / Pawnee // Pawnee Trailer Park
 Vehicle Chase
 Lethal Force Likely
Difficulty:
Overview
 Completion Point: Chief of security’s car wreckage, somewhere near Pawnee
 Dangers: Chief is a Shot-Caller. At least four militia vehicles with two or three foes (Gunmen and Veterans) per vehicle.
Optimally, you should have used stealth to bring down the first security chief (either of them) and then moved to take down the second chief using stealth or violence, but without him having the time to find a vehicle and depart. Failure to achieve this plan results in the remaining chief fleeing the scene, in one of two directions:
West Security Chief: Pawnee Beach Loop
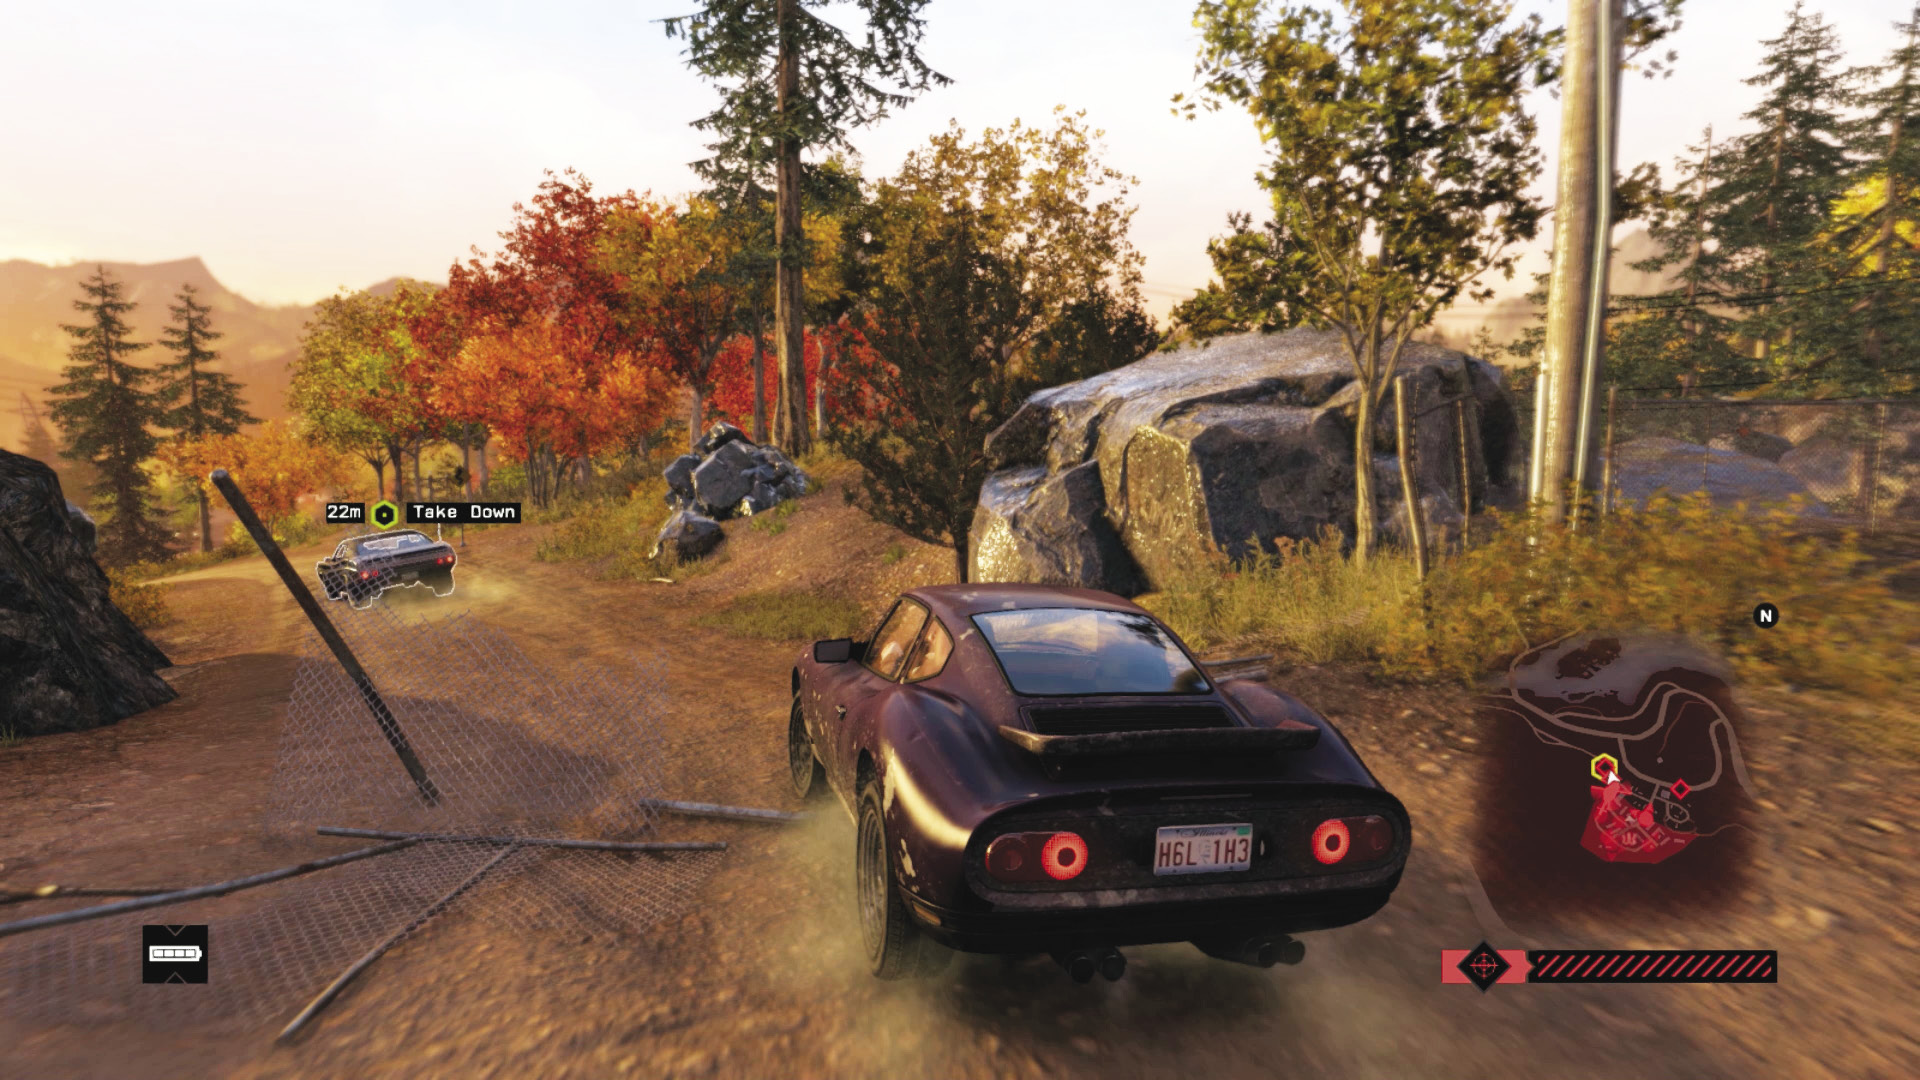
The foe hammers his vehicle down the main dirt trail out of the trailer park, skids right onto the tarmac road, heads around to the main road, and drives toward Pawnee Beach. After rejoining the main road, he usually heads down to the marshy ground close to the covered bridge and Pawnee Mill before using the rougher roads to reach the northern area above Pawnee.
South Security Chief: Dirt Road Regroup
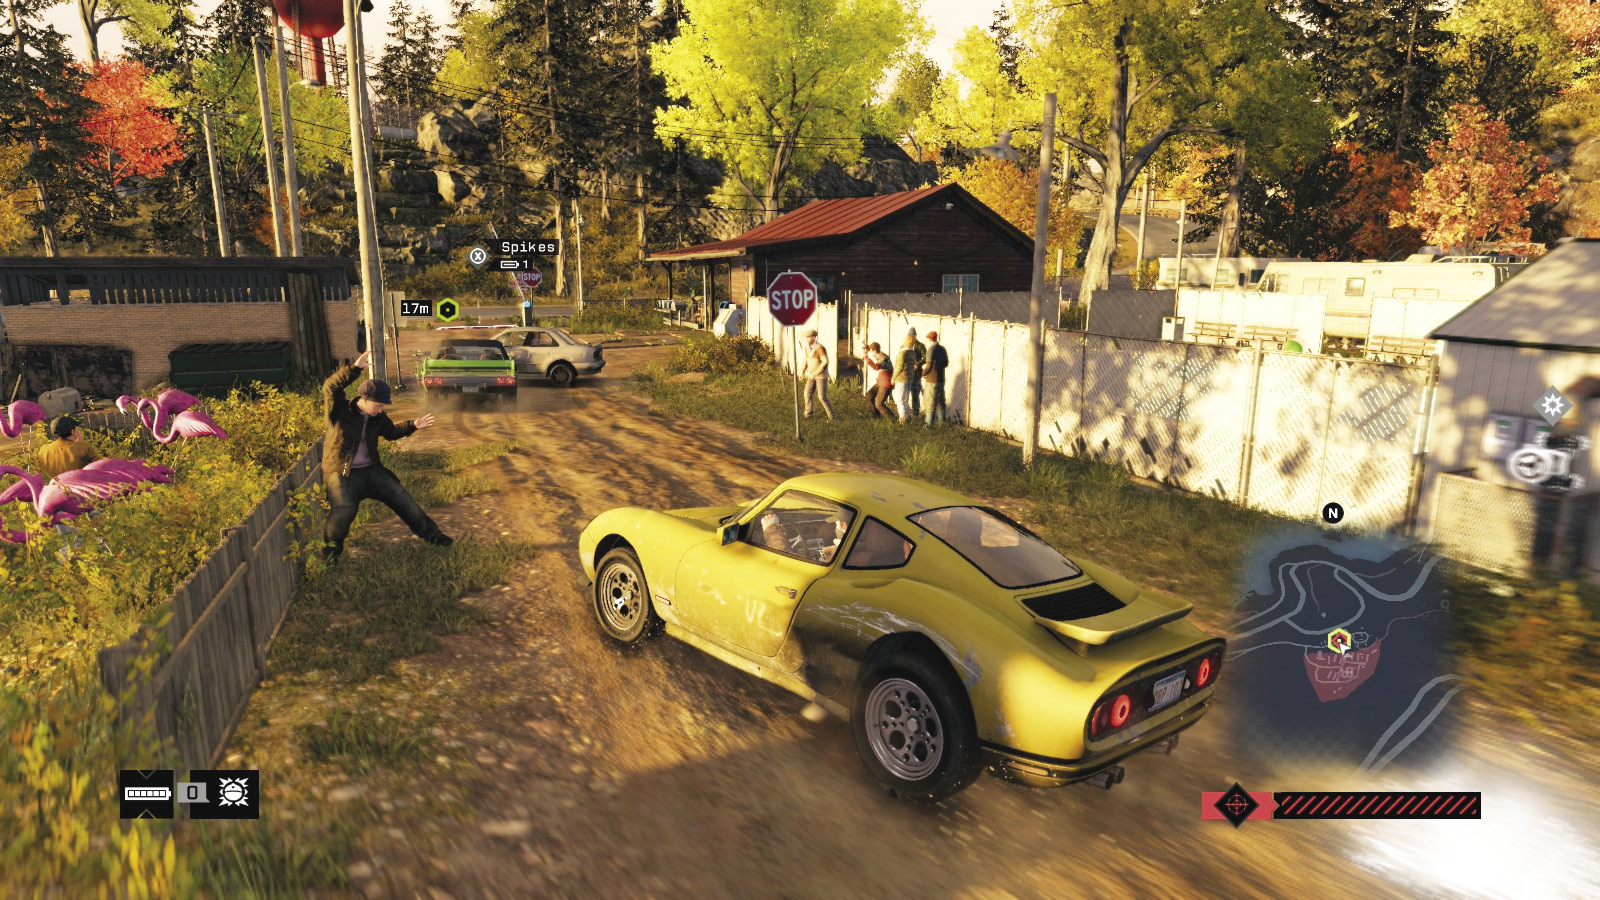
The foe smashes through the fence near the red trailer and crashes through a perimeter fence, heading down a bumpy dirt road and into the marshy ground close to the covered bridge and Pawnee Mill before using the rougher roads to reach the northern area above Pawnee.
 Driving // Offensive and Smart: Chasing the Chief
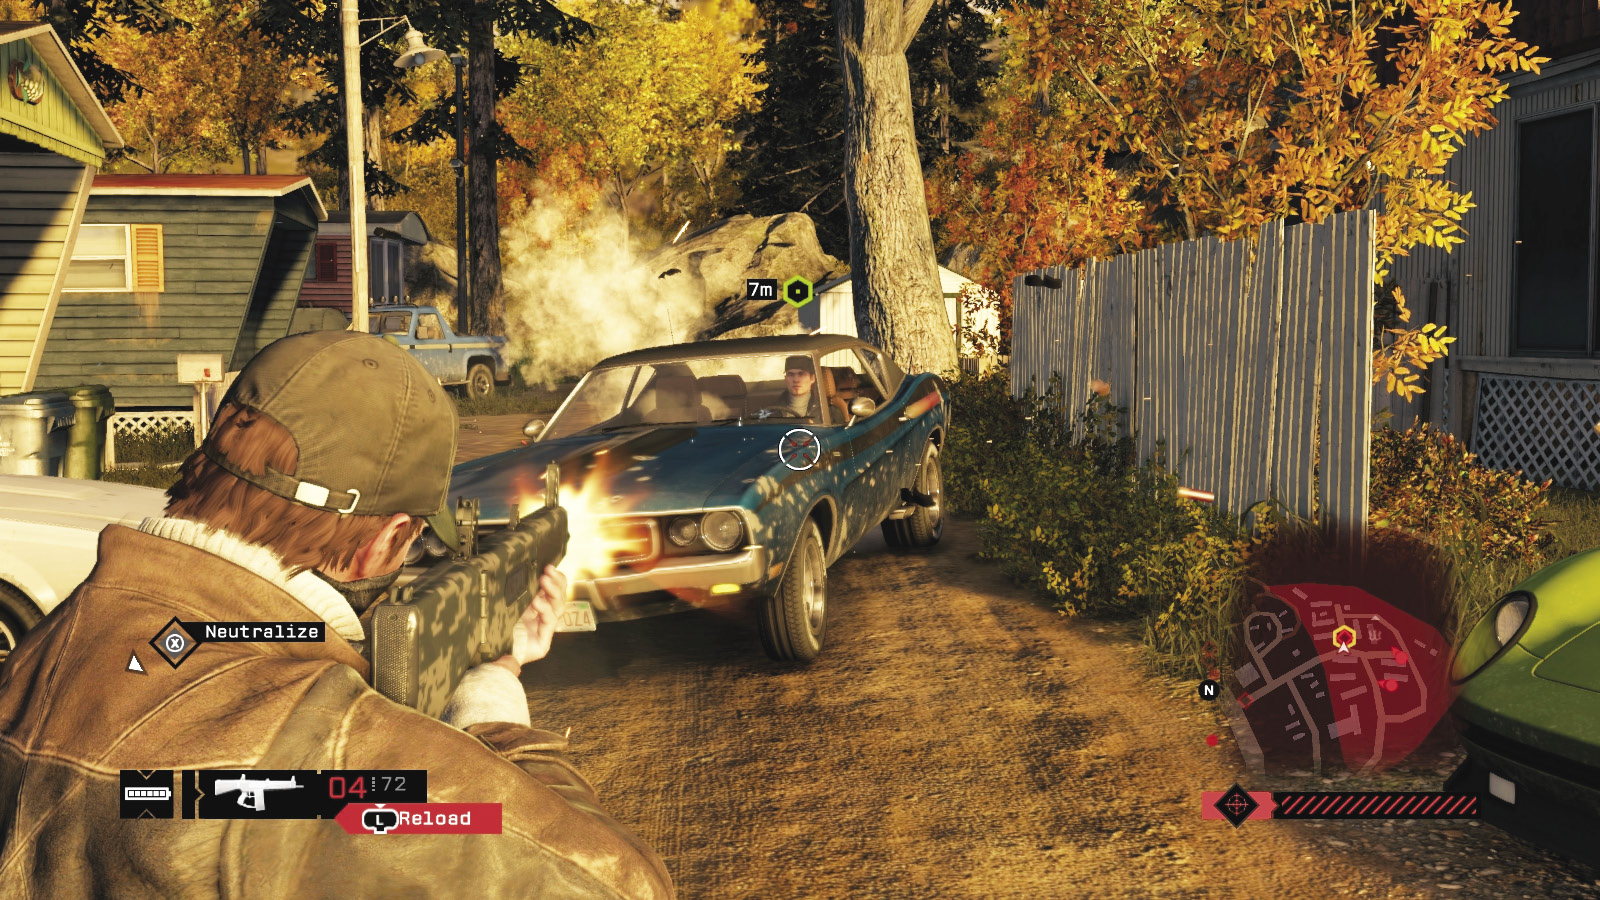
 Difficulty:
You may not have the time to blast the chief’s tires or windshield; you need to engage in a hot pursuit, while at the same time dodging the militia he summons along the way. First, there’s a fast vehicle parked by the park entrance if you can’t find your own ride. Second, reduce your speed as you tear down the winding roads after him, or you’ll end up hitting an obstacle or getting stuck in the marsh. Third, this is Pawnee, not Chicago, so hackable scenery is sparse. Look for the following:
Hack traffic lights to cause congestion.
Hack blockers so they rise, stopping the vehicle.
Hack steam pipes so they blow, disintegrating the vehicle.
Ram into the vehicle as the chief takes a corner, shunting him out of control.
Use any of your favored tactics from previous missions.
Then ram or block the chief’s vehicle and destroy it, or get out and slay him. After that, hack the security ID. The chase continues into a circular path around and throughout Pawnee, until one of you gives up. Make sure it’s him!
|
 Hack the security boss’s ID
 Kill all militia members or escape
2.4 TIME TO RELAX
 Location / Pawnee // Somewhere Near Pawnee
 Data Hack
 Escape
 Lethal Force Likely
Difficulty:
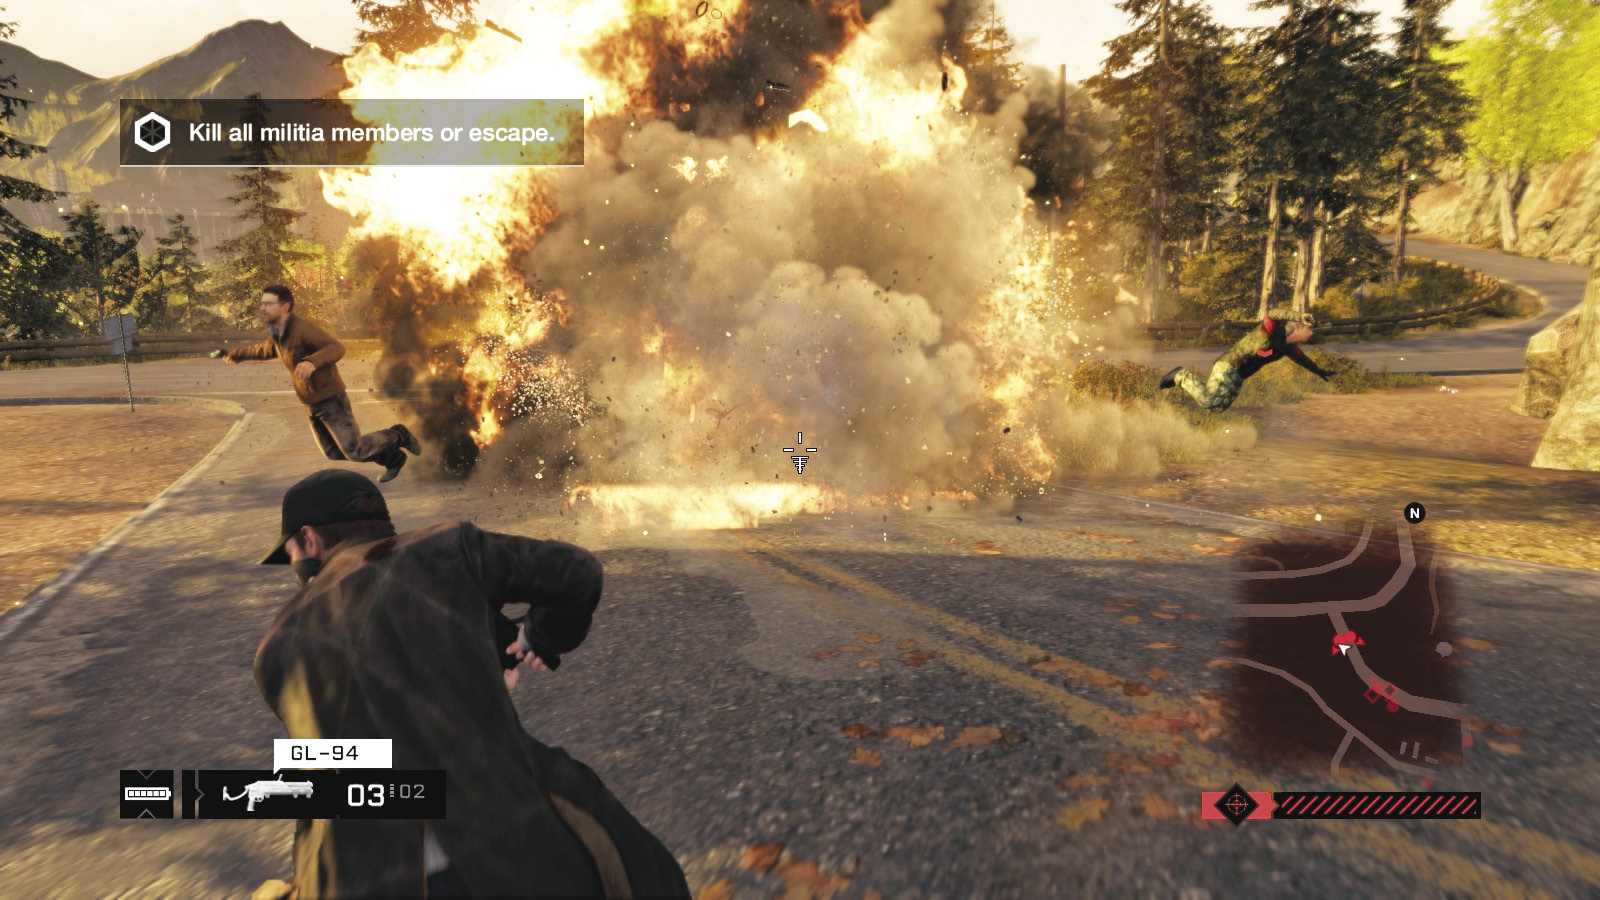
Whether you chased the chief in his vehicle or stood over his corpse at the trailer park and escaped using his vehicle, once the hack has succeeded, you may have additional militia members to defeat or run from.
Kill them all: Look for plentiful cover, ensure you have enough ammunition, and exit your vehicle. Put shots into any approaching militia vehicles and kill the occupants as you have in the past. Check Training chapter for more information. Using cover, blasting off machine-gun fire, hacking the electronics on your foes, and lobbing grenades or IEDs are all tried-and-true plans.
Flee for all: Or, you may wish to leave the vicinity without shedding any more blood. Wind quickly through the roads, heading for the bridge construction jump over the ravine or over the railroad ramp, heading south and away from Pawnee and out of the militia’s search area.
After you achieve one of these plans, your mission concludes. Kenney will call again when he’s ready.
MISSION REWARDSGained XP: +2,000 |