
Watch Dogs Guide INVESTIGATIONS /// EXCLUSIVE CONTRACTS
_CTRL
|
|
 Upload the spyware
 Reach target position
 Follow the target to steal the data
 Take down the target
 Escape the Fixers
 Reach target location
1.1 TYVM
 Location / The Loop // Gorman Heights Southside Campus
|
|
 Upload the spyware
 Investigation
 Data Hack
Difficulty: 
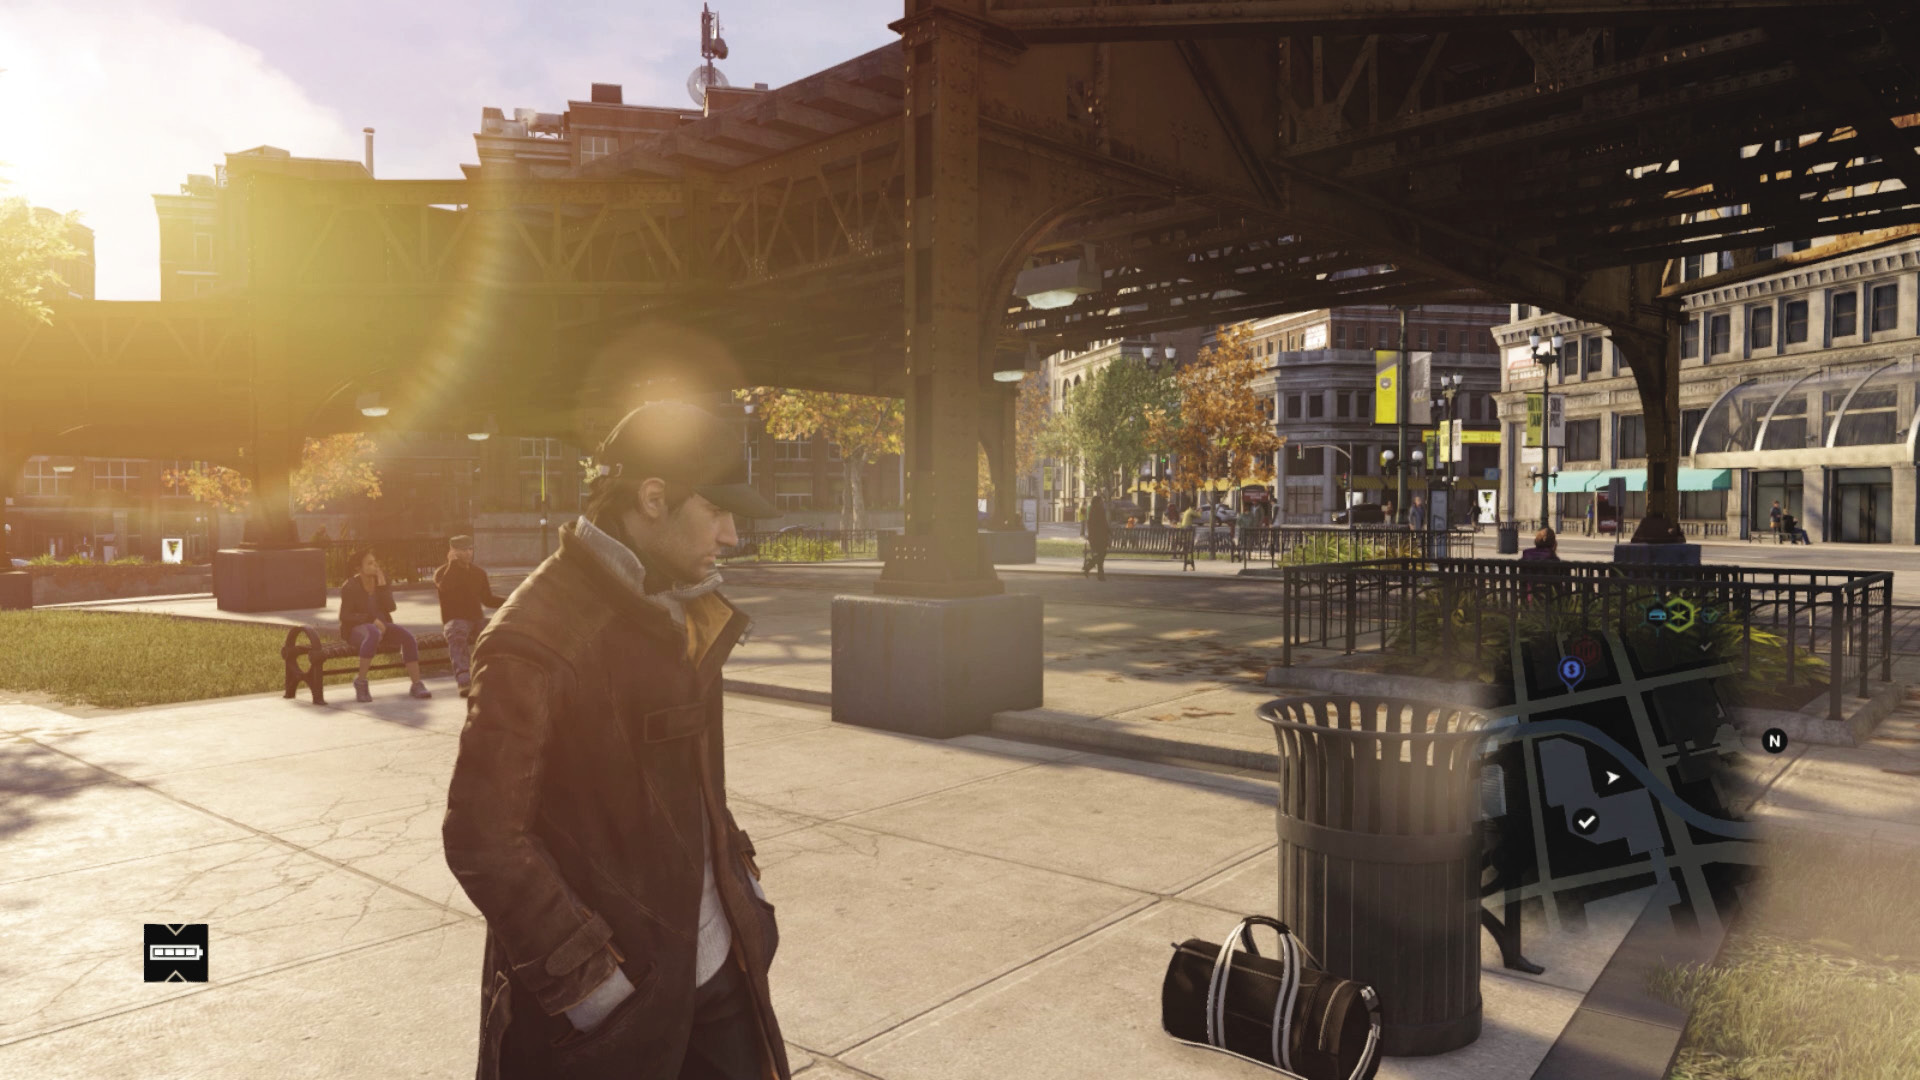
Head to the southern part of the Loop, close to the L-train tracks, where you discover a bag next to a trash can and a message from DedSec. They require three security codes, and they’ve already sent you the location of the first.
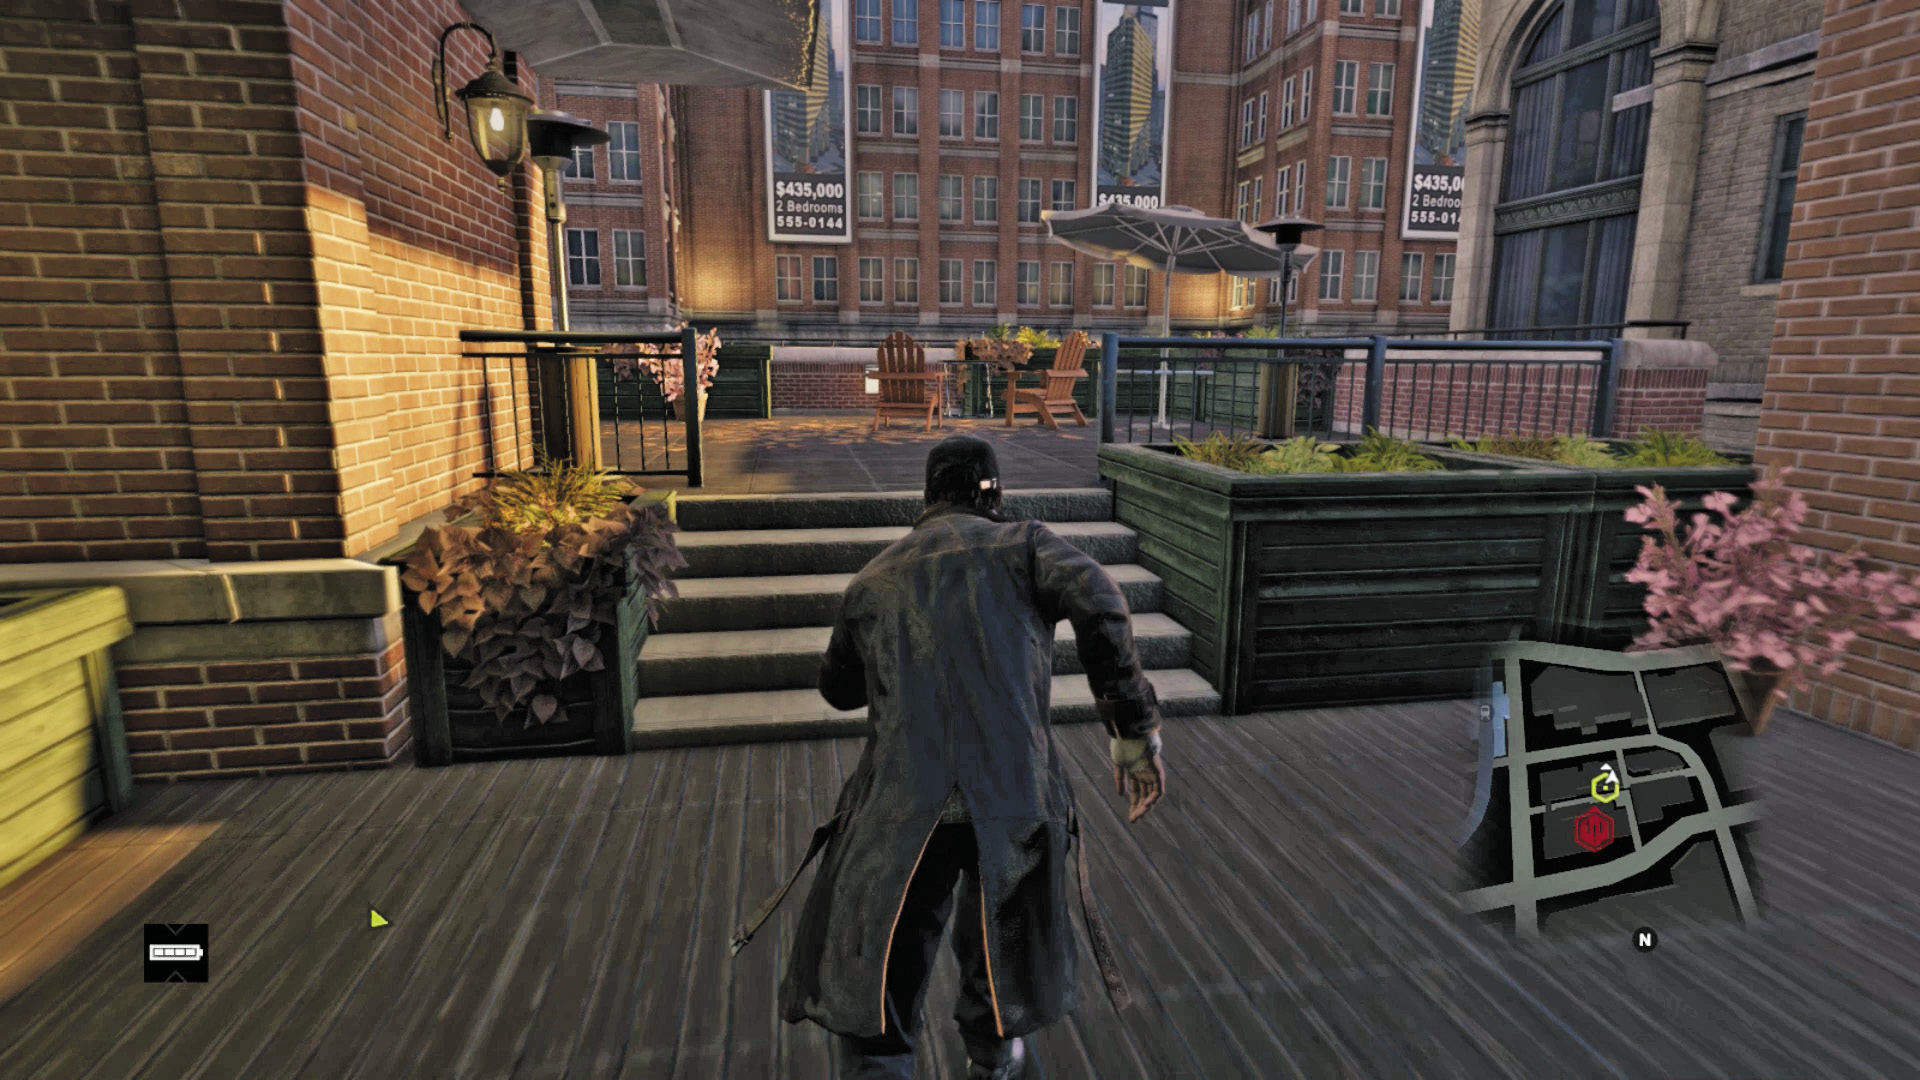
Dash across the road to the west, to the large apartment complex. Head into the alley with the scissor lift; use that or the nearby pallets or ladder to climb onto a low roof. Continue onto more rooftops until you reach a deck. Head south to a balcony.
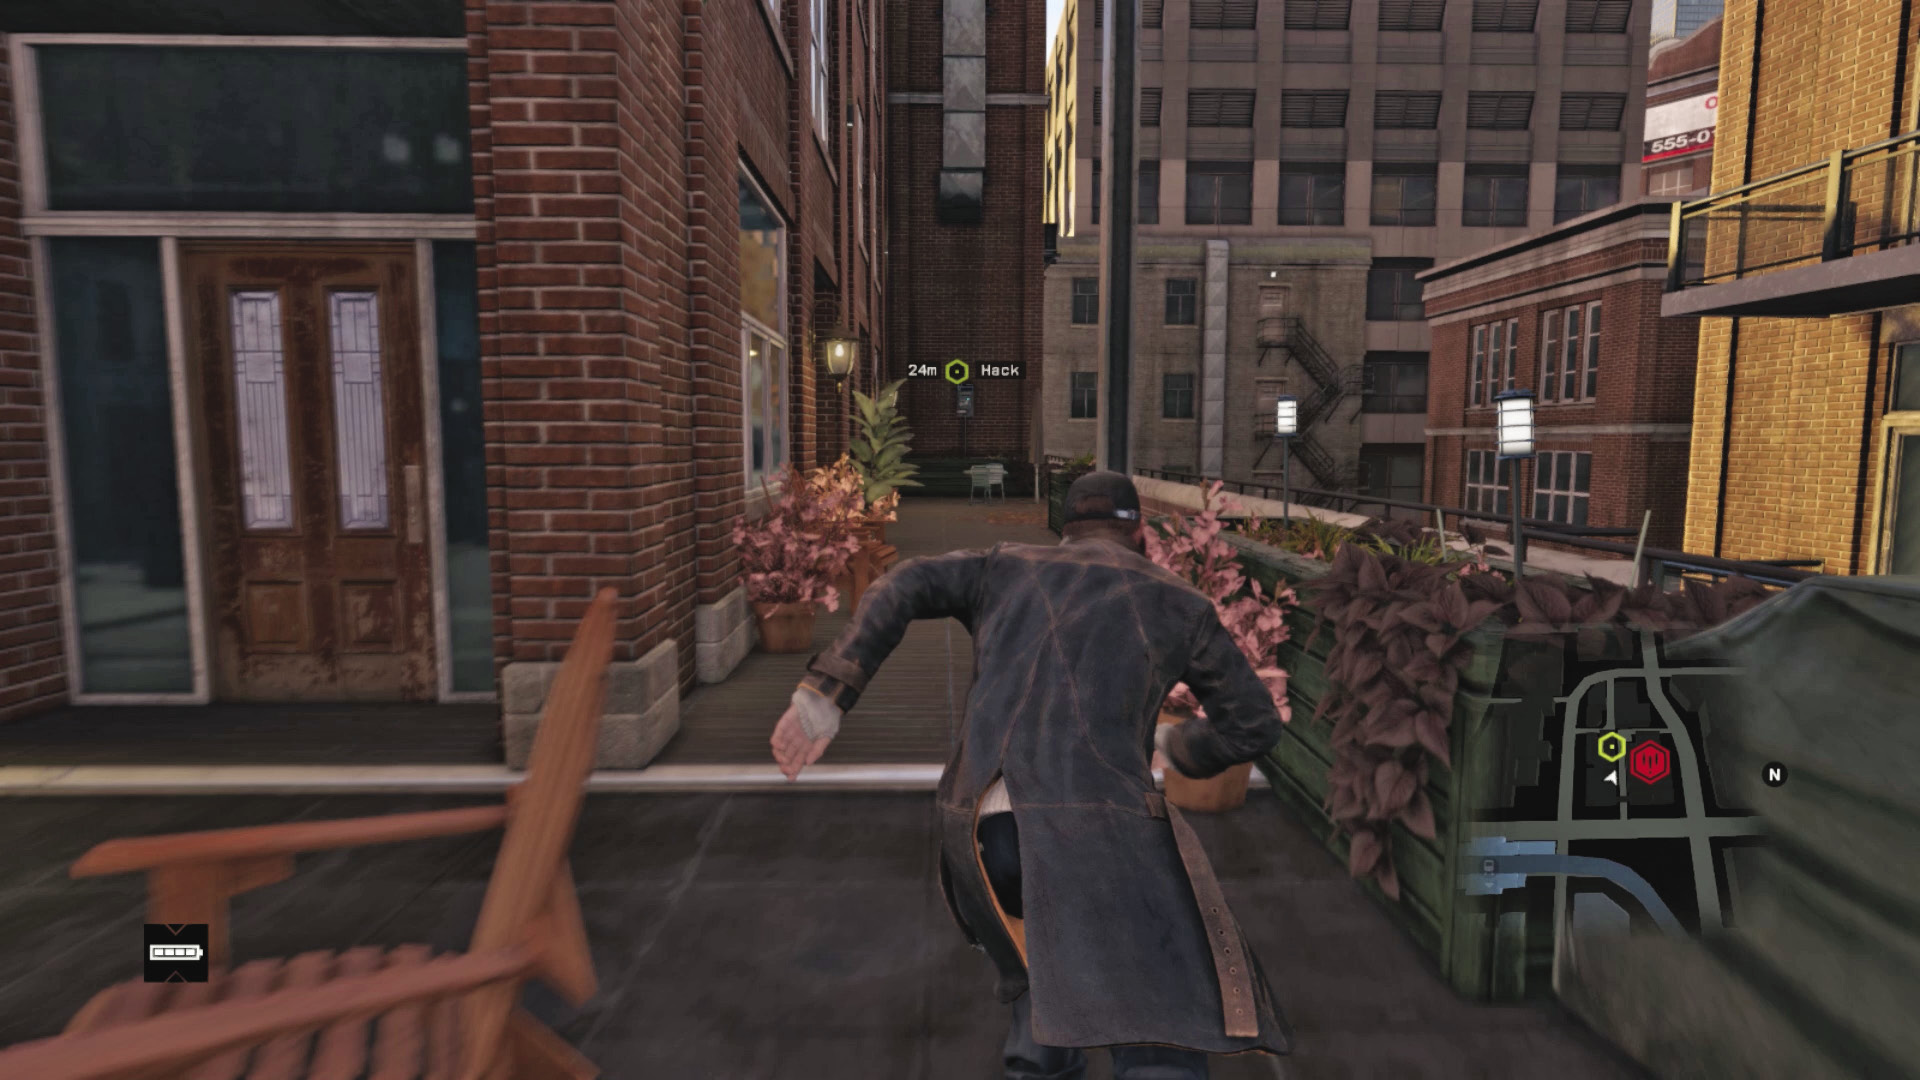
Hop over the balcony to the connecting roof, climb the planters, and jog along a second higher roof to the building’s security router, which has a vulnerability to exploit. Start to hack the hotspot.
Solution: Hotspot 1
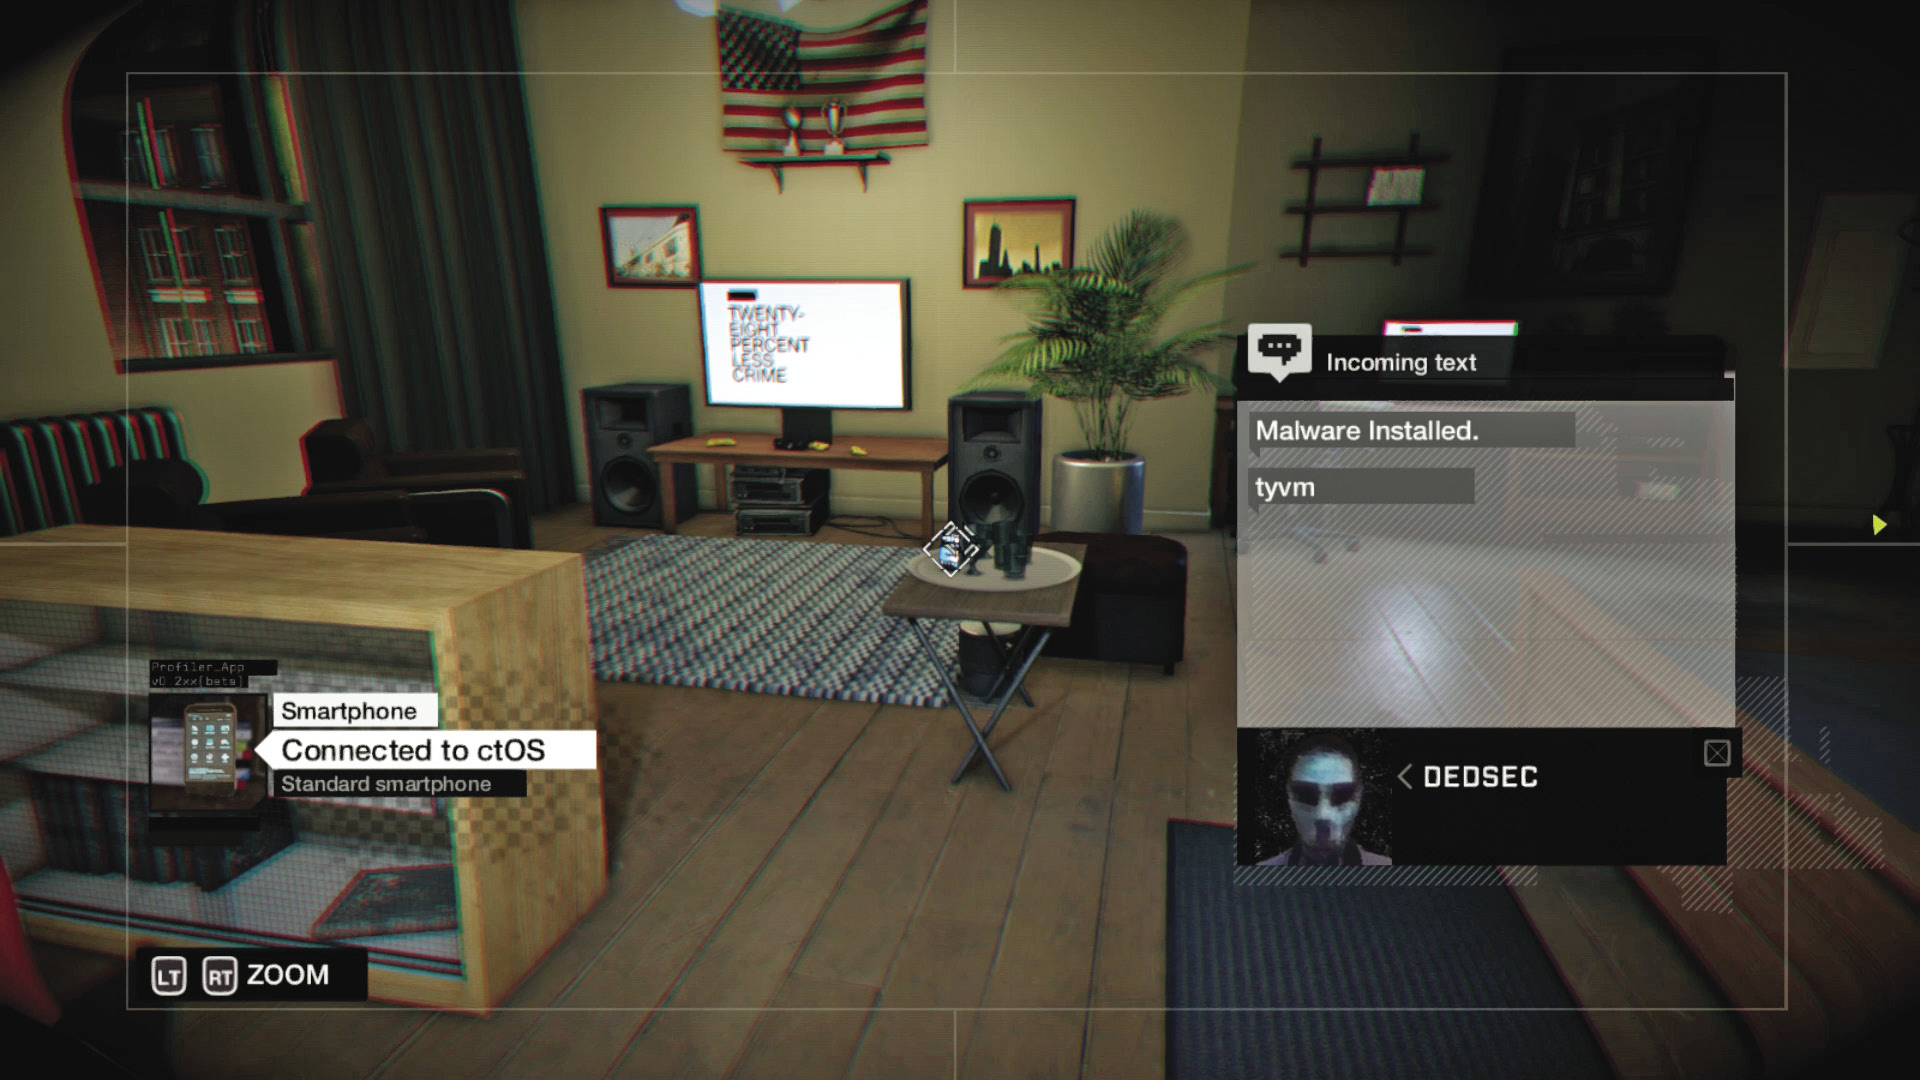
Once inside the apartment, hack the phone sitting on the table. DedSec contacts you, letting you know malware has been installed. Exit the building’s camera and head back down to the ground. Simply find the balconies overlooking the road and drop down from each of them to eventually reach the ground.
1.2 QAP
 Location / The Loop // Gorman Heights Southside Campus
 Location / Mad Mile // Southwest
|
|
 Reach target position
 Follow the target to steal the data
 Take down the target
 Escape the Fixers
 Driving Investigation
 Data Hack
 Vehicle Chase
Difficulty: 
Dangers (Target): Fixer (Gunman)
Reinforcements:Fixer vehicles (up to four) with 2 to 3 occupants in each (Gunmen and Veterans)
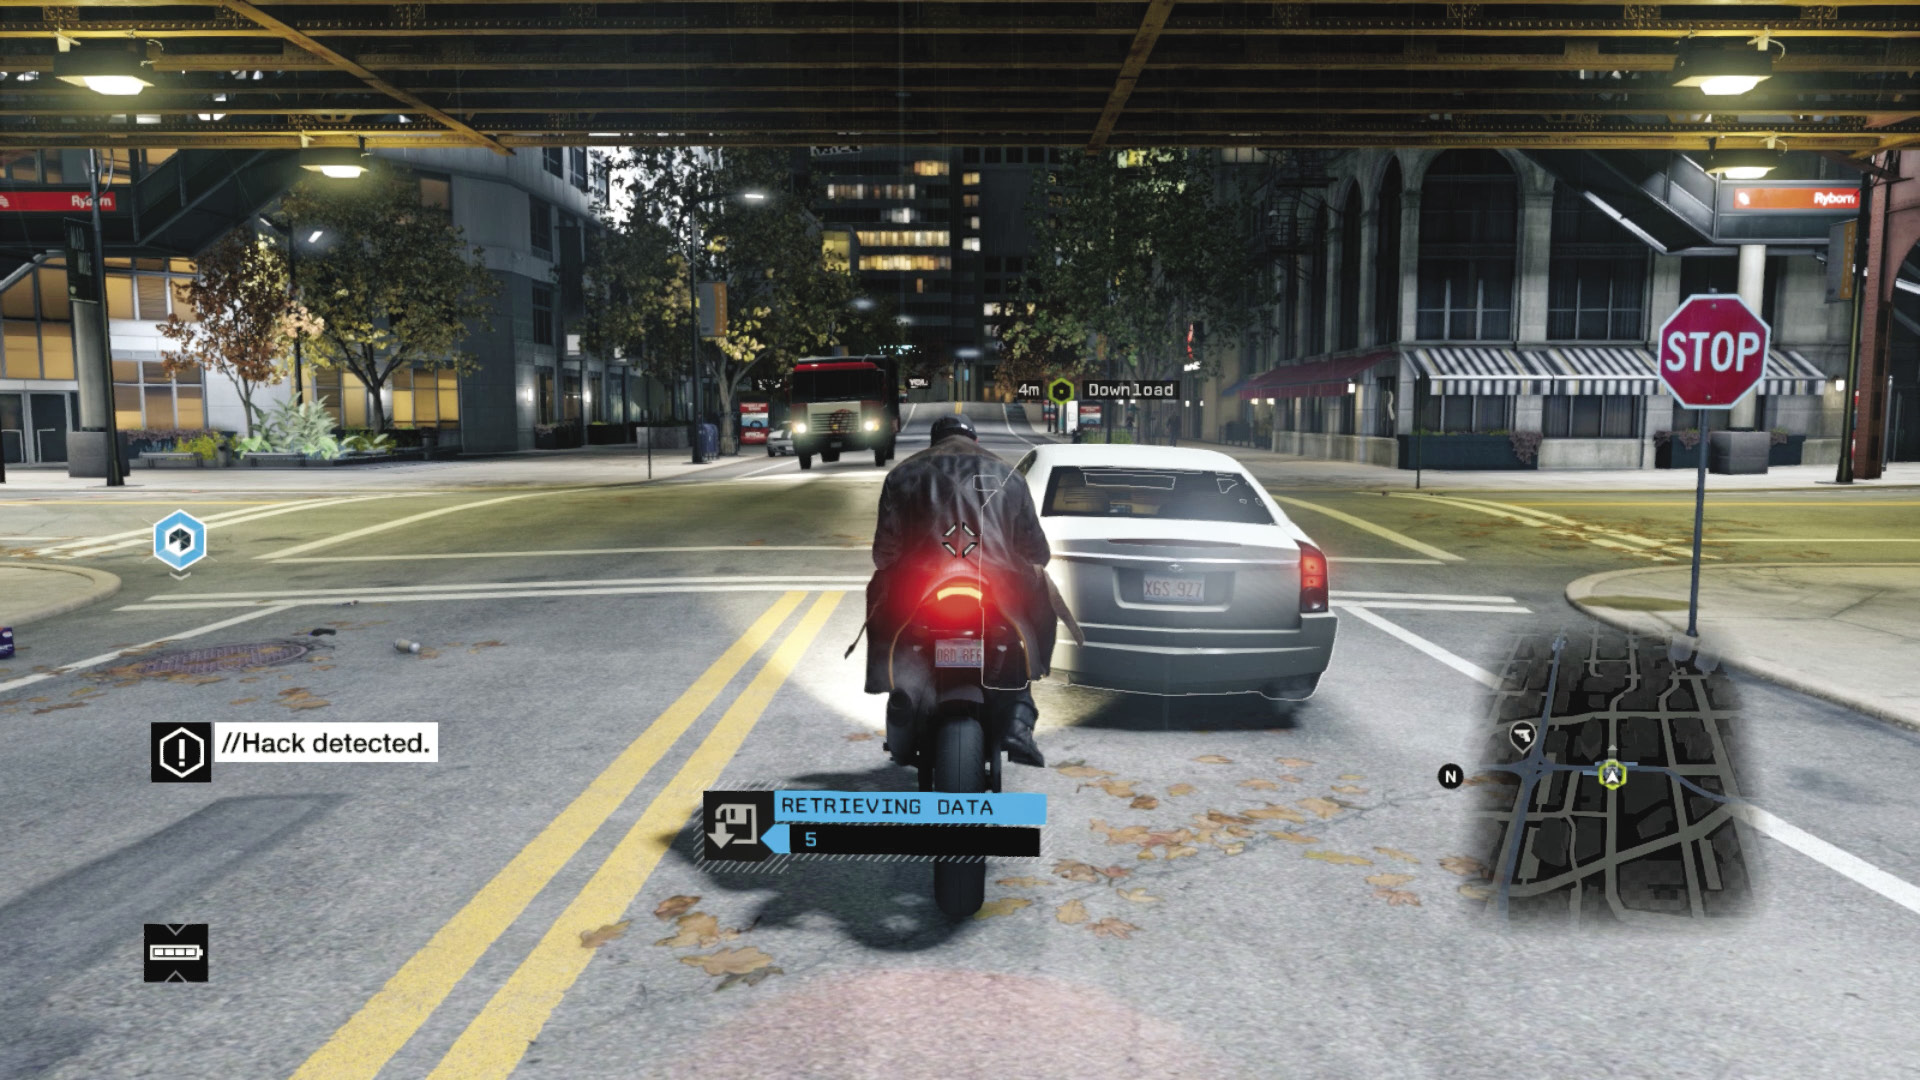
Locate a vehicle that can drive at unsafe speeds and handle sharp cornering down tight alleys. Race across town (or to a location where you find the vehicle you want to use, such as this bike), and then drive to rendezvous with the target. The chase begins!
As soon as you begin to receive data, the enemy vehicle takes off. The driver is extremely adept at changing direction and fitting down narrow side streets. How successful and hard-fought this information is to obtain depends entirely on your method of retrieving it:
 Driving // Defensive: #Data
Difficulty: 
The target heads east on a main road under the L-train and enters a traffic tunnel. He makes a very sharp left at a gap in the tunnel, into a garage (door). He winds through and out the other side (door).
He launches up the steps, skids right, heads under the L-train tracks for a block, then makes a sharp left into a covered pedestrian mall. As you reach the L-train tracks, up to four Club reinforcements join the chase; avoid them but concentrate on your target at all costs.
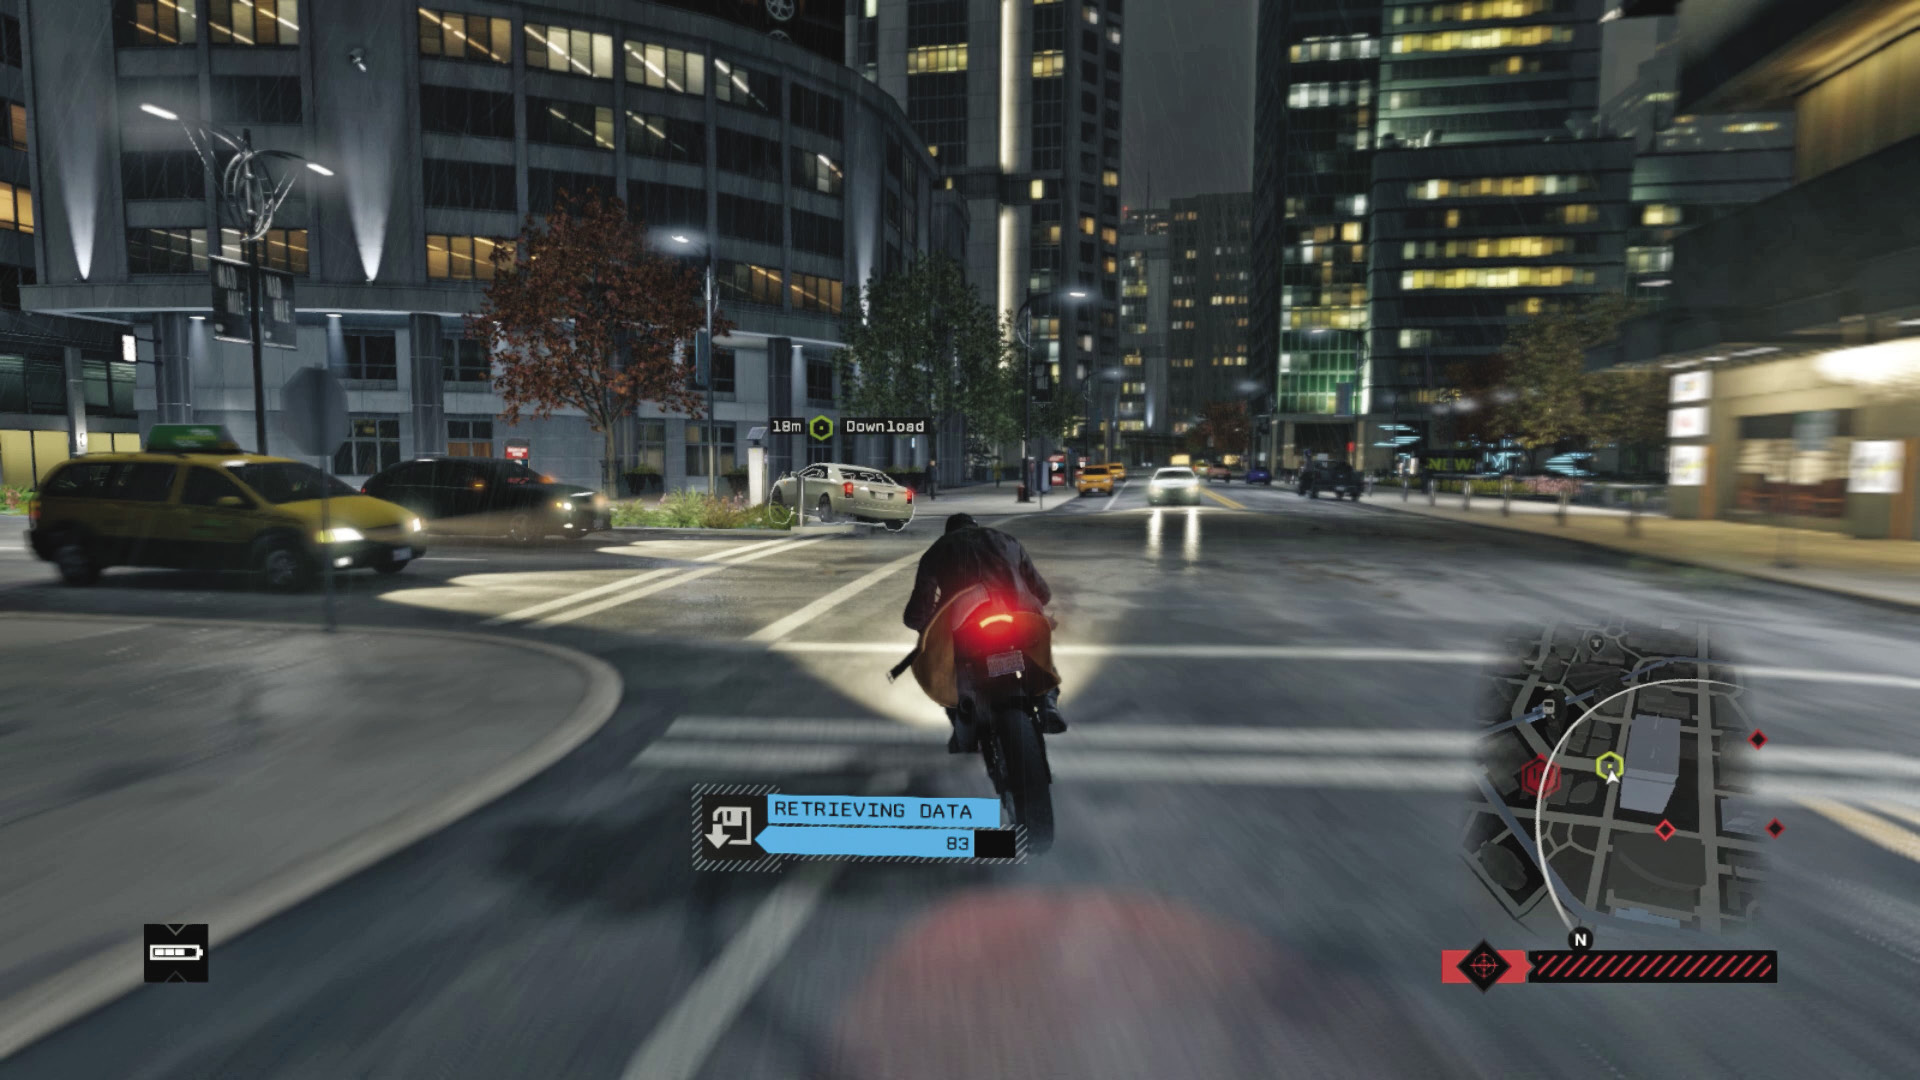
He heads out, through the blue arch sculpture, then heads left for two blocks down a street (traffic lights). One short block later he turns right (traffic lights), drives down a block (steam pipe), heads left down a street, and turns into a garage on your left (door). You can continue the chase from here, but if you’ve been following closely (especially on a bike), you should have the download and the objective updates. Keep chasing until you do.
 Driving // Offensive: #Later
Difficulty: 
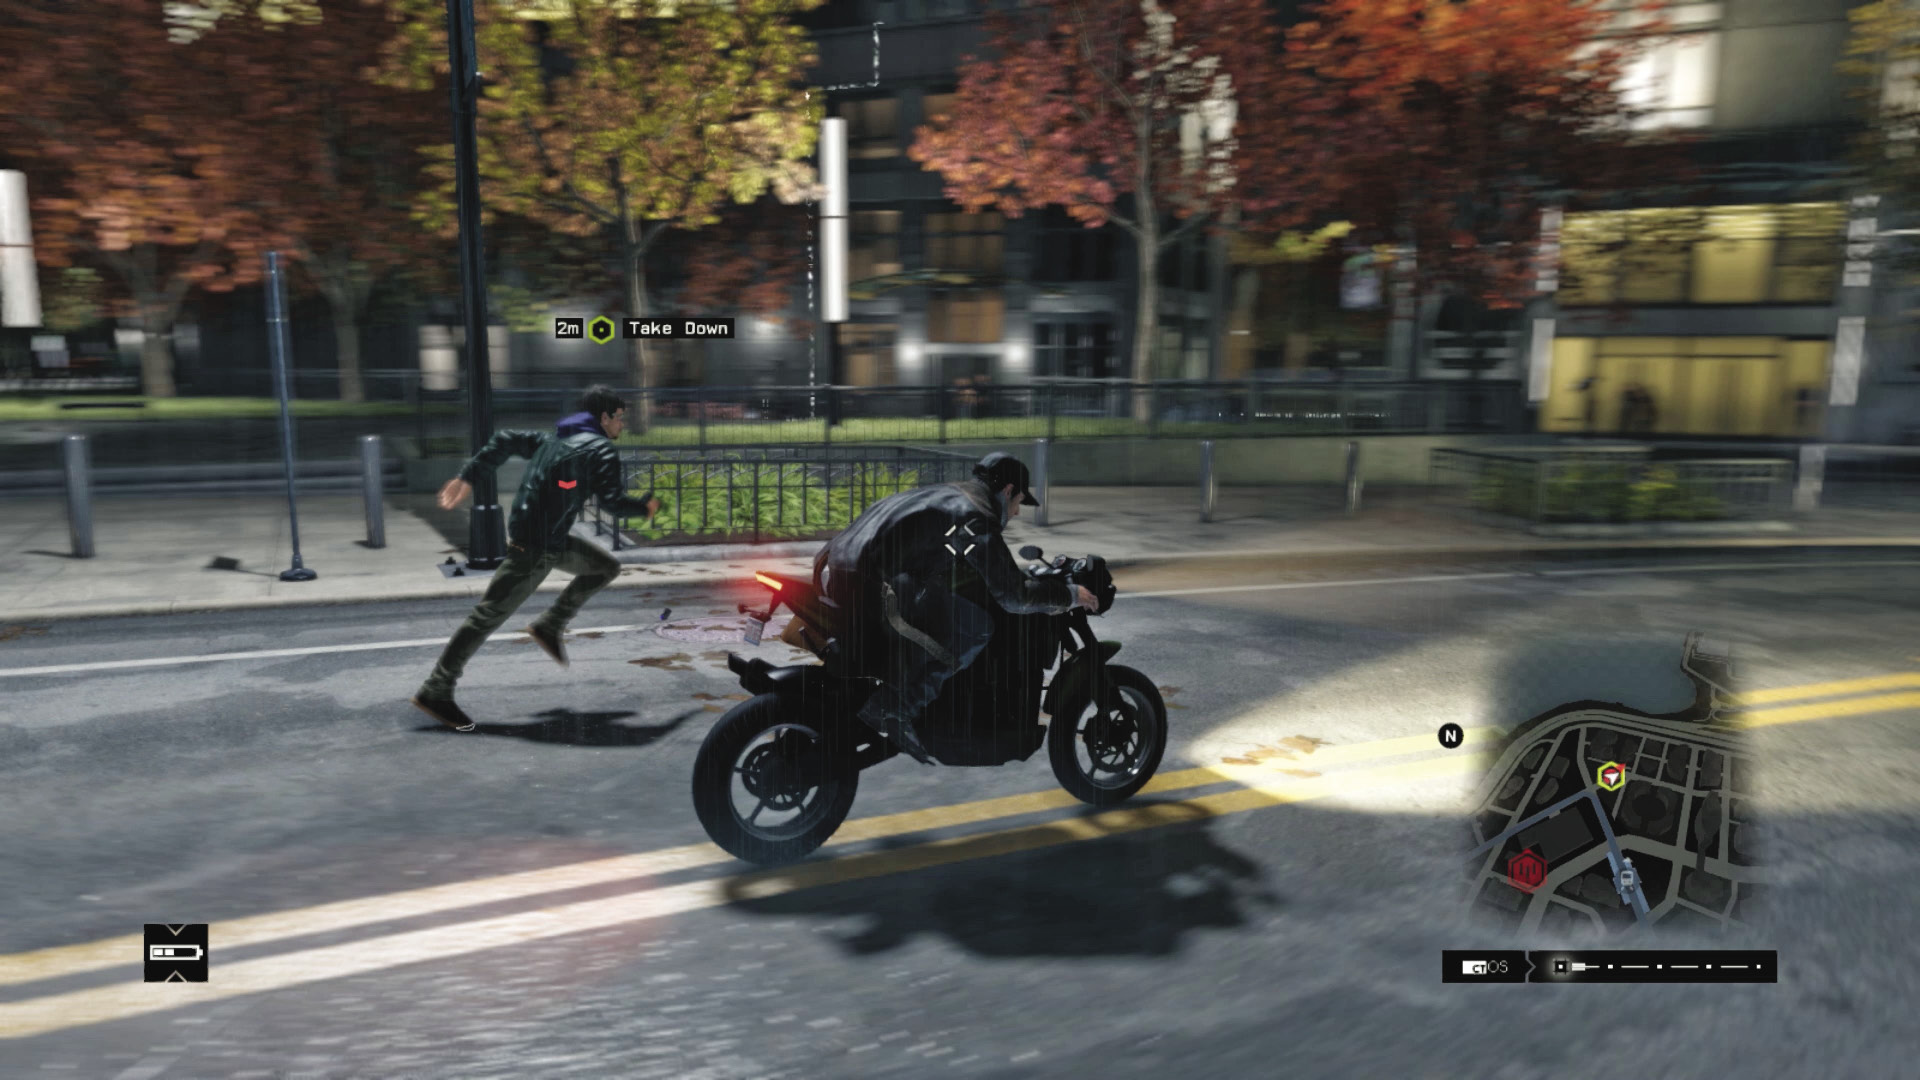
Retrieving the data doesn’t necessarily mean chasing this fast-acting driver across town; in fact, it’s a lot easier to simply hack the data instead. But for that to happen, your foe needs to be out of his vehicle: You must use your vehicle as an offensive weapon or use the scenery to stop him:
Crash, bash, shunt, or otherwise maneuver the target into a crash, or until the vehicle catches fire and the foe escapes. Then chase and melee-strike him, shoot him, run him over, or hack a grenade if he’s carrying one.
Utilize the city’s scenery (listed throughout the previous plan in parentheses) to slow or halt the foe completely. Do this before enemy vehicles start crowding in.
Once the victim lies sprawling, simply get out of your vehicle and quickly hack the phone on his corpse. The objective updates.
 Aggressive // Violence: #Crater
Difficulty: 
Put a stop to this chasing madness by using your superior firepower; inspect the map and instead of following the target, stop a block away before the target sees you. Get out, load a grenade launcher, and punt it into the front of the vehicle; keep firing until everything explodes. Or use an automatic weapon to fire at the tires, the windshield, and the target. Or stop a couple of blocks away and headshot the foe with a sniper rifle. Or come up with a similarly violent plan yourself. Then stride over and hack the phone on the corpse. The objective updates.
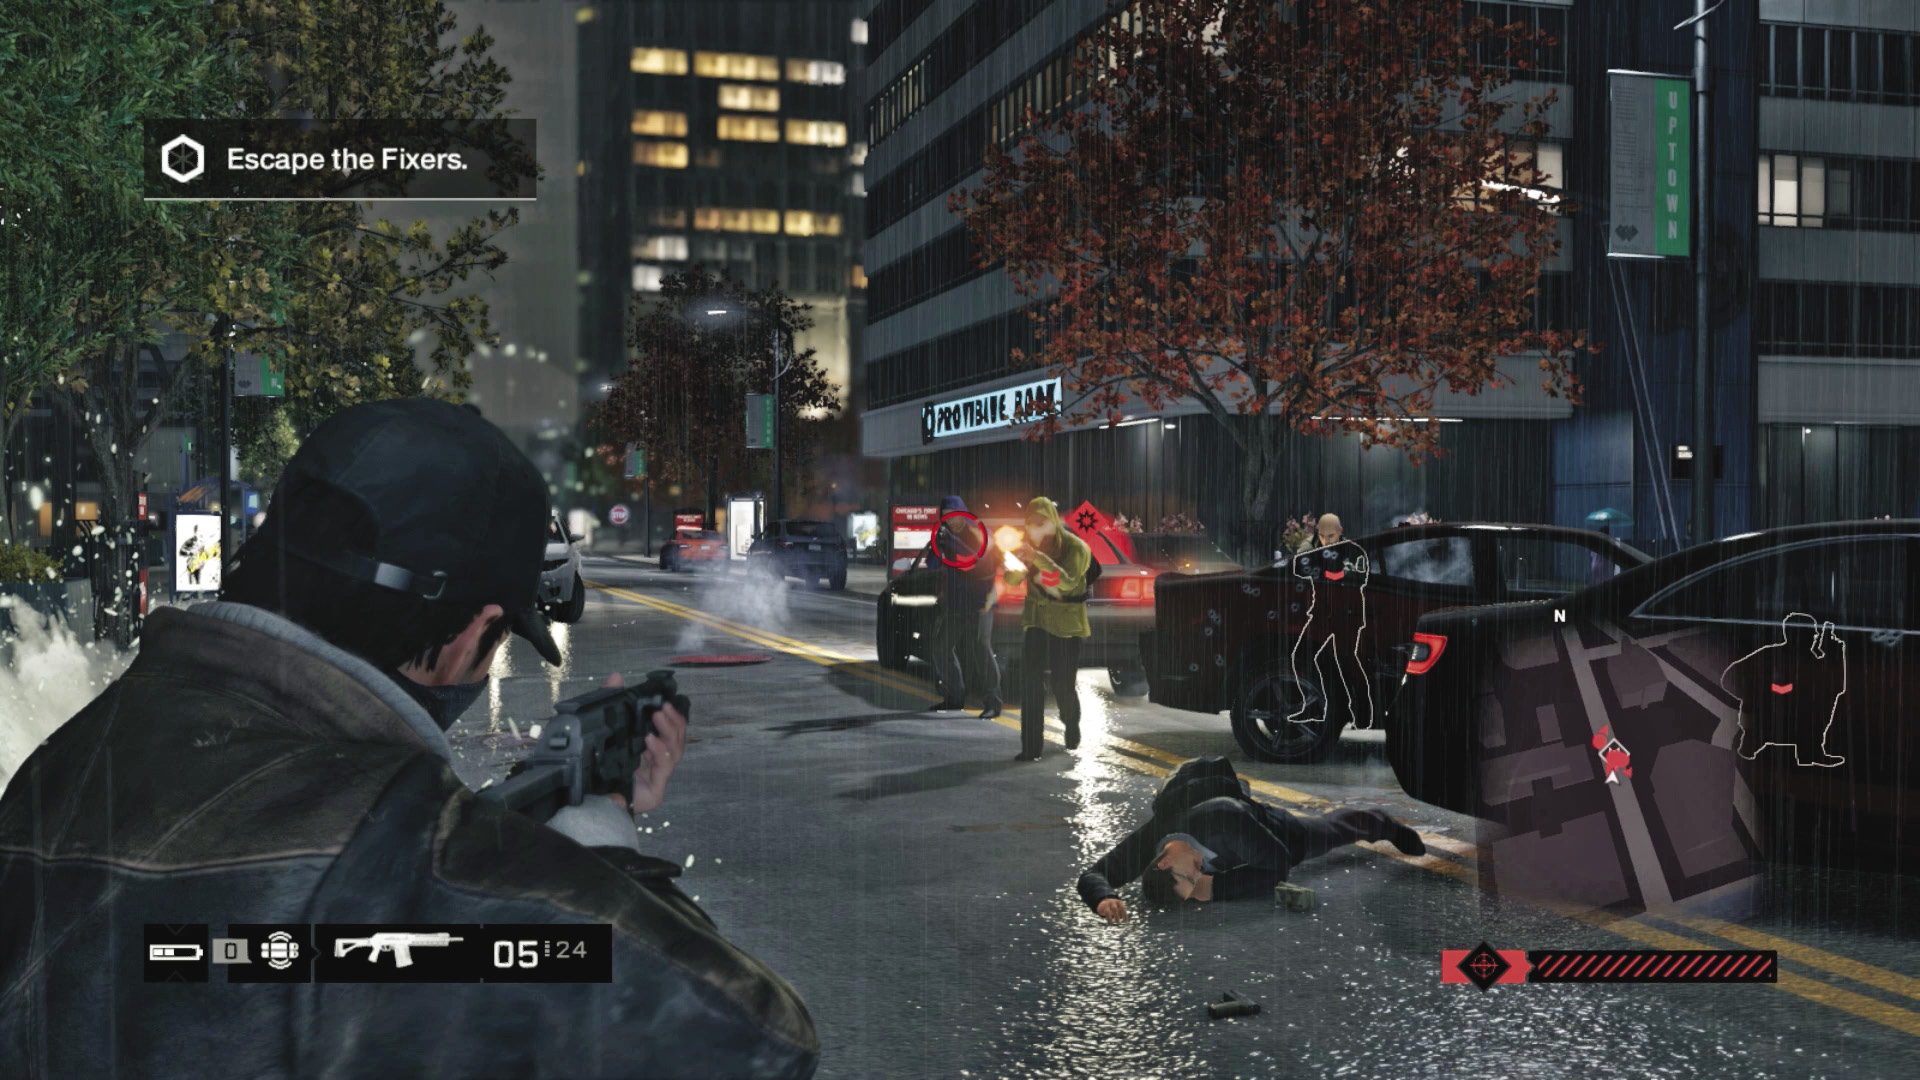
But speeding away on your bike (or any fast-moving vehicle), finding scenery to hack to impede your pursuers, changing direction every block or so, and using alleys works well. Or, you may wish to gain experience points by starting a firefight, though this is a lot more dangerous.
1.3 FHO
 Location / The Loop // Hotel Garage (South)
|
|
 Reach target location
 Driving Investigation
Difficulty: 
Once you’ve shaken off any pursuers, your objective updates with a route marking a drop-off point—a hotel garage in the southern part of this district. Reaching this area is simply a matter of following an objective marker. Pull into the garage, and DedSec thanks you. They’ll be contacting you again in the near future when you’re ready for the next mission.
MISSION REWARDSCash: $4,000 |