
Watch Dogs Guide INVESTIGATIONS /// EXCLUSIVE CONTRACTS
_SIGNATURE SHOT
OBJECTIVES
|
 Reach the coffee shop
 Profile to locate the smuggler
 Tail the smuggler to his hideout
 Enter the target area and locate the weapon buyer
 Hack the buyer’s cell phone
 Reach the weapon location
 Leave the area or eliminate the remaining enemies
LOCATIONS // MAP
Location / Brandon Docks // Rossi-Fremont APARTMENTS
1. GANGSTERS, THUGS, AND SMUGGLERS
 Location / Brandon Docks // Coffee Shop
 Location / The Wards // Rossi-Fremont Rendezvous Point
|
|
 Reach the coffee shop
 Profile to locate the smuggler
 Tail the smuggler to his hideout
 Investigation
 Driving Investigation
 Vehicle Chase
Difficulty: 
Overview
Completion Point: Weapon buyer (hack), then weapon closet (unlock)
Dangers (Rendezvous Point): Ten Viceroys (Gunmen x7, Veteran x3).
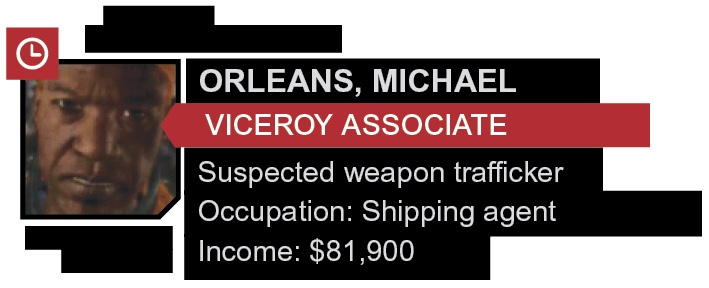
Start this mission on the sidewalk in northern Brandon Docks, with the mysterious DedSec offering you the chance to steal a biometric rifle. This high-value item has been smuggled into Chicago for the captain of the Black Viceroys gang. It only works with the first person to imprint his or her palm on the handle. To find it, you need to follow a known smuggler named Michael Orleans; he’ll lead you to the prize. Run west along the sidewalk to a newsstand and coffee shop, where the search area appears on your minimap.
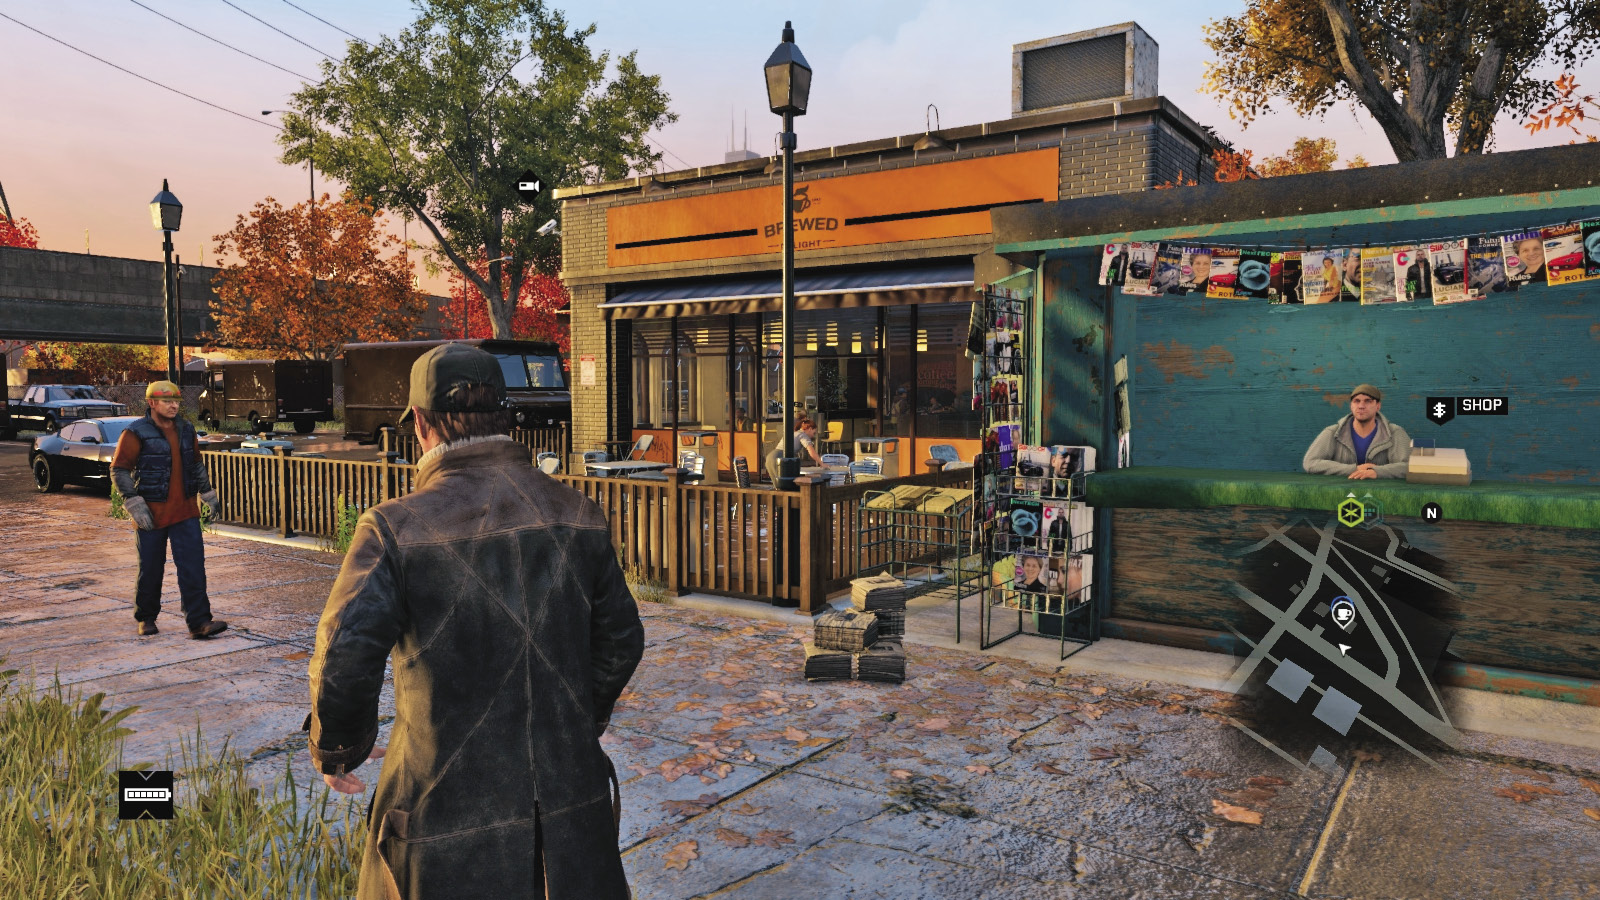
Bring out your smartphone and begin to profile the coffee shop customers. Hide just outside the shop, as the smuggler is extremely skittish; simply wandering up to him alerts him and fails the mission. When you’ve marked your foe, wait next to the fence for him to leave the vicinity of the shop, and walk into the parking lot.
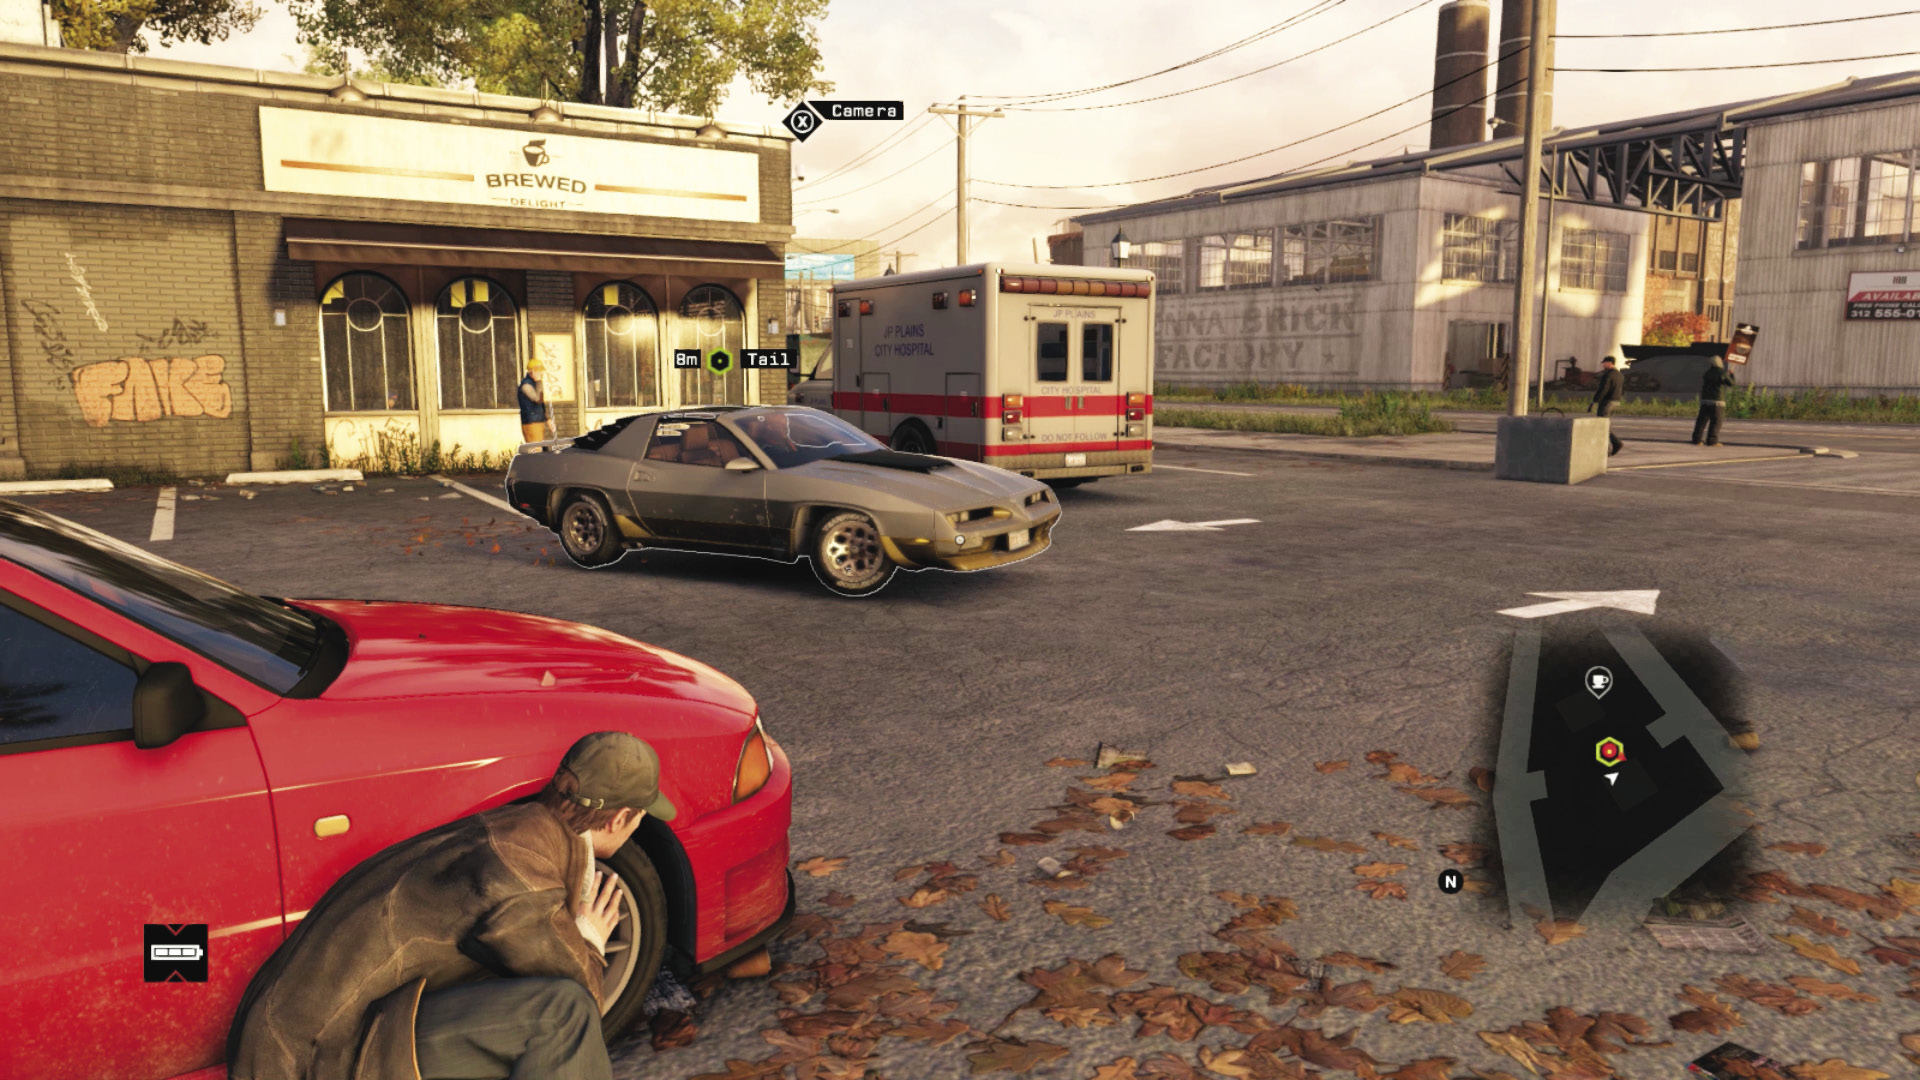
Your movements are critical to the continuing success of this mission: Remain on the sidewalk and watch from a distance as he moves to his parked car. Creep around the lot’s left (west) side, behind the parked cars opposite the one the smuggler uses. When he leaves, step out and pick the vehicle shown in the screenshot, but don’t enter it too quickly or the foe figures out you’re following him!
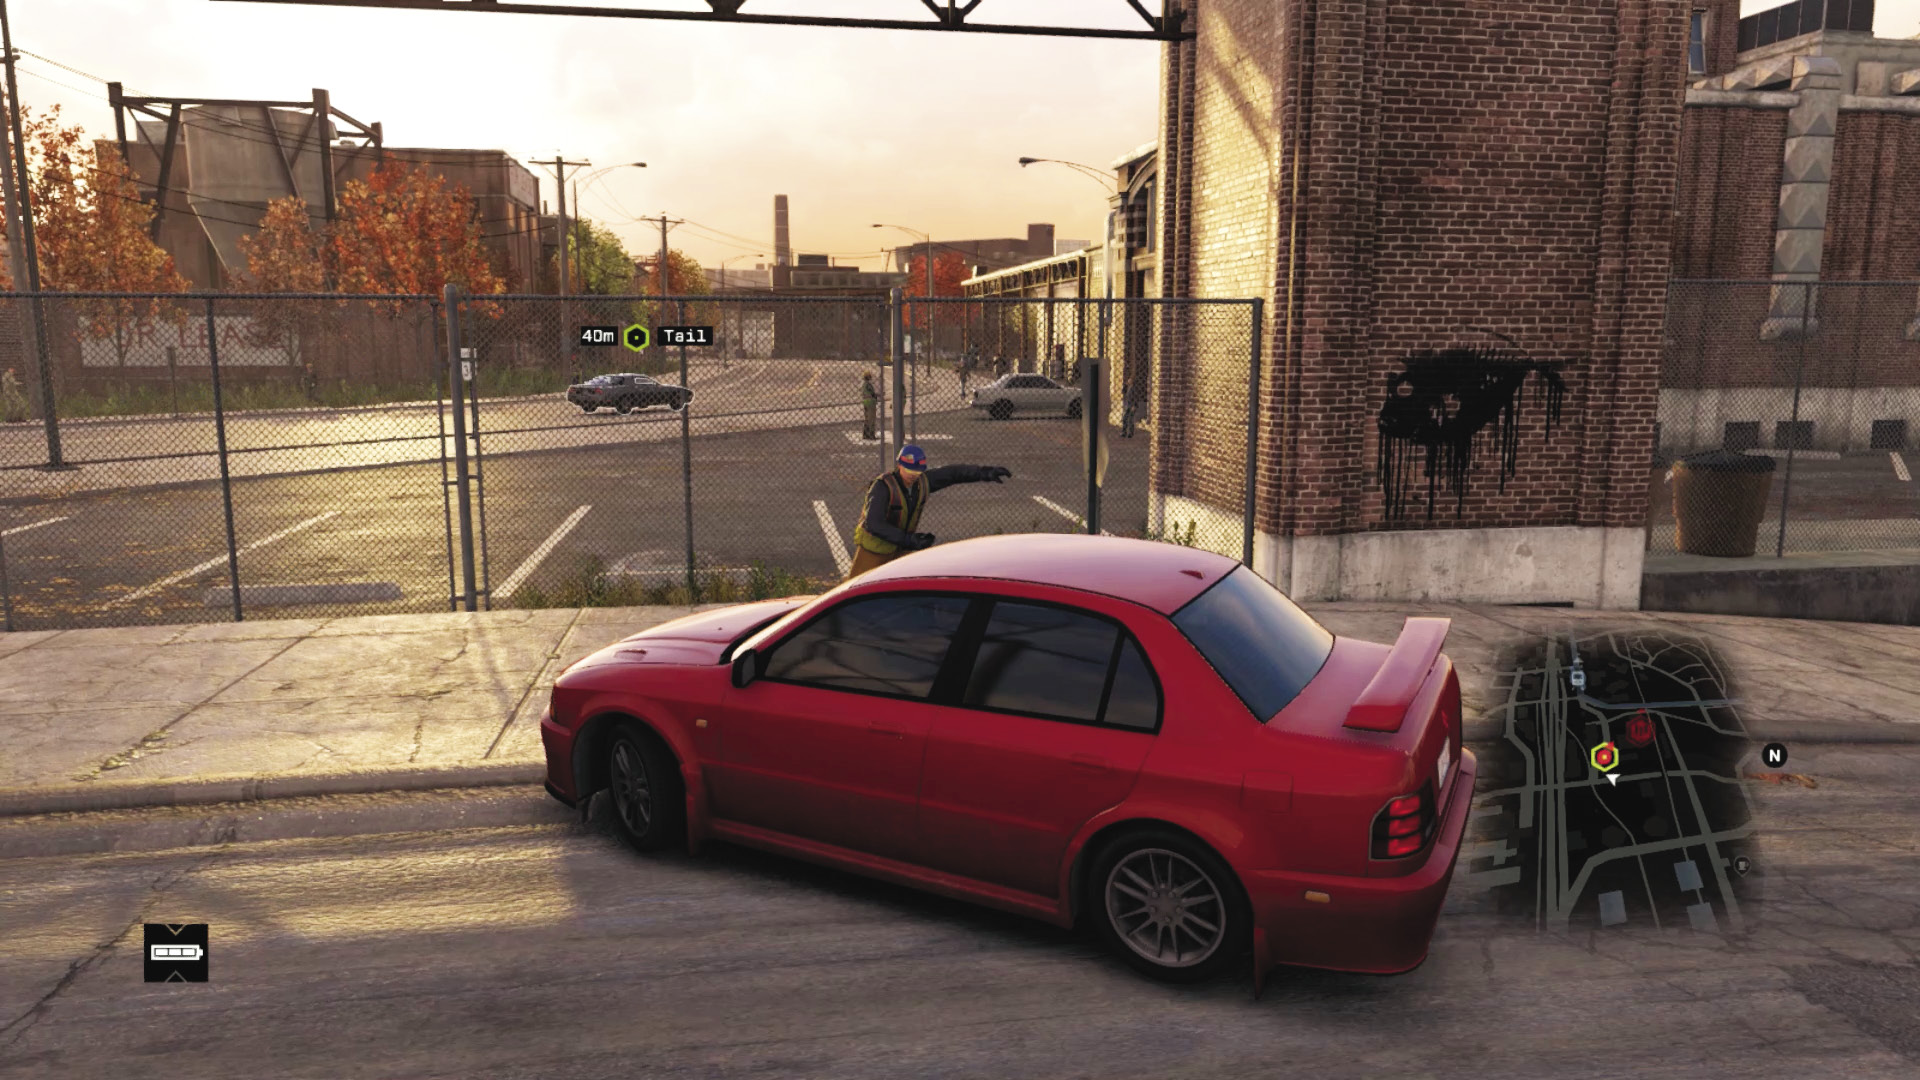
A low-speed chase now begins. While you’re on city streets, try to stay within 20 to 80 meters from your target, or you risk being spotted or losing him. If you see him becoming alerted, brake sharply and start reversing before he becomes fully alert and the mission fails. Don’t accidentally blow up a steam pipe or use your powers of technology; you’re following this guy, not killing him! He takes a left, heads under a bridge, then makes a right. He follows the winding road and then turns onto the freeway.
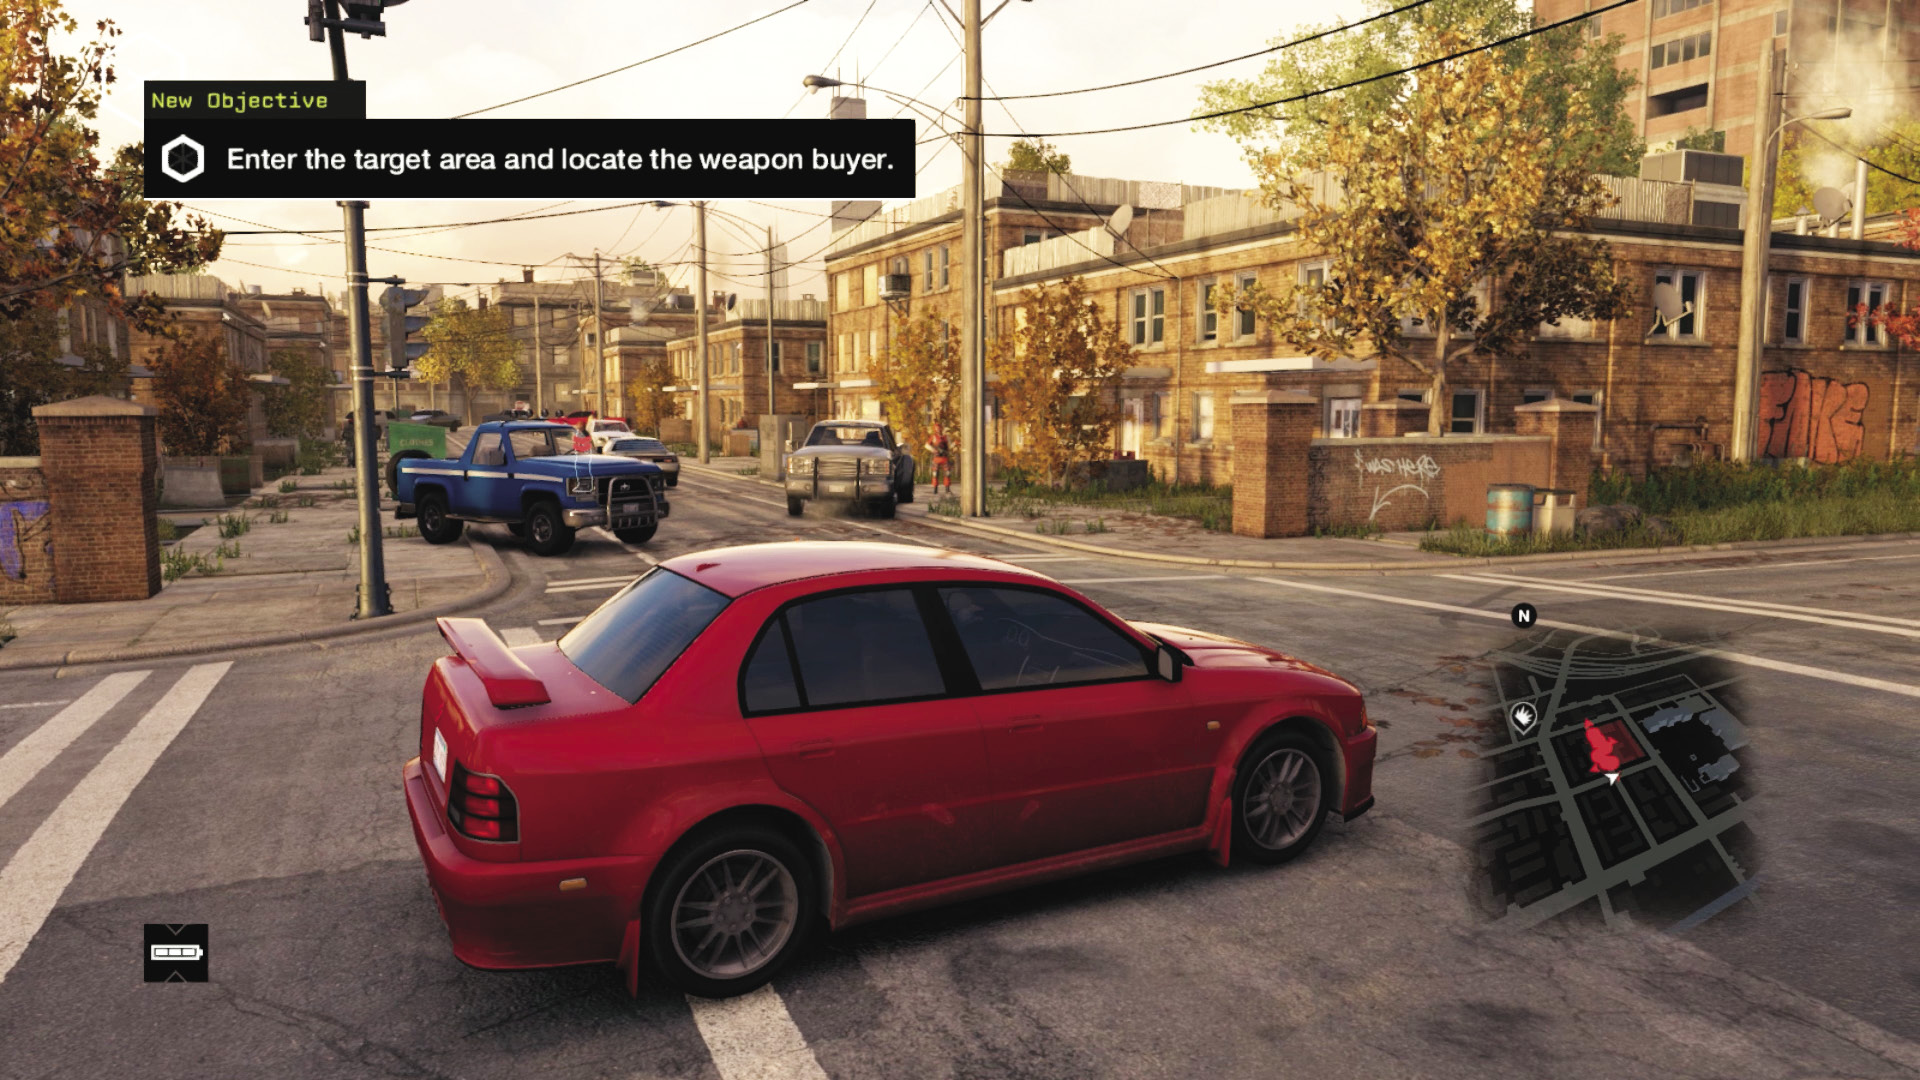
The speed quickens on the freeway, but still keep around 80 meters between you and him. Close the gap as he reaches the off-ramp, but don’t accelerate too strongly and end up being spotted. He takes a left under the freeway (watch out if he stops at the light, as it’s easy to be spotted here) and eventually leads you to an area close to the Rossi-Fremont tenement block. You’re now at the hideout, so you can disembark.
2. THOROUGHLY DISRESPECTED
 Location / The Wards // Rossi-Fremont Rendezvous Point
|
|
 Enter the target area and locate the weapon buyer
 Hack the buyer’s cell phone
 Reach the weapon location
 Leave the area or eliminate the remaining enemies
 Infiltration
 Data Hack
 Escape
 Lethal Force Likely
 Melee Force Likely
Difficulty: 
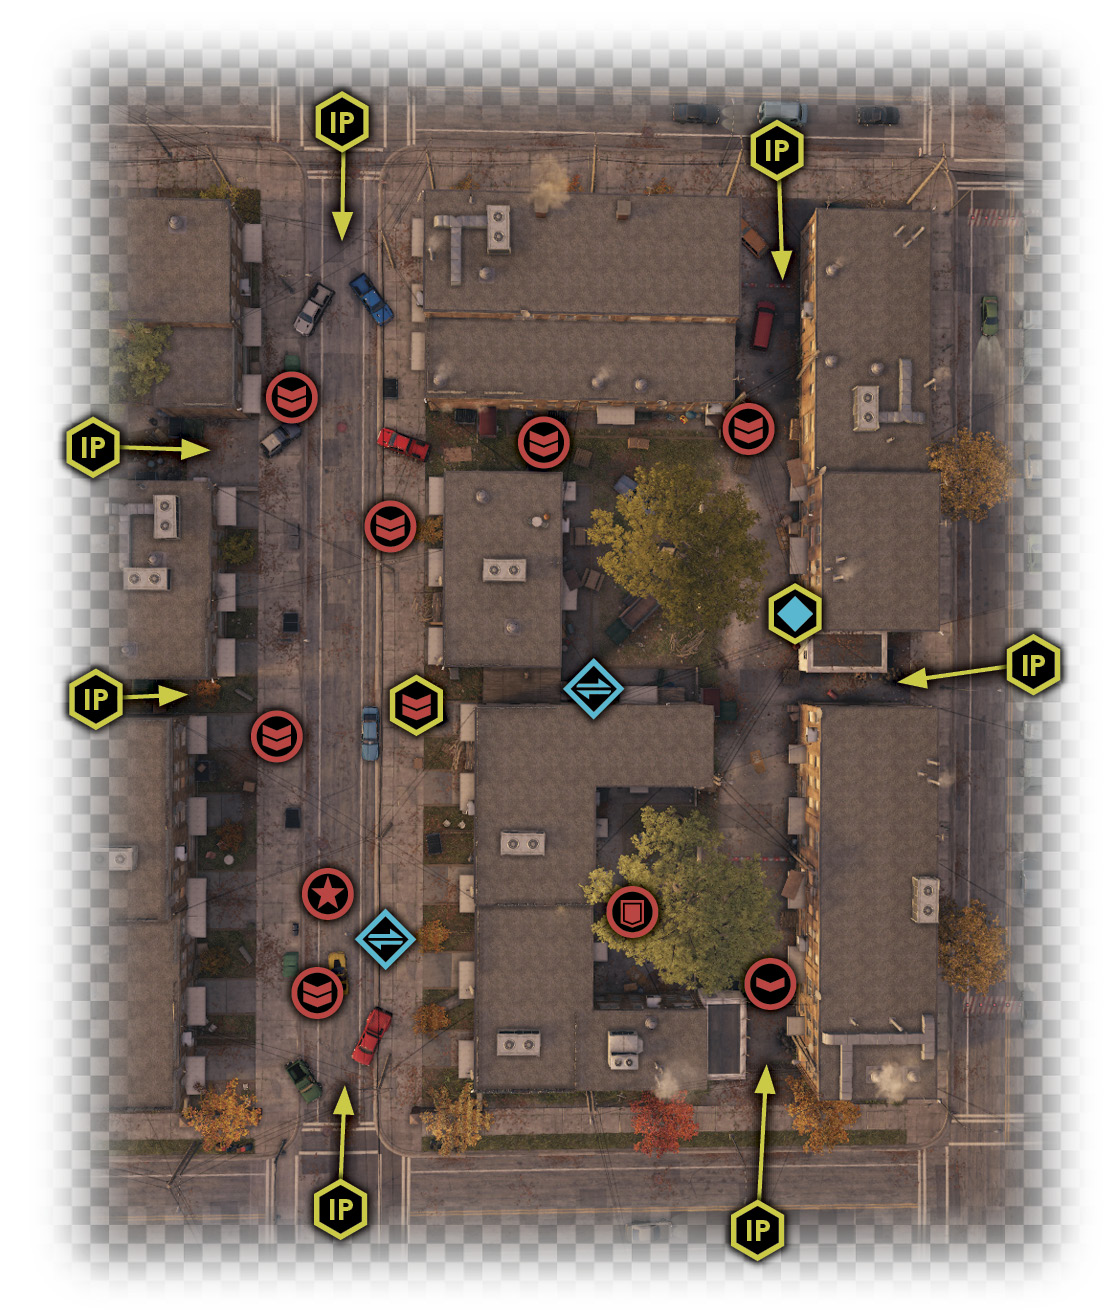
Insertion Points
The Viceroys in this area have taken over a north-south street and two parallel alleys on either side of it. Though the restricted area looks large and with numerous insertion points, the majority of the action is likely to take place to the east, in the alley populated by foes.
South Street Blockade
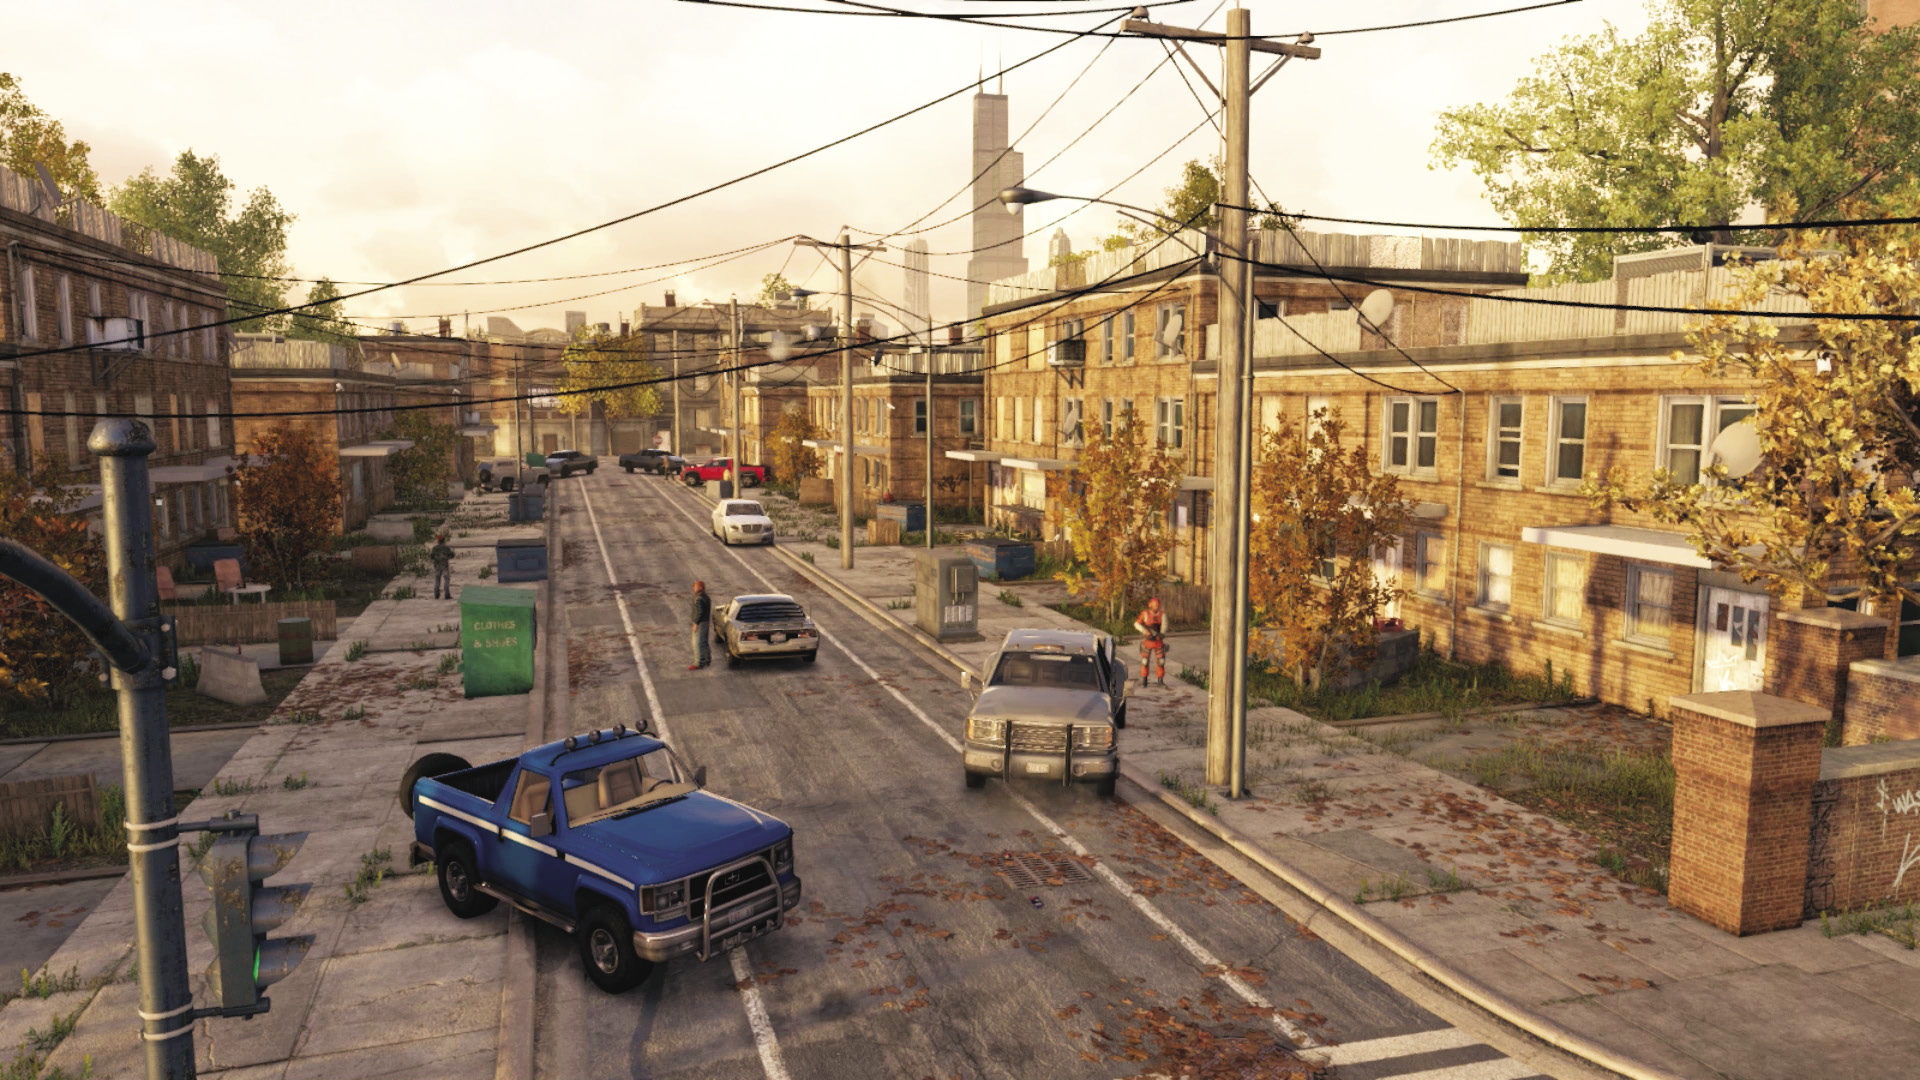
Your target pulls in here and drives a few car lengths into the street, where he stops and becomes one of the foes you need to (optionally) neutralize. This location is fine for an all-out war, with you storming the area using weapons or driving a truck, but there are far safer insertion points. Stand here to mark the foes using the cameras, though.
Southeast Alley Fence Gap
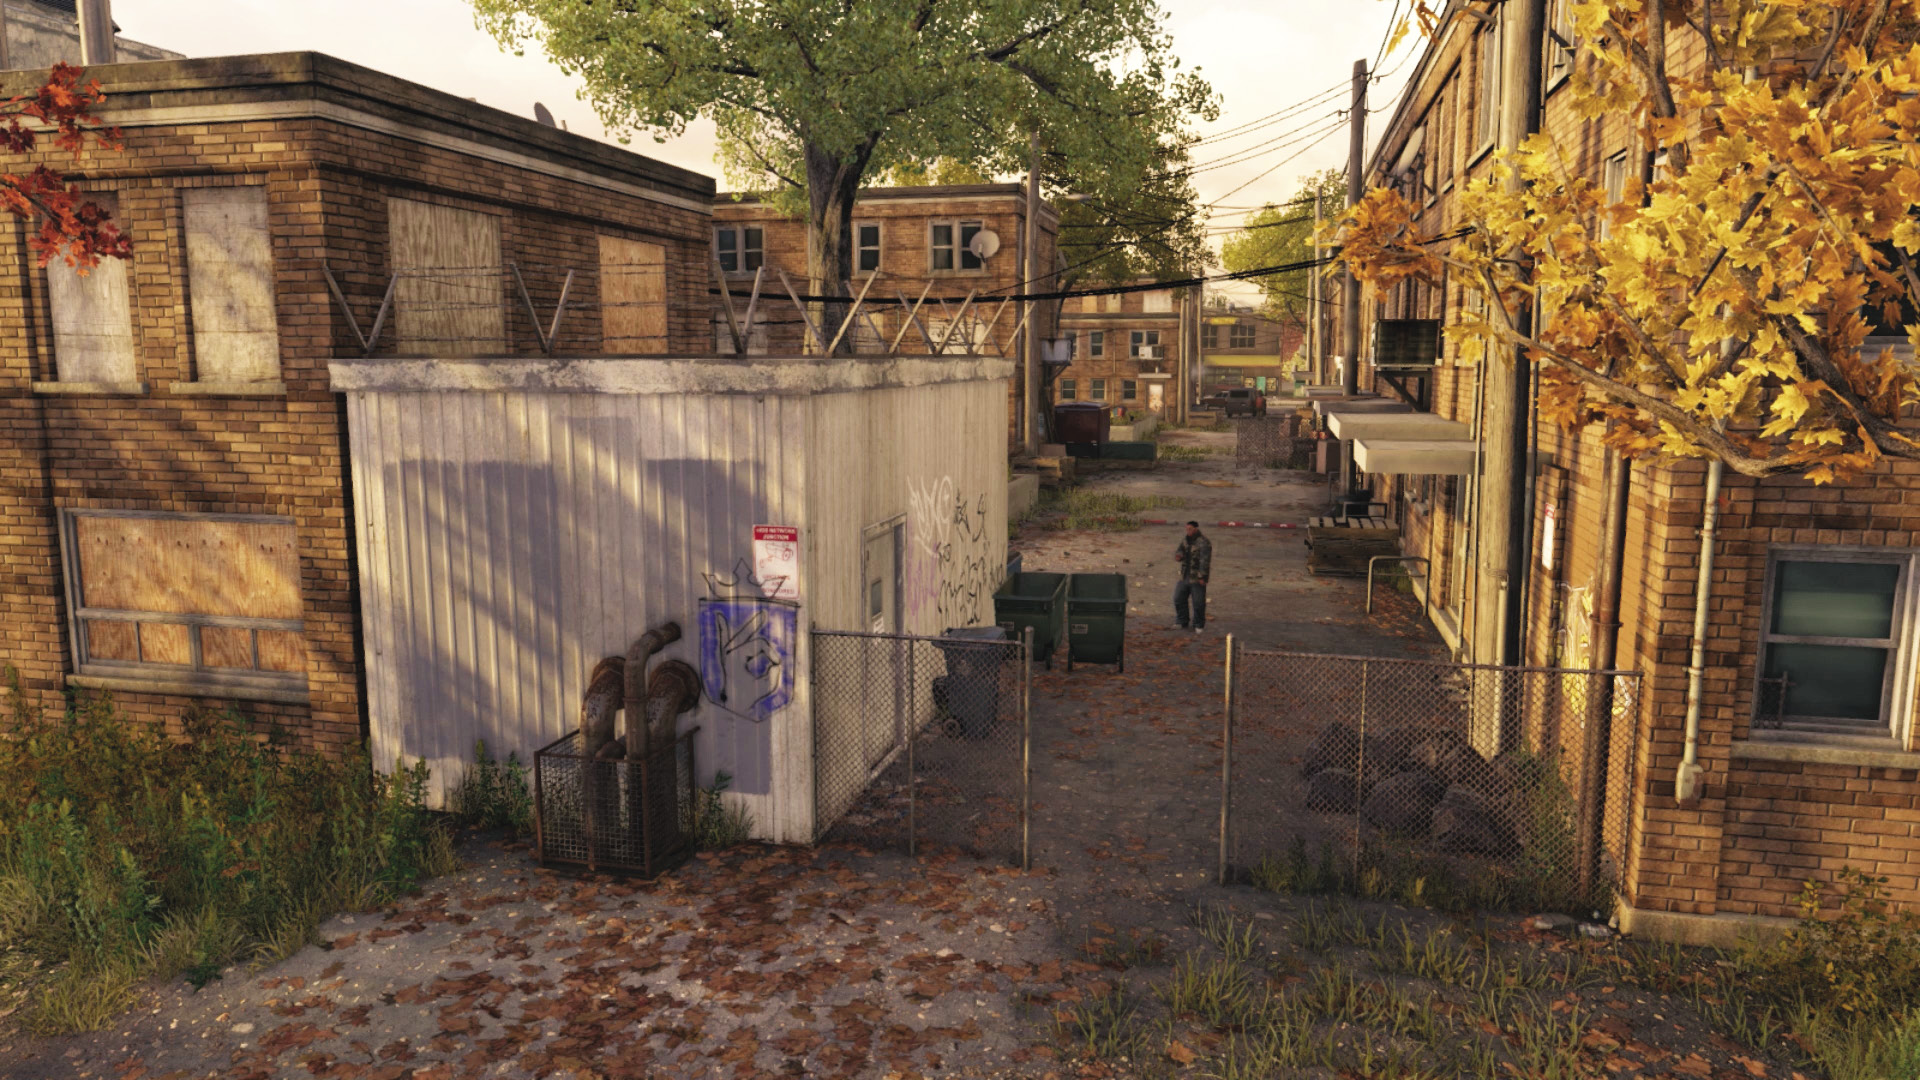
You usually explore here next. Take down the foe at the gap in the fence with a melee strike if you’re fast enough or after you distract him, but a second foe in the courtyard with the tree starts to investigate, so hack, hide, or rush him. If successful, this is a great route to take if you’re after a nonlethal method of taking care of the guards before you find the weapon buyer.
East Alley and Shed
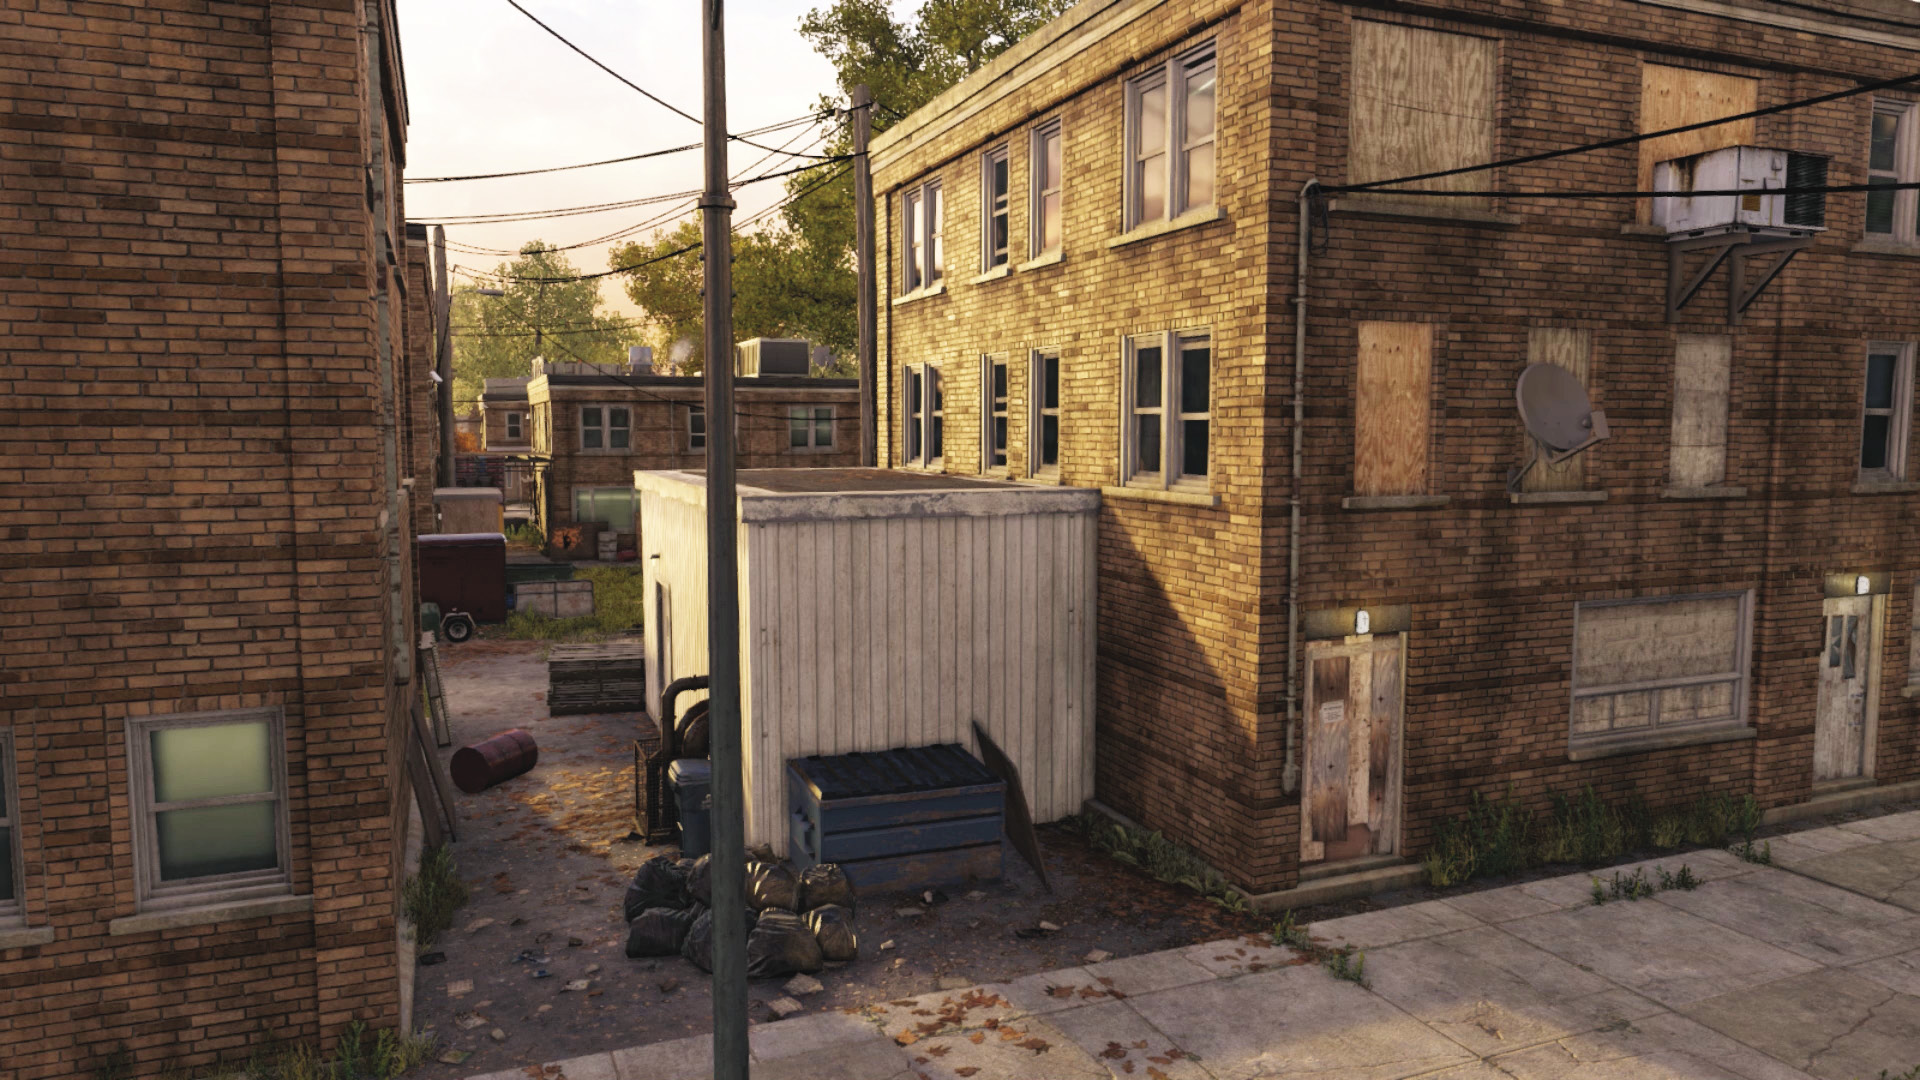
If you want to completely ignore all enemies and complete this mission in seconds, use this unguarded gap between the eastern row houses, which offers a straight shot to the weapon buyer near the forklift in the courtyard ahead (west) of you. The biometric weapon is just around the corner of the shed, to the right (north).
Northeast Alley
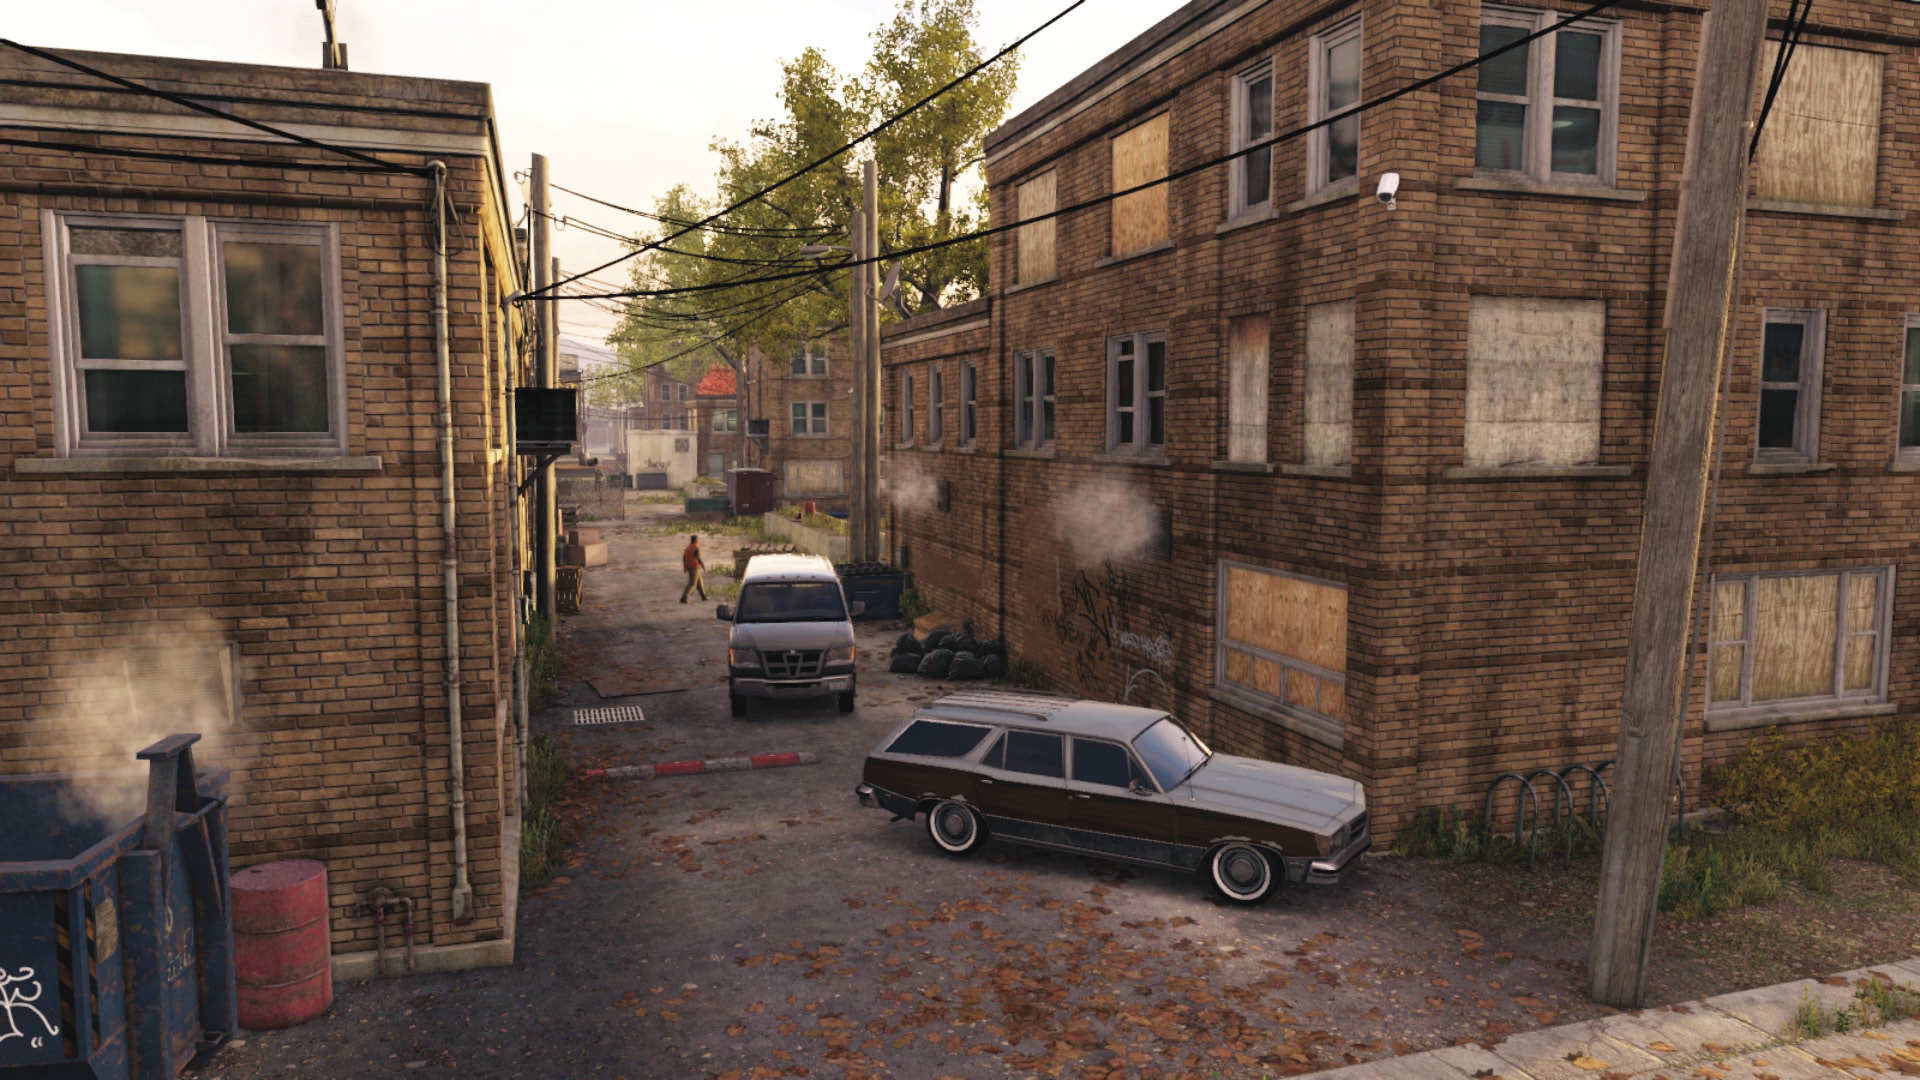
There’s a patrolling foe that makes his home here, but not after you explode the junction box or remove him. This is a slightly less taxing method of entering the area, as you can more easily seek cover and start foe takedowns throughout this alley without being spotted. There’s good access to the weapon buyer here, too.
North Street Blockade
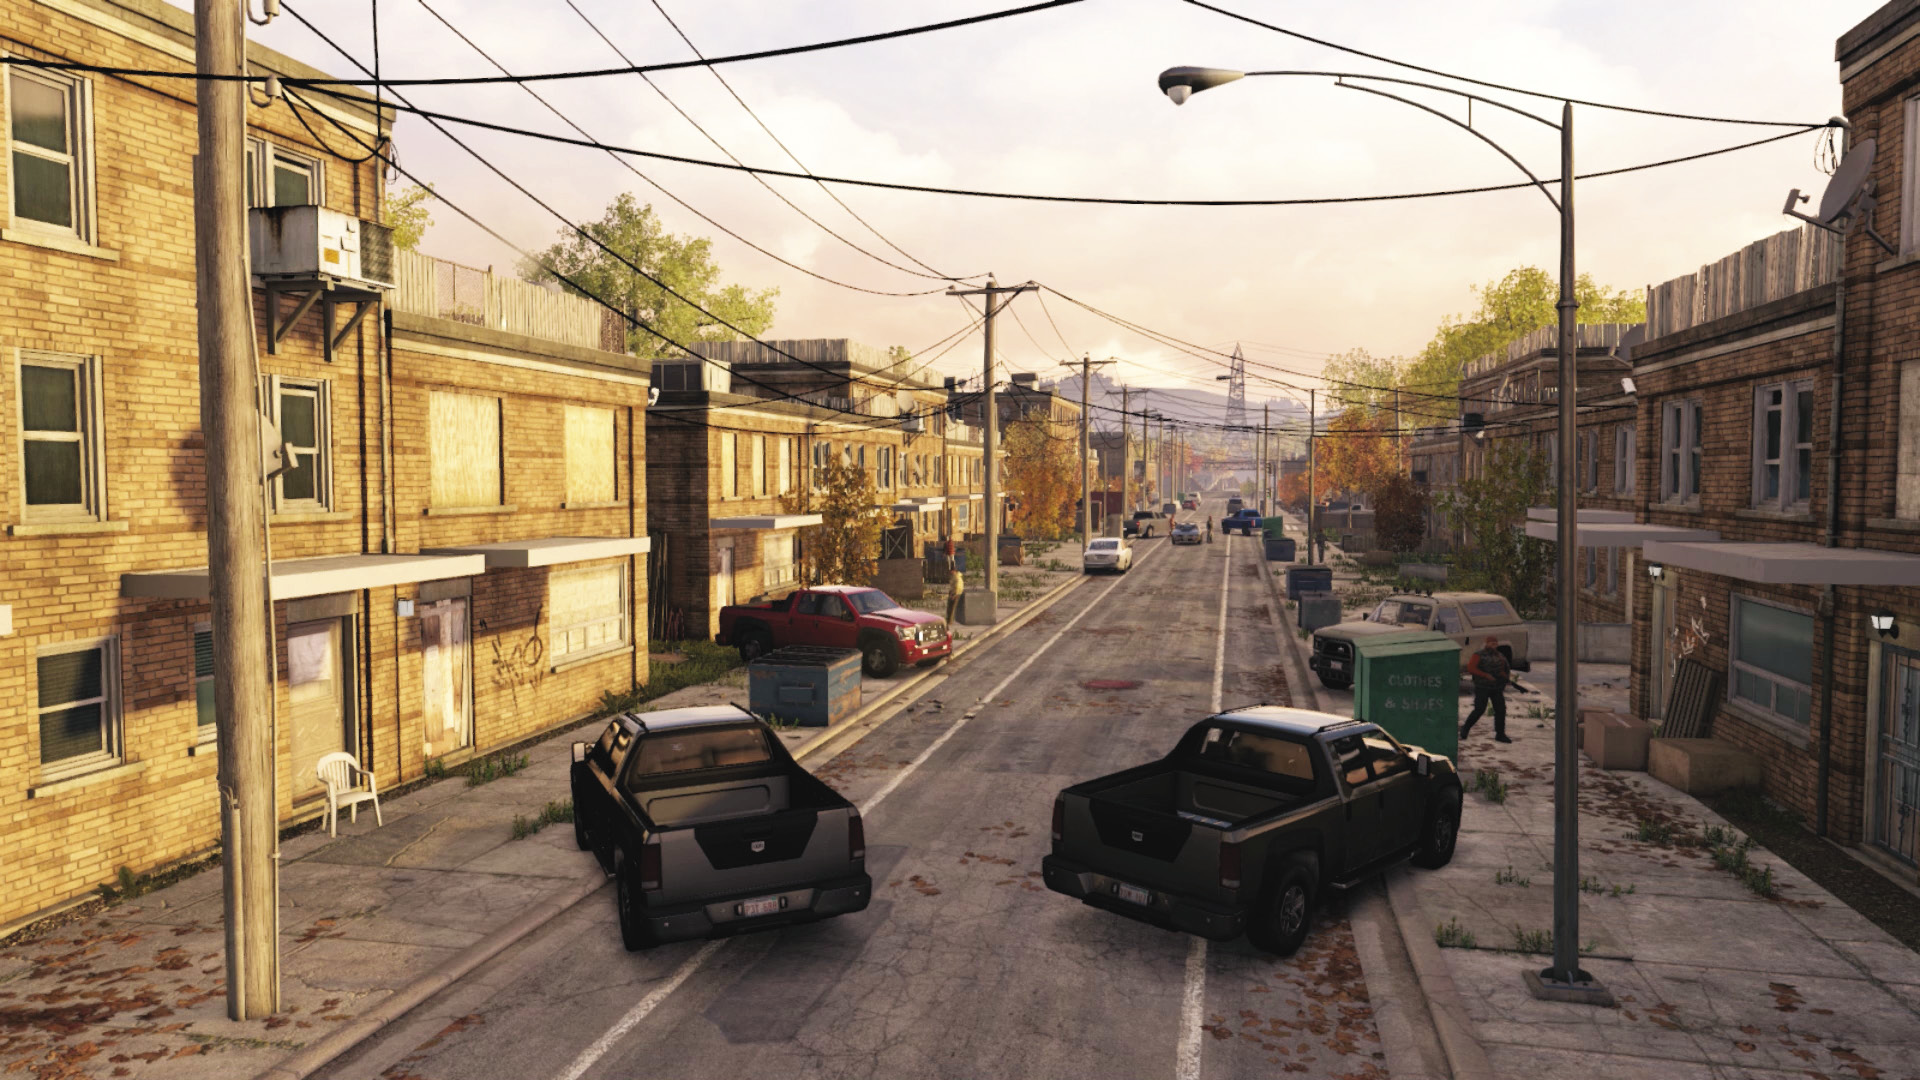
Much like the south street blockade, the Viceroys have some parked trucks here. However, the extra cover, closeness to the weapon buyer, and the steam pipe in the middle of the street means this is a much better option if you’re after a direct approach. You can easily enter here, but venturing too far into the street usually leads to you being spotted.
Northwest Alley
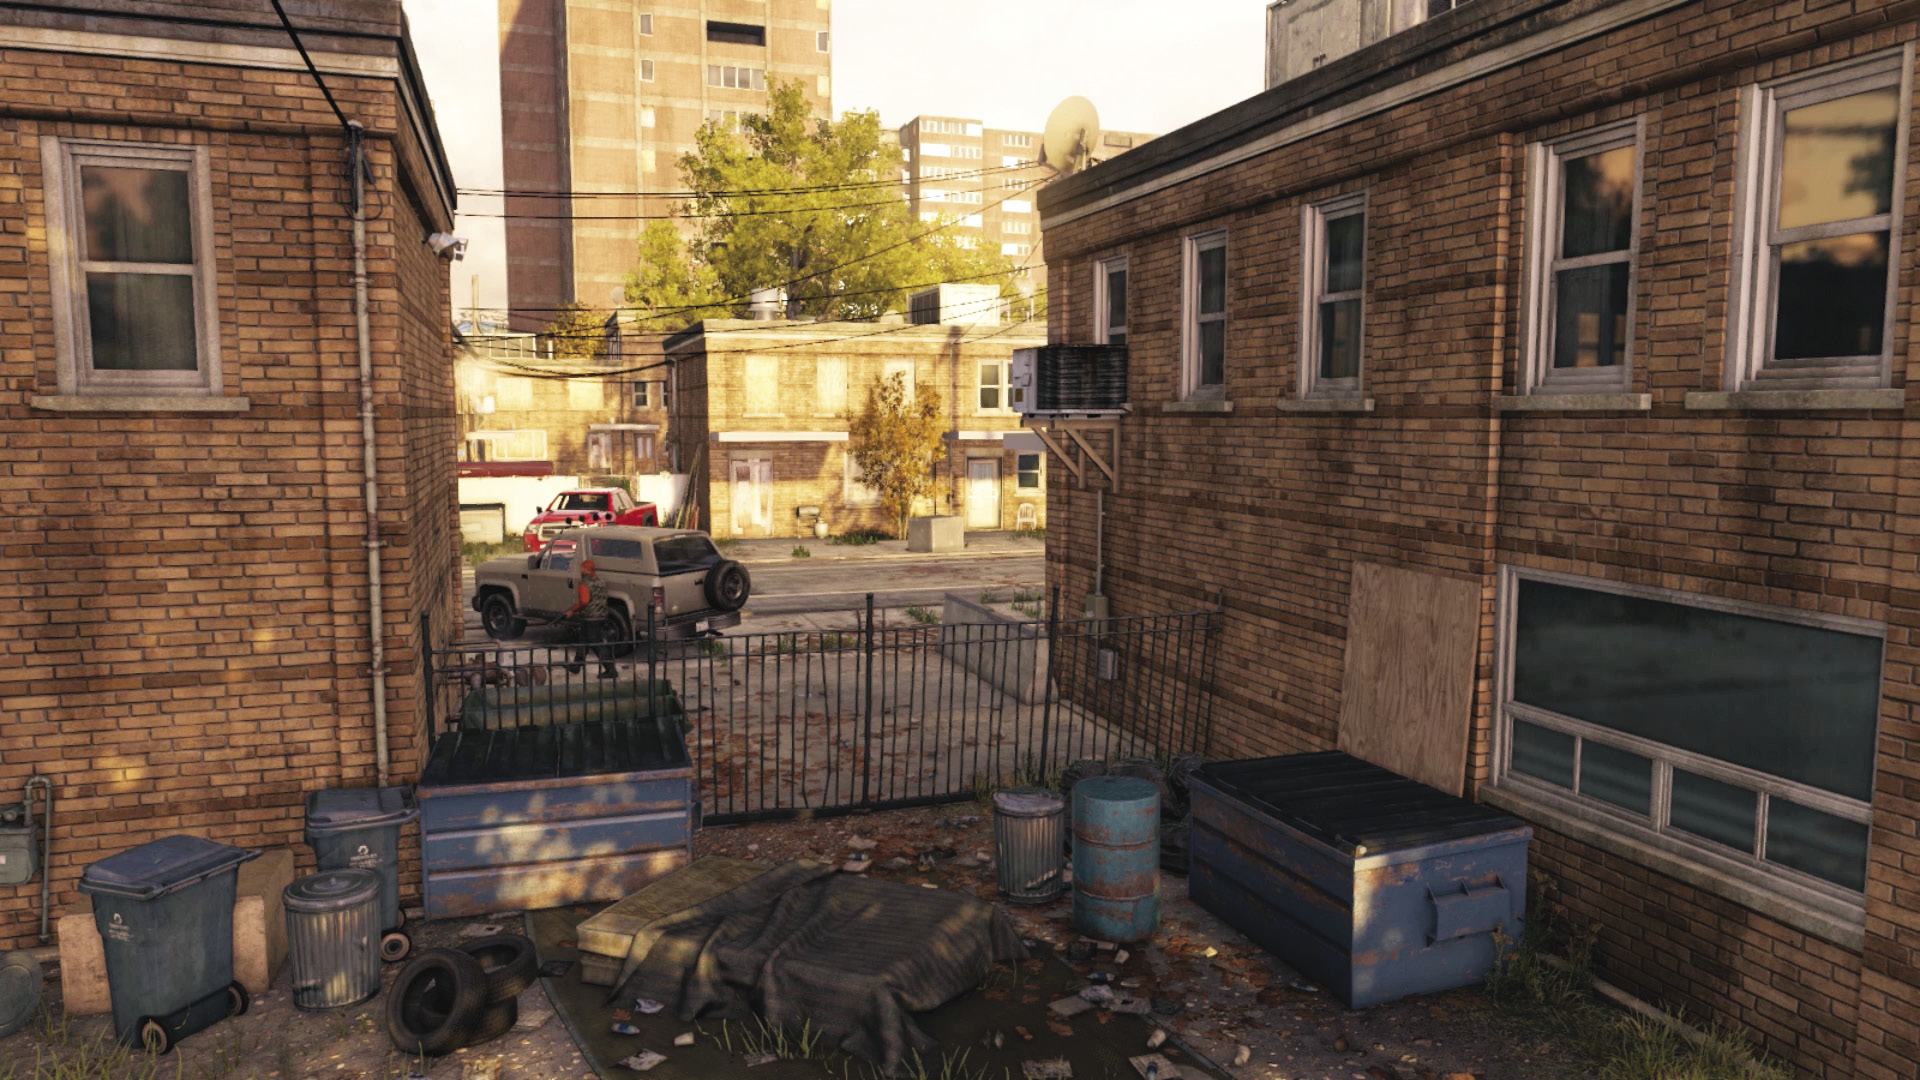
This is a good escape route or insertion point if you want to reach the street, but the number of patrolling foes means clandestine operations are less effective from this point. However, you can start a war from here and quickly ascertain locations of foes and the weapon buyer. You’re also hindered by a fence you need to climb, which slows you down; this is especially dangerous if you’re under fire.
West Alley
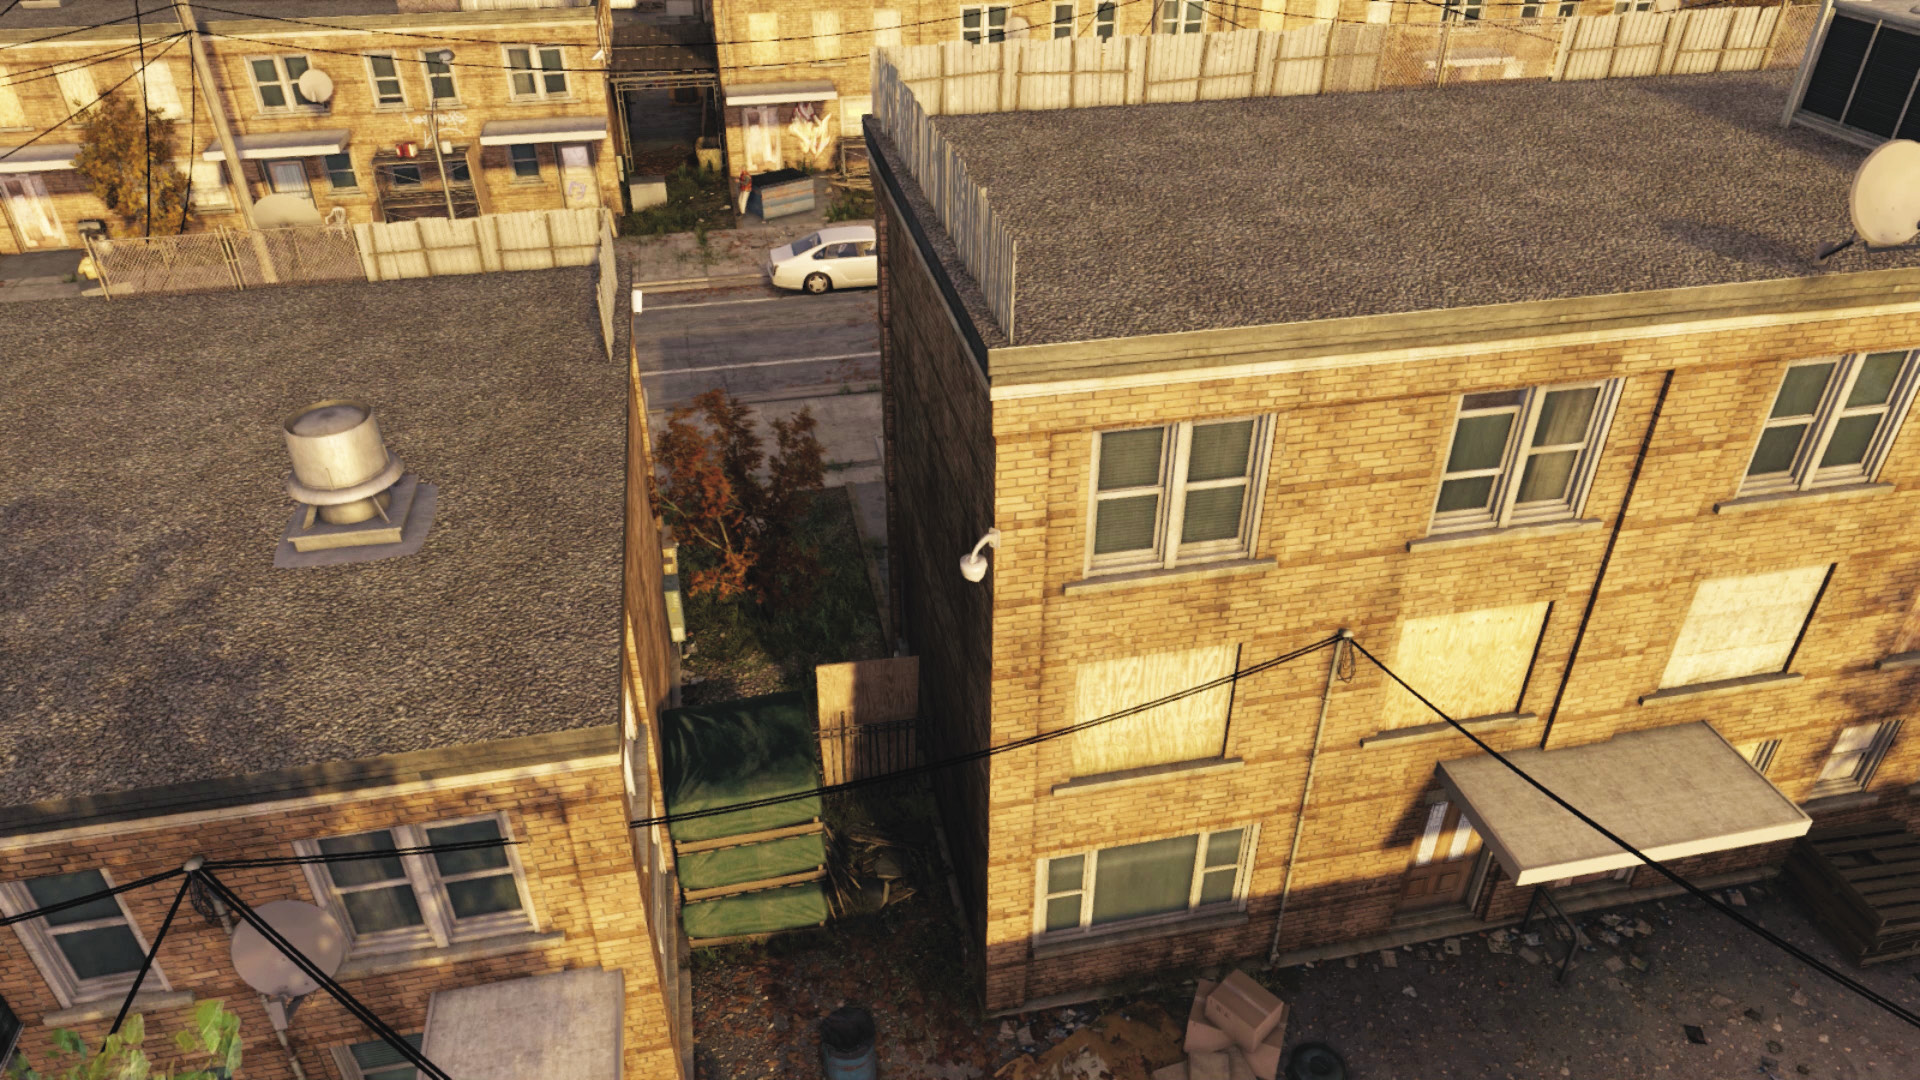
Often overlooked, this alley is directly across from the weapon buyer. The camera on the building ahead and above you allows you to hack him, then create a disturbance using the junction box (or the ctOS box farther down the street) before you sprint over to the weapon closet. Otherwise, this is a lurking point when using cameras to mark foes.
Southwest Alley Fence Gap
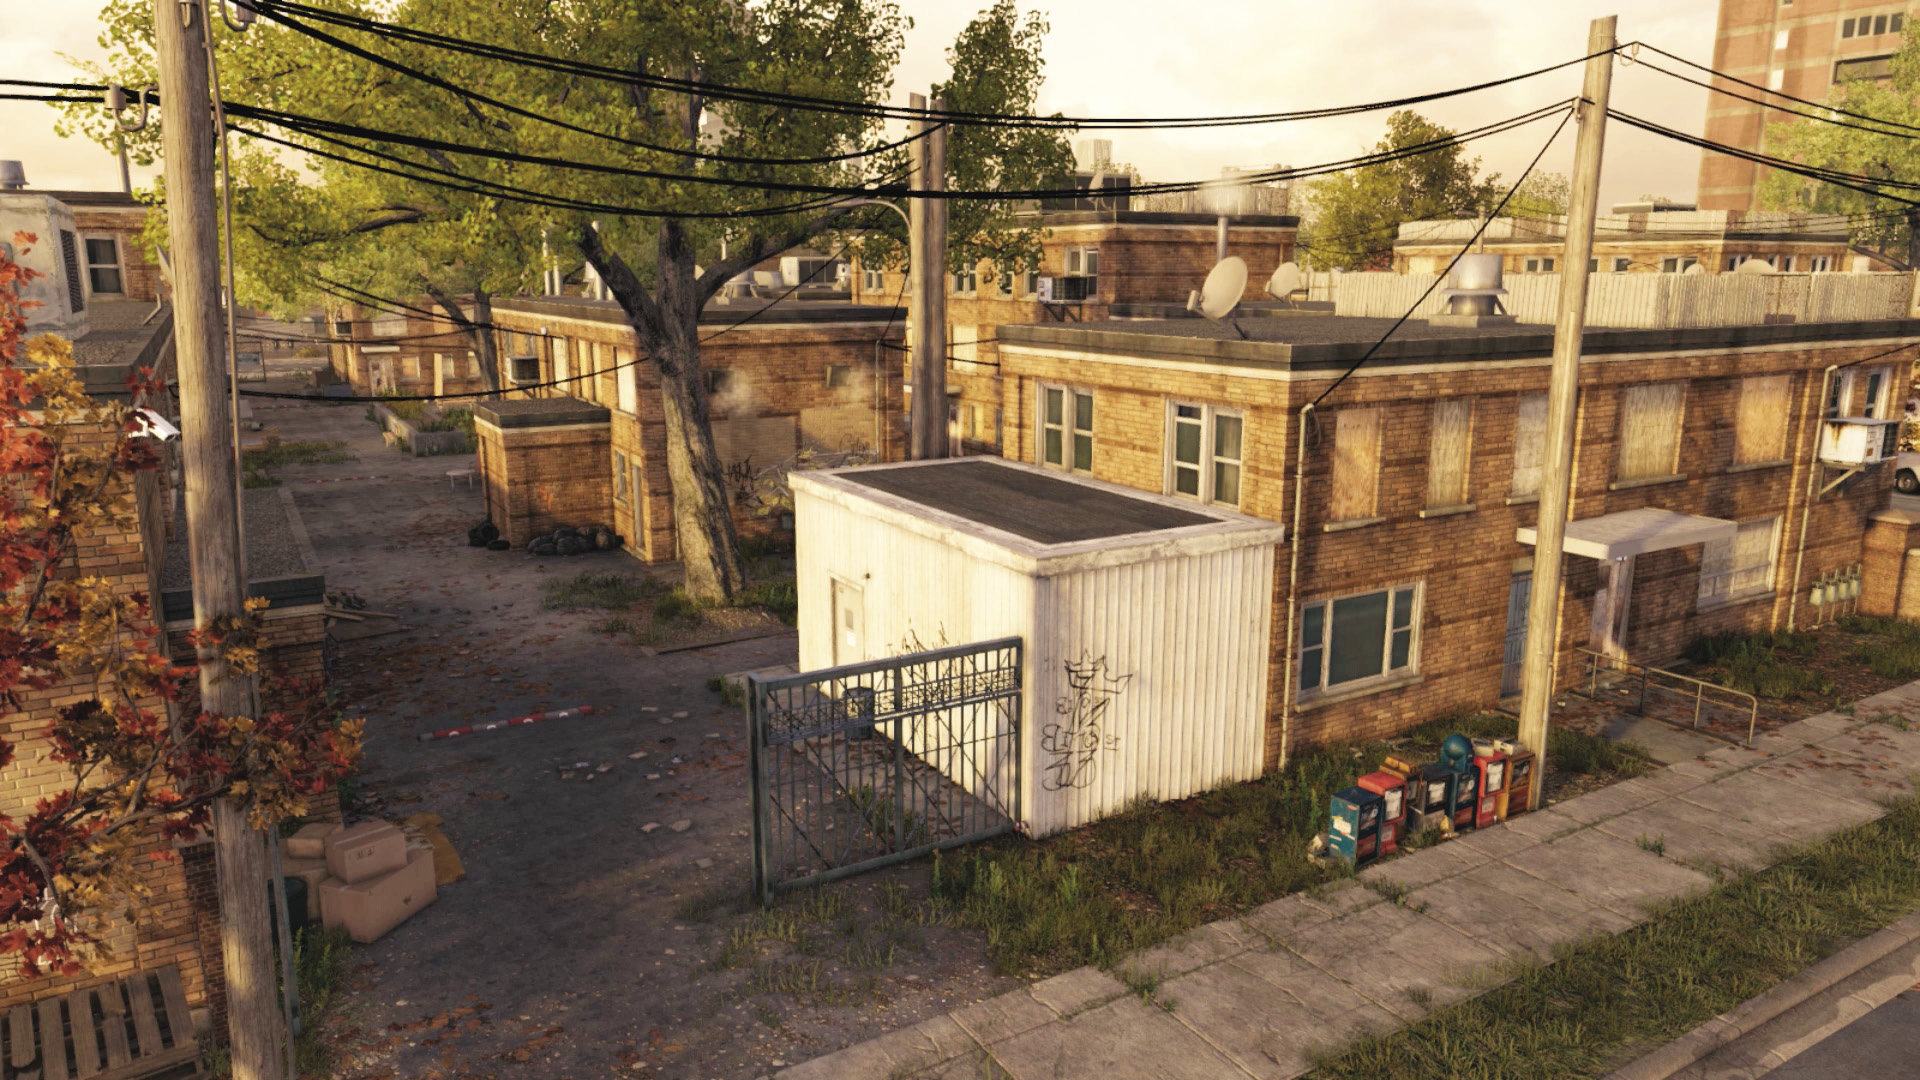
This is the entrance to the rarely used west alley. Use this if you’re sneaking around or wanting a complete visual knowledge of the entire perimeter. Unlike the eastern alley, there are no foes to worry about here and only the two previously listed insertion points to check out.
Restricted Area Interior
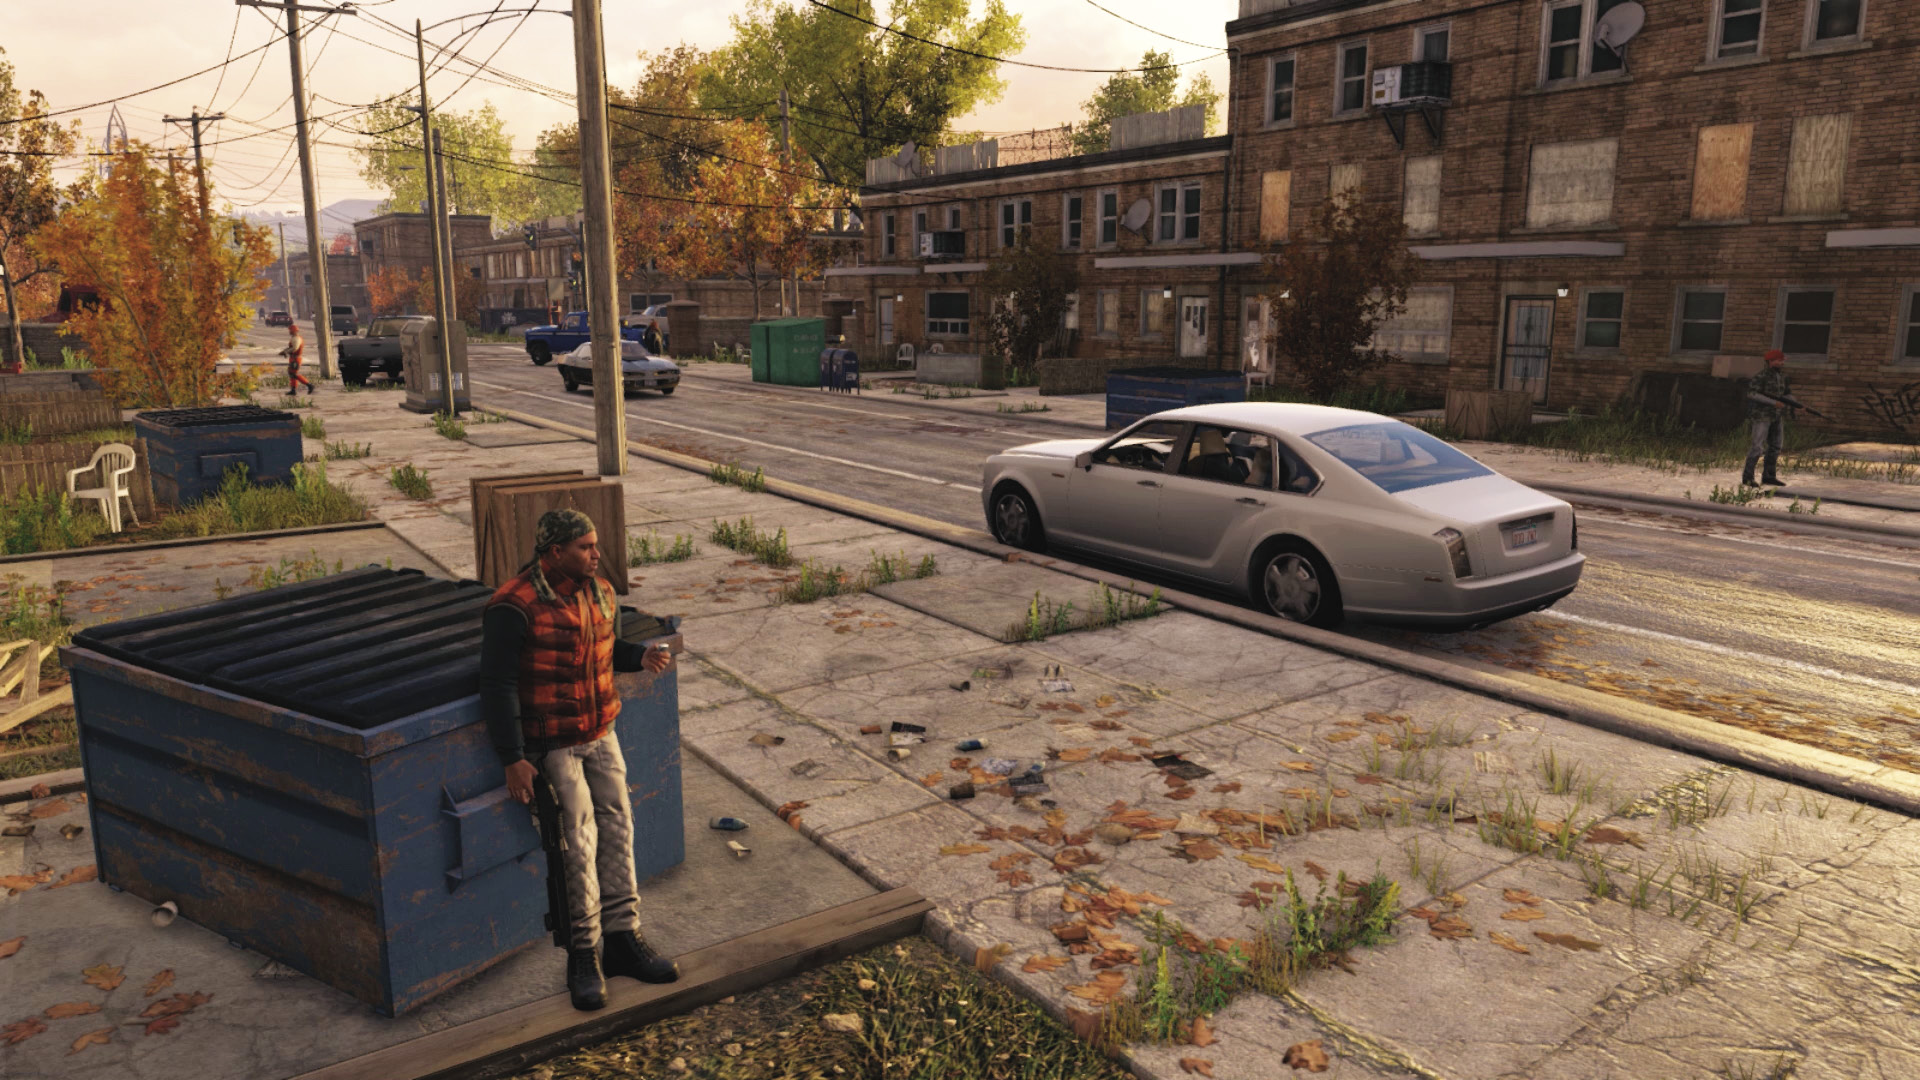
There are ten Viceroys (including the target you tailed), with six in the main street, two in the northeast courtyard, and two in the southeast courtyard. Use the debris and pallets in the east alley to access the rooftop, and there are junction boxes, a forklift, a steam pipe, and a ctOS box to play with. The weapon buyer stands close to an access point from the northeast alley courtyard, just near the forklift. This infiltration is slightly easier than you might think, due to the lack of Shot-Callers.
Progression Plans
With no reinforcements to worry about and numerous alleys to creep down, the last part of this mission can be simple, as well as carnage-filled. Though why wouldn’t you want to keep the foes alive here until after you’ve secured your new weapon? Then you can test it out...
 Passive // Smart: Studying the Area Like a Savant
 Difficulty:
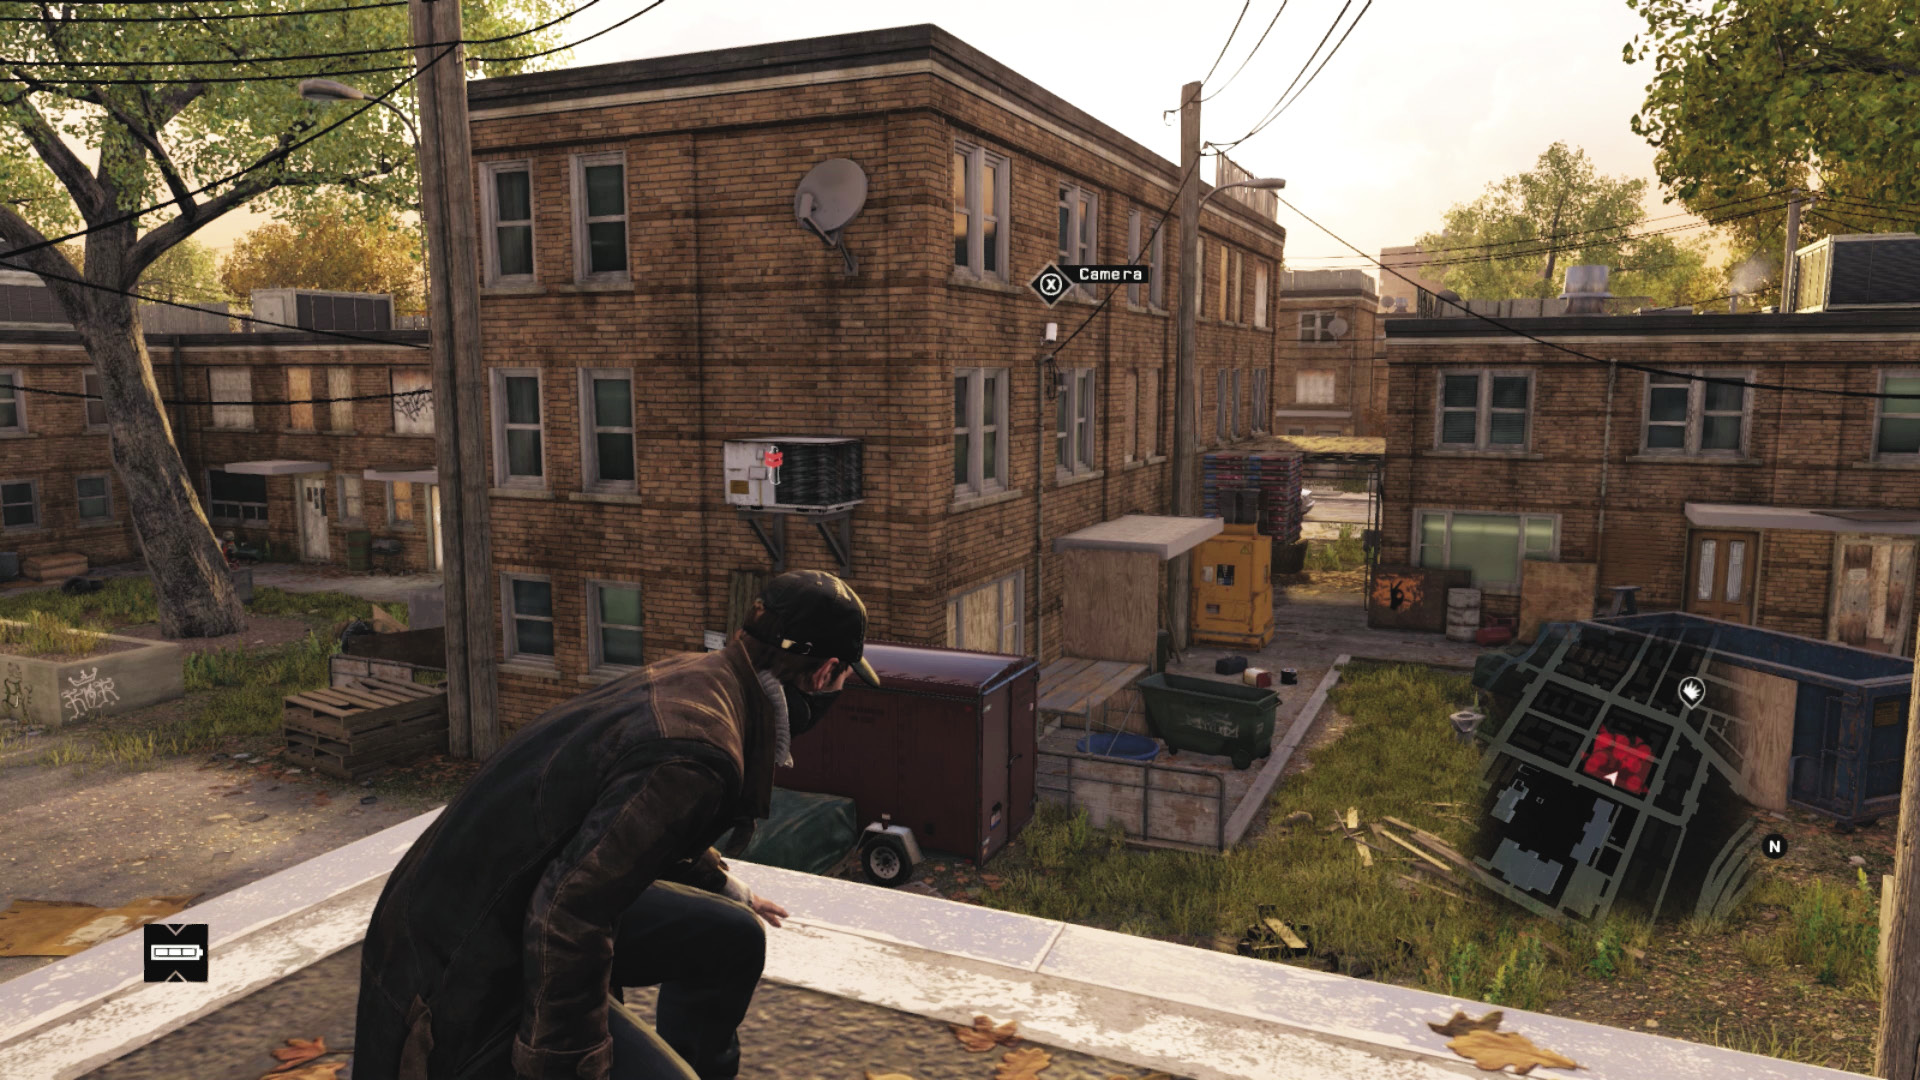
Jog around to the gap in the east row houses, and step through near the white shed. Across the courtyard is a forklift and a gap to the weapon buyer. Use the cameras to mark, locate, and hack the weapon buyer without moving from your position.
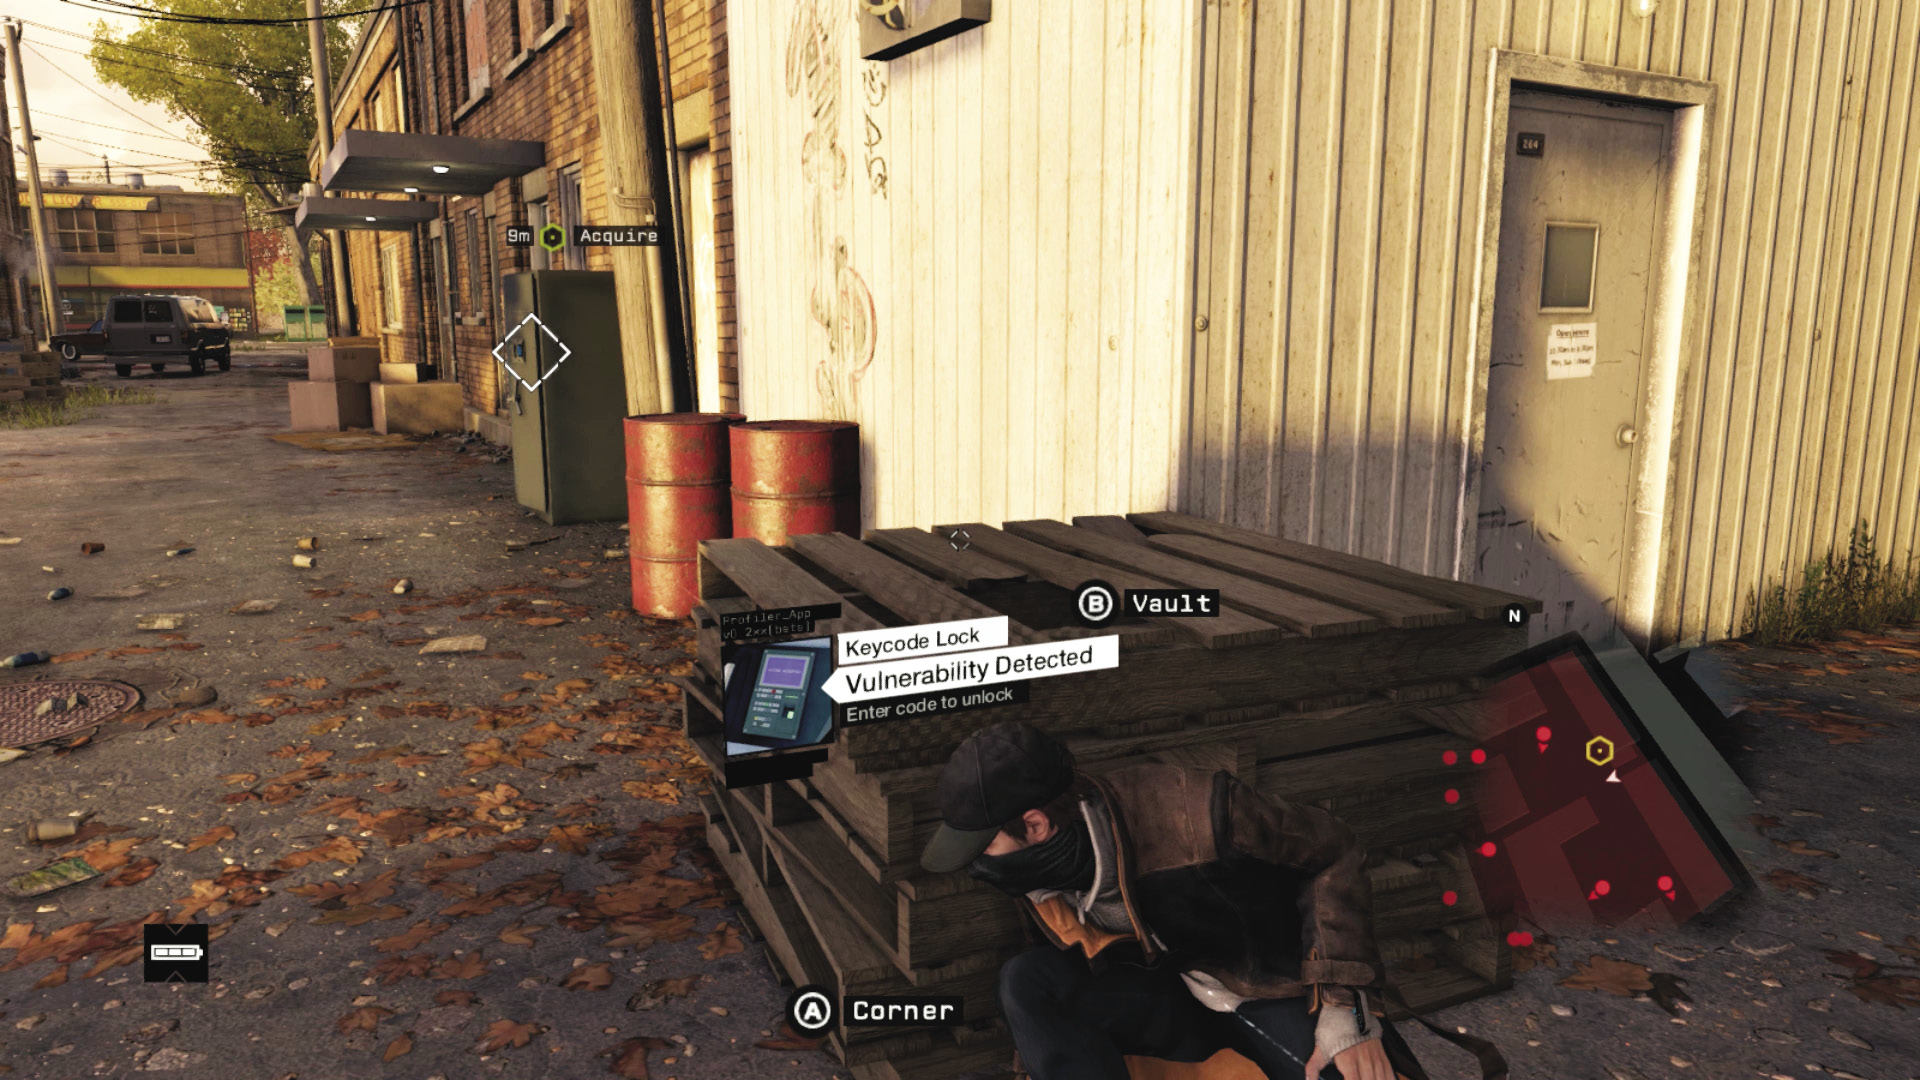
When the objective updates to locating the weapon, watch for the foes patrolling your courtyard. Simply walk around the corner of the white shed, open the metal weapon closet, and secure your biometric weapon. You can either retreat the way you came or gun everyone down. Either way, your mission concludes after a particularly quick infiltration!
 Aggressive // Stealth: Leaving Unconscious Bodies to Taunt
 Difficulty:
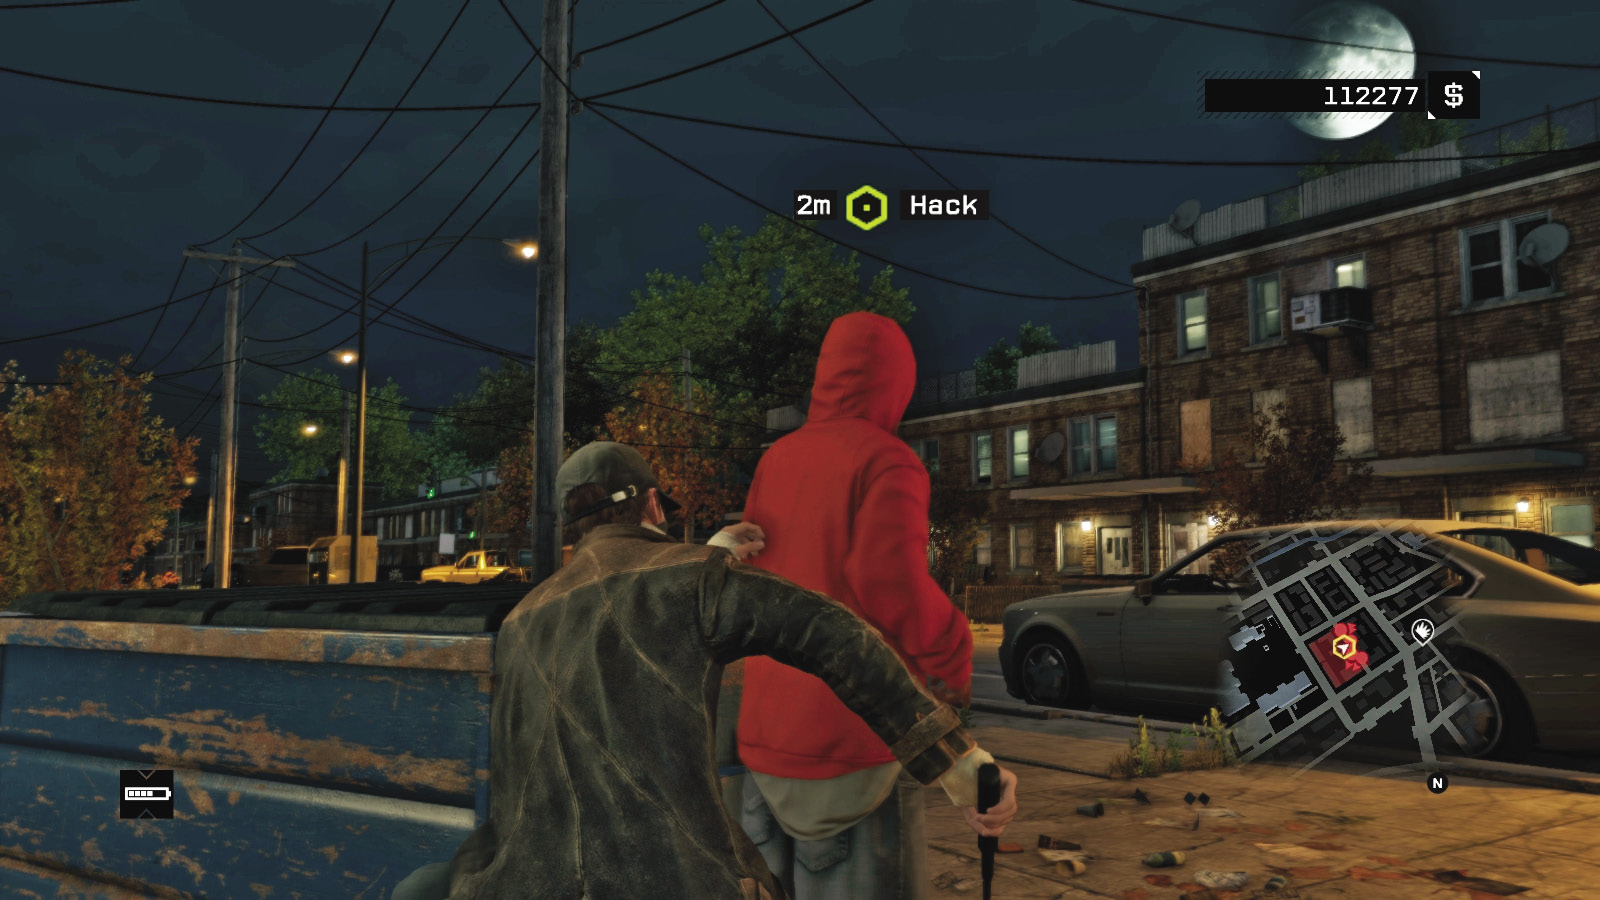
If you want no enemies left before you reach the weapon buyer, then begin at either end of the alley, tackle the foe at the alley entrance and the patrolling enemies in the courtyard. Then move stealthily to the next courtyard (heading north to south or south to north) and remove the other two alley guards. This leaves six in the street.
At this point you need to carefully watch the direction your foes are looking. It’s easier to step through the gap between the northwest alley and the street and be spotted, so try entering from the north or south streets and dealing with foes at the edges first, so there are fewer foes to turn violent. End the stealth expedition with a takedown of the weapon buyer.
 Aggressive // Smart: Accessing Technology to Flaunt
 Difficulty:
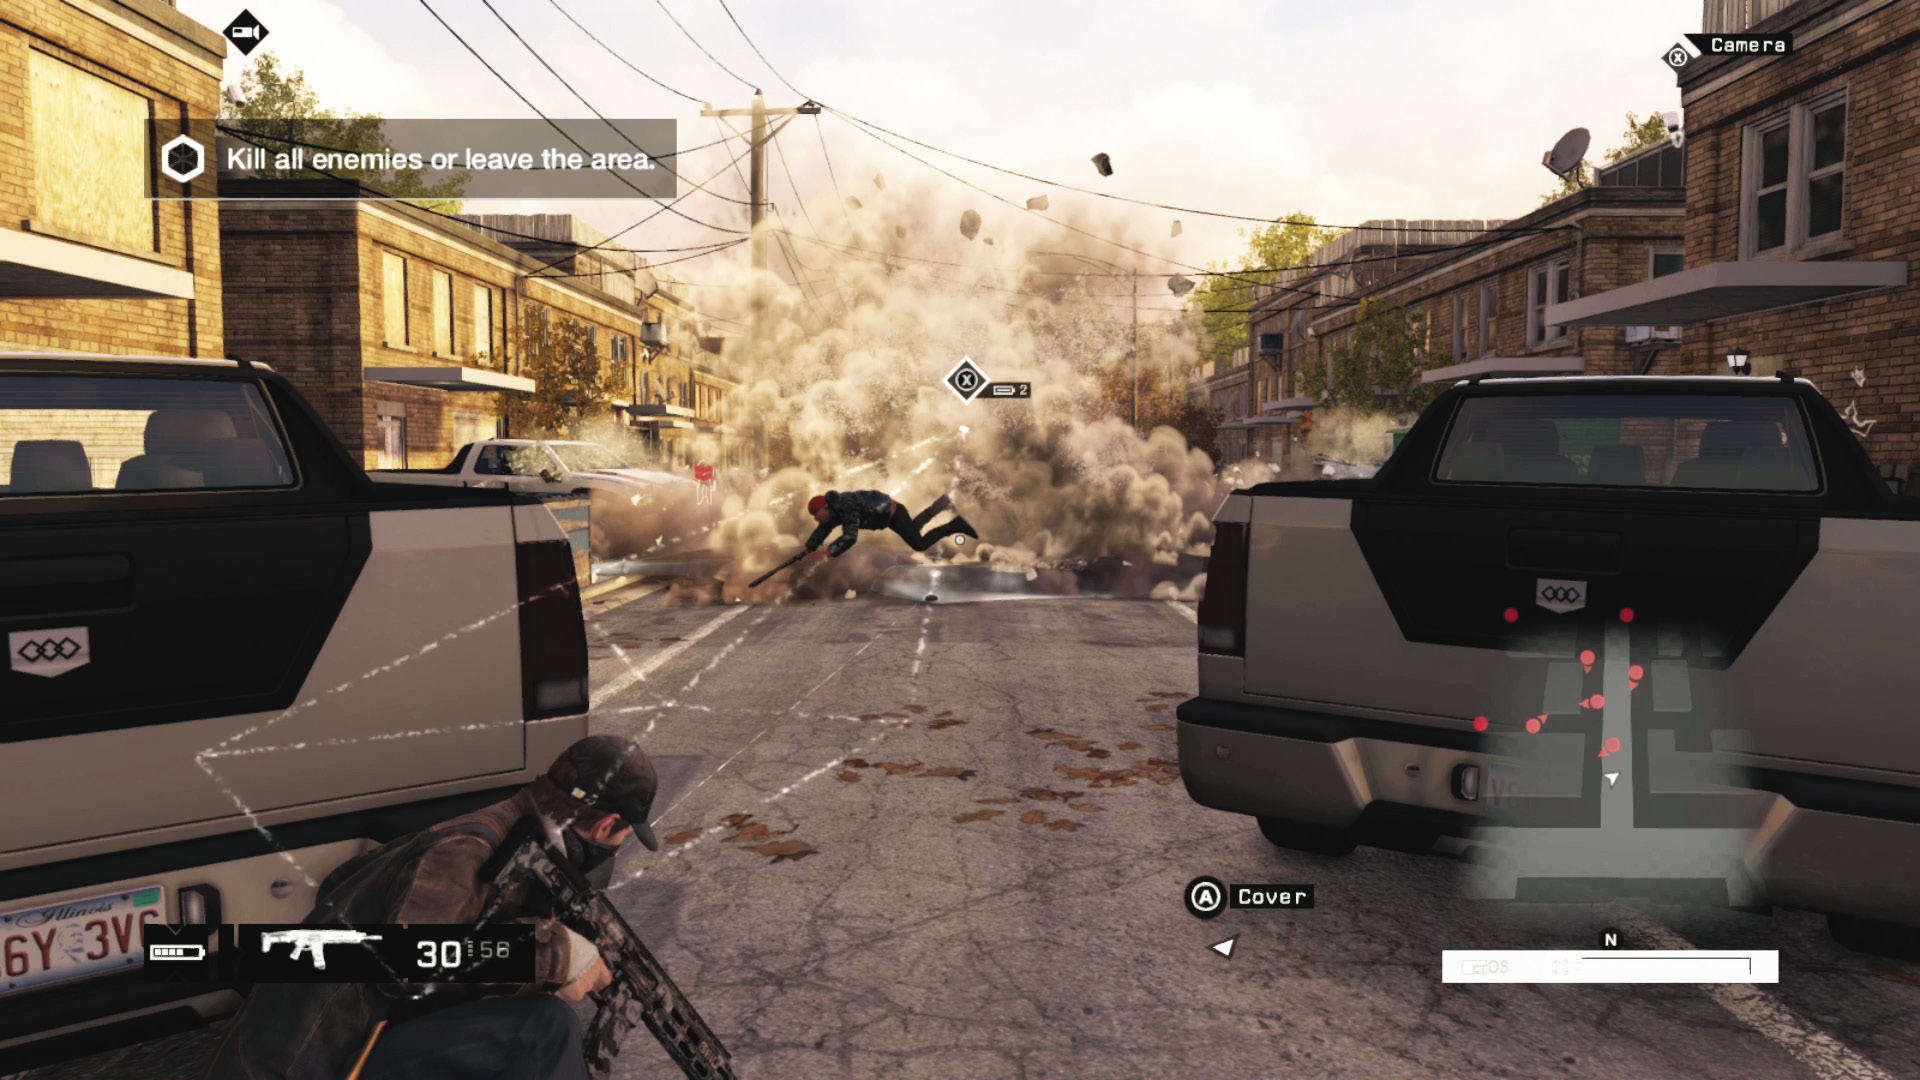
Aside from the cameras that allow easy marking of your foes, there are objects aplenty to interact with here:
There are junction boxes to shoot or hack to explode and remove foes, ideally in the alley so you can tackle subsequent enemies one at a time when they approach.
Activate the forklift parked close to the weapon buyer, and coax foes to it. Attack with a grenade or other favored weapon, or use the forklift pallet to reach the roof.
The steam pipe causes a massive amount of damage, especially to a foot soldier standing nearby. Explode it in the north end of the street, ideally after using a lure to gather as many foes near to it as possible.
Remove the visibility of your foes by killing the lights at the ctOS box near the south side of the street, then rush in and melee-strike and cut down the rest with guns.
 Aggressive // Violence: Gunplay in Rossi-Fremont
 Difficulty:
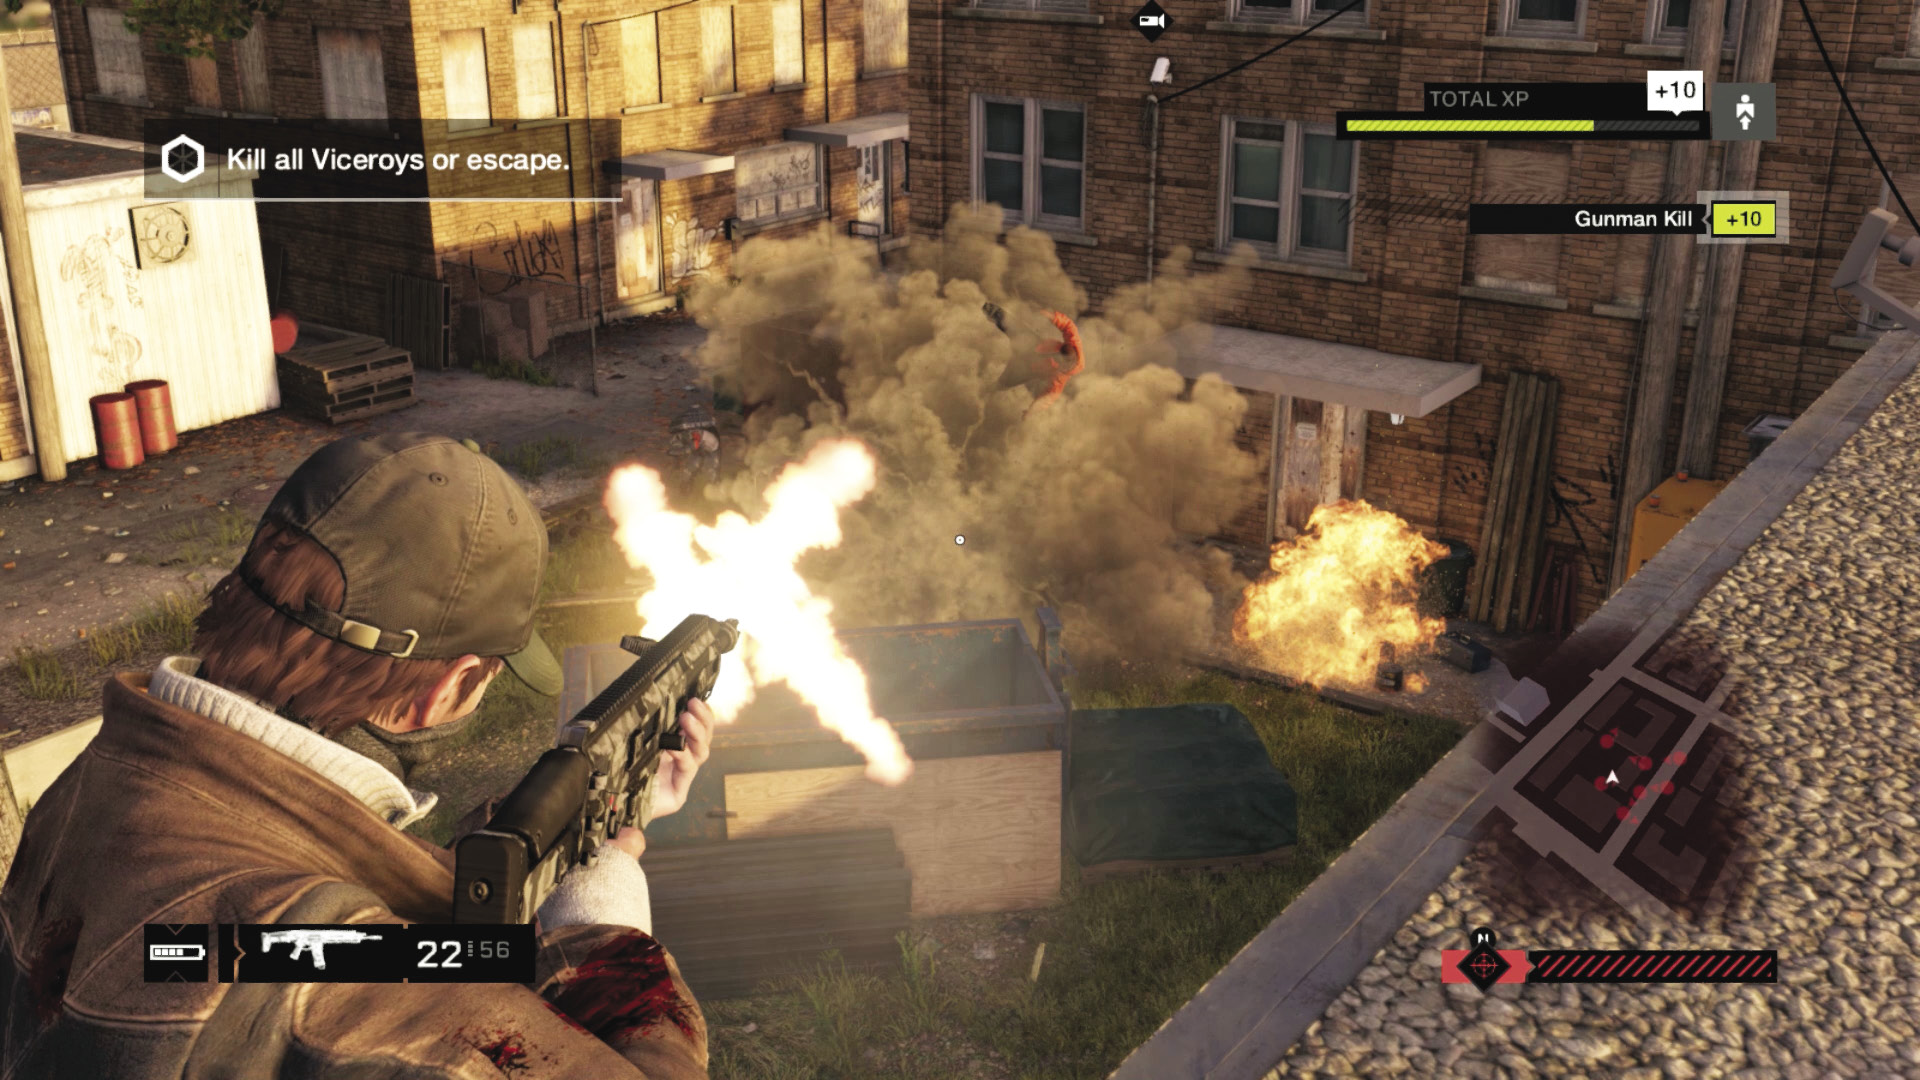
All manner of violent acts can be perpetrated on these gang members. Try some or all of the following:
You can climb on top of the building above the weapon buyer and the apartment across the street to the southwest; these are fine locations from which to lob grenades and snipe. The white shed across from the weapon buyer to the east is another option.
When a foe dashes across the road to avoid your gunfire, explode the steam pipe.
The grenade launcher is most entertaining on the street where you have the room to aim accurately.
The shotgun is a great tool in the alleys where single-shot takedowns are handy.
Leap into the blue Dumpster (northwest alley courtyard). Poke your head out to shoot, then dip back down into cover.
Use the explosive cans in the alley to further wound your foes.
Activate IEDs and explosive hacks around corners; this leads others into the same trap again and again (if you have enough projectiles).
But it’s much better to use stealth until you grab the biometric rifle, and then test it out on these thugs!
 Driving // Offensive: An Unnecessary Vehicular Jaunt
 Difficulty:
Just because the smuggler has disembarked from his vehicle doesn’t mean you need to; you can follow the foe in, gunning the accelerator and maneuvering around the parked trucks and ramming into the weapon buyer and any other foes. Then use the vehicle as cover, engaging in a firefight until you’re done blasting. Hack the buyer and the closet and take the weapon.
Or you can hack the cameras and the weapon buyer, locate a nearby parked bike, drive it to the weapon closet, unlock it, and drive off without anyone noticing, using the same route as described previous (Passive // Smart). If you explode the ctOS box and then drive down the street, you can ram foes more easily.
Once the biometric rifle is in your possession, and the remaining Viceroys have been removed or you’ve left the area, the mission concludes. For information on the Viceroys Outfit.
MISSION REWARDSGained XP +800 OUTFIT: VICEROYS OUTFIT Weapon Unlocked: BIOMETRIC RIFLE |