
_CASH RUN
COINS RULE EVERYTHING AROUND ME
OBJECTIVES
|
 Find the cash run tracks throughout chicago
 begin the game and race to collect gold coins
 clear the track as quickly as possible for skill unlocks and other rewards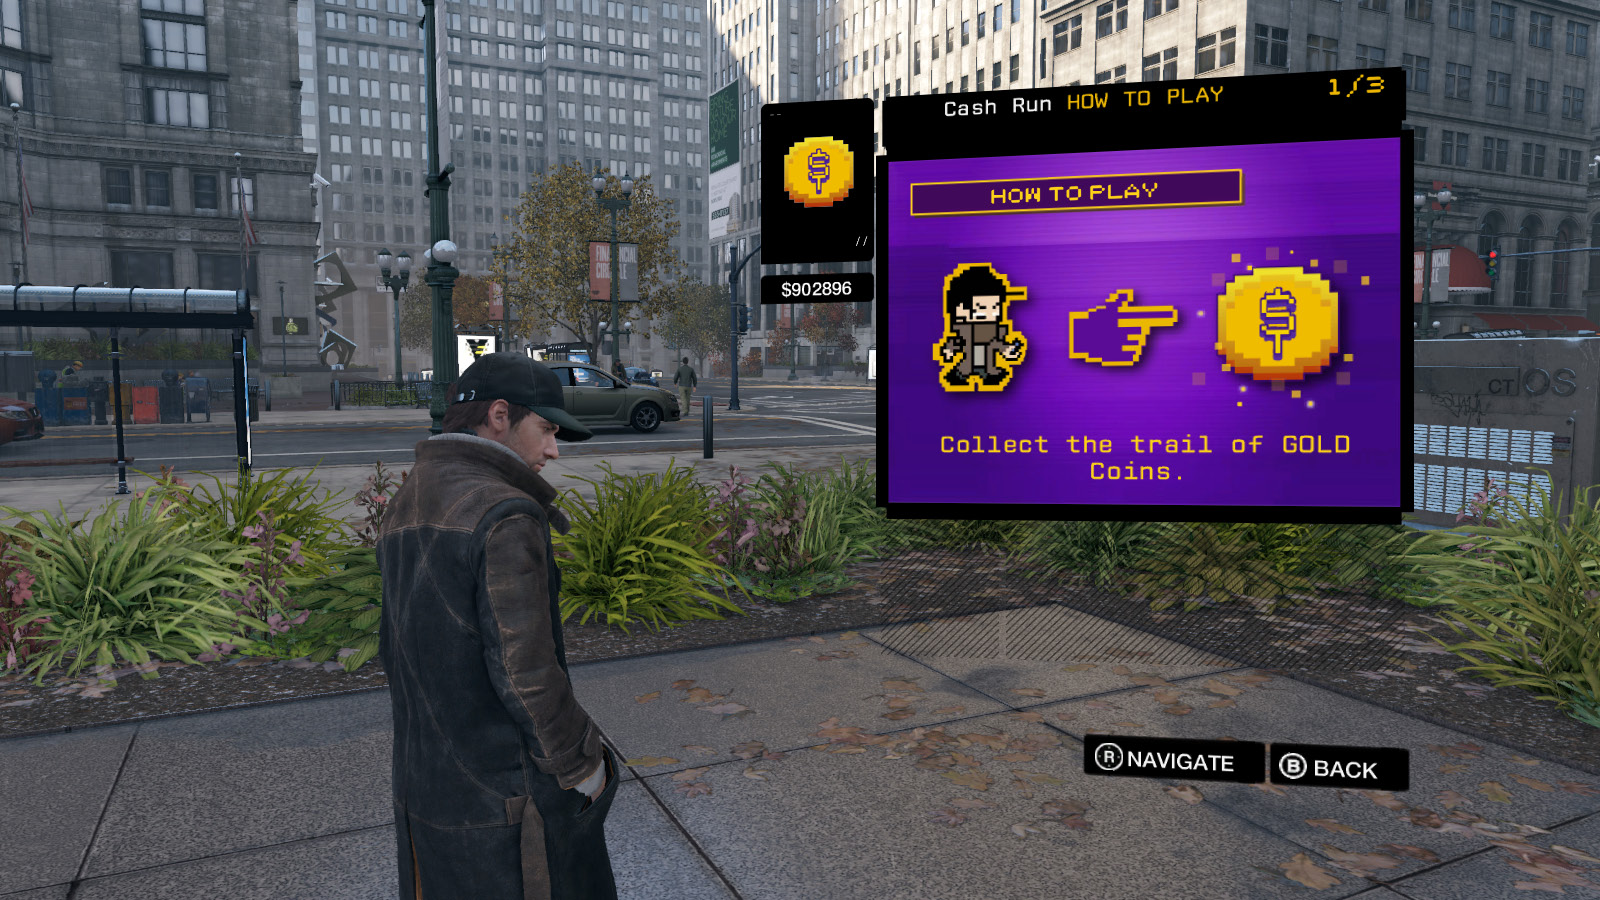
Despite what you may expect when you see a cute little 8-bit Aiden Pearce on your phone, Cash Run is an augmented-reality game. It can be played as early as Act I, as you head out to attend Jackson’s birthday party (see “Big Brother”).
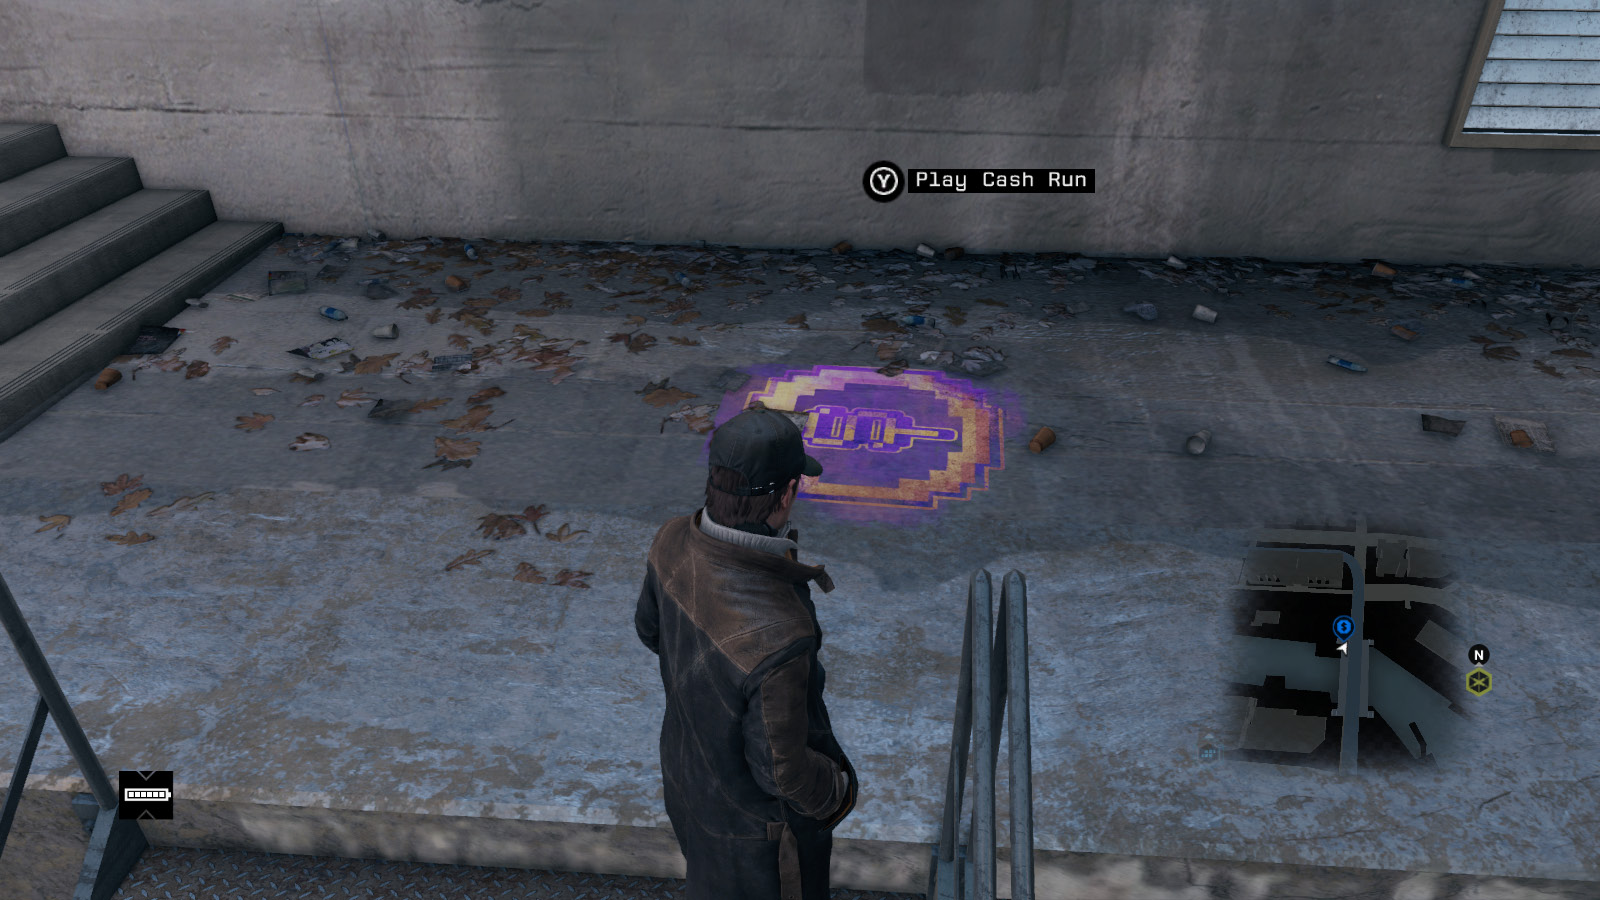
To play Cash Run, choose a track from your phone’s app, which sends you to a corresponding location somewhere in Chicago. Your goal on a cash run is to collect all of the golden coins that appear in the game world while avoiding the red skulls, and to do so as quickly as possible. Taking one golden coin triggers the appearance of the next, so you can’t skip ahead.
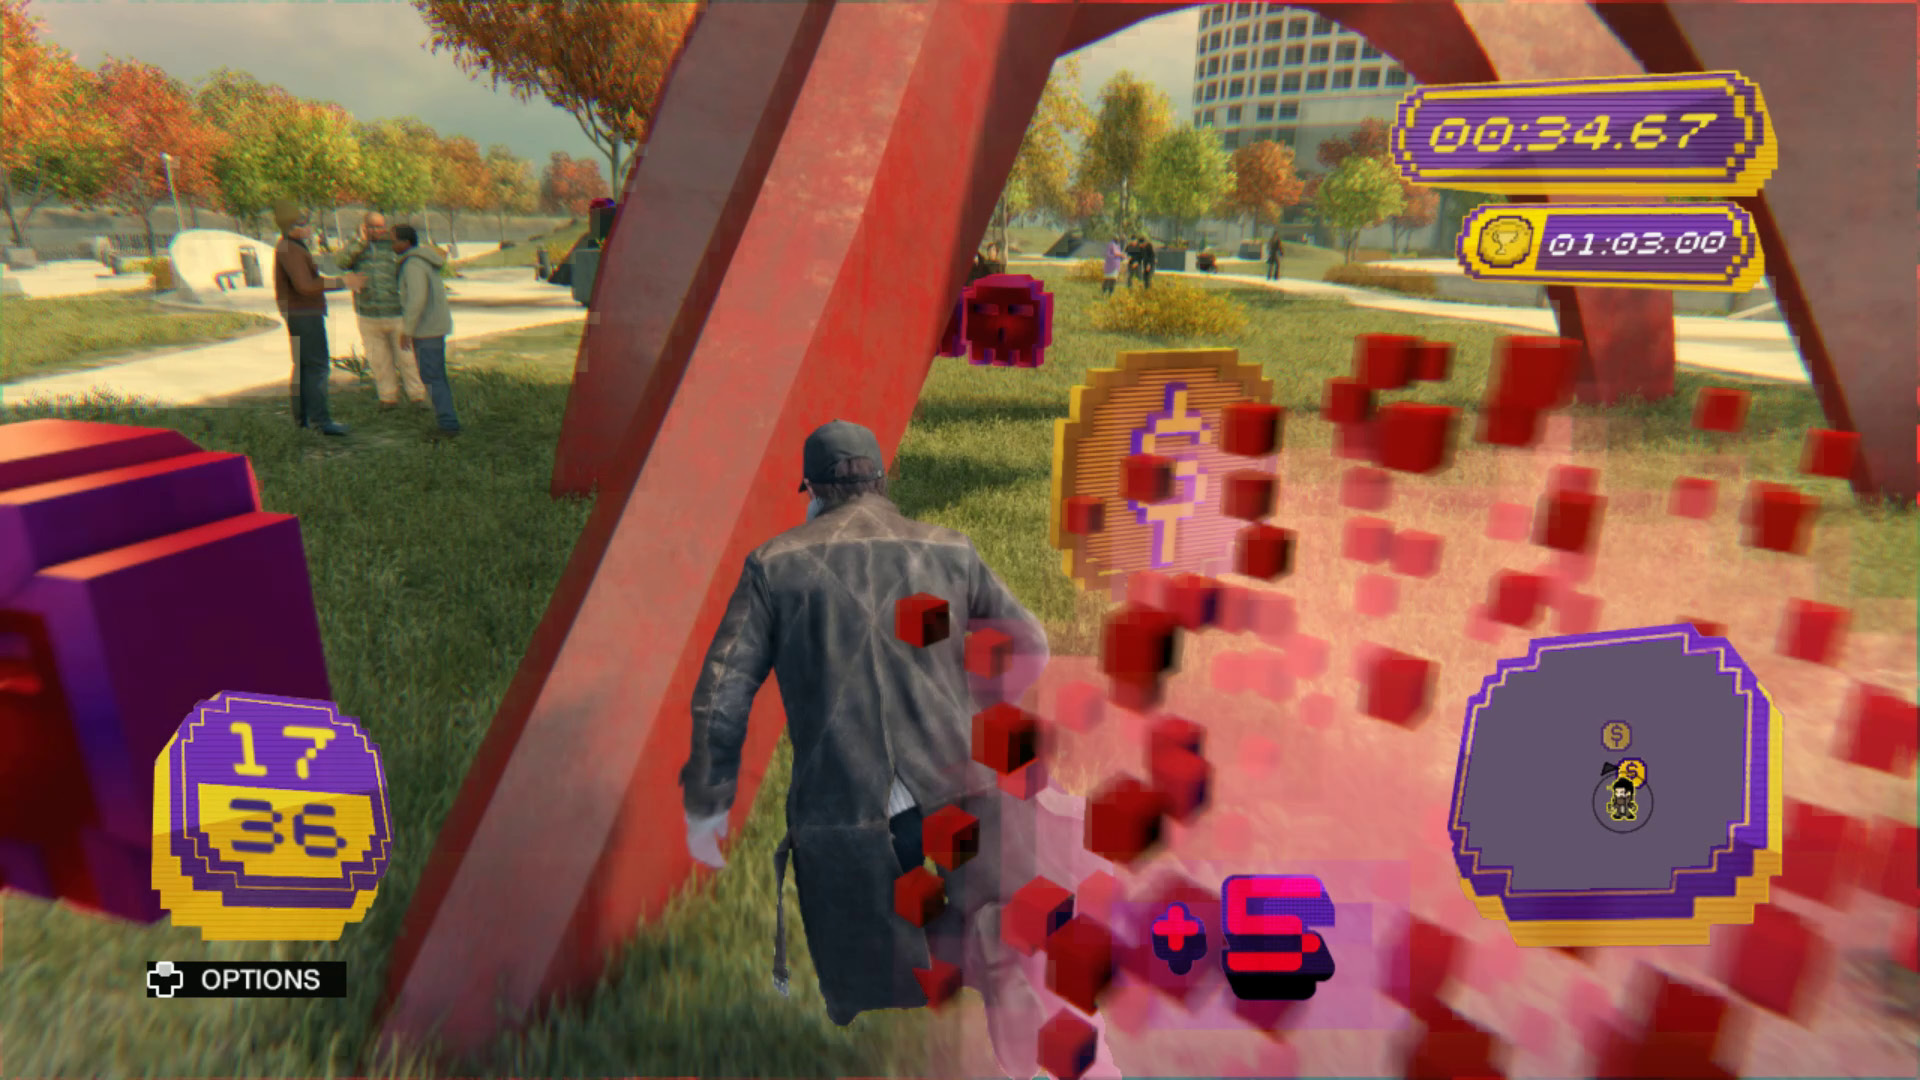
Touching a red skull at any point on the track adds a five-second penalty to your timer. Many tracks also have a blue coin somewhere along the path that deducts ten seconds from the timer, although usually you are required to go out of your way to collect it, sometimes to such an extent that you really don’t gain anything by taking it.
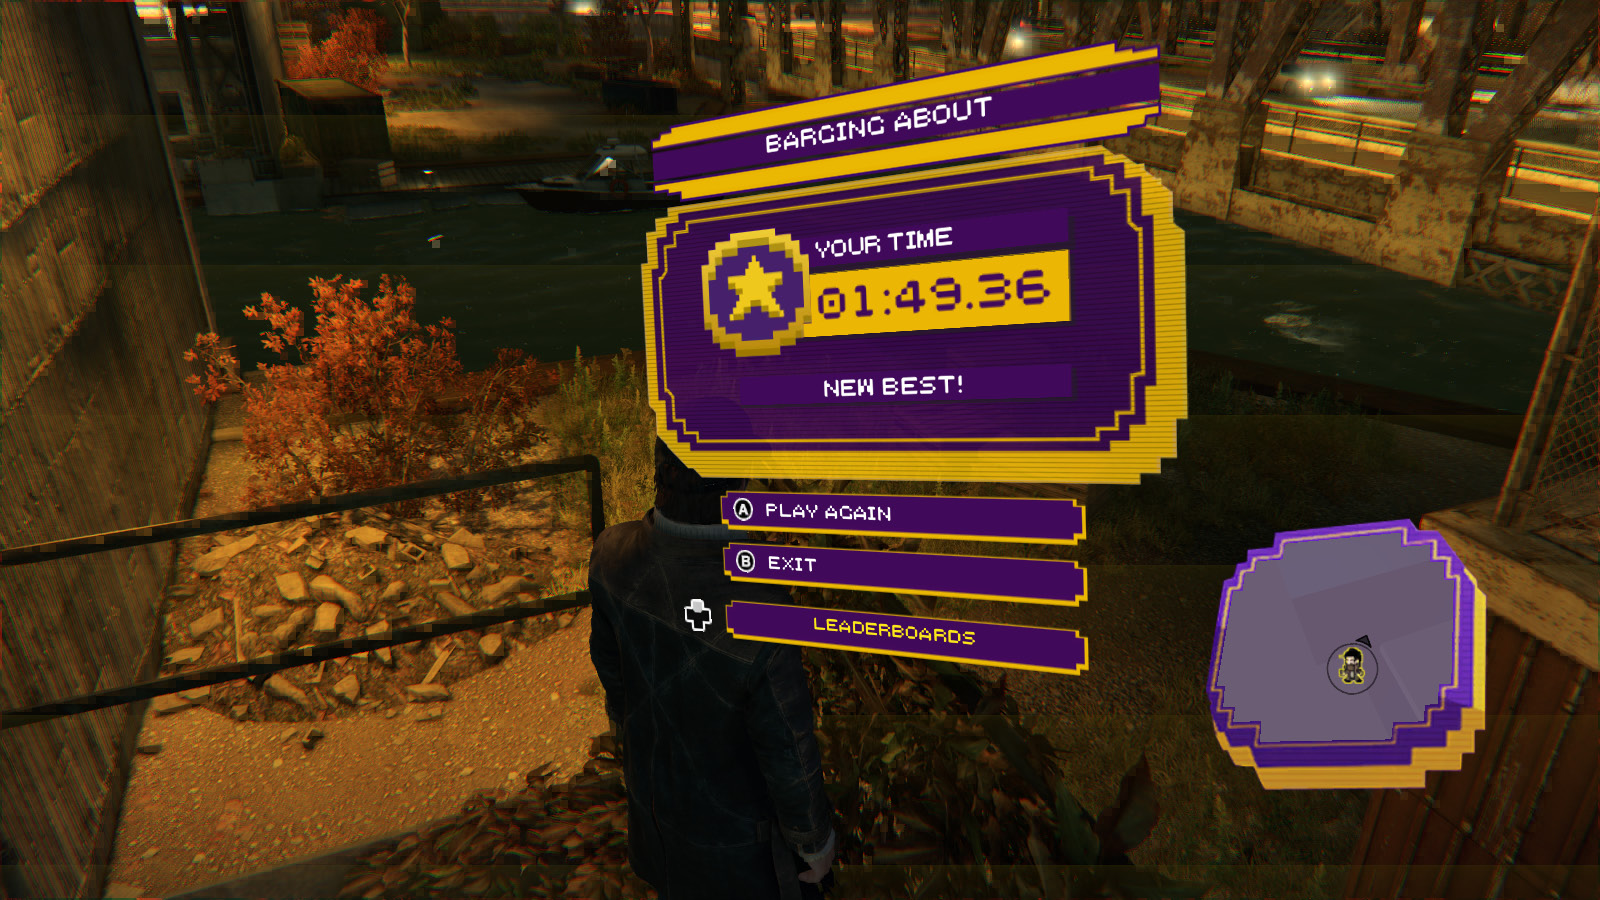
Cash runs are much more challenging than they might appear to be from their description. Even a beginner should be able to get a bronze medal on any given track in the game, and silver isn’t that much harder, but a gold medal on any cash run requires practice, knowledge of the track (knowing from memory where the next coin will appear saves more time than having to eyeball it), and nearly flawless execution. Touching even one red skull is often enough to put the gold time out of reach.
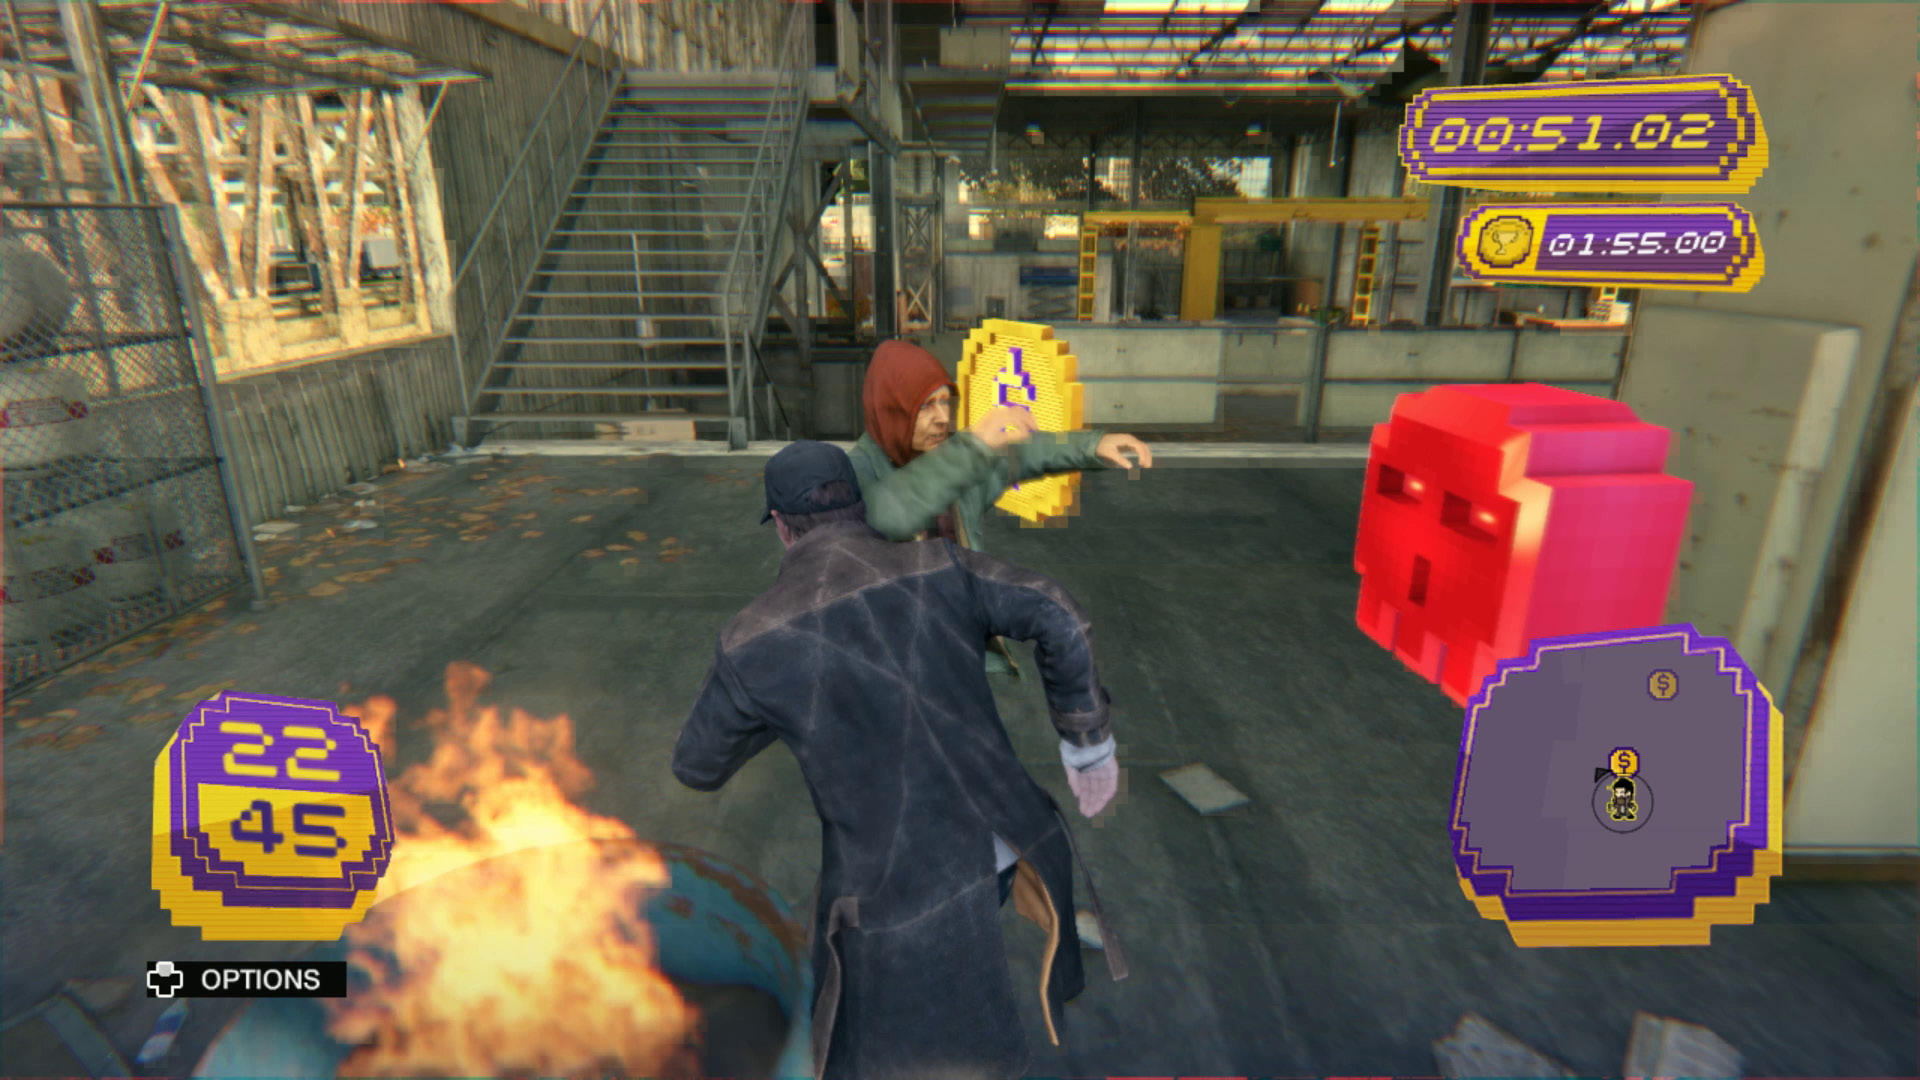
Inexplicably, the citizens of Chicago do not recognize or appreciate that you are chasing virtual coins and do not adjust their routine in any significant way to account for it. This means that you will need to dodge or shove pedestrians, watch out for traffic, and, if your luck truly turns sour, evade the police. Sharp-eyed civilians can still identify you as the vigilante and will still call in your location during a cash run.
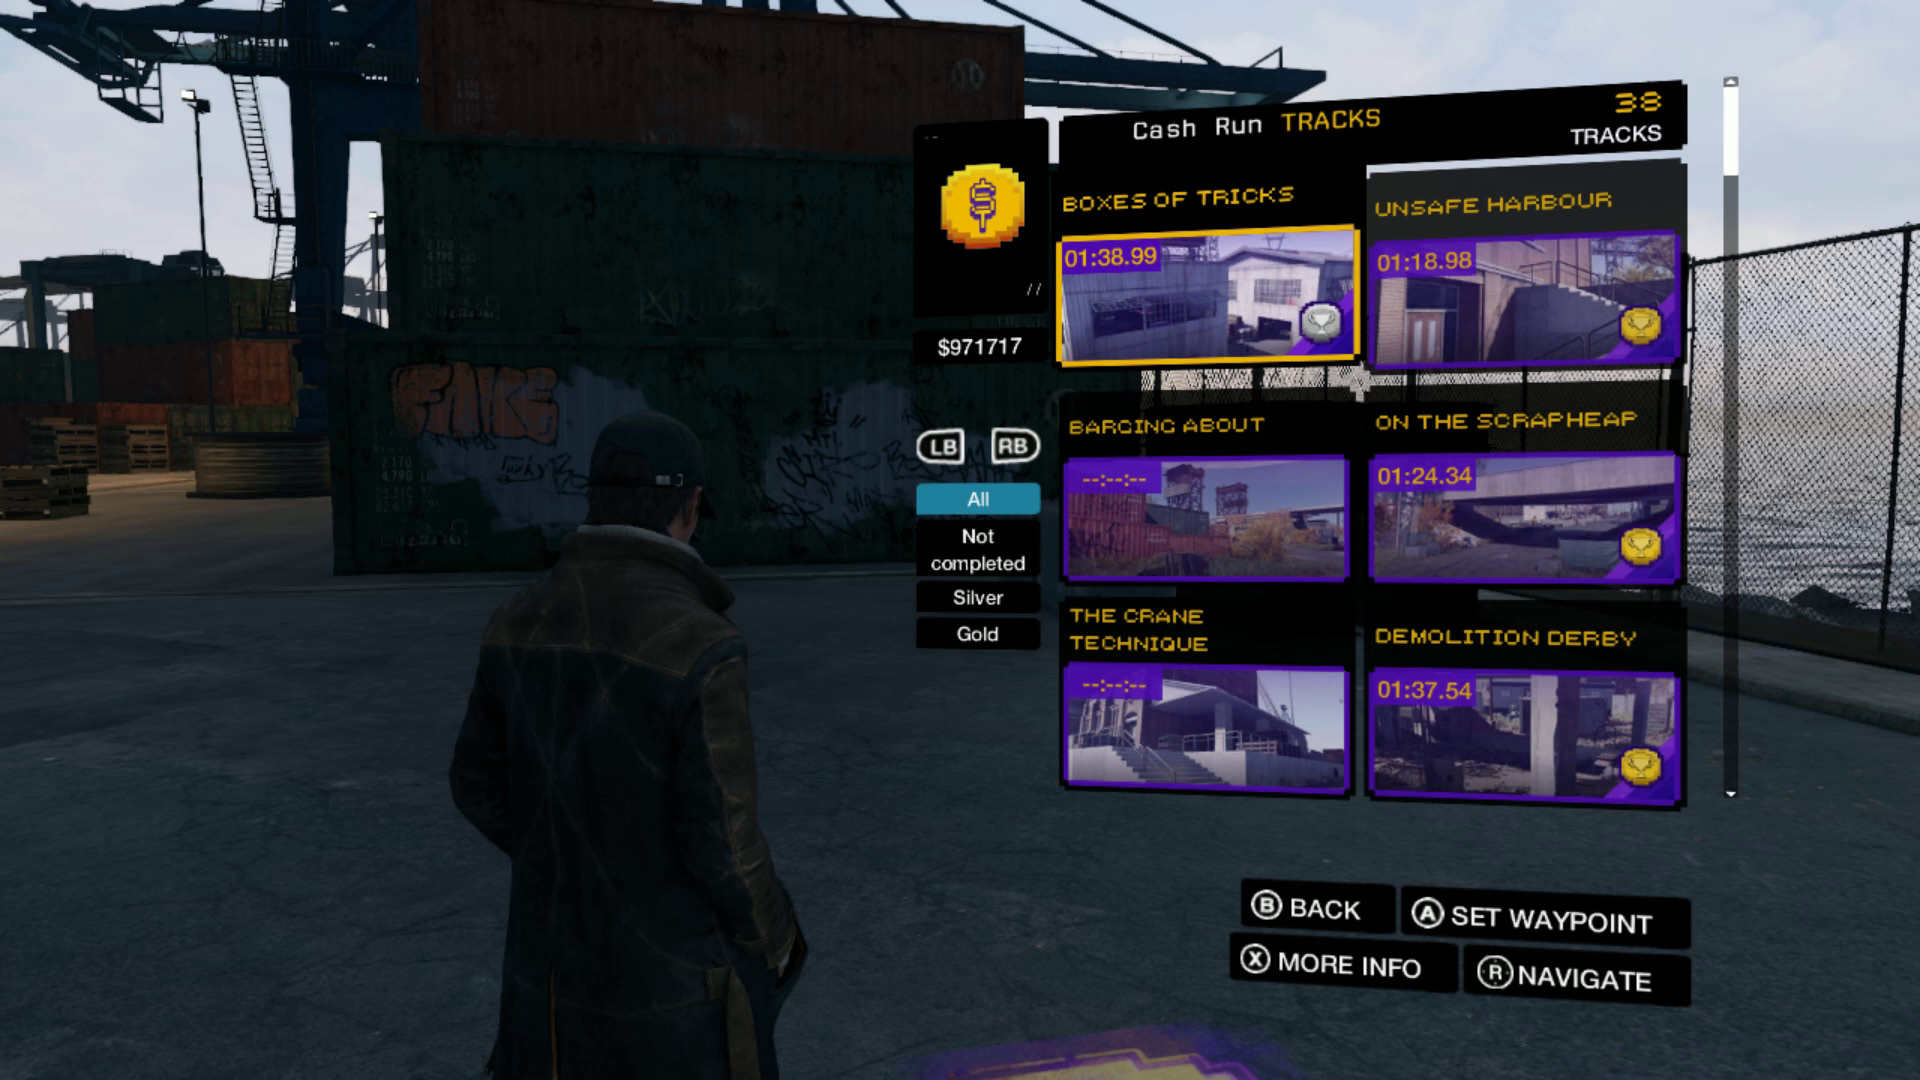
There are 38 cash runs in total, all of which are available for play as soon as the app itself is. The order in which they’re displayed on your phone is reshuffled based on proximity, so the topmost cash runs on the app are the ones that are the closest to you in the game world.
There are no cash runs in Pawnee or the Wards.
Ten Tips
1. Your initial run through the course should be taken at a brisk walk, to give yourself the chance to find complications and memorize the route. This is a test of memory, precision, and reflexes, rather than entirely raw skill, and practice counts for a lot. Don’t expect to even get close to a gold time on your first attempt.
2. You can start over on a course without having to run all the way back to the beginning by using the Restart option. During cash runs the menu for this option is mapped to the same button as the one that usually brings up your smartphone.
3. If you cannot spot the next coin, look up or down. Many coins can be found on overhead ledges or atop nearby structures, just out of your immediate line of sight.
4. Don’t try to take the entirety of a course at a dead sprint. Much like in a racing game, watch for straightaways and use those as opportunities to pour on the speed, or tap the sprint button to run in short bursts.
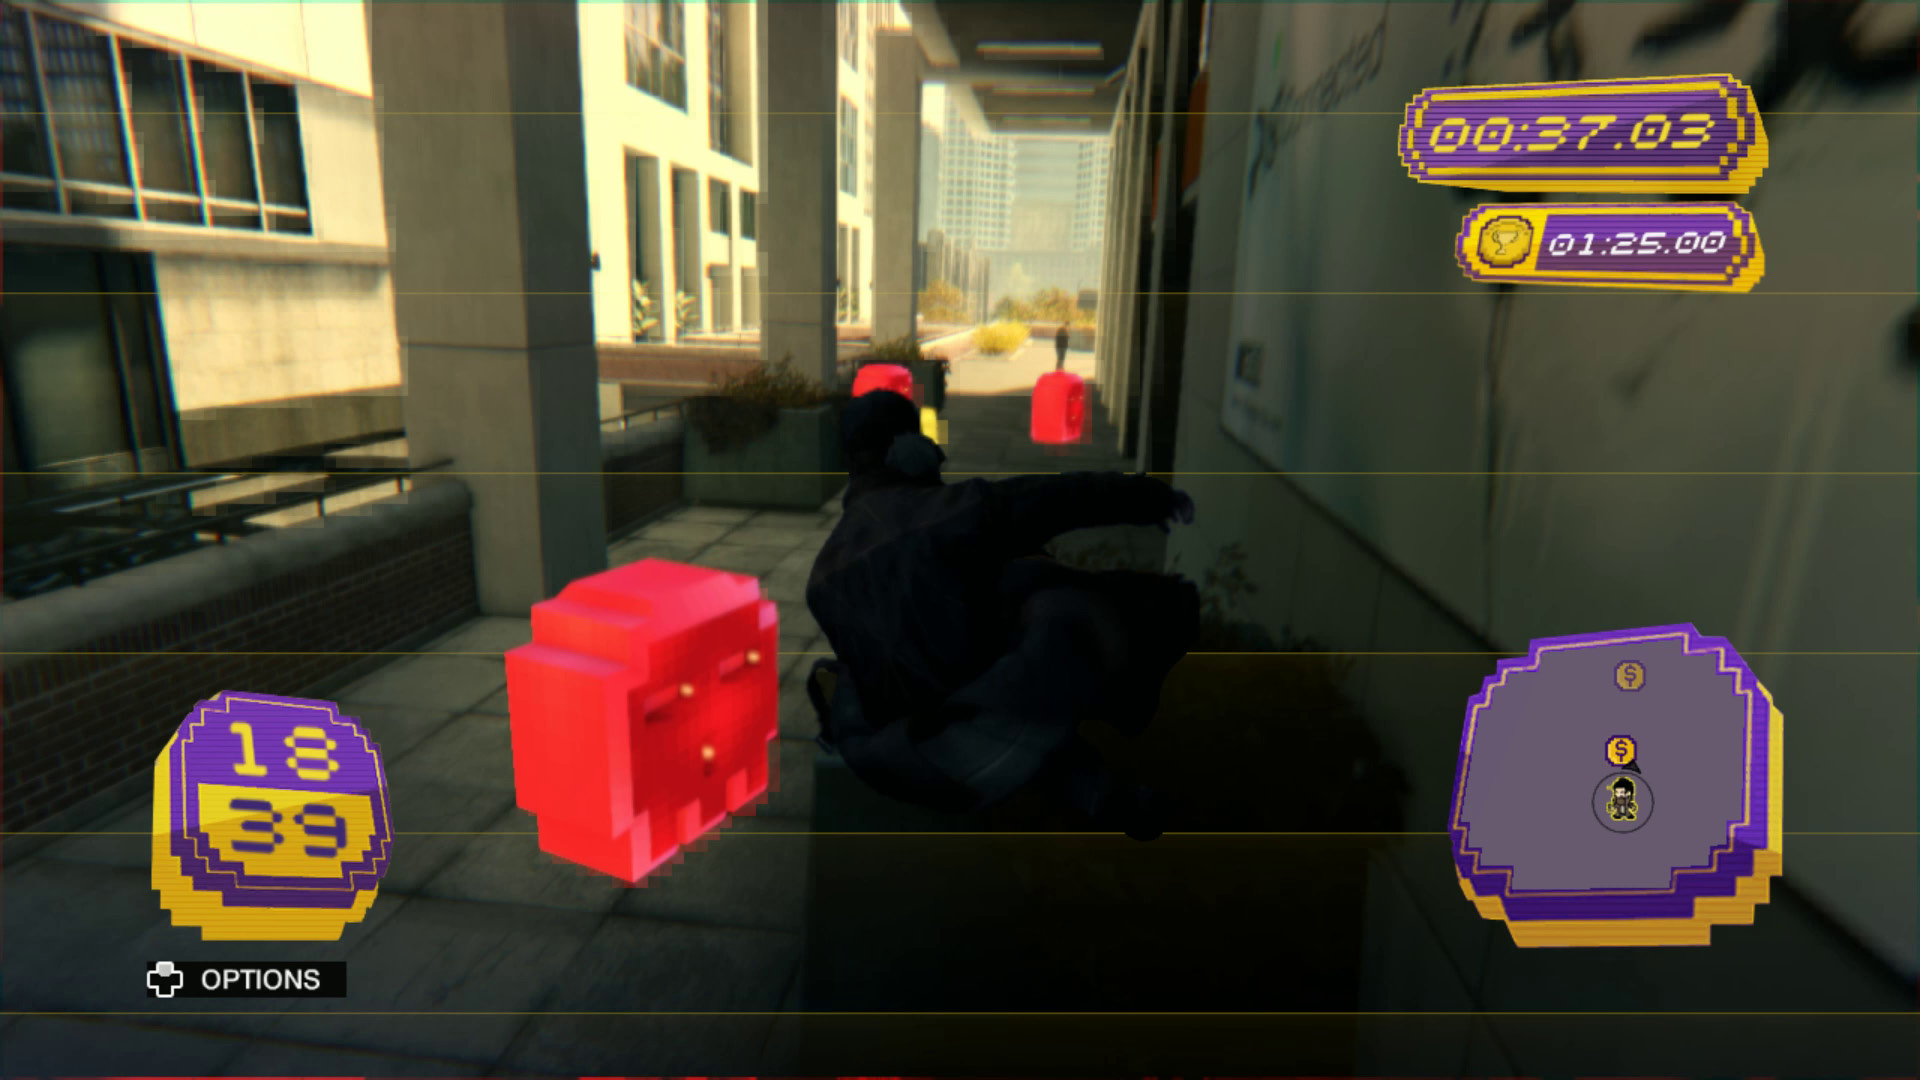
5. Use your parkour skills. If you can save half a second with a vault or slide, do so. Always be on the lookout for opportunities to shave time off your run. This may appear obvious, but it’s easy to get into a rut where you focus too much on running and evasion and not enough on vaulting under, over, or off the terrain.
6. The best time for a cash run is in the middle of the night. Fewer passersby means fewer people for you to bump into or to call the police. On particularly crowded courses such as “Bridging the Gap,” a high volume of bystanders can mean the difference between silver and gold.
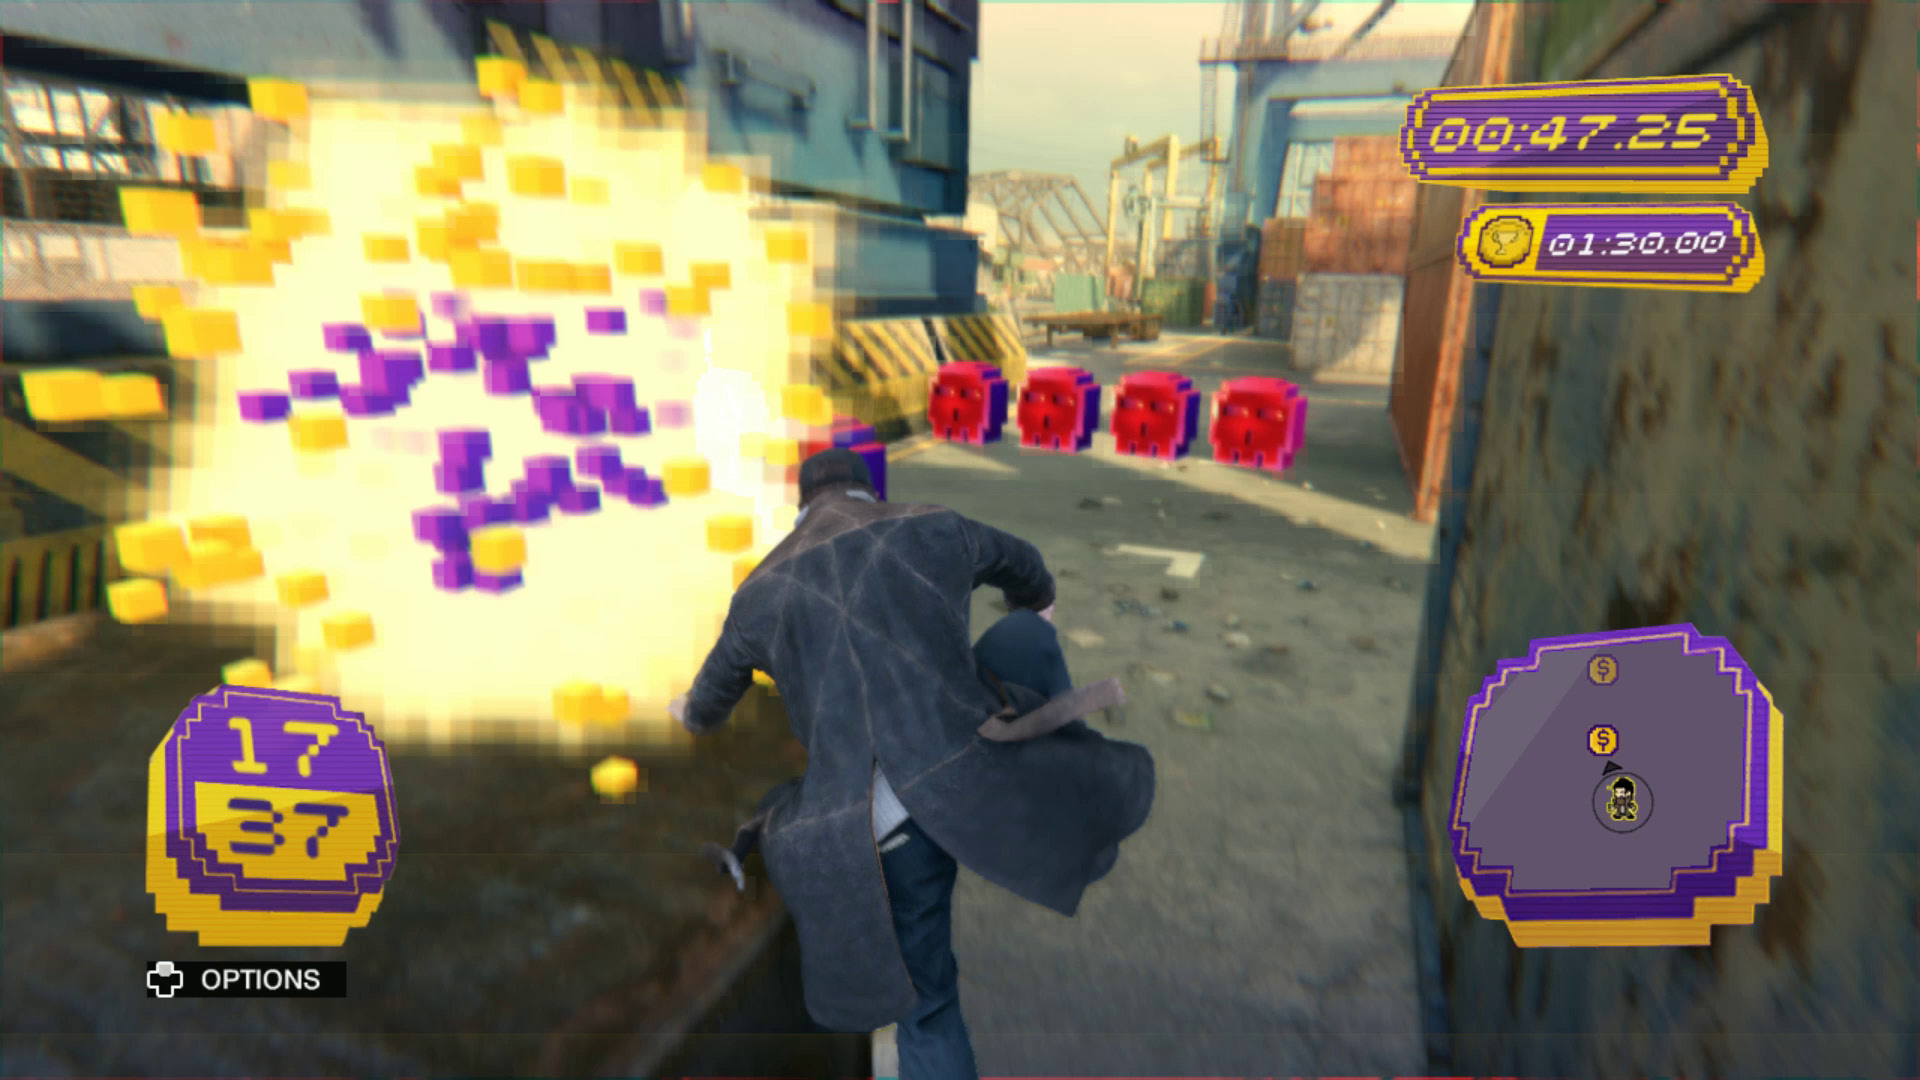
7. The hit boxes on the golden coins are bigger than they look, which means you can grab them from farther away than you might think. Don’t be afraid to play a bit recklessly, as you can often get away with a coin grab that technically shouldn’t have been possible.
8. The red skulls on each track appear well in advance of the gold coins, and they’re often easier to spot than the coins are. Keep an eye out for them if you’re not sure where to go next.
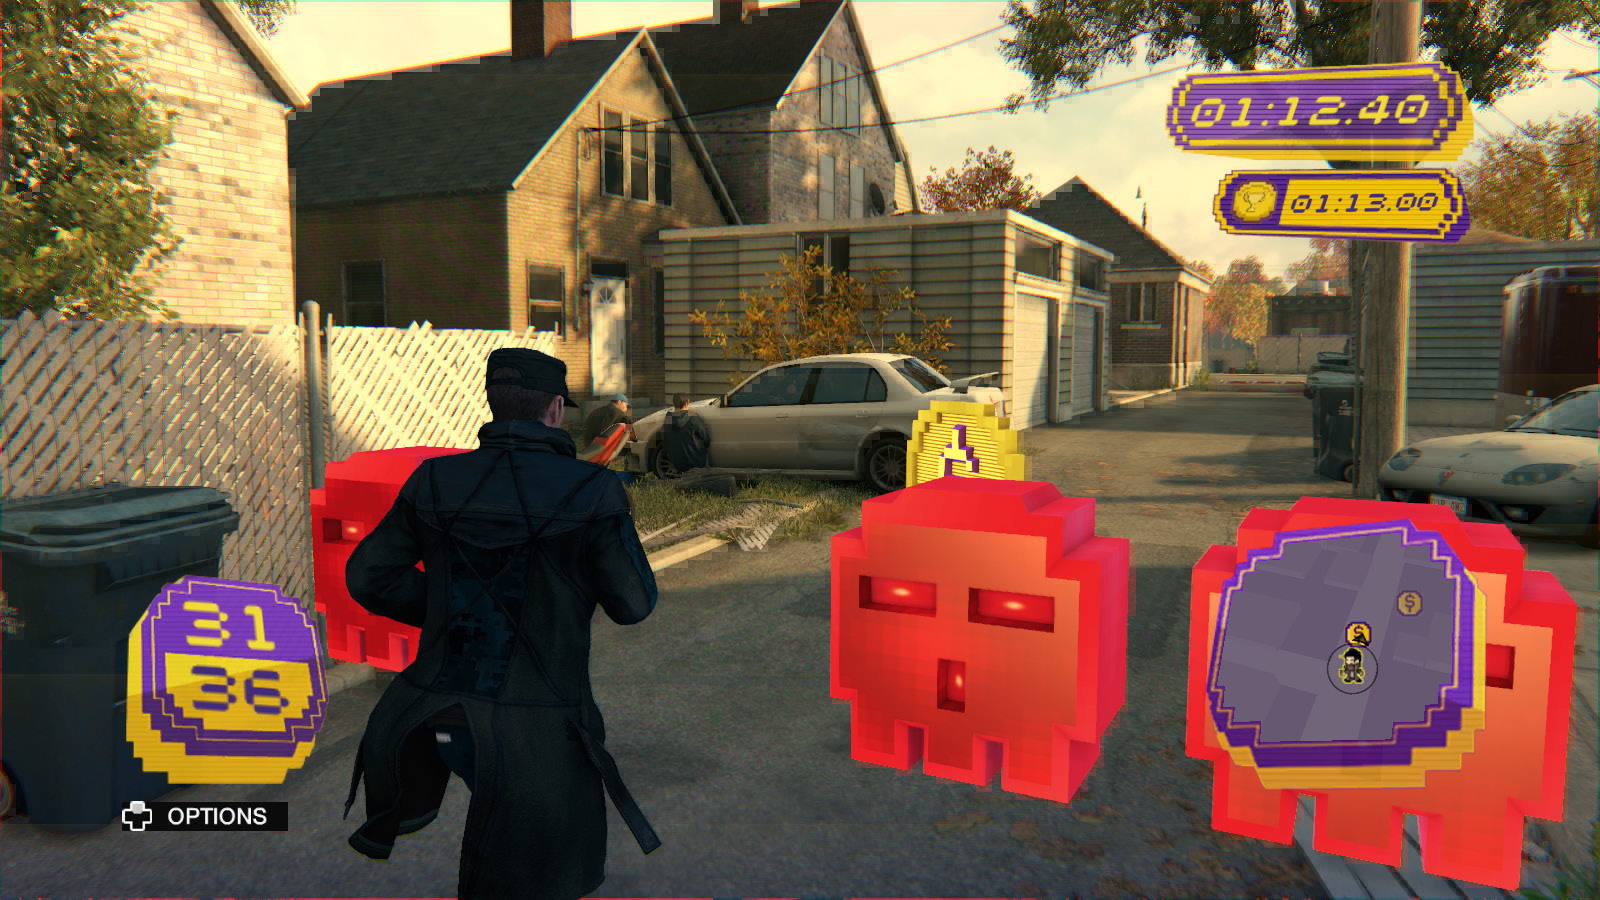
9. Starting a cash run, much like starting a Convoy mission, looks like it might reload the world map but doesn’t. You can take advantage of this on some tracks. A good example is creating a traffic jam to clear roads during some of the street-side cash runs in the Mad Mile.
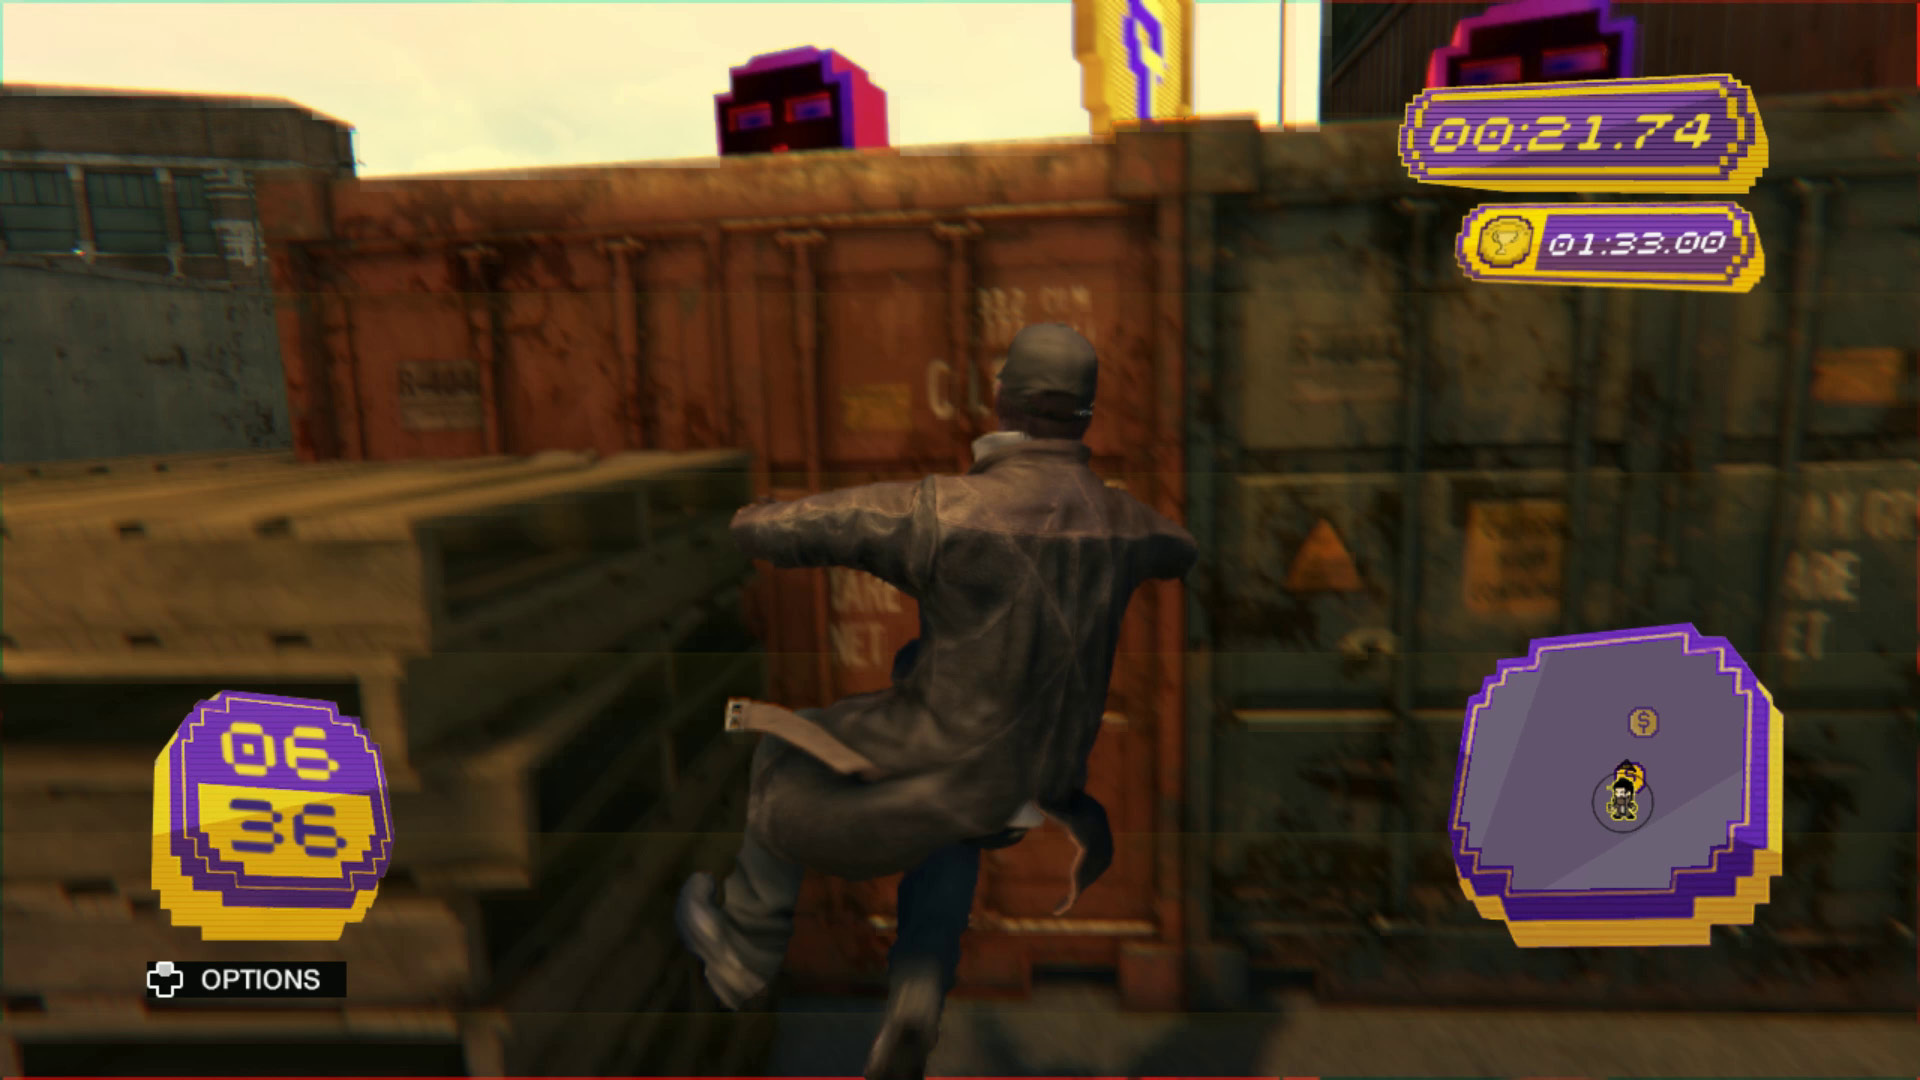
10. Get into the habit of scaling walls near a corner when one is available, so Aiden will kick off of the closest wall and climb that much faster. The wall-kick provides enough of a speed boost that it’s worth using even for short walls, as Aiden doesn’t waste time on a pull-up.
Parker Square // Cash Runs
Total: 7
The Running Dead
 Gold: 1:16.00
 Silver: 1:35.00
 Bronze: 1:54.00
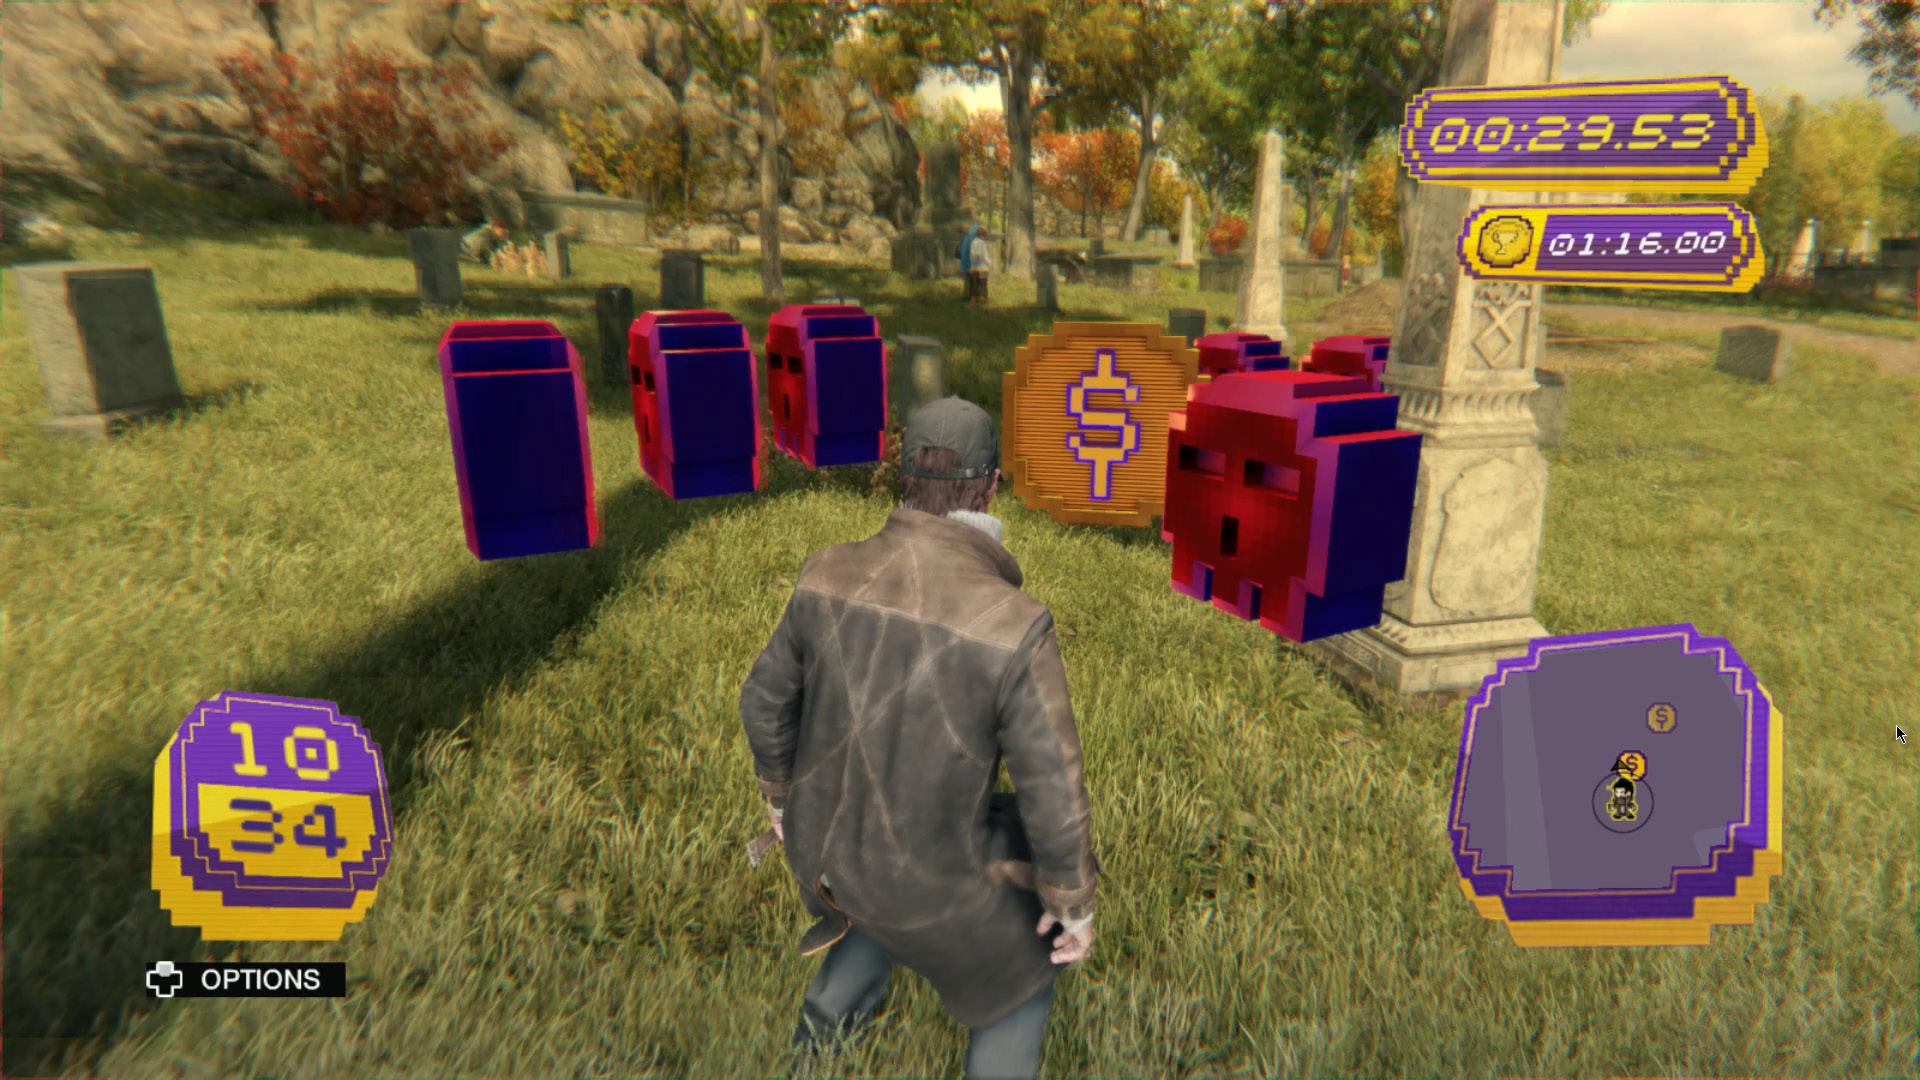
It may be morbid to be playing such a cheerful video game in a cemetery, especially the cemetery where Lena’s buried, but this is one of the easiest tracks and is a good candidate for your first gold. The bonus coin appears very early in the track, but it’s difficult to grab it without using up more time than it’s worth; often, you’ll grab a red skull by accident as you pull yourself over the railing and back onto the course. You’re better off leaving it alone and shaving off the extra time with a little practice, which is easy to do.
Car Parkour
 Gold: 1:44.00
 Silver: 2:10.00
 Bronze: 2:36.00
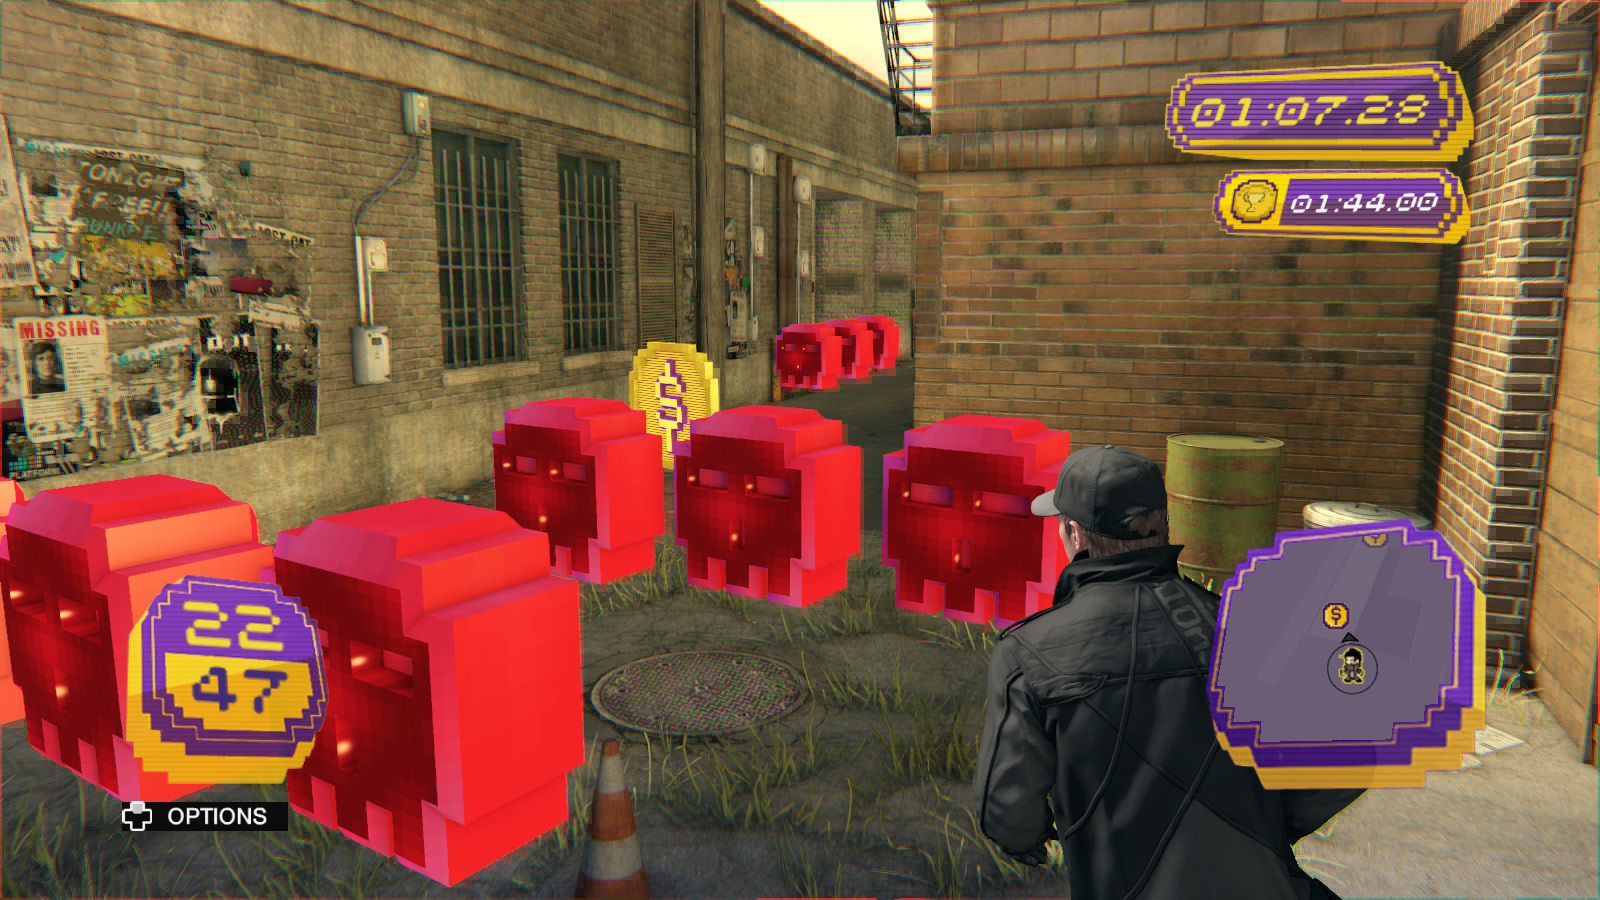
This run rewards precise maneuvering, as you spend a lot of it in narrow halls cramped with time-leeching red skulls. It’s a long track, but what kills your time isn’t the run itself, but blundering into any of the dozens of red skulls that are consistently in the last place you’d want them to be.
Garden Party
 Gold: 1:20.00
 Silver: 1:40.00
 Bronze: 2:00.00
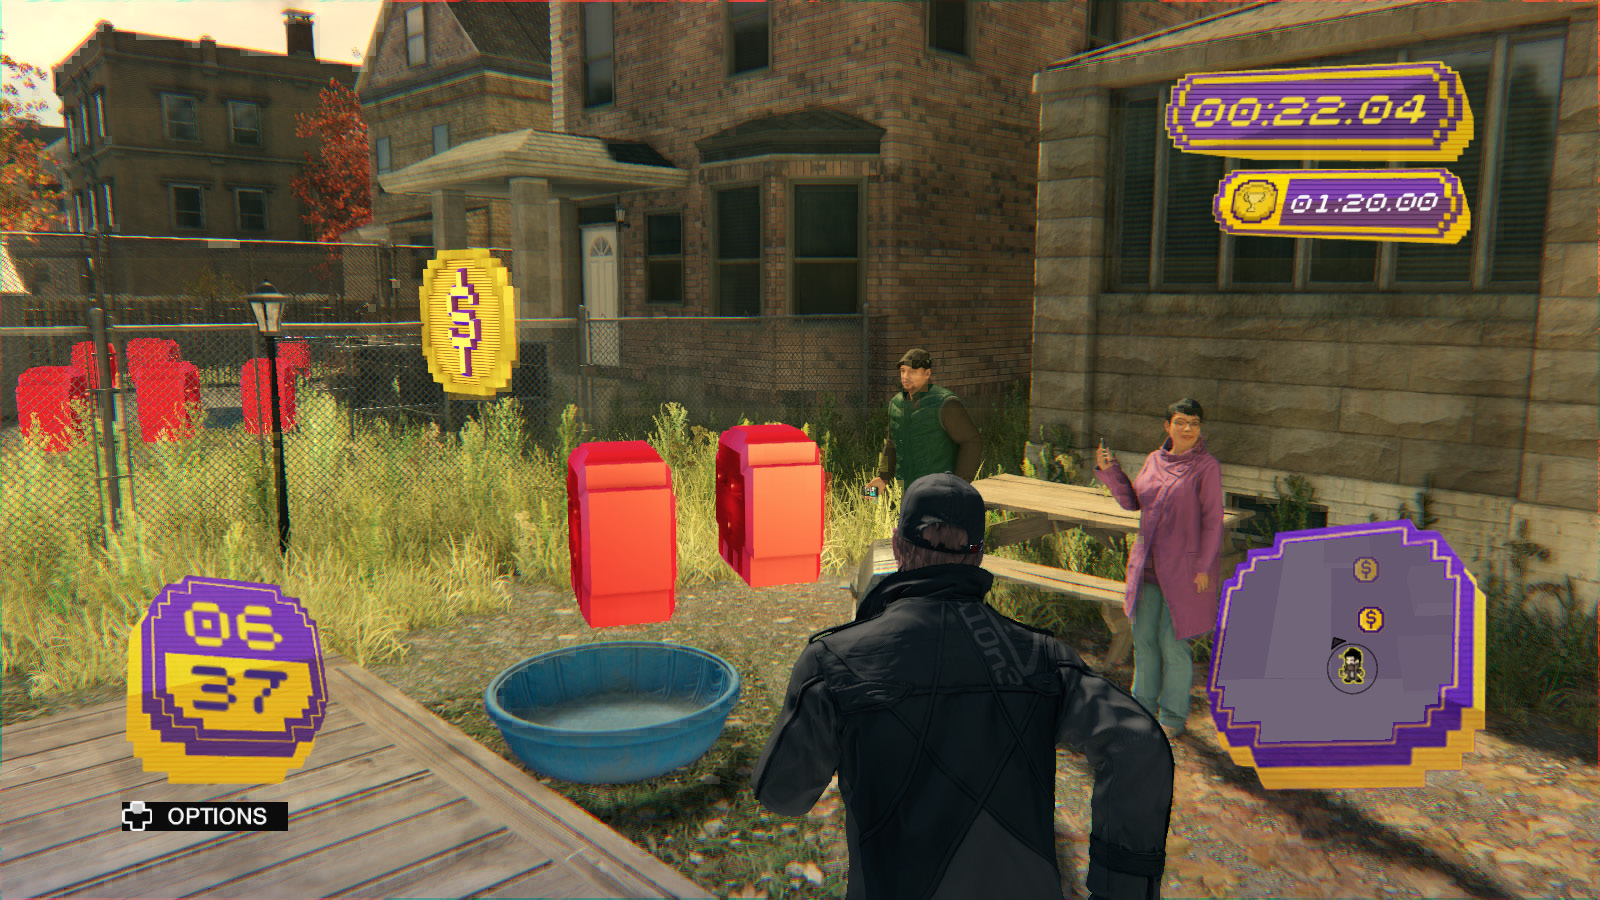
Your first runs through this track should be during the day and with clear skies, if possible, so you can see what’s going on. The first half takes you through several backyards in Parker Square, which means there’s a lot of random debris you have to dodge. It’s annoying to miss a gold medal because you tripped over somebody’s lawn chair, but that’s the risk here.
Hard Yards
 Gold: 1:13.00
 Silver: 1:31.00
 Bronze: 1:50.00
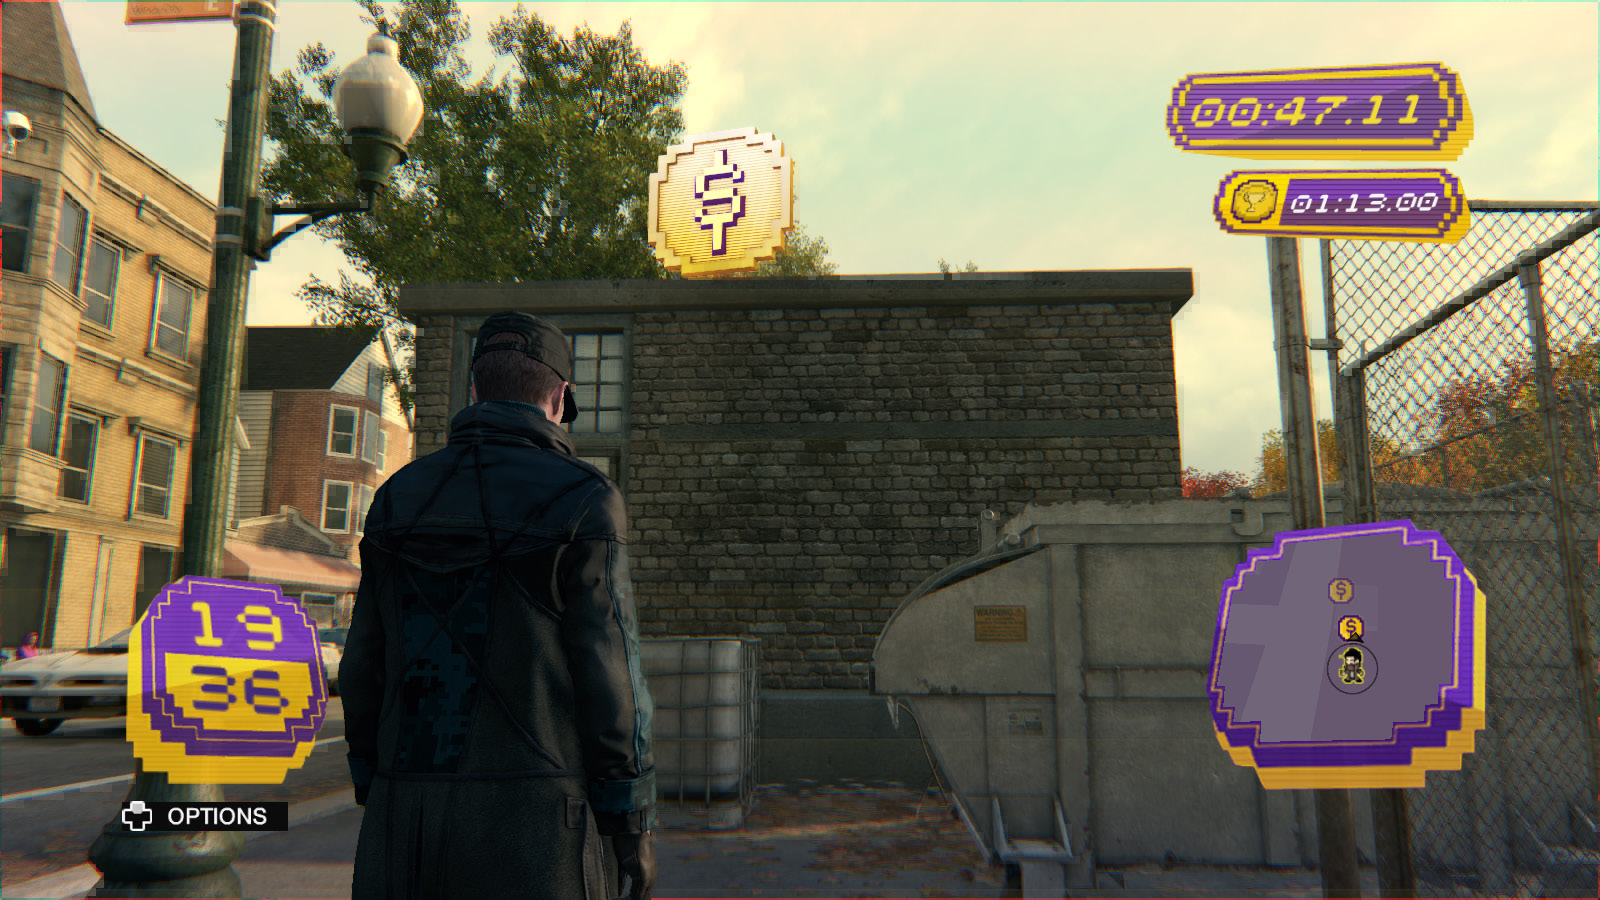
This slow, meandering course is excellent for getting a feel for how cash runs work. It’s possible to score a bronze medal on this challenge even if you never run at all, as long as you know where the coins will be. The 20th coin can be hard to spot and is atop a nearby tool shed, requiring you to use a water tank to climb up to its roof.
The lone complication is that this part of the Parker Square suburbs is always busy, day or night, so you may run into problems with random bystanders recognizing you as the vigilante and calling the cops.
Gas Pump Gallop
 Gold: 1:45.00
 Silver: 2:11.00
 Bronze: 2:38.00
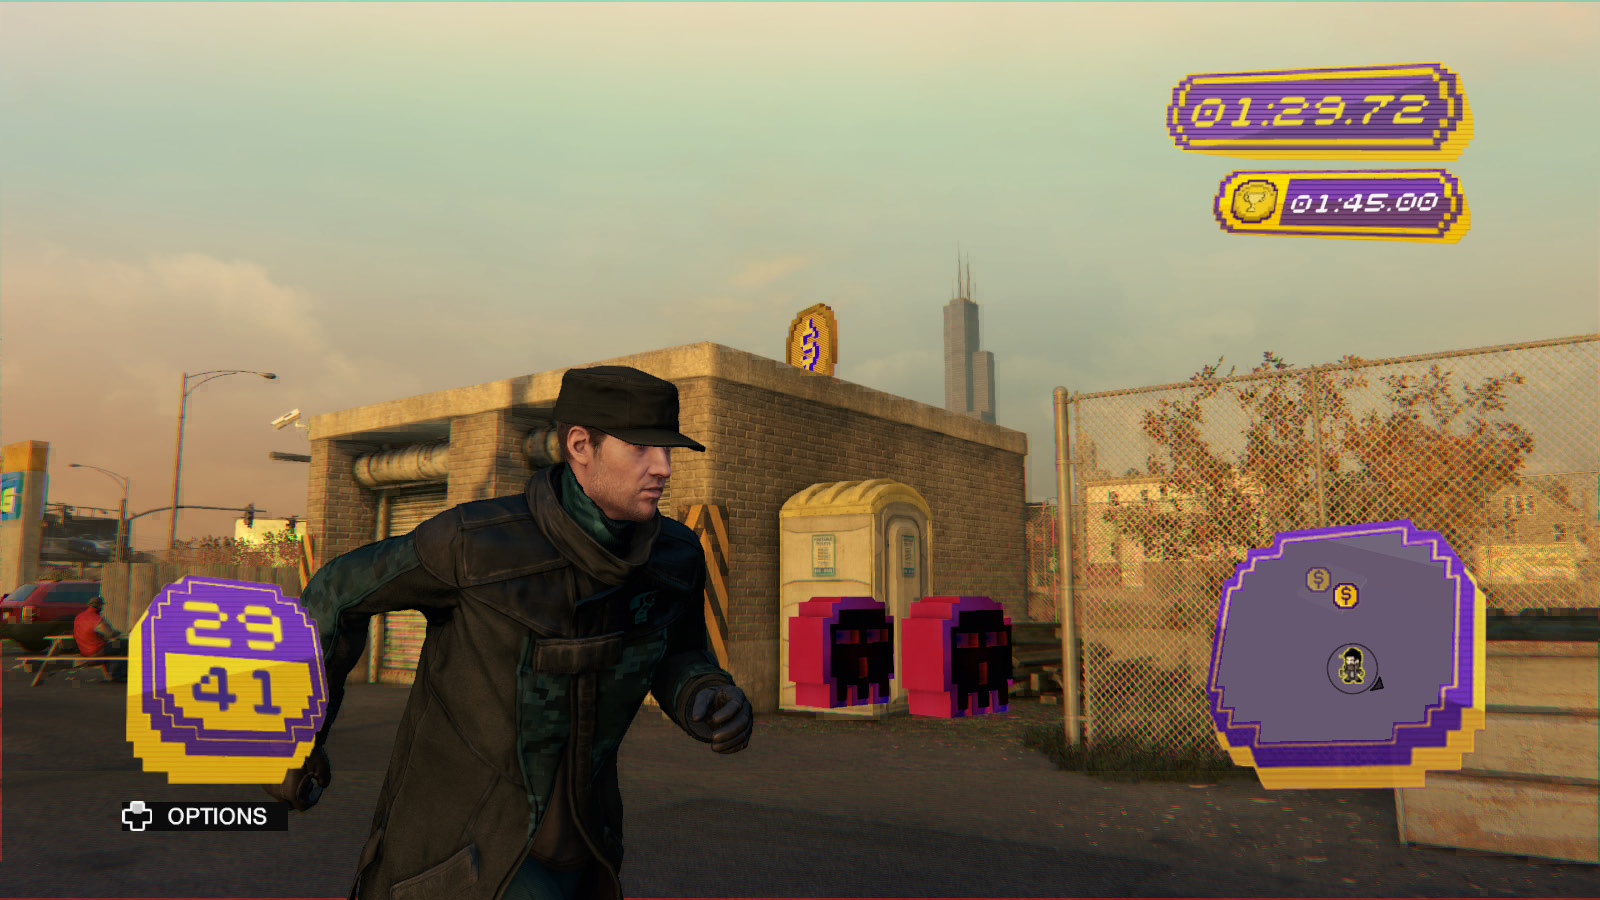
The only thing standing between you and gold on this track is practice. It’s a long run, but the timer is surprisingly forgiving and there aren’t many tricks to it. The 30th coin is probably the biggest issue, as it appears across a street and atop a building from the 29th, but once you know where it is it’s not a problem.
Dock & Roll
 Gold: 01:54.00
 Silver: 2:23.00
 Bronze: 2:51.00
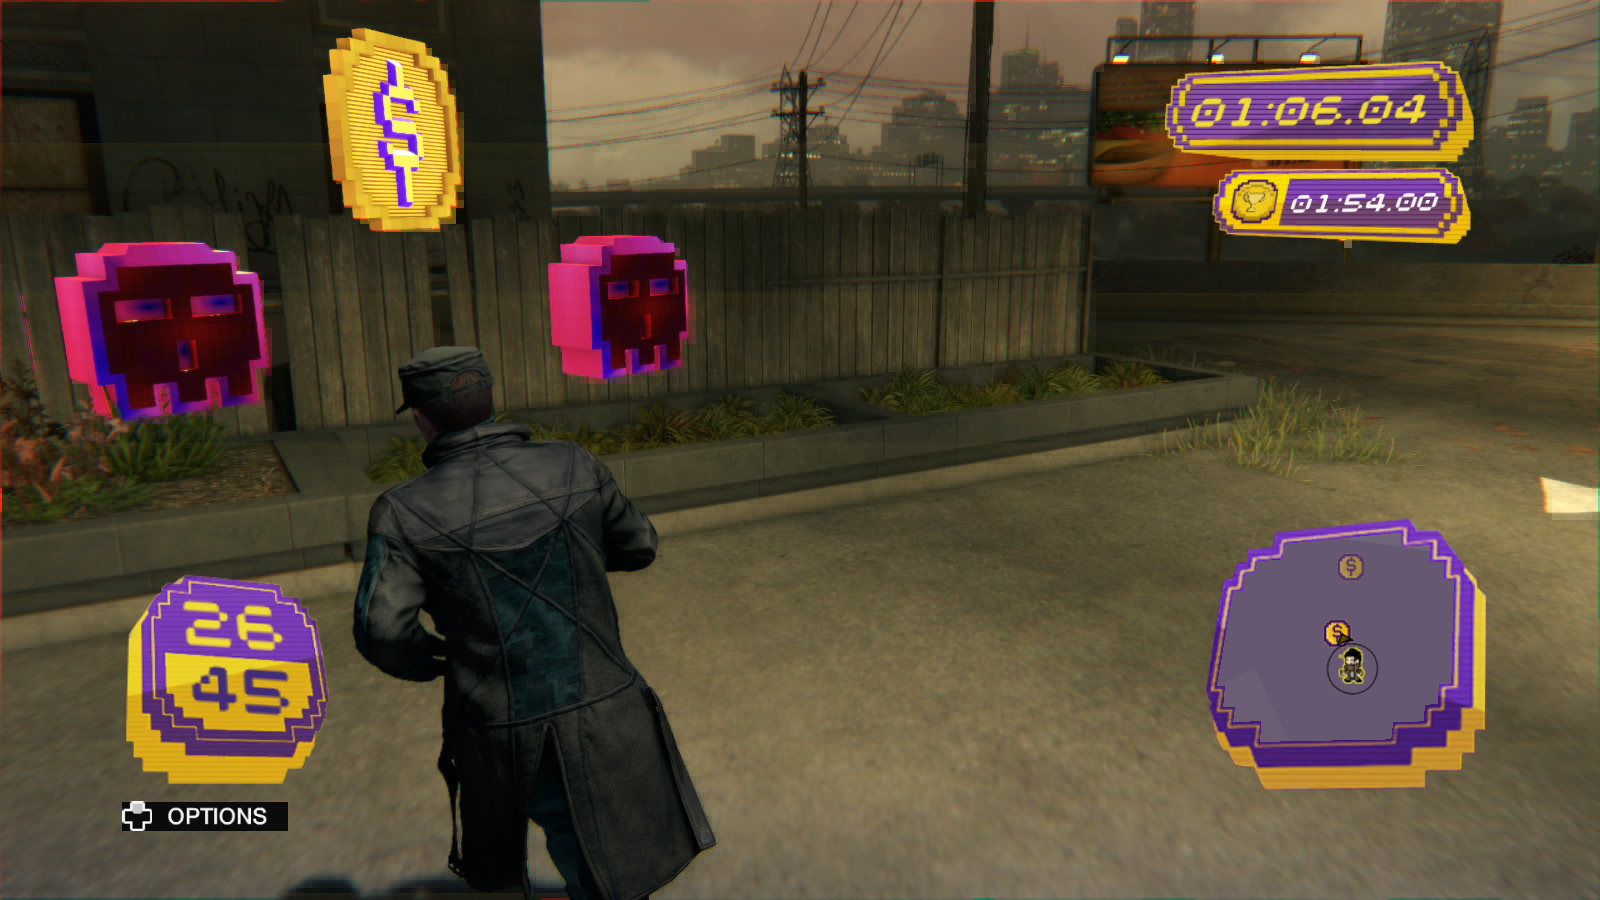
This is one of the longest courses and has a very slim margin for error. A couple of X-factors can screw you up through no fault of your own, such as traffic on the freeway when you have to cross it and how many pedestrians are on the docks, but beyond that, repetition and memorization are your greatest assets.
Going Locomotive
 Gold: 1:38.00
 Silver: 2:03.00
 Bronze: 2:27.00
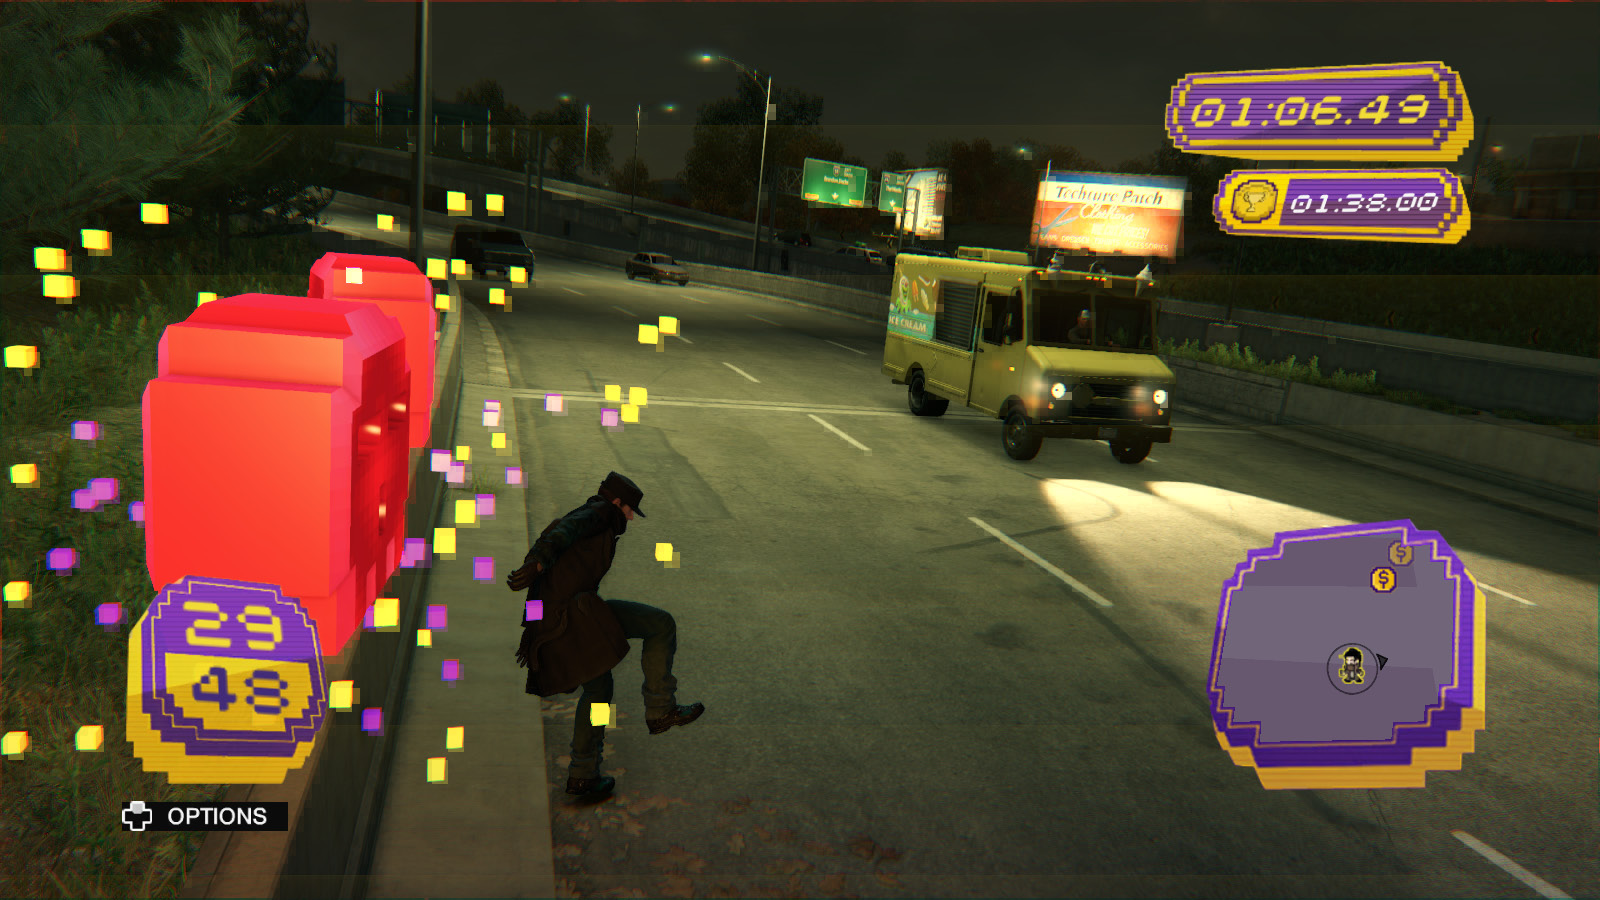
You may think this will be a long track when you see how many coins you have to collect, but they’re close enough together that this is surprisingly easy. The real complication is that this cash run involves a quick trip across the freeway and a brief stopover on the tracks right outside a train stop, so you stand an excellent chance of dodging traffic only to get nearly creamed by a subway car.
Brandon Docks // Cash Runs
Total: 10
Gangway Grab
 Gold: 1:24.00
 Silver: 1:45.00
 Bronze: 2:06.00
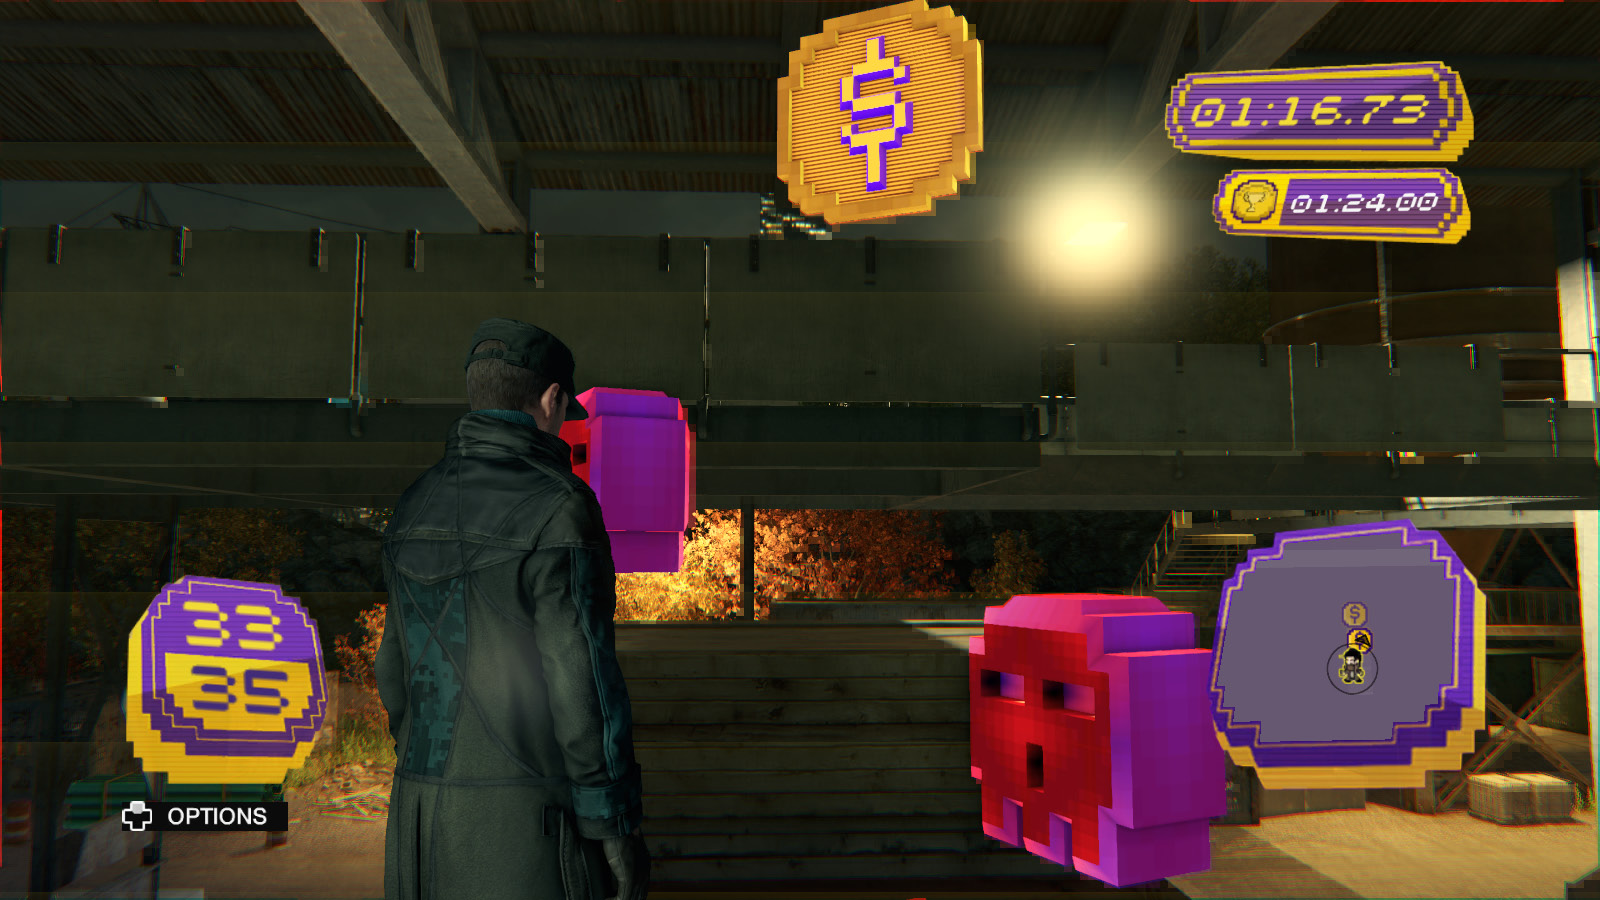
Thanks to a bonus coin that’s barely out of your way at all, this is a short but relatively easy cash run that lets you stay at a dead sprint almost all the way through. The last skulls before the second-to-last gold coin are in a tricky position, and getting between them without grabbing one is a bit like threading a needle. If anything costs you the gold, it’s likely to be accidentally hitting one of those two skulls.
Dockland Dash
 Gold: 1:23.00
 Silver: 1:44.00
 Bronze: 2:05.00
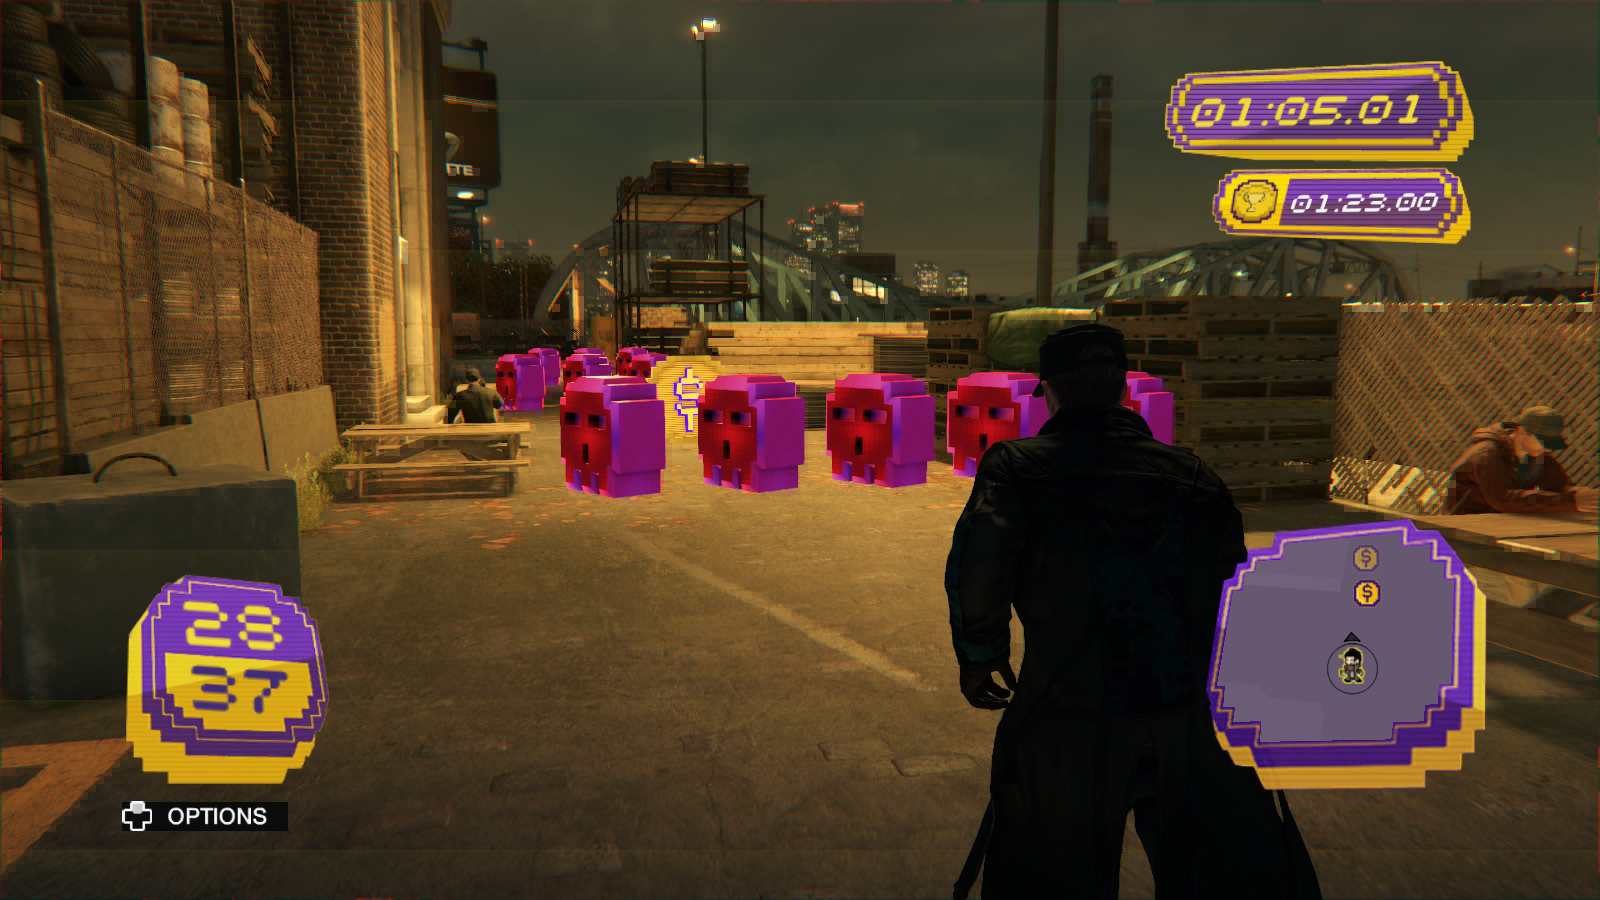
The time requirement for gold is low, but thanks to a short track and another conveniently placed bonus coin, it’s much easier to get than it looks. As with “Gangway Grab,” the real problem is finding your way past all the stairwells and narrow loading areas full of red skulls without grabbing them. Fortunately, after the 26th coin, the track widens for a bit and lets you make up for lost time with a long sprint.
The Crane Technique
 Gold: 1:26.00
 Silver: 1:48.00
 Bronze: 2:09.00
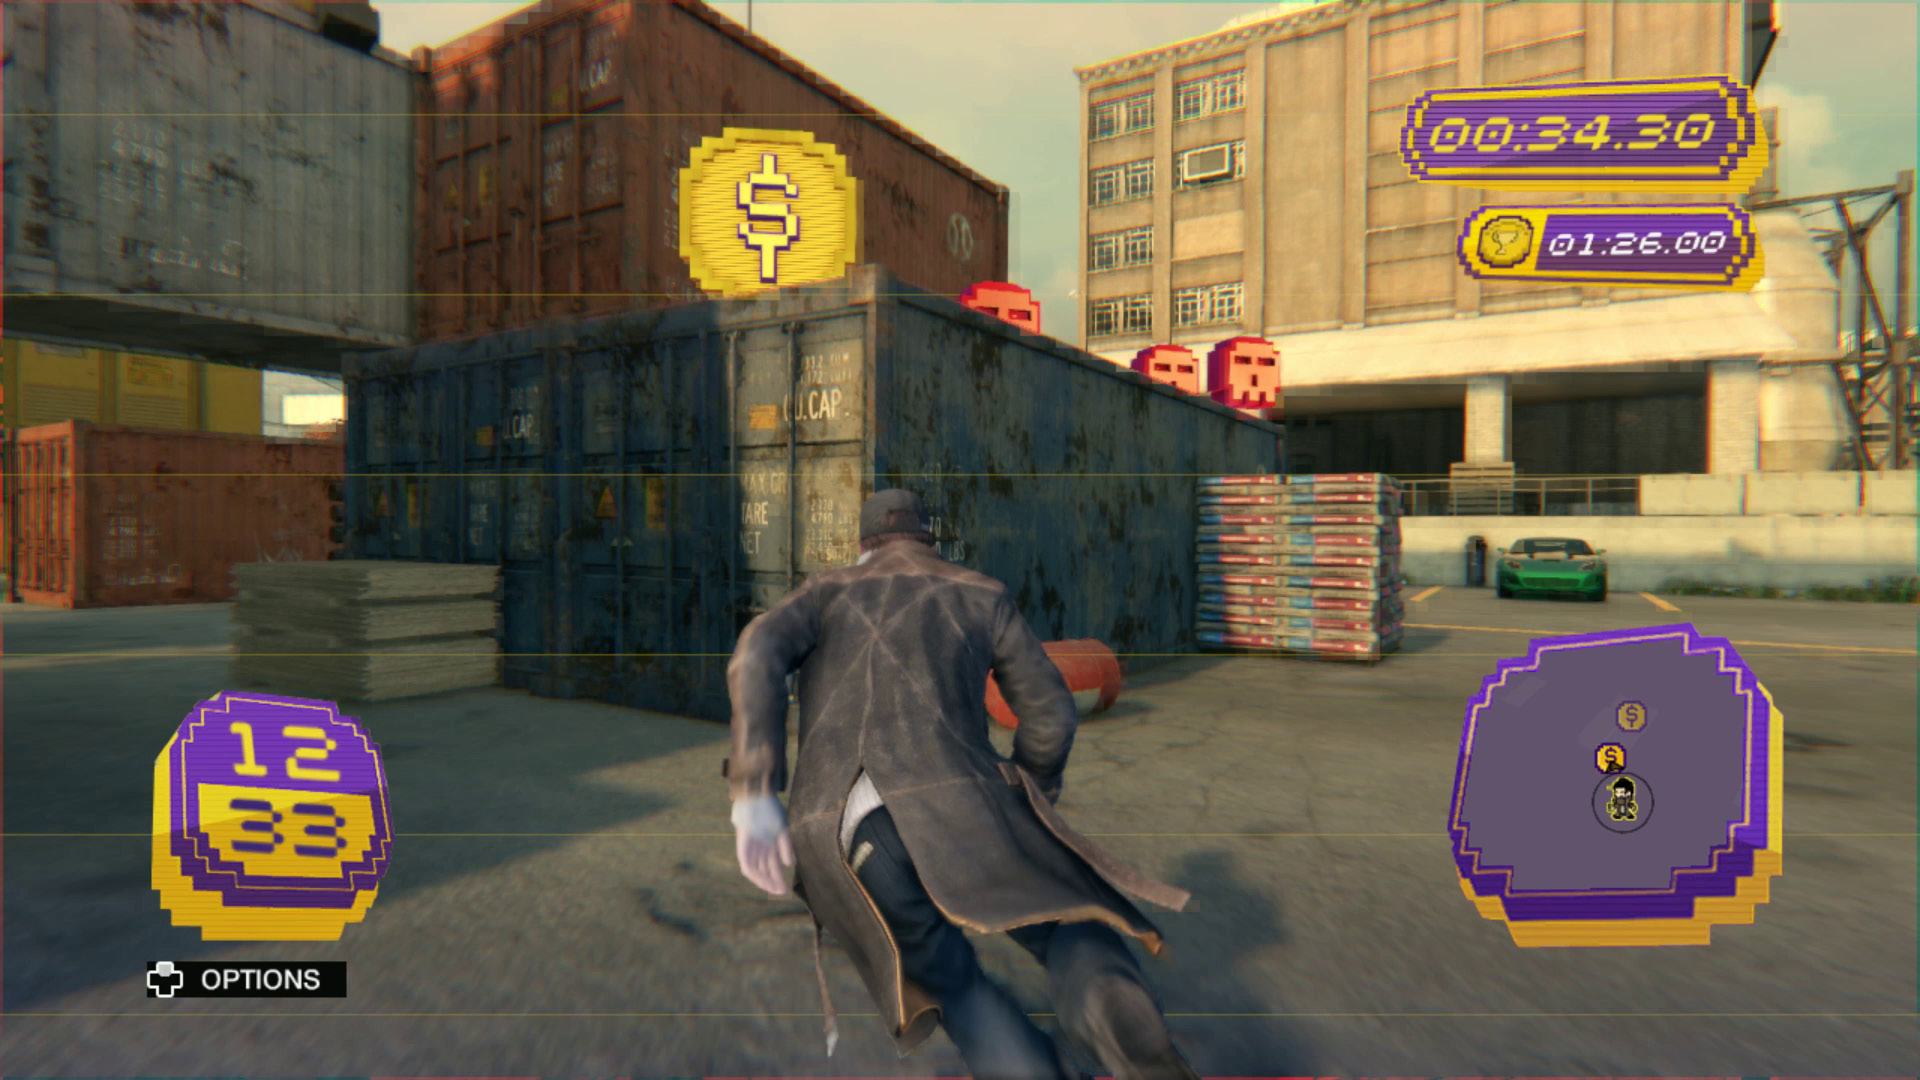
You definitely want to make a few practice runs on this track before you try it for real, as many of the coins appear above or below you, forcing you to waste precious seconds as you figure out where they are. The bonus coin on this track is easy enough to grab that, once you have a solid handle on the track’s layout, a gold medal should be readily attainable.
Silo Scramble
 Gold: 1:32.00
 Silver: 1:55.00
 Bronze: 2:18.00
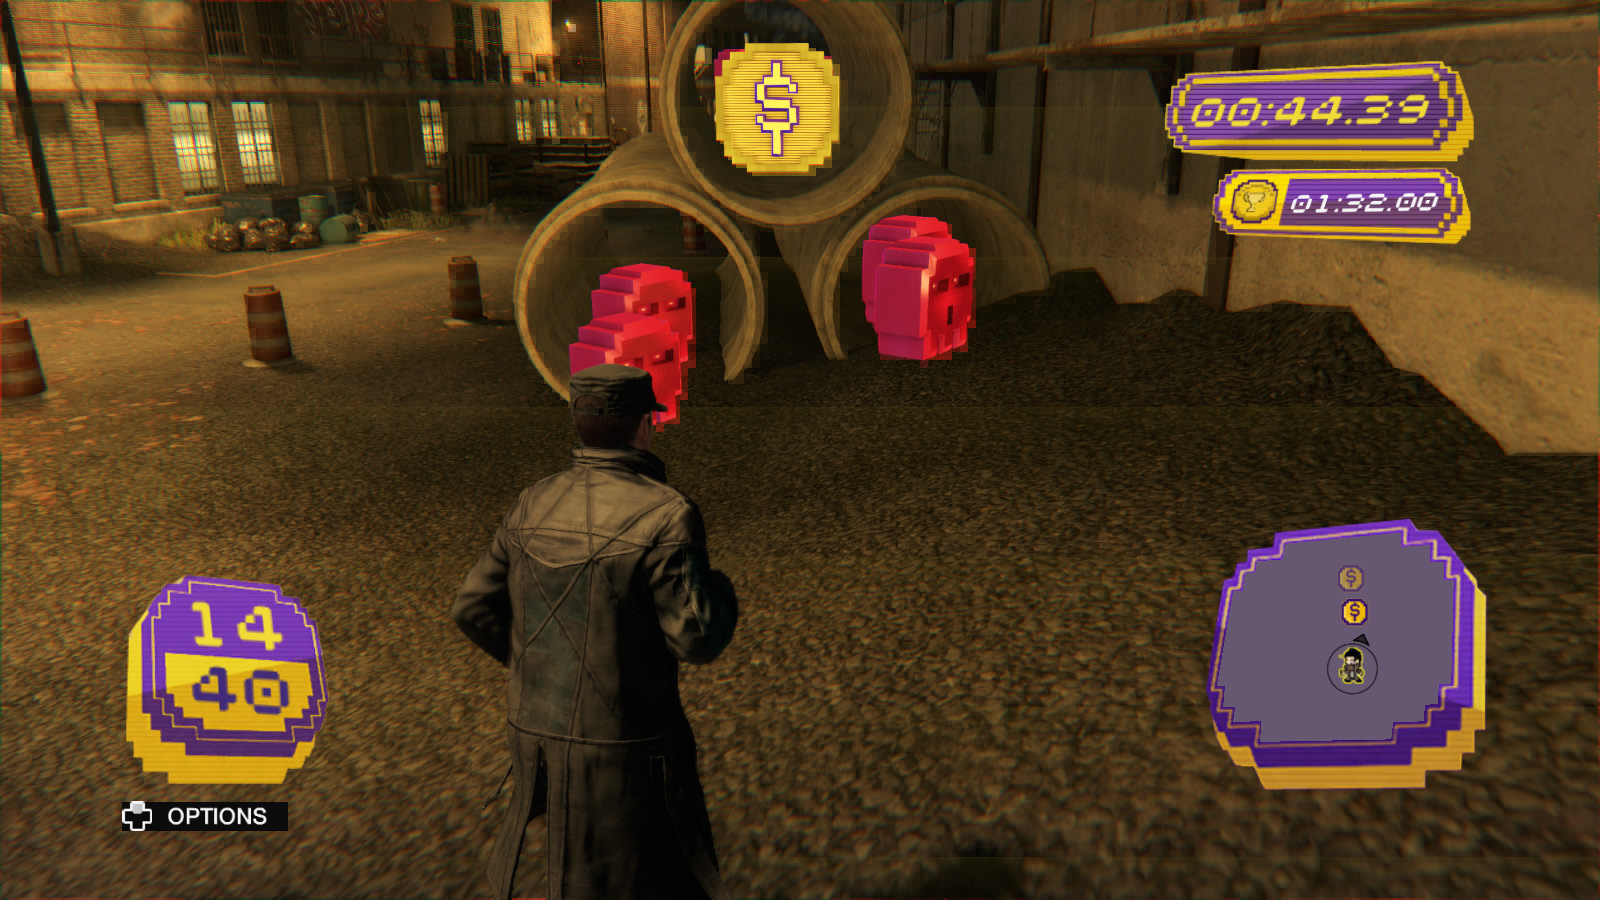
“Silo Scramble” is a difficult track to get gold on because there are no obvious places where you can shave off some time. Much of the track is in open areas, but you can’t really turn on the speed due to masses of red skulls in the way. Grabbing the bonus coin is easy enough that it can help, but moving up to the point where you can get gold is a slow process of refining your approach. There are quite a few places along the track where you need to hit an obstacle just right or you’ll lose a second, such as the concrete medians between the 11th and 12th coins or the shipping chute next to the 33rd coin, which is just low enough that Aiden won’t duck underneath it.
Workshop Trot
 Gold: 1:17.00
 Silver: 1:36.00
 Bronze: 1:56.00
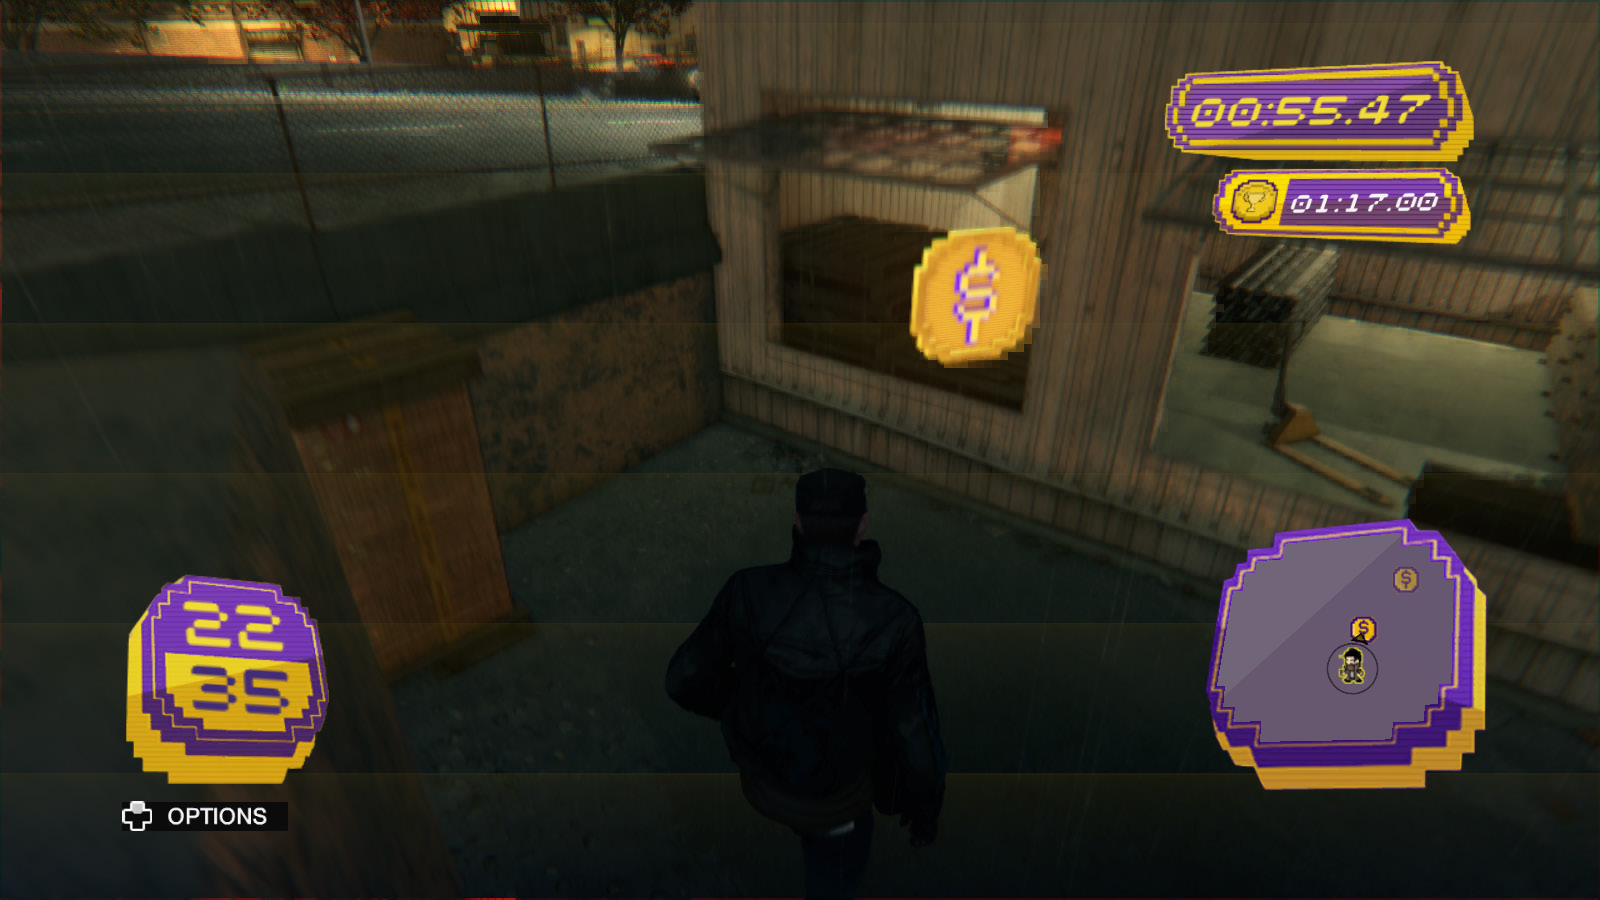
The gold on this track is one of the tougher ones to attain simply because of how low the time requirement is. It’s not a hard course to learn, but it requires flawless execution before you can even get close to 1:17.
Unsafe Harbour
 Gold: 1:26.00
 Silver: 1:48.00
 Bronze: 2:09.00
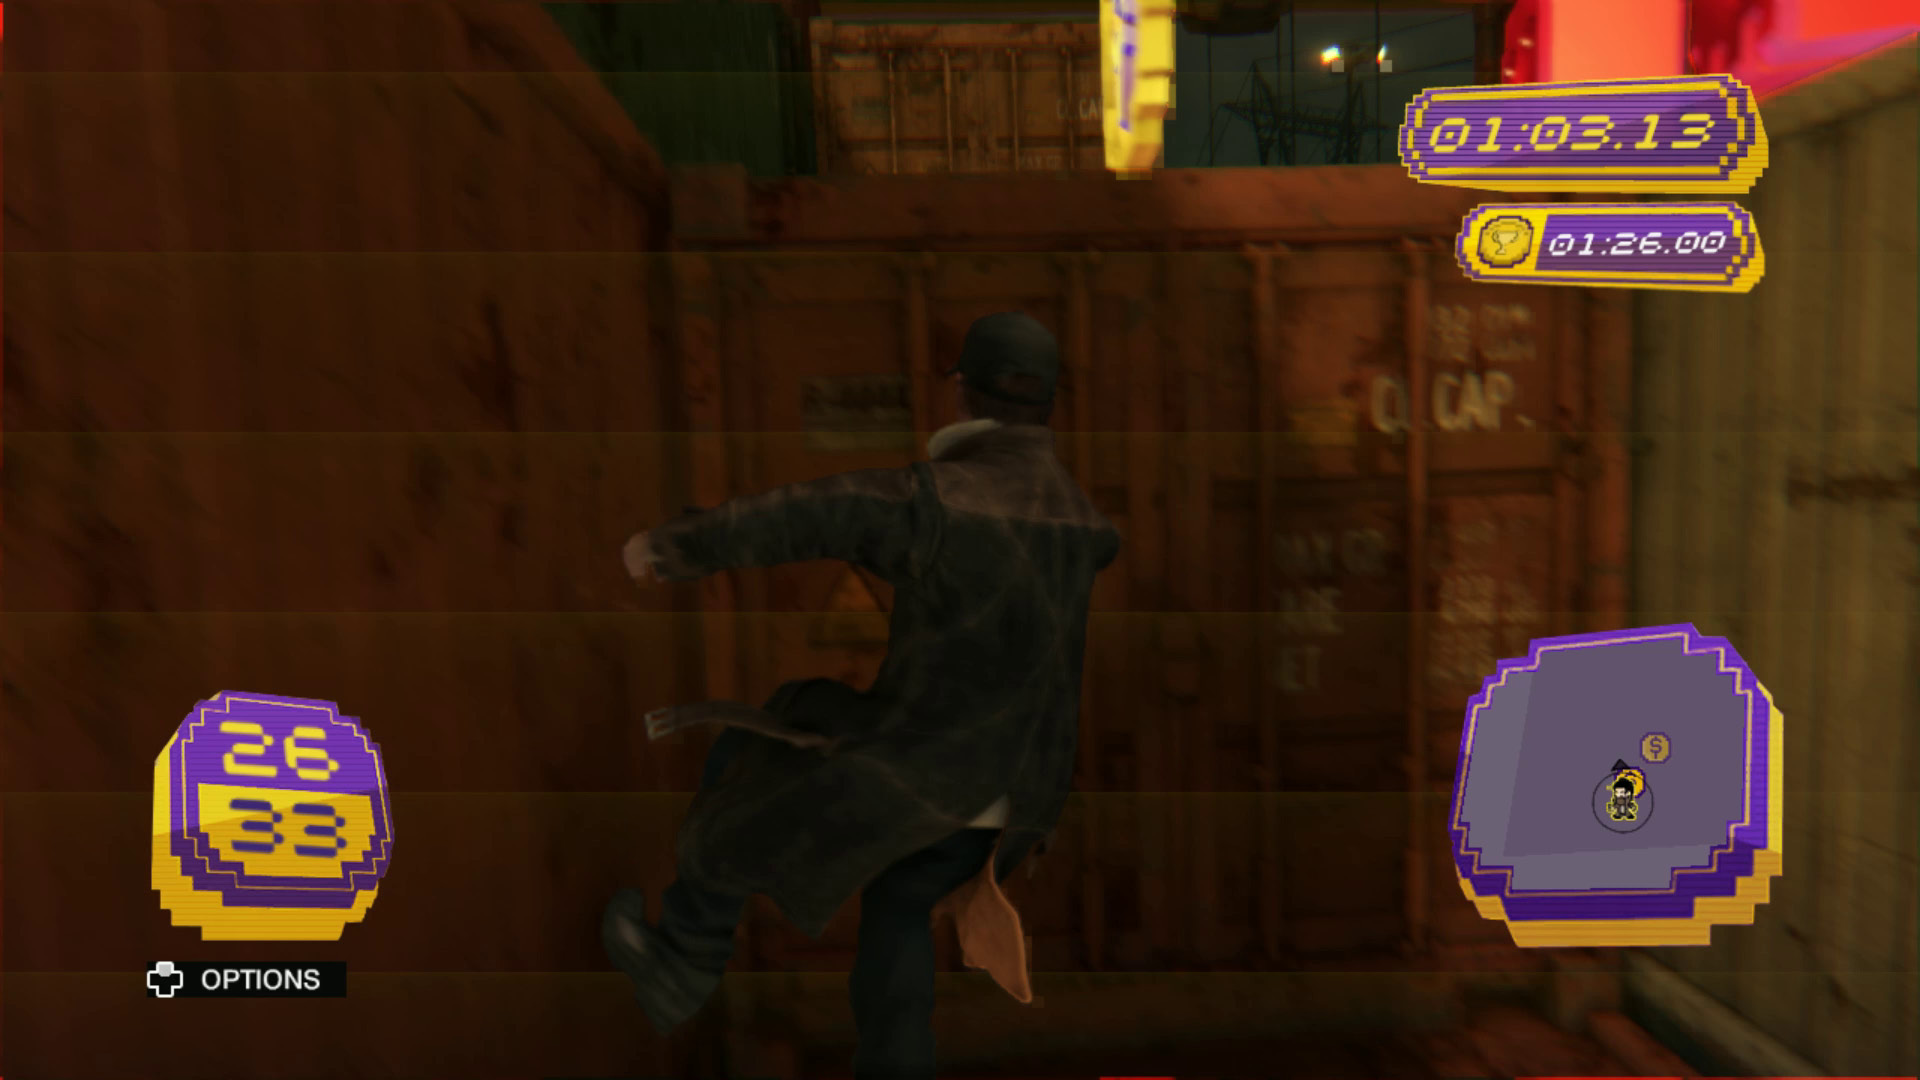
This is a great cash run to go to when you want to practice kicking off walls, as mastering the technique is the difference between silver and gold on this track. You spend so much time climbing that the faster you can scale a wall, the better off you’ll be. The first 10 coins are arguably the hardest part of the track, as several aren’t quite where you’d expect them to be and it takes some practice to learn where they appear.
On the Scrapheap
 Gold: 1:30.00
 Silver: 1:53.00
 Bronze: 2:15.00
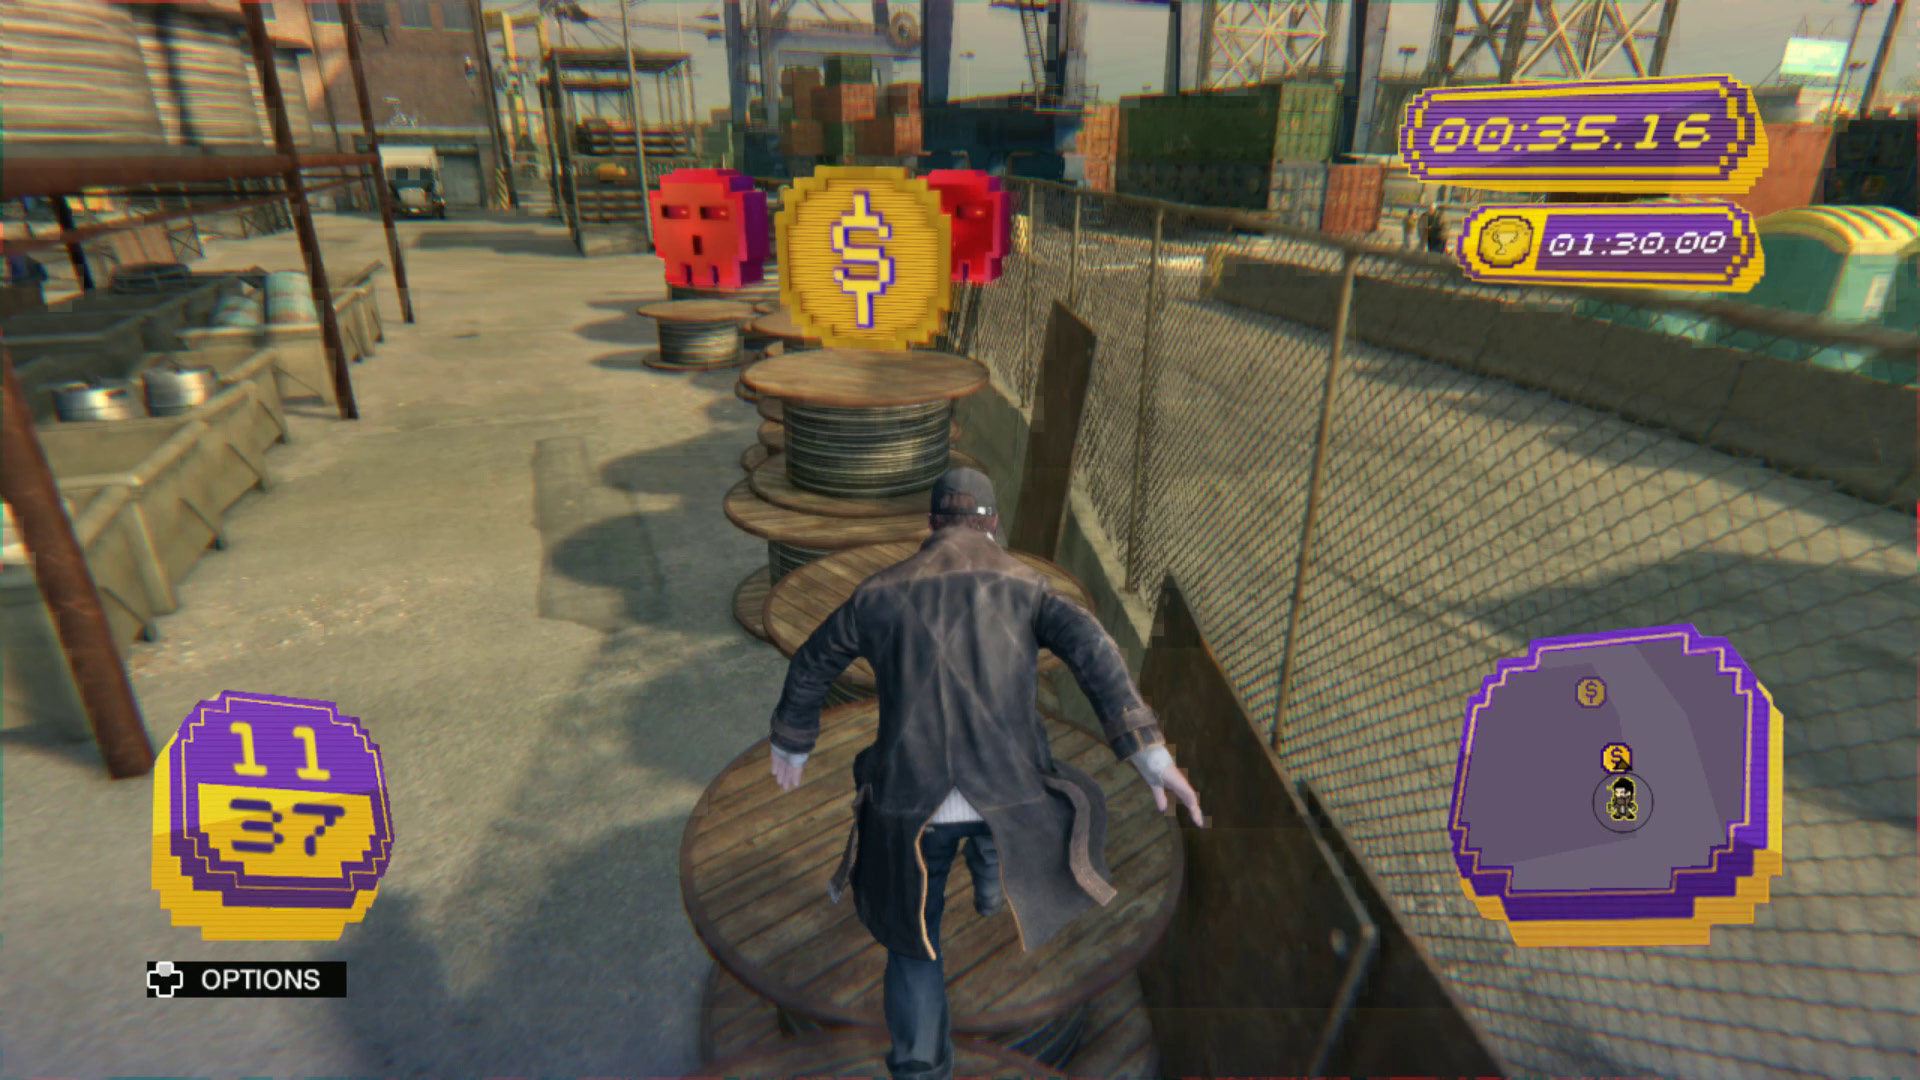
There aren’t many obvious places to shave time off your run with “On the Scrapheap,” but it’s a straightforward track without many serious challenges. It’s a good beginner’s run but isn’t quite as gold-friendly as “Gangway Grab.” When you learn it, the big problem is jumping the gun and moving ahead before you should, as a lot of the coins appear in places where they’re just slightly hidden from view. Keep one eye on your radar.
Demolition Derby
 Gold: 1:43.00
 Silver: 2:09.00
 Bronze: 2:35.00
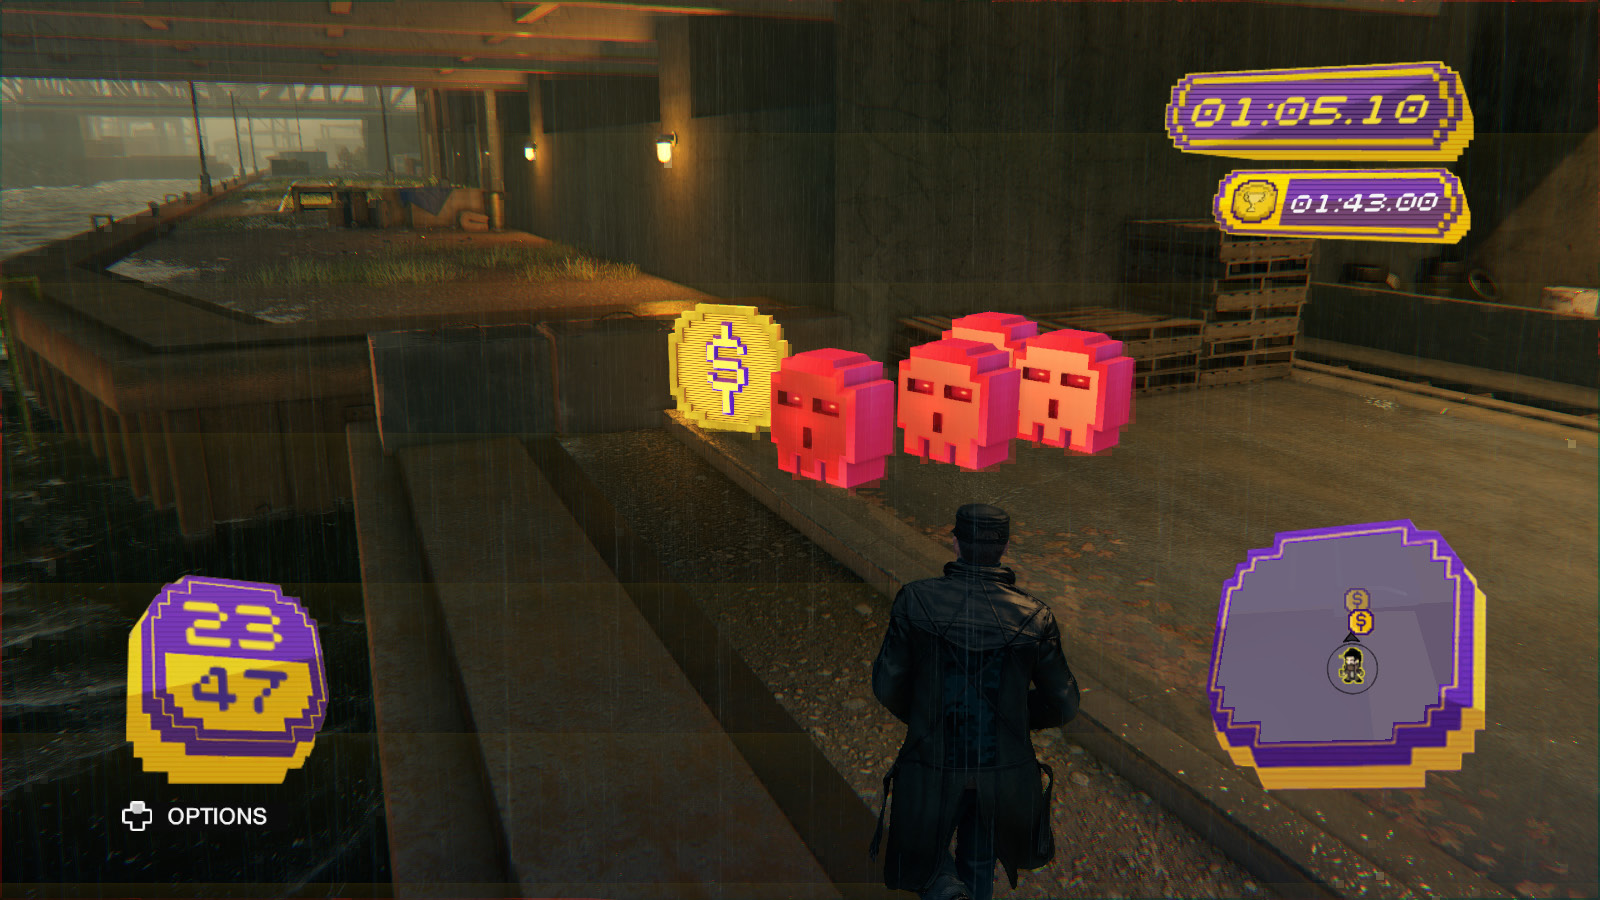
This is one of the longer tracks, but it doesn’t have any serious complications, the bonus coin is easy to grab on your way by, and you spend most of it inside an abandoned building, far from any possible pedestrian interference. It’s not an easy gold, but it’s another great cash run for learning the ropes.
Barging About
 Gold: 1:55.00
 Silver: 2:24.00
 Bronze: 2:53.00
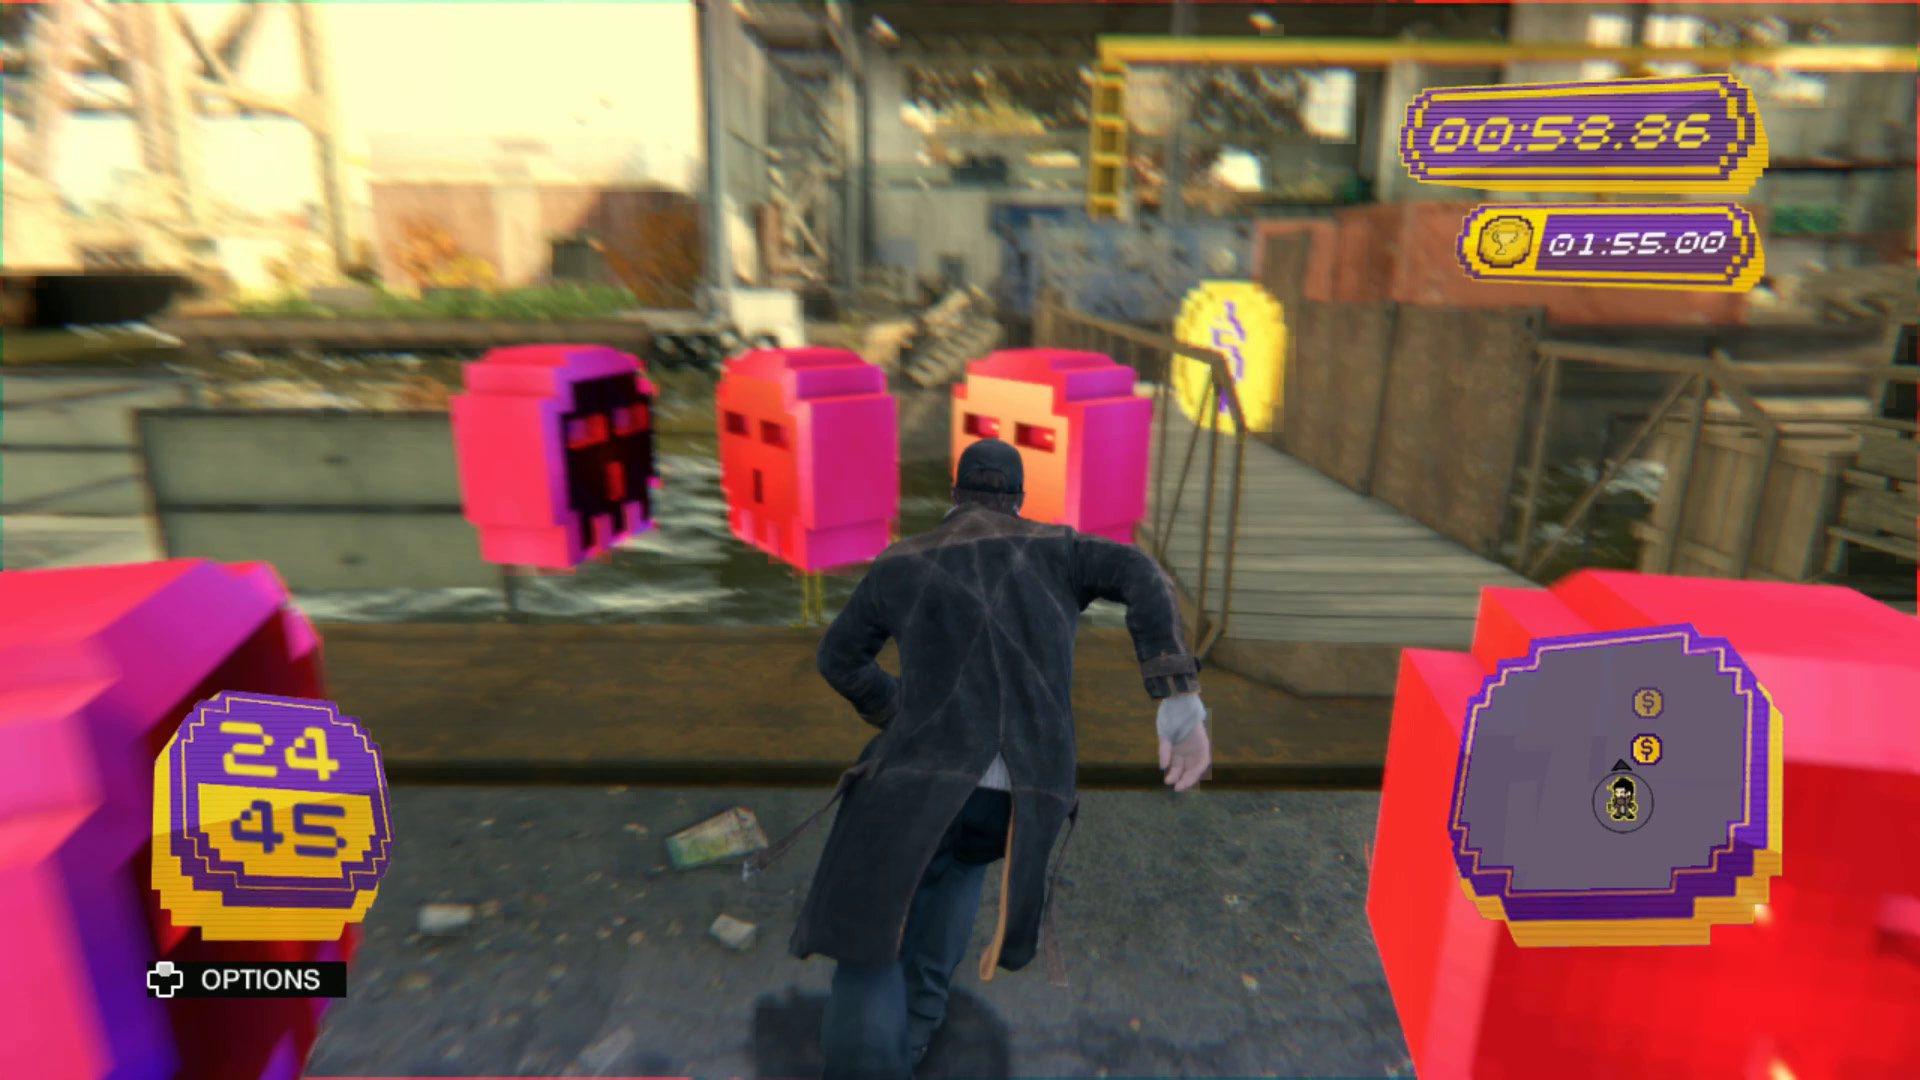
This could be renamed “Threading the Needle.” It’s a long track that tests your ability to scoot by red skulls without grabbing them. The timer is quite forgiving if you’re able to avoid time penalties from the skulls, and this track features one of the easiest-to-reach bonus coins of them all. With a thorough mastery of the basics, you should be able to sew up a gold on this track with just a little bit of practice.
Boxes of Tricks
 Gold: 1:33.00
 Silver: 1:56.00
 Bronze: 2:20.00
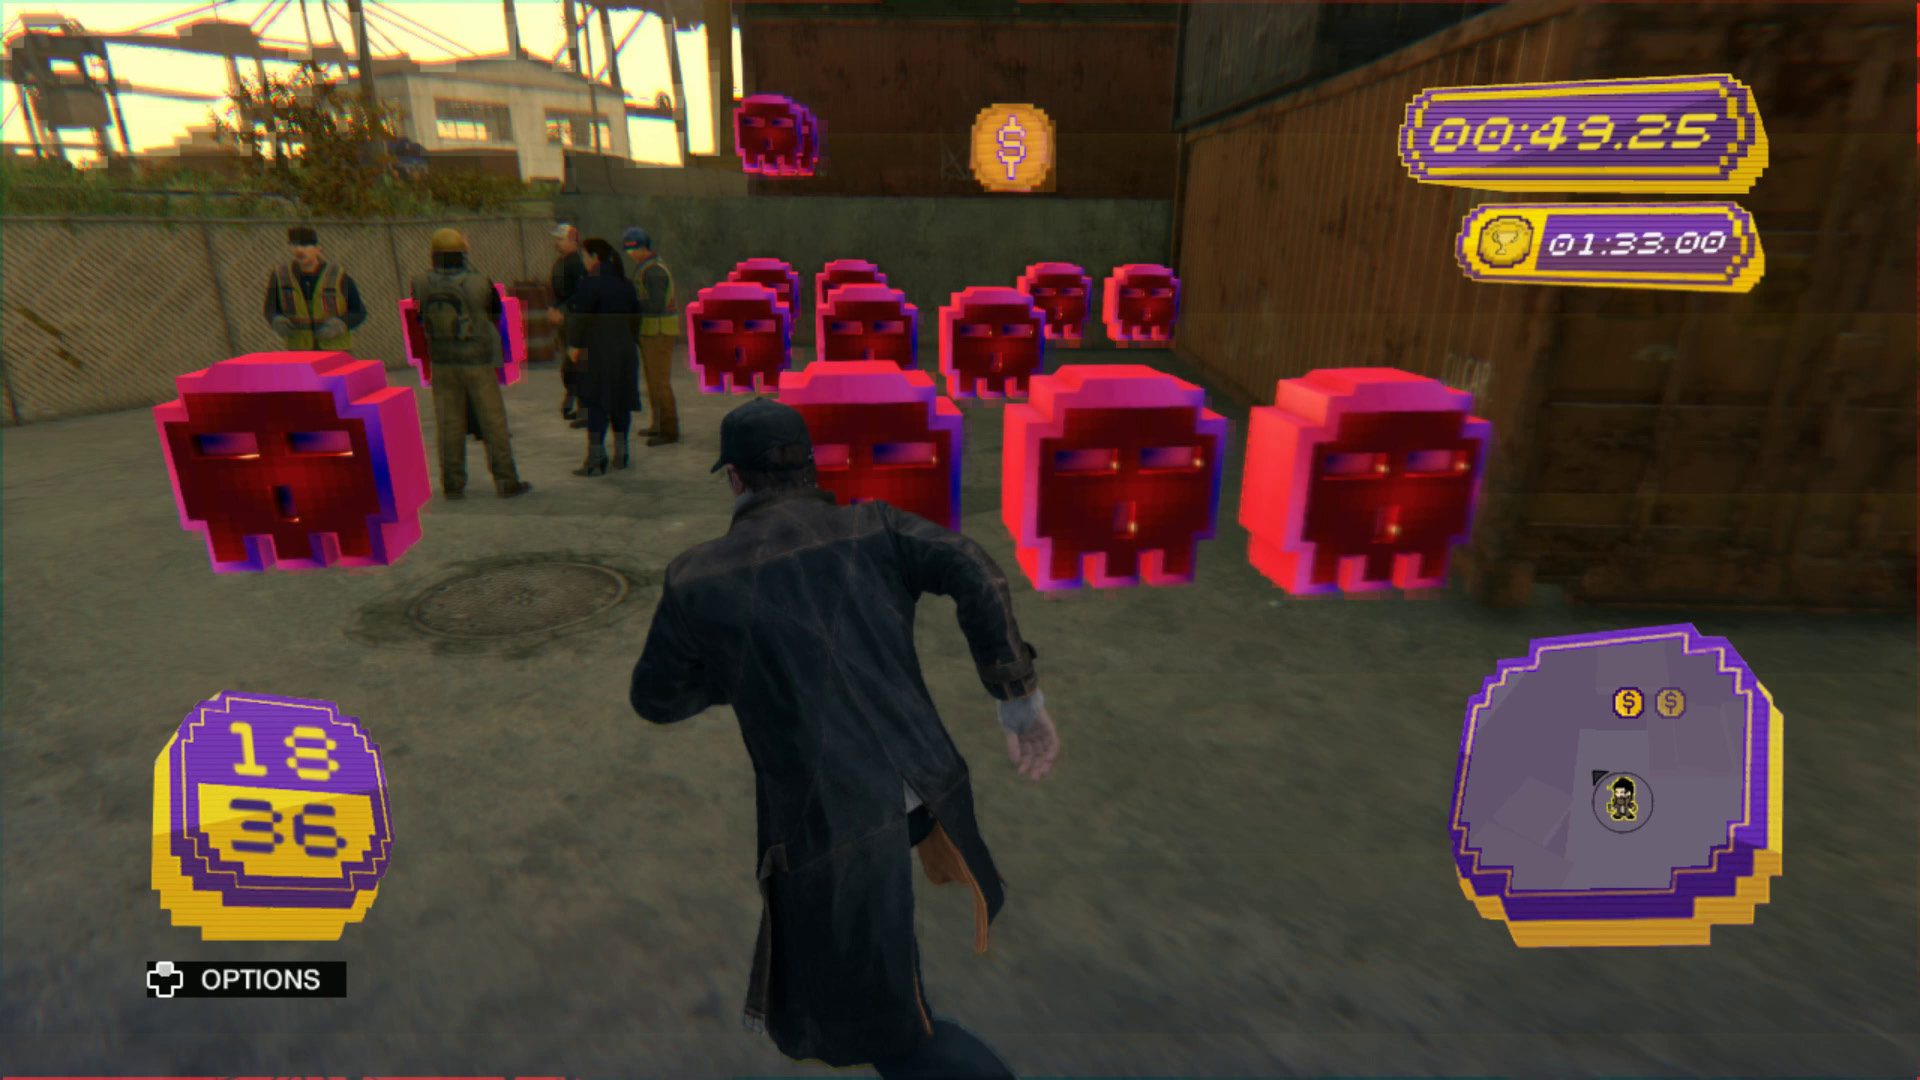
Here’s another track that tests your mastery of the wall-kick. You spend most of this run climbing all over shipping containers, so the faster you can climb, the better off you’ll be. The bonus coin is almost a freebie, which gives you a lot of room for error early on.
The Loop // Cash Runs
Total: 11
Bridging the Gap
 Gold: 1:09.00
 Silver: 1:26.00
 Bronze: 1:44.00
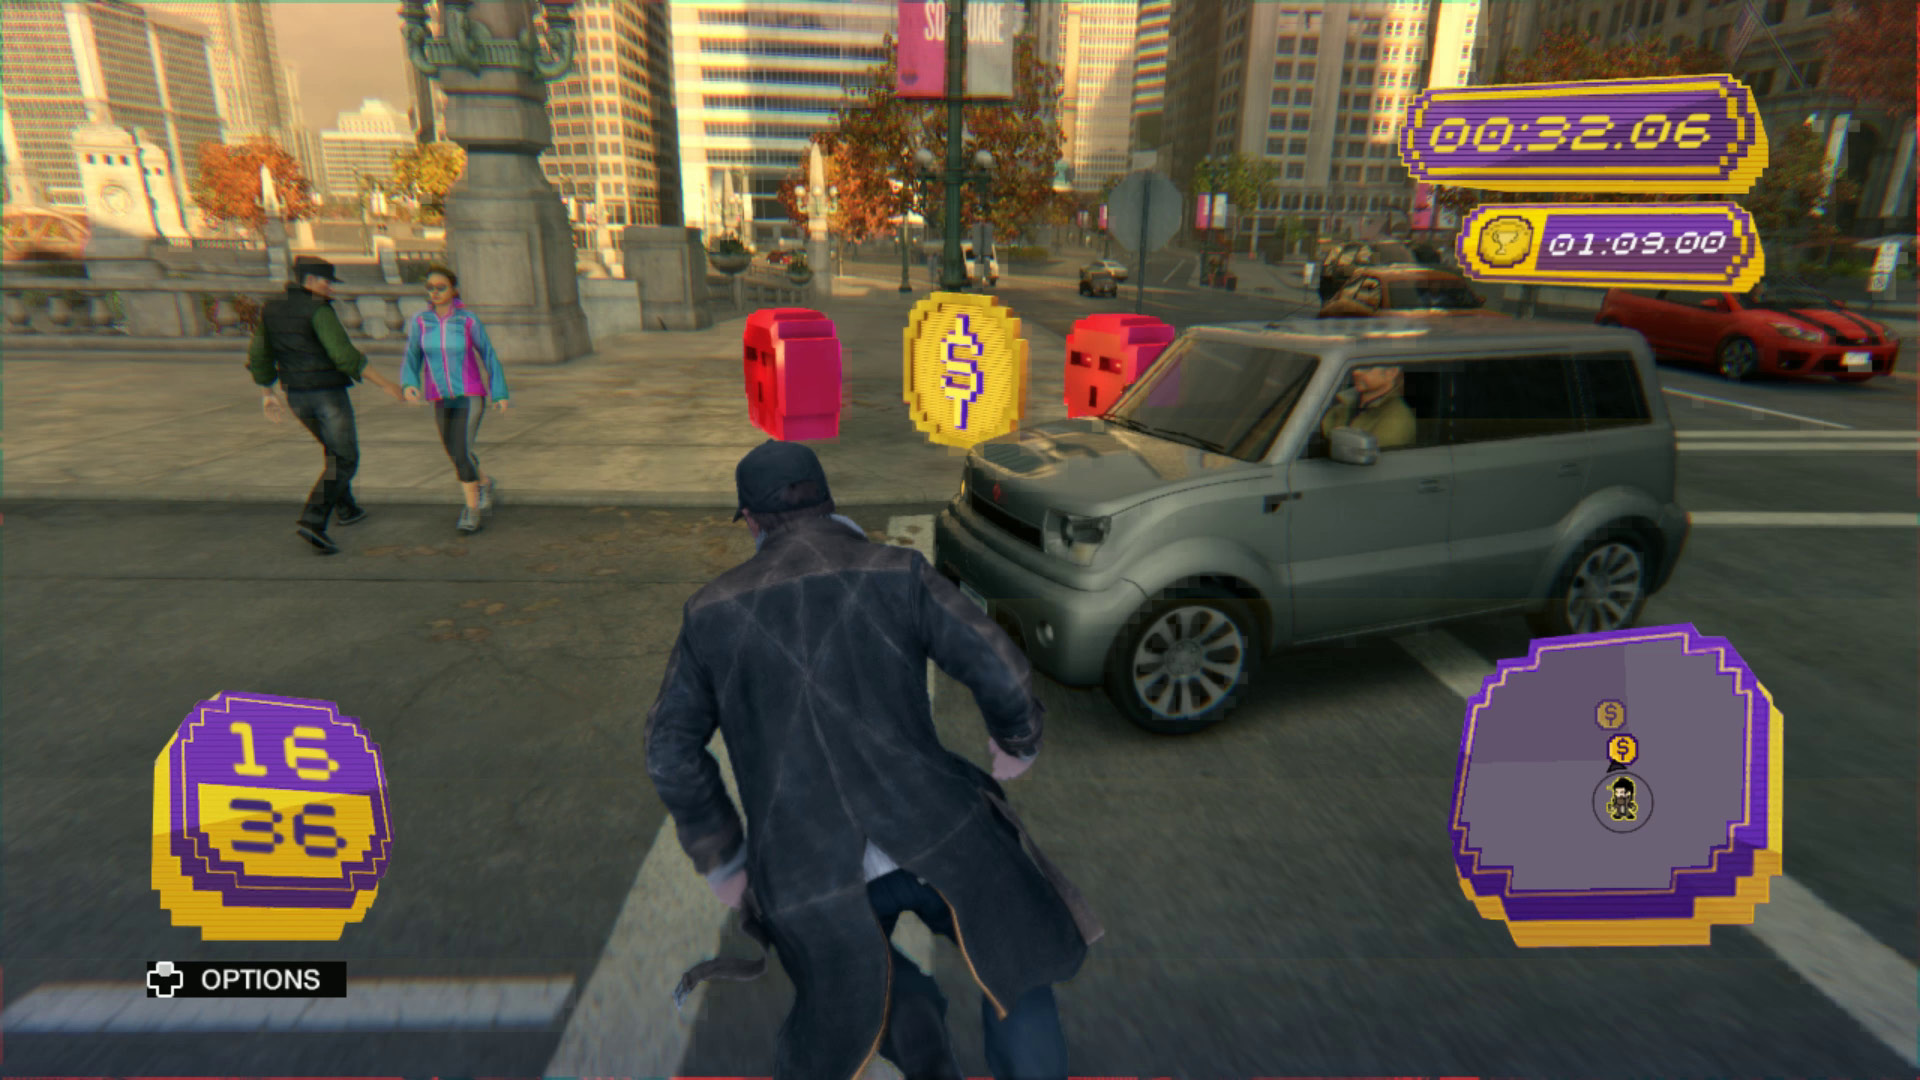
Success or failure on this run is determined in large part by the density of the nearby crowds. If you have to shove through civilians to get down or up the stairs, you’ll lose precious time. Running this course in the middle of the night or cooking up a non-lethal distraction to clear out the bystanders is a big time-saver.
Other than the crowds, the biggest potential time sink is when the course takes you back up the stairs to the street level, as it’s very possible to overcompensate and drop off of the stairs instead of climbing them. Precision and practice are key.
Going Underground
 Gold: 1:20.00
 Silver: 1:40.00
 Bronze: 2:00.00
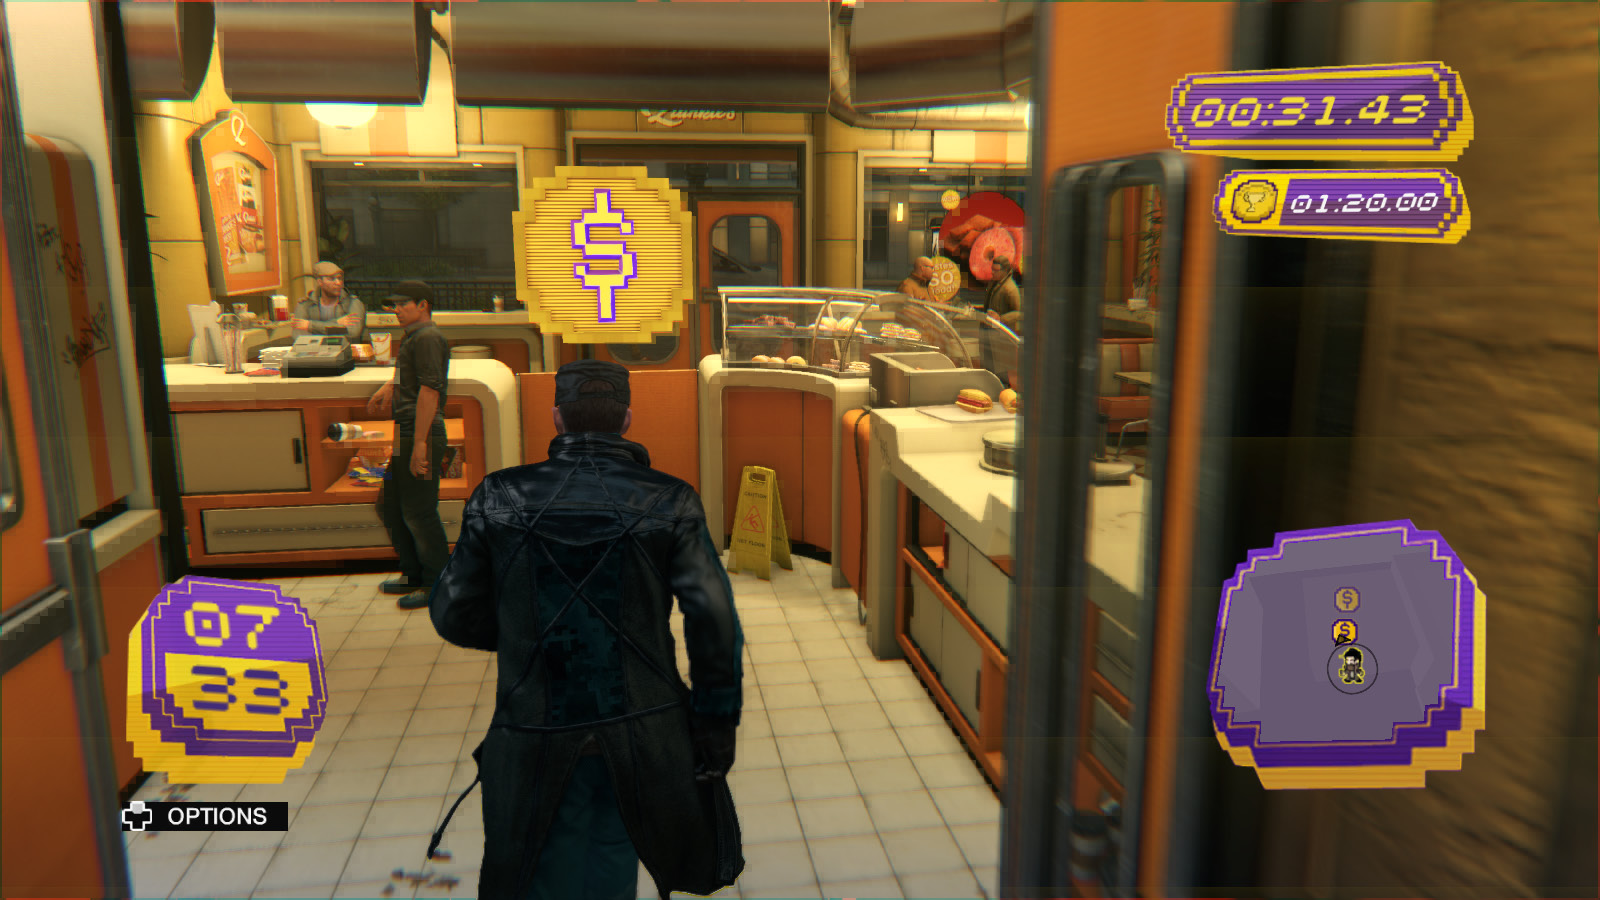
You don’t “go underground” until the last third of the race. Until then, you’re bouncing around a back alley and making a detour into a fast-food joint. This is a track that tests your parkour skills, as knowing when to vault over boxes and assorted obstacles and when to just dodge around them will be crucial in the first leg of the run.
Back-Alley Rally
 Gold: 1:17.00
 Silver: 1:36.00
 Bronze: 1:56.00
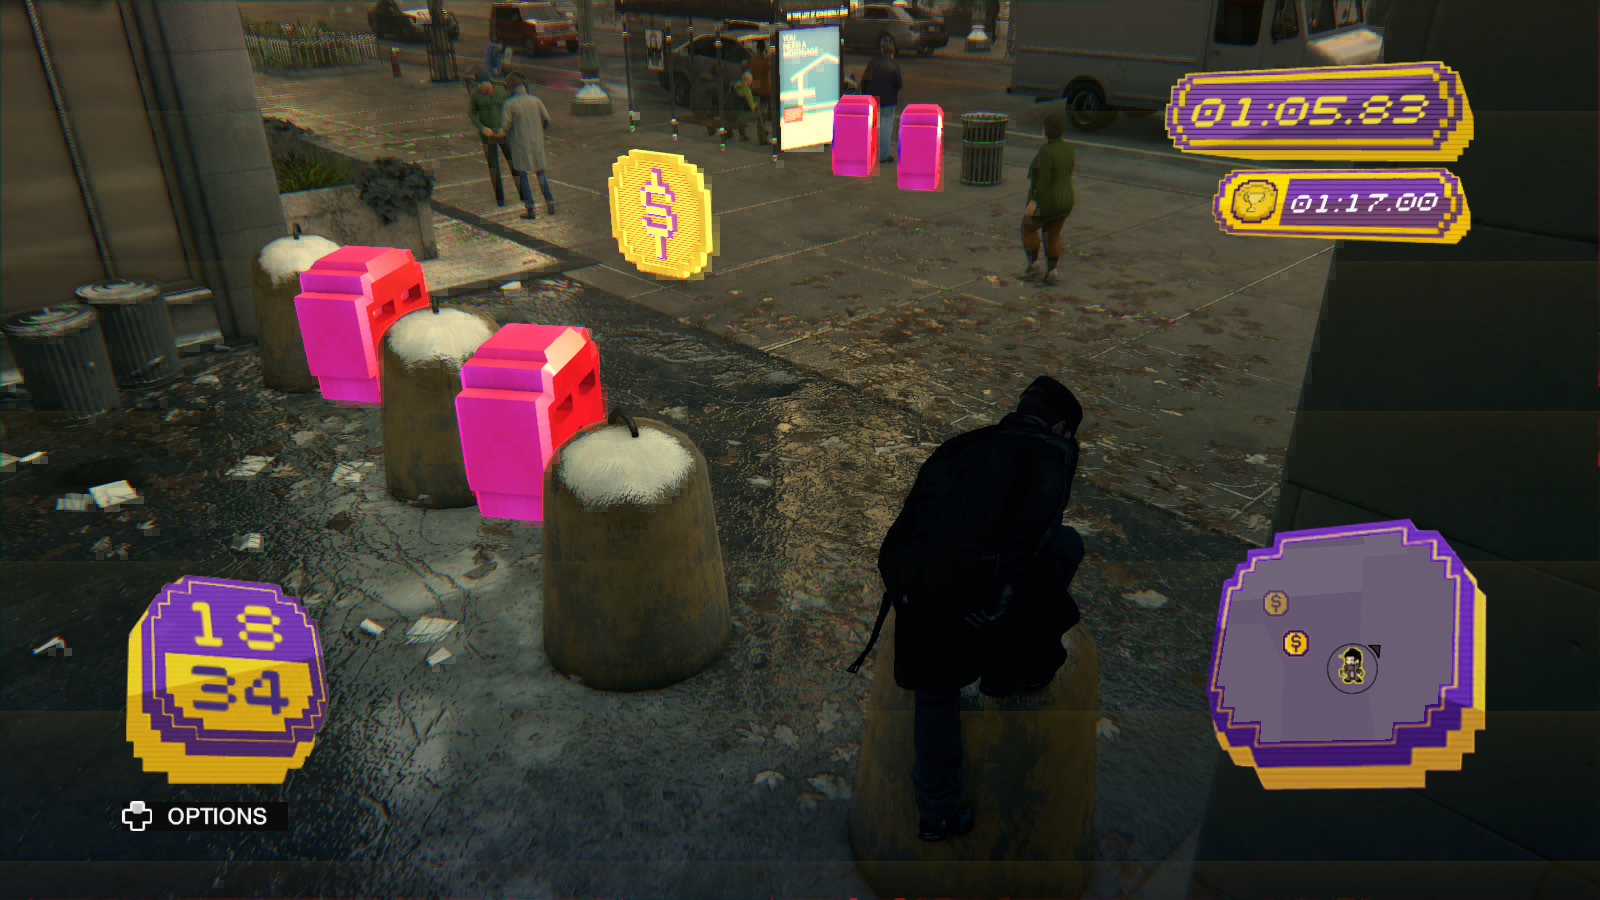
As in “Going Underground,” most of this map is spent dealing with obstacles, as well as navigating tricky rows of red skulls. It’s useful to remember that you can vault over the yellow concrete blockers at the end of the alleyway, even though their rounded tops might make you think you can’t.
Get Your Feet Wet
 Gold: 1:30.00
 Silver: 1:53.00
 Bronze: 2:15.00
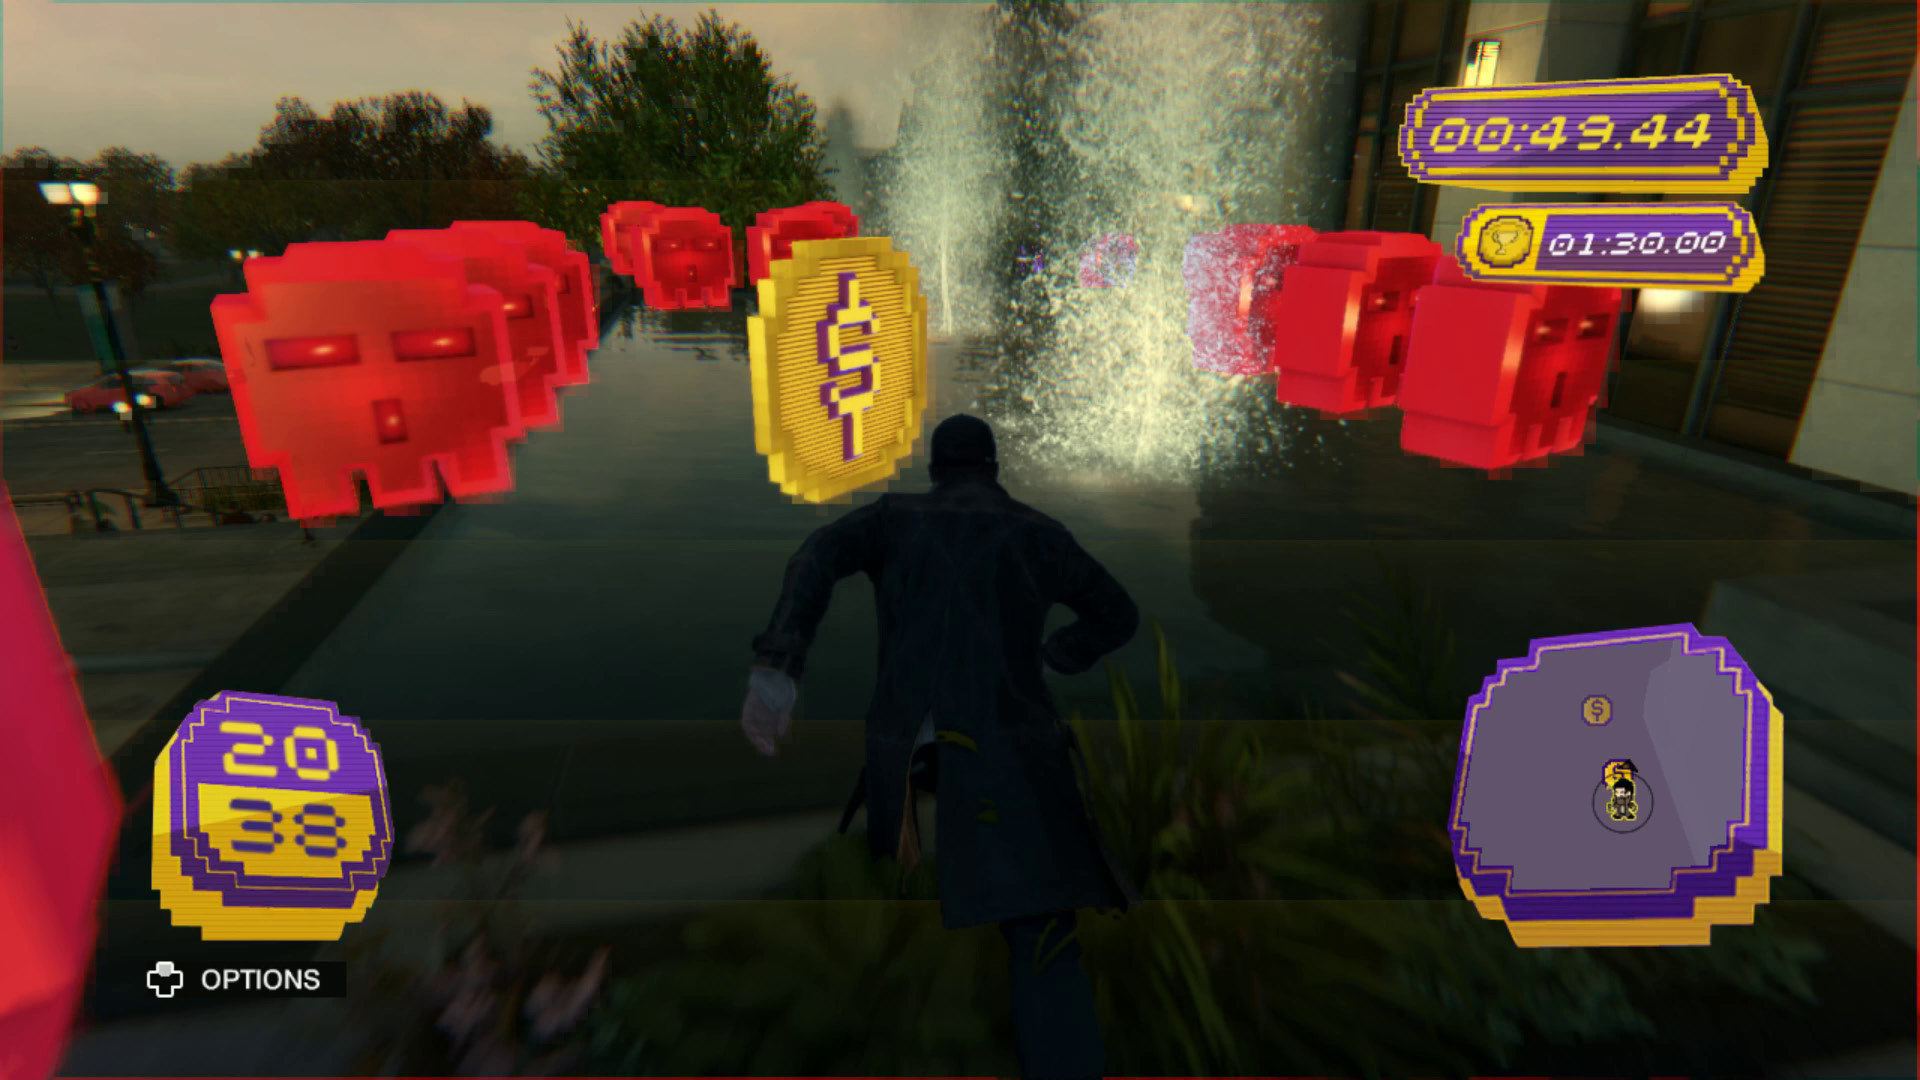
You do get to play in a fountain for some of this run, so the name makes some sense, but the majority of the track is spent ducking and dodging around increasingly inconvenient and numerous red skulls. You can’t take this track at a full sprint, so victory depends on memorization and figuring out where you can save time via parkour or precise positioning.
Dizzy Heights
 Gold: 1:59.00
 Silver: 2:29.00
 Bronze: 2:59.00
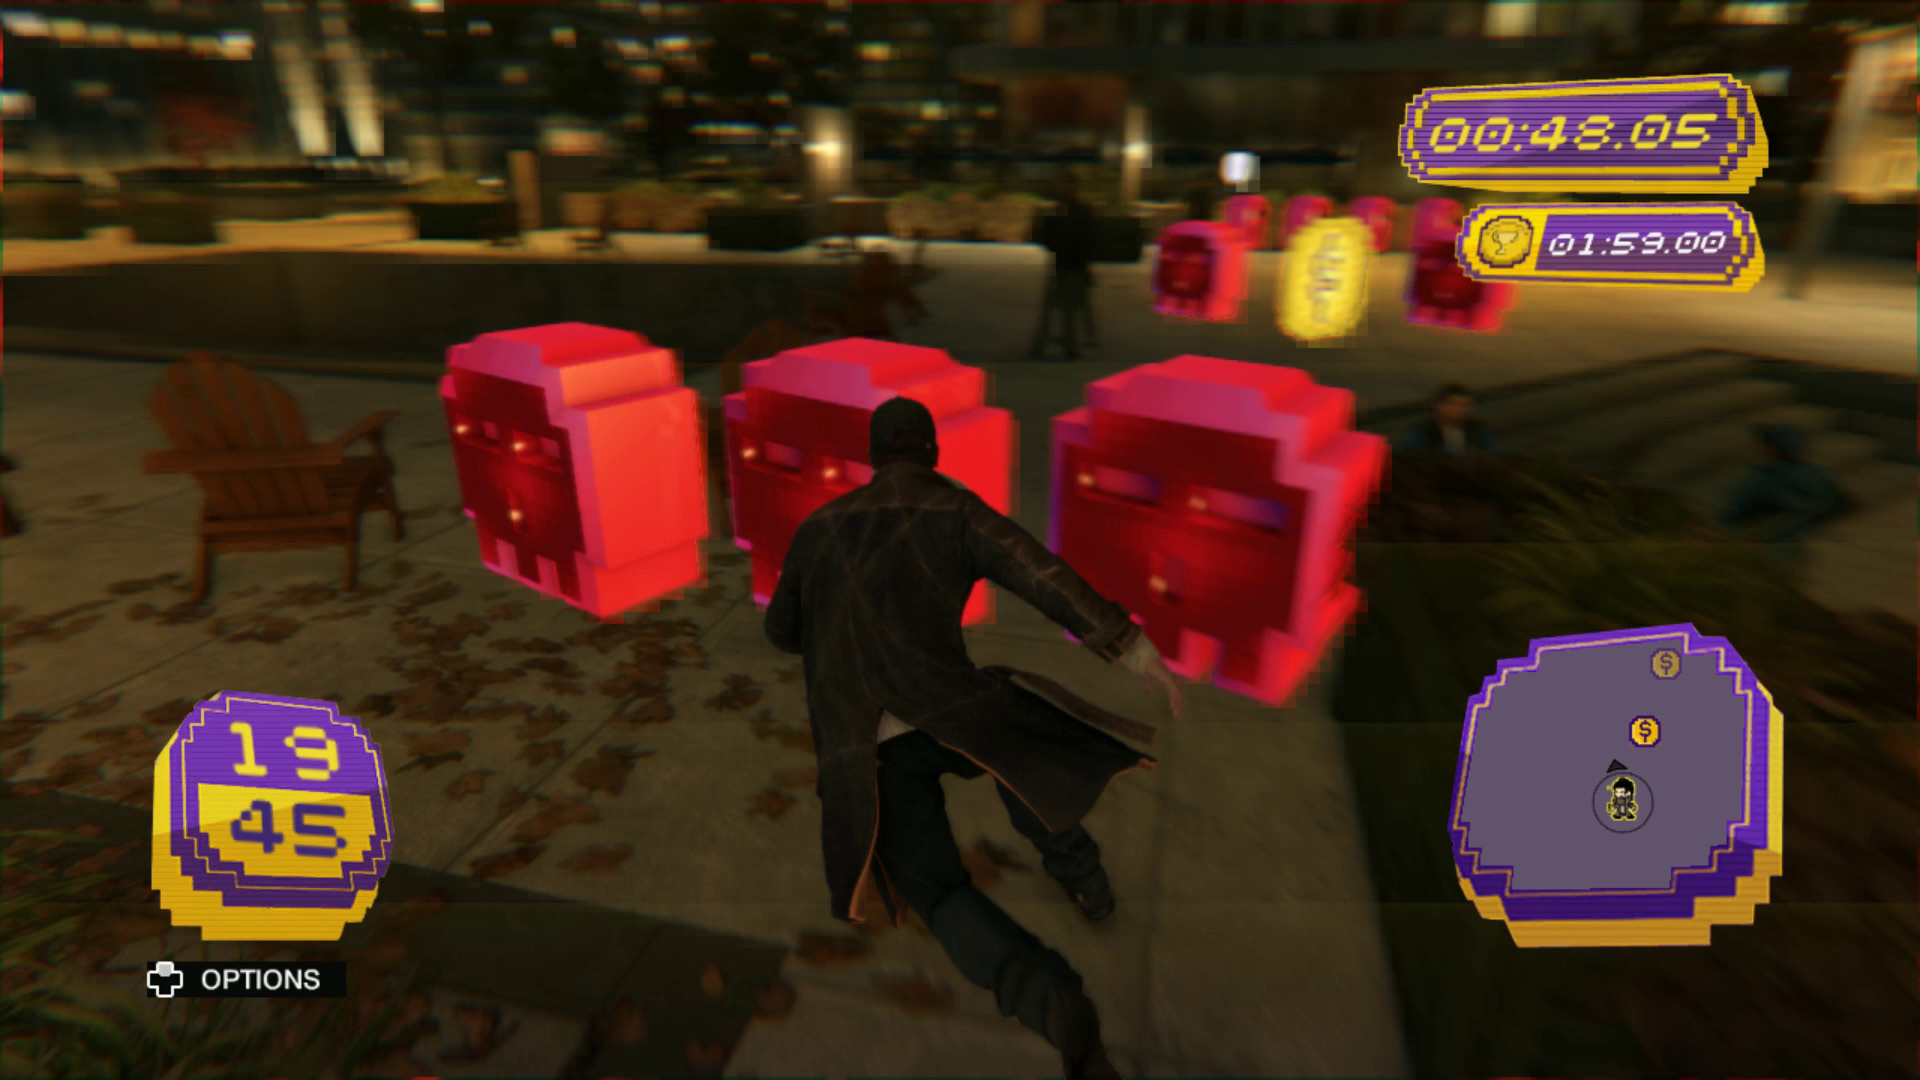
The “heights” in the track’s name aren’t actually that high. Instead, the title refers to how you begin this cash run by playing in the fountains outside the Gorman Heights building. It’s a long track with a lot of coins to collect, but none of it is particularly strenuous. It simply requires you to bring your A game for a bit longer than usual.
Loop-in-the-Loop
 Gold: 1:40.00
 Silver: 2:05.00
 Bronze: 2:30.00
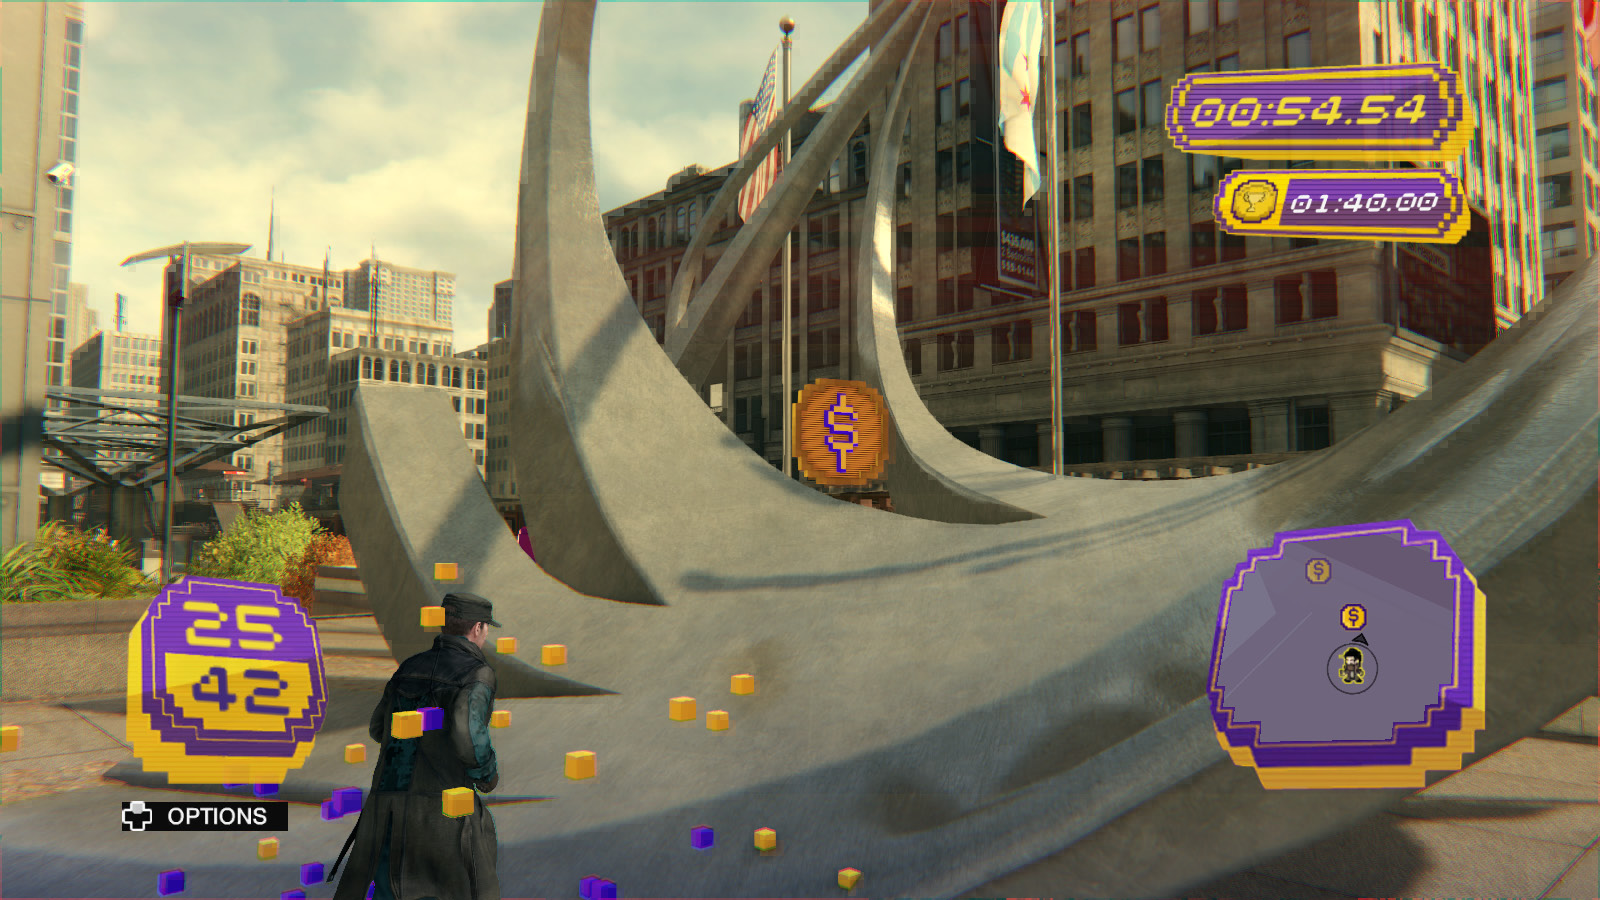
There are a lot of pedestrians on the sidewalks around Willis Tower, and you have to navigate some unexpectedly tricky ledges, but this is still one of the easiest cash runs to get gold on. Parkour is key, as you can shave seconds off your time by vaulting over ad boards and climbing on top of the ornamental gardens.
The Beaten Track
 Gold: 1:11.00
 Silver: 1:29.00
 Bronze: 1:47.00
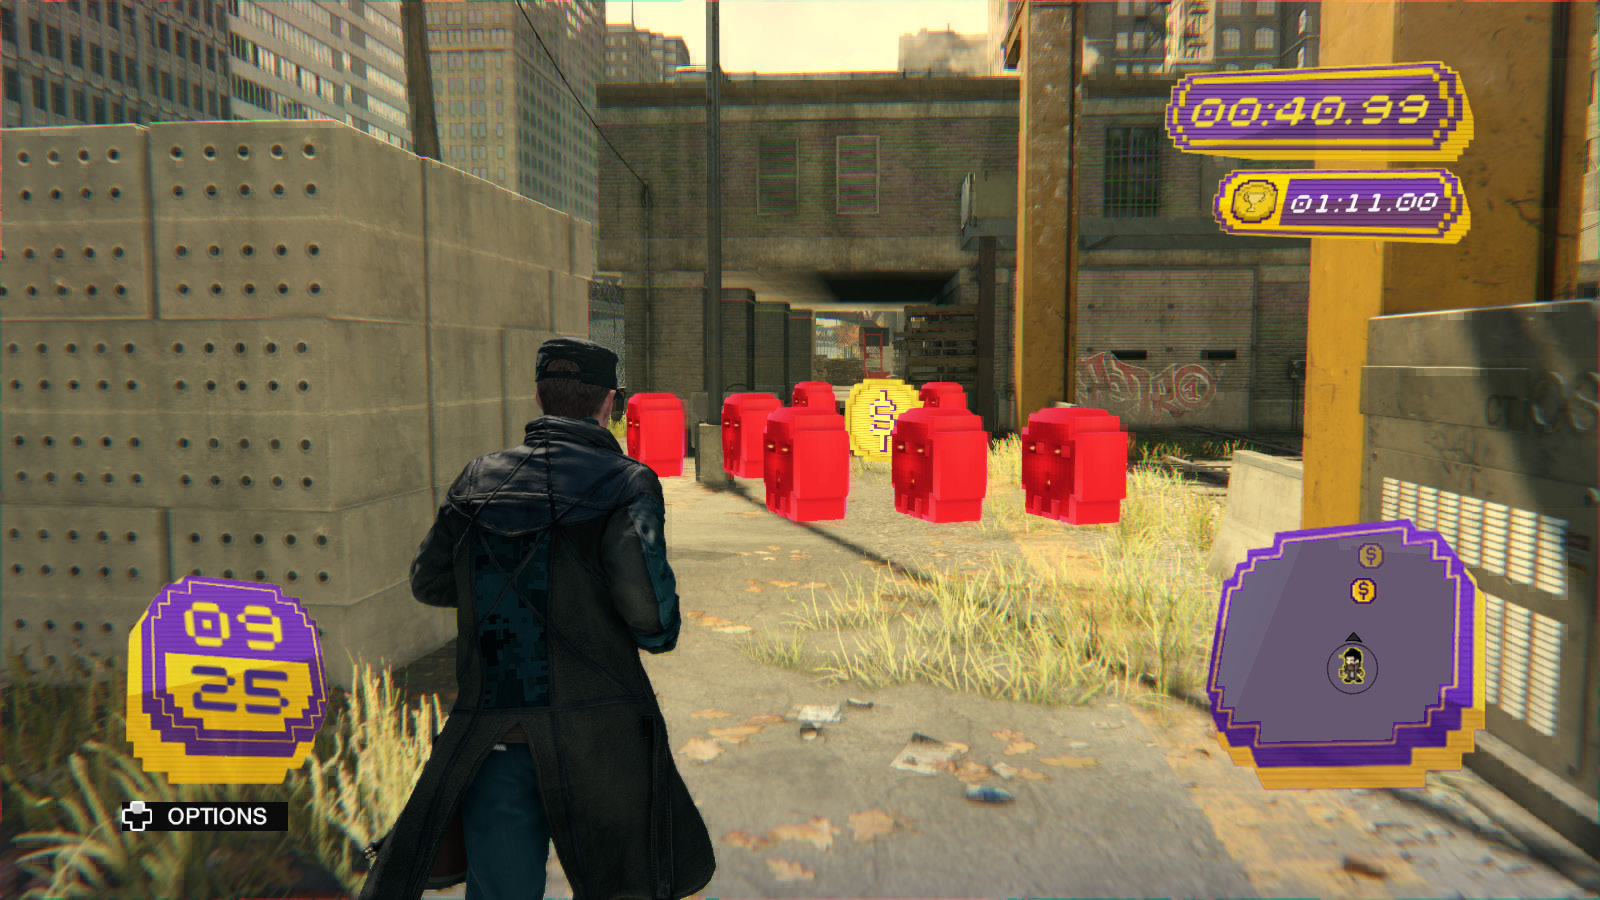
Your first few attempts at gold are likely to be foiled by accidentally grabbing a few red skulls, as there are several places on this cash run where they’re hard to avoid. You’ll also lose a lot of time to dodging and vaulting the crates, pipes, and other assorted items that clutter the riverfront shipyard, but once you’ve run the route a couple of times, it’s easy to get a feel for when you can make up some time by sprinting to the next coin.
Venting Commotion
 Gold: 1:30.00
 Silver: 1:53.00
 Bronze: 2:15.00
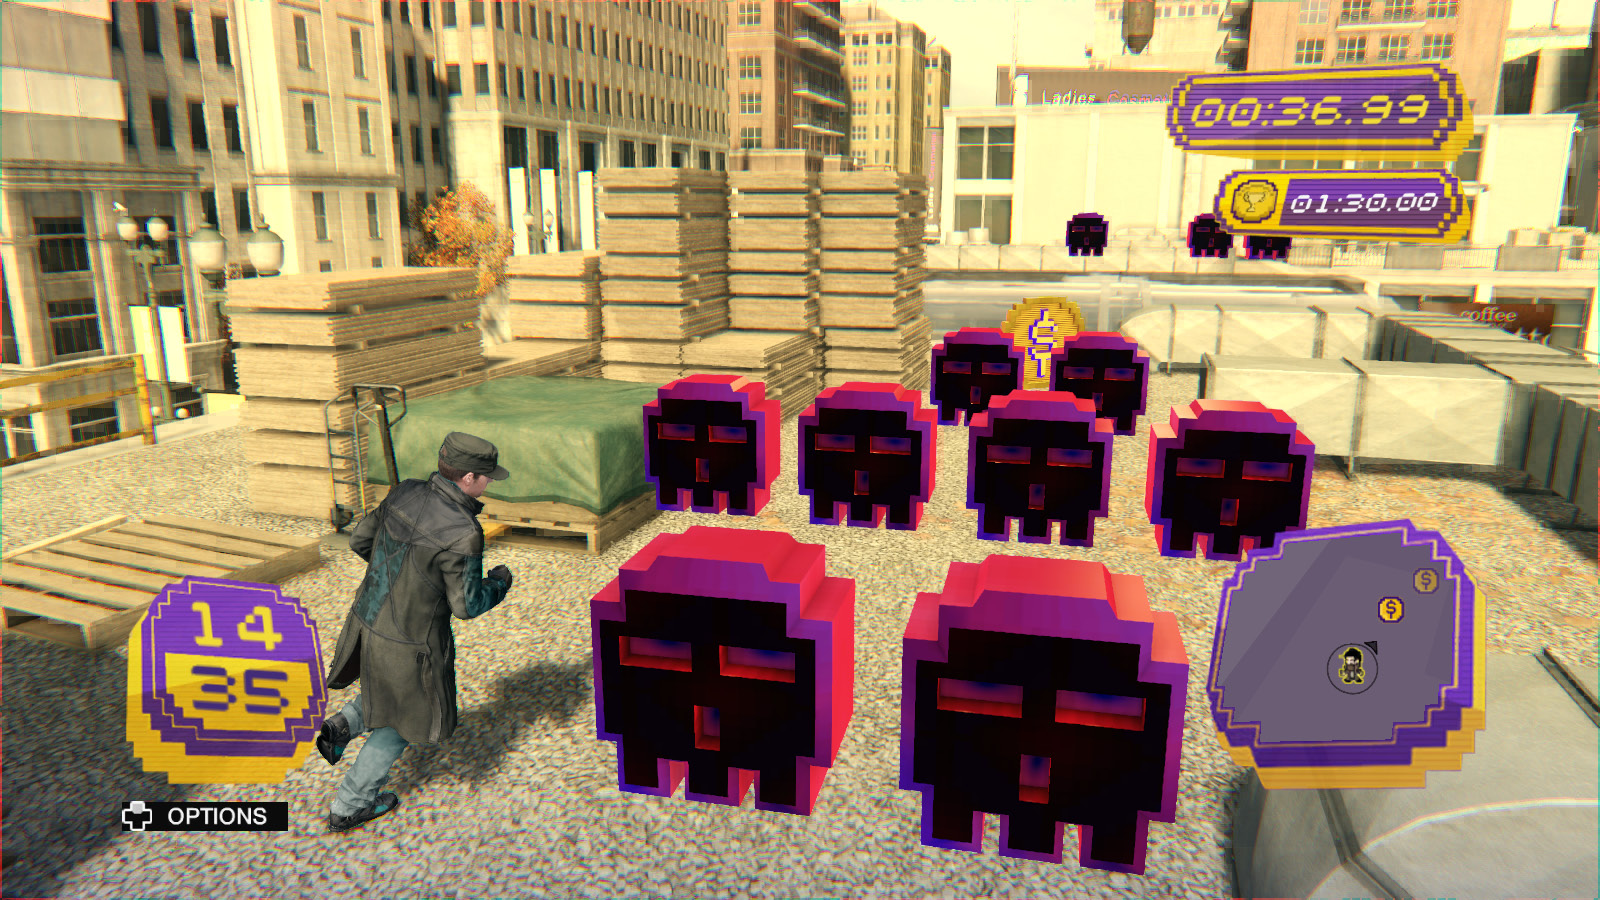
You get off to a slow start on this run due to having to climb up to the roof of the building, and there are a lot of places where you have to “thread the needle” through an awkward set of red skulls, but an easy-to-grab bonus coin and several wide-open spaces once you’re up on the rooftops make up for it. With a little work, this could easily be your first gold.
Step On It
 Gold: 1:58.00
 Silver: 2:28.00
 Bronze: 2:57.00
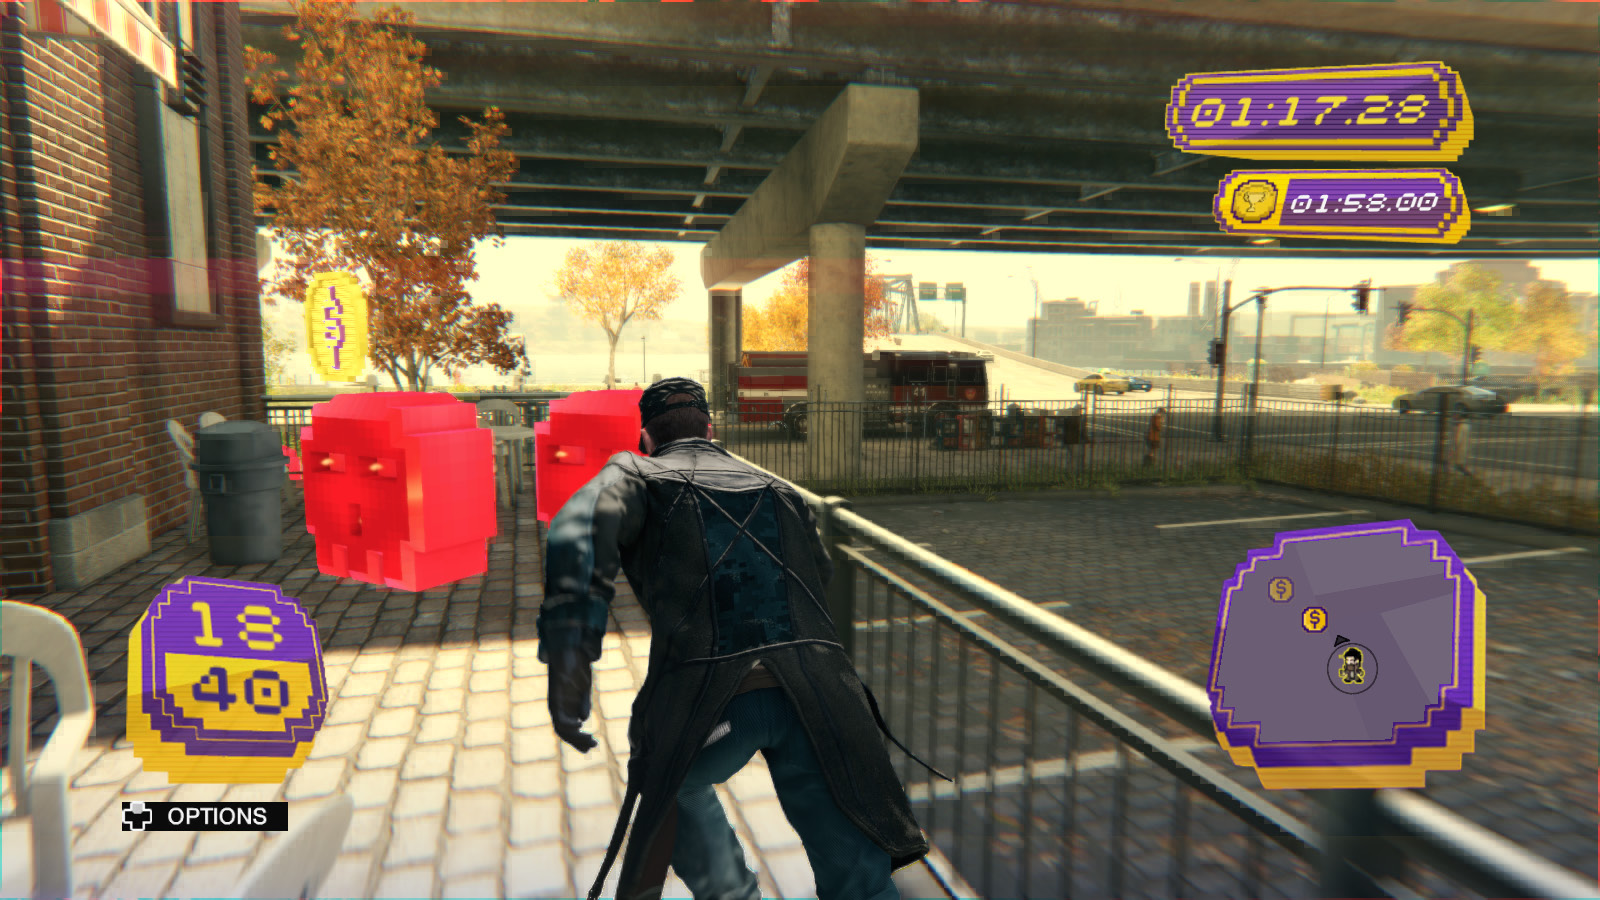
Here’s a tricky one. “Step On It” is one of the less linear tracks, with a lot of minute-to-minute complications keeping you from moving smoothly from coin to coin, and the early and obvious bonus coin requires you to hop most of the way off the track to get it, making it nearly useless.
Cannonball Rush
 Gold: 1:20.00
 Silver: 1:40.00
 Bronze: 2:00.00
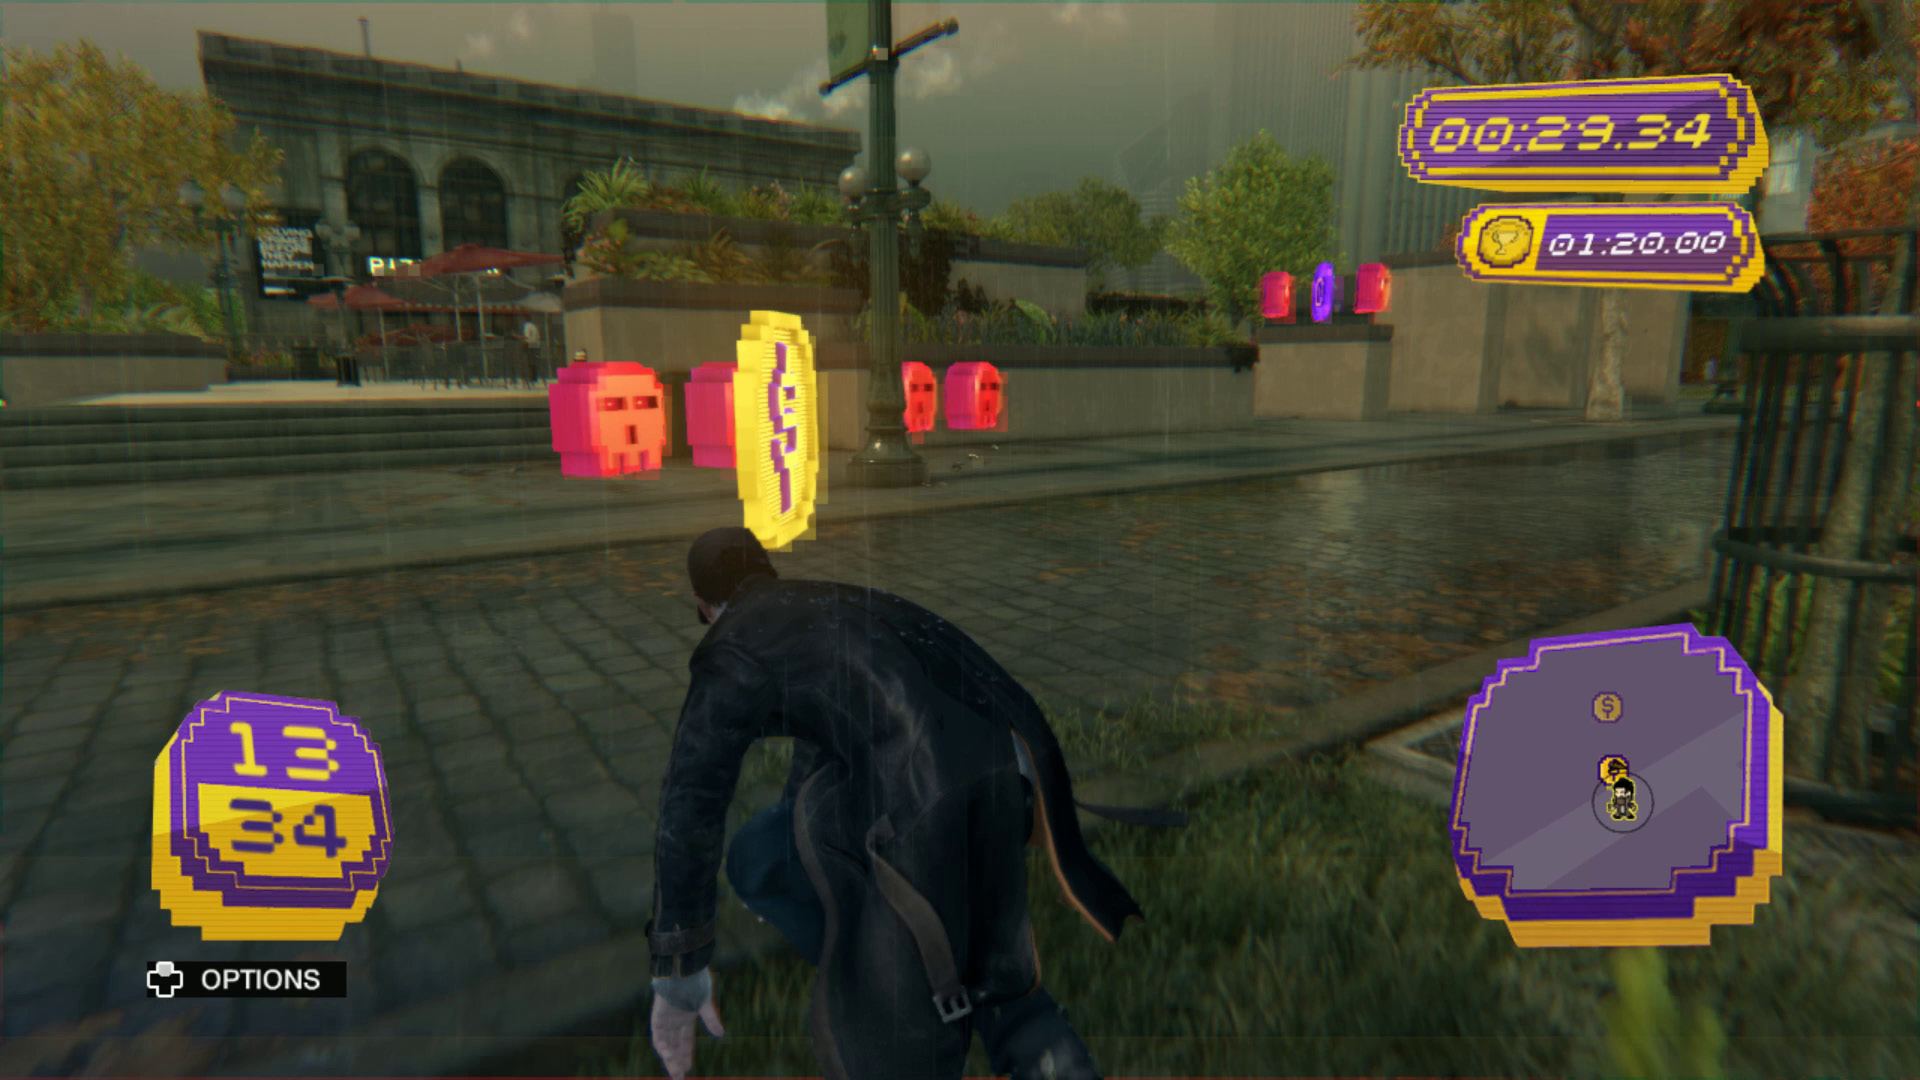
The timer is very tight, even if you’re just aiming for silver, and the first two-thirds of the track involve enough climbing and narrow spaces that one mistake can cost you a medal. The bonus coin can make a difference if you swing wide of the track to anticipate its appearance and grab it on your way back to the next gold coin, but you have to plan ahead for it.
Terrace to Race
 Gold: 1:17.00
 Silver: 1:36.00
 Bronze: 1:56.00
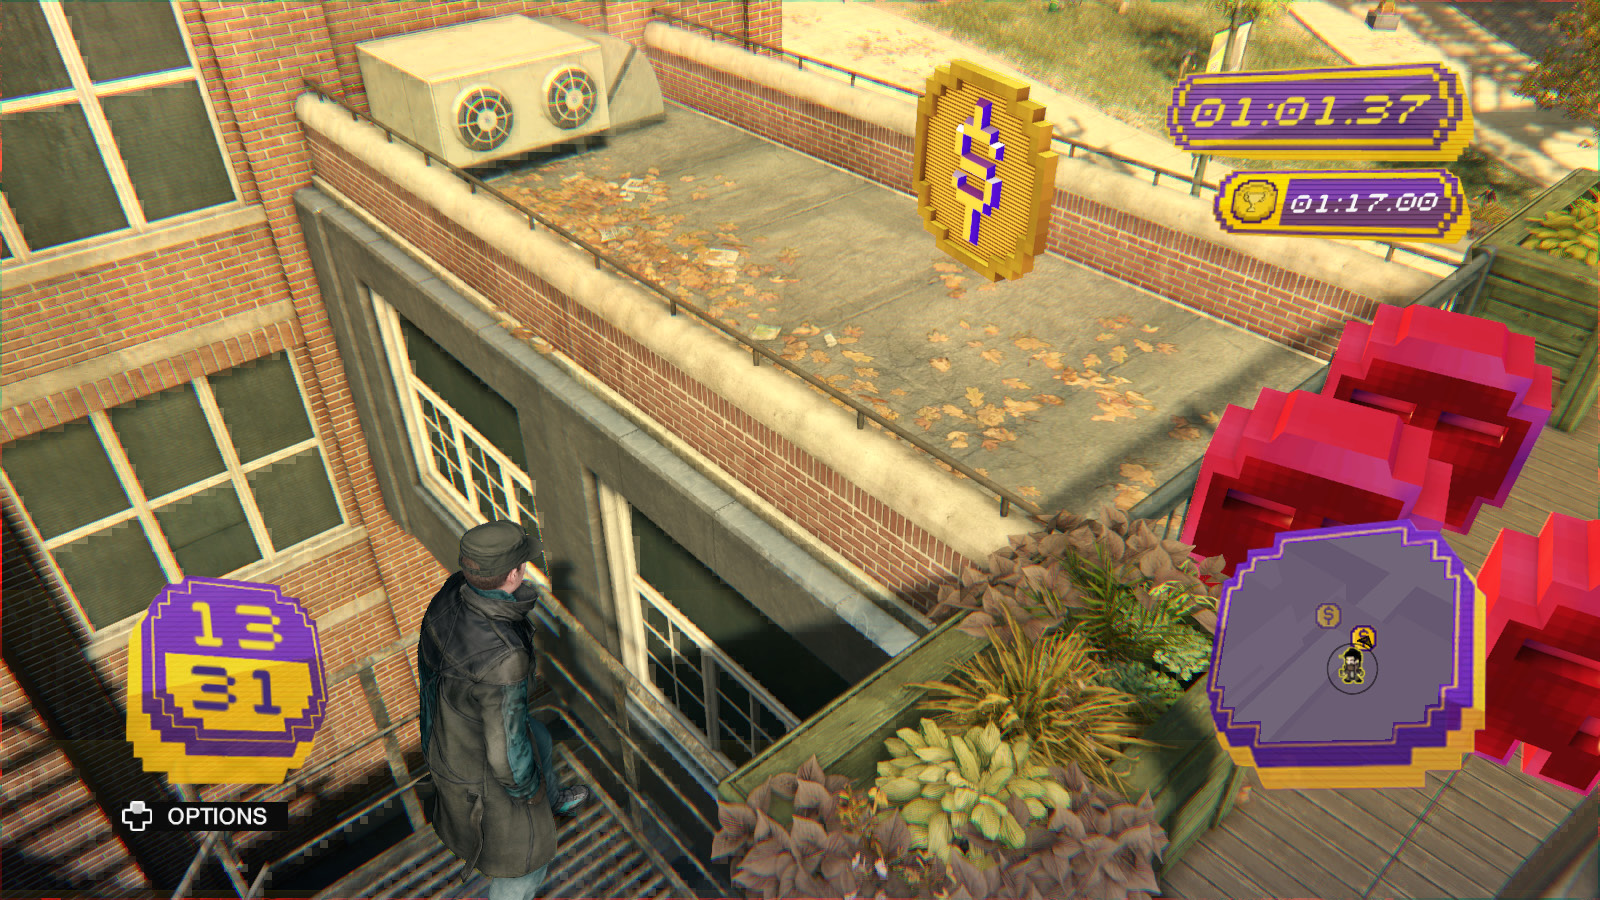
Three things kill you on this track: The red skulls, which are seemingly everywhere and perfectly placed so you can run into them even when you’re theoretically doing everything right; the time limit for gold, which is one of the least forgiving in this City Game; and the railing jump after the 13th coin, which…literally kills you. In the latter case, if you try to skip past the big cluster of red skulls by hopping off the balcony, what looks like it’d be a safe shortcut is in fact a three-story fall to your death. Just go around to the right of the skulls and continue on your merry way.
Past that particular issue, this is one of the toughest cash runs. If you can get a gold on this track, you should consider it a feather in your cap.
Mad Mile // Cash Runs
Total: 10
Ascent of Fear
 Gold: 0:45.00
 Silver: 0:56.00
 Bronze: 1:08.00
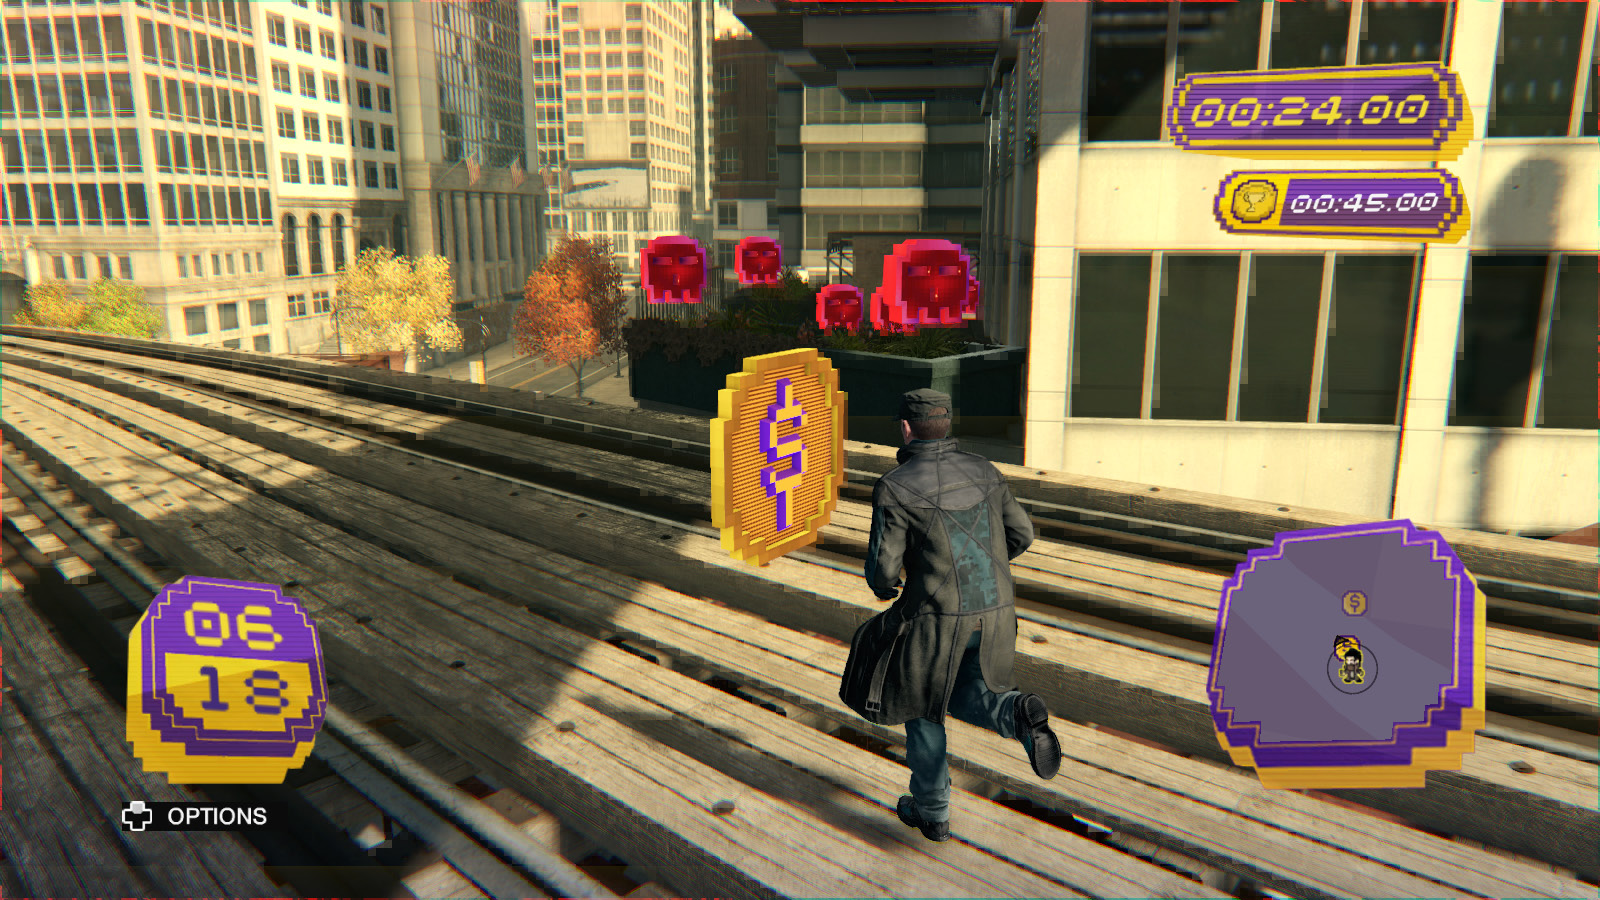
This is a short and simple track, but it involves a lot of climbing and a short dash across elevated train tracks, so it’s easy to get killed by accident. Many of the coins require a bit of finesse to reach without accidentally collecting a red skull, and it’s useful if you can reliably kick off a nearby wall to quickly reach an overhead ledge.
Social Climber
 Gold: 1:05.00
 Silver: 1:21.00
 Bronze: 1:38.00
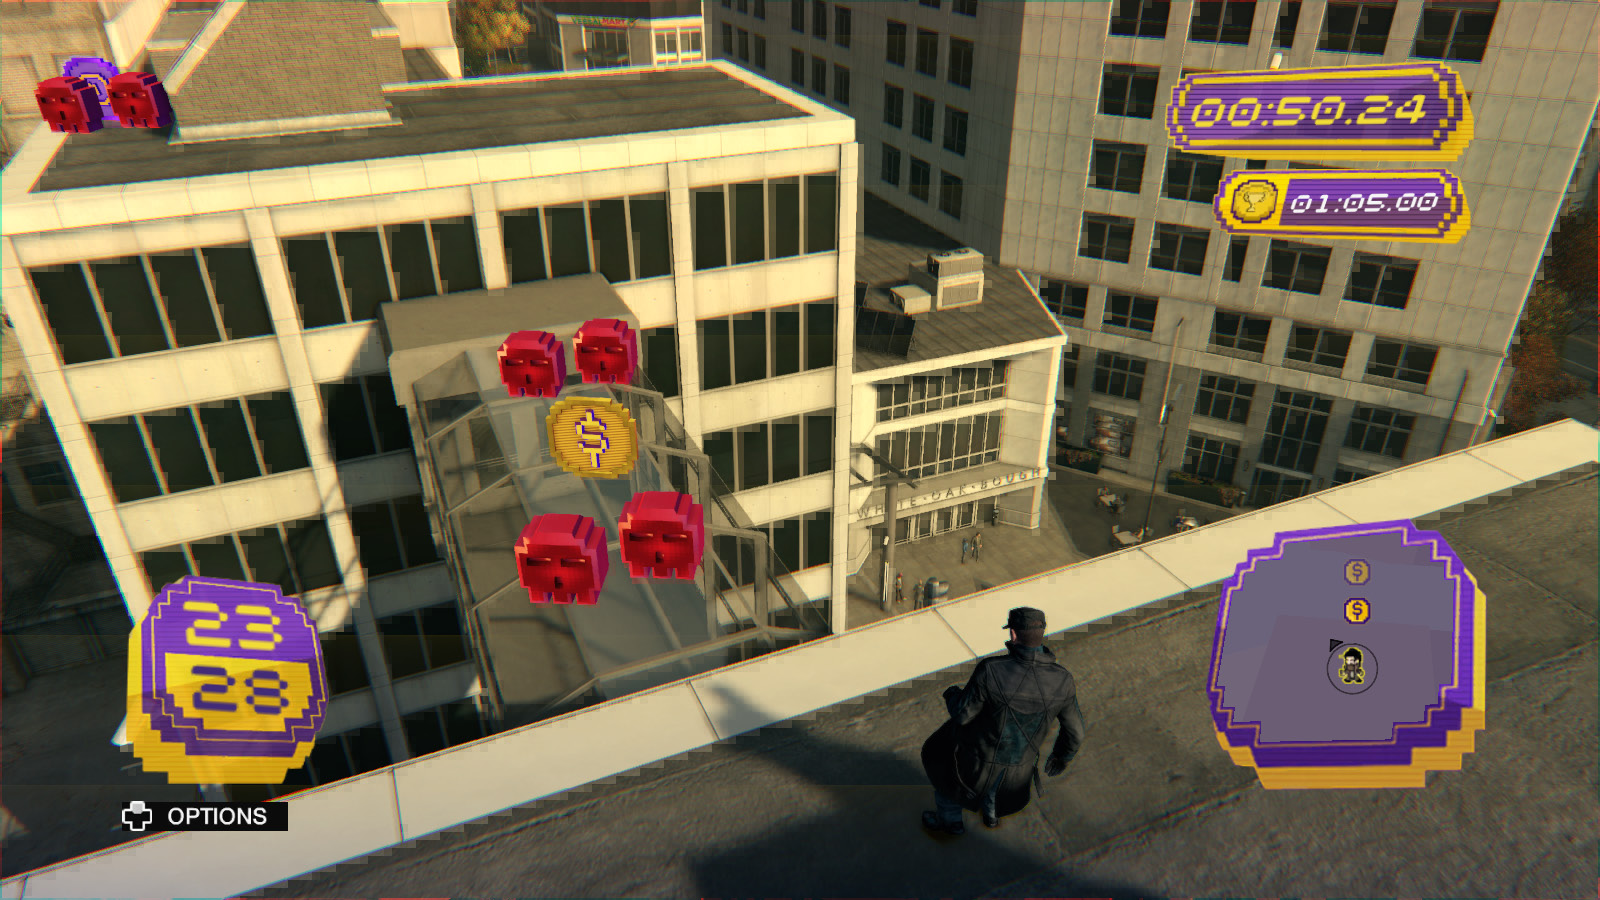
The timer on this one is tight, and it’ll be a big help if you try this run at night. The first few coins are found in the outdoor dining area at a restaurant, and it’ll slow you down considerably if you have to plow through the lunch crowd. Once you get across the street, your biggest problem will be keeping your footing on the rooftops of the Mad Mile.
Urban Jungle
 Gold: 1:36.00
 Silver: 2:00.00
 Bronze: 2:24.00
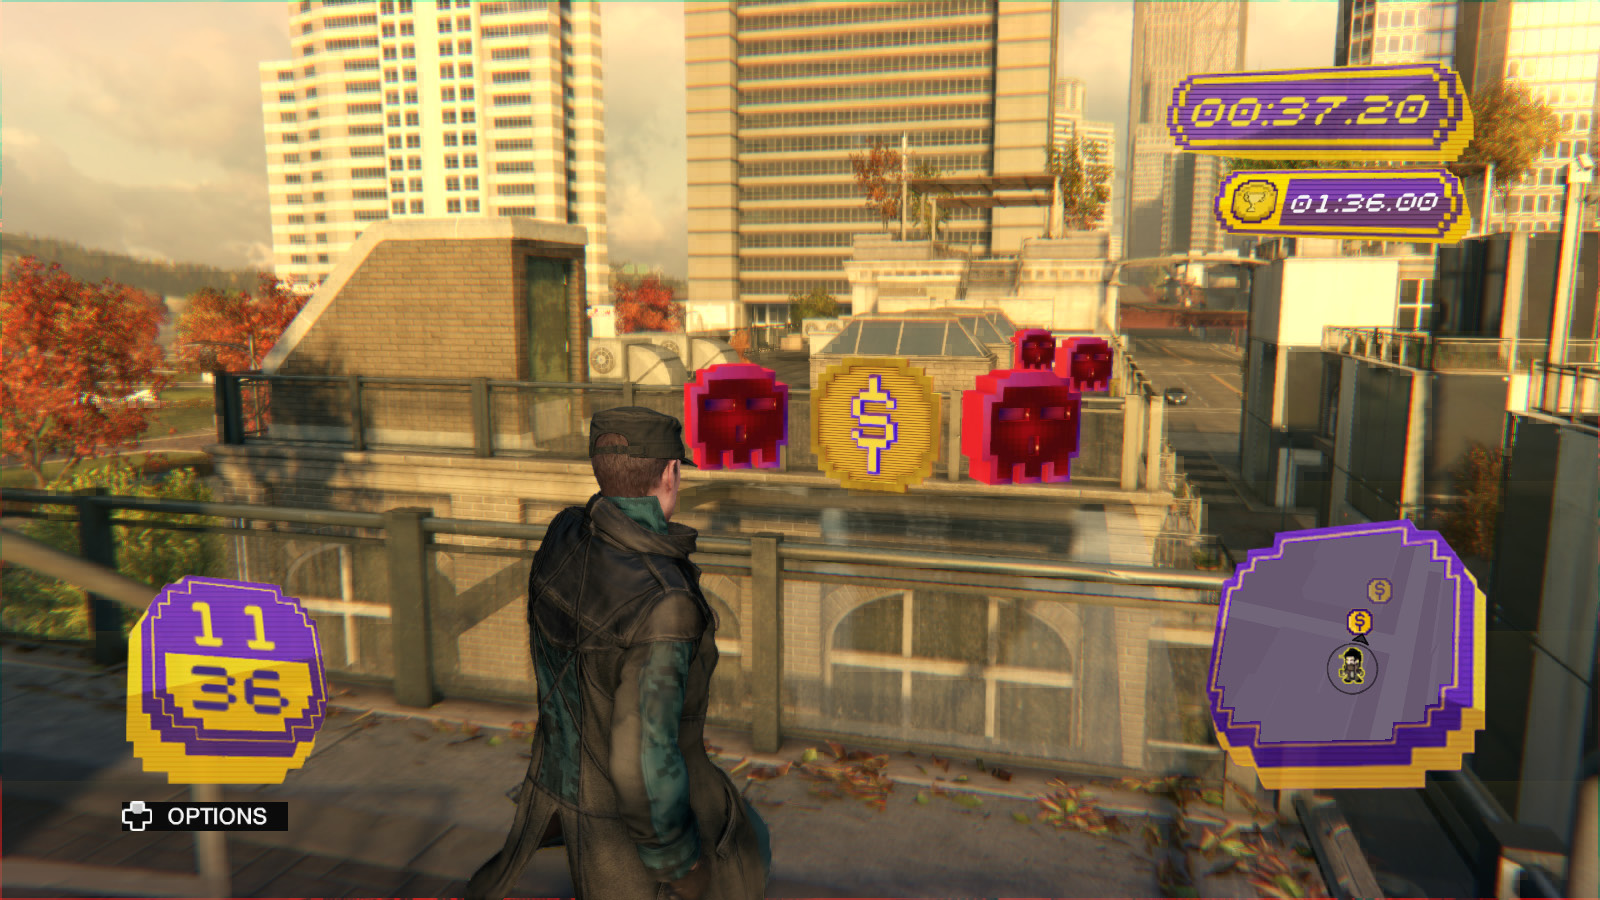
To reach the spot on the ground that starts the cash run, get a running start and use the gardens at ground level to vault up and onto one of the nearby balconies.
This is a straightforward dash across the Mad Mile’s rooftop gardens, but be careful. One wrong move can send you back down to street level, causing a potentially fatal amount of damage and putting you well beyond any hope of a medal.
Above Your Station
 Gold: 1:35.00
 Silver: 1:59.00
 Bronze: 2:23.00
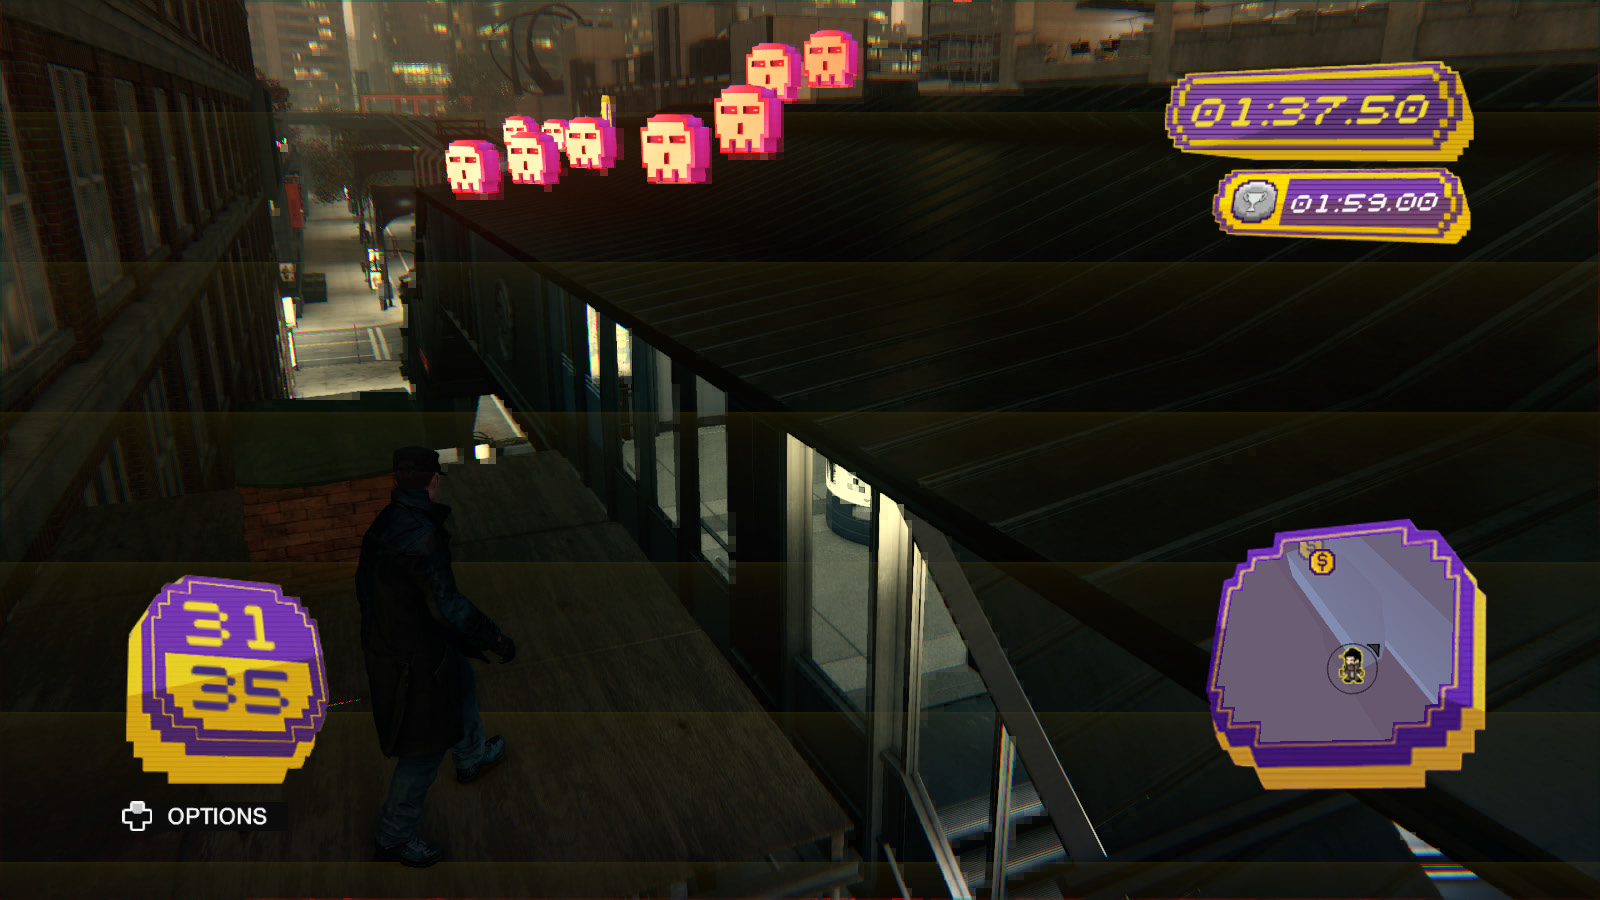
You have a lot of ground to cover and a lot of coins to collect on this run. The early going’s easy enough, as you’re simply running around a few park benches, but you need to take most of the run at a sprint and know exactly where you’re going if you intend to get anywhere near gold.
Be very careful as you go for the 30th coin, as there’s just enough of a gap between the rooftops for you to fall through if you hesitate, and that fall is just high enough to kill you.
Under Construction
 Gold: 1:15.00
 Silver: 1:34.00
 Bronze: 1:53.00
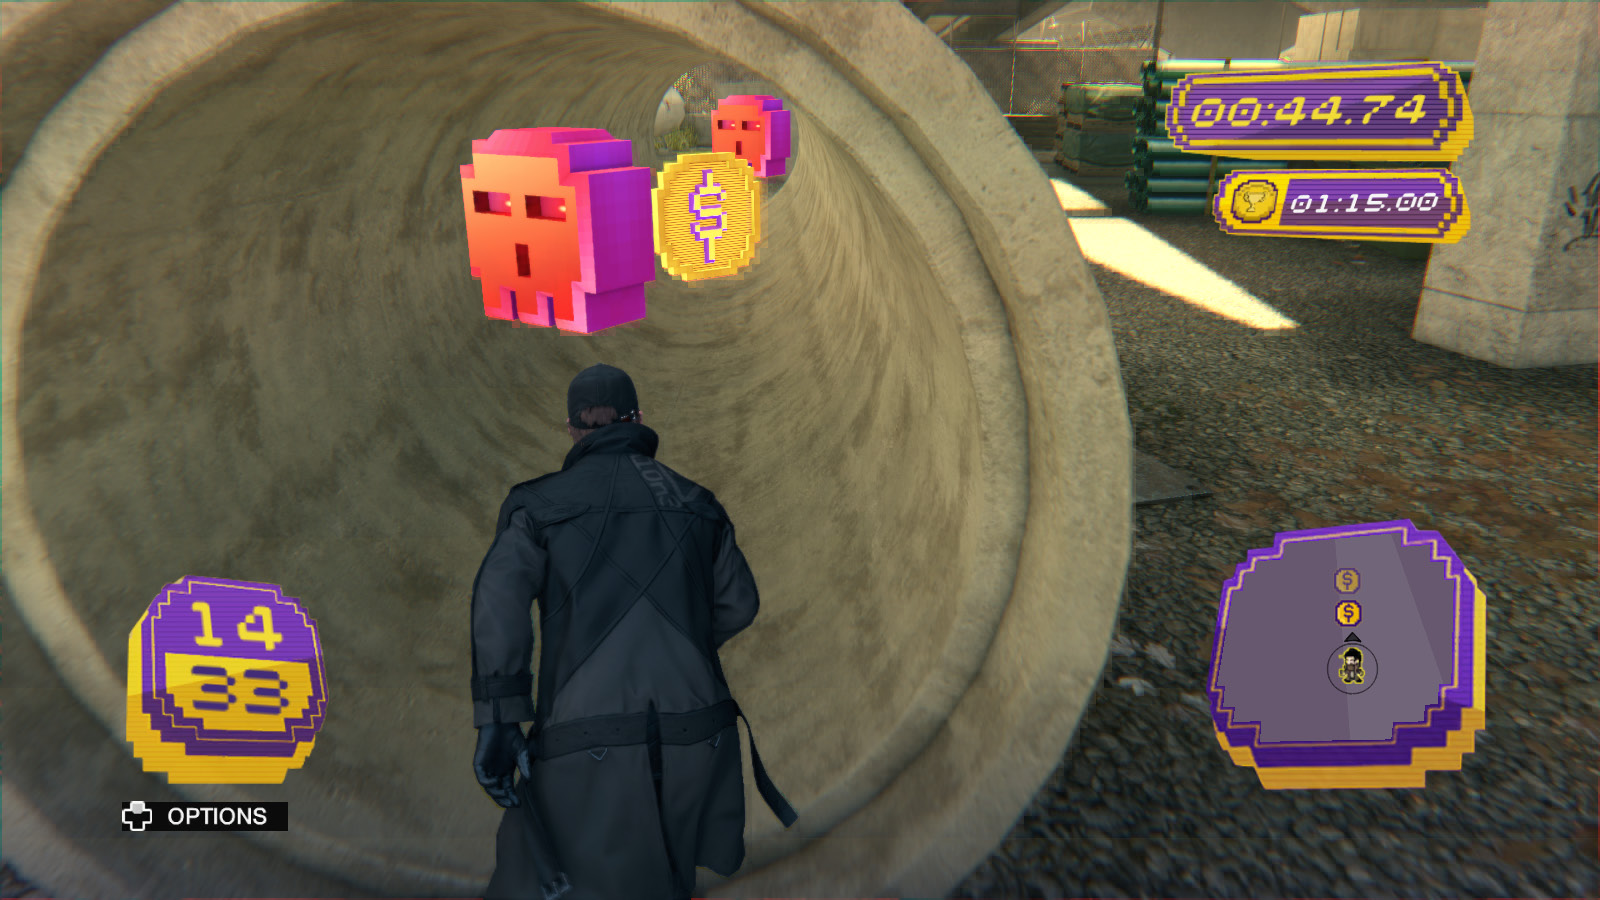
This track is all about precision. The most expedient route also puts you in close proximity to many, many red skulls, so being off by a few millimeters either way can stick you with a fat penalty. The timer’s rather forgiving for all that, and there are none of the unfortunate falls to your death that characterize many other Mad Mile tracks, but positioning is everything.
Taking the High Road
 Gold: 1:24.00
 Silver: 1:45.00
 Bronze: 2:06.00
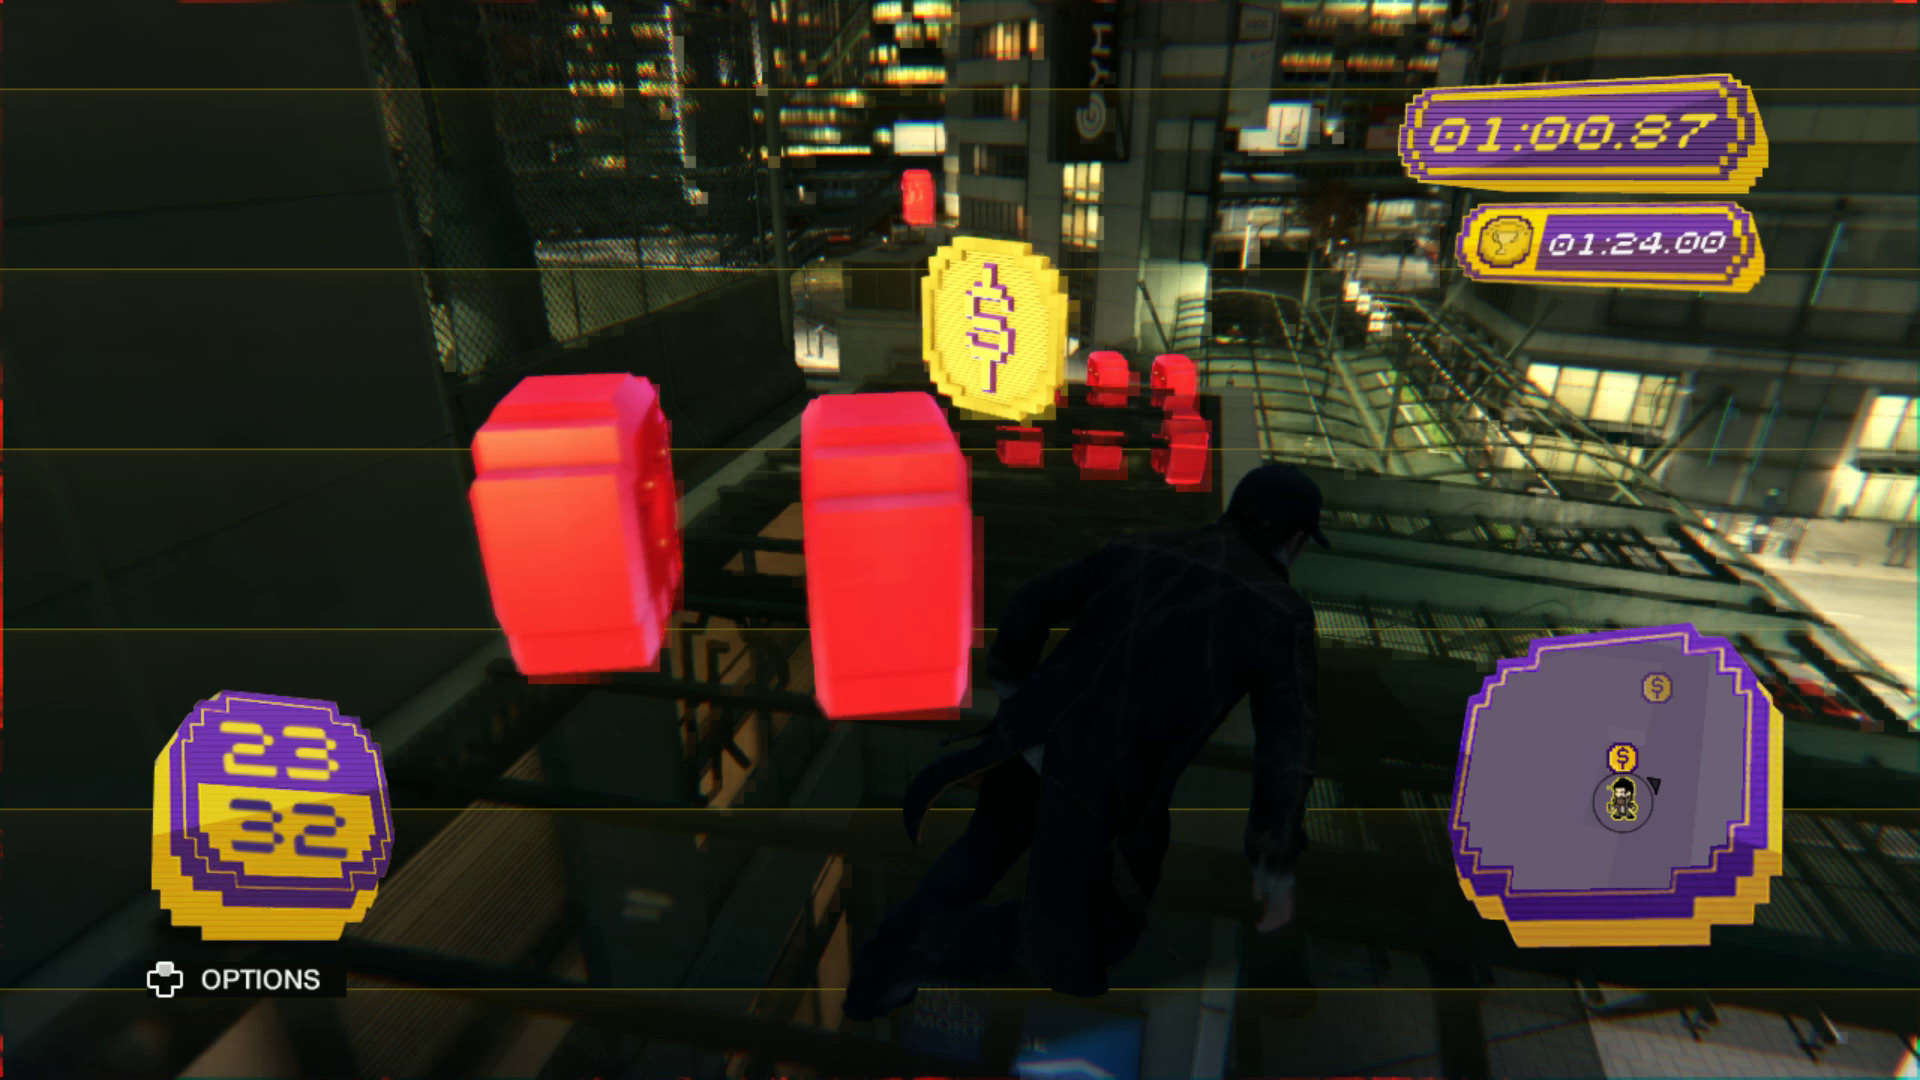
This is initially a straightforward, climbing-based track, but at about the halfway point, you have to slow down to navigate some tricky impromptu mazes made out of red skulls. Your best bet for gold is to wring as much extra time out of the first dozen coins as possible, which is made easier by the presence of one of the more convenient bonus coins.
Riverside Rush
 Gold: 1:25.00
 Silver: 1:46.00
 Bronze: 2:08.00
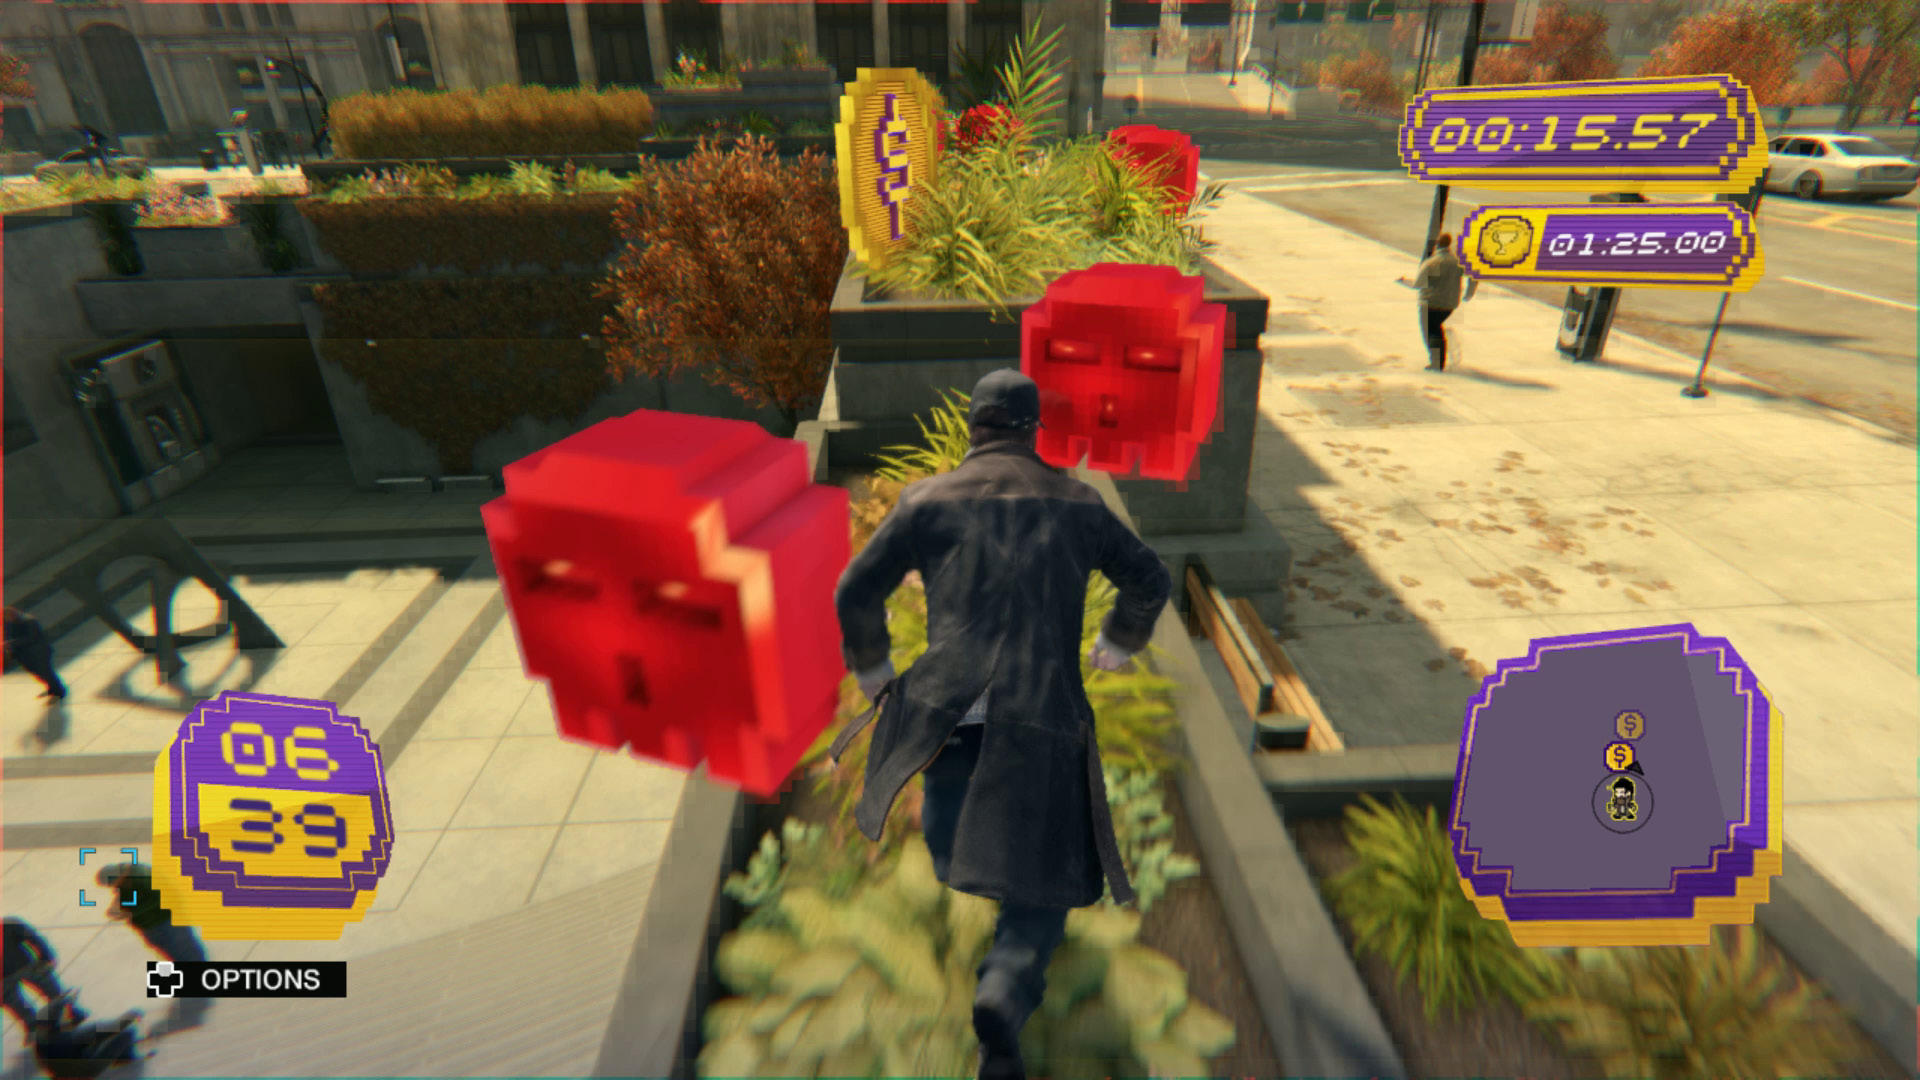
“Riverside Rush” is the Grand Prix of skull-dodging. Most of the track is covered with numerous carefully placed red skulls, which makes it difficult but necessary to sprint through. It’s useful to run this a couple of times for practice, to get an idea of where you can jump railings or climb a handy ledge to circumvent the next batch of skulls.
Glass Ceilings
 Gold: 1:25.00
 Silver: 1:46.00
 Bronze: 2:08.00
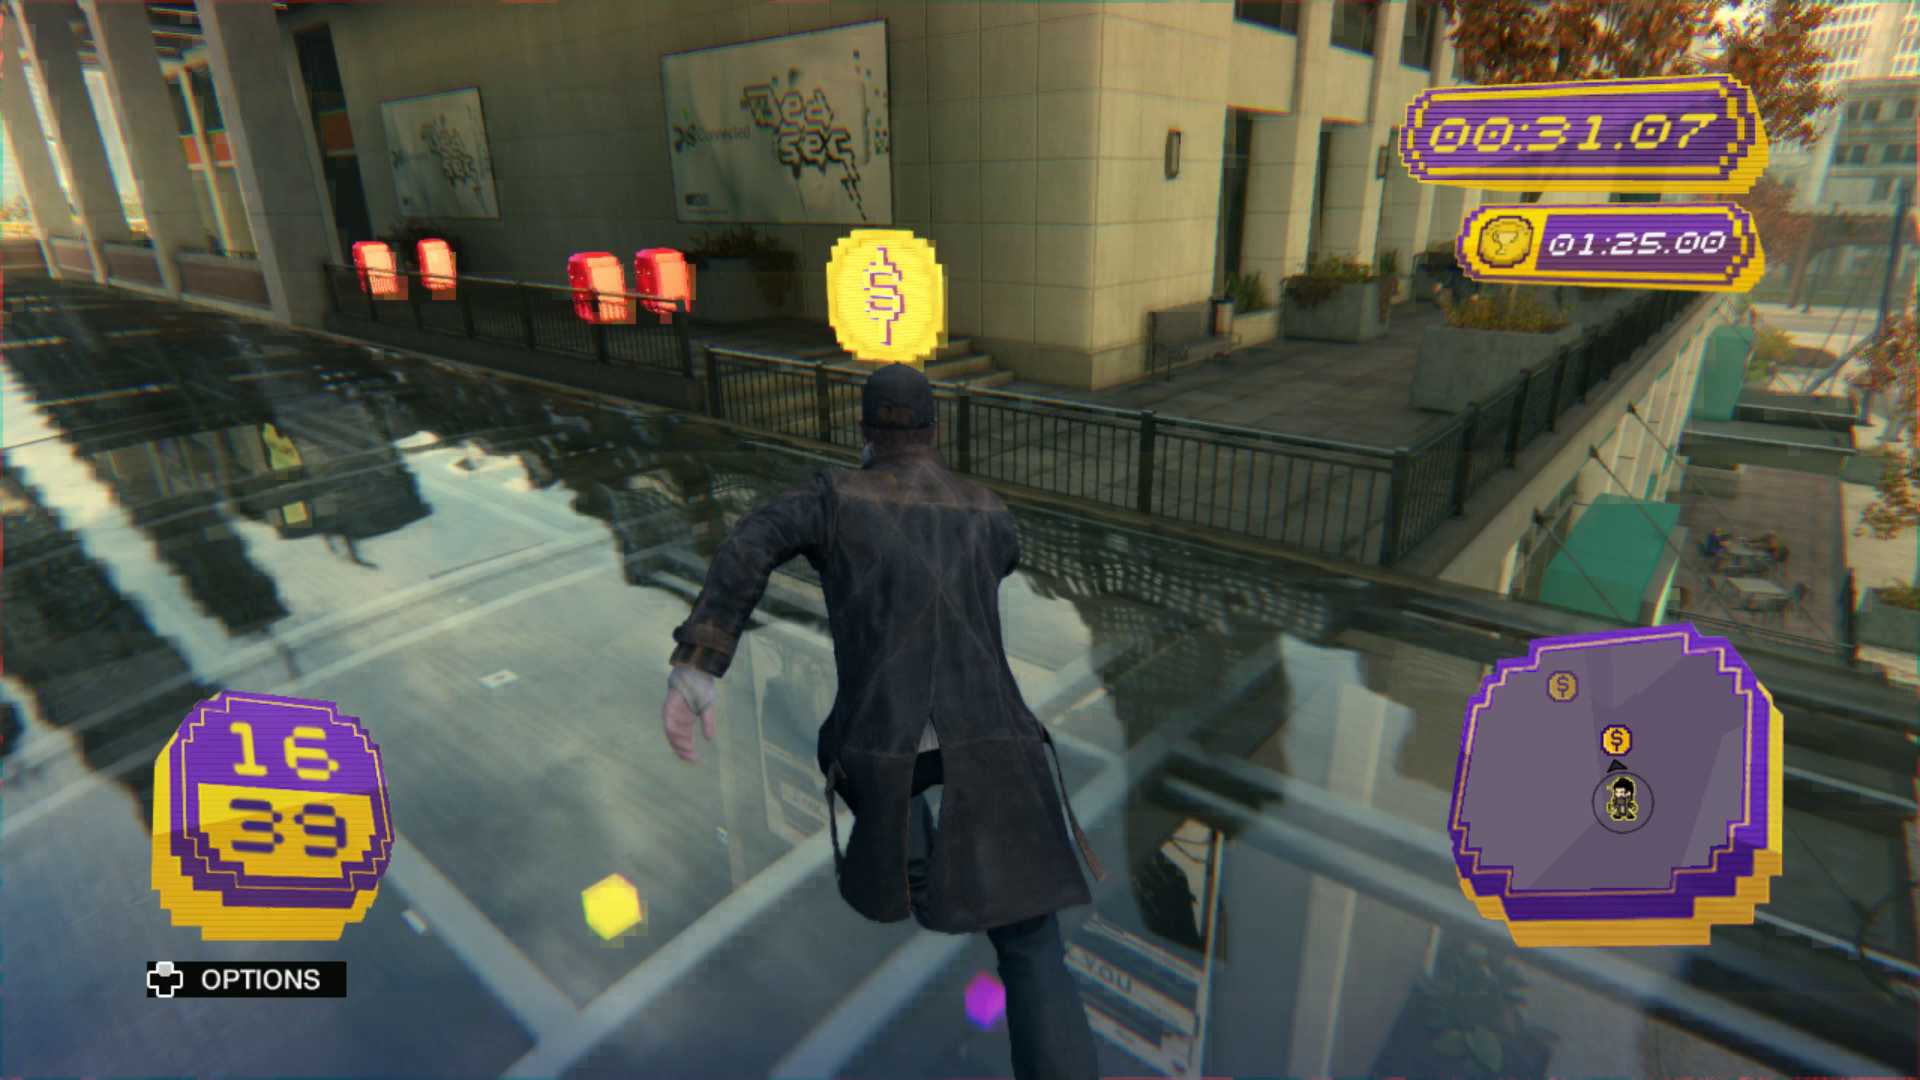
It’s once again time to stress-test the glass rooftops in the Mad Mile. This is another precision-based track, as it challenges your ability to move quickly through mazes made of red skulls. You may wish to skip the blue coin on this cash run; after you get it, you need to either loop around and lose a few seconds getting to the next coin or leap over the next railing and almost certainly hit a red skull on landing.
Catchem Mall
 Gold: 1:15.00
 Silver: 1:34.00
 Bronze: 1:53.00
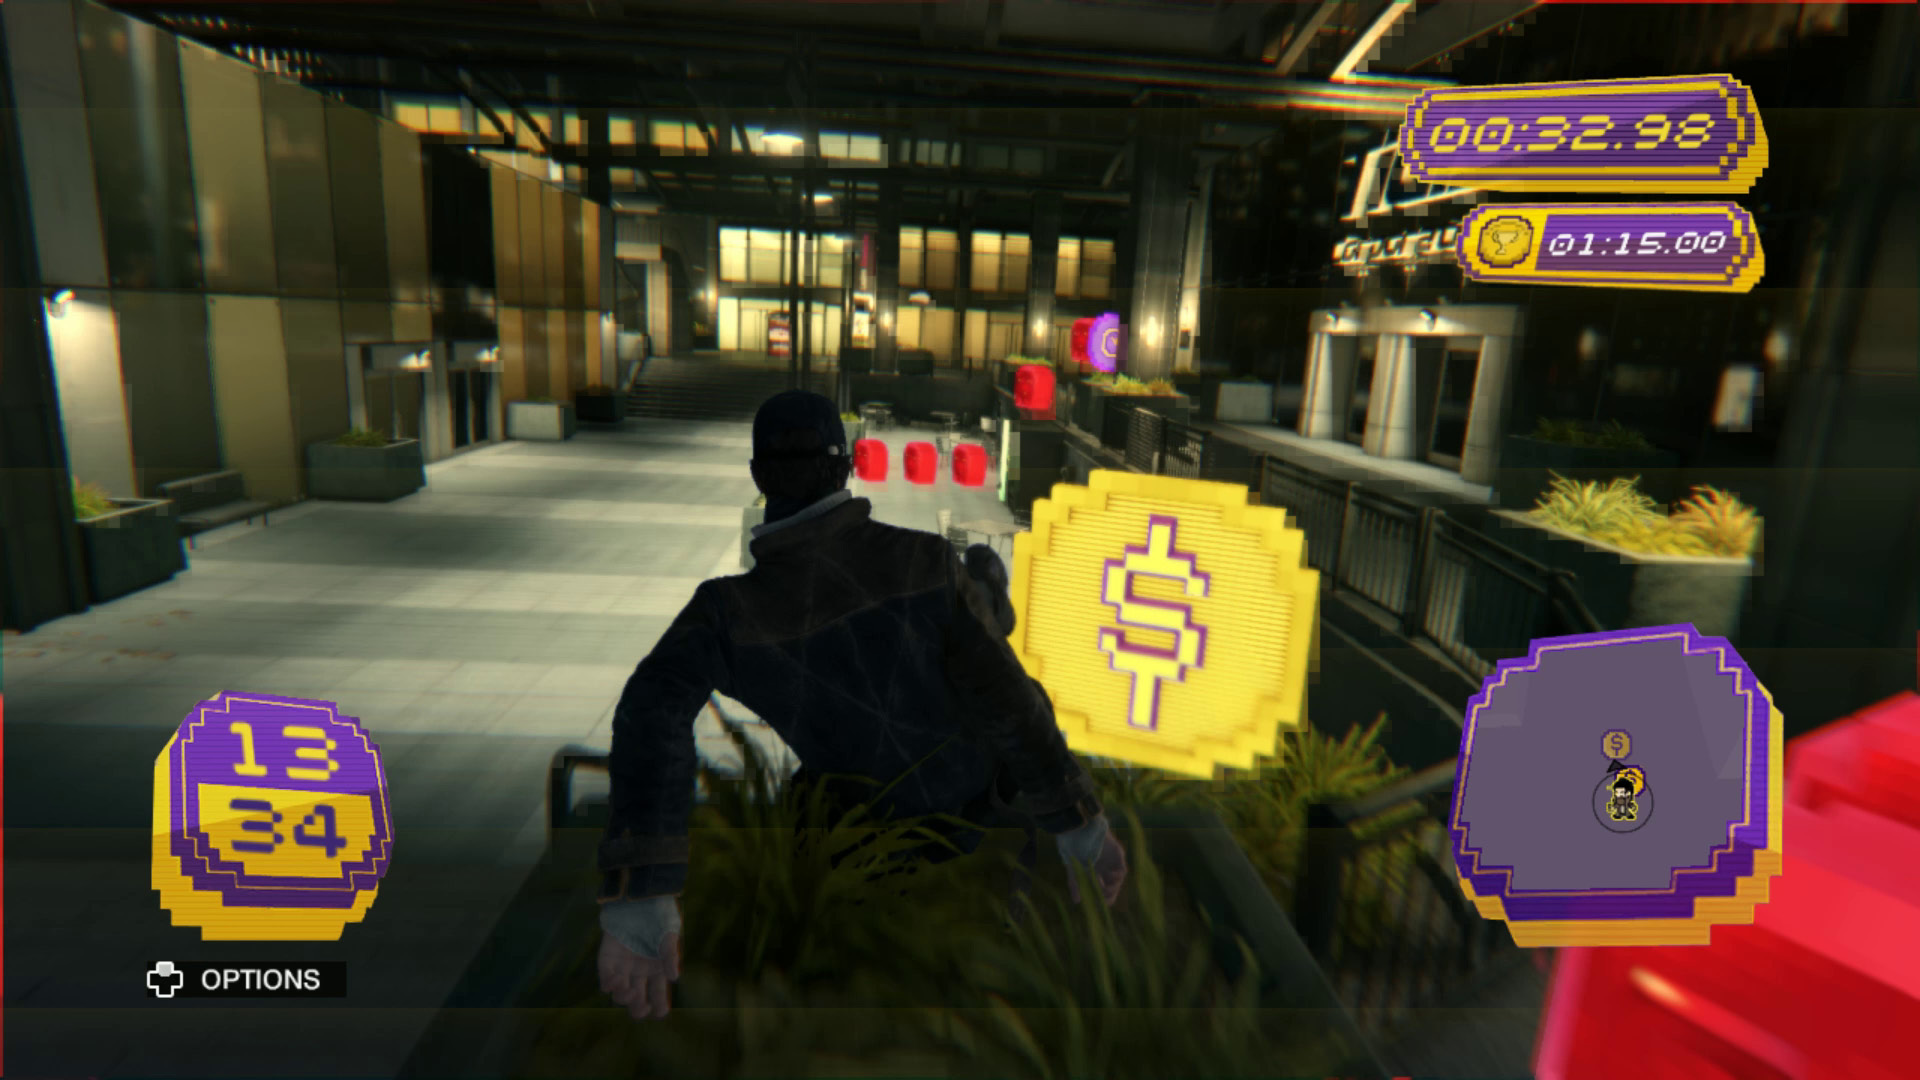
The hardest part of this stage is in collecting the first eight coins. Once you get inside the mall itself, the coins come faster and it’s just a question of getting into a nice rhythm.
Walk in the Park
 Gold: 1:03.00
 Silver: 1:19.00
 Bronze: 1:35.00
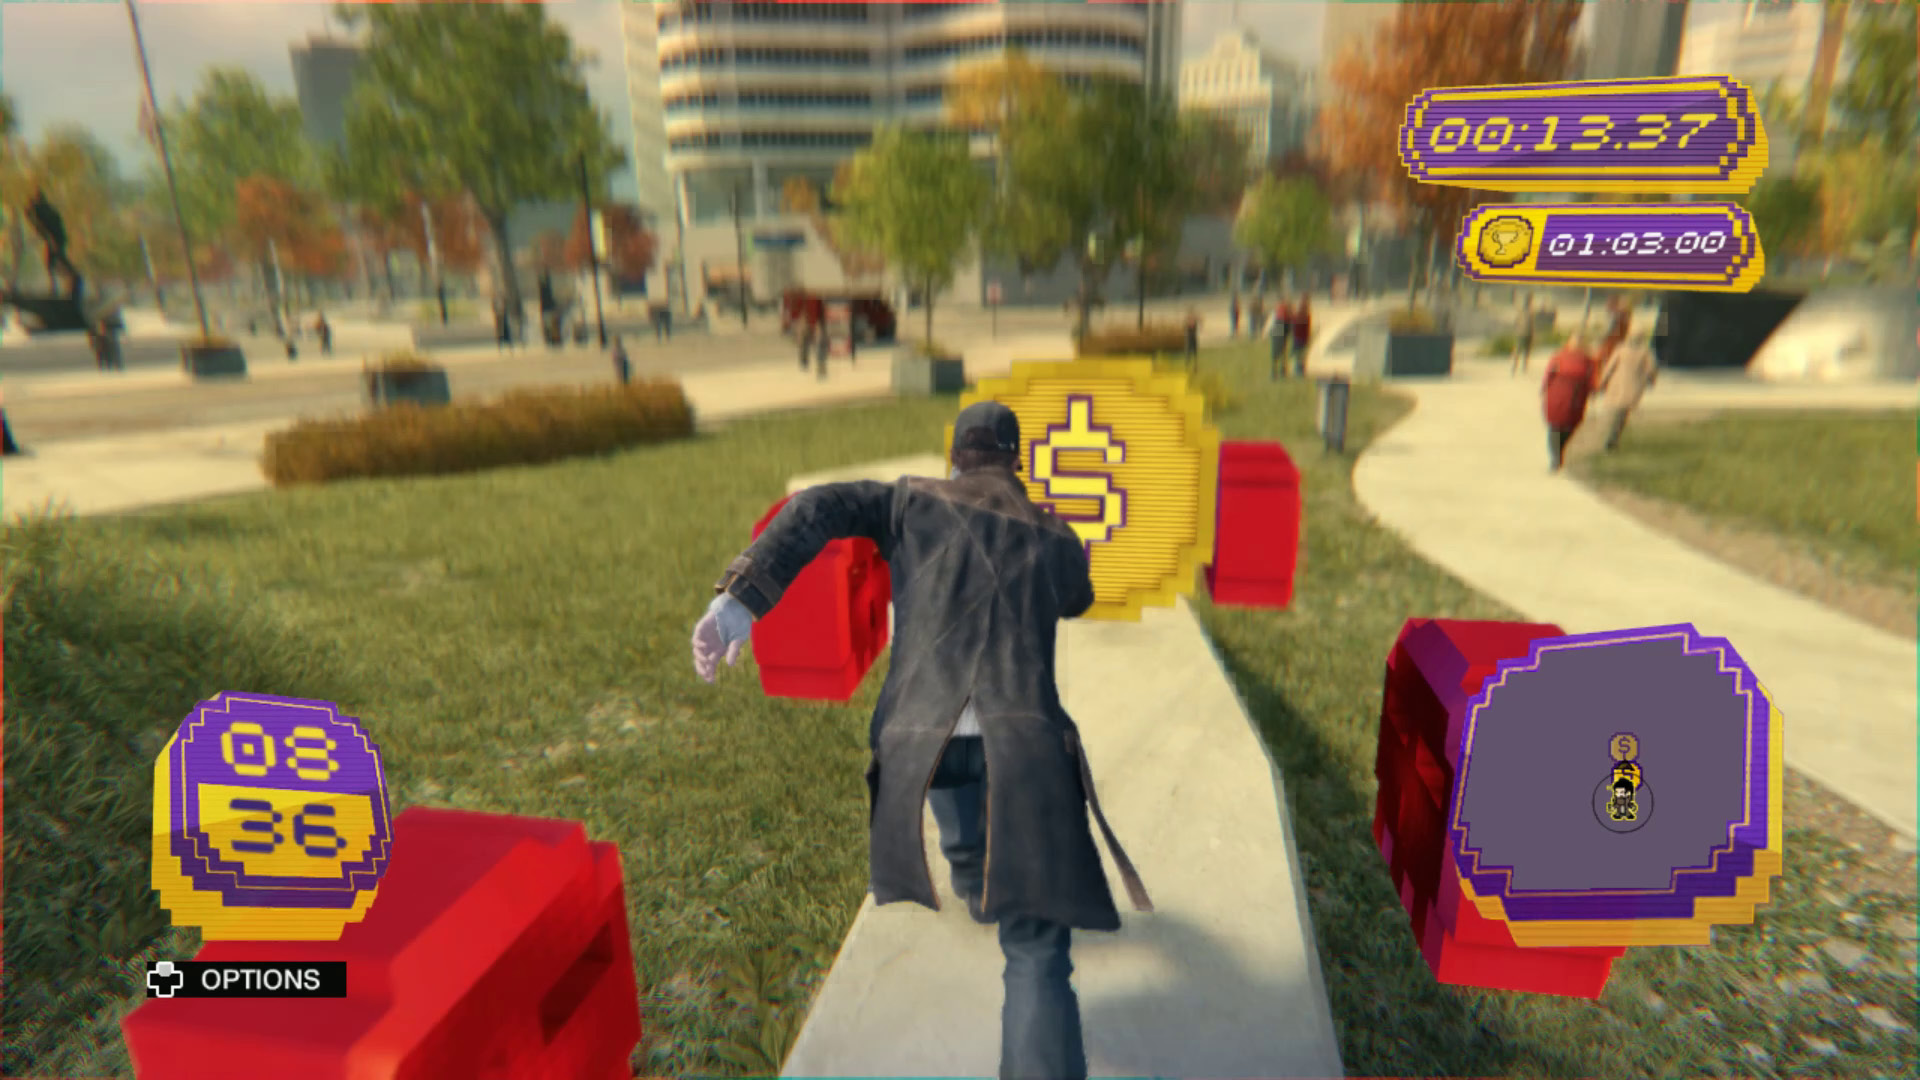
This tests your balance, as the most efficient way to make it through the track is to run along the tops of several of the stone sculptures, with red skulls waiting to either side if you overbalance and fall. The trick is simply to not think about it too much and to make the run as quickly as possible, like you’re using a balance beam at a full sprint. Hesitate, and you’re more likely to screw it up.
Cash Run Challenges
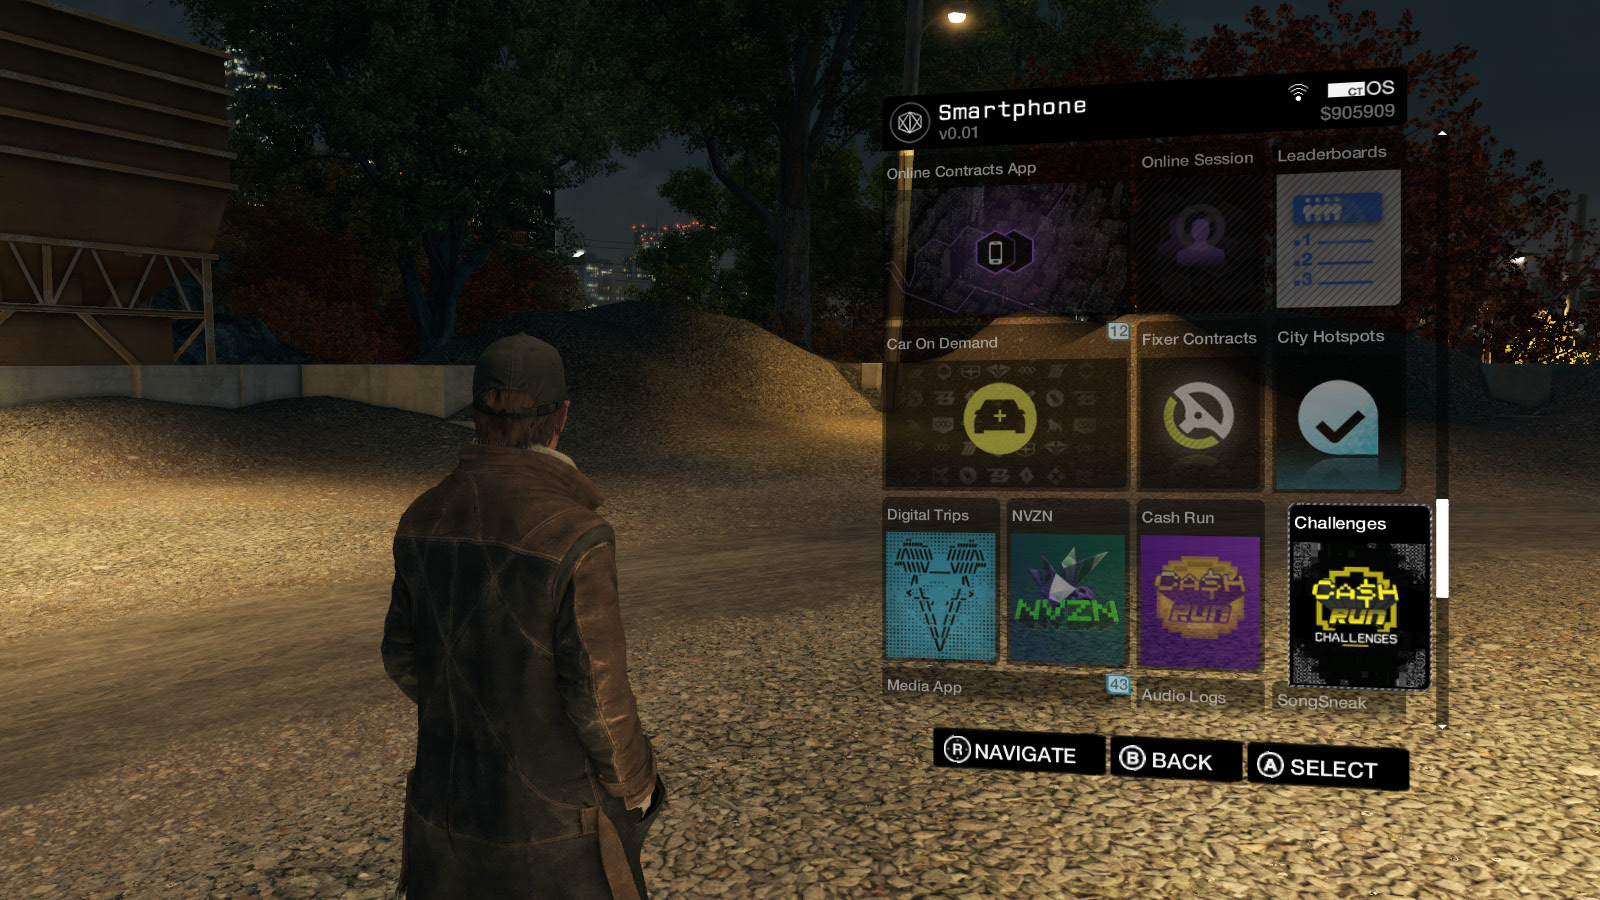
Once you have some money in your pocket, you can start setting up your own cash runs and upload them to provide a challenge for other players. You can place up to 200 gold coins on a route at a cost of $10 each, save and name the route, and set a time by running it that other players will have to try to beat. You cannot drop red skulls.
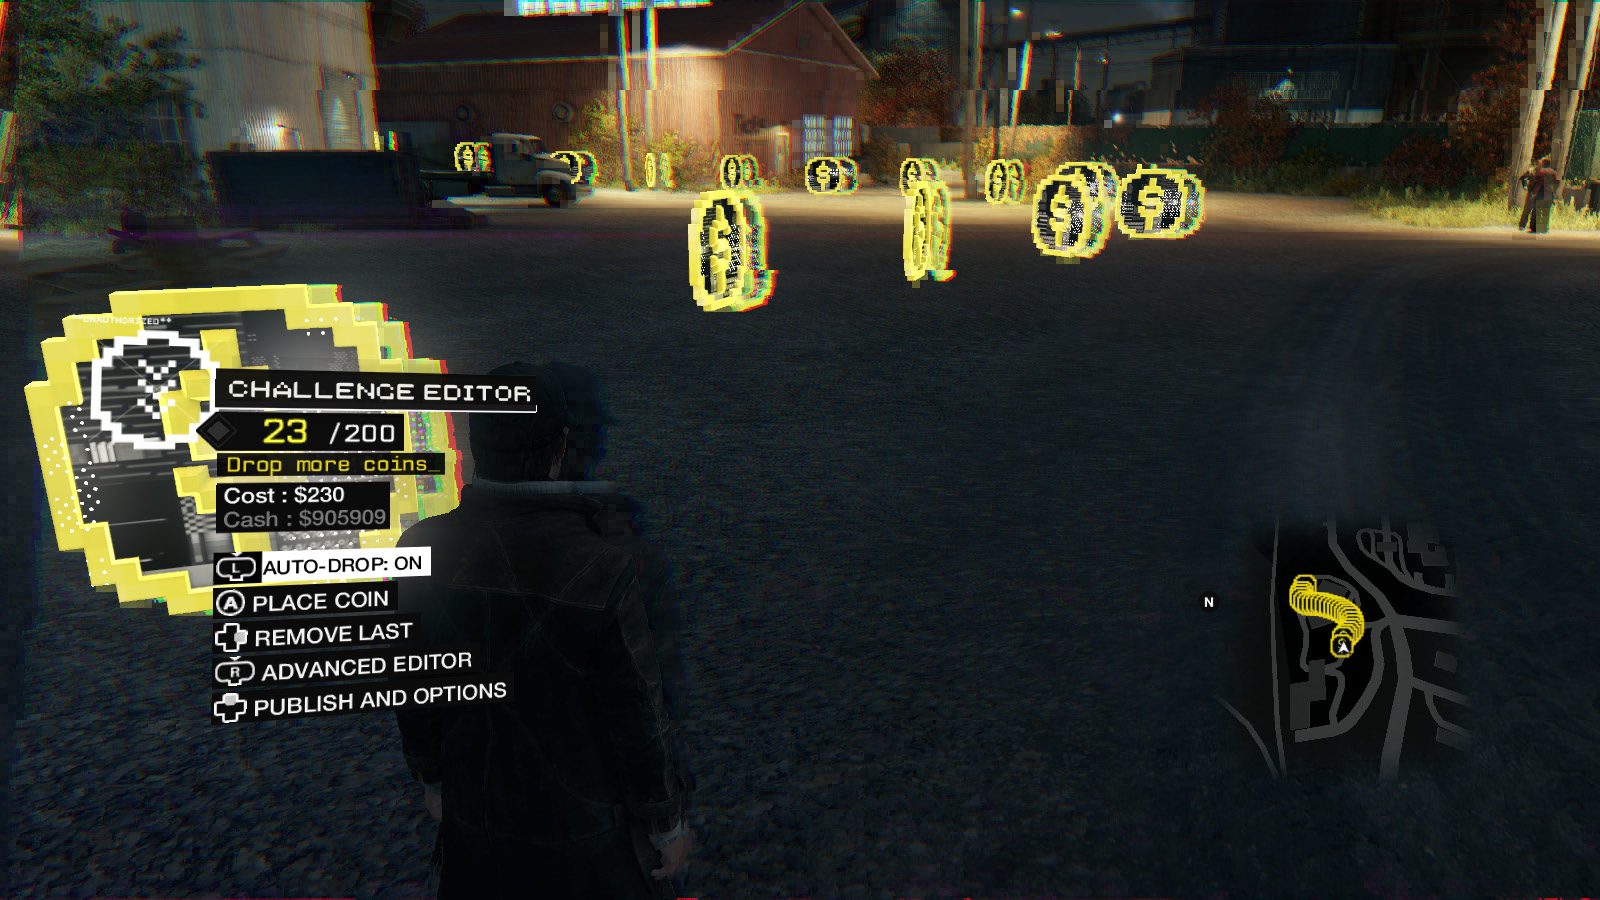
A lot of locations in Watch_Dogs’ Chicago lend themselves to a do-it-yourself cash run. Downtown Pawnee is a good pick, with its blend of small alleys and short buildings with accessible rooftops. You can also get a lot of mileage out of the deserted islands that surround the Bunker, the “Abandoned Station” hotspot in Pawnee (see page xxx), or the meat-packing plant on the waterfront in the northern part of the Brandon Docks. Making your own cash run provides a handy excuse for exploring parts of the game world that you wouldn’t see over the course of a typical game.
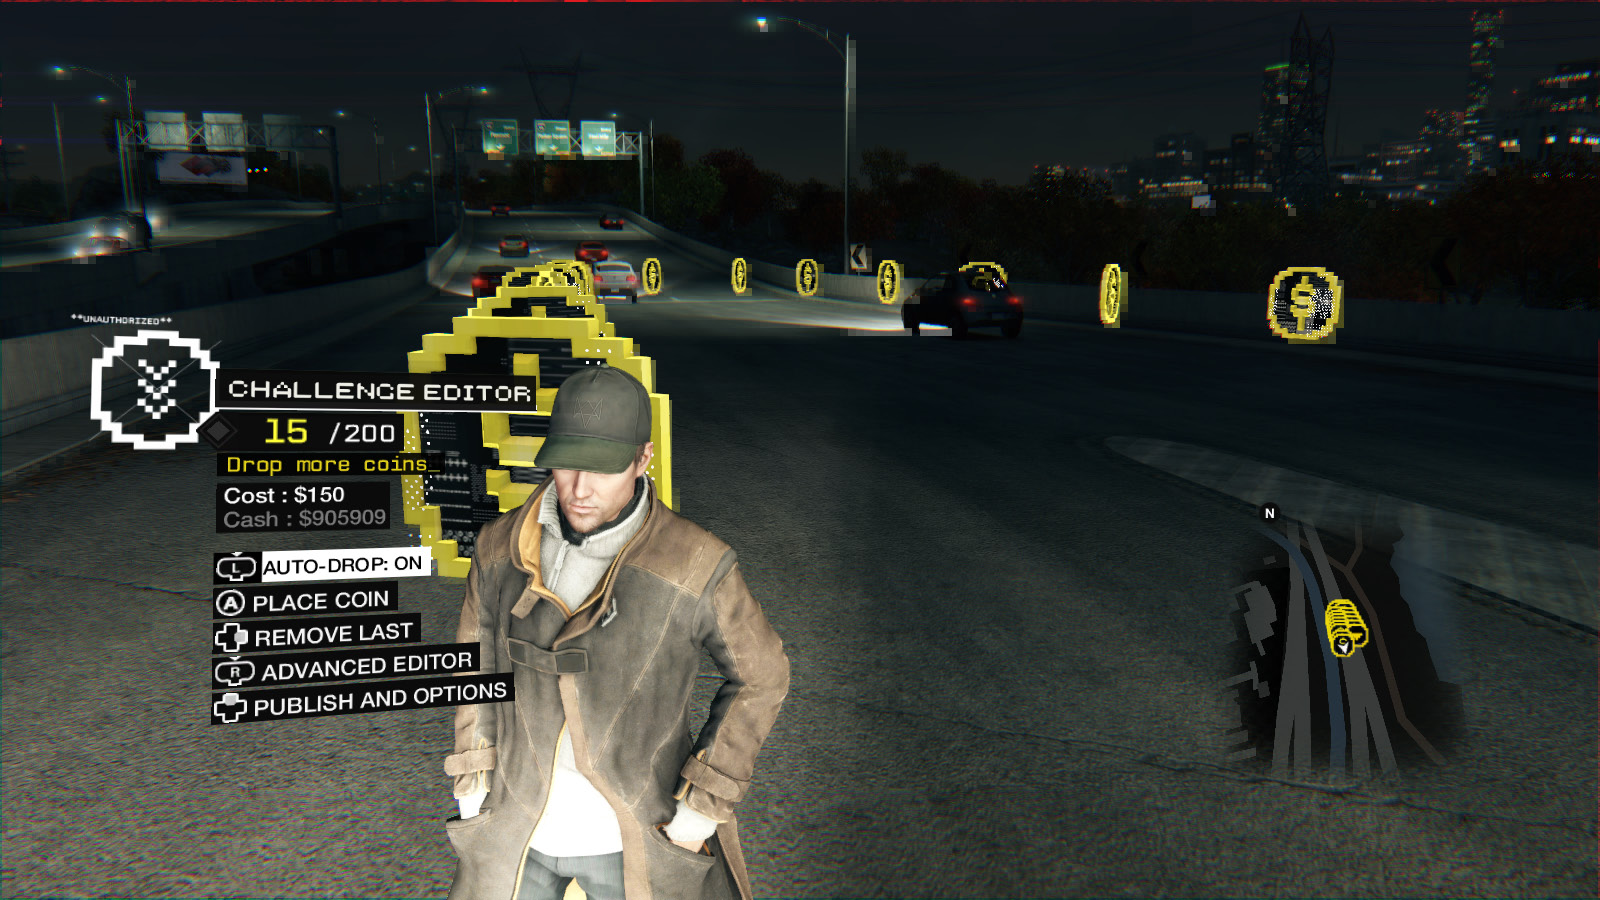
When you drop or move a coin in the track editor, it always appears where Aiden is standing, which means you can only place coins in areas that you can personally reach. The game also won’t let you drop coins in certain uneven locations, such as atop the wrecked locomotive near Abbot Island. That still gives you a lot of options, however, and you should feel free to experiment.
REWARDS
Achieve 1 Gold rating: P-9mm (Weapon)
Achieve 3 Gold ratings: Blast Resistance (Skill)