
Watch Dogs Guide MAIN MISSIONS MAIN MISSIONS /// ACT IV
_THE RATS LAIR
OBJECTIVES
|
 Use the Profiler to find an access point
 Hack your way to T-Bone
 Lead T-Bone to the exit
 Eliminate the Fixers
 Kill all Fixers or escape
|
|
 Use the Profiler to find an access point
 Connect to T-Bone
3.1 DEFALT’S LOVESHACK
 Location / Mad Mile // Coffee Shop
 Investigation
 Data Hack
Difficulty: 
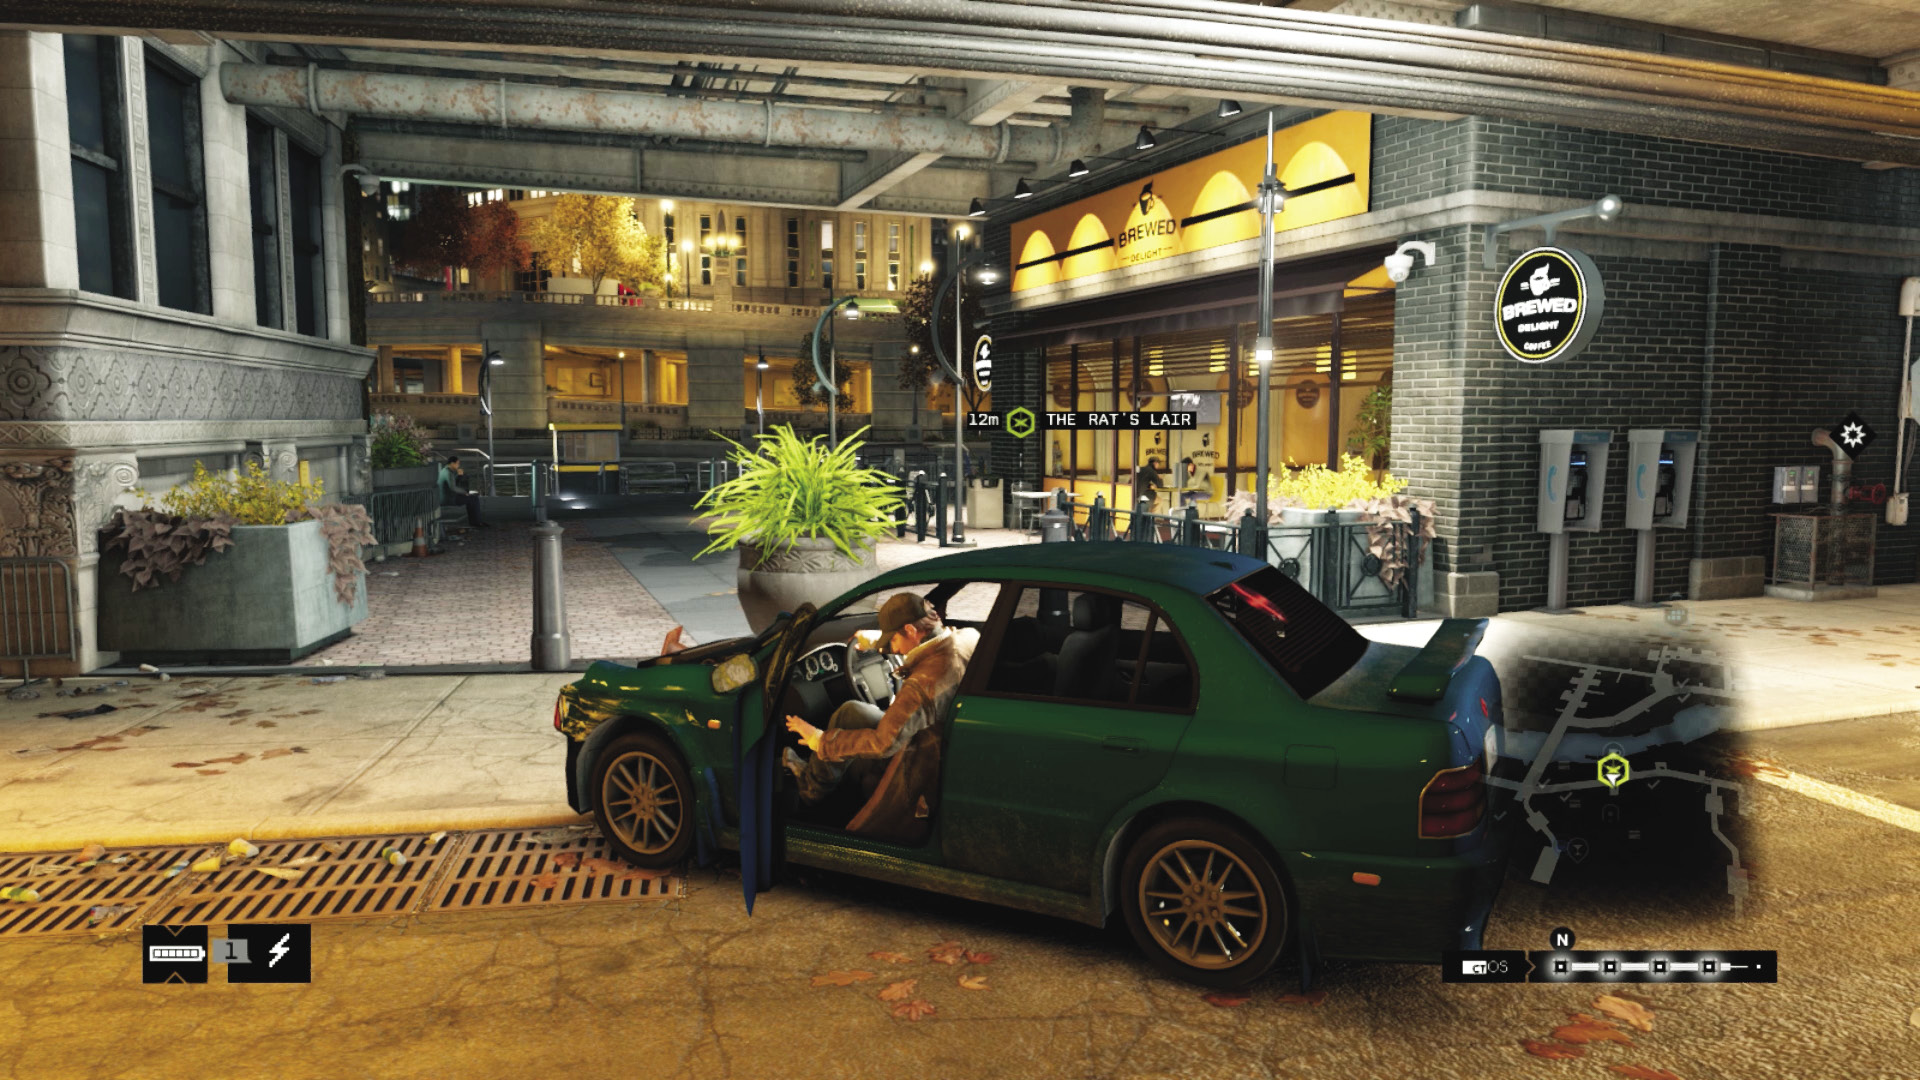
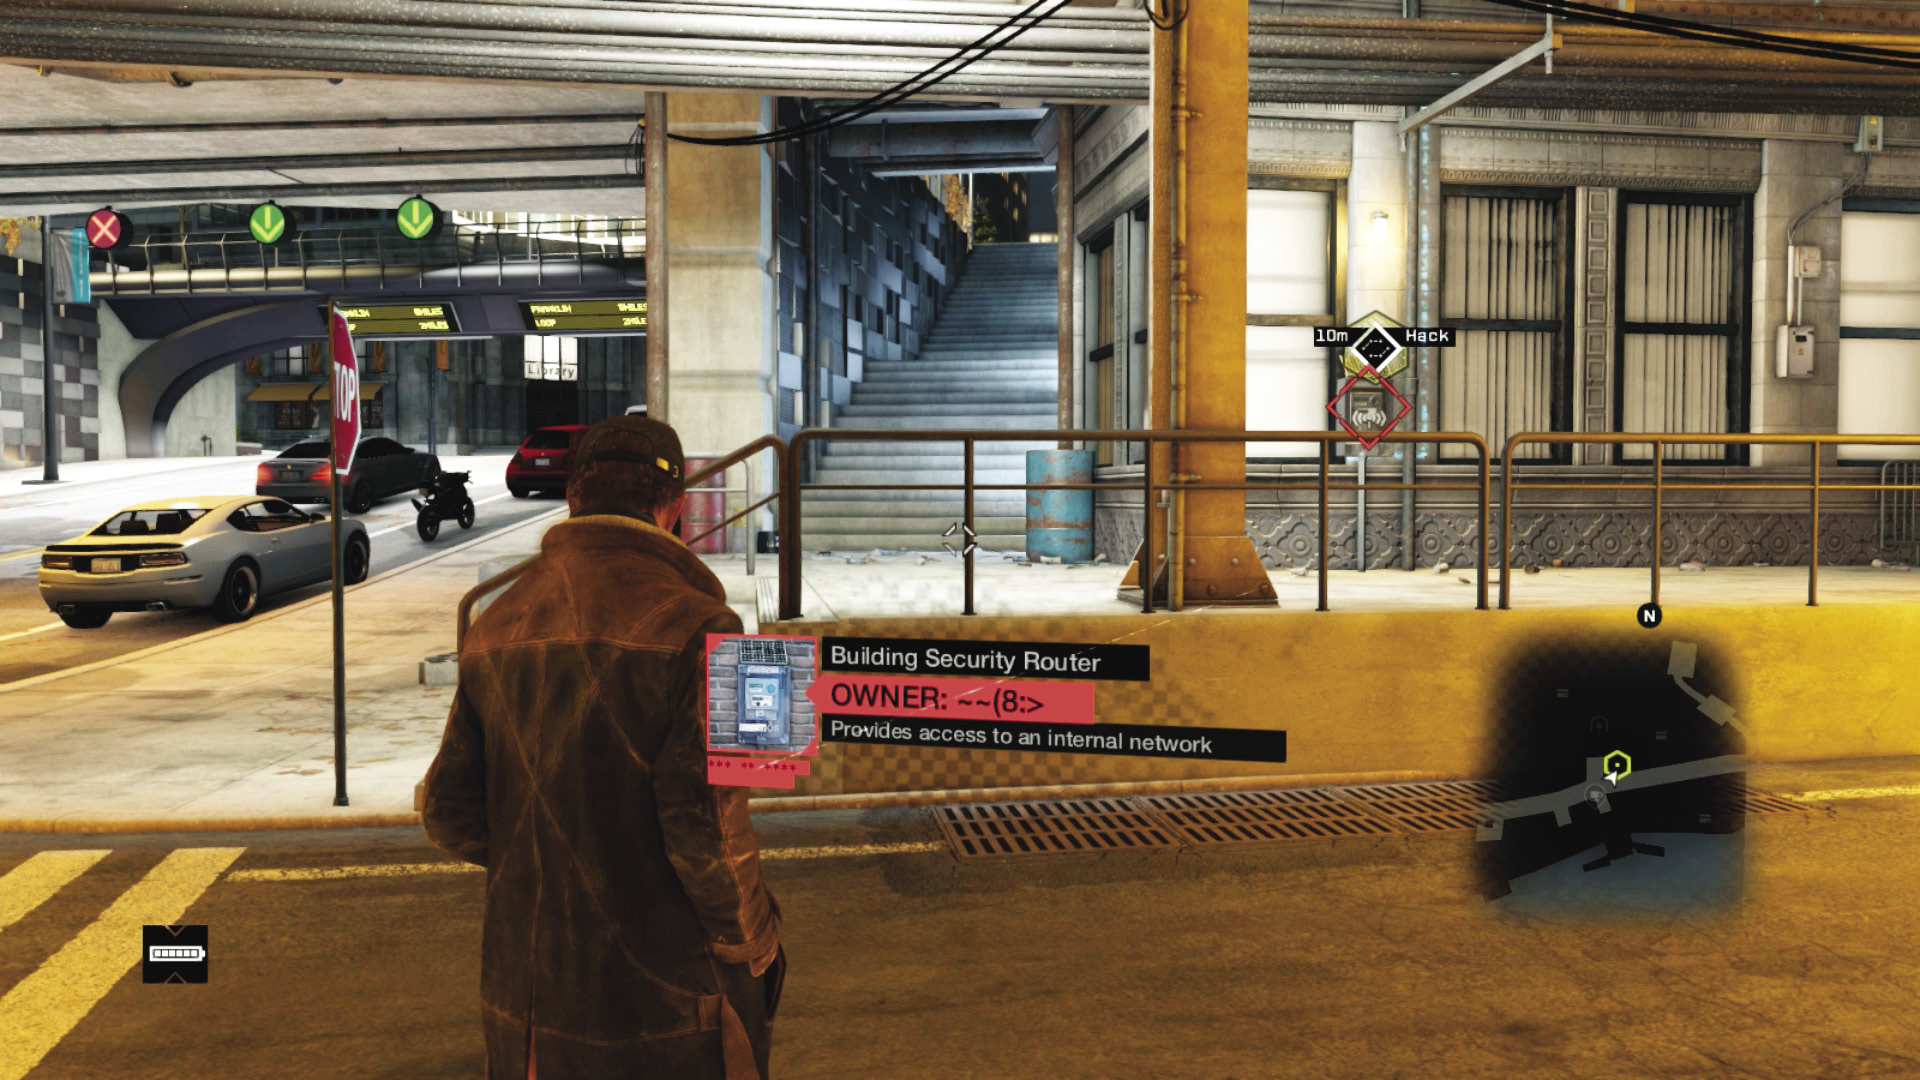
Head to the coffee shop on the riverside plaza at the entrance to the traffic tunnels, just north of the river on Mad Mile. Speak with T-Bone. He’s hit pay dirt and is currently rummaging through Defalt’s apartment. Find a line into his search: Bring out your smartphone and Profile the area, then head north across the traffic tunnel junction to a switch box, leading you to a bit of hotspot hacking:
Solution: Hotspot 1
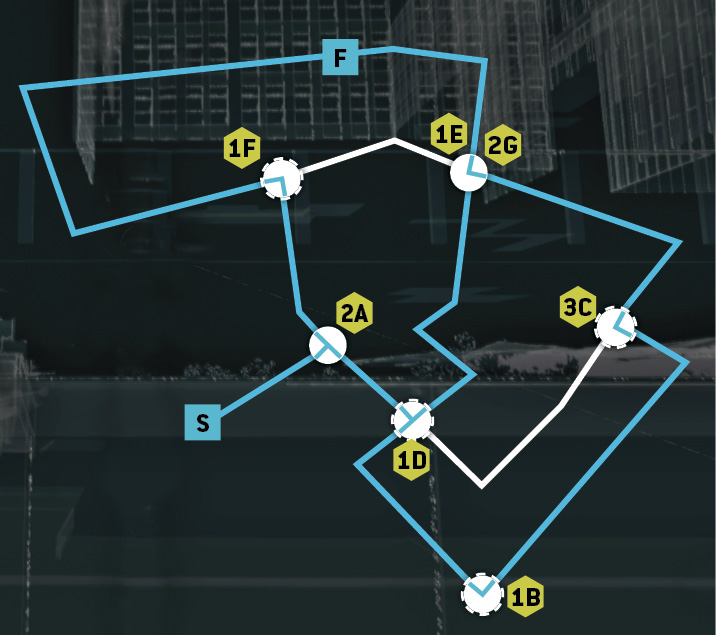
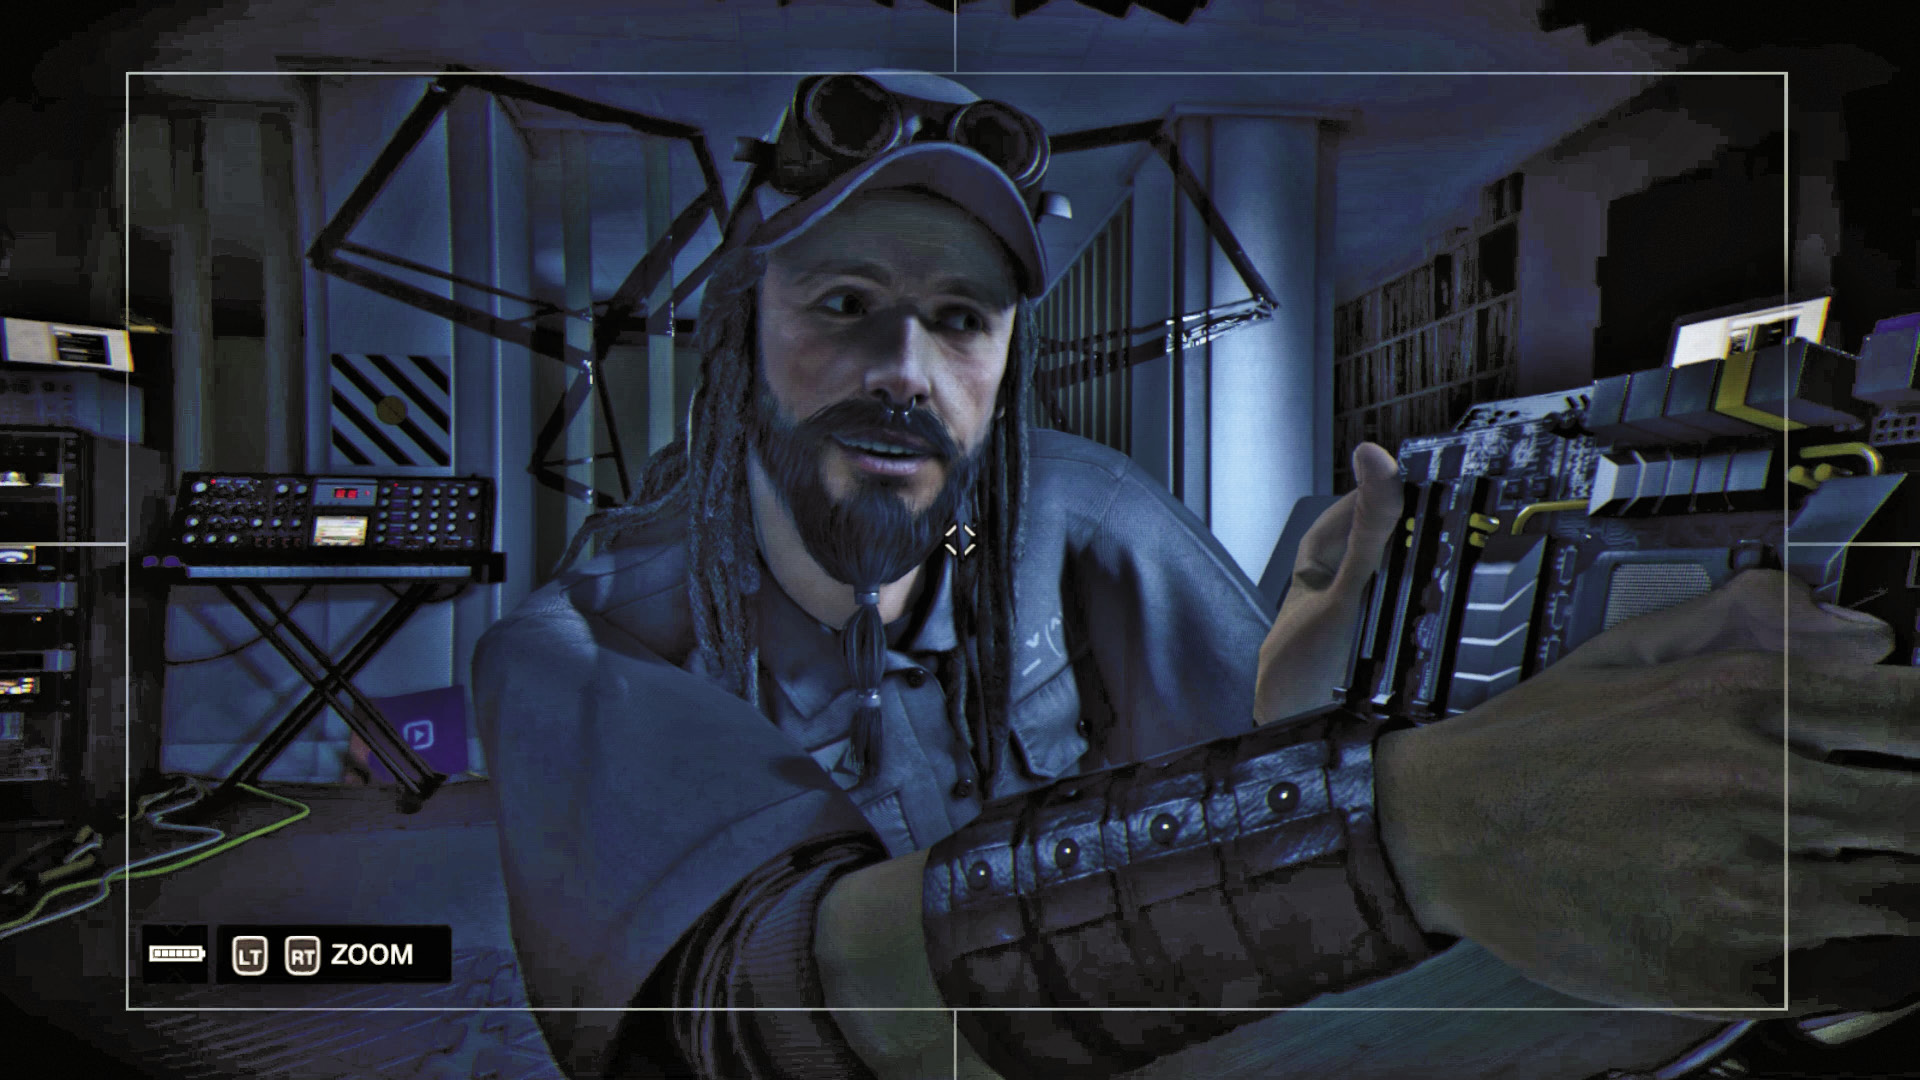
T-Bone is a little besotted with the custom hardware he’s finding, but there’s little time to stroke the circuitry; heavily armored Fixers are on their way. You watch as T-Bone manages to sneak by a couple of intruders. But reinforcements have arrived outside!
|
|
 Lead T-Bone to safety
 (Optional) Eliminate the Fixers
3.2 DEFALT’S PRIVATE ARMY
 Location / Mad Mile // Defalt’s Apartment (Crowley Building)
 Escape
 Lethal Force Likely
 Melee Force Likely
Difficulty: 
Overview
 Completion Point: Crowley Building exterior, north side of plaza, once all threats are neutralized. Keep T-Bone alive!
 Dangers: Seven Fixers (Gunmen x5, Elite x2), armed with shotguns and machine guns. No reinforcements until objective is complete.
 Dangers: Lightly armored Fixers (after objective is complete) in four or more vehicles (Gunmen and Veterans), with two Fixers per car.
Insertion Points
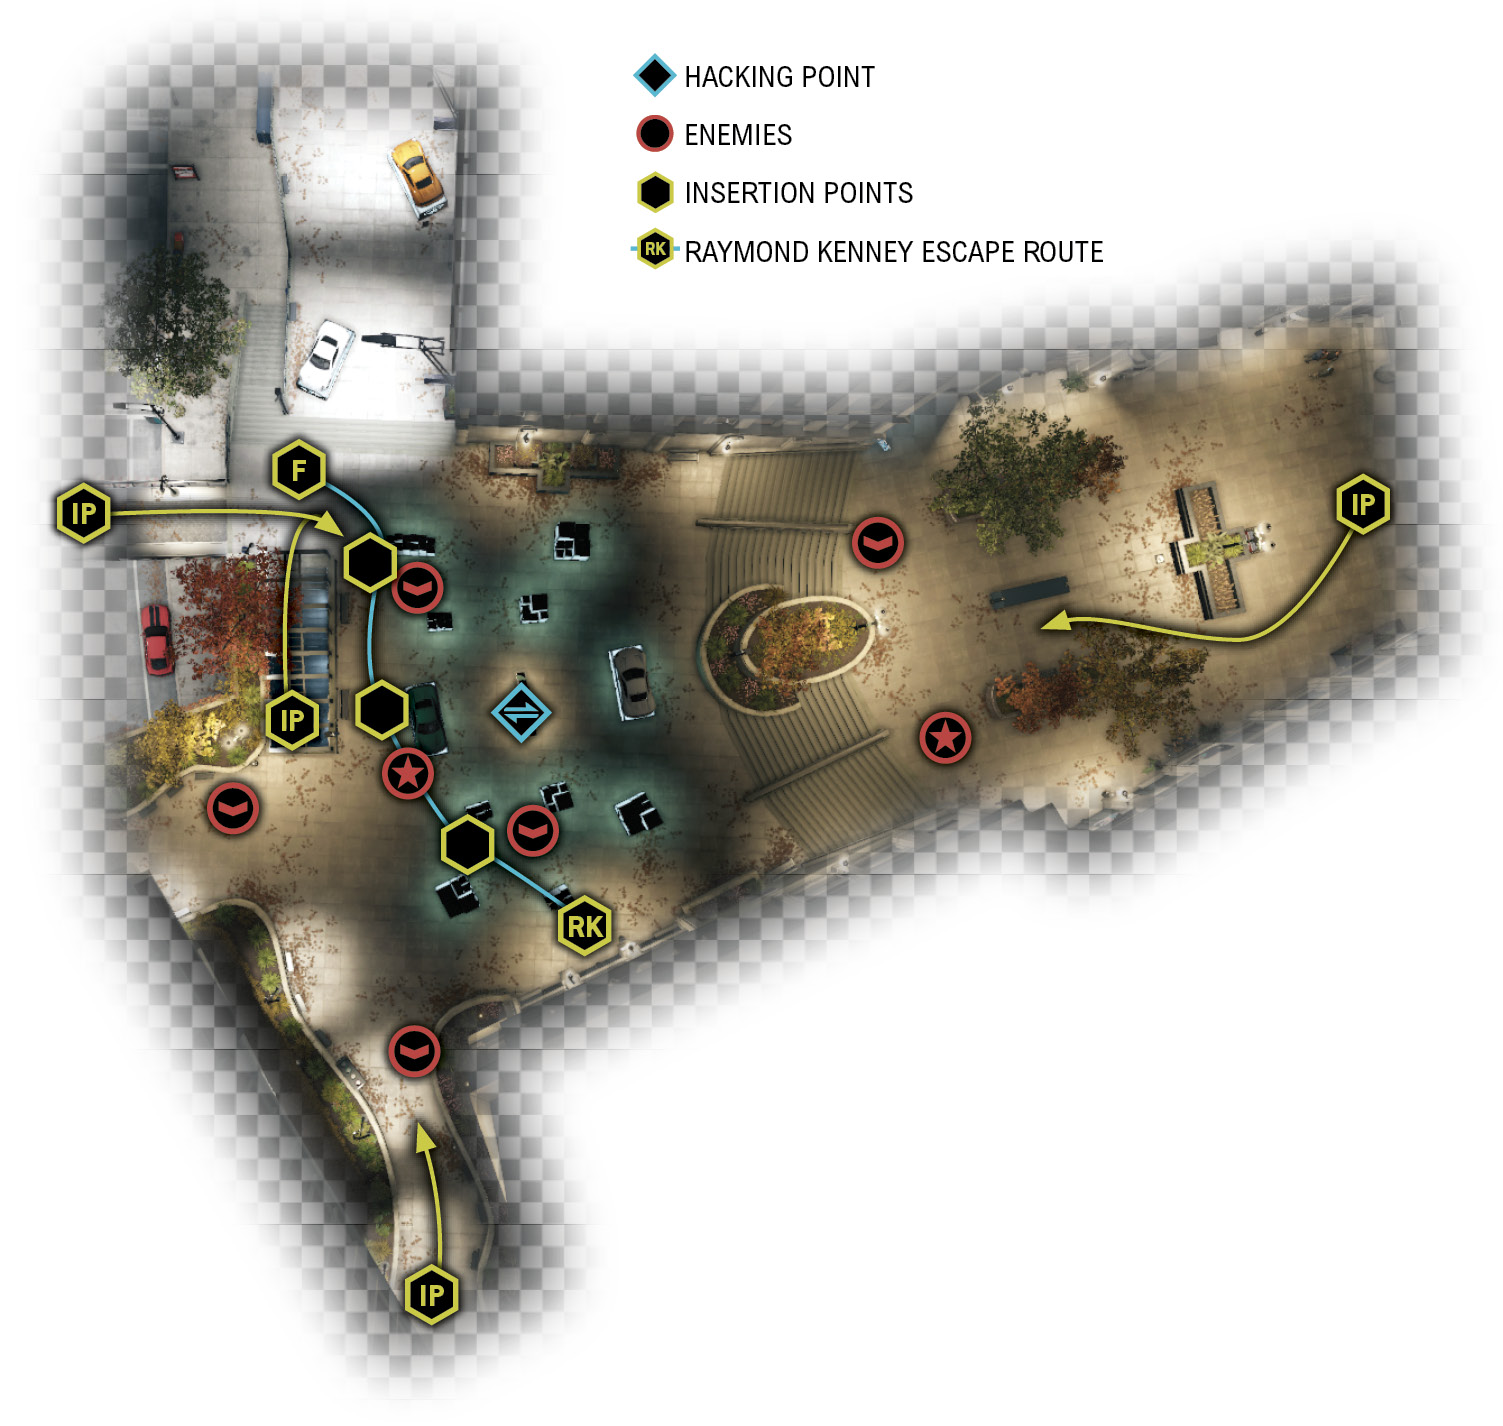
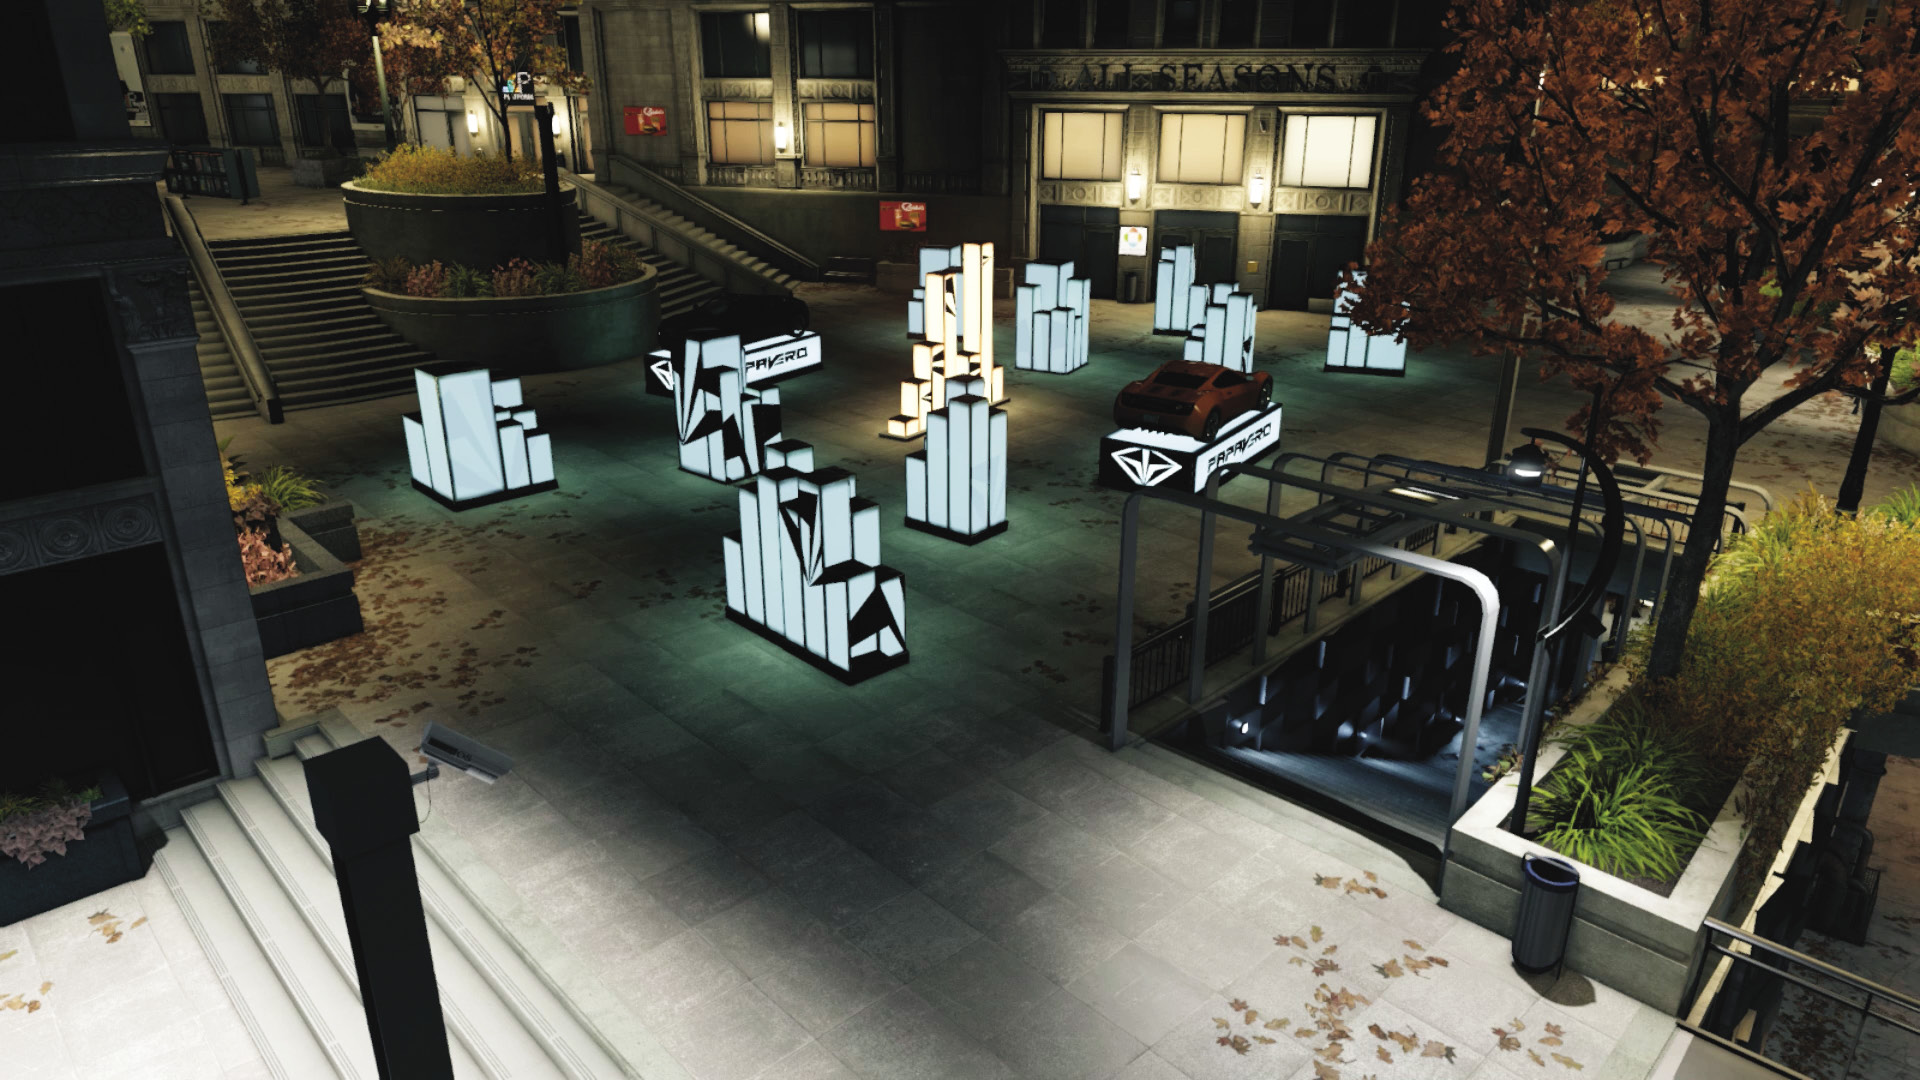
The action takes place on a plaza, at an art installation sponsored by Papavero; four of their cars are displayed here. There are ten block structures, one of which is hackable, and these are useful for hiding behind.
From the Stairwell
 Accessibility Level:
This allows almost instant access to the action, but you’re pretty exposed. Foes may already be targeting T-Bone, and you don’t want him to die while you get into a defensive position (though the small fence below the huge billboard sign down the plaza steps is a good starting point). Prepare to move from this position as combat begins.
From the River
 Accessibility Level:
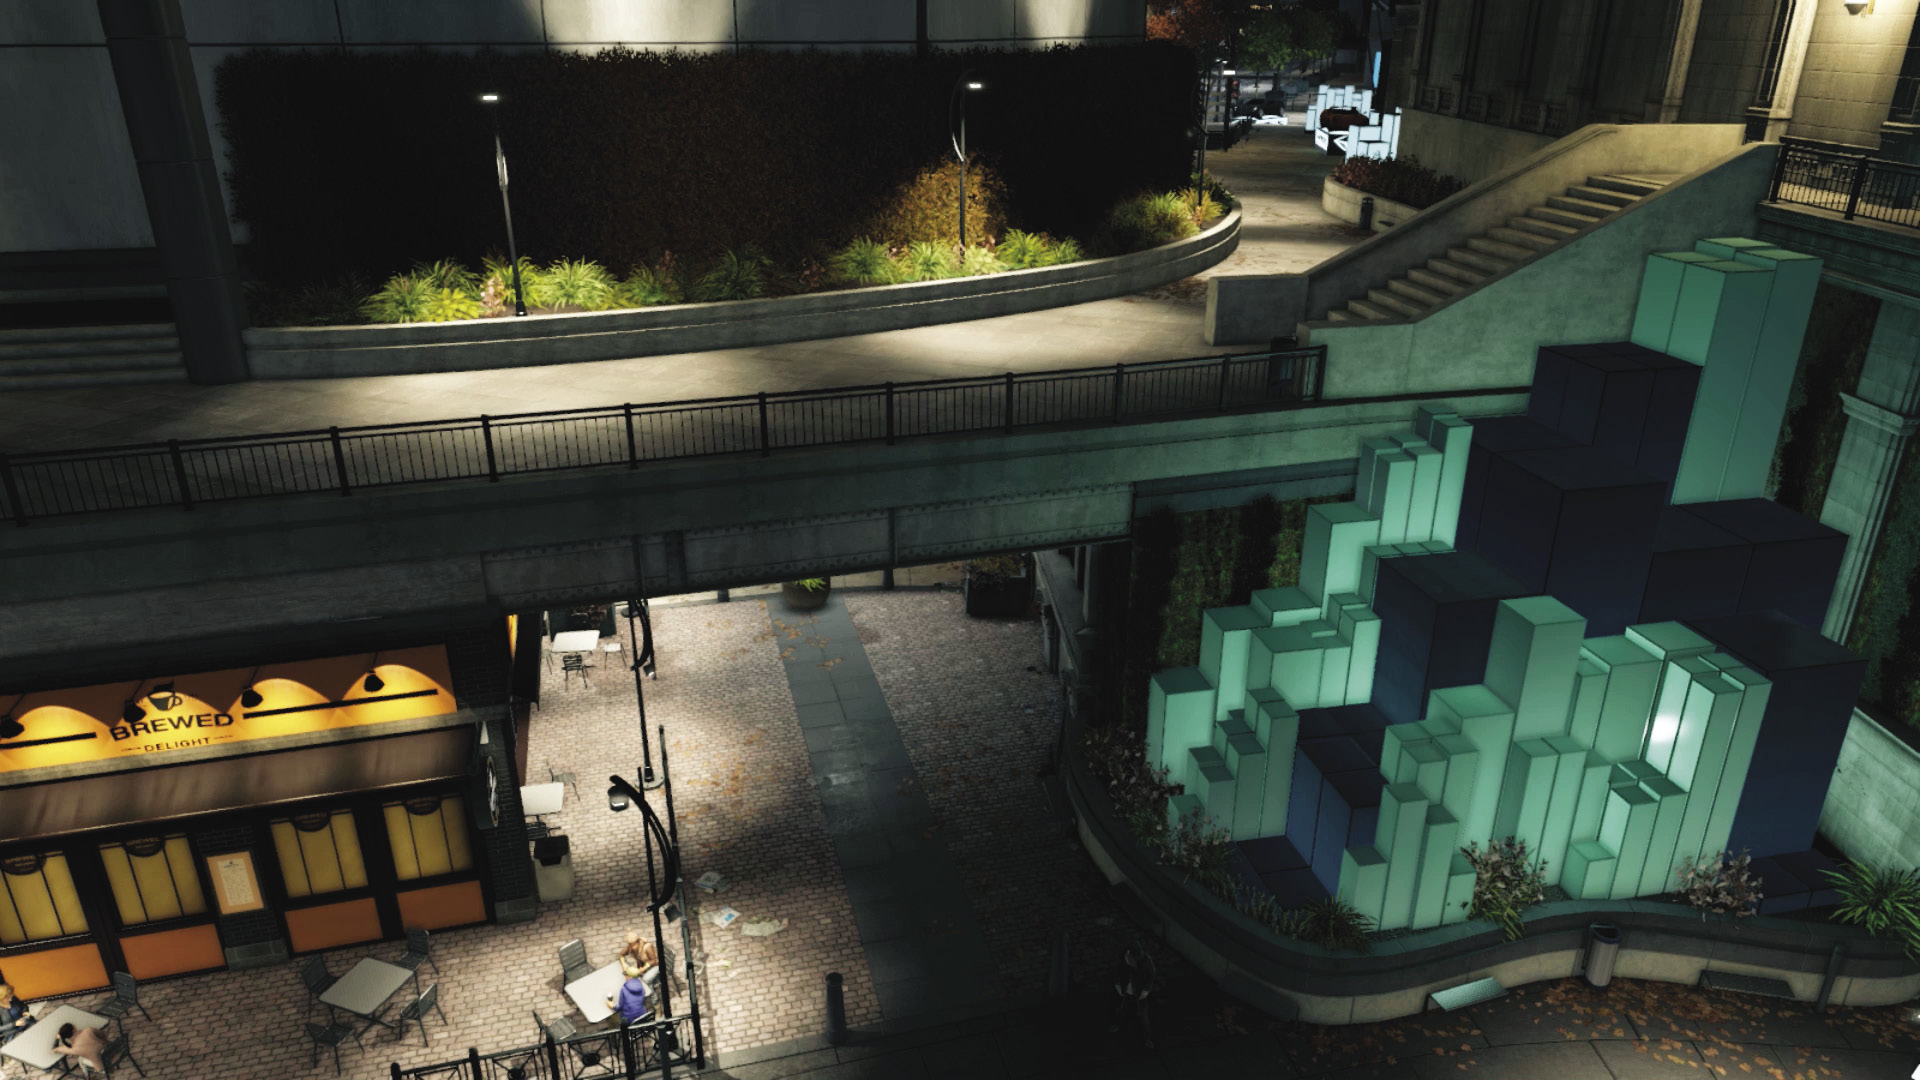
Sprint and climb the black and white blocks across from the coffee shop and up to the plaza as an alternative to the stairs; this allows you to reach the same side of the plaza as T-Bone and draw away some of his attackers, though there’s little cover opportunities as you run in along the pathway.
From the Upper Steps
Accessibility Level: 
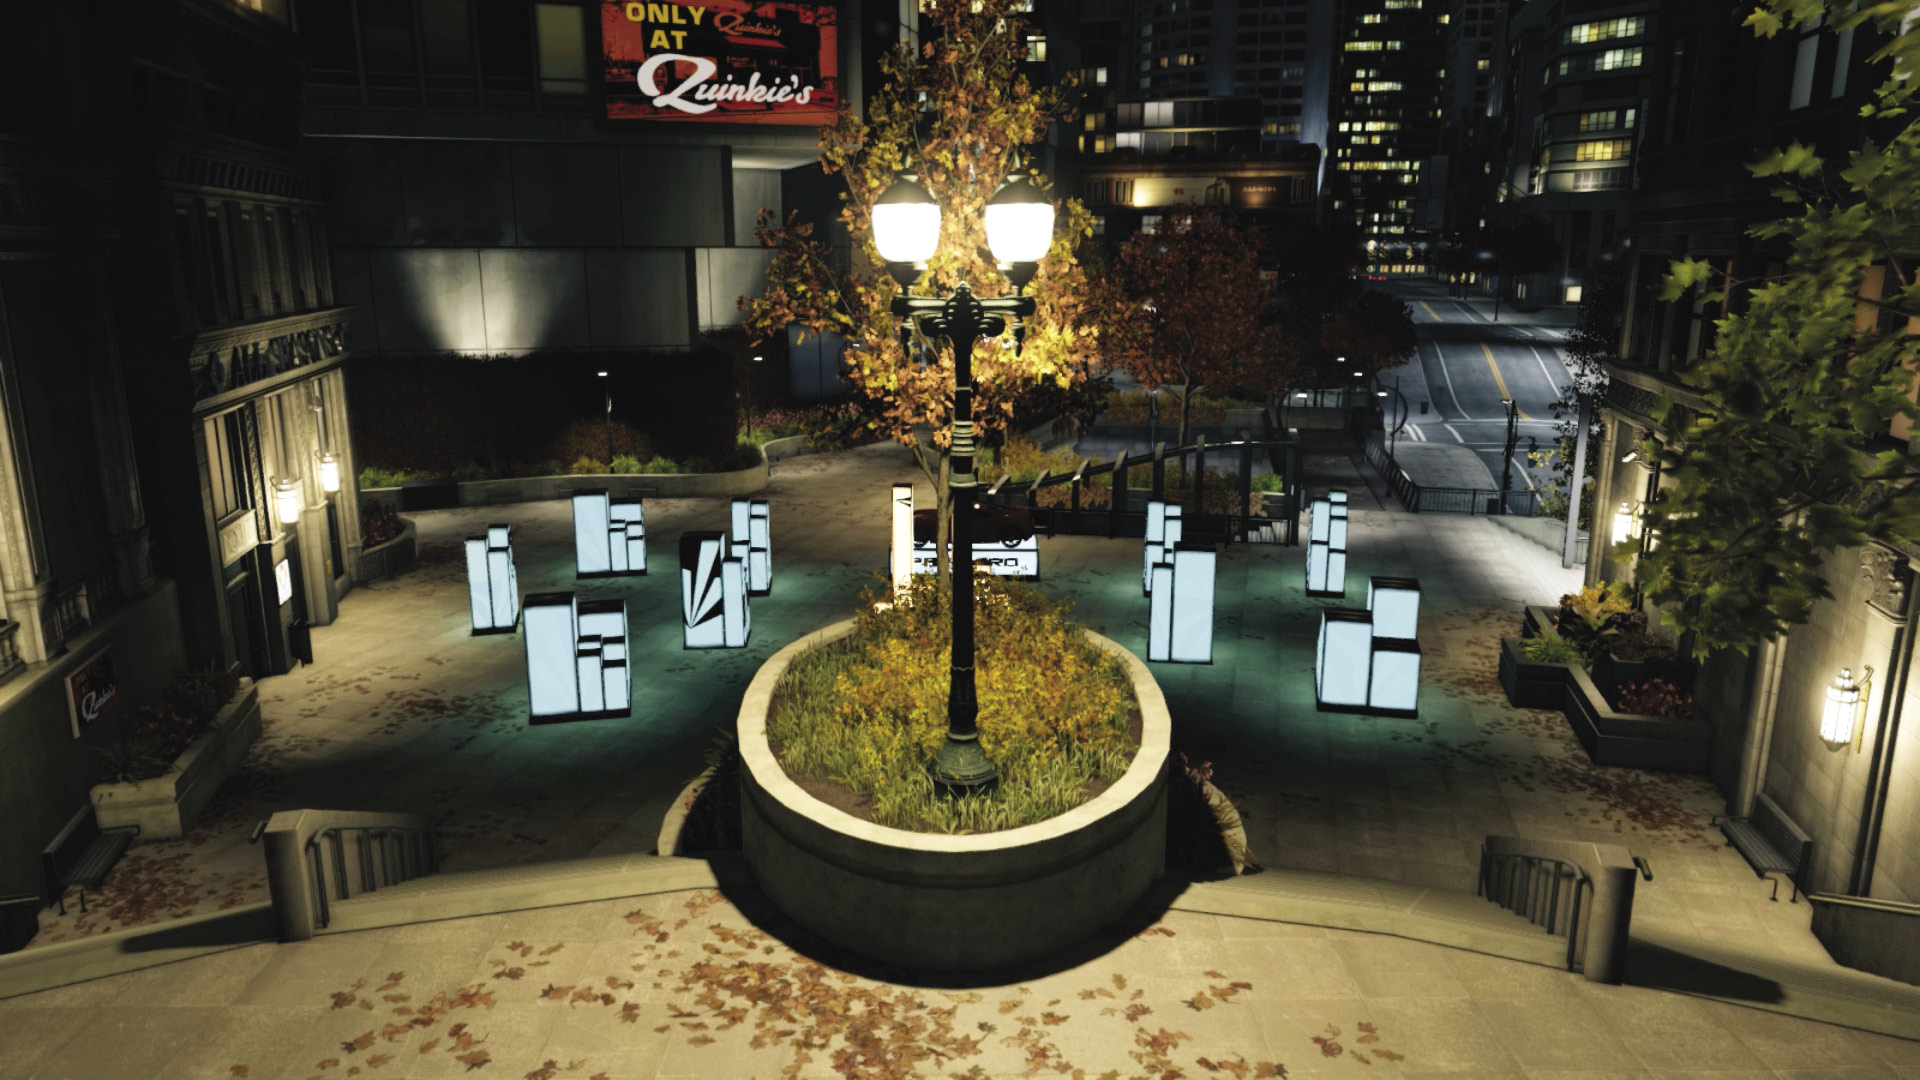
You can’t use the two sets of stairs around the oval concrete planter to enter combat, as the laborious trek around the building from your starting position means T-Bone is already dead when you get here. But this is a great place to sprint to as combat progresses, if you have foes on the other stairwell you need to reach and tackle from behind or if you need to attempt cross-fire opportunities with T-Bone.
From the Pedestrian Bridge
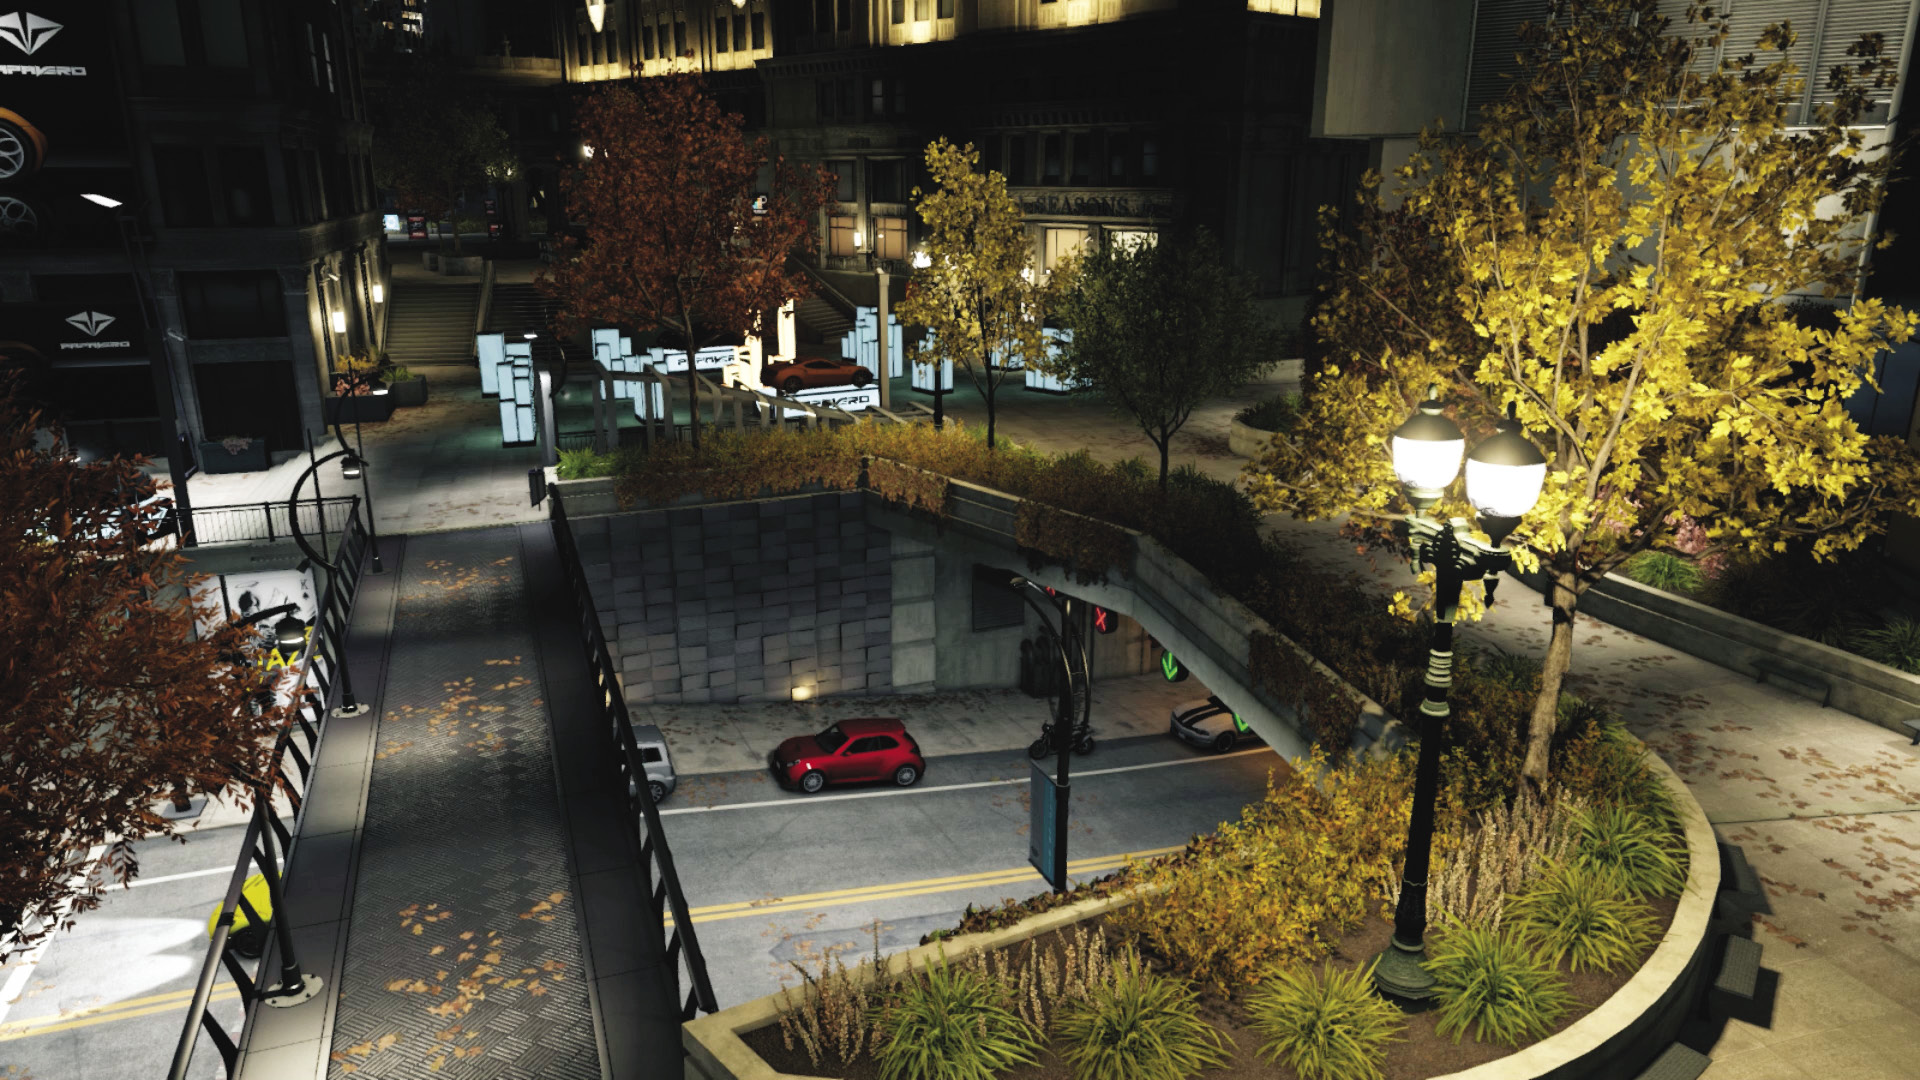
Accessibility Level: 
You can’t access the pedestrian bridge that crosses the tunnel entrance to the west until combat is occurring. However, this area lacks cover options and takes you away from protecting T-Bone, so it isn’t the finest use of your time and positioning. Unless you’re a crack shot and want to take up a sniping position (which is compromised as foes are hiding behind the numerous block sculptures in the combat zone), ignore this area.
Progression Plans
This is a short, tricky, and possibly violent confrontation. You need to save T-Bone from being gunned down as he exits the building above you, and the enemies are already swarming the location. You have three main ways to save T-Bone; via remote guidance, stealth executions, or throwing caution to the wind:
 Passive // Smart: Remote Rescue, Enemies Pwned
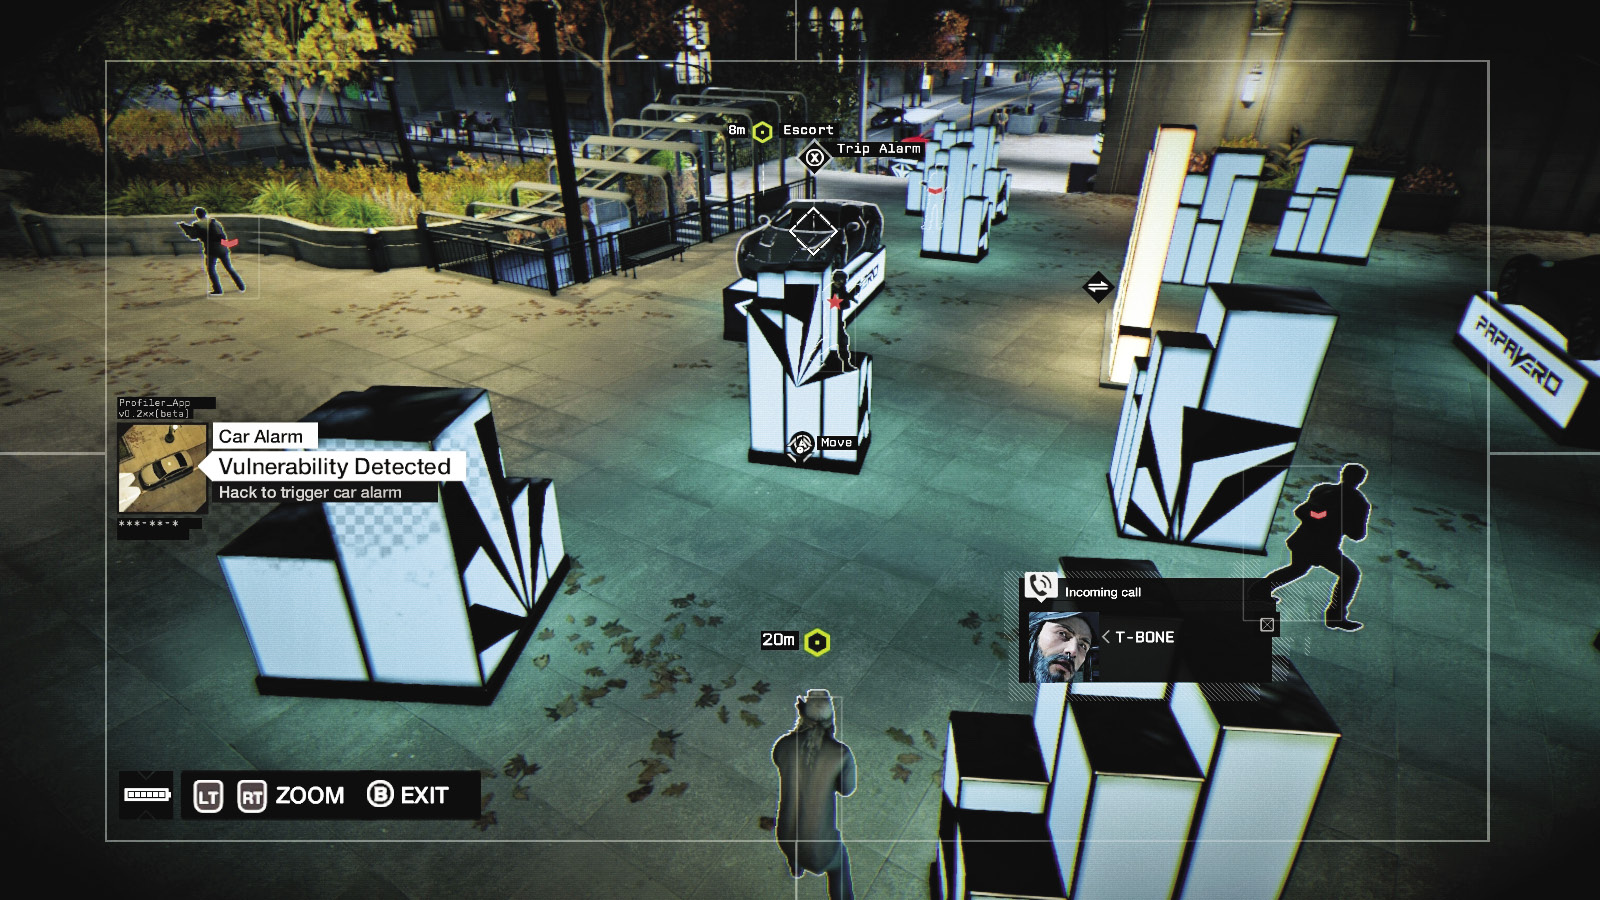
 Difficulty:
Hack the camera at the top of the stairs after optionally executing a ctOS Scan. Quickly jump to the camera above T-Bone on the opposite (south side of the plaza), and watch the three moving guards carefully. You’re guiding T-Bone to the top of the stairs where you’re hiding.
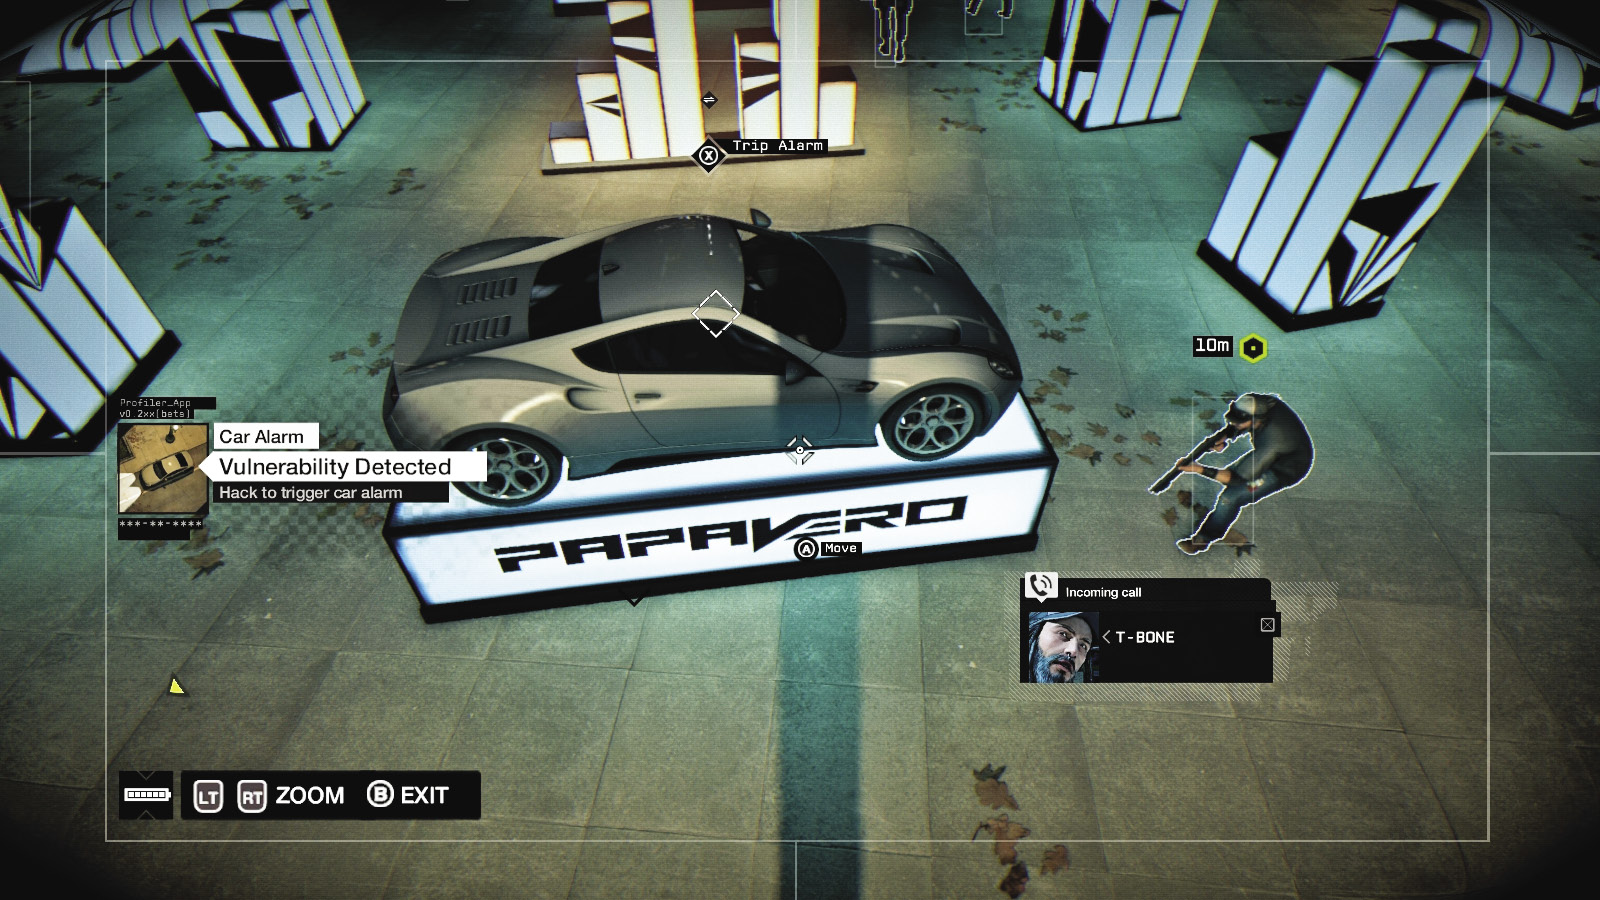
When the nearest Fixer moves right (east), move T-Bone to the box sculpture just in front of the car platform. Switch cameras to the one that looks directly down over the car. Then coax T-Bone to the side of the car platform when the second foe is looking eastwards, and walking away from T-Bone. Then simply guide T-Bone to the box sculpture nearest the escort end waypoint, and freedom!
 Aggressive // Stealth: Melee Strikes On Your Own
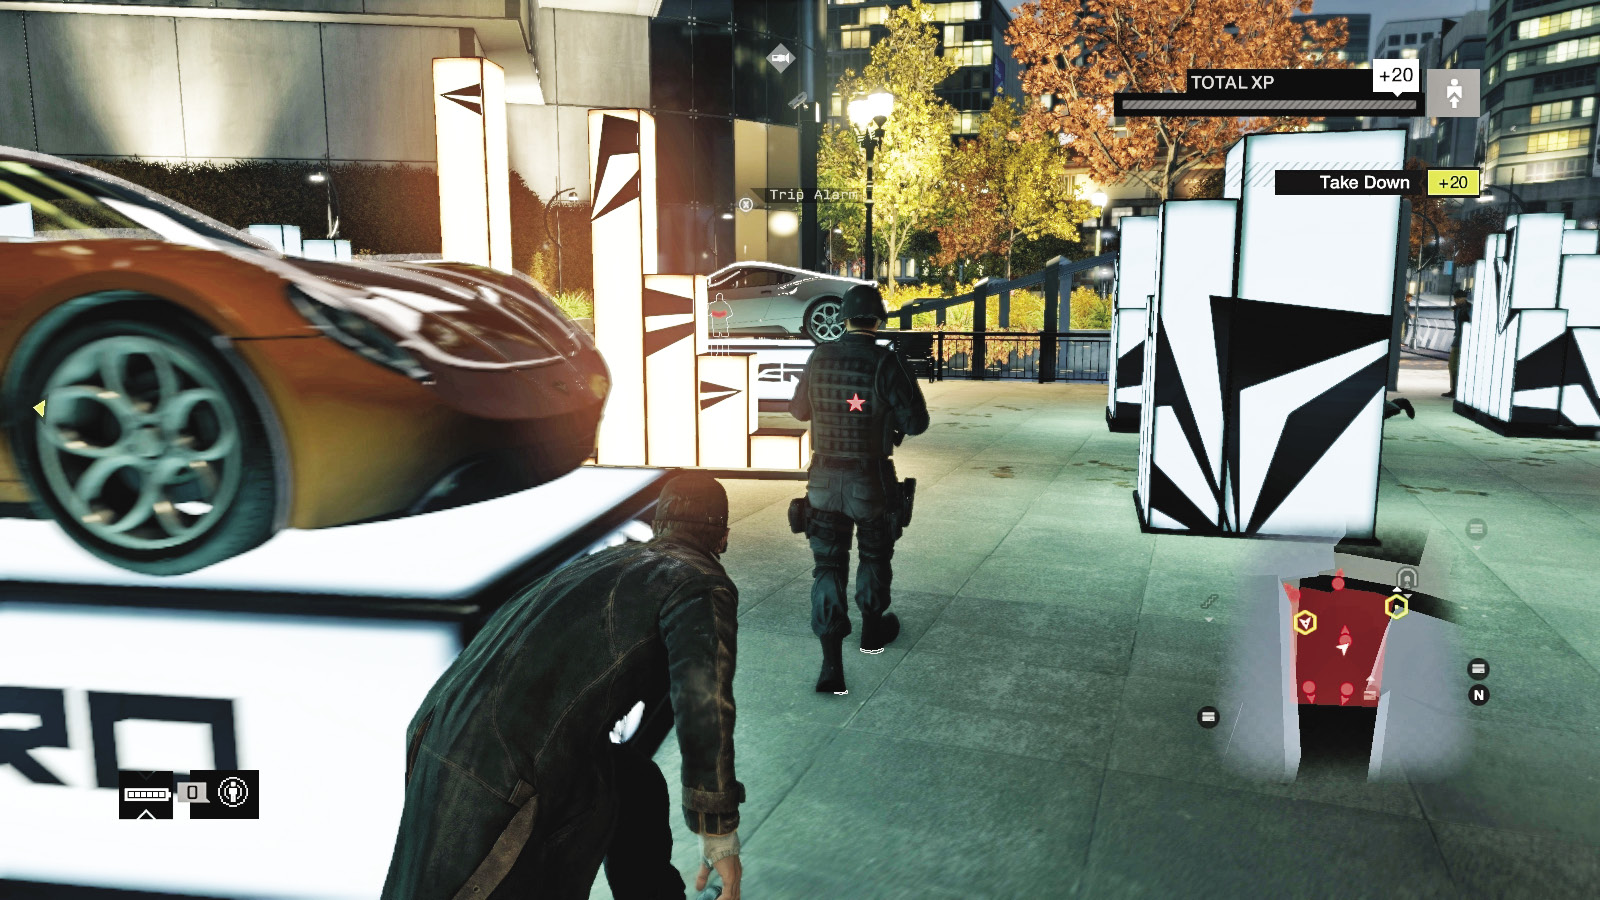
 Difficulty:
The second option is to refrain from an all-out war with Defalt’s forces. This is achieved (after a helpful ctOS Scan) by using your baton (and an optional silenced weapon). With seven foes, only three are moving (and the rest aren’t looking into the plaza, which helps immensely). Creep to the first box sculpture, hunker down, and wait for the Elite in the middle to pass to the right (west). Bring down the nearest Gunman without being seen.
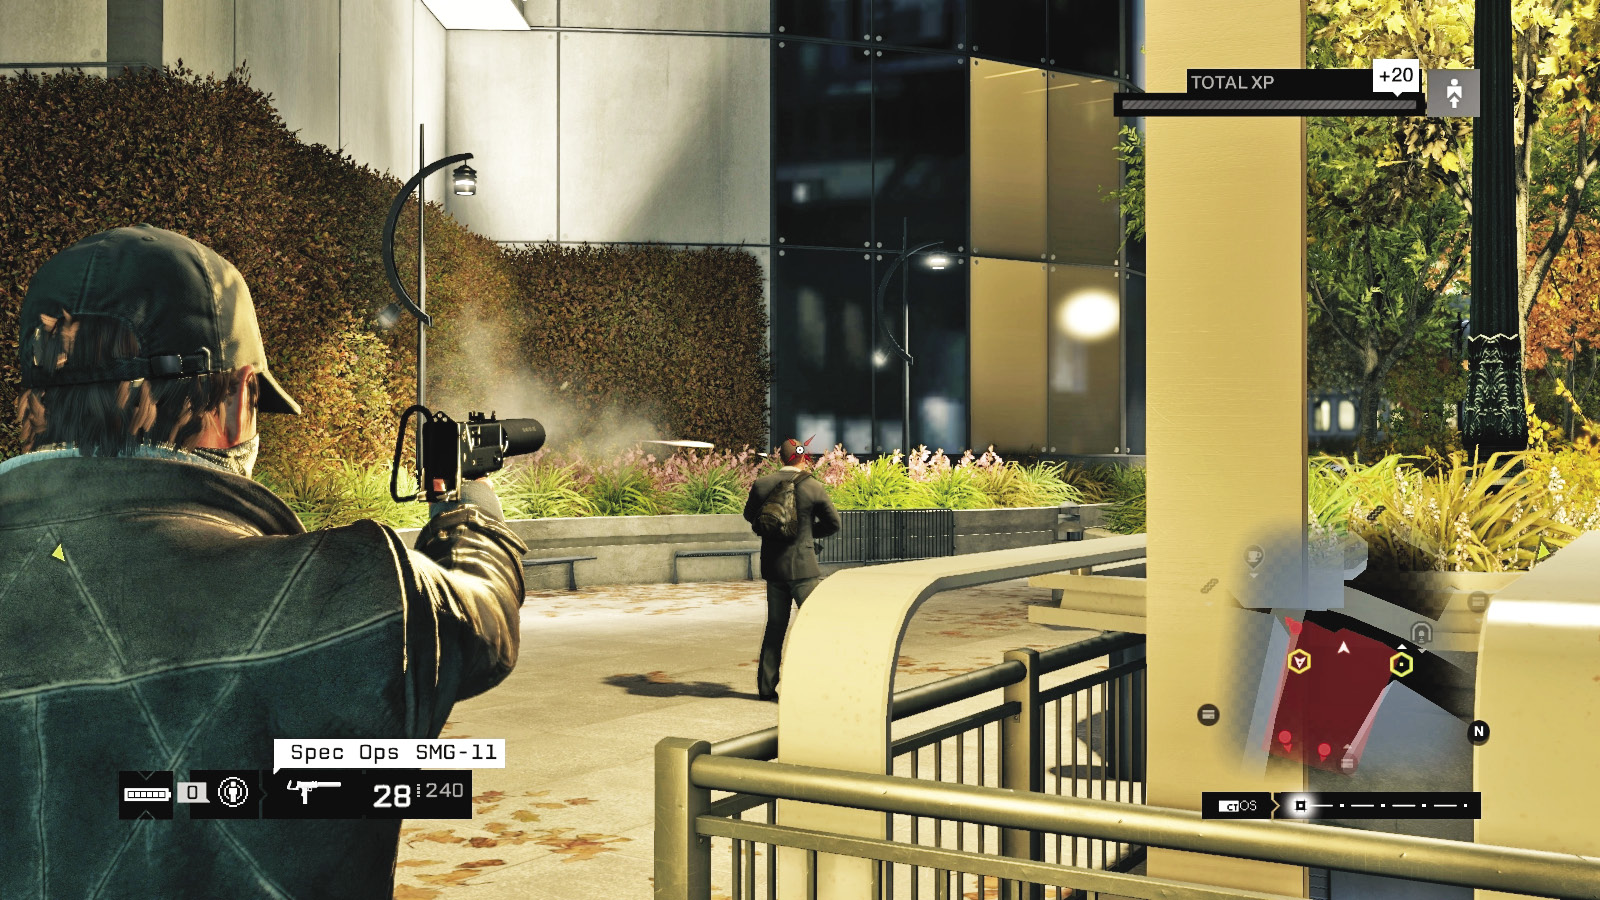
Then creep around the near side of the car platform, and watch the Elite on his patrol path around the opposite car platform. Follow him, dropping the nearby Gunman first, and then the Elite. For the four final guards, simply shoot them with a Spec Ops weapon in the head (except for the Elite, as the aim must be precise), or use your baton. Then T-Bone can escape to freedom!
 Aggressive // Smart: No Help to T-Bone
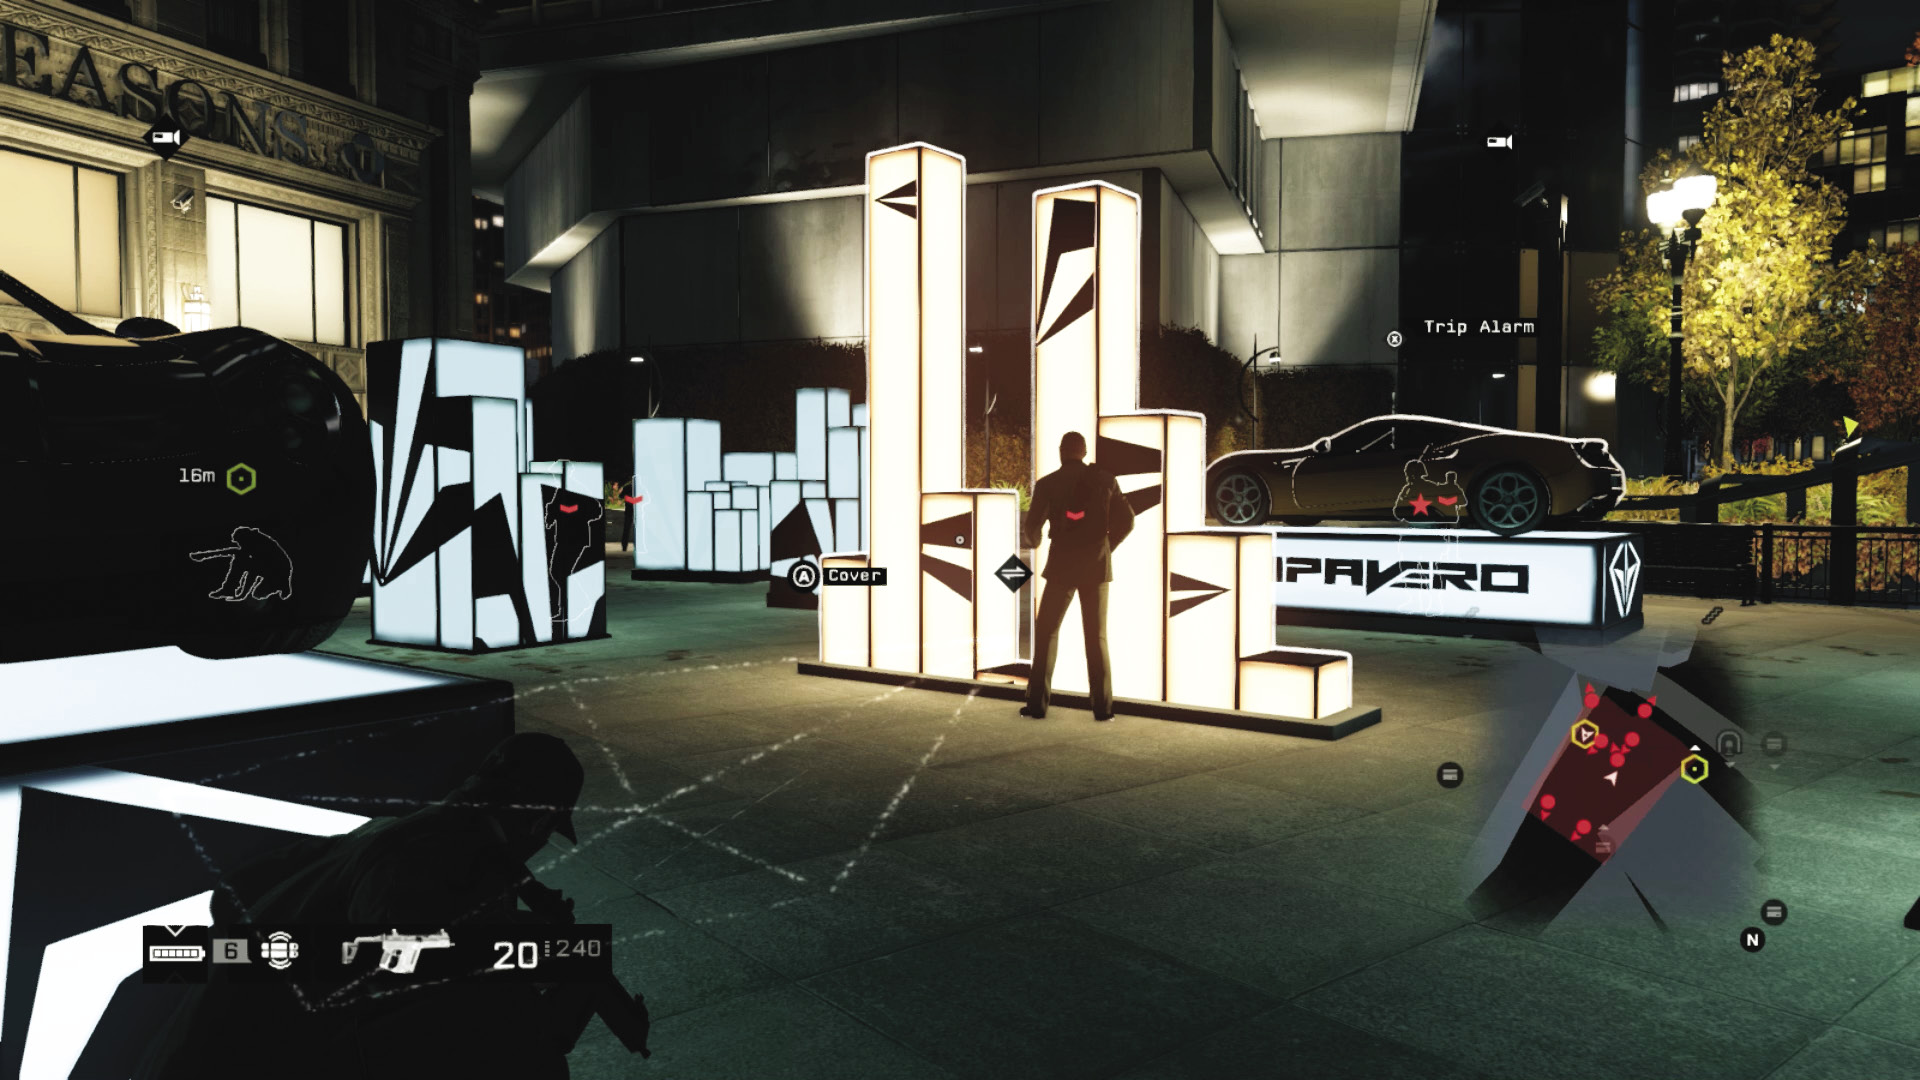
Difficulty: 
There are cameras dotted around this plaza, a sculpture built by DeMarco in the middle of the battleground that rises up and down, and a couple of high-priced motors with alarms you can trigger. But none of these are necessary—and in fact hinder your focus when tackling the heavily armored Elite foes intent on thwarting you and T-Bone—in the fight to come. Use these hacks to set up for an initial takedown, but little else.
 Aggressive // Stealth: Proximity Bombs to Be Thrown
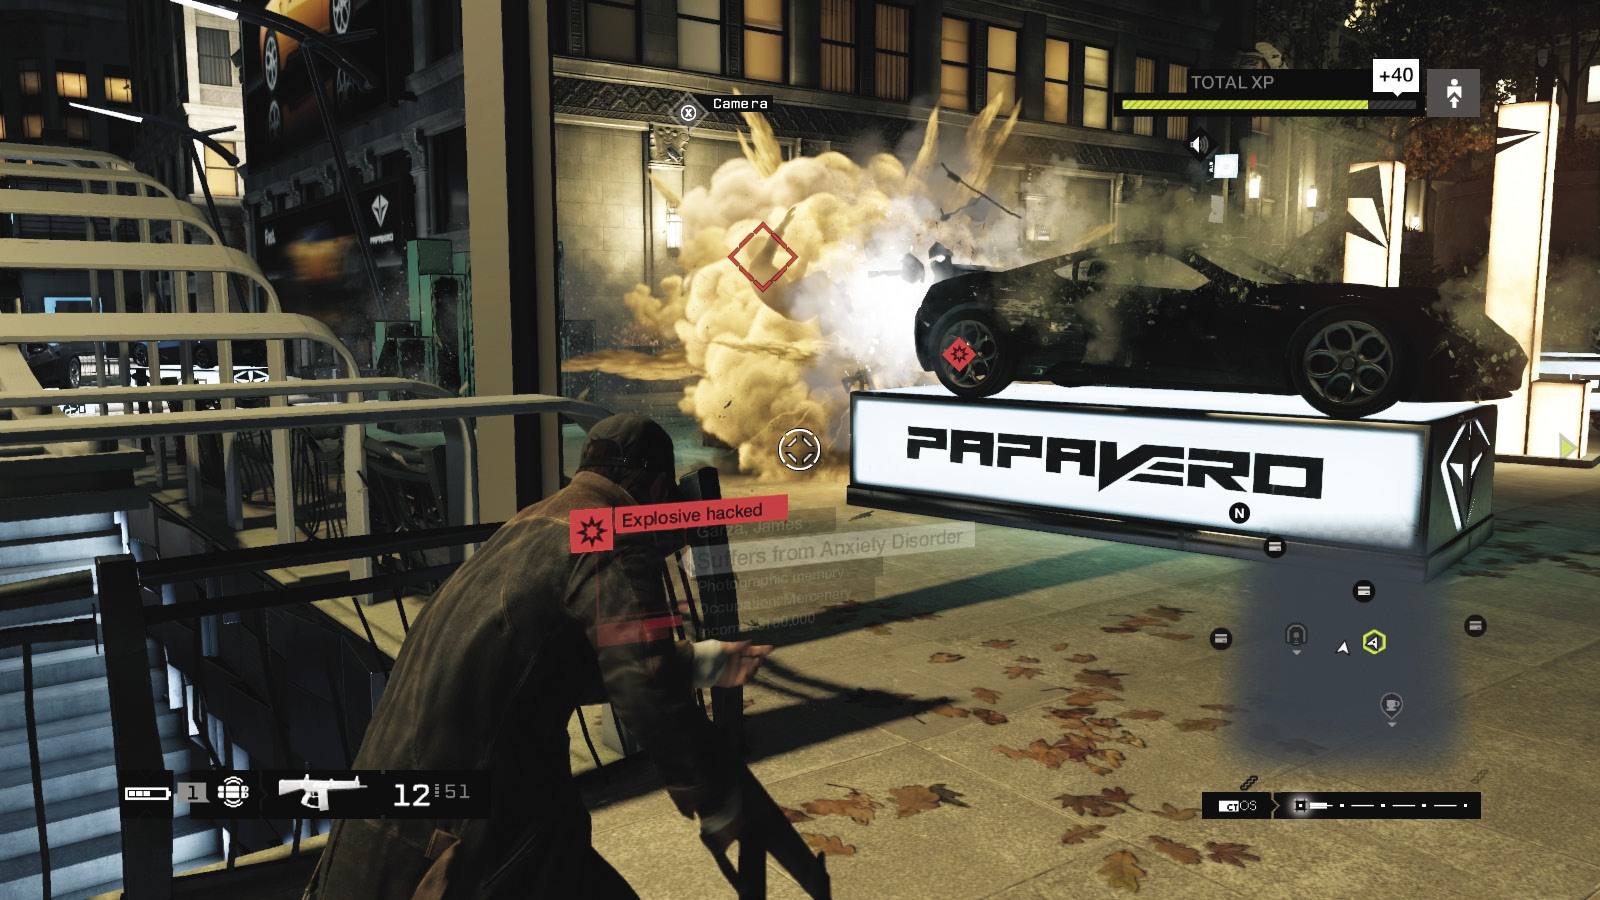
 Difficulty:
As mentioned earlier in this mission, you gain a huge advantage if you prep this area with IEDs or other nasty surprises, prior to reaching the coffee shop. These bombs are still active, and as long as you position them away from T-Bone’s starting point at the base of the Crowley Building, you can remove three or four of the main threats while dropping others with quick headshots using an automatic weapon.
Simply check the guide map and place IEDs close to the starting location for a foe or in the cluster of sculptures. With, say, four IEDs, drop two in the cluster of five sculpture blocks reasonably close to T-Bone, one between the moving sculpture and the car display, and a fourth in the center of the four sculptures on the north side of the plaza, near the top of the stairs.
 Aggressive // Violence: Entering the Killing Zone
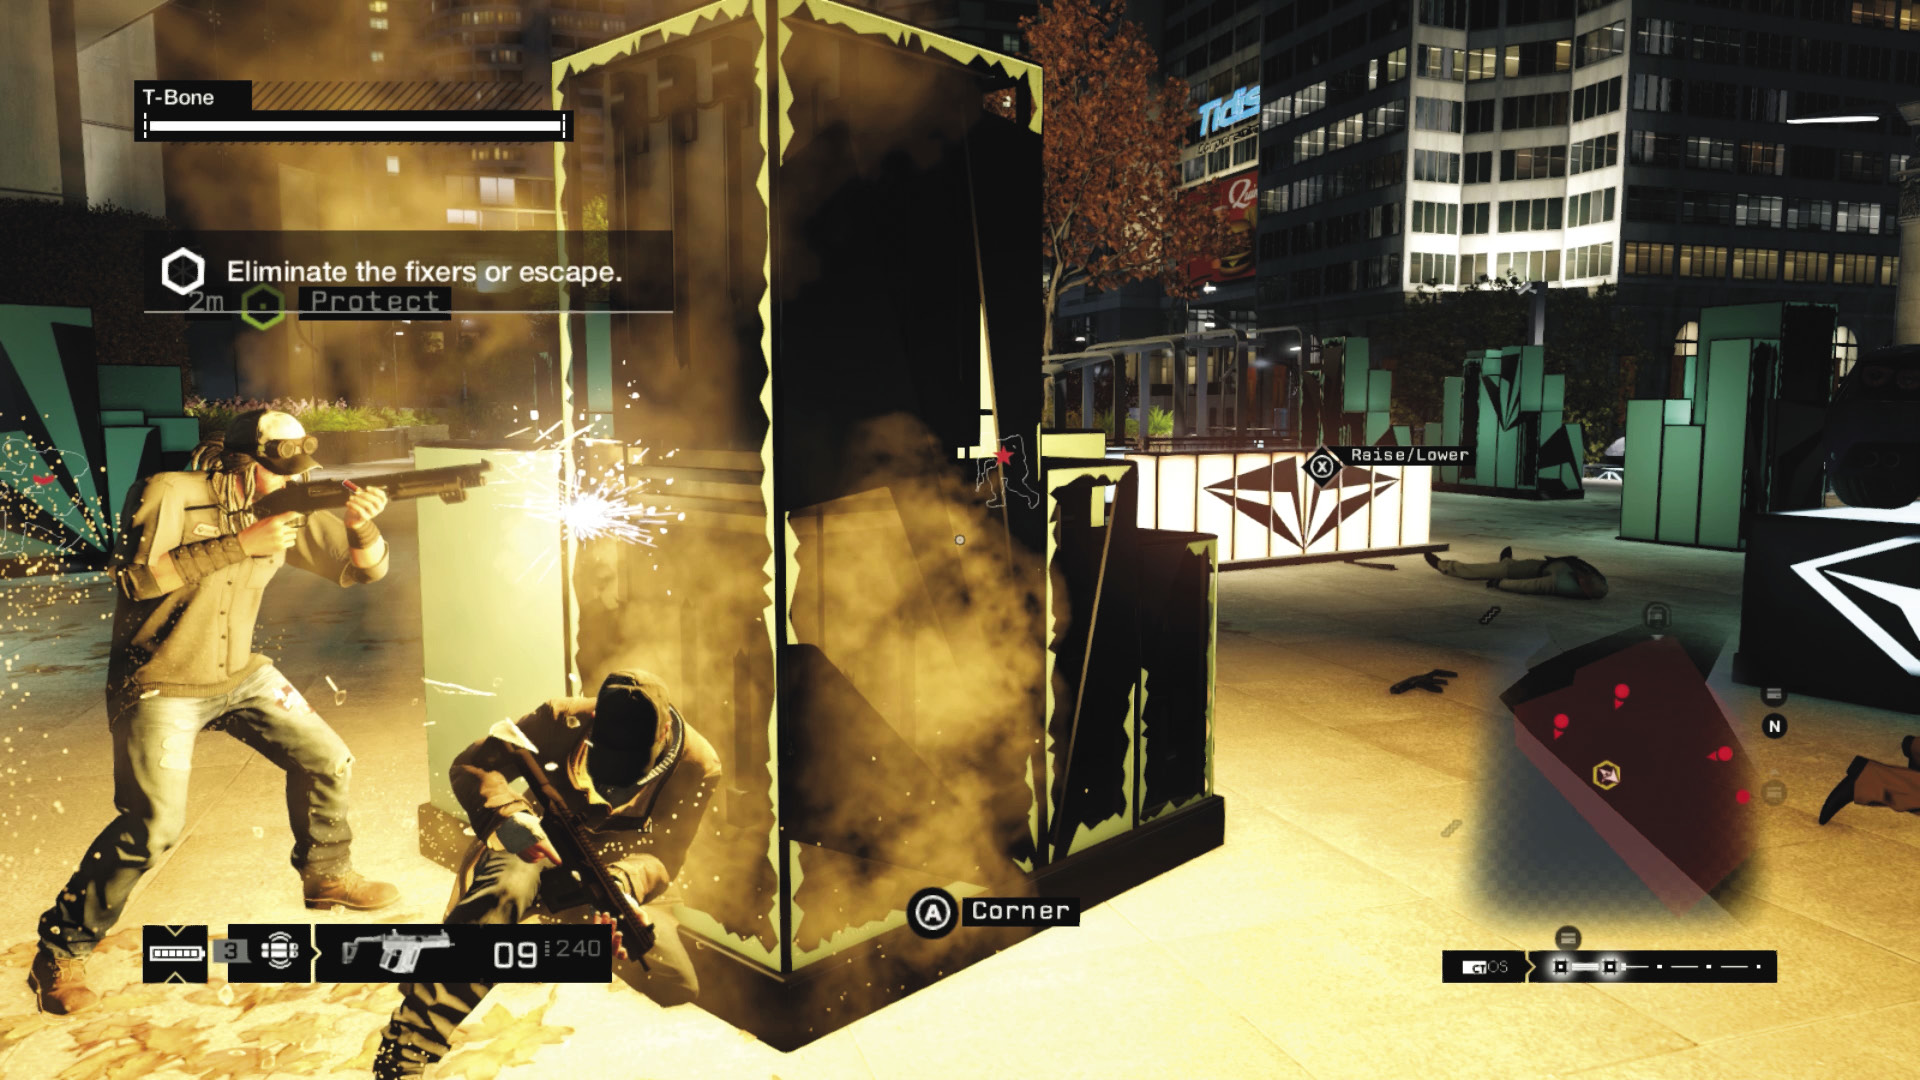
 Difficulty:
Mainly you’re here for the violence. Use a mixture of close-assault guns (assault rifles, shotguns, or machine guns) and periodically lob grenades. This is the best way to turn the tide on the foes. Of course, using up a grenade launcher’s ammunition is also a great help. Although initially difficult, drawing fire away from T-Bone is critical, so try targeting the three or four foes closest to him, even if that means rushing in for melee strikes.
After you deal with the foes to the right (southwest), you may wish to engage the enemies behind the sculpture cover. You can:
Move south to north, dropping to cover and hoping for headshot opportunities.
Move up and around the oval planters to gain height and cross-fire advantages over a foe.
Cross-firing—attacking a foe from a different location to T-Bone—limits the foes’ effectiveness at targeting both of you. Though it’s not a great plan to start with, it becomes an excellent idea when T-Bone isn’t fending off multiple blasts at the same time.
Conversely, sitting in cover adjacent to T-Bone allows you to protect him during the early stages of combat and easily spot where a threat is coming from. Those sculptural displays will take a beating, but you’re fine behind this cover.
One of these enemies is an Elite with hardened gear, so headshots are a must.
However, it can be much easier to step in and use your baton, moving from cover to cover.
|
|
 Kill all Fixers or escape
3.3 DEFALT’S FIXER FRIENDS
 Location / Mad Mile // Defalt’s Apartment (Crowley Building)
 Escape
 Vehicle Chase
 Lethal Force Likely
Difficulty: 
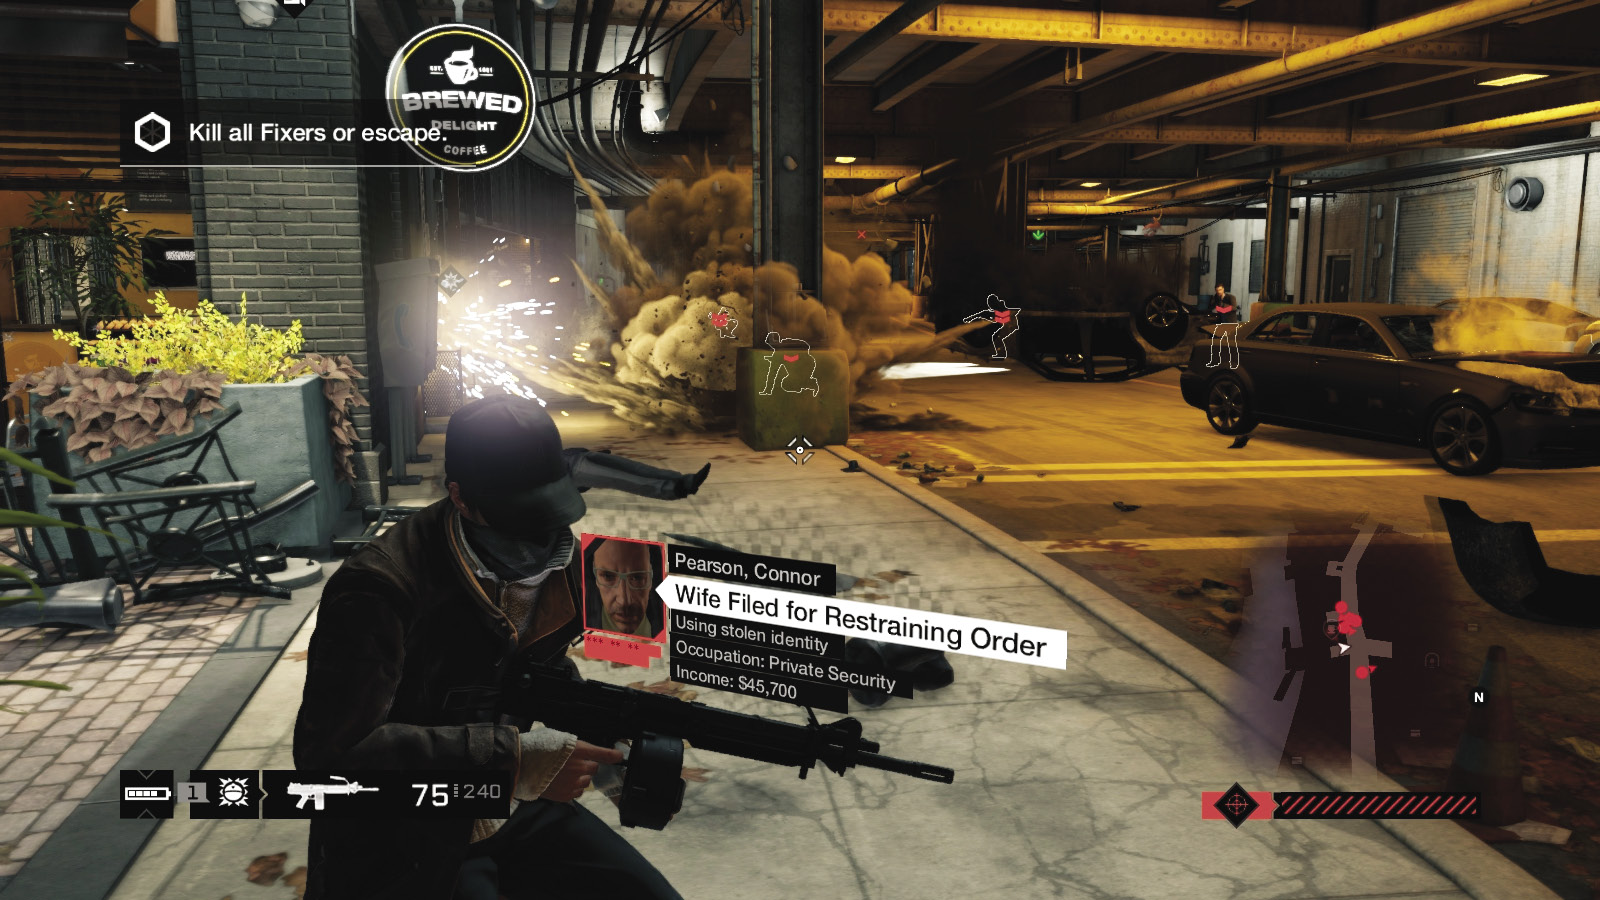
When T-Bone reaches the exit and no more armored Fixer threats are around, he heads down the steps to a waiting vehicle and departs. You can’t follow him once he speeds away, but you should prepare for some serious reinforcements, as most of Illinois’s Fixer community descends on your location! Expect five vehicles initially and further cars incoming as the mission progresses, each with at least two enemies per vehicle. At this point, you can remain here and fight it out, or flee. Or, you can flee, stop, and fight it out. The tactics for tackling these groups are exactly the same as before, but watch as you escape. Defalt is remotely hacking the city infrastructure, and can use the steam pipes and blockers too!
A favorite plan is to save your grenade launcher or IEDs for the incoming foes, and punt grenades or lob IEDs at the front of their vehicles, before mowing them down. Raining damage down from the pedestrian bridge is also helpful, as most foes are approaching by road. You can also retreat to the coffee shop and side of the river, which offers protection as you demolish the incoming enemies using short controlled rifle bursts and grenades.
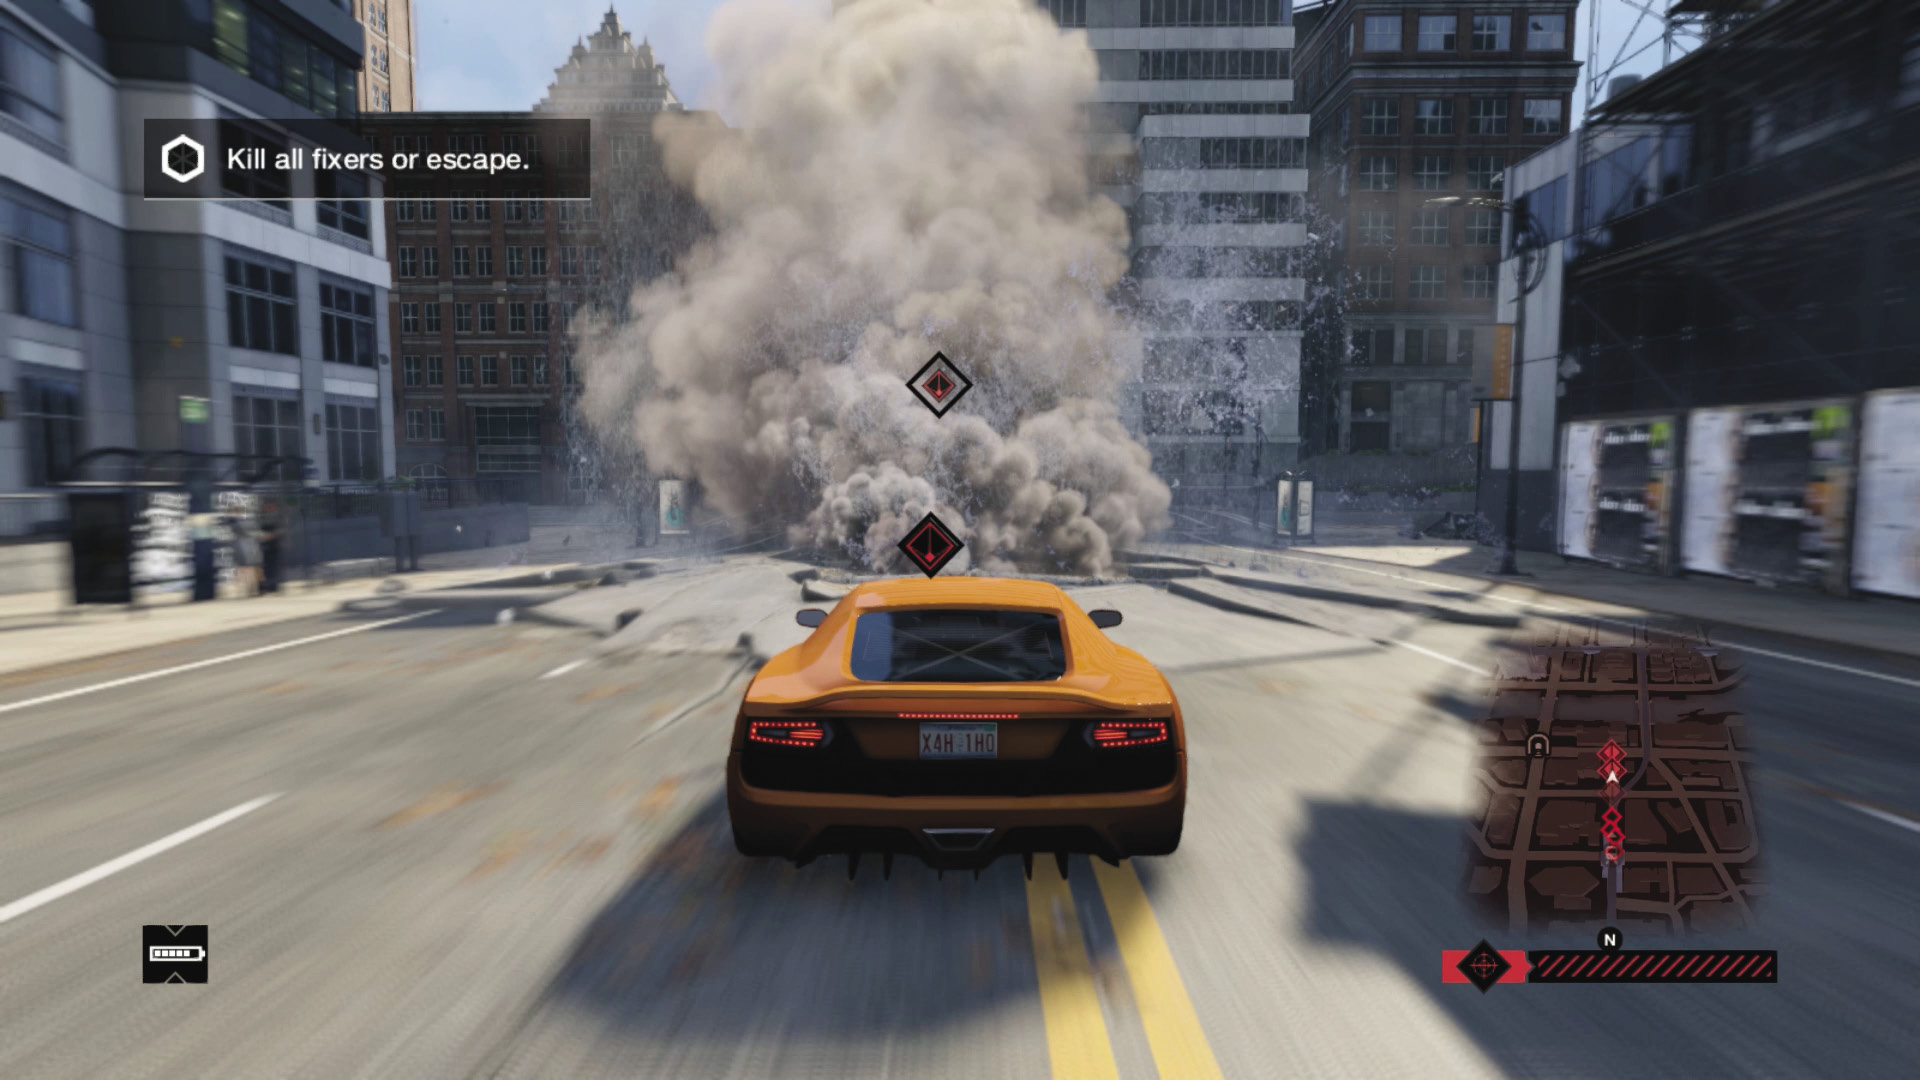
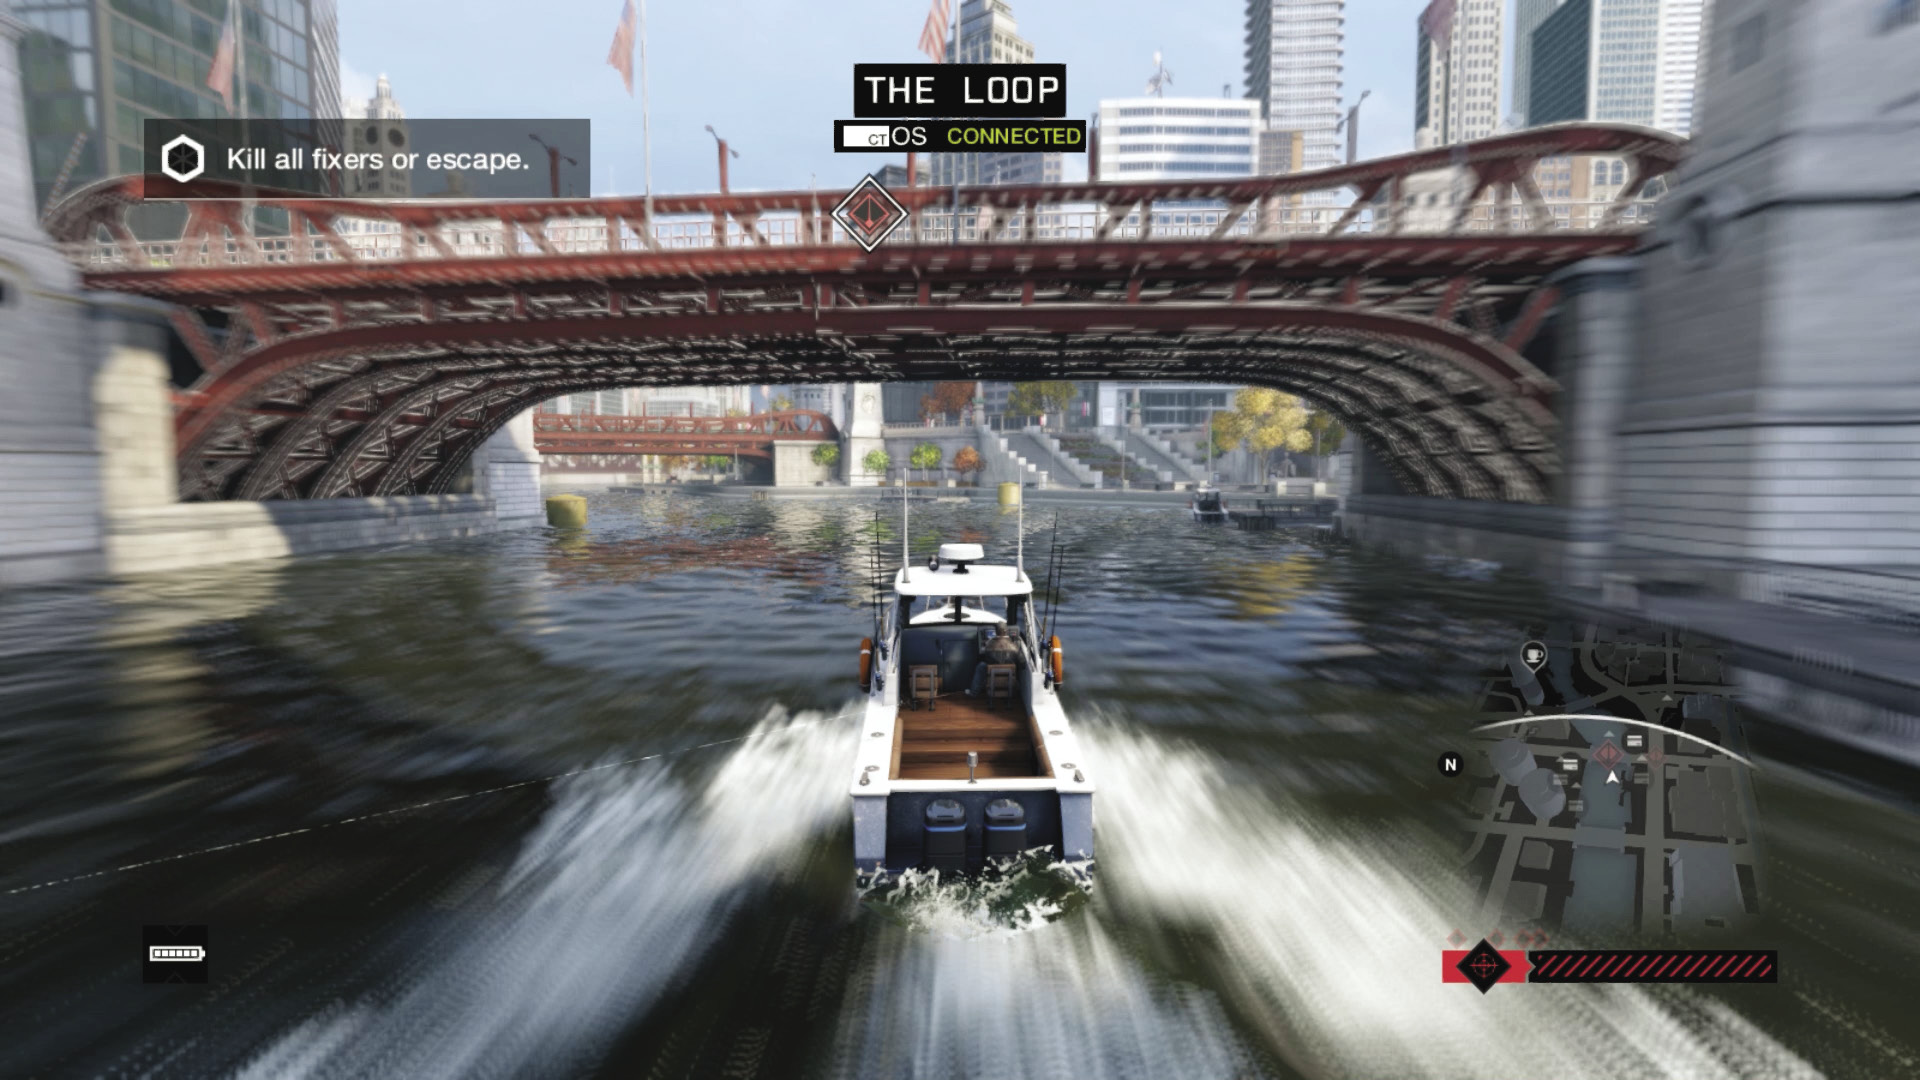
Or, you can secure a vehicle parked slightly farther uphill than T-Bone’s ride and floor it; flee as quickly as possible, away from their scanning area (waiting around simply makes escaping more laborious). Beware though; Defalt has taken control of some of Chicago’s ctOS infrastructure! This means steam pipes, traffic lights, and bridges are a little more hazardous, and can’t be utilized tactically during your escape. However, most blockers are still active, and there’s a large hole in Defalt’s net; you can easily escape by boat! When you meet the objective, the mission concludes.
MISSION REWARDSGained XP +3,000 |