
Watch Dogs Guide MAIN MISSIONS MAIN MISSIONS /// ACT III
_UNSTOPPABLE FORCE
OBJECTIVES
|
 Take down the convoy before it reaches Blume
 Eliminate the target
 Hack the courier for the scrambler code
 Kill all the militia members or escape
LOCATIONS // MAP
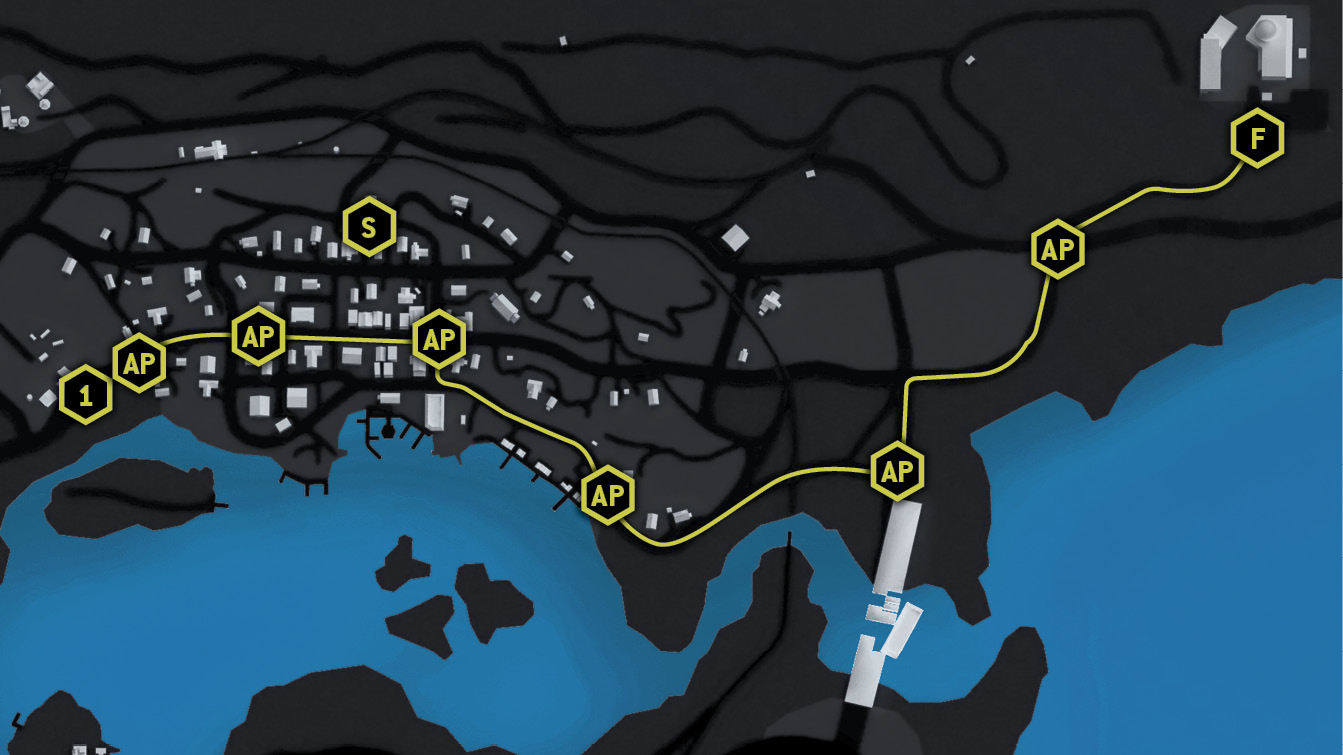
Location / Pawnee // Convoy Route Through Pawnee
3.1 WE’RE AFTER A SCRAMBLER
 Location / Pawnee // GoodGoods Pawnshop
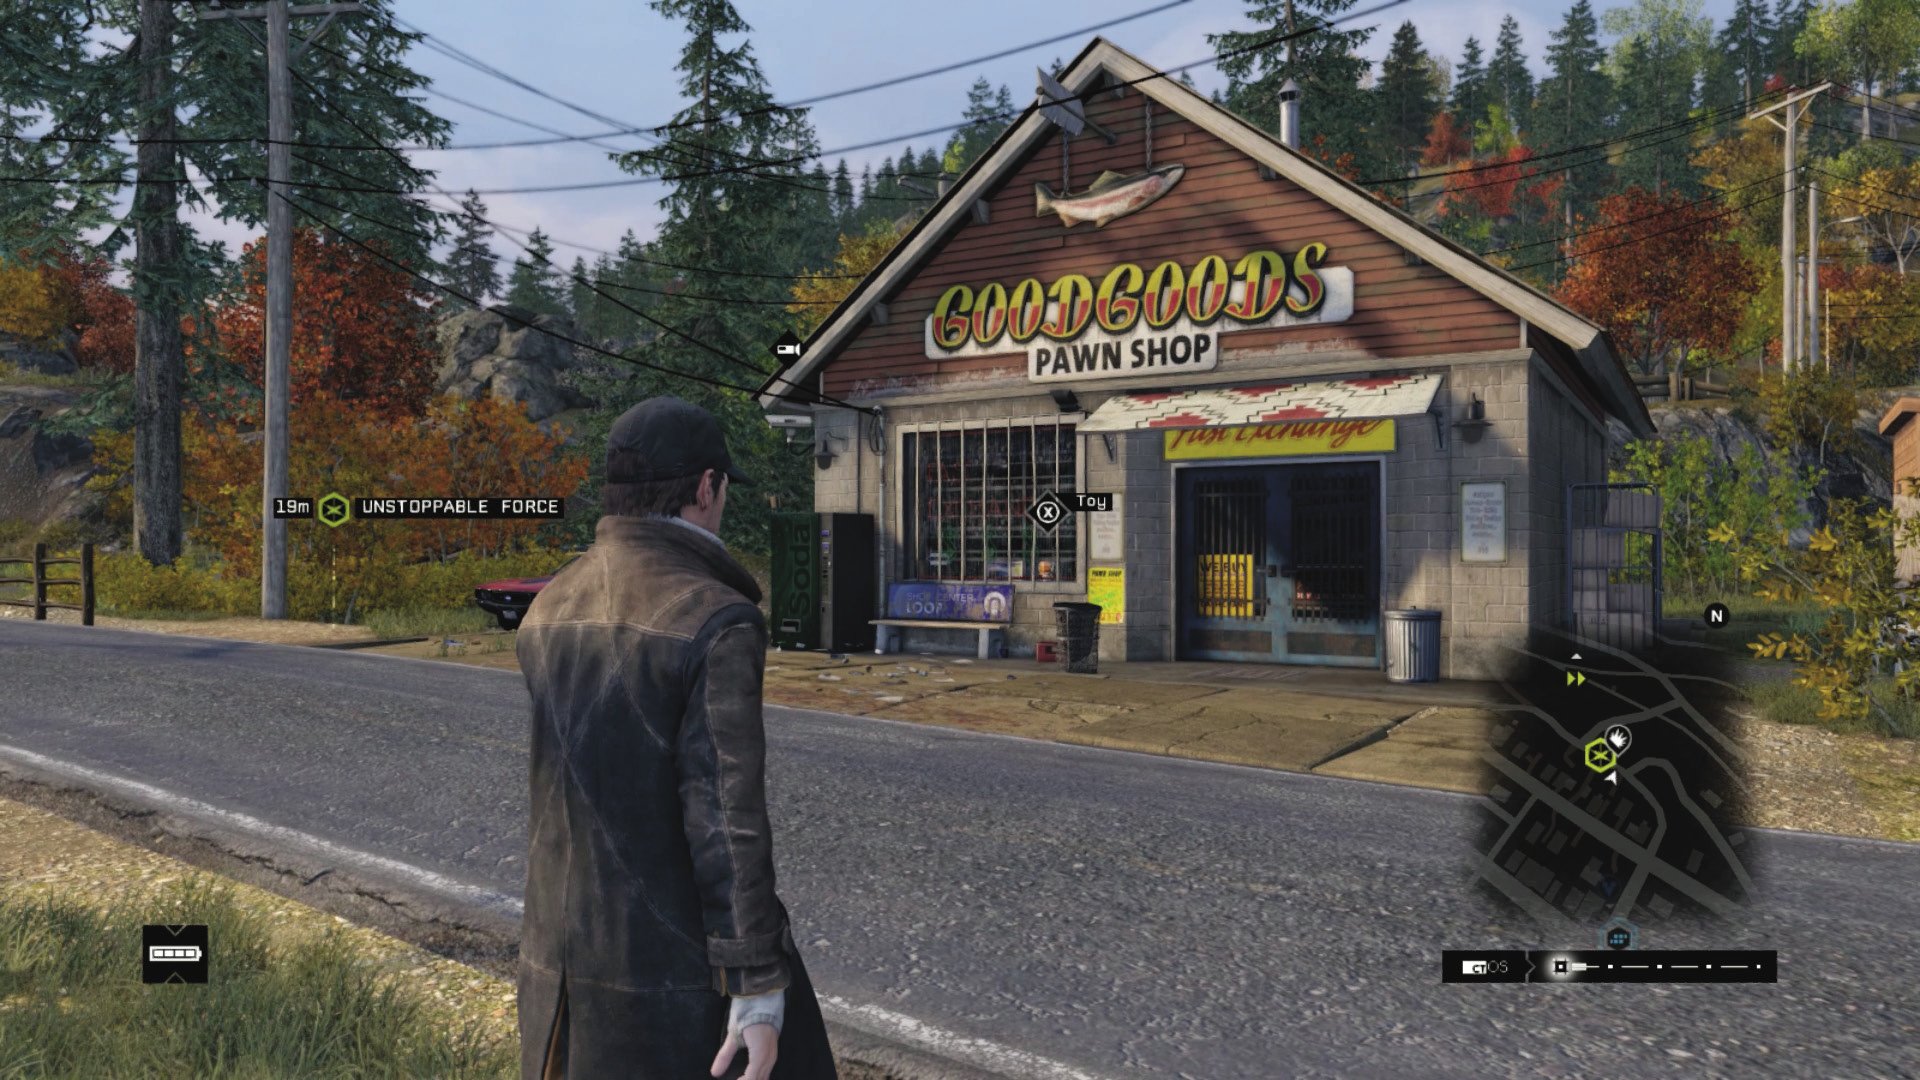
Stop! Before you begin this mission, be sure you’re equipped with an arsenal of preferred weaponry. Although stopping a convoy with a pistol, a grenade, and chutzpah is possible, it isn’t wise. Gather a sniper rifle or grenade launcher; an automatic rifle or machine gun; and grenades, IEDs, and other projectiles. There’s a reason you begin this mission outside Pawnee’s pawnshop!
After your purchases and crafting, start the mission. T-Bone is on the phone again, requesting his next plan—a scrambler to wipe the biometrics, allowing him access to Blume’s servers again. For this plan to work, you need to intercept a black market convoy, hack the scrambler information from the target (a nasty Enforcer inside an armored truck), and remove or flee from any threats—militia friendly to the Blume corporation.
|
|
 Take down the convoy before it reaches Blume
 Eliminate the target
3.2 CONVOY CARNAGE
 Location / Pawnee // Convoy Interception Point
 Driving Investigation
 Vehicle Chase
 Data Hack
 Lethal Force Likely
Difficulty: 
Overview
 Completion Point: Target’s phone (initially) inside the armored truck, anywhere en route to Blume compound.
 Dangers: Approximately three vehicles, each with two or more militia (Gunmen, Veterans, or Elite). Armored truck has militia driver (Veteran) and Enforcer (target). All with pistols, rifles, and machine guns.
Reinforcements: Enemies (up to four Veterans) and vehicles (up to four cars) are likely after attack is launched.
Ambush Points
As the mission commences, bring up your map and scour the target’s route for possible ambush points. You are free to stop the convoy at any point, attempting any number of plans shown below. But the following locations give a good variety of options, and all but one take place before the convoy heads up the hill into Blume.
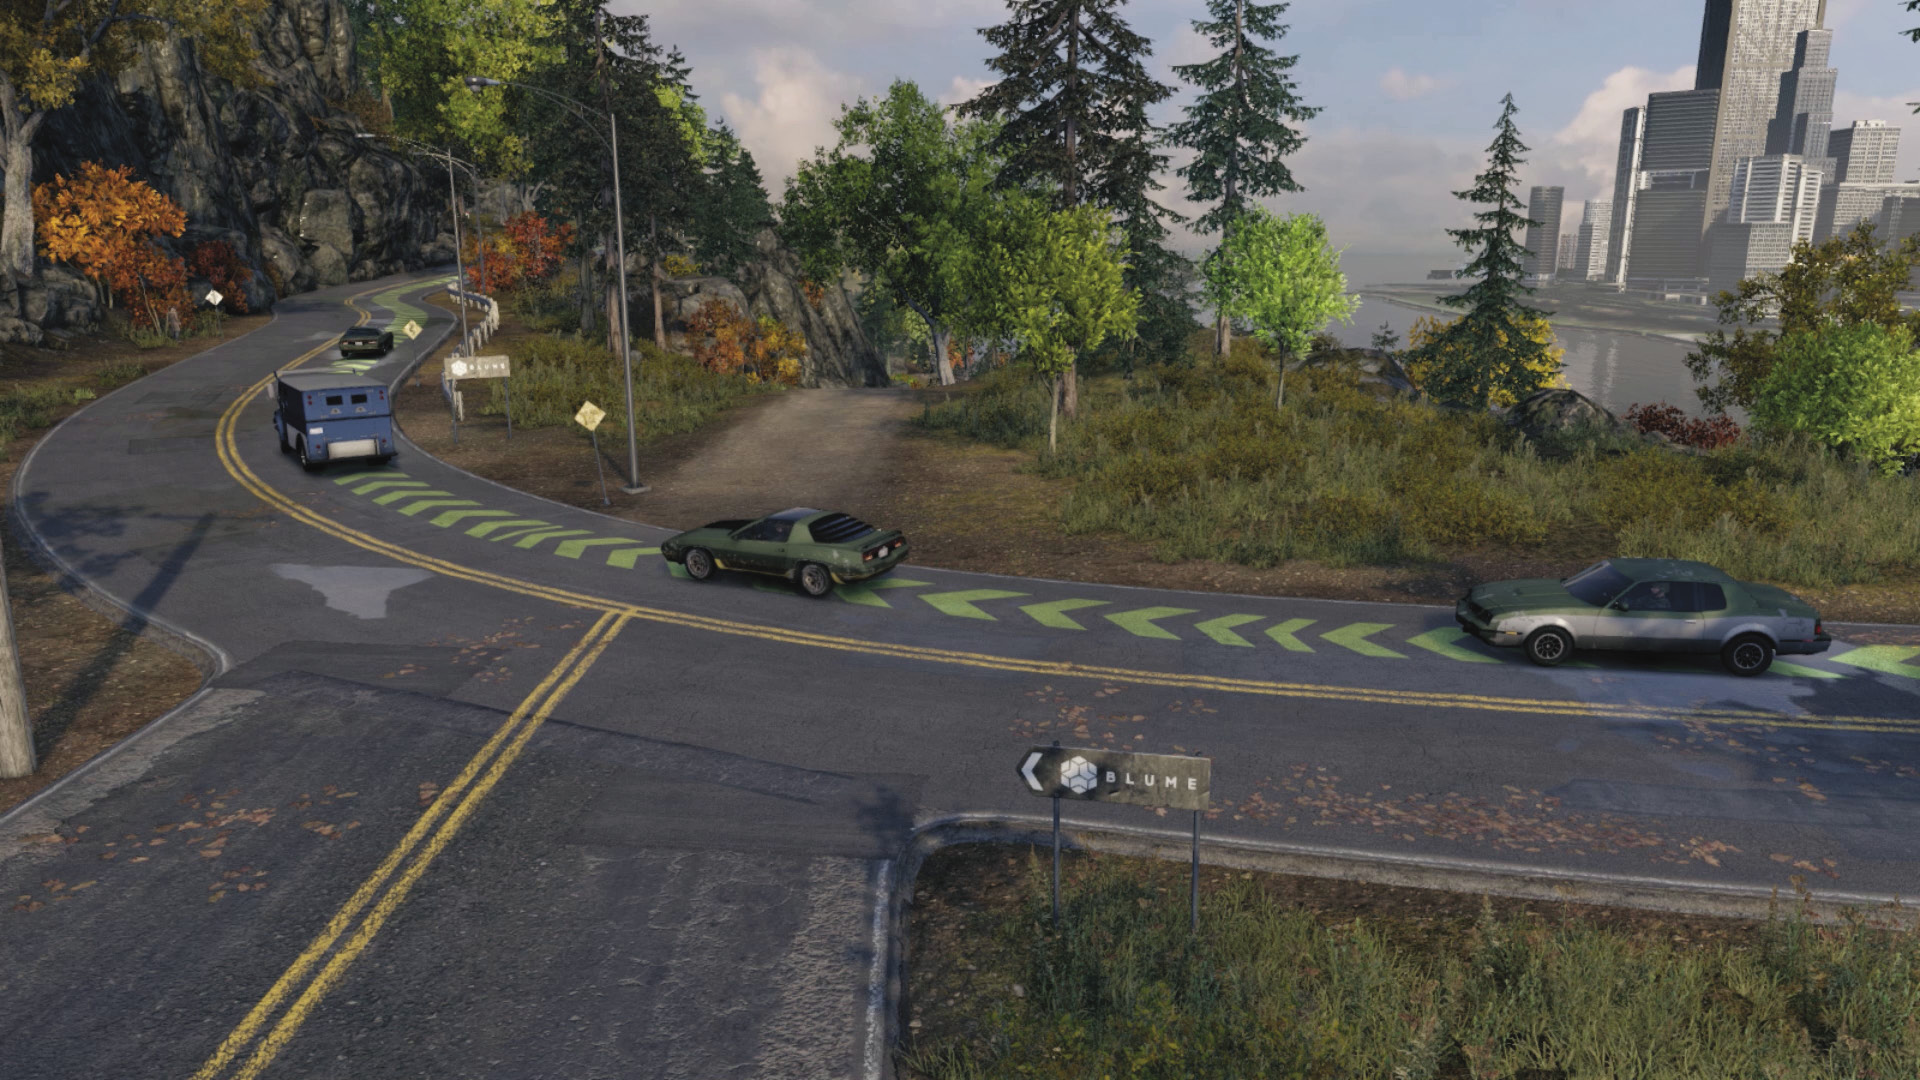
Blume Entrance Junction
Convoy Accessibility Level: 
The last possible moment for tackling the convoy is on the winding road leading up to the facility gates. But it’s better to creep back from this point, to this junction, with the two “Blume” signposts and dirt road down to the campground trailhead. Anything farther up the hill (closer to Blume) doesn’t offer you as much space to hunker down in; you can place a truck to block the junction, use IEDs on the route, and sit up on the hill to the southwest. Plus, when the Enforcer departs the truck, you have numerous escape routes to take (down the dirt trail, back down to Pawnee) as you retreat and use explosives. Another bonus for this location is you have time to prep the area if you head here before blocking the road with multiple vehicles and IEDs.
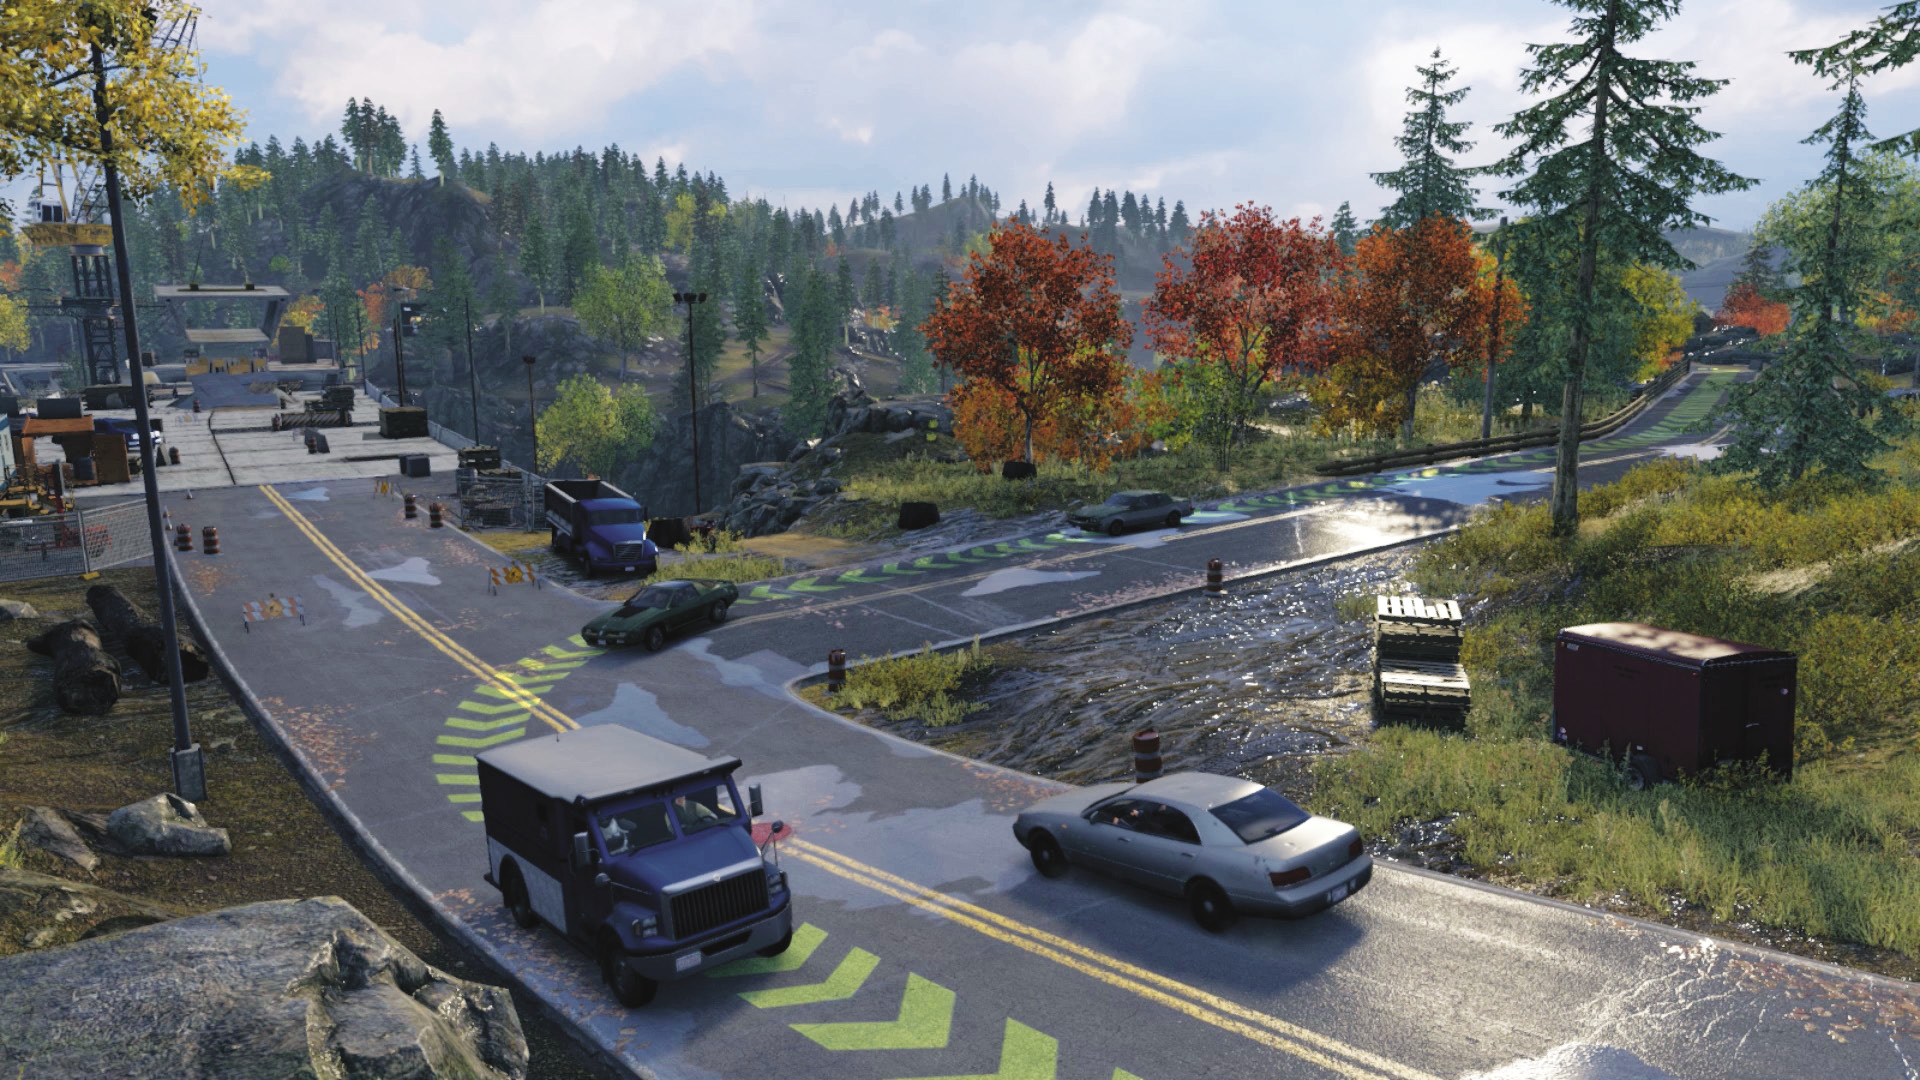
Road Construction Corner
 Convoy Accessibility Level:
The convoy takes a corner after passing over the wooden bridge, heading north at the bridge construction. This is a prime ambush spot, as you have enough time to plan a takedown and block the road (anywhere from the east end of the wooden bridge to the north road up the hill, after the corner). But the real help is the steam pipe. Assuming you can hack this to make it explode, sit atop the hill ridge to the east (optionally) after planting two or three IEDs close to the pipe; this will explode all three convoy vehicles. Then sit back, detonate, and use your remaining projectiles to bring down the Enforcer. Did this plan go horribly wrong? Then lure the foes onto the super-structure of the concrete bridge and any transformer vaults within the area.
Steam Pipe Harbor View
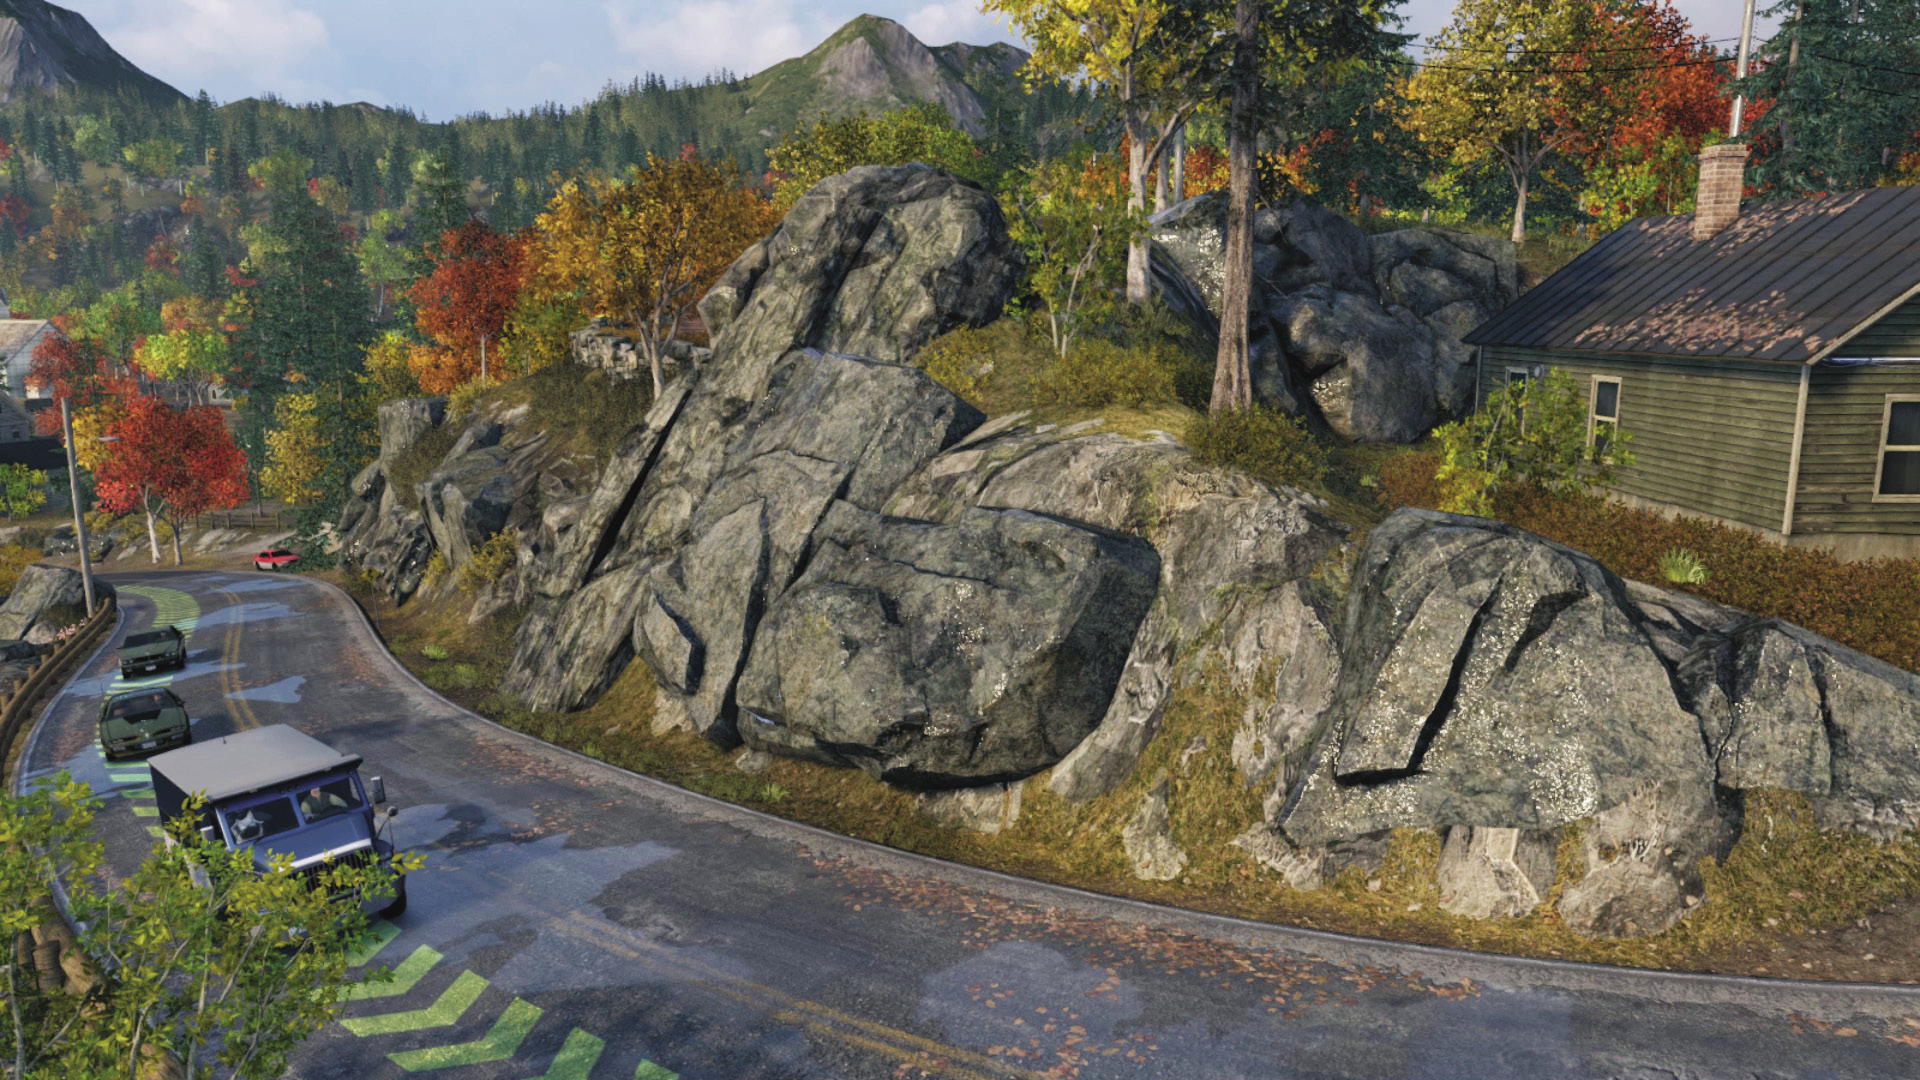
 Convoy Accessibility Level:
If you’re happy with a small wait, you can drive through Pawnee, following the convoy route to the road heading out of town. Stop or block the road at the steam pipe halfway up the slope before the left corner. Get out and climb the rocky outcrop overlooking the road and the harbor to rain down bullets from above. Then detonate the steam pipe, backing up the attack with more lobbed explosives. You’ll get a spectacular view of the lake and the destruction of your foes! Back this up by raining explosives down from a hilltop perch near the cabins to the north. The only issue is the lack of flat ground to retreat on.
Jedediah’s Corner and Main Drag
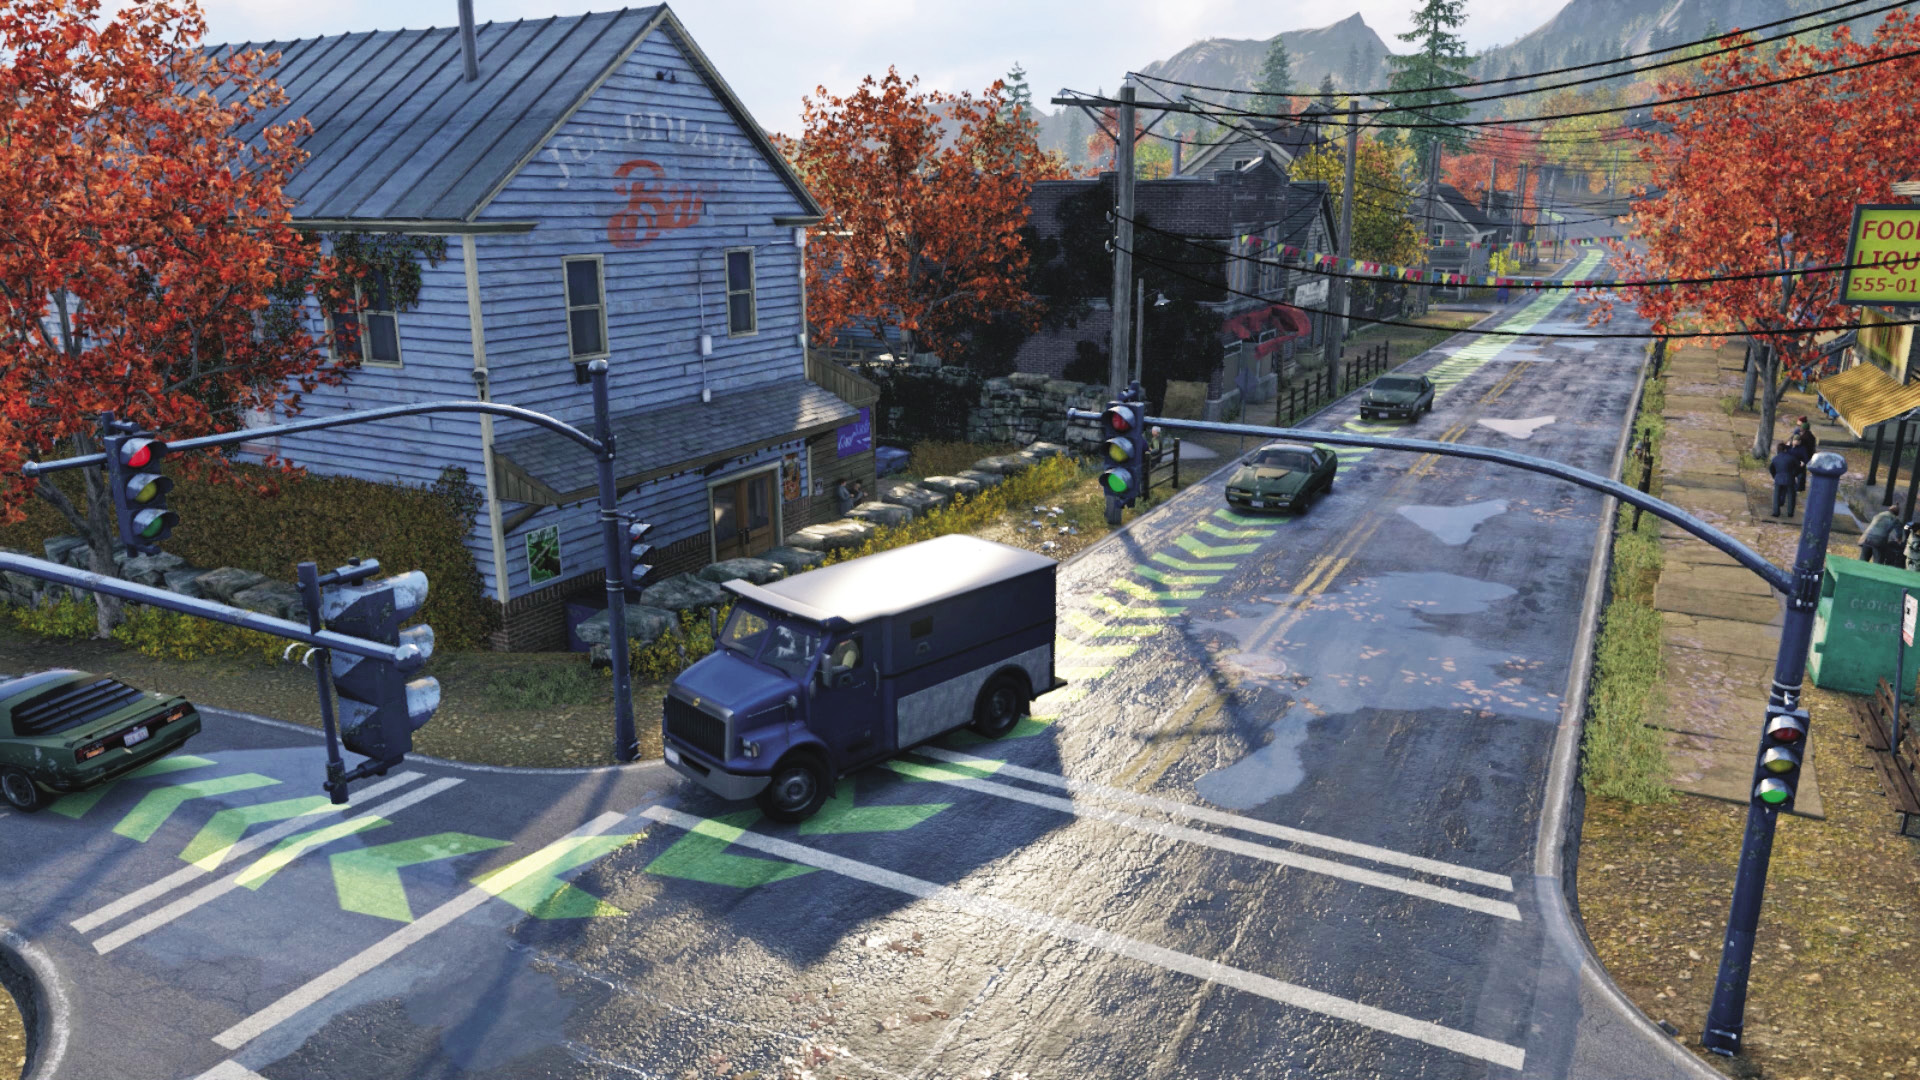
 Convoy Accessibility Level:
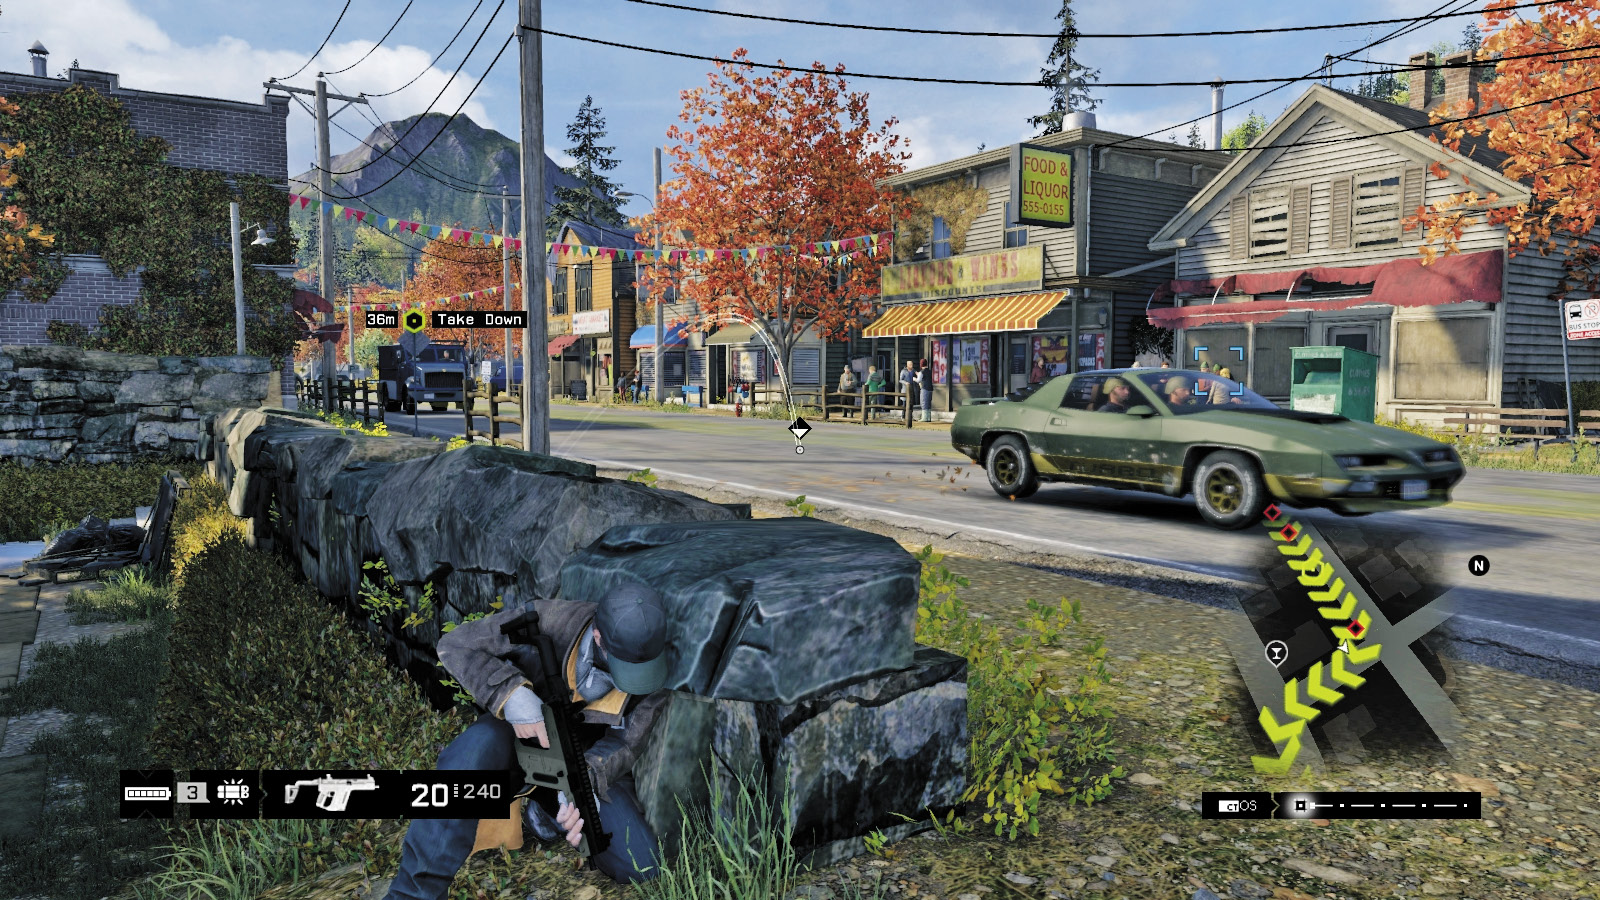
This is the longest, flattest, straightest route along the convoy route. Though you need to be quick, you can block the junction by the rear of Jedediah’s, crouch behind the low stone wall, and lob an IED onto the convoy truck before detonating and retreating. Or, you can set up a sniping position and drop as many convoy foes (except the Enforcer) as you can while they’re far from you. Retreat options include the marina or back up the hill. Just watch for reinforcements appearing behind you.
The Lights at Pharmingtons
Convoy Accessibility Level: 
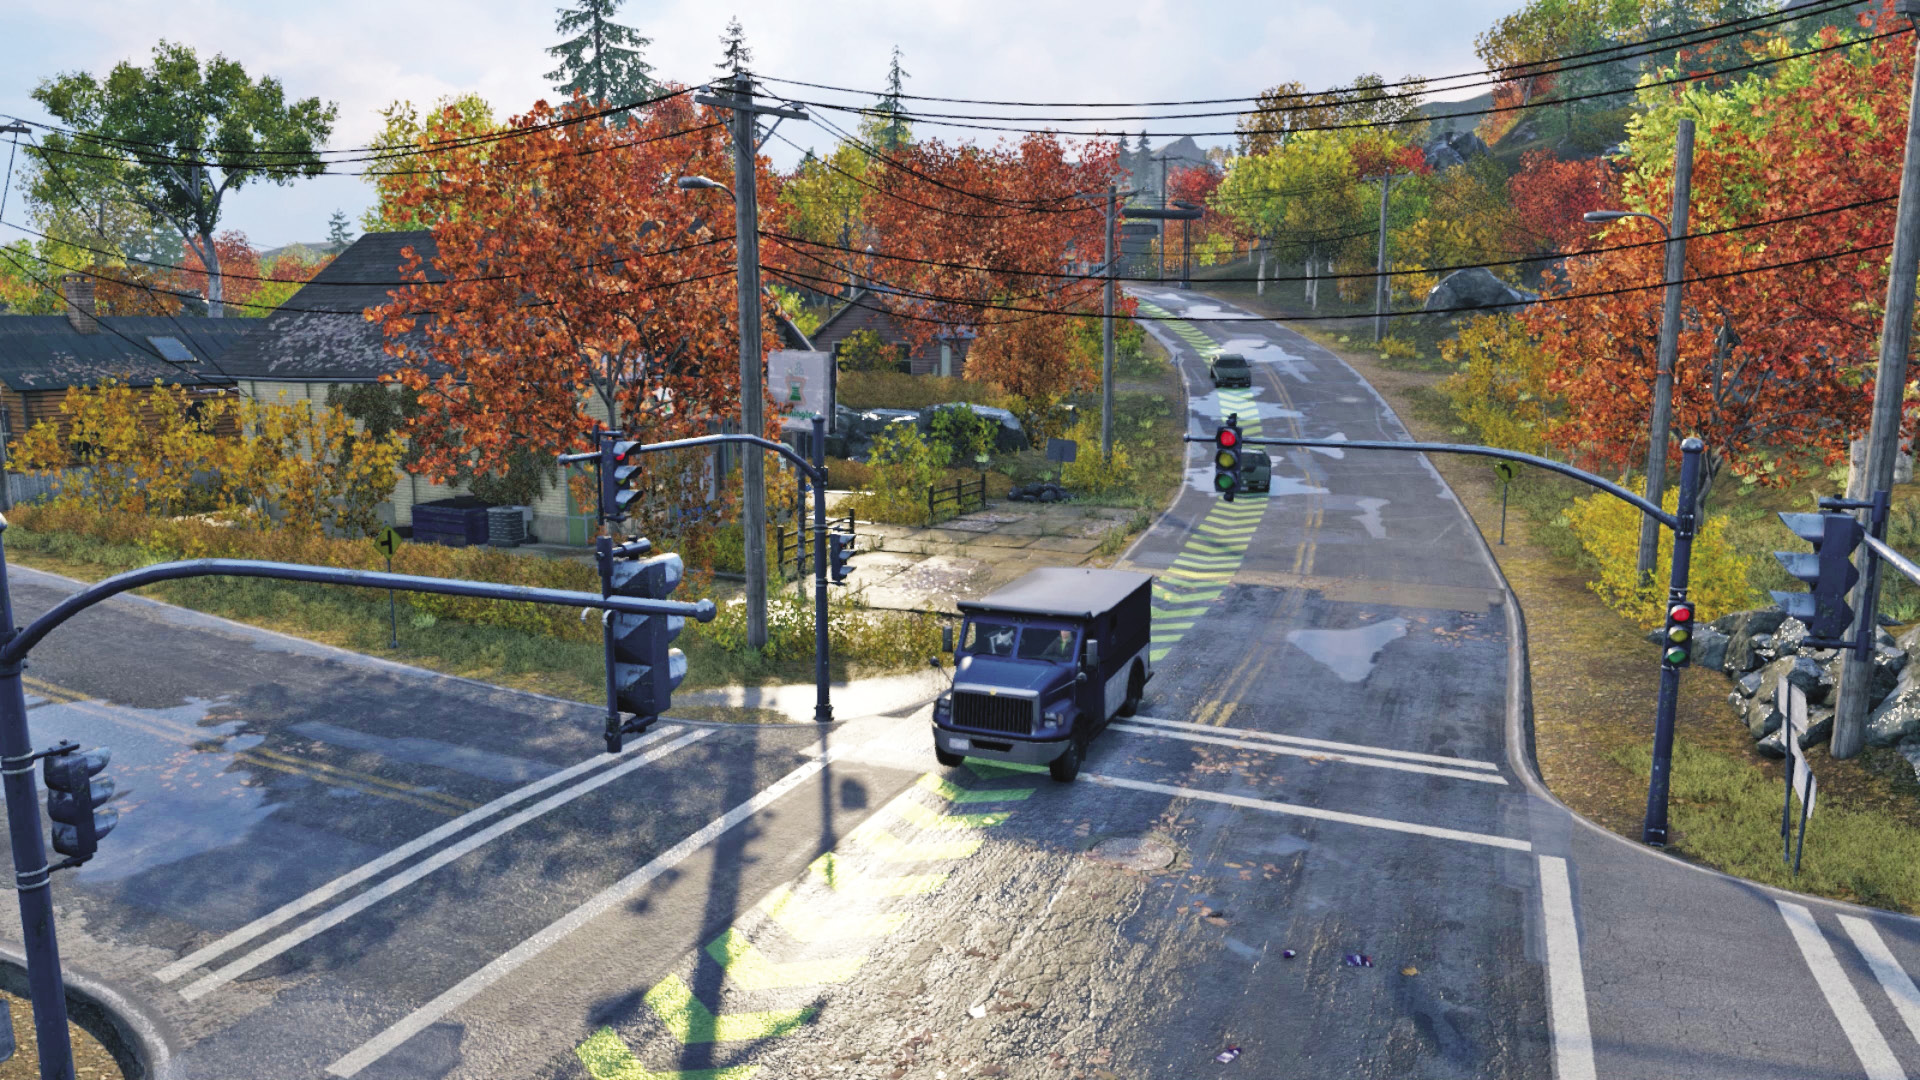
This is the first real opportunity for a violent takedown, with your focus purely on stopping the convoy and removing them at this location. Hack with the lights if you wish, or drive down the hill and sideswipe the armored truck before fleeing, spinning around, and driving back to run over the Enforcer. From here you can utilize the many buildings as cover.
Gas Station
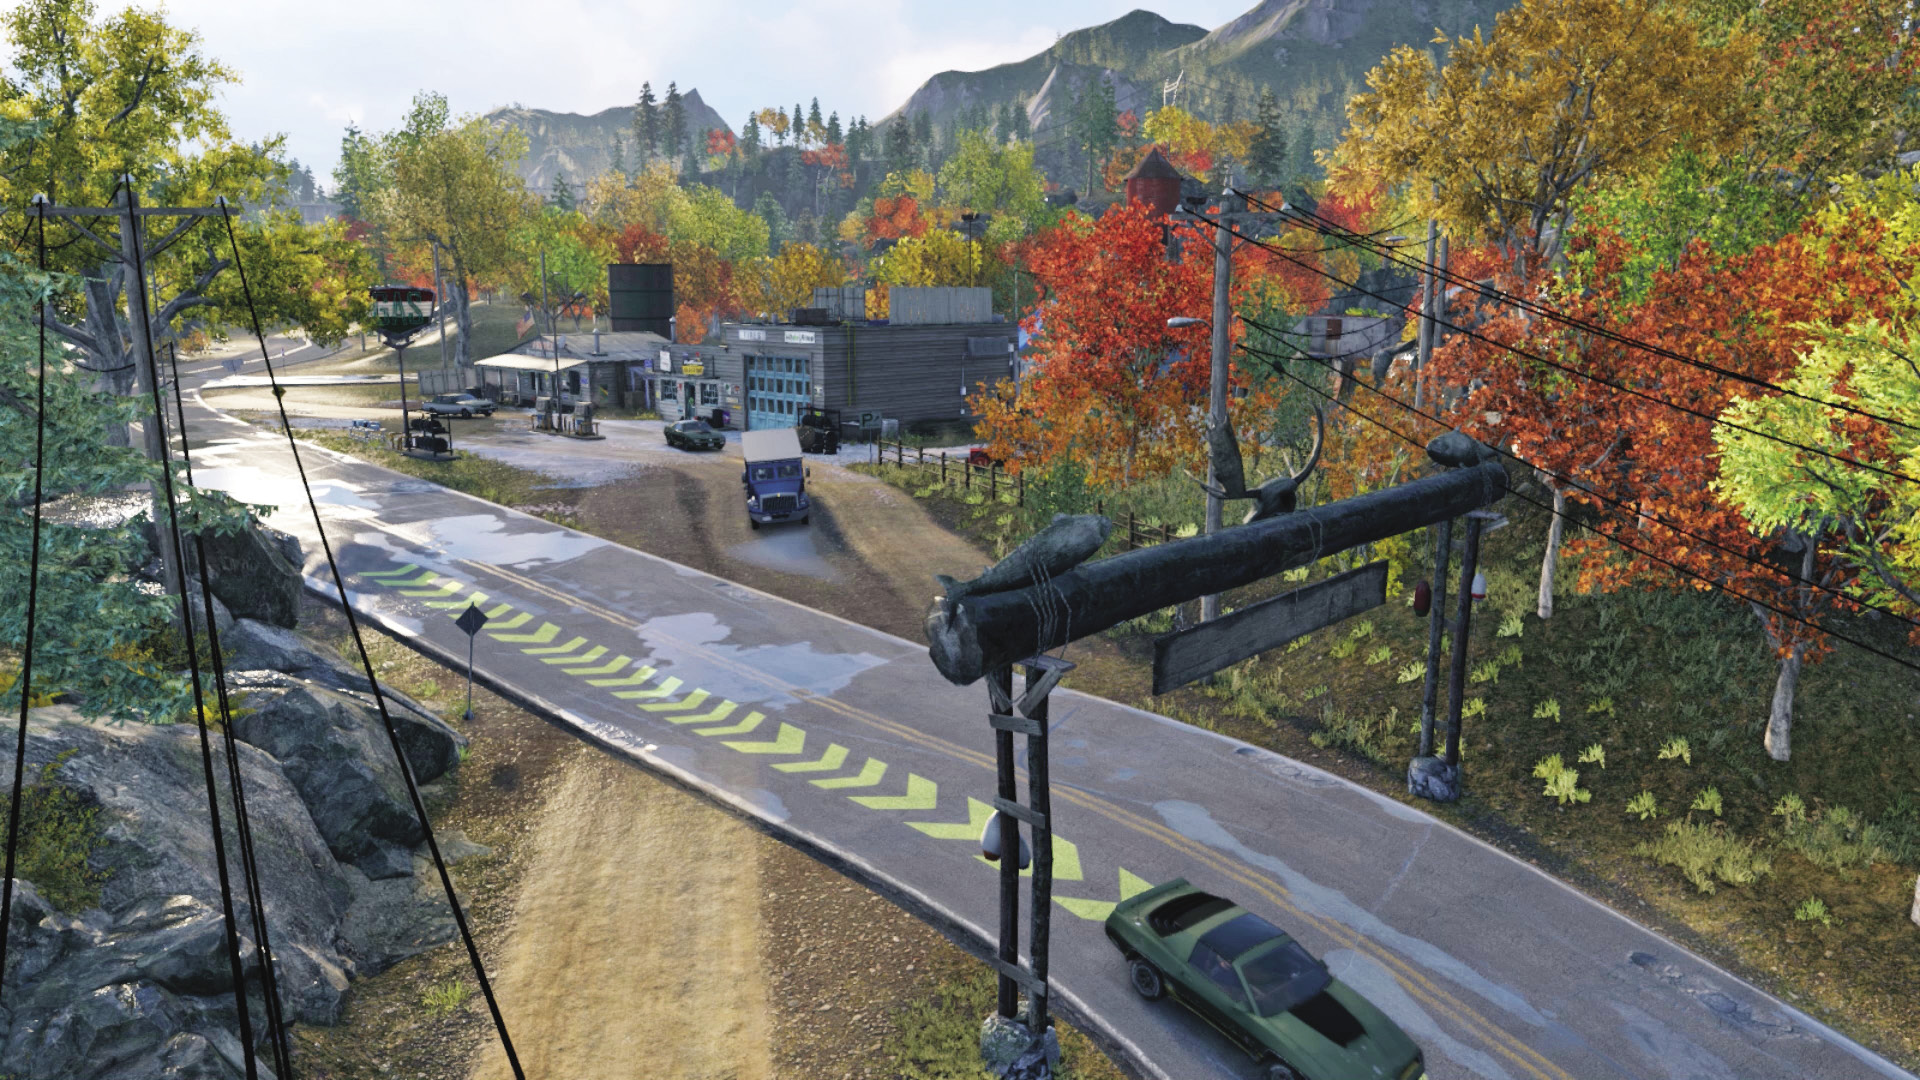
 Convoy Accessibility Level:
One of the best plans is to simply drive a truck of your choice directly at the convoy, crashing into the armored truck at the Pharmingtons junction (see previously). However, instead of sticking around, drive up the hill away from Pawnee and (optionally) take refuge on the gas station roof, where you dealt with militia forces back in Main Mission: Let’s Play Make a Deal. You have the height and scenery explosives (including a steam pipe) to really damage the incoming foes and a great view of the advancing Enforcer as he waddles up the hill, before (hopefully) succumbing to projectiles. You can even earn some extra XP by staying inside the gas station and mopping up reinforcements, using your knowledge from the previous mission to guide foes into traps.
If none of these locations is to your liking, feel free to find a different area for an ambush, with the following caveats:
The location should be where the convoy is at its most vulnerable or when the convoy is slowing down, such as at a corner or on a narrow road.
Have enough time to leave your vehicle (ideally, blocking the road) and move to higher ground to prepare for combat takedowns.
Have numerous corners to hide behind so you aren’t wasted by the Enforcer’s machine-gun fire. You also need enough space to arc in lobbed projectiles, so try attacking from the hill looking down.
Park a vehicle nearby in case you run out of explosives when taking down the Enforcer and need to finish the job with a vehicle. This pursuing vehicle needs to be tough enough to bash and ram the armored truck and run over the Enforcer. Twice!
If there are no explosives and no vehicles nearby, and if the Enforcer is still coming at you, retreat to an area of Pawnee with several junction boxes or regulators, such as the marina, and explode them when the Enforcer is close by. This means a dangerous game of coaxing the armored foe into this area without being cut down yourself.
Progression Plans
You may now try one, parts of, or any combination of the following methods to defeat the convoy and the Enforcer inside the armored truck.
General PreplanningPresupposition: This mission requires minimal sneaking and maximum combat, as well as tactics you’ve already learned in earlier missions. No Cameras: You have no need for cameras, but keep your smartphone out so you can hack the moment the target is dead and mark any militia while you fight. It’s also a good idea to do a ctOS scan during the subsequent militia takedowns after you stop the convoy. Come for Chaos: Depending on how well planned your ambush is, you may have an Enforcer with a rapid-fire machine gun to deal with, as well as his brethren. Explosives are critical to your success here. |
 Driving // Offensive: Ramming Speed!
Difficulty: 
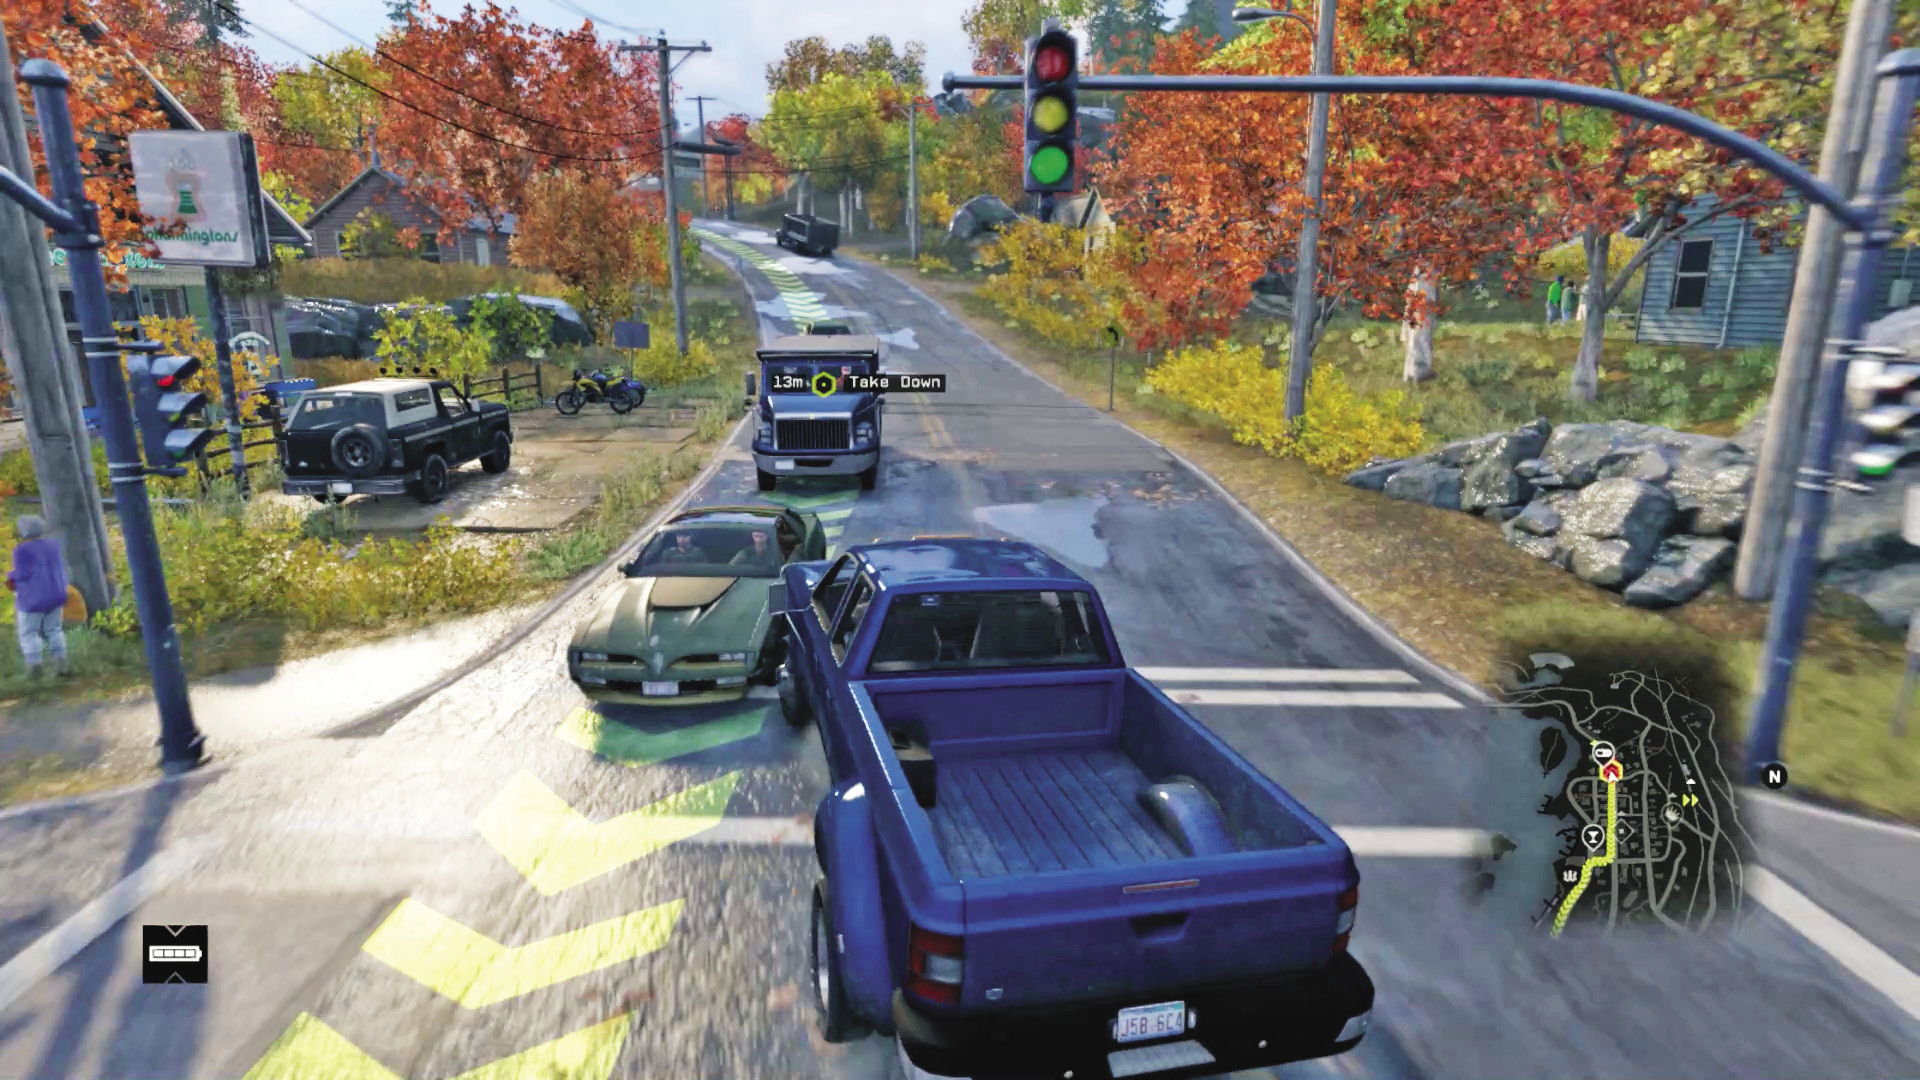
Pick a vehicle with enough strength, such as a truck or even something bigger, and drive straight toward the convoy. Don’t be overly quick, as the narrow and sharp-cornered roads can send you skidding. Take your time until you reach the convoy. You can smash into the lead vehicle, but it’s better to collide head-on with the armored truck. With enough force, it becomes disabled. If not, ram again, give chase, or park near cover, get out, and continue the battle using guns.
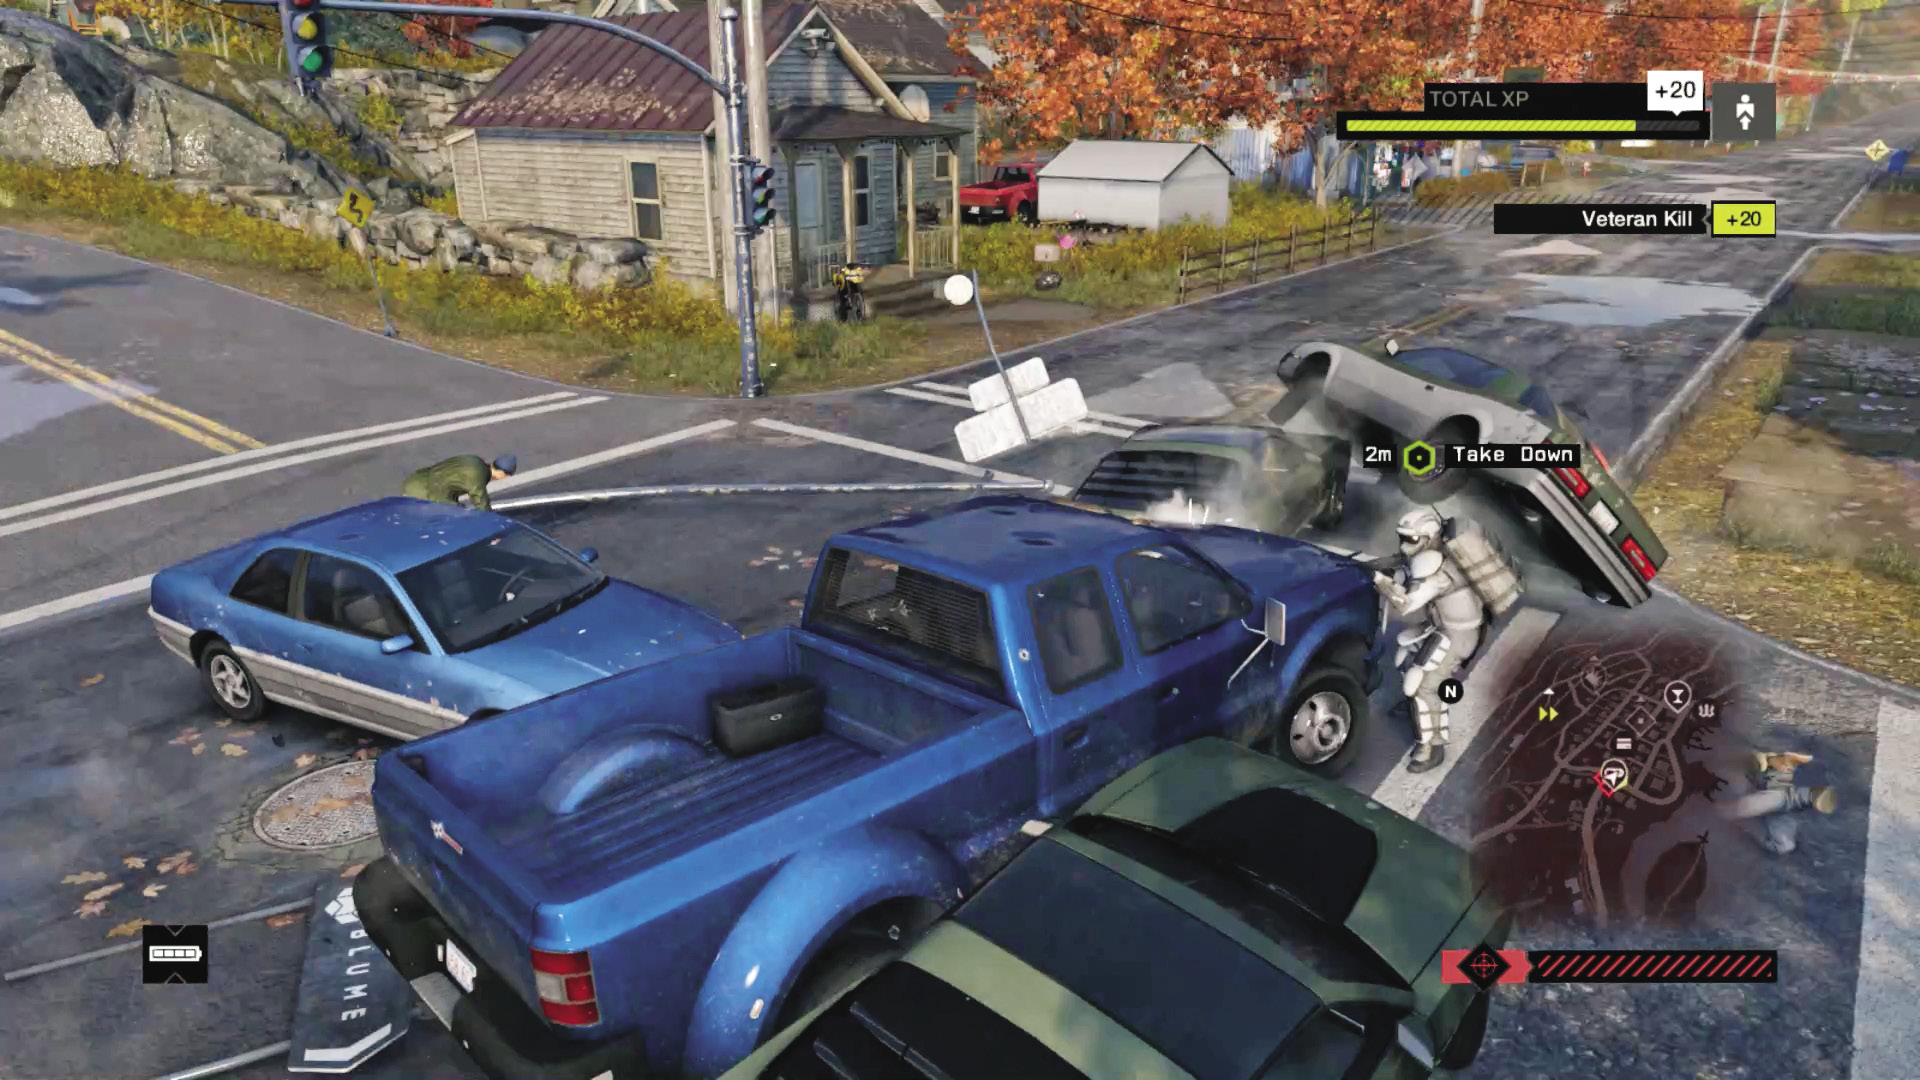
When the Enforcer steps out from the vehicle, you may receive a large amount of firepower that can cut through your vehicle and kill you in seconds. Think about speeding away from the collision site, regaining your health, spinning your vehicle around (or changing it for an undamaged one), and running over the Enforcer. He doesn’t go down easily; it takes two collisions to finally crush him under your wheels!
 Driving // Offensive: Stopping the Stampede
 Difficulty:
If you prefer a more tactical ambush, make sure you bring the right vehicle for the job: A long, heavy ride like this truck is suitable for stopping the convoy. Or, if your ambush spot is in a more populated area of East Pawnee and if you have time, you can drive and block multiple vehicles (the ideal spot is close to Jedediah’s pub).
 Aggressive // Violence: A Massacre Is Guaranteed
 Difficulty:
Assuming you’re using a heavy vehicle to block the convoy path, or even if you ignore this recommended plan and just try and leap out from the side of the road or perch on an area of high ground, you need the right weapon for the job. Remember to concentrate on the armored truck! Here are some possible takedown tactics:
Grenades:From a launcher or lobbed in conjunction with automatic rifle or machine-gun fire or an explosive IED. You can:
Destroy the lead car and the rear car, leaving the armored truck stuck between them.
Destroy the lead car and concentrate on the armored truck (it can withstand a grenade detonation).
Pump at least two grenades into the armored truck and dive out of the way if the vehicle lunges at you.
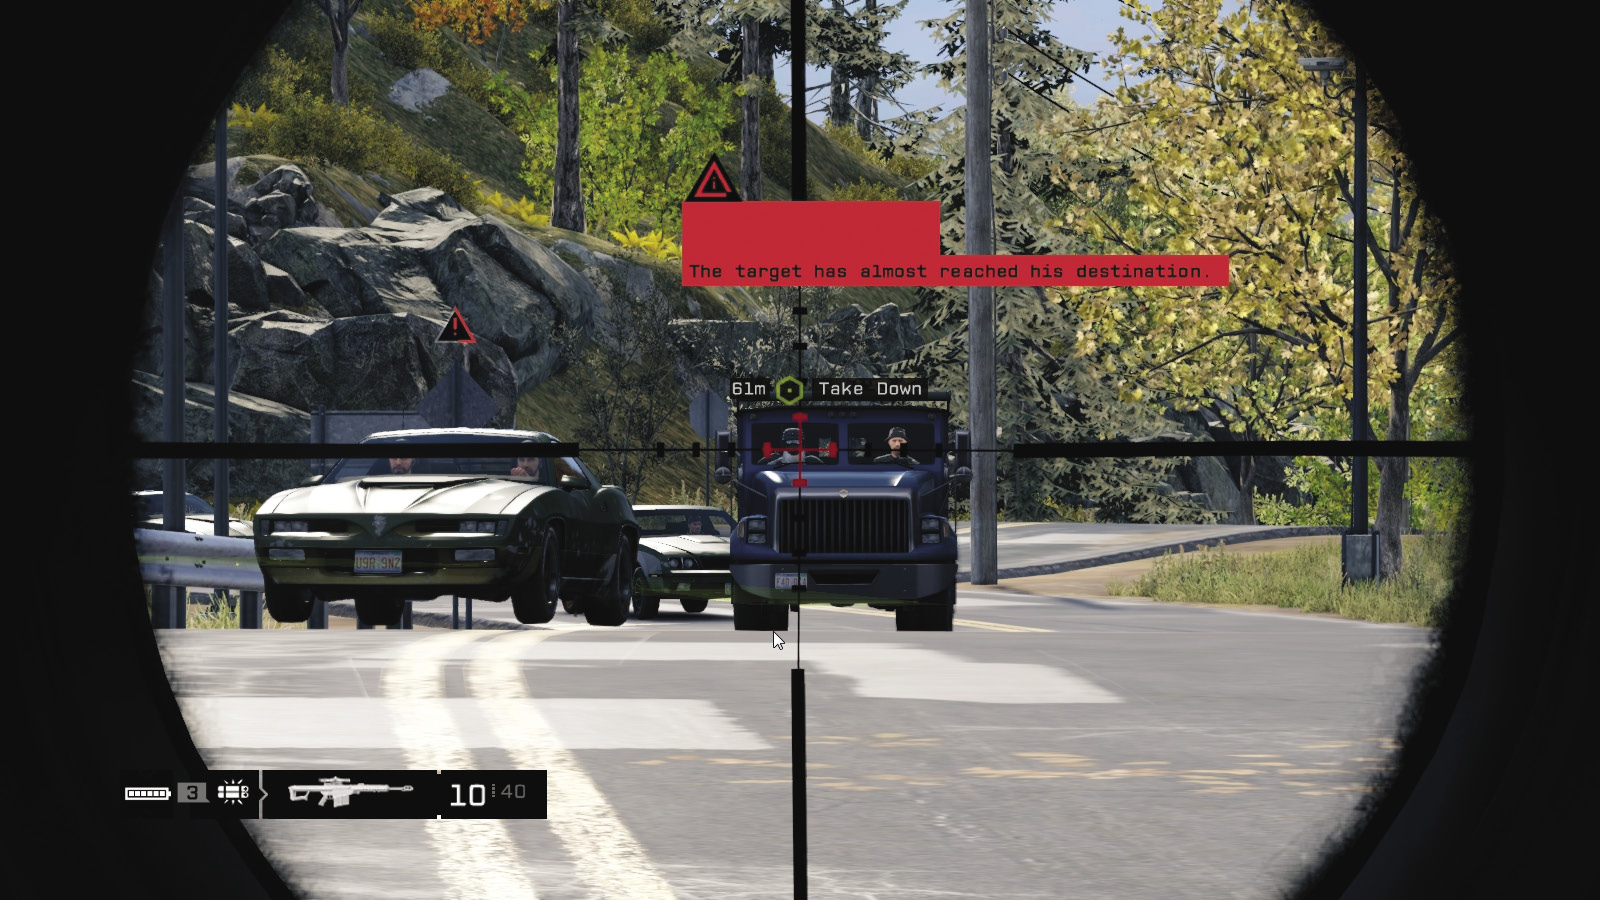
Sniper rifle:If you have a great line of sight and the armored truck won’t take evasive maneuvers, aim at the truck driver and drop him with a single shot. Take down the Enforcer, break off the engagement and head to cover, and then drop foes until your sniping position is overrun. Next, either drive away or use rapid-fire weaponry. You can also try aiming at the lead vehicle’s driver so the car blocks the truck instead.
Machine gun:A rapid-fire weapon is also an option. Aim at the tires and windshield, ideally with the armored truck heading toward you. Step out of the way so you aren’t struck. Attacking from the side allows the truck to escape more easily. But understand that the target—the Enforcer—doesn’t fall over under gunfire.
The Enforcer:The Enforcer disembarks from the vehicle and is on foot and susceptible to explosives (steam pipes, junction boxes, or thrown projectiles) or having his comms hacked. This incapacitates him for a second, allowing you to remove him using previously described means.
 Aggressive // Smart: Hacking to Impede
 Difficulty:
As long as you and your vehicle aren’t caught in the explosion, there are two opportunities to detonate a steam pipe under the armored truck, but this is usually if the truck takes off after a botched ambush attempt. Otherwise, wait the extra time it takes for the convoy to reach the steam pipe (the first one is outside Pawnee, up the windy hill road to the east), and detonate!
Otherwise, lure the enemies toward a location such as the marina, and blow up the Enforcer using junction box or regulator hacks.
One important weakness this Enforcer has, over the similar foes you’ve encountered before, is that once he disembarks from the armored truck, you may be able to hack his comms. This stops him for about five seconds—enough time to lob in a grenade or run him over.
|
|
 Hack the courier for the scrambler code
 Kill all the militia members or escape
Hacked Off
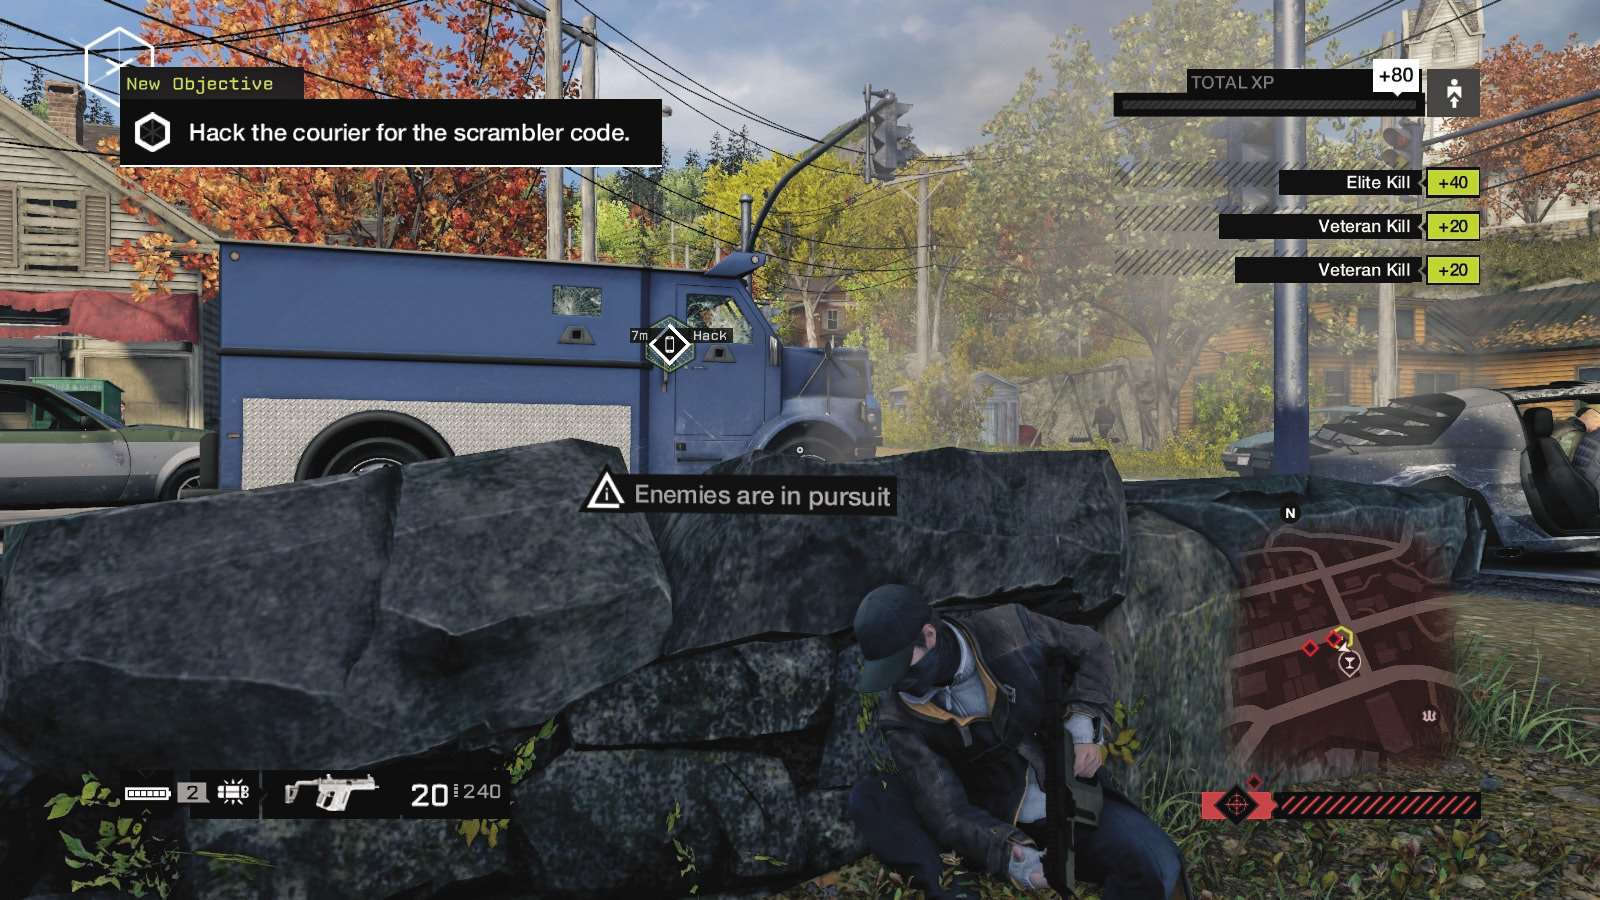
As soon as the armored truck is a smoking hulk, or you’ve raked the windshield and killed the driver, or you kill the target, the enemy with the hackable cell phone becomes available. Hack him once he’s dead, which can usually be after you’ve:
Lobbed an IED or grenade on him and exploded it.
Triggered a piece of explosive scenery on him as he walks toward you.
Run him over twice in a vehicle.
Melee-striked him, assuming you have the Enforcer Combat Take Down skill.
Wounded him and then hacked his comms (when “Take Down” appears over his head).
Pumped at least 40 shotgun blasts into him (which is nigh on impossible with the additional foes).
As soon as you’ve slain all the militia in the immediate vicinity or you’ve fled from them and lost them in a driving chase, the mission concludes.
MISSION REWARDSGained XP +2,000 |