
Watch Dogs Guide ONLINE MISSIONS
_DECRYPTION ZONES // THE LOOP
_RISK AND REWARD
Location / THE LOOP ISLAND
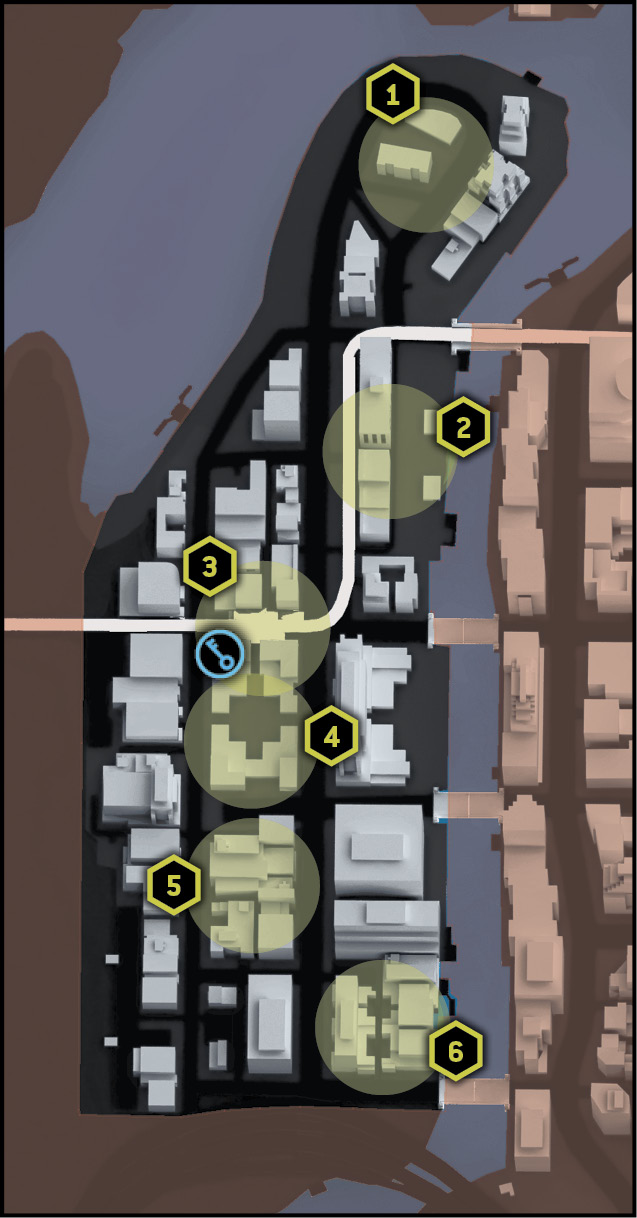
Points of Interest
01 // Turnabout (North)
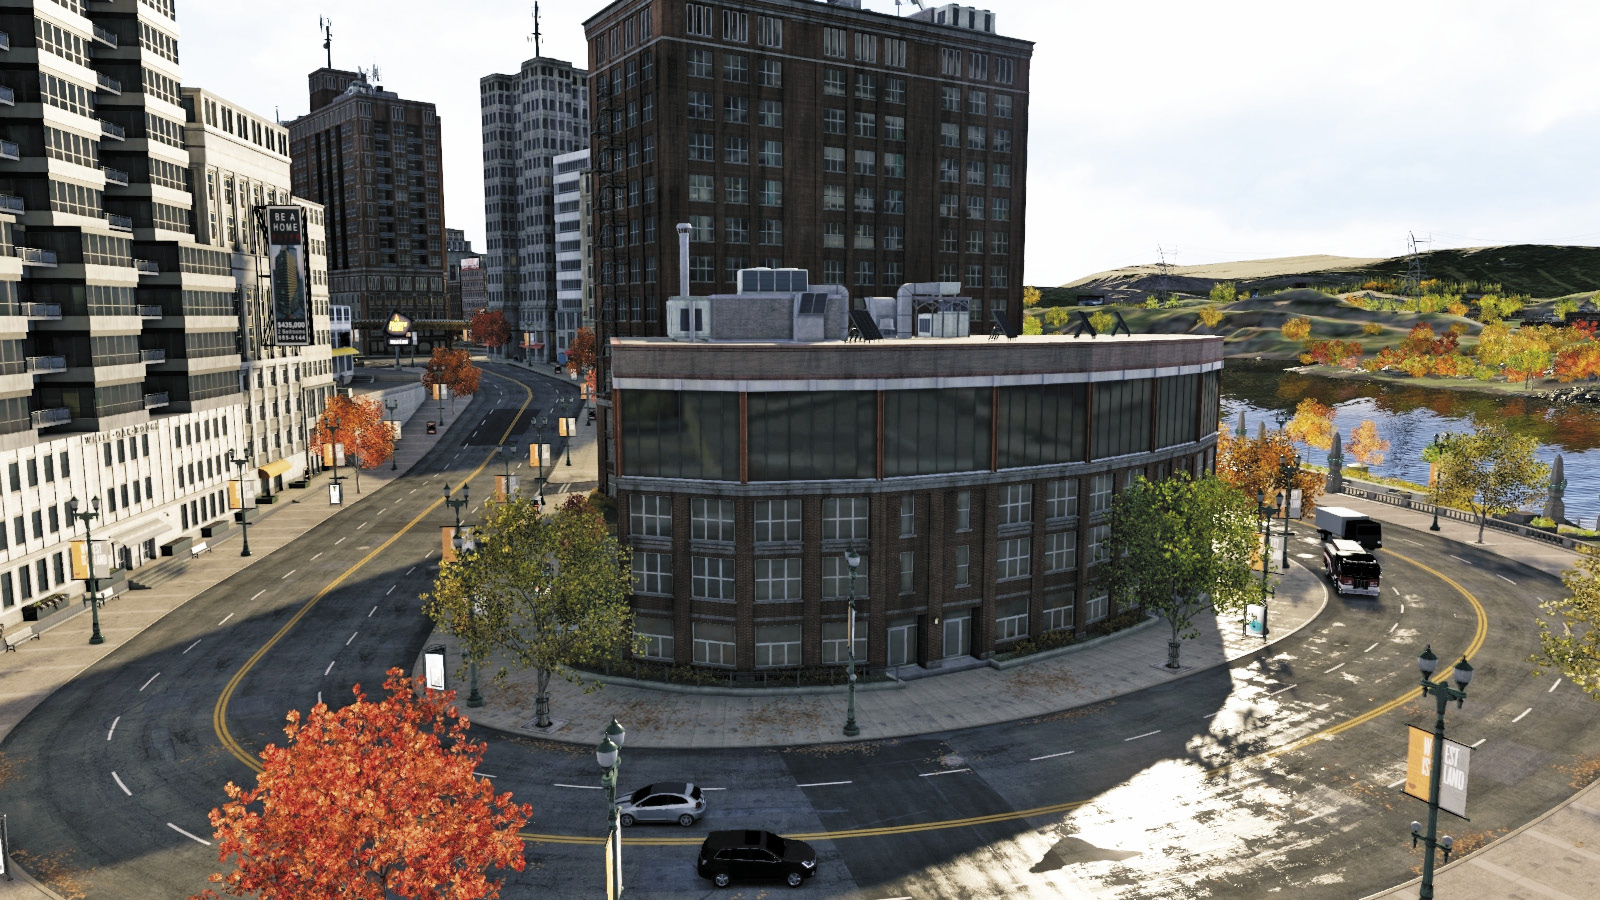
As this map is ideally suited for driving rather than hiding, most of these locations are ideal for taking a vehicle down. Turning around here instead of making sharp turns or reversing is an excellent idea, but don’t forget the stone steps and footpaths around the map’s perimeter, next to the water; use a bike to navigate these less-driven areas.
02 // Rail Depot (Northeast)
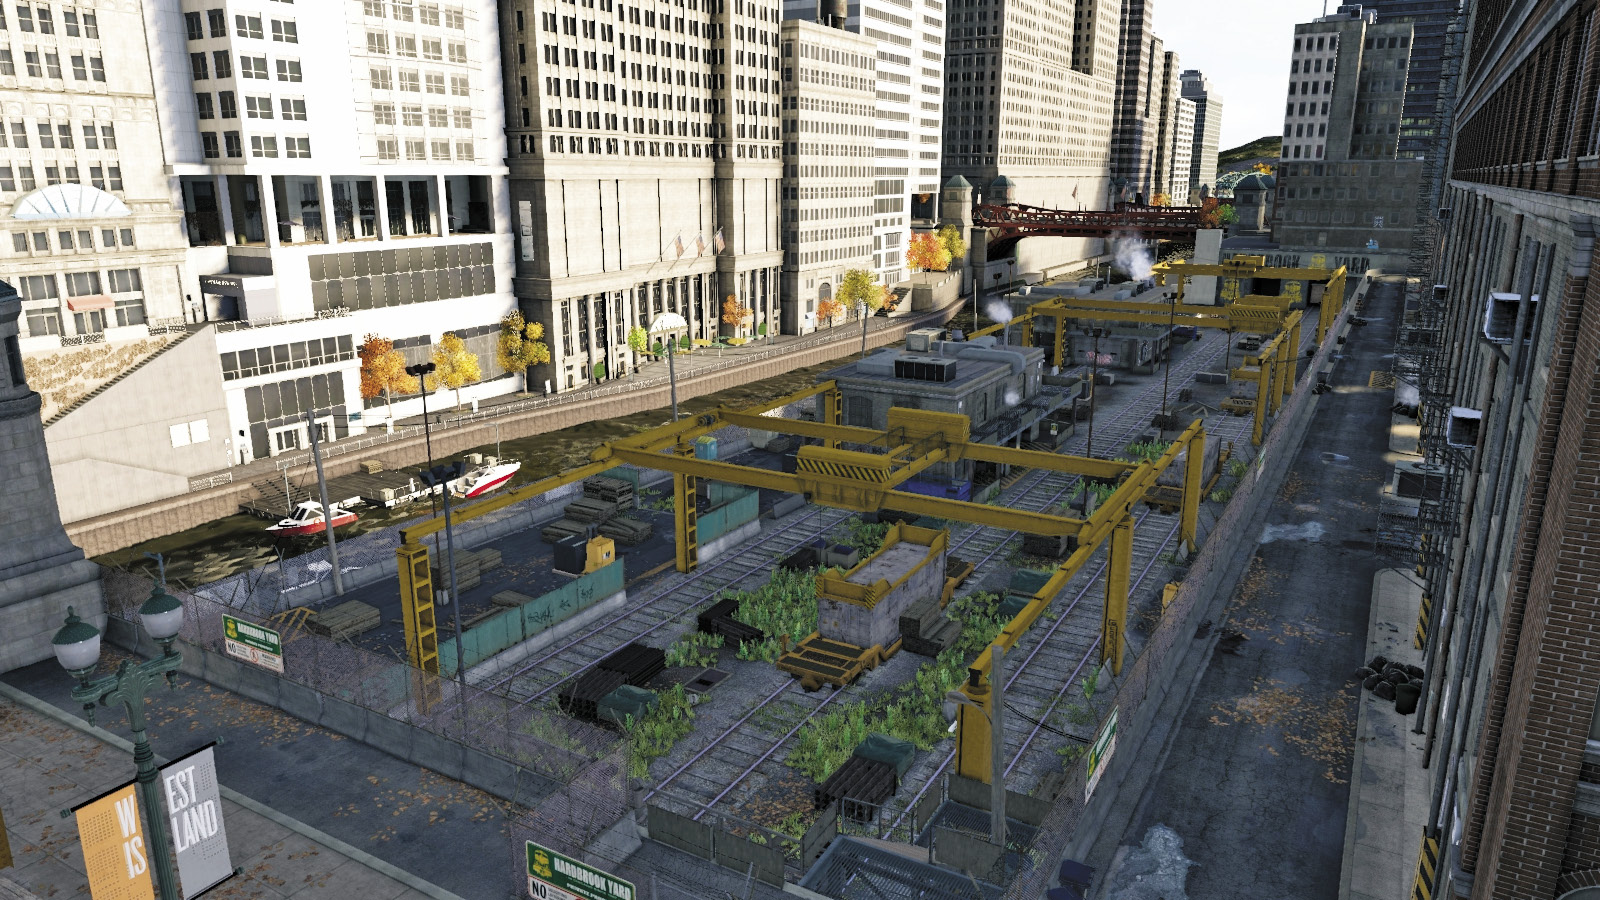
This sunken area is where you visited Jordi during the first act of the main missions, and all the excellent hiding locations are still viable. The boss’s room is a good place to hold up, despite the lack of exits. There are two container cranes to sit on and hide, and two small warehouses whose walkways you can use. Or, snipe down from above.
03 // Western Station
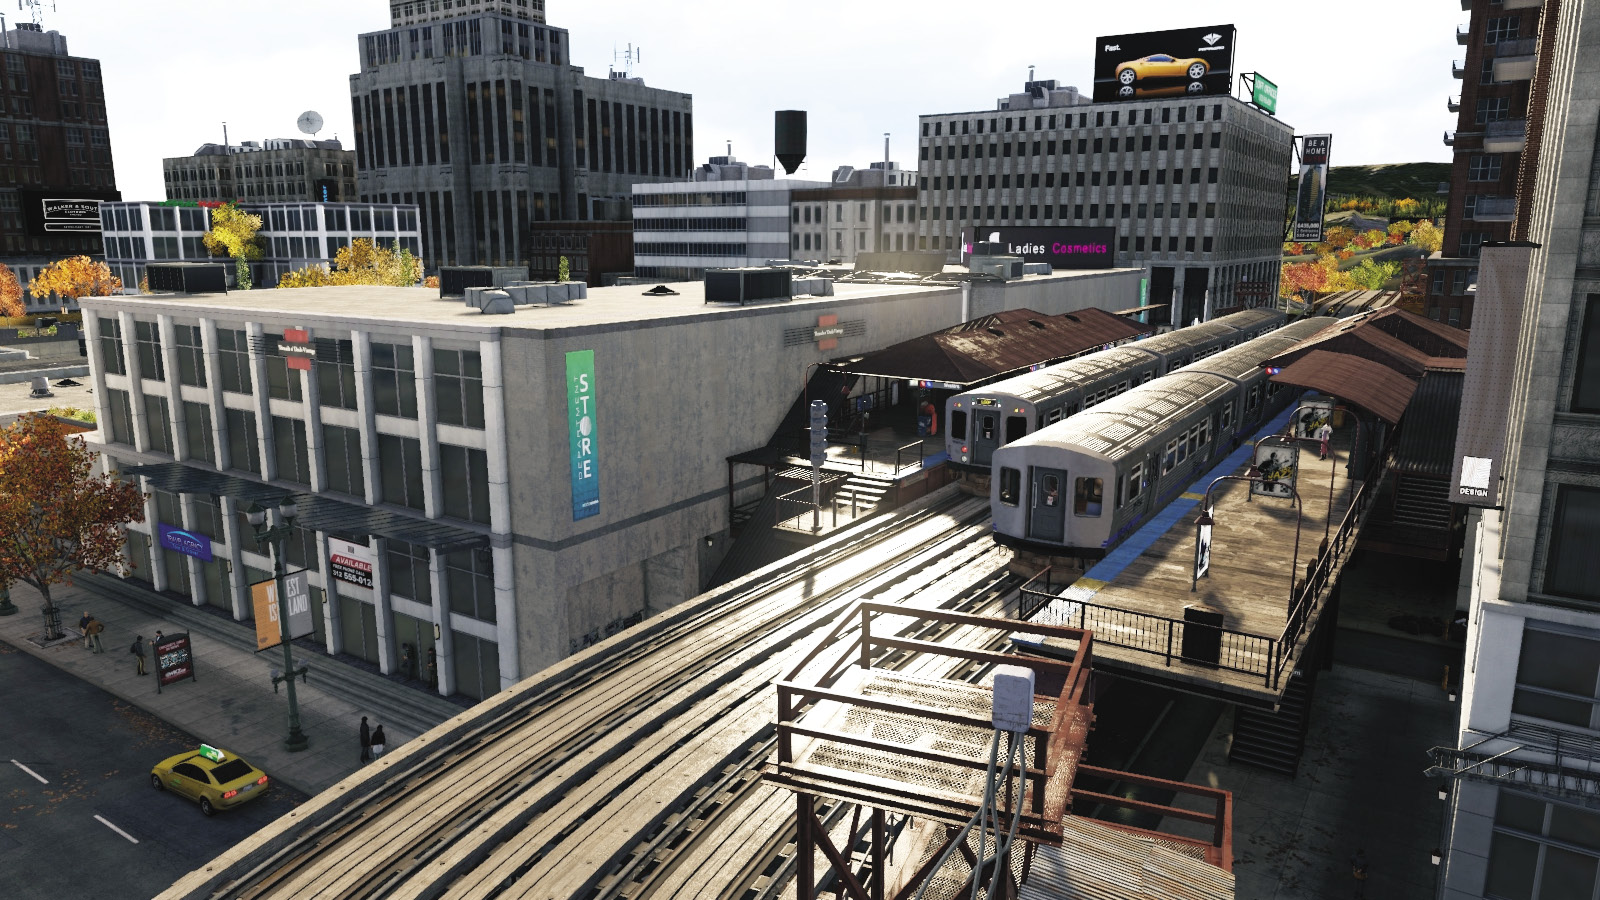
This is close to the key pickup and offers a variety of escape or hiding options. You can drive up here on a bike, climb onto the station roof, and then locate the flat roof with the solar panels to the northwest. Or, better yet, assault the plaza to the south and climb the roof, which offers a fantastic view of the areas below.
04 // Key Plaza
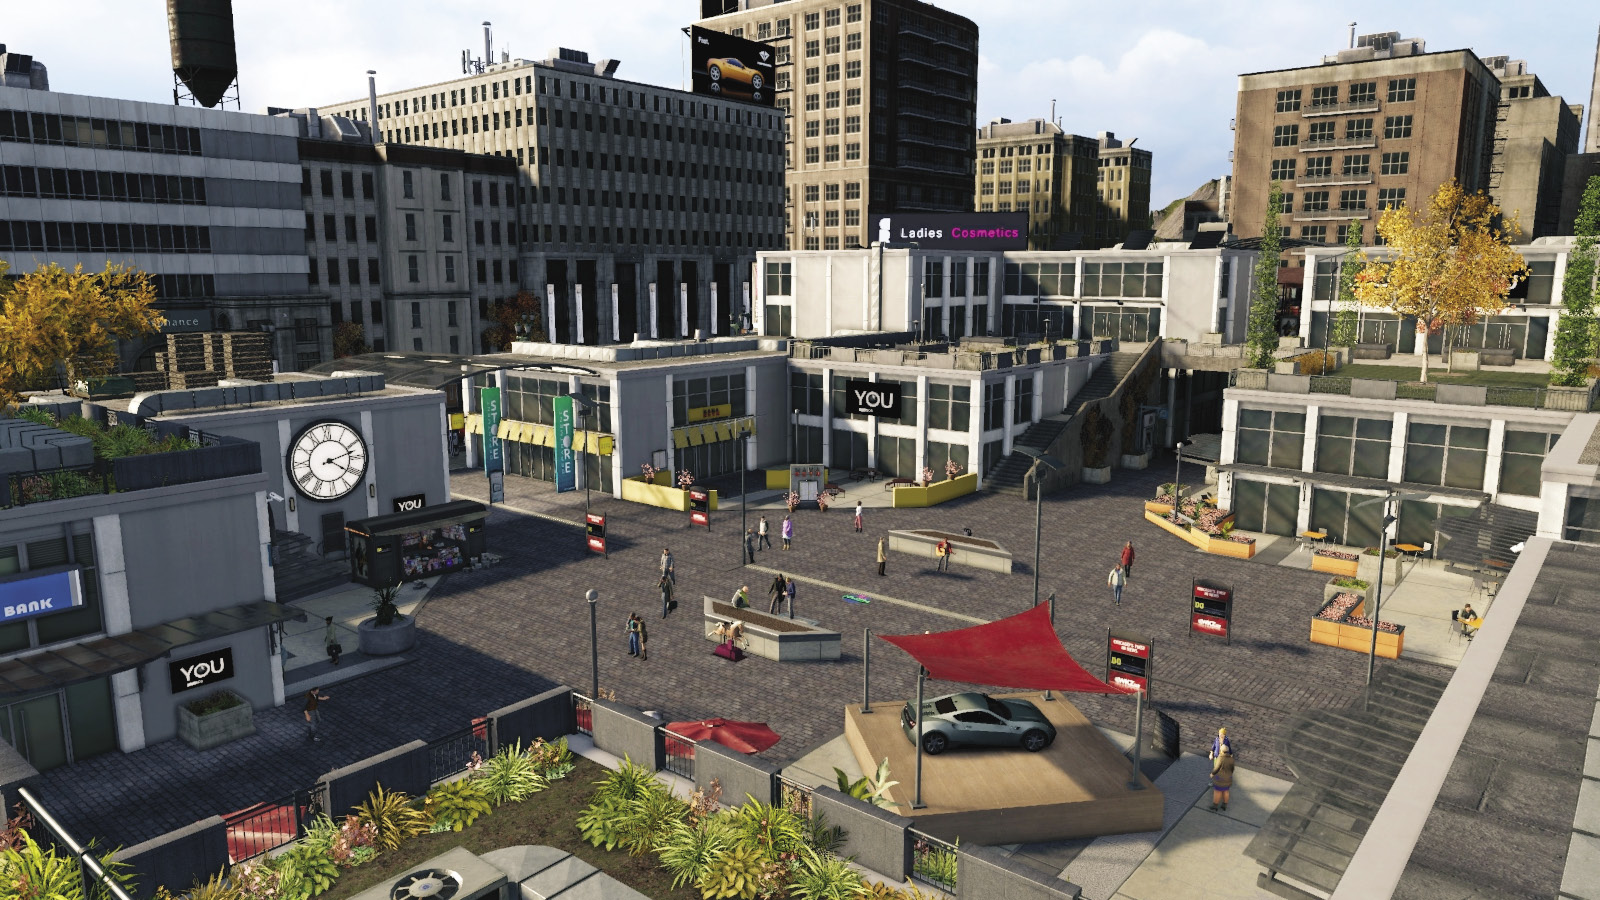
This open plaza and shopping area isn’t just where you pick up the key: Use it as a thoroughfare when driving north to south or east to west, or scramble atop the different rooftops and take up a defensive position behind the air ducts or solar panels. Stay on the roof and have a teammate pull alongside in a vehicle you can drop down to.
05 // Parking Lot
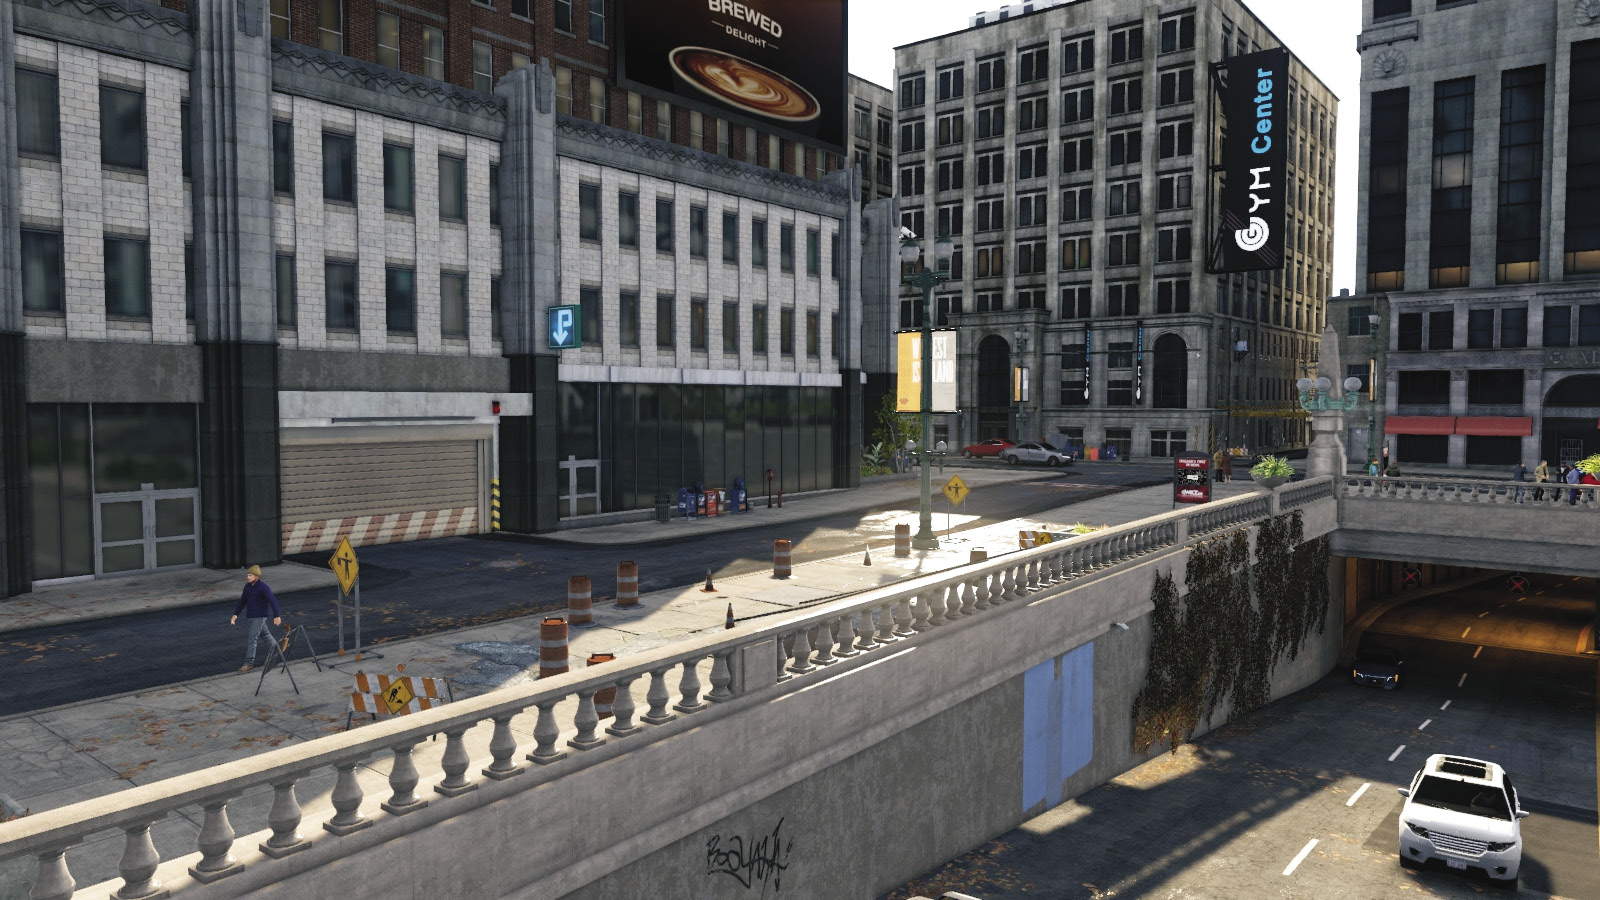
This otherwise-impenetrable city block has an underground parking lot, accessed on the north and south sides. Use this for hiding and escape purposes. This, along with a stepped alley with entrance/exits to the west and south, offers a road less traveled and can shake off pursuers if you’re crafty.
06 // Alleyway Gantries
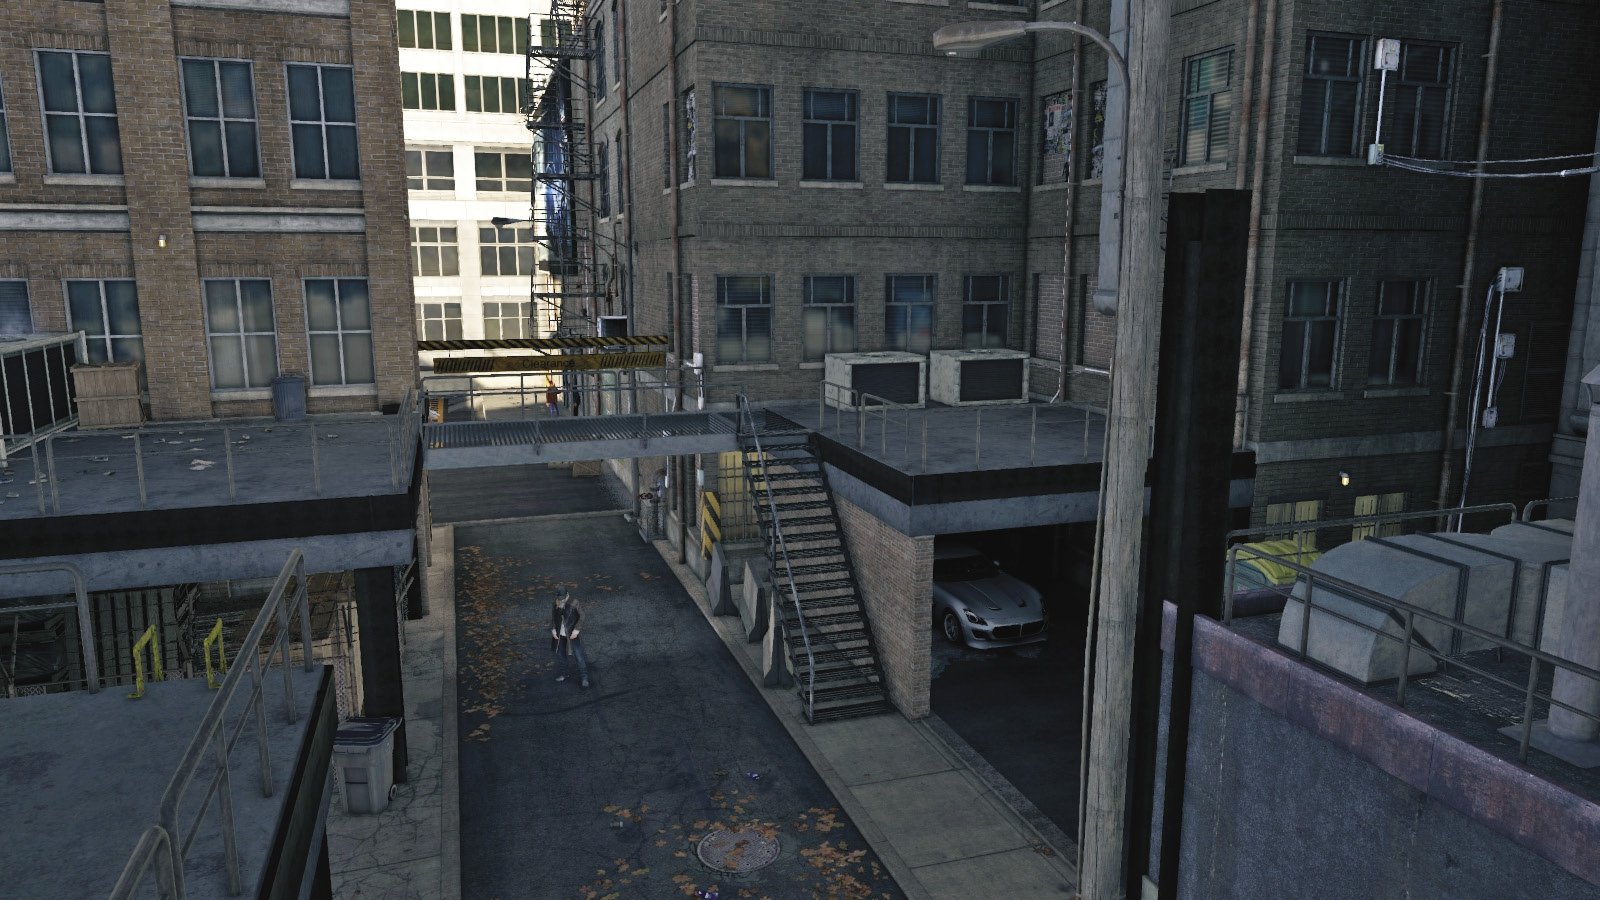
Although driving is the best option on this map, this is a reasonably good hiding place; the alley accessible to the north and south allows you to climb some gantry stairs and hide above the narrow thoroughfare below. Prep the area with IEDs, blocking vehicles, and snipers. The only way in is from the north or south.
_SCRAMBLED
Location / MILLENNIUM PARK AND MARINA
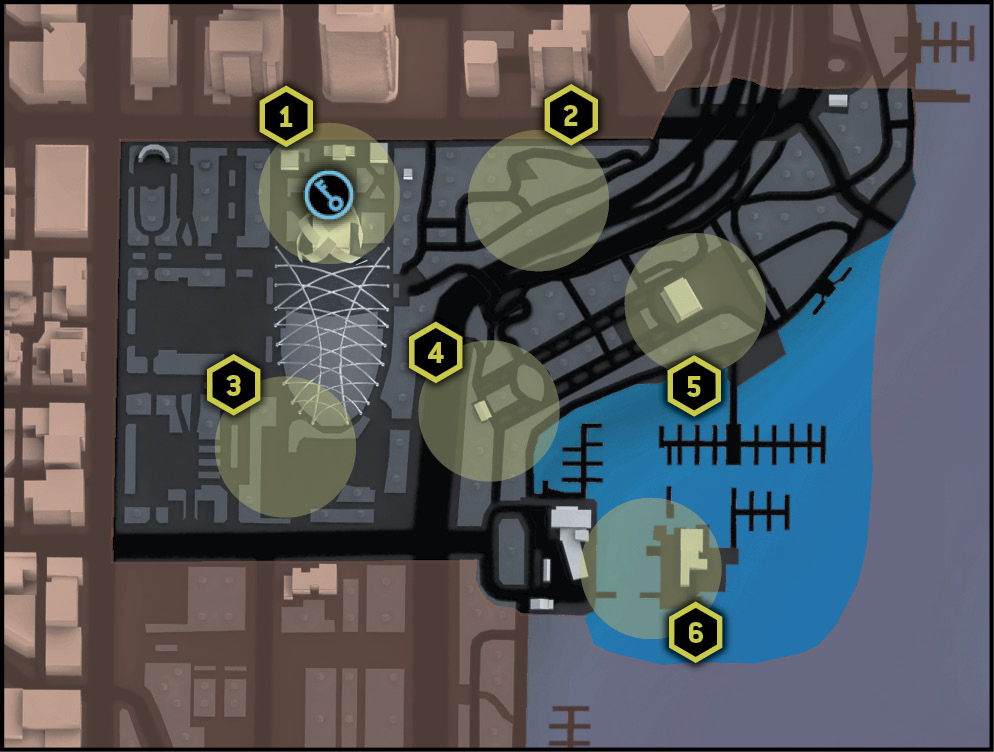
Points of Interest
01 // Behind the Theater (North)
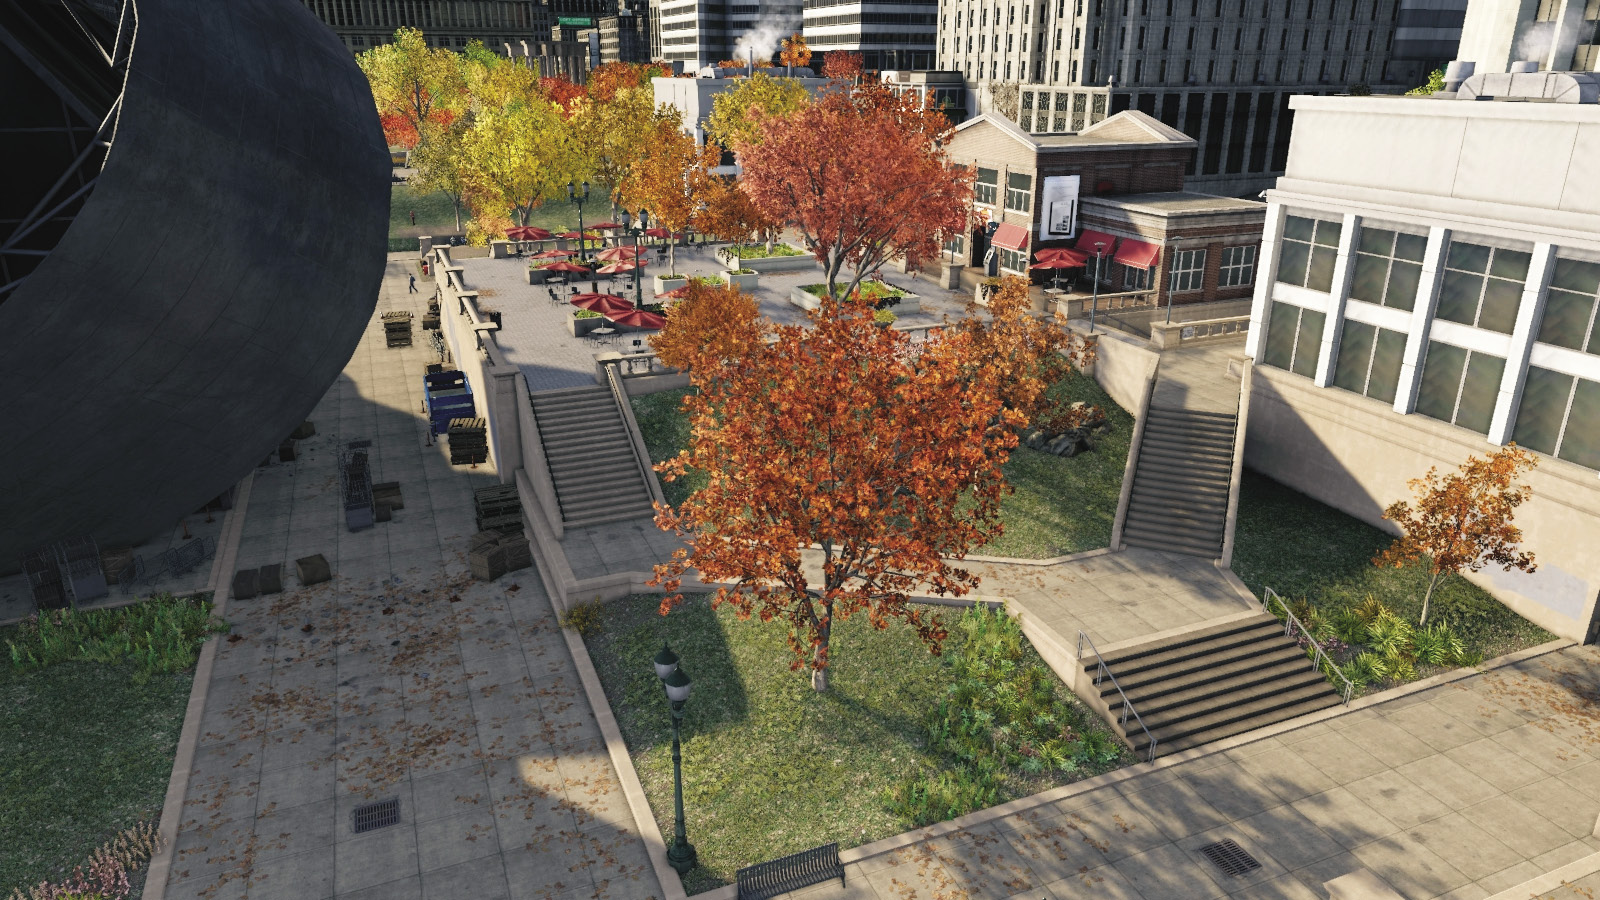
Behind the massive outdoor theater is the key location and the largest collection of buildings this map possesses. Guard the area from the north, watching for sneak attacks (and ctOS box explosions) from the street steps to the north.
02 // Park (North)
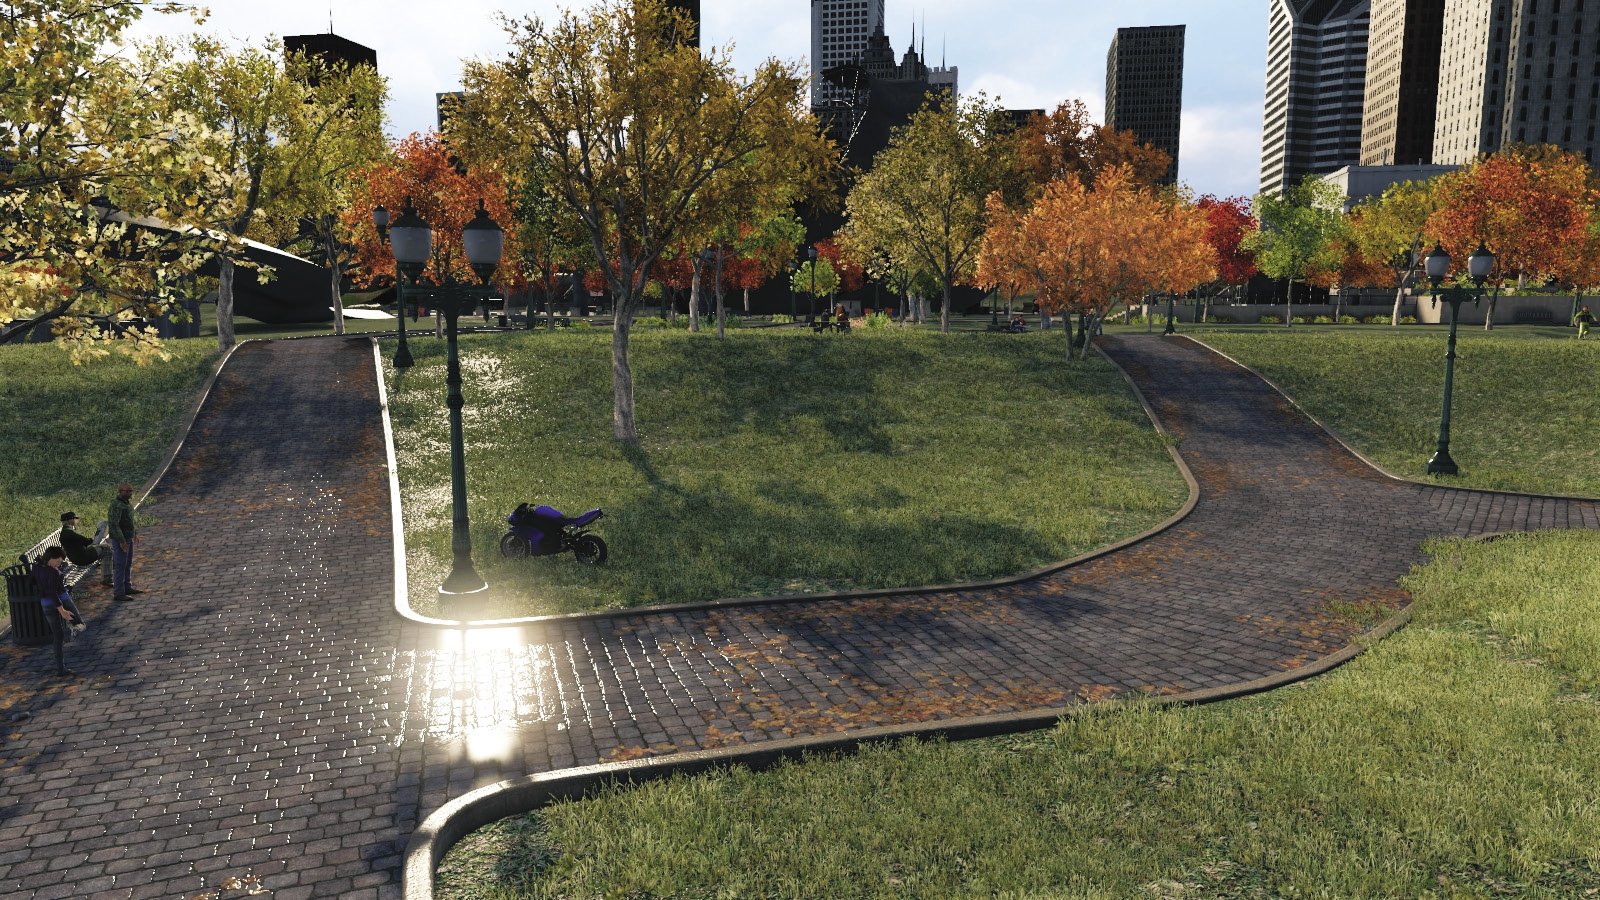
The lack of available vehicles in the park can make this tough going, but head to this area, as there’s usually a bike parked in the center of this POI. East of here is the freeway entrance or the northern park that allows you to reach the marina. South of here is the pedestrian footbridge over the freeway, which you can bike across.
03 // Stepped Park and Sculptures (Southwest)
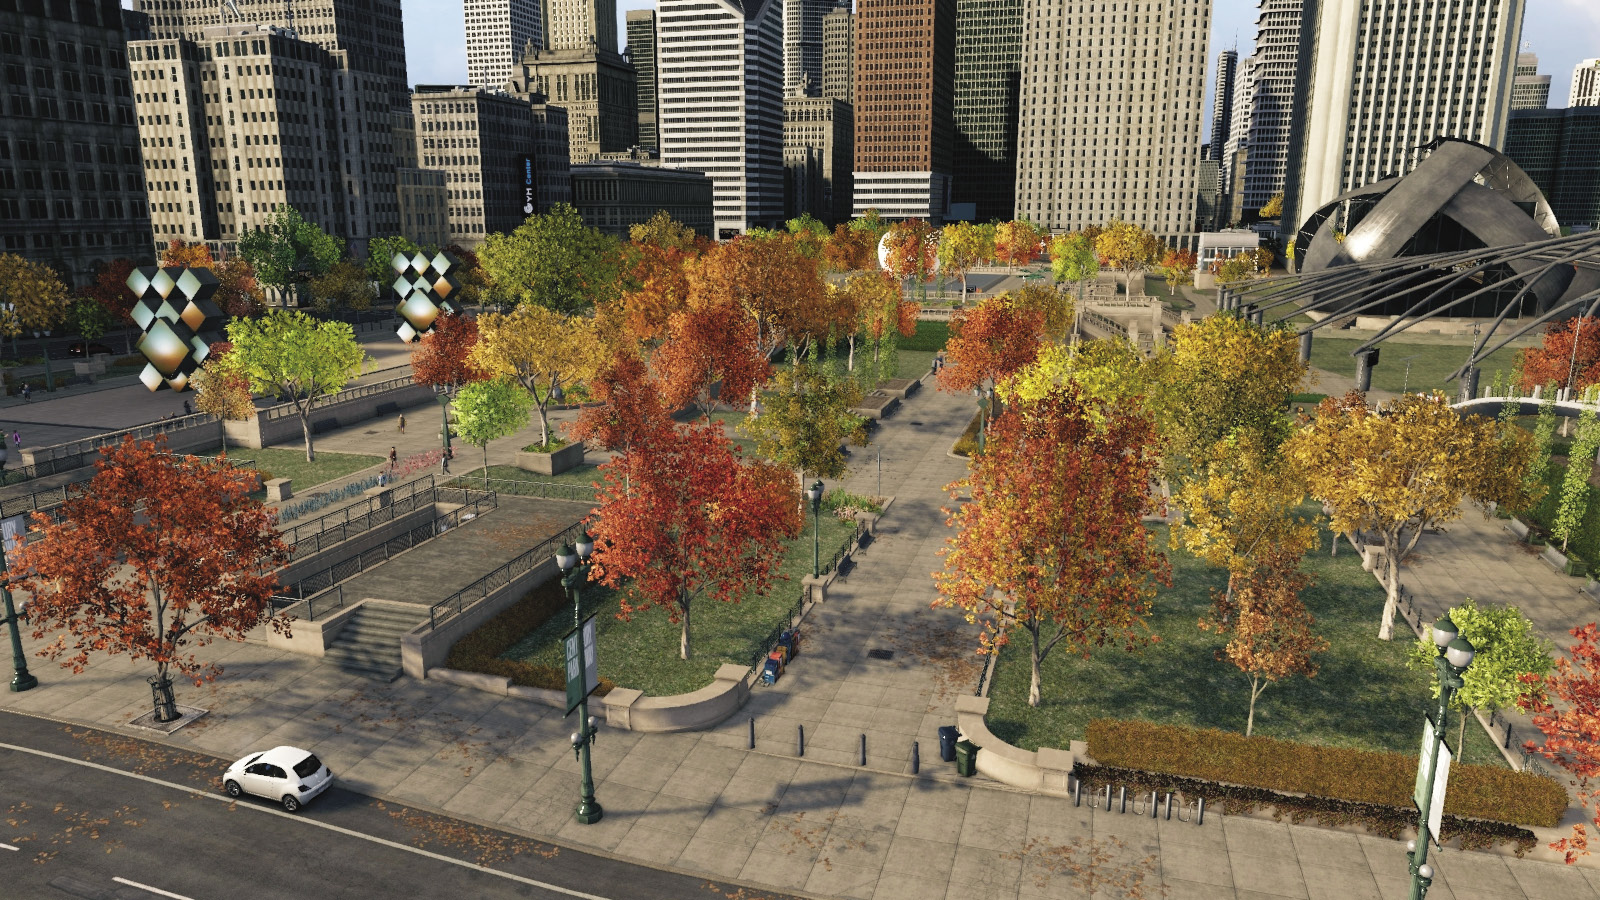
On this part of the map, you usually run about, trying to find quicker transportation (as cars and bikes are parked along the perimeter roads). Use the pedestrian bridge from the theater lawn if you want to head out of bounds and then return to the freeway or marina. Or vault and scramble about the steps and water features. Bikes are most helpful here.
04 // Freeway and Park Restrooms (Central)
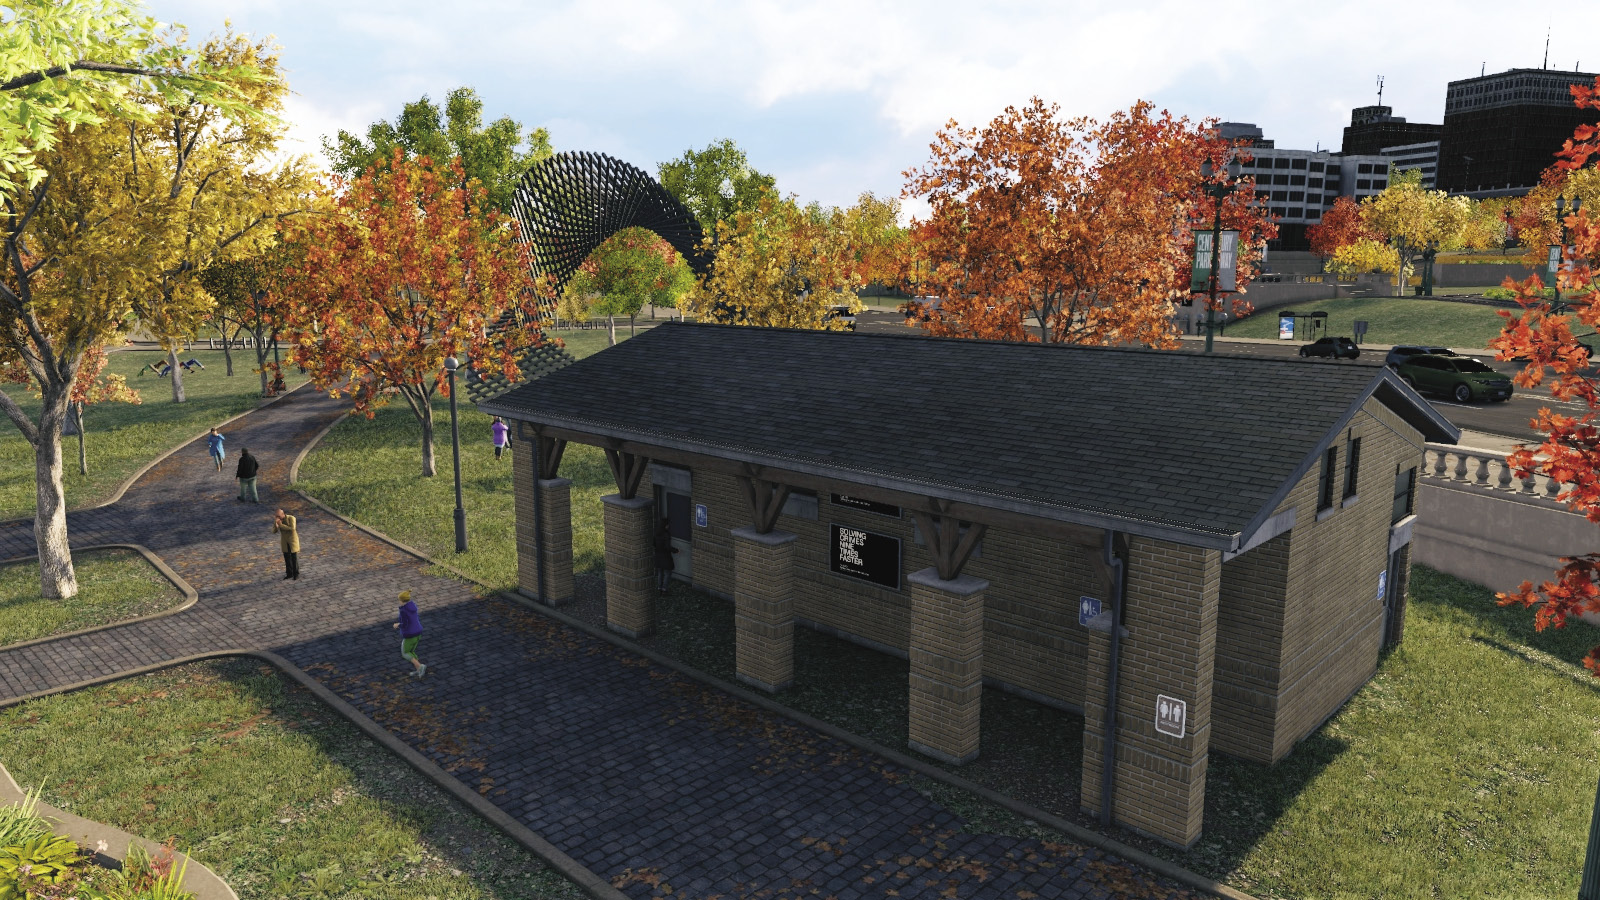
Learn just how little of the freeway you can travel on and the loop you can use around the map’s perimeter. Or, try the pedestrian footbridge (on a bike) to head between the east and west parts of this map, which is split by the freeway. The flat park area isn’t a great hiding location, but it’s good to bike along, providing you can dodge the concrete planters.
05 // Pizzeria Plaza (Northeast)
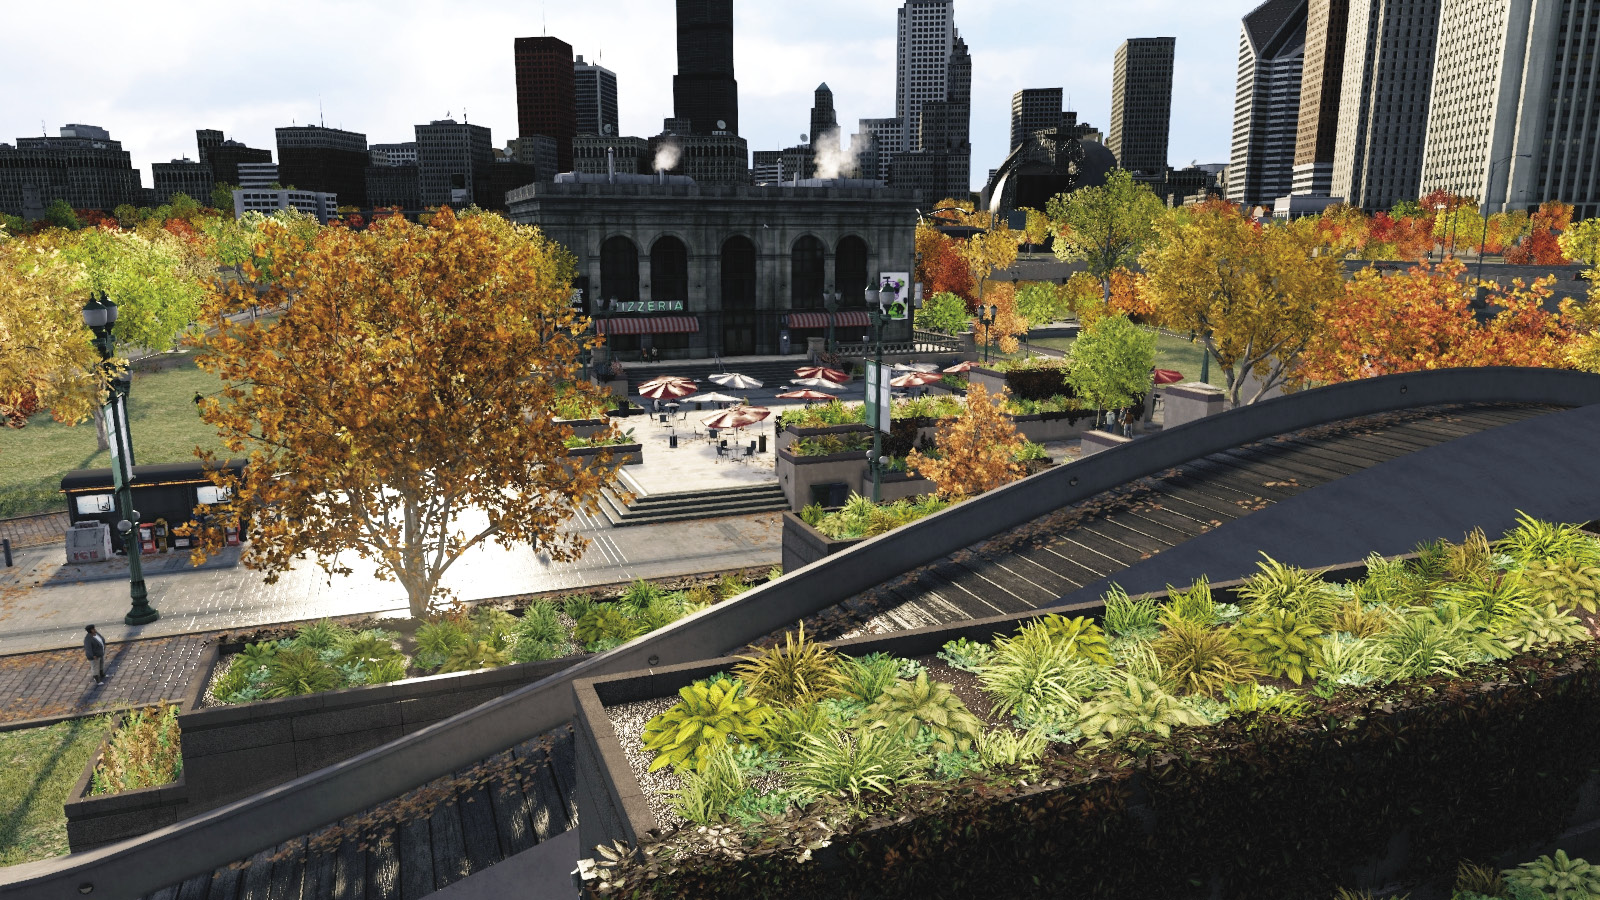
Don’t ignore the northeast part of this map; there’s access under the freeway, back to the key spawning point. There’s also the jetty to the hilariously slow water taxi. But you can try to hide or navigate around the only structure: the stone pizzeria and small bridge with planters to hide around. Or, access the marina jetties from here.
06 // Marina (Southeast)
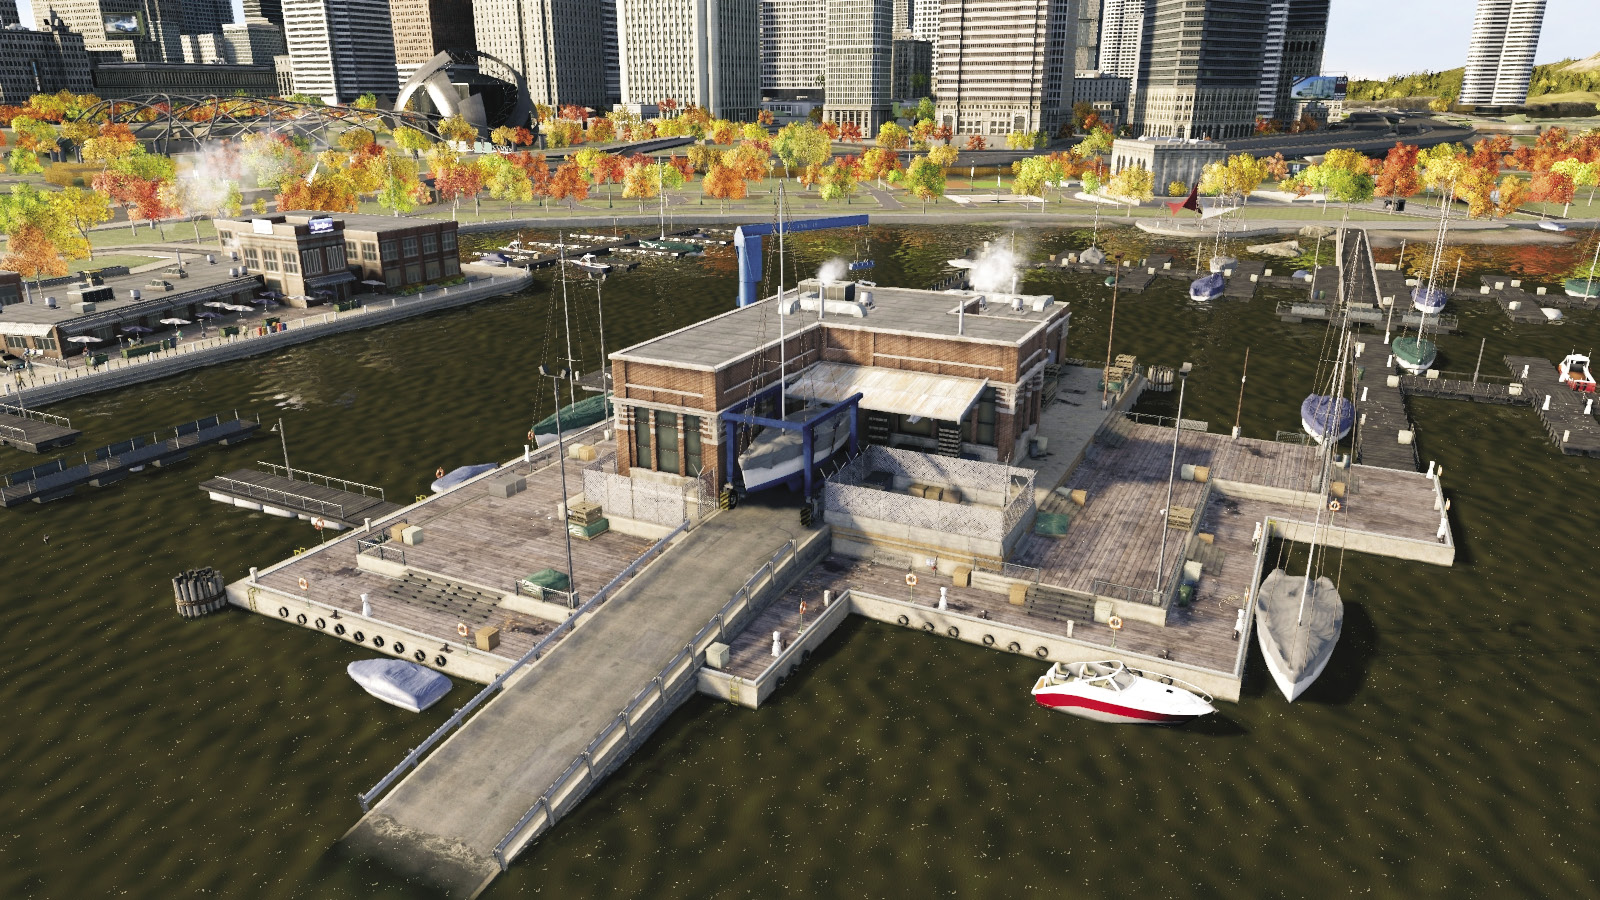
Don’t believe in boating? You will if you team up, head to the marina, and pilot a boat to the map’s edge. No one can sneak up on you; enemies are visible from any direction (they can only approach from the north or west). Or you can hold up at the small island with the boat garage, which offers hiding spots and great defense potential.