
Watch Dogs Guide MAIN MISSIONS MAIN MISSIONS /// ACT IV
_NO TURNING BACK
|
OBJECTIVES
|
 Reach Merlaut Hotel
 Eavesdrop on Quinn’s party
 Follow Quinn
 Access hotel’s security system
 Infiltrate hotel
 Reach Quinn’s office
 Fight your way across the rooftop
 Find Quinn
 Profile Lucky Quinn
 Download the video
 Escape the hotel
 Escape the police
MajOR SPOILER 
LOCATIONS // MAP
Location / Mad Mile // Merlaut Hotel
|
|
 Reach Merlaut Hotel
 Eavesdrop on Quinn’s party
 Follow Quinn
 Access hotel’s security system
7.1 YOU’RE OUT WHEN I SAY YOU’RE OUT
 Location / Mad Mile // Merlaut Hotel
 Investigation
 Data Hack
Difficulty: 
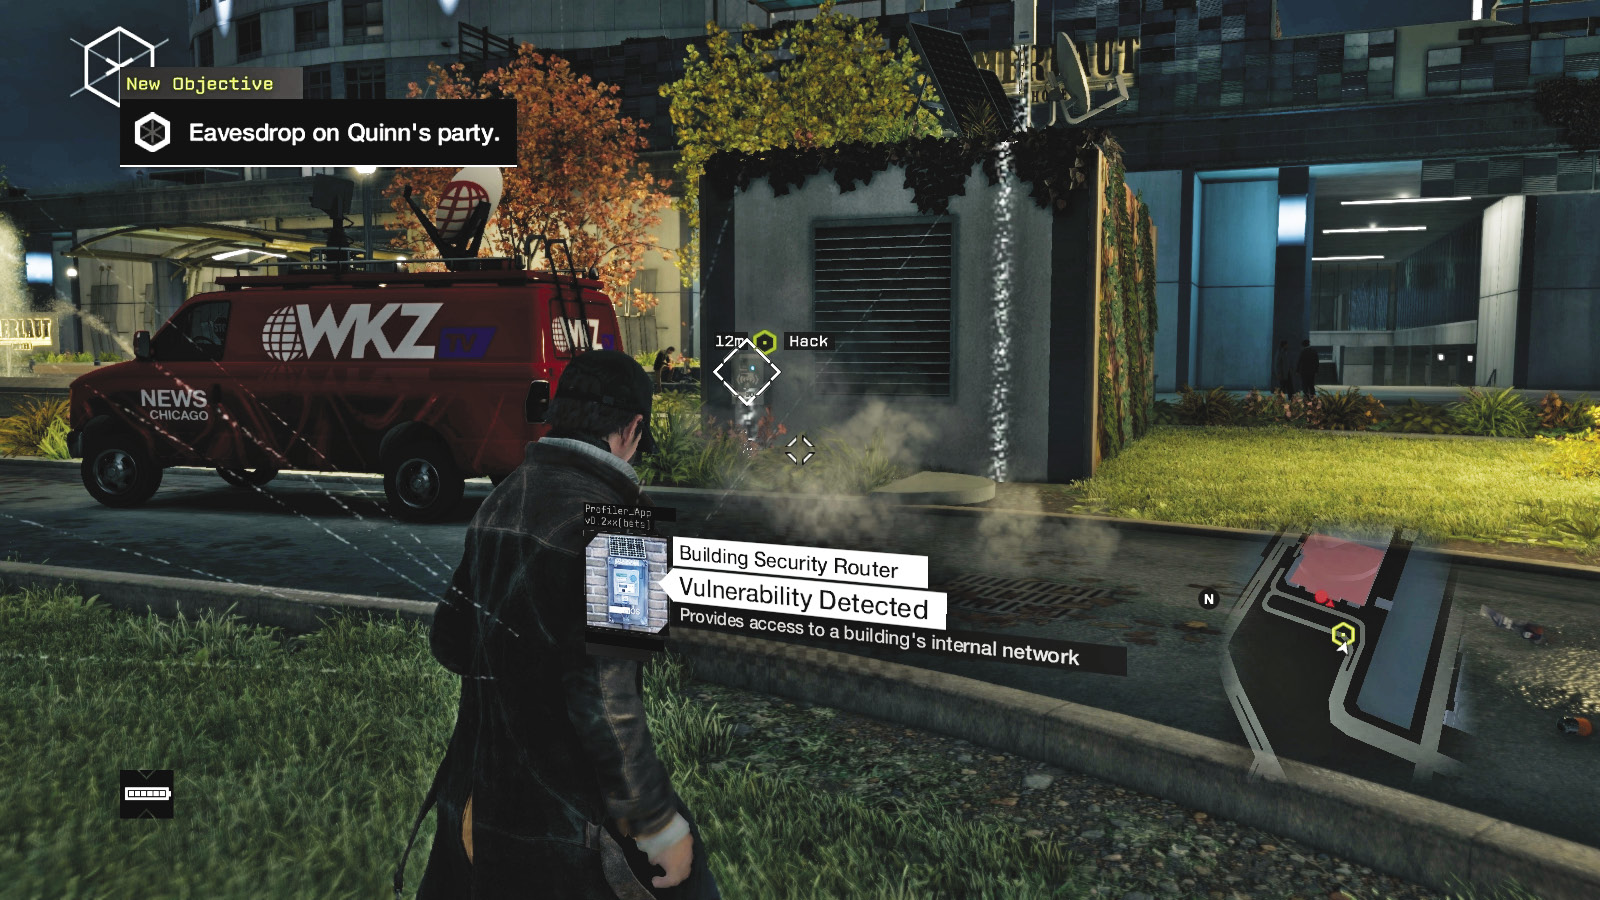
Journey to the Merlaut Hotel on the eastern shores of Mad Mile. Quietly disembark from your vehicle and approach the waypoint near the sculptures. Listen to a phone call for a shocking revelation. The objective soon updates, requiring you to eavesdrop on the party Quinn is throwing for the mayor. Find the WKZ satellite van and hack the box on the wall next to it.
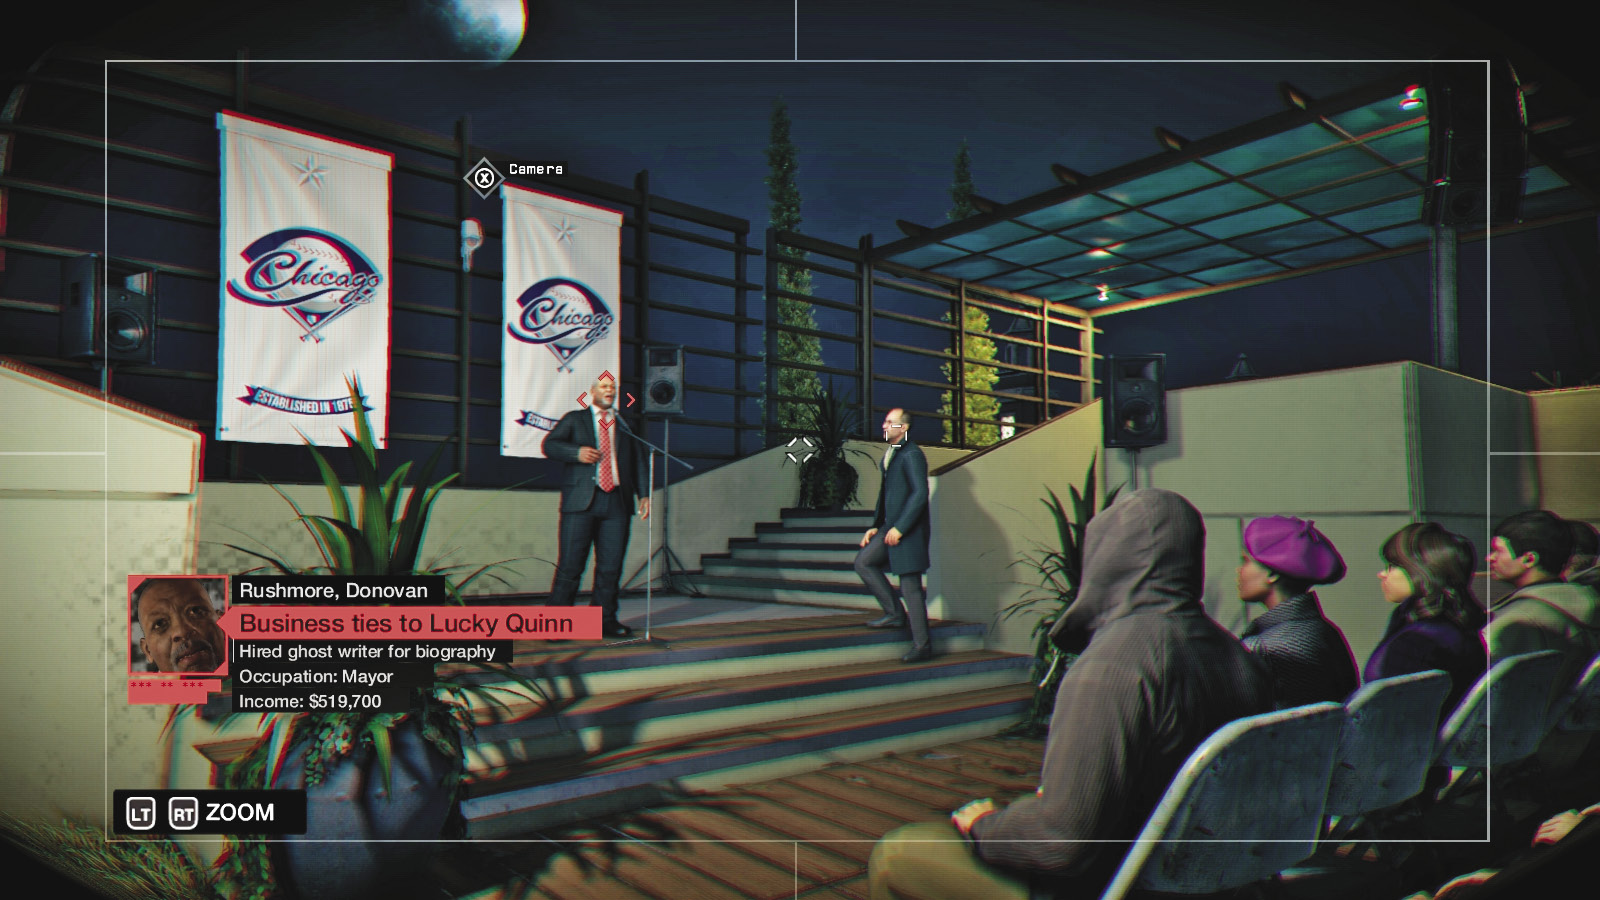
You hack into the camera system on the hotel’s roof deck, which is worth exploring, as you’ll be moving through this location later. Watch Mayor Rushmore’s rambling speech onstage before he is cut off by Connor Malley, Quinn’s “charity director.” Pan or change cameras to spot Quinn at the top of the nearby steps.
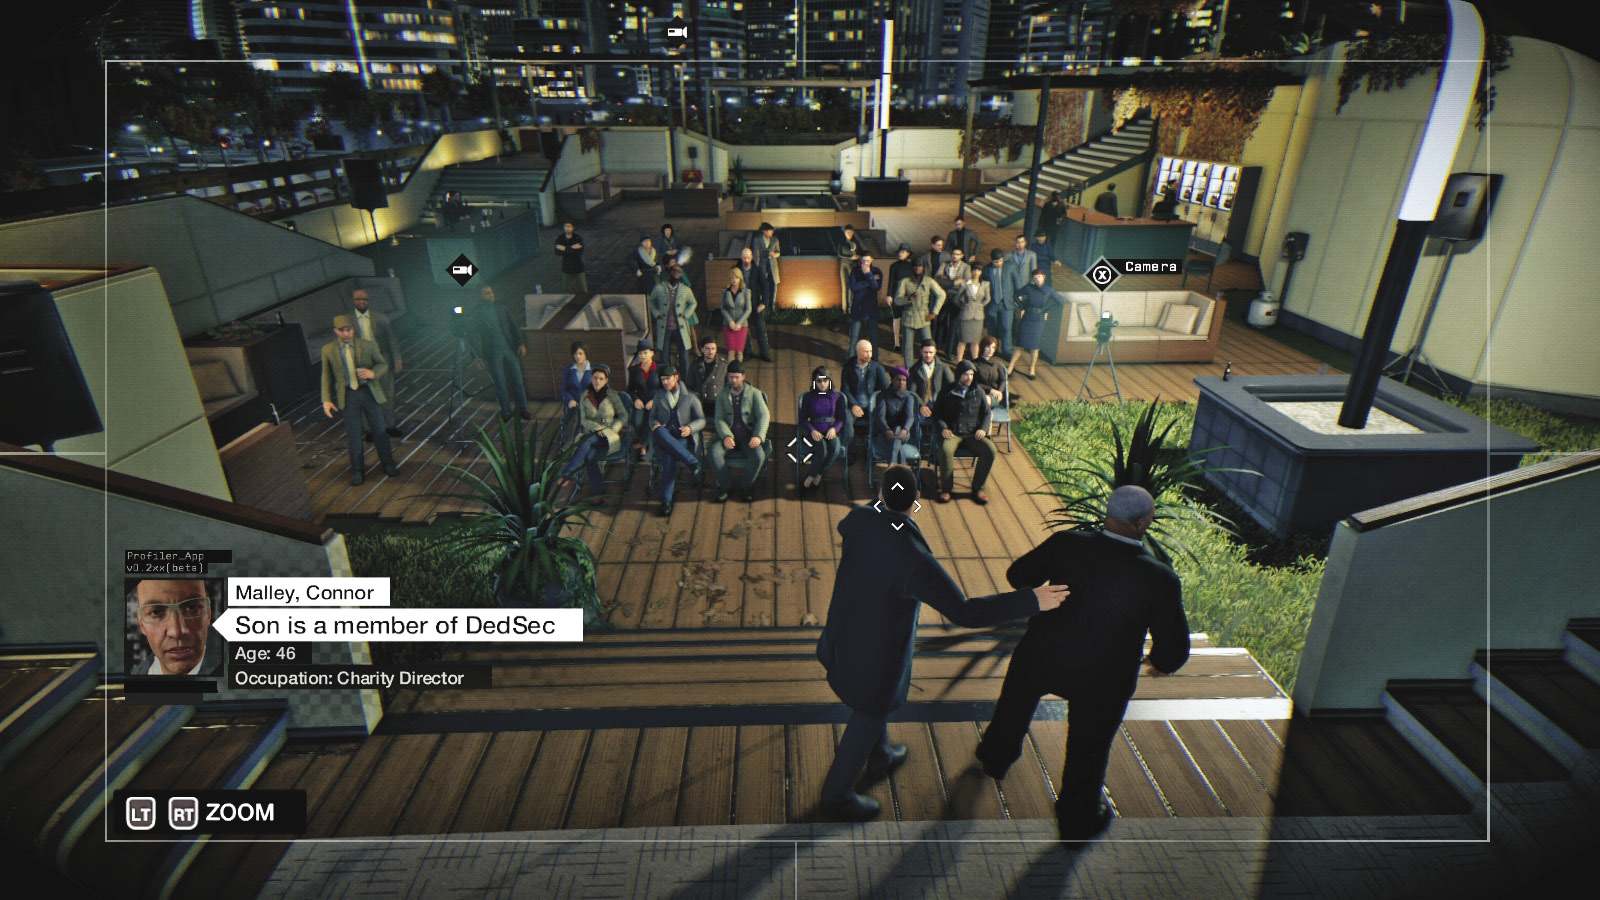
When Rushmore is lightly shoved offstage, he goes for a more private meeting with Quinn, and your objective updates. Turn the camera behind the stage so it points across to the right of the audience. Access the camera on the upper balcony deck and a third camera across the deck. This allows an easy glance at the switch to hack.
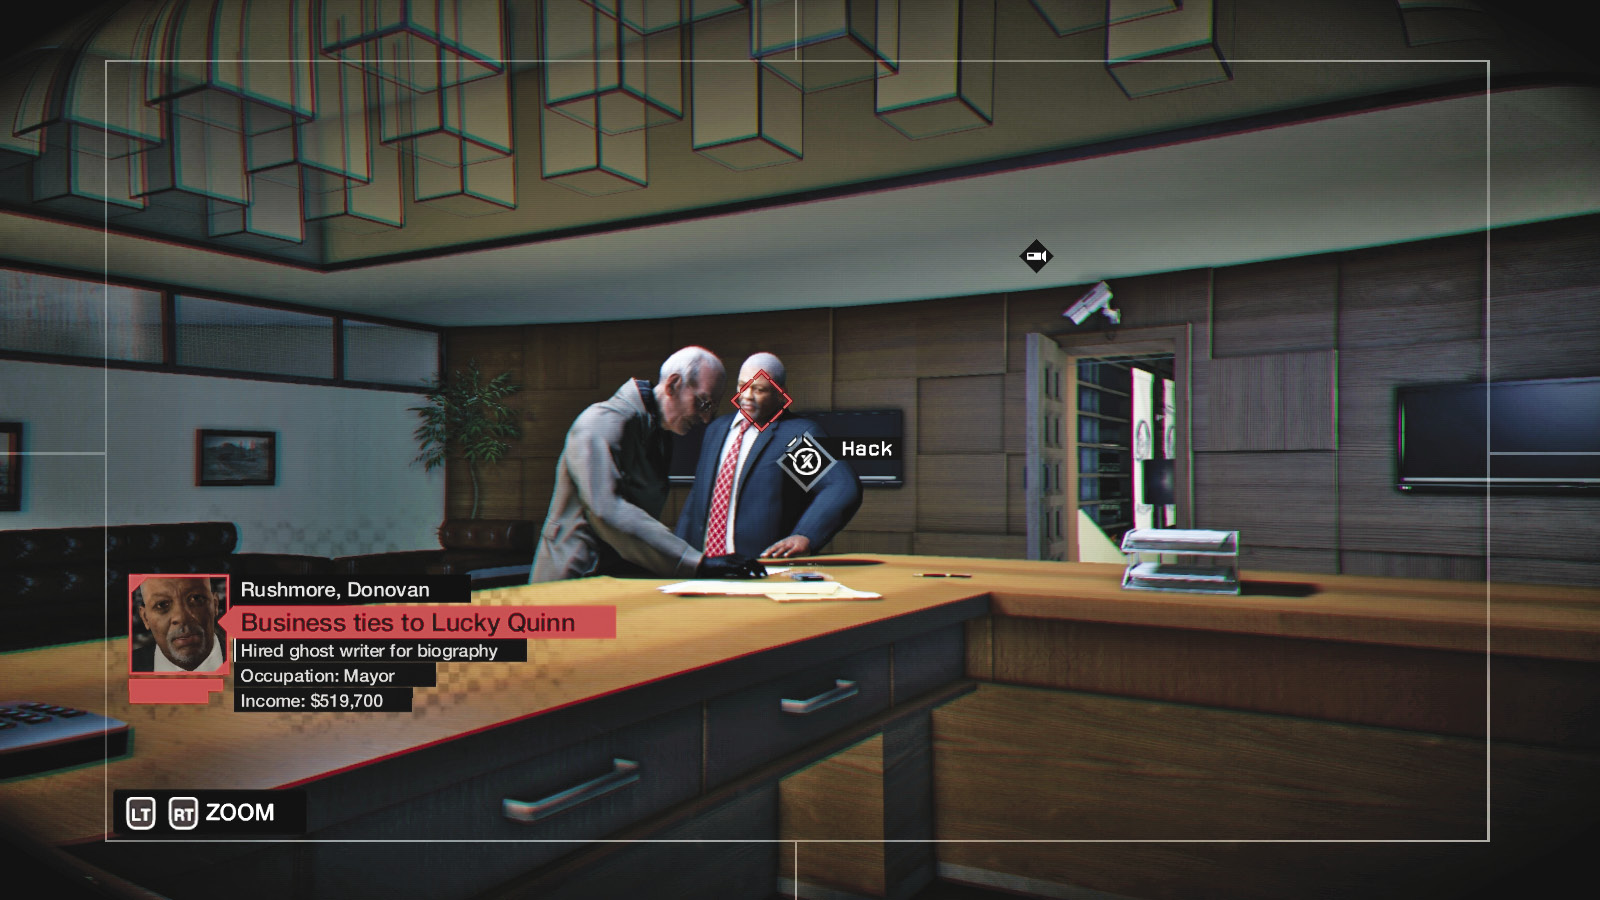
Behind closed doors, the conversation between Quinn and Rushmore is far less congenial. The auction fiasco, the gang problems involving Iraq, “Rose,” and a video Quinn is using to blackmail the mayor all come up in this heated conversation. Hack the phone on the desk if you’d like. After Quinn dismisses the mayor, you’re tasked with accessing the hotel’s security system.
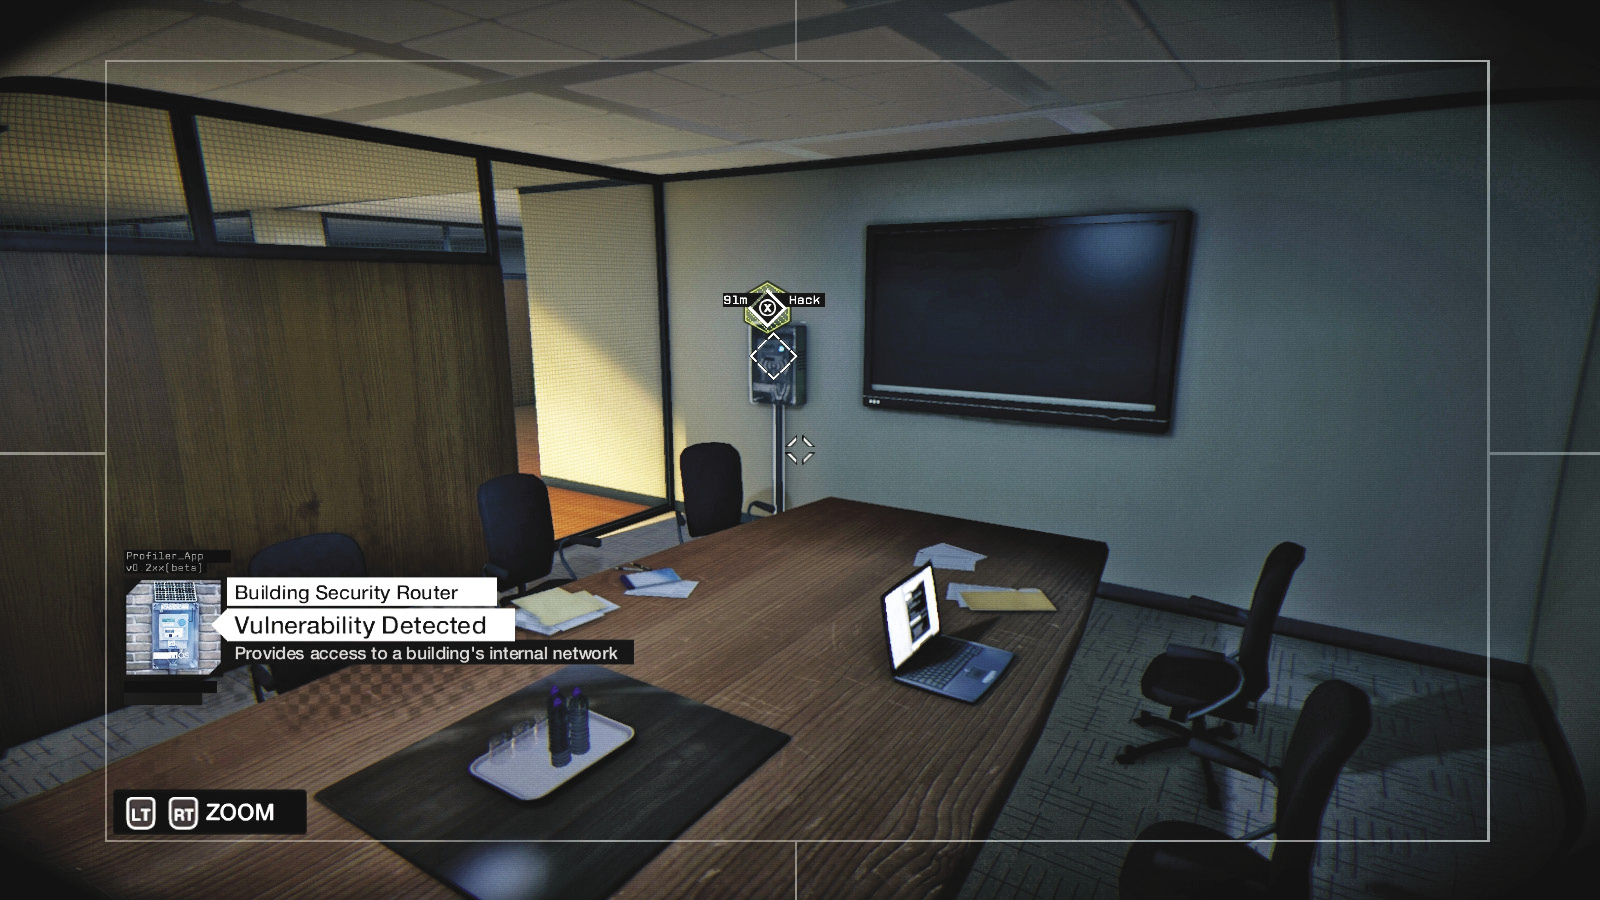
Pan the camera to the right, behind the mayor. You see a second camera through the high conference room windows. Access this camera, ignore the two individuals starting their party a little early, check the laptop for an Audio Log, and hack the switch to reach the node hotspot:

Solution: Hotspot 1
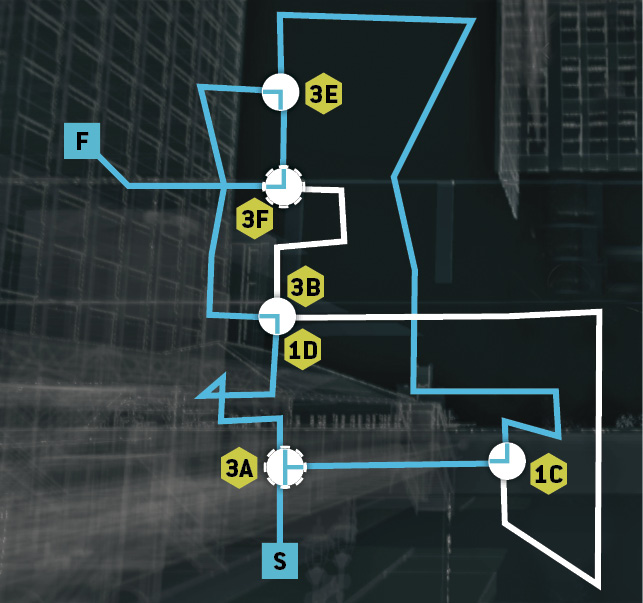
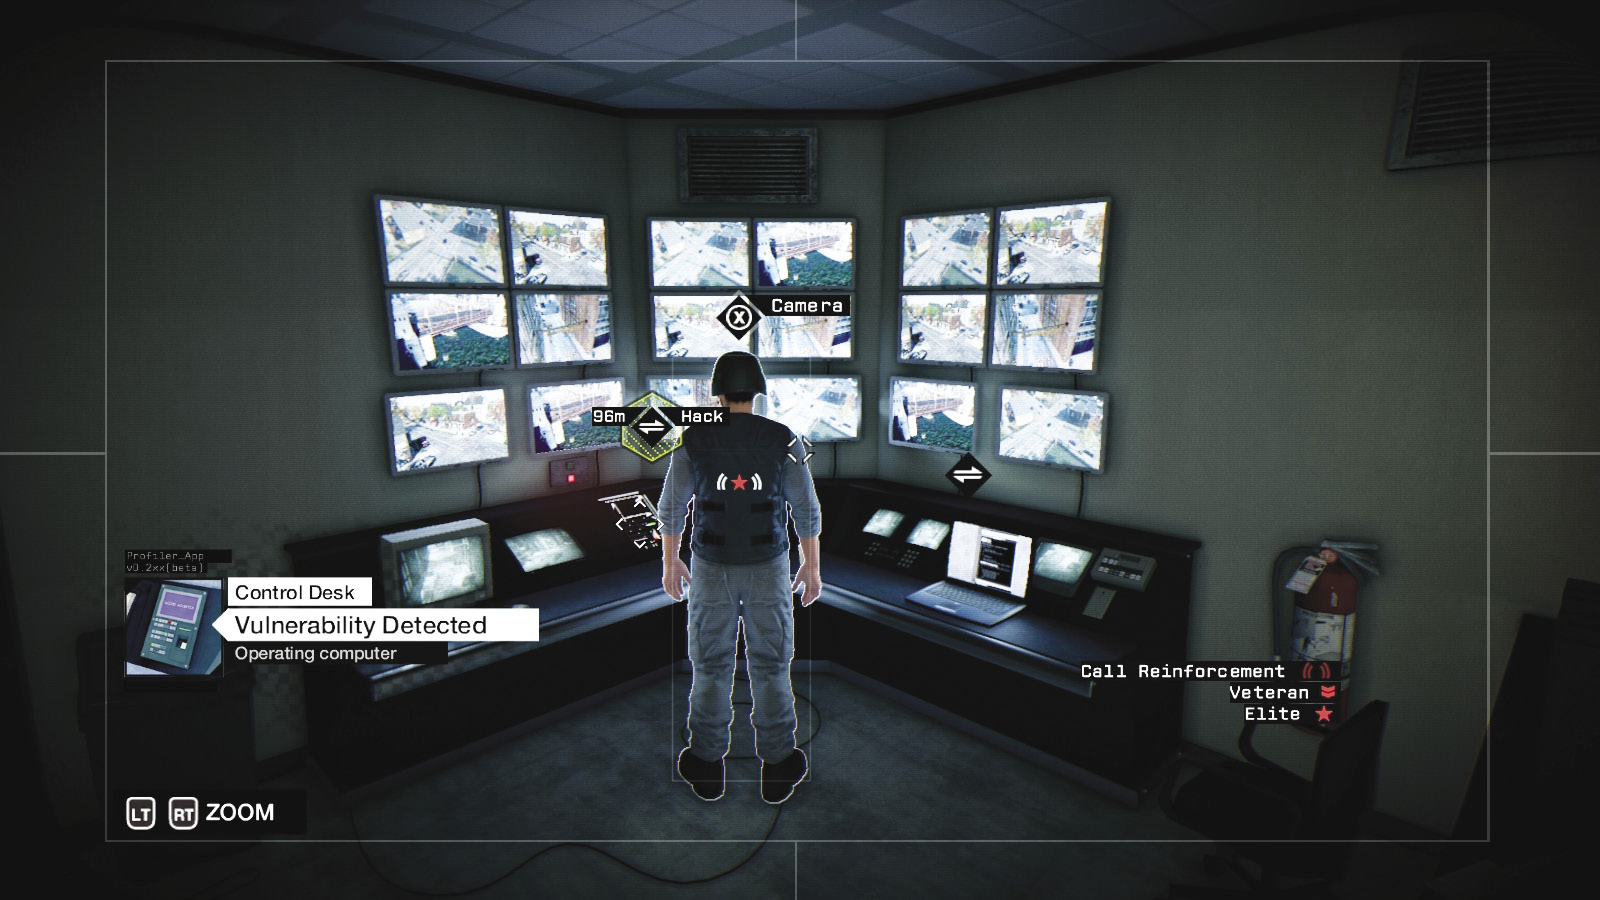
This accesses a camera inside the main security room, where one of Quinn’s goons is watching over the bank of monitors. You can hack his camera for a better view and his laptop, but you’re really here to hack the main security of the building.
Before you execute the hack, pan the camera down to the door directly below the camera view. There is an unlock switch that releases the door, but unfortunately, the angle of the camera means you can’t access it. However, you can find a crafting item in this room.
Stop! Though you can hack from the security camera, it’s better to use the camera atop the guard. After the intrusion is secured, the guard goes about a patrol path, passing the elevator and heading to the front desk. During this time, you can pinpoint almost all of the foes inside the building (seven of them, save for the two guarding each main entrance outside). You can even detonate a junction box along the guard’s route, taking him (and sometimes, a second Elite) out!
|
|
 Infiltrate hotel
 Reach Quinn’s office
7.2 BEST BE CAREFUL. HE’S DOUBLED HIS MEN
 Location / Mad Mile // Merlaut Hotel
 Infiltration
 Data Hack
 Lethal Force Likely
 Melee Force Likely
Difficulty: 
Overview
 Completion Point: The elevator bank, between the conference room and the security room.
 Dangers: Ten Club Fixers (Elite x10), two with cameras; two are Shot-Callers, one in the elevator you call. All armed with pistols, shotguns, and machine guns.
Reinforcements: Up to four Fixers (Veterans, Elites, Enforcer) each time.
Insertion Points
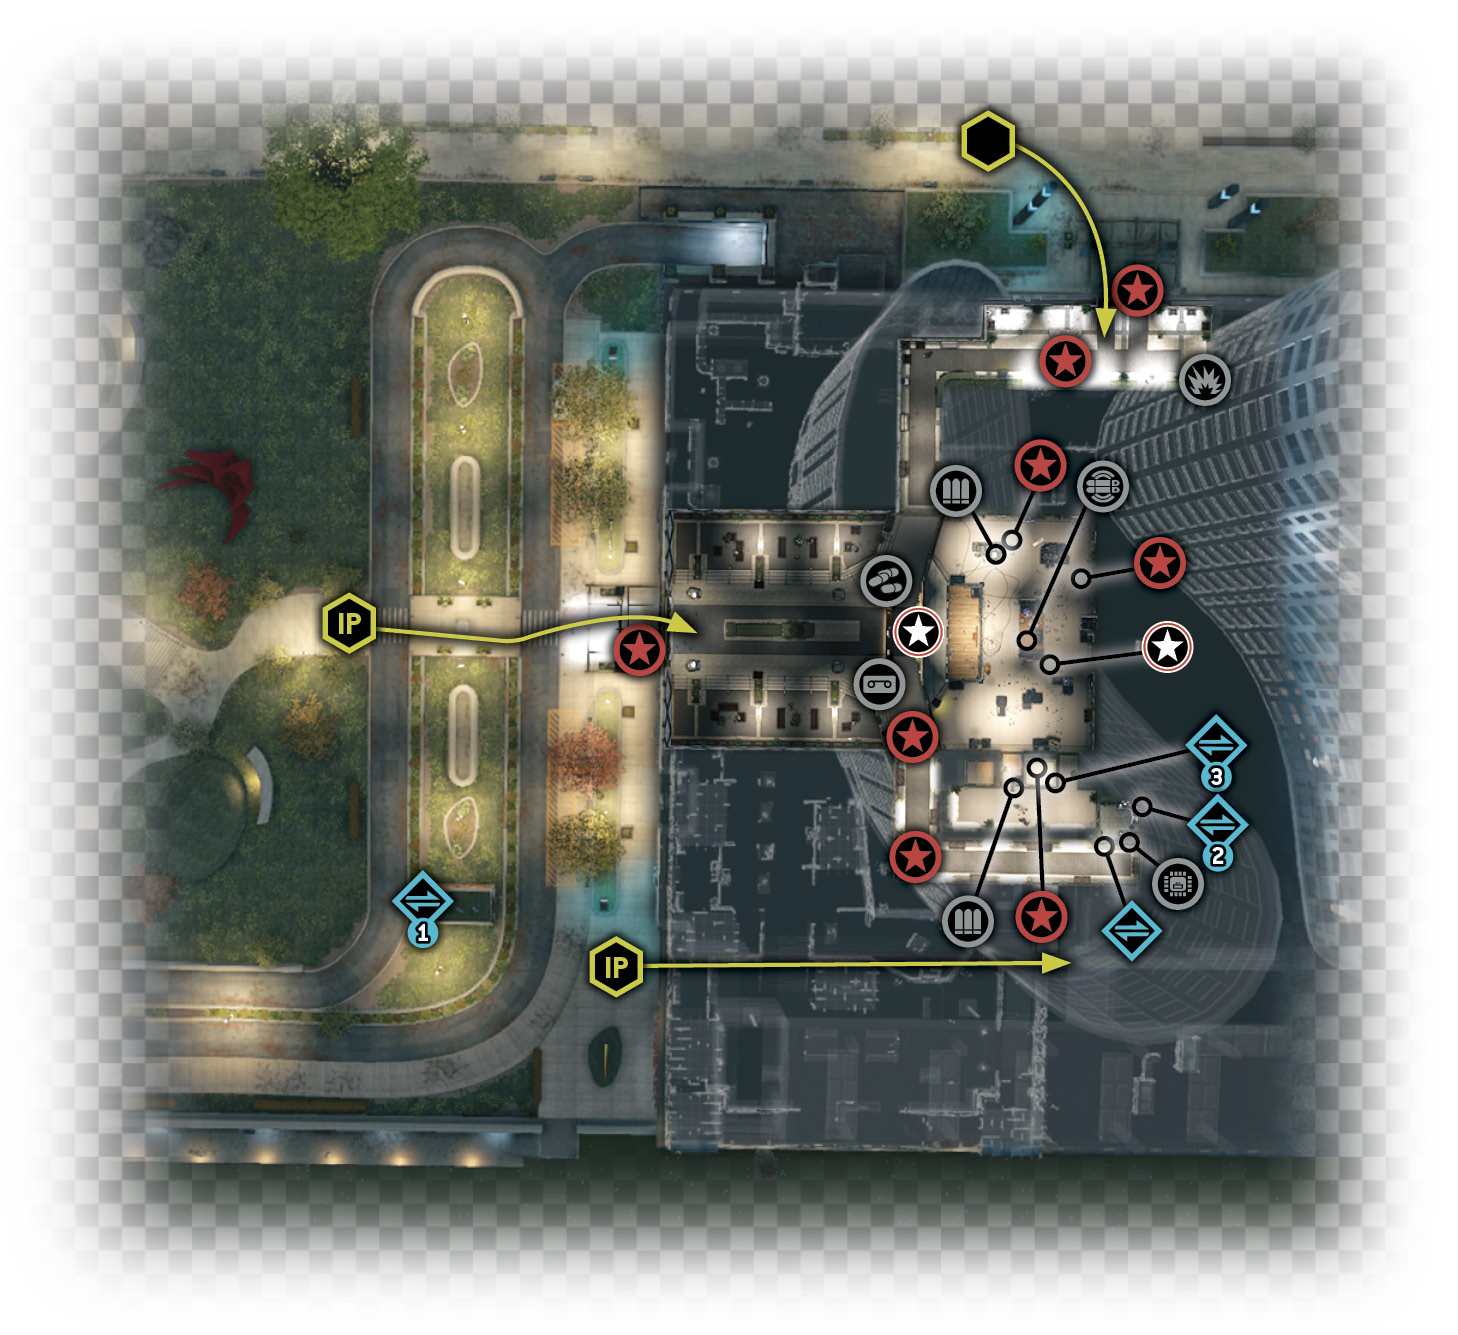
The hotel is cube-shaped, in terms of its three main entrances. Remember that although the “western” entrance is east of your current location, it is called that because it is on the hotel’s west side.
Western Entrance and Main Lobby
Accessibility Level: 
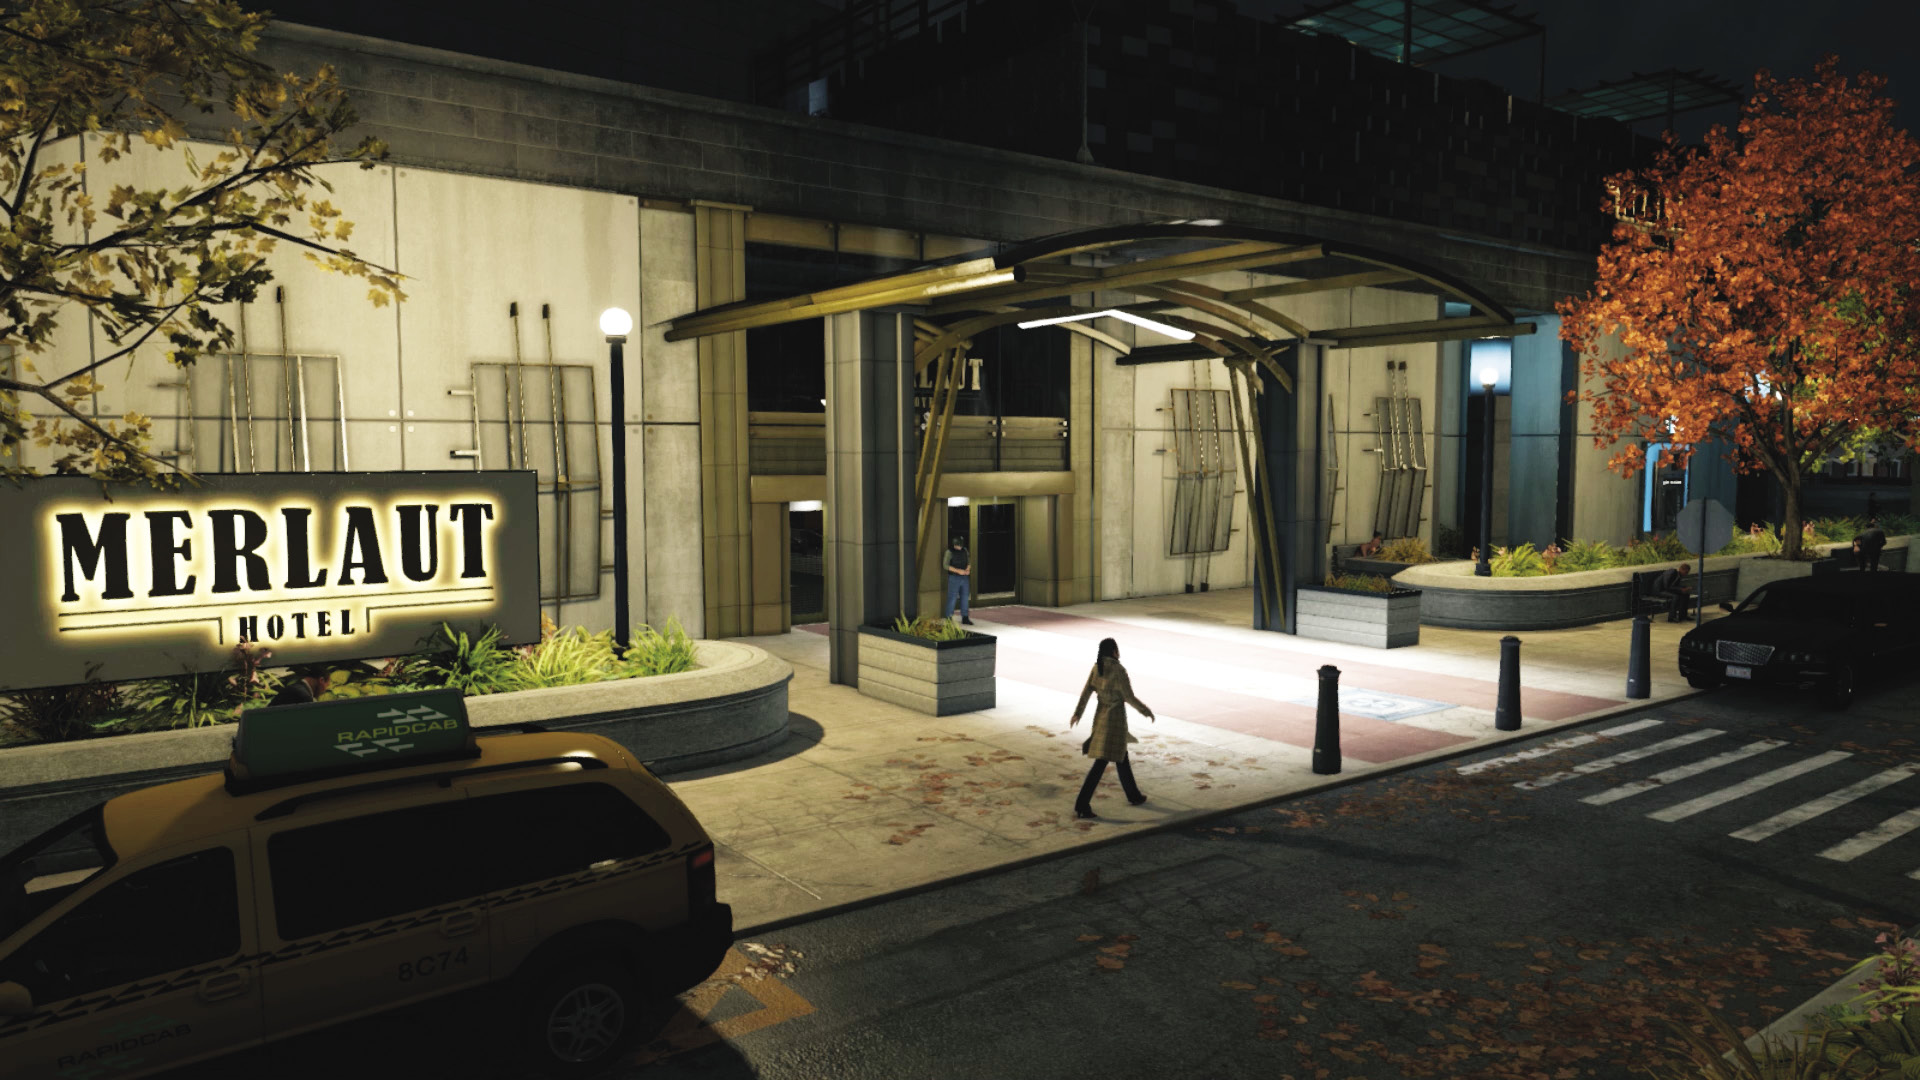
This is a little ways east of your current location and features one easily distracted guard at the main doors (attract him to the phone on a nearby planter, then melee-strike or slip by unnoticed). Inside is the hotel’s main lobby. There are cameras to mark the many Club members patrolling the conference room, and the elevators are through the conference room, to the right. Check the main lobby reception desk for a phone to hack and an Audio Log to listen to.

Northern Entrance and Side Lobby
Accessibility Level: 
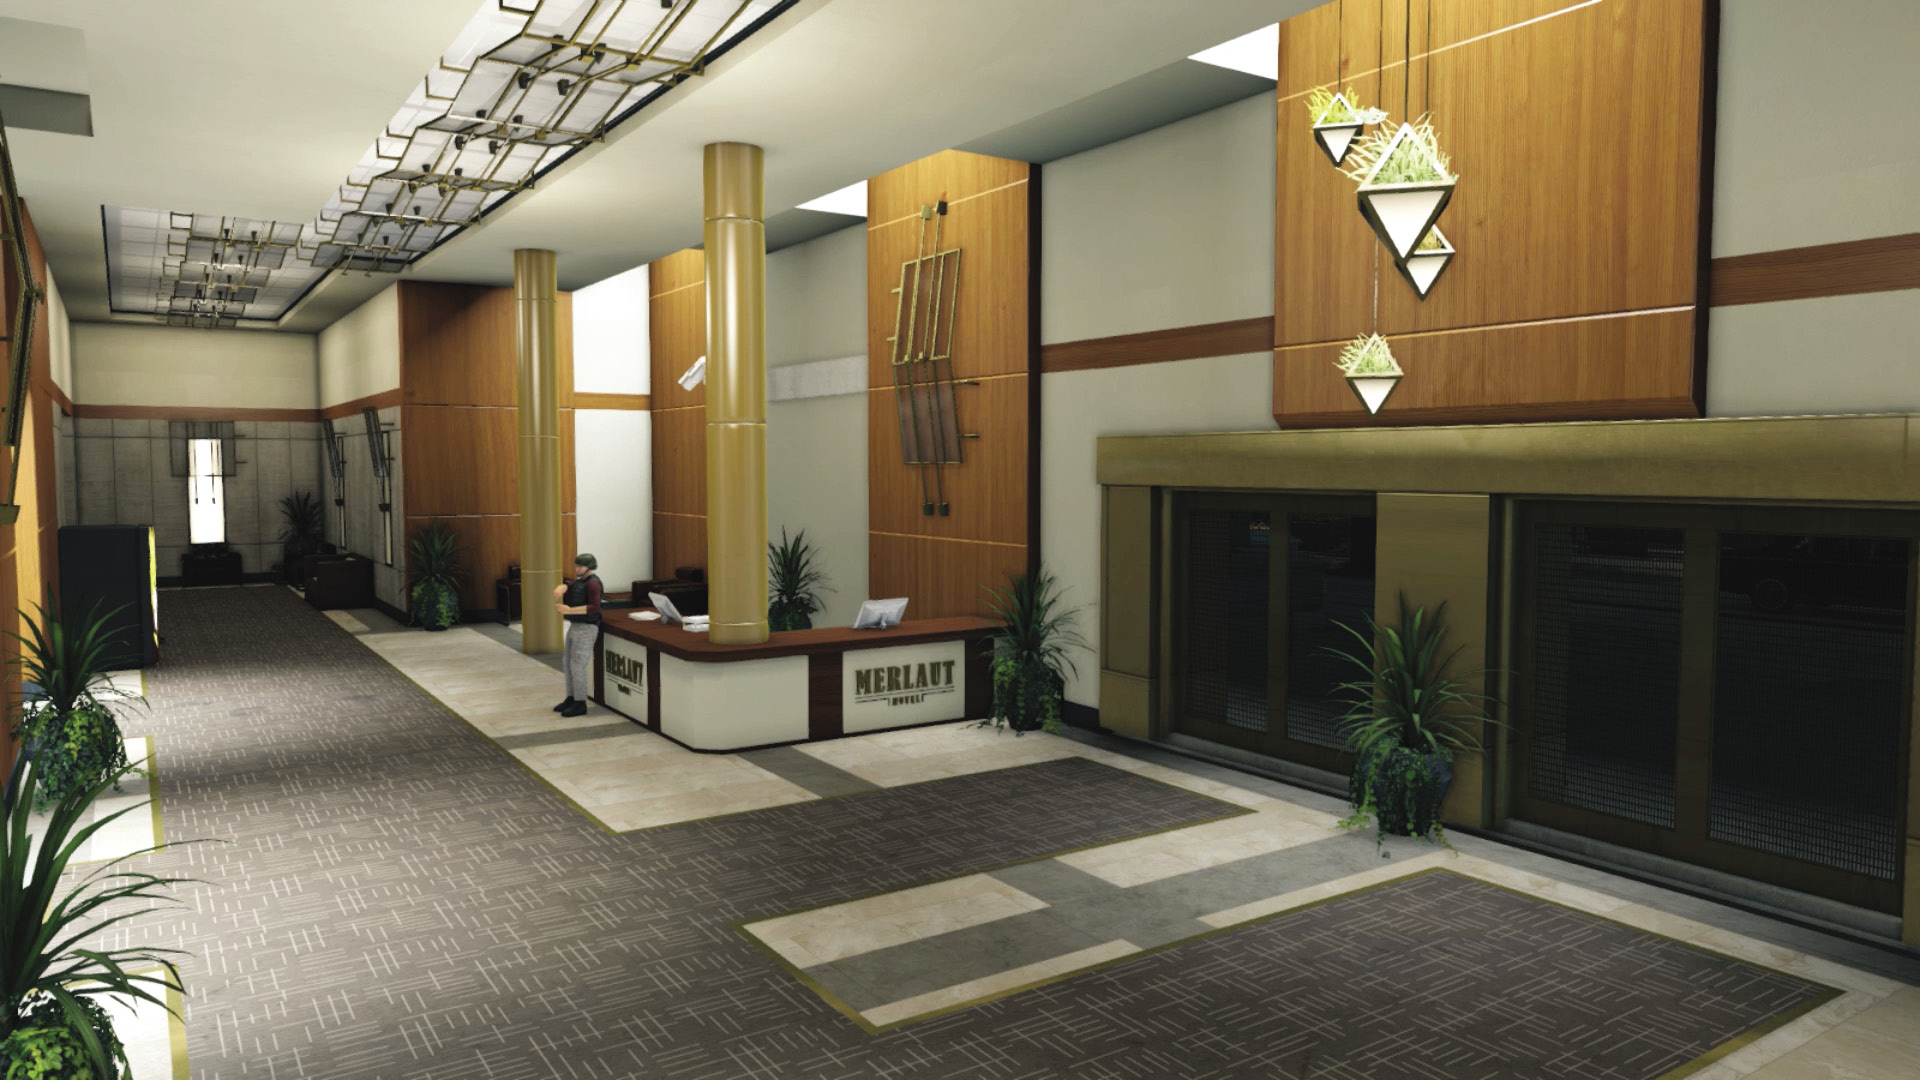
This involves a quick jog or drive around to the hotel’s north area and a side lobby with elevator banks you can’t access. Watch for two foes here. Drop one with a melee strike and the other waiting by the desk, or attract either with a phone on the desk. Follow the corridor around to the front desk and the conference room to your left. Although this is farther away, you can slip into the conference room more easily as there are cover opportunities the right side (closest to the waypoint) doesn’t have.
Southern Entrance and Docks
Accessibility Level: 
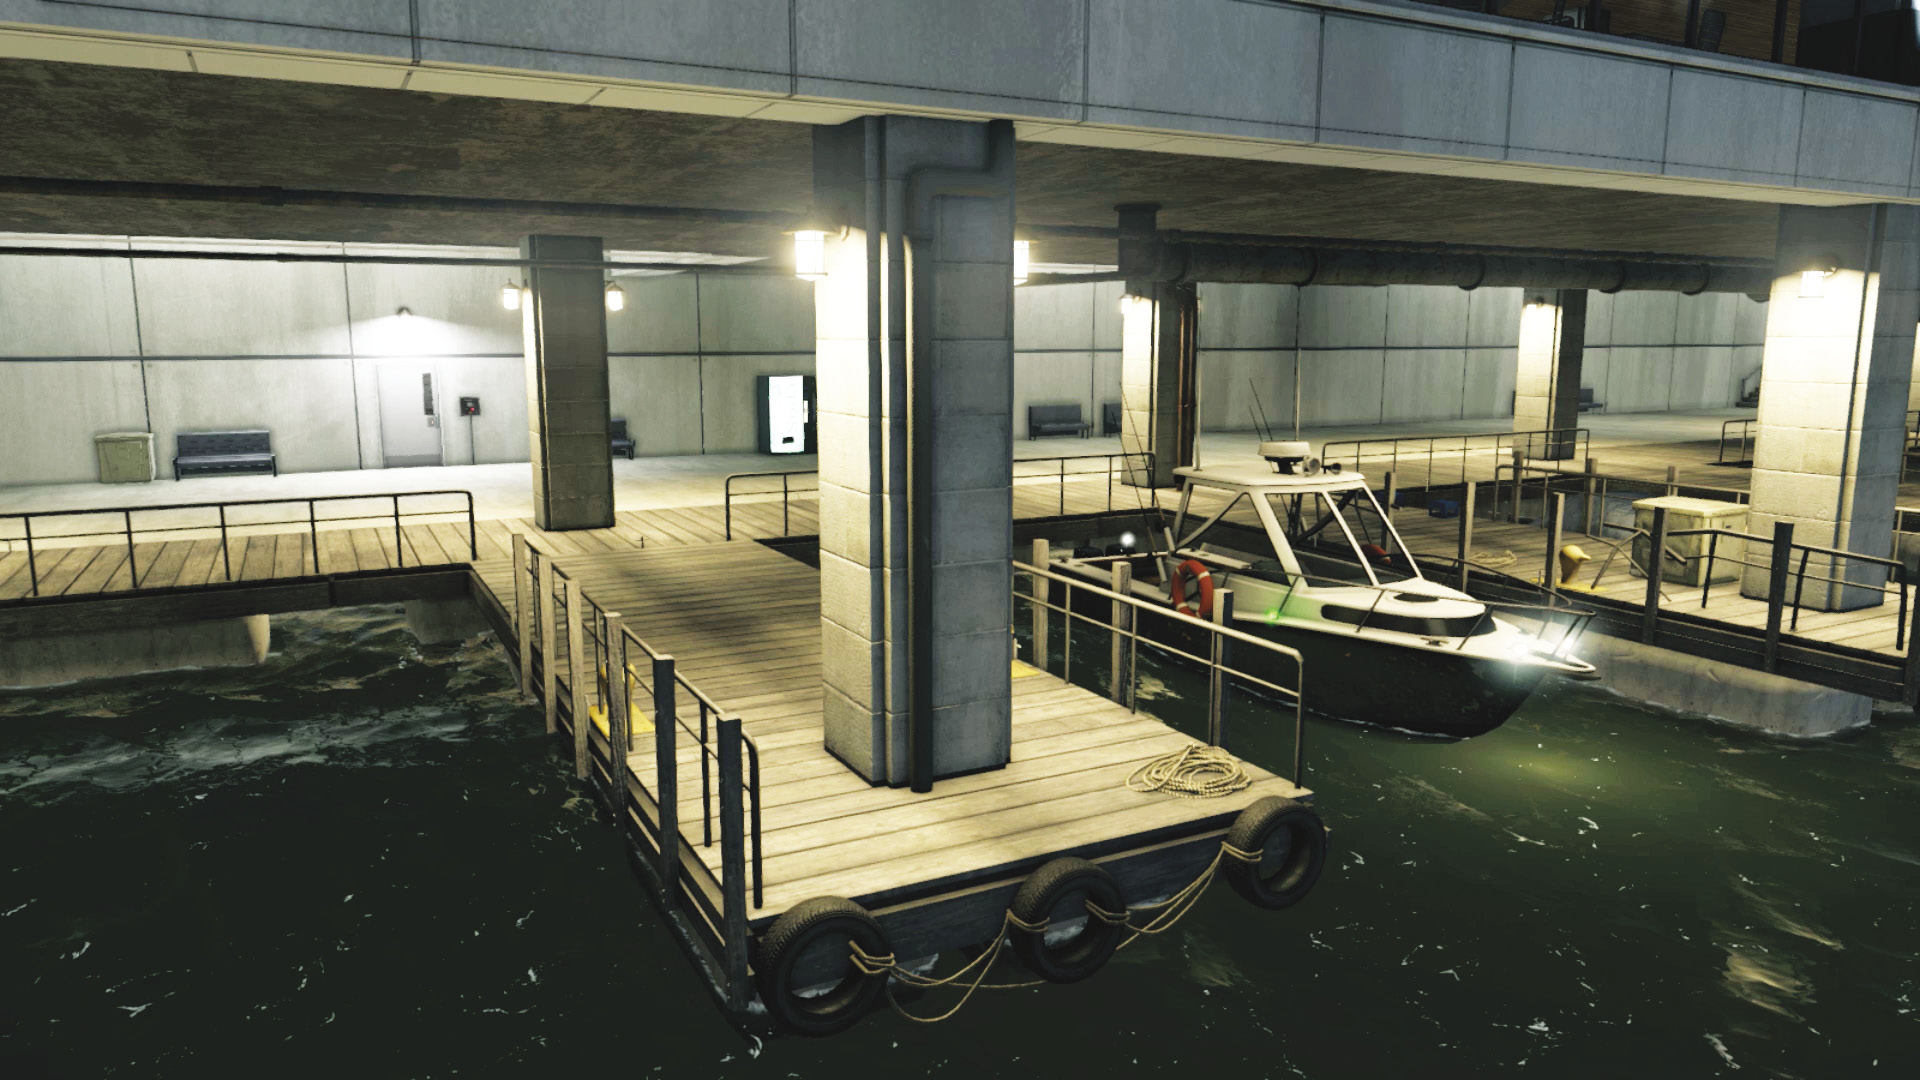
This metal door has an easily hacked switch and isn’t used by the general public. It allows you access to a side corridor that meets the front desk and the (locked) metal door to the security room. It’s technically closest to the elevators, but you still need to navigate through the conference room to reach the waypoint. Once you’re inside, expect one roaming guard in the corridor.
Main Lobby and Conference Room
Accessibility Level: 
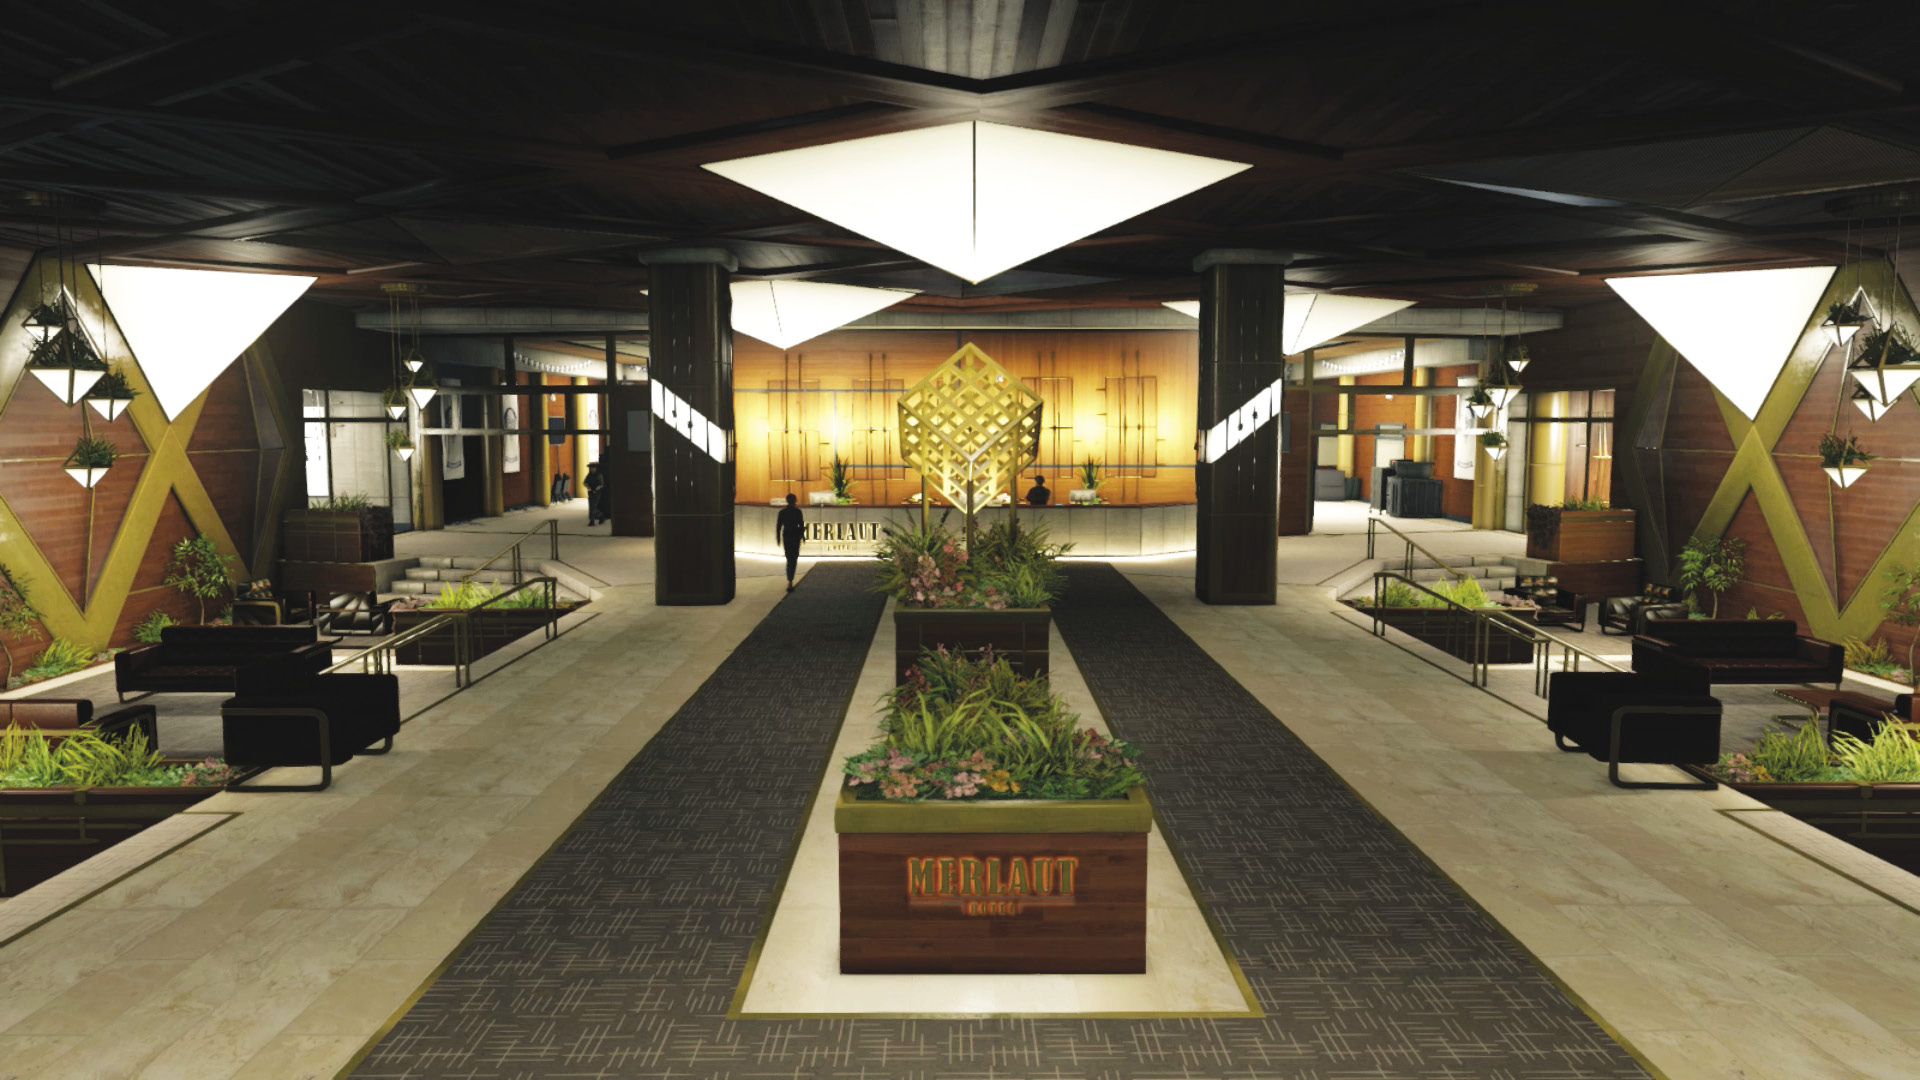
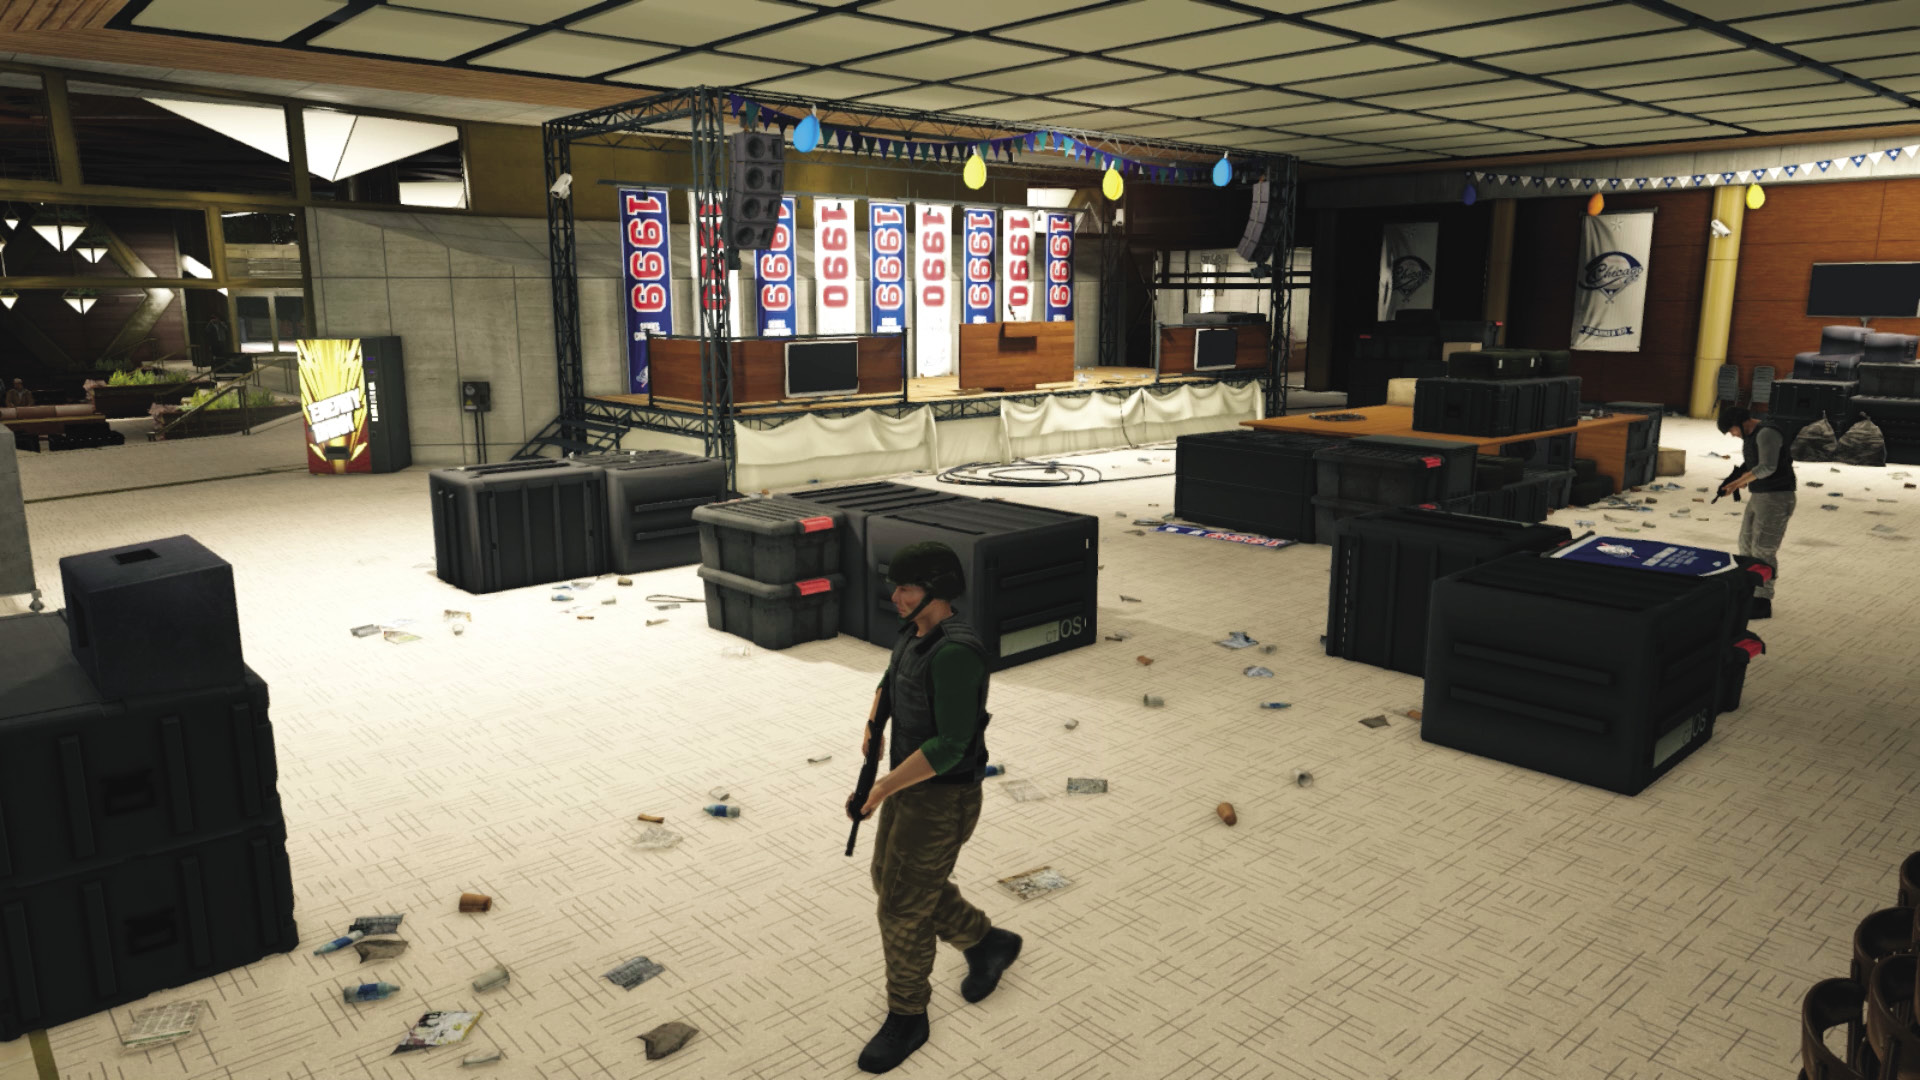
In the lobby, there’s one enemy behind the front desk (which is relatively easy to sneak around and use as cover before a melee strike). The conference room entrances are on either side of the lobby, and the room itself is guarded by four enemies. There’s a vending machine to attract foes, four junction boxes to help defeat or distract the enemies, and cameras allowing you to see what you’re heading into. Note the two exits to the elevators on the chamber’s right (south) side.
Elevator Bank
Accessibility Level: 
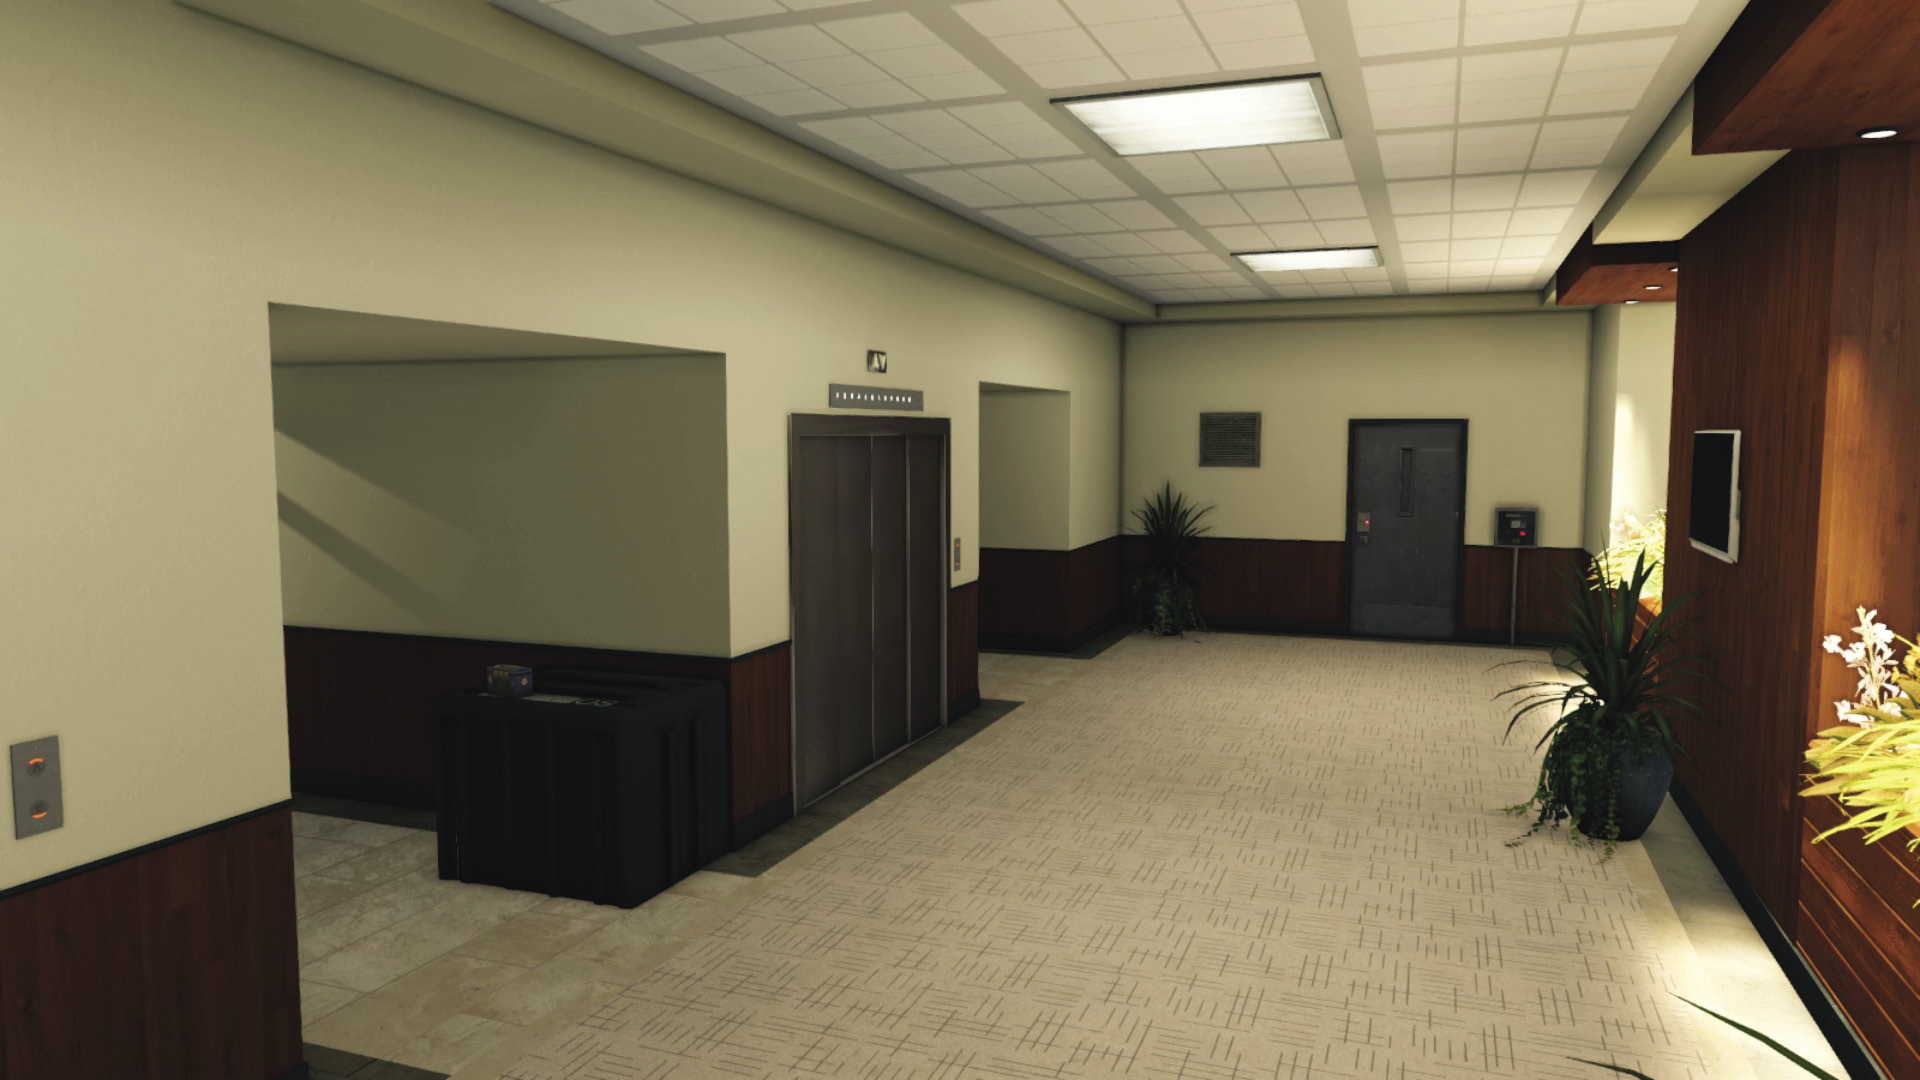
This is always accessed from the conference room, though it’s right next to the security room. You can sprint through the conference room to reach here before the guards react, or fight your way to this location. Watch for the time it takes for the elevator to arrive and a foe exiting the elevator when you call it, and complete the objective.
Progression Plans
You may now try one, parts of, or any combination of the following methods of reaching the elevator bank.
General PreplanningComing Equipped: Be sure you’re fully stocked with weapons and ammunition; the Club come heavily armed, especially as you progress through the hotel. Innocents Aplenty: There are several hotel patrons, and although it isn’t imperative, you might not want to involve them in combat. It’s usually a better idea to use stealthy tactics first. Combat Confusion: Study the layout of the rooms before you head inside, so you’re not bogged down or trapped in a corridor or the lobby. Know where you’re going and the best way to get there. |
 Passive // Flee: Scramble to the Lift
Difficulty: 
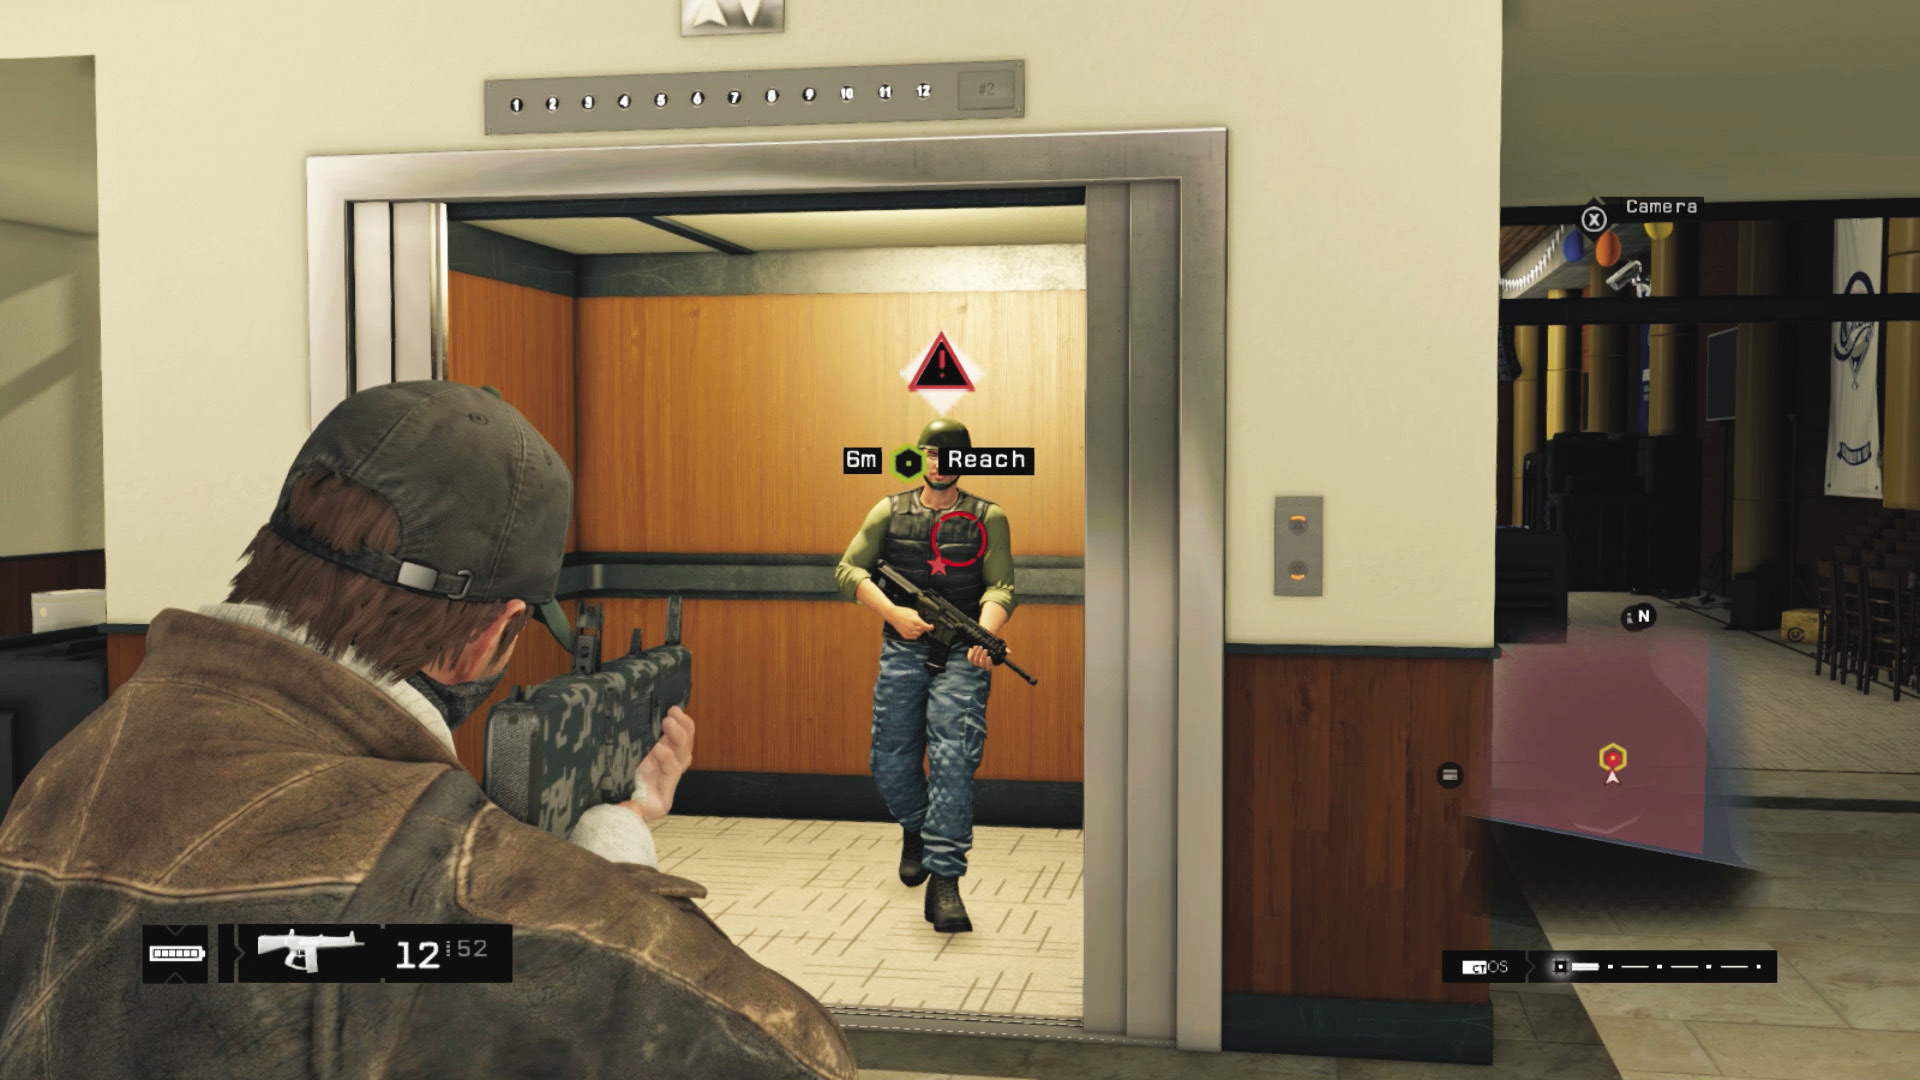
This plan requires an exact knowledge of the route to the elevator and no delays in your running, or you’ll be shredded by gunfire. Your plan is to simply race into the conference room, head to the elevator banks, and call them. Simple! Ignore any and all foes along the way, and hide in the security room while you’re waiting for the elevator to arrive. This is usually easiest to achieve from the western and southern entrances. When you reach the elevators, you can begin more violent actions, but this successfully circumvents all laborious combat to reach the objective.
 Aggressive // Stealth: Baton Wielding Leaves Your Foes Miffed
 Difficulty:
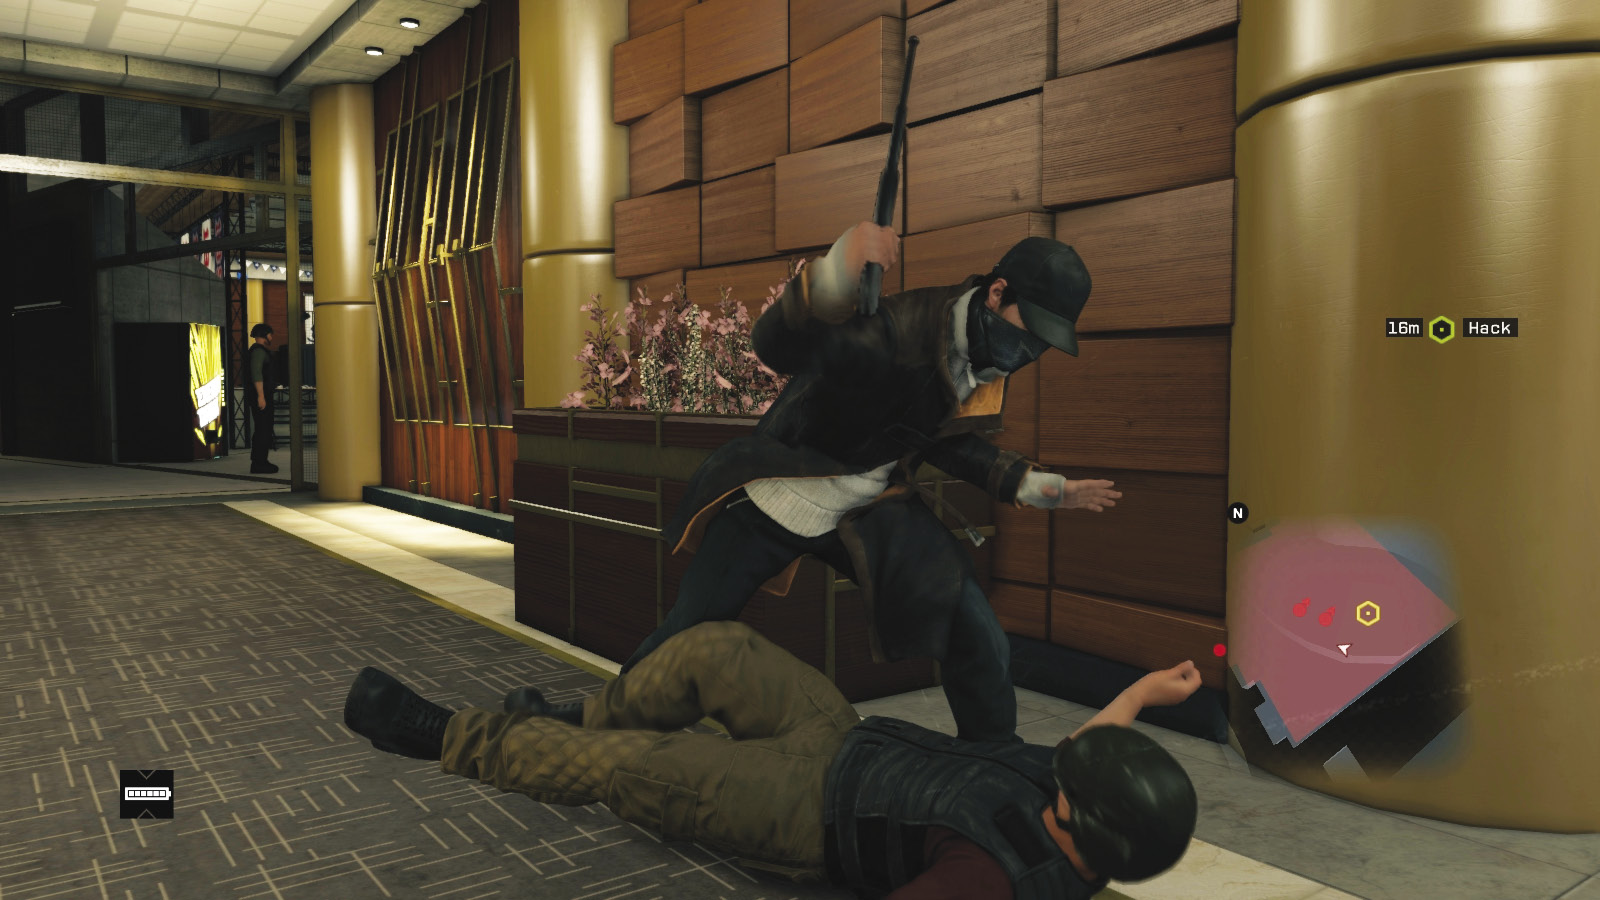
Melee combat throughout the hotel is helpful, as you can then reach your objective without being overwhelmed by reinforcements or pinned into a corridor or conference room corner by multiple foes. If you’re attempting to remove all threats without a weapon being fired, start by removing the enemies at the start of each intrusion point (the one in the southern corridor, the one by the western foyer entrance, and the two in the north foyer). Then remove the enemy at the front desk (as he’s a Shot-Caller); this leaves only four or five remaining foes to worry about, all packed into the conference room. Approach via the left (north) entrance, working your way around the equipment crates for best results. Shot-Callers are a priority. Remember to change tactics at any time (smart plans are helpful here).
 Aggressive // Smart: Technology Is a Gift
 Difficulty:
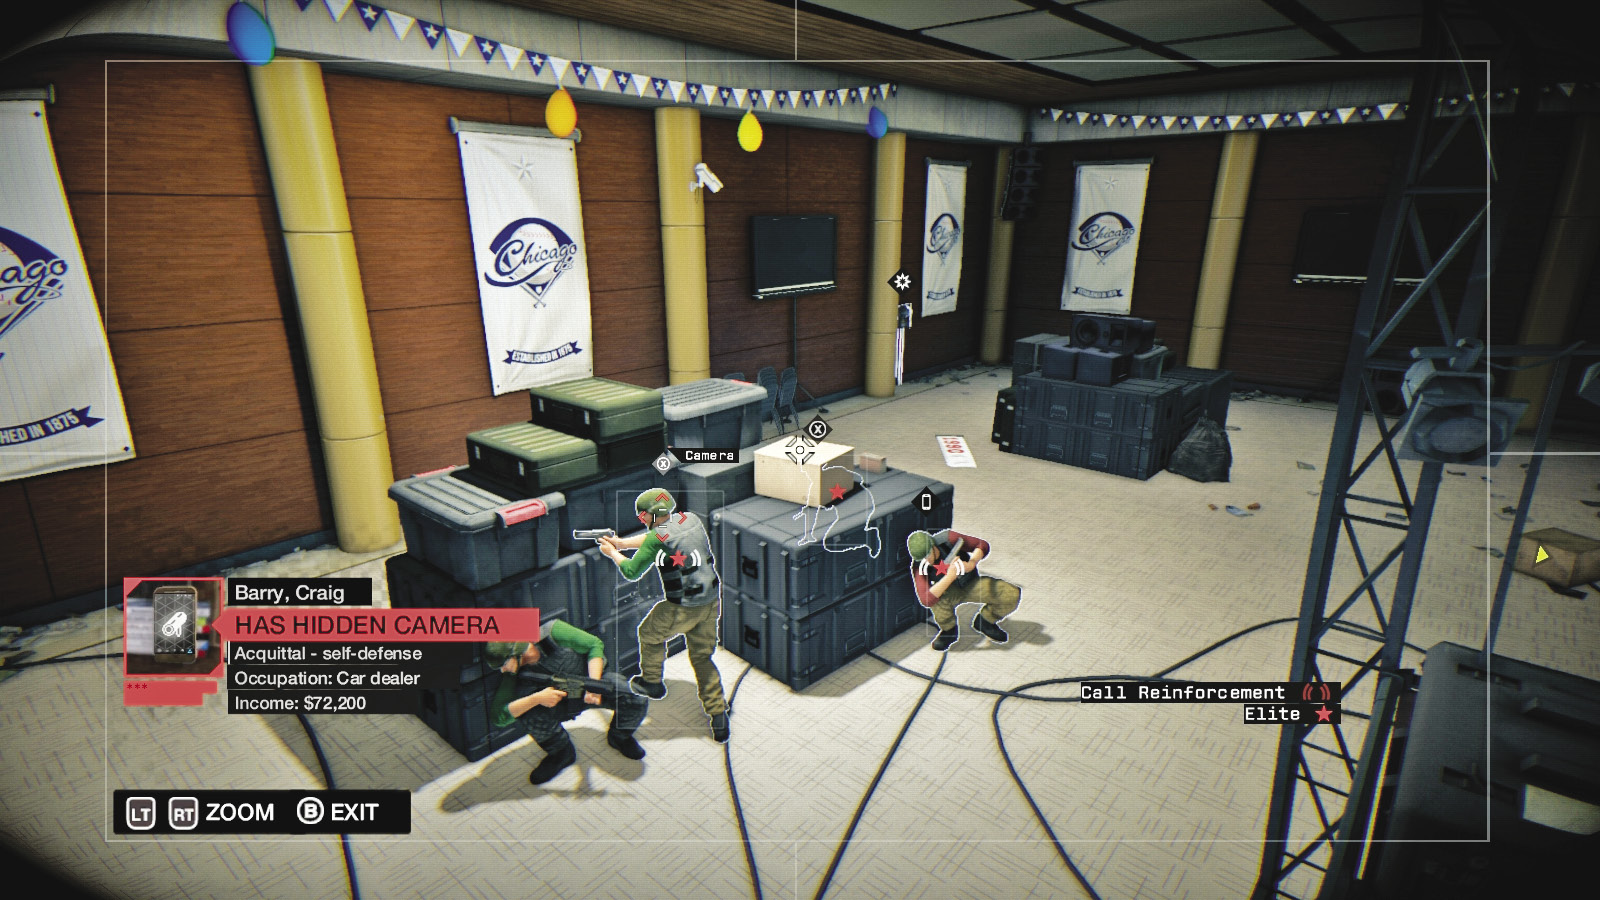
The network of cameras is helpful to flag all enemies throughout the restricted area, so ensure you’ve found them all before you begin to move in. Otherwise, there’s a soda machine; use it to distract so you can sneak past or attack from behind. The conference room has several junction boxes to explode, but this results in the enemies becoming alerted (not violent, yet), and you’re usually able to remove only one or two of them. You should also think about utilizing the following craftable items:
ctOS Scan:Before setting foot in the hotel, execute a ctOS scan so you immediately see and track all nine Elites. This allows swift action, rather than moving from camera to camera to tag everyone.
Jam Coms:If you make a mistake in your stealth and a Shot-Caller calls reinforcements, use this to prevent the attack (or hack their comms). Reinforcements usually overwhelm you (there’s an Enforcer to worry about too), so keep your enemies—even when alerted—to those who can’t bring more combat your way.
Blackout:One of the easiest ways to reach the elevator is to utilize stealth takedowns during a blackout. You can ignore most foes, quickly slip to the elevator bank, and call the elevator once the backup generators kick in. Obviously be aware that cameras, junction boxes, and the elevator aren’t functional in a blackout either!
 Aggressive // Violence: Your Hostility to the Club Becomes a Rift
Difficulty: 
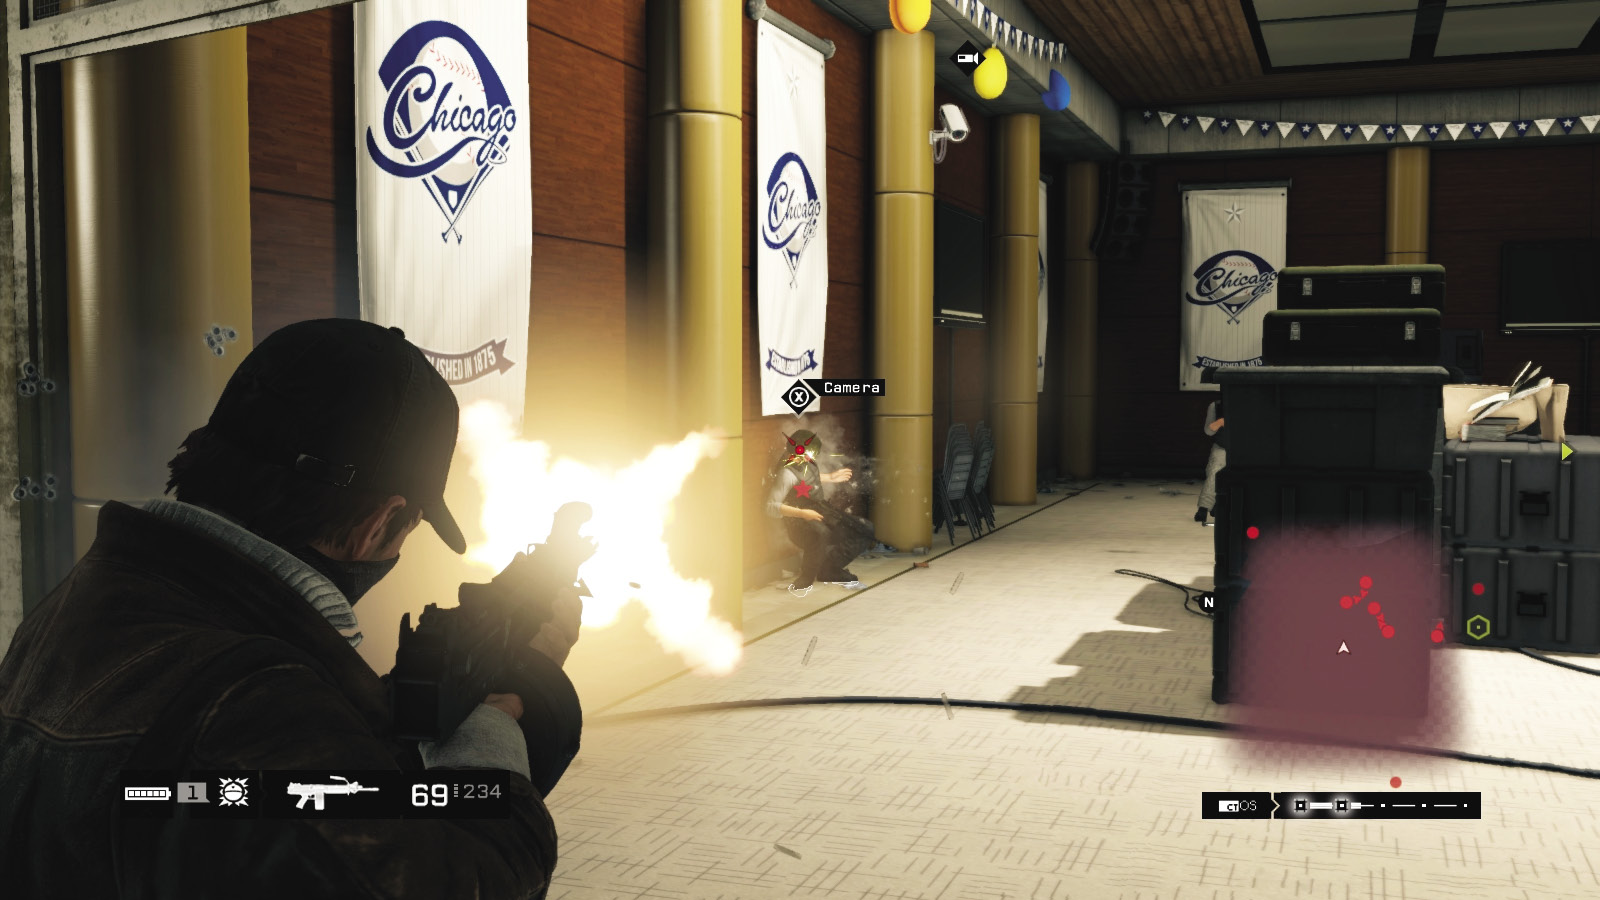
Bring out the weaponry when all your other infiltration plans fail. Prepare for quick and nasty combat, melee shooting after grabbing enemies, and reinforcements. Advancing to the security room and elevator corridor is better than milling around in the lobby or conference room (if you can reach there easily). Otherwise, there are other plans you can attempt:
Snipe from the gardens, shooting through the lobby and hitting foes in the conference room.
Bring down enemies from one end of the main corridor that stretches north to south.
Grenades into the conference room help remove multiple threats.
Lures are excellent for removing foes in your path or coaxing them into your line of sight, before all-out combat occurs.
Intentionally cause combat so you can rack up experience points. Just be sure you have the explosives to deal with the Enforcer that shows up!
 Driving // Offensive: That Bike Can Really Shift
Difficulty: 
If you’ve had previous success driving a bike through locations to reach waypoints, you might as well try it here. This is like the passive plan detailed previously (enter via the main lobby and work your way to the elevators), but it’s faster, more dangerous, and much more prone to disastrous consequences. But it’s possible!
|
|
 Fight your way across the rooftop
7.3 YOU DON’T TAKE WARNINGS VERY WELL
 Location / Mad Mile // Merlaut Hotel
Infiltration
Data Hack
Lethal Force Likely
Melee Force Likely
Difficulty: 
Overview
 Completion Point: The door at the opposite end of the upper roof deck.
 Dangers (including the foes in the office): Ten members of the Club (Veteran x4, Elite x3, Enforcer x1, Elite Marksmen x2), most in armor with pistols, shotguns, and machine guns.
Reinforcements: Expect a Club helicopter reinforcement as you reach the deck.
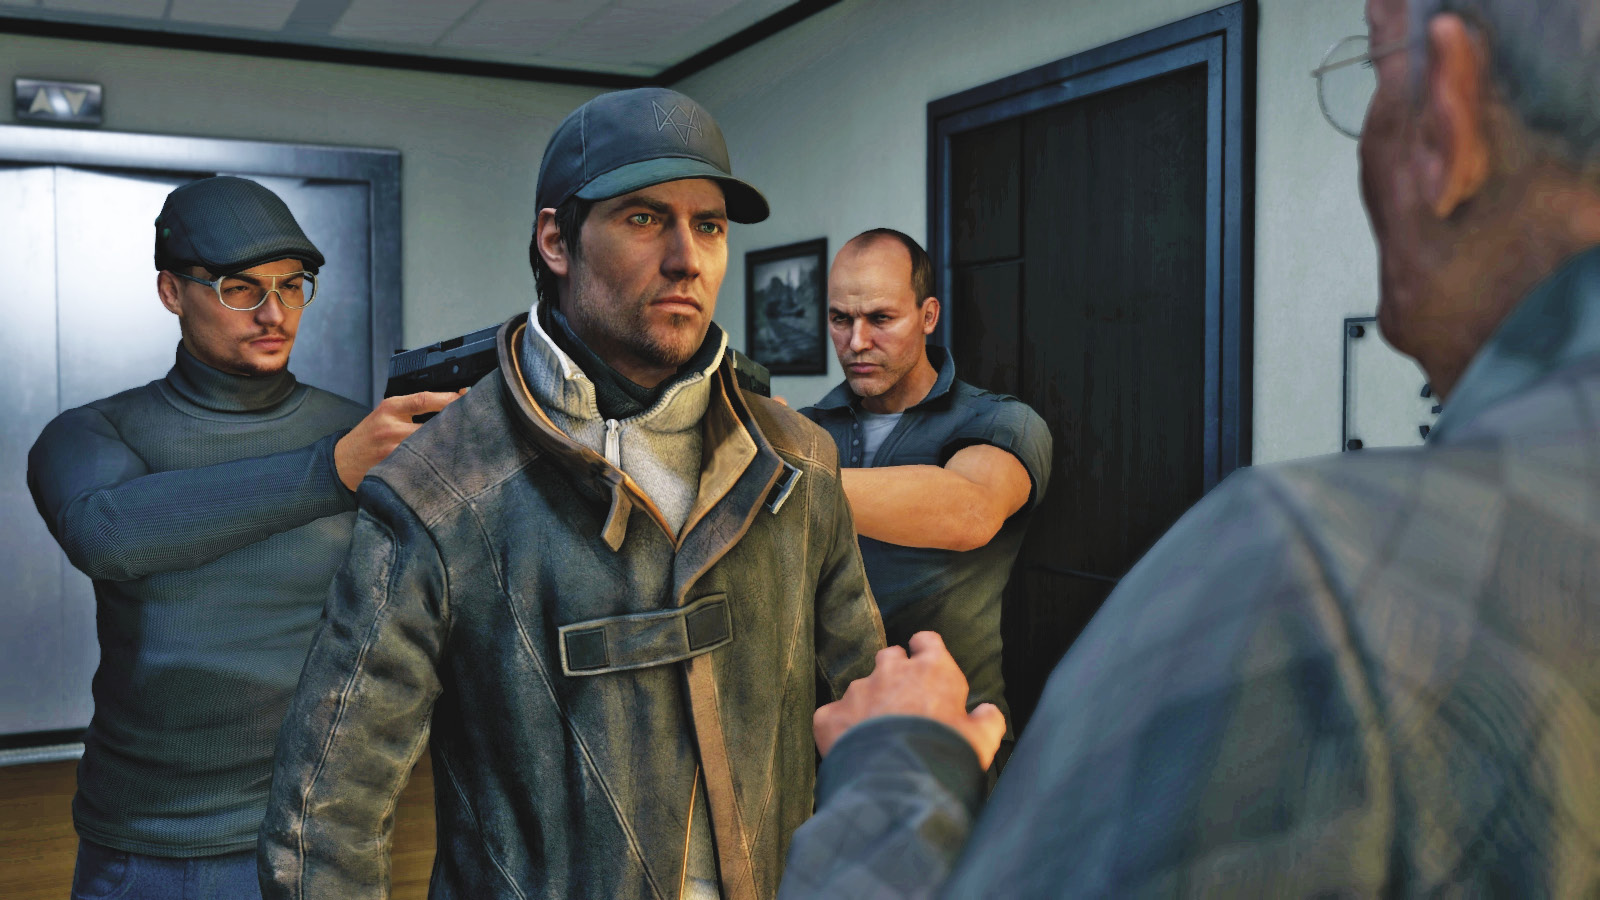
Enter the elevator, dropping the enemy inside with a melee strike or gunshot. Activate the elevator, and you ride up to Quinn’s office, where you’re stopped immediately by his security. After some particularly callous remarks, Quinn walks away, hoping his henchmen will finish you off. At this point, you must act swiftly:
Action: Battering with a Nightstick
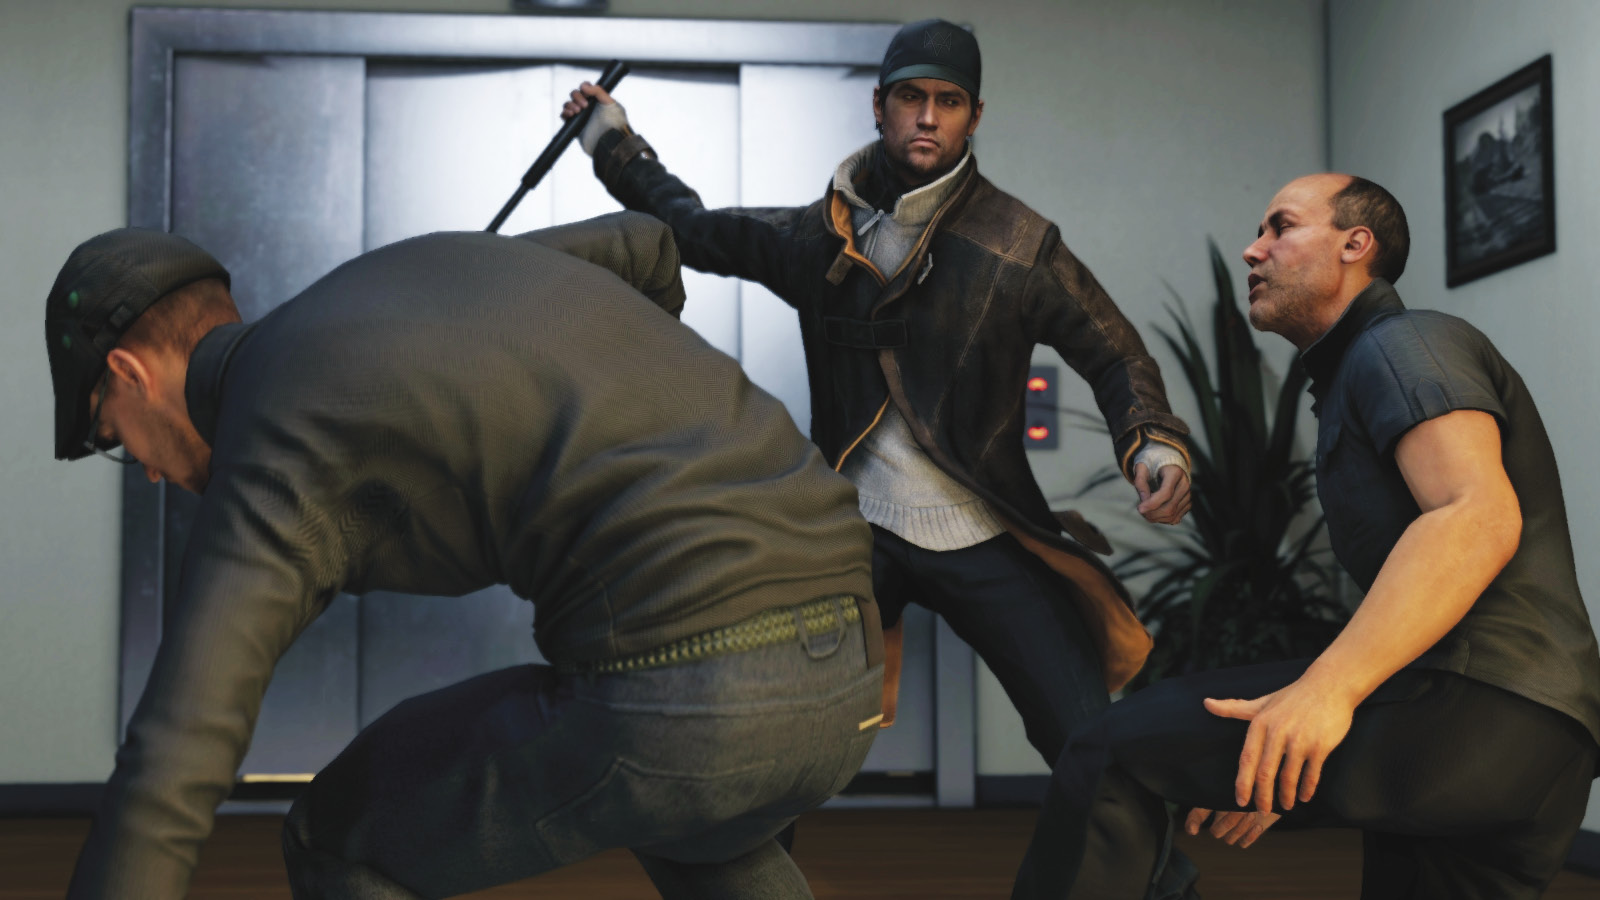
Before they have chance to shoot you, hit the context-sensitive button shown on the screen and strike both foes while drawing your weapon.
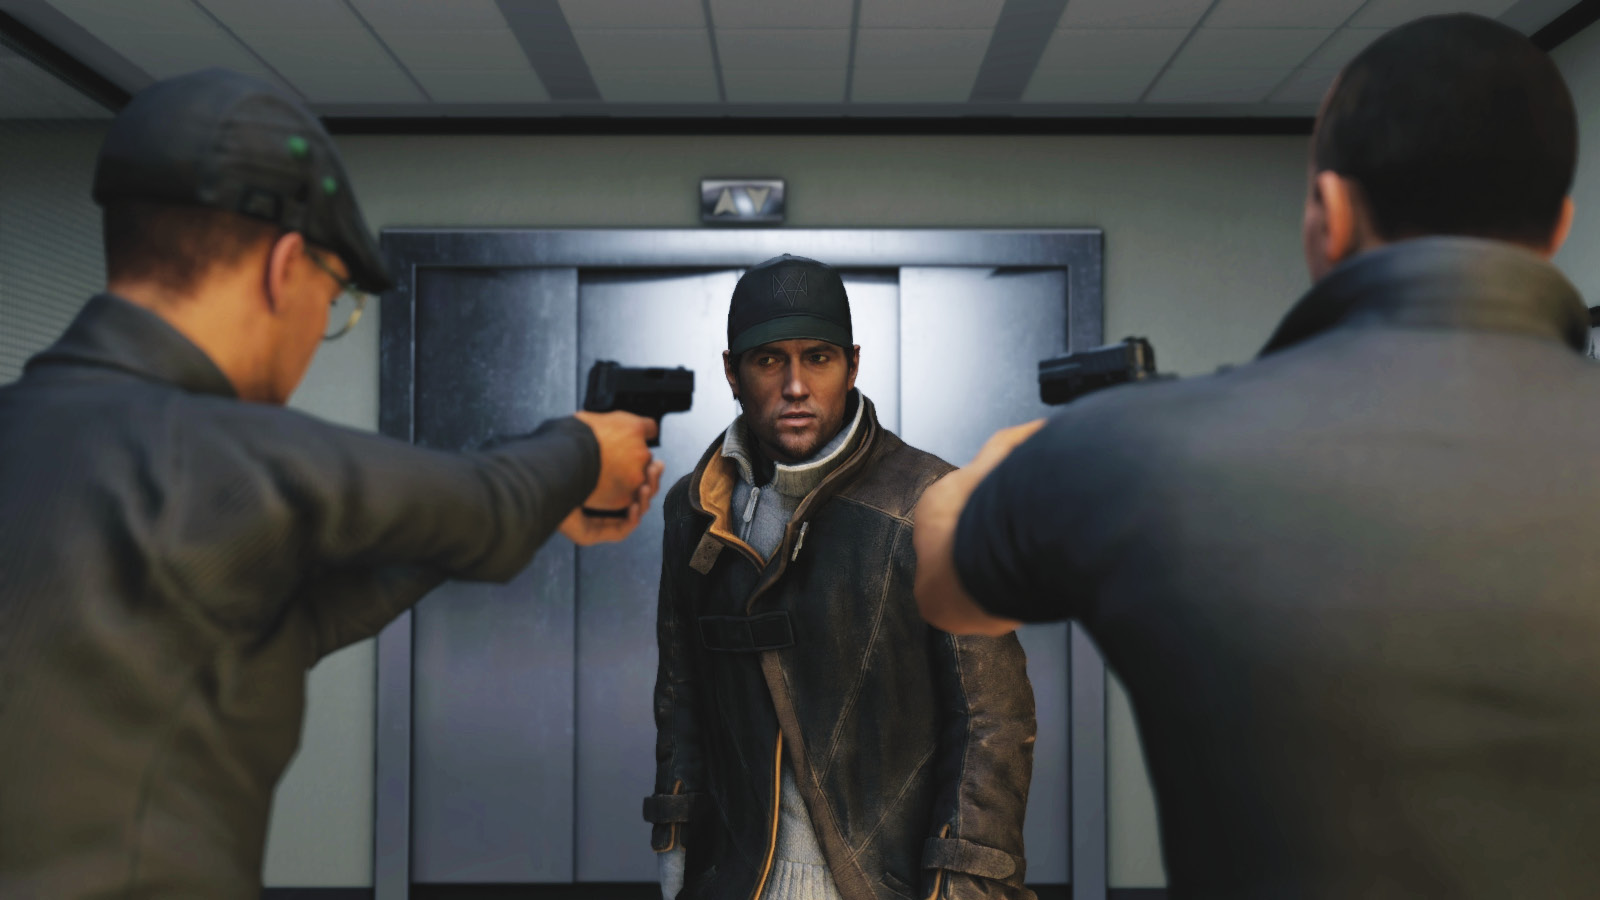
As they attempt to shoot you, ignore the context-sensitive button and receive a swift bullet to end your days.
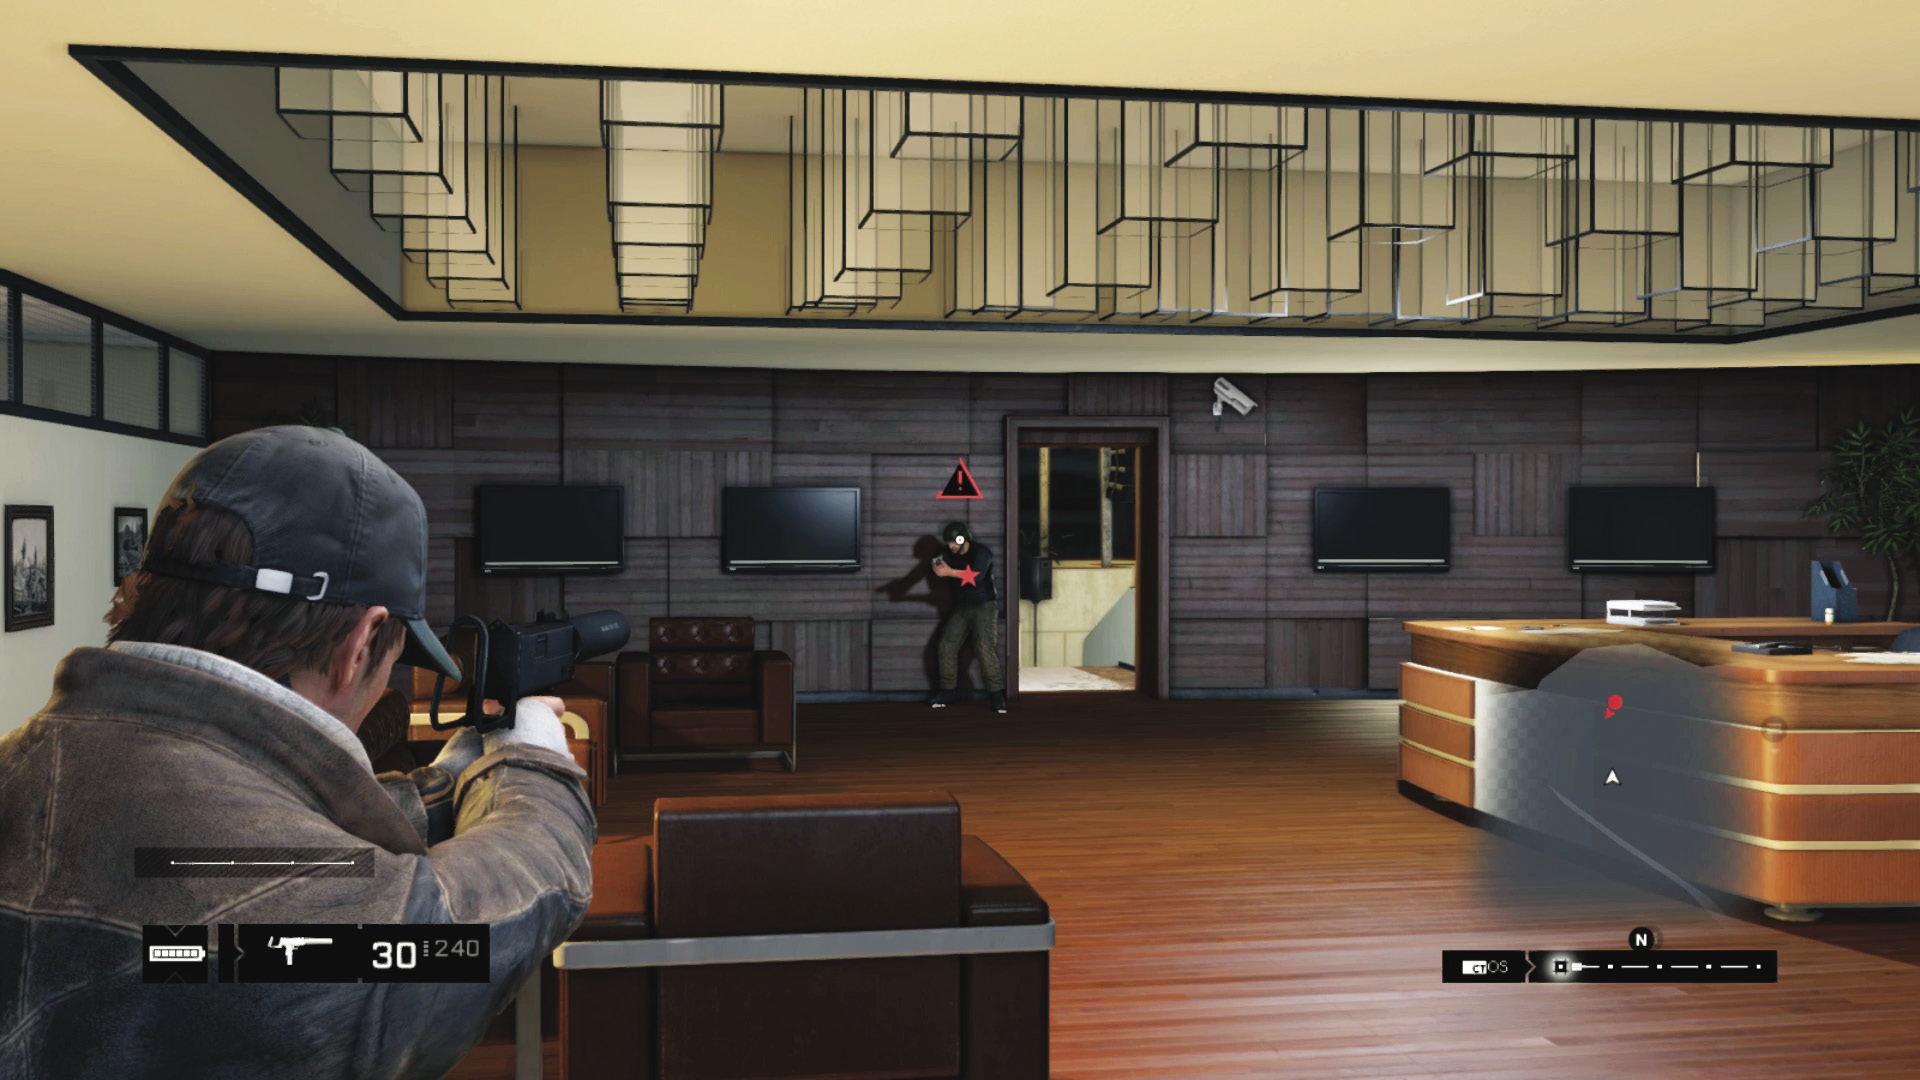
You enter an automatic focus. Quickly aim your weapon at an incoming Elite soldier and execute him with a headshot.
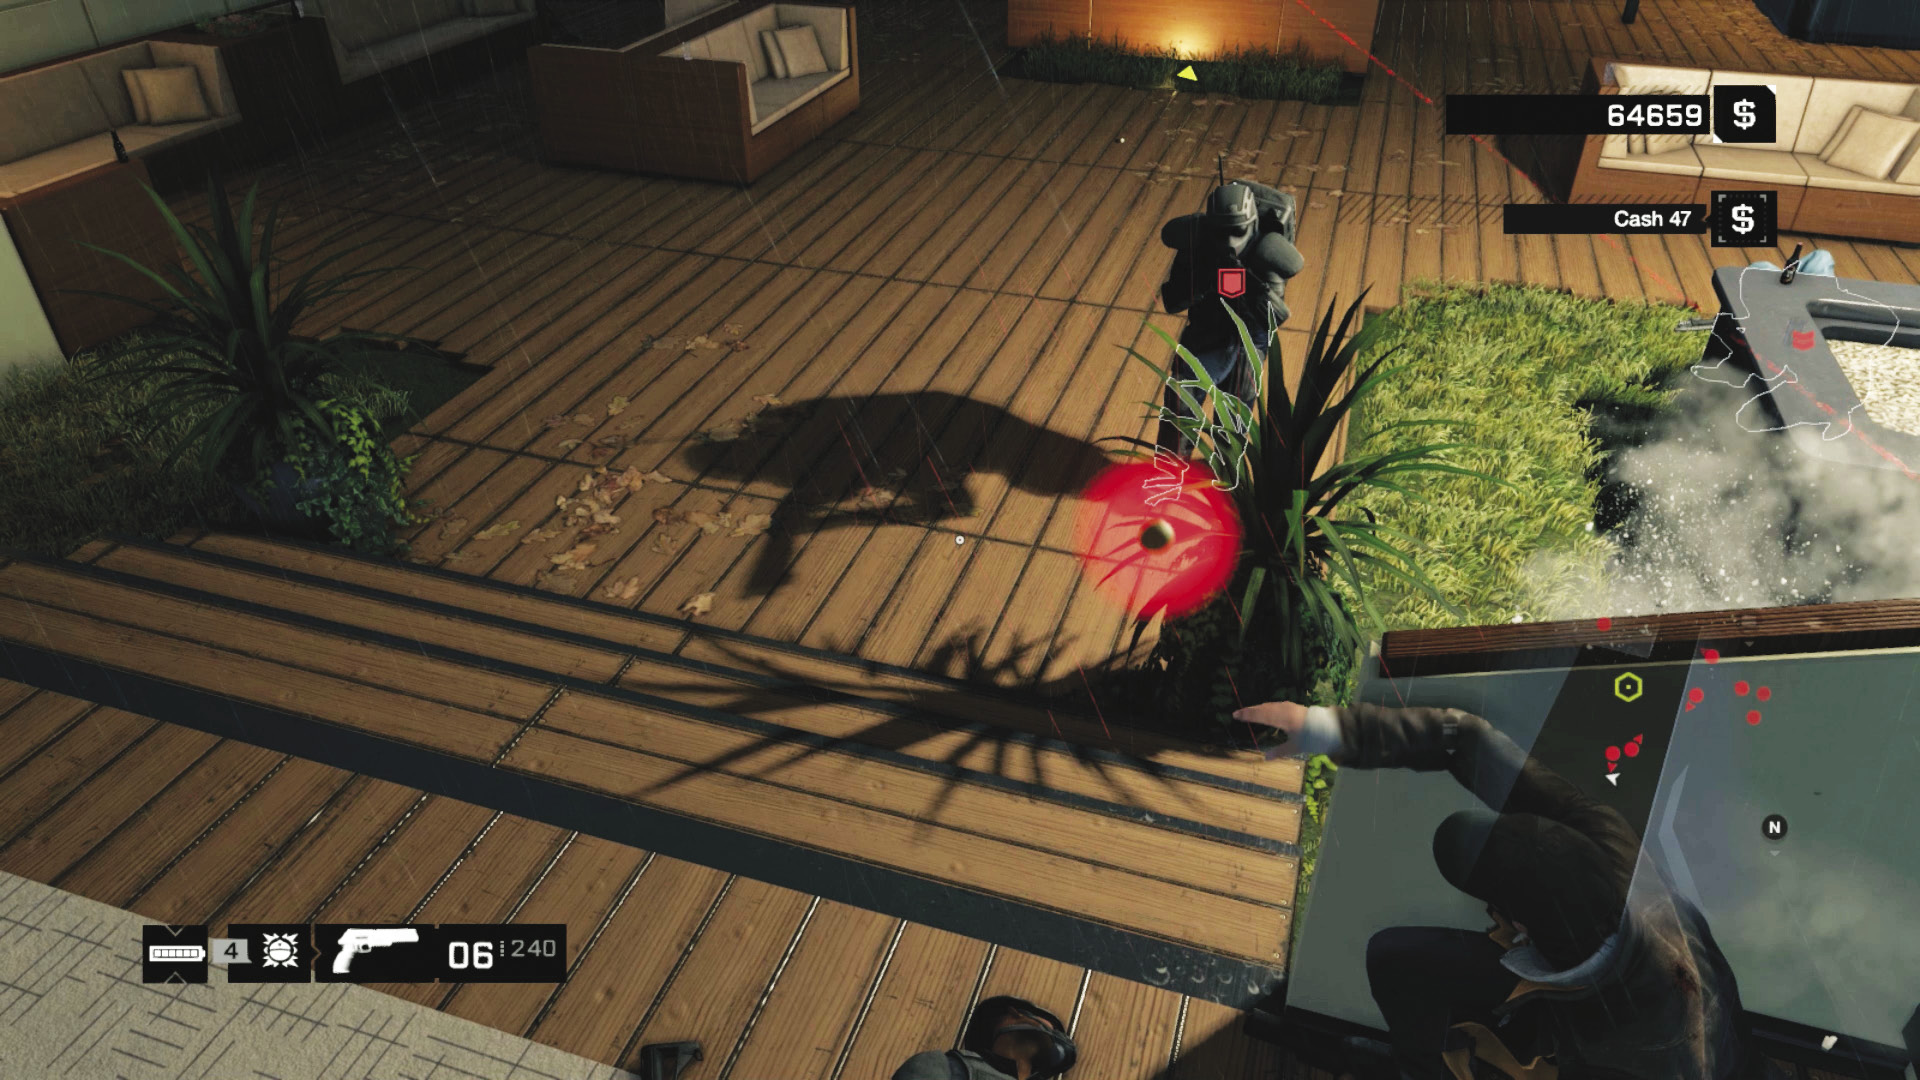
Assuming you survived, grab the M8-M from the desk, hack any equipment you wish, and then take cover inside the office, as an Enforcer may appear at the door the soldier burst in from.
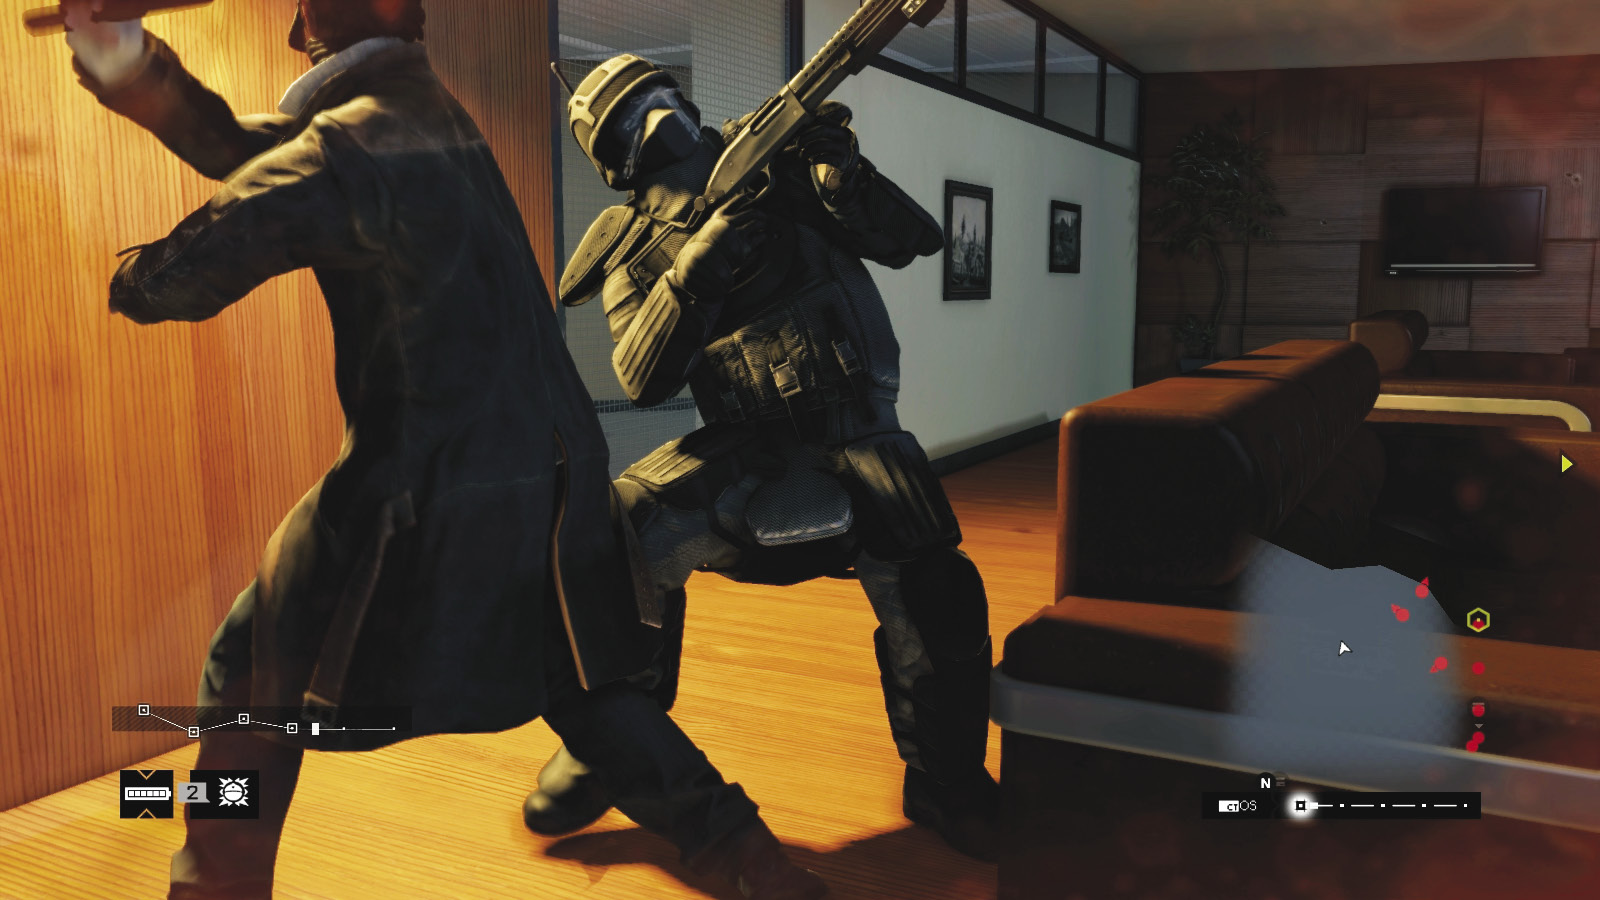
The Enforcer is a nasty piece of work and in close proximity. There are only a few options available:
Lob a grenade or IED at the doorway (or use a grenade launcher) and detonate it before he reaches you.
Duck behind the desk or sofa, wait for the Enforcer to close in, and (providing you have the necessary skill) melee-strike the foe.
Duck behind the desk, maneuver outside, rush for cover, and utilize any junction boxes or incessant headshots. Only do this if you have no other options.
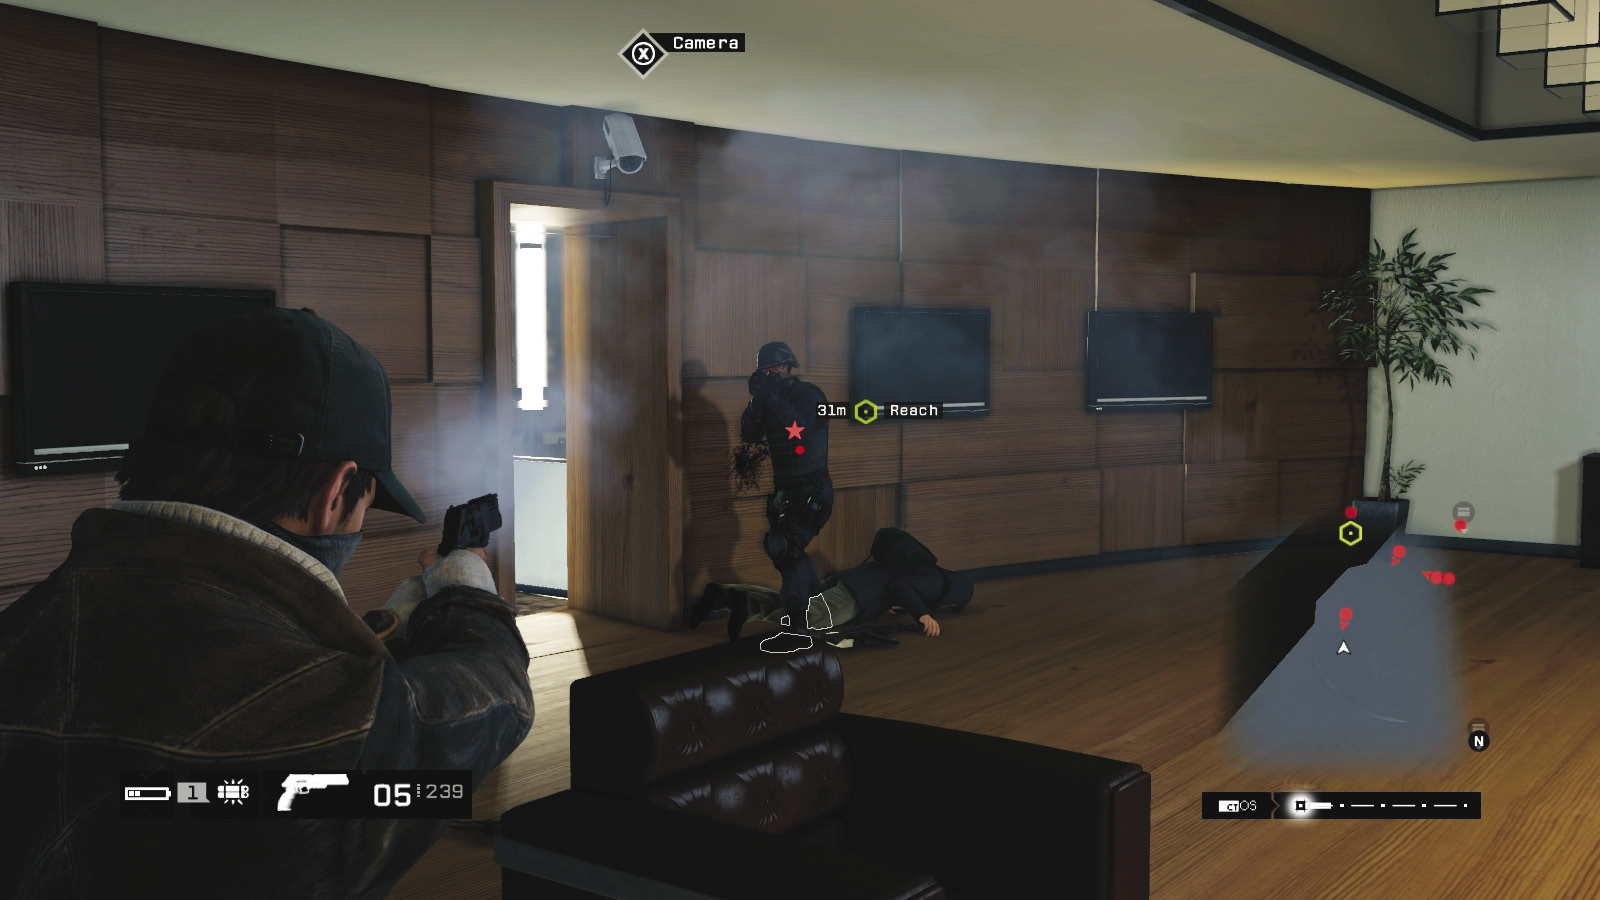
Whatever the plan, you need to pause in this office, as another two or three foes (usually Veterans and Elite) attempt to thwart you. Use similar tactics, though bringing out your guns is an obvious help, rather than a hindrance this time. Try to drop the foes at the doorway rather than letting them spread out, into the room. Hacking their grenades or disrupting comms is another excellent plan. When there’s a lull in the action, pick up the gun on the desk and peer through the window behind the desk to a (locked) office with a laptop on it. Claim an Audio Log here, if you didn’t earlier. Then head outside.
Insertion Points
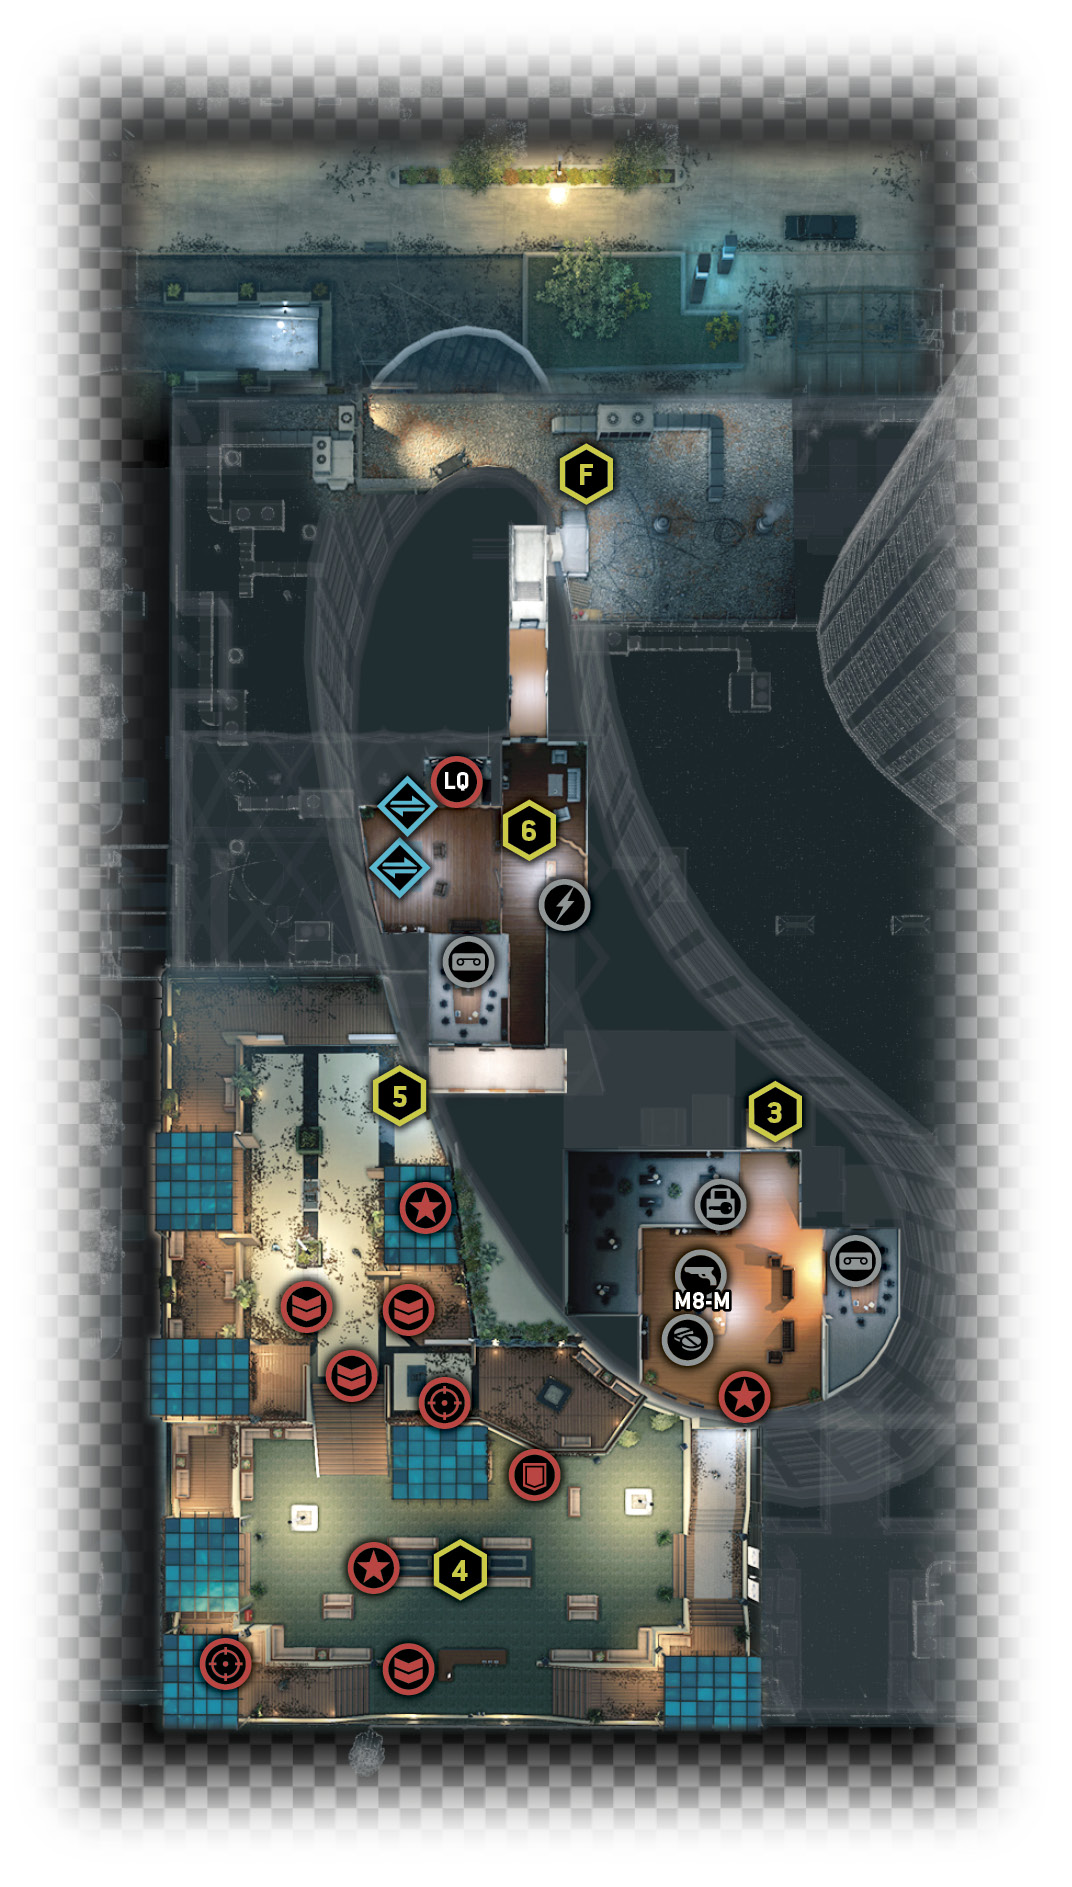
It’s important to know the exact layout of this deck area, so you can attempt the least dangerous route to reach the door on the far (north) end of the upper deck:
Main Deck
Accessibility Level: 
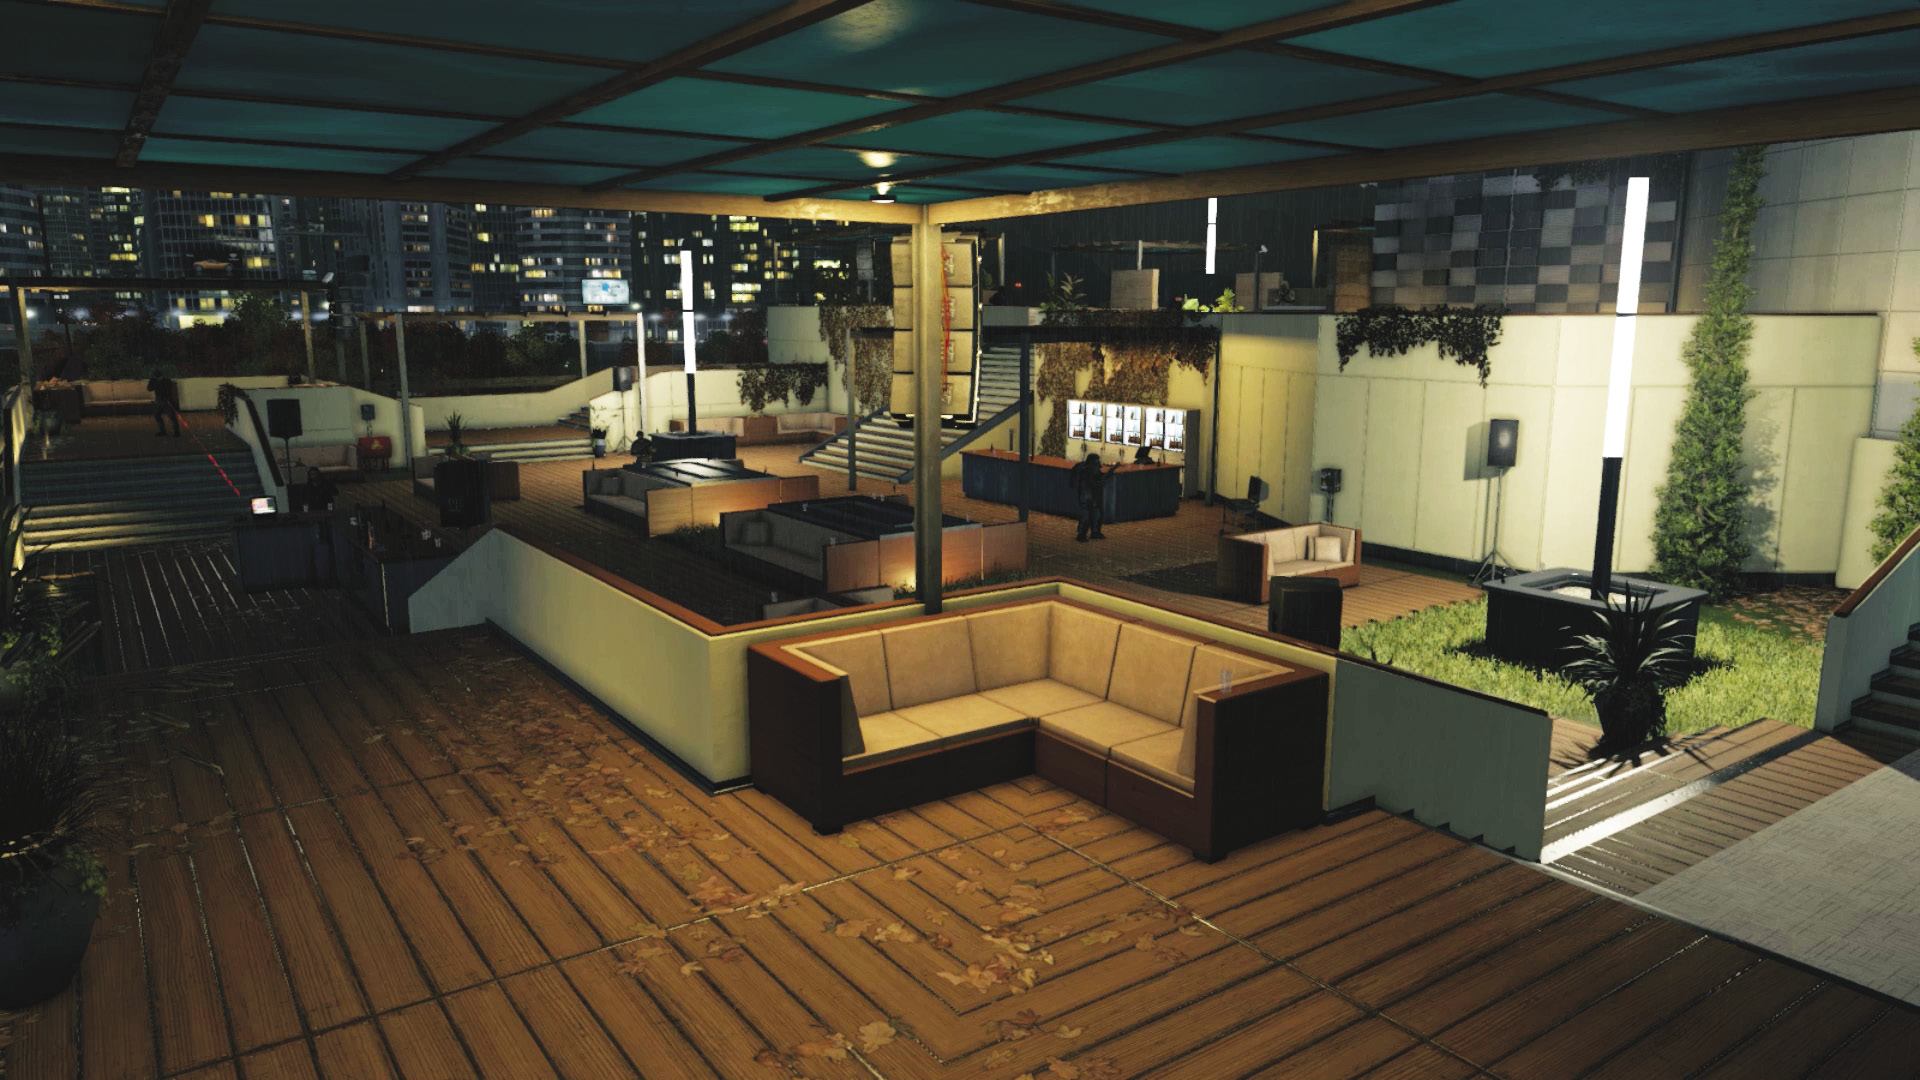
The main deck, where the mayor gave his speech, has patrons to avoid killing, a wide open central area with sitting clusters, a bar near the stairs to the upper deck, and more importantly, a stepped perimeter leading to a small bar and the edge of the deck. Take this route to keep yourself safe; foes can fire down from the upper deck balcony, but you’re far enough away and behind the low wall cover to avoid most of this damage, and you can deal with the foes you face.
Upper Deck
Accessibility Level: 
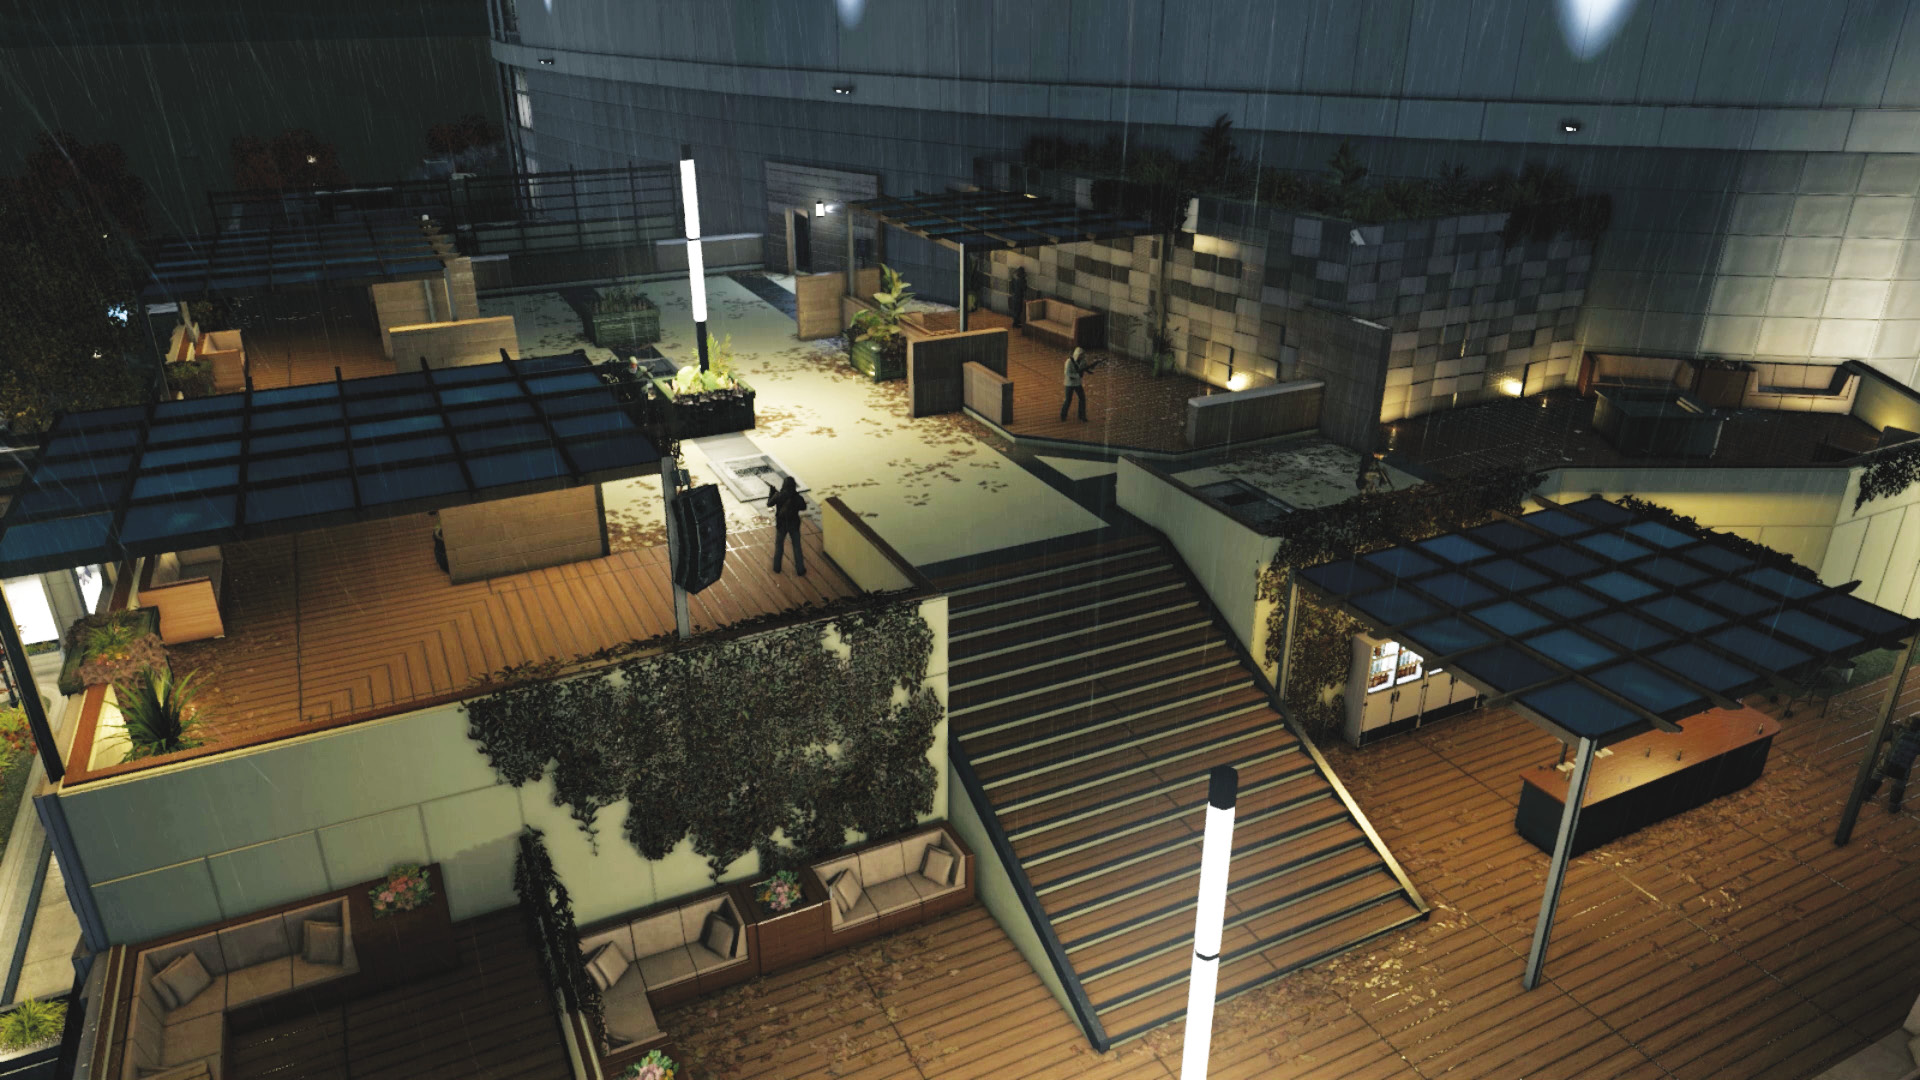
There are only two possible ways to reach this heavily defended upper deck: by accessing the main stairs or by using the sofa to climb over the wall, to the left of the stairwell. There are more low walls and sitting areas to hide or clamber around, with the door ahead and right.
Progression Plans
Violence is the only really effective way to navigate through here. Try the following plans:
 Aggressive // Smart: Decked Out
 Difficulty:
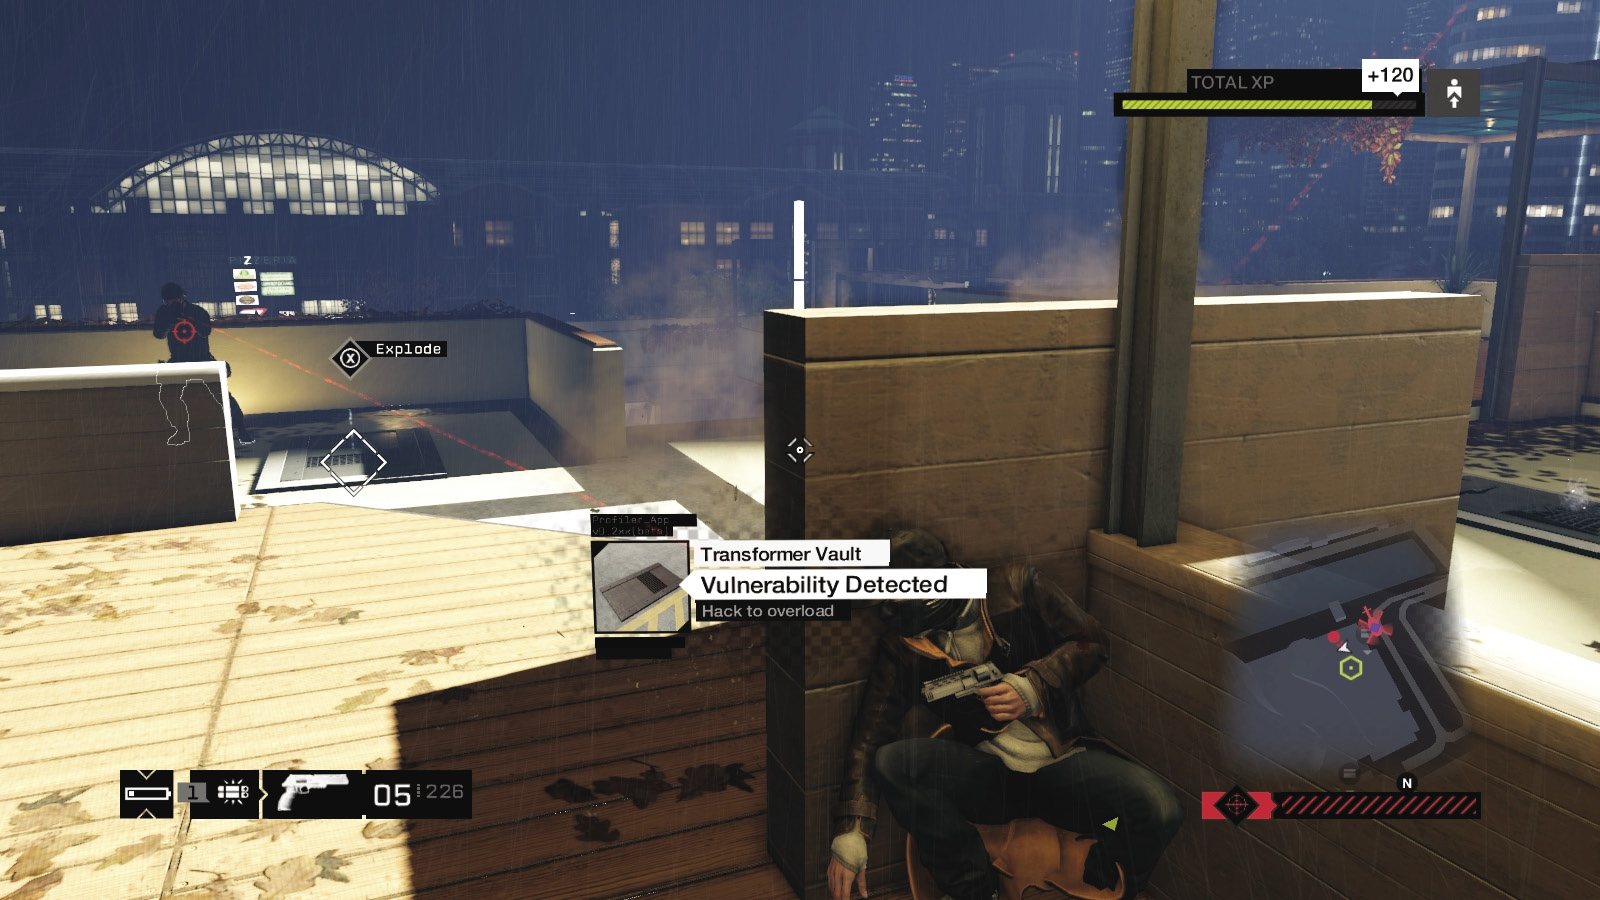
There are a couple of junction boxes, but there aren’t many opportunities to tag a guard with their explosions (unless you’re hacking their comms or grenades). Instead, focus on using the remaining cameras to mark the enemies you’ll encounter, which is particularly helpful when finding foes on the upper deck. Or utilize a ctOS scan. Then begin the following assault:
 Aggressive // Violence: Scream and Shout
 Difficulty:
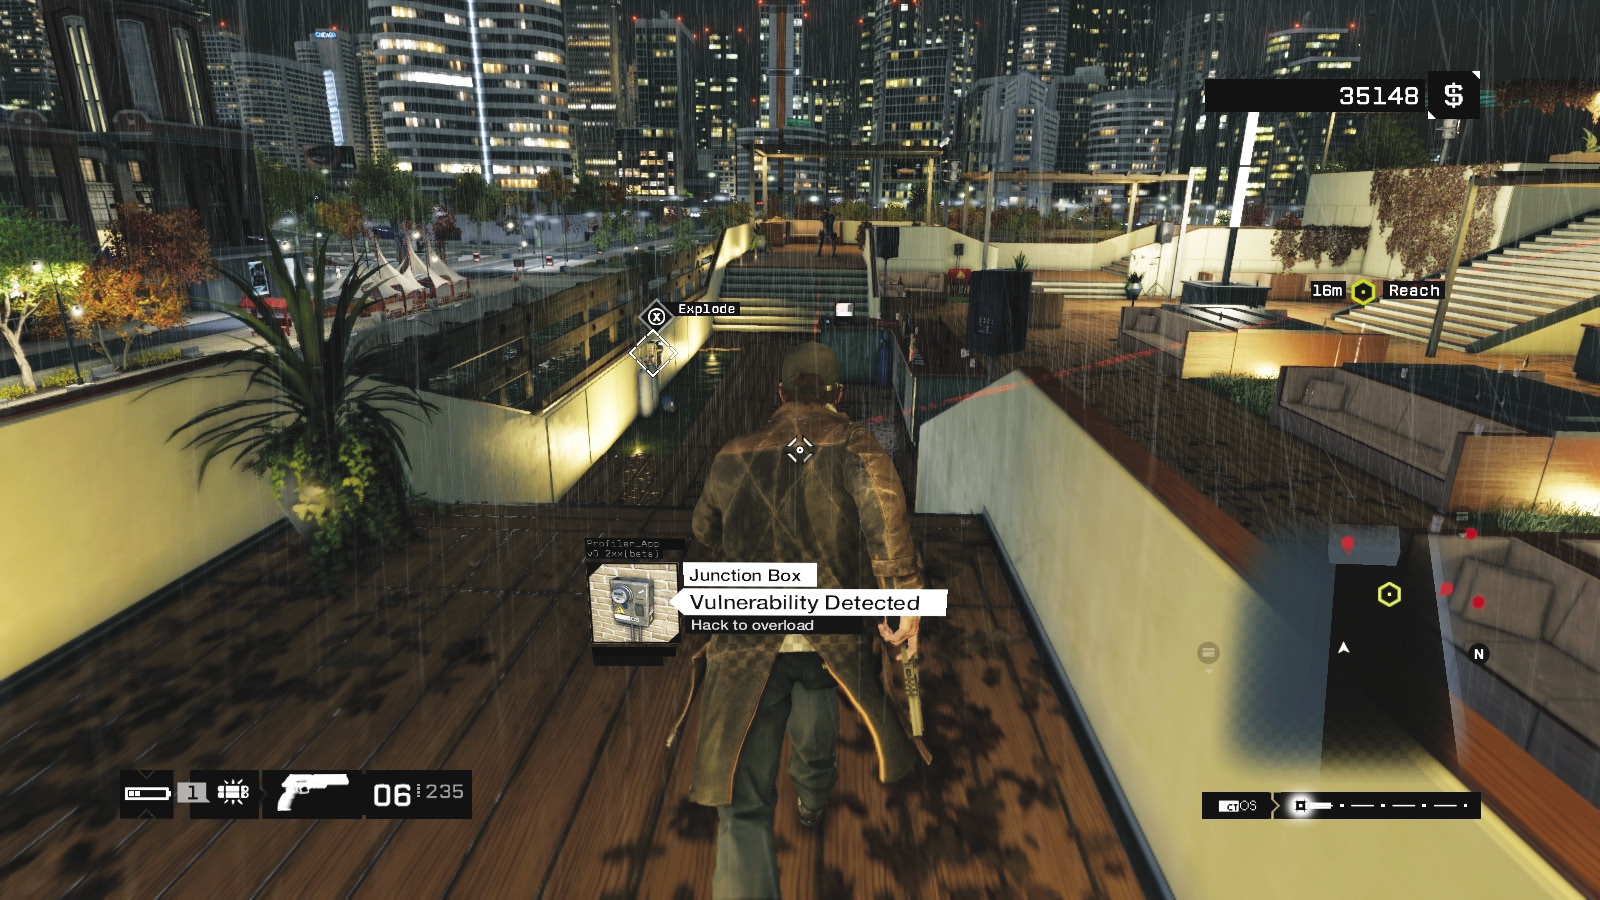
Armed with your favored weapon (or the M8-M, which offers vicious headshot potential), creep down and scoot across the gap in the stage to bring down the sniper in the far left corner. Then concentrate on moving around the perimeter, firing at foes milling about the middle of the deck. After defeating nearby enemies, stay at range along the perimeter and bring down foes in the upper deck area.
You can also lob grenades or other projectiles up to flush enemies out from behind the main bar, atop the upper deck stairs, or the upper deck balcony.
Other weapons are an option, but the armor many of the foes are wearing, and the unwieldy nature of some weapons (such as sniper rifles), means close-assault weapons (rifles, shotguns, or your pistol) are of paramount importance.
Headshots with a pistol or machine gun are a great option.
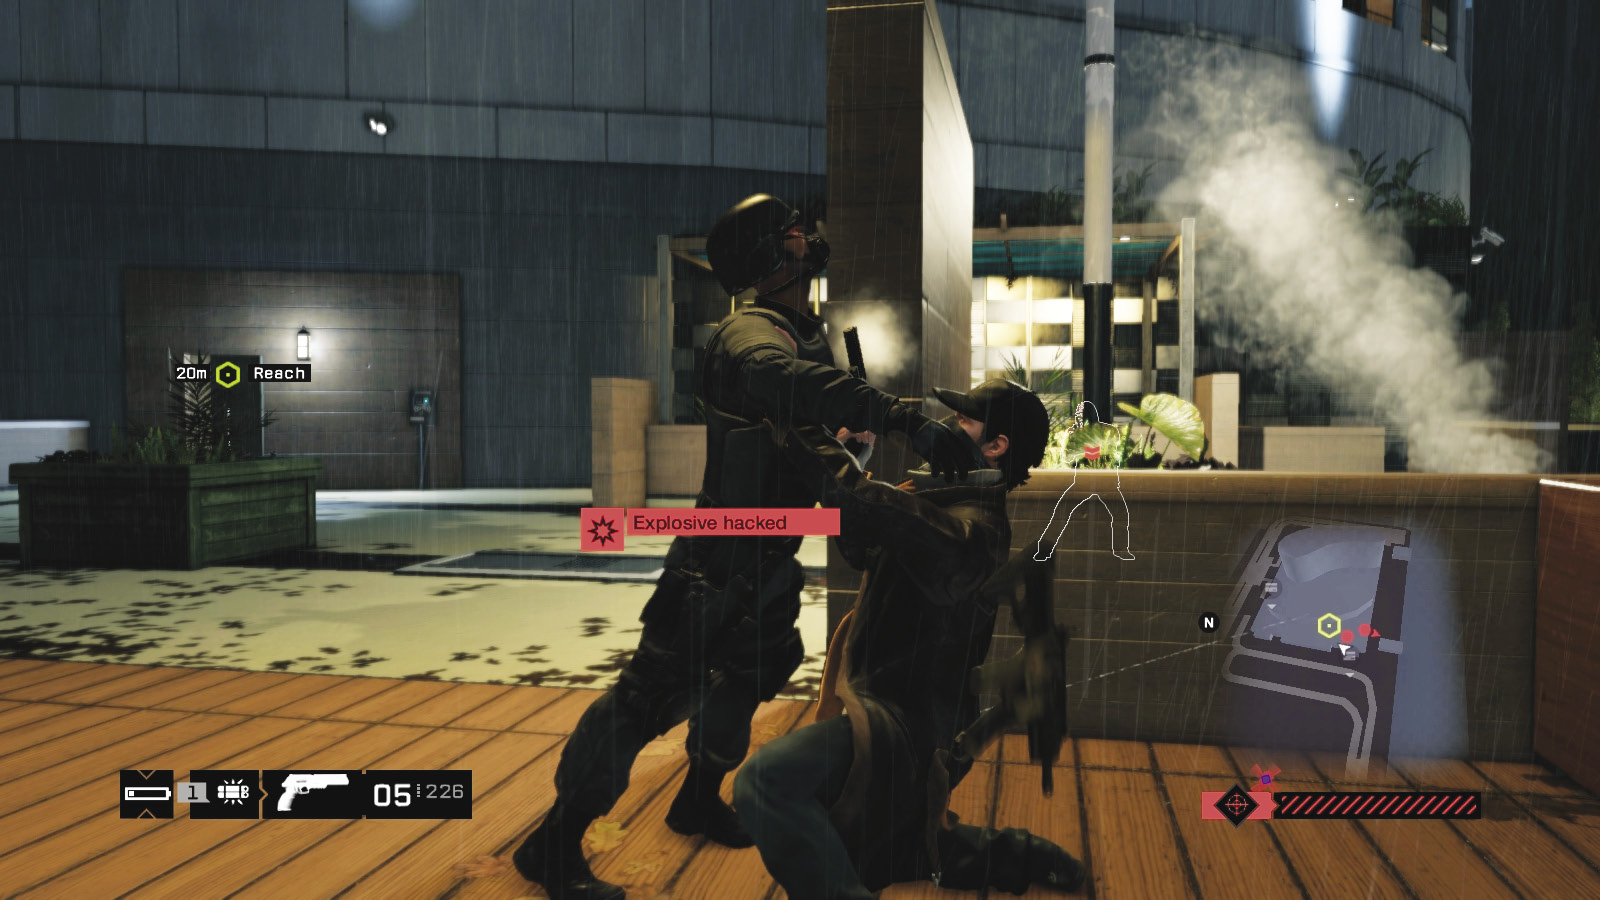
When combat on the upper deck begins, you should really have removed most of the threats already. Try moving up and back down the main steps to coax foes out toward you. A war of attrition at the base of the stairs, behind cover, is safer than rushing the area.
Move across the walled area and various sitting locations, dropping foes with a mixture of accurate headshots and grab-and-shoot takedowns. A grenade or other projectile is most helpful if a foe is dug in, and you don’t want to chance a charge at him.
As you reach the upper deck, the Fixers call in a helicopter with a sniper to severely impede your progress. Ignoring the helicopter and reaching the objective is one option. Another is to hack the chopper and disrupt it, if you have the skill. Yet another is to blast the sniper on the chopper with a headshot (do this from beneath a pergola for extra cover). You’ve killed a police officer, but you certainly make the upper deck combat easier!
|
|
 Find Quinn
 Profile Lucky Quinn
 Download the video
 Escape the hotel
 Escape the police
7.4 UNLUCKY, QUINN
 Location / Mad Mile // Merlaut Hotel
 Infiltration
 Data Hack
 Escape
 Vehicle Chase
 Lethal Force Likely
 Melee Force Likely
Difficulty: 
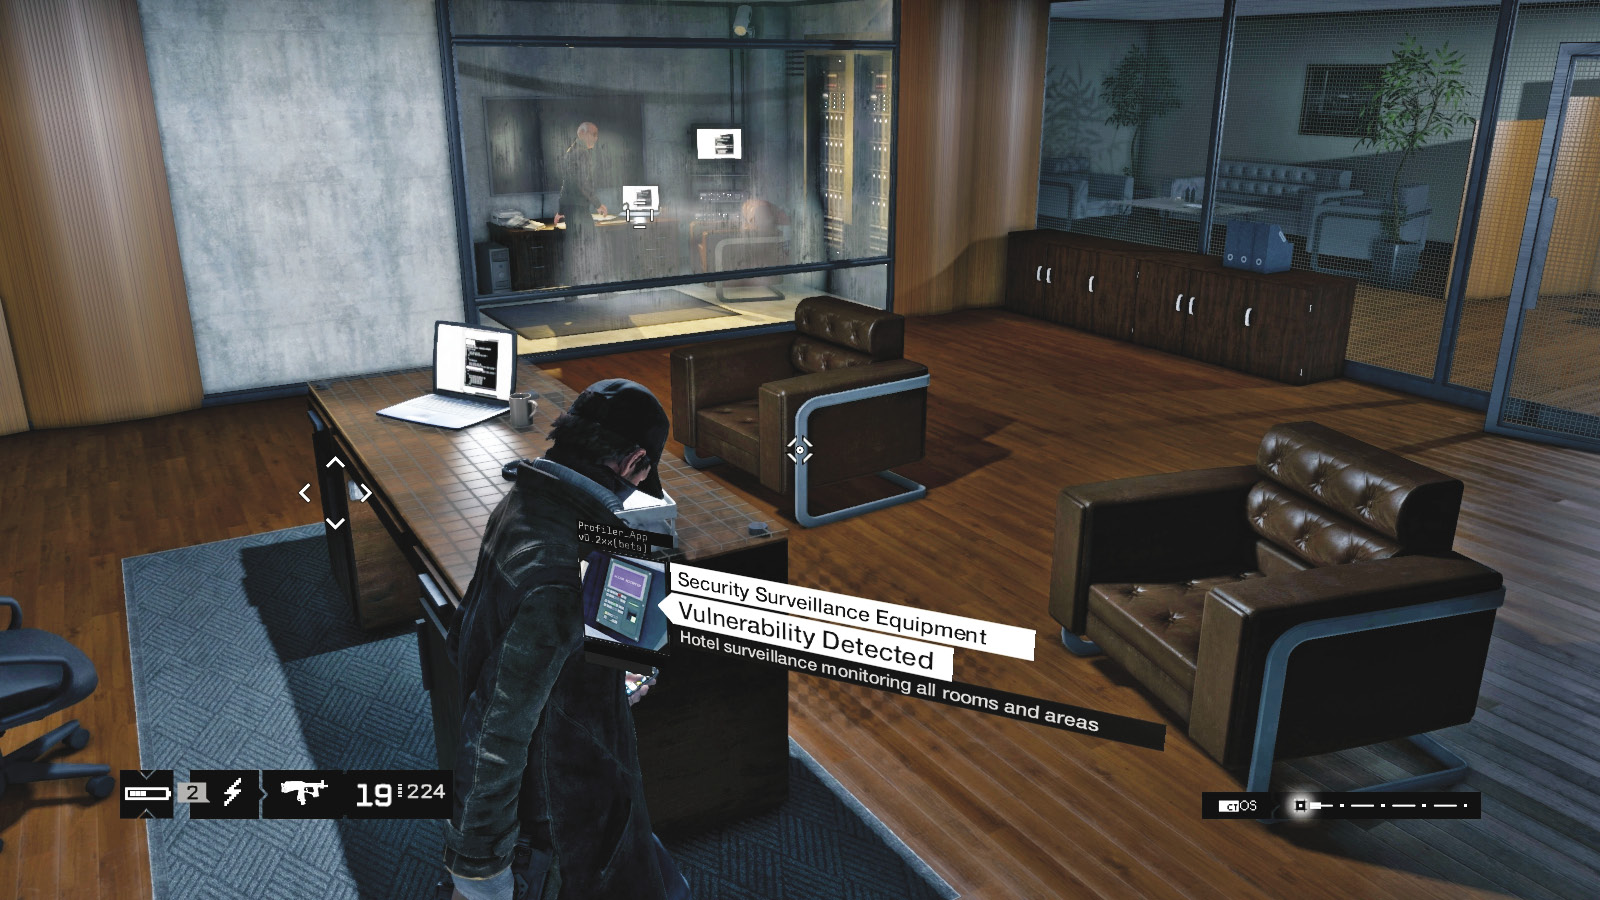
Burst into the corridor and through the double doors with the round windows. Gather Blackout from the reception counter, and search the silent floor for evidence of Quinn. Hack any equipment you spot with your smartphone out to gain more information about Quinn’s nefarious activities, including the laptop in the (locked) conference room with an Audio Log on it. Then enter his main office. Inspect his desk and find the device under it.
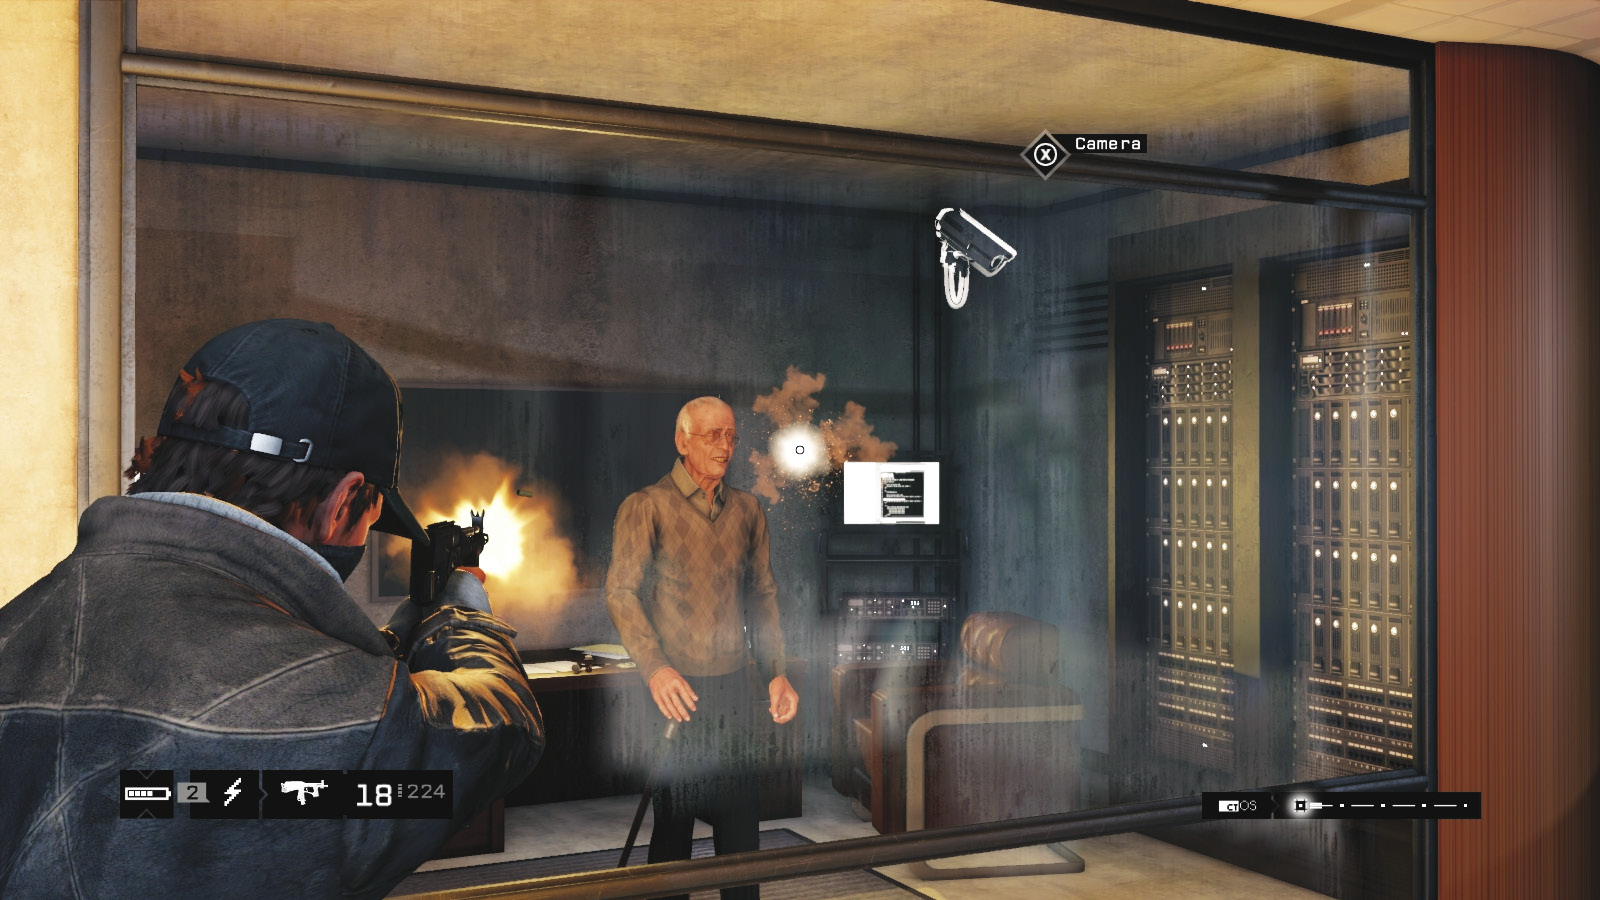
Hacking this reveals a camera in a hidden room adjacent to your location, as well as some shutters to open. Quinn can now be seen hunched over his files. You can try shooting the glass, but it’s bulletproof. Instead, head over and peer through the window, profiling Quinn for clues. The old man notices you and flippantly tells you to walk away.
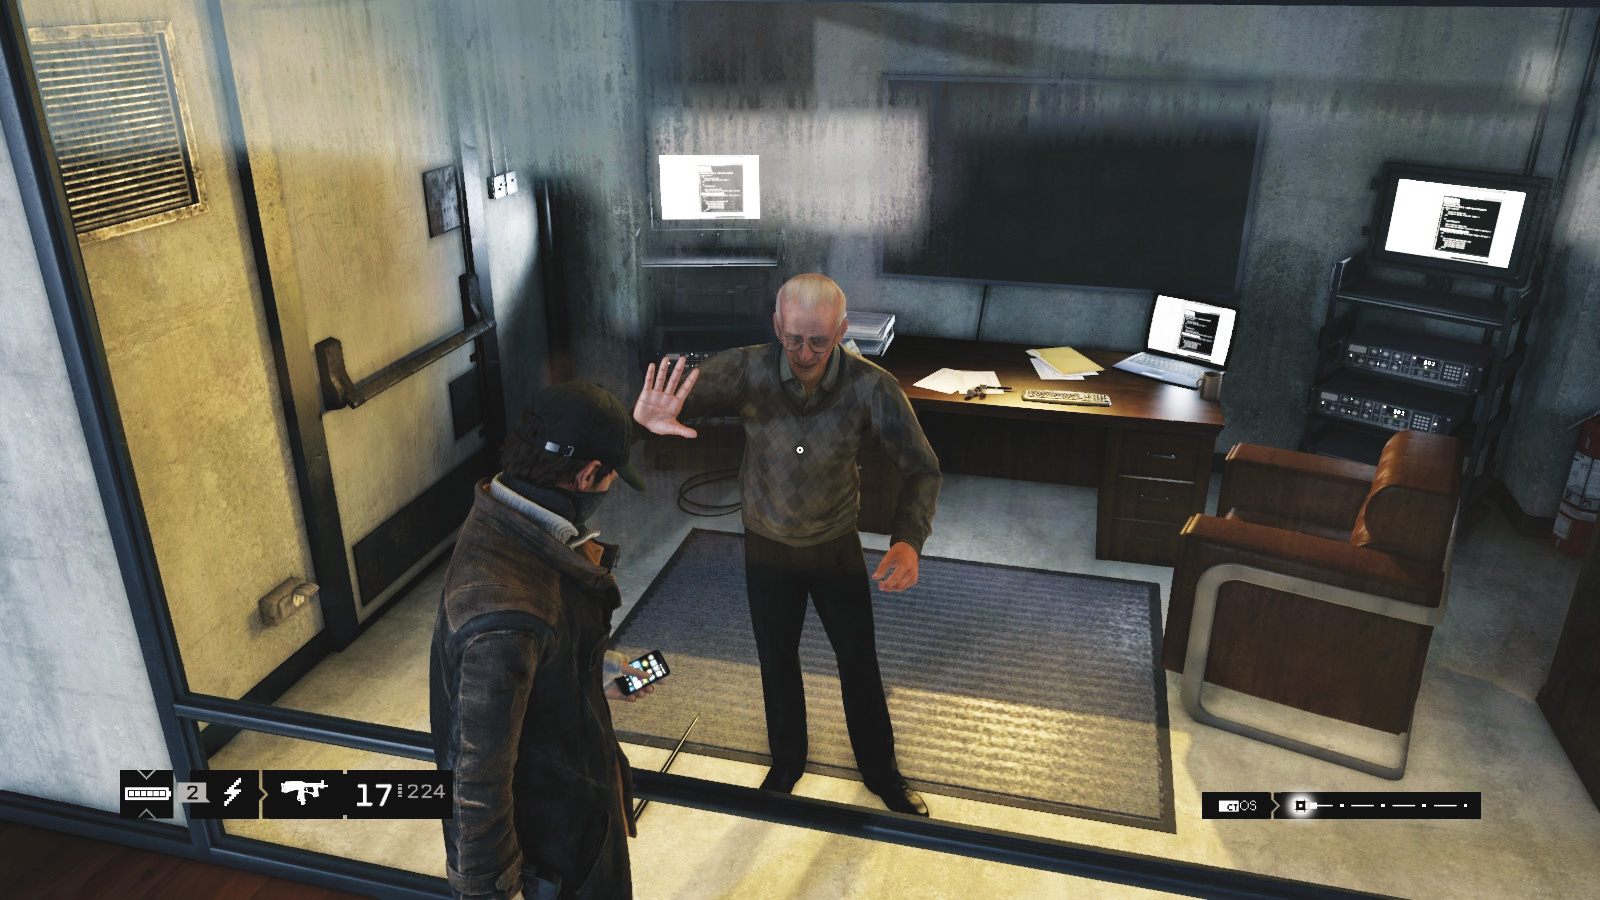
As the conversation progresses, you can hack the pacemaker Quinn is wearing. Do this until Quinn staggers to his chair and provides some evidence linking Mayor Rushmore to Rose’s disappearance. The ugly truth is revealed in grainy video footage. But you’re not finished yet.
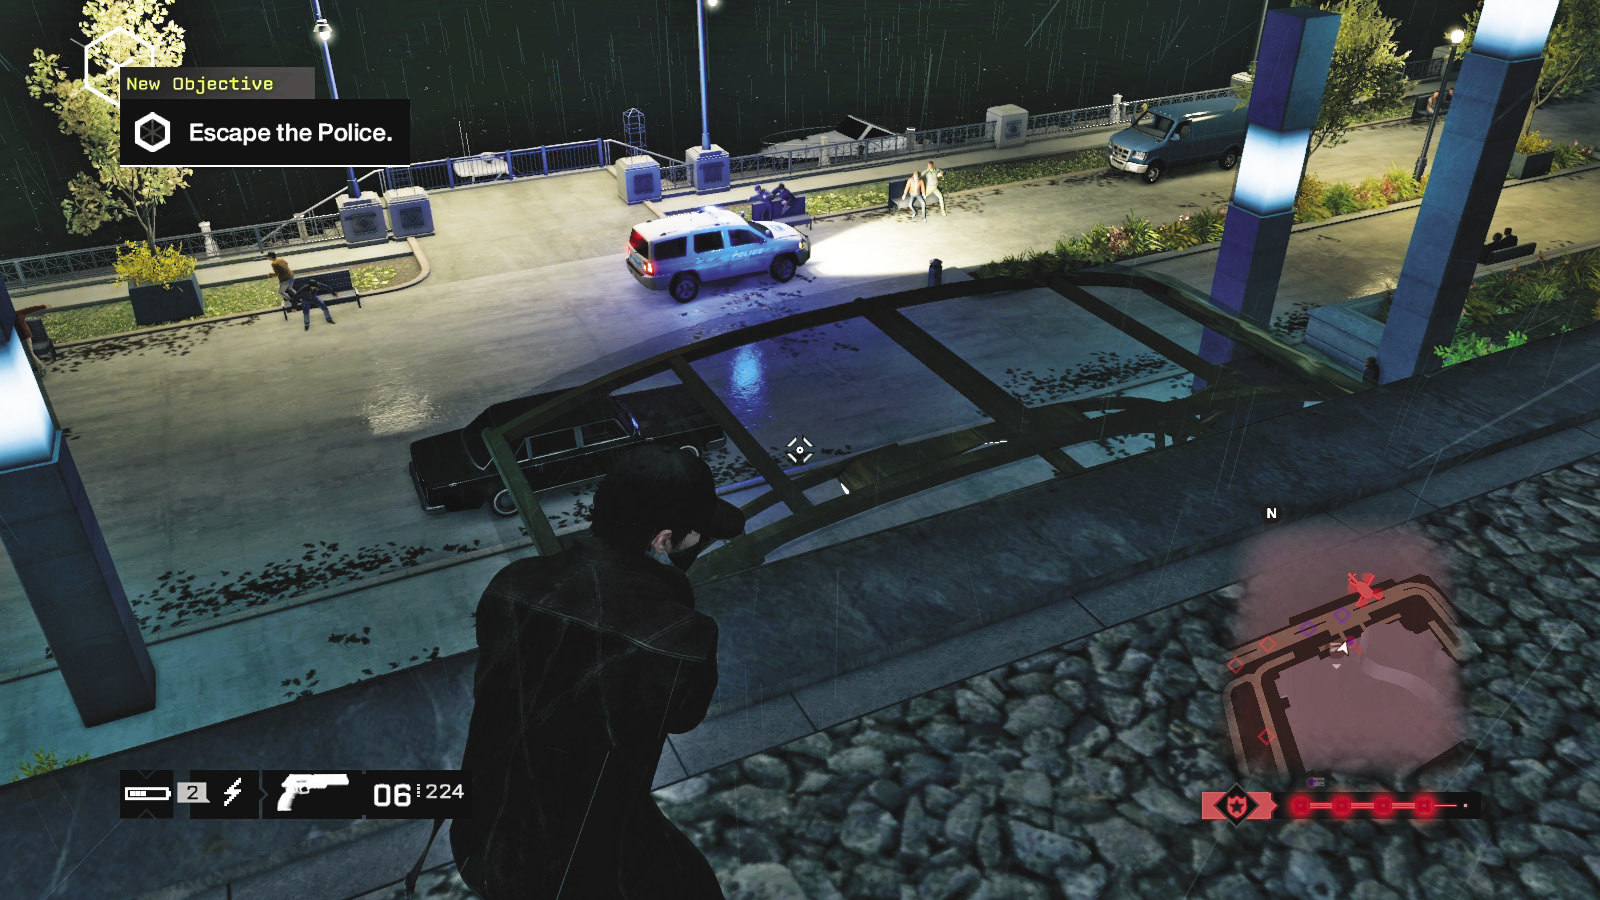
Continue your pacemaker hacking until Quinn is on the floor. After one final hack, he expires. You will, too, if you don’t act quickly: Stay in the office and immediately complete the video data download. Hack as soon as you can, because it takes around six seconds to grab this data (hack the computer inside Quinn’s panic room), and the alarm is raised, giving you 20 seconds to flee the hotel before the mission fails.
Two armed soldiers are at the double doors. Flee, or drop behind the secretary’s desk and blast them through the round windows; this is possible to complete before the timer runs out. Then move quickly north, through the exit door and onto the hotel roof. Now the police are after you!
Escape Routes
You have a Blackout and other trusted means of slowing down the police. But what are your escape routes?
North Entrance Awning
Accessibility Level: 
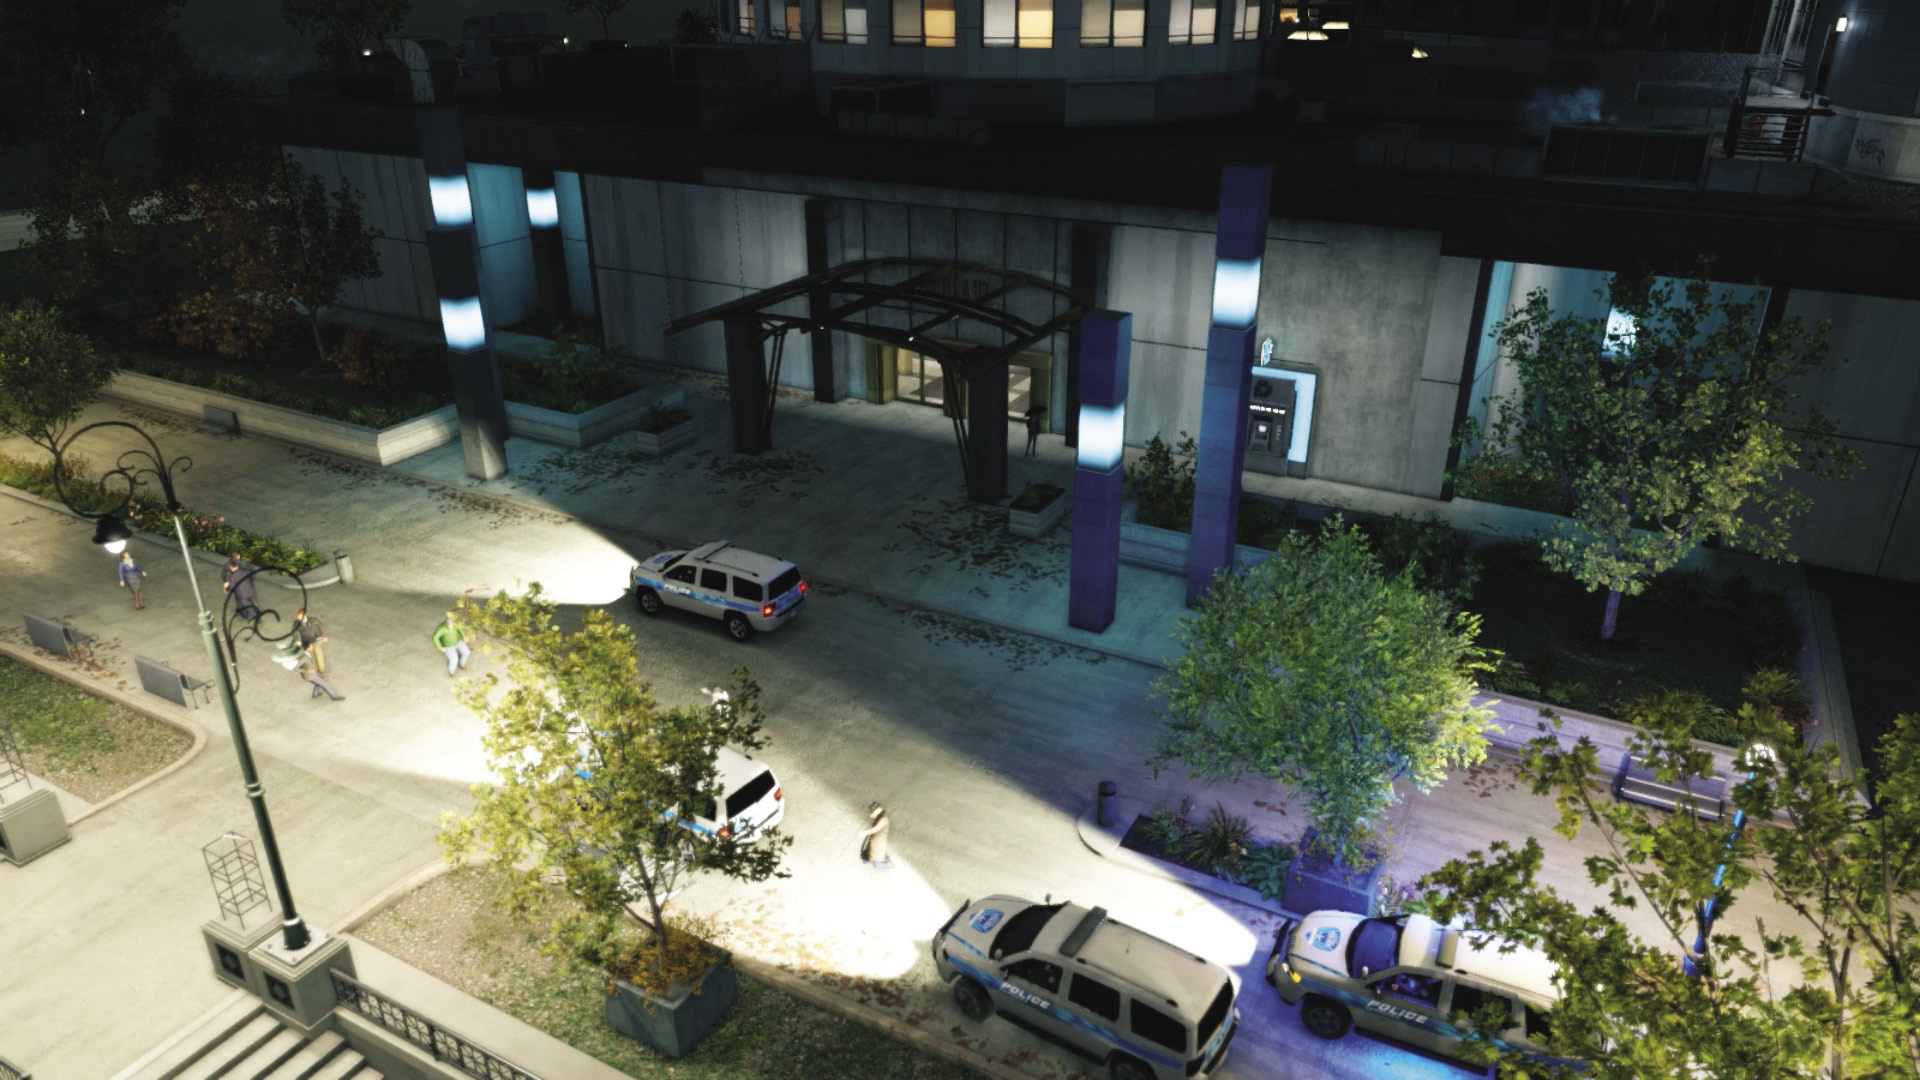
You’re very close to the hotel’s north side, so why not drop down to the awning and steal Quinn’s vehicle (the Gambino), parked outside the entrance? Spin it around to more easily exit the hotel grounds, and speed off to the nearest garage to swap vehicles for a less ungainly ride.
North Docks
 Accessibility Level:
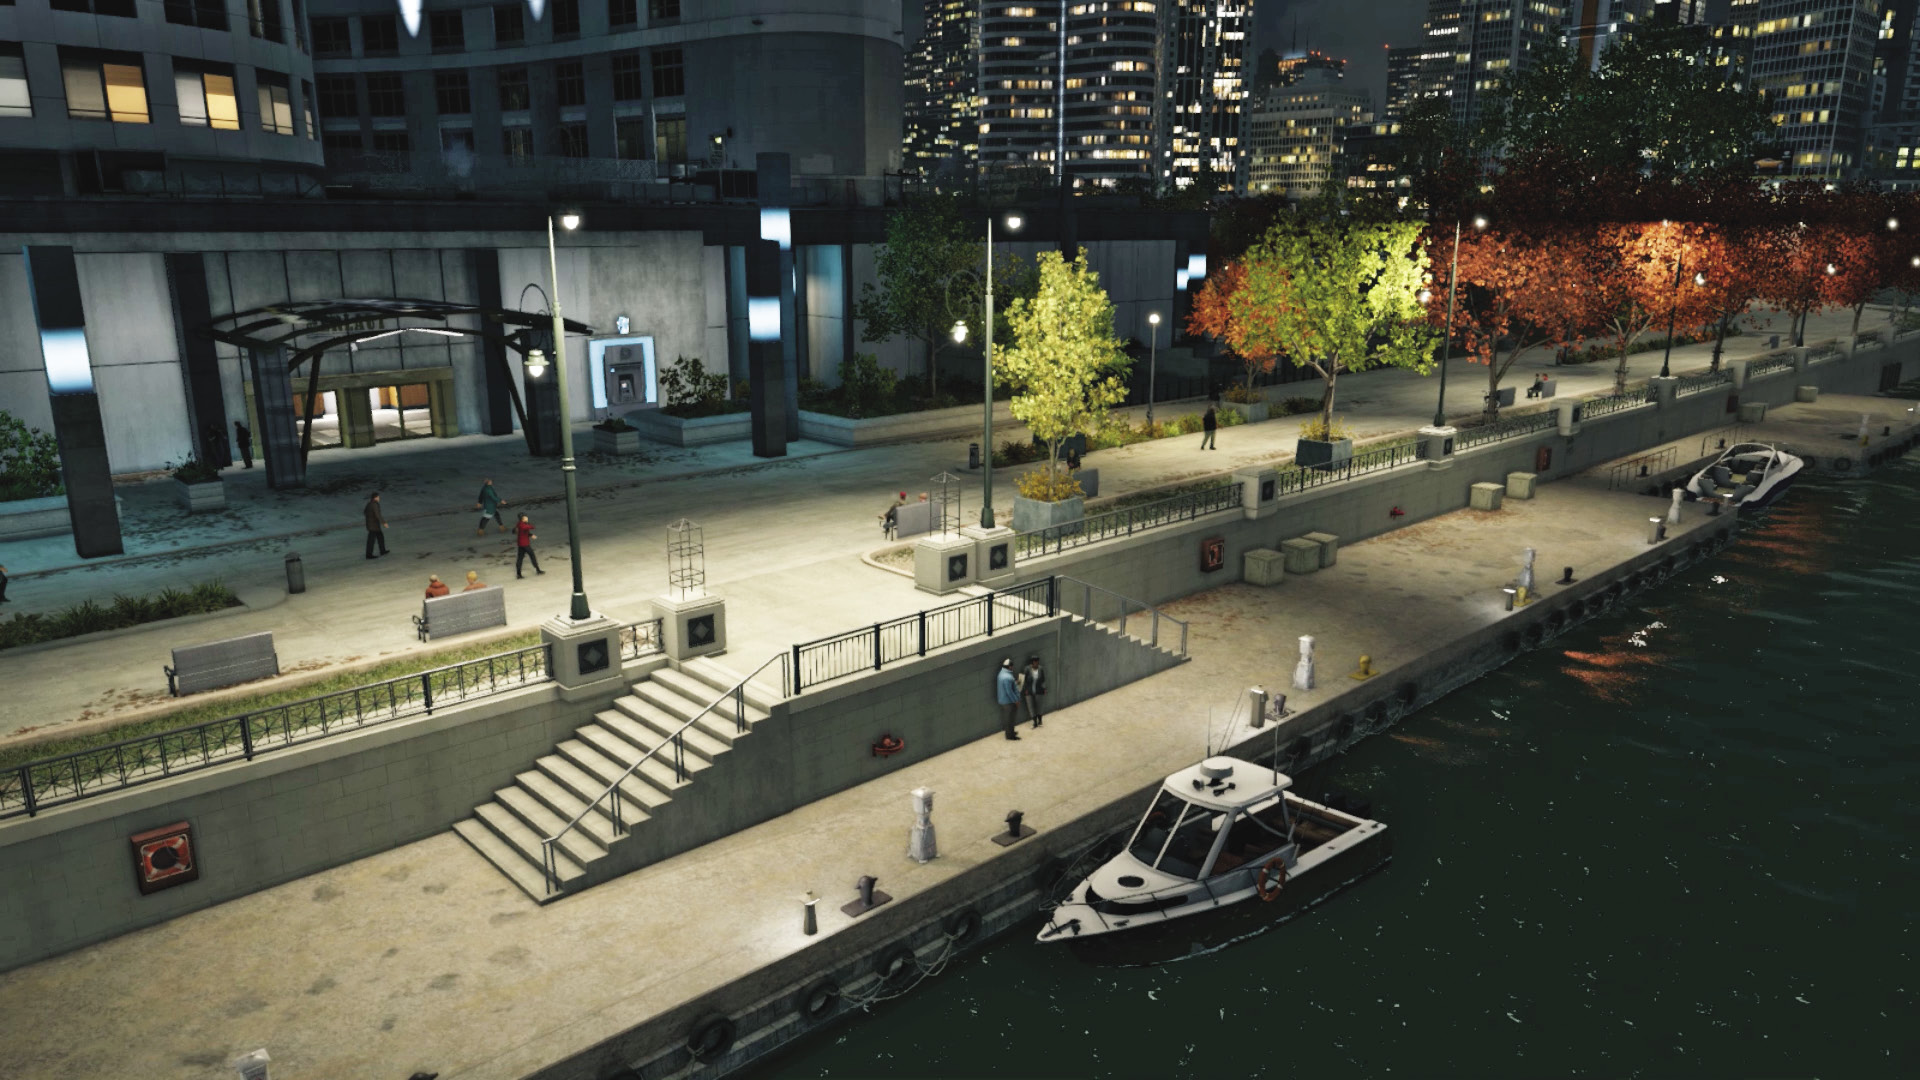
Follow the awning route, but ignore Quinn’s vehicle and keep running to the docks. Hop into any of the boats, accelerating away quickly; you’ll easily outrun the police helicopter and any boats giving chase. Just stay close to the edge of Chicago and dock near a place where you can easily access a car.
East Water and South River
Accessibility Level: 
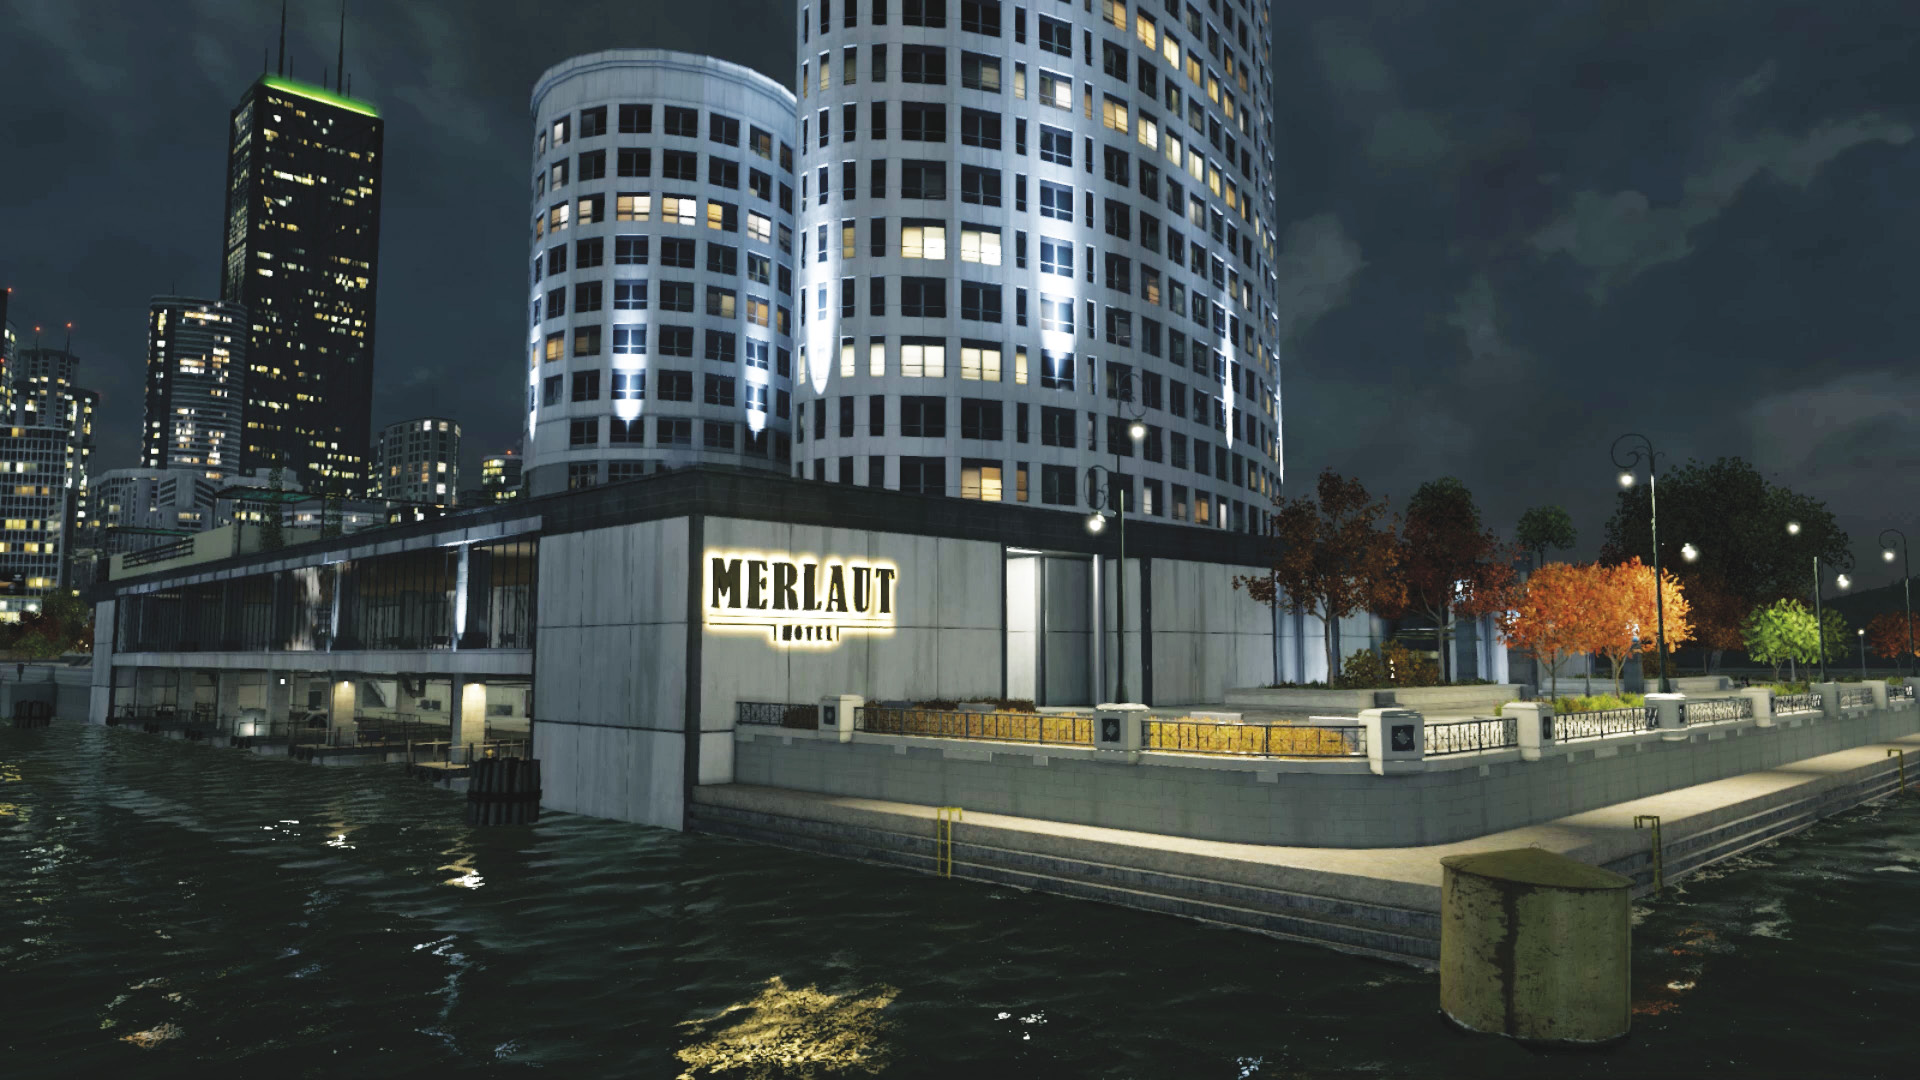
Sprint around the hotel’s perimeter, avoiding the cops. Dive down into the river to the south or struggle to reach the water to the east. Find a boat and flee as previously described; the only problem is that it takes longer if you head in this direction. You can use the glass pedestrian dock area to hide from the police, though.
Staying Put
 Accessibility Level:
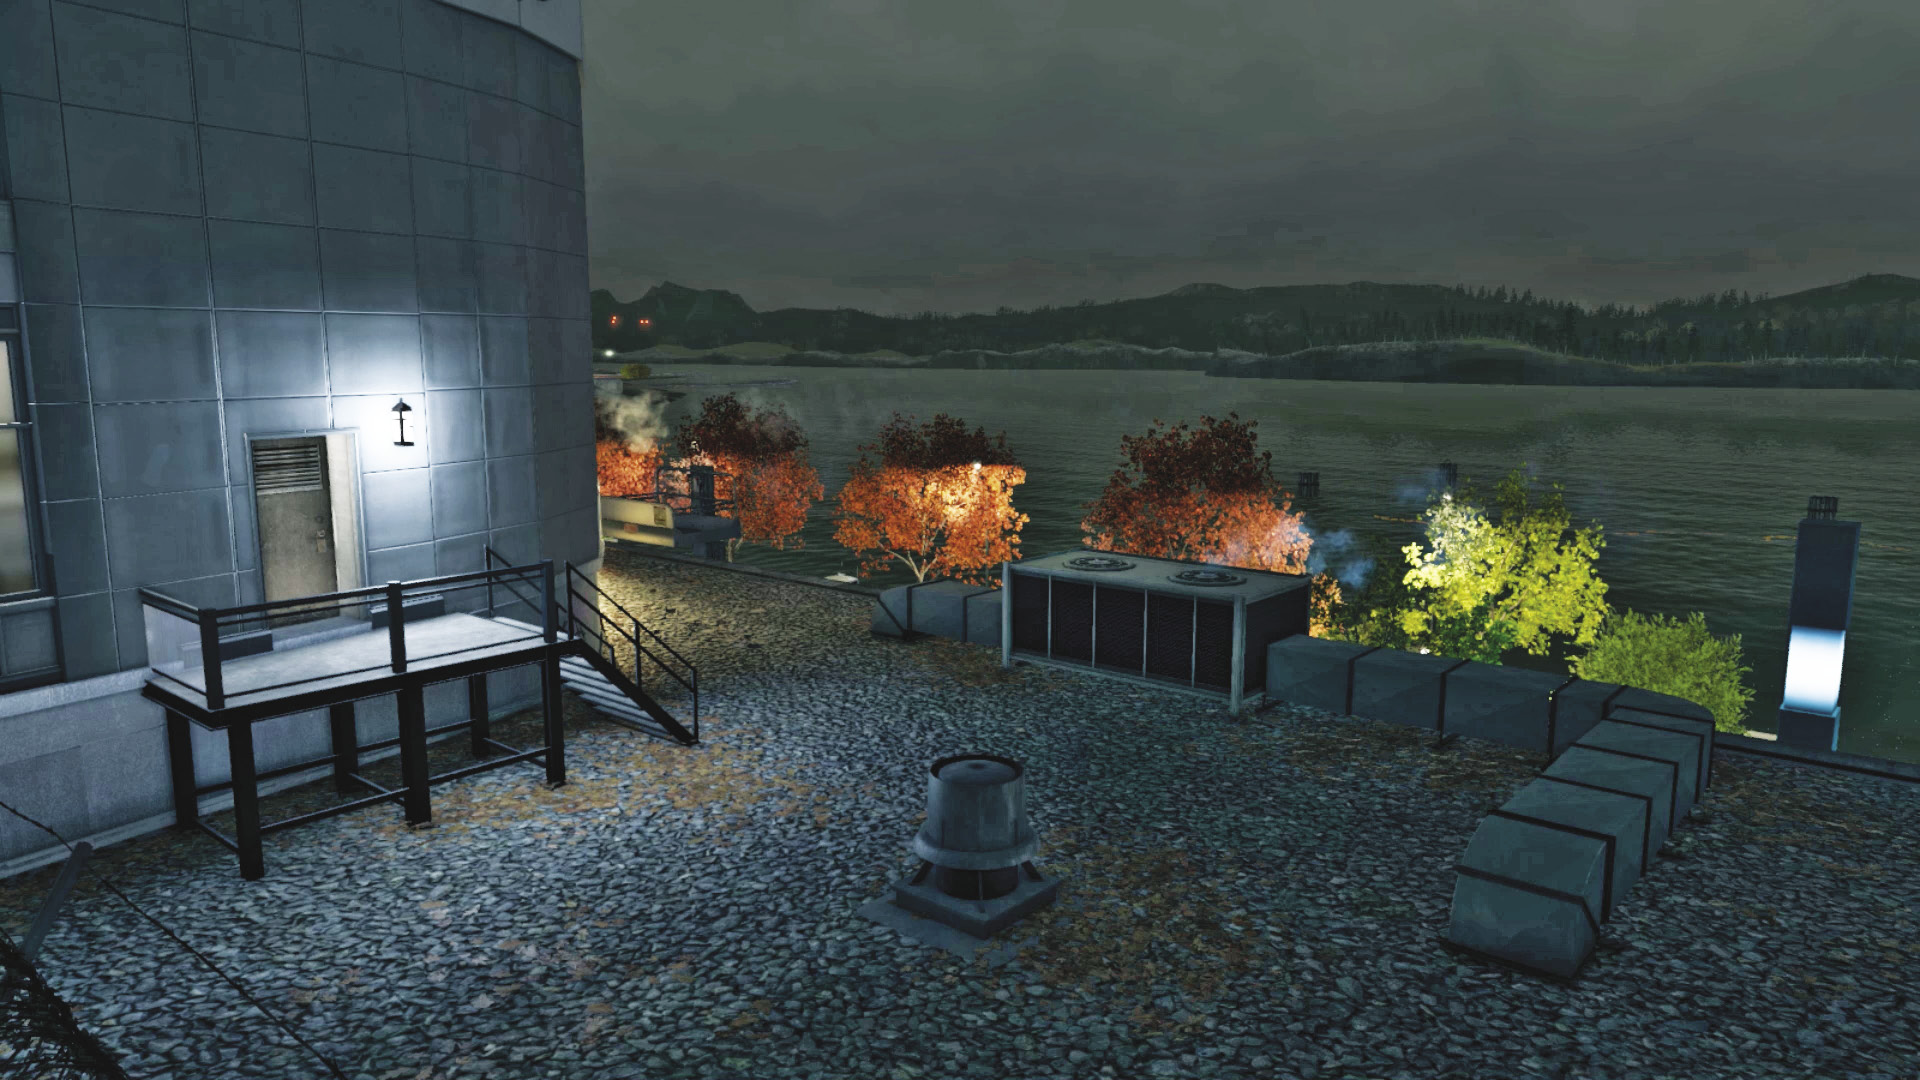
If you’re using Blackout, simply lurk on this roof (only the helicopter picks up your position), before escaping down the north awning. If the police start to scan, block them with Jam Coms or perform evasive maneuvers.
When you successfully escape the police, you receive an ominous phone call from Damien, and this mission concludes.
MISSION REWARDSPolice Evasion (XP): +275 Gained XP: +3,000 New Vehicle available: Gambino |