
Watch Dogs Guide SIDE MISSIONS
_DECOY CONTRACTS
|
OBJECTIVES
|
 Acquire target vehicle
 Race through target locations to attract the police
 Escape the police
 Driving Infiltration
 Vehicle Chase
 Escape
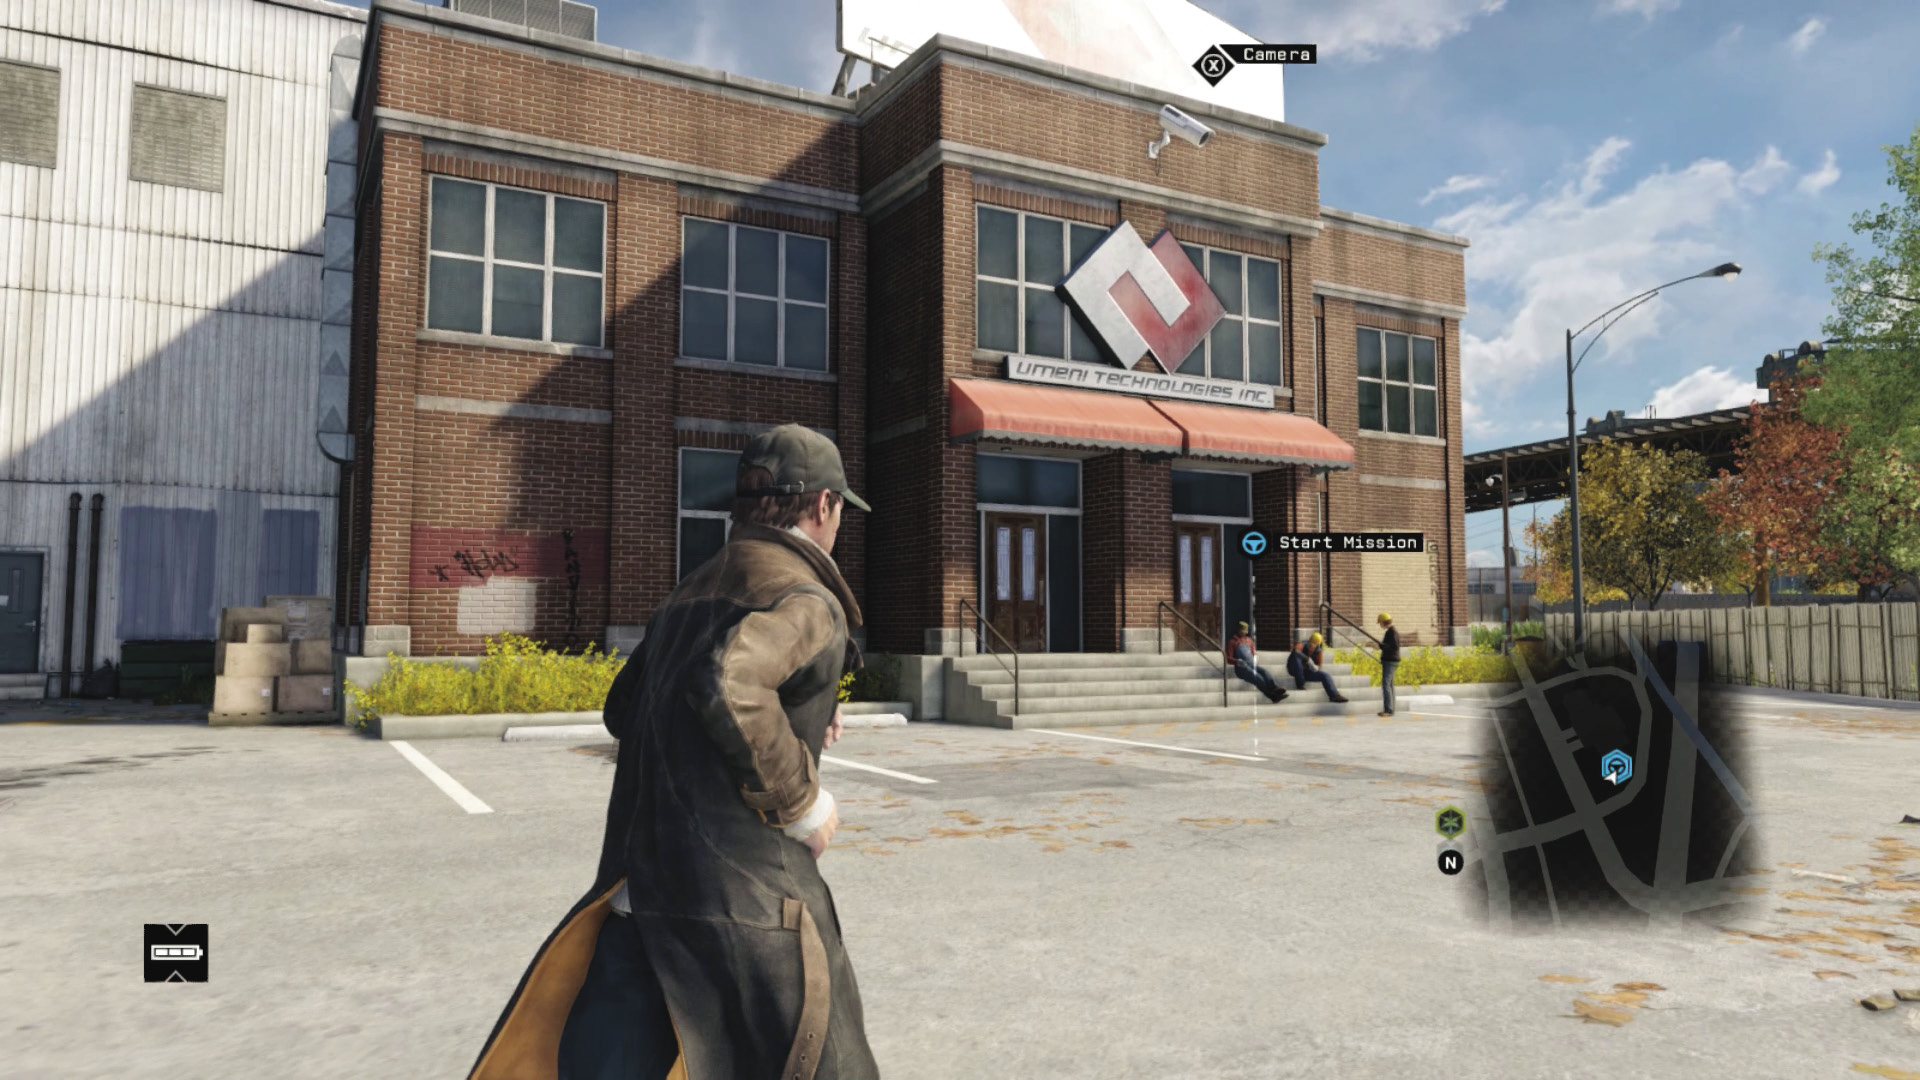
Your job is to head to a particular location, which could be anywhere close to a ctOS camera in one of the six districts, and await further instructions. Once you activate the mission, you are contacted and your job is explained. Although there are variations, this mission type always takes a similar form:
|
|
 Acquire target vehicle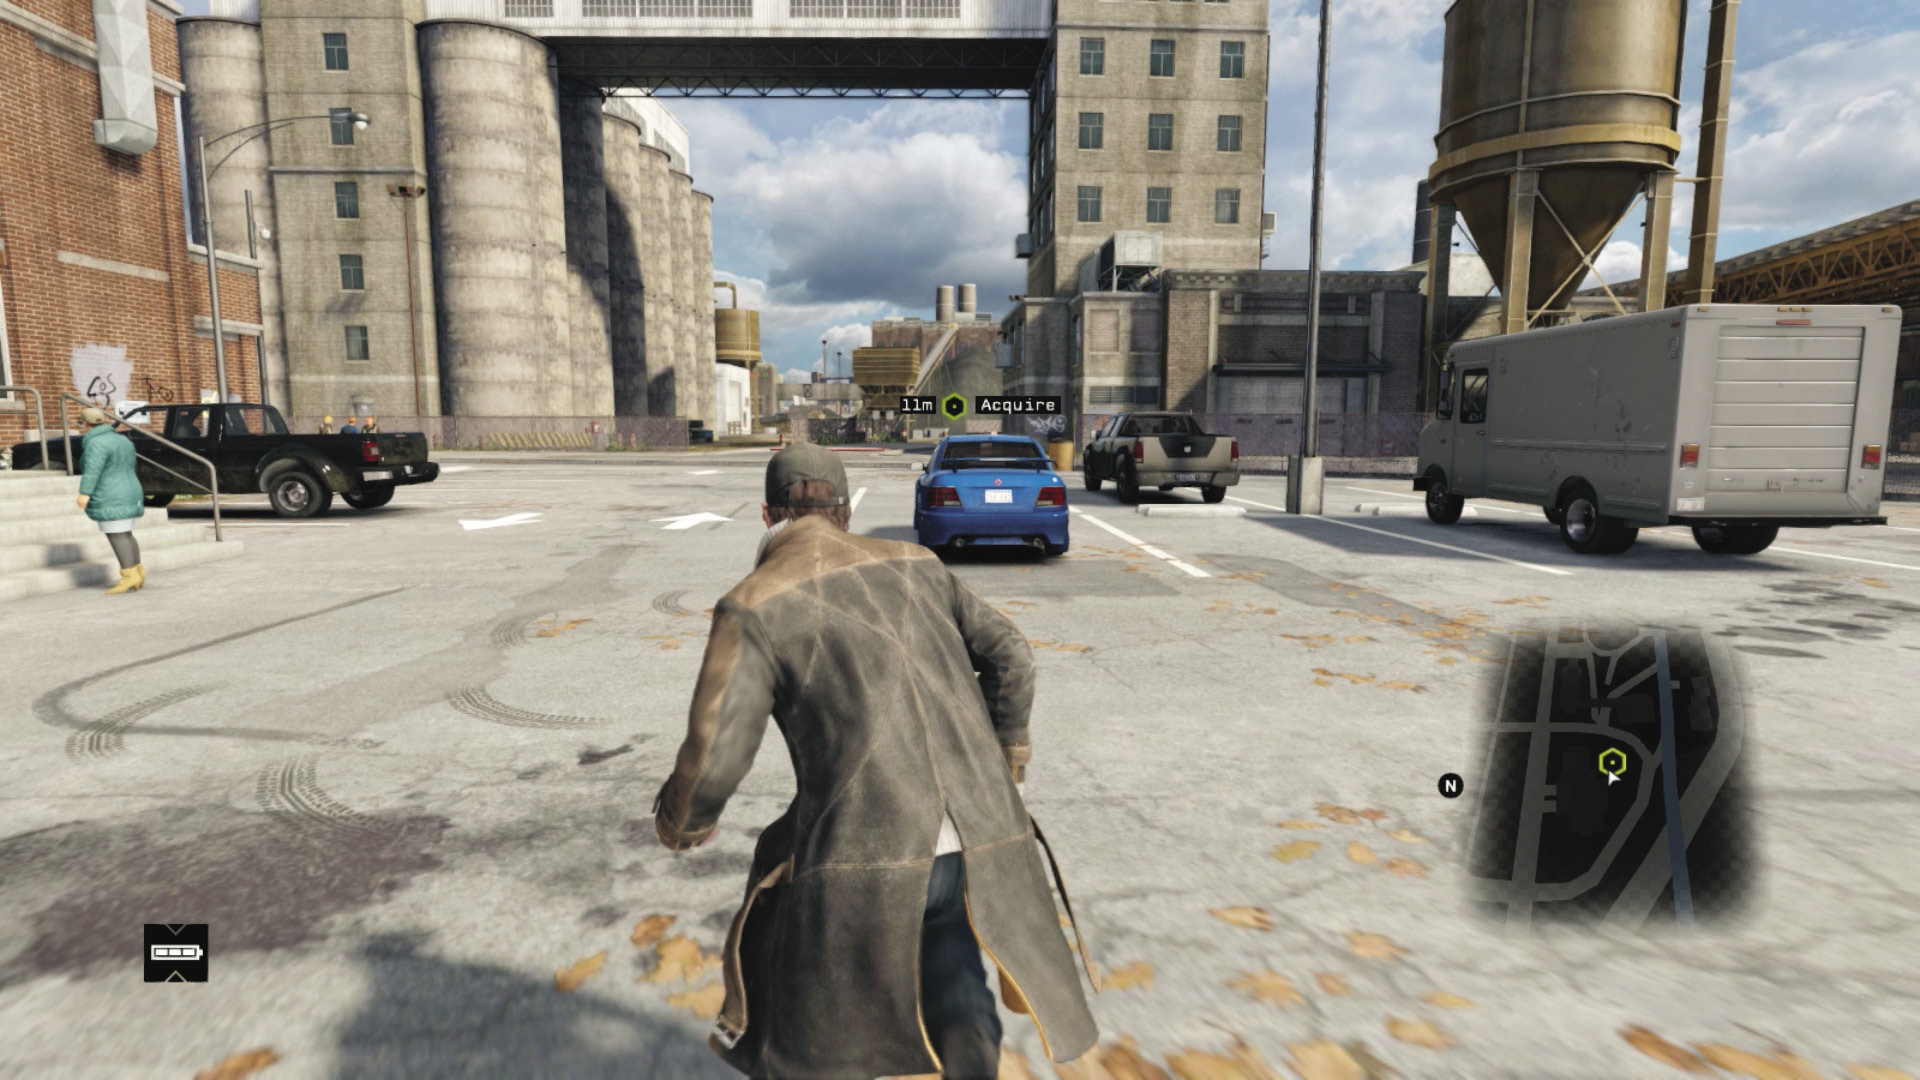
From your starting point, locate a vehicle parked close by. It is usually within a block of your location, so you don’t need to jog far. Head into the vehicle, and start the engine.
|
|
 Race through target locations to attract the police
 Escape the police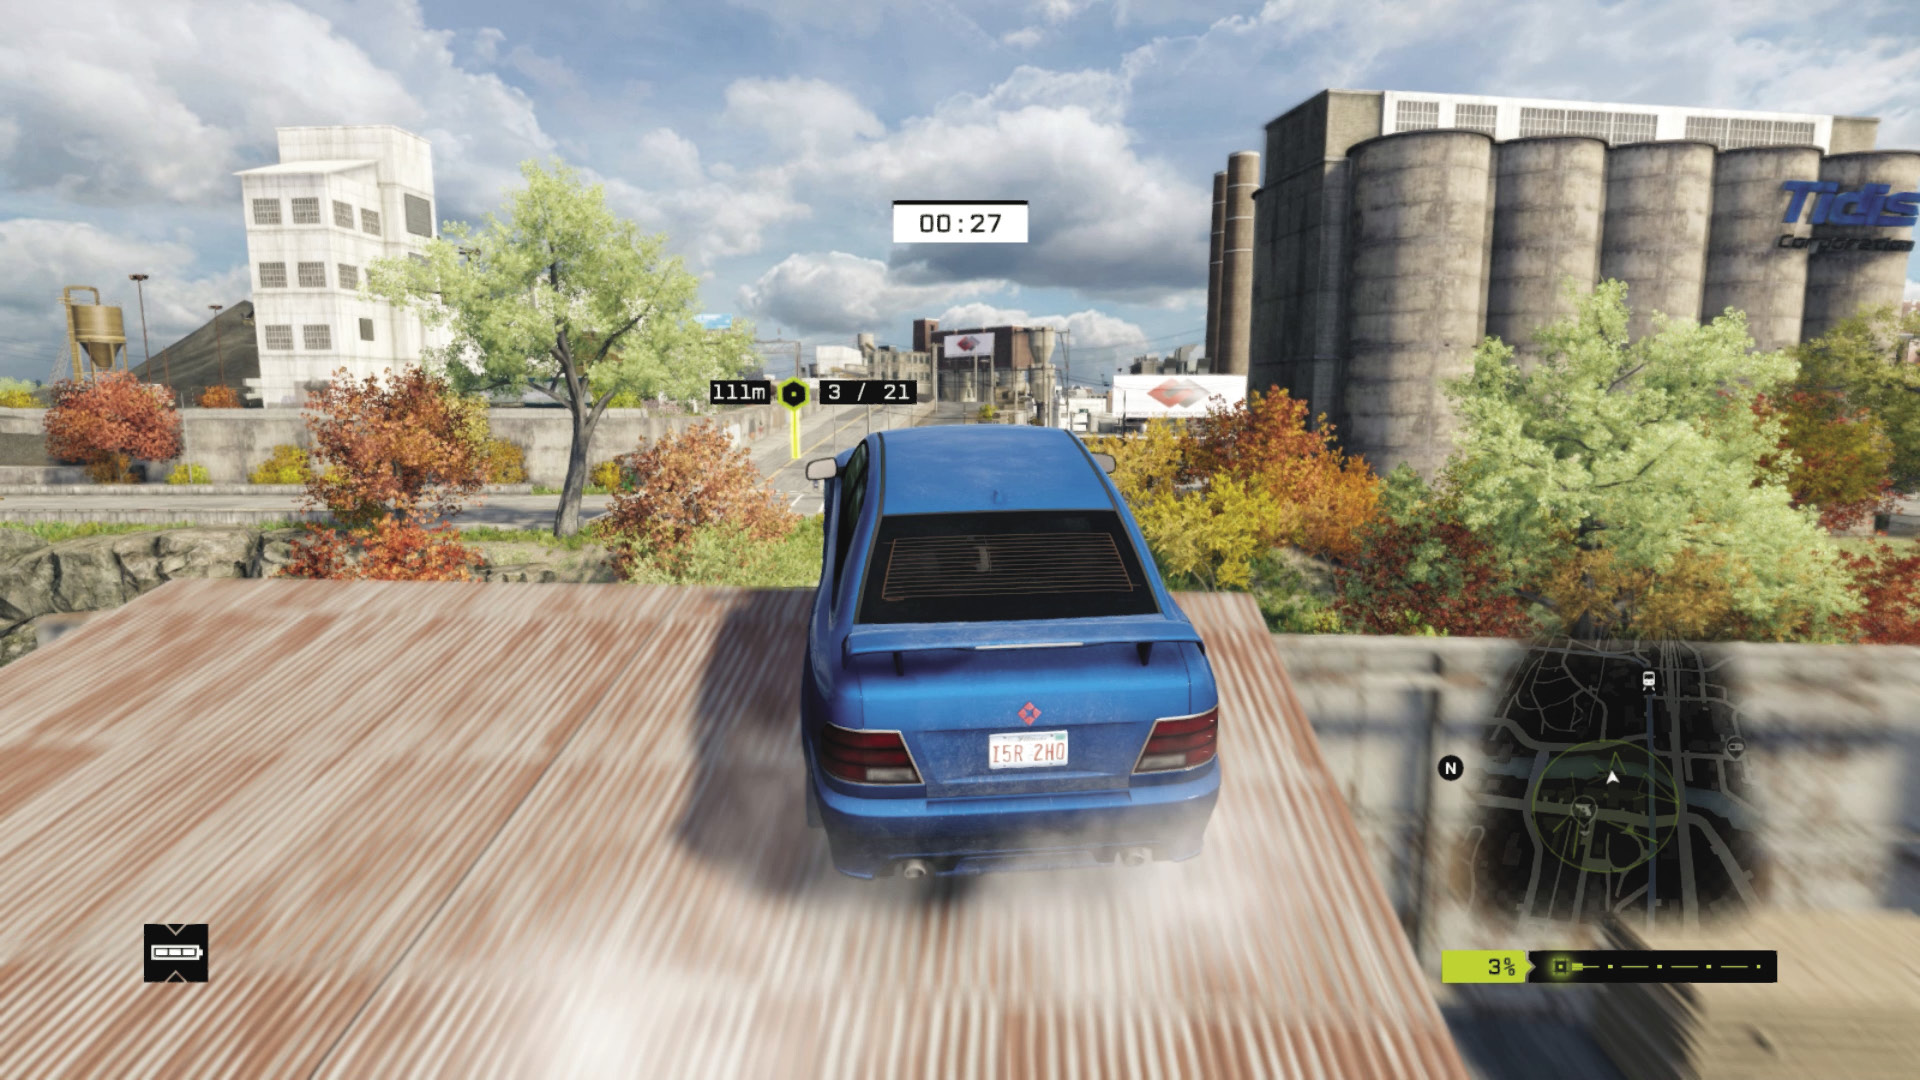
You must now follow, in order, the series of ctOS monitoring points (aka waypoints) that appear on the map and onscreen, while avoiding any confrontation. Although you’re technically supposed to be trying to attract the enemy, it doesn’t matter if the foes are searching for you but haven’t spotted you yet. These are the police.
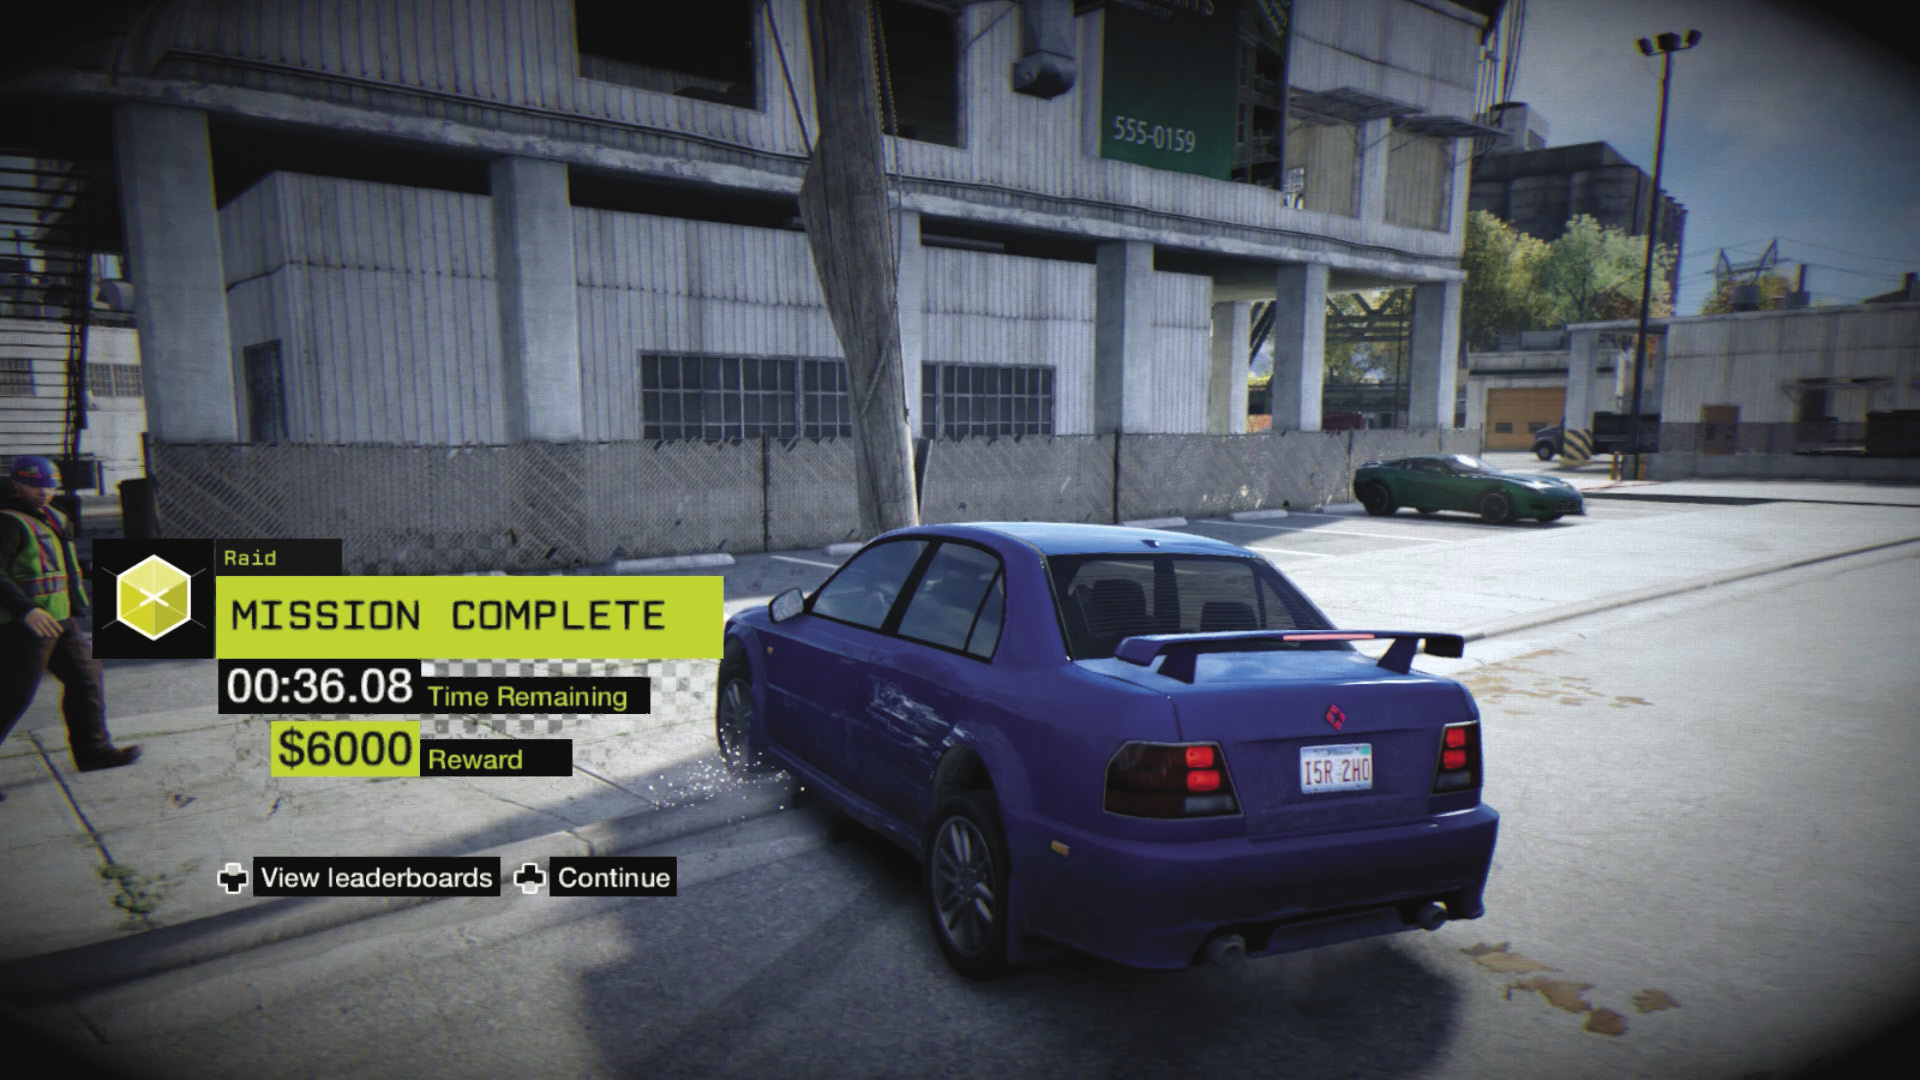
When you reach the last waypoint, the mission concludes. If the enemy is actively pursuing you, you must attempt to escape them before the mission can finish. At this point, you receive your reward. If you complete the circuit of waypoints and have a large number of seconds left on the clock, your reward is higher.
The number of seconds you need to have left to be awarded the highest prize (Gold, and the largest cash reward), as well as the numbers (in seconds and dollars) for Silver and Bronze, are listed in your Fixer Contract App and in this guide.
If you’re caught by the police, the mission and contract fails. You can replay these side missions as often as you wish; these are great ways to learn shortcuts throughout the environment and accrue cash!
PAWNEE // DECOY CONTRACTS
01_TRAILS AND TRIBULATIONS
Starting location: Pawnee trailer park
Vehicle: Kuruhawa Motorsport 450
Difficulty:
NUMBER OF CHECKPOINTS: 32
 +00:40 // +$10,000
 +00:25 // +$9,000
 +00:00 // +$8,000
BEAT THIS: 00:34:00 (Jean Michel Lavigne)
Checkpoints 1–5: Watch that the initial jump and the entrances to both the narrow bridges don’t throw you off-course. Ease off the throttle for the jump to avoid hitting trees or rocks.
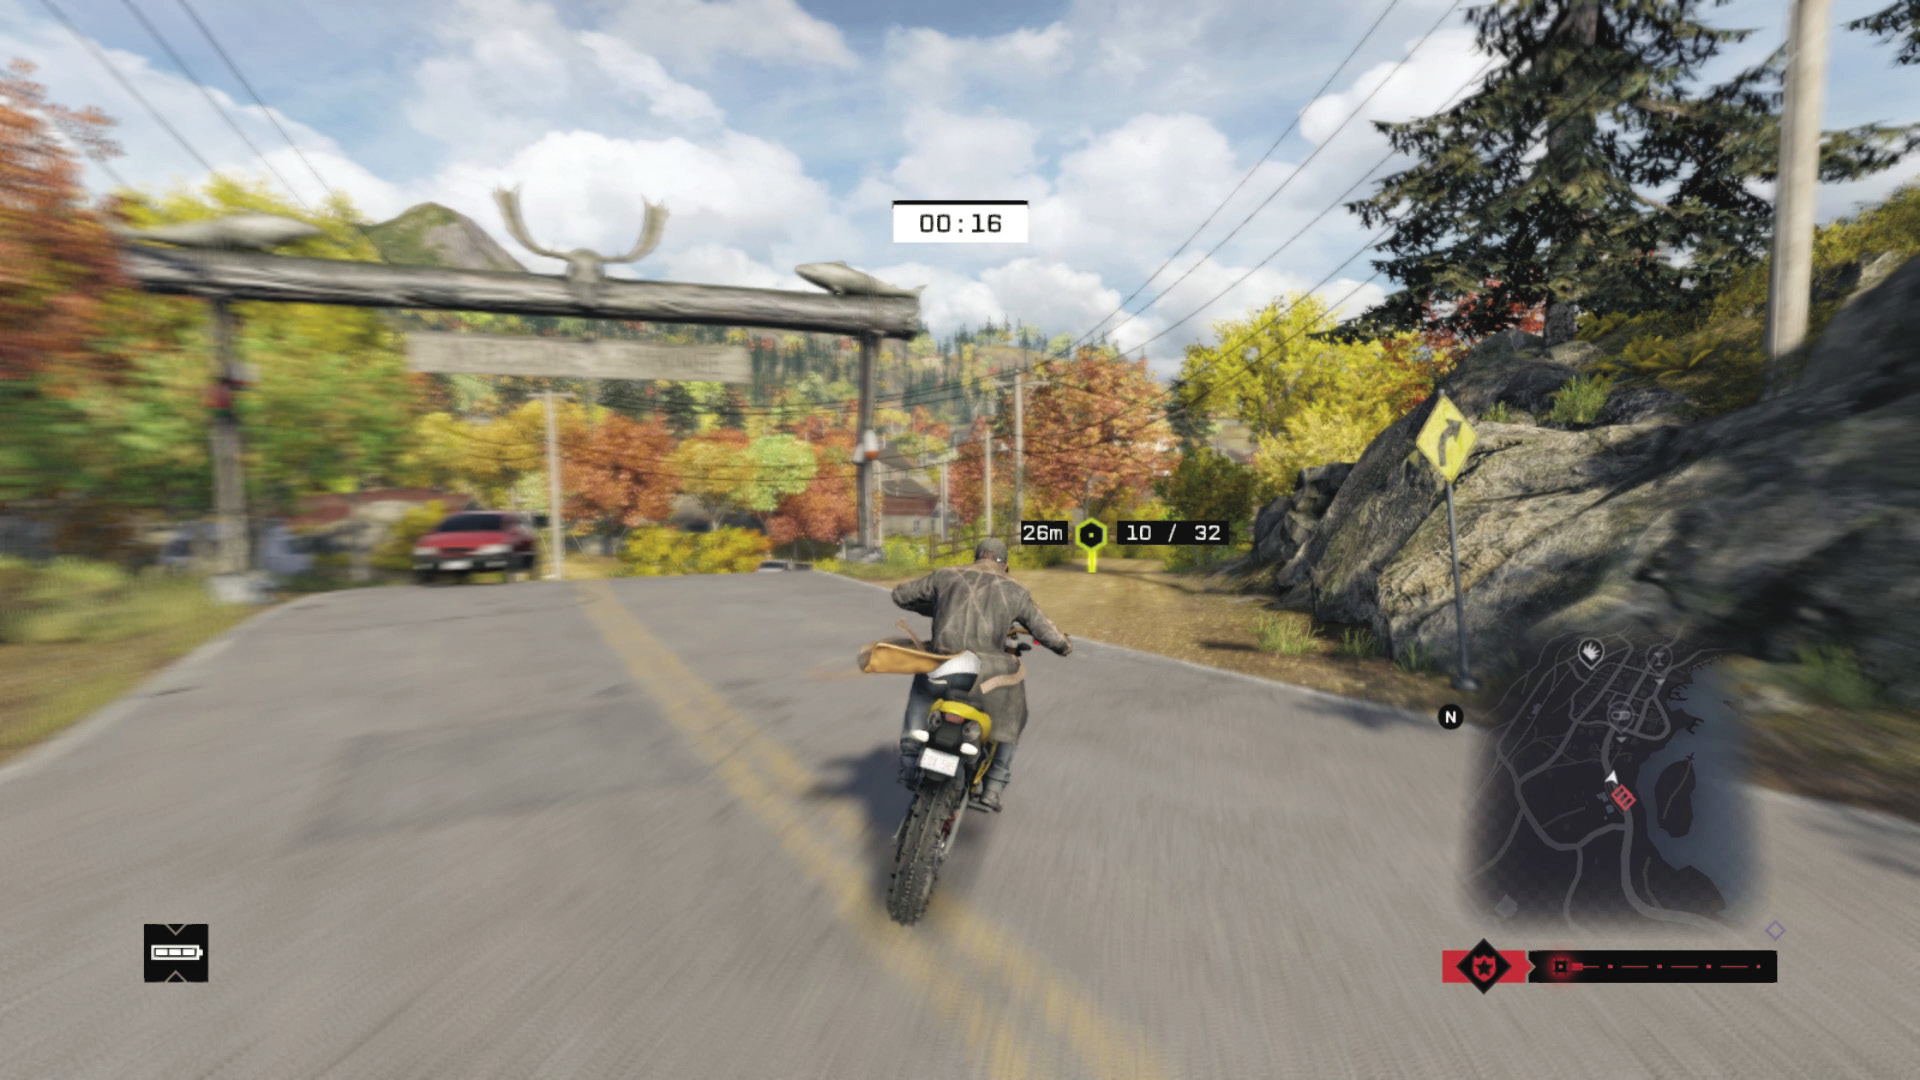
Checkpoints 6–10: There’s some winding trails to maneuver through with some tarmac. Checkpoint 9 is near the gas station. Line up properly for Checkpoint 10 to jump over rooftops.
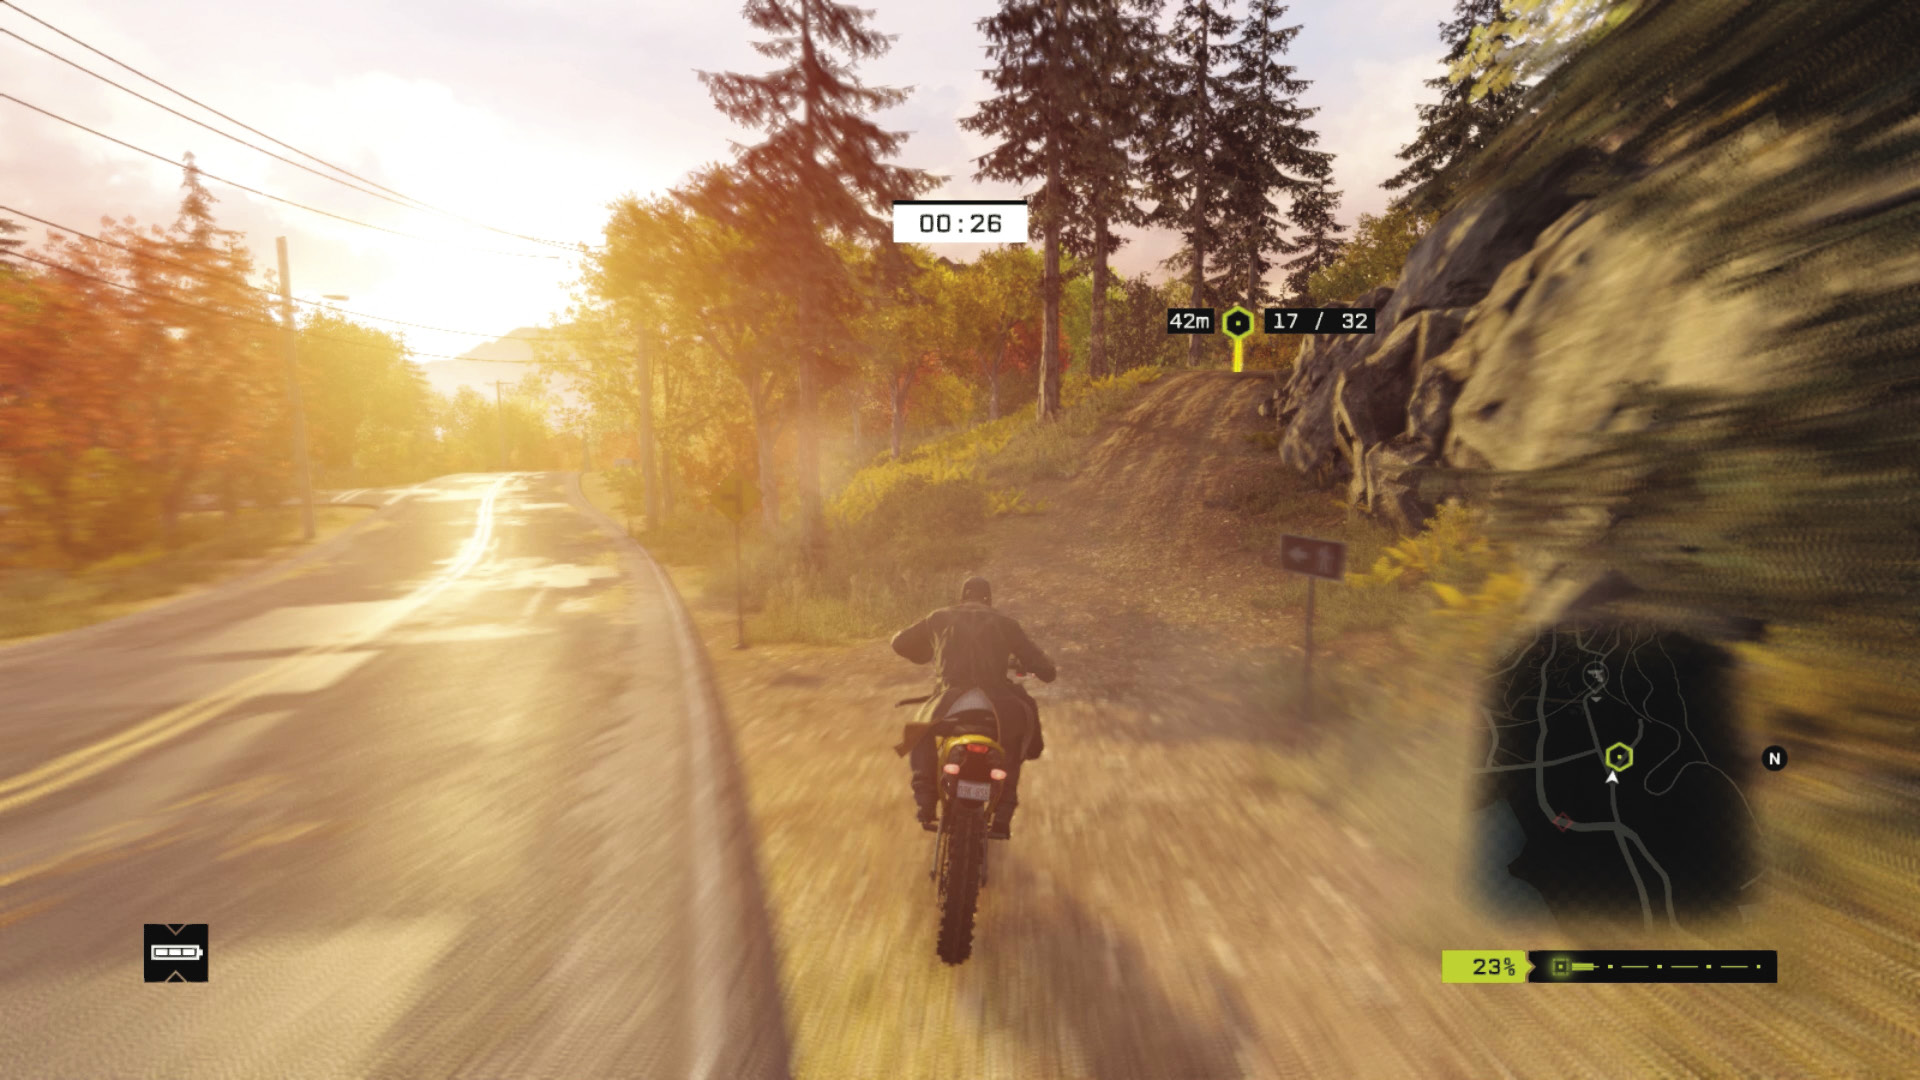
Checkpoints 11–17: Prepare for oncoming traffic between checkpoints 12 and 13. Be sure you hit the trail left slightly at 14. Watch for the sharp left turn at 16 and your off-road entrance to reach 17.
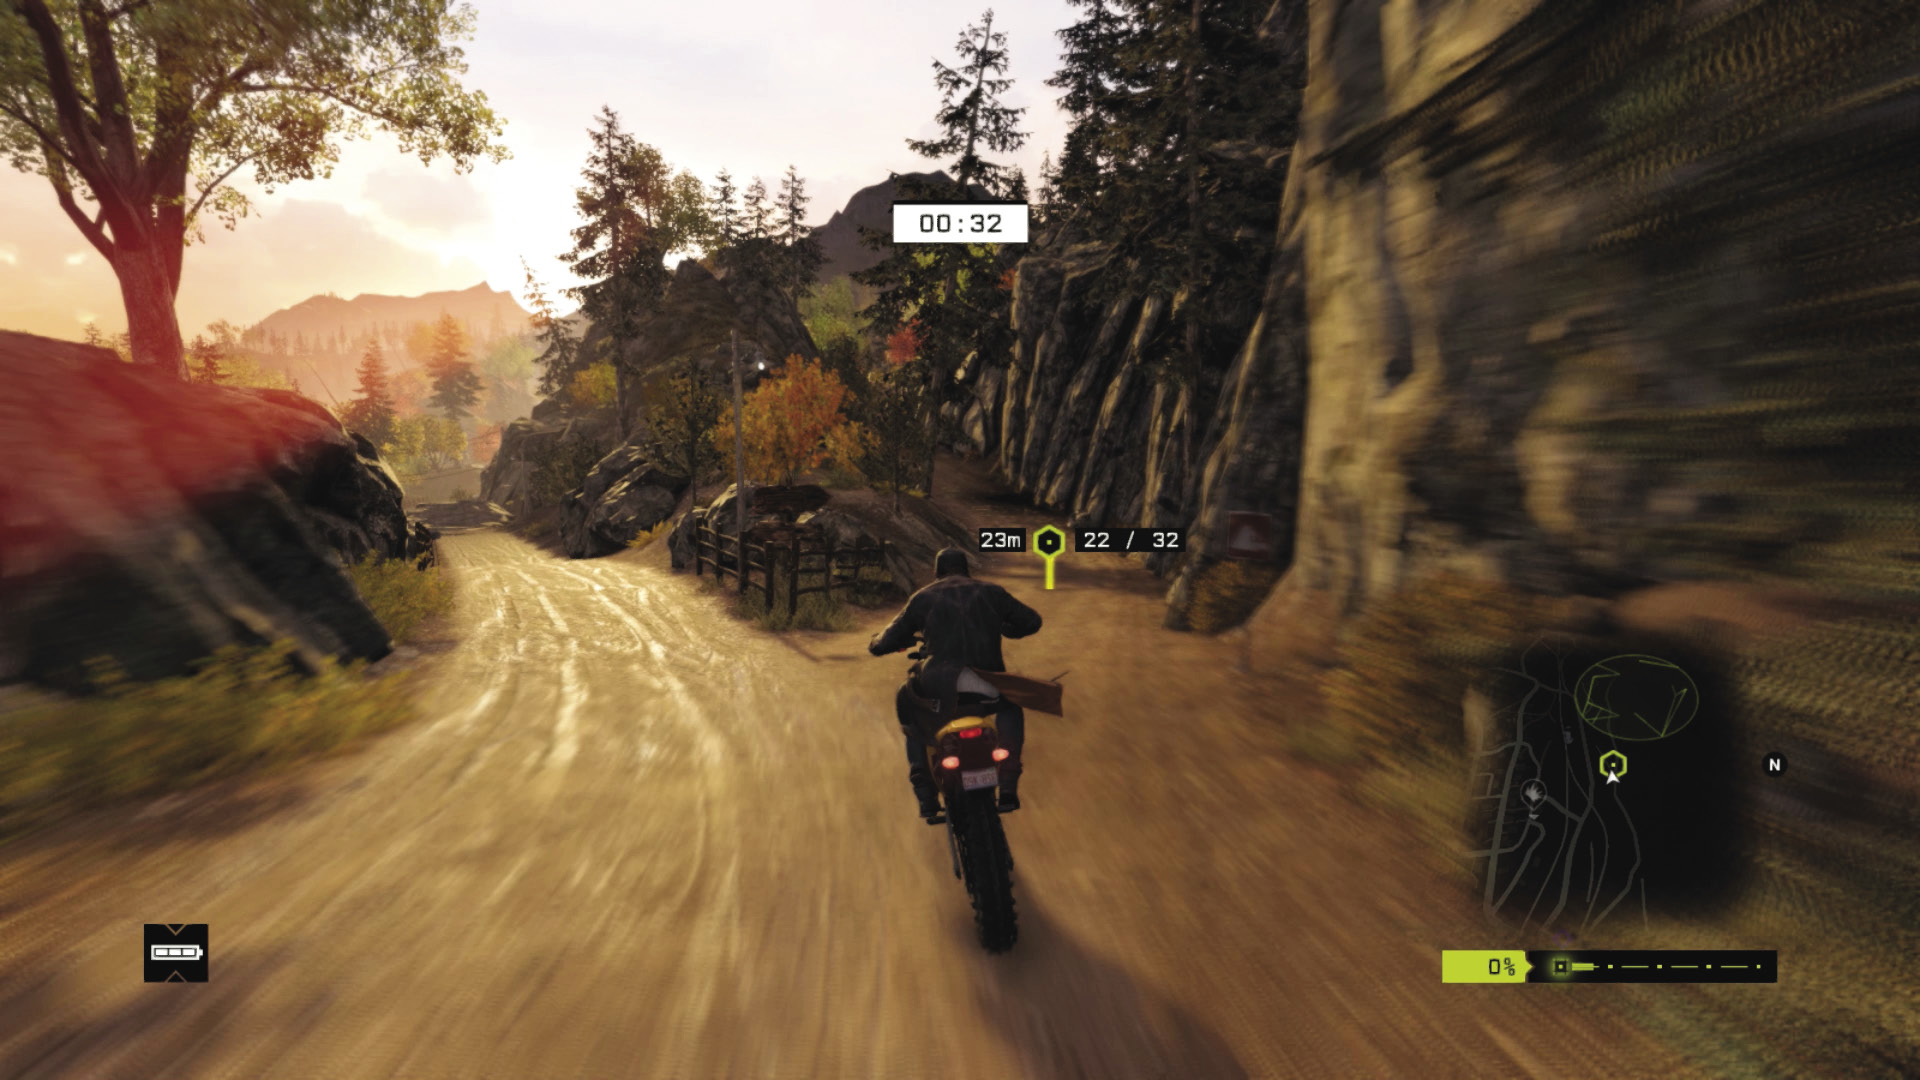
Checkpoints 18–25: Ease up on the throttle as you weave between rail tracks and dirt road. Make the slight right to Checkpoints 20 and 22, and watch for rocks; you can hit them and stall progress. There’s a sharp left at 25.
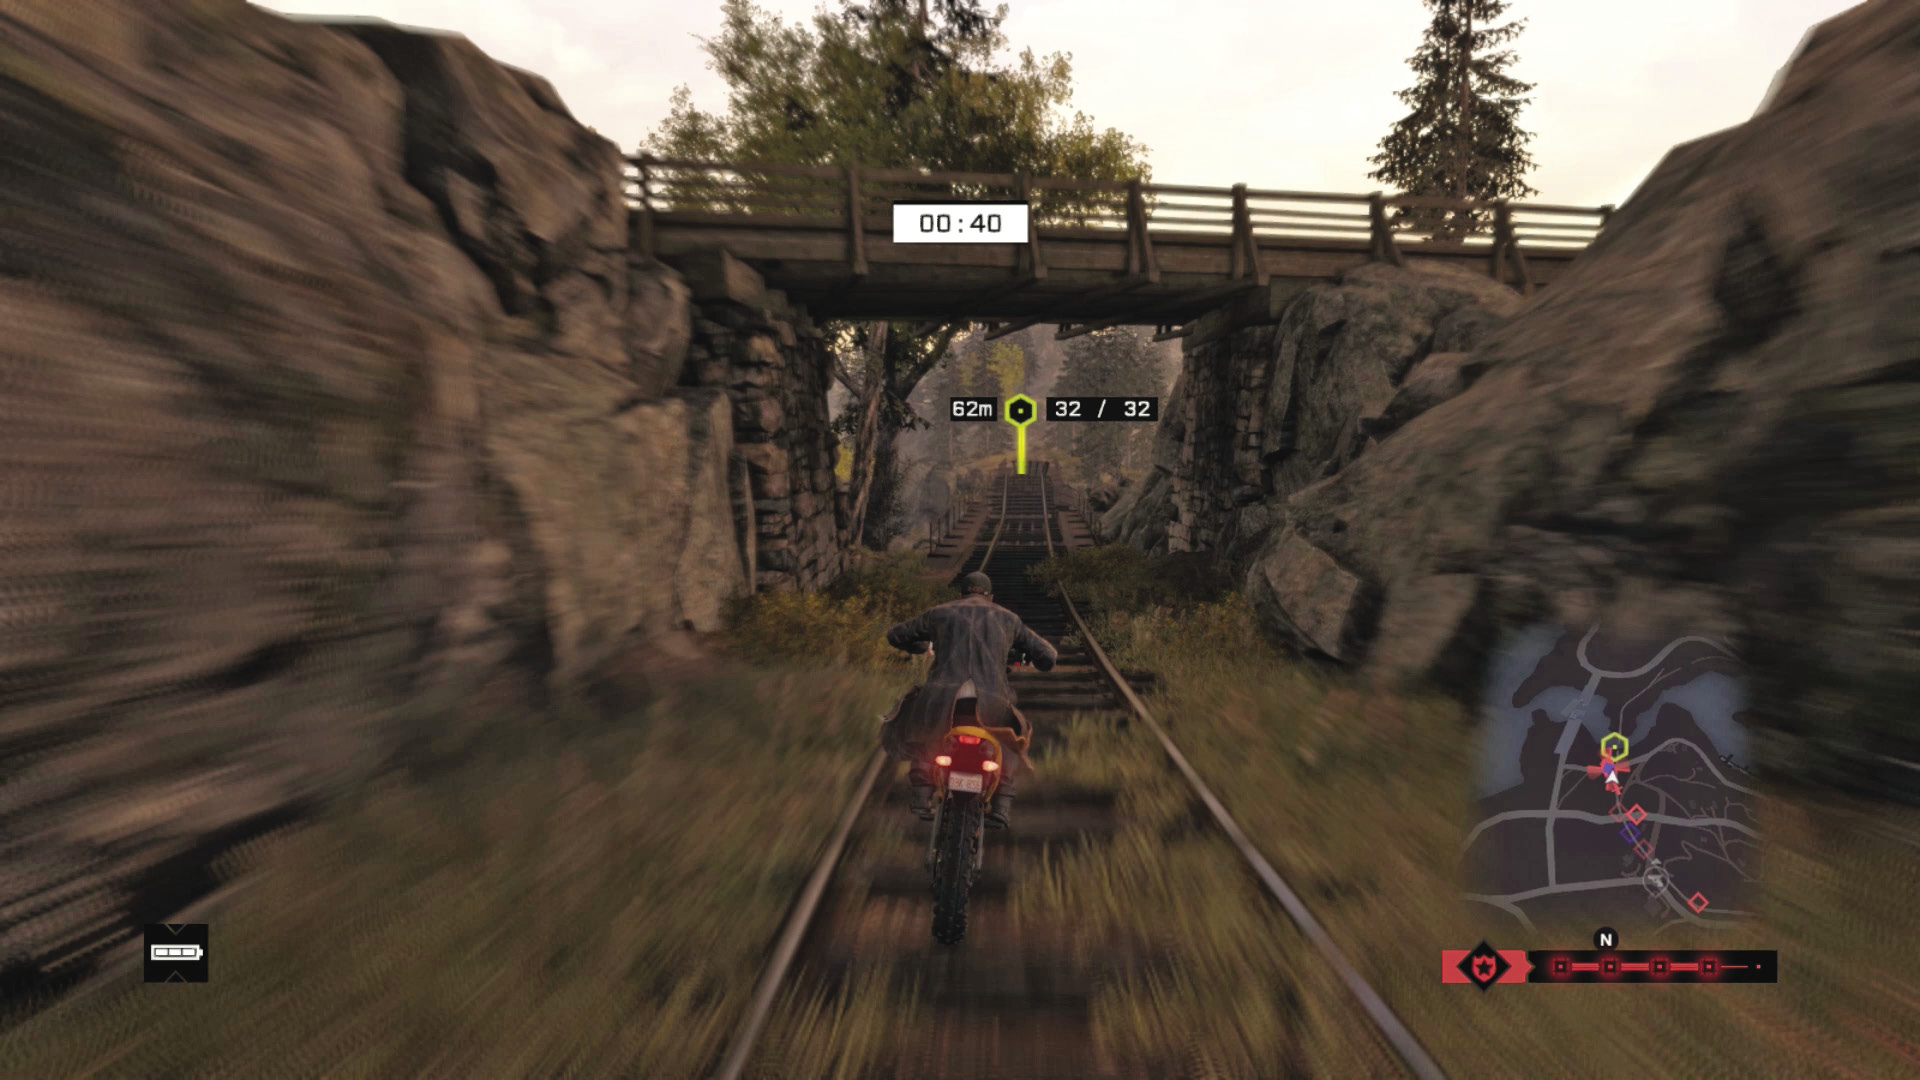
Checkpoints 26–32: There’s a small ramp before Checkpoint 26 on your left, then it’s tarmac to 29. Steer right onto the rails to cut the corner to 30, so you can remain on the tracks to the massive end jump at 32.
PARKER SQUARE // DECOY CONTRACTS
02_PARKER SQUARE RALLY
Starting location: Owl Hotel Alley
Vehicle: Carrozza
Difficulty:
NUMBER OF CHECKPOINTS: 24
 +00:30 // +$3,000
 +00:20 // +$2,000
 +00:00 // +$1,000
BEAT THIS: 00:51:79 (Anthony Renomeron)
Checkpoints 1–4: Head under the archway clock and accelerate hard, braking only as you reach Checkpoint 3 and the hard left turn. Then slow slightly through 4 and the long left curve of the road.
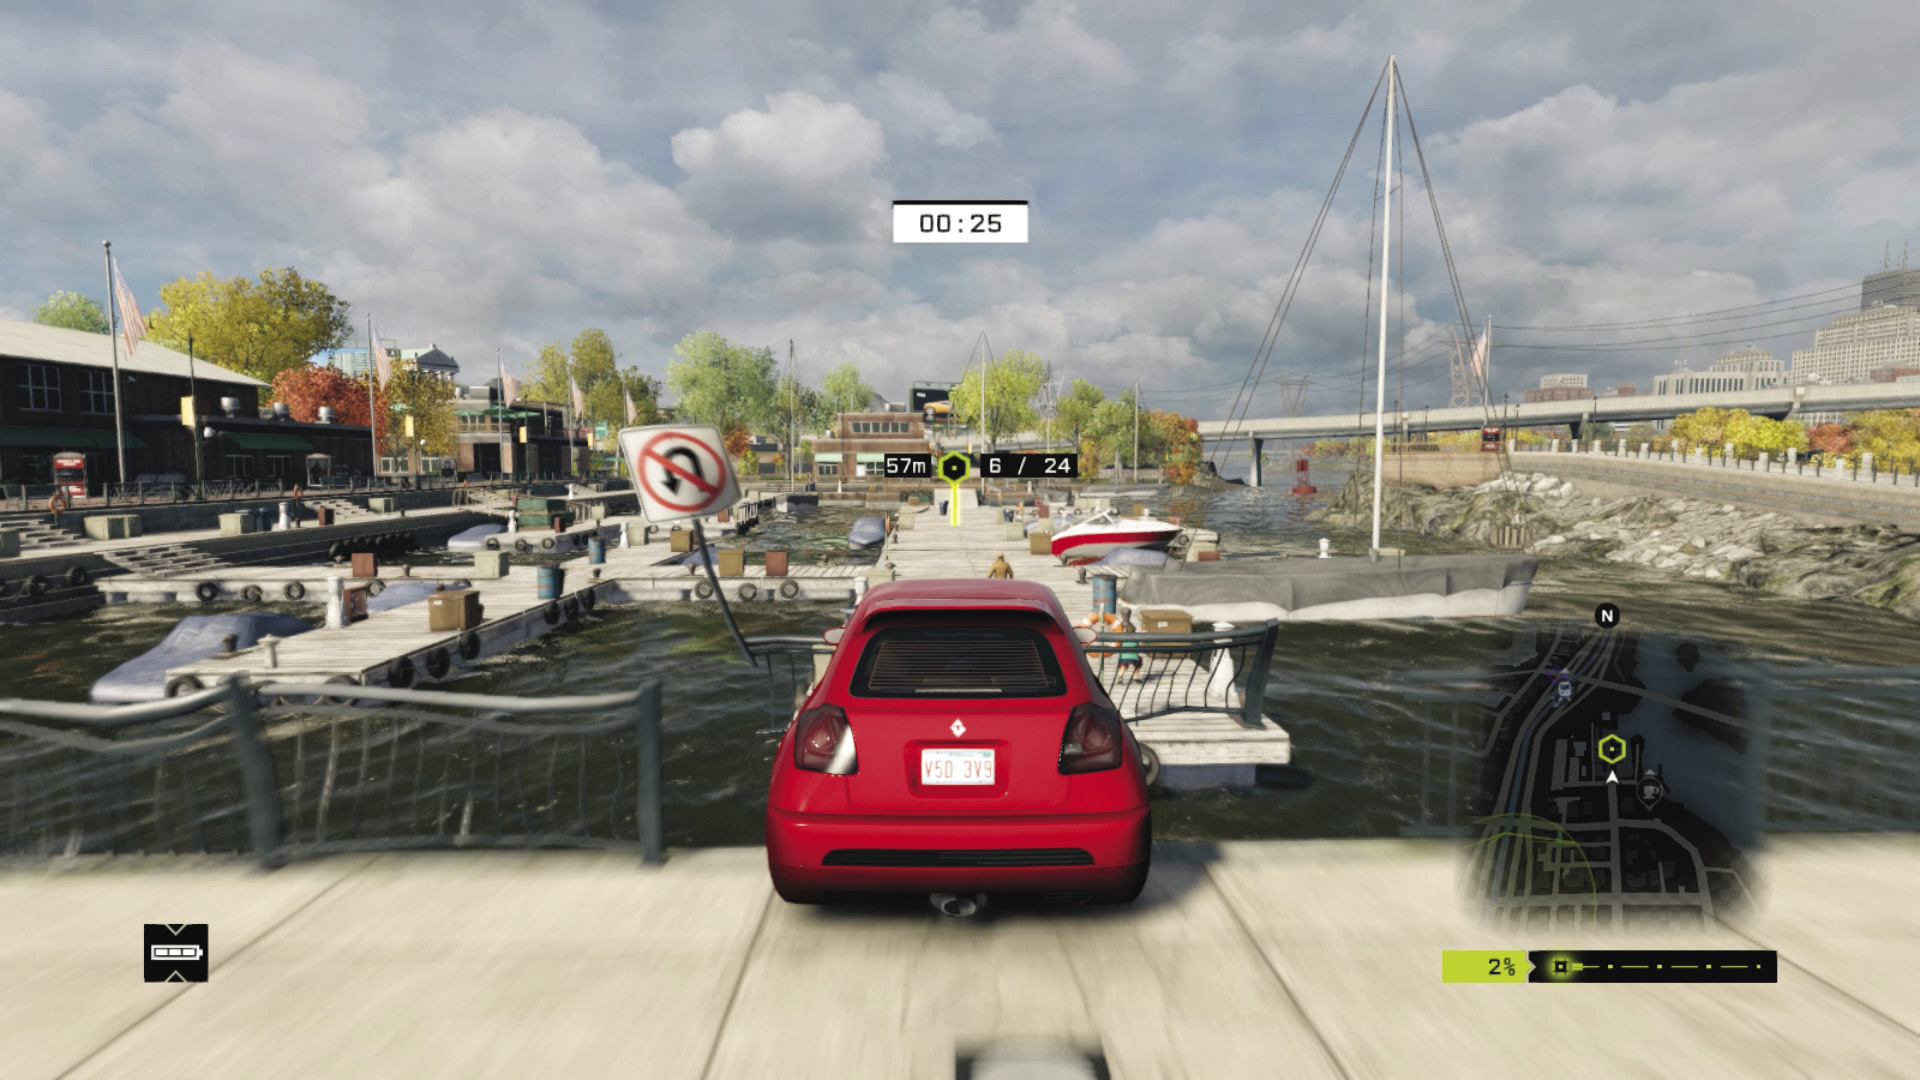
Checkpoints 5–7: A savage right turn (don’t oversteer!) and then line up for a jump across the marina and Checkpoints 6 plus 7. Ease off the gas to line up for the fence section below the icon for 7.
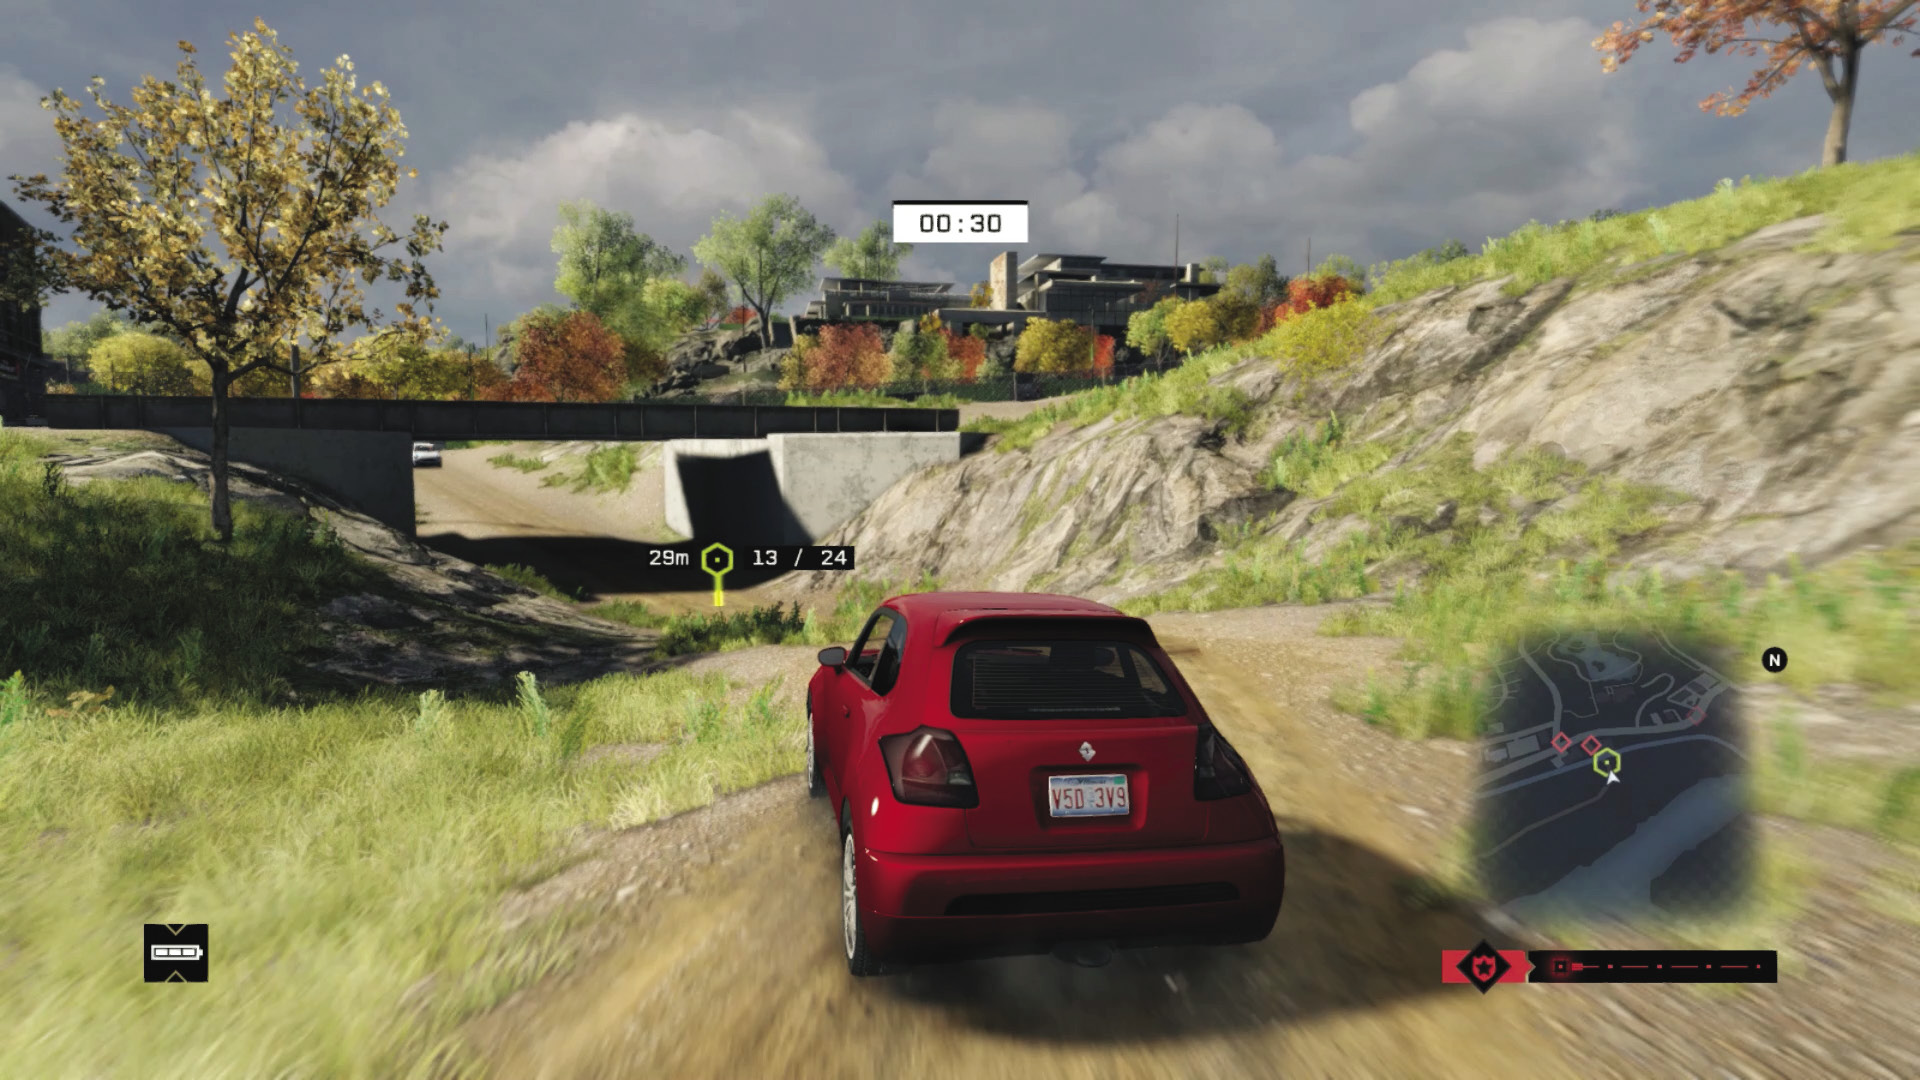
Checkpoints 8–13: Follow the dirt trail, optionally heading off it for more direct paths to Checkpoint 9. Slow before 11 and 12 slightly, and especially the sharp turn at 13, as it’s easy to lose control.
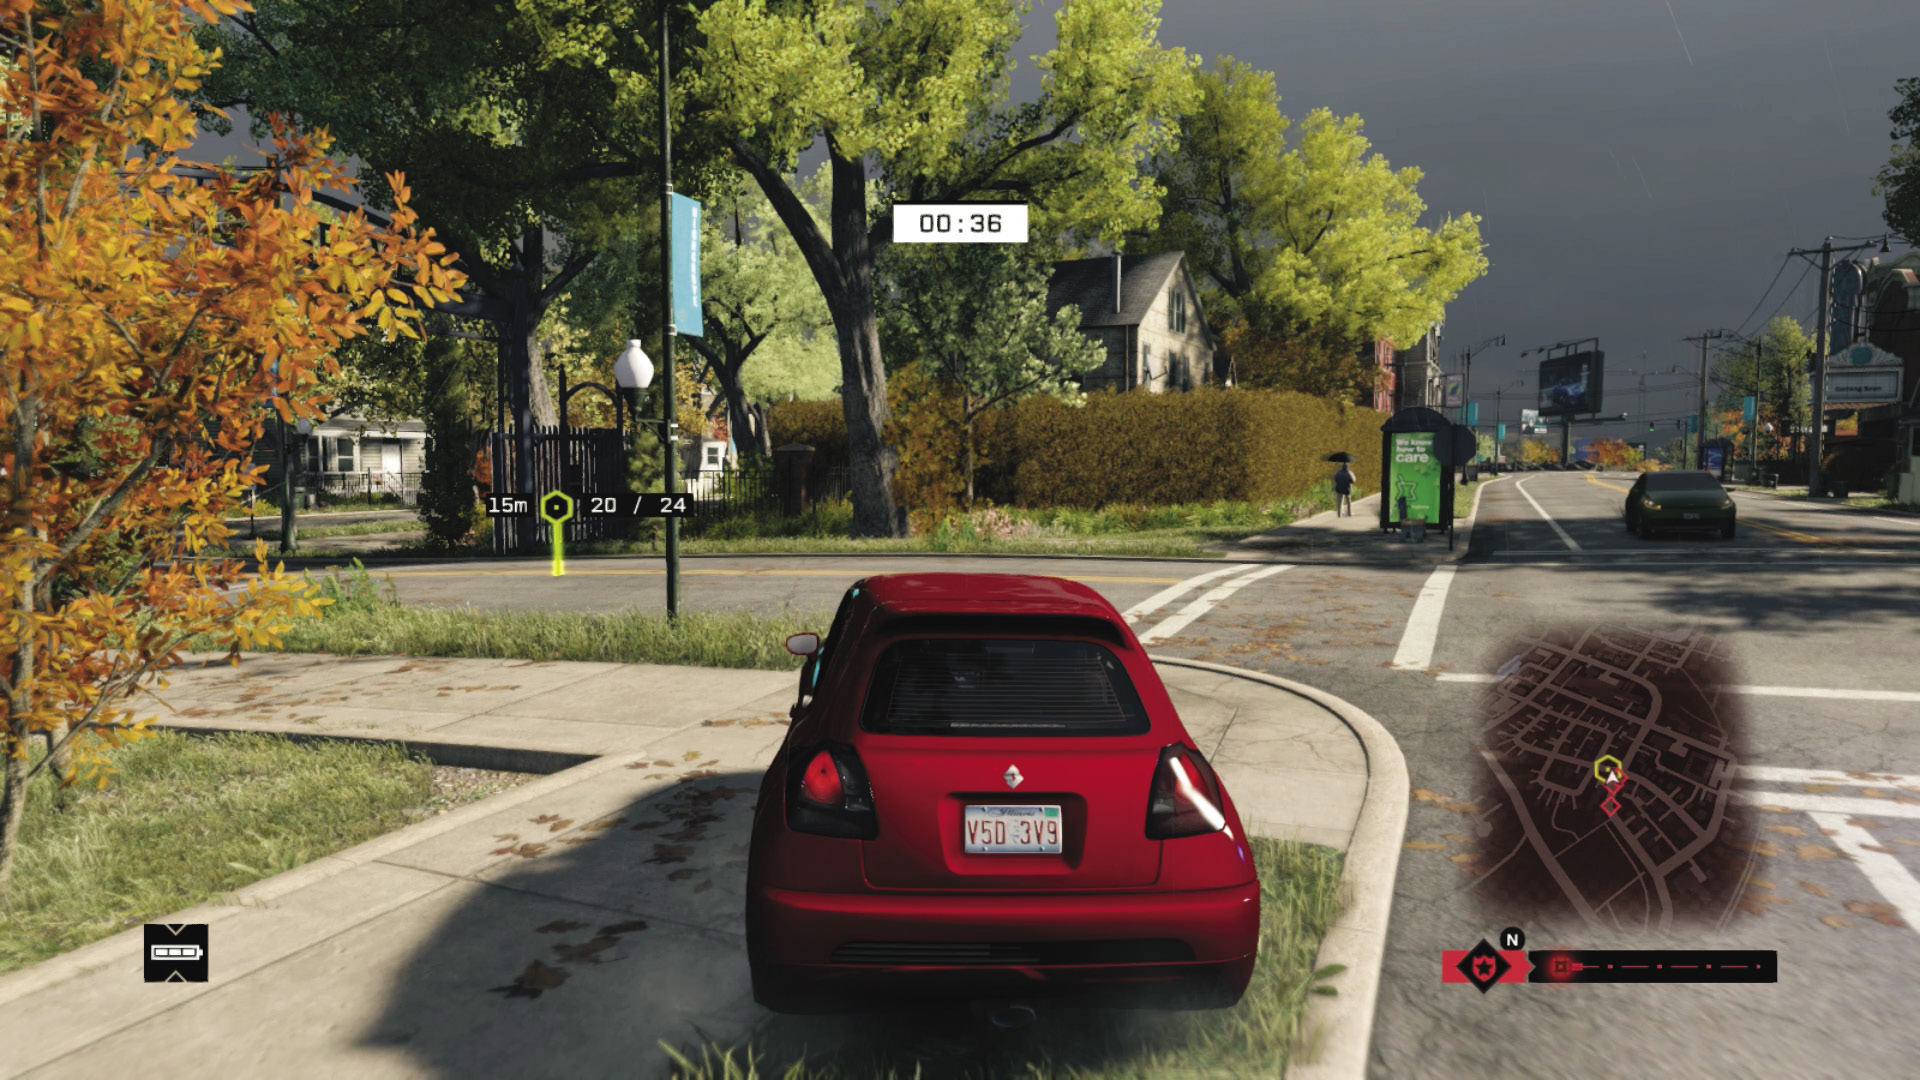
Checkpoints 14–20: Scoot across the road to Checkpoint 14, then follow the tarmac around the park; only the sharp left to 17 is a problem. Watch your speed bouncing downhill to 18 and the nasty left turn at 20.
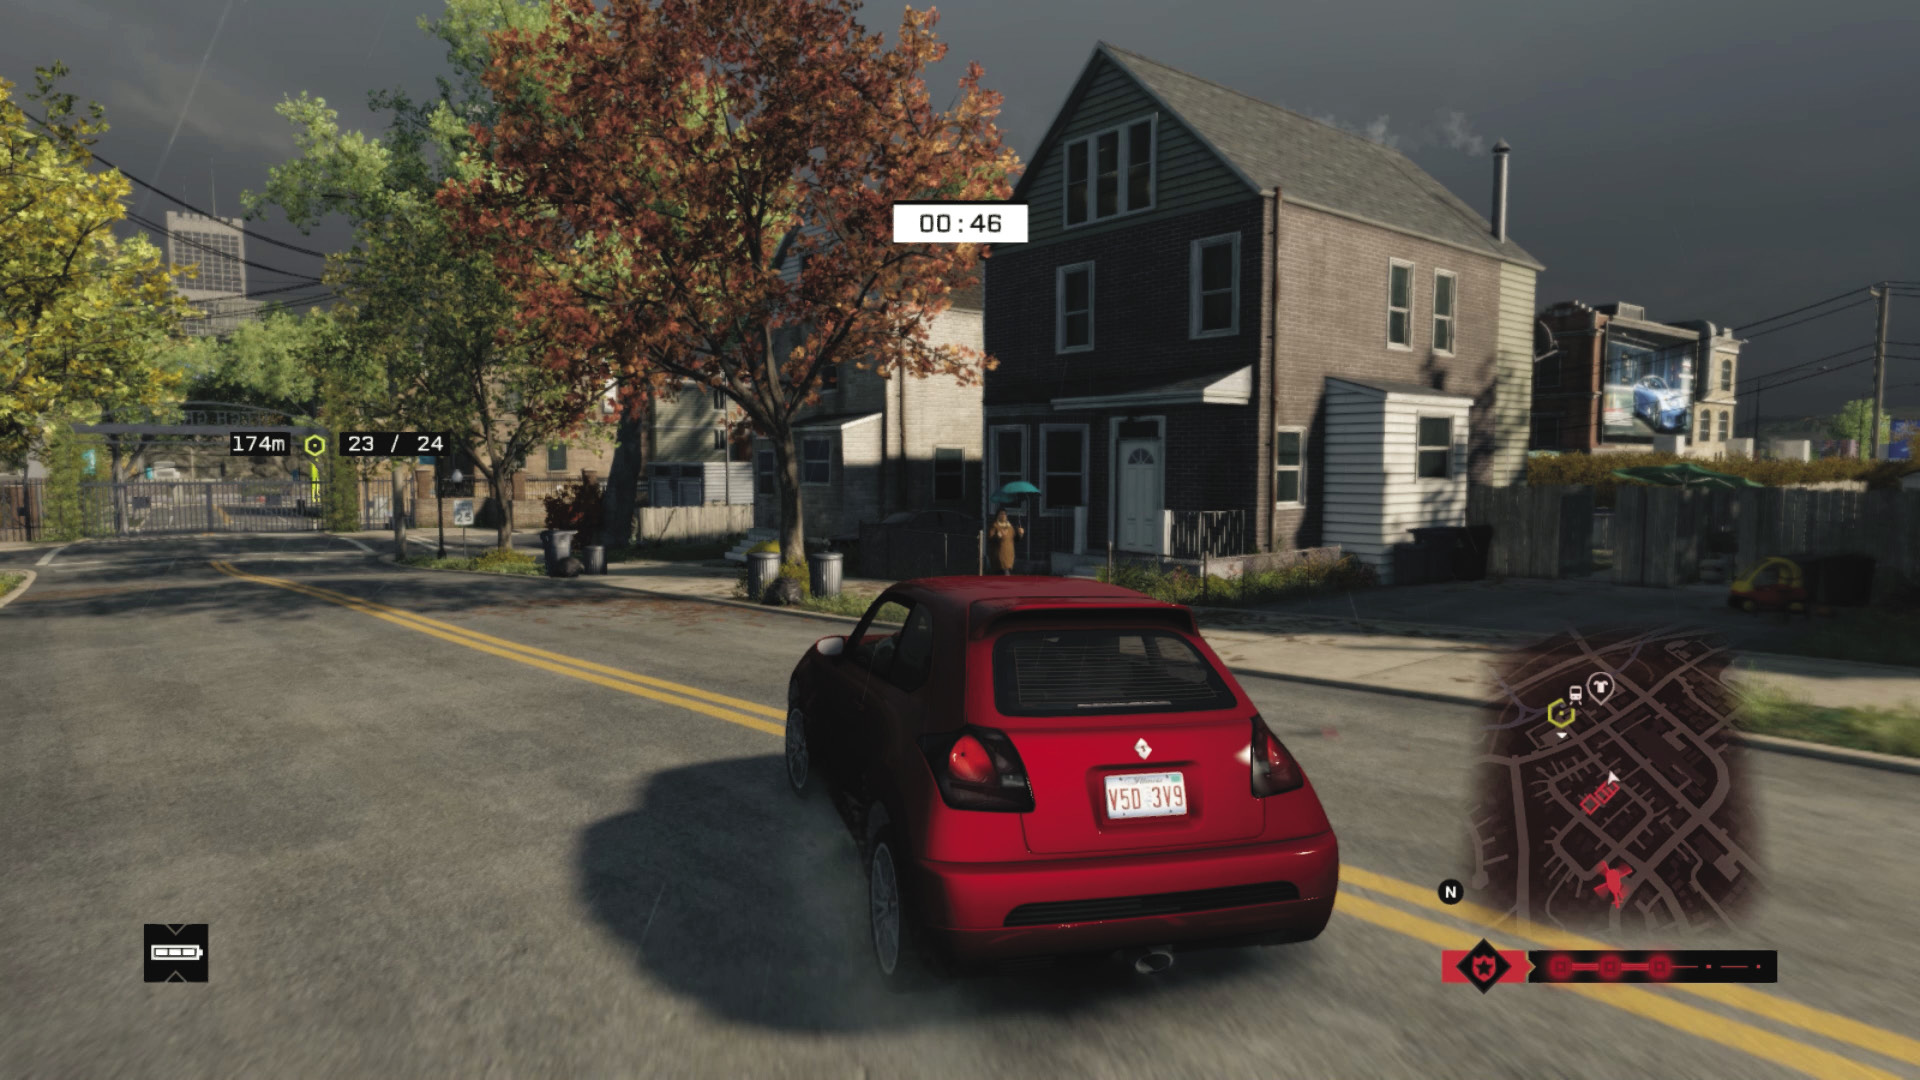
Checkpoints 21–24: Into the gate and some sharp weaving right to Checkpoint 21 and left to 22. Open the gate when exiting just after 22. After a sharp right, 24 is a ramp through a gap in a brick building.
03_RAILROADED
Starting location: SCHOOL SIDEWALK (WEST)
Vehicle: Tributary 1500
Difficulty:
NUMBER OF CHECKPOINTS: 27
 +01:00 // +$10,000
 +00:40 // +$9,000
 +00:00 // +$8,000
BEAT THIS: 01:14:60 (Anthony Renomeron)
Checkpoints 2–5: Skid left onto the rail tracks at Checkpoint 2, accelerate to 3, slow, and make a tight left skid to miss the tunnel at 4. Now line yourself up for a dirt jump at 5.
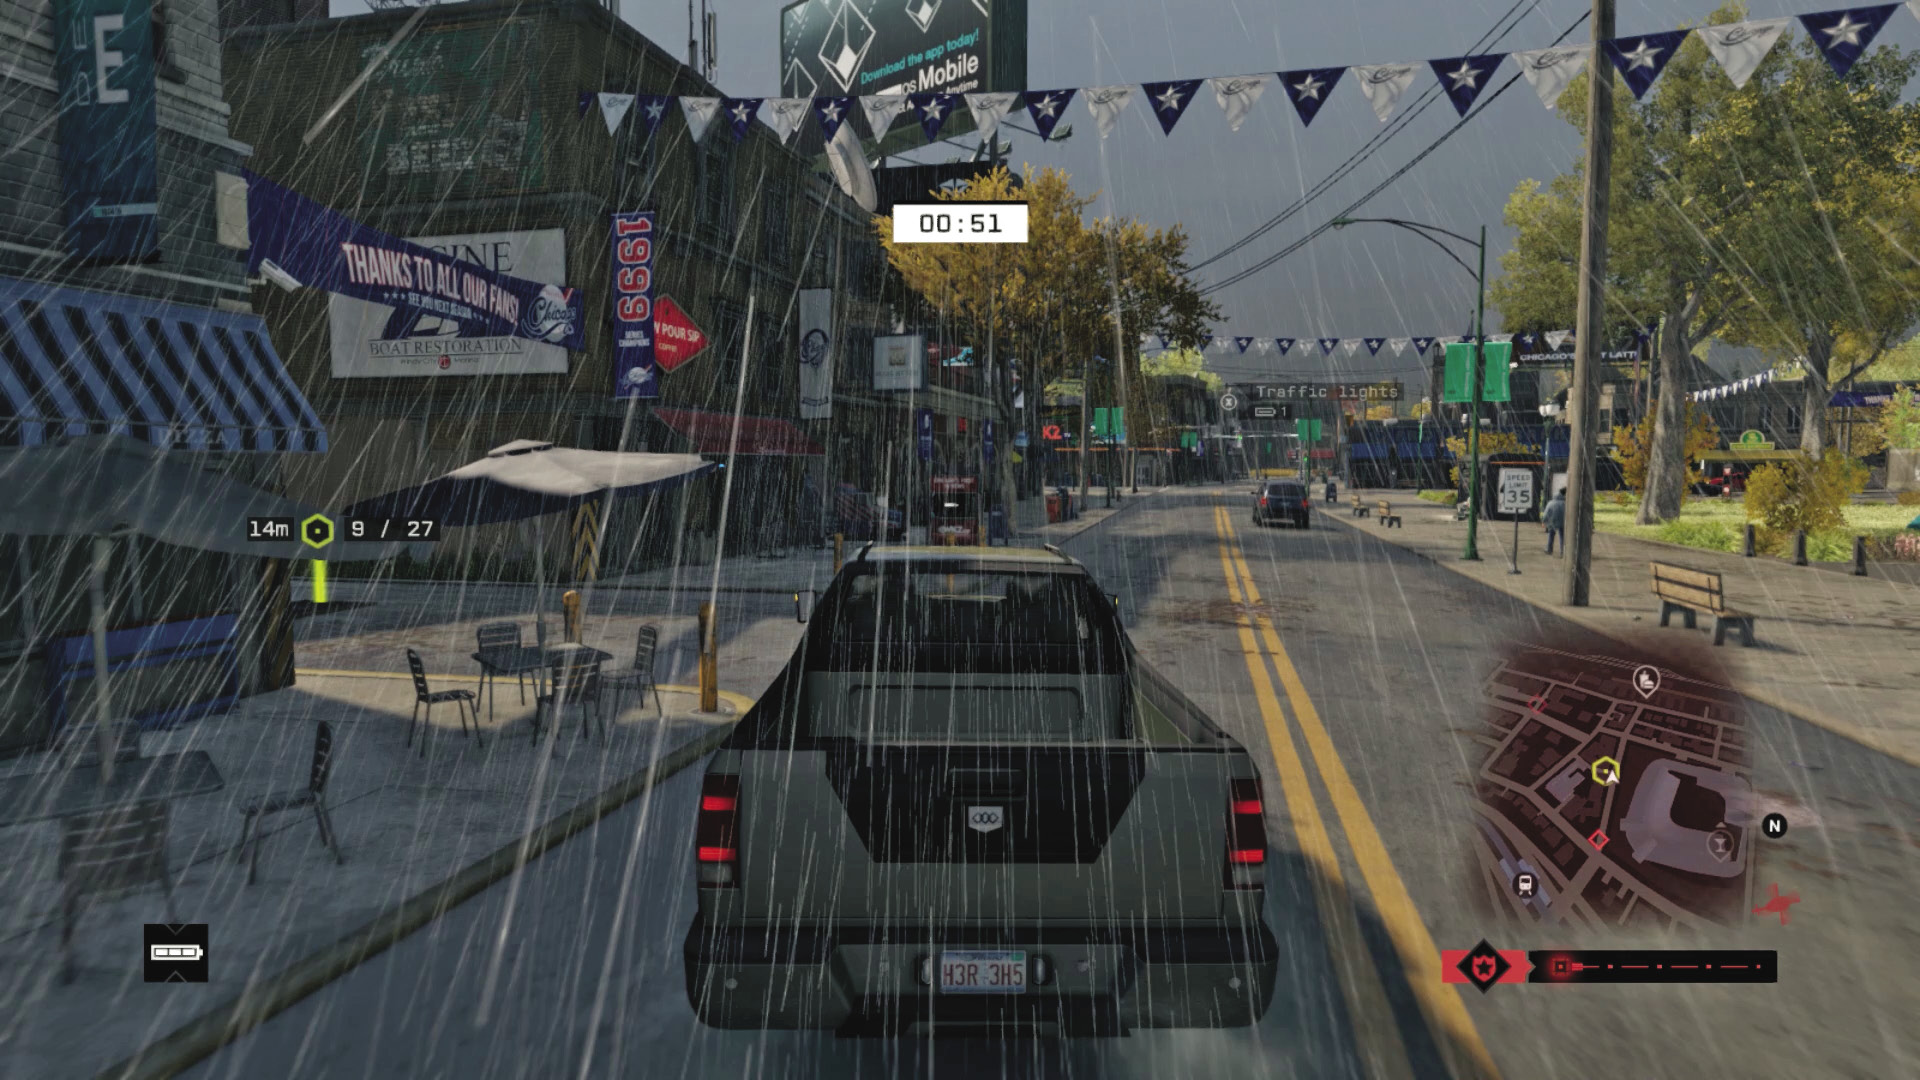
Checkpoints 6–9: A sharp right just before the freeway bridge onto dirt at Checkpoint 6, then cut across to the road by May Stadium. Watch the nasty left turn into the alley at 9; it’s easy to overshoot.
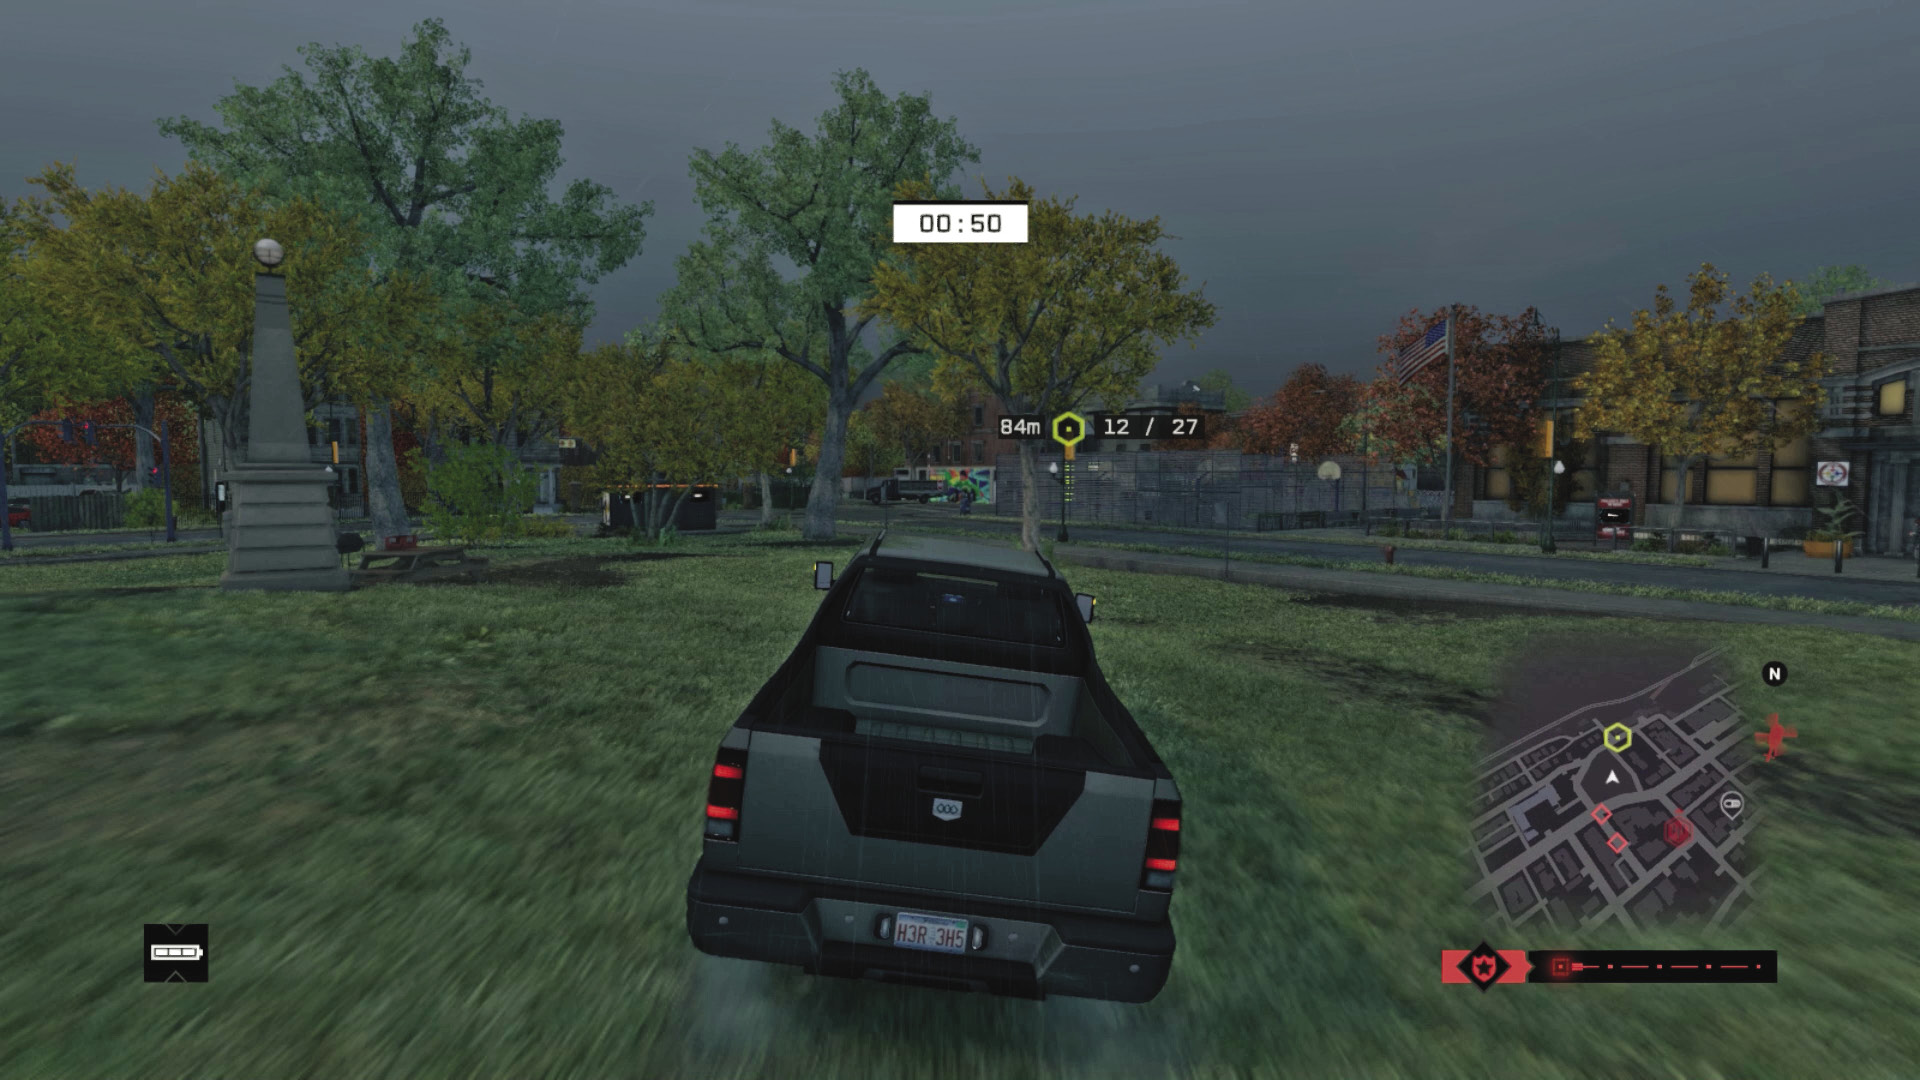
Checkpoints 10–19: Take the ramped stairs at Checkpoint 10 slower than usual to keep control as you land. More alley steering to reach 11. Cut across the park to reach 12, and weave across the intersection to reach 13. Checkpoints 14–19 are on the city streets behind May Stadium and are easy to reach.
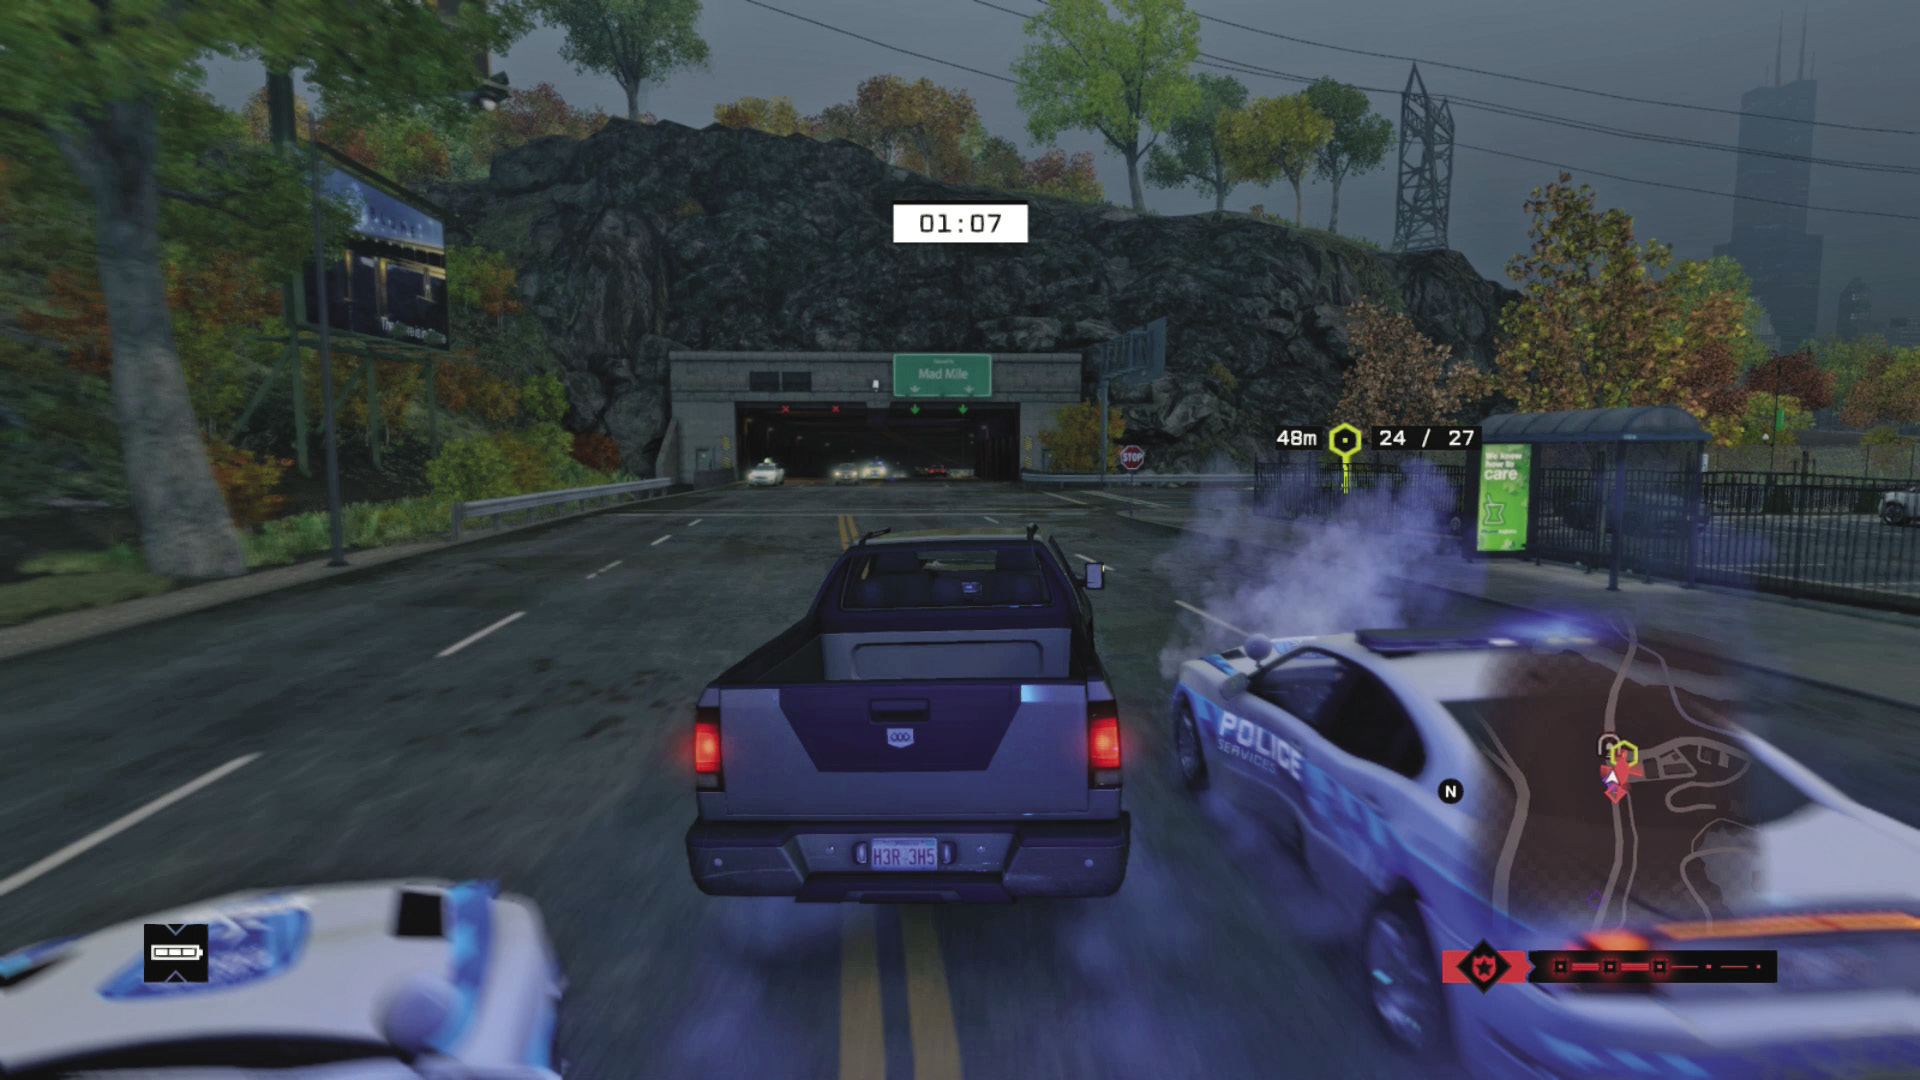
Checkpoints 20–24: Use the sidewalk or cut across the park to Checkpoint 20 (though the road is safer). Checkpoints 21 and 22 follow the park’s perimeter. Make sure you slow and skid right at 24.
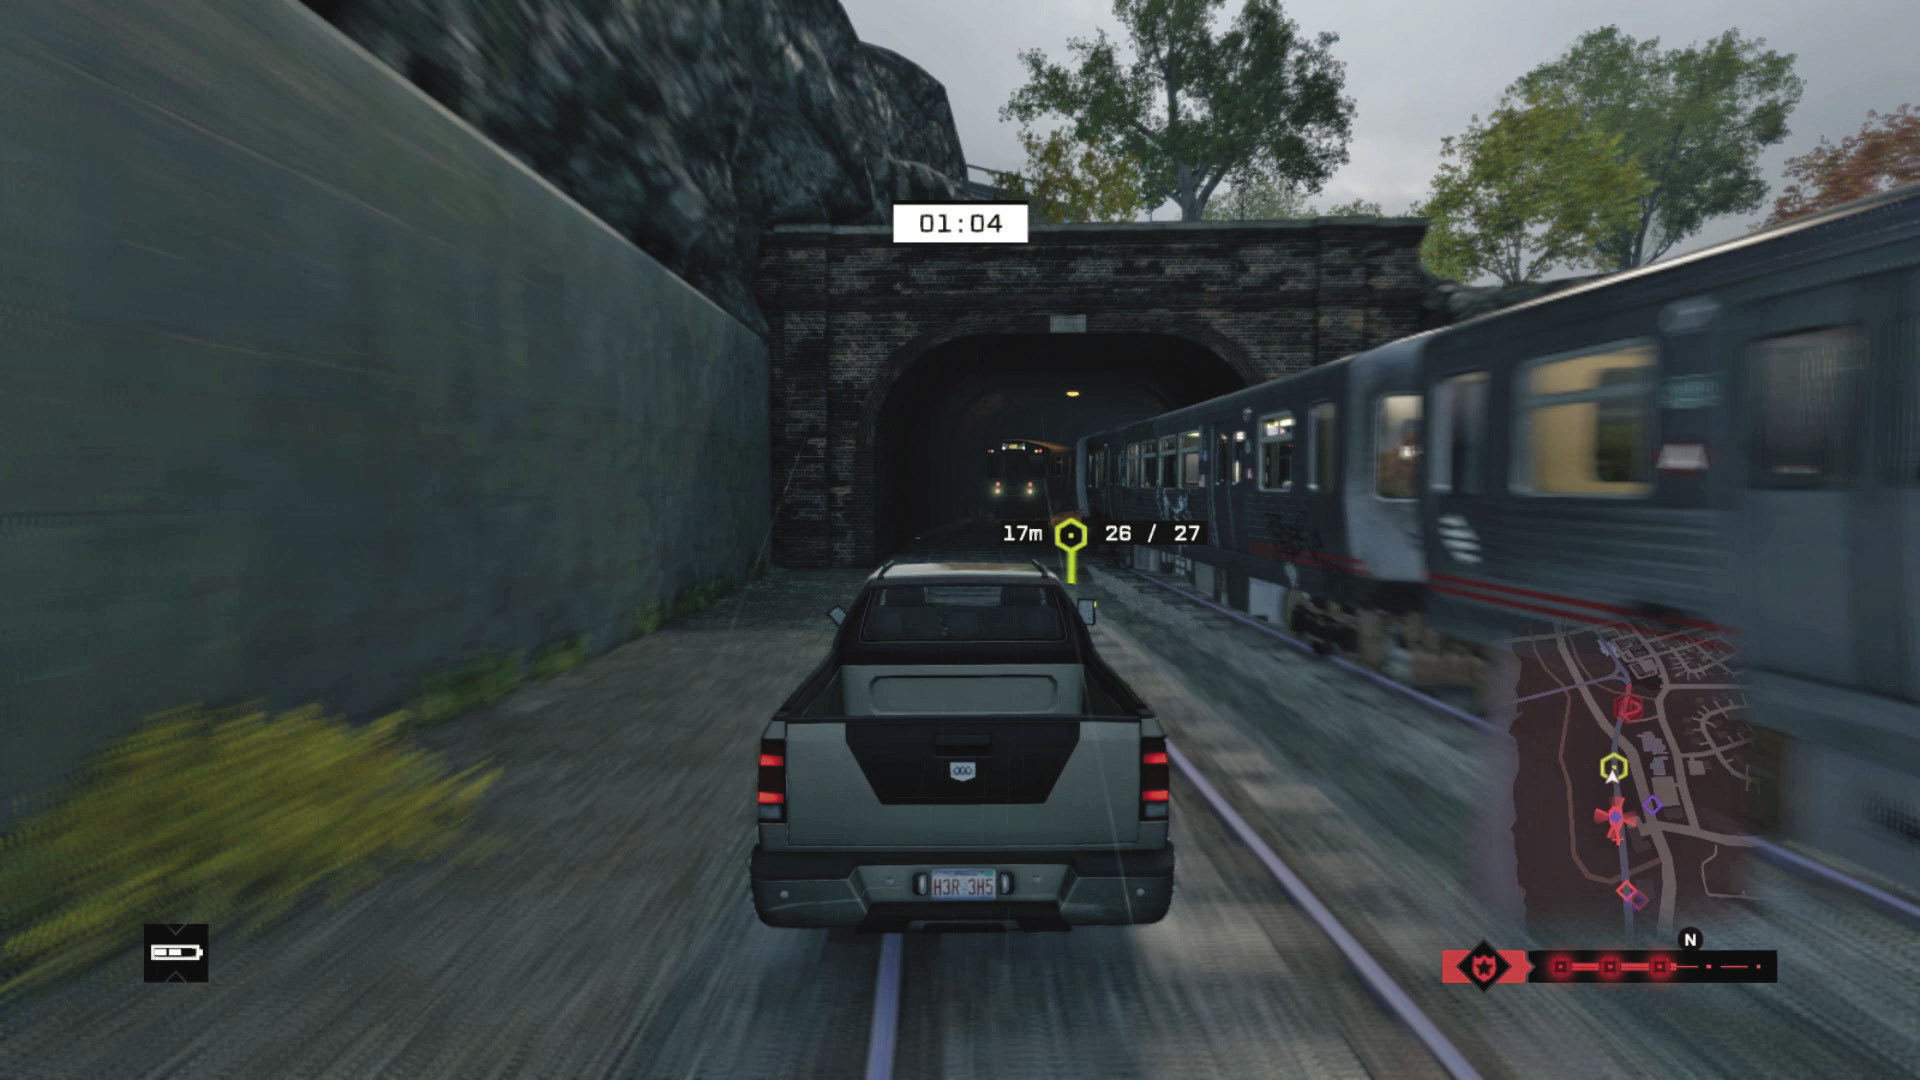
Checkpoints 25–27: Checkpoint 25 is off the main road to the left, onto the rail tracks. Remain on the tracks as you reach 26, heading through the tunnel, passing a station, and steering onto the ramp on the right to the final checkpoint.
BRANDON DOCKS // DECOY CONTRACTS
04_BOOTLEGGED
Starting location: EASTERN SHIPPING DOCKS
Vehicle: 571
Difficulty:
NUMBER OF CHECKPOINTS: 25
 +00:25 // +$10,000
 +00:15 // +$9,000
 +00:00 // +$8,000
BEAT THIS: 00:28:12 (Anthony Renomeron)
Checkpoints 1–3: Your vehicle has rear-wheel drive, so it can fishtail wildly: Predicting corners takes extreme competence and patience! Ignore the ramp before Checkpoint 1 (it slows you down) and brake at 2 or you’ll crash when squeezing through the gaps. Stay left of the container at 3 to quicken your pace.
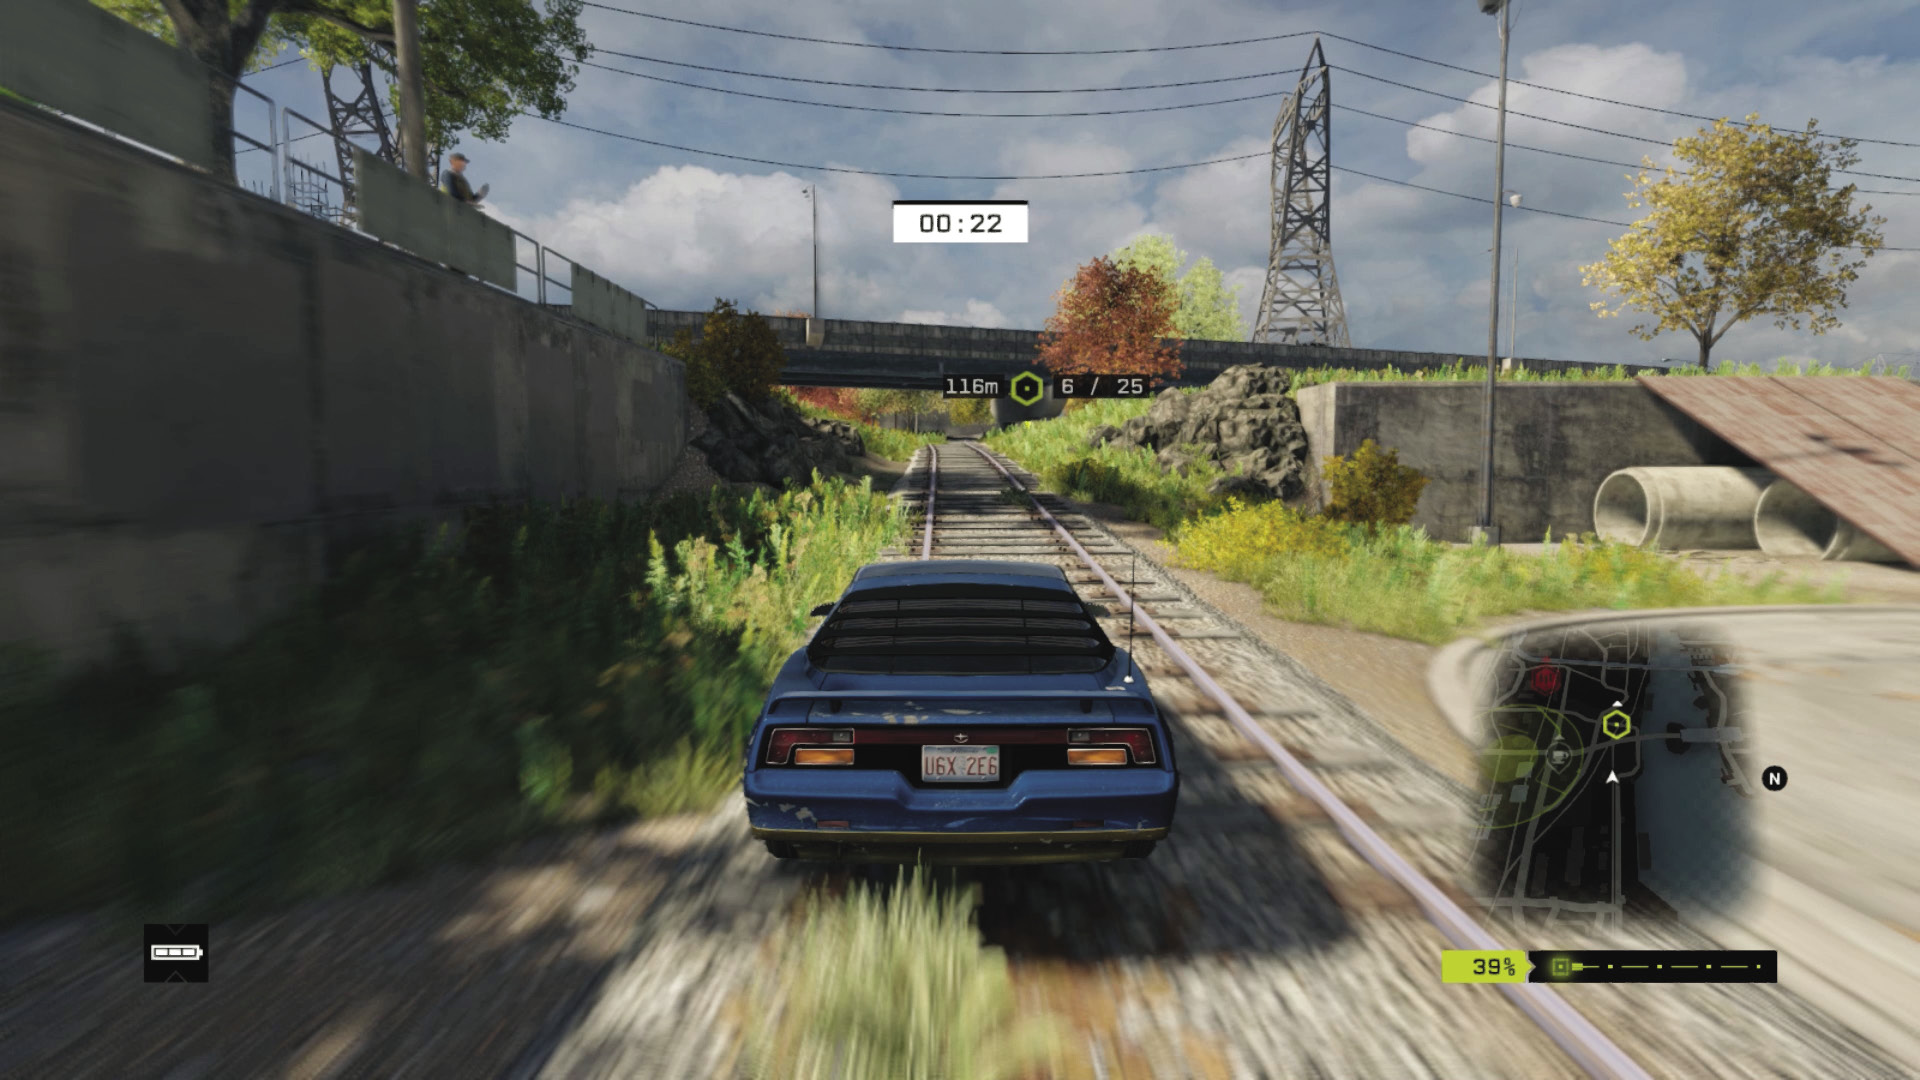
Checkpoints 4–8: When you reach Checkpoint 4, squeeze between the container (left) and crane (right). Accelerate hard as you reach 5, stay on the tracks, then slow and skid right slightly to line up the dirt track at 6. Continue across the road, up over the gravel (slow when you reach the rise), and down to 8.
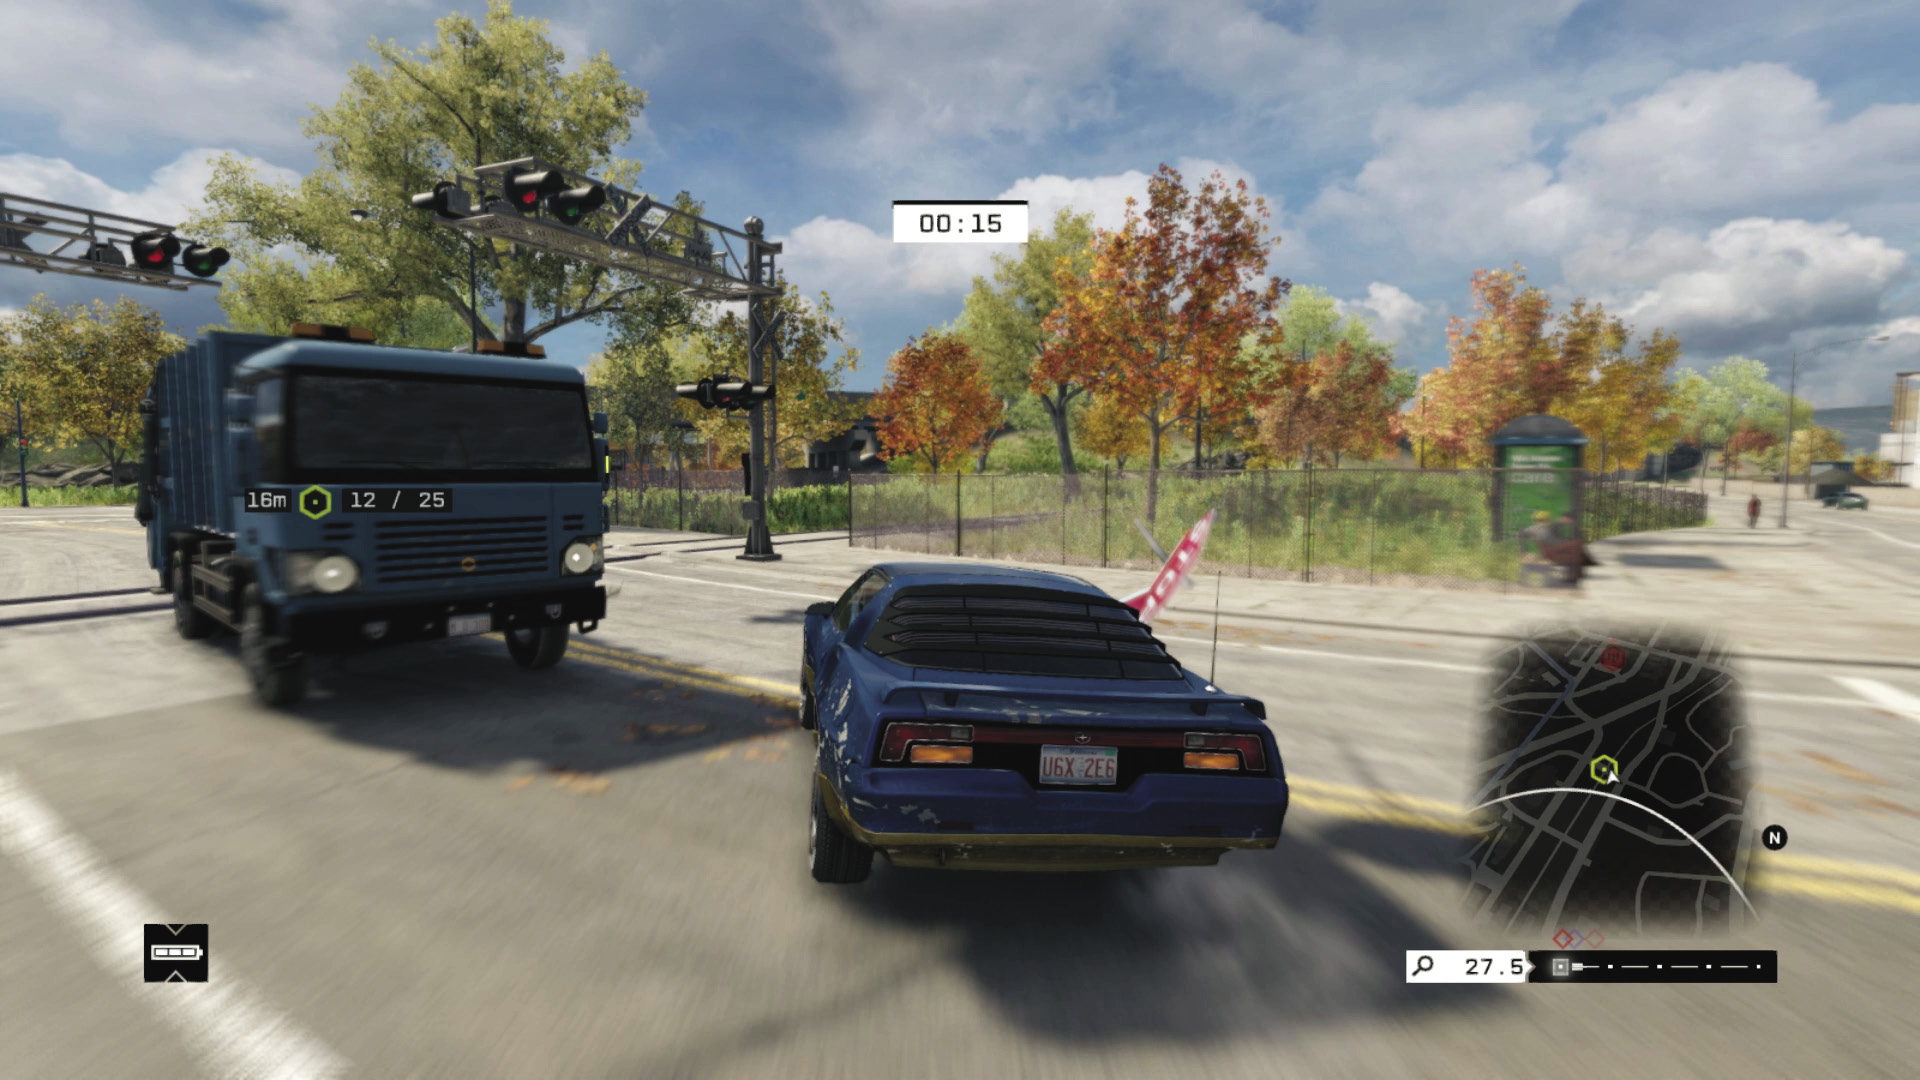
Checkpoints 9–13: Brake sharply as you reach Checkpoint 9 and drop onto the road, turning left and then right across the bridge. Cut in left at 11 as you cross the intersection. Then maneuver left across the railroad tracks at 12, and cut the corner of the road to set up for 13; this is the trickiest part of the route.
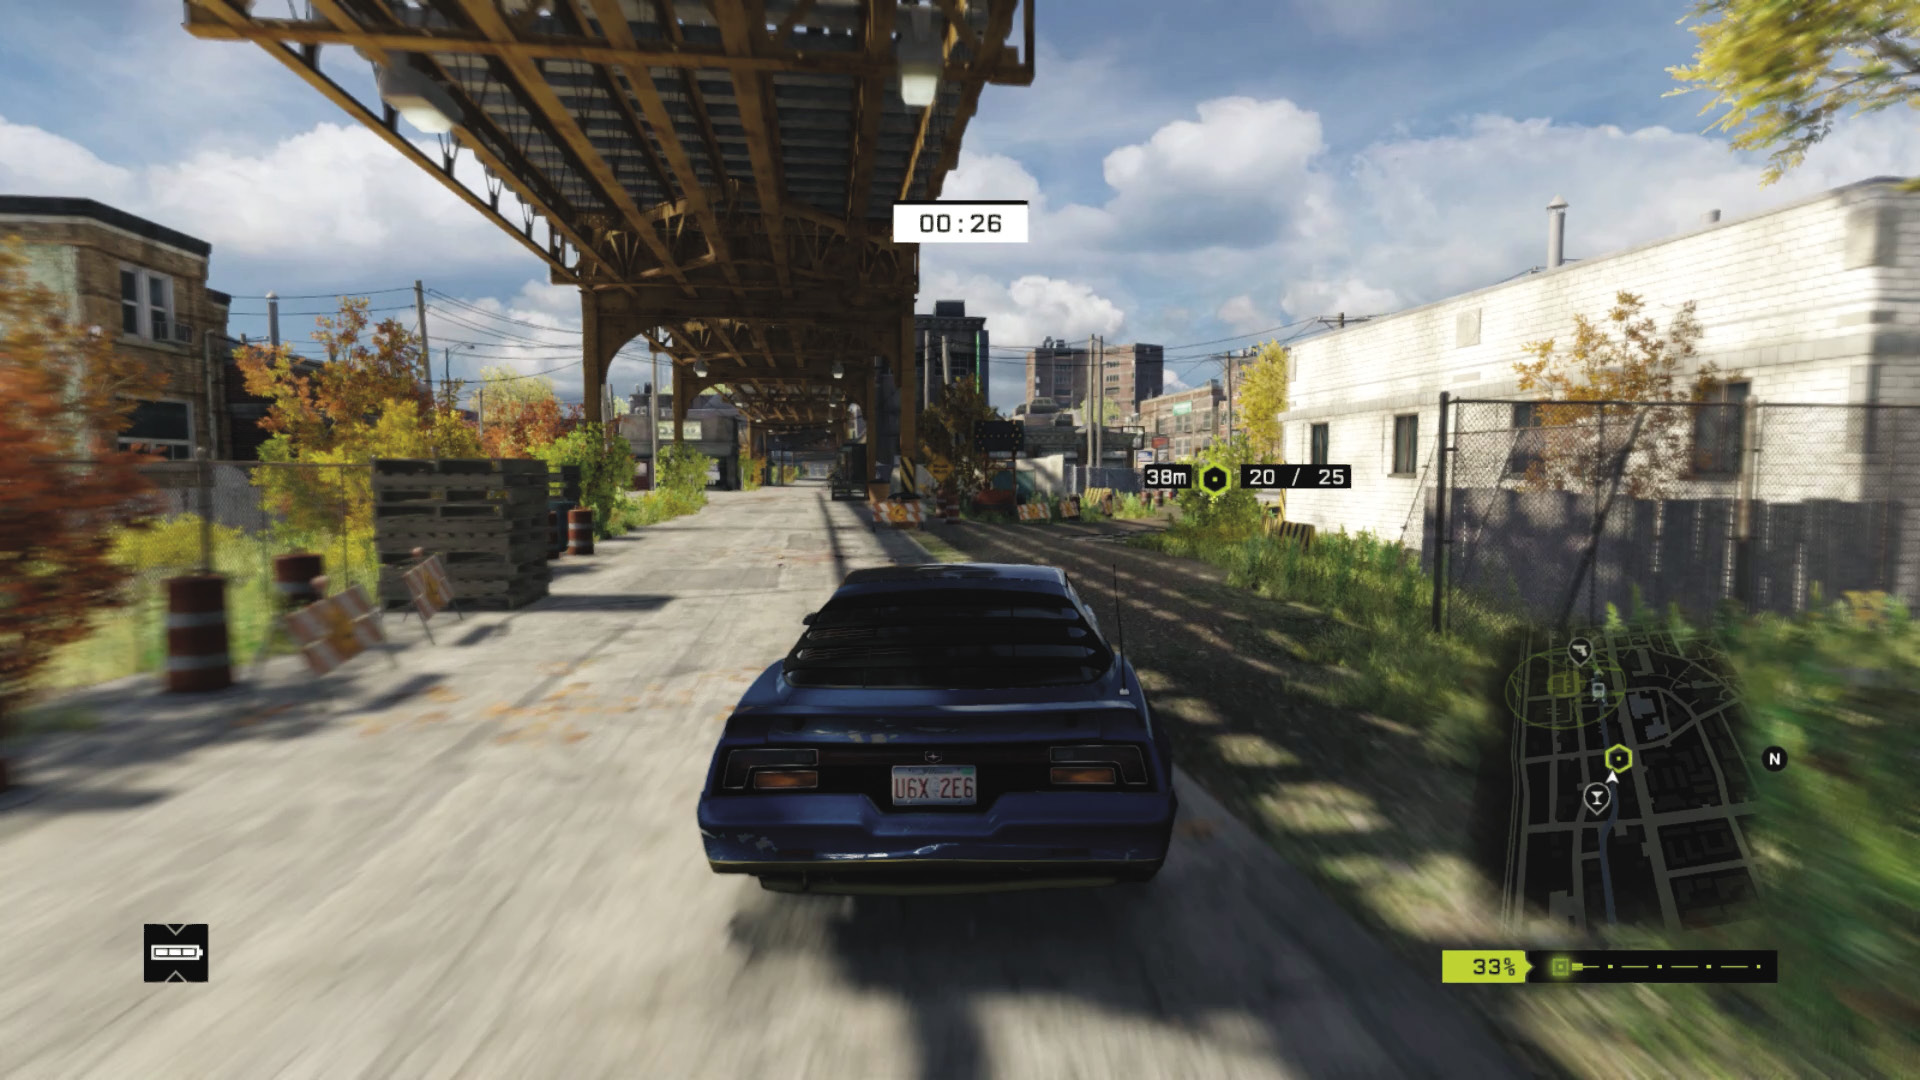
Checkpoints 14–21: Stay on the road at Checkpoint 14, heading right, down the dirt hill at 15 before beginning a run under the L-train to 20. Brake at 19, and as you emerge at 20, cut across the road to the brick warehouse grounds at 21.
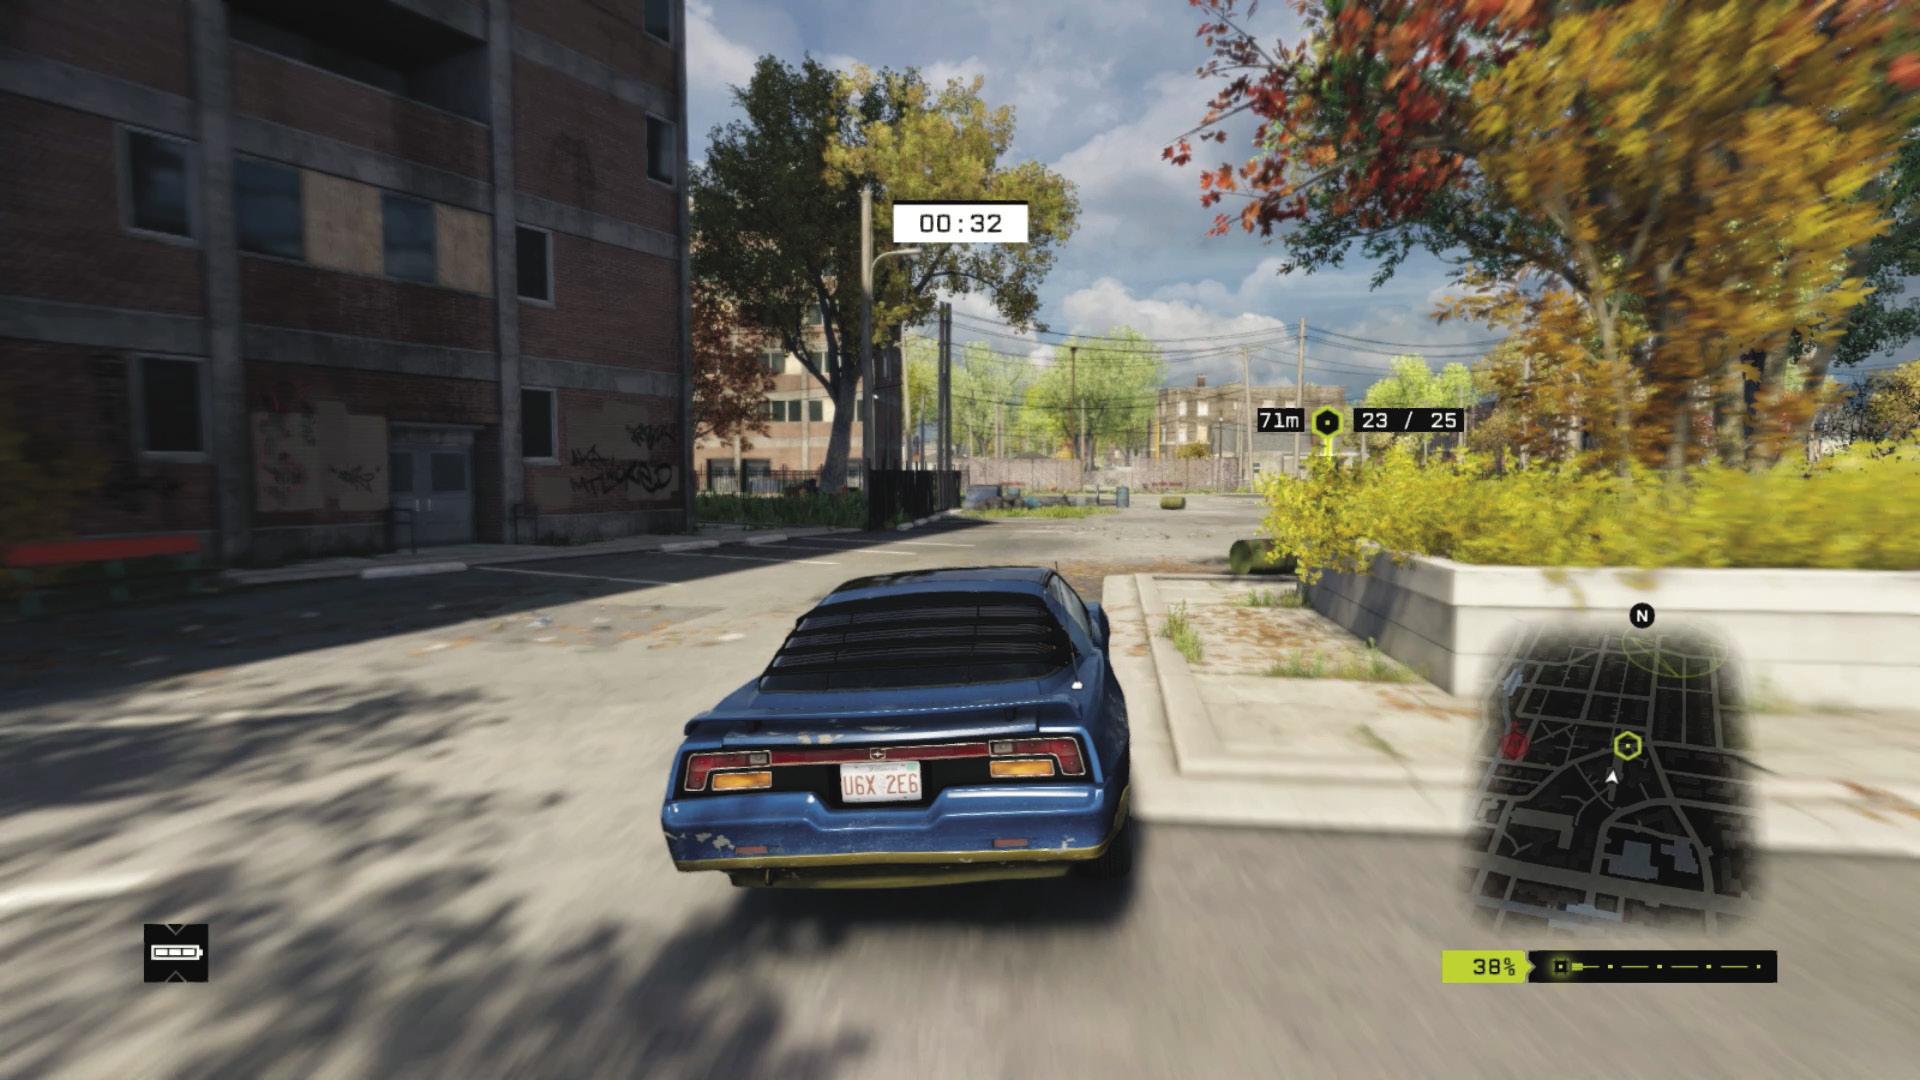
Checkpoints 22–25: Cut across the concrete grounds, watching the tree planter as you reach the main road before 23. Then stay on the road at 24, increasing your speed to the final checkpoint.
05_RAID
Starting location: BRICK WAREHOUSE
Vehicle: Zusume R
Difficulty:
NUMBER OF CHECKPOINTS: 21
 +00:35 // +$6,000
 +00:25 // +$5,000
 +00:00 // +$4,000
BEAT THIS: 00:44:10 (Anthony Renomeron)
Checkpoints 2–5: Continue the momentum, launching up the metal ramp and over the water, aiming left slightly to land near the junction and up the road through Checkpoint 3. Then head off the road through the barrier gate (spikes) and 4, aiming for yet another ramp, this one in a container.
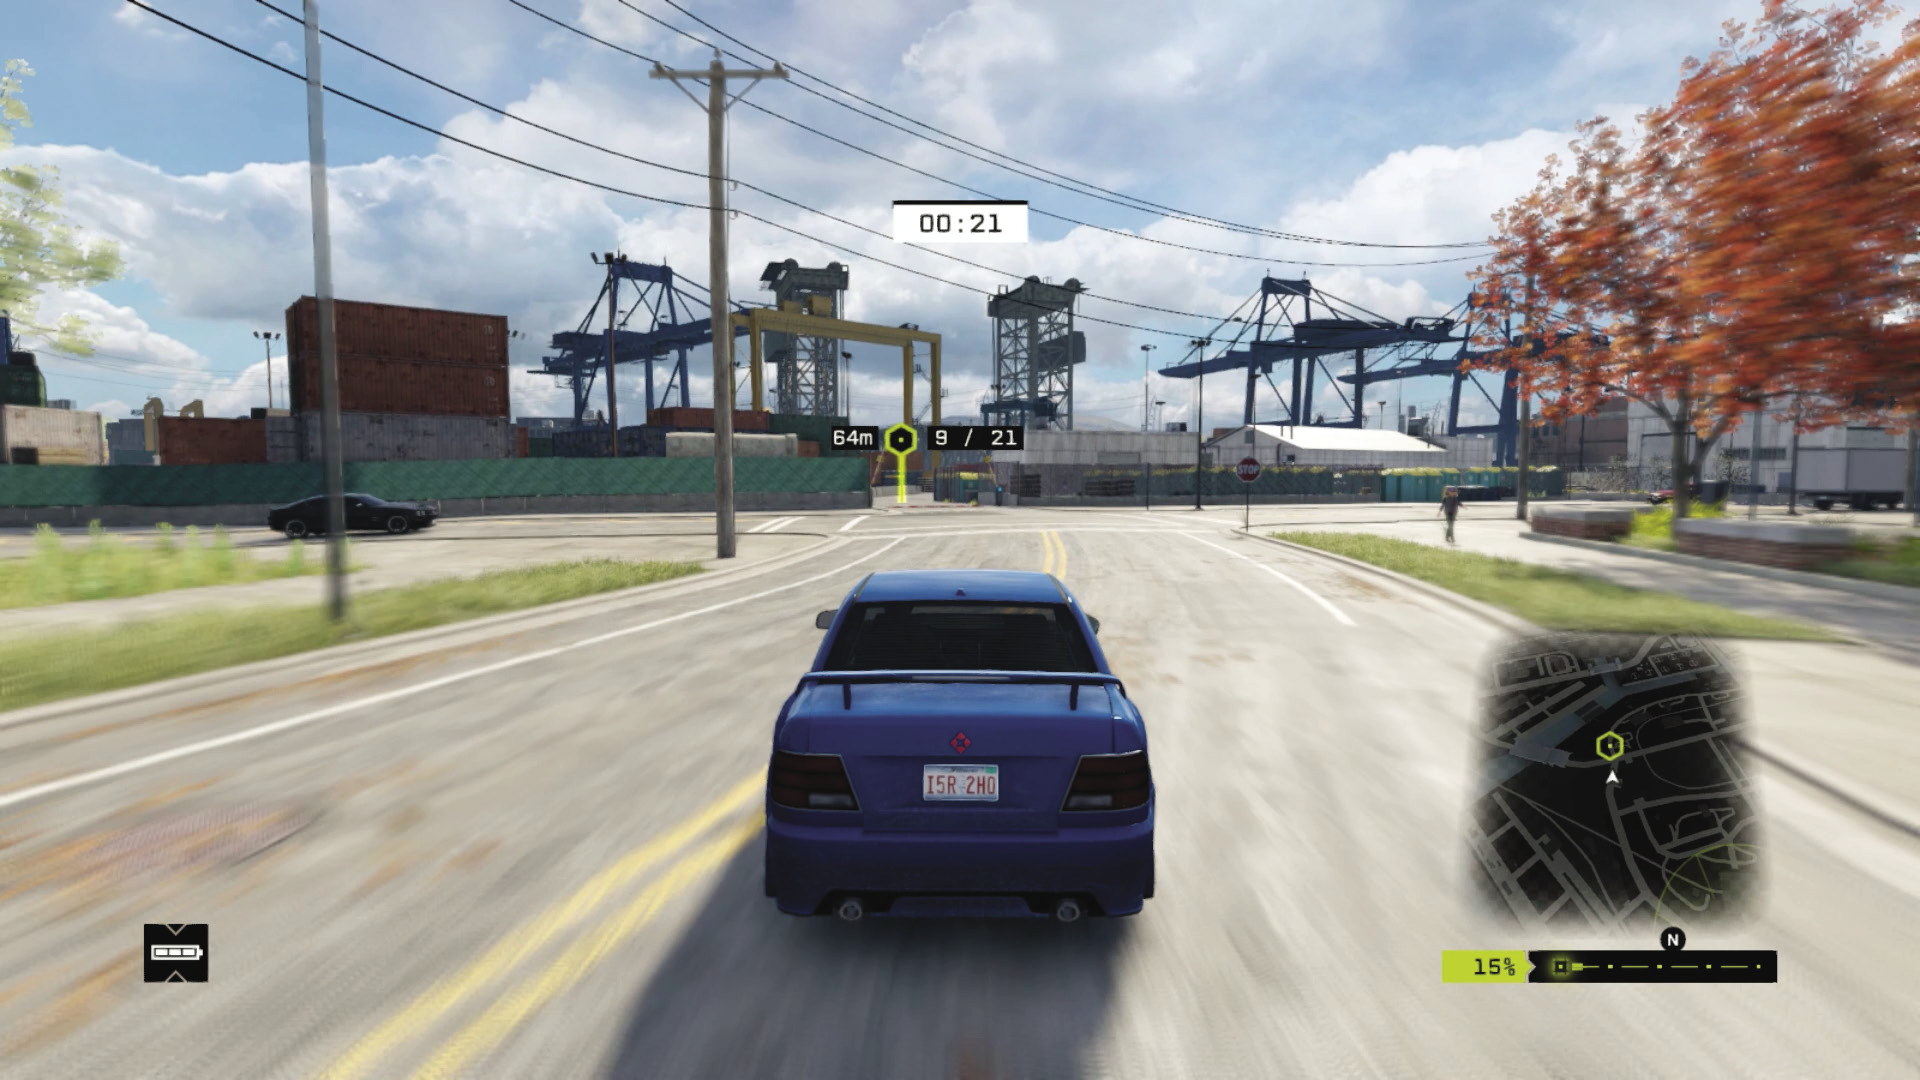
Checkpoints 6–9: Land on the road, avoiding oncoming traffic and heading under the bridge. Maintain a high speed along the winding main road until you head through another barrier at Checkpoint 9 and into the shipping yard.
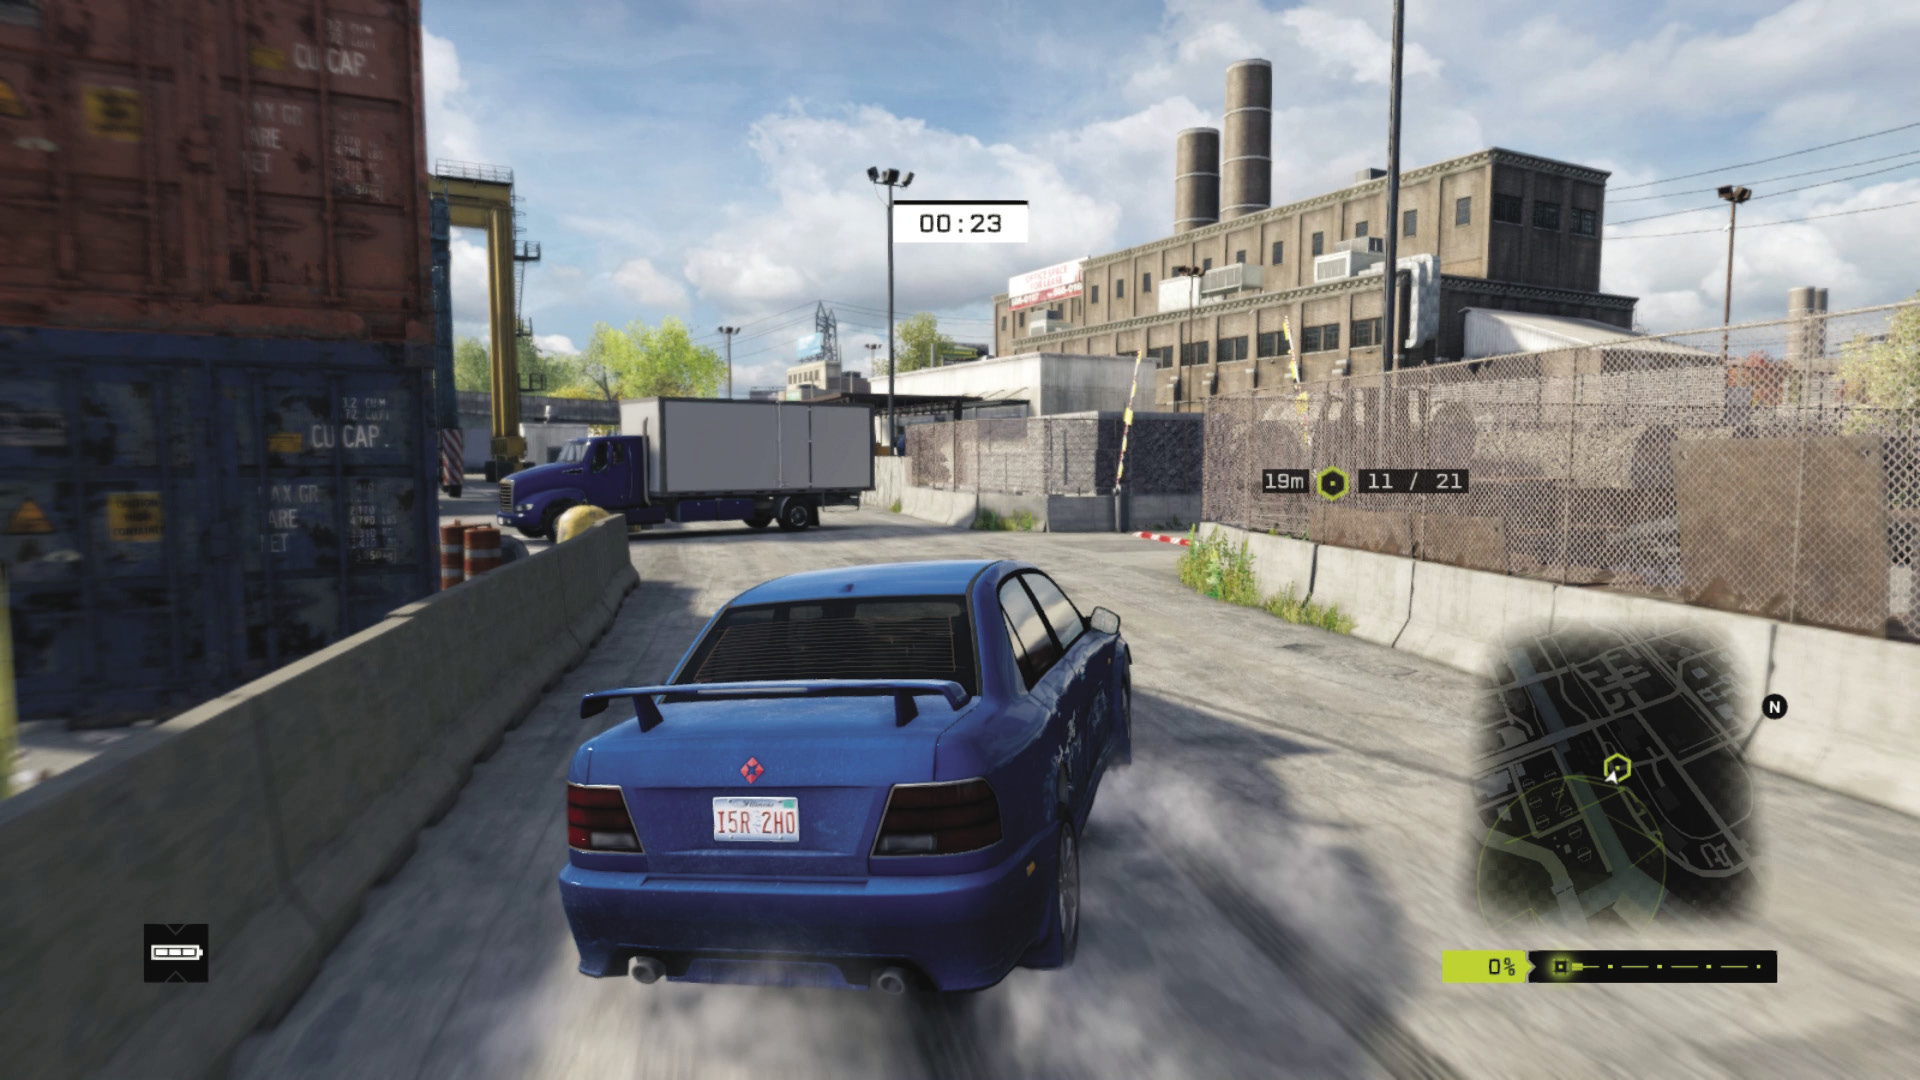
Checkpoints 10–13: The concrete path is narrow and curves right; then there’s a very sharp, narrow turn at Checkpoint 11. Head right and through another barrier. Accelerate out and onto the rail tracks at 12, and avoid the rusting engine by keeping right, then back onto the rails at 13.
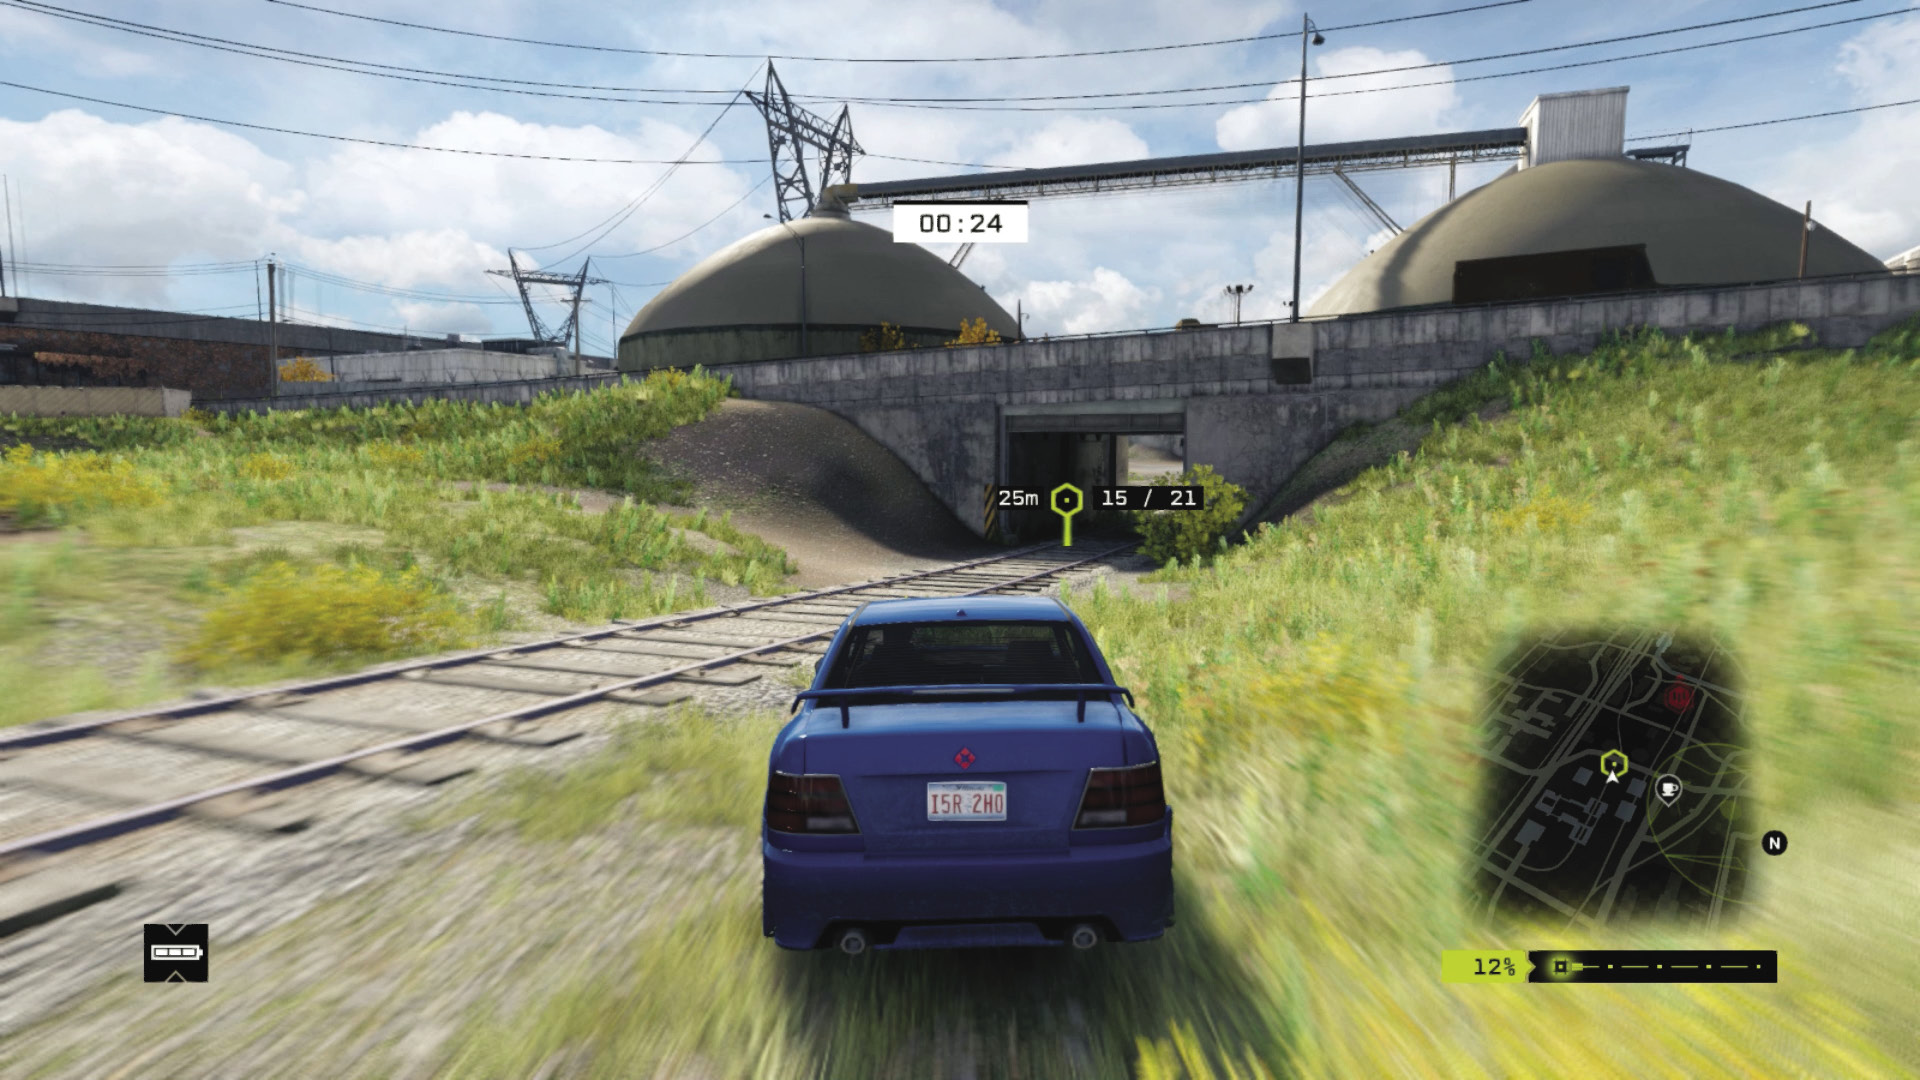
Checkpoints 14–17: Follow the rail line as it curves left, then leave it and stay on the grass to the right, passing Checkpoint 14. Head back onto the rails, under the concrete bridge at 15. Open the gate at 16 and enter a very narrow and slightly winding rail tunnel at 17.
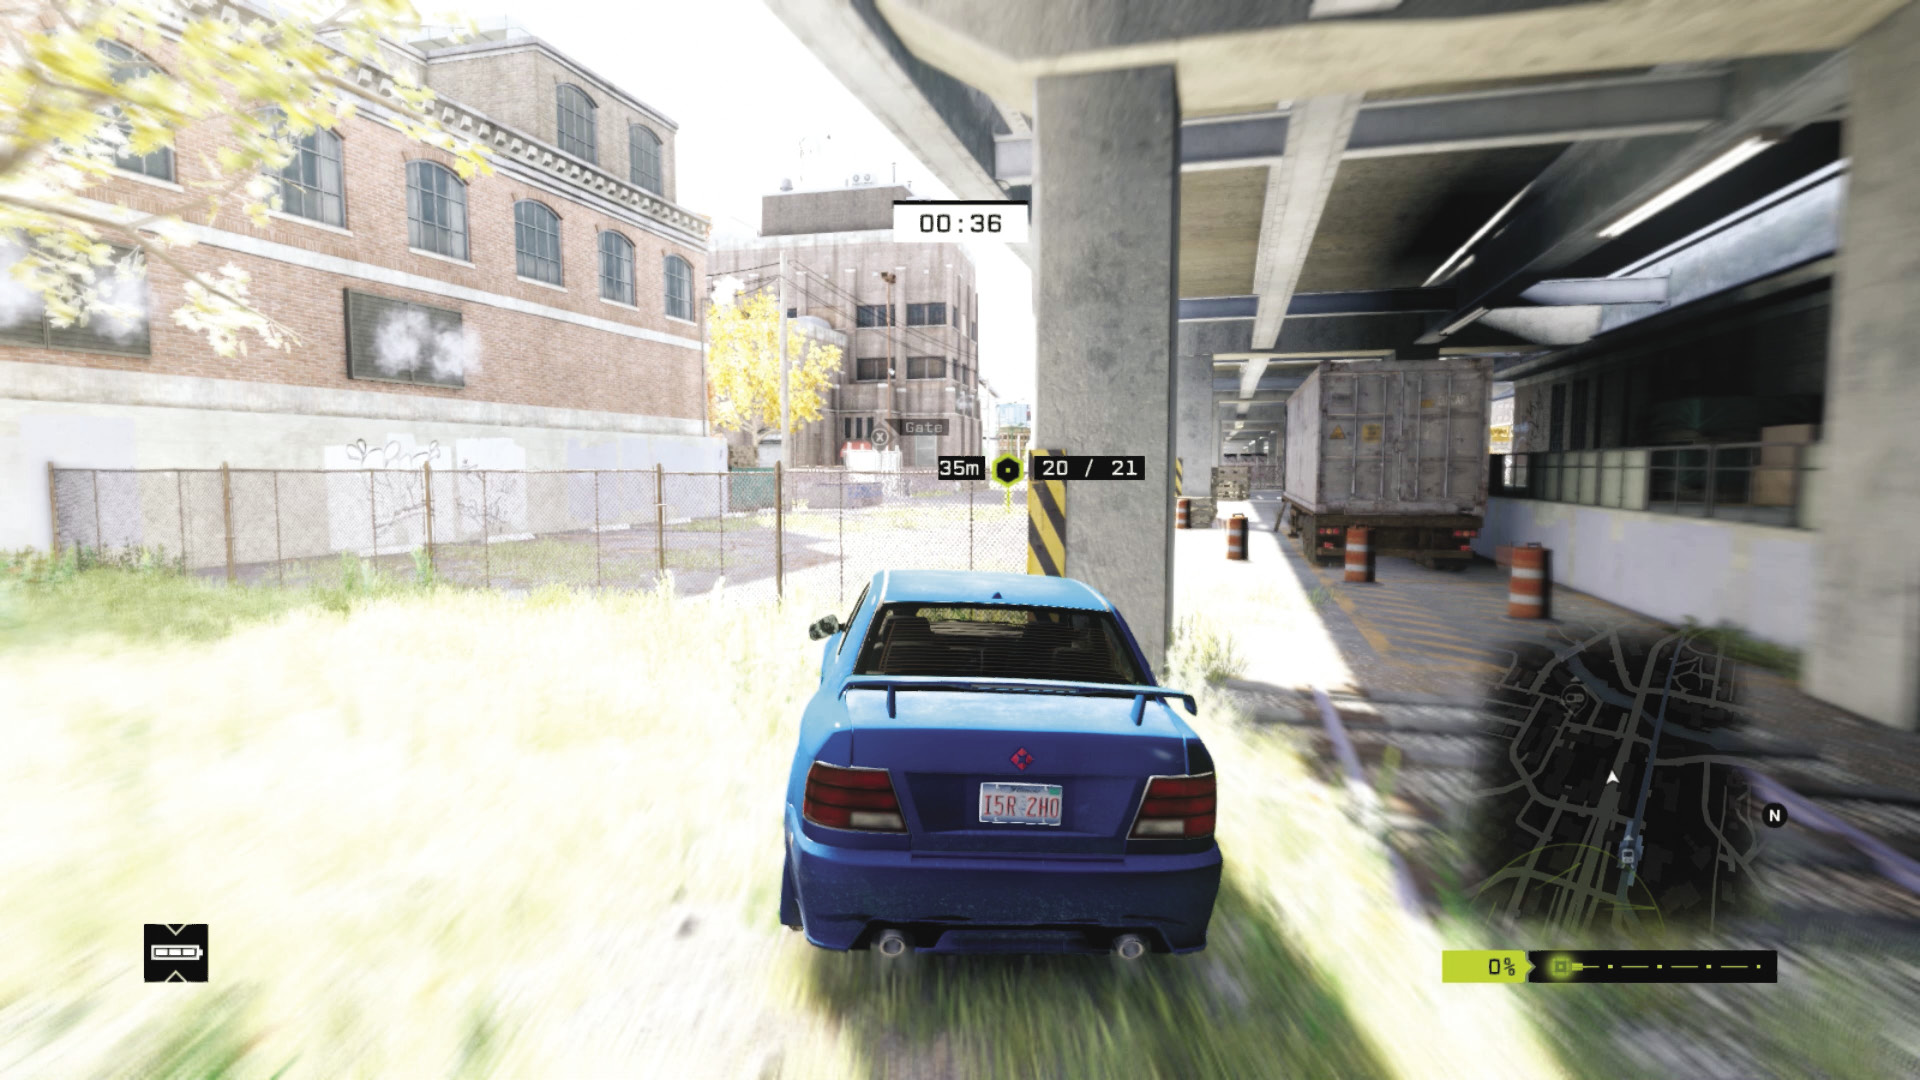
Checkpoints 18–21: Crash through the fence and stay on the rails at Checkpoint 19, then dodge left off the rails, missing the concrete freeway pillars, to reach 20. Now accelerate wildly to hit 21, launching yourself over the river.
06_RIDGE RIDER
Starting location: NORTH ISLAND SILO YARD
Vehicle: Hailkal R
Difficulty:
NUMBER OF CHECKPOINTS: 17
 +01:00 // +$10,000
 +00:40 // +$9,000
 +00:00 // +$8,000
BEAT THIS: 00:47:00 (Jean Michel Lavinge)
Checkpoints 1–4: Move onto the road, ignoring the rails as you pass Checkpoint 1, slowing for the first right corner at 2, before cutting through the fence and grass to line up for 3. Cross the bridge following the road south through 4.
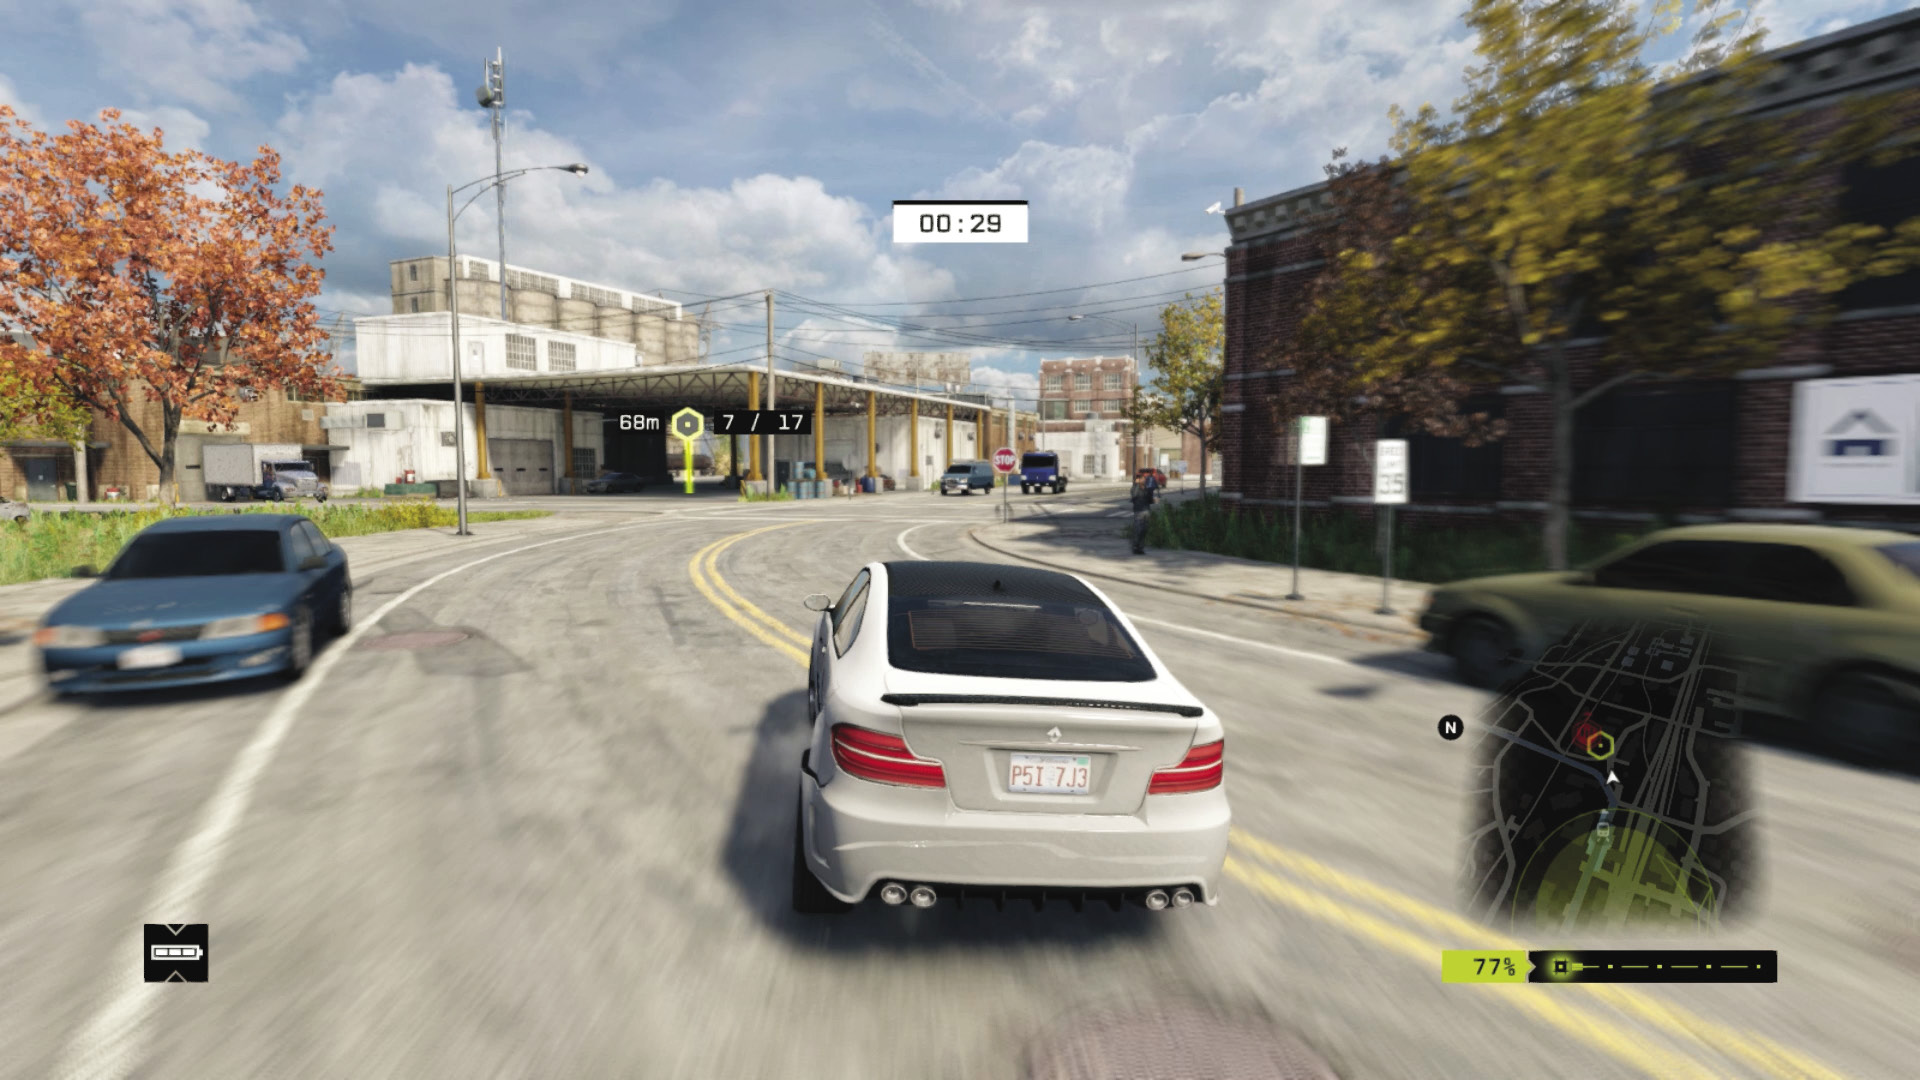
Checkpoints 5–8: Checkpoint 5 requires a reasonably sharp left turn, under the L-train tracks to 6, and into the covered warehouse almost immediately after to 7. Avoid the middle concrete pole when bursting through the fence jump at 8.
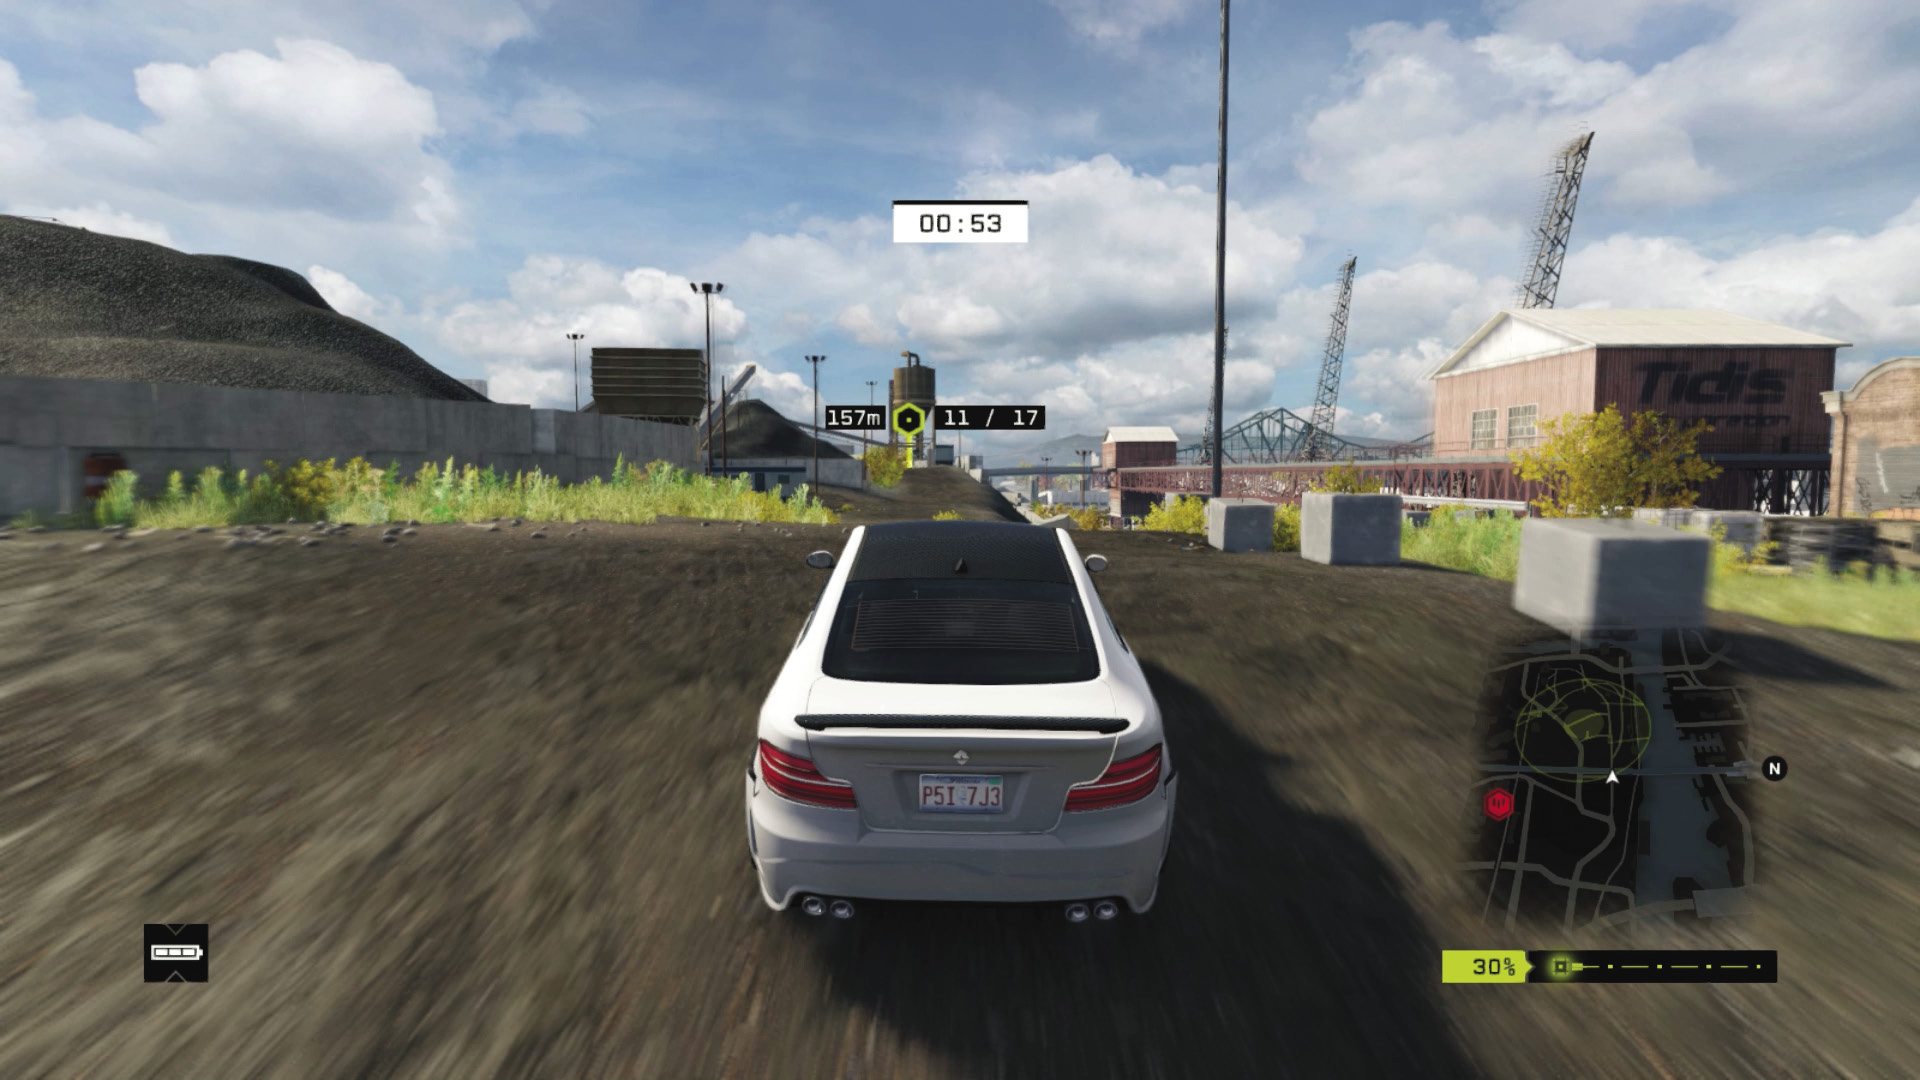
Checkpoints 9–11: Follow the curved road left and then straight out as you drive over the gravel pit at Checkpoint 10. Position yourself for a quick dash straight to 11; brake here as you skid left, into the gravel yard.
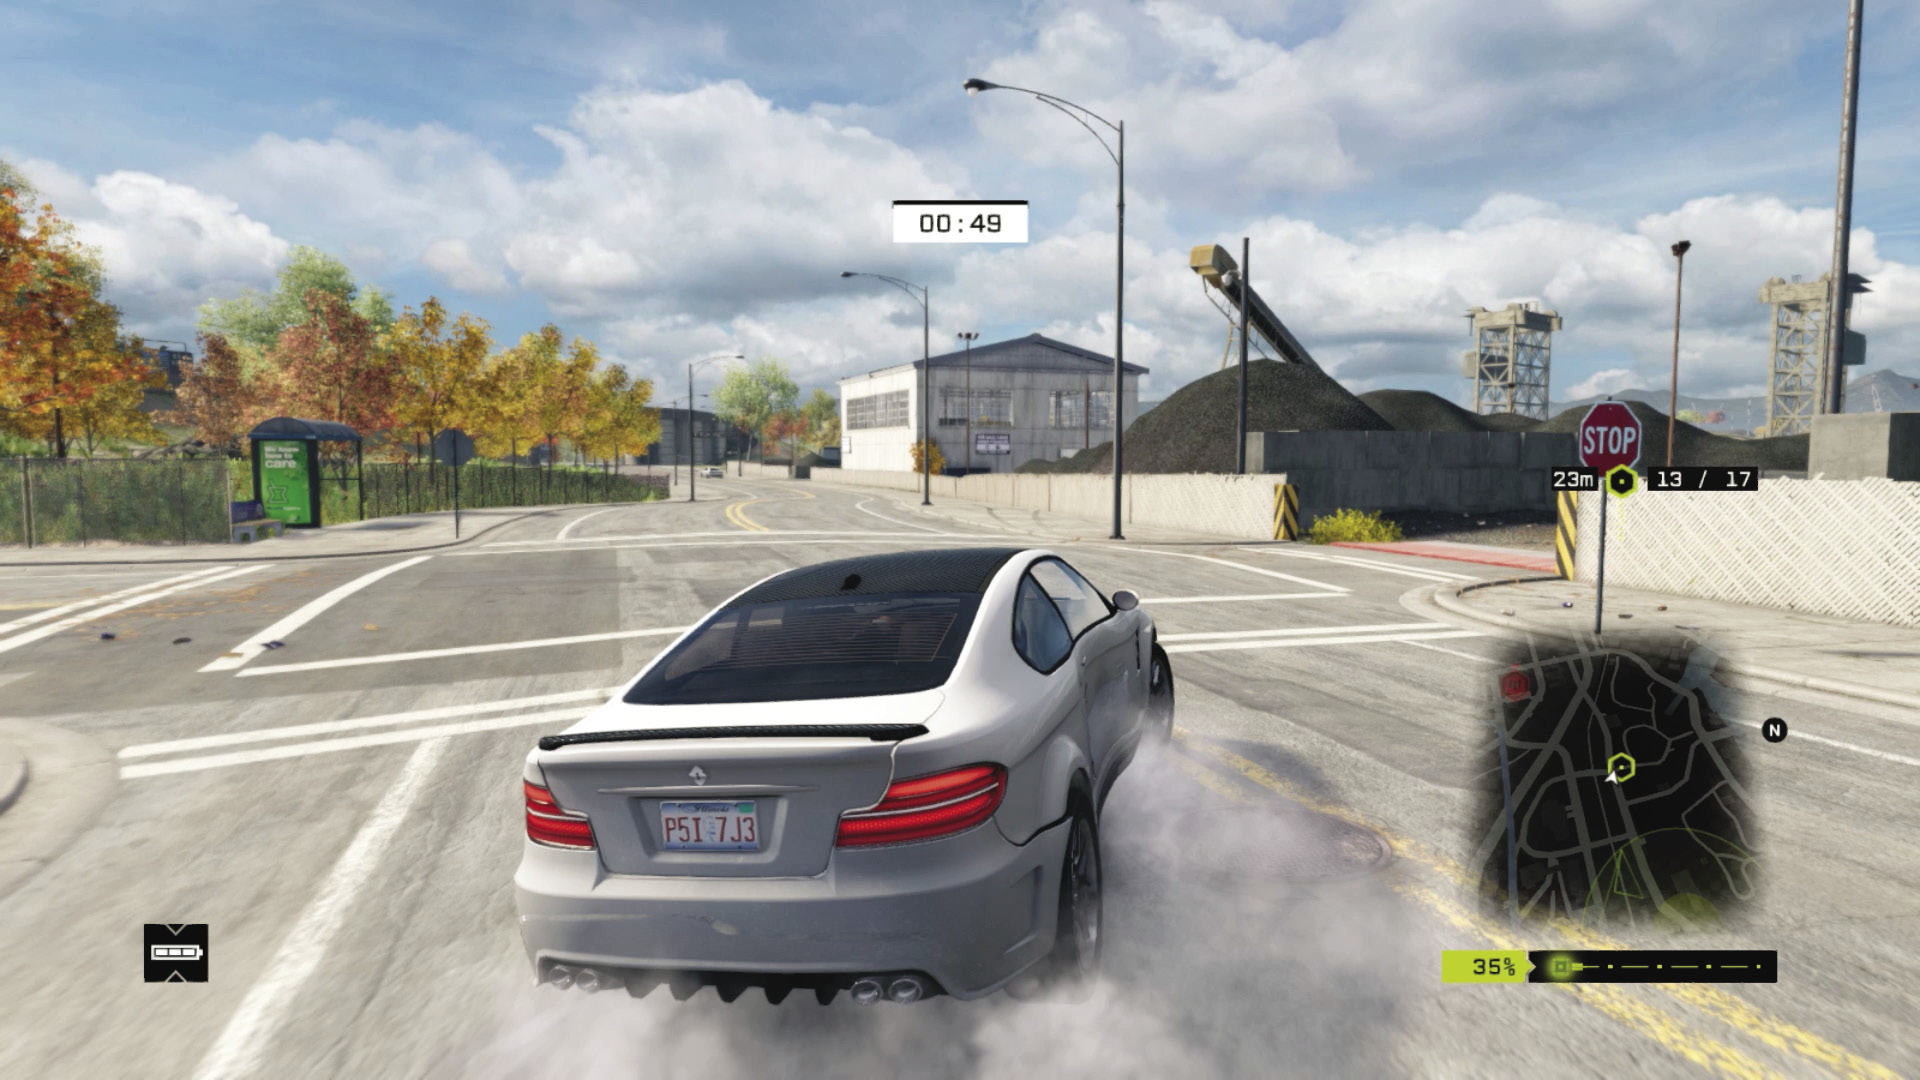
Checkpoints 12 and 13: Line up quickly as you approach Checkpoint 12, and jump off the gravel pit area and onto the bridge (without hitting the middle divider). Follow the road and make a severe right turn into another yard at 13.
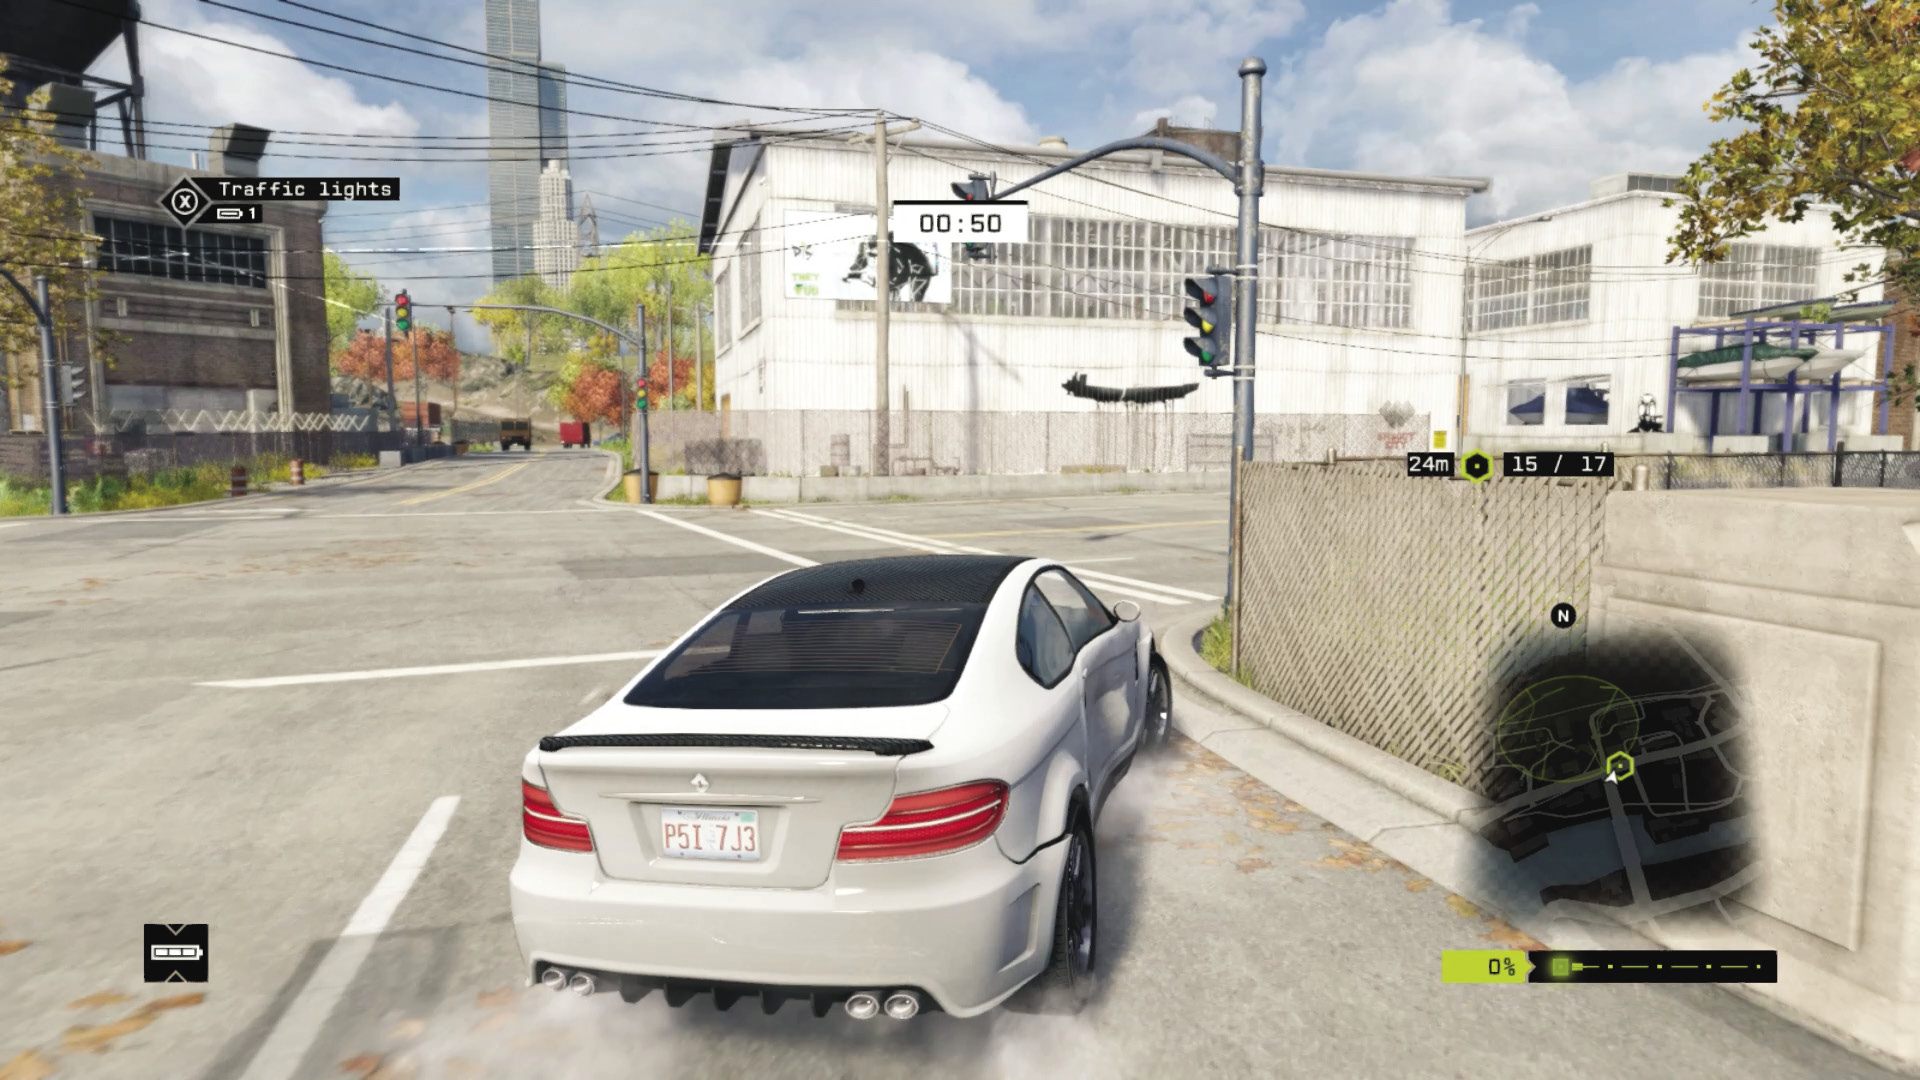
Checkpoints 14–17: Head straight off the gravel, watching for cross traffic as you jump down to Checkpoint 14. Cross the bridge, make a sharp right at 15, then accelerate strong, following the road through 16 and the rising bridge at 17.
THE LOOP // DECOY CONTRACTS
07_DISTRACTION
Starting location: SOUTH ALLEY
Vehicle: Core-T
Difficulty:
NUMBER OF CHECKPOINTS: 20
 +01:00 // +$6,000
 +00:40 // +$5,000
 +00:00 // +$4,000
BEAT THIS: 00:53:08 (Anthony Renomeron)
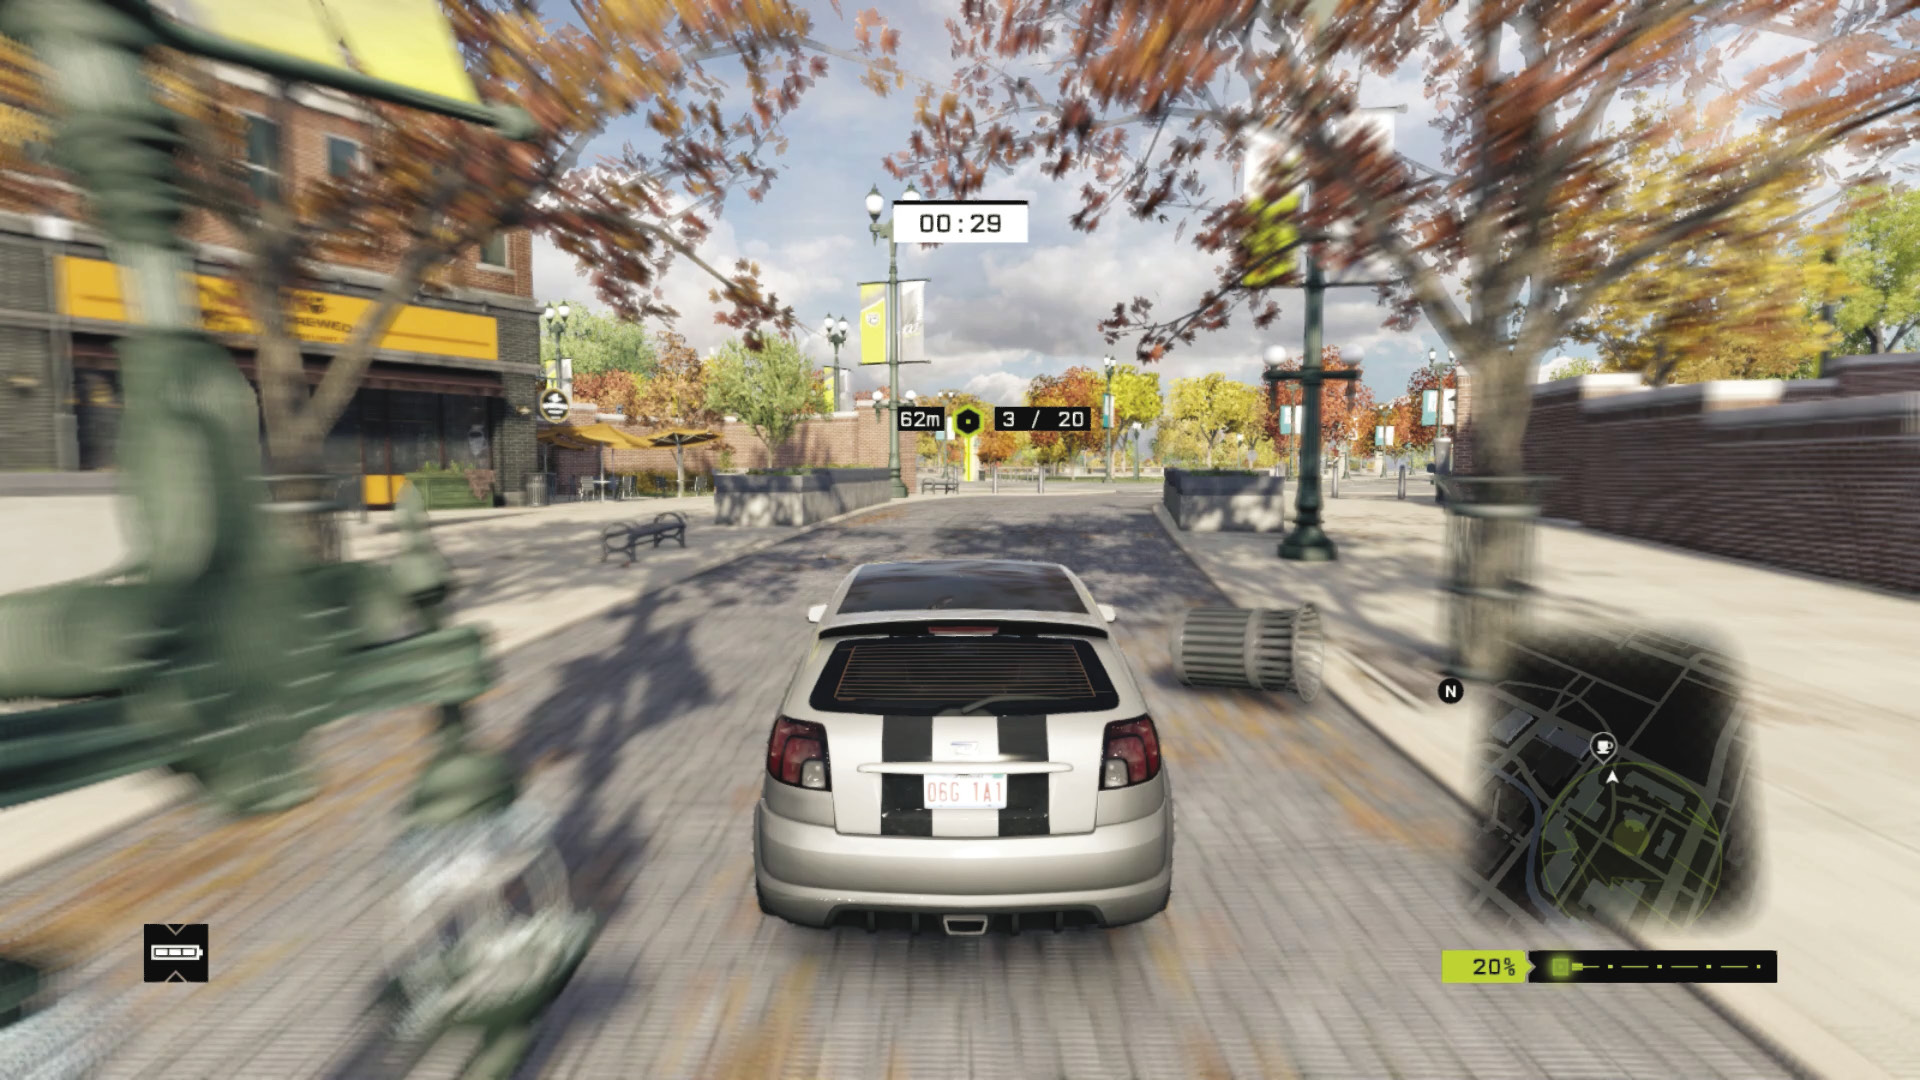
Checkpoints 1–4: Accelerate between the bollards under the L-train, and head up the cobblestone pedestrian areas. Prepare for a sharp left turn at Checkpoint 3, onto the main street heading north. Swerve left at 4.
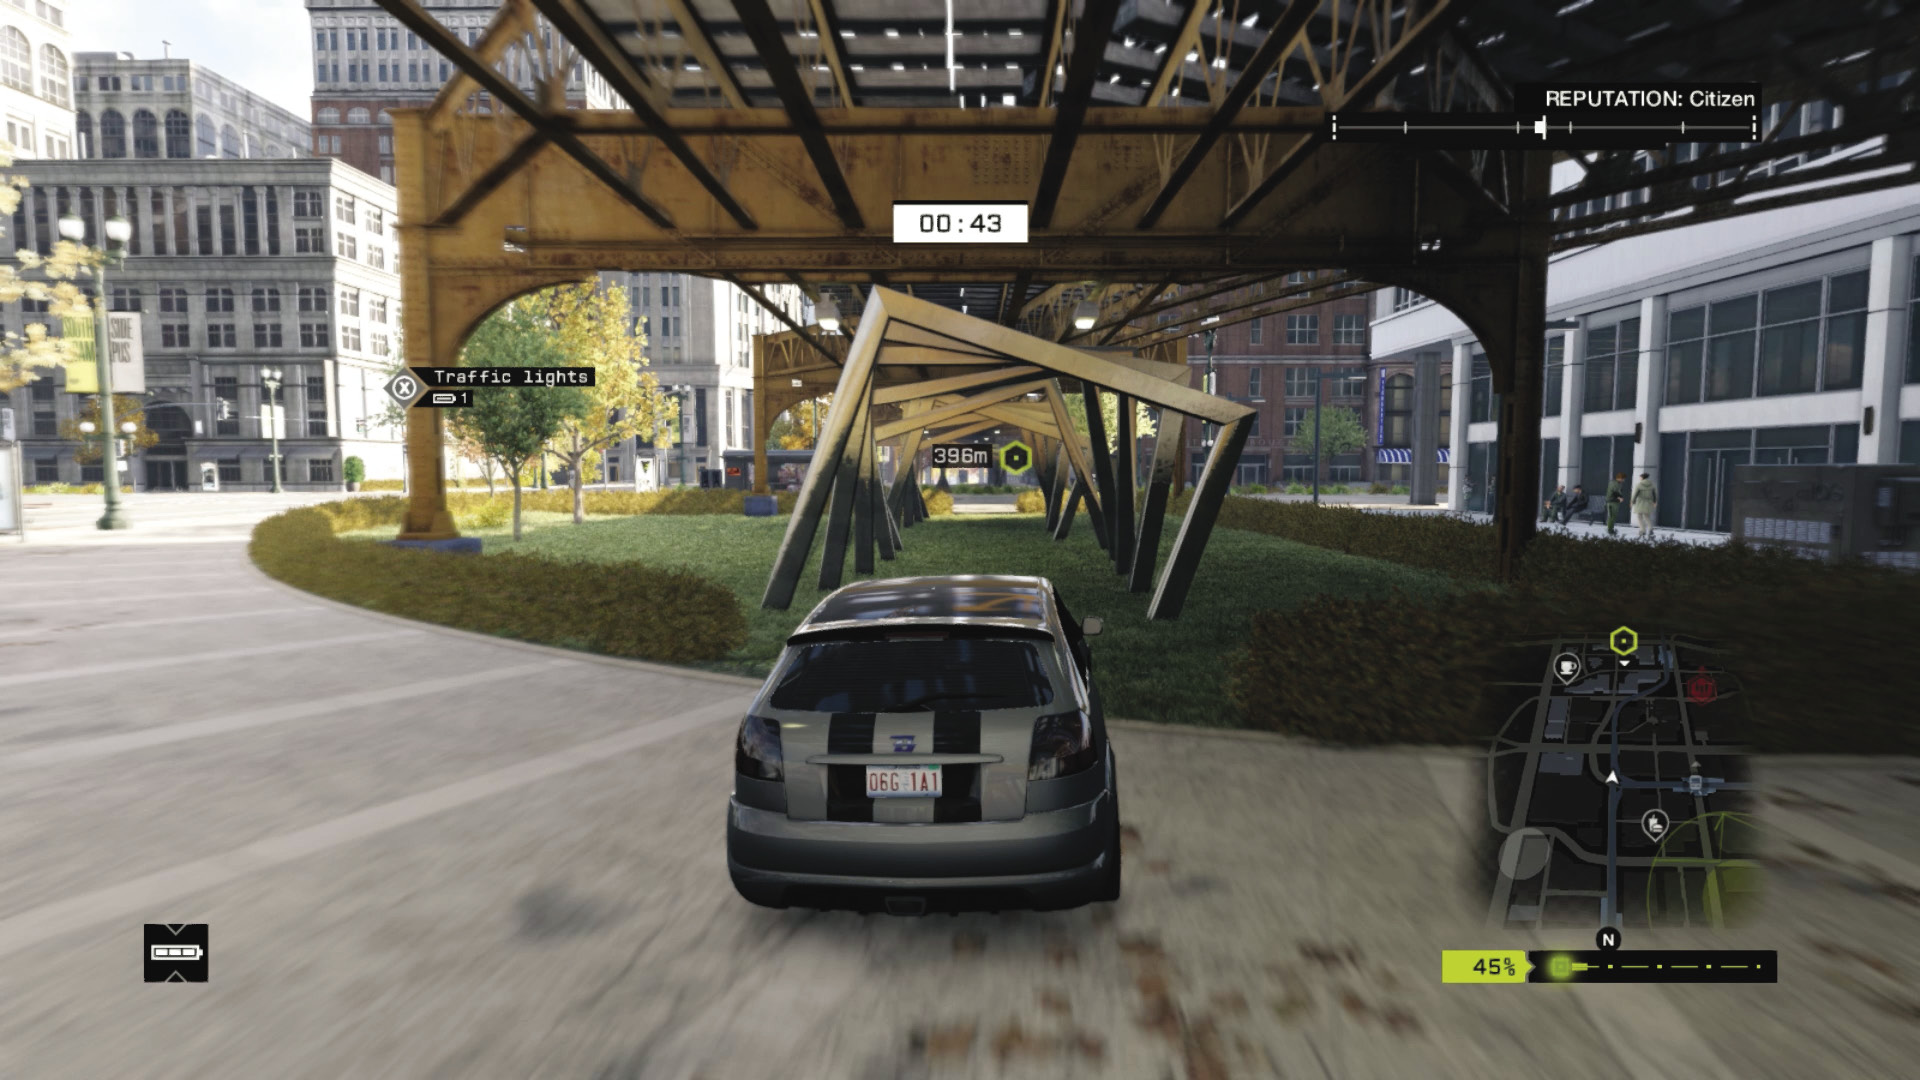
Checkpoints 5–7: Stay to the left! Drop down into the alley and turn left under the L-train tracks. Aim your vehicle through the series of metal frames, down another pedestrian walkway, and skid right onto the road at Checkpoint 6. Now follow this road as it winds around, swerving right onto another wide road at 7.
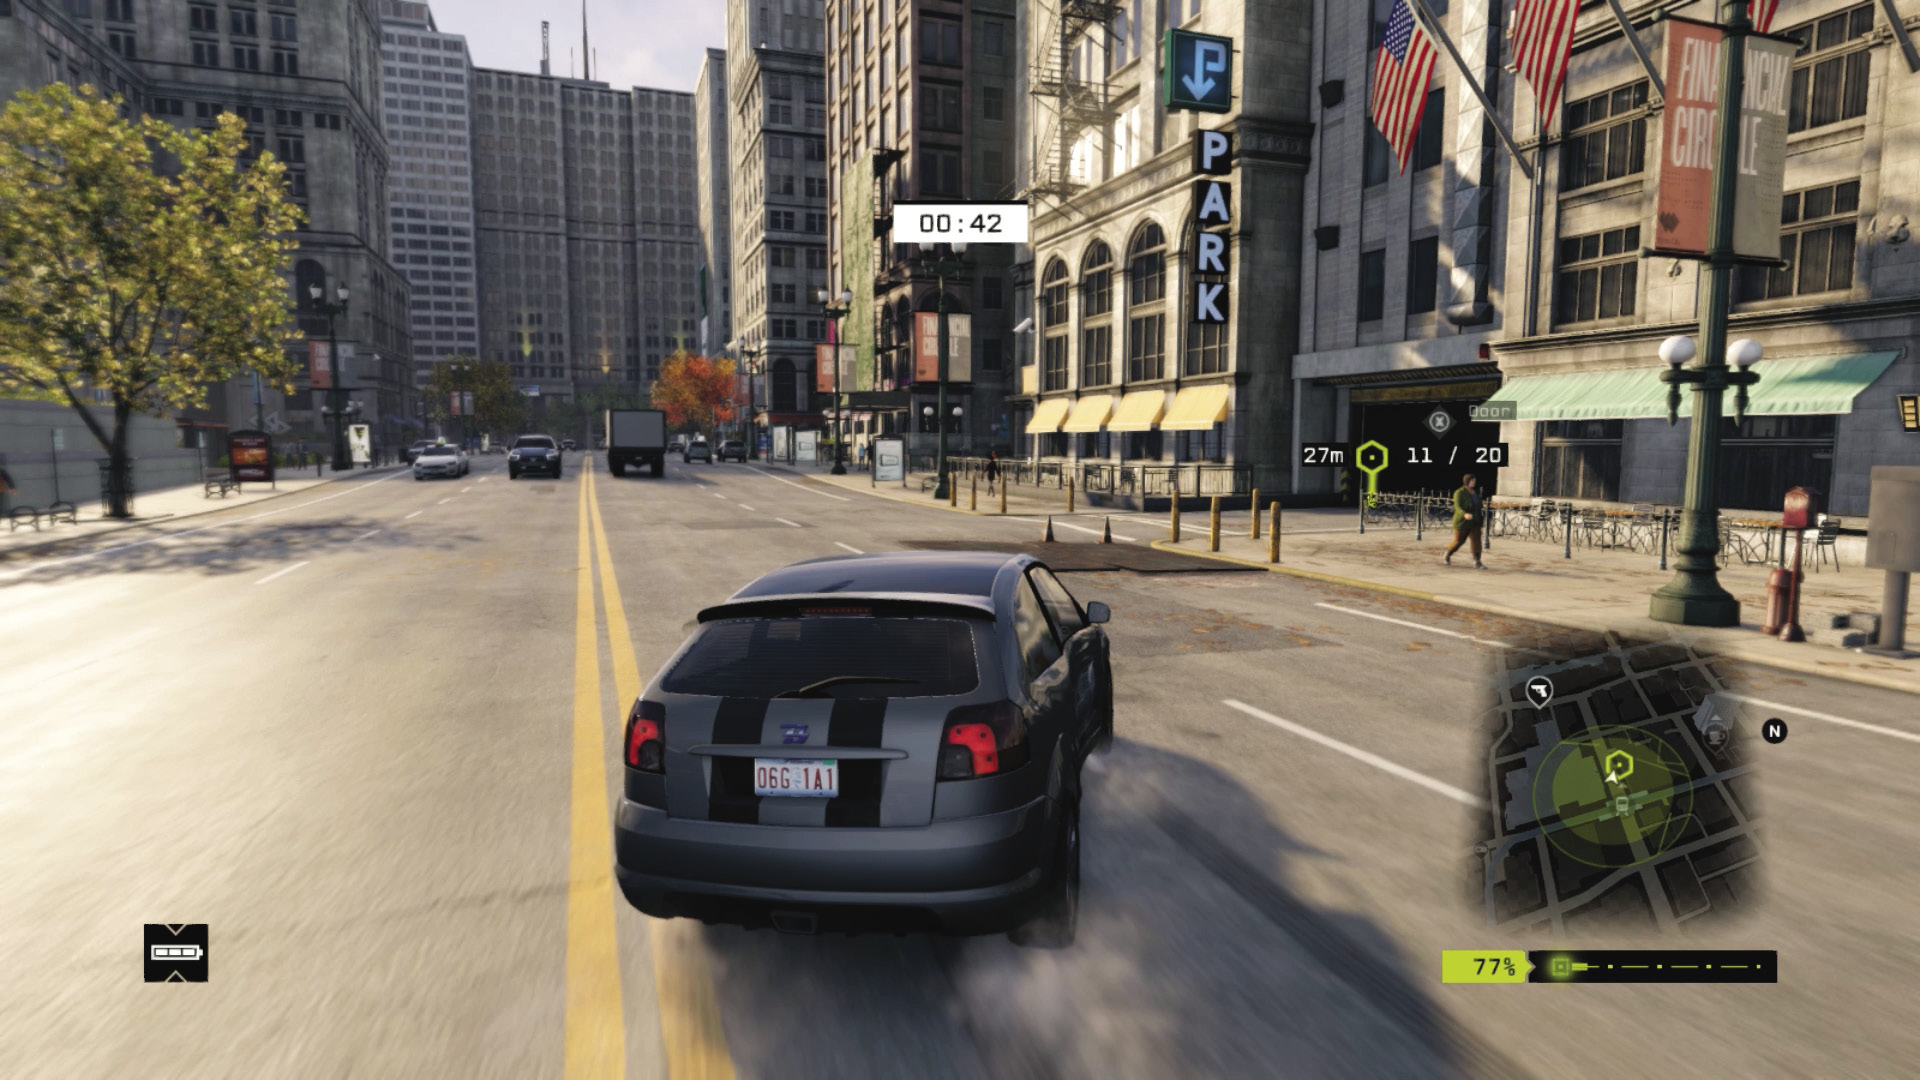
Checkpoints 8–12: Increase your speed through Checkpoint 8, under the L-train. Make a sharp left at 9, down the main road, and a sharp right turn at 11, into the parking garage. Take care as you drop down into the stone walkway and up the steps over 12 so you don’t overshoot and hit a tree. Then swerve to the right alley at the “Resonance” building.
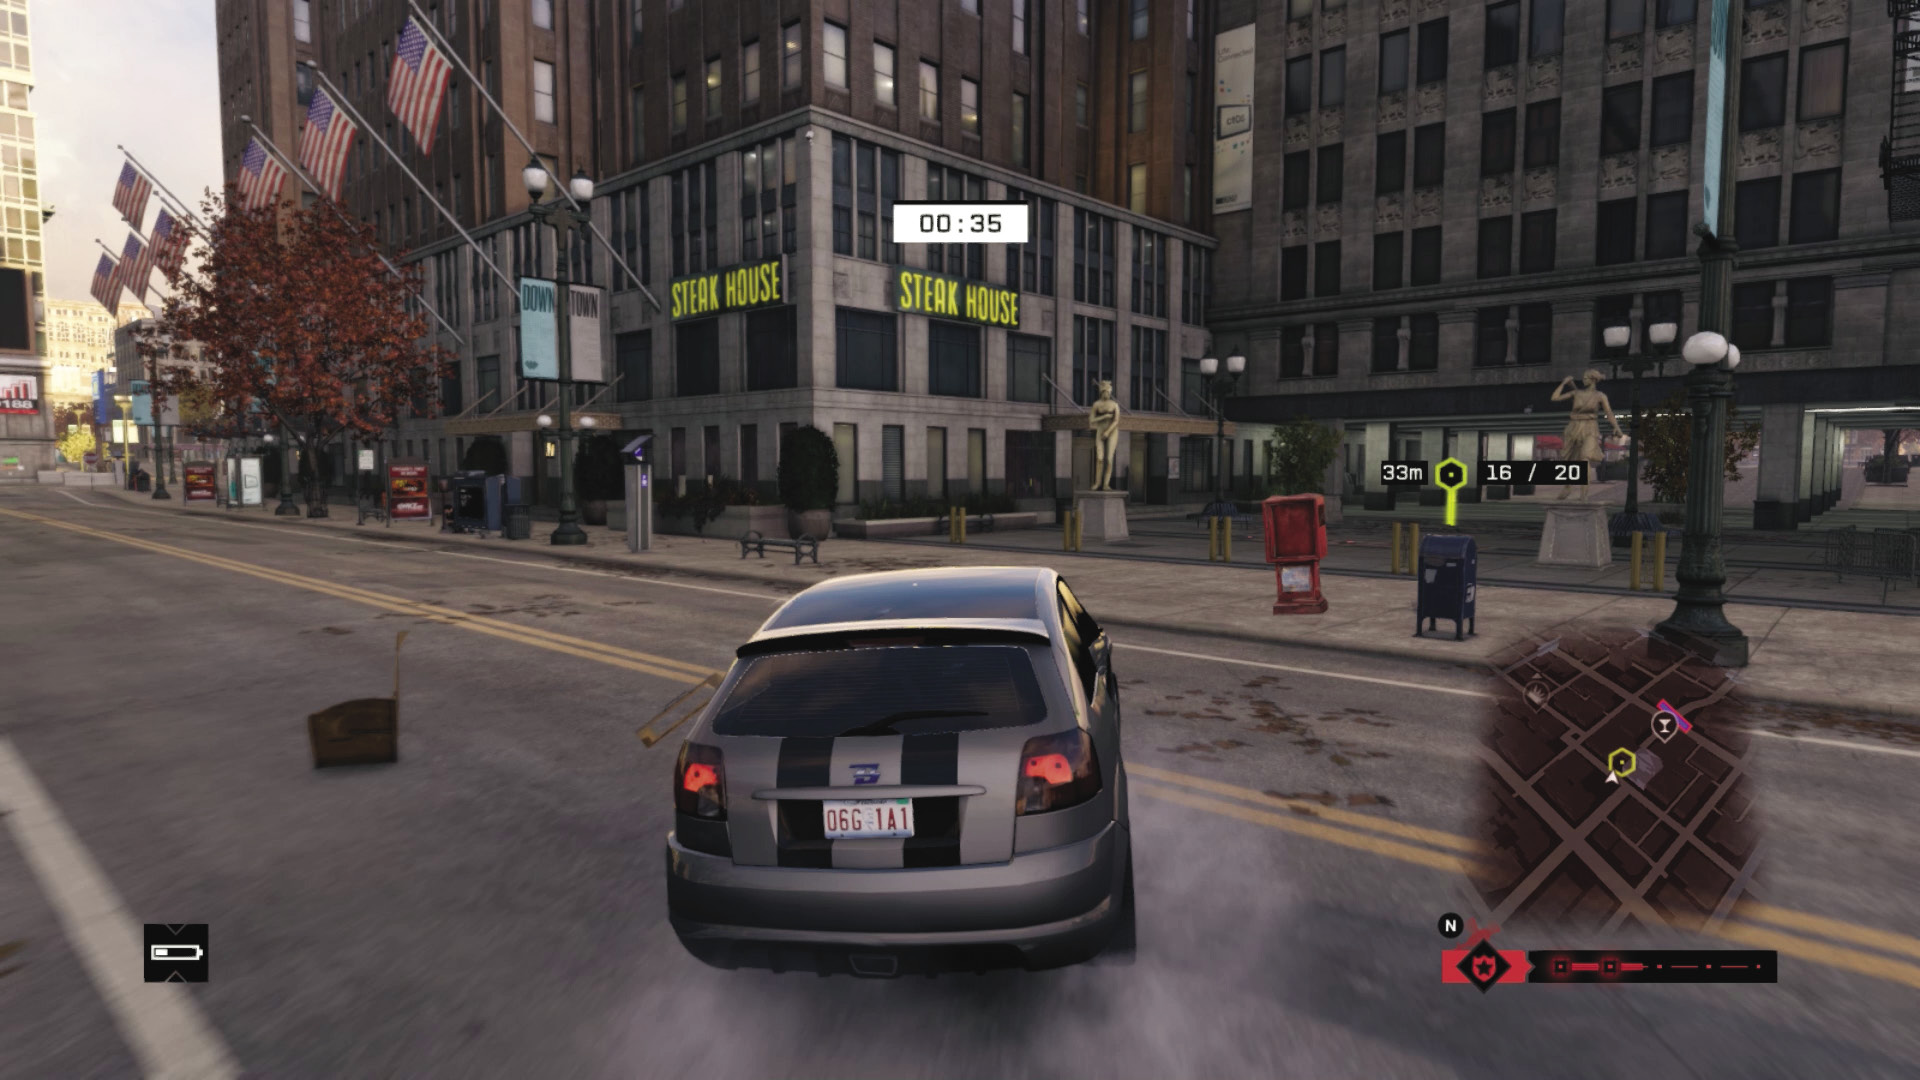
Checkpoints 13–16: Head through Checkpoint 13 and quickly open the garage door to exit. Continue straight (north) down the alley, swerving right and accelerating onto the road. Skid right at 15, accelerate hard under the L-train tracks, then ease off the gas as you weave into the pedestrian underpass with the two statues at 16.
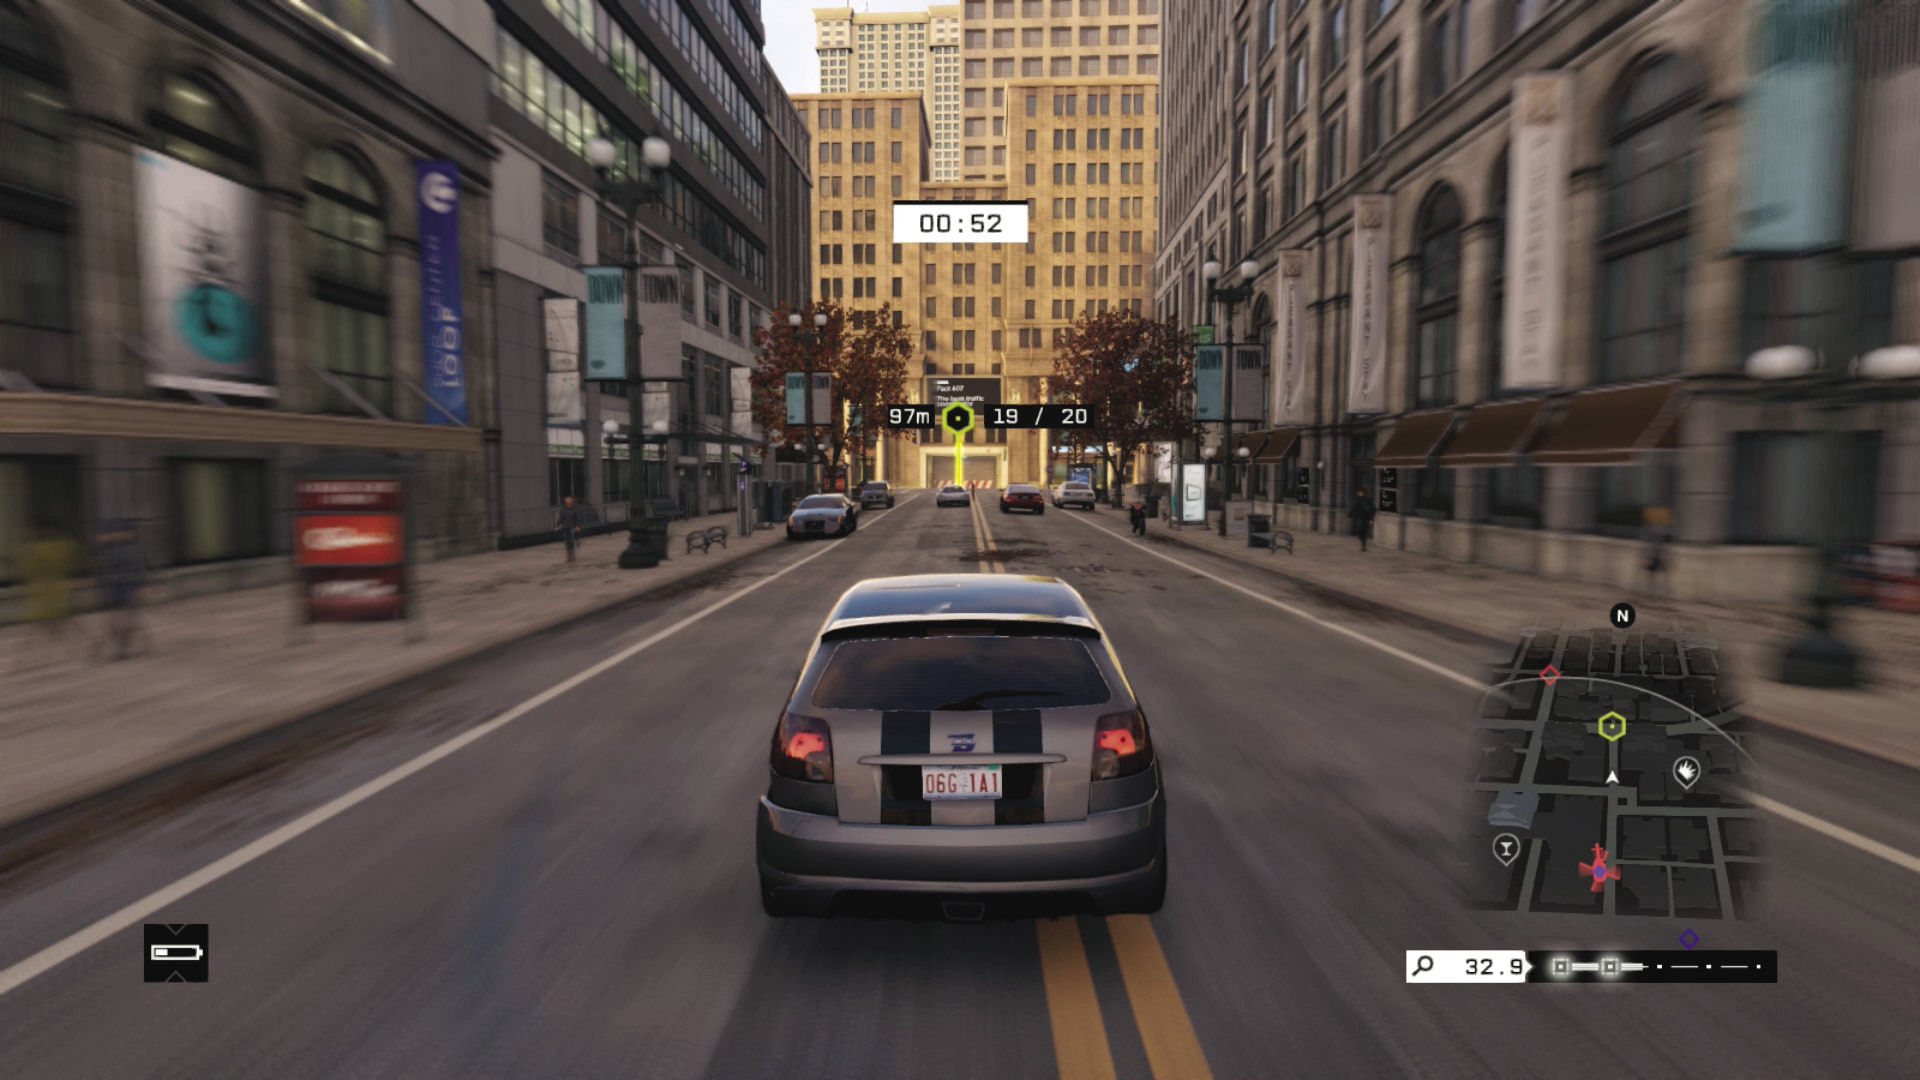
Checkpoints 17–20: A sharp left as you emerge from the pedestrian area, and another one a block later through Checkpoint 18. Then it’s a straight shot to the garage door; open it early, into the garage, and immediately open the garage exit while slowing so you don’t lose control. Then it’s a straight shot to 20 at the bridge.
08_GHOST TRAIL
Starting location: SOUTHEAST ALLEY
Vehicle: Zusume R
Difficulty:
NUMBER OF CHECKPOINTS: 14
 +00:30 // +$3,000
 +00:20 // +$2,000
 +00:00 // +$1,000
BEAT THIS: 01:05:44 (Anthony Renomeron)
Checkpoints 1–3: Follow the street as it curves around to the left, then straightens out, allowing a huge burst of speed as you zip down the street under the L-train tracks. Zigzag at Checkpoint 3, touching the brakes slightly.
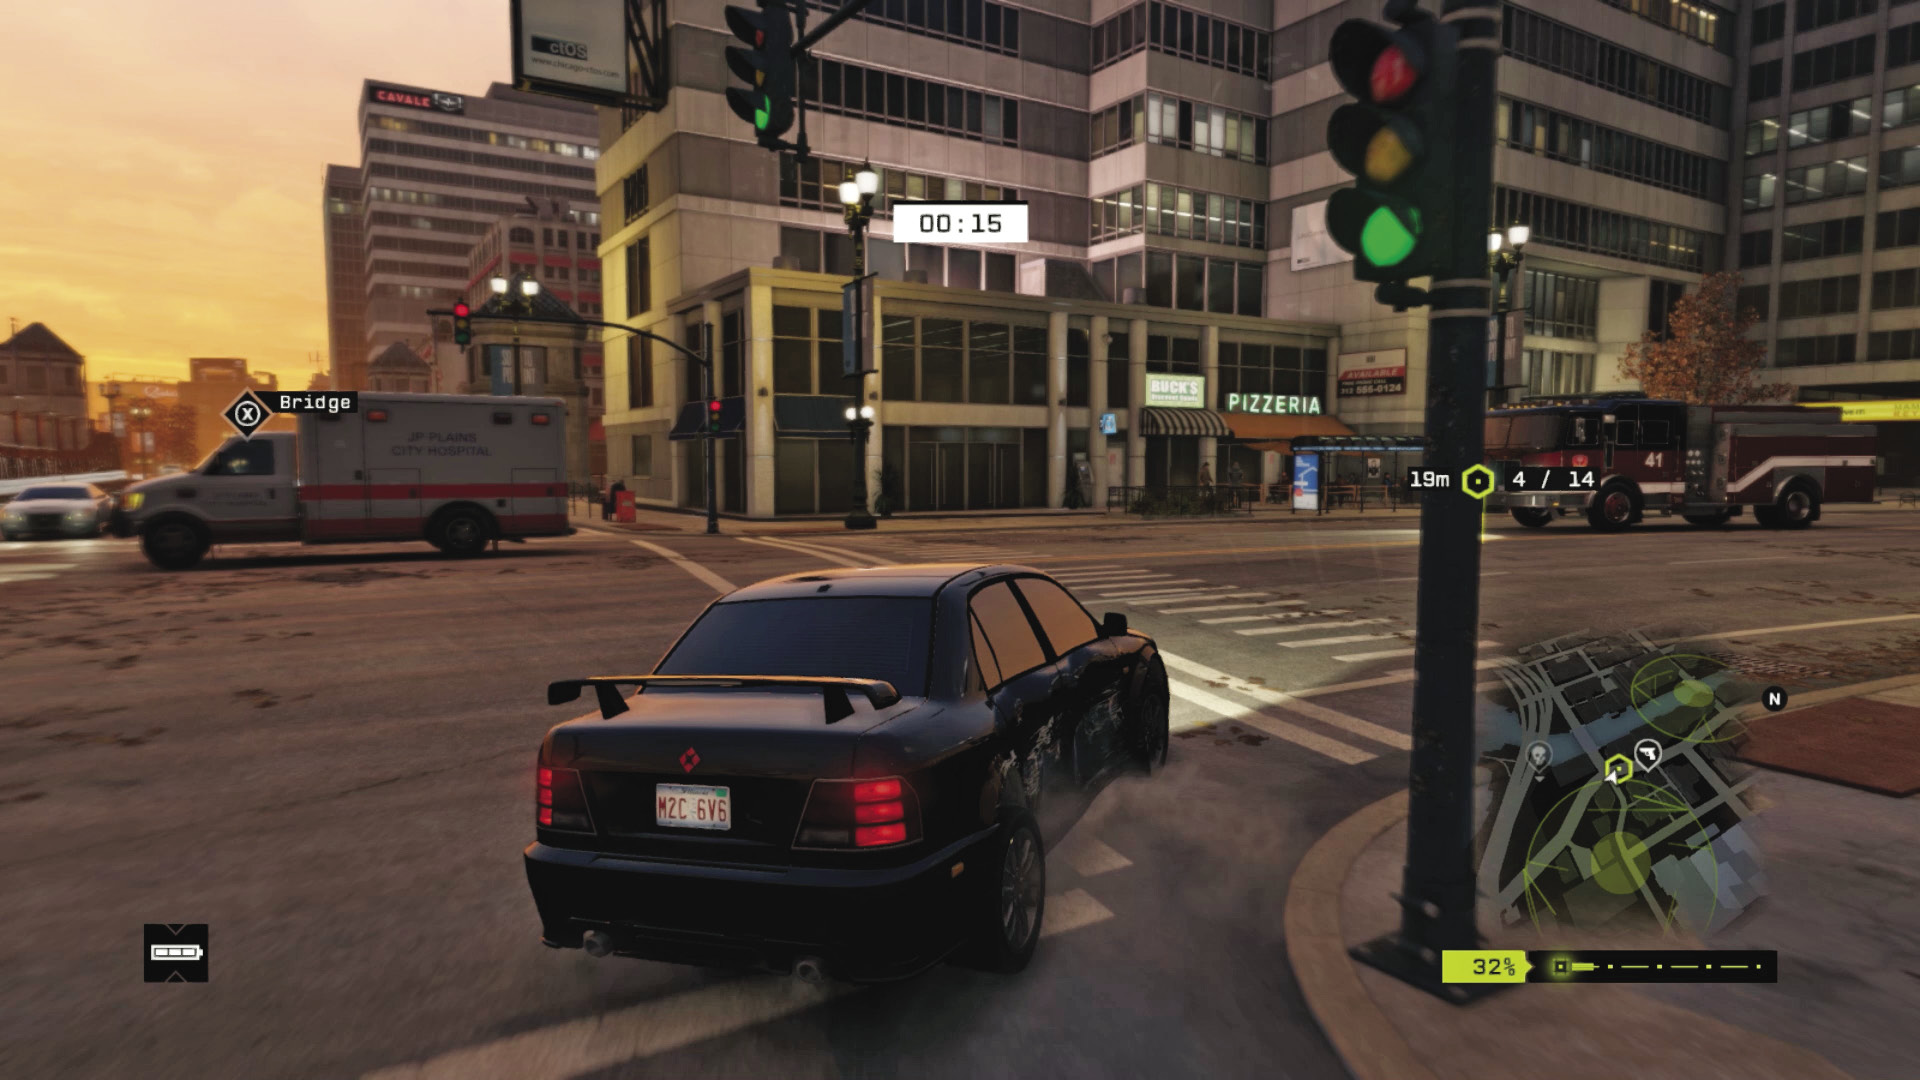
Checkpoints 4–5: Follow the road as it gently curves, then turn sharply right at the intersection and Checkpoint 4. The road widens, but don’t launch off the undulations in the road and lose control. Increase your speed as the road flattens.
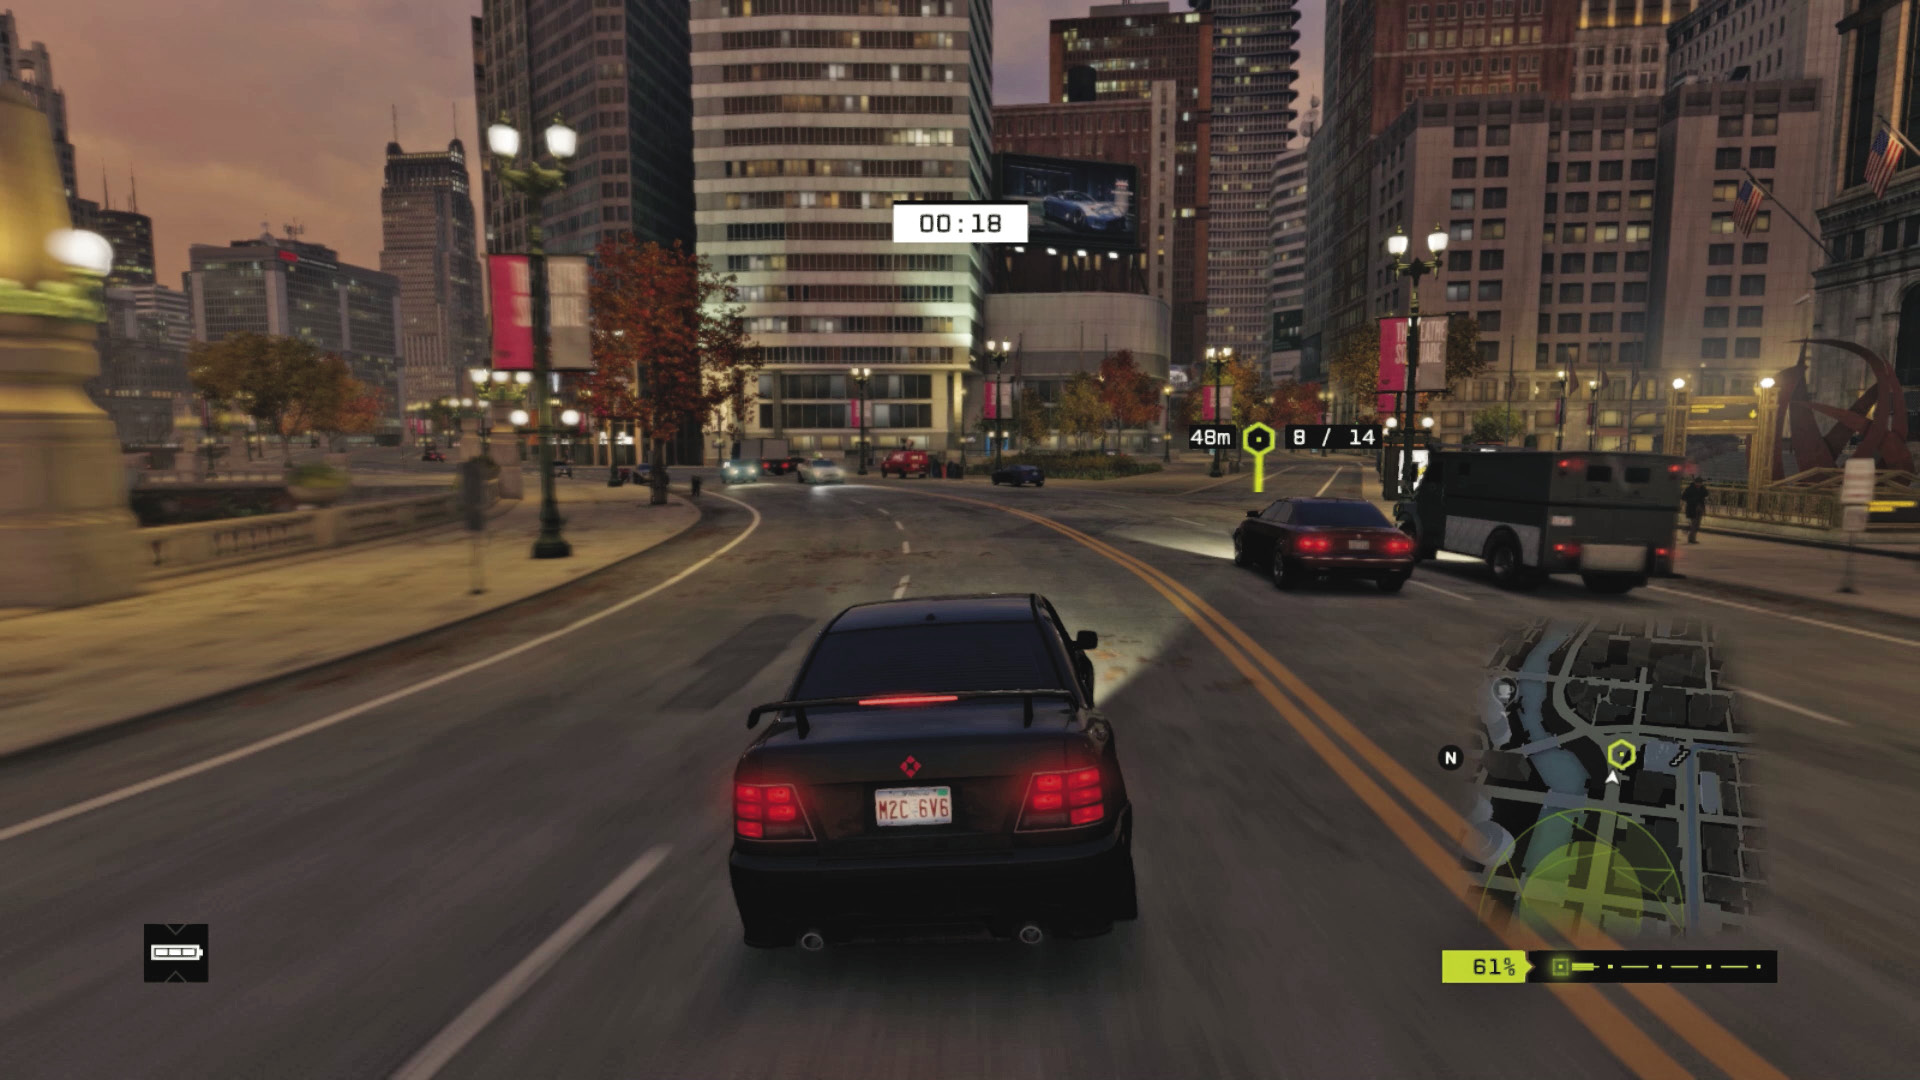
Checkpoints 6–9: Slow slightly as you pass under the L-train. The road follows the river, curving right and straightening out. Take the narrower road to the right, at the Y-junction at Checkpoint 8. Make a severe left turn, slowing down so you don’t hit the steps.
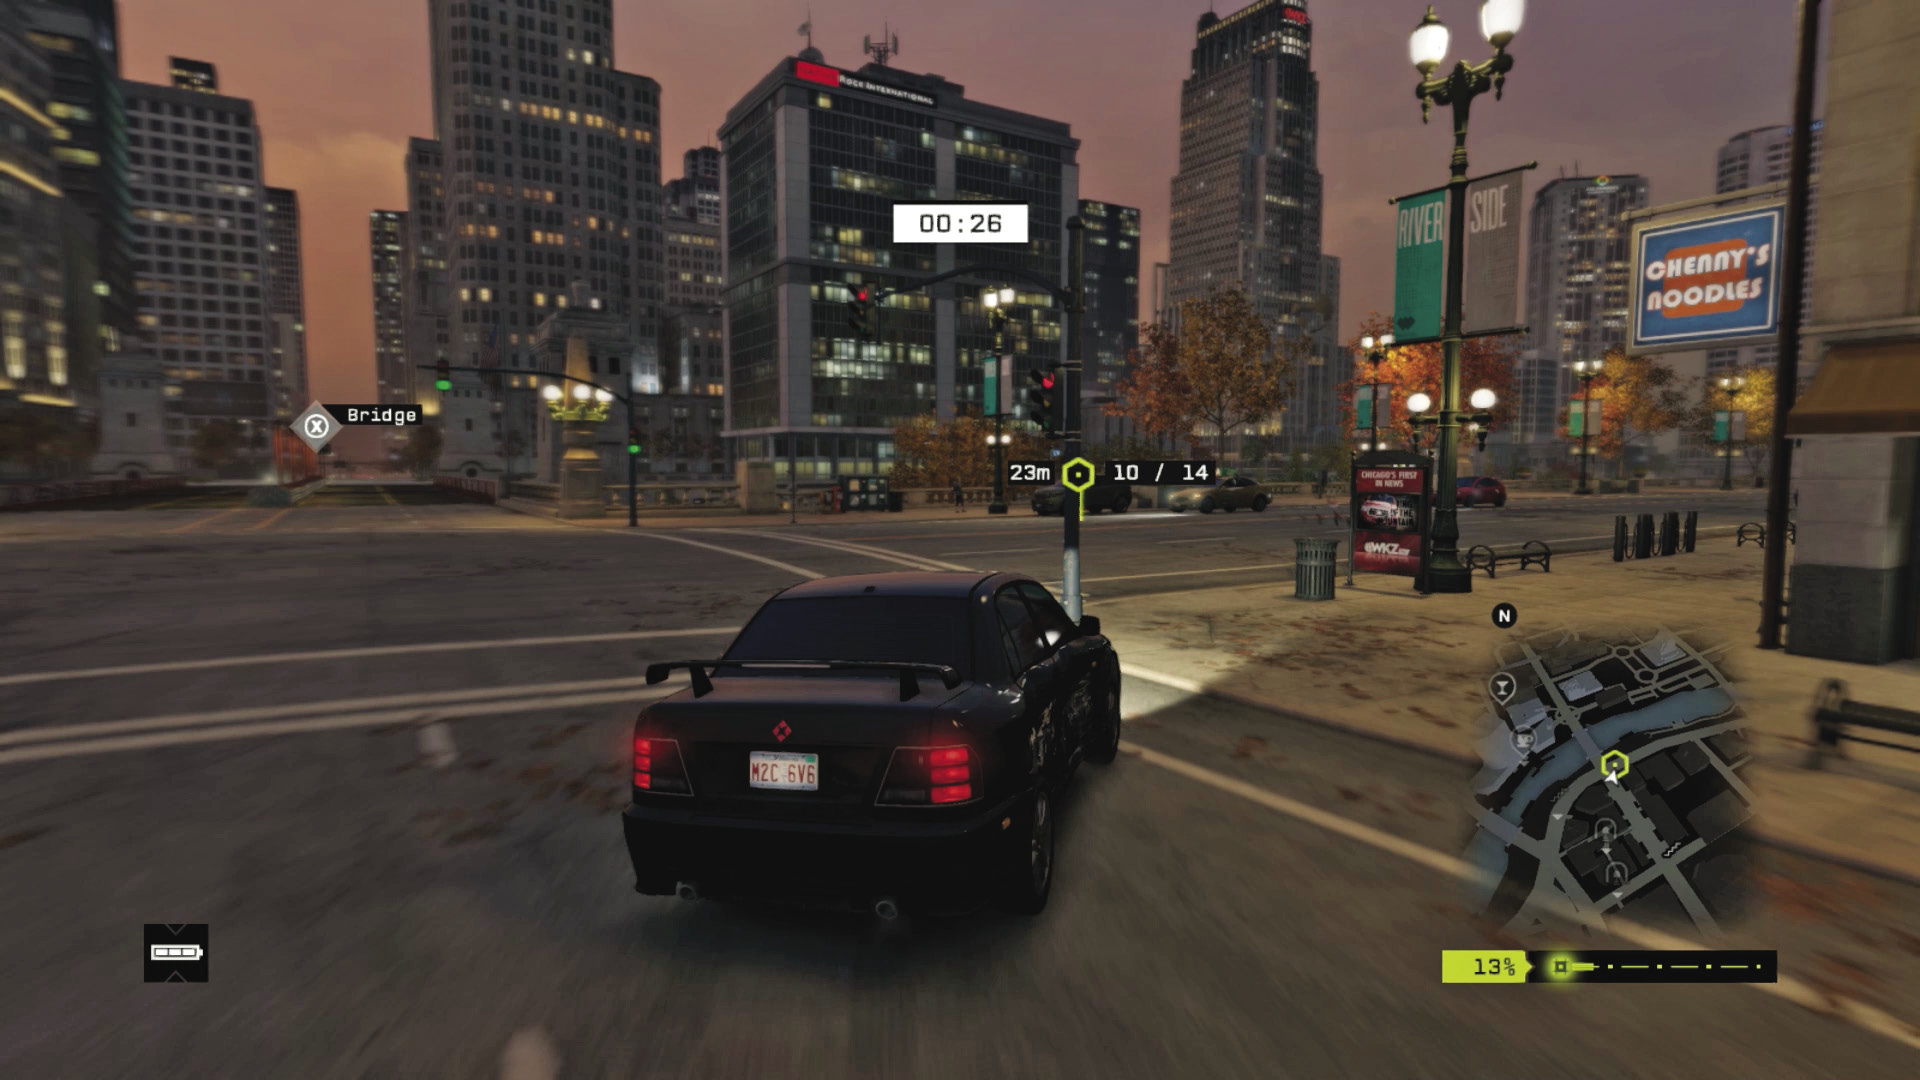
Checkpoints 10–12: Drive toward the bridge before skidding right, through Checkpoint 10. One block later, turn sharply right through 11 and then sharply left at 12. All are on main streets.
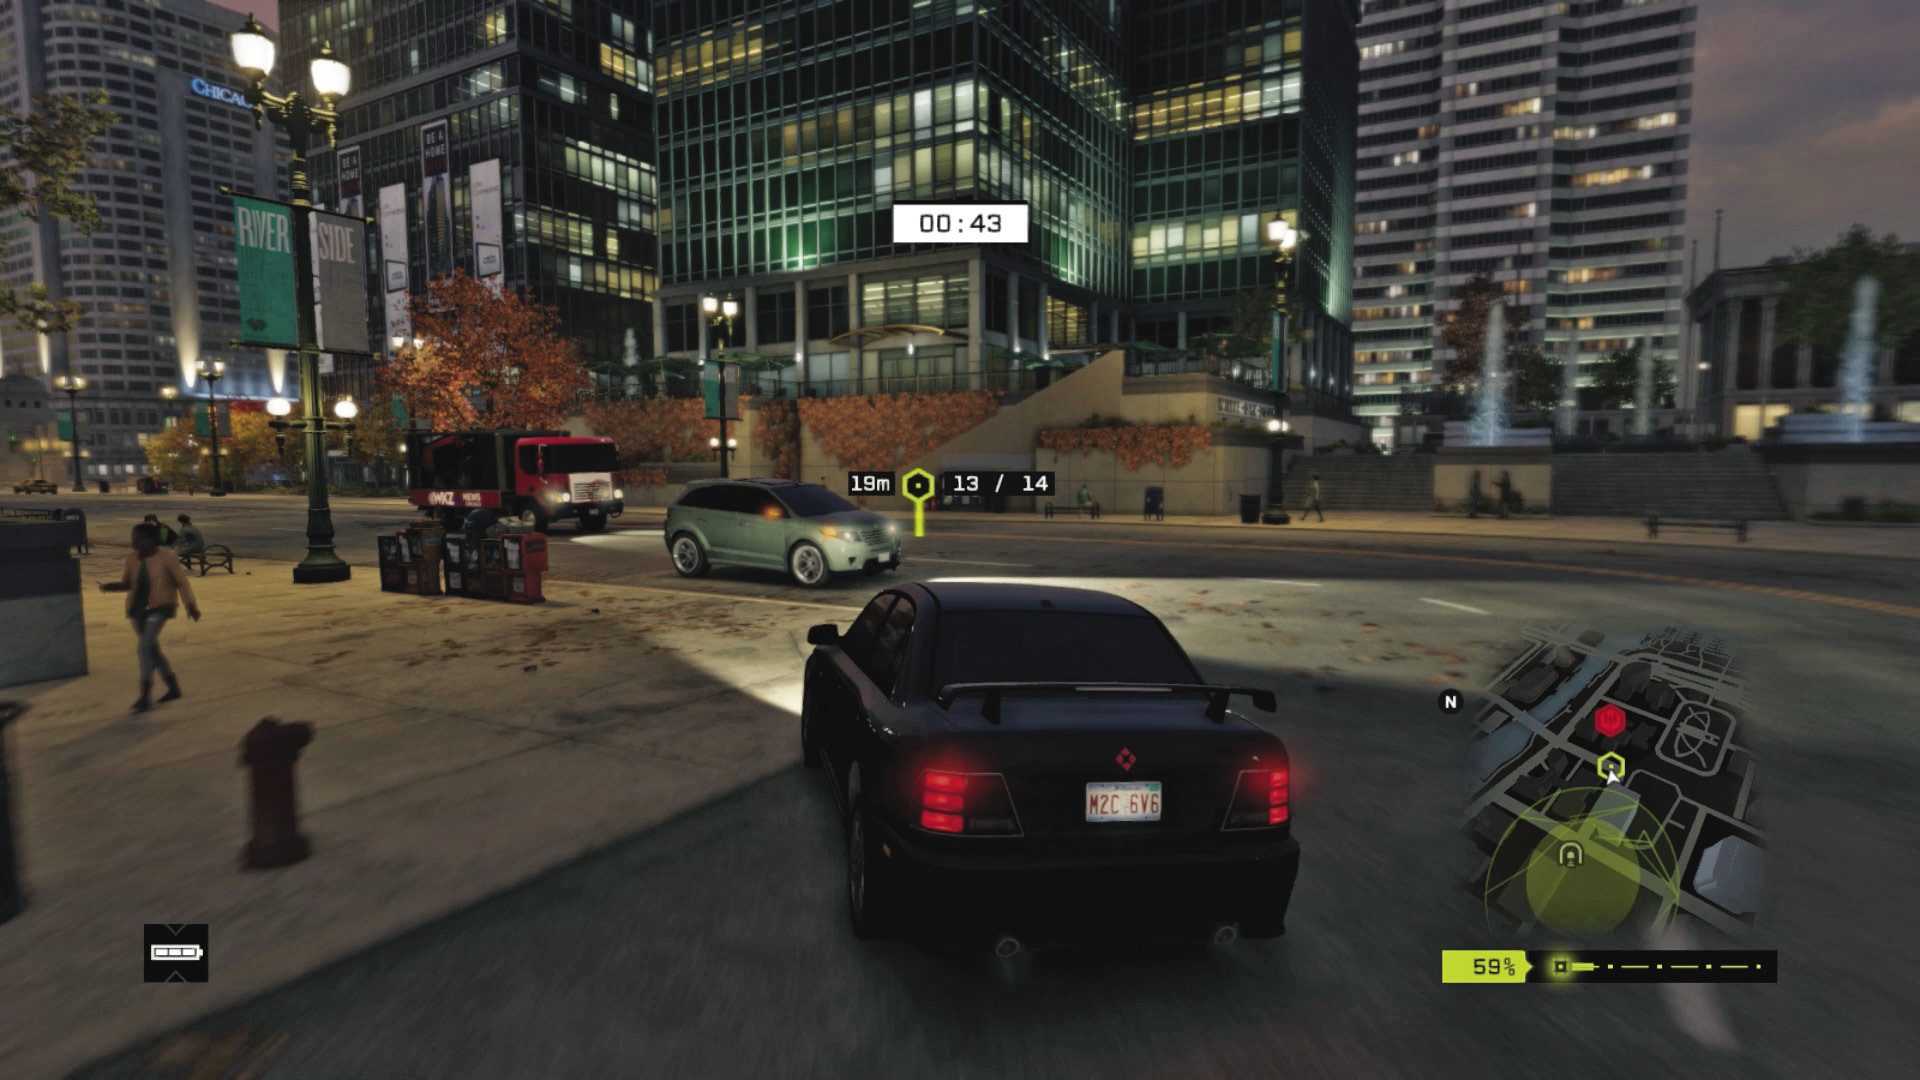
Checkpoints 13 and 14: Make a sharp left turn and e-brake slightly at Checkpoint 13. Set yourself up for a strong acceleration toward the bridge and your final checkpoint at 14.
09_MISGUIDED
Starting location: Covered parking lot, North LOOP
Vehicle: Sunrim
Difficulty:
NUMBER OF CHECKPOINTS: 19
 +00:35 // +$3,000
 +00:20 // +$2,000
 +00:00 // +$1,000
BEAT THIS: 01:05:75 (Anthony Renomeron)
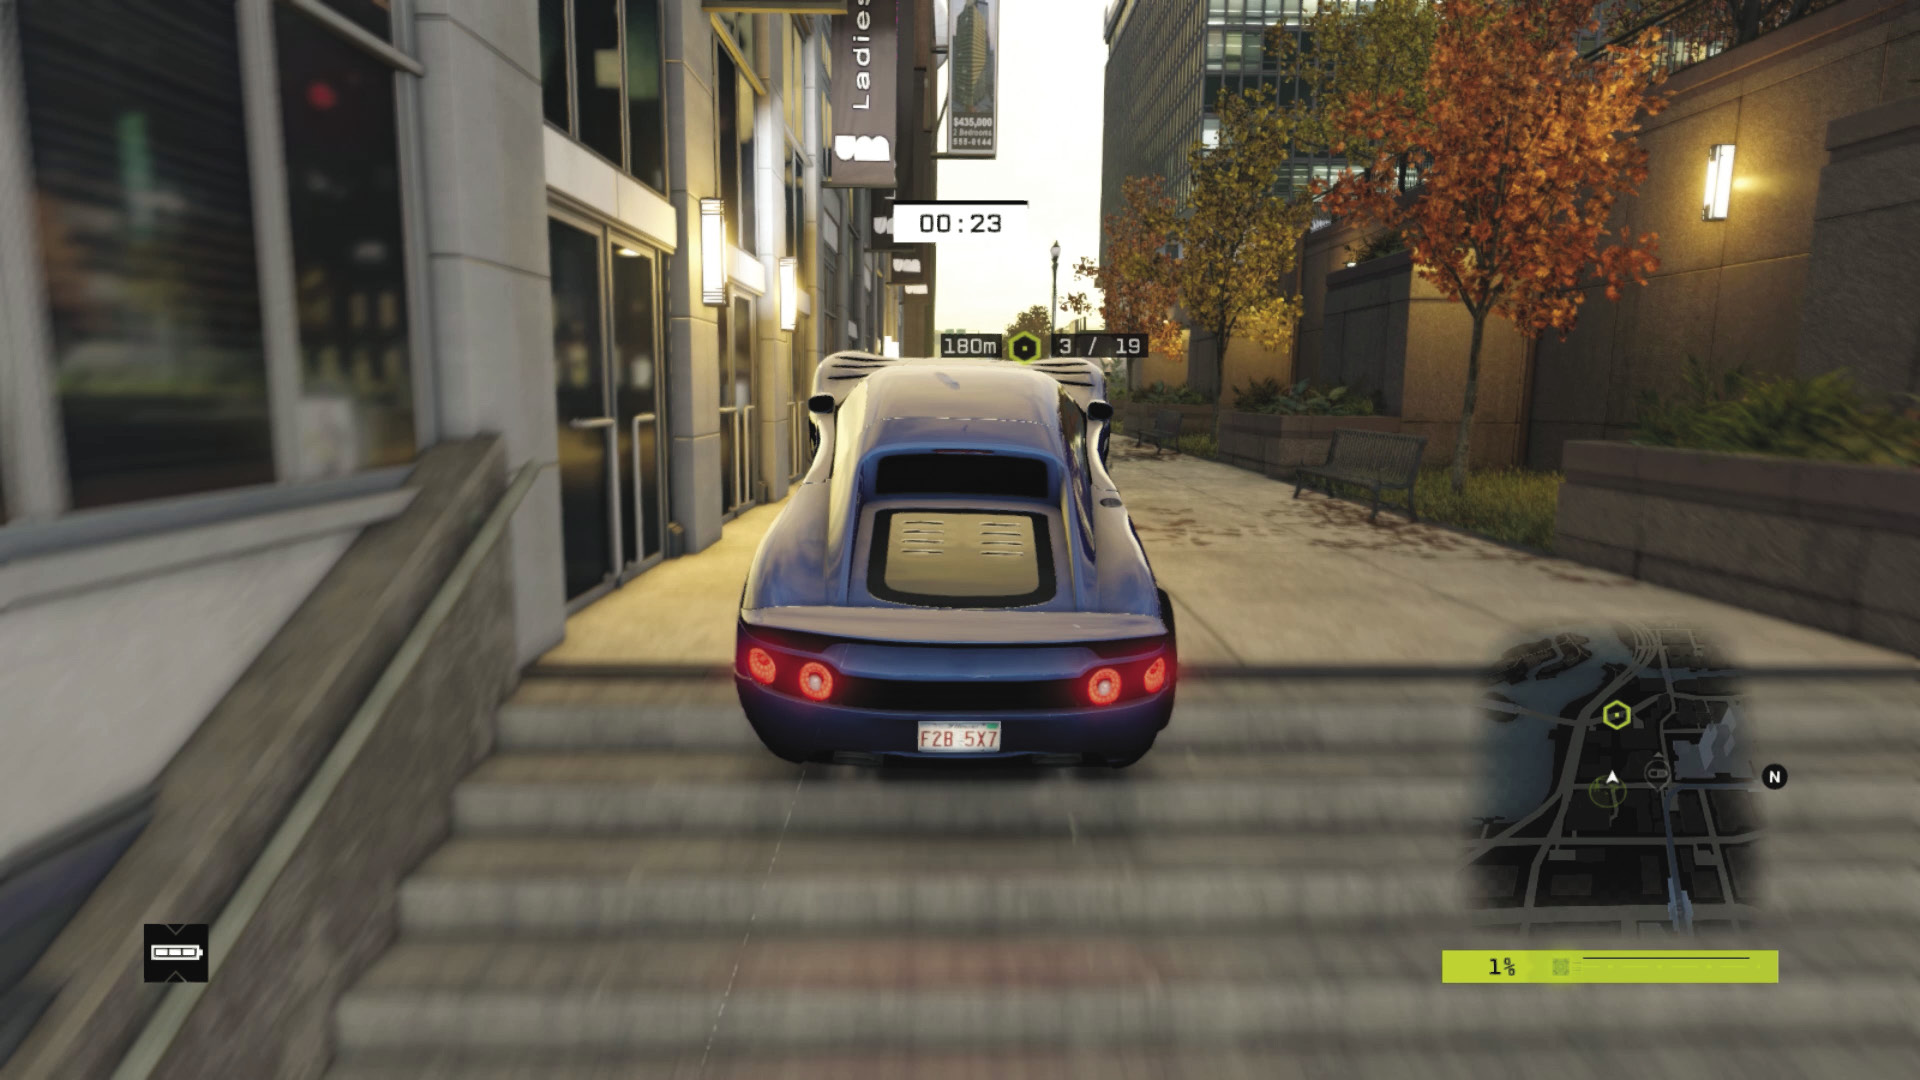
Checkpoints 2–4: Immediately open the garage door and let off the gas as you launch over the steps. Skid right into Checkpoint 3 onto the main road at the end of the narrow pedestrian area. Cut in on the left as you race up the hill, through 4, and onto the bridge.
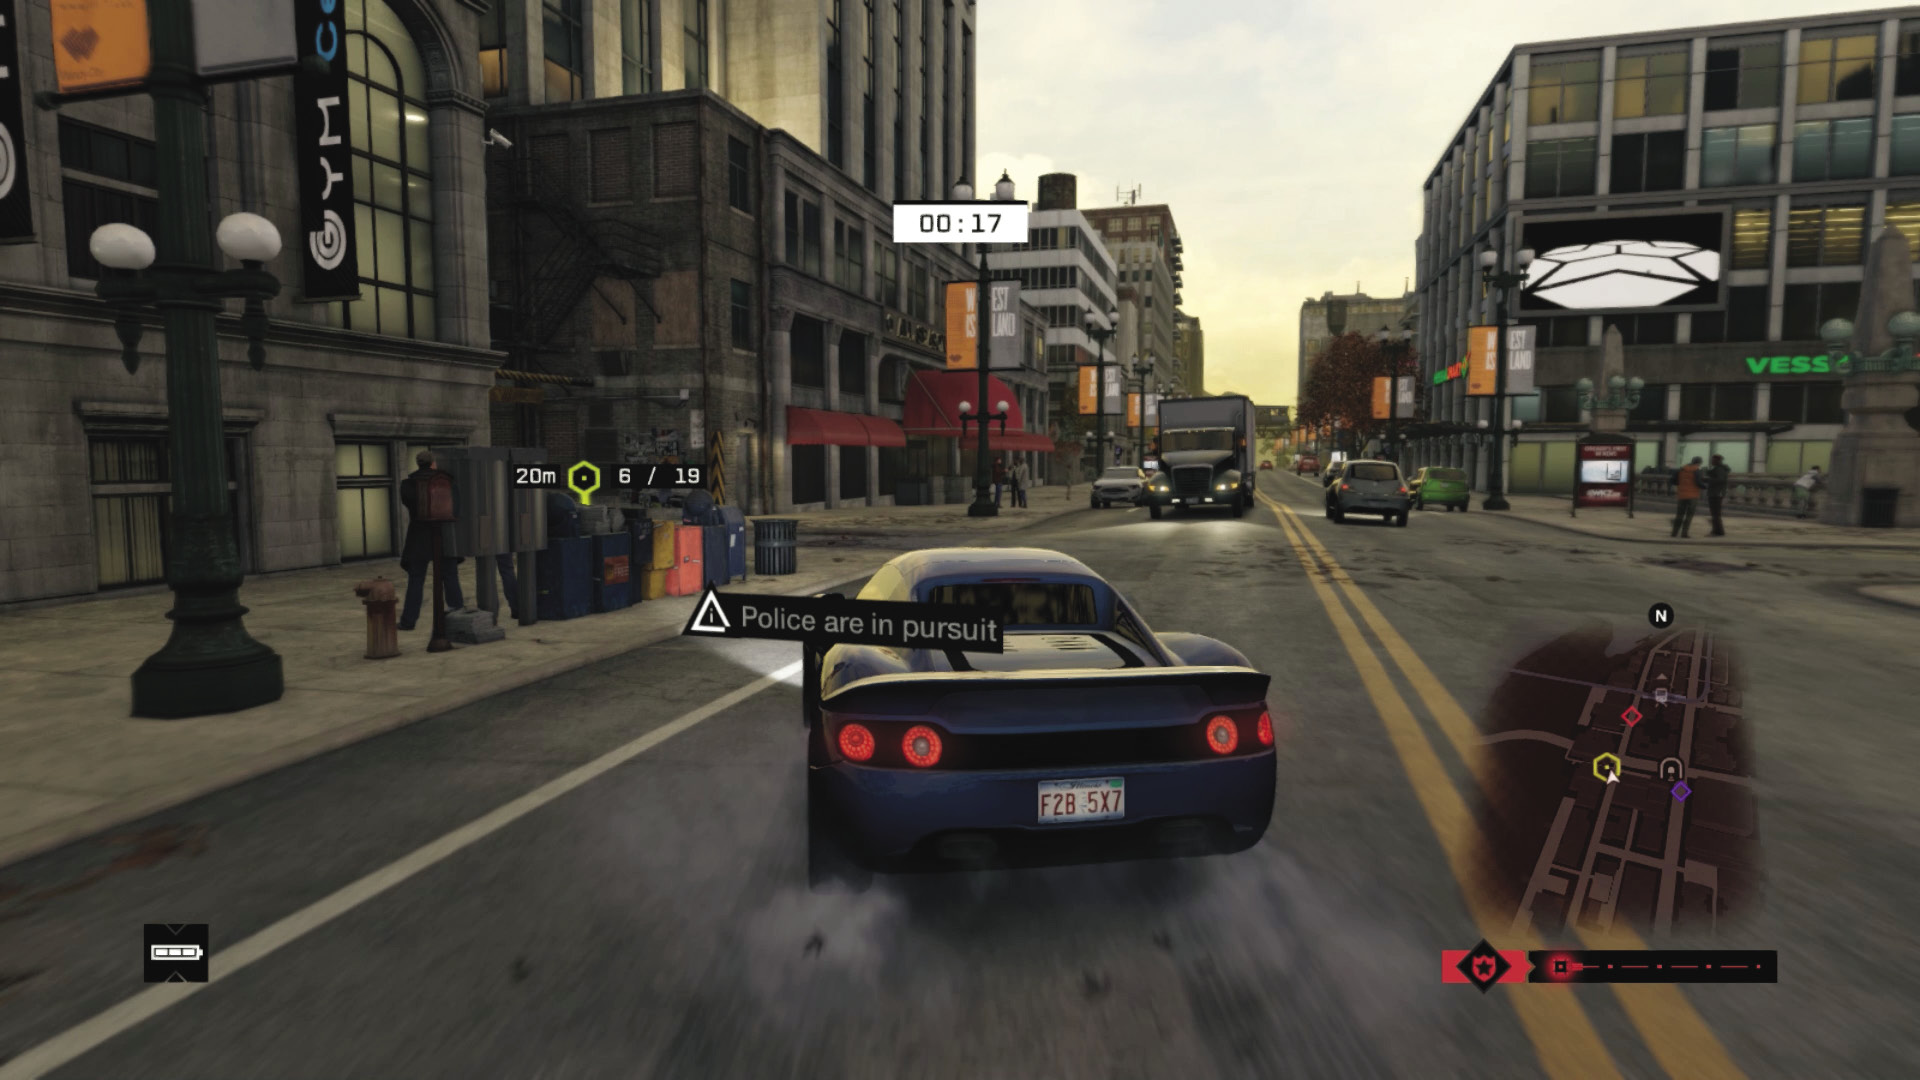
Checkpoints 5–7: If the bridge is up, slow slightly as you launch over it, as sailing through the air wastes speed and time. Avoid traffic as you race along the street and make a sharp right through Checkpoint 5. Accelerate hard, heading north for two blocks, then down the alley at 6. Follow the alley around to the parking lot where 7 is.
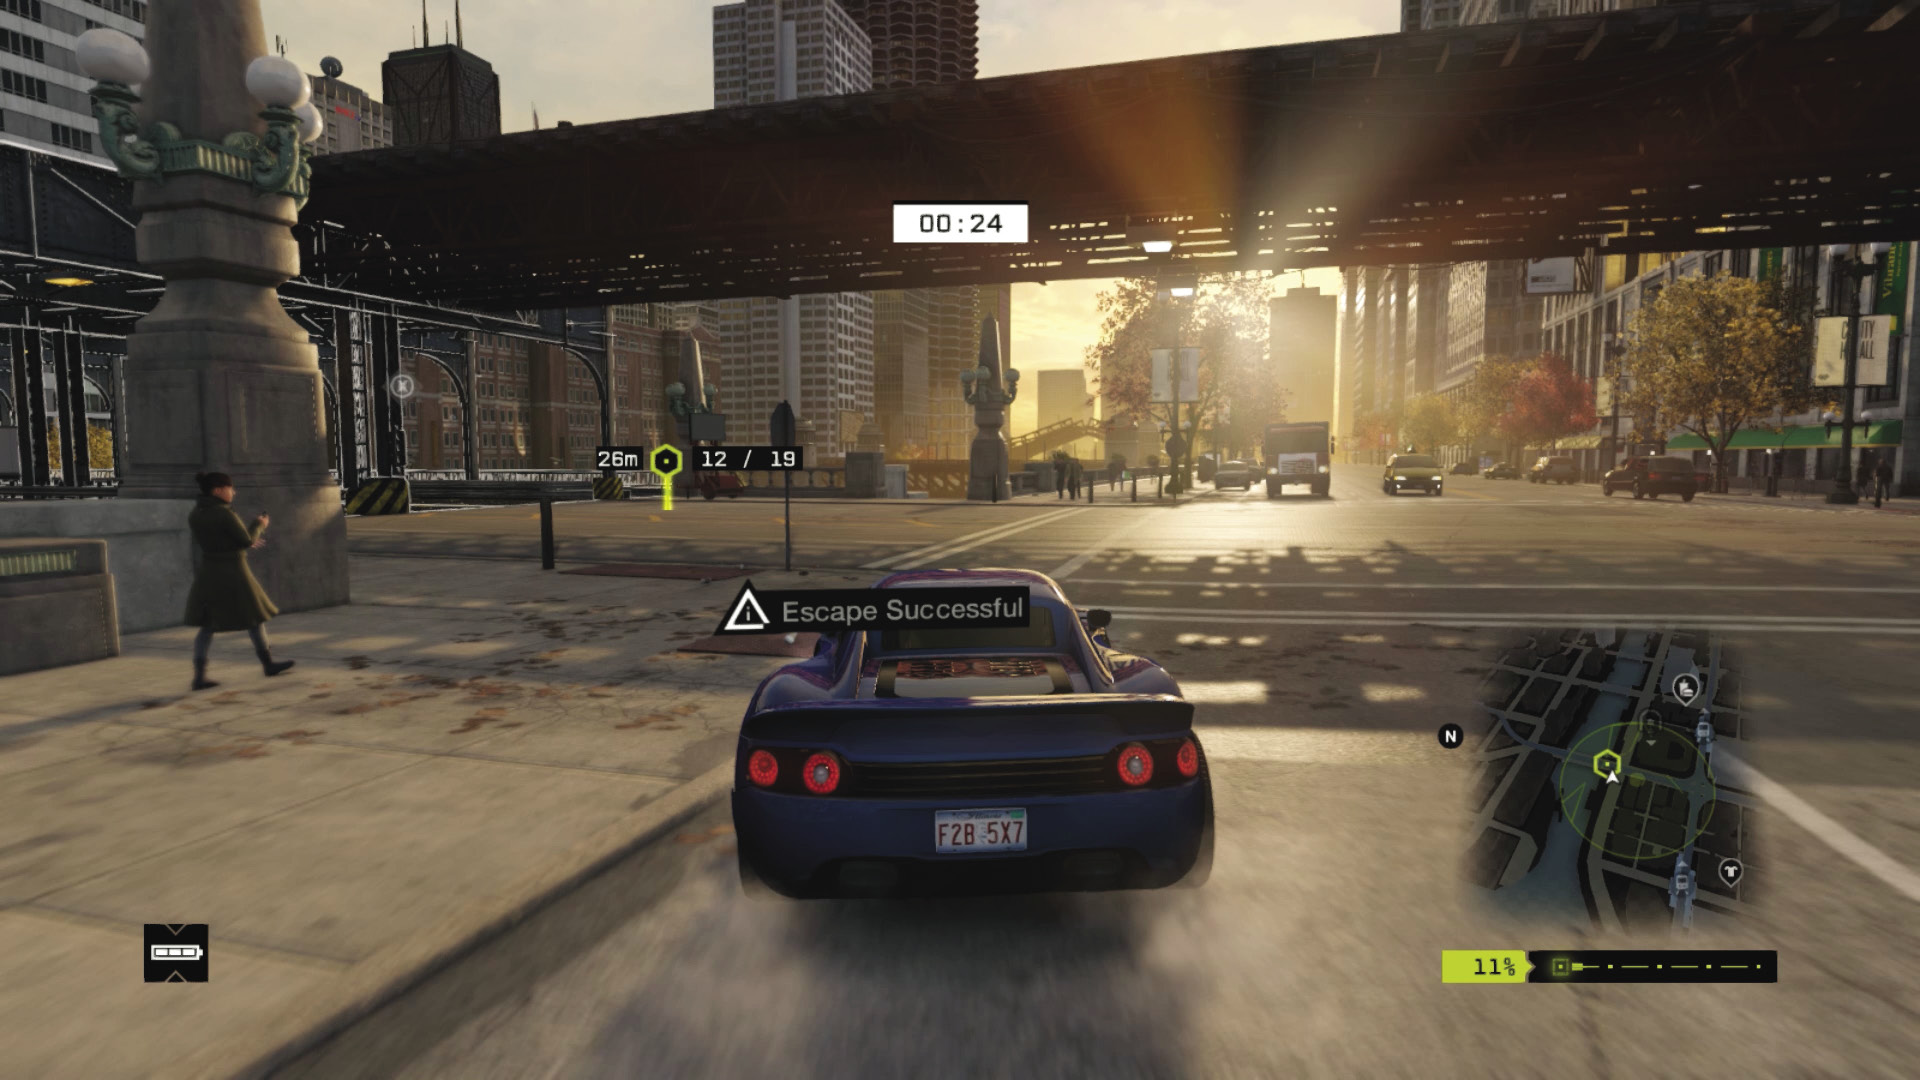
Checkpoints 8–12: Watch for cars and smash through pallets as you exit the parking lot. Accelerate while under the L-train and speed over the bridge, braking and skidding left at Checkpoint 10. You have around four blocks of acceleration before a sharp right at 11, as you turn onto the road close to the river. Follow that and make your next left at 12, onto the bridge.
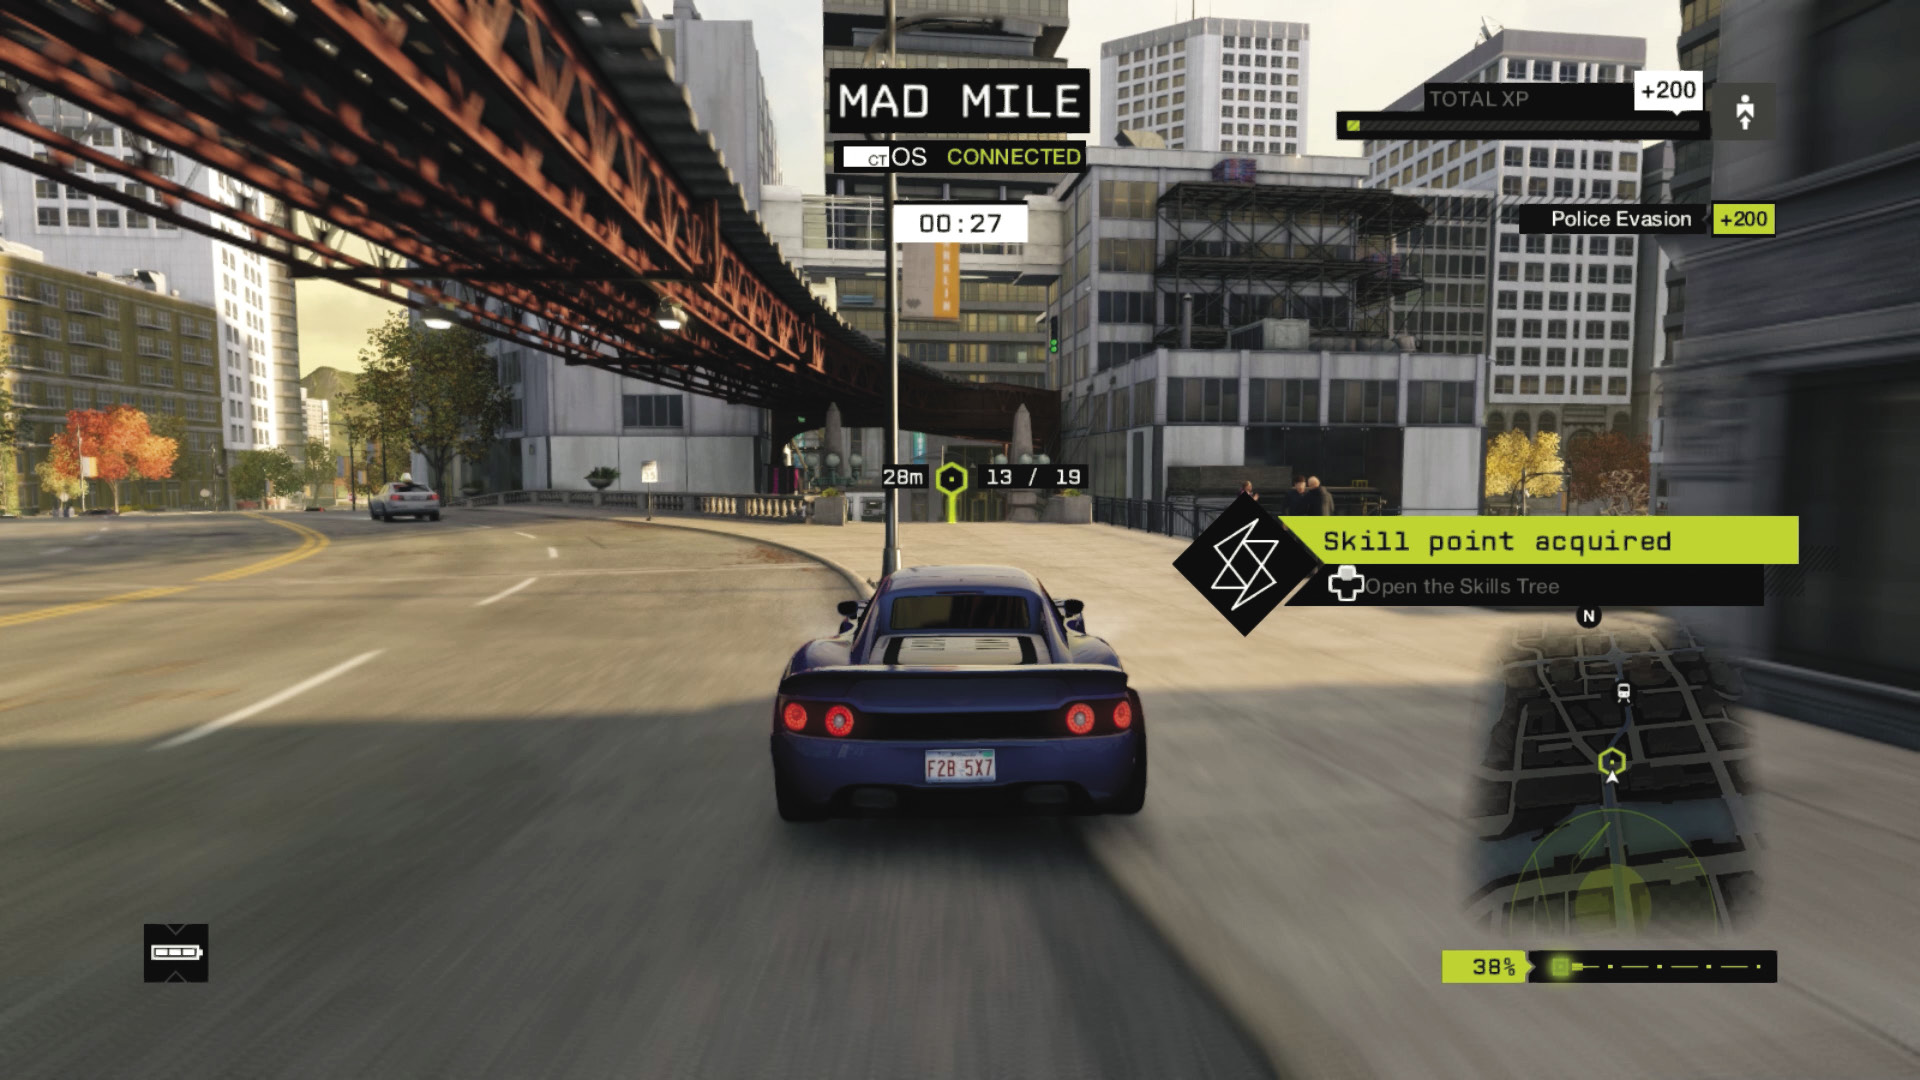
Checkpoints 13–17: Gas it over the bridge, then edge right, off the jump into the pedestrian area while lightly braking through Checkpoint 13. Swerve left and into the pedestrian zone to the left. This straightens out as you drive back onto tarmac at 15. Then cut the left corner at 16, and race over the bridge and 17 ahead.
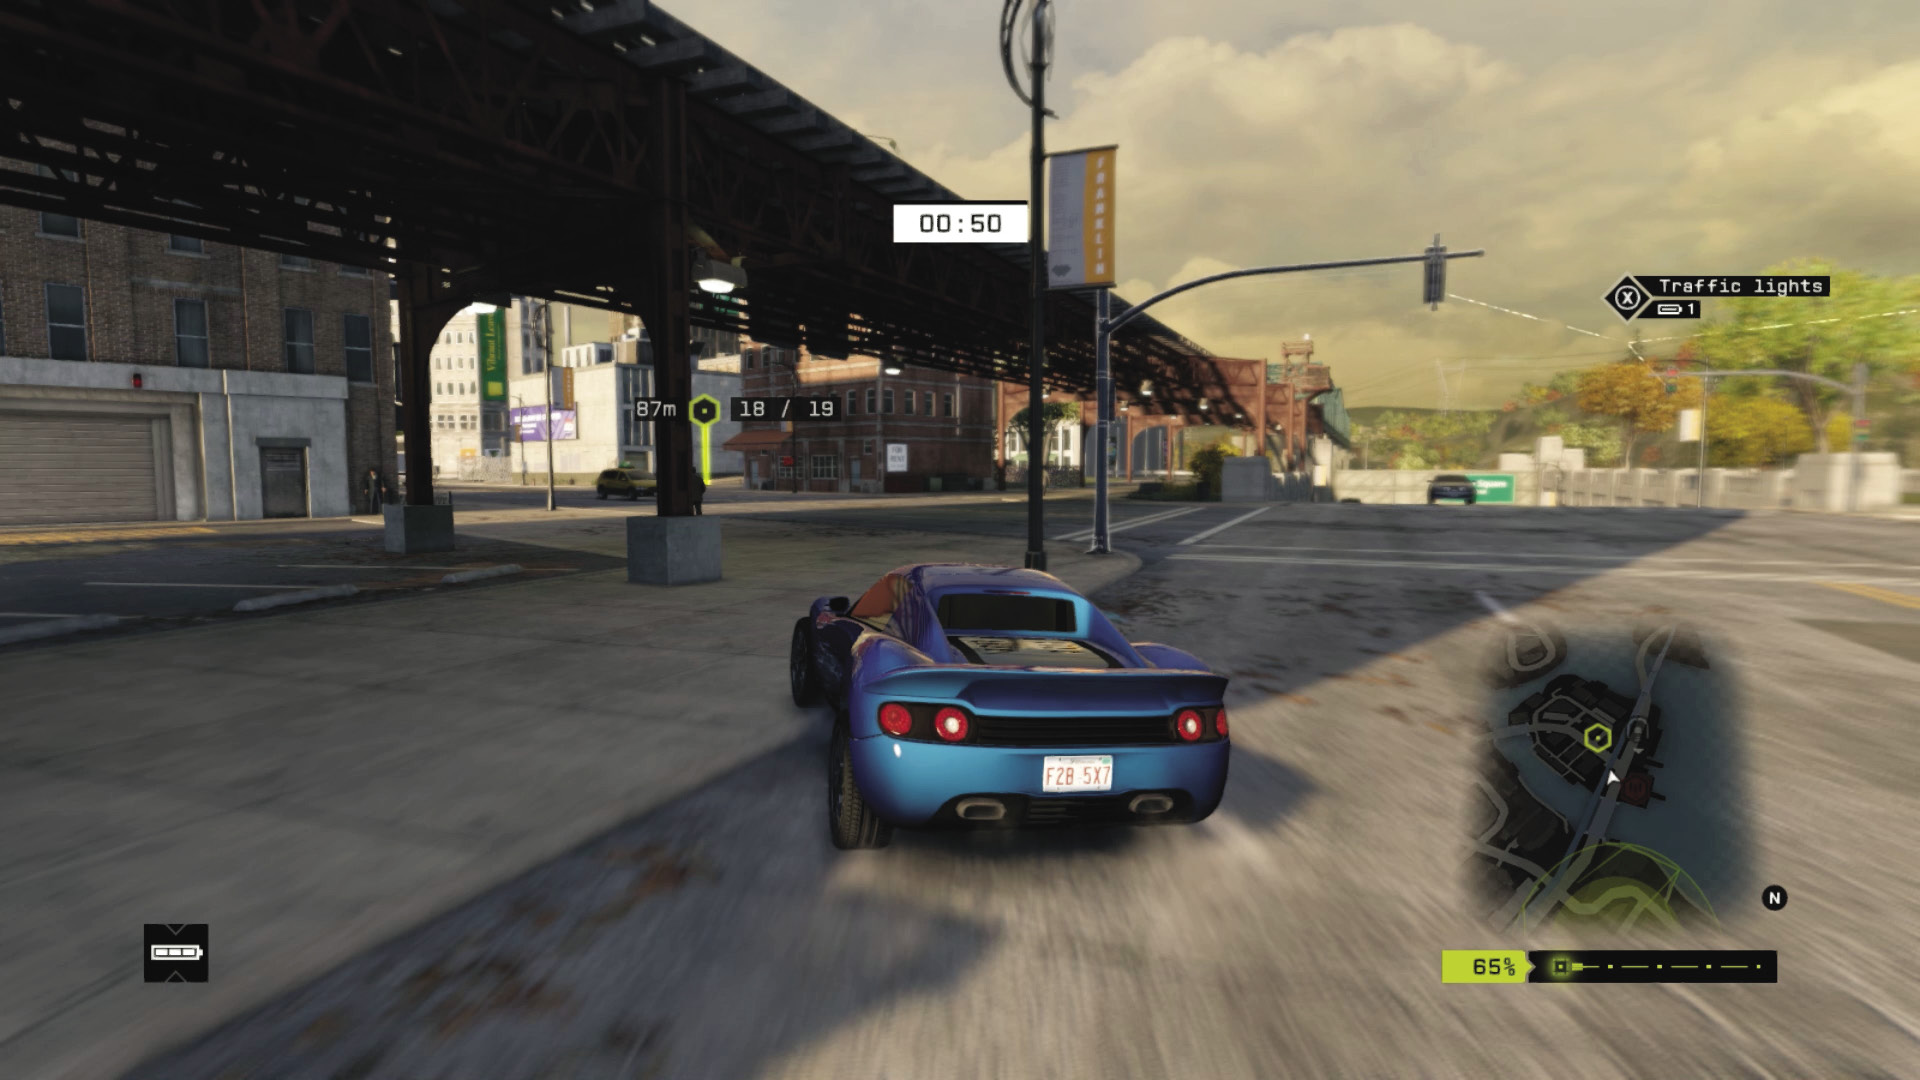
Checkpoints 18 and 19: This final part is tricky; slow as you cross the bridge and bear left, through the gap in the L-train supports. Cut across the parking lot and through the minor road at Checkpoint 18. Turn left immediately afterward so you line yourself up with 19 and the final jump over the river.
MAD MILE // DECOY CONTRACTS
10_DECEPTION
Starting location: ST. VALENTINE’S DAY MASSACRE
Vehicle: Kodachi
Difficulty:
NUMBER OF CHECKPOINTS: 24
 +00:40 // +$6,000
 +00:30 // +$5,000
 +00:00 // +$4,000
BEAT THIS: 01:02:24 (Anthony Renomeron)
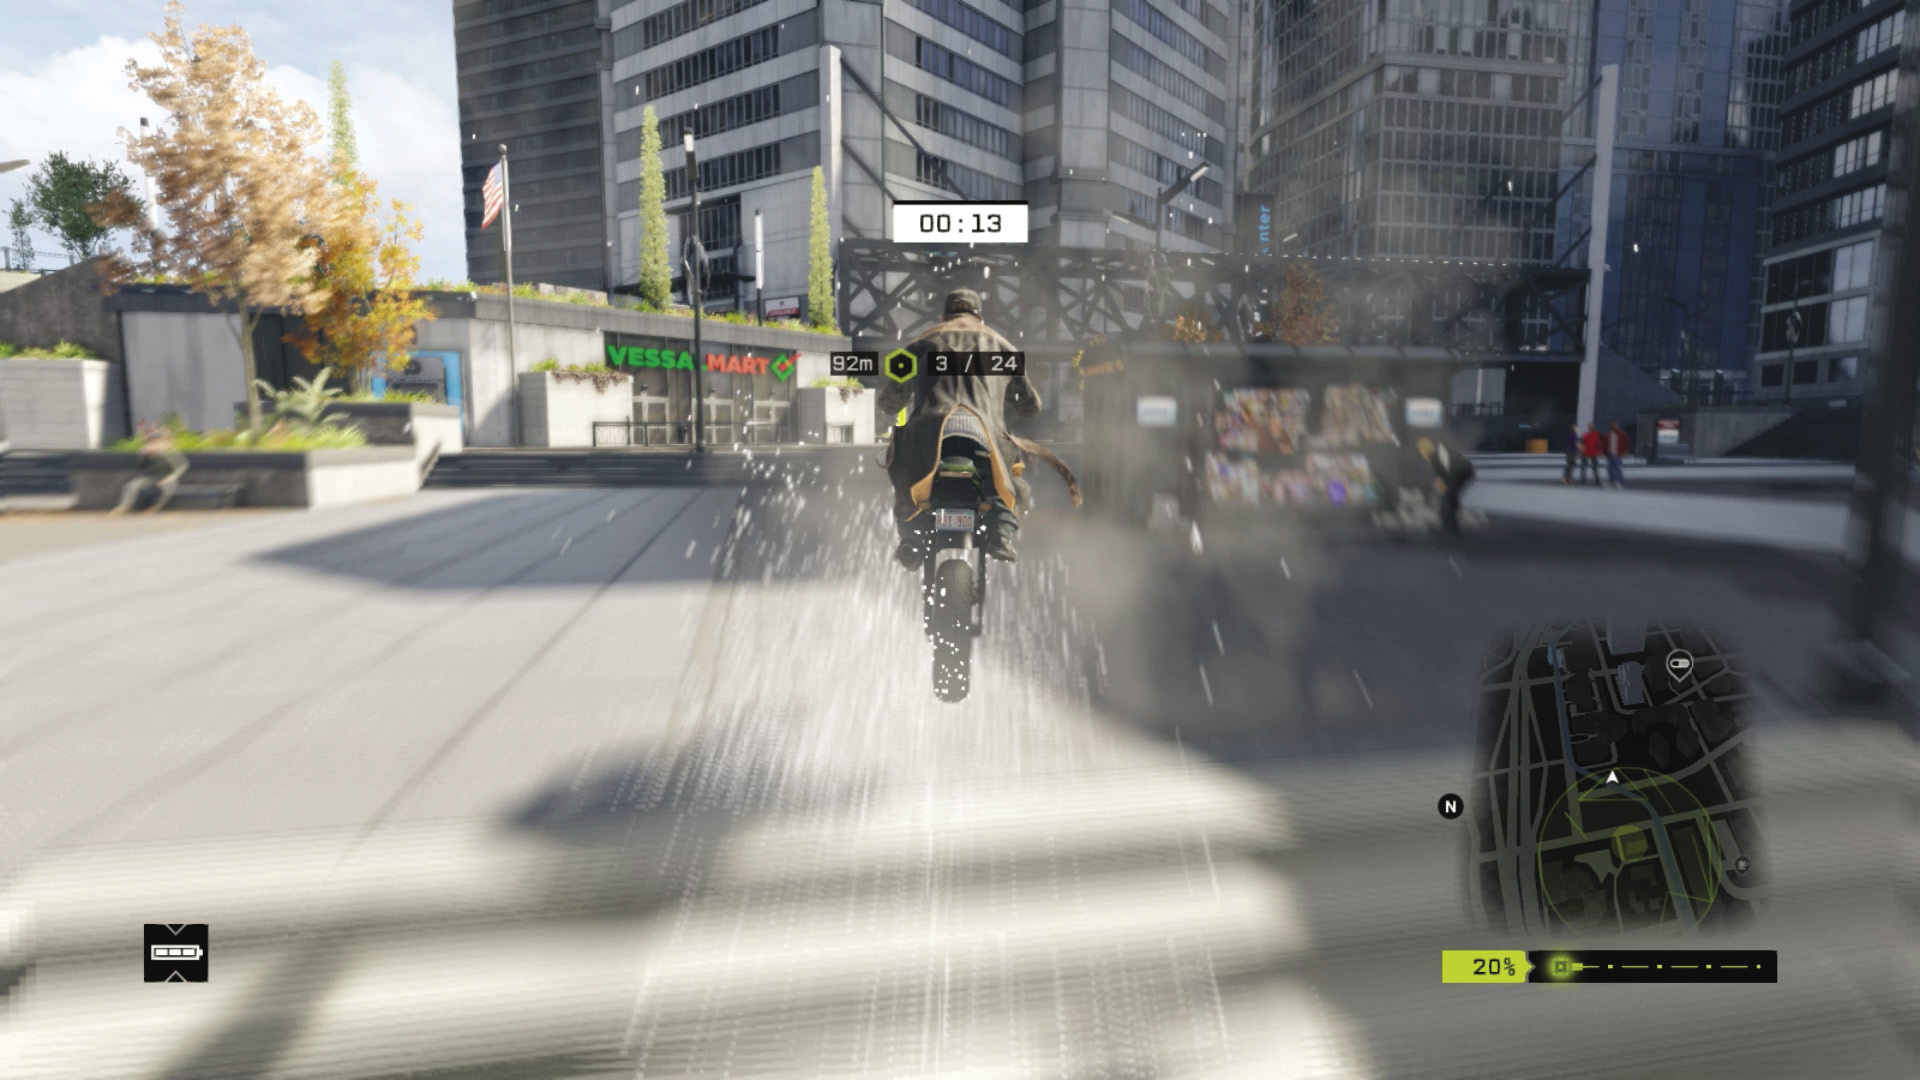
Checkpoints 2–4: Follow the tarmac alley, and scoot across the road, avoiding the bollards. Head under the bridge, slowing so you don’t fly into the metal bridge when you hit the steps. Accelerate through the pedestrian mall straight toward the garage you need to open at Checkpoint 4.
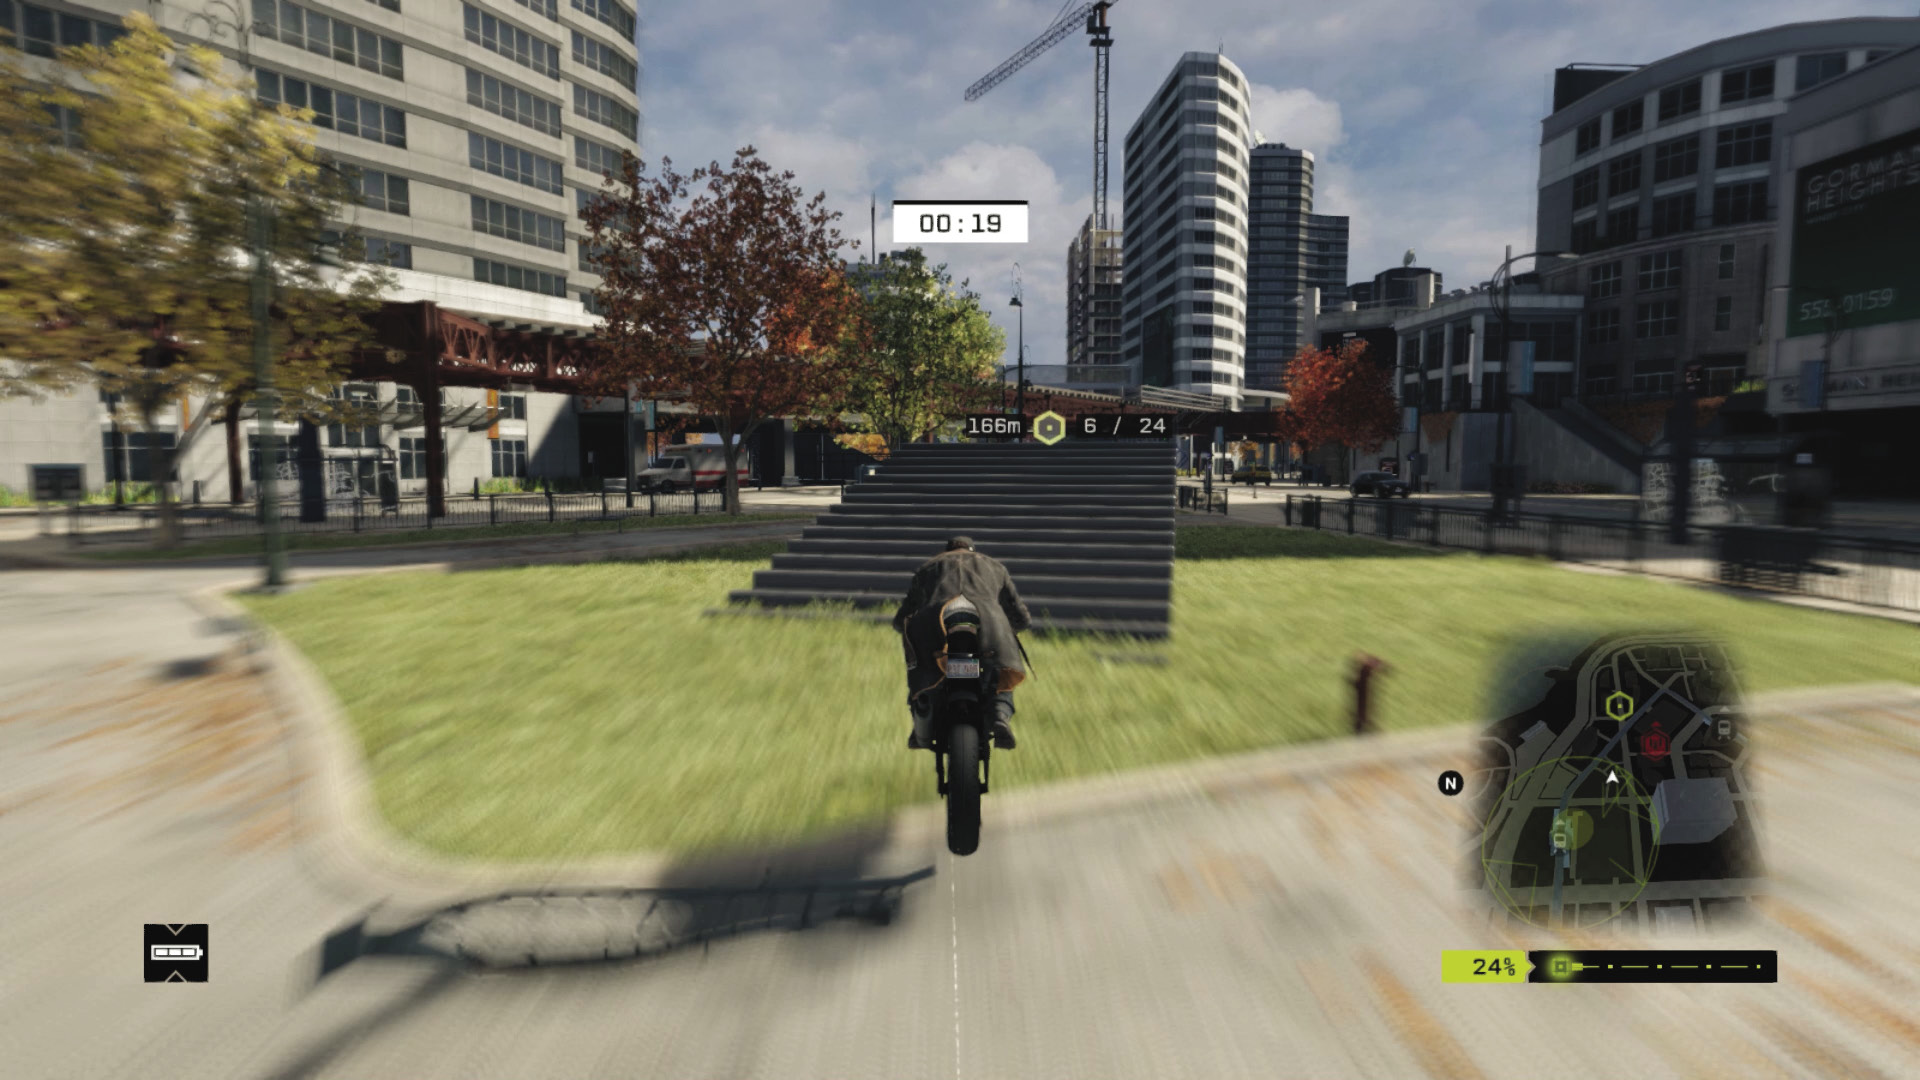
Checkpoints 5–9: Launch up the stepped ramp at Checkpoint 5, under the L-train and down the road. Slow and keep right on the sidewalk as you reach 7. Make a sharp right turn into the alley at 8, then drop your speed slightly so you don’t spend too much time in the air as you hit the small steps section and 9.
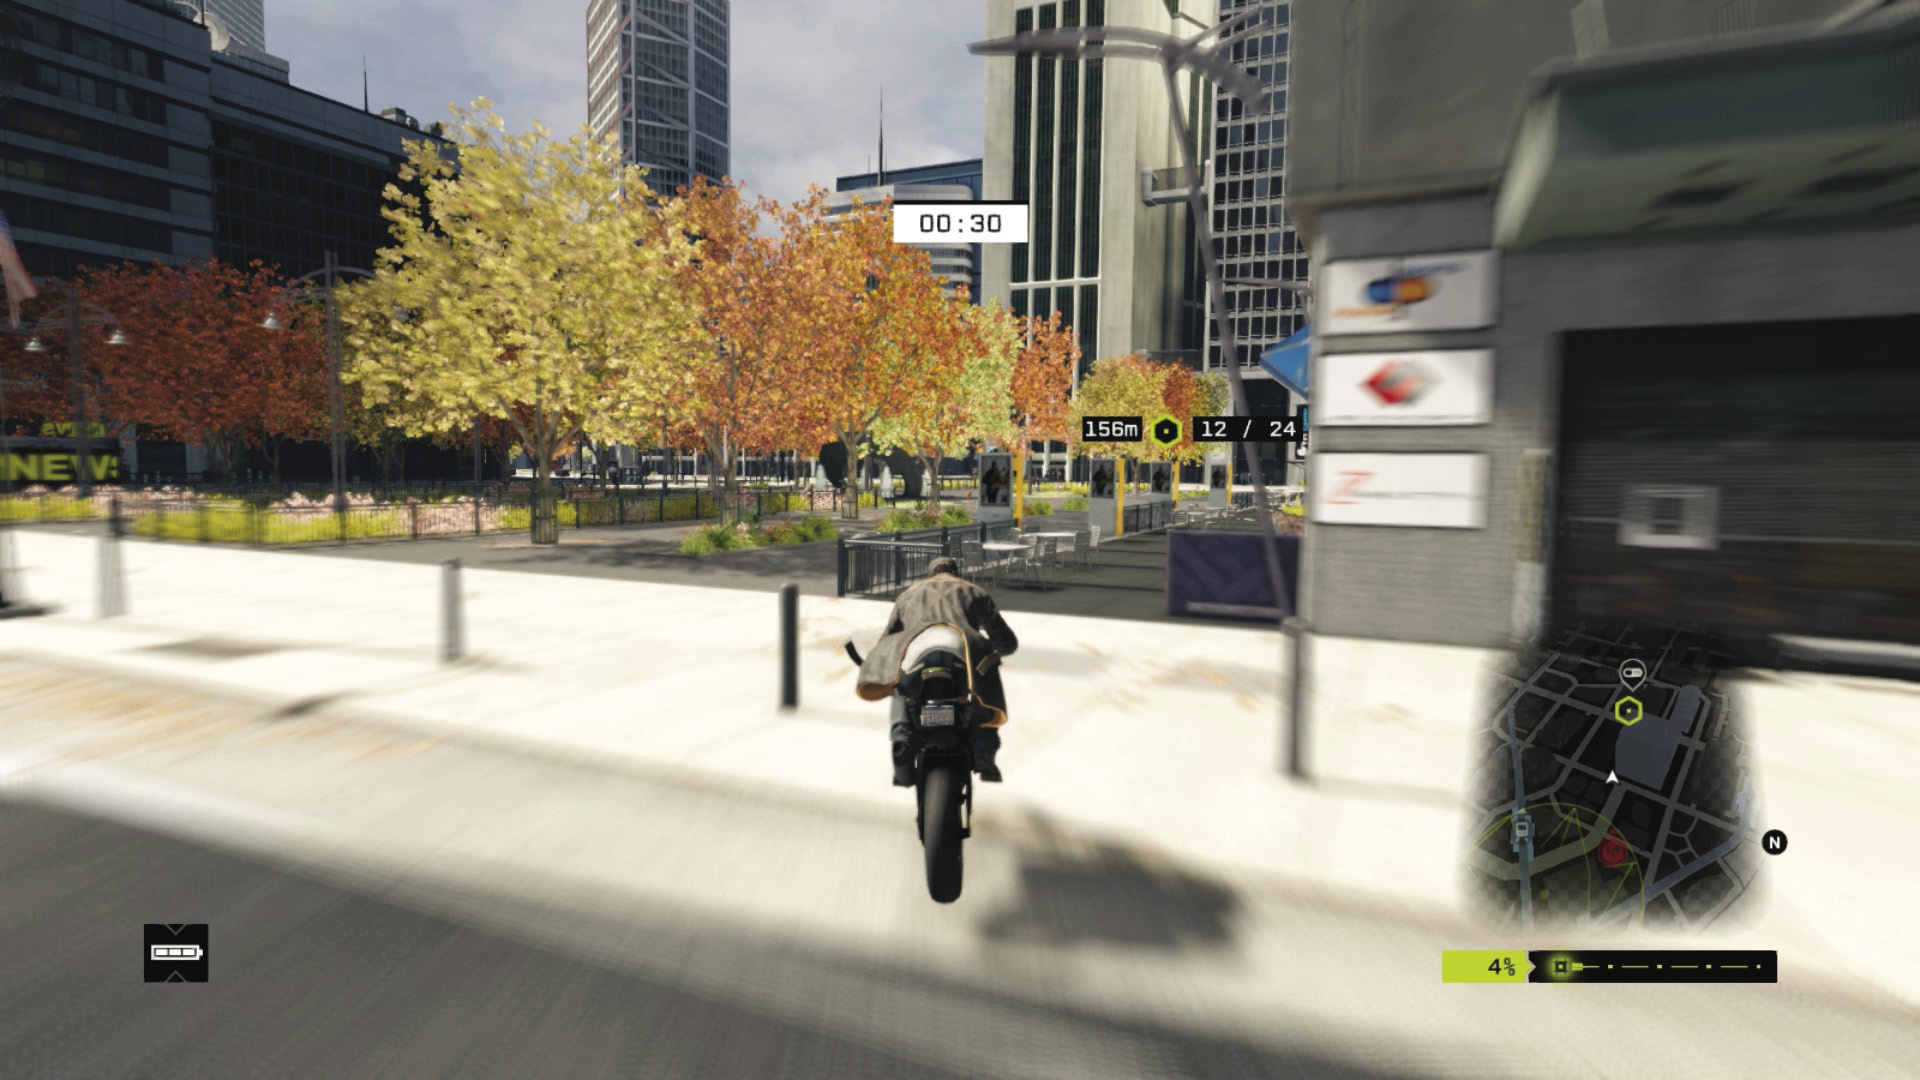
Checkpoints 10–16: Under the L-train and follow the main road, pointing the bike toward the cobblestones and planters area and Checkpoint 12. Weave between the buildings and head west through 14. Drift right, through the fence and parking lot, and pass through the narrow gap between the buildings to reach the tight left turn at 16.
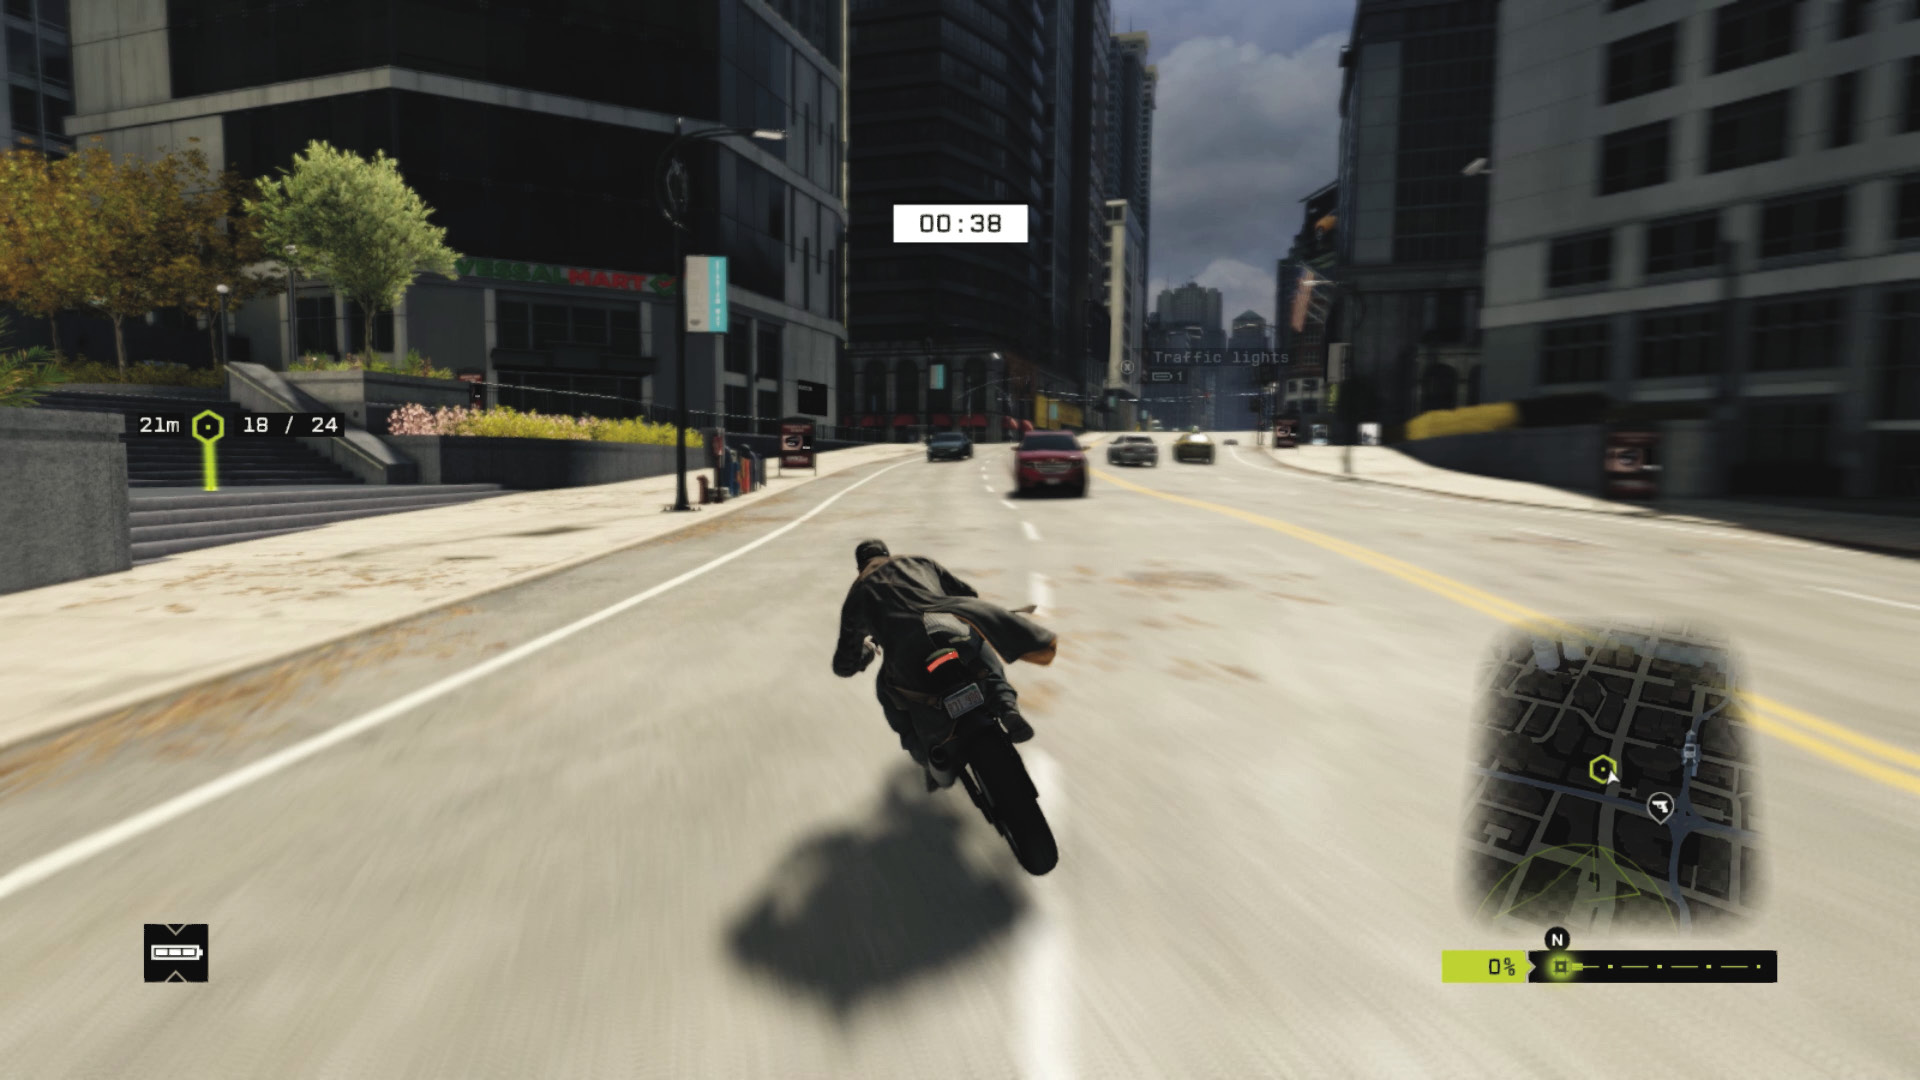
Checkpoints 17–21: Drive through the railing, and drop down to the road below and Checkpoint 17. Brake heavily and don’t miss 18, at the steps. This leads to a long straight, through 20 and 21.
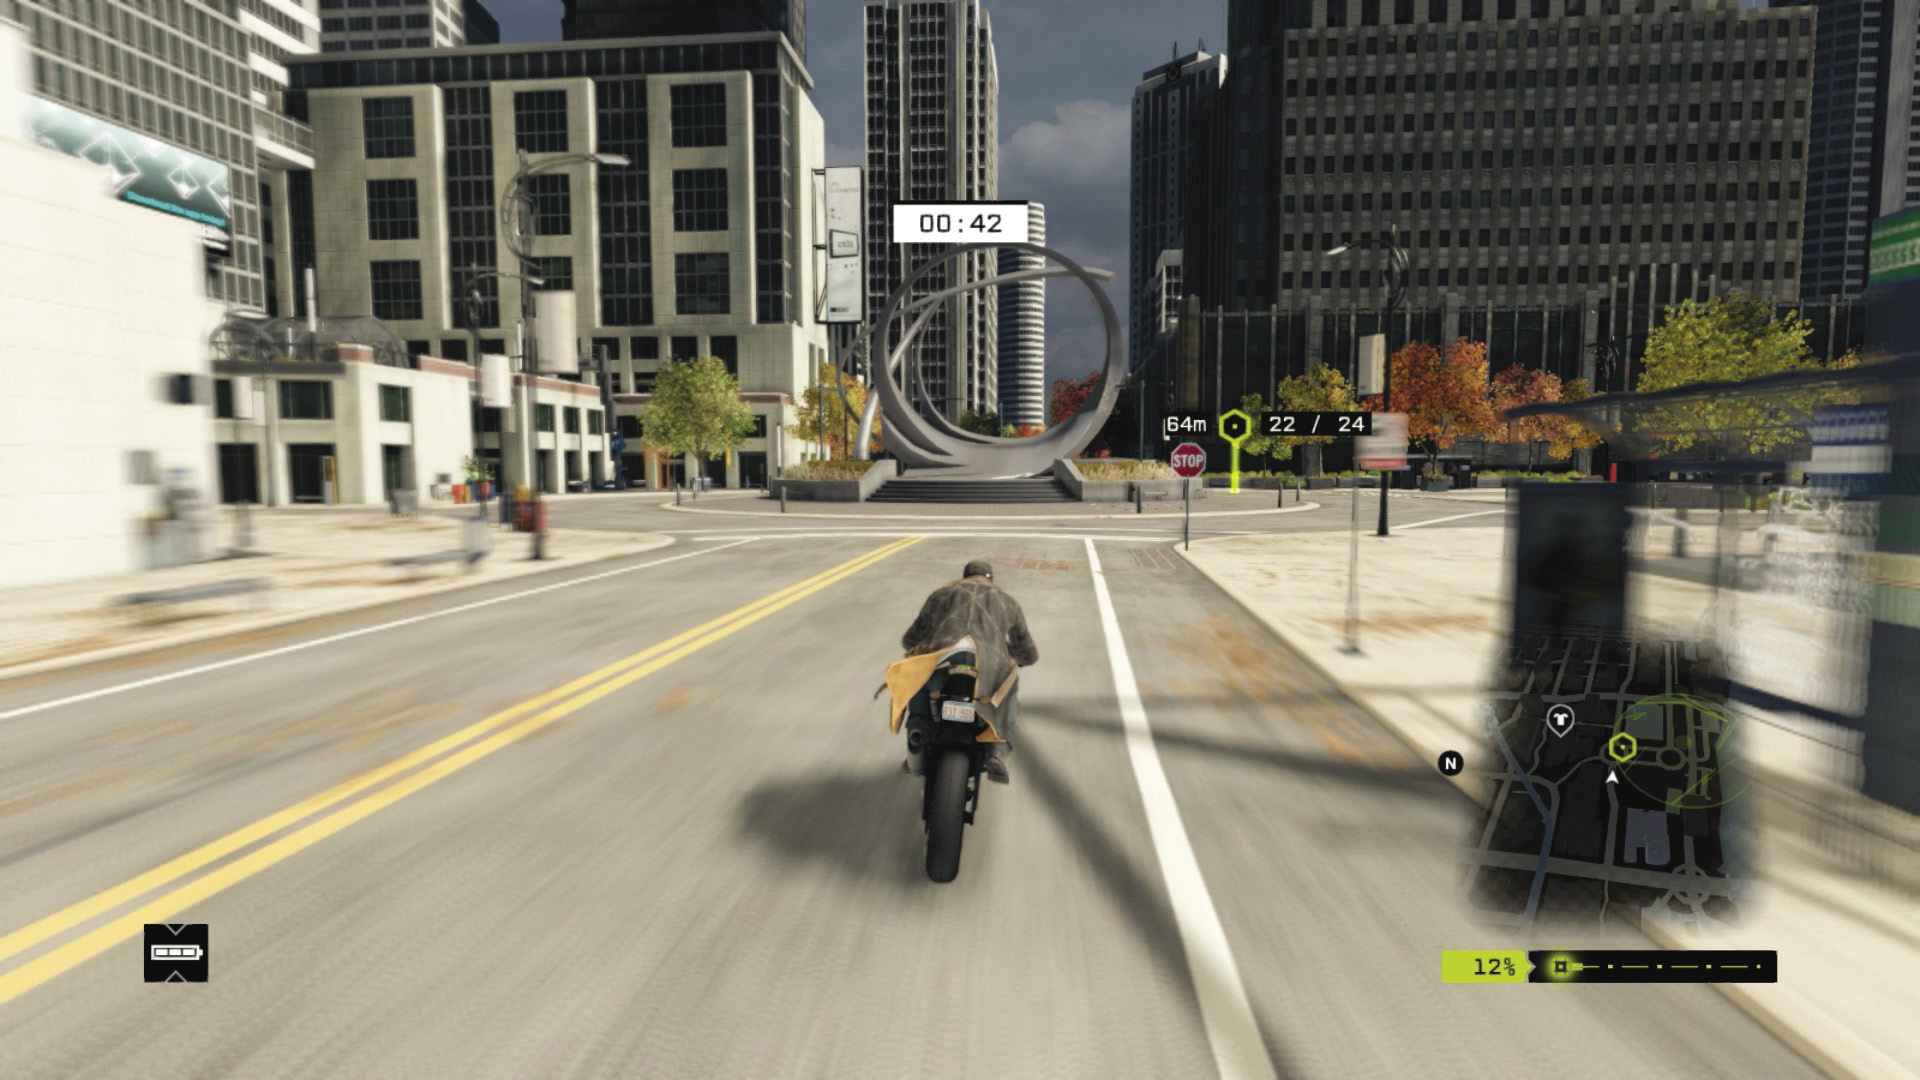
Checkpoints 22–24: Head through the alley and Checkpoint 21, keeping straight. Stay right at the roundabout sculpture, then savagely brake and skid left into the alley, positioning yourself for the ramp up to 24.
11_WILD RIDE
Starting location: VEHICLE GARAGE (EAST)
Vehicle: CORE-T
Difficulty:
NUMBER OF CHECKPOINTS: 24
 +00:30 // +$6,000
 +00:20 // +$5,000
 +00:00 // +$4,000
BEAT THIS: 01:15:00 (Jean Michel Lavinge)
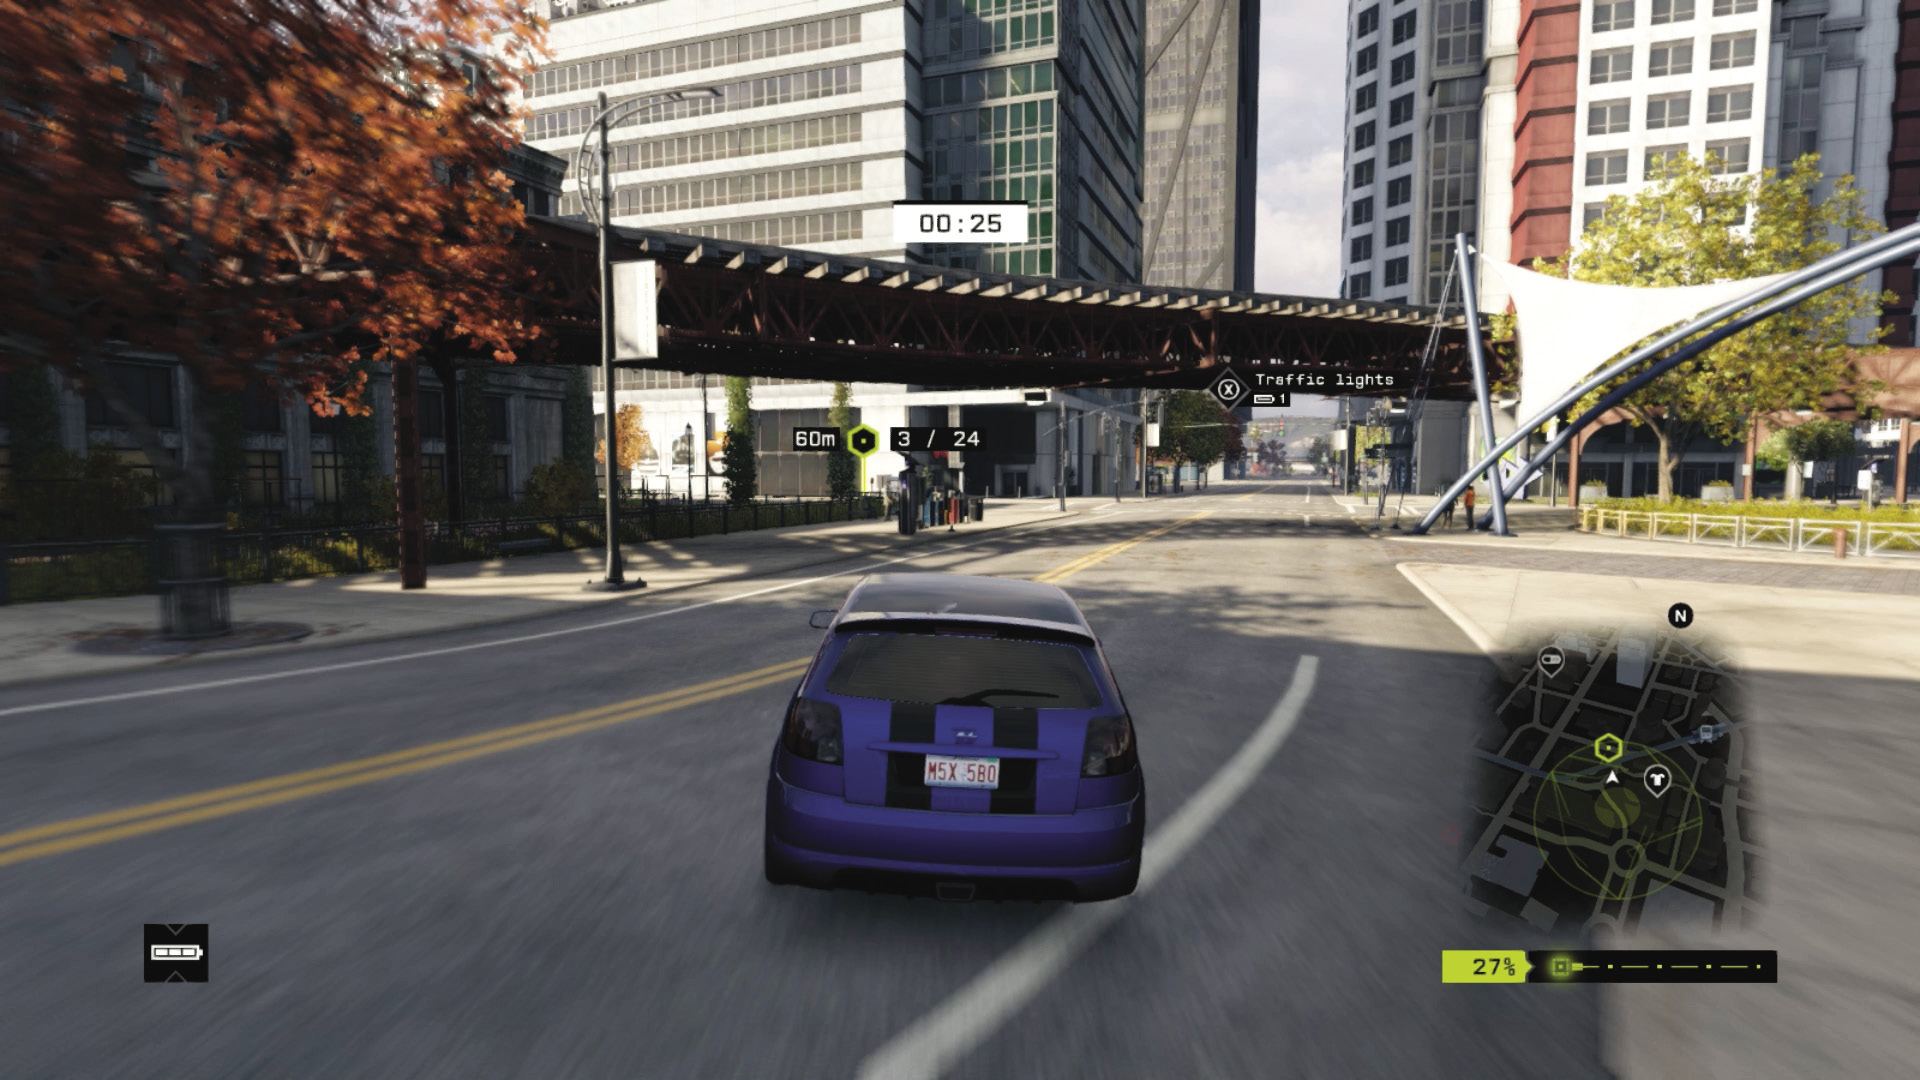
Checkpoints 2–5: At the roundabout with the curved sculpture, swerve right through Checkpoint 2, down the cobblestone street, and under the L-train to a left turn through 3 and a wider street. This curves right, through 4, then curves sharply after a block, through 5.
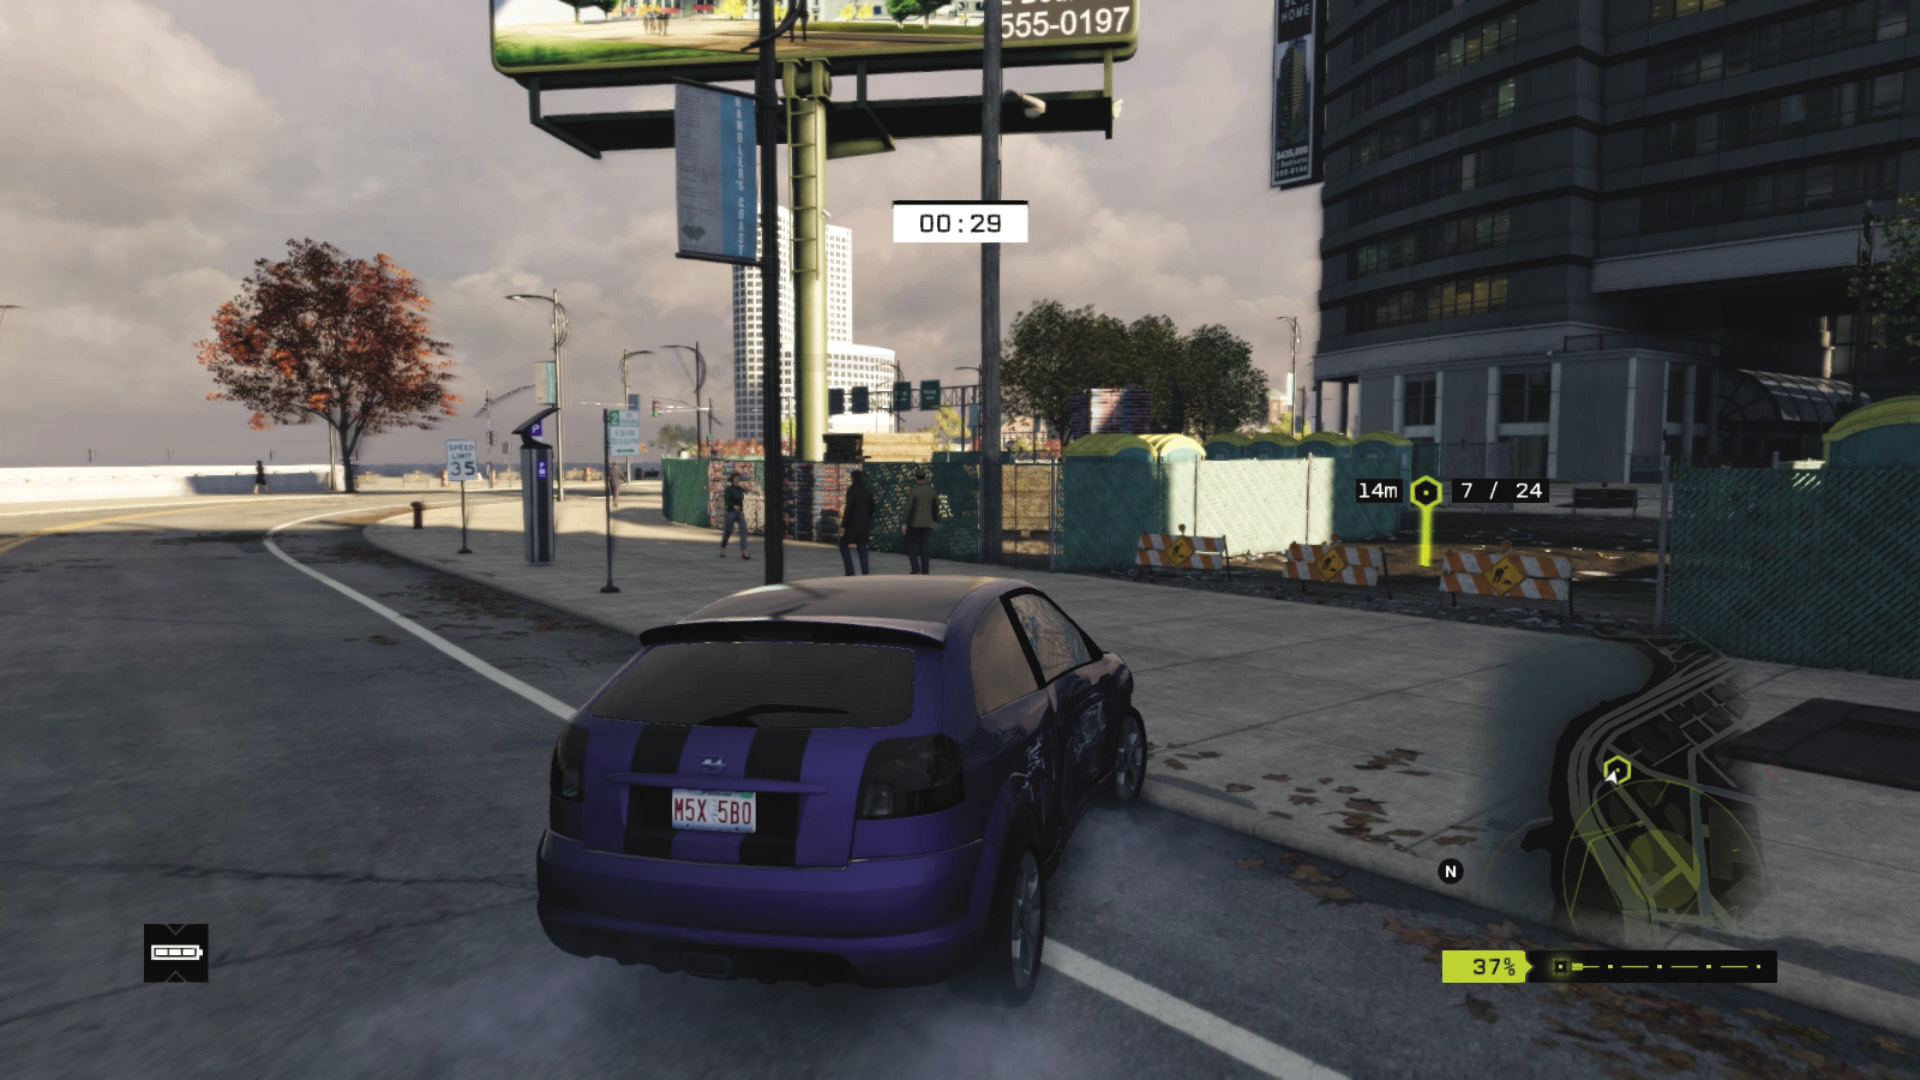
Checkpoints 6–10: The road straightens out; accelerate hard through Checkpoint 6, then make a savage stop and skid right at 7, through the gravel and between a series of buildings ending at a sharp right at 8. Keep left at 9, passing the circular sculpture and heading onto the cobblestones through 10.
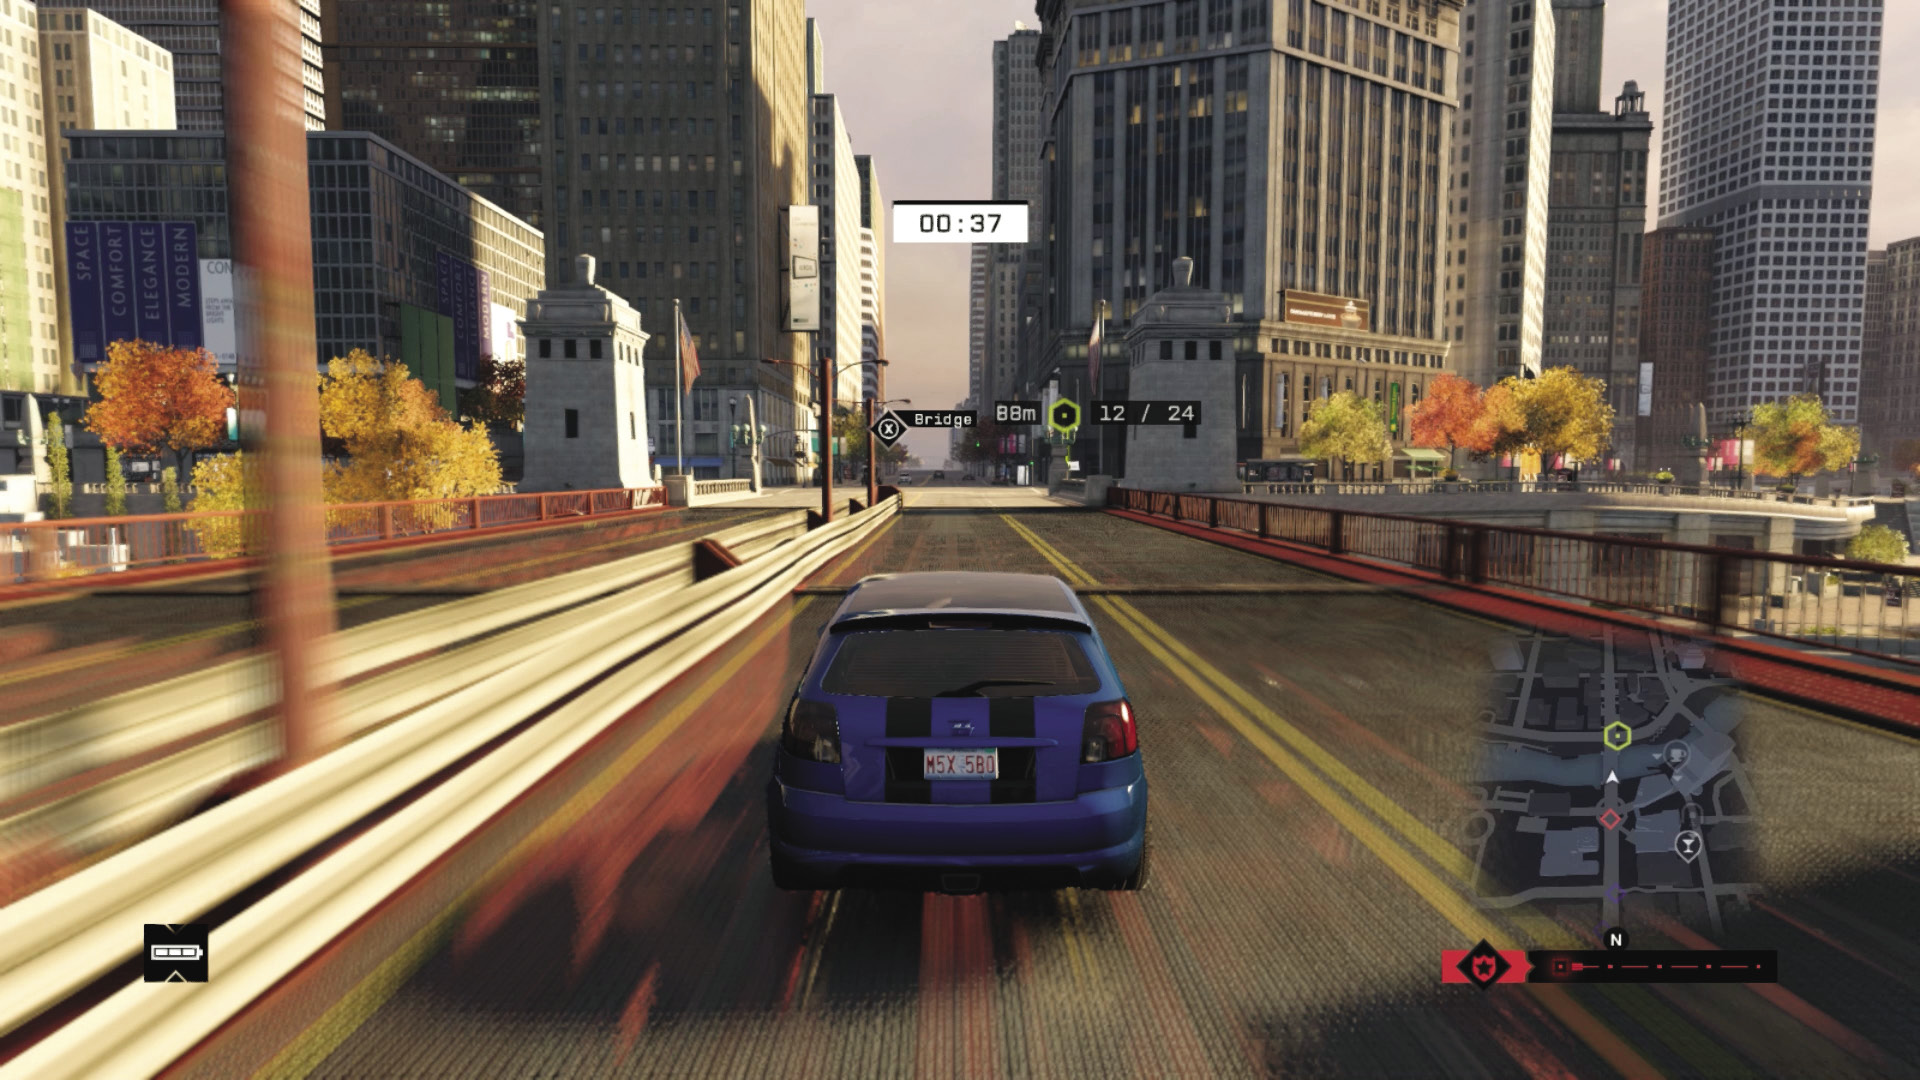
Checkpoints 11–15: Follow the curved road, then make a severe left turn at the L-train. Cross the river and touch the e-brake to skid right at Checkpoint 12. Head along the river, then back over it to the right again at 13. Make a right at 14, down the road and into the traffic tunnel, then turn sharply right at 15.
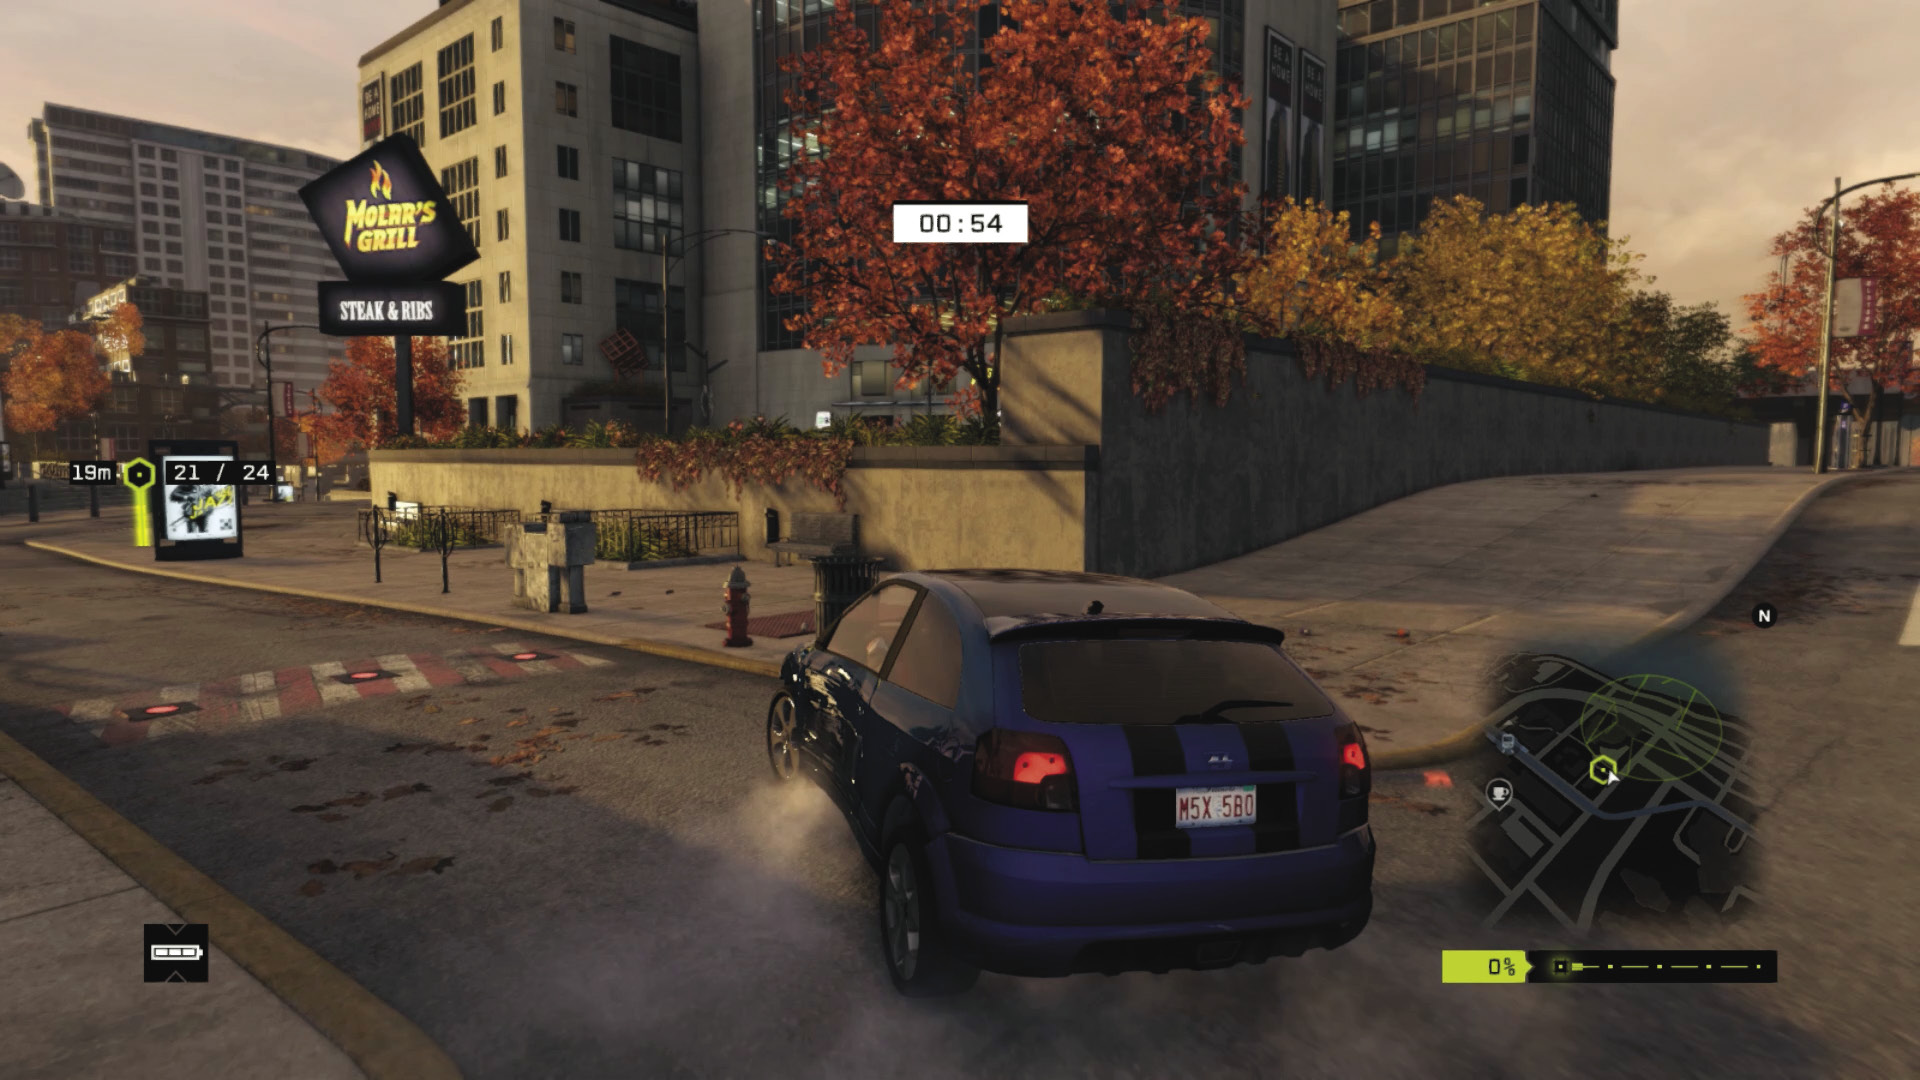
Checkpoints 16–21: Exit the tunnel and brake, sharply turning right at Checkpoint 17. It’s a straight line over the pavement and down the street to a sharp right turn at 19, then a left a block later at 20. Don’t miss the alley with the blockers at 21.
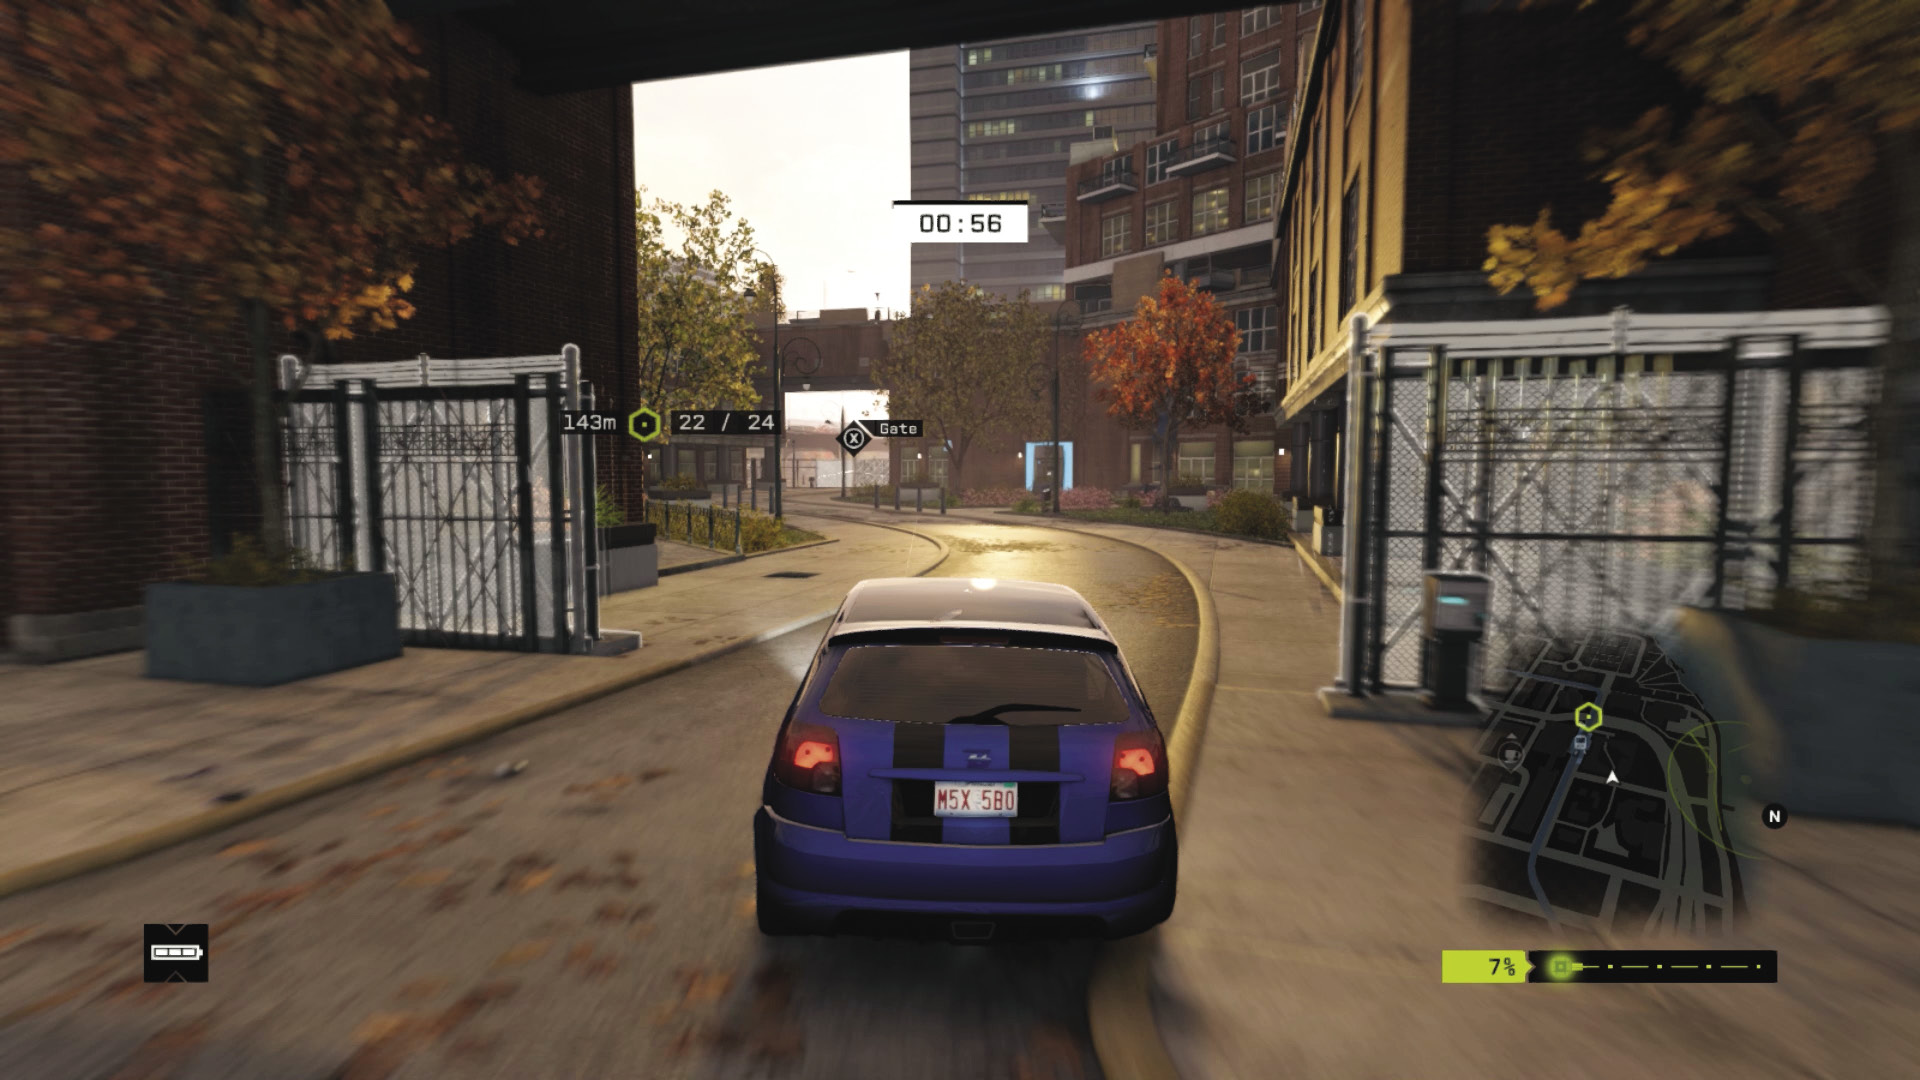
Checkpoints 22–24: Hack both gates and speed through the curved pedestrian area, back onto the road at Checkpoint 22 during the long left turn and under the bridge. Head up the rise in the road to 23; follow the road south to the bridge and 24.