
/ _CHICAGO MAP: LOCATIONS AND ACTIVITIES
Utilizing the ctOS city map, which is available as a minimap constantly throughout your adventure, is the key to locating everything available and finding your way around this sprawling cityscape. This section goes through the most helpful aspects of the map and how to quickly reveal all of it.
// 4. CITY MAP AND ctOS GRID
The city map of Chicago has two distinct looks. For example, in the Wards (one of the six districts of Chicago), where you begin your missions, you’ll see the following information on your map at the start of your adventure:
/// Topographical View (Initial)
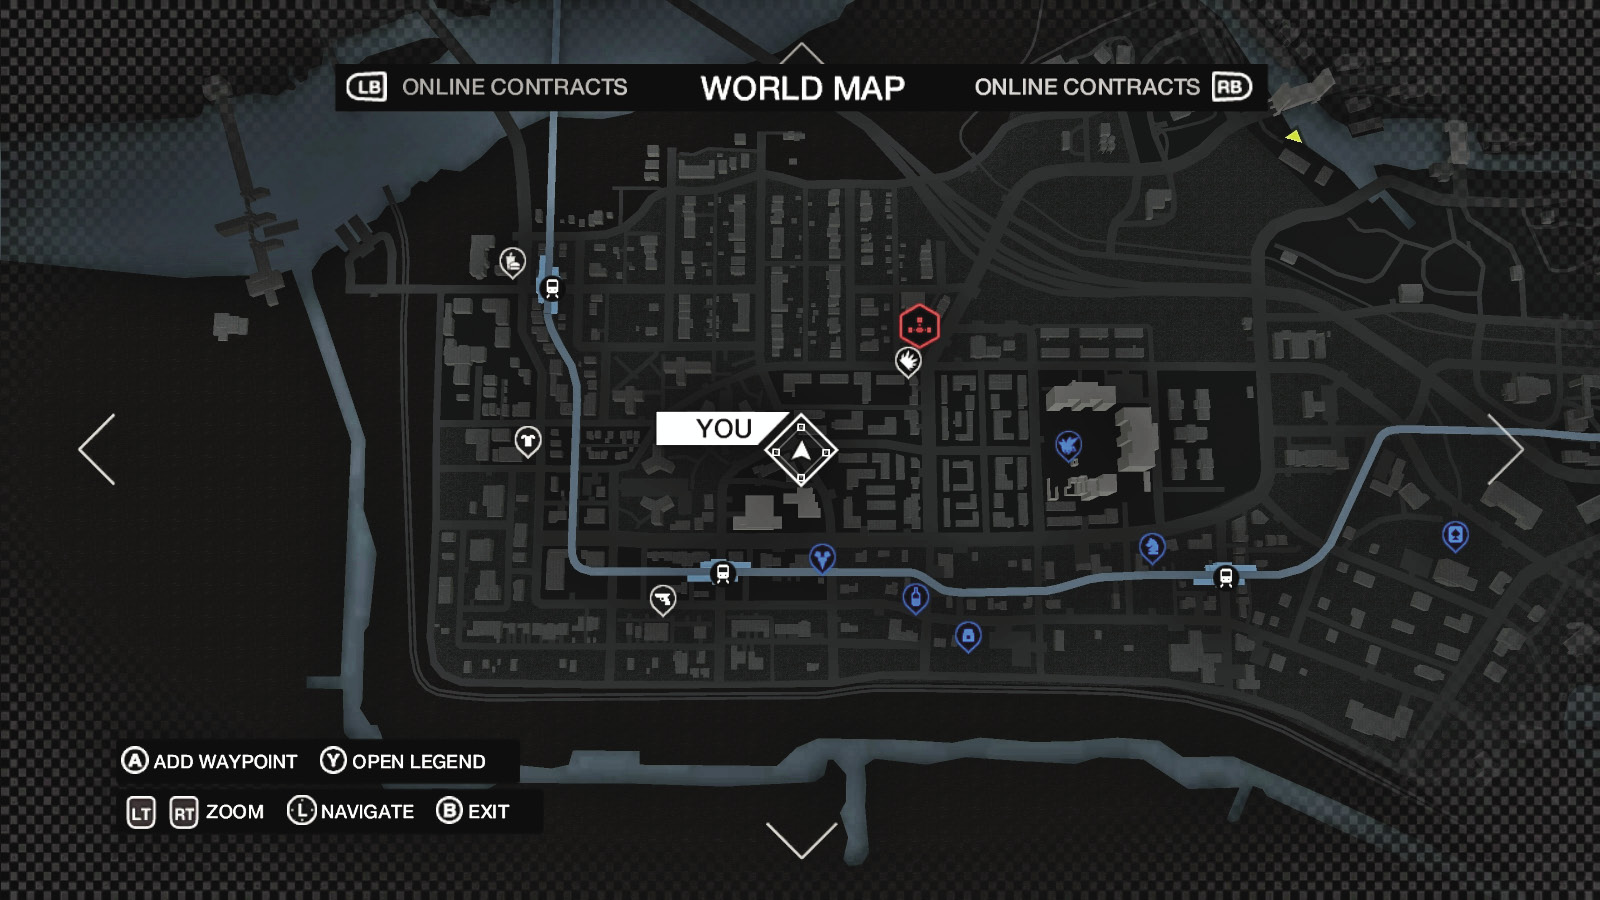
This map shows the layout of the streets, freeways, rail lines, rivers, some alleys, and the general shape of every building. It becomes increasingly helpful as you progress. For now, this map shows the following:
 Player Arrow:This shows your location and the direction you’re facing.
 Businesses:Check out gun shops, pawnshops, restaurants, and other businesses (see later in the training for more information on these locations).
 L-Train Stations:These offer travel around the city and can be hacked.
 Initial Hideout:The Owl Motel, in Parker Square, is flagged too. But this is the only hideout you can uncover.
 City Games:Other activities, such as drinking games, augmented reality games, and digital trips, are also shown.
 GPS Route:A blue arrow line can be plotted to any destination you wish. Roads are used, rather than alleys, rail lines, off-road paths, and other shortcuts. If you see a route in yellow, this is usually an enemy or mandatory route to follow and intercept.
/// Zoom Views
This shows the map fully zoomed out and fully zoomed in. The more you zoom in, the easier it is to see the connecting roads, so you can plot the quickest ways to particular locations, independent of your GPS function.
/// Topographical View (District Connectivity)
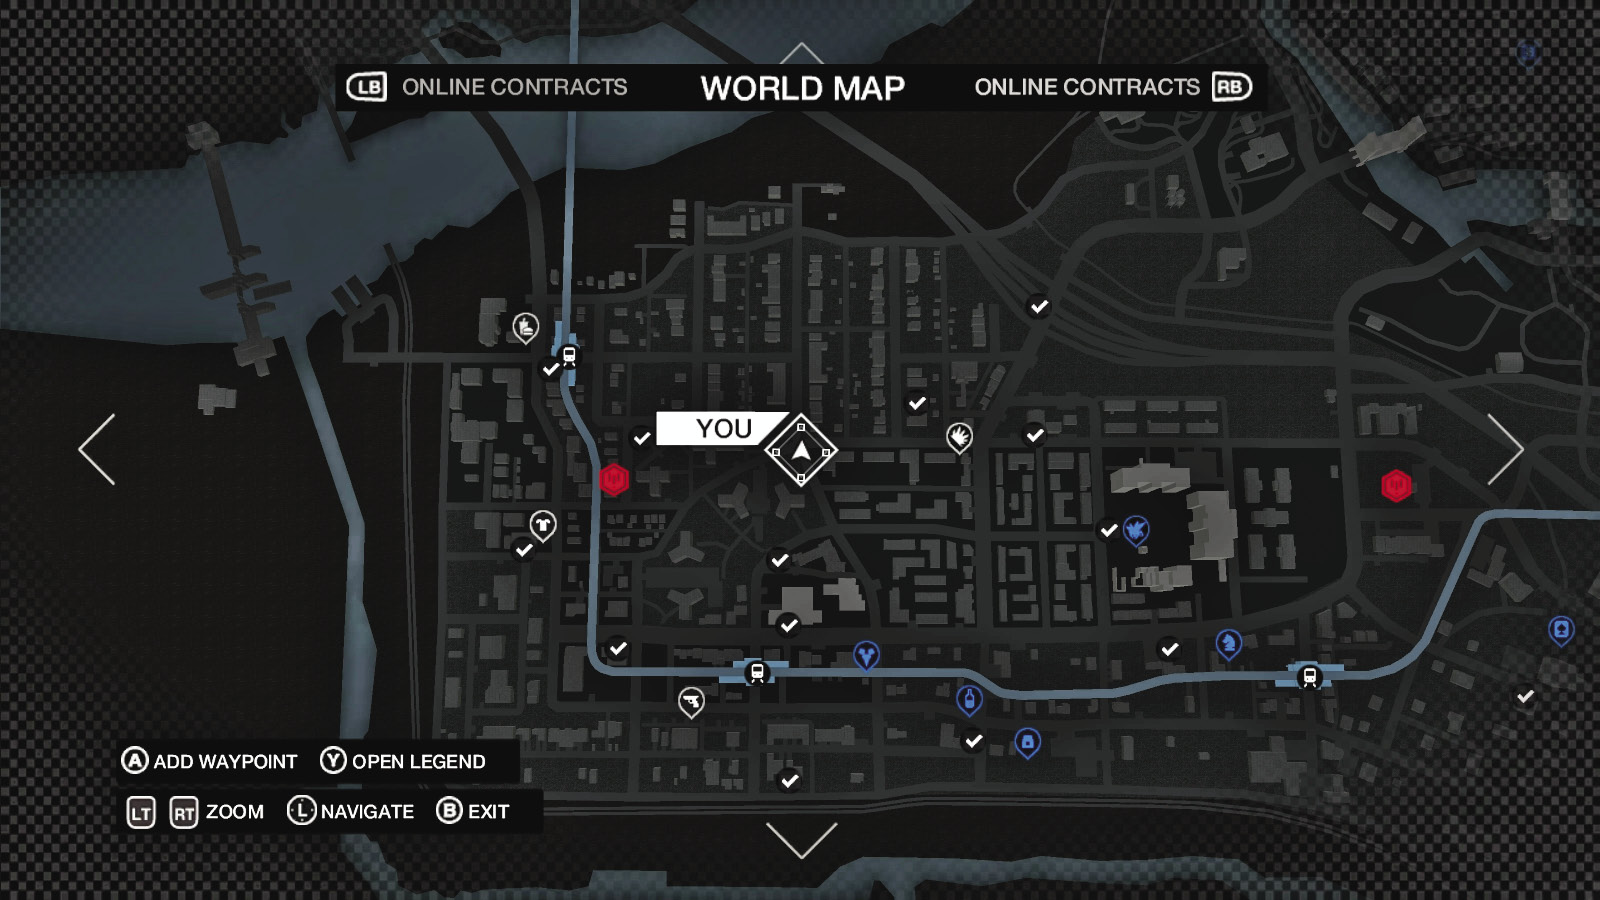
This map shows the same area of the Wards, but once you infiltrate the ctOS control center and hack the server, Aiden can access more of the district’s connectivity.
 City Hotspots:You are now able to see all of the district’s city hotspots, landmarks you can visit with your friends.
 Criminal Activity:Blue triangles with a circular area around it indicates a crime may be about to take place.
 Contracts: As you’re a free agent, intimidation, driver, or convoy contracts may become available.
These two sets of missions also appear (randomly).
/// Topographical View (ctOS Tower)
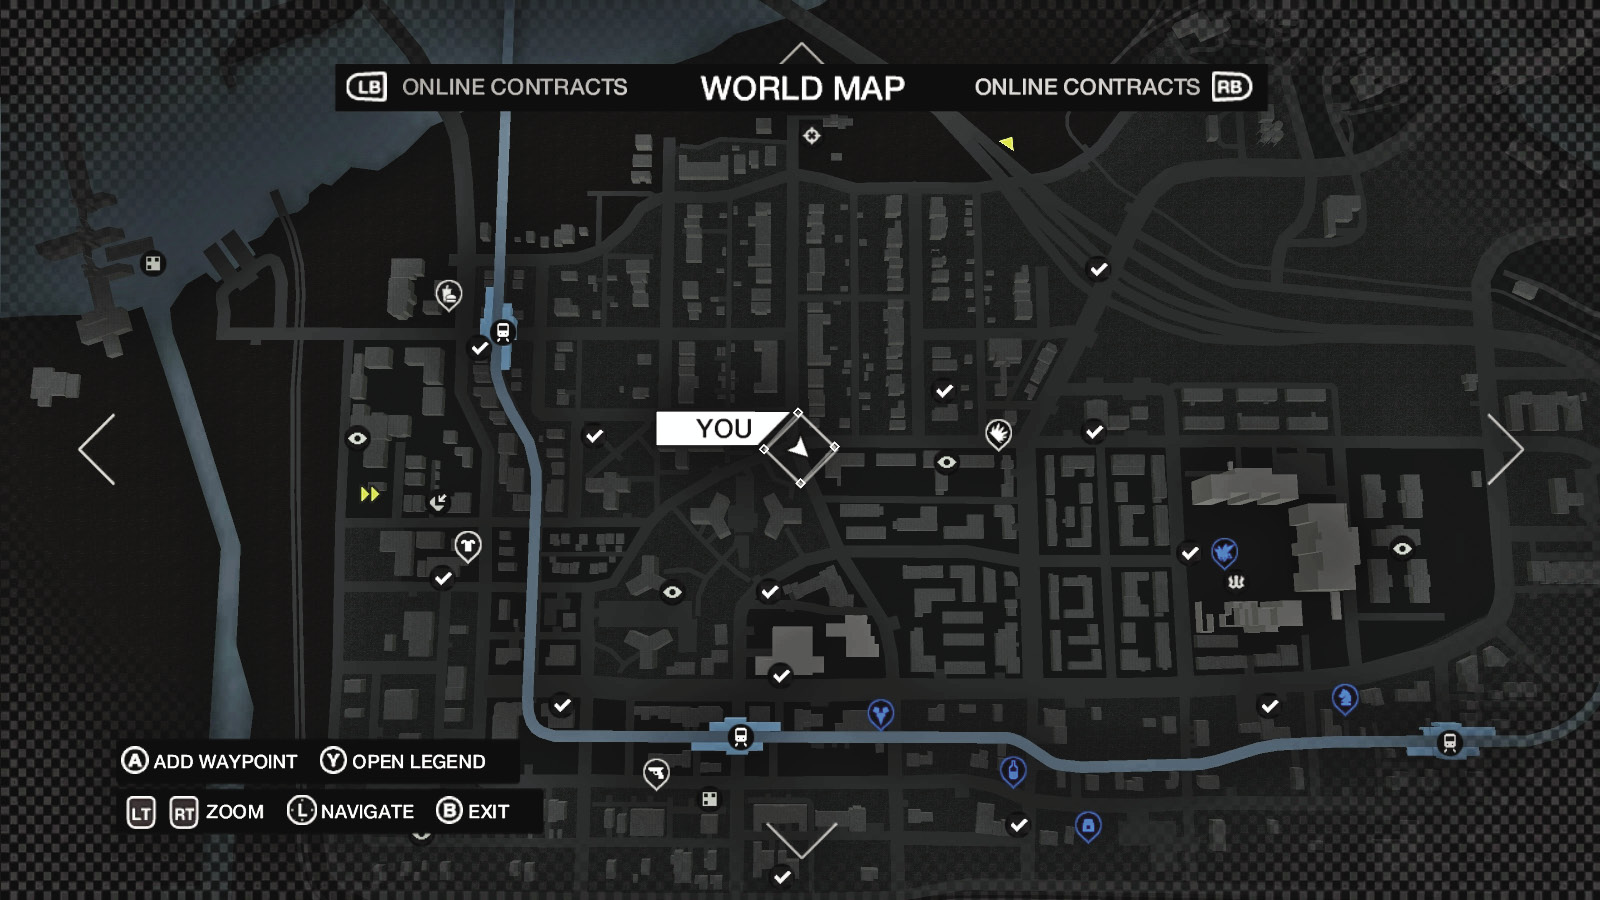
This map shows the same area of the Wards, but once you hack both of this district’s ctOS towers, you have additional information and more connectivity:
 Hideouts:Your safe house, where you can lose heat, sleep, save, grab weapons from your armory, and change outfits.
 Collectibles:Critical items and other locations of interest that contain items are shown, including all items for side investigations and privacy invasions.
// 5. MINIMAP
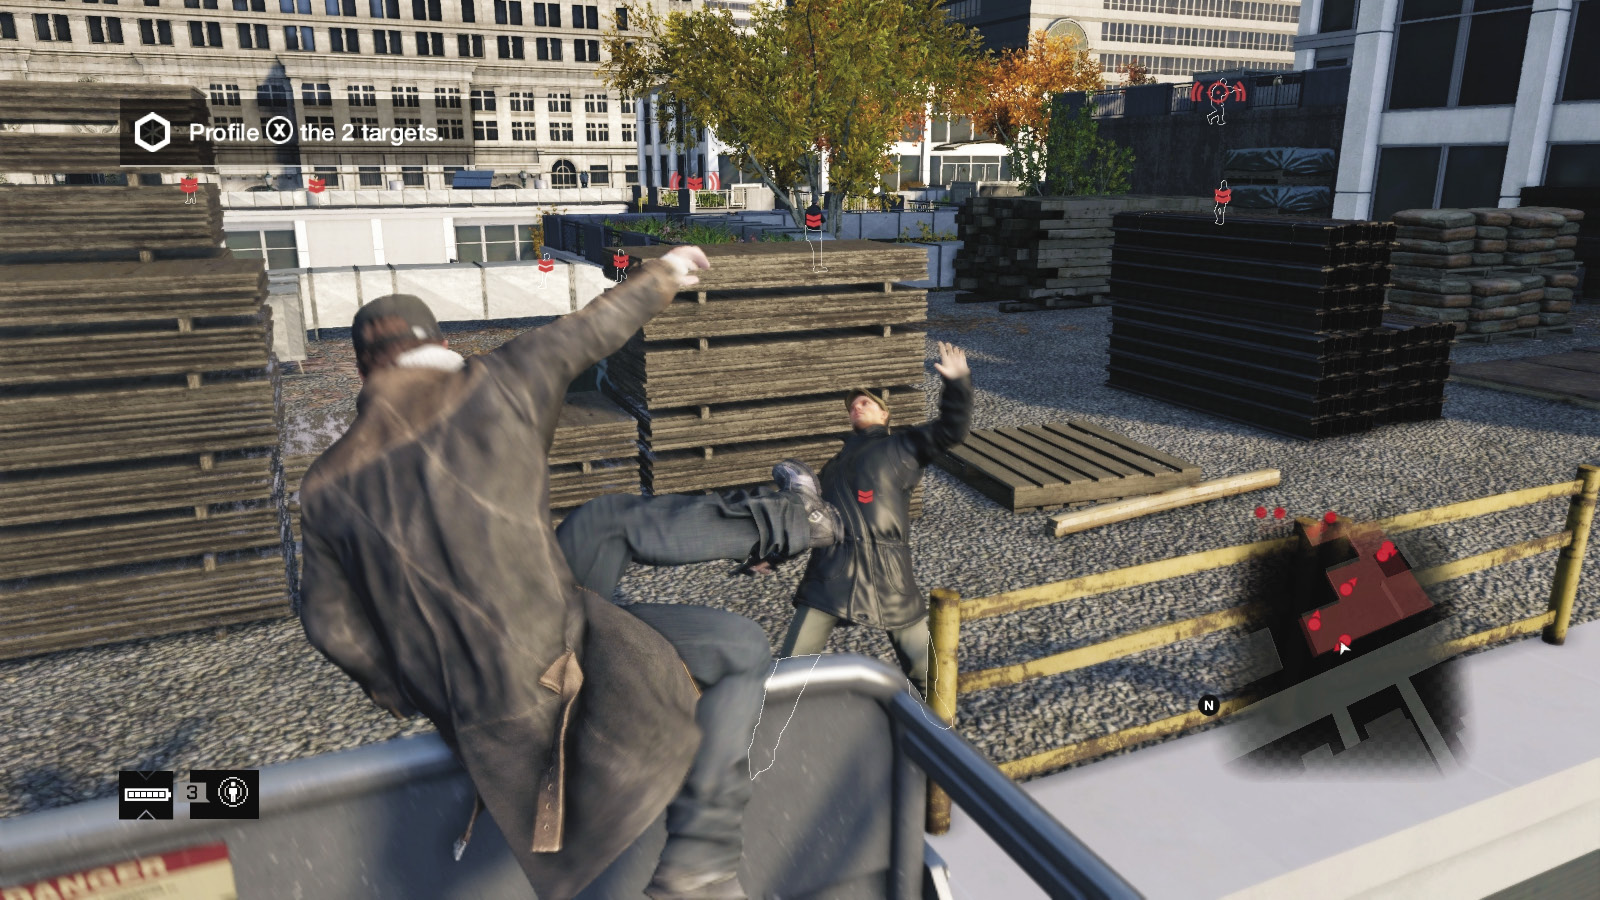
Your minimap, which takes up the bottom-right corner of your screen, is exceptionally useful. It shows the same information as your world map but in the local area you’re moving in. As you unlock more elements of the world map, they appear on the minimap too. Also important are the numerous icons that appear on your map:
 A yellow pentagon indicates a waypoint where an objective must be met or where a main mission starts.
 A red and blue diamond, indicating a police vehicle.
 A red and blue dot with an arrow, indicating a police officer and the direction they are looking in.
 A red dot with an arrow, indicating an enemy and the direction they are looking in.
 A red helicopter, indicating a police or faction helicopter, usually with a marksman on it.
 A red and blue rectangle, indicating a police barricade with possible spike trap.
 A red and black diamond, indicating a faction vehicle.
 A black circle with “N,” indicating north; this is very handy, as the guide refers to compass directions.
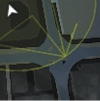 Yellow scanning circles, used by the police during their search for you.
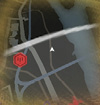 Large white circle edges, showing the perimeter of a search area during an escape.
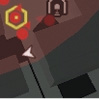 Red-colored sections of town, showing the area of a mission you need to reach.
// 6. LOCATIONS OF INTEREST: COLLECTIBLES /// INVESTIGATIONS
There are a variety of items, businesses, and mission types to find. The first of these are investigation collectibles—groups of items or information to gather.
Collectibles
| Icon | Type | # | Description |
|---|---|---|---|
|
|
Buyers | 10 | Find and hack the phone of a human trafficker in the first part of the Investigation: Briefcases. |
 |
Briefcases | 10 | Information from each human trafficker leads to a related briefcase in the second part of the Investigation: Briefcases. |
 |
Burner Phones | 7 | Locate these burner phones left by Maurice Vega in the Investigation: Burner Phones. |
 |
Missing Persons | 6 | Solve the mystery by finding corpses that have been dumped across the city in Investigation: Missing Persons. |
|
|
QR Codes | 16 | The infamous hacker Giggles has left his calling card throughout Chicago: QR codes to scan and decipher as part of Investigation: QR Codes. |
|
|
Weapons Crates | 9 | Find shipping crates throughout the six districts, opening them to discover weapon caches as part of Investigation: Weapons Trade. |
|
|
Hard Drives | 10 | Locate black market hard drives related to Danny SoSueMe, a rich hacker, in Exclusive Contract: The Palace. |


// 7. LOCATIONS OF INTEREST: BUSINESSES
There are many different businesses across Chicago’s six districts, and each has a variety of items to purchase (or shopkeepers to steal from). When you wish to take a break between missions, want to tool up with some weaponry or crafted items, score a swanky new outfit, or even play a game of slots, chess, or a drinking game, head to the businesses listed below.
//// Threatening Business Owners
Instead of purchasing something at a particular business, you can simply wave a gun in front of the shopkeeper’s face. They usually cooperate, allowing you to steal money from the cash register. The police are then often called if you stick around (or shoot the person). As the cash you grab isn’t that much (compared to hacking an ATM, for example), only attempt this at locations you don’t wish to frequent.
// BUSINESS /// Clothing Stores
Number AVAILABLE: 4
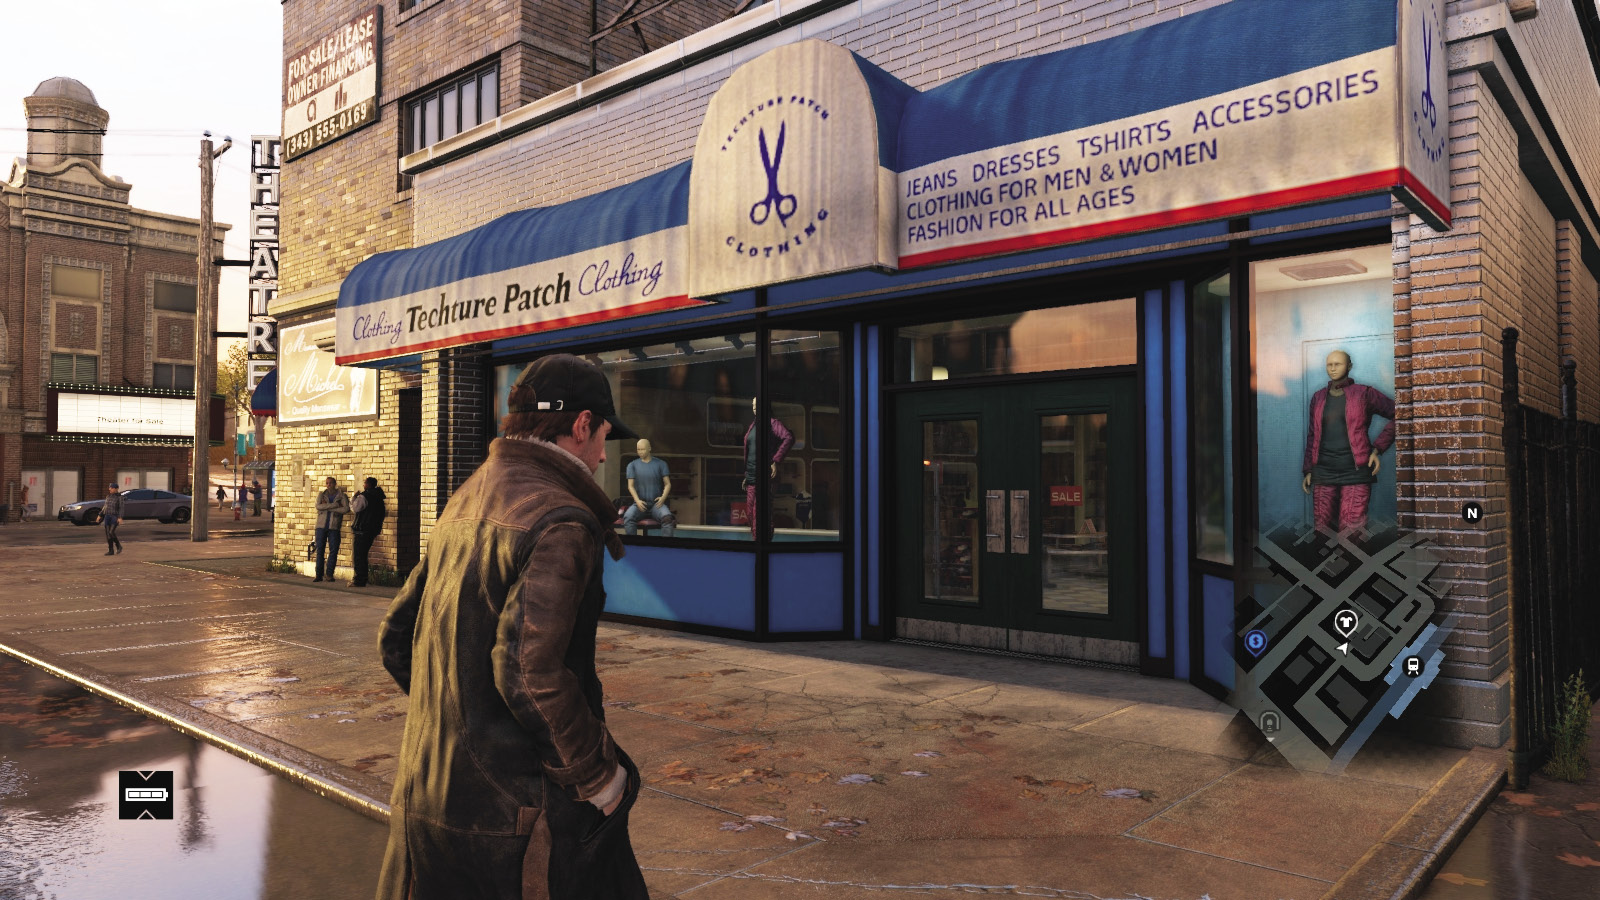
 There are two clothing store companies serving the six districts: Techture Patch (offering affordable outfits) and Walker & South Clothing (for the more discerning buyer). Head in here to purchase (or redeem) a variety of cool threads. You can also change outfits here. Any purchased outfits become available at your hideout, the Owl Motel, and the Bunker afterward (in the Wardrobe).
| Clothing Store Company | District Location | Wi-Fi Speaker? |
|---|---|---|
| Techture Patch | Parker Square | Yes |
| Techture Patch | The Wards | Yes |
| Walker & South Clothing | The Loop | Yes |
| Walker & South Clothing | Mad Mile | Yes |
//// Character Customization
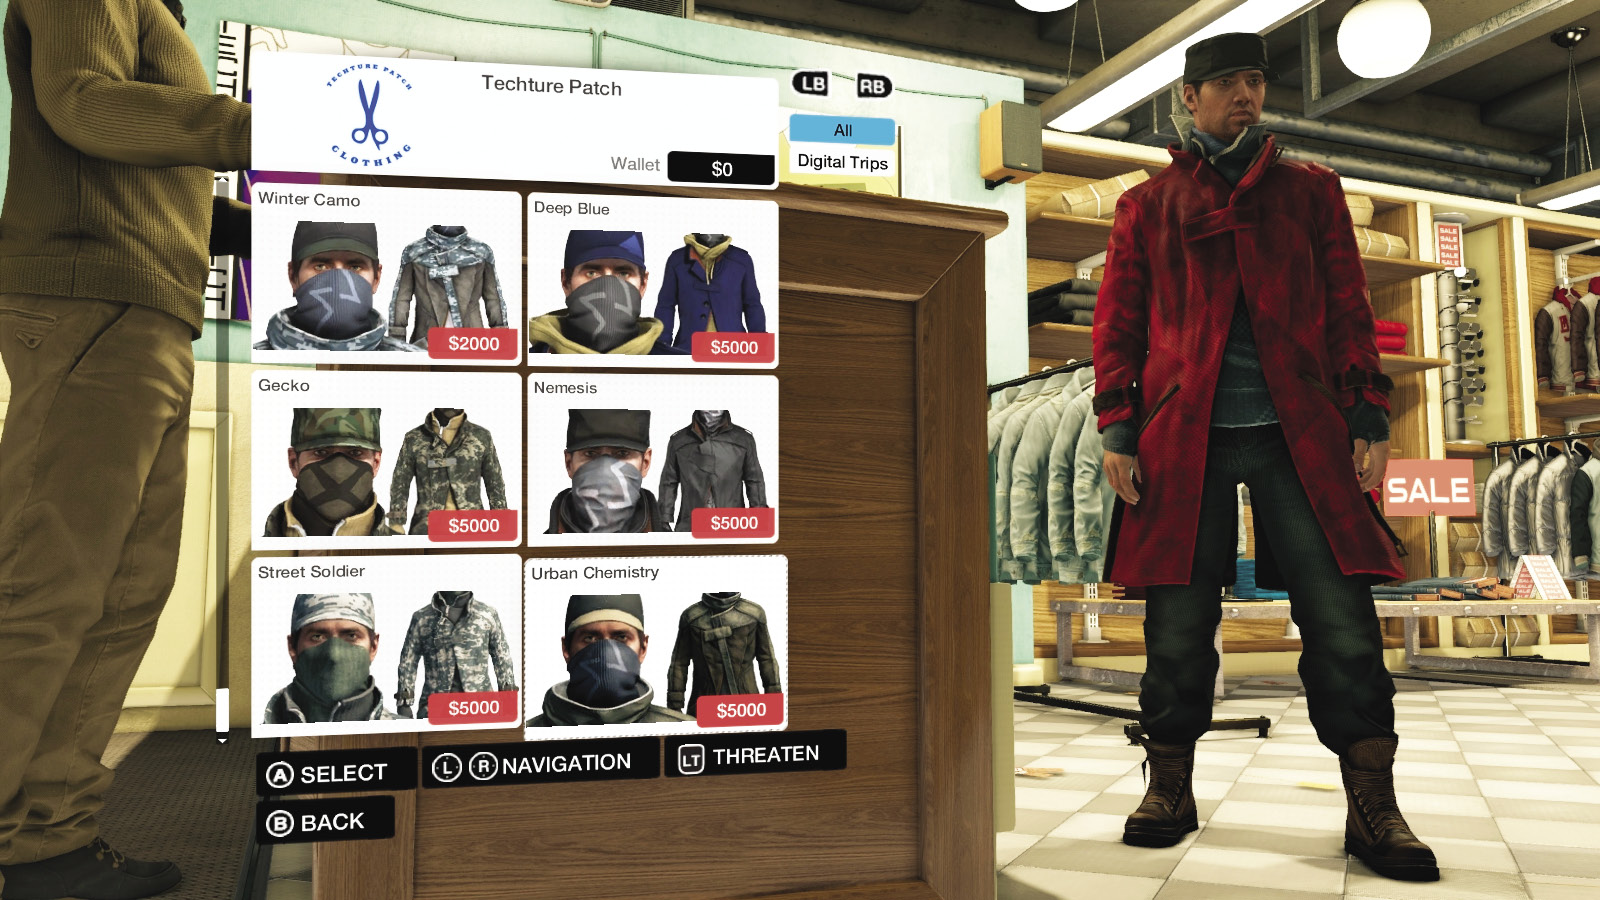
There are a variety of outfits you can wear, with any clothing store offering the same type of clothing. “Faction” and “Special” outfits are only available as a certain type of bonus.
| Outfit Style | Outfit Name | Cost | Notes |
|---|---|---|---|
| Original | Vigilante |
Free |
Equipped |
| Digital Trips | Alone |
Free |
After accessing Digital Trip: Alone |
| Digital Trips | Conspiracy! |
Free |
After accessing Digital Trip: Conspiracy! |
| Digital Trips | Madness |
Free |
After accessing Digital Trip: Madness |
| Digital Trips | Psychedelic |
Free |
After accessing Digital Trip: Psychedelic |
| Digital Trips | Spider-Tank |
Free |
After accessing Digital Trip: Spider-Tank |
| Faction | Viceroy Outfit |
Free |
Available as part of Signature Shot Pack |
| Faction | DedSec Outfit |
Free |
Available as part of DedSec Shadow Pack |
| Faction | Blume Agent Outfit |
Free |
Available as part of Blume Agent Pack |
| Faction | Chicago South Club Outfit |
Free |
Available as part of Club Justice Pack |
| Special | 1920s Mobster Outfit |
Free |
Available as part of Untouchables Pack |
| Special | Cyberpunk Outfit |
Free |
Available as part of Cyberpunk Pack |
| Special | White Hat Hacker Outfit |
Free |
Available as part of Exclusive Missions |
| Tier I | Adversary |
$500 |
— |
| Tier I | Bandit |
$500 |
— |
| Tier I | Blindside |
$500 |
— |
| Tier I | Bloodstain |
$500 |
— |
| Tier I | Blue Tips |
$500 |
— |
| Tier I | Enlisted |
$500 |
— |
| Tier I | Firebrand |
$500 |
— |
| Tier I | Low Road |
$500 |
— |
| Tier I | Orange Burn |
$500 |
— |
| Tier I | Shadow |
$500 |
— |
| Tier I | Smoked |
$500 |
— |
| Tier I | Vagabond |
$500 |
— |
| Tier I | Vamp |
$500 |
— |
| Tier I | Wheelman |
$500 |
— |
| Tier II | Anarchist |
$1,000 |
— |
| Tier II | Cutthroat |
$1,000 |
— |
| Tier II | Highwayman |
$1,000 |
— |
| Tier II | Laundry Day |
$1,000 |
— |
| Tier II | Light Leather |
$1,000 |
— |
| Tier II | Marauder |
$1,000 |
— |
| Tier II | Nomad |
$1,000 |
— |
| Tier II | Real Teal |
$1,000 |
— |
| Tier II | Reptile |
$1,000 |
— |
| Tier II | Road Hazard |
$1,000 |
— |
| Tier II | Road Work |
$1,000 |
— |
| Tier II | Rogue |
$1,000 |
— |
| Tier II | Sea Streak |
$1,000 |
— |
| Tier II | Seaspray |
$1,000 |
— |
| Tier II | Stalker |
$1,000 |
— |
| Tier II | Streetwise |
$1,000 |
— |
| Tier II | Tortoise |
$1,000 |
— |
| Tier III | Concrete |
$2,000 |
— |
| Tier III | Elements |
$2,000 |
— |
| Tier III | Green Screen |
$2,000 |
— |
| Tier III | Infiltrator |
$2,000 |
— |
| Tier III | Malcontent |
$2,000 |
— |
| Tier III | Road Rebel |
$2,000 |
— |
| Tier III | Rustic |
$2,000 |
— |
| Tier III | Saboteur |
$2,000 |
— |
| Tier III | Steelwork |
$2,000 |
— |
| Tier III | Wayfarer |
$2,000 |
— |
| Tier III | Whiteout |
$2,000 |
— |
| Tier III | Winter Camo |
$2,000 |
— |
| Tier IV | Deep Blue |
$5,000 |
— |
| Tier IV | Gecko |
$5,000 |
— |
| Tier IV | Nemesis |
$5,000 |
— |
| Tier IV | Street Soldier |
$5,000 |
— |
| Tier IV | Urban Chemistry |
$5,000 |
— |
// BUSINESS /// Bars
Number AVAILABLE: 6
 Visit these locations (one per district) and purchase a beer; this provides a temporary boost to your Focus duration. Your Focus Meter adds three more seconds when you drink. Multiple drinks don’t have any additional effect. Certain bars also have two types of City Games to play here, too. Beer then becomes available at your hideout to purchase.
/// Bars: Pawnee //// Jedediah’s Bar
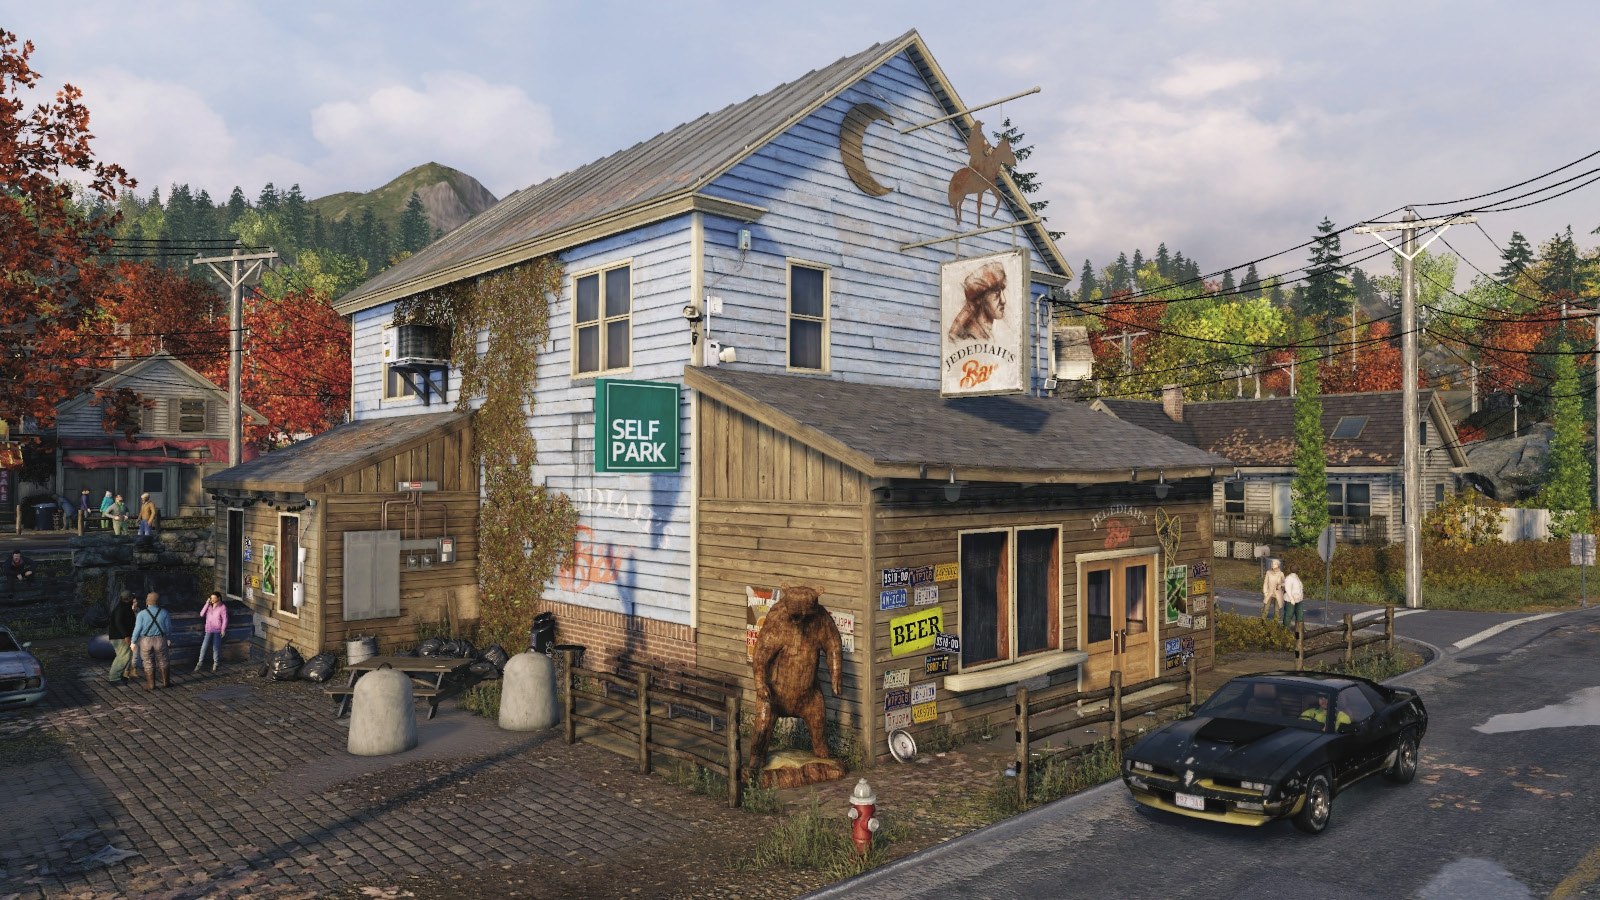
Shop / Beer Bottle ($7)
City Game / Drinking Game
Wi-Fi Speakers
/// Bars: Parker Square //// Sway San Bar
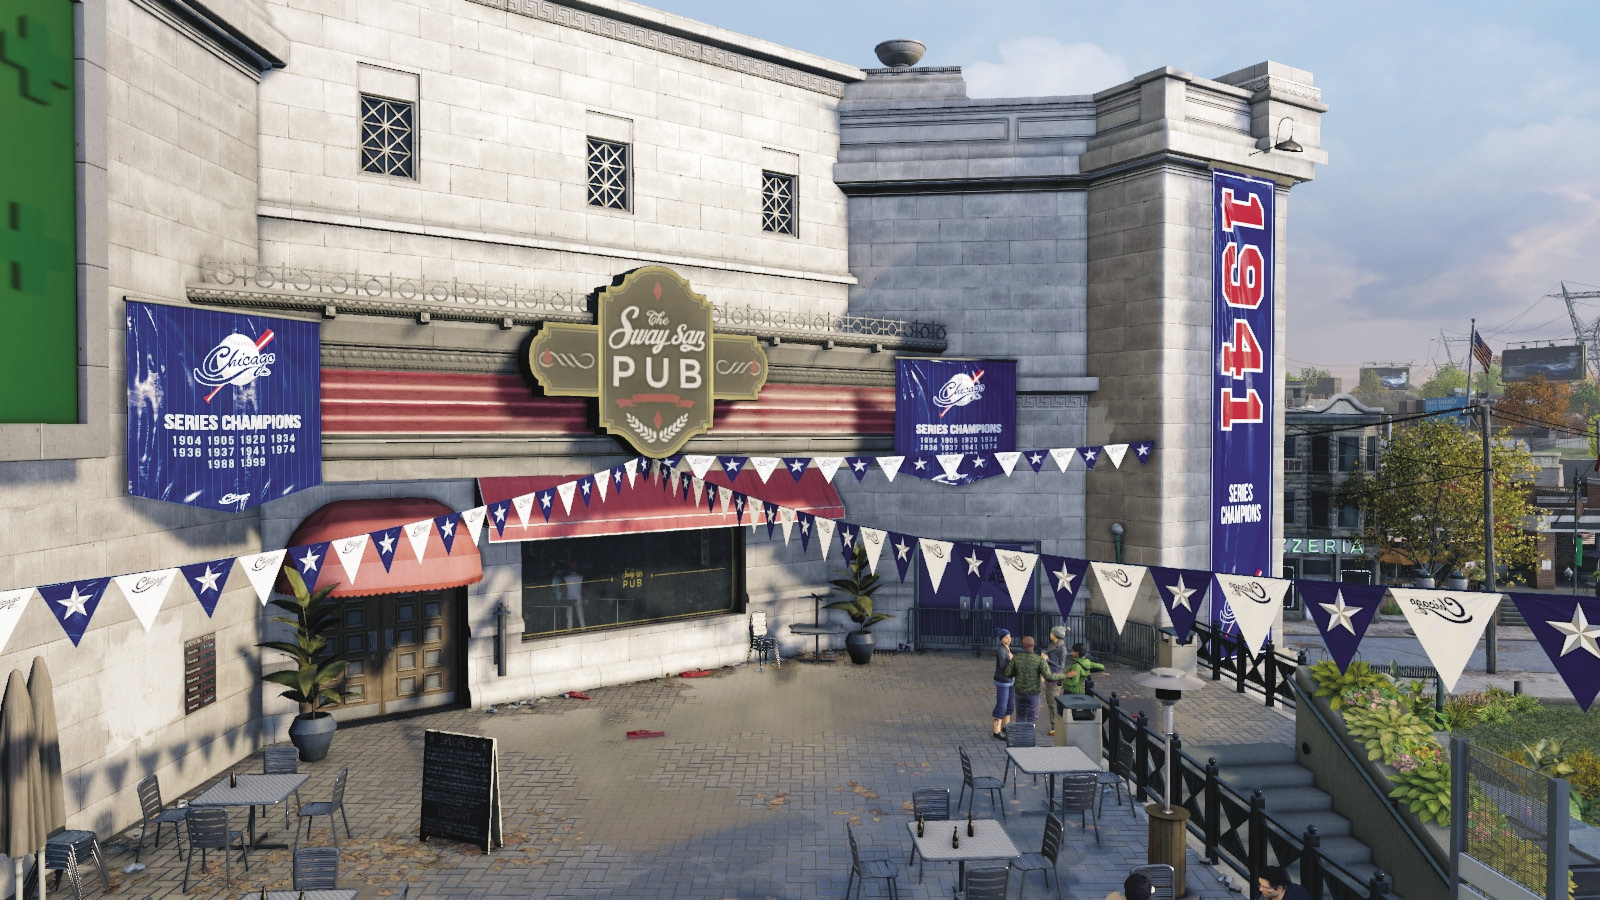
Shop / Beer Bottle ($7)
City Game / SLOT MACHINE
Wi-Fi Speakers
/// Bars: The Wards //// The Unicorn & Dragon Pub
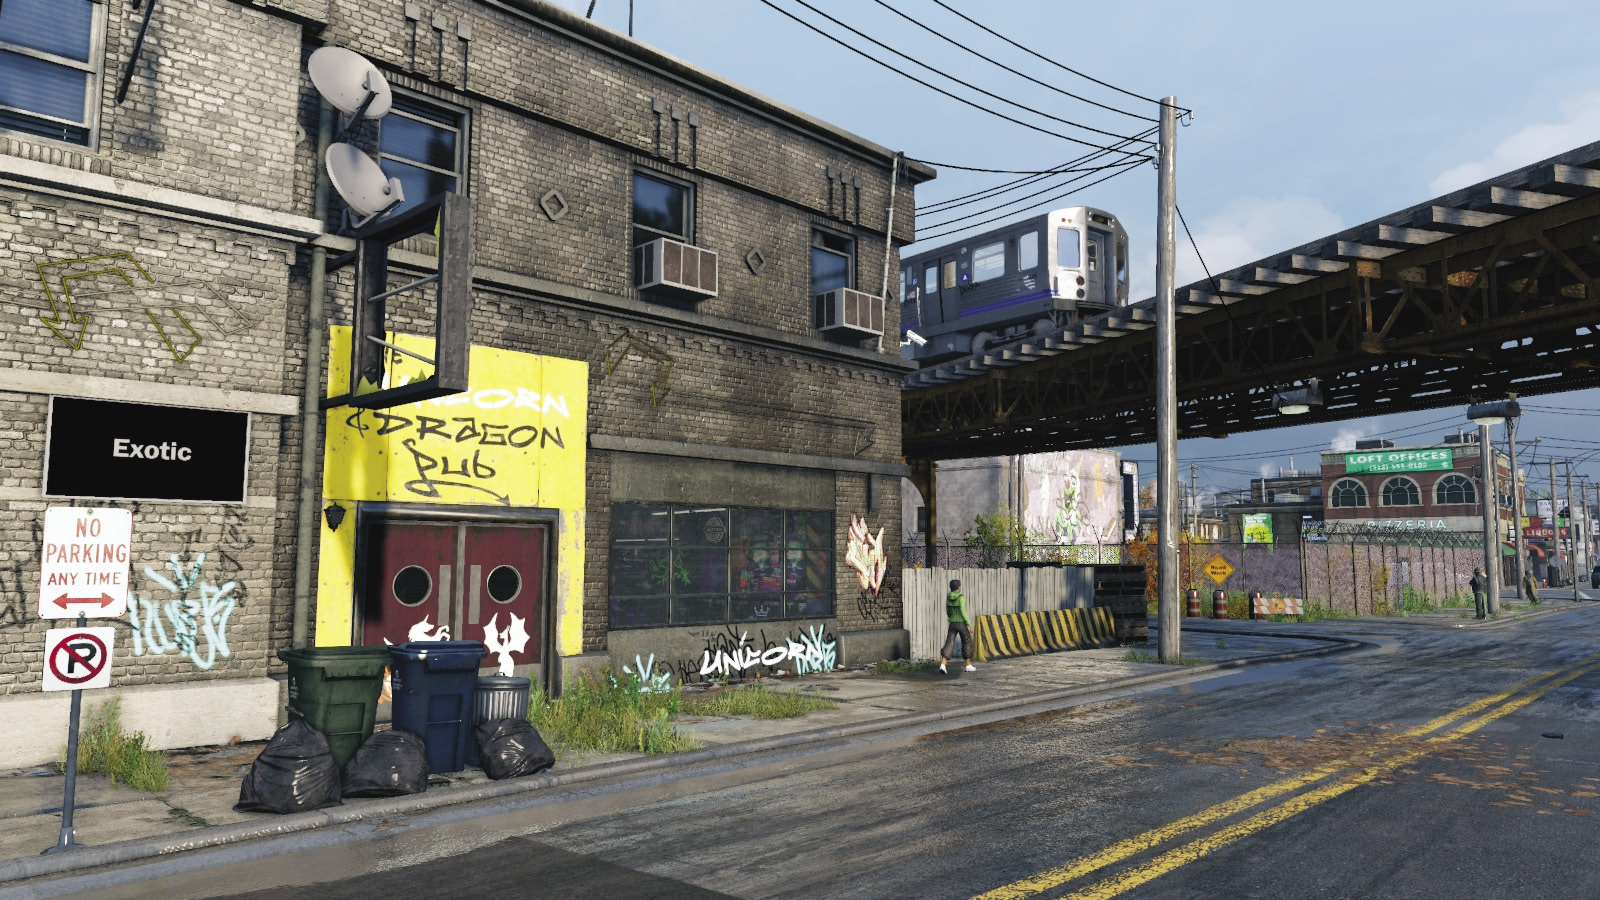
Shop / Beer Bottle ($7)
City Game / DRINKING GAME
Wi-Fi Speakers
/// Bars: Brandon Docks //// Brewsed Up
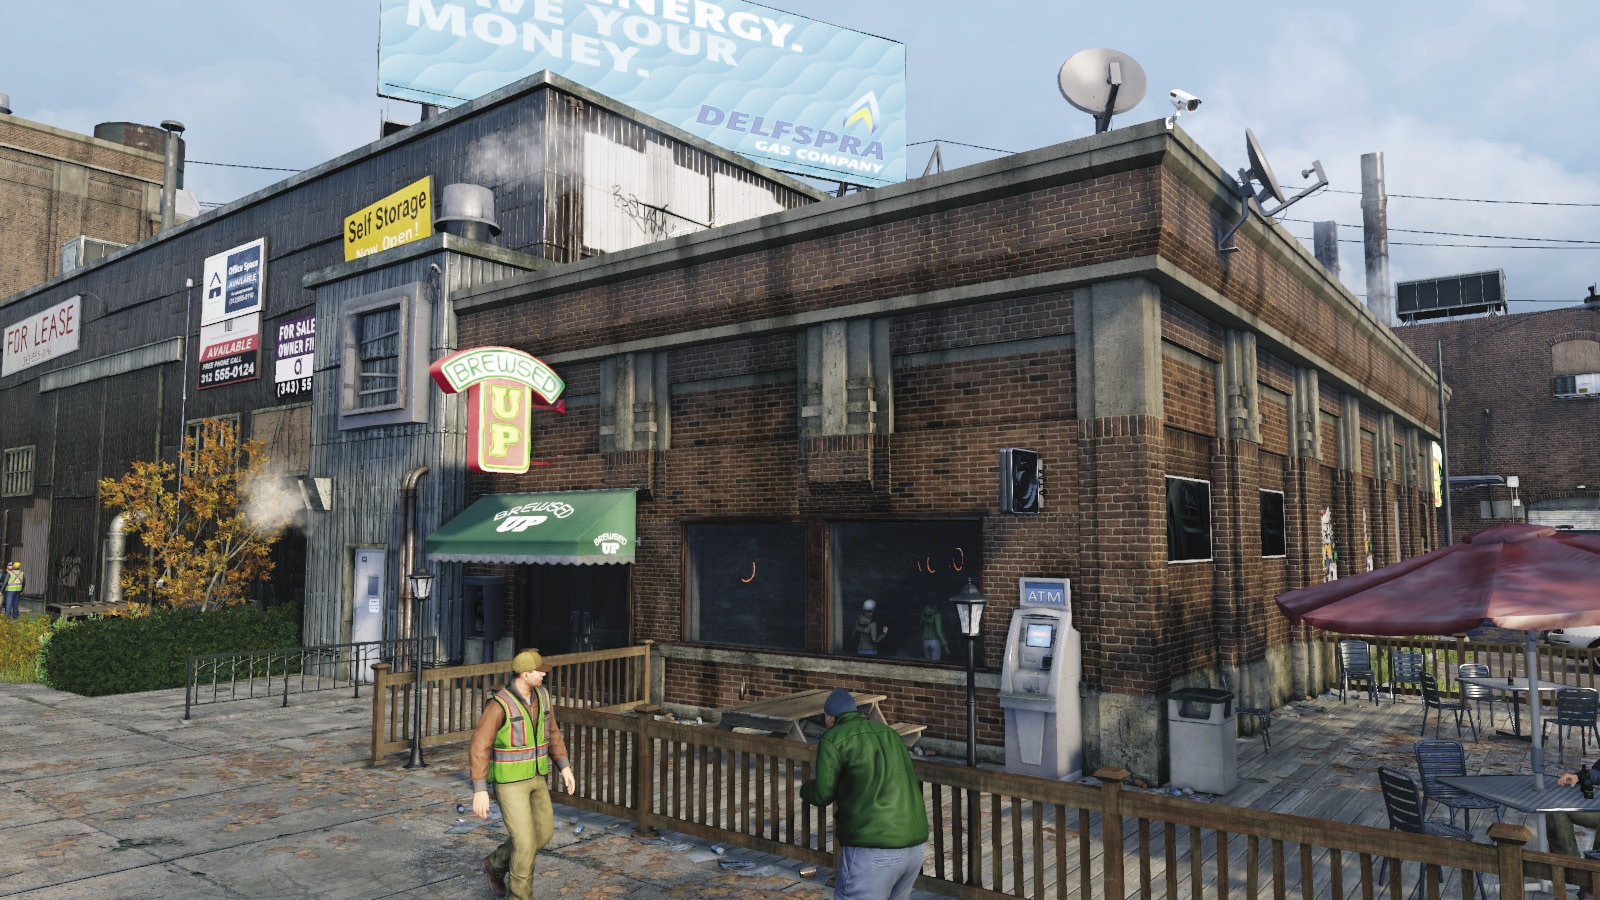
Shop / Beer Bottle ($7)
City Game / SLOTS: MULTI LINE
Wi-Fi Speakers
/// Bars: The Loop //// Miller’s Rail
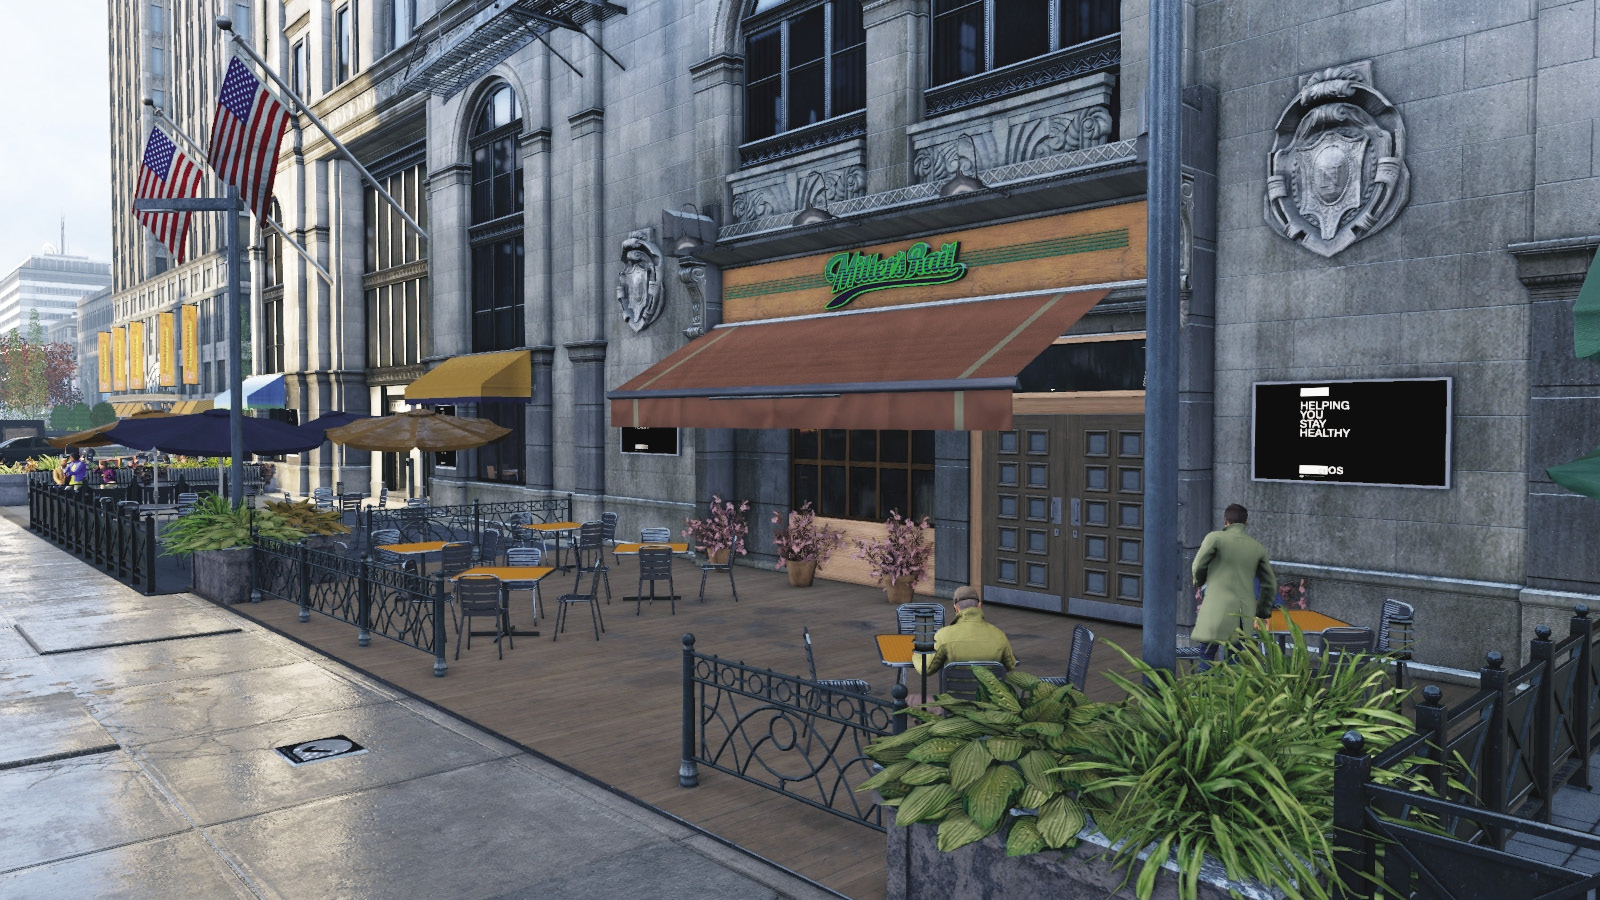
Shop / Beer Bottle ($7)
City Game / DRINKING GAME
Wi-Fi Speakers
/// Bars: The Wards //// The Iron Claw
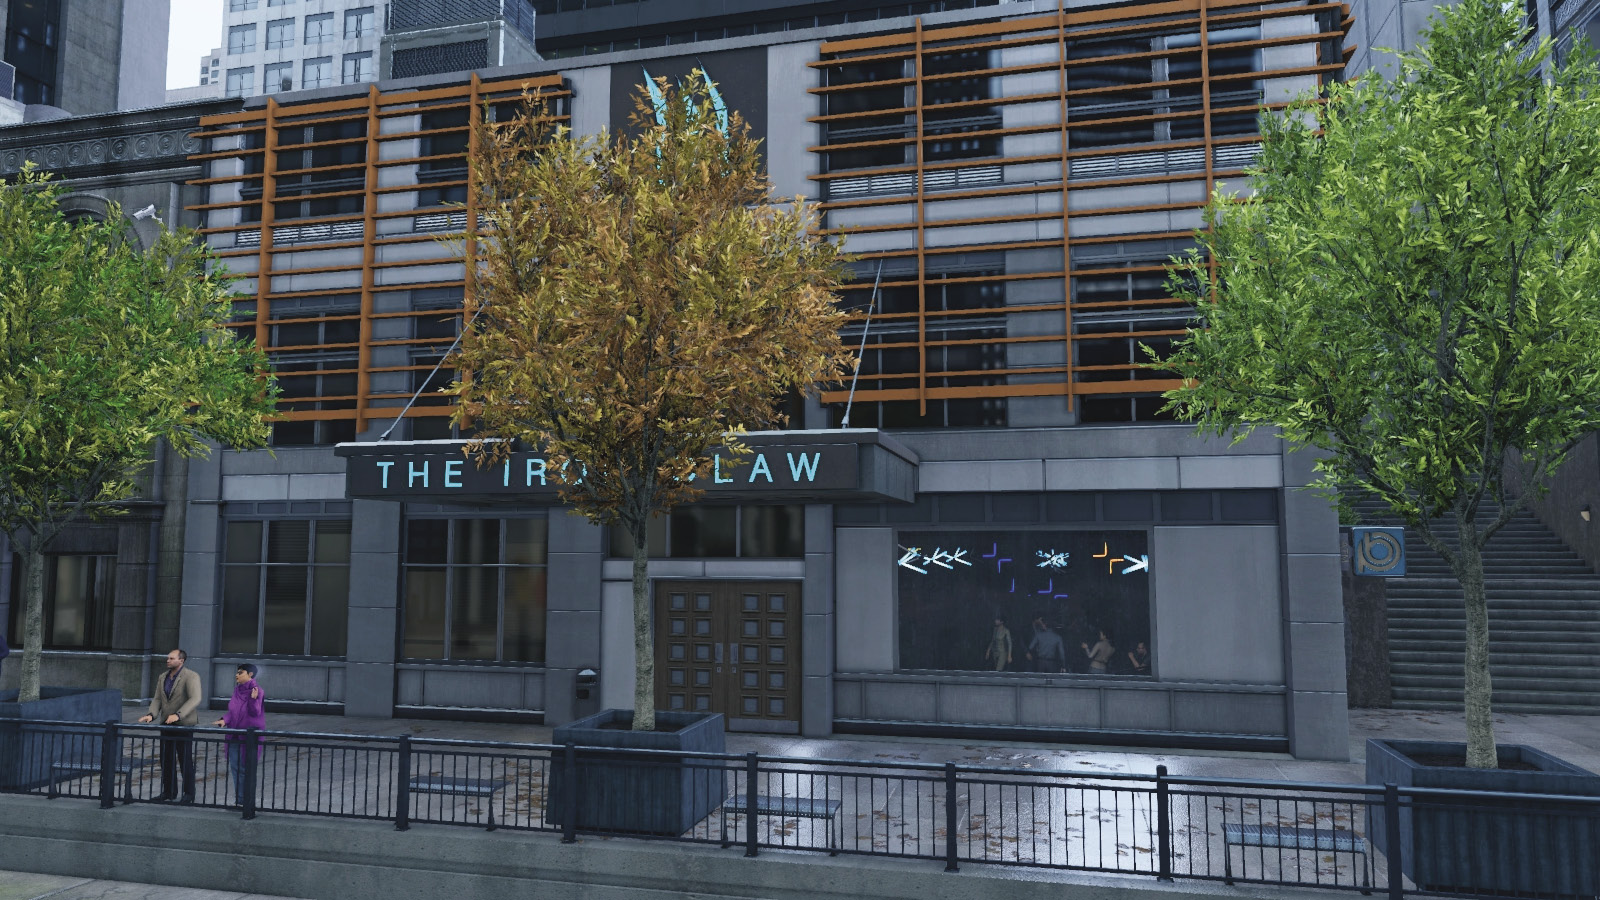
Shop / Beer Bottle ($7)
City Game / SLOTS: NUDGES AND HOLDS
Wi-Fi Speakers
// BUSINESS /// Coffee Shops and Restaurants
Coffee Shops AVAILABLE: 8
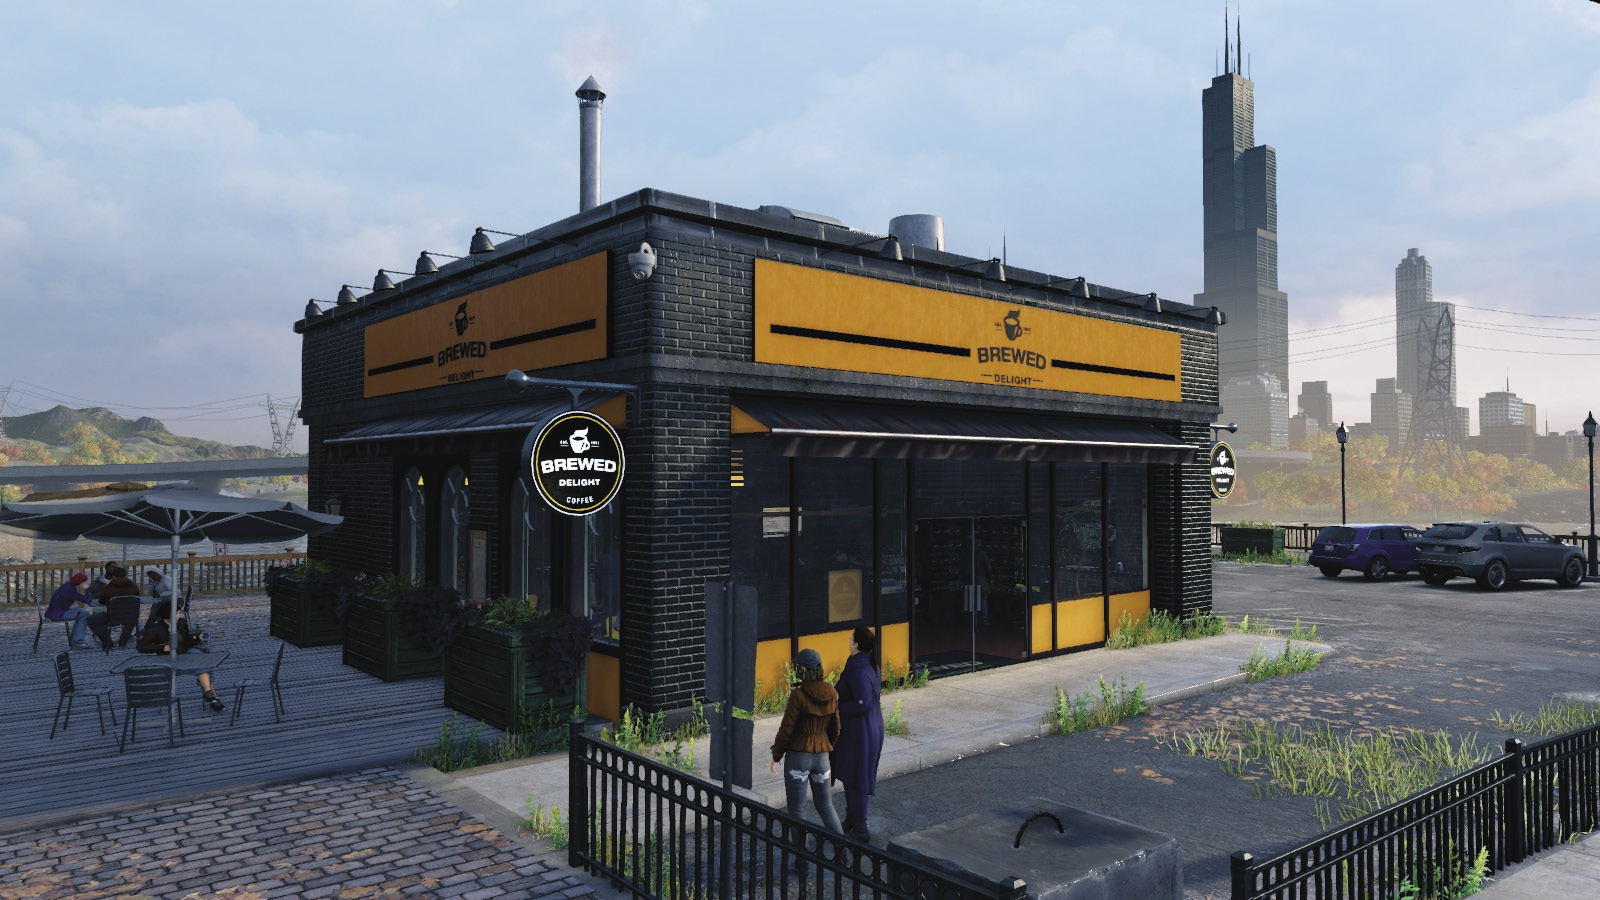
Locate these Brewed Delight coffee shops (one or two per district, except for Pawnee) and head inside to purchase a coffee for $3; this provides a temporary boost to your Focus duration (adding four more seconds when you drink). Multiple drinks have no further effect. Certain coffee shops provide various chess games to play too. Coffee then becomes available at your hideout for purchase.
Restaurants AVAILABLE: 6
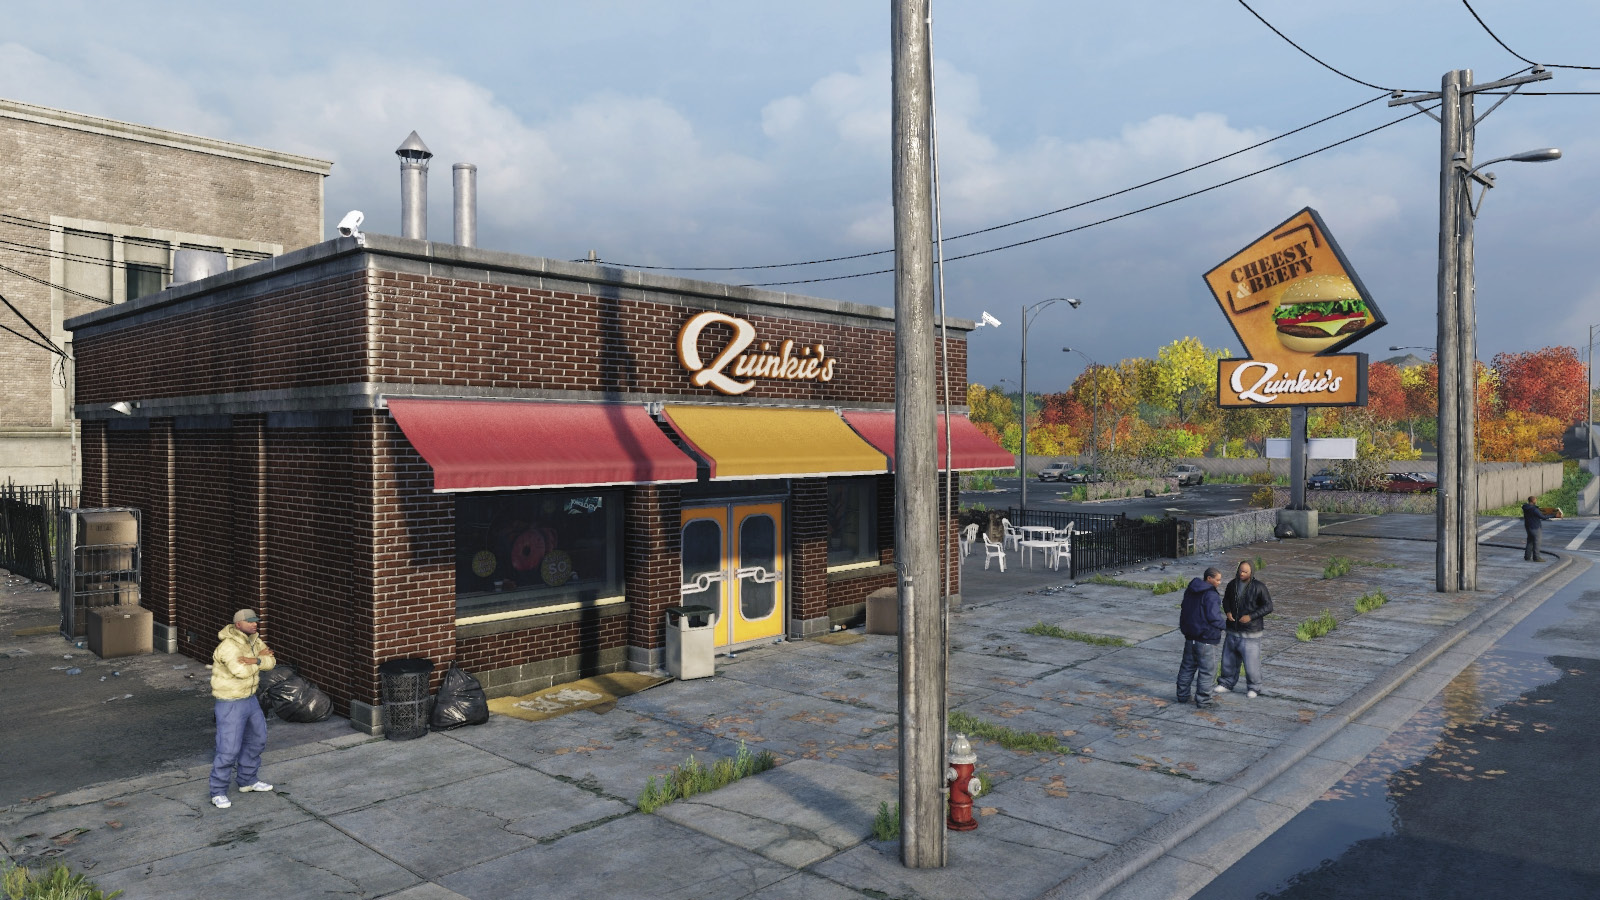
If you’re after a refreshing soda drink that boosts your Focus duration (adding four more seconds when you drink one), then head to Quinkie’s; they have stores all throughout town! Head inside and snag yourself a cool beverage! Multiple drinks have no further effect, and soda drinks become available for purchase at your hideout afterward.
| Company | District Location | Drink Price | Wi-Fi Speaker? | City Game |
|---|---|---|---|---|
| Brewed Delight | Parker Square |
$3 |
Yes |
Chess (Path Puzzles) |
| Quinkie’s | Parker Square |
$2 |
Yes |
None |
| Brewed Delight | The Wards |
$3 |
Yes |
Chess (Full Game) |
| Quinkie’s | The Wards |
$2 |
Yes |
None |
| Brewed Delight | Brandon Docks |
$3 |
Yes |
Chess (Capture Puzzles) |
| Quinkie’s | Brandon Docks |
$2 |
Yes |
None |
| Brewed Delight | The Loop (Southeast) |
$3 |
Yes |
Chess (End Game Puzzles) |
| Brewed Delight | The Loop (Northwest) |
$3 |
Yes |
Chess (Path Puzzles) |
| Quinkie’s | The Loop (South) |
$2 |
Yes |
None |
| Quinkie’s | The Loop (North) |
$2 |
Yes |
None |
| Brewed Delight | The Loop (Central) |
$3 |
Yes |
Chess (Survival Puzzles) |
| Brewed Delight | Mad Mile (South) |
$3 |
Yes |
None |
| Brewed Delight | Mad Mile (Northwest) |
$3 |
Yes |
Chess (End Game Puzzles) |
| Quinkie’s | Mad Mile |
$2 |
Yes |
None |
// BUSINESS /// Gun Shops
Number AVAILABLE: 6
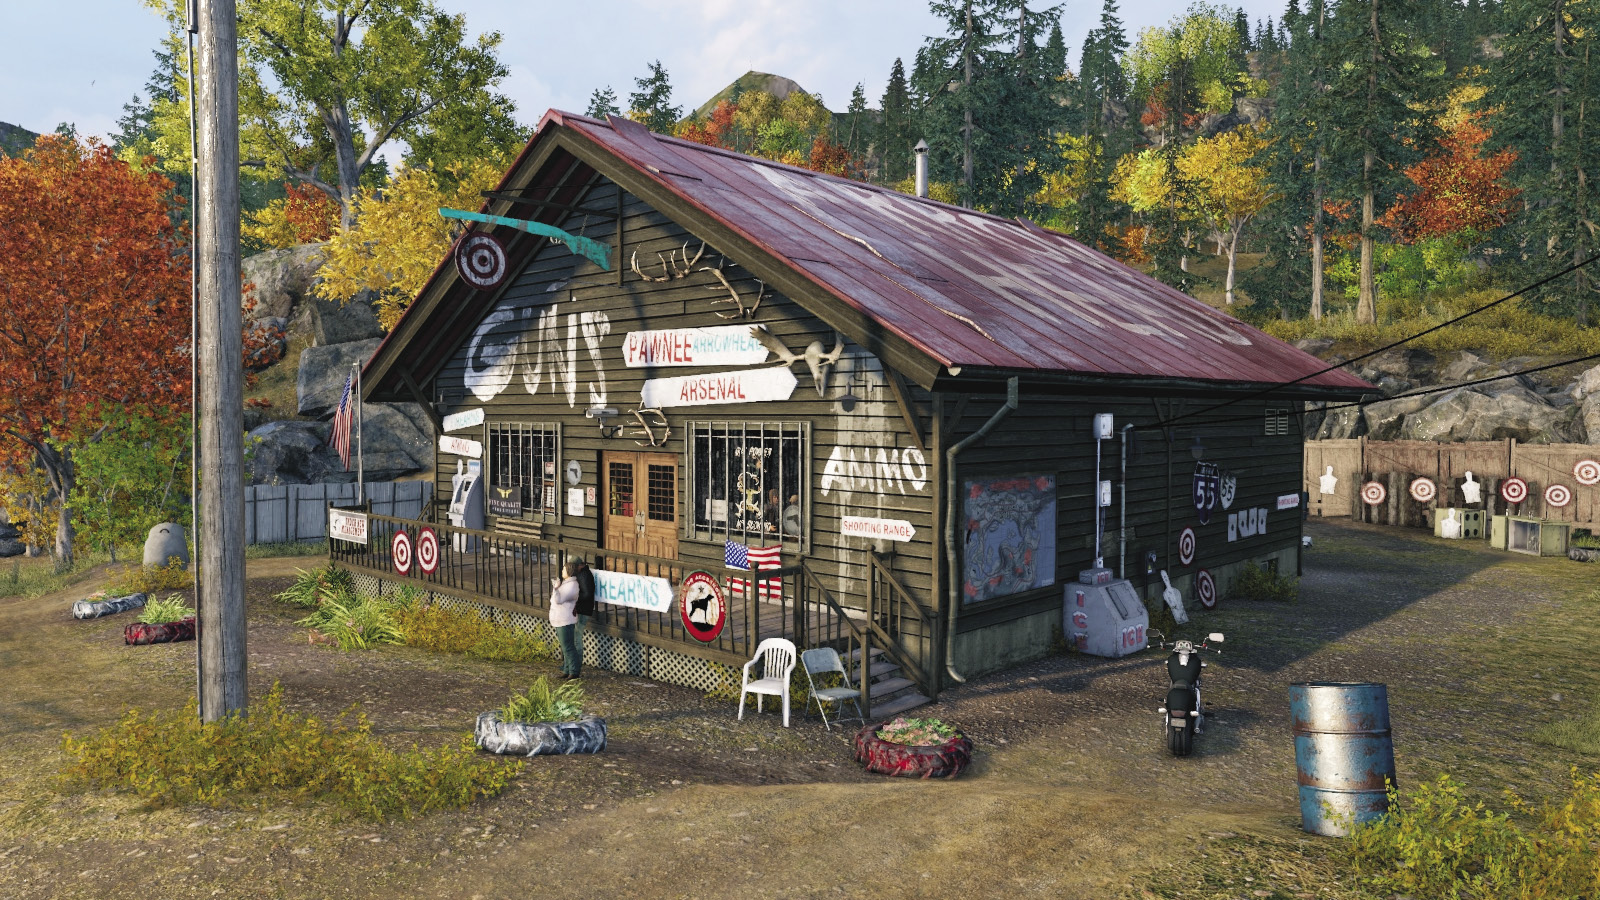
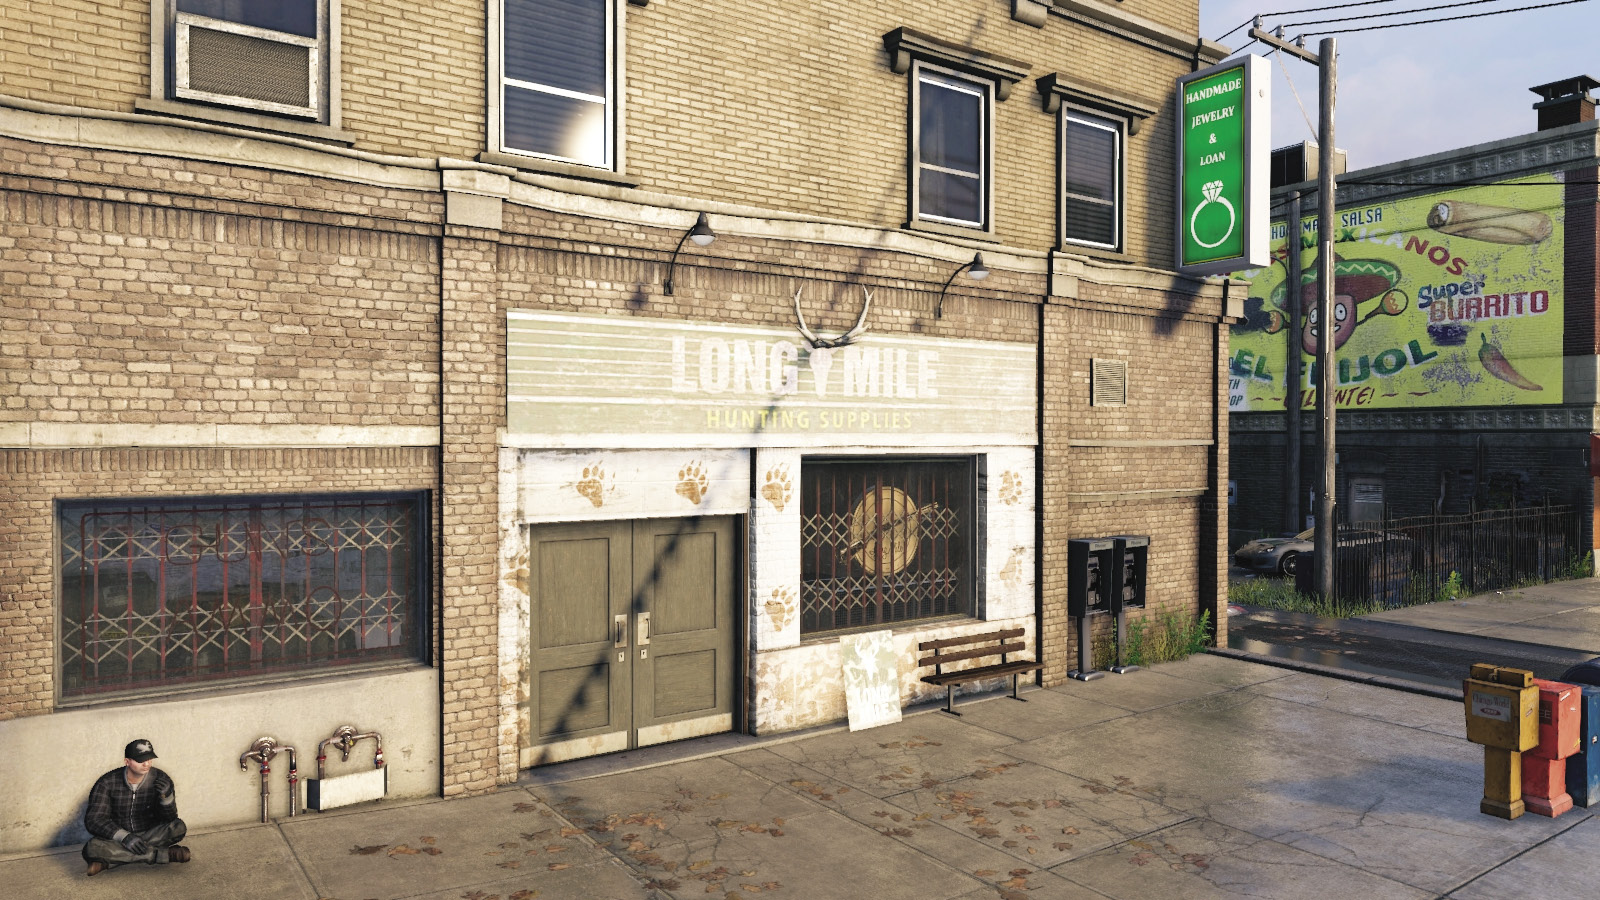
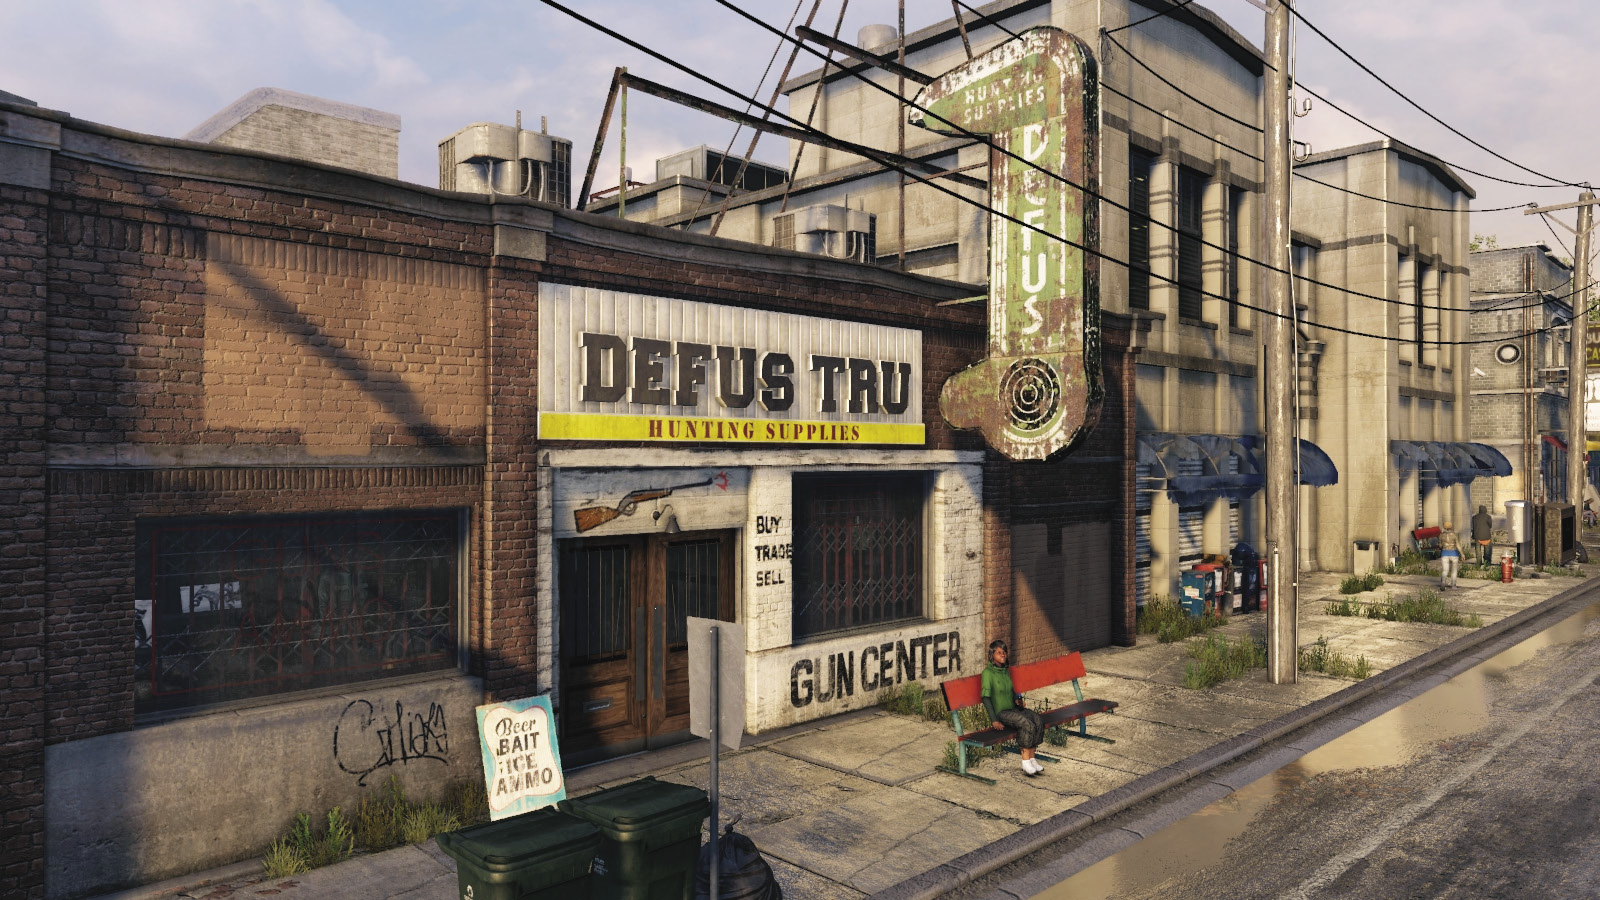
 Be certain you visit these gun shops (one per district), which sell ammunition for your weapons, as well as new and improved pistols, assault rifles, SMGs, shotguns, sniper rifles, and grenade launchers. Once you’ve purchased a weapon, it becomes available in your Weapon Wheel. Note that more advanced weapons become available once certain elements of your Progression Tree have been completed. All gun shops have Wi-Fi Speakers.
Pawnee //// Pawnee Arrowhead Arsenal
Parker Square //// Long Mile Hunting Supplies
The Wards //// Defus Tru Hunting Supplies
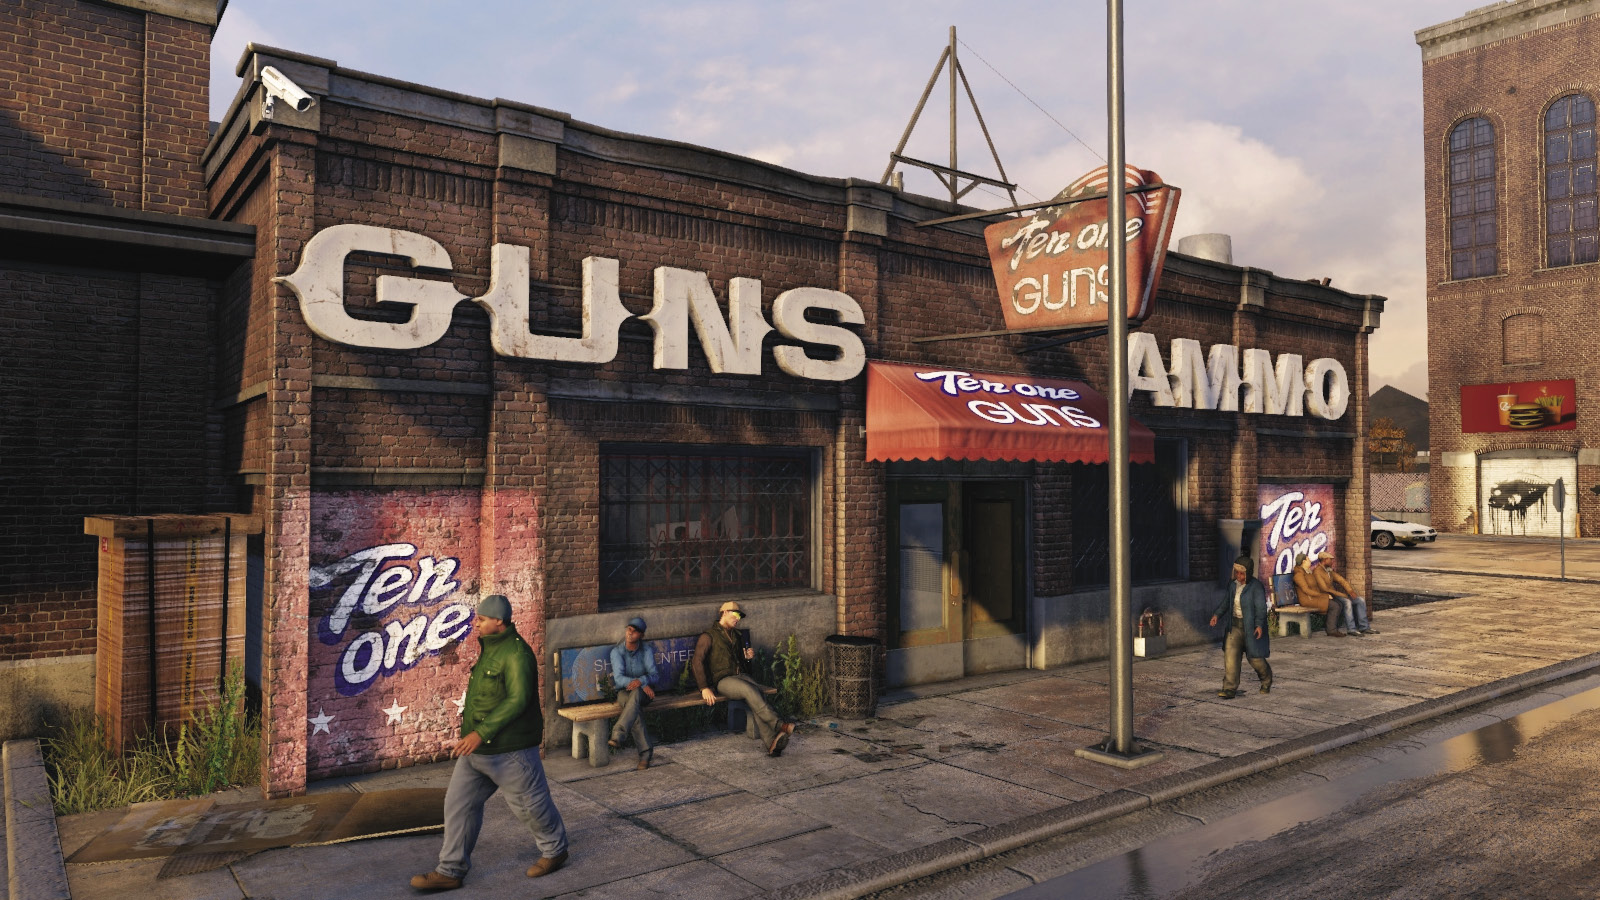
/// Gun Shops: Brandon Docks //// Ten One Guns
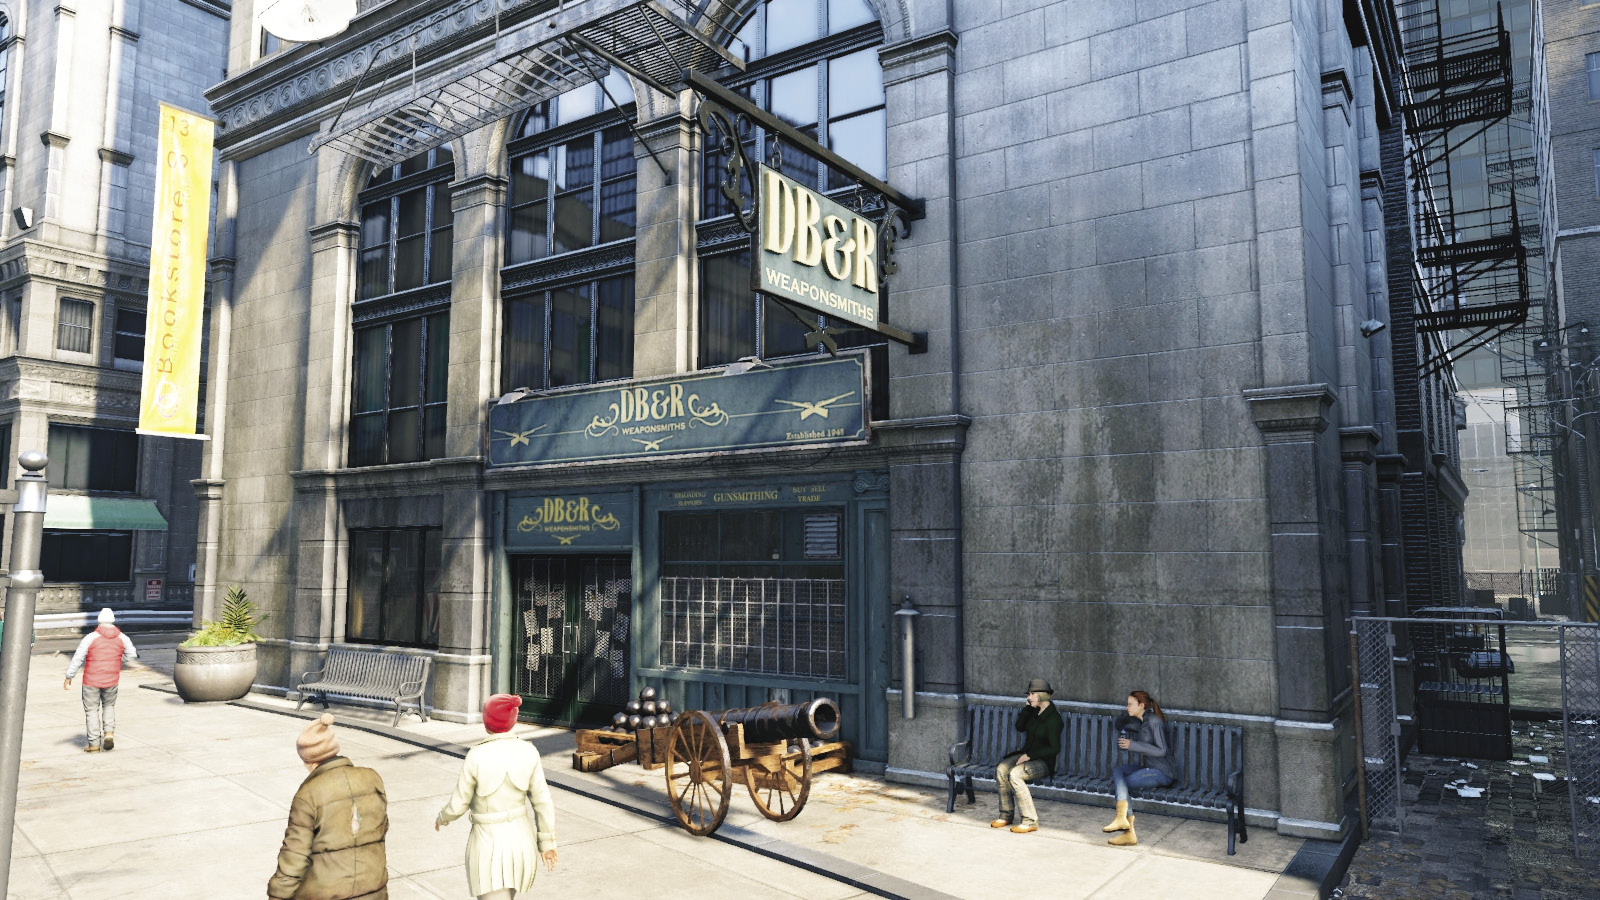
/// Gun Shops: The Loop //// DB and R Weaponsmiths
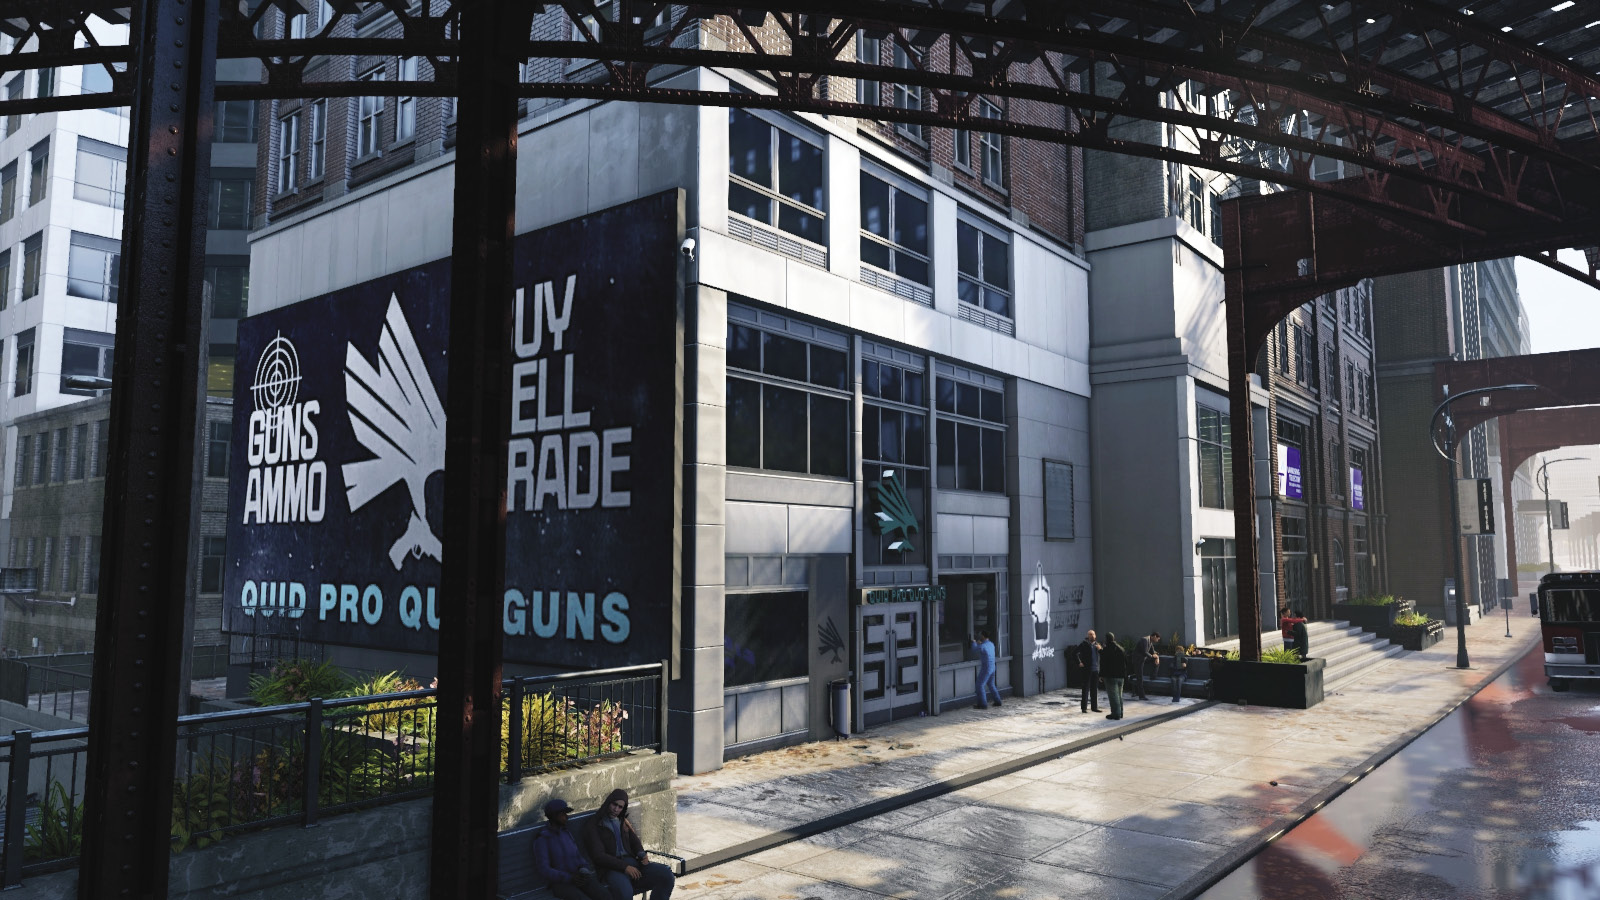
/// Gun Shops: Mad Mile //// Quid Pro Quo Guns
// BUSINESS /// Pawnshops
Number AVAILABLE: 4
 Visit any pawnshop to purchase components you use to craft tools (projectiles and electronic countermeasures). If you have anything of value (e.g., items of interest you’ve picked up), you can sell them in the following locations too. Remember your Weapon Wheel (aka Inventory Wheel) is where you craft your tools. Components and Wi-Fi Speakers are available at each Pawn Shop.
Pawnee //// Good Goods Pawnshop
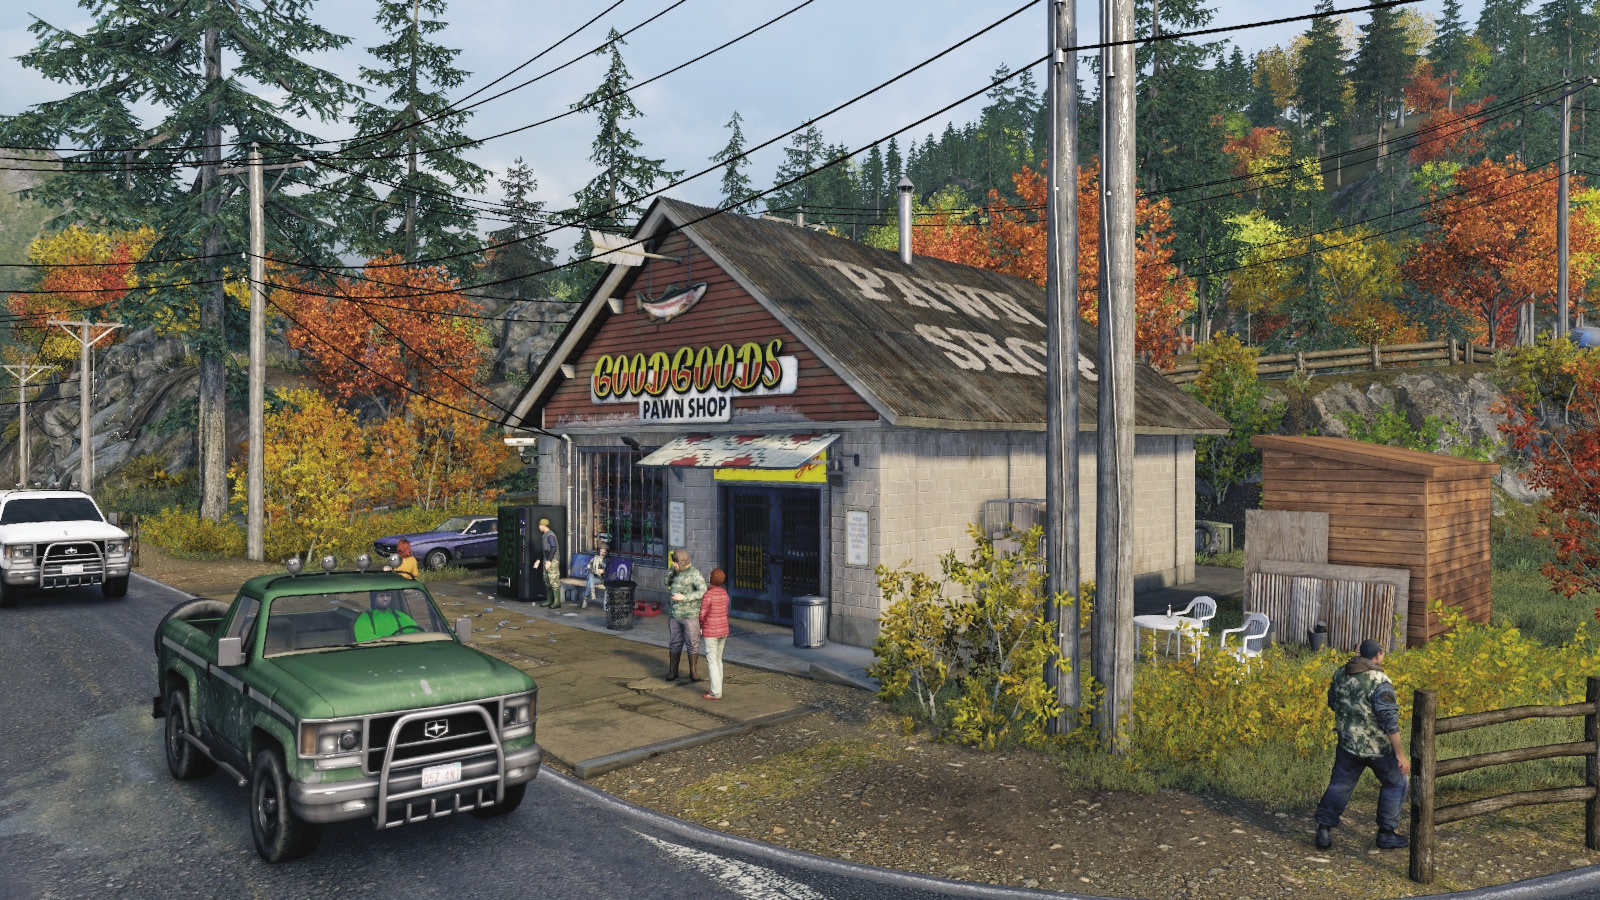
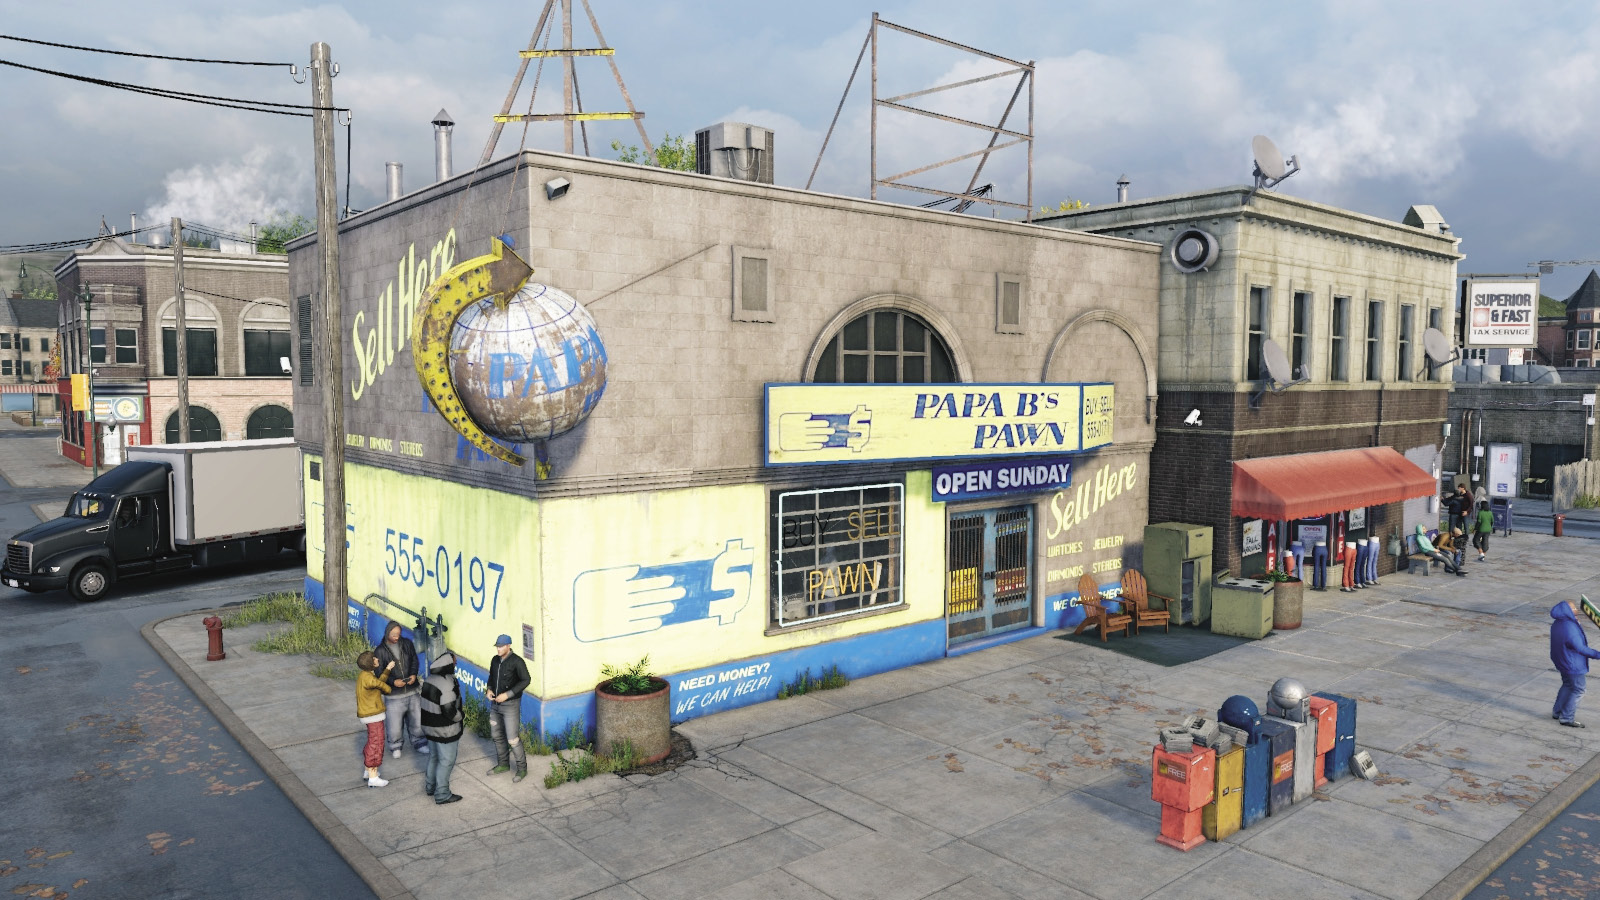
Parker Square //// Papa B’s Pawn
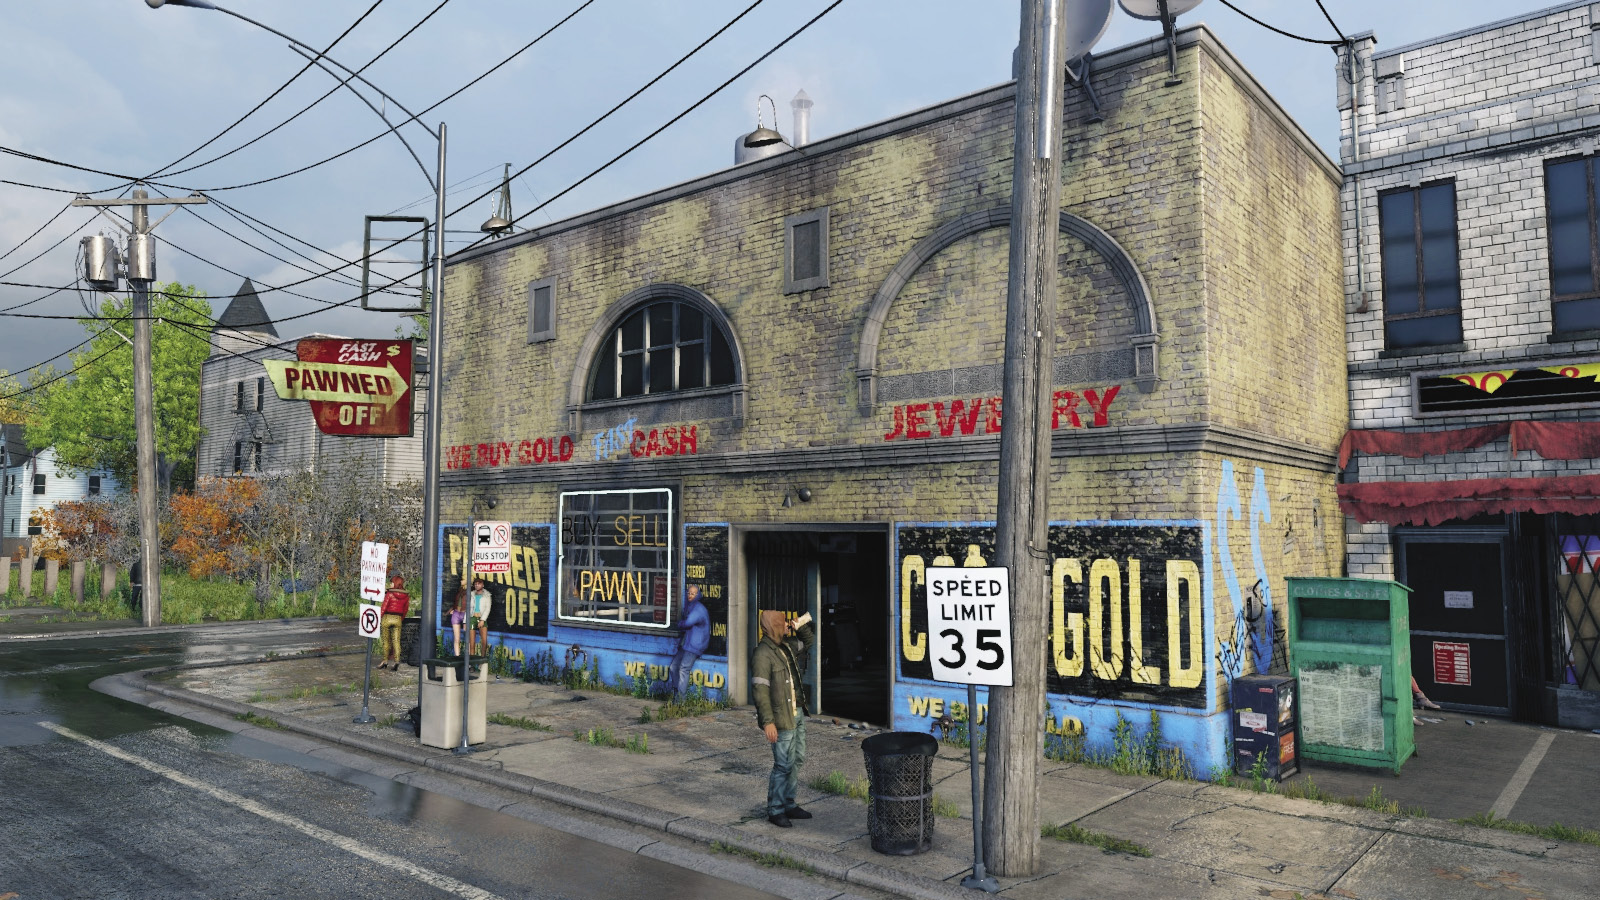
The Wards //// Pawned Off
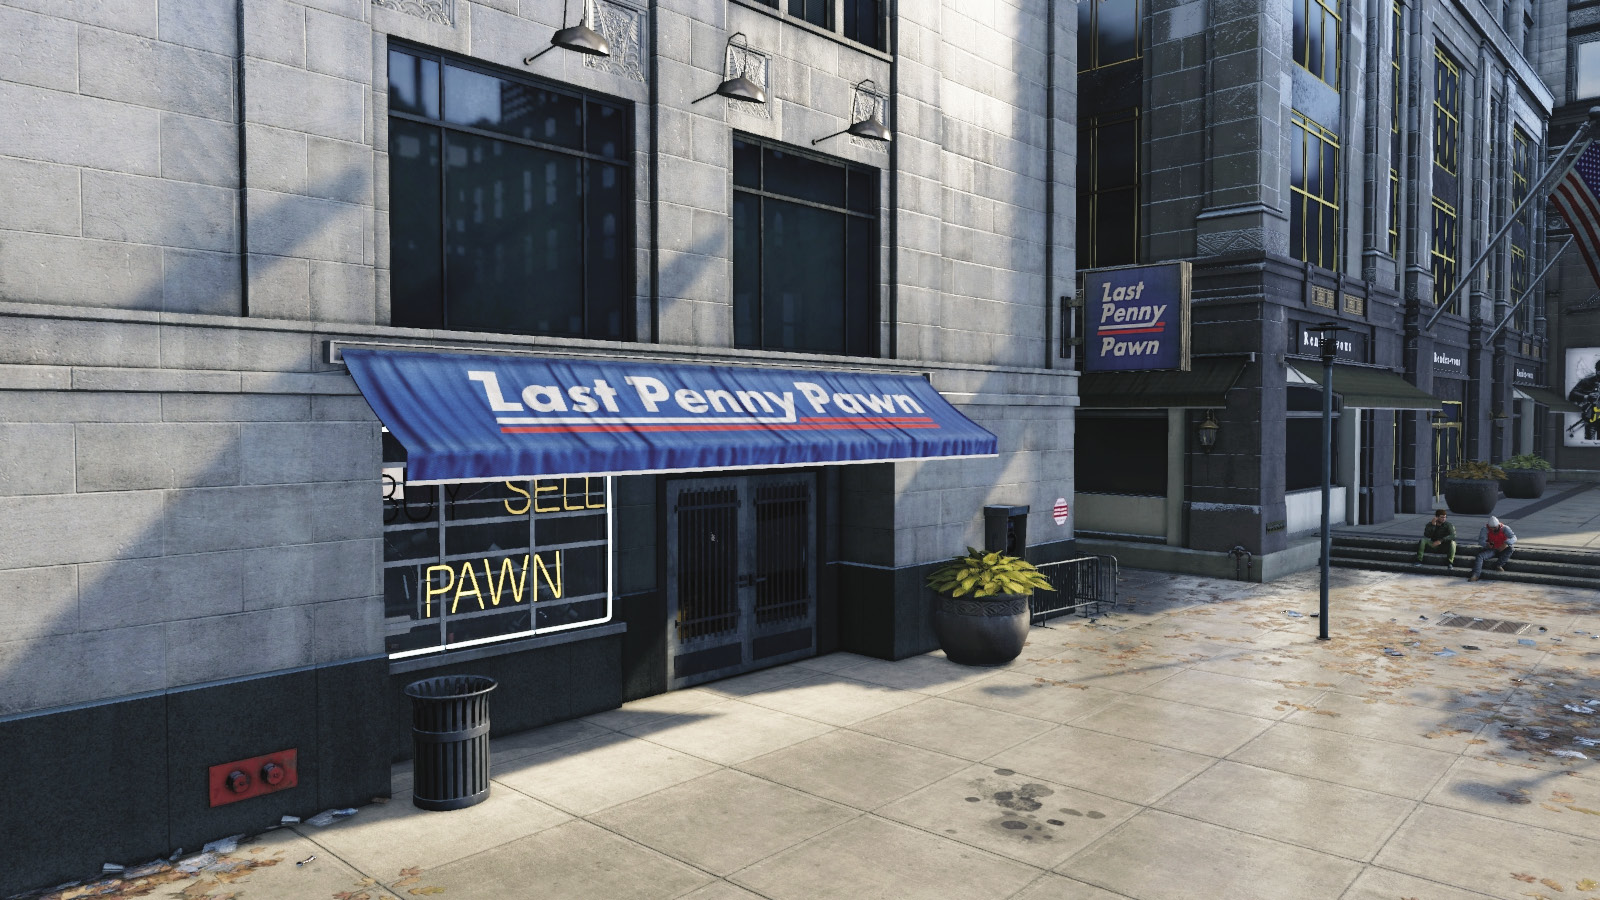
The Loop //// Last Penny Pawn
Chemical Component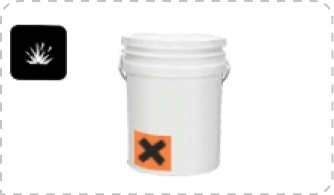 Type: Component $100 |
Unstable Chemical Component Type: Component $250 |
Electronic Parts Type: Part $50 |
// BUSINESS /// Pharmacies
Number AVAILABLE: 6
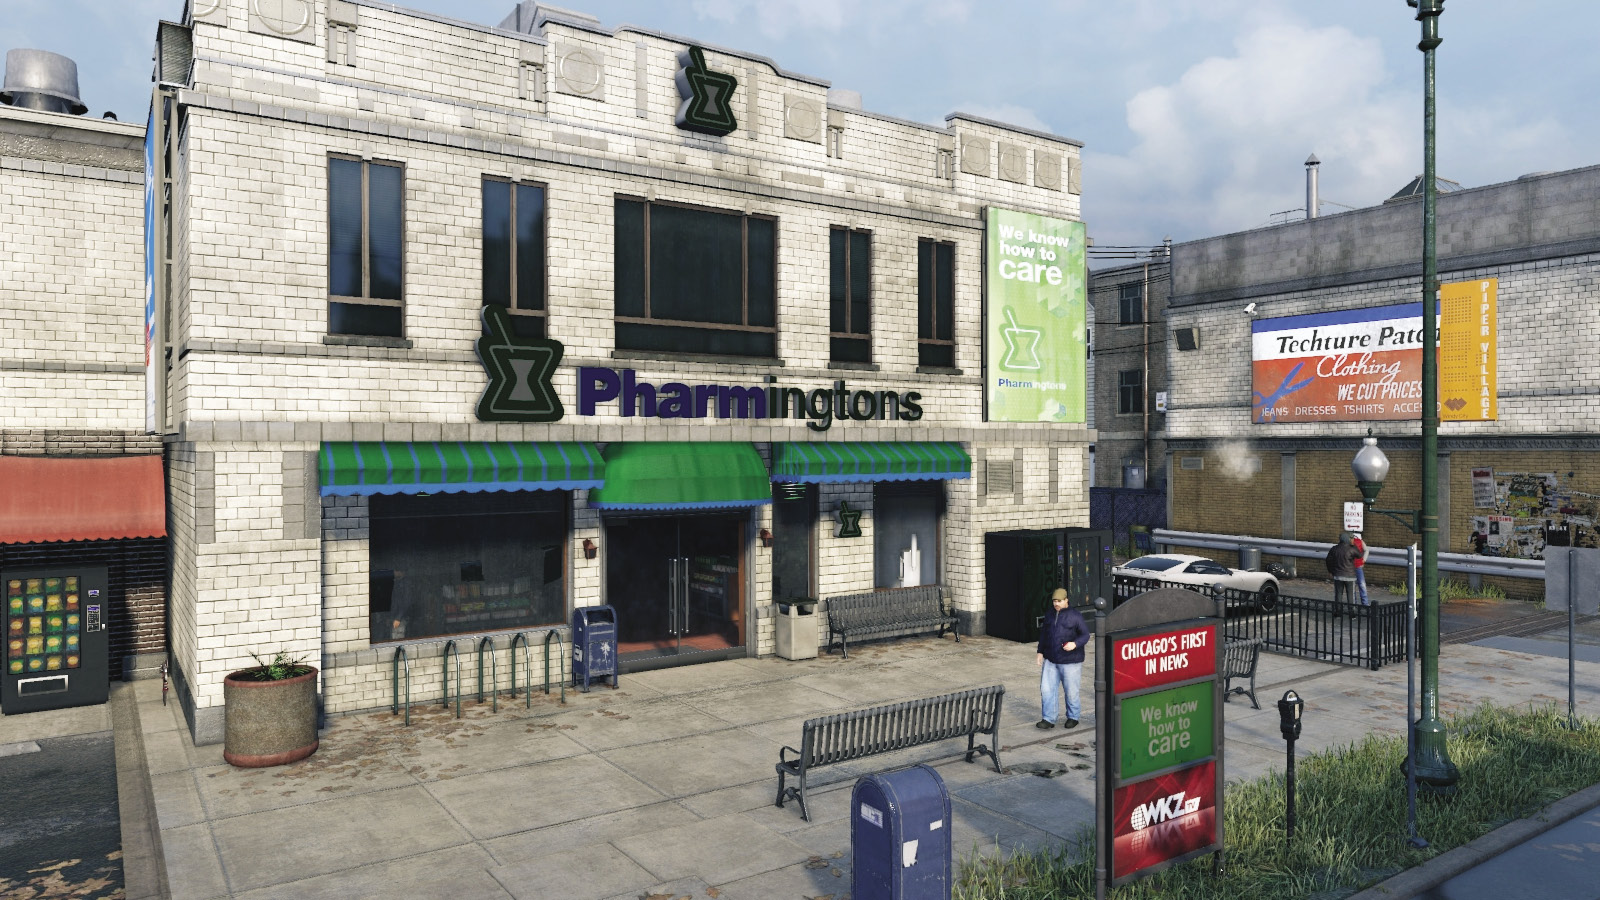
 Locate the Pharmingtons pharmacy in your district and head inside to obtain meds, which are drugs that you use to craft your own Focus Boost Pills at your Inventory Wheel. The meds become available at your hideout for purchase, once you buy them from a pharmacy.
Meds $100 ea. |
| District Location | Meds Price | Wi-Fi Speaker? |
|---|---|---|
| Pawnee |
$200 |
Yes |
| Parker Square |
$200 |
No |
| Brandon Docks |
$200 |
No |
| The Loop |
$200 |
No |
| Mad Mile |
$200 |
No |
// BUSINESS /// Newsstands
Number AVAILABLE: Numerous
Shop / Energy DRINK ($4)
Wi-Fi Speakers
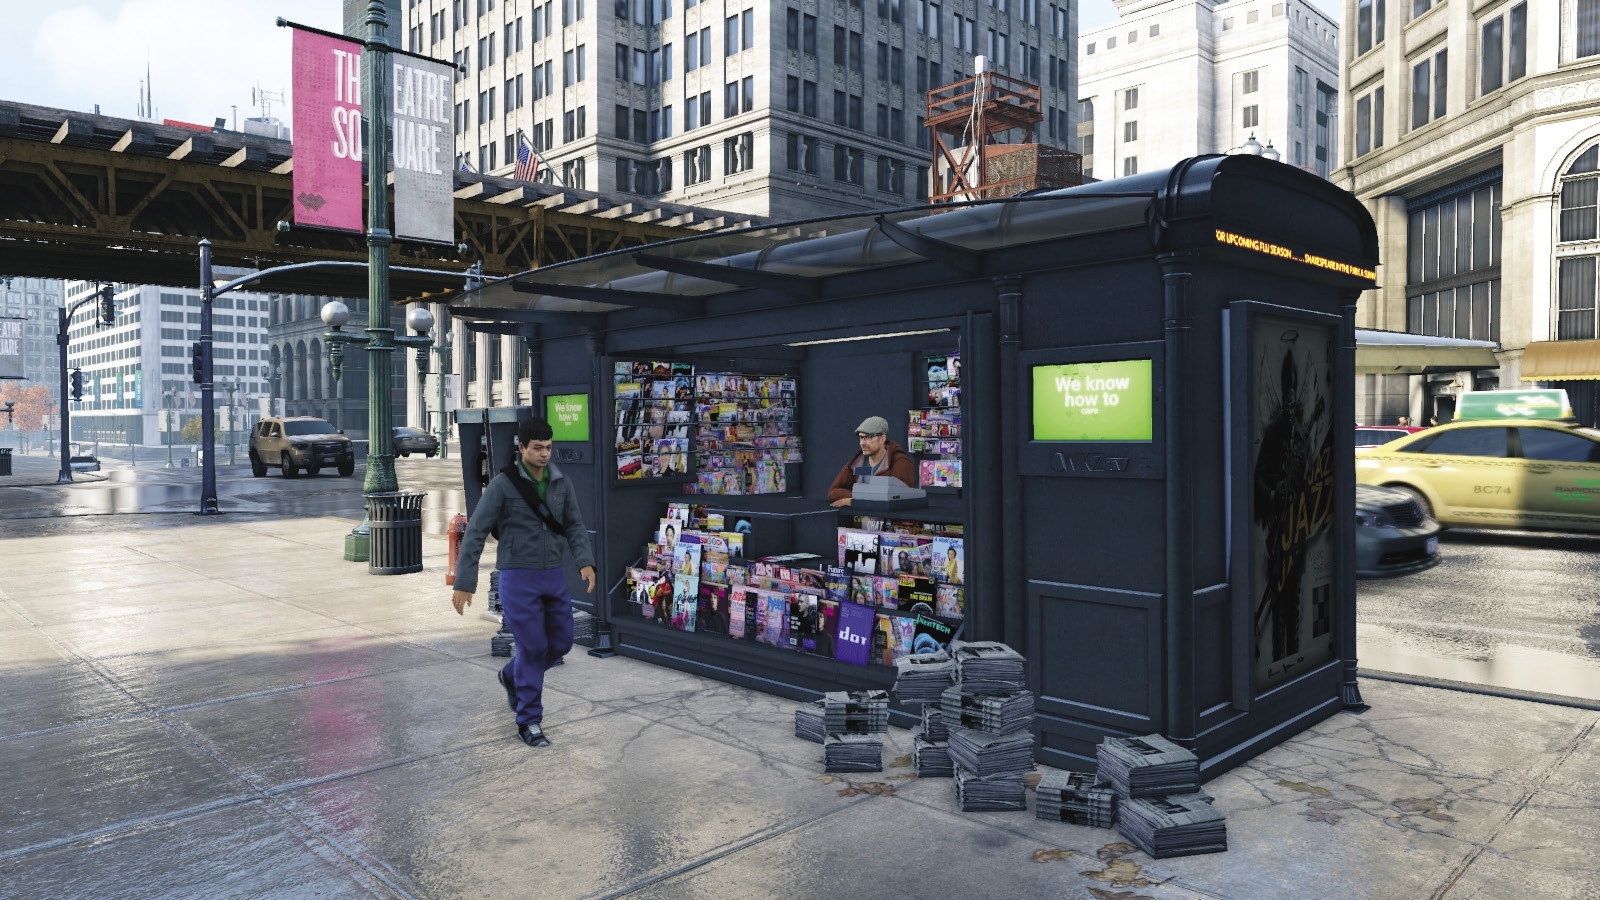
Another business available throughout many of the districts are newsstands. These are convenient because they appear so frequently, but they don’t show up on your map. If you’re after a revitalizing energy drink that boosts your Focus duration (adding four more seconds when you drink one), then head to any newsstand. Multiple drinks have no further effect, and energy drinks become available for purchase at your hideout afterward.
// BUSINESS /// Tobias’s Shop
Number AVAILABLE: 1
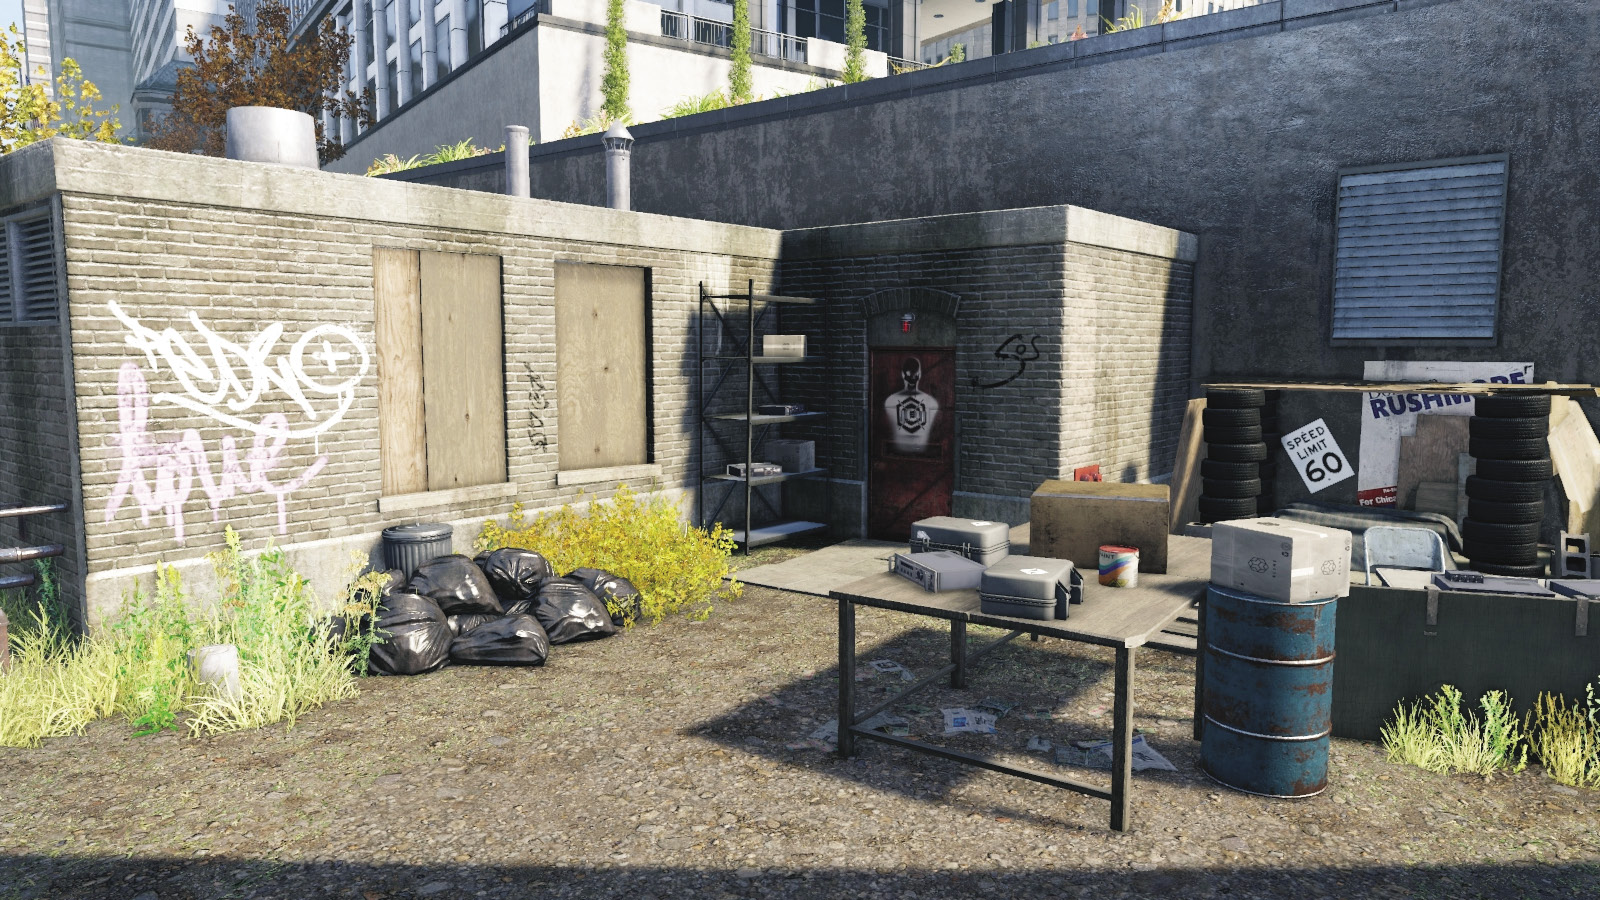
 Providing you’ve already interacted with Tobias and completed the mission concerning him (Main Mission Act II / 4: One Foot in the Grave), you can visit him at his new location, in the homeless town under the freeway, close to the swing bridge leading to the Bunker in the southwest part of the Loop. He has every type of crafted item for sale, so you don’t have to make it yourself. Once you purchase any of these, you can obtain them at your hideout armory.
/// The Loop //// Illegal Arms Dealer
Shop / CRAFTED ITEMS
Lure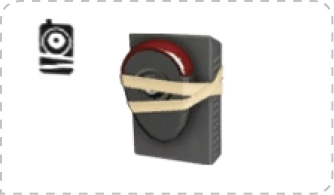 $50 ea.Type (Main): Crafted Item Type (Sub): Projectile Maximum Carried: 20 |
Frag Grenade $100 ea.Type (Main): Crafted Item Type (Sub): Projectile Maximum Carried: 4/5/8 |
IED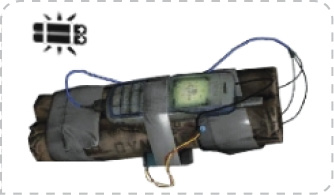 $300 ea.Type (Main): Crafted Item Type (Sub): Projectile Maximum Carried: 4/5/8 |
Proximity IED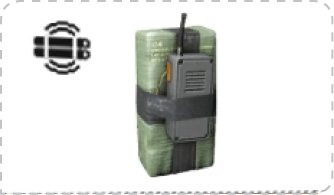 $300 ea.Type (Main): Crafted Item Type (Sub): Projectile Maximum Carried: 4/5/8 |
Focus Boost Plus $400 ea.Type (Main): Crafted Item Type (Sub): Tool Maximum Carried: 5 |
ctOS Scan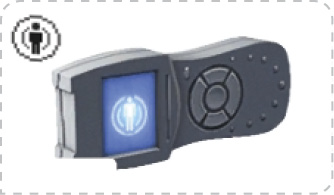 $500 ea.Type (Main): Crafted Item Type (Sub): Tool Maximum Carried: 5 |
Jam Coms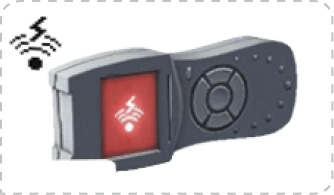 $500 ea.Type (Main): Crafted Item Type (Sub): Tool Maximum Carried: 5 |
Blackout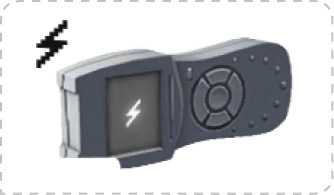 $2,000 ea.Type (Main): Crafted Item Type (Sub): Tool Maximum Carried: 4 |
// 8. LOCATIONS OF INTEREST /// Main MISSIONS
The areas of interest on your world and minimap continues, with a number of main missions of the campaign for you to try. All are mandatory, such as the main missions, but can be completed at your own pace.
// MISSION /// Main Missions Act I
Number of Missions AVAILABLE: 9
- Reward: Start Mission Act I / 5: Open Your World—2nd Tier of Upgrades (Skills)
- Reward: Play through Act I: Family Man (Achievement)
 Aiden Pearce’s life takes a turn for the worse, as his past catches up to him.
// MISSION /// Main Missions Act II
Number of Missions AVAILABLE: 15
- Reward: Complete Mission Act II / 11: Stare into the Abyss—Luciano (Vehicle)
- Reward: Play through Act II: Who is Raymond Kenney? (Achievement)
 Pearce and Clara begin their search to find an old ctOS test site and to infiltrate the Viceroy base of operations.
// MISSION /// Main Missions Act III
Number of Missions AVAILABLE: 6
- Reward: Play through Act III: One Down, One to Go (Achievement)
 The remote settlement of Pawnee is the setting as Pearce contacts a hacker living off the grid.
// MISSION /// Main Missions Act IV
Number of Missions AVAILABLE: 8
- Reward: Complete Mission Act IV / 4: The Defalt Condition—Rosewood (Vehicle)
- Reward: Complete Mission Act IV / 7: NO TURNING BACK—Gambino (Vehicle)
- Reward: Play through Act IV: Vengeance (Achievement)
 The culmination of numerous investigations, where both friends and foes pay the ultimate price for their knowledge.
// MISSION /// Main Missions Act V
Number of Missions AVAILABLE: 1 (+1)
- Reward: Play through Act IV: Log Off (Achievement)
 Sometimes, you still lose. Just ask Maurice Vega.
// 9. LOCATIONS OF INTEREST: Side Missions
Continue your main missions until you receive a phone call from a mysterious source who is interested in hiring a man with your particular skill set for some freelance work. Or, you may uncover a crime about to occur, and the request to intercede. You can obtain all these side missions by hacking Chicago citizens. These missions occur randomly, but some unlock at a particular moment during your main mission adventuring.
// SIDE MISSIONS /// Crimes Detected
Number AVAILABLE: Infinite
How to Unlock: Complete Act I / 1: (Interlude) They CAn’t Hide
- Reward: Catch 1 Criminal through the crime detection system—Quick switch (Skill now available)
- Reward: Catch 10 CriminalS through the crime detection system—Chrome (Weapon)
- Reward: Catch 20 CriminalS through the crime detection system—Enforcer (Achievement)
 Wait until you receive news of possible criminal activity, or hack a particular citizen, and then apprehend the criminal after catching him in the act.
// SIDE MISSIONS /// Criminal Convoys
Number of CONTRACTS AVAILABLE: 18
How to Unlock: CONTINUE TO COMPLETE MAIN MISSIONS OR PROFILE CITIZENS WITH INFORMATION.
- Reward: Complete 1 Criminal Convoy—Critical Focus (Skill now available)
- Reward: Complete 10 Criminal Convoys—Destroyer (Weapon)
- Reward: Complete ALL 18 Criminal ConvoyS—Road Rage (Achievement)
 One or two convoys of enemies are setting out for a specific location; you will be instructed to either takedown (non-lethal) or terminate the target before the convoy reaches its destination.
// SIDE MISSIONS /// Fixer Contracts
Number of CONTRACTS AVAILABLE: 46 (+ 3)
How to Unlock: CONTINUE TO COMPLETE MAIN MISSIONS OR PROFILE CITIZENS WITH INFORMATION.
- Reward: Complete 1 Fixer Contract—Zusume R (Vehicle)
- Reward: Complete 5 Fixer ContractS—Offensive Driver (Skill now Available)
- Reward: Complete 20 Fixer ContractS—Boxberg LE (Vehicle)
- Reward: Complete 40 Fixer ContractS—End of Line (Achievement)
 There are four types of Fixer Contracts: Decoy (11), where you keep the police at bay by driving through checkpoints; Getaway (11), where you find a stolen vehicle, escape pursuers, and find a drop-off point; Interception (14), where you must locate a target and run them off the road and (sometimes) retrieve data; and Transporter (10), where you drive vehicles to a drop-off point without incurring significant damage. There are also three exclusive missions that can add to this total.
// SIDE MISSIONS /// Gang Hideouts
Number of CONTRACTS AVAILABLE: 15
How to Unlock: CONTINUE TO COMPLETE MAIN MISSIONS OR PROFILE CITIZENS WITH INFORMATION.
- Reward: Complete 1 Gang Hideout—AK-47 (Weapon)
- Reward: Complete 5 Gang HideoutS—Rapid Reload (Skill Now Available)
- Reward: Complete 10 Gang HideoutS—Spec Ops SMG-11 (Weapon)
- Reward: Complete ALL 15 Gang HideoutS—Basest Base (Achievement)
 A single, important enemy requires roughing up. You must infiltrate his base or lair, kill or avoid his guards or henchmen, and then dispatch him with a nonlethal melee strike.
// 10. LOCATIONS /// INVESTIGATIONS
These can occur concurrently as the main missions take place. They all involve the gathering of specific items. The final mission after items are gathered must be concluded after a particular main mission is over. You may start collecting the items listed at any time, but the final part of the mission can only start once all items are collected and you complete a particular main mission:
// INVESTIGATION /// Burner Phones
Number of COLLECTIBLES AVAILABLE: 7
How to Unlock concluding mission: Complete Act II / 5: A Blank Spot There-ISH, Collect all items
- Reward: Collect 7 Burner Phones: Vespid LE (Vehicle)
- Reward: Collect 7 BUrner Phones, Complete final mission in Burner Phones Investigation: Sanity Check (Achievement)
 Find Maurice Vega’s burner phones to unlock a side mission dealing with this deranged individual.
// INVESTIGATION /// Human Traffic
Number of COLLECTIBLES AVAILABLE: 10
How to Unlock concluding mission: Complete Act II / 13: Role Model, Collect all items
- Reward: Collect 10 Briefcases: Magnate LE (Vehicle)
- Reward: Collect 10 Briefcases, Complete final mission in Human Trafficking Investigation: Revoking Client Privileges (Achievement)
 Uncover traffickers and their briefcases, leading to a shocking trade in humans.
// INVESTIGATION /// QR Codes
Number of COLLECTIBLES AVAILABLE: 16
How to Unlock concluding mission: Complete Act II / 12: A Risky Bid, Collect all items
- Reward: Collect 16 QR Codes: Gangster (Weapon)
- Reward: Collect 16 QR Codes, Complete final mission in QR Codes Investigation: Read-Only (Achievement)
 Locate the correct viewpoint to scan 16 QR Codes on certain structures throughout the city to unlock this side mission.
// INVESTIGATION /// Weapons Trade
Number of COLLECTIBLES AVAILABLE: 9
How to Unlock concluding mission: Complete Act II / 7: Grandma’s Bulldog, Collect all items
- Reward: Collect 9 Shipping Crates: Spec Ops Goblin (Weapon)
- Reward: Collect 9 Shipping Crates, Complete final mission in Weapons Trade Investigation: Saturday Night Special (Achievement)
 Uncover weapon caches inside shipping crates to reveal a black market of weaponry.
// INVESTIGATION /// Missing Persons
Number of COLLECTIBLES AVAILABLE: 6
How to Unlock concluding mission: Complete Act III / 2: A Pit of Paranoia, Collect all items
- Reward: FIND 6 Missing Persons: Wildfire (Weapon)
- Reward: FIND 6 Missing Persons, Complete final mission in Missing Persons Investigation: Darkness Looms (Achievement)
 Uncover a number of missing persons for a specific reason.
// 11. LOCATIONS OF INTEREST: Exclusive Contracts
There are seven exclusive contracts that do not appear on your Progression Tree. They involve working with the infamous hacker group, DedSec. These are exclusive to a Acquired Content Pack. But tactics are included for all of them.
// EXCLUSIVE CONTRACTS /// CTRL, ALT, DELETE, SHUTDOWN
How to Unlock: Obtain Acquired Content / Exclusive Missions (PlayStation 3, Playstation 4 only), Complete Act I / 8: A Wrench in the Works
- Reward: Complete all 4 Missions: Superior Capacity (Skill; +1 Battery Slot)
 DedSec requires your services to acquire three different vehicles and outrun pursuers. Then a final assault on a plaza in Mad Mile ends in a spectacular show of hacker force.
// EXCLUSIVE CONTRACT /// BREAKTHROUGH
How to Unlock: Obtain Acquired Content / Breakthrough Pack, Complete Act I / 8: A Wrench in the Works
- Reward: Complete this Mission: Vehicle Expert (Skill; Free and discounted Cars on Demand)
 DedSec has two contracts that must be stopped from their convoy paths. A special reward is offered if you can help.
// EXCLUSIVE CONTRACT /// SIGNATURE SHOT
How to Unlock: Obtain Acquired Content / Signature Shot Pack, Complete ctOS Control Centers: The Wards and Brandon Docks
- Reward: Complete this Mission: Biometric Rifle (Weapon)
 DedSec has uncovered a special biometric rifle in the hands of a weapons buyer allied with the Viceroys. The gun is yours if you can remove these threats.
// EXCLUSIVE CONTRACT /// THE PALACE
Number of COLLECTIBLES AVAILABLE: 10
How to Unlock: Obtain Acquired Content / The Palace Pack, Complete Act I / 8: A Wrench in the Works
- Reward: Complete this Mission: 10 Hard Drives to Find
 DedSec has information on Danny SoSueMe; the wealthy hacker has information that could hurt you. So hurt him instead.
// 12. LOCATIONS OF INTEREST: Collectibles
The districts of Chicago have numerous items and antics to find. More importantly, locating the following items grants numerous rewards.
// COLLECTIBLES /// Audio Logs
Number AVAILABLE: 101
- Reward: Collect 4 Audio Logs: D-12 (Weapon)
- Reward: Collect 10 Audio Logs: XP (Bonus to Experience)
 Scattered throughout the six districts, hacked from data in phones and computers throughout your main missions and investigations, are 101 Audio Logs, each detailing the thoughts and fears of several characters.
// COLLECTIBLES /// City Hotspots
Number available: 100
- Reward: Check in at all 100 Hotspots: Geolocated (Achievement)
 Find small plaques near Chicago’s most memorable landmarks and locations; you can leave items and money here, or collect them from other players. There are also additional Achievement-like rewards to be acquired at these locales too.
// COLLECTIBLES /// ctOS Towers
Number AVAILABLE: 13
- Reward: Unlock 1 ctOS Tower: SMG-11 (Weapon)
- Reward: Unlock 5 ctOS TowerS: Amargosa Turbo (Vehicle)
- Reward: Unlock ALL 13 ctOS TowerS: Clear Signals (Achievement)
 Find the ctOS towers in a district (except for Pawnee), and hack each one to open up more icons on your world map..
// COLLECTIBLES /// ctOS Breach
Number AVAILABLE: 16
- Reward: Complete ALL 16 ctOS Breach Contracts: System Mangler (Achievement)
 Find a ctOS box and hack it before locating the other nearby boxes and doing the same; do this within the allotted time or face a shutdown.
// COLLECTIBLES /// Privacy Invasion
Number AVAILABLE: 30
- Reward: Complete 1 Privacy Invasion: Vespid 5.2 (Vehicle)
- Reward: Complete 5 Privacy InvasionS: Sunrim (Vehicle)
- Reward: Complete all 30 Privacy InvasionS: Peephole (Achievement)
 Hack through a building’s security to satisfy your curiosity, using your Profiler or simply hacking the security router. Useful rewards can be found by snooping.
// COLLECTIBLES /// SongSneak
Number AVAILABLE: 23
- Reward: Unlock all 23 Songs: Disk Space Full (Achievement)
 Use a “music appropriator” app on your smartphone and gather music you hear from speakers, cars, and some citizens of Chicago.
// 13. LOCATIONS OF INTEREST: Online Contracts
Locate the Online Contracts and Online Session Apps on your phone, find Blume Agents in Chicago who place a bounty on your head, enabling others to “see” you, enter your world, and hack your data! Most of these online antics are accessed from the Online Contracts view of the world map. It is imperative to complete at least Act I / 3: Backstage Pass before receiving visitors!
// ONLINE CONTRACTS /// Free Roam
How to Unlock: Complete Act I / 3: Backstage Pass
- Reward: None
 Invite others to your world; explore Chicago and fight the police (and even other Fixers). Simple enjoyment and a giant playground is offered here.
// ONLINE CONTRACTS /// Online Decryption
How to Unlock: Complete Act I / 3: Backstage Pass
- Reward: Win Online Decryption 5 Times: Firepower (Loadout)
- Reward: Win Online Decryption 10 Times: Heavy Duty and The Chicago Way (LoadoutS)
 A critical file has been lost in the city, and multiple Fixers are competing to see who can be the one to retrieve it. Acquire the file, decrypt it, and reap the Notoriety rewards.
// ONLINE CONTRACTS /// Online Hacking
How to Unlock: Complete Act I / 4: Interlude: Hacking Contract
- Reward: Invade and hack 1 Enemy Fixer: OCP-11 (Weapon)
- Reward: Invade and hack 5 Enemy FixerS: MP-9mm (Weapon)
- Reward: Invade and hack 10 Enemy FixerS: Hackification (Achievement)
 A rival Fixer has acquired information you need to obtain; you must hack the Fixer’s phone, steal the data, and escape before you’re spotted. If you harm the Fixer, though, the data is worthless. Or, you can be the one being hacked.
// ONLINE CONTRACTS /// Online Race
How to Unlock: Complete Act I / 3: Backstage Pass
- Reward: Complete 9 Online Races: Livraga LE (Vehicle)
- Reward: Complete 10 Online Races: Superhighway (Achievement)
 Pit your driving abilities against the fastest Fixers in Chicago. There are shortcuts, ramps, and differently placed infrastructure items to aid in your victory, as well as nitros for bursts of speed.
// ONLINE CONTRACTS /// Online Tailing
How to Unlock: Complete Act I / 4: Interlude: Hacking Contract
- Reward: Invade and observe 1 Enemy Fixer: SG-90 (Weapon)
- Reward: Invade and observe 5 Enemy FixerS: SO VECTOR .45 ACP (Weapon)
- Reward: Invade and observe 10 Enemy FixerS: Piggyback (Achievement)
 A real test of your stealth, you must spy on a rival Fixer and observe them, then escape without being seen or harming the target. Or, you can be the one being spied on.
// ONLINE CONTRACTS /// ctOS Mobile
How to Unlock: Complete Act I / 3: Backstage Pass
- Reward: ctOS Mobile Achievements
 Challenge a ctOS mobile player; he controls the cops while you race through the city, hiding from the all-seeing helicopter and dodging police vehicles.
// 14. LOCATIONS OF INTEREST: MiniGames
These are amusing, strange, and often panic-inducing minigames to play between proper missions. Tips for each minigame is shown below.
// MINIGAME /// Cash Runs
Number AVAILABLE—Parker Square: 7
Number AVAILABLE—Brandon Docks: 10
Number AVAILABLE—The Loop: 11
Number AVAILABLE—Mad Mile: 10
Number AVAILABLE—Total: 38
- Reward: Earn 1 Gold Star in Cash Run: P-9mm (Weapon)
- Reward: Earn 3 Gold StarS in Cash Run: Blast REsistance (Skill now Available)
 This is a parkour-based AR phone game, where you collect large gold coins and avoid big red skulls. You can make your own courses using the Challenges App.
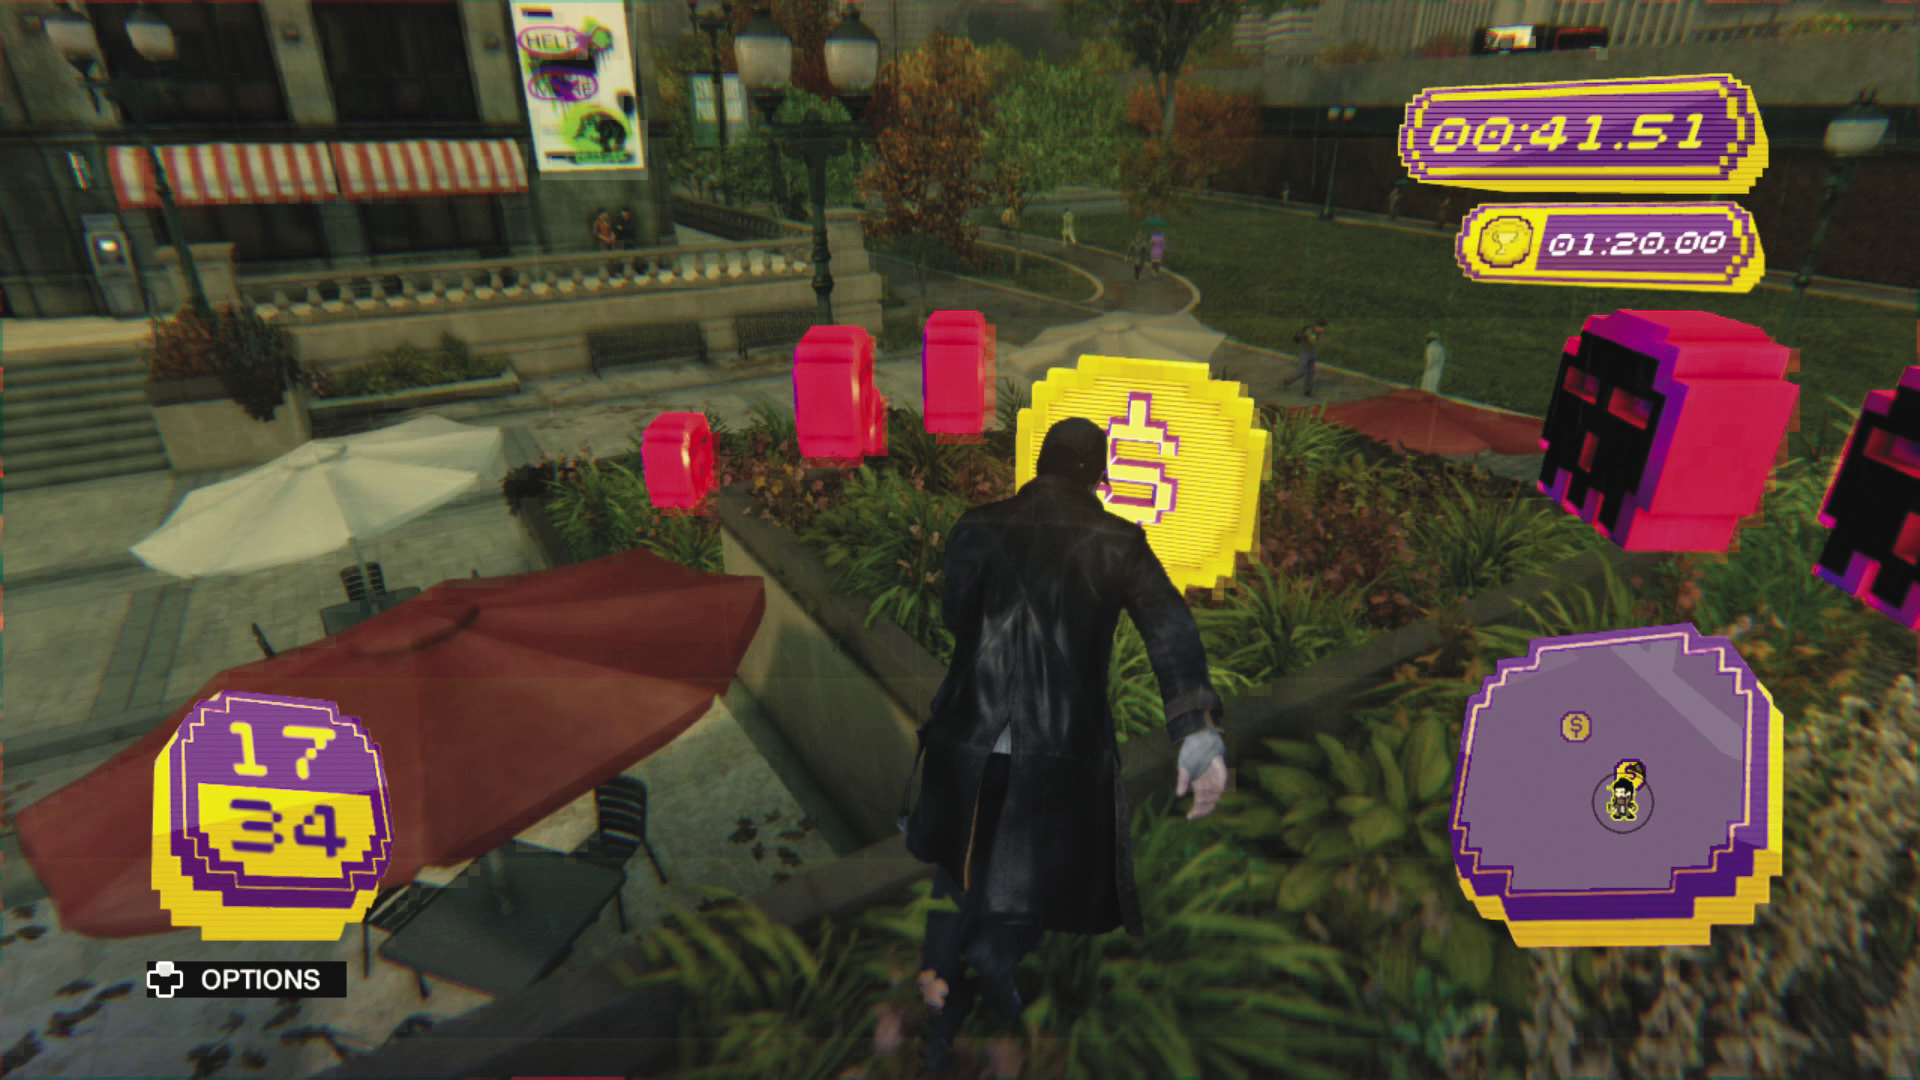
You can rearrange objects in the city before you start a Cash Run in order to make a track a bit easier. An example thereof is causing a traffic jam nearby, which reduces the risk that you’ll be hit by or have to dodge cars while playing the Cash Runs in the Loop or Mad Mile.
Take your first run at a new track at a brisk walk with no concern for your final time. Cash Runs are a test of memory, precision, and reflexes, and knowing the course counts for more than raw skill.
Don’t try to take the entirety of a course at a dead sprint. Much like in a racing game, watch for straightaways and use those as opportunities to pour on the speed, or tap the sprint button to run in short bursts.
// MINIGAME /// Chess
Number AVAILABLE—Parker Square: 1
Number AVAILABLE—The Wards: 1
Number AVAILABLE—Brandon Docks: 1
Number AVAILABLE—The Loop: 2
Number AVAILABLE—Mad Mile: 2
Number AVAILABLE—Total: 7
- Reward: Complete 10 Chess Puzzles: Maximized Focus (Skill now Available)
 Sit down and engage your brain with many bouts of chess with a variety of characters. There are four types of chess game to master, or you can just play a full game of chess.
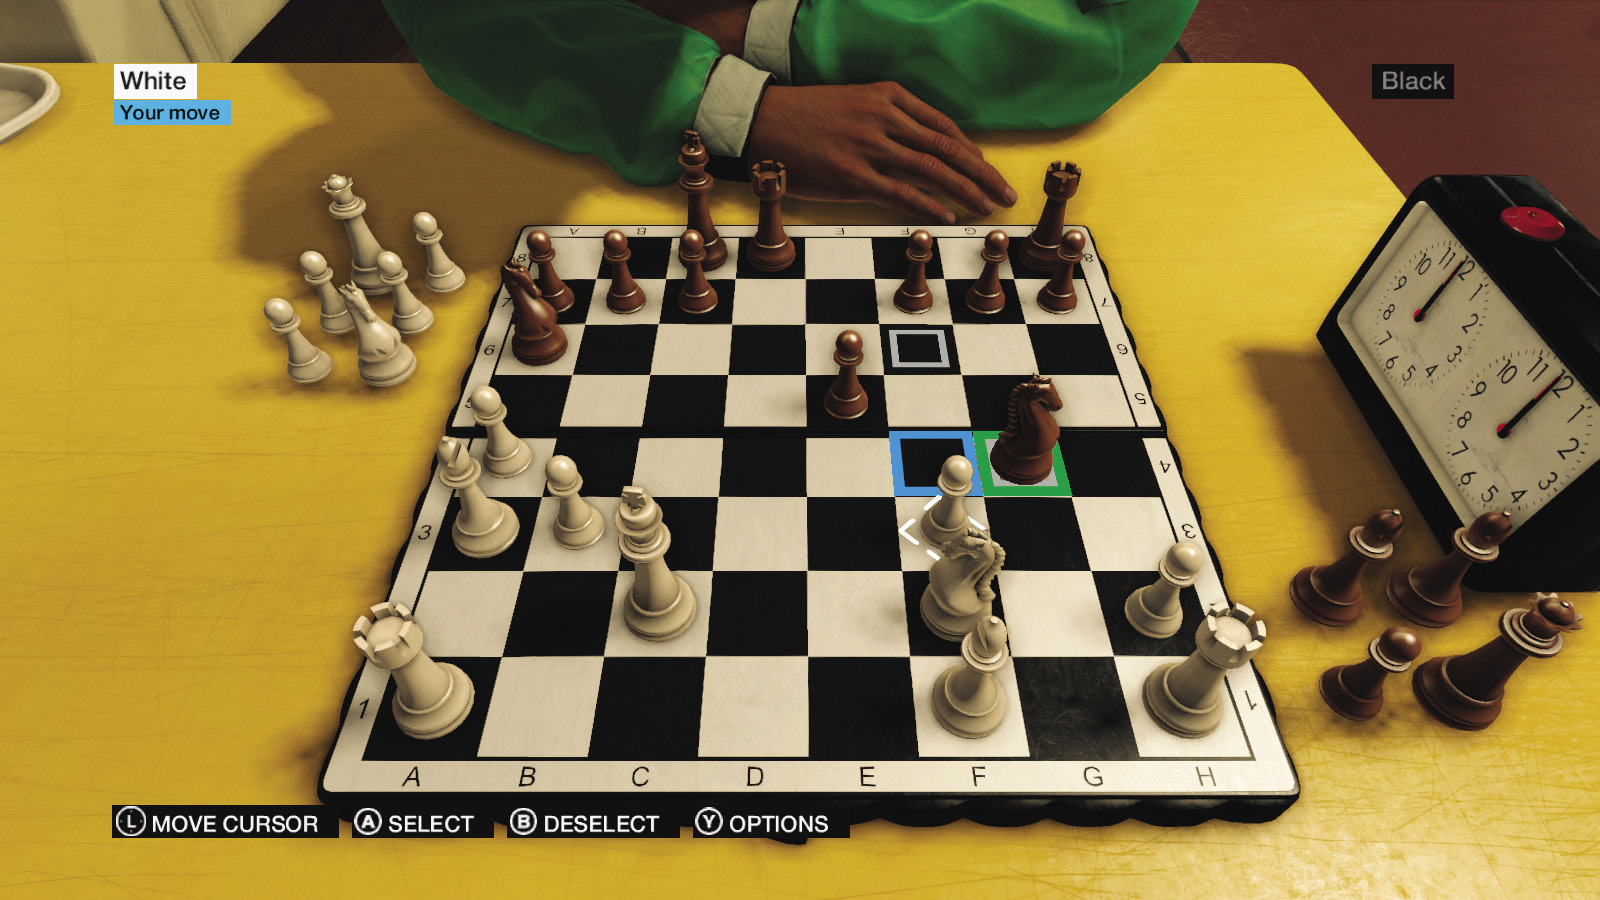
In Capture puzzles, you must prevent pawns from reaching the other side of the board. These are easy enough for a chess novice to complete, but remember that it’s just as easy for your opponent to capture your pieces. Do not pursue an opening move that leaves your one chess piece in danger of being captured.
Your goal in an End Game puzzle is to checkmate your opponent in a specified number of moves. Remember that a king is vulnerable, but can still capture any piece that you move within one space of it. Losing one of your few remaining pieces to the enemy king can render the puzzle impossible to complete.
You’ll have the most success if you can think a few moves ahead. Try to put yourself in your opponent’s position and ask what move you would take if you were on the other side of the board.
In Path puzzles, you must capture all pieces on the board in as few moves as possible.
Survive puzzles specify that your King must avoid being checkmated for a given number of turns.
// MINIGAME /// Drinking Games
Number AVAILABLE—Pawnee: 1
Number AVAILABLE—The Wards: 1
Number AVAILABLE—The Loop: 1
Number AVAILABLE—Total: 3
- Reward: Reach 5th Level versus 1 opponent: Piledriver (Weapon)
- Reward: Complete 10th Level versus all 3 opponentS: Social Lubricant (Achievement)
 Your reflexes and powers of concentration are tested against the city’s most hardened drinkers. There are several levels to complete for this game.
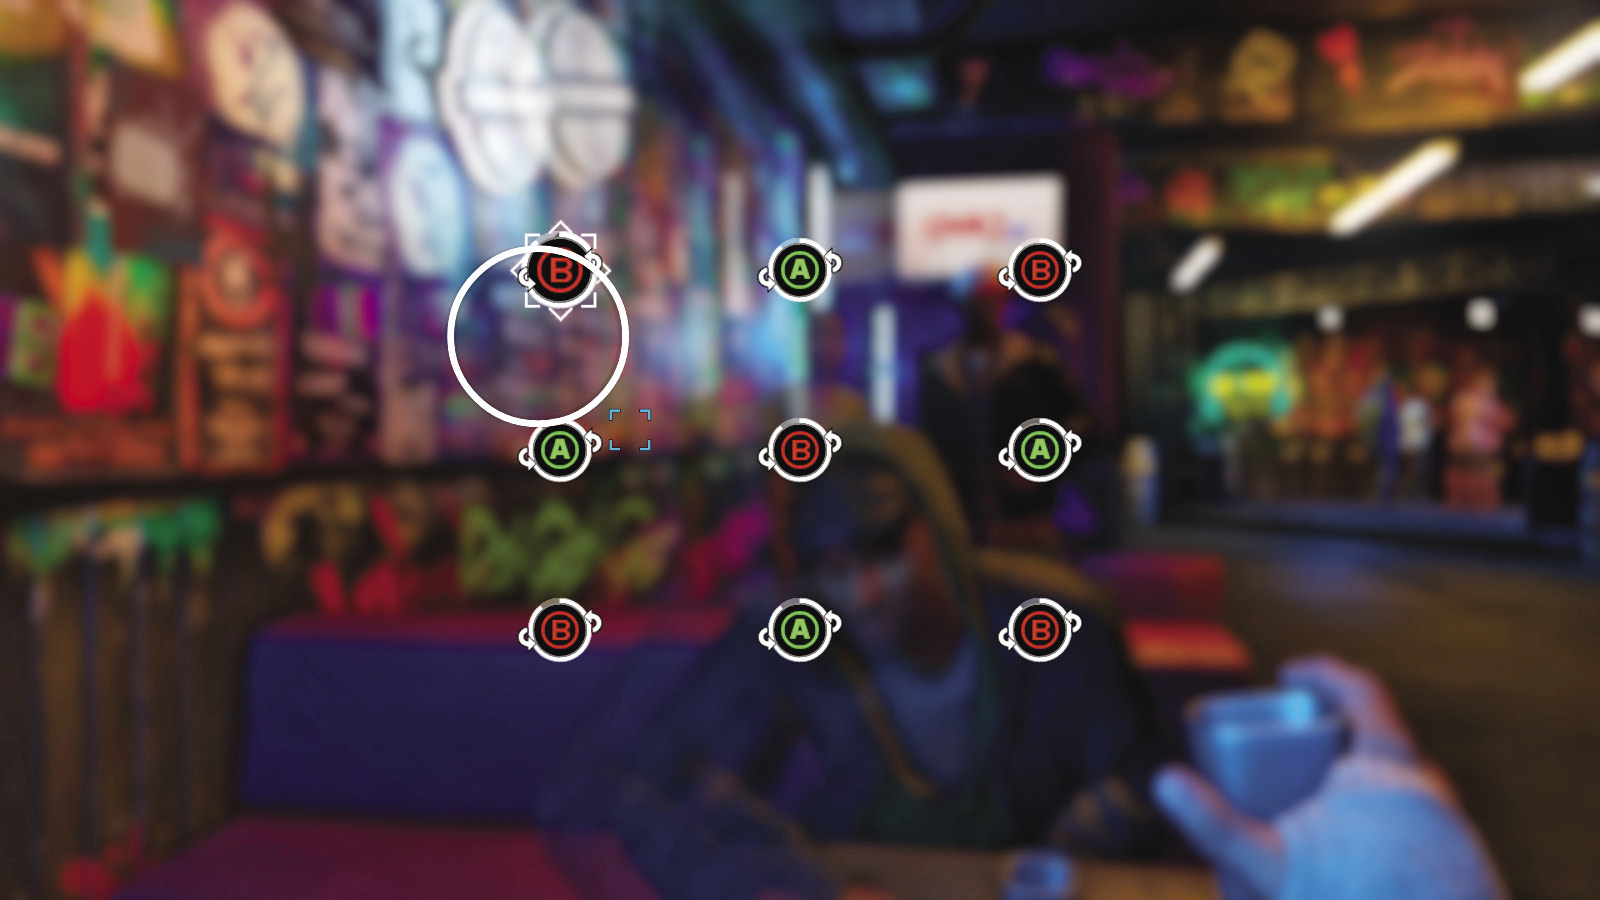
Unlike some other minigames, the Drinking Game provides some hefty cash rewards but doesn’t test anything other than your personal skill, which makes it a handy way to earn money in the early days of the game. You can play through the first four levels or so at any table and walk away with an extra couple of thousand dollars.
The Drinking Game in the Unicorn Dragon Pub in the Wards is arguably easier than the other two, as it’s a simple series of challenges that require reflexes and control.
The Miller’s Run version of the Drinking Game in the Loop, on the other hand, is laughably simple for the first four levels and then rapidly becomes very difficult. Your hand-eye coordination and precision will be tested here.
// MINIGAME /// NVZN
Number AVAILABLE—Parker Square: 2
Number AVAILABLE—The Wards: 1
Number AVAILABLE—The Loop: 3
Number AVAILABLE—Mad Mile: 2
Number AVAILABLE—Total: 8
- Reward: Reach Level 5: Auto Weapons Expert (Skill now Available)
 Access NVZN Graffiti, or open your smartphone and select the NVZN App from anywhere, then set about killing the invaders before your time runs out.
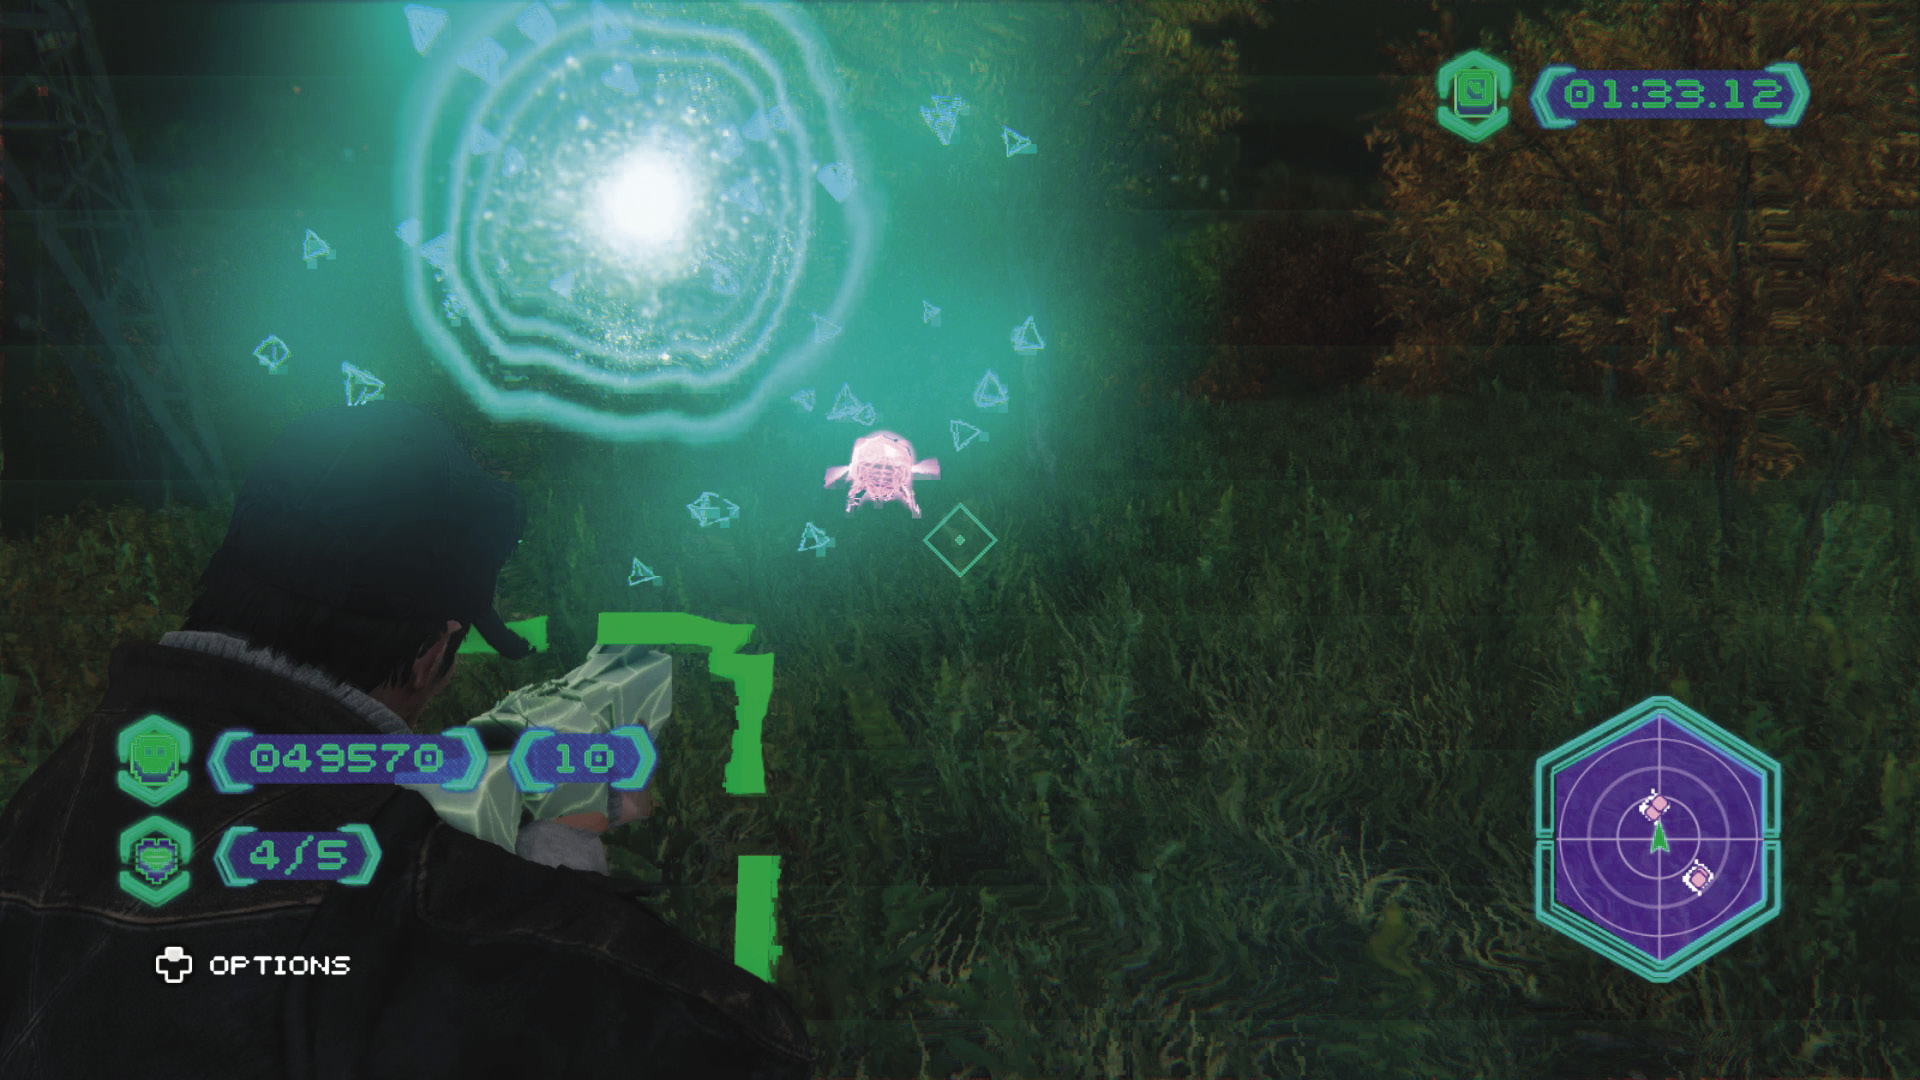
You can play NVZN anywhere in the city by choosing it from your phone menu. Pick a location with a minimum of interference from pedestrians, such as the islands northwest of the Bunker.
Invest in skills that improve your Focus ability to help knock down the fast-moving Drones, which are worth the most points.
After every fourth Wave of aliens, you enter a Bonus Wave which lets you rack up big points and possibly unlock a new weapon or power-up. Once you get past Wave 13, the aliens begin to get progressively faster and more dangerous, so be sure to go into that Wave with all the Bonus Waves completed, even if that means starting over.
// MINIGAME /// Poker Games
Number AVAILABLE—Parker Square: 1
Number AVAILABLE—The Wards: 1
Number AVAILABLE—The Loop: 1
Number AVAILABLE—Mad Mile: 1
Number AVAILABLE—Total: 4
- Reward: Clear out 1 Poker Table: Sayonara LE (Vehicle)
 Bring your smartphone along for the hacking, or refrain from cheating as you play hands of Texas Hold ’Em Poker for in-game cash until you run the table.
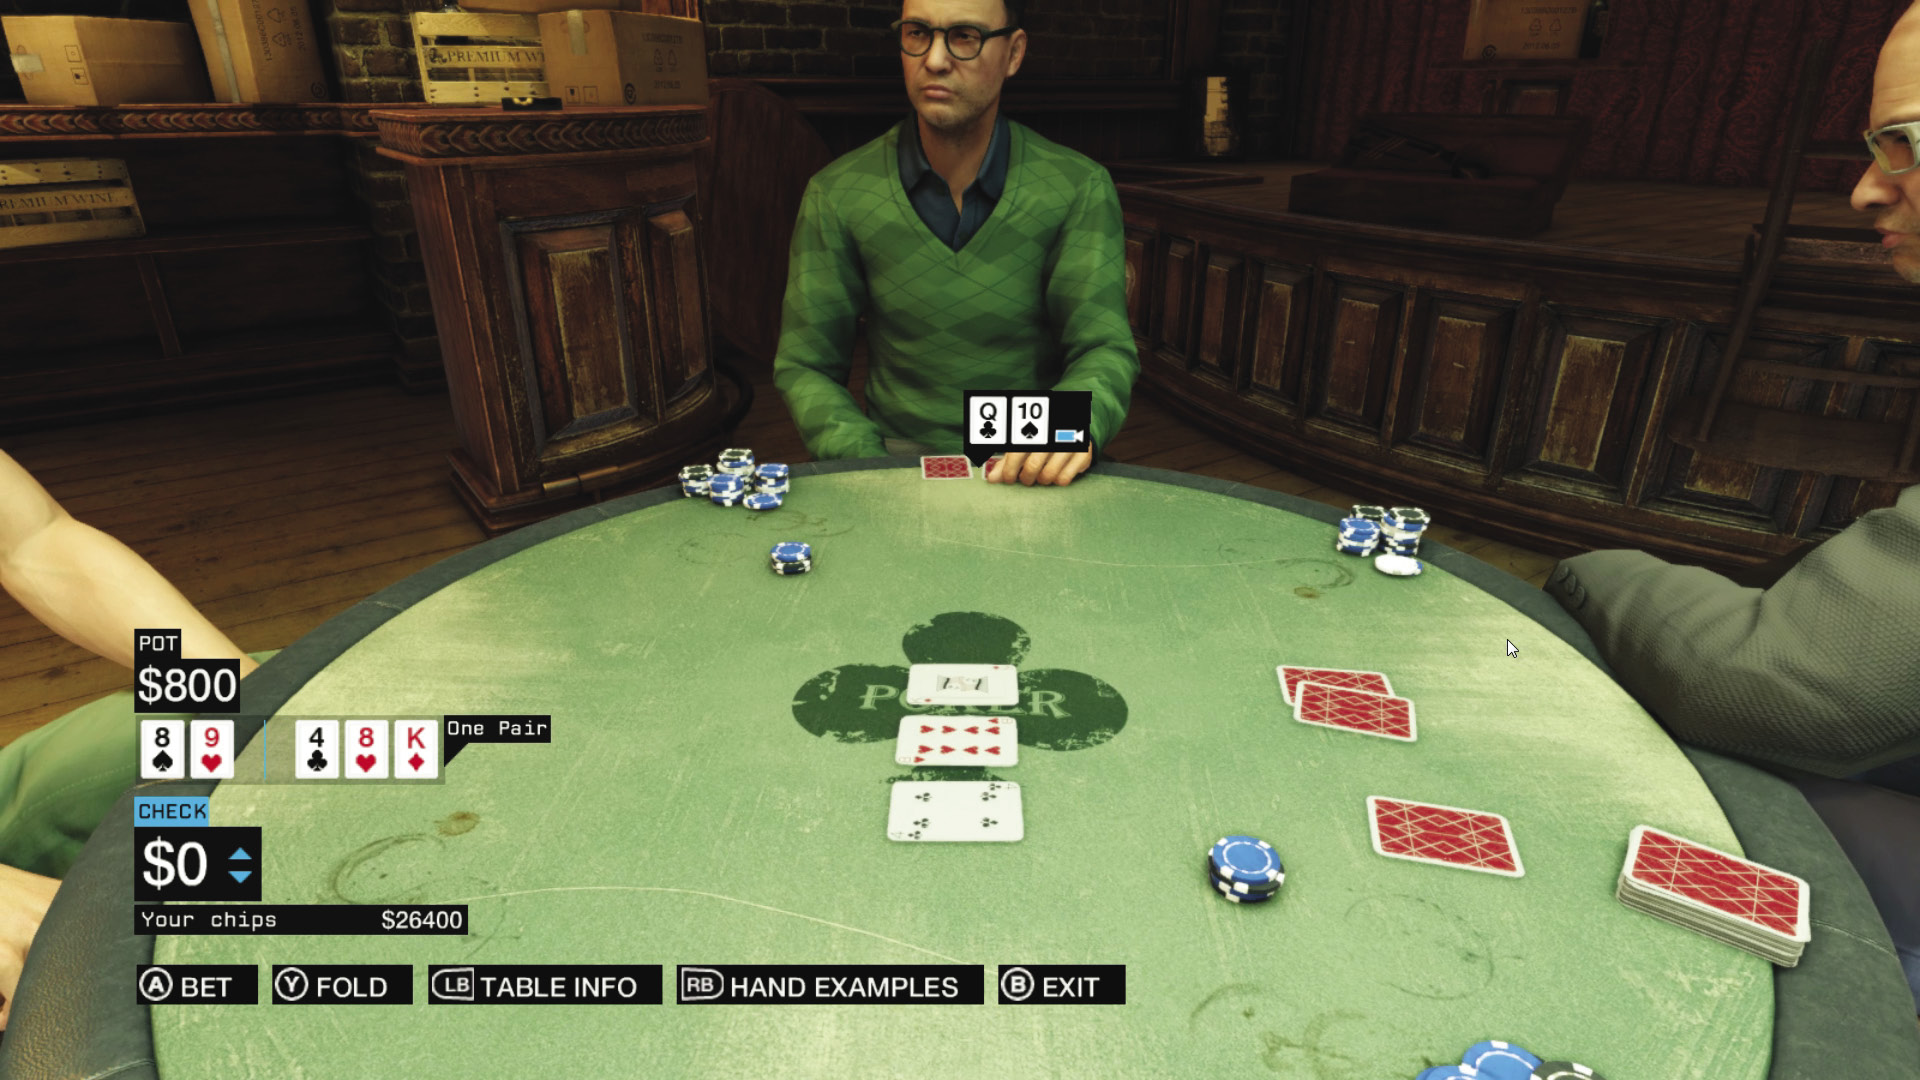
Three out of the four poker tables in Chicago have a ctOS-compatible security camera somewhere nearby. You can use it to peek at two of your opponents’ cards at the start of the hand.
Your phone has an app that can monitor an opponent’s stress levels. This hovers around 30% and tends to go up as the stakes rise. The higher their stress, the less faith an opponent has in his hand. A high-stress opponent is not likely to have any cards worth talking about.
Know when to fold. There’s no reason to throw good money after bad just to see how a hand’s going to turn out.
// MINIGAME /// Shell Games
Number AVAILABLE—Pawnee: 1
Number AVAILABLE—Parker Square: 2
Number AVAILABLE—The Wards: 1
Number AVAILABLE—The Loop: 3
Number AVAILABLE—Mad Mile: 4
Number AVAILABLE—Total: 11
- Reward: Beat 3 Levels of the Shell Game: XP Bonus (Experience)
 Follow the ball under the cup as a hustler attempts to trick your eyes and remove as much cash from your wallet as you can.
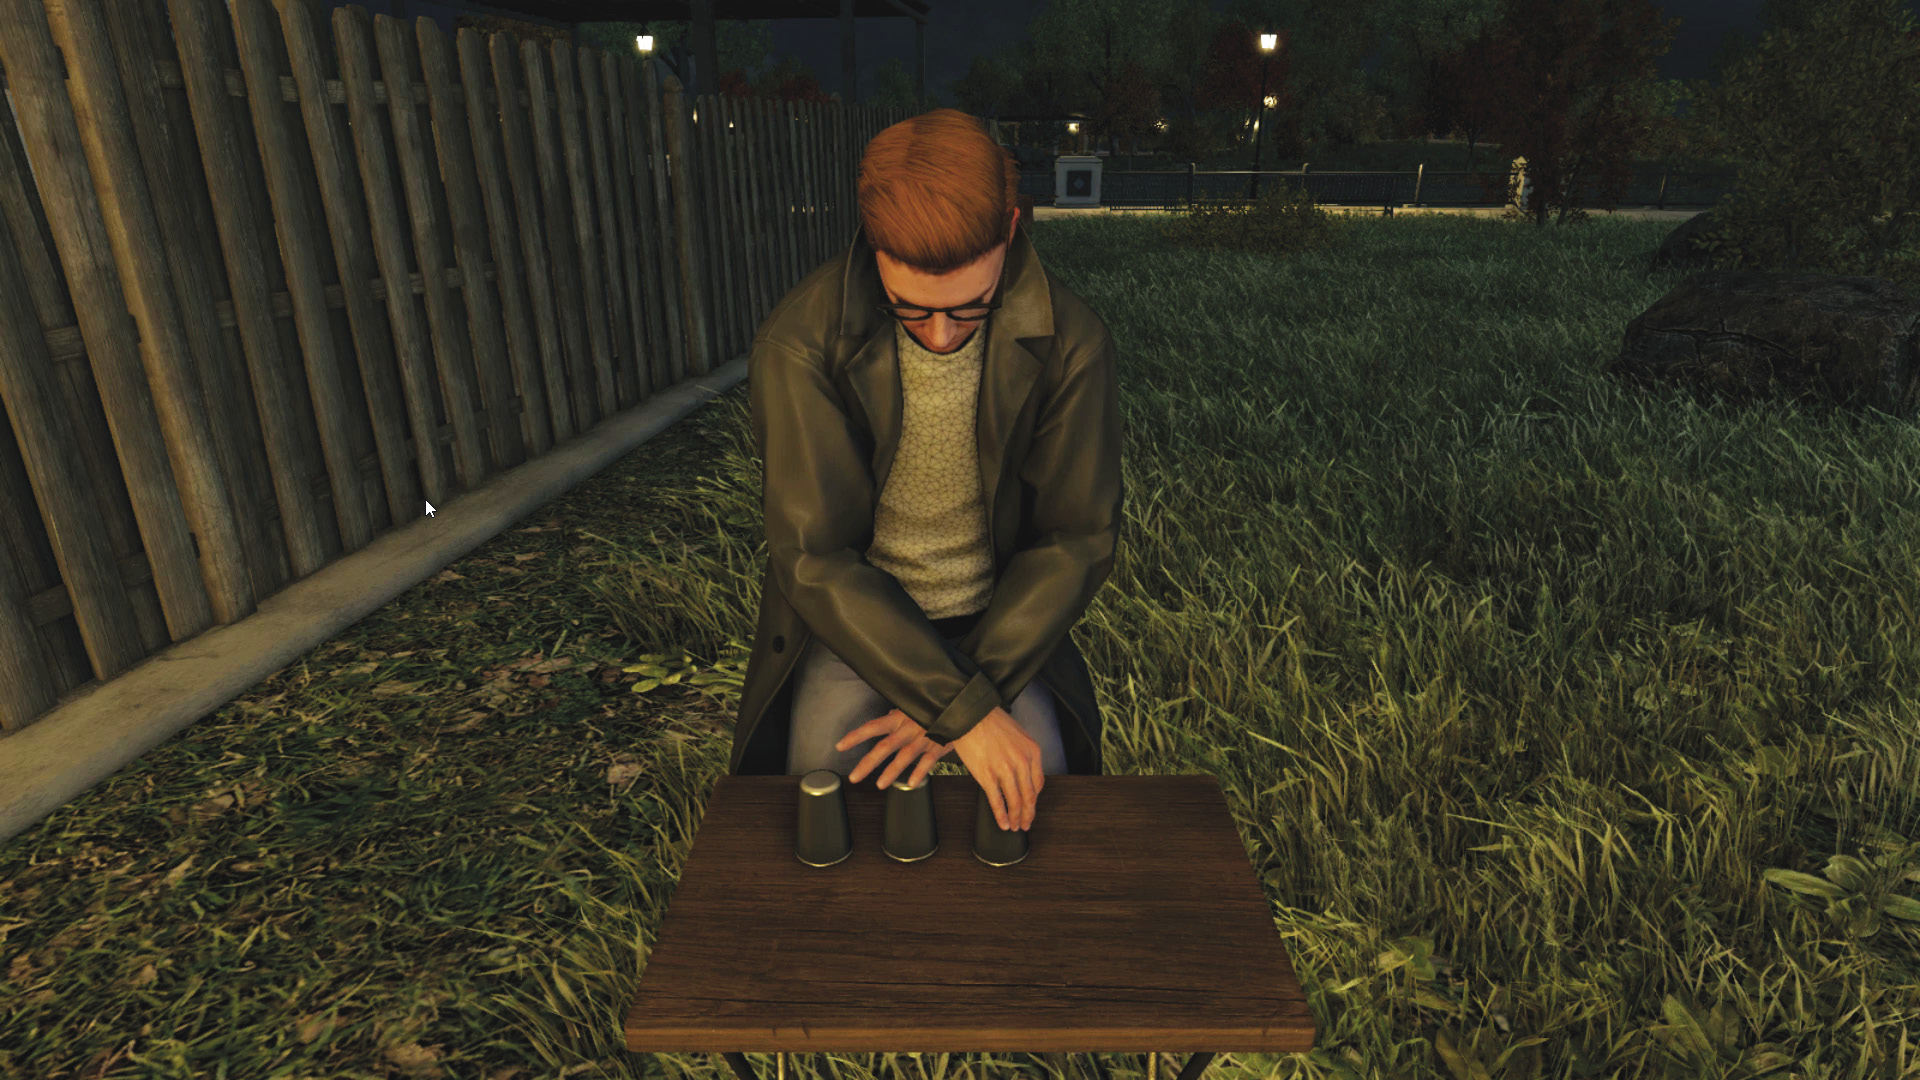
The key to defeating the harder levels of the Shell Game is your Focus ability. The more points you’ve invested into it, the easier it will be to spot the Shell Game dealer’s sleight of hand.
Before you play the Shell Game, be sure to purchase beverages from nearby newsstands or bars to temporarily extend the length of your Focus meter.
Watch the Shell Game dealer’s hands. He does have tells for when he’s shuffled the ball from one cup to the other, such as when the cups tip slightly. If the cups leave the table at all, assume the ball’s changed places.
// 15. LOCATIONS OF INTEREST: OTHER ACTIVITIES AND AREAS
The final areas of the world map involve a variety of tasks and uncovering locations or items that will help you. Tips for each Digital Trip are shown below. For more detail regarding these activities, access your eGuide.
// OTHER ACTIVITIES /// Digital Trips
Number AVAILABLE—The Loop: 3
Number AVAILABLE—Total: 3
- REWARDS: None

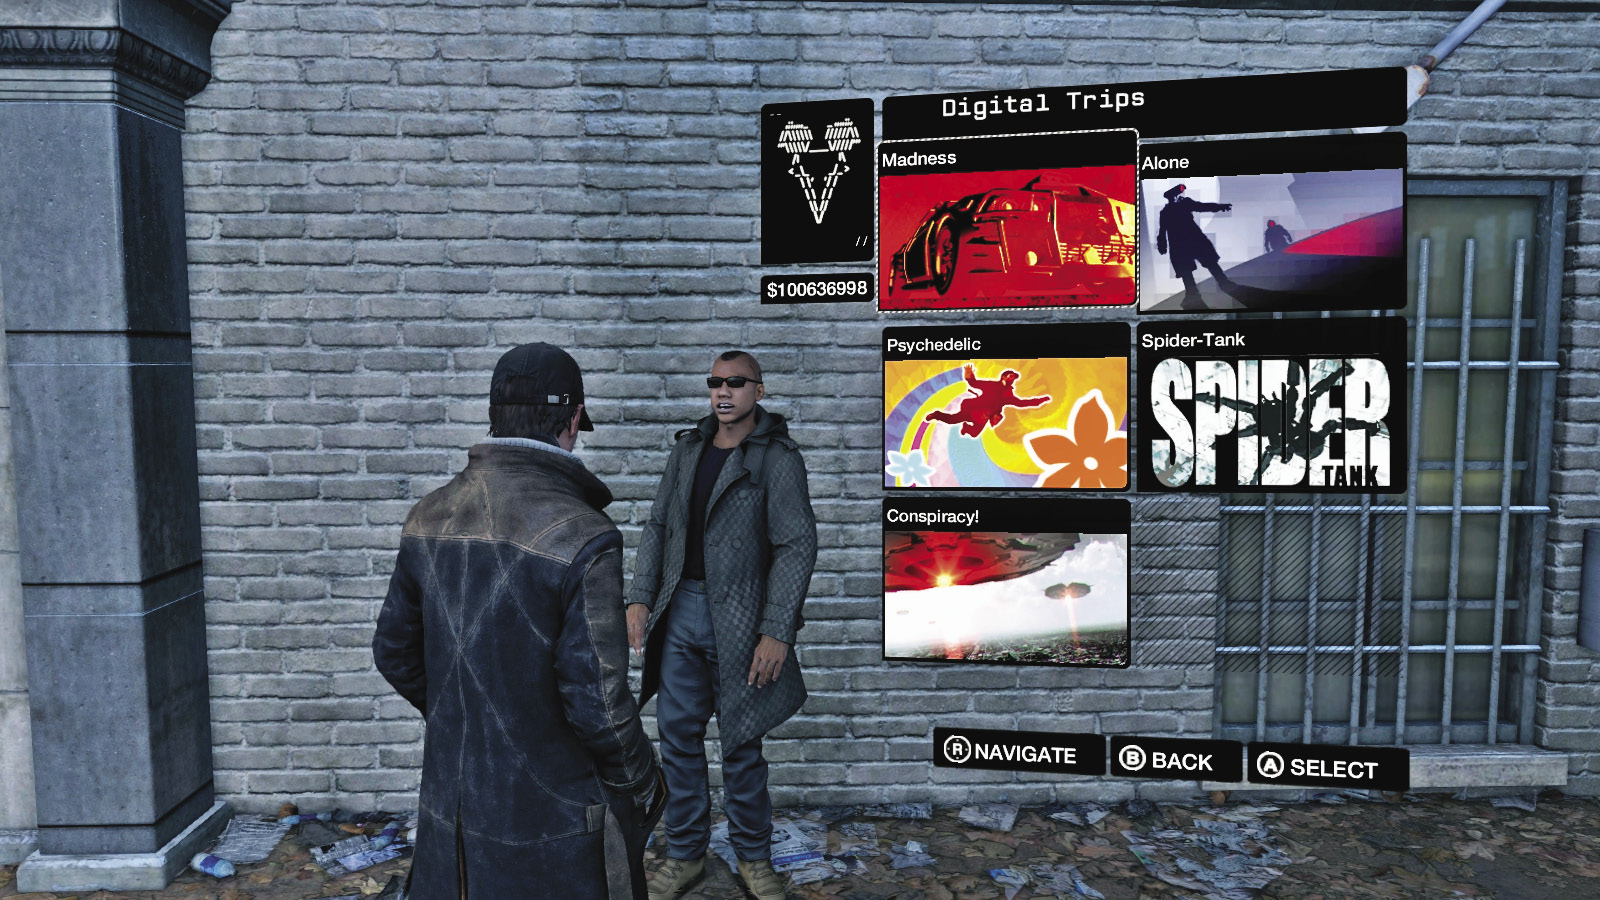
 A particular pill is gaining popularity, and rightly so: it transports you into one of five drug-fueled visions of Chicago! Access this via your app, or a digital trip dealer.
Digital Trip //// Alone
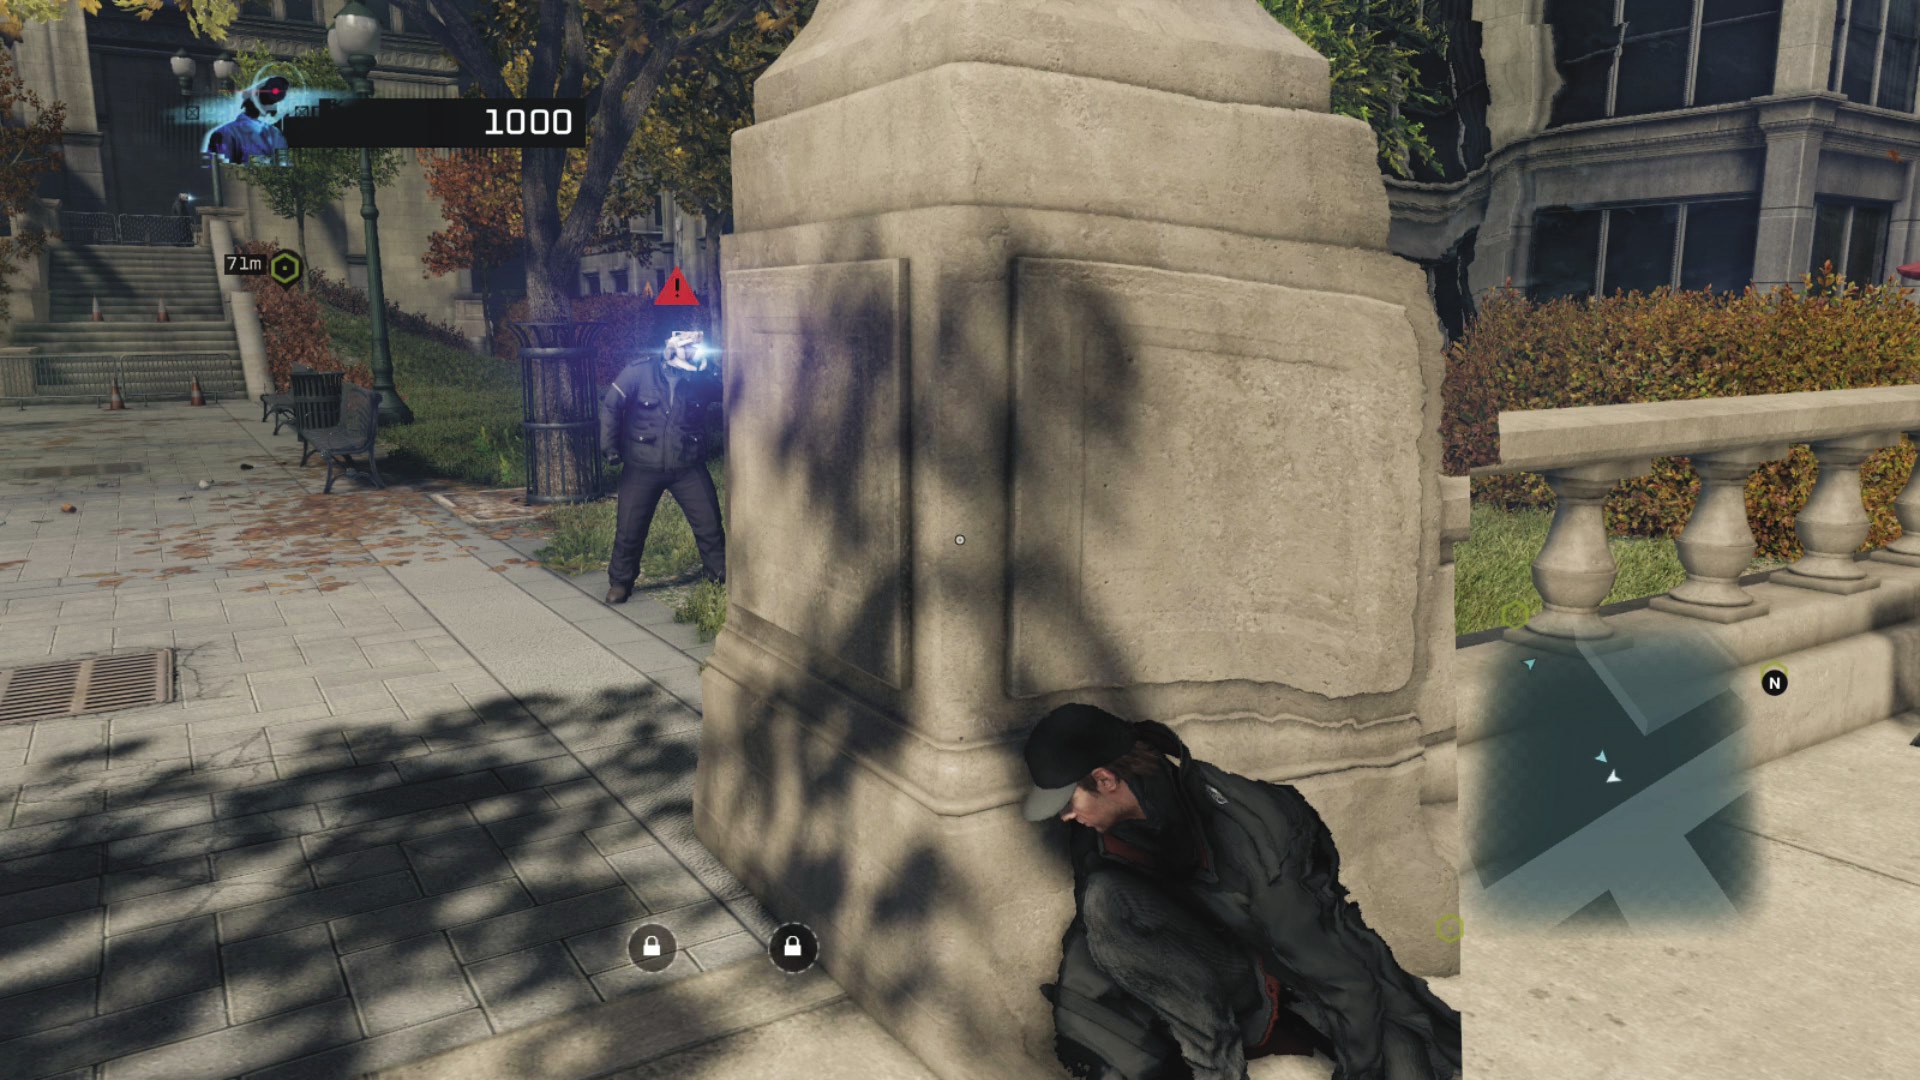
Don’t rely on gunplay. You get a lot more points for takedowns, and they’re much safer. But try to remove all enemies and reinforcements before hacking the obelisk to maximise your points.
The cone of light emitted by searching drones is not a reliable indicator of their field of vision. Don’t get into the habit of thinking of that as a guideline when you’re trying to sneak by them.
Successfully hacking an obelisk also dispatches all of the drones in a district. If you’re in trouble, going straight for the obelisk is often your best tactical option, even if you have to outrun a couple of drones to get there.
Digital Trip //// Conspiracy!
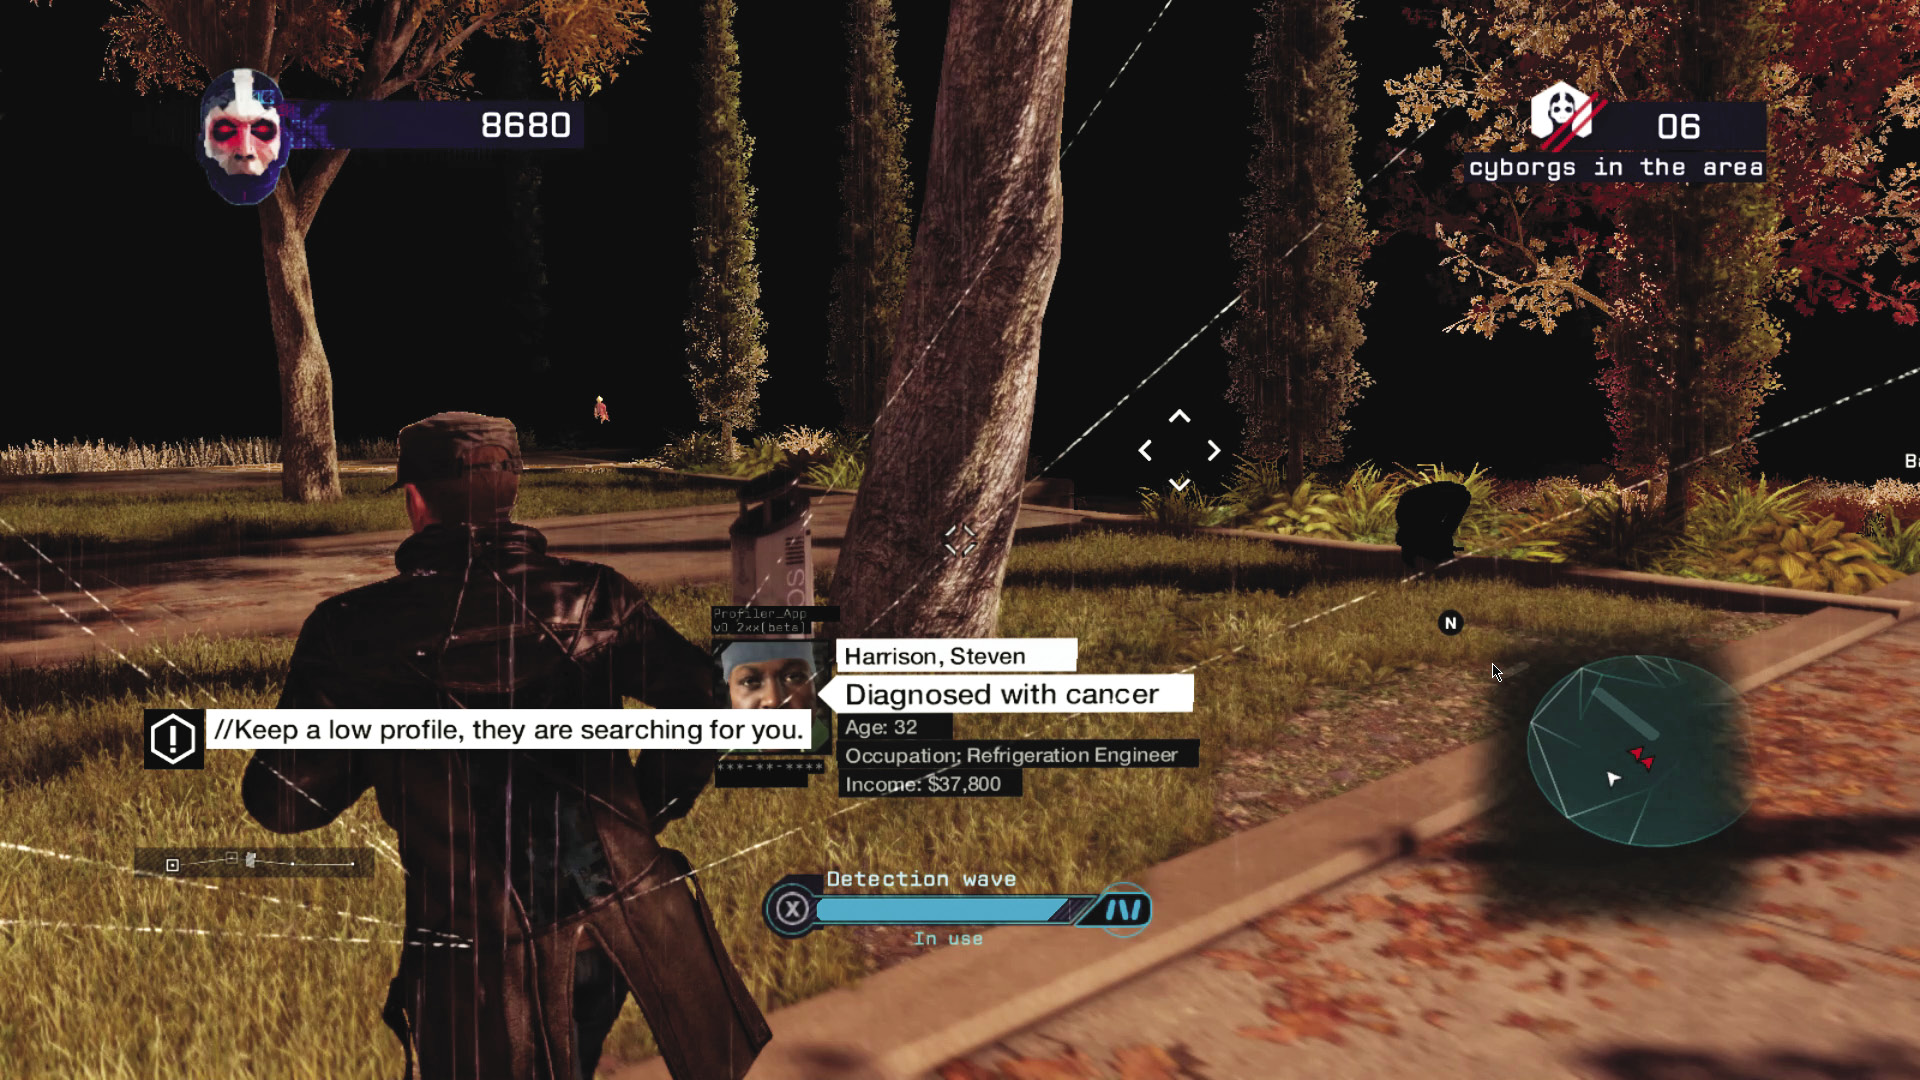
You can tap the profiler button to end a scan early, which means it’ll recharge faster for the next time you need it. Be sure to shut it down ahead of time if you can’t see any cyborgs around at the moment.
Basic cyborgs won’t trigger their bomb unless you’re within hugging distance. Especially in areas with a huge cyborg presence, don’t be afraid to run away and “kite” them for a bit.
Given the size of cyborgs’ weak points, the ability to use Focus should be your first purchase from Conspiracy’s skill tree.
Digital Trip //// Madness
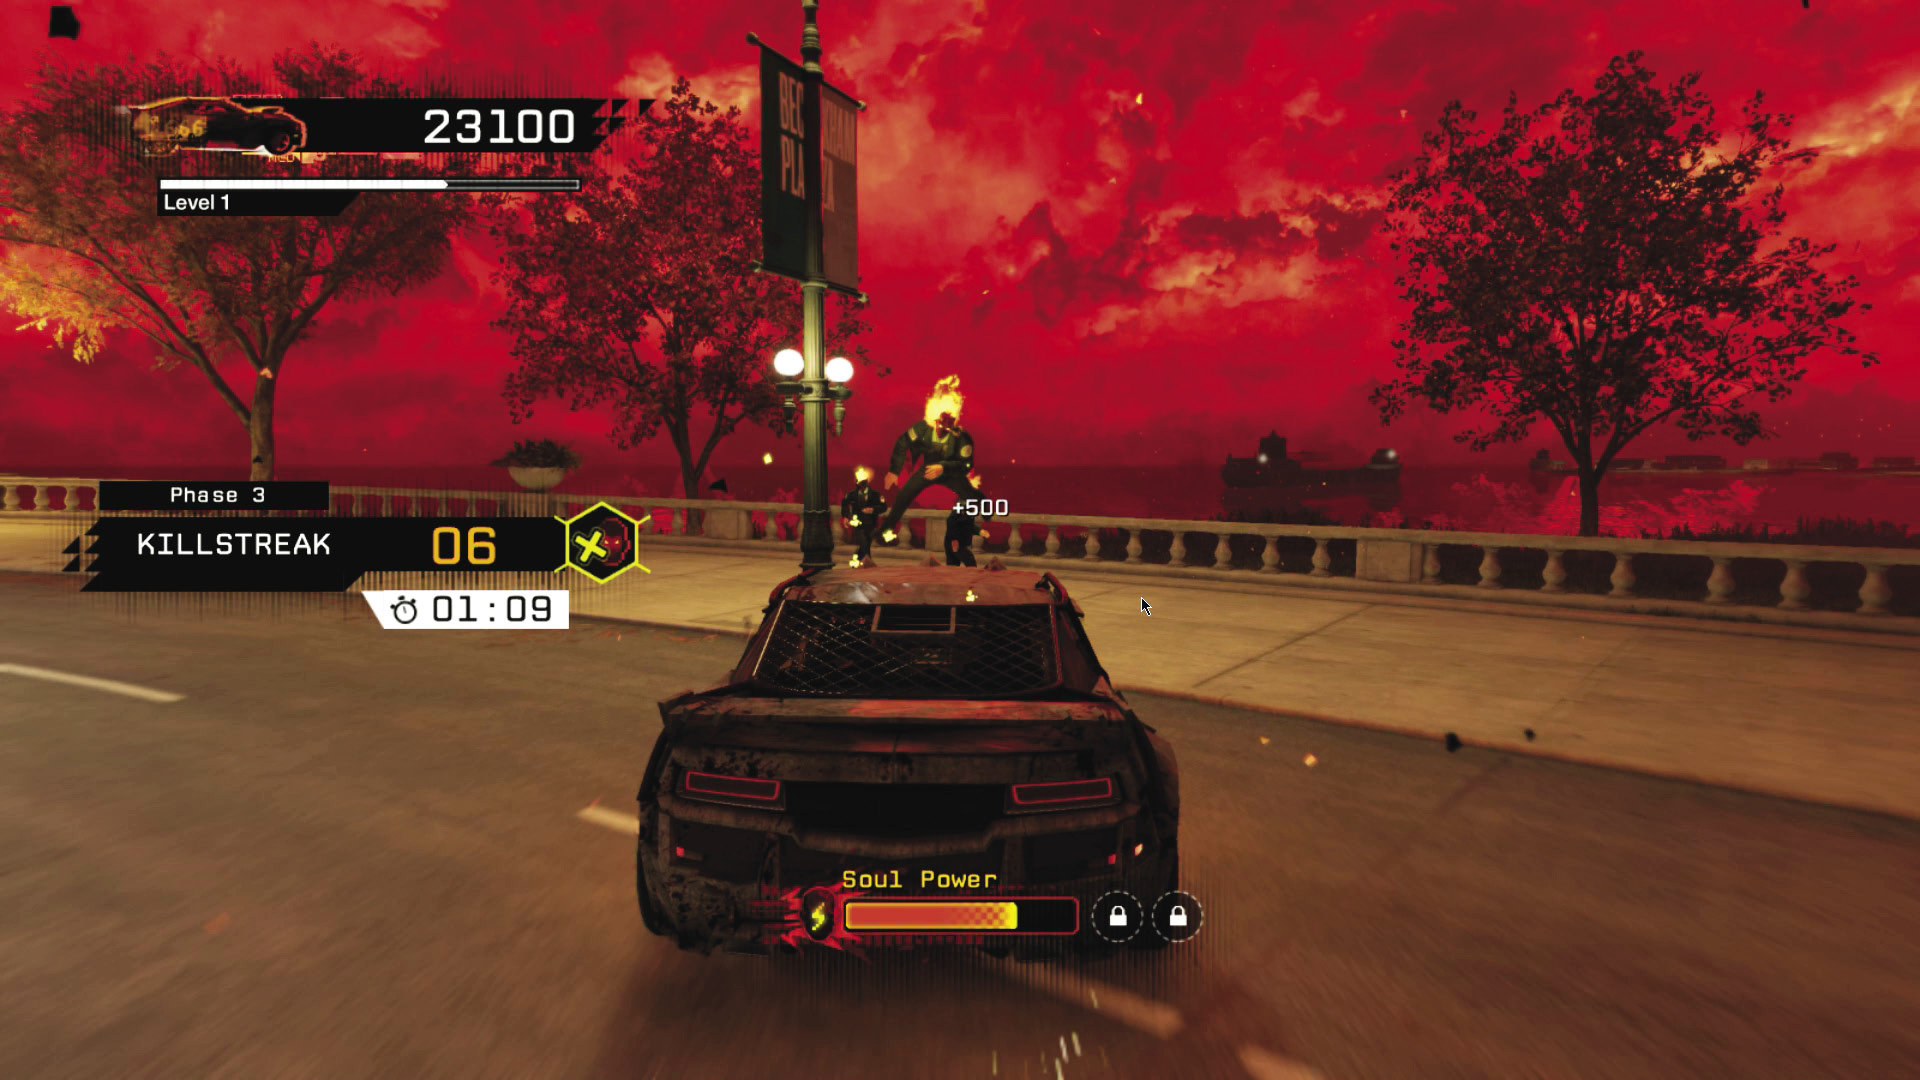
As you may have noticed from attempts to commit vehicular homicide in the main game, pedestrians are surprisingly difficult to hit. You’ll be more successful if you keep moving in Madness and try to plow through distant crowds of demons than you will be by trying to chase down individual specific targets.
On Harvest challenges, get to the freeway or the underground tunnels. The demons are stuck in a much narrower area and are easier to hit.
The Soul Blast power isn’t as good as it looks. It has a long range and punches right through demons, but kills from a Soul Blast don’t grant Soul Power and don’t count towards challenges like Killstreak. Its only real use is totaling the Control Freaks’ cars. It’s not worth the investment until you can jump straight to Soul Blast Mastery.
Digital Trip //// Psychedelic
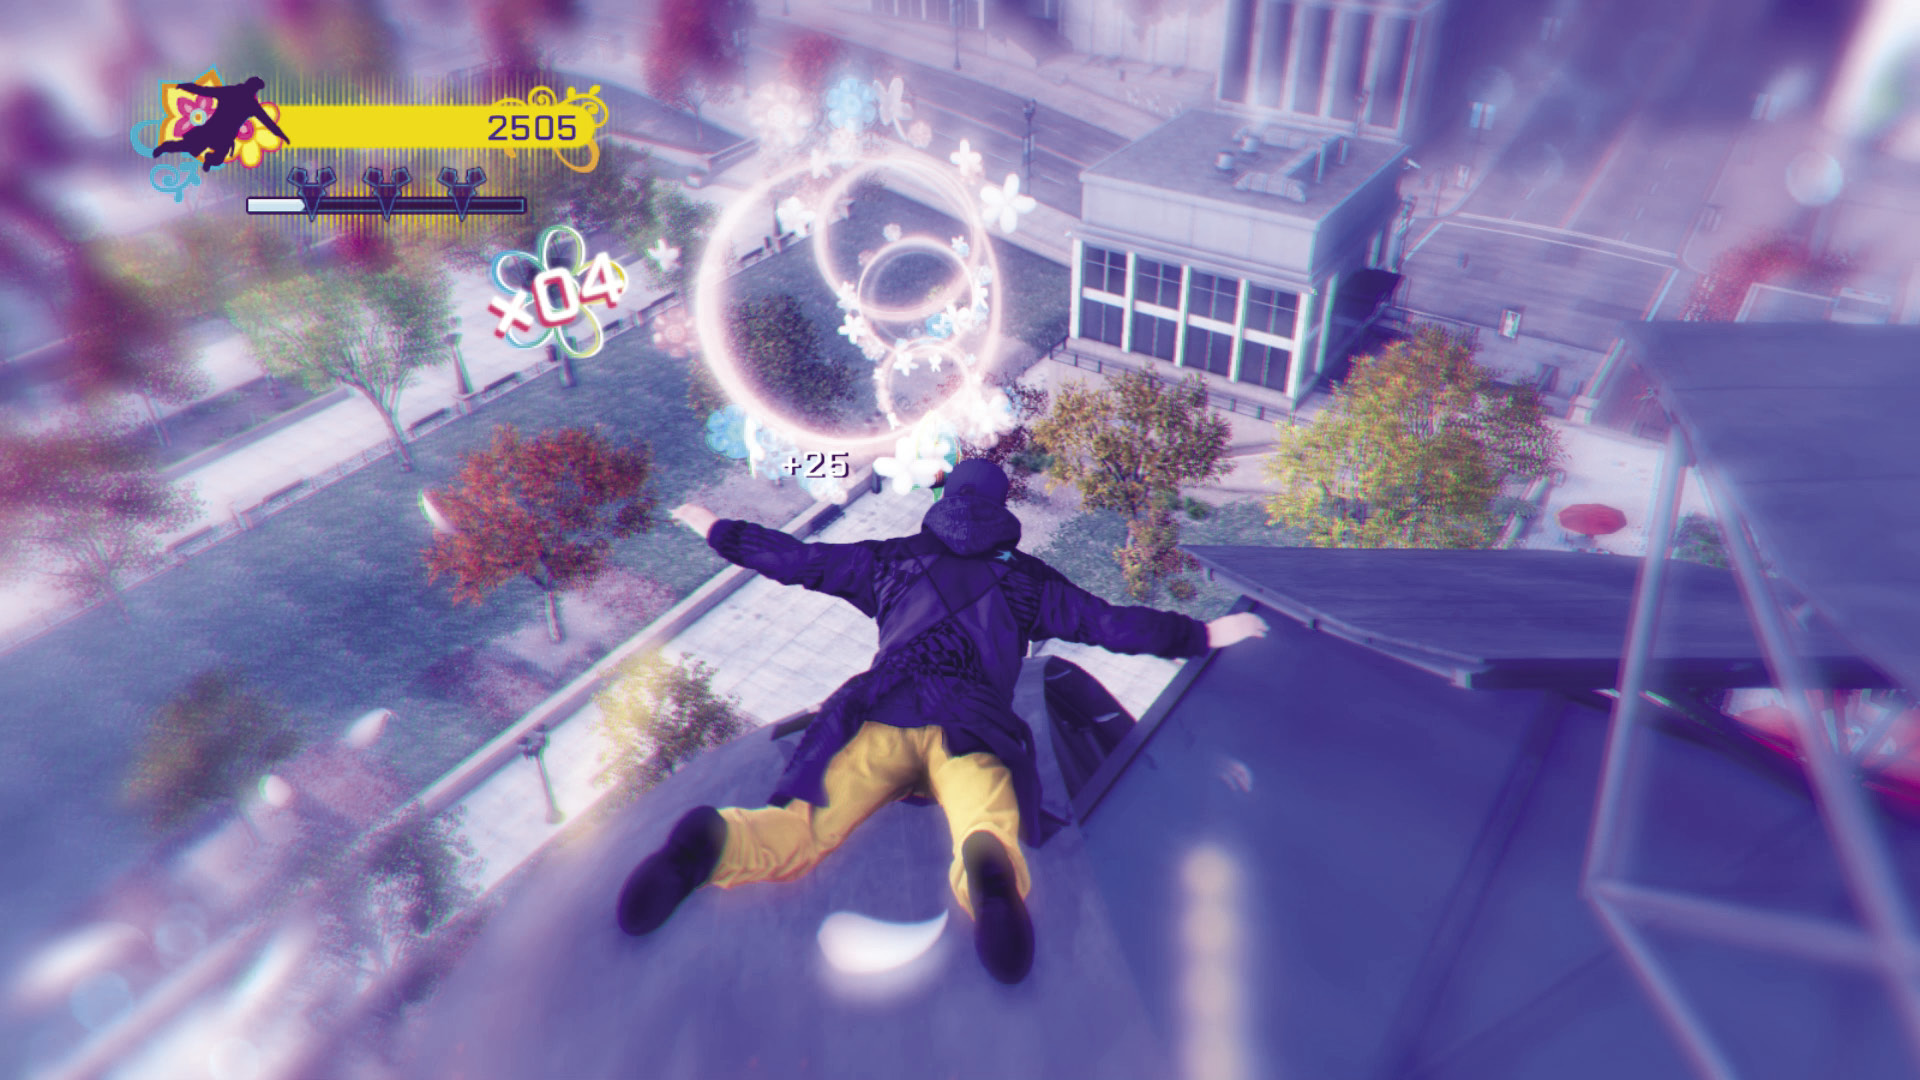
Unlike the other Digital Trips, Psychedelic isn’t quite like anything else in the game and has a distinct learning curve. Don’t get frustrated early on. You just have to stick with it until it clicks.
Small adjustments to your trajectory can have big effects. Be subtle.
When the rings show up, they’re useful both for extra points and as a targeting cue. Eyeballing your trajectory can be a problem, especially across long distances, and you should use the rings whenever you have the option.
Digital Trip //// Spider Tank
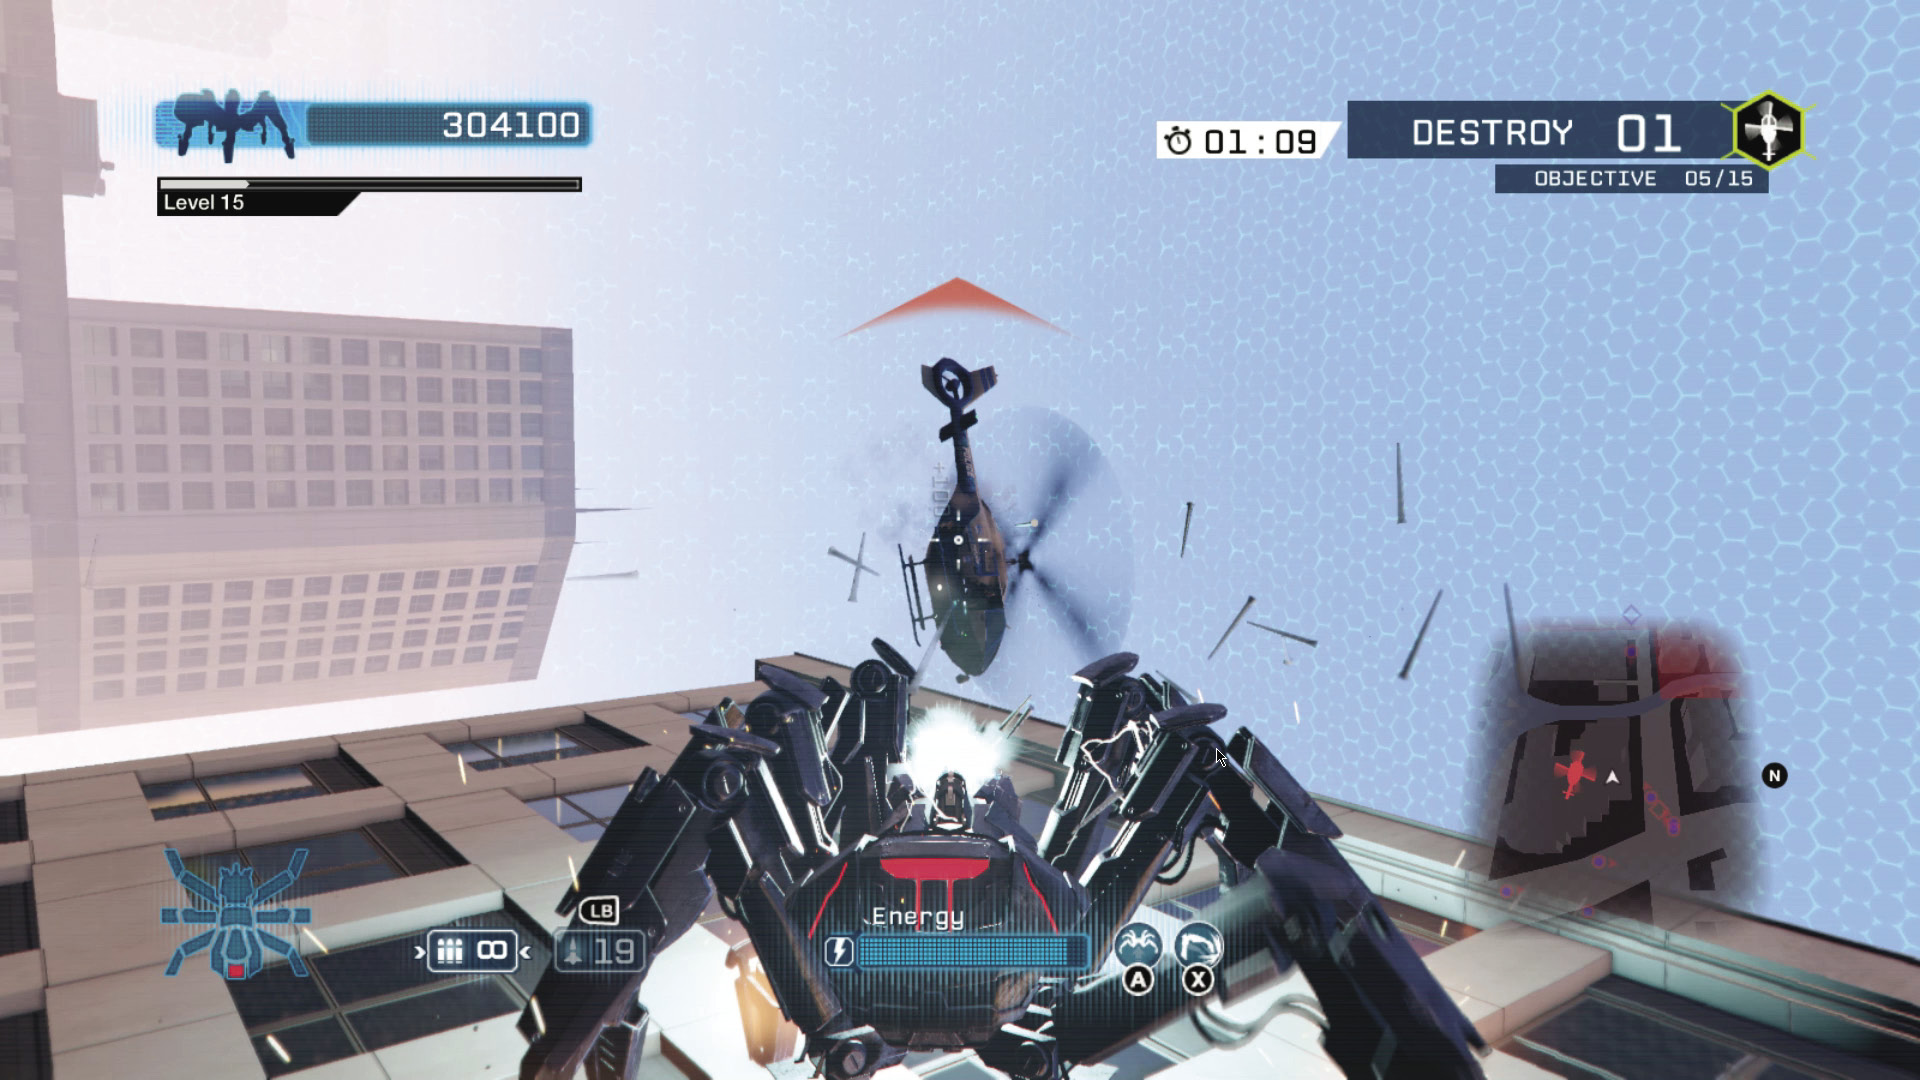
Shells are useful and powerful, but have a slow rate of fire. Use them sparingly. They’re ideal against the armored trucks and trains.
Don’t undervalue the Spider Tank’s claw. Even before you invest in the skills that improve it, your basic claw attack remains one of the most dangerous weapons in your arsenal, capable of killing Elites and totaling vehicles in just one or two hits.
As the police response escalates, so does its firepower. Once you’re routinely running into snipers and Elites at ground level, don’t be afraid to take to the air and use the skyscrapers as cover. If the cops are allowed to mass and focus fire, they can grind through your tank in nothing flat, even with the Titanium Plating skill. That’s when your mobility becomes your greatest advantage.
// OTHER ACTIVITIES /// Slot Machines
Number AVAILABLE—Parker Square: 1
Number AVAILABLE—Brandon Docks: 1
Number AVAILABLE—Mad Mile: 1
Number AVAILABLE—Total: 3
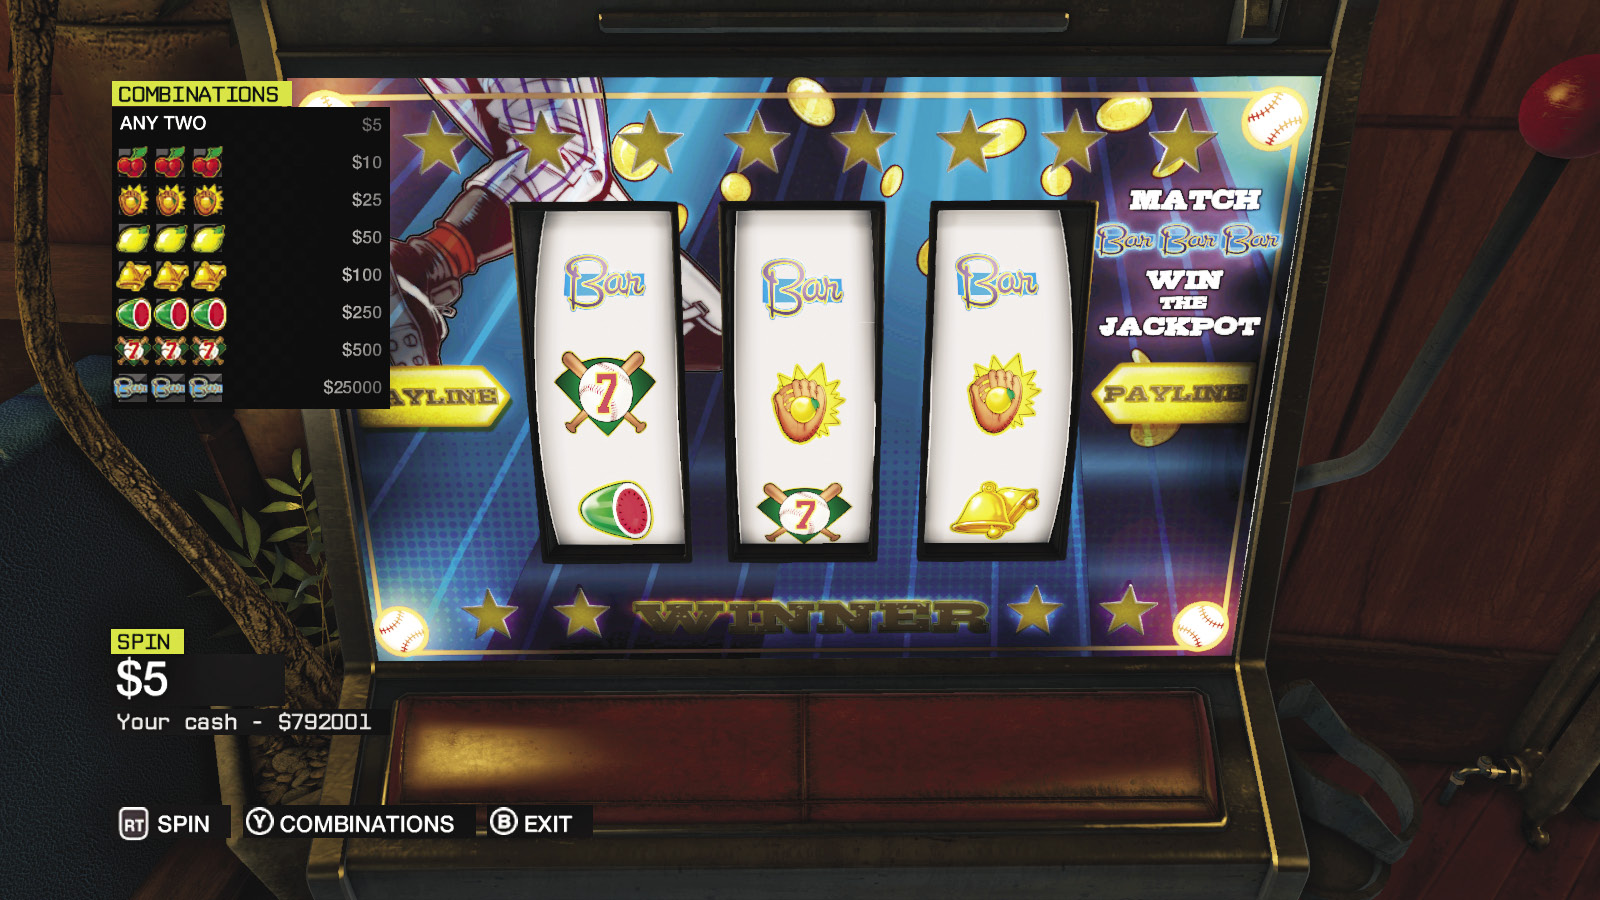
 Locate one of three different types of slot machines to play: Regular, Multi-Line, and Nudges and Holds.
While you cannot hack slot machines, your profiler can tell you interesting facts about each one. A “deflated pot,” for example, means someone hit the jackpot recently and thus you’re not likely to get much money out of the machine.
The highest-stakes slots in the city are in the Brewsed Up in the Wards. You can bet up to $50 a spin by switching over to all five lines.
// OTHER ACTIVITIES /// Memories
Number AVAILABLE: 2
 As you complete missions and investigations, certain key locations around the city trigger strong memories for Aiden Pearce. Consult the map for locations of these.
// OTHER AREAS /// Hideouts
Number AVAILABLE: 6 (Plus Owl Motel and The Bunker)
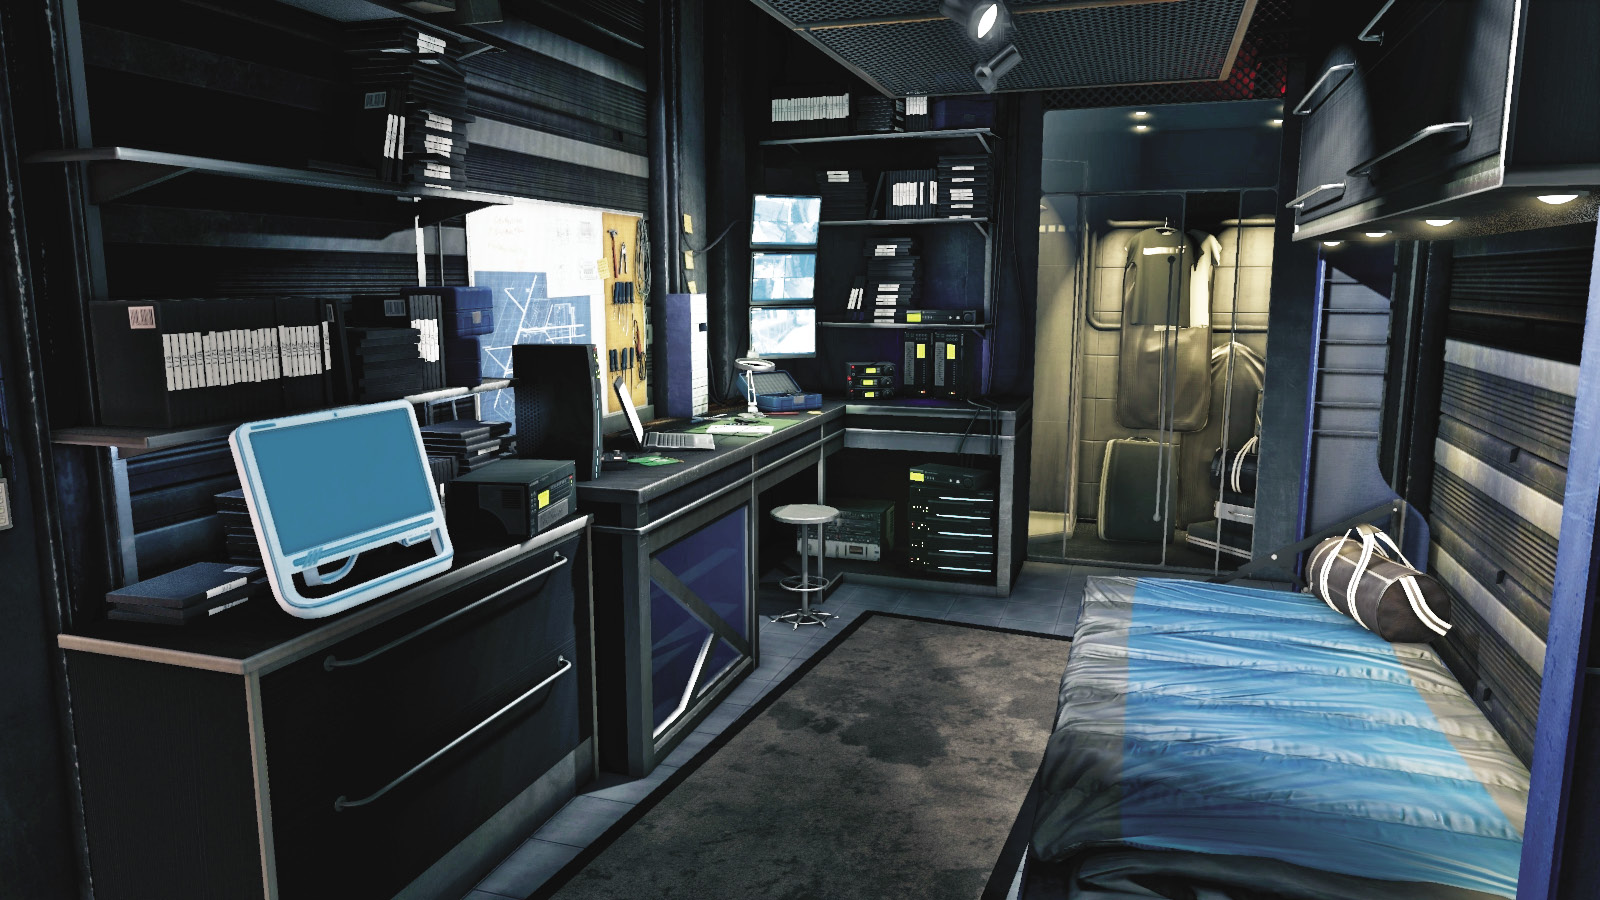
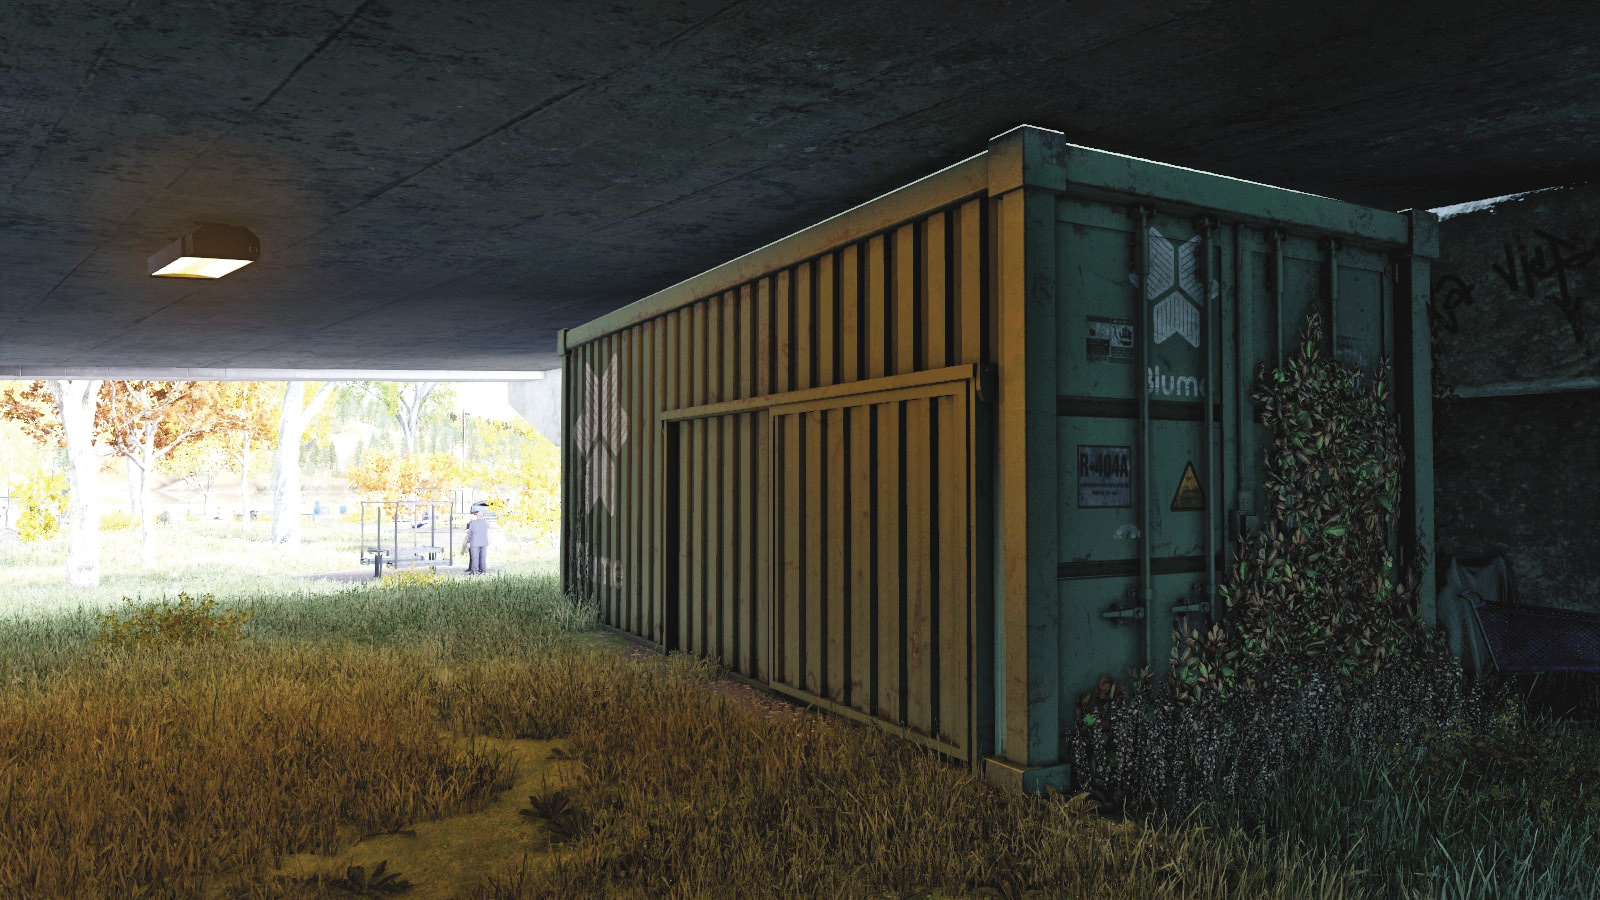
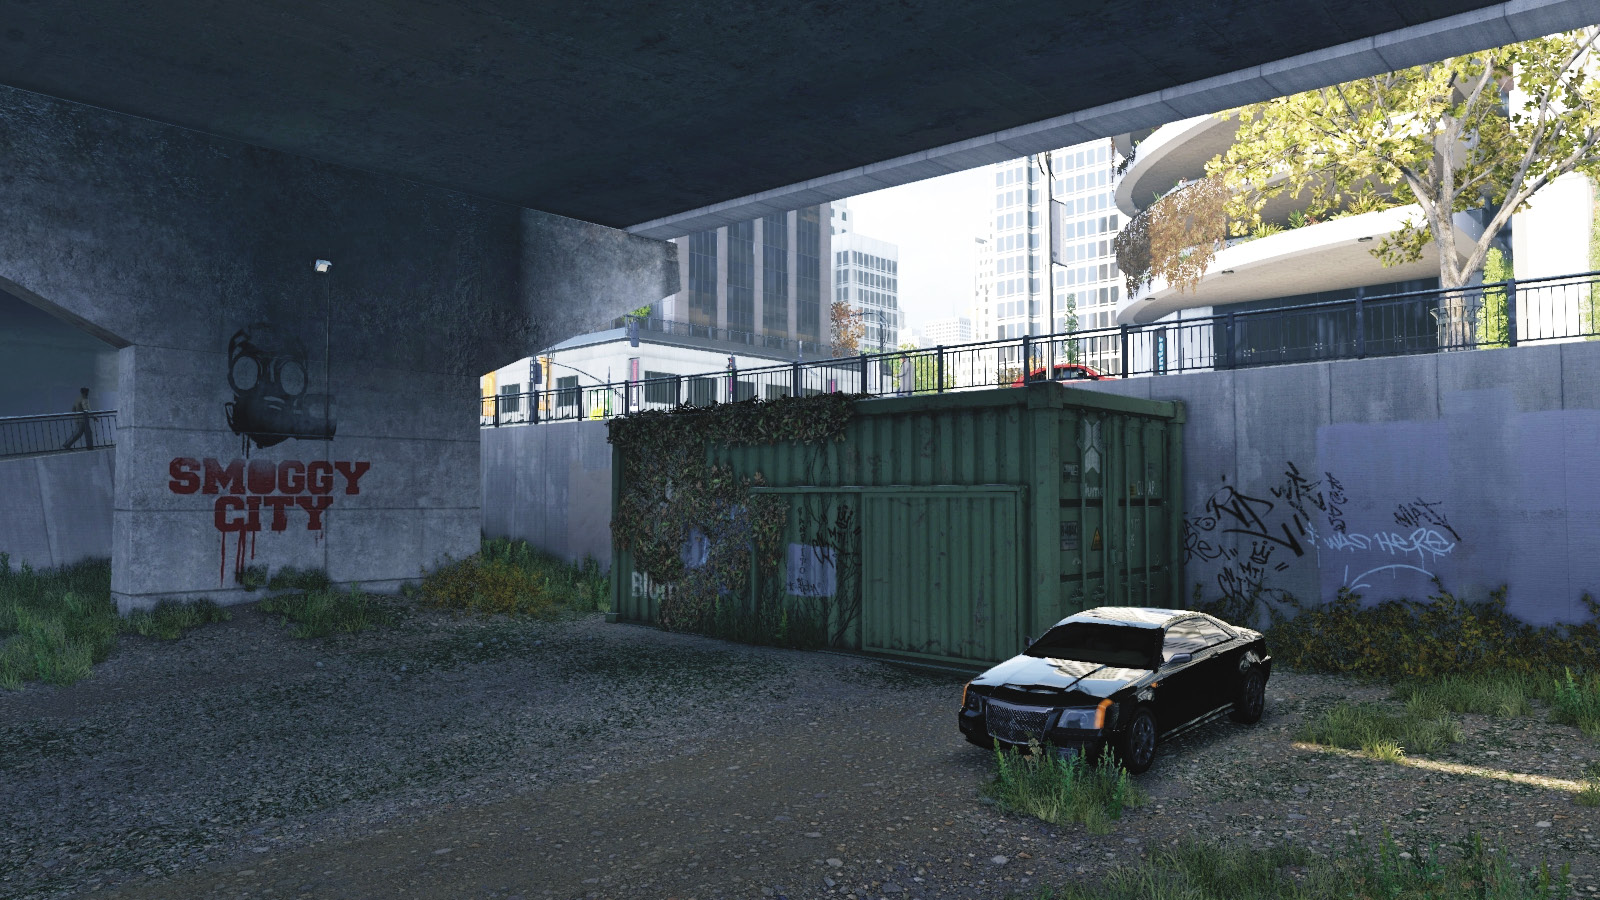
 Hideouts are discovered after you hack the ctOS tower of a particular district nearest to the hideout location. Hideouts are exceptionally useful places to flee to, though they aren’t accessible during missions. During normal maneuvers, though, you can Fast-Travel instantly to any revealed hideout, slide open the door, and step inside.
The outside of a hideout looks like a green metal shipping container, with a Blume logo on its side. Inside a hideout is a one-room bunker designed by the Blume corporation. Here you can:
Locate another Audio Log to add to your collection.
Change your clothingat the wardrobe, based on the outfits you’ve bought or acquired.
Restin a bed, which saves your progress, fills your Focus, and resets your Heat rating.
Pawnee
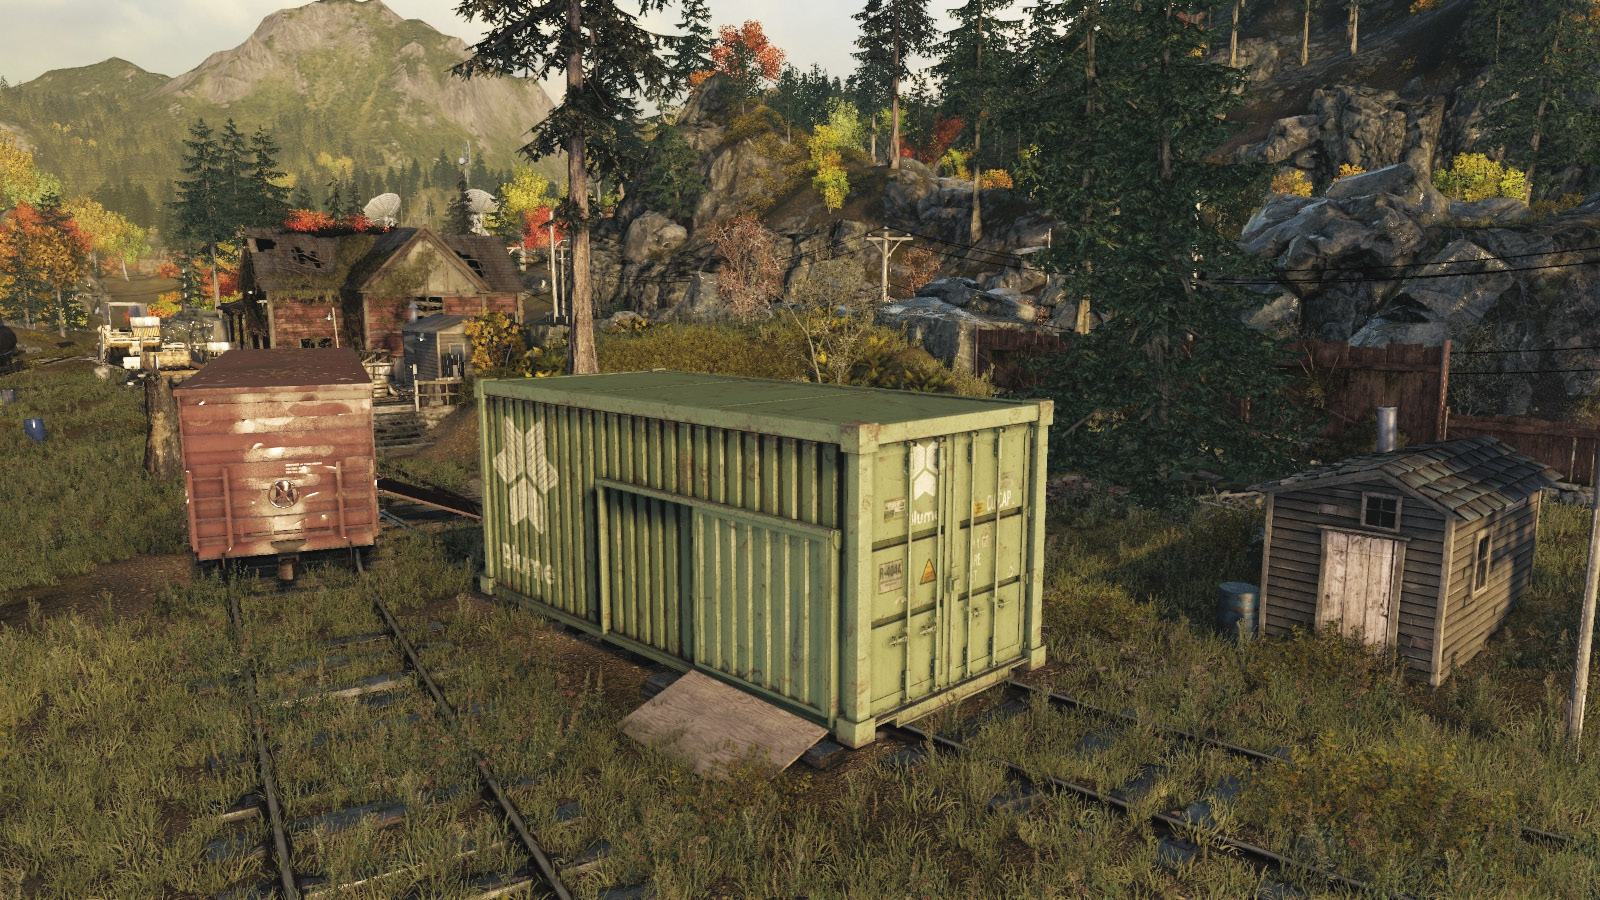

Parker Square: Hideout 1
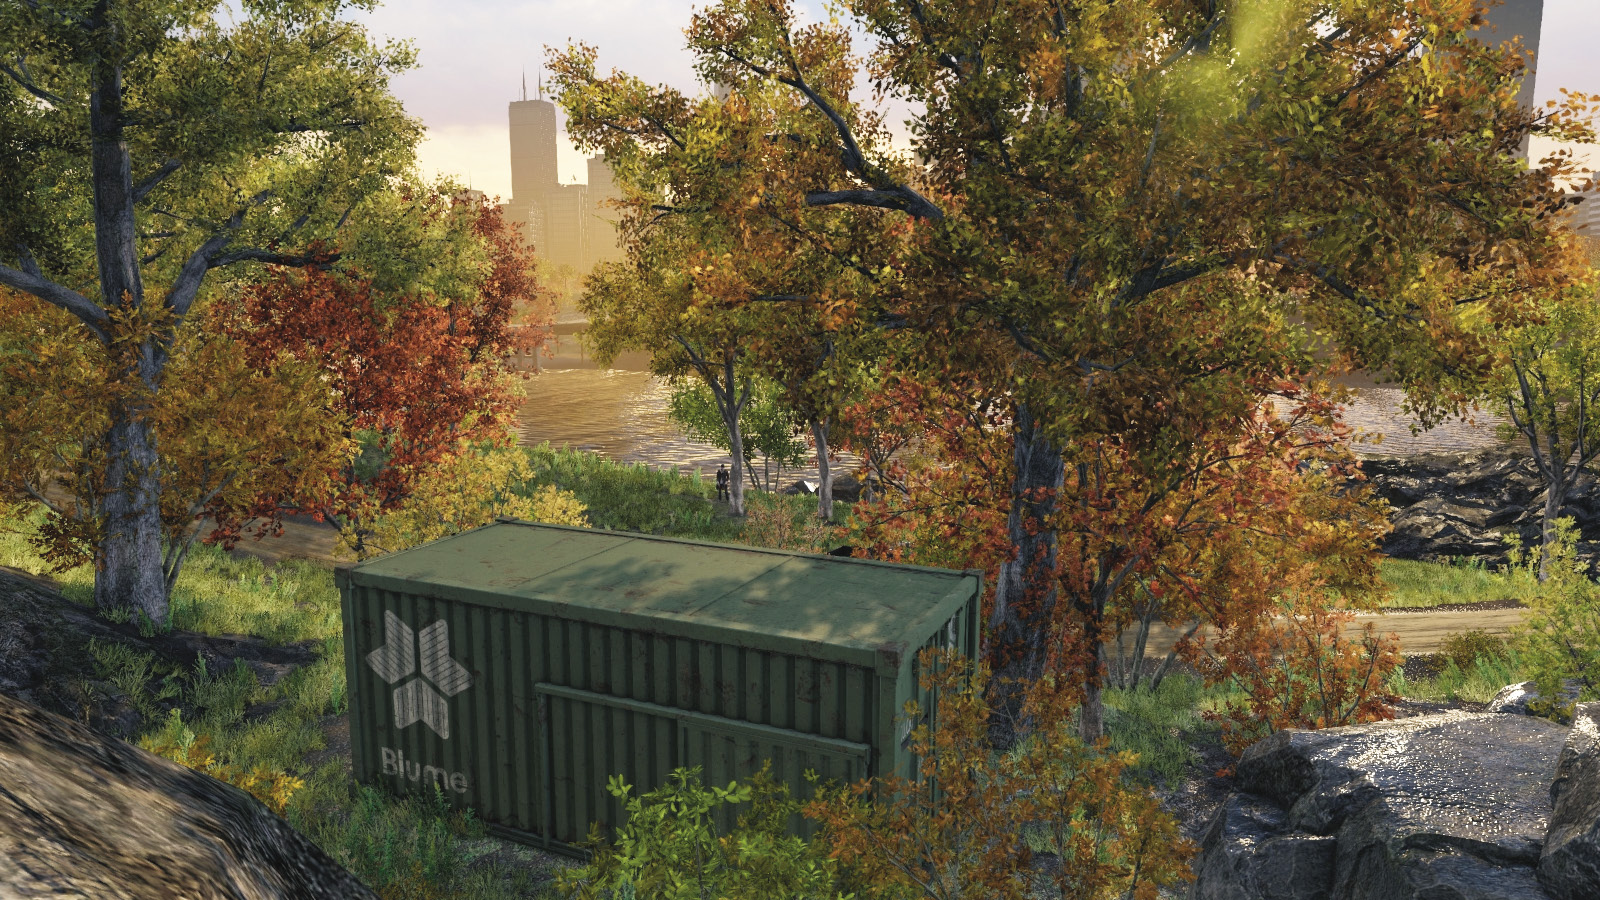

Parker Square: Hideout 2
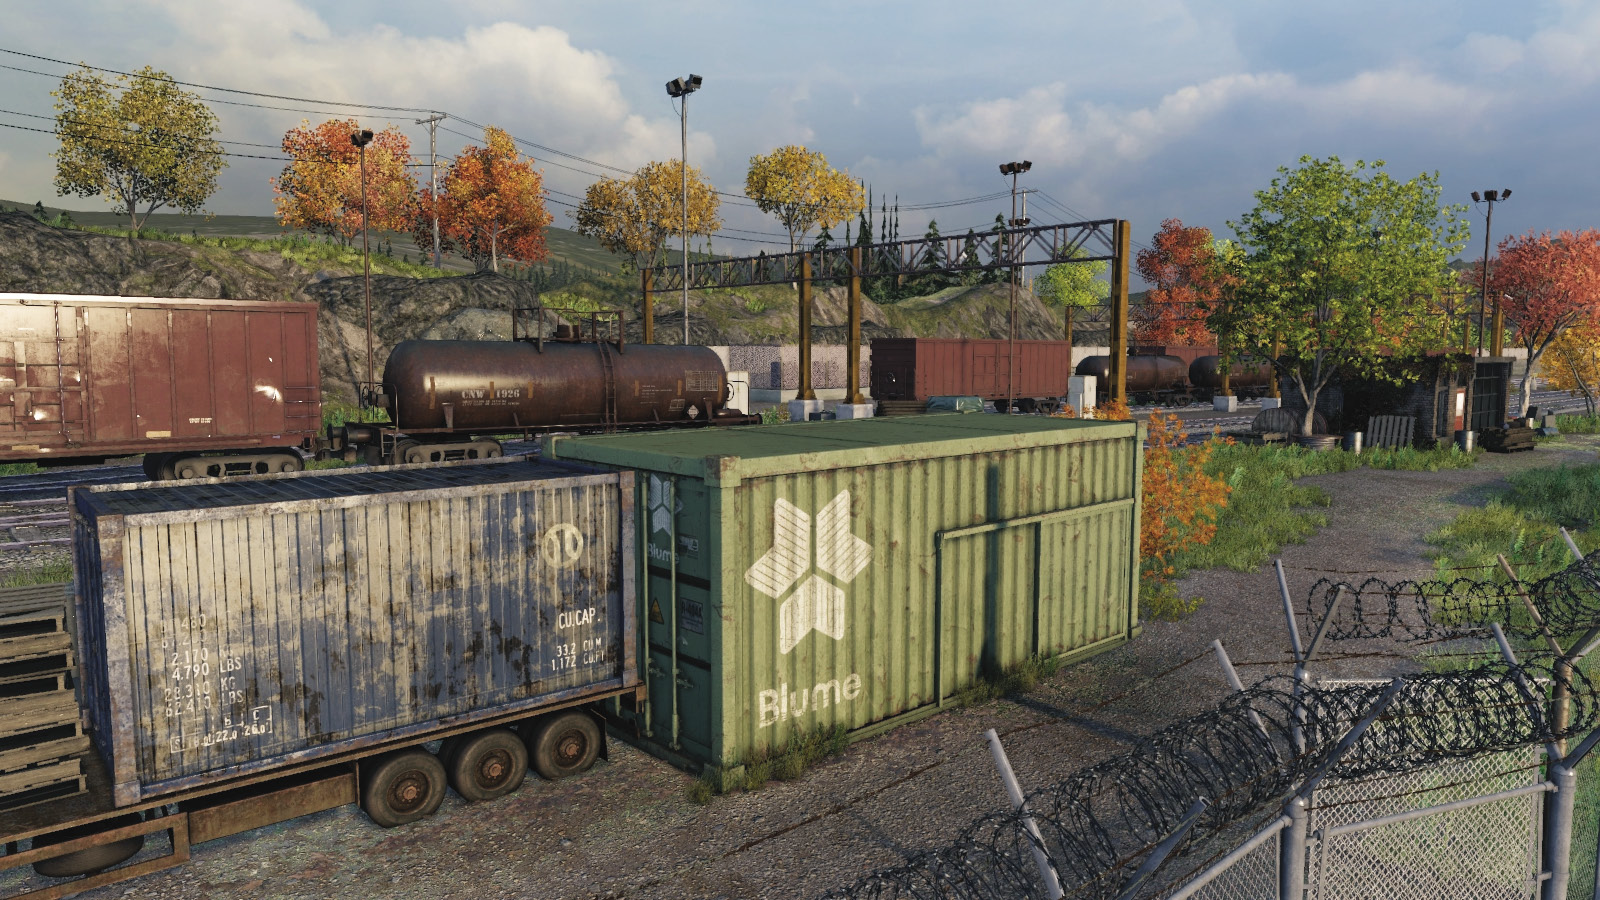

Parker Square: Owl Motel
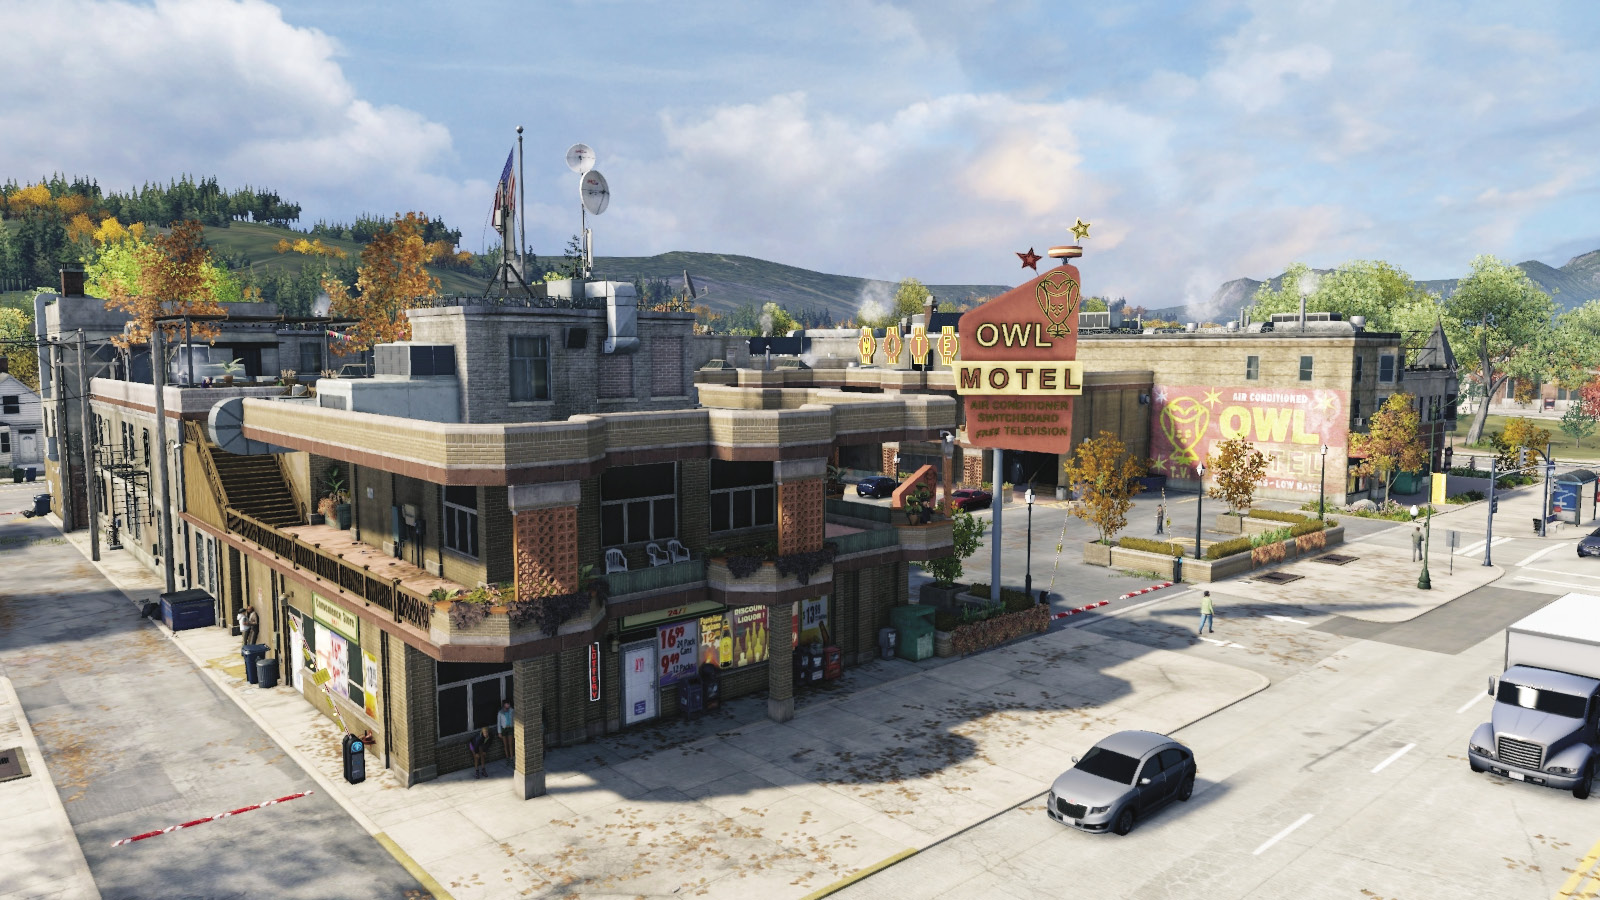

Brandon Docks: Hideout 1
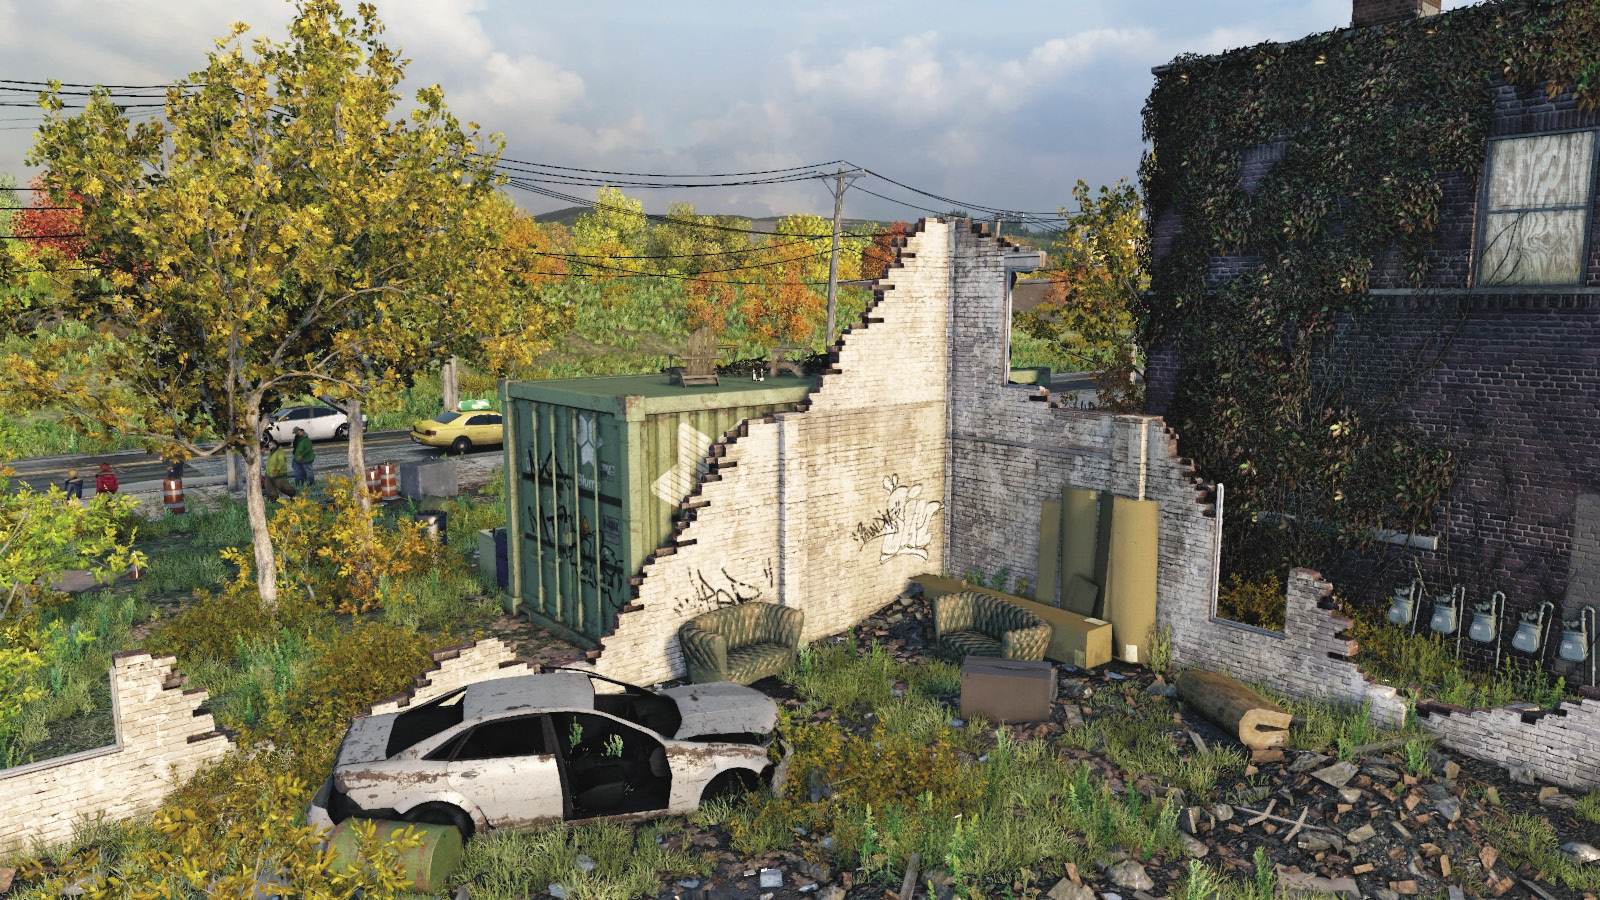

Brandon Docks: Hideout 2
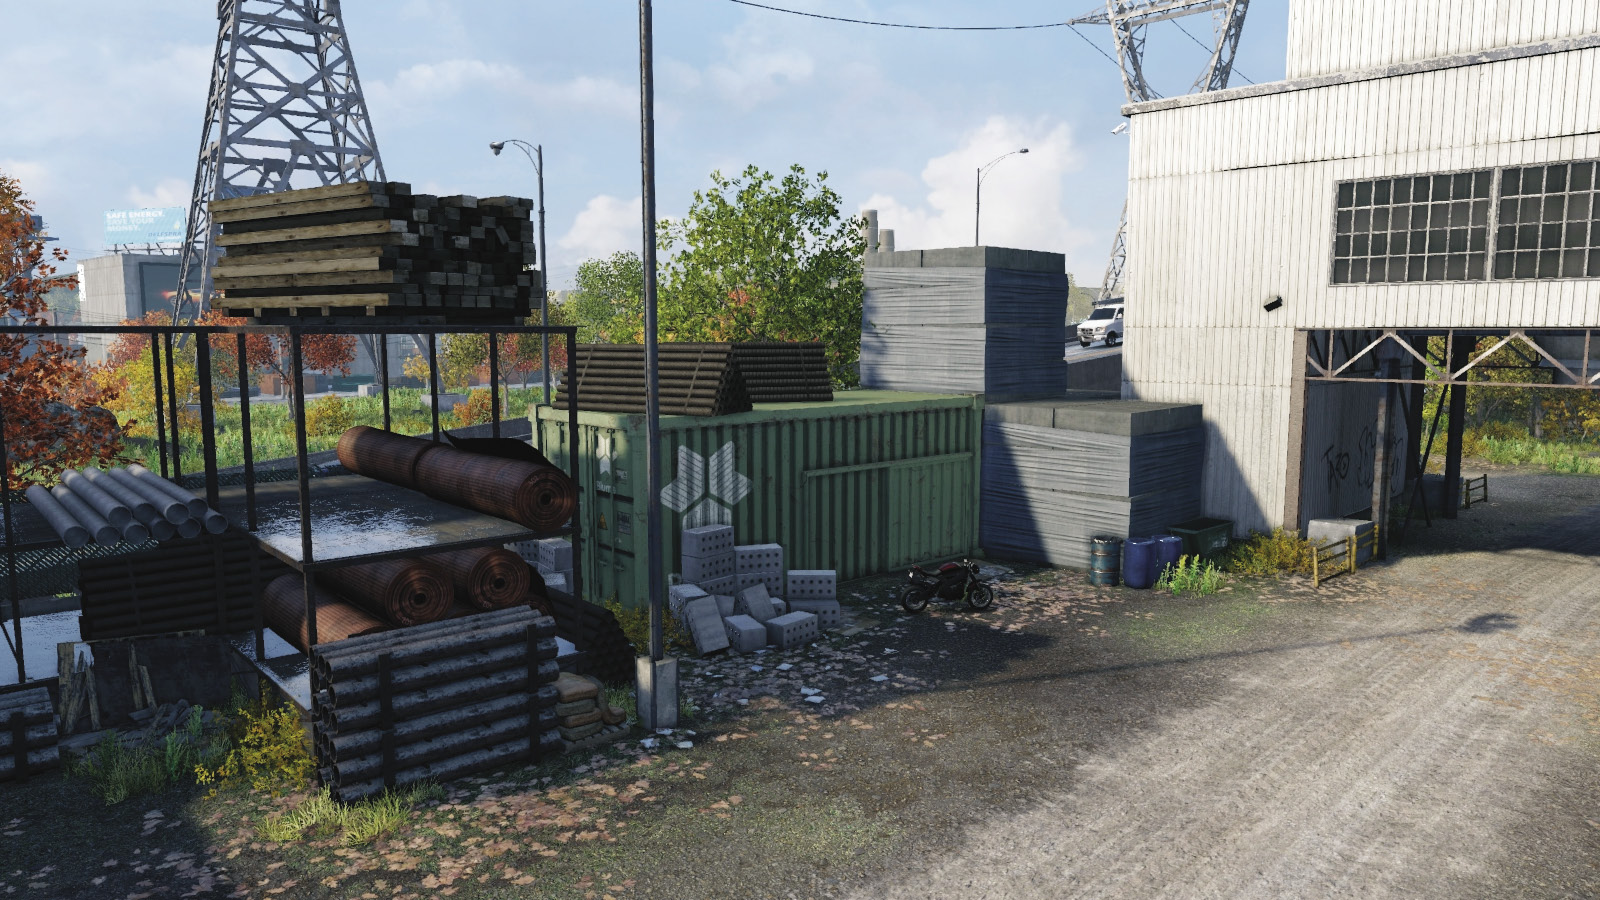

The Wards: Hideout 1
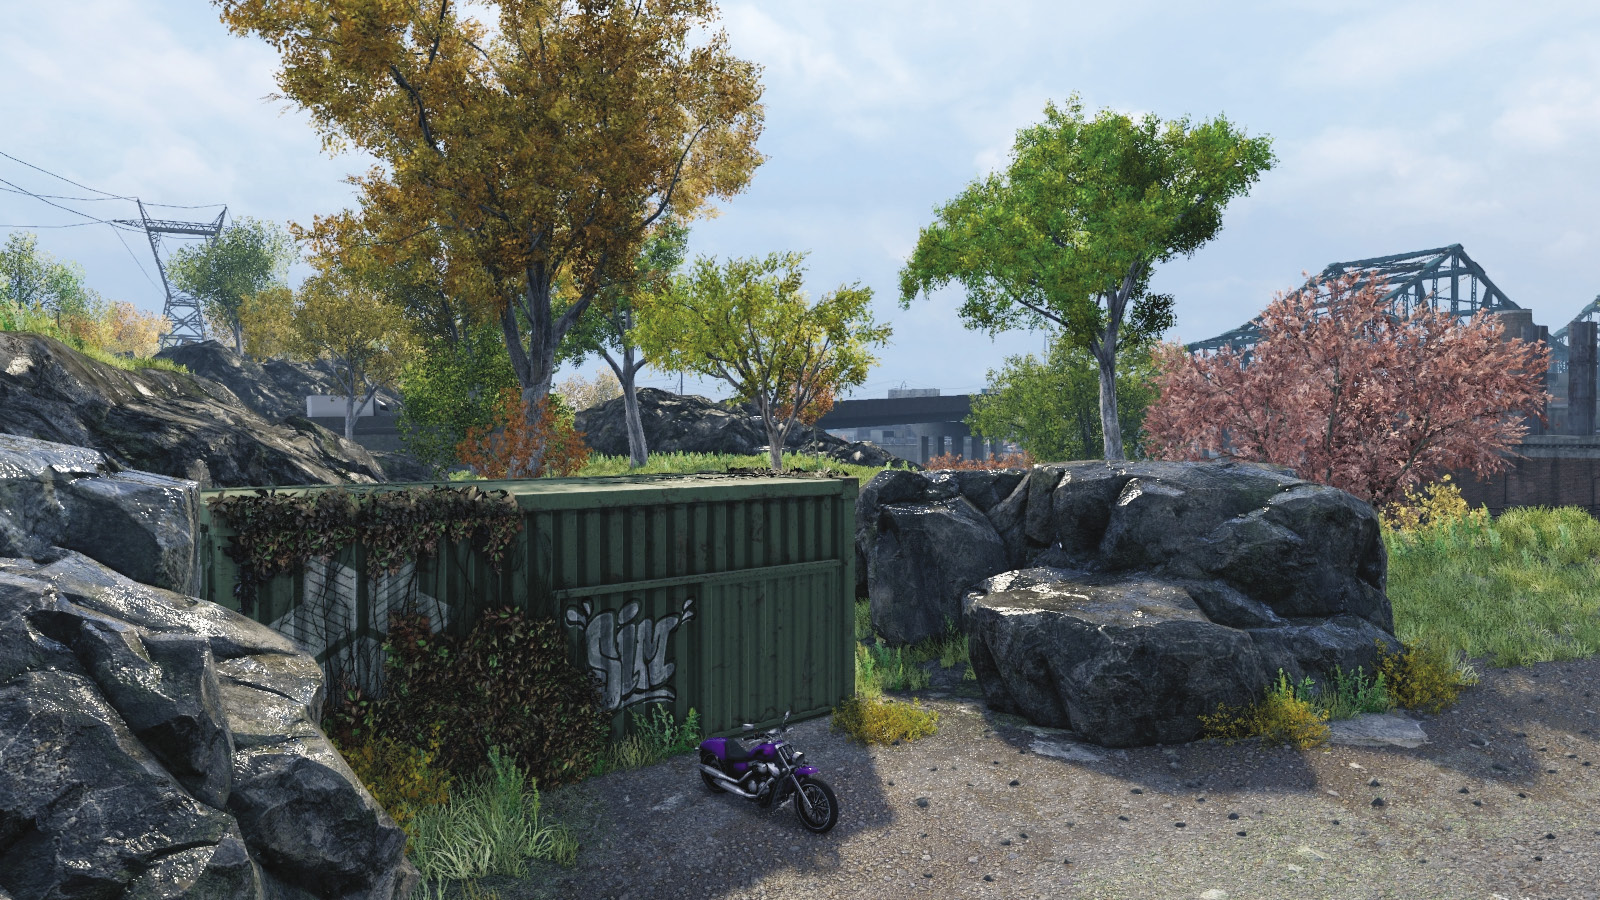

The Wards: Hideout 2
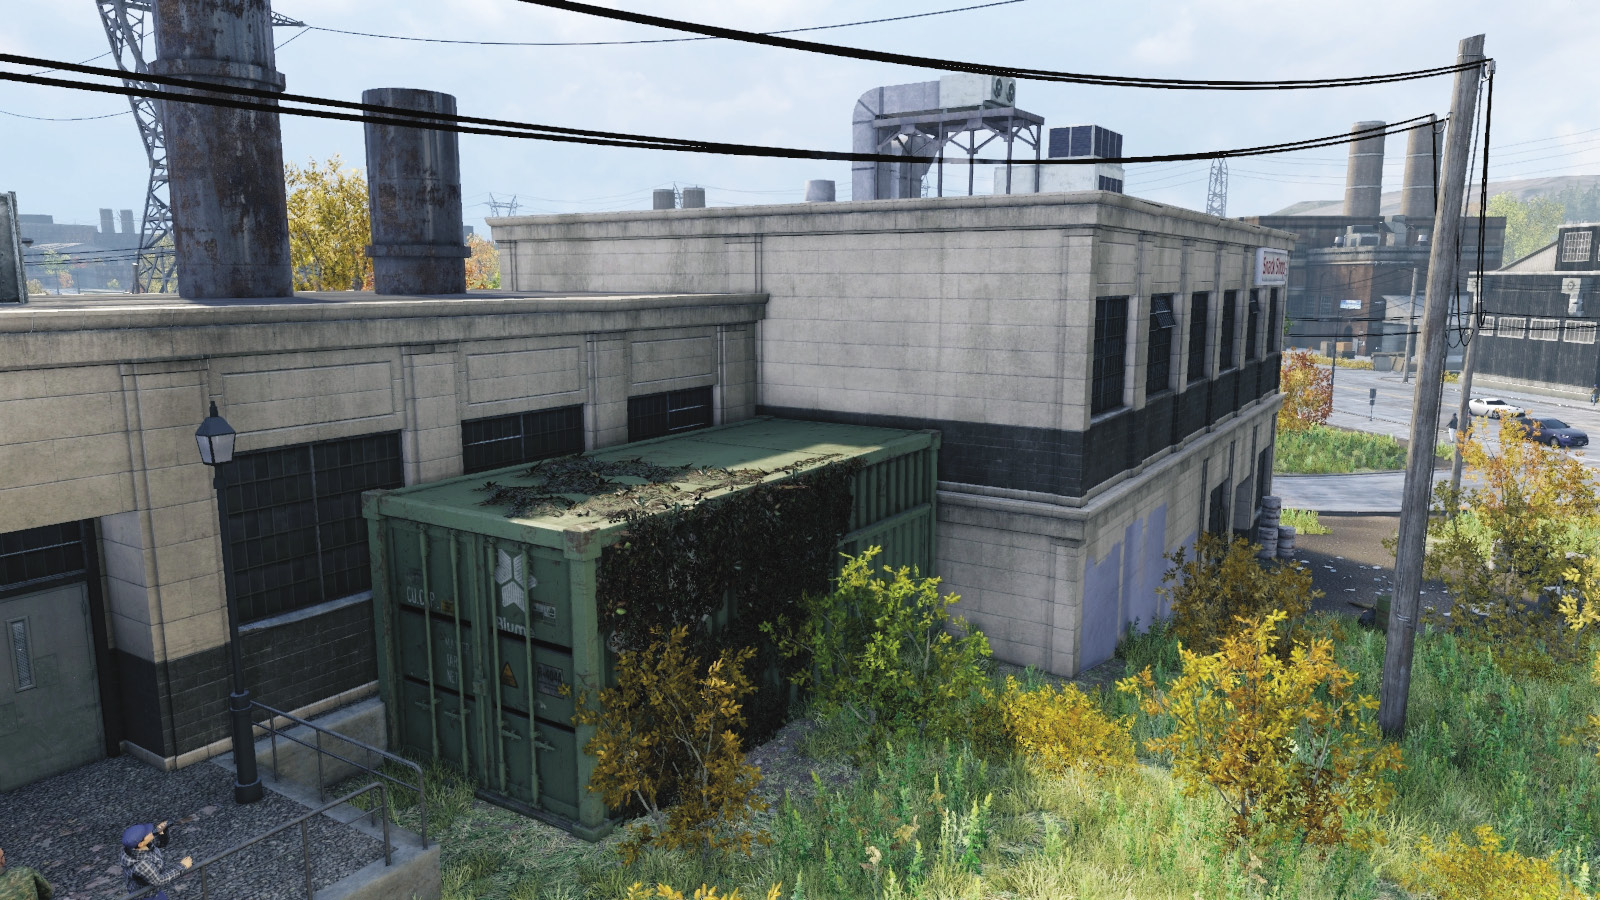

The Loop: The Bunker
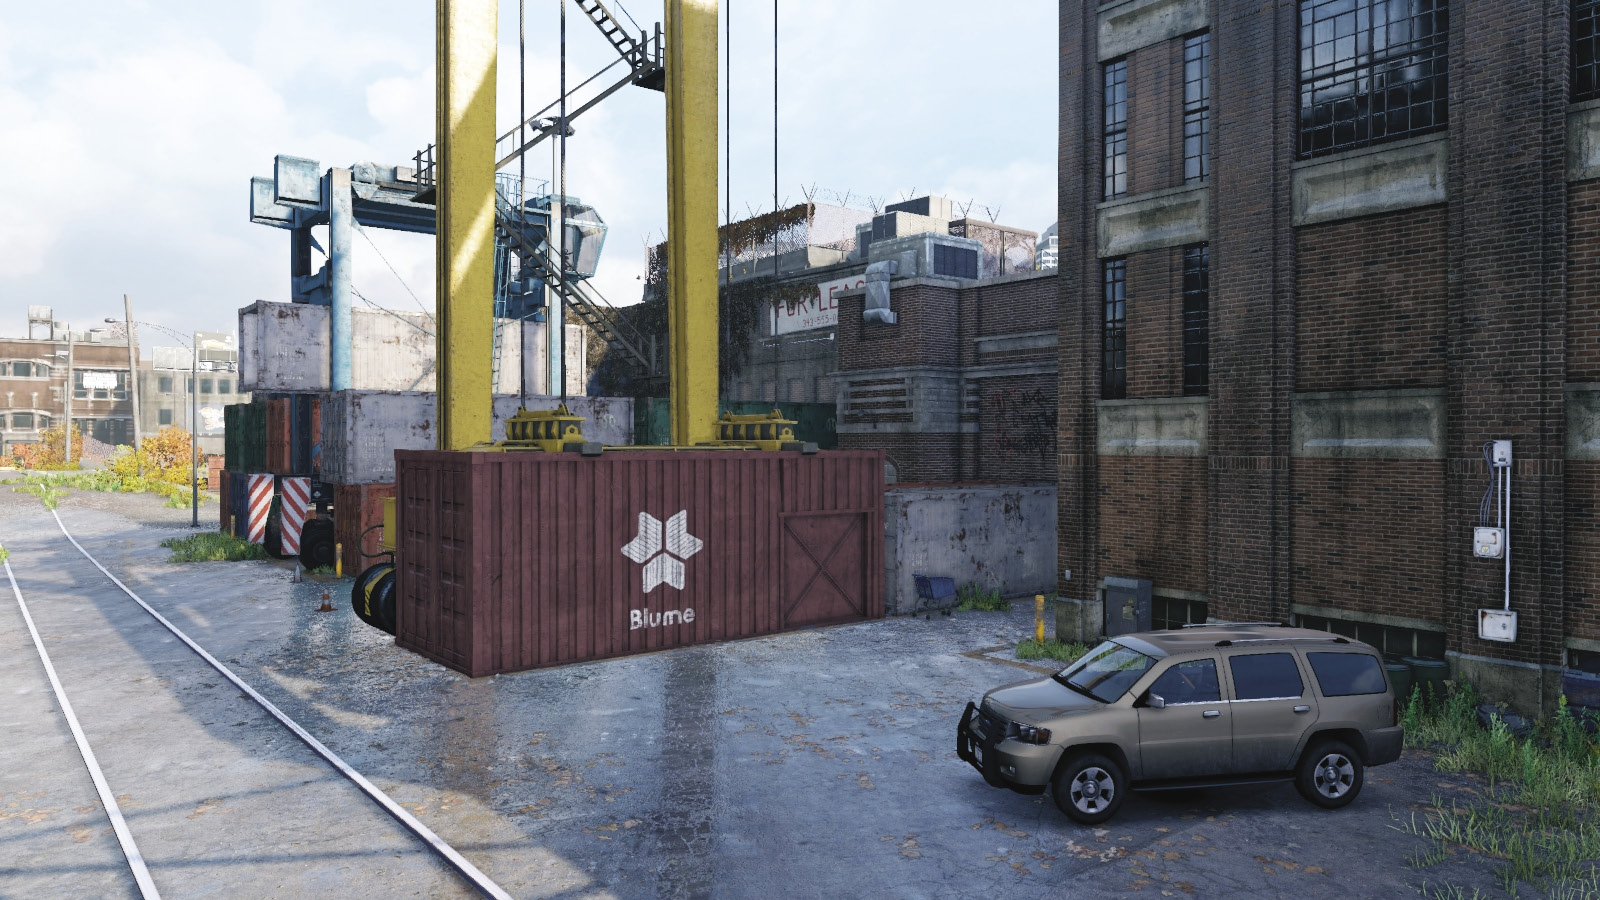
The Loop: Hideout 1
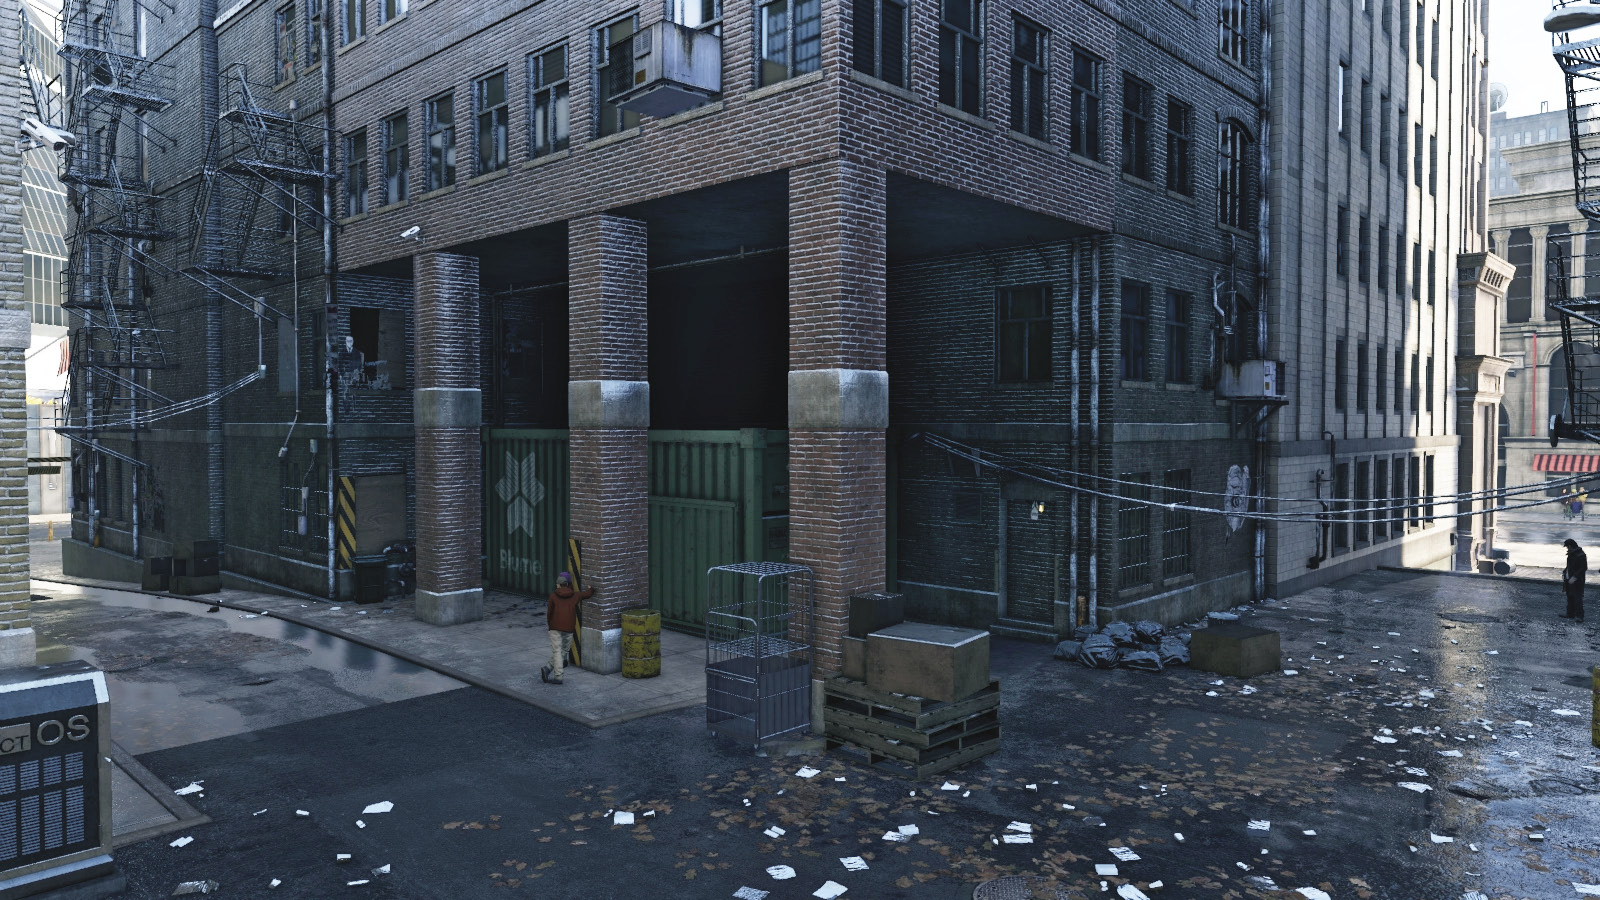

The Loop: Hideout 2
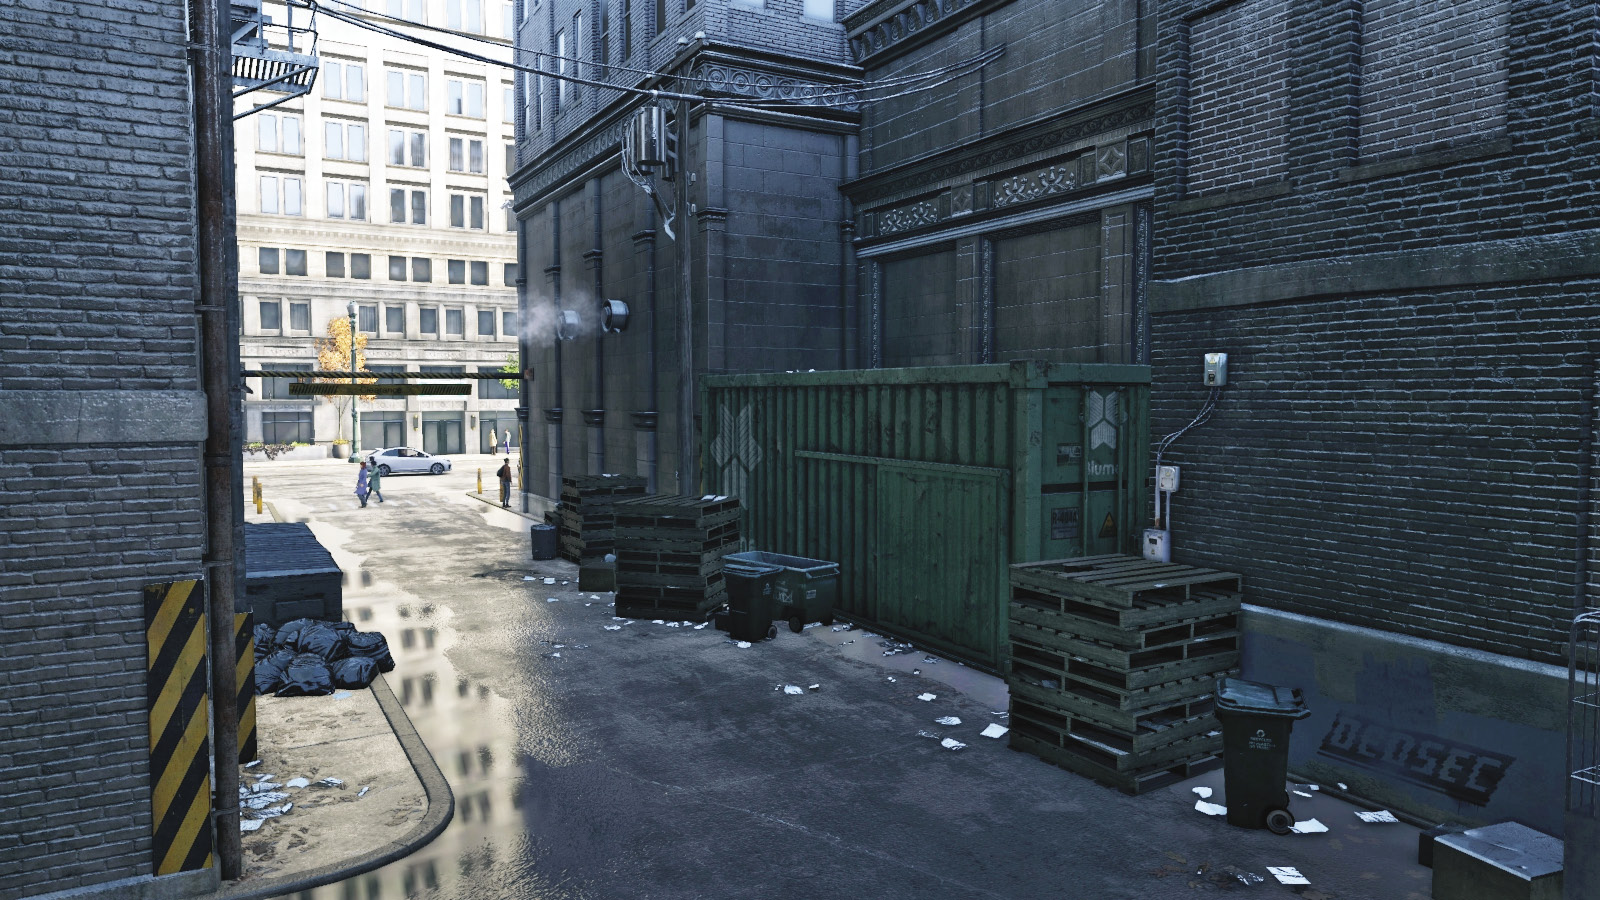

Mad Mile: Hideout 1

Mad Mile: Hideout 2

// OTHER AREAS /// Items of Interest
Number AVAILABLE: Infinite
- Reward: Valuable, Cash, or Crafting component or item

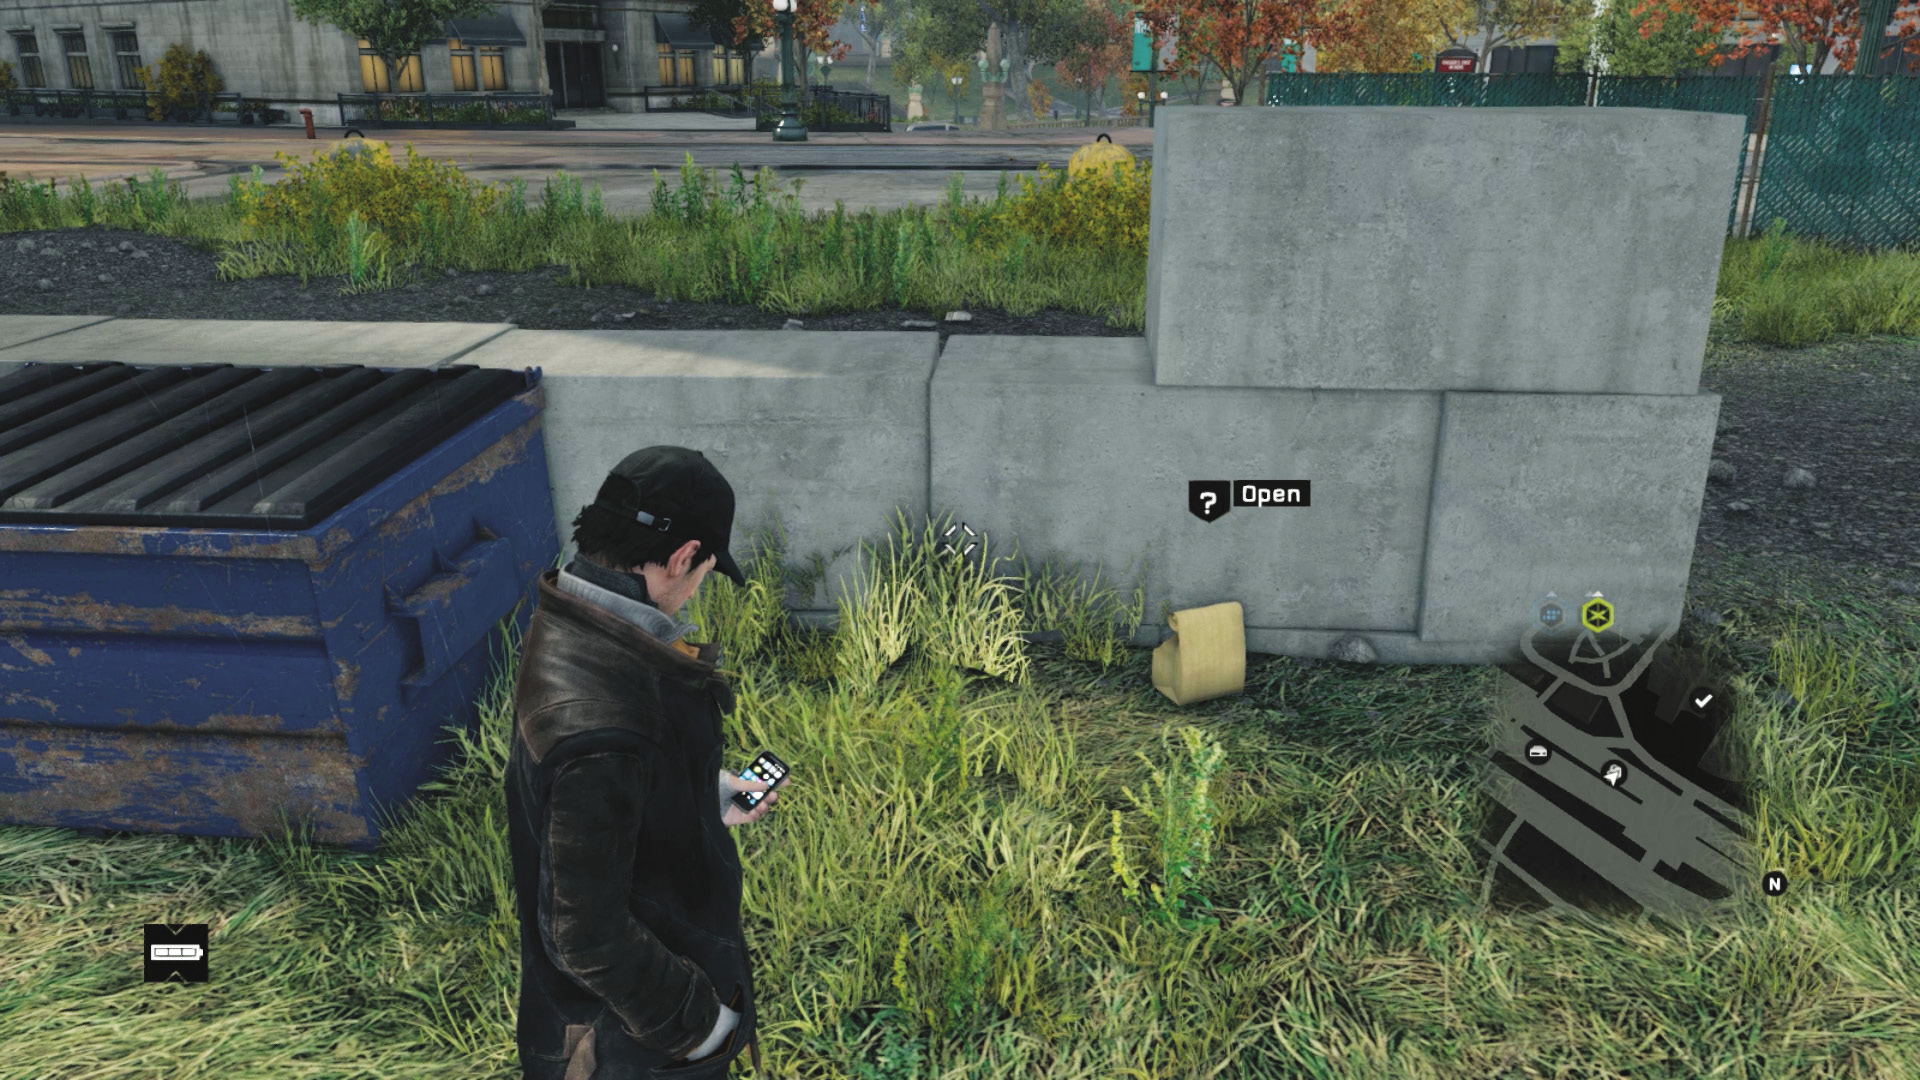
 Certain packages (usually containing cash or a crafting component) are randomly left in one of 93 locations across the six districts. When you see one on your world map, or hack a citizen with information regarding one, locate it at once. Once either of these events occur, ctOS sends out an alert. Eventually, the police arrive and confiscate the bag, but as long as you act immediately, you have enough time to plot a course to it when prompted.
If you uncovered all six Chicago districts by infiltrating all of the ctOS control centers, and if you uncovered more map knowledge by activating all 13 of the ctOS towers, then expect to see an uptick in the frequency of obtaining items of interest.
It’s worth finding these items, as they’re usually found in strange or interesting out-of-the-way places.
// OTHER AREAS /// L-Train Stations
Number OF STATIONS—Parker Square: 3
Number OF STATIONS—The Wards: 3
Number OF STATIONS—Brandon Docks: 2
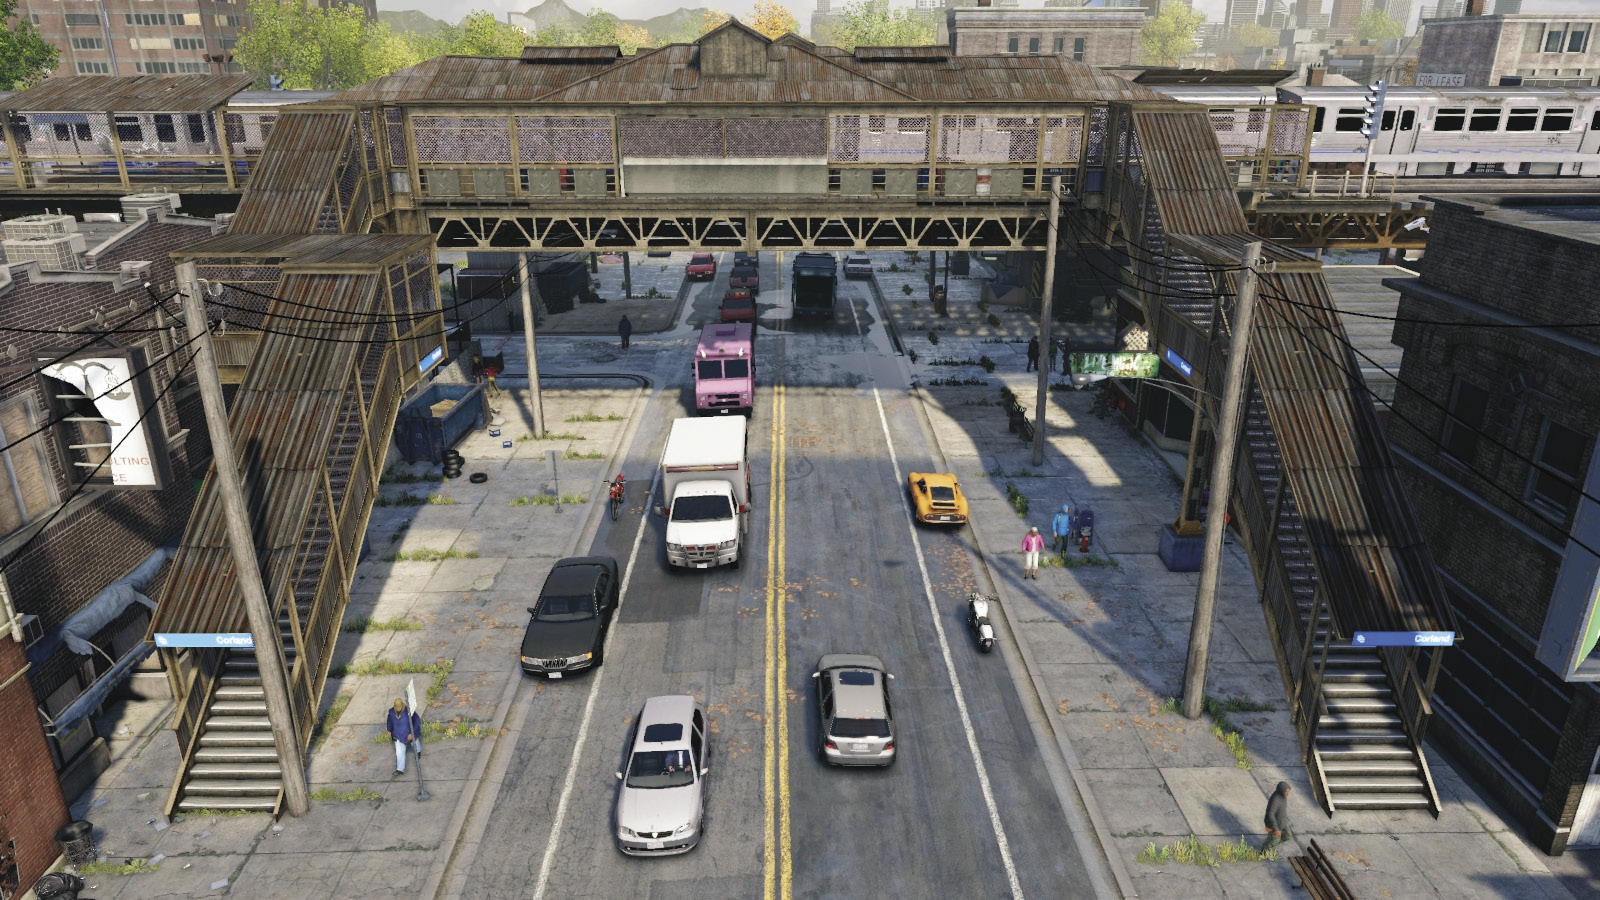
Number OF STATIONS—The Loop: 9
Number OF STATIONS—Mad Mile: 5
Number OF STATIONS—Total: 22
 The L-trains visit every Chicago district except Pawnee. They are useful for more quickly exploring the city (or simply riding to gaze out at the scenery). You can Fast-Travel between any station on the map, allowing you to reach destinations more quickly. Fast-Travel isn’t available during missions. With the appropriate skill (L-Train Control), you can stop and start L-trains, moving them at your whim.