
Watch Dogs Guide MAIN MISSIONS MAIN MISSIONS /// ACT IV
_LITTLE SISTER
|
OBJECTIVES
|
 Hack cameras to find Nicky
 Take out Nicky’s guard
 Hack guard’s phone
 Guide Nicky to a car
 Defend Nicky
 Kill all Fixers or escape
 Escape the area
MINOR SPOILER 
LOCATIONS // MAP
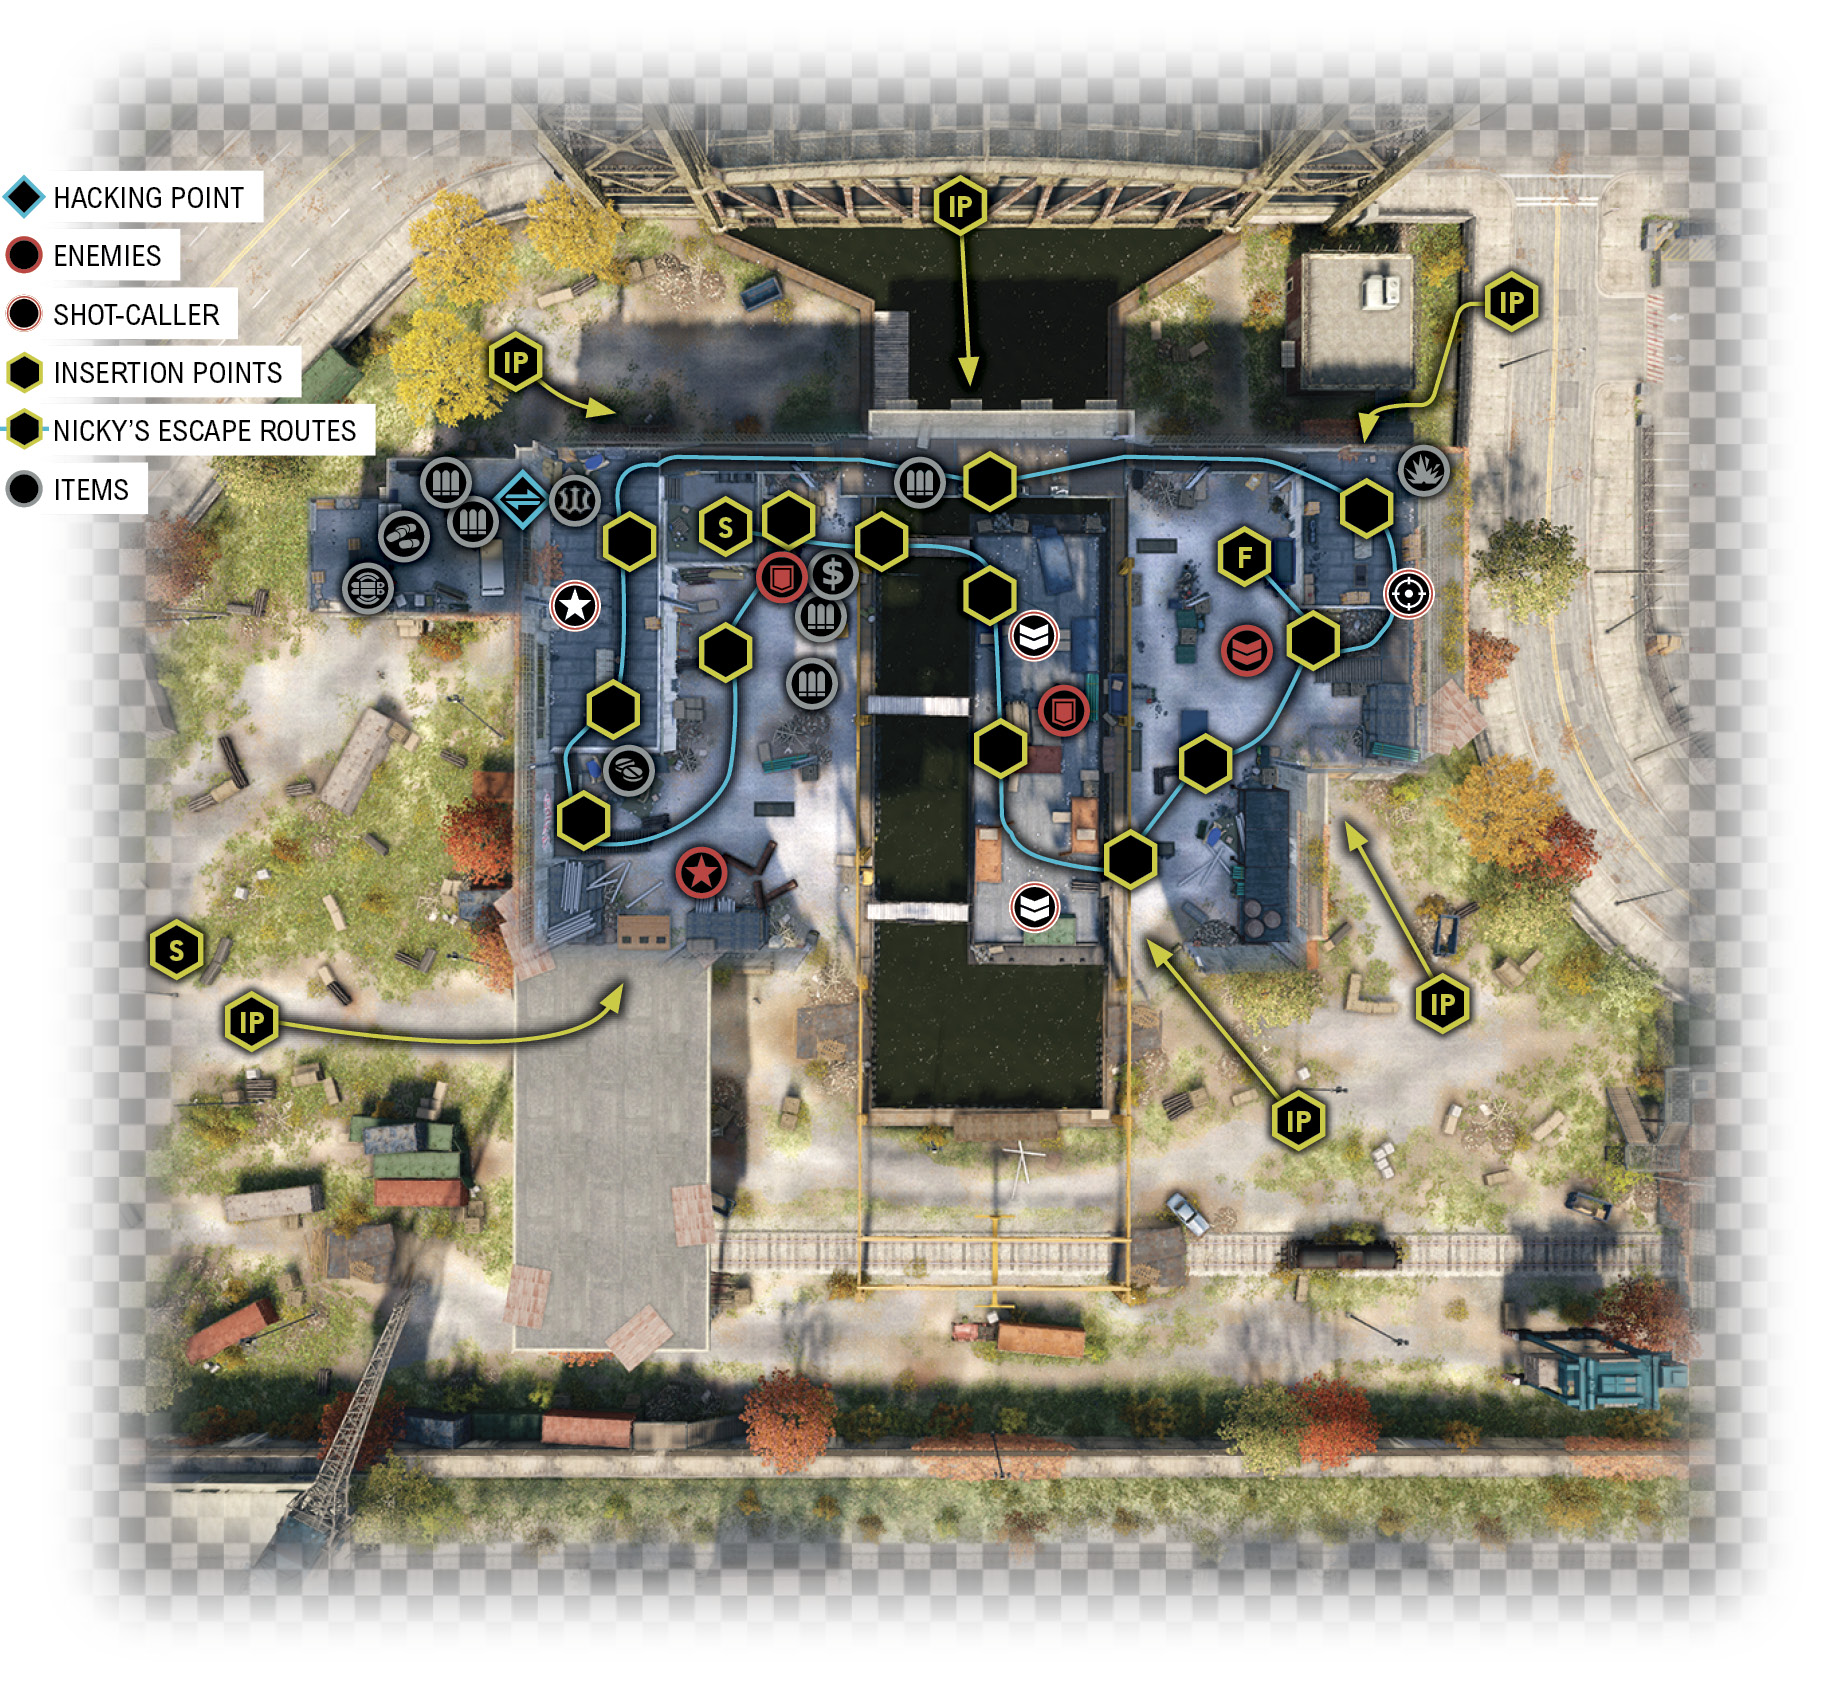
Location / Brandon Docks // Treatment Plant Warehouse
|
|
 Hack cameras to find Nicky
 Take out Nicky’s guard
 Hack guard’s phone
5.1 BIG BROTHER IS WATCHING
 Location / Brandon Docks // Treatment Plant Warehouse
 Infiltration
 Data Hack
 Lethal Force Likely
Difficulty: 
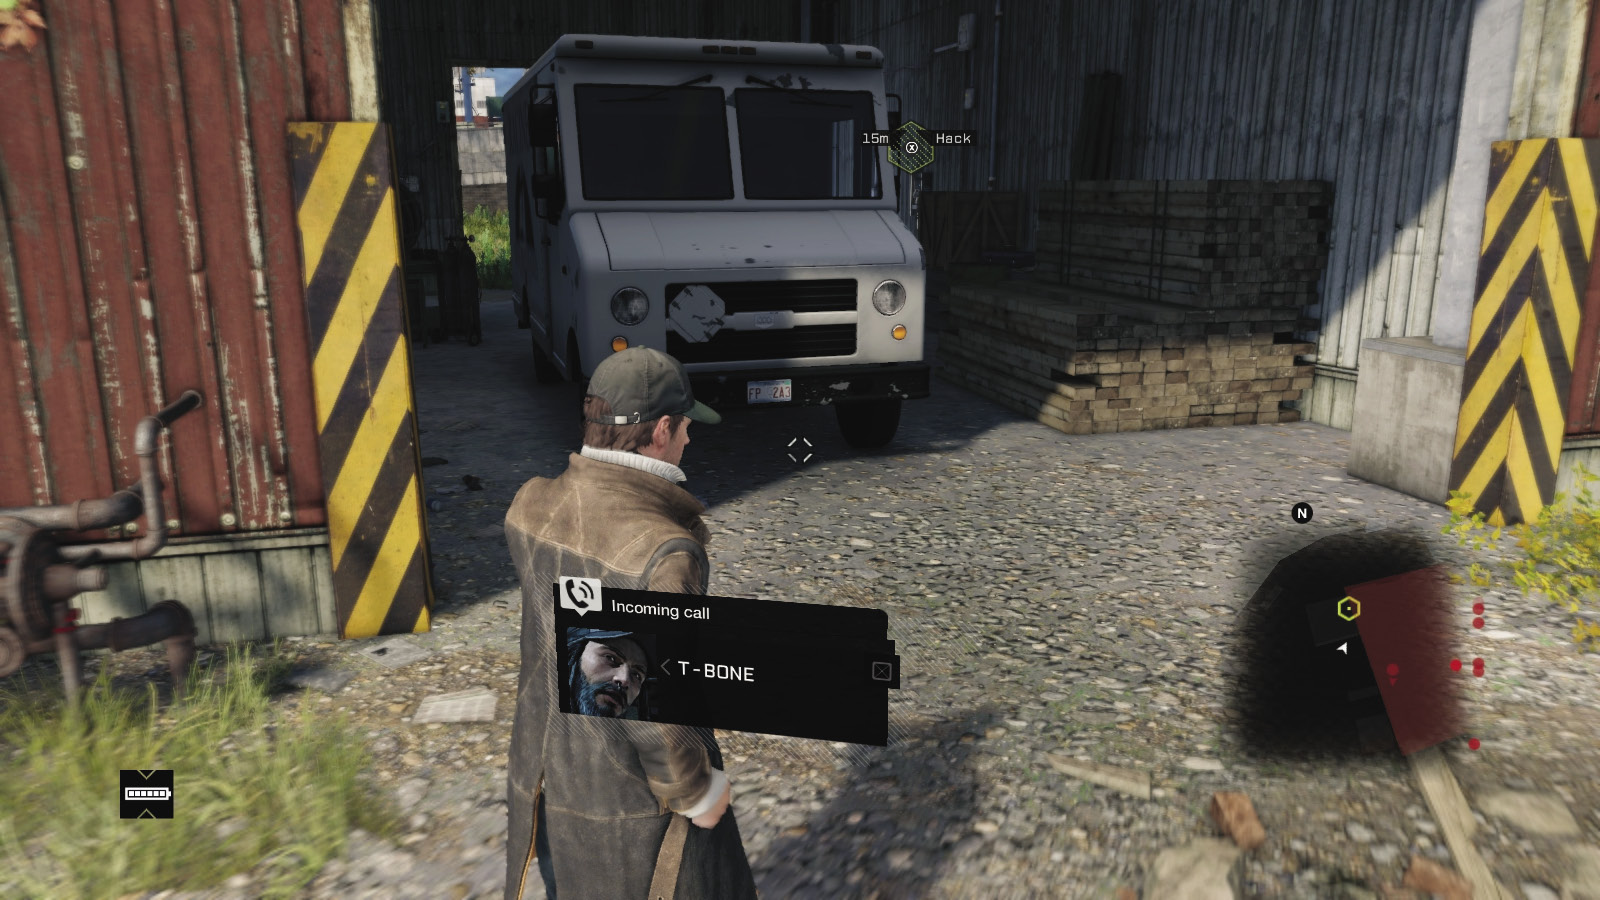
You finally receive the coordinates of where your sister is being held. Drive there at speed, but once you’re here, your subsequent infiltration is hindered unless you spend some time exploring the entire area (all the insertion points detailed below), before you start the mission. Then move into the metal structure adjacent to the huge open warehouse, pass the parked van, and grab any items before hacking the switch.
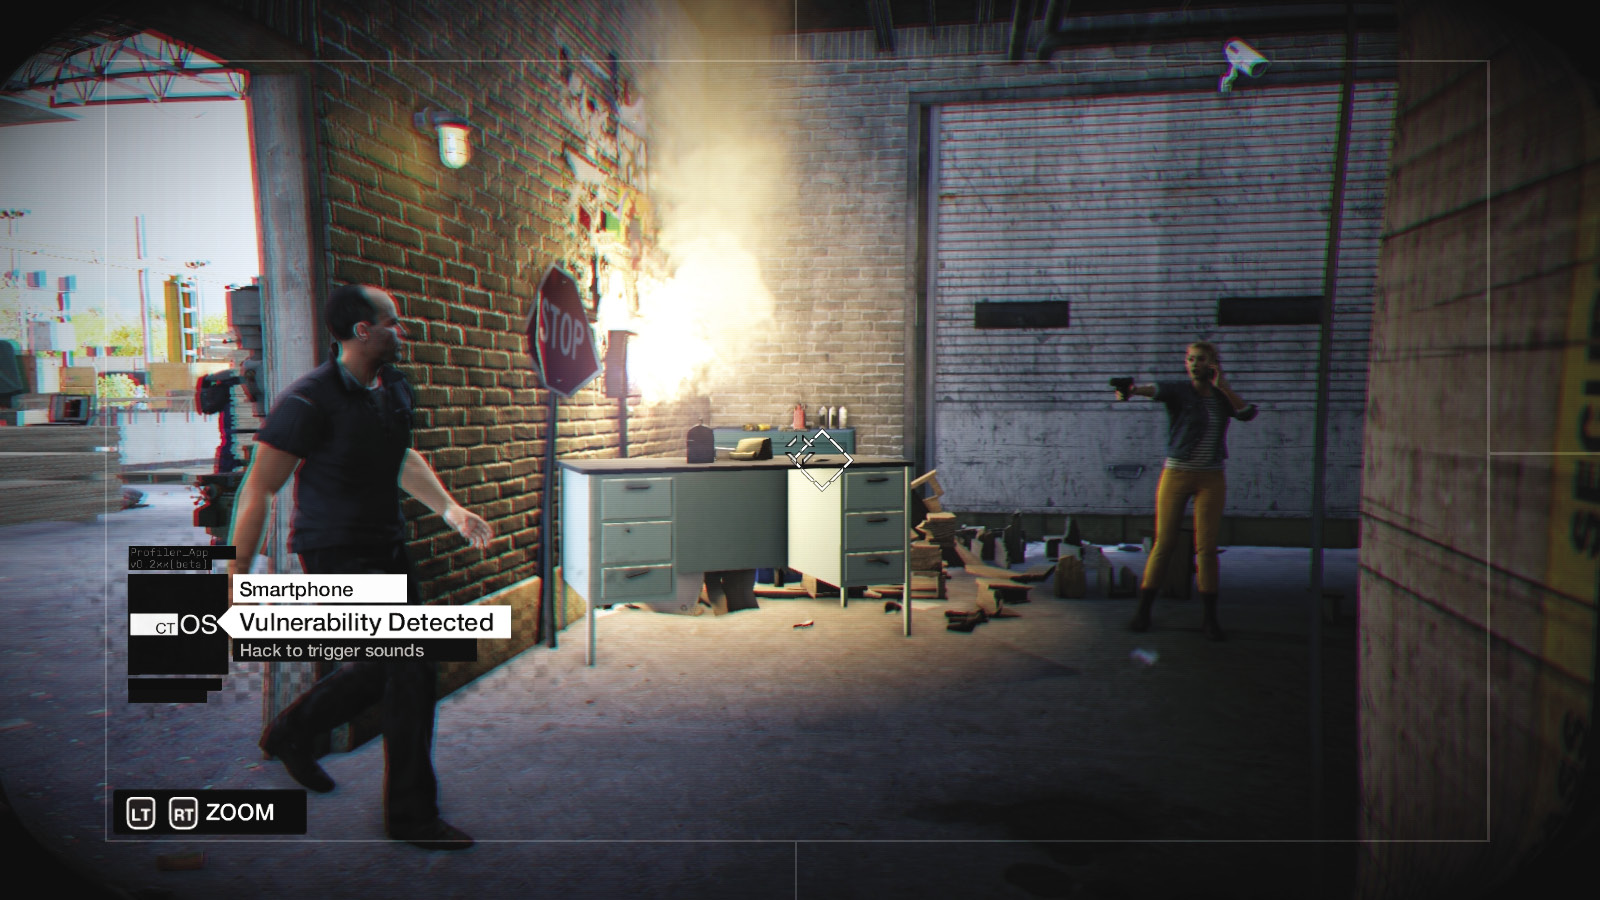
Custody room access is granted! Pan the camera around to see Nicky and the Fixer guarding her. Then zoom in on the laptop camera, access it, and blow the junction box he’s standing in front of. Quickly hack the phone on the desk, and Nicky comes running over. You let her know you’re about to get her out of here.
Nicky grabs a weapon. A guard comes in, and your sister promptly dispatches him. You must now guide Nicky across the Fixer-guarded warehouse to an escape vehicle. This won’t be easy!
|
|
 Guide Nicky to a car
 Defend Nicky
5.2 ESCORT TREATMENTS
 Location / Brandon Docks // Treatment Plant Warehouse
 Infiltration
 Escort
 Data Hack
 Lethal Force Likely
 Melee Force Likely
Difficulty: 
Overview
 Completion Point: The vehicle on the northeast interior of the warehouse.
 Dangers: Eight heavily armored Fixers (Marksman x1, Veteran x3, Elite x3, Enforcer x1), carrying shotguns and assault rifles. One is a sniper. Four are Shot-Callers.
 Dangers (before or after Nicky escapes): Approximately six Club vehicles, each with up to four foes armed (Veterans and Elites) with shotguns and rifles. Additional vehicles if you attempt to flee, until you lose them.
Insertion Points
Although you are here to escort Nicky to the vehicle, it is imperative that you have an exceptional knowledge of this building’s layout; you will need to access the area.
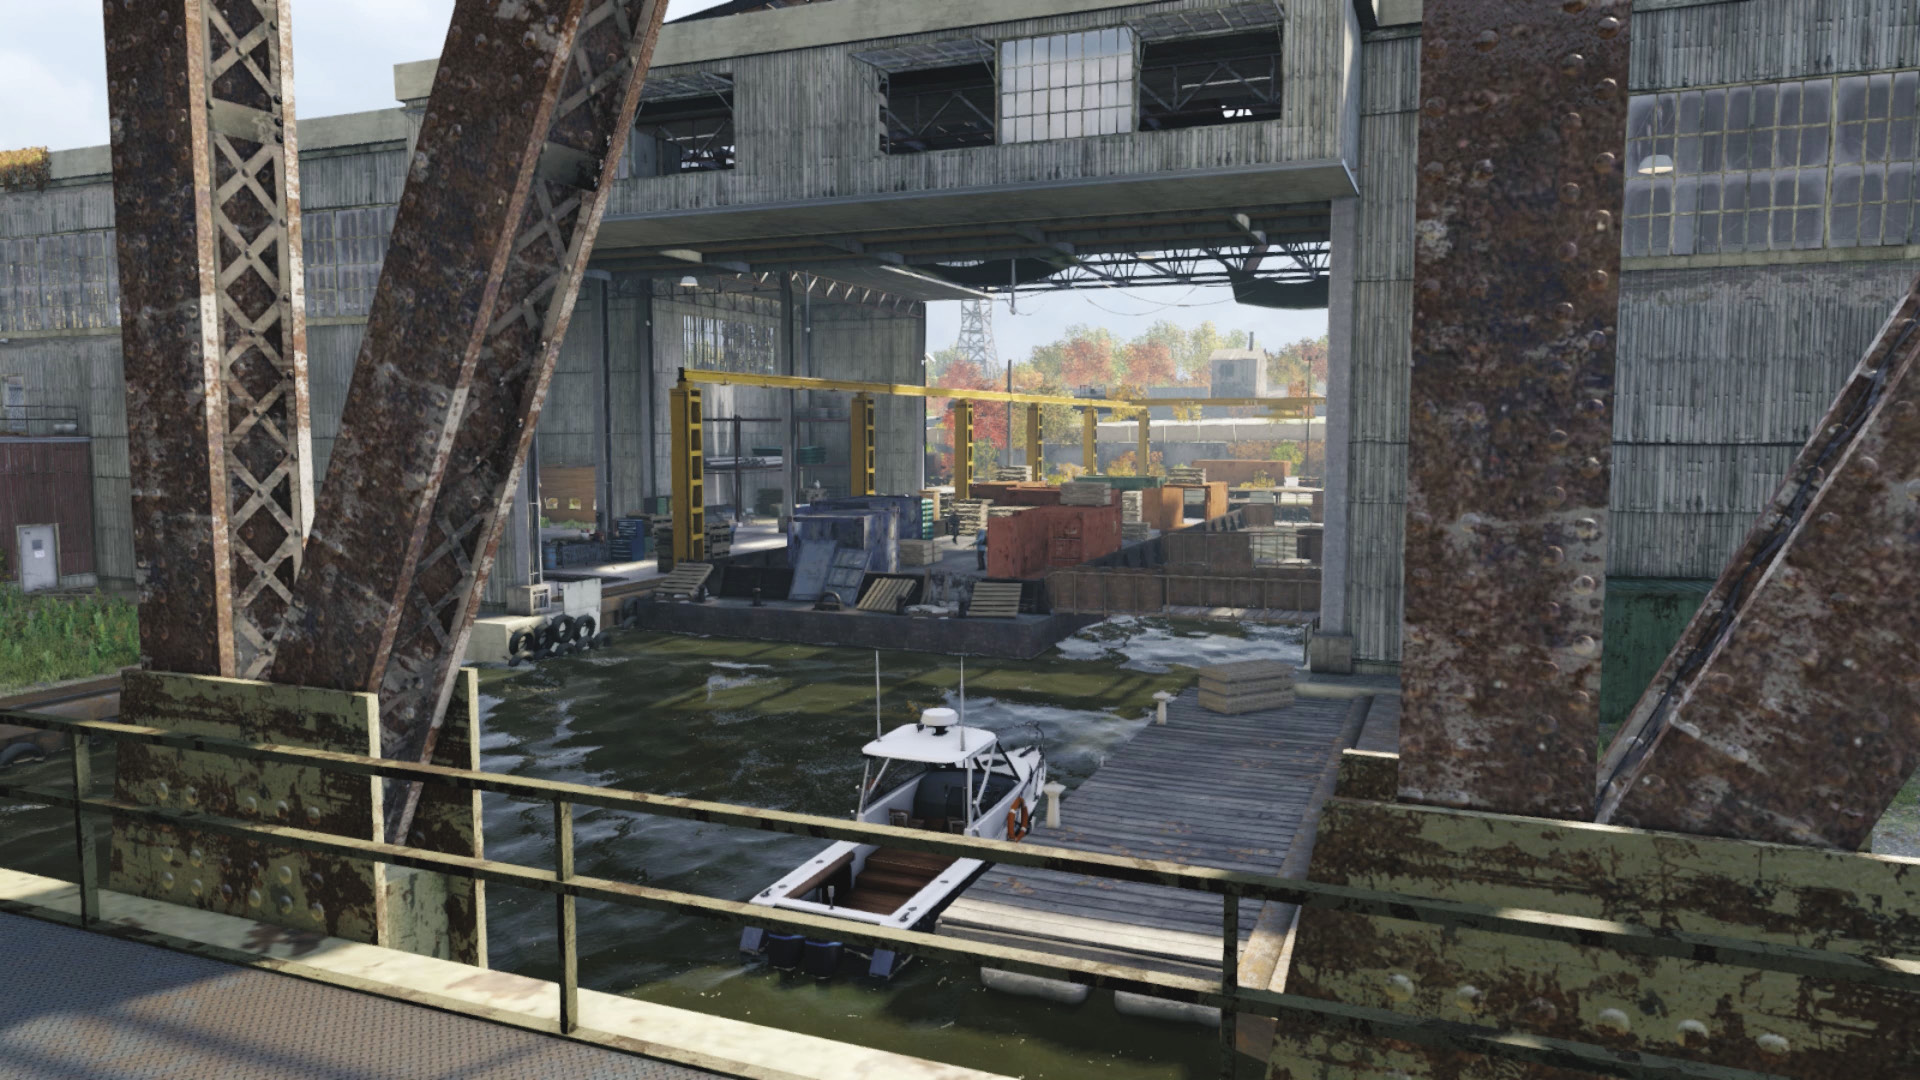
North Canal and Bridge
Accessibility Level: 
Though normally this might be a good way to enter a premises such as this, the canal or the bridge doesn’t help protect Nicky, as firing on foes or approaching from here usually raises the alarm. The guard outside Nicky’s room can spot you and raise the alarm, as can the sniper on the whitewashed corner garage and the foes on the container barge in the middle of the warehouse. Otherwise, this area is useful only when swimming across it to reach the opposite side when infiltrating better insertion points (northeast area).
Northwest Window and Upper Walkway
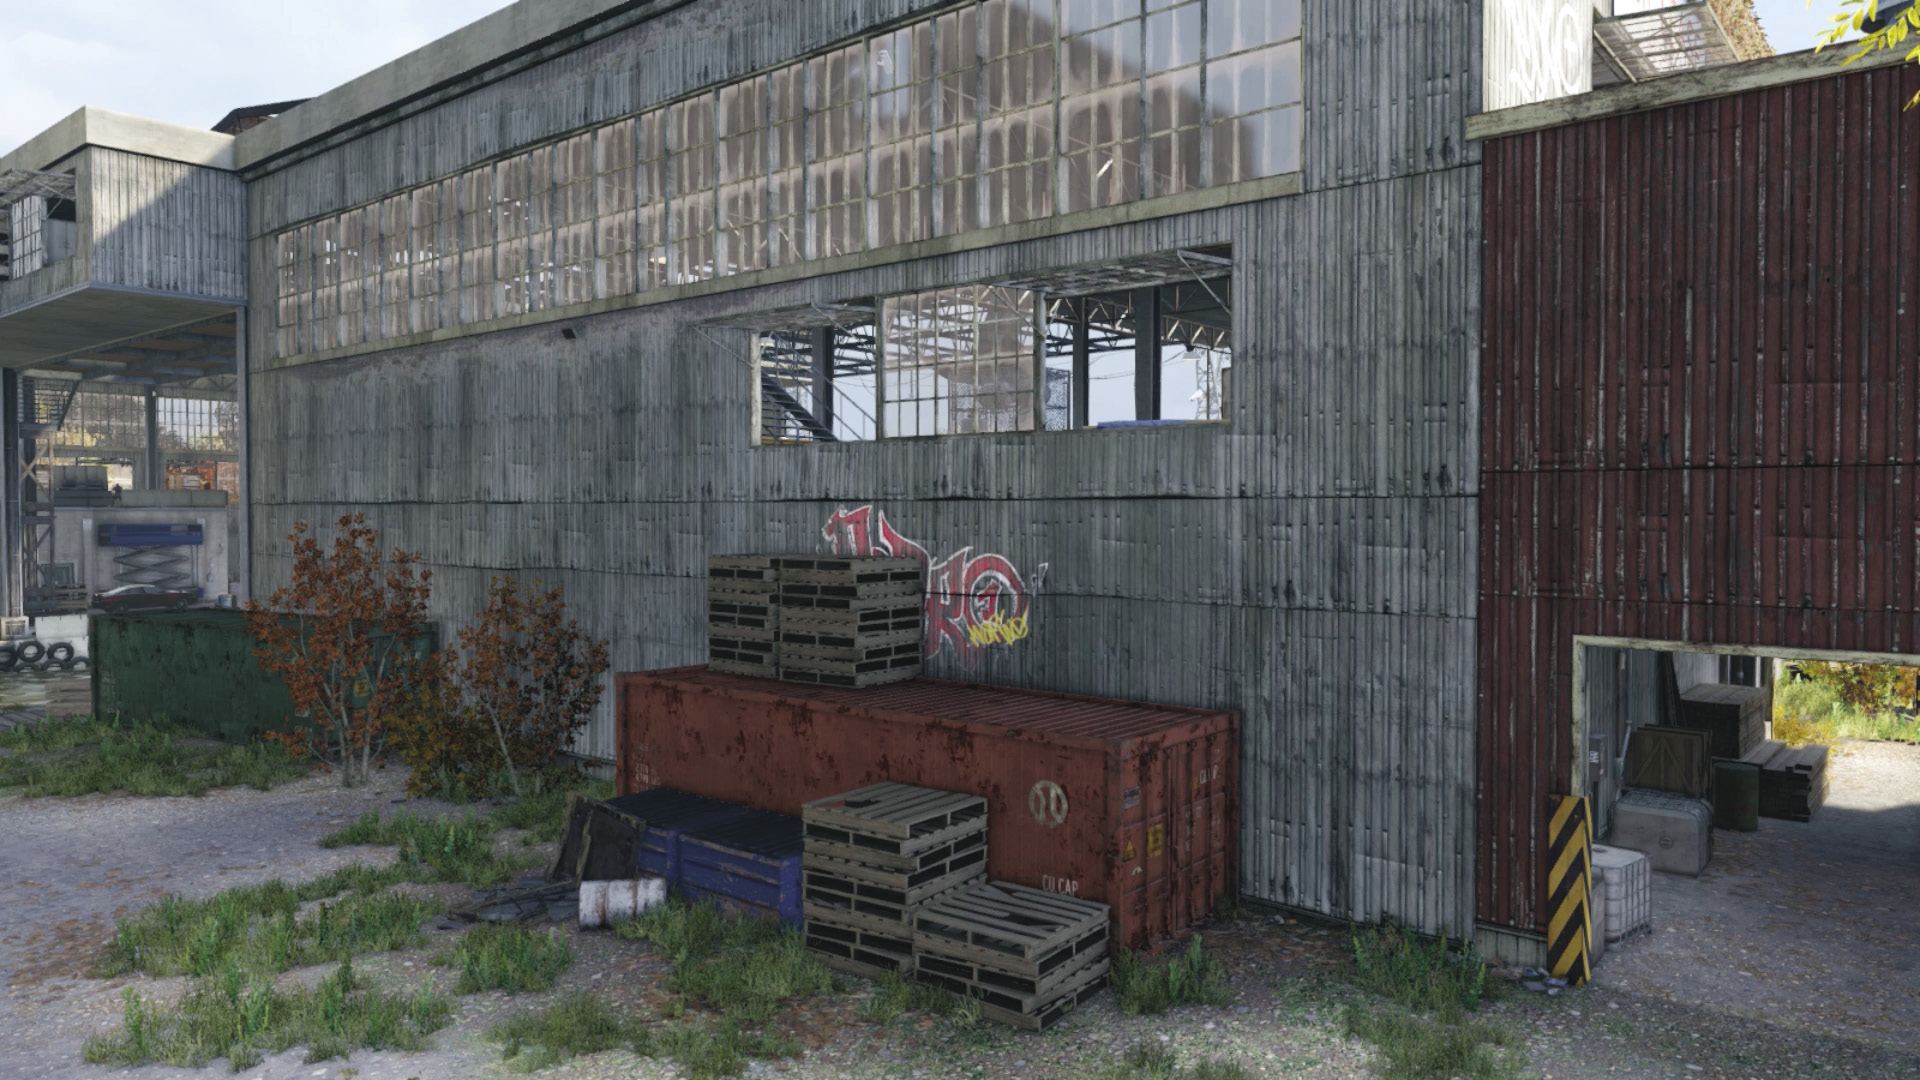
 Accessibility Level:
This exterior corner of the building near the bridge, just around the corner from where you’re standing, offers some pallets and a container to scramble up and an open window to vault over. This allows access to the upper walkway with the metal stairs across to the sniper and waiting car at one end and the storage locker walkway patrolled by a single guard at the other. You can easily remove him as a threat if you’re planning on taking out foes before moving Nicky. Also check the mattress and trash in the corner here; Maurice Vega left one of his burner phones.
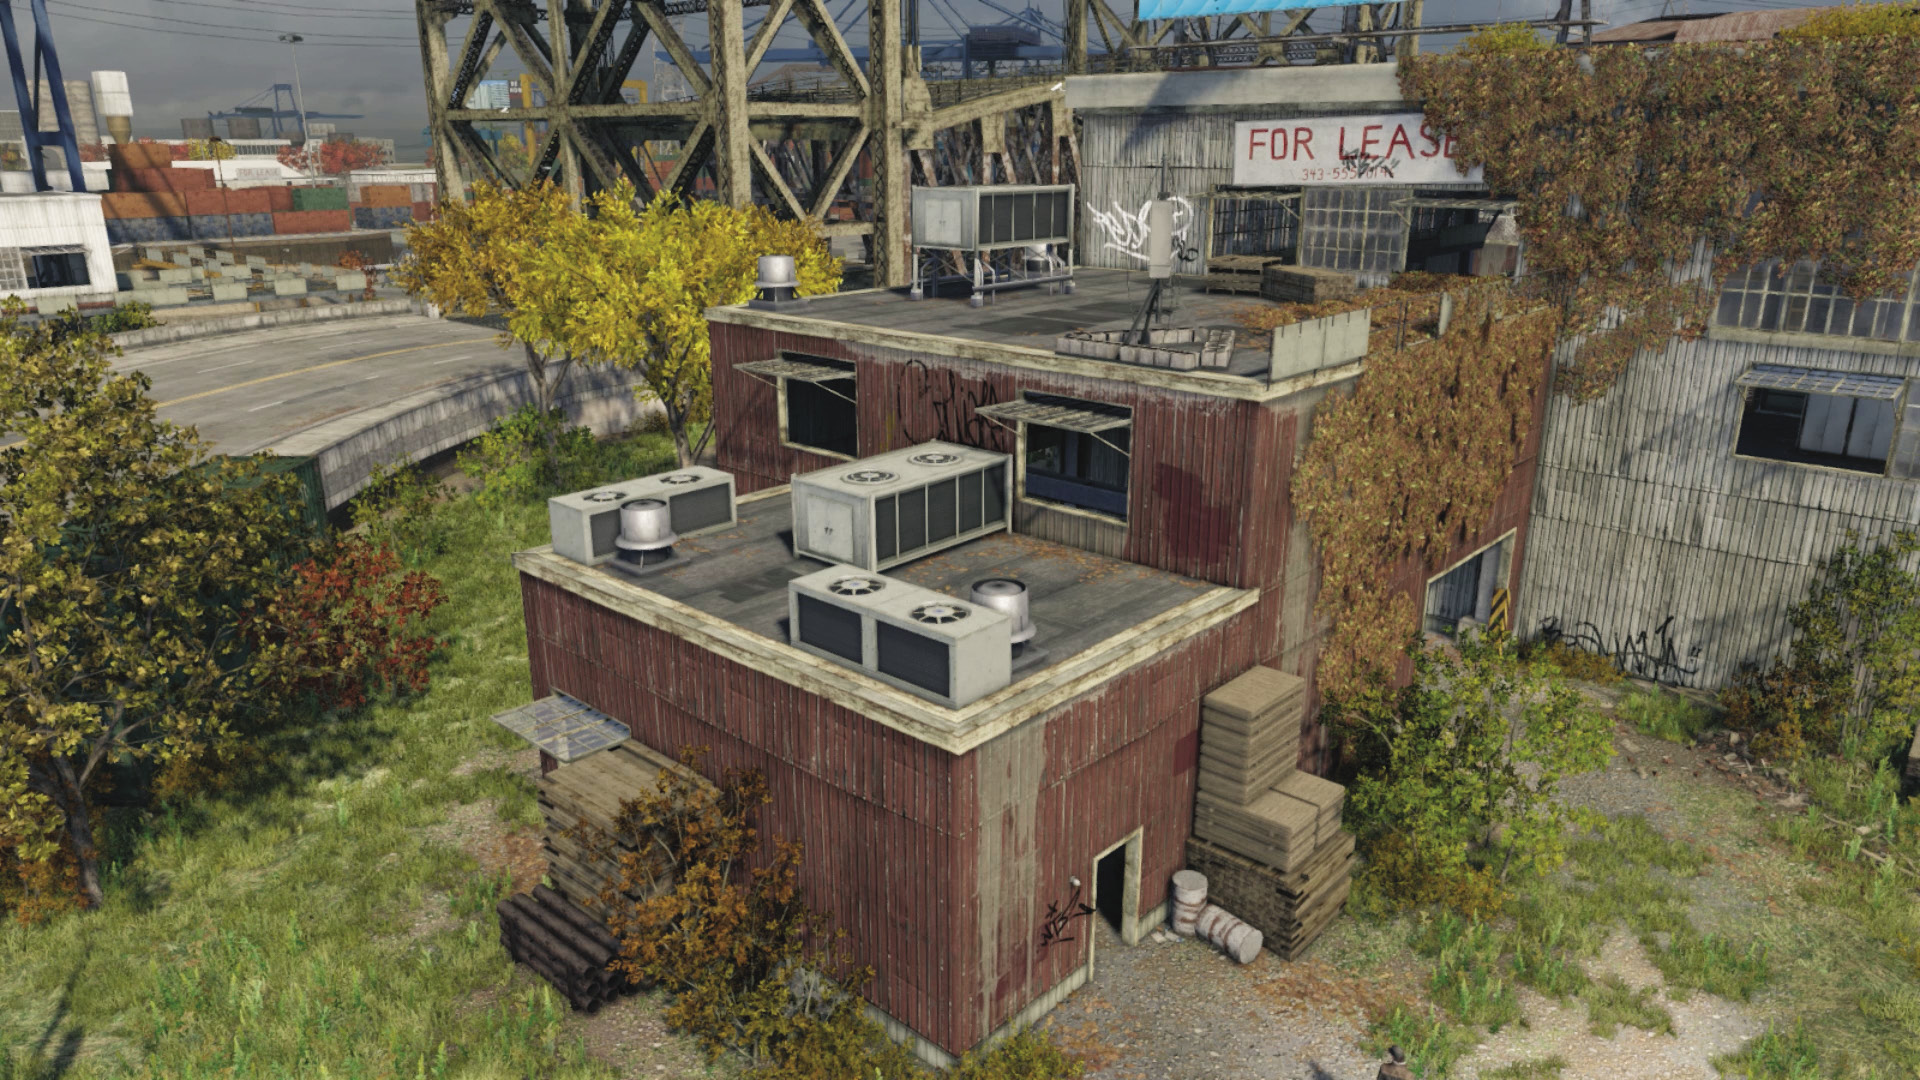
Another area that offers similar access is the roof of the structure you’re standing in. Exit, and climb up the pallets to a secondary roof, up an air-conditioning unit to the roof above your head. Peer through the windows in the northwest corner for a great view of the warehouse. This provides sniping opportunities or you can drop down to the locker room walkway.
Northeast Window and Whitewashed Garage
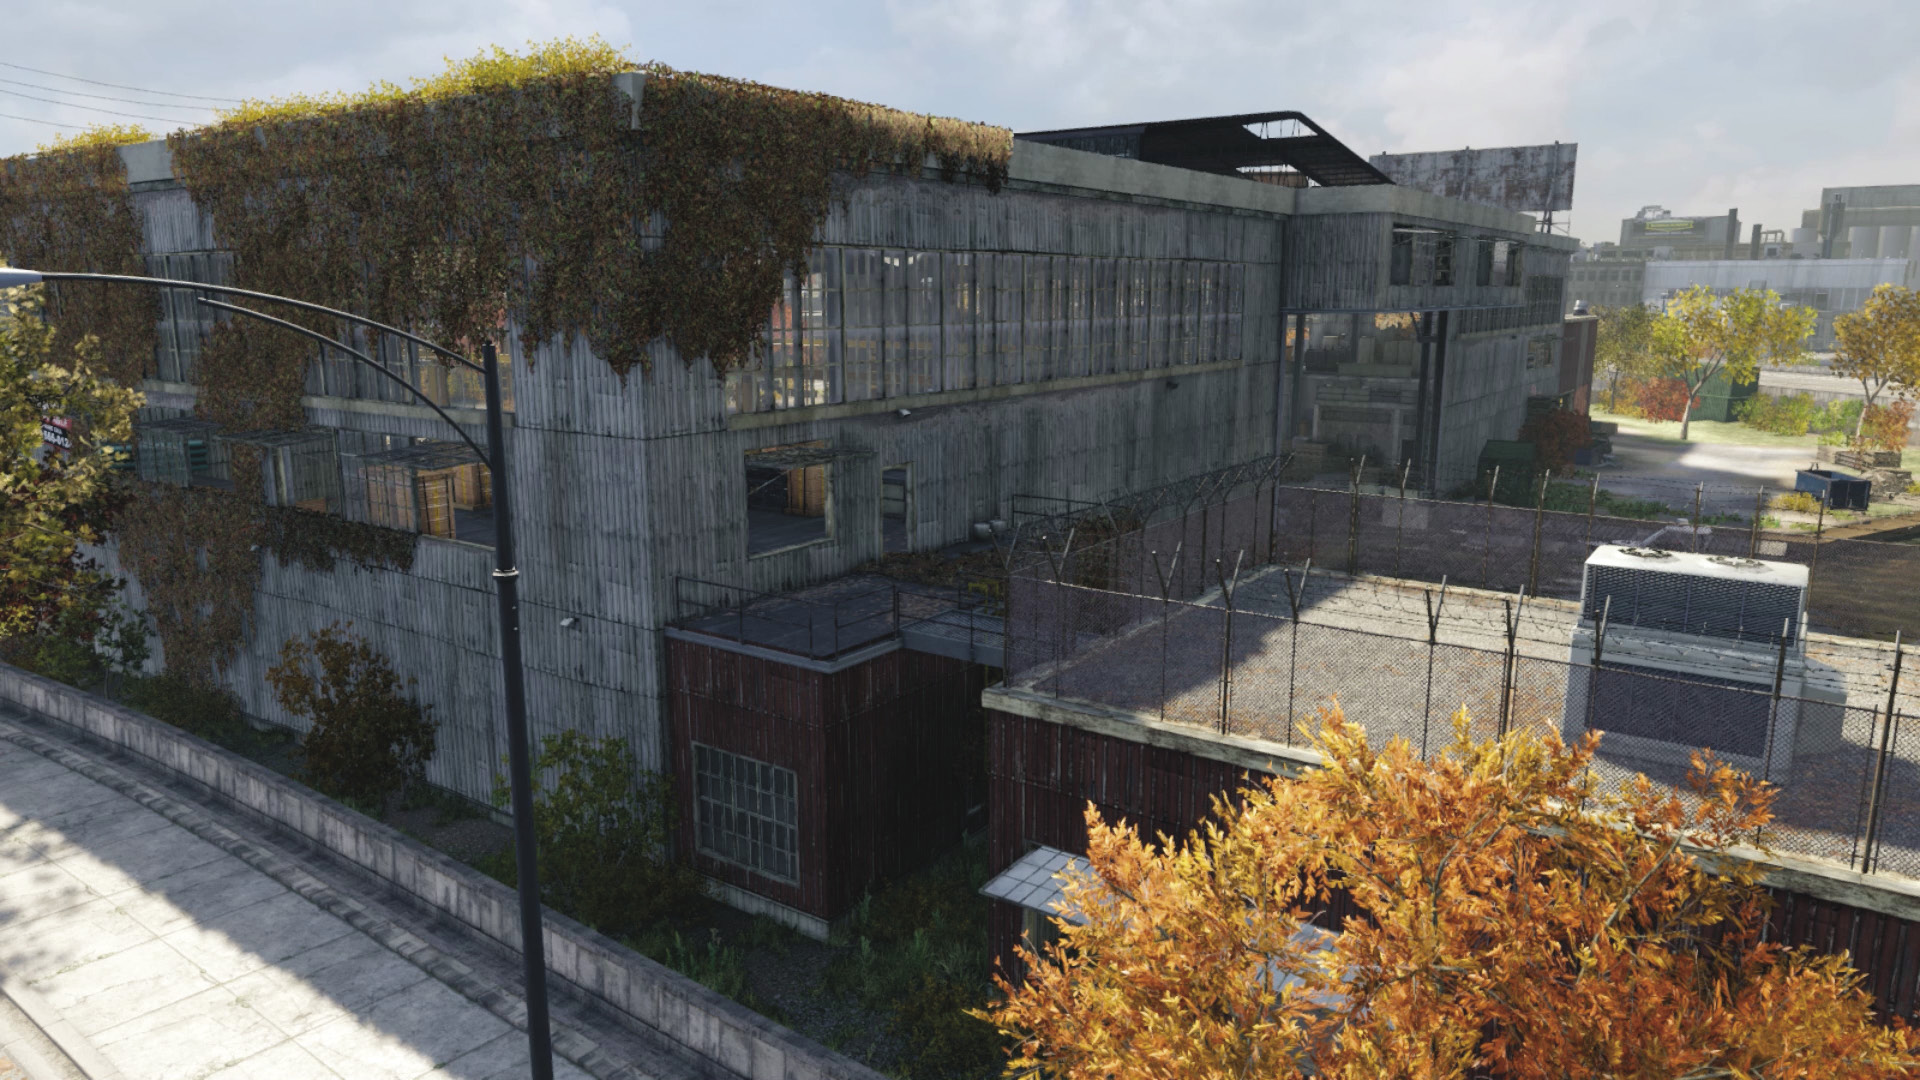
 Accessibility Level:
Although you need to swim across to reach this area, look for the red corrugated metal siding, the ivy, and the ladder up to a window and doorway that allows access right into the whitewashed garage where the sniper is patrolling. This is most helpful when removing the sniper as a threat or starting (or continuing) a stealthy takedown of the interior enemies (using Spec Ops weapons, for example).
East Garage Door and Bay
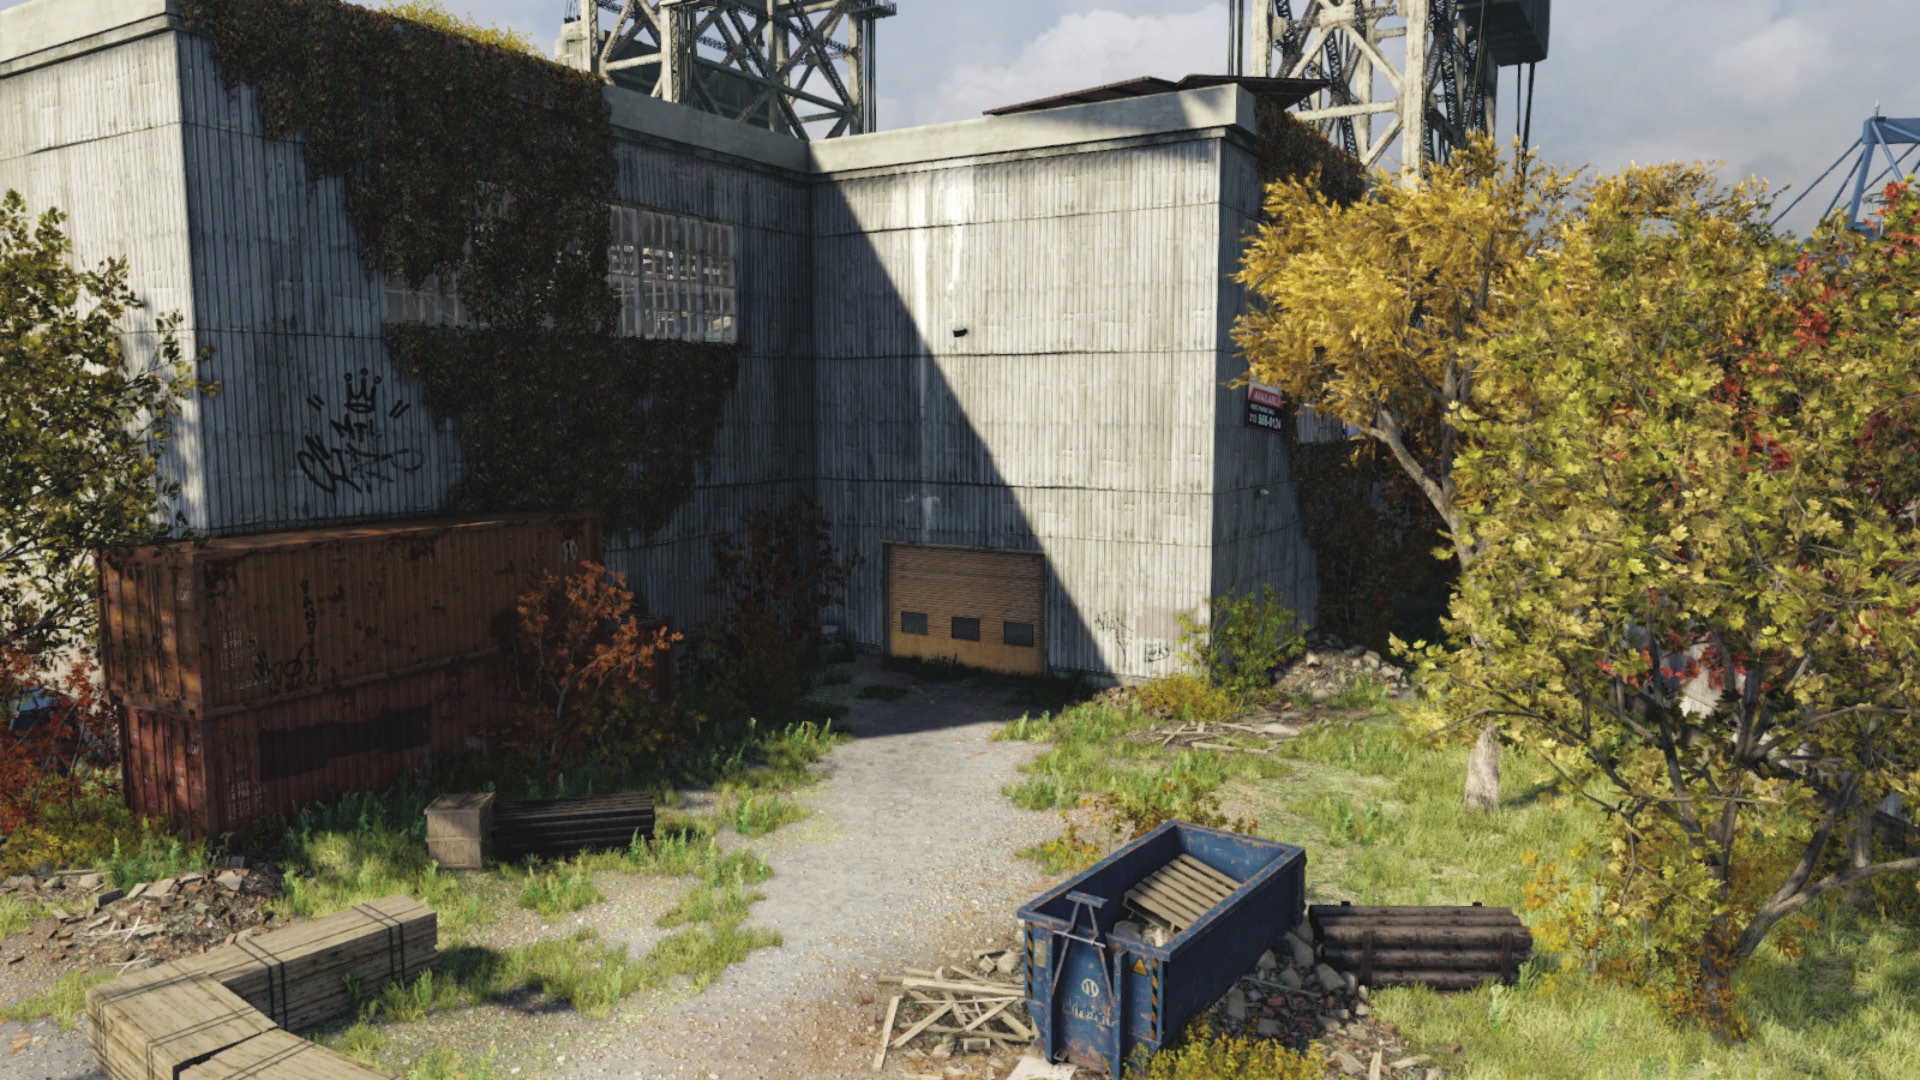
Accessibility Level: 
You must swiftly jog past a couple of patrolling guards to even reach this garage door; open this only after Nicky reaches the car and drives to freedom. You can prep the door early, through remote camera viewing, but otherwise this open expanse of pipes and lifts is simply a viewing chamber for the guards, the sniper, the patrolling enemy on the ground, and the three guards on the barge. Sneak around here only if you’ve neutralized these foes. Also note the two ladders on either side of the barge from the water; use these rarely, as you’re easily spotted climbing out.
Southeast Rail Tracks
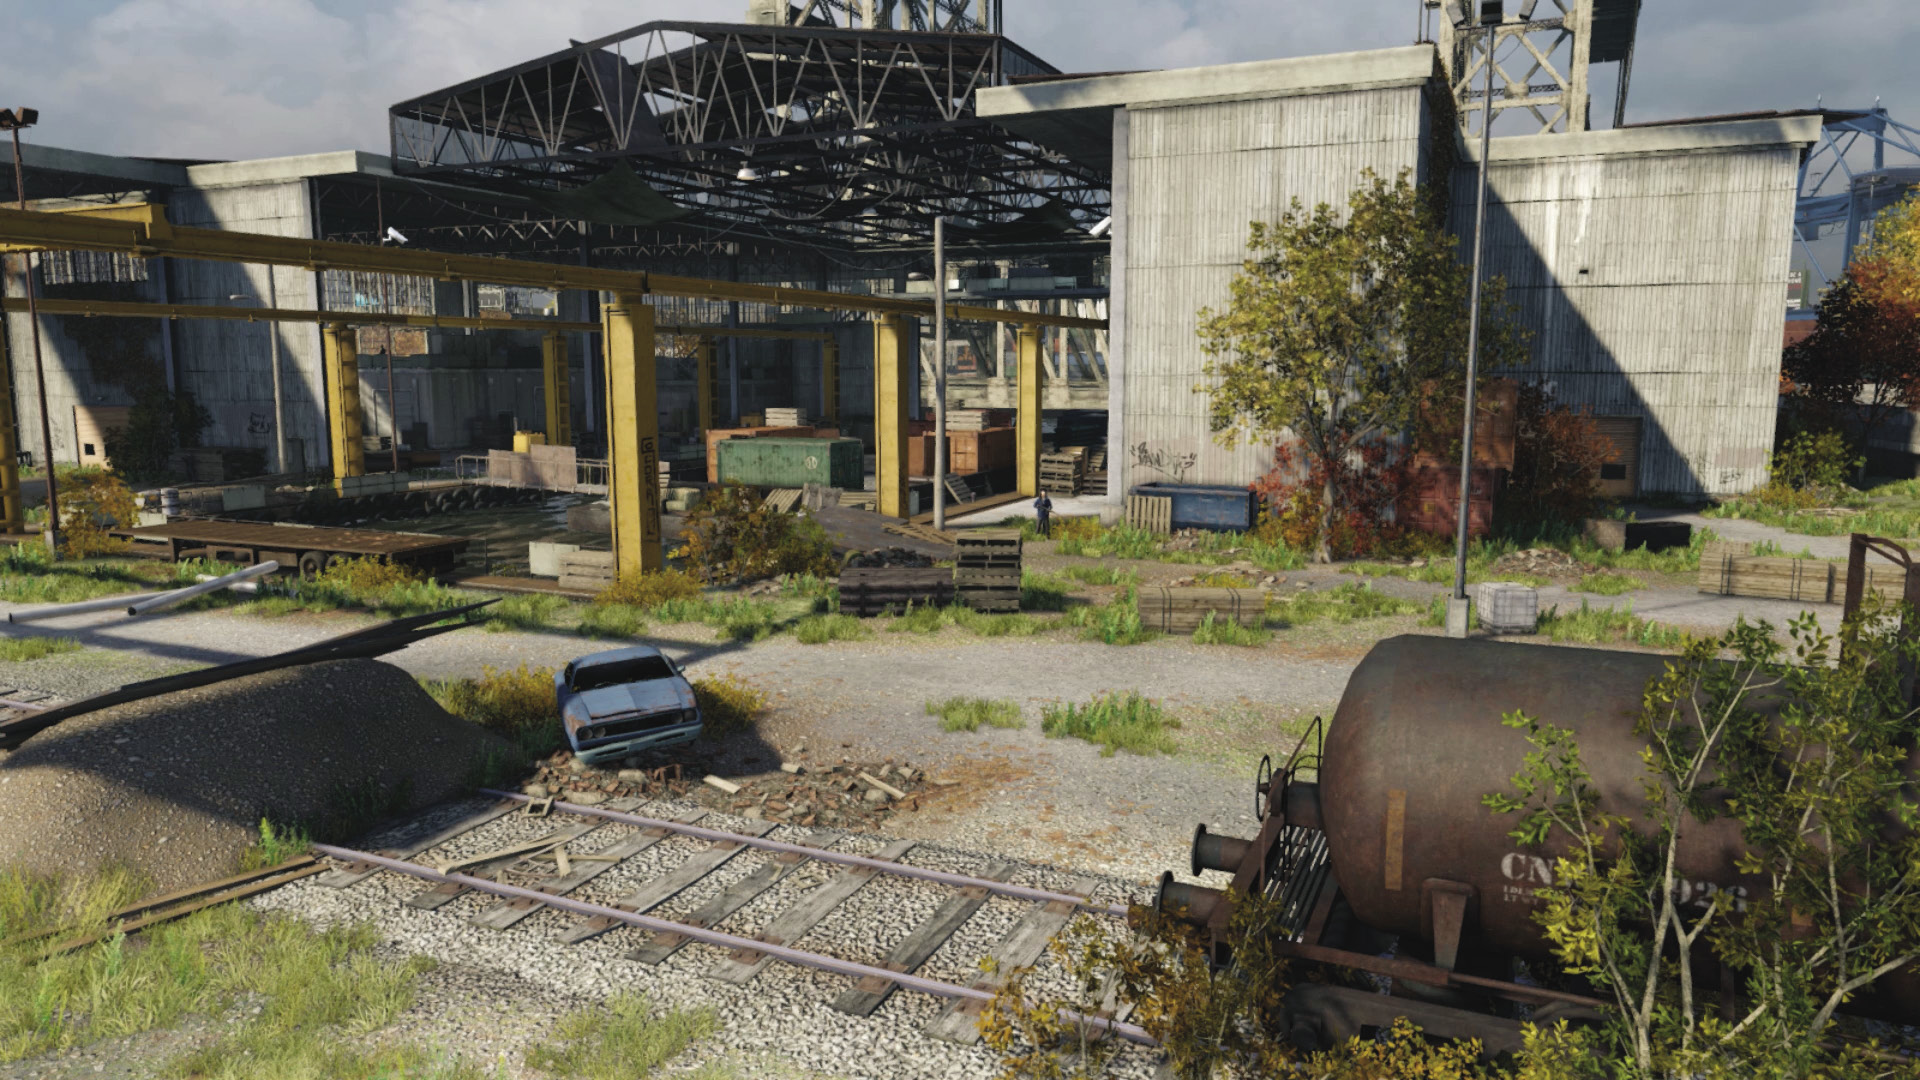
 Accessibility Level:
The entire southern part of this yard is open to the elements and has a rusting rail track running east to west. The southeast corner is the end of the patrol for the guard who moves along the bay area; you can easily enter here but watch for foes on the barge spotting you, as well as the sniper.
Southwest Rail Tracks
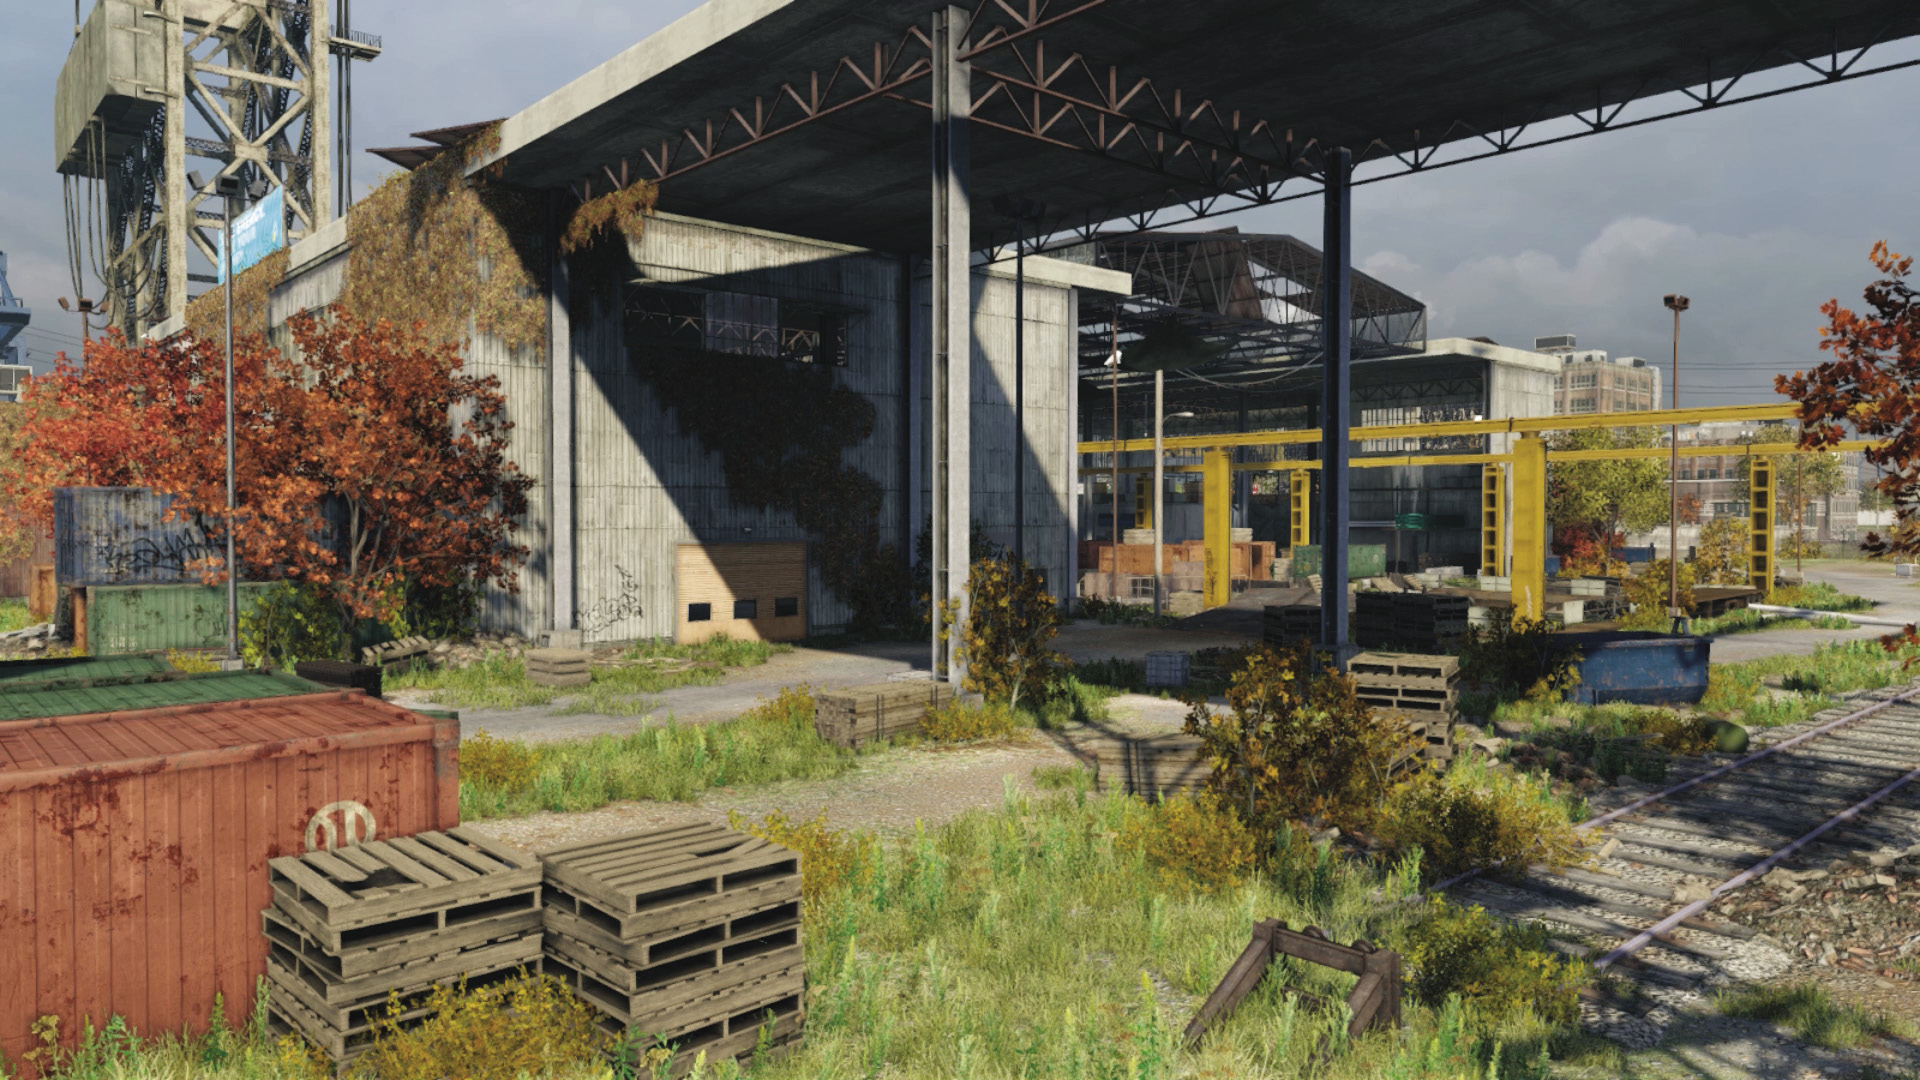
 Accessibility Level:
Aside from offering access to the opposite sides of the warehouse, this corner features a garage door and a patrolling guard moving between this outside area and the bay where Nicky is being kept. You can assault this area a little more succinctly than the opposite side, since the barge foes can’t see you very well. But clandestine maneuvers are preferred over driving a van through the garage and hoping to kill everyone by using a gun.
Warehouse Interior
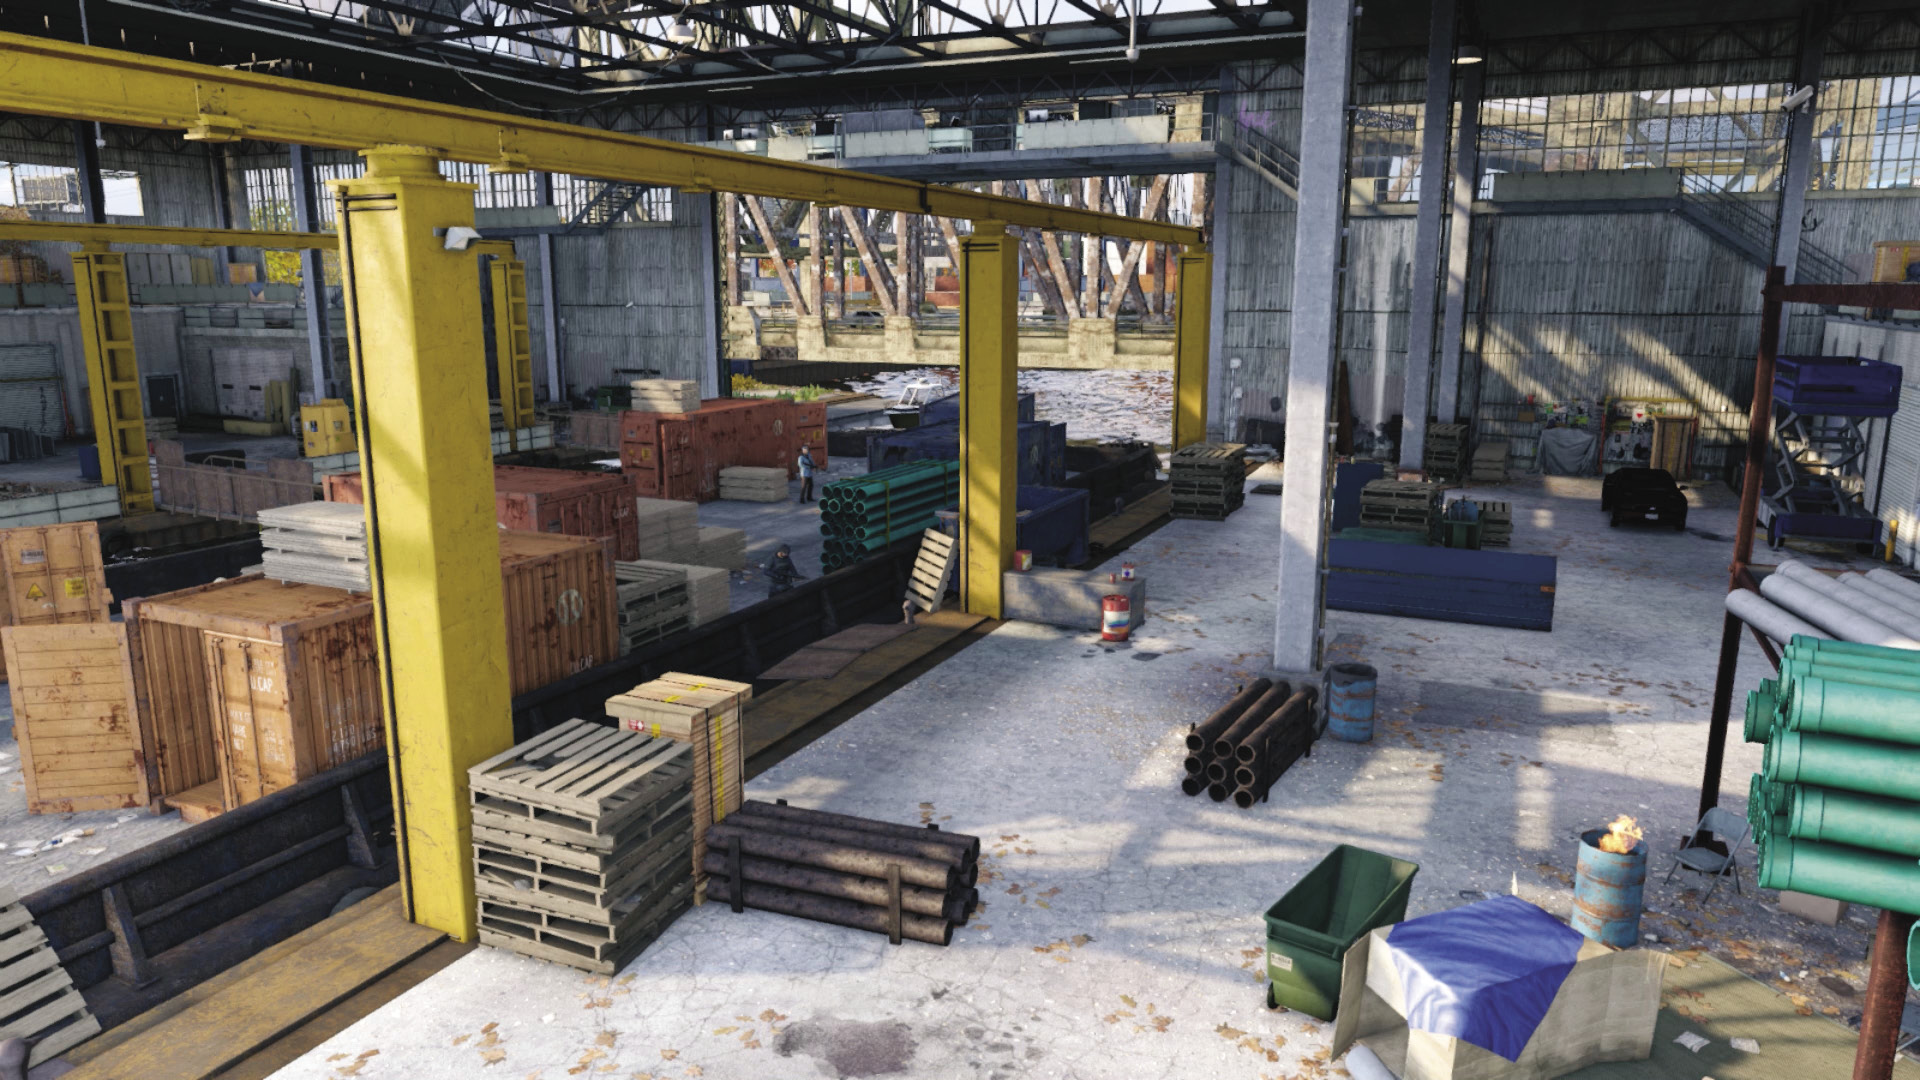
 Accessibility Level:
The two main concrete bays on the west (where you, Nicky, and three guards are) and the east (where the car and two guards are) are bisected by the canal and a moored container barge (with three guards patrolling it). The barge is linked to the west bay by three bridges (you can hop across to the east bay easily). Also, don’t overlook the metal gantry running west to east along the northern perimeter—another possible route for Nicky to take.
Progression Plans
You may now try one, parts of, or any combination of the following methods to keep Nicky safe as you reach the car.
General PreplanningCameras: More so than previous missions, use of the cameras is critical, and knowing where all of them are located and what they can see (marking foes and using scenery to attract them) is key to your success. Safe Sister: Nicky may have a gun, but she isn’t about to take down eight heavily armored Fixers. She won’t survive if she’s spotted, so weigh her safety with your ability to move her safely. Into the Fray: Just because you need to escort Nicky to the car doesn’t mean you need to stay at your current location. A hybrid plan of stealth executions and moving Nicky is the best possible course of action. |
 Passive // Smart: Nicky Route: Guidance to the Car
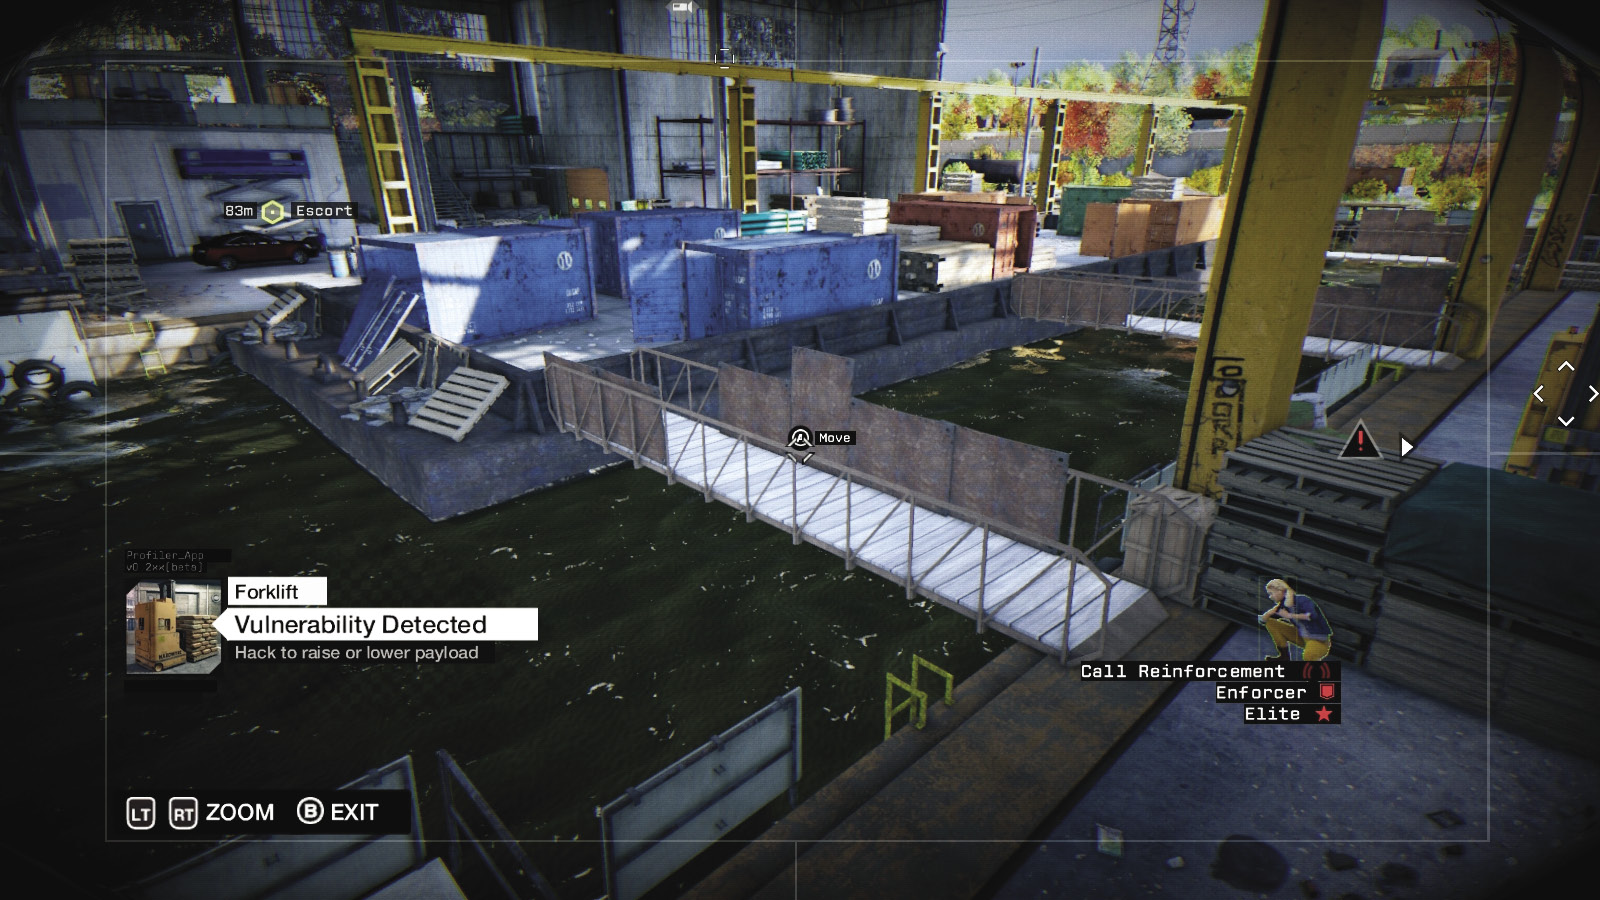
Difficulty: 
Wait for the Fixer to reach the pallets outside Nicky’s door, then access this camera and attract him by hacking the forklift. Or, if you can, disrupt his comms. Then move Nicky across the gangplank and onto the container barge, into the first open container on her right.
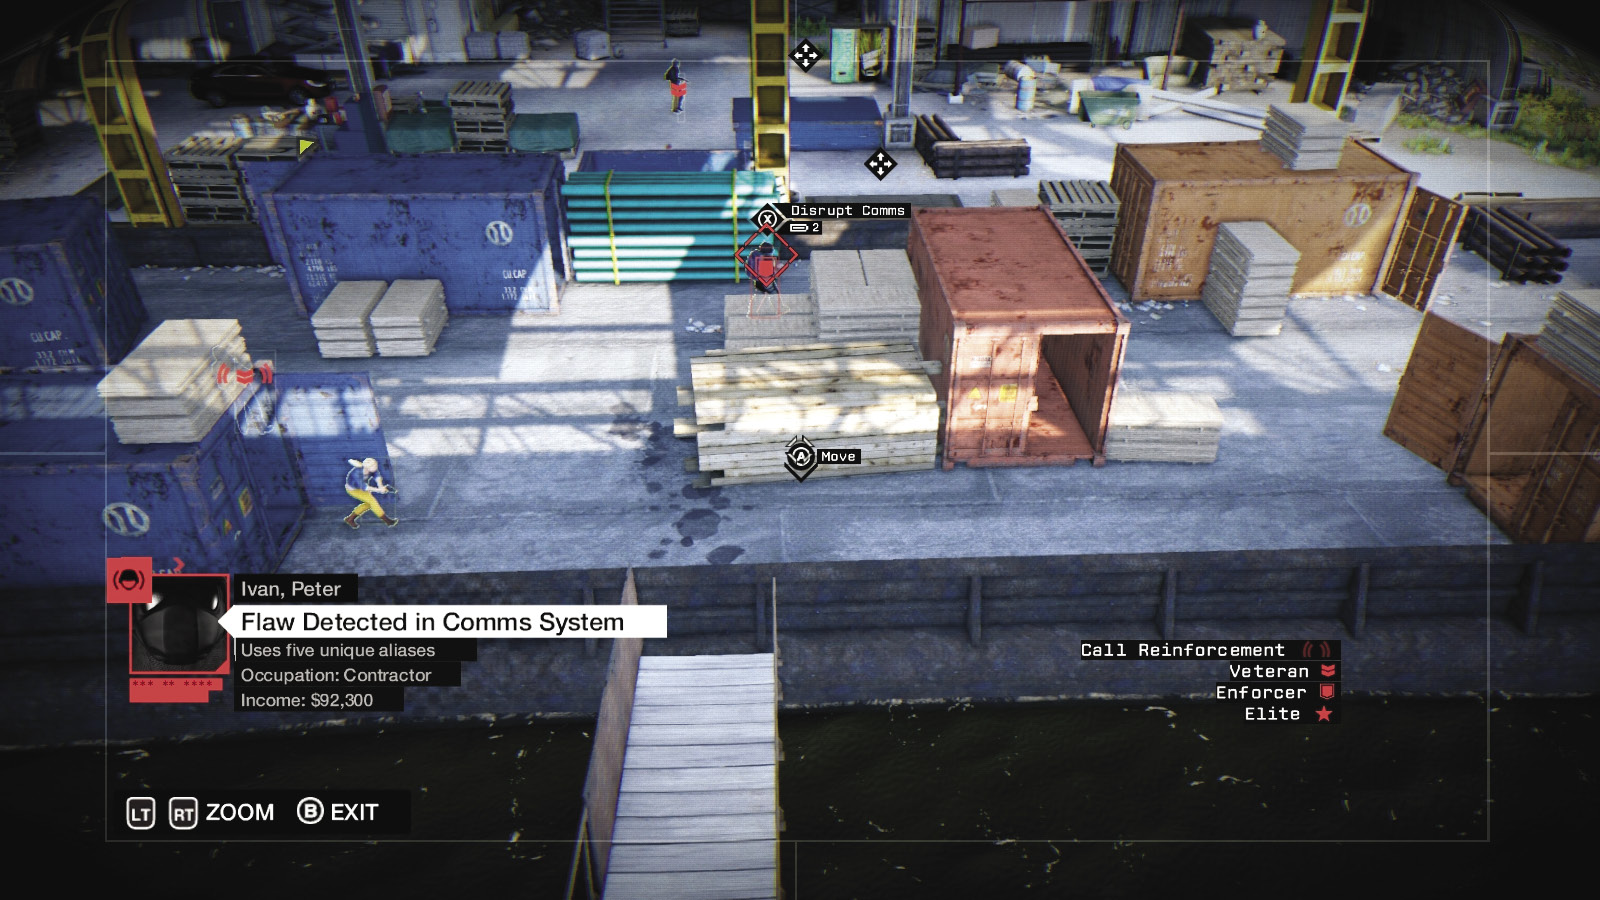
Move to this camera and be wary of the middle guard (Enforcer) patrolling the barge. Wait until he turns and faces away from Nicky, then move her to the red container in the middle of the barge.
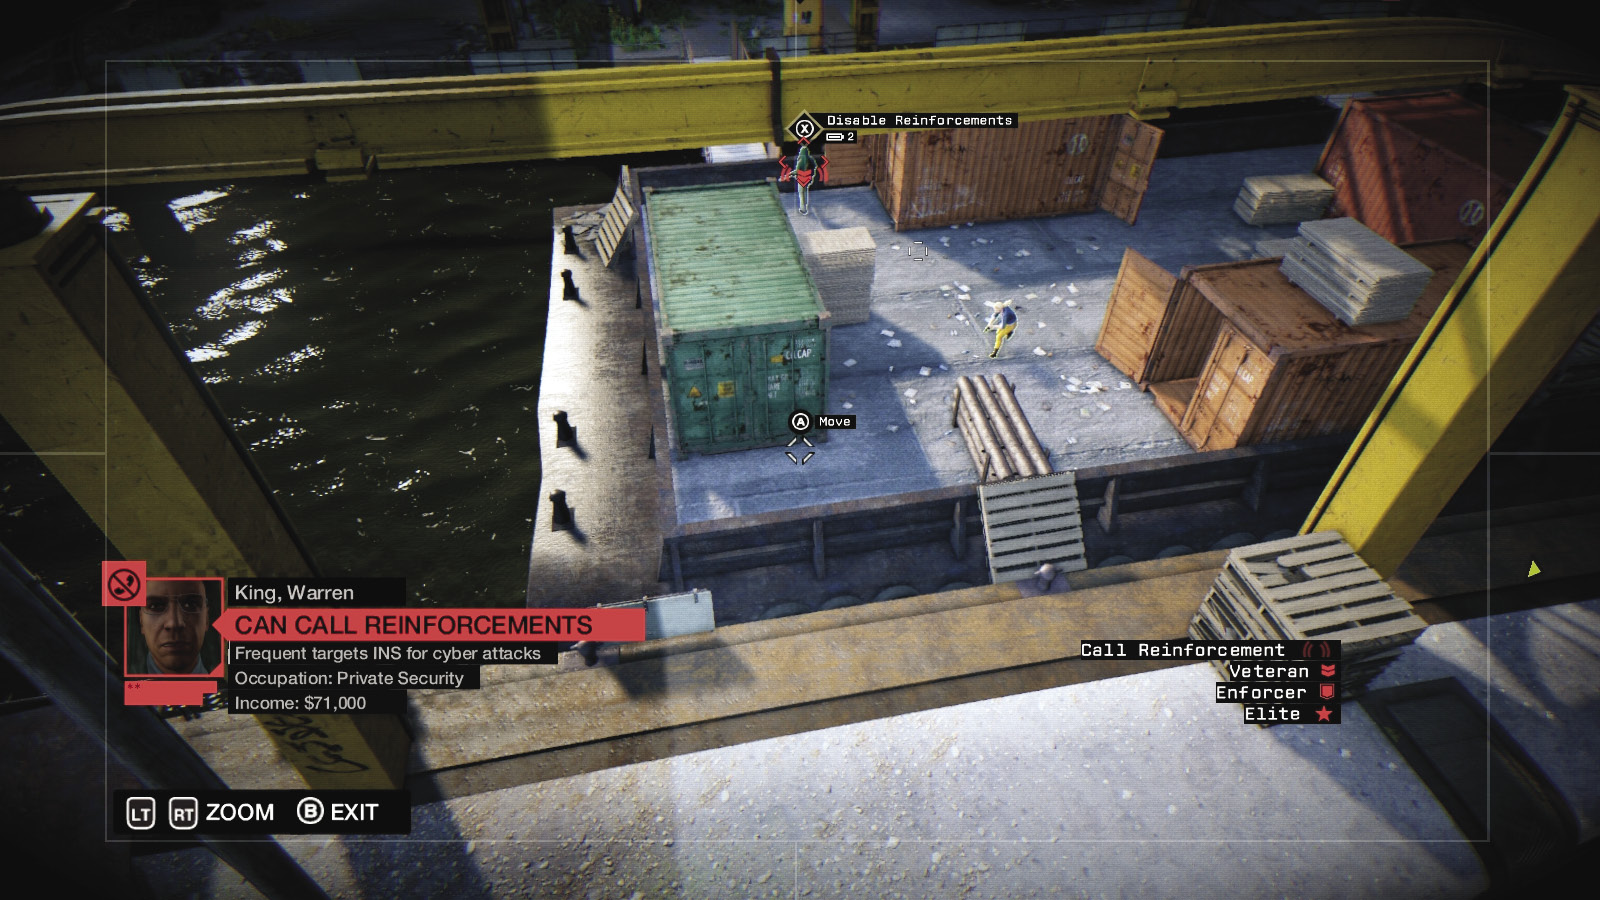
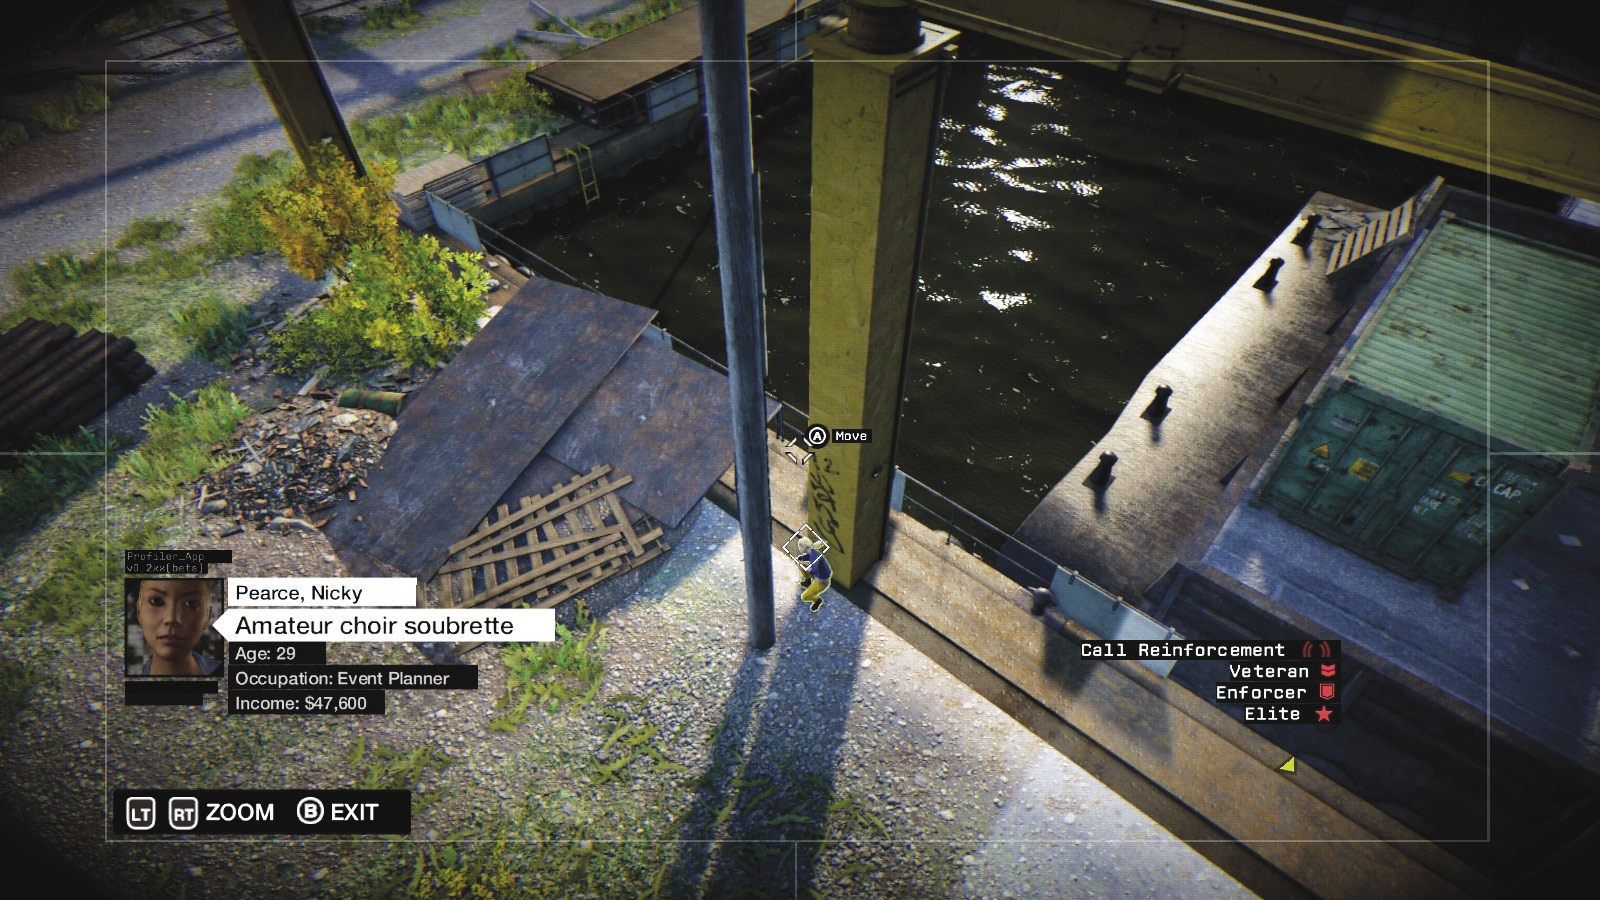
This next part can be tricky and requires swift camera access! Move Nicky to the open door of the orange container on the right, then access this camera. When the Elite heads left and the Fixer on the right moves back toward the water, switch to this camera and quickly maneuver Nicky to the front of the green container. Keep her safe by placing her near the long yellow metal pillar in the bottom left of your camera view.
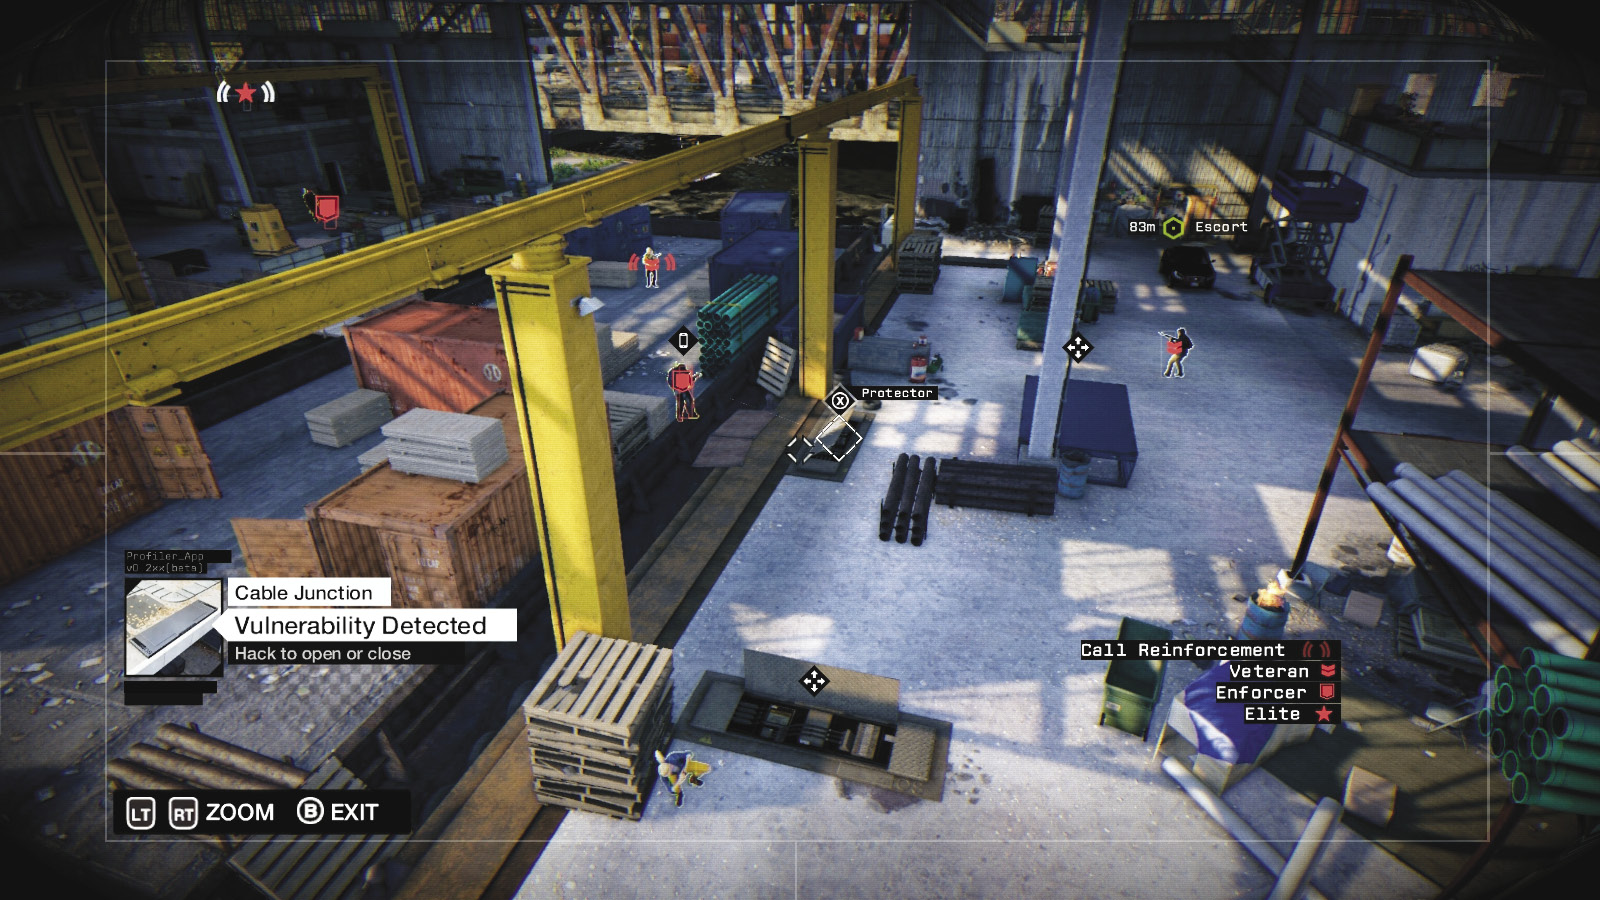
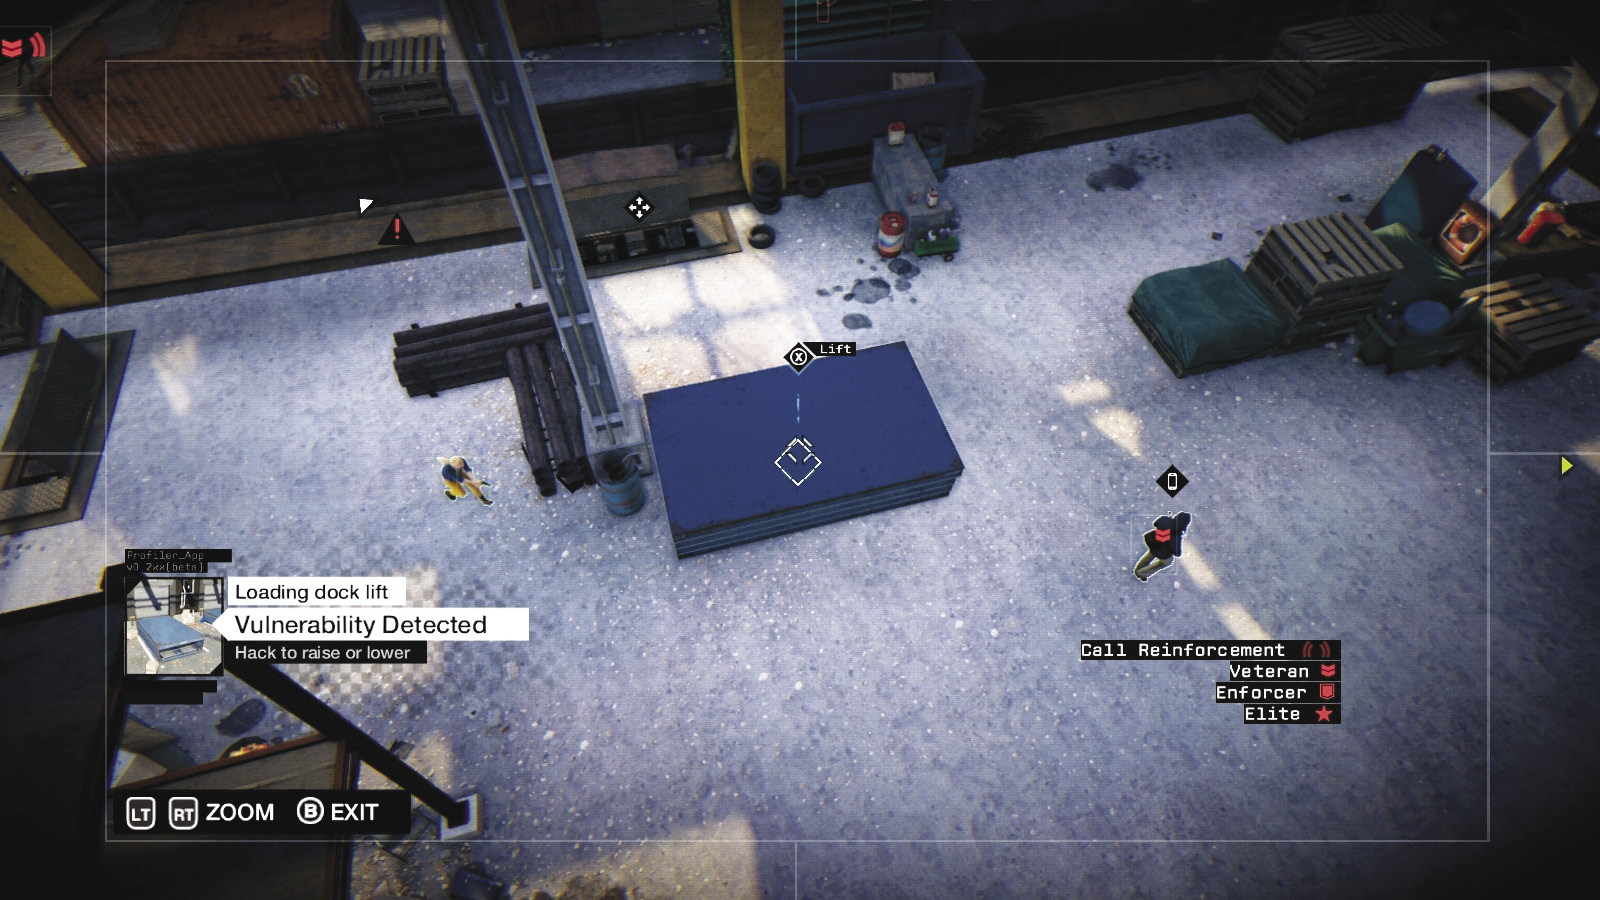
Now on dry land, pan the camera to the right and (optionally) raise the protector. Wait for the guards to inspect it before resuming their patrol path. When none are looking, move Nicky to the pallet stack by the yellow pillar, next to the protector. Take a moment for the guards to patrol again, switching to this camera. When the foe by the loading dock lift heads to the right (toward the car), move Nicky to the L-shaped stack of pipes, close to a concrete pillar.
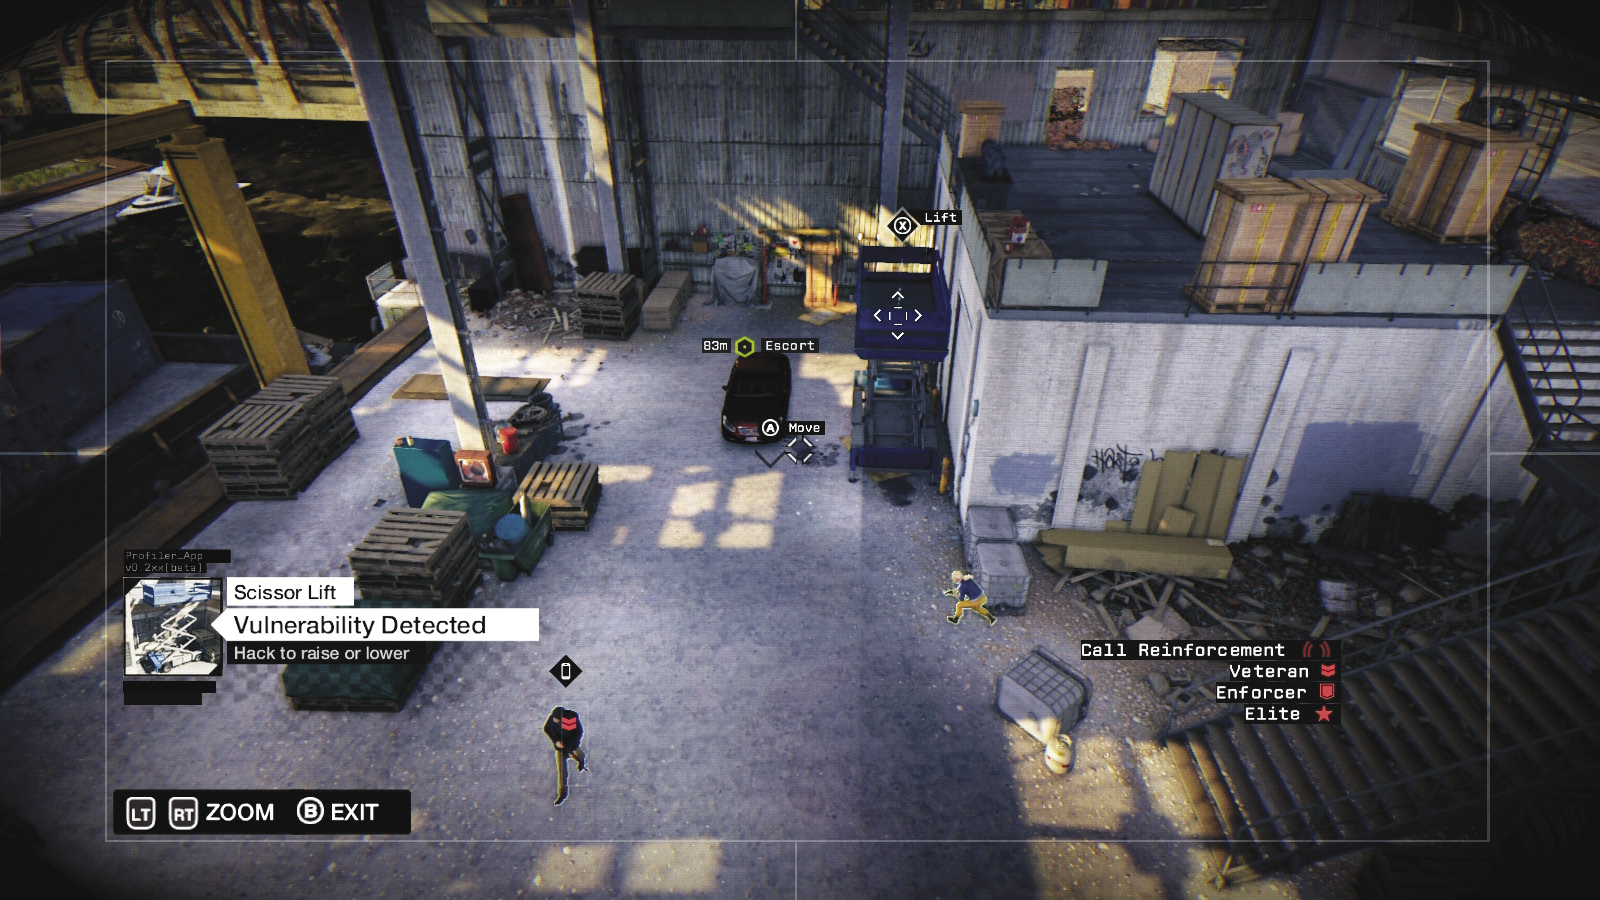
Nearly there! When the foe by the car is facing away, move Nicky between the two concrete barricade sections at the base of the metal stairs. Wait for the guard to pass by and then prompt Nicky to reach the car. She flees through the open garage door, leaving you to escape or deal with any foes as you wish.
 Passive // Smart: Nicky Route: Guidance from Afar
 Difficulty:
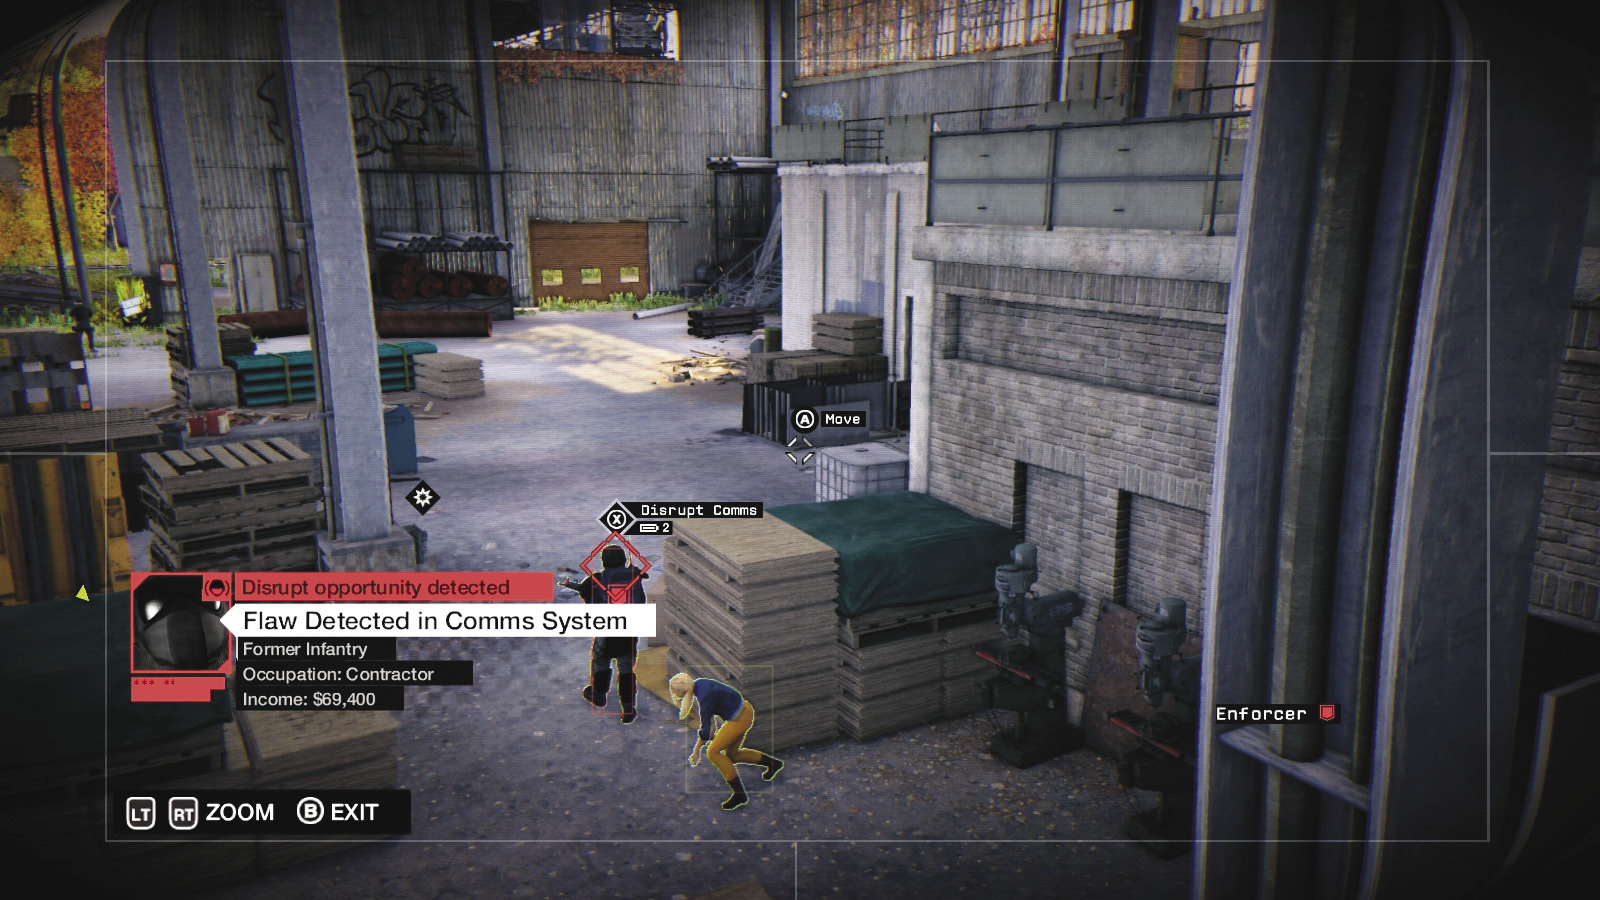
Wait for the Enforcer to reach the pallets outside Nicky’s door, then access this camera and attract him to the forklift opposite. Move Nicky behind him, toward the low concrete barrier and corrugated metal at the base of the locker walkway roof. Guide her up the stairs, ihacking the second forklift or the vending machine to distract the second guard.
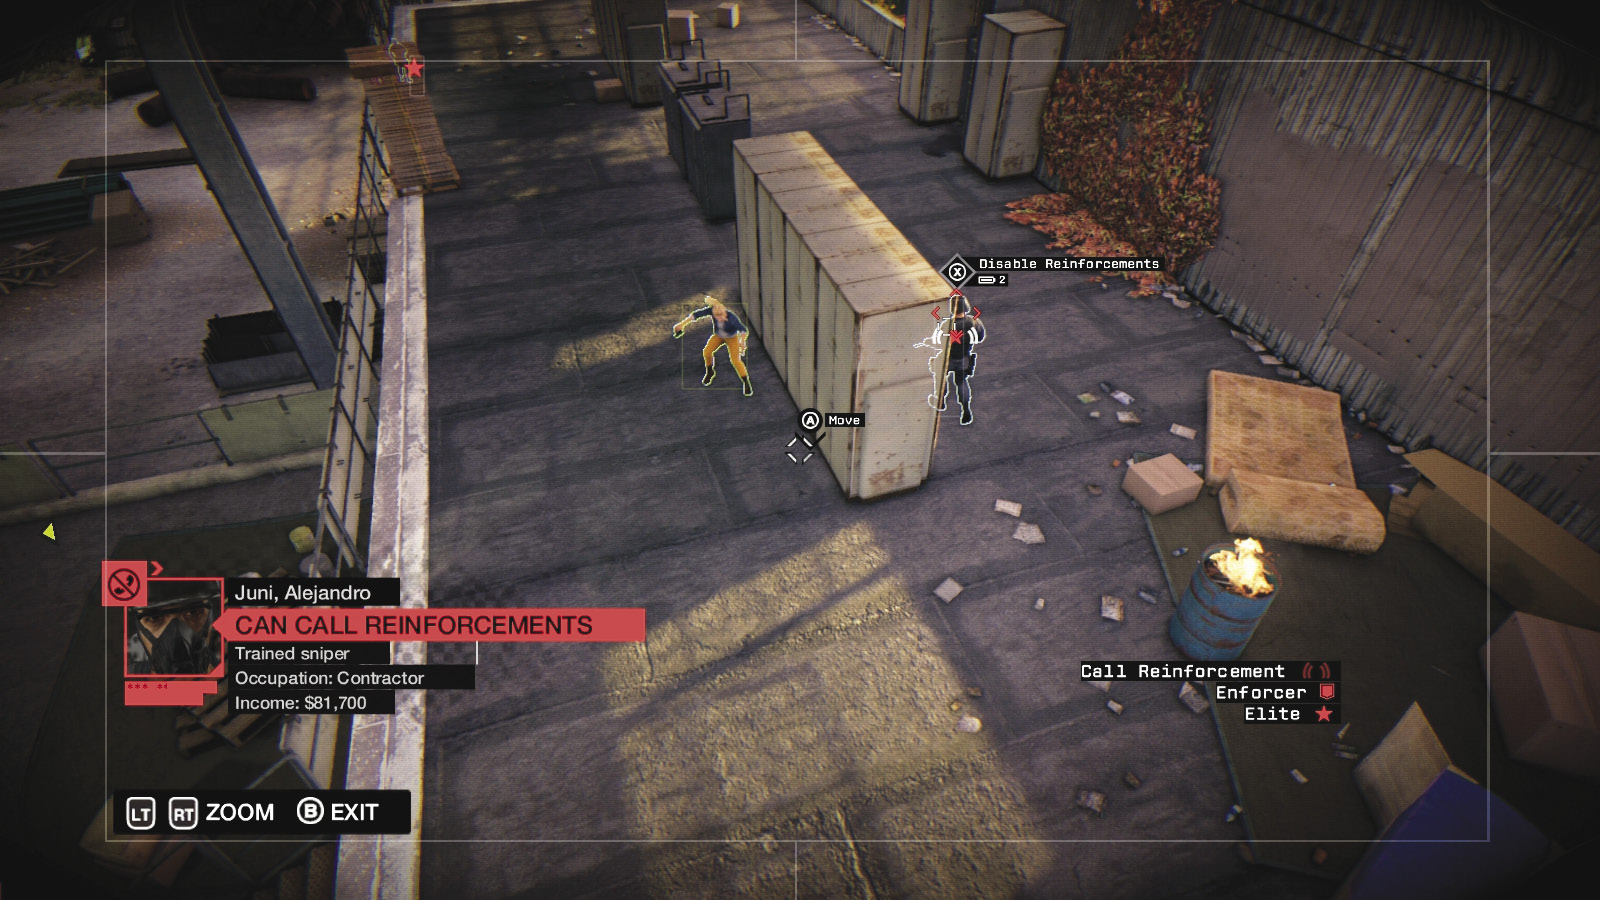
Wait until the guard on this upper locker area heads toward the mattress and upper gantry stairs, then have Nicky position herself behind the last locker. Switch to the camera shown in the screenshot. When the guard patrols back near the perimeter wall, move Nicky around the lockers to the main cross-gantry stairs.
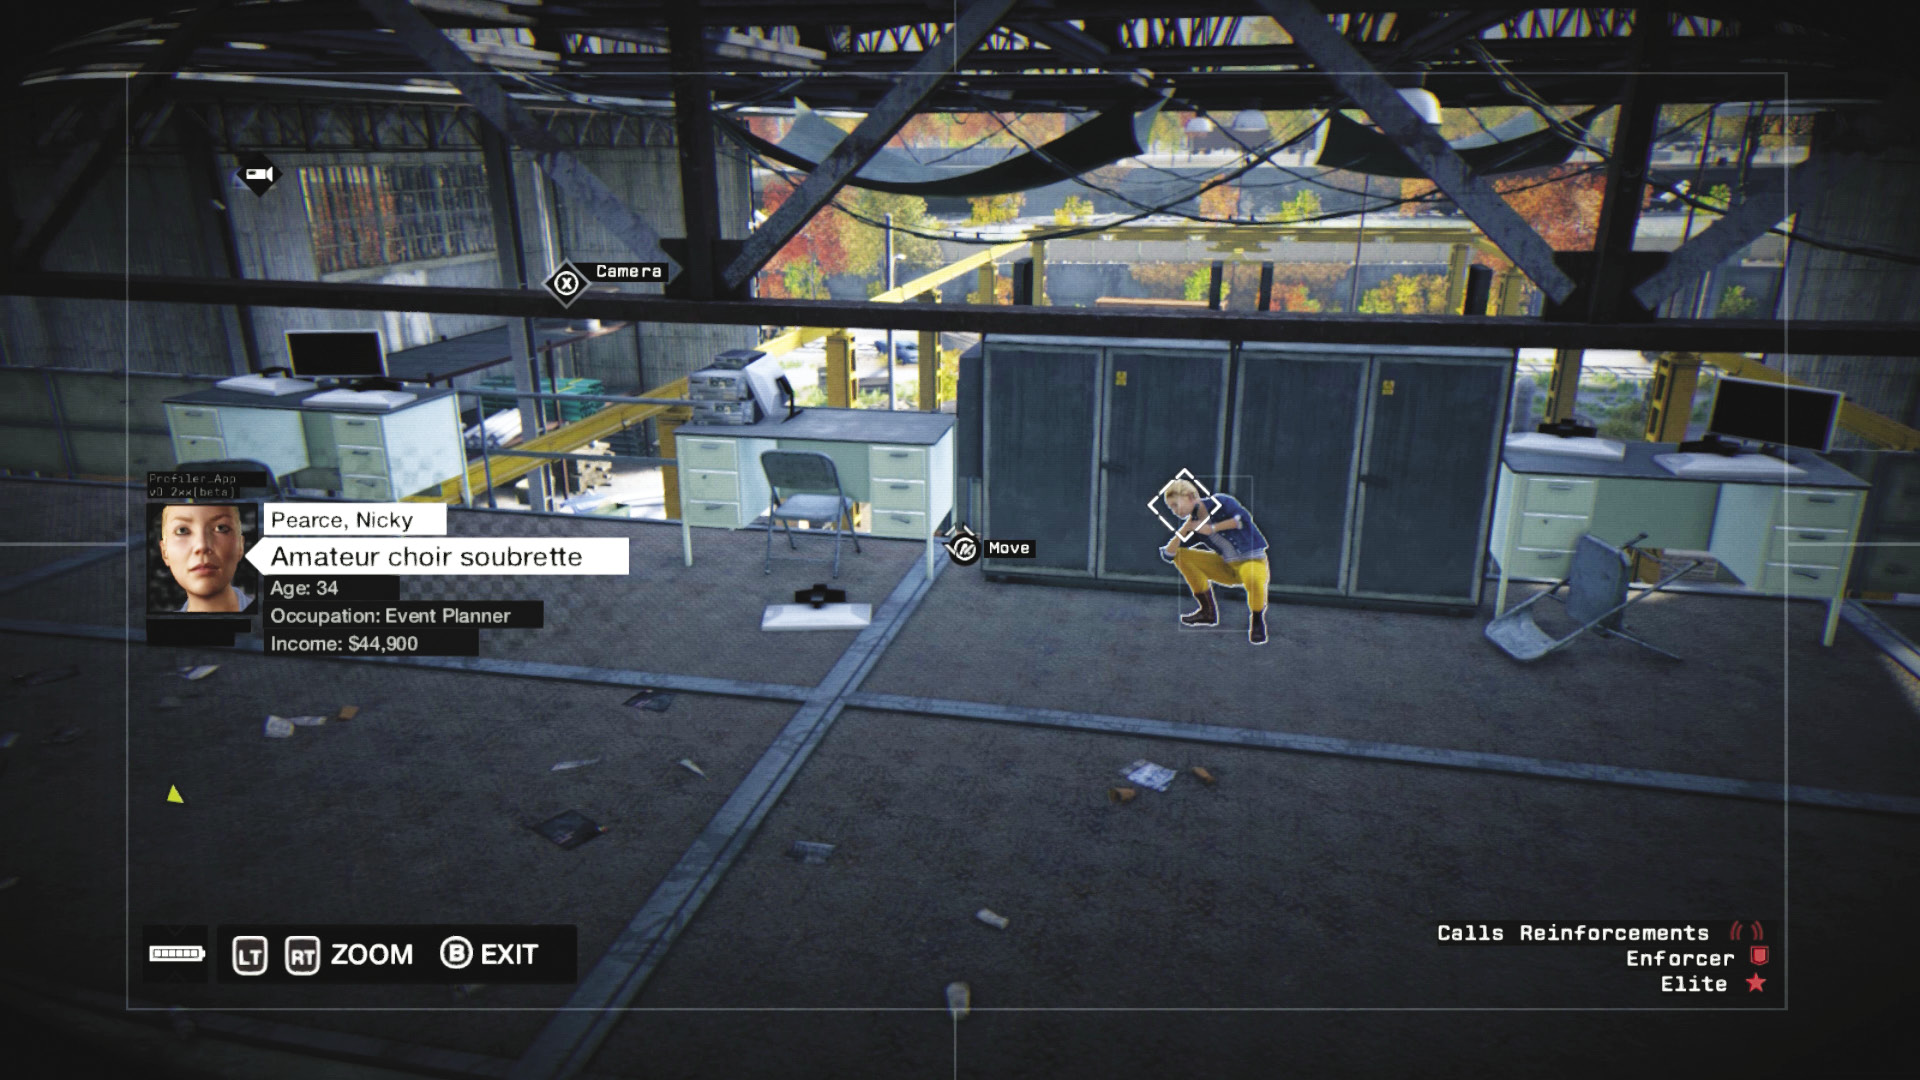
Quickly cycle through four of five cameras until you reach the one above the middle of the main gantry. Send Nicky to the desks and locker area.
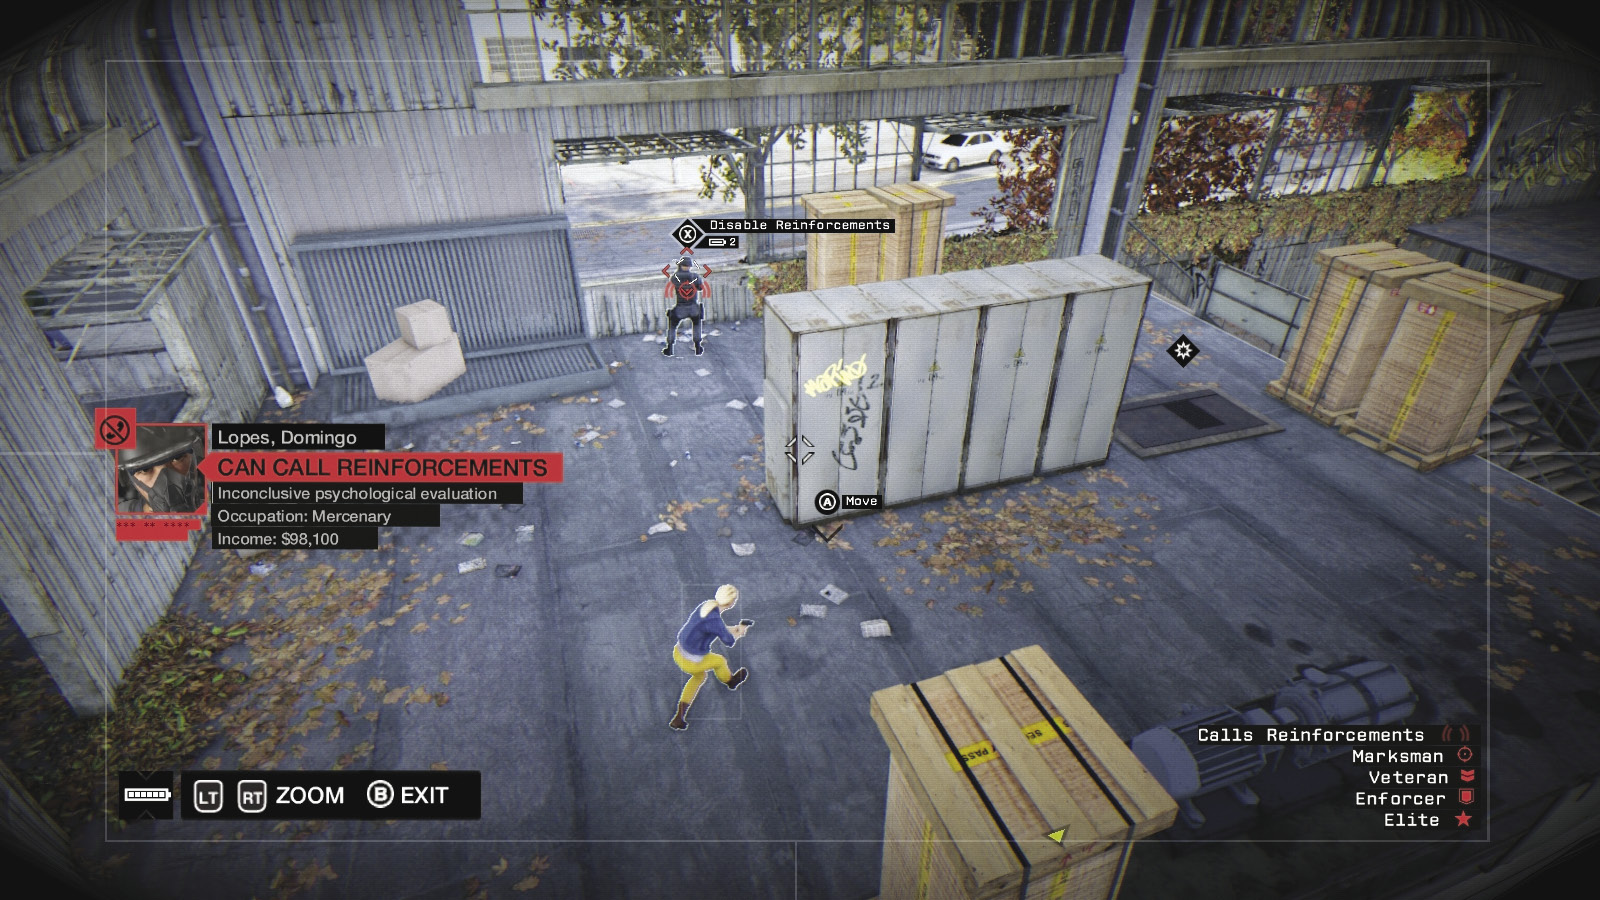
Move to this camera overlooking the car. This is the trickiest part of the maneuver, as Nicky sprints across the roof, down the stairs, and to the car, so position her by lockers and check enemies on the ground first. If possible, disrupt the comms or disable the marksman at the top of the metal stairs she has to run past; do this when the guard patrolling the car is away from you, walking to the loading lift. Then prompt Nicky to reach the opposite roof where the sniper patrols.
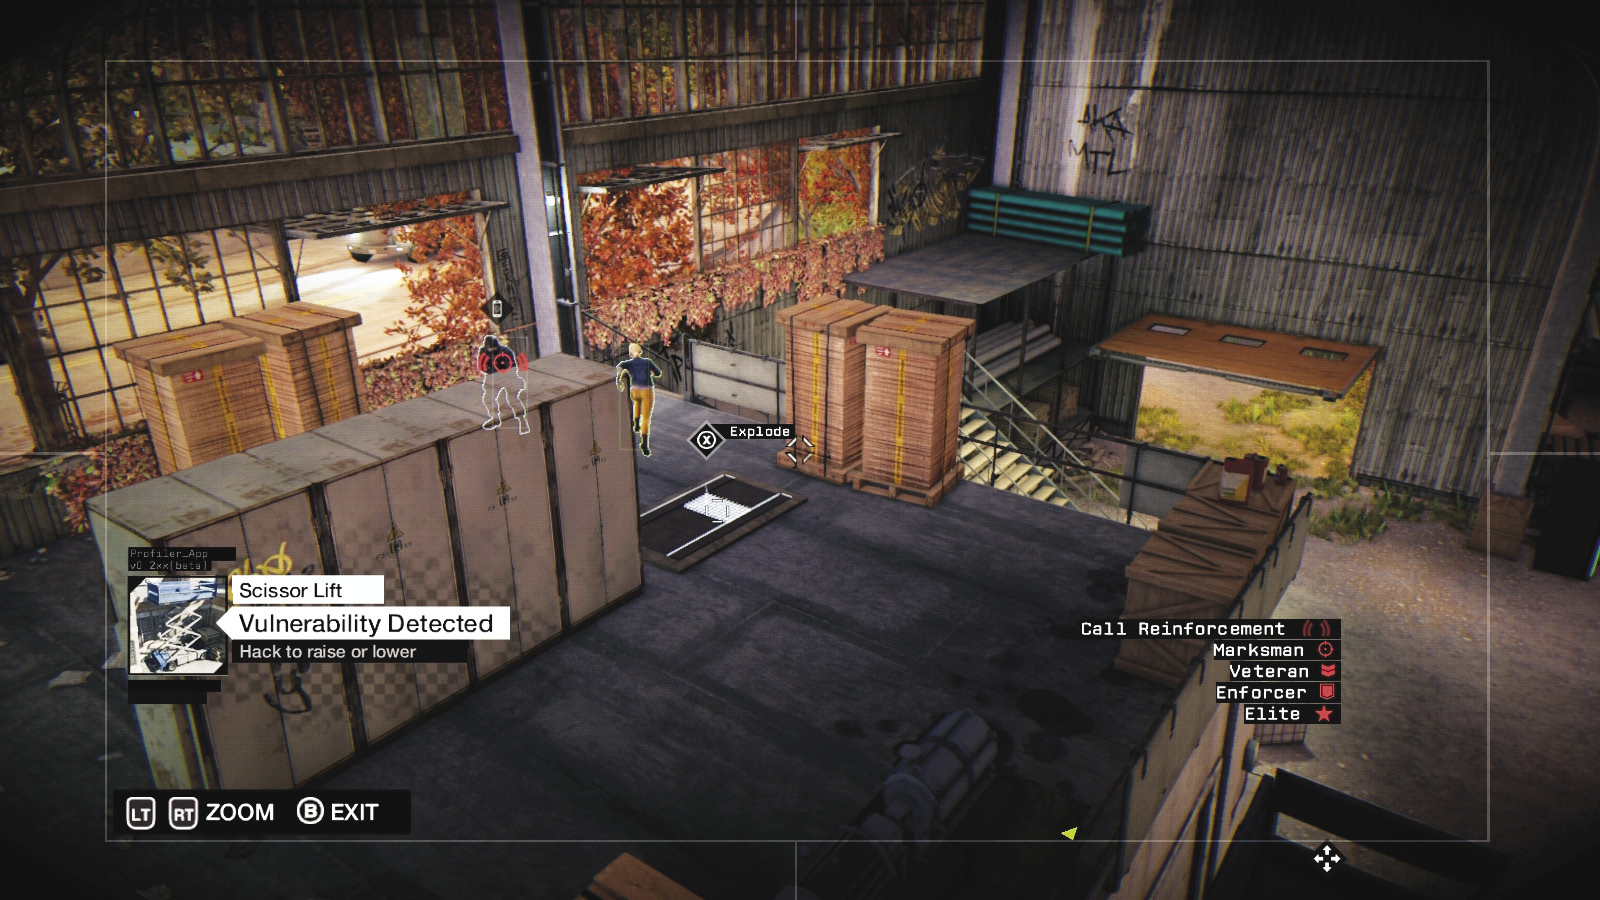
At this point, you can easily guide Nicky across to the gantry, over the water, and to the whitewashed garage where the sniper is patrolling. Keep Nicky up on the gantry or in a corner before stepping onto the gantry; this way you can deal with any enemy threats and guide her more easily. If you’re having trouble moving Nicky down to the car (as she’s easily spotted), simply keep her up on the gantry, and thin out the enemies yourself, first.
 Aggressive // Stealth: Quietly Preparing for a Spar
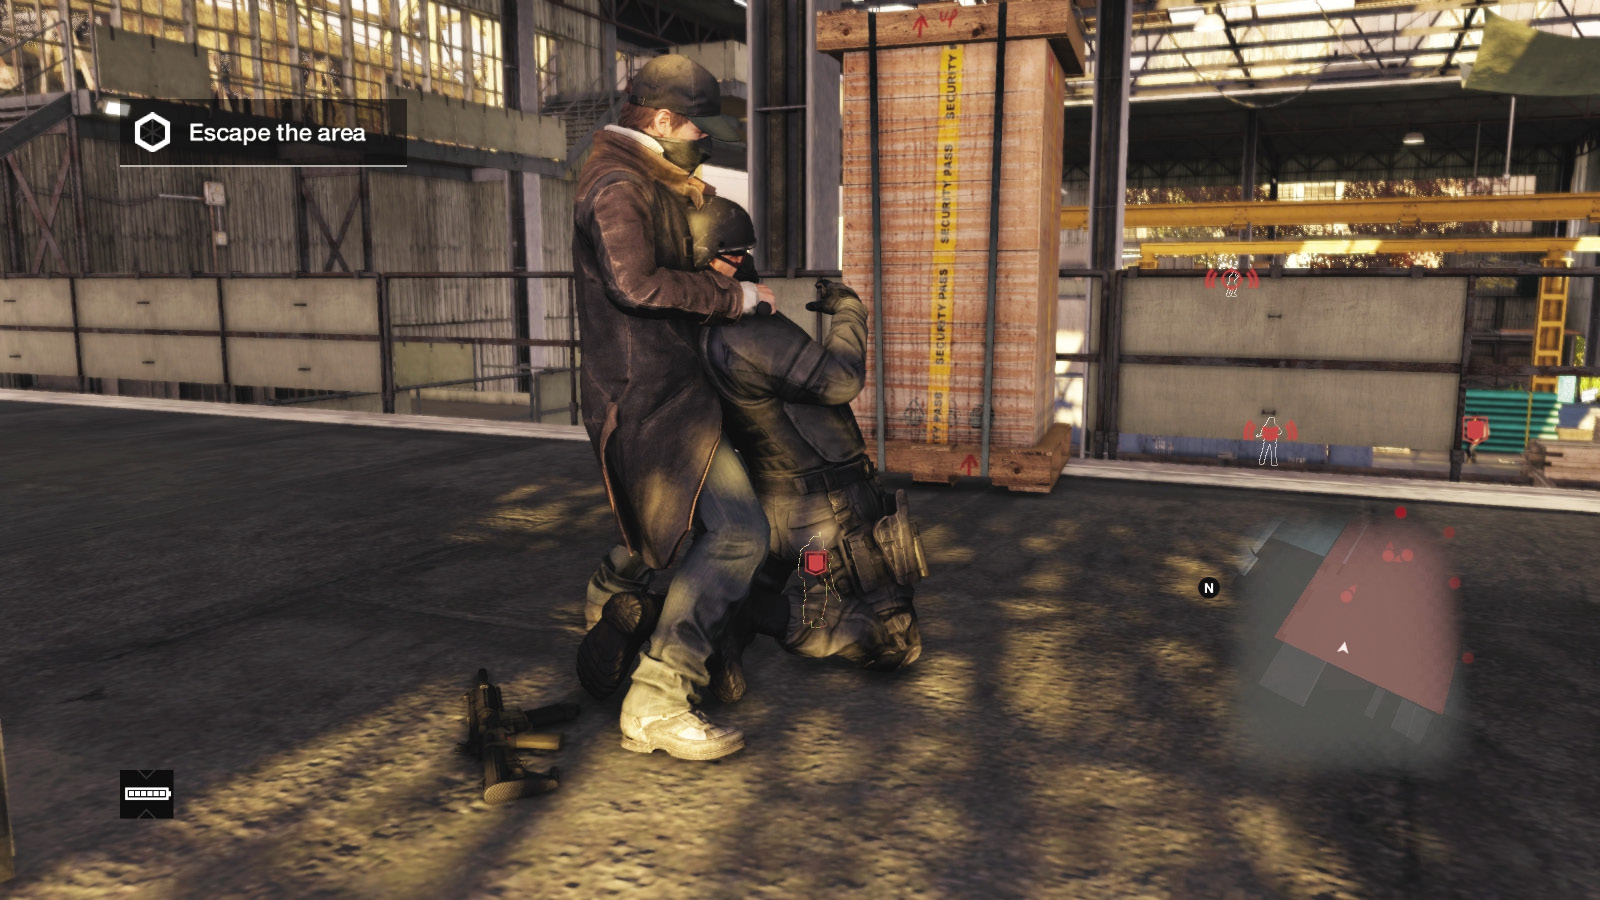
 Difficulty:
The tried-and-true formula of hitting enemies over the head with a baton works exceedingly well here, but the stakes are much greater; if you’re spotted, expect the enemies to swarm Nicky’s location and kill her. This is why a more conservative approach is better. Try the following:
Bound onto the locker walkway above Nicky’s location. Take down this guard first, then the one by the forklift and garage, and then the Enforcer guarding Nicky’s door (if you have the necessary skill or if a more explosive solution is necessary).
Next, creep around the outside and up to the whitewashed garage exterior door and window, and throttle the sniper. You now have only the foe patrolling the bay near the escape car and those on the barge.
Drop down or creep around the outside of the building and tackle the bay foe when he’s outside; this minimizes the chance of being spotted by the barge enemies.
Then enter the barge and methodically bring down each of the three remaining foes, watching for the patrol path and views of the middle one.
 Aggressive // Smart: Using Scenery to Get Far
 Difficulty:
As you should know by now, any of the following interactions is helpful no matter whether you’re moving Nicky around or heading into the warehouse:
There’s a forklift used to attract enemies, close to Nicky’s room.
There are two protectors, used more to attract foes than as defenses.
There are two scissor lifts and a loading lift, but both aren’t necessary to employ as access points; simply more equipment to cause confusion among the enemy.
There are four junction boxes; some (only the ones previously specified) are great for exploding along certain guards’ routes.
There are two garage doors: the one Nicky escapes through and the other one in the southwest corner, which you can use to creep around to kill the guard if he’s outside in this area.
 Aggressive // Violence: Saying Au Revoir
 Difficulty:
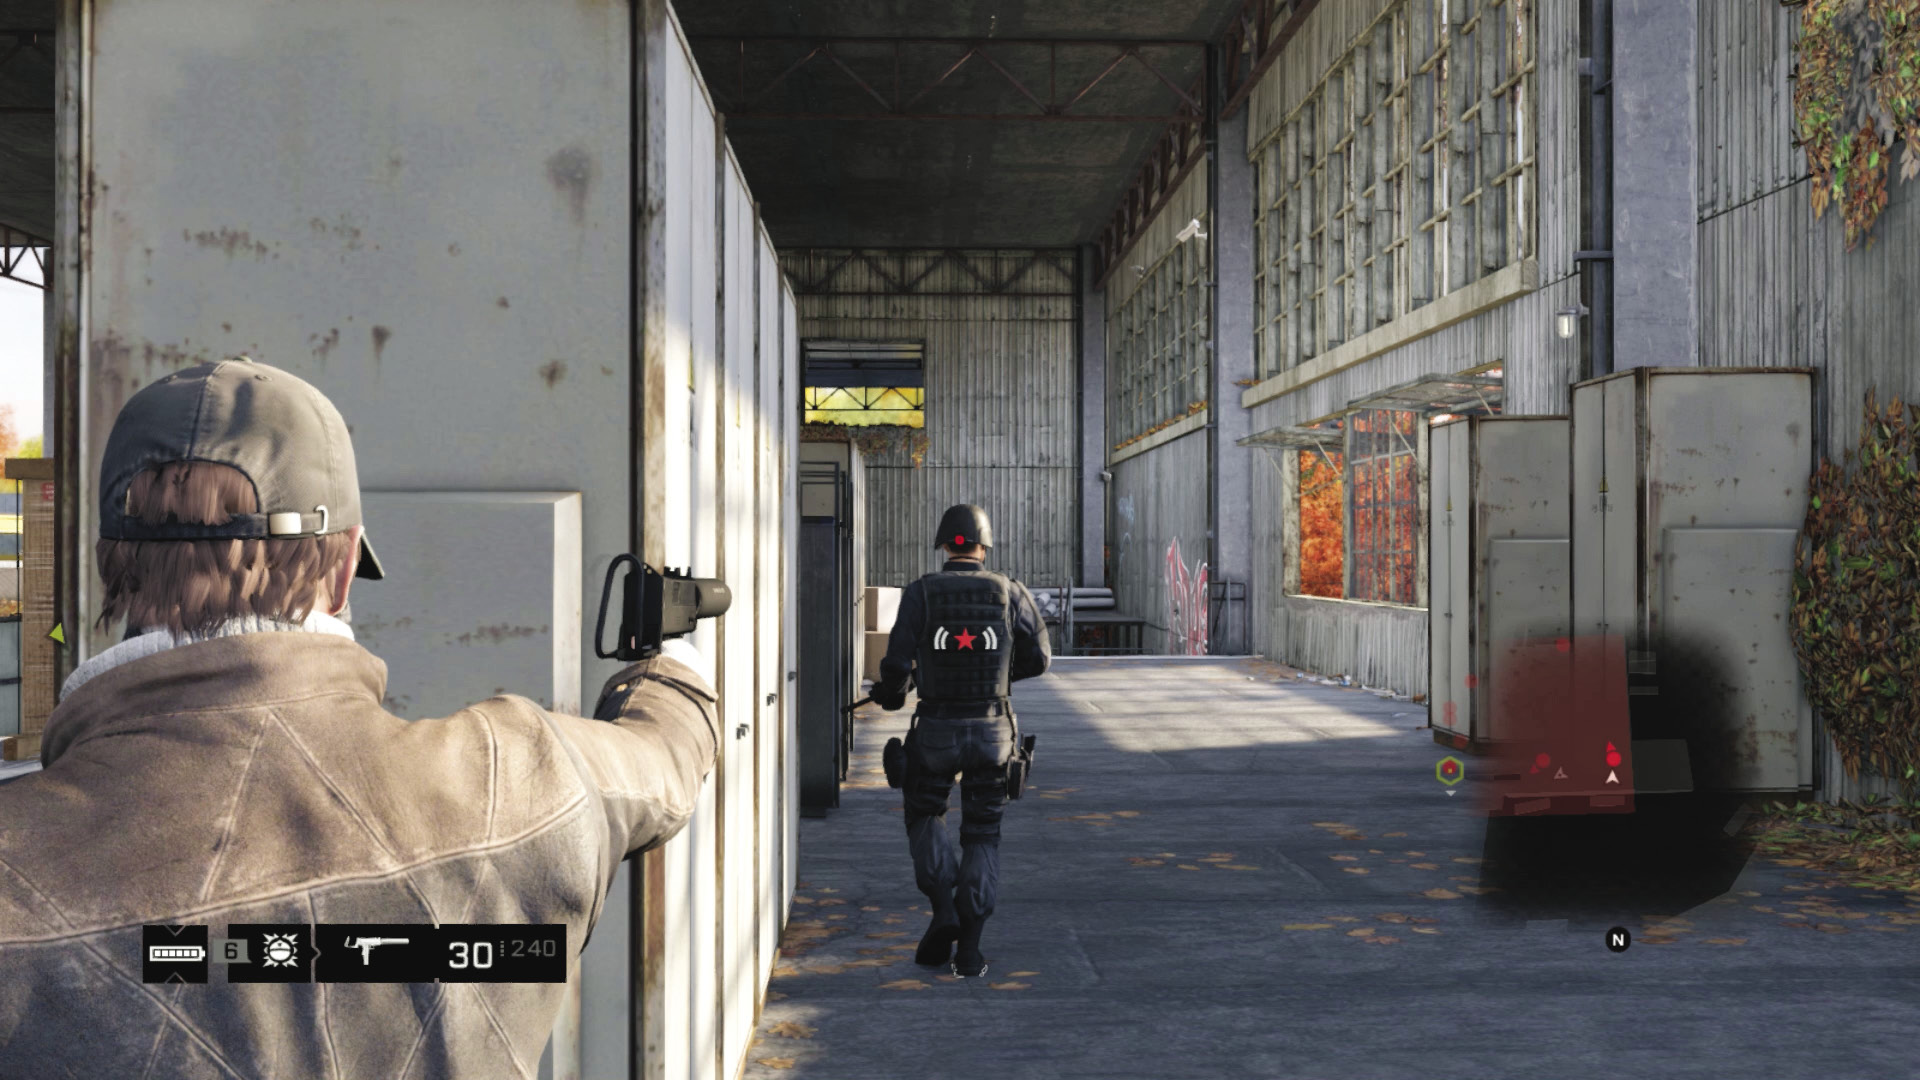
Unlike when you maneuvered Bedbug in earlier missions, you can break off from escorting Nicky at any time and bring ranged gunfire or other offerings down on the enemy. It’s usually best to have Nicky away from the action (ideally in the starting position or already escaped) so she isn’t targeted by the enemy. Then place yourself between her and the enemy to prevent your sister from succumbing to enemy fire. Use any of the following options:
You don’t have to take out the sniper first, as there’s enough cover between you and him.
Although noisy, you can sneak up and shoot folks on one side of the warehouse (with brief headshots or melee-range blasts) without everyone panicking; expect the enemy to advance on your location, though.
Remember there are three gangplanks onto the barge; use any of them to outflank the foes on here.
Shotguns are reasonable, but they lack range and precision, and you’re most likely to be trying for headshots as foes duck behind cover. So pistols and rifles are a better bet.
Grenades and other projectiles are less important, though you can create traps by sneaking, dropping IEDs on routes to your position (such as stairs), and coaxing foes toward you.
There are some explosive canisters (on the tops of benches or stacked in mesh cages), but these aren’t particularly helpful to explode, unless the foes are right by them.
Sniping is fine if you’re quick enough and need to move Nicky and cover her with weapons, though rifles are quicker when dealing with threats from multiple directions.
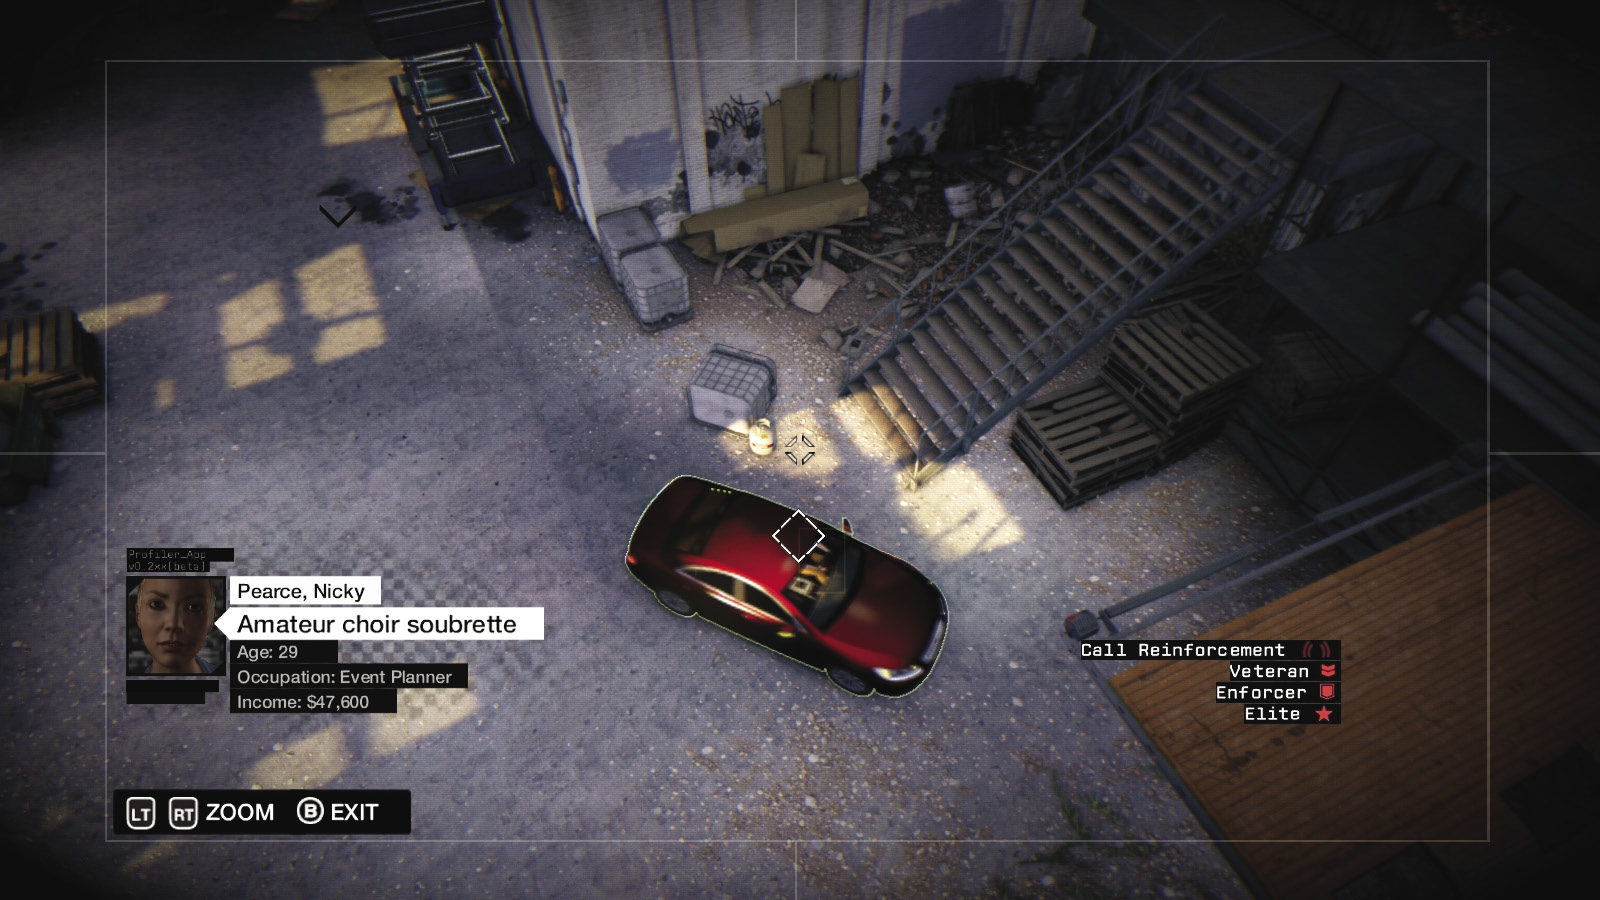
Finally, Nicky reaches the vehicle, the garage door opens, and she escapes, leaving you to deal with the remaining Fixers. You plan on getting her and Jacks out of town.
|
|
 Kill all Fixers or escape
 Escape the area
5.3 NOT A MEMBER OF THE CLUB
 Location / Brandon Docks // Treatment Plant Warehouse
 Escape
 Vehicle Chase
 Lethal Force Likely
 Melee Force Likely
Difficulty: 
If you used violence and the alarm was raised, your problems don’t end here; there are a large number of Fixer reinforcements incoming to your position, and some are already combing the area looking for you. This presents a variety of tactical plans to try. Obviously, when escaping in a vehicle, all your previous plans work well too.
 Passive // Flee: Scurrying Like a Startled Rat
 Difficulty:
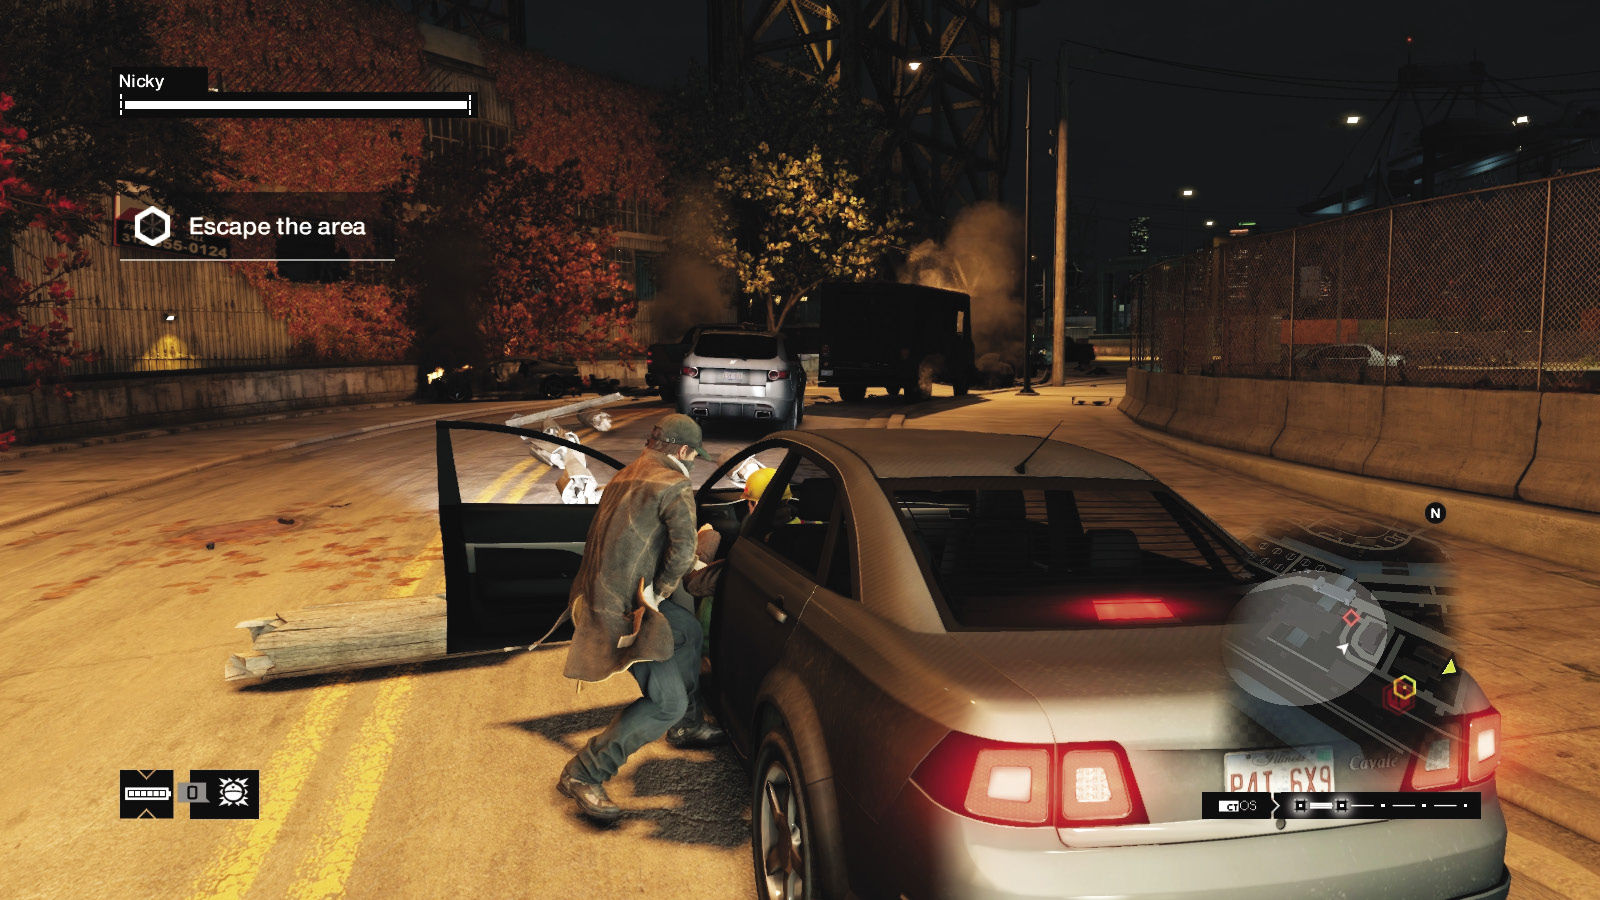
Check the direction of the incoming foes, and run in the opposite direction:
Head to a vehicle, and use the ramp within the containers in the yard to the west to reach the road.
Scramble up to the north bridge, hail a vehicle, and escape.
Sprint east, into a warehouse and onto the streets. Find a vehicle and depart.
Move south onto the railroad tracks and seek cover until this all blows over.
Did you arrive by boat? Then depart along the waterways; you soon lose your pursuers.
There are numerous ramps, alleys between containers, and other hiding places for your vehicle.
Bikes and boats are an often-overlooked method of quickly removing yourself from harm.
There is a vast area of cover opportunities in this dockland zone, so hiding can be helpful. But fleeing immediately is recommended.
 Aggressive // Violence: Resorting to Combat
Difficulty: 
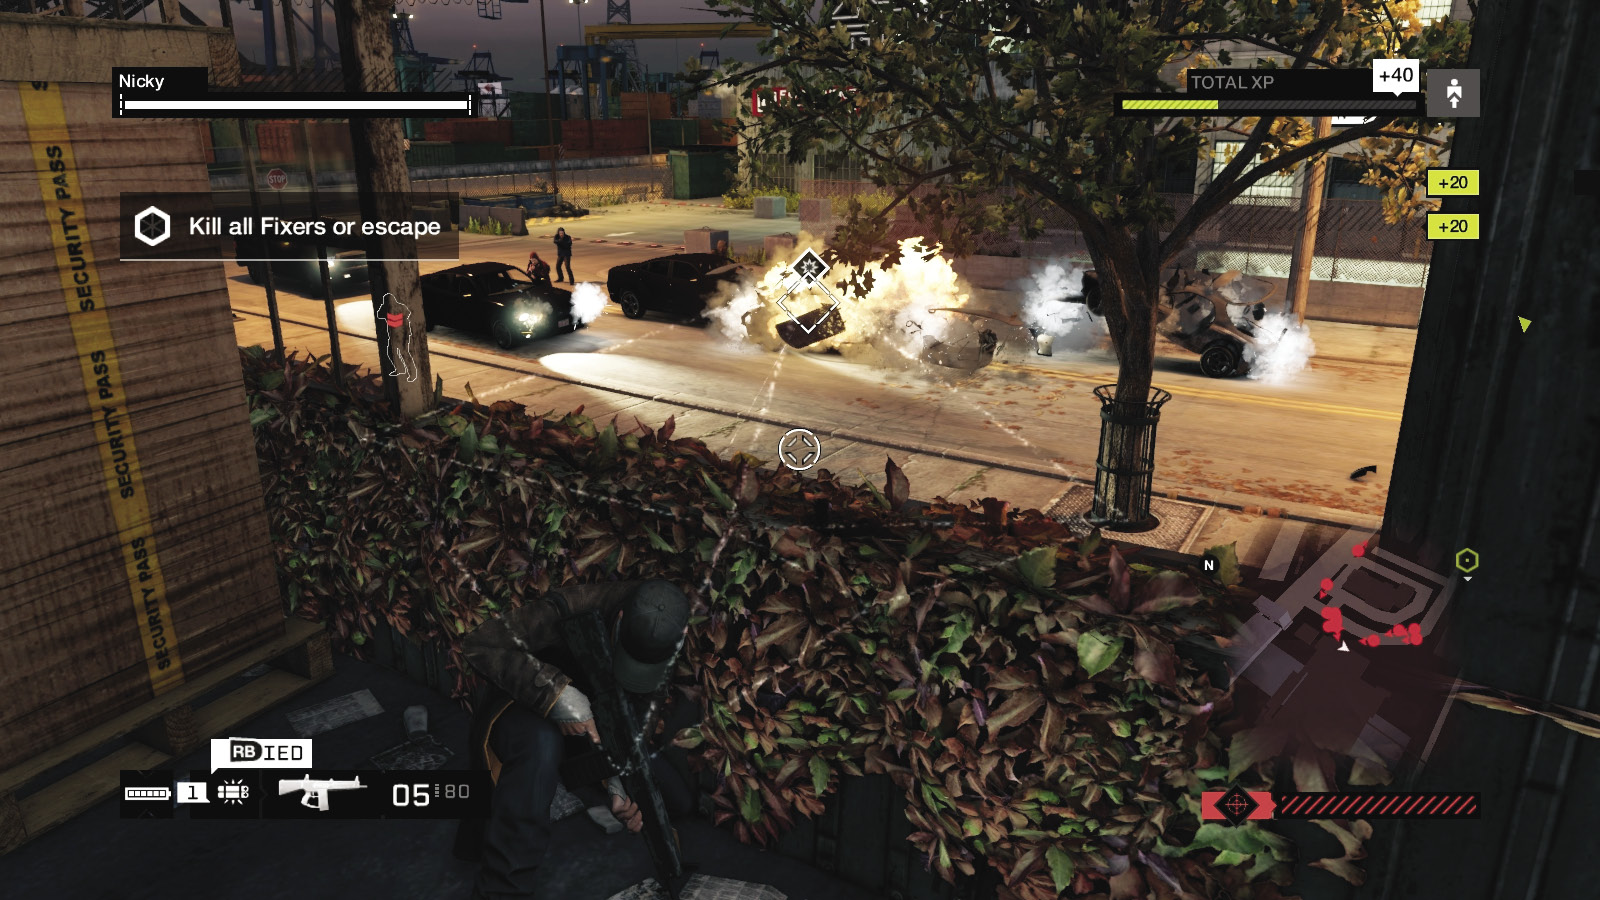
No jumped-up members of the Club are getting the better of you and your sister; it’s time for mayhem and payback! Assuming you have the gumption and ammunition for the task. You can:
Stay in the warehouse and utilize all previous violent tactics. One of the best locations for this is the garage roof above Nicky’s car, where the enemy sniper was. You have a good view of the enemies arriving by road.
Run and gun, using the warehouse buildings and containers and moving in any of the four previously described directions.
If you lack a vehicle, wait until one of the Club’s SUVs pulls in and use that.
Expect heavy resistance; find higher ground in good cover where you can’t be outflanked.
 Driving // Smart: Leaving Your Foes Flat
 Difficulty:
Aside from all the regular methods of dodging the enemies, there are a couple of plans you should seriously consider when escaping:
Close all the gates to hem in the enemy, then use ramps or entrances onto the rail tracks to the east to flee.
There are steam pipes on the main road adjacent to the warehouse, which can impede pursuers.
Follow the rail lines to the west to enter the Wards and lose your foes relatively easily.
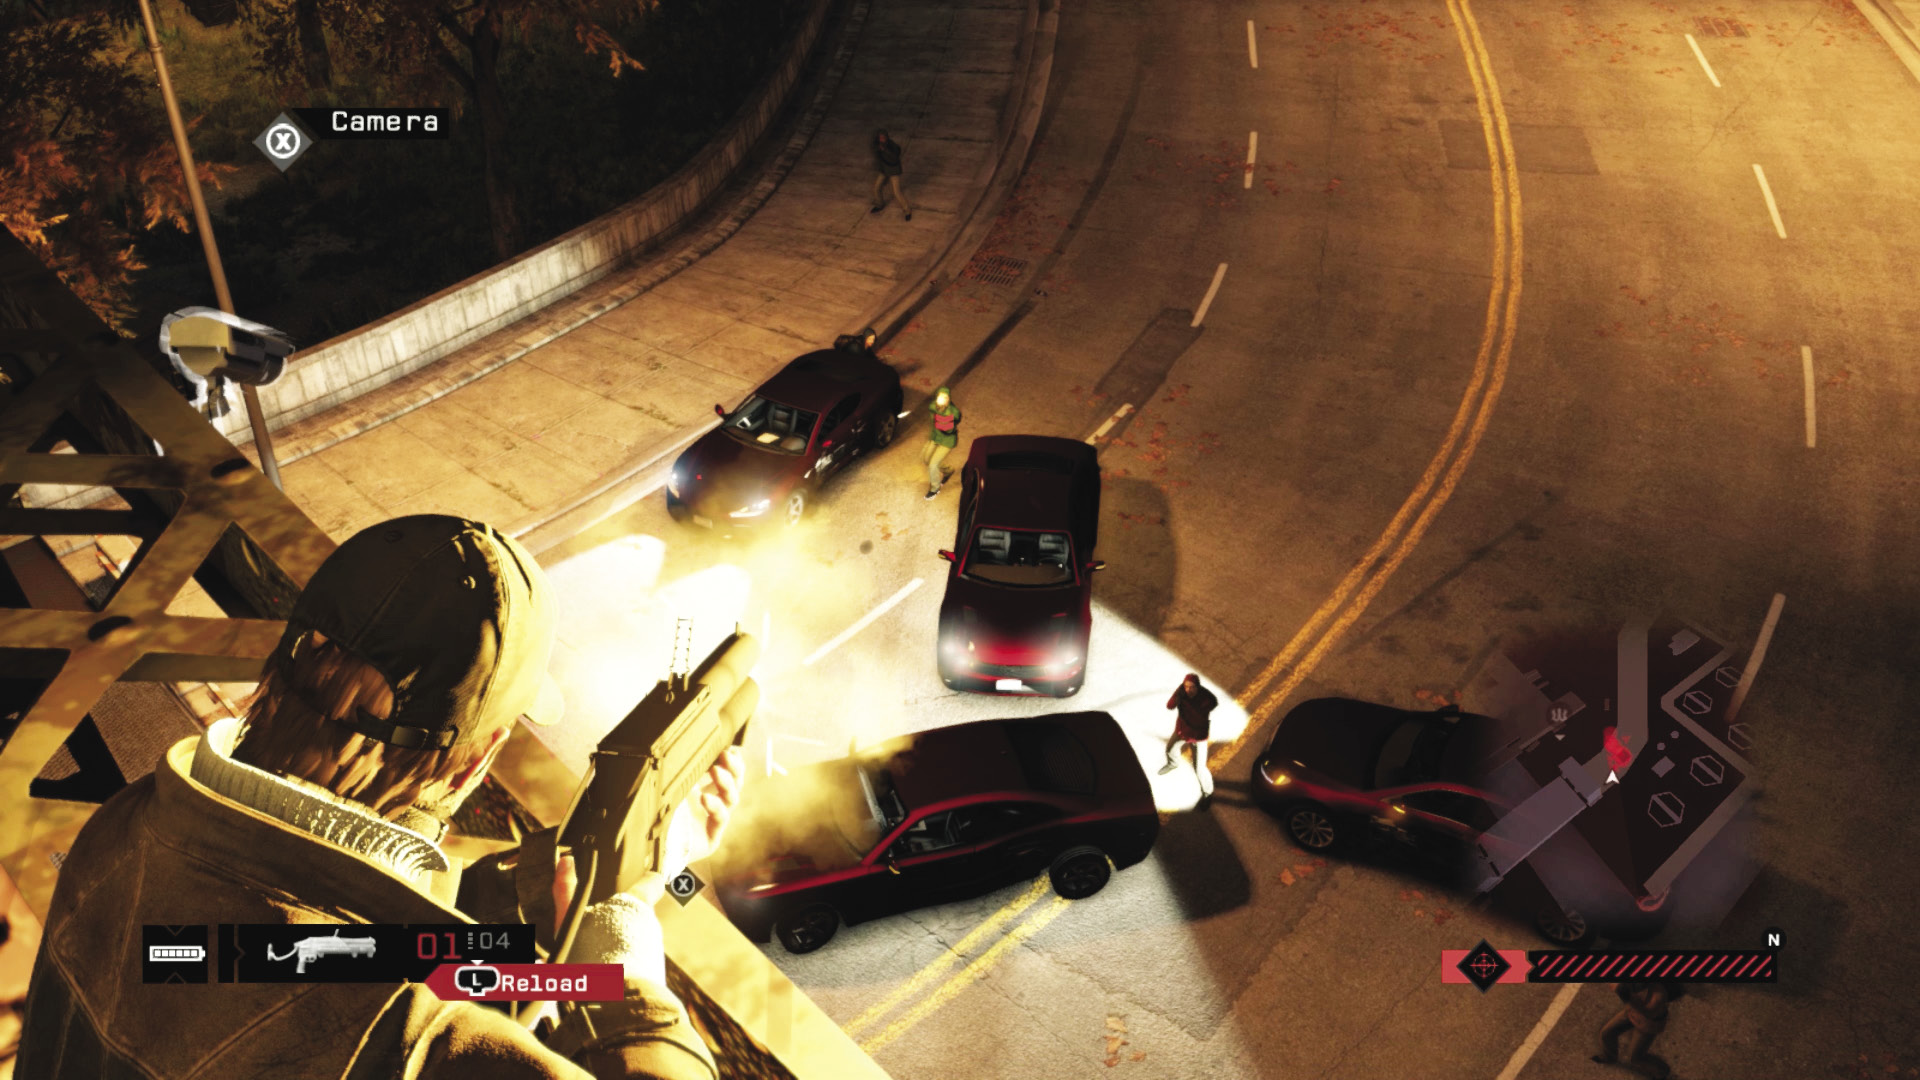
You can raise the bridge to the north, creating an impenetrable obstacle if you’re on the opposite side. Even better, you can wait on the bridge for it to rise, reverse onto the grating above the bridge entrance, and use it to rain explosive death down from above!
When you lose the Fixers, the mission concludes.
MISSION REWARDSGained XP +3,000 |