
_ctOS TOWERS
ctOS Towers Overview
When you’re exploring Chicago, it helps to uncover as much information from your in-game map as possible. While opening ctOS control centers reveals each district of the map, it doesn’t show all of the points of interest (POI). For that to happen, you need to find additional ctOS towers, both on your map and on the ground, that are active within each district. The following information reveals the location of each of the 13 towers and how to install a back door to access the more detailed information the maps then reveal (hideouts and collectibles):
Available ctOS Towers
| District | Tower Name | When First Available |
|---|---|---|
| Pawnee* | Pawnee District Tower* | During Act III // 1. Hope is a Sad Thing |
| Parker Square | 01 / Hill Park | After Act I // 1: Bottom of the Eighth |
| Parker Square | 02 / Pequino Village | After Act I // 1: Bottom of the Eighth |
| The Wards | 03 / Woodpark West | After the Wards ctOS control center |
| The Wards | 04 / Rossi-Fremont Tower | After the Wards ctOS control center |
| The Wards* | N/A / Rossi-Fremont Tenements Tower* | During Act II // 6: Jury-Rigged |
| Brandon Docks | 05 / Calumet Market Tower | After Brandon Docks ctOS control center |
| Brandon Docks | 06 / Des Monts Canal Tower | After Brandon Docks ctOS control center |
| Brandon Docks | 07 / Lake Shore Tower | After Brandon Docks ctOS control center |
| The Loop | 08 / South Side Campus Tower | After Act I // 3: Backstage Pass |
| The Loop | 09 / Theater Square Tower | After Act I // 3: Backstage Pass |
| The Loop | 10 / Riverside Tower | After Act I // 3: Backstage Pass |
| Mad Mile | 11 / Franklin Tower | After Mad Mile ctOS control center |
| Mad Mile | 12 / River East Tower | After Mad Mile ctOS control center |
| Mad Mile | 13 / Gold Coast Tower | After Mad Mile ctOS control center |
* This ctOS tower is unlocked as part of the main missions and does not count toward the ctOS tower total.
REWARDS (Per ctOS TOWER ACCESS)New collectibles available New Investigation clues available New Hideout available Gained XP: +250 |
MISSION REWARDS (Unlocks)Complete 1 ctOS Tower Unlock: SMG-11 (Weapon) Complete 5 ctOS Tower UnlockS: Amargosa turbo (vehicle) Complete 13 ctOS Tower UnlockS: Clear Signals (Achievement) |
ctOS TOWER 01 / PARKER SQUARE // HILL PARK TOWER
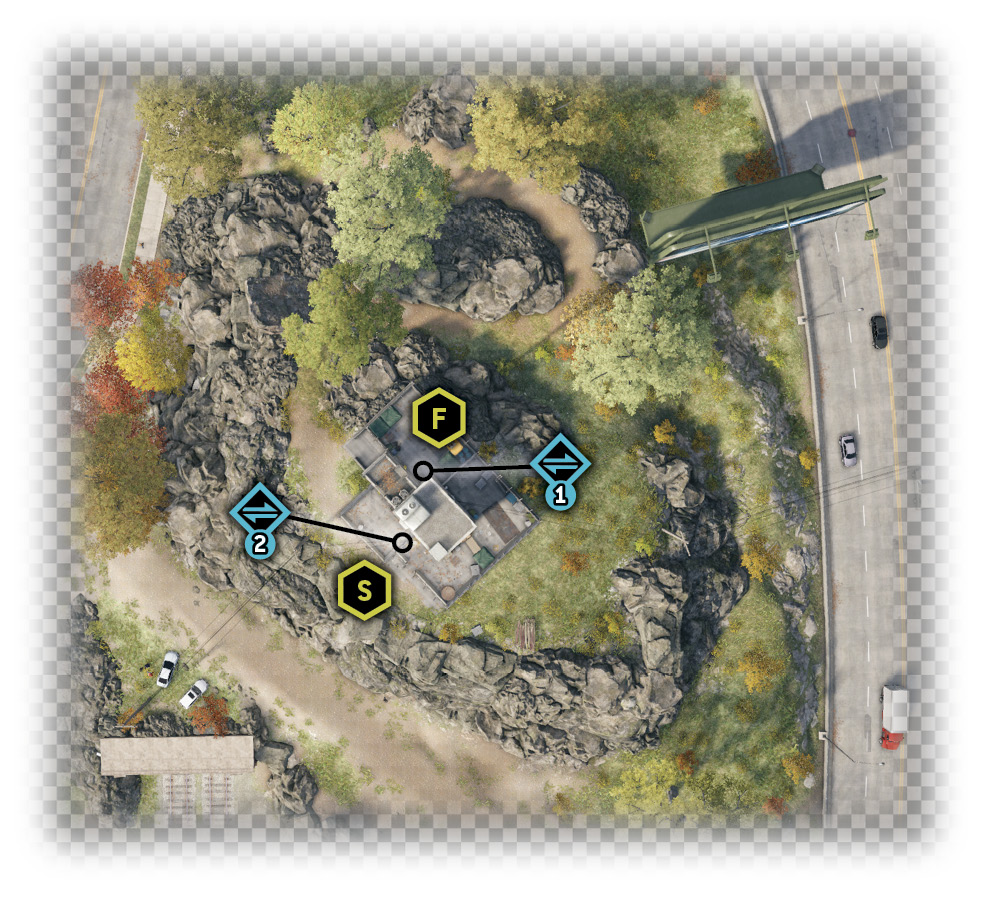
Difficulty: 
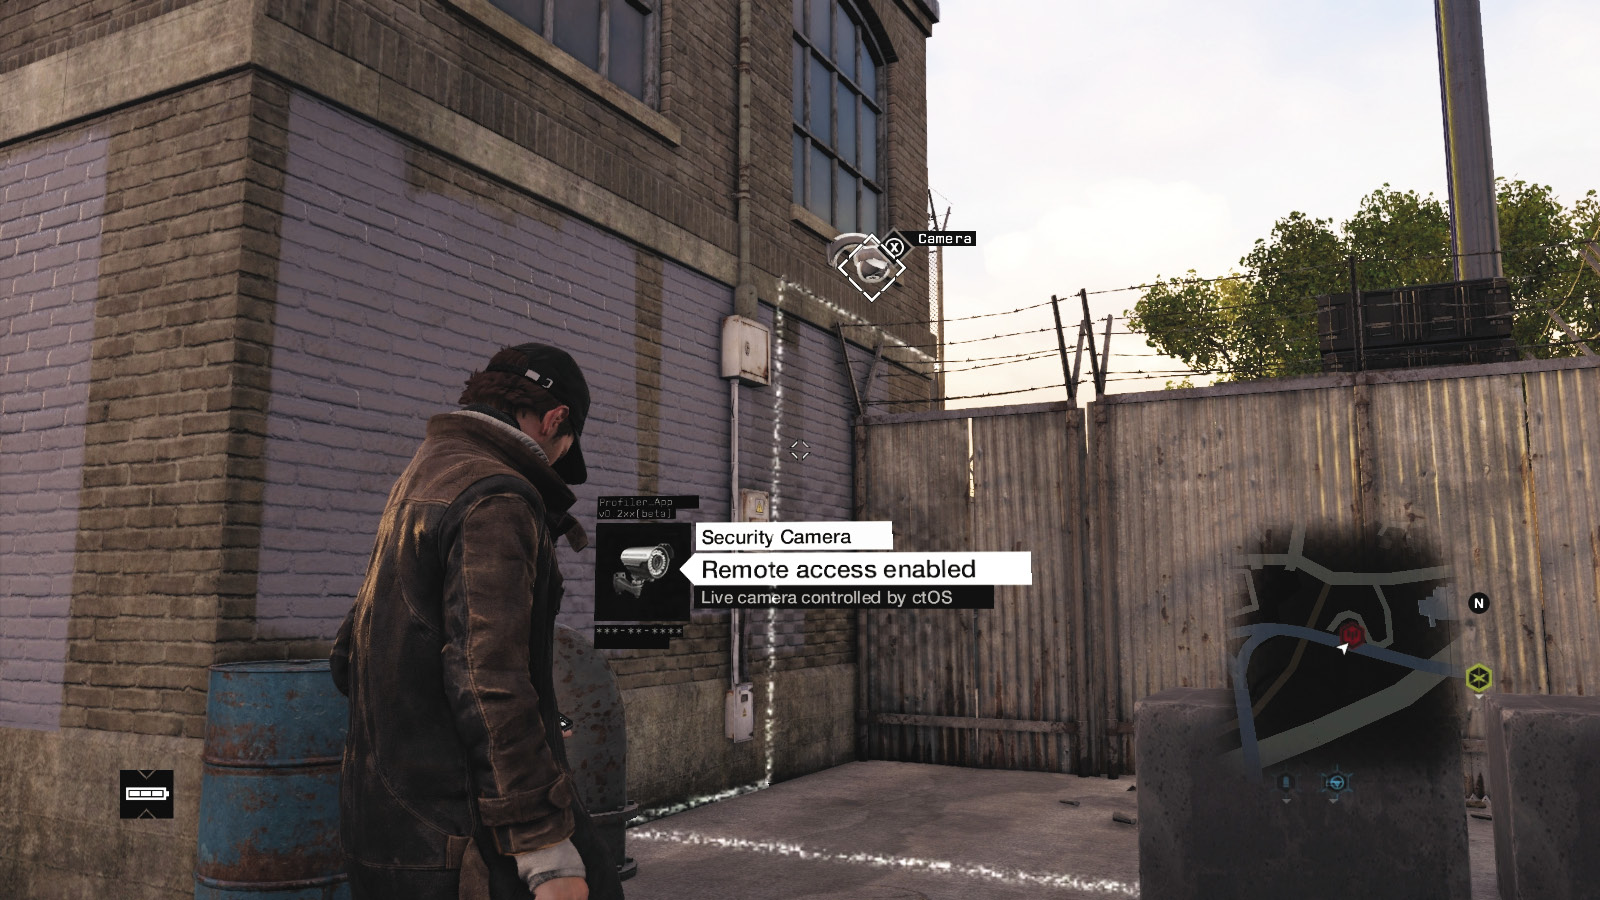
Run up to the hilltop substation, locate the security door, and follow the data flow around to a fence you can’t climb but a camera you can hack.
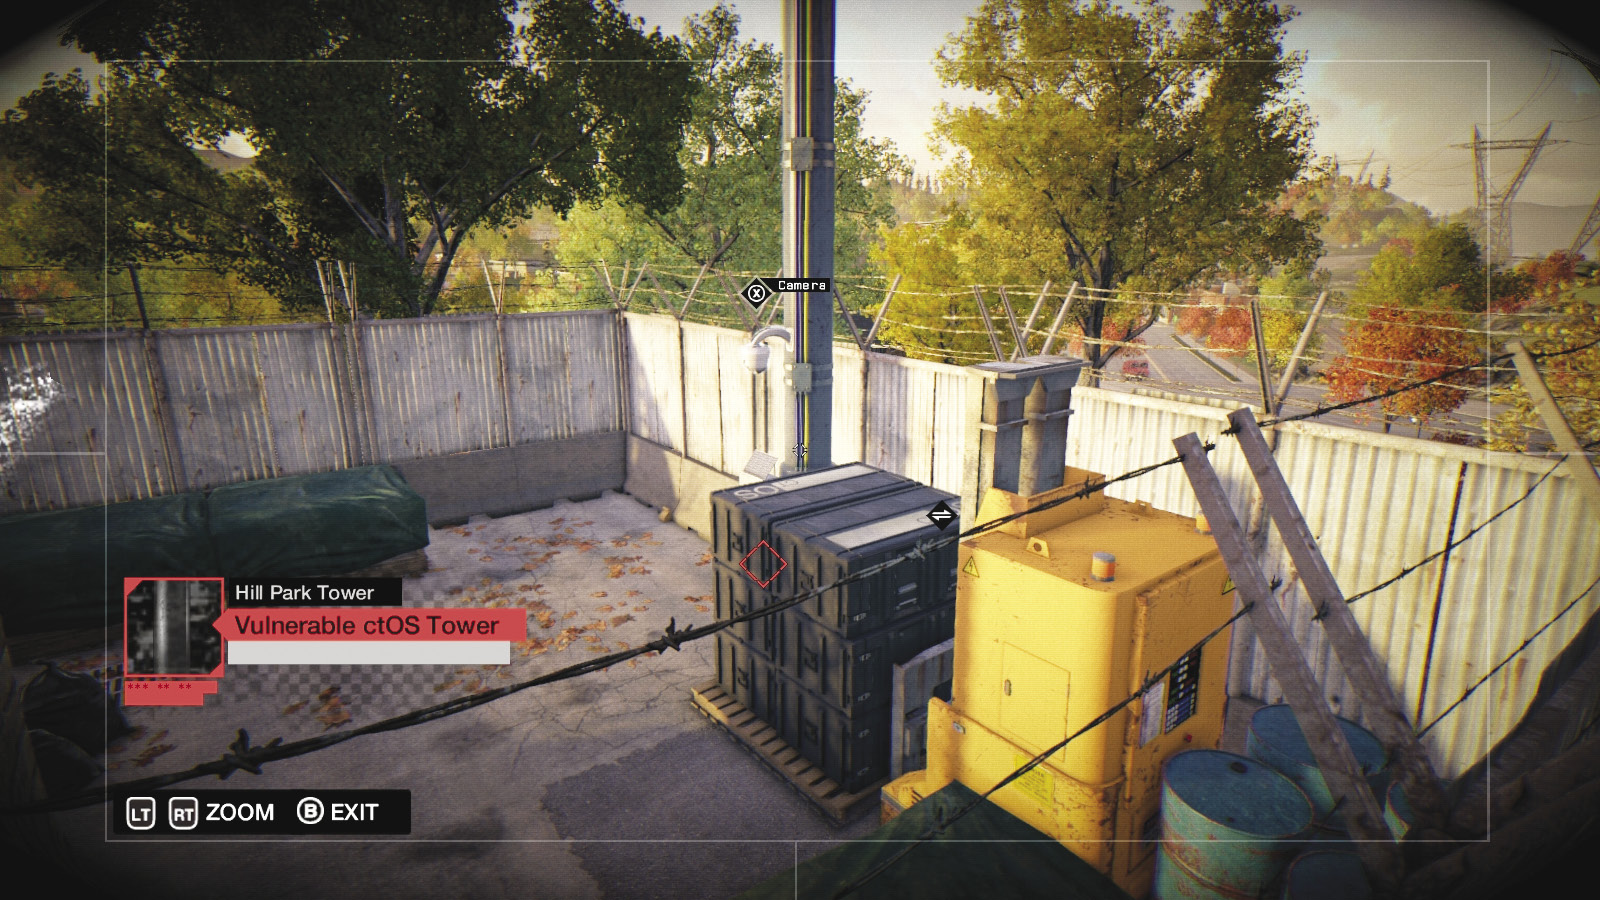
Peer over and lower the crates on the forklift, revealing a camera above the control point. Use the camera to spot the unlock box switch.
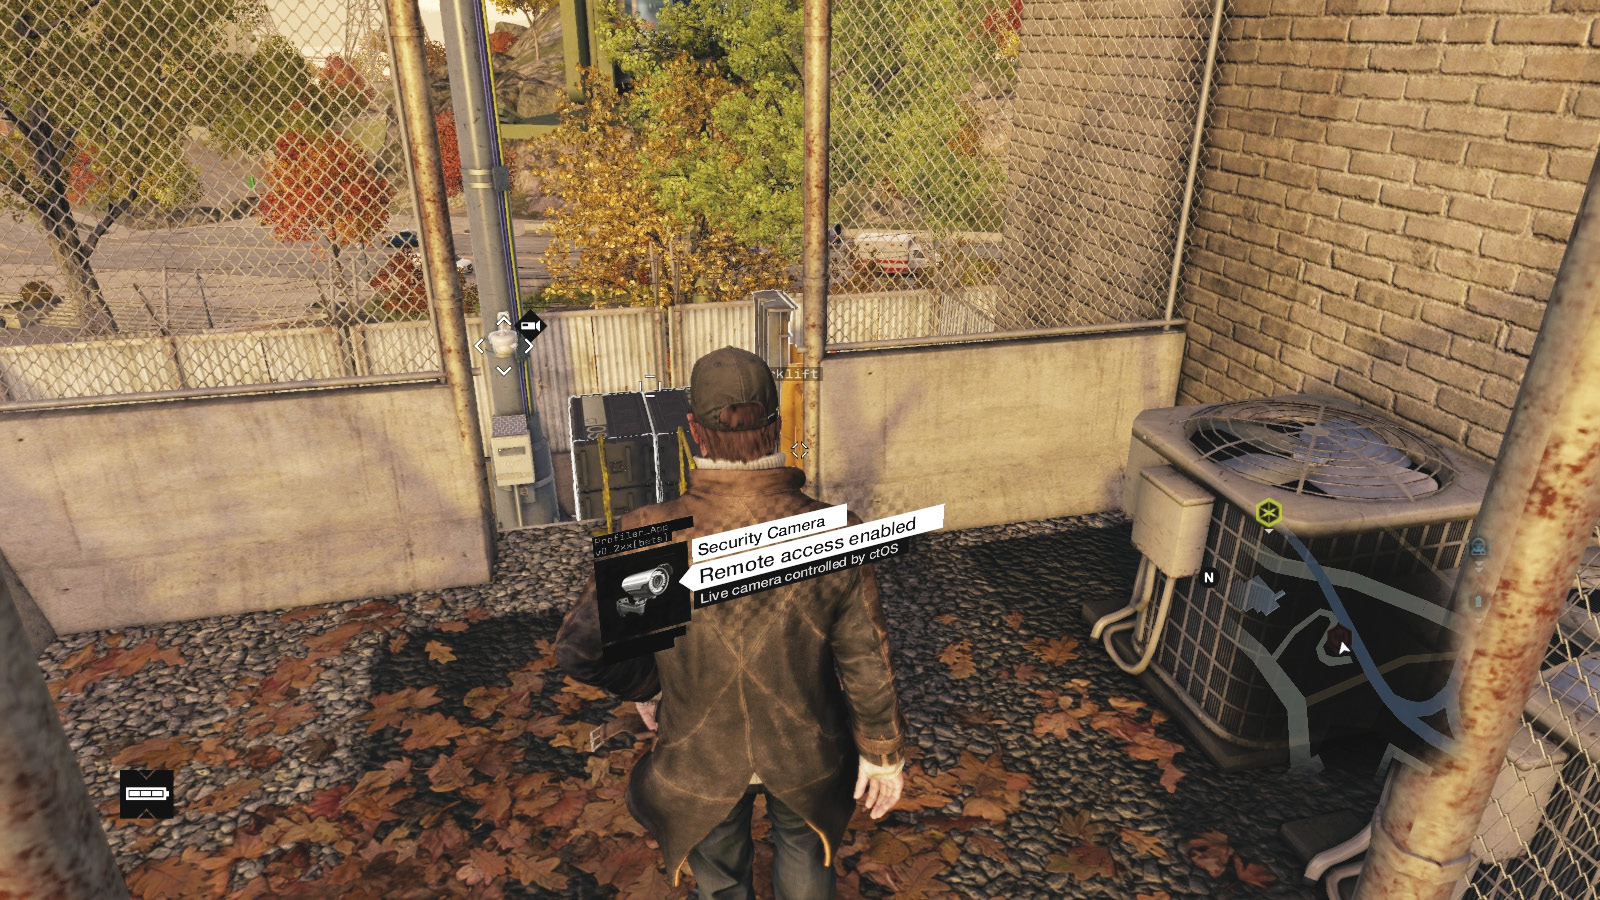
Head through the now-open gate, climb the ladder to the opposite corner of the substation where the control point is, drop down, and unlock this ctOS tower.
ctOS TOWER 02 / PARKER SQUARE // PEQUINO VILLAGE TOWER
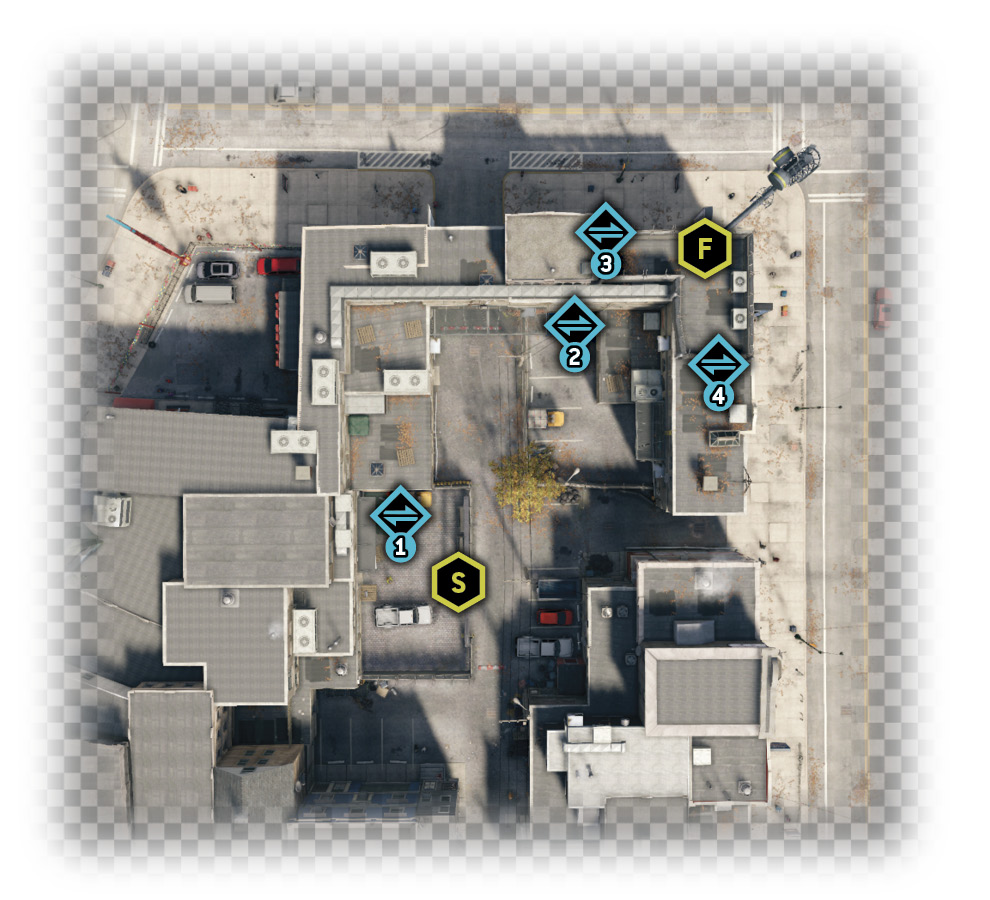
Difficulty: 
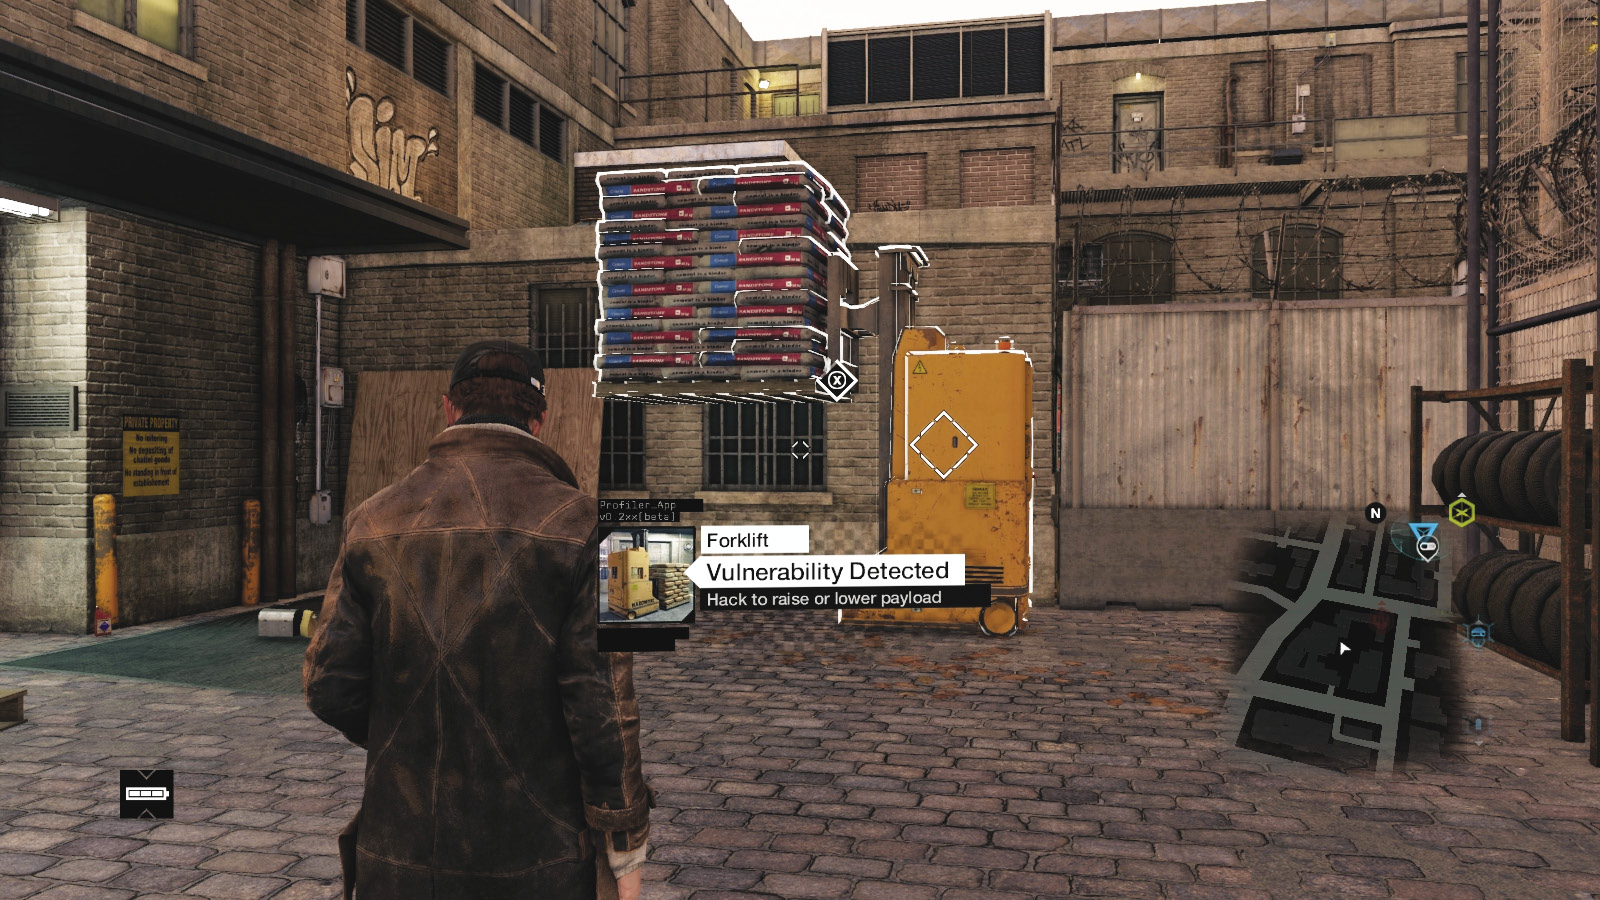
Move into the back alley and yard area, summon a forklift, and climb the drywall pallet it is holding. Use parkour to climb onto the lower rooftops.
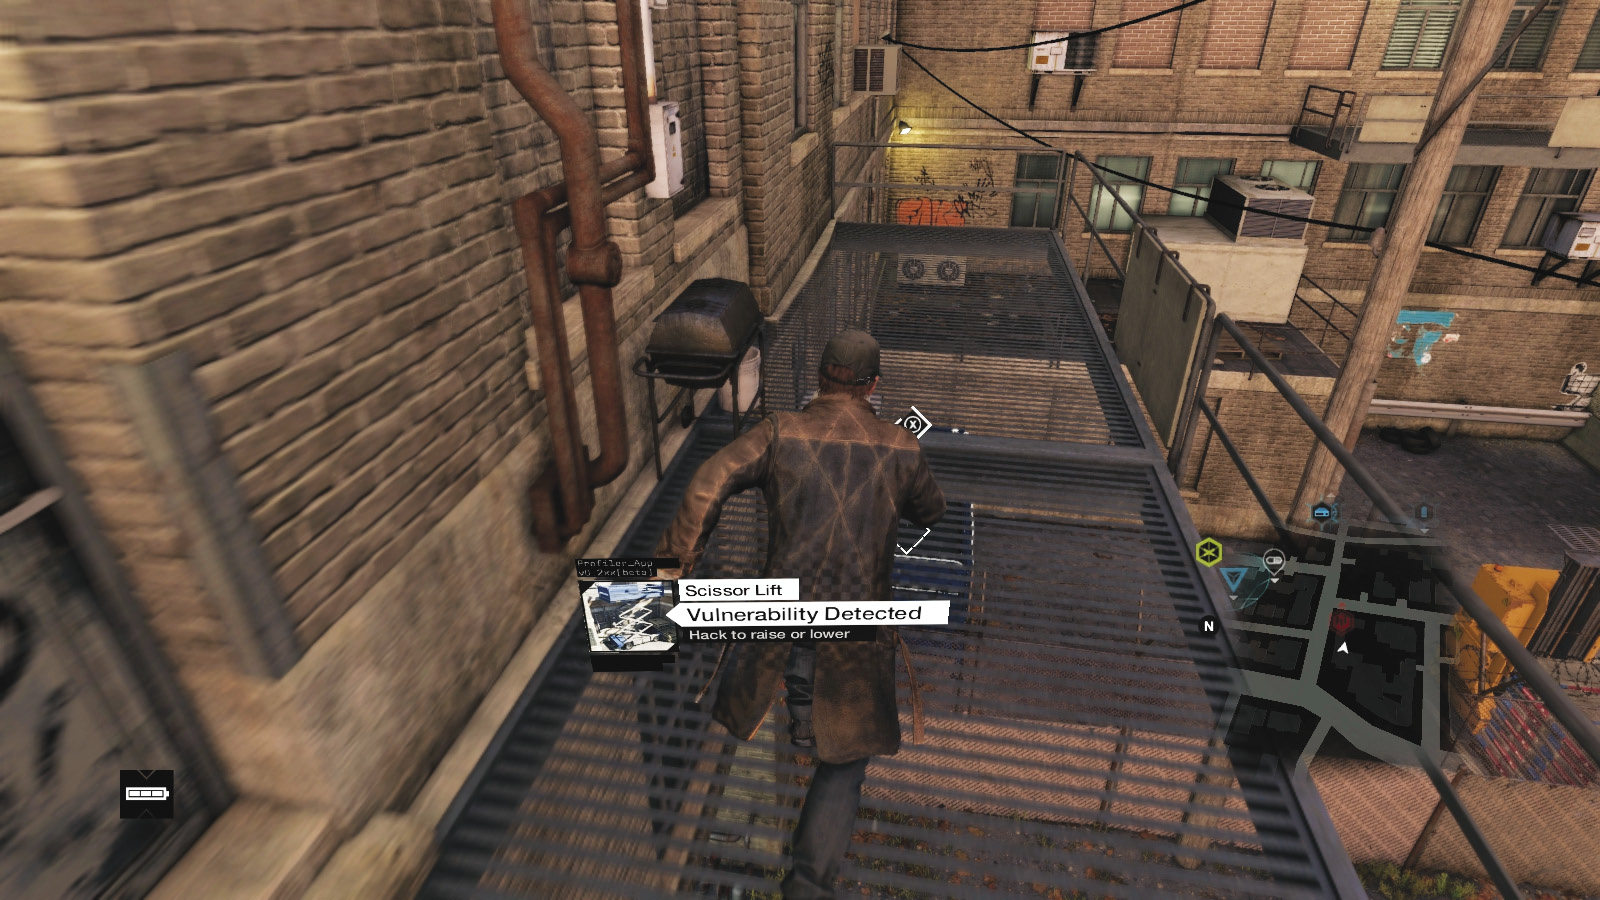
Cross the metal balcony, summon a scissor lift, and cross it. Climb the air-conditioner units to the roof with the tower. At the locked gate, locate the camera on the tower.
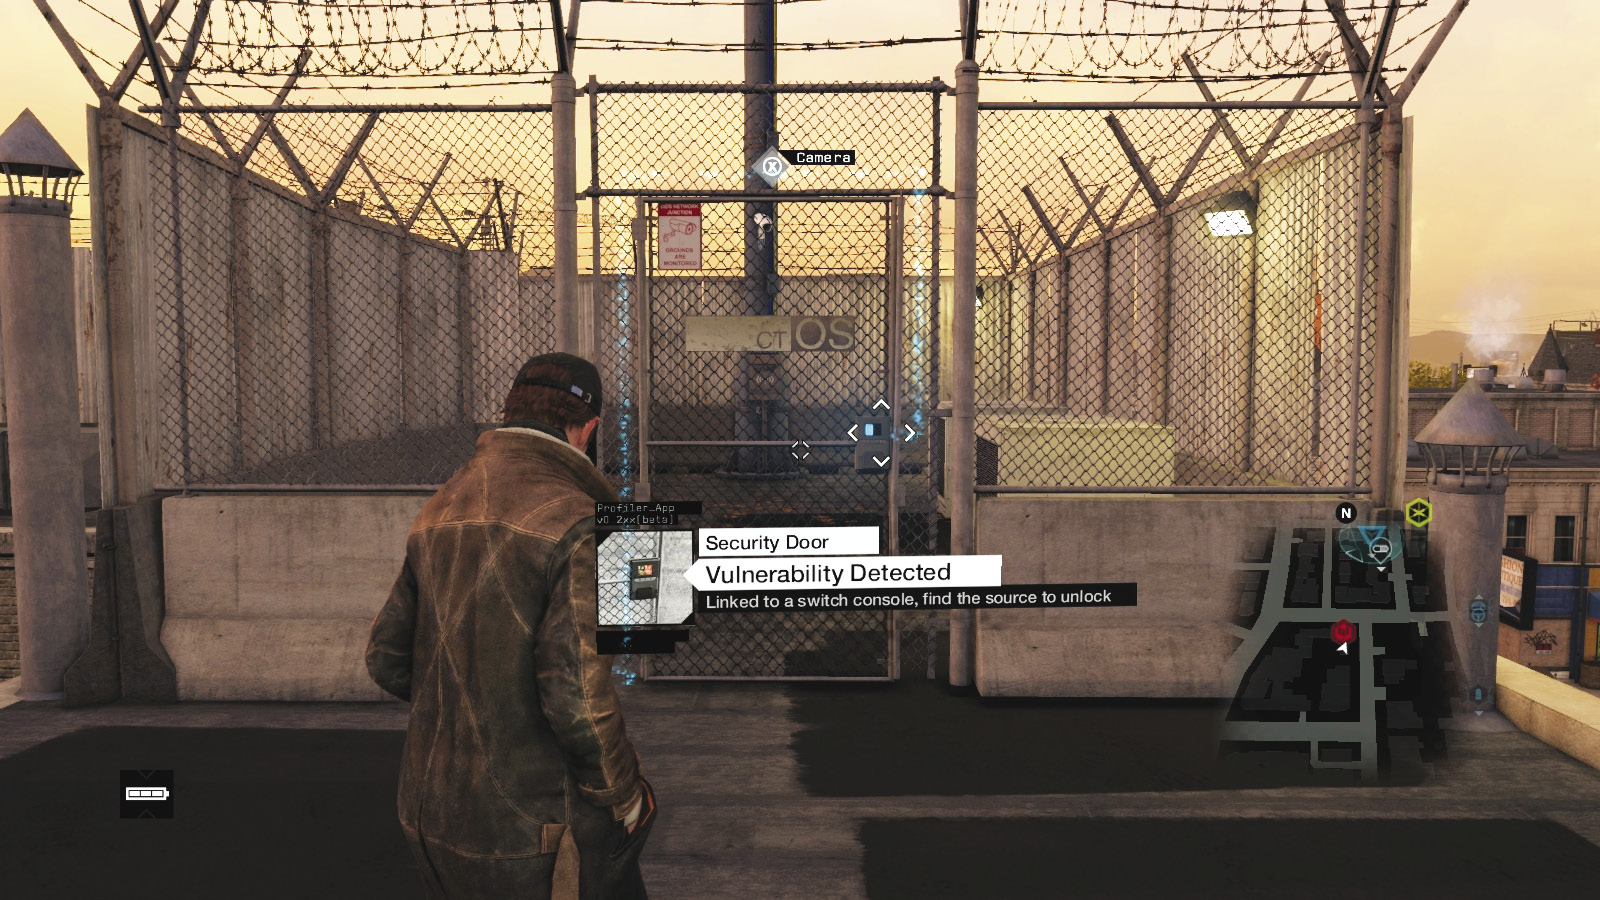
Hack the camera and pan it to the right to see the data flow and unlock box switch connected to the gate. Hack the switch, push the gate open, and unlock this ctOS tower.
ctOS TOWER 03 / THE WARDS // WOODPARK WEST TOWER
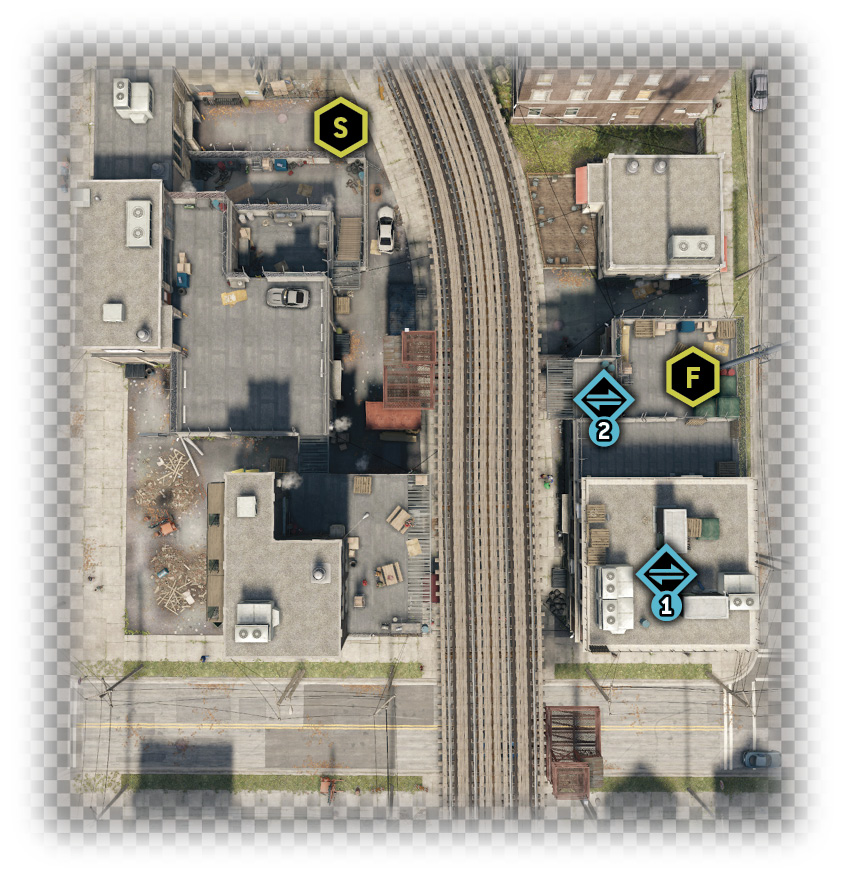
Difficulty: 
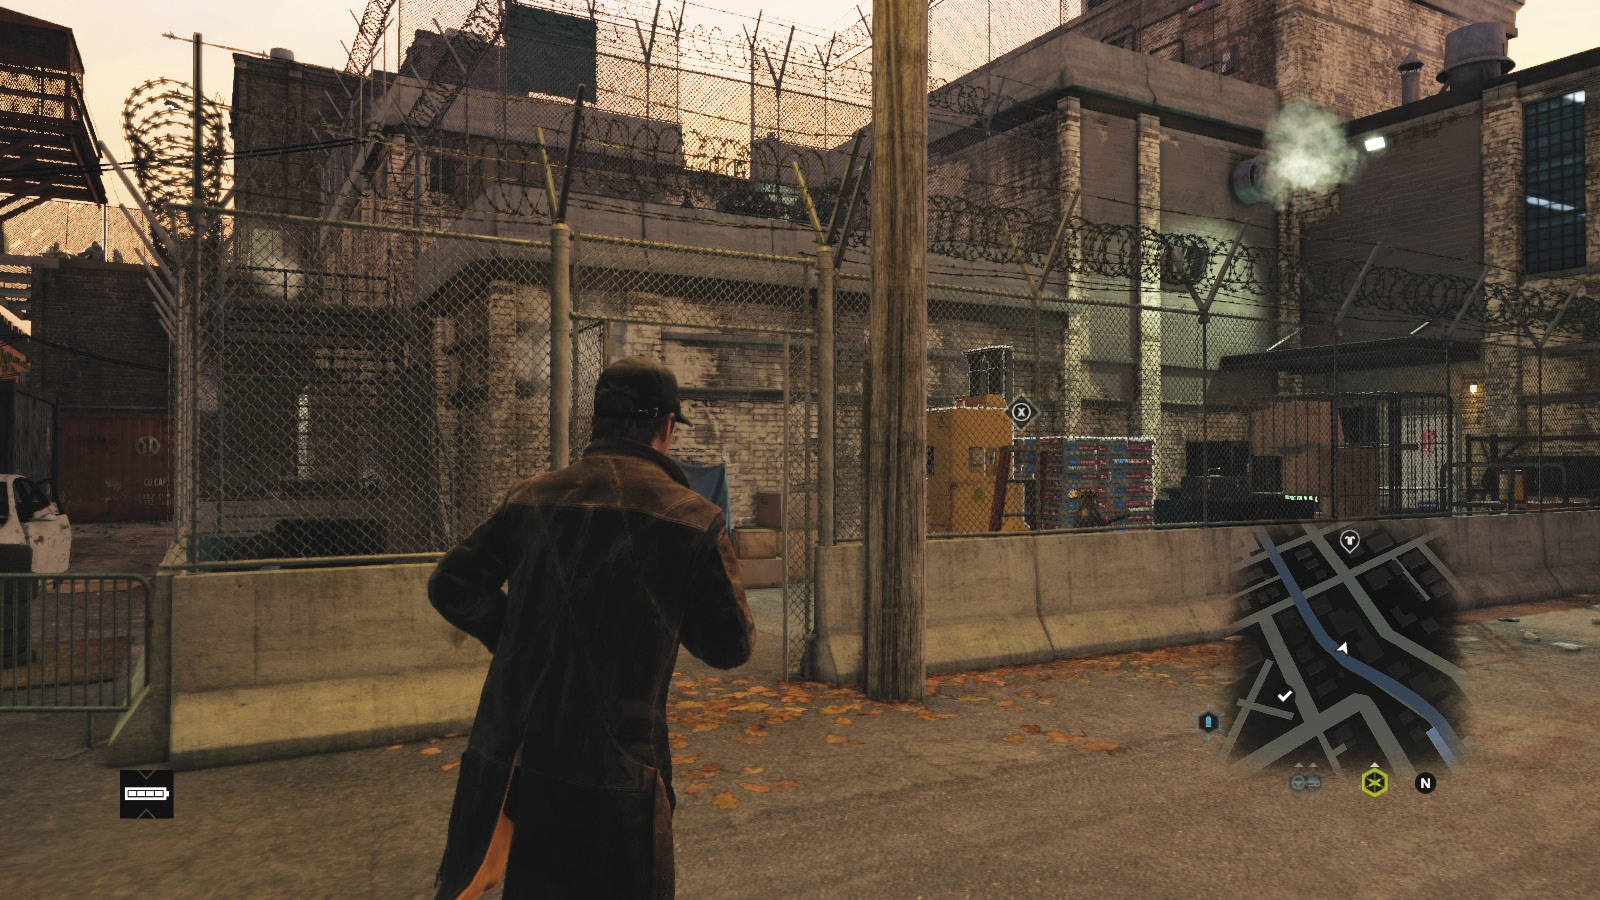
Head under the L-train tracks to the mesh fenced area, push open the unlocked gate, and go up the metal steps. Climb the ladder to the raised rail line. The gate to the tower is locked.
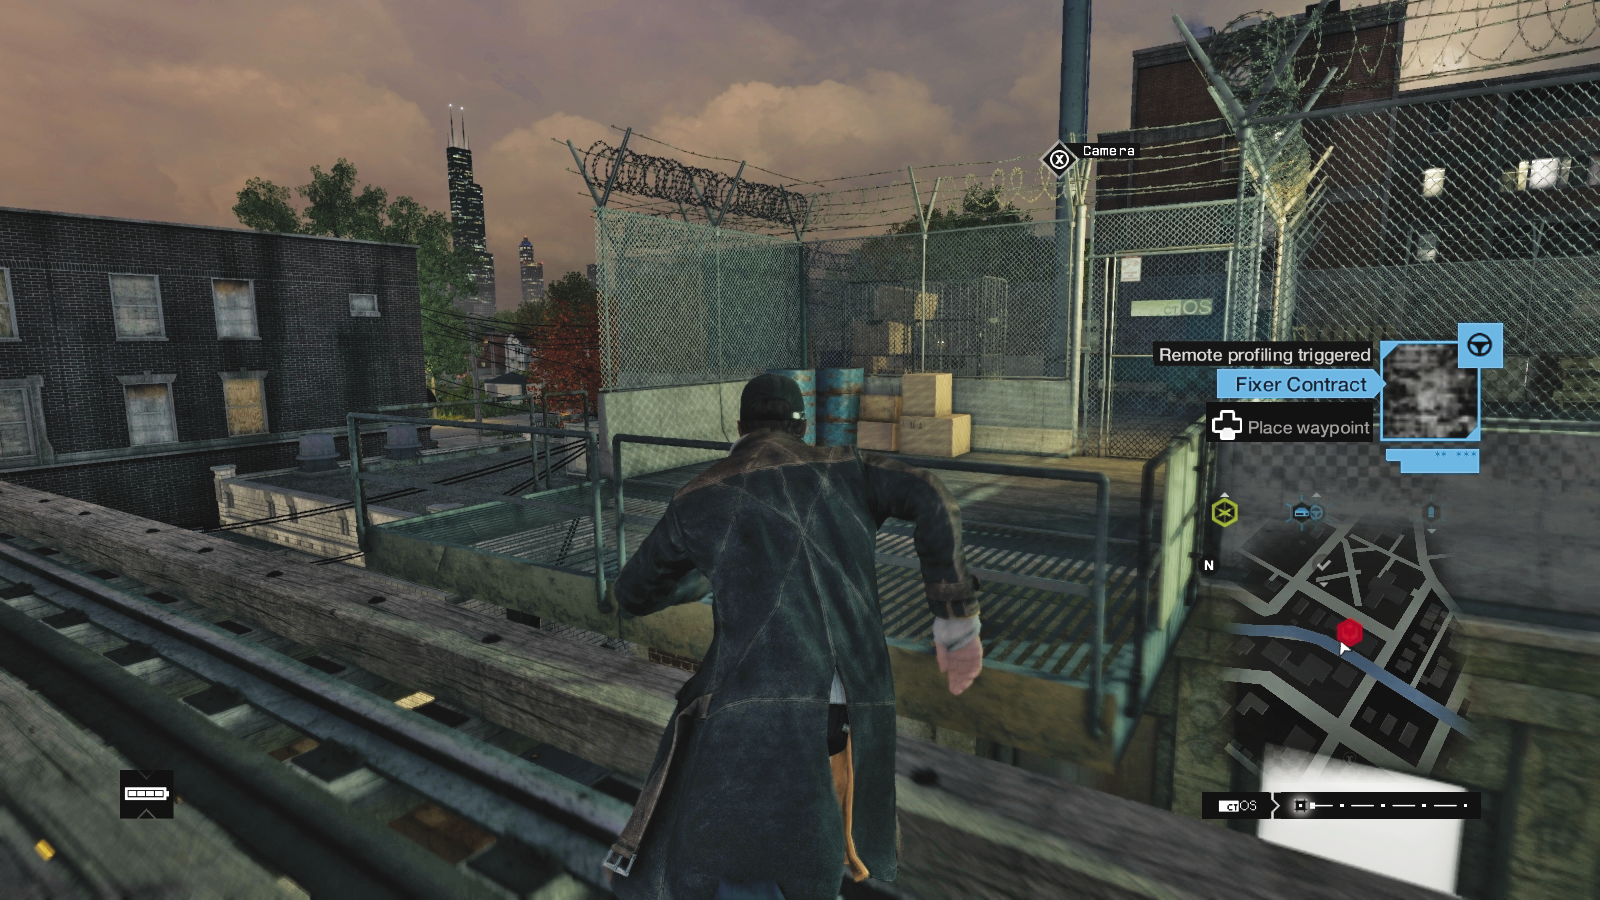
The data flow disappears over the rooftop; use the tower camera and a second one to locate the unlock switch behind some pallets. Watch for trains. Run to the rusting train platform and climb to the top.
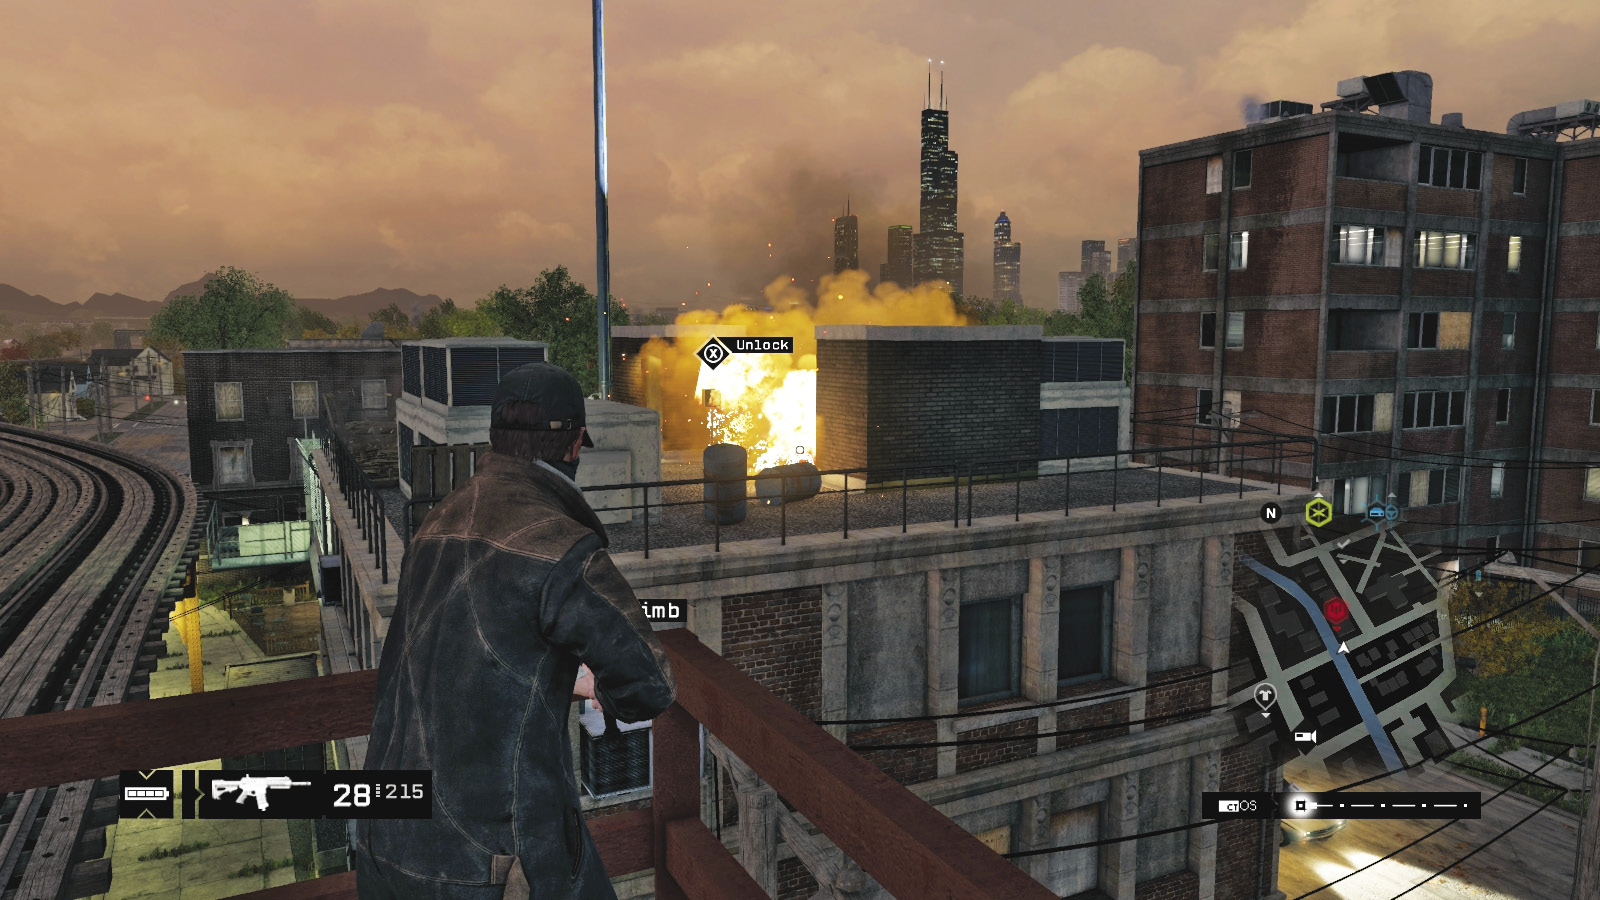
Aim at the canister on the rooftop you can’t reach. This explodes, revealing the switch to hack and opening the gate to the tower. Head there and unlock the ctOS tower.
ctOS TOWER 04 / THE WARDS // ROSSI-FREMONT TOWER
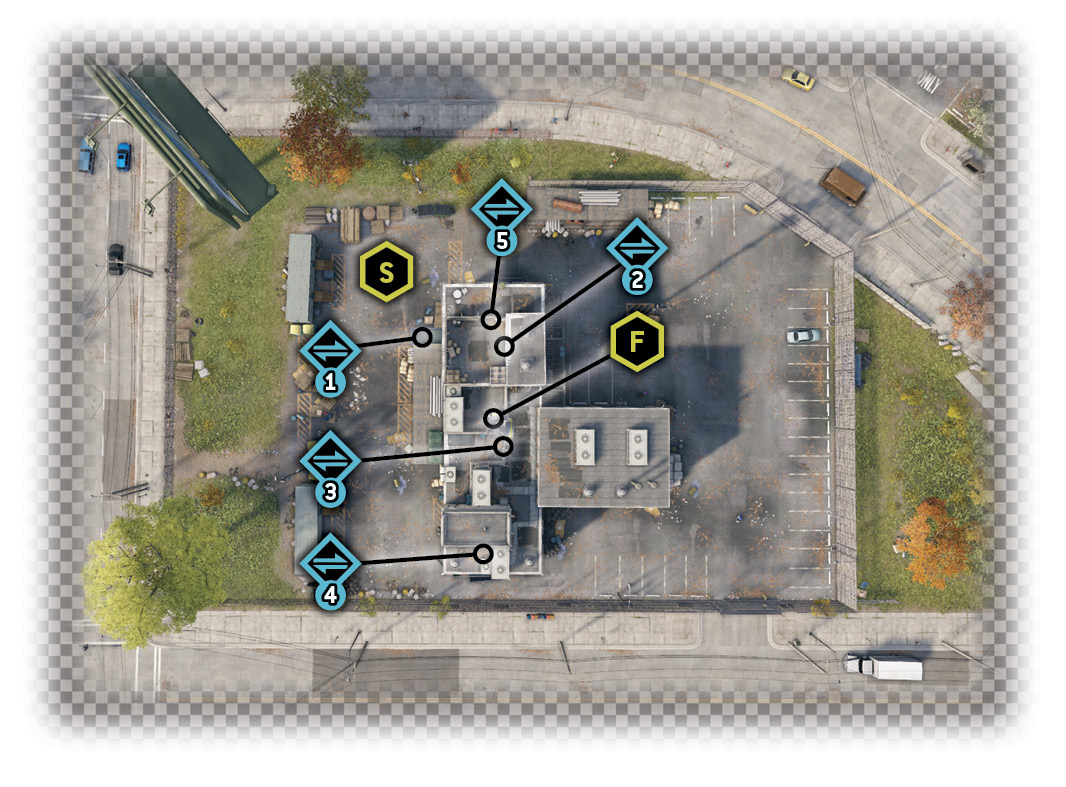
Difficulty: 
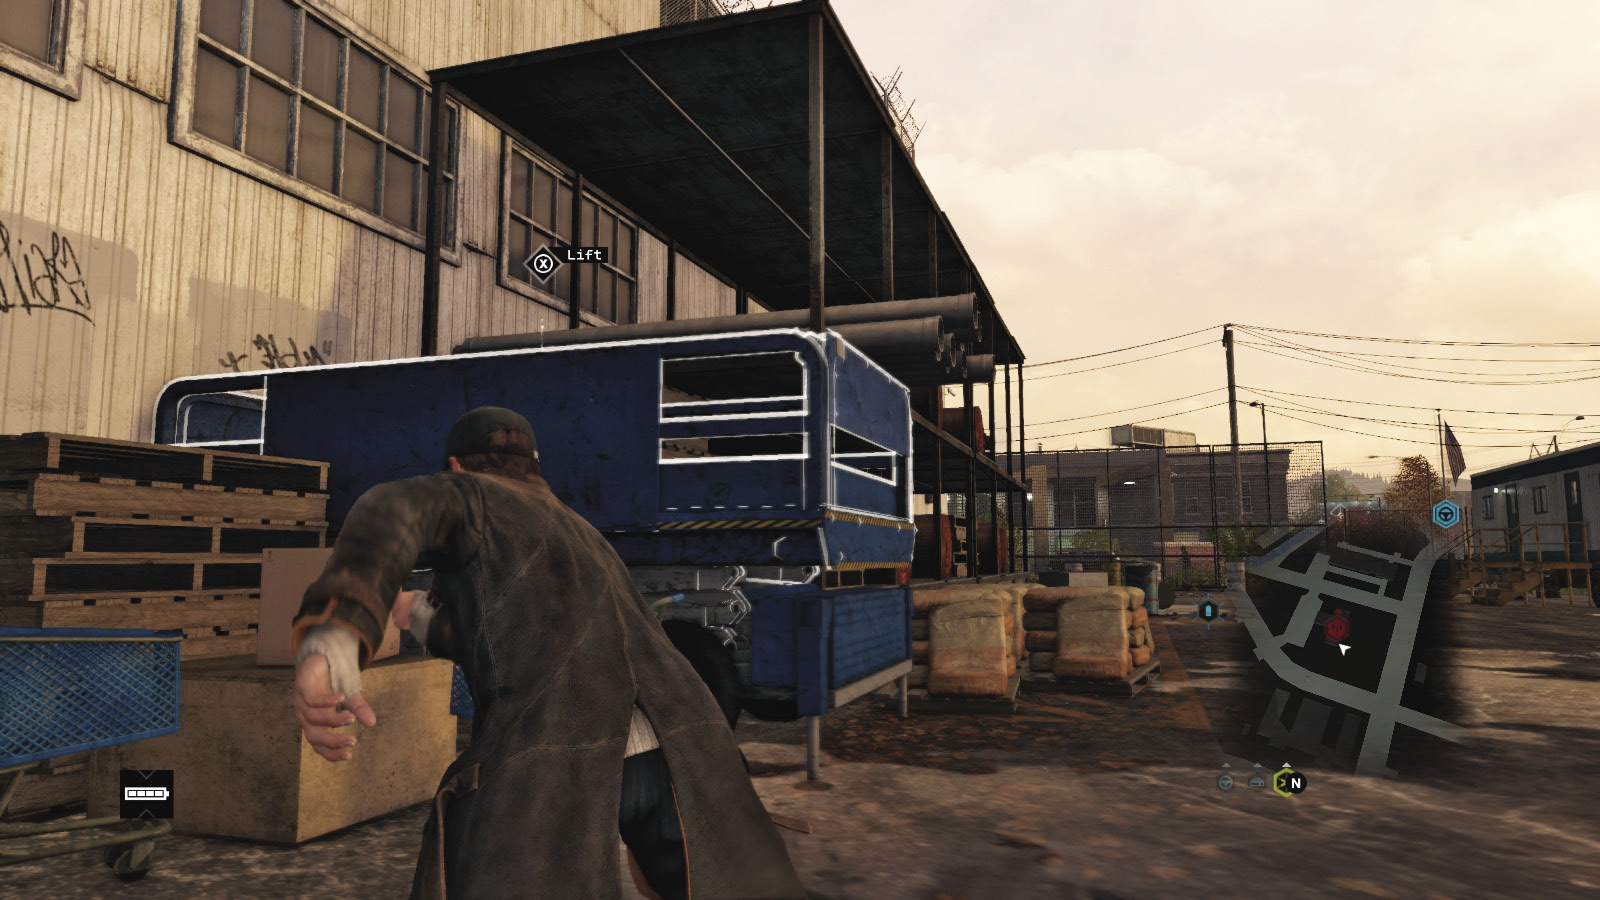
Locate the light gray corrugated metal building and summon the scissor lift. Climb onto and ascend, climbing some pallets to reach a locked gate and data flow.
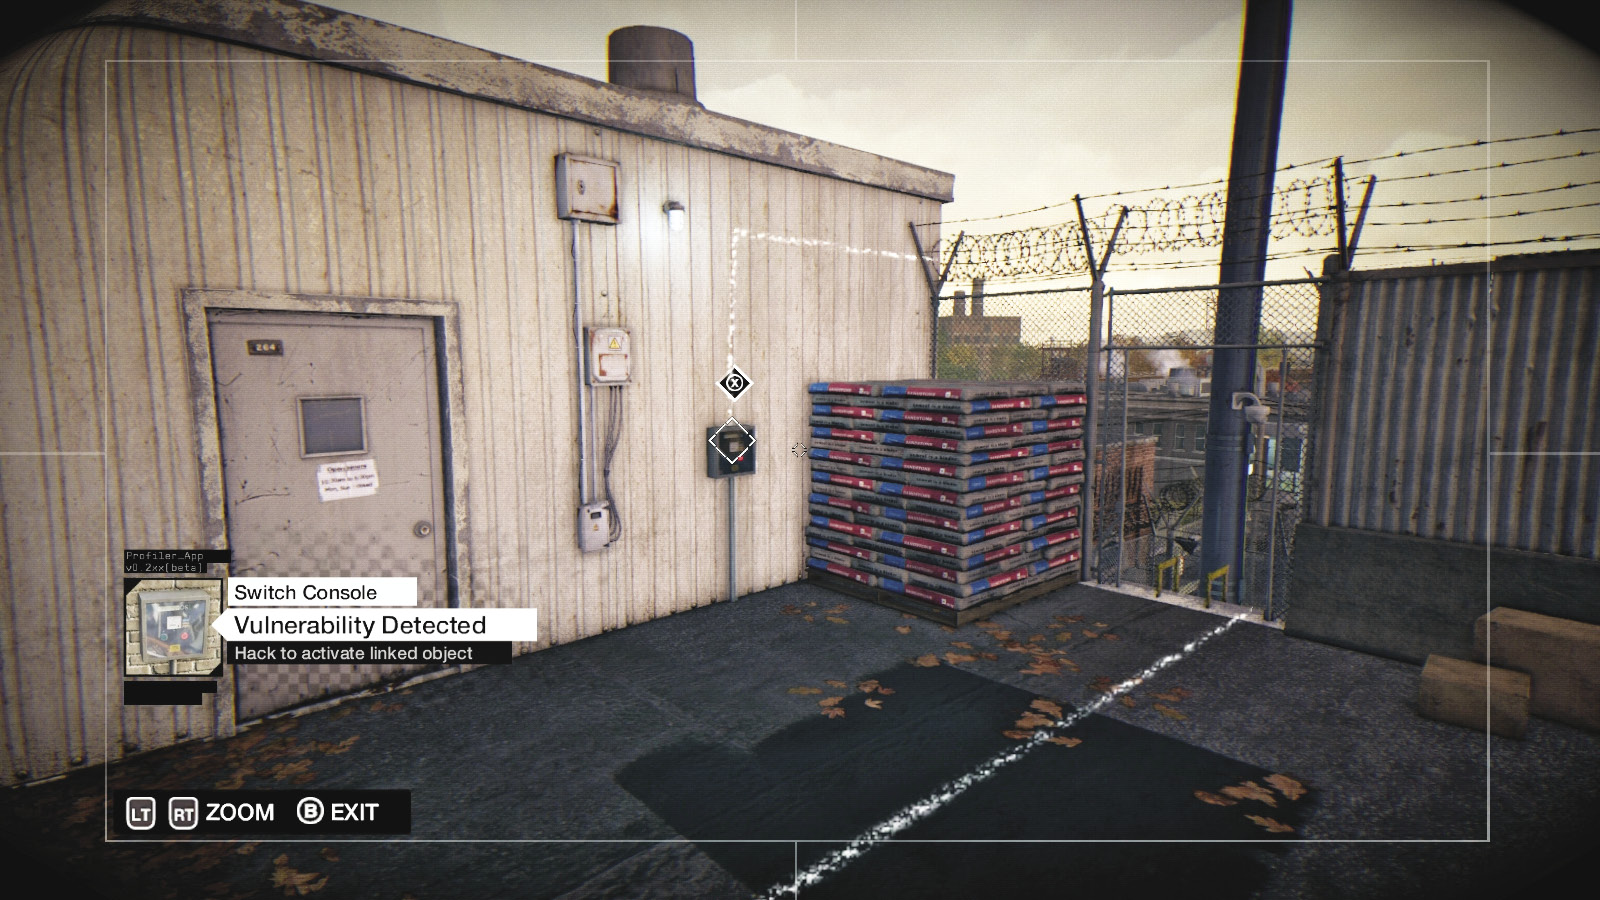
Hack the camera on the tower, pan it to follow the flow to a second camera with an unlock switch, and hack that switch. The first gate opens. Head through, turn right, and hop over an AC unit.
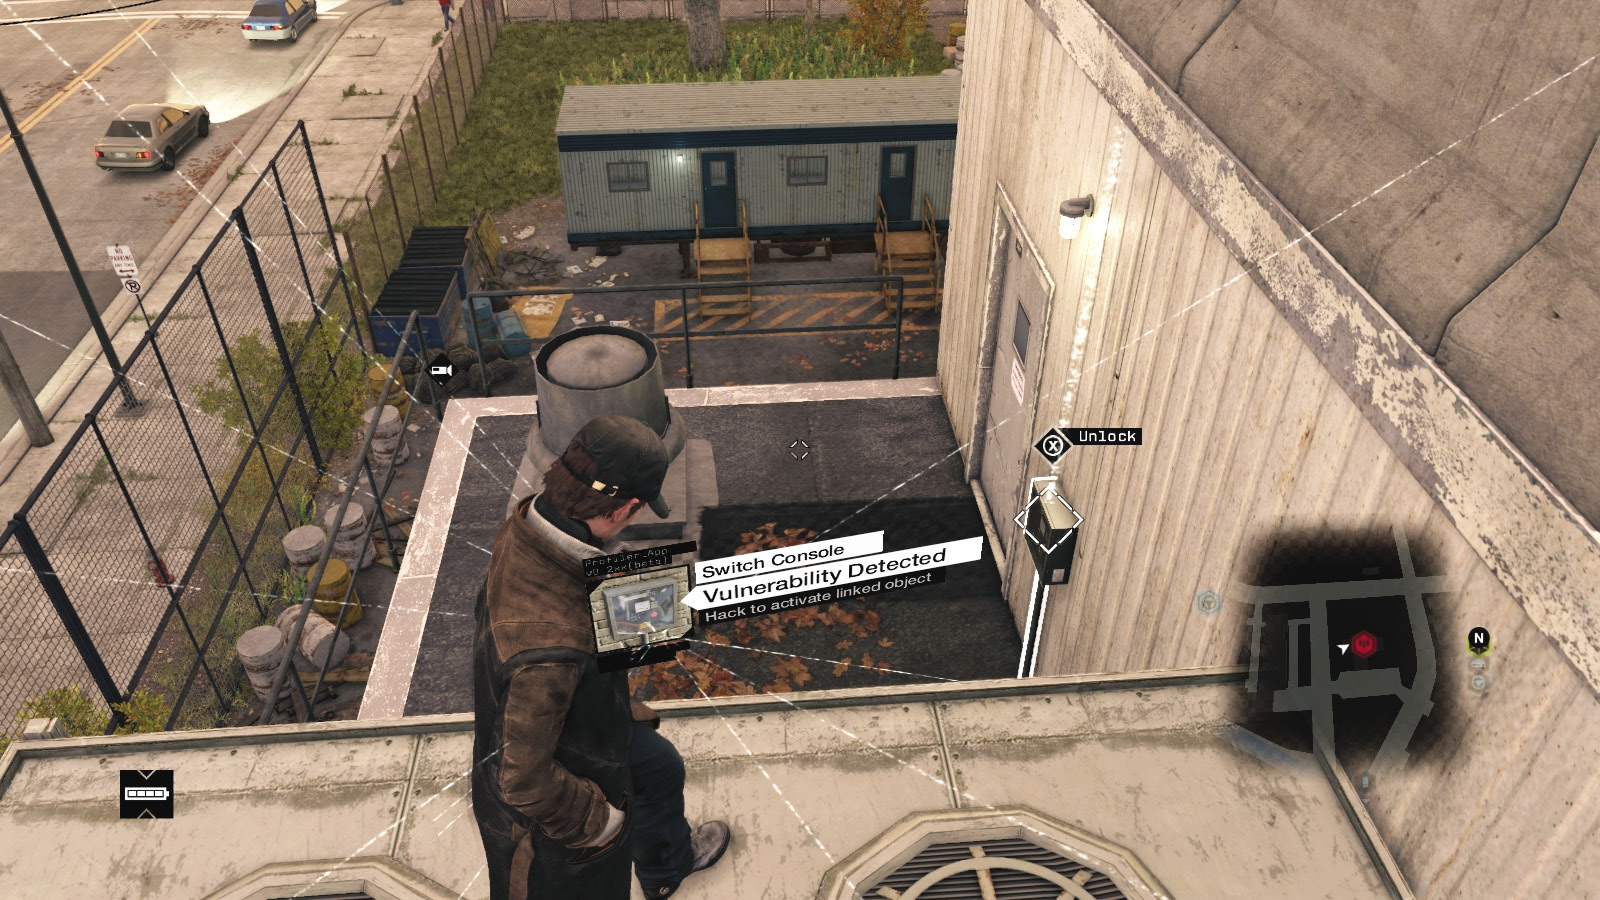
This allows you to spot a second switch, which unlocks the gate to the tower. Run past the first gate, around the balcony to the right, up a ladder, and to the tower. Unlock it.
ctOS TOWER 05 / BRANDON DOCKS // CALUMET MARKET TOWER
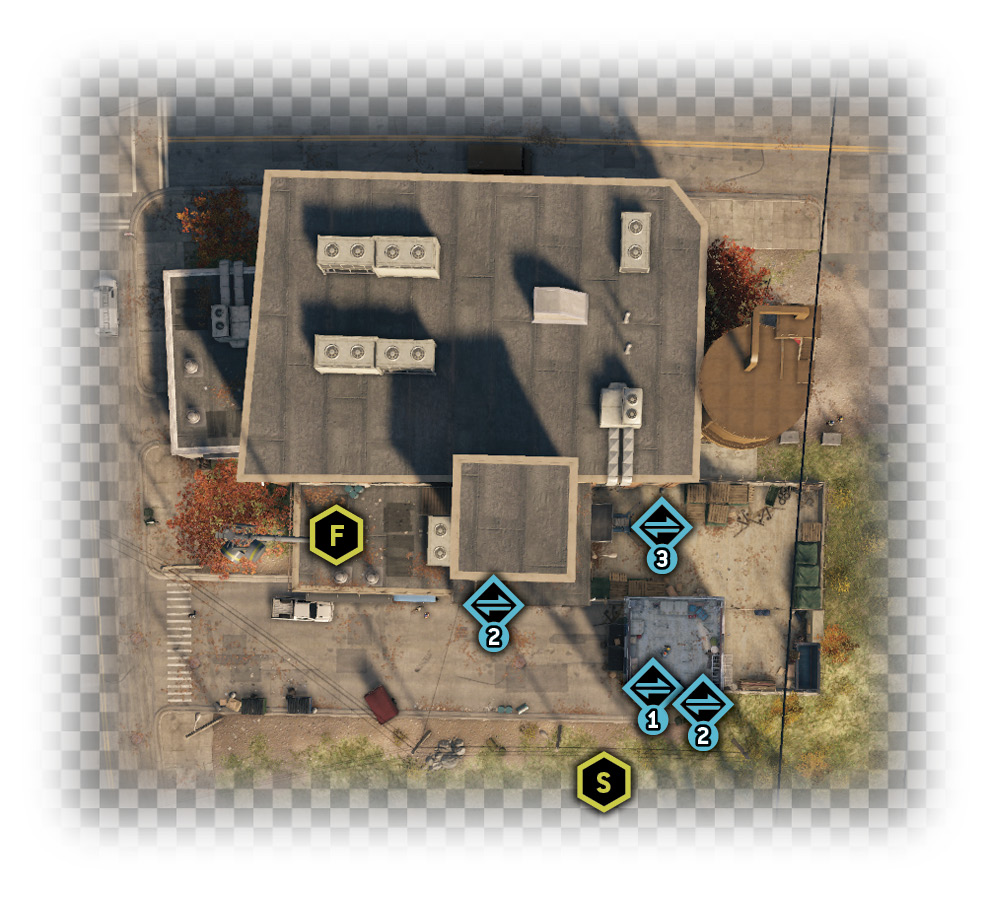
Difficulty: 
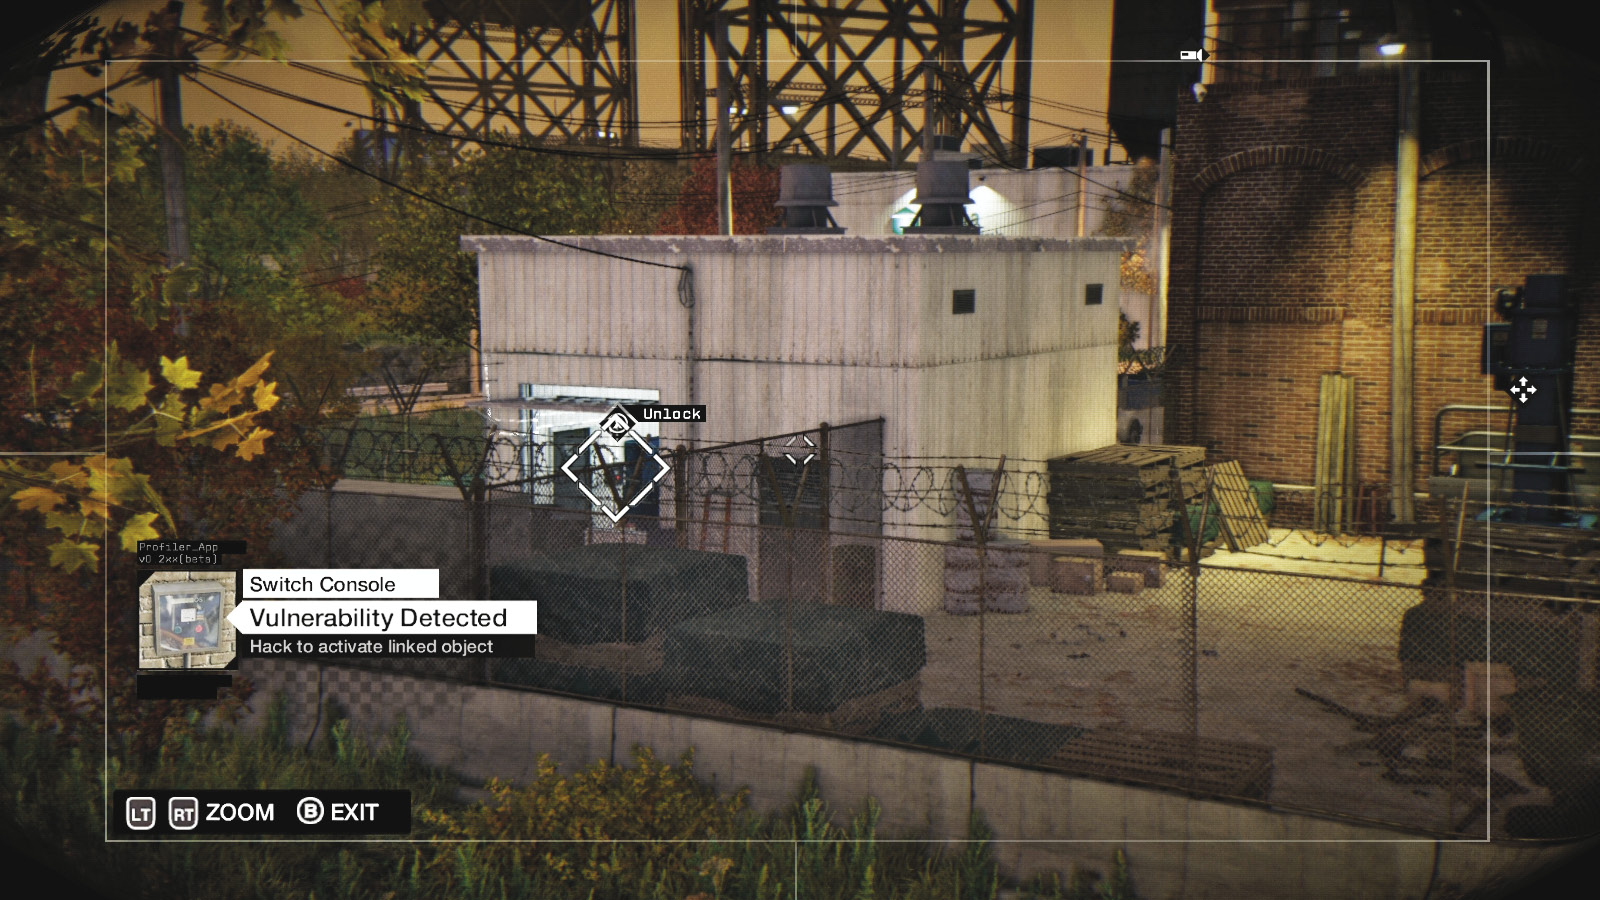
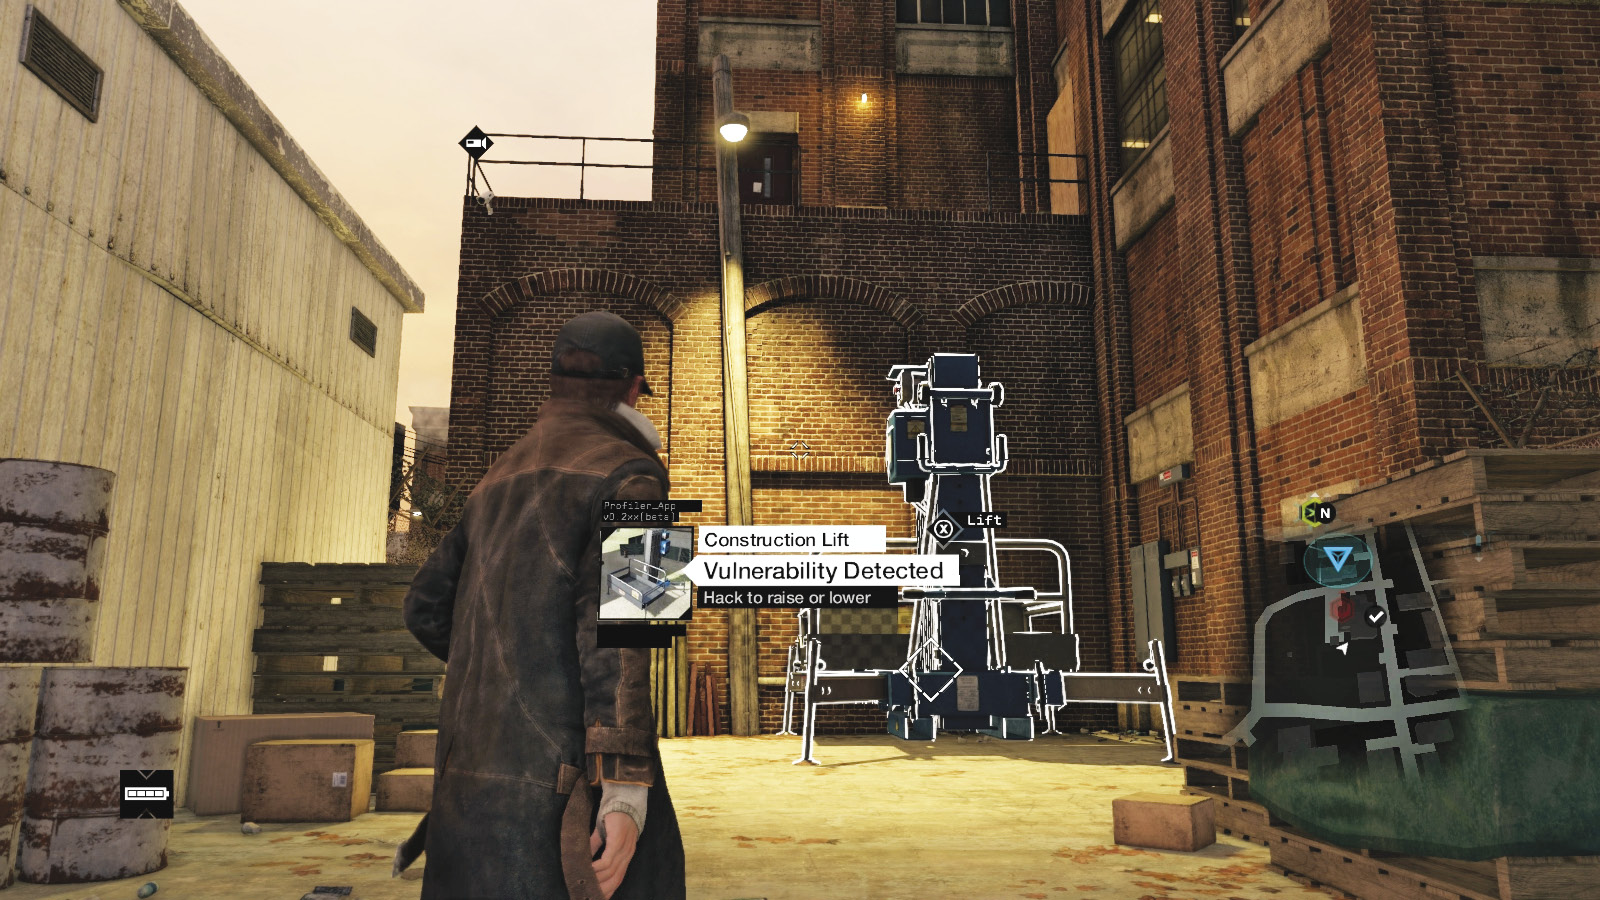
Head around to the brick factory and corrugated metal security hut, and look up at the camera above the construction lift. Pan the camera to see a second camera across the grass. Access it.
This allows you to see the box switch inside the security hut and unlock it. Push open the hut door and step out into a small outer fenced area.
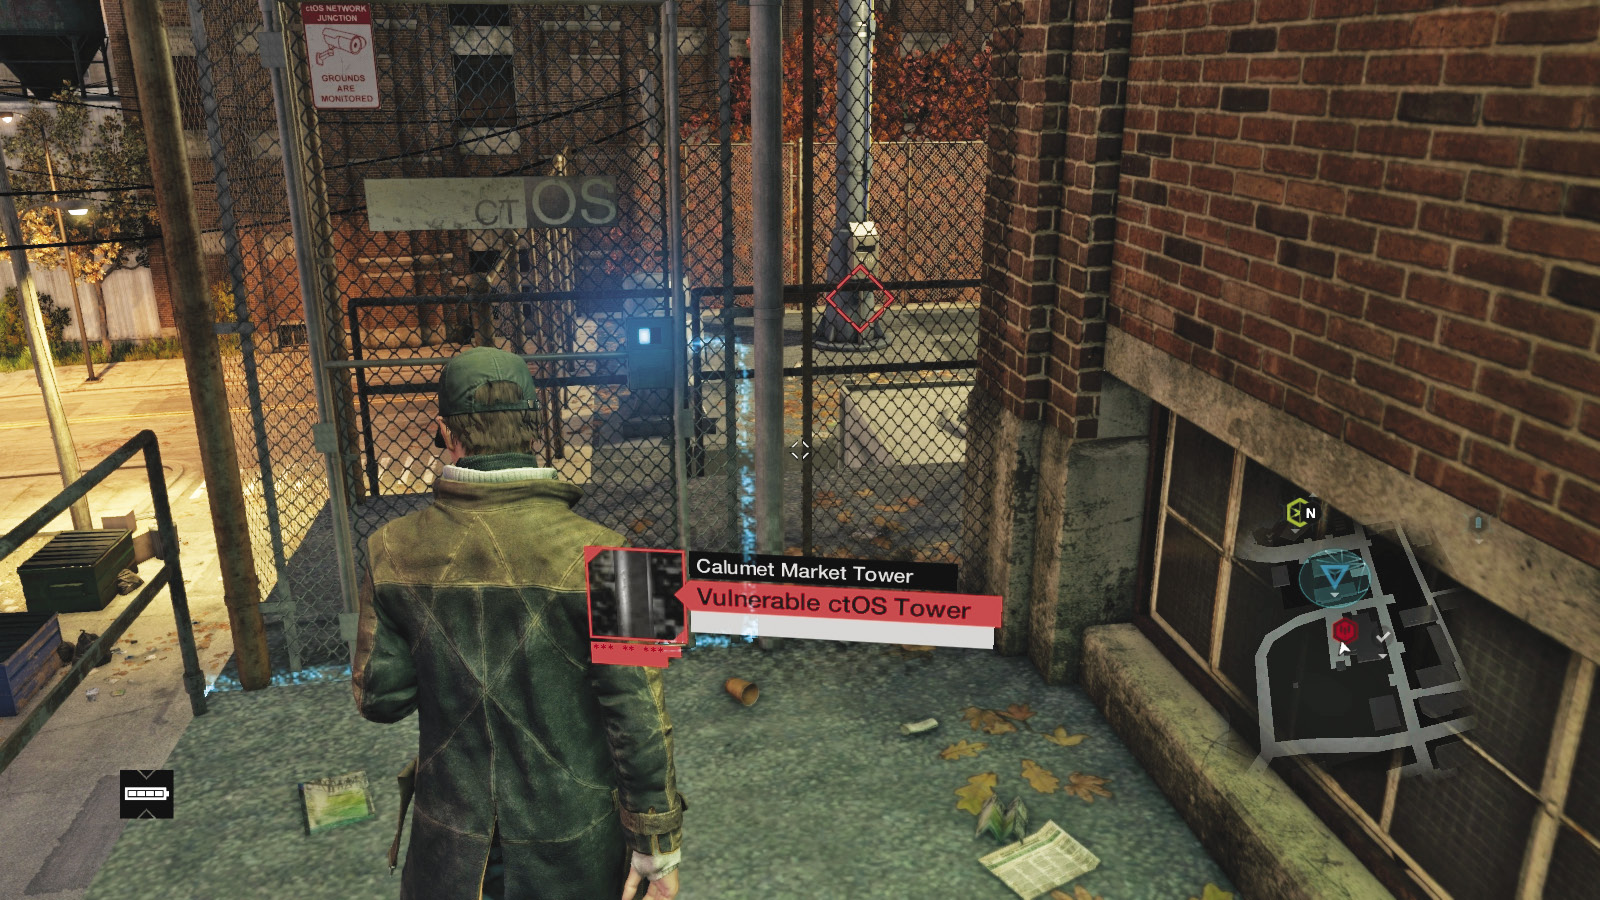
Leap the fence to the courtyard with the lift. Summon the lift and rise to the edge of the brick building roof. Run around the edge to the ctOS gate and then to the tower to unlock it.
ctOS TOWER 06 / BRANDON DOCKS // DES MONTS CANAL TOWER
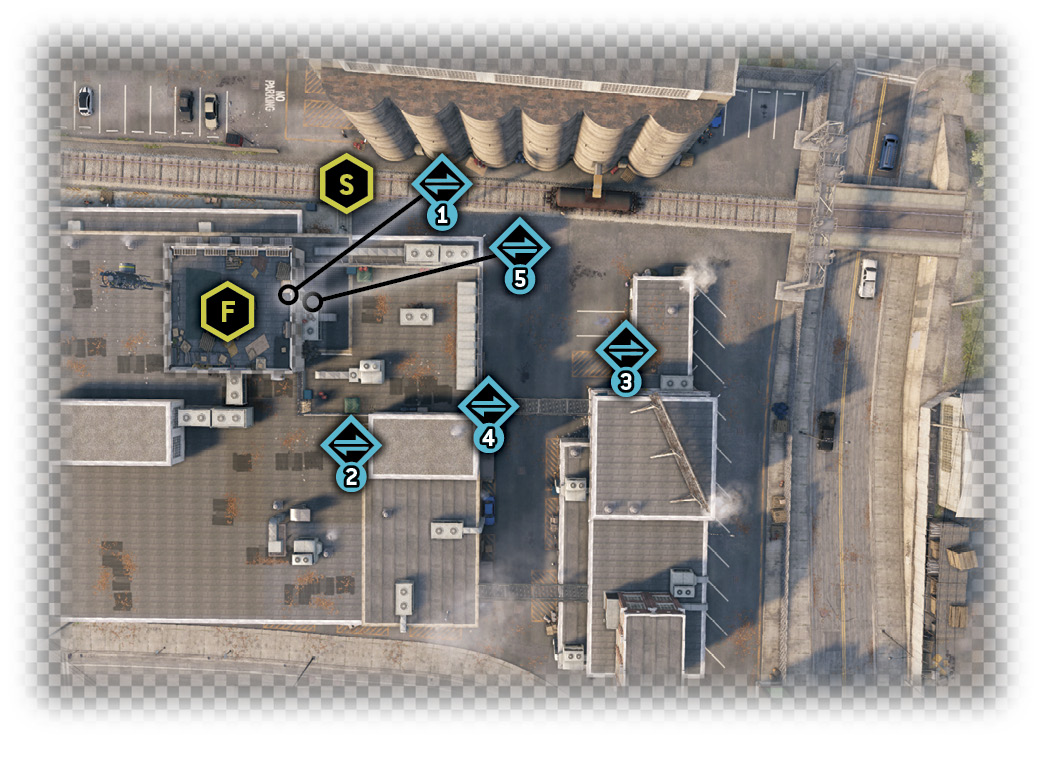
Difficulty: 
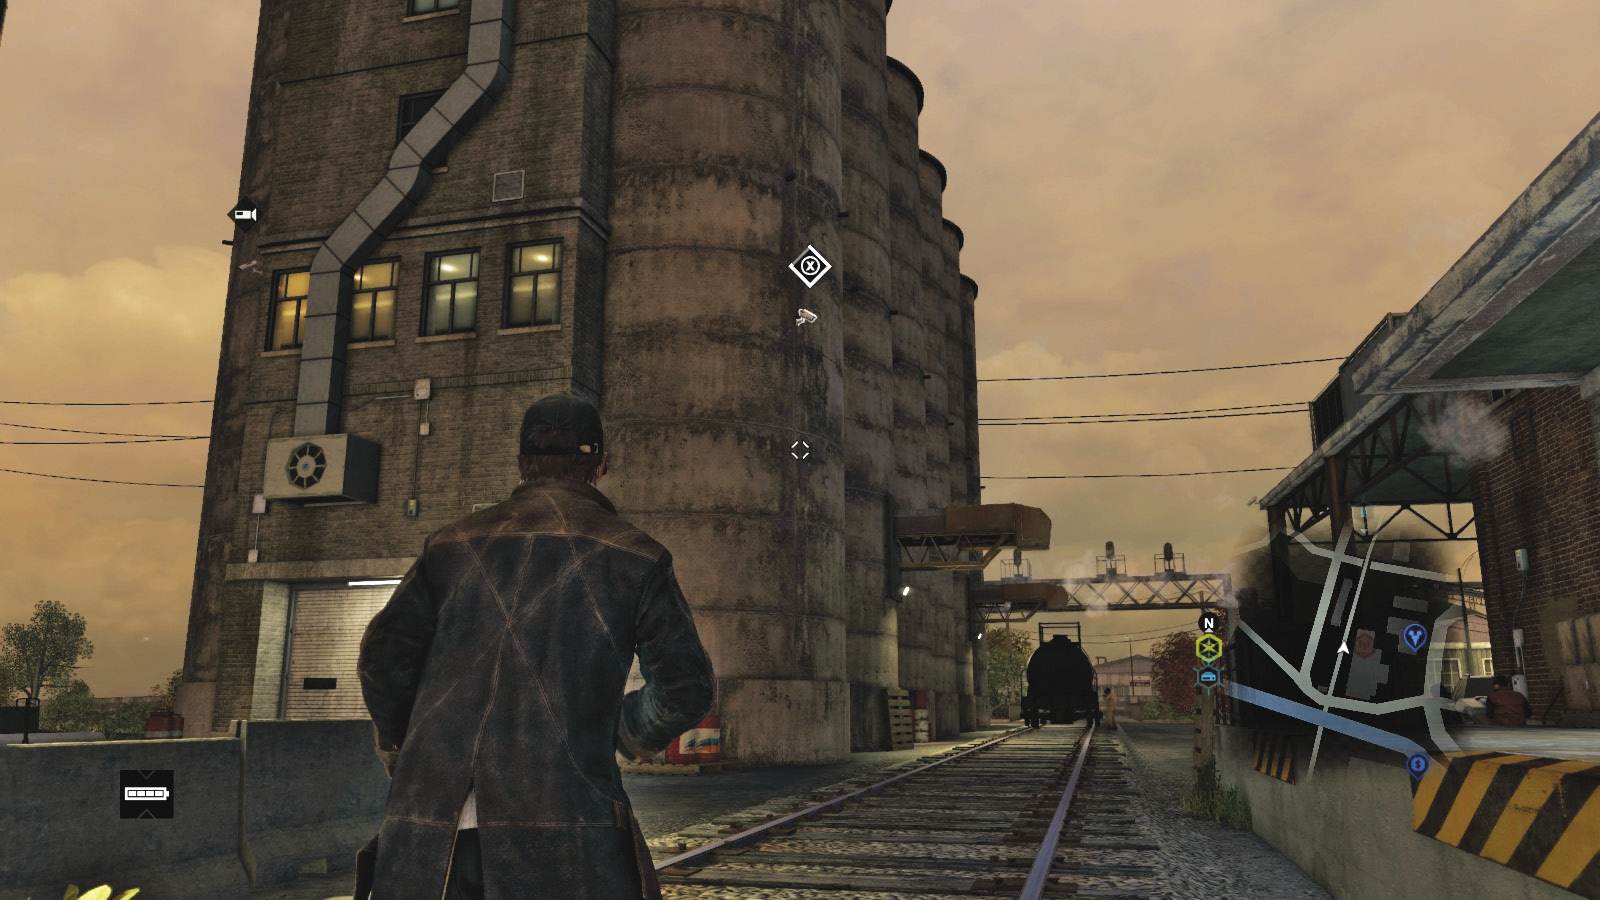
Run to the rail unloading station, and find the camera on the nearby silo. This allows access to a camera inside the roof area of the station and tower room, which unlocks the gate to reach here.
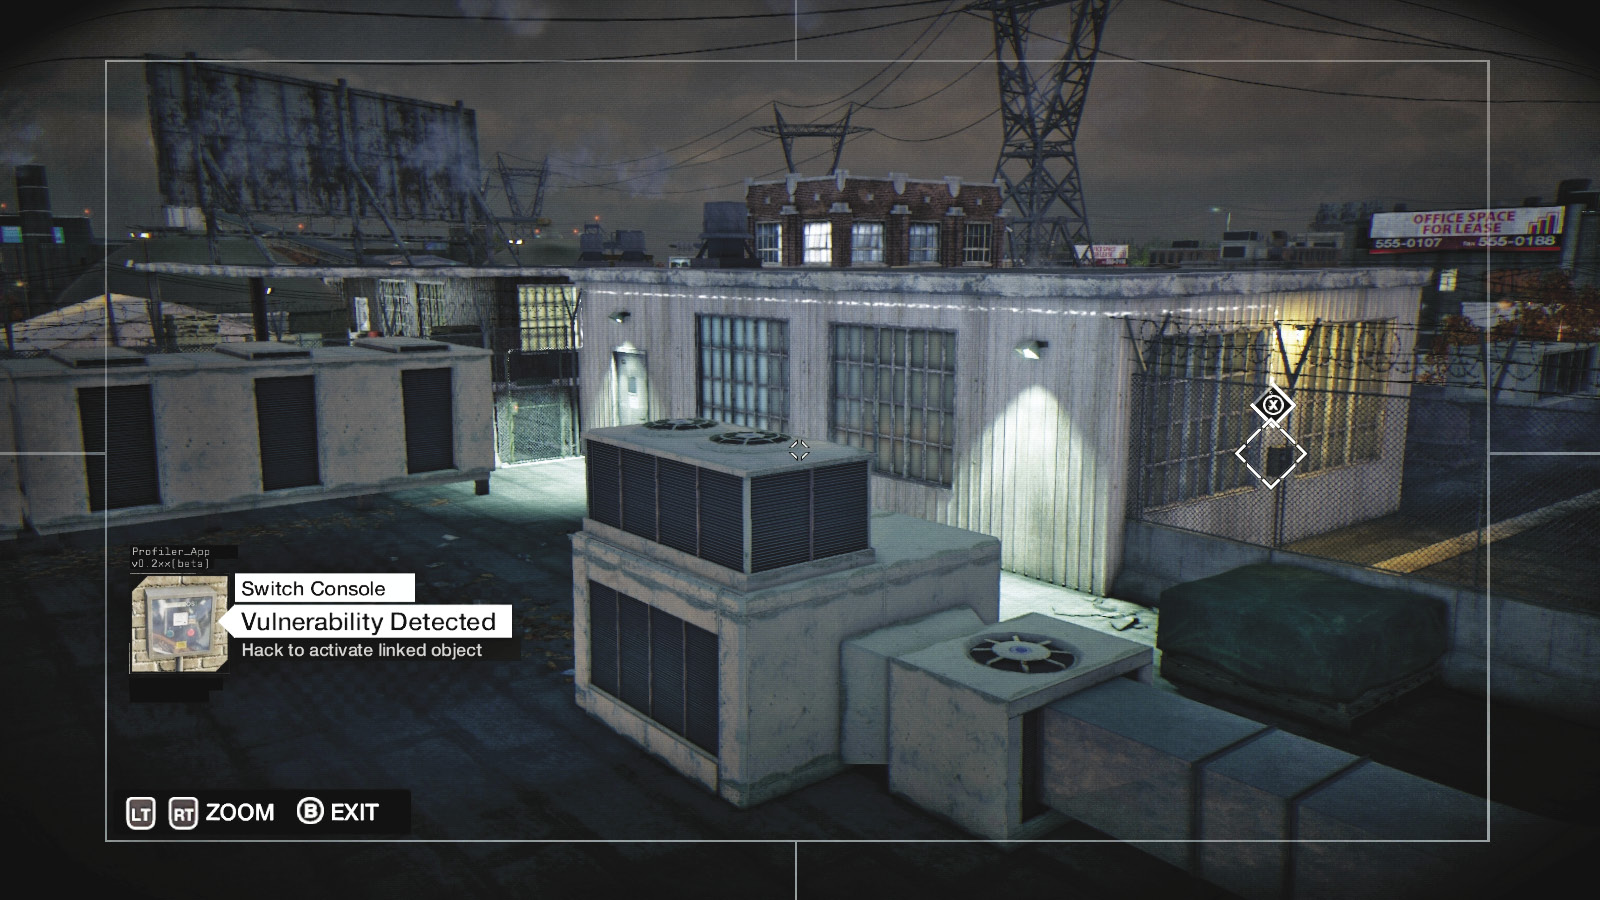
Use the same camera on the silo to access a second camera, attached to the exterior of the station roof. Pan it right to unlock another gate at a switch box also on the station roof.
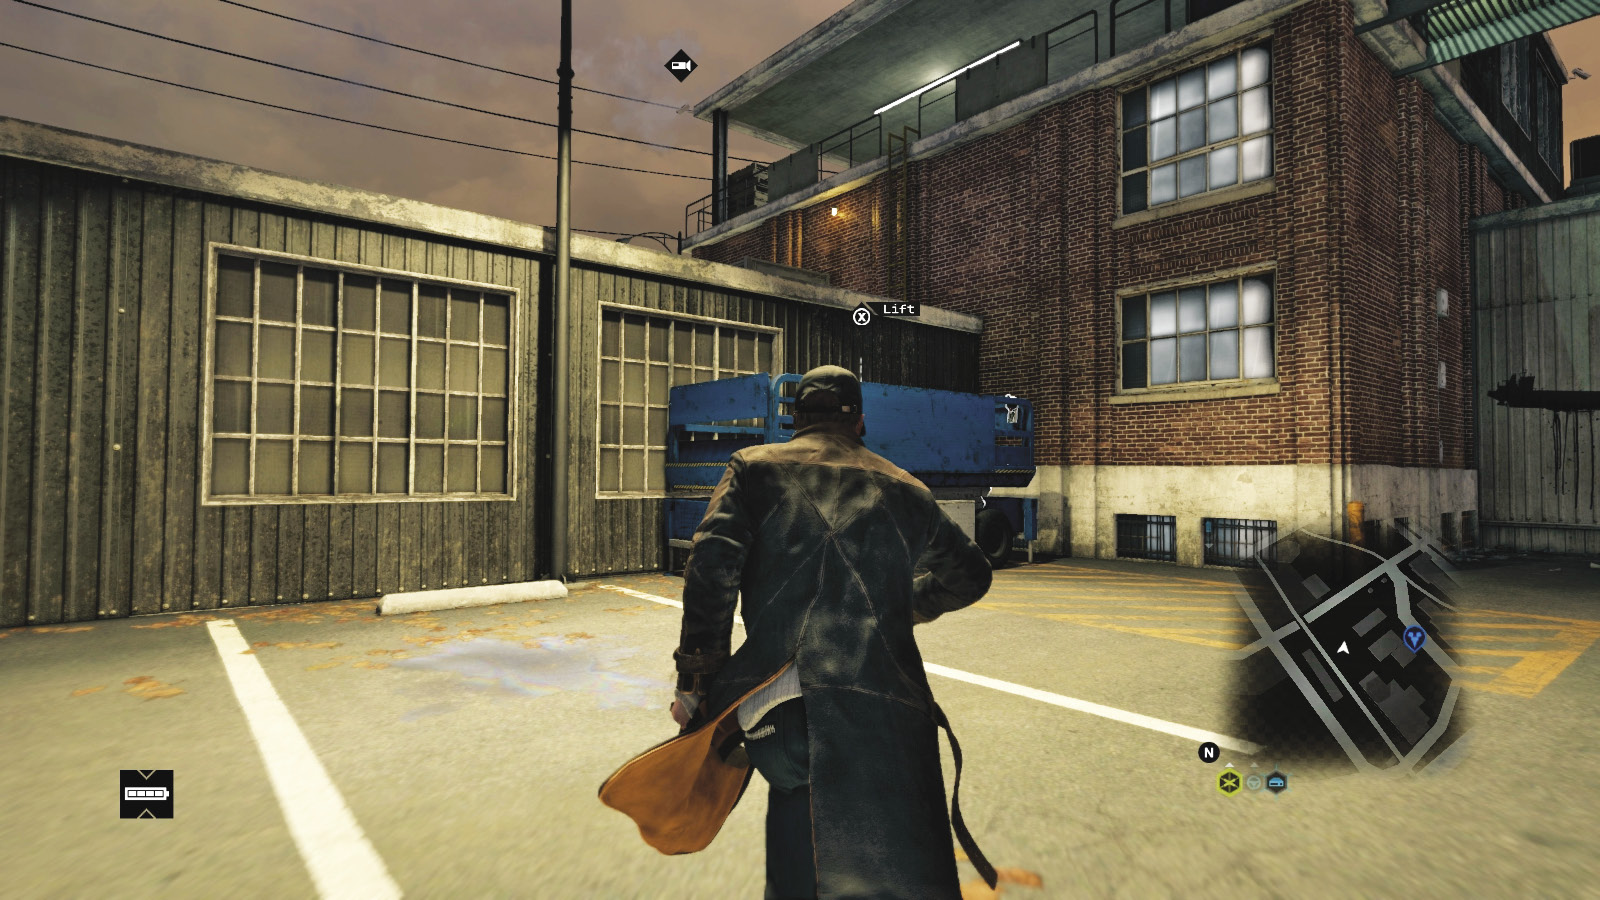
Run across the yard to a scissor lift. Climb up, turn right, and cross a small metal bridge to the first gate. Run to the security door and second gate, leading into the roof room with the tower to unlock.
ctOS TOWER 07 / BRANDON DOCKS // LAKE SHORE TOWER
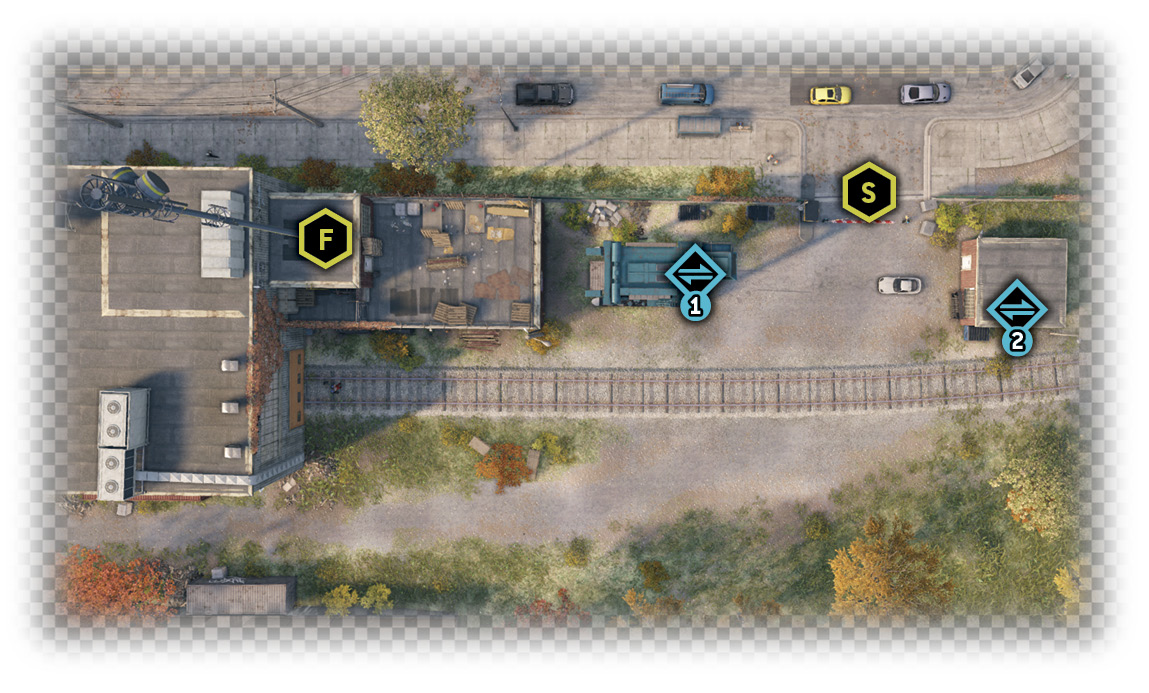
Difficulty: 
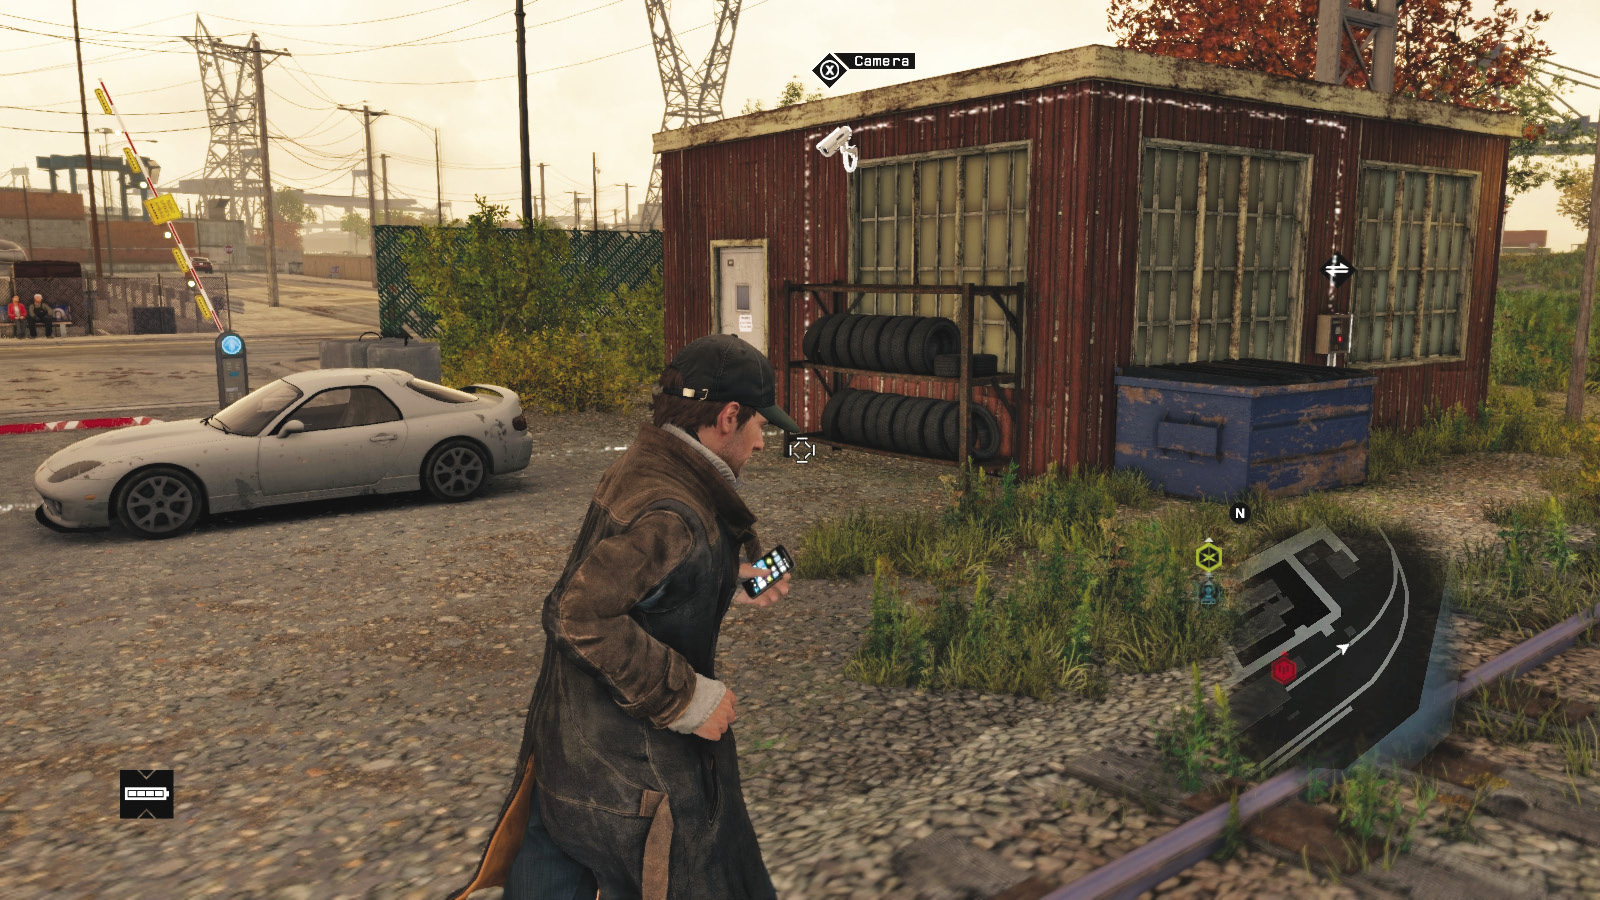
After using the cameras to scan the lay of the land, hack the stacking crane and drop the carrier to ground level. Follow the data flow back from the tower area to a small hut near a parked car.
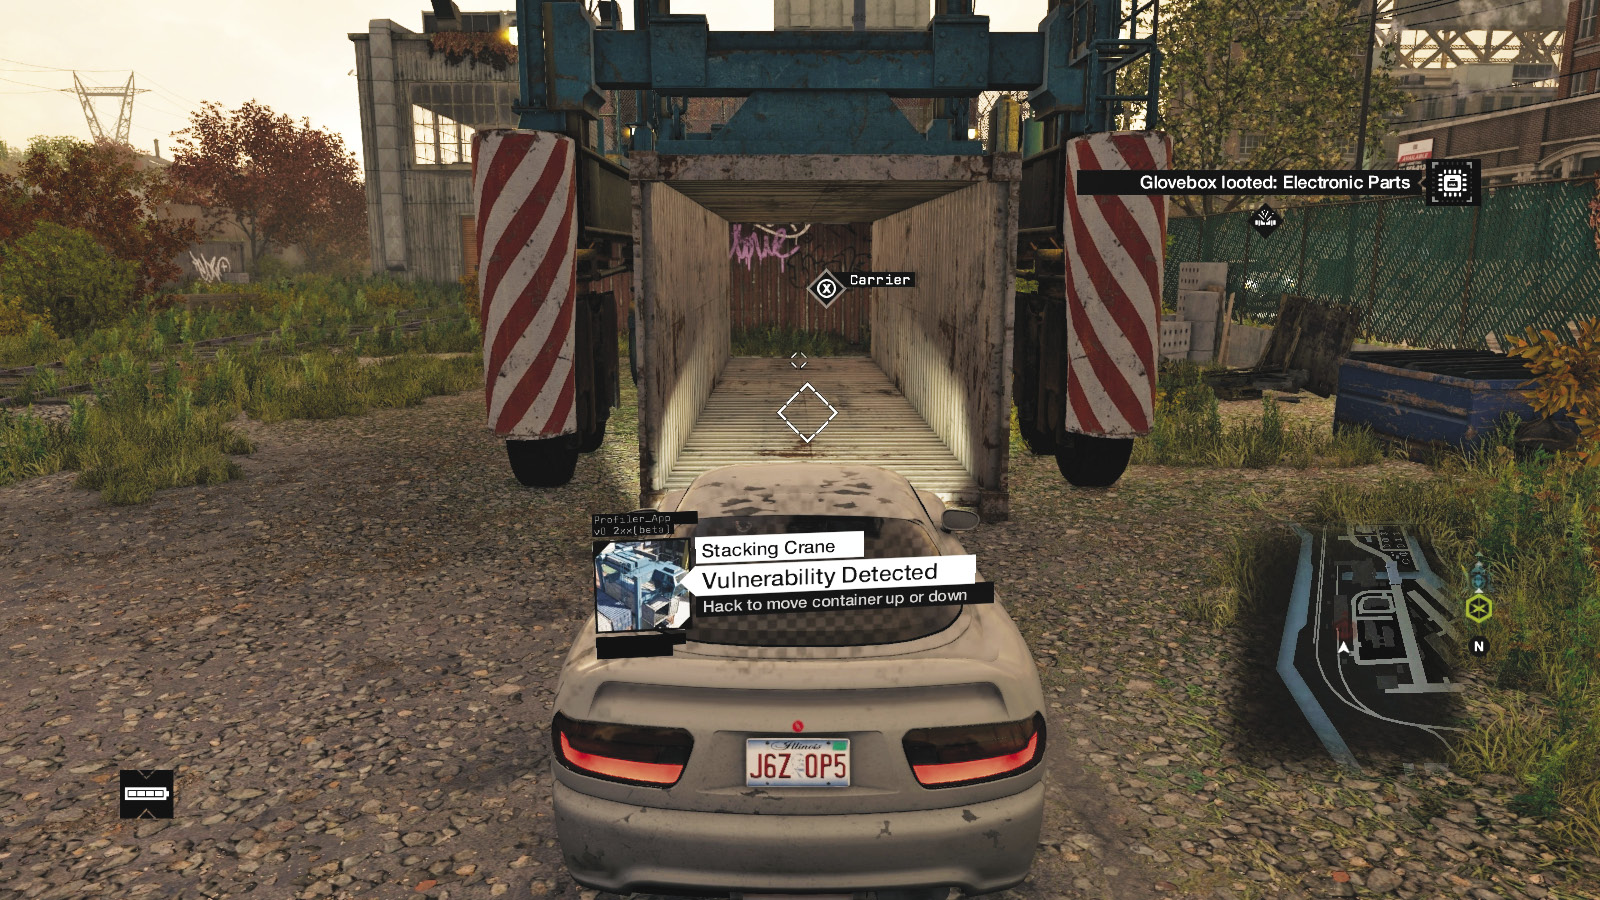
Unlock the data flow at the switch on the hut. Then get into the car (or any vehicle short enough to fit), and drive it onto the open container held by the stacking crane. Then hack the crane to move the container up.
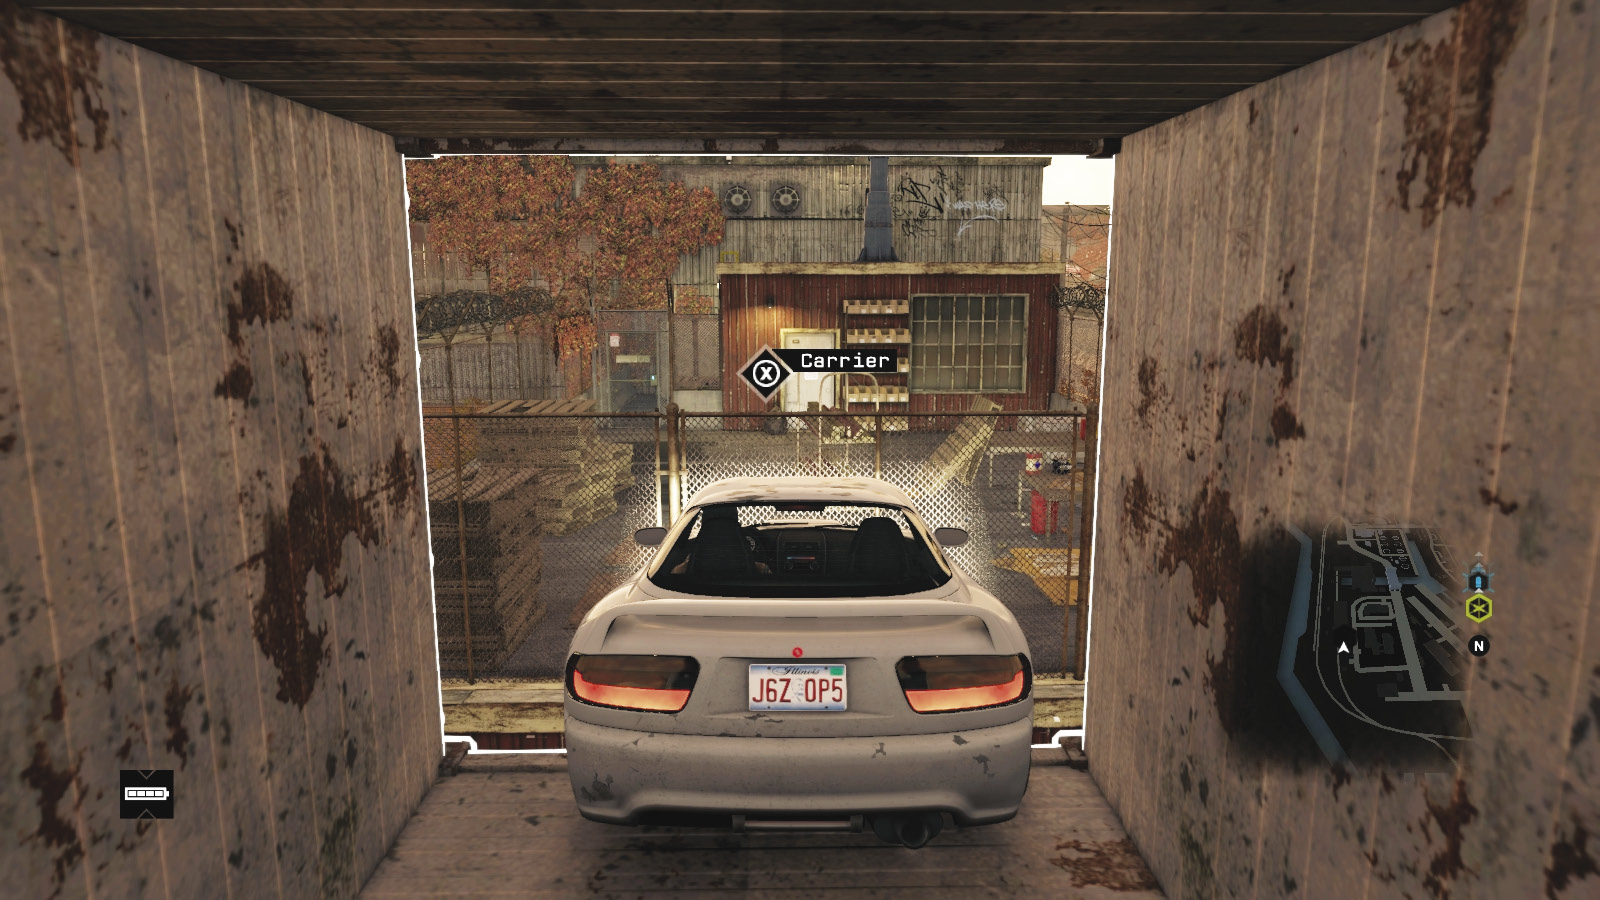
Keep your car to the rear of the container. Then drive at speed, launching off the carrier, through the fence. Land on the otherwise-inaccessible roof. Open the gate and use the ladder to reach the tower to unlock.
ctOS TOWER 08 / THE LOOP // SOUTH SIDE CAMPUS TOWER
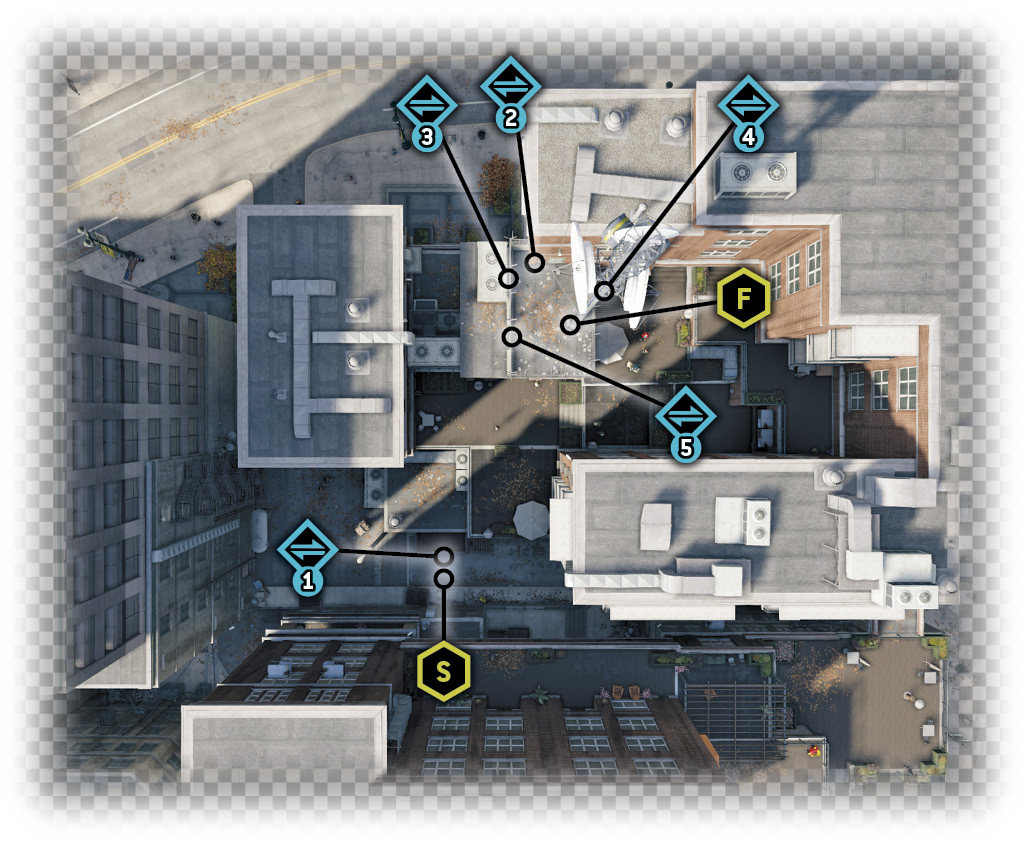
Difficulty: 
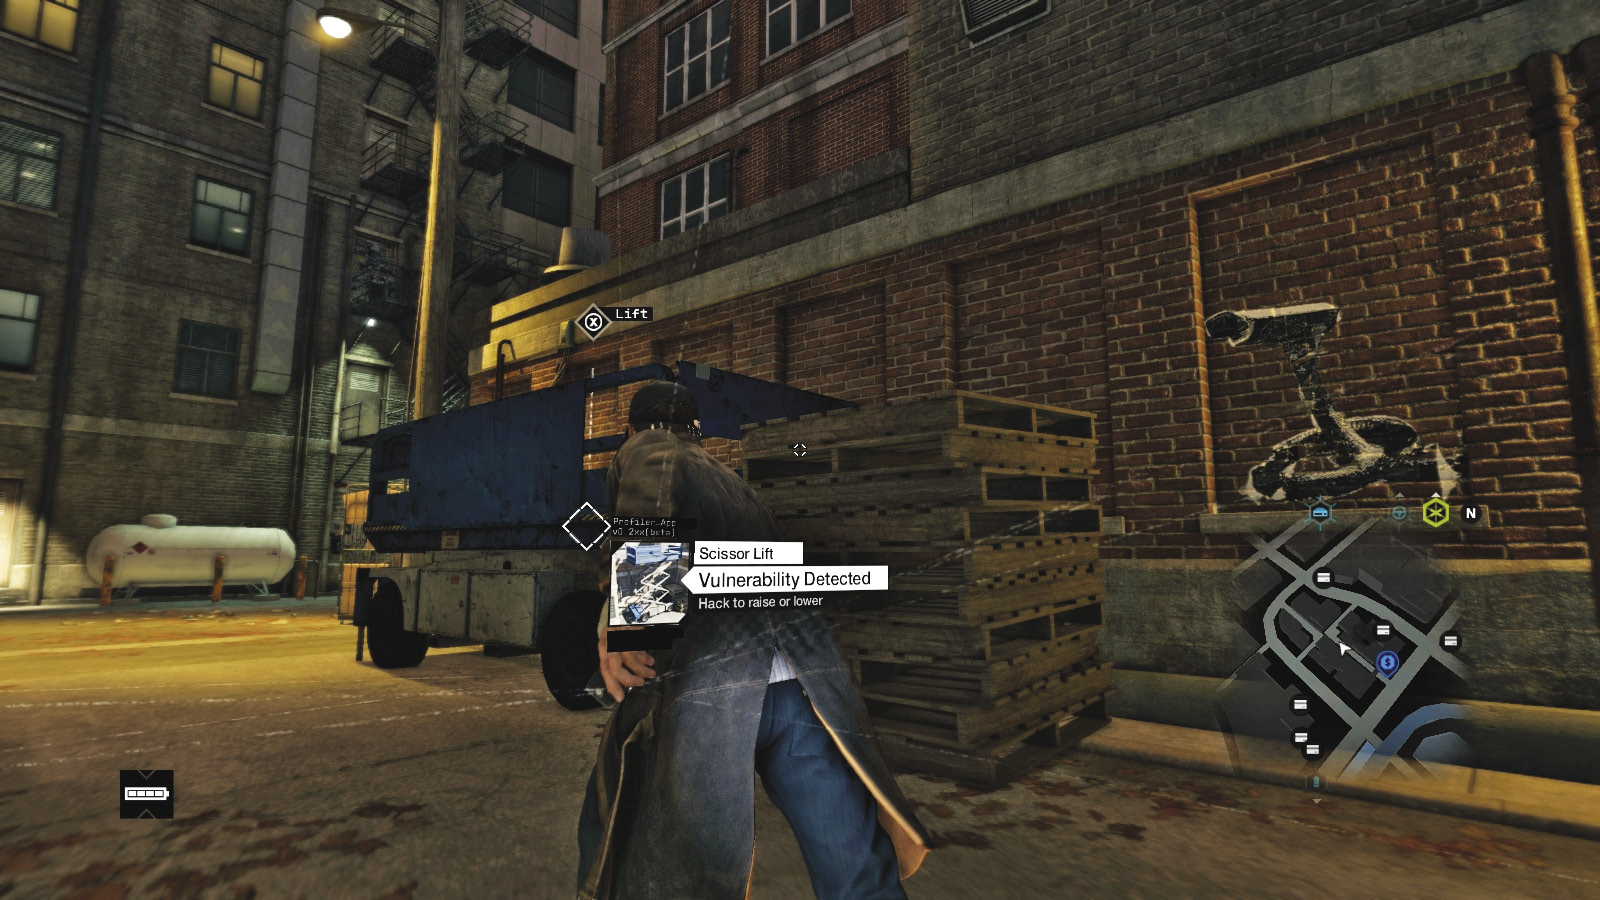
Head down the alley to the scissor lift or AC unit, and use either to reach a low roof. Climb up and over the fence, and run up the nearby stairs. Turn left at the junction box and head up to a higher roof area.
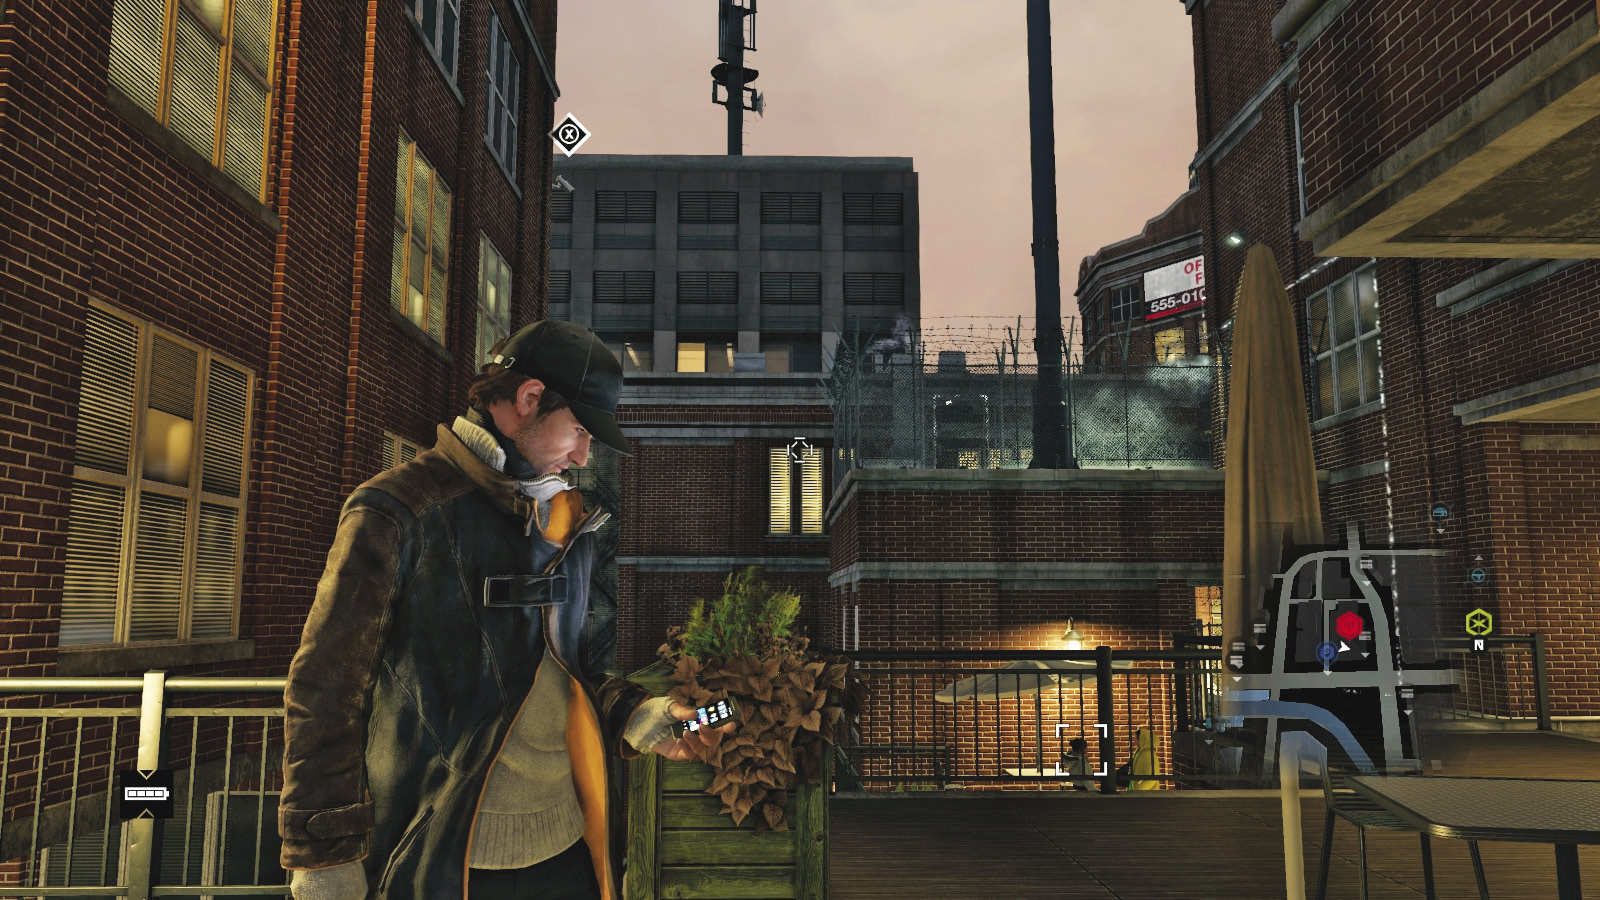
From this roof area, connect to the camera behind you. View the tower area and unlock the door switch within this fenced space. Then pan left to access a second camera below.
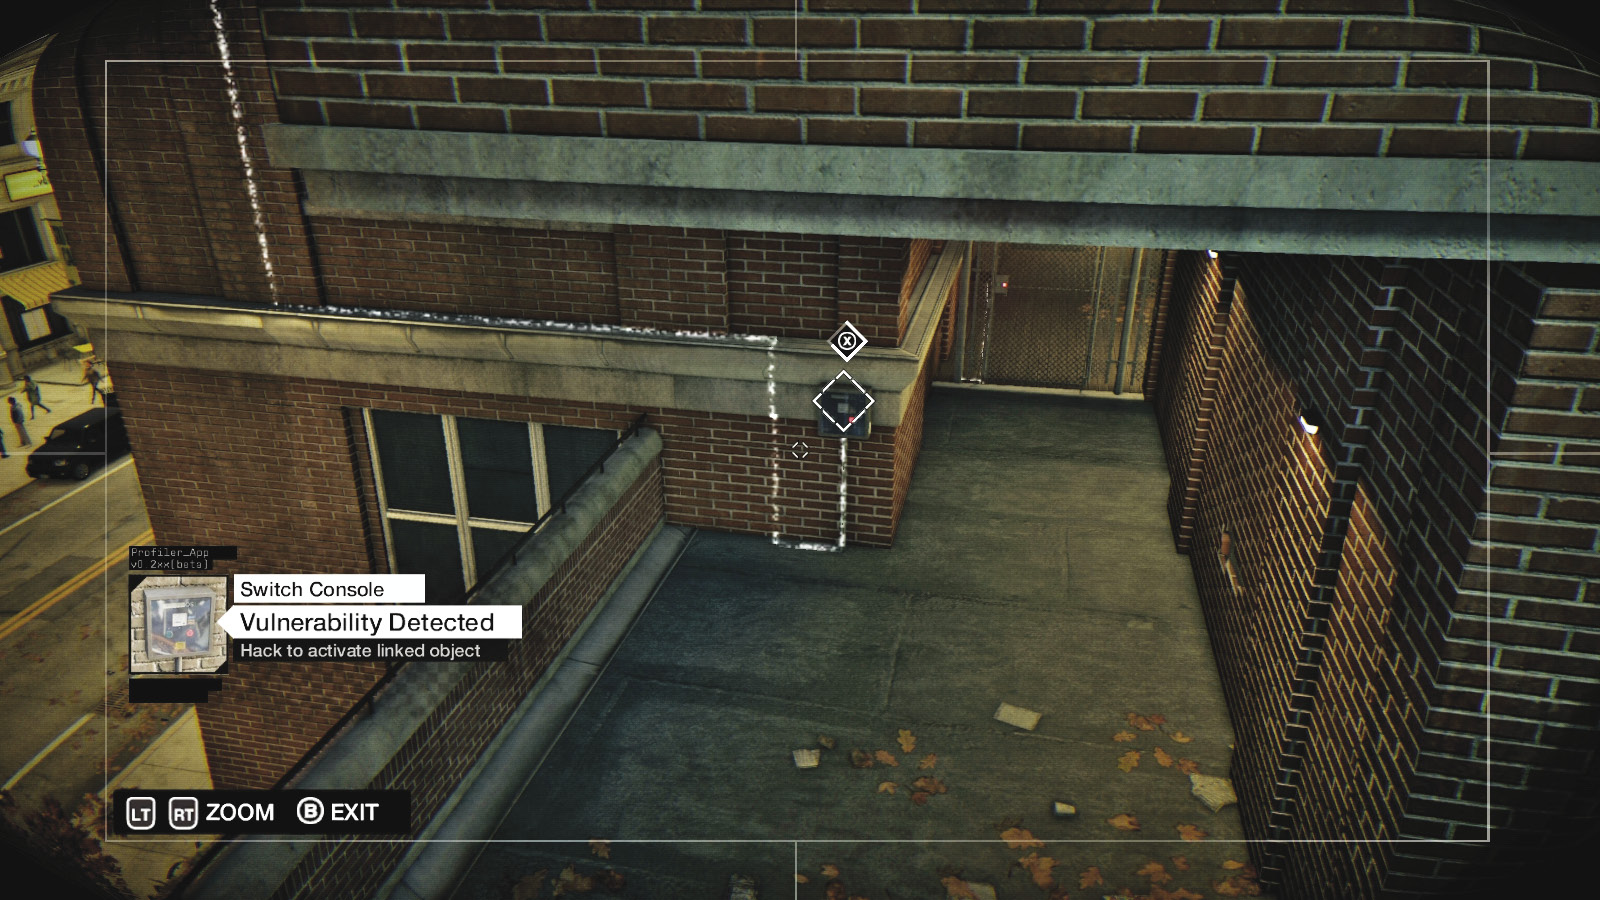
This has a view of the other unlock box. Hack that, then drop down and head through the ctOS gate. Climb left and push open the tower gate to reach the tower to unlock.
ctOS TOWER 09 / THE LOOP // THEATER SQUARE TOWER
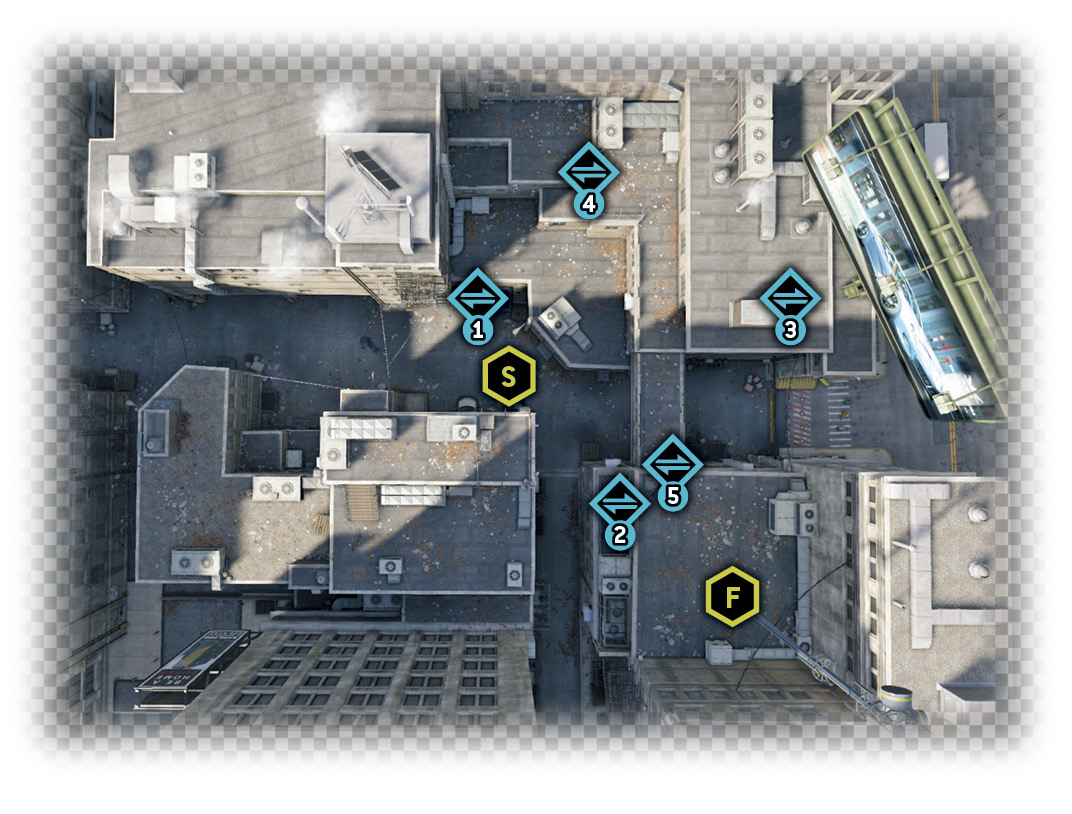
Difficulty: 
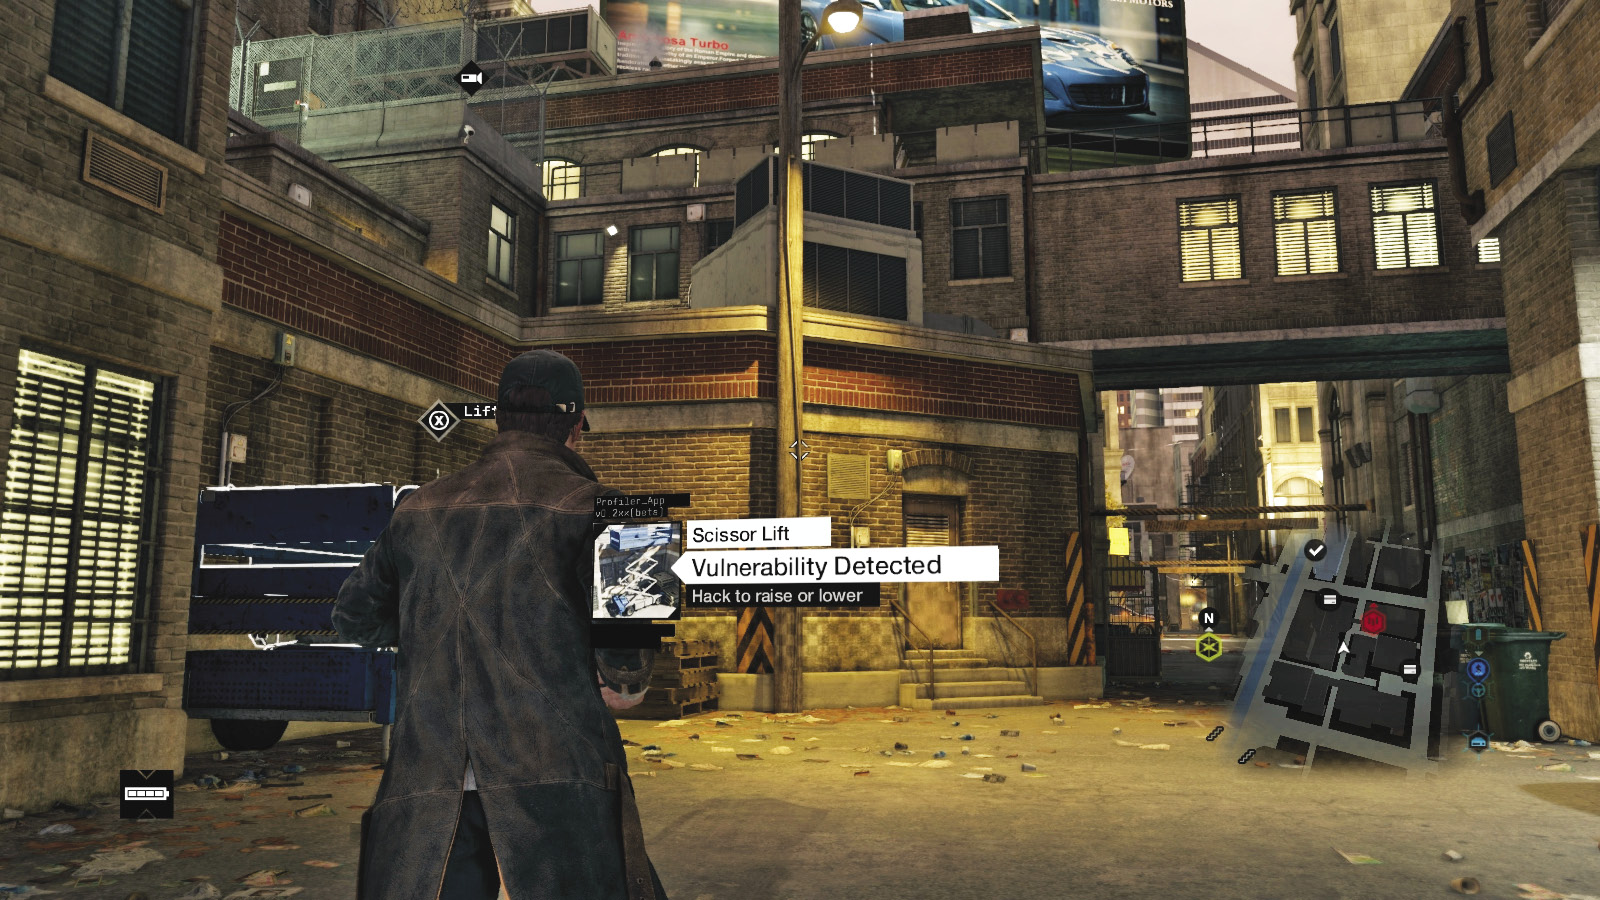
In the alley, use the scissor lift near the pallet steps to reach a low roof. Look at the tower, then right to the camera on the nearby building corner. View the unlock switch by panning to the right.
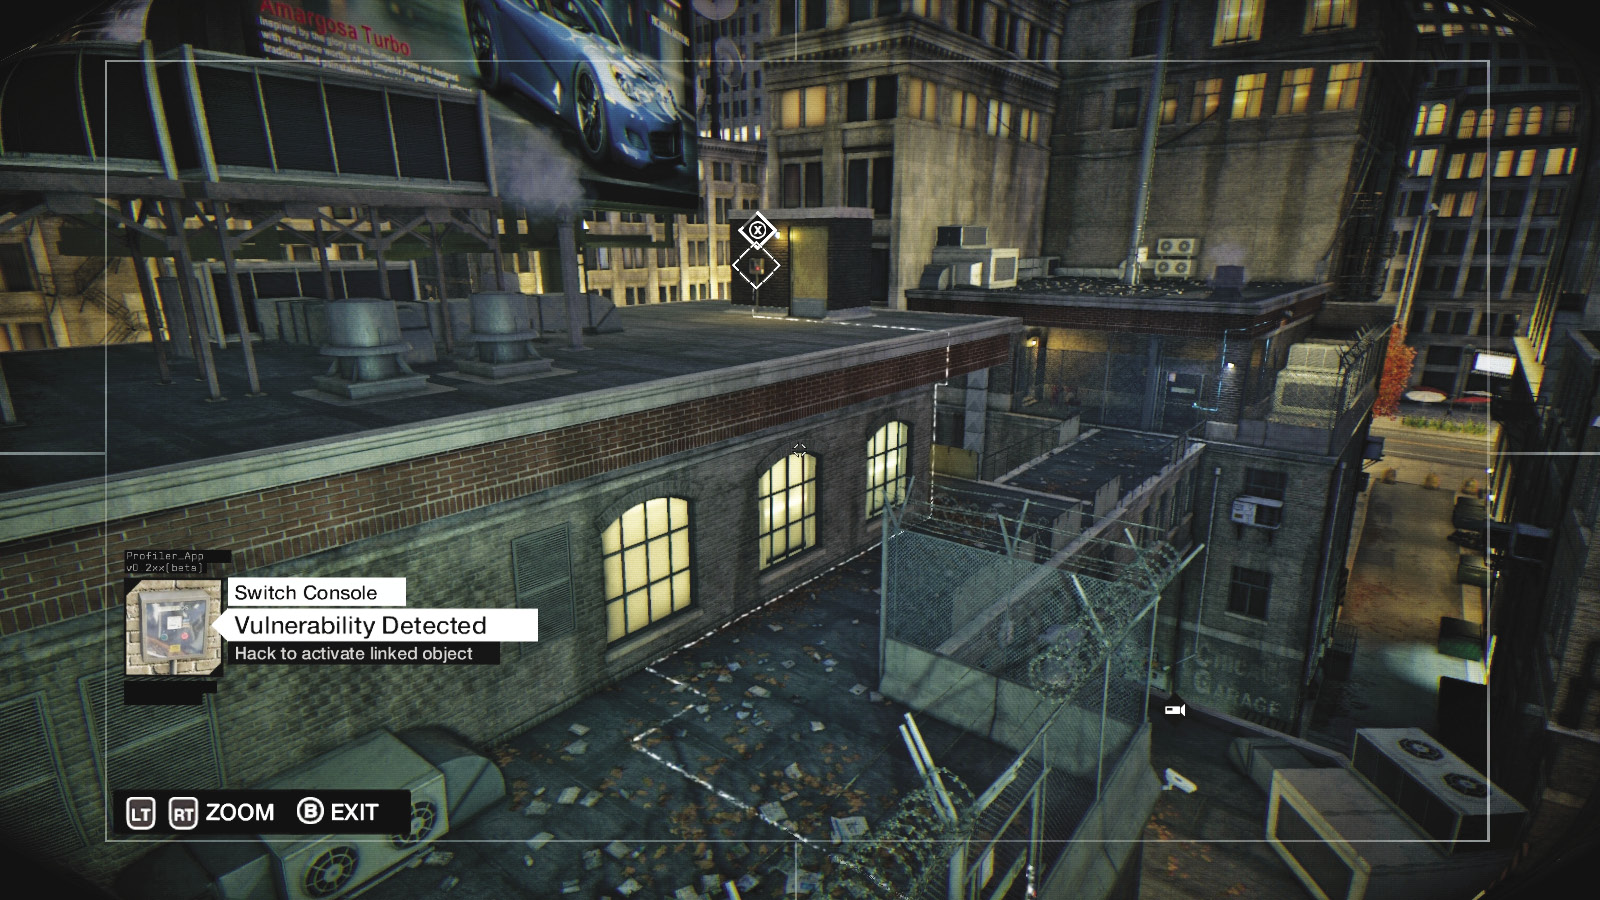
Unlock this switch box, then cycle through the available cameras until you reach this one, which offers a view of the billboard and the second unlock switch box. Hack that.
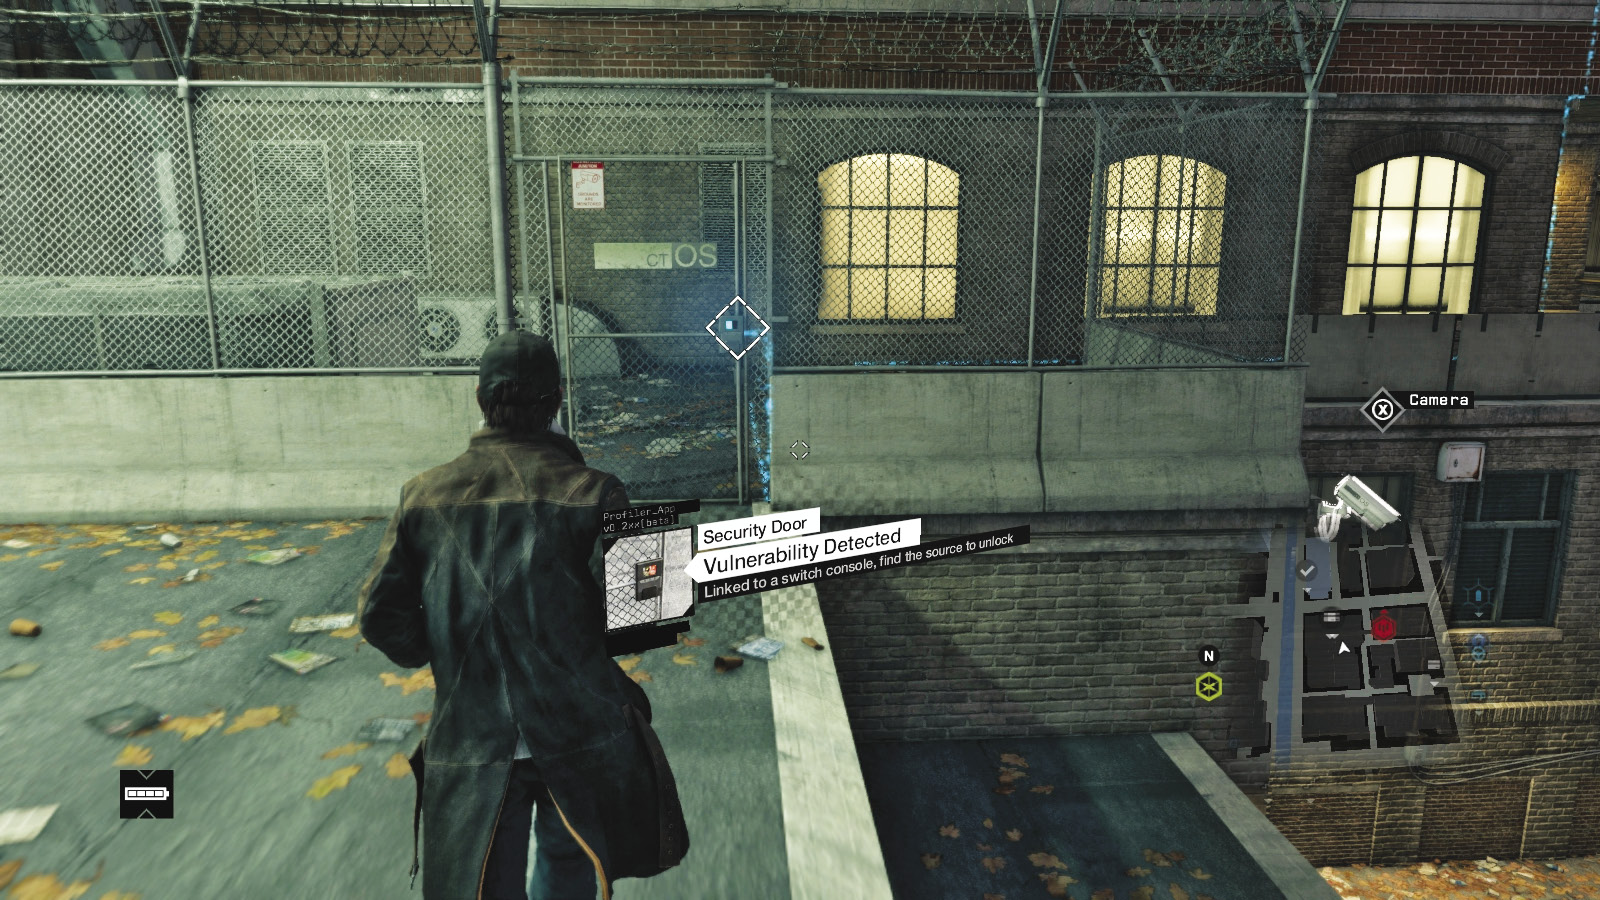
You can now move through the ctOS gate, turn right, and run across the bridge through the second gate. Climb the AC units to the roof with the tower to unlock.
ctOS TOWER 10 / THE LOOP // RIVERSIDE TOWER
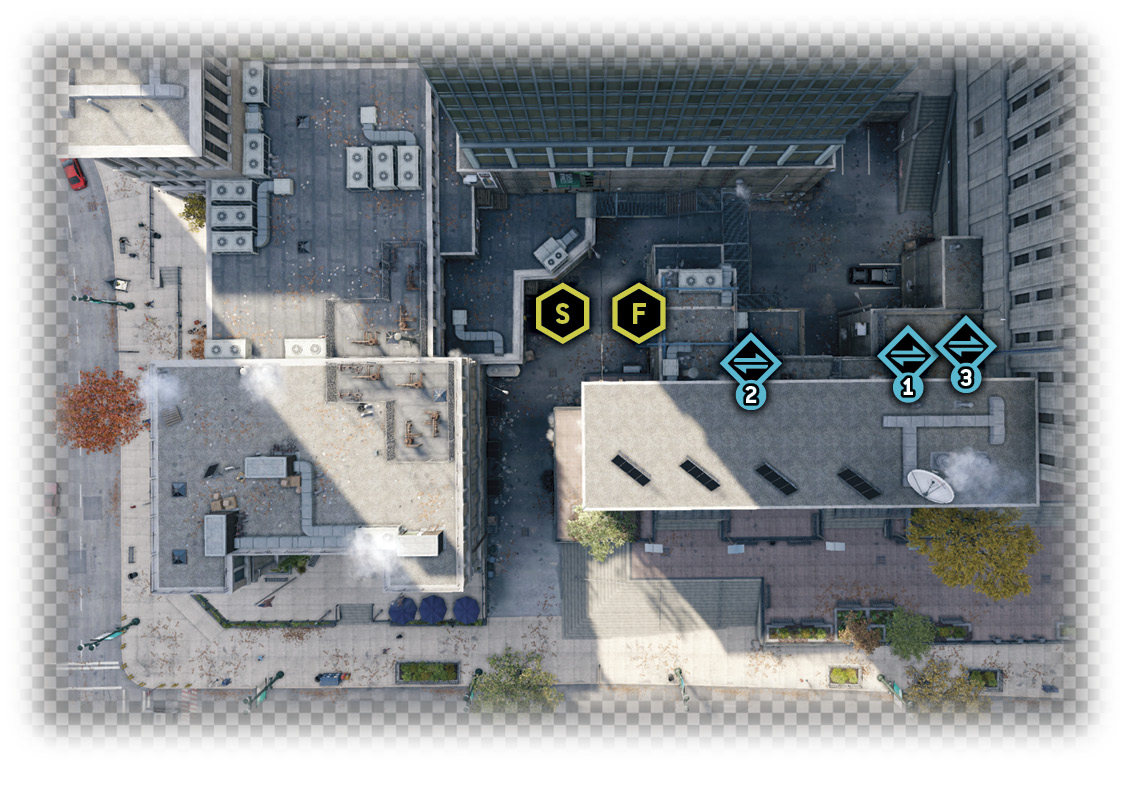
Difficulty: 
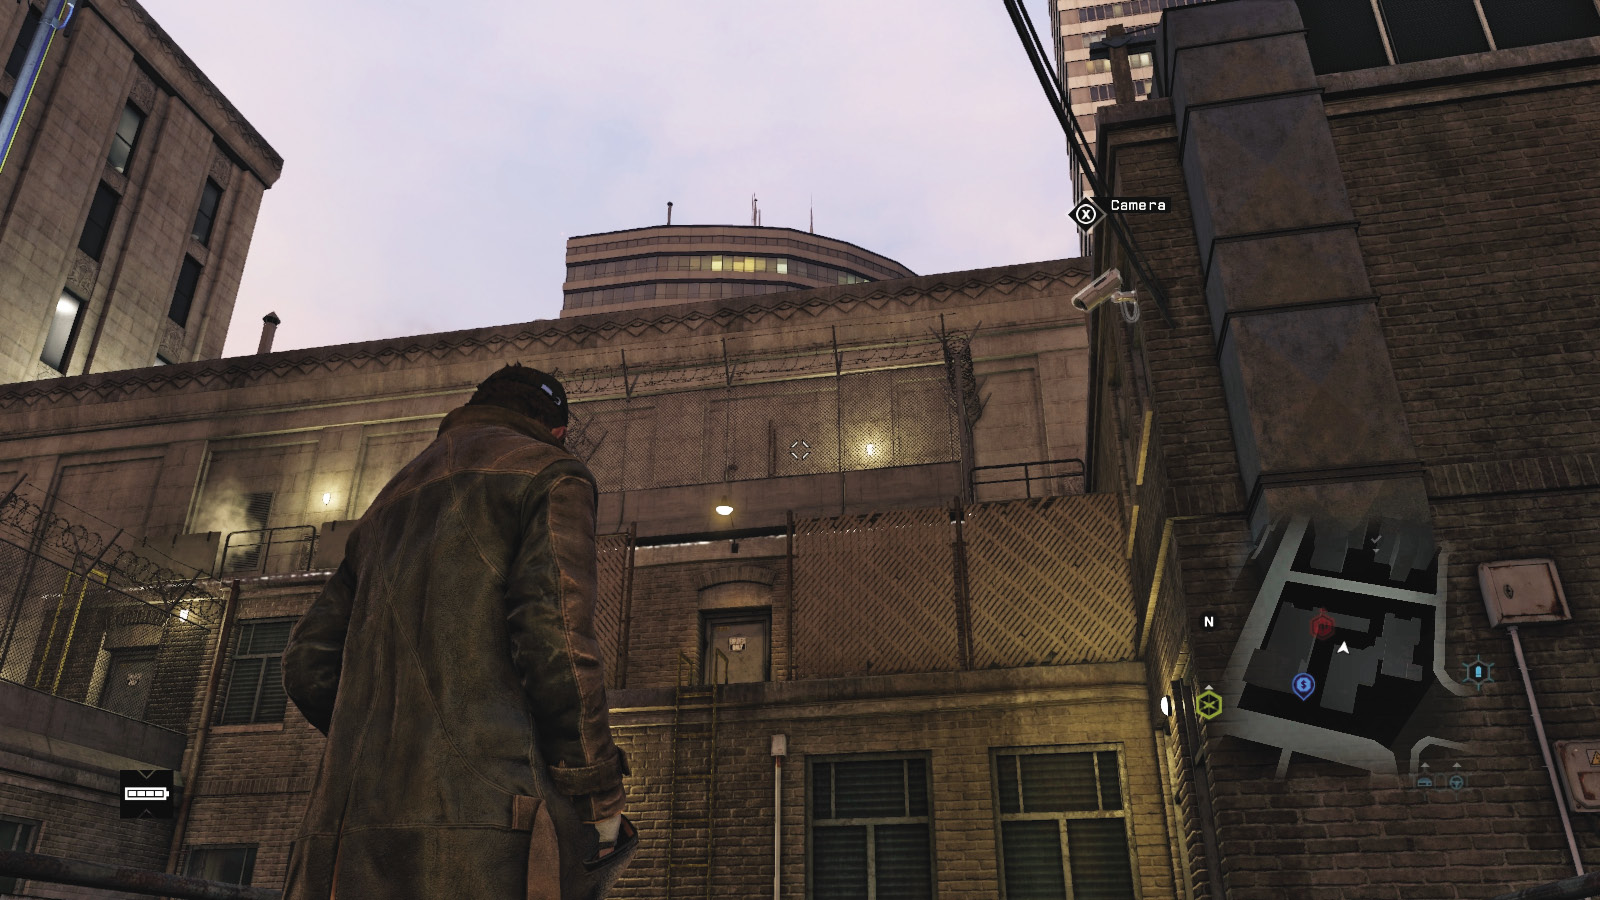
Find the alley with the swing stage, but don’t get on it yet; it leads to a locked gate. Instead, use the ladder near the pallet steps, move to the right, up the metal walkway and stairs, and access a camera.
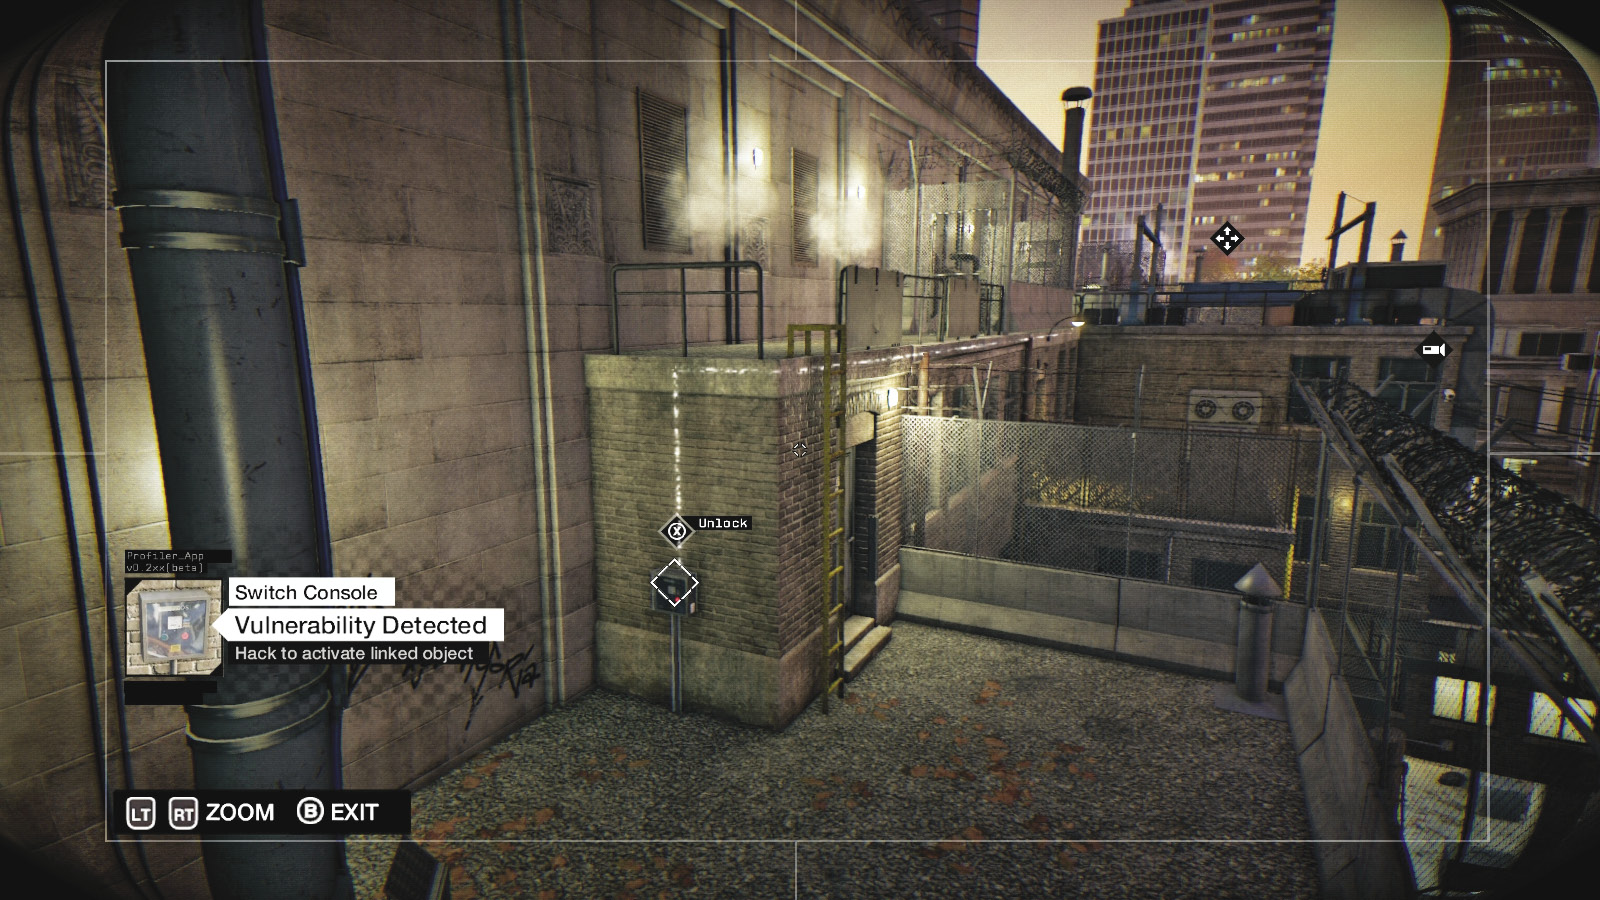
Cycle through the three cameras here until you see the switch box behind the tower, hiding behind a brick wall. Hack the box to unlock the gate.
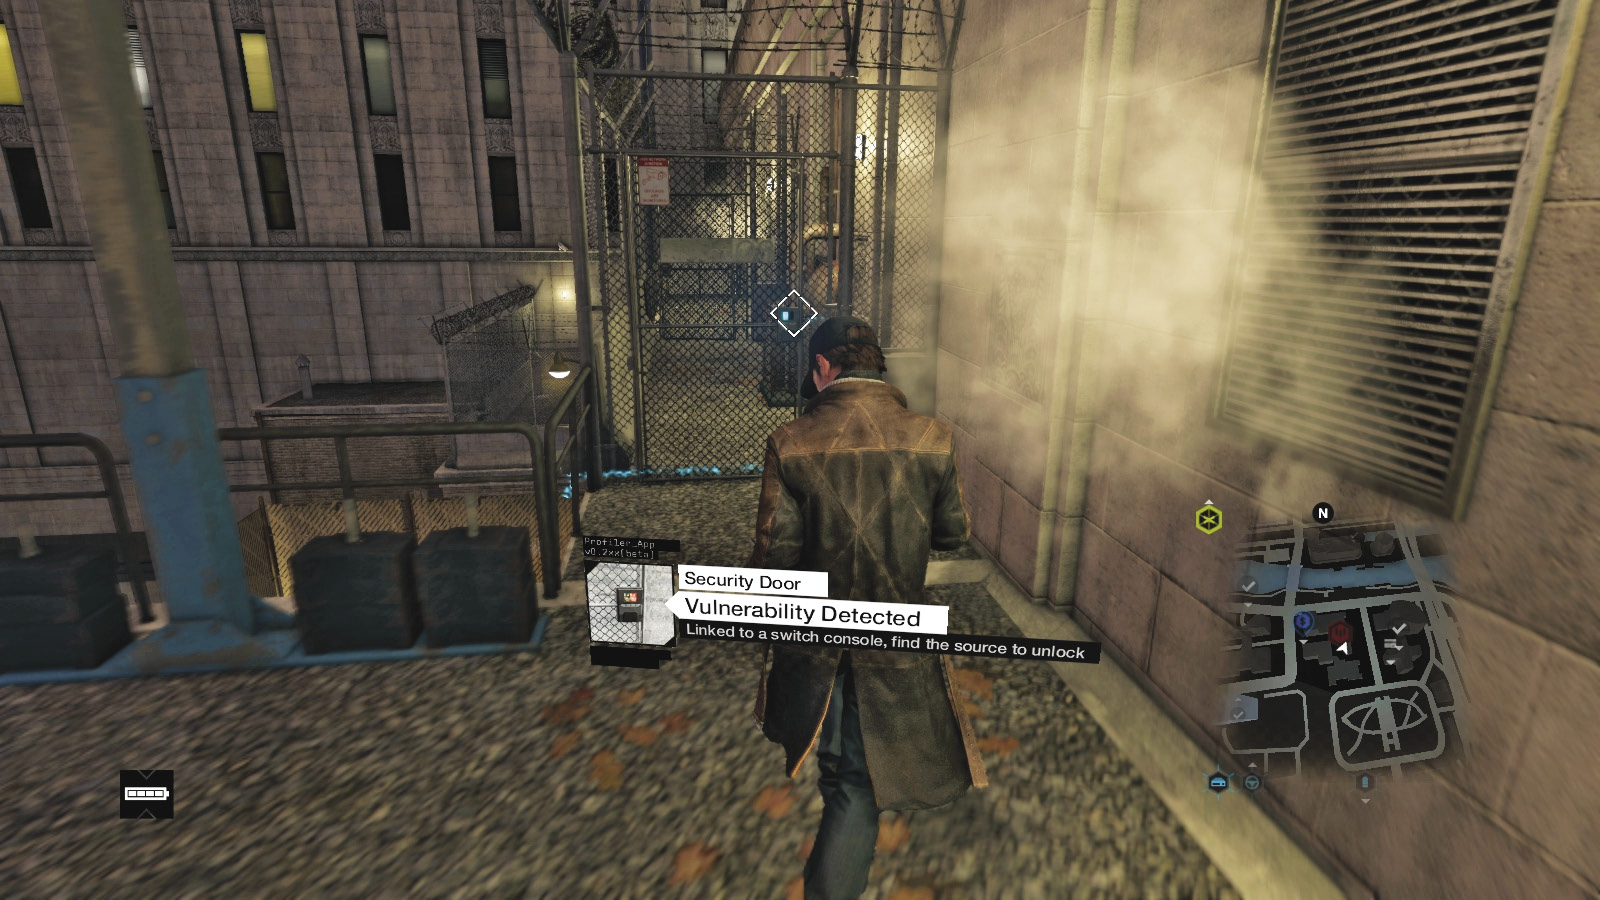
Continue along the walkway and climb the ladder and AC units to reach the gravel roof and ctOS gate. Push it open and run to the ctOS tower to unlock it. Descend back using the swing stage.
ctOS TOWER 11 / MAD MILE // FRANKLIN TOWER
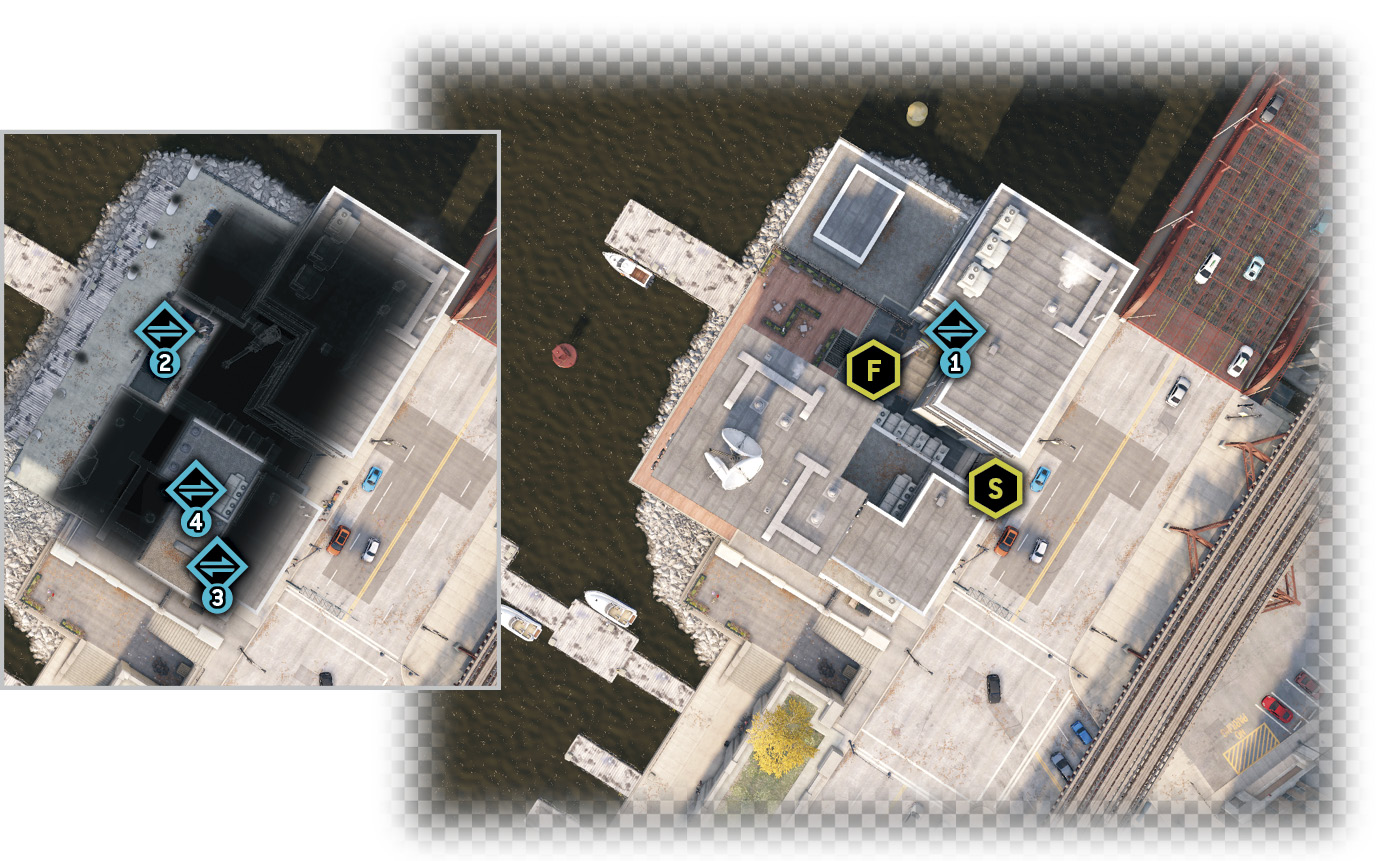
Difficulty: 
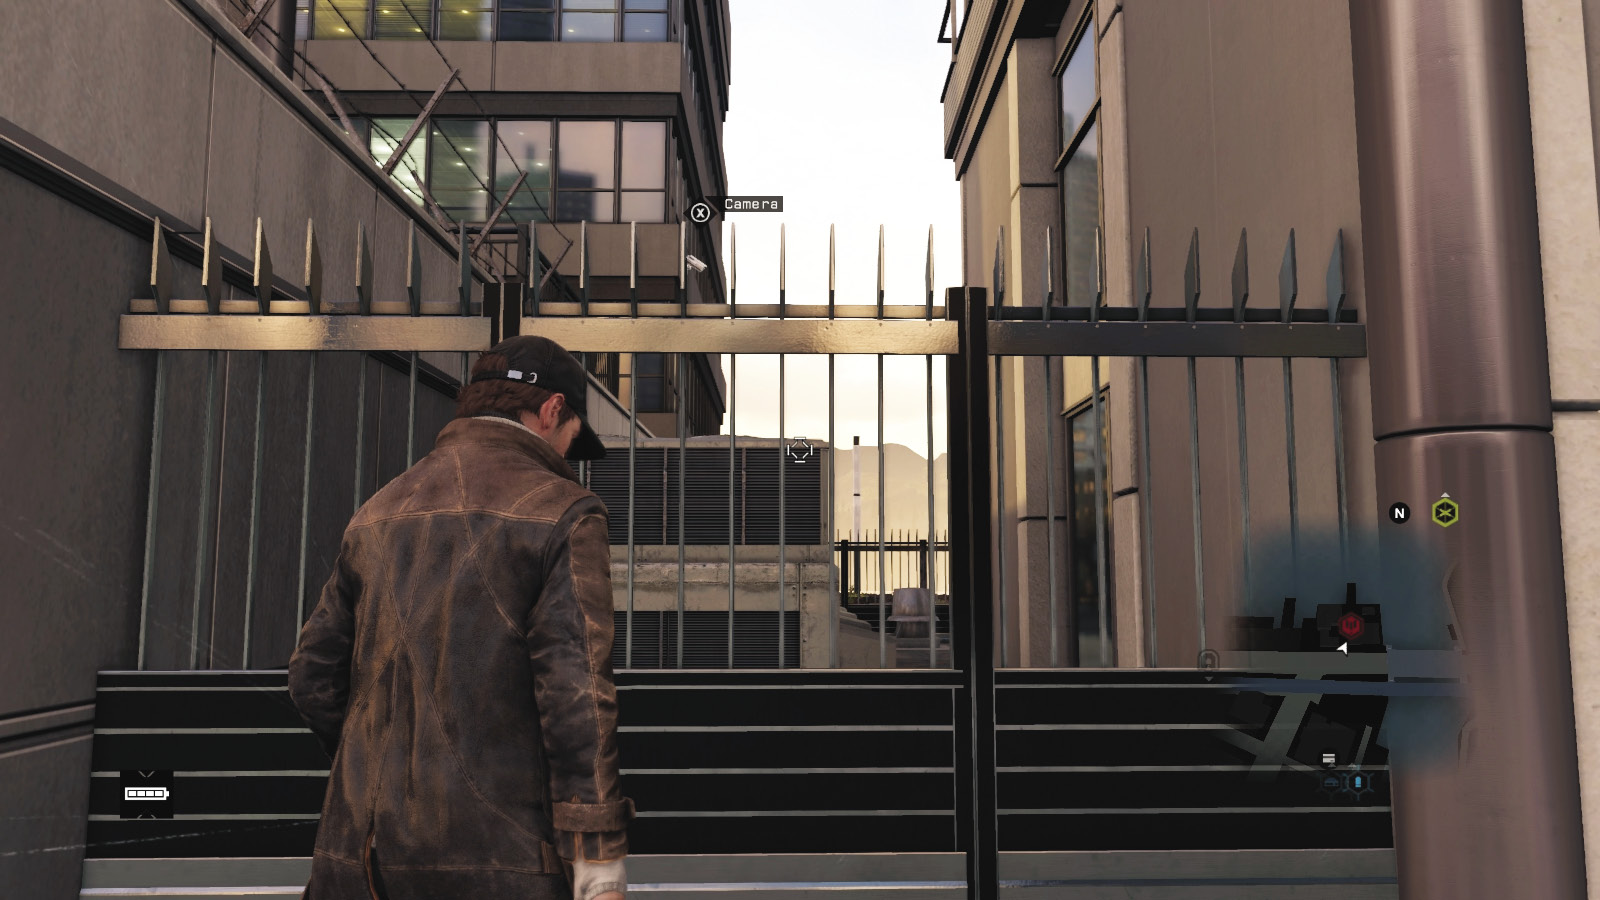
This location is mostly inaccessible from the street. But stand by the pointed security fence, accessing the camera to scan over the tower area and unlock the switch box in one corner.
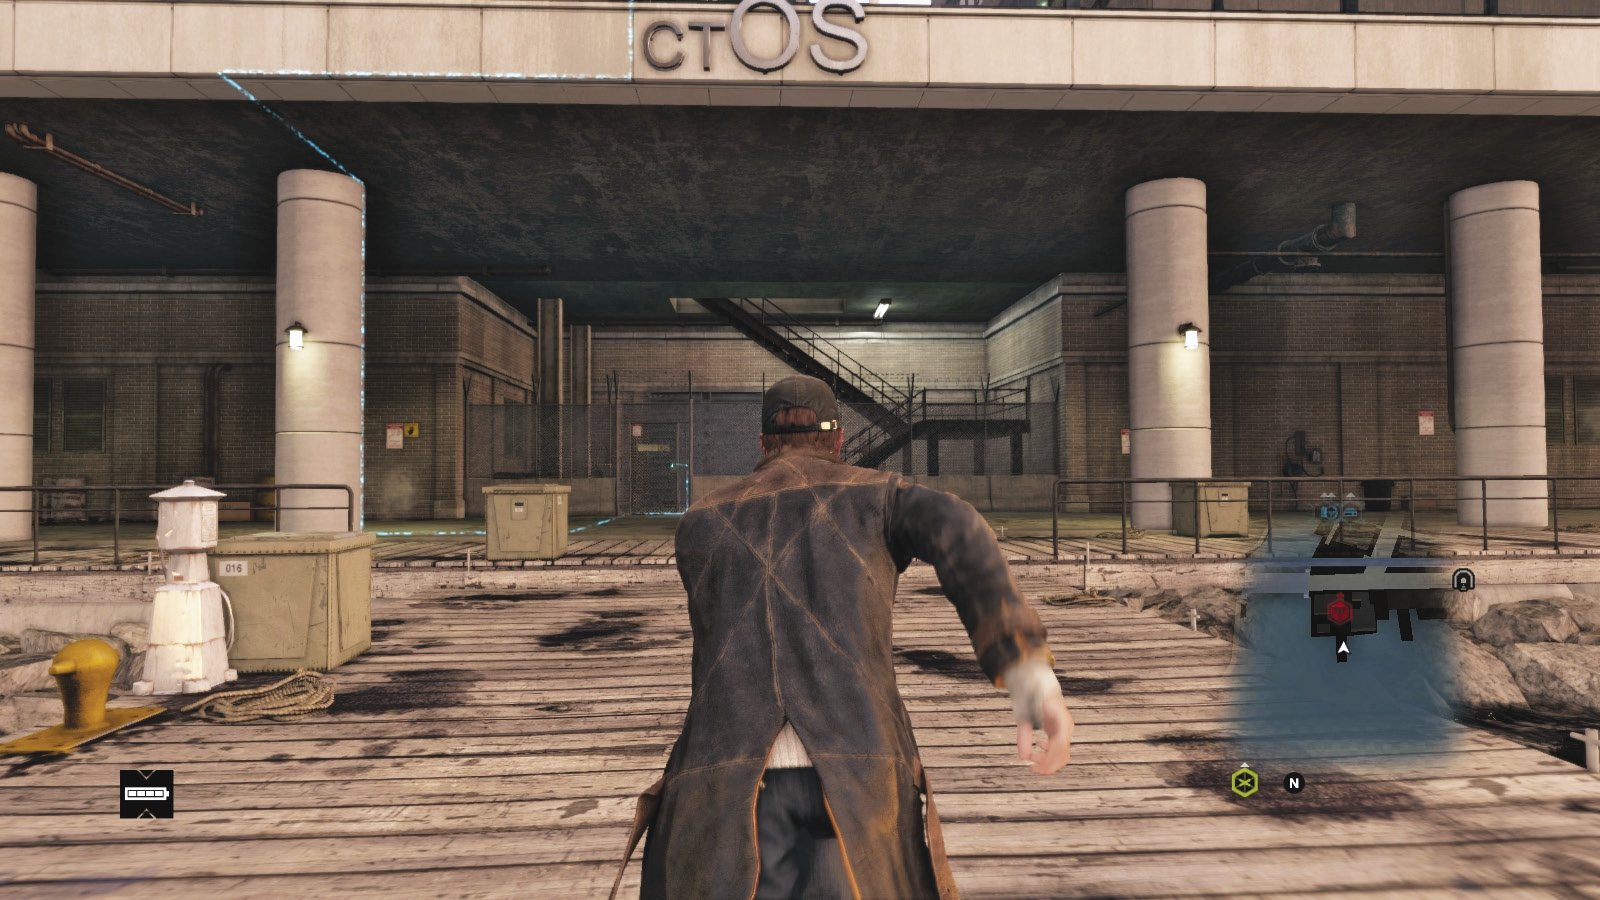
Locate a boat and approach this ctOS building by water, mooring at the jetty below the structure. Get out and push open the ctOS gate you unlocked, then climb the steps.
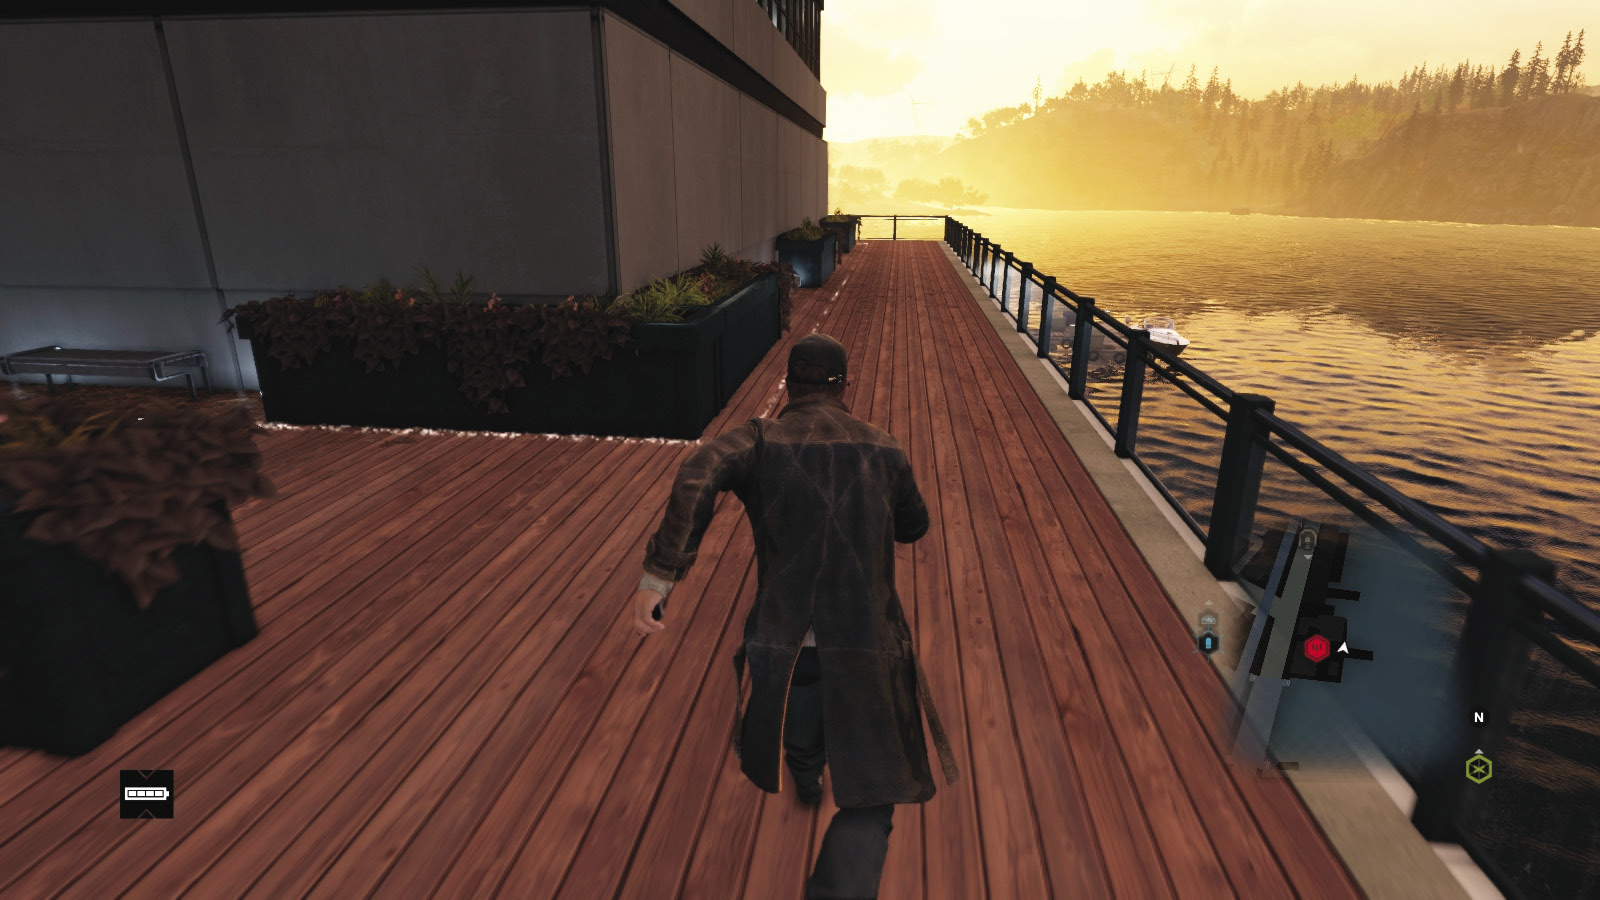
Run west, following the locked data flow around the corner to a ladder and up to a gravel roof and AC ducts with a switch box. This opens the adjacent gate, leading down to the tower to unlock.
ctOS TOWER 12 / MAD MILE // RIVER EAST TOWER
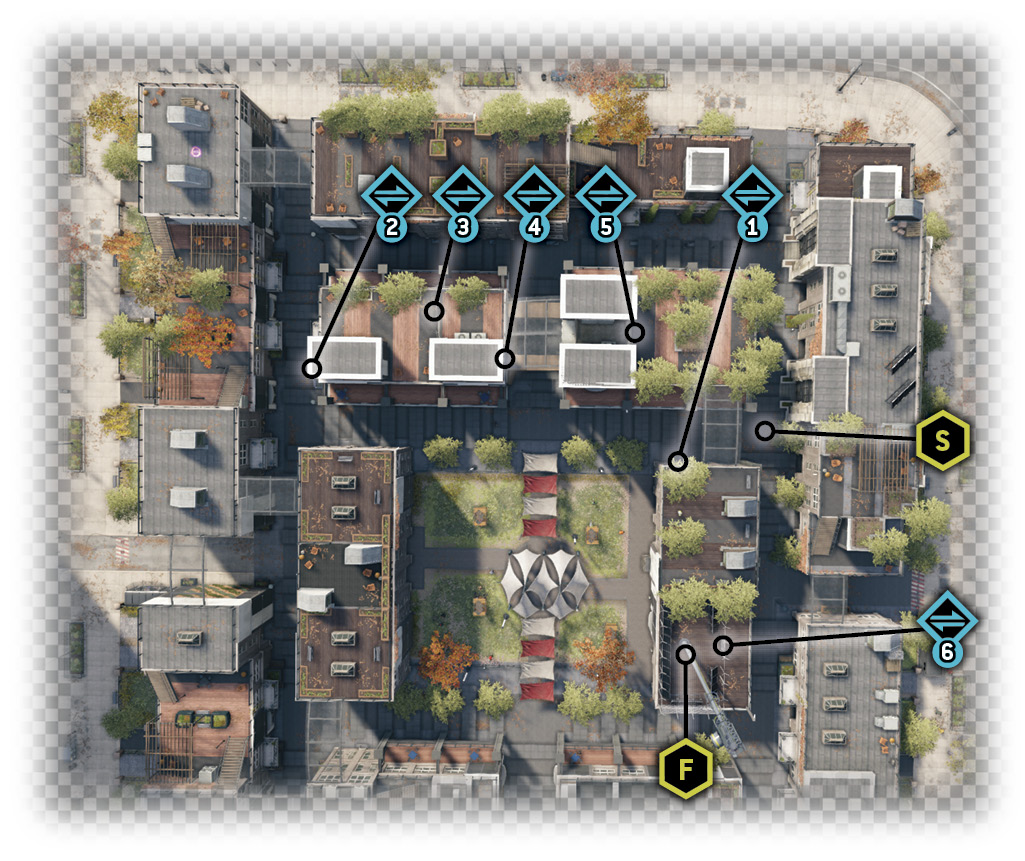
Difficulty: 
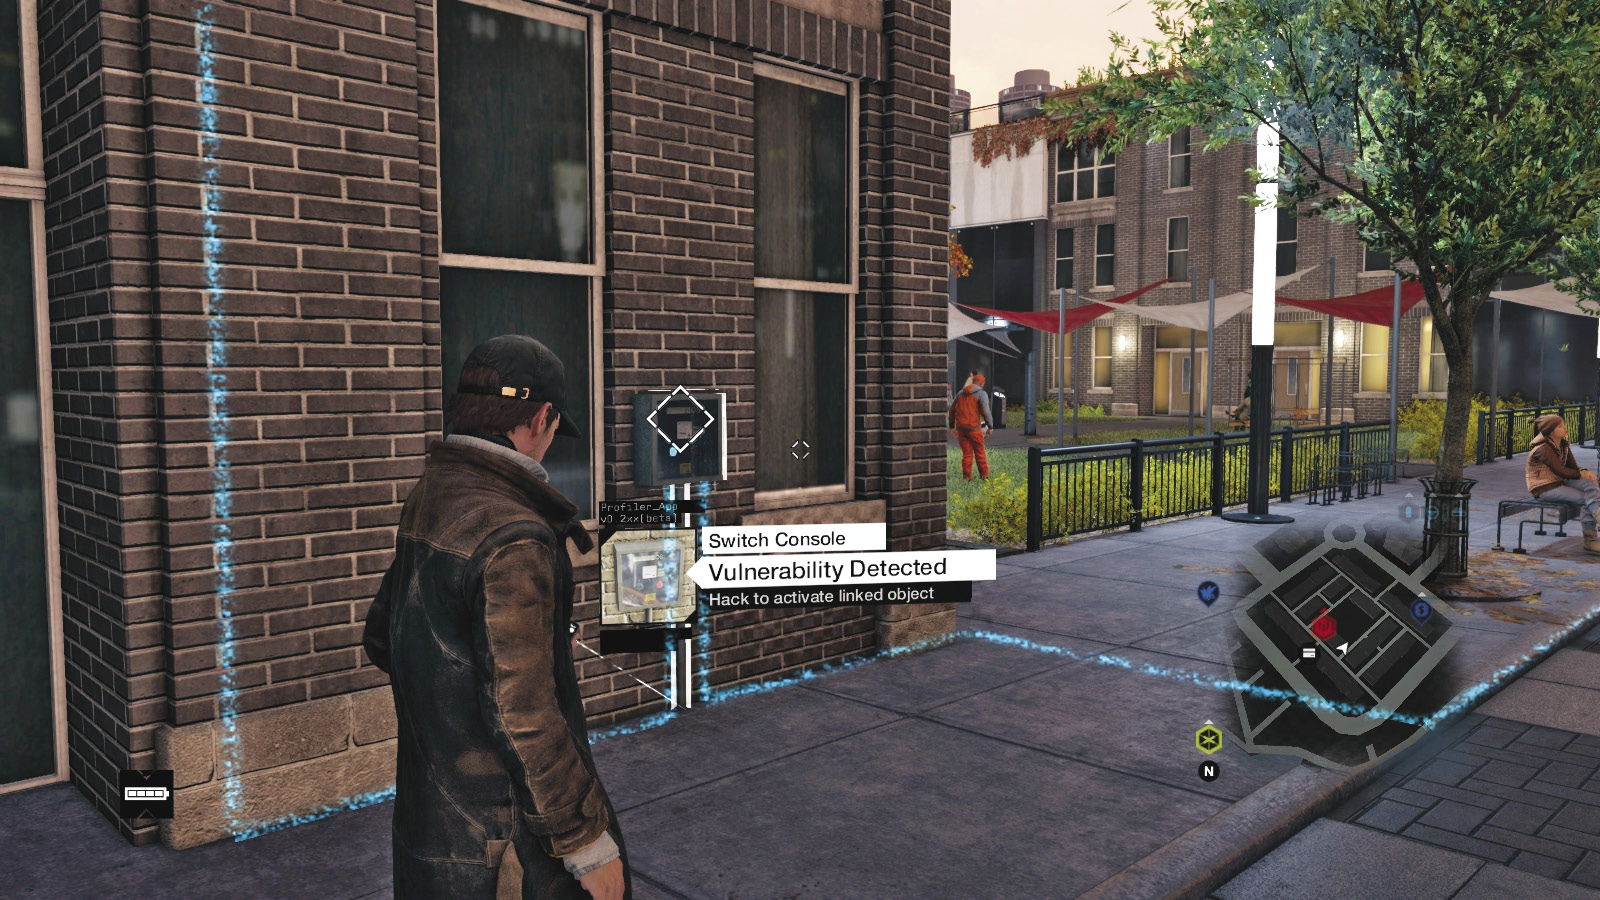
Head into this apartment complex to the park in the middle of the area. Locate this switch box at ground level, either on foot or by using a camera overlooking it. Unlock this box.
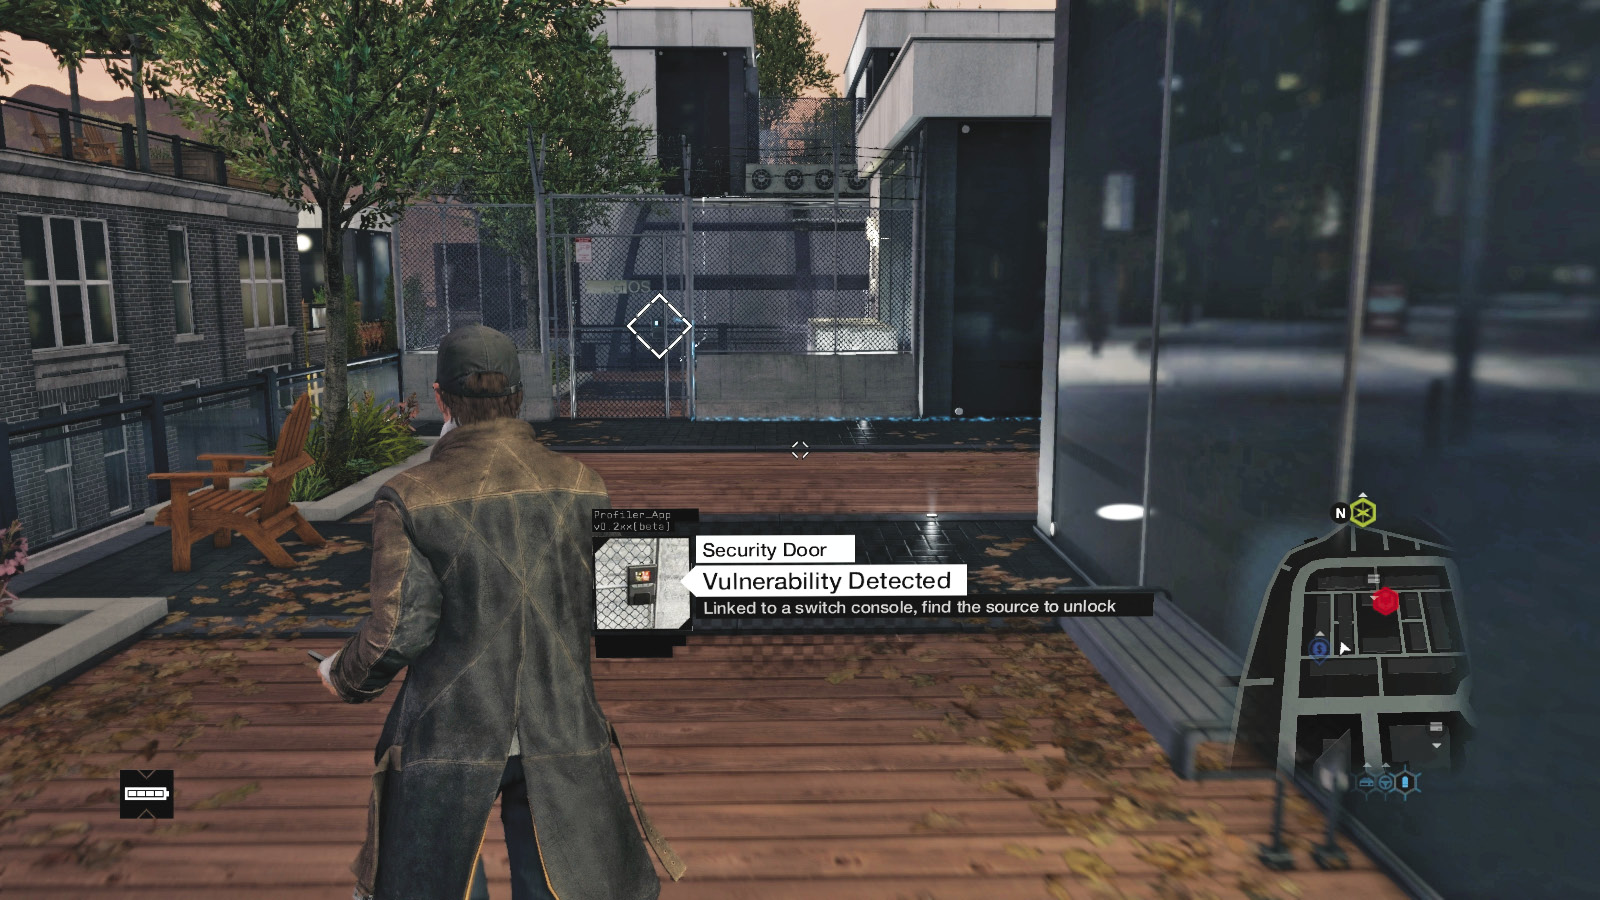
Follow the data flow to the south, locating the scissor lift around the corner to the right. Ride it to the balcony ladder and up to the ctOS gate. Head through the gate to the curved glass roof.
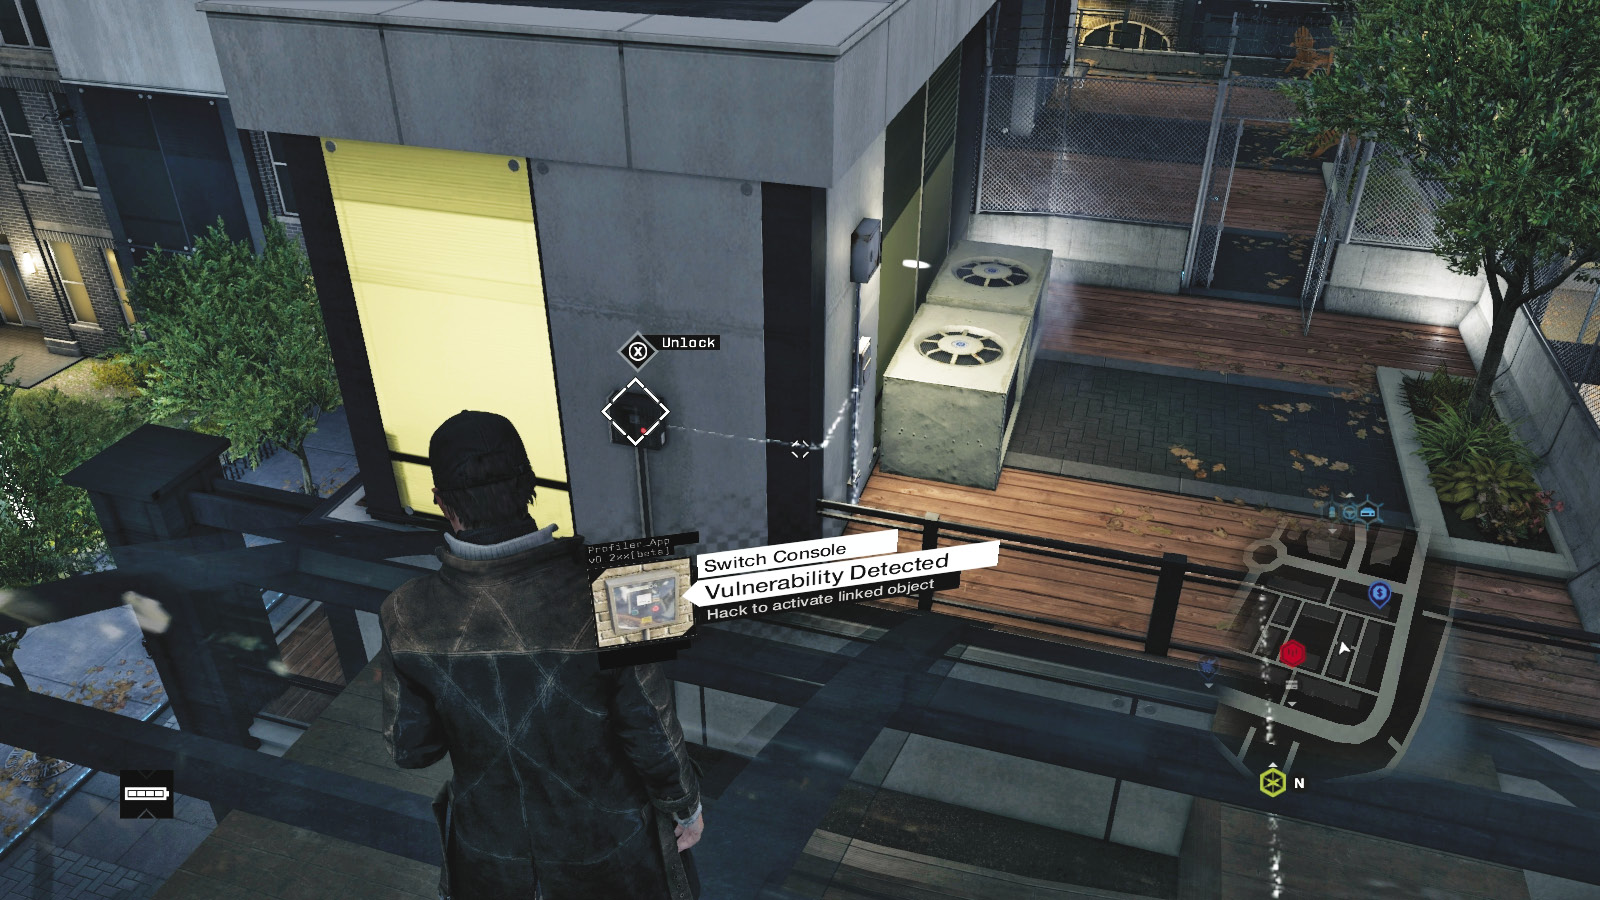
Turn and find the switch box behind you. Unlock it and climb over the AC fan unit and two mesh fences between the roof structure. Cross a glass roof to reach the solar array and the ctOS tower to unlock.
ctOS TOWER 13 / MAD MILE // GOLD COAST TOWER
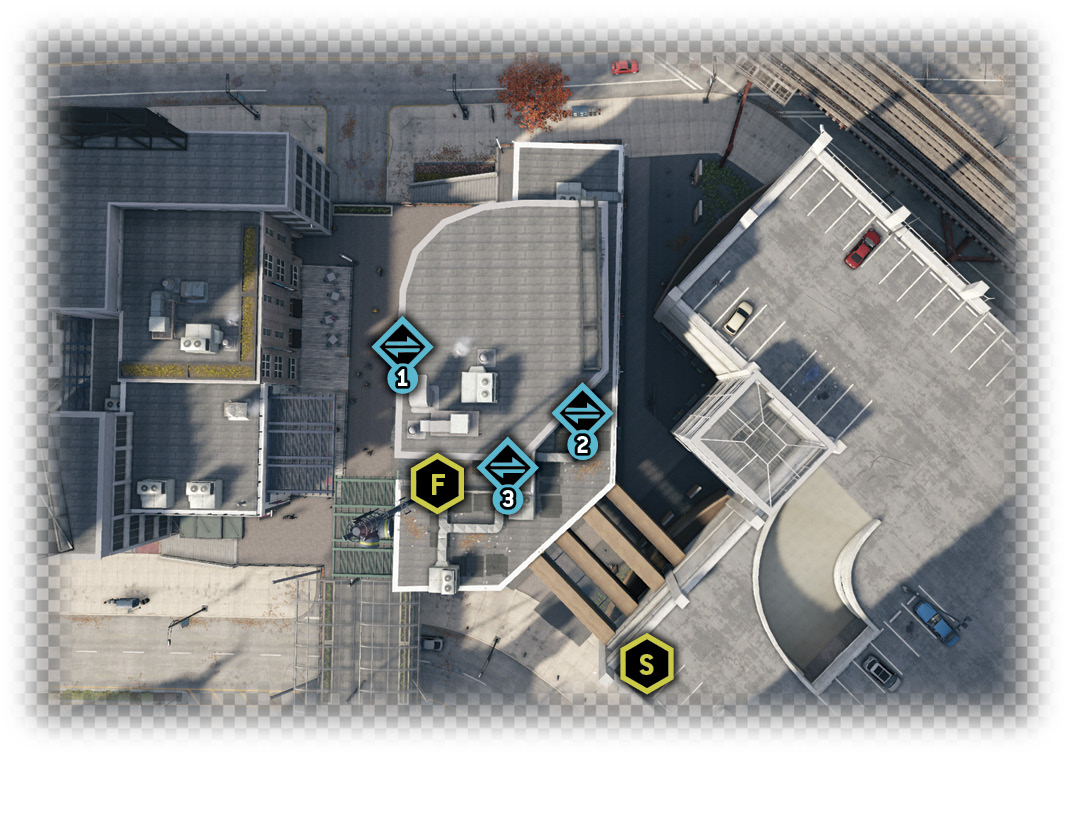
Difficulty: 
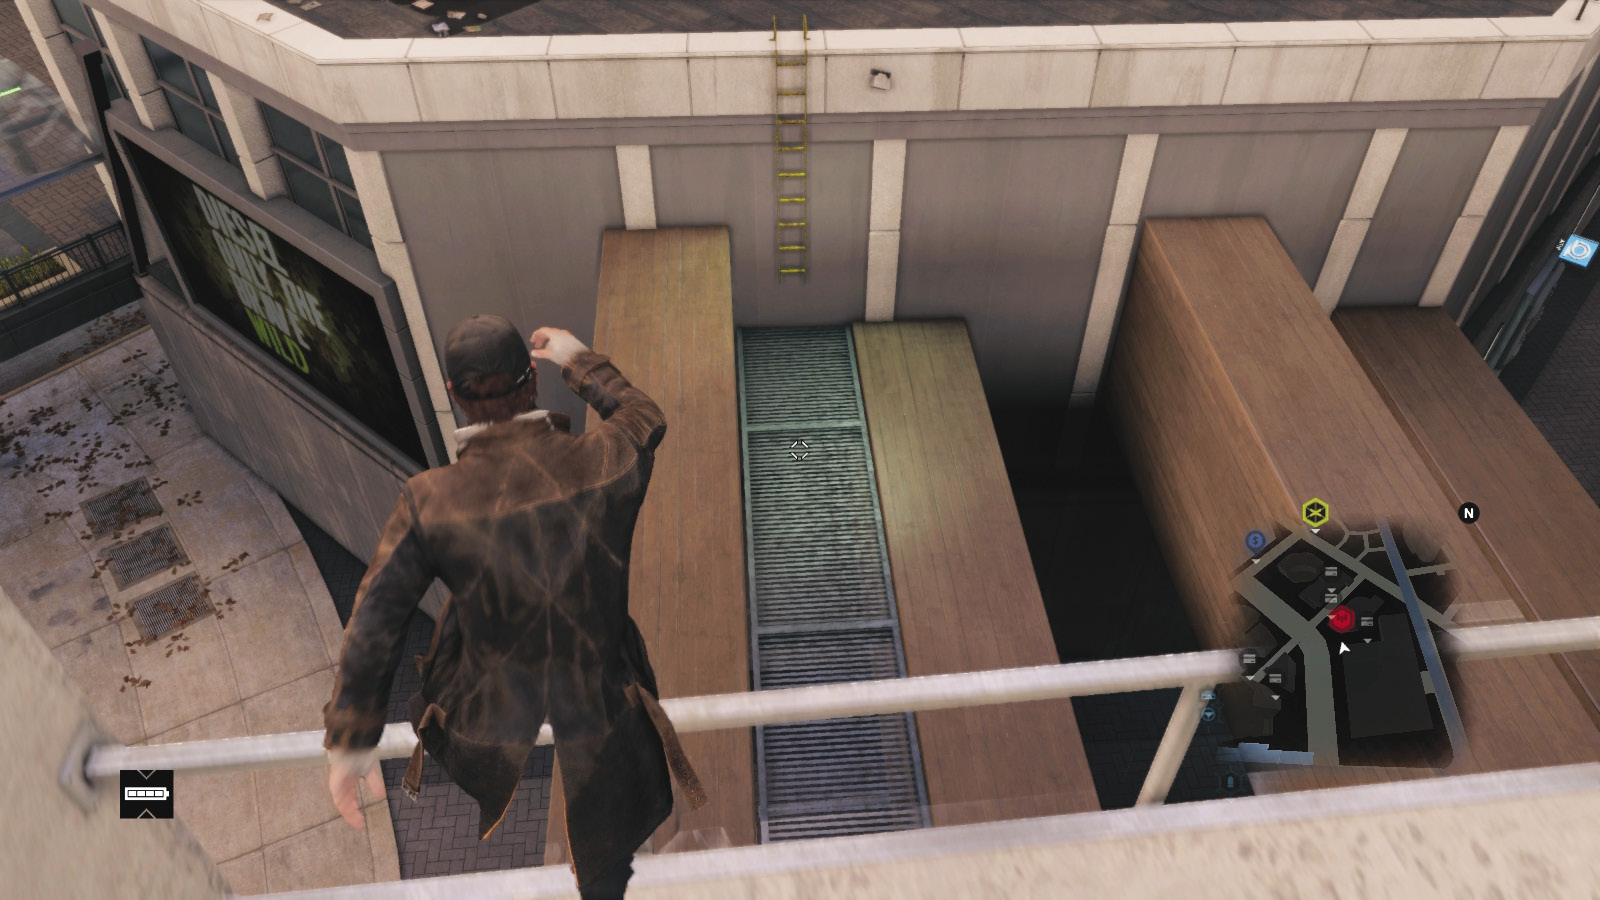
Enter the parking lot and climb the stairwell until you reach the area overlooking the tower. Climb to the top. Drop down to the roof of the connecting concrete walkway.
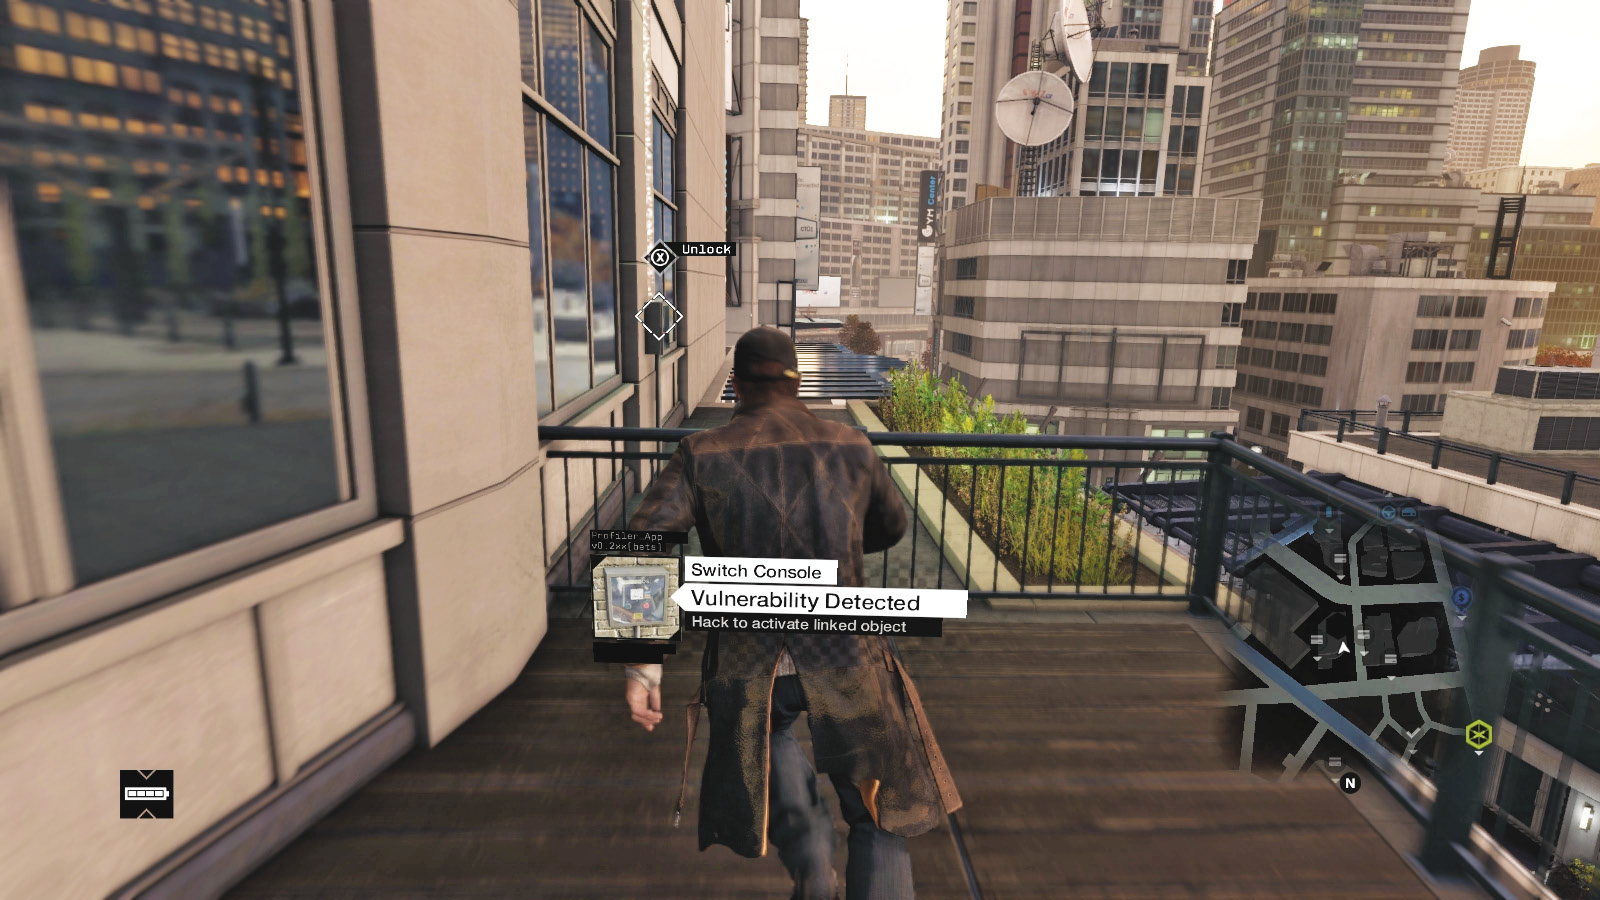
There is an “intrude” box near the AC duct, but it isn’t functional; run right, following the data flow counterclockwise around to this switch box and unlock it.
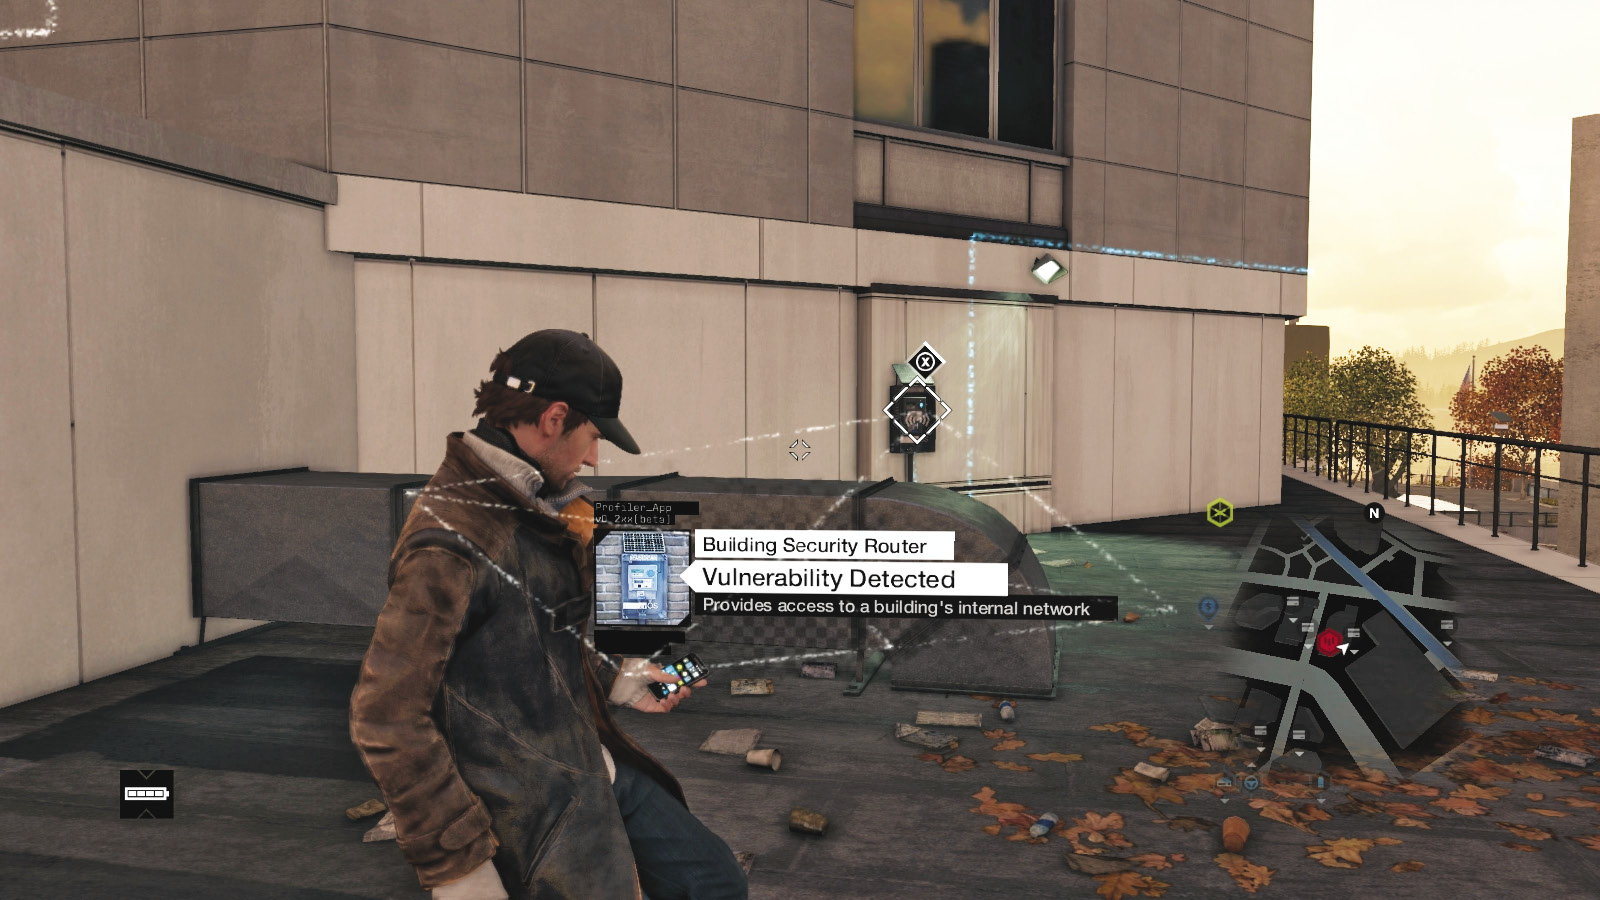
Return to the intrusion box near the tower and hack into a server room. Move to a laptop camera that looks at the second switch box to unlock. Then climb to reach the adjacent tower to unlock.