
Watch Dogs Guide MAIN MISSIONS MAIN MISSIONS /// ACT IV
_THE DEFALT CONDITION
MINOR SPOILER 
OBJECTIVES
|
 Find access into Dot Connexion unnoticed
 Enter Dot Connexion unnoticed
 Profile the guests to get to Defalt
 Hack Defalt’s server
 Chase Defalt
 Fight your way across the rooftop
 Chase Defalt
 Download the data
 Take down Defalt
LOCATIONS // MAP
Location / The Loop // Ambrose Theater (Interior)
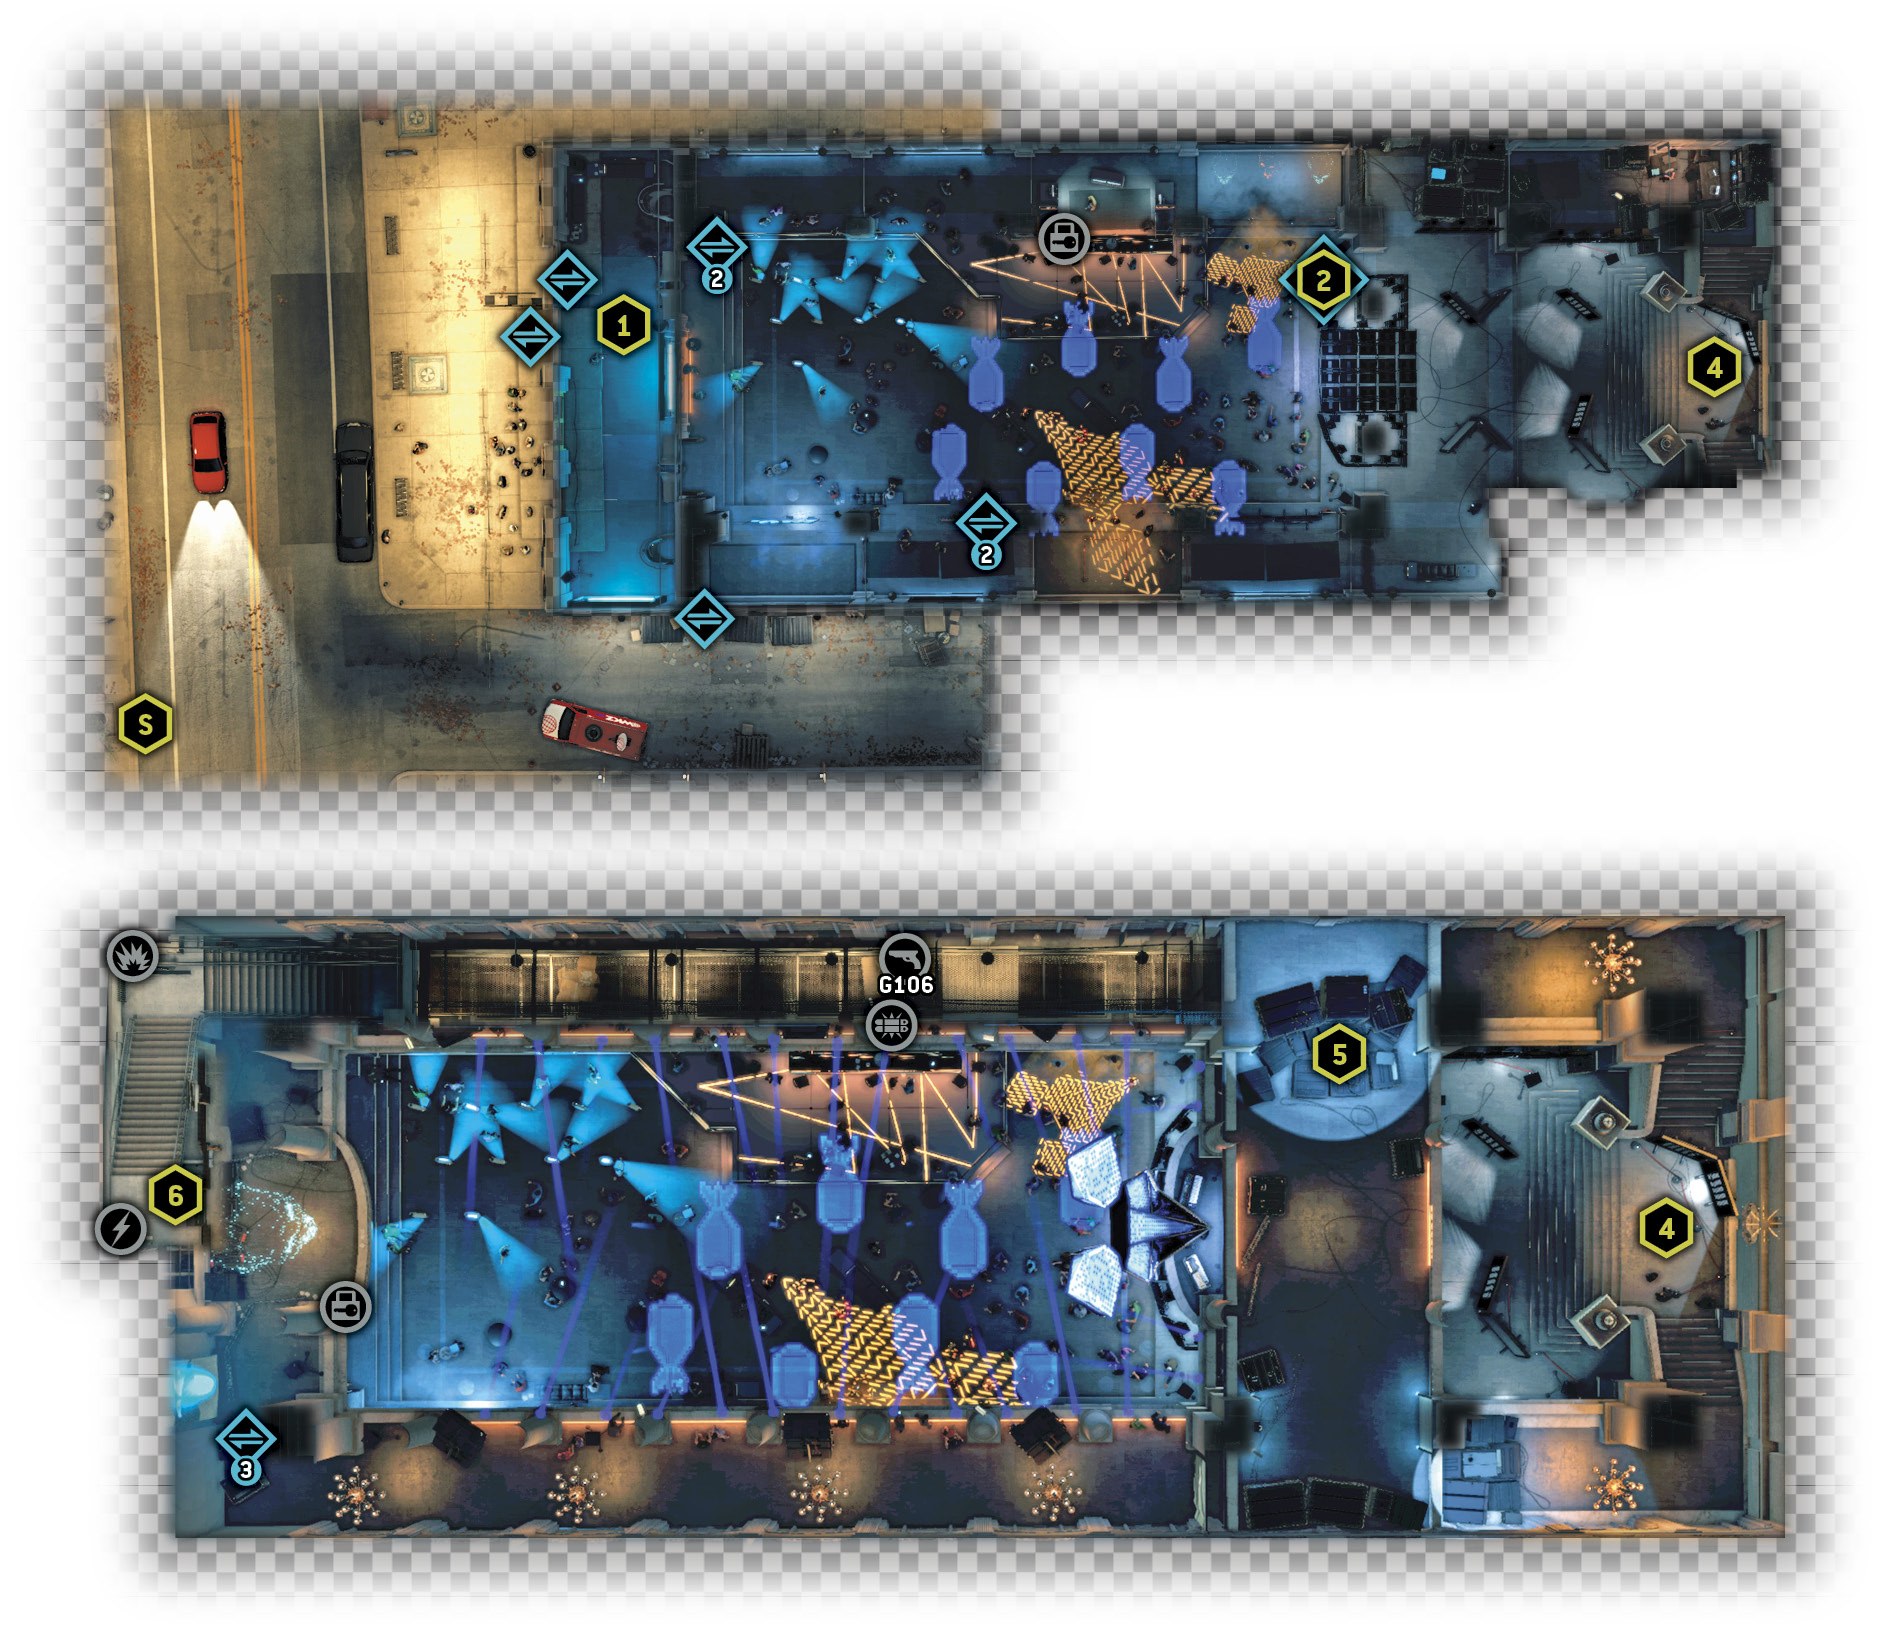
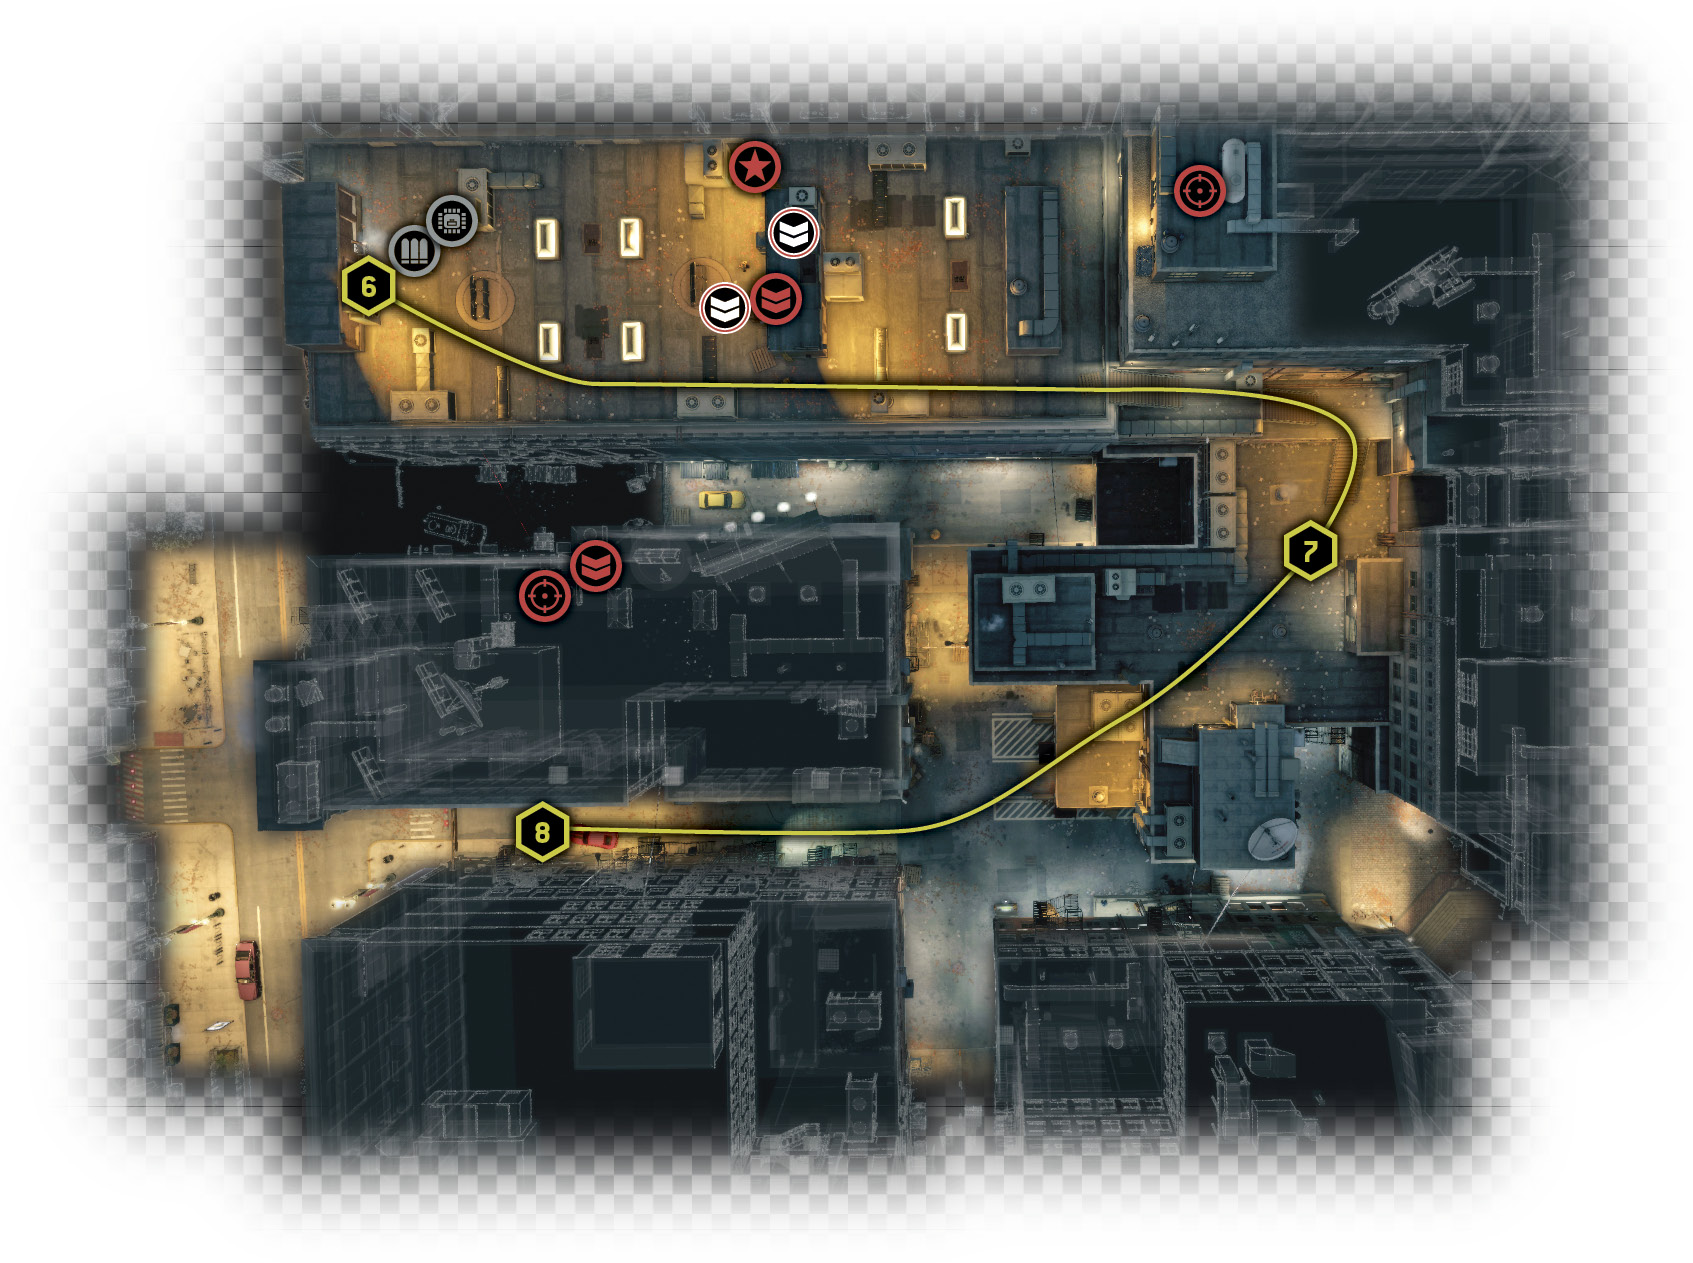
Location / The Loop // Ambrose Theater (Rooftop and Alleyway)
|
|
 Find access into Dot Connexion unnoticed
 Enter the Ambrose Theater discreetly
4.1 FOLLOWING THE DOTS
 Location / The Loop // Ambrose Theater
 Investigation
 Data Hack
Difficulty: 
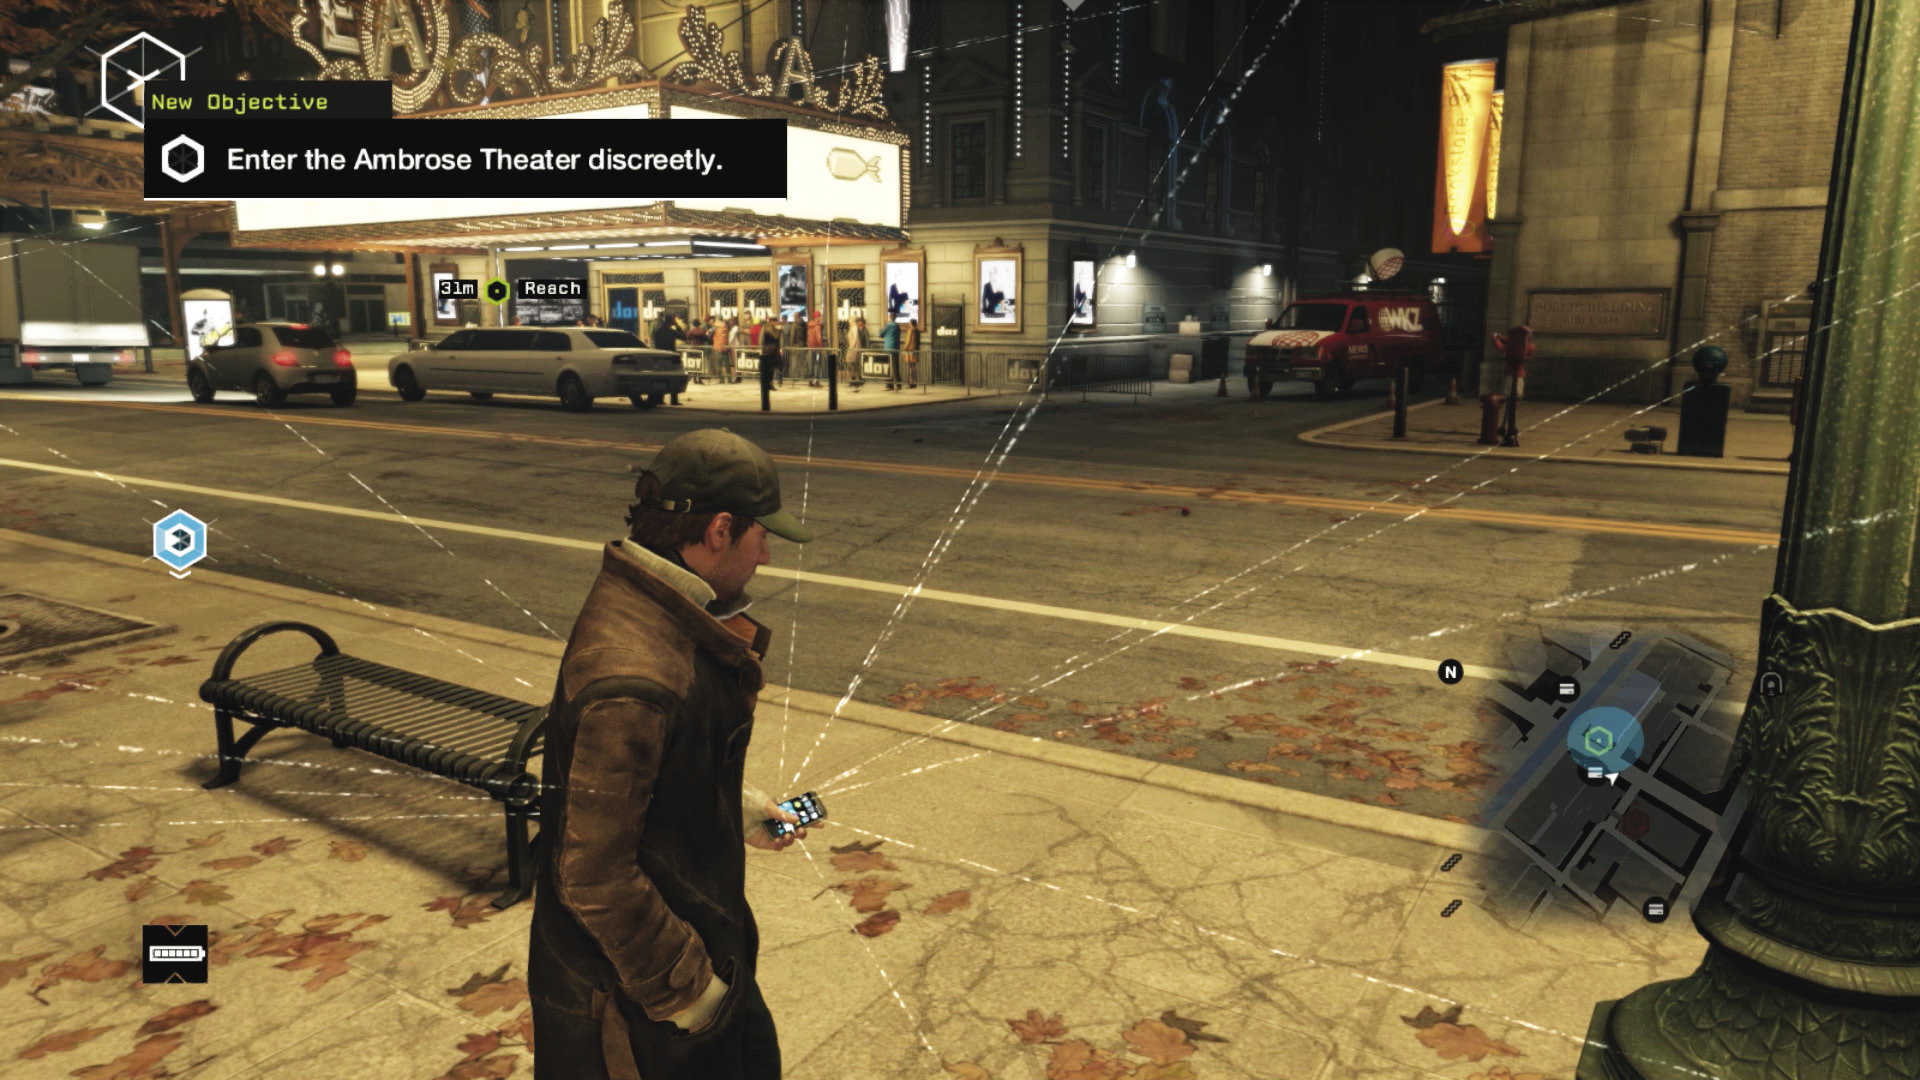
T-Bone found some exceptional data after the heist, including a USB stick he’ll happily keep to himself. Now it seems Defalt is throwing an event at the nearby Ambrose theater, but you don’t have a ticket: Time to gate-crash this event. Stroll over to the theater front door and take in the ambience. Obtaining access involves Profiling the folks standing around near the camera crew; there are two ways you can head inside:
 Passive // Smart: Step Aside
Difficulty: 
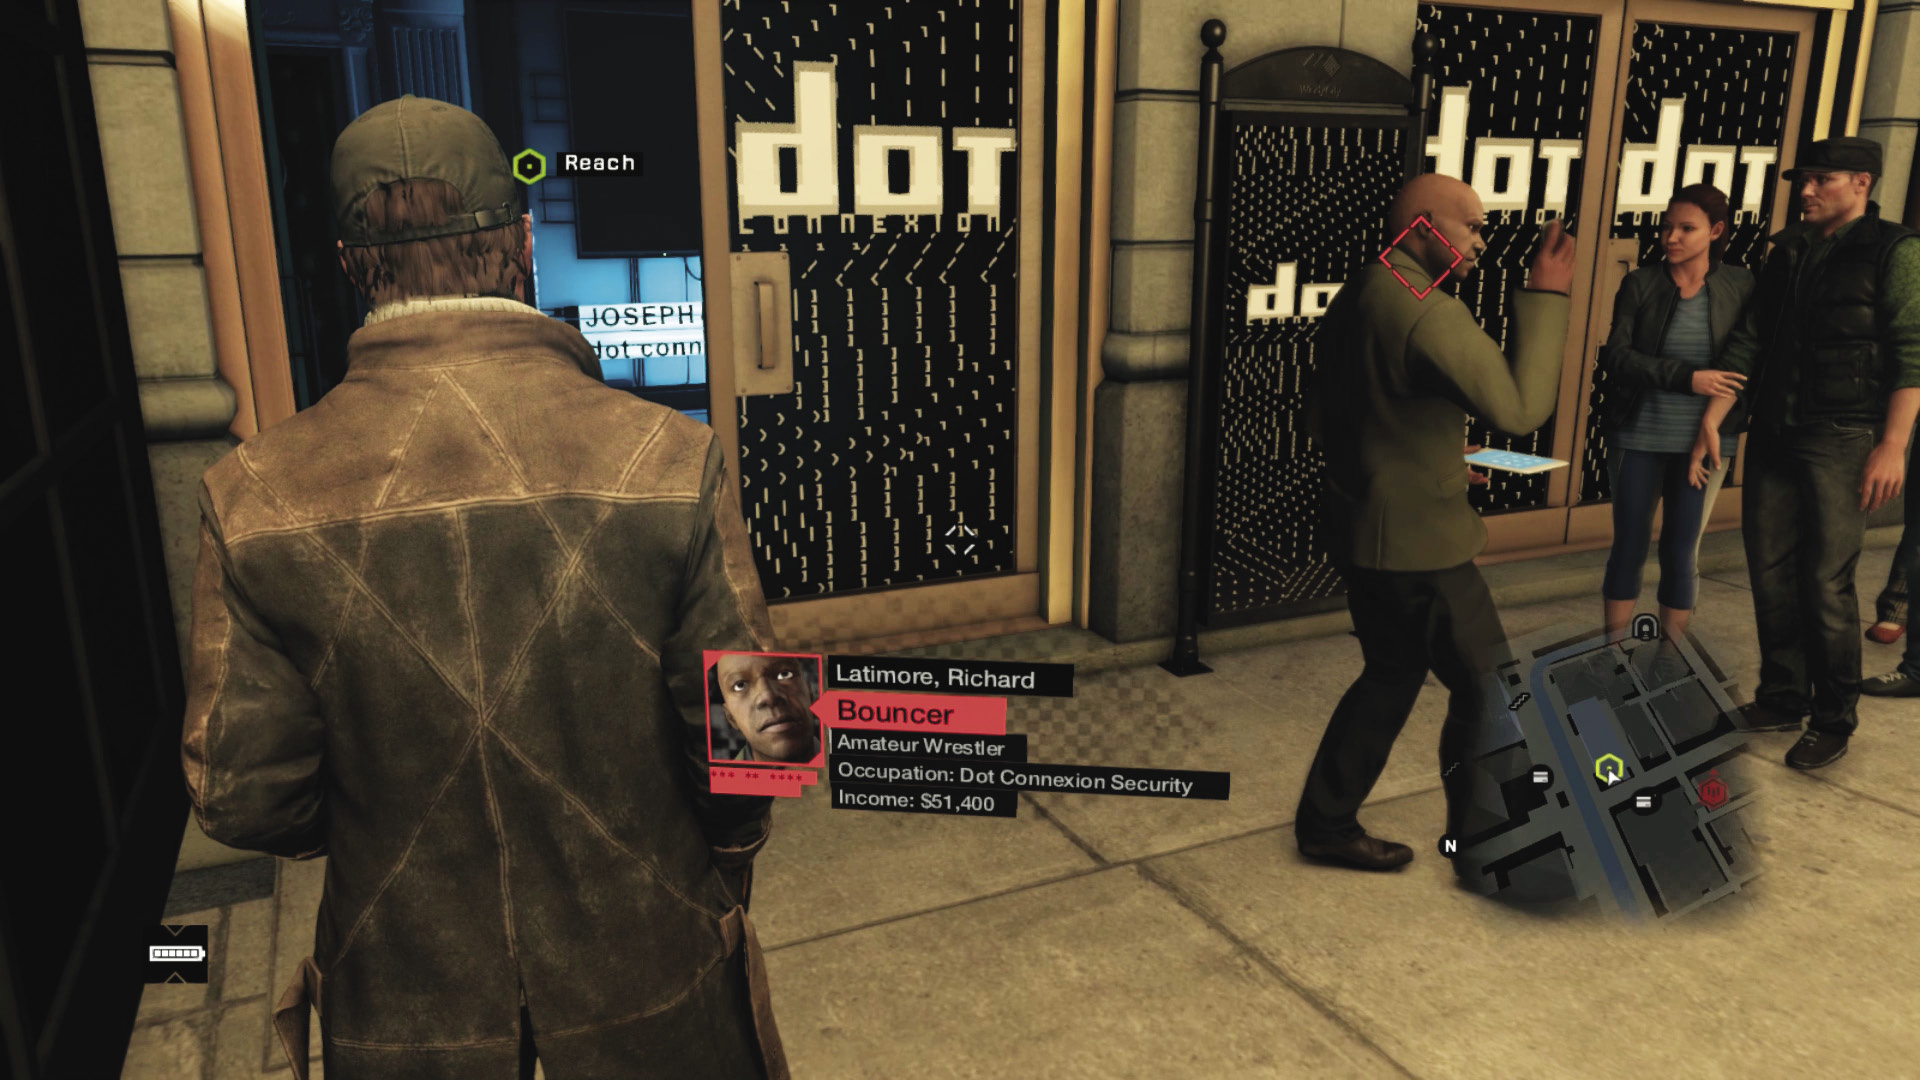
Focus your attention on the bouncer and hack his phone, or use Jam Coms on it (which can be done repeatedly). He answers the phone but can’t get a signal, so he moves toward the line of partygoers waiting to enter. When he’s looking down at his phone, simply walk through into the blue foyer.
 Passive // Smart: Slip Inside
Difficulty: 
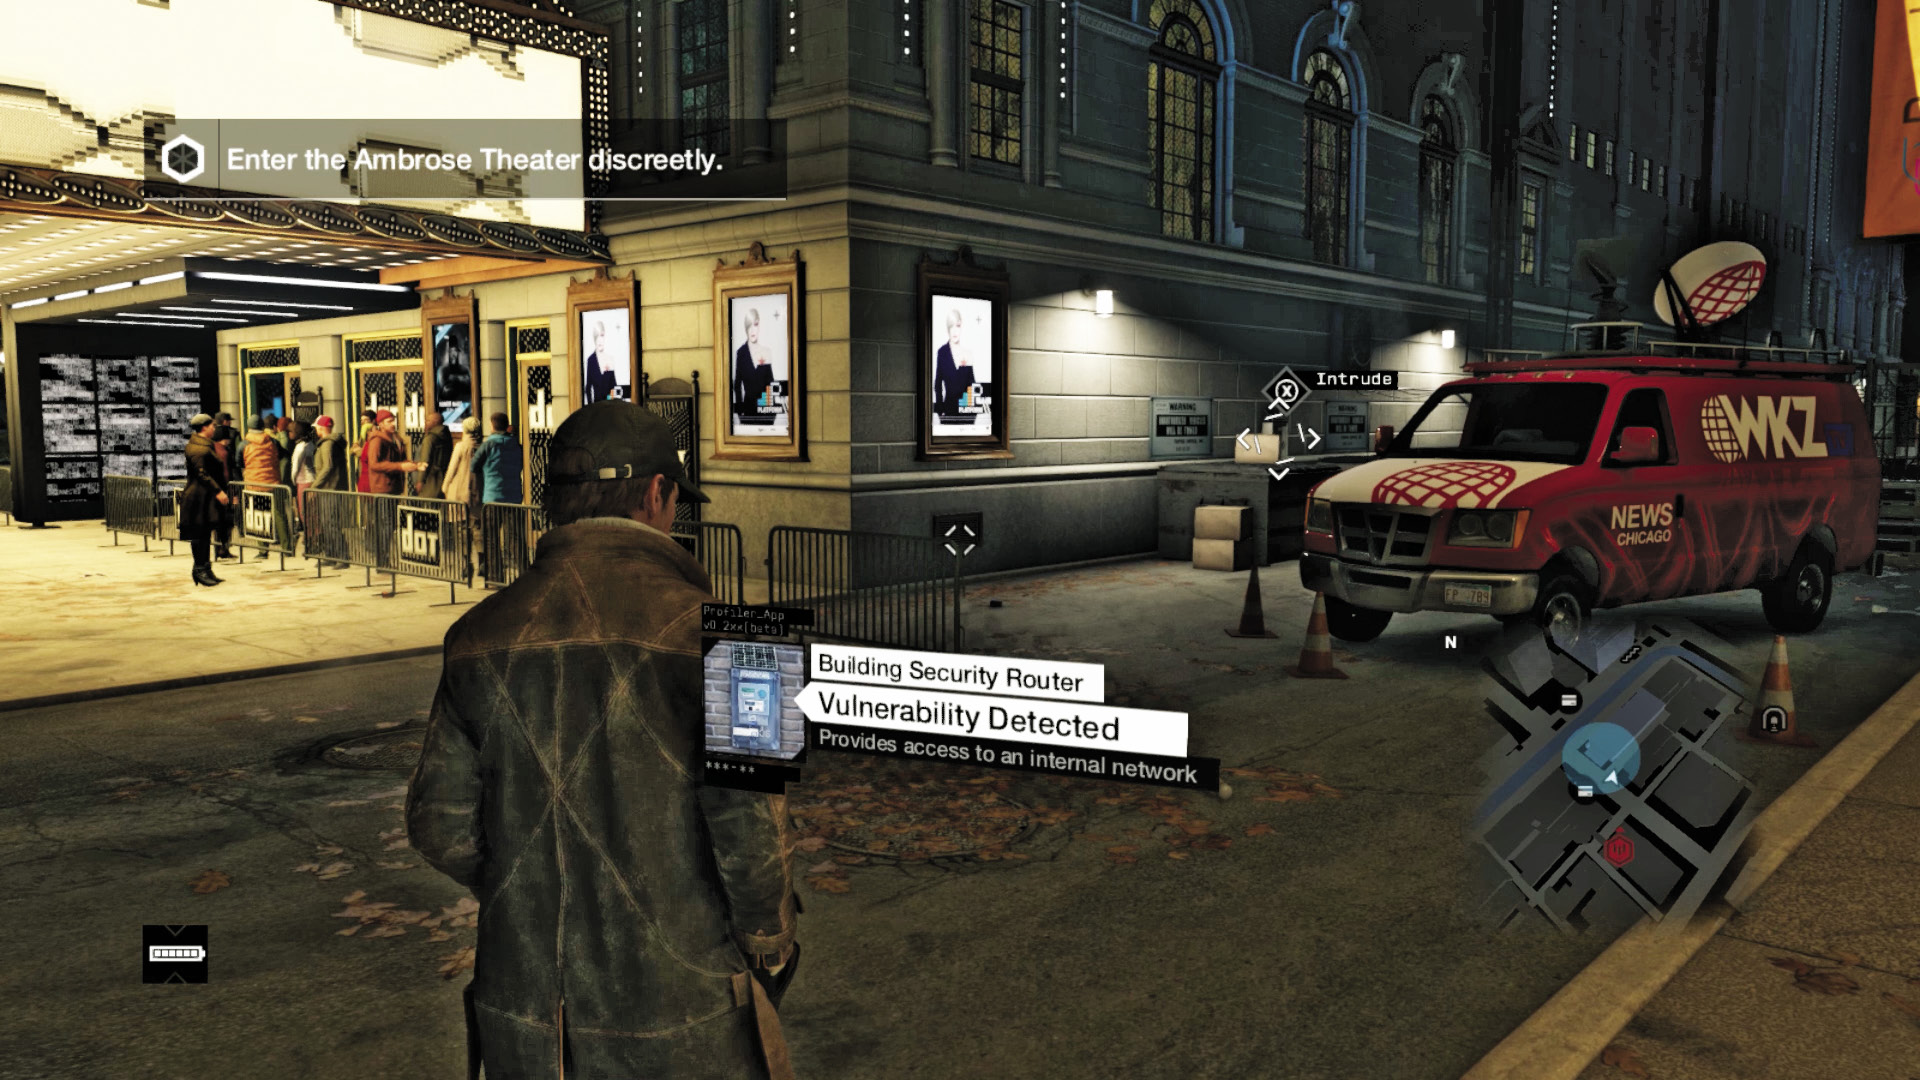
Or, you can check the alley to the right of the line of partygoers, near the WKZ van. There’s a security router you can hack into, which brings up a camera inside the foyer showing a switch console. This is attached to the VIP entrance behind the bouncer. Simply unlock it, move past the waiting throng and around to the empty area near the TV wall, and open the VIP entrance door without being seen.
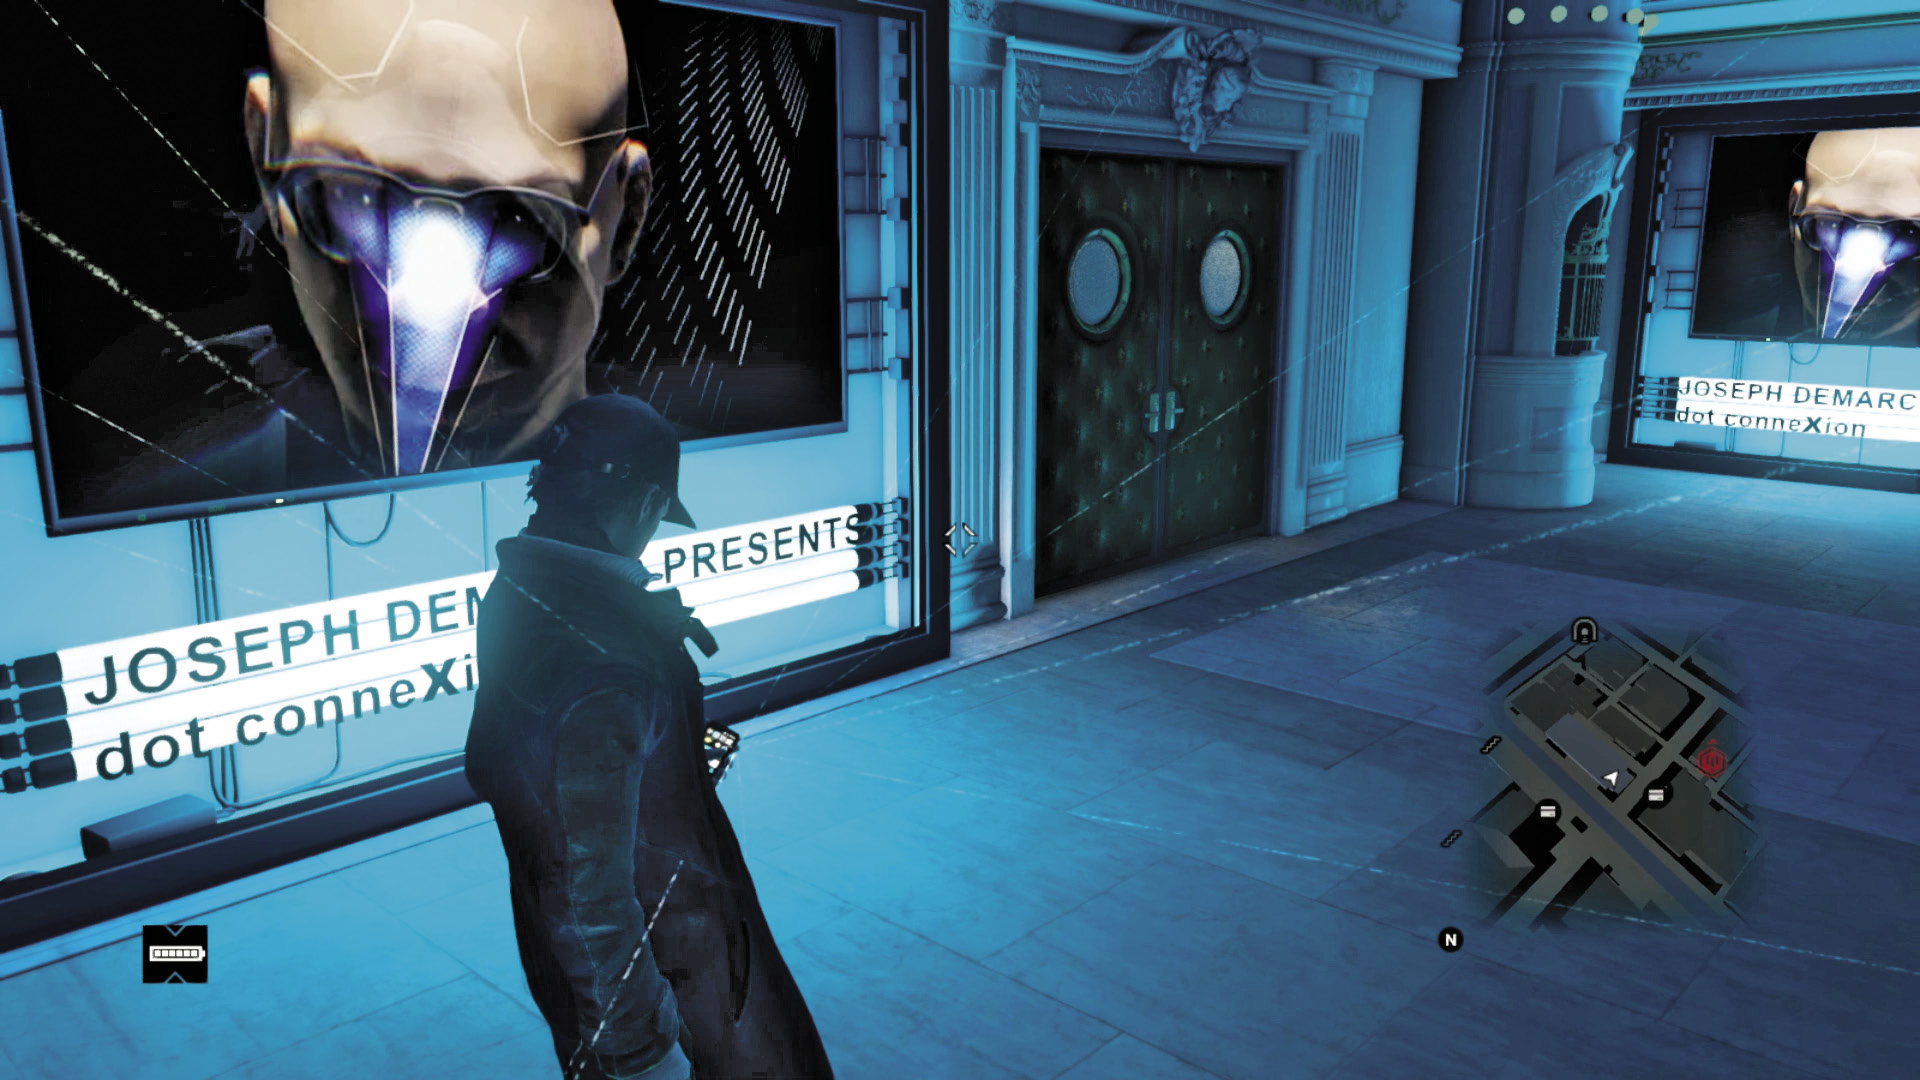
Step into the very blue entrance foyer. Then watch the self-important Defalt crackle across the giant monitors before the doors open and the party starts. Enter the dance hall.
|
|
 Find access into Dot Connexion unnoticed
 Enter the Ambrose Theater discreetly
4.2 DOT HACK
 Location / The Loop // Ambrose Theater
 Investigation
 Data Hack
Difficulty: 
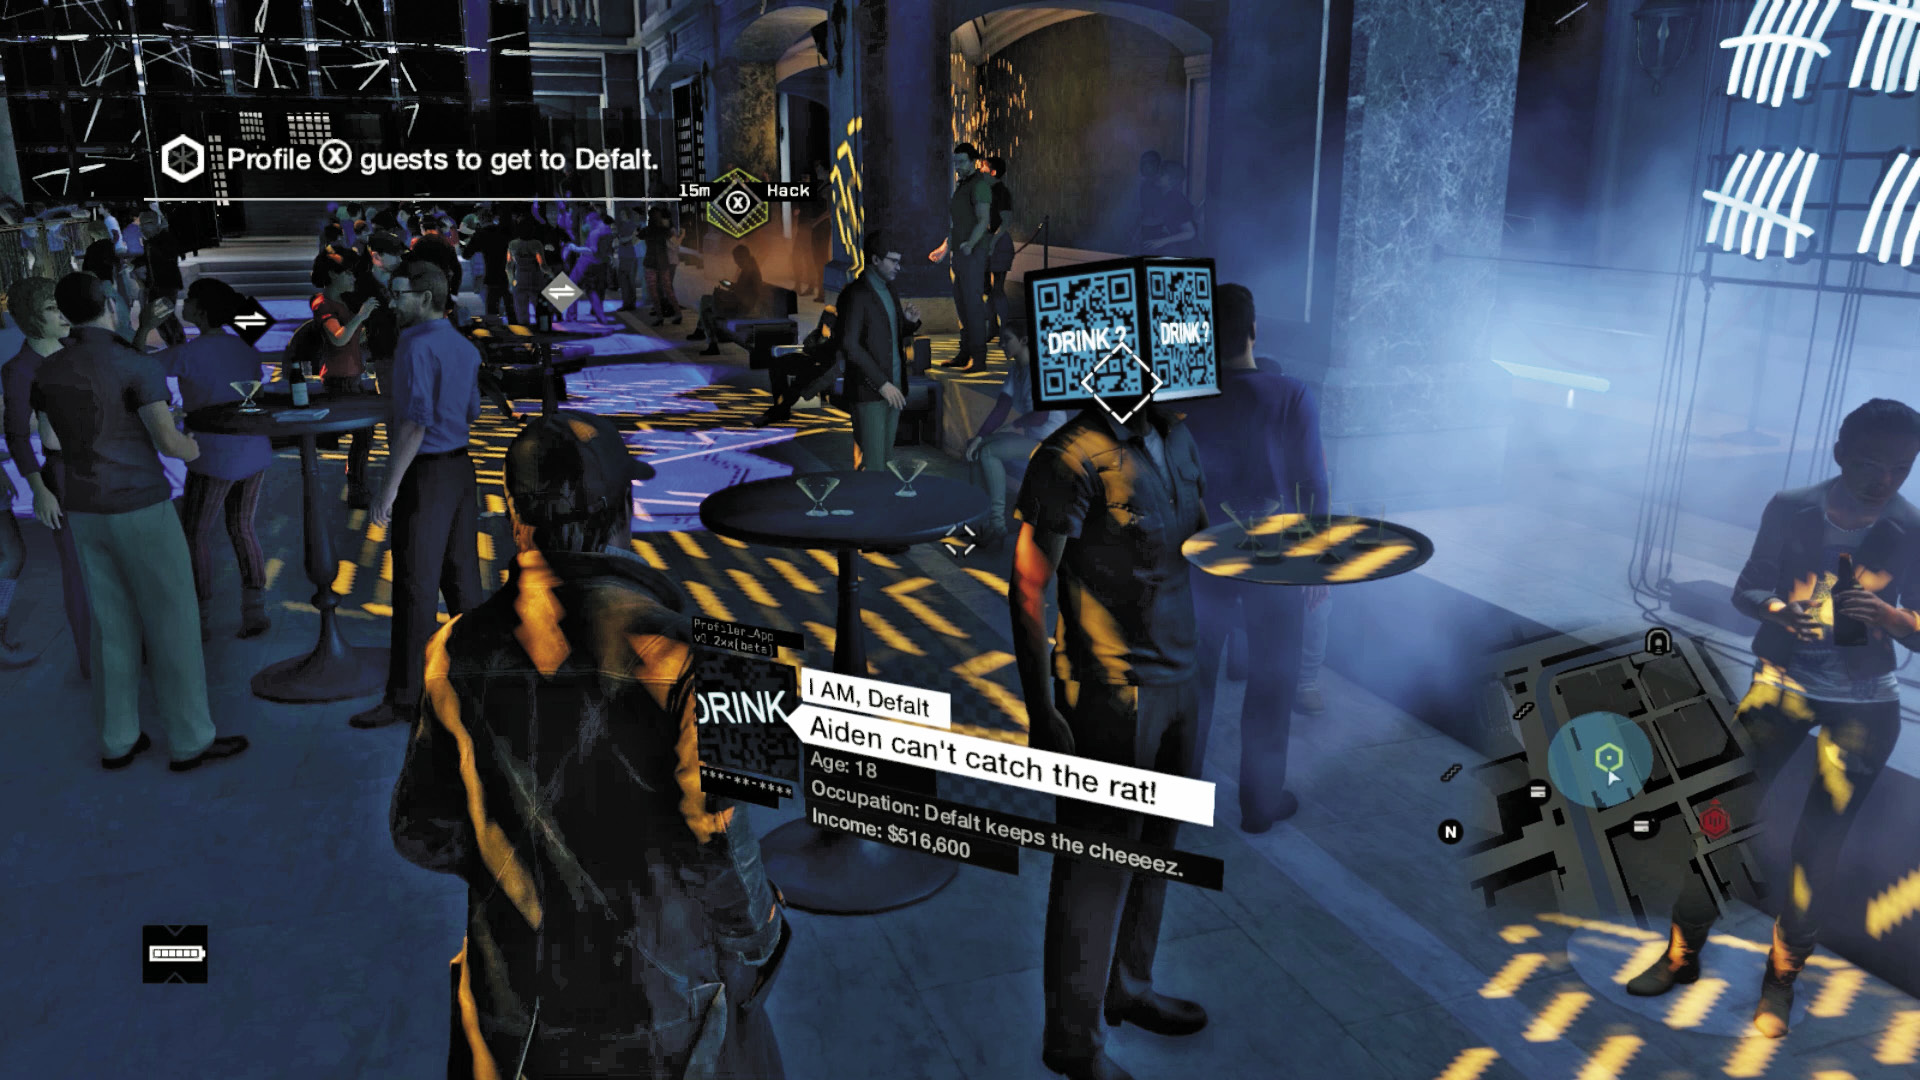
Once inside, bring out your smartphone and you’ll notice Defalt has hacked into a few guests already, leaving a variety of offensive comments about you. Ignore these jibes, and stroll through the event, looking for patrons with hacked phones that can help Aiden zero in on Defalt’s location:
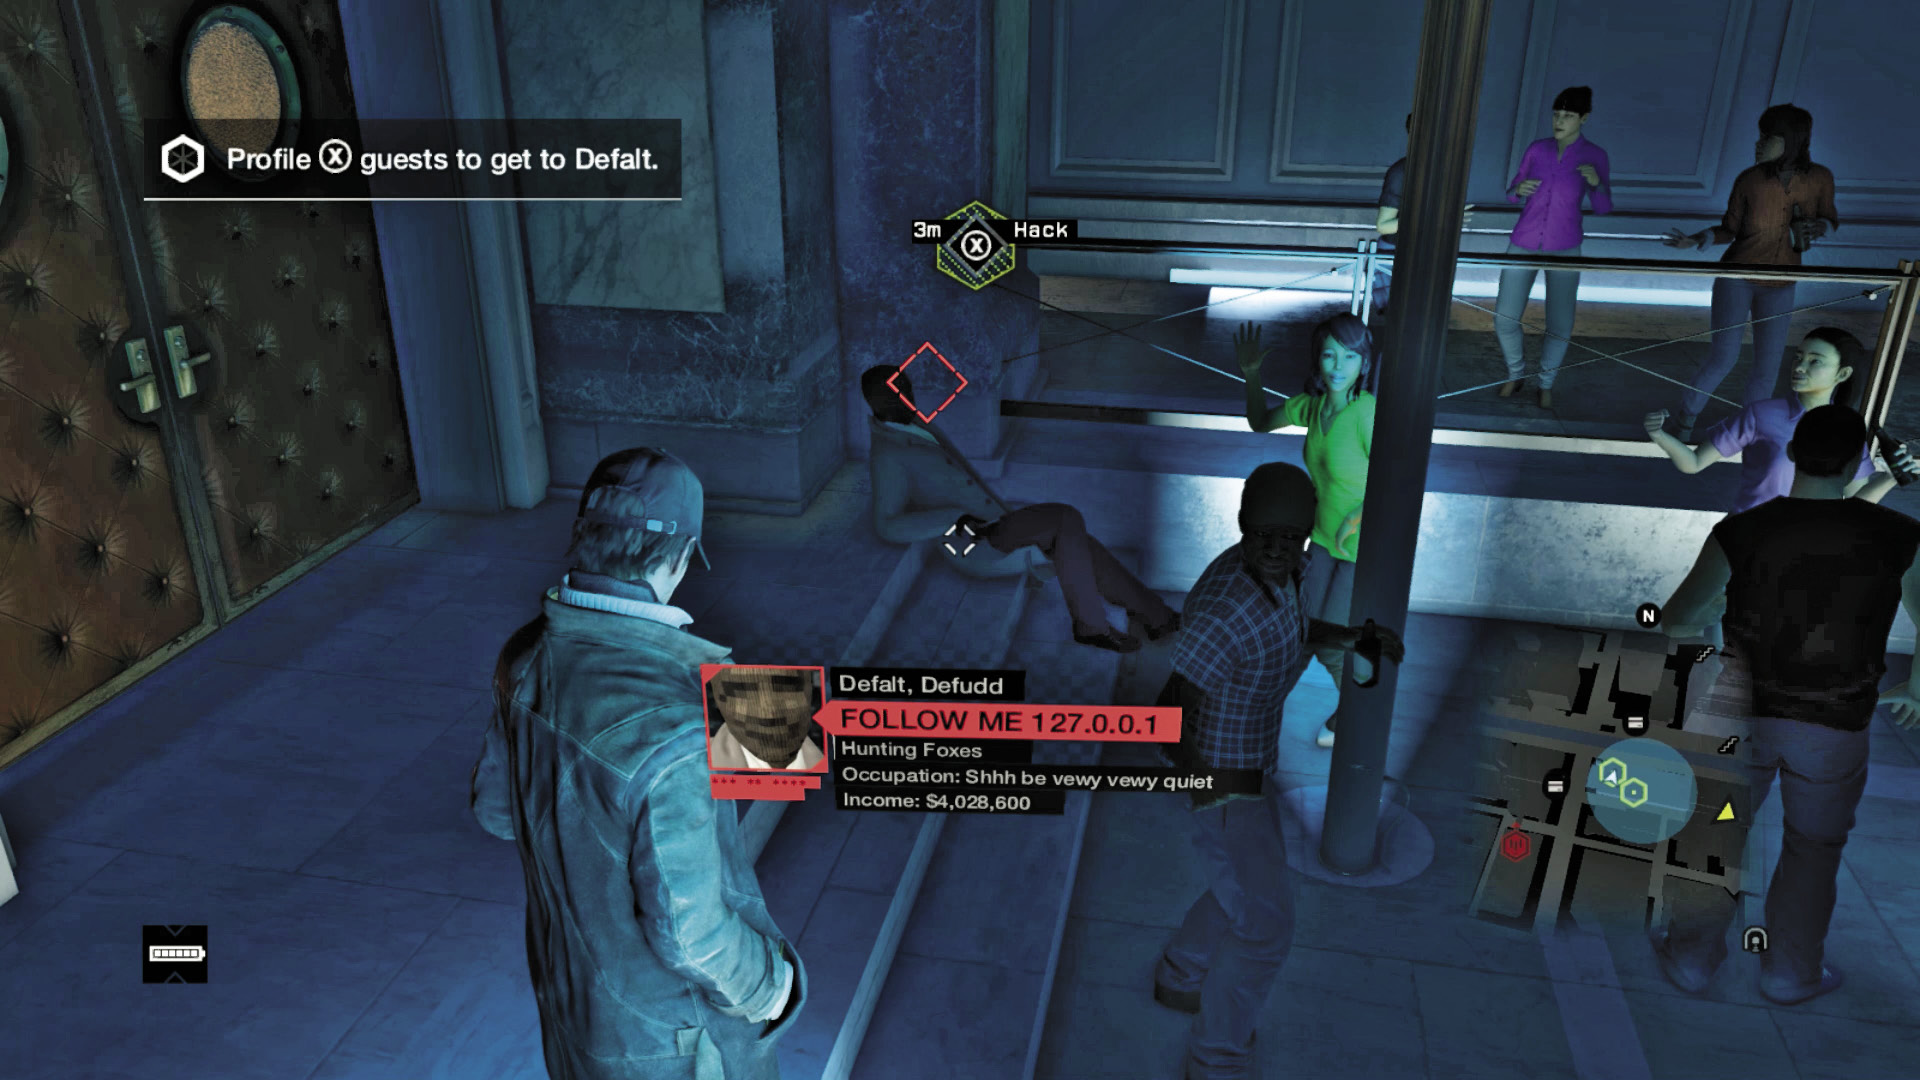
Corner Steps: Turn left as you enter, and check the guy lounging on the stairs near the other double doors.
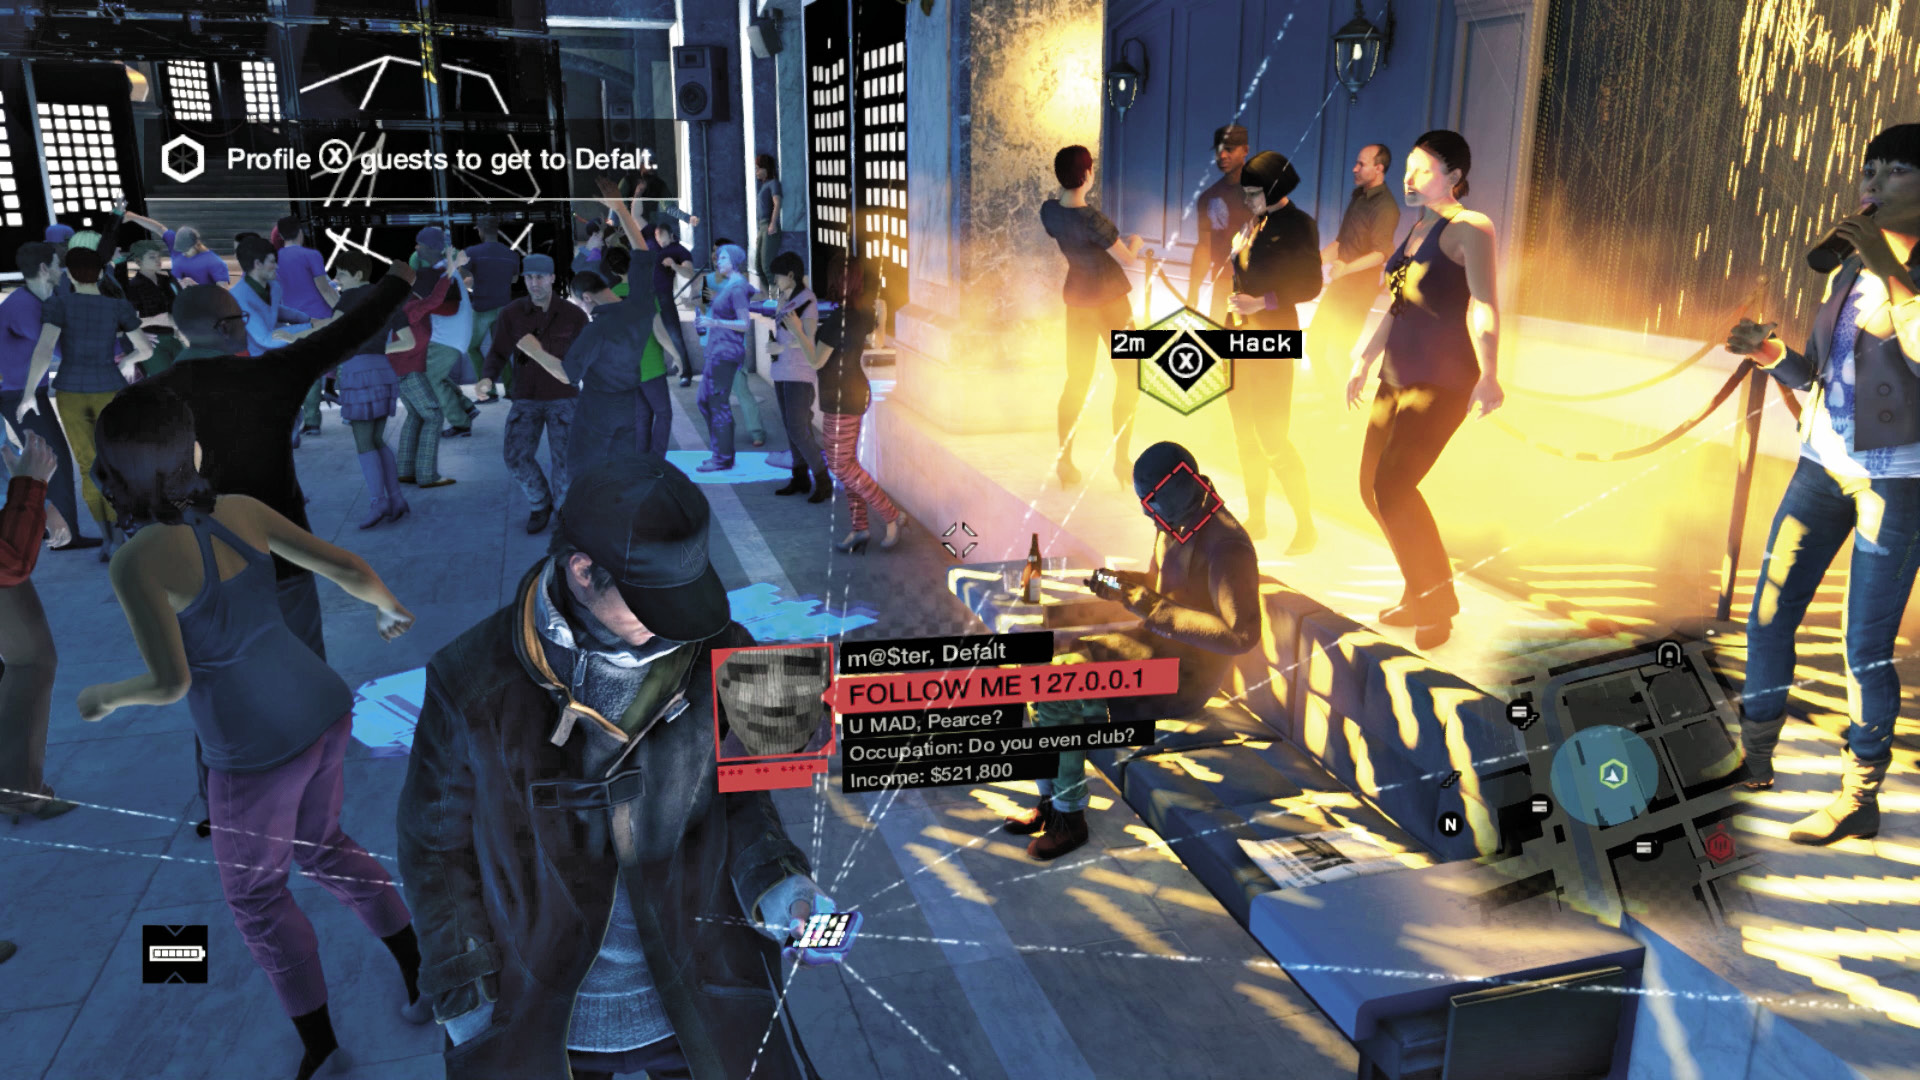
Sofa Sitter: Hack the phone of the guest sitting on the sofa, along the right wall.
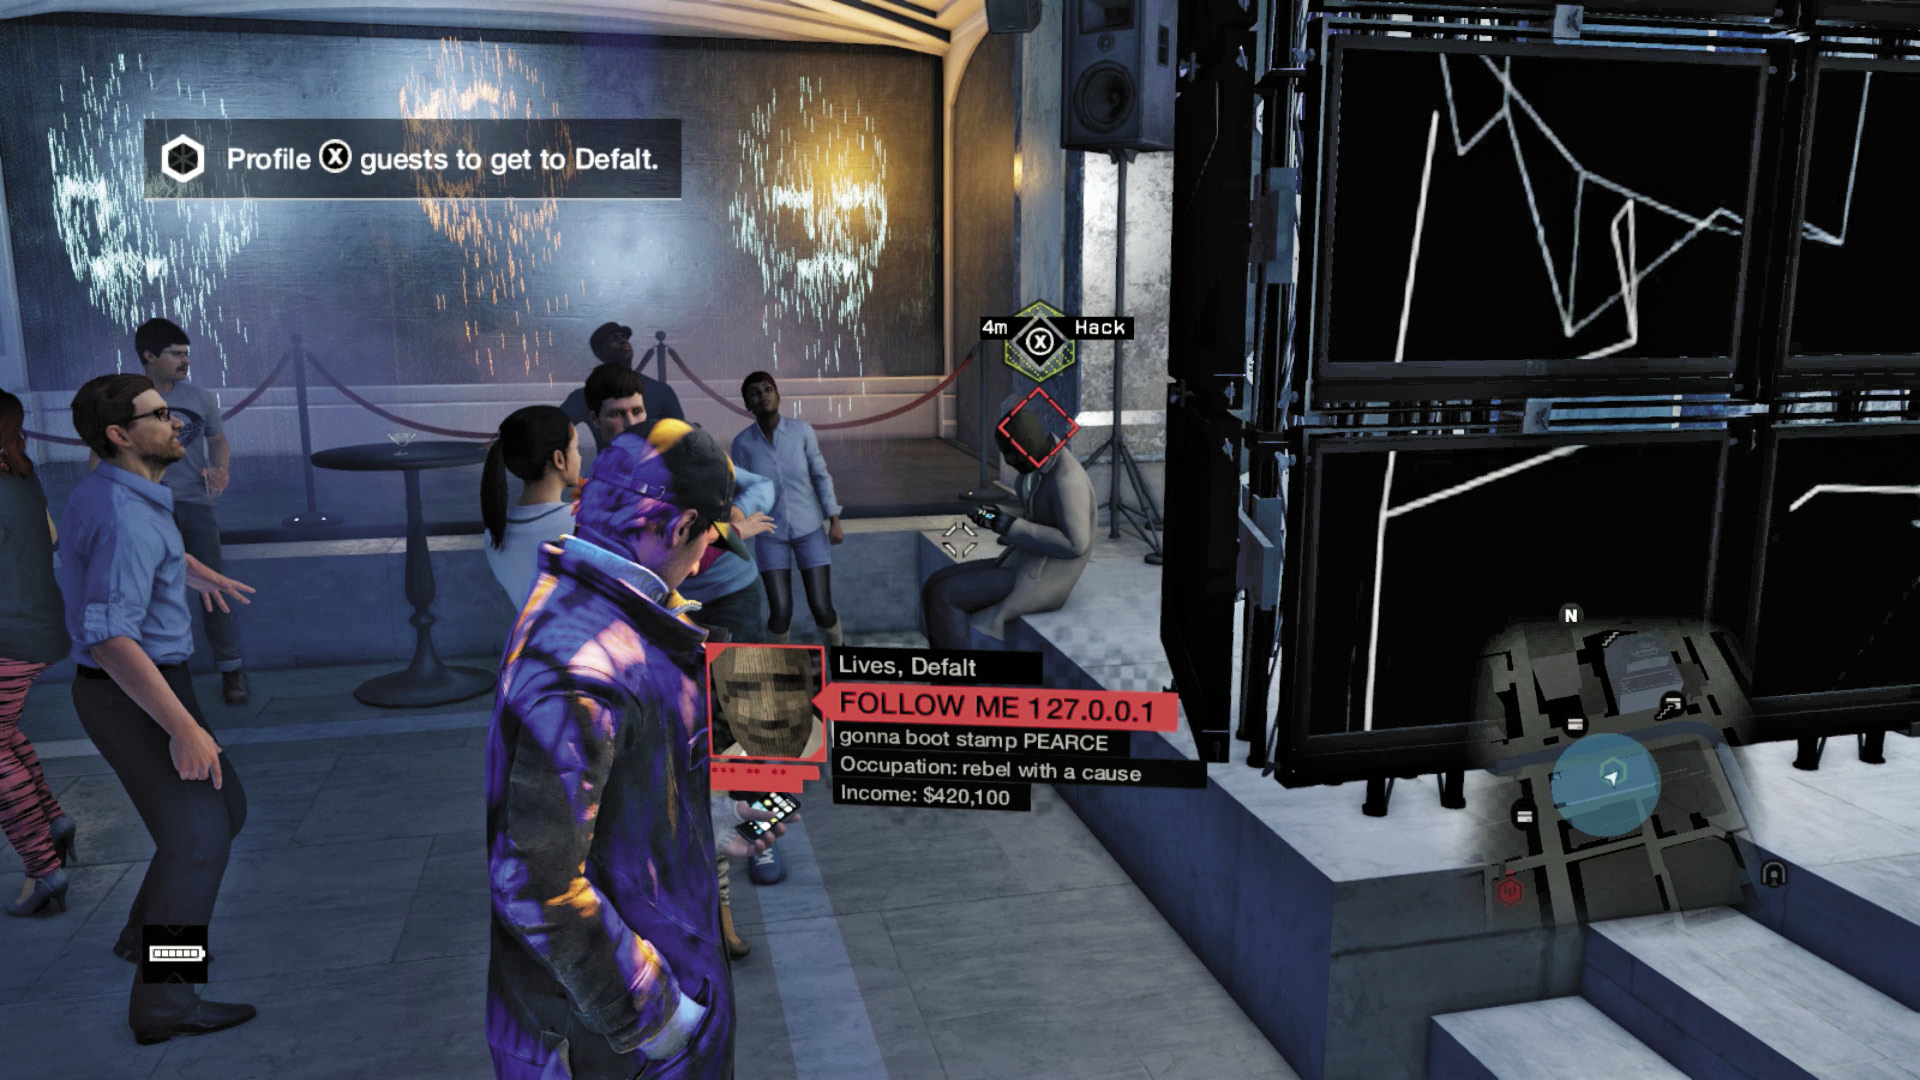
Step Sitter: Hack the phone of the guest sitting on the steps under the left side of the monitor wall.
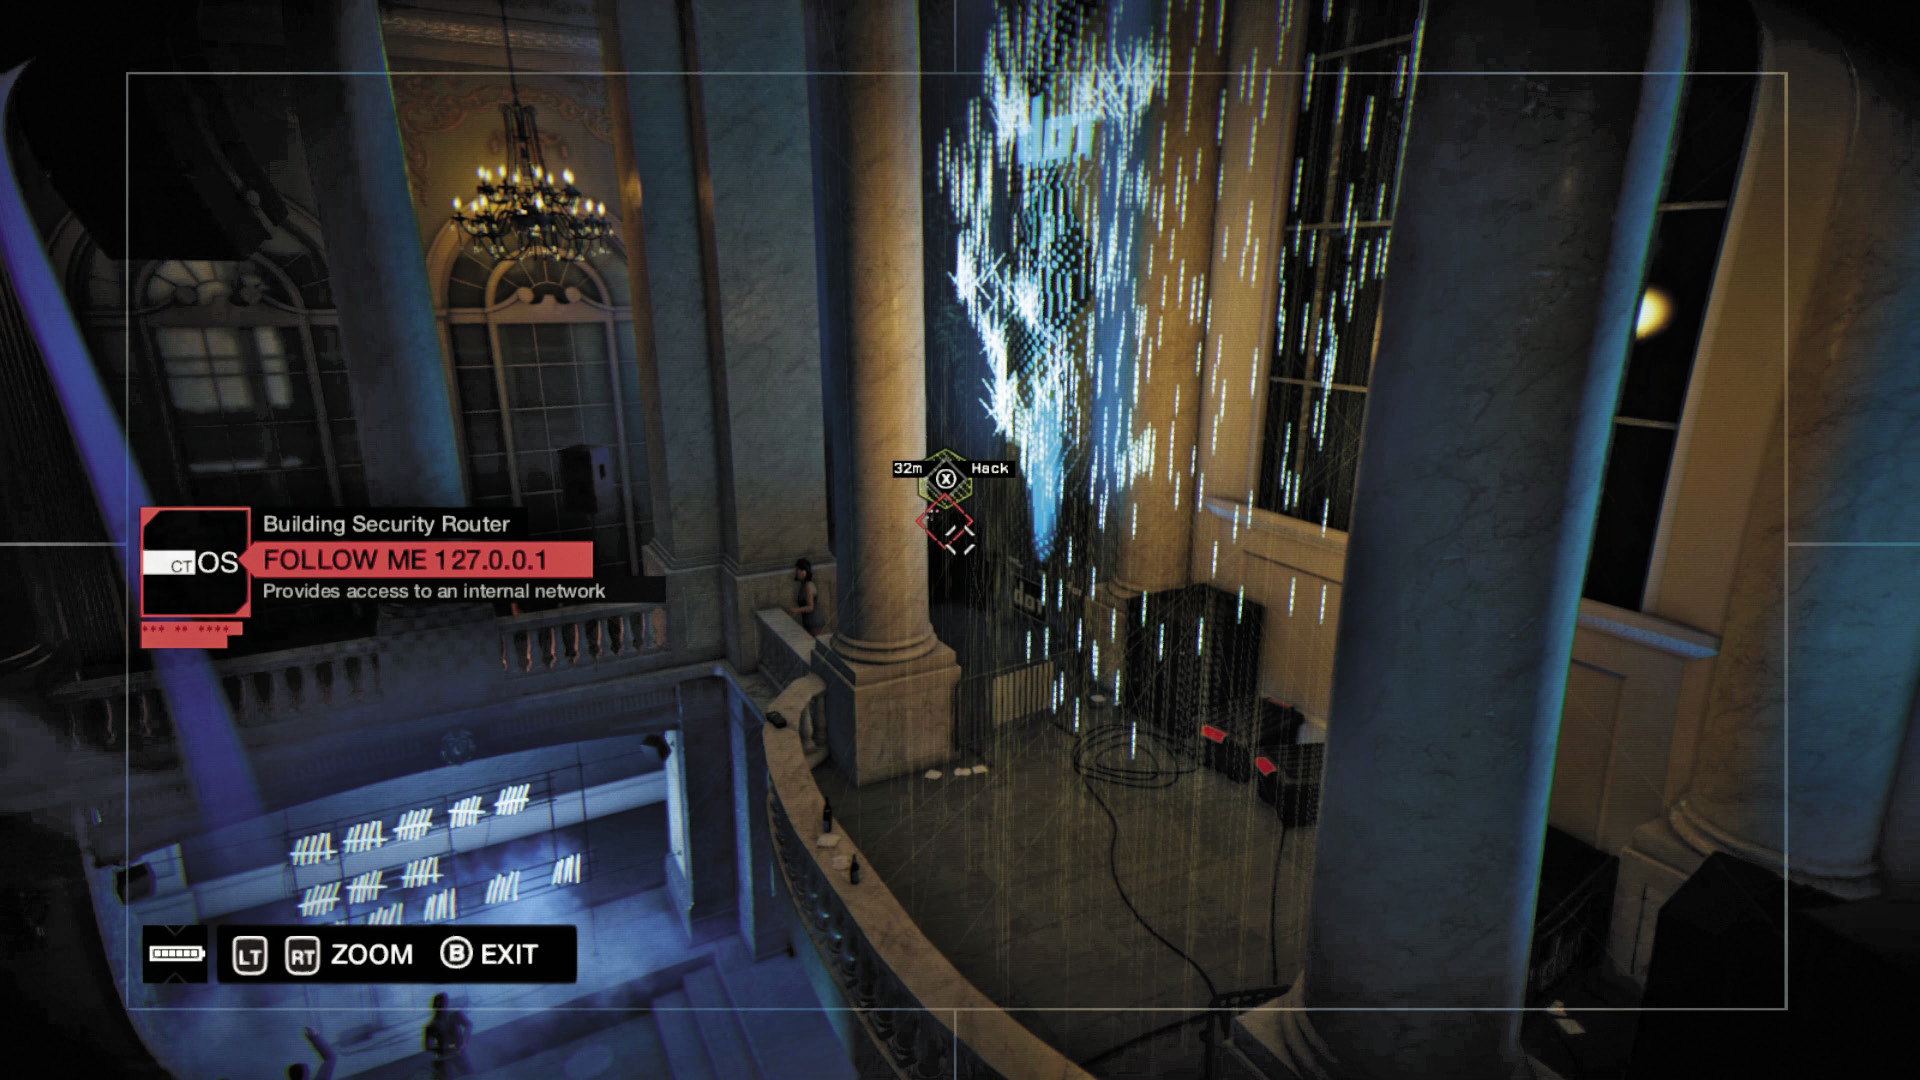
With all phones hacked, Defalt’s server is vulnerable. Utilize the cameras on the balcony pillars above you, working back to the server area, above the giant holographic neon head and system key. Hack and intrude to the following hotspots:
Solution: Hotspot 01
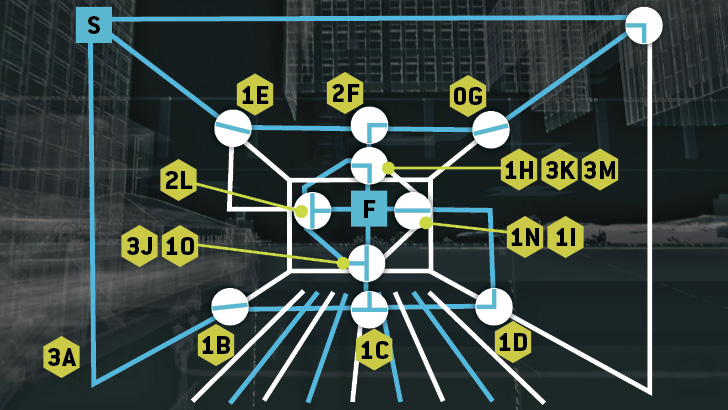
Solution: Hotspot 02
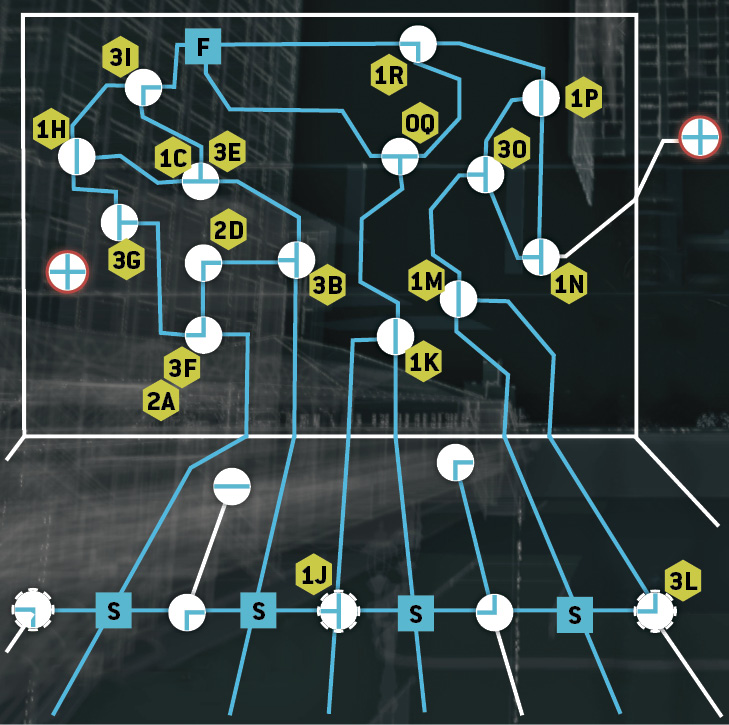
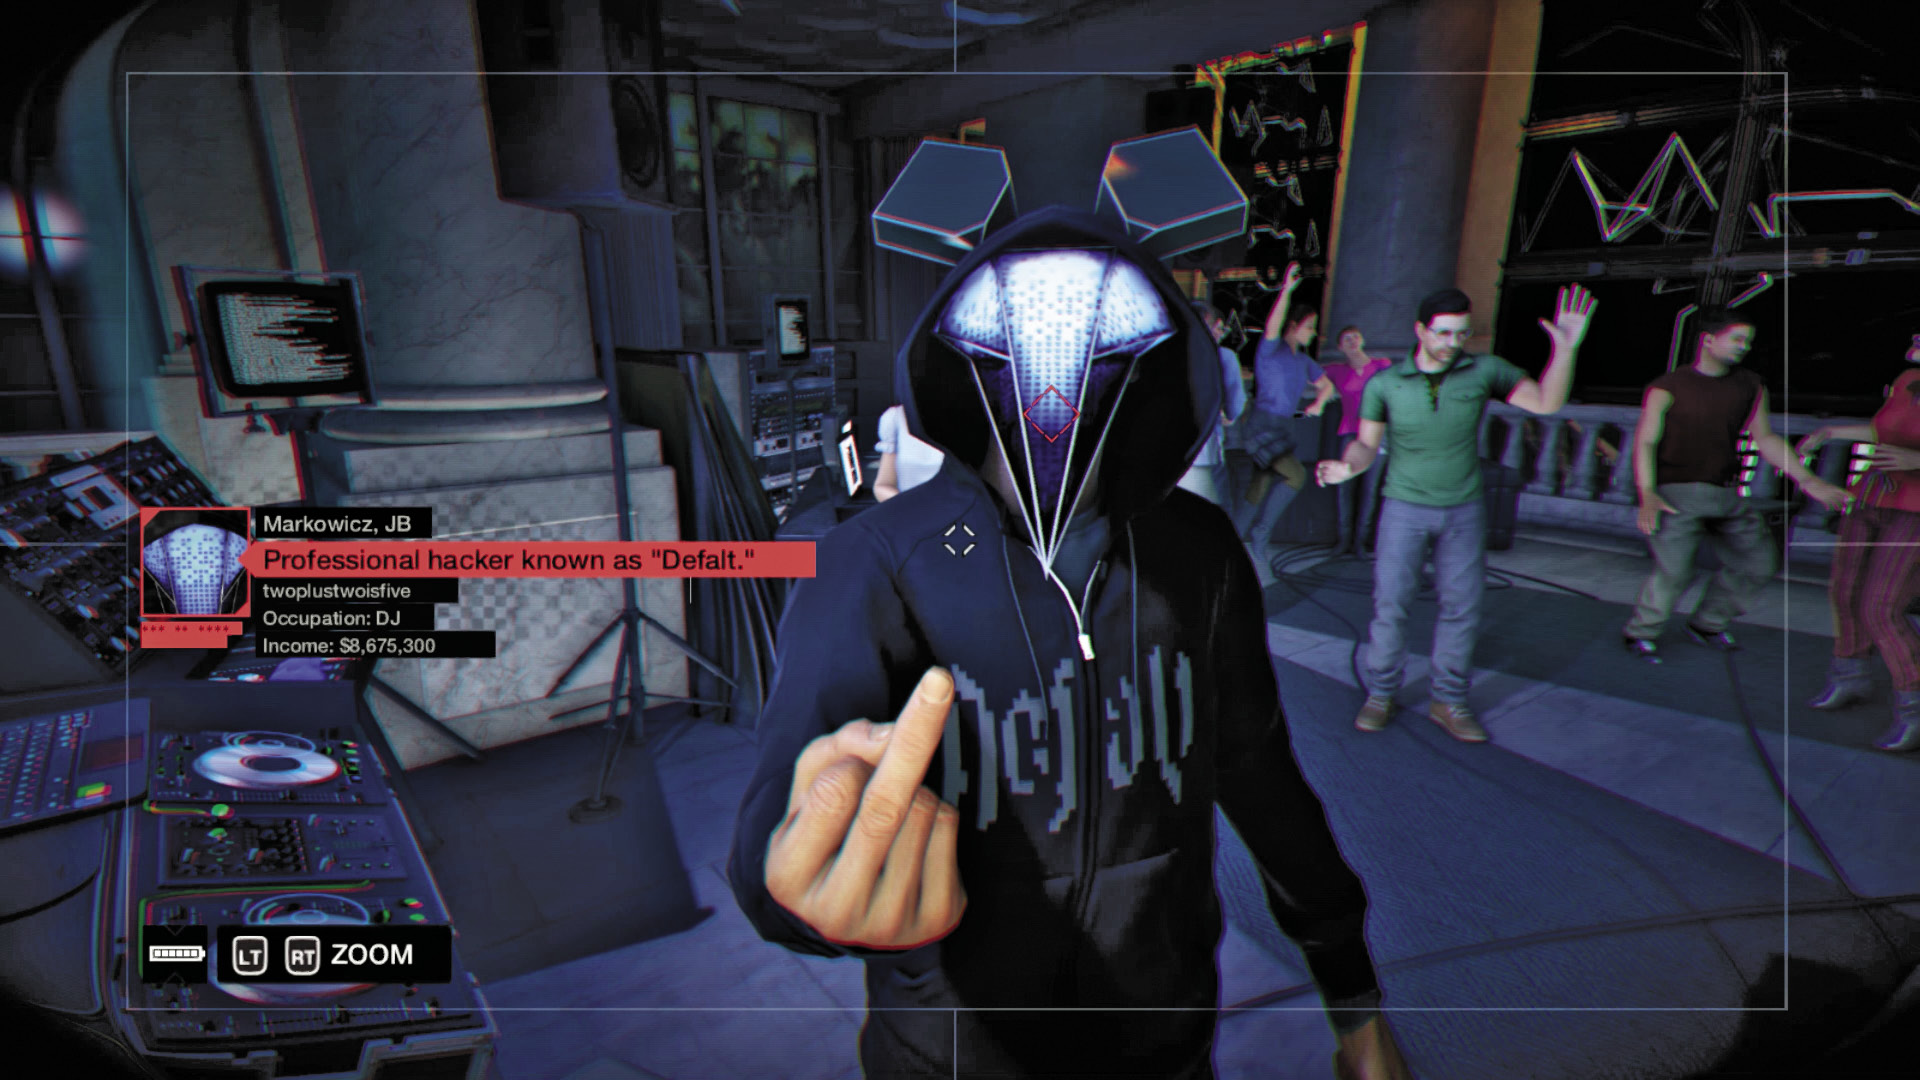
You reach a camera overlooking Defalt. He already knows of your arrival (as you might have gathered) and ignores any attempt at a phone hack. After a one-fingered salute, he kills the lights.
|
|
 Chase Defalt
4.3 THE DEFALT SETTING
 Location / The Loop // Ambrose Theater
 Foot Chase
Difficulty: 
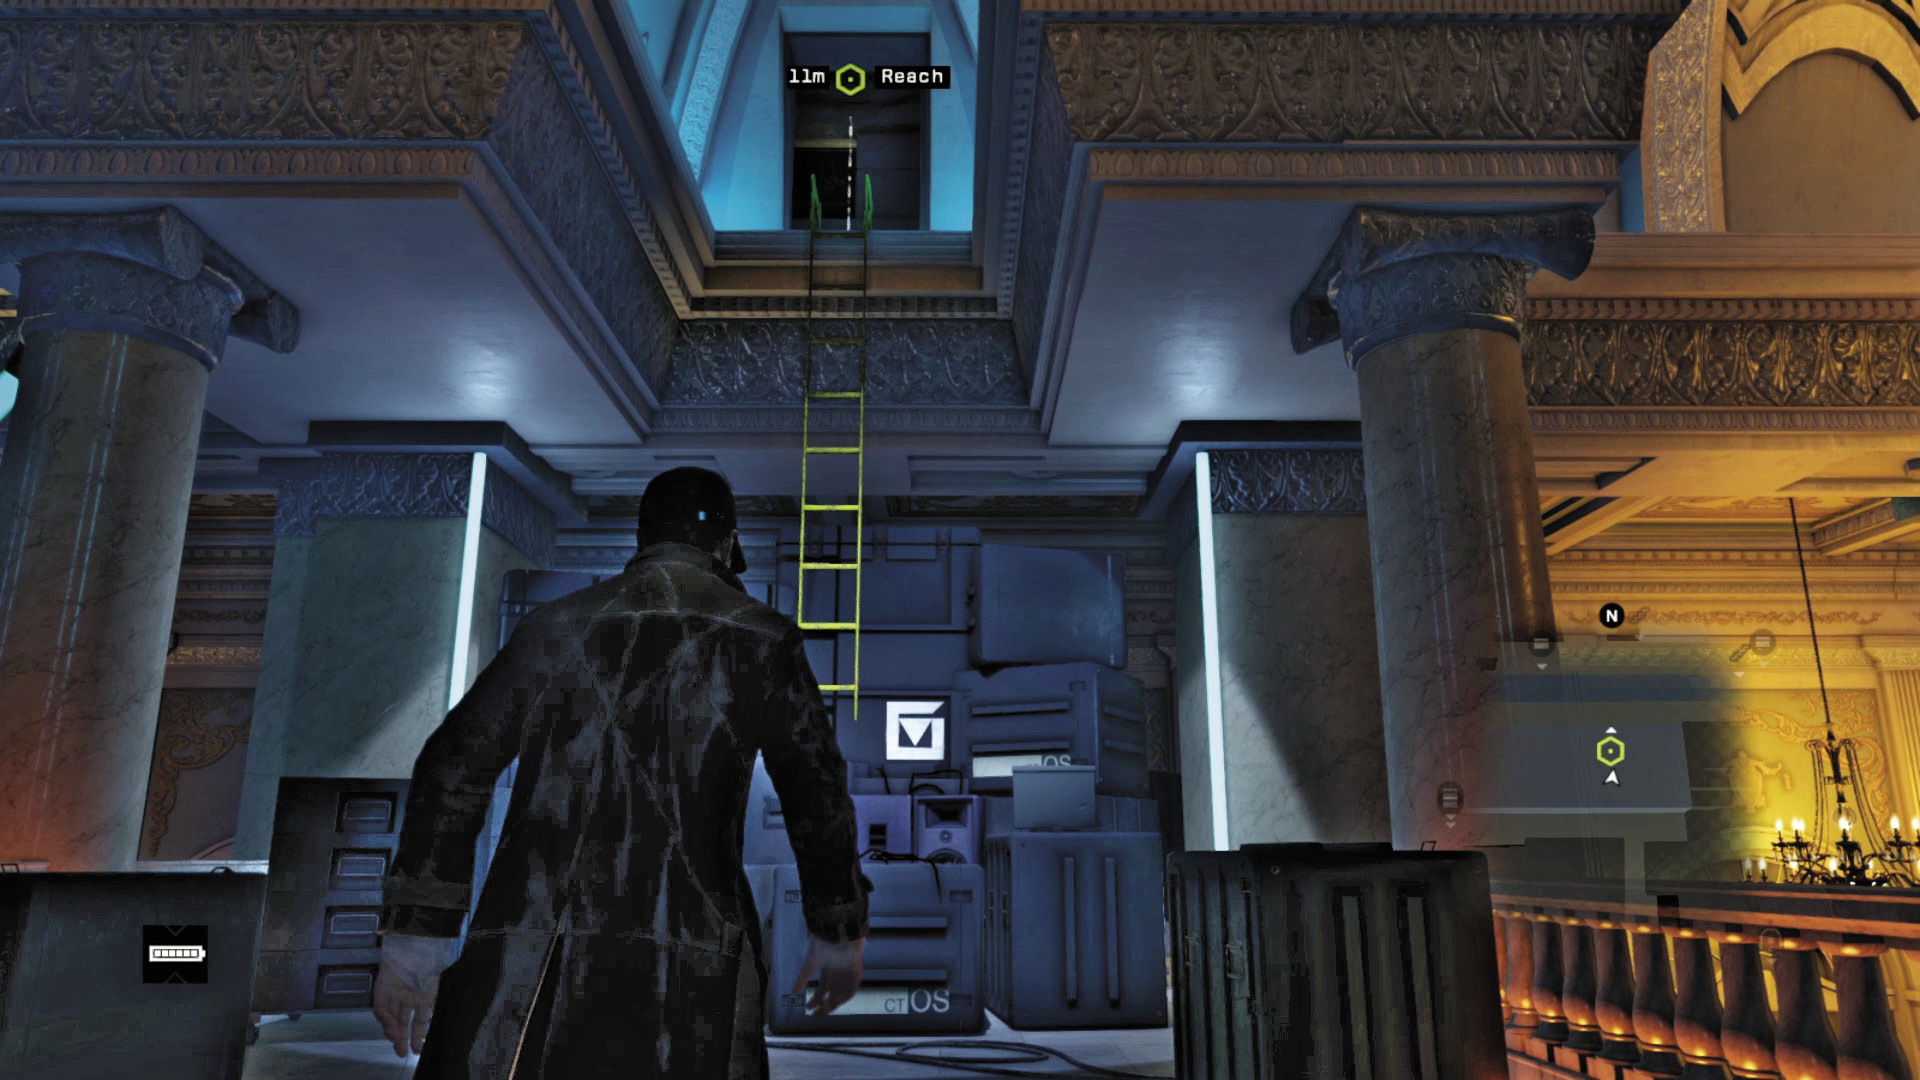
Sprint under the monitor steps (east) before the lights come back on, so you can reach the stairs near the LED walls and ascend to the theater roof and apprehend Defalt. Turn right, and clamber up the roadie cases for the DJ and event equipment, and up onto the ornate balcony.
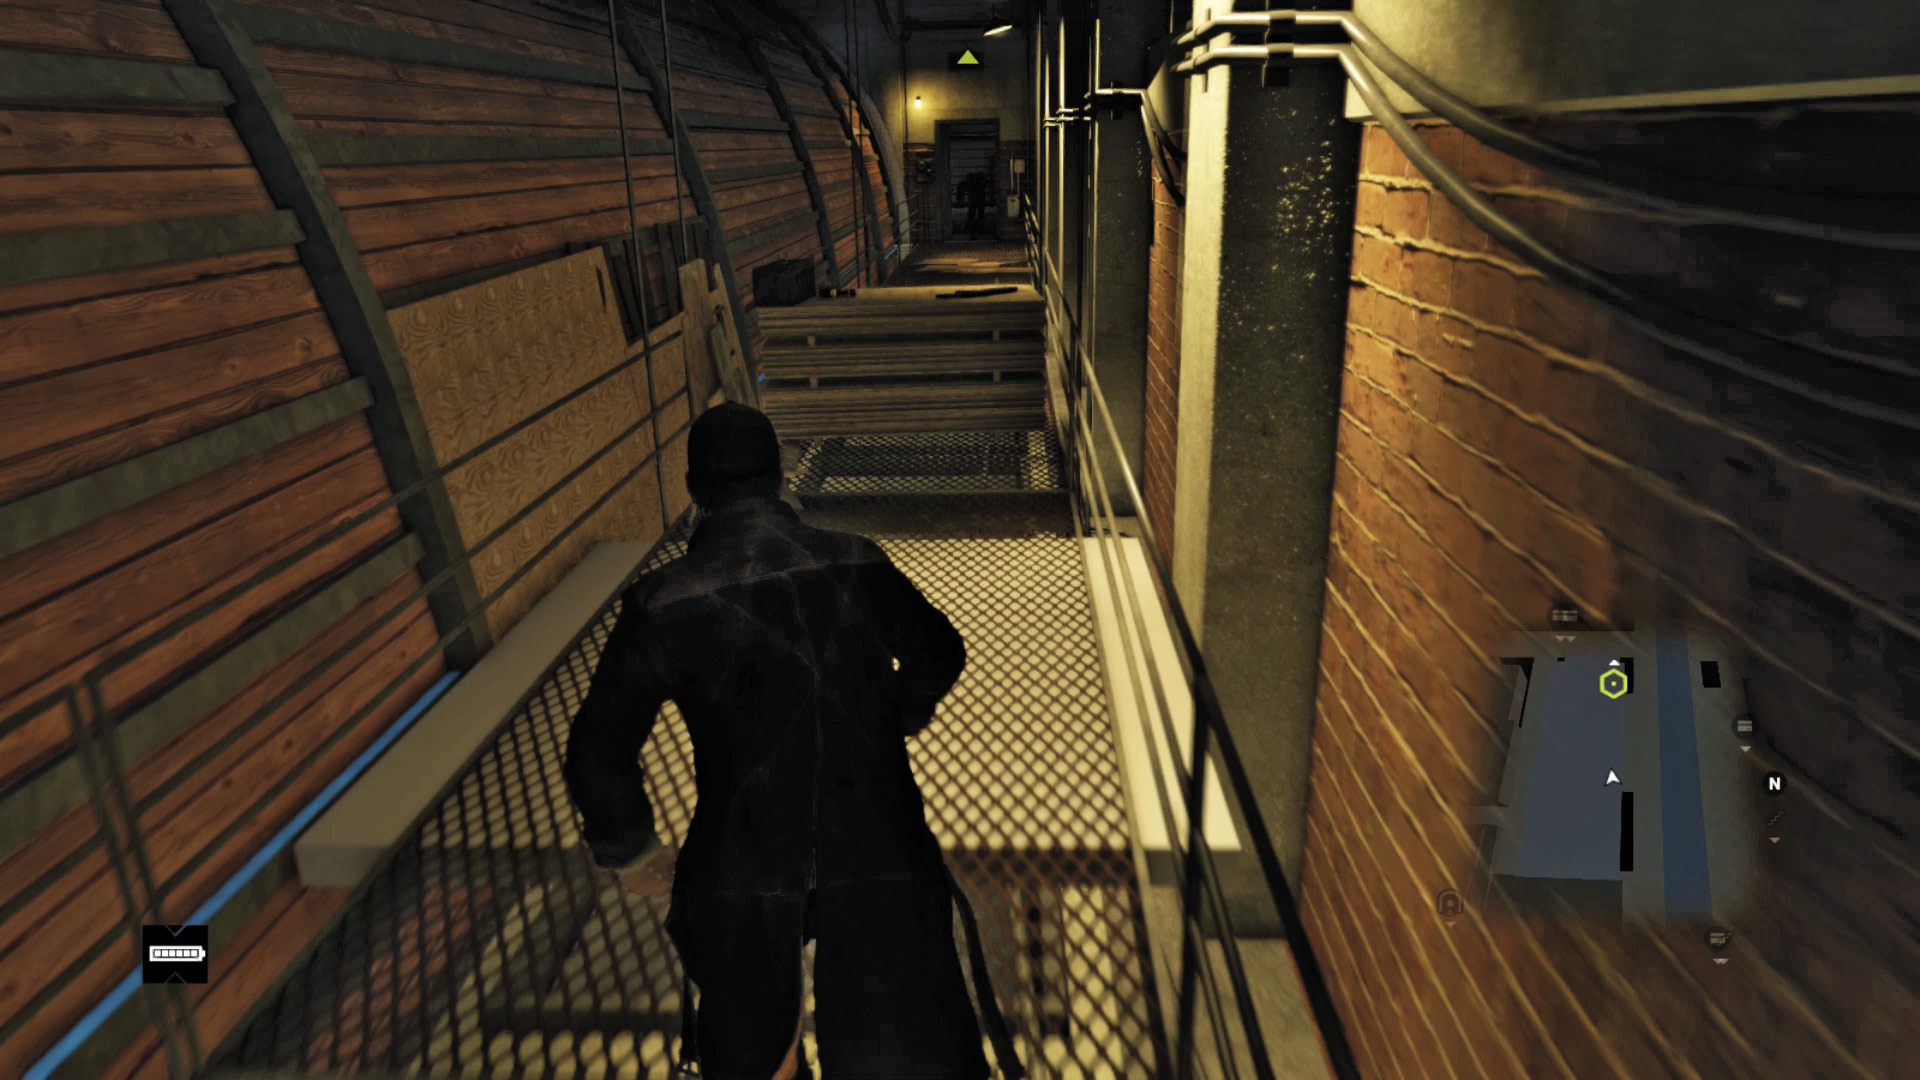
Turn right, vault over the boxes, and climb a ladder to a hatch leading to a gantry above the theater. You can’t catch Defalt, so you might as well gather any items at the pallet blocking your path (there’s an IED and a G106 grenade launcher). Then slide across the pallet, toward a junction box, shake off the explosion, and head up the steps to a Blackout and the roof entrance.
|
|
 Fight your way across the rooftop
4.4 DEFALT COMMAND PROMPT
 Location / The Loop // Ambrose Theater
 Foot Chase
 Lethal Force Likely
 Melee Force Likely
Difficulty: 
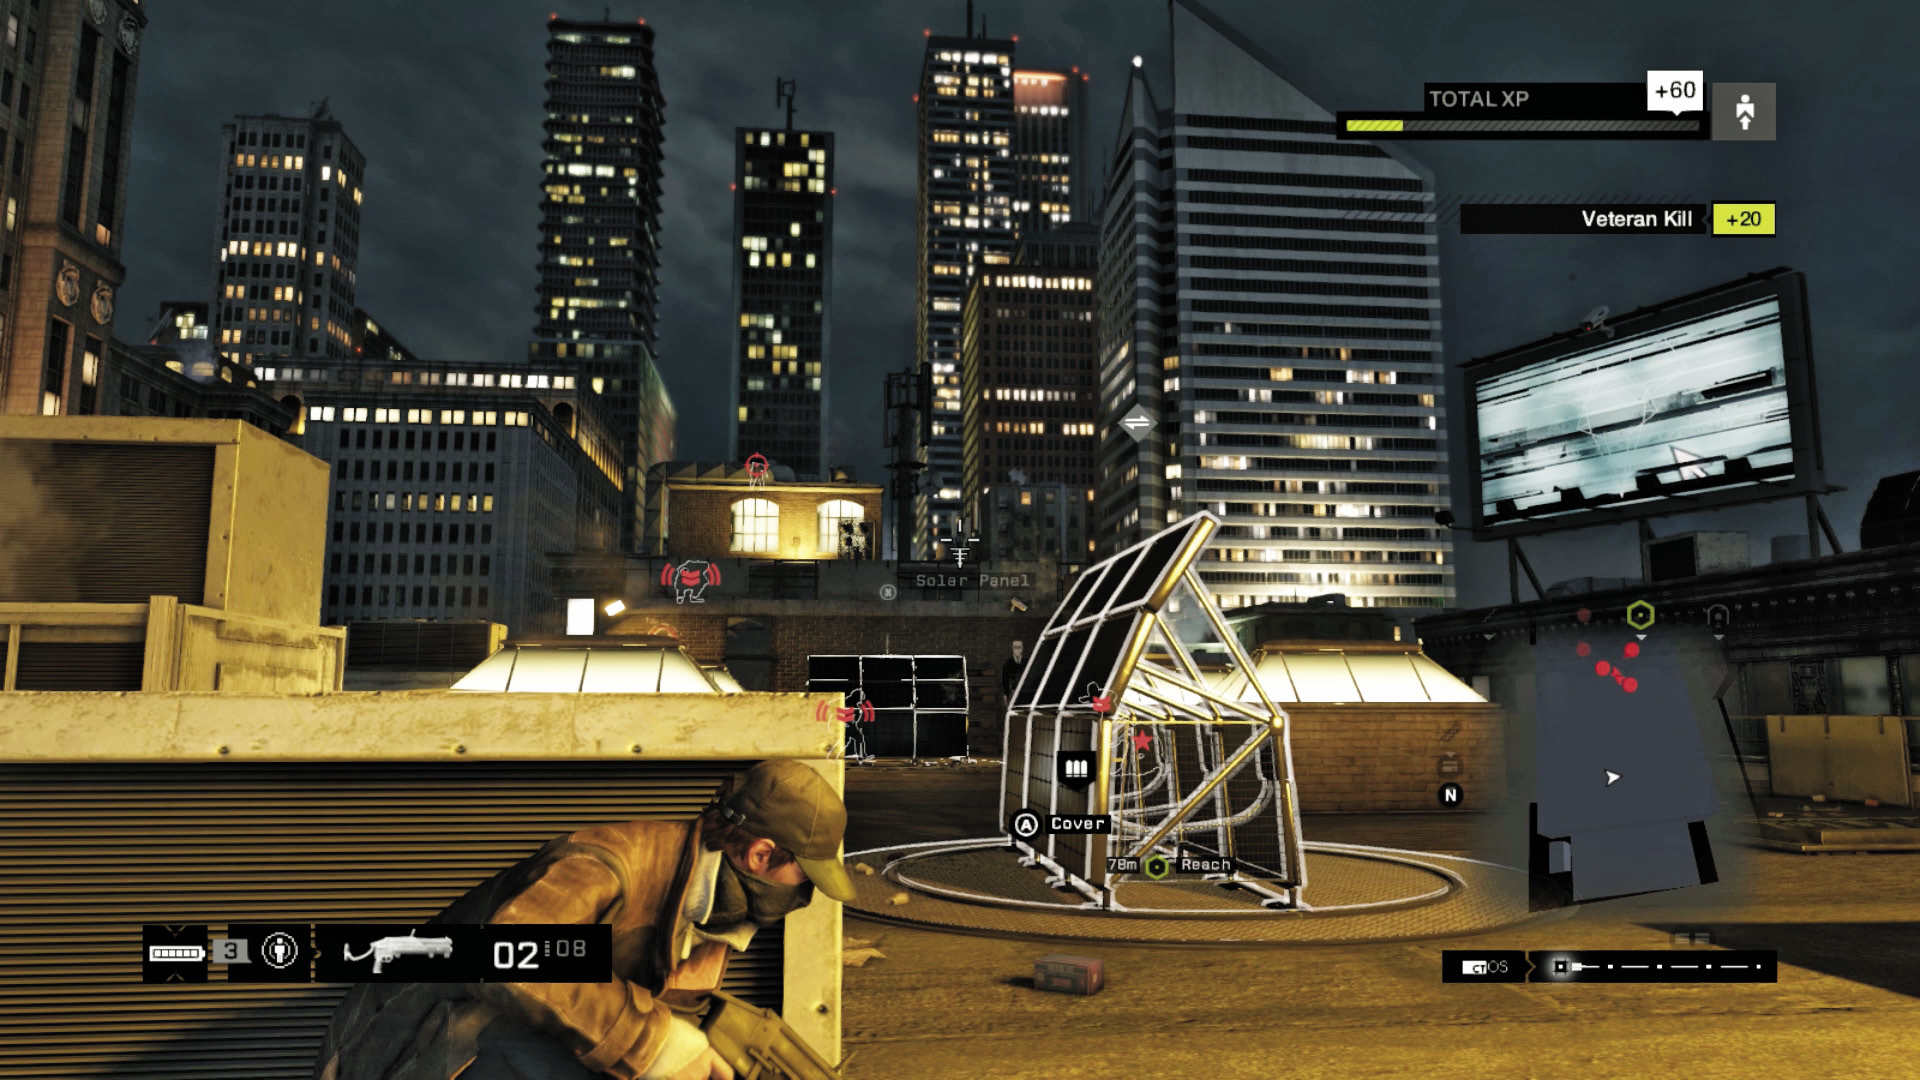
After a final shower of sparks from an exploding junction box, the rat-headed lunatic waves good-bye and flees across the skylights and ductwork—but not before leaving you with a sizable private army to dissuade you from pursuing him. You have to break off the chase for the next few minutes to deal with the following foes:
Overview
Completion Point: Lower rooftop above an alley where Defalt escaped to.
Dangers: Seven Fixer mercenaries (Marksman Elite x2, Veteran x4, Elite x1)
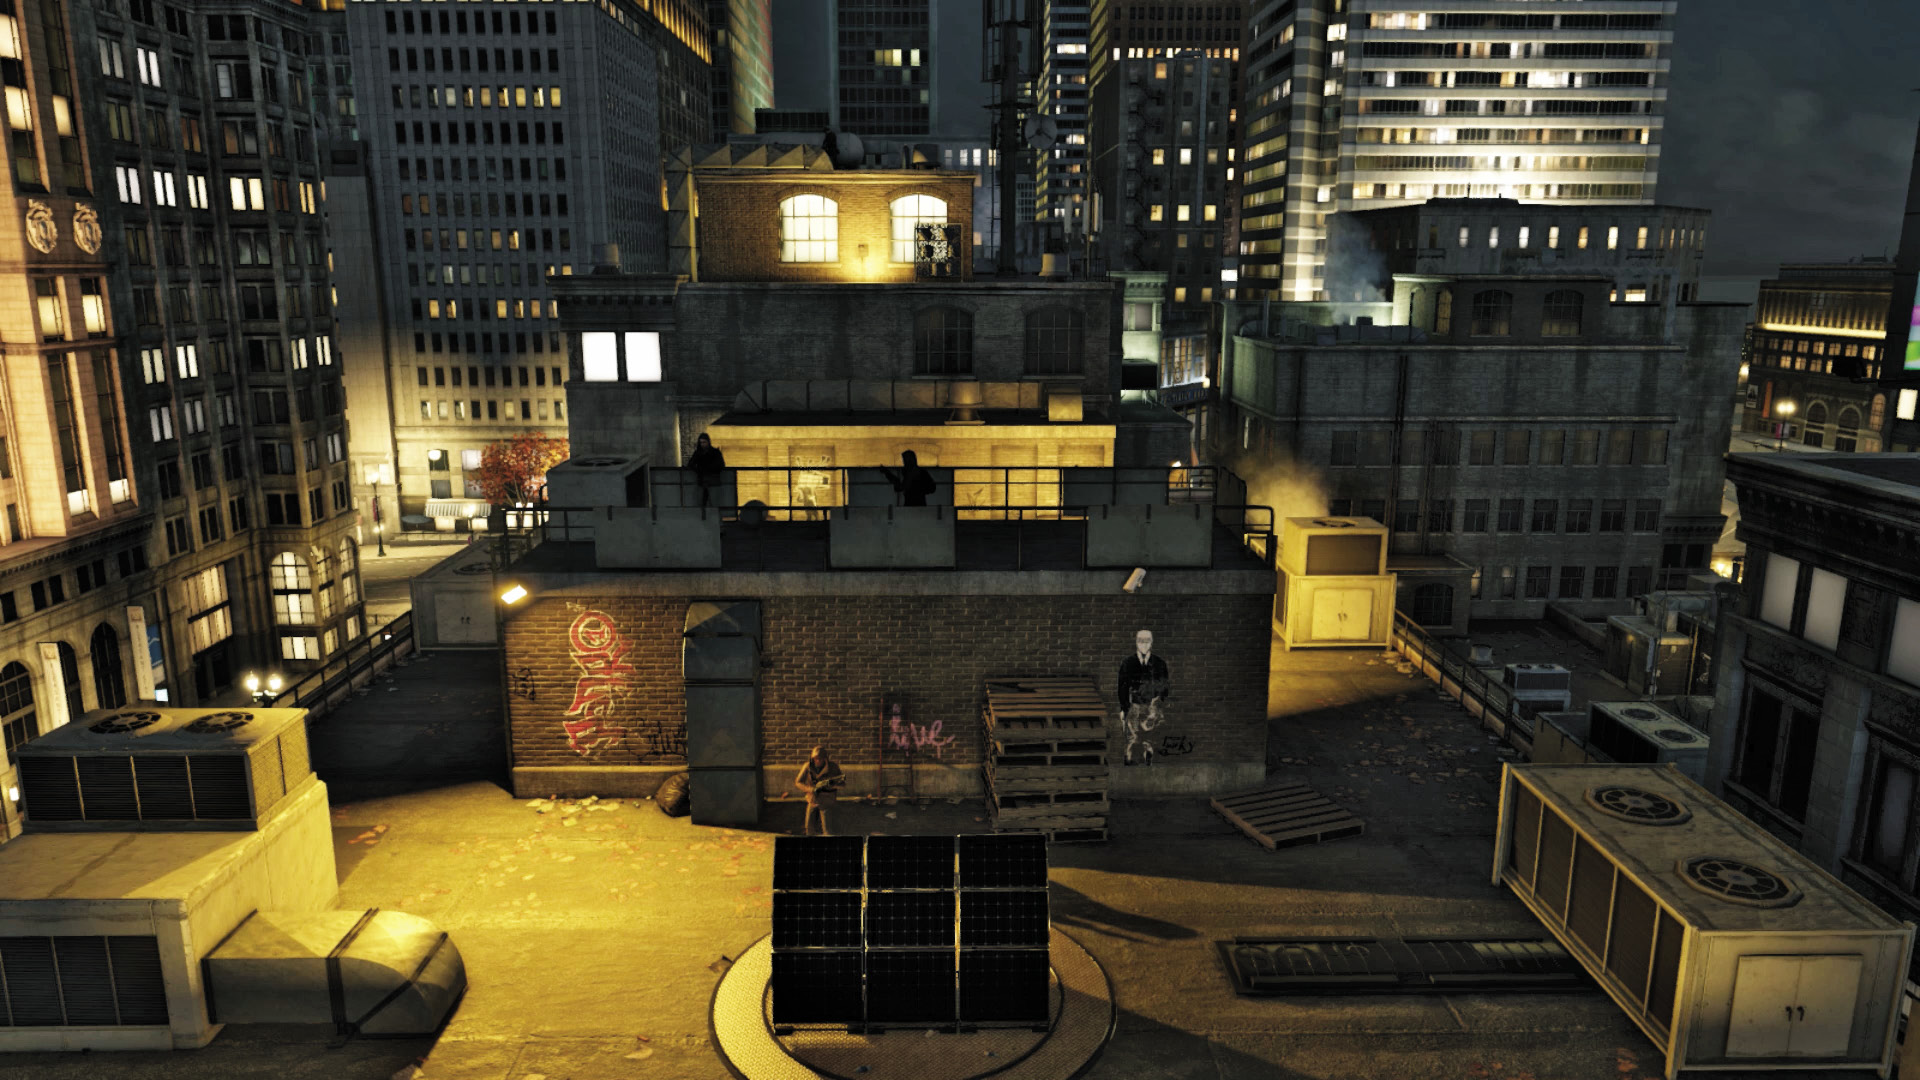
Amid the smoke and chaos, it may be difficult to become spatially aware of your surroundings. You’re attempting to reach a set of metal steps leading down, which are ahead and on the roof’s right side. The first area of combat has solar panels, four skylights, and a brick maintenance access area with ladders on each side (the interior is inaccessible). There’s also a second, smaller roof area with two skylights and another brick maintenance access (roof and interior are inaccessible).
Incoming Fire
The Roof Ahead
Threat Level: 
Most of the enemy fire comes from foes behind skylights and the first brick structure (both from the corners and on the roof of it). Concentrate your fire at these foes but only after removing threats to your side. Watch for Shot-Callers and focus on them as a priority, even if it means dashing out of cover to tackle one.
The Roof Above
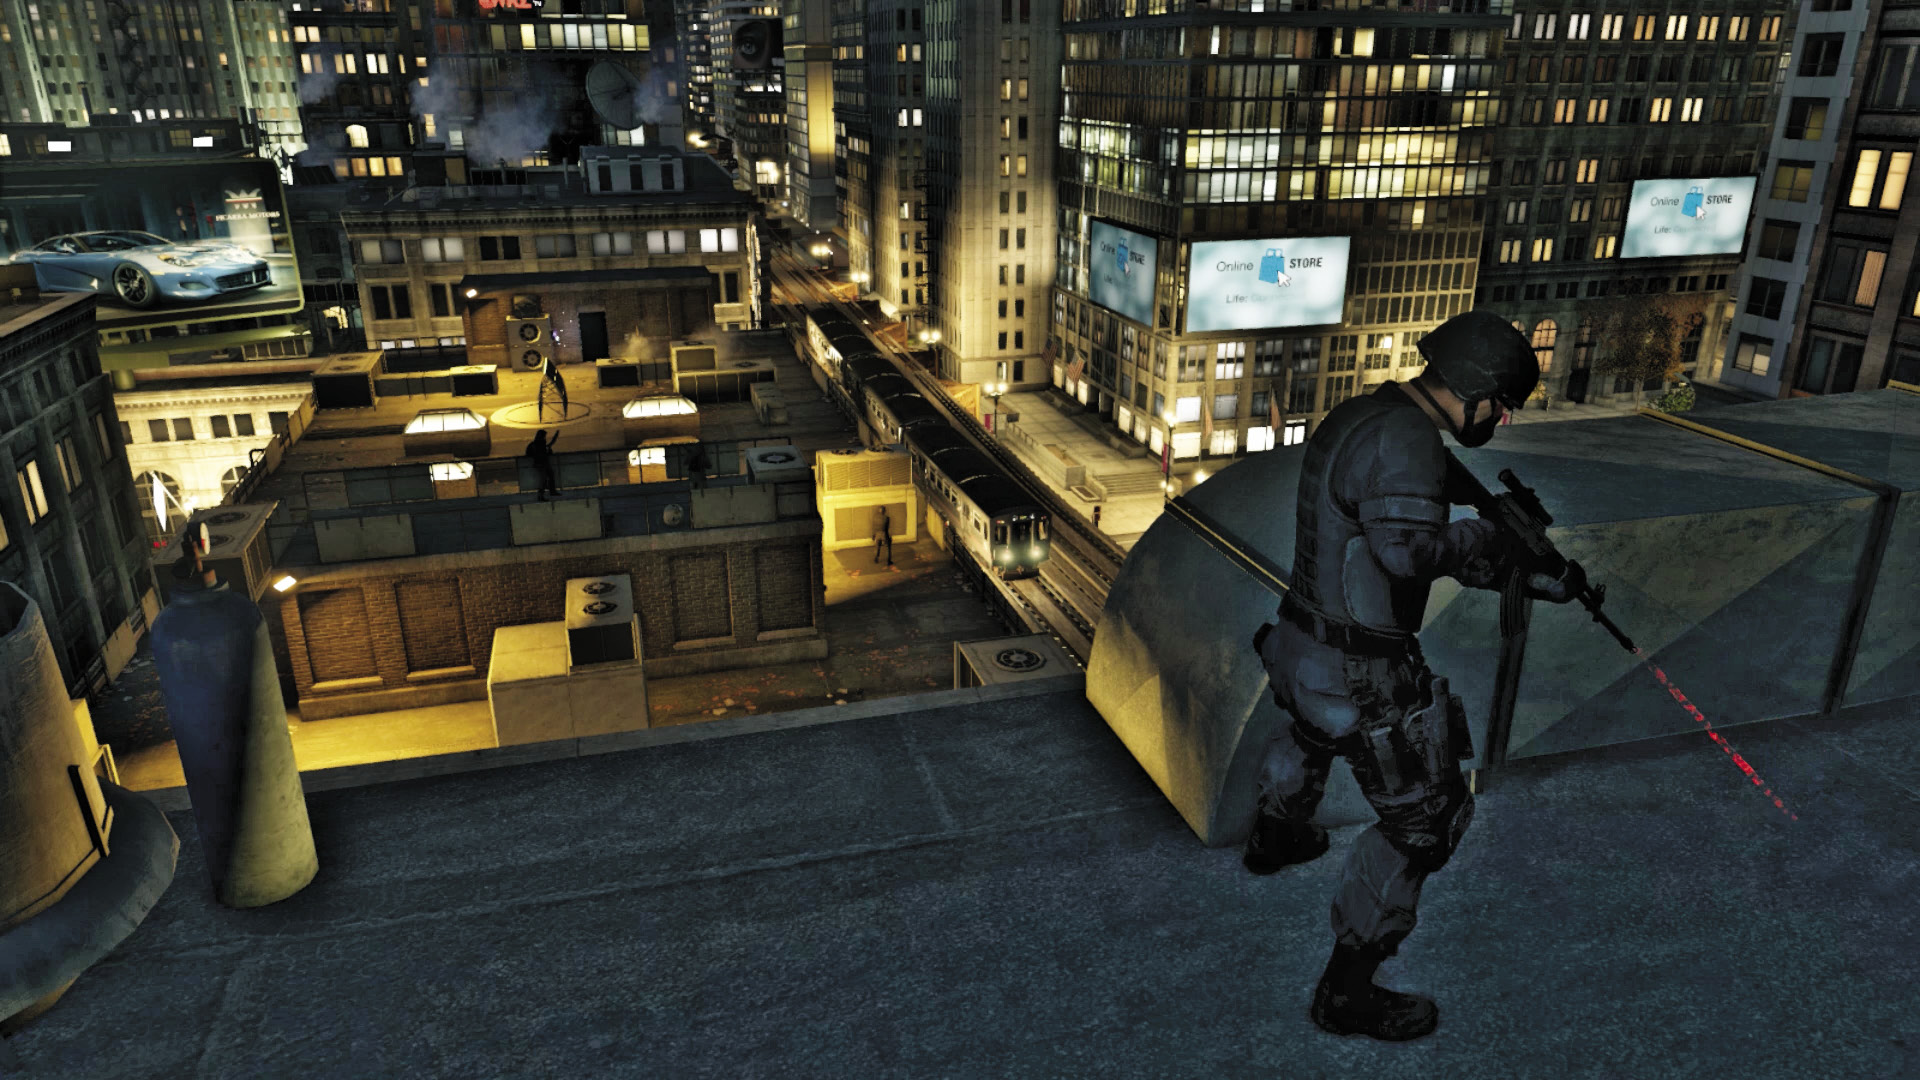
Threat Level: 
A sniper usually resides atop the roof of the inaccessible building ahead of you. He’s incredibly annoying, as it’s difficult enough dealing with the foes at your level. So, snipe back at him accurately, or use a grenade launcher to ensure the job is done. Or, shoot the flammable canister just behind him, and leave him to blow up while you deal with closer foes.
The Roof to the Right
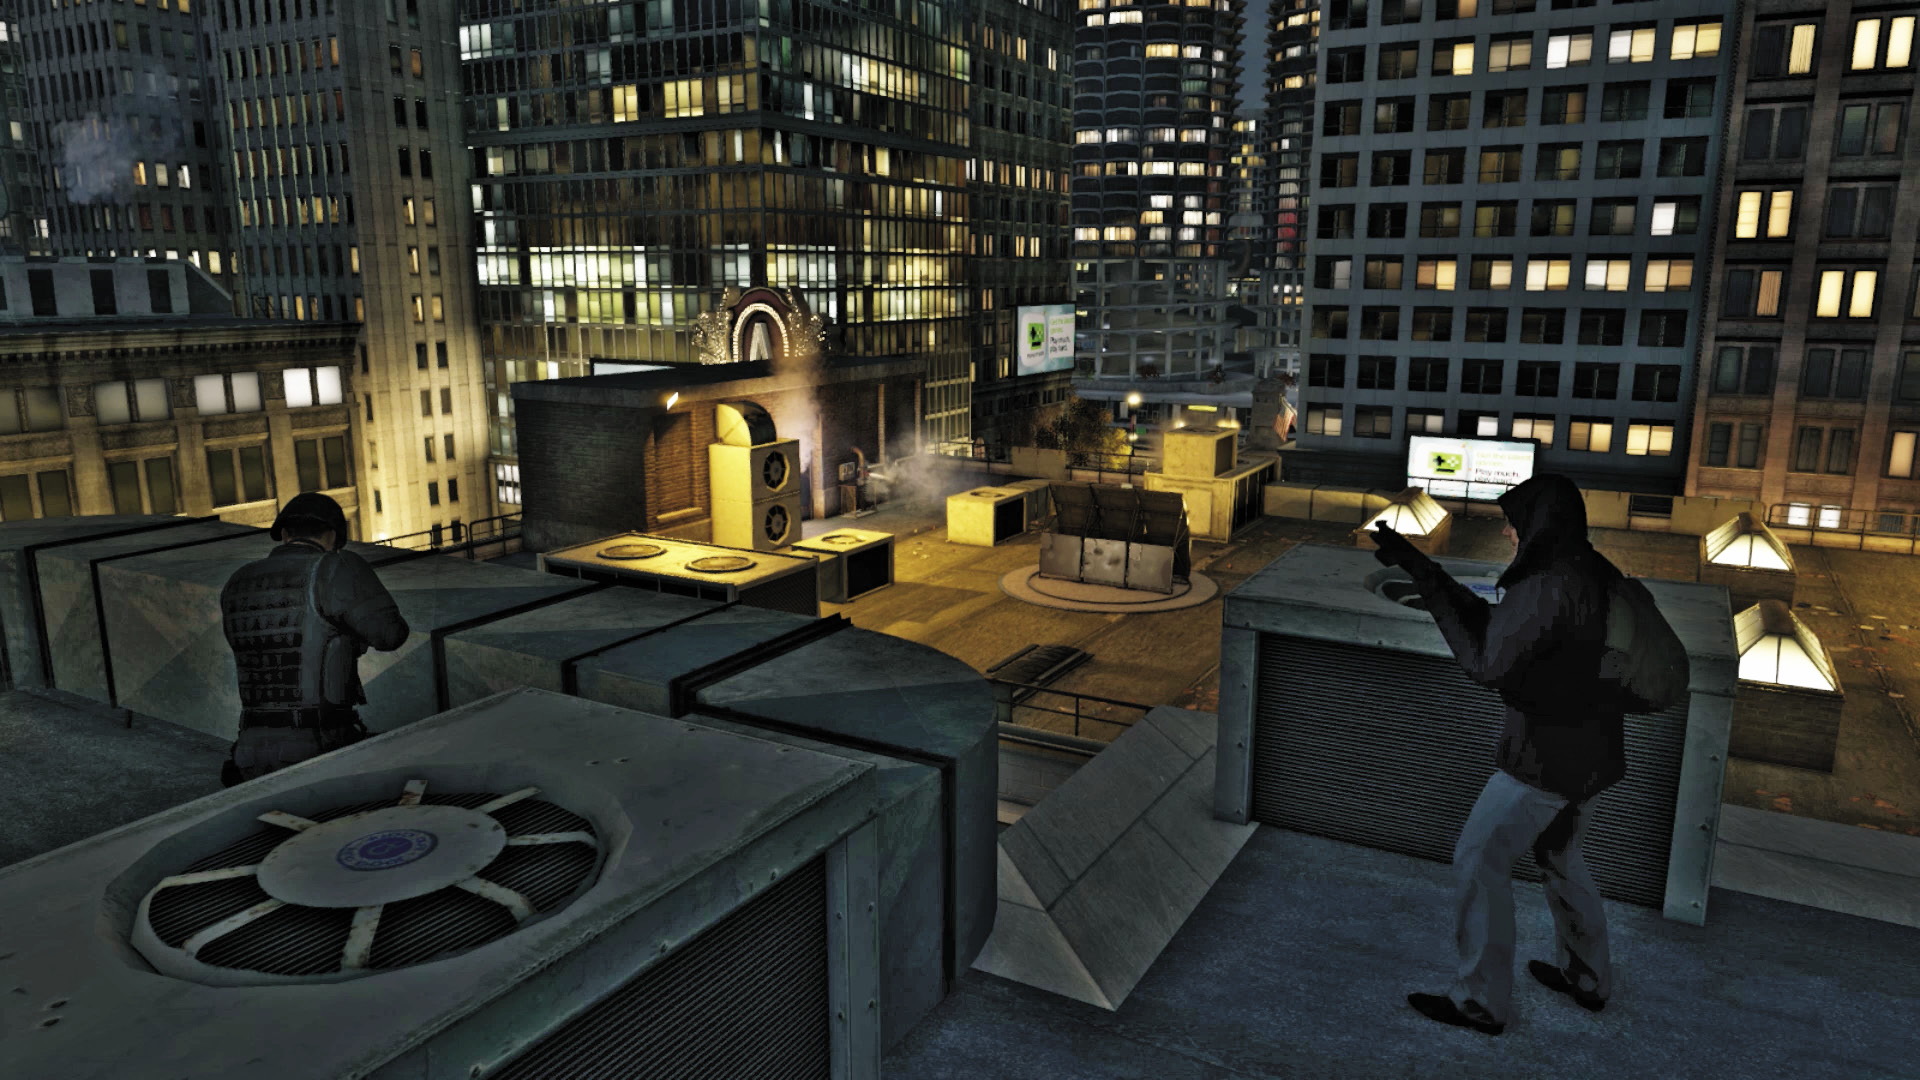
Threat Level: 
A sniper is also on the roof to your right, as is another foe, firing automatic weaponry. They will annoy you as you fight the main forces, so make your first grenade punt strike them, or focus a sniper shot to your right so you can focus your concentration on the battle ahead of you.
Progression Plans
There are no insertion points, just enemy locations to focus your gunfire on. This is a frantic battle where you may be outgunned, but with careful planning, you won’t be outmatched. Try some or all of the following plans.
General PreplanningCover: It goes without saying that cover is incredibly important, as well as knowing which direction incoming shots are coming from, so you’re not simply sitting thinking you’re in cover and then get shot from the side. Multiple Mayhem: There are upper sniping positions ahead and to the right, as previously discussed. There is also rooftop combat to contend with, so advancing slowly is usually the best policy; deal with threats that are most troubling first. Be Smart: Though Defalt has removed some of your smartphone’s functionality, it can still mark the enemies and will show areas of interaction. Use them, as described below, if the situation calls for it. To begin with, though, a ctOS scan tags all the foes you need to hit, so you won’t be ambushed. |
 Passive // Flee: No Attempt at Rapport
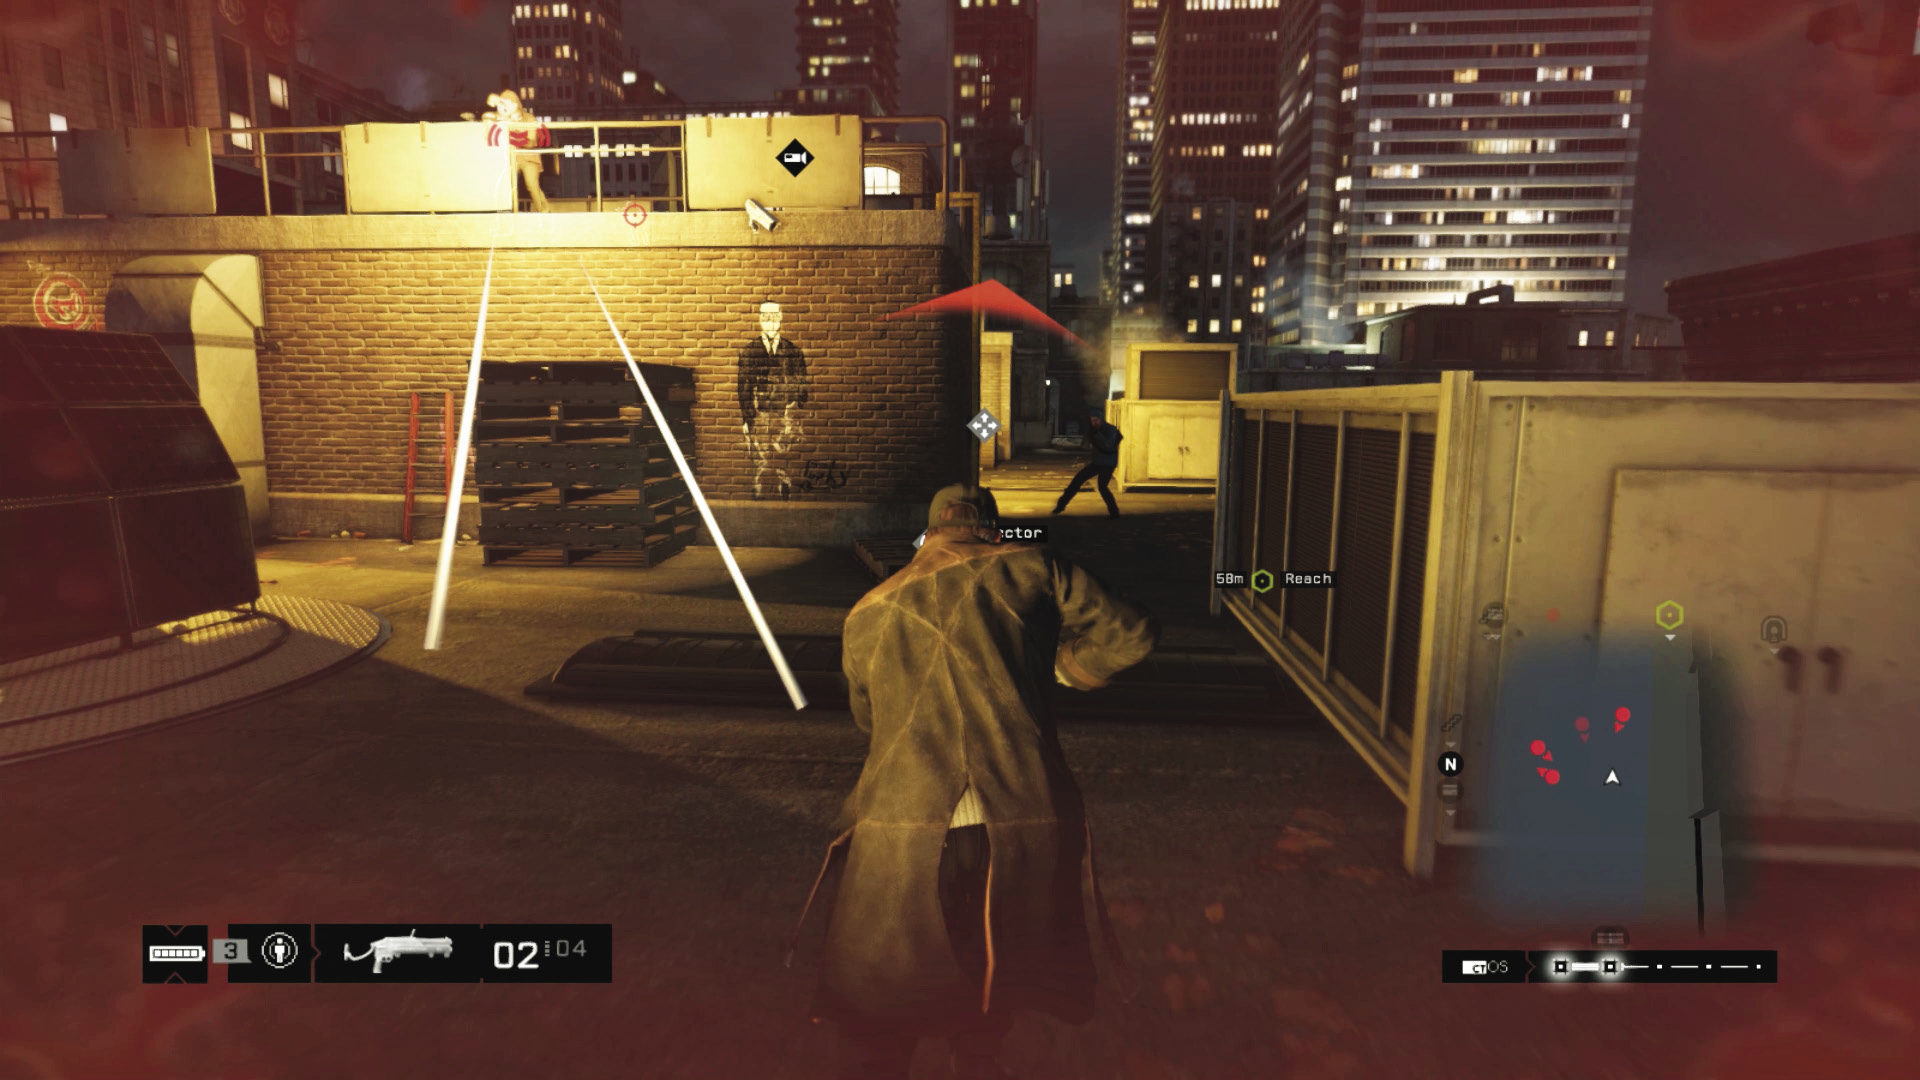
Difficulty: 
There’s no way through the enemy except forward. If you throw all caution to the wind and simply sprint ahead, along the right side of the rooftop and avoid all combat. For additional safety, use a Blackout before you start your escape.
 Aggressive // Smart: Hacking You Can’t Ignore
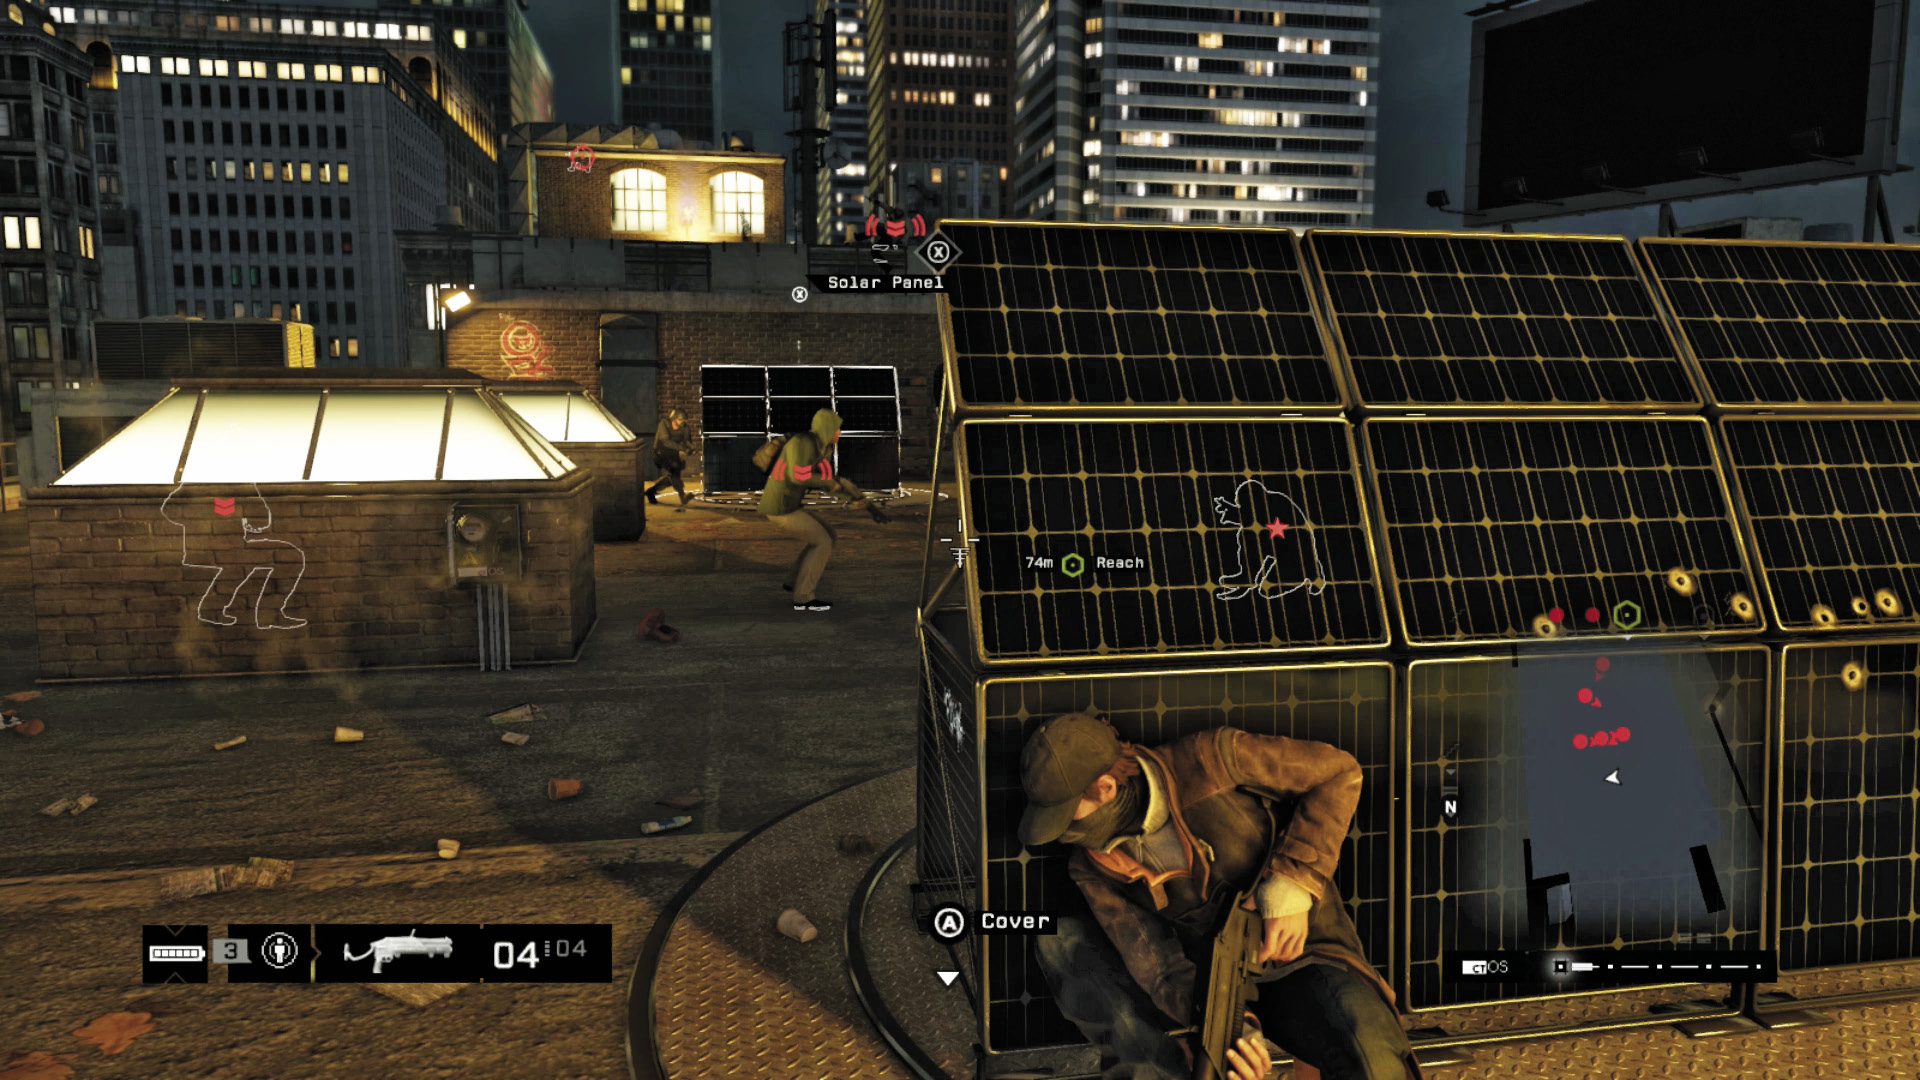
 Difficulty:
There may be opportunities to turn the scenery against the foes attacking you. Look for the following (which may or may not be active):
Regulators:Check the walls as foes move in and take positions in front of these valves.
Solar Panels:Move these 90 degrees at a time, so you reveal hiding enemies.
Protectors:Activate these and scramble behind them. Activate again if foes are using them.
Transformer Vaults:Helpful to catch groups of reinforcements as they run in, though getting a line of sight is tricky.
Blackout:Try plunging the entire area into darkness, courtesy of the Blackout you just picked up (or one you previously crafted). You can now more easily remove the enemy threats while the foes are confused—though this doesn’t alleviate the damage they can inflict!
Disrupt and Explode:As always, some (random) enemies can be incapacitated by hacking their comms or grenades. The latter is particularly helpful if a cluster of foes are dug in; hack the grenade, then shoot the foe in the head so he drops the projectile, ensuing others are caught in the blast. Or hack the grenade of any enemy with a grenade, that you already dispatched.
 Aggressive // Violence: GL-94 When Going to War
 Difficulty:
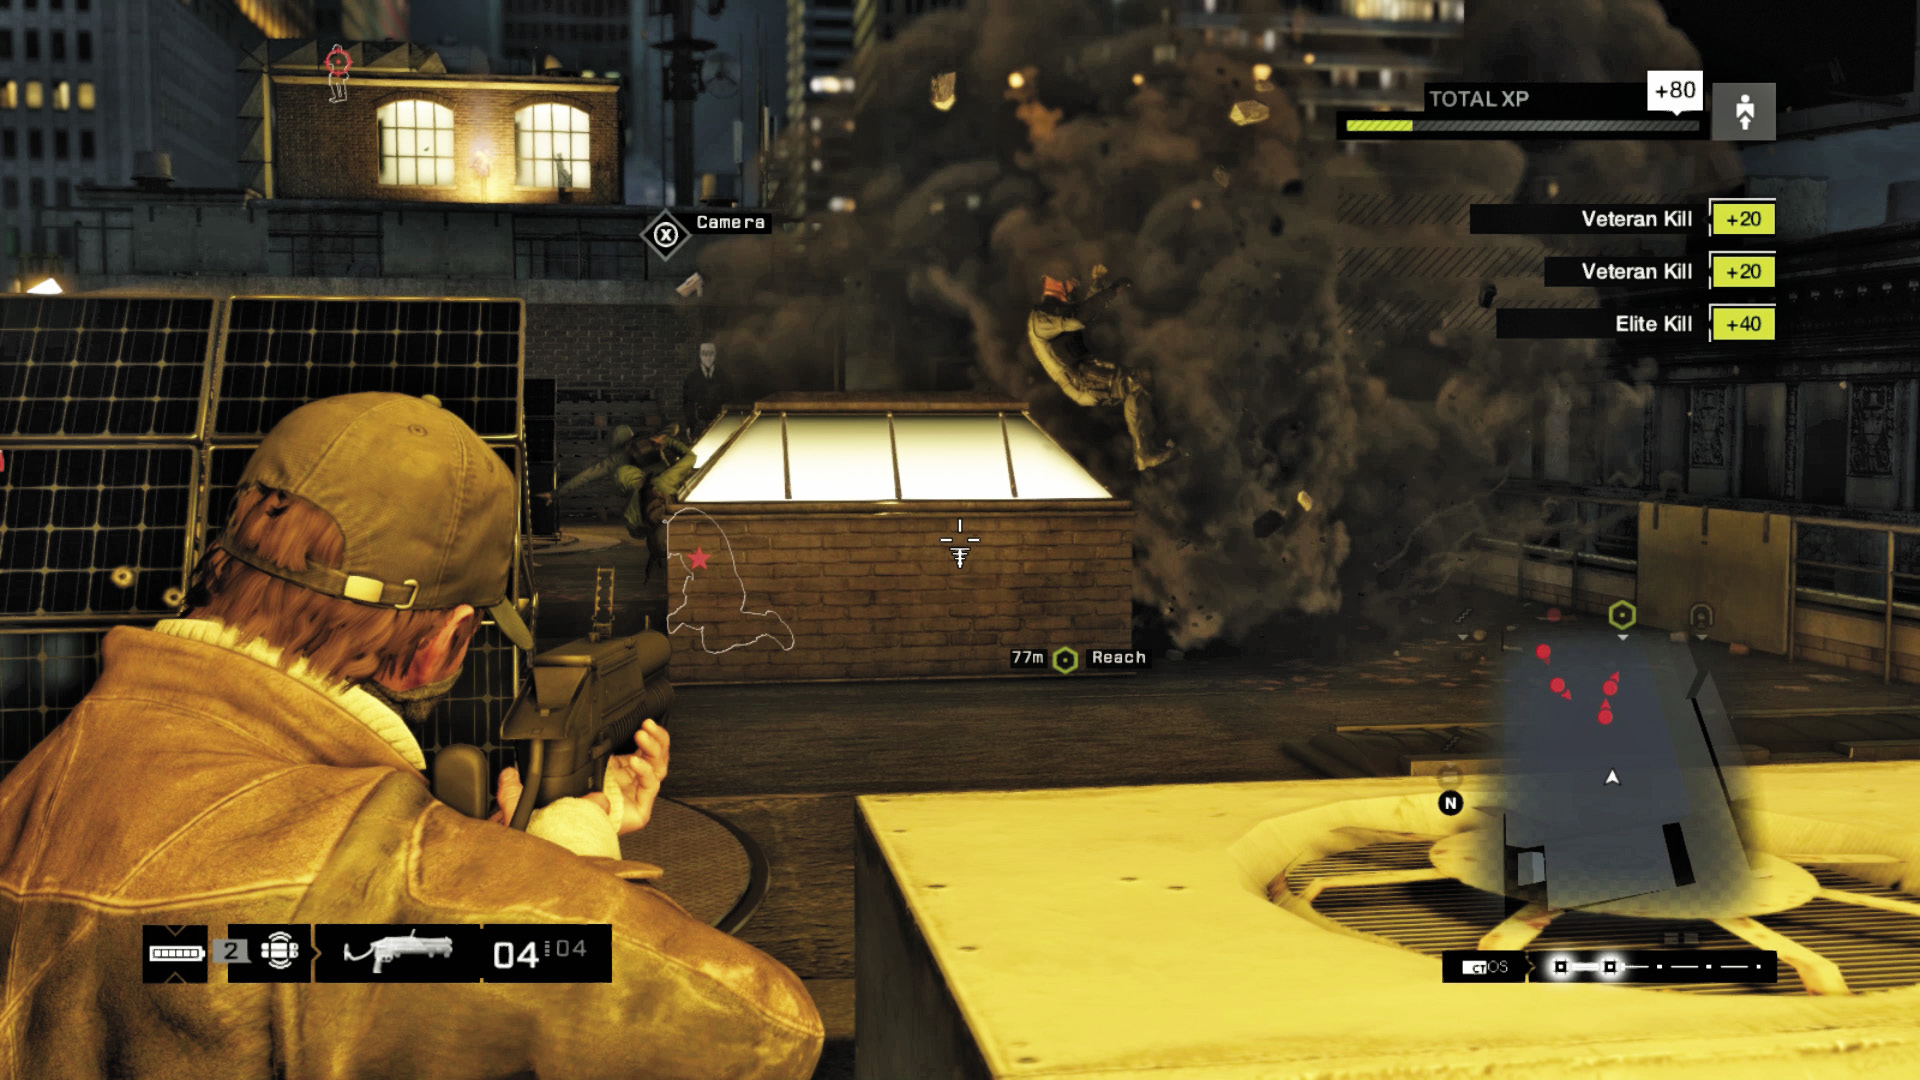
The only real option is to fight. This is recommended, as you’ll gain experience, snag dropped weapons, and get extreme satisfaction from removing all armored foes, especially with the killer ordnance you should have at your disposal, the most helpful of which is the grenade launcher.
Grenade Launcher: This levels the playing field dramatically, as long as you don’t overuse the weapon and run out of ammunition too soon. As the fight progresses, punt a grenade at the foes on the adjacent rooftop to your right, then at snipers on the far roof, then at enemies on top of the brick structure. Any foes simply hiding should be removed with other weapons, depending on available ammo.
Grenades and IEDs: Your minimap shows clusters of enemies, and if you can lob a grenade or trigger other explosive devices when your foes are grouped together, so much the better. Otherwise, lobbing explosive devices at the two choke points (around the edges of the first brick structure) helps stop the swarm of enemies.
Shotgun or Machine Gun: Shotguns are helpful, but any hard-hitting gun does a number on the foes here; just make sure you’re aiming for the head or you’ll waste masses of ammo hitting their body armor.
Methodical Maneuvers: Unless you’re sprinting for the objective point, it isn’t necessary to be hasty with your movements. Instead, dart from duct or AC unit to skylight, working your way slowly forward as enemies permit. Remember the order to slay everyone, and keep steadily working your way toward the objective. Note you can climb on the first brick structure, as the extra height allows reasonable viewpoints of foes, and the metal fencing is reasonably protective, but it isn’t quite as safe as digging in behind roof cover.
As soon as you reach the metal stairs and descend, reaching the waypoint, a new objective appears.
|
|
 Chase Defalt
4.5 A GAME OF CAT AND MOUSE
 Location / The Loop // Alleyway Near Ambrose Theater
 Vehicle Chase
Difficulty: 
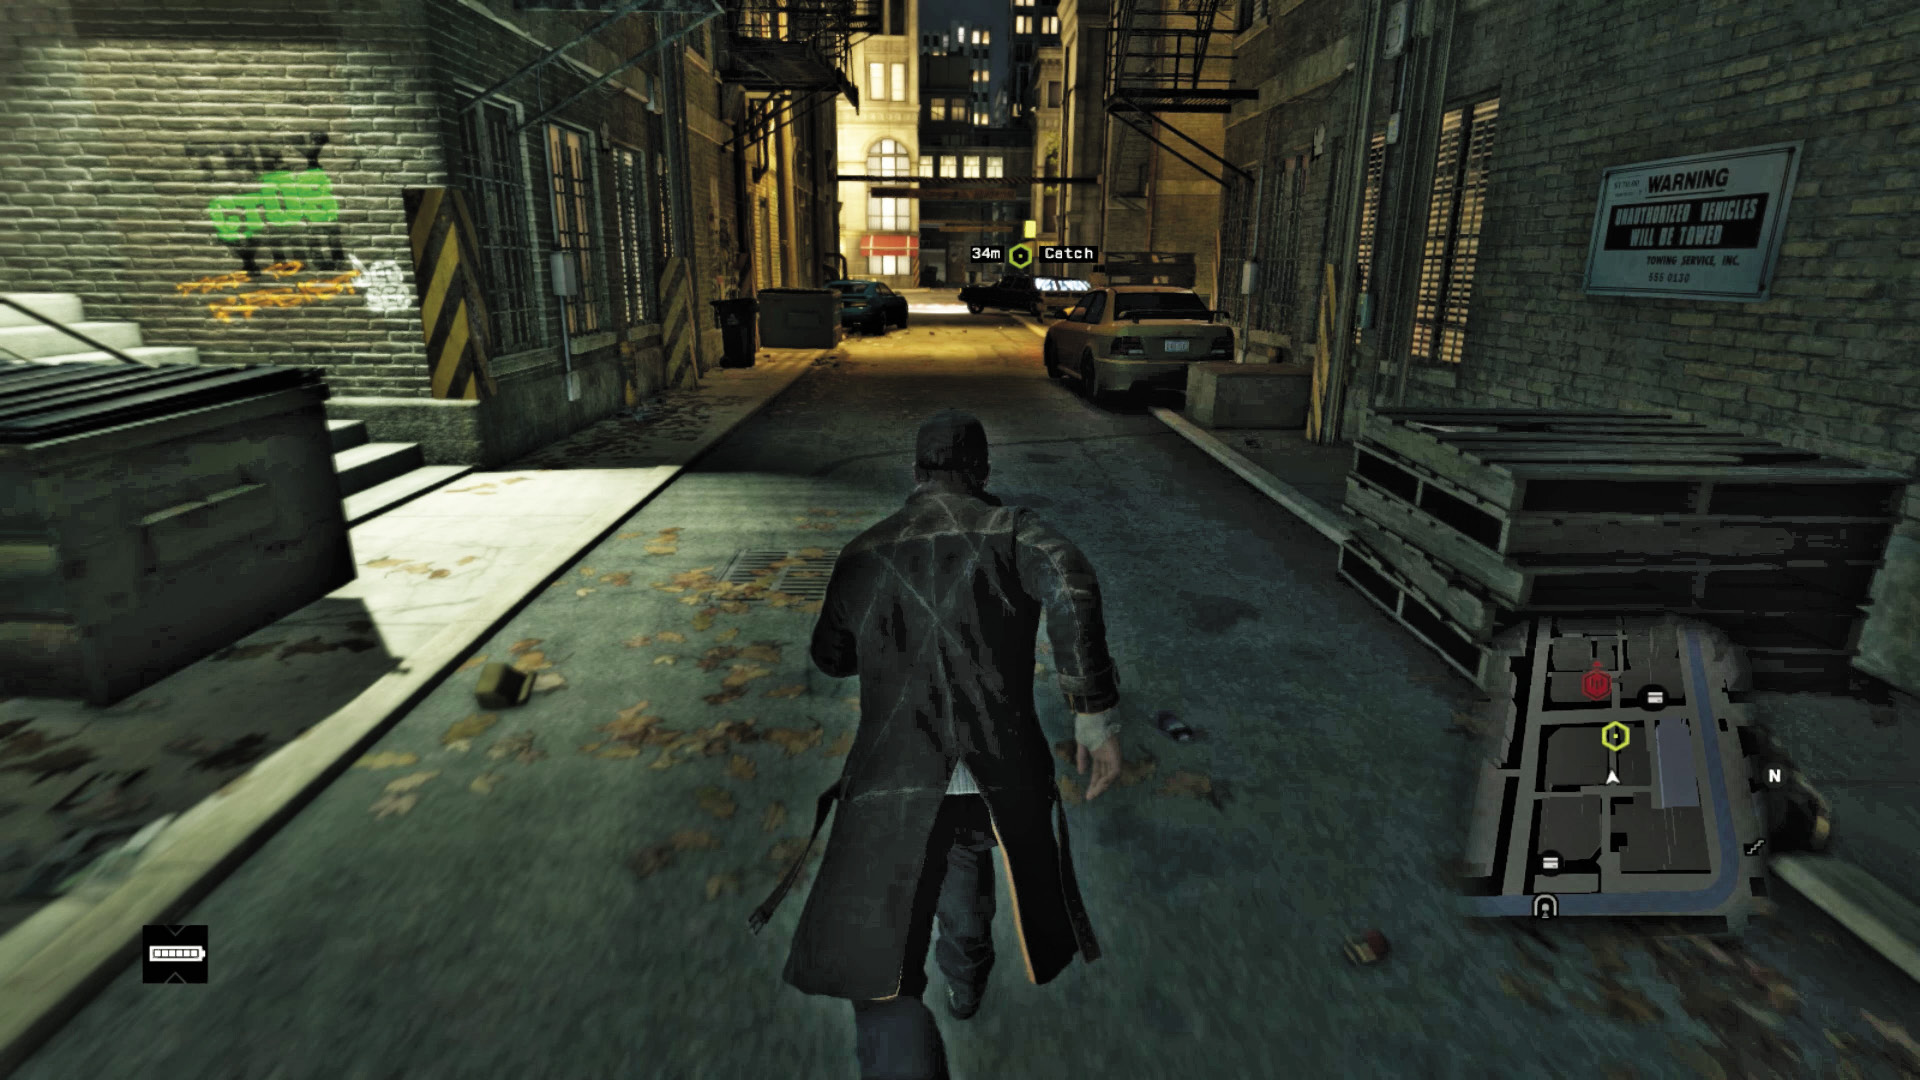
Drop into the alley as you follow Defalt back down to ground level. At this point, Defalt enters his Rosewood station wagon and peels off into the city. You’re left frantically searching for a vehicle. There are three to choose from in the same alley as Defalt:
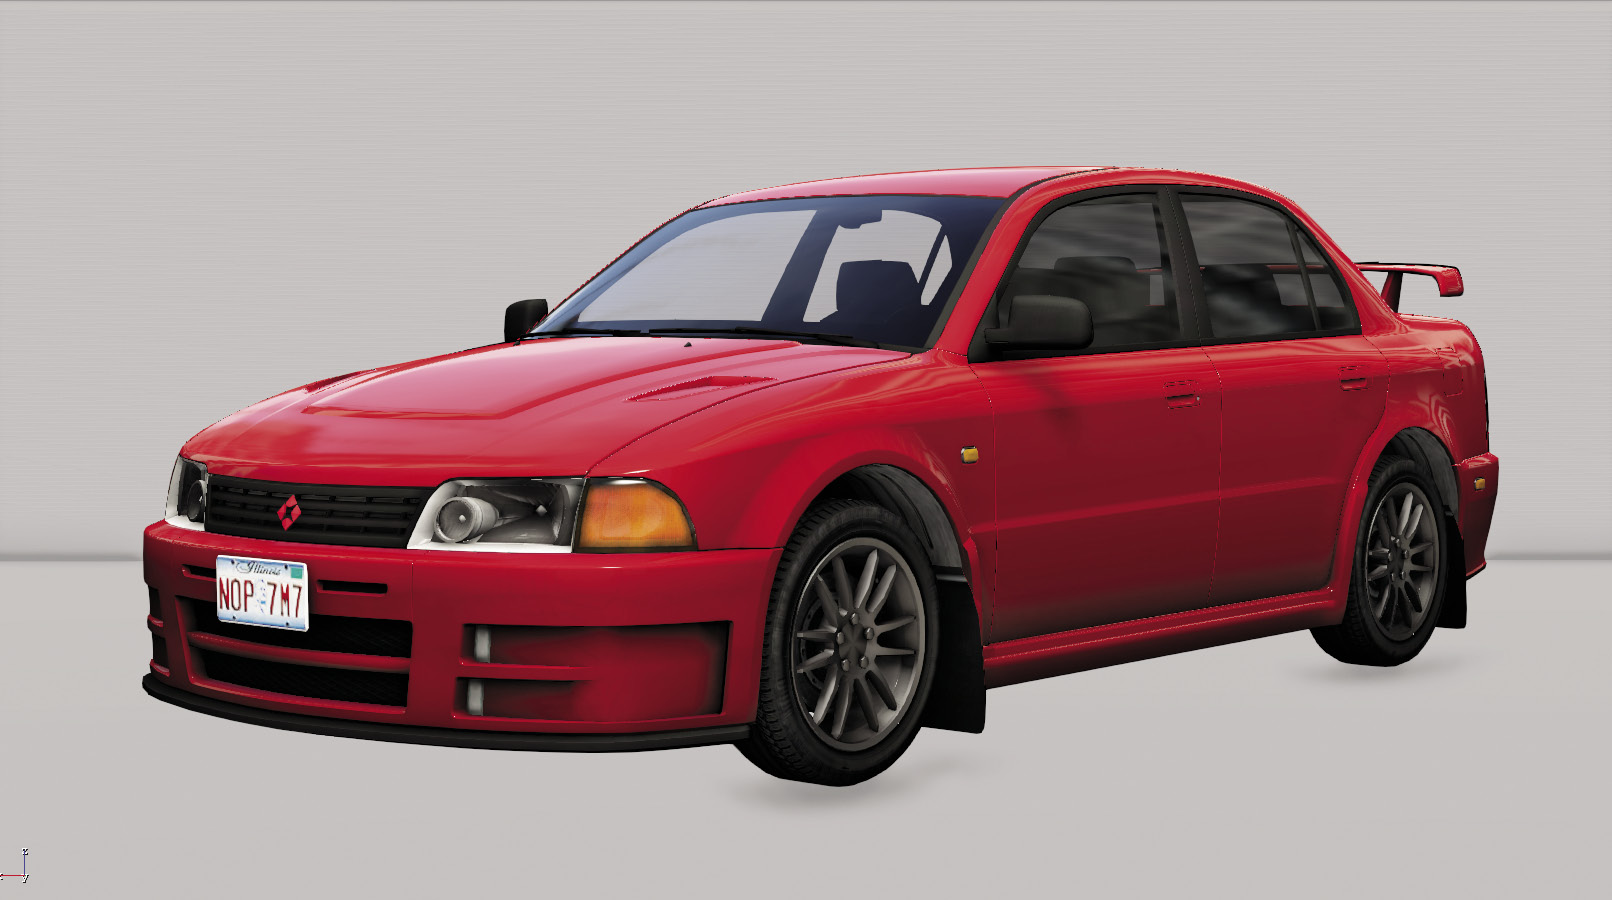
Nakahawa Zusume R:Excellent speed and precision cornering. The recommended vehicle.

Sumitzu Rotor:Not quite as quick, but still a commendable choice.
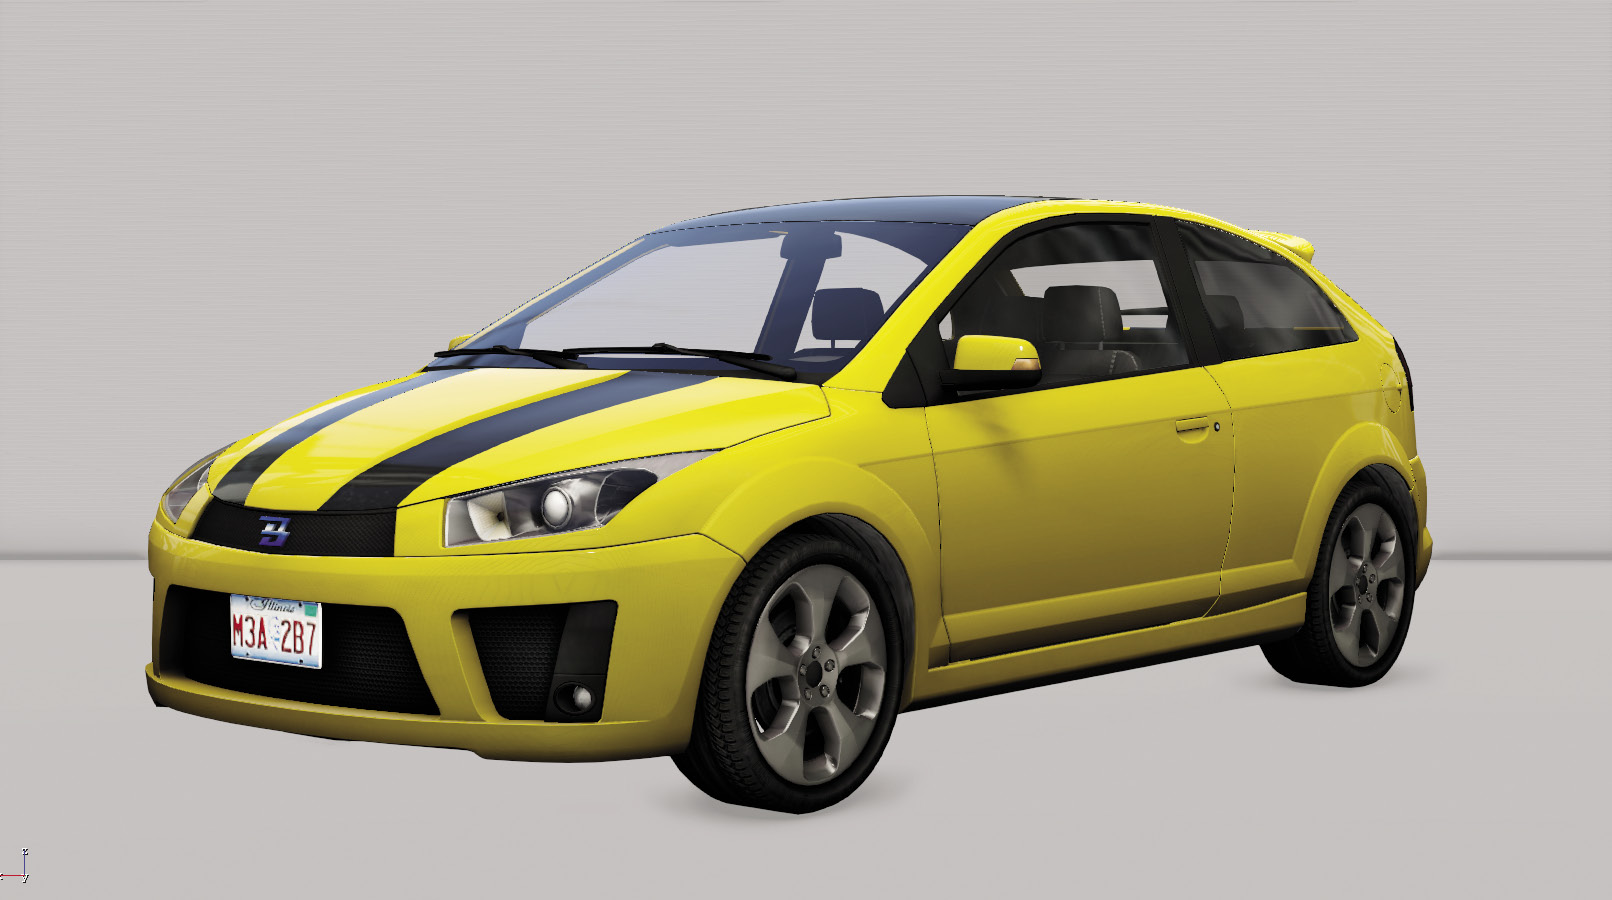
Core-T:This has the speed but skids wildly during cornering. If you can control this, take it.
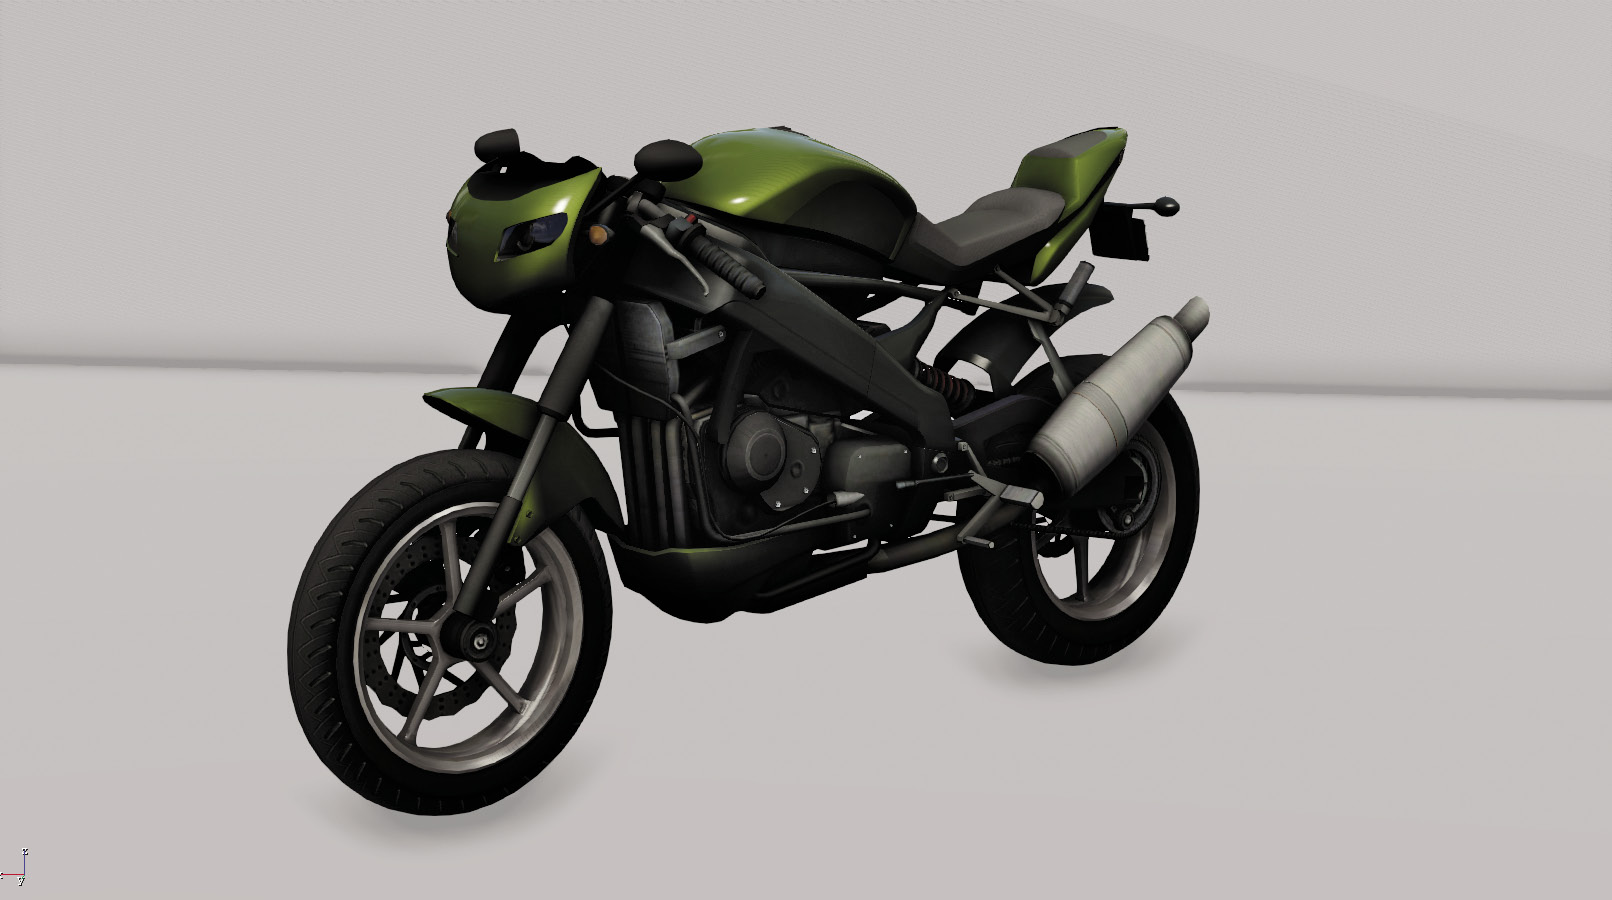
Motorbike:Don’t spend time looking for a bike, but if you spot one during the chase, it’s well worth swapping vehicles, as long as you can accurately control the bike. It can fit through blockades and other obstacles more easily than any car.
|
|
 Chase Defalt
 Download the data
4.6 CRAZY CODE AS THE CHASE HEATS UP
 Location / The Loop and Mad Mile
 Vehicle Chase
 Data Hack
Difficulty: 
There is one route that Defalt takes, and he’s full of surprises. During the pursuit, he has access to (and may use) the scenery that has permitted you to gain the upper hand during previous chases! So heed the following warnings as you careen around town, and concentrate solely on catching up to Defalt; you have only your vehicle and your driving skills to help you this time!
Driving // Offensive: The Defalt Plan
Difficulty: 
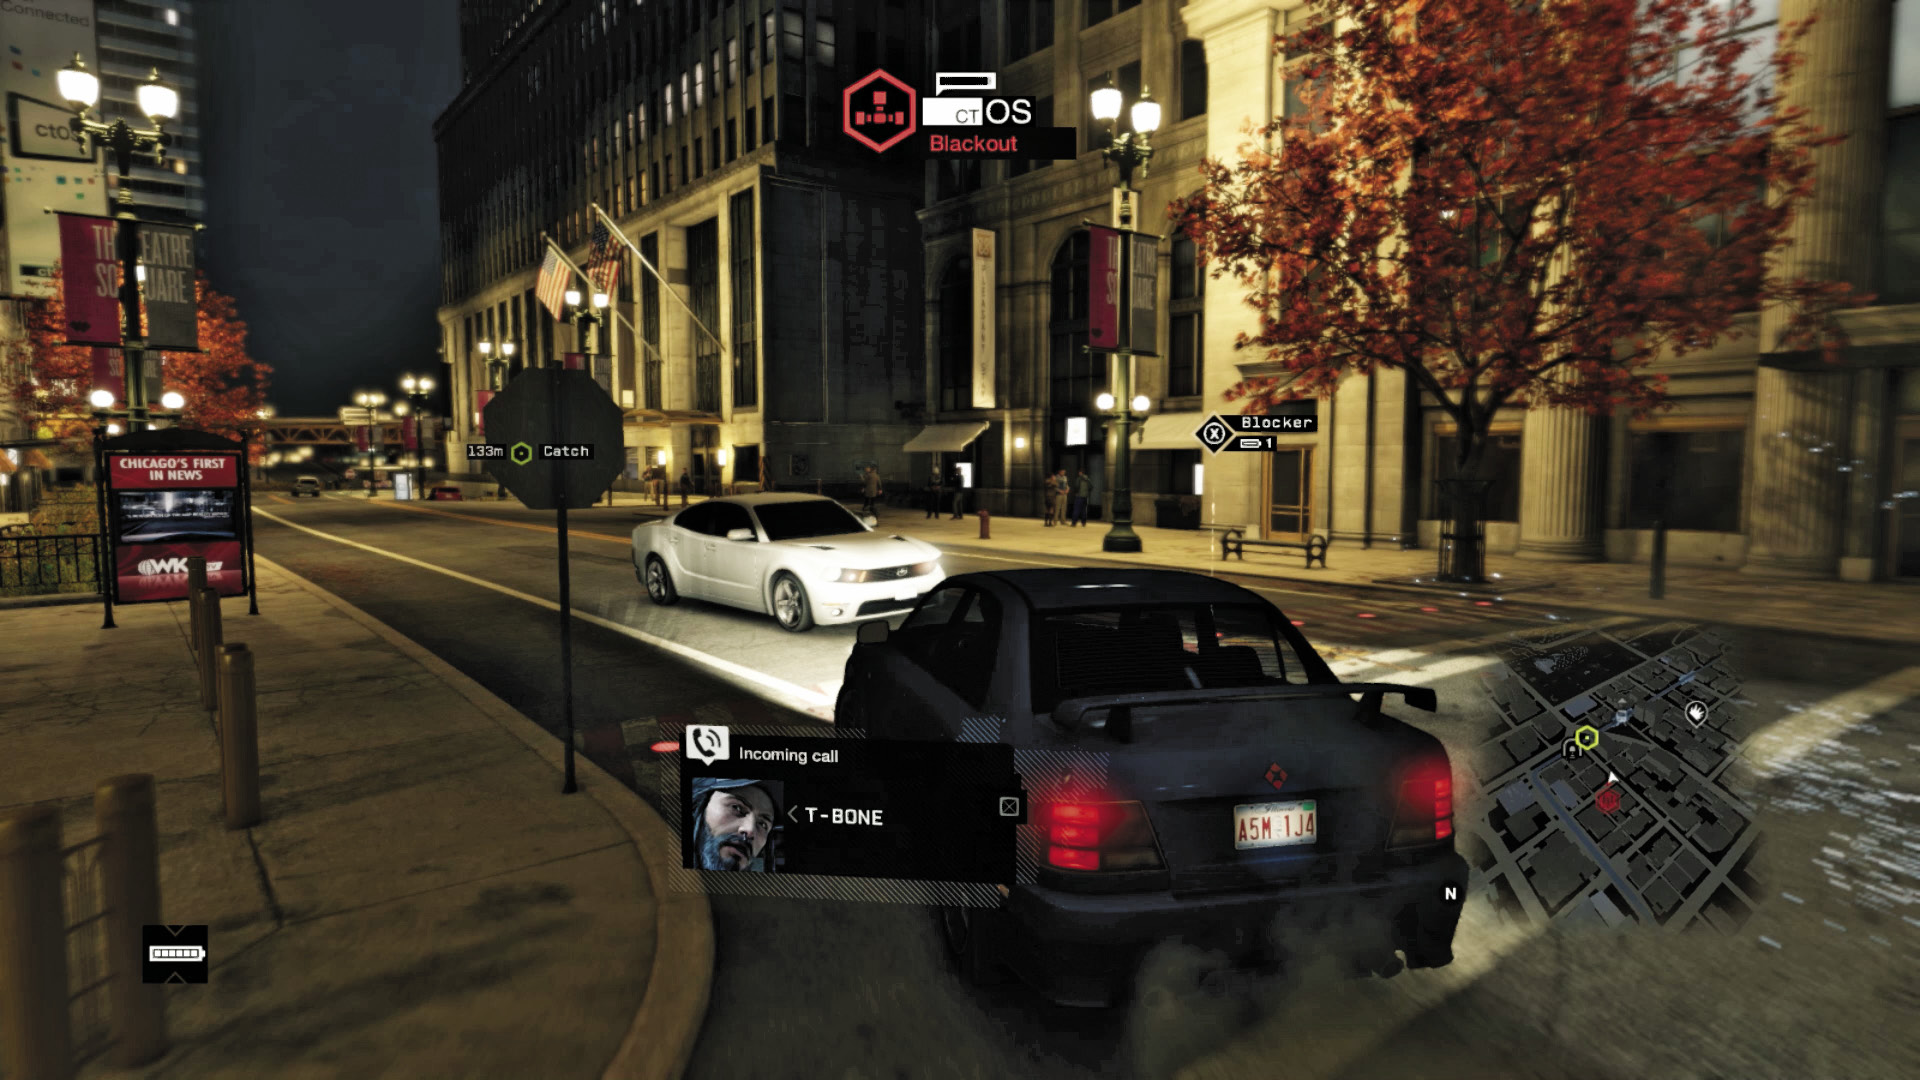
Take an immediate left turn out of the alley and another as T-Bone speaks to you, cutting in on the left sidewalk. Watch for a ctOS Blackout, which plunges the road into darkness.
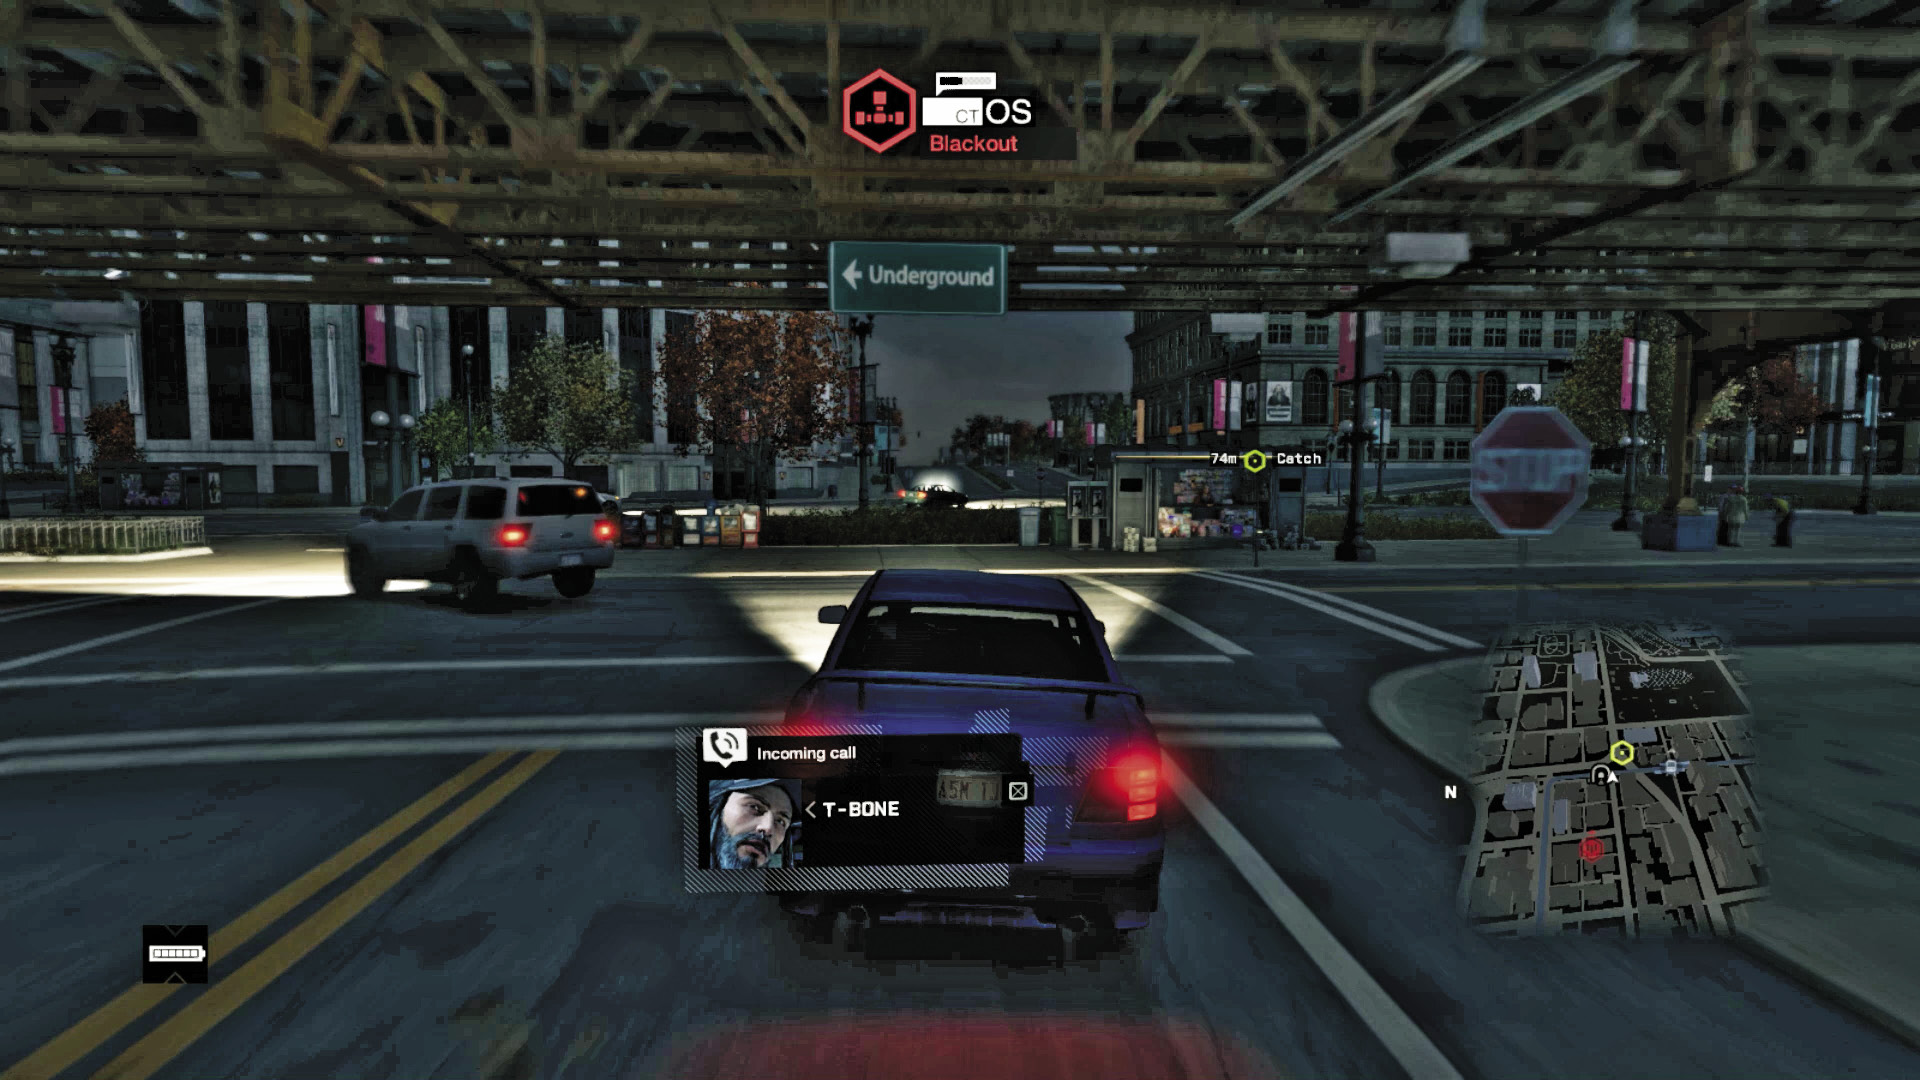
You’re heading east, hopefully increasing to top speed. Pass under the L-train tracks and through the newspaper dispensers, keeping straight down the road as the lights come back on. Stay in the middle so you don’t hit vehicles on the right as you descend.
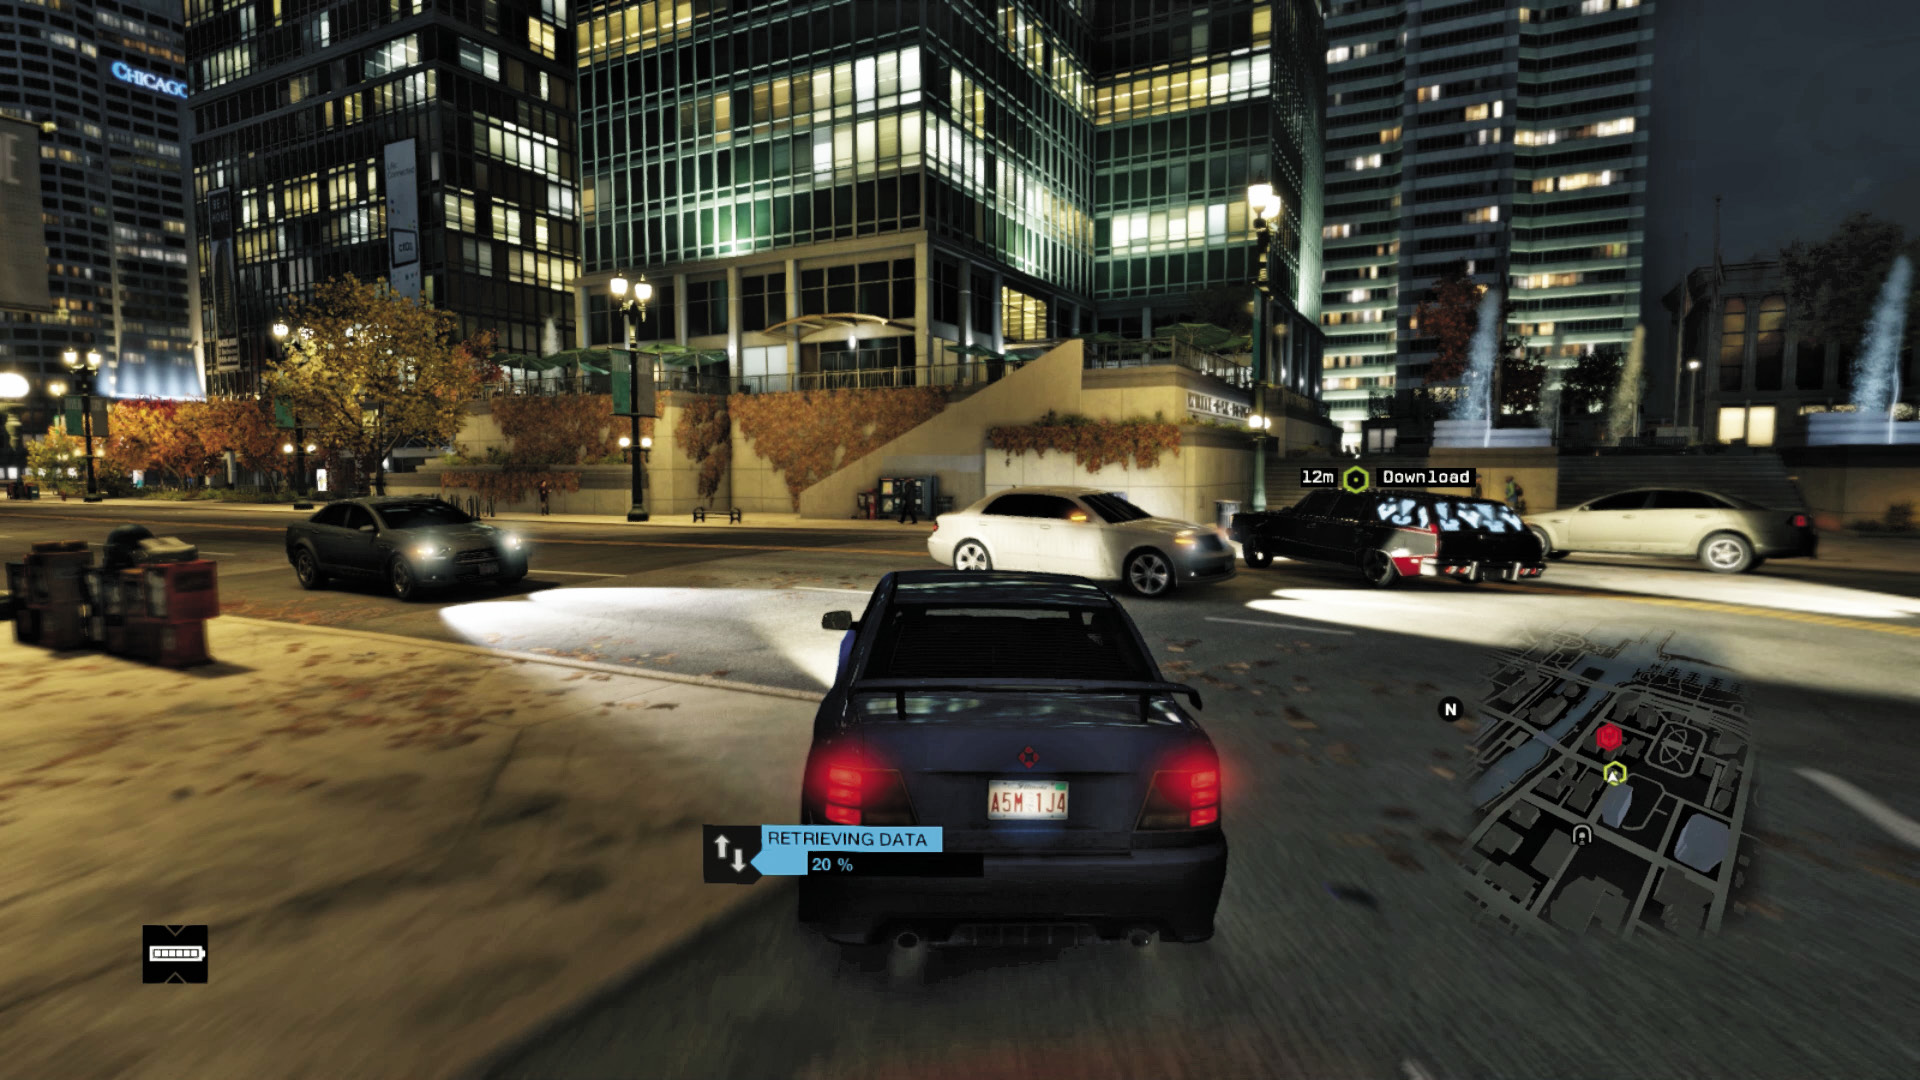
Make a sharp left at the bottom of the hill. Accelerate north for two blocks; the download starts now. Cut in on the right sidewalk. Make the next left turn and speed across the bridge, which might get raised. Then take a sharp left.
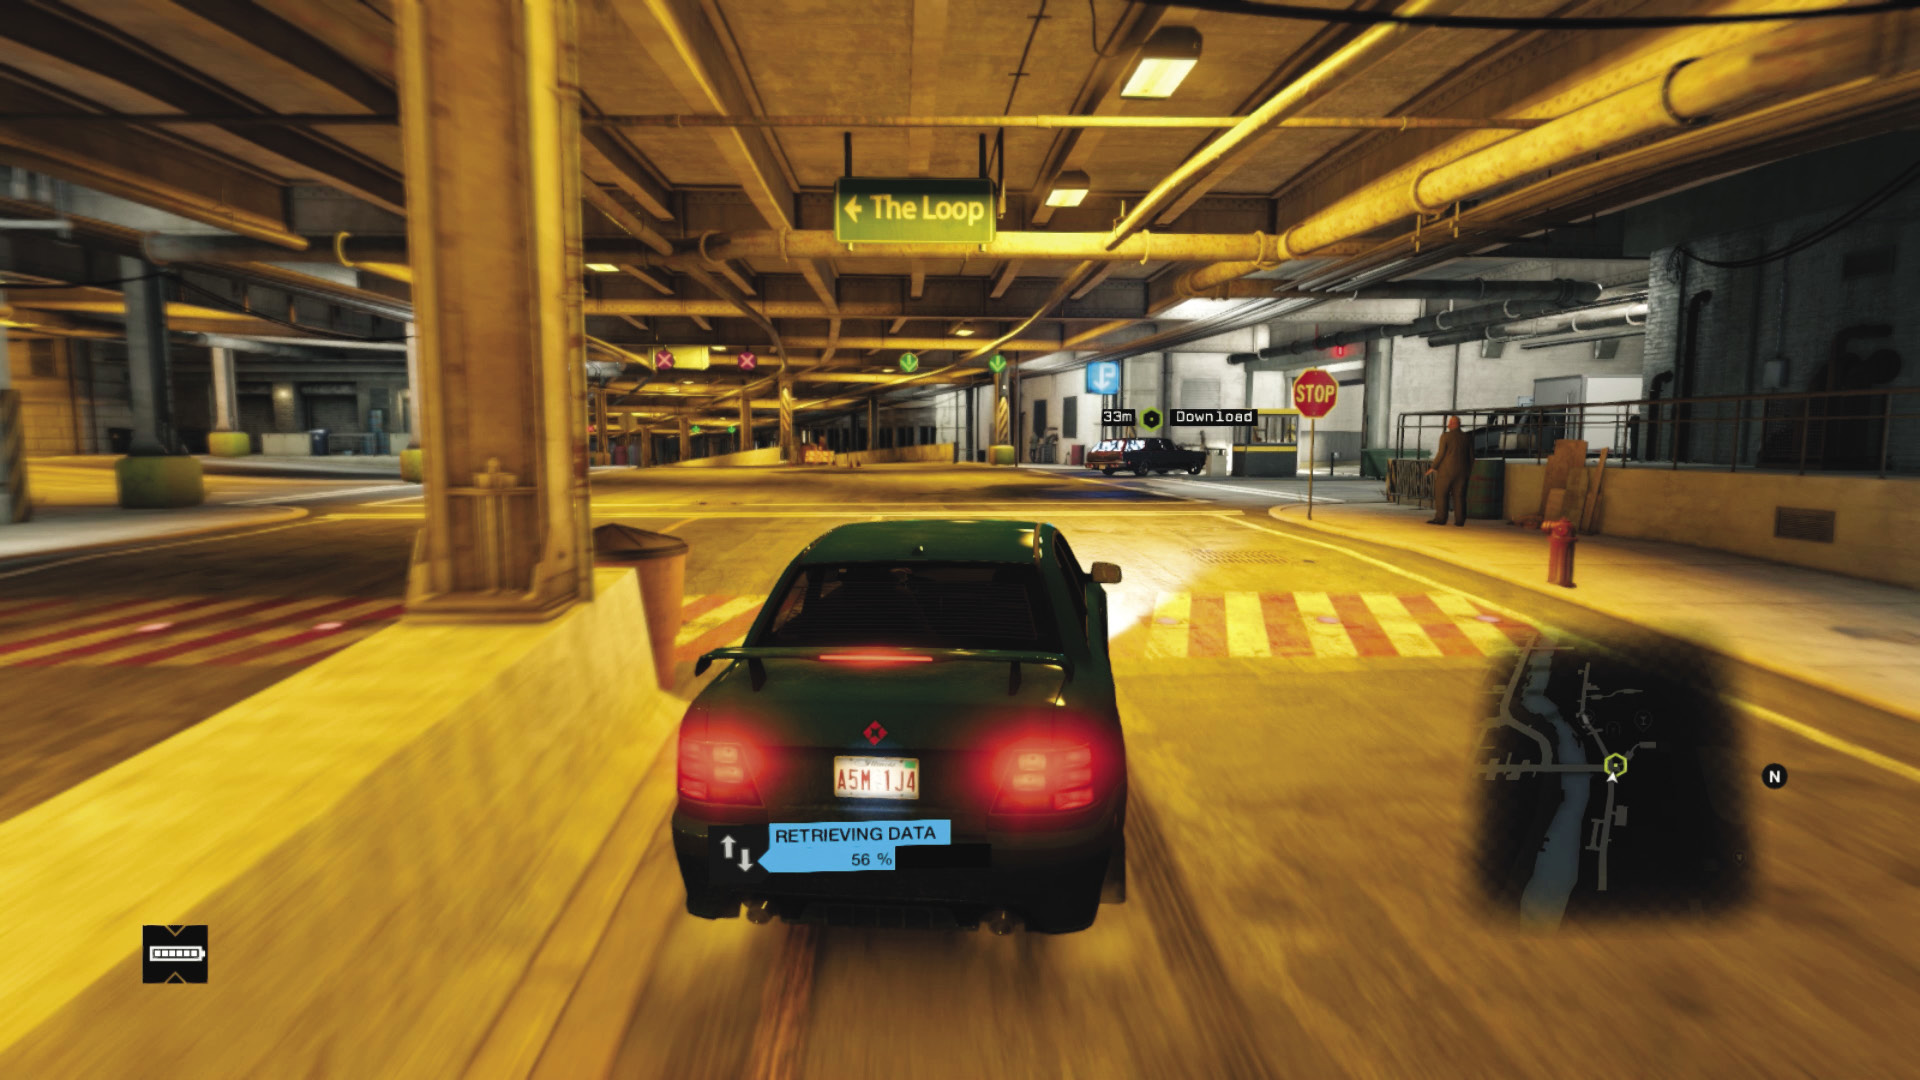
Watch the blockers at the bottom of the slope before the tunnel; swerve onto the right sidewalk if they rise, then accelerate hard into the traffic tunnel, slowing as Defalt enters a parking tunnel. Stay right to avoid a nasty stop at the second set of blockers if they rise. Squeeze in to the right of the hut.
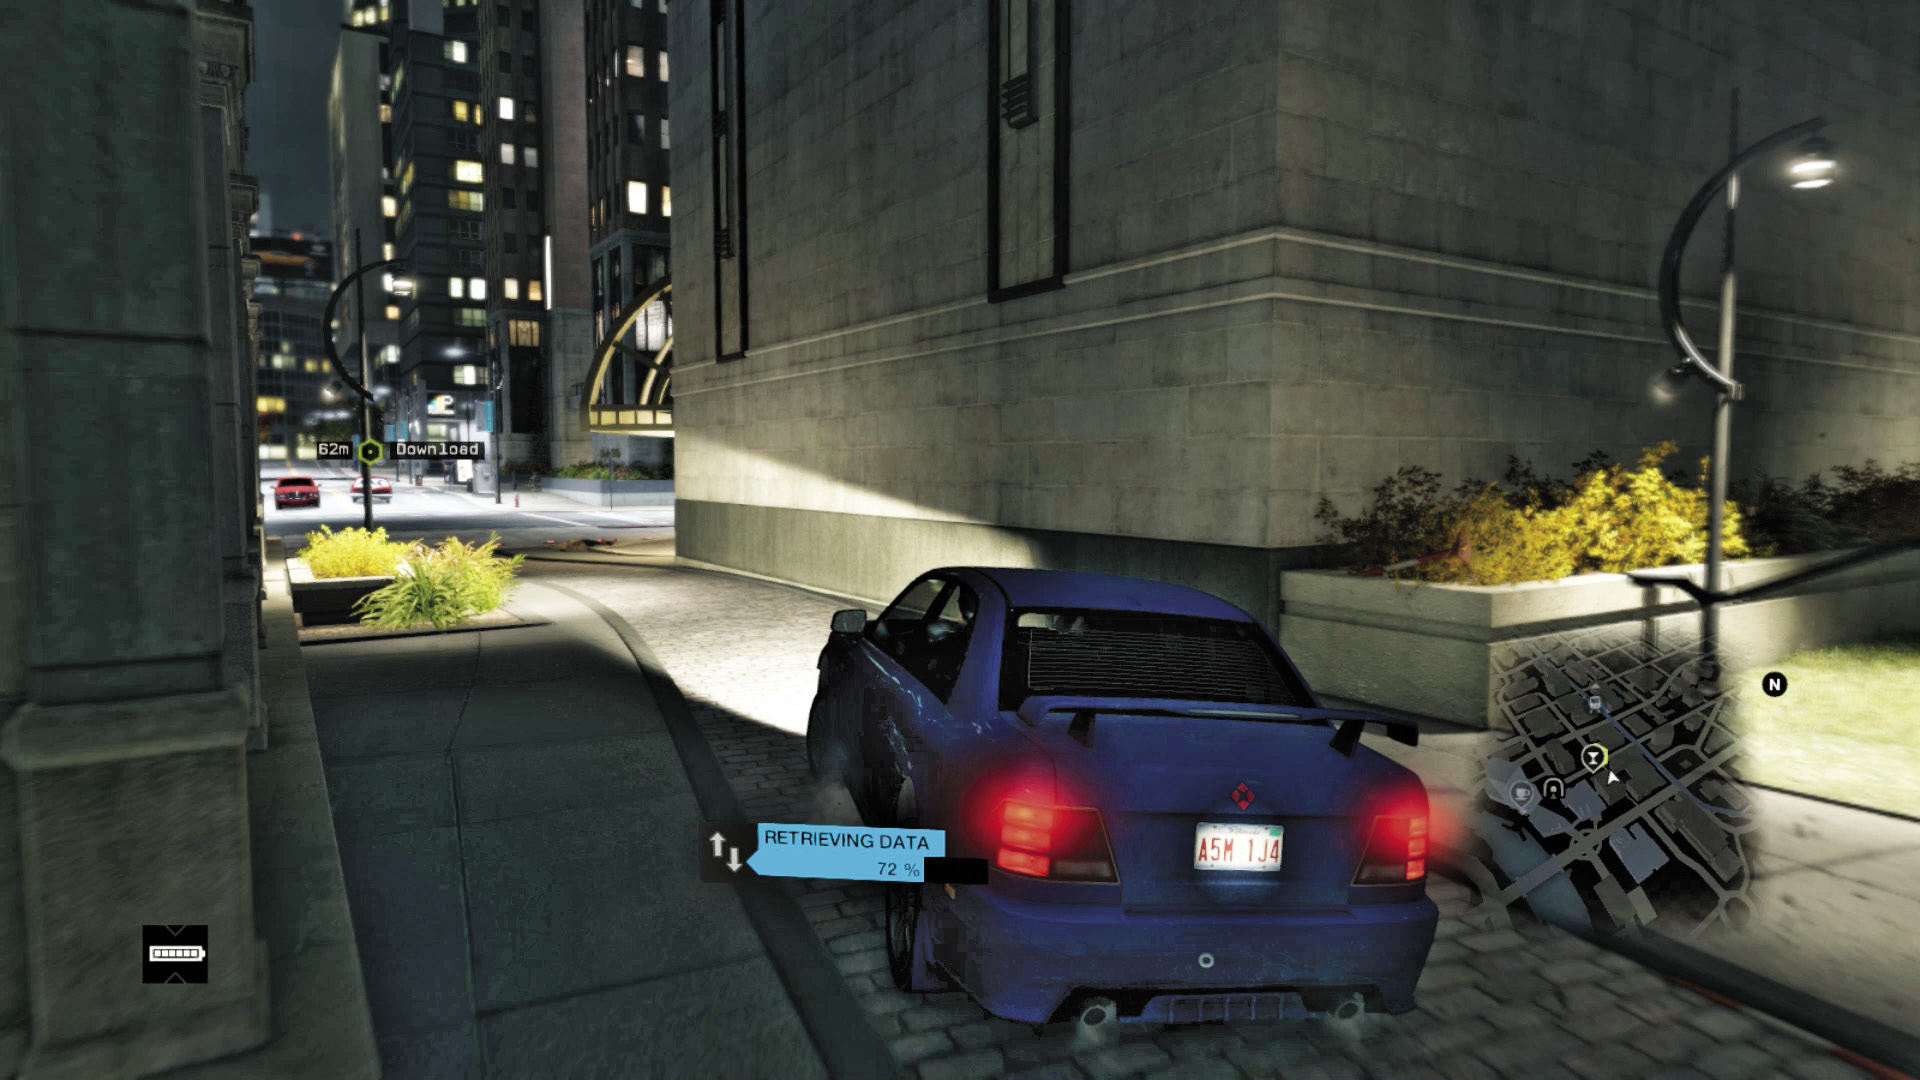
Your data retrieval should be around 60 to 70 percent by now. Follow the tunnel into a sharp left turn down a cobblestone alley (west), out onto the street. Accelerate hard for four blocks, until Defalt heads right slightly, into a pedestrian area. Brake hard, as there’s a really tight turn. Your download could be complete at this point, so the chase can become more freeform.
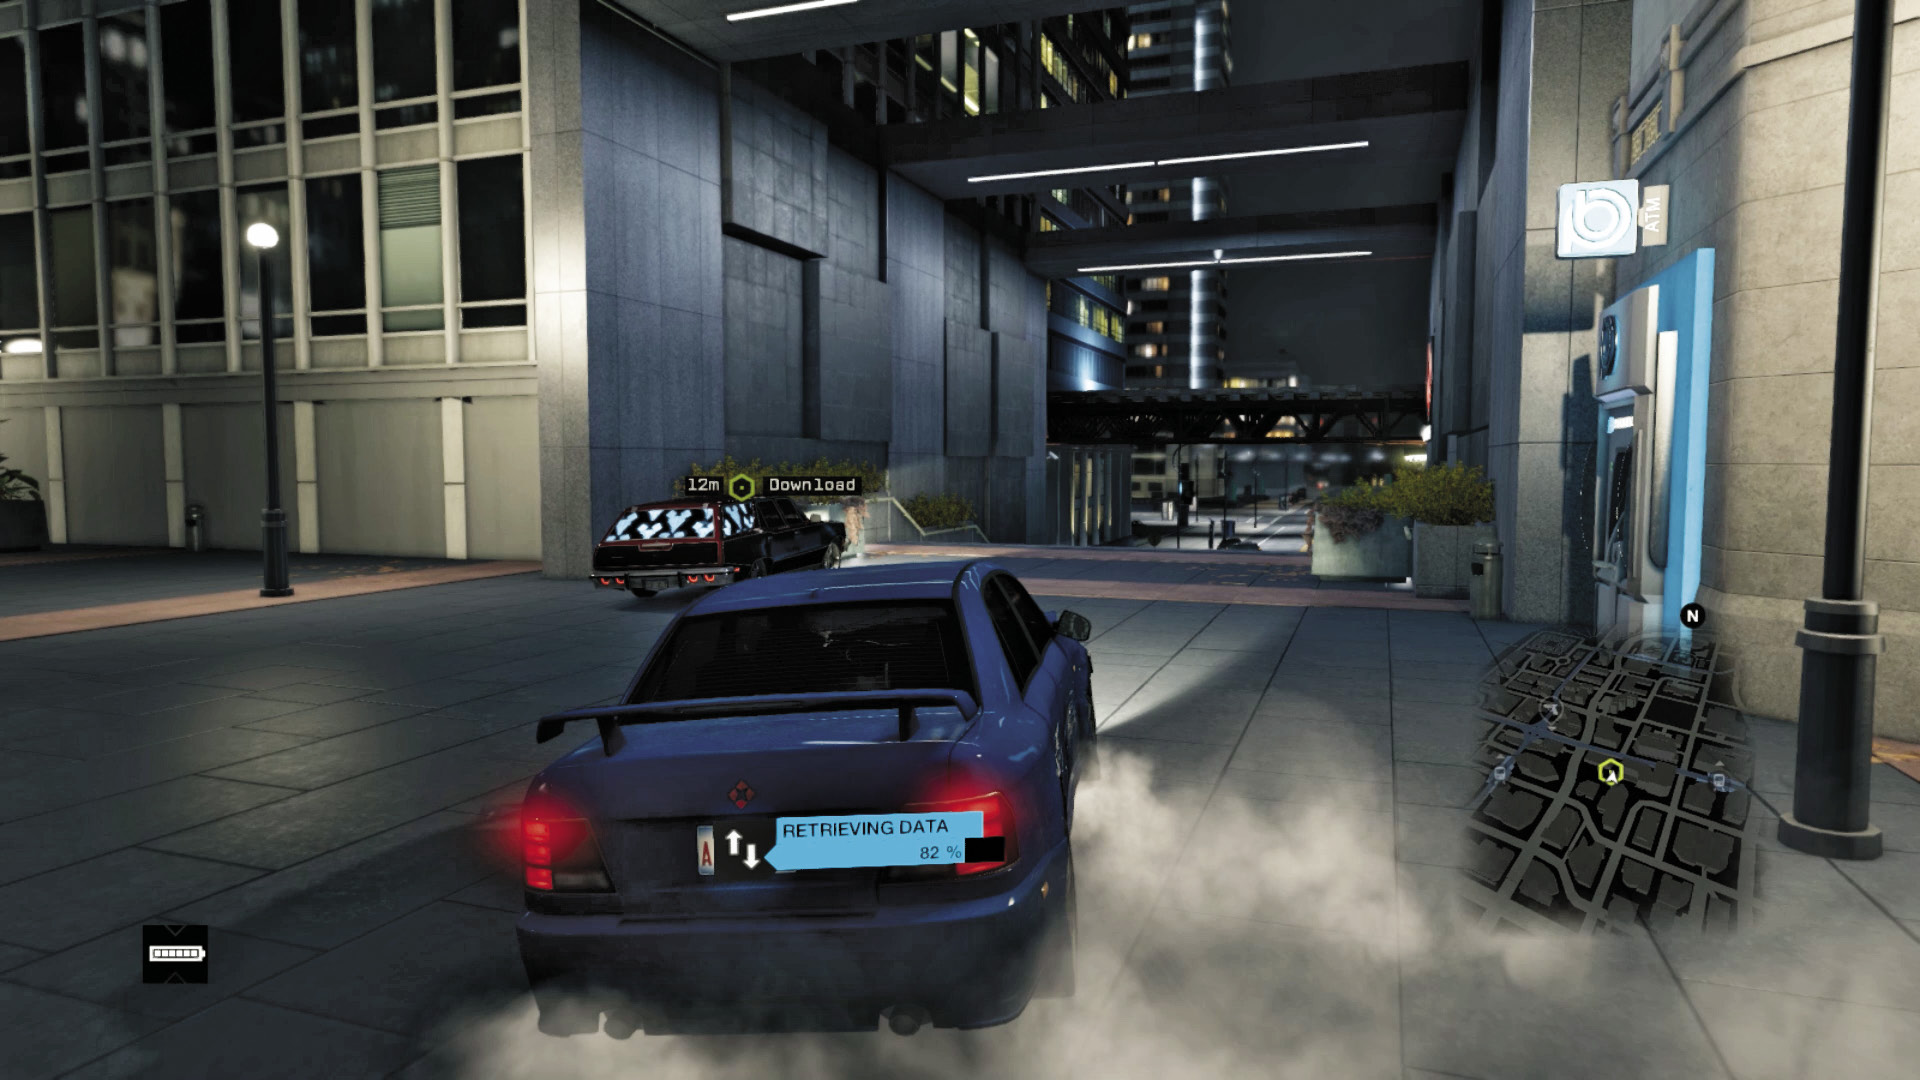
Down the steps heading north, brake and swing right, avoiding the bollards at the start and end of the side street. Skid left at the end, and watch as Defalt either heads right, braking sharply into a parking structure, or skids around to face you and flees.
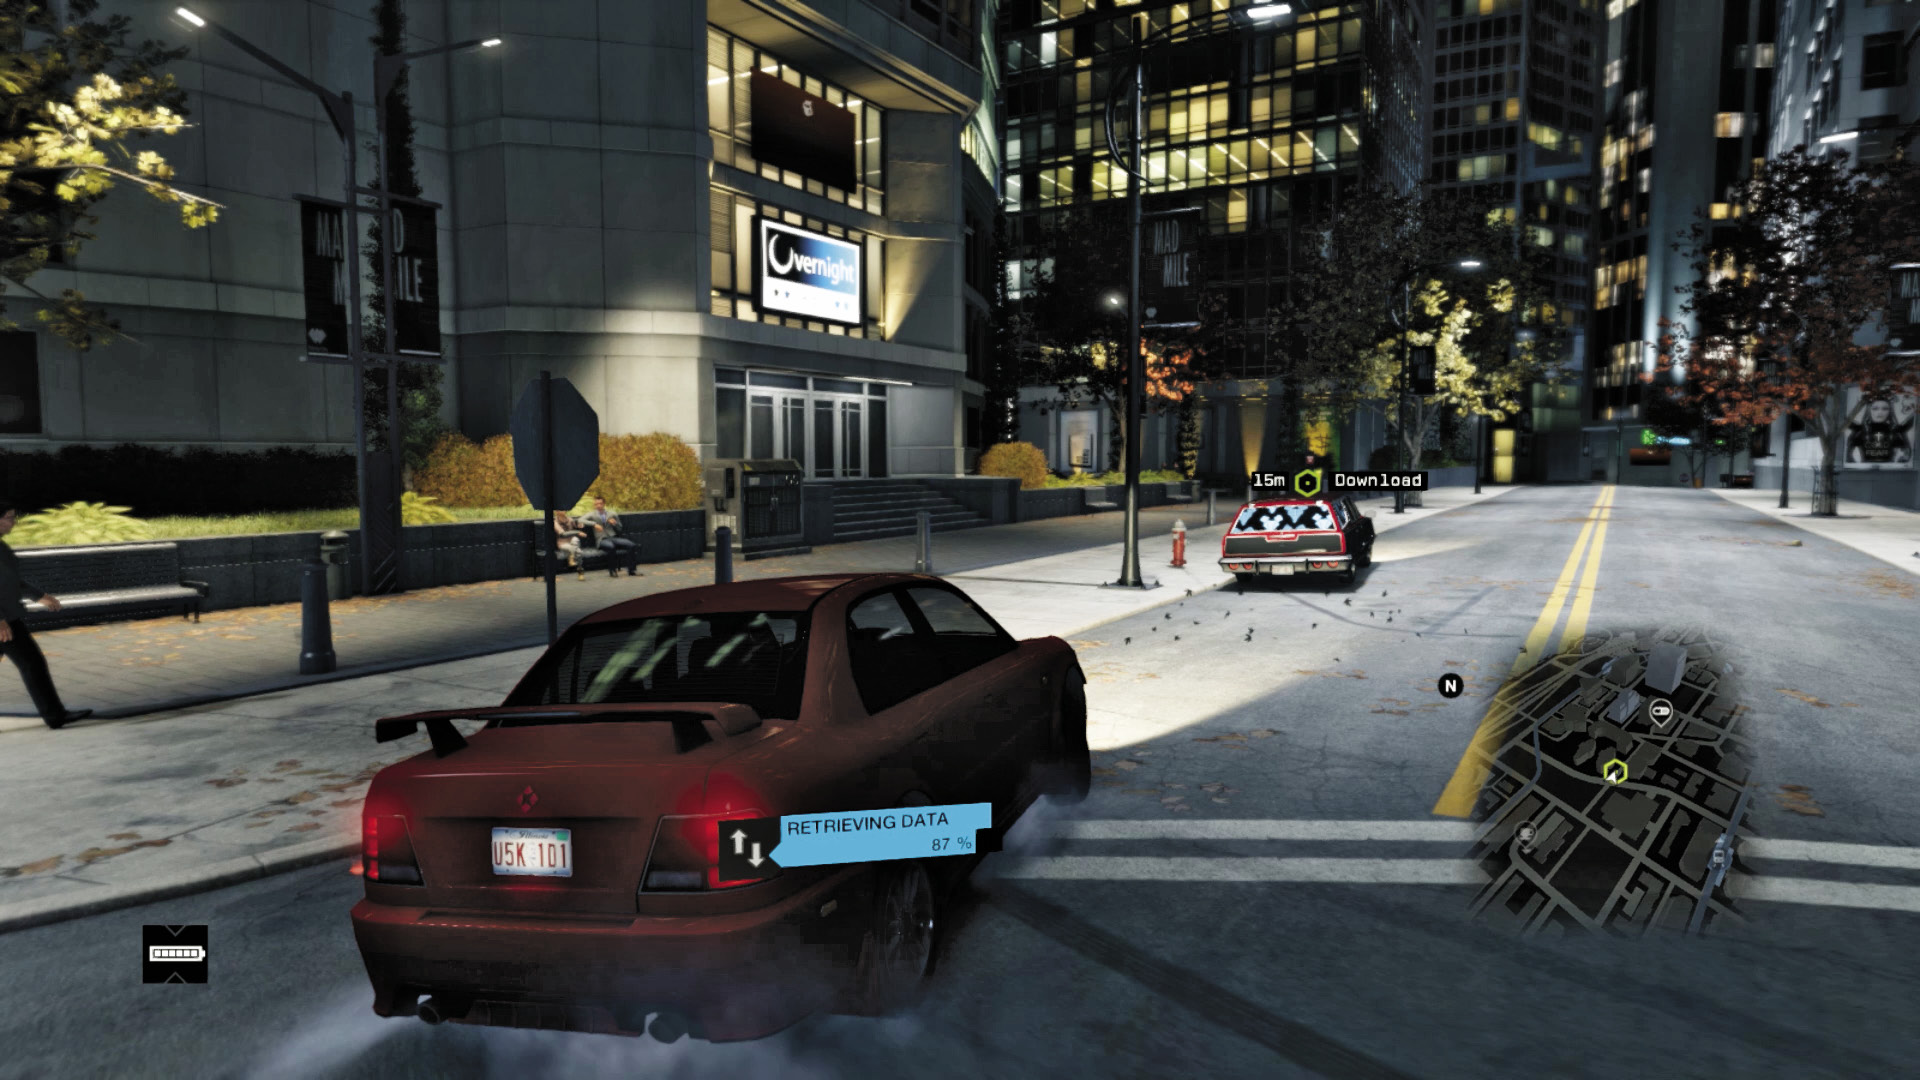
You’re heading north for half a block, then right and immediately left into a narrow pedestrian area. Be very careful you don’t get stuck!
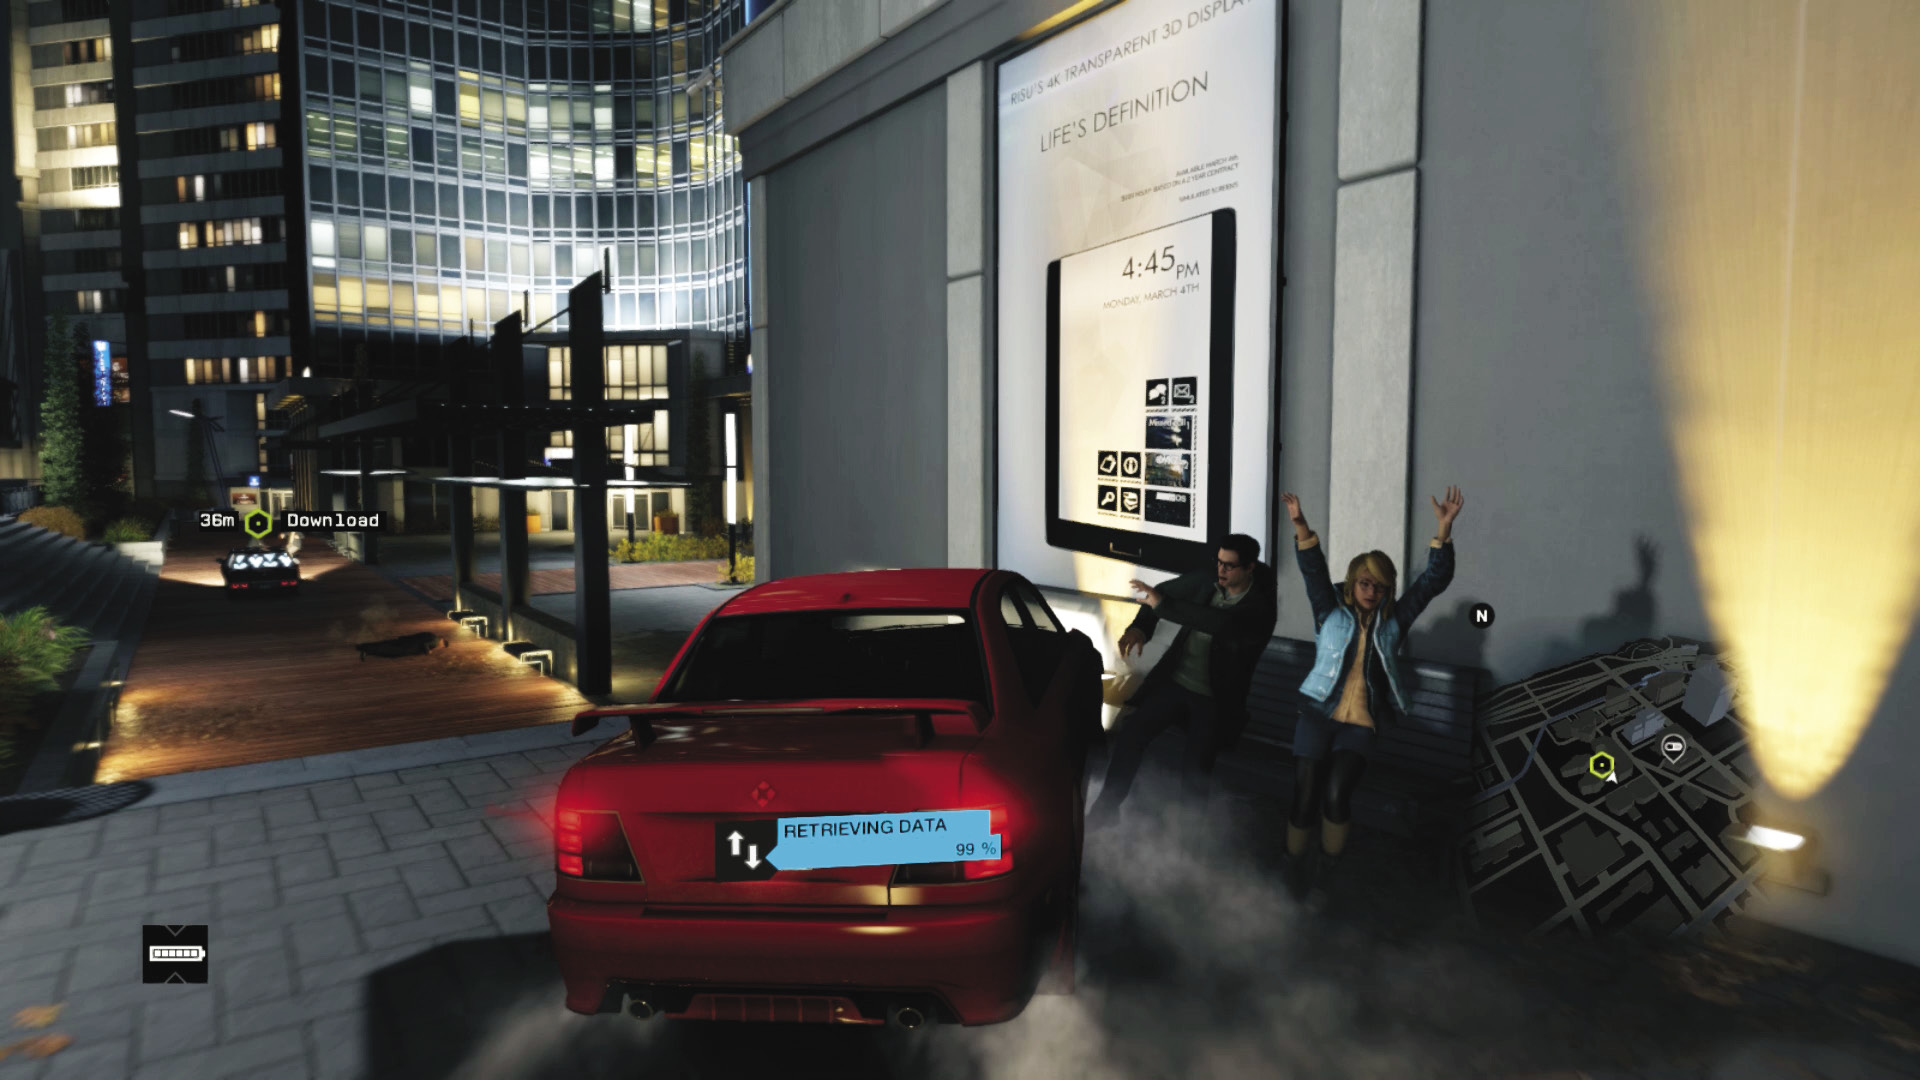
Follow the walkway to an amazingly tight right turn—brake early! Weave left up some steps and right, before gunning it toward another parking structure. Defalt usually passes through this and turns left. At this point, you should have downloaded the information. If not, continue following Defalt.
 Driving // Offensive: A More Virulent Scan
Difficulty: 
Just because you can’t remove Defalt from the streets (yet), doesn’t mean you need to keep your distance; you can attempt to shunt him into oncoming traffic, slam into him at corners, and generally catch and smash into him. The object here isn’t to wreck him but to catch him so he stops, allowing you to gather the data and finish the download more quickly.
|
|
 Chase Defalt
 Take down Defalt
4.7 TRACKING AND WHACKING THE HACKER
 Location / The Loop and Mad Mile
 Vehicle Chase
 Lethal Force Likely
Difficulty: 
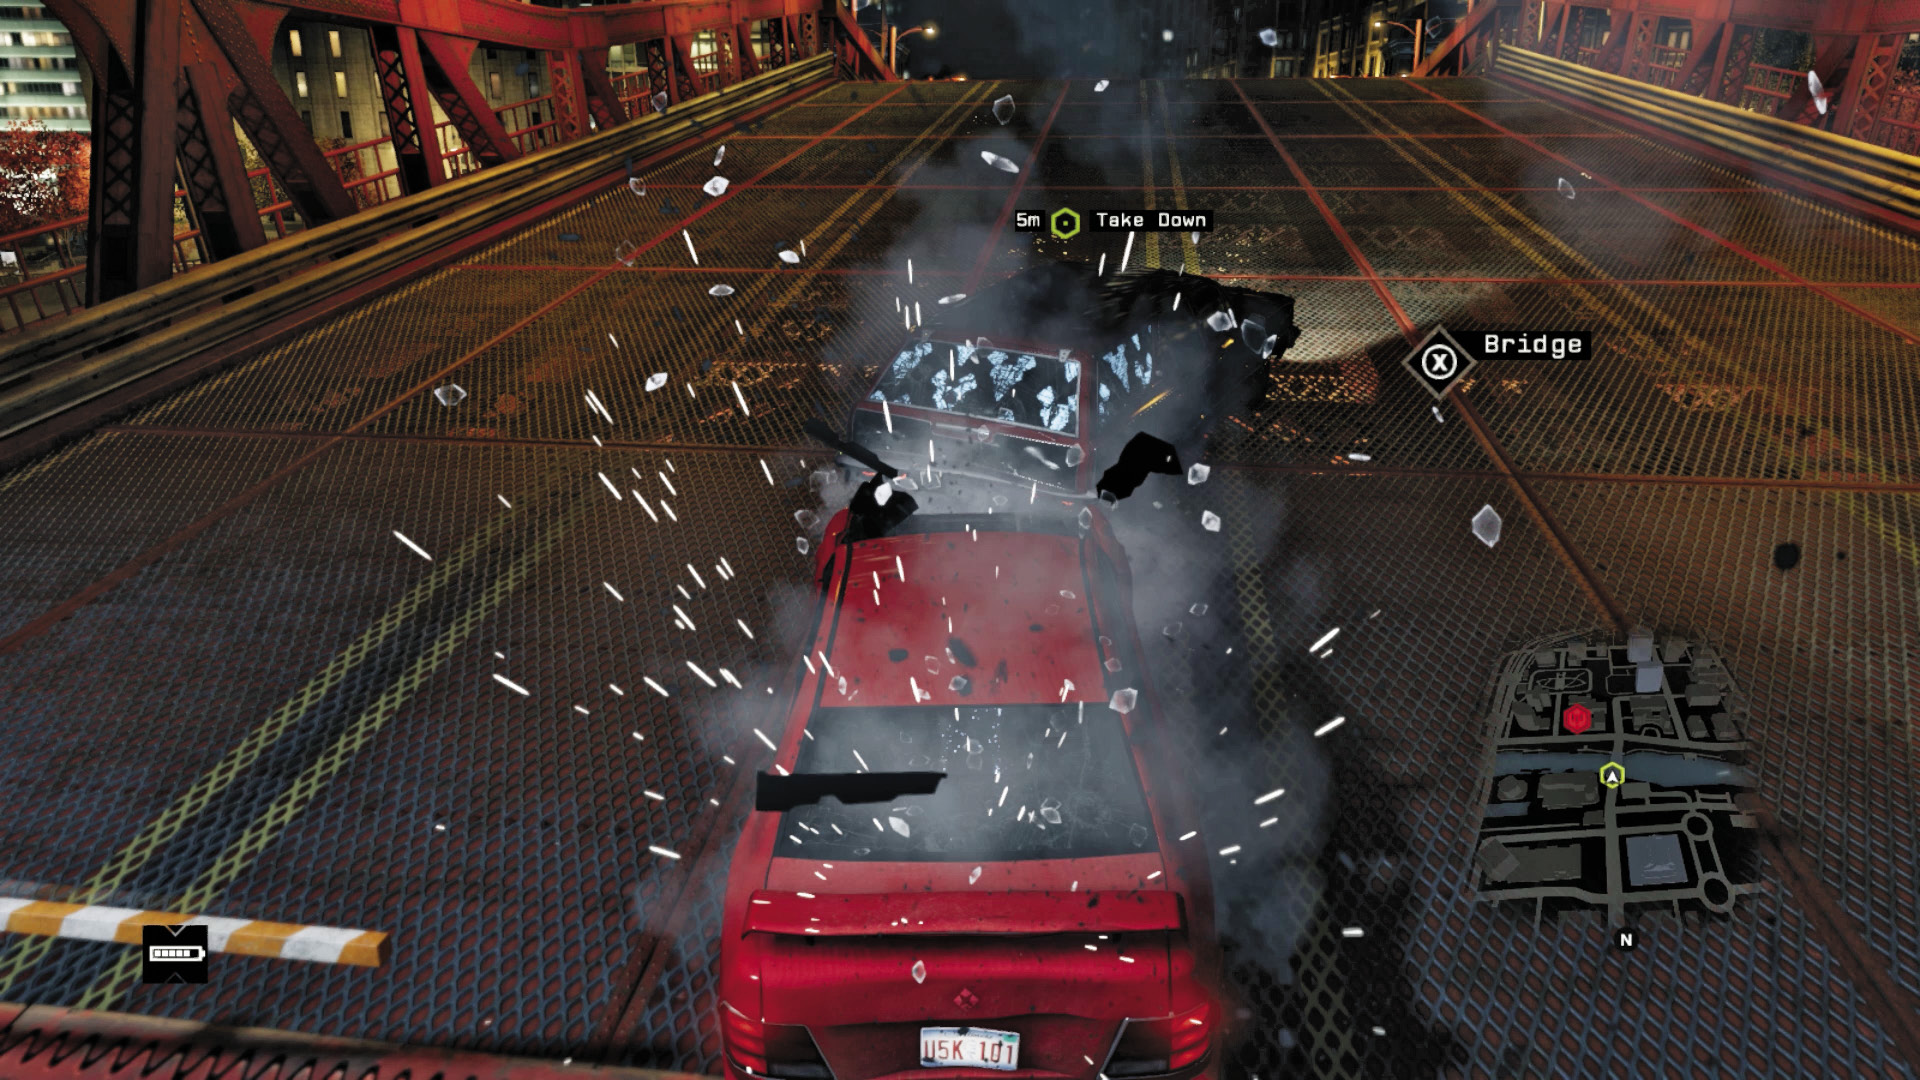
Revenge! Continue the chase: By the time the data download completes, you have full control over the city’s infrastructure and can use any of your favored obstacles to bring Defalt’s vehicle to a (usually explosive) stop. Or, you can ram or shoot the vehicle. You should know what these are by now, but in case you require a reminder. Very generally, the type of action you can take involves:
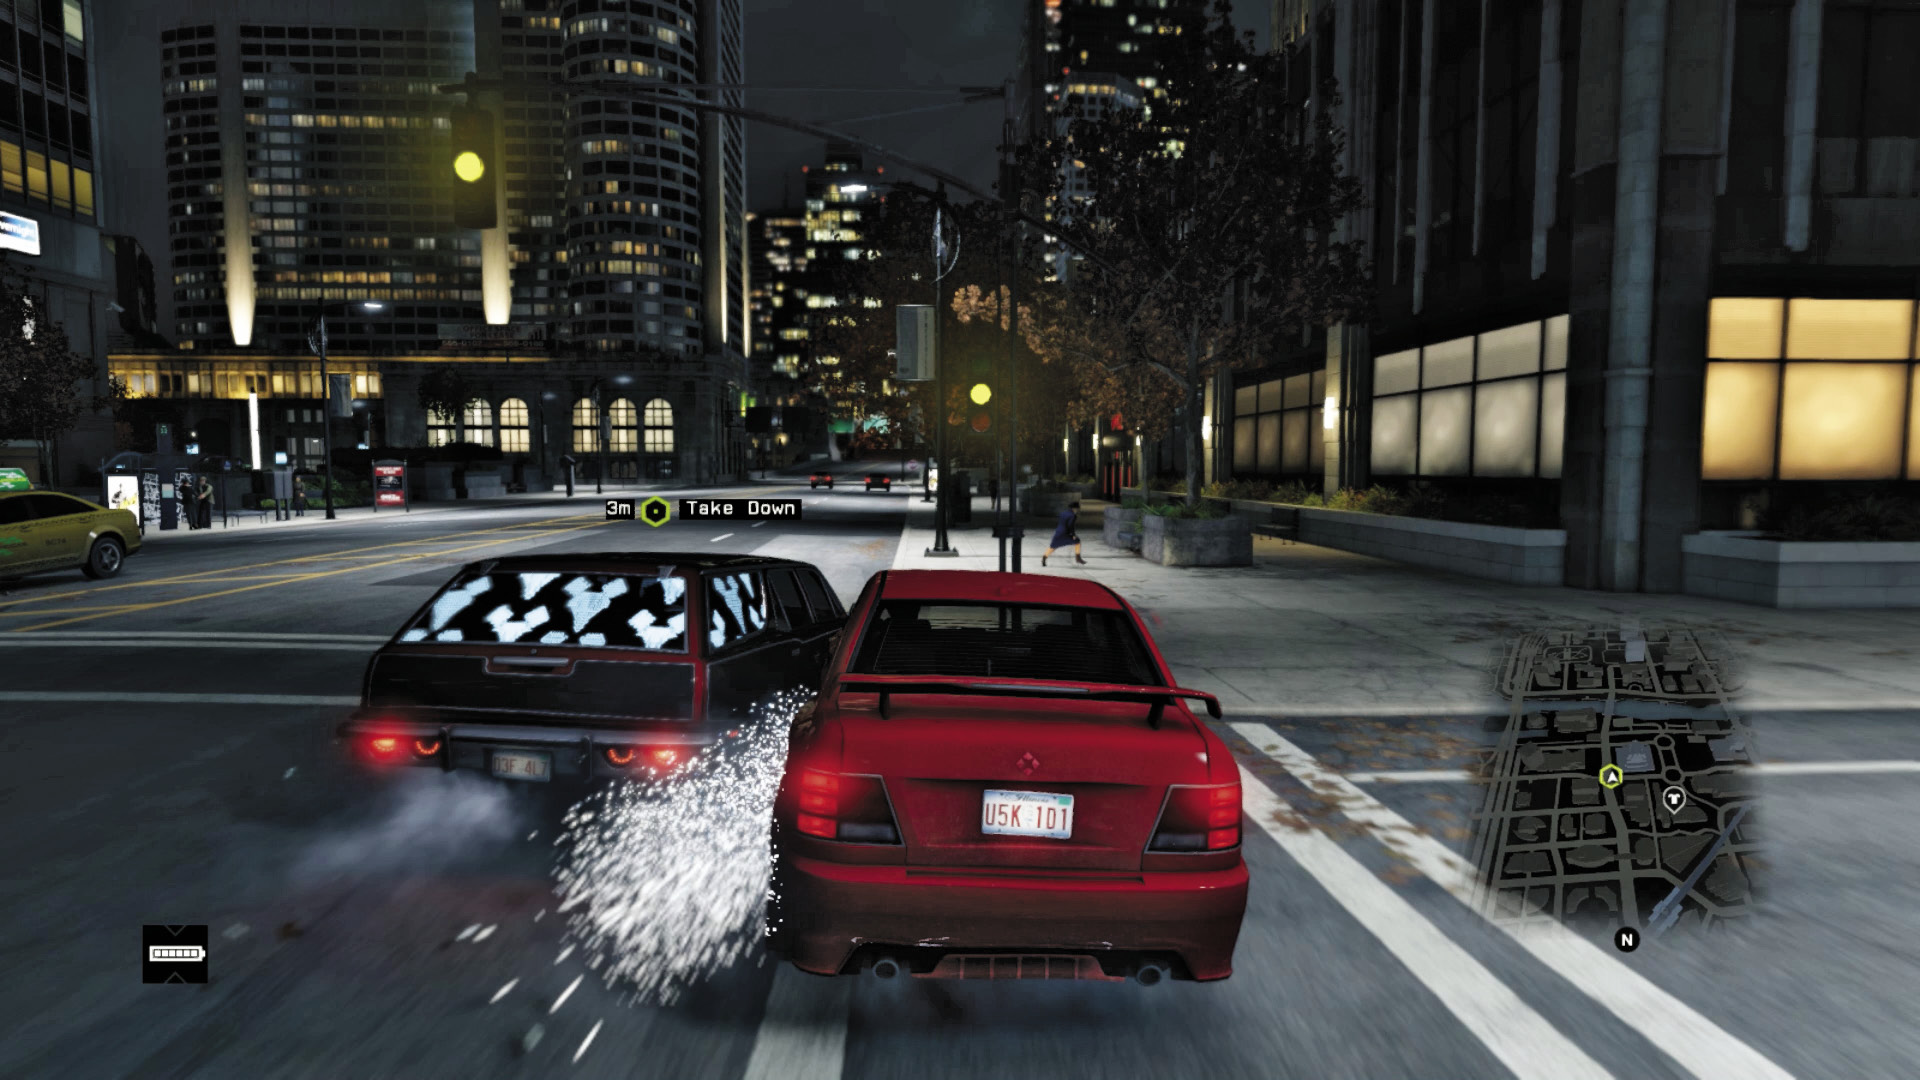
Using the scenery against Defalt (raising bridges or bollards, exploding steam pipes and the like).
Ramming him until his vehicle becomes too damaged to drive.
Or shooting up the vehicle, usually after a crash, before he flees.
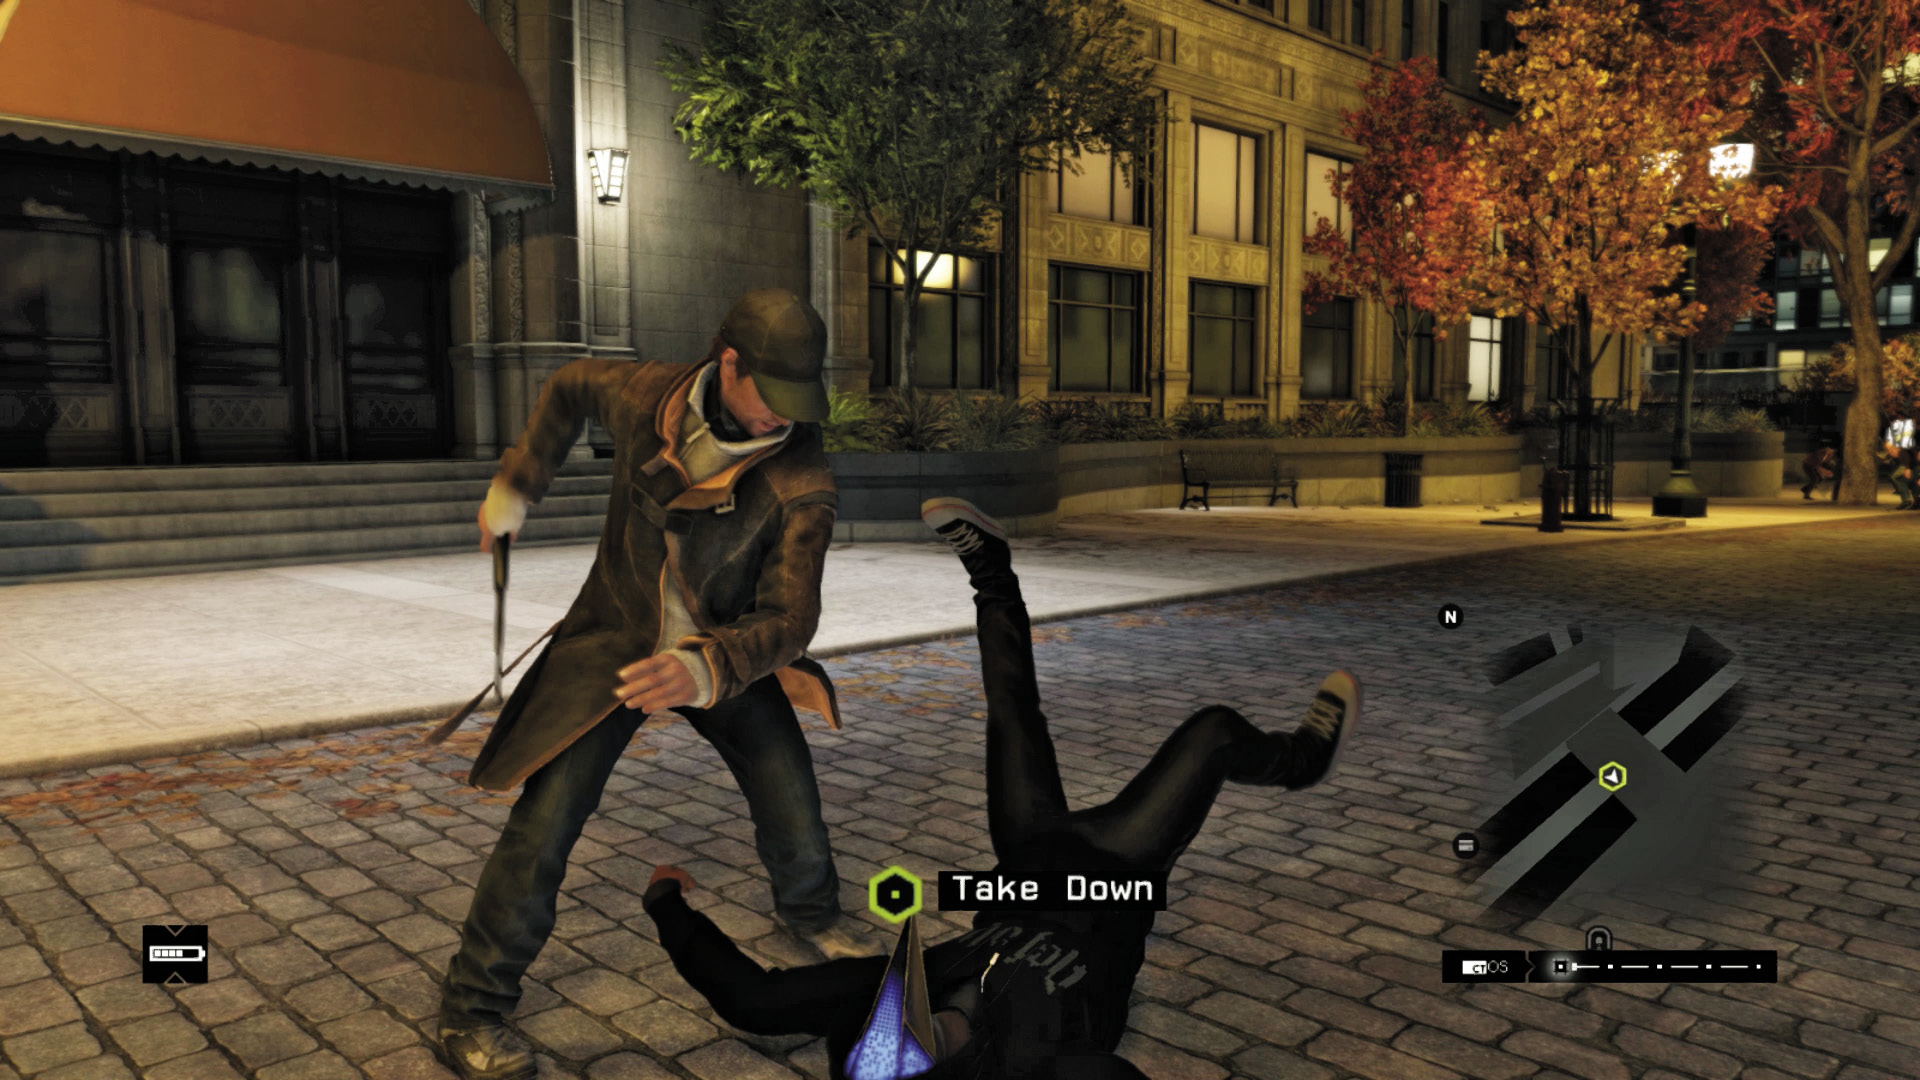
Once Defalt’s vehicle is immobilized, tackle him in a firefight, using whatever attacks you deem most entertaining.
After Defalt is removed as a threat, this mission concludes.
MISSION REWARDSGained XP: +3,000 New Vehicle Available: ROSEWOOD Song: Conduction (Santiago & Bushido Remix) By Johnny Fiasco |