
Watch Dogs Guide MAIN MISSIONS MAIN MISSIONS /// Act I
_NOT THE PIZZA GUY
OBJECTIVES
|
 Climb to meet Jordi on the rooftop
 Infiltrate the rail yard
 Interrogate the Fixer boss
 Kill all Fixers or escape
LOCATIONS // MAP
Location / The Loop // Rail Depot on the Island
7.1 IN THE MIDST OF SOLUTIONS
 Location / The Loop // Gorman Heights Apartments
|
|
 Climb to meet Jordi on the rooftop
 Investigation
Difficulty: 
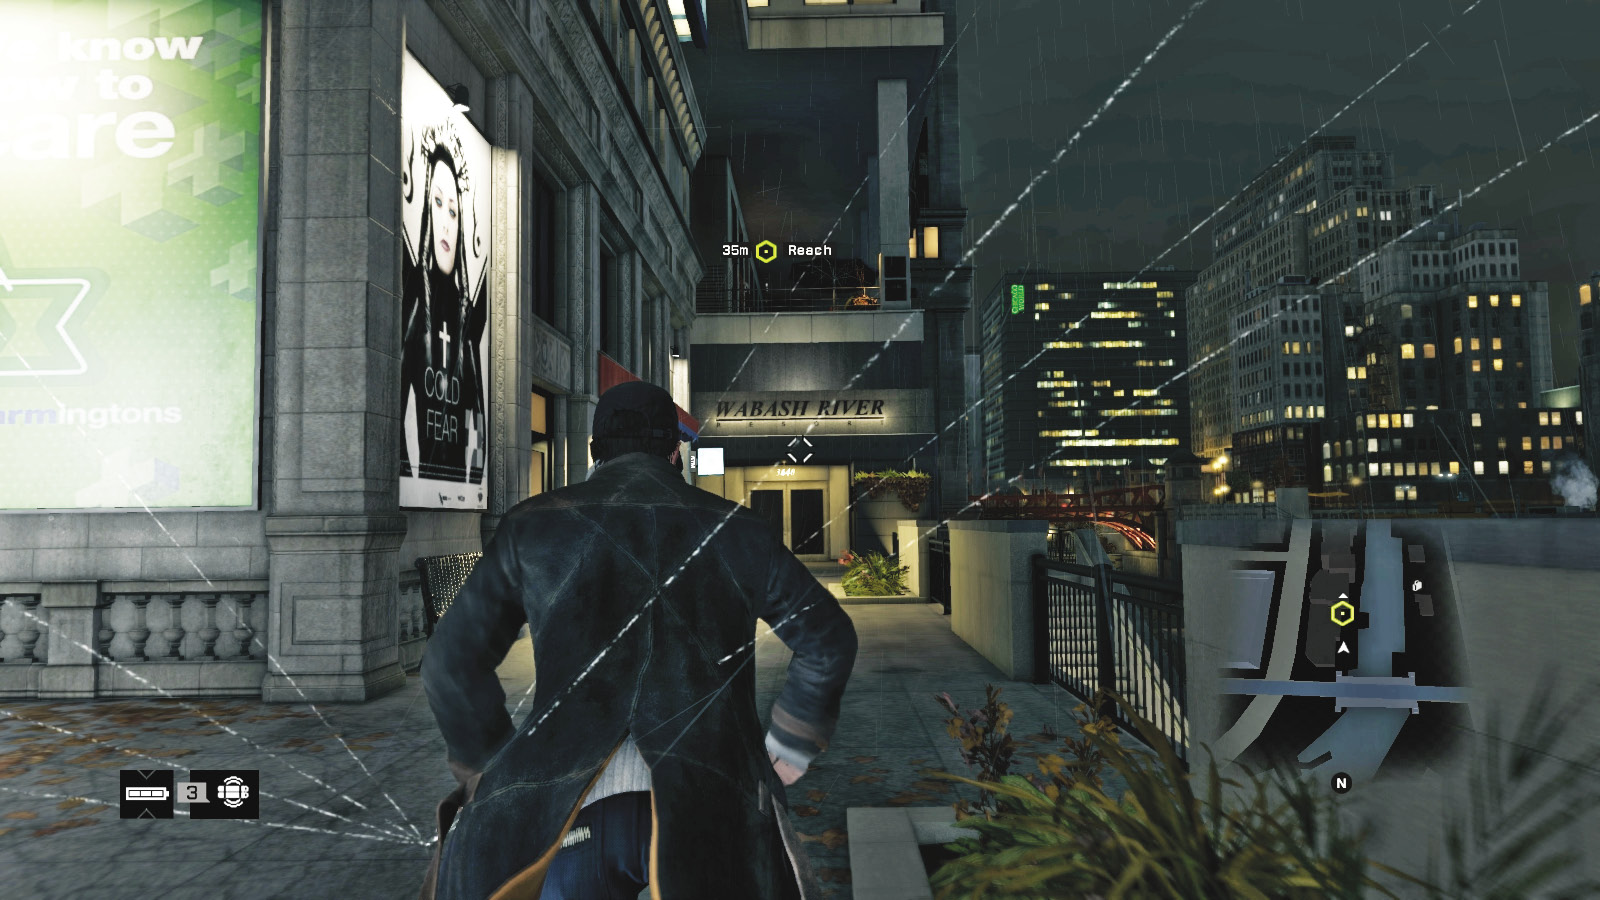
After your Fixer, Jordi, tells you about some troubling news regarding a survivor from the baseball stadium interaction, head to the waypoint indicated, across from the rail depot you were recommended to investigate any time during and after Main Mission: Backseat Driver. If you haven’t wandered around there yet, do so before triggering this mission. Then head toward the Gorman Heights Apartments. Clamber up the planter and over the metal railing above the entrance.
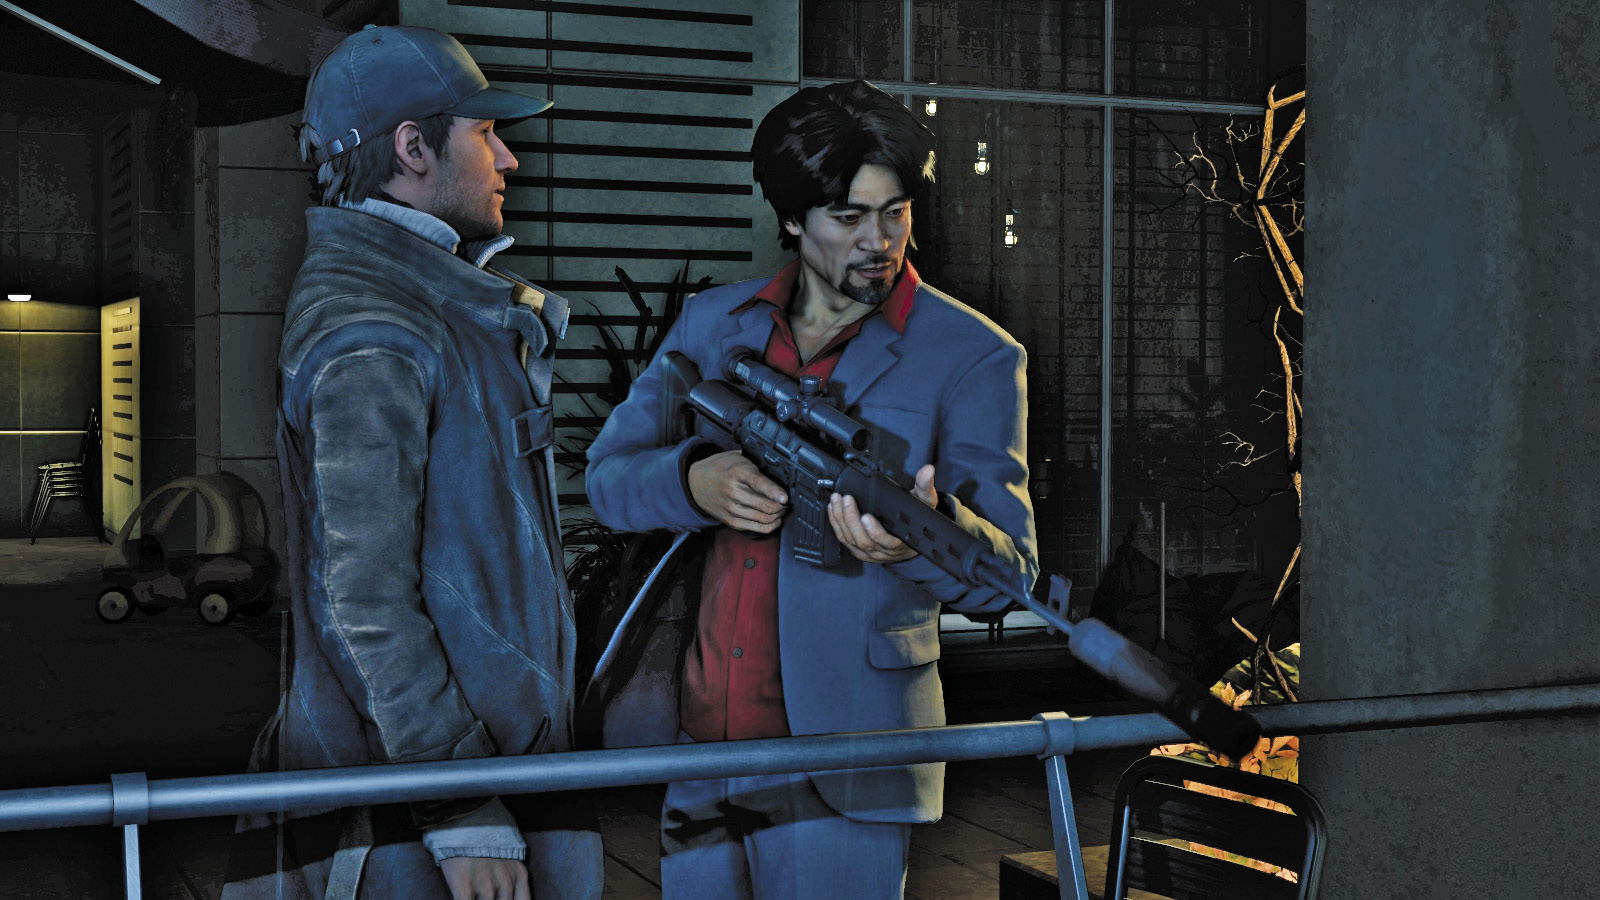
Jordi has some bad news: The stiff from the stadium isn’t so stiff anymore, and he’s about to point the finger at you. One of the guys across the way is running this operation, and it’s up to you to find him. This means navigating the yard, which is patrolled by several Fixer associates. Jordi is happy to provide backup—a sniper rifle from the Gorman Heights rooftop.
7.2 RAIL YARD MAYHEM
 Location / The Loop // Gorman Heights Apartments
 Location / The Loop // Rail Depot on the Island
|
|
 Infiltrate the rail yard
 Interrogate the Fixer Boss
 Infiltration
 Data Hack
 Lethal Force Likely
 Melee Force Likely
Difficulty: 
Overview
Completion Point: Locked door to storage alcove, where the boss is located.
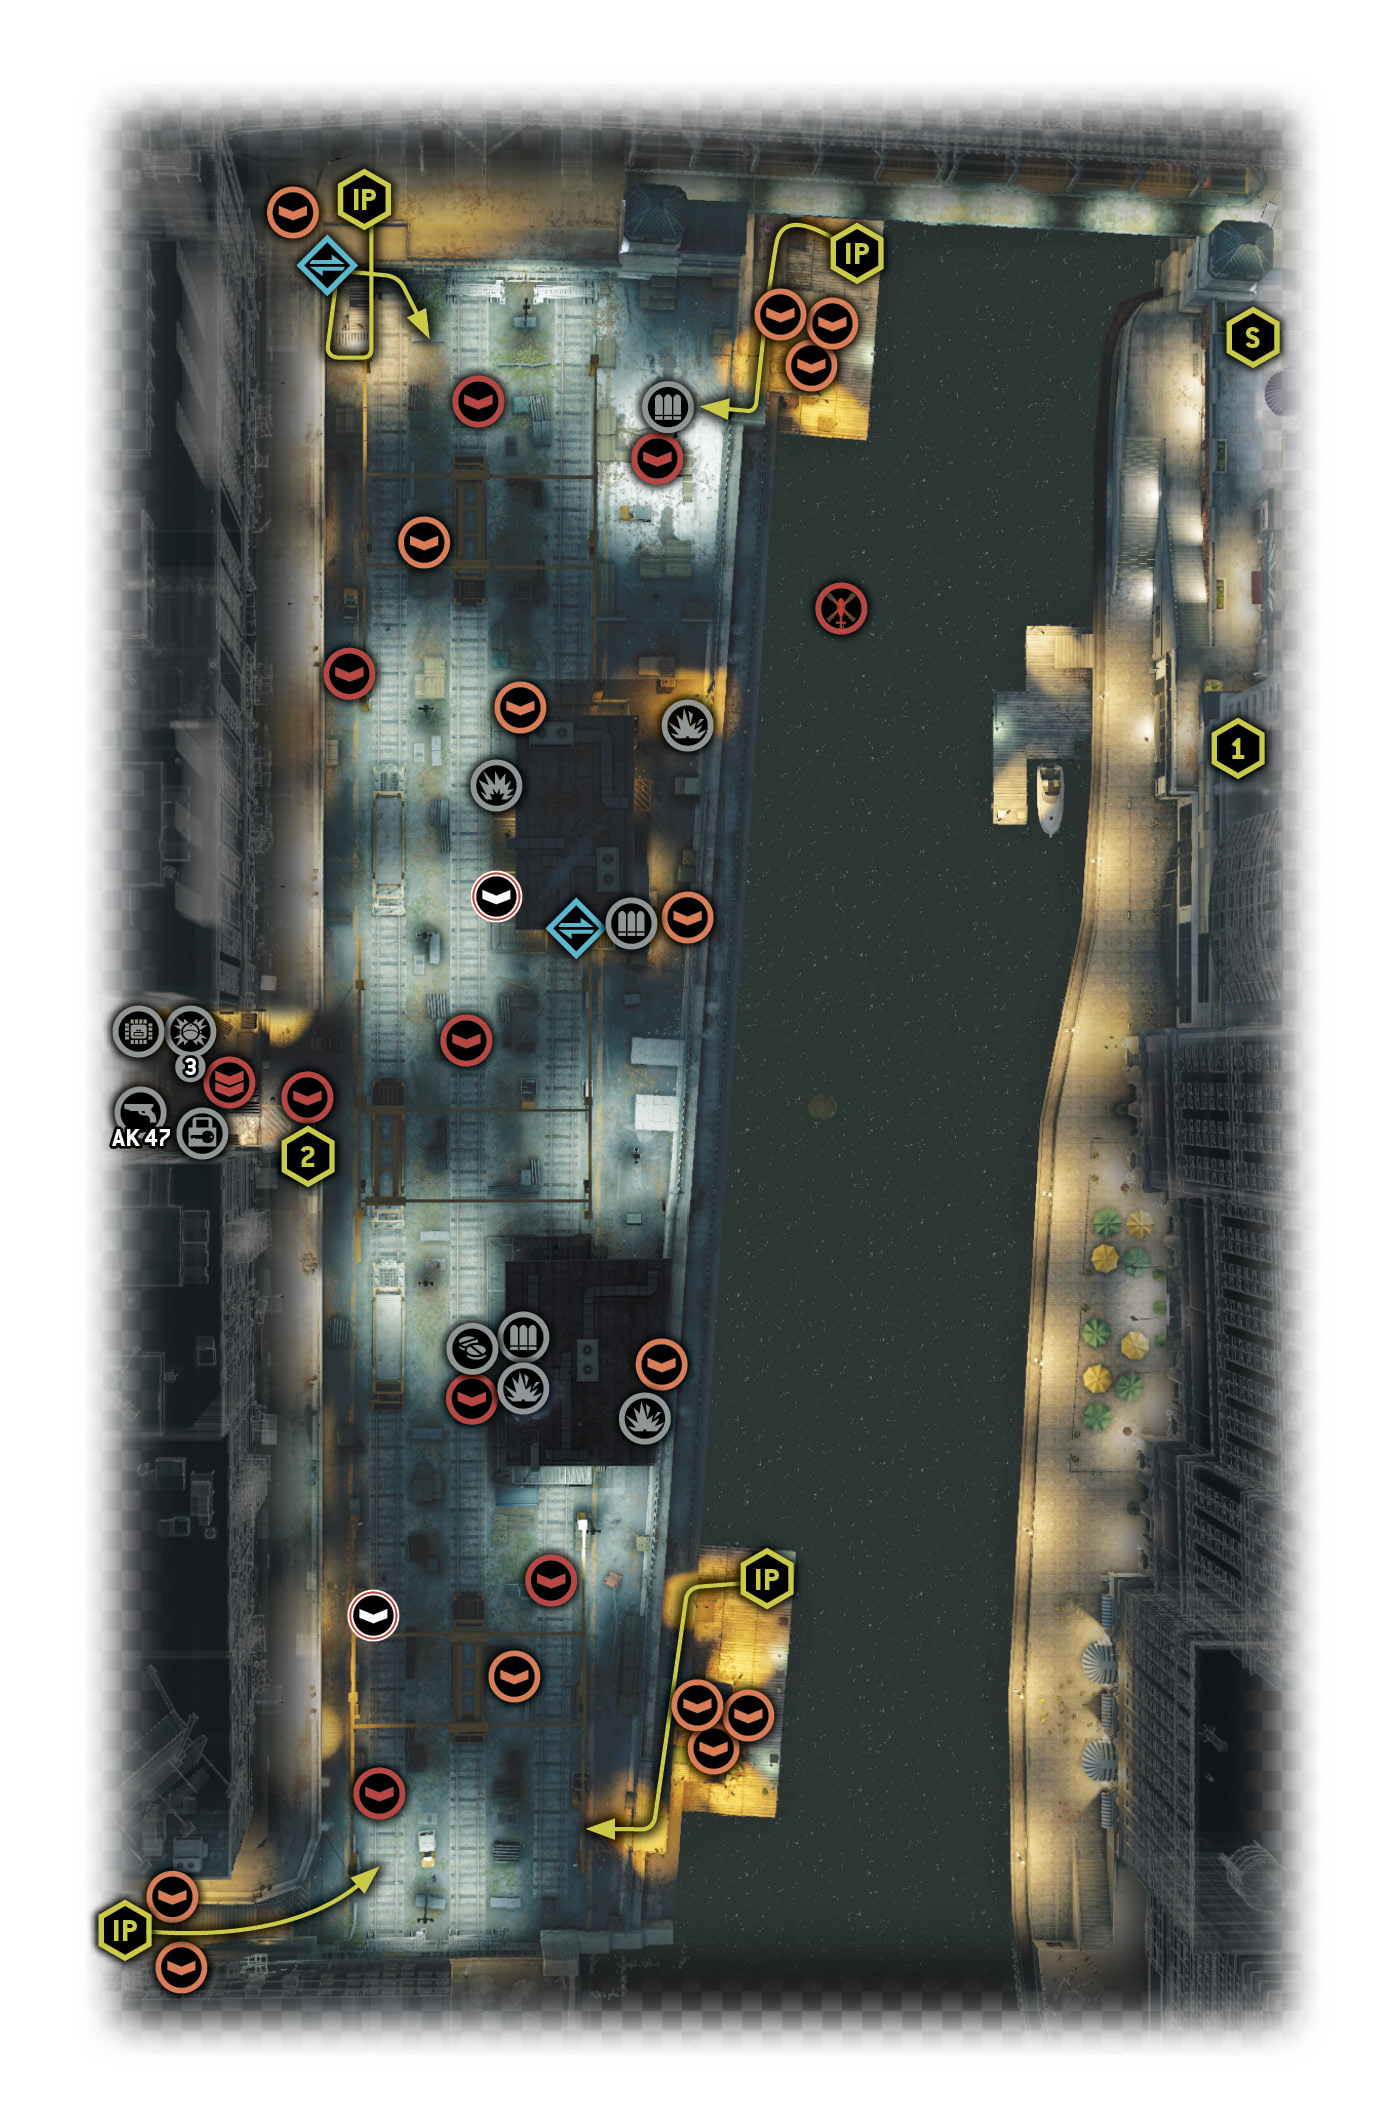
Dangers: 10 Fixer associates (Gunmen x10, Shot-Caller x2), armed with pistols and machine guns. Two of these foes are Shot-Callers with the ability to summon reinforcements.
Reinforcements: Between one and four enemies entering from nearby insertion points, per call.
Your view from the Gorman Heights rooftop shows the rail yard from south (left) to north (right). This is a long and large area, but it’s mostly self-enclosed, meaning the action won’t spill out onto the streets. There are dozens of pallets, wood stacks, crates, and other locations to hide behind, as well as two brick outbuildings, each with a patrolling foe. The remaining eight enemies are walking the rail tracks. The door you need to unlock and reach is on the far (western) side, in the middle of the perimeter overhang.
The main insertion points are at each outer corner of the restricted area. Think about infiltrating at any of these points:
Insertion Points
By River: Northeast Dock Steps
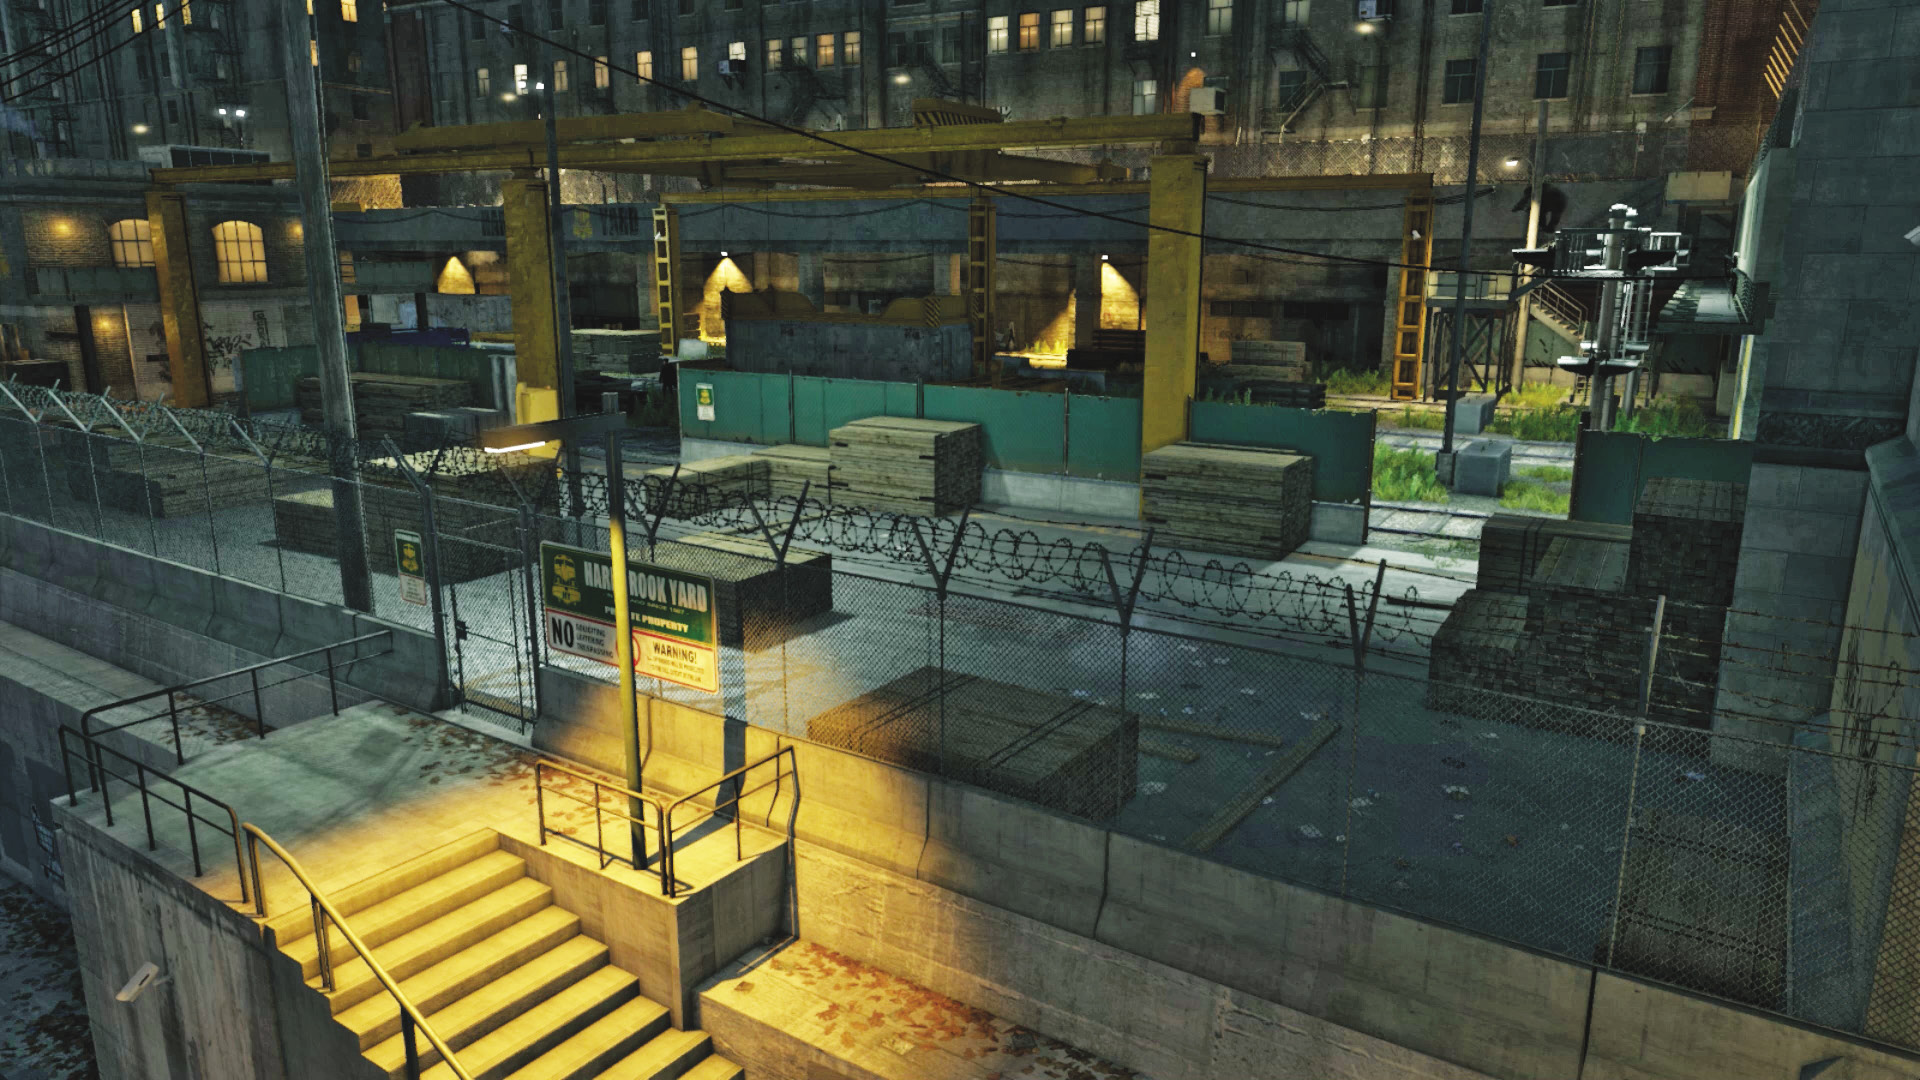
 Accessibility Level:
Swim or take a boat over to the docks ahead and right of your starting location. This affords the best infiltration point, as it’s quick to reach and allows excellent stealth opportunities once you enter the yard. If the infiltration gets tricky, you have options: flee back to the dock, run along the low perimeter riverside area to the southeast dock, or head to the northwest metal steps.
By River: Southeast Dock Steps
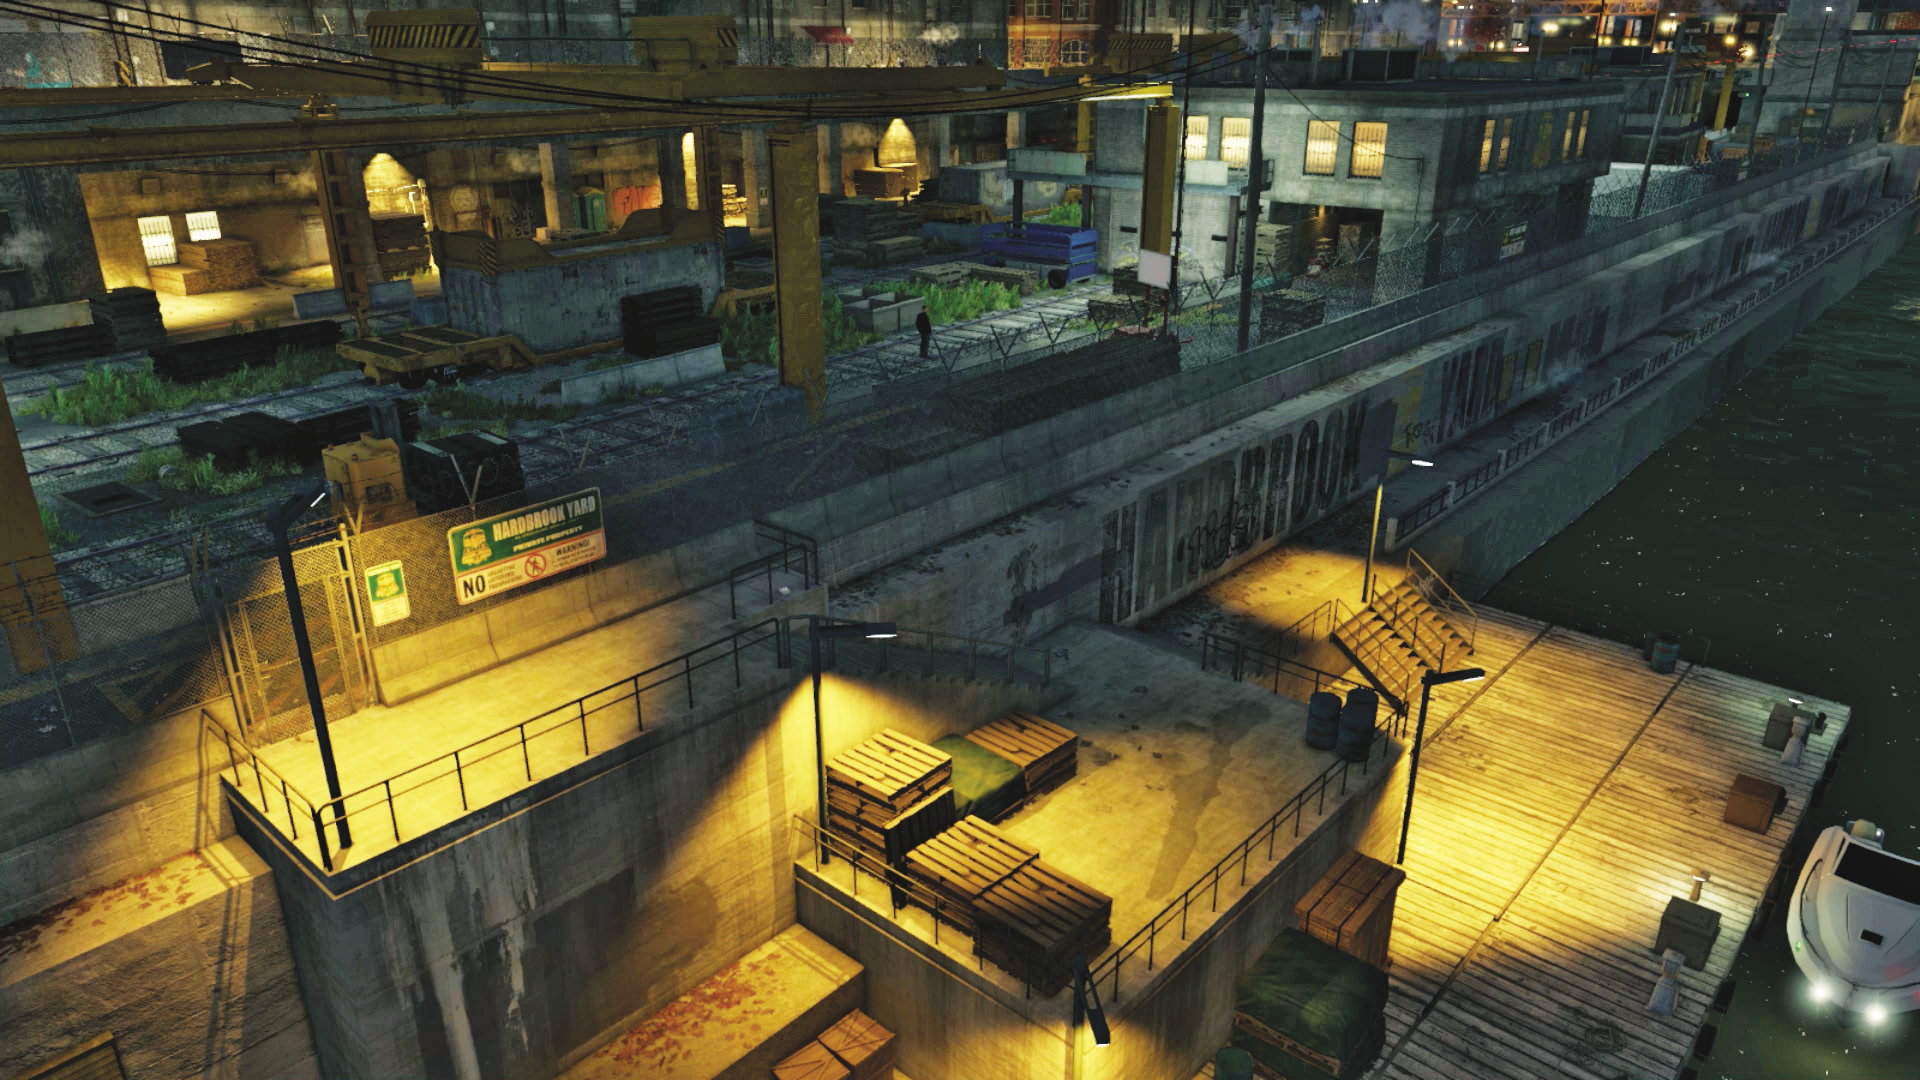
Accessibility Level: 
This is similar to the northeast dock steps, and it’s really only necessary if you prefer your infiltrations to move from south to north. The area offers similar cover, but the extra time it takes to reach here and the way the steps are configured allows the enemy a few more opportunities to spot you; the hiding spots just inside this entrance aren’t as plentiful as the northeast dock steps.
By Land: Northwest Metal Steps
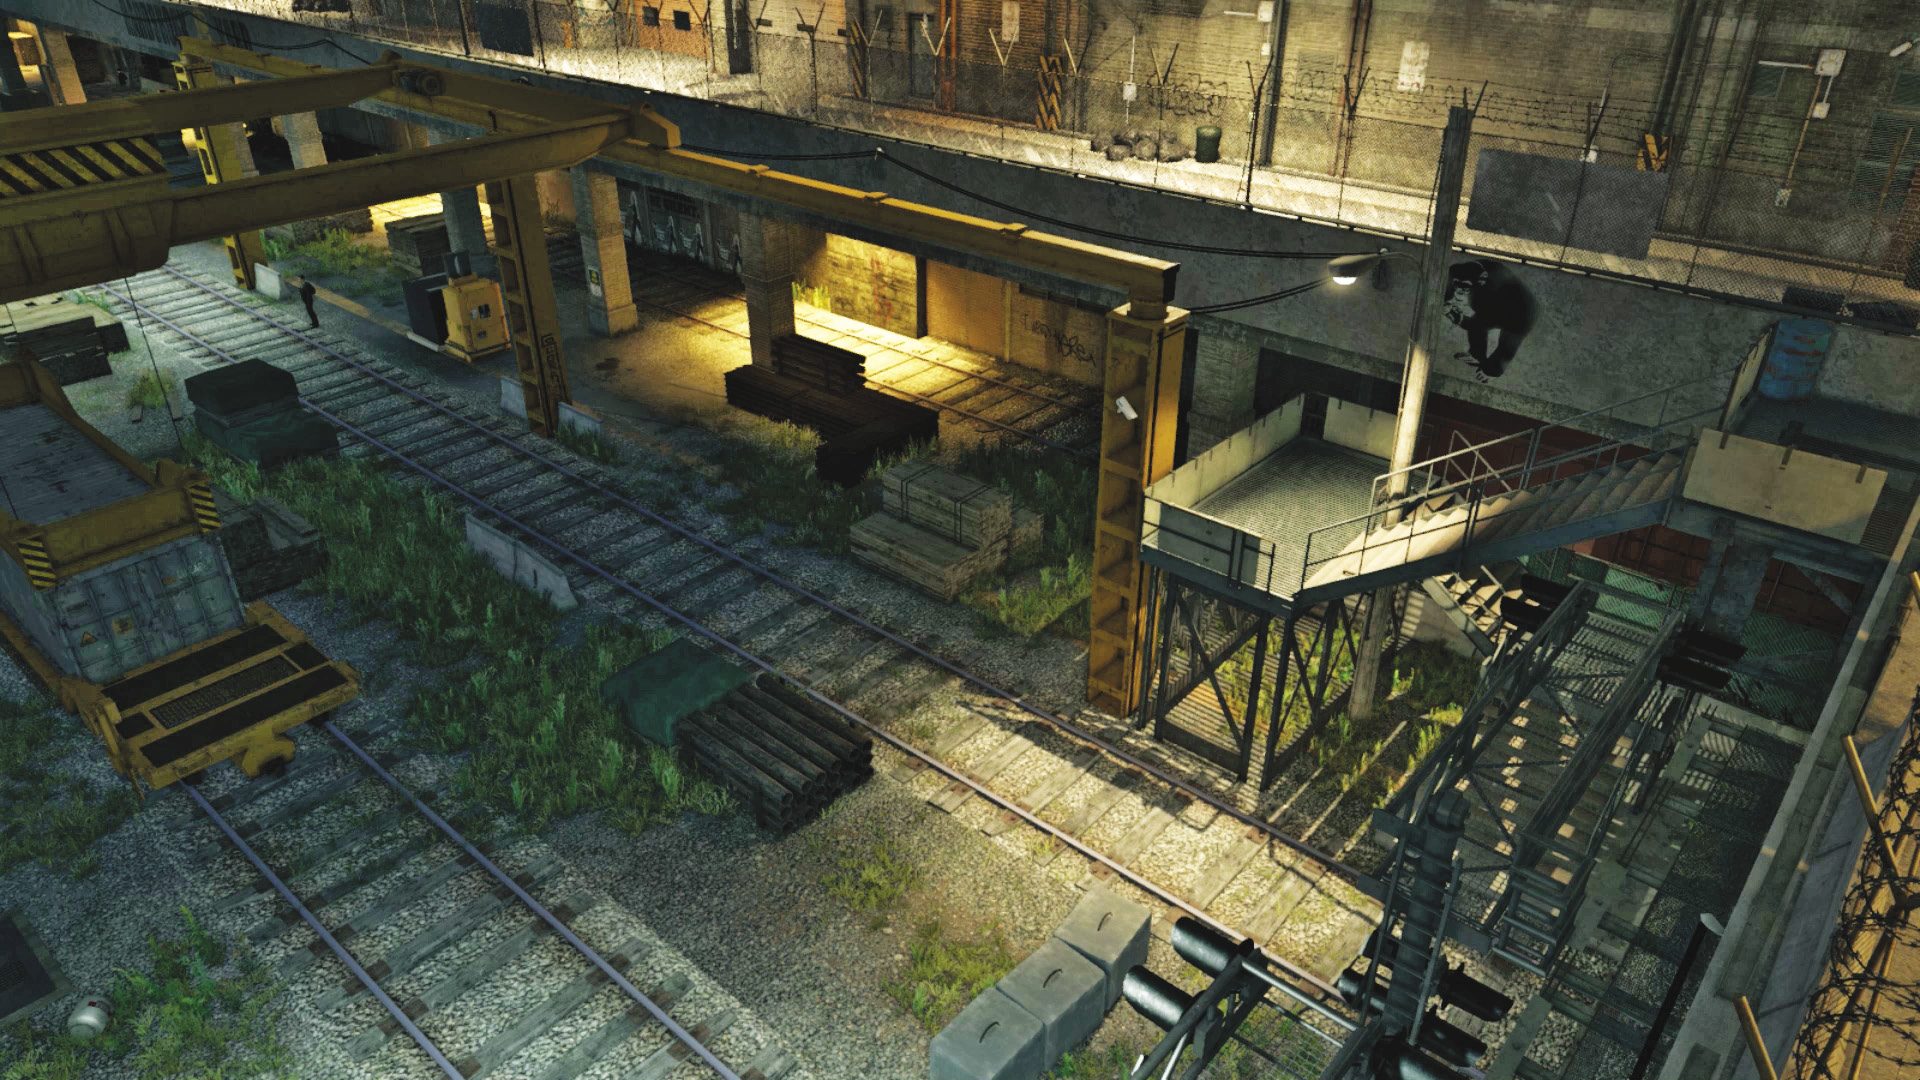
Accessibility Level: 
You’ll have to ignore the river crossing, cross the bridge where you started this mission, and head down the metal steps to the yard. This isn’t a particularly wise move, as there are numerous steel girders and supports and mesh blocking your shots, and foes down below easily spot you. However, you can reach the far wall overhang if you’re stealthy enough.
By Land: Southwest Alleyway Steps
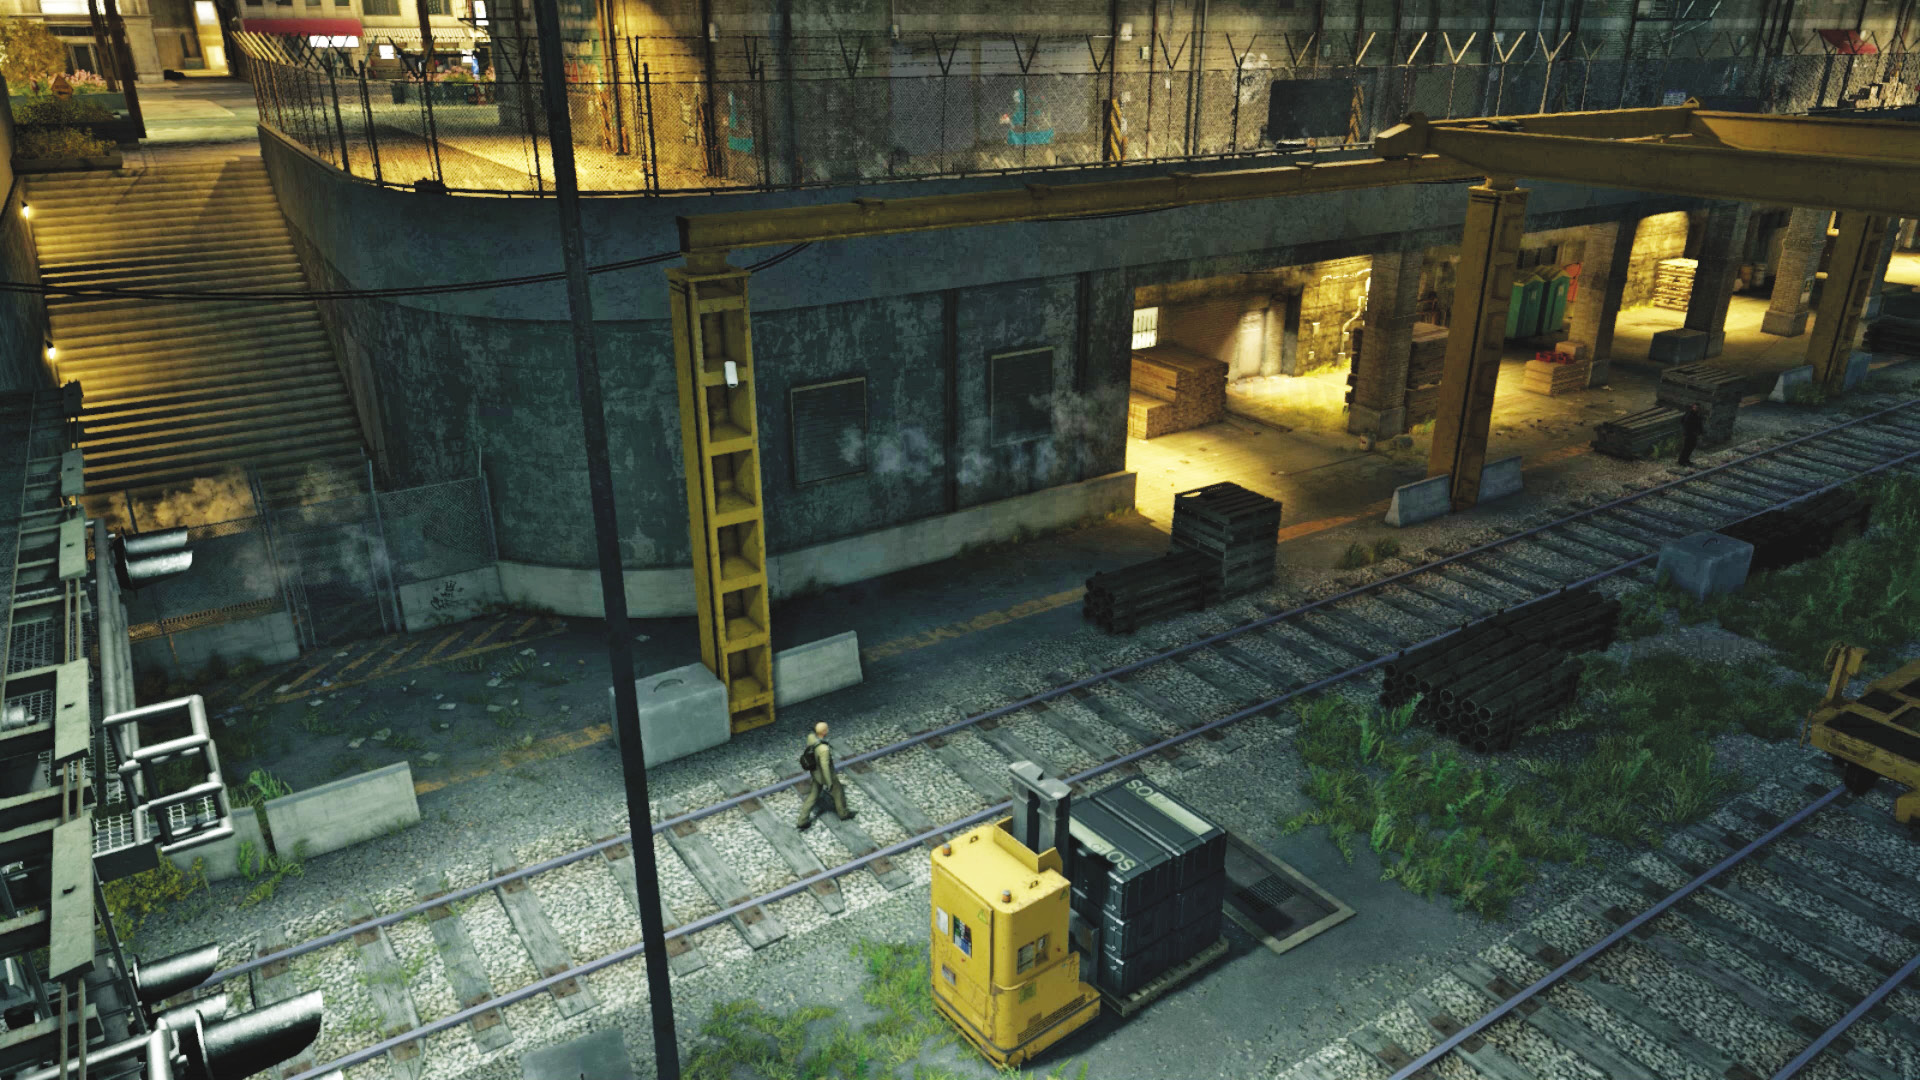
 Accessibility Level:
Don’t forget the steps down from the end of the alley and garage area, accessed from the cobblestone street. This is actually an overlooked but excellent place to navigate to. Although it takes time to reach here from your location, you can easily step into the overhang area and sneak to the locked door without having to navigate the complex yard and majority of the patrols.
Pathways to Take
What’s the best route to take? Well, this depends on where the foes are, whether they are aggressive, and where you’re coming from, but try one of these possibilities:
Riverside:Remain by the river, using the protection of the pallets and other scattered scenery. Move around the perimeter of the brick warehouse until you’re opposite the locked door, and head across.
Up the Middle:Head in front of the train tunnels at the north or south edge of the restricted area, then move down the tracks. You have more chances of foes seeing you, but they have fewer areas to hide behind. This is a better option for those with aggressive infiltration plans.
Overhang:Creep to the overhang and move down to the unlocked door; you have the advantage of numerous cover opportunities at first, but foes can also see you more easily as you approach the unlocked door. If you want to quickly reach the objective without combat, this is the way to go.
North or South:Stay in the northern or southern part of the yard as you reach the middle; unless you just have to slay every foe, you can reach your objective door by moving through only half the yard.
Progression Plans
You may now try one, parts of, or any combination of the following methods of tackling the foes and reaching the locked door.
General PreplanningCover: Be certain you know the rudiments of stealth and can quickly crouch and move from corner to corner and cover to cover. Cameras or ctOS Scan: When you reach the border of the restricted zone, drop into cover and flit from camera to camera, marking the enemies. Unlock the door remotely from a camera, too, so you aren’t trying to meet the boss while under fire. A quicker way to find the location of all your foes is to activate a ctOS scan (crafted item) as you enter the restricted area; this means you don’t need to go from camera to camera, marking your foes. Profiling: As you infiltrate, keep your smartphone out and profiling so you can mark any enemies you might have missed and easily utilize any hackable scenery. Guns (yours): Be ready with your preferred weapon—a pistol for single headshots and machine guns for more furious combat opportunities, should your sneaking fail. Also note that the right (north) warehouse balcony has an ammo bag you can use to reload your weapons. Guns (Jordi’s): Jordi provides backup, and he’s a reasonably good shot. Take advantage of him by using lures (see below). But also remember that once he fires (something you can’t control), the enemy may be more actively searching for you. Reinforcements: Beware of Shot-Callers, who call in reinforcements once violence erupts. Concentrate on taking them down as a priority (check the guide map for their starting locations). Switch Console: Before any infiltration begins, it’s usually wise to locate the data flow running from the locked waypoint door to the switch console on the left side of the right (north) warehouse. |
 Passive: Staying Pure
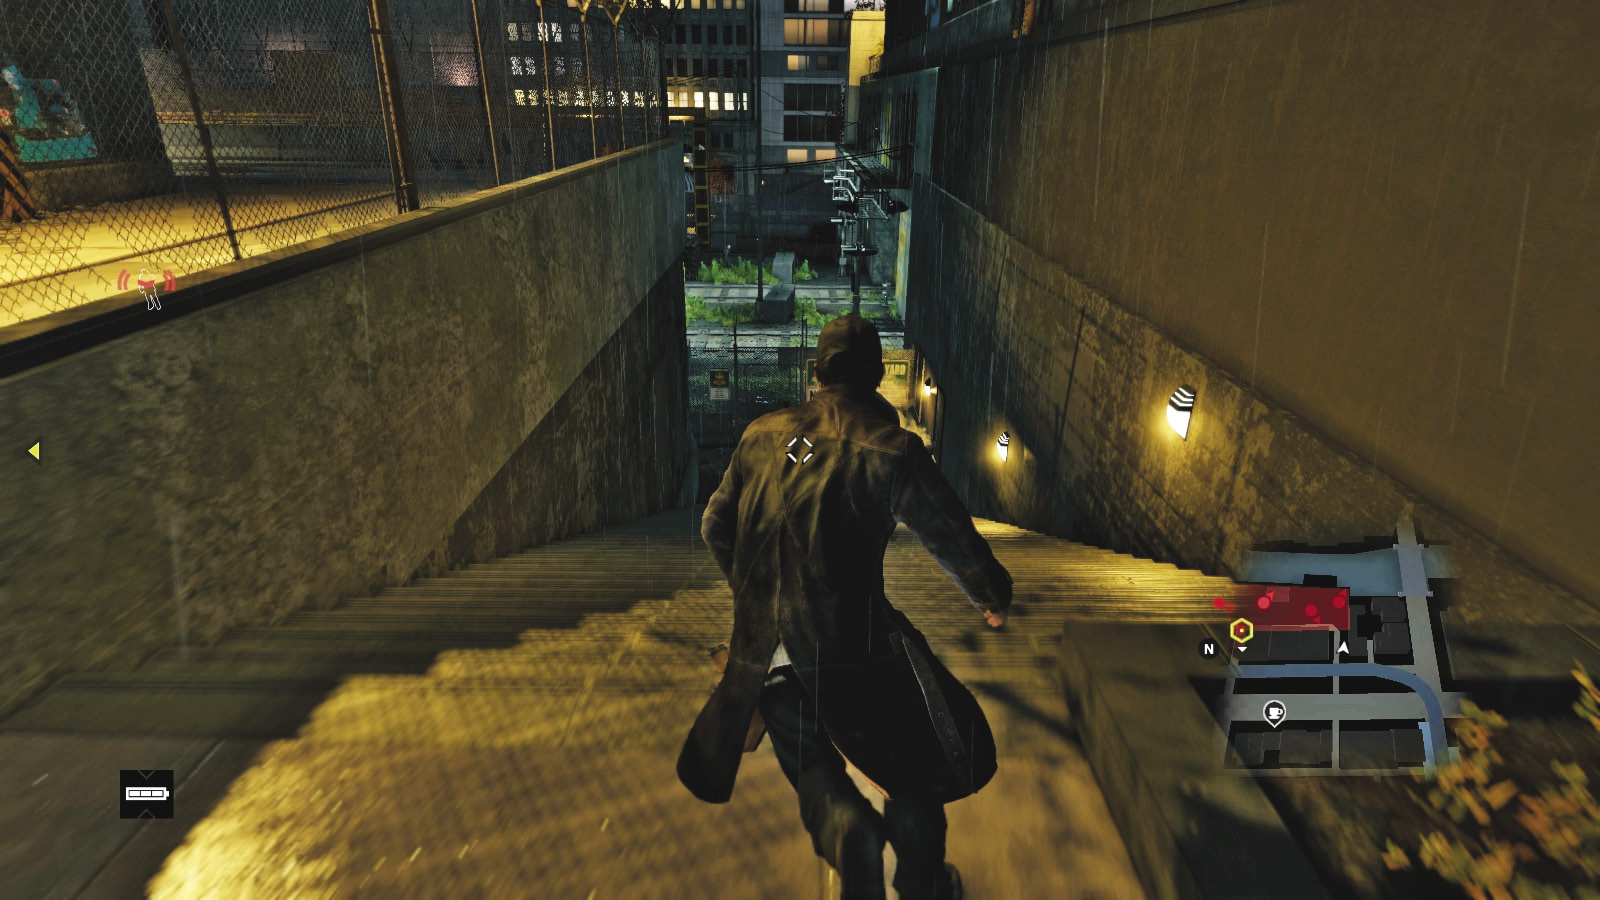
Difficulty: 
Intent on reaching the locked door without killing anyone and letting Jordi do all the shooting? This is difficult, but not impossible. The best infiltration point is the concrete alley steps to the southwest. Mark foes using cameras—mark only the foes patrolling to the locked gate. Unlock the gate and sneak left (north) under the overhang to the waypoint.
 Aggressive / Stealth: Lobbing a Lure
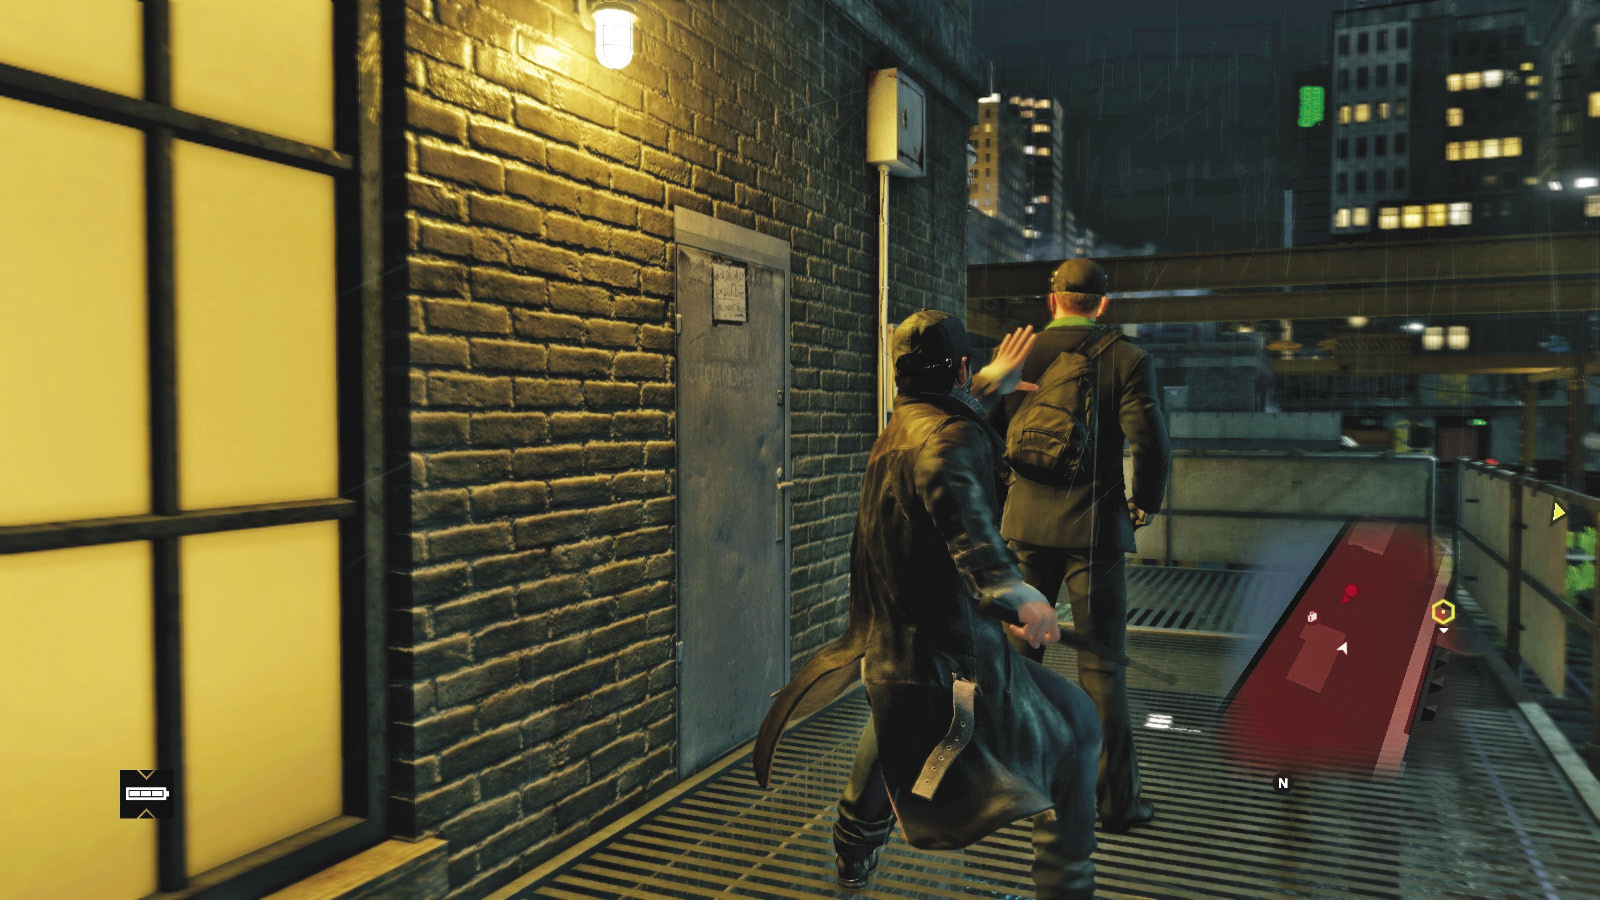
 Difficulty:
Enter (usually from the recommended docks to the northeast), and keep to the riverside perimeter, hugging the pallets and wood stacks and intermittently lobbing a lure onto the ground in an open area so Jordi has a clear line of sight. Then activate the lure and the foe inspects it. Afterward, one of three actions are usually necessary:
Jordi (hopefully) snipes the foe.
You strike the foe, ideally using a melee baton strike, without any other foes seeing the attack.
You ignore the foe as you coax him away from your insertion path.
Other than coaxing out foes into Jordi’s firing line, follow one of the three general paths to the locked door.
You can also coax foes into Jordi’s firing line by distracting them, using the hack that (randomly) appears above some of their heads.
 Aggressive / Smart: Scenic Disturbances to Obscure
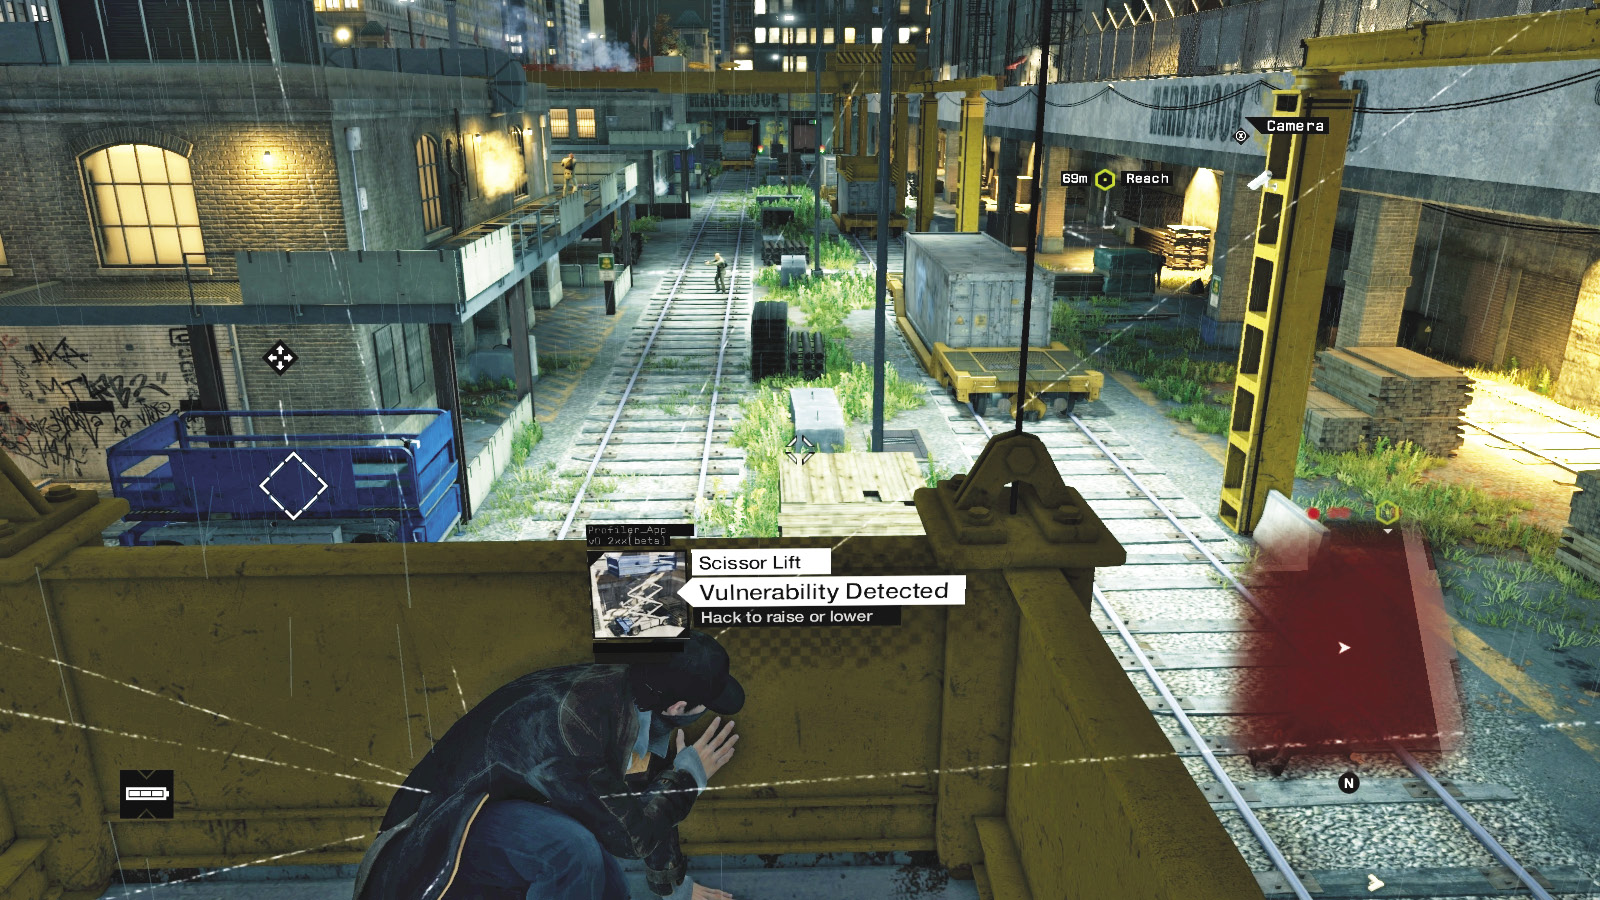
Difficulty: 
Aside from the cameras and the objective door you should unlock before you reach it, there are additional scenic elements you can control:
Junction Boxes:These are on the upper balconies of each brick outbuilding. Use them to remove the guard patrolling up there so you don’t have to shoot or throttle him and risk alerting the other foes.
Forklifts:These are mainly for distraction, though you can lower the one near the north outbuilding, allowing you to rise up to this structure’s balcony if you want to take down the patrolling guard.
Scissor Lifts:There are two of these, close to each small warehouse. Use them to coax foes toward this point or to access higher balconies (though it’s quieter to rush the steps and up around the balcony).
Enemy Hacks:Depending on your perk purchases, you can disrupt the reinforcements of either Shot-Caller and can distract and explode certain (random) foes along the way.
ctOS Blackout Transformer:Sitting between the two exterior warehouses is a large metal transformer; shooting or exploding this causes a ctOS blackout, allowing you to sneak around with more impunity and take down foes in the darkness. But remember you can’t access or hack items during this time (aside from thrown IEDs).
Container Cranes:There are three massive containers on cranes, which can distract your foes if you activate them. Though they move in a circular route, returning to their original position, they also move to the nearest outbuilding. Unfortunately, you can’t grab the higher ends of the container or leap off onto the outbuilding. But you can climb onto the container along either middle edge, then use it to reach the river during your escape. Otherwise, sit in the middle, using the container as protection, and shoot down at foes or lob projectiles.
 Aggressive / Violence: Killing Everybody Just to Be Sure
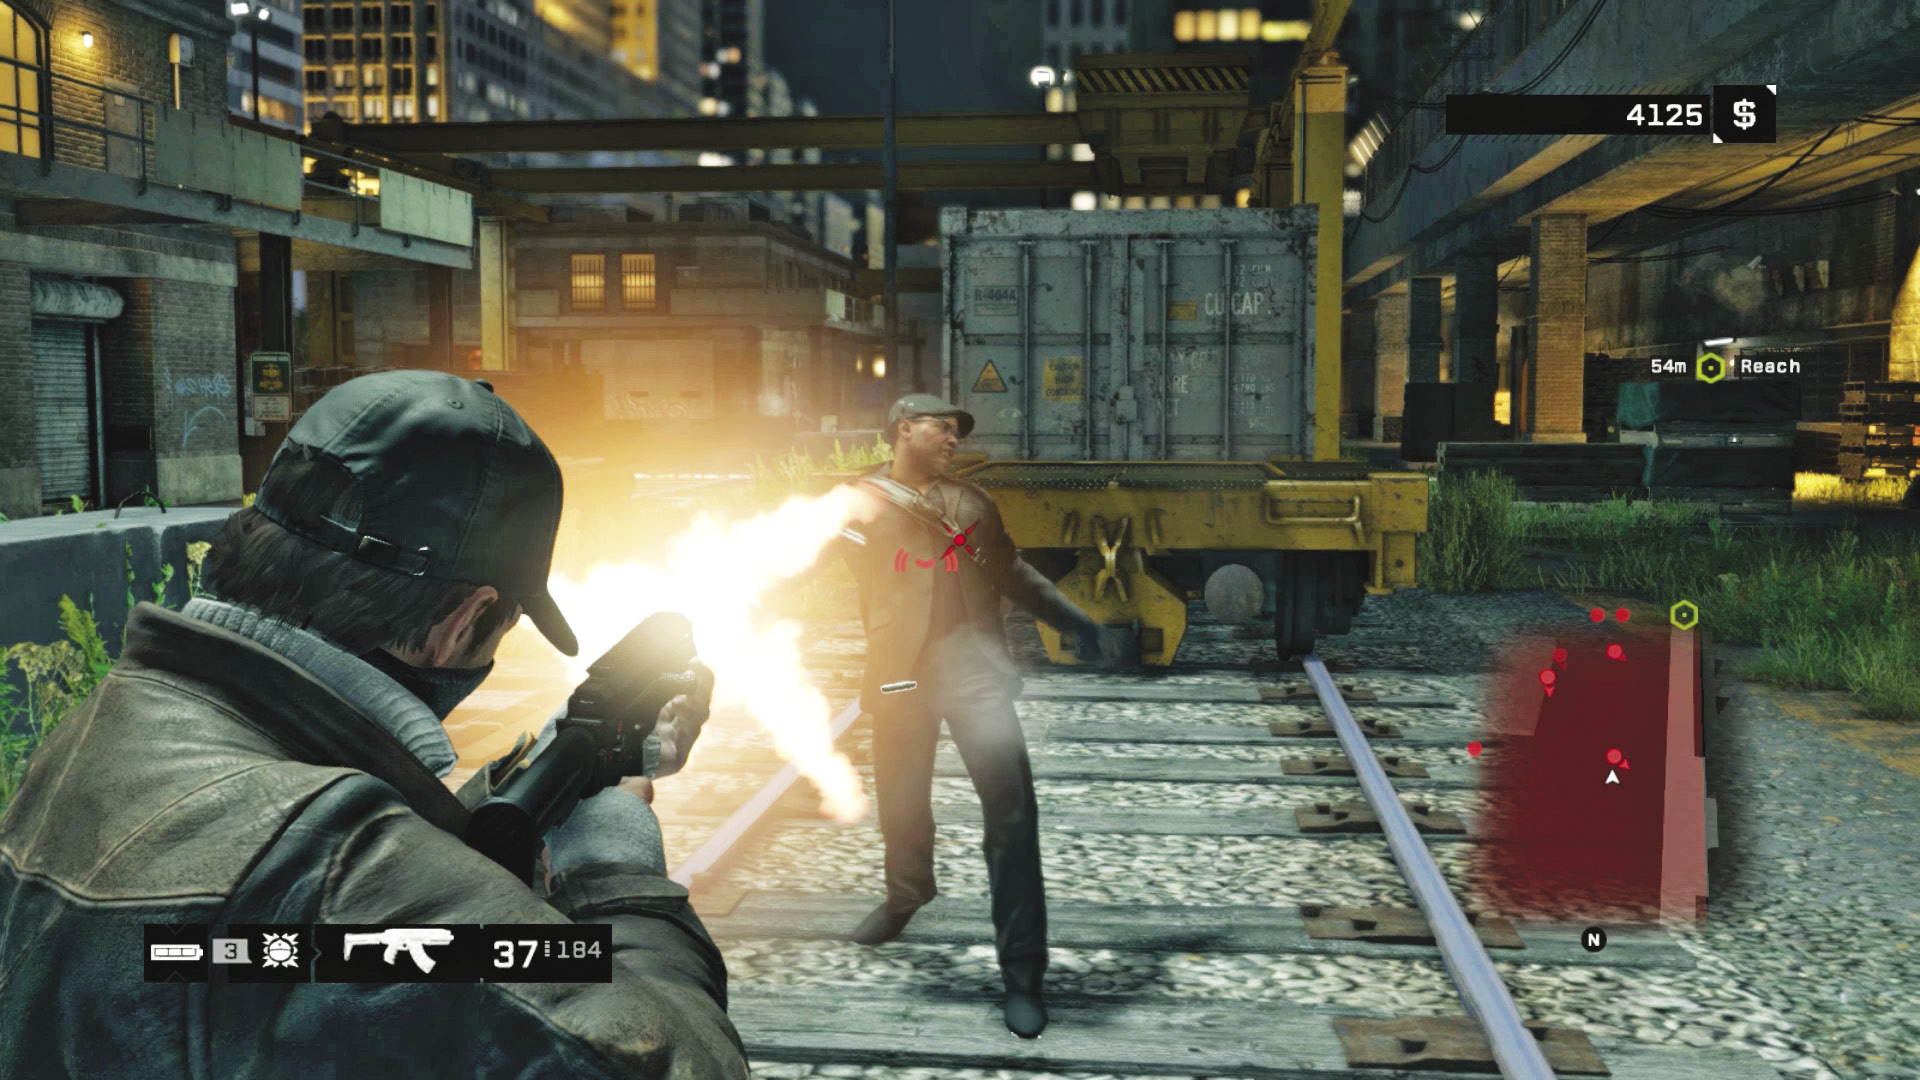
Difficulty: 
If you want to rush in with guns blazing, be aware of the following problems:
Shot-Callers:These call in reinforcements, and it’s very difficult to shoot all of them before they finish their call. So you may want to stealthily take them out first.
Balcony Patrol:Tackle the foe on each warehouse balcony so they don’t spot you.
A Bit Hectic:Be aware that violence (with reinforcements) can result in twice as many foes and a really protracted battle. If that’s what you want (and you have the items and want the experience), then secure yourself in a corner where you won’t be ambushed from the sides or behind—such as the dock steps—and where Jordi can provide supporting fire.
What about some of the more entertaining tactical takedown plans? Here are a few to try:
Lob lures, rattle off shots before Jordi can get a bead, and claim the experience.
Flush out a foe behind cover with grenades.
Pistol headshots, and good cover positioning, are excellent plans.
Automatic gunfire and constant movement is another option.
Or you can set up a sniping position in one of three locales: (1) next to Jordi on the balcony across the river, (2) on the exterior rooftop umbrella tables on the south edge of the area above the train tunnels, or (3) the stone bridge mechanism tower on the area’s south edge, above the train tunnels (drive a truck onto the bridge sidewalk and climb on).
 Driving / Offensive: A Motorbike to Procure
Difficulty: 
It’s actually possible to reach the locked door while riding a bike! If you’re crazy enough to try the “motorbike assault” tactic again, then start at the southwest concrete steps by the alley entrance and ram the mesh gate. Skid left (north) and ride along the overhang to the door. Leap off and push through the door (which you remotely unlocked earlier) before everyone spots you!
7.3 BOSS MAN’S LOOKING TWITCHY
 Location / The Loop // Rail Depot on the Island
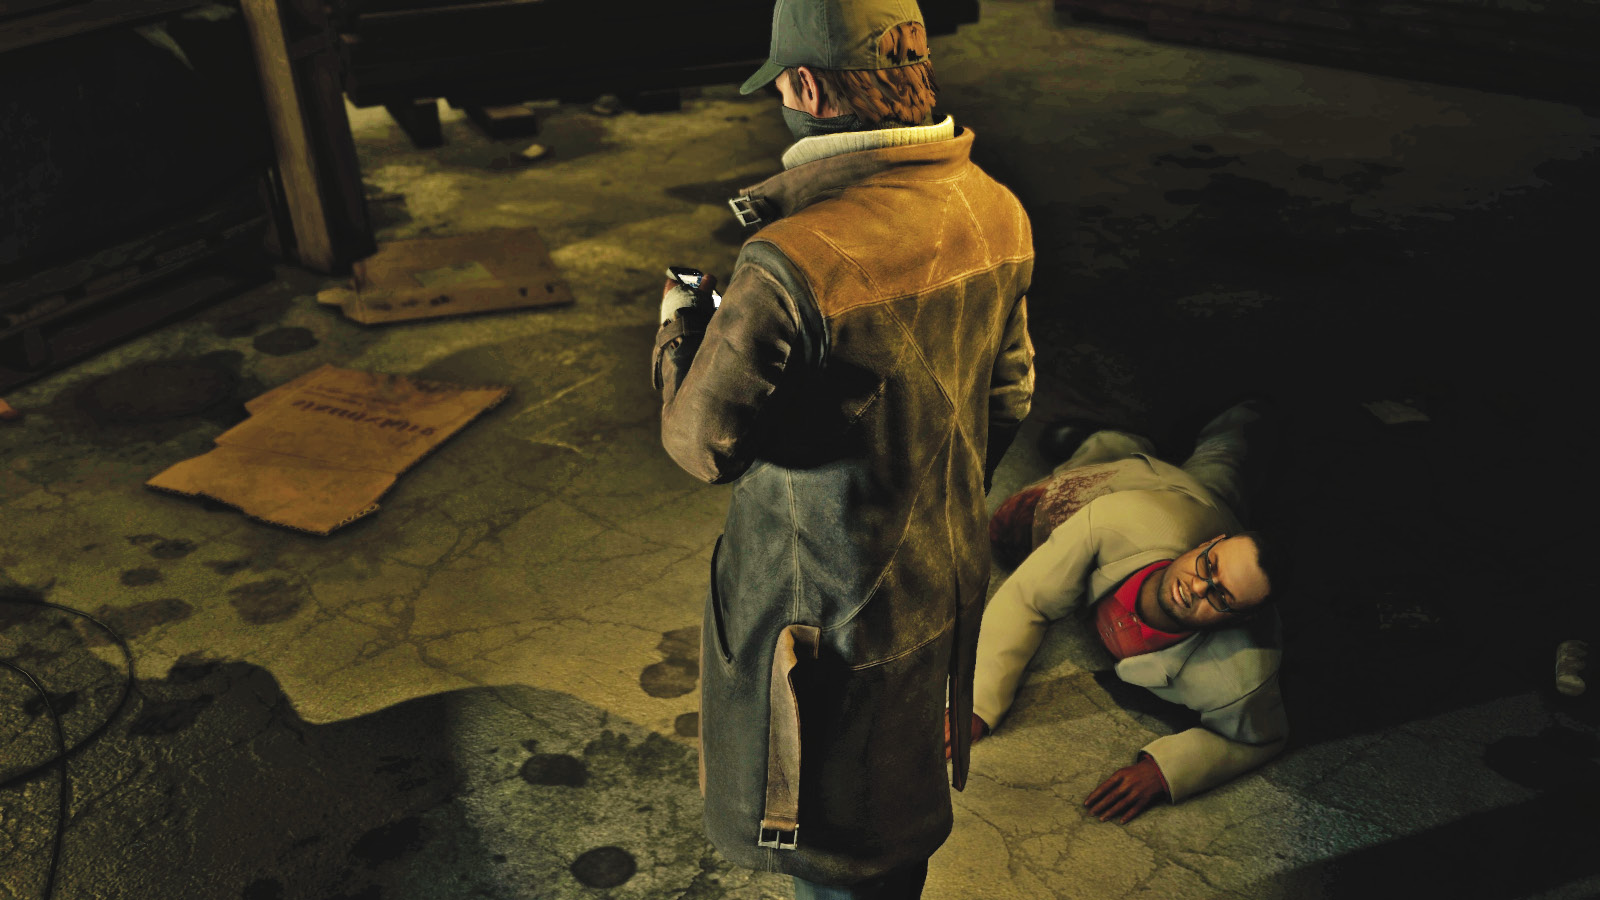
With Jordi winging the boss man, you approach and interrogate the fellow, who’s initially reluctant to offer up information until you reel off a variety of personal information about him. He offers up a name, which is all you need. Unfortunately, there are reinforcements on the way!
|
|
 Kill all Fixers or escape
 Foot Chase
 Lethal Force Likely
 Melee Force Likely
Difficulty: 
Overview
Completion Point: Anywhere outside of the Fixers’ search area
Dangers: 10 Fixer associates (Gunmen x10), armed with pistols and machine guns. Fixer helicopter.
Reinforcements: Between one and four enemies entering from nearby insertion points, per call.
Reinforcements: Between two and four enemy vehicles after leaving vicinity of rail depot.
 Aggressive / Smart: Helicopter Illumination
 Difficulty:
The Fixers have a chopper with them, and though you might be expecting a sharpshooter up in the skies, the craft is only here for illumination. Naturally, the spotlight makes it more difficult for you to find your way out of here, but the helicopter itself isn’t a priority target. If you have the Disable Helicopter perk, use it now. Rapid-fire weaponry also (eventually) sees it off, too. But concentrate on the foes with actual guns!
If you have an IED and a good throwing arm, you can always climb onto a balcony or cargo container and lob one of these sticky bombs onto the side of the chopper. Also try a Blackout, and escape in the darkness and confusion.
 Passive / Flee: Becoming an Apparition
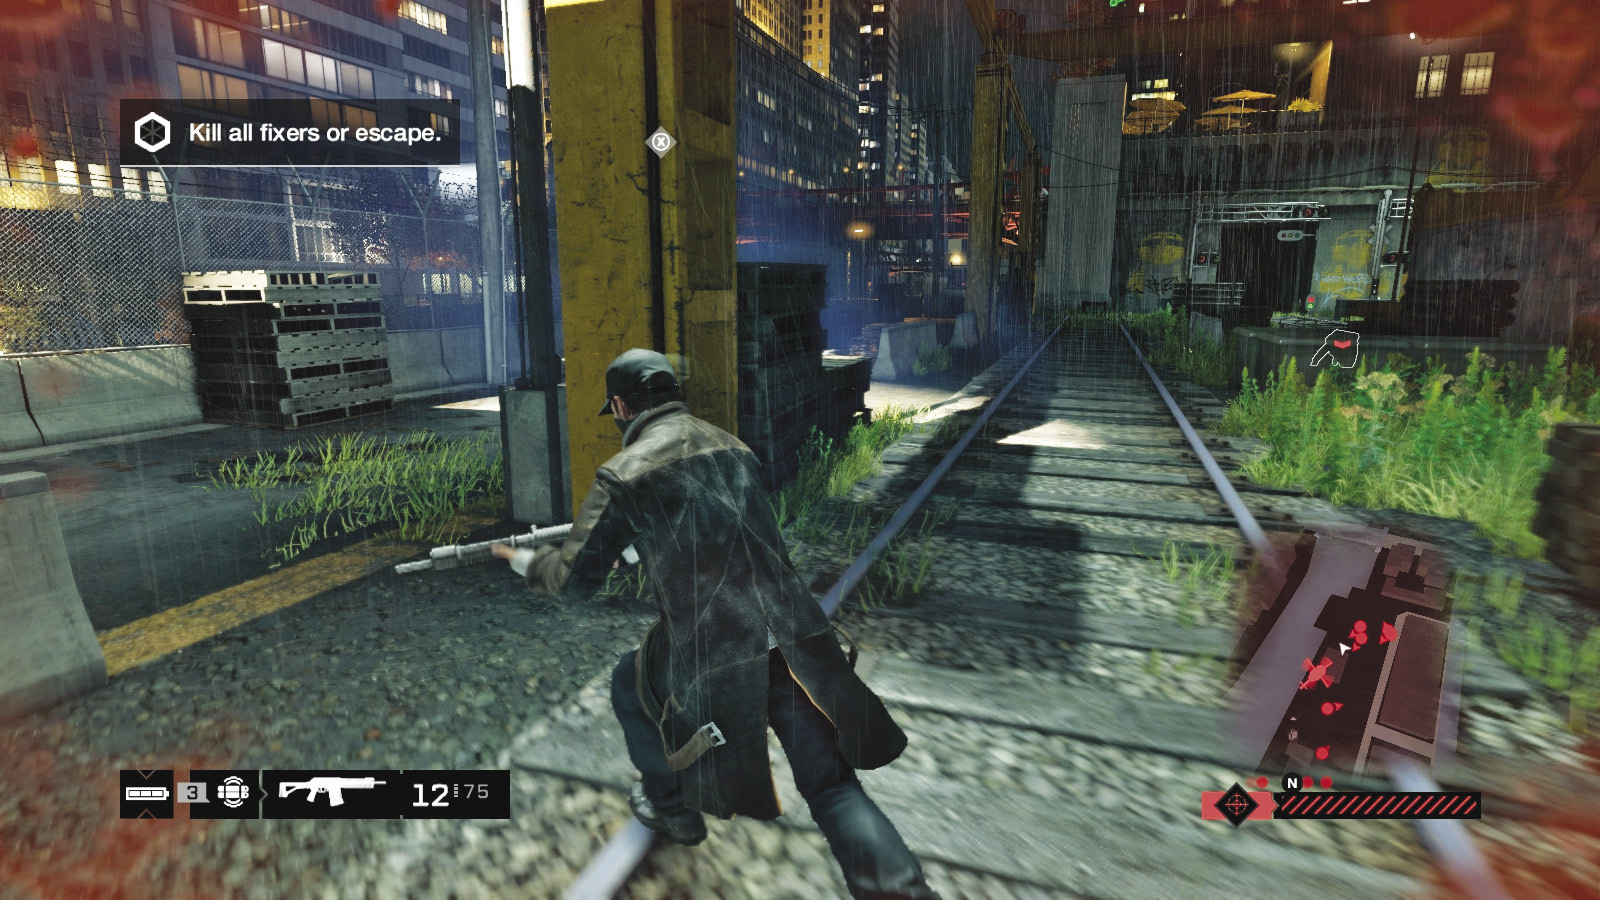
 Difficulty:
With Jordi providing covering fire, you have a few seconds before the enemy arrives in force. This allows you to sprint out of the gate and flee via any of the four insertion points. The metal steps and the docks are good choices, as the enemy is likely to arrive in the alley area to the southwest.
At this point, you can flee via boat or car, or head across the bridge on foot to Jordi’s location, losing your adversaries.
 Aggressive / Violence: War of Attrition
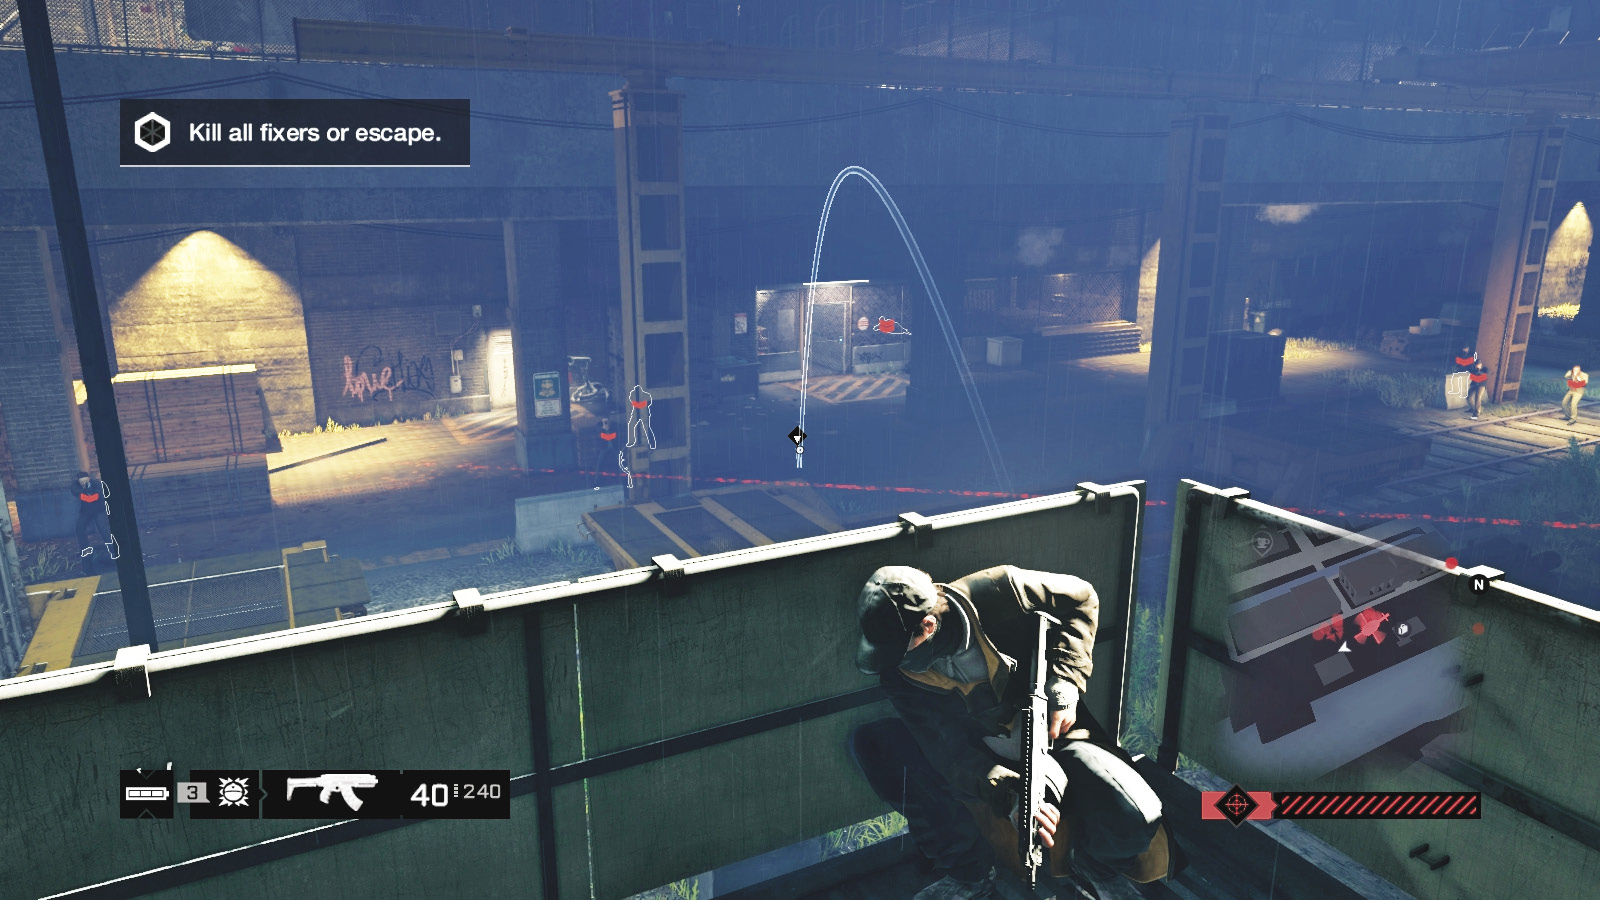
Difficulty: 
If you flee and then stop to blast the enemies following you, before being overwhelmed, you will probably fail this part of the mission. So be confident in your abilities to bring down your foes. Finding a great place to whittle down the opposition is a good start. Begin at the entrance gate near the boss, aiming at incoming foes before retreating along either wall (with fewer foes nearby) and hiding behind cover. Although you’re hemmed in, the enemy has limited ways to reach you—through the yard. Automatic gunfire, lobbed grenades, and other IEDs; patience; and Jordi winging the odd casualty are required, but you can kill all the reinforcements entirely and rack up some great experience points while doing it! Other options include:
Waiting for clusters of foes and then lobbing in grenades.
Rushing out and claiming one area of the yard as your own, mowing down foes here, and then methodically working your way to the yard’s opposite end so you aren’t attacked from behind.
Using all previously utilized takedown tactics, including the use of the crane container. Sitting up here and lobbing projectiles is both entertaining and helpful.
Gaining height from the balcony on either brick outbuilding is helpful, though you need to be aware of foes assaulting this structure.
Takedowns from the docks are dangerous, as foes like to use the lower walkway between dock sections to ambush you. But Jordi has a great line of sight to help you.
 Driving // Smart: Vehicle Acquisition
 Difficulty:
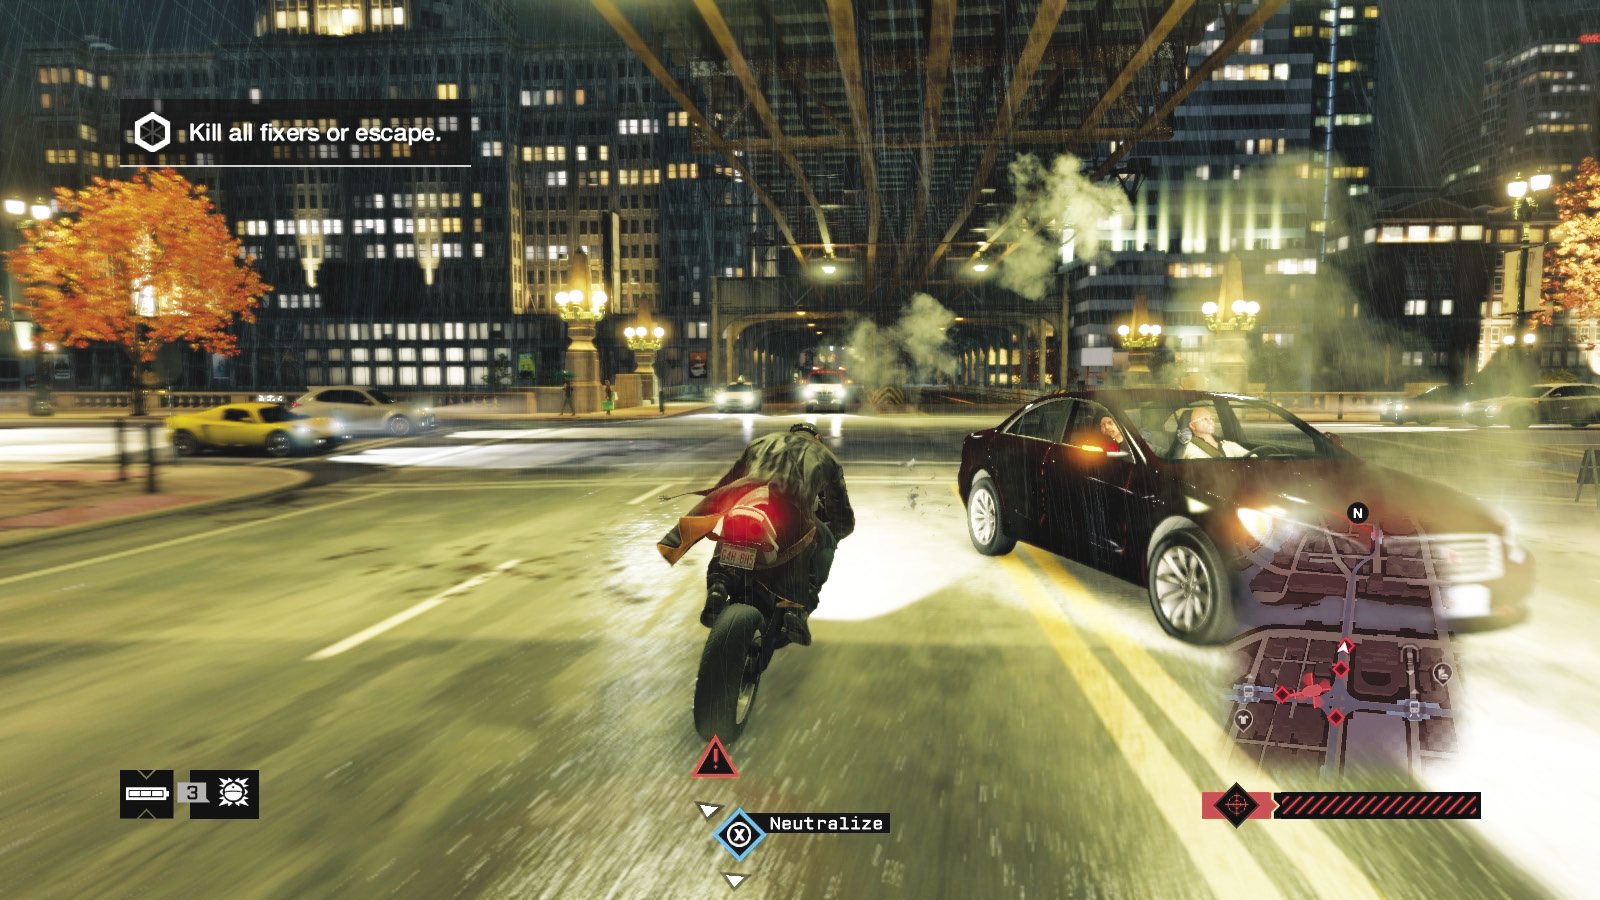
Escaping in a vehicle may be necessary, including a Fixer car recently vacated. Consult the general escape tactics, remembering what you did to lose the sphere of influence when fleeing the police (see the Training chapter). If the situation calls for it and if you’ve unlocked enough Skill Points to access certain hacks, try the following (and remember to avoid the ensuing accident if it occurs!):
Utilize the Jam Coms when the Fixers are scanning for you.
Utilize Blackout when the Fixers are searching for you, and escape in the darkness.
Hack traffic lights to cause congestion.
Hack bollards so they rise just after you pass over them, stopping the vehicle.
Hack bridges so they rise, slowing your Fixer vehicles.
Hack spikes so the Fixers’ car tires blow out.
Hack steam pipes so they blow (be sure you already pass over these pipes), disintegrating the vehicles.
Open a garage door, head inside, close it behind you, and wait.
Head to the docks and secure a boat for a much easier escape!
 Driving // Defensive: A Vehicular Intermission
 Difficulty:
In this particular area of The Loop, you can also try the following:
Flee The Loop to another district.
Weave in and out of alleys and main roads to confuse and lose your foes.
Use ramps to change height and locations quickly.
Hide under overpasses or bridges, away from city streets.
Once you defeat or escape all Fixers, the mission concludes.
MISSION REWARDSGained XP +500 |