
Watch Dogs Guide MAIN MISSIONS MAIN MISSIONS /// Act II
_HOLD ON, KIDDO
MINOR SPOILER
OBJECTIVES
|
 Meet Damien at the plaza
 Reach Nicky’s House
 Get to train station where Jackson is located
 Hack the train to get Jackson to safety undetected
 Take down the Fixers before they reach Jackson
 Eliminate the remaining Fixers
 Board the L-train
1.1 QUID PRO AND ALL THAT
 Location / The Loop // The Island, Riverside Plaza
 Location / Parker Square // Nicky’s House
|
|
 Meet Damien at the plaza
 Reach Nicky’s House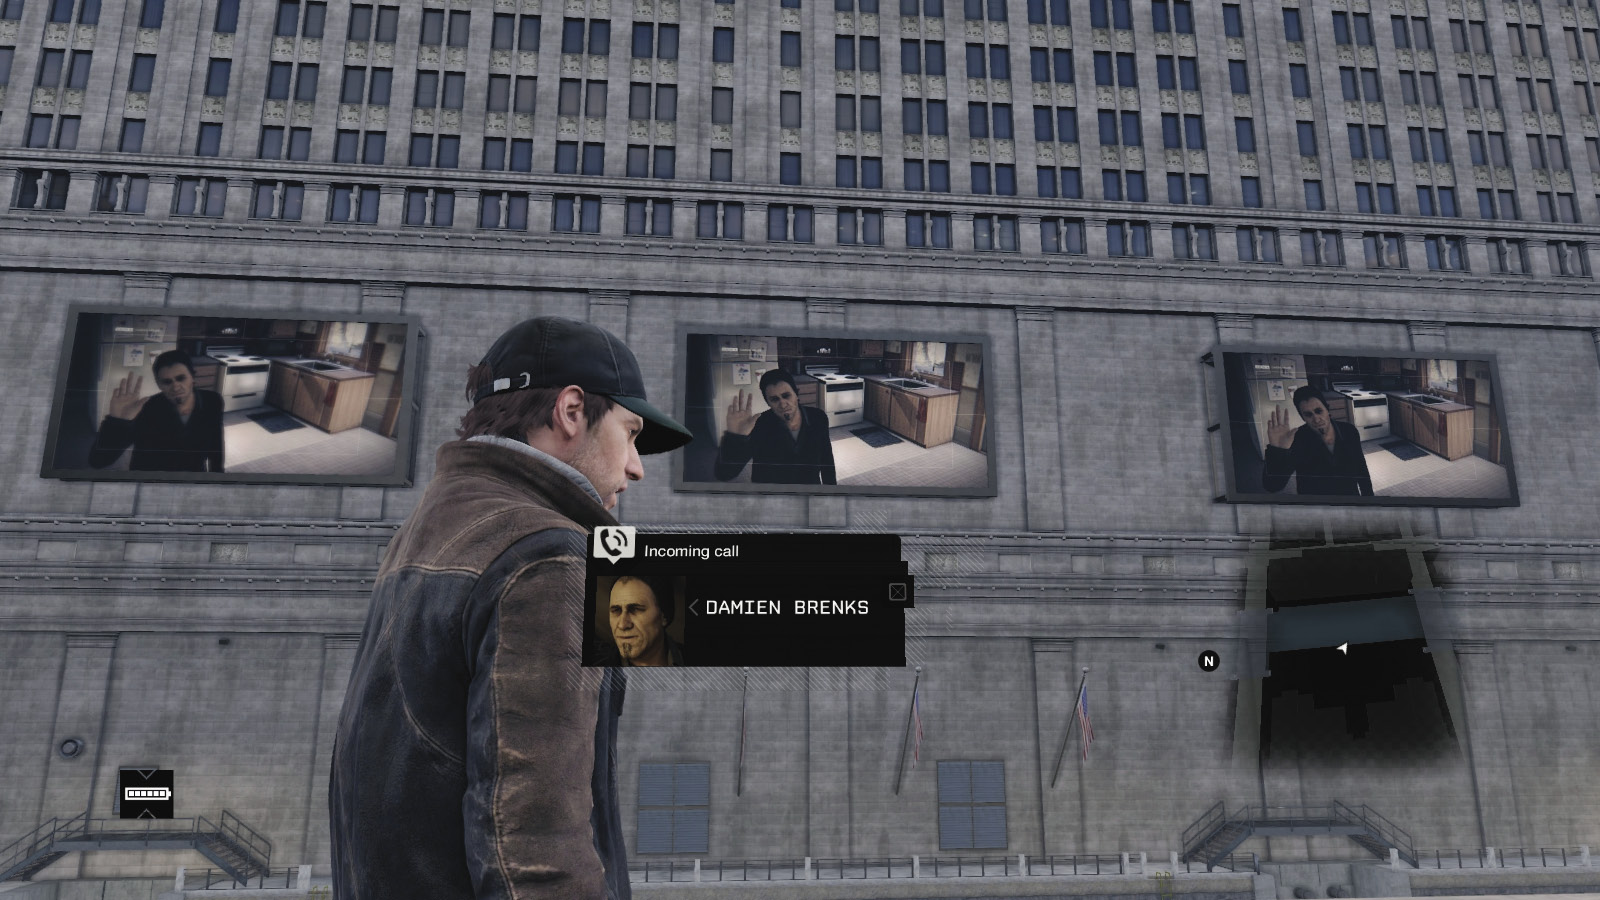
 Driving Investigation
Difficulty: 
Damien calls and wants to meet. He’s made the location rather public—a plaza on the eastern side of the Island (western part of The Loop). Arrive here on a bike for a quick getaway. After an extremely troubling phone call from Damien and an equally worrying video splashed on the massive ctOS screens near the plaza you rendezvoused at, you’re propelled directly to your sister’s house.
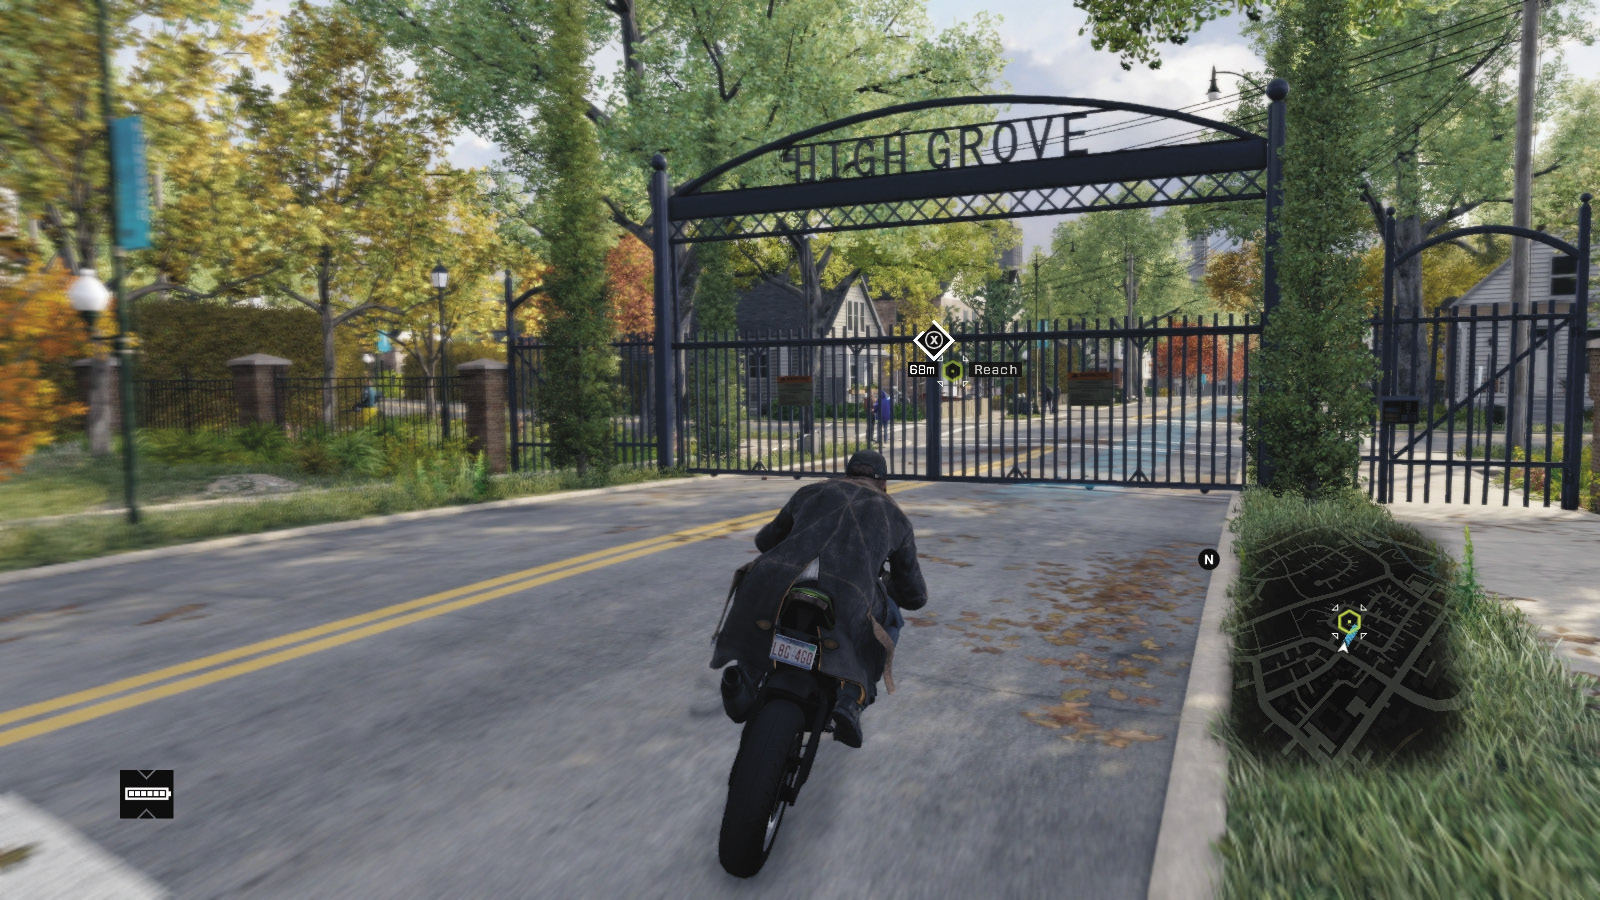
Tag Nicky’s House in Parker Square on your GPS and head there immediately. Hack the gates open as you arrive. Use a vehicle you find most suitable, such as a bike, which allows swift and nimble maneuvering.
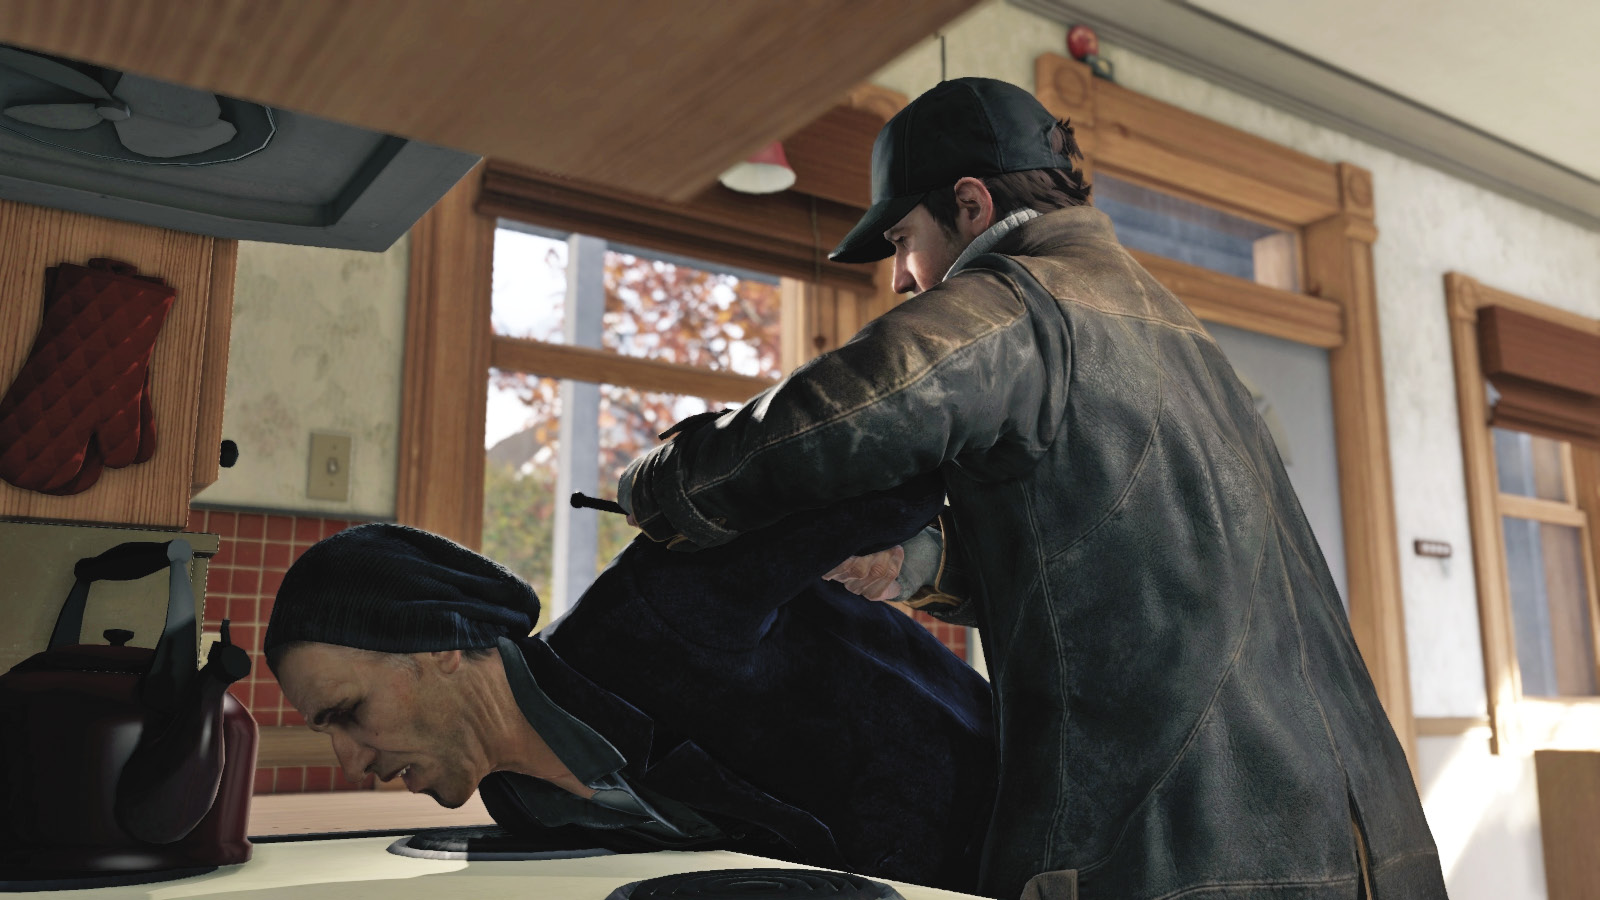
Damien is goading you with talk of your family’s predicament. After an altercation in the kitchen, you hear Nicky in distress and narrowly stop yourself from killing your ex-partner. Nicky has been taken. Damien wants you to find out who ordered the hit on you both and decipher a hard drive. The hunt for a second hacker begins soon. But for now, Jackson’s whereabouts are your utmost priority.
1.2 ASSAULT ON PAULSON
 Location / Parker Square // Nicky’s House
 Location / Parker Square // Paulson Station
|
|
 Get to train station where Jackson is located
 Hack the train to get Jackson to safety undetected
 Driving Investigation
 Investigation
 Data Hack
Difficulty: 
Overview
Completion Point: Husker Station, after removing all Fixer threats.
Dangers: Two vehicles, each with Fixers, three in each vehicle (Gunmen x6). Two Shot-Callers.
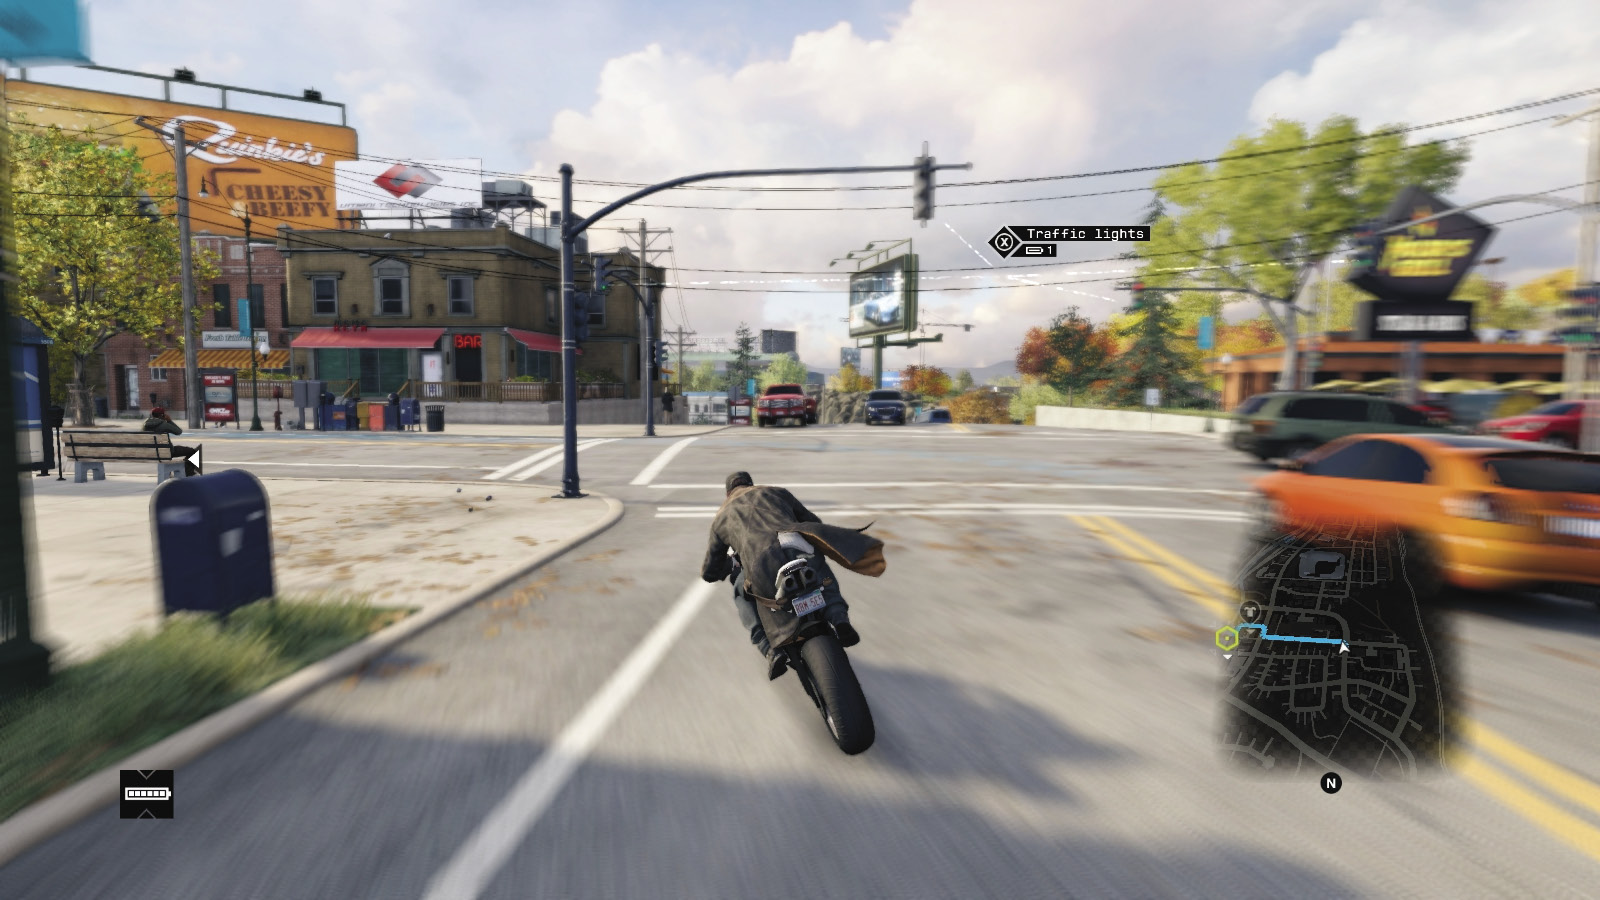
Outside Nicky’s house, you triangulate a signal. It’s Jackson! However, the signal is faint. Return to your vehicle—or ideally, the bike parked on the street—head right (southwest), exit the High Grove gates, and immediately turn left (south) onto the main road. Make the first left (or you’ll head under the L-train station you’re trying to reach).
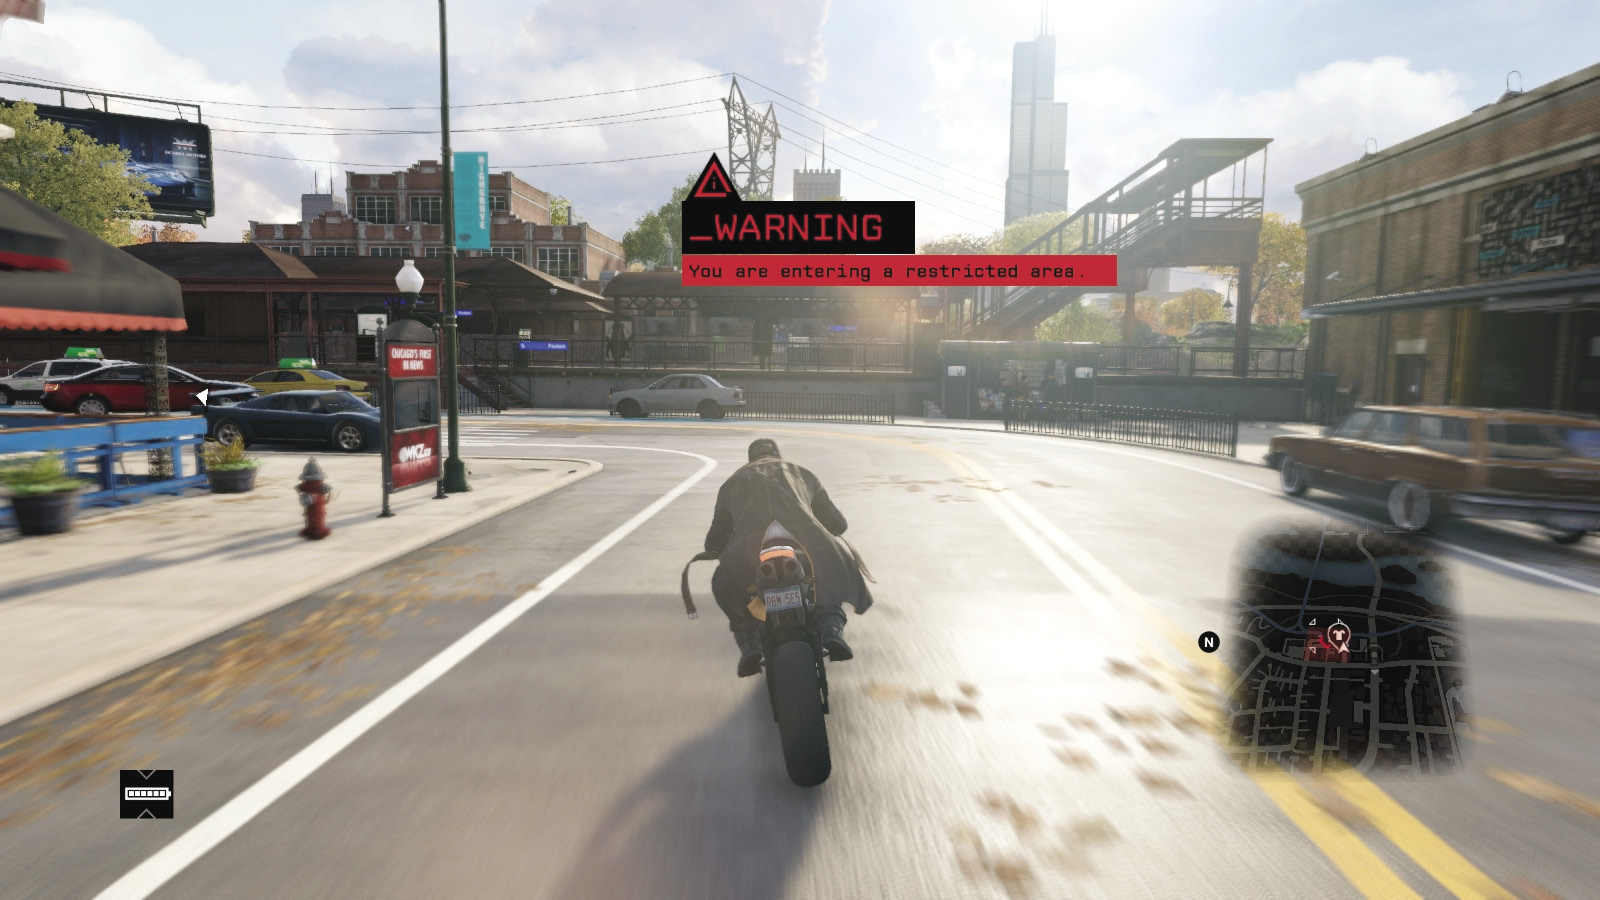
At the end of the road, weave right, then immediately left to reach Paulson Station. You want to be on the right (south) side of the road adjacent to the station platform, so you can impede the vehicles in the forthcoming chase. You also have the option (at the stop sign at the end of the previous road) to head straight down an alley, placing you to the left (north) side of the station road. Either is advisable.
Once you’re in position, the objective updates as the train carrying Jackson arrives at the station. Unfortunately, two sets of Fixers (three Gunmen each from two cars) have parked on the road and exited their vehicles. They’re after your nephew! Act quickly, but not violently.
 Passive // Smart: Platform Shoos
 Difficulty:
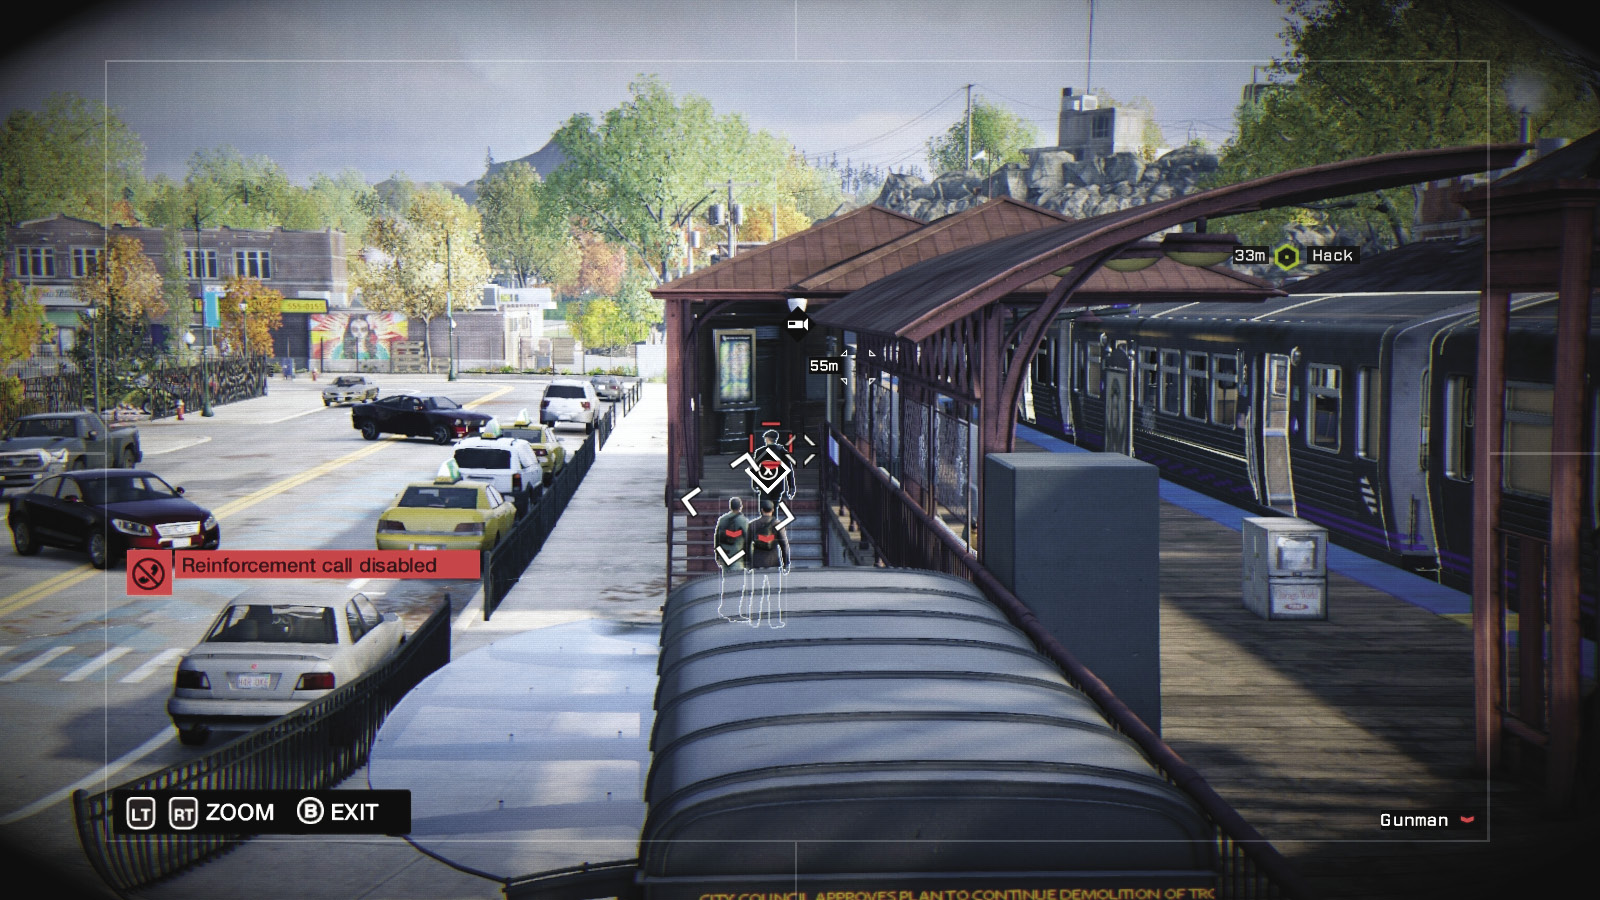
Interacting with the enemy at this point fails your mission; you require a clandestine method of hacking the train so it departs without the Fixers on it and with Jackson still relatively safe. Try one of the following:
Hack a nearby security camera, which offers a view of the platform. You can see the six Fixers (three from each direction) heading up the platform steps. Ignore them and hack the train so it departs.
Or, hack a security camera, profiling one of the Fixer groups and searching out the foe with a camera on his person. Wait until he’s up the steps and looking at the train, then hack the train so it departs.
At this point, the Fixers retreat to their vehicles and attempt to intercept Jackson at the next station to the south of your current location (Husker Station). Let’s remove these threats before then. Lethal force is now available.
1.3 STATION TO STATION
 Location / Parker Square // Paulson Station
 Location / Parker Square // Paulson Station
|
|
 Take down the Fixers before they reach Jackson
 Eliminate the remaining Fixers
 Vehicle Chase
 Foot Chase
 Lethal Force Likely
 Melee Force Likely
Difficulty: 
Overview
Completion Point: Paulson Station, after removing all Fixer threats.
Dangers: Two vehicles, each with Fixers, three in each vehicle (Gunmen x 6). Two Shot-Callers.
Reinforcements: Two vehicles, each with Fixers, two in each vehicle (Gunmen x2, Veterans x2).
General PreplanningVehicle Choice: You begin crouched near a vehicle, which is perfectly serviceable for the upcoming chase. Or, check the adjacent parking lot for another car more to your liking or find the vehicle or bike you came here on. Don’t freak out as the foes speed away; pick a vehicle and give chase! Competency and Prediction: Watch for pedestrian casualties, and study the map of the route the foe is taking. There are a few shortcuts (see below), but this is mostly a street battle. Work on perfecting squeezing through oncoming traffic, cutting corners, and using sidewalks. General Chase Planning: Consult the Training section for more information. |
A chaotic chase now begins with you pursuing the two Fixer vehicles from this station. You head south (as shown on the world map), with both enemy vehicles taking the same streets (and alley) in order to reach Paulson station. Your first priority is removing these threats, and then taking out any reinforcement vehicles (there are likely to be at least two) afterward. Of course, there are numerous cunning plans to try first!
 Aggressive // Violence: Halting Fixers at the Station
 Difficulty:
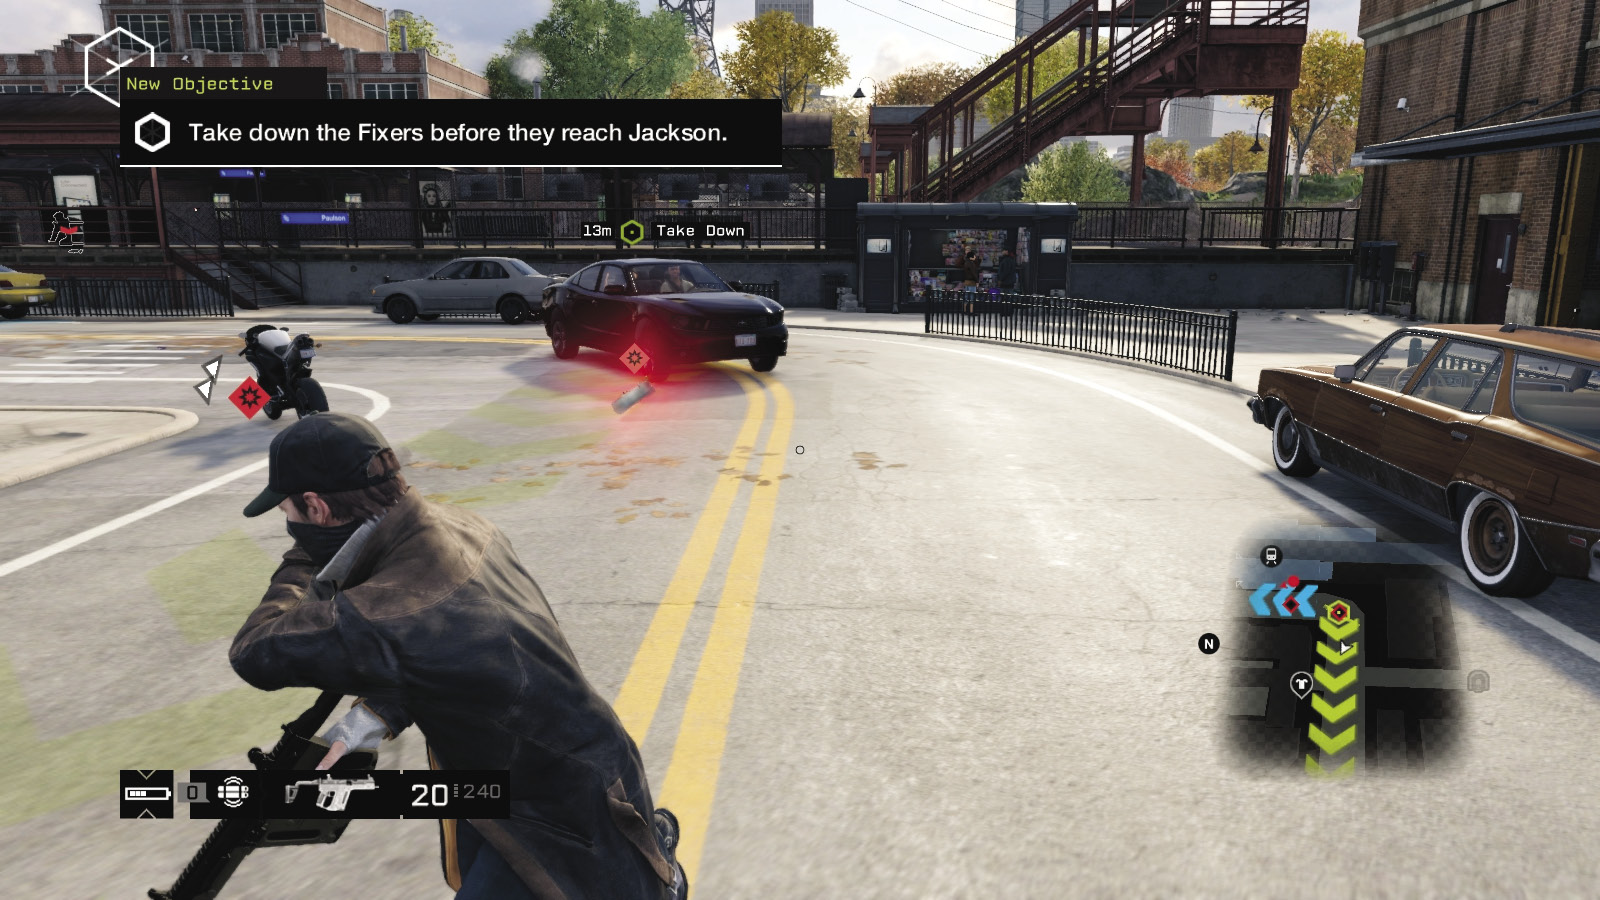
With a bit of hindsight, you have a few seconds to destroy both Fixer vehicles before your foes leave the initial station! A stealthy plan isn’t advisable here, but offensive weaponry certainly is! You can:
Quickly lob an IED (ideally a proximity IED) onto each vehicle so it sticks to it. When the foes drive away, each car explodes, crippling their ability to chase down Jackson. Now mop up any survivors, starting with the Shot-Callers. Use grenades or a grenade launcher to achieve similar results.
The foes always leave the station heading south, so an IED or proximity IED placed on the road close to the clothing store or near the front bumper of each car has a similar effect (though more chance of collateral damage or missing the escaping vehicles).
Or, you can simply let rip with your favorite weapon. Blast the tires of the south vehicle first, then the north, so both are incapacitated and a chase doesn’t even need to begin. Then concentrate on your human foes.
 Driving // Smart: Infrastructure Manipulation
 Difficulty:
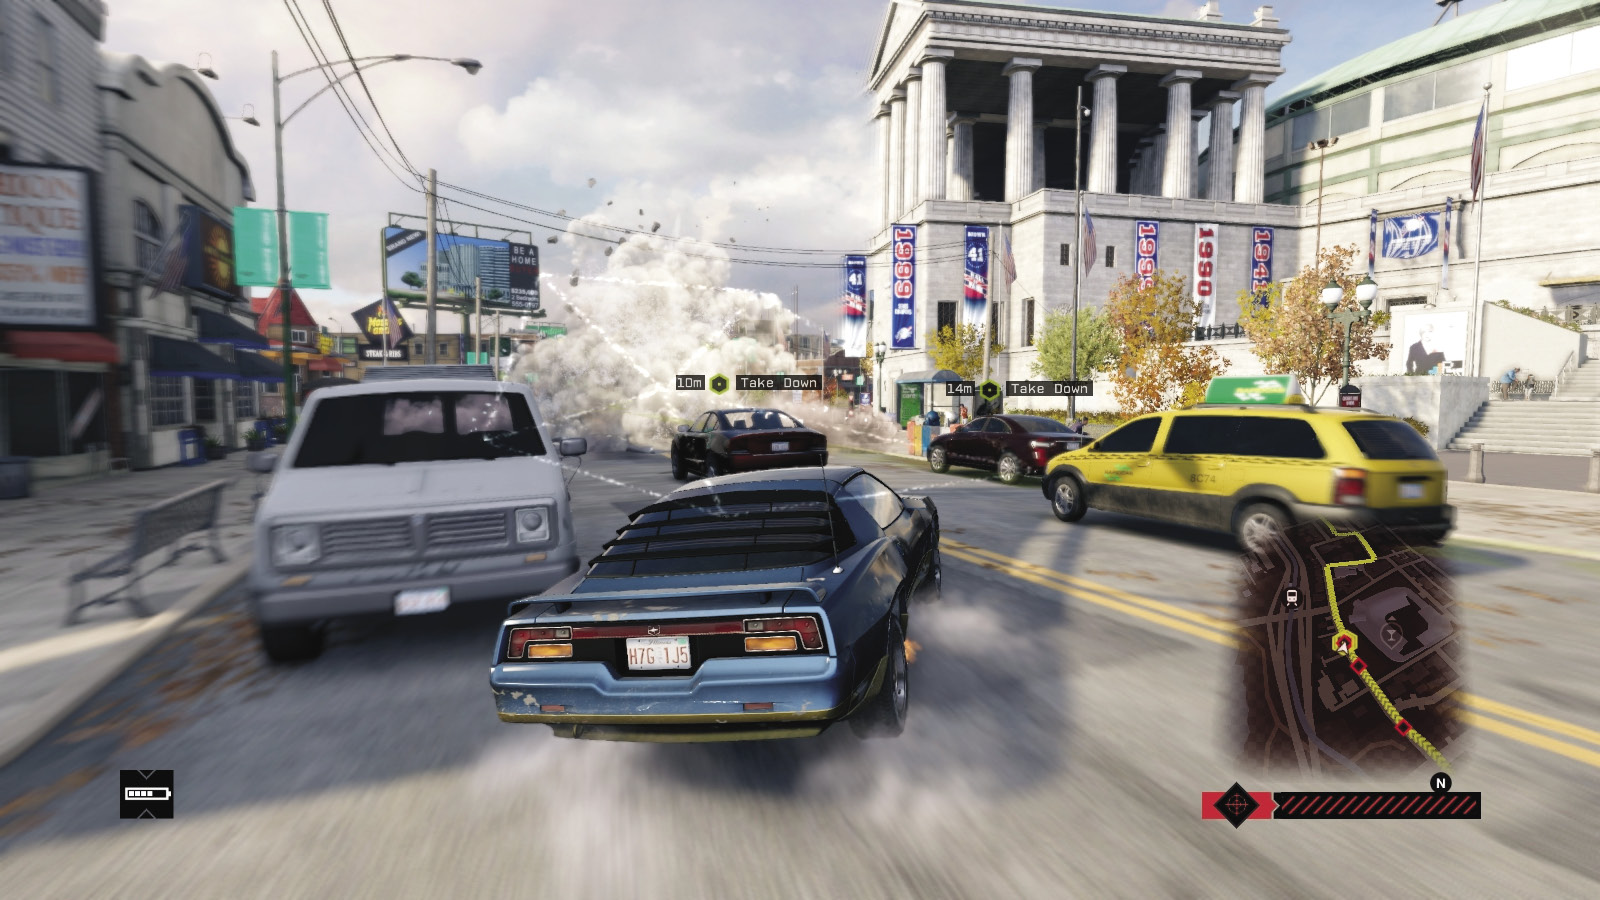
You have the benefit of ctOS infrastructure at your fingertips, and if you purchased the skills, there are several places along the route where you can stop your foes:
The vehicles turn right, then left at the clothing store (blockers).
Over the bridge, they head through traffic lights and continue south (steam pipe).
Through a second set of traffic lights, they turn right (steam pipe).
Then they turn left (south) again (traffic lights), then left (traffic lights), heading over a steam pipe. Next they turn right, into an alley (blockers at each end).
Finally, they skid left and head toward the station (two sets of traffic lights).
If you haven’t removed the threat by this point, consider a different line of work.
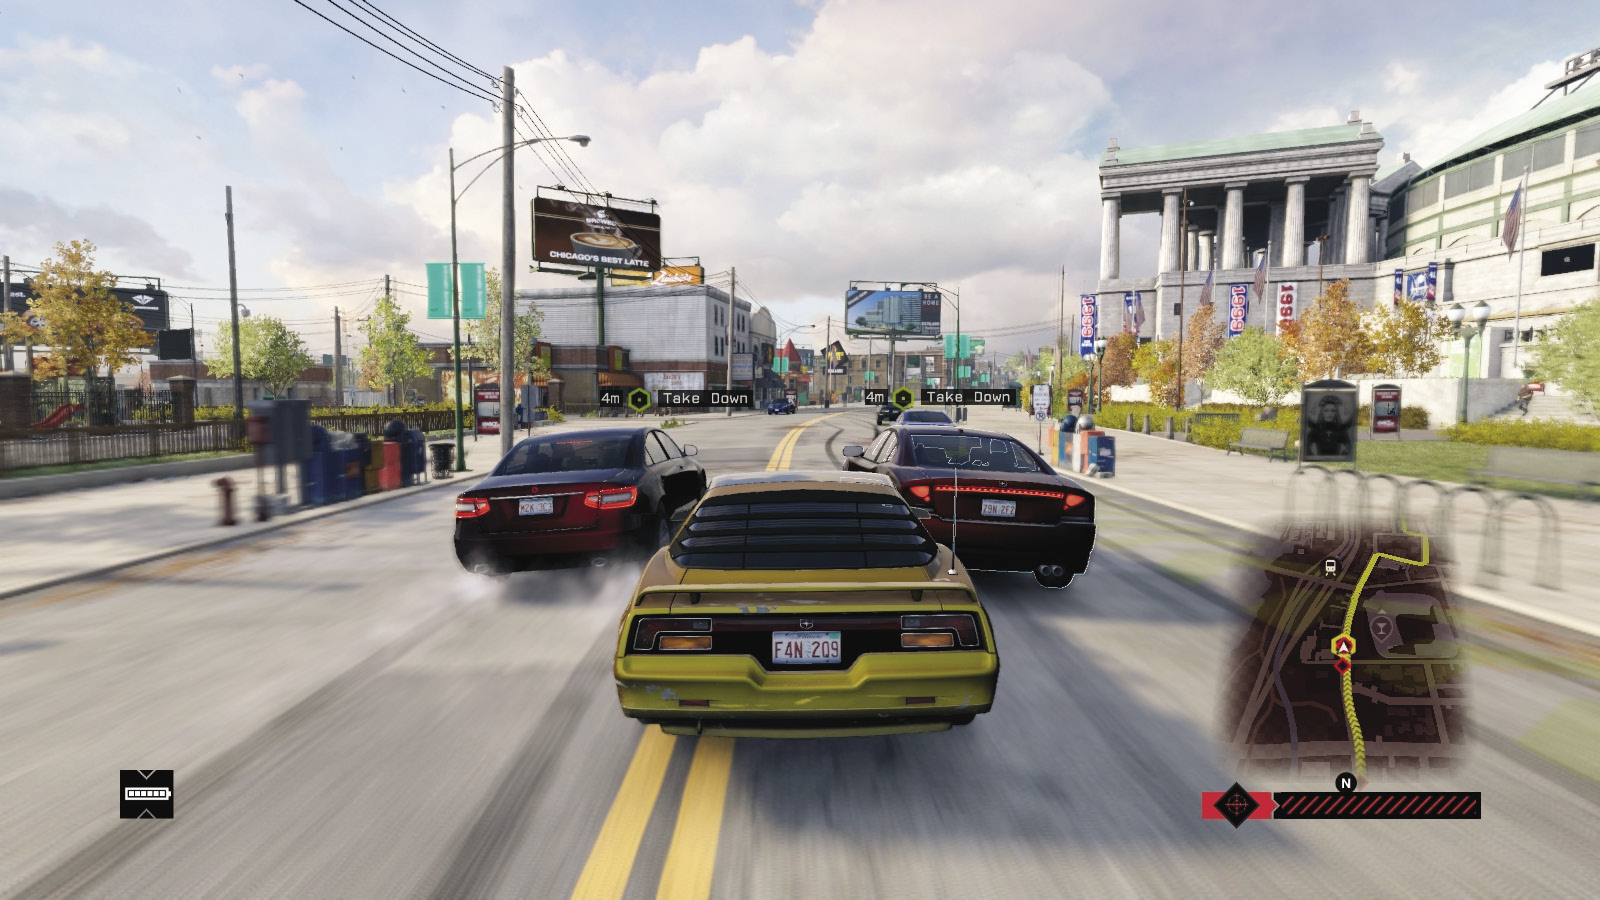
 Driving // Offensive: Ramming Speed and Navigation
 Difficulty:
As the enemies depart, you may elect to find a more hardy vehicle, such as a truck, and try to ram both foes. Ignore the reinforcements and focus on the following:
Ram straight into the back of each car.
Attempt a PIT maneuver by striking the rear corner of each car, sending it fishtailing.
Sideswipe either vehicle so it veers off and crashes or grinds against the side of a road.
Predict where the cars will be and intercept them with a sideswipe.
Predict where the cars will be and intercept them with a head-on collision.
Try to push your vehicle and the cars into a jam with other vehicles, where it can’t drive around you.
Continue to ram each target car until it starts to billow black smoke and the target exits.
If your vehicle becomes inoperable, quickly locate a new one and resume the chase.
Accelerate to unsafe speeds and pass the foes, then execute blocking maneuvers.
Accelerate to unsafe speeds and pass the foes, then drive in front so it sideswipes you, and you both crash and slow down.
At any point you can block the vehicle or slow it down enough for you to exit, and begin raking the vehicle with gunfire (particularly the tires and windshield).
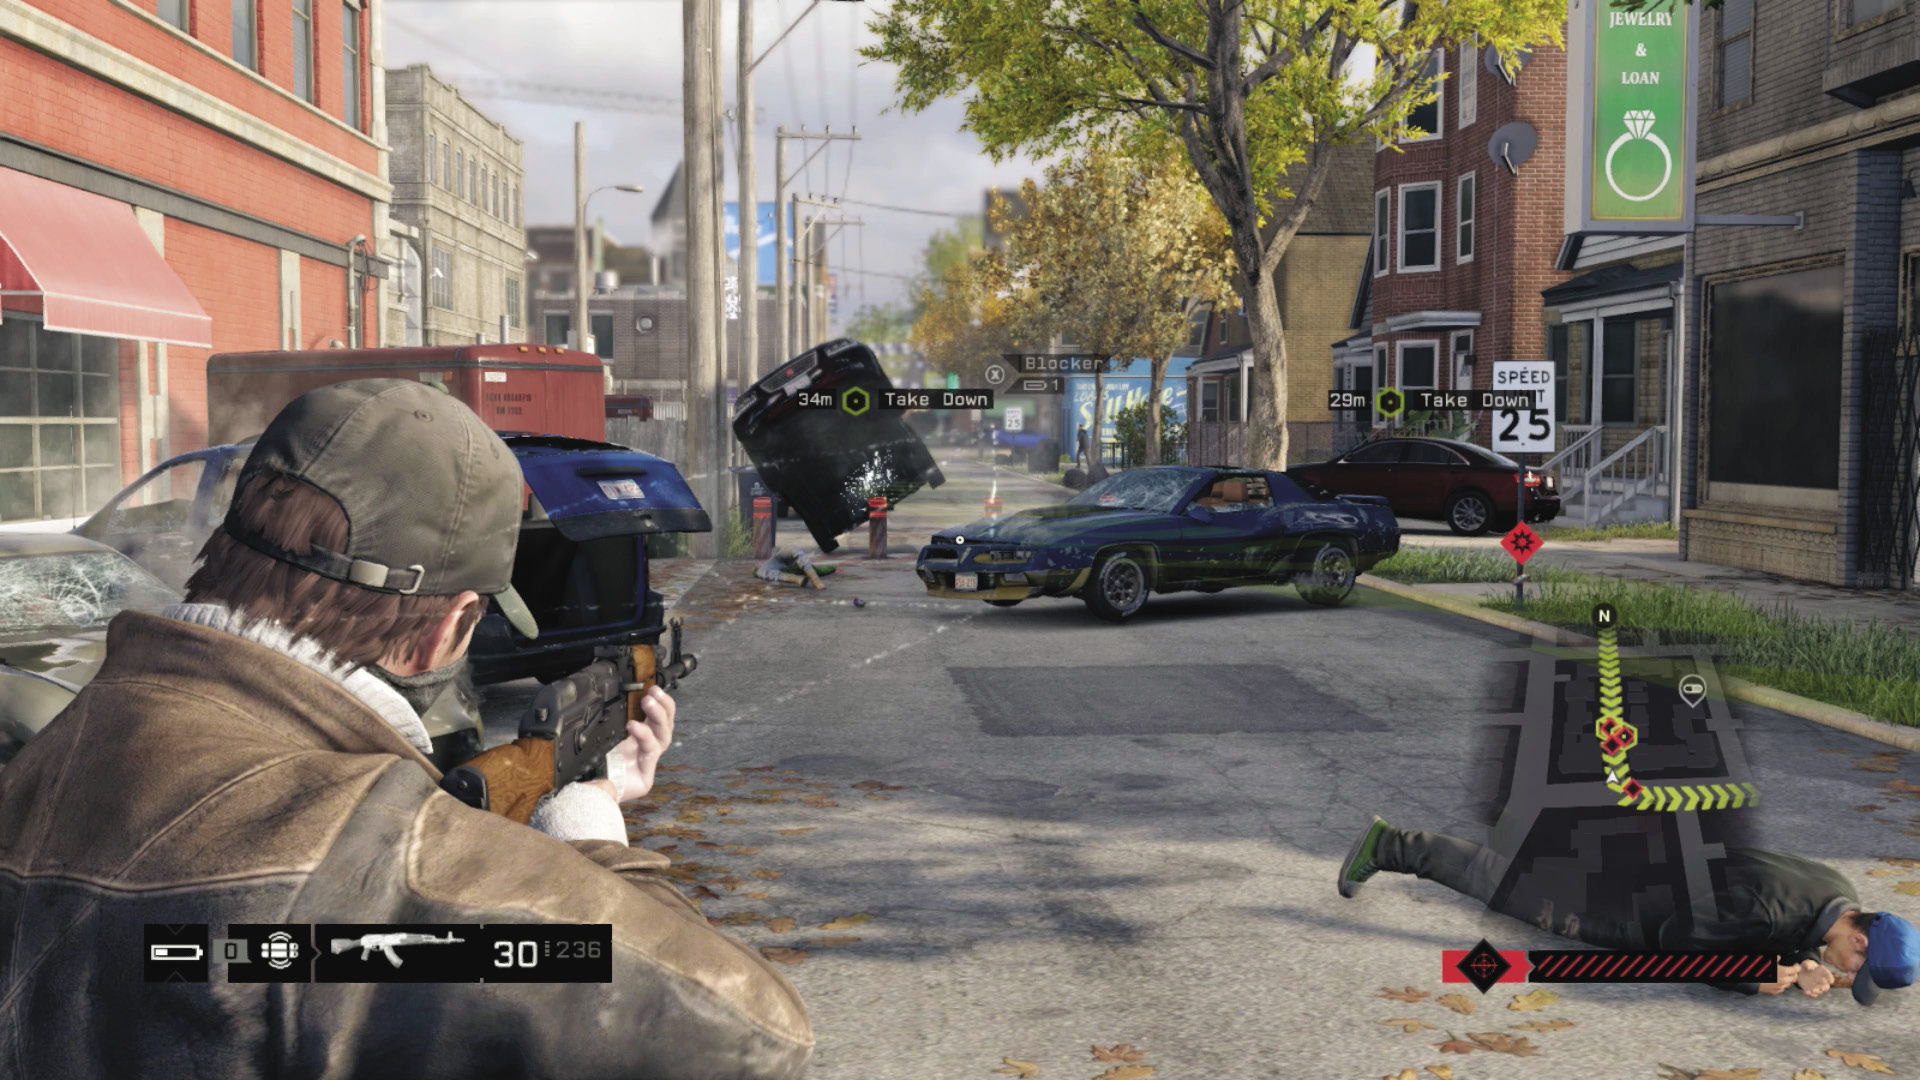
 Driving // Defensive: Blocking Foes Takes Coordination
Difficulty: 
You may wish to break off car combat with the enemy and race south, passing all foes and getting ahead to set a few traps along their route. The best place for this is at the alley’s far end, just before they turn toward the road leading to the station. Park up here and raise the blockers. Once you spot the foes heading your way, bring out the sniper rifle and shoot tires or occupants. Then switch to lobbing projectiles or blasting away with close-assault weapons or a grenade launcher. The foes are in an area where you can contain the massacre!
 Aggressive // Violence: A Firefight Is the Culmination
Difficulty: 
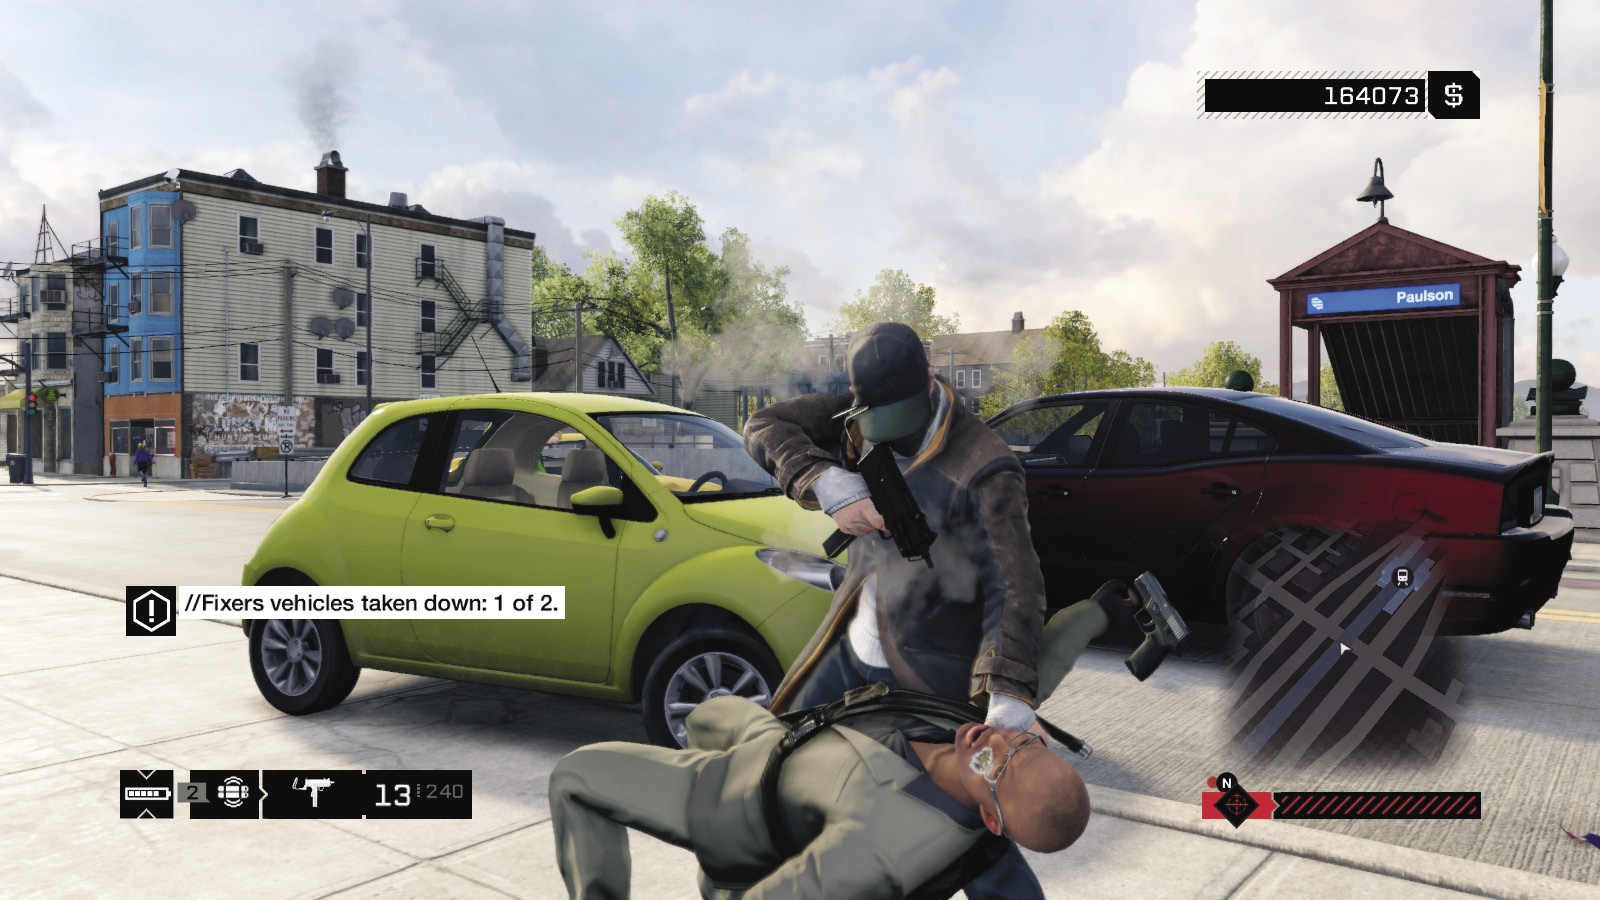
If all else fails, or if you wish to skip the chase and head directly to the station, your final option is to conduct combat at the bridge and station platform. This isn’t subtle, and the foes can easily overwhelm you. Place vehicles on the bridge and snipe as the foes reach you. Then retreat down the steps to the platform, leaving an IED or two to prevent the enemy from following you. Ensure the choke point in the middle of the bridge isn’t compromised. If you wish, use the freeway and shoulder on either side of the station to head up and around to outflank the foe. And bring lots of bullets.
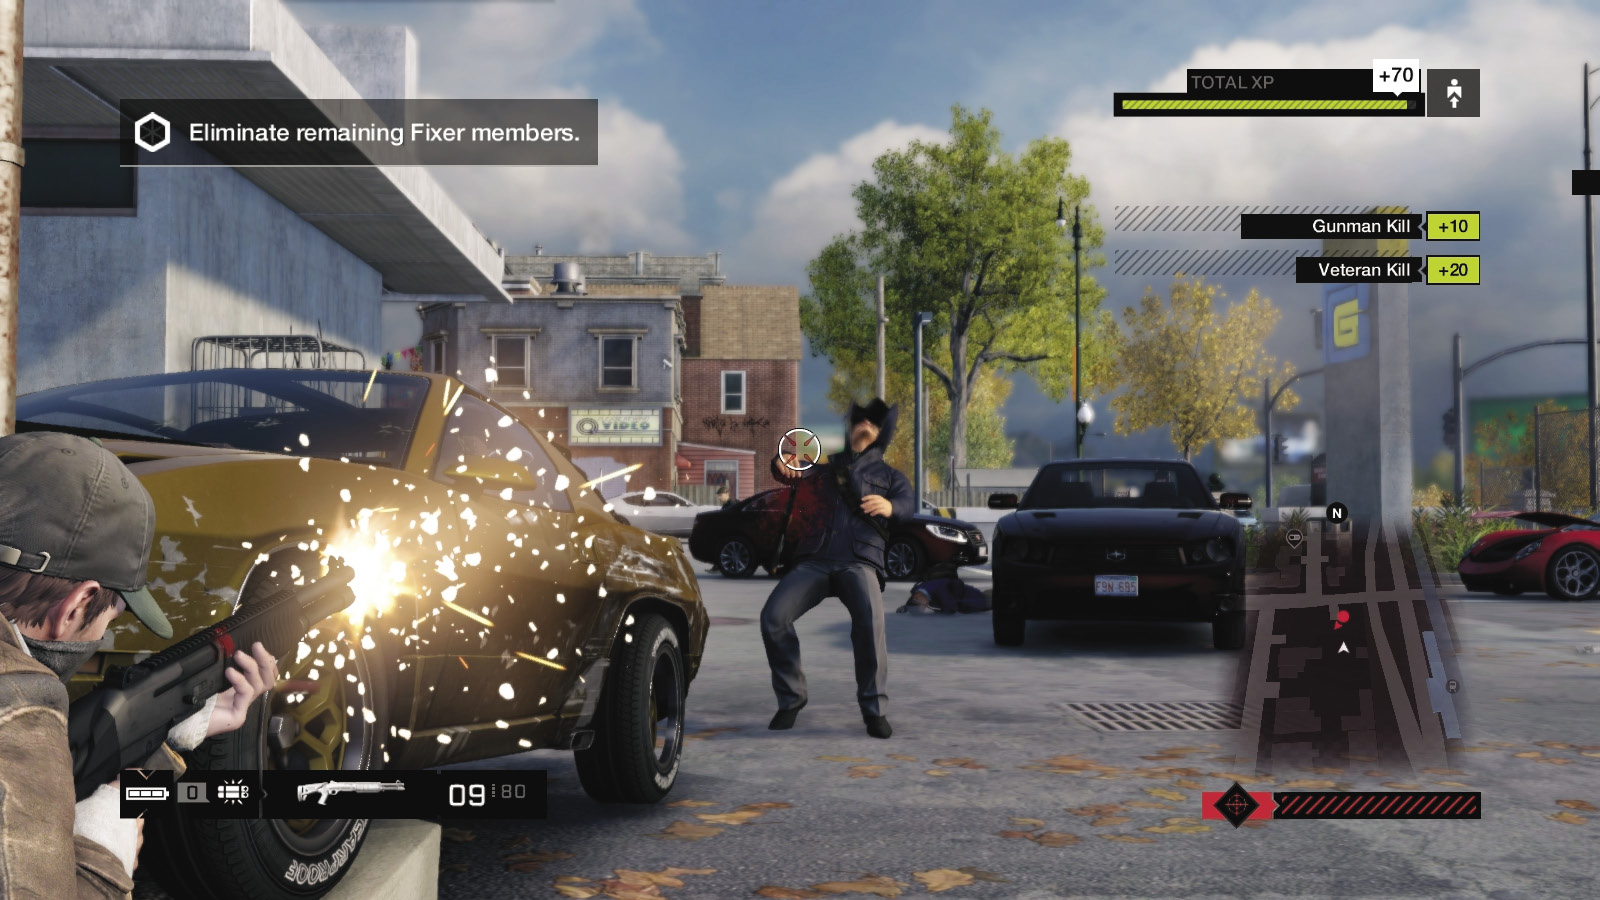
After you incapacitate the two target vehicles, switch to your weapons and start mopping up, or drive over any escaping enemies. No one can leave, so perform the techniques you’ve successfully employed to defeat any adversaries: Look for plentiful cover, ensure you have lots of ammunition, and exit your vehicle. Put shots into any approaching Fixer vehicles, and kill the occupants as you have in the past. Check the Training section for more information. Using cover and machine-gun fire, hacking the electronics on your foes, and lobbing grenades or IEDs are all tried-and-true plans.
1.4 JACKS AND FOUND
 Location / Parker Square // Paulson Station
|
|
 Board the L-Train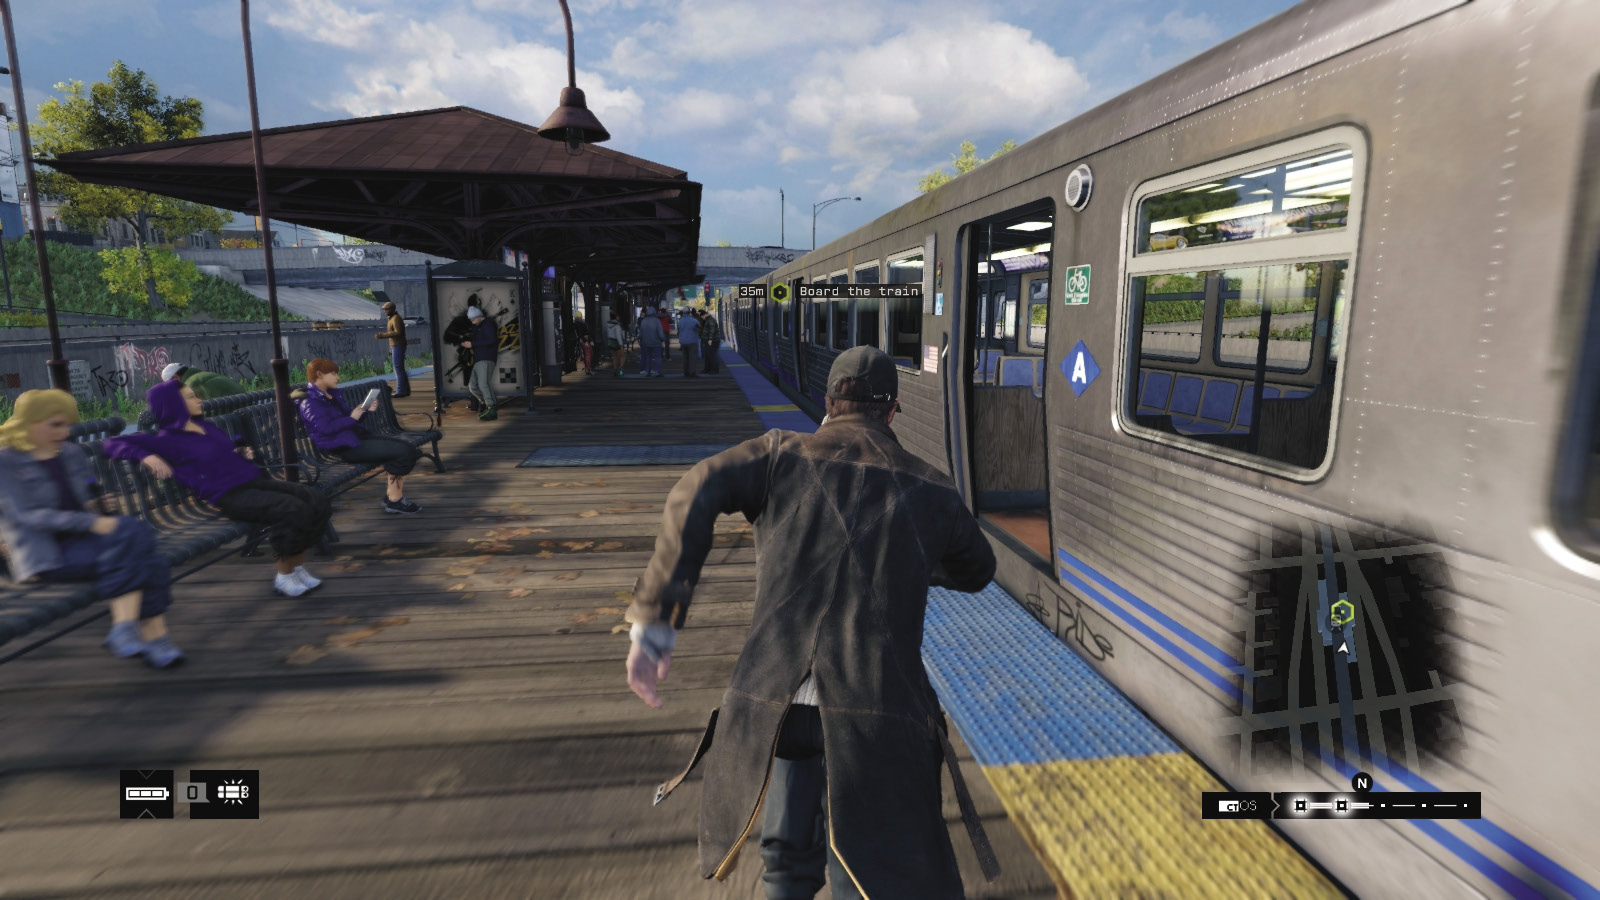
 Investigation
Difficulty: 
Locate the train at the station indicated on your world map, hopping over the freeway barrier if you can’t reach the platform stairs. The mission concludes with you and Jackson meeting Yolanda, Jackson’s therapist. You make up a half-truth about Nicky and Jackson’s grieving before you’re left on the station platform. The mission concludes.
MISSION REWARDSGained XP: +500 Pawnshop Mission Now Available ctOS Center: Brandon Docks Must Be Unlocked |