
Watch Dogs Guide SIDE MISSIONS
_GETAWAY CONTRACTS
|
OBJECTIVES
|
 Acquire target vehicle
 Escape the [enemy]
 Reach drop location unseen
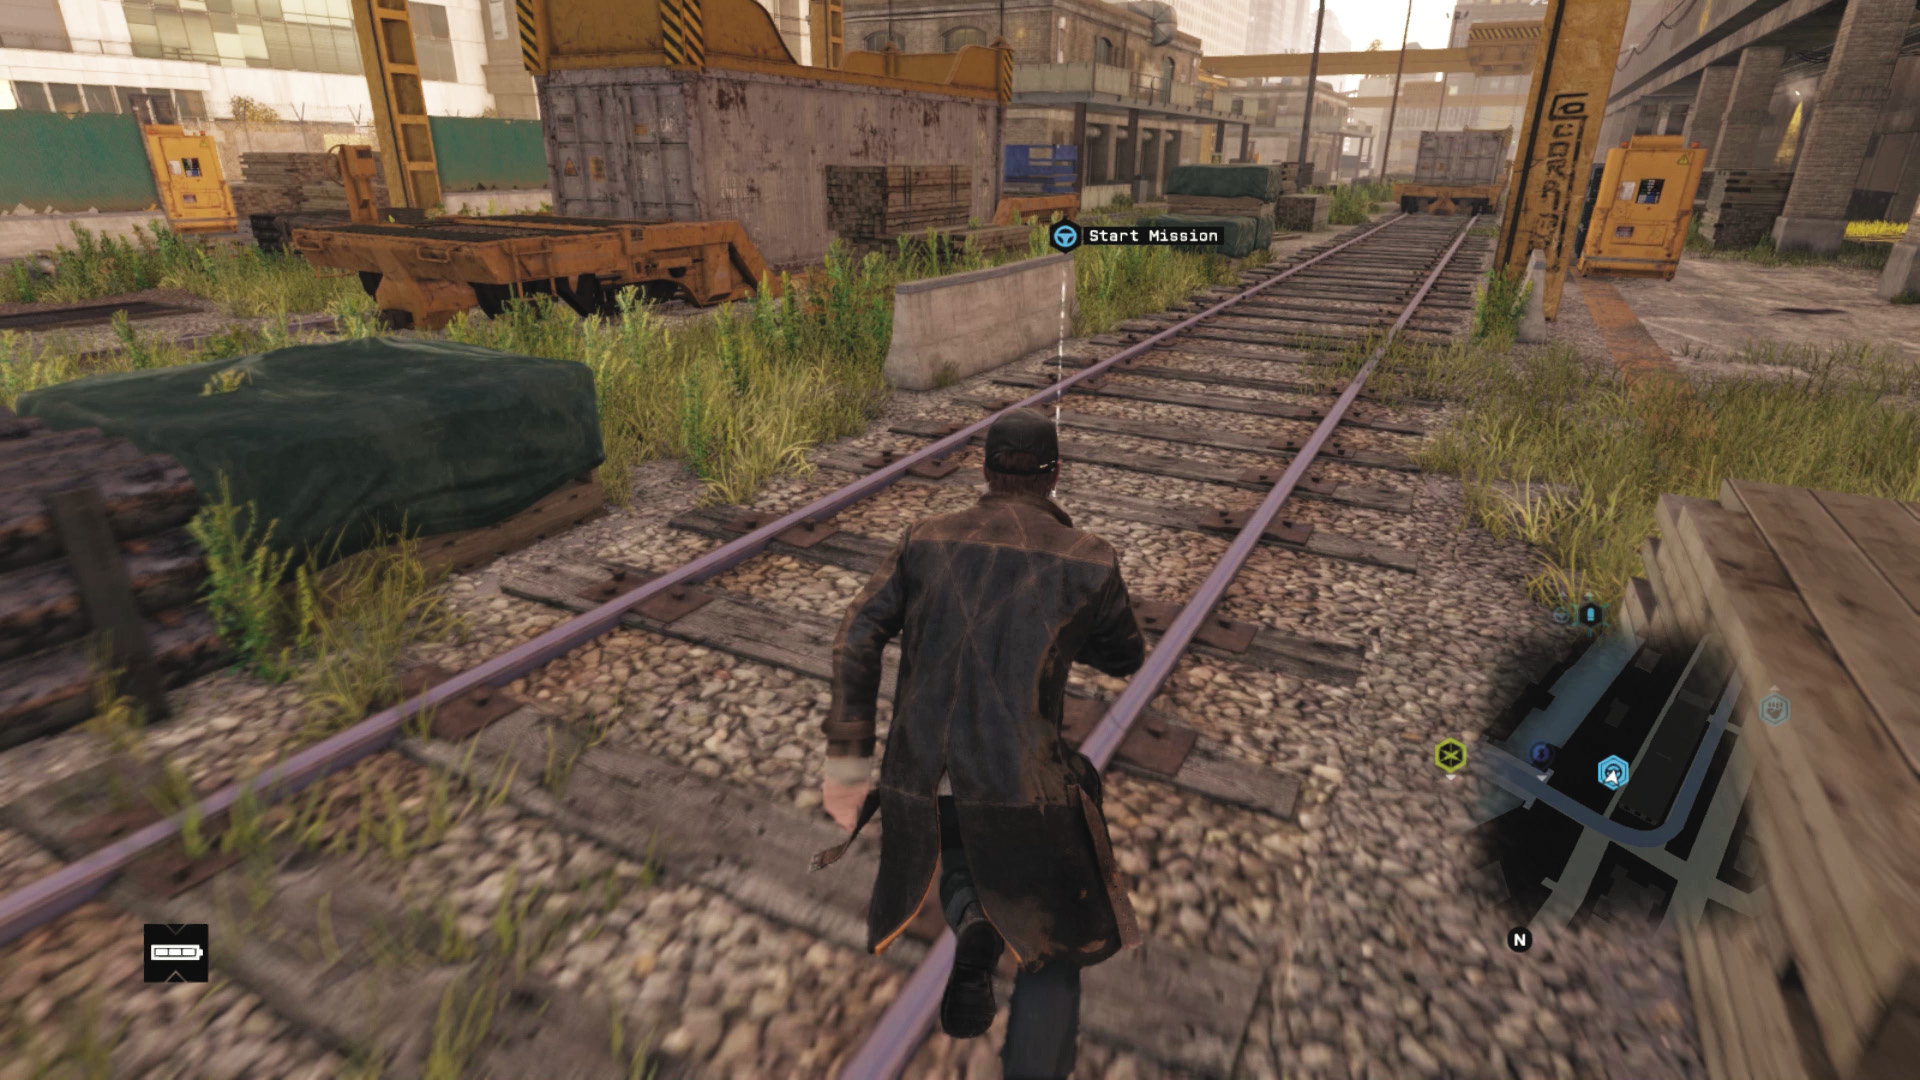
Your job is to head to a particular location, which could be anywhere close to a ctOS camera in one of the six districts, and await further instructions. Once you activate the mission, you are contacted and your job is explained. Although there are variations, this mission type always takes a similar form:
|
|
 Acquire target vehicle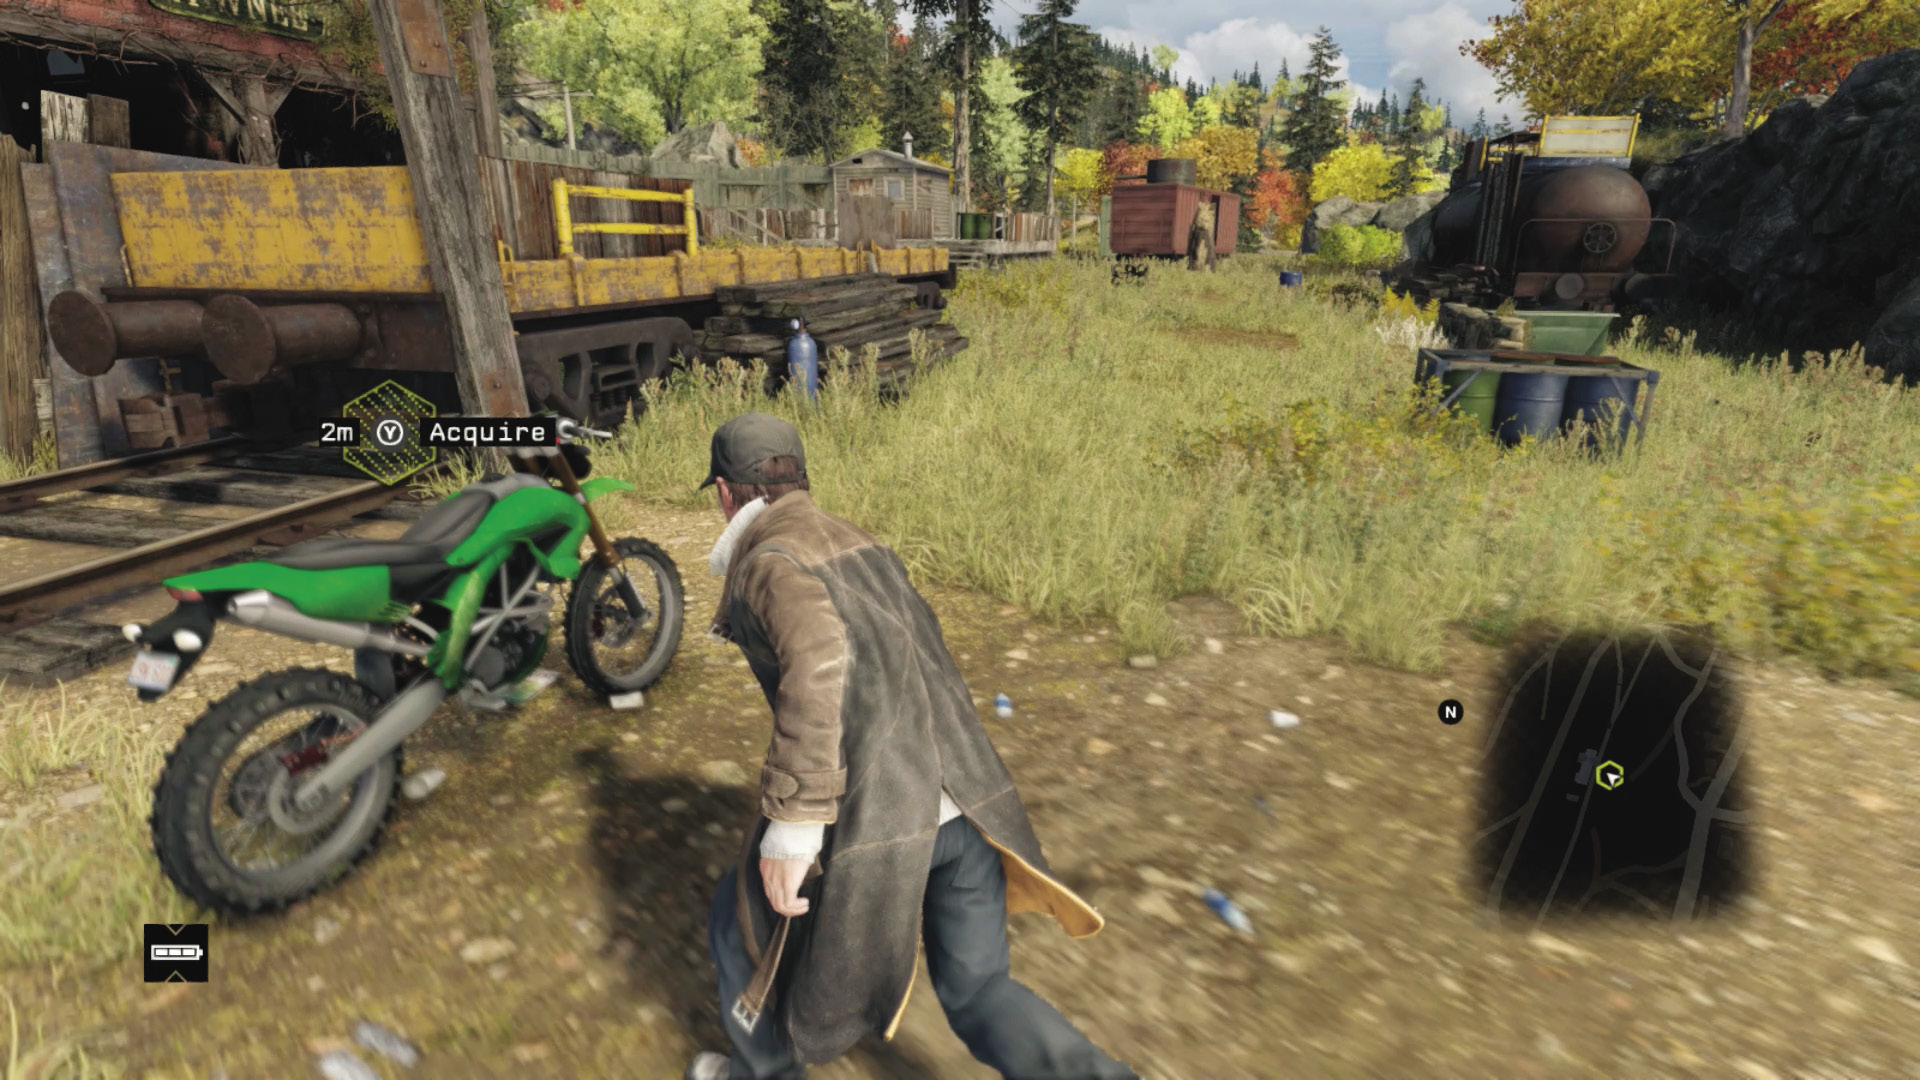
From your starting point, locate a vehicle parked close by. It is usually within a block of your location, so you don’t need to jog far. Get into the vehicle and start the engine.
|
|
 Escape the [enemy]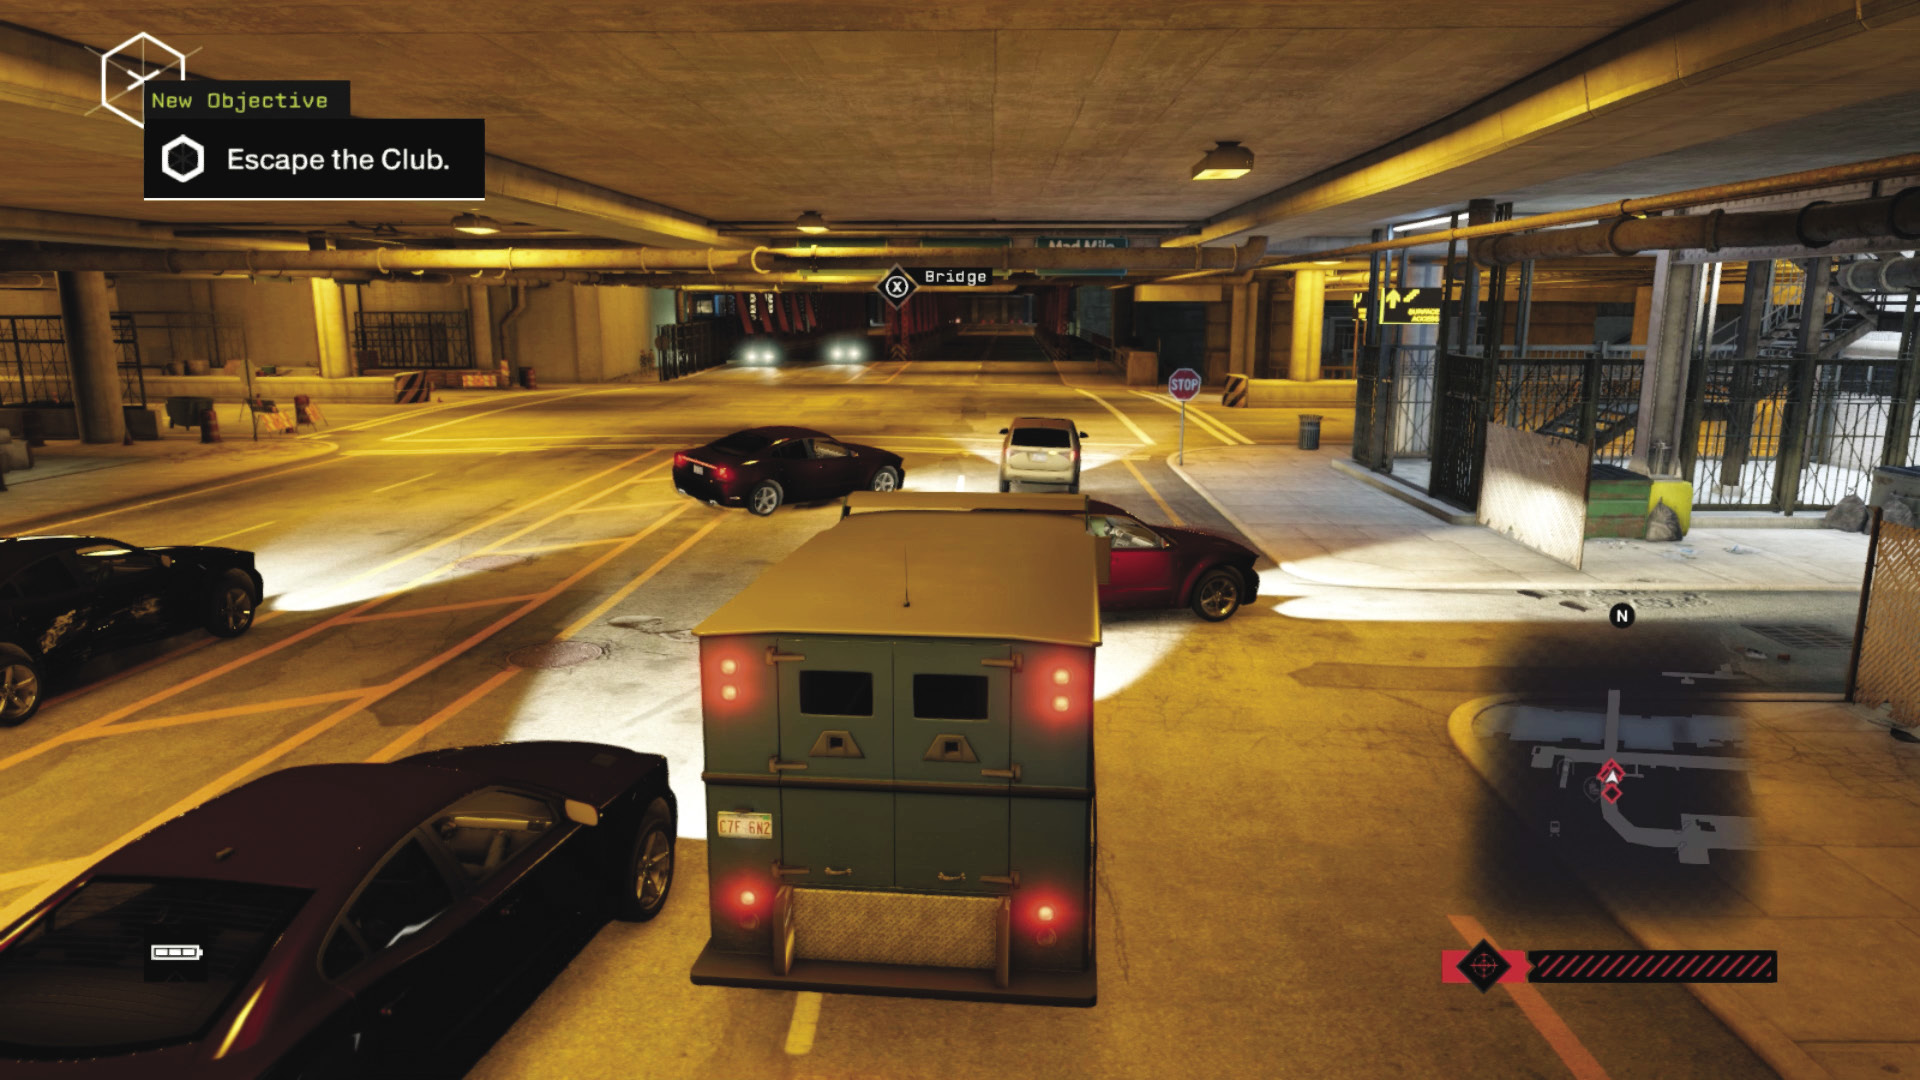
The moment the vehicle is running, you have an enemy to contend with. These either take the form of the police or one of the gang factions of Chicago. You now need to escape the enemy in question (shake them off your tail so they can’t see you, then drive out of their search area); the drop location is compromised until you do this.
|
|
 Reach drop location unseen
When you have successfully escaped the enemy, you can drive to the drop location specified on your in-game map. But just because you’ve eluded the enemy for now doesn’t mean you’re safe; the gangs and the police (and the police use scanning, while the gangs use line of sight) are constantly searching for you. Avoid your foes using all your previously learned techniques. Reference the Training chapter to find out further information:
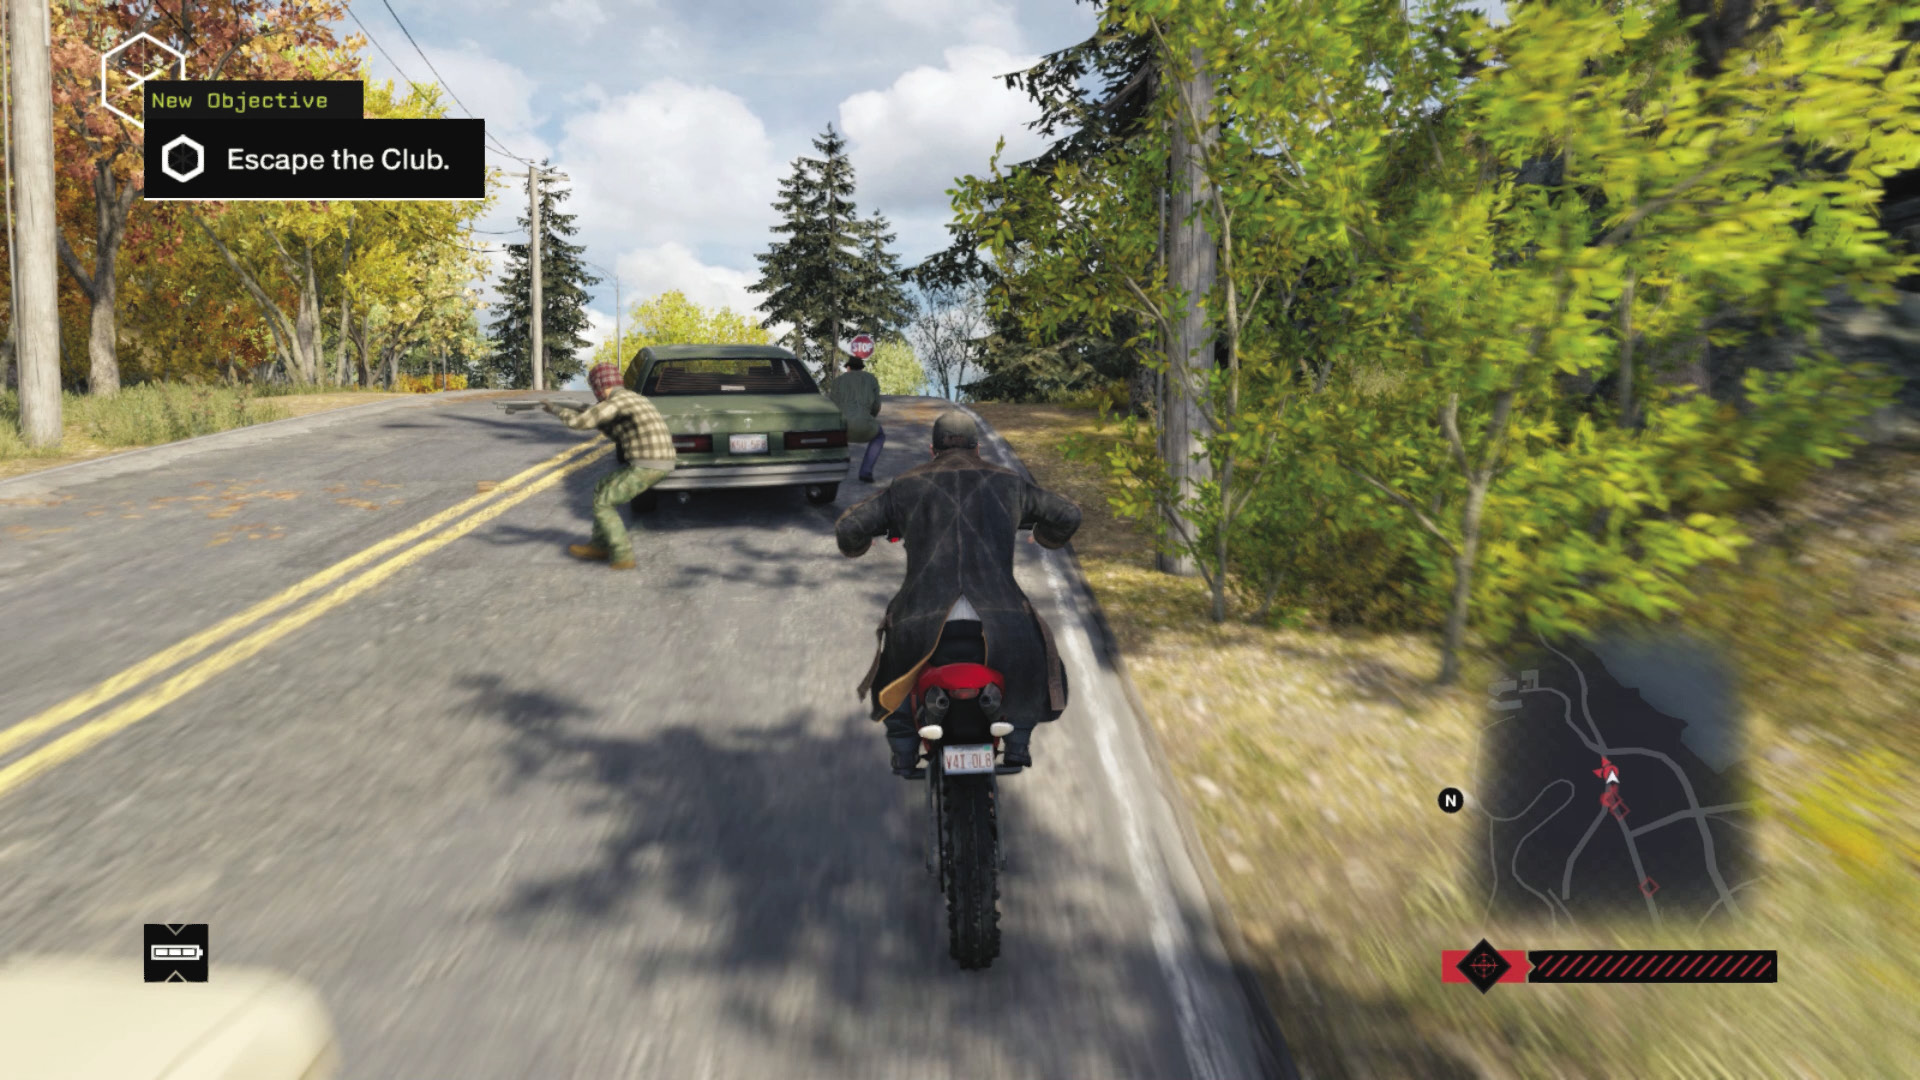
Gang Faction Elusion: Use lethal force and technology to block pursuers, including traffic lights, bollards, and spikes, as well as shunting.
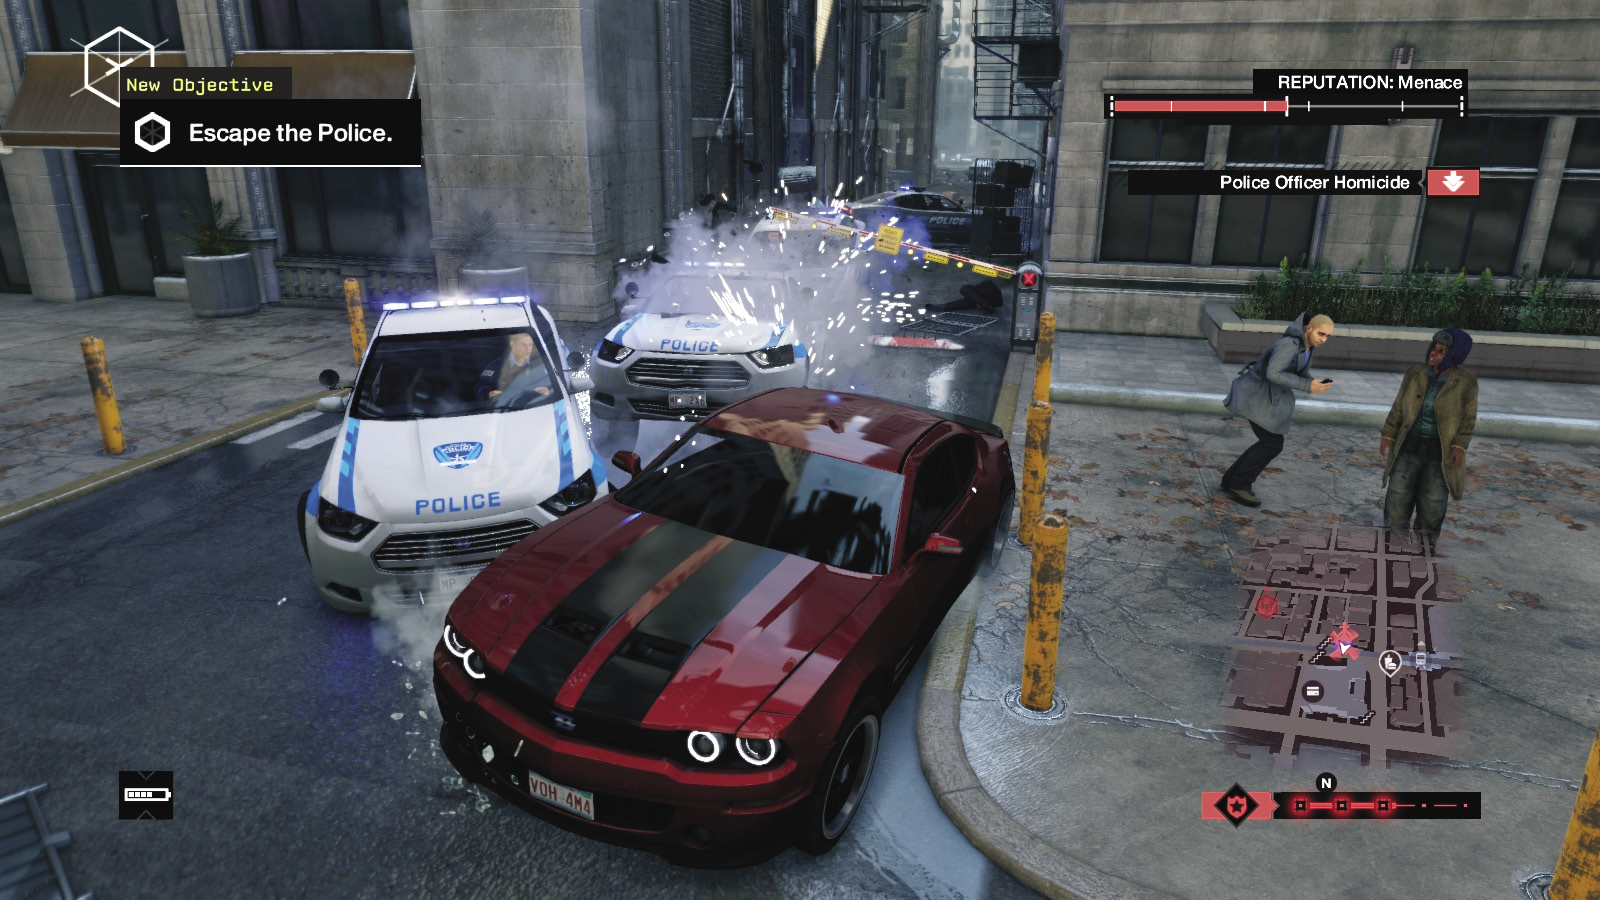
The Police Elusion: Use Jam Coms and technology to block pursuers, including steam pipes, bridges, and blockers, as well as shunting.
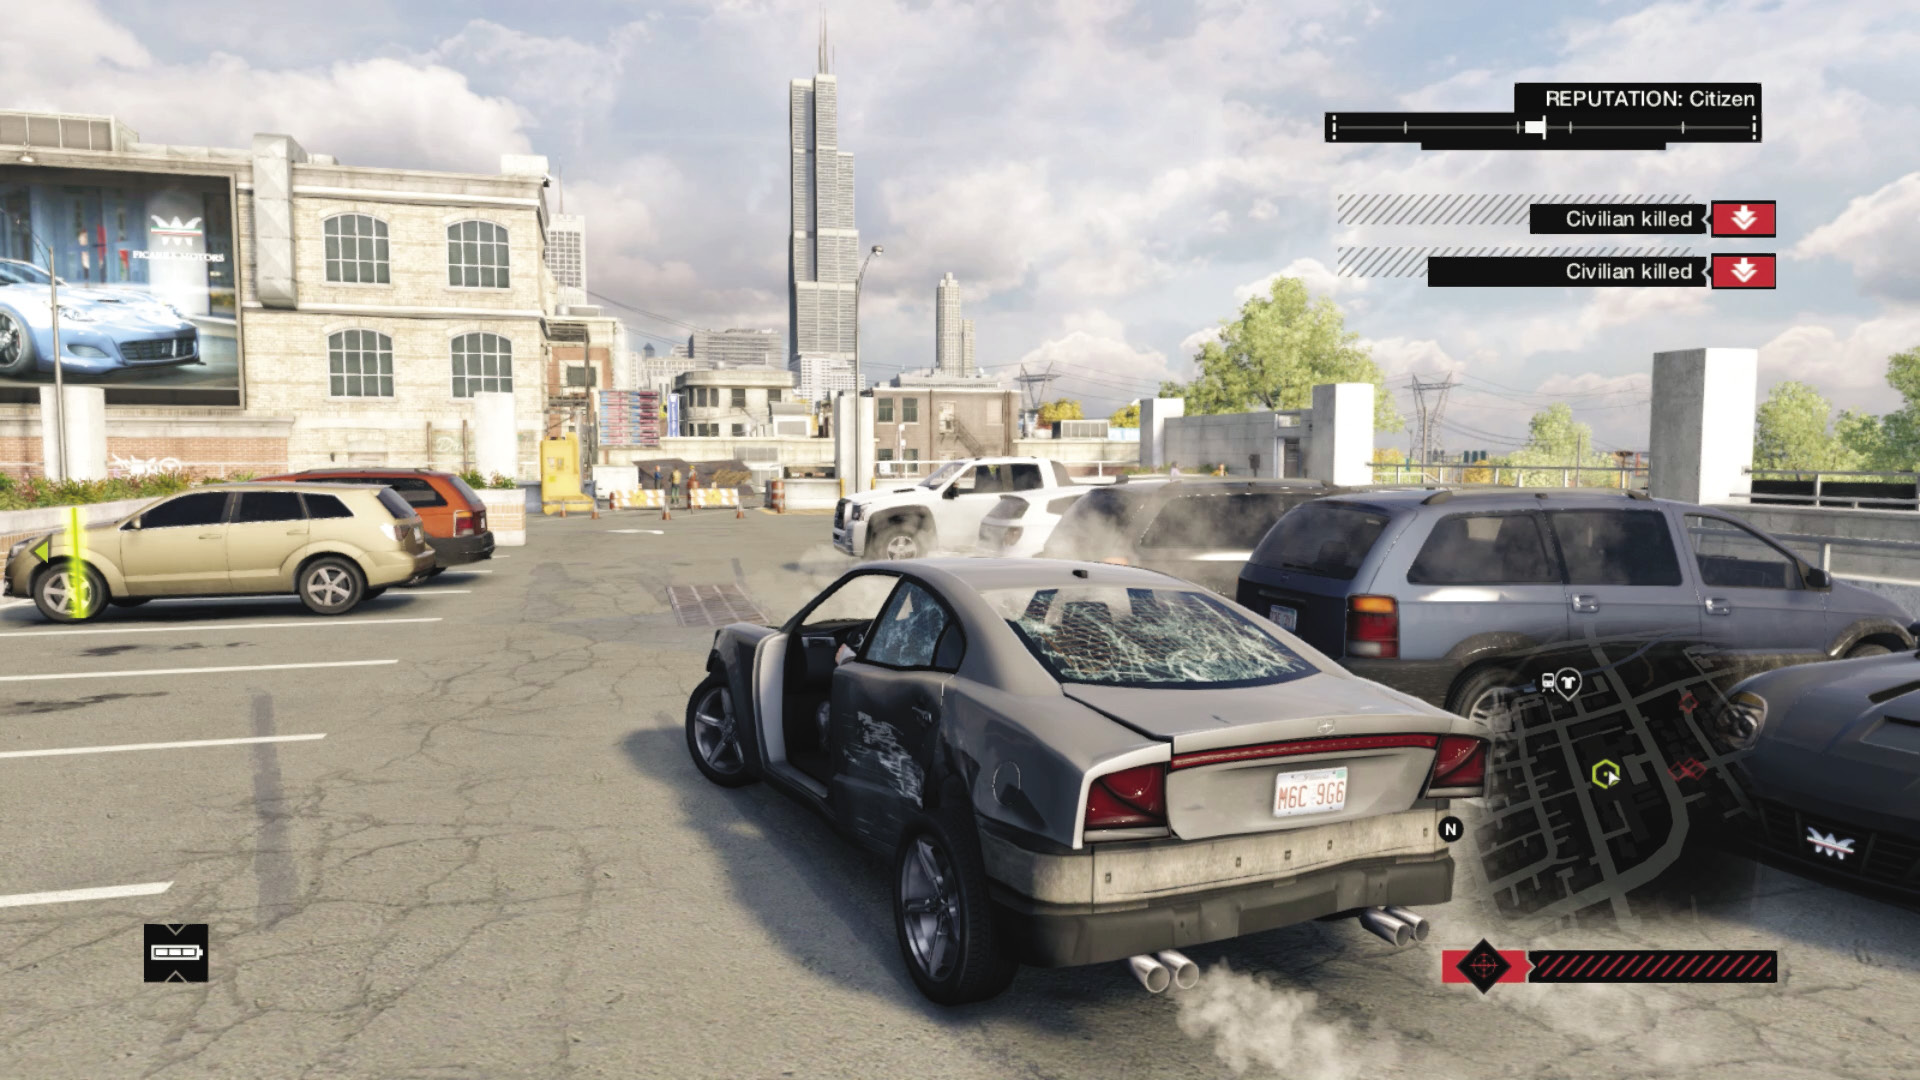
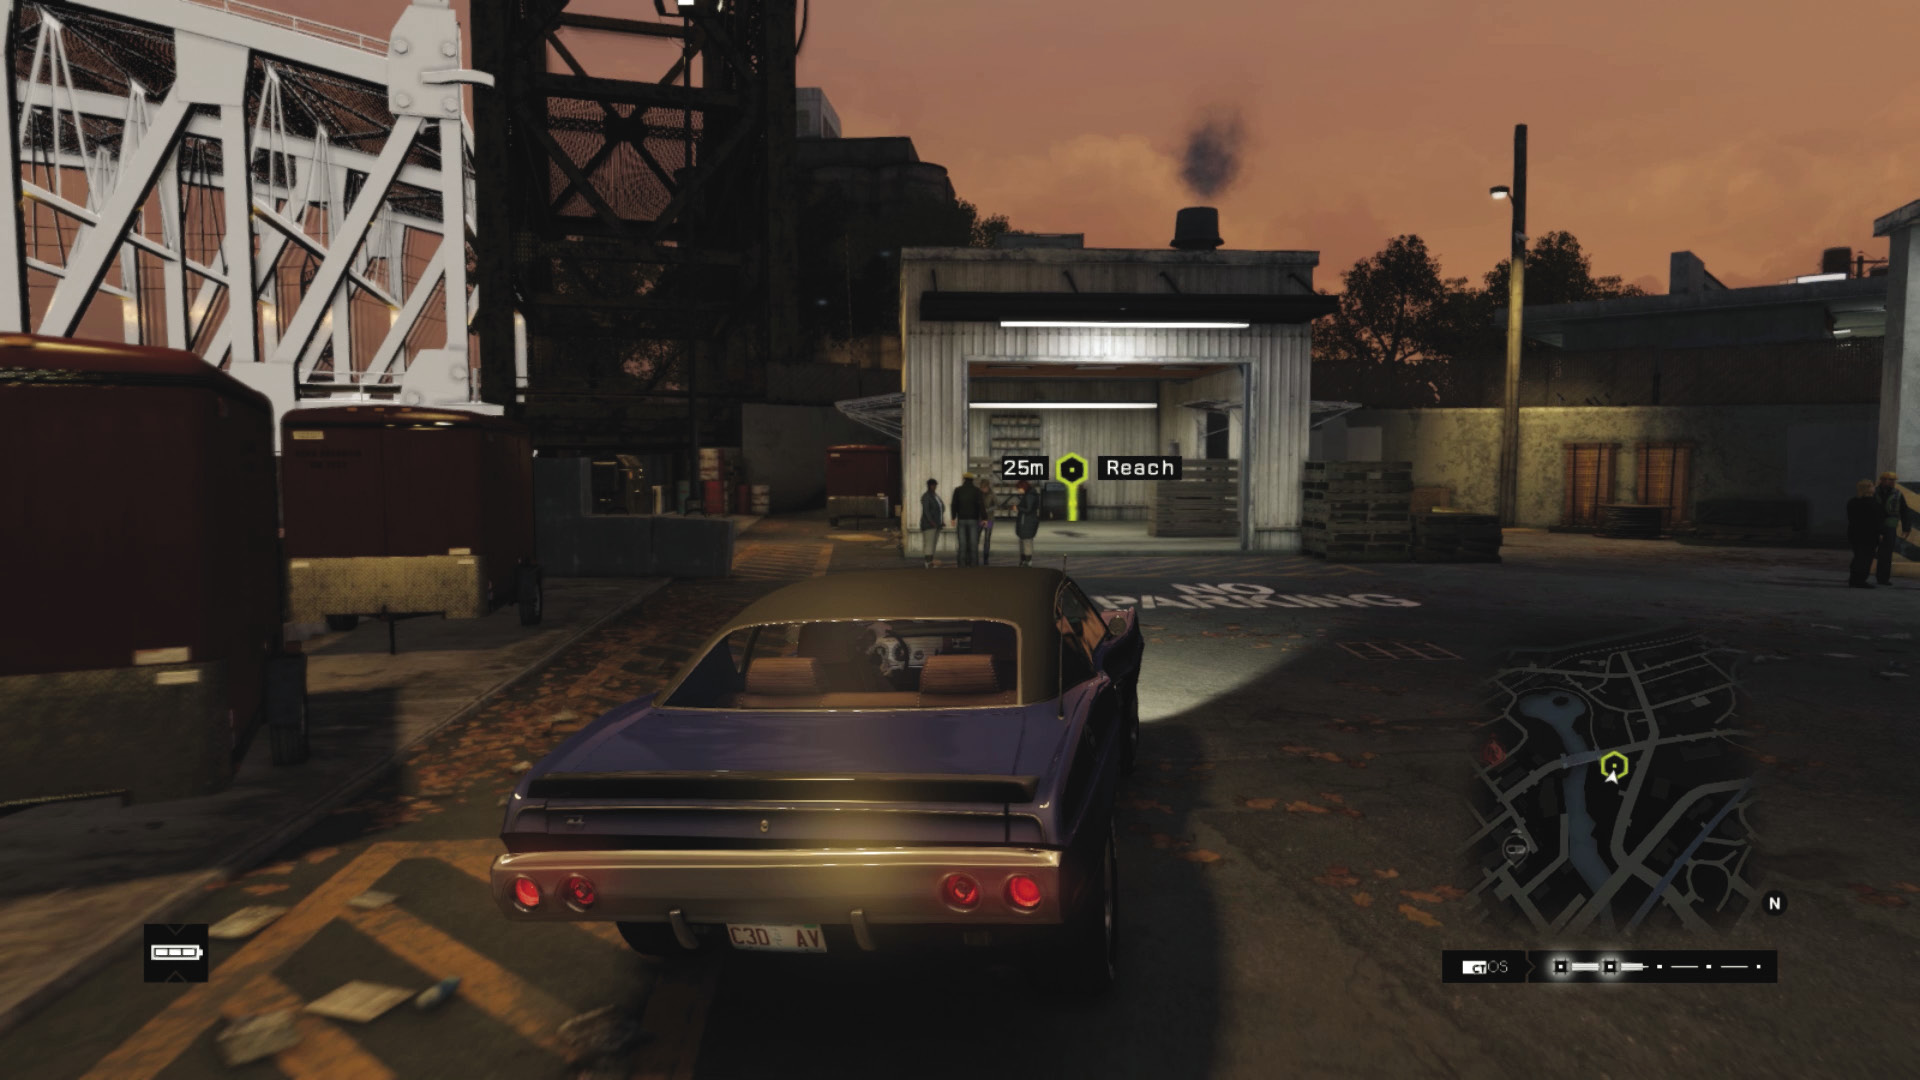
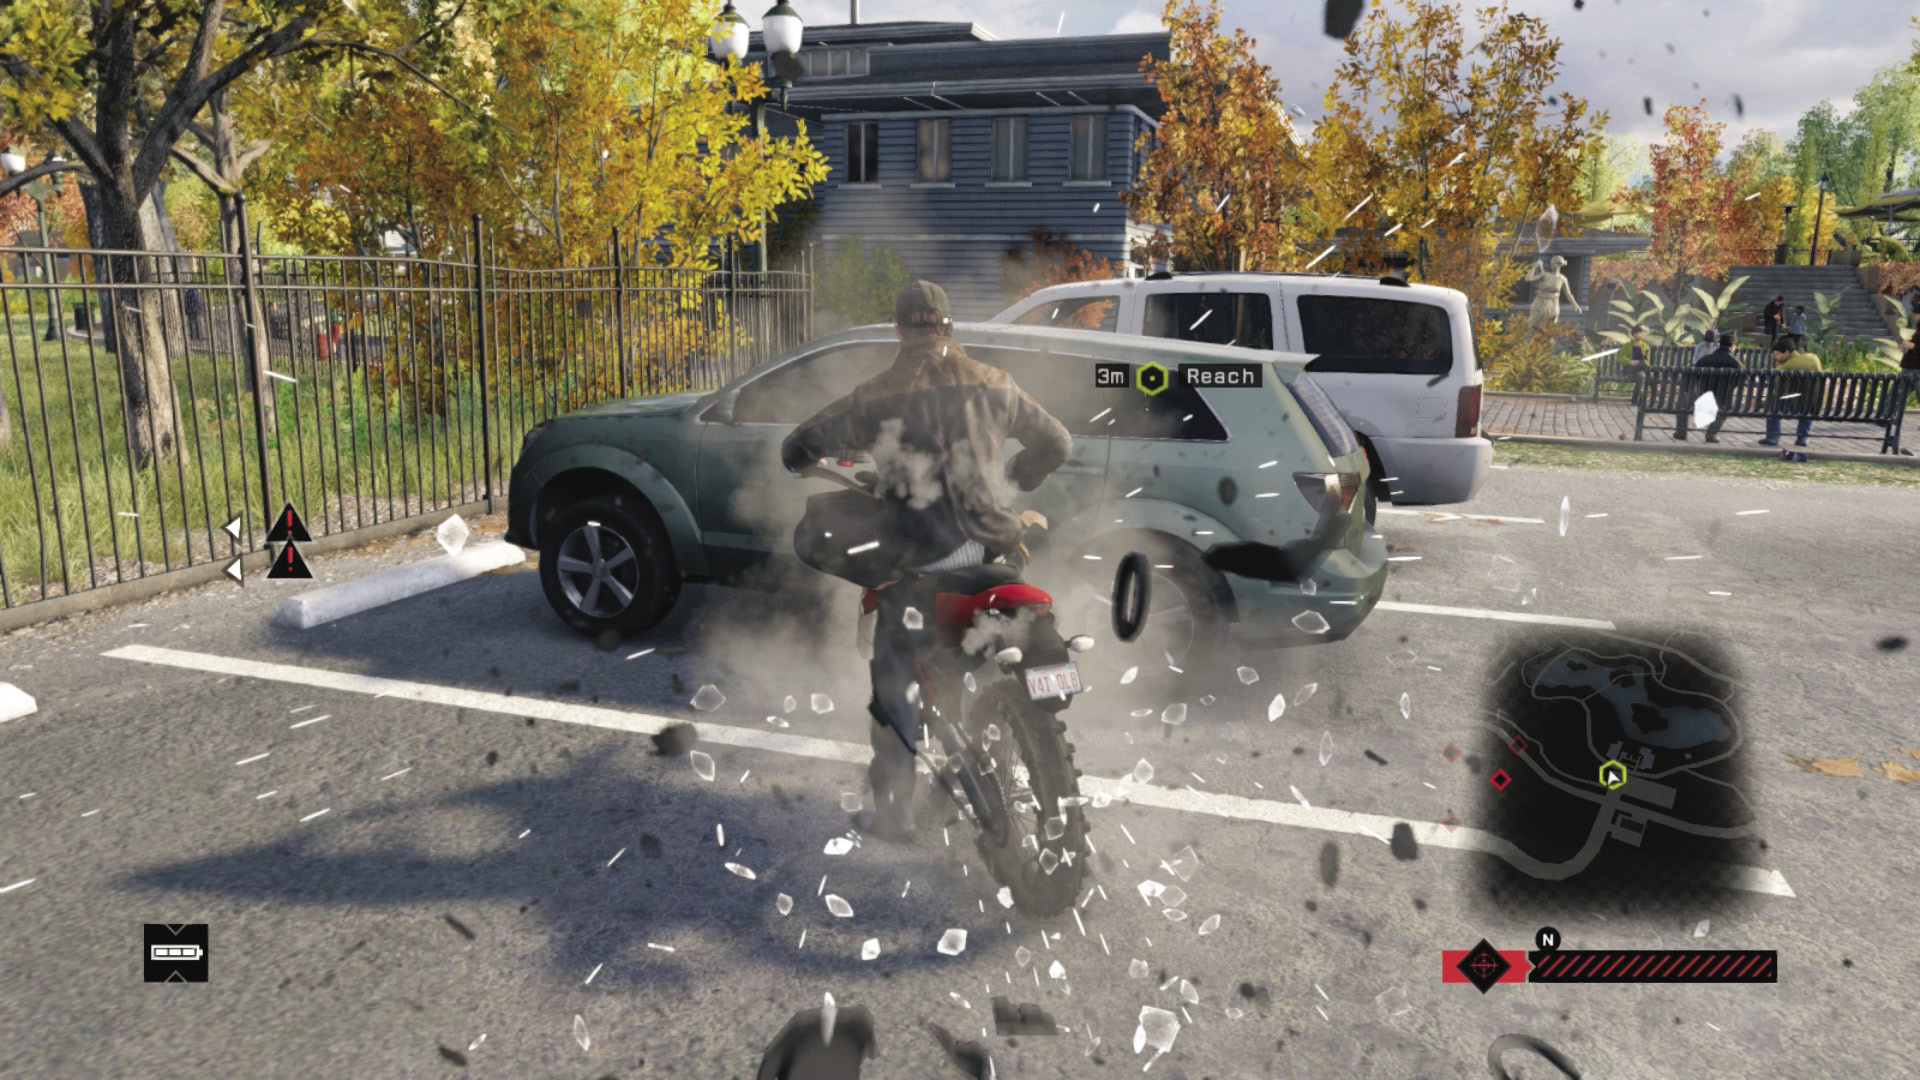
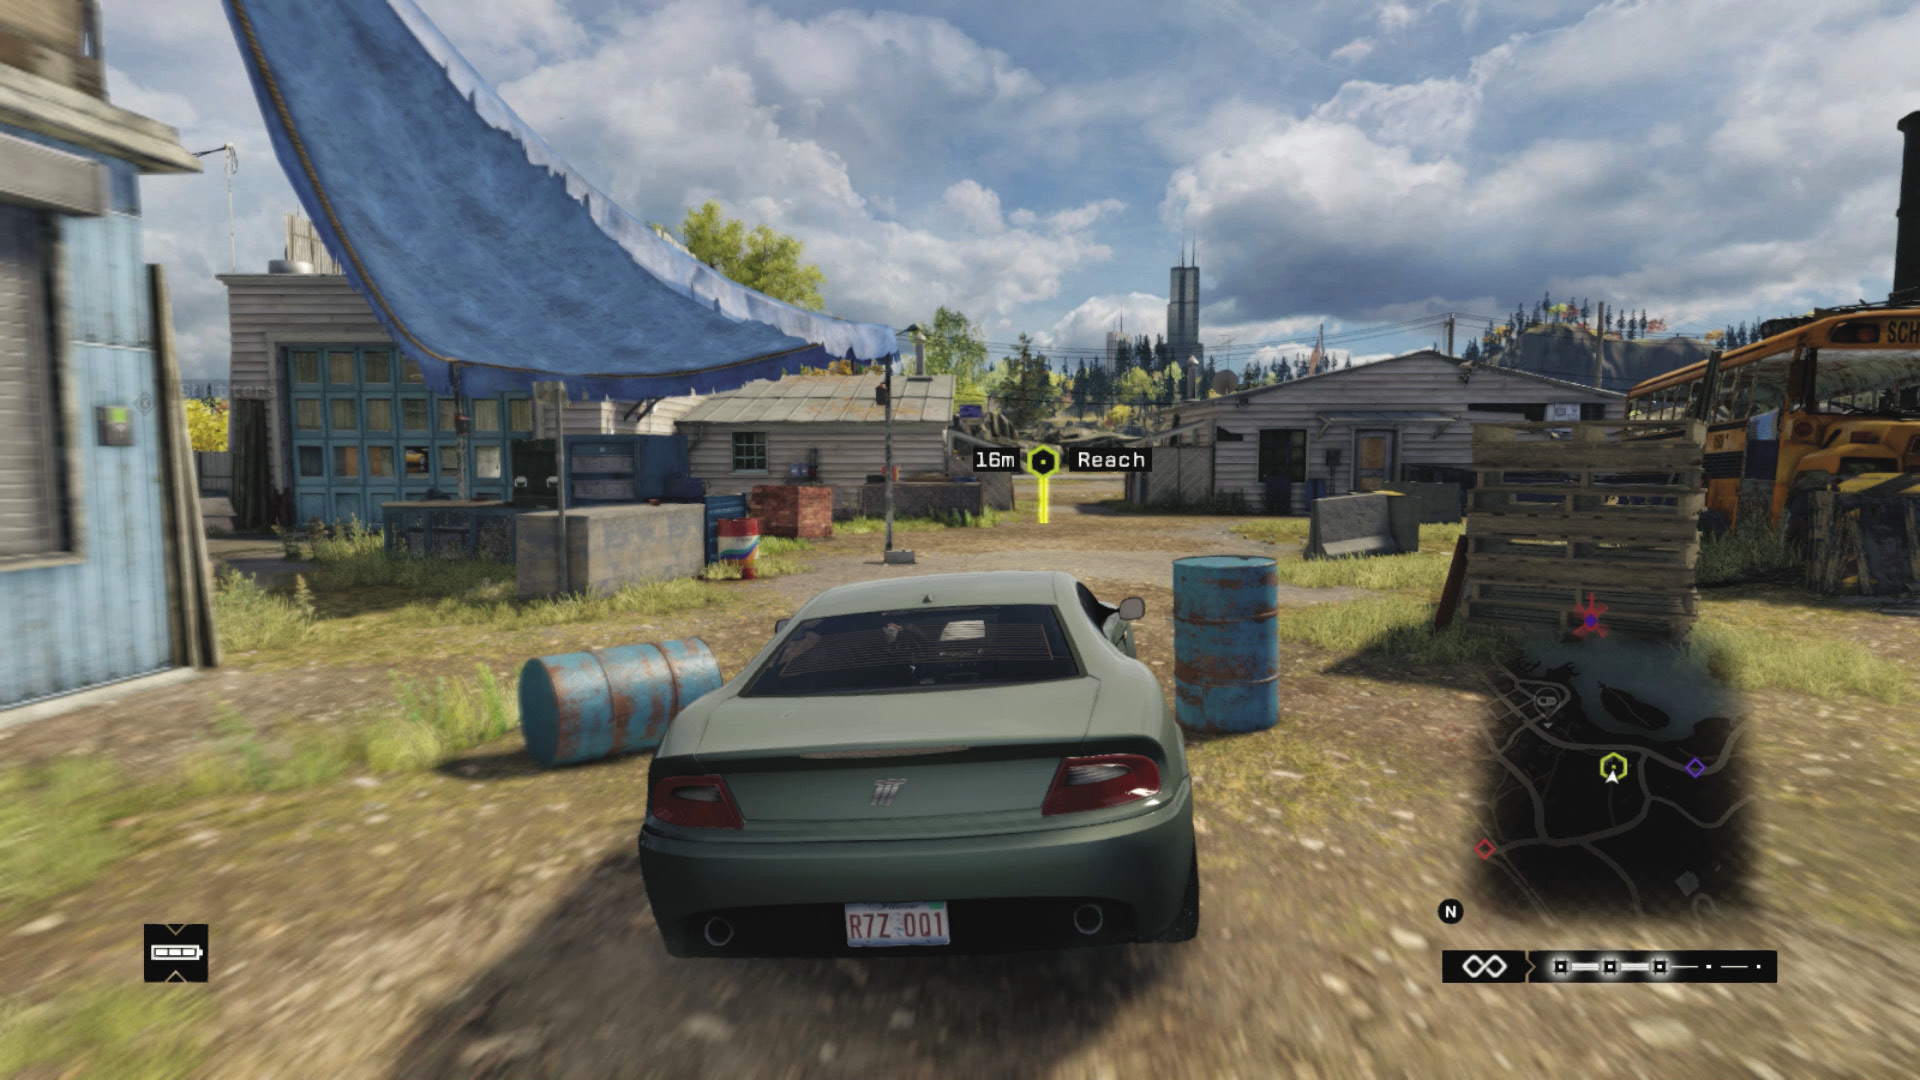
The drop location is likely to be an aboveground garage, an underground or enclosed garage, a parking lot, or an out-of-the-way area. Although the location is randomly assigned, there are a couple of locations per district, and it is picked based on where you are when you escape the enemy.
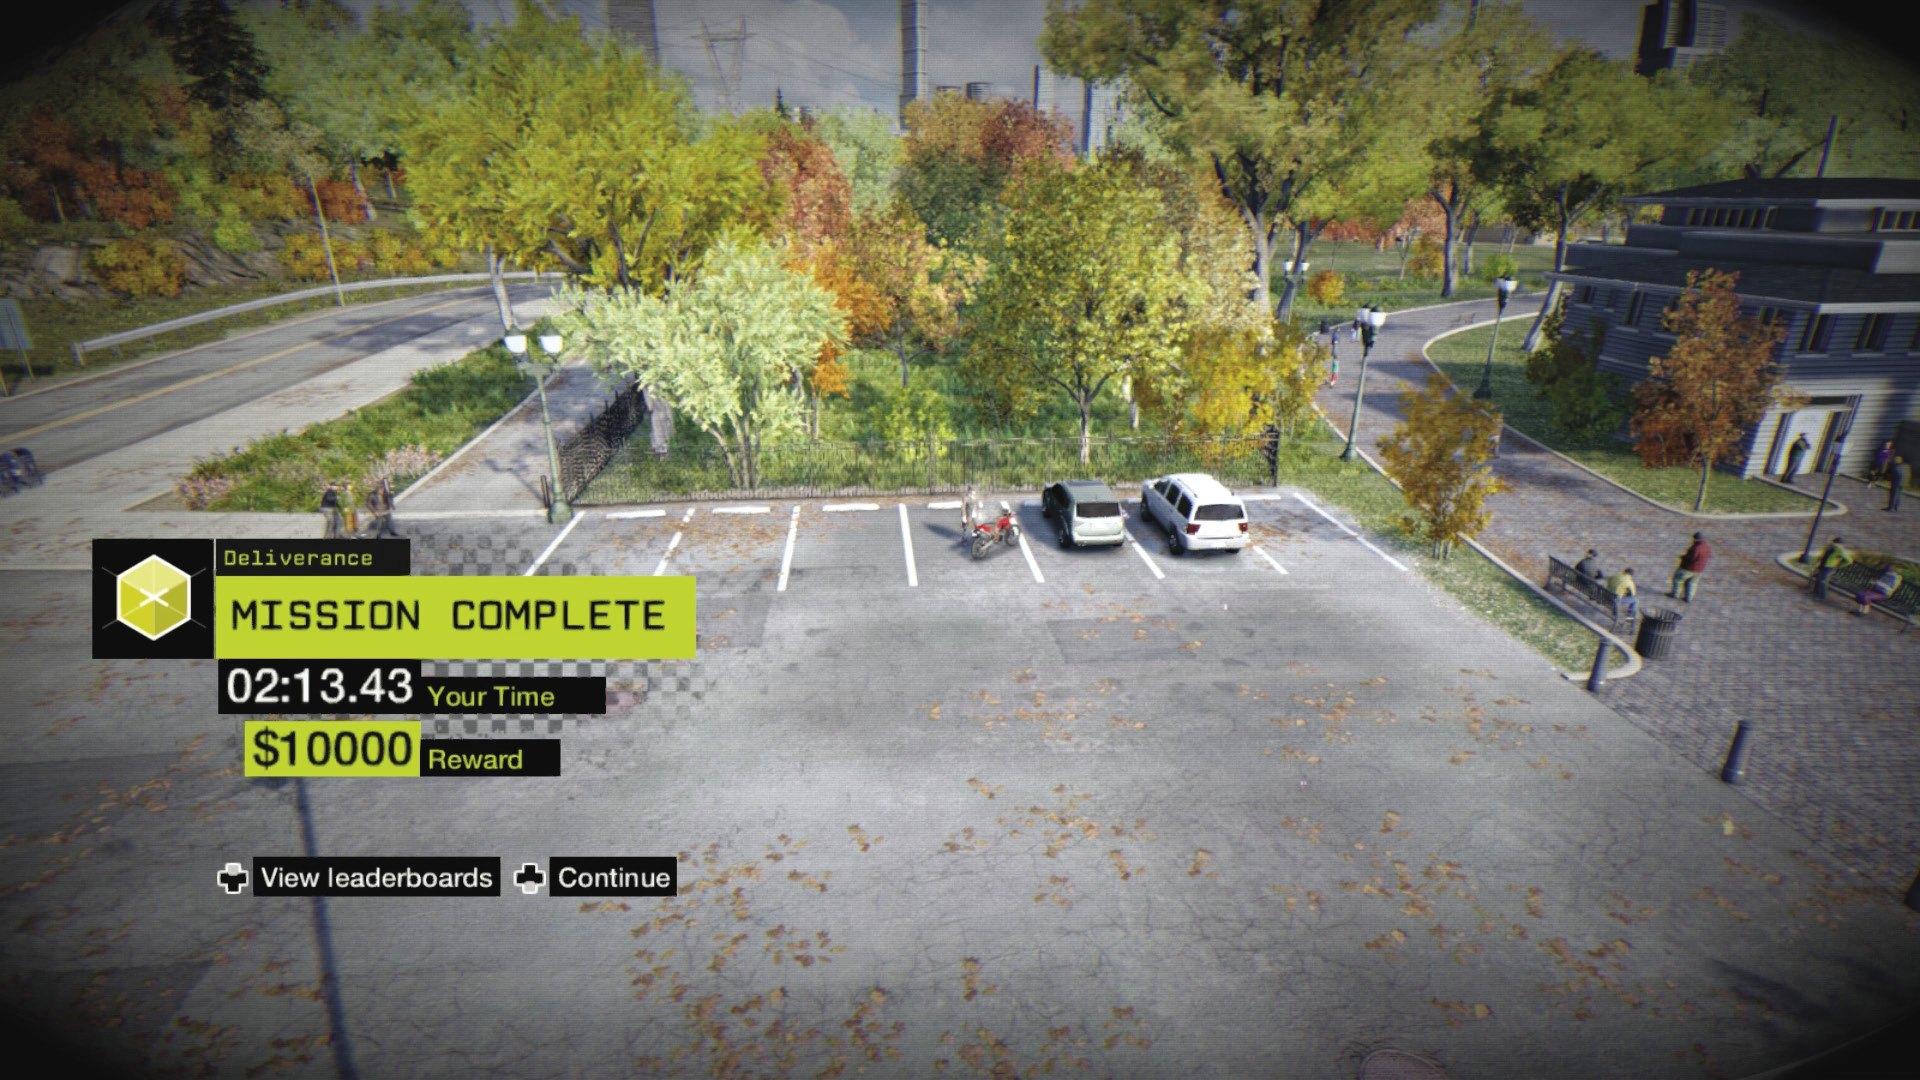
When you have successfully eluded capture and driven your vehicle into the drop location, the mission concludes. You receive payment, experience, and a bonus of cash if you complete the mission in a short amount of time.
PAWNEE // GETAWAY CONTRACTS
01_DELIVERANCE
Starting location: abandoned station
Vehicle: Kuruhawa Motorsport 450
Enemy: The Club
Difficulty:
 03:00 // +$10,000
 05:00 // +$9,000
 ∞ // +$8,000
BEAT THIS: 02:18:95 (Anthony Renomeron)
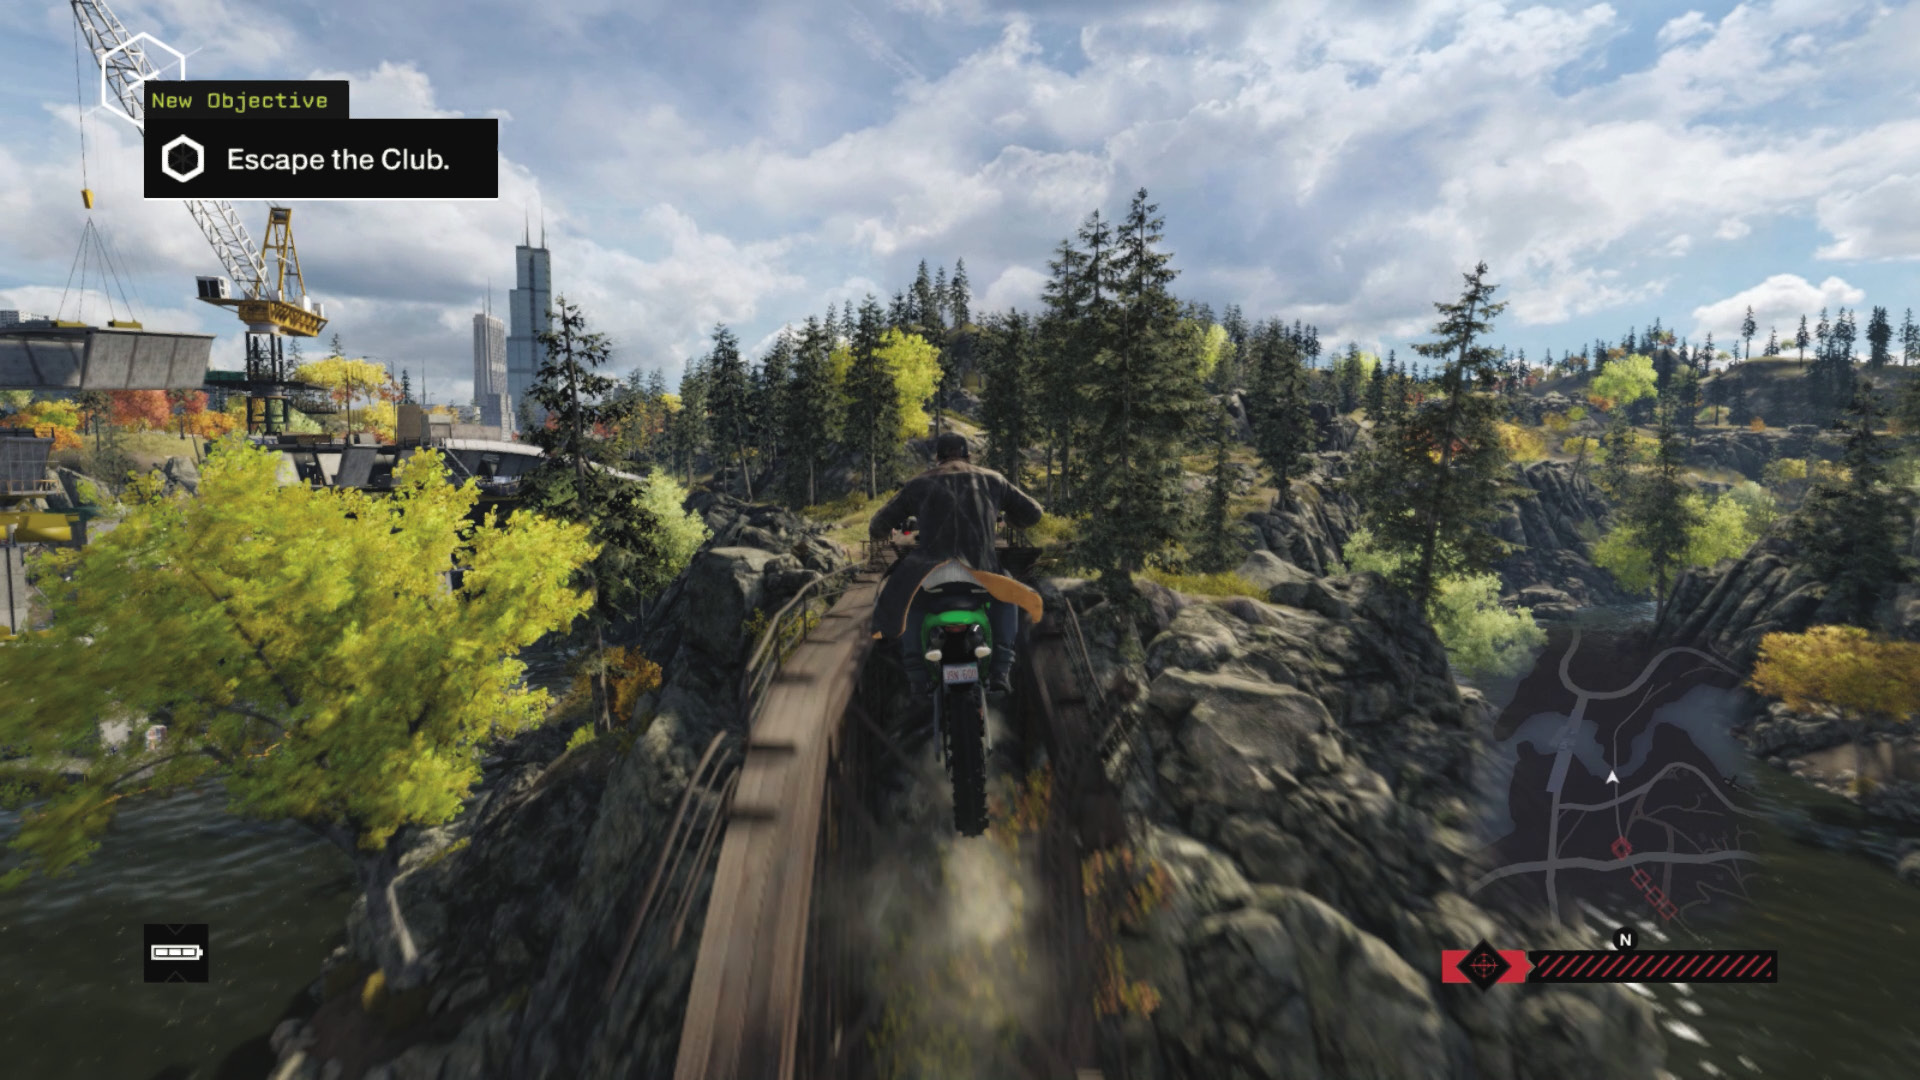
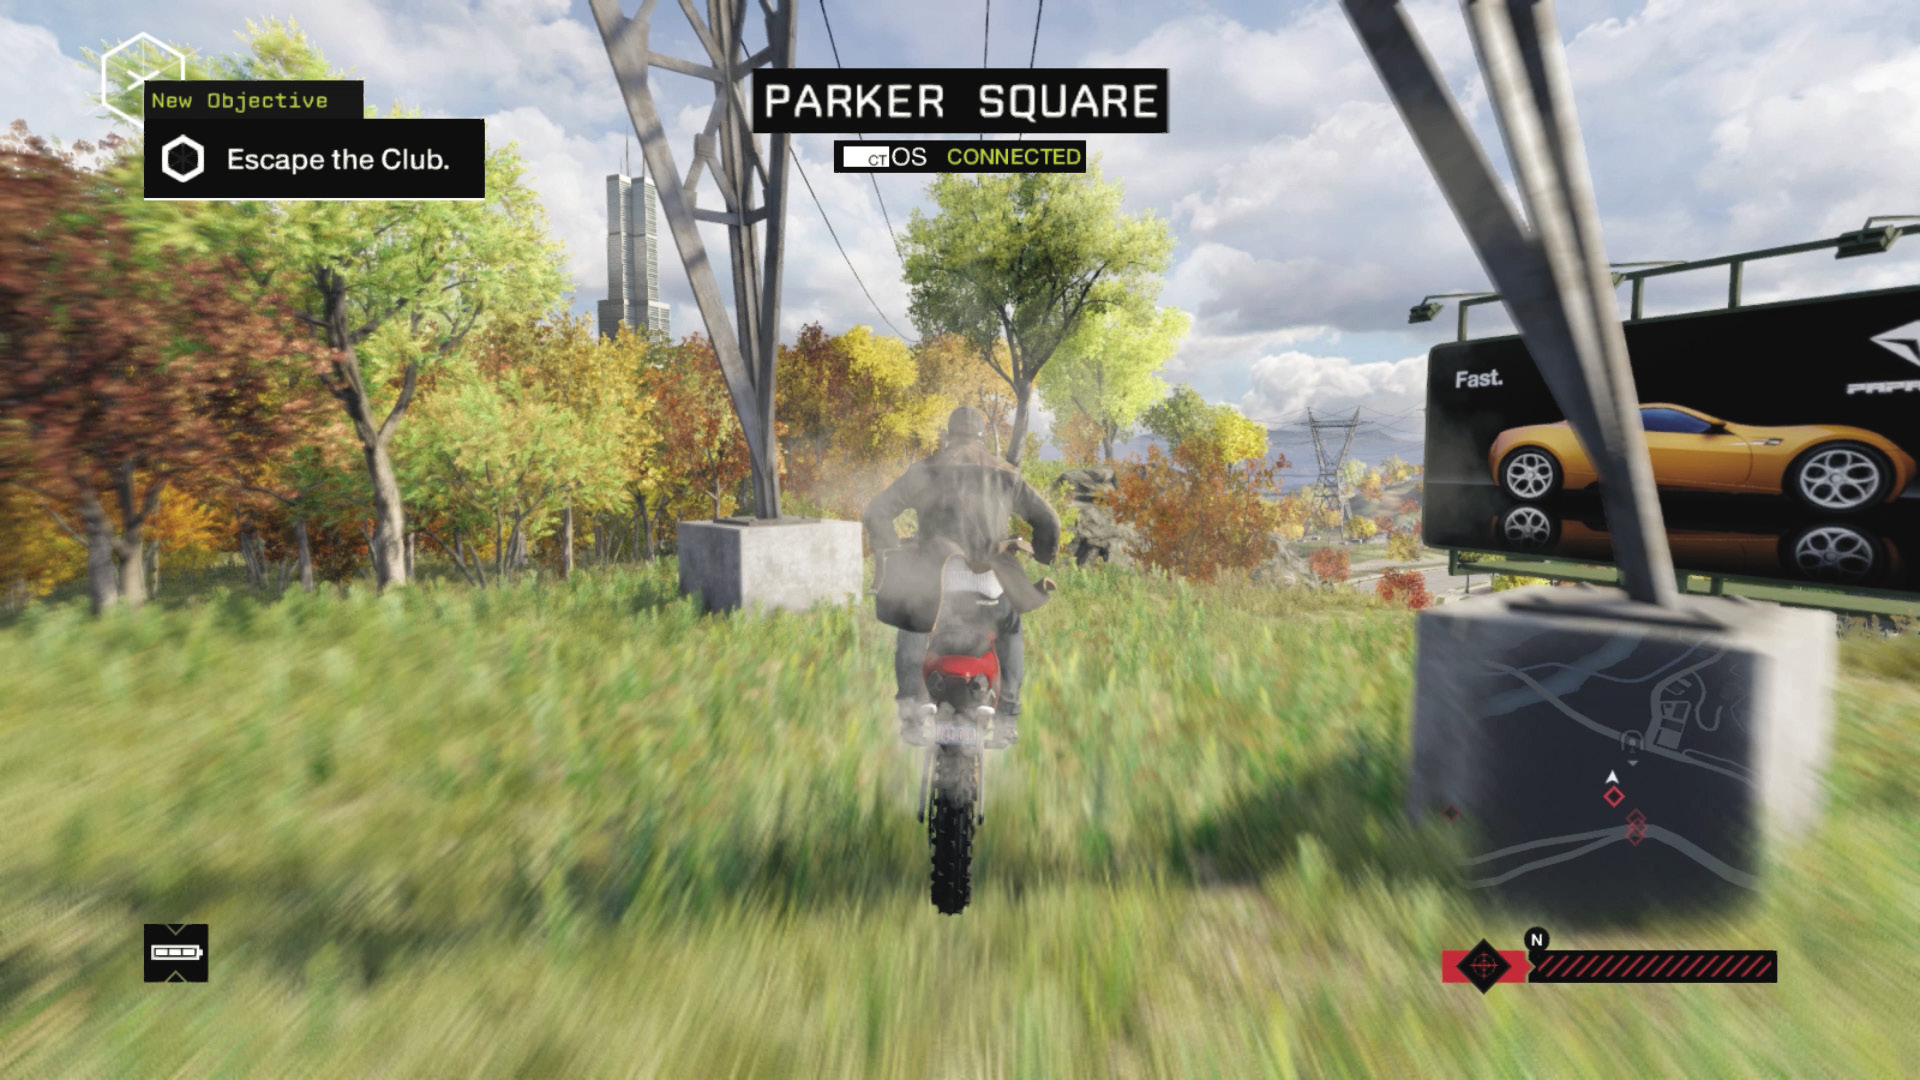
Heed this tactical advice to increase your chances of success:
You have a great advantage, as your bike can complete ramped jumps and can use the dirt trails where the Club can’t easily follow you.
Pawnee has some narrow streets, including the tarmac ones. But there are blockers and steam pipes you can easily remember and reach.
Stay in Pawnee and use the gas station drop-off instead of fleeing and elongating your time. Or, flee the area and use the bike’s off-road capabilities to drive over rocks your pursuers can’t reach.
02_SCENIC RETREAT
Starting location: BLUME FACILITY
Vehicle: 550S
Enemy: The POLICE
Difficulty:
 03:00 // +$10,000
 05:00 // +$9,000
 ∞ // +$8,000
BEAT THIS: 03:22:89 (Anthony Renomeron)
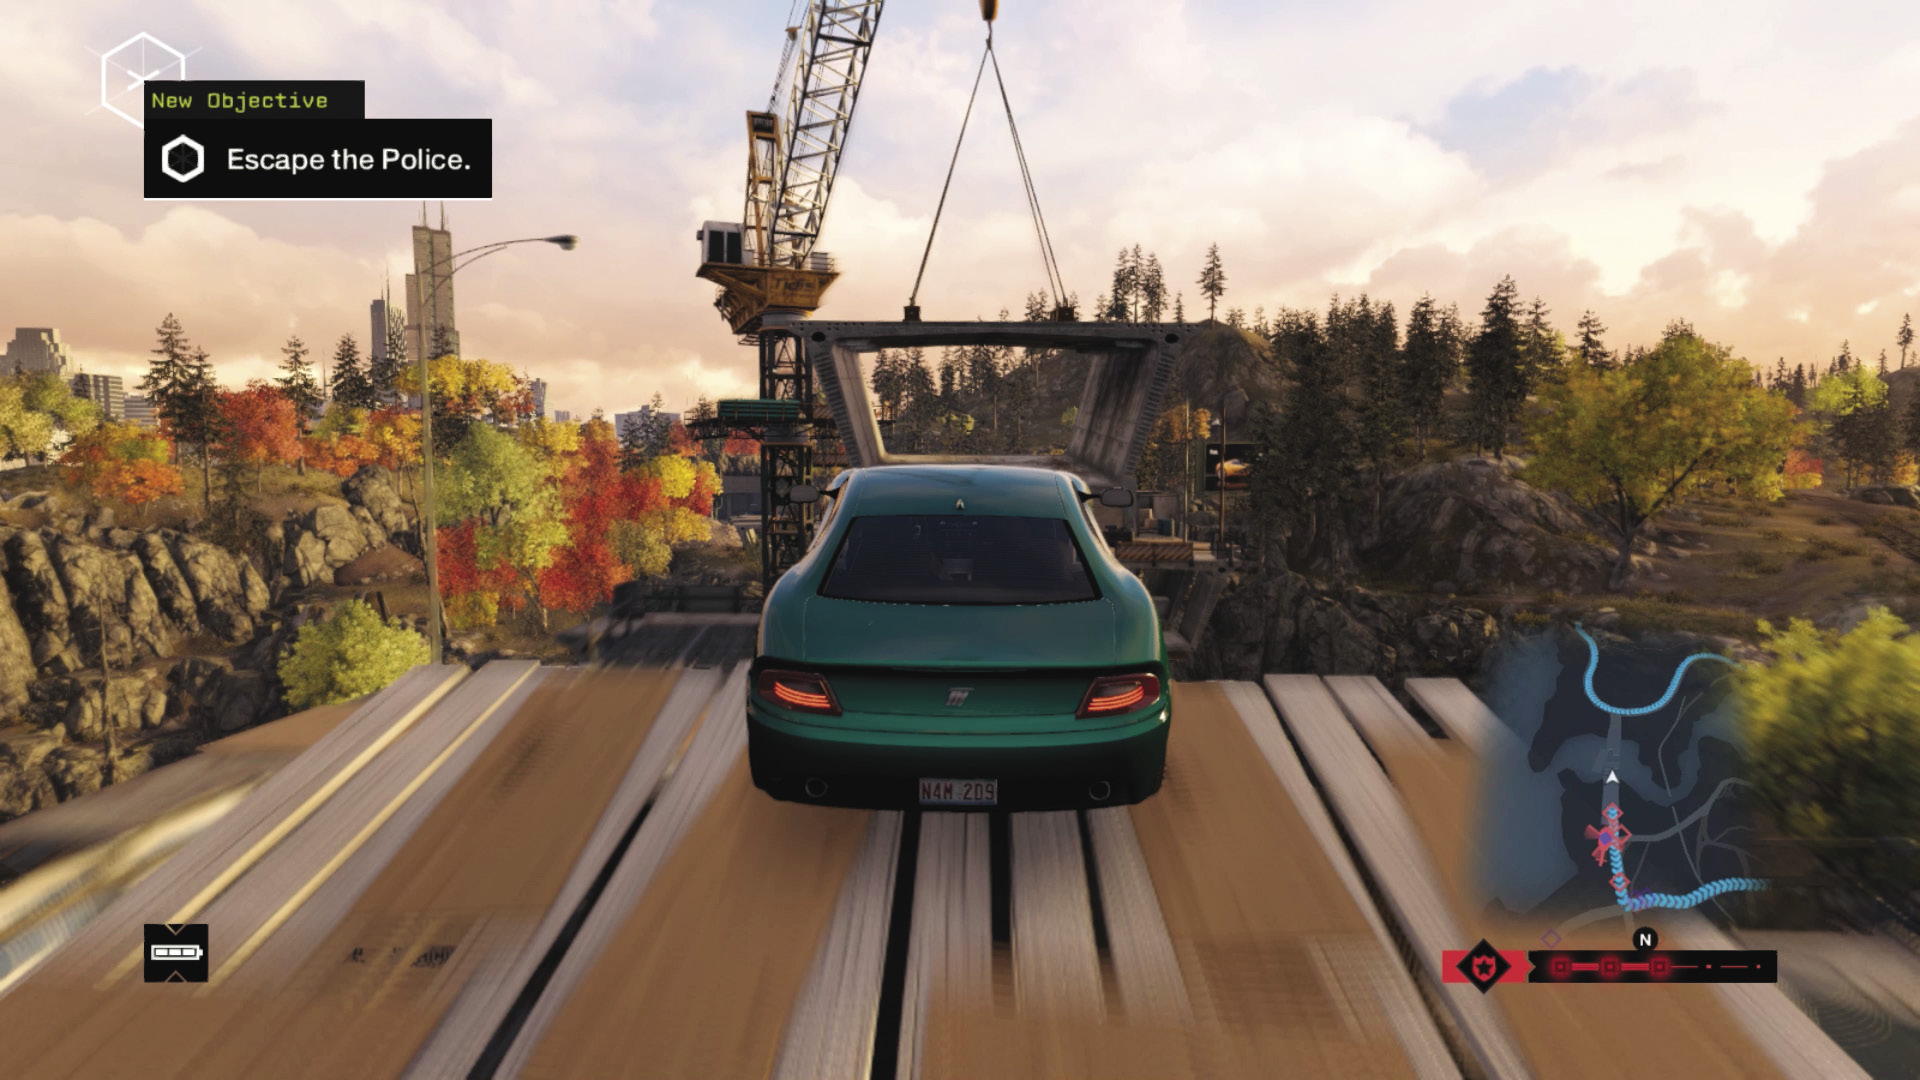
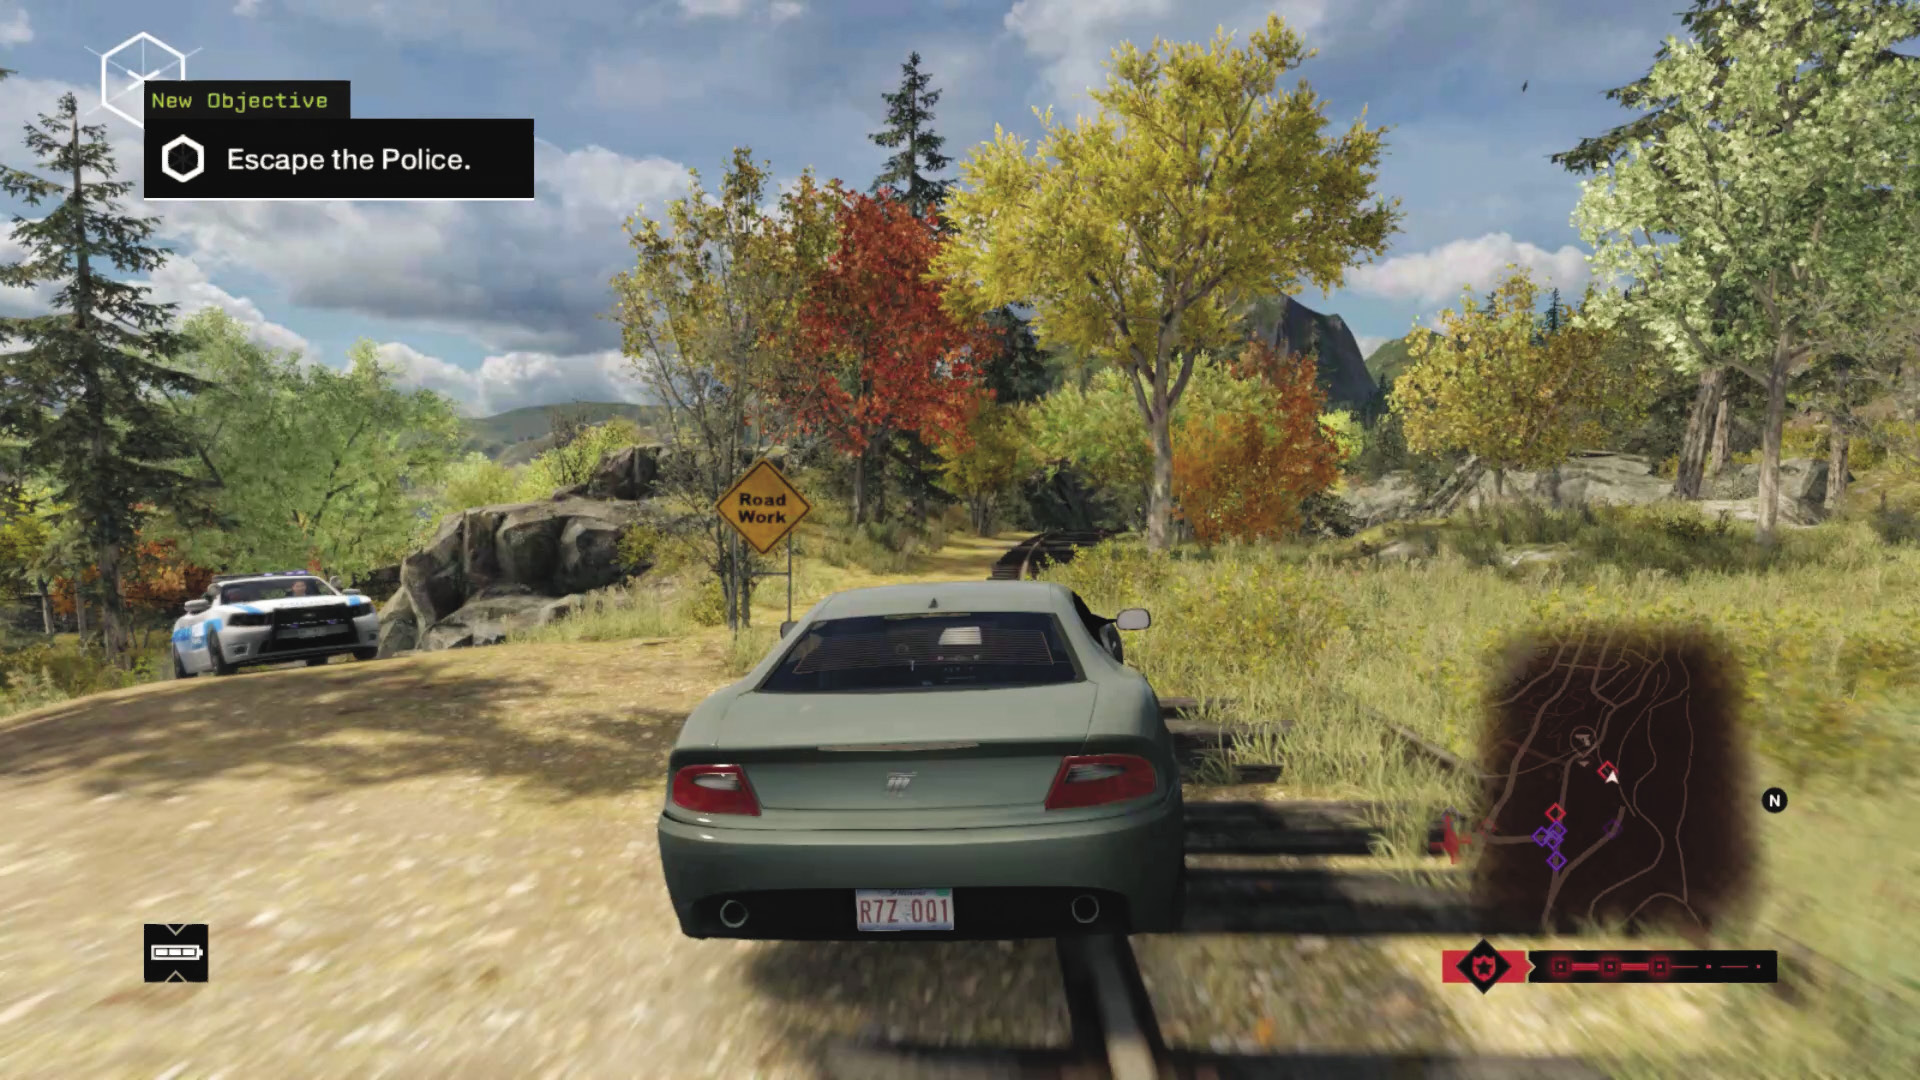
Heed this tactical advice to increase your chances of success:
This mission is tough, and it will take multiple attempts to gain the most reward money. Start by heading toward the construction bridge to the south and launching yourself across (but not at top speed!) to lose the squad cars.
There are tunnels and off-road areas on the main road back toward Chicago; use cunning and try to shake pursuers by varying direction throughout these areas. Changing height also confuses the enemy (e.g., by driving off bridges).
Your vehicle as an excellent top speed, so using long stretches of road or rail lines is a possibility, but vary this with swift weaving through multiple alleys to shake that chopper.
PARKER SQUARE // GETAWAY CONTRACTS
03 _UNDER CONSTRUCTION
Starting location: STRIP MALL
Vehicle: Papavero
Enemy: The POLICE
Difficulty:
 03:00 // +$3,000
 05:00 // +$2,000
 ∞ // +$1,000
BEAT THIS: 01:20:86 (Anthony Renomeron)
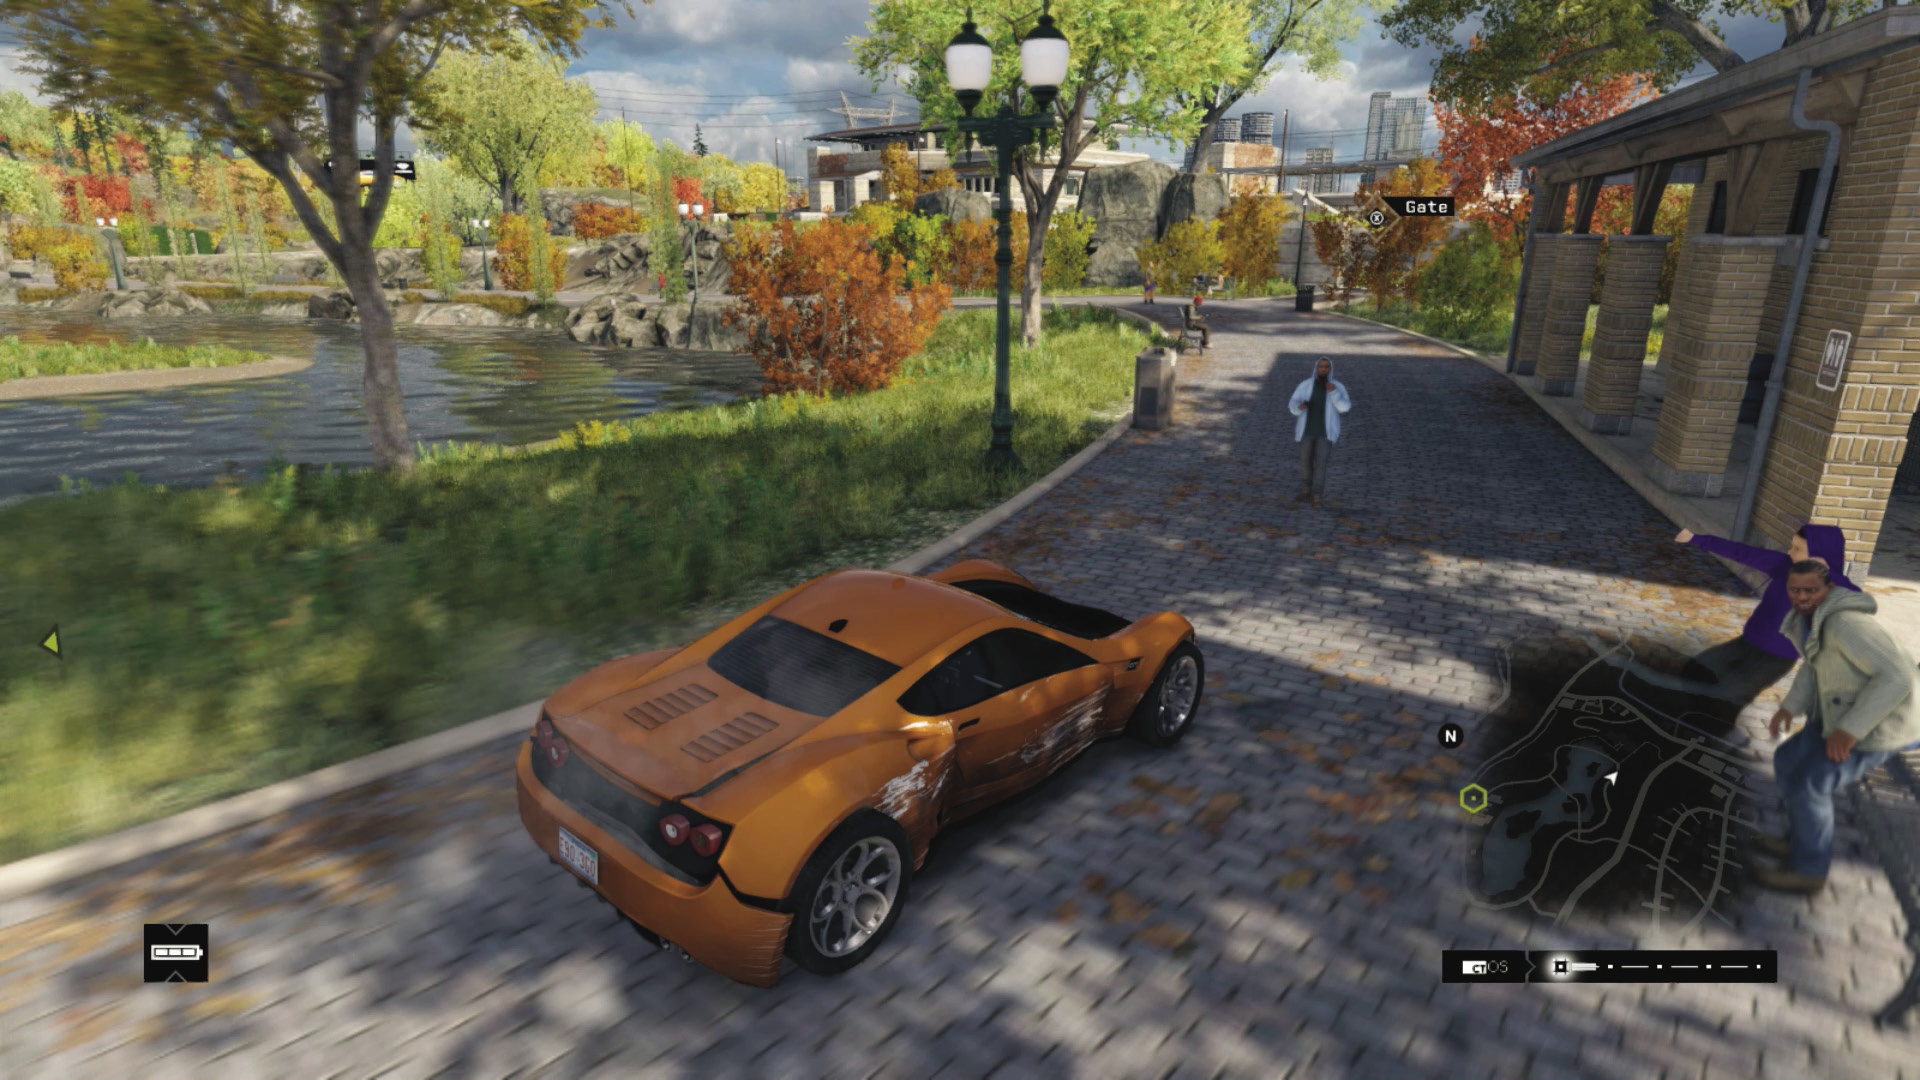
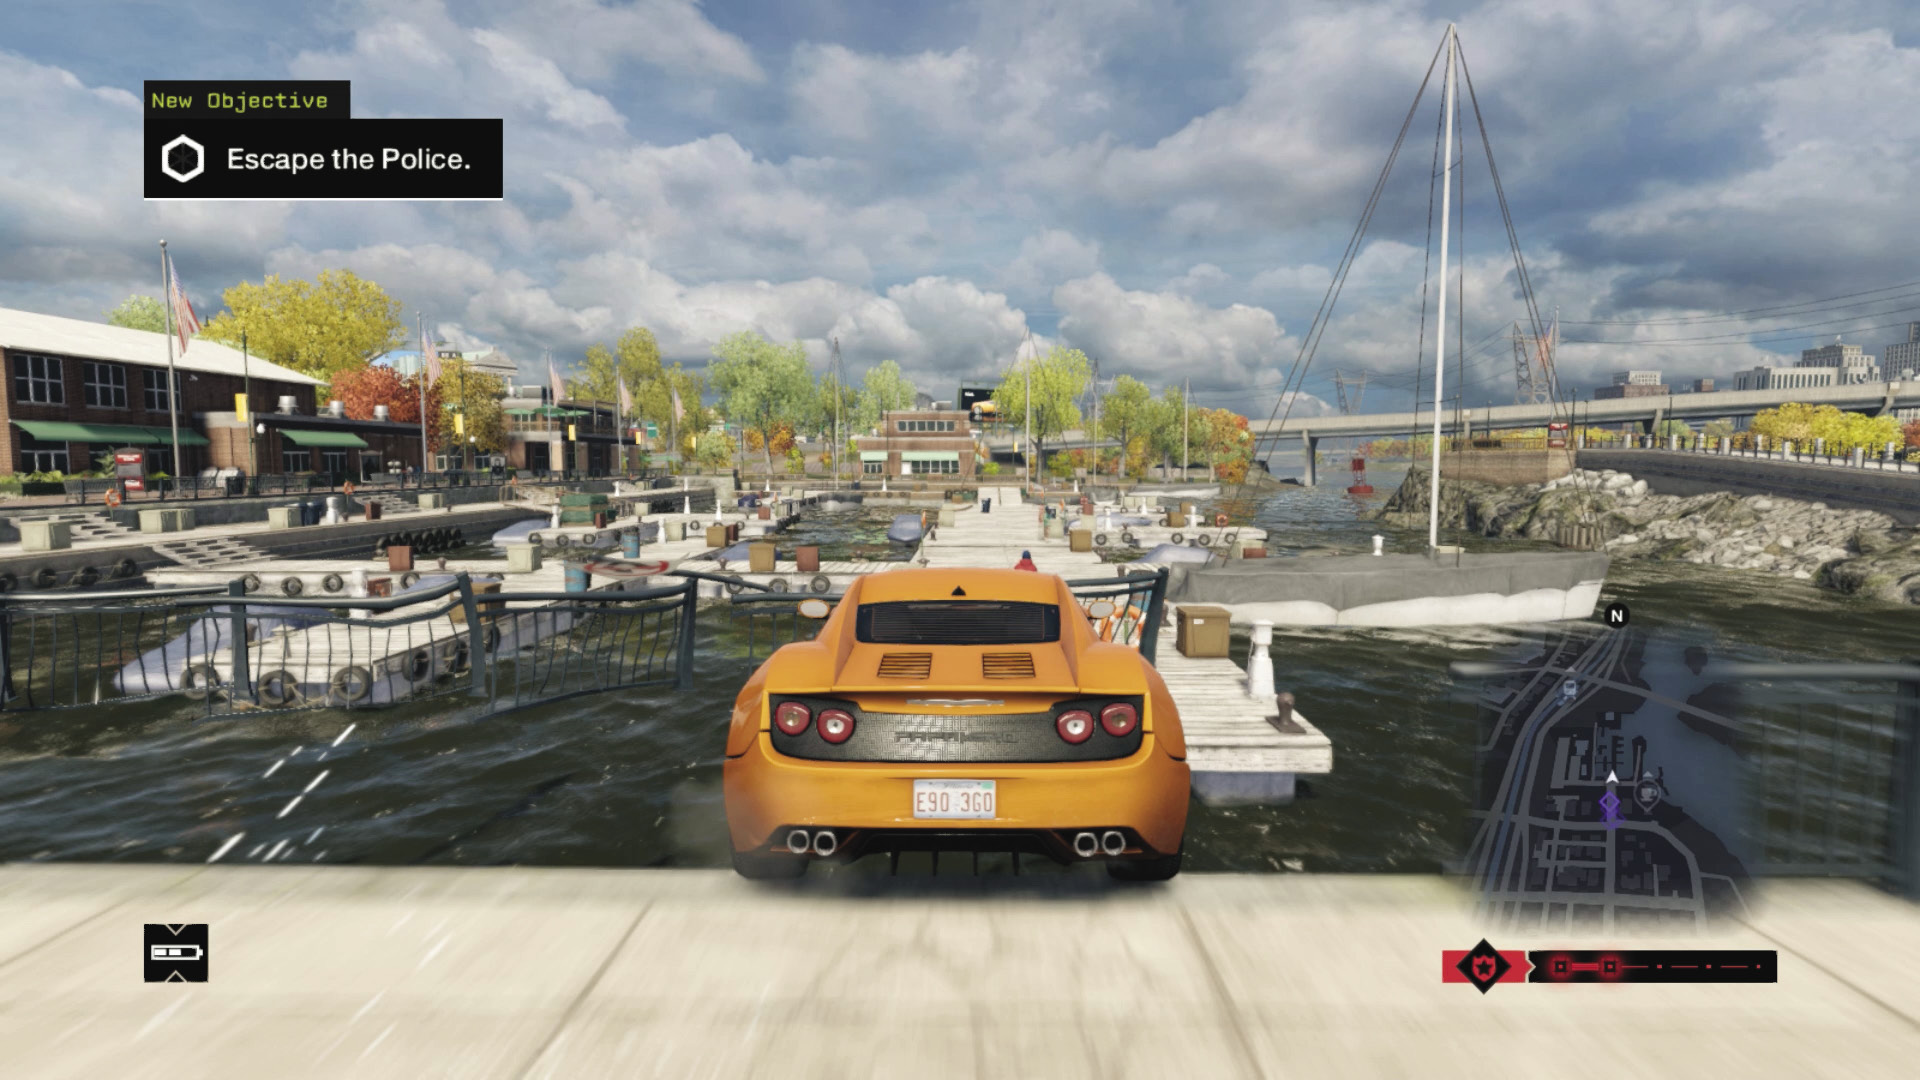
The following plans are helpful if you want to shake the police and don’t have Jam Coms:
You’re in Parker Square, which is a maze of alleys that are reasonably easy to lose the police in. Instead of simply gunning it away from the cops, play hide-and-seek. Remember you can reverse out of the parking structure and accelerate out of it.
If sneaking about the alleys or parks isn’t working well, there are several blockers on the roads around here to use. Stopping the squad cars is most helpful.
Or you could head for the train tunnel or the Parker Square Marina to lose your tails. For best results, combine on and off-road driving so the cops aren’t directly on your tail and you’re driving out of the sphere of influence.
THE WARDS // GETAWAY CONTRACTS
04_MEMBERS ONLY
Starting location: BEDBUG’S ALLEY
Vehicle: Sonarus LX
Enemy: The CLUB
Difficulty:
 03:00 // +$3,000
 05:00 // +$2,000
 ∞ // +$1,000
BEAT THIS: 02:54:66 (Anthony Renomeron)
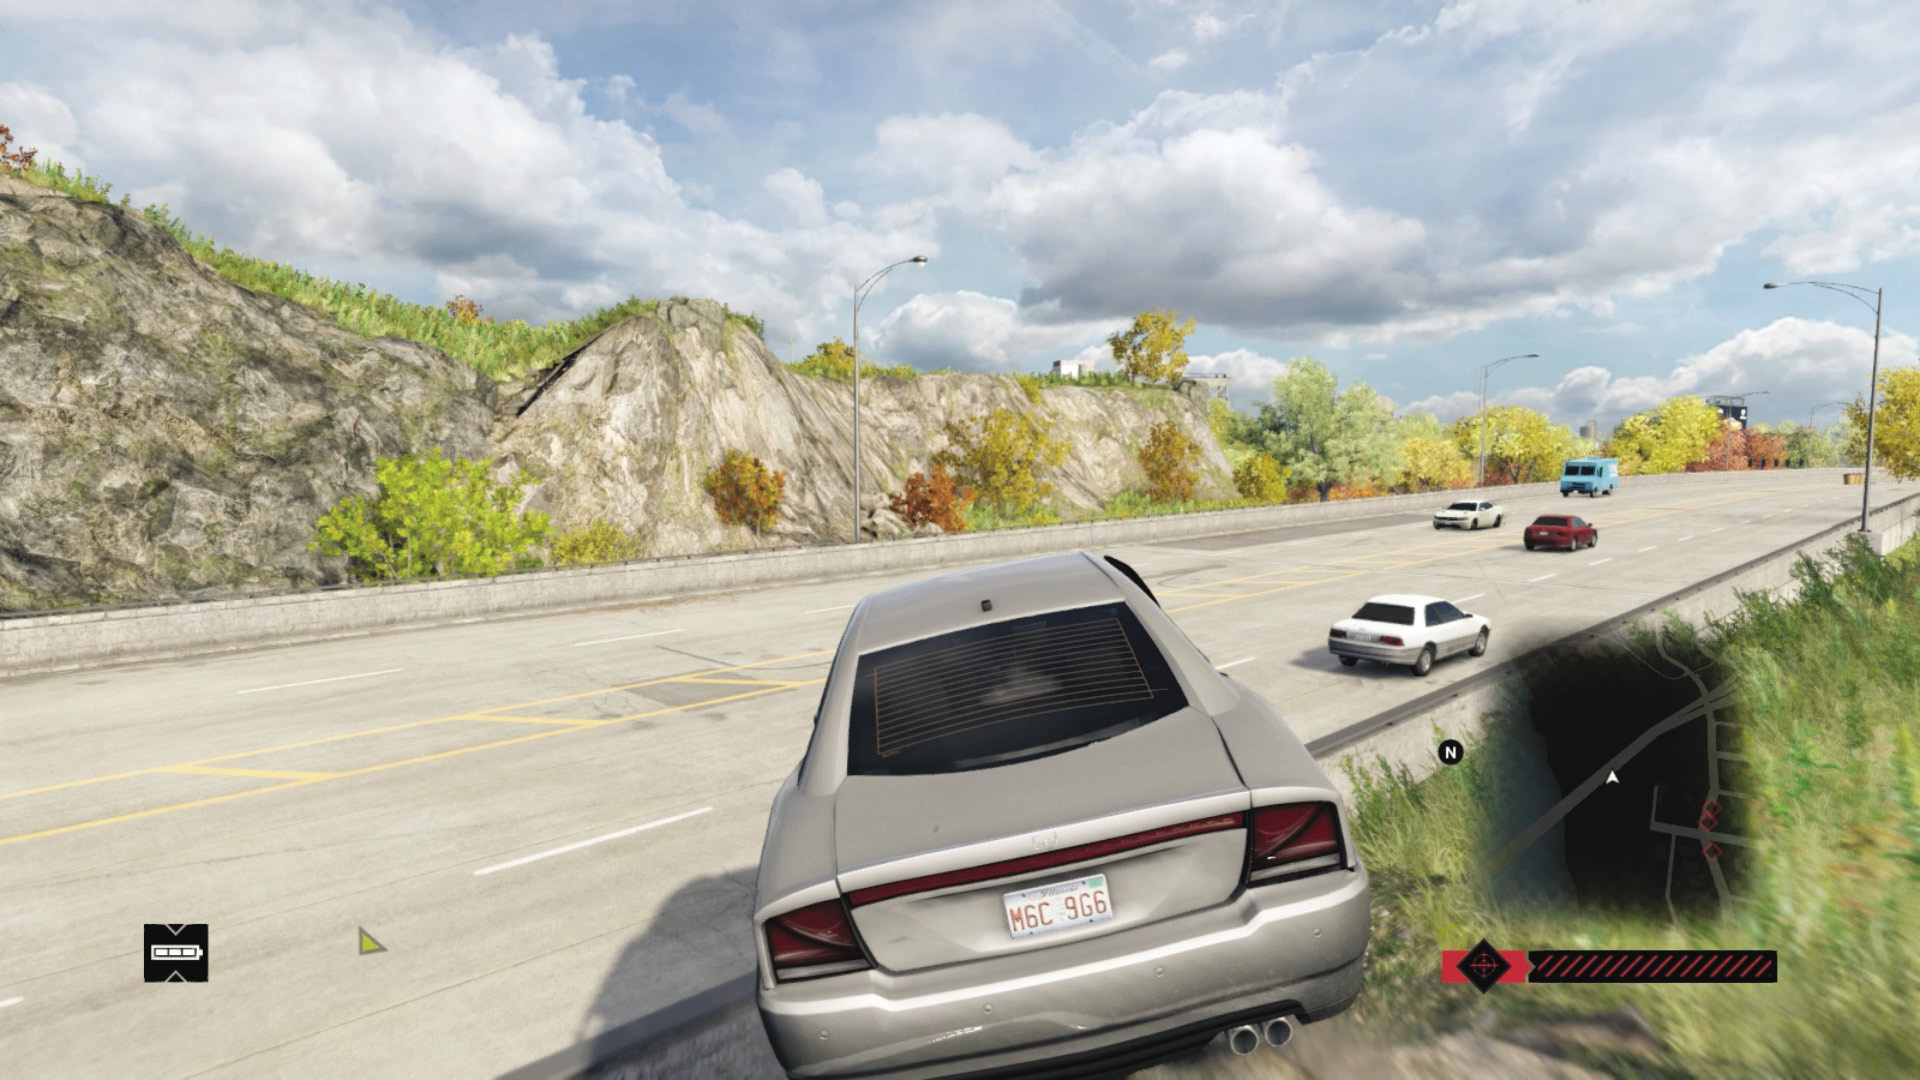
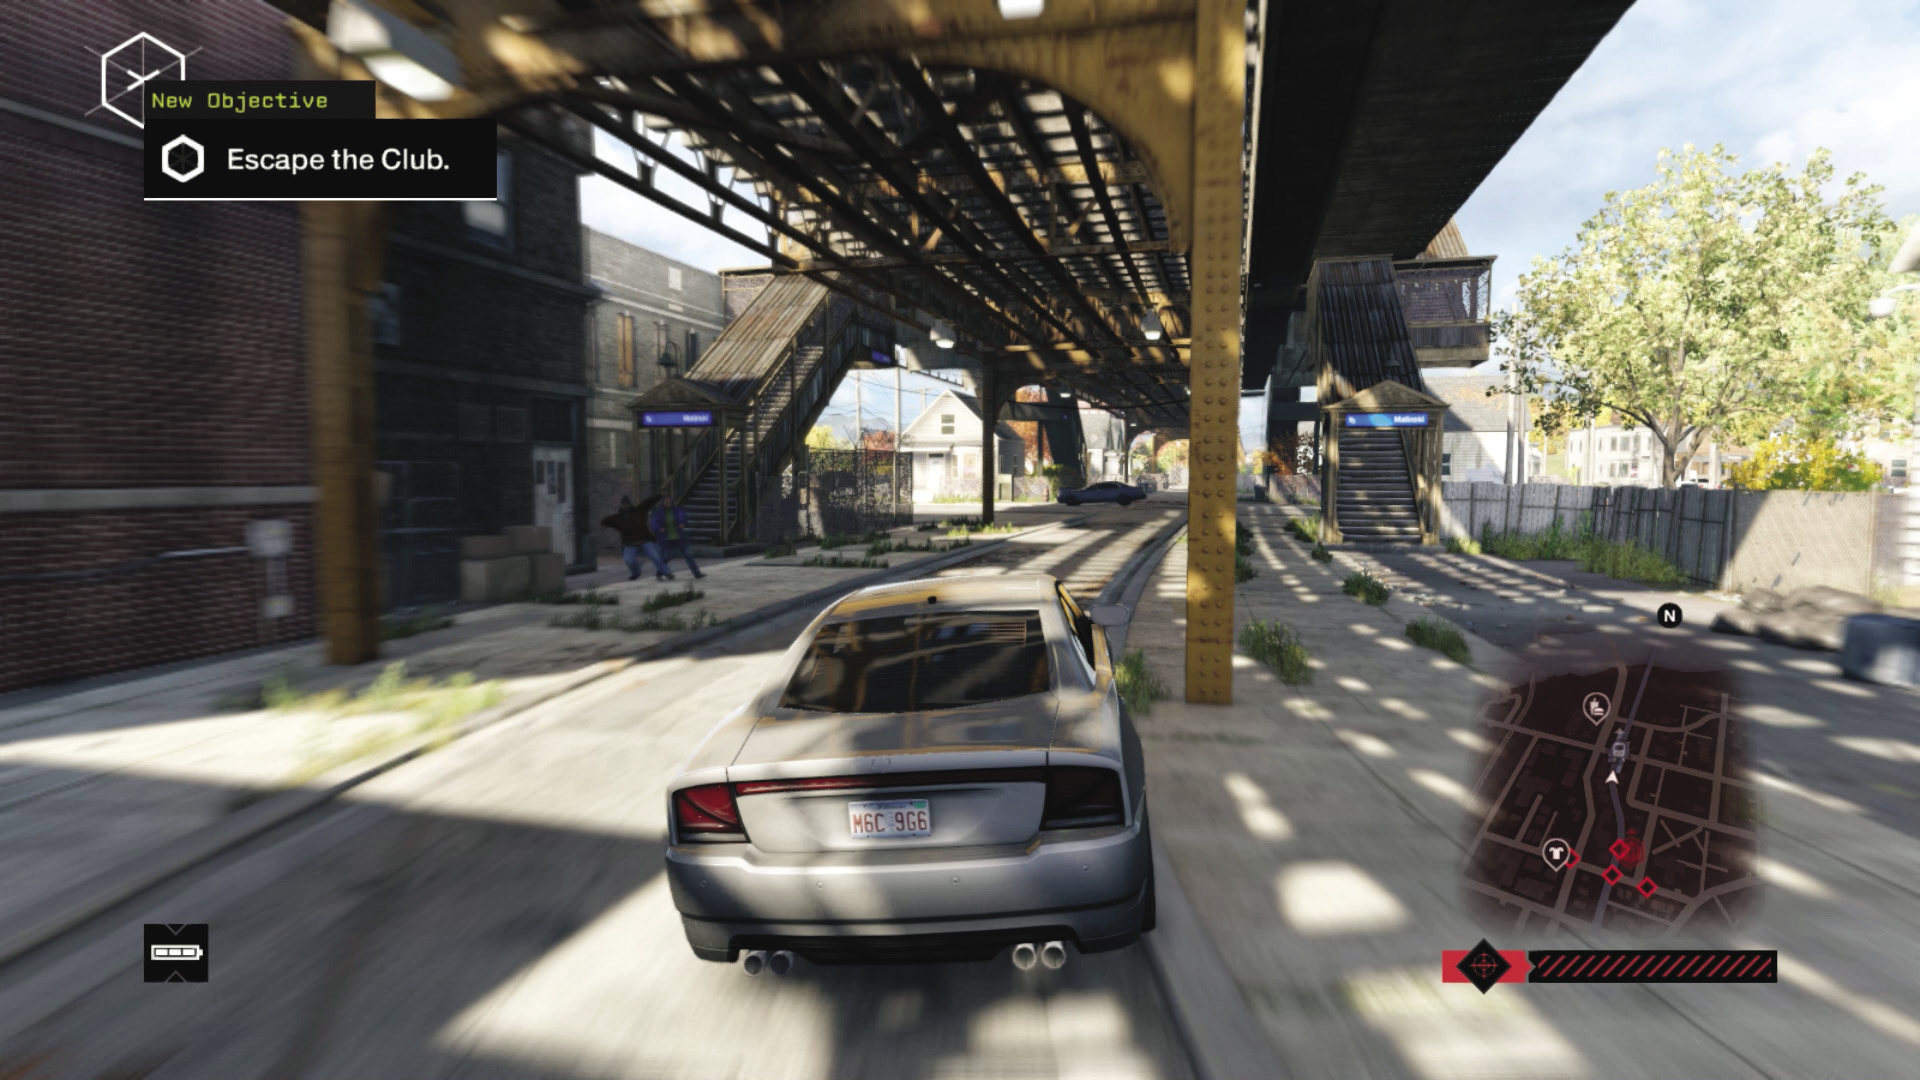
Without the problem of a helicopter, maneuvering away from the Club’s four pursuers is a little more straightforward. Here are some plans to try:
Acceleration is good in this vehicle, and staying on the main road is feasible if you’re checking the area for steam pipes, traffic lights, and blockers to slow your pursuers down.
Sometimes, the Club sends drivers who aren’t too skilled in maneuvering through dirt tracks or the path under the L-train. Try a mix of sharp turns and accelerating away from main thoroughfares.
It’s always great to utilize the bridges here that rise vertically, as the enemies simply stop or fall into the river, allowing you swift fleeing opportunities.
BRANDON DOCKS // GETAWAY CONTRACTS
05_IN THE SPOTLIGHT
Starting location: EAST DOCKS PENINSULA
Vehicle: Vesoud HMI
Enemy: The POLICE
Difficulty:
 03:00 // +$6,000
 05:00 // +$5,000
 ∞ // +$4,000
BEAT THIS: 02:19:48 (Anthony Renomeron)
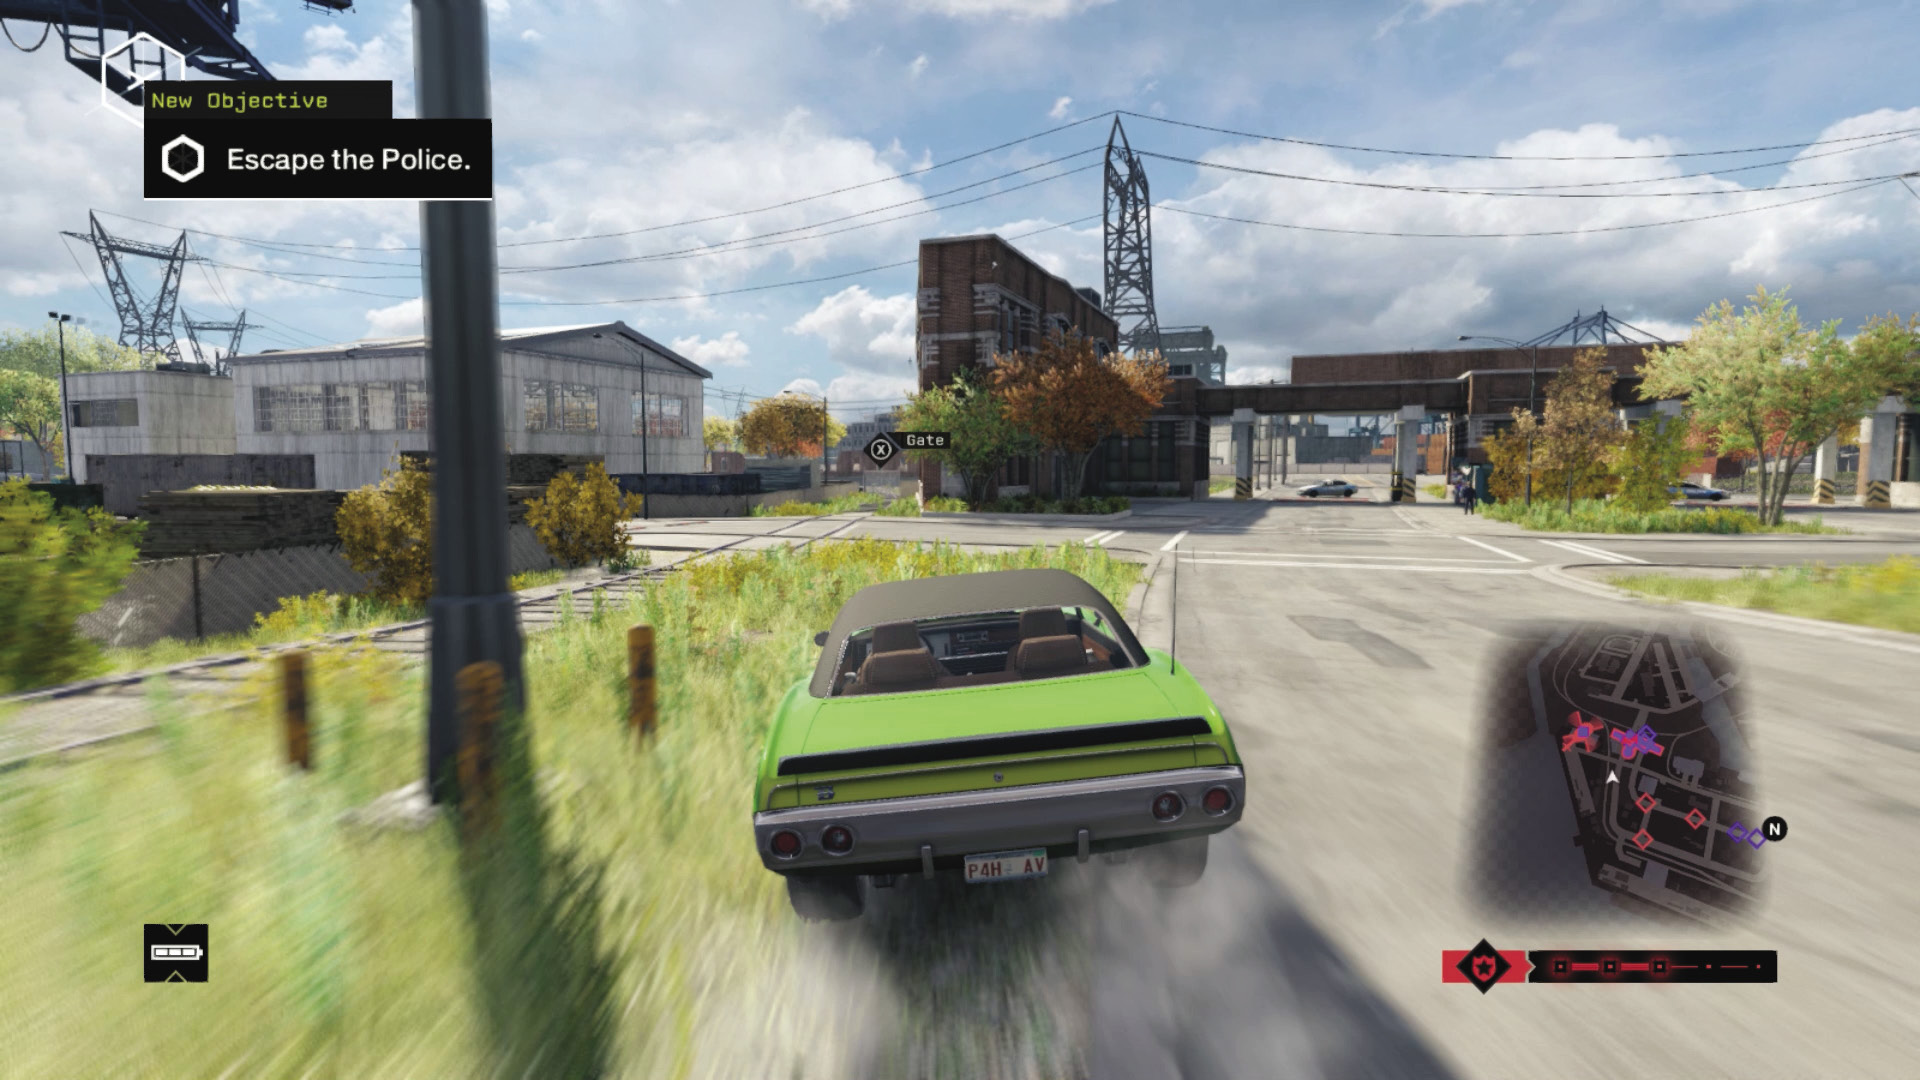
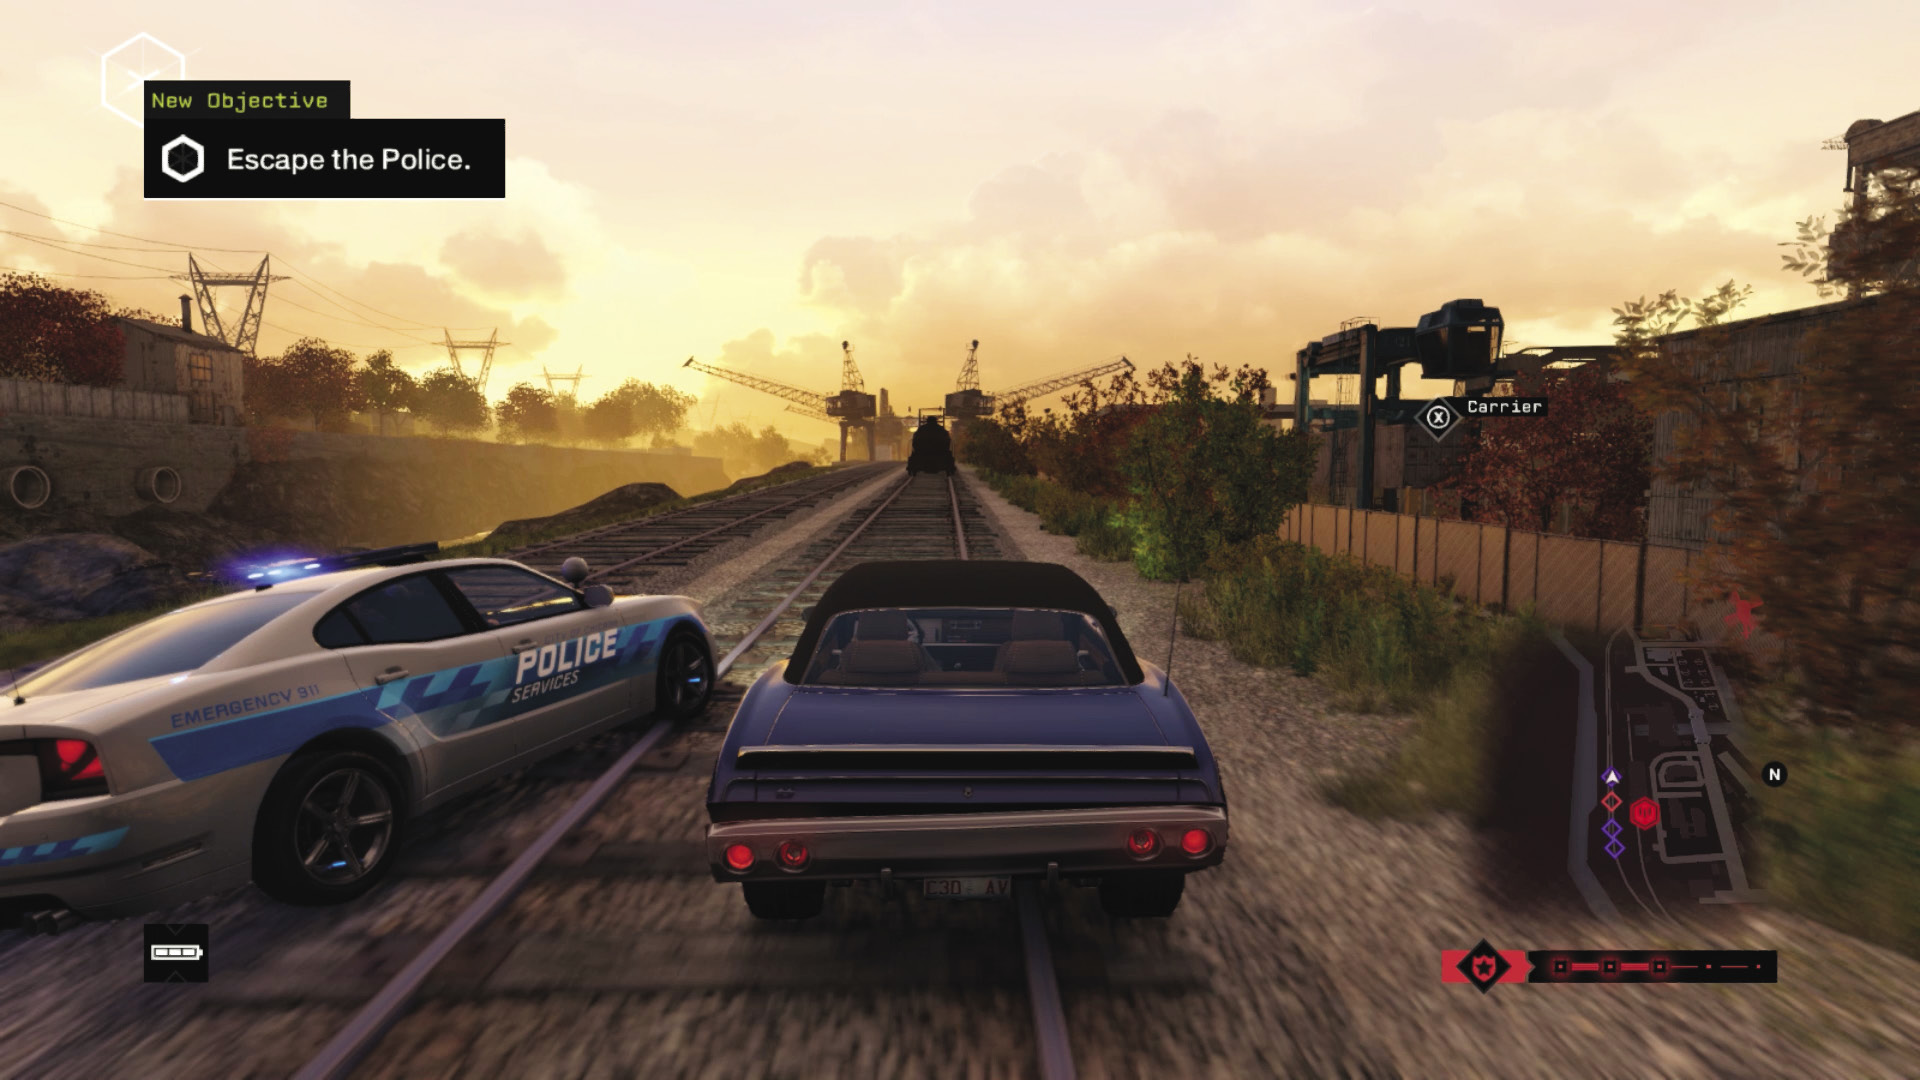
Need help extricating yourself from the cops chasing you? Watch for the following in this area:
There’s a small gate and rail lines to the left of the dock exit (the latter of which has loads of cops but also blockers you can use). This gate leads you onto the tracks, and closing it behind you effectively blocks all the cops but the chopper.
The vehicle you’re driving has a nasty habit of oversteering and losing control more often than other vehicles, so keep the speed slightly down from maximum, unless you’re racing down the rail lines.
There are ramps off the rail lines, and a great main road with steam pipes and other obstacles to activate. But bridges are just as effective.
06_PICKUP AND RUN
Starting location: TIDIS INDUSTRIAL WAREHOUSE
Vehicle: Tributary 3500
Enemy: The CLUB
Difficulty:
 03:00 // +$6,000
 05:00 // +$5,000
 ∞ // +$4,000
BEAT THIS: 02:57:29 (Anthony Renomeron)
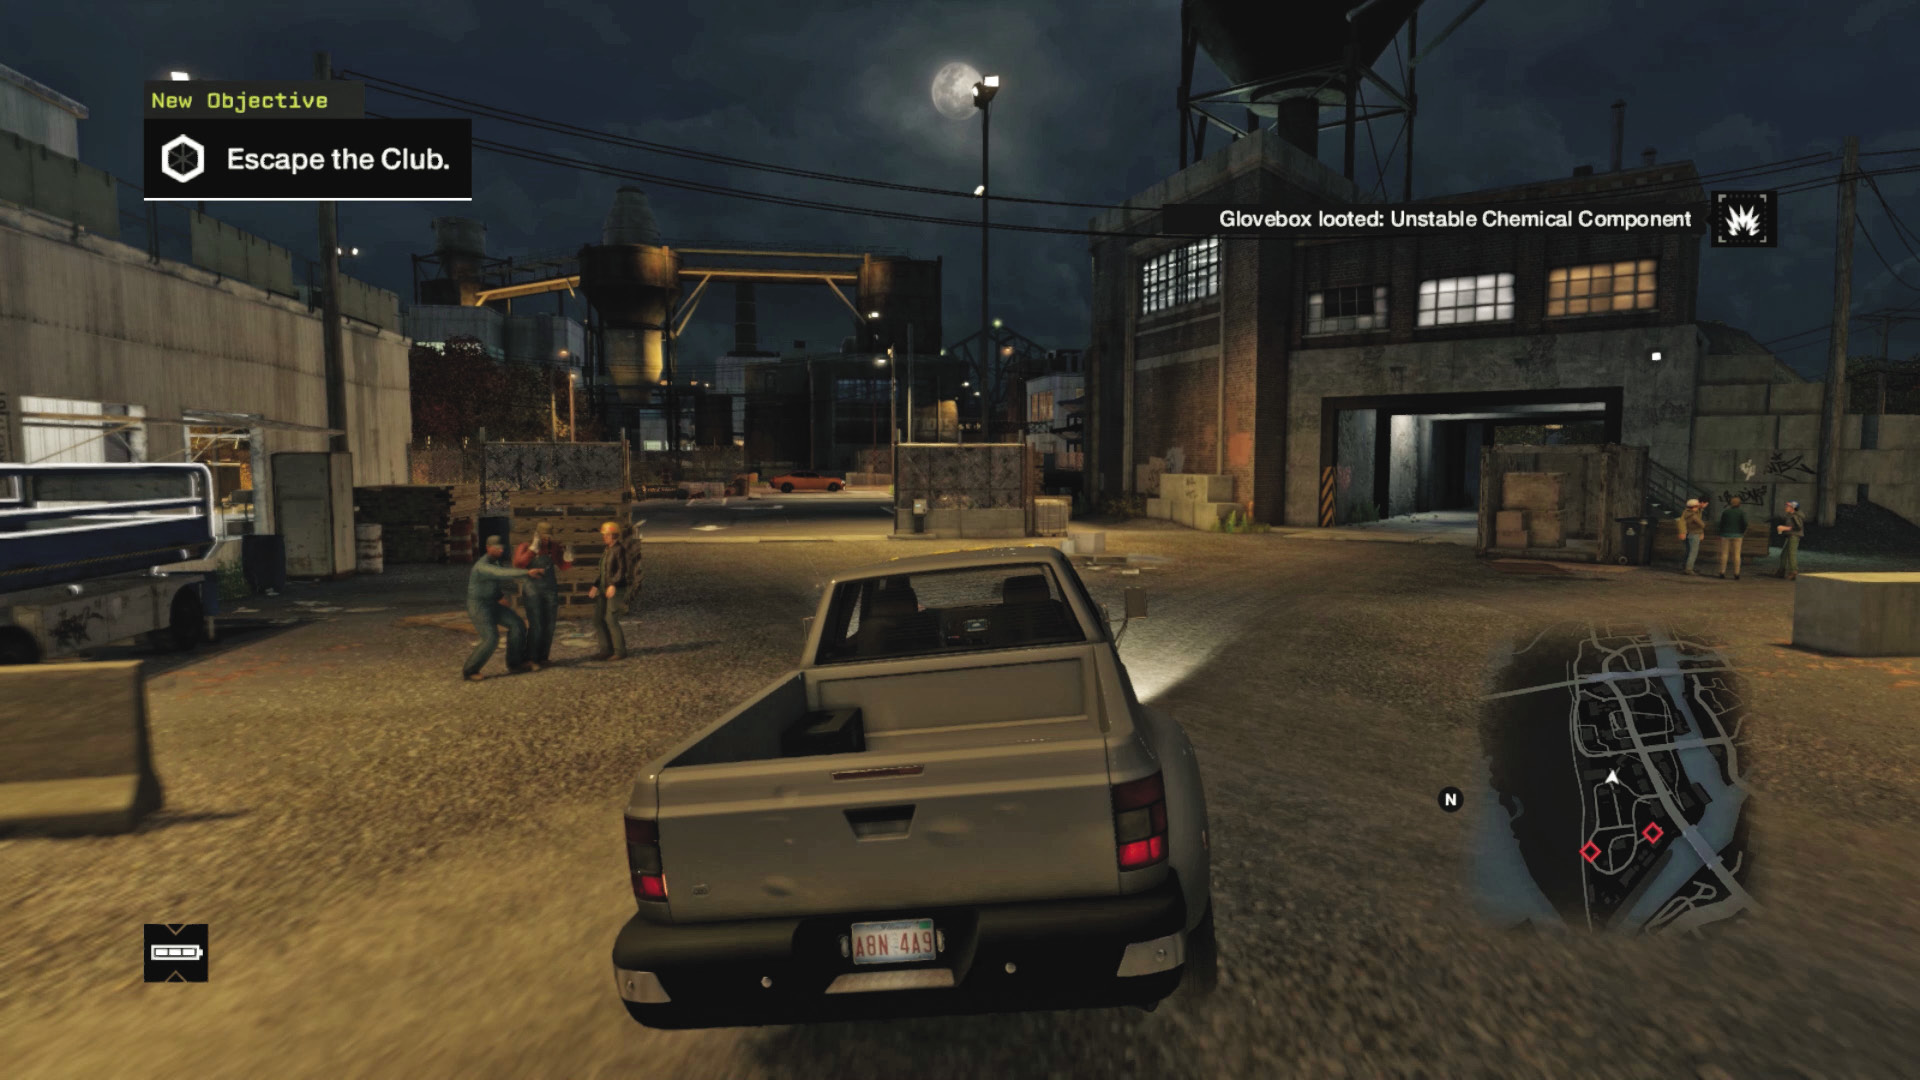
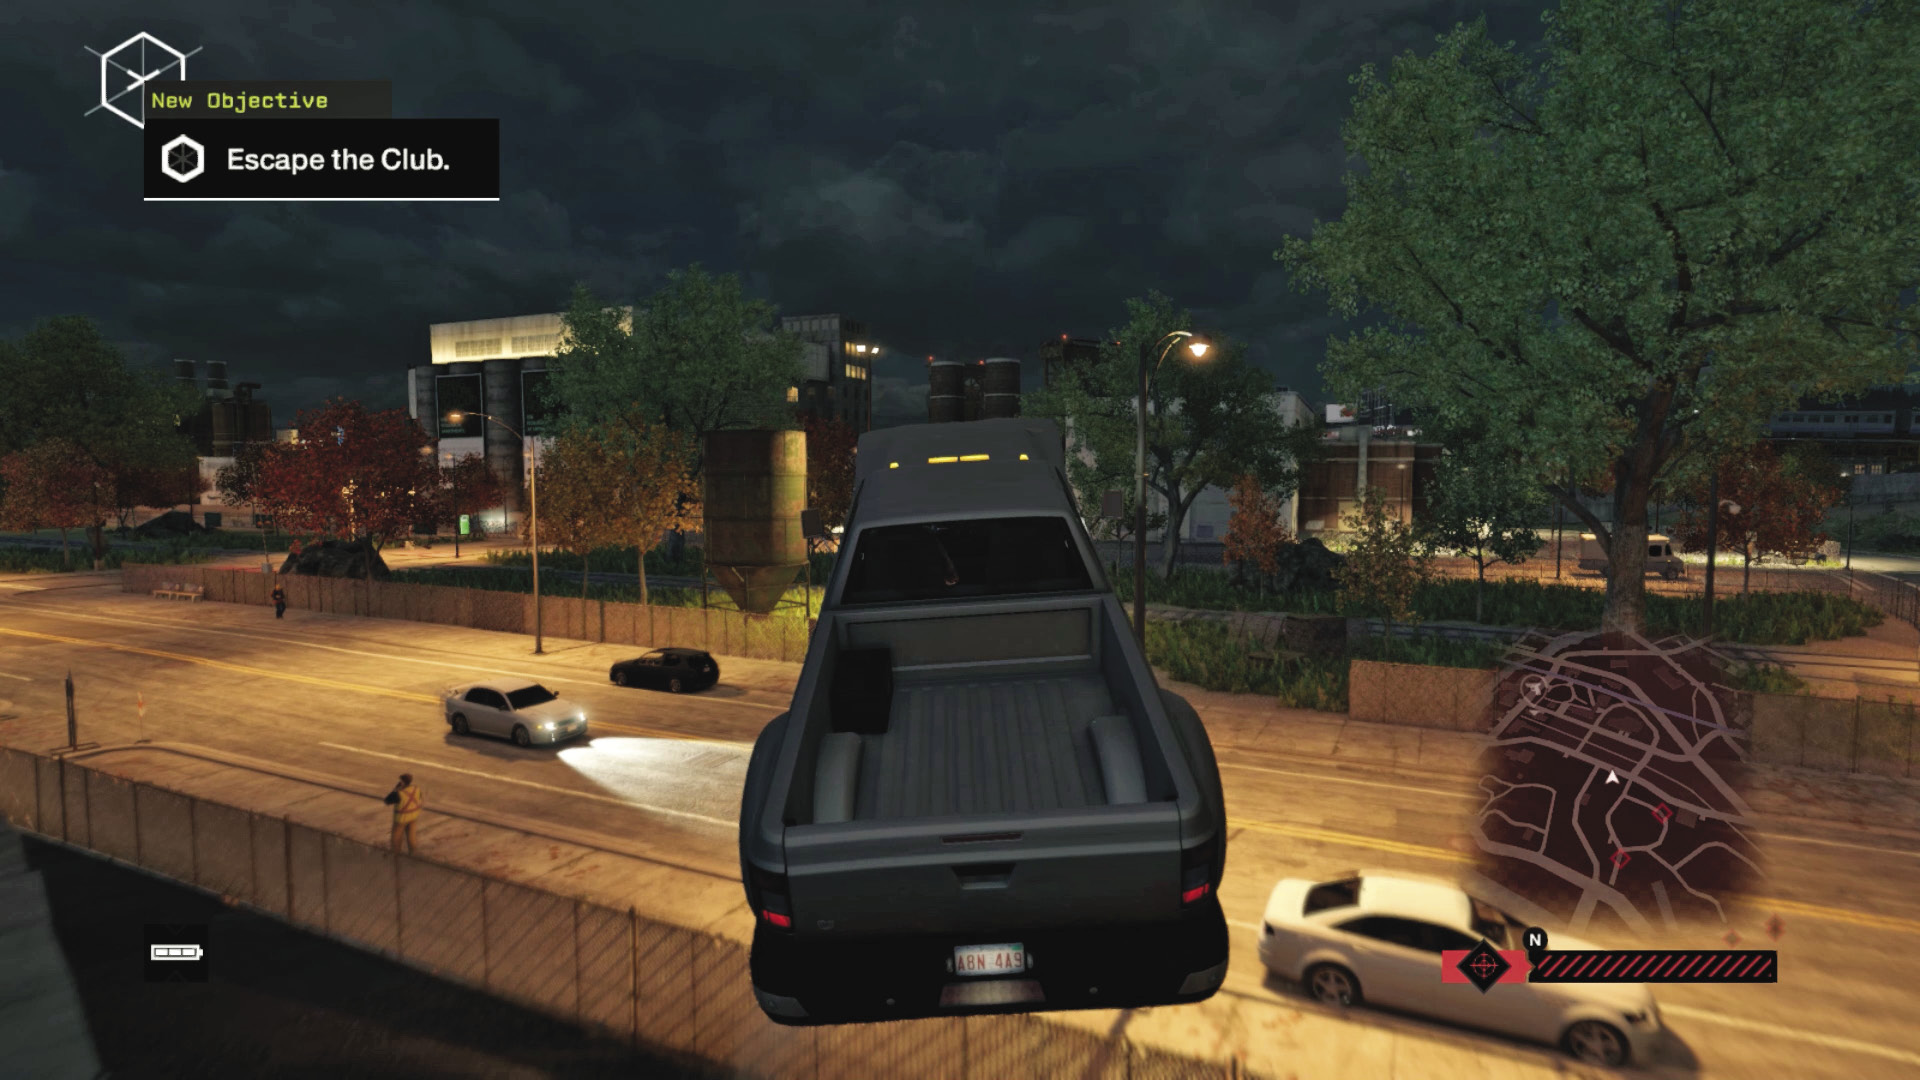
With up to six Club vehicles and a truck that isn’t the best at nimbly weaving through narrow places, you may need some extra help completing this mission:
If you want a few extra seconds when exiting the starting location, open the gates so the Club vehicles enter the area. Accelerate hard, heading through the gates but closing them behind you immediately, trapping the pursuers. Or flee quickly, using any of the open exits.
A mixture of off- and on-road antics work well here; maneuver onto
and off the rail lines, dodge into the smelting yards, and use any ramps to change height. Or, locate power transformers, steam pipes, and blockers as you shake off the remaining pursuers.
If you have a group of foes following you, but no one ahead or attempting to outflank you, find and bridge and leave everyone behind.
THE LOOP // GETAWAY CONTRACTS
07_ARMORED PURSUIT
Starting location: TRAFFIC TUNNEL (NORTH)
Vehicle: Convoy
Enemy: The CLUB
Difficulty:
 03:00 // +$10,000
 05:00 // +$9,000
 ∞ // +$8,000
BEAT THIS: 02:44:92 (Anthony Renomeron)
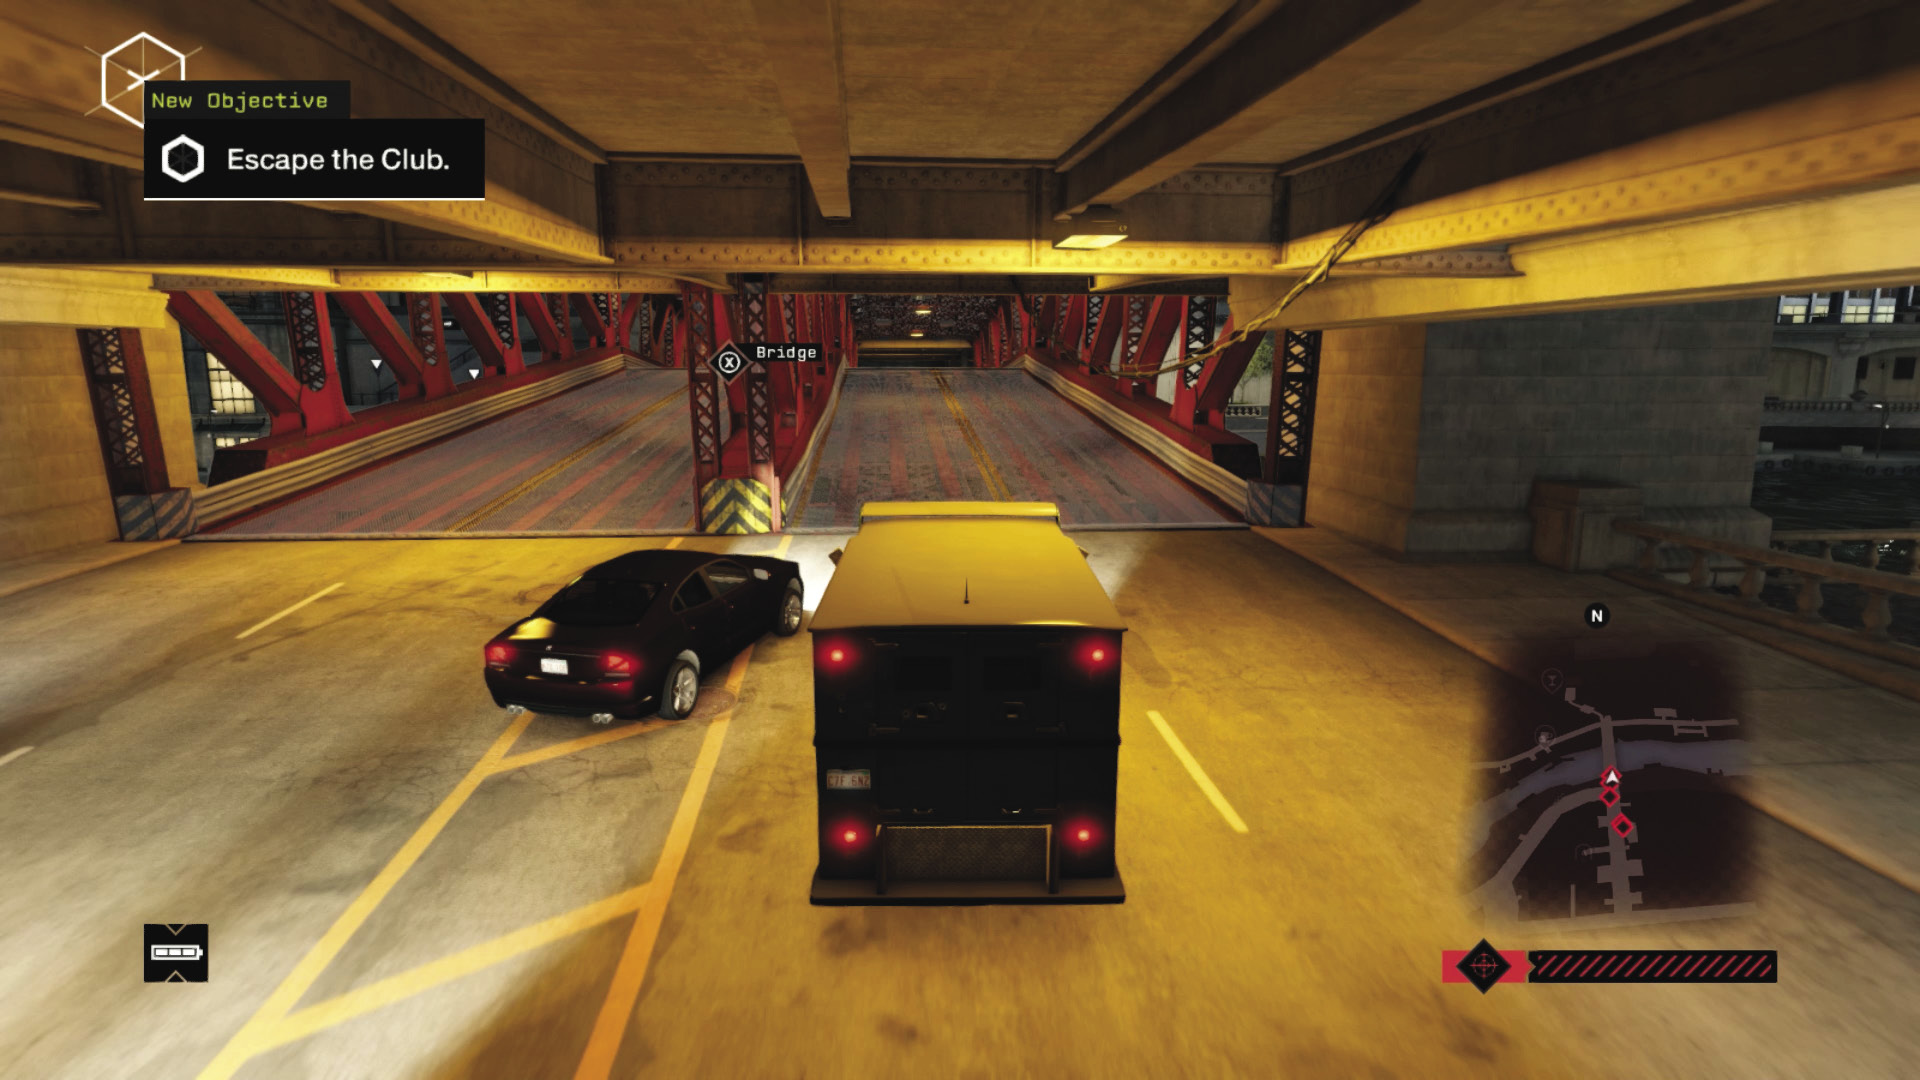
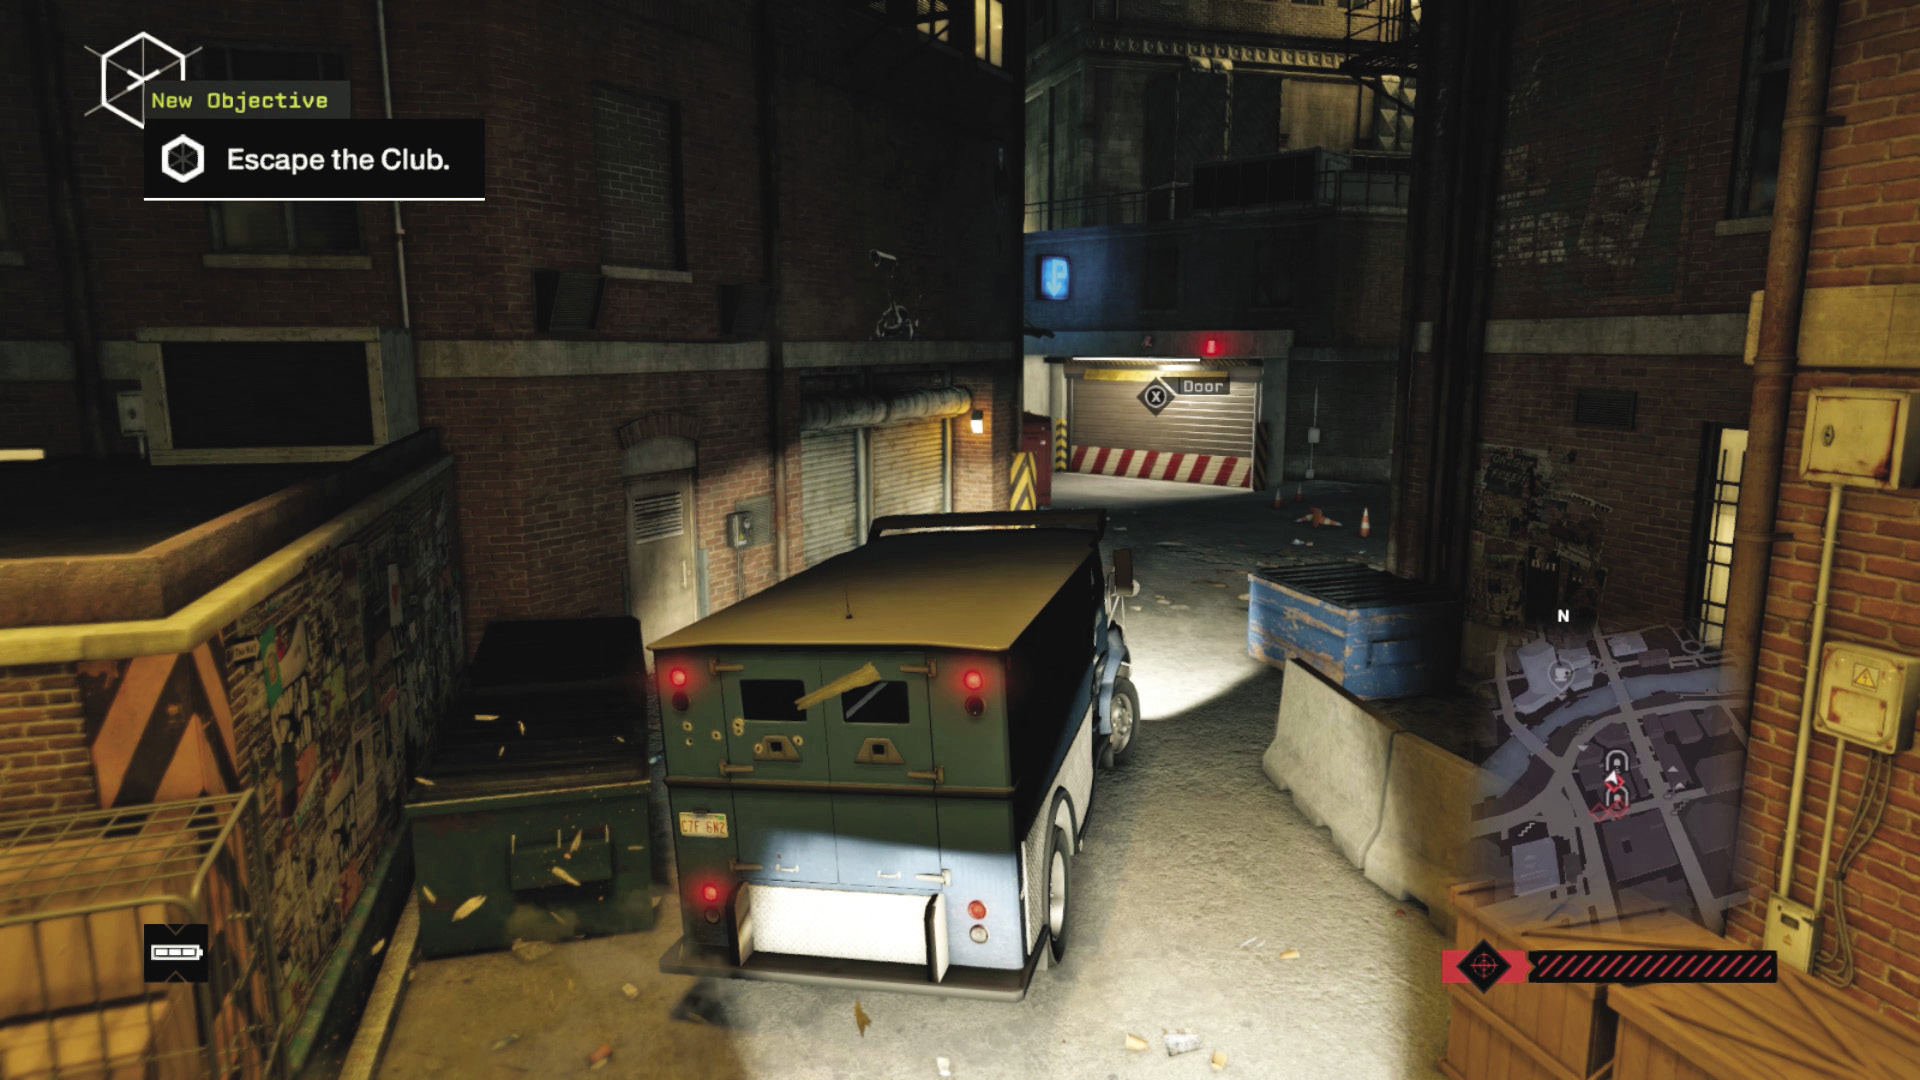
Your vehicle may lack the top speed and nimble cornering of other types, but follow this advice to claim gold every time:
The traffic tunnel is good at funneling the enemy cars behind you. Emerge and raise the nearest bridge to impede most of your enemies as early as possible.
Though your truck lacks a good top speed, you can shunt and block enemy cars trying to get ahead of you; this allows you to further waylay the enemy with additional bridge crossings and the usual blockers, steam pipes, and other options.
Learning the area around this starting point is key; there are garages in the traffic tunnels to drive into and hide behind, and make sure you turn a different direction every block, ignoring the narrower alleys where you may get stuck.
08_PLAYING IT SAFE
Starting location: ST. JUDE POLICE LEAGUE
Vehicle: Vespid 5.2
Enemy: The POLICE
Difficulty:
 03:00 // +$3,000
 05:00 // +$2,000
 ∞ // +$1,000
BEAT THIS: 00:48:00 (Jean Michel Lavinge)
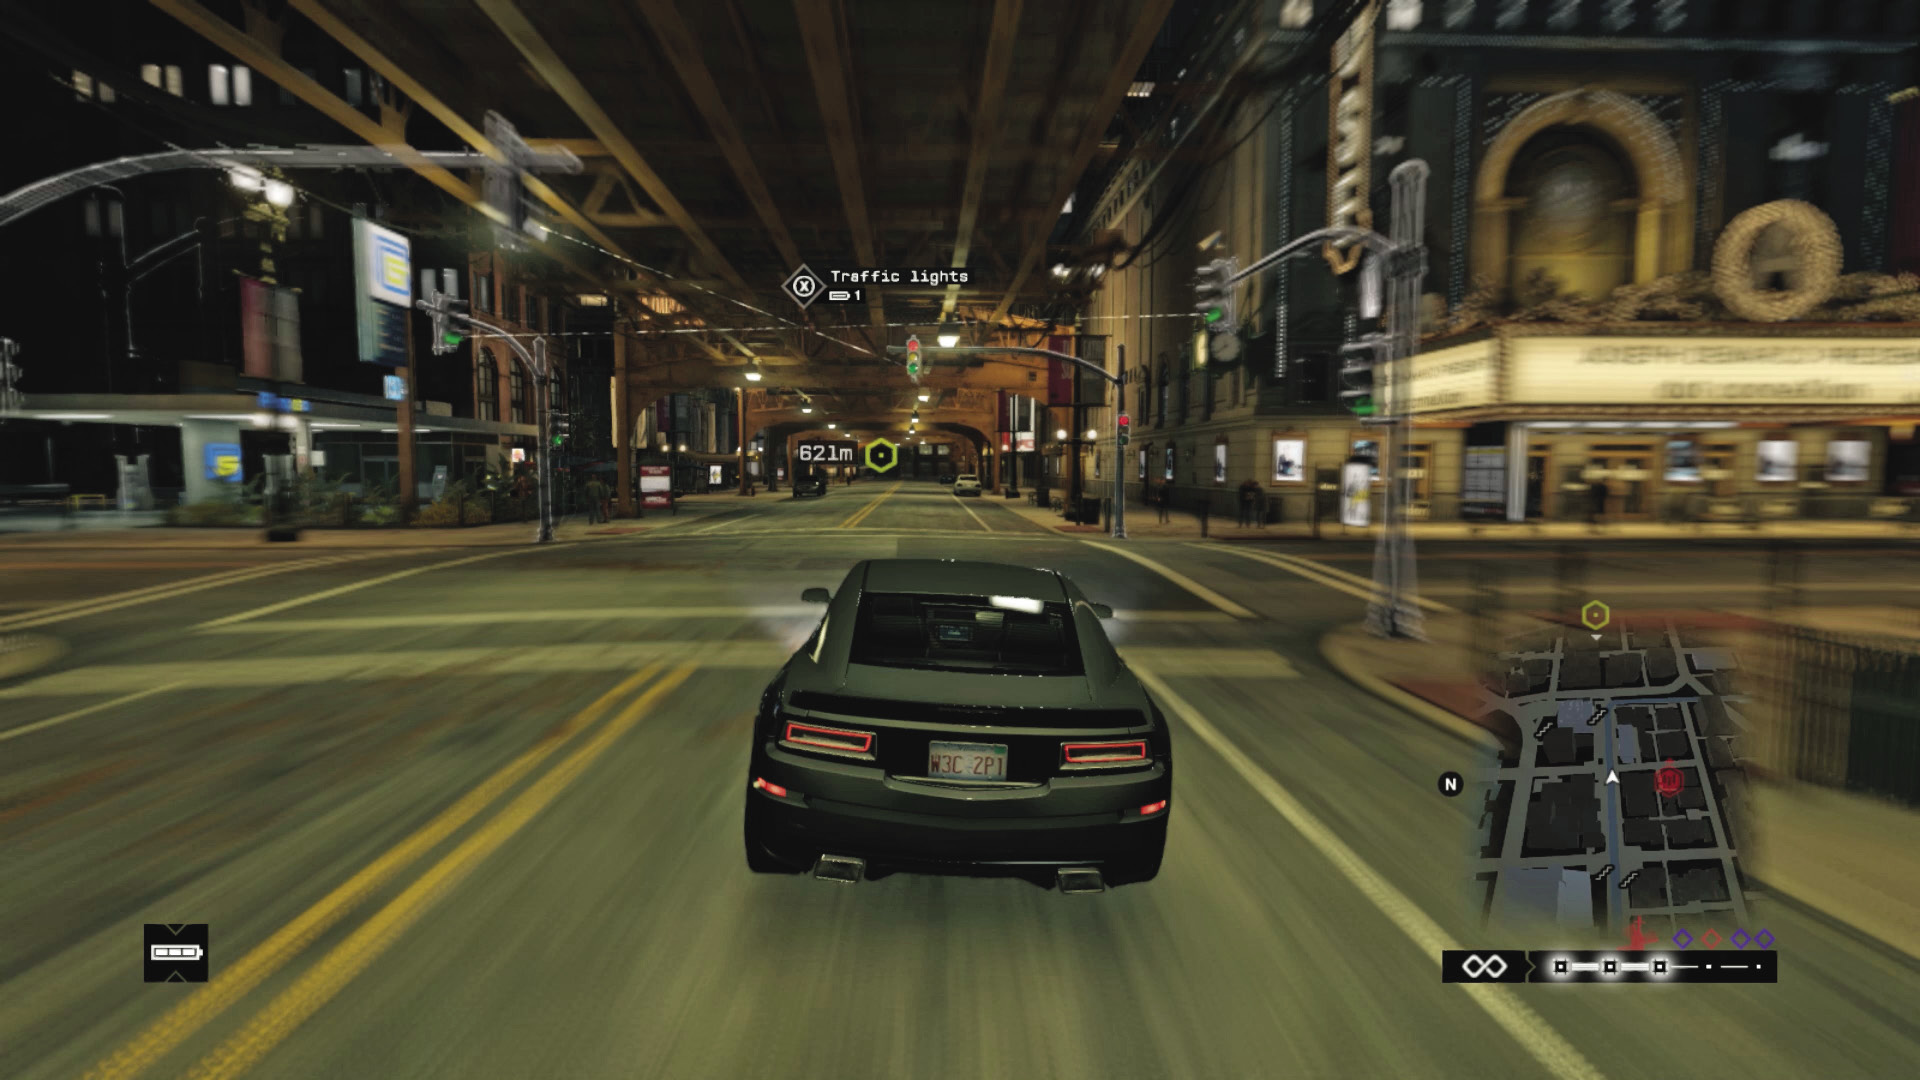
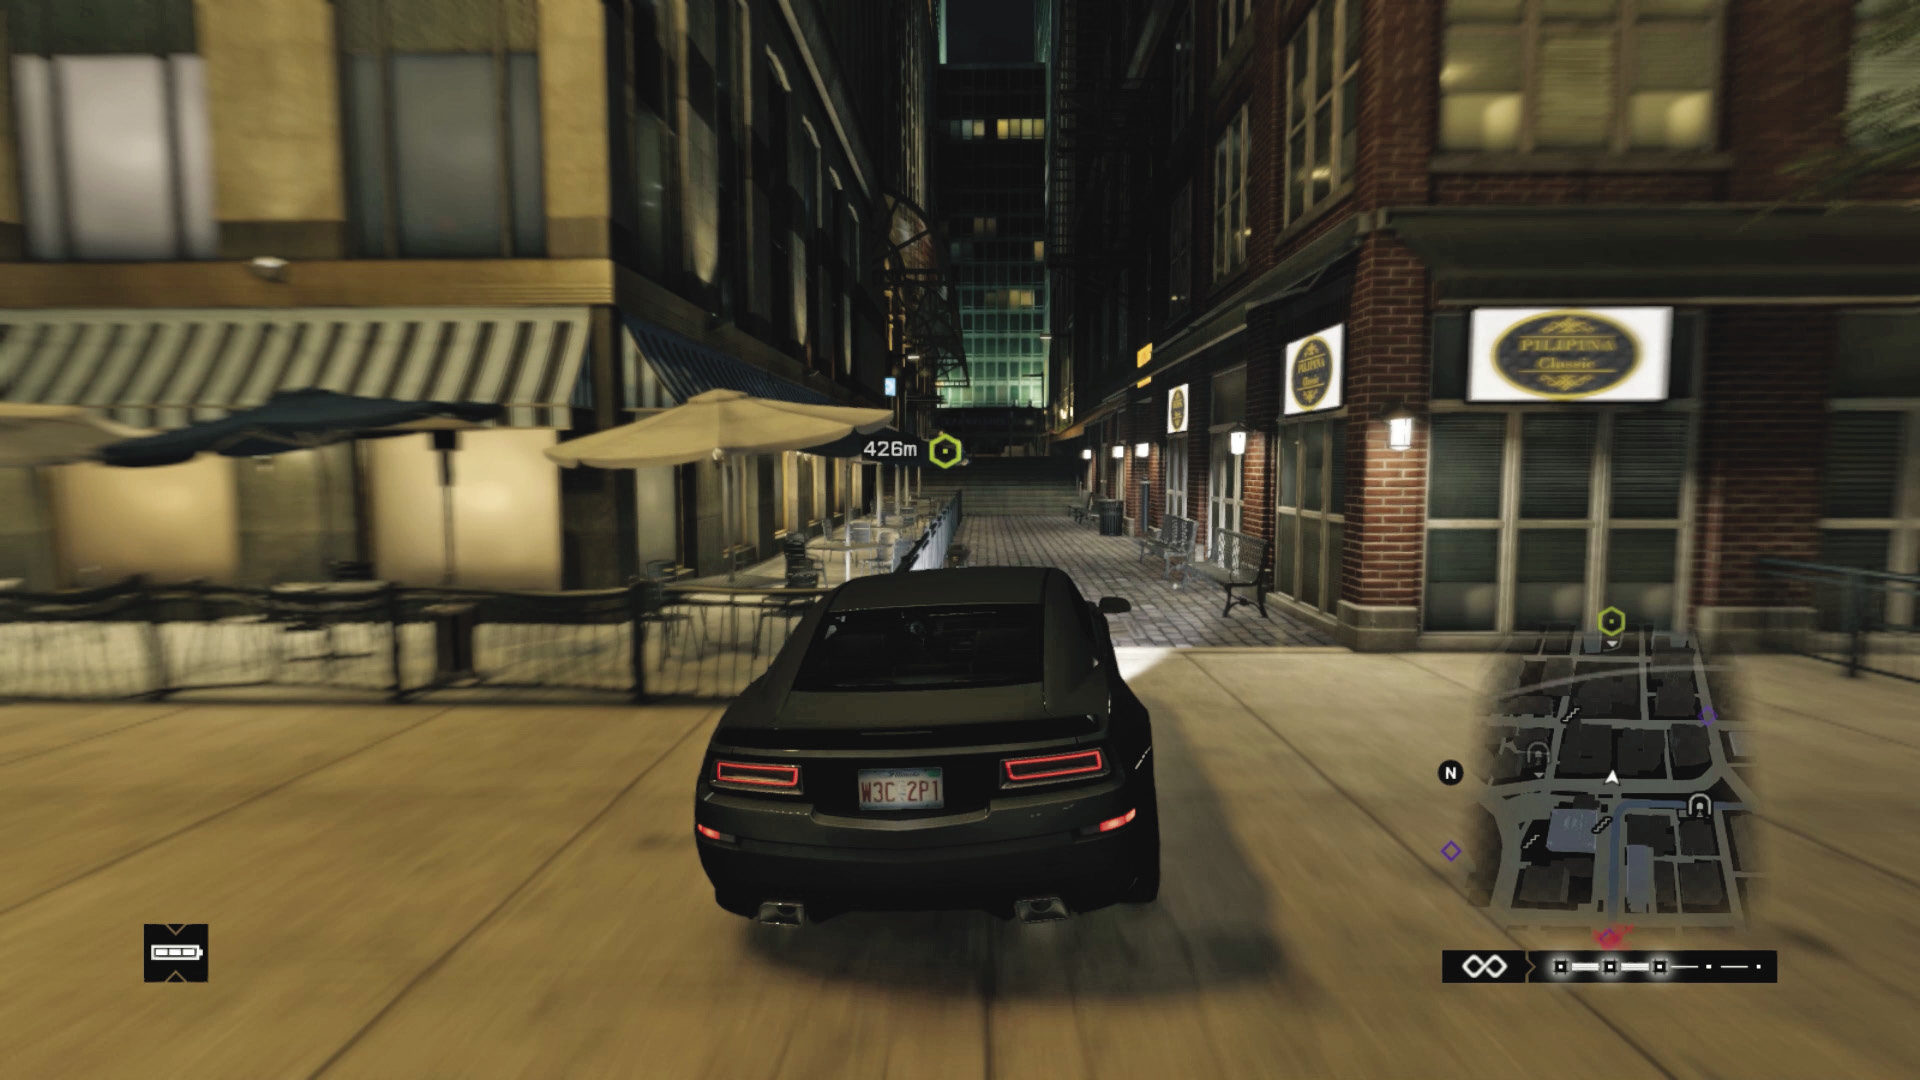
With the cops on you quicker than normal, try the following to help your predicament:
If you can gather all the cops, except for the chopper, and block them using bollards, you can accelerate to find a drop zone, until your objective updates. Accelerate under the L-train tracks to give the chopper a bit of trouble.
Scoot into the numerous alleys of the Loop; do this before the cops all converge, so you can shake the chopper. Most have blockers you can access to halt pursuers.
Open and enter the garages to keep your foes on their toes. You can also trap cops inside or outside these locations.
09_TRACKED
Starting location: RAIL YARD (THE ISLAND)
Vehicle: Police Squad Car
Enemy: The POLICE
Difficulty:
 03:00 // +$6,000
 05:00 // +$5,000
 ∞ // +$4,000
BEAT THIS: 02:58:99 (Anthony Renomeron)
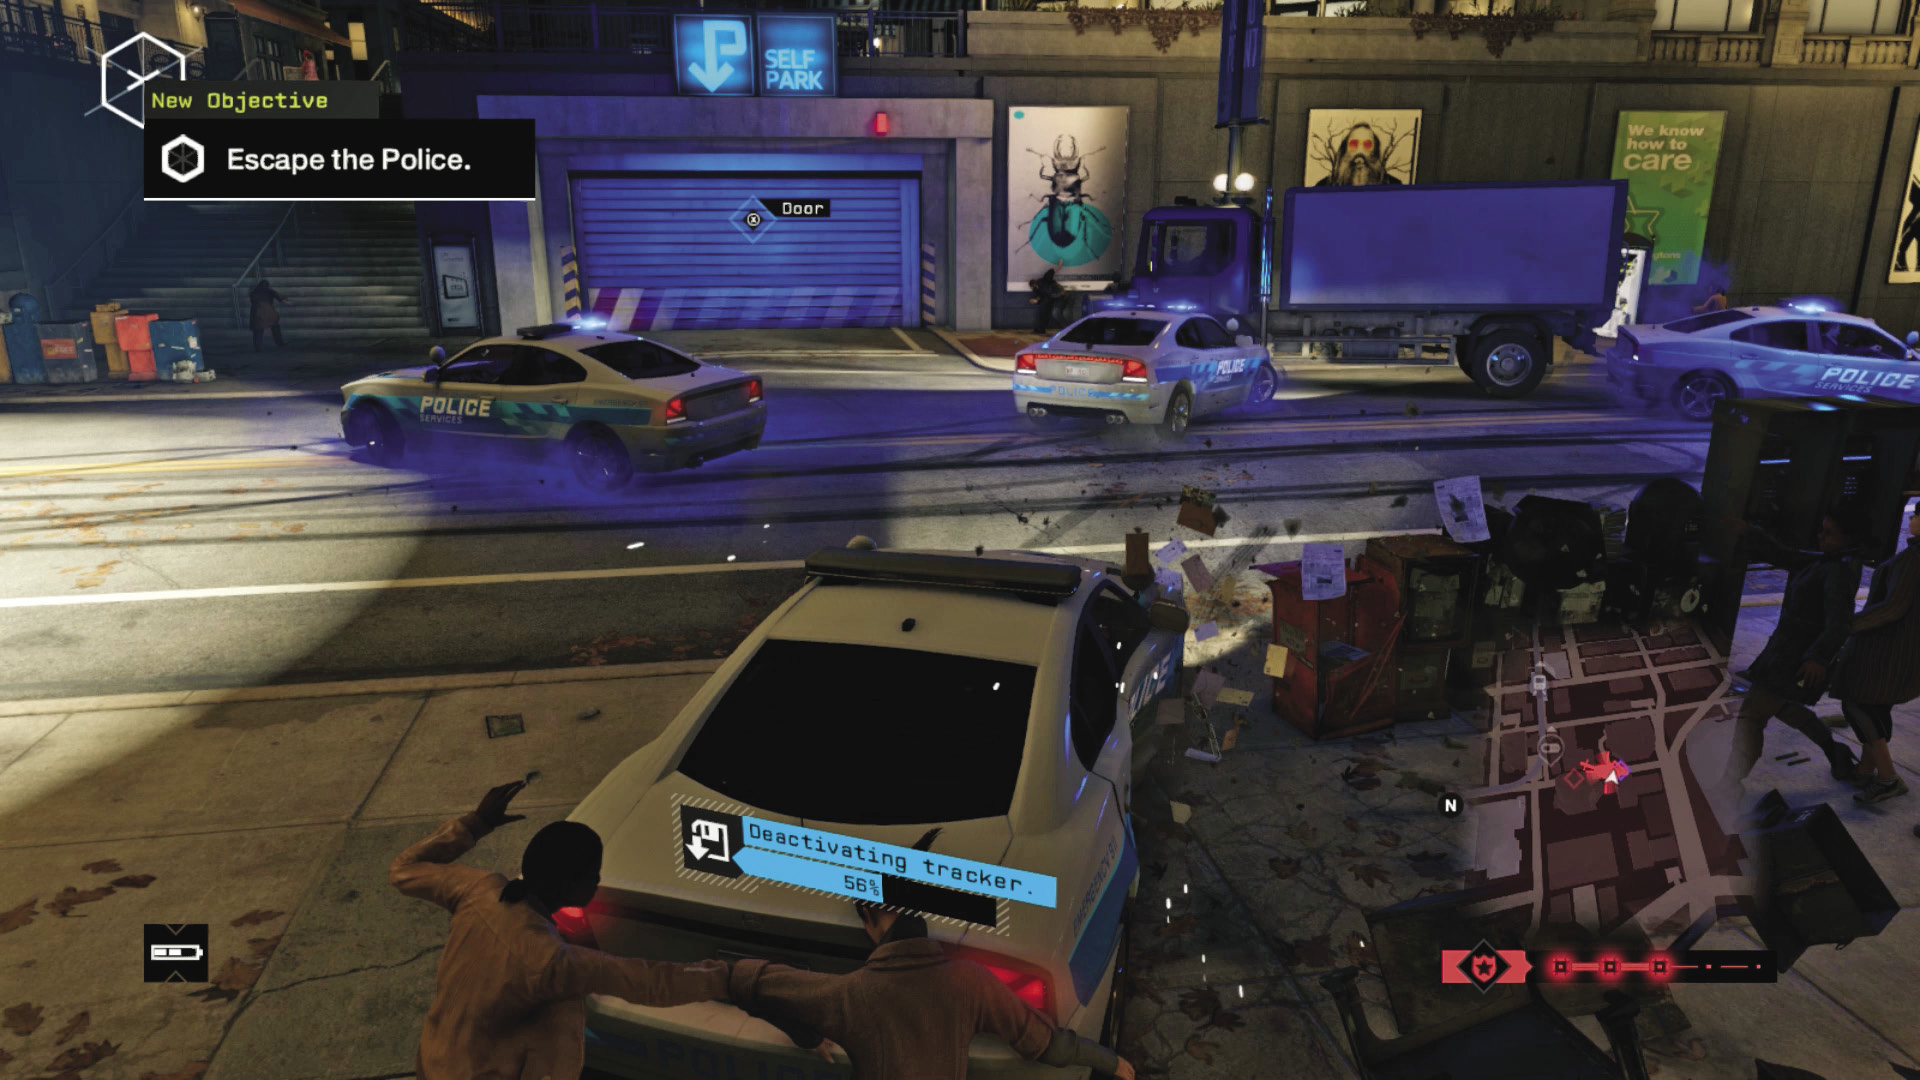
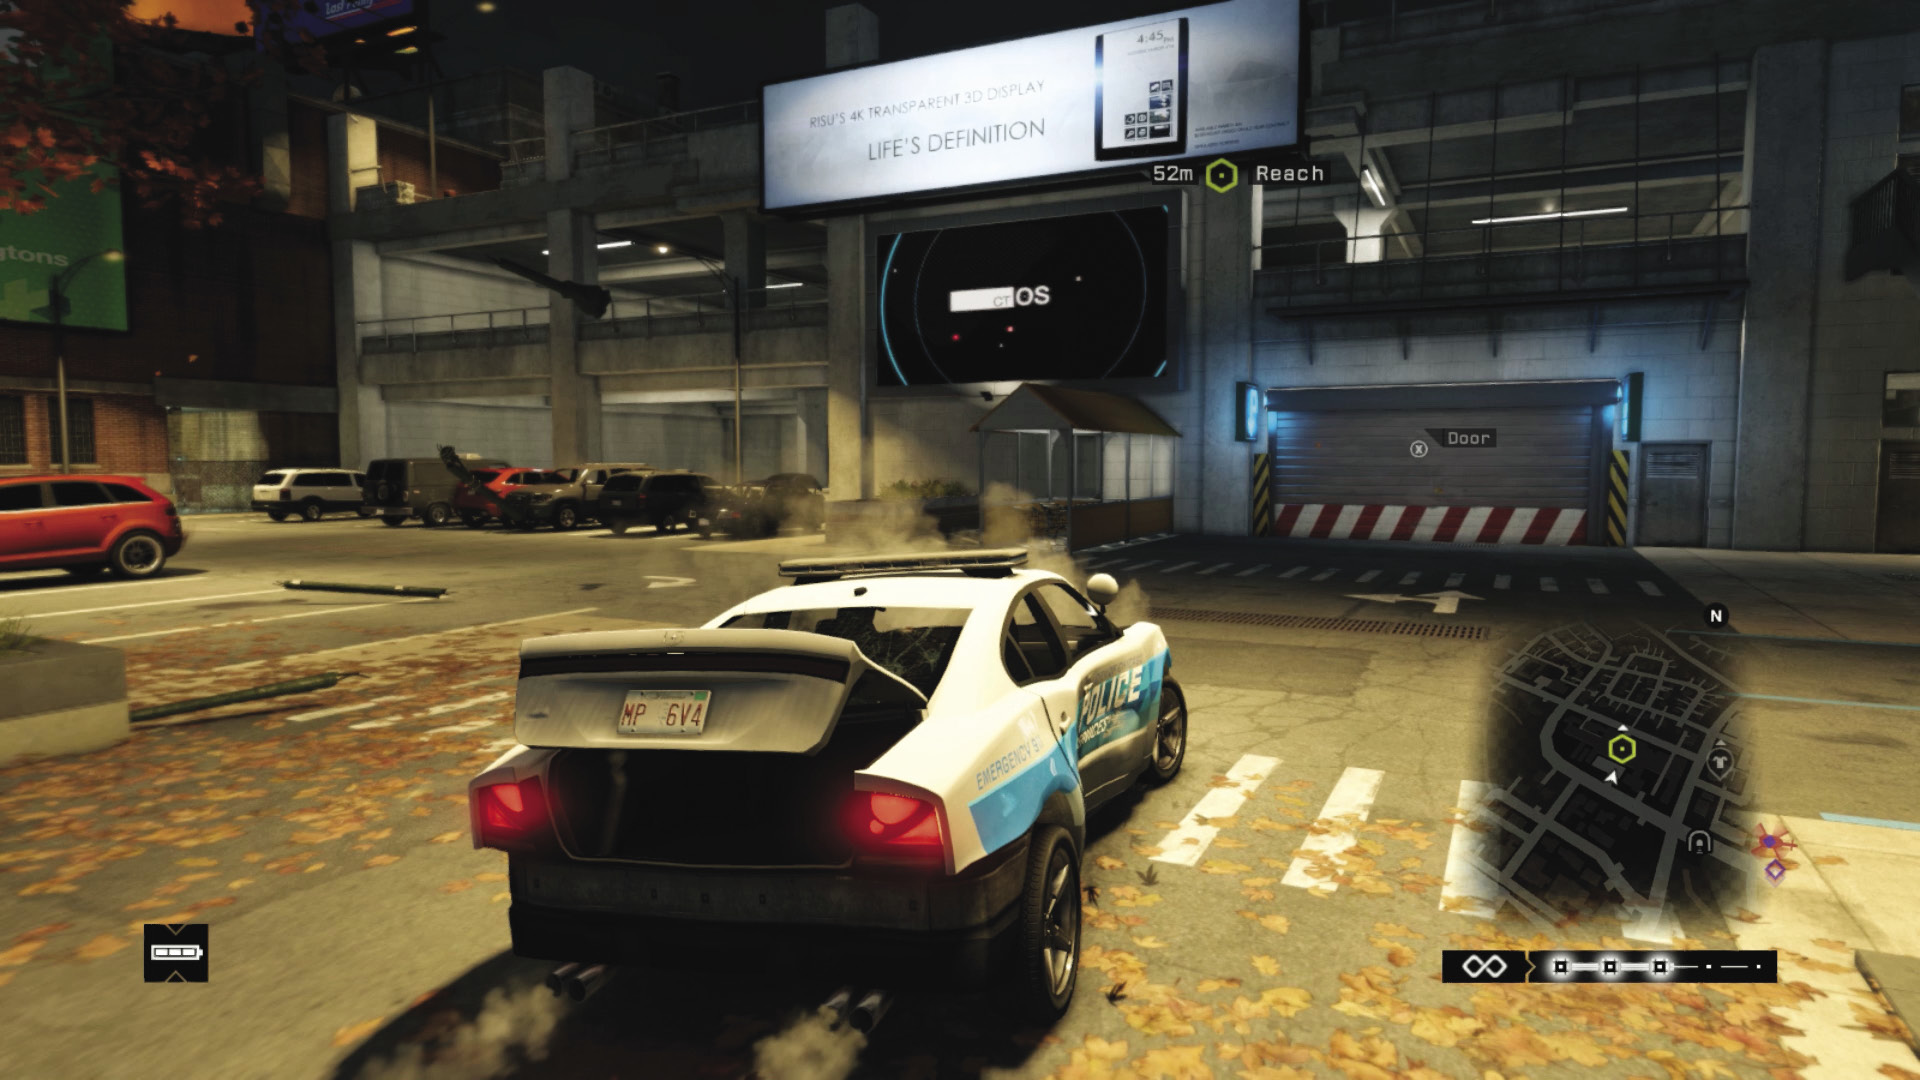
This one’s extremely tough, as you’ll need to test your e-braking and narrow alley maneuvers to the fullest:
Your vehicle has a tracker that is being deactivated, but this shouldn’t impact your normal tactics; it takes 60 seconds to remove, so spend this time shaking off foes as normal.
Accelerating away just isn’t going to cut it; you need to access alleys, change direction at every block, and use the scenery to disrupt your pursuers—blockers, steam pipes, bridges, and garages are key.
Though it doesn’t help every time, it is possible to start your car, then get out as the chopper arrives, gun the sharpshooter on the chopper (or disrupt it) so it retreats, then flee.
MAD MILE // GETAWAY CONTRACTS
10_ESCAPE ARTIST
Starting location: PARKING LOT NEAR TAYLOR
Vehicle: Sayonara
Enemy: The POLICE
Difficulty:
 03:00 // +$10,000
 05:00 // +$9,000
 ∞ // +$8,000
BEAT THIS: 02:36:00 (Jean Michel Lavinge)
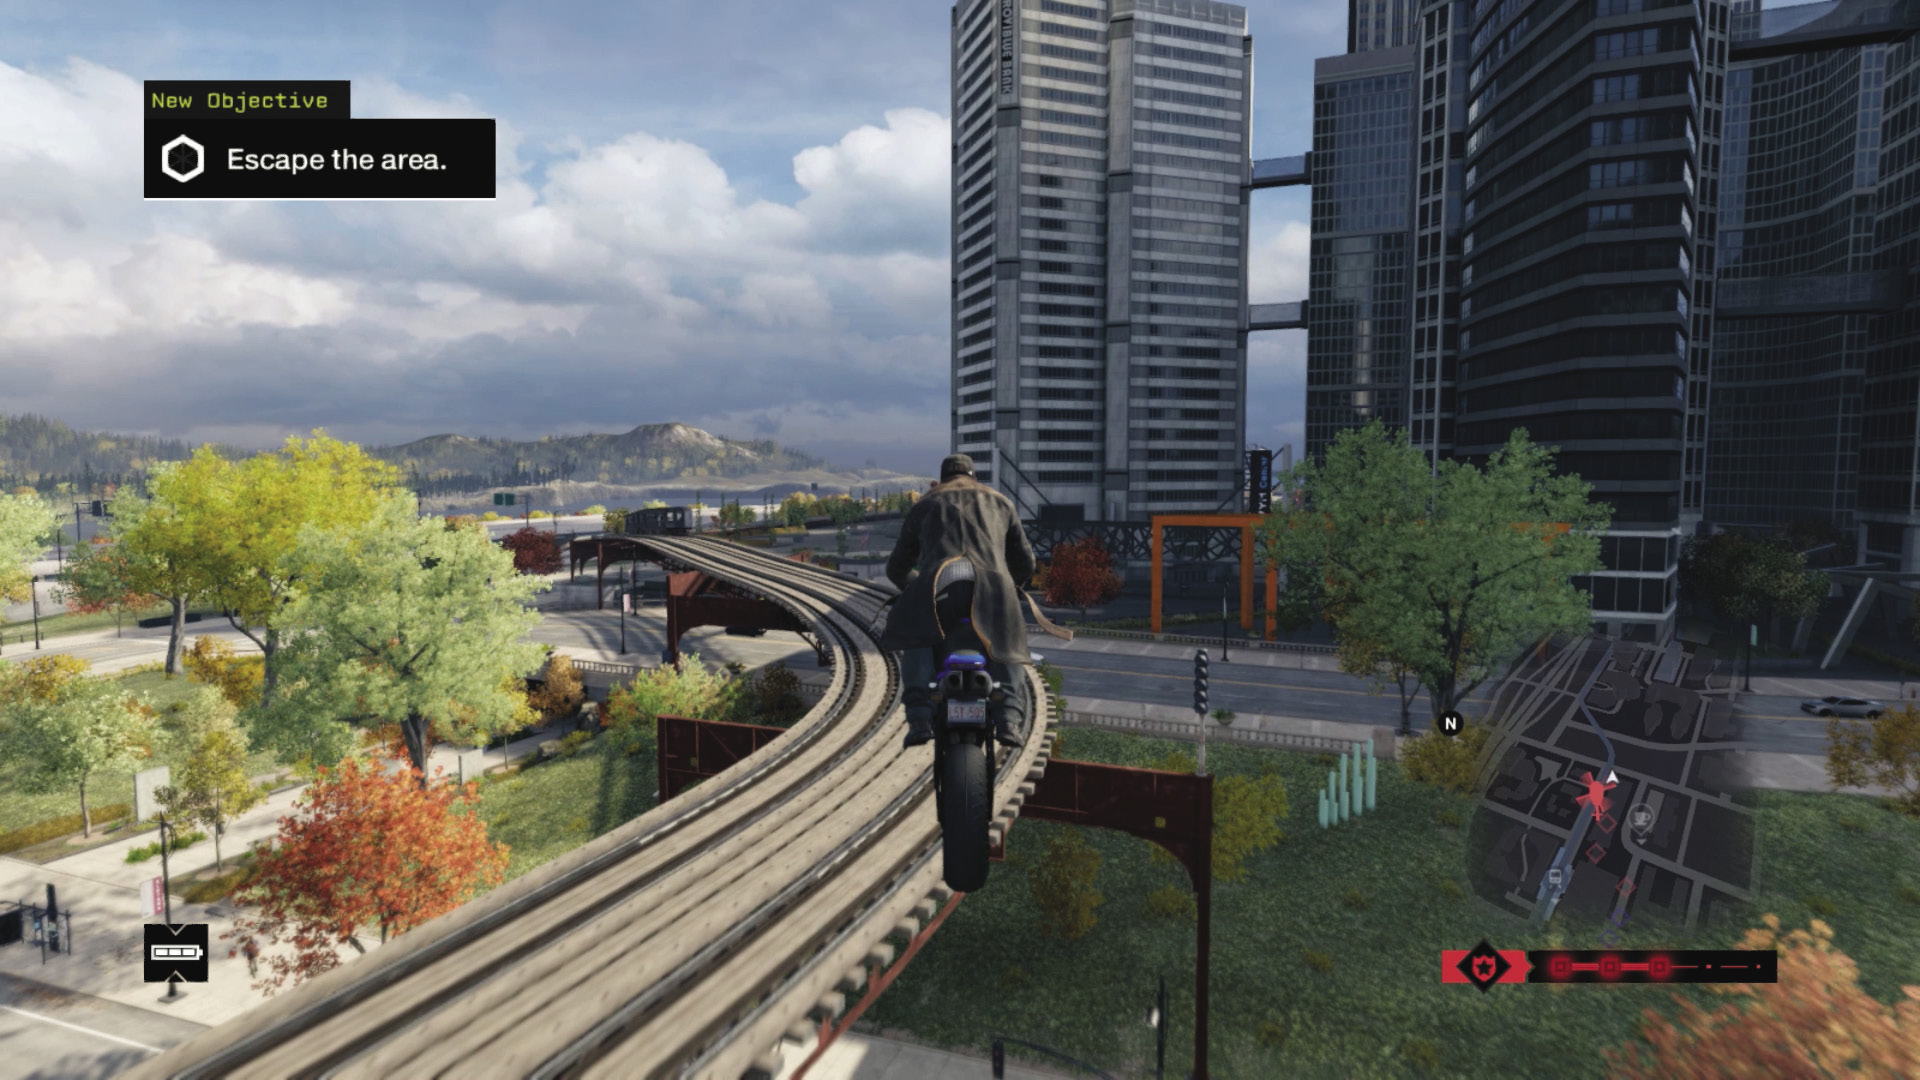
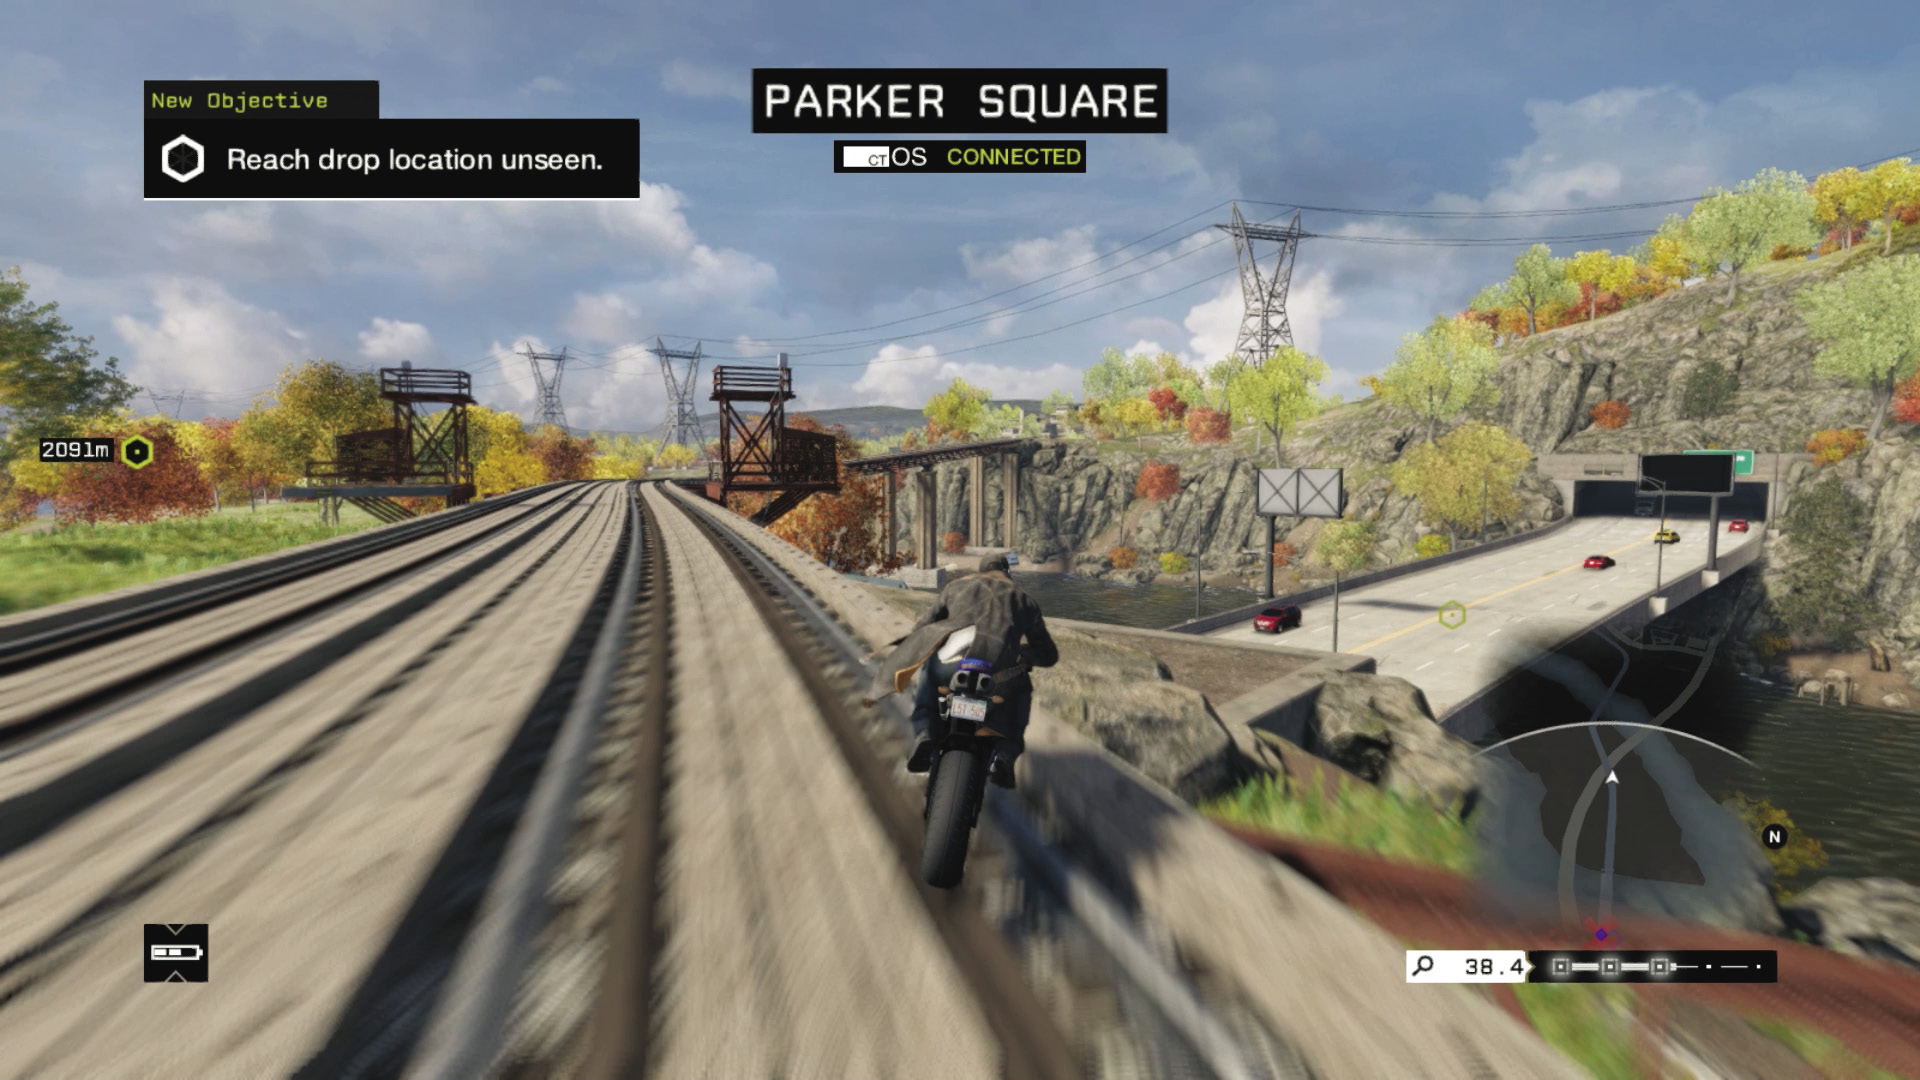
This takes a lot of skill and accurate driving; use the following tactics:
Though you can mess around with the cops and drive around the garage, waiting for the power to the doors to return, it’s better to access the roof, through the construction signs, and use the circular sculpture as a ramp.
Ease off the throttle as you reach the jump; you’re aiming for the L-train tracks! Land on the tracks, and begin a high-speed drive with only the chopper to worry about. Oh, and any oncoming trains on the left side of the tracks.
Continue at top speed, slowing for the corners. Follow the L-train tracks north, until you’re out of the police sphere of influence. Though your drop zone may be in another district, you can reach it quickly on the rails without traffic to worry about, and claim the optimal cash. Remember to drop down onto the freeway if the botanical gardens is your drop zone. Another option is to immediately drop from the L-train tracks after the jump, to a flower bed plaza and bridge, and head east through a plaza to shake off the cops.
11_SHOWROOM CONDITION
Starting location: CAR SHOWROOM
Vehicle: Scafati GT
Enemy: The POLICE
Difficulty:
 03:00 // +$6,000
 05:00 // +$5,000
 ∞ // +$4,000
BEAT THIS: 01:13:80 (Anthony Renomeron)
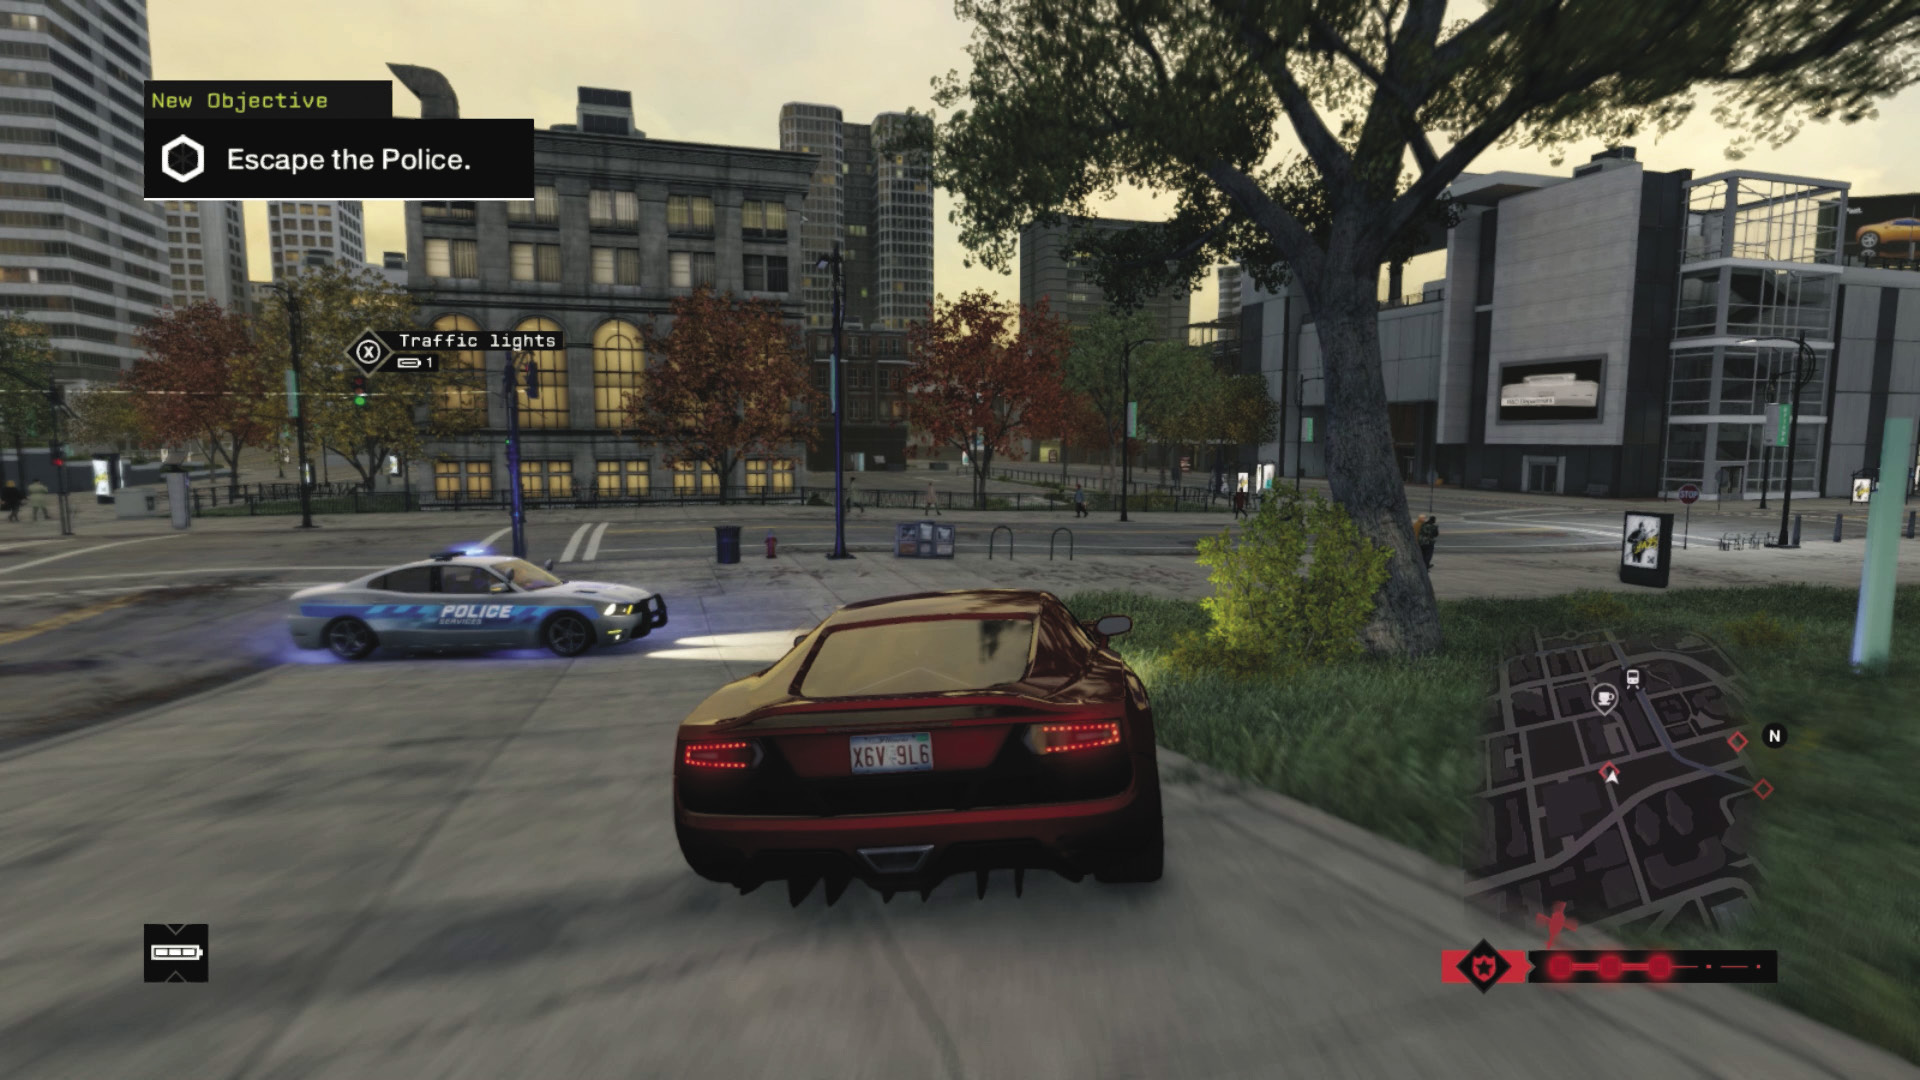
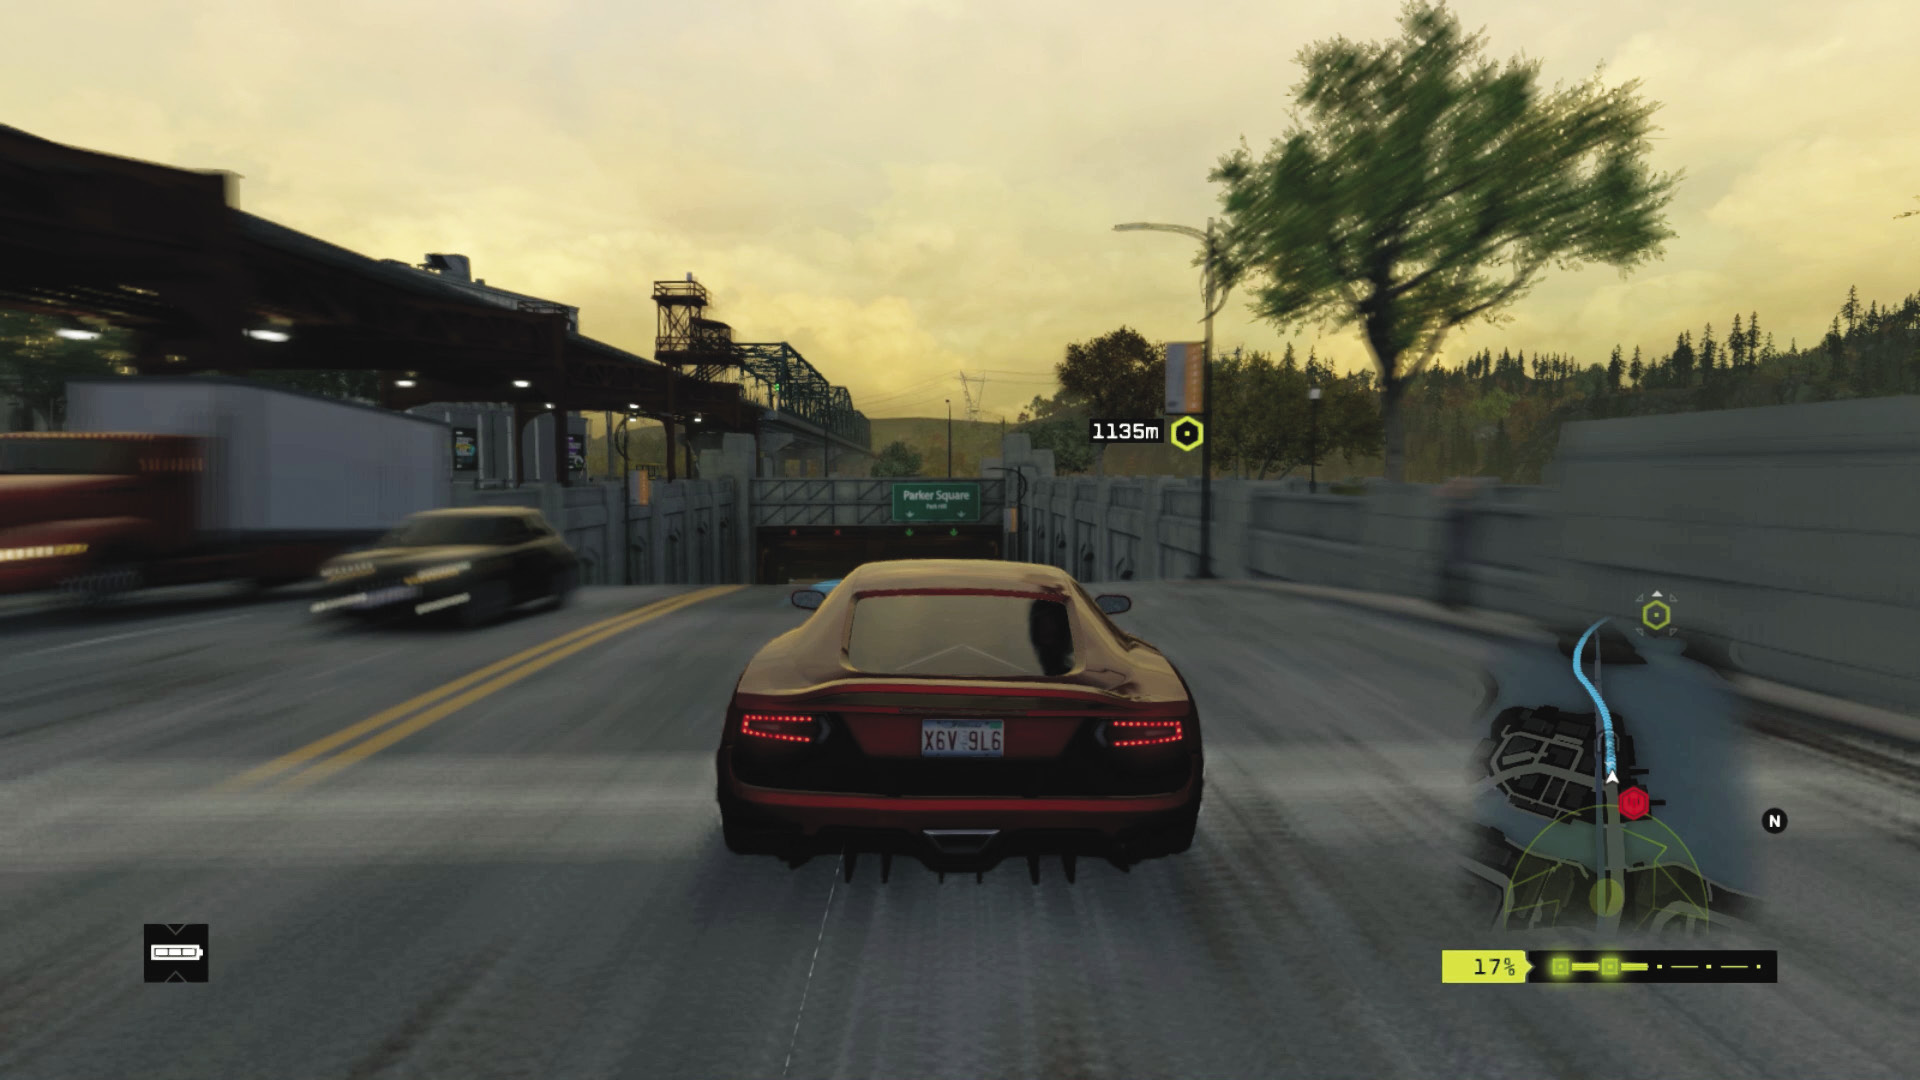
Your ride is particularly fast and adept at corners, sometimes scarily so, as it’s also prone to fishtailing. So heed the following advice:
Start by attempting some clever weaving; don’t head straight for more than a block, using the pedestrian areas and sharp turns down side roads and alleys to confound the police.
Enter any of the parking structures, ideally closing the doors behind you and moving up floors to really lose your foes. This area of town has a number of these structures.
Unlike other vehicles, the sheer speed of this car actually allows you to outrun the police. Use bridges to help aid in your escape, and accelerate through the tunnel to Parker Square or Pawnee. You can visit other districts and still receive a good score at the drop zone.