
Watch Dogs Guide SIDE MISSIONS
_CRIMINAL CONVOYS
YOU CAN RUN, BUT…
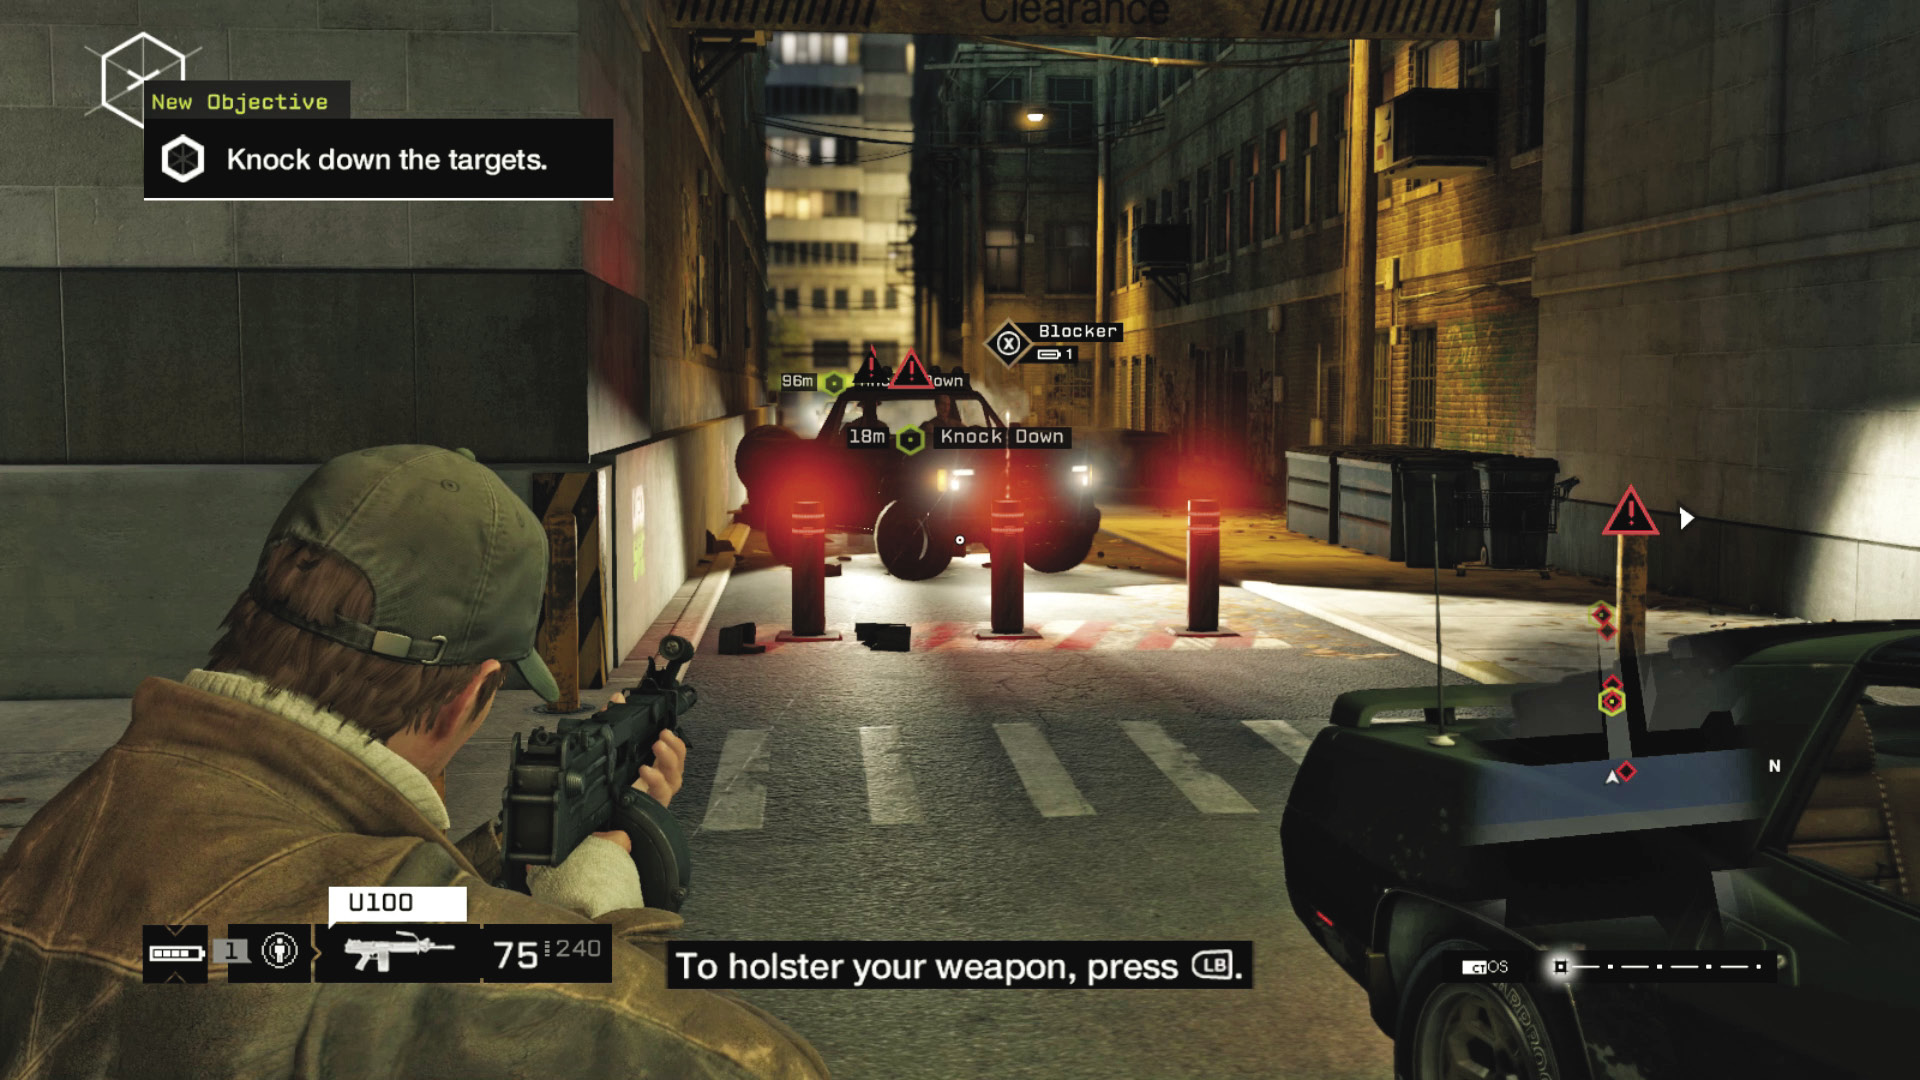
As with several missions in the main story, the goal of a Criminal Convoy mission is to reach an underworld VIP who’s being moved from one place to another in a vehicle. This gives the mission a built-in time limit, as the target becomes untouchable once he reaches his destination.
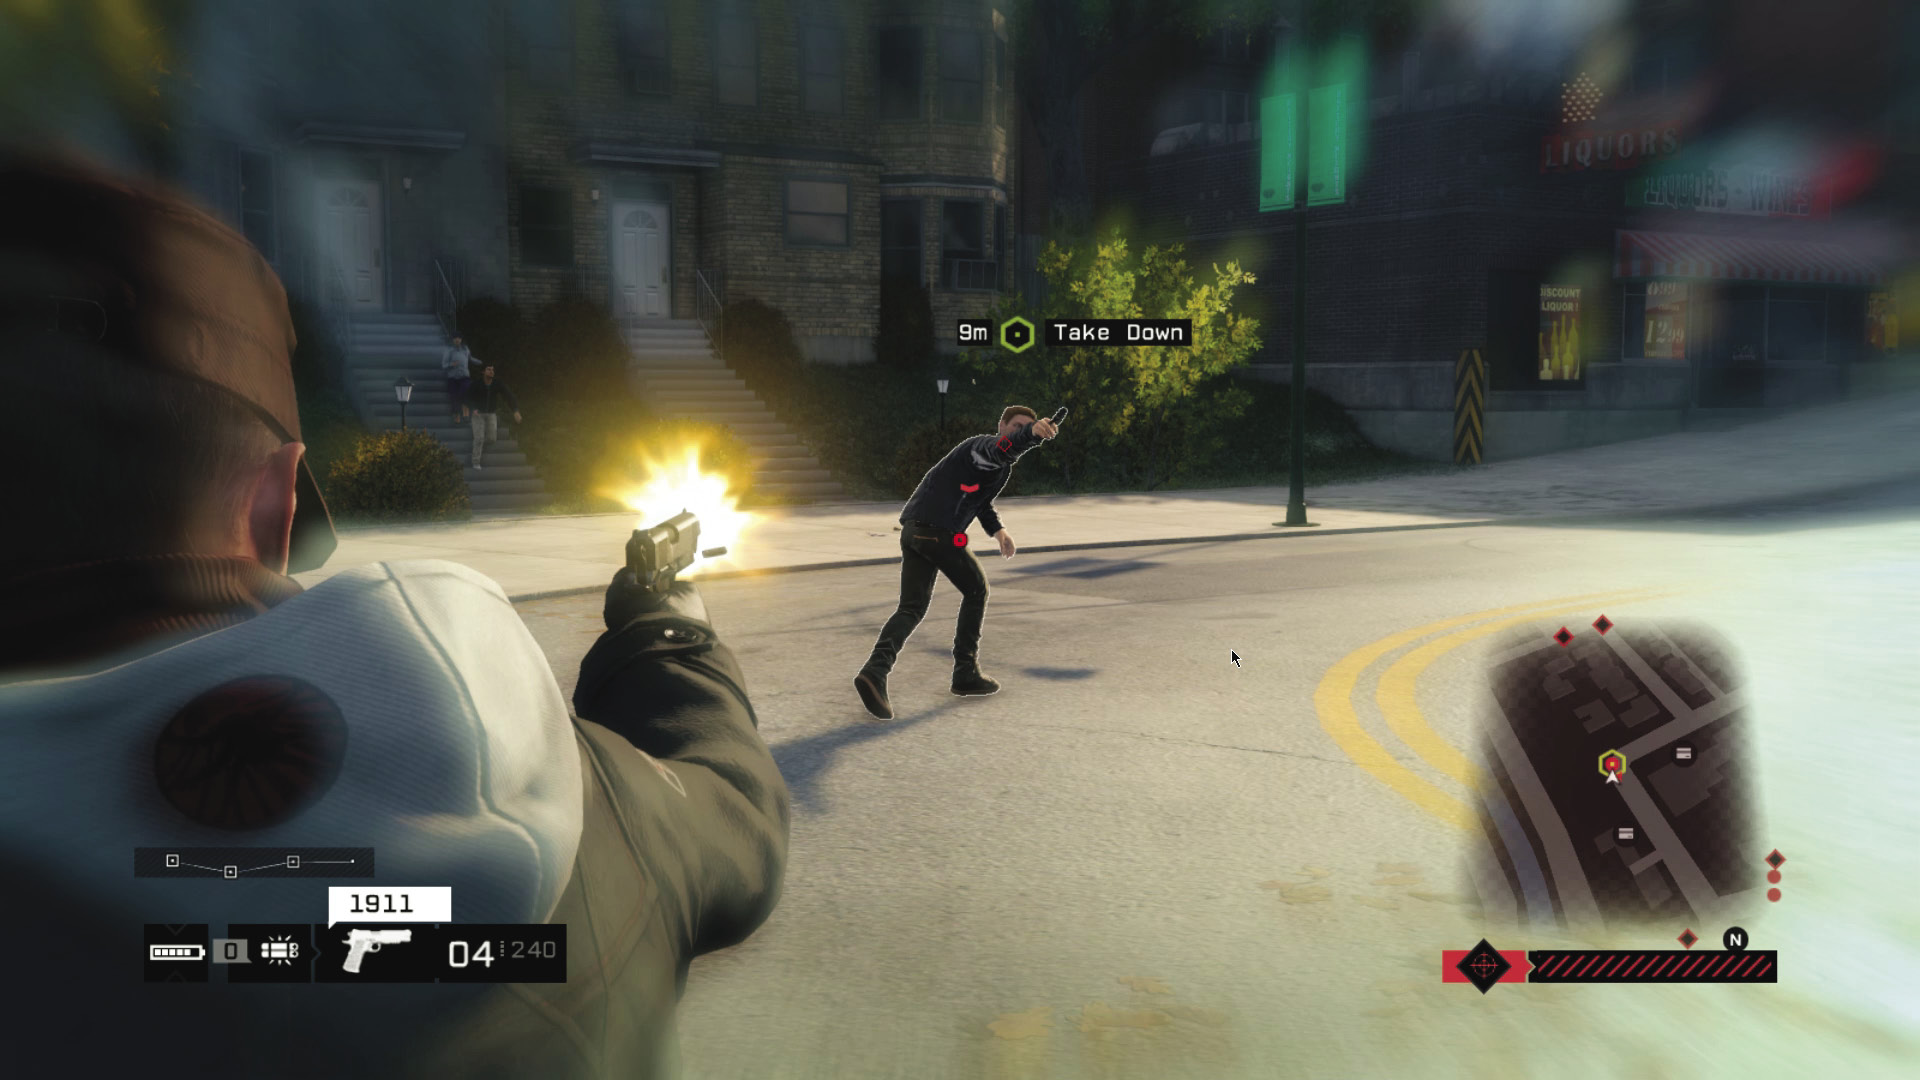
In most Convoy missions, your goal is to reach and eliminate the target enemy by any means necessary, using every tool you have in your arsenal: bombs, hacking the ctOS, guns, you name it. Once your target’s been dealt with, you can finish the mission by either eliminating his bodyguards or escaping from them into the city.
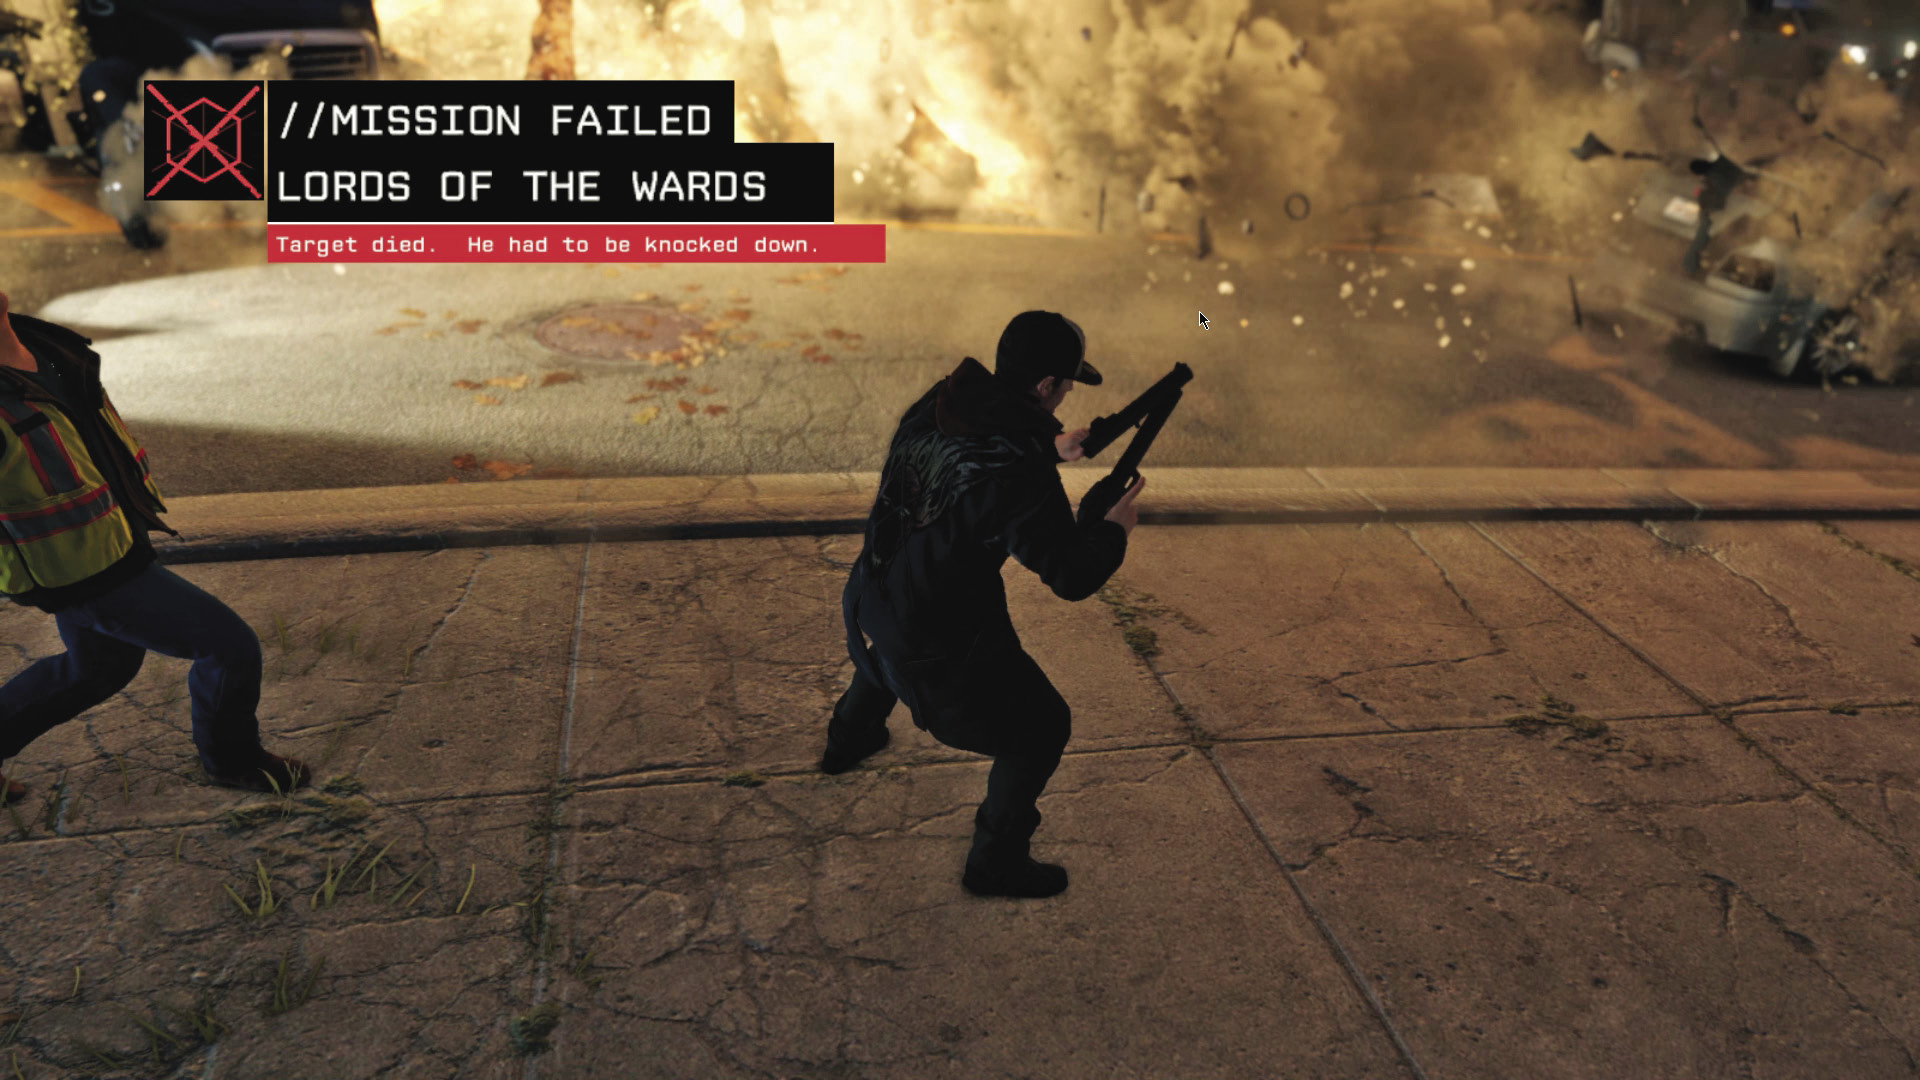
A handful require you to simply land an unarmed takedown on your target with your baton. Killing the target in those instances will cause mission failure.
TOTAL / 18 MISSIONSTo complete the Criminal Convoys section of the Progression Tree, you must successfully eliminate all 21 VIPs in the 18 convoys. |
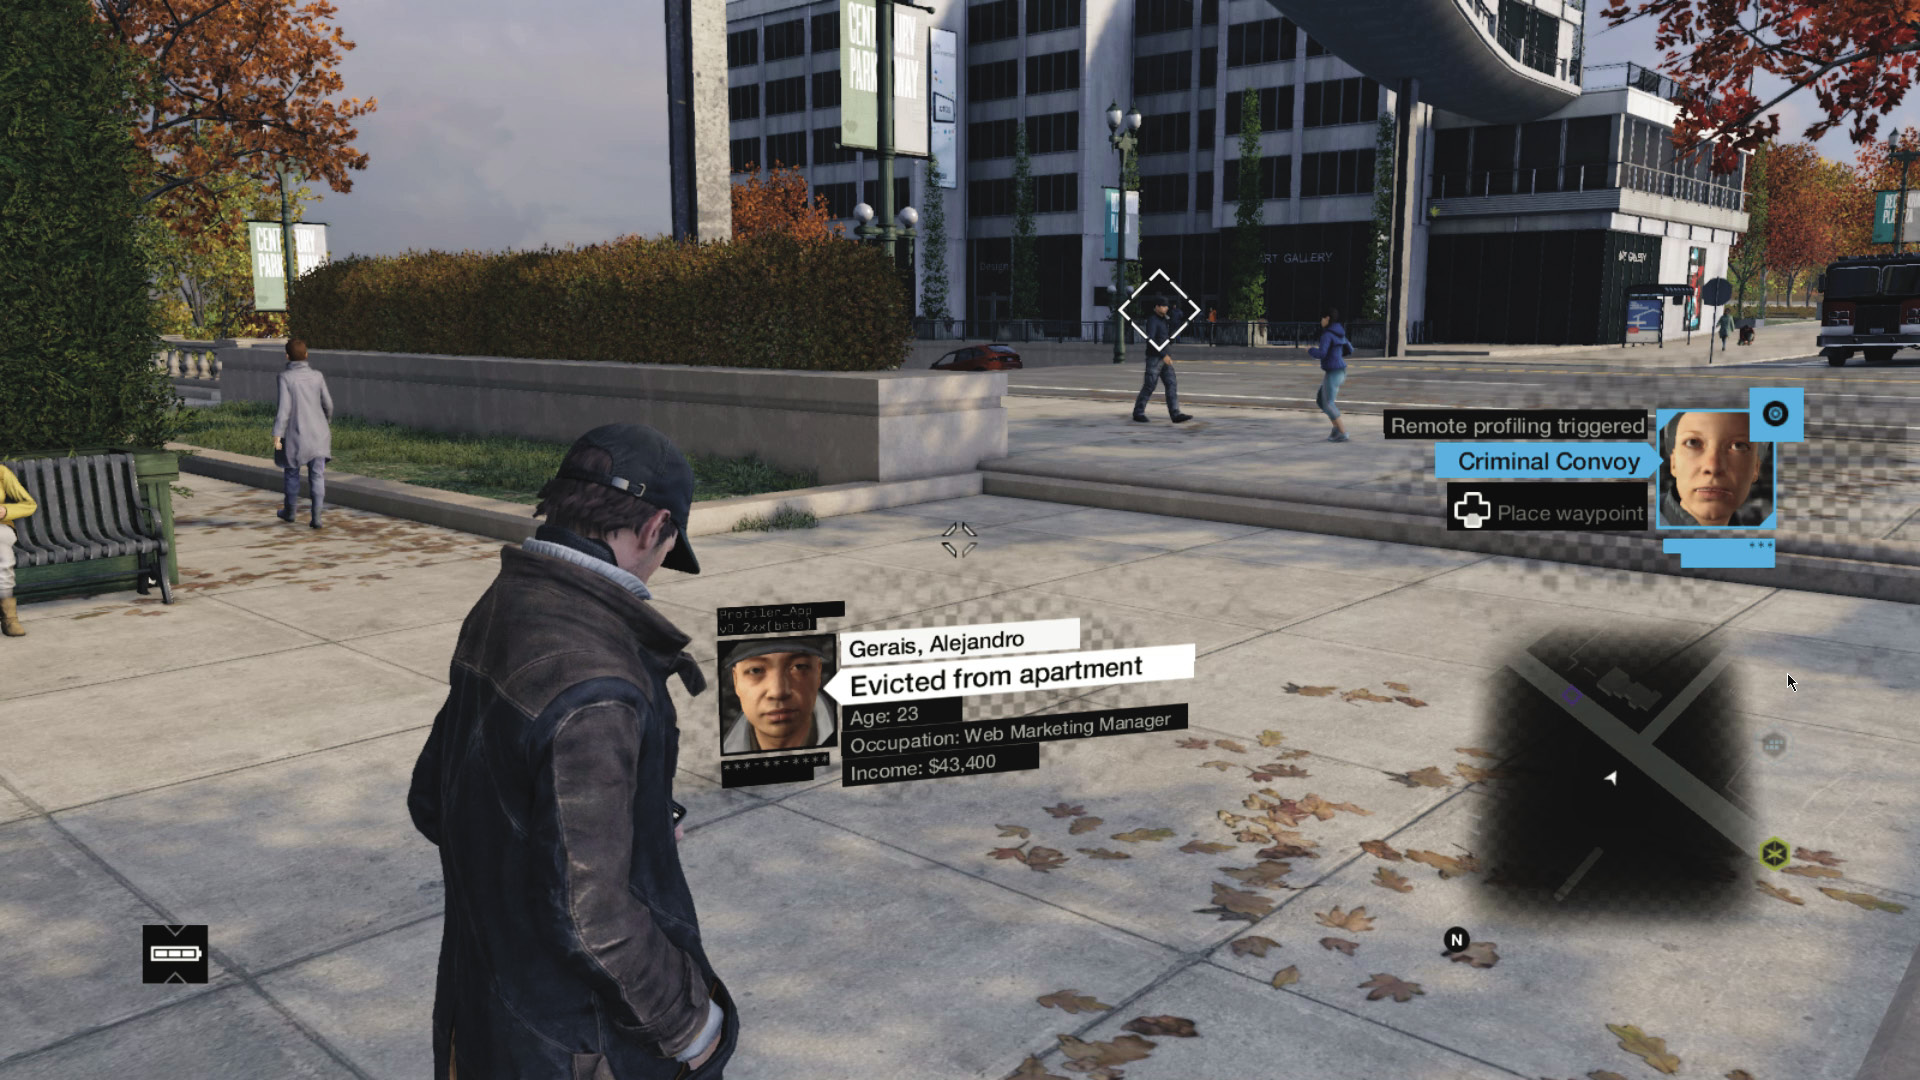
Convoys are discovered via Aiden’s profiling software in the same way as Fixer Contracts or random street crimes, or through information found by hacking random bystanders’ phones. They are not connected to any of the missions in the main campaign.
MISSION REWARDS (PER MISSION)$2,500, $5,000, OR $10,000 ACQUIRED 250, 500, OR 1,000 XP |
MISSION REWARDS (UNLOCK)Complete 1 Criminal Convoy MISSION: Critical Focus (Skill) Complete 10 Criminal Convoy MISSIONs: Destroyer (Weapon) Complete All Criminal Convoy MISSIONs: Road Rage (Achievement) |
OBJECTIVES
|
 Quickly reach an ambush point ahead of the enemy convoy
 Use local obstacles, vehicles, and your own equipment to set up an ambush
 Eliminate or subdue your target
 Kill all enemies or escape
 Ambush
 Vehicle Chase
 Escape
 Lethal Force Likely
PREPARATION
When you begin a Criminal Convoy mission, you have a short period in which to get to your target’s route and set up an ambush. Starting a Convoy mission does not affect the larger world, so any vehicles you drove to the starting point will still be there after the mission’s introduction.
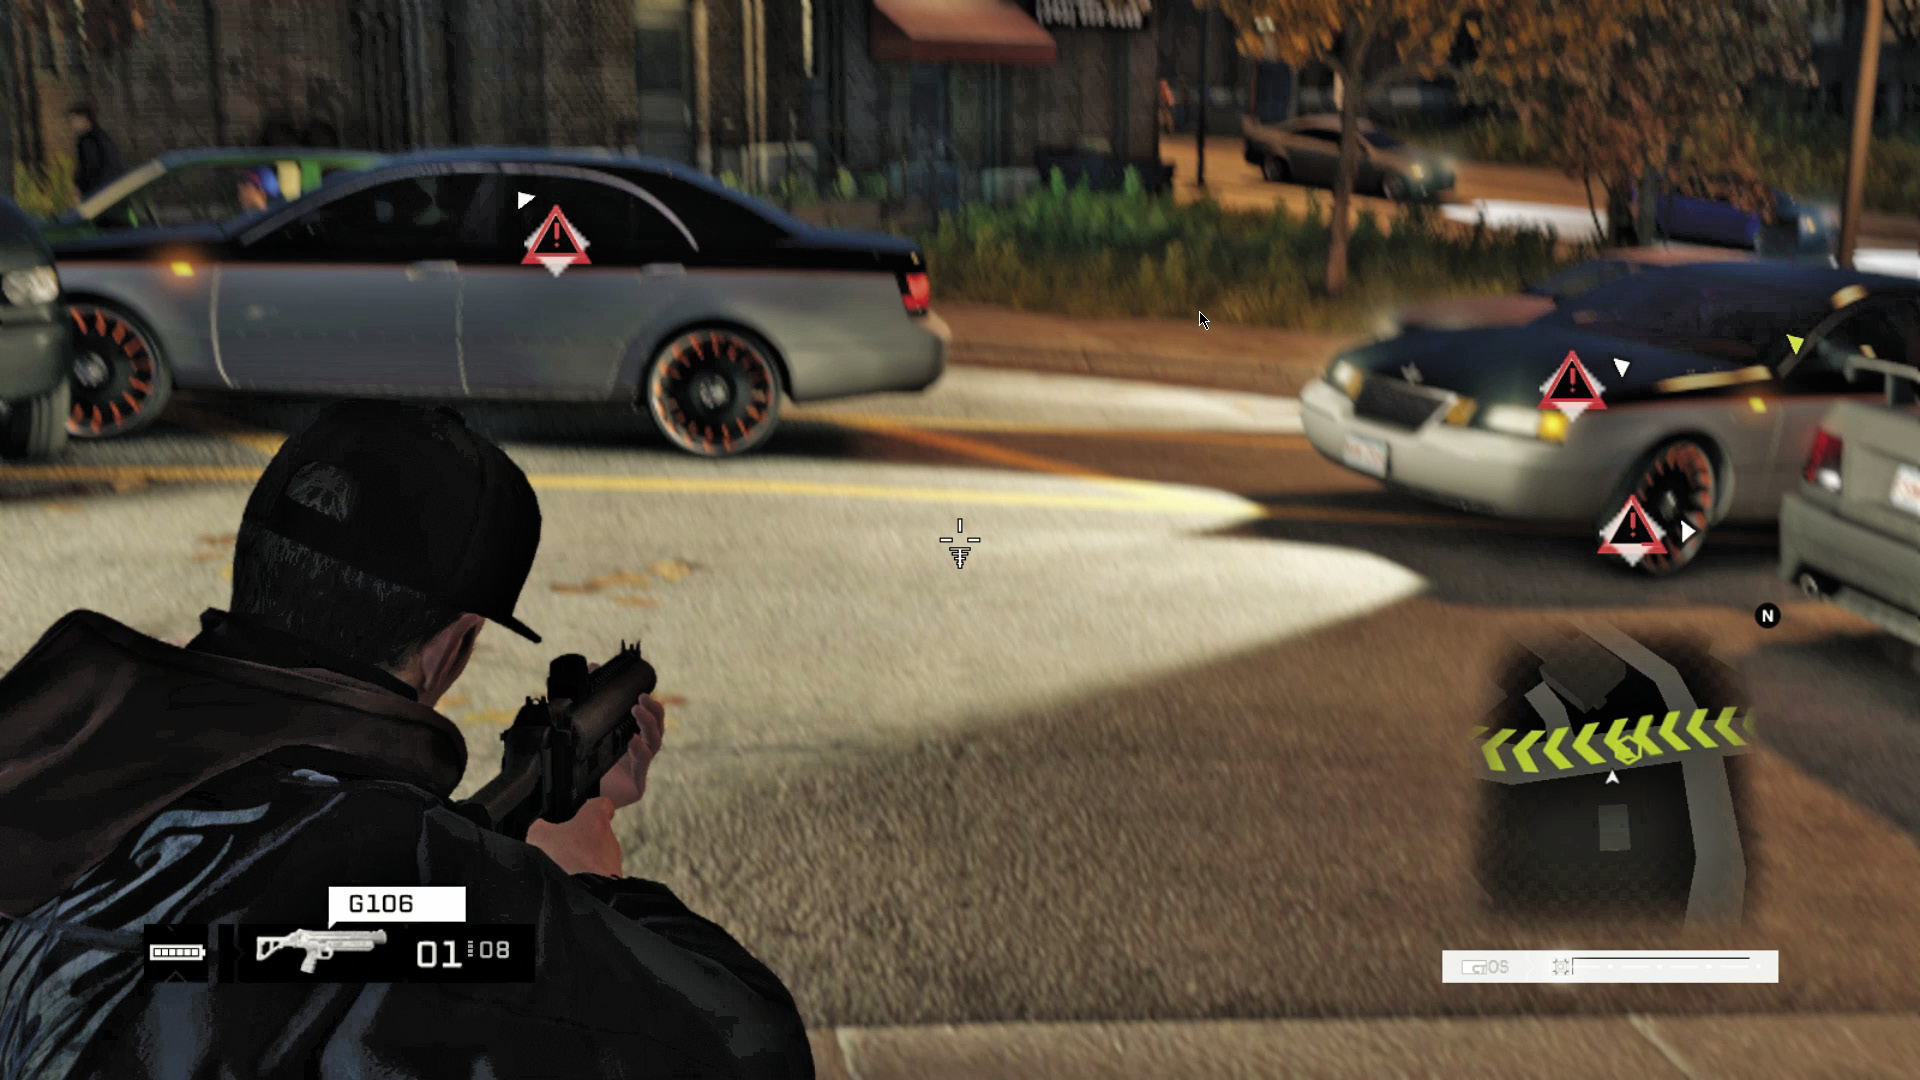
The target has at least two cars’ worth of bodyguards, who will call for reinforcements from their faction as soon as they see you, so it’s important to get as much impact as possible out of your first strike, and to do so from concealment. If backup does arrive, it typically takes the form of at least two sedans, each containing two standard-issue gunmen, but more will show up if you get into a car chase with them.
With that in mind, your approach to pulling off the attack will depend on your particular tactical preferences and current capabilities. You will definitely want to have acquired the skills that allow you to hack most of the city’s infrastructure, as many routes have various obstacles that you can hack into, such as traffic lights, steam pipes, road blockers, and bridges.
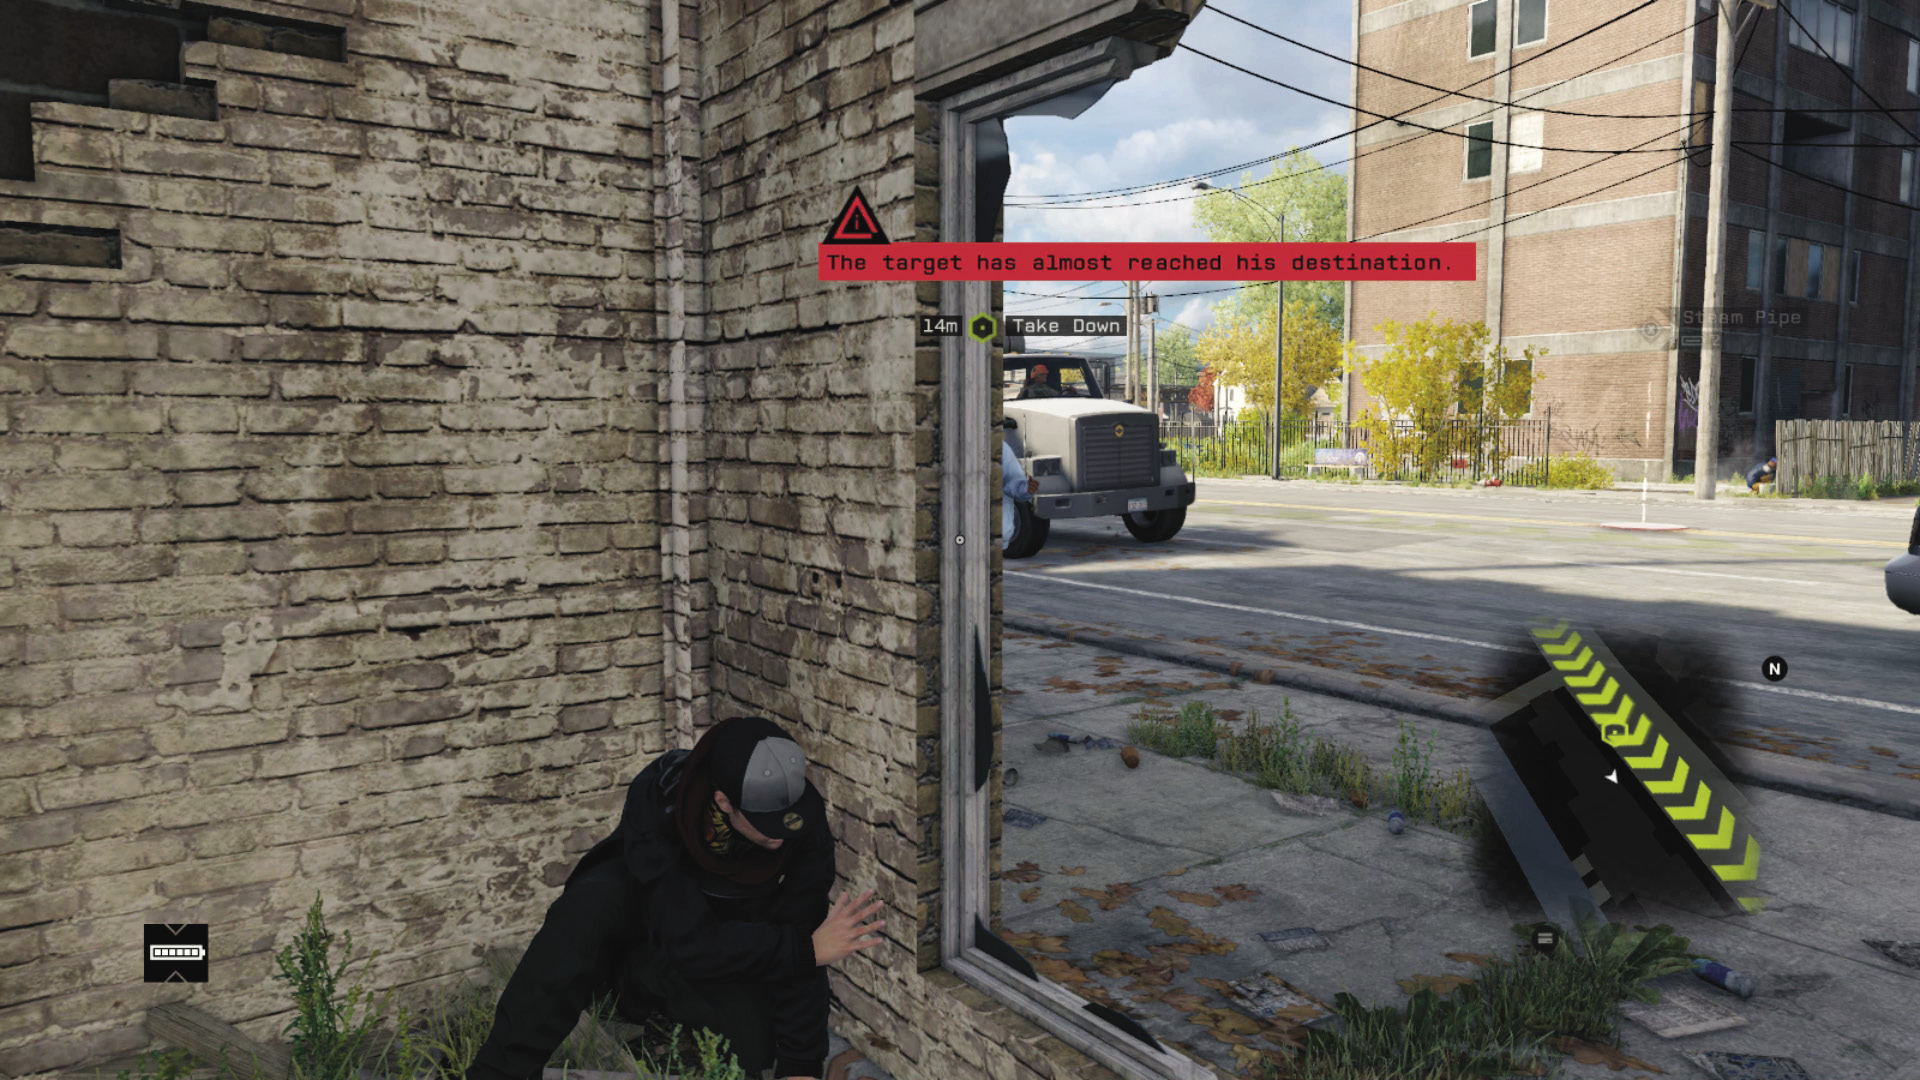
A lot of the strategies listed mention the use of steam pipes, and for good reason. Steam pipes are common throughout the Chicagoland metropolitan area, and they do an enormous amount of damage to any vehicle that’s on top of them when they go off. If there’s a steam pipe along a convoy’s route, it’s the single easiest way to halt that convoy, as well as any other traffic in the area.
A direct hit on a vehicle with a steam pipe is almost guaranteed to kill its passengers, which limits steam pipes’ utility on missions where you must leave your target alive. In those cases, you’re better off using steam pipes against your target’s bodyguards, as that will usually stop the convoy long enough for you to attack. If you get really good at timing the explosion, an indirect hit from a steam pipe often totals a car without killing its occupants.
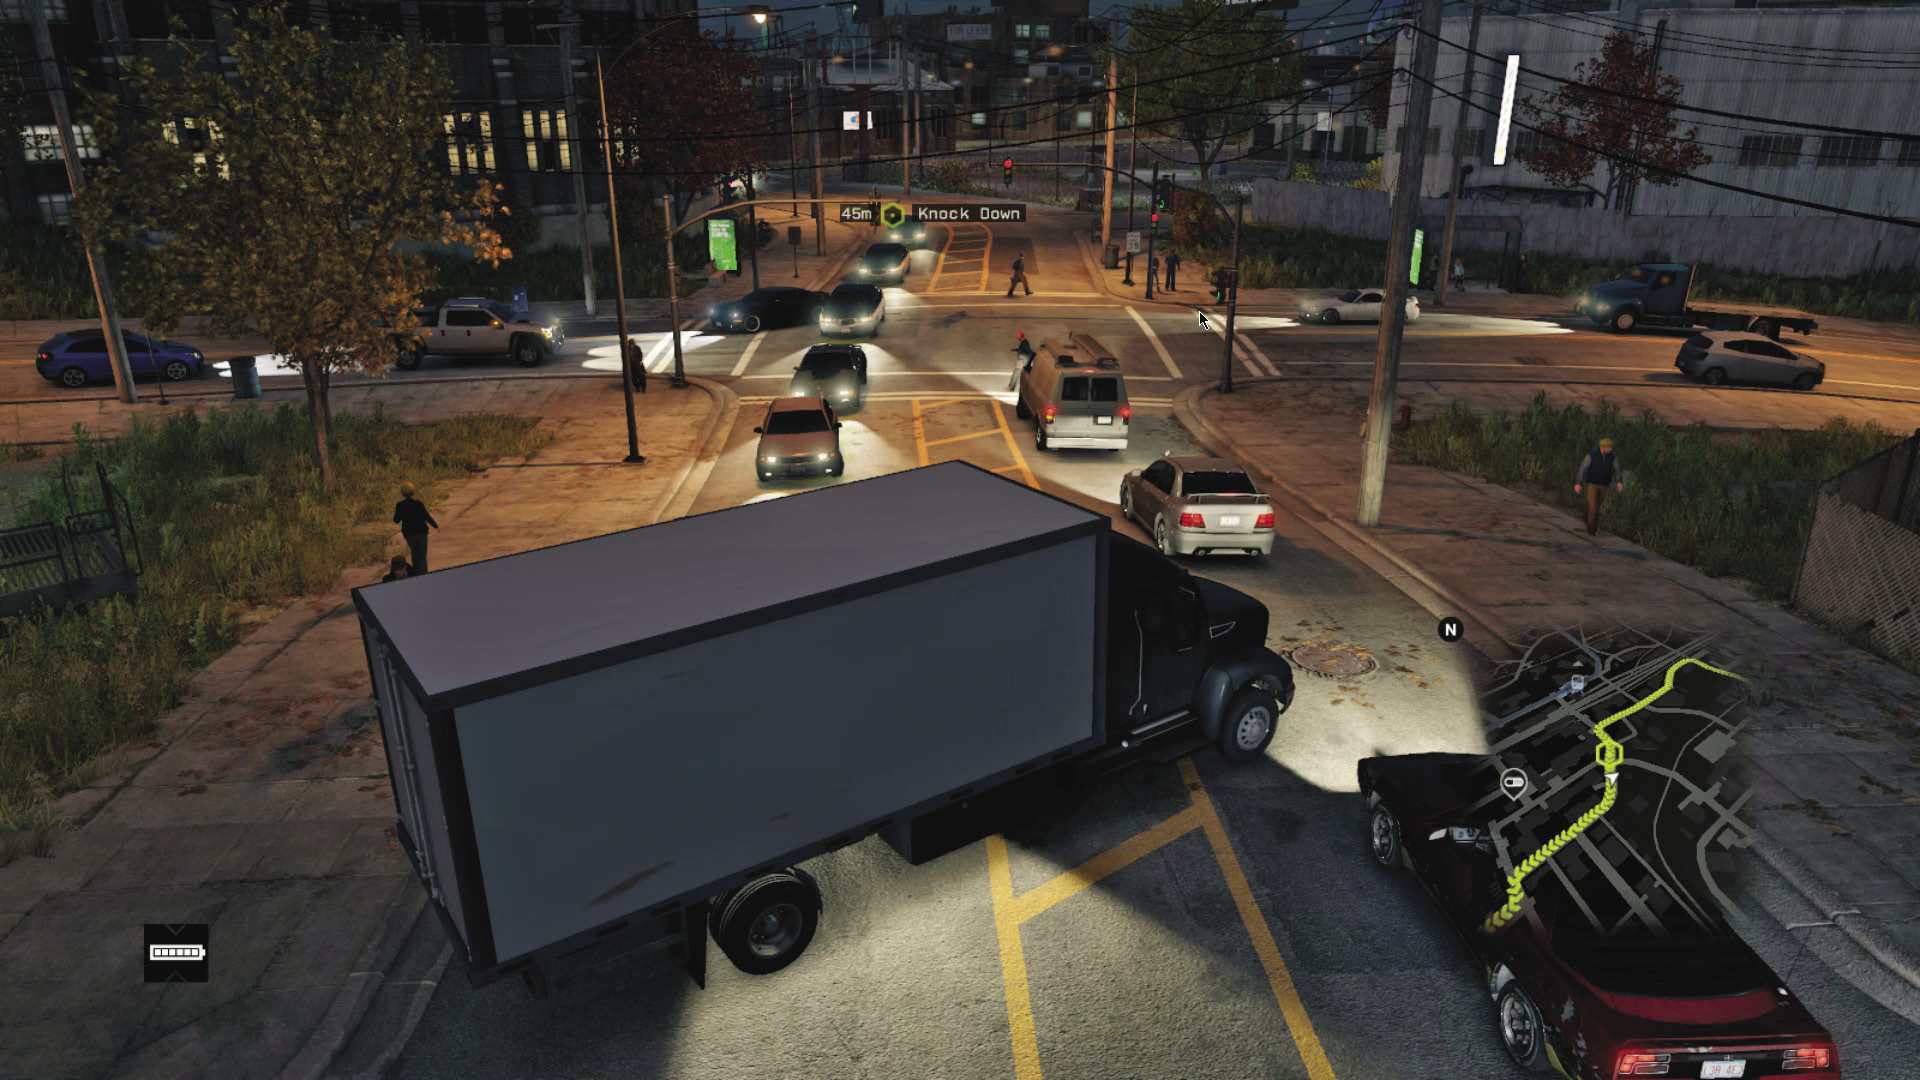
Most of your targets will be driving very cautiously until they realize they’re in danger, so you can halt them by causing accidents at nearby intersections or parking vehicles across the road in front of them. Convoys will typically try to navigate past an obstacle on their own after a few seconds, but that can be more than enough time to set off a bomb or line up a shot with a sniper rifle.
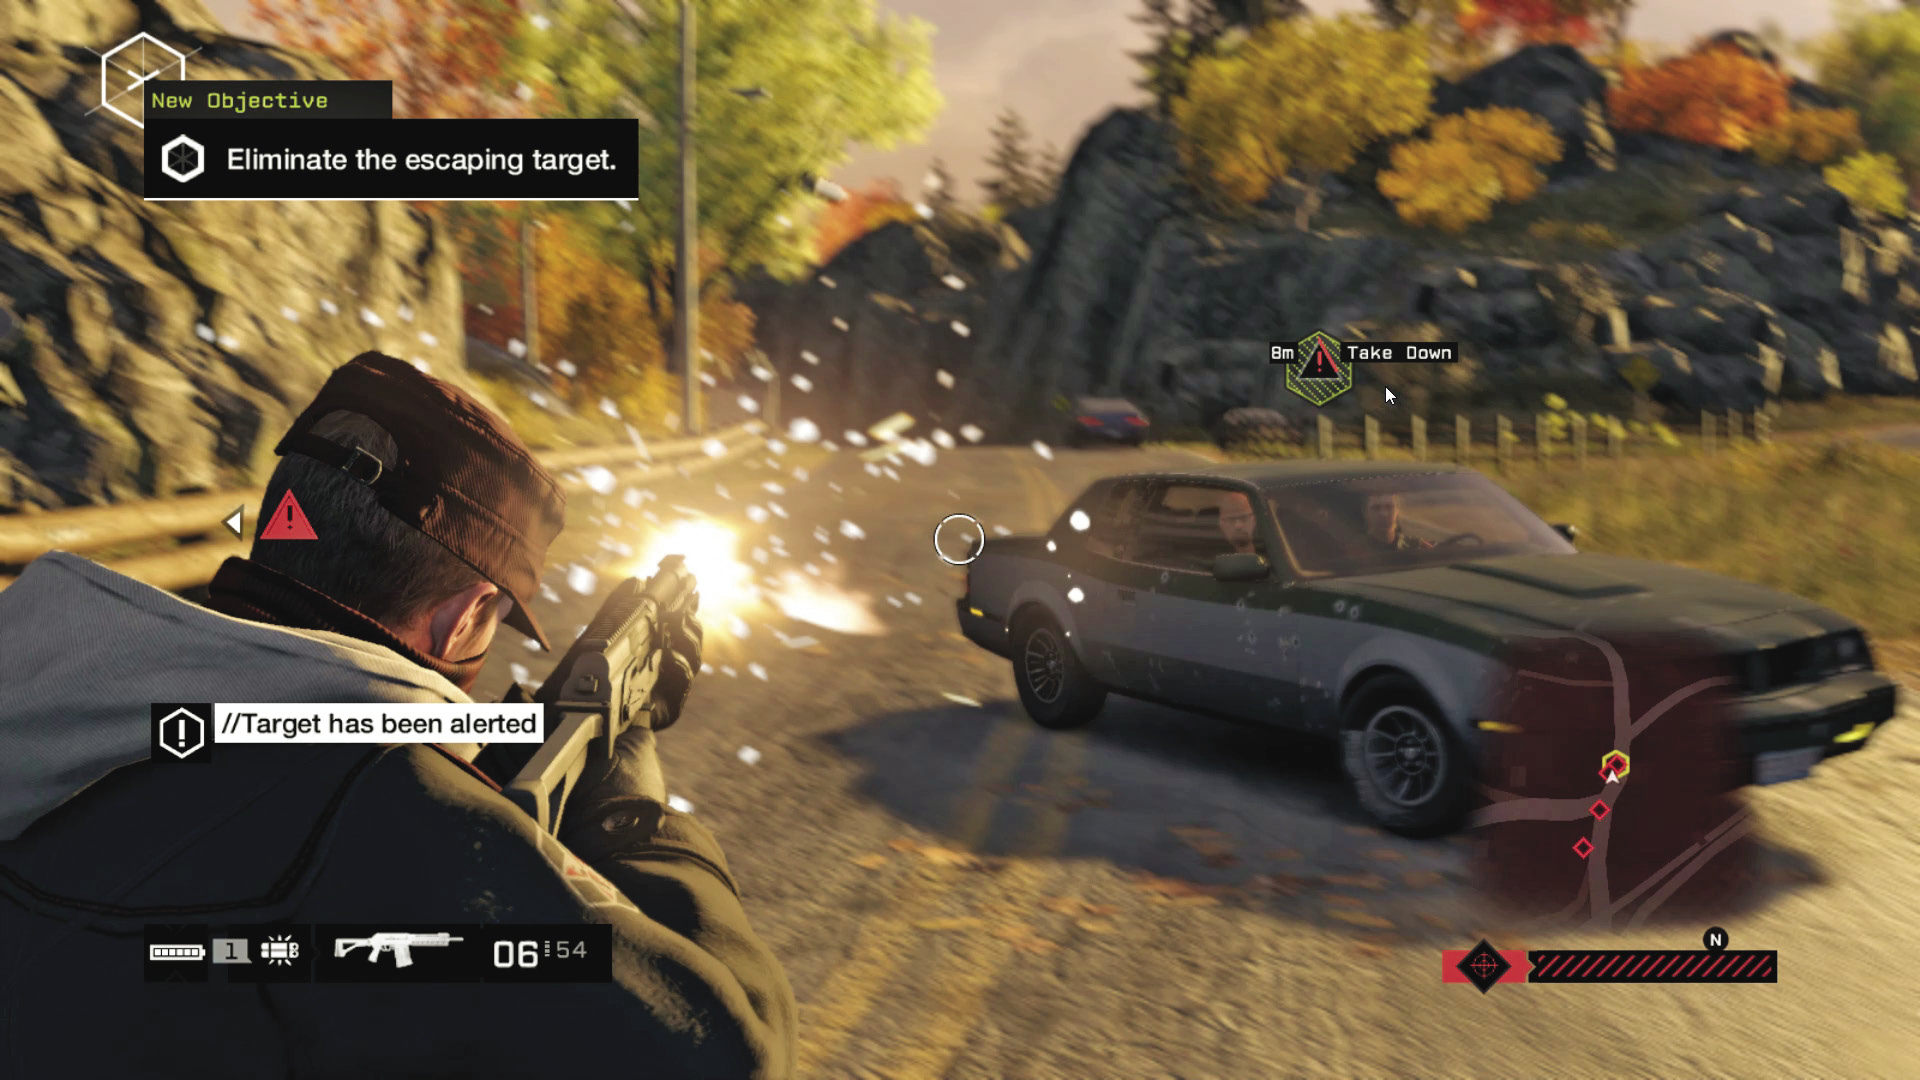
You can also stop a vehicle by blowing out its tires, killing its driver, or shooting out its engine block. The Shotgun Expert ability in your Skills Tree lets you shred most cars with a burst from an SGR-12 or ATSG-12.
IEDs are useful ways to destroy even a heavy vehicle if you time the explosion right, but you need to know how to use them. Since most drivers in the game will give other cars a space cushion, you need to plant your bombs at least one car’s length away from any other vehicles that you might be using as a blockade. Proximity IEDs, on the other hand, are usually next to worthless, as most convoys are in heavily trafficked areas and a pedestrian is likely to detonate the IED before your target does.
Grenade launchers are great last-ditch weapons that sacrifice subtlety for enough raw firepower to disable most vehicles in one or two hits, or to take out a target in an armored car by firing through the windshield. That said, using high explosives in crowded intersections is a good way to rack up a lot of civilian kills, so watch your reputation.
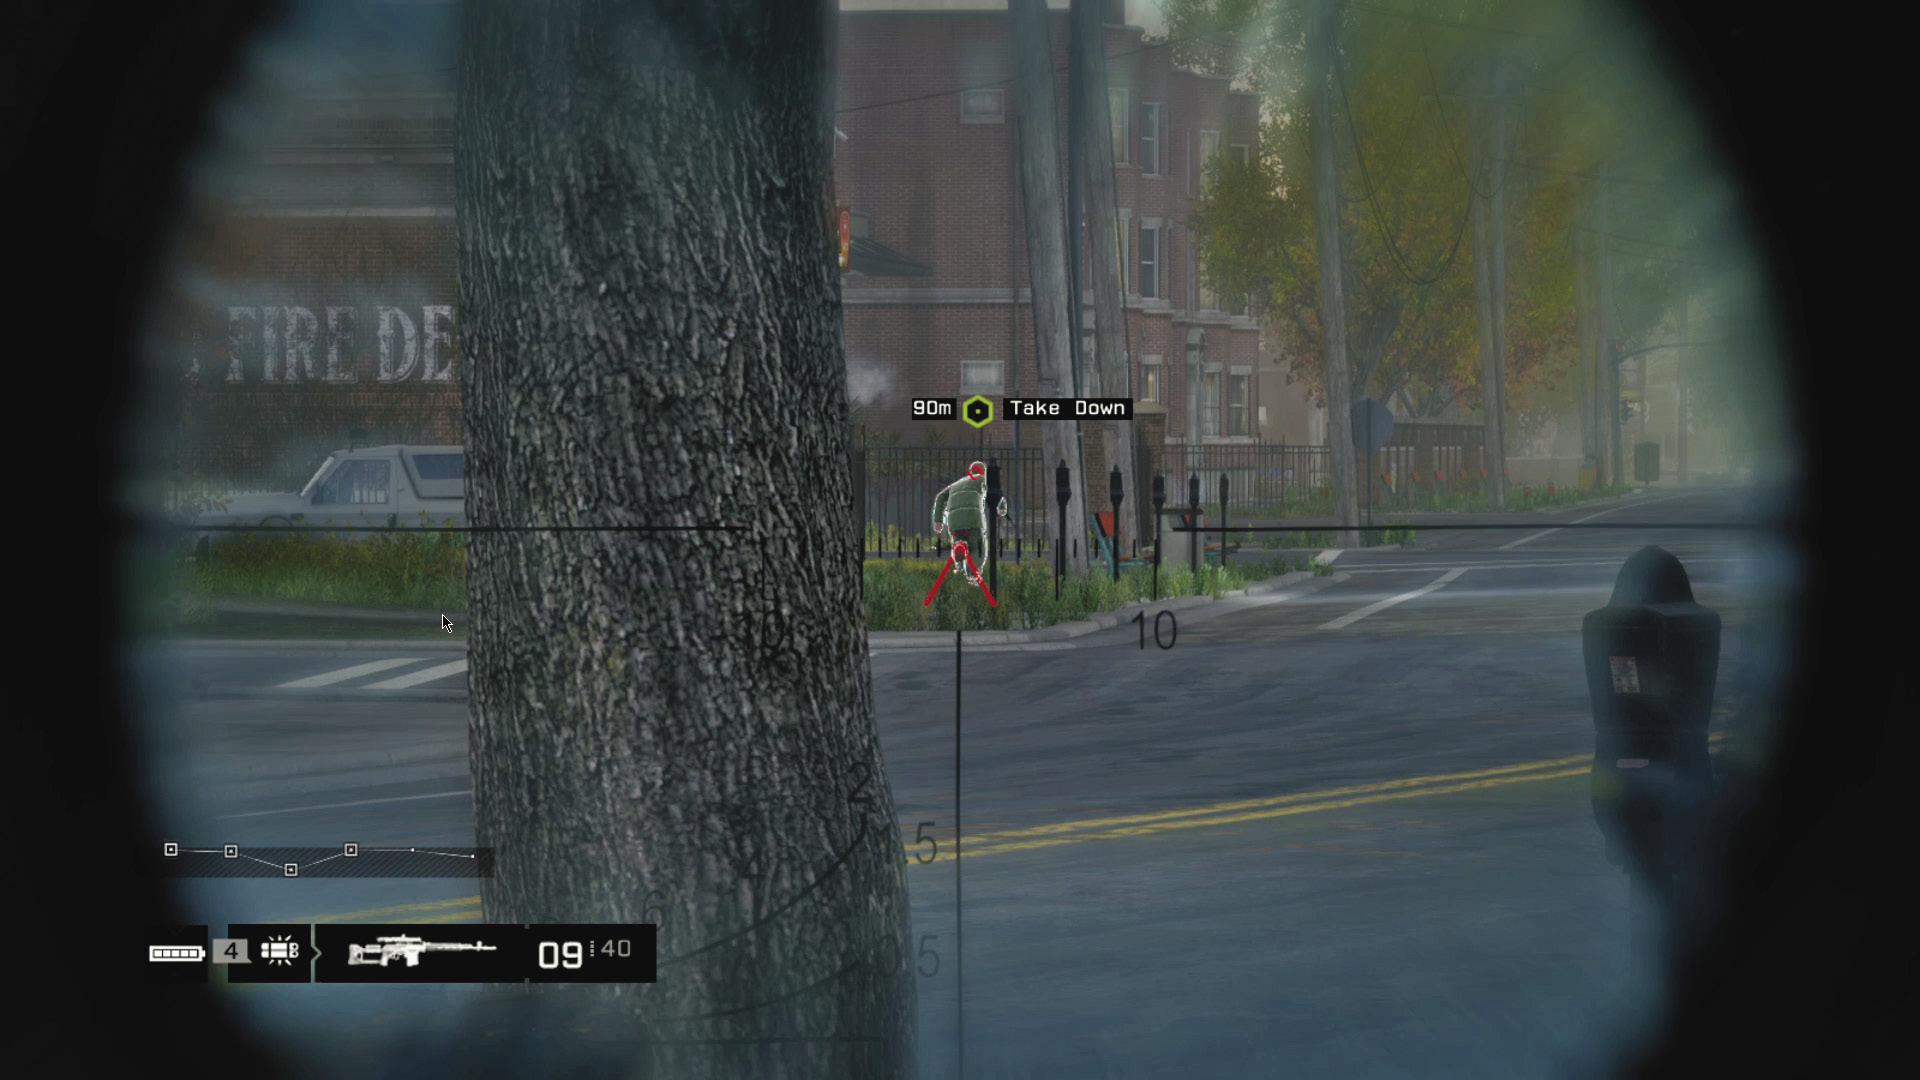
If your target survives your initial attack, he often makes a run for it, either in a car if his driver’s alive or on foot if he isn’t. This means you don’t have to worry about his reaching the end of his route any longer, but it does turn your ambush into a chase scene, complete with mission failure if you allow your target to escape.
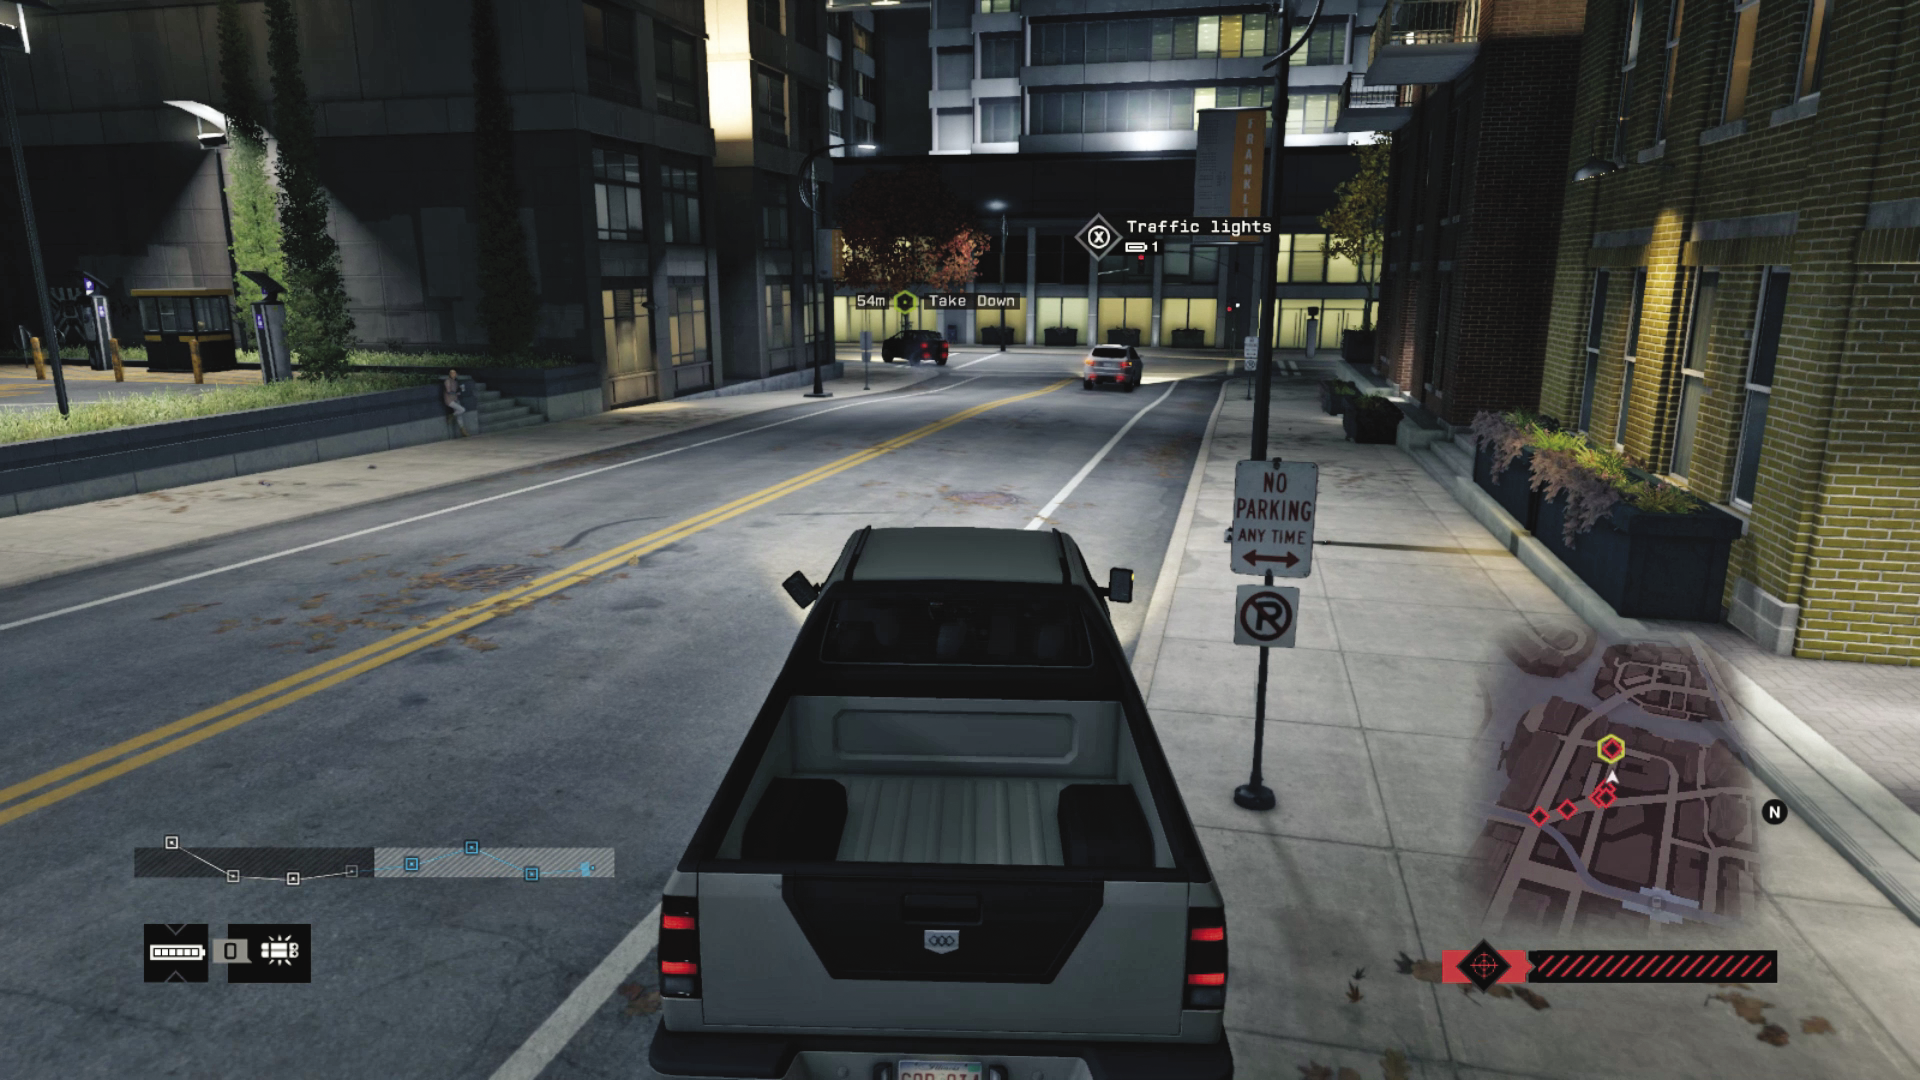
On the off chance this happens, make sure you’ve stashed a car somewhere near your ambush zone. Some Criminal Convoy missions take you out into the middle of nowhere, so you can’t count on there being any local vehicles at all, let alone anything that would be useful when you’re trying to run another car off the road. The Offensive Driver skill, obtained by completing five Fixer contracts, is excellent here.
APPETITE FOR DESTRUCTION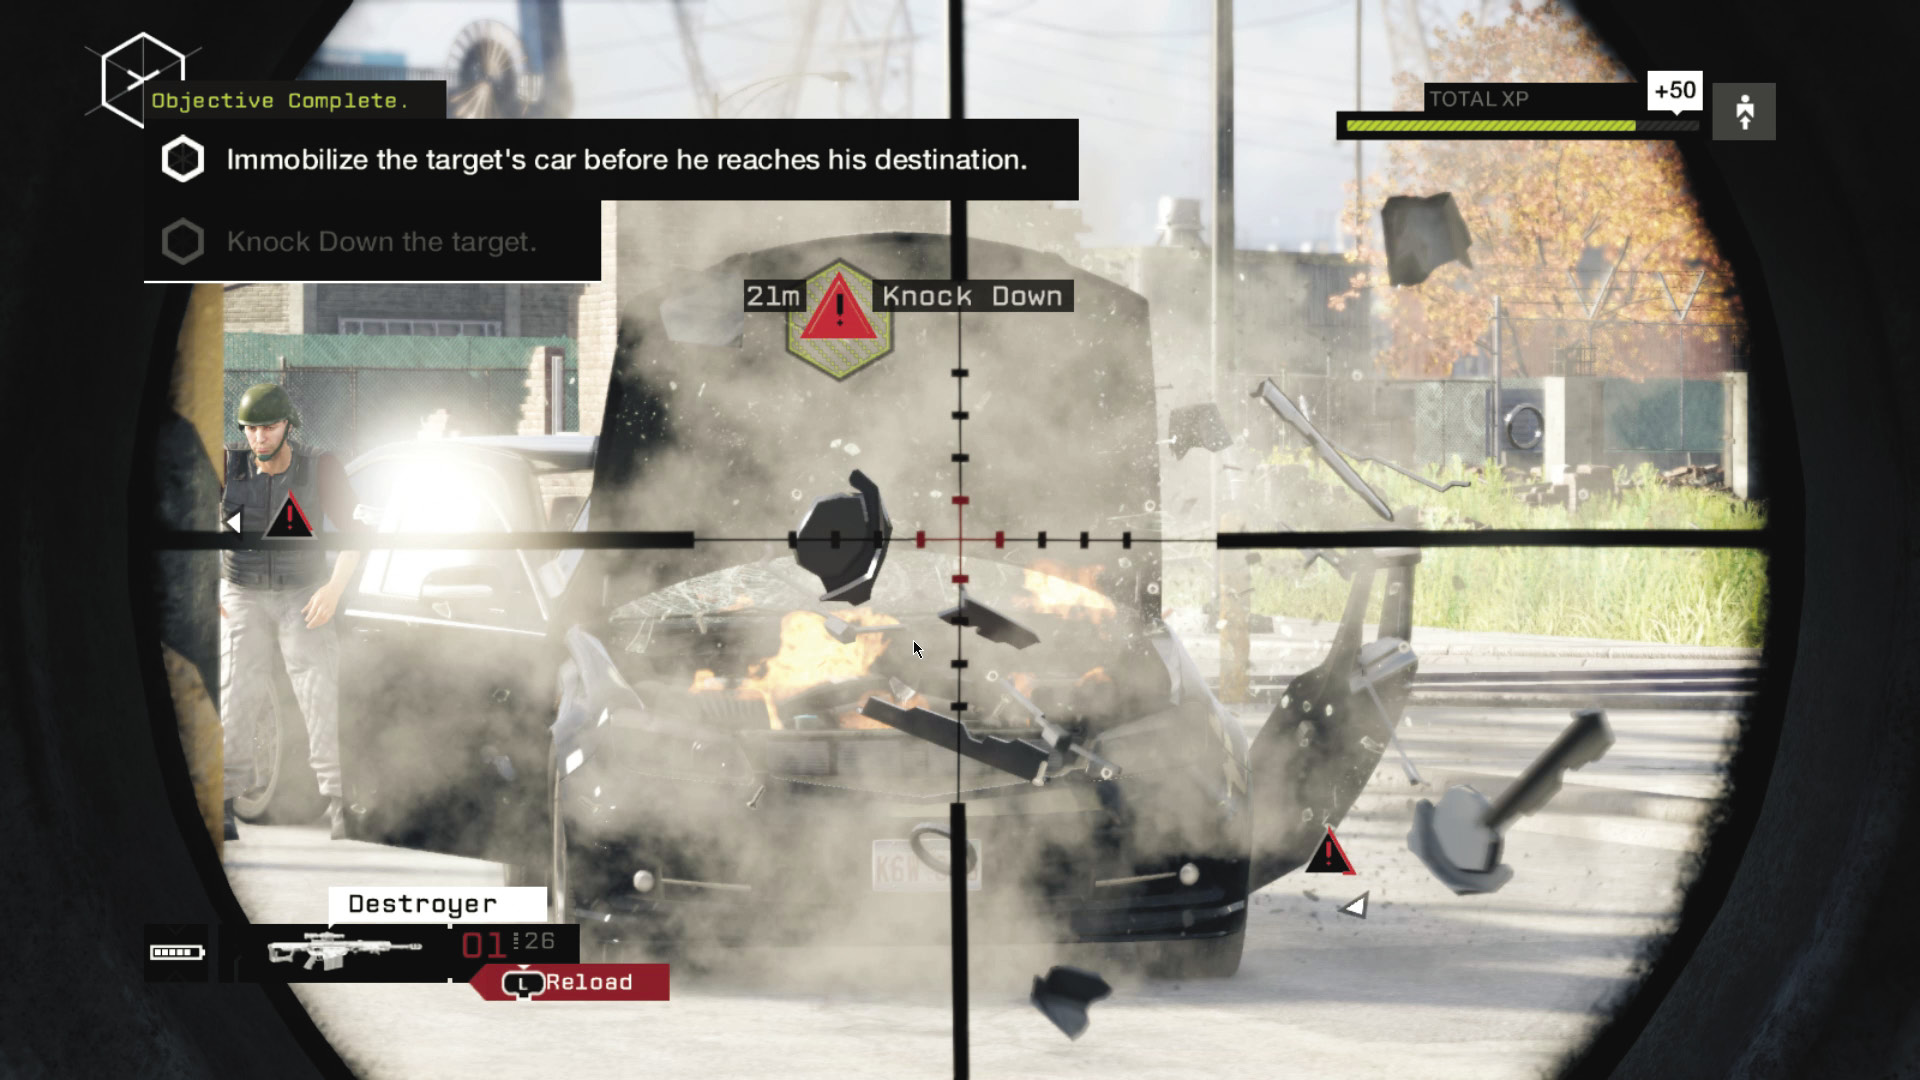 Successfully completing 10 Criminal Convoy missions earns you the Destroyer sniper rifle, an anti-materiel monster that can blow out a car’s engine block in a single hit. (It isn’t anywhere near as effective against Enforcers, though, which is…unnerving.) This instantly changes your tactics for the remaining Convoy missions, as you now have the ability to immobilize or destroy any vehicle in the game on a whim. The following tactics assume that you are attempting the Convoy mission in question without access to the Destroyer, but it can trivialize certain missions, particularly “The Beast” and “Juggernaut.” This also means that if a particular mission is giving you problems, you can put it on the back burner for a while and come back when you have the Destroyer. It’s a problem-solver. |
PAWNEE // CONVOYS
_SMALL TOWN JUSTICE
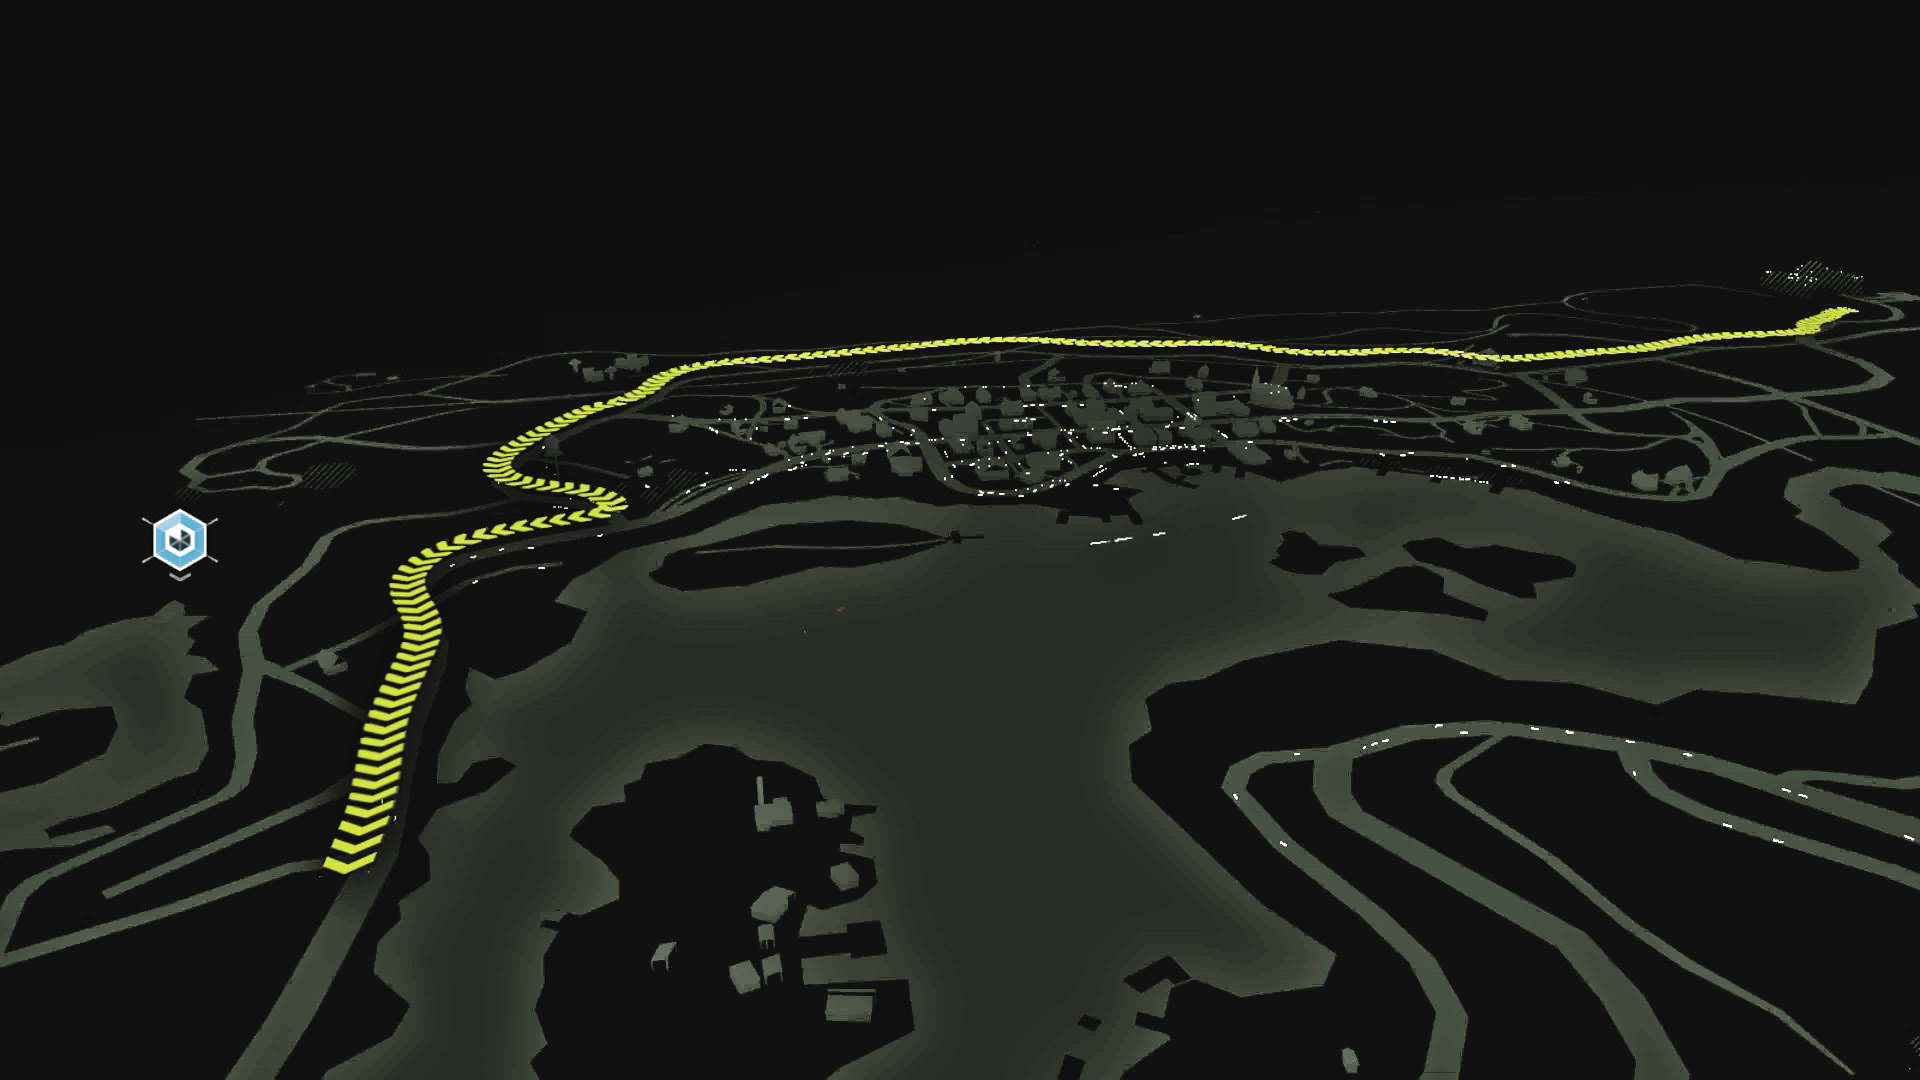
LOCATION / PAWNEE // BACKROADS
ENEMY / MILITIA CONVOY, FOUR VEHICLES (ENFORCER X2, ELITE X3, VETERAN ), PLUS REINFORCEMENTS
TARGET: VETERAN x2
NUMBER OF TARGETS: 2
DIFFICULTY:
You must beat both your targets to sleep with your baton to successfully complete this mission.
Your main problem is dealing with the targets’ bodyguards without accidentally killing your targets in the ensuing crossfire. This is because the lead car in the convoy is driven by two Enforcers, and if they’re allowed to join the party, you will have a difficult time staying alive, let alone taking down two separate unarmored targets. The good news, such as it is, is that convoys with Enforcers in them do not tend to flee if your ambush fails; instead the occupants will get out of their cars and attack you.
AMBUSH POINT 01 // RAILROAD CROSSING
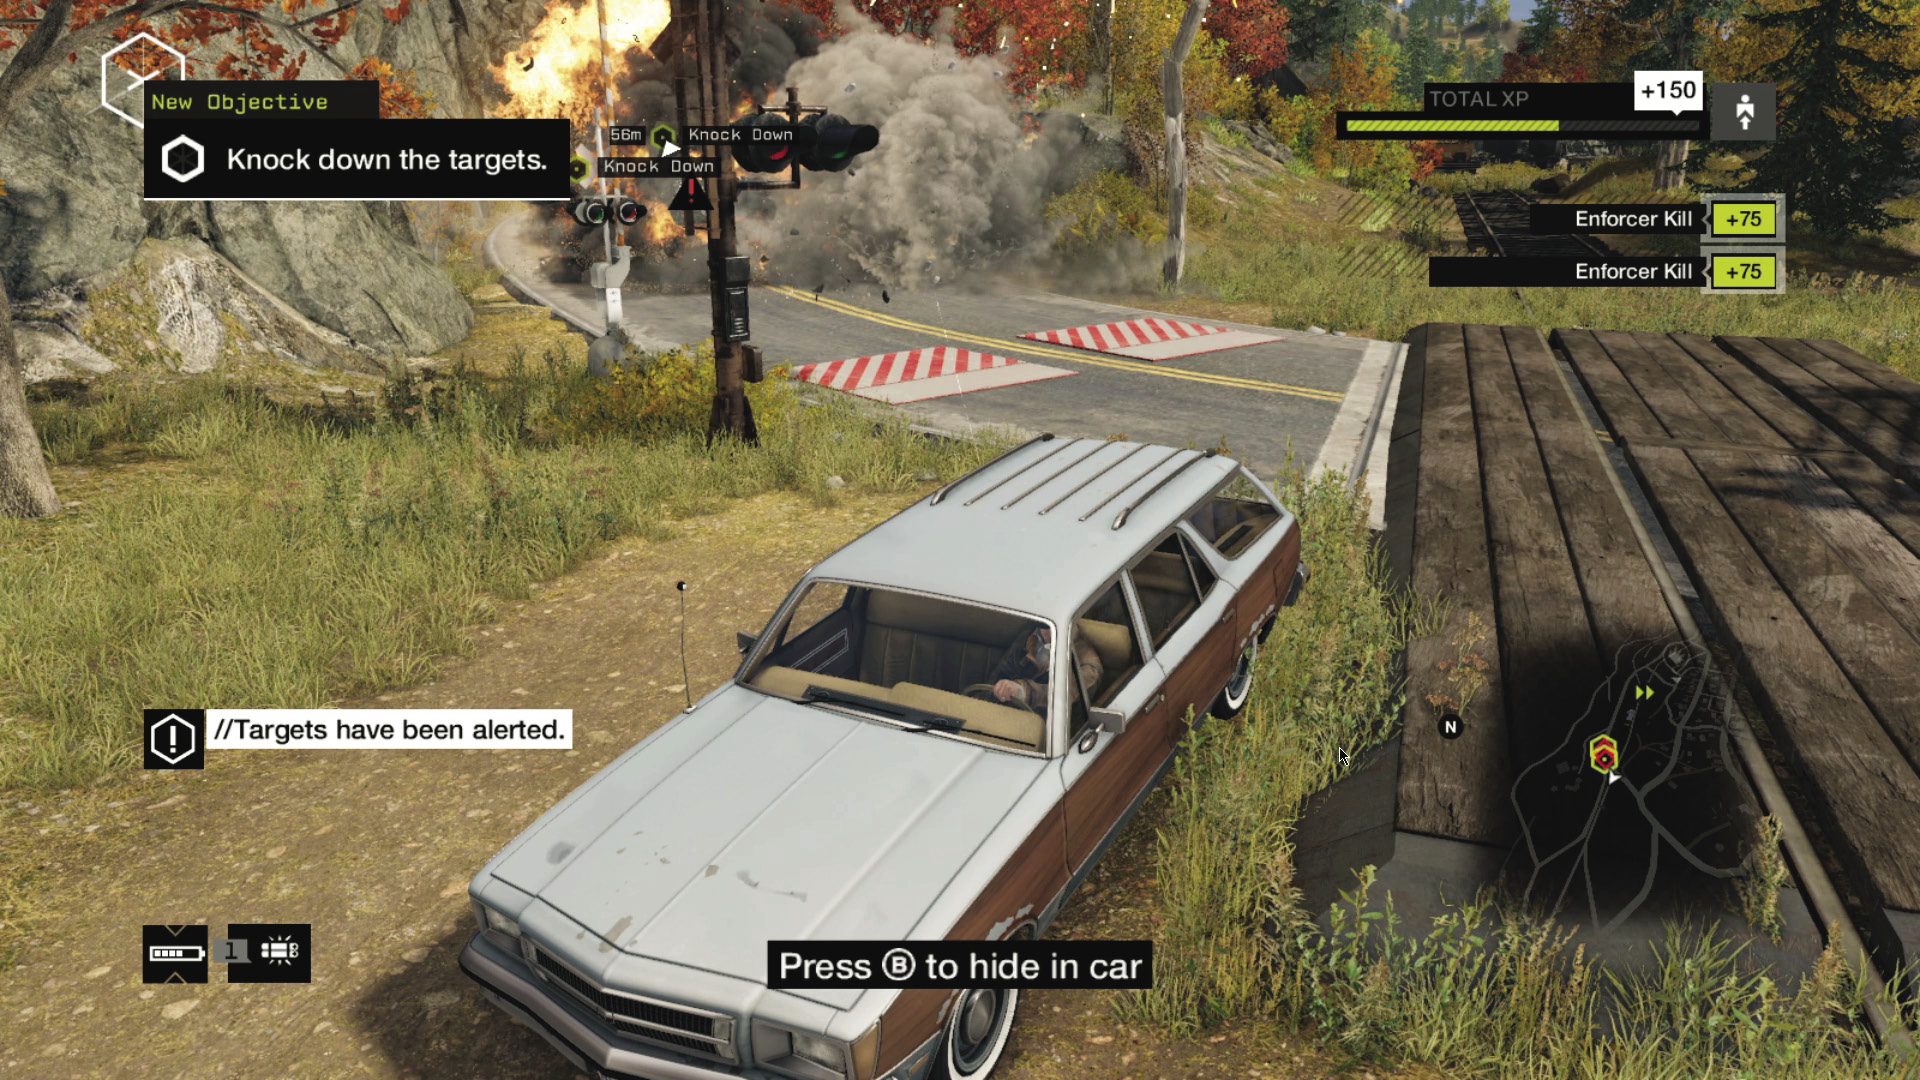
ACCESSIBILITY LEVEL: 
The only object along your targets’ route that you can use against them is a set of blockers, positioned in front of old railroad tracks. Given where you begin this mission, it can be difficult to reach the tracks before the convoy does, but it’s feasible if you have a motorcycle or performance car with you.
Once the blockers are up, the convoy usually reacts by trying to make a three-point turn, which is difficult and time-consuming on a road as narrow as this one. This gives you a broad window in which to blow up the Enforcers’ car with an IED, which takes them out of the fight and makes the rest of this mission a comparative cakewalk.
AMBUSH POINT 02 // MILITIA CAMP
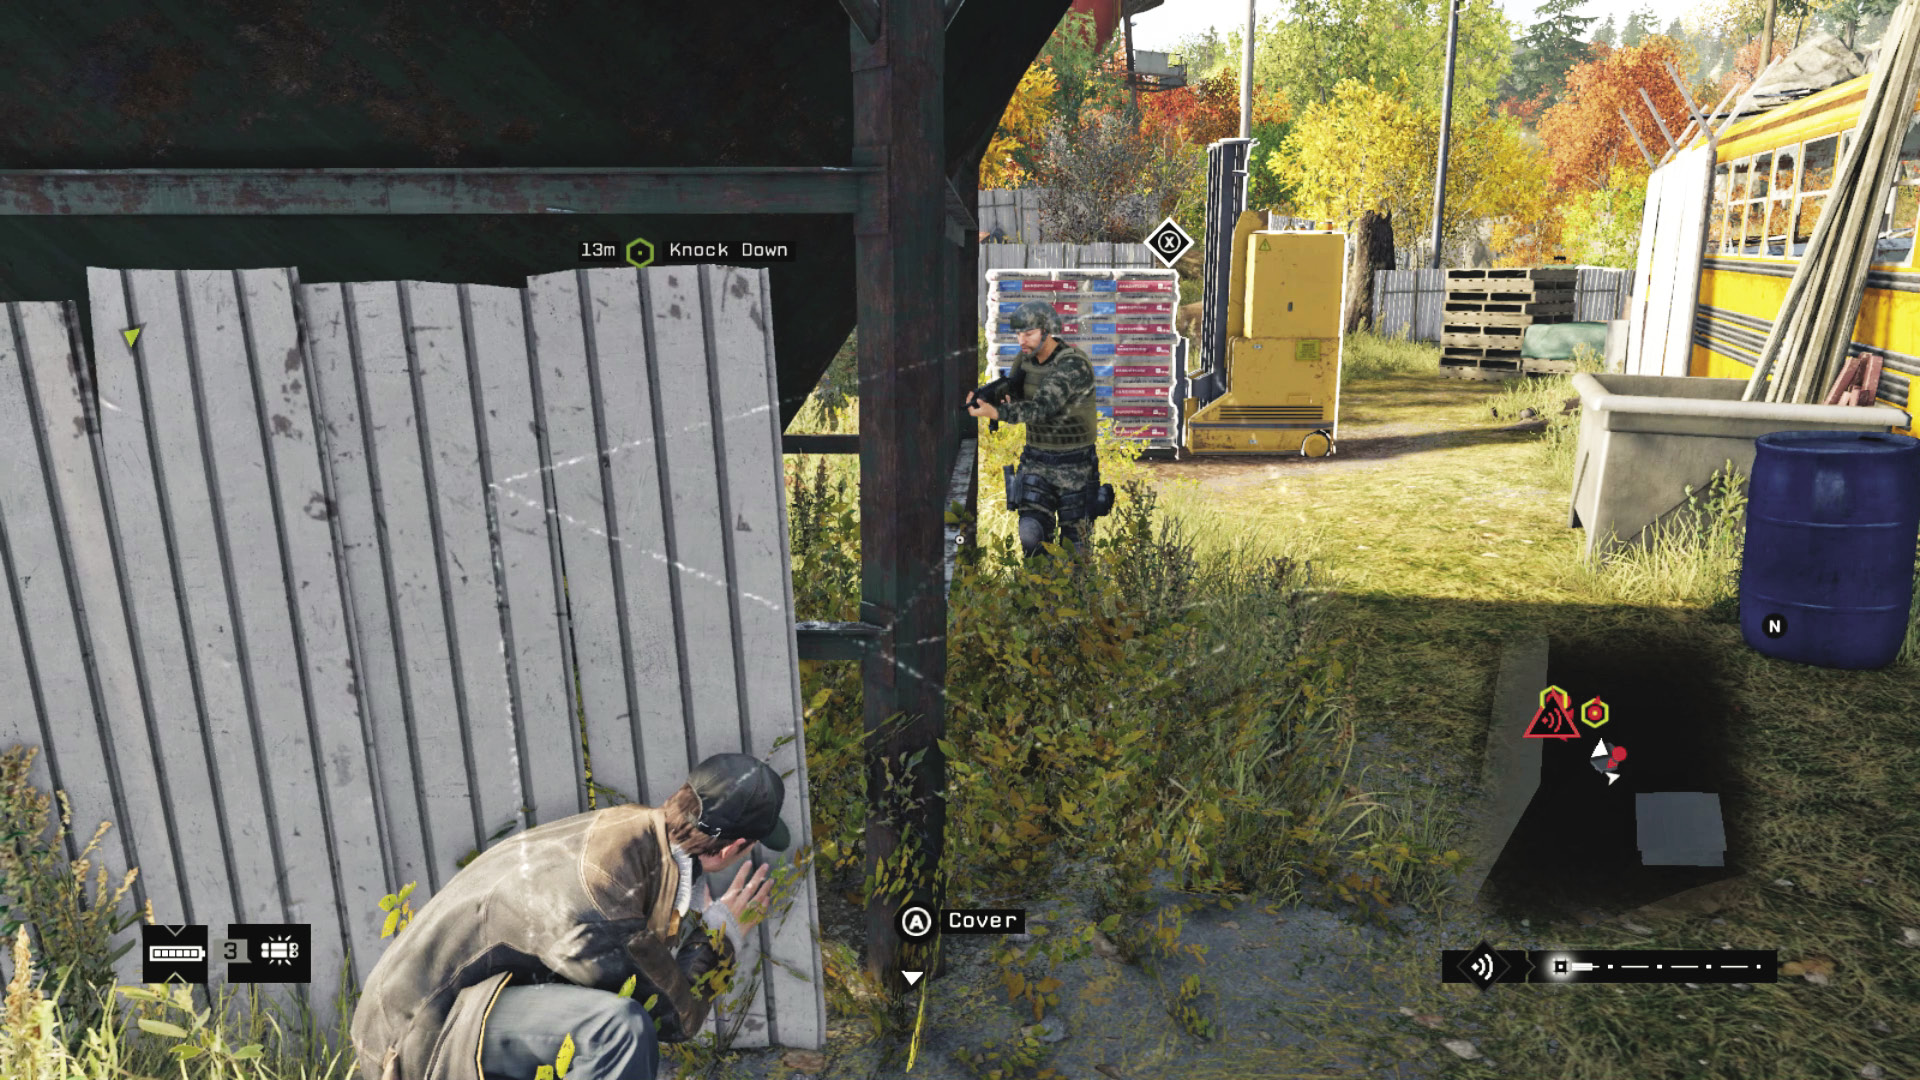
ACCESSIBILITY LEVEL:
The primary goal in any convoy that involves Enforcer bodyguards is to disable the Enforcers. If you drive ahead of the convoy, you’ll find their route takes them right past a militia camp in northern Pawnee (see “Let’s Play Make a Deal).
That camp has cameras mounted on its walls and a cement mixer parked out front. You can block off the convoy’s route with the cement mixer, plant a few IEDs, and use the militia’s camera network to detonate the bombs from within near-perfect concealment. Once the Enforcers have been neutralized, the rest of the convoy will disembark and come into the camp to try to figure out what just happened. This allows you to use the distractions and cover inside the camp to stalk and subdue your targets, then disappear without raising an alarm at all.
PARKER SQUARE // CONVOYS
_PARKER PURSUIT
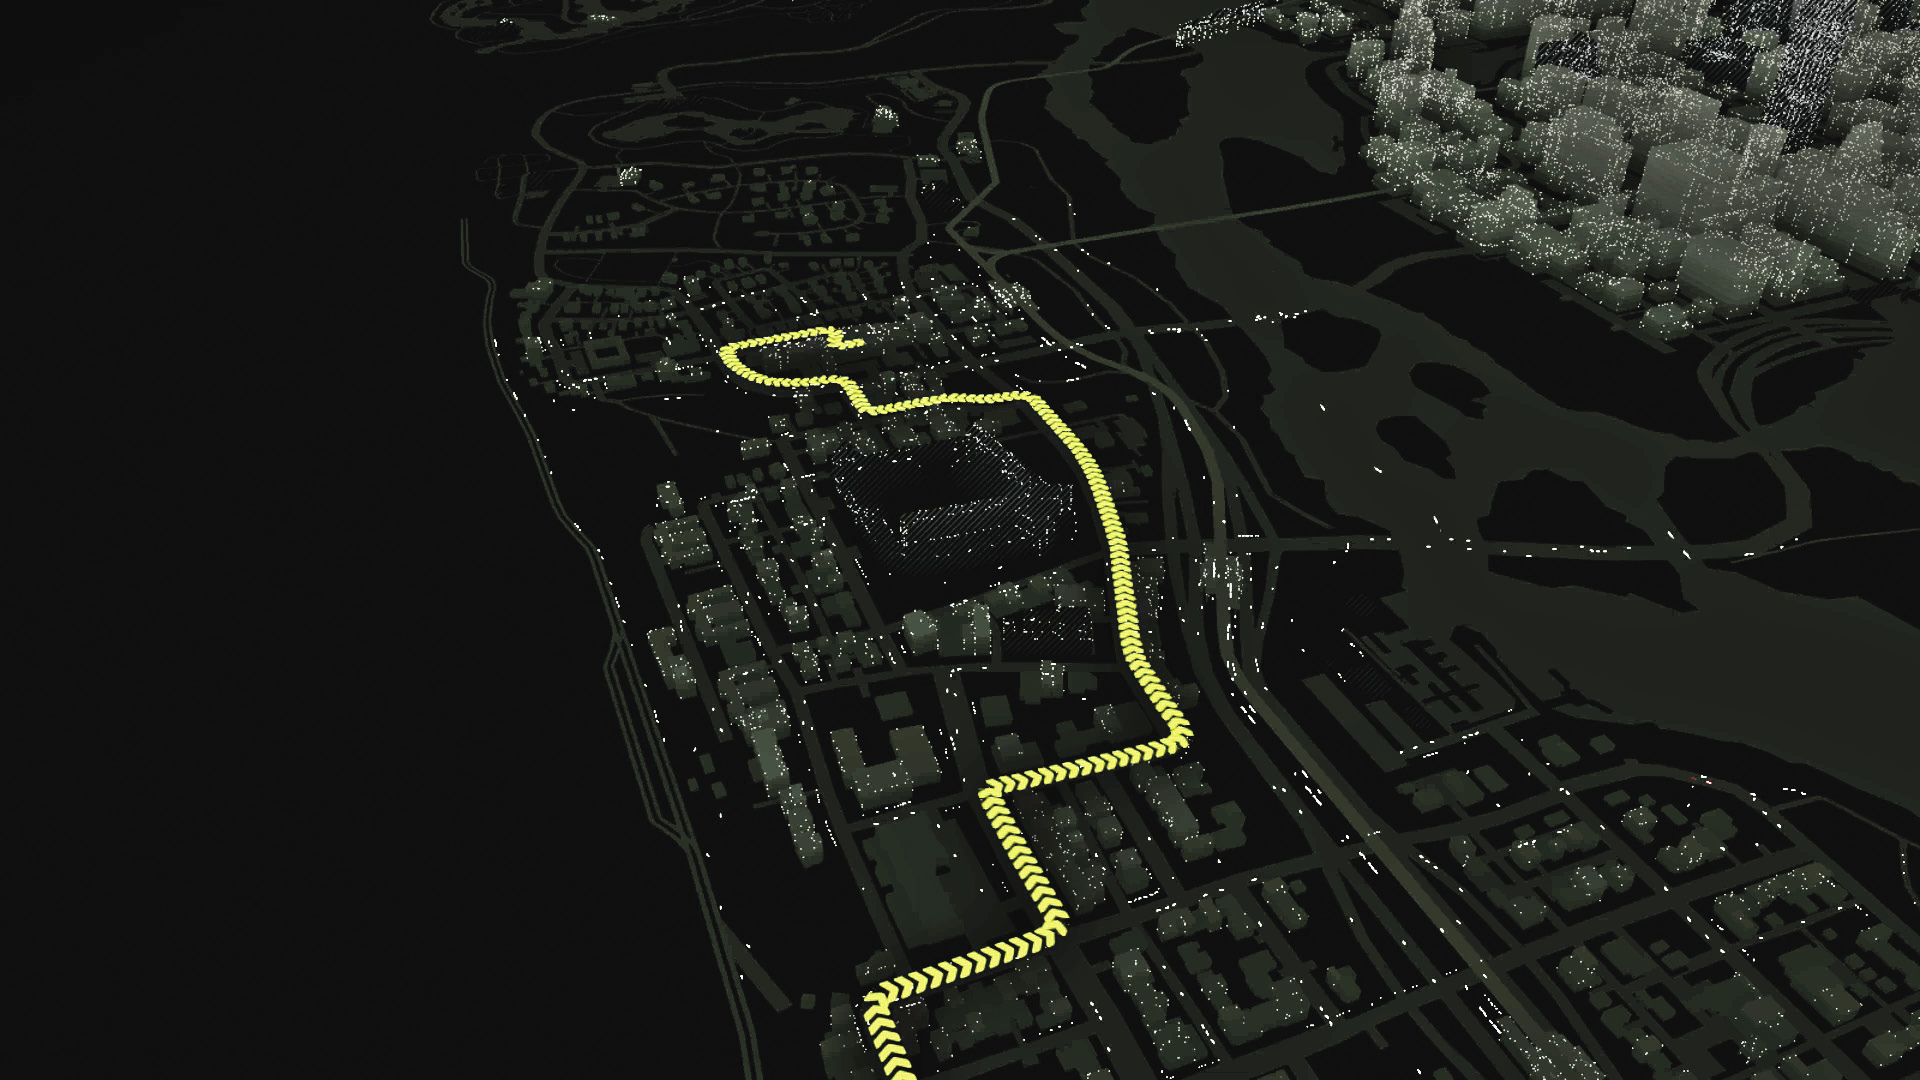
LOCATION / PARKER SQUARE
ENEMY / CLUB CONVOY, THREE VEHICLES (VETERAN X5), PLUS REINFORCEMENTS
TARGET: VETERAN
NUMBER OF TARGETS: 1
DIFFICULTY:
This is one of the easier Criminal Convoys and makes a great introduction to these missions. However, you spend most of it in areas with a very high number of pedestrians, who will call the cops on the slightest provocation.
AMBUSH POINT 01 // PARKING LOT
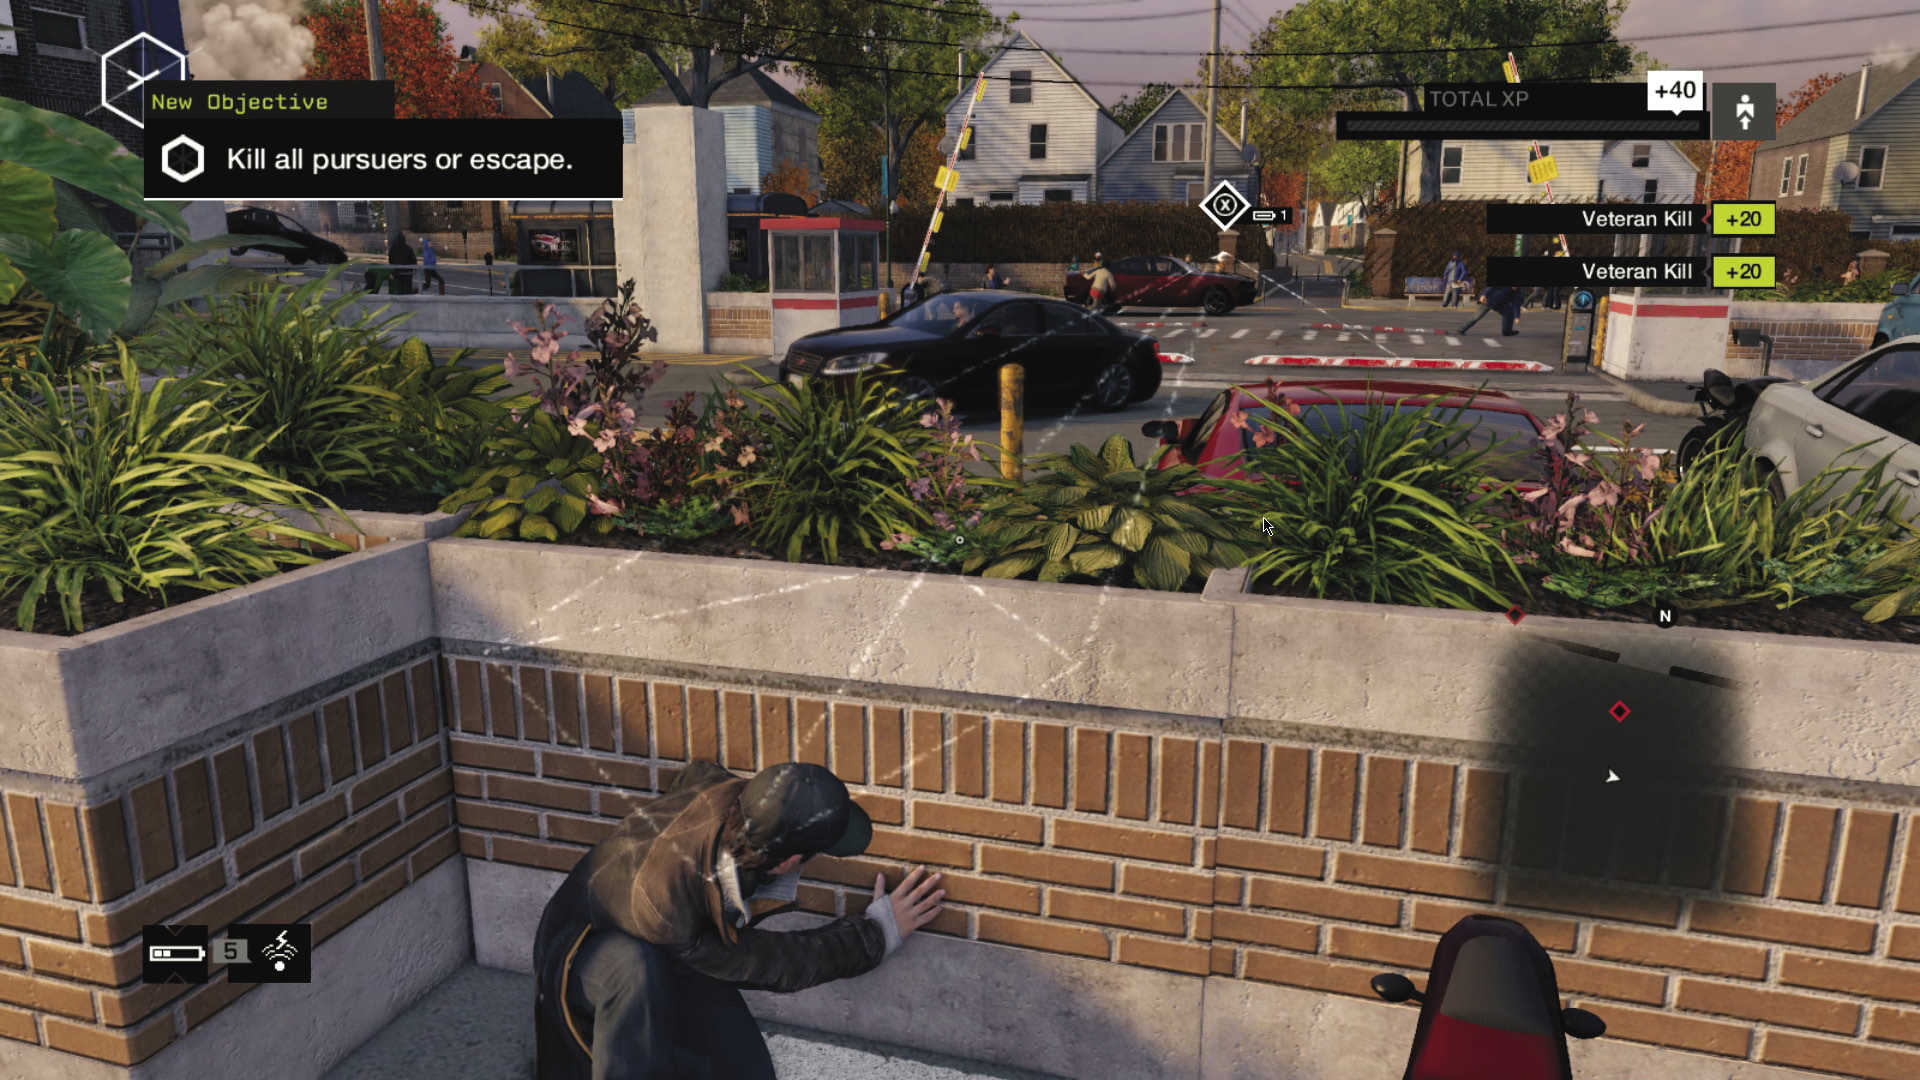
ACCESSIBILITY LEVEL: 
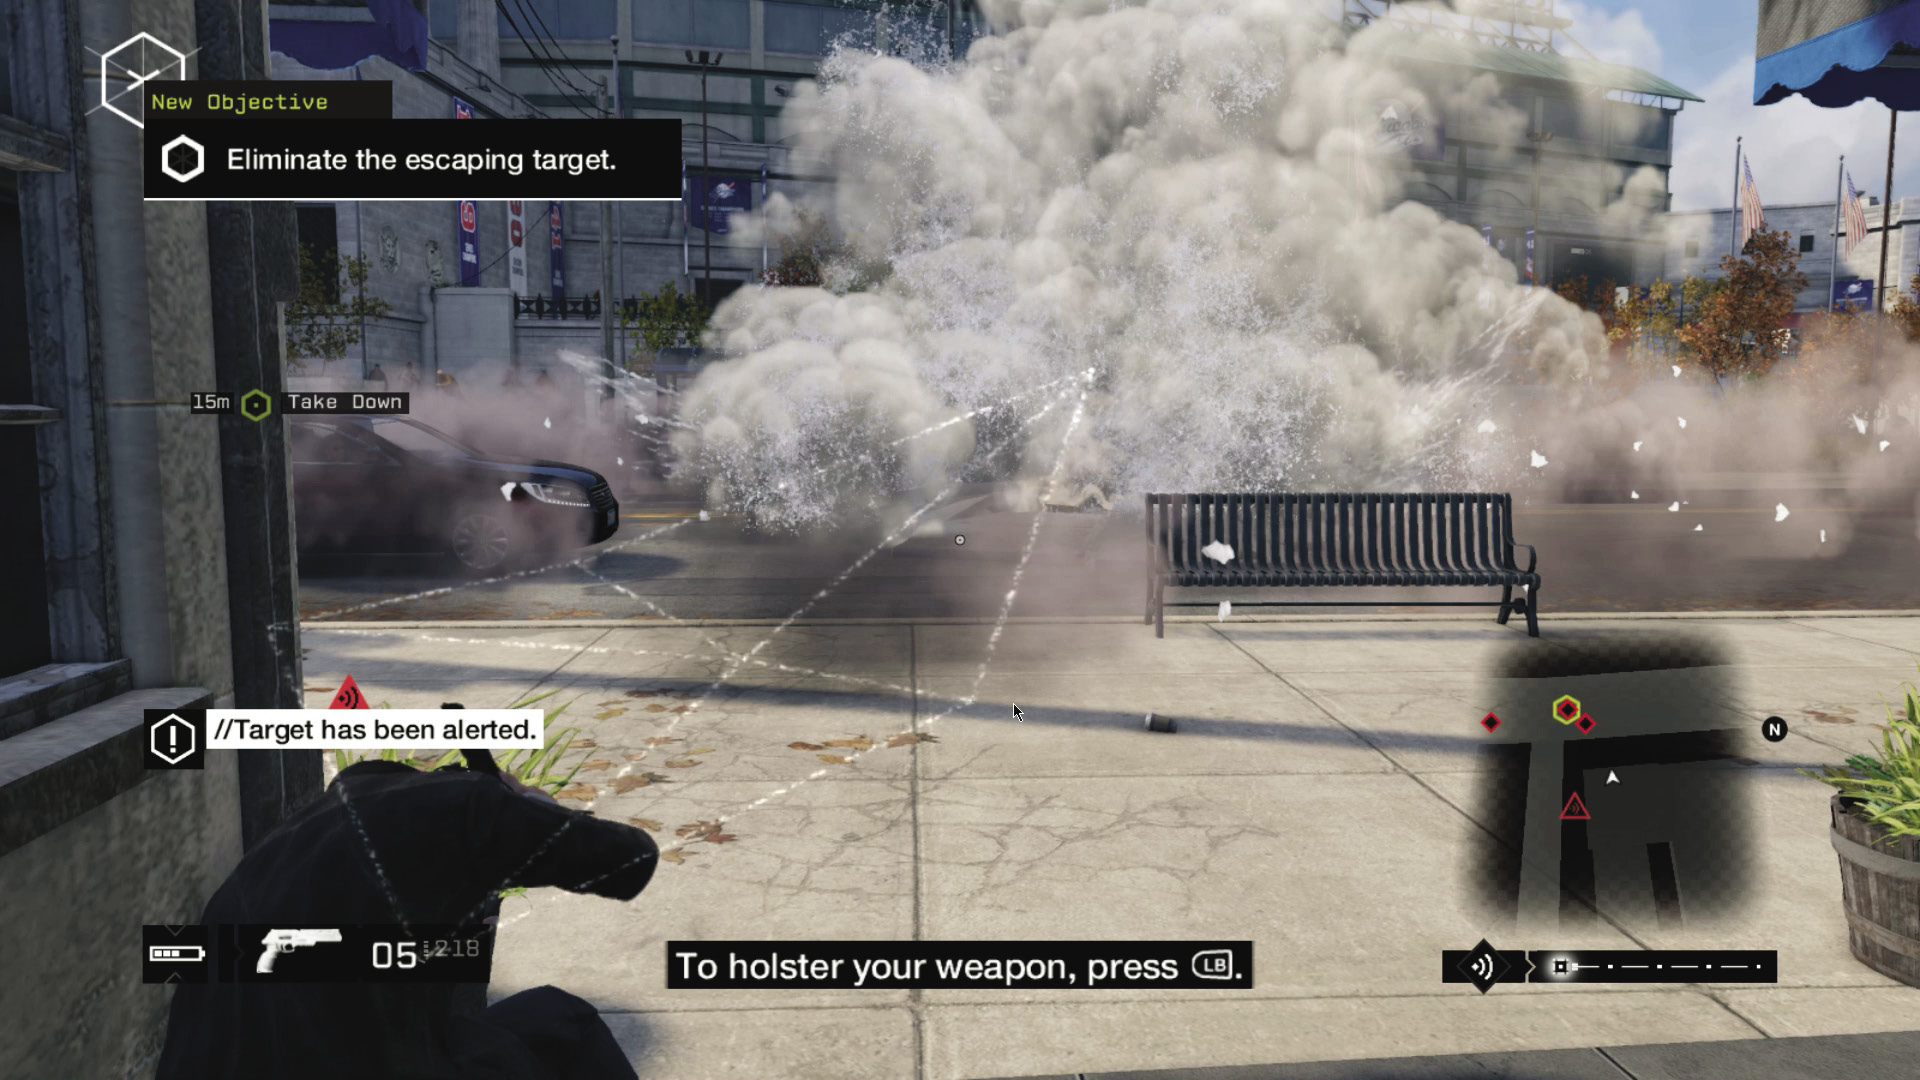
There are three separate steam pipes along the convoy’s route, any one of which can stop all three vehicles dead in their tracks. The third is your best bet, as you can reach it the fastest and there are places nearby where you can hide, including several parked cars in the nearby lot. Use the steam pipe from cover, then follow up with grenades, your sniper rifle, or whatever else is necessary.
AMBUSH POINT 02 // MIDTOWN
ACCESSIBILITY LEVEL: 
The second steam pipe along the convoy’s route is easy enough to reach, but detonating it causes a lot of incidental mayhem in downtown Parker Square. This ambush gets the job done, but unless you’re very lucky, expect heavy civilian casualties and an encounter with the Chicago PD.
AMBUSH POINT 03 // PARKING LOT
ACCESSIBILITY LEVEL: 
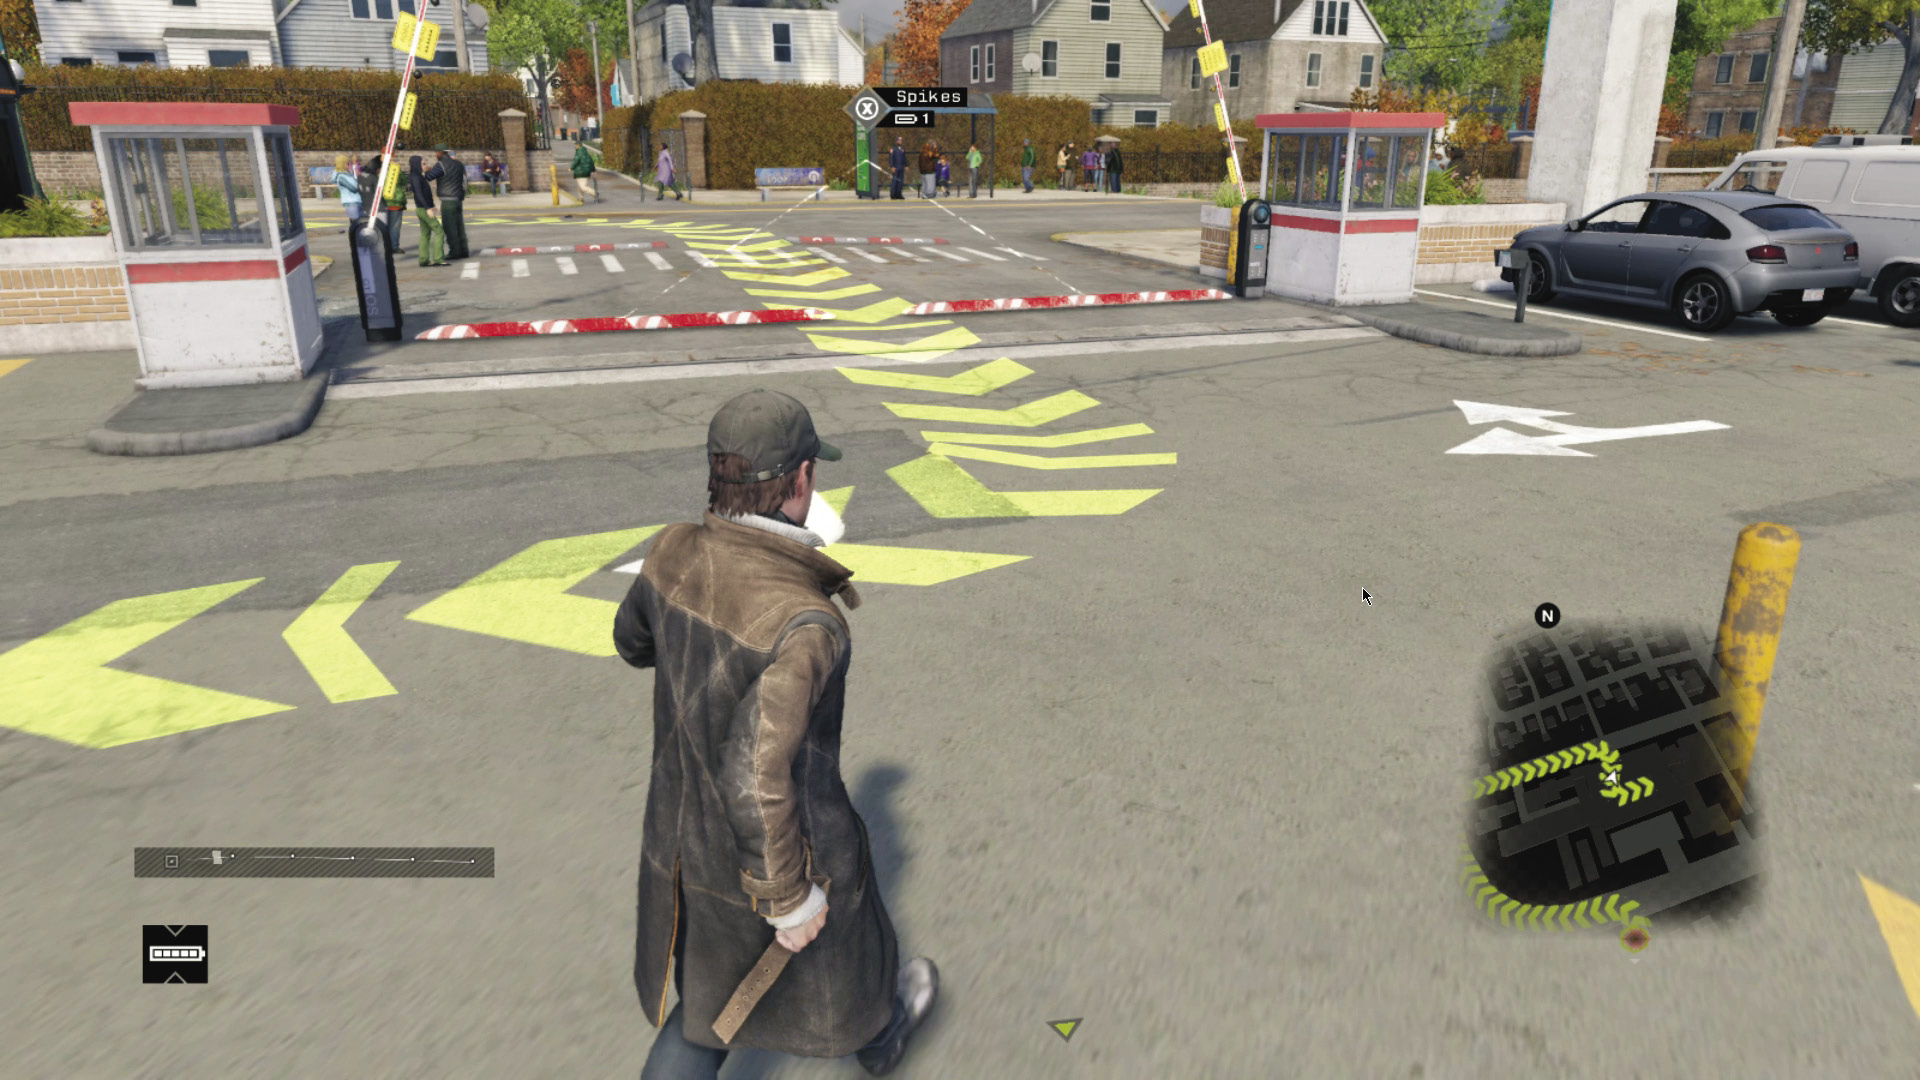
The convoy’s route ends in a parking lot north of the baseball stadium, where the entrance has a set of spikes that you can use to sabotage their vehicles. There’s also a protector near their destination that gives you a decent place to hide, and the relative isolation of the lot makes it a good place to set up a few IEDs without causing a panic. It’s always risky waiting until the end of the target’s route to set an ambush, but it may be worth it if you like a good direct assault.
_MADE MEN
LOCATION / PARKER SQUARE
ENEMY / CLUB CONVOY, THREE VEHICLES (VETERAN X3, ELITE), PLUS REINFORCEMENTS
TARGET: VETERAN
NUMBER OF TARGETS: 1
DIFFICULTY:
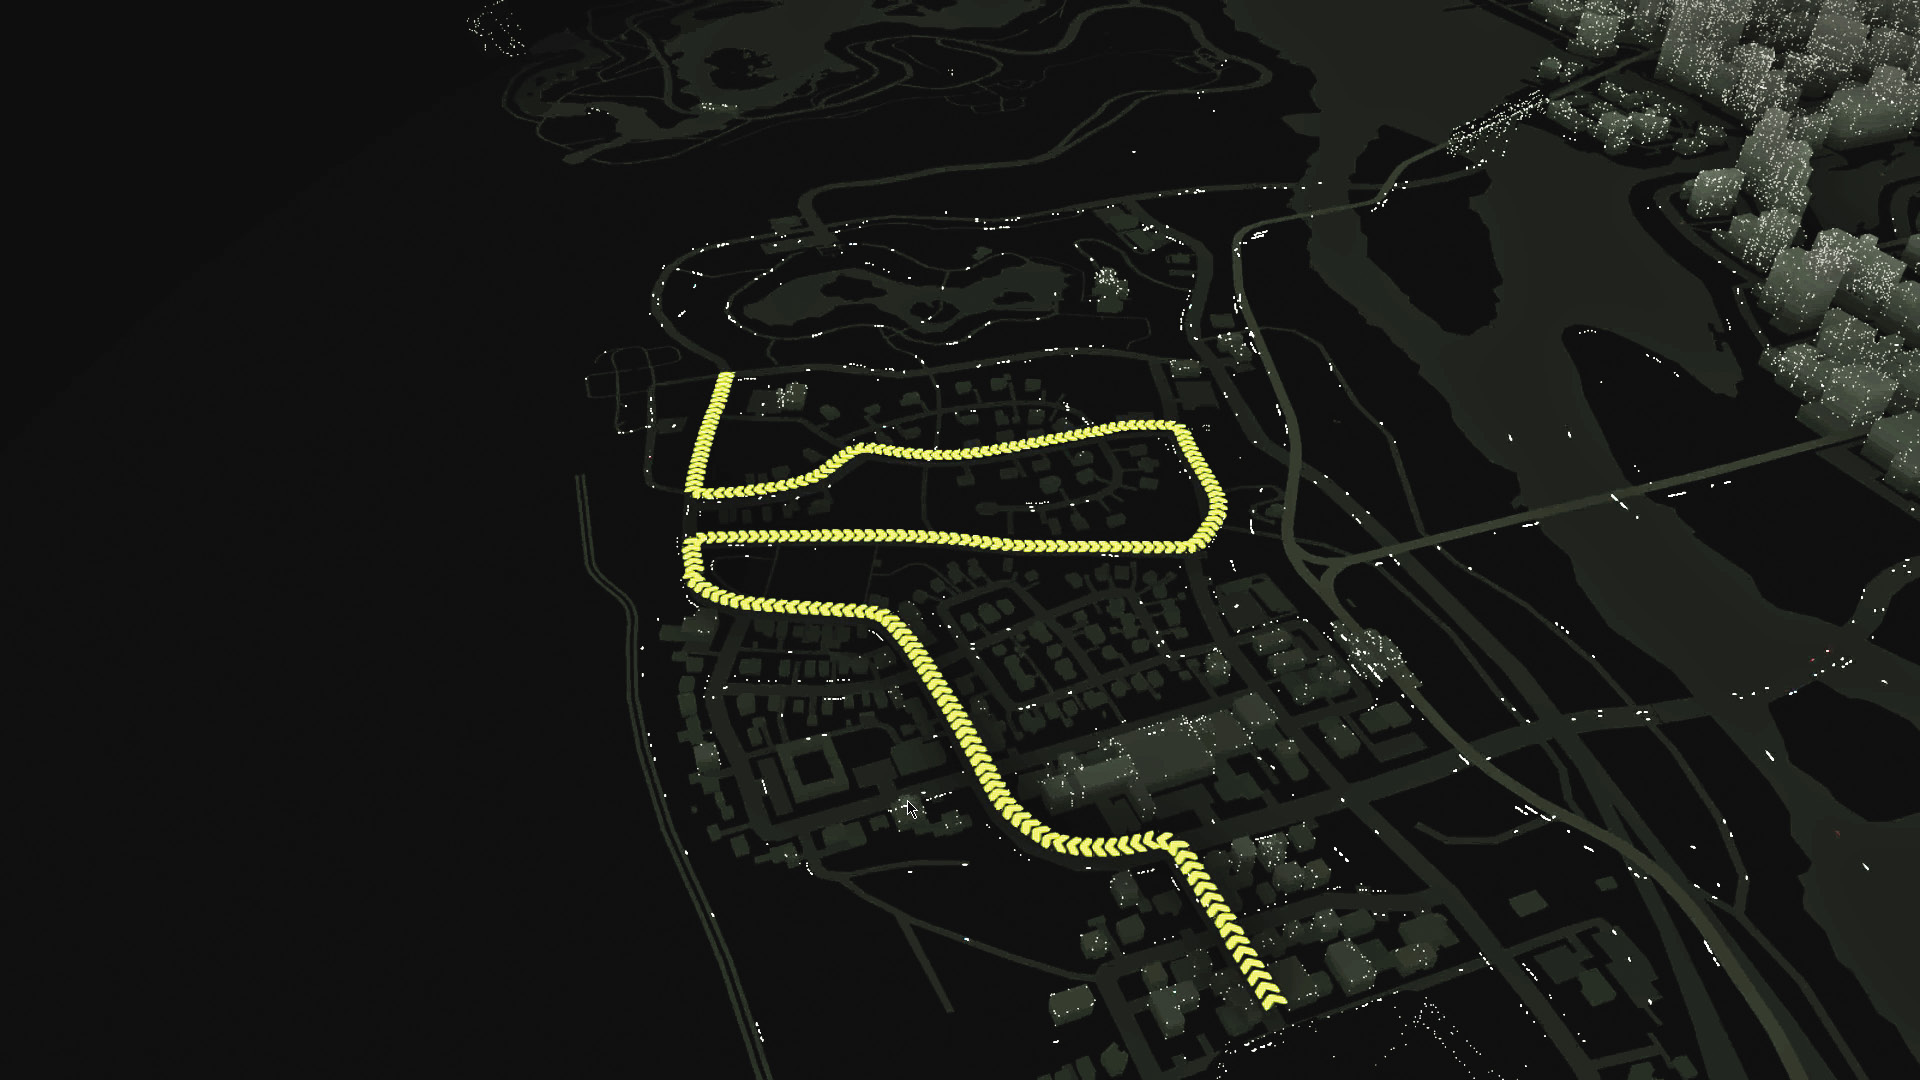
This might be the easiest Convoy mission of the lot, as you have a lot of options and advantages, including several steam pipes, lots of available vehicles, and a long route that offers you plenty of time to plan. The only complication is that you cannot kill your target.
AMBUSH POINT 01 // FERRIS HALSTEAD LIBRARY
ACCESSIBILITY LEVEL: 
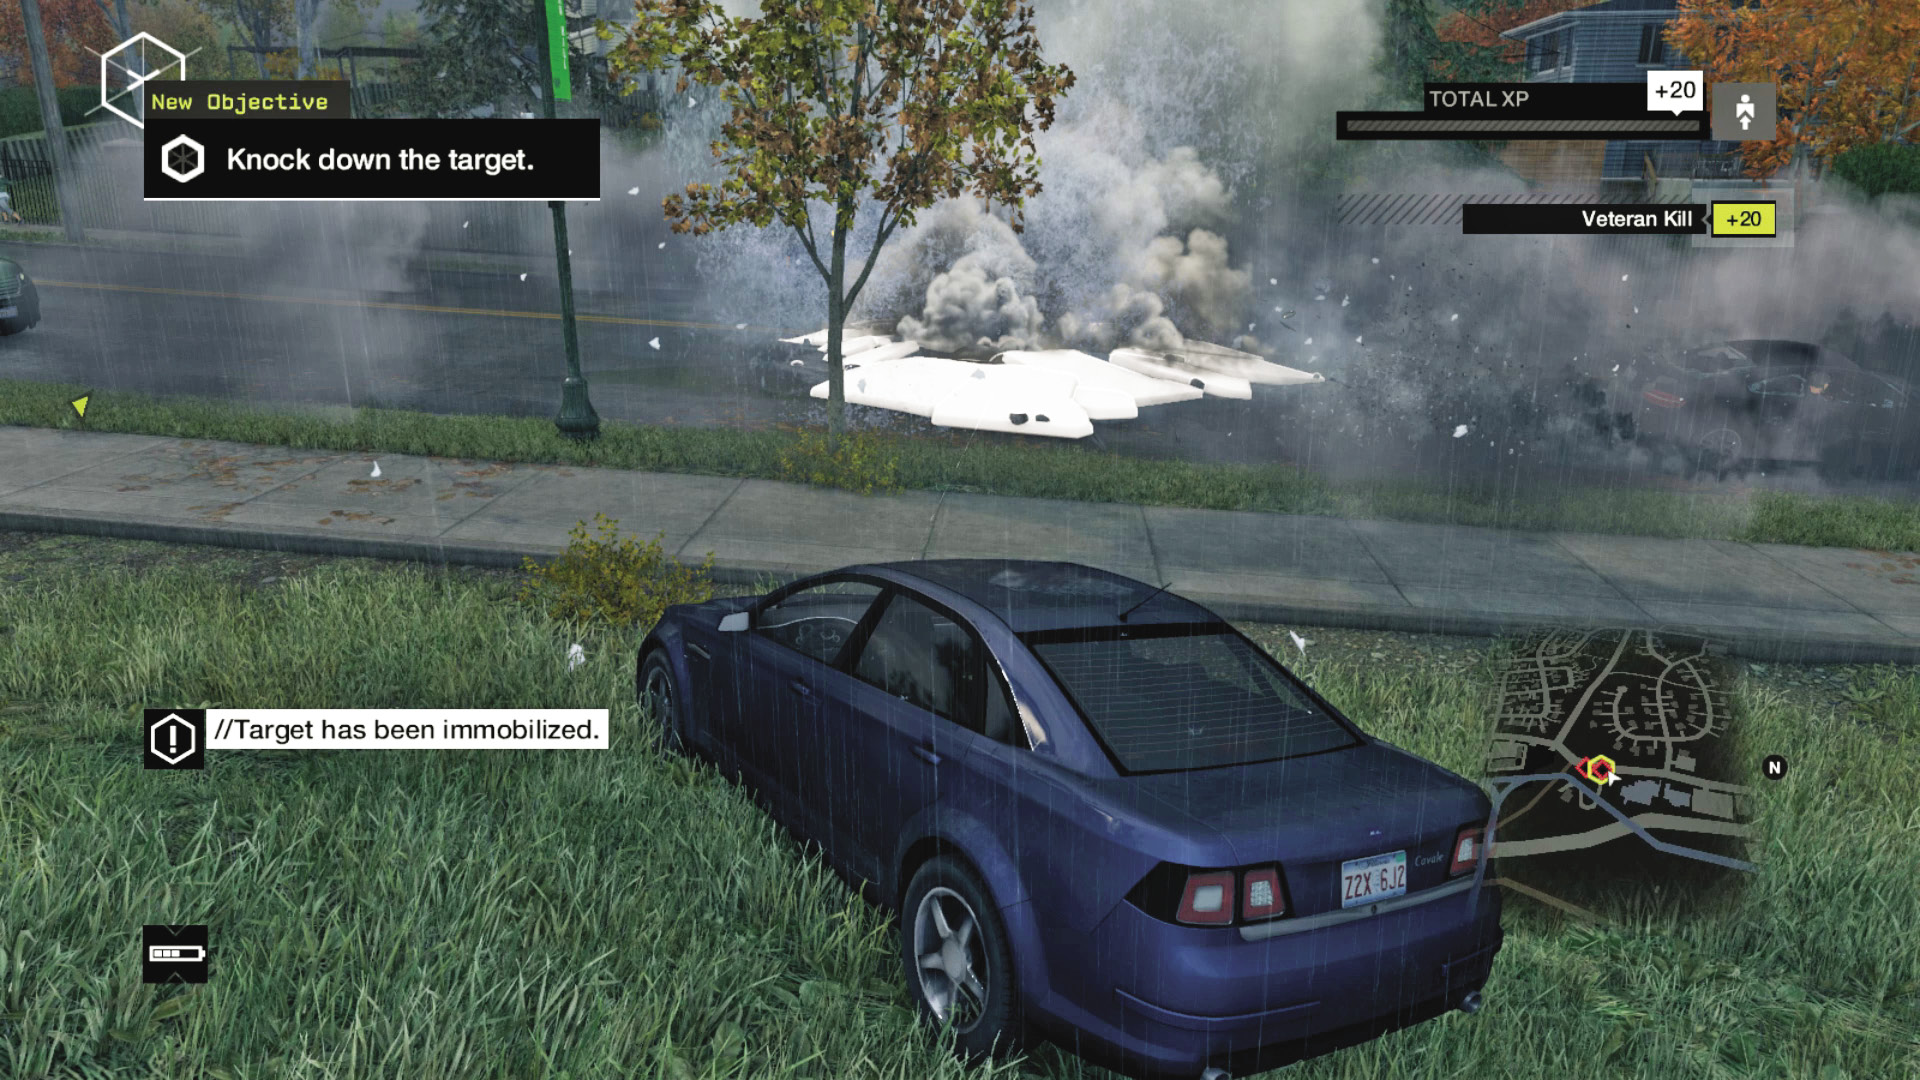
When you begin the mission, you’re about half a block away from a steam pipe. If you use it to destroy the first bodyguard’s car, the target usually gets out of his own car to see what’s going on. That’s your cue to beat him over the head. Bring your own car and use it as a hiding place, however, as there’s next to nothing in the immediate area that you can use for effective concealment.
AMBUSH POINT 02 // SUBURBAN STREET
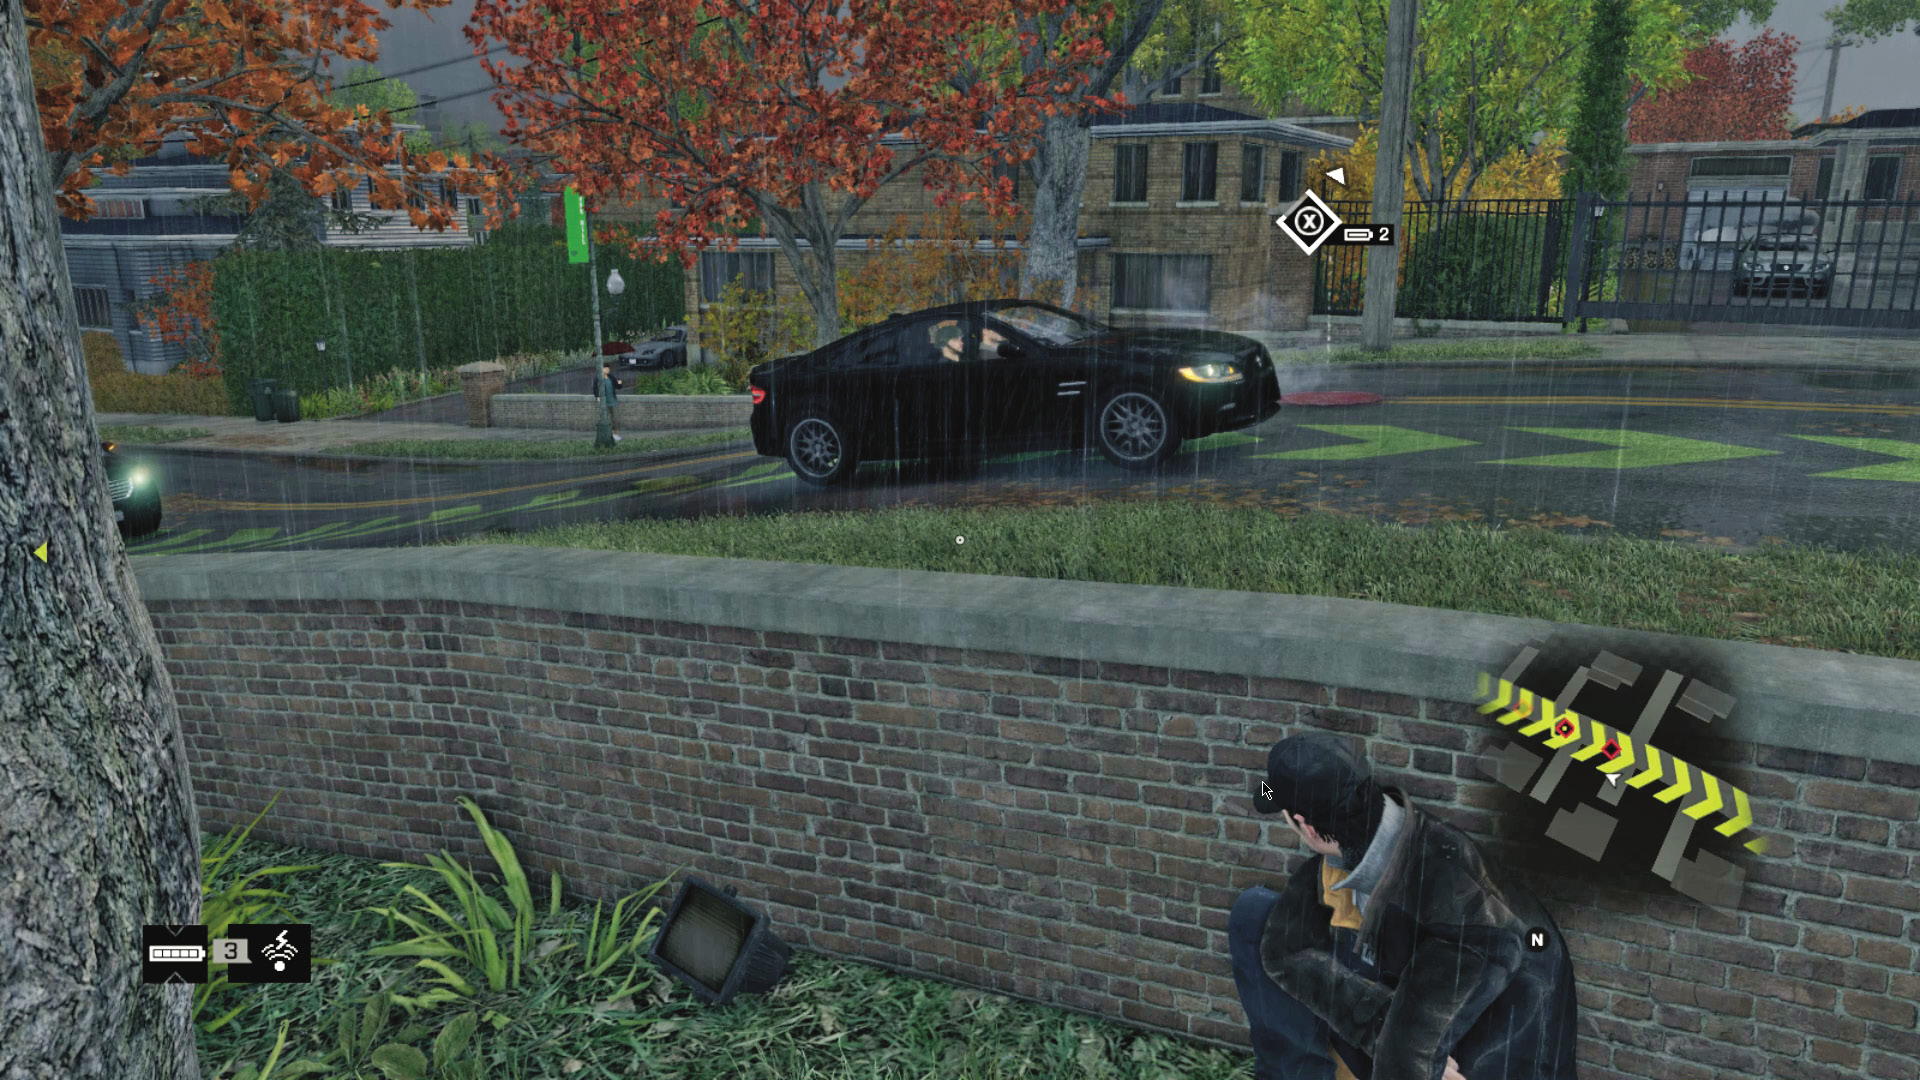
ACCESSIBILITY LEVEL: 
If you grab a car and drive a little farther north along the convoy’s chosen route, there’s a second steam pipe in the middle of a sleepy suburban neighborhood. There are more places to hide here, and the steam pipe is on a short hill that forces the convoy to slow down as it’s passing it, but there’s a good chance that you’ll kill at least one civilian as the steam pipe goes off. It might be easier to use Focus and a sniper rifle to take out the driver of the target’s car while the hill’s slowing them down, then throw out a Jam Coms and clean up his bodyguards.
AMBUSH POINT 03 // GRAVEYARD EXTERIOR
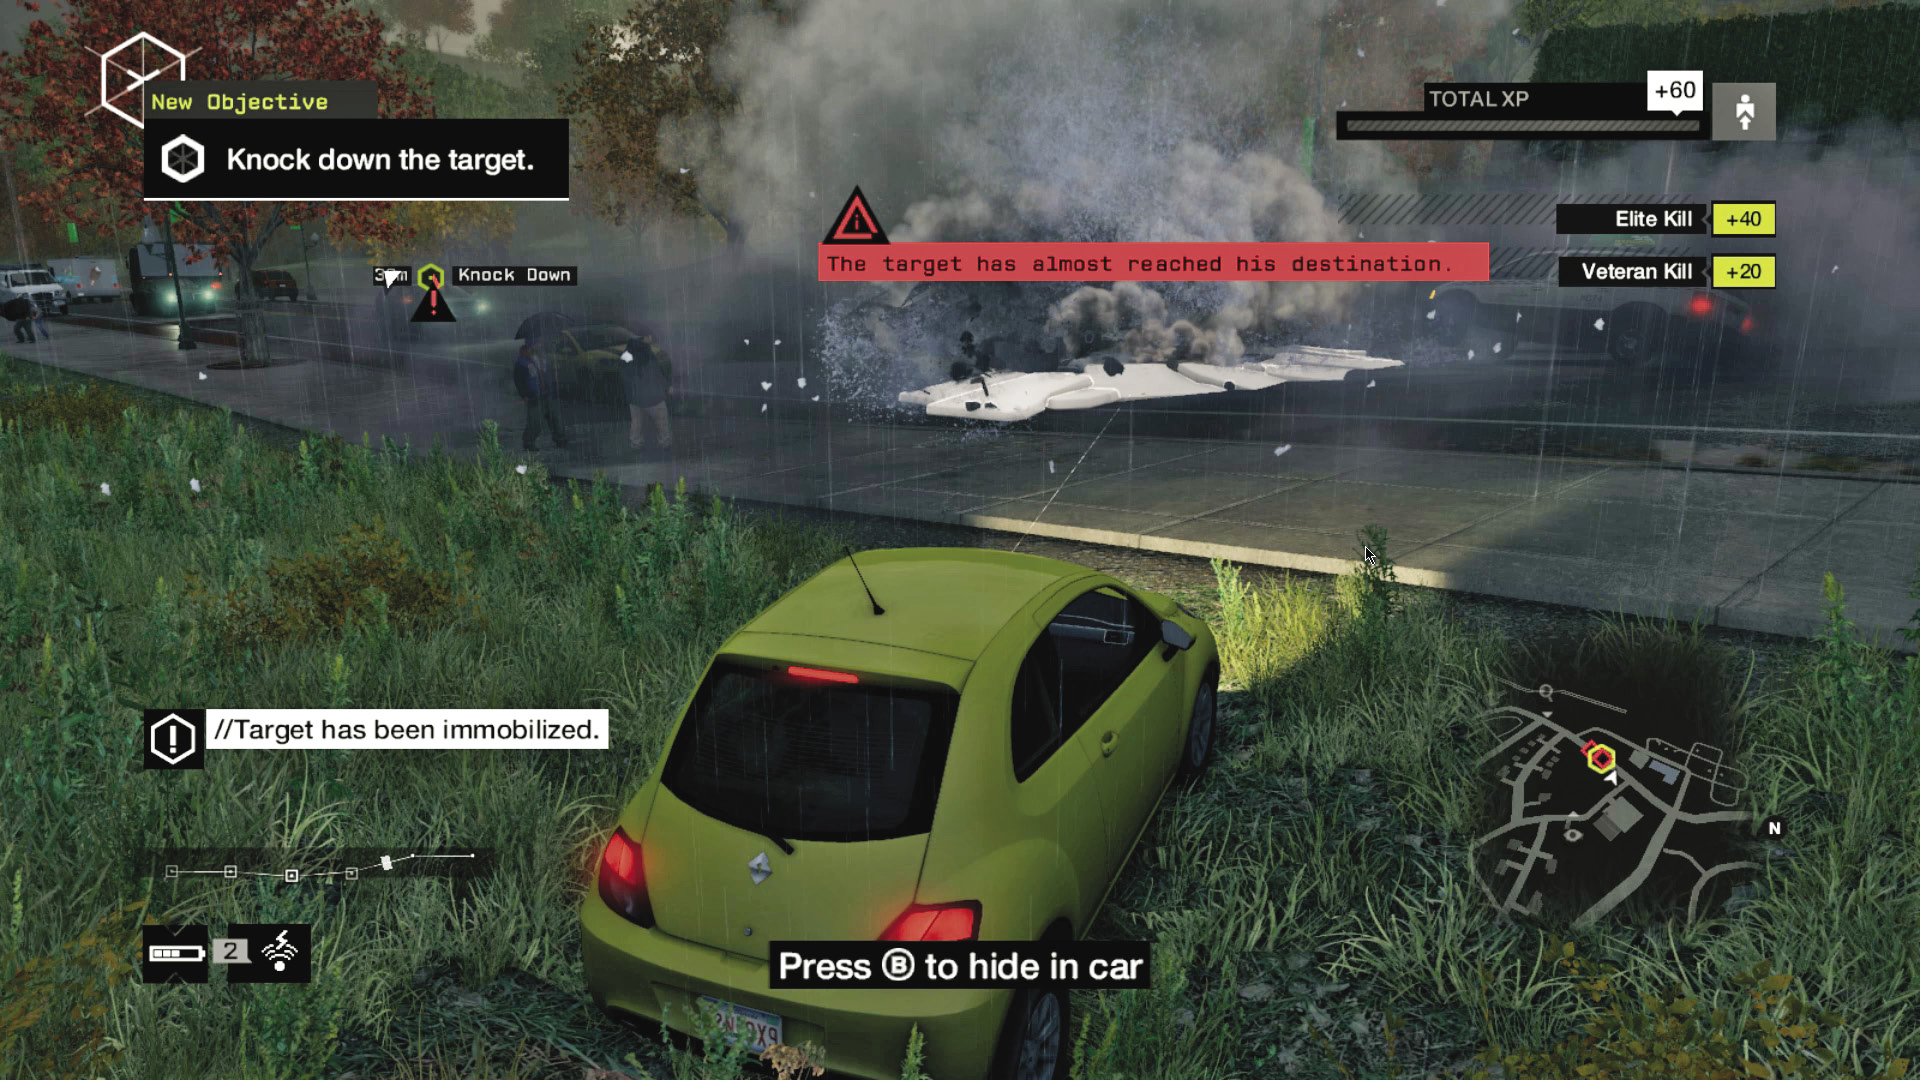
ACCESSIBILITY LEVEL: 
Finally, near the end of the convoy’s route, there’s a third steam pipe that you can use to halt its progress. Its primary drawback as an ambush point is that you’ll need to hide inside a car before you set off the pipe, as the area is wide open. Also, the graveyard’s right there, so it’s very efficient for the coroner.
THE WARDS // CONVOYS
_INTO THE PIT
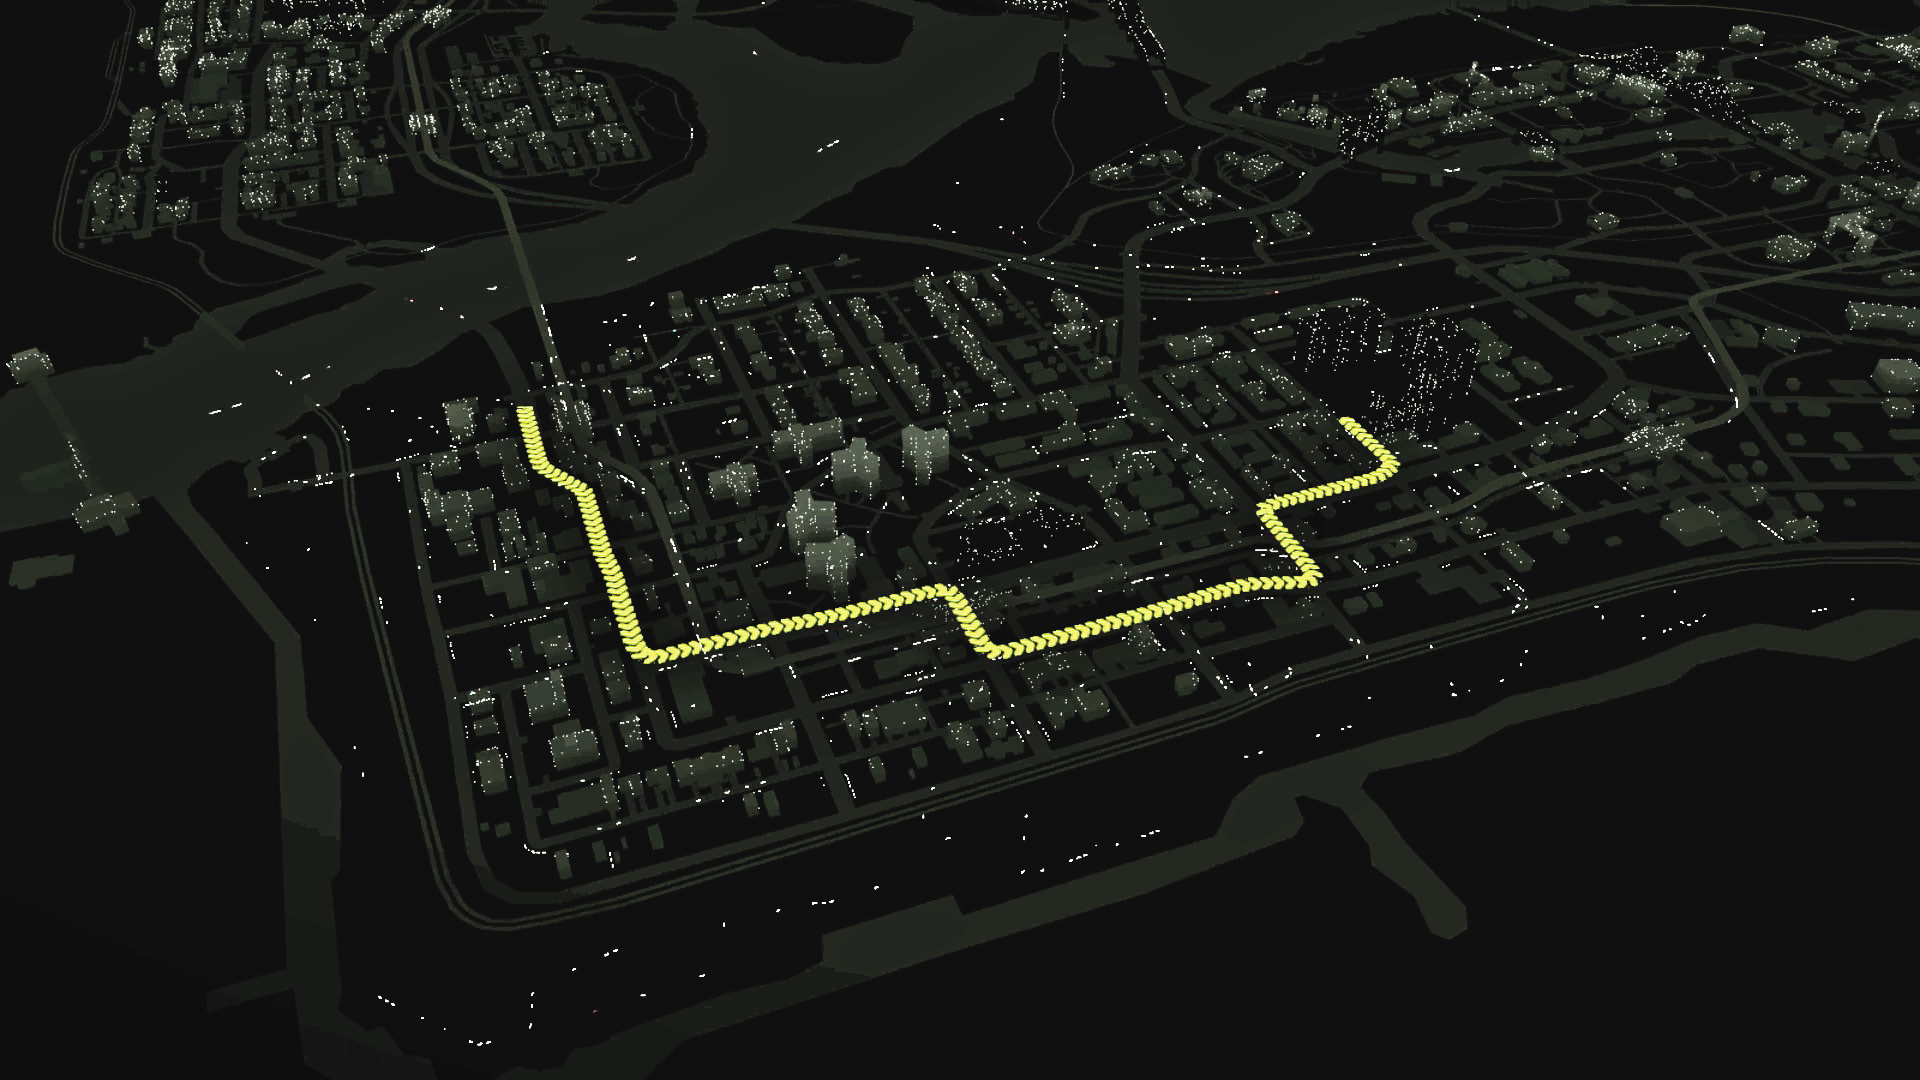
LOCATION / CHICAGO FIRE DEPARTMENT
ENEMY / VICEROYS CONVOY, THREE VEHICLES (VETERAN x3, ELITE), PLUS REINFORCEMENTS
TARGET: VETERAN
NUMBER OF TARGETS: 1
DIFFICULTY:
AMBUSH POINT 01 // CHICAGO FIRE DEPARTMENT
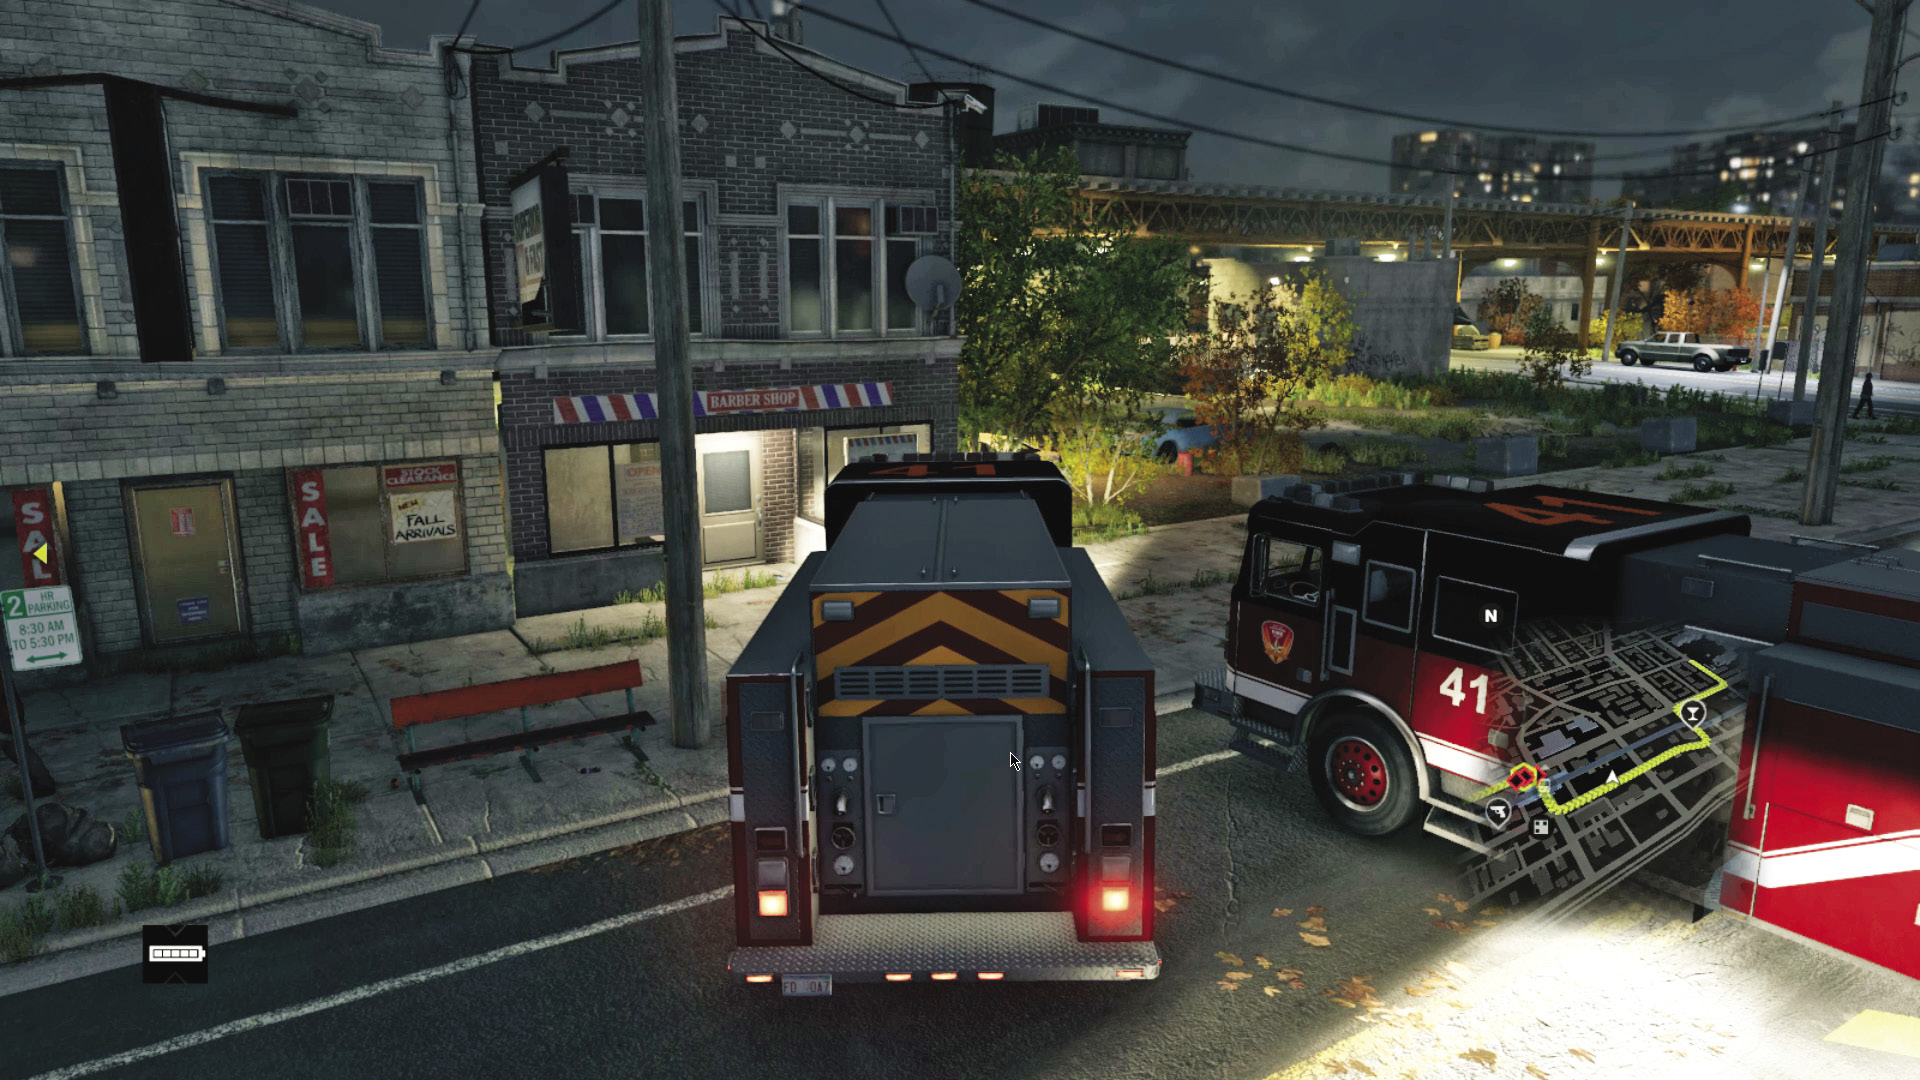
ACCESSIBILITY LEVEL: 
You begin this mission standing right in front of the Chicago Fire Department, with two fire trucks parked in the lot outside. You can use both to block off the road. You won’t be able to cover the entire street with just two fire trucks, but you can force your target to try to escape via a specific narrow area that you’ve left in your blockade, which you can then mine with IEDs.
AMBUSH POINT 02 // OUTSIDE THE BAR
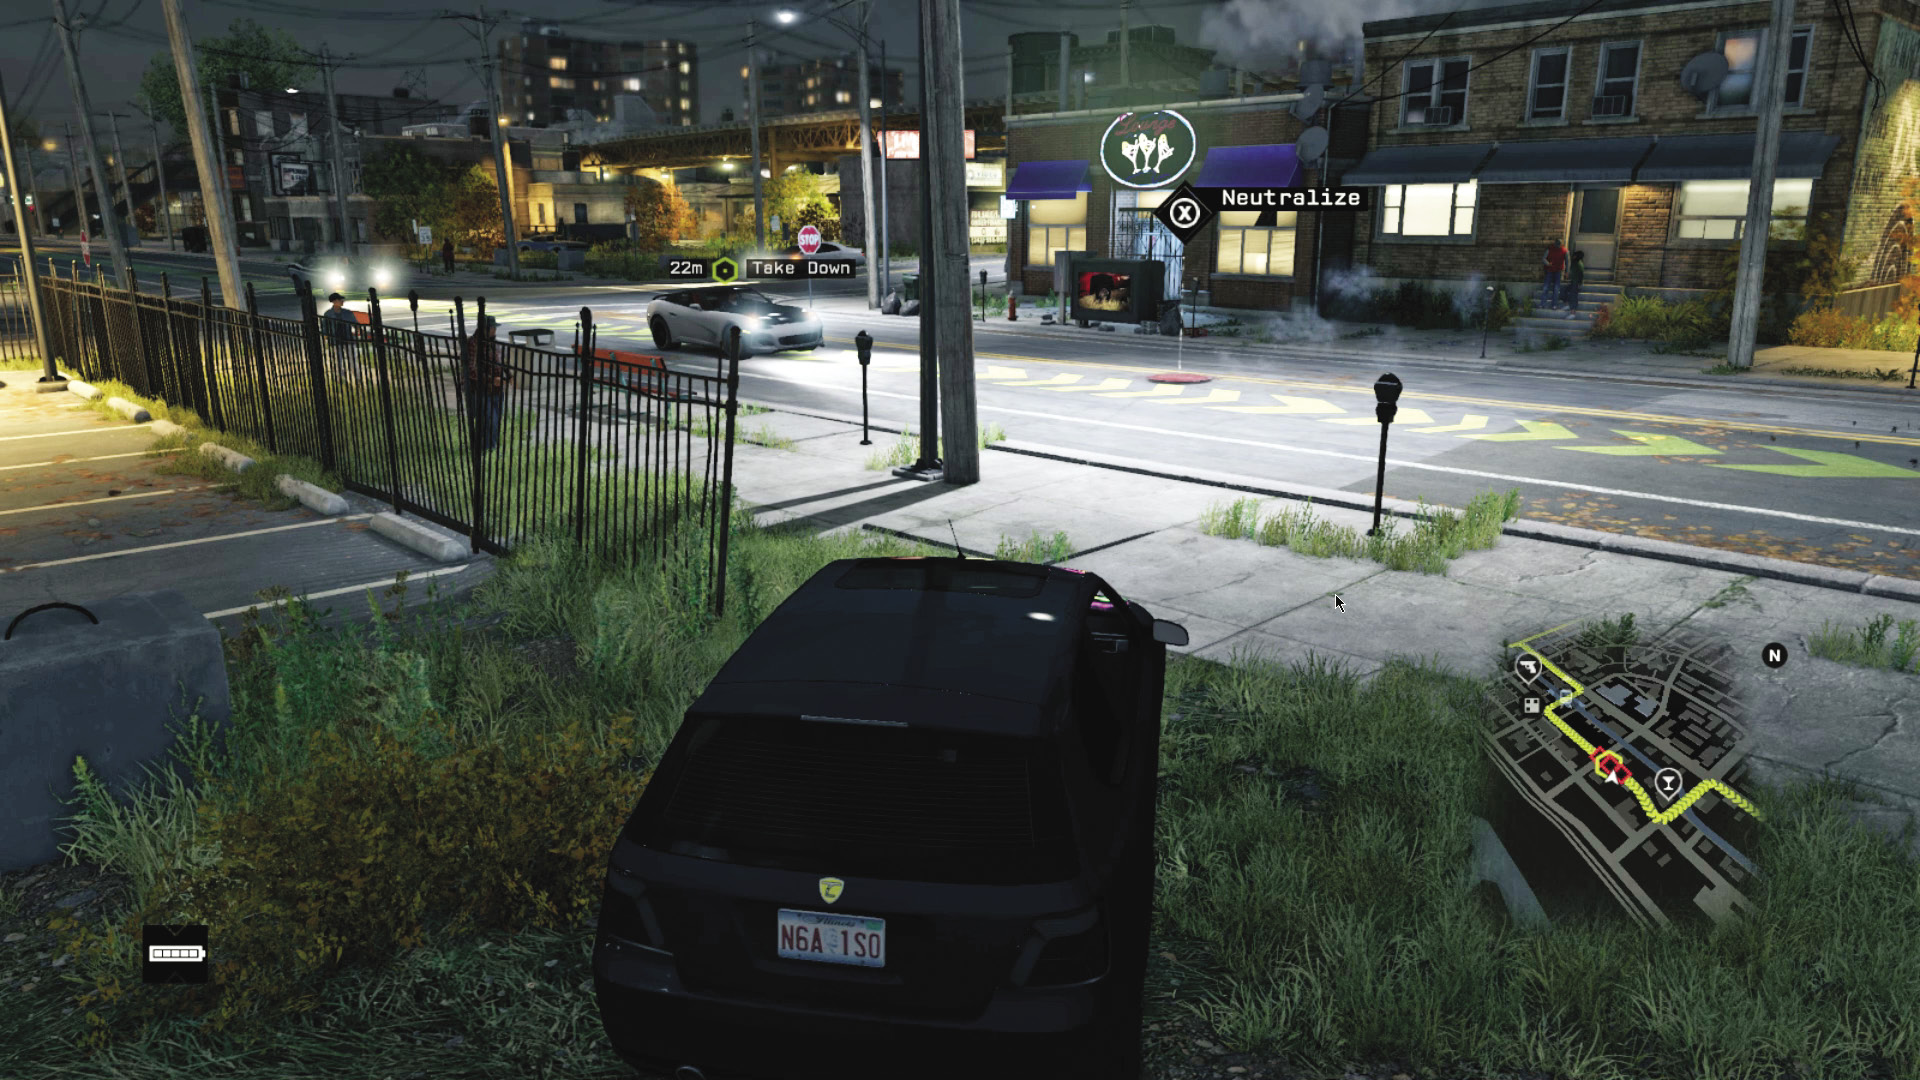
ACCESSIBILITY LEVEL: 
There’s a steam pipe on the road just down the street from the fire department. There aren’t many good places to hide nearby, but you can hide inside a parked car and wait to set the pipe off underneath the target’s vehicle, then drive to safety with a Jam Coms up.
AMBUSH POINT 03 // UNICORN DRAGON PUB
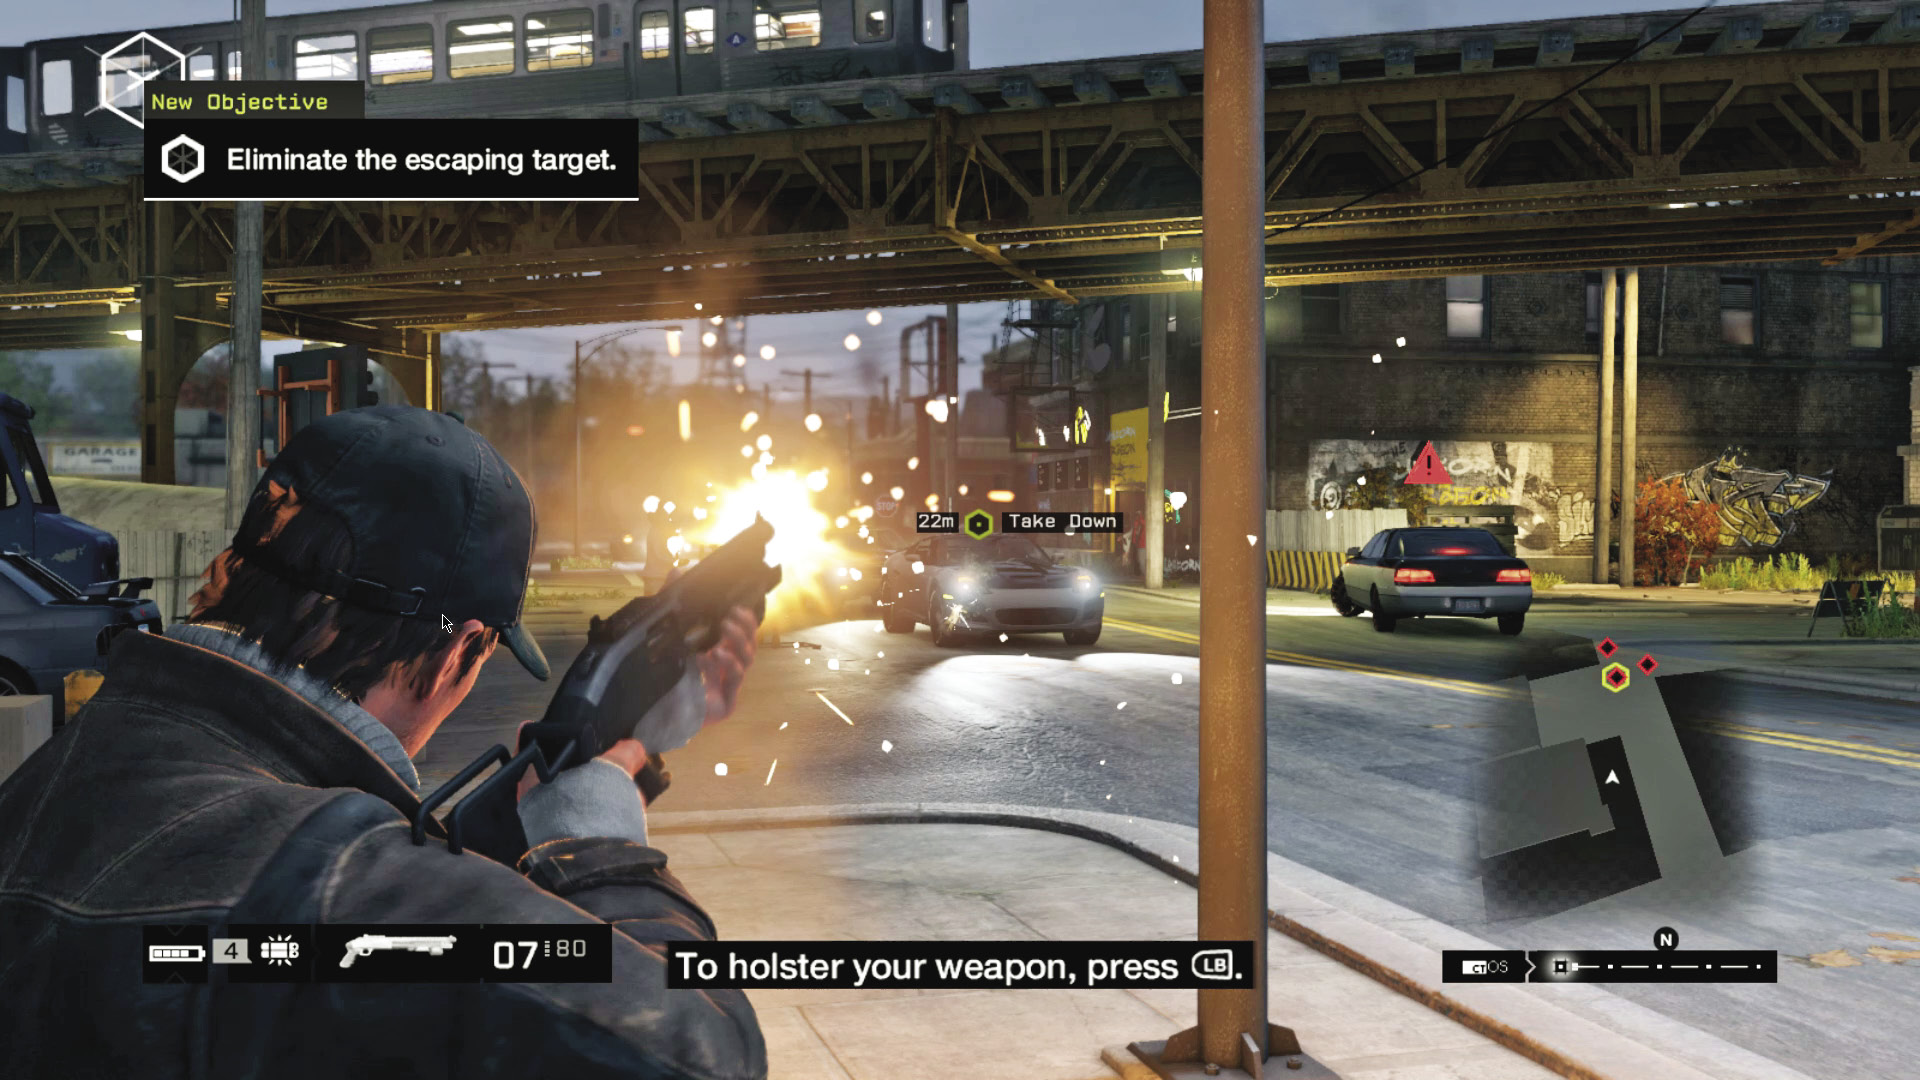
ACCESSIBILITY LEVEL: 
There’s a set of road blockers on either end of the street outside the Unicorn Dragon Pub. If you time it right, you can use them to reroute or stop the convoy long enough to set off an IED or line up a shot on your target.
_LORDS OF THE WARDS
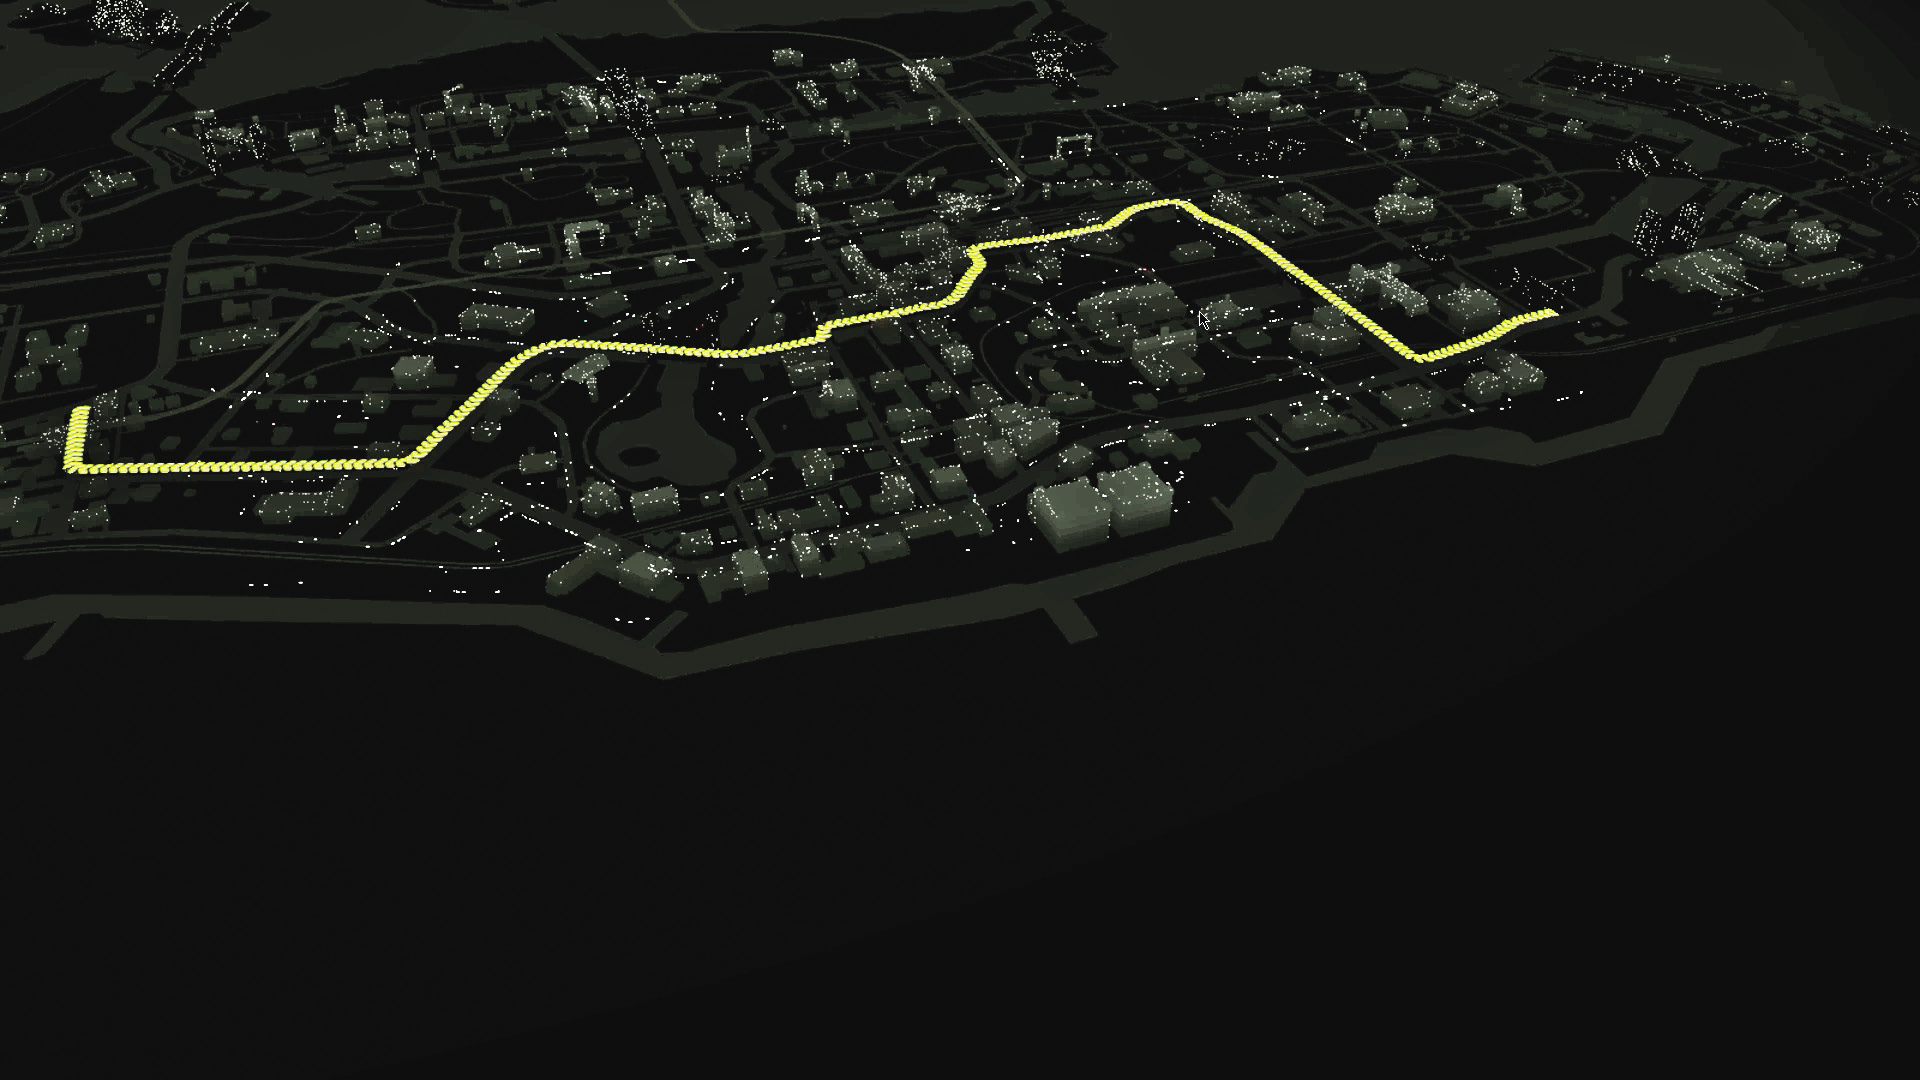
LOCATION / THE WARDS
ENEMY / VICEROYS CONVOY, THREE VEHICLES (VETERAN X2, ELITE), PLUS REINFORCEMENTS
TARGET: VETERAN
NUMBER OF TARGETS: 1
DIFFICULTY:
You have to use a non-lethal takedown on the target or the mission fails. Otherwise, it would be easy to just block the convoy in with a heavy vehicle and assassinate the target from the sidewalk.
AMBUSH POINT 01 // RIVER BRIDGE
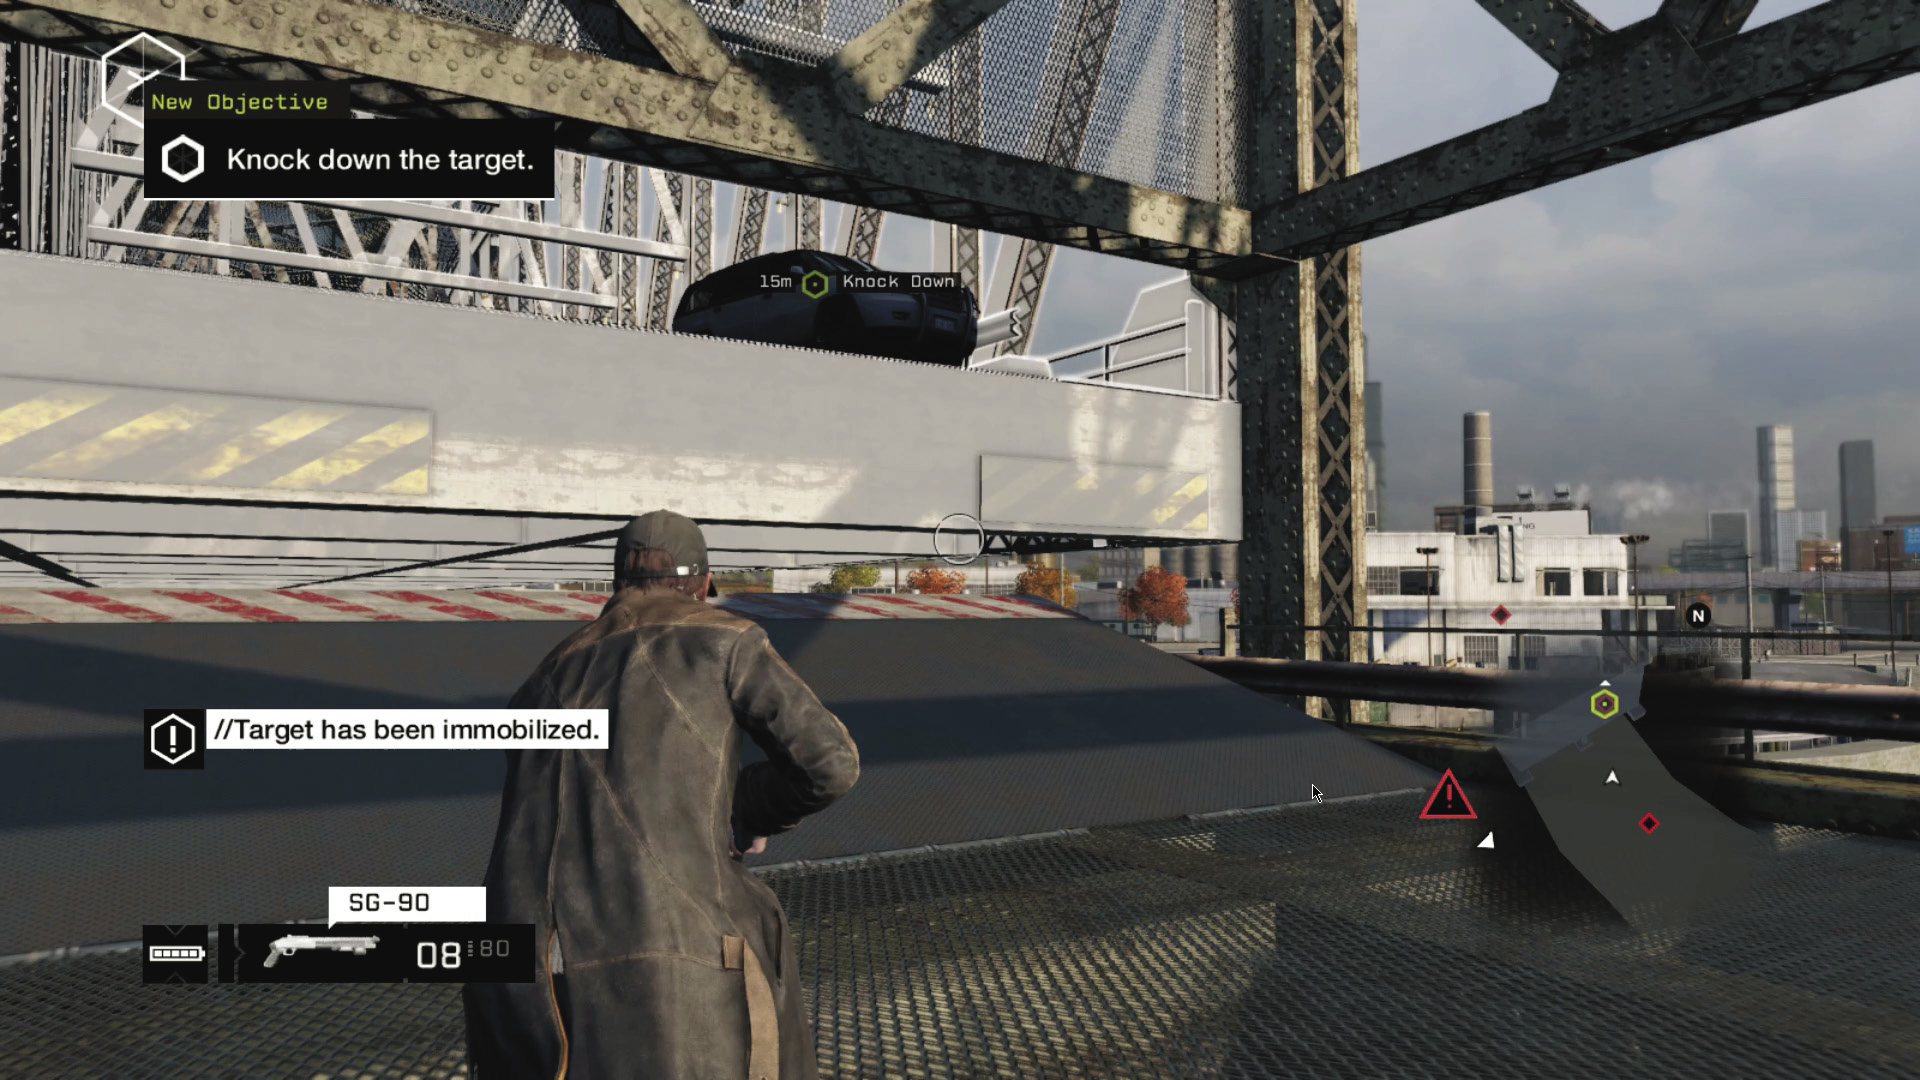
ACCESSIBILITY LEVEL: 
You have to time this right. If you raise the bridge while the target’s SUV is on it, he ends up trapped as it rises, which isolates him from at least one of his escort vehicles and leaves him a sitting duck. You can then shoot out his tires from ground level, deal with his other bodyguard, and knock him out as the bridge comes back down.
AMBUSH POINT 02 // JAY’S GARAGE
ACCESSIBILITY LEVEL: 
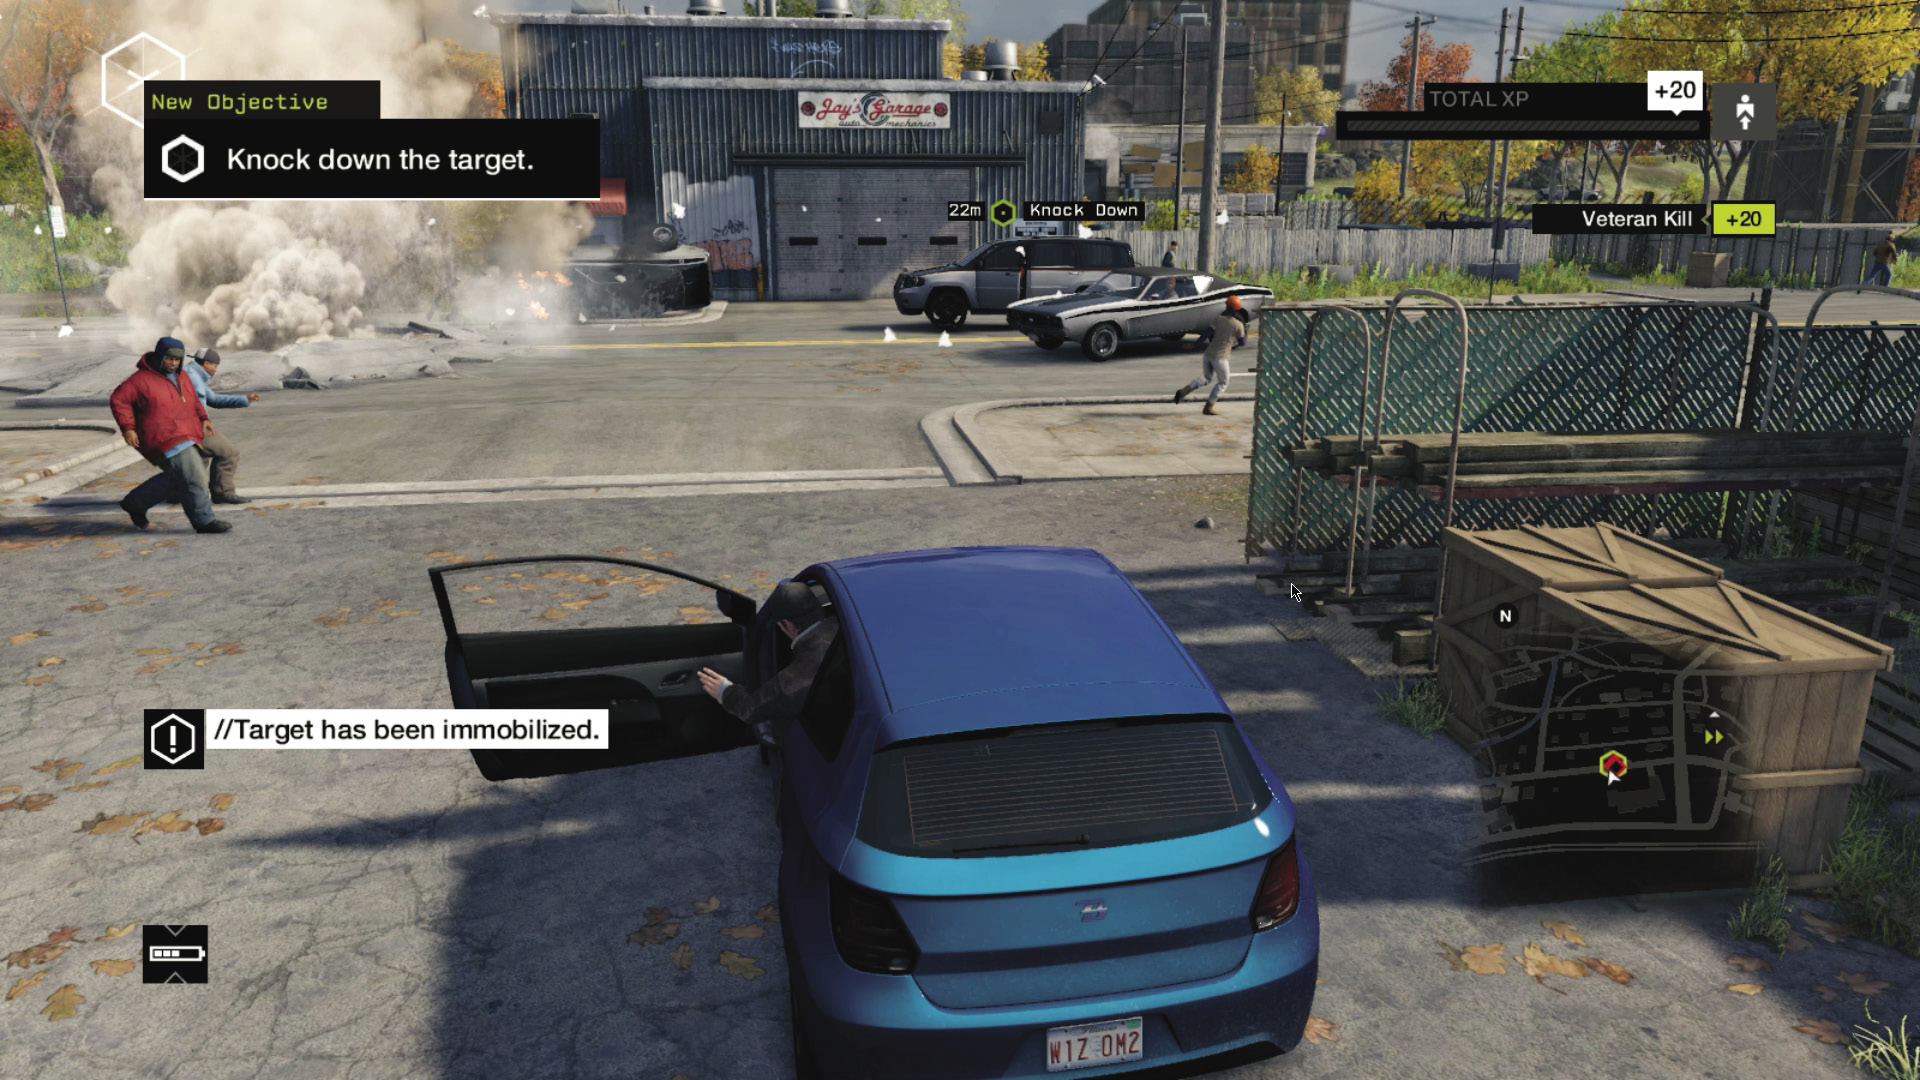
If you head toward the end of the convoy’s route, there’s a steam pipe outside Jay’s Garage that can be used to trash the lead car. If the remaining Viceroys don’t see you before the pipe goes off, they’re likely to get out of their cars to investigate, which gives you a chance to launch your attack.
_JUGGERNAUT
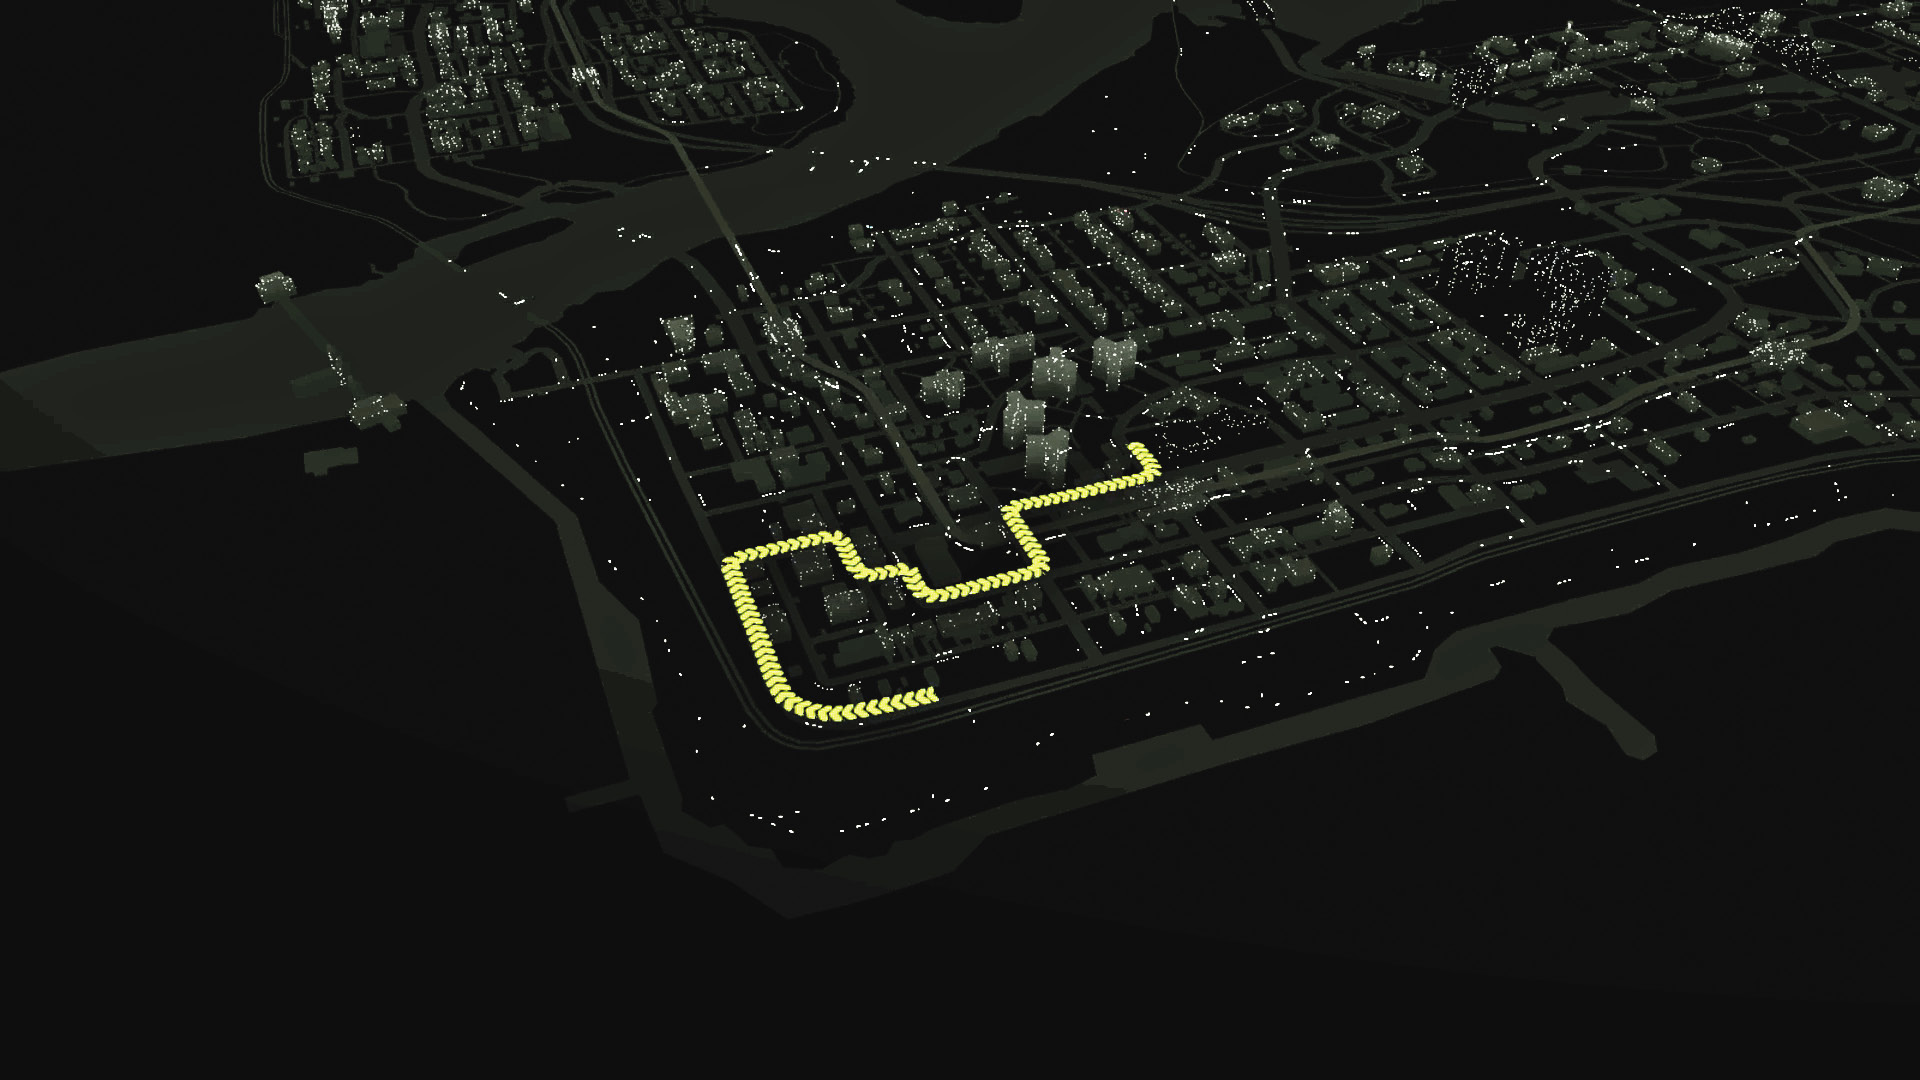
LOCATION / WEST SIDE
ENEMY / VICEROYS CONVOY, THREE VEHICLES (ELITE X6, VETERAN), PLUS REINFORCEMENTS
TARGET: VETERAN
NUMBER OF TARGETS: 1
DIFFICULTY:
There are three major complications for “Juggernaut.” One is that you begin the mission several blocks away from the convoy; the second is that the target is in a cement mixer, which limits your offensive options; and finally, this is one of the shortest routes that any convoy takes. By the time you reach your target, you won’t have a lot of time to figure out how to stop him. Bring a high-end motorcycle or a car with high speed and handling with you when you start the mission.
AMBUSH POINT 01 // OUTSIDE THE LOUNGE
ACCESSIBILITY LEVEL: 
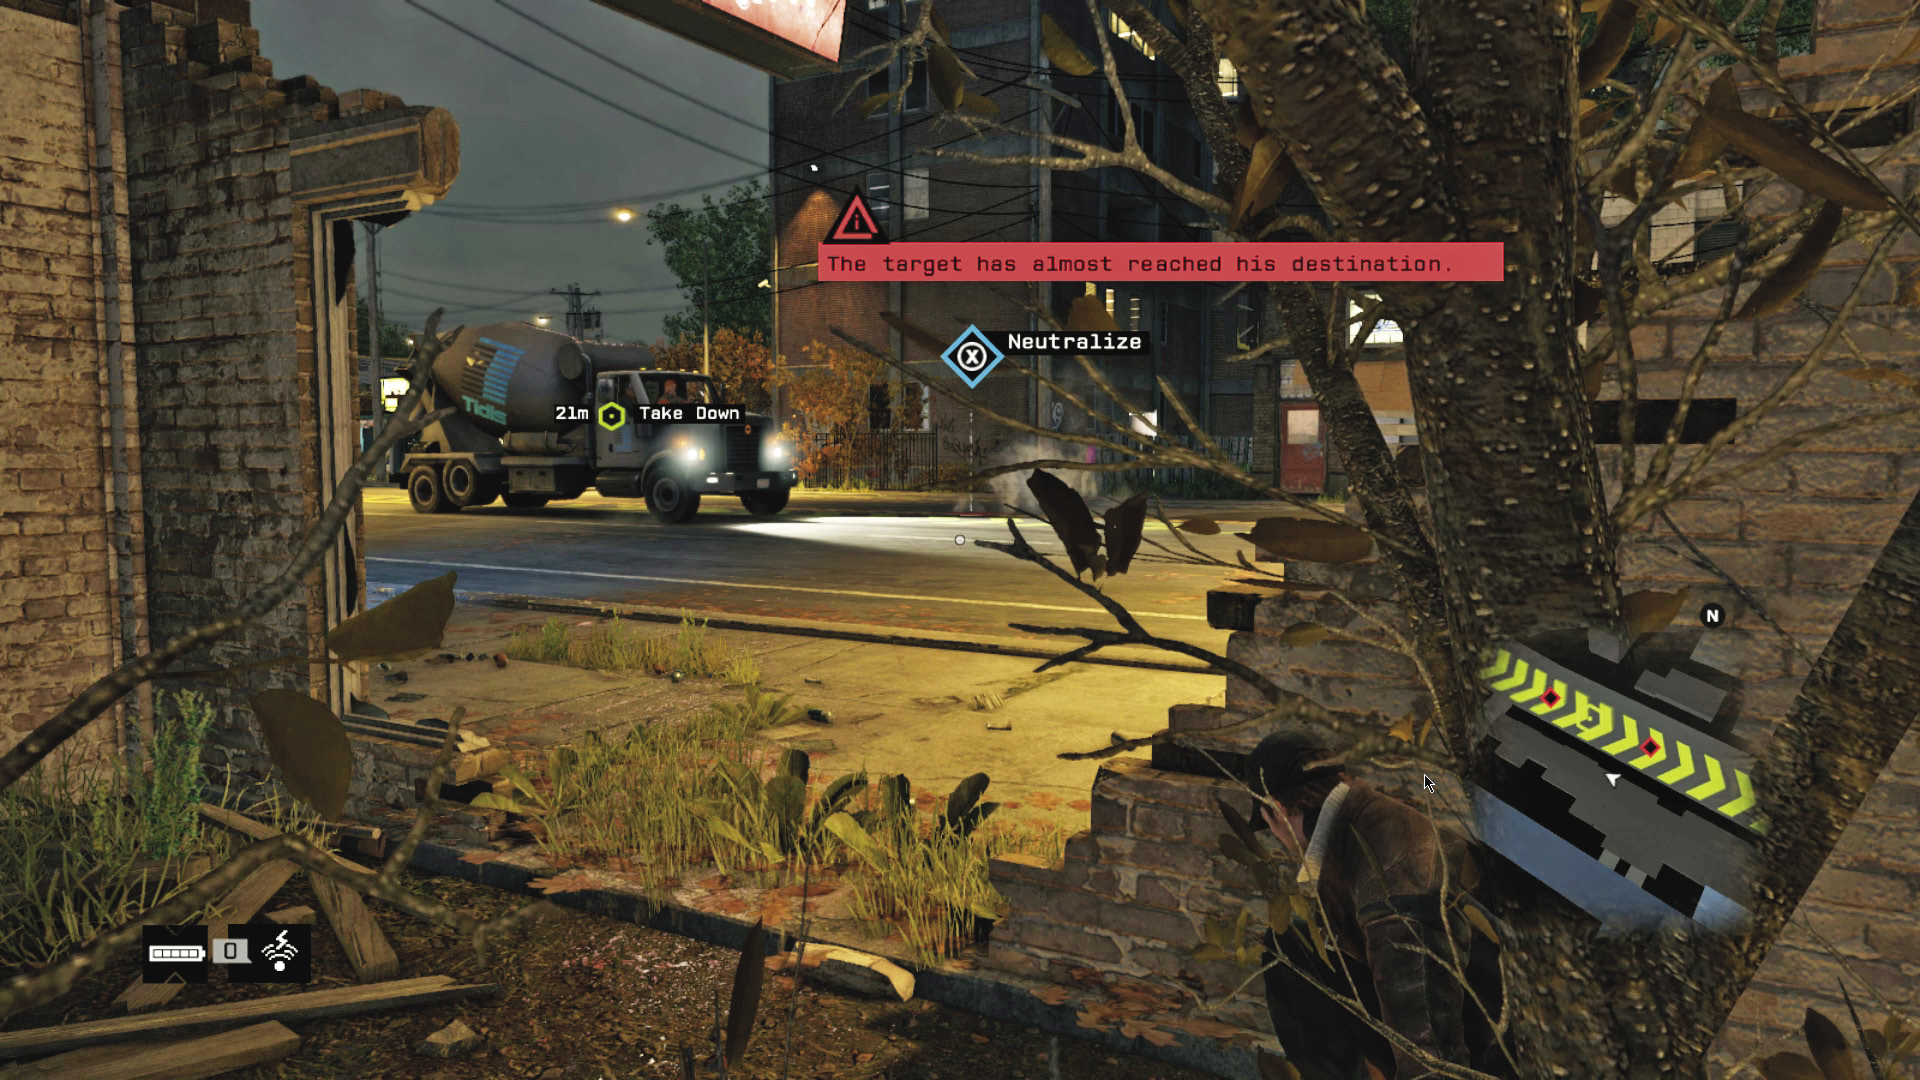
There’s a steam pipe along the convoy’s route just outside a bar (one of several in the Wards that apparently belong to the “Lounge” franchise), and given the time you have to spend on just arriving at the convoy’s location, the pipe is your best option for taking the truck out. There’s a burned-out storefront right next to the bar that provides you with an excellent hiding place.
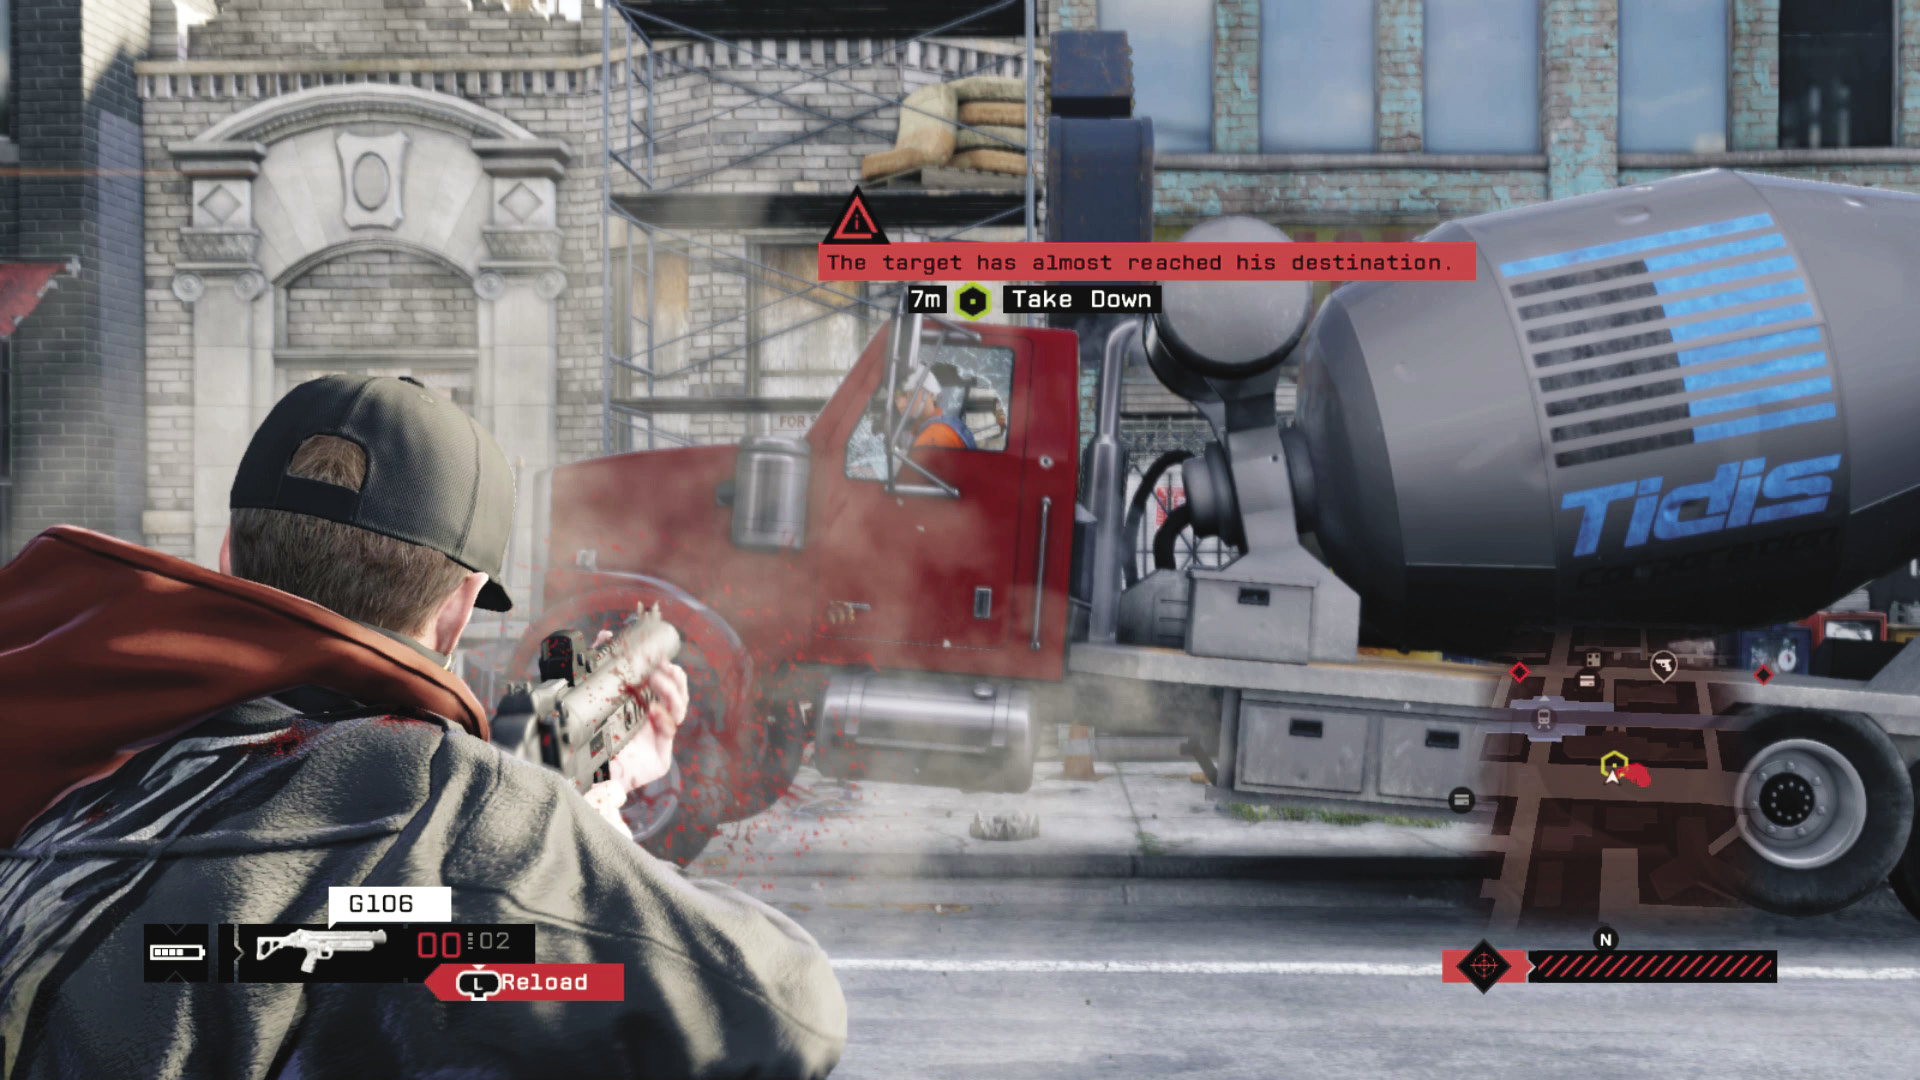
A well-timed steam explosion will at least stop the cement truck, if not actually destroy it, and that gives you an opening to move in with weapons fire. If you wanted, you could easily forgo the steam pipe entirely and simply hit the cement truck with a grenade to the windshield as it drives by.
BRANDON DOCKS // CONVOYS
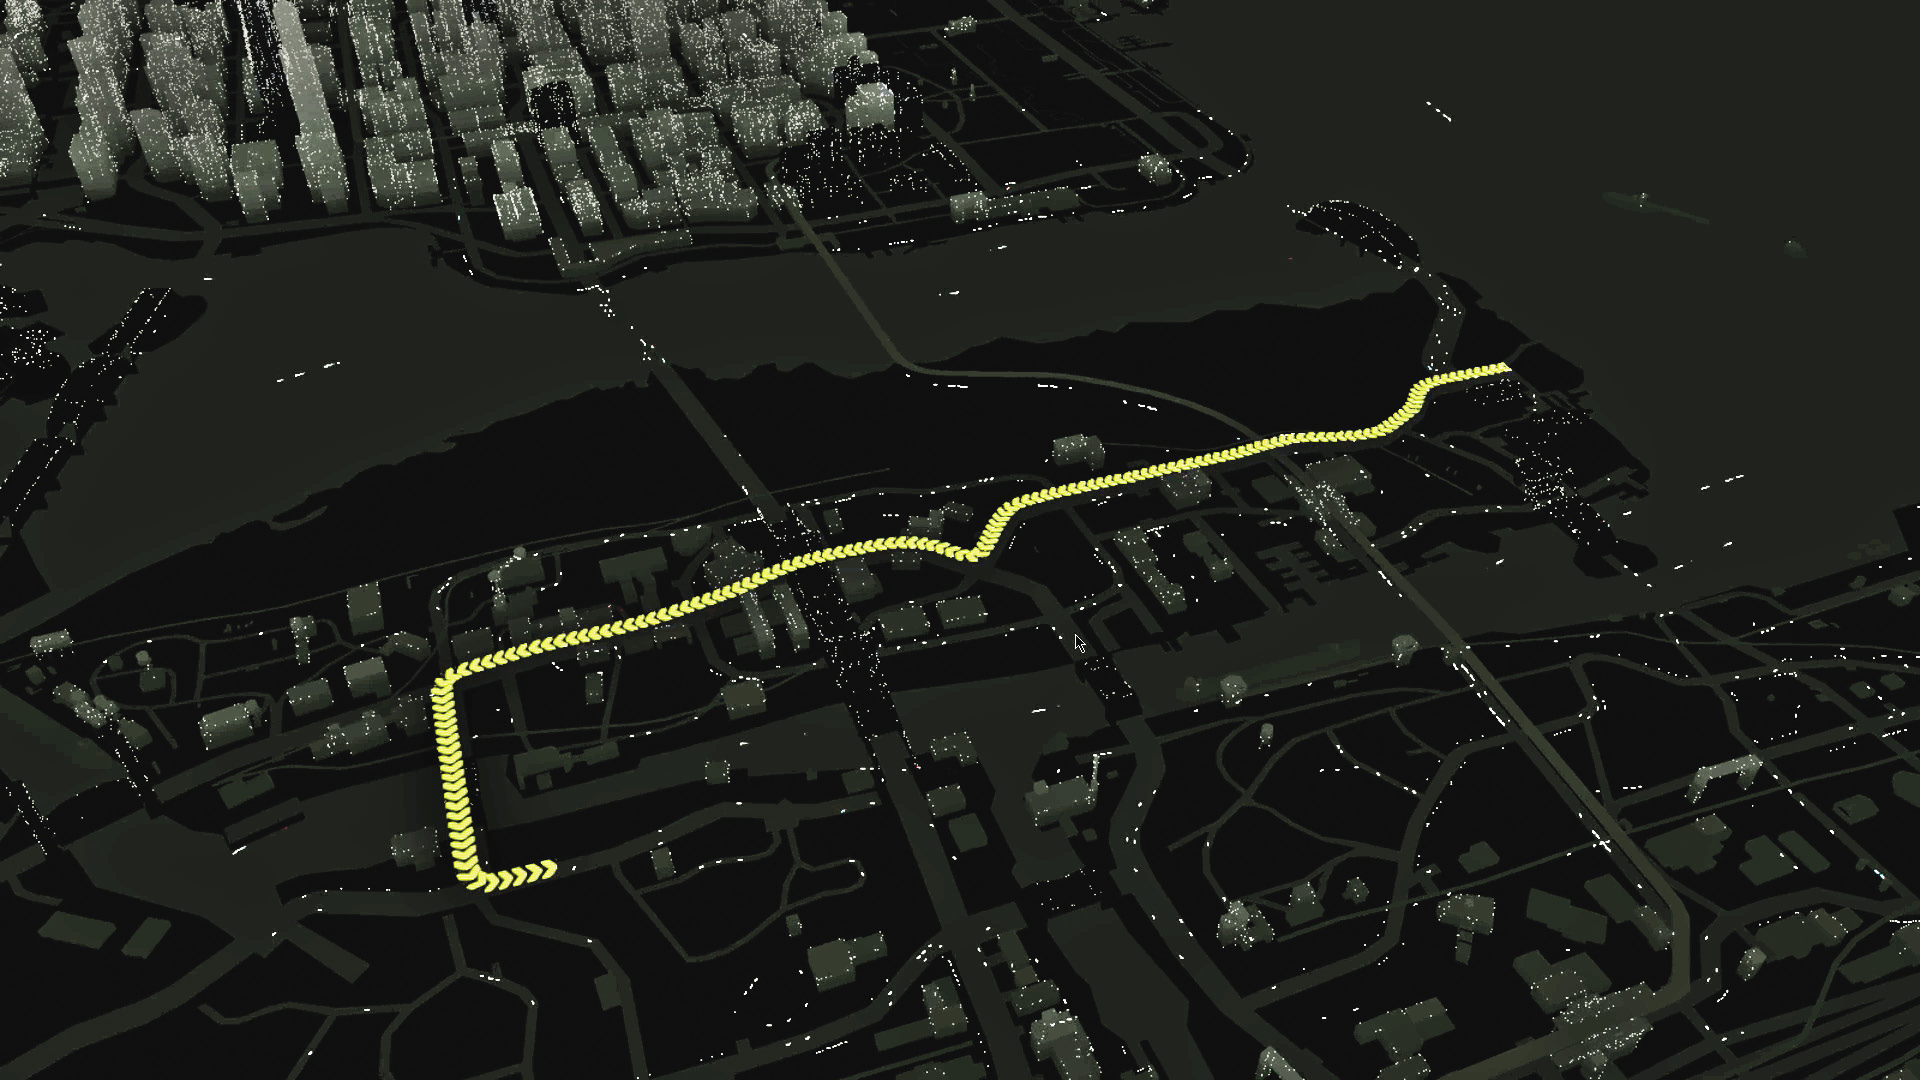
_DOCKWORK
LOCATION / INDUSTRIAL DISTRICT
ENEMY / VICEROYS CONVOY, THREE VEHICLES (VETERAN X4, ELITE), PLUS REINFORCEMENTS
TARGET: ELITE
NUMBER OF TARGETS: 1
DIFFICULTY:
AMBUSH POINT 01 // STARTING POINT
ACCESSIBILITY LEVEL: 
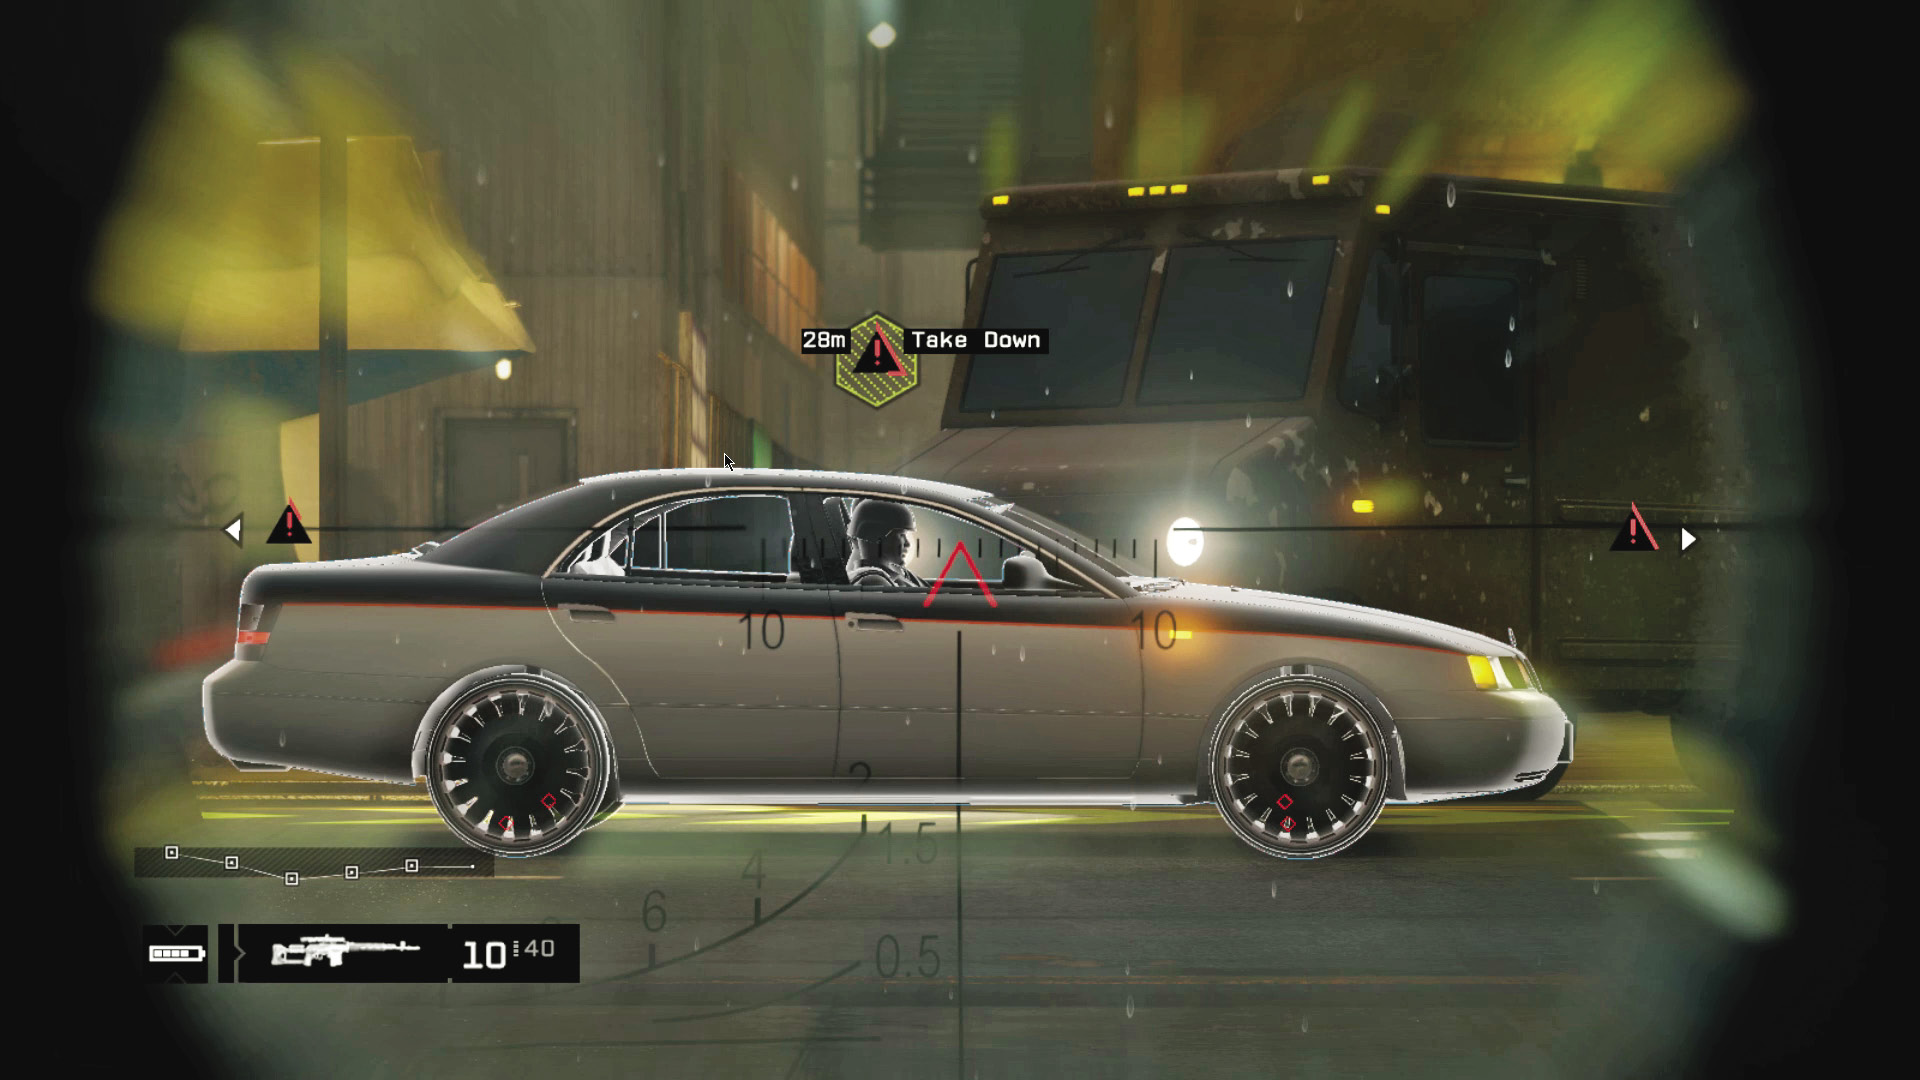
When you start the mission, you have about 20 seconds until your target drives by. There’s enough traffic at the nearby intersection that it usually brings the convoy to a complete stop, which gives you more than enough time to put a Focus-assisted sniper rifle bullet behind the target’s ear. It’s an easier shot if you cross the street and fire from behind the stack of pipes.
AMBUSH POINT 02 // FACTORY DISTRICT
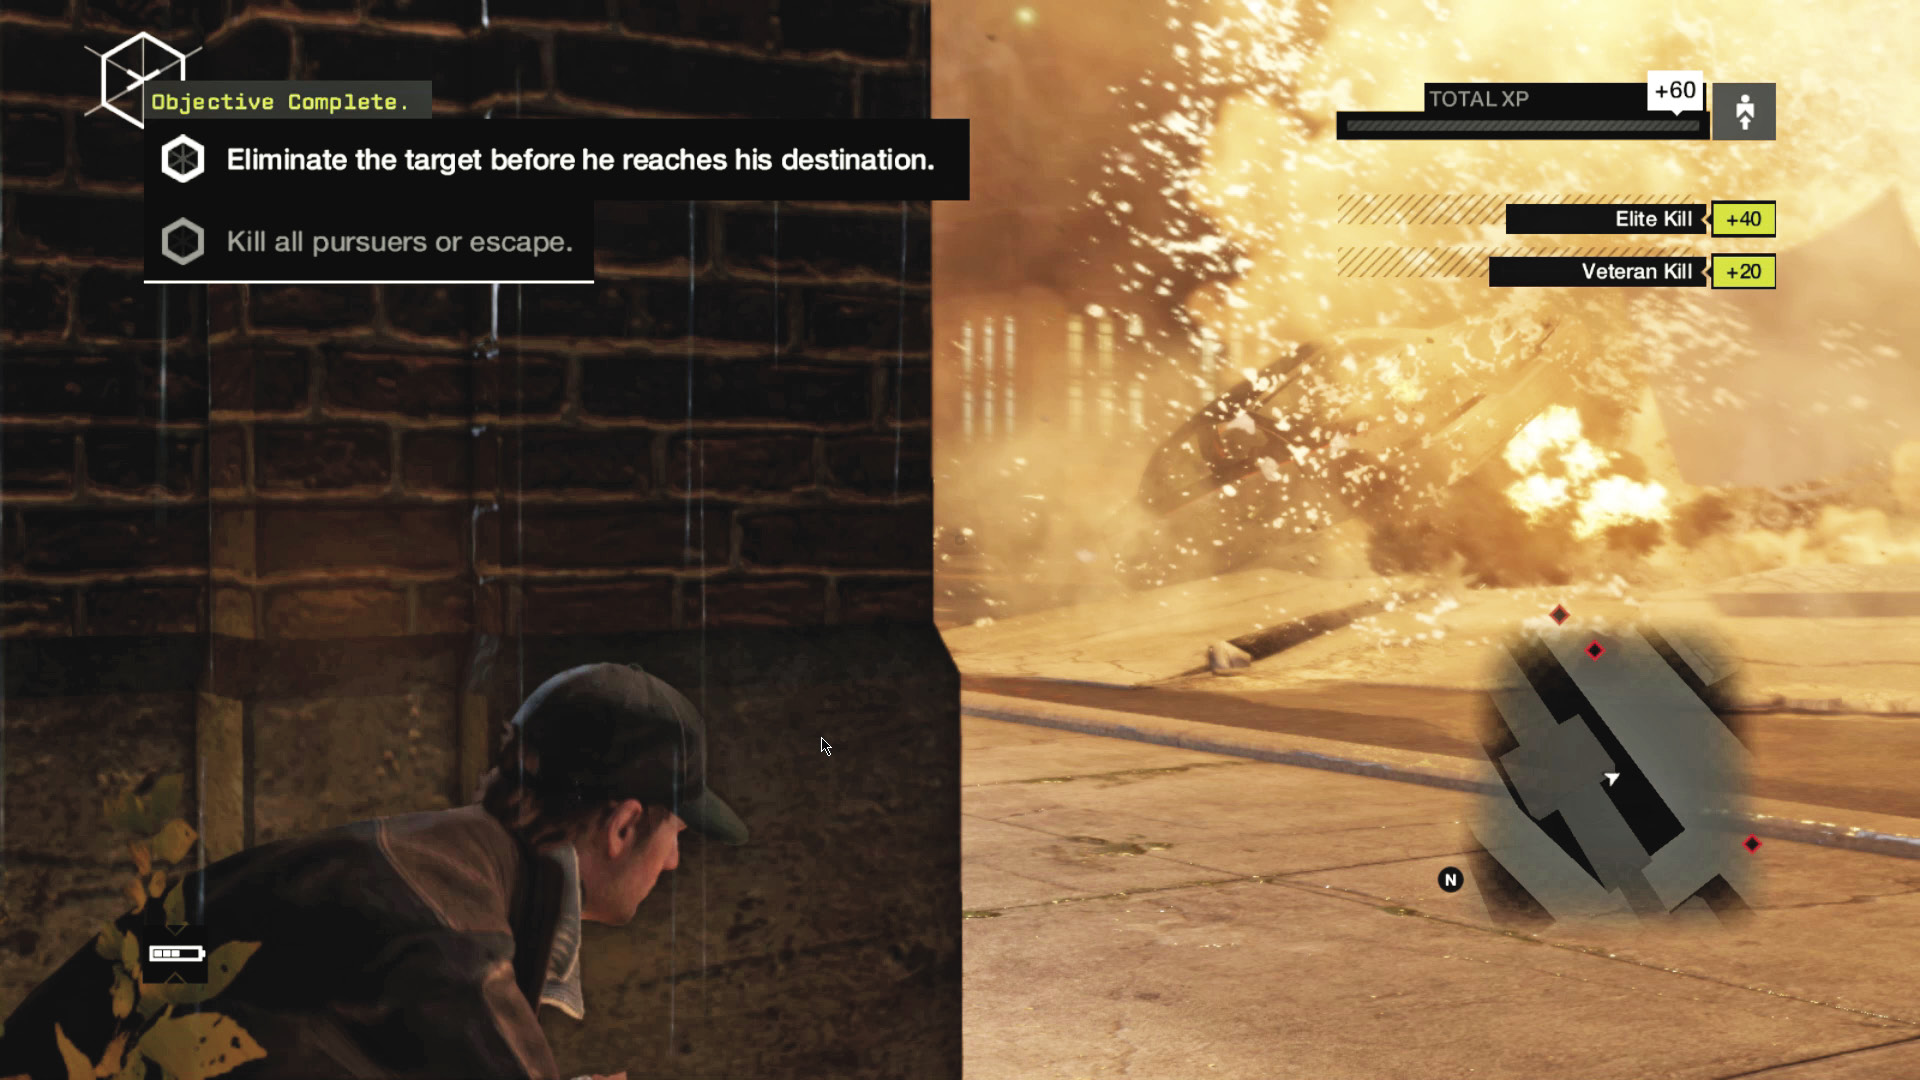
ACCESSIBILITY LEVEL: 
If you prefer to hack your way through problems, bring a bike with you and race ahead of the convoy. There’s a steam pipe on the road just before the bridge over the river, and you can hack the bridge to expedite your escape from the target’s bodyguards.
_NO RULES
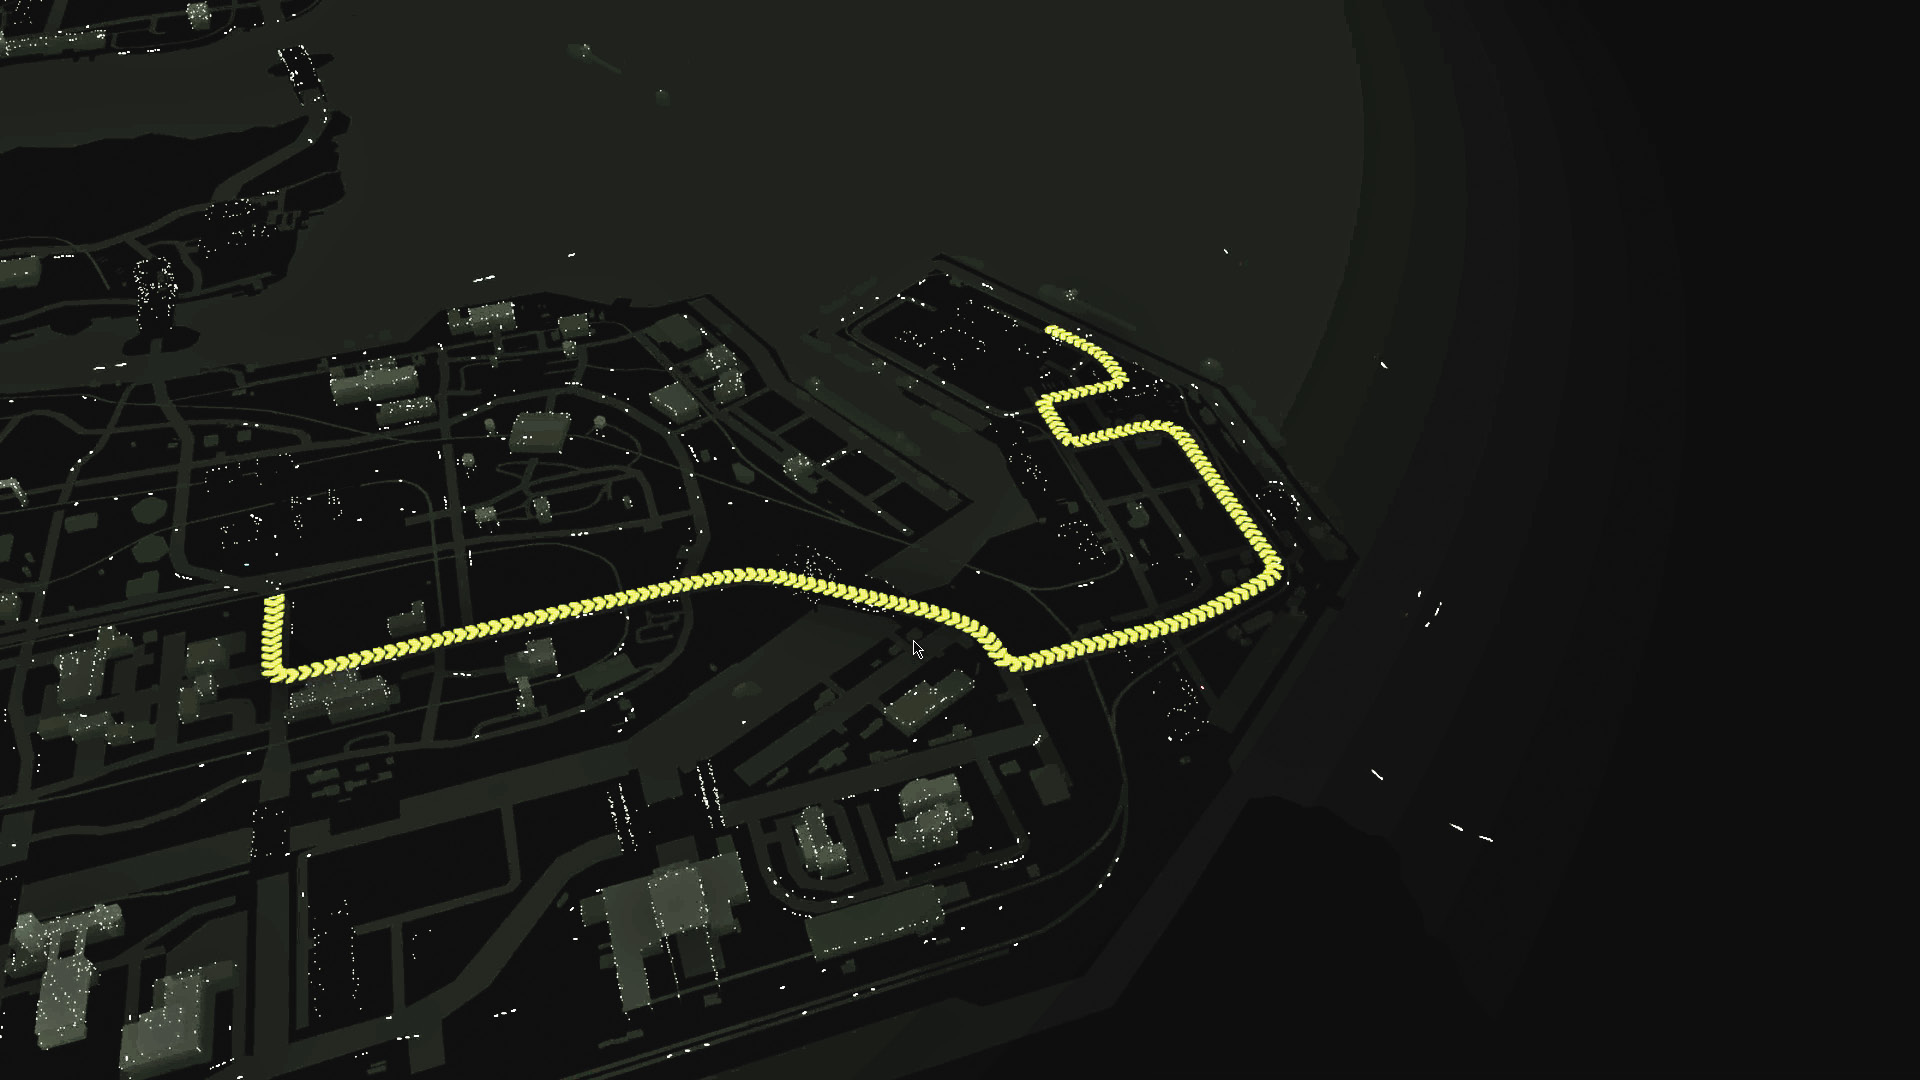
LOCATION / SHIPPING YARD
ENEMY / FIXER CONVOY, Three Vehicles (ELITE x7, VETERAN X2), PLUS REINFORCEMENTS
TARGET: VETERAN
NUMBER OF TARGETS: 1
DIFFICULTY:
This is another mission where you must leave your target alive. Fortunately, while he has significant backup, his route takes him into an area in Chicago that’s packed full of ways you can stop his crew. Most of his crew are armored Elites, which makes it dangerous to take them on in a straight-up gunfight.
AMBUSH POINT 01 // ILLINOIS PORT AUTHORITY
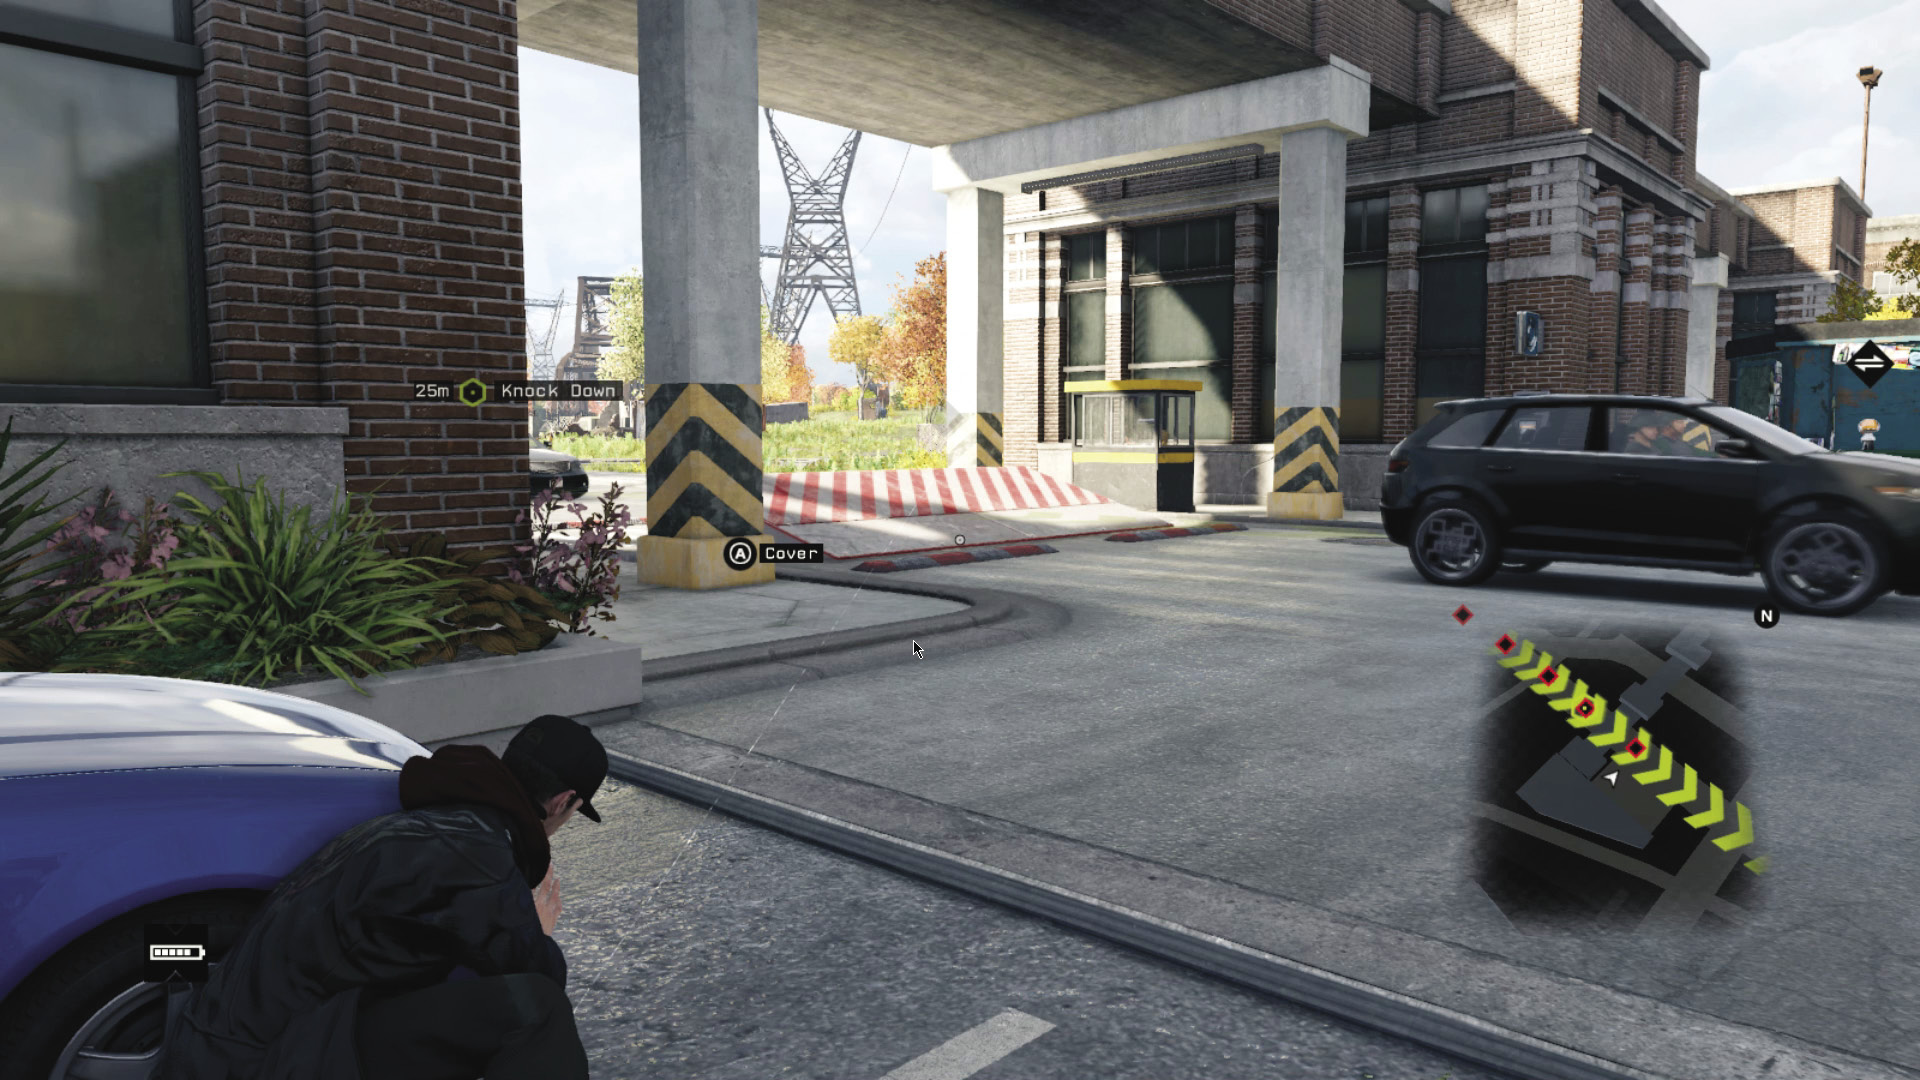
ACCESSIBILITY LEVEL: 
The single easiest way to deal with this target is by using the security checkpoint in front of the Illinois Port Authority. Beat them there, then use the blockers to halt the convoy. This gives you a solid opportunity to immobilize the target’s vehicle with a shotgun or rifle, then deal with his guards.
AMBUSH POINT 02 // WAREHOUSE DISTRICT
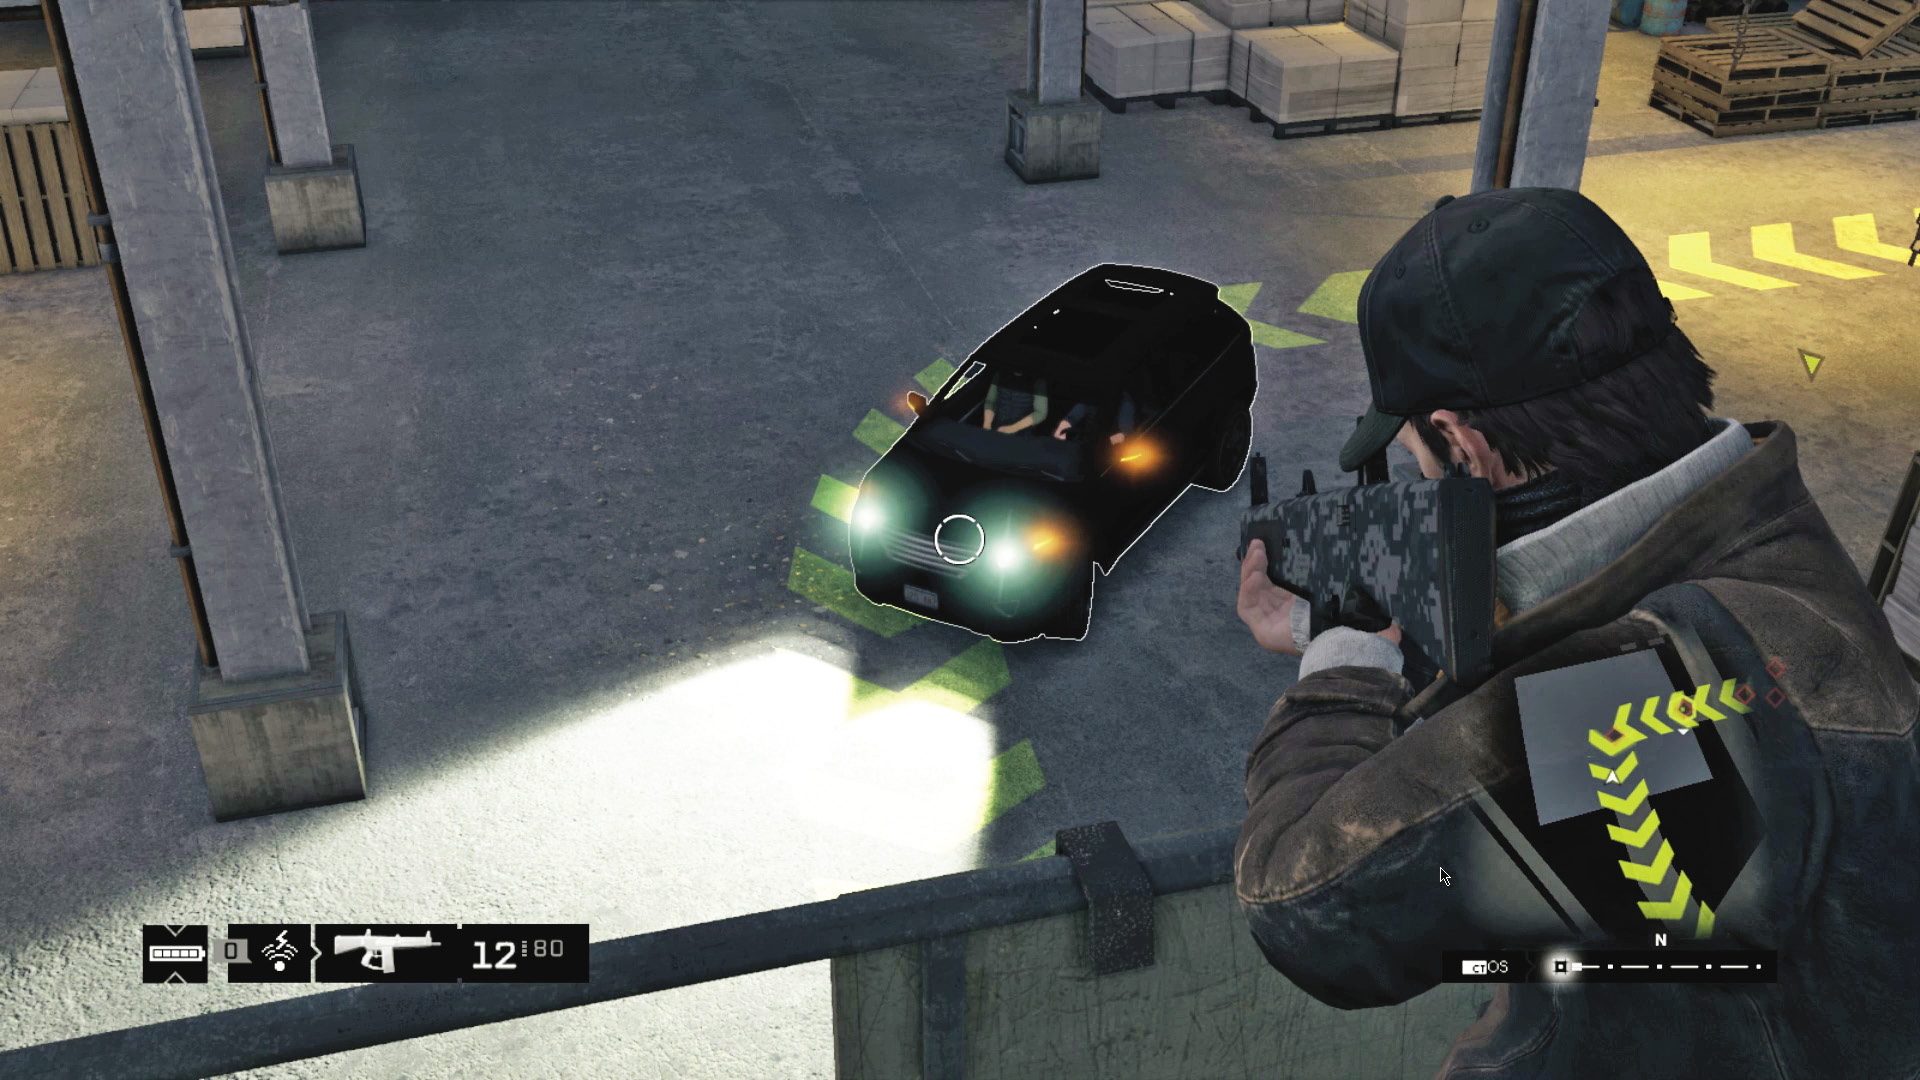
ACCESSIBILITY LEVEL: 
Near the end of its route, the convoy takes a U-turn through a warehouse. If you beat them there, you can set up a few traps and lay waste to the convoy from the balcony overhead. This is satisfying, but your target can easily get killed in the ensuing crossfire, and there are enough civilian workers in the area that the police will be on the scene in about 40 seconds.
AMBUSH POINT 03 // SHIPYARD EXTERIOR
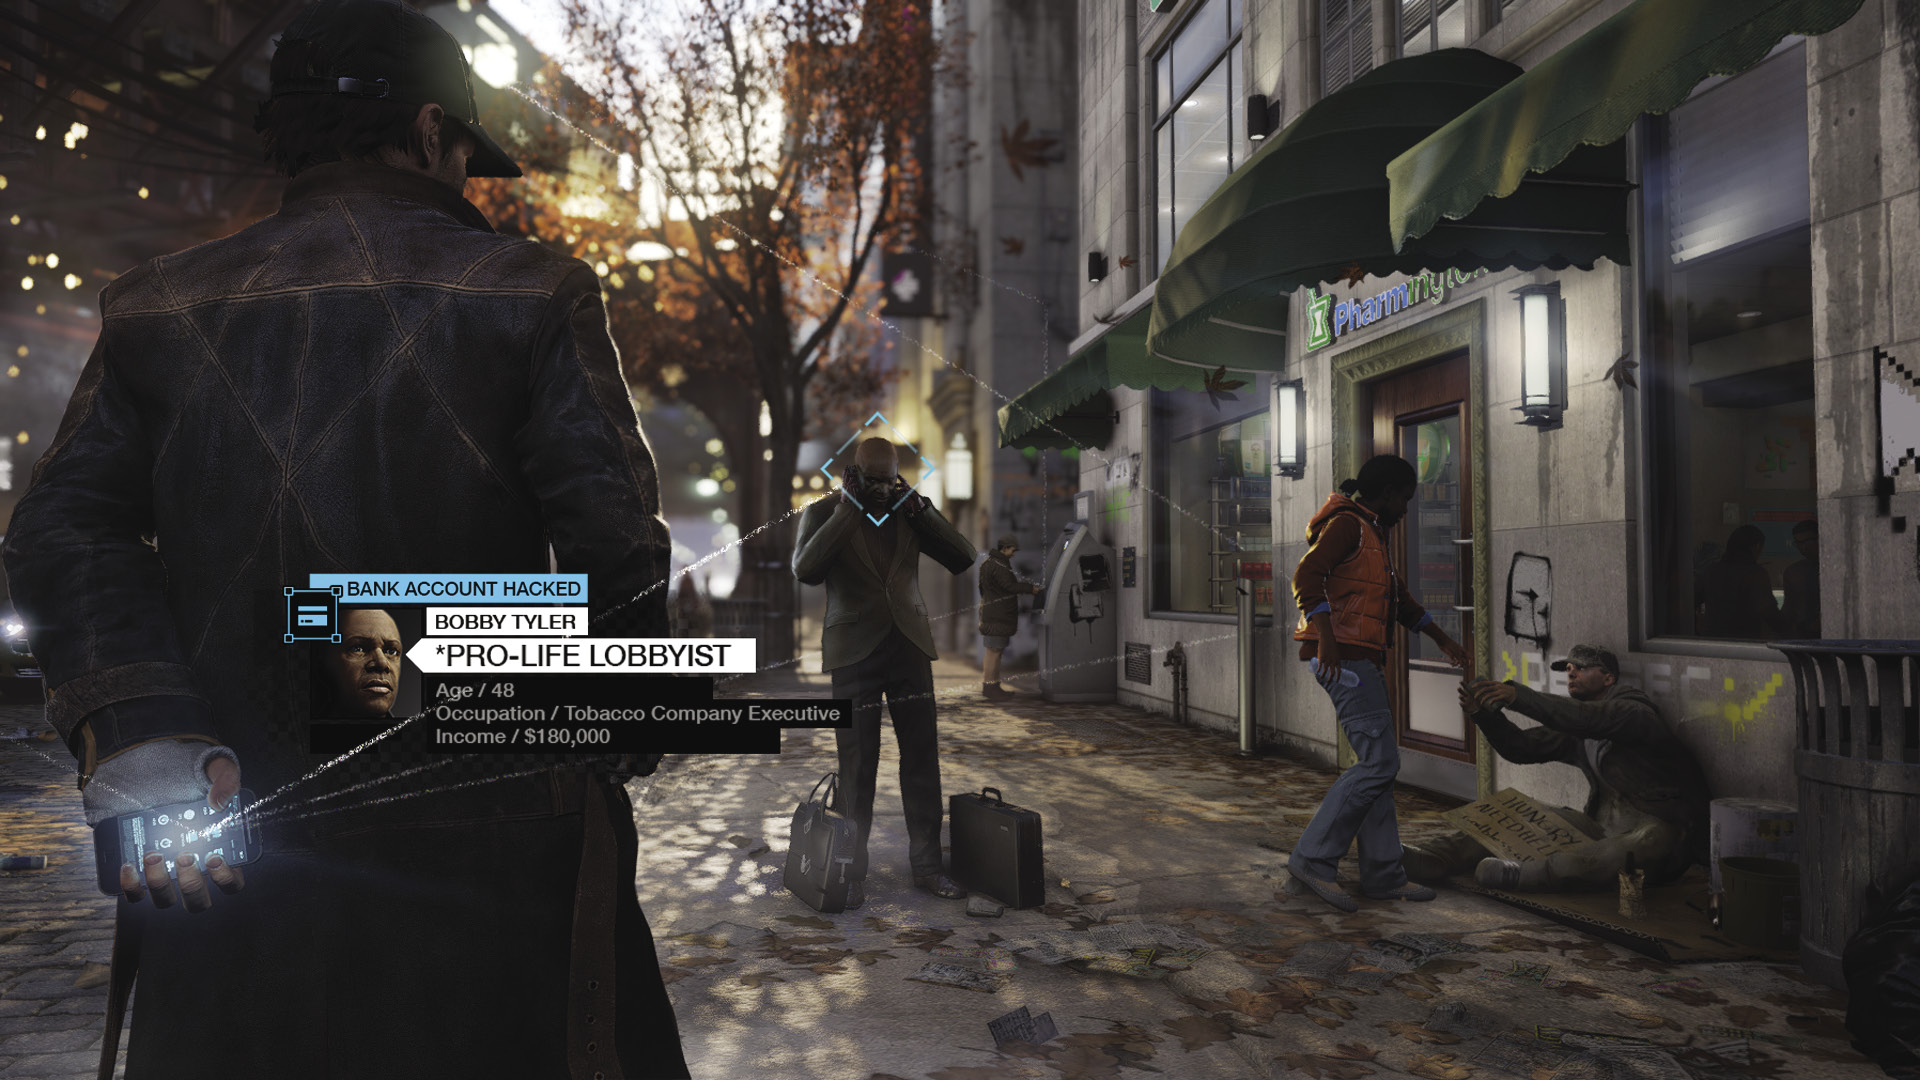
ACCESSIBILITY LEVEL: 
You can use a set of blockers in the convoy’s path to stop it, then attack from a perch atop one of the nearby shipping containers. Ideally, your opening move should be to immobilize your target’s limo using something like the Destroyer, preventing him from escaping by car, then knocking down his bodyguards one at a time.
THE LOOP // CONVOYS
_TOLL BRIDGE
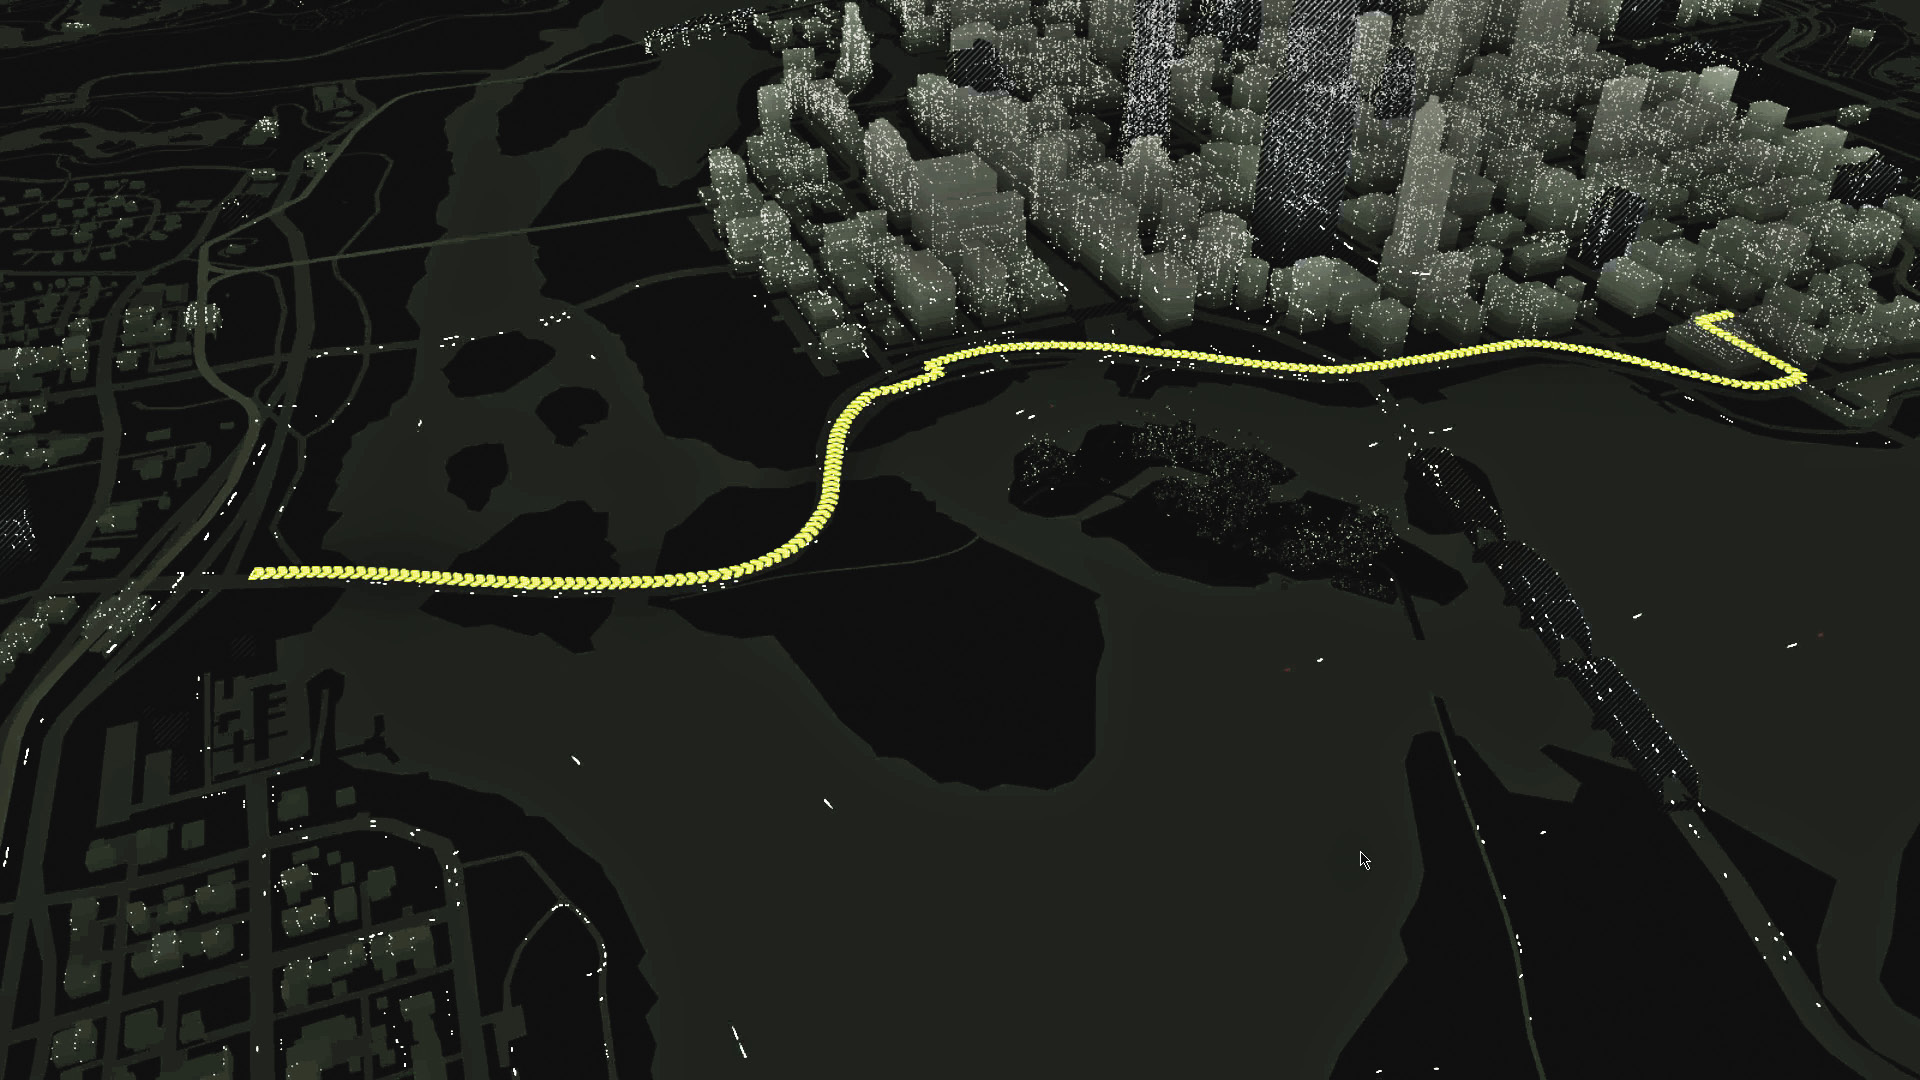
LOCATION / EASTBOUND HIGHWAY
ENEMY / CLUB CONVOY, THREE VEHICLES (VETERAN x3, ELITE x3), PLUS REINFORCEMENTS
TARGET: ELITE
NUMBER OF TARGETS: 1
DIFFICULTY:
AMBUSH POINT 01 // FREEWAY BLOCKADE
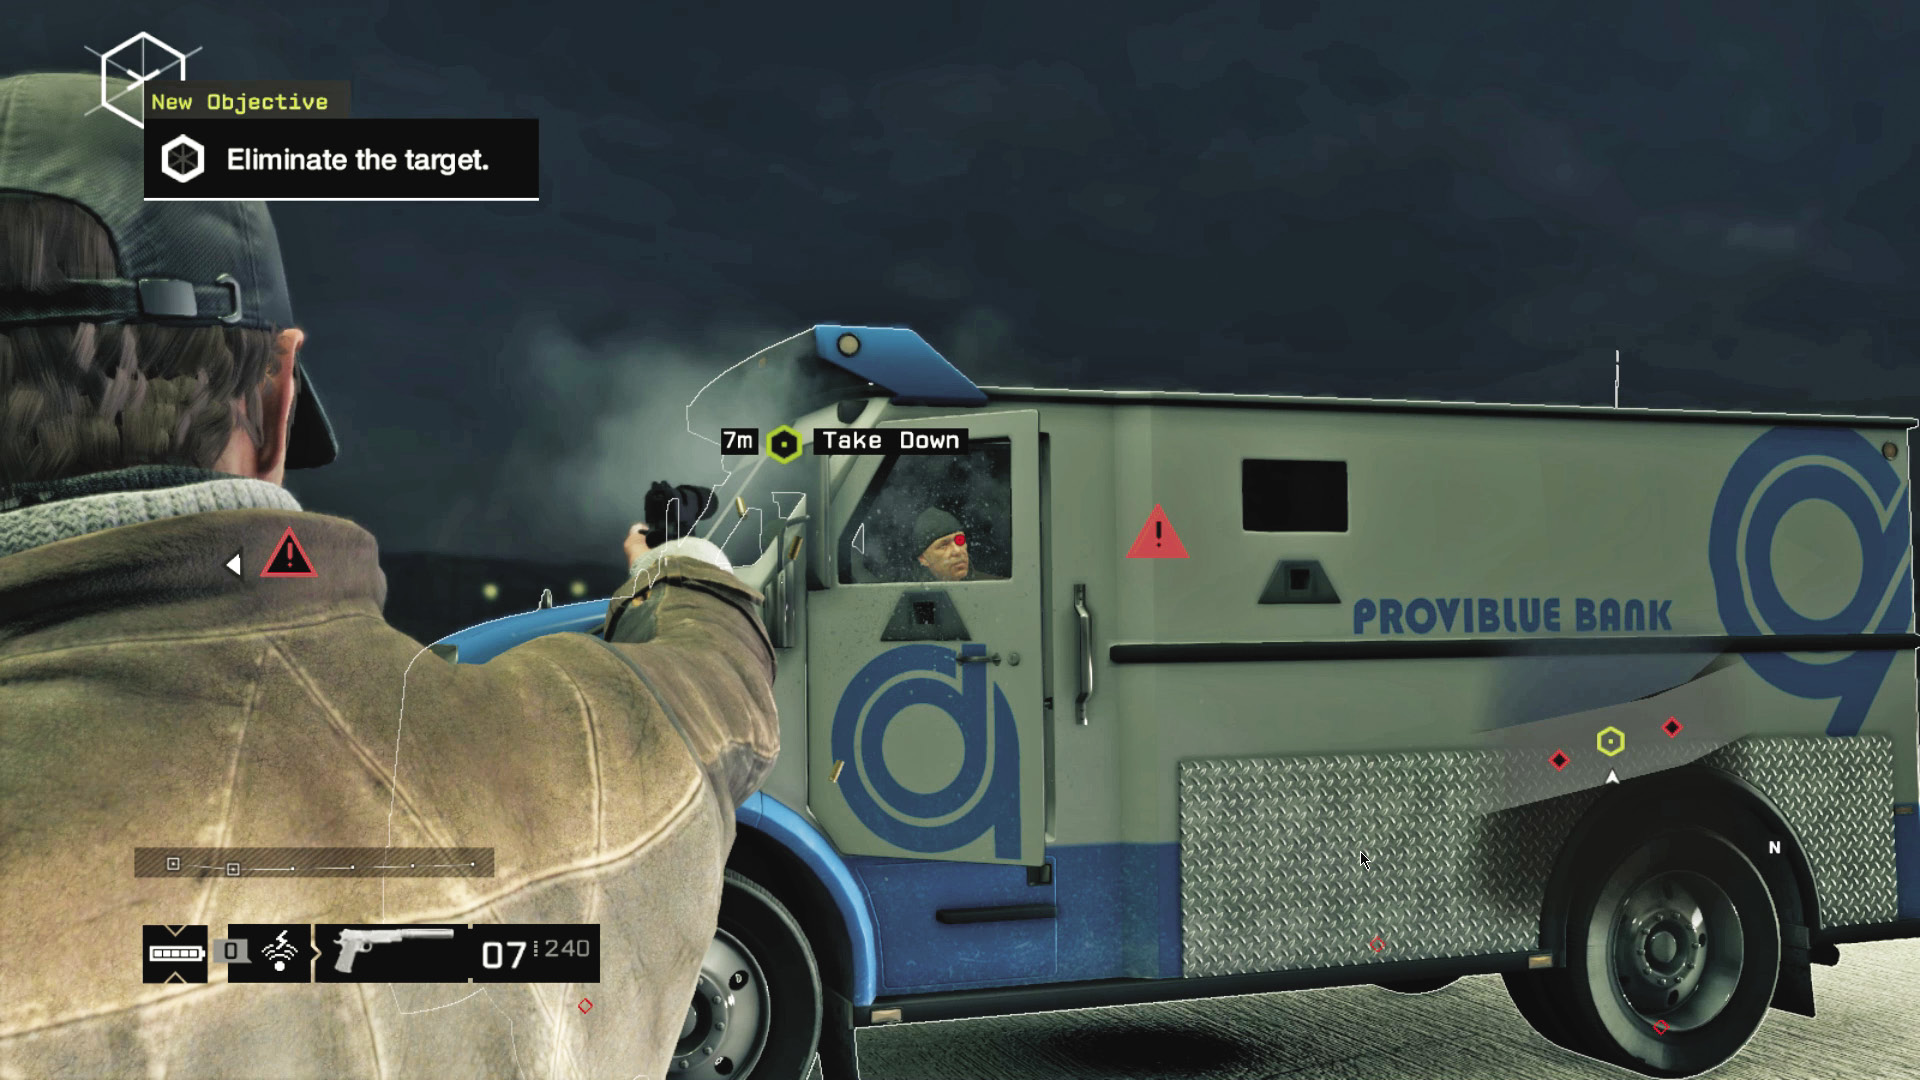
ACCESSIBILITY LEVEL: 
Your target’s on a long route in a slow armored vehicle, but because he spends almost all his time on the freeway, you don’t have many options for stopping him besides what you’ve got on you. Even toward the end of the route when he gets back into the city, there’s nothing on that block other than a stoplight.
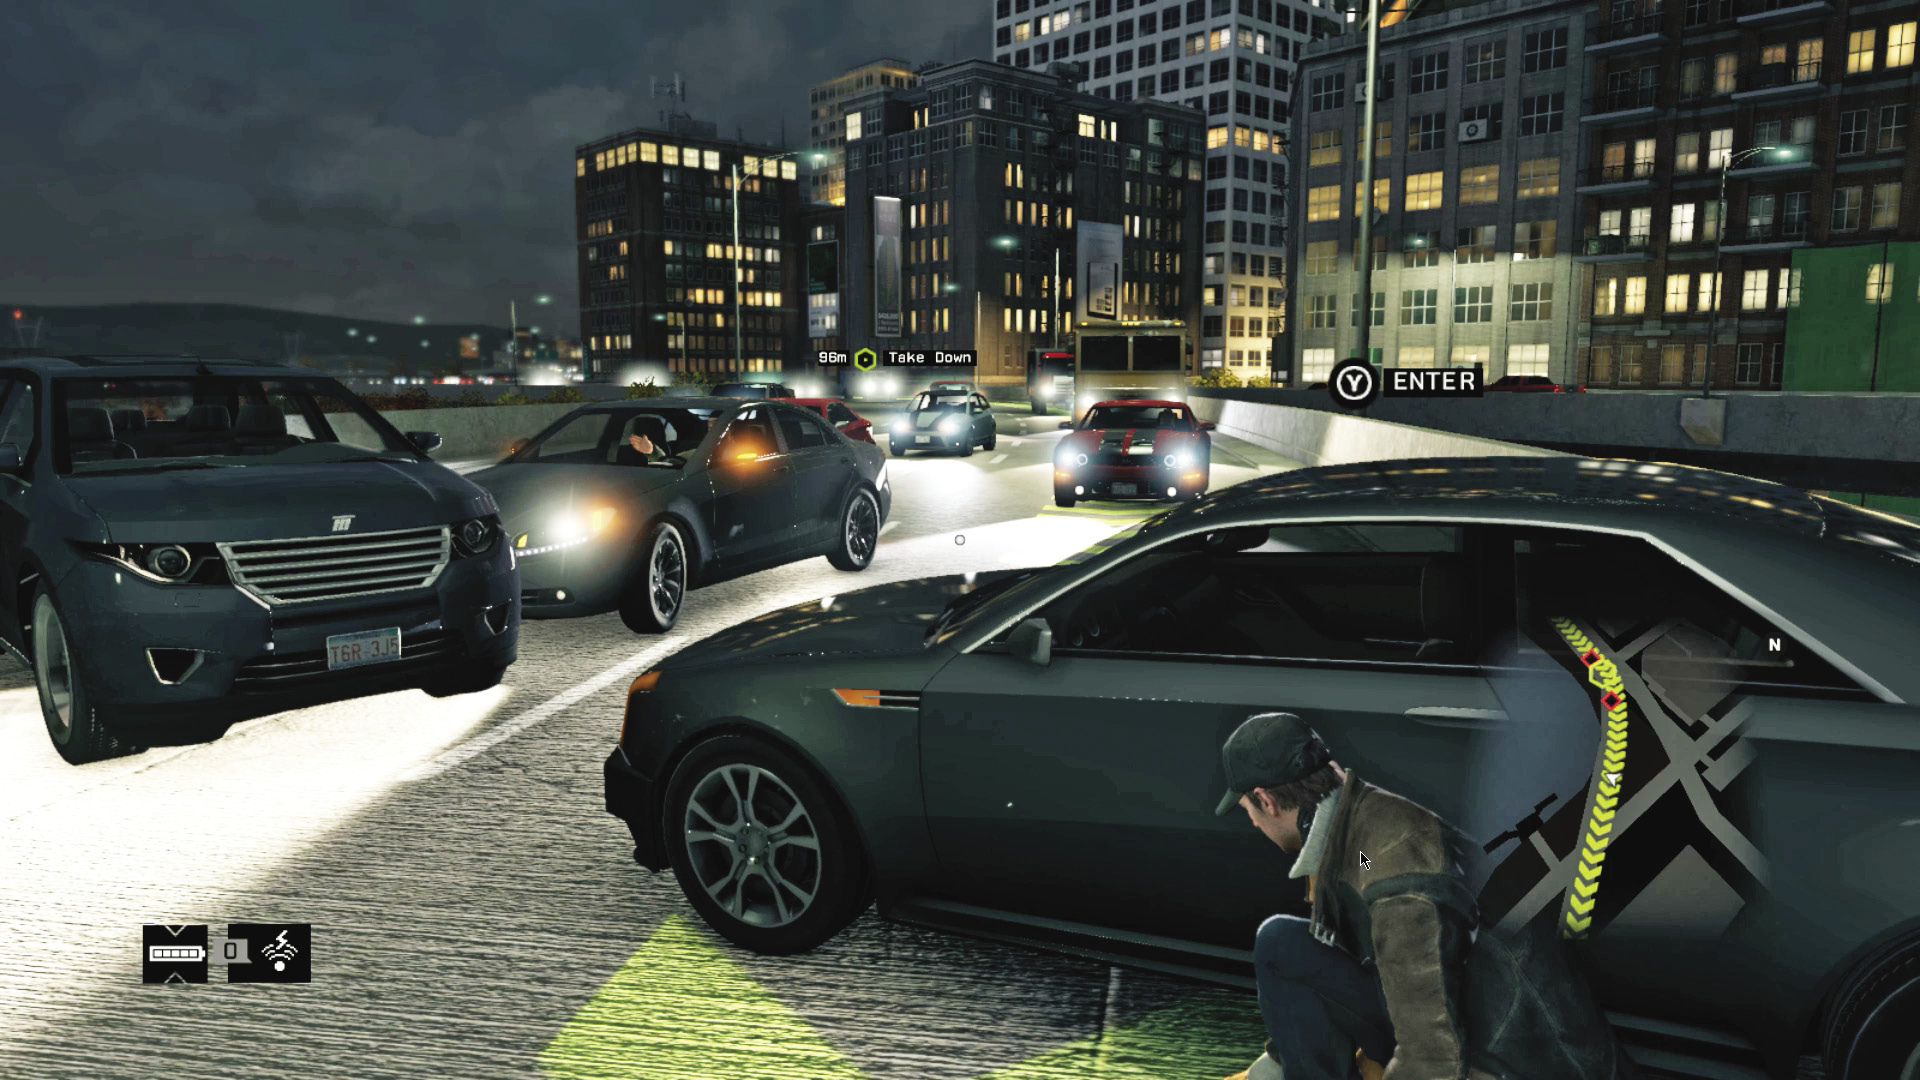
If you get ahead of your target, however, you can park a vehicle across several lanes, causing a traffic jam and giving you an opportunity to strike. You can do this either before the lanes split, which lets you hide behind the concrete median, or afterward, so the target’s got nowhere to go.
_THE BEAST
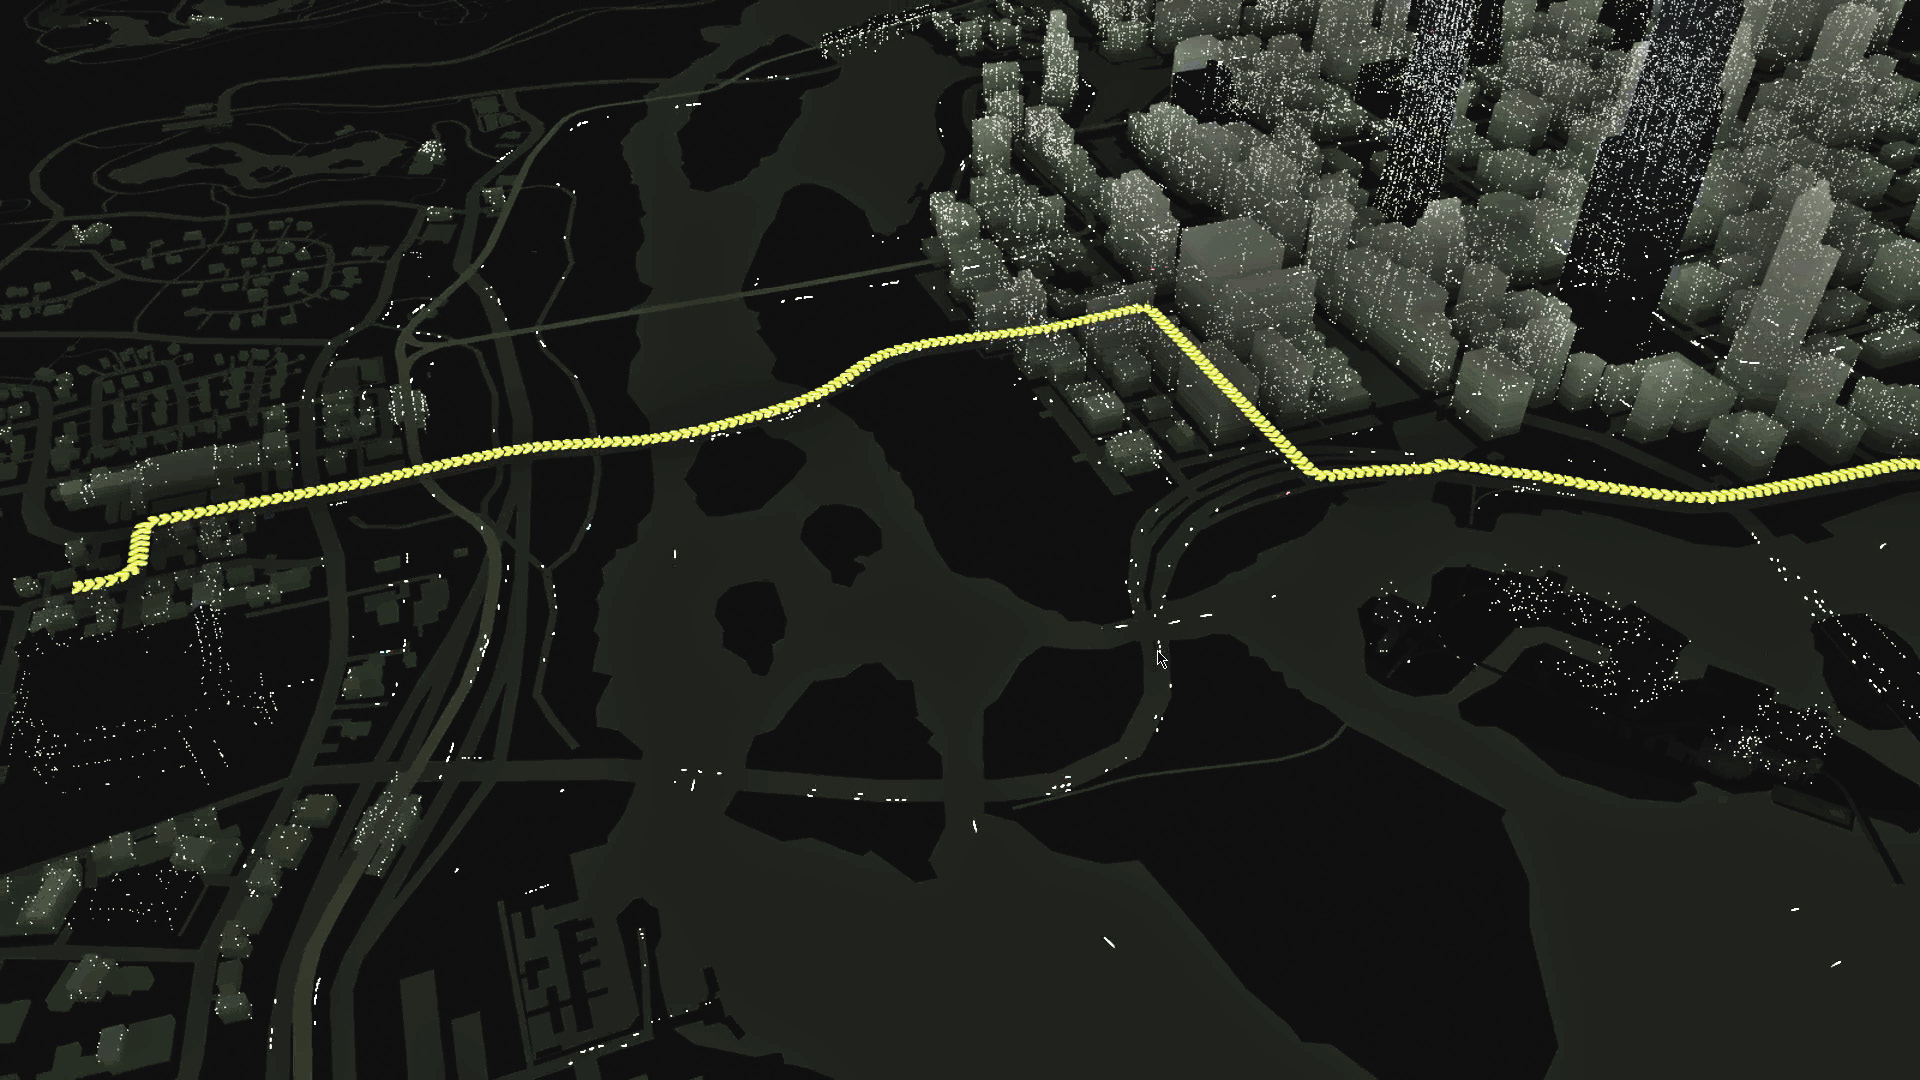
LOCATION / HIGHWAY
ENEMY / FIXER CONVOY, THREE VEHICLES (VETERAN X4, ENFORCER), PLUS REINFORCEMENTS
TARGET: VETERAN
NUMBER OF TARGETS: 1
DIFFICULTY:
AMBUSH POINT 01 // UNDERGROUND TUNNELS
ACCESSIBILITY LEVEL: 
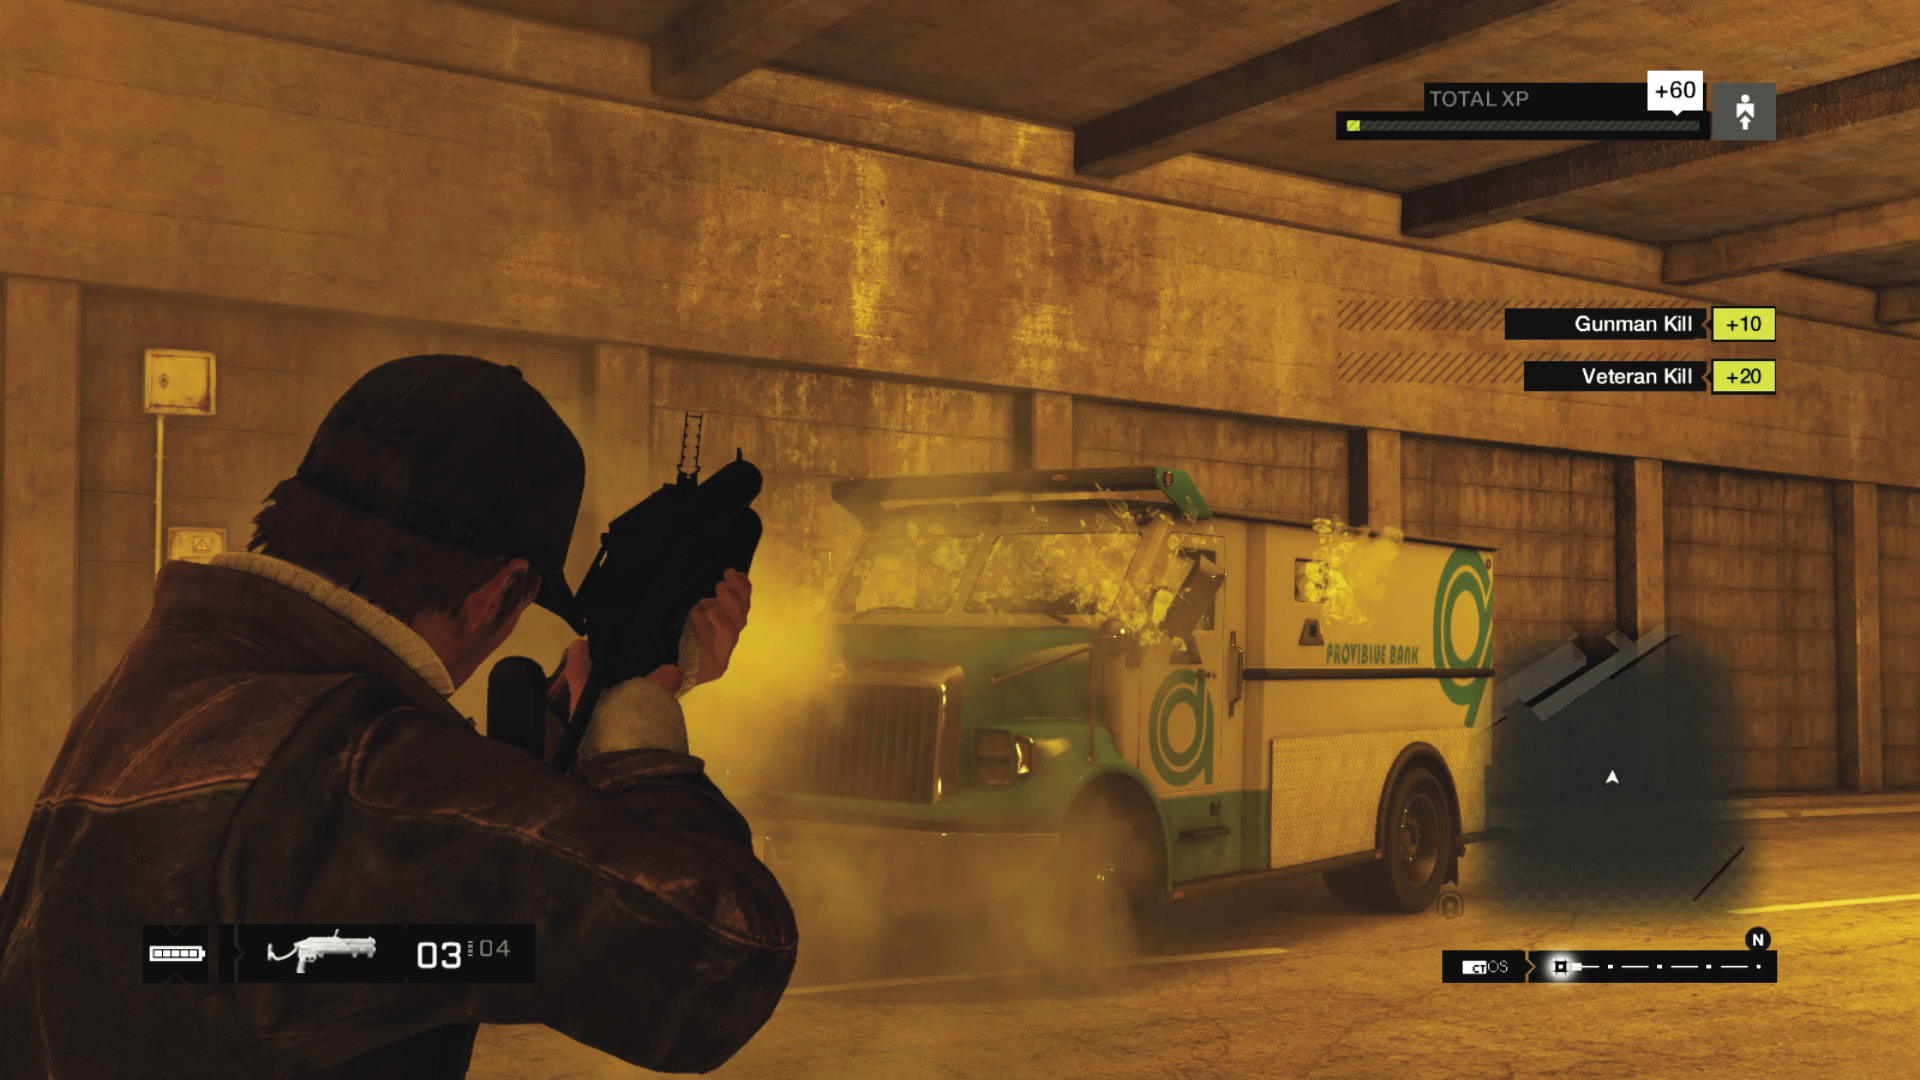
The convoy spends the early part of its route underground, in the express tunnels underneath the city. These often have less civilian traffic than the roads and are easy to block, which makes them a solid pick for an initial ambush. Use a parked car to stop the convoy, if only briefly, then either use explosives against the target’s armored truck or fire through his windshield.
AMBUSH POINT 02 // INTERSECTION
ACCESSIBILITY LEVEL: 
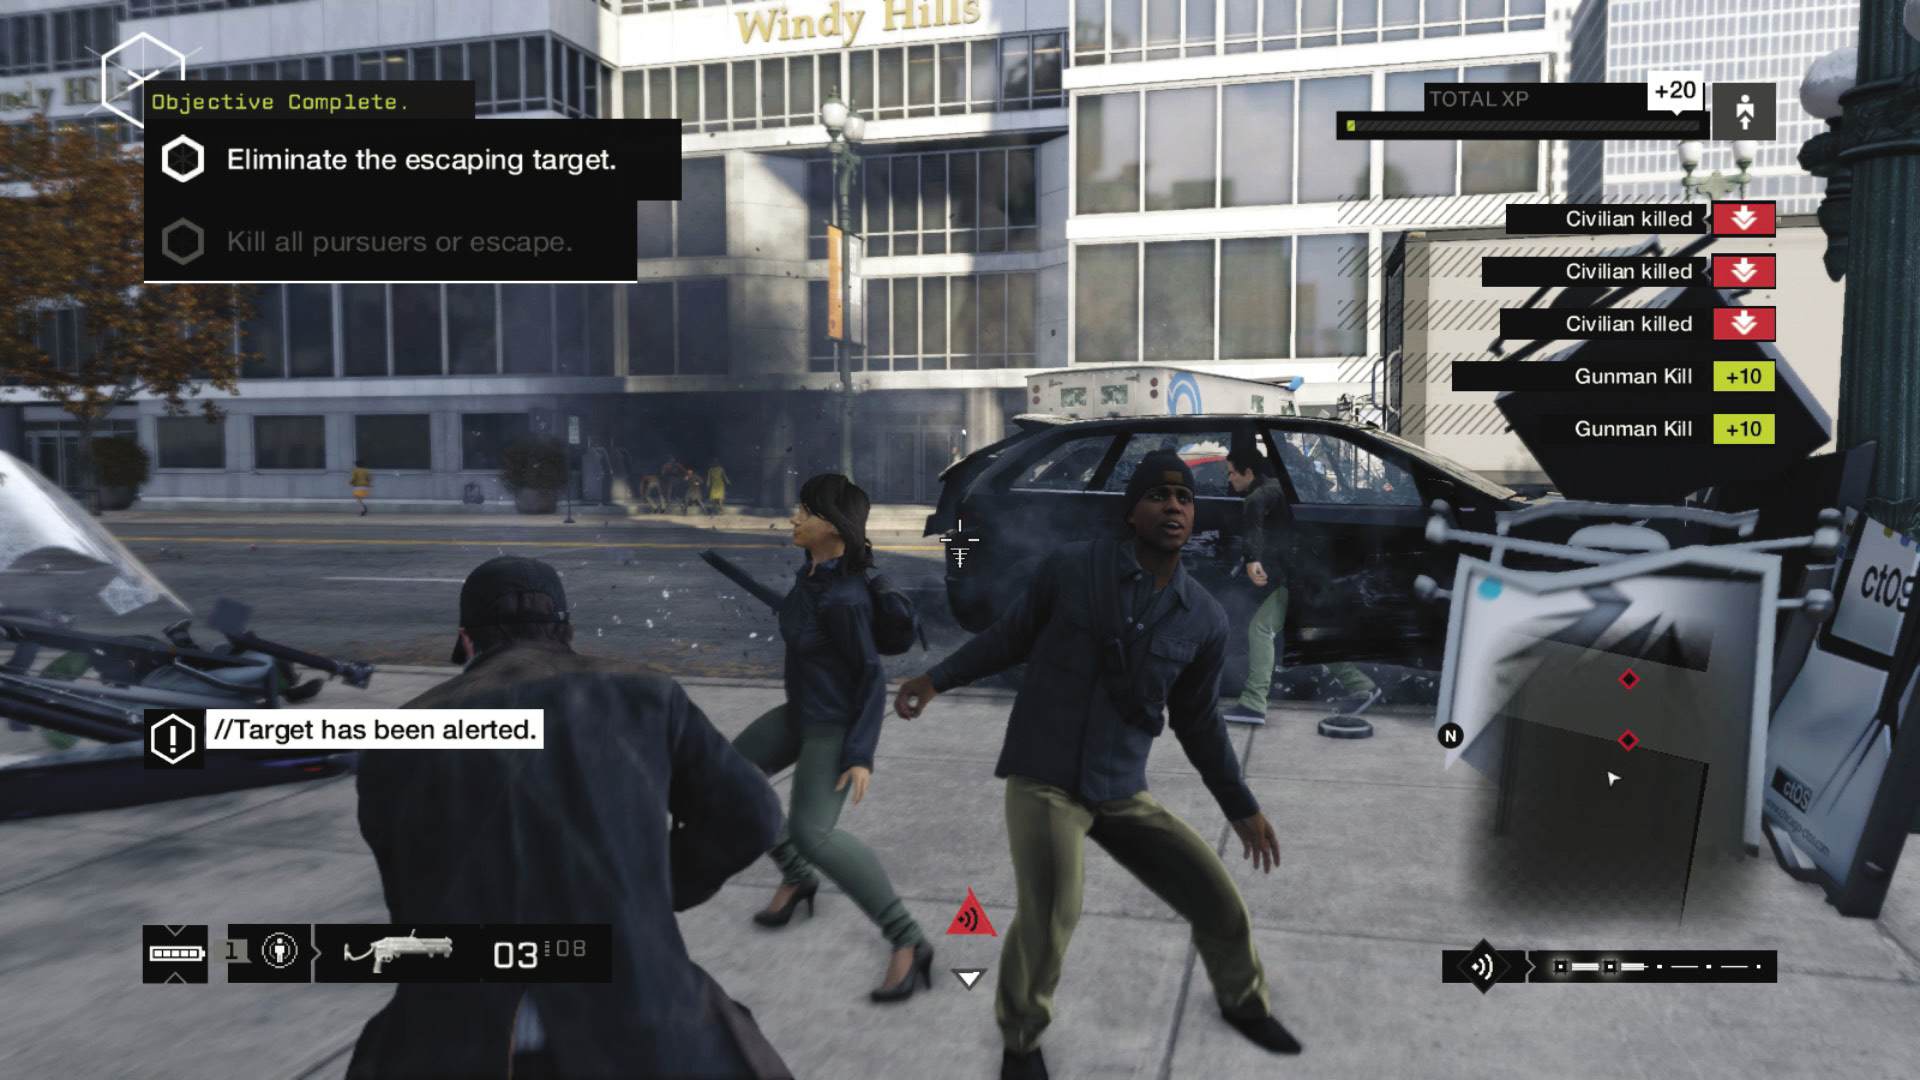
There aren’t many objects along the route that you can hack to delay or destroy the target’s car, but if there’s enough traffic, you can halt the convoy by causing an accident at the intersection just before they turn onto the freeway. This has a high potential for causing civilian casualties, but it’s a great opportunity to snipe the target while he’s stuck.
AMBUSH POINT 03 // FREEWAY ONRAMP
ACCESSIBILITY LEVEL: 
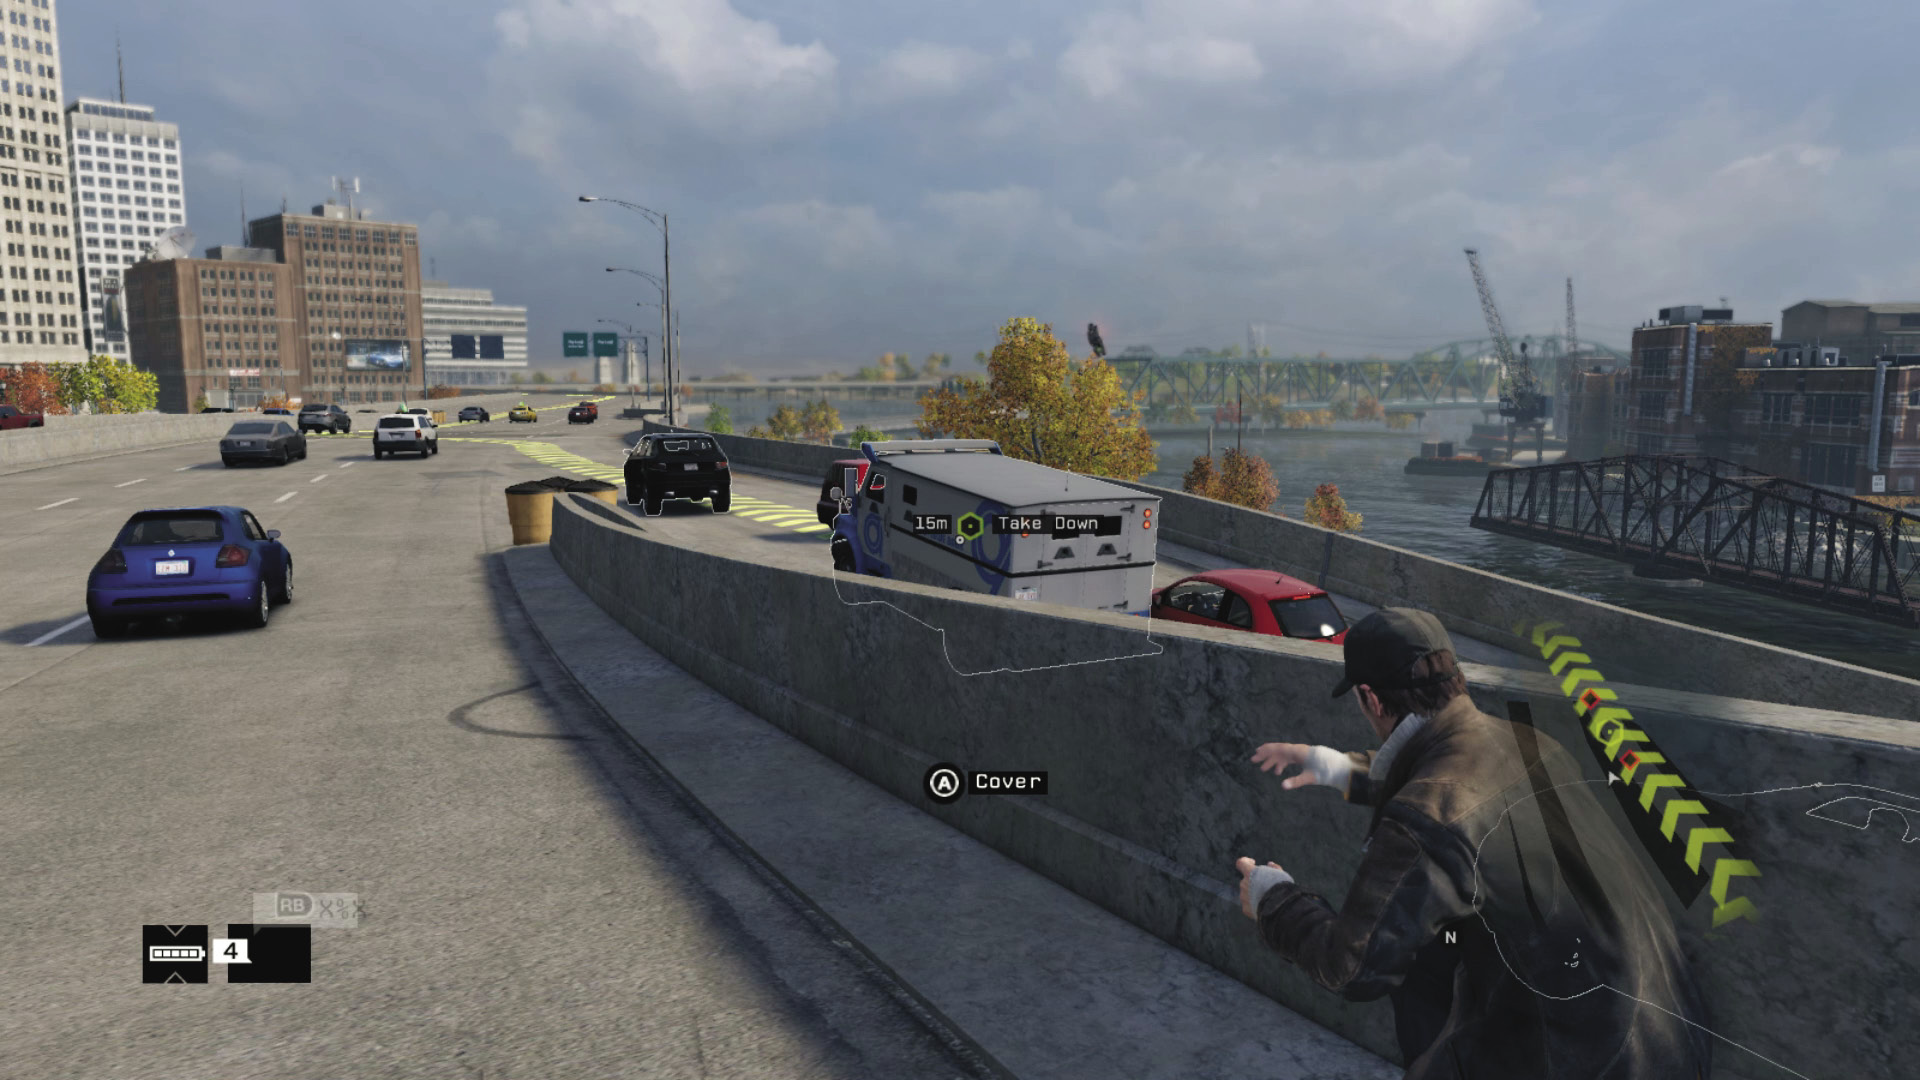
If all else fails, onramps like this one are an underrated ambush point. They’re narrow enough that you can block them with just about any vehicle and turn them into a killing floor. You can hide behind the median and throw grenades or IEDs down onto the road, although it’s all or nothing; if you miss, your target has a straight shot onto the freeway and is almost guaranteed to escape.
_CAUGHT IN THE LOOP
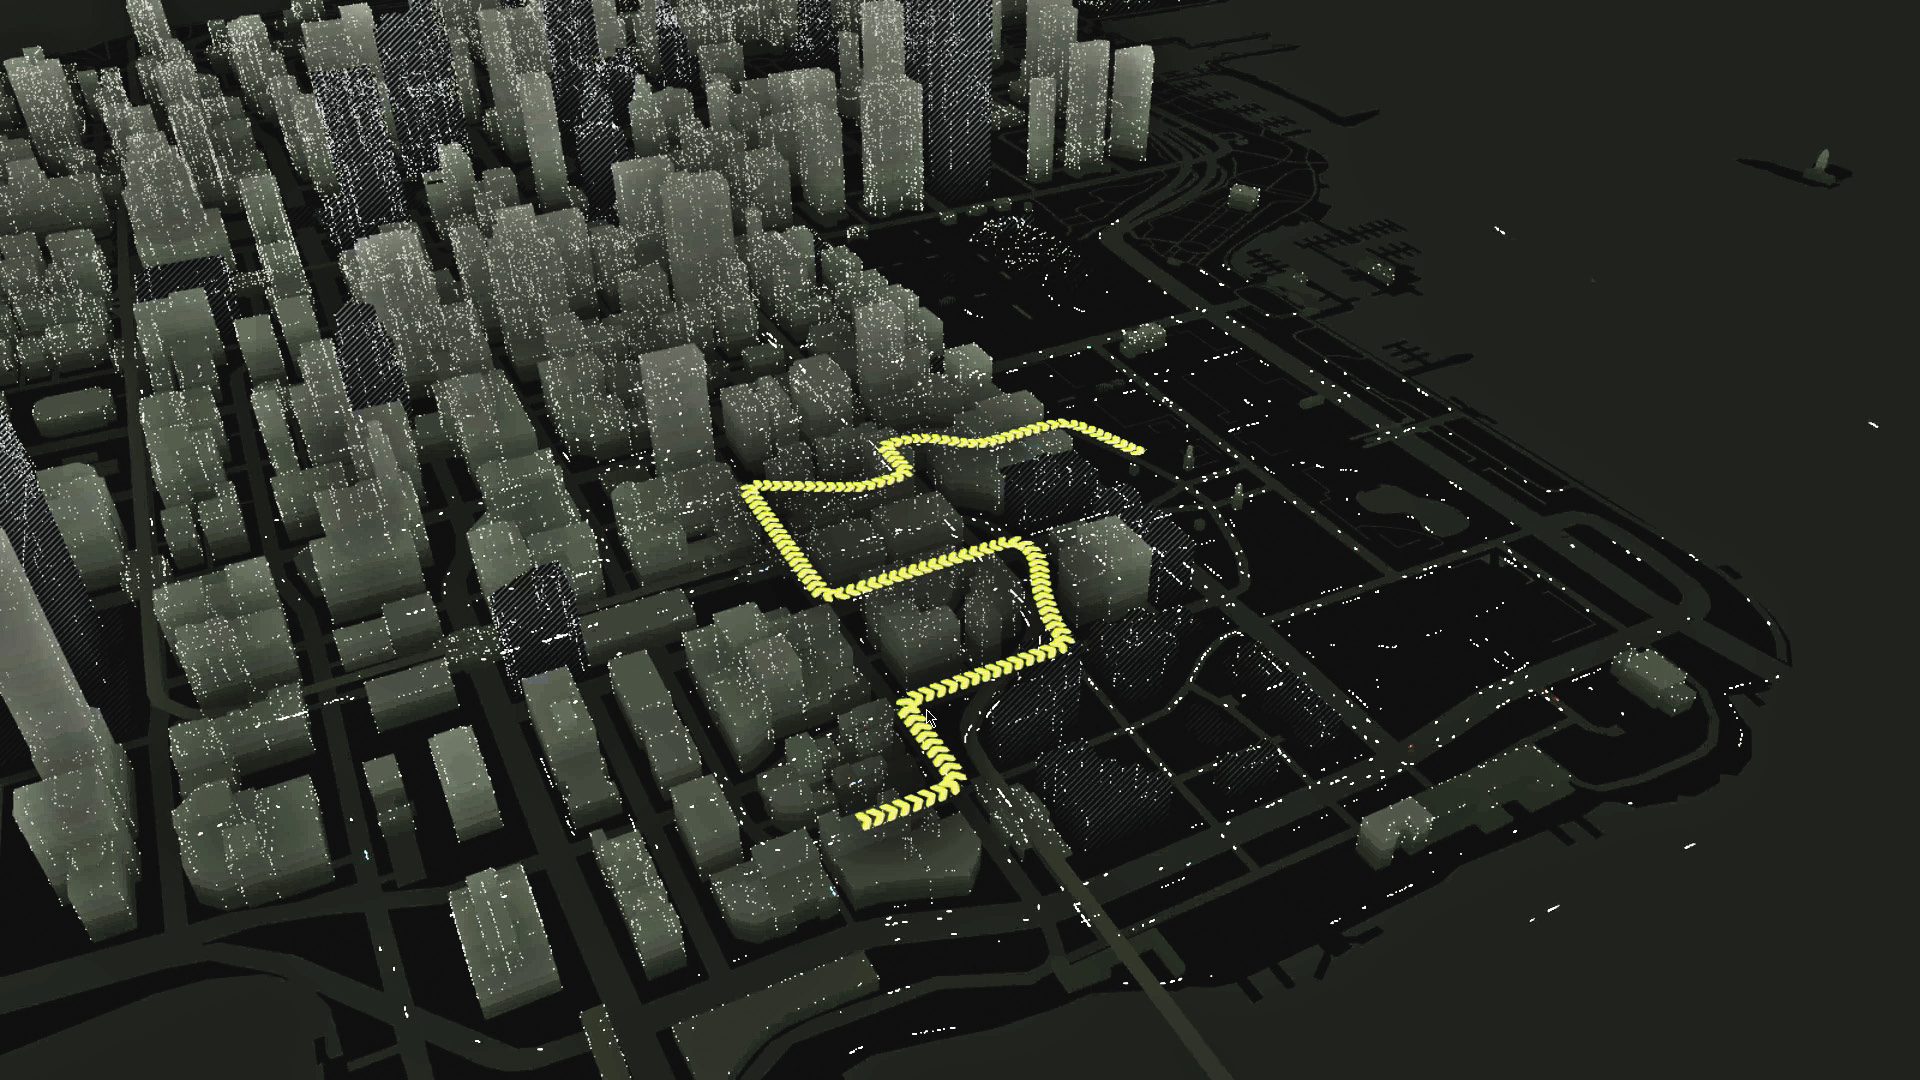
LOCATION / EAST SIDE
ENEMY / FIXER CONVOY, SIX VEHICLES (VETERAN X2 PER VEHICLE, TWO SUVS), PLUS REINFORCEMENTS
TARGET: VETERAN x2
NUMBER OF TARGETS: 2
DIFFICULTY:
You must use a nonlethal takedown on both targets in this convoy or the mission fails. The convoy begins its route with both targets together, but each has a separate escort group, and they are often separated from each other by local traffic. As a result, ambushing them can be a little unpredictable.
AMBUSH POINT 01 // ALLEYWAY
ACCESSIBILITY LEVEL: 
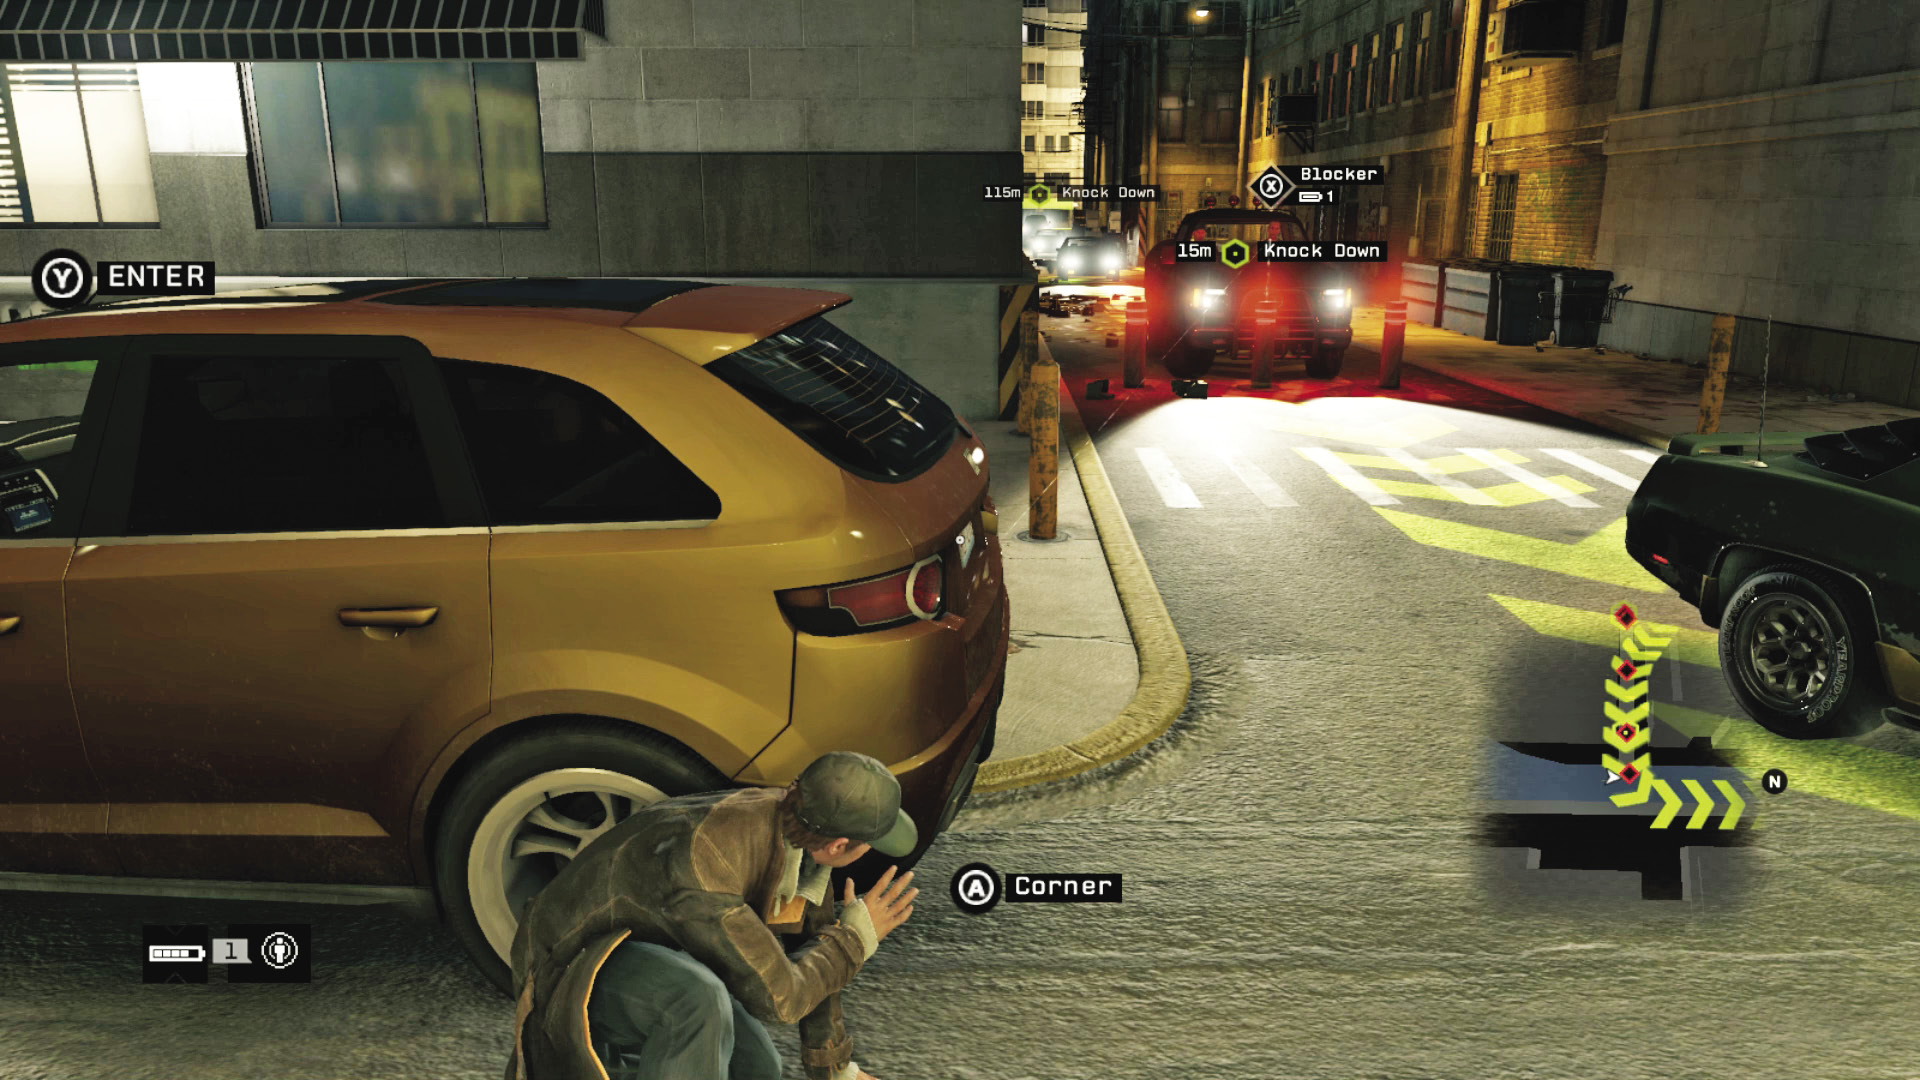
Whoever built this alleyway apparently did so with the express intention that it would be used for this purpose. There are blockers on either end, allowing you to isolate the first target from the first car of bodyguards, then take them out and start your assault on the rest in an isolated area.
You can hack the transformer vaults on the floor to cause a local blackout, which prevents calls for help and allows you to take down at least one target in the ensuing confusion.
AMBUSH POINT 02 // FOUR-WAY INTERSECTION
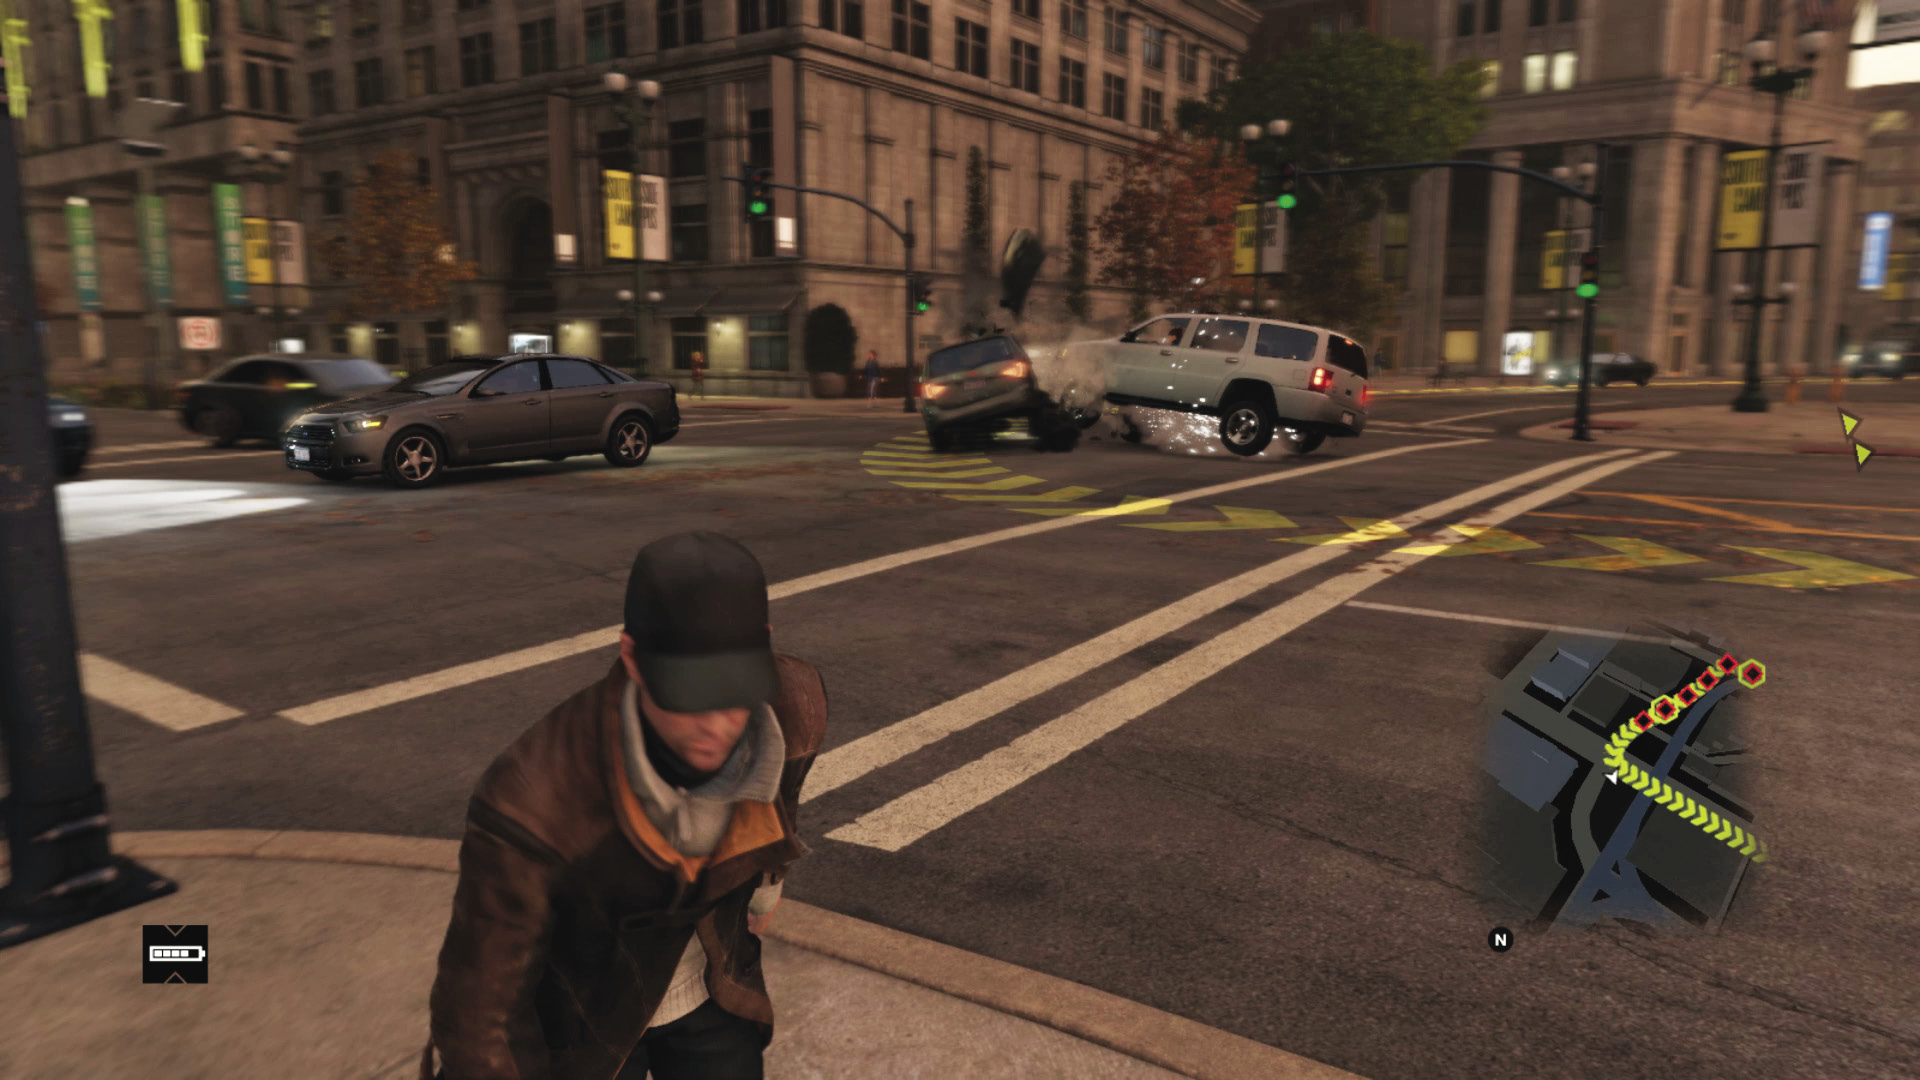
ACCESSIBILITY LEVEL: 
The convoy is moving through the heart of downtown Chicago, which means this is another opportunity for using gridlock against it. By hacking the stoplights at the right time, you can create a big enough snarl in the traffic to give yourself all the openings you could ever want. As with similar intersection ambushes, one of the big drawbacks to this approach is a high risk of civilian fatalities.
_EXCESSIVE FORCE
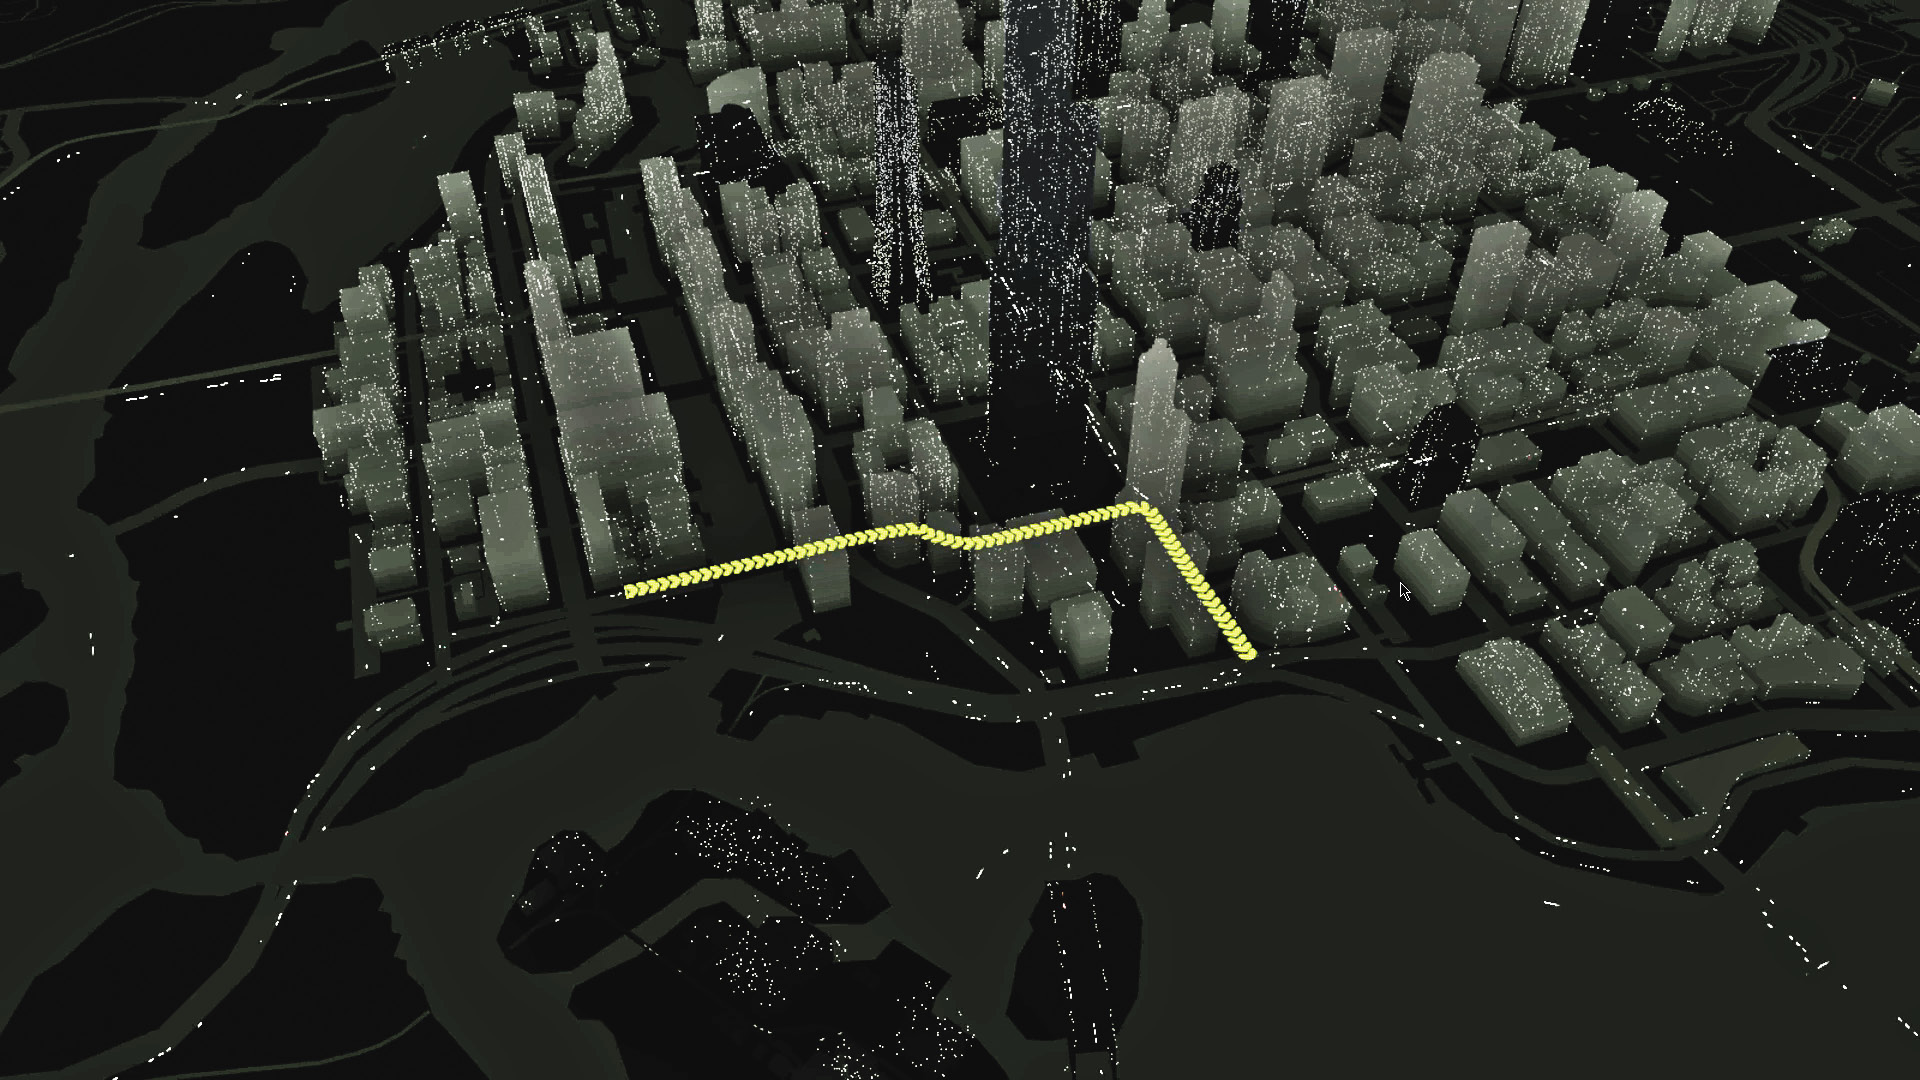
LOCATION / FINANCIAL DISTRICT
ENEMY / POLICE Convoy, Three Vehicles (SWAT x6), PLUS REINFORCEMENTS
TARGET: SWAT
NUMBER OF TARGETS: 1
DIFFICULTY:
The subject of this convoy is a crooked cop in full body armor, being escorted by six cops in similar gear. They don’t have to stop moving down their route, and when you make your move, they’ll immediately call for backup in the form of a full-tilt police manhunt. Worse, this is a very short route through downtown Chicago, with very little in the way of local obstacles for you to use.
Unfortunately, even dirty cops are still cops, and it still results in a Police Officer Homicide infraction if you kill one.
AMBUSH POINT 01 // CHICAGO SIDE STREET
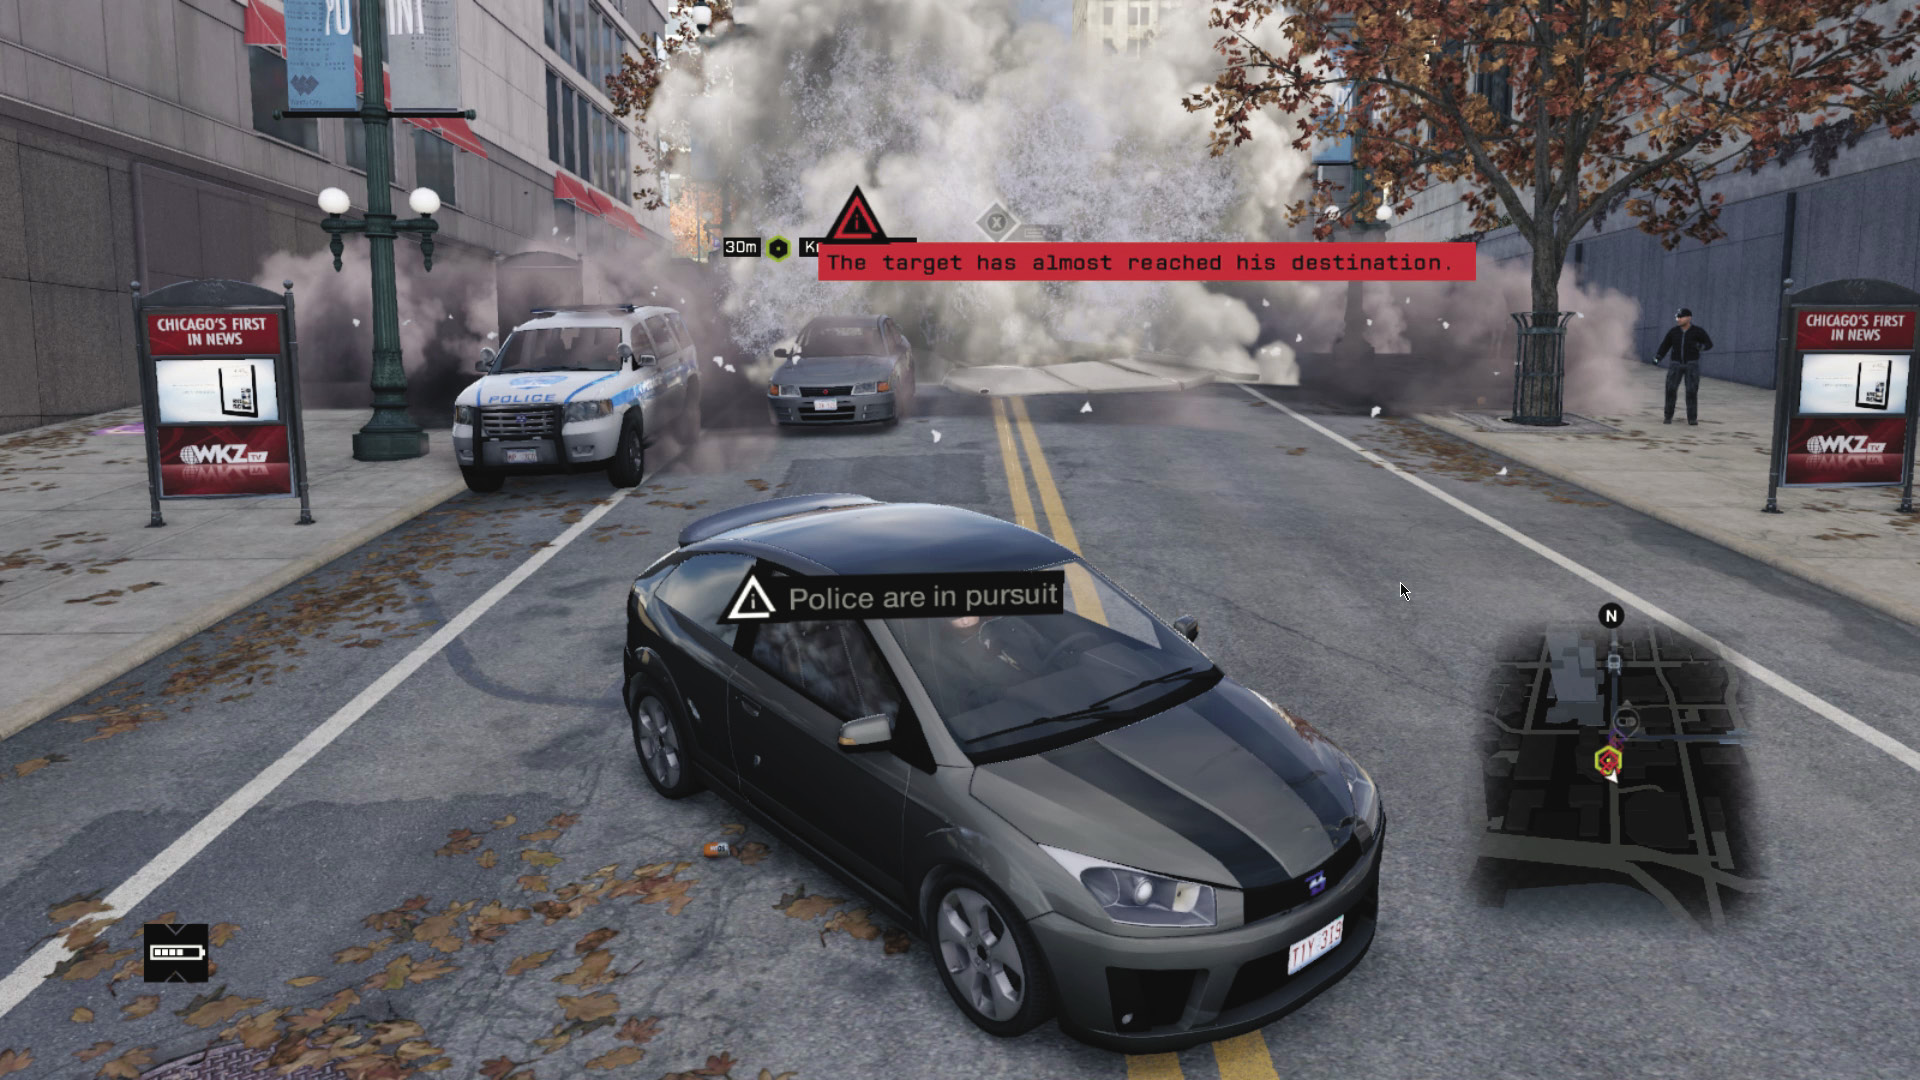
ACCESSIBILITY LEVEL: 
There are two steam pipes along this convoy’s travel path, but the first is nearly inaccessible due to the speed of the convoy. The second’s right near the end of its route, which is cutting things very close, but if you set that steam pipe off between the first and second cars, you can get the target out of his vehicle without killing him. The nearby gate is a handy way of evading police pursuit, as you can descend into an isolated parking garage to quickly switch vehicles.
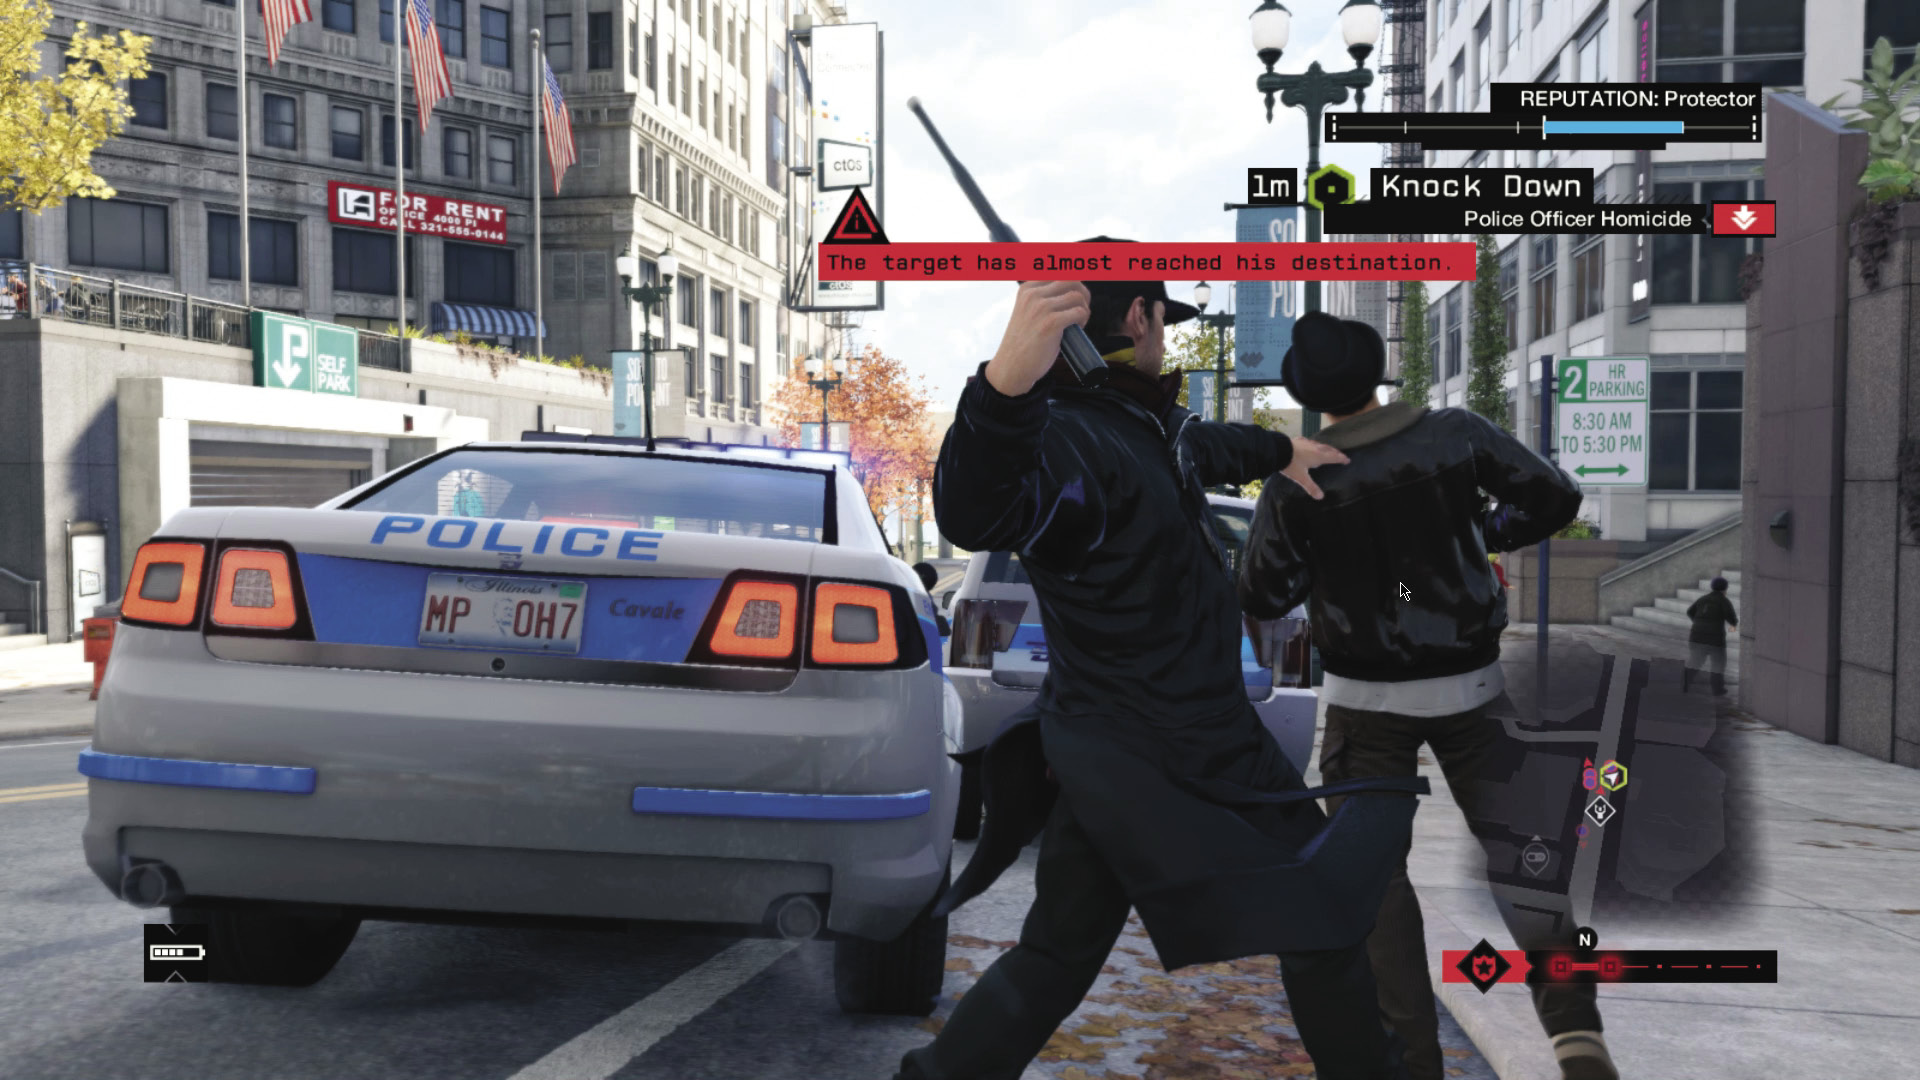
As with the “Juggernaut” mission, the speed of the convoy and the short length of the route don’t give you many other options besides the steam pipe, unless you decide to block the street with whatever vehicles are handy. However you choose to play this one, the real challenge will be escaping from the police after you’re done.
_LONG DIVISION

LOCATION / DOWNTOWN CHICAGO
ENEMY / MILITIA Convoy, Six Vehicles (ENFORCER x2, ELITE x3), PLUS REINFORCEMENTS
TARGET: VETERAN
NUMBER OF TARGETS: 2
DIFFICULTY:
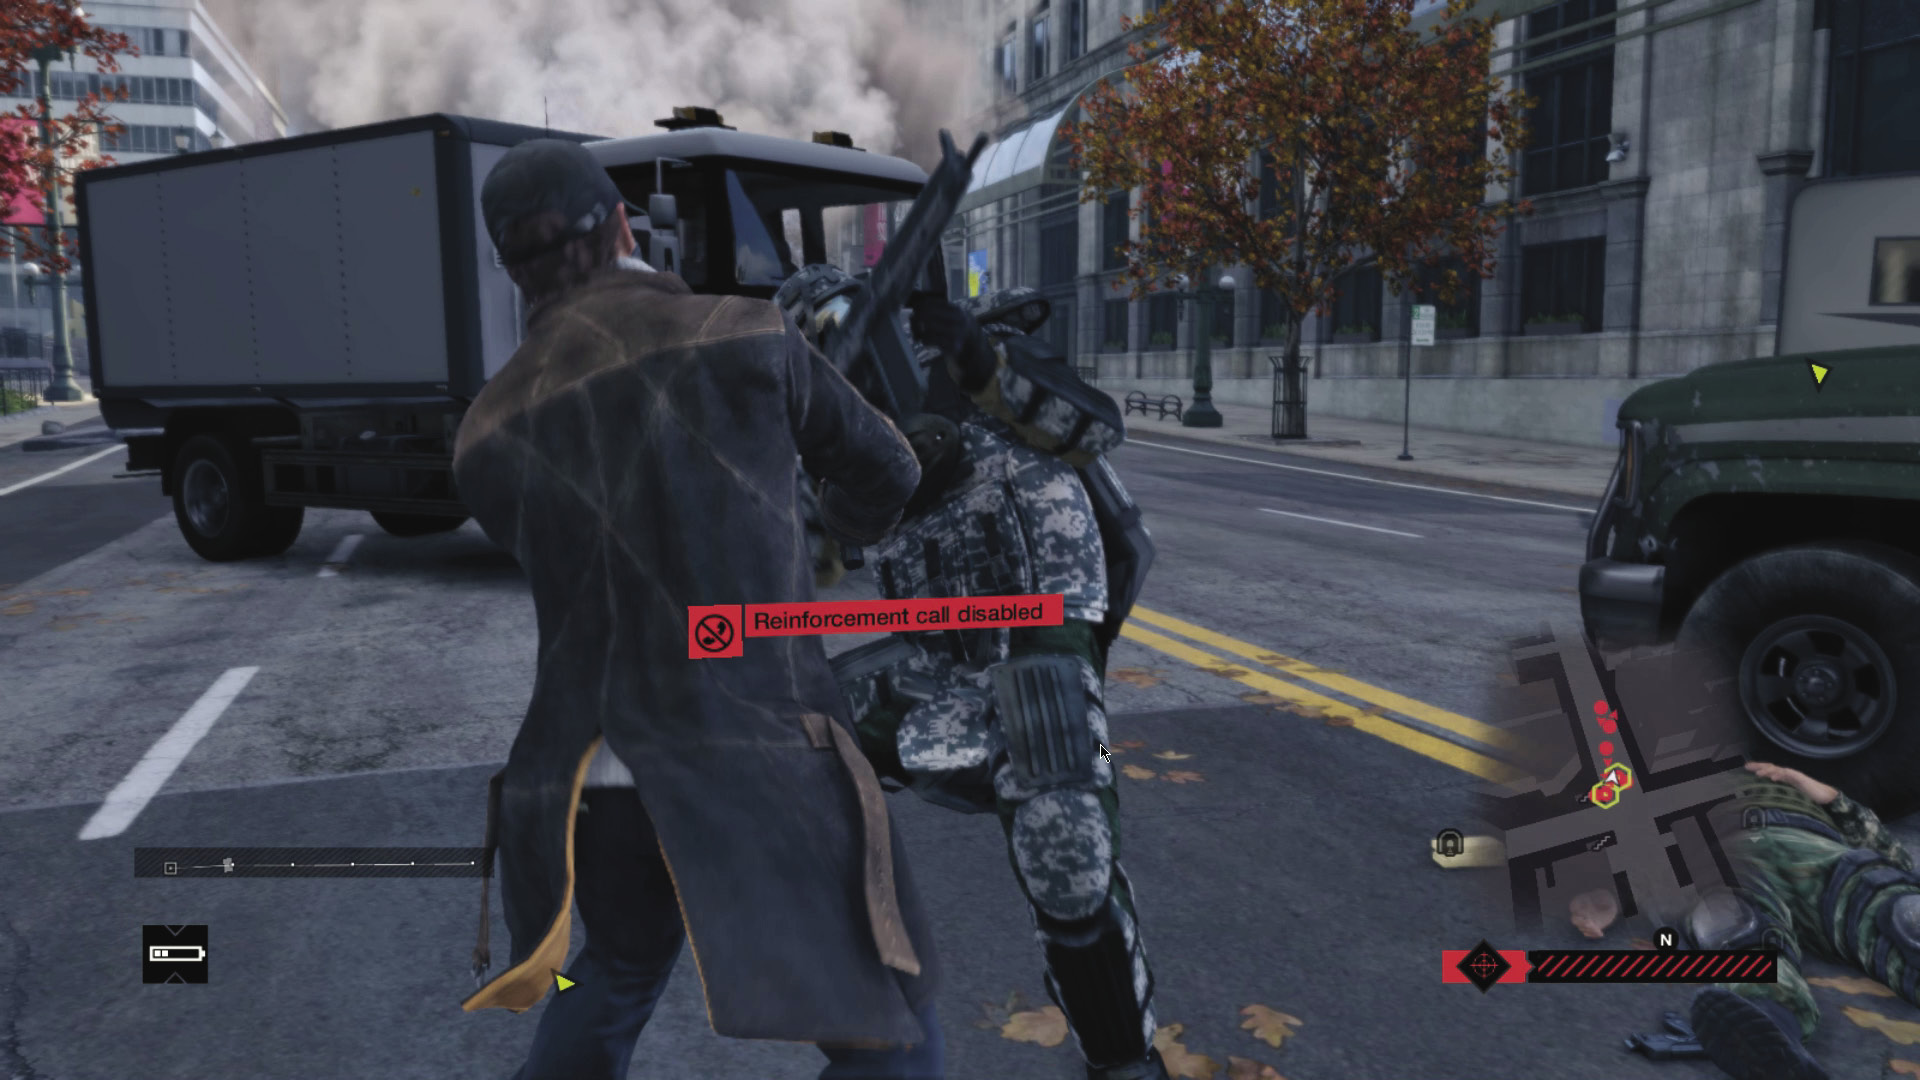
You cannot kill either target in this convoy without failing the mission. They’ve also got two Enforcers driving the first and second cars in their line, which makes things more complicated; it’s difficult to successfully take your targets down while an Enforcer is shredding you into confetti, or to use grenades or IEDs against the Enforcers without accidentally killing your targets. With that in mind, it’s much easier to complete this mission if you’ve learned the Enforcer Beatdown skill.
AMBUSH POINT 01 // RIVERSIDE ROAD
ACCESSIBILITY LEVEL: 
The one good thing about a convoy like this one is that stopping it isn’t as much of a problem as what happens once it’s stopped. If you let yourself be seen or trip off anything that immobilizes any of the cars, the entire convoy goes immediately on the attack.
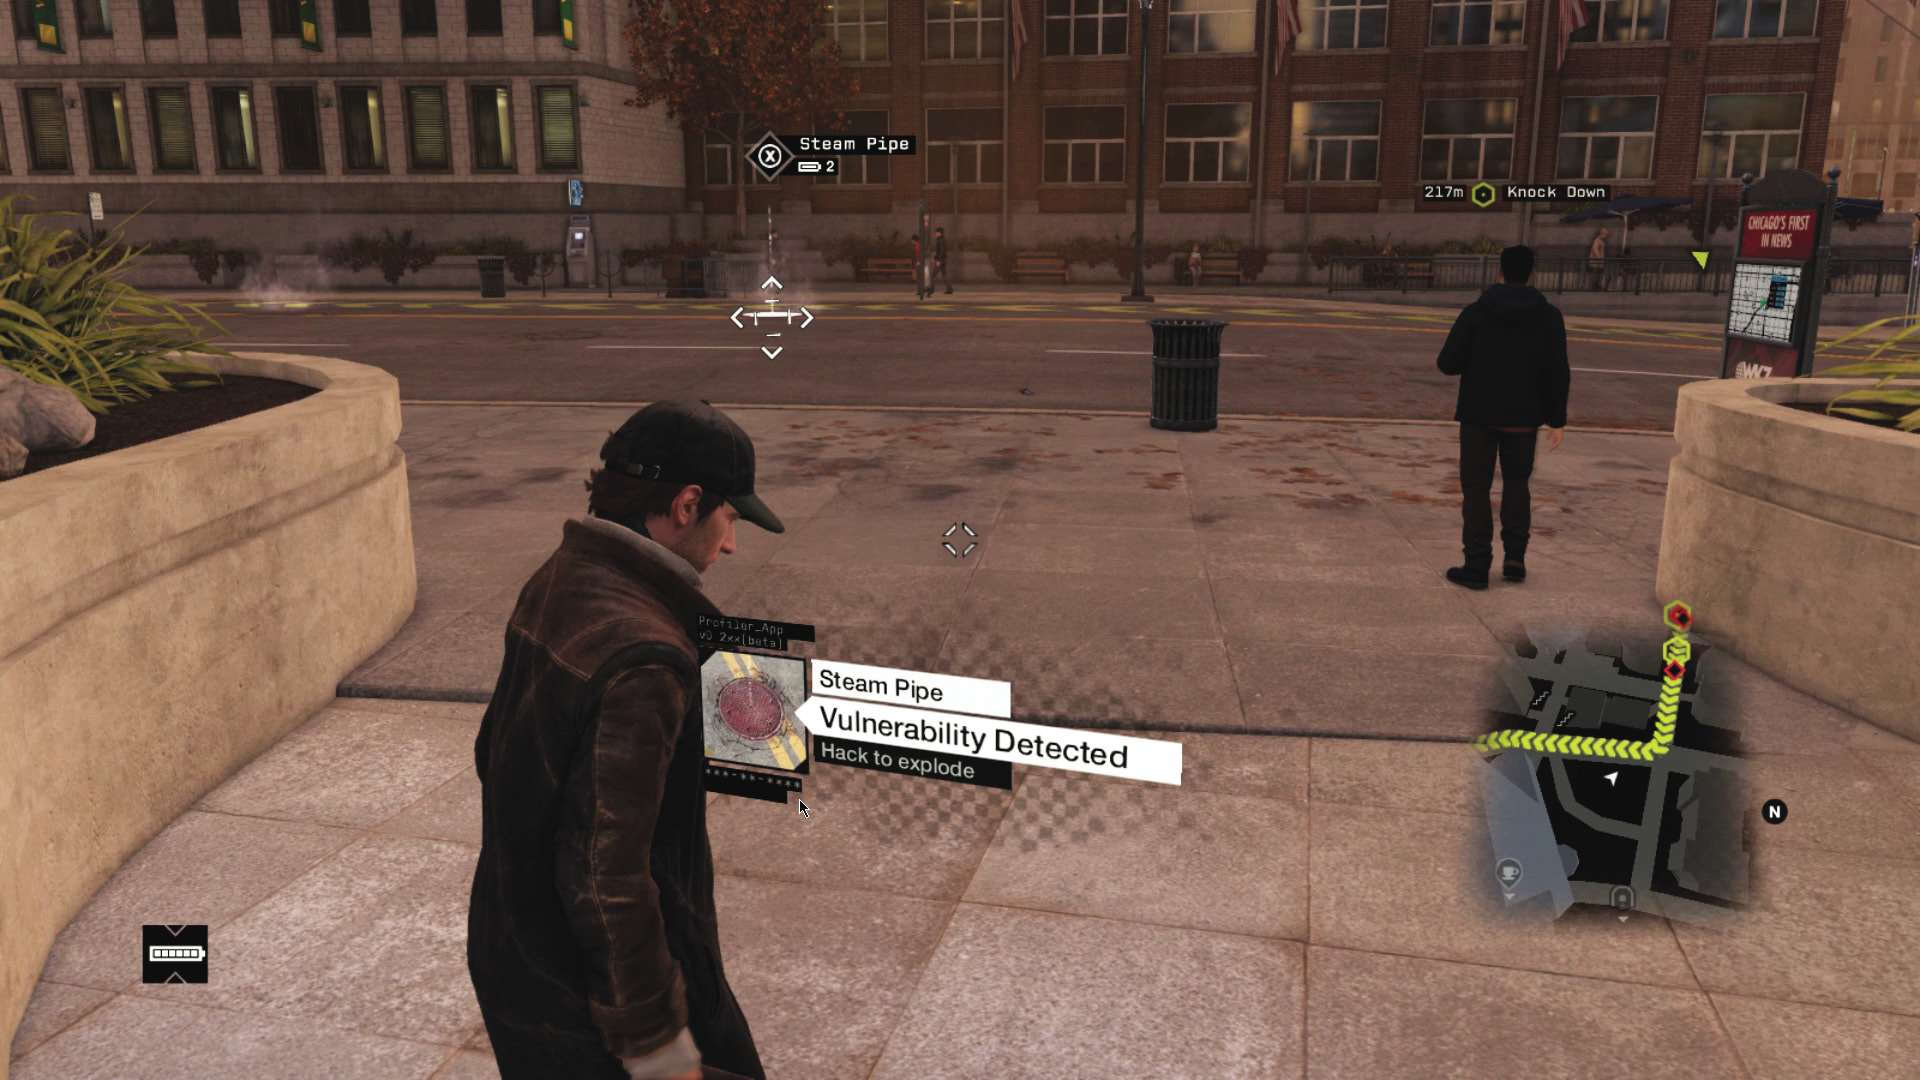
With that in mind, your goal is to eliminate at least one Enforcer with your opening move. You can use a steam pipe to destroy the first vehicle, which will kill an Enforcer and an Elite. It’s easier to use the pipe on the north side of the river, as it’s a slightly less populated area.
At that point, fade back into cover and bait the second Enforcer into coming after you. If you can get the drop on him and take him out with your baton, it turns this into a simple gunfight against several Elites and Veterans. It’s tricky, but nothing you haven’t done before.
AMBUSH POINT 02 // RIVER BRIDGE
ACCESSIBILITY LEVEL: 
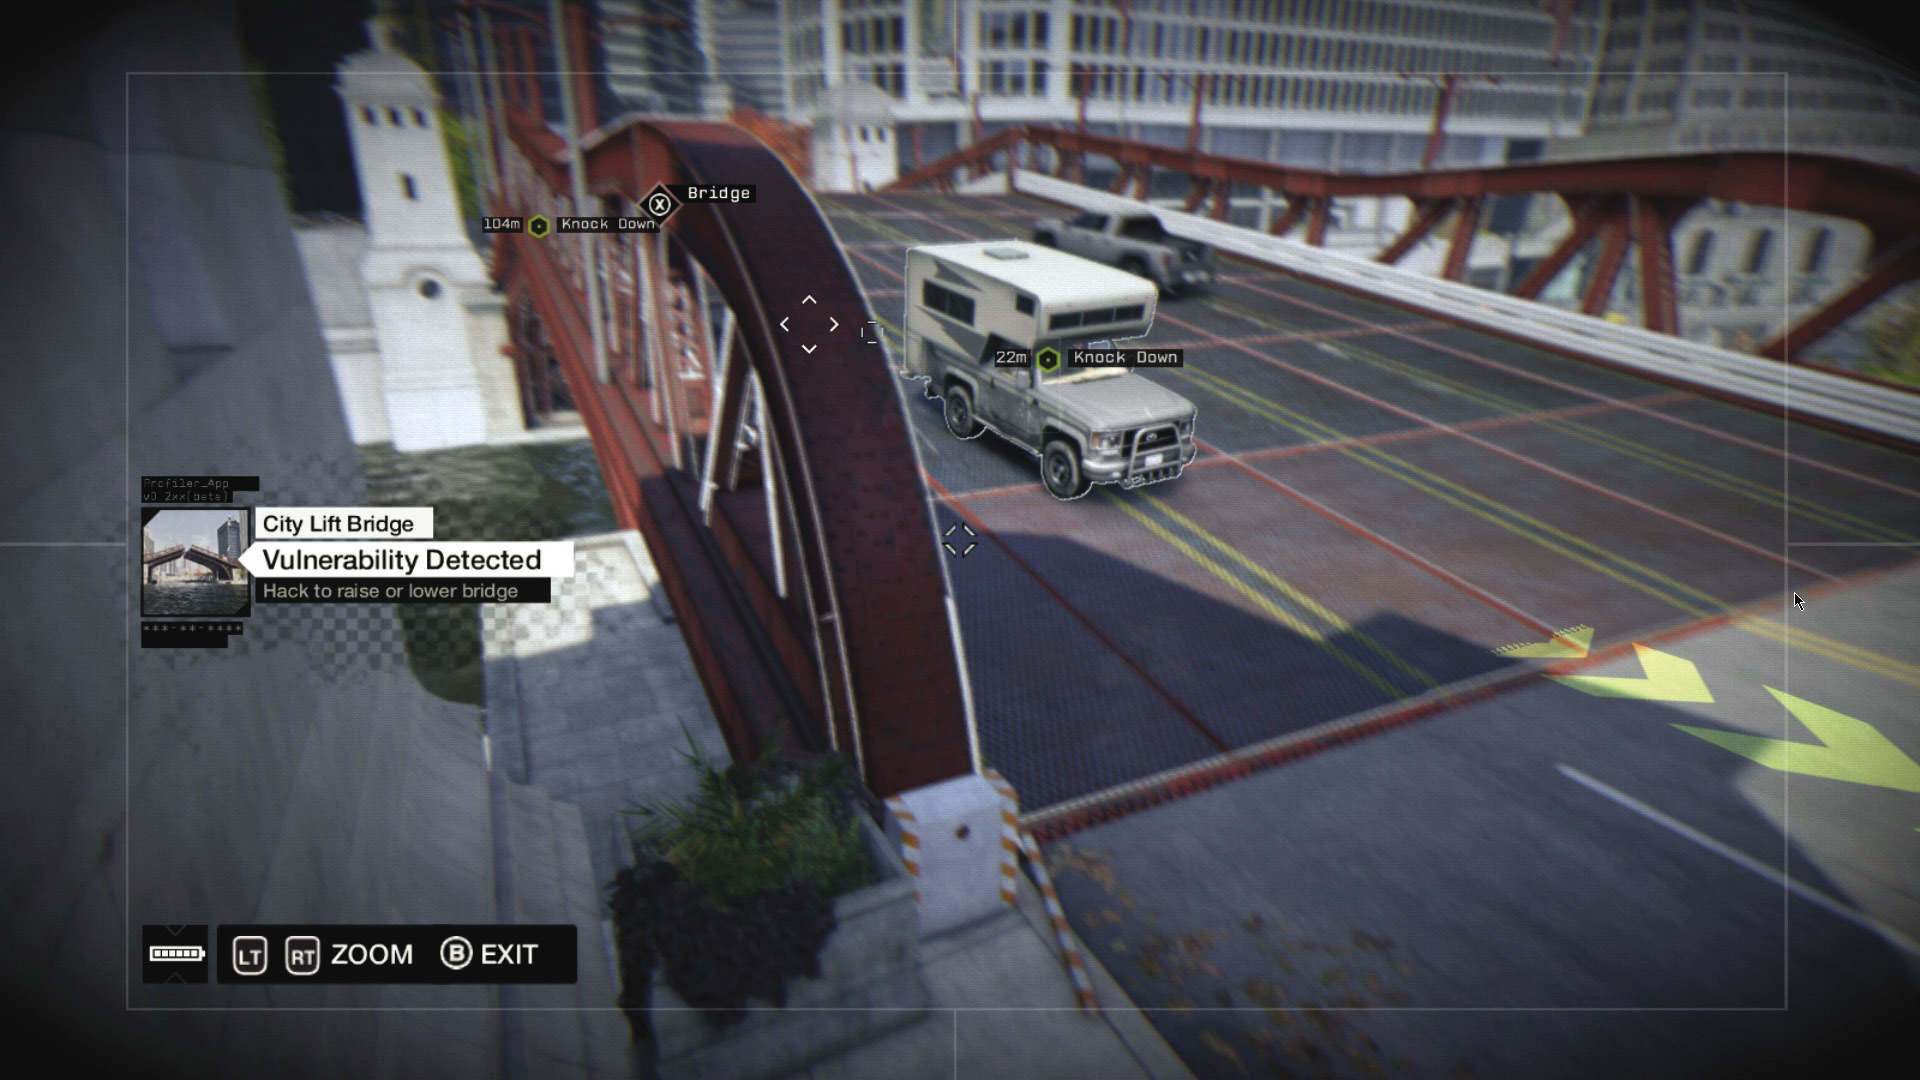
Instead of using a steam pipe to kill an Enforcer, you can use the bridge across the river to split up the convoy so you’re only dealing with half of it at a time. Raise the bridge while the convoy’s halfway across, and one target ends up south of the river while a second ends up on the north side. Since the second target doesn’t have line of sight on the other team, you can deal with one Enforcer at a time, then knock out your first target, lower the bridge, and deal with the second.
MAD MILE // CONVOYS
_THE QUICK FIX
LOCATION / MIDTOWN FREEWAY
ENEMY / FIXER CONVOY, Three Vehicles (VETERAN X2), PLUS REINFORCEMENTS
TARGET: VETERAN
NUMBER OF TARGETS: 1
DIFFICULTY:
This is one of the easier Criminal Convoy missions, particularly given how few bodyguards this guy has, but there’s nothing to use against your target on his route except for a couple of traffic lights. Once again, you’re on your own.
AMBUSH POINT 01 // FREEWAY OFFRAMP
ACCESSIBILITY LEVEL: 
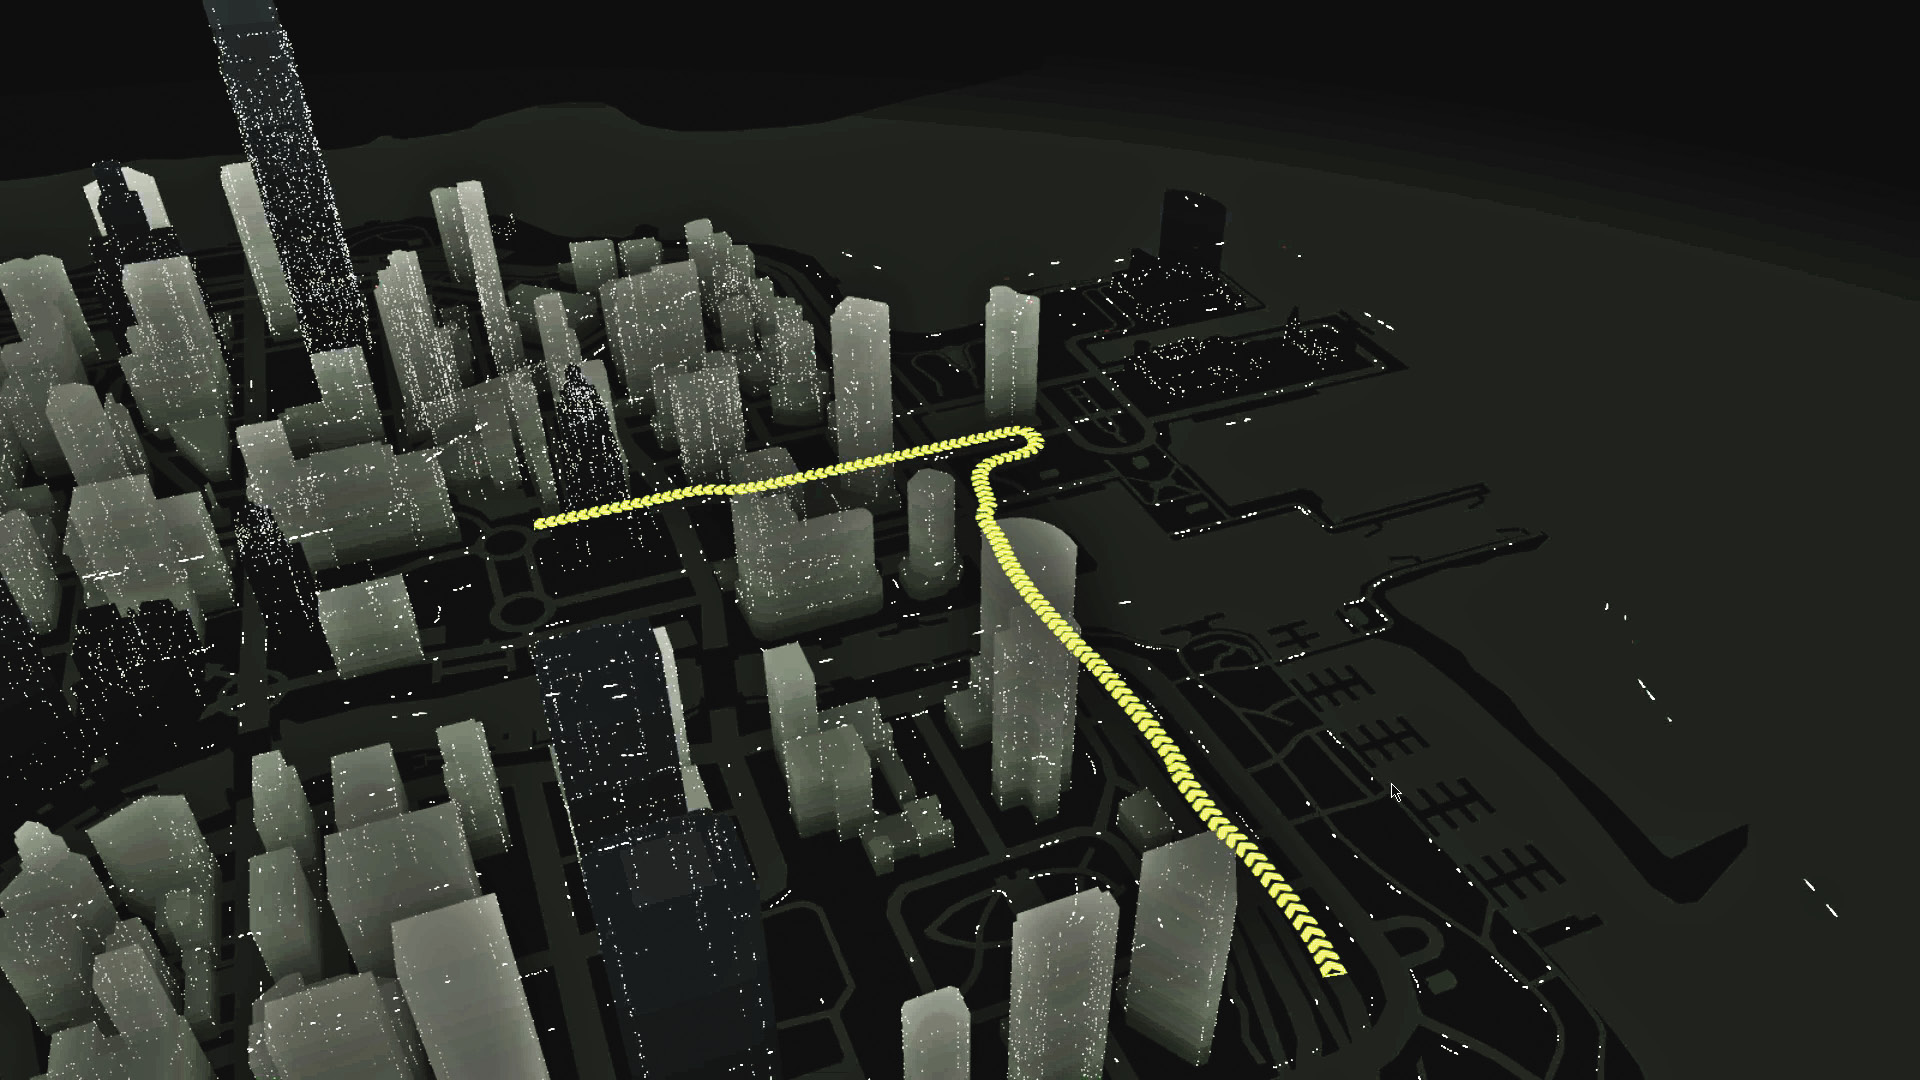
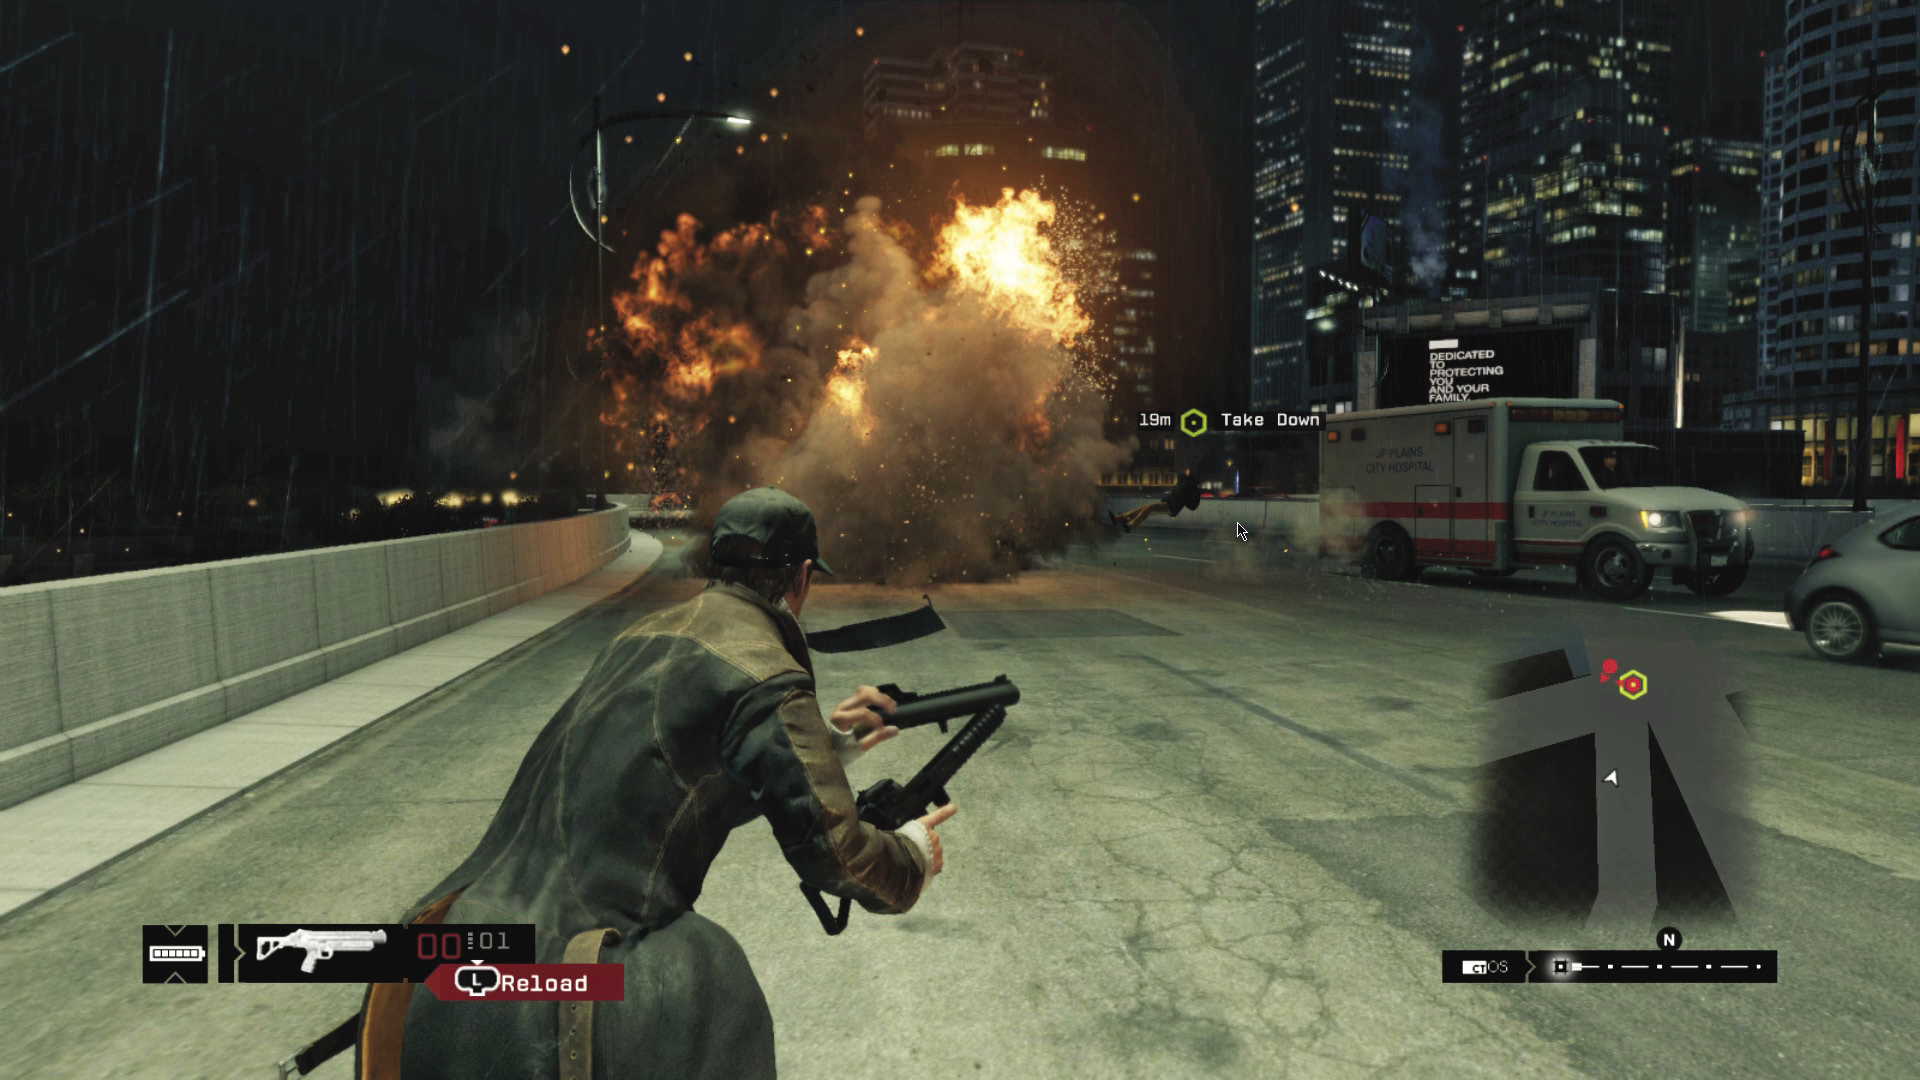
You need a fast vehicle or motorcycle to reach it in time, but from this offramp you’ll have a clean shot at your target as he’s turning off the freeway. You can block the road with any four-wheeled vehicle, although that tends to turn this into a chase scene, or simply wipe the slate clean with a few shots from your trusty grenade launcher.
AMBUSH POINT 02 // INTERSECTIONS
ACCESSIBILITY LEVEL: 
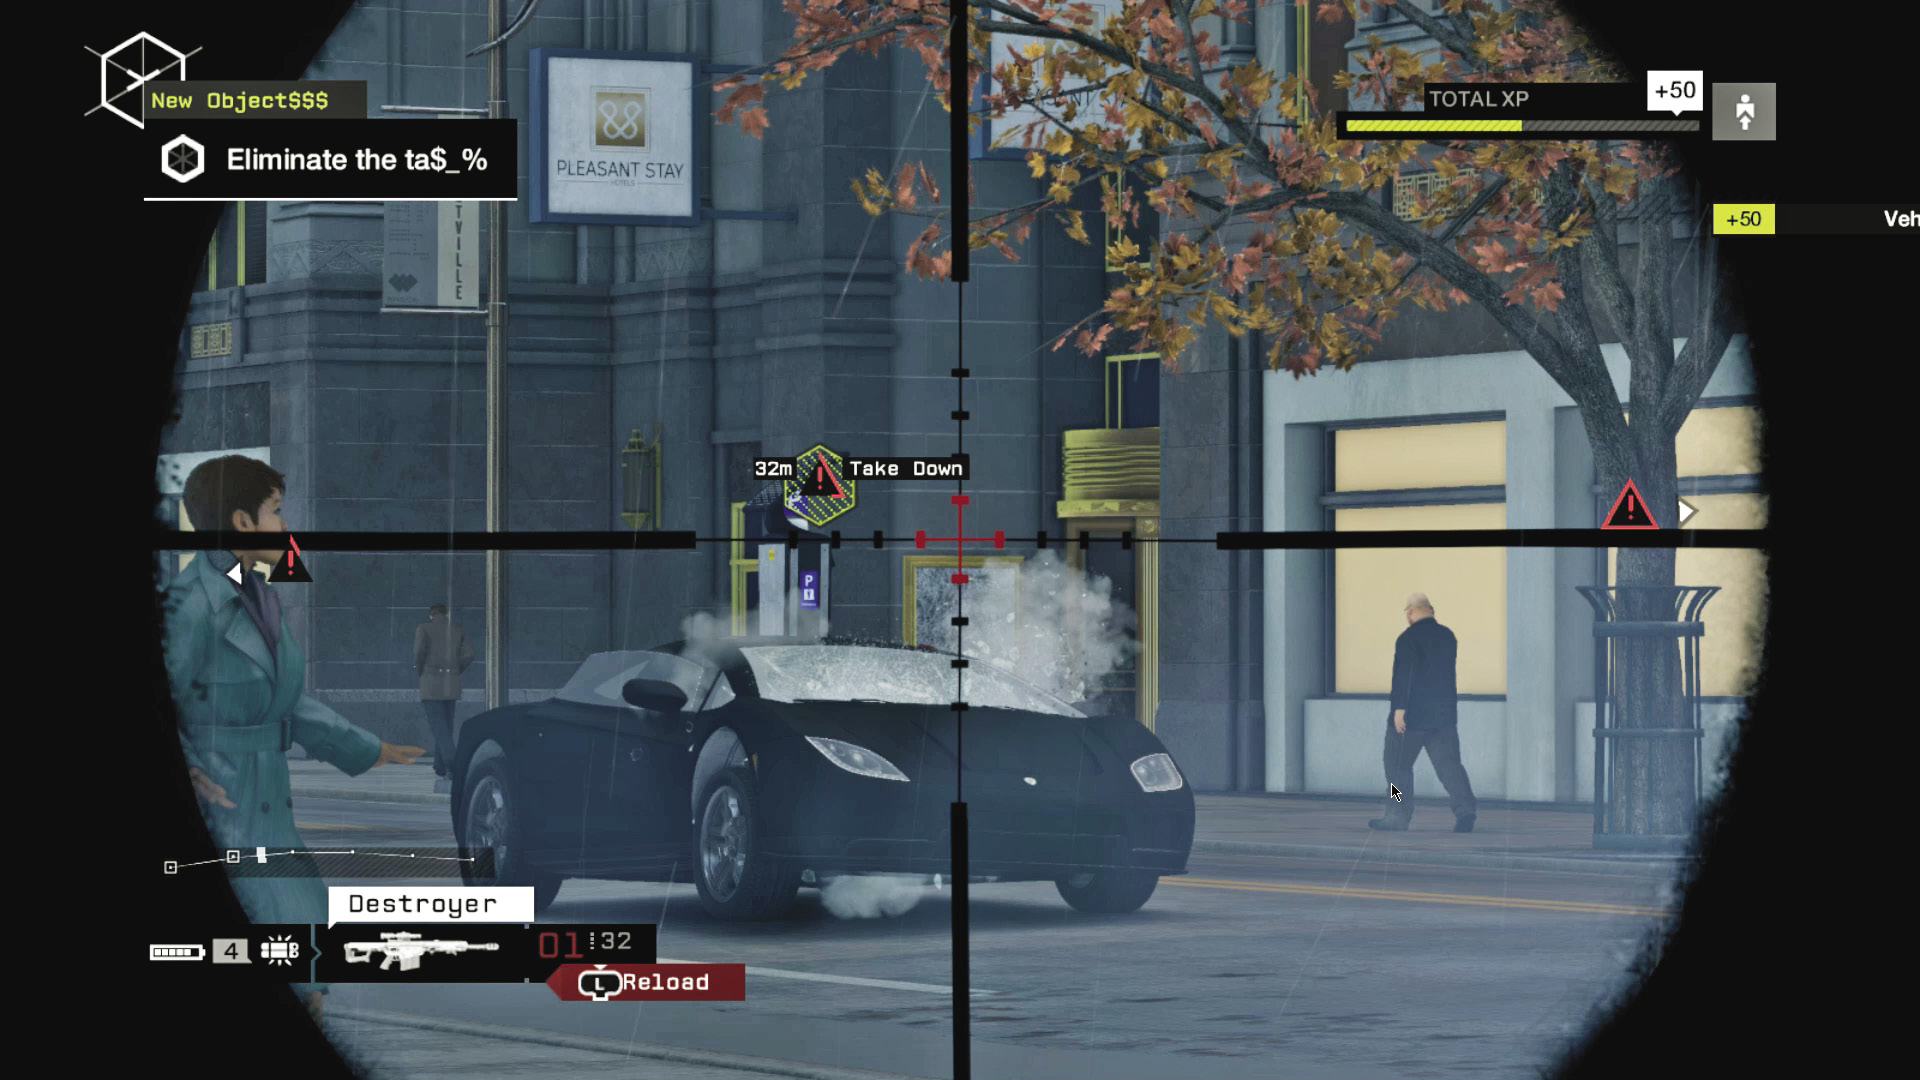
If the traffic permits, you can slow down your target by hacking the stoplights, causing a major traffic accident at any of the intersections that the convoy passes through. As in the “Dockwork” mission, you can easily assassinate your target with a scoped rifle while he’s stuck in gridlock.
_MILITIA MILE
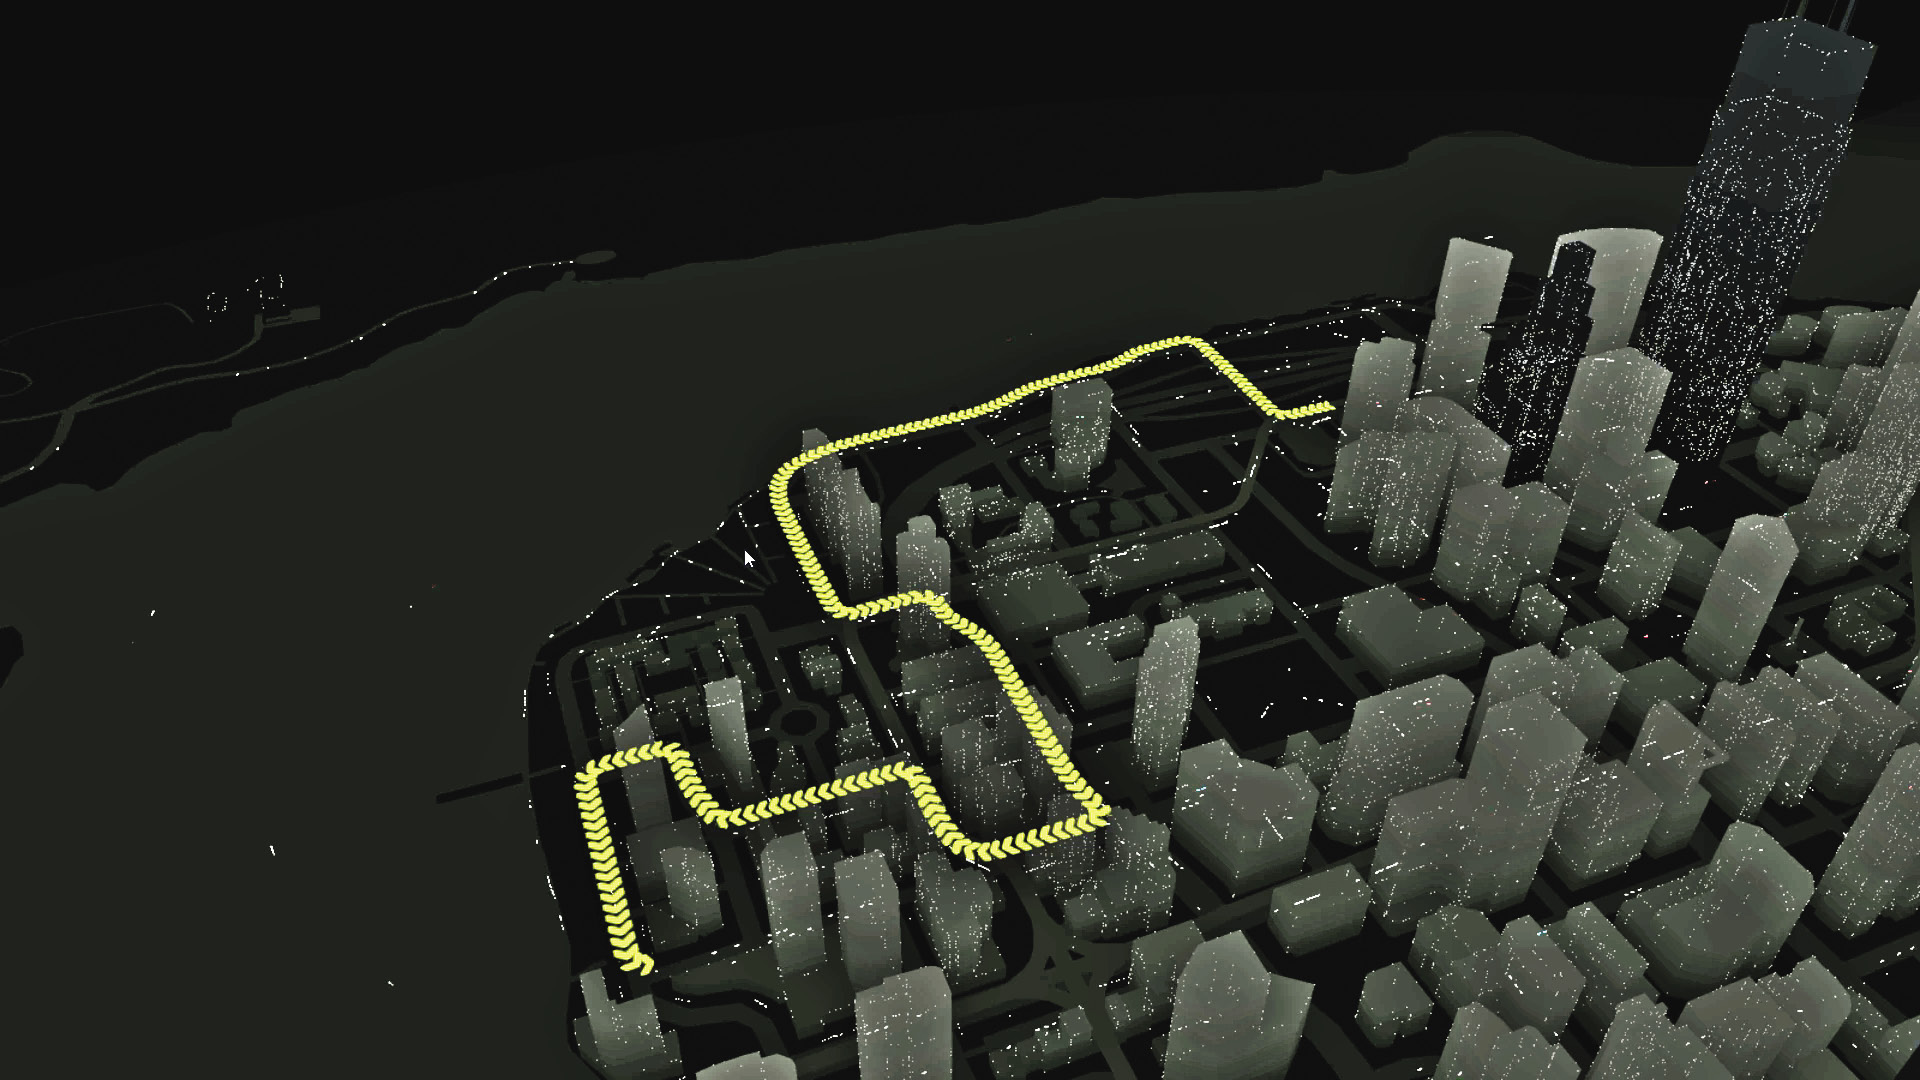
LOCATION / RIVERFRONT
ENEMY / MILITIA CONVOY, Three Vehicles (VETERAN X4), PLUS REINFORCEMENTS
TARGET: VETERAN
NUMBER OF TARGETS: 1
DIFFICULTY:
This is one of the easiest Convoy missions. For some reason, these militiamen decided to take a route that leads them over three separate steam pipes, each of which can easily be used to ruin their collective day.
AMBUSH POINT 01 // UNDERPASS
ACCESSIBILITY LEVEL:
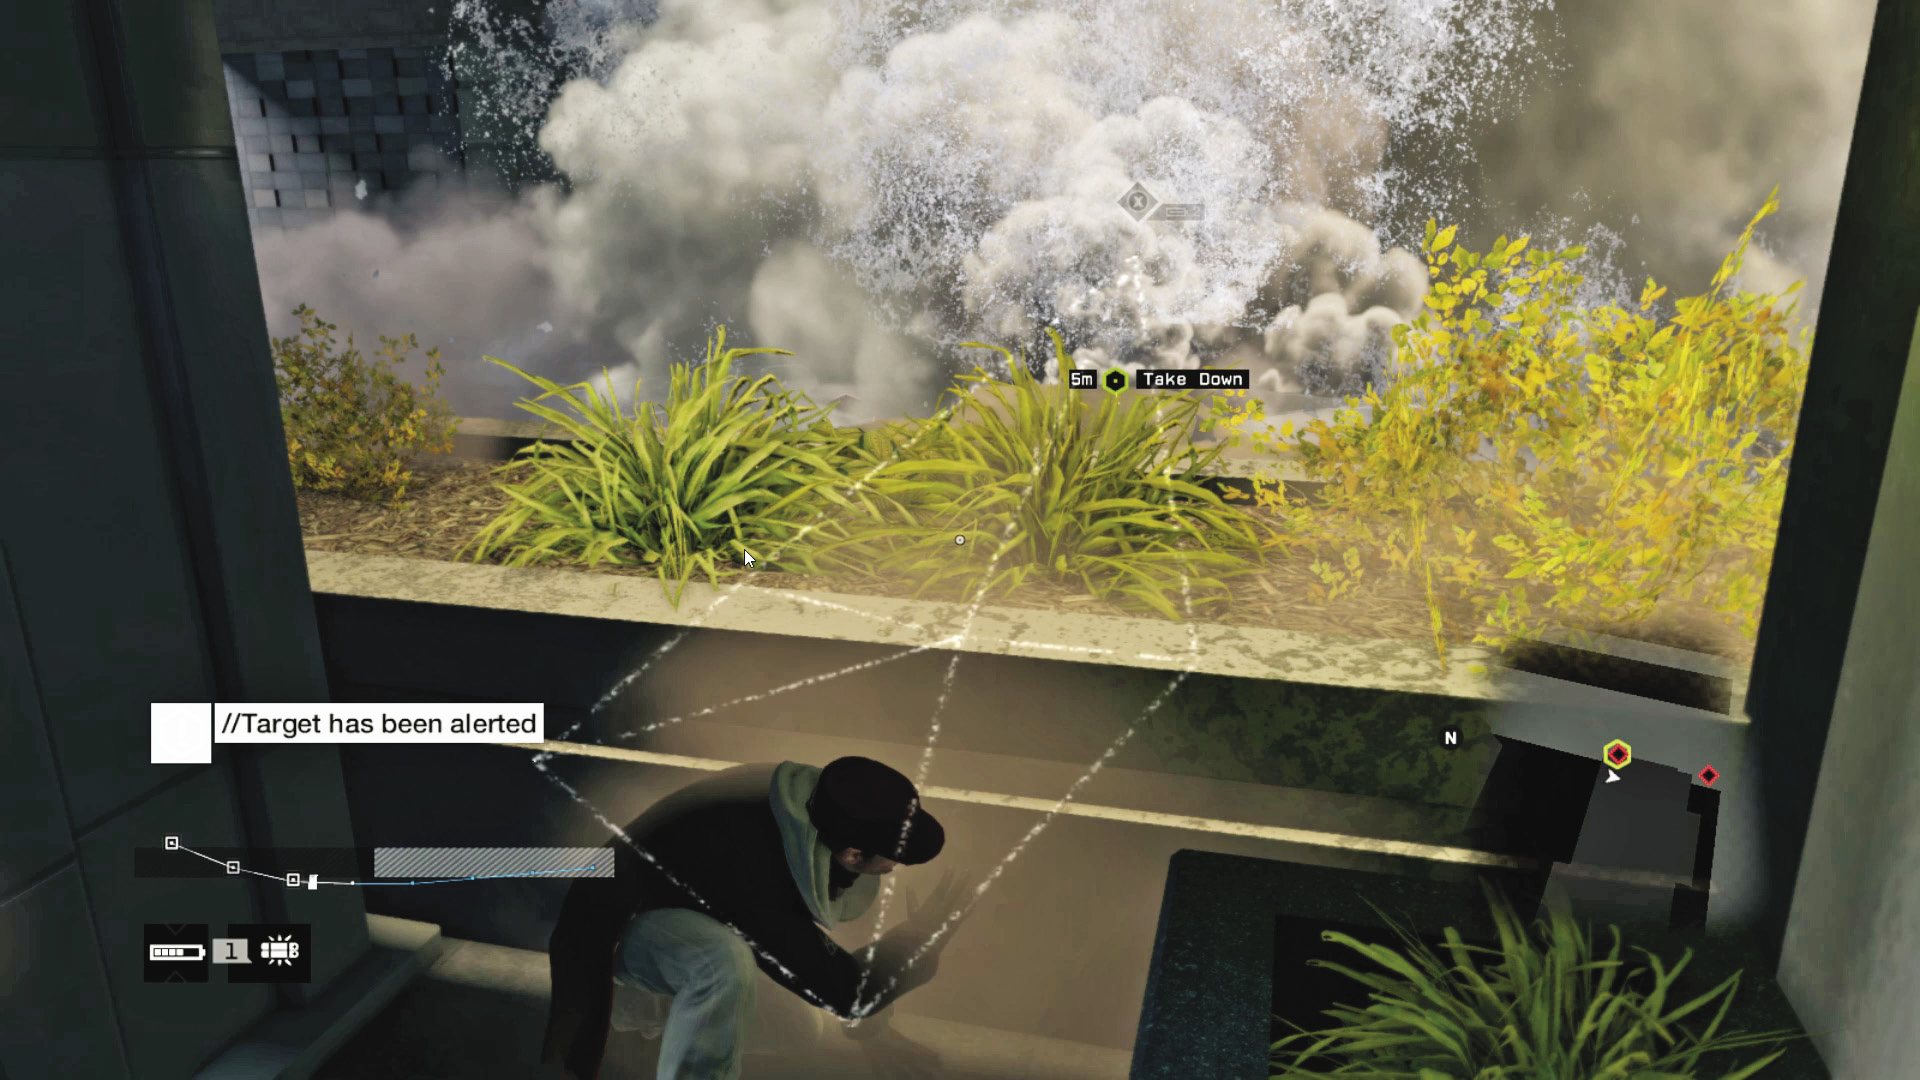
The first steam pipe doesn’t give you any real options for concealment, which can be a problem if the convoy sees you before the pipe detonates. Your best option is to hide behind the ornamental garden.
AMBUSH POINT 02 // STREETSIDE
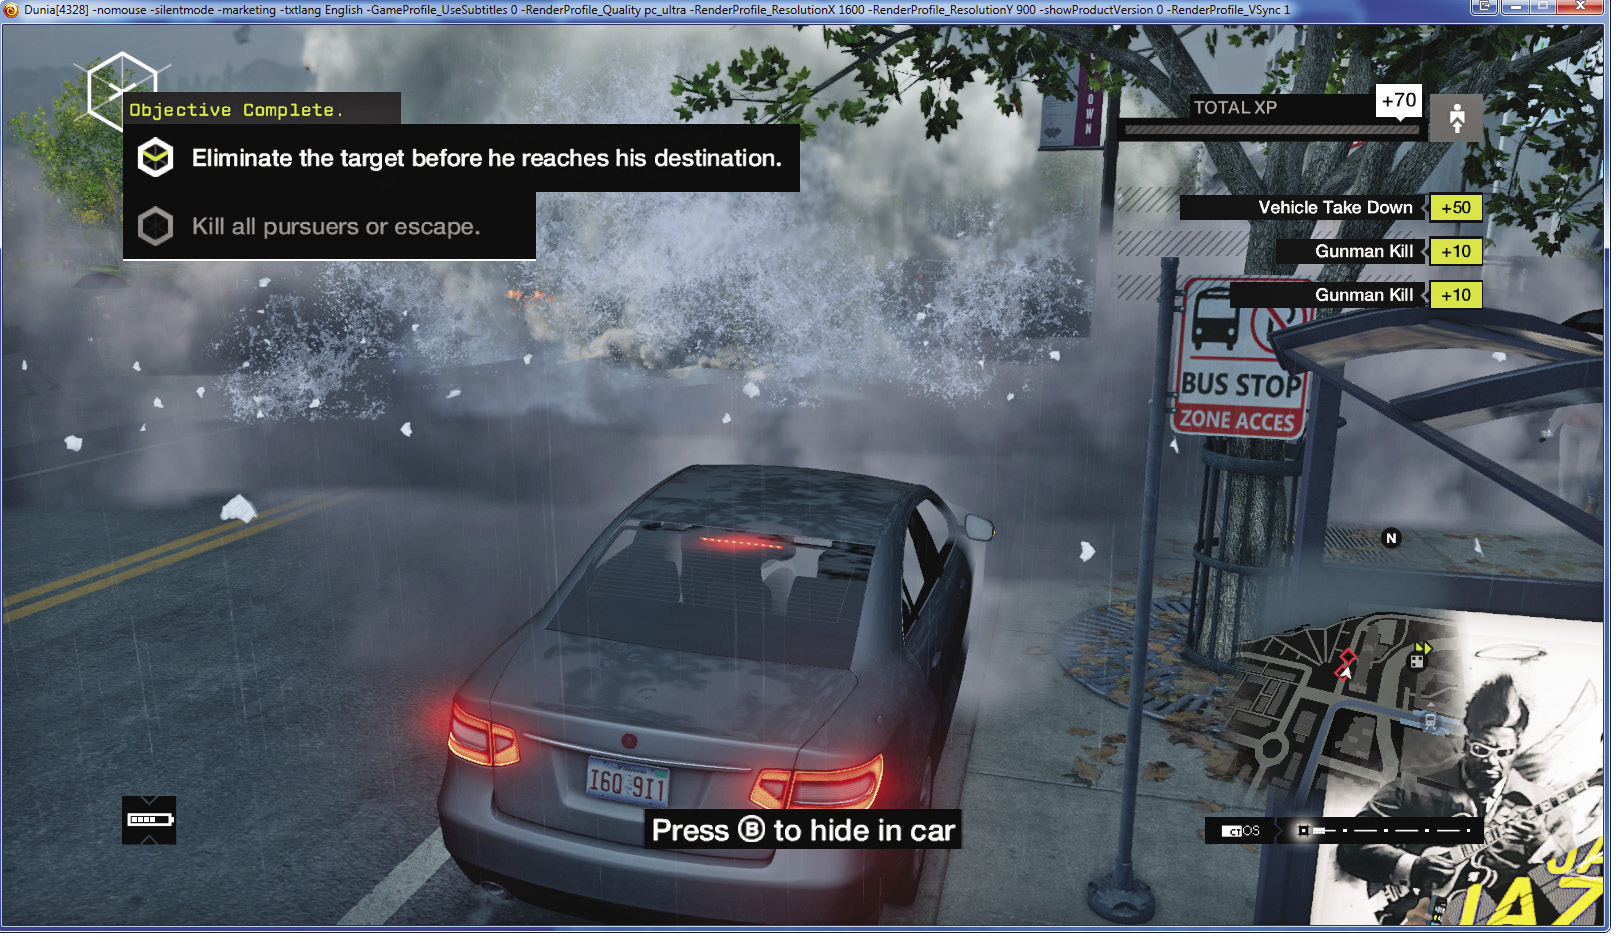
ACCESSIBILITY LEVEL: 
The second steam pipe is on a wider road with several parked cars to either side of it, so you can get into one and hide until the pipe goes off.
AMBUSH POINT 03 // UMENI TECHNOLOGIES LTD.
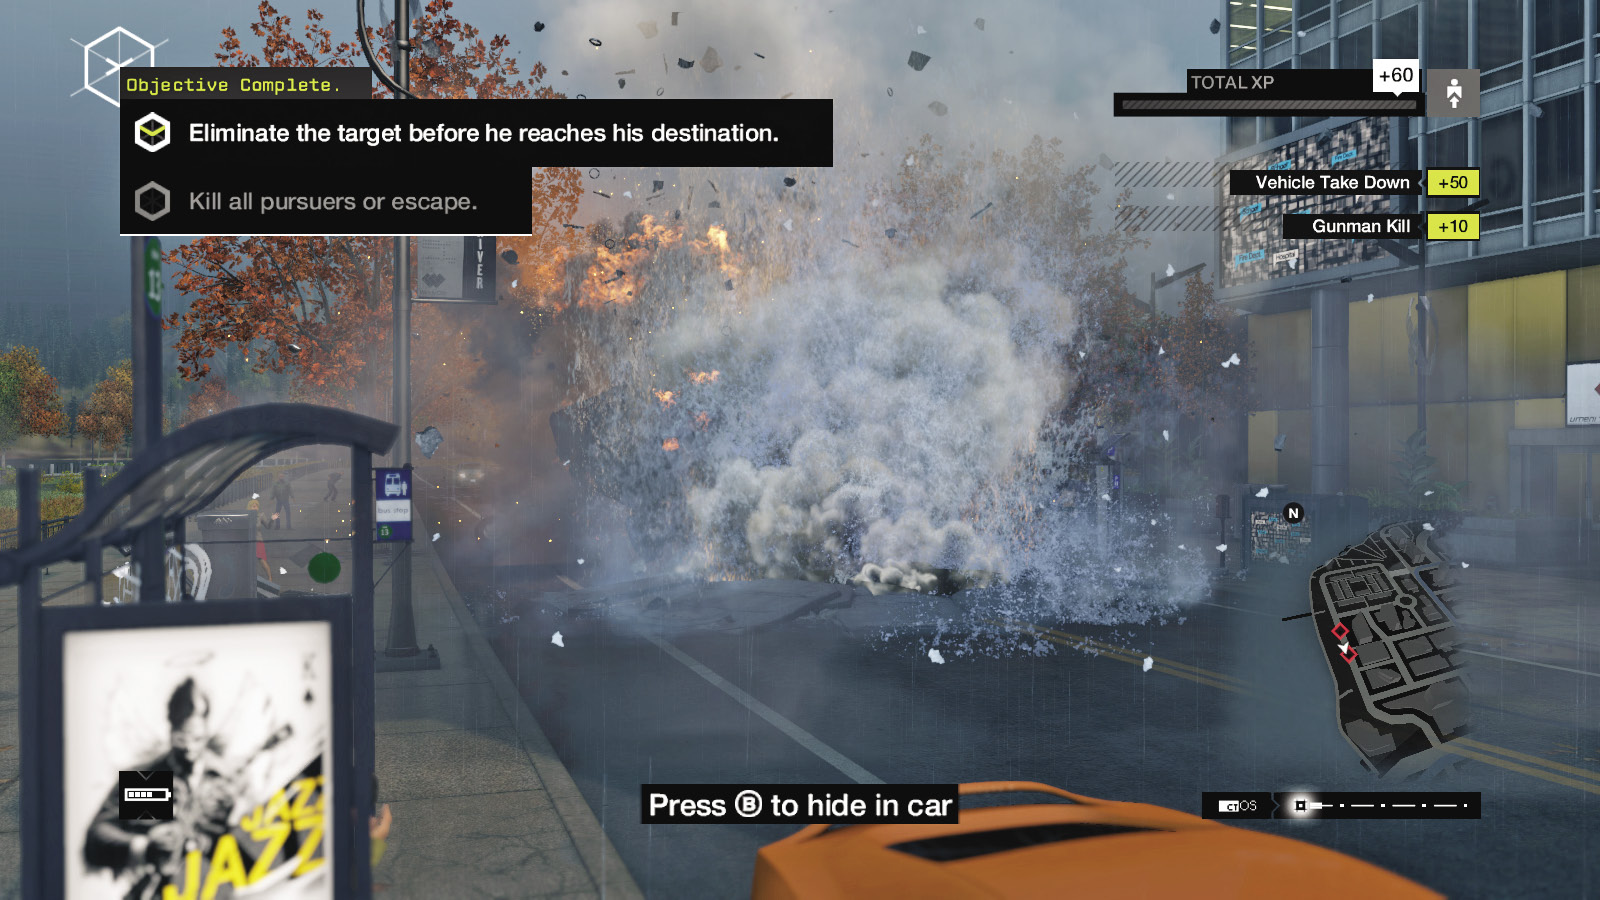
ACCESSIBILITY LEVEL: 
The final steam pipe you can use to waylay the militiamen is near the end of the route, on the waterfront next to a technology company. As with the second ambush point, the benefit here is that you can park by the side of the road and hide in the car.
_DOWNTOWN
LOCATION / MAIN STREET
ENEMY / FIXER CONVOY, Three Vehicles (VETERAN X3), PLUS REINFORCEMENTS
TARGET: VETERAN
NUMBER OF TARGETS: 1
DIFFICULTY:
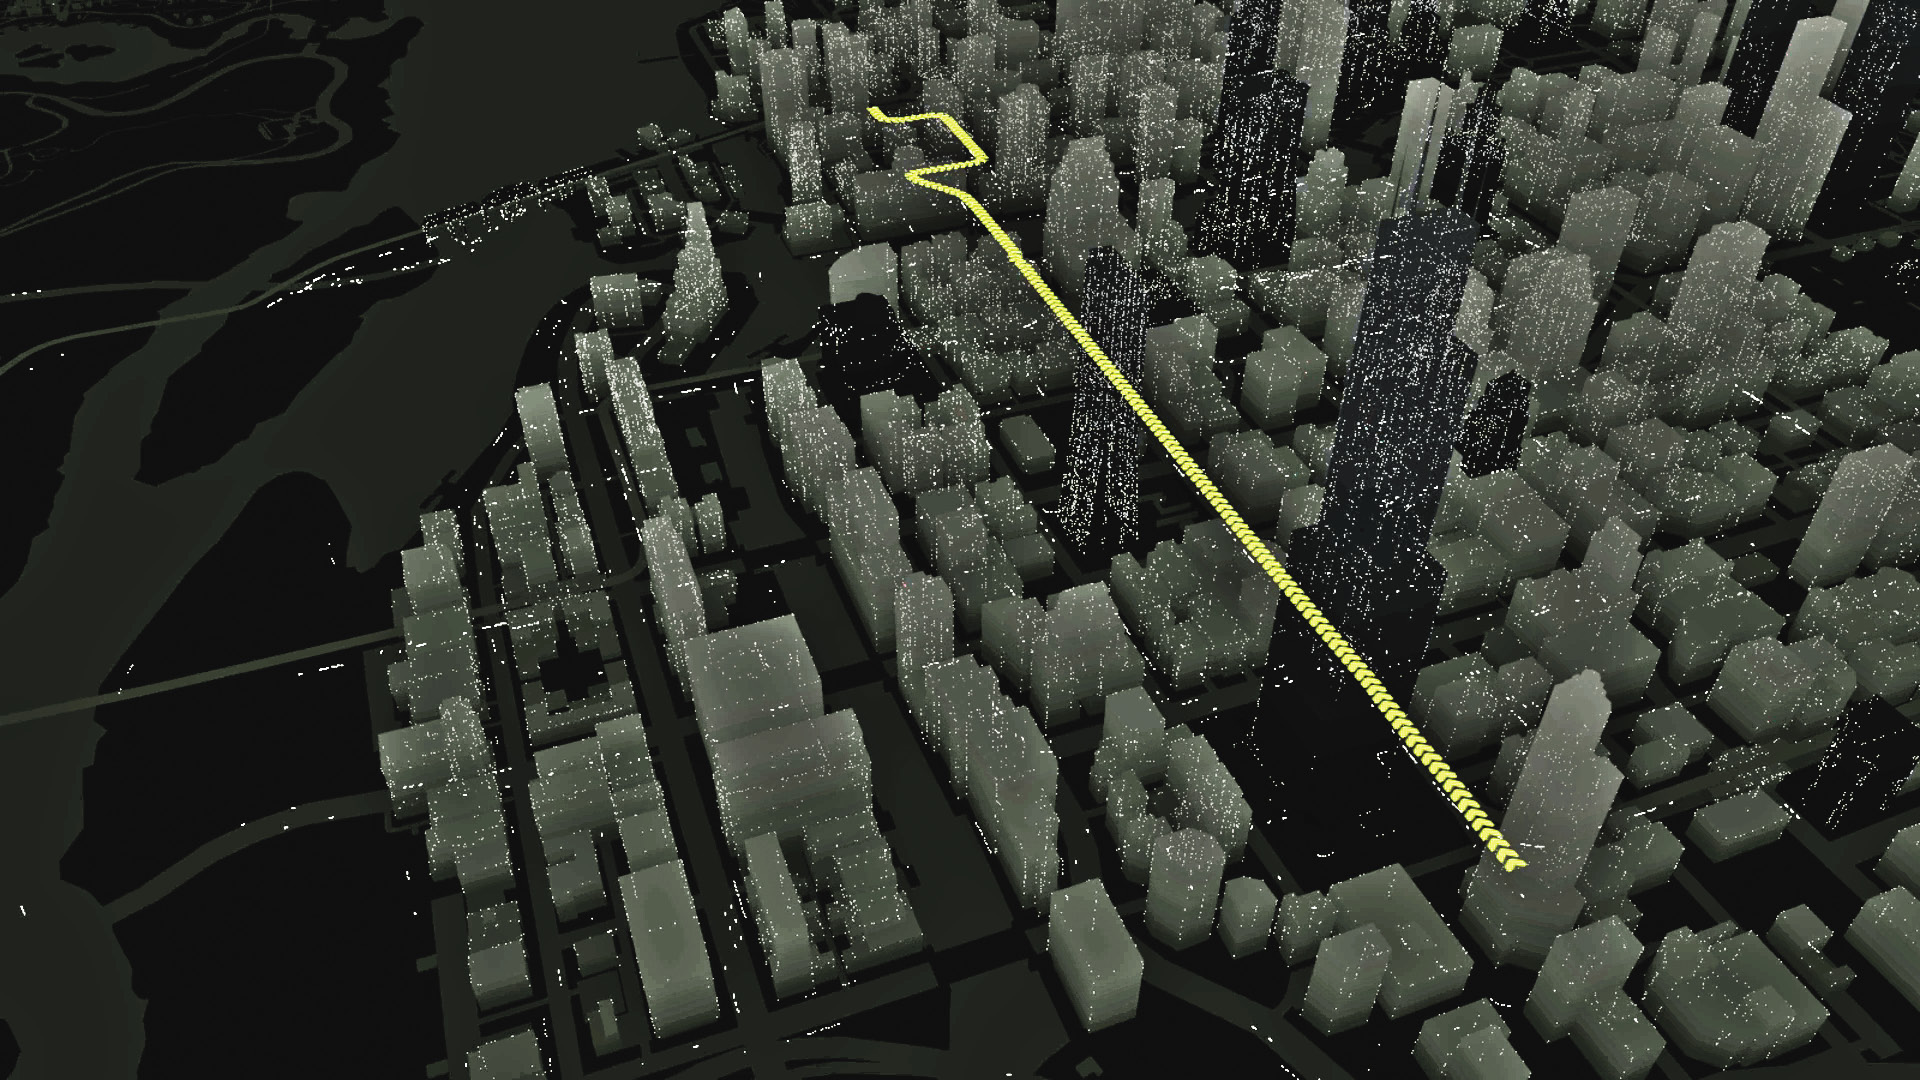
You have plenty of time to figure out what you’re going to do on this mission, but you’re going to have to improvise. The convoy’s route is a straight shot through the Loop without any real obstacles that you can use against it.
AMBUSH POINT 01 // CONSTRUCTION WORK
ACCESSIBILITY LEVEL: 
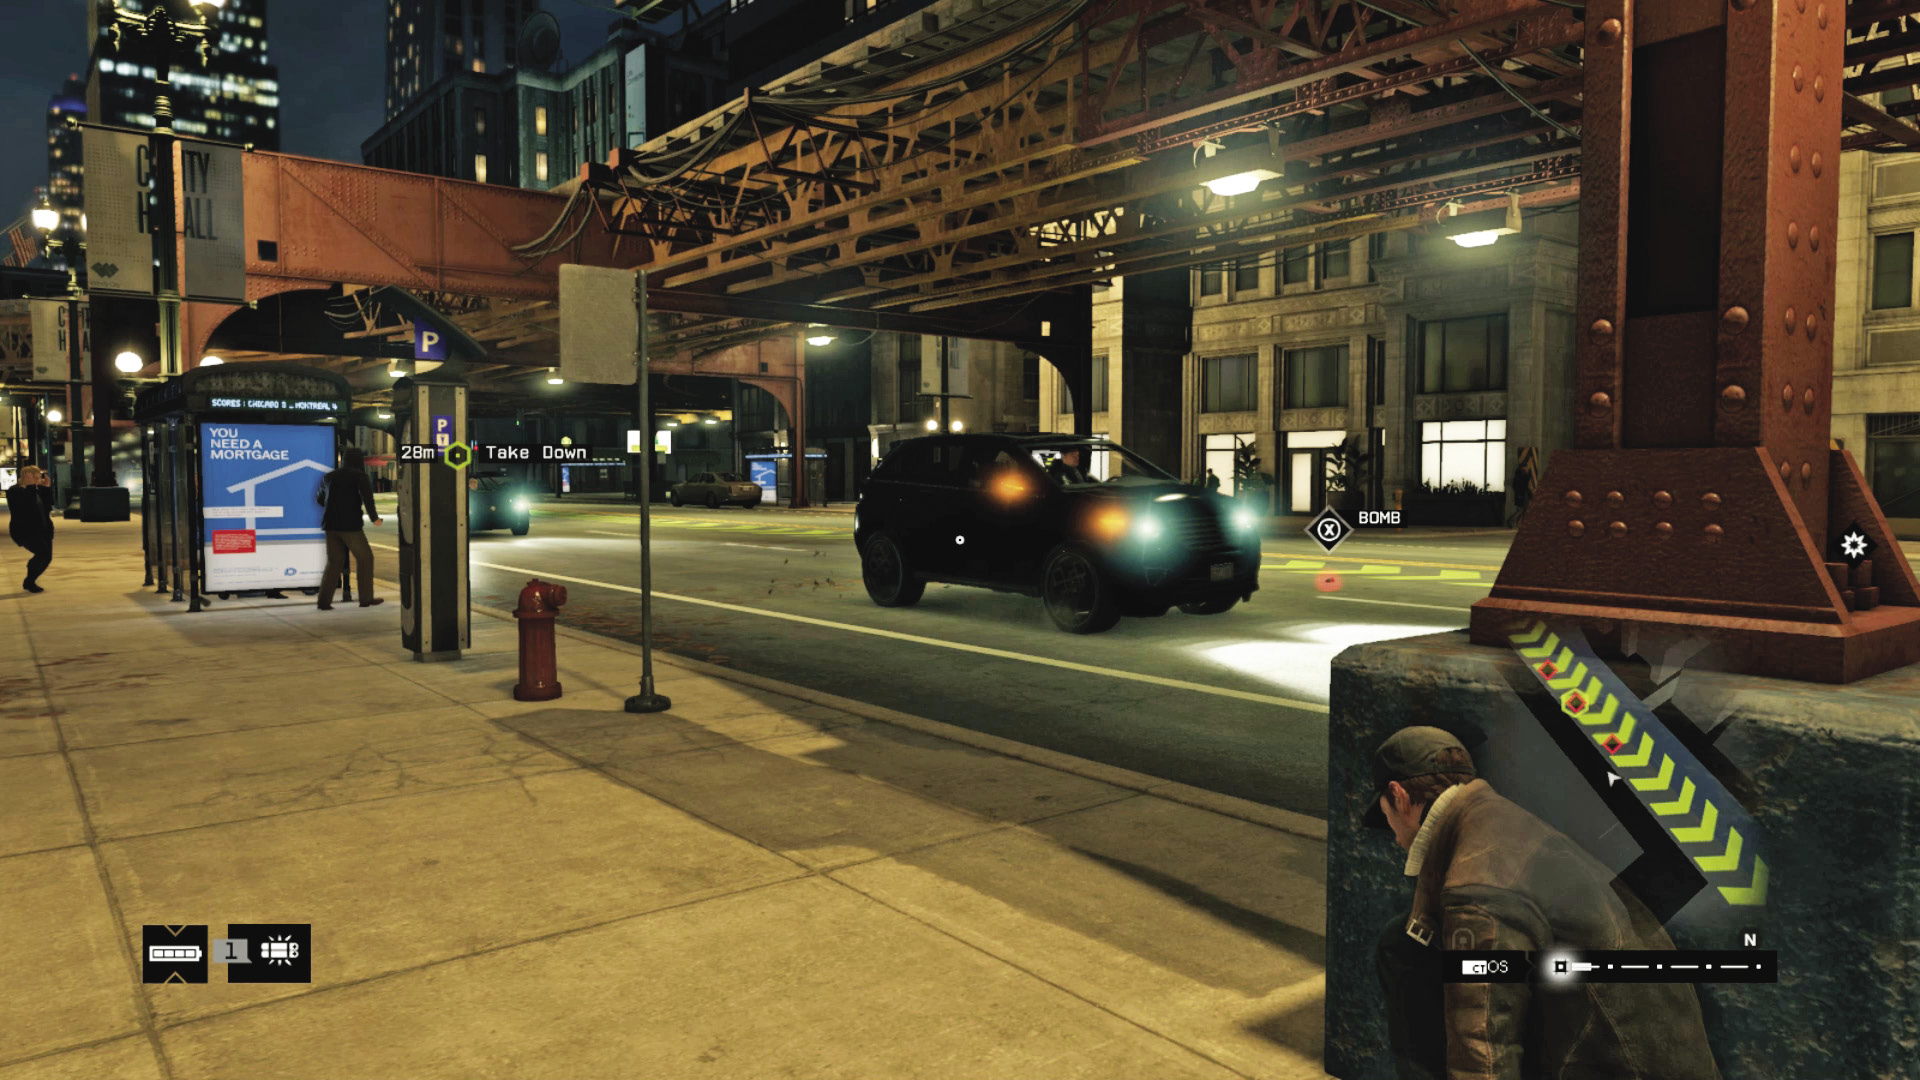
Some road construction near your starting point blocks off one of the convoy’s lanes. If you leave a heavy truck or SUV across the other lane, it can cause enough traffic congestion to slow down or stop the convoy entirely. Use a couple of IEDs placed well ahead of your blockade to finish the job, or snipe the target from behind one of the support columns for the elevated track.
AMBUSH POINT 02 // RIVER BRIDGE
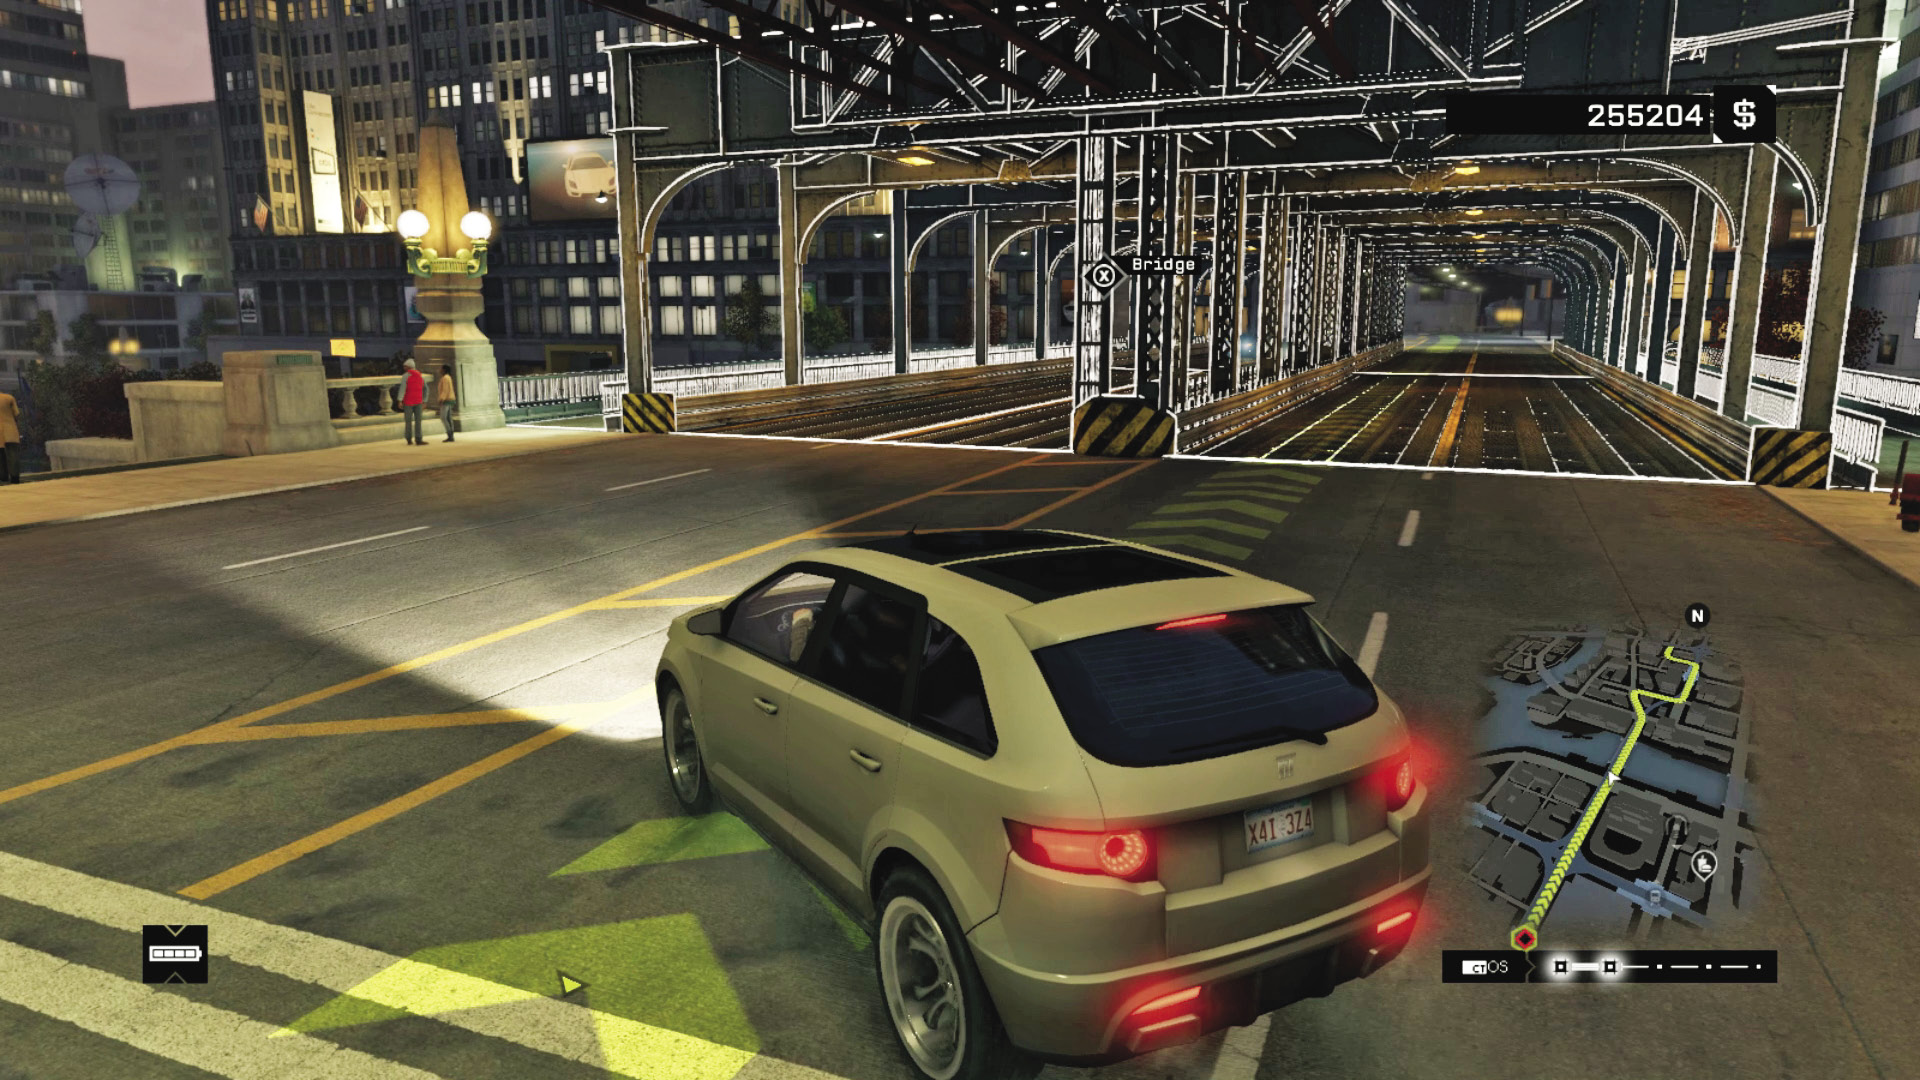
ACCESSIBILITY LEVEL: 
If you hack the bridge across the river as the convoy is crossing it, the vehicles will slide back down to street level for a few crucial seconds, which gives you all the time in the world to launch an attack.
_CHASING SHADOWS
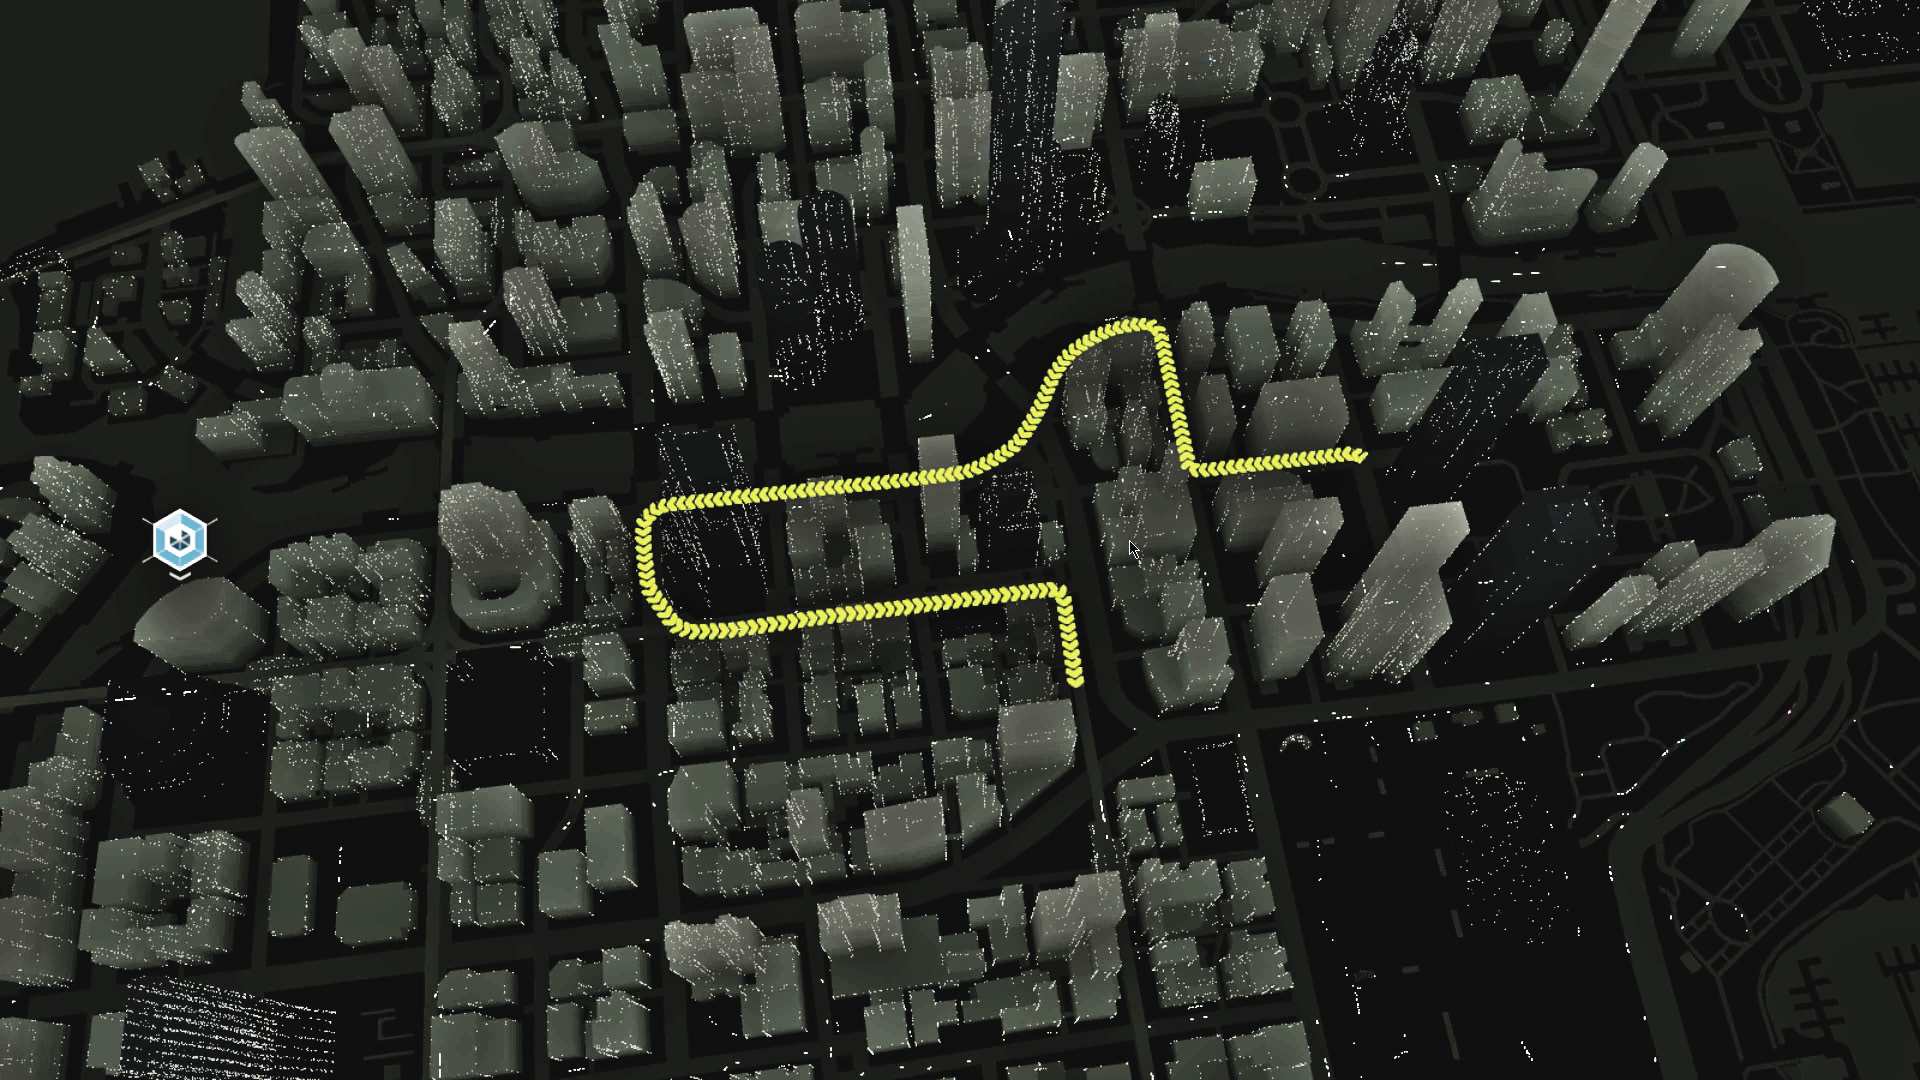
LOCATION / UNDERGROUND EXPRESSWAY
ENEMY / FIXER CONVOY, Three Vehicles (ENFORCER, ELITE x2, VETERAN), PLUS REINFORCEMENTS
TARGET: ELITE
NUMBER OF TARGETS: 1
DIFFICULTY:
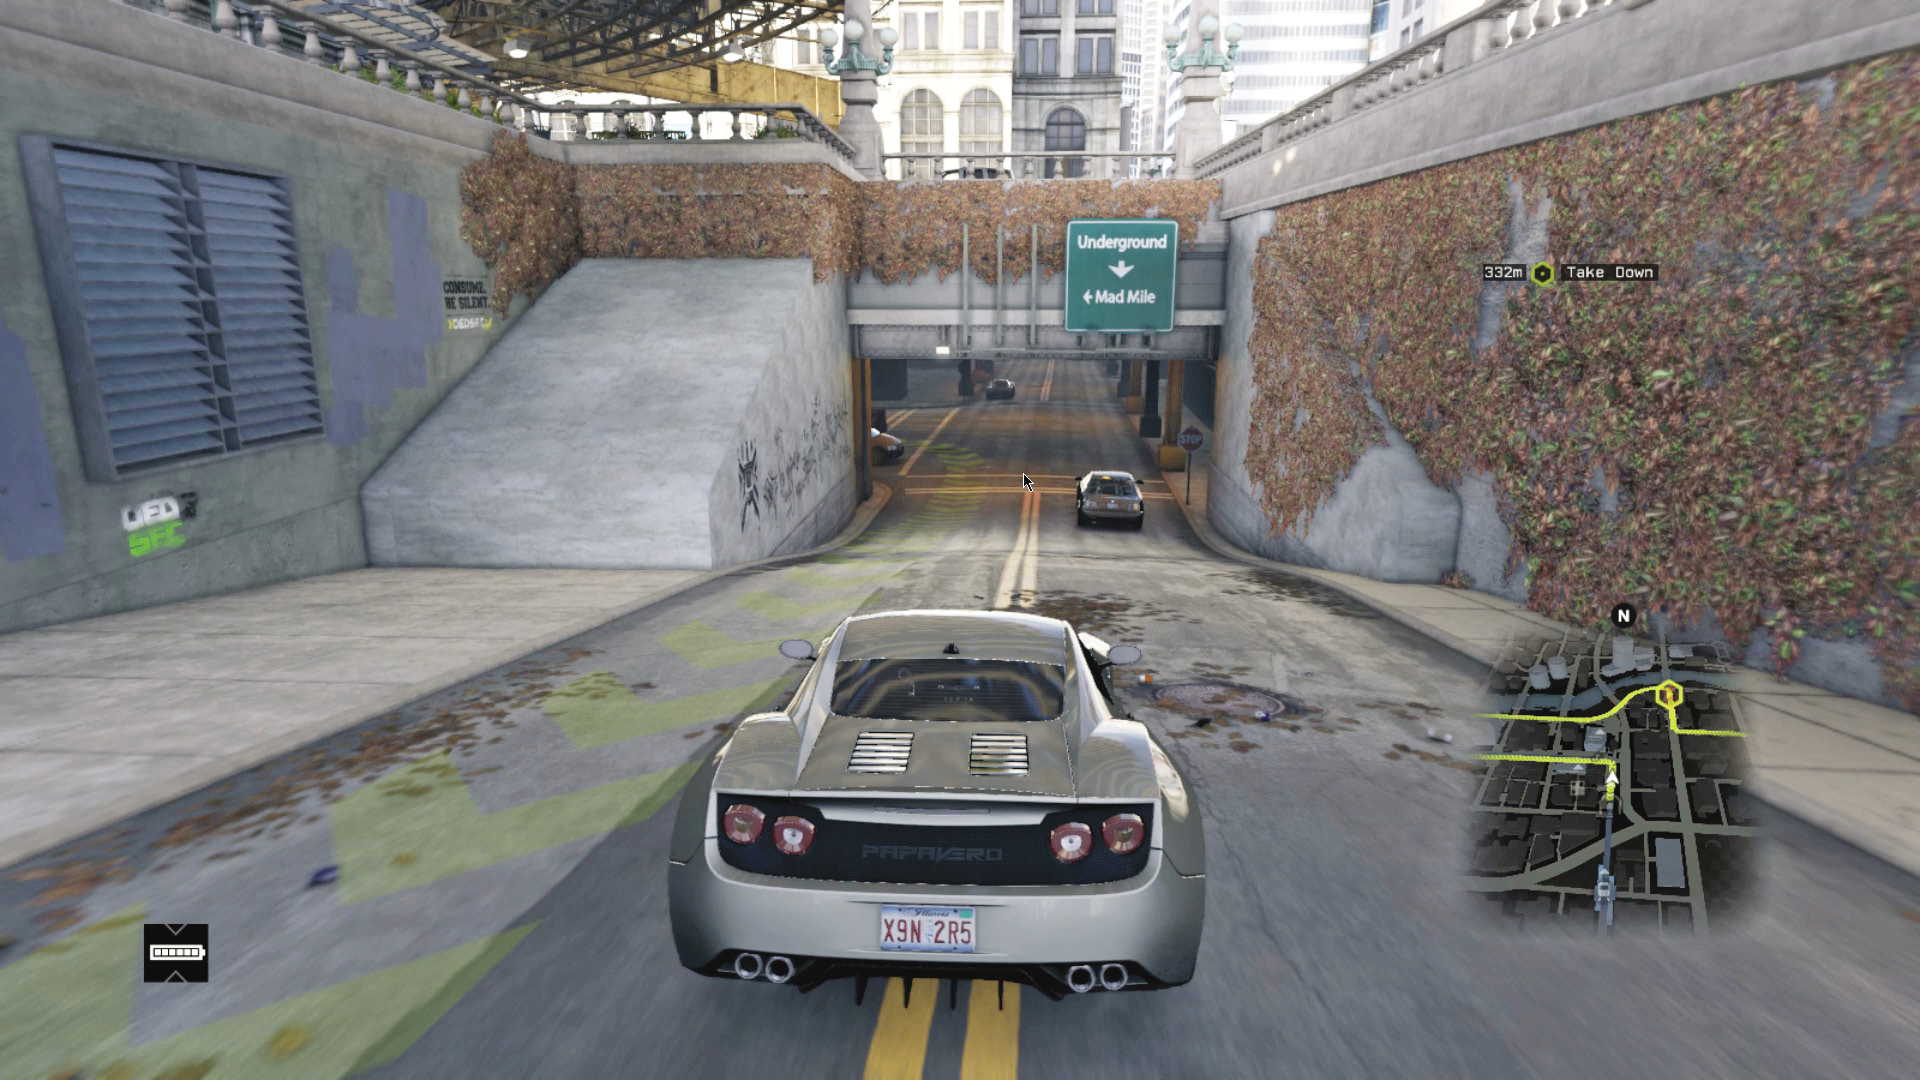
This looks like an easy run until you realize that the target’s in the underground tunnels, where there’s little traffic and no stoplights, so you have much less time than you think you have. Bring a motorcycle or sports car with you when you start the mission and drive to the tunnel entrance at the end of the convoy’s route to head them off.
The Fixers brought a lot of firepower with them to protect their buddy, so you probably don’t want to stick around after the target’s been taken care of.
AMBUSH POINT 01 // TUNNEL ENTRANCE
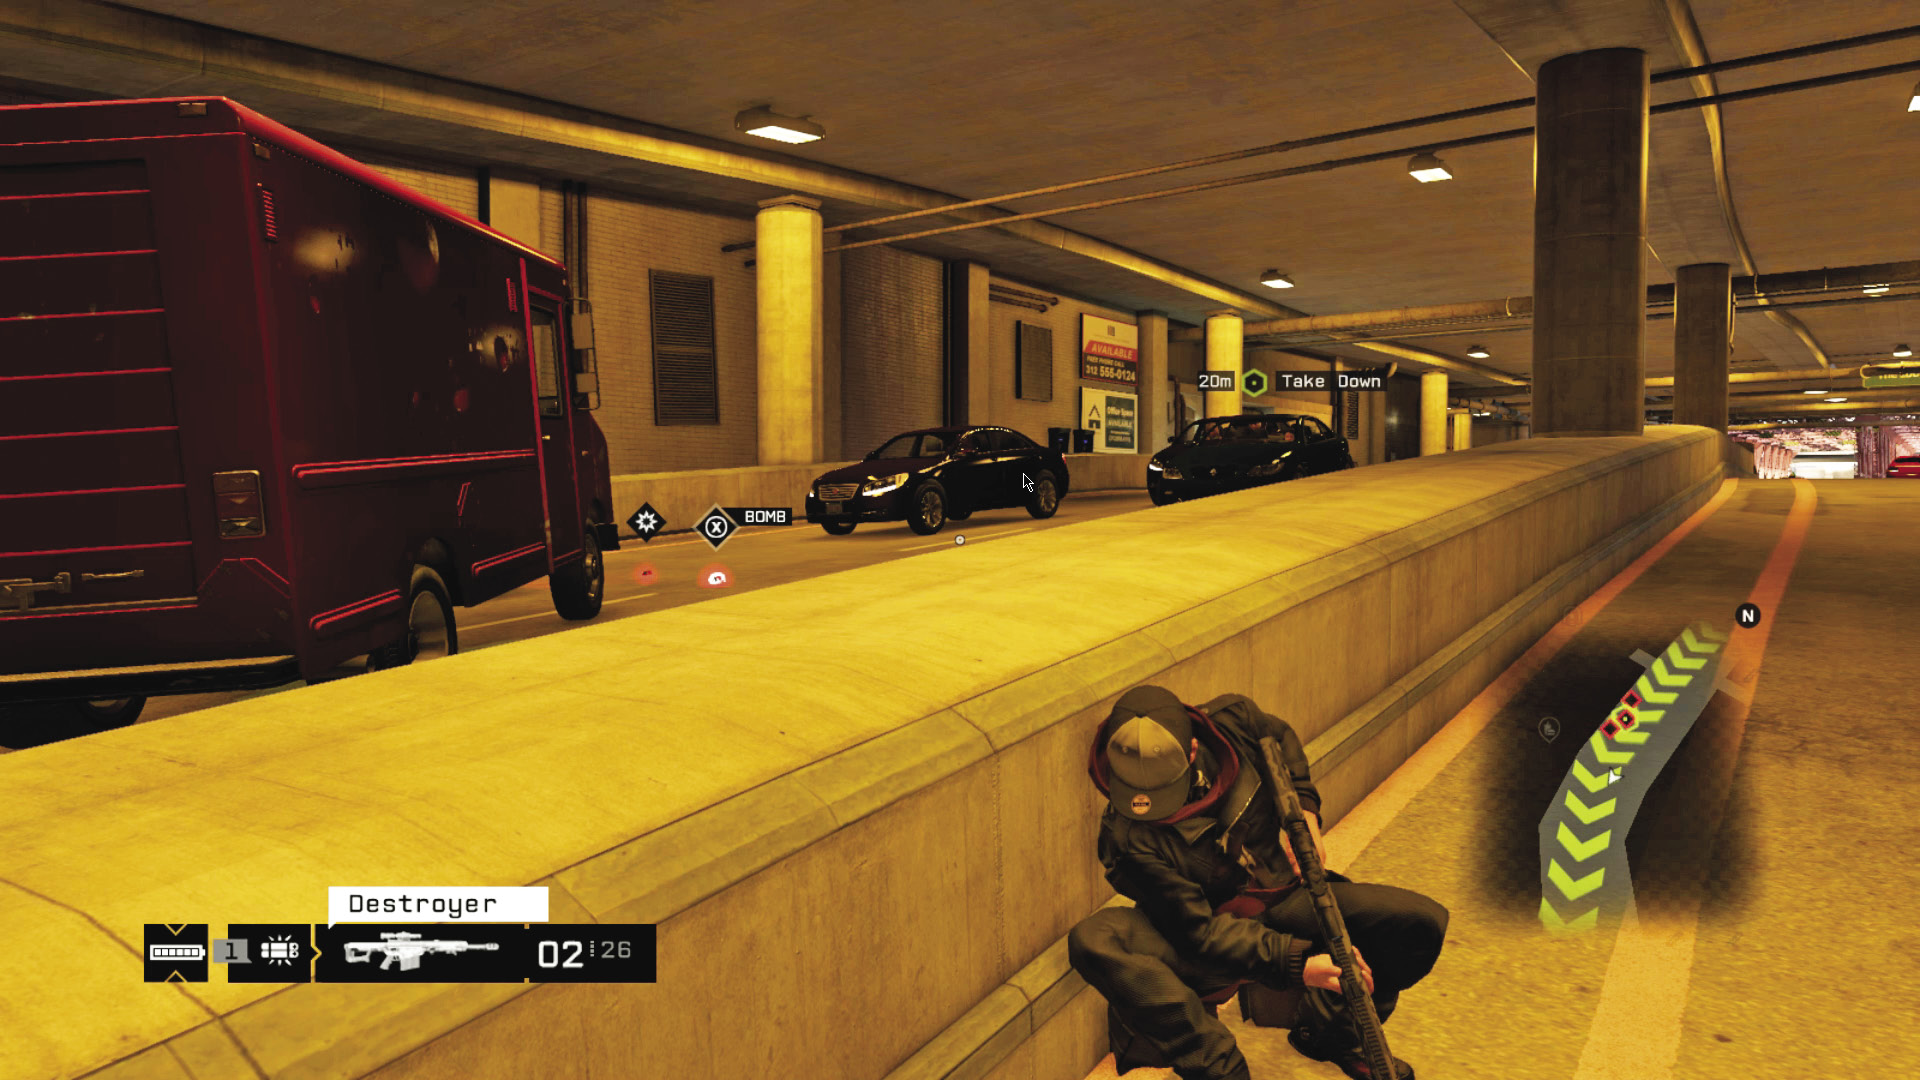
ACCESSIBILITY LEVEL: 
If you hustle from your starting point, you can catch your target in the underground tunnels as he’s making a blind turn and use a parked vehicle to halt traffic. Once the convoy has stopped, creep up on it with a rifle and put a slug in the target’s head, then use Jam Coms to make your escape while they rest are still stuck behind your barricade.
AMBUSH POINT 02 // UNDERGROUND TUNNEL
ACCESSIBILITY LEVEL: 
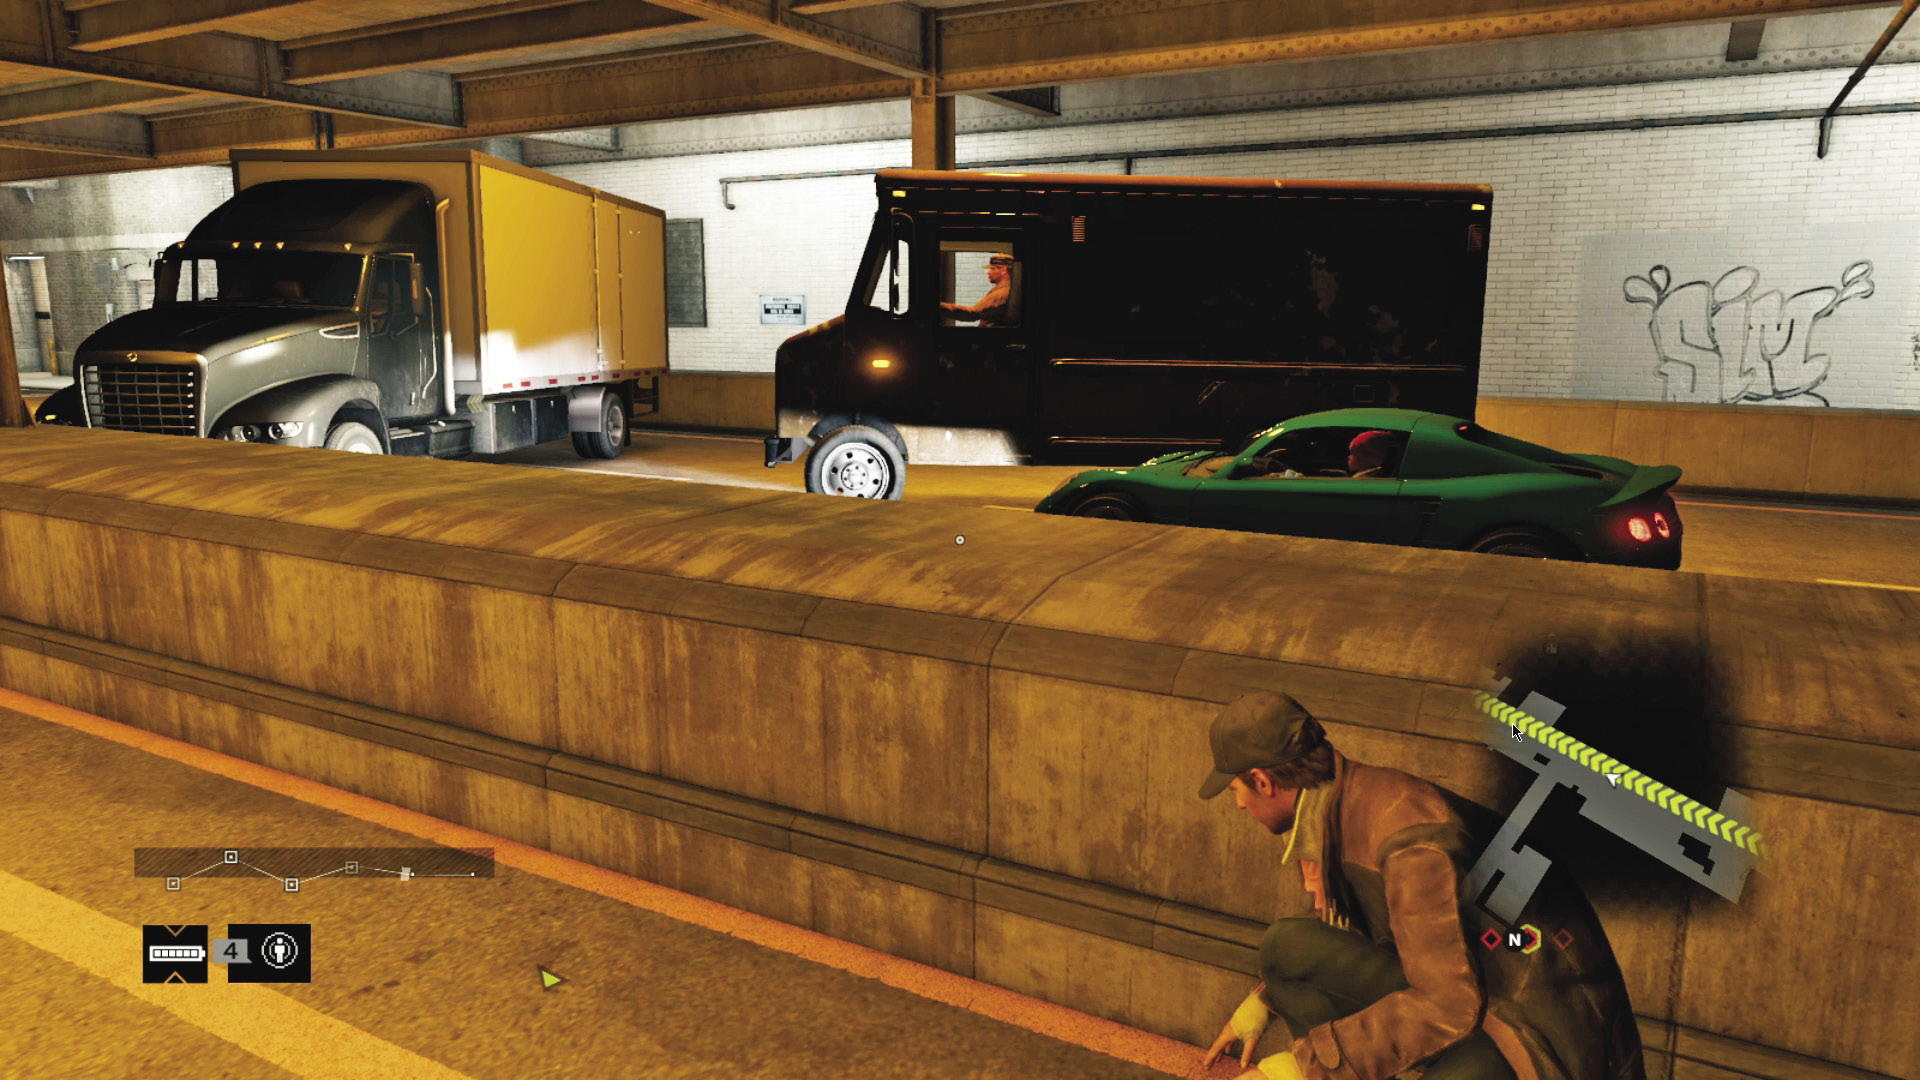
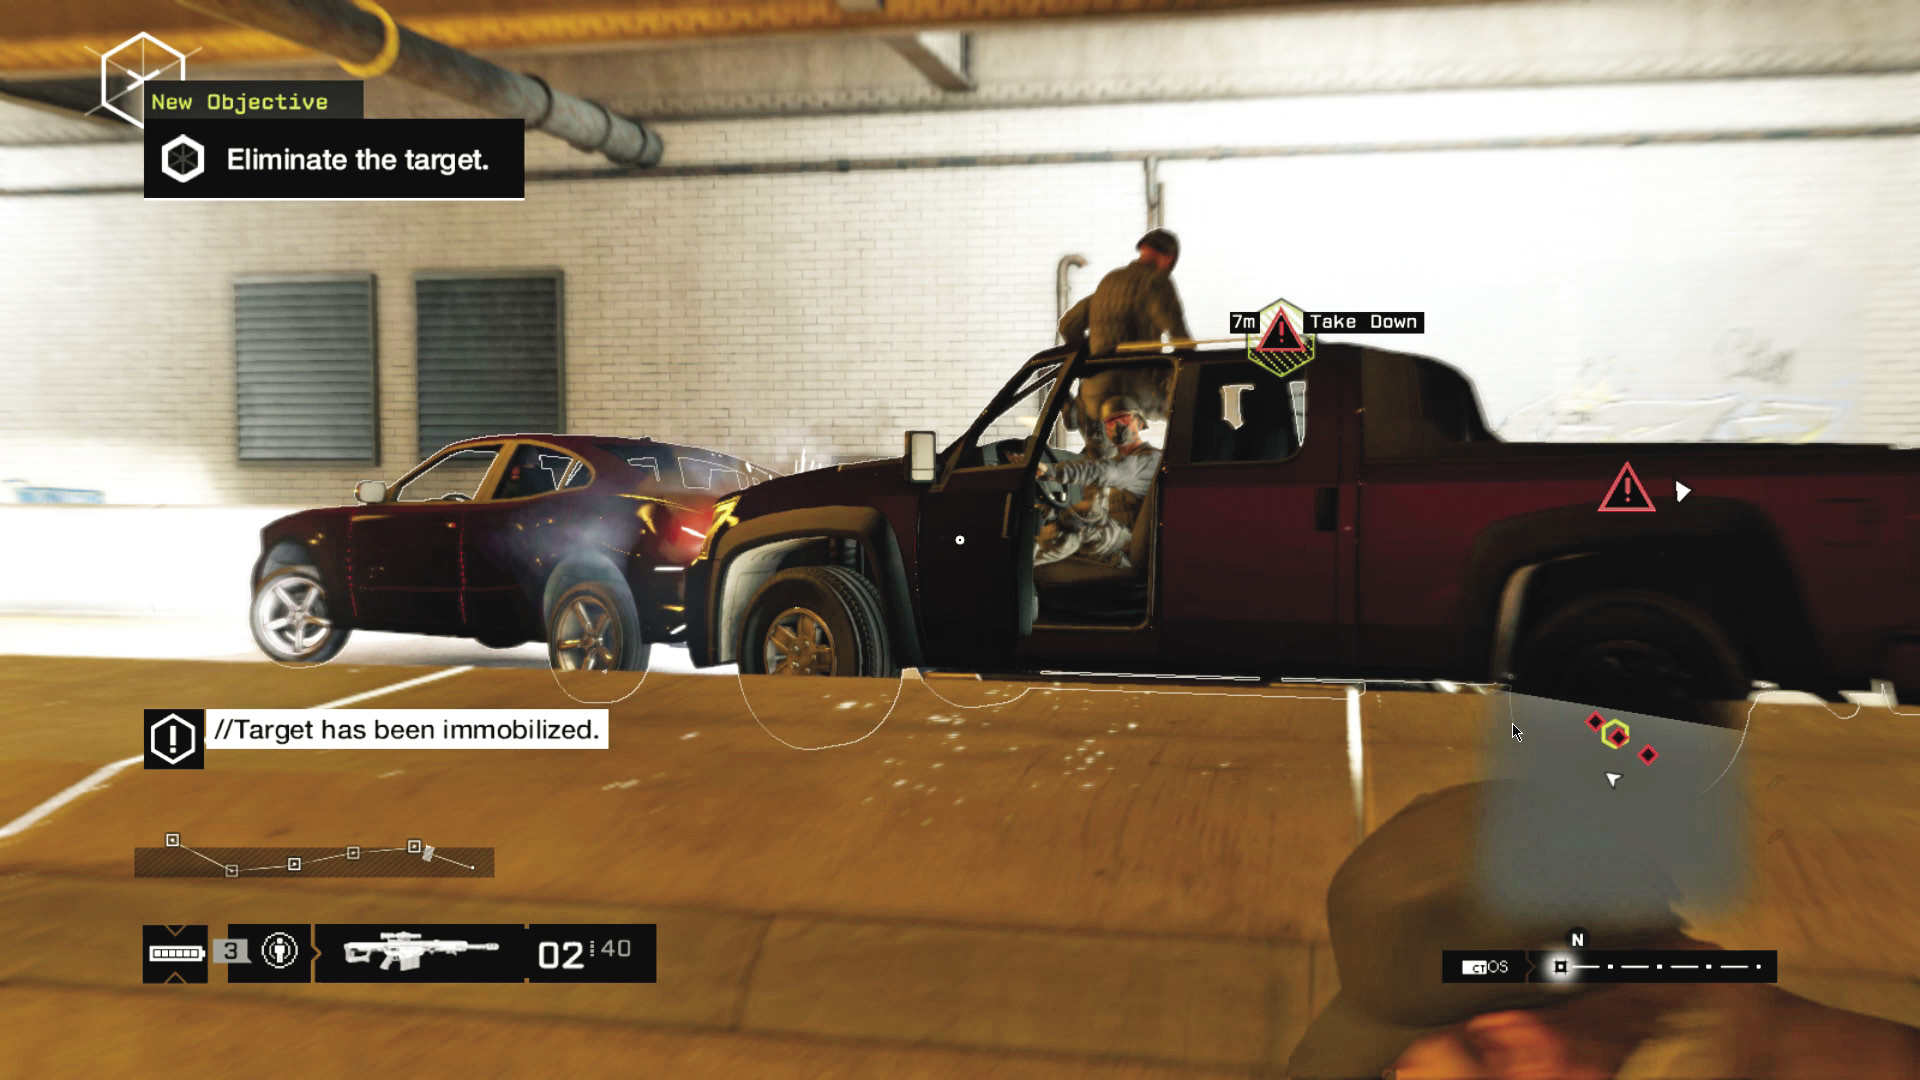
There are always several parked trucks and delivery vans parked along the sides of the tunnel that you can use as improvised blockades. If you set up your roadblock next to one of the support columns, that leaves your target with nowhere to go, and you can simply assassinate him while he sits stuck in traffic. If you don’t care about killing civilians or there aren’t any around, a couple of grenades will settle this in a hurry.
_REQUIESCAT IN PACE
LOCATION / MIDTOWN
ENEMY / FIXER CONVOY, Three Vehicles (ENFORCER X2, ELITE X3), PLUS REINFORCEMENTS
TARGET: VETERAN
NUMBER OF TARGETS: 1
DIFFICULTY:
This Mission is only available once you’ve finished all the previous Criminal Convoys. Unlike the rest, it’s less about your ambush capabilities and more about rushing headlong into a dangerous situation, and the more skills you’ve acquired to amp your combat ability, the better off you’ll be. It’s a strong contender for the single toughest fight in the game.
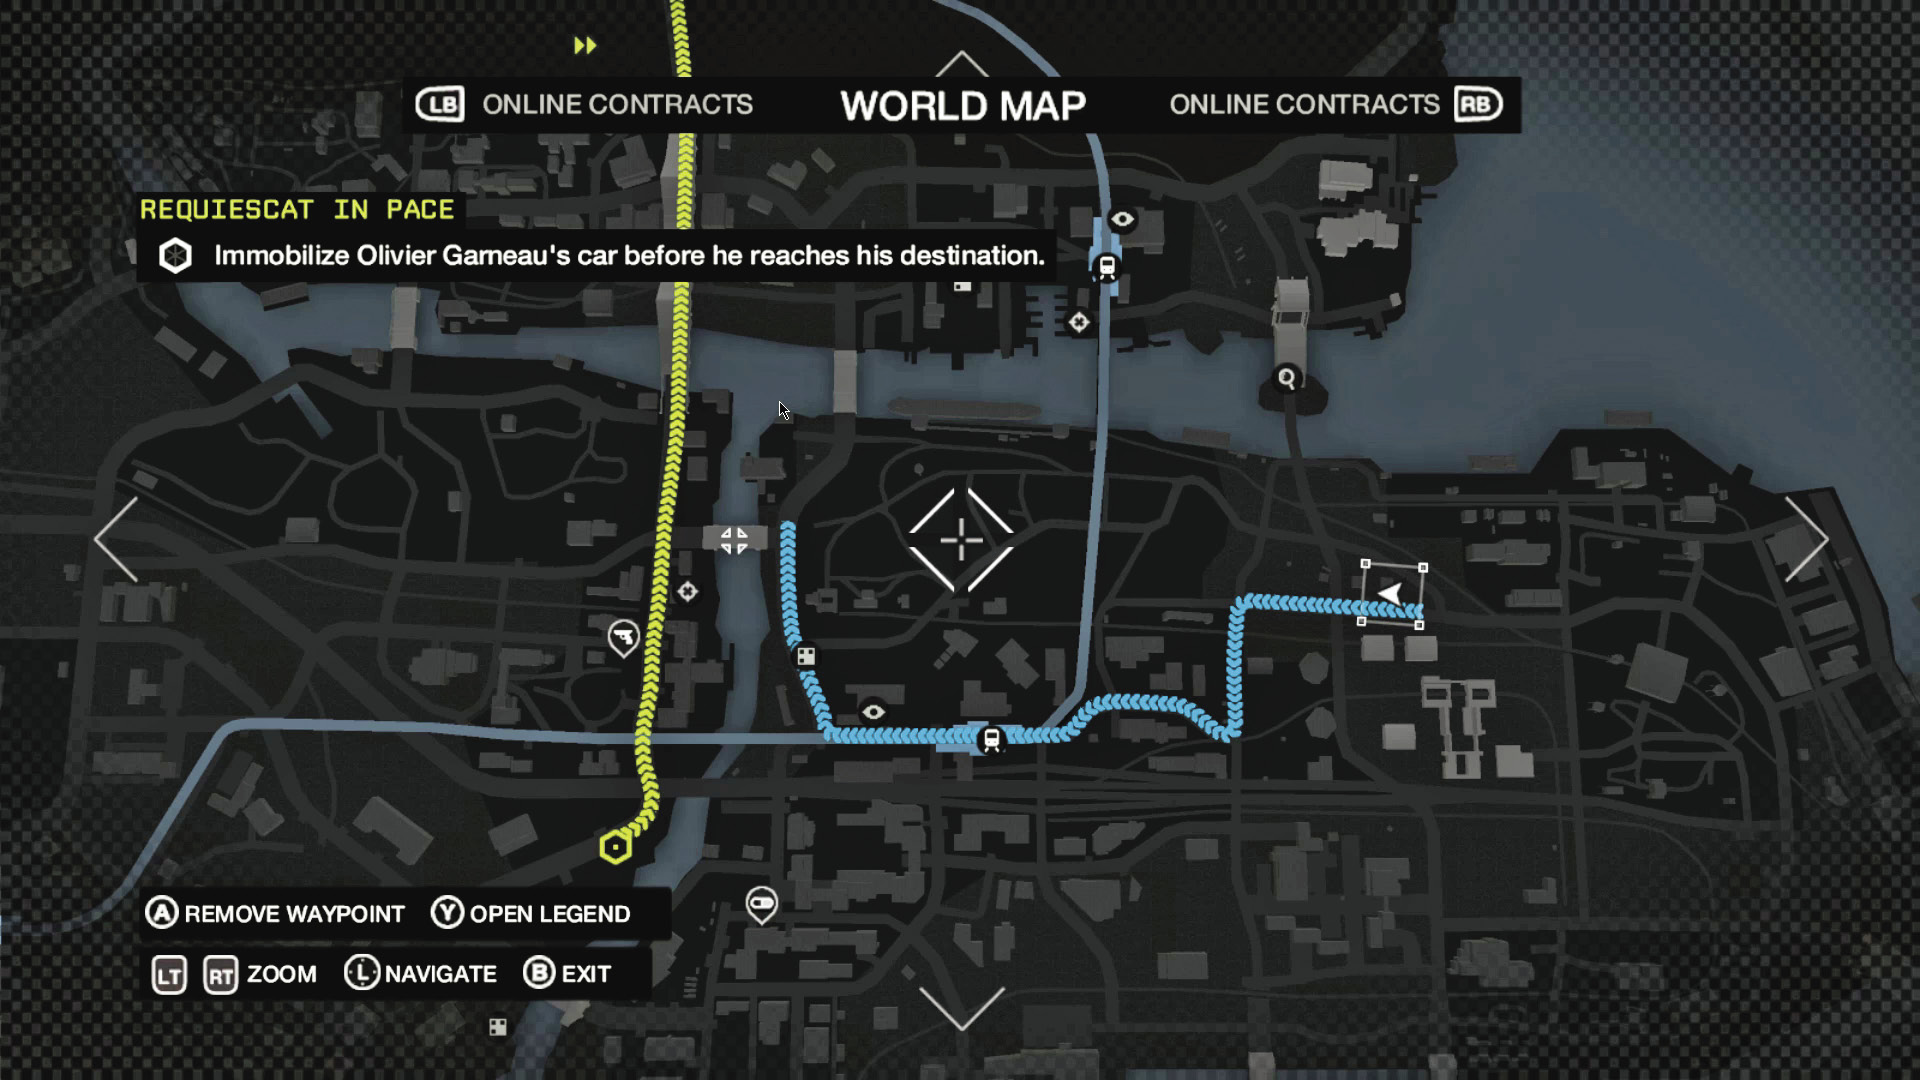
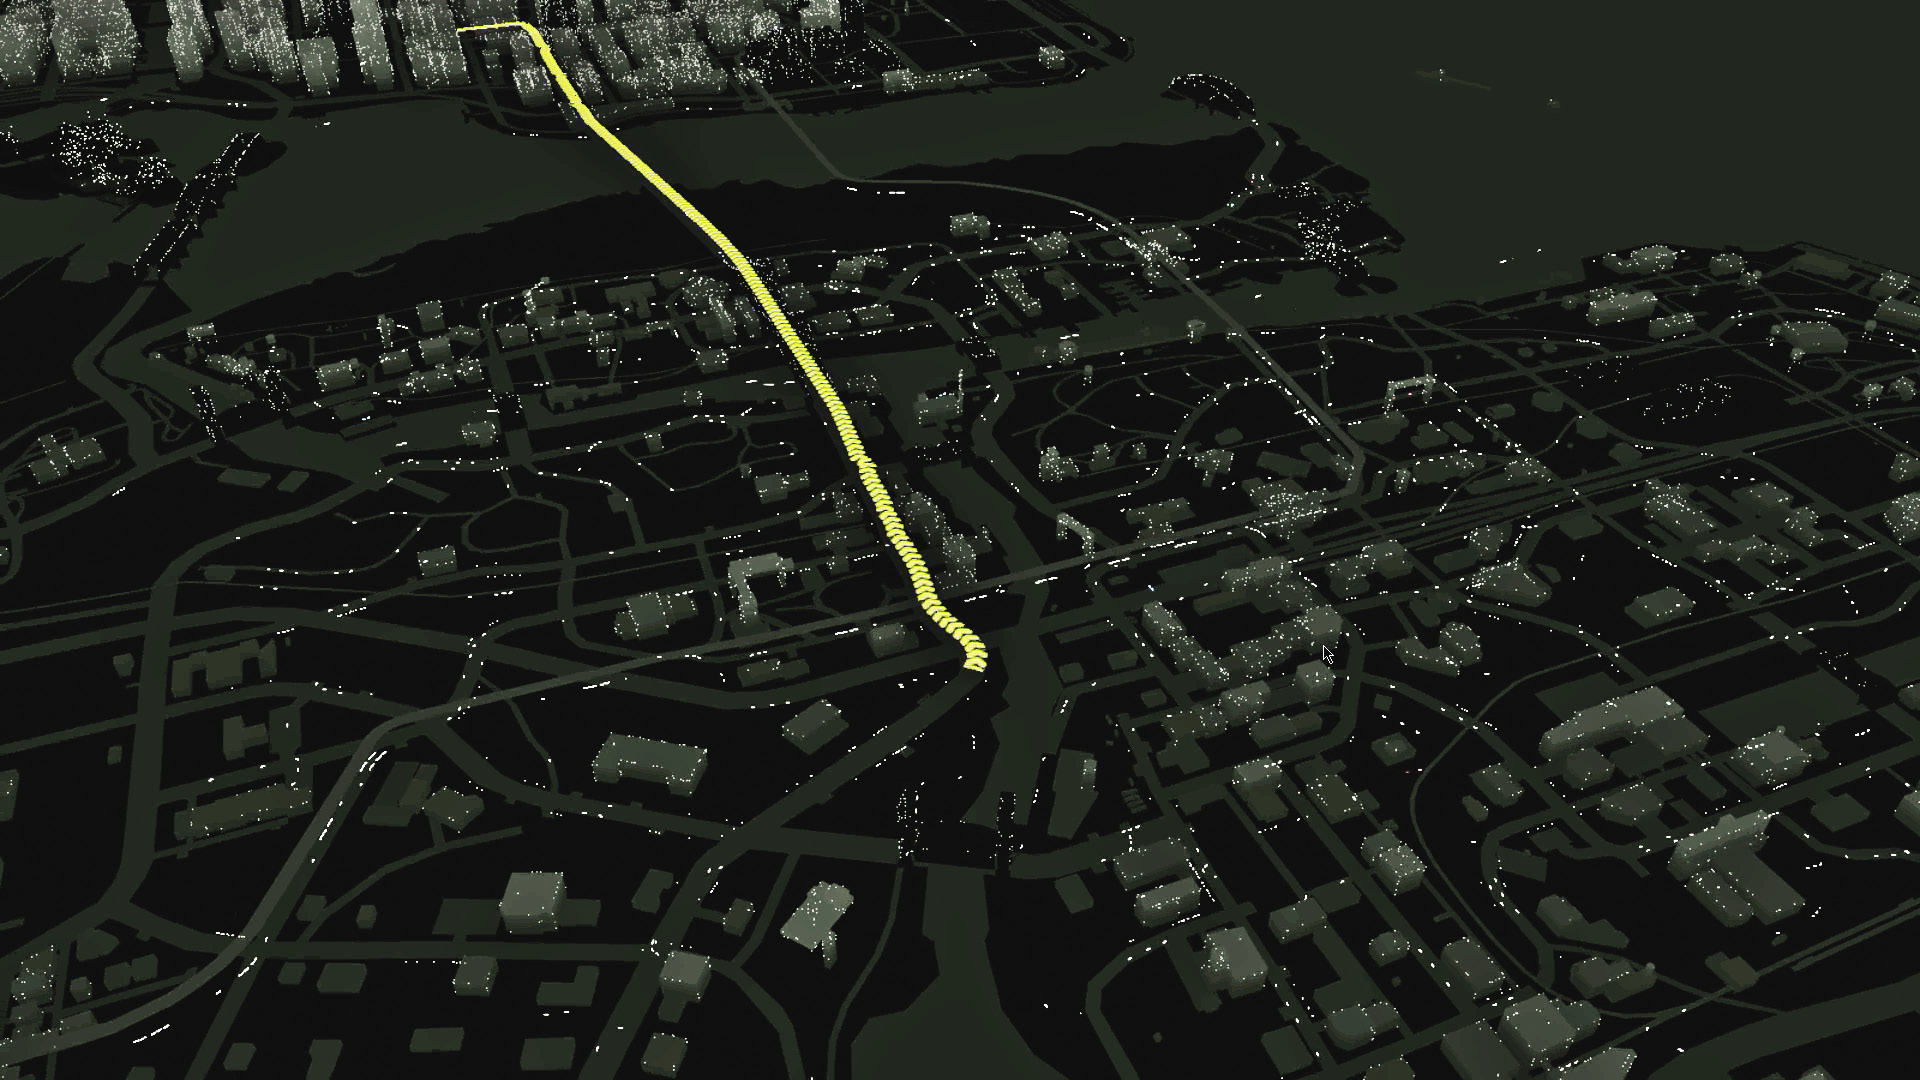
The trickiest part of this convoy is simply reaching it in time. It’s moving very quickly along a route that is not directly connected to the part of the city you’re in, and if you try to “eyeball” the path to the convoy, you’ll end up on any of a number of roads that are well below where you need to be. You need to bring a fast car with solid handling, or a motorcycle, and aim for the river bridge west of your starting point. With practice, you’ll end up on the same road as the convoy, if a few hundred meters behind it, and will have to hustle to catch up to it.
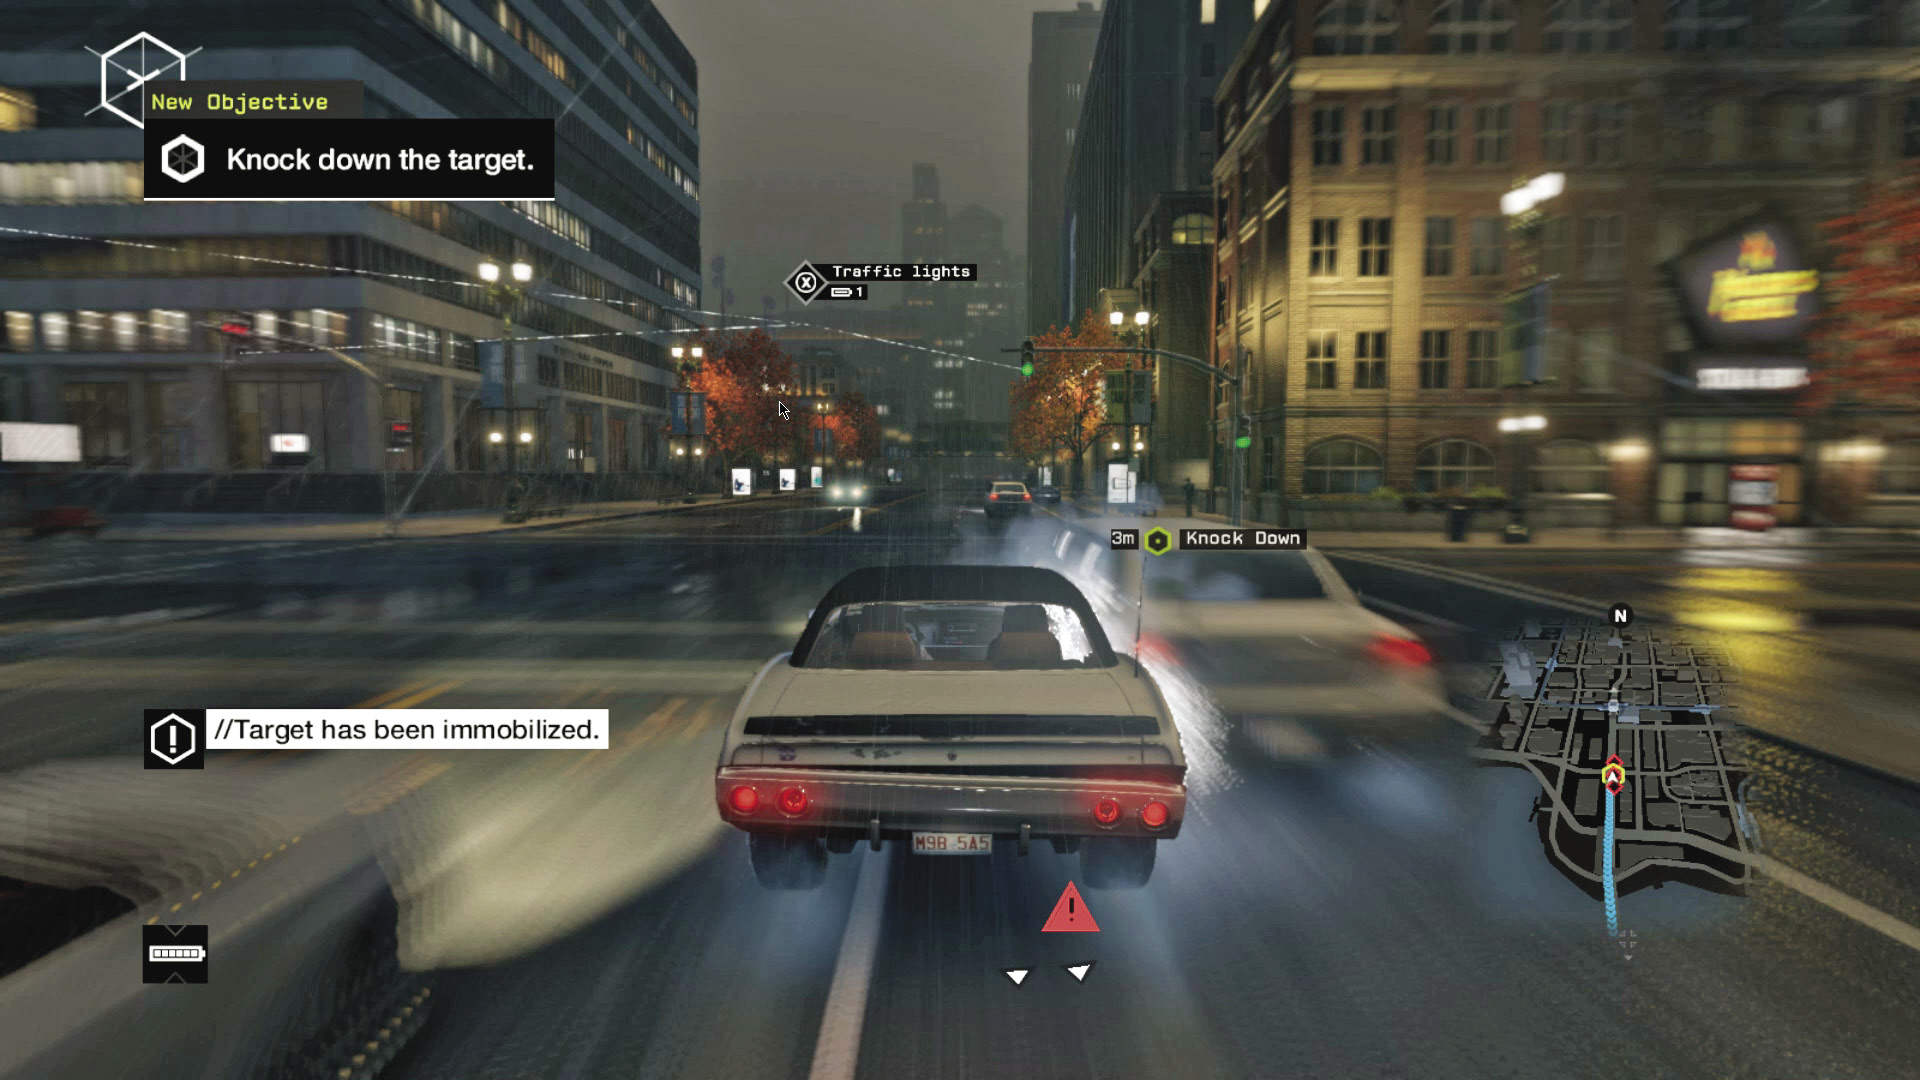
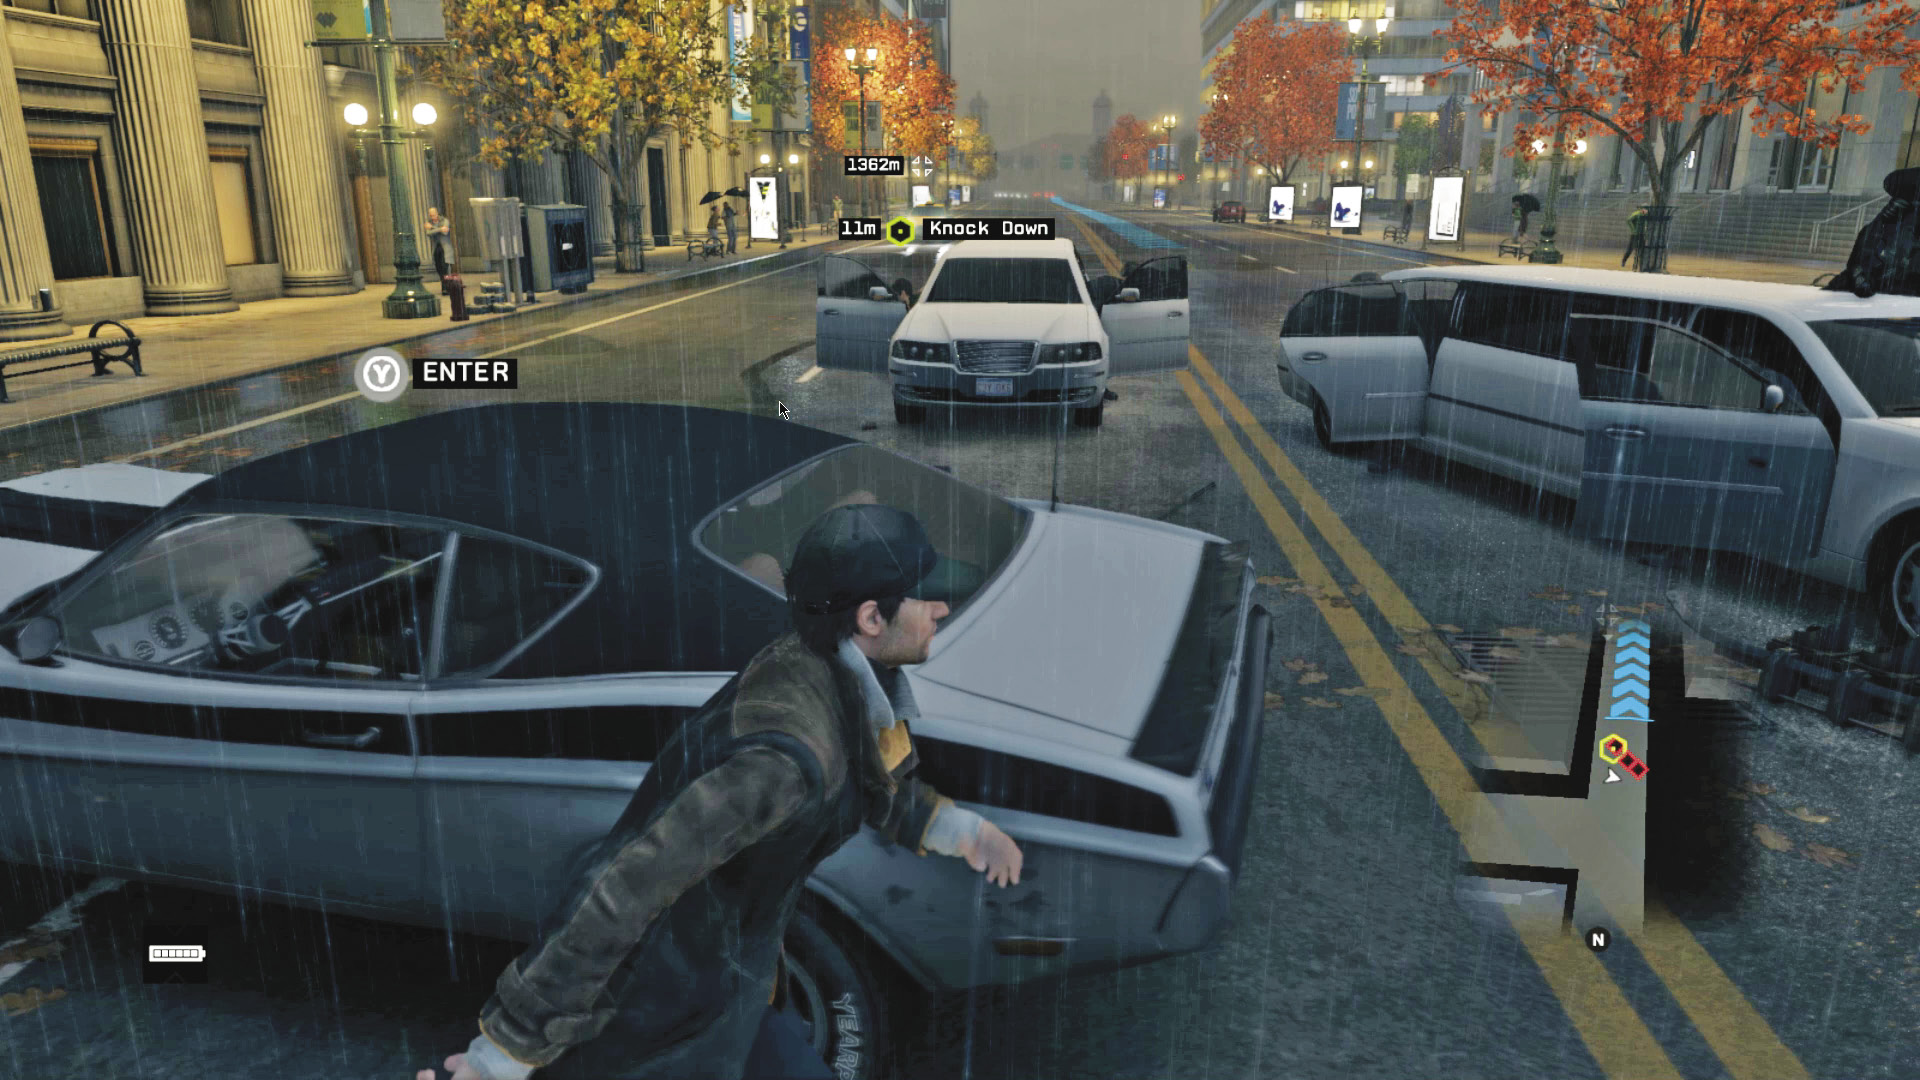
Once you catch up to Oliver Garneau’s convoy of white limousines, they’ll attack immediately as soon as they see you, which saves you the trouble of having to set up an actual ambush. At this point, it turns into an all-out gunfight, with the additional complication of two Enforcers, and you have to keep Olivier alive. At this point, your best bet is to run for it and use evasive tactics like blackouts to try to get the drop on Olivier without his guards noticing.