
Watch Dogs Guide MAIN MISSIONS MAIN MISSIONS /// Act II
_WAY OFF THE GRID
|
OBJECTIVES
|
 Enter the Bunker
 Reach the listening post
 Eliminate all the Fixers
 Start the data upload
 Defend the area until the upload is complete
 Eliminate all Fixers
 Wipe the hard drive
 Chase and eliminate the Fixer
 Escape the police
LOCATIONS // MAP
Location / The Wards // Police Surveillance Post (Decommissioned)
|
|
 Enter the Bunker
 Reach the listening post
15.1 KENNEY THE LEGEND
 Location / The Loop // The Bunker
 Investigation
 Driving Investigation
Difficulty: 
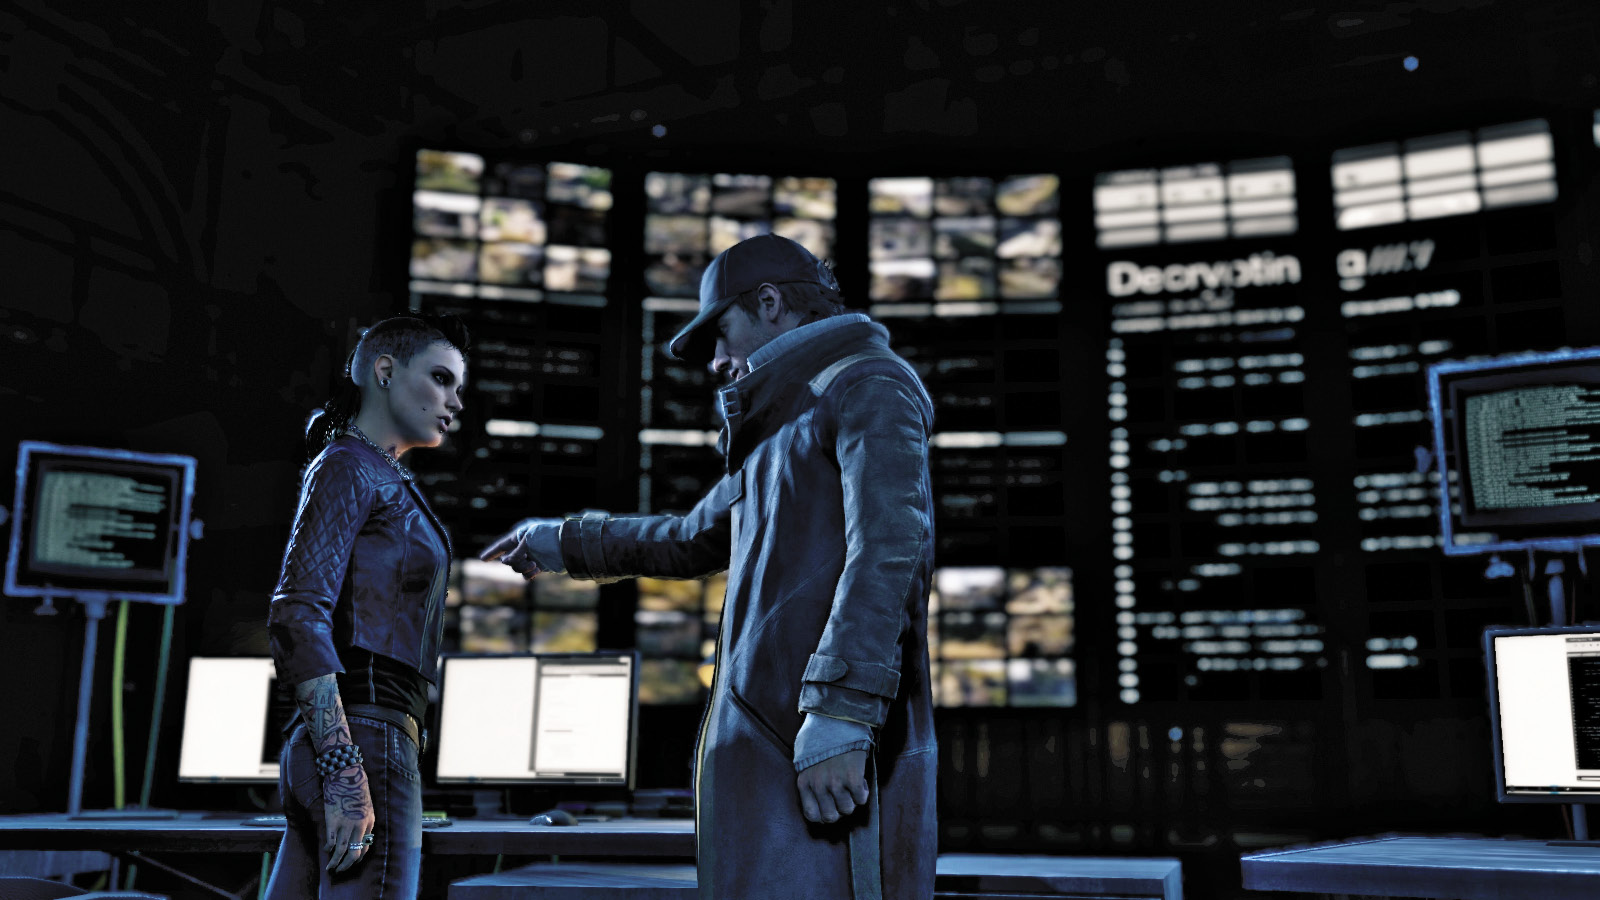
Return to the Bunker (ideally driving a fast vehicle) and enter the facility, where Clara is figuring out how much data was transferred before it was cut off. With what information you have, it’s going to take someone more skilled than Clara to decrypt it. You mention Tobias. Clara finds another name: Raymond Kenney, who actually created the encryption you’re trying to crack. As Clara stays at the Bunker to find evidence of Kenney’s location, you’re off to an old listening post—Kenney’s last known point of contact.
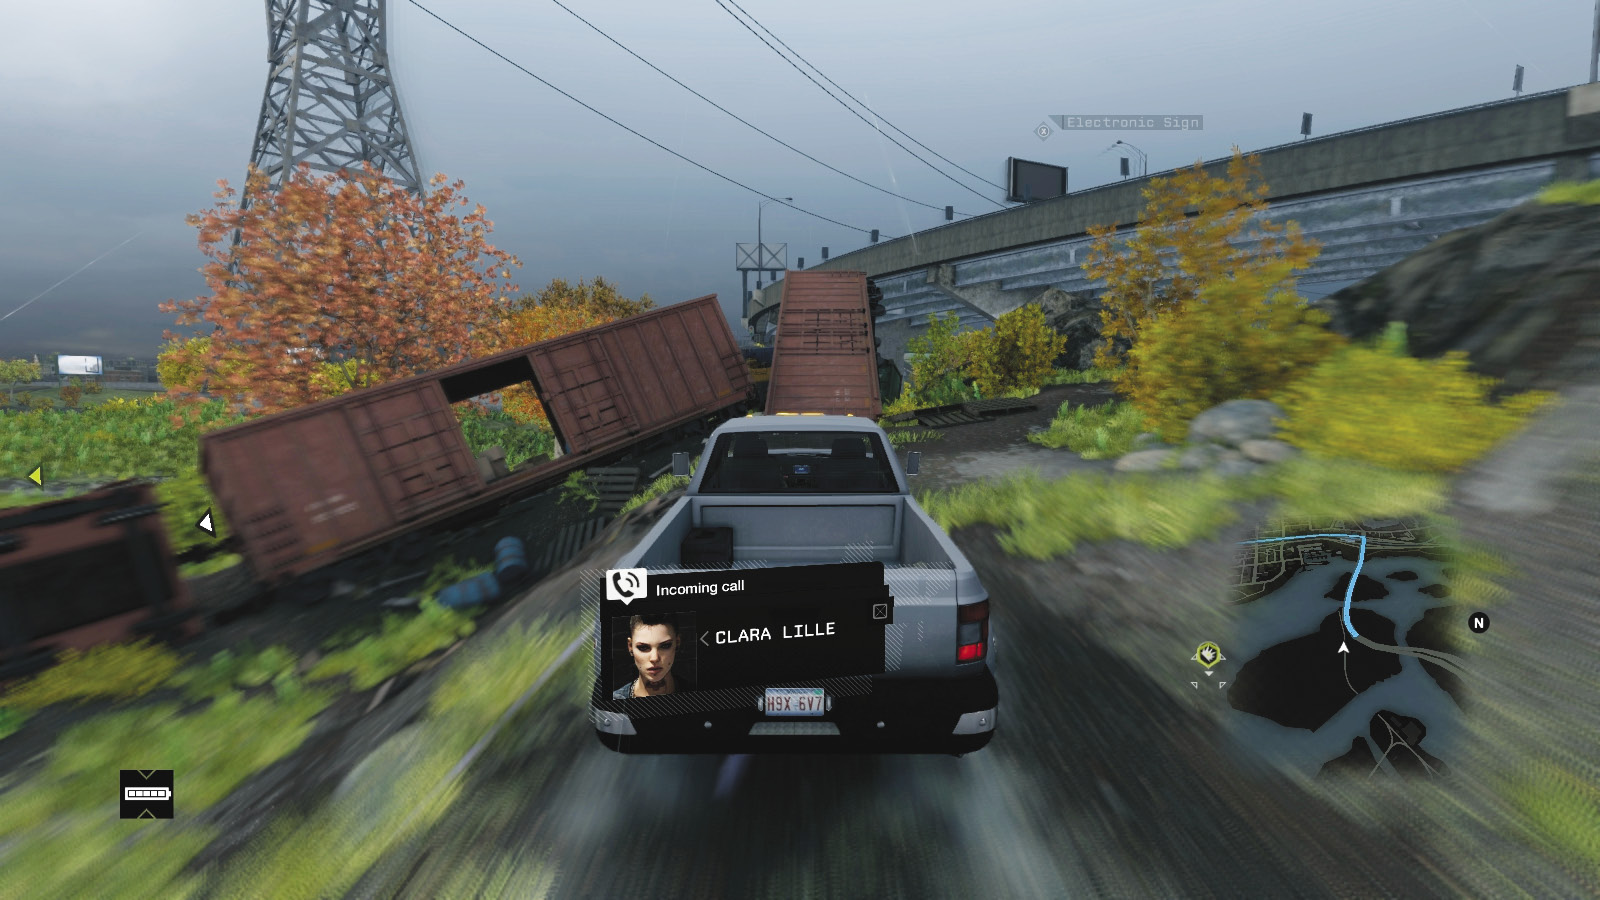
Leave the Bunker and head toward The Wards. You can take the swing bridge to the north and follow your GPS route, but there’s a quicker, more dangerous option: Head south down the rail tracks, past the warehouses you scaled when powering up this place. Summon a second swing bridge and accelerate hard down it, toward a mass of tangled rail cars making a ramp. Launch off this makeshift ramp, and land on the freeway. If you take a truck up here, you won’t have enough speed to make it.
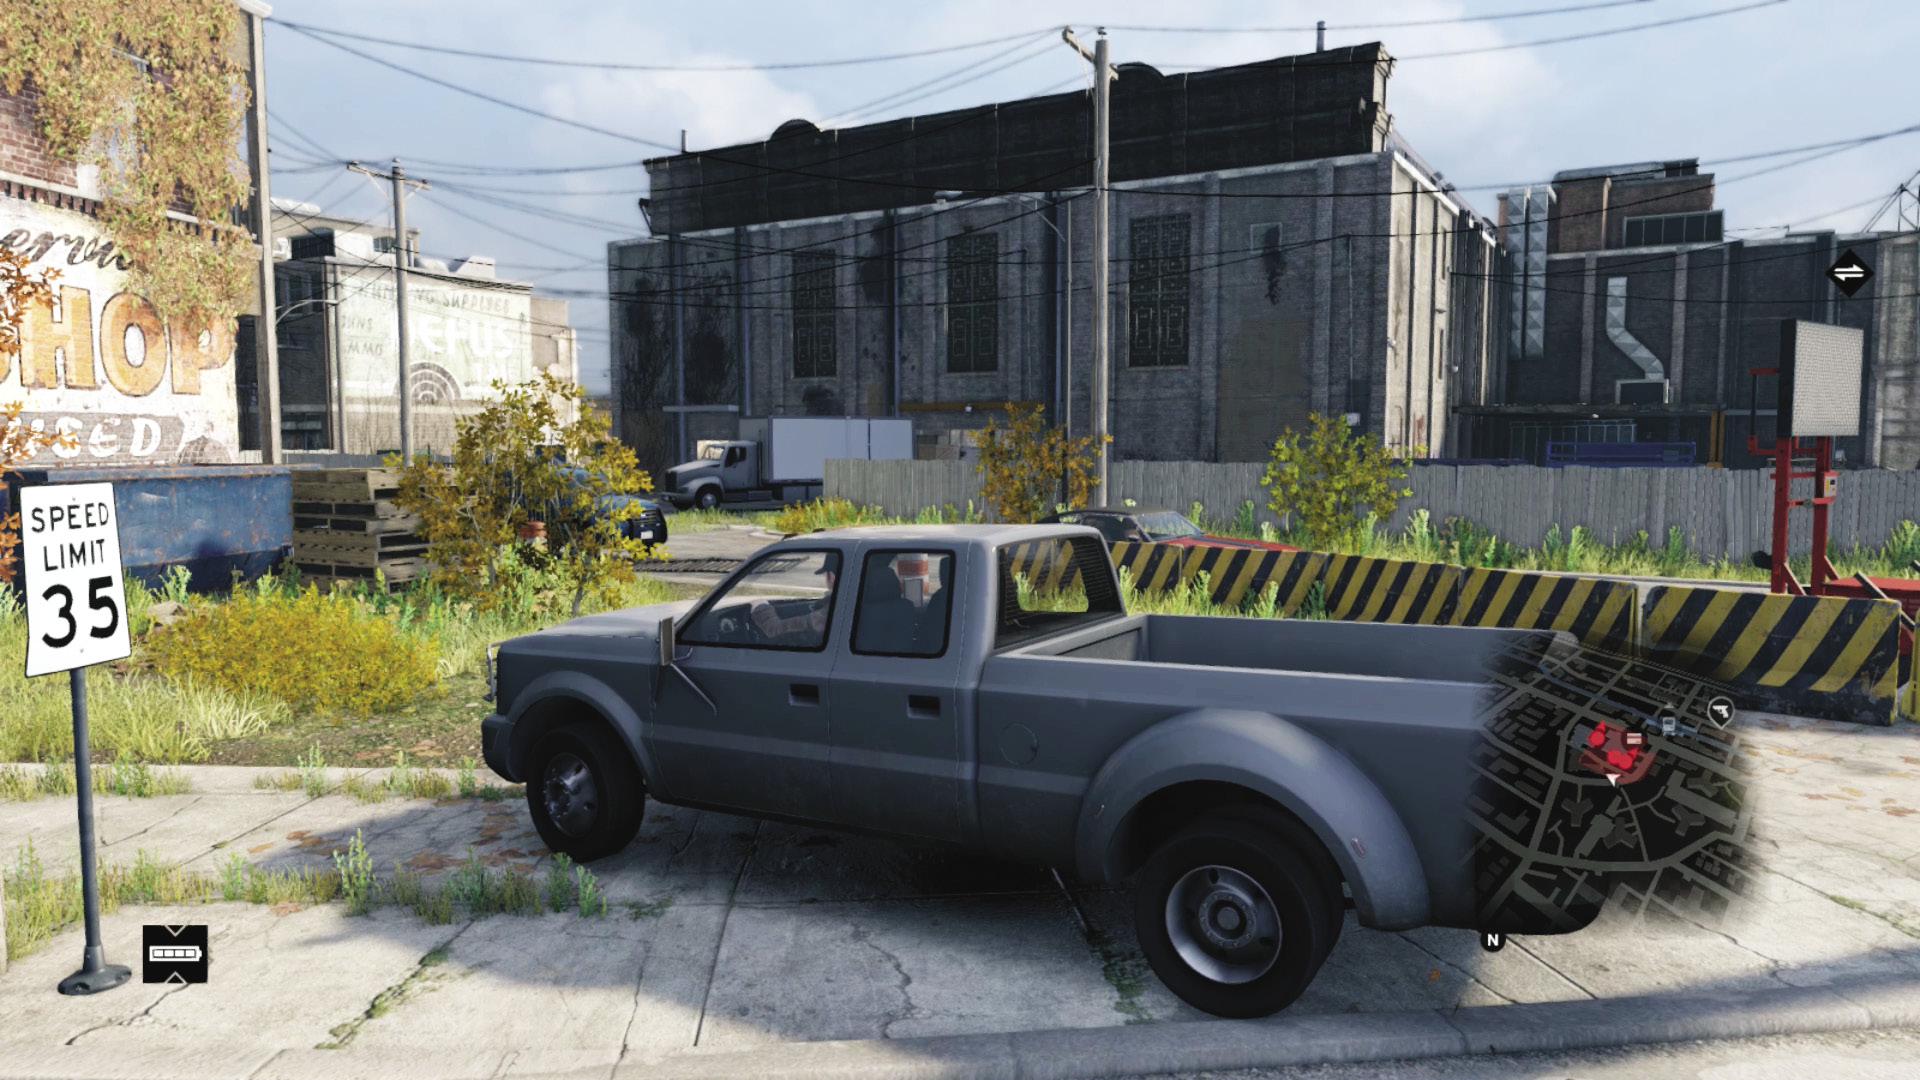
Now head from Parker Square into The Wards. Pull up anywhere close to the waypoint. Watch out—you’re about to enter a restricted area.
|
|
 Eliminate all Fixers
 Start the data upload
15.2 OLD SCHOOL UPLOAD
 Location / The Wards // Police Surveillance Post (Decommissioned)
 Infiltration
 Data Hack
 Lethal Force Likely
 Melee Force Likely
Difficulty: 
Overview
 Completion Point: Desktop computer inside the abandoned warehouse (listening post).
 Dangers: Six Fixers (Veteran x6) with shotguns and machine guns. Two have cameras; two are Shot-Callers. Expect four or more additional reinforcements if called.
Insertion Points
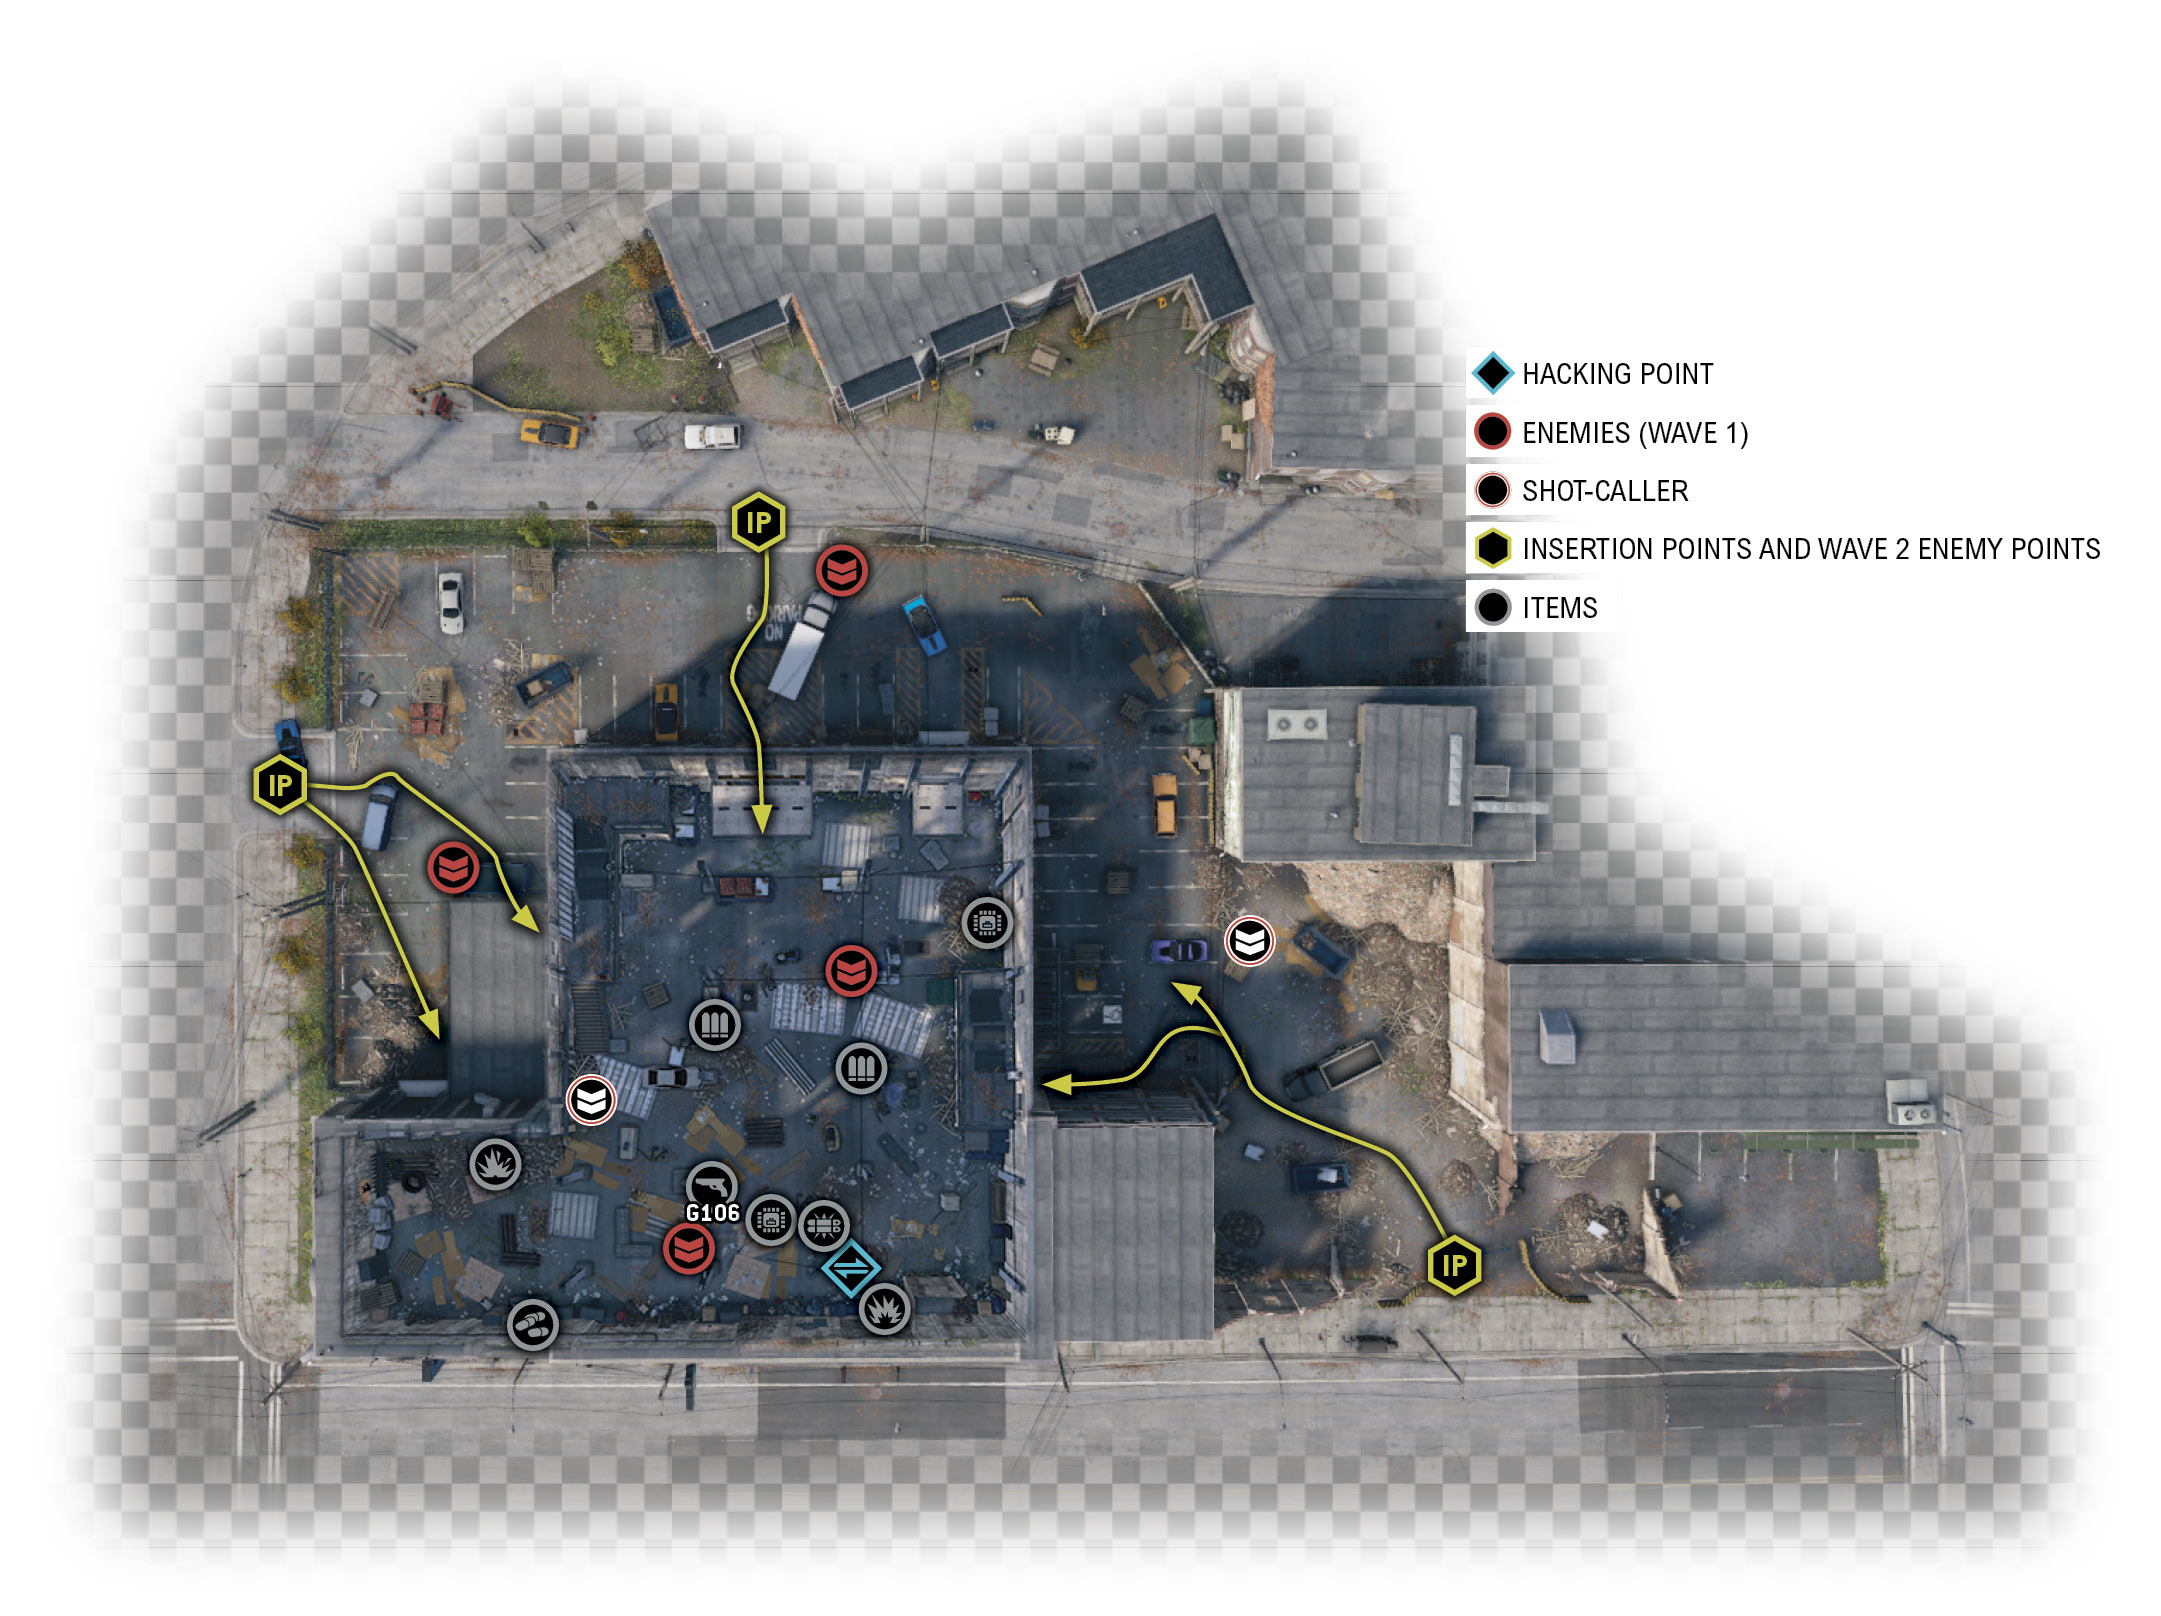
This listening post is an abandoned brick warehouse, now patrolled by heavily armed and armored goons. Fortunately, it has several entrances along three of its four walls you can infiltrate from:
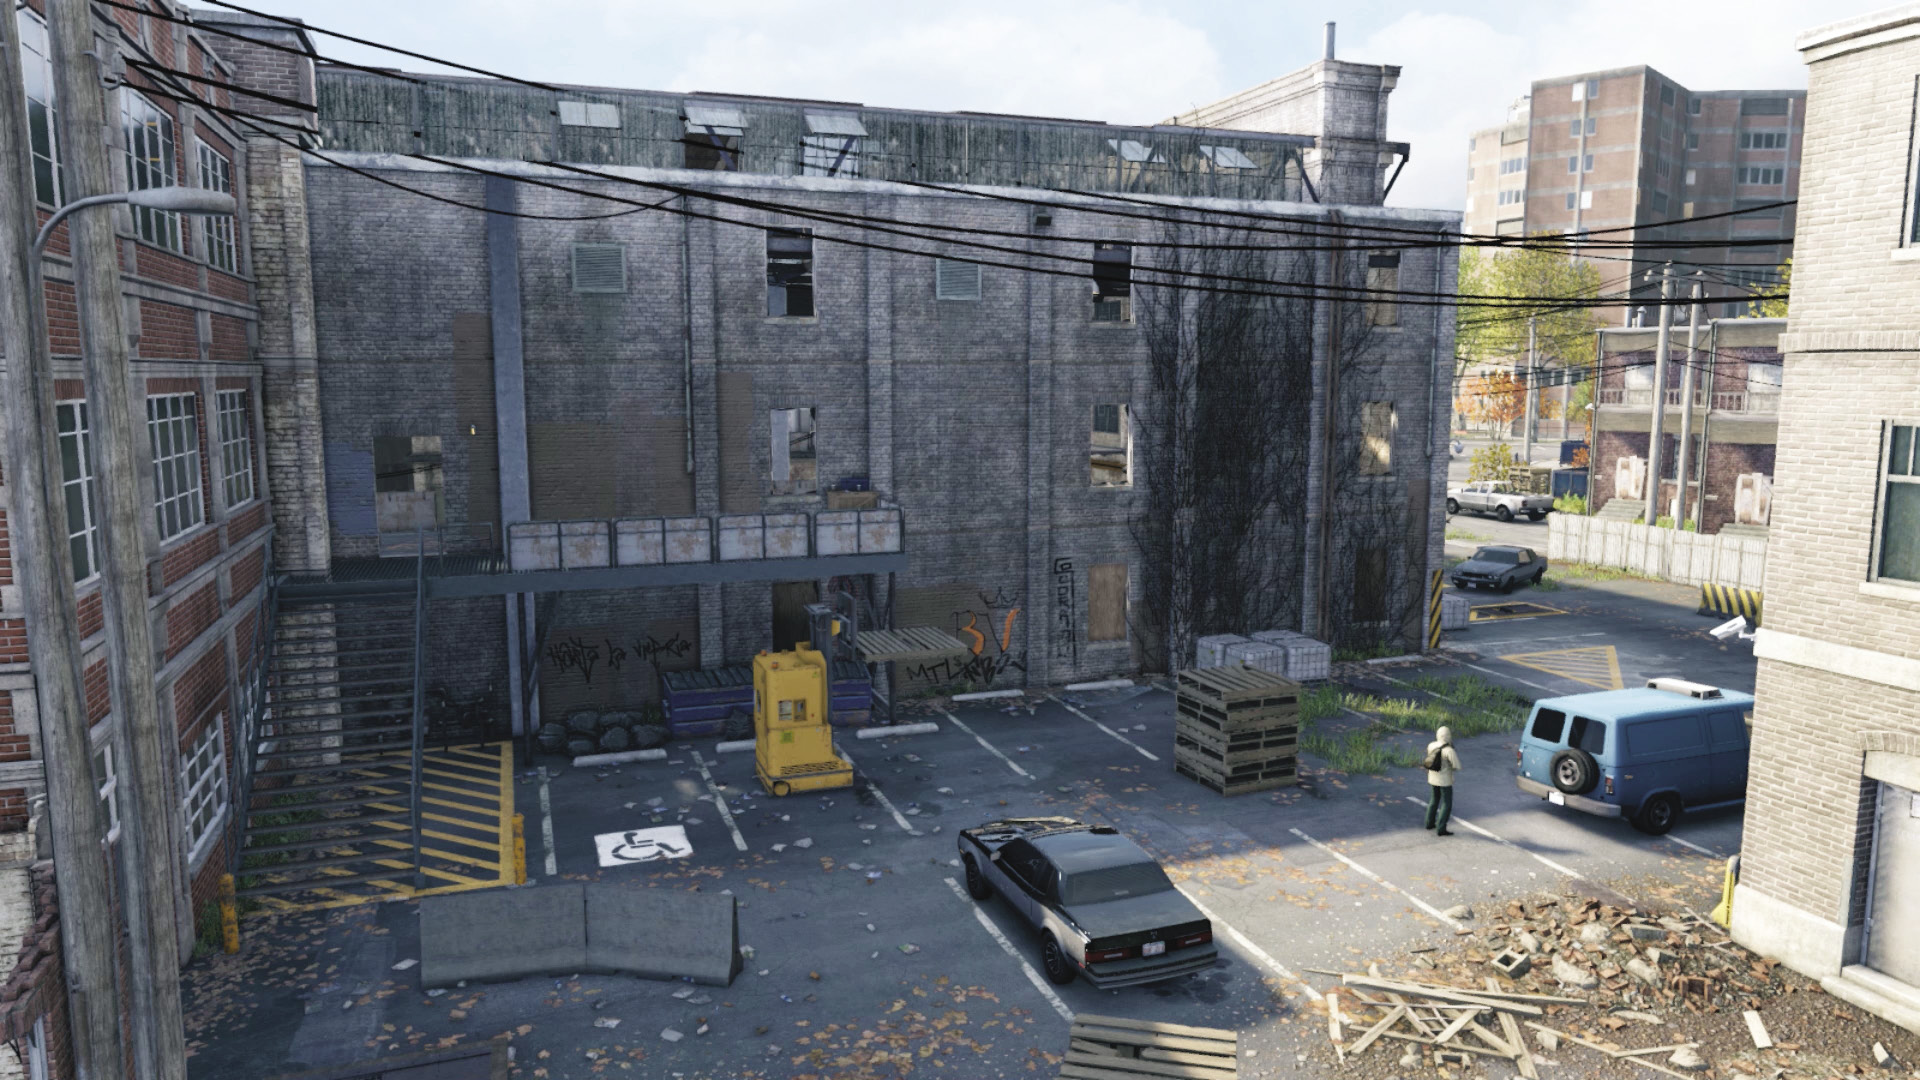
Eastern Side and Interior Balcony
Accessibility Level: 
This is accessible from the main road and is the largest expanse of yard around the structure. This area sees the least amount of action, as there are only two entrances and both of them are on the upper level, accessed by stairs and a balcony. A single foe patrols here, and the pallets, concrete barricades, refuse containers, and forklift are all great cover opportunities. You can also use the forklift to attract a foe.
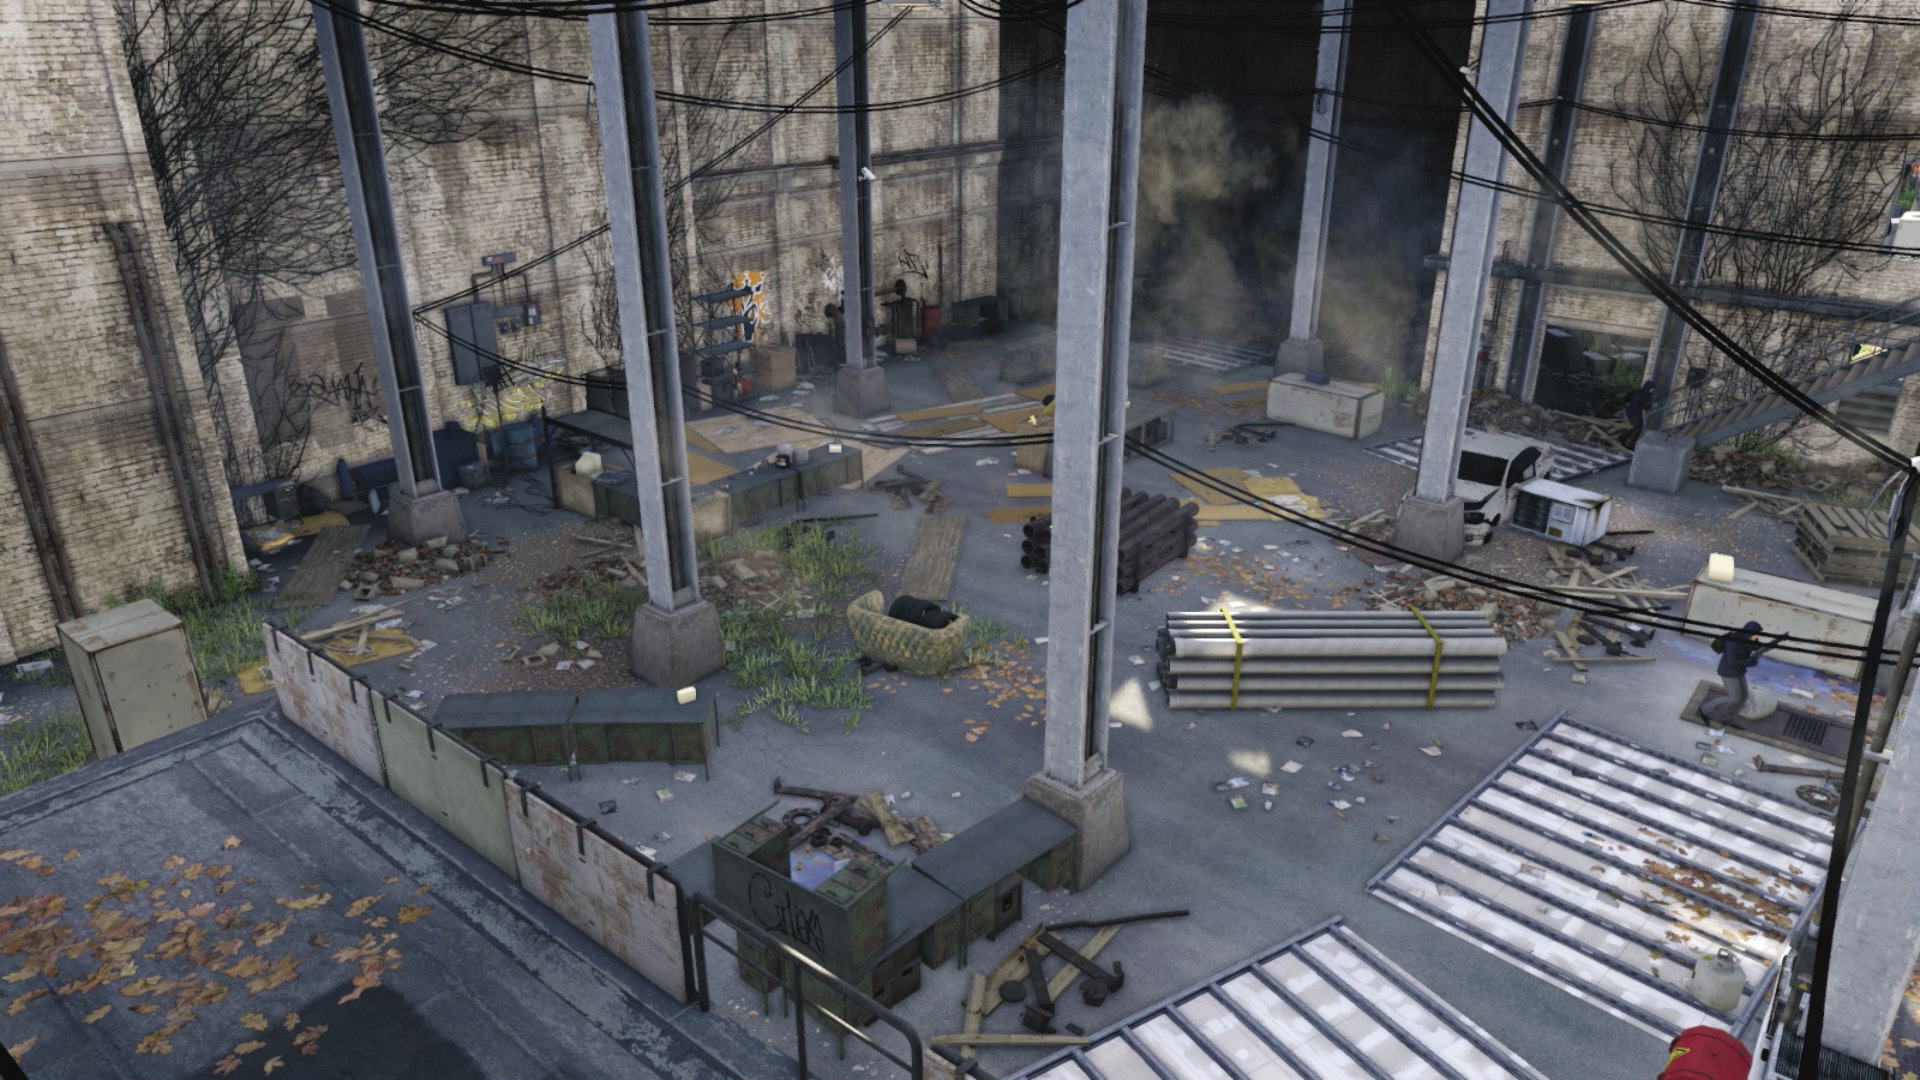
There’s an equally sized balcony inside the warehouse, with a couple of canisters to explode during later combat. You can drop down from any angle, but getting back up requires you to clamber from either end. If you wish to reach the computer in the quickest time, head in here from outside, drop down to the left, and scurry over to the PC, whether you’re fighting or not.
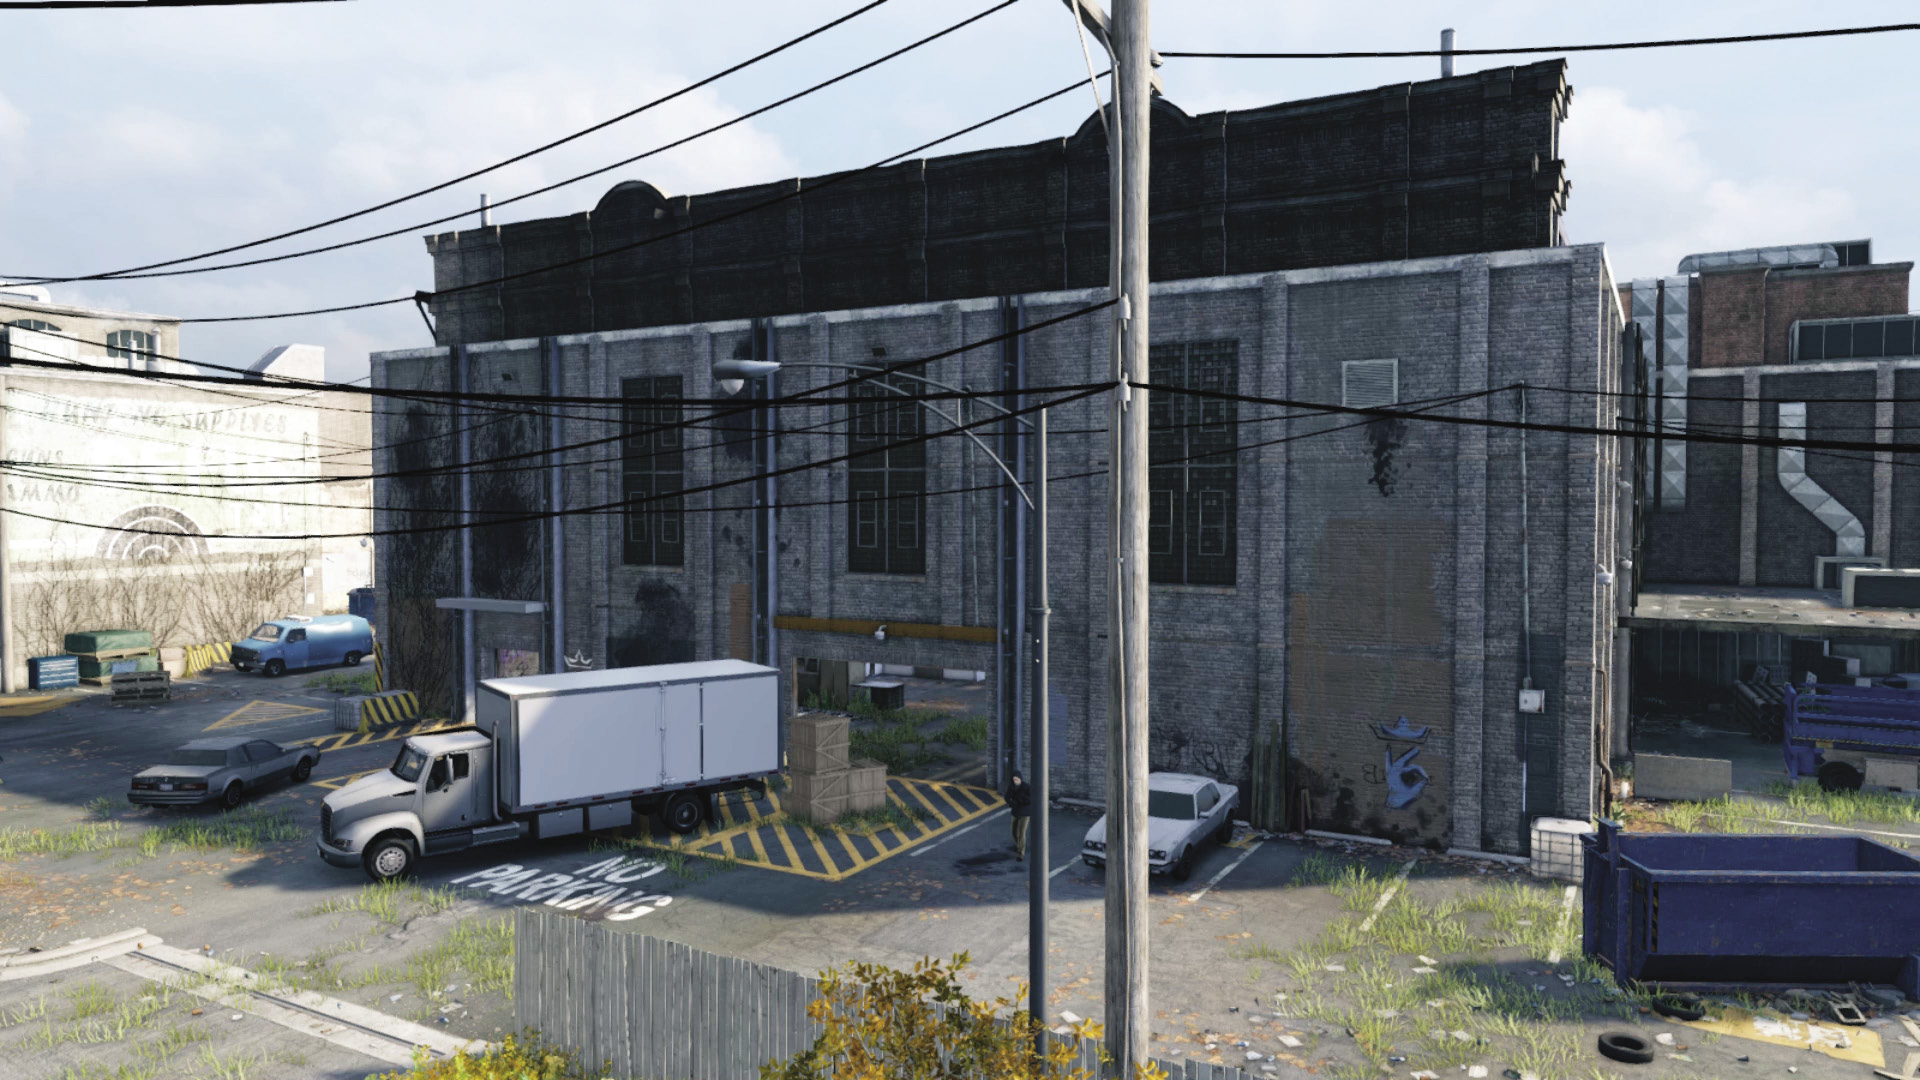
Northern Side Unloading Area
Accessibility Level: 
This area has the longest of the three sides and the easiest to enter and exit from, but with fewer locations to hide behind. Expect to be spotted through either of the ground-floor entrances if you’re not careful. Draw enemies out to the exterior area, or you can fire into the structure from the outside and hunker down, but it’s not particularly easy to defend from multiple threats. Maneuver through here to the east or west sides when infiltrating.
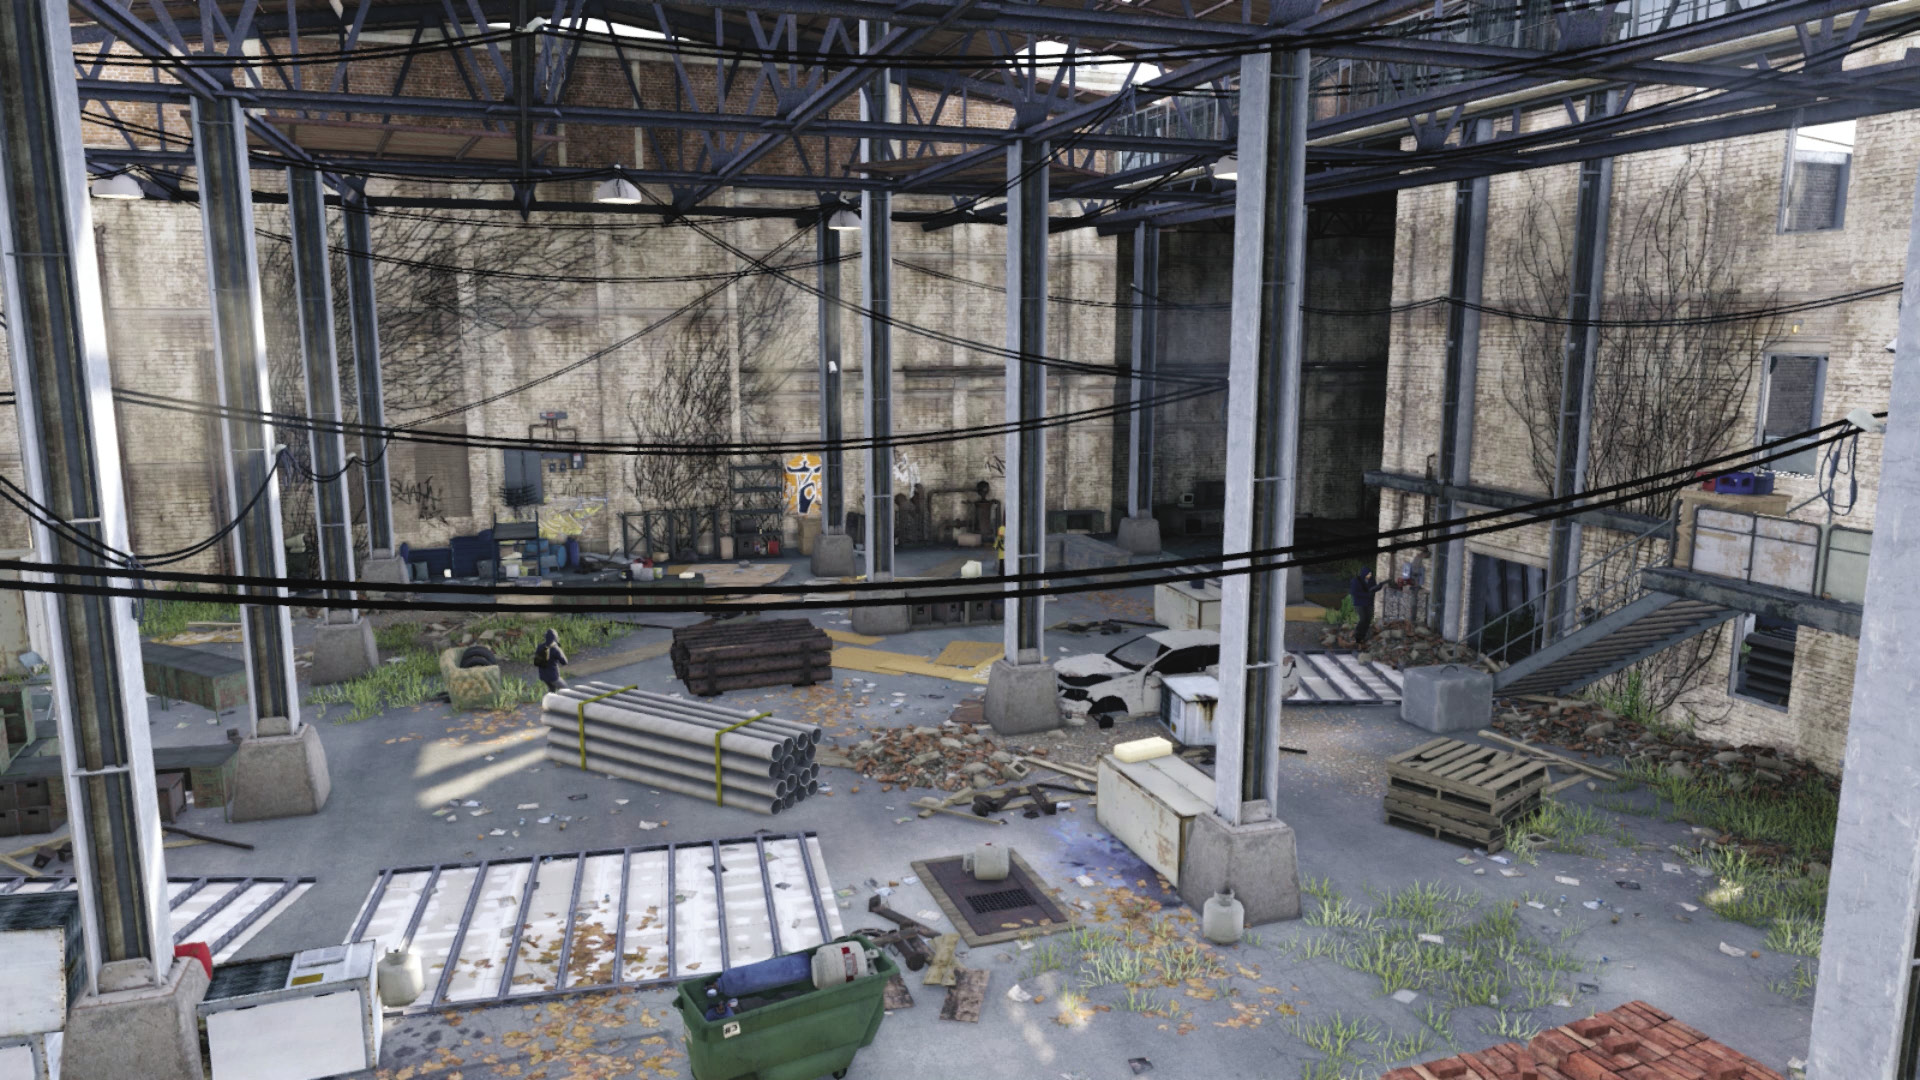
Either ground entrance is wide and offers a great view of almost every part of the warehouse interior; however, enemies appear from these entrances as the objectives update, and you need to weave through the copious debris to reach the computer on the area’s opposite side. This is useful if you’re trying to escape or training your weapon while defending from the computer desk along the far (southern) wall or climbing up to the balcony on the sides of the warehouse.
Western Side and Interior Stairs and Balcony
Accessibility Level: 
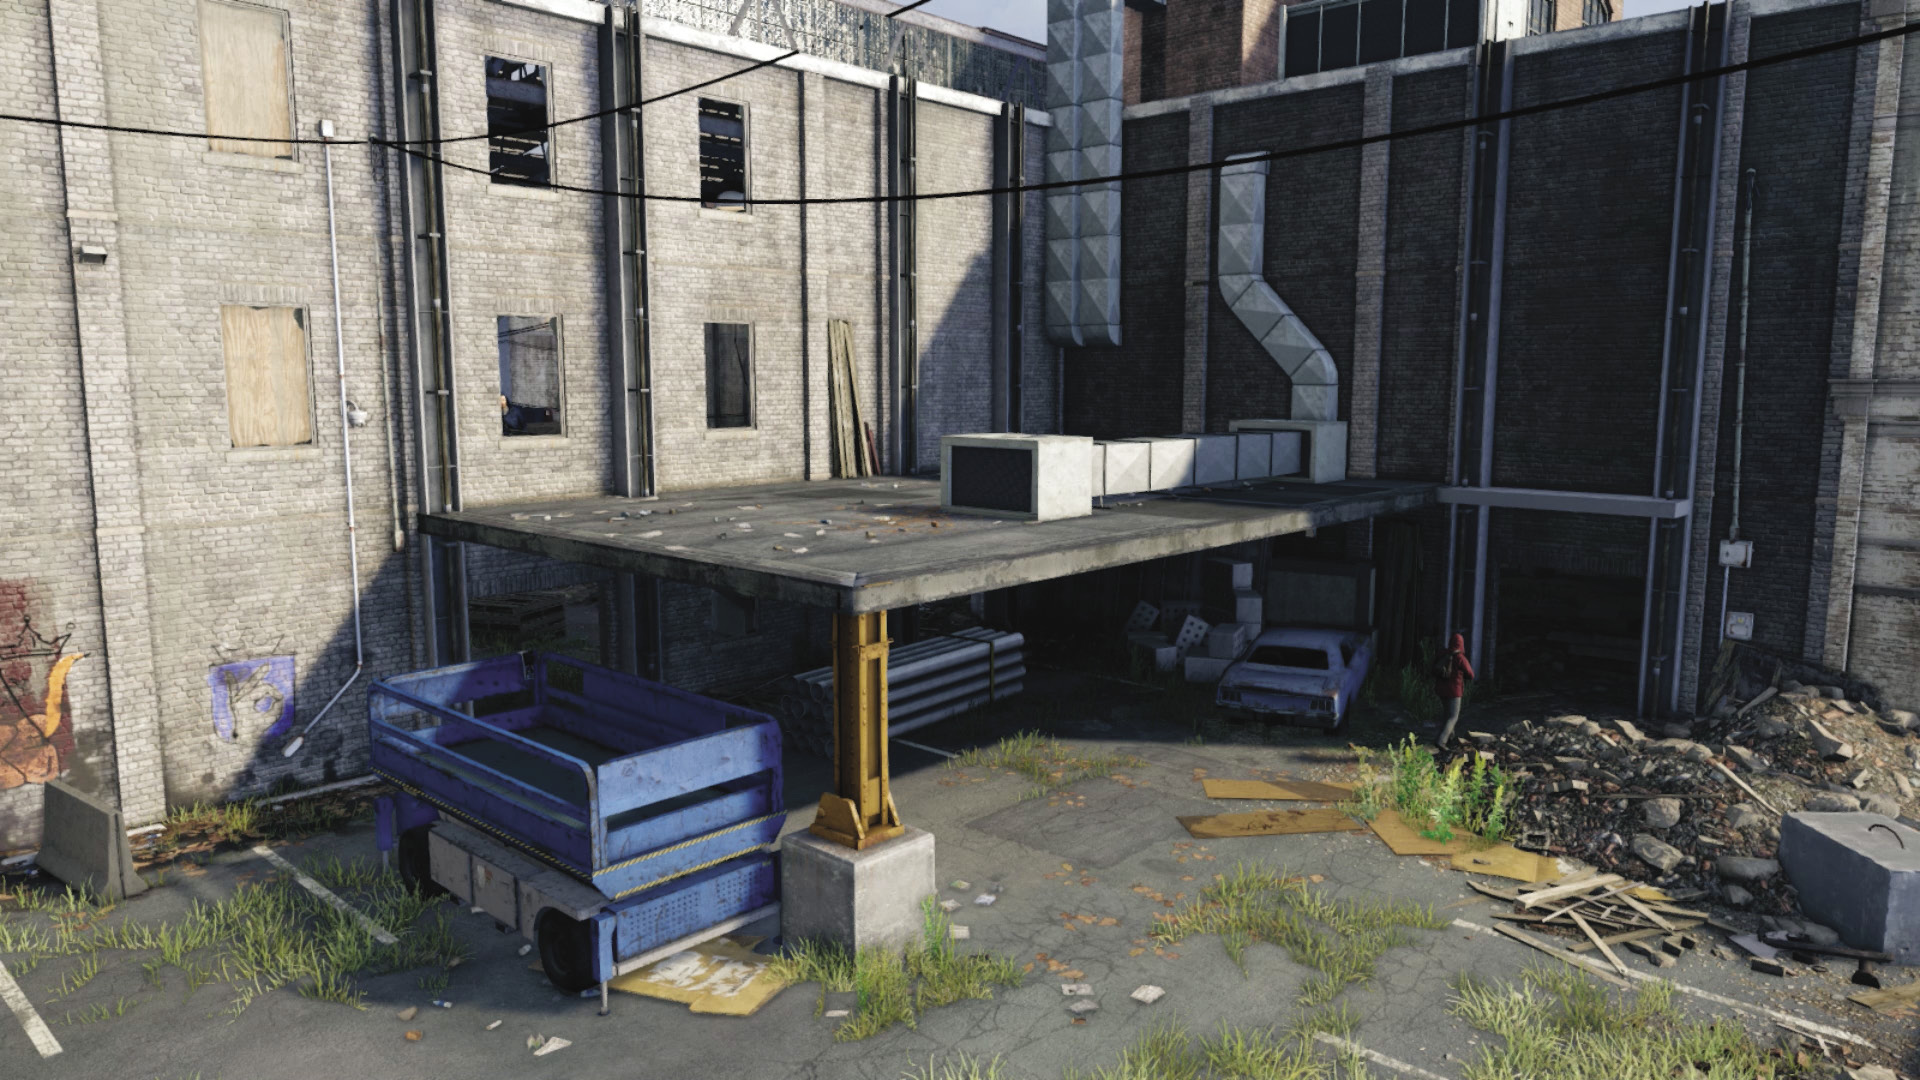
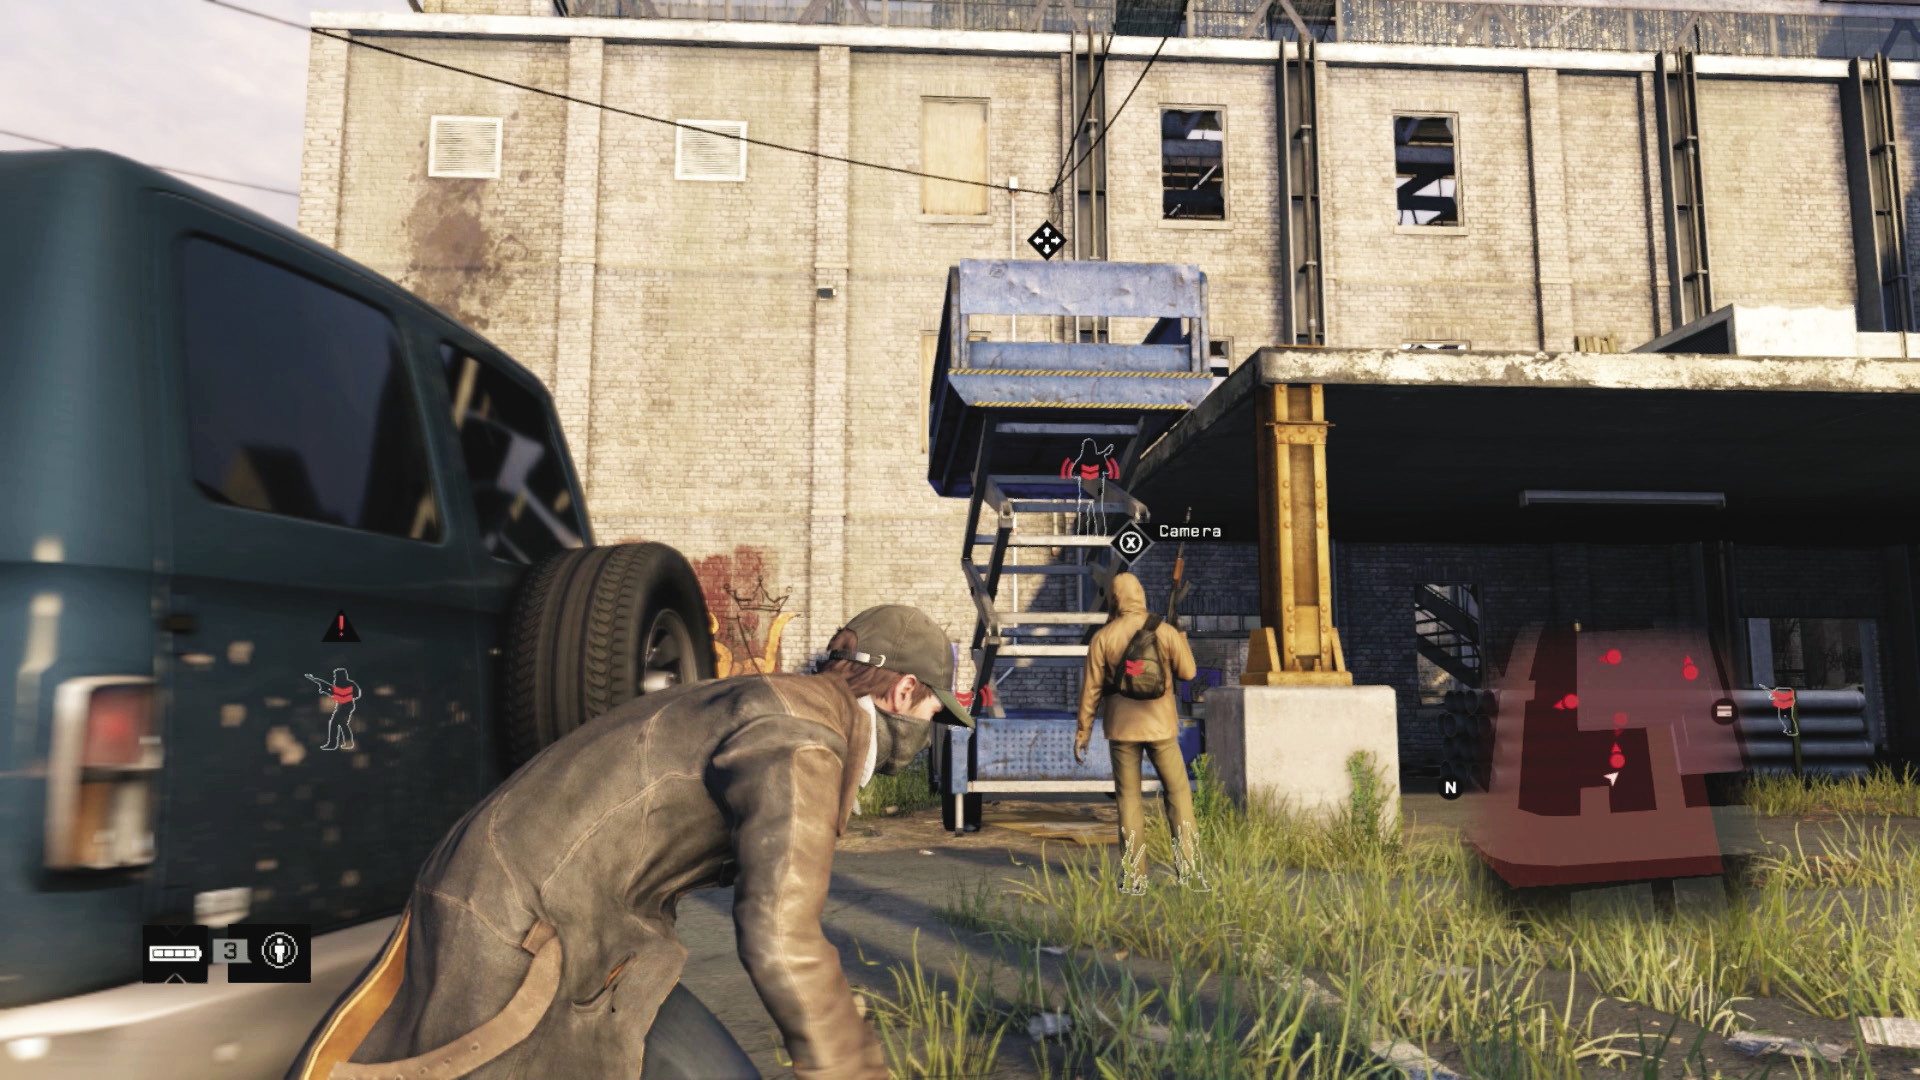
There are five different entrances you can pick on this side of the structure, making this the most flexible of the insertion points. Outside, the area is quite small but features stacks of bricks, vehicles, large refuse containers to hide behind or inside, and other debris to make hiding and coaxing out the enemy Fixers a little easier. There’s a large overhang near a scissor lift, too, which is a great hiding spot if you’re recovering or choosing weapons at a more leisurely pace.
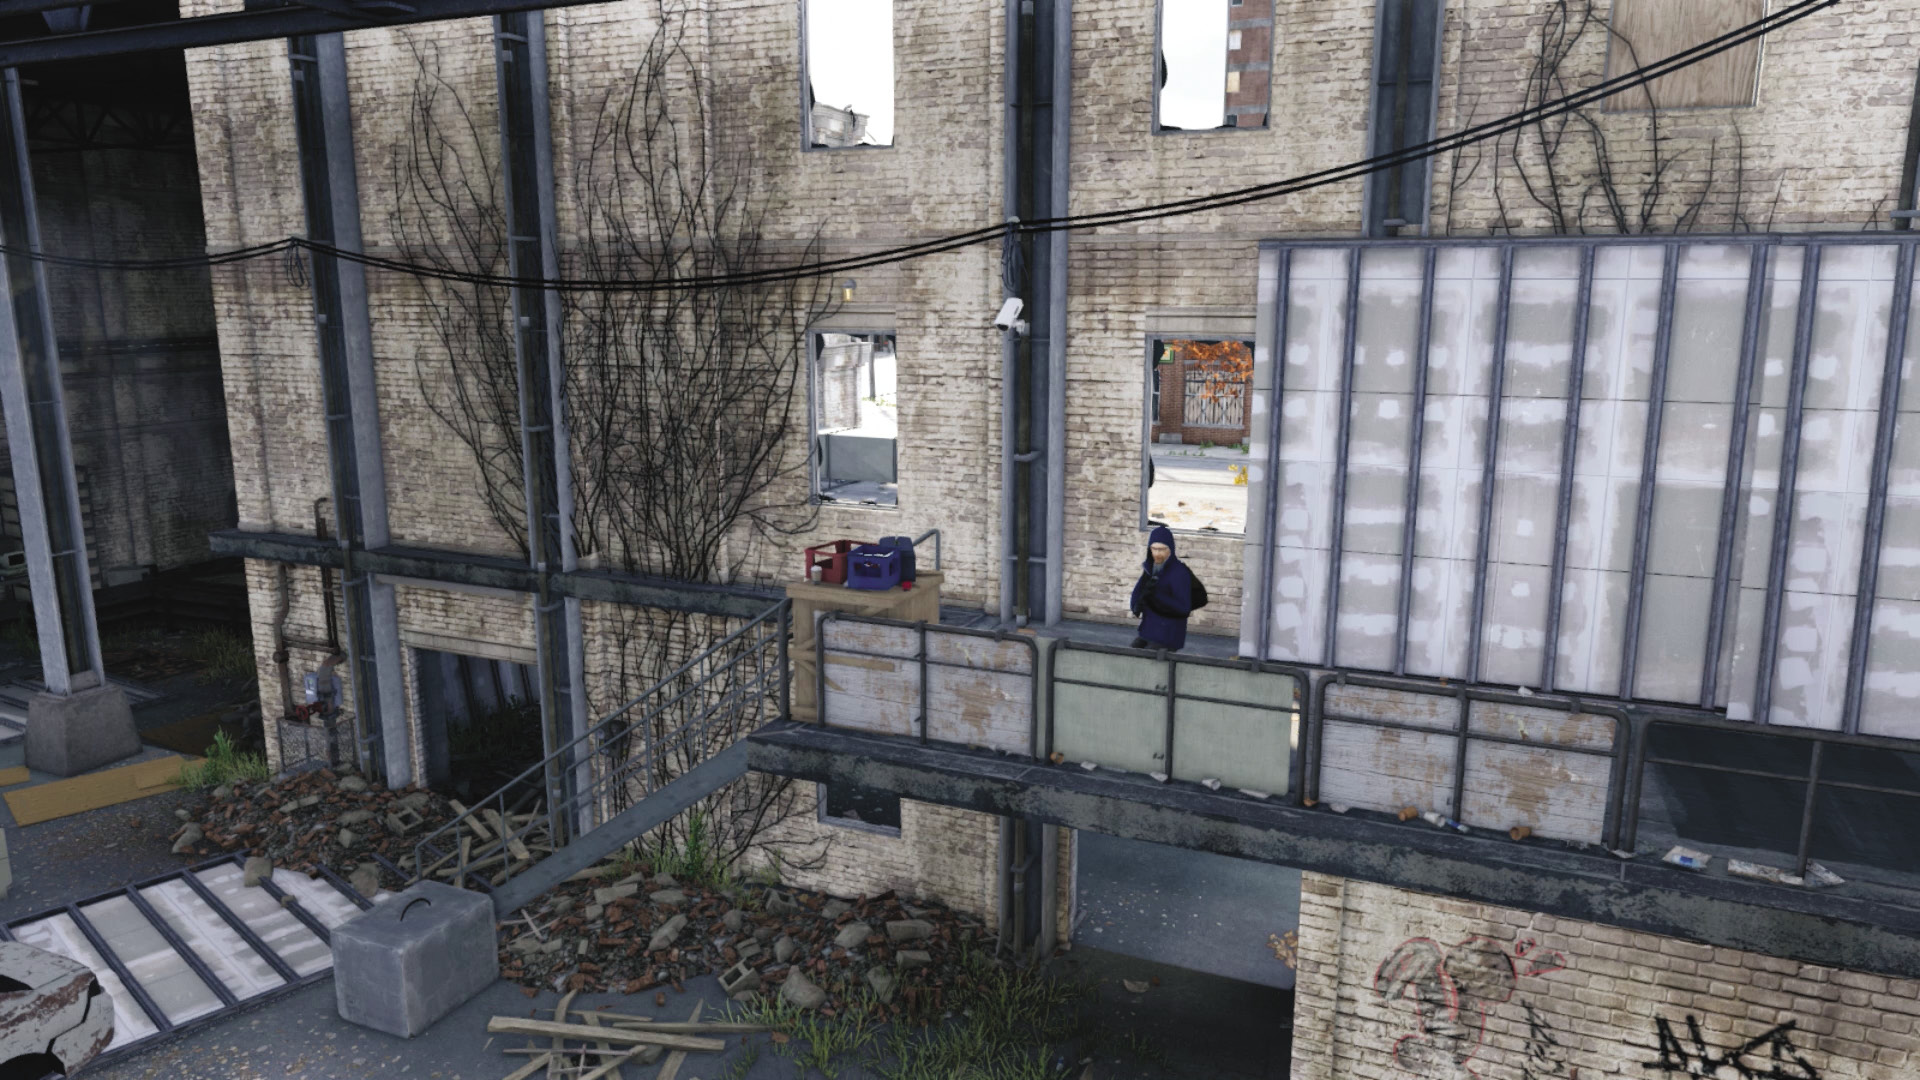
On the ground, you can head under or near the stairs and balcony, or take the corner entrance that places you in the alcoved area of the warehouse, just across from the computer; this is useful if you’re sneaking. Up above are two windows on top of the overhang, which you can access from the scissor lift (you don’t have to activate it, allowing you to move silently). Both the upper entrances lead to the stairs and balcony, offering a good view of the interior and some defensive metal fencing to hide behind.
Warehouse Interior and Computer
Accessibility Level: 
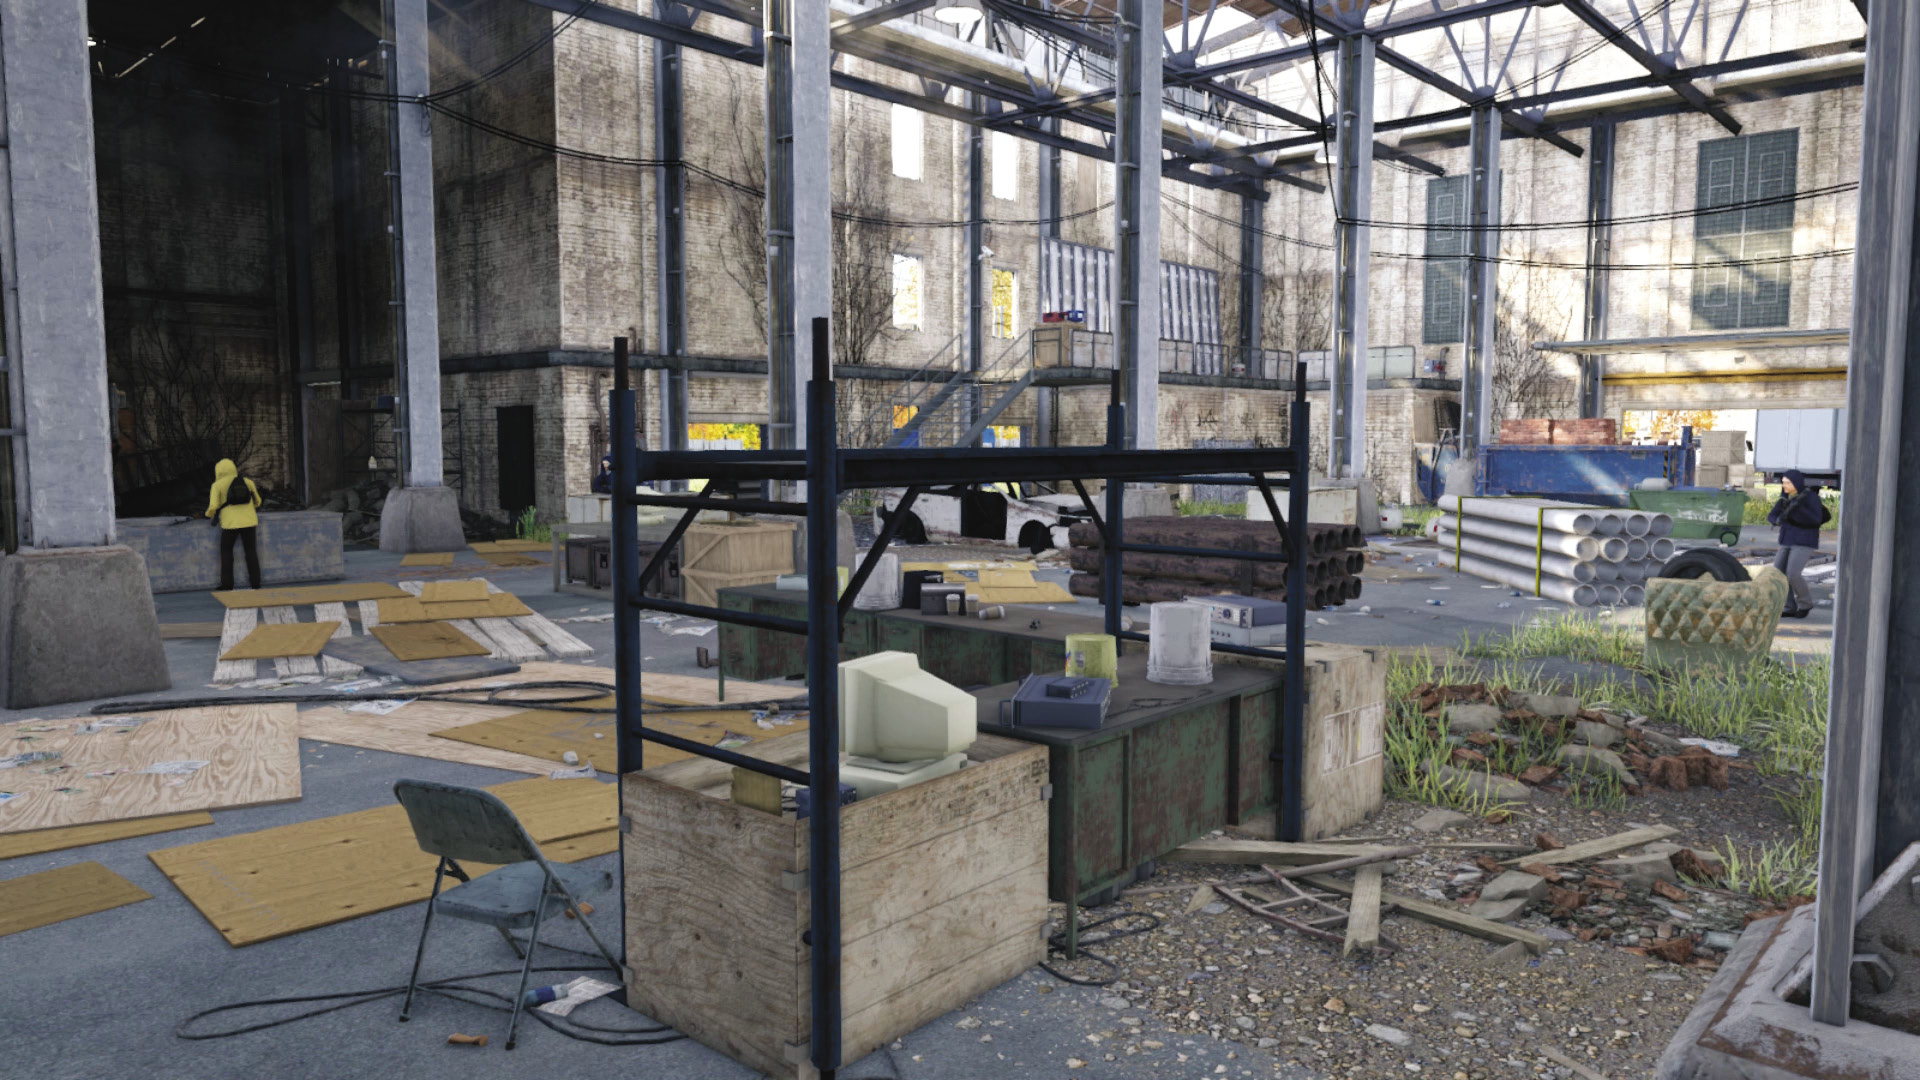
It’s important to fully explore the entire warehouse area, as this computer will need defending as you upload data to it. The upload area extends only to the base of the stairs and balcony, to the start of the alcove to the west, and to about two-thirds of the way north, making the defending part of your mission more problematic. However, there are a few regulators and explosive traps you can utilize; make sure you check out all possible cover opportunities before accessing the computer, after your initial Fixer takedowns. Don’t forget the ammo bag and a G106 grenade launcher to grab (close to the PC).
Progression Plans
You may now try one, parts of, or any combination of the following methods to access the computer, and defend it while the upload takes place.
General PreplanningIn and Out: You’re here to upload data from a PC and then leave. However, you must nullify the Fixer presence, in a particularly compact infiltration spot. Cameras and Technology: Remember cameras (both static and on enemies) are available, as well as some explosive pipework and transformers in the walls and floors. But shooting flammable canisters make a bigger impact. Gathering Provisions: You should be bringing a full complement of armaments with you, but there are items to gather, including ammo bags and an impressive grenade launcher, inside the warehouse. Take this in between the action. Quick Getaway: After you remove the two waves of foes, one flees, forcing you to pursue him in a vehicle. Choose a heavy-duty rig for the job, and know where it’s parked. Eliminate, not Investigate: Remember your objective specifically calls for removing the Fixer threats. You have no passive options in this mission; melee or ranged takedowns are mandatory. |
 Aggressive // Stealth: Quietly Reaching the Old-School Computer
 Difficulty:
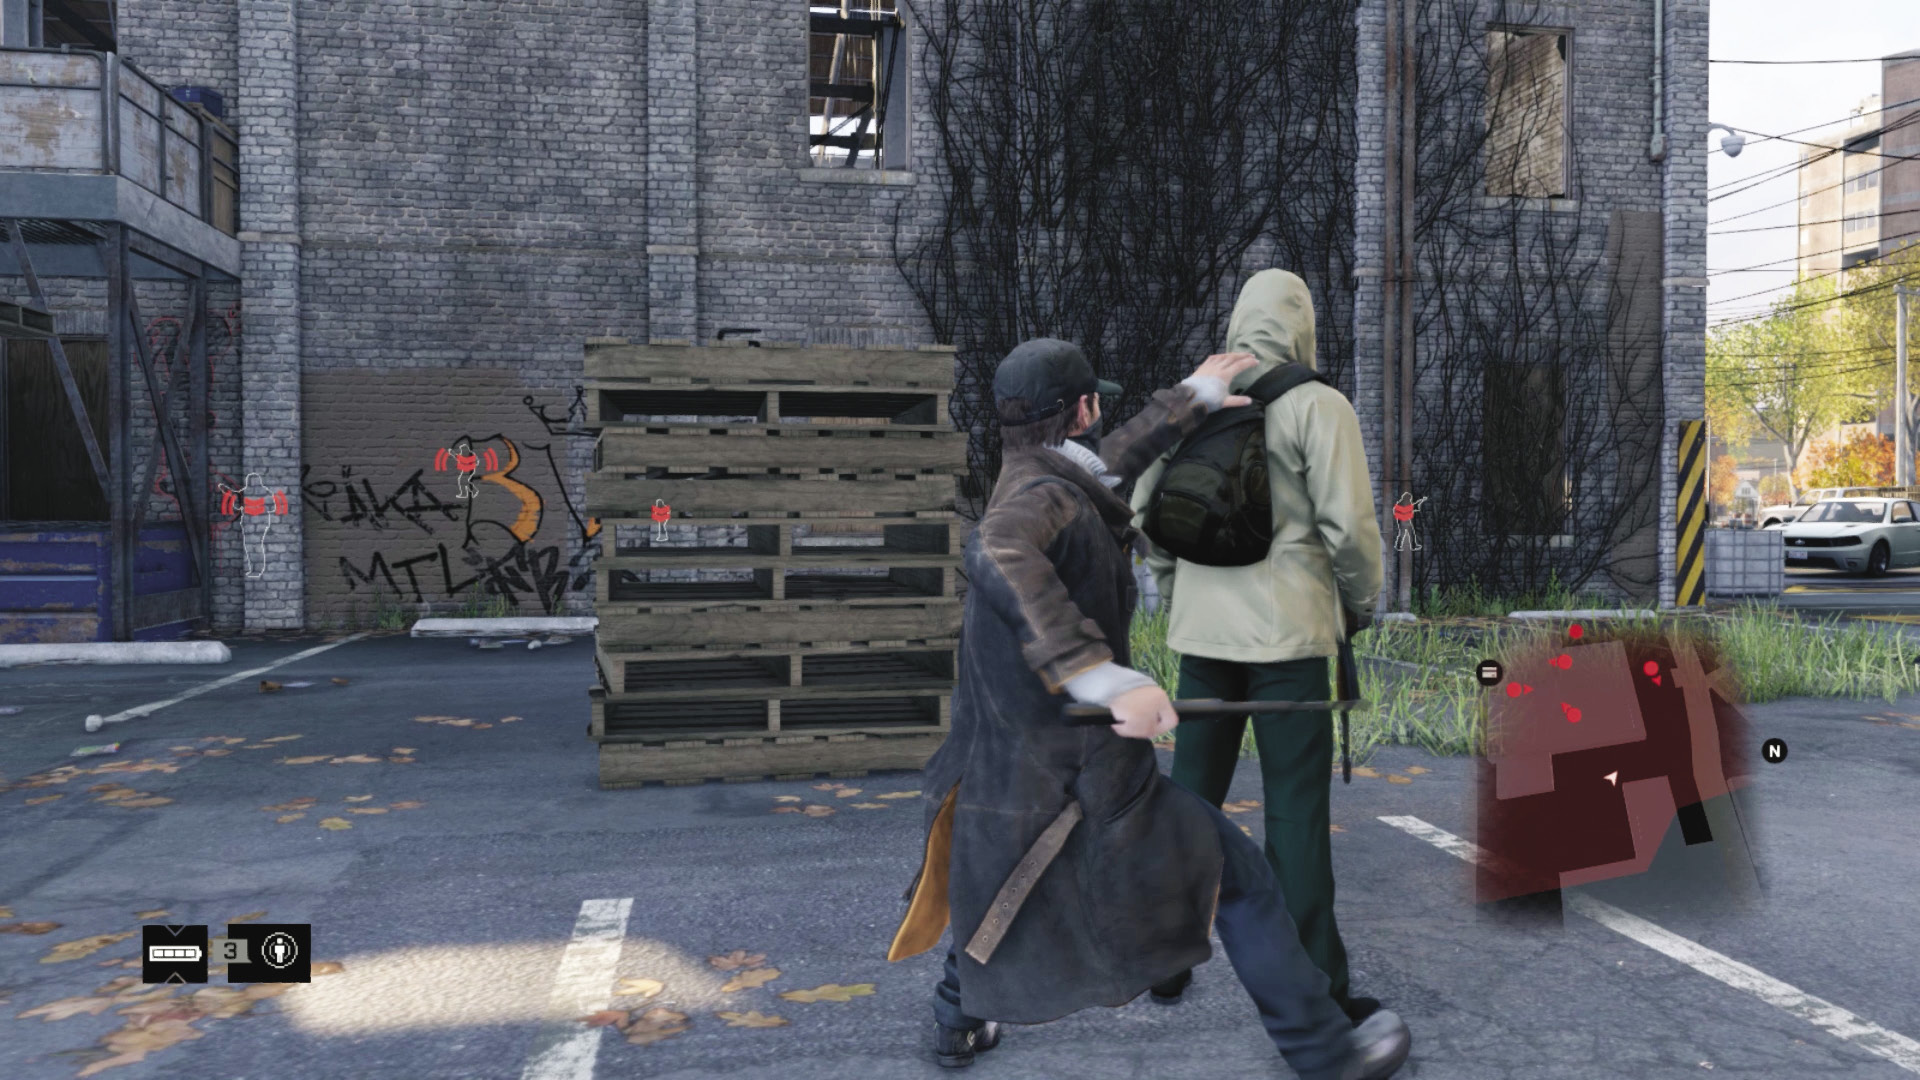
Though it’s more to test your skill than offer a huge strategic advantage, melee takedowns are thoroughly satisfying as you work your way to the computer (however, you can remove Shot-Callers more easily if no one knows where you are). Here are a couple of tried-and-true routes to take:
Begin in the western exterior area and move behind cover, throttling the guard here, the one in the north unloading dock (hide by the truck), and the one to the east. Then climb to the overhang, strangle the foe when he reaches the top of the stairs, and sneak into the warehouse alcove for the foe near the computer. That leaves one roaming enemy in the warehouse to melee-strike at your leisure.
Begin in the eastern exterior area, throttling the guard here before moving to the north, then the west, and up into the balcony area. Silently drop down and remove the foe with the camera. Sneak counterclockwise around the interior perimeter, climb the balcony connected to the stairs, and bring down one more foe. That leaves one enemy roaming the area near the computer to throttle at your leisure.
 Aggressive // Smart: Hacking into the ctOS Router
 Difficulty:
In this battle into the warehouse and the one when you’re defending the warehouse, use the technology against your foes. Cameras are reasonably helpful when pinpointing your foes, but Profiling on your smartphone is a good idea, and the ctOS scan crafting item is most helpful. Also ensure you hack into the wearable cameras some foes are wearing, so you can see their patrol patterns and study the warehouse.
Infiltration: Use the forklift, car alarm, and scissor lift to coax foes into an area where you can easily jump out and take them down.
Infiltration: Lures are useless when you’re defending, but while you’re infiltrating (and ideally using the stealth routes detailed previously), use these to position guards so you’re behind them. You can easily remove all foes before reaching the computer without firing a shot. You can perform impressive takedowns, such as standing on the lip of the door frame by the alcove exit and dropping down onto a foe who moves into the western yard. If combat is already occurring, incapacitate the enemy by hacking their phones or grenades as you have previously.
Defending: This is the time to detonate the regulators and junction boxes on the ground and the walls. These aren’t the most effective takedown methods, but they are there to confuse or drive foes out from cover.
Defending: Use proximity IEDs to prepare the entrances to this warehouse’s interior, ensuring you quickly strike the next wave of foes. Use these as “alarms” so you know where enemies are coming in from, and place them close to explosive canisters.
 Aggressive // Violence: Becoming an Impressively Deadly Shooter
 Difficulty:
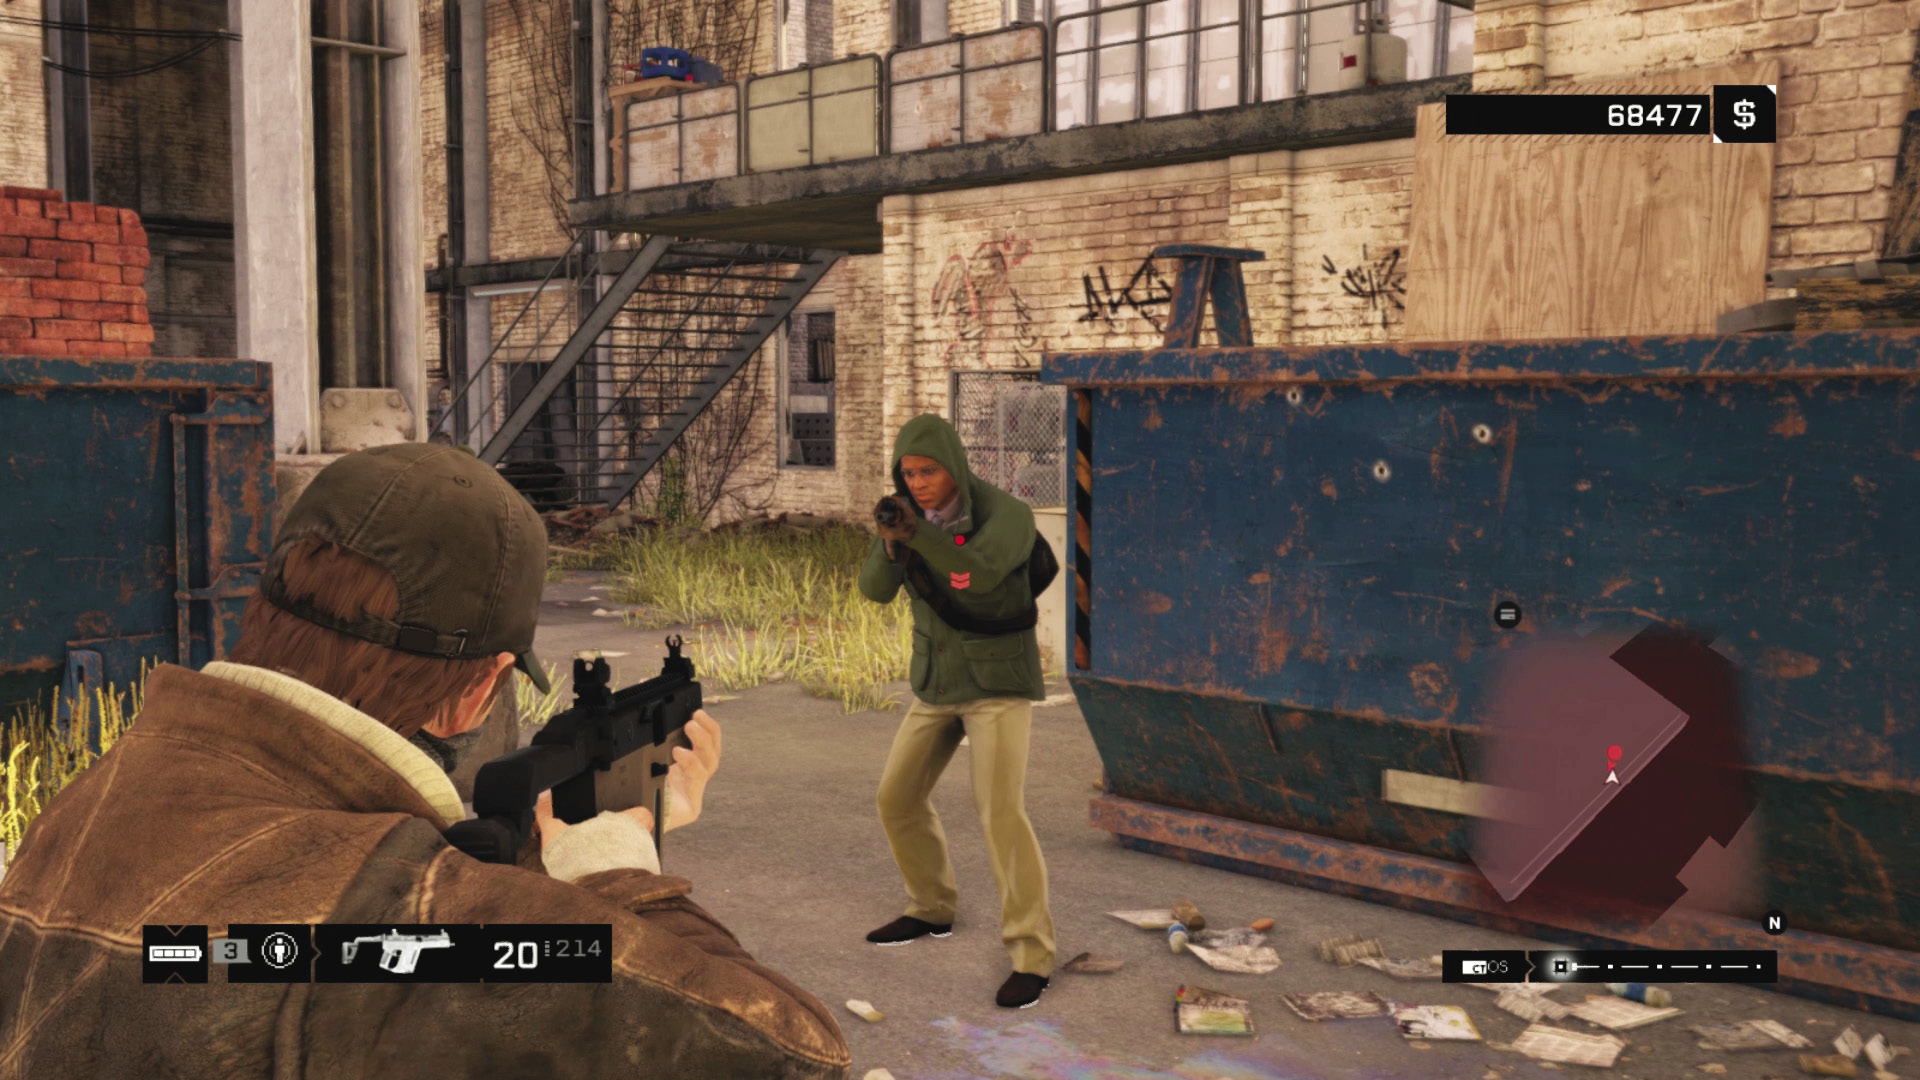
While you’re infiltrating, it’s a good idea to perform quick, accurate headshots before moving on, rather than starting a major firefight and blowing up much of the scenery. Explosive takedowns are much more helpful during the defending stage of this mission. Remember to gather any dropped weapons (though the shotguns aren’t as helpful if you’re firing at range). Use of cover is mandatory; wading in with guns blazing is unwise in the extreme. Try the following options when inserting yourself into the warehouse:
Stay in the yard and use lures to coax foes into an explosion or your firing line.
Use of Distract or Explode hacks, grenades, or IEDs is also encouraged any time you’re having trouble removing a foe from cover.
Stay on the overhang, and fire through the window or down at the yard; foes can only reach you from the stairs, which you can grenade or use IEDs on—or simply defend with gunfire.
Stay on the stairs or balcony and quickly tag each enemy with a headshot as you pan around the room. The extra height means foes can’t easily hide.
Move into cover in the alcove area, pop shots at foes, then retreat back into the side yard and drop foes as they head through the exits.
Grenades are an option, but you have only three foes to tackle inside the warehouse, and detonating all the canisters and other flammable objects is better left for the defending.
 Driving // Offensive: Dashing Around Like a Lunatic Commuter
Difficulty: 
You can also think about parking a car outside the perimeter fencing to the north or west, sitting behind it with a high-power rifle (or anything from a grenade launcher to a pistol—just something with a bit of distance to its impacts). Fire into the structure, forcing foes out to advance to you. You could also go wild crashing through the perimeter fencing to create less cover from your shots.
Riding a bike into the fray also works here, as you can drive straight through one of the openings fairly easily and reach the computer before the enemies realize what’s going on. However, you still need to clear them out when you get there, as you can’t hack while you’re being peppered by gunfire.
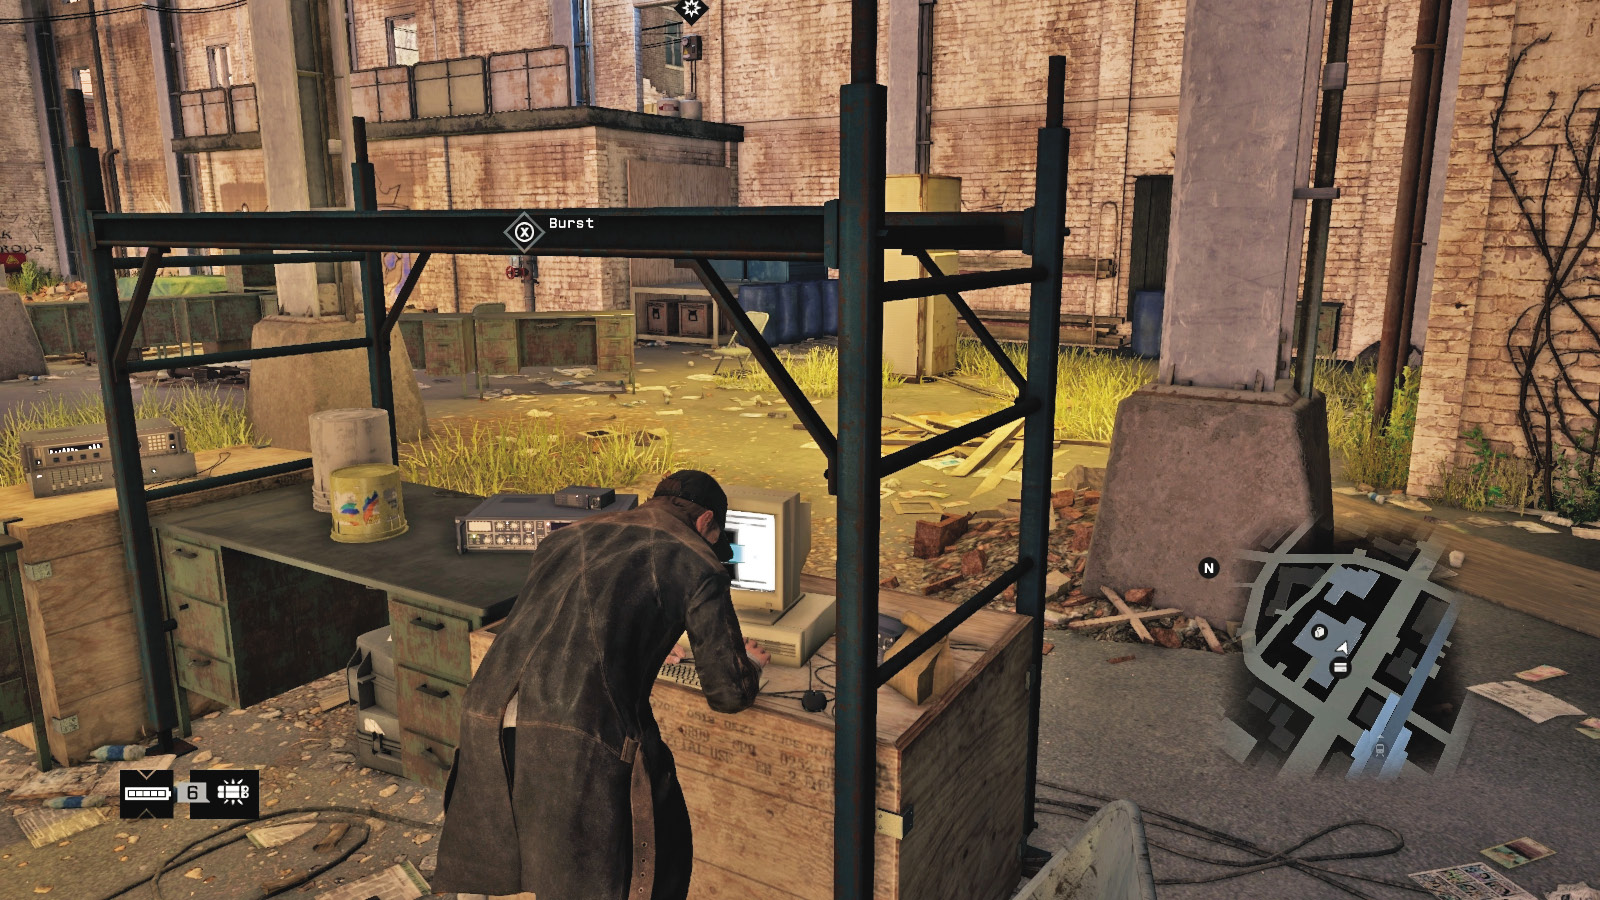
With all six foes disposed of, you speak with Clara. After a thorough search of the warehouse for ammo bags, the grenade launcher, and any other items you want, head to the computer and start the data upload. This commences just in time for a number of Fixer reinforcements to arrive!
15.3 RETRIEVING DATA. DEFEATING FIXERS
|
|
 Defend the area until the upload is complete
 Eliminate all Fixers
 Location / The Wards // Police Surveillance Post (Decommissioned)
 Infiltration
 Data Hack
 Lethal Force Likely
 Melee Force Likely
Difficulty: 
Overview
 Completion Point: Desktop computer inside the abandoned warehouse (listening post).
 Dangers During Data Retrieval: 12 well-armored Fixers (Veteran x12) with grenades, shotguns, and machine guns.
Progression Plans
You have two main tasks to complete: Wait within the computer’s Wi-Fi radius so the data is retrieved, and remain here until the data is gathered, which takes around one and a half minutes. At the same time, expect Fixer attacks from all entrances. Here’s how to deal with them:
 Aggressive // Smart: Using Technology as an Explosive Offense
 Difficulty:
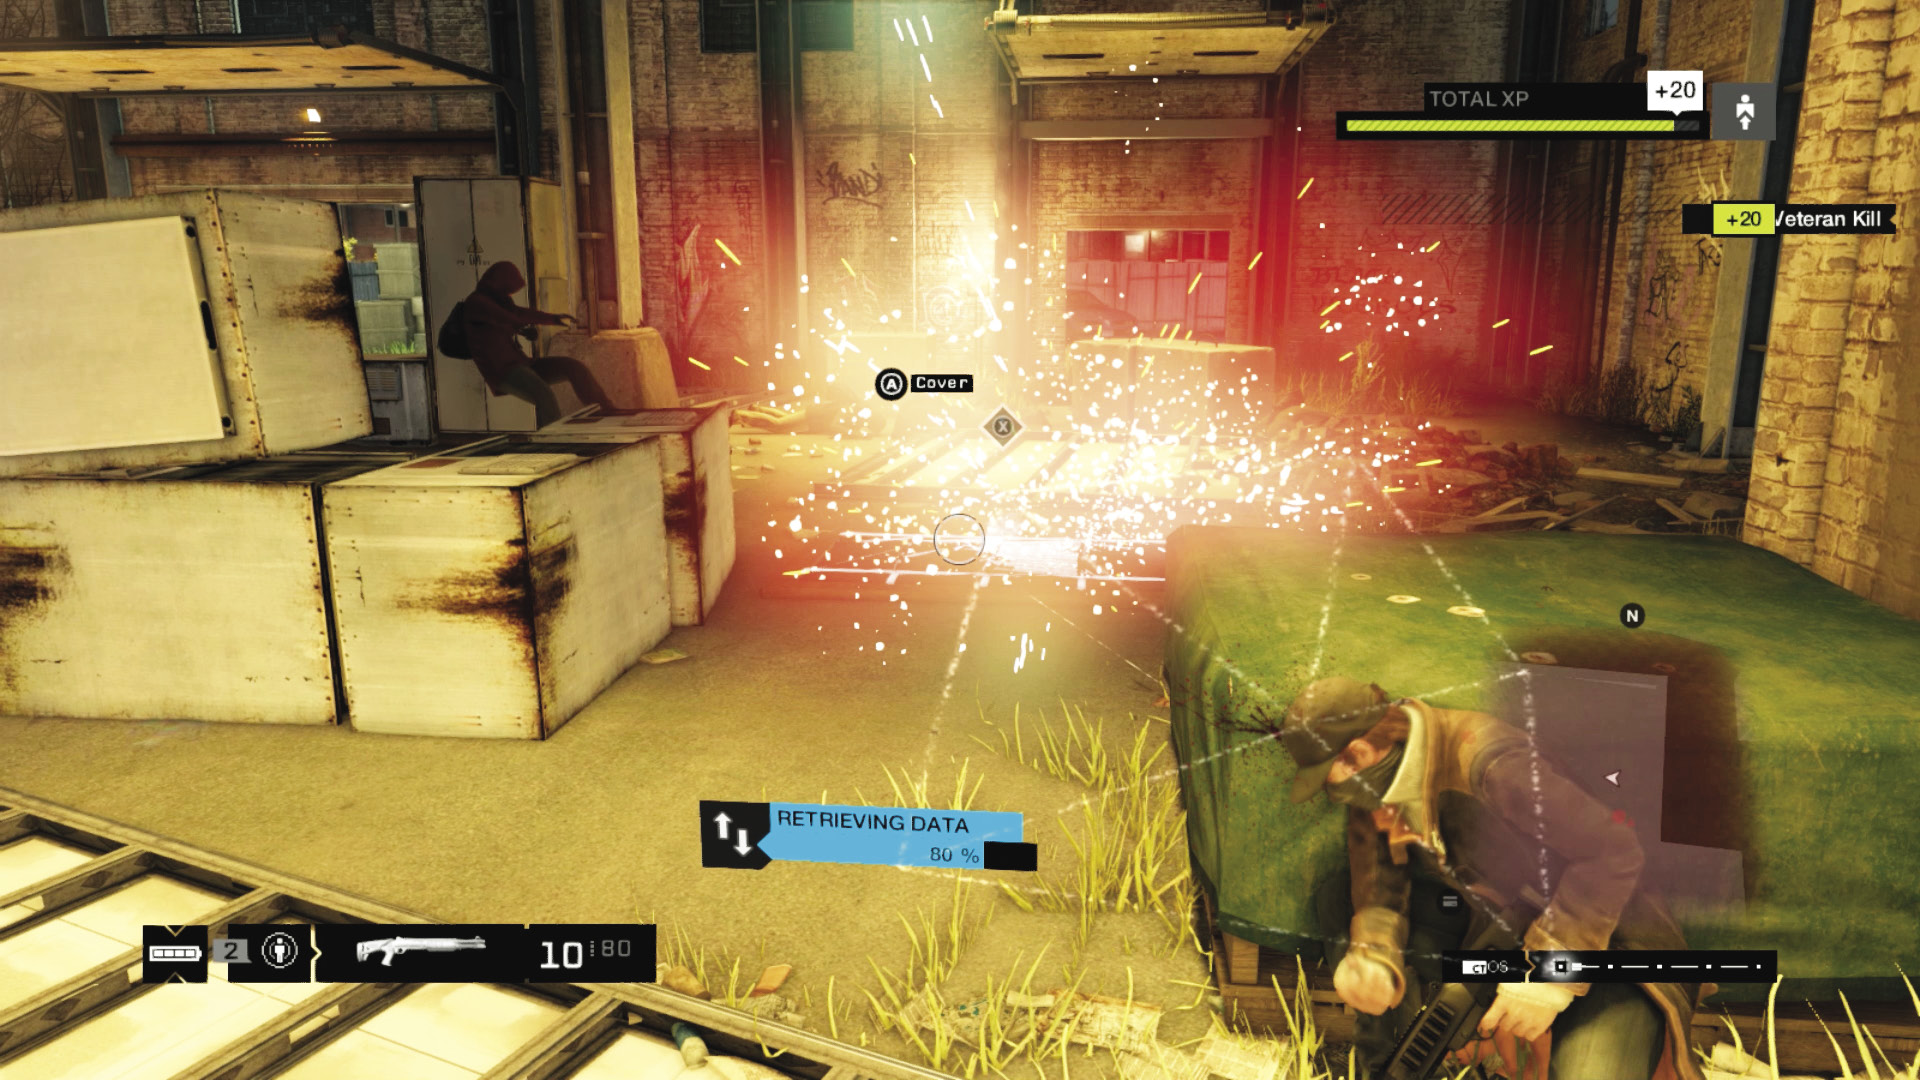
Time for some offensive capabilities—you should have been saving for this type of ambush! Use the explosive junction boxes and pipework on the walls and floor as the foes encroach into your room. These always set off a multistage detonation with nearby canisters.
You can also manually blast at canisters; the easiest to spot is the red flammable unit ahead and slightly left of you (if you’re looking north from the computer desk). This creates a chain reaction around the warehouse, which can really remove two or three threats if timed correctly.
 Aggressive // Violence: Using Cover in Your Warehouse Defense
 Difficulty:
Violence is the only solution here. Thankfully the 12 foes are spread out and approach from the left ground and stairs, middle unloading entrances, and right balcony areas. It is important to figure out a way to retaliate and a place to do it from:
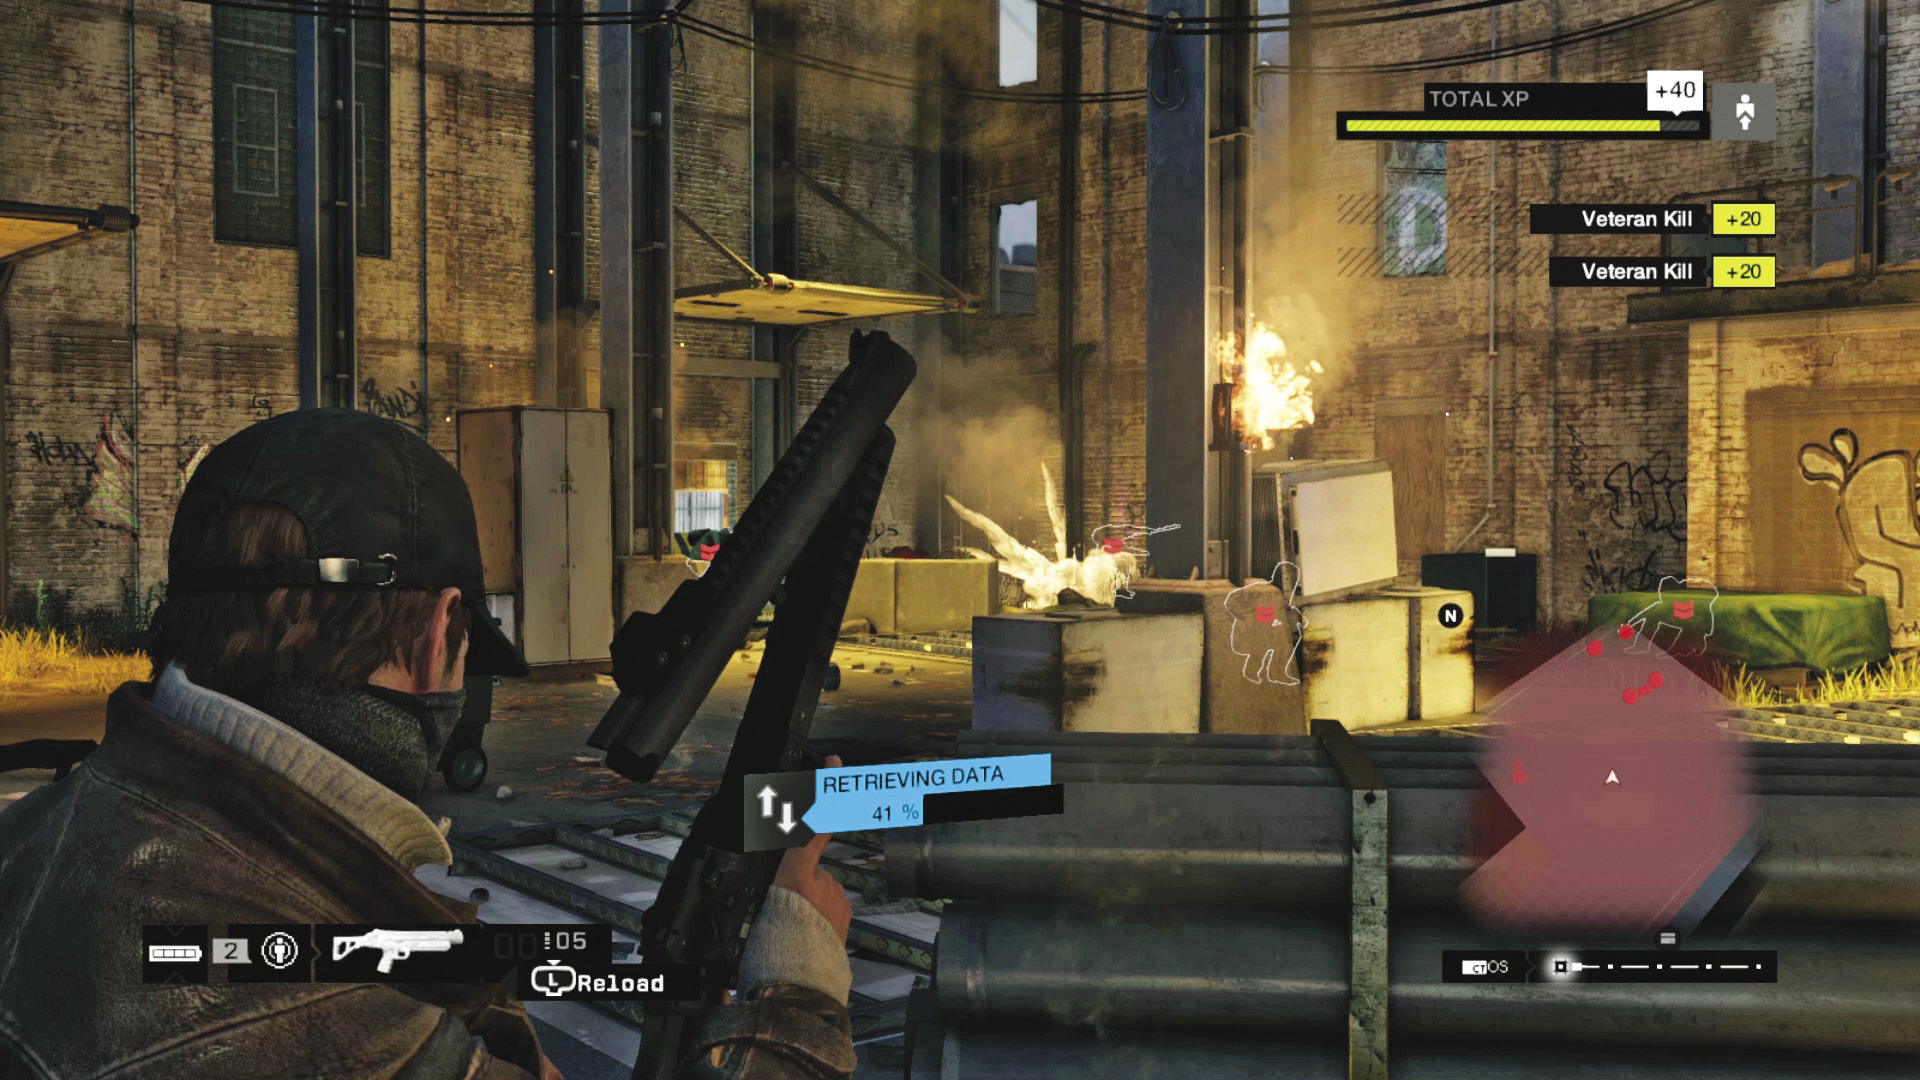
Retaliation Plans: Try the following methods of fighting back:
Stay in cover. Peek out after lining up a headshot, and drop the foe closest to you or the one about to attack your flank.
Grab the grenade launcher and punt grenades at foes, forcing them from cover. The aim is important; you don’t want to land the grenade too far or in front of the cover they’re in and waste the shot.
Frag grenades are also helpful. Lob them up onto balconies where a foe usually has the upper hand; there are canisters up here that cause a daisy-chain explosion too.
IEDs are a cunning plan; place them at entrances and detonate them in high-traffic areas, or move to an area so the foe follows you, and remove him as a threat. Stick them to vehicles you’ve parked in here and detonate them; this can take out multiple foes if they’re milling about near a main entrance when the bomb goes off.
Stay in one place and peek out to shoot, or move from cover to cover, depending on the location of the threats.
Sprint to a target behind cover and execute them from melee range with your gun.
Train your weapons on the entrances, and lay proximity IEDs beforehand.
Block entrances with vehicles, forcing foes to fewer insertion points, or where they gather, and detonate with an IED.
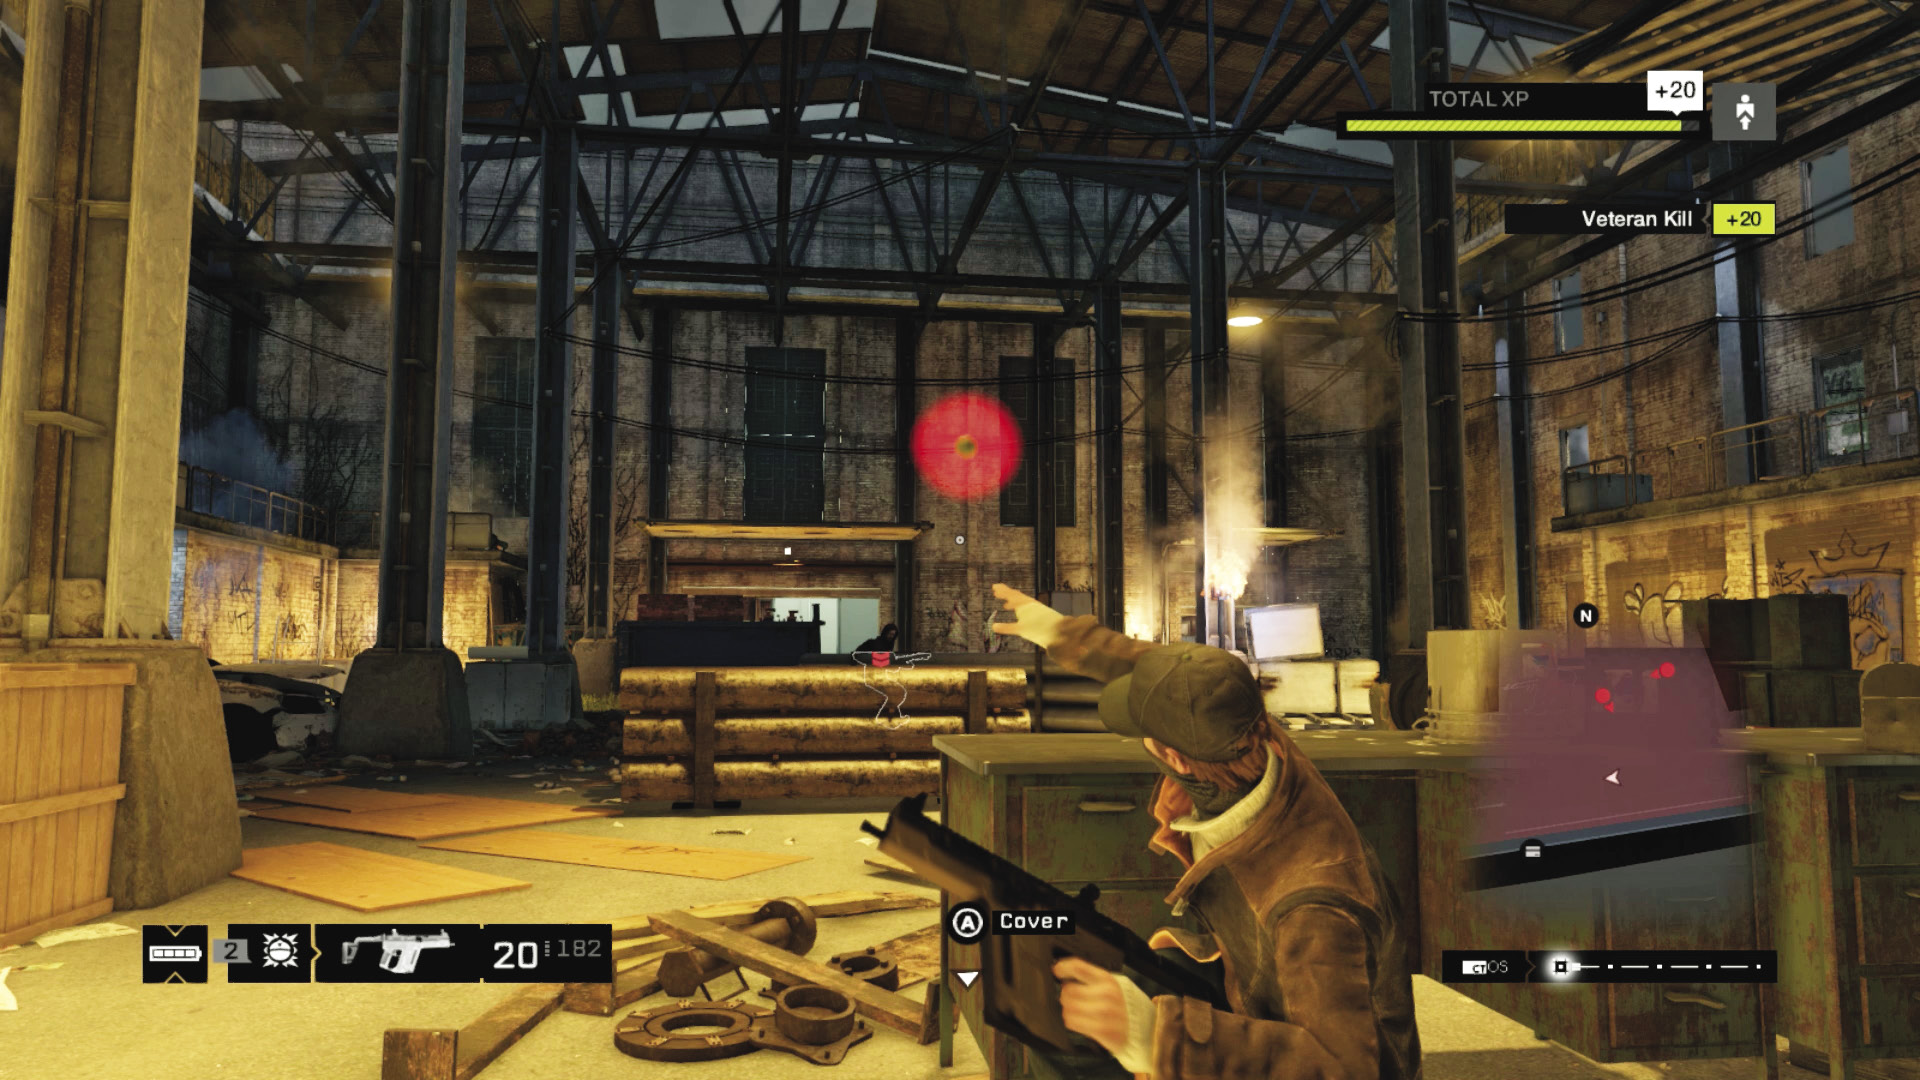
Location Plans: Beware of being surrounded. Stay close to perimeter walls to hinder flank attacks. Fight back from the following areas within the restricted area:
The desk:This is a reasonable place to hide, but you need to watch the sides, especially the balcony on your right. Use the nearby additional cover to run between if foes are concentrating their fire on you.
The southeast indent:The tiny southeast corner of the warehouse, with pipes on the wall, offers reasonable cover and you can hem yourself in here.
The balcony:Crouch against the wall directly below the south part of the balcony; foes above find it difficult to shoot you, and you have good vision across the warehouse to the opposite stairs.
The pillars:Less effective simply because of the lack of cover; however, you can more easily step out and fire at a foe.
Out of range:An excellent idea is to simply ignore the limitations of the upload radius within the warehouse and flee outside as soon as the data retrieval begins. Now employ any previously mentioned tactics without worrying about the upload; you have to kill the enemies anyway; that upload can wait until afterward, when it’s safer to stay indoors!
|
|
 Wipe the hard drive
 Chase and eliminate the Fixer
 Escape the police
15.4 ENGINES OF DESTRUCTION
 Location / The Wards // Police Surveillance Post (Decommissioned)
 Data Hack
 Vehicle Chase
 Lethal Force Likely
 Melee Force Likely
Difficulty: 
Overview
 Completion Point: Wherever the Fixer’s vehicle stops and you execute him.
 Dangers: Fixer, in fire engine. Chicago Police Department helicopters, squad cars (Alert Level 4).
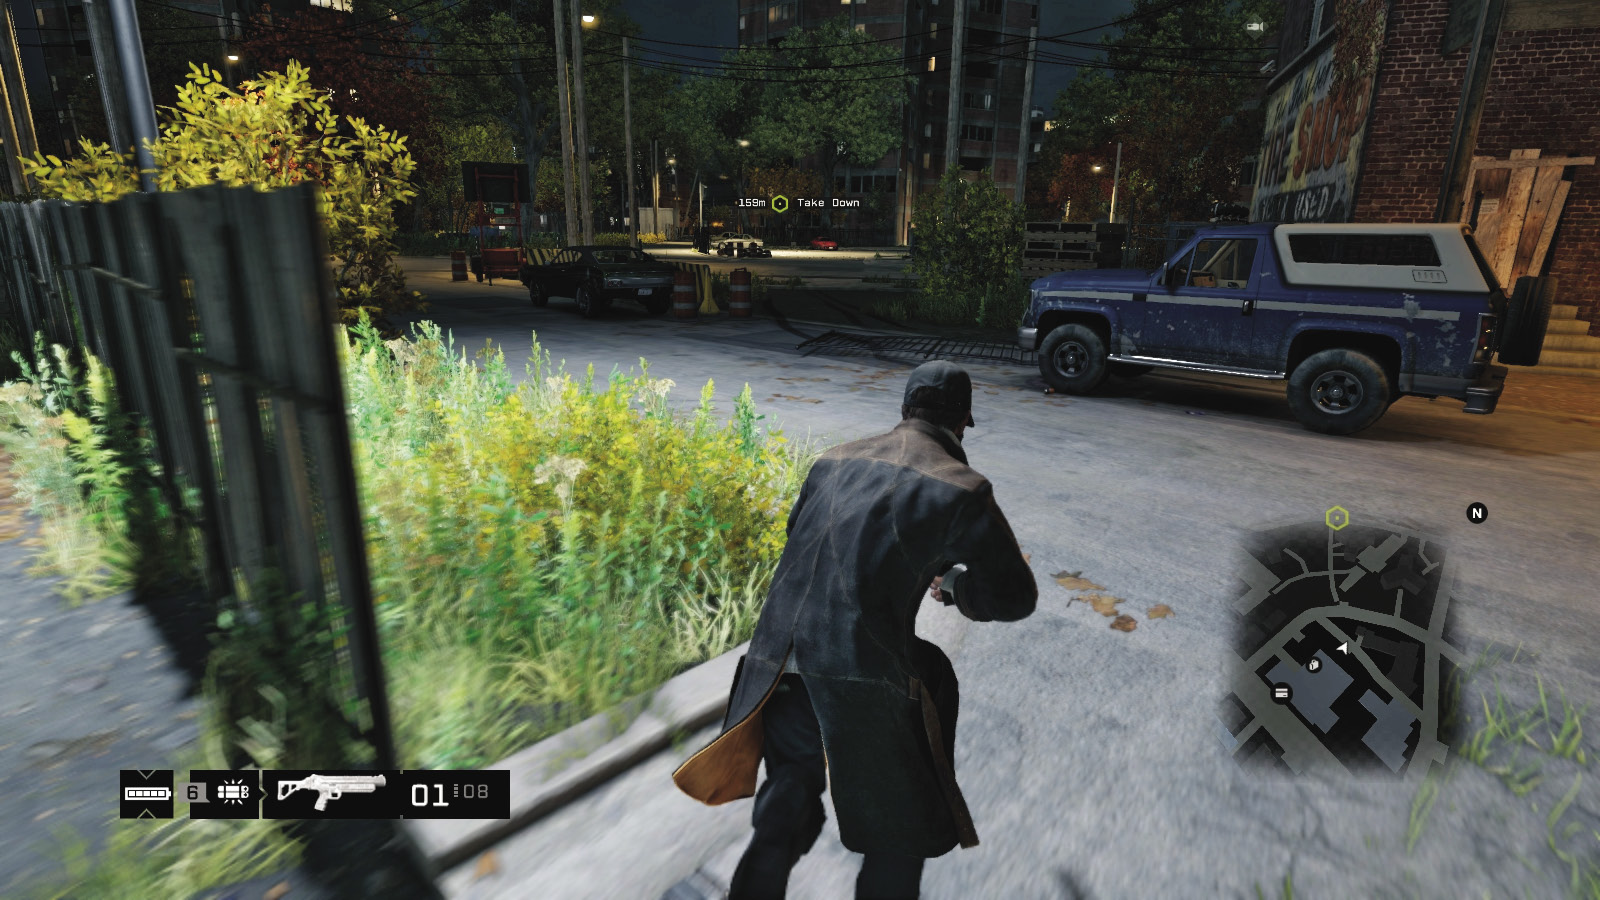
Pawnee! That’s apparently where Ray is. Before you head there, you need to quickly wipe the hard drive, so don’t sprint out of the warehouse just yet. Return to the computer and wait until the objective completes. Unfortunately, just as you finish, a Fixer hacks into your network and steals the data concerning Kenney. Stop him immediately!
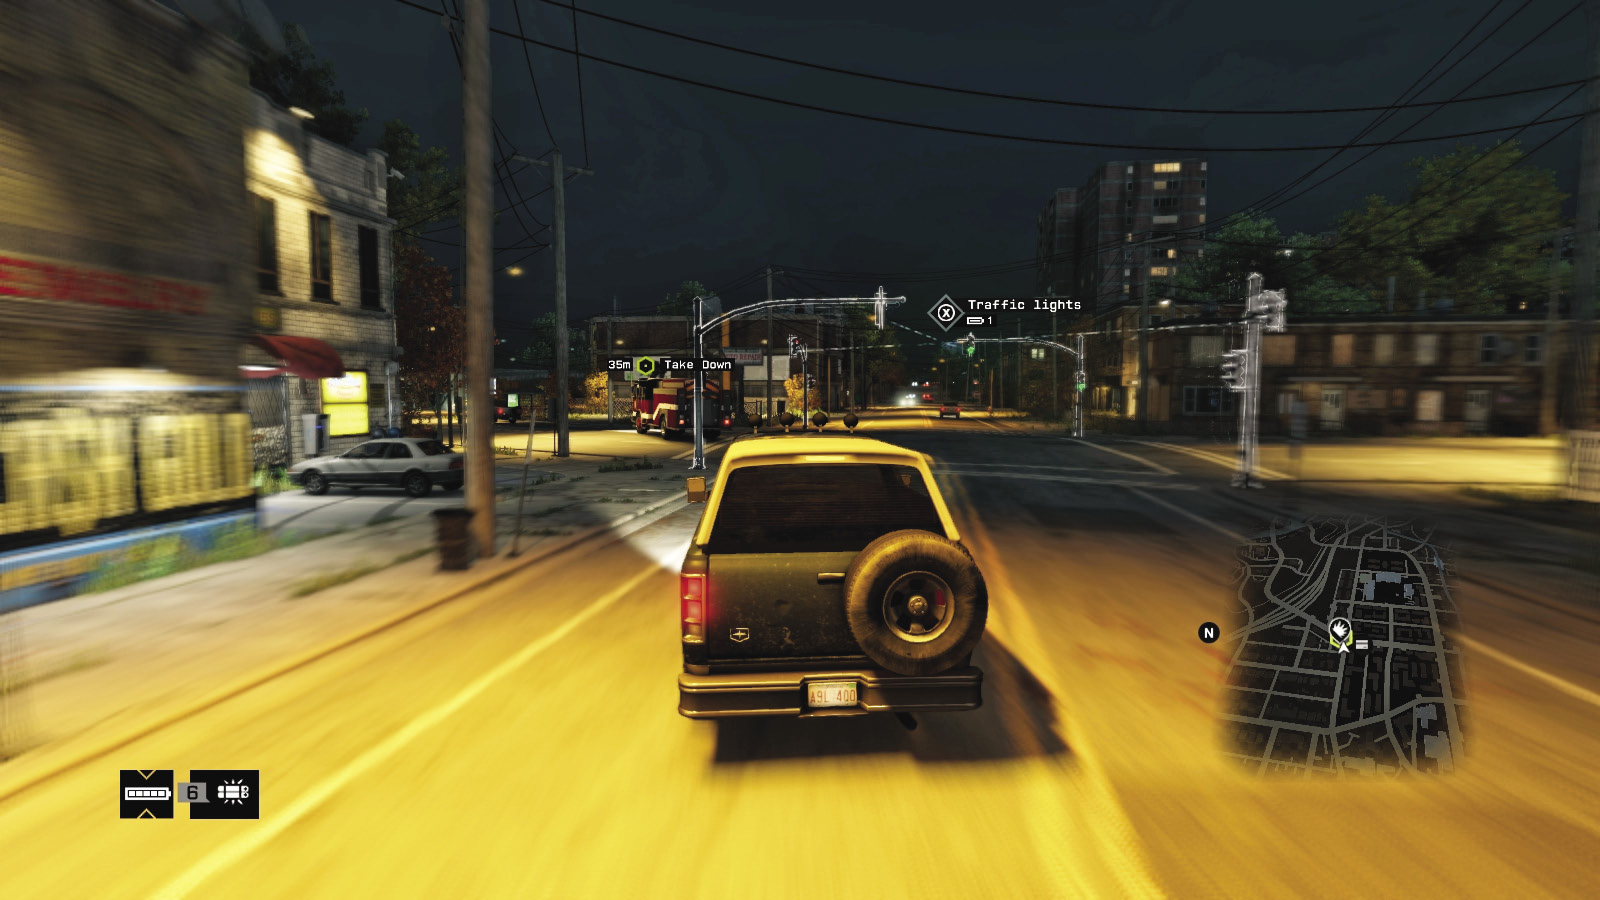
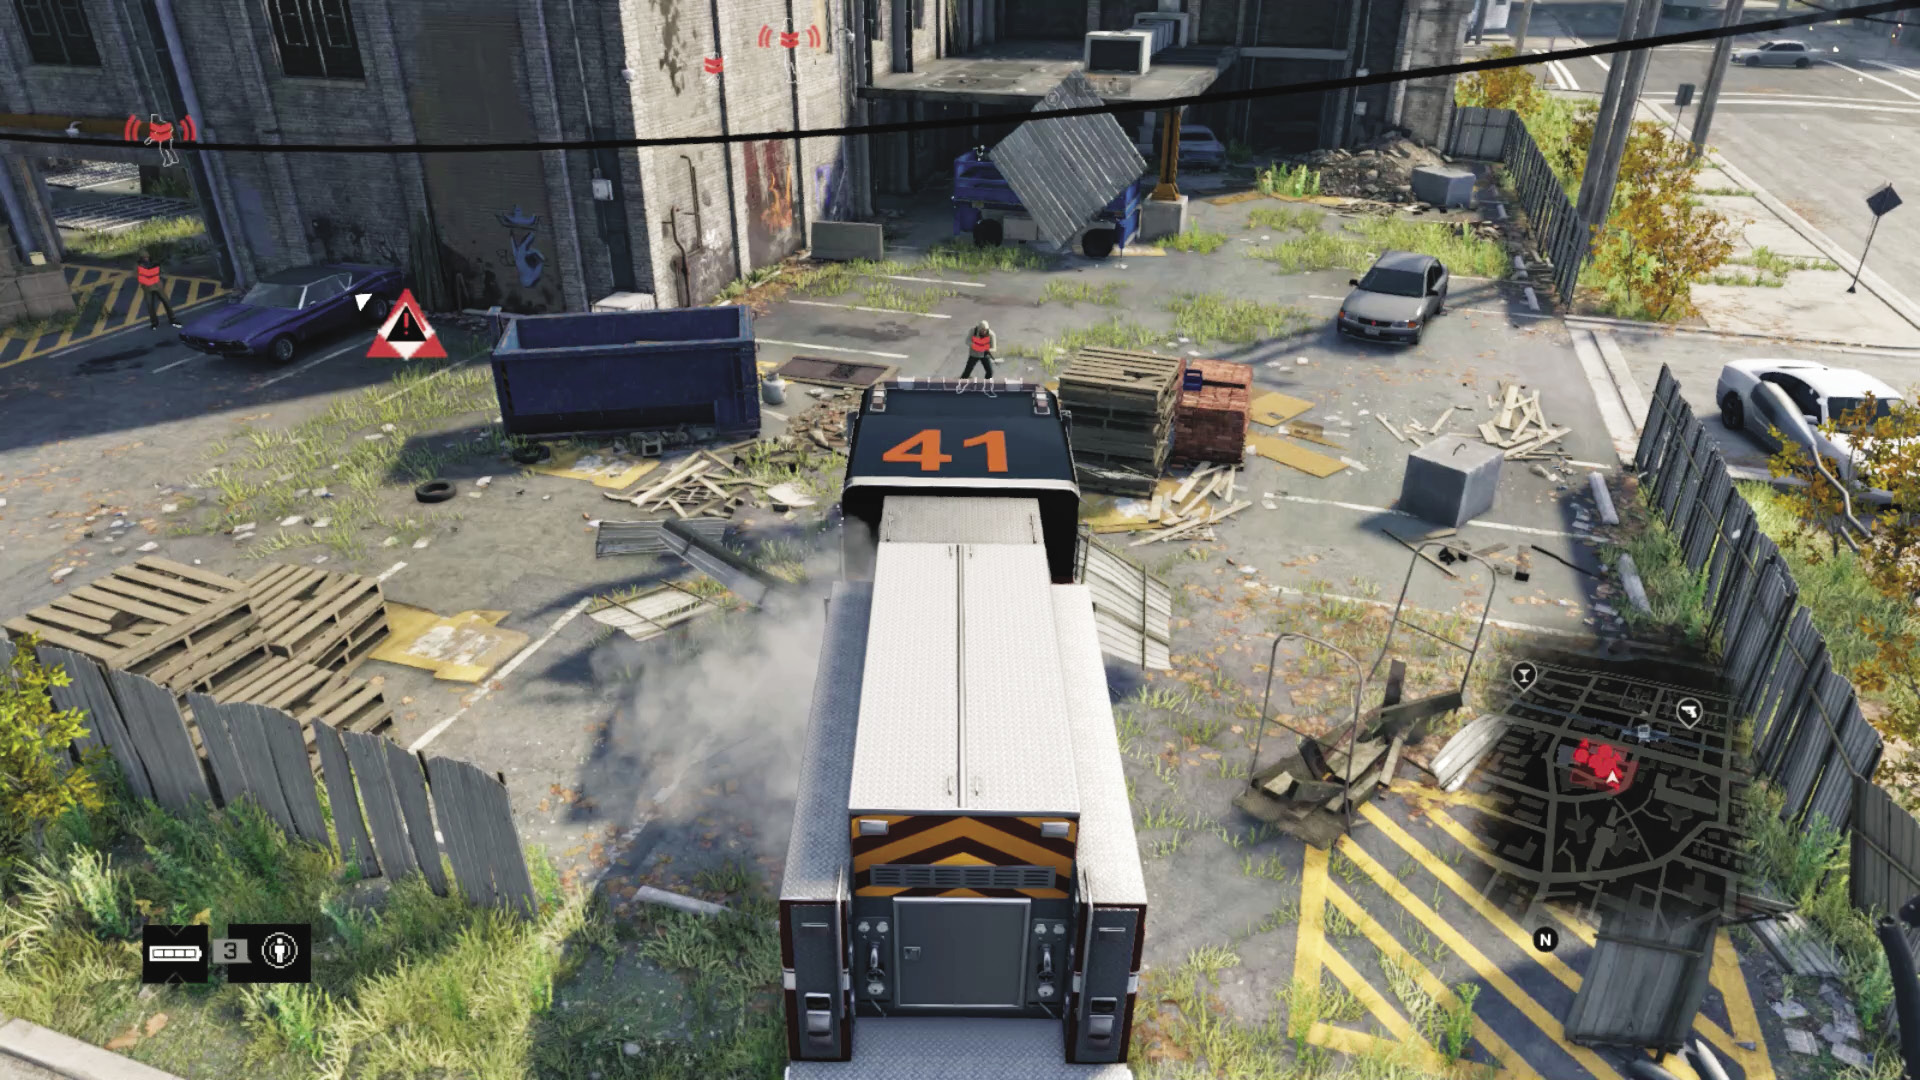
You can see the Fixer isn’t particularly sane as he’s commandeered a fire engine for his escape run! Rush north, out of the warehouse entrance and past the perimeter fence, and obtain one of the parked vehicles nearby. There’s a limited selection, but the truck is thoroughly recommended, as it’s the toughest and you’re trying to force a fire engine off the road!
When the chase begins, matters become yet more chaotic as the police identify you as a felon and begin to locate you! You have two recommended options at this time:
Ignore them:Simply ignore the police scanning your location and hope they miss you; if they don’t, ignore any police on your tail as the chase continues. Focus your attention on the fleeing fire engine and escape the police later.
Jam Coms:If you have a Jam Coms handy, wait until the triangulation reaches almost 100 percent and then scramble the police’s signals, leaving them unable to find you. You may need to do this a few times, but it makes the chase much easier!
 Driving // Offensive: Grinding Against the Fire Truck
Difficulty: 
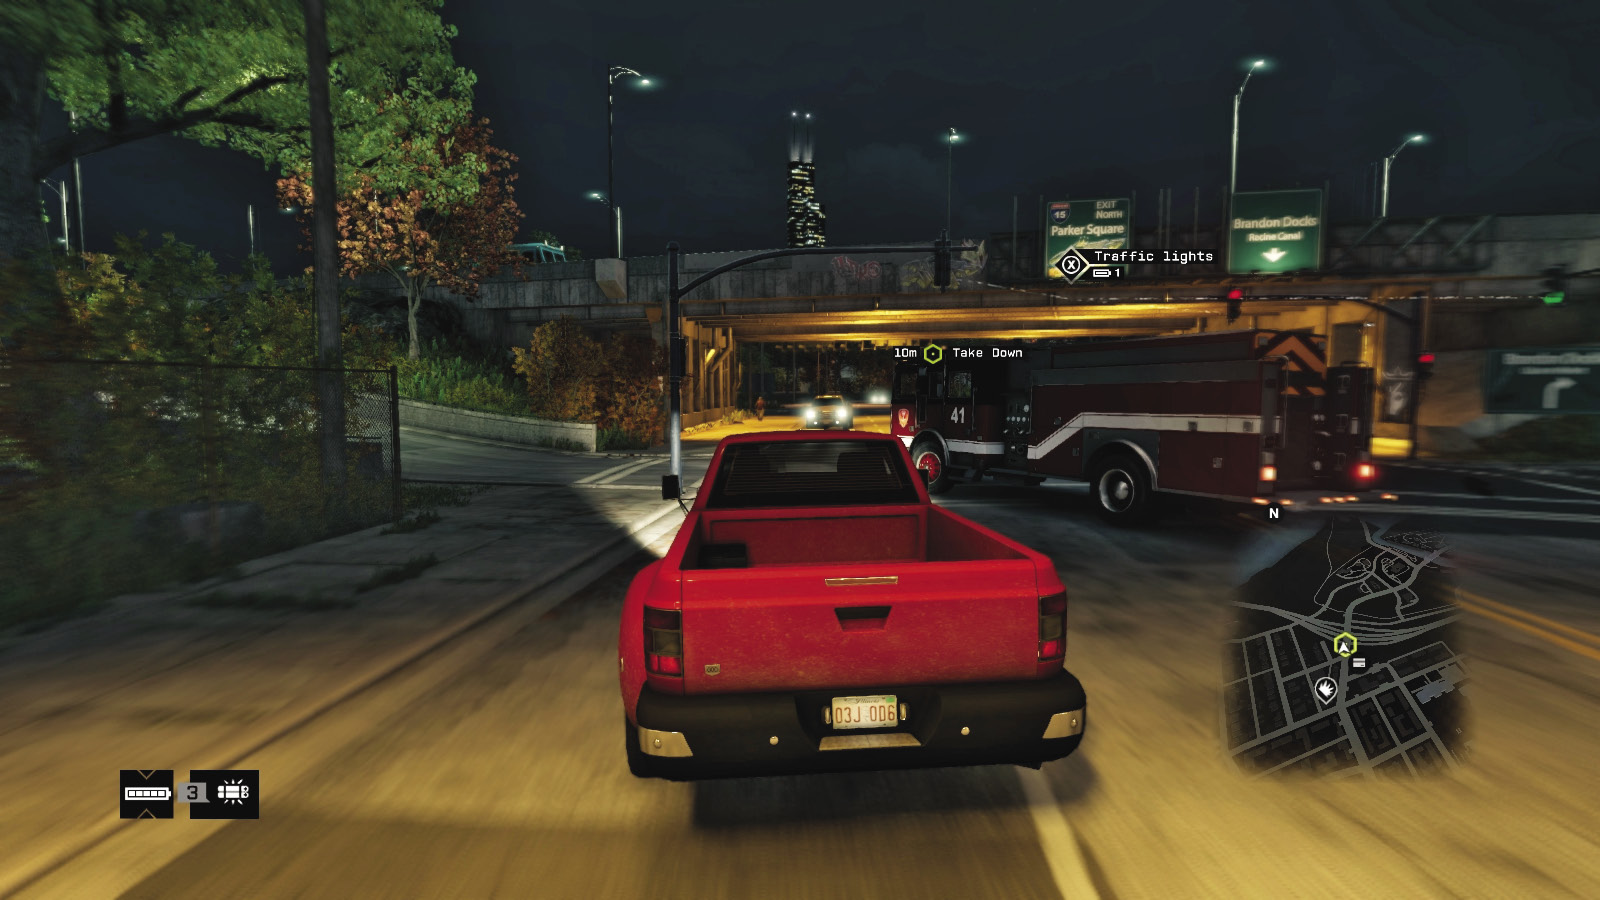
The fire engine usually takes an identical route. Cut across the parking lot to the residential street heading east. The foe takes a left at the next cross street (traffic lights).
He then heads under the freeway bridge, makes a very sharp turn onto that freeway, and heads for Parker Square. This is the first opportunity to block the foe and slow the chase down, but this is dangerous.
He gets off near the baseball stadium, maneuvers around for a few blocks, then heads back onto the freeway, heading for Parker Square (north) again.
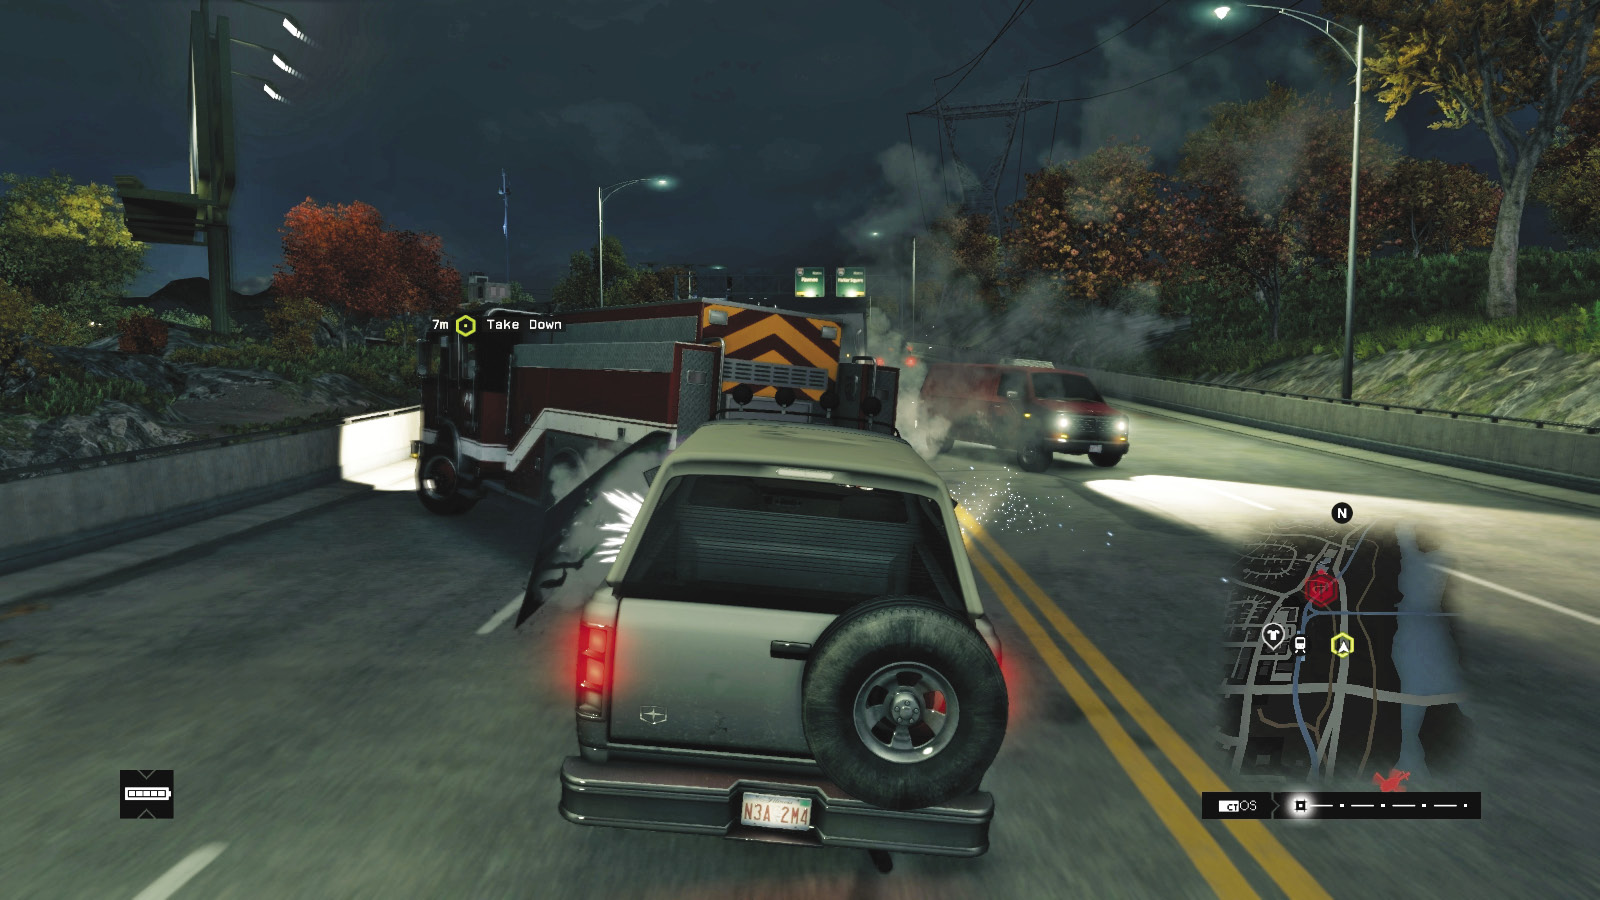
Don’t maneuver too quickly and overshoot a turn. When you eventually reach the fire engine, exercise a little more caution when taking it down. Assuming you’re in a vehicle big enough to batter the fire engine, try the following:
Push the fire engine into other freeway traffic.
Jam it up against the side or edge of the freeway until it grinds to a stop.
Ram straight into the back of the fire engine.
Attempt a PIT maneuver by striking the rear corner of the fire engine. This doesn’t fishtail it, but it can move it slightly into traffic or an obstacle.
Sideswipe the vehicle so it hits an obstacle or grinds against the side of a guardrail.
Try to push the target fire engine near a narrow road or alley, where it can’t drive around you.
Continue to grind against the fire engine until it starts to billow black smoke and the target exits.
If your vehicle becomes inoperable, quickly locate a new one and resume the chase.
At any point you can block the vehicle or slow it down enough for you to exit, and begin raking the vehicle with gunfire (particularly the tires and windshield).
 Driving // Smart: Neutralizing with a Bit of Luck
 Difficulty:
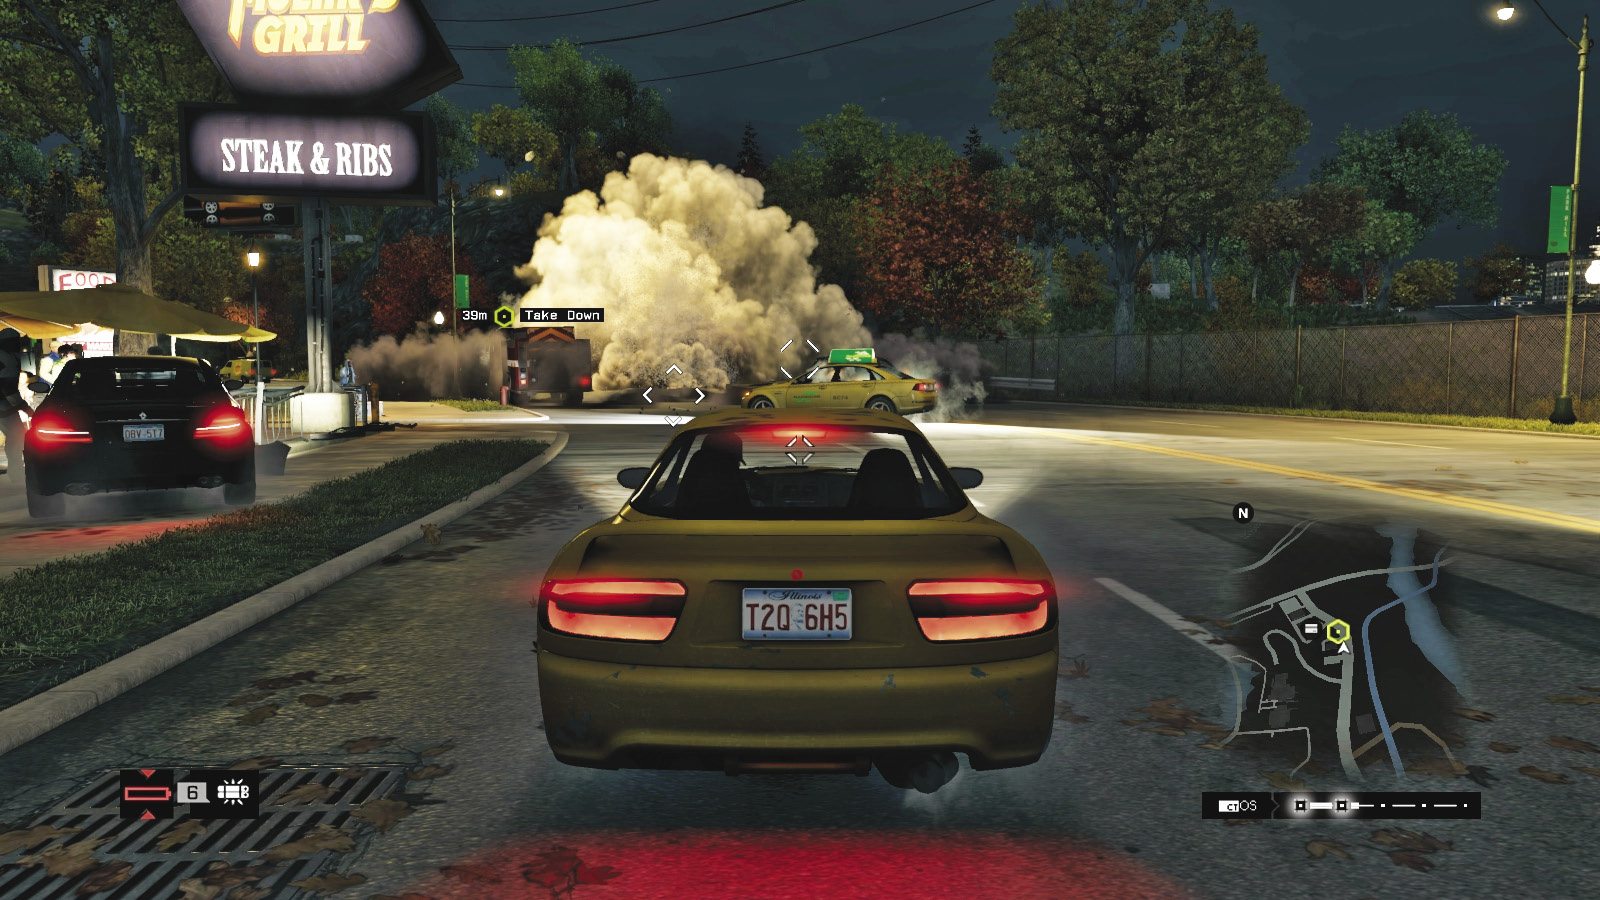
Along with all the general tactics for running down an enemy vehicle, you can halt the Fixer’s fire engine by utilizing the many hackable objects around Chicago. If the situation calls for it, try the following, and avoid the ensuing accident if it occurs:
Hack traffic lights to cause congestion.
Hack blockers so they rise, stopping the vehicle.
Hack bridges so they rise, slowing your Fixer’s vehicle.
Hack spikes so the Fixer’s car tires blow out.
Hack steam pipes so they blow, disintegrating the vehicle.
Lob an IED onto the fire engine at an opportune moment, and detonate it.
Then ram or block the Fixer’s fire engine and destroy it or get out and slay the Fixer.
 Aggressive // Violence: Stopping Your Foe from Running Amok
 Difficulty:
If the target doesn’t die in a crash and tries to escape, there are several ways to bring about his demise:
Drive over him in your vehicle.
Shoot him in the head with your pistol.
Strafe him with any automatic rifle or machine gun.
Watch him sprint off, then tag him with a sniper rifle.
Chase, leap, and tackle him to the ground.
Punt a grenade and watch the fixer fly sky-high.
If the police are on your tail, shake them off using the tactics you used previously. After the chase concludes, so does the mission.
MISSION REWARDSGained XP +1,000 ctOS Center: PAWNEE MUST BE UNLOCKED |