
Watch Dogs Guide SIDE MISSIONS
_GANG HIDEOUTS // PAWNEE
_BEACHED
location/Pawnee Beach
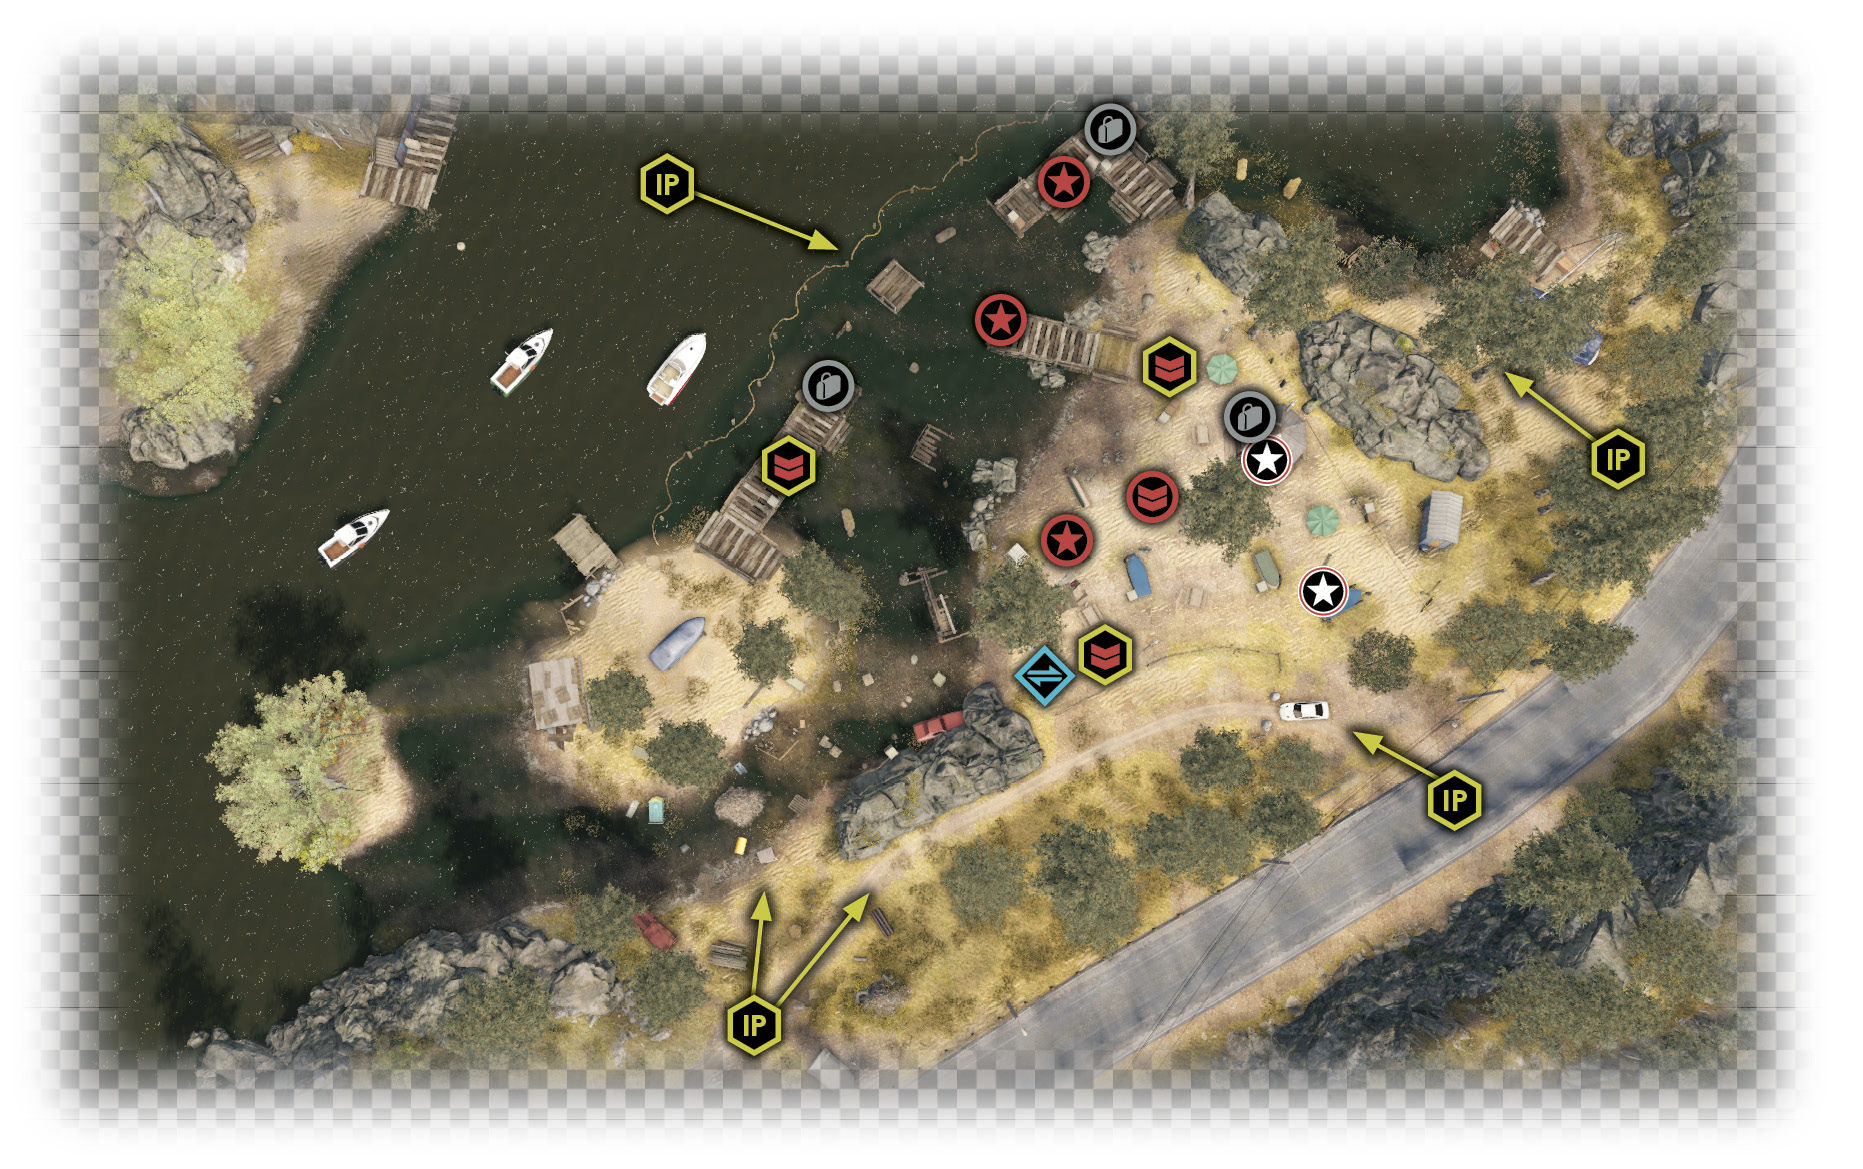
Enemy/MILITIA
NUMBER OF TARGETS: 3 (Veteran x3) // THEY DO NOT FLEE
NUMBER OF ENEMIES: 9 (Veteran x5, Elite x4)
Shot-Callers x2 (Elites)
Hidden Cameras x3 (Elites)
Difficulty: ($5,000 Reward)
REINFORCEMENTS: two vehicles (Gunmen x2, veteran x2)
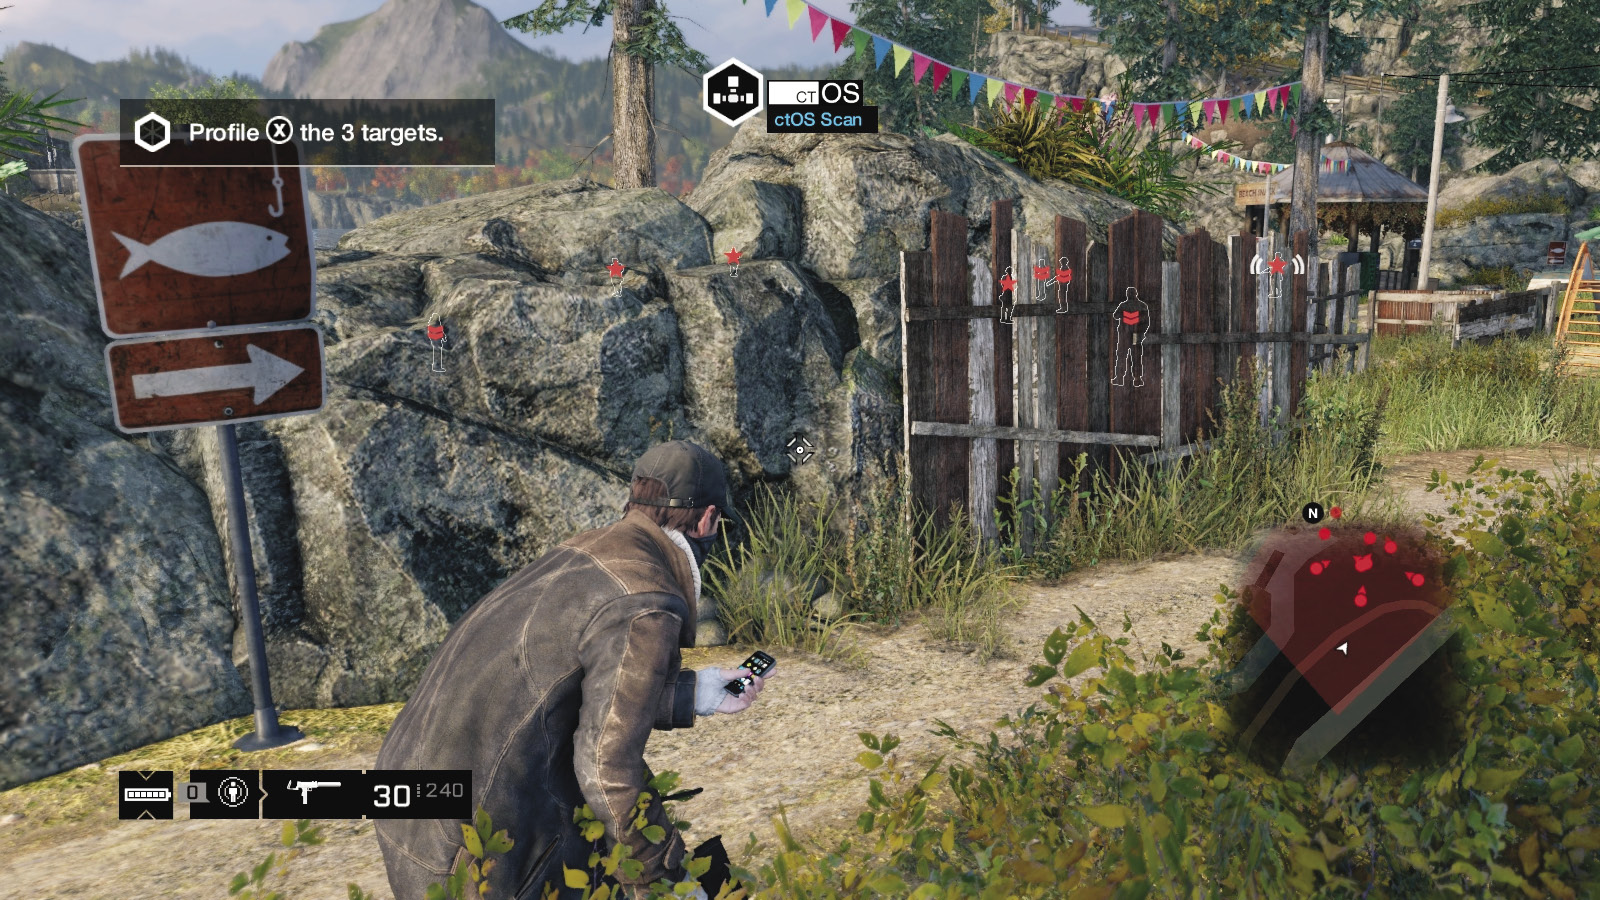
You begin at the wooden bus stop on the road south of the lake. The beach you’re invading is to the northeast, down the road. Follow the rough path alongside the road or hop the wooden barrier and head to the rocks near the fishing sign to start your remote viewing.
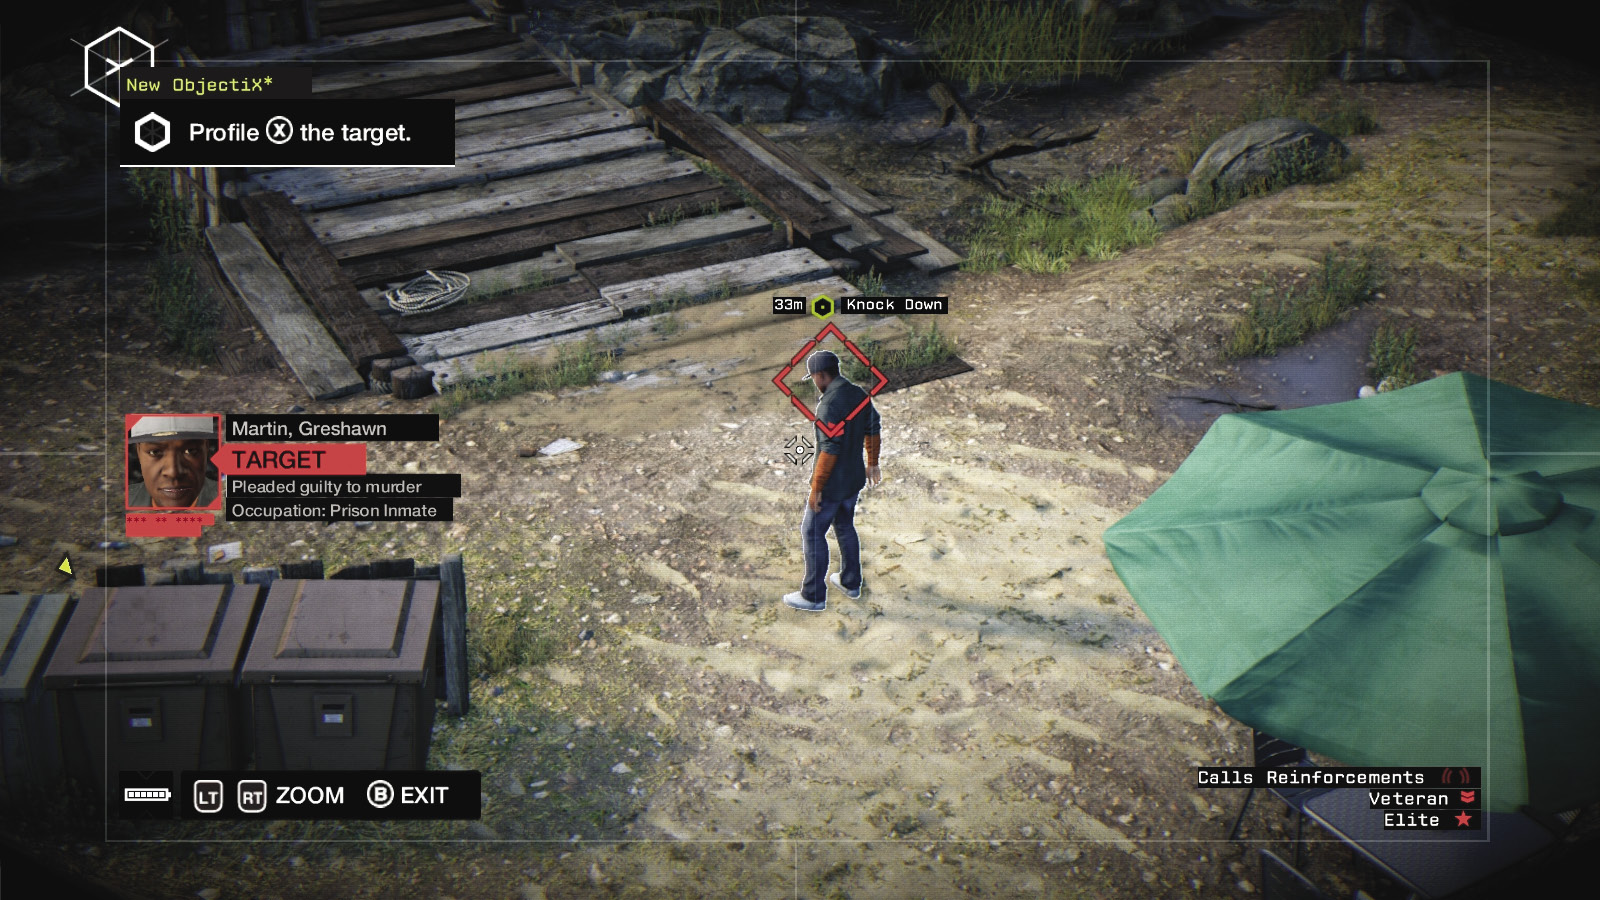
Utilize the camera atop the pavilion where the drinks are served so you can easily mark all nine enemies, including the three you need to defeat without raising a gun to their heads. Or, locate the three foes with cameras on them, and view their patrol paths, picking out the targets along the way.
Insertion Points
The Militia Beach is a collection of rickety fencing, rusty playground equipment, marshy ground, low debris to hide behind, a pavilion with a camera on it, sagging piers, and rocky outcrops. It is across the water from Pawnee’s ctOS control center.
Playground and Roadside
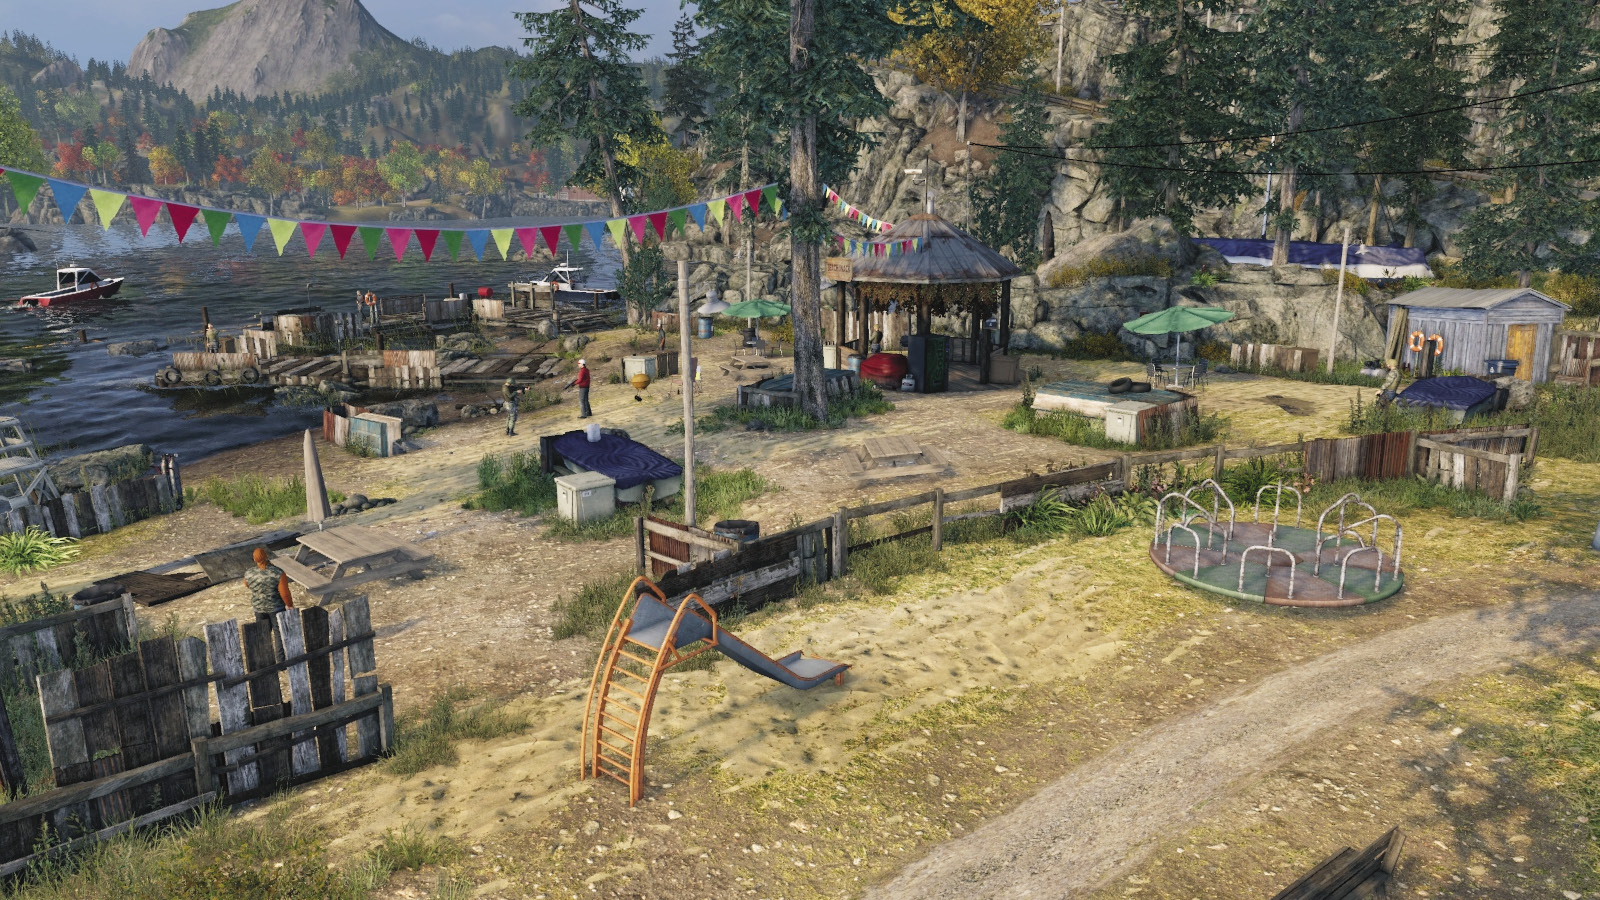
Good access from the path behind the rocks near the fishing sign, but watch for the slightly open spaces near the bike (a good escape vehicle) and the shed (great for sneaking behind). The pavilion is easy to reach from here, and the foes are usually gazing into the lake, allowing you reasonably easy access into the center of this location.
West Marsh
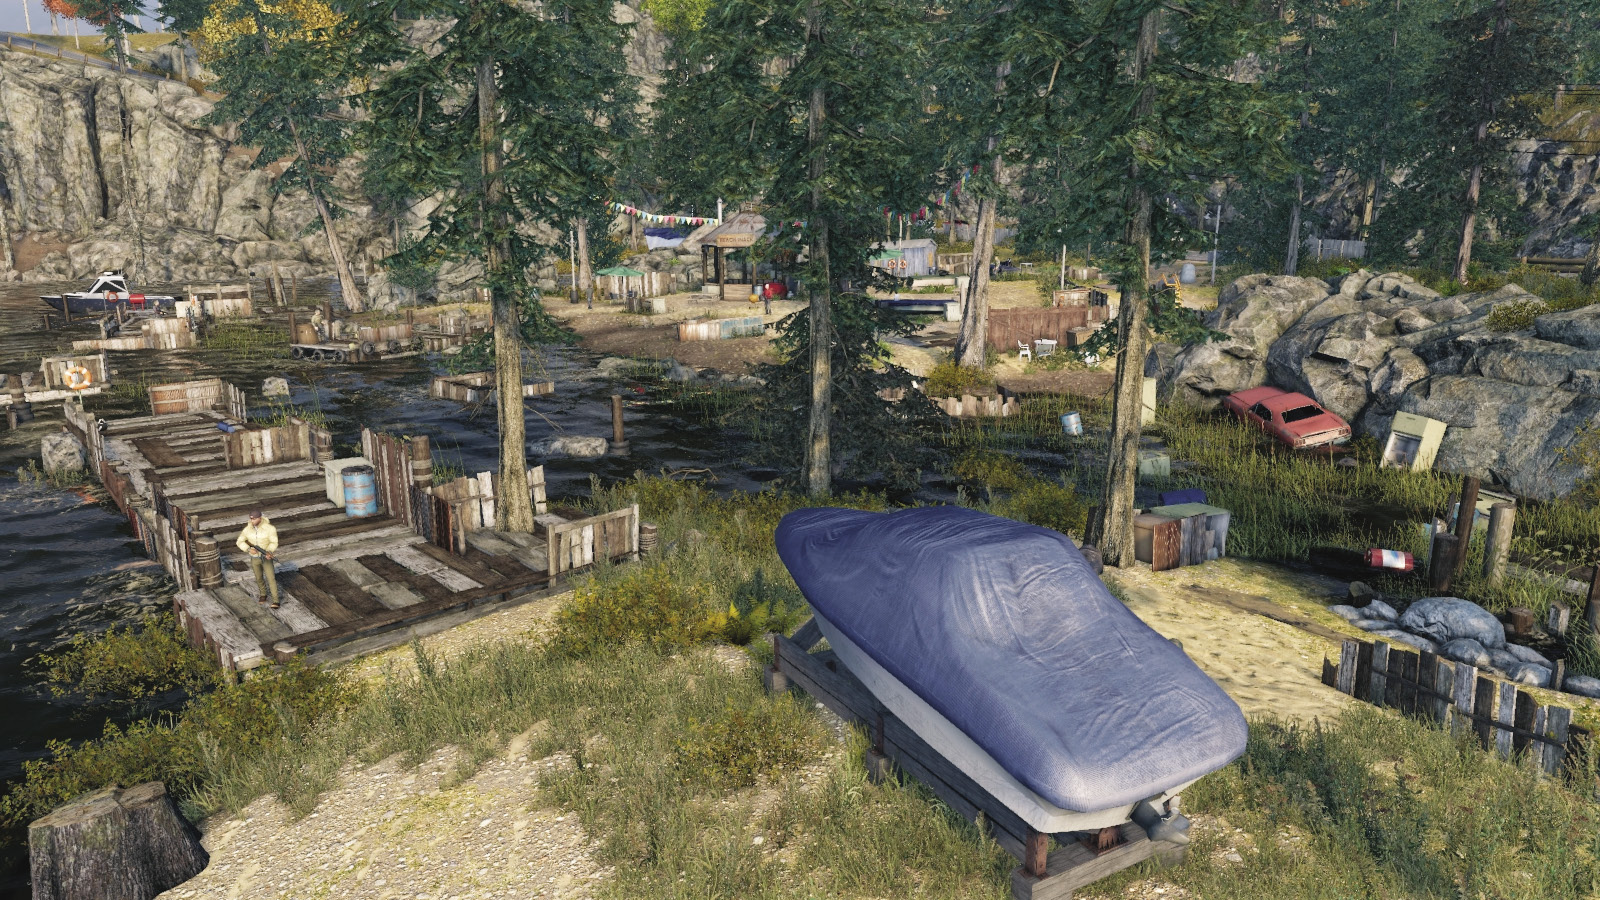
The soggy ground and debris left of the main action allows you to sneak around, snipe from, and flank the enemies, but the low ground isn’t particularly good for long-range takedowns.
East Rocks
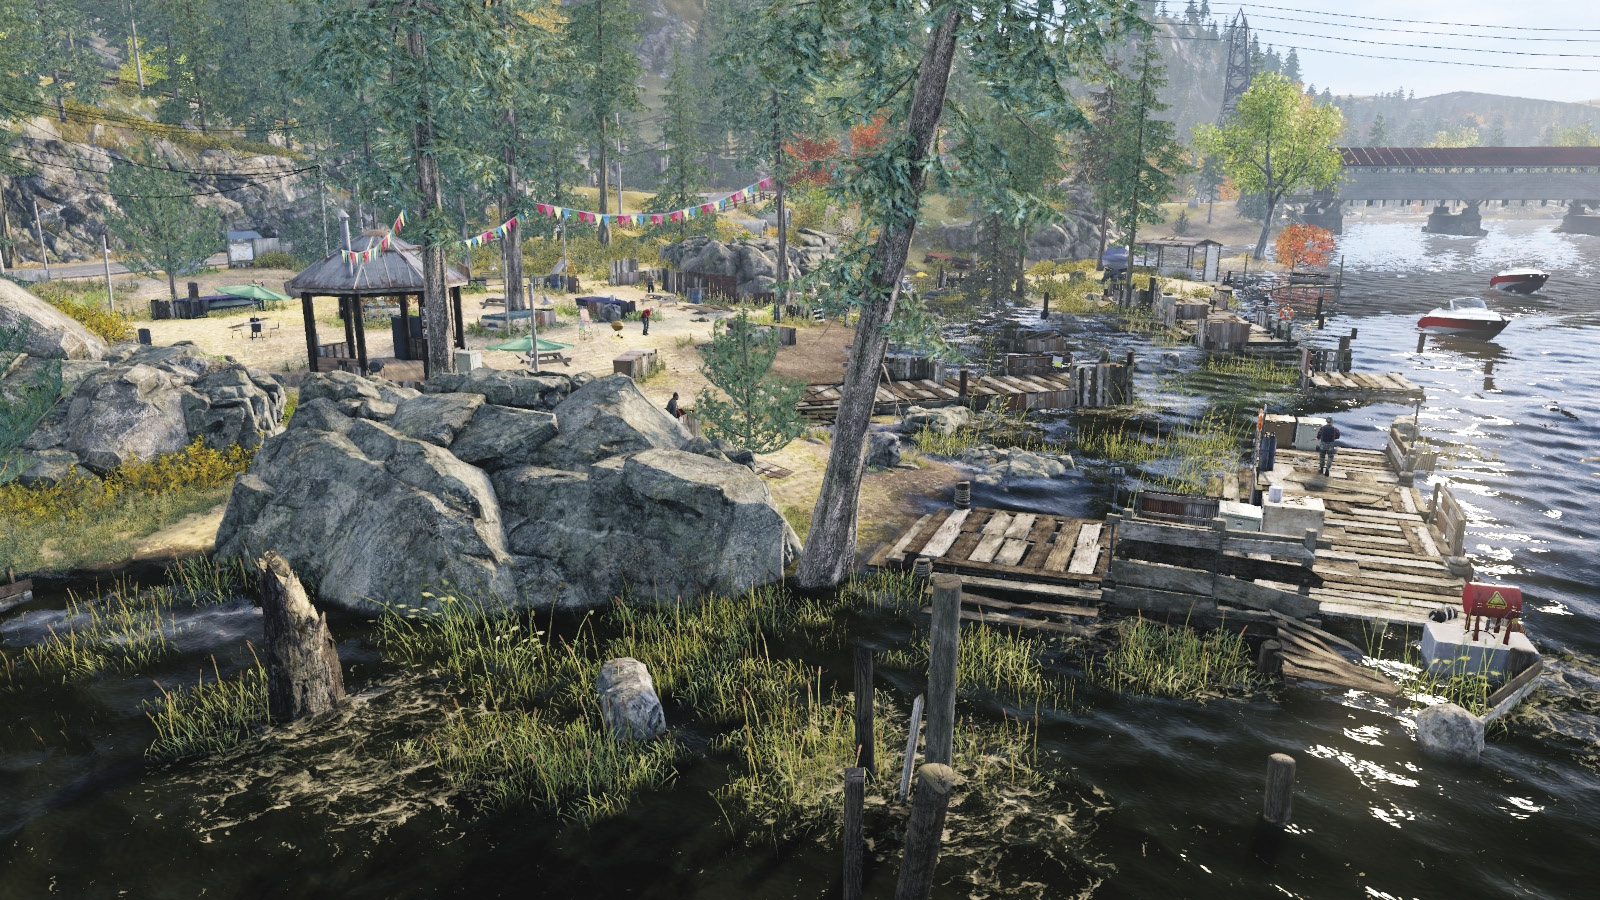
Another great location to move to, as a single route through here using stealth is much more difficult than darting in and out and around to another insertion point. The gap between the rocks near the tree and pavilion is perfect for stepping out to tackle another foe.
North Lake
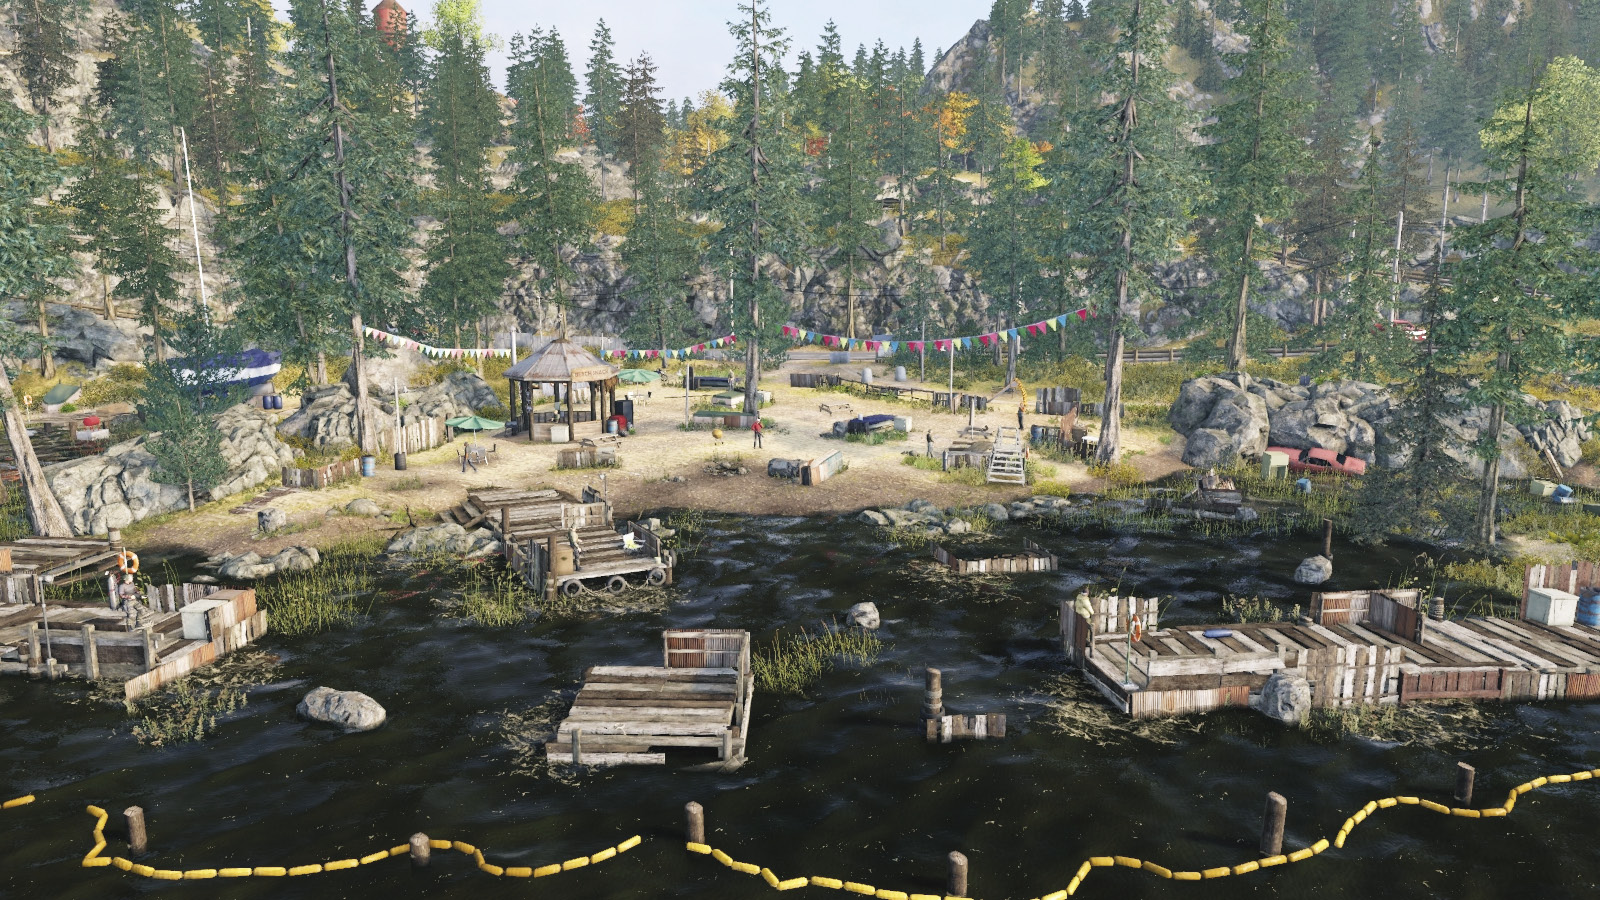
Approach from here, and you’re completely exposed. With a boom on the water and numerous foes with high-power rifles on the jetty, come here with superior firepower and projectiles or not at all.
Progression Plans
The following stealth maneuver ensures you tackle all three foes and don’t have to deal with any other enemy (unless you want to reveal your position). You can also tackle the targets in any order, if you aren’t seen.
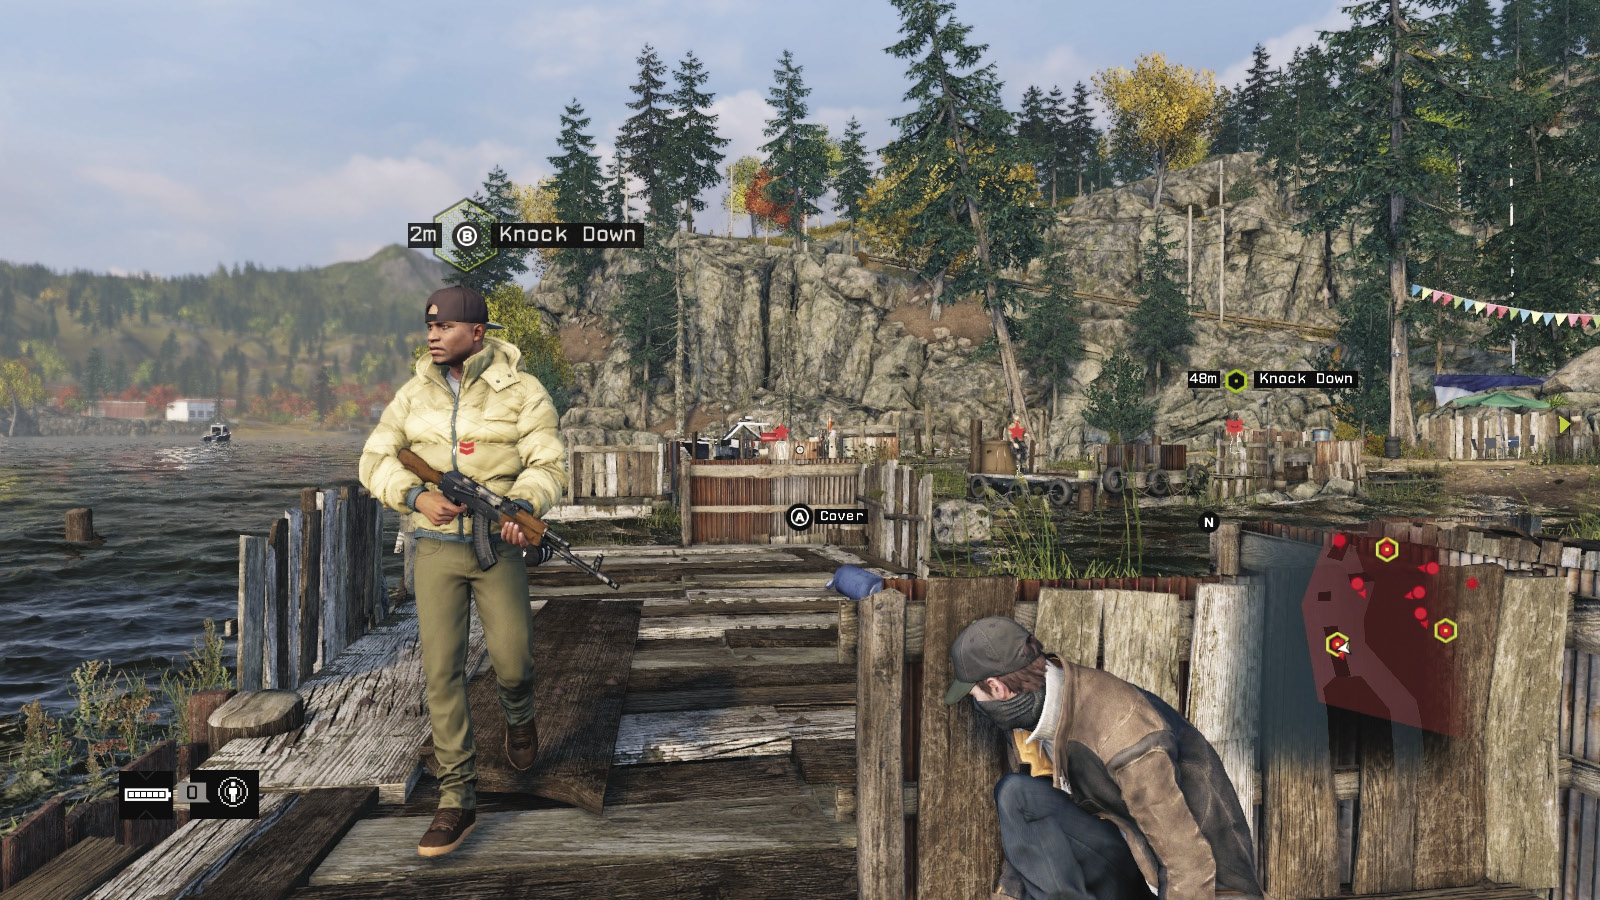
 Aggressive // Stealth: Punishment on the Promontory
 Difficulty:
Head along the rough path from your starting point, wading through the marshy ground to the left (west), toward the boat on dry mooring and the jetty with the waste bin. Wait for the first target to wander onto the jetty, then tackle him near the life buoy.
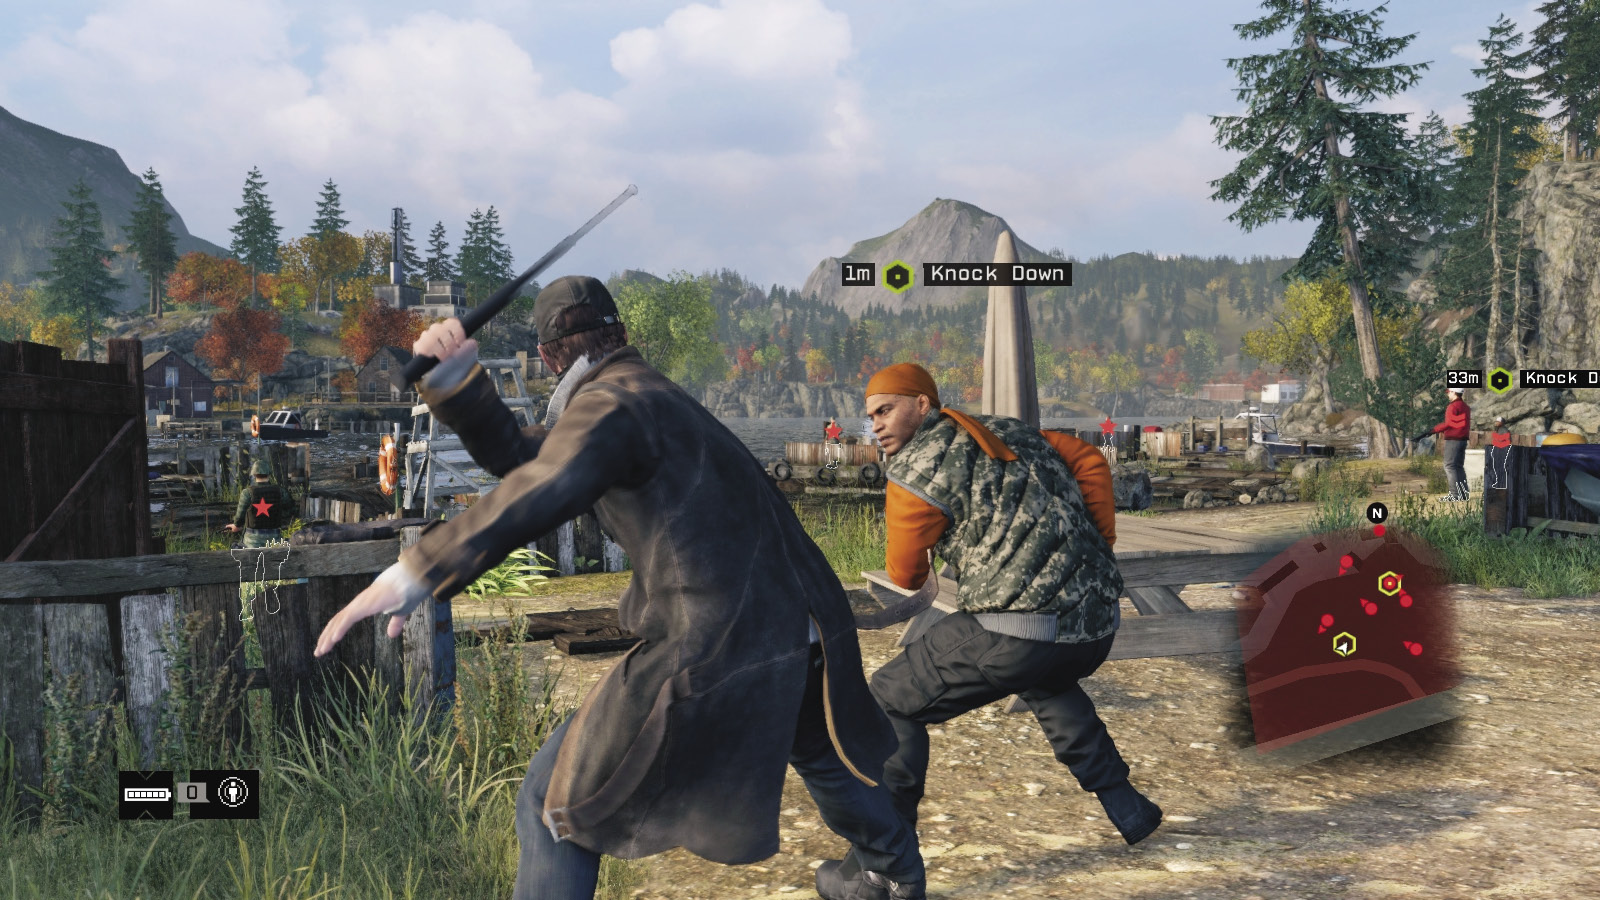
Return to the rocks near the fishing sign, close to the second target, before sneaking up to the low fence just behind him. Watch the nearby enemy with the camera. You can use the phone on the nearby box to attract him, but that just leaves two foes to contend with. Instead, watch the guard with the camera on your minimap until he isn’t looking, then bash the target down.
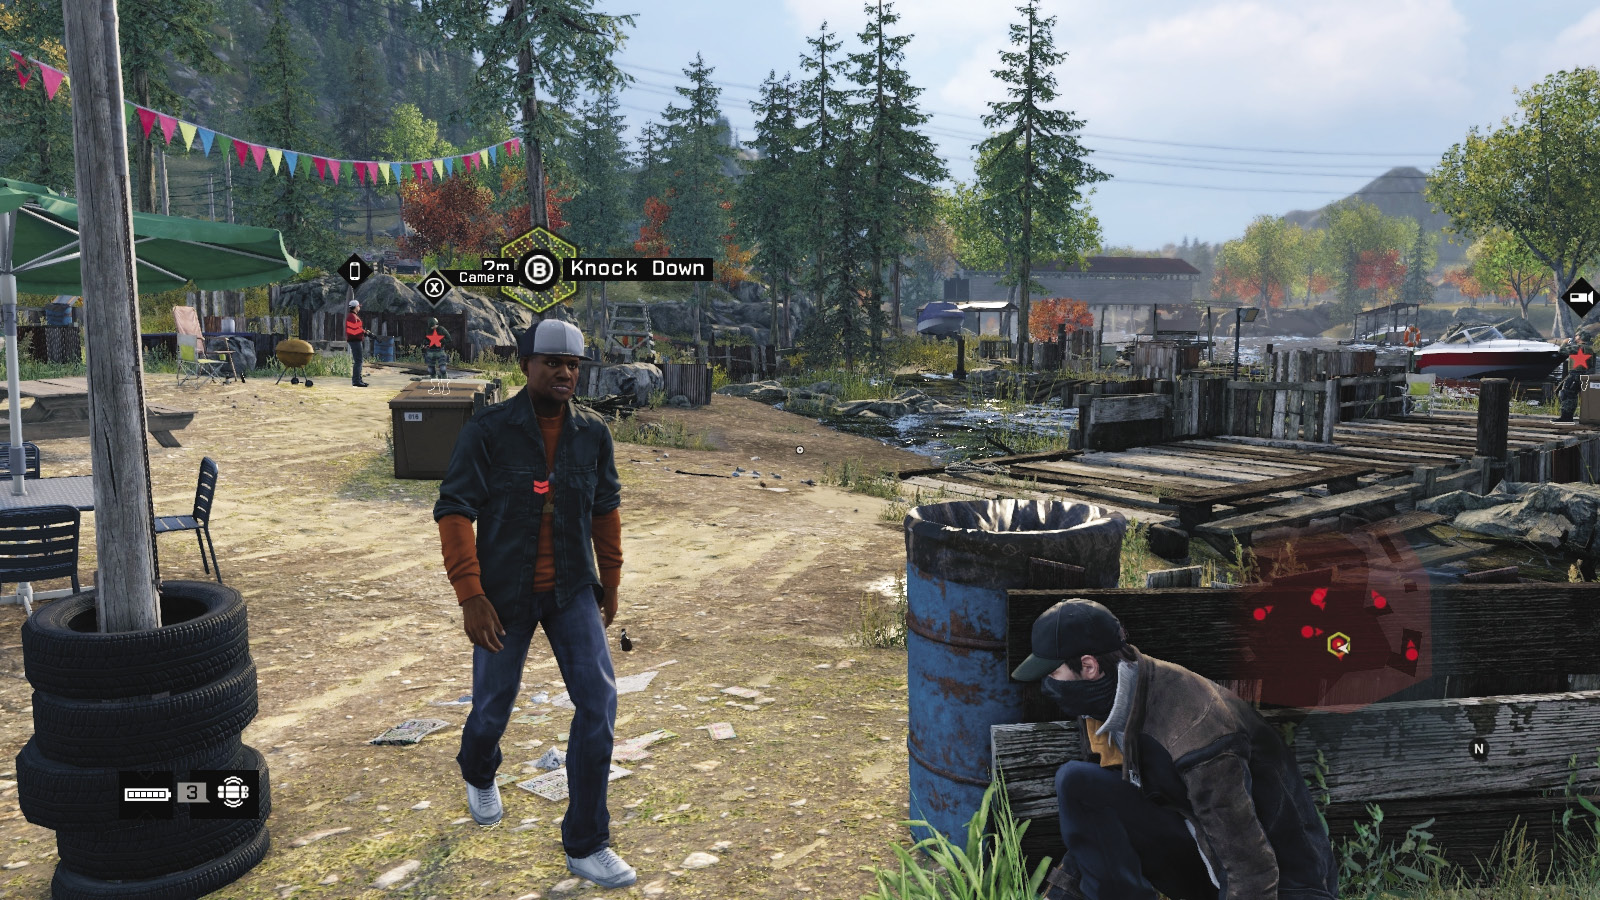
Immediately retreat back toward the perimeter, near the road, and continue east, to the concrete block. Go behind the shed and the large clump of rocks. Watch the movements of the last target; when he faces away on the eastern edge of his patrol route, step out between the rocks and strangle him. You can now leave without the remaining foes knowing what happened, or stay and gun them all down.
 Aggressive // Violence: Gunishment: Memento Mori
Difficulty: 
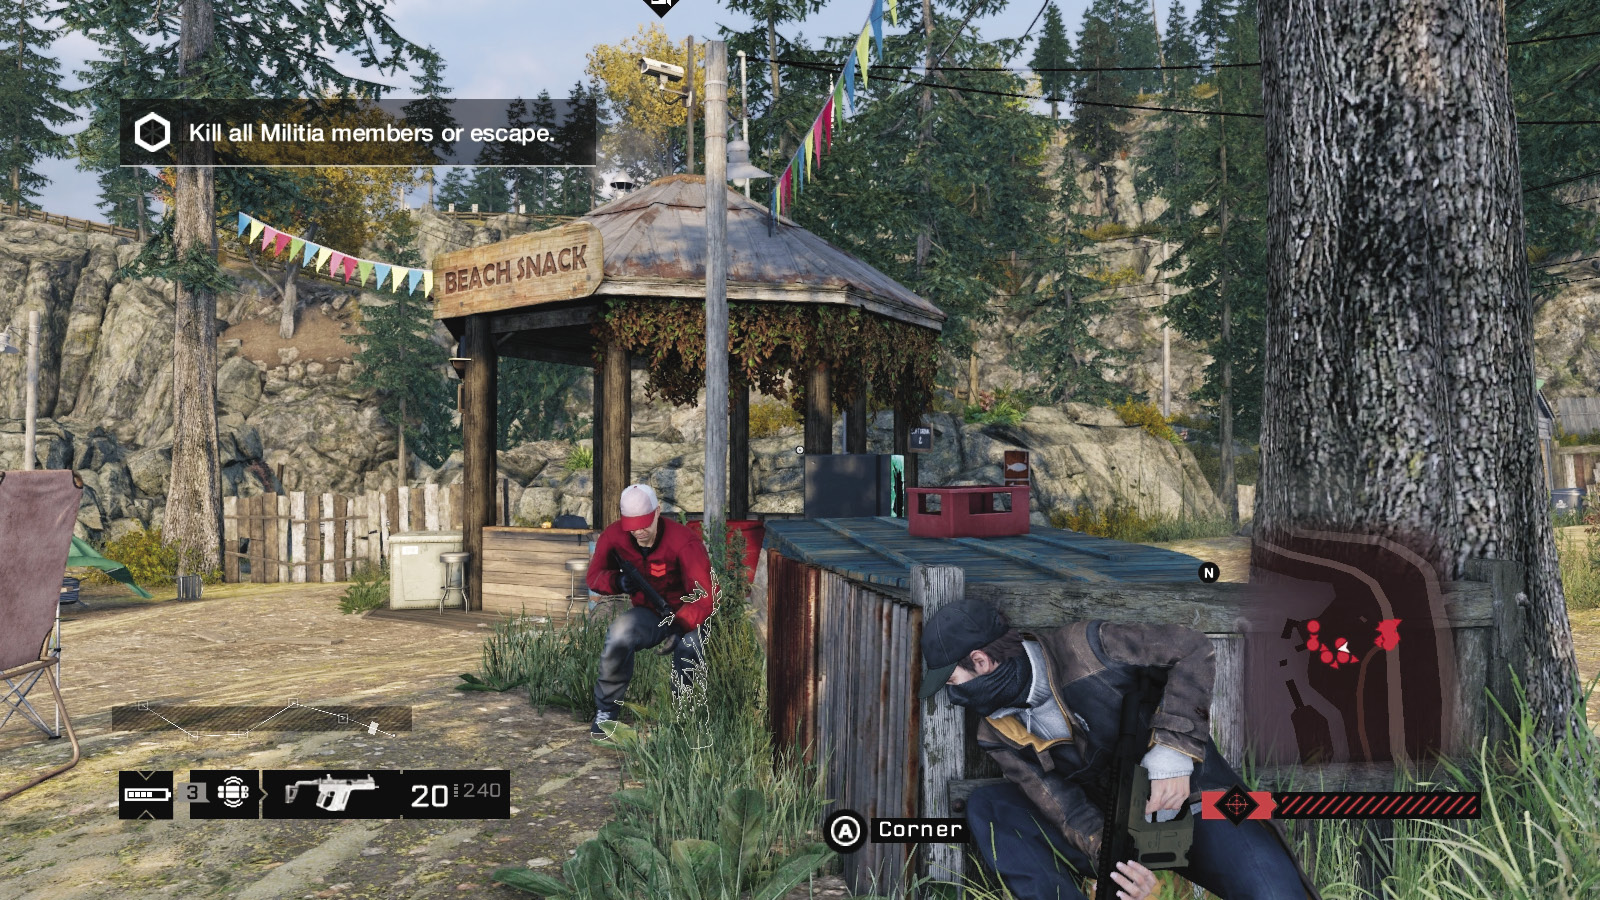
If you want to remove the six remaining enemies and any reinforcements, try any or all of these tactics (but remember, don’t harm the targets!):
Set up IEDs near the concrete block by the road and detonate the reinforcement cars that arrive.
Try a drive-by on a boat, stopping the engine and sniping as you float past.
Snipe from the ctOS island across from the beach area, providing you’ve cleared it first.
Battle your way to the piers and pavilion for the pickups.
Or try the regular cover-and-shoot tactics; this place is ideal for such stealth mayhem.
_BURNING BRIDGES
location: BRIDGE CONSTRUCTION
Enemy: MILITIA
NUMBER OF TARGETS: 3 (Veteran x3) / THEY DO NOT FLEE
NUMBER OF ENEMIES: 10 (Veteran x3, Elite x6, Marksman x1)
Shot-Callers x3 (Elites)
Hidden Cameras x2 (Elites)
Difficulty: ($10,000 Reward)
REINFORCEMENTS: two vehicles (Gunmen x2, Veteran x2), usually on foot
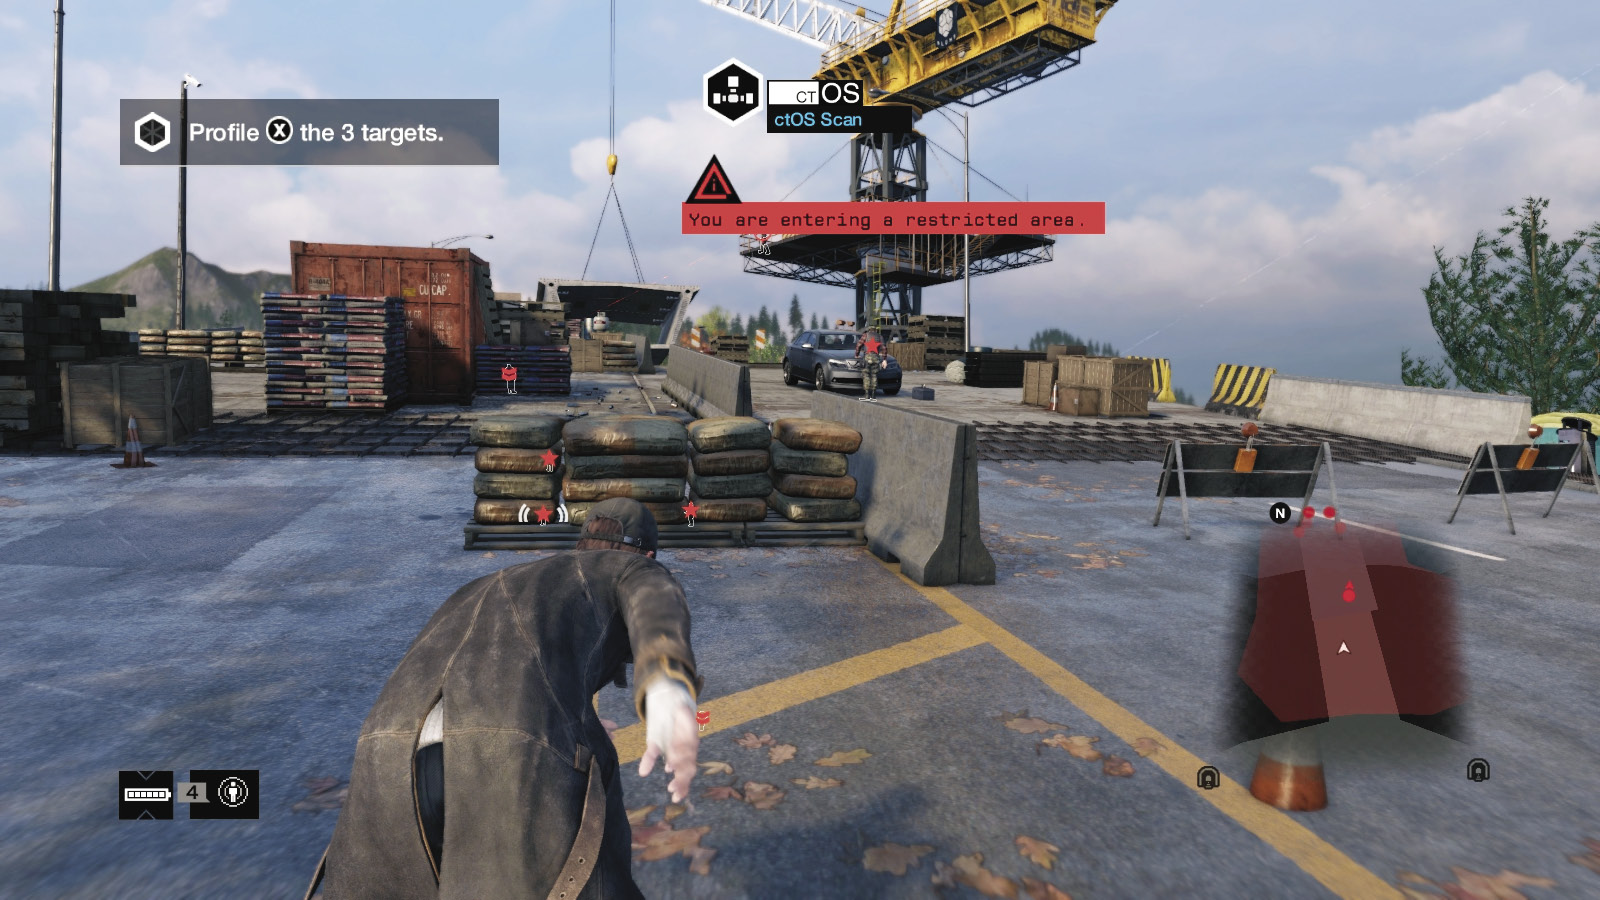
Start this job at the Crazy Moose Inn, one tunnel’s drive away from the massive bridge construction spanning the river. Drive through the tunnel to the south side of the construction area, and move into the restricted area.
Insertion Points
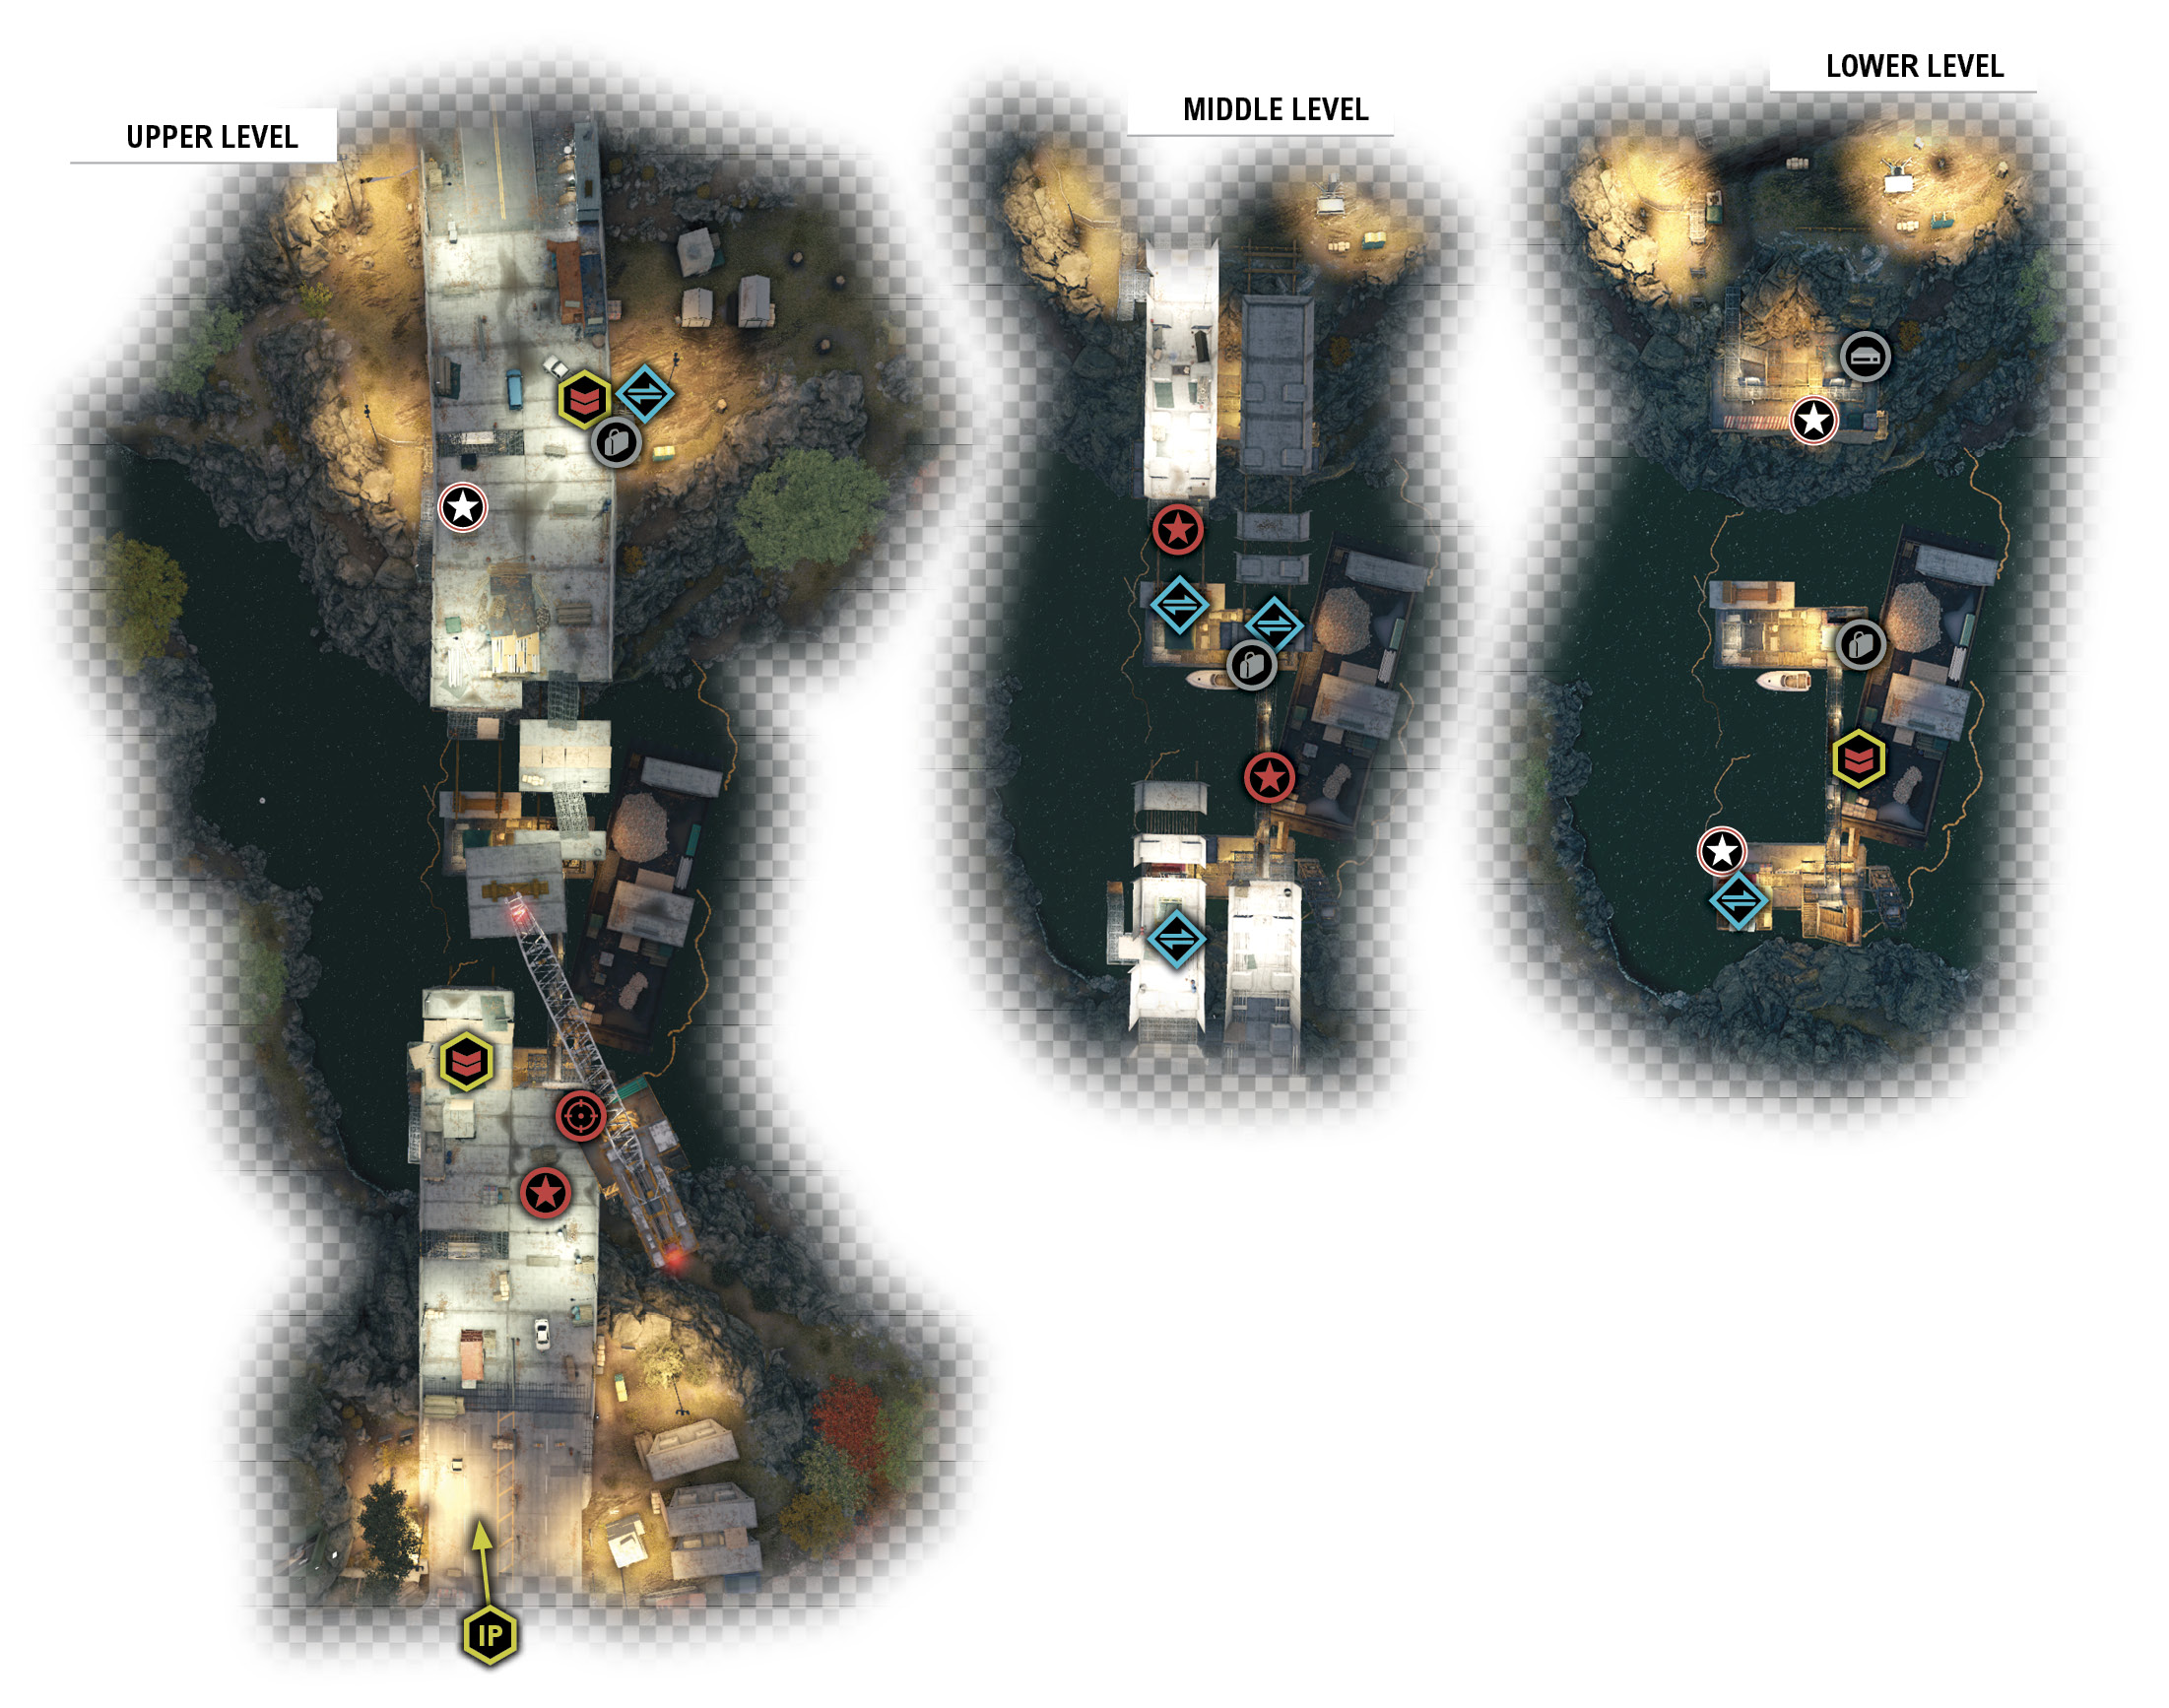
There are three ways to approach this huge, narrow, and often precarious restricted area: from the south end (where you start), the north end (where you can reach if you’re quick; see below), or from the water down below (which is a terrible idea, as you begin in the middle of the action, with three foes to remove). The construction site is most interesting.
South Side
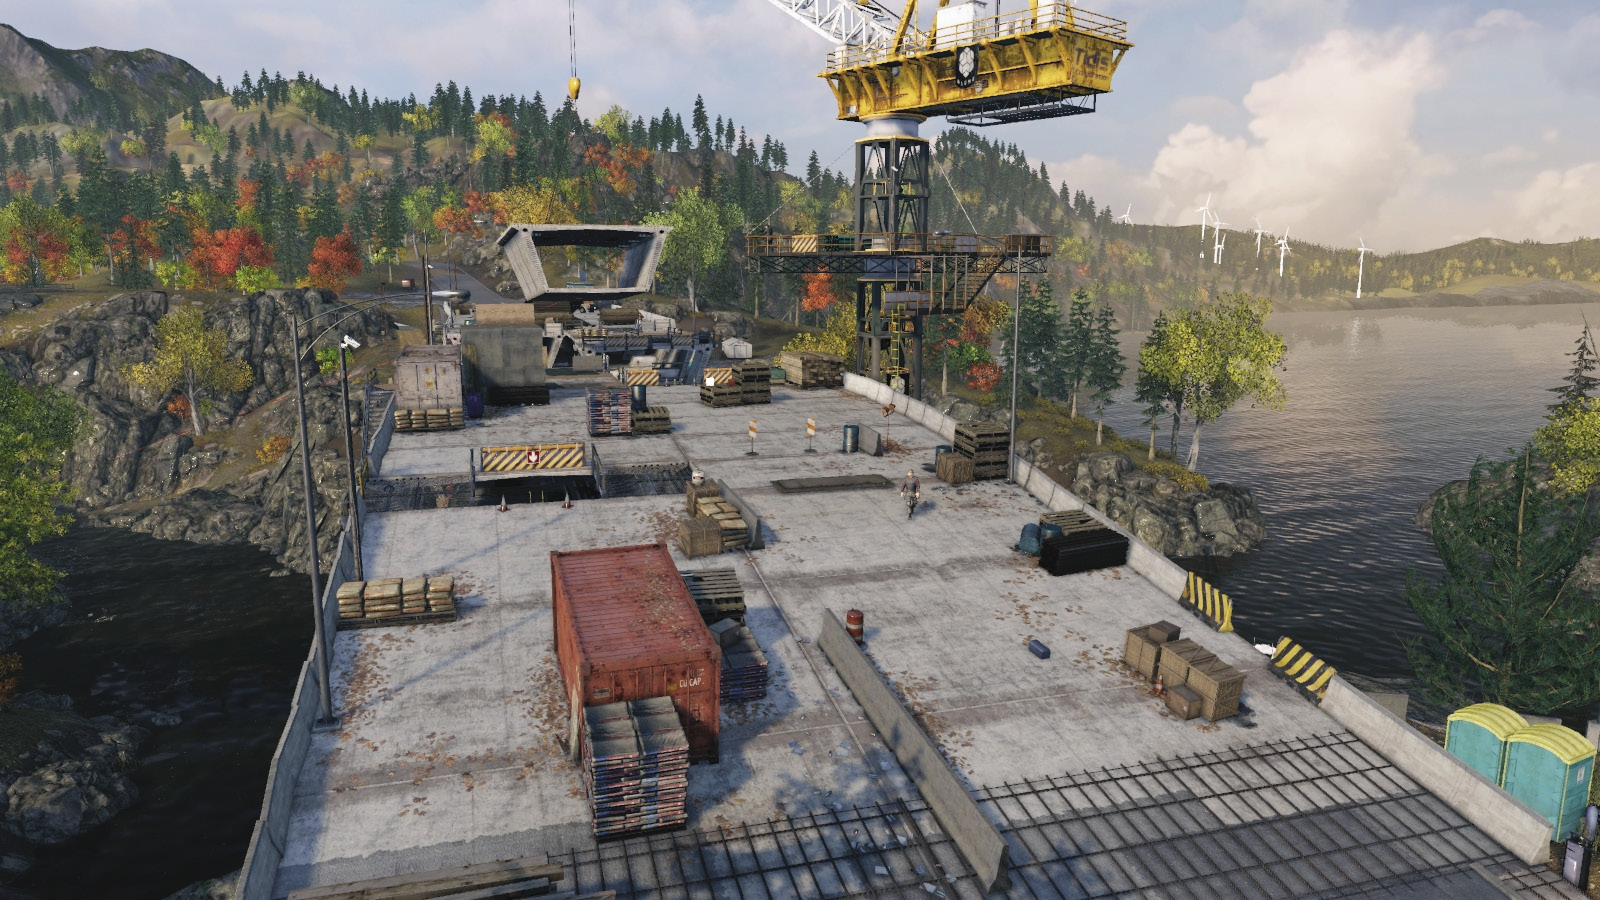
The initial bridge section has three foes on it: one at a burning car, the target on the far edge of the bridge, and a sniper on the crane. Aside from accessing the crane via the ladder, there are cameras to mark your foes with and a hole with a ladder leading to two concrete tunnel areas (one with stairs back to the surface where the target is). There is also a drop into the river below, along with an elevator down the giant support pillar. Or, you can continue along the far right section of bridge, dropping to a gantry or down a ladder from the upper area. There are more cameras to examine the middle of the structure too.
Bridge Footings (Middle)
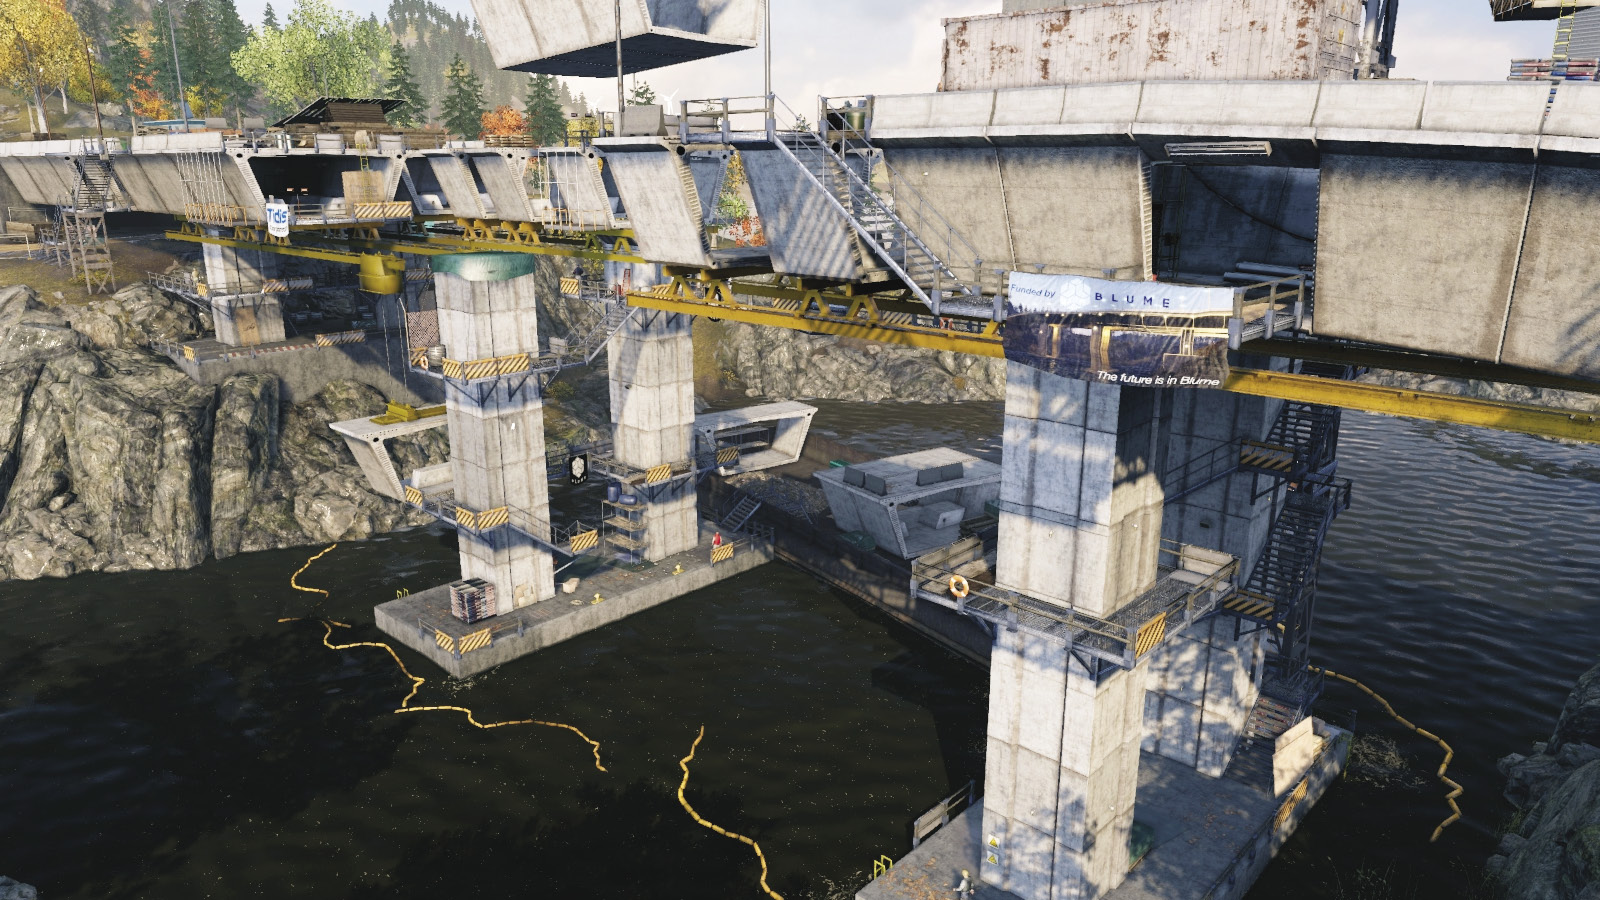
This area encompasses the footings under the initial bridge, a large moored barge of construction equipment and rubble, and the central footings. There are two ways to the middle footings from the southern ones: You can walk the upper gantry patrolled by a guard, then use the elevator inside one of the footings to head down, or you can descend the stairs around the southern footing, watching for a foe (Shot-Caller) before heading onto the barge.
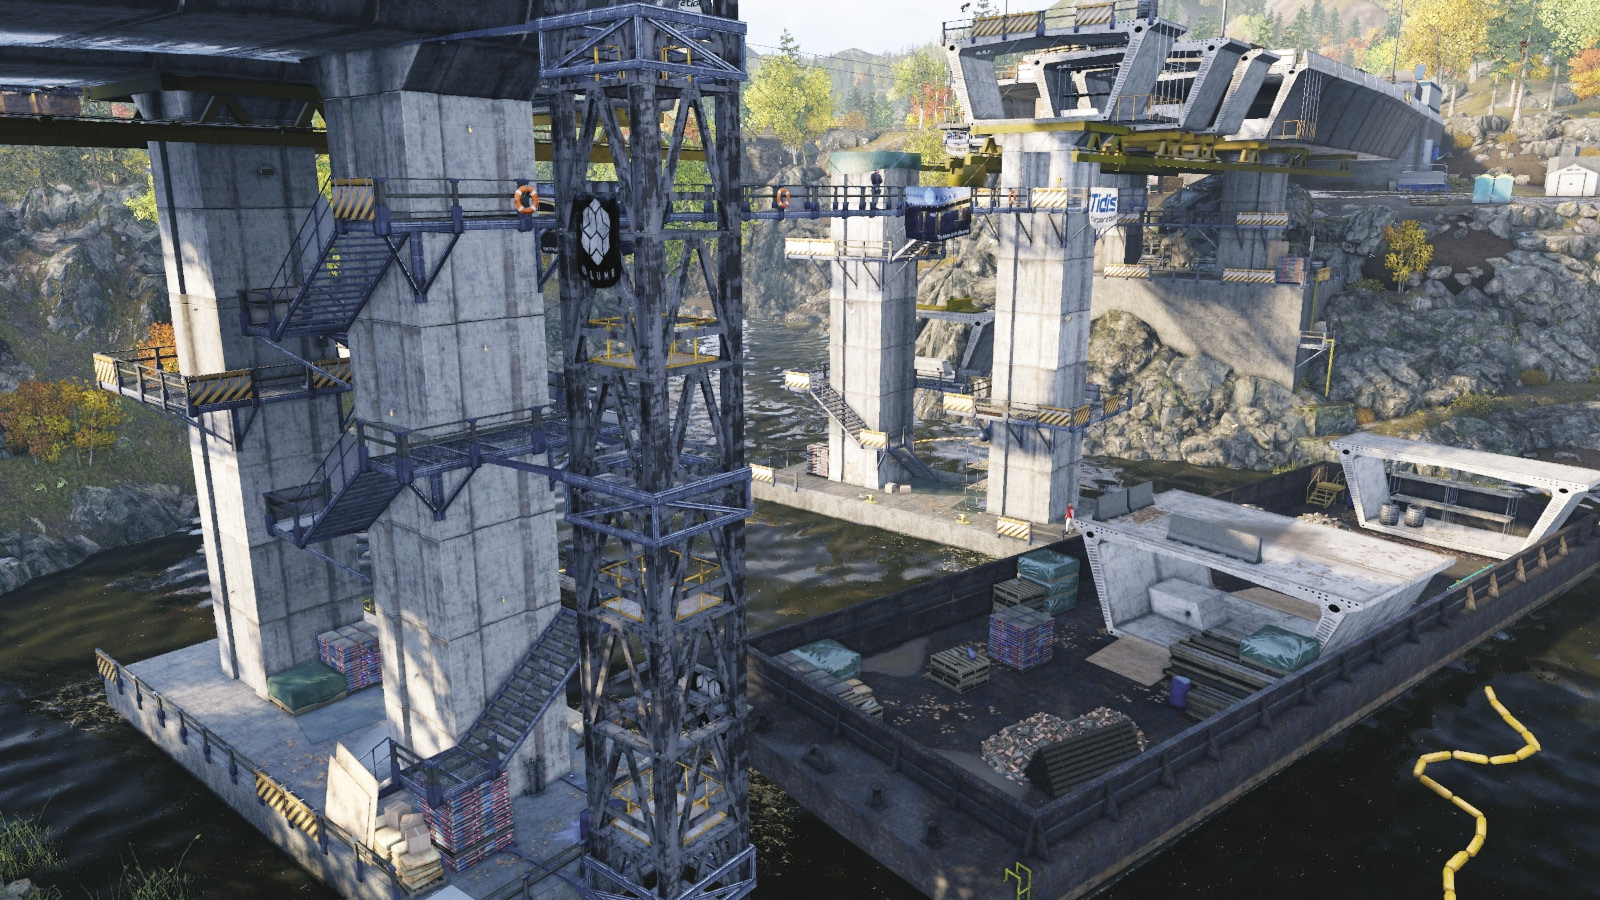
The second target patrols the barge and the base of the middle footing, and there’s another foe farther up the central footing. From this point, you have two main options when attempting to reach the north side: hop off the barge or bottom of the footing and swim to the right riverbank, or activate the crane and ride a concrete section of bridge across; the latter may alert foes.
North Side
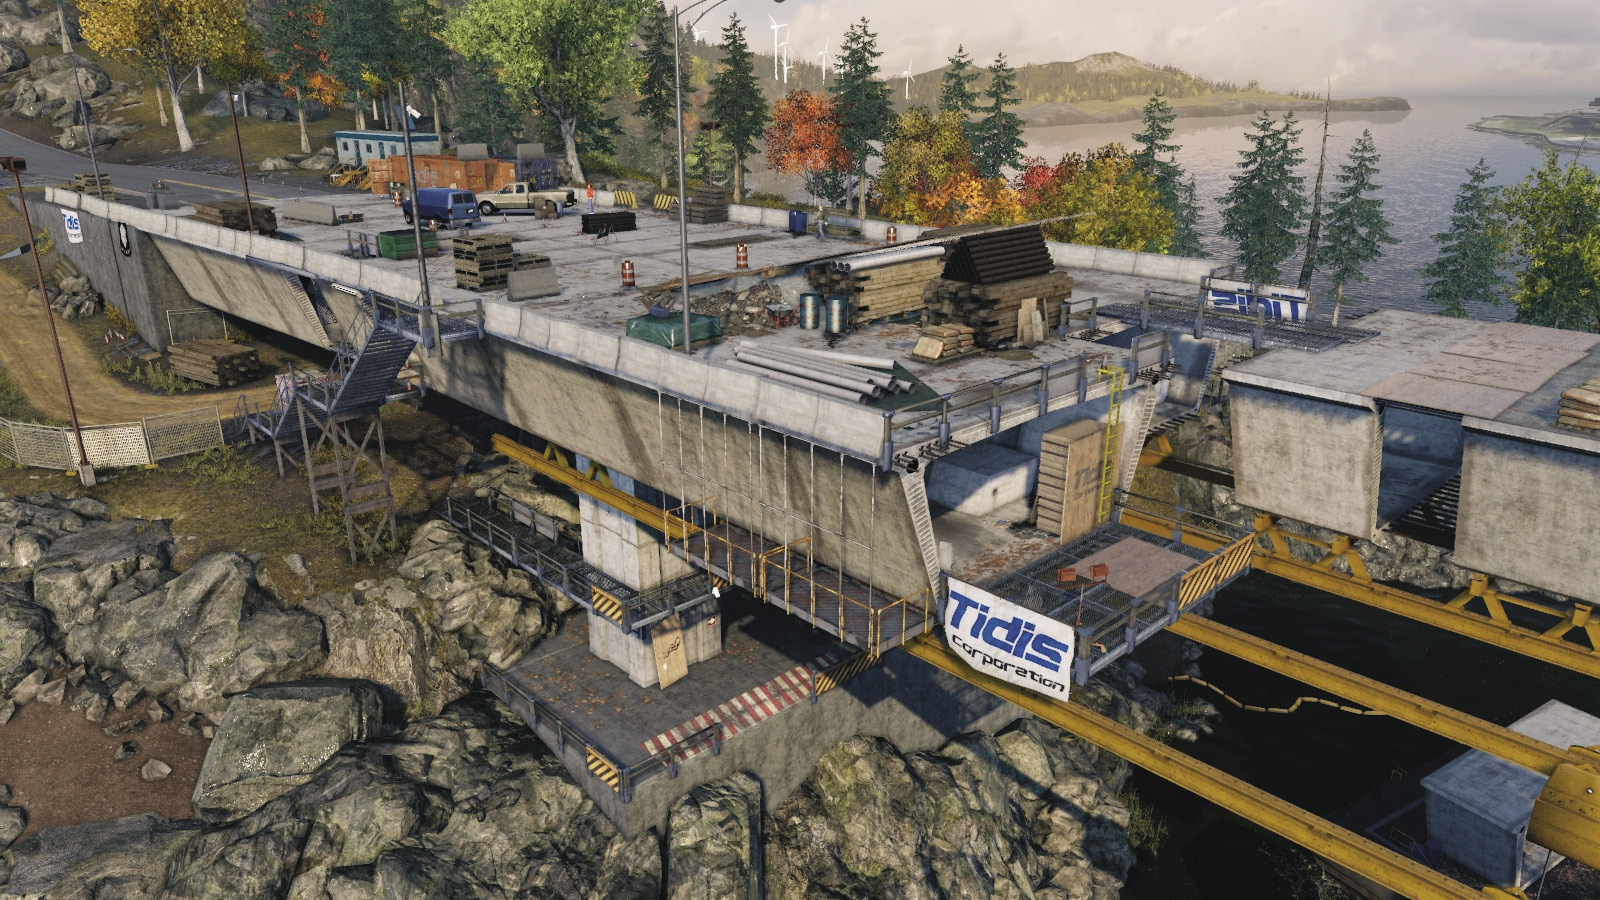
The site’s northern side is similar to the southern one, though you’re accessing it from the bottom to the top. You have four possible foes, among them the target, who starts on the upper bridge. Expect another patrolling the topside, too, a third in the half-constructed concrete tunnels, and another on the scaffold. Use ladders on the right corner of the footings to reach the main concrete pillars, or use the section of tunnel on the crane. Then reach the tunnel and surface in one of three ways: via the stairs along the left side; the lift on the right side; or run on either side of the bridge to the road to the north, then backtrack along the surface. There are cameras throughout this area to check on enemy movements and mark them.
Progression Plans
There are many routes to try when reaching all three targets. The following show the optimal methods of completing this without firing a shot (though you’re also able to ignore the regular guards, throttle the targets, and then light up everyone else).
 Aggressive // Stealth: Testing Your Mettle and Might
 Difficulty:
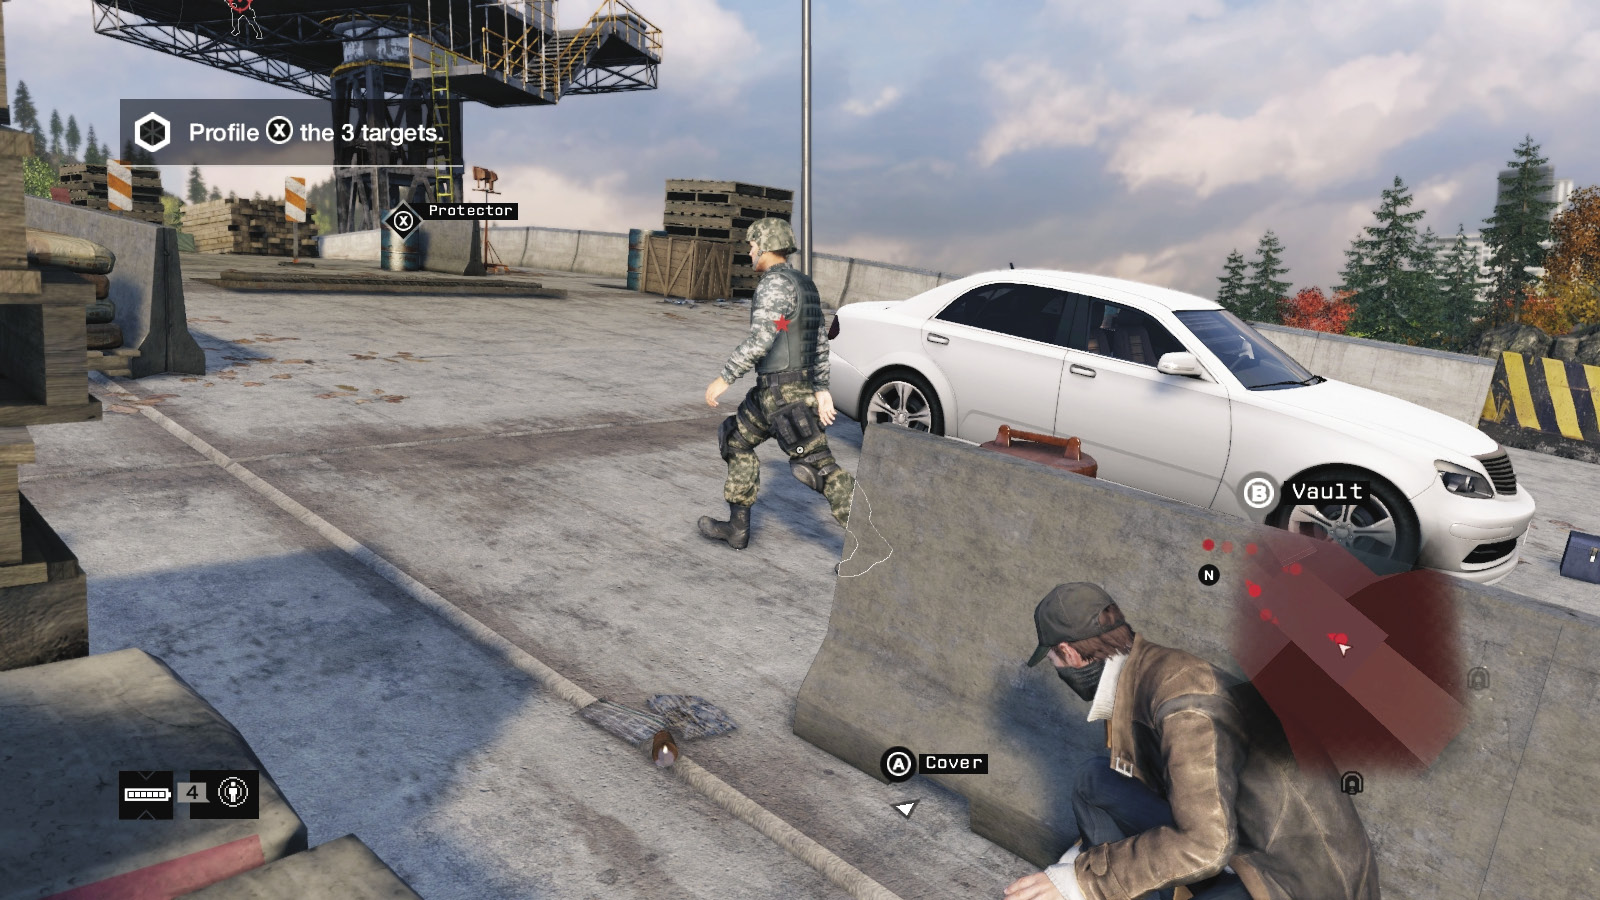
From the start of the restricted area, access the various cameras and mark the guard, the sniper, and the first target. Also figure out where the access tunnel entrance, the stairs, and the massive crane platform are. Then sneak up the left section of bridge road (as there’s more cover), hide behind the red shipping container, wait for the guard to stroll to the left, and drop him.
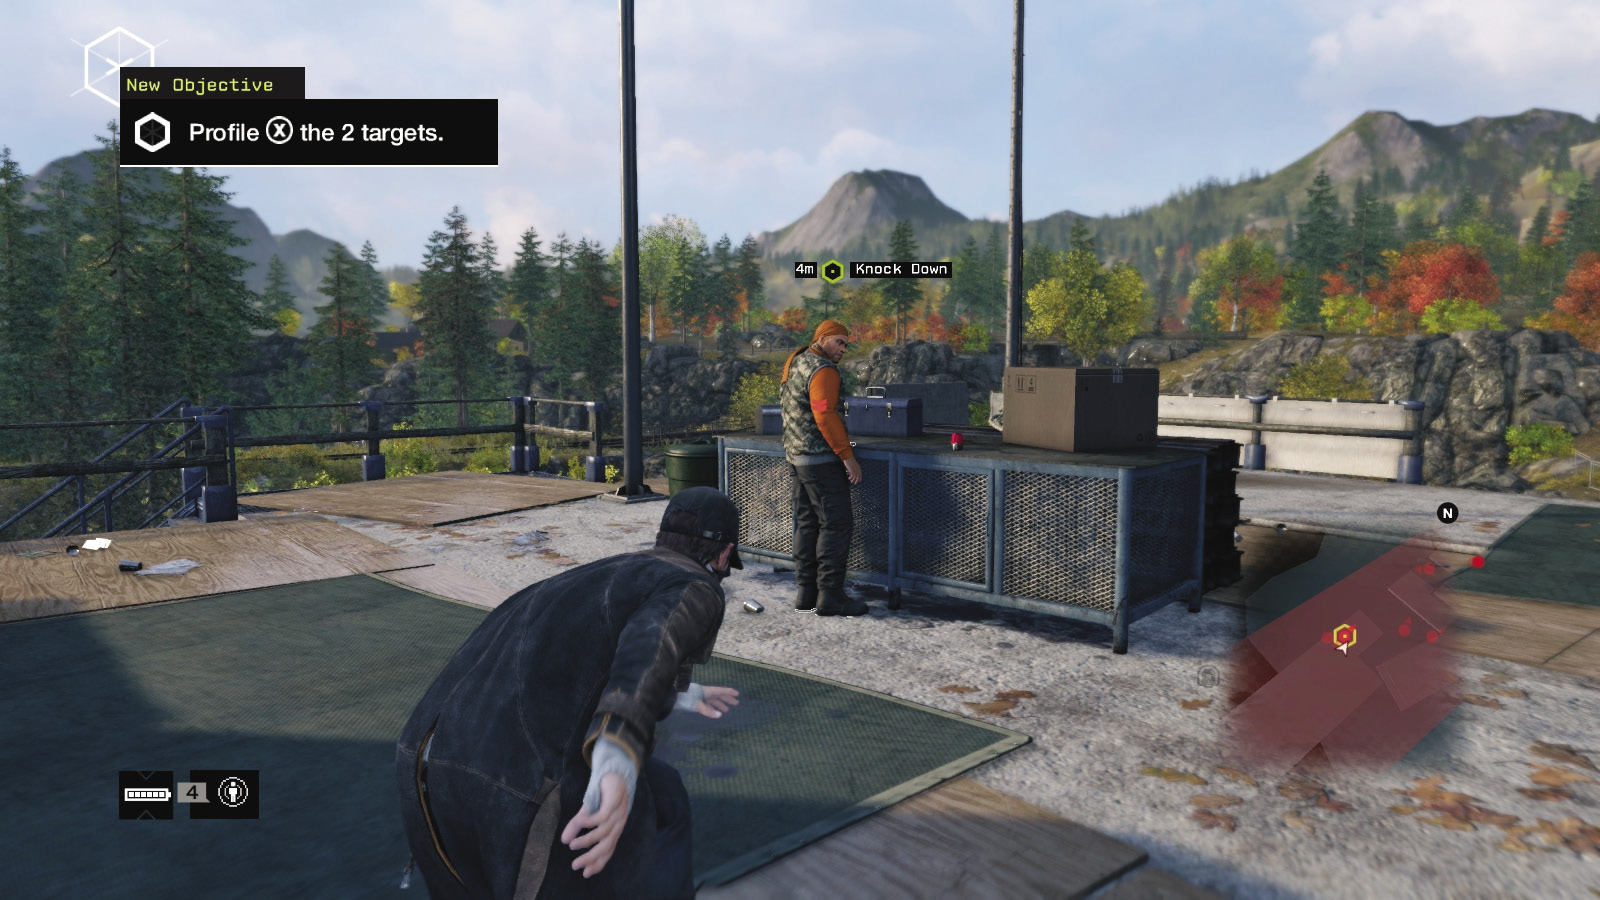
Wait until the sniper isn’t watching, and run across (use cover) to the ladder and scale the crane platform. Sneak up behind the sniper and bring him down with a melee strike. Return back down to the bridge, and take care of your first target. You can:
Wait until he walks into the container, sneak up behind him, and strangle him.
Wait until he’s standing by the metal table overlooking the river, sneak up behind him, and strangle him.
Use the stairs on the left side to sneak up more easily or if you don’t want to tackle the sniper.
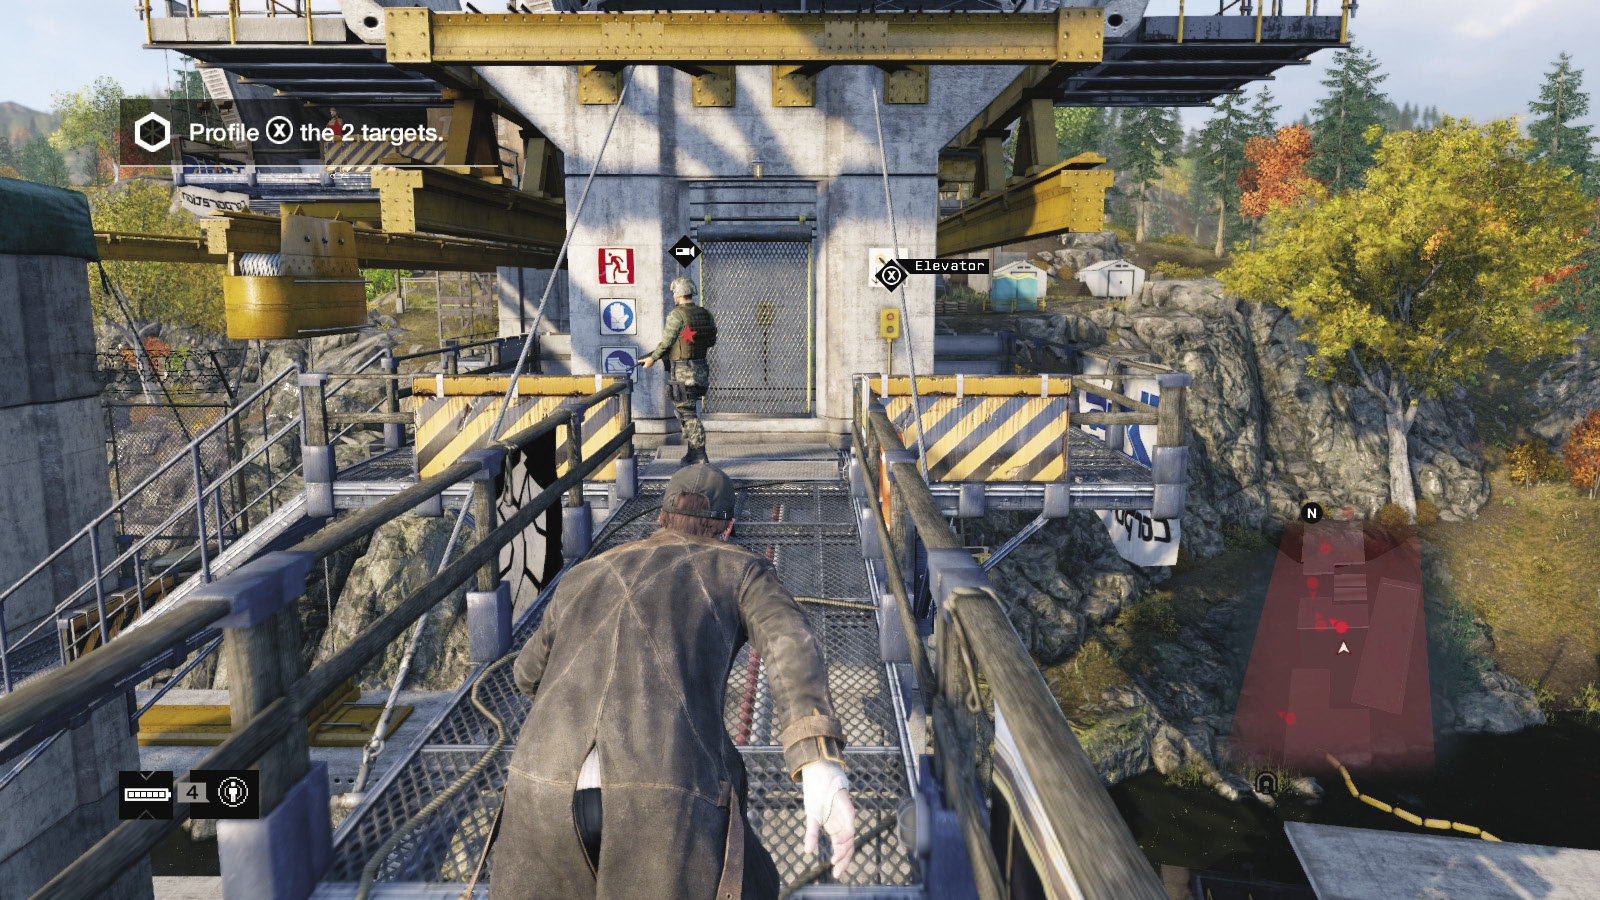
This plan involves removing every threat you can, so drop down to the foe on the gantry, sneak up on him if you haven’t accessed his camera, and remove him close to the central elevator. Return to the initial pillars and the stairs and platforms leading down to the Shot-Caller patrolling the concrete footing. After marking him, sneak around the base of the pillar and take him down.
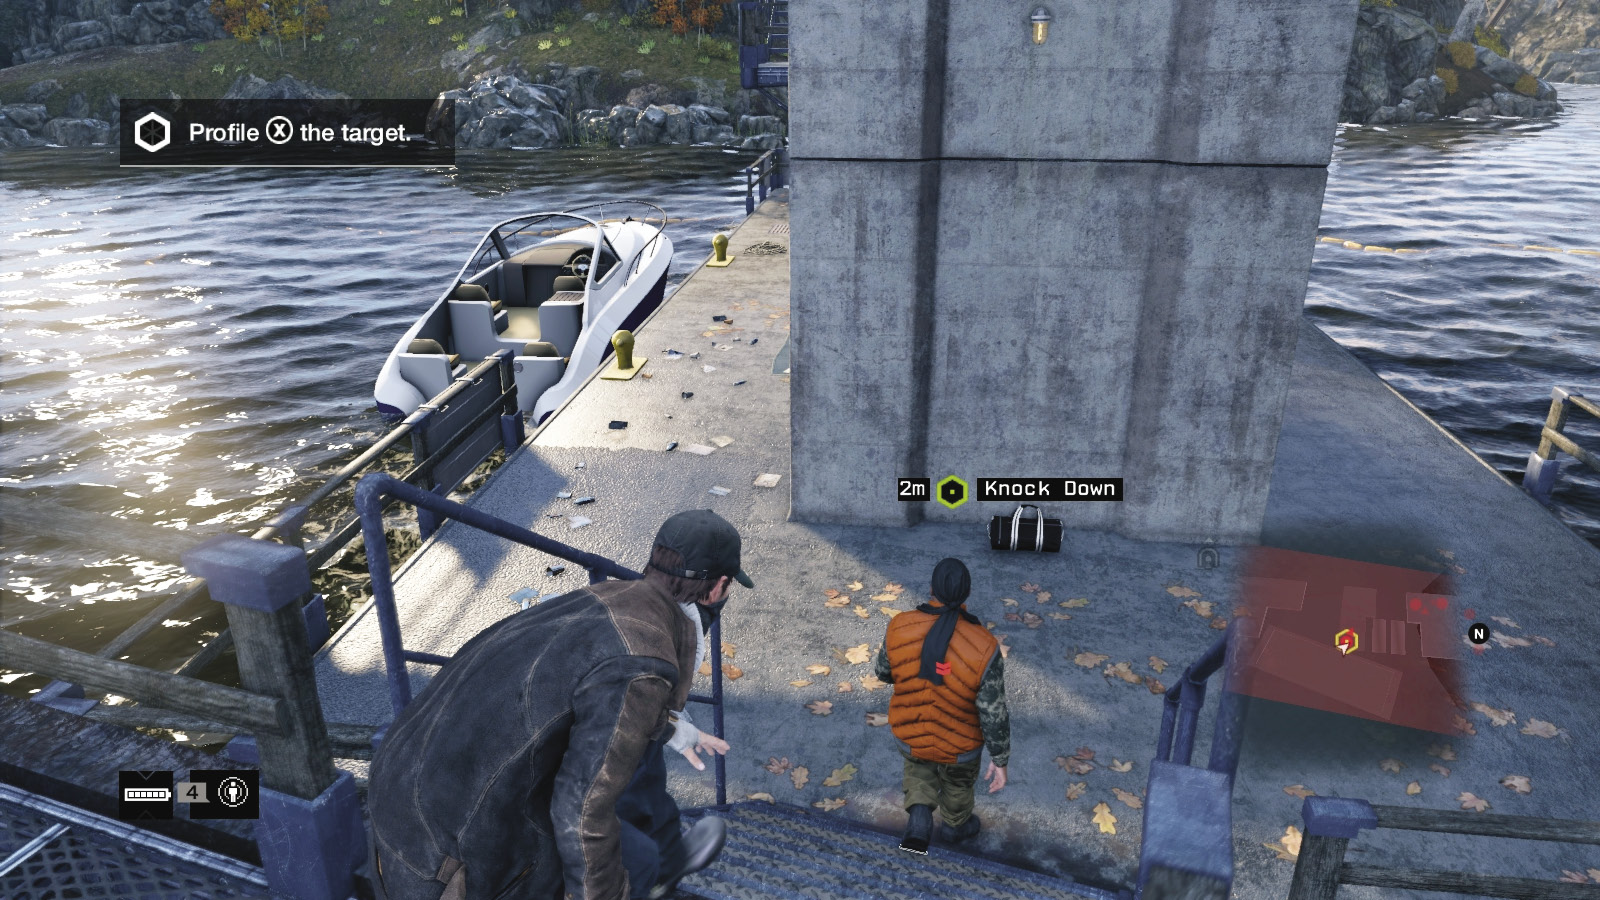
Hop onto the barge and watch the movements of the second target. As soon as he walks from the barge onto the central footing, follow him and seek cover at the pillar. Then tackle him near the boat.
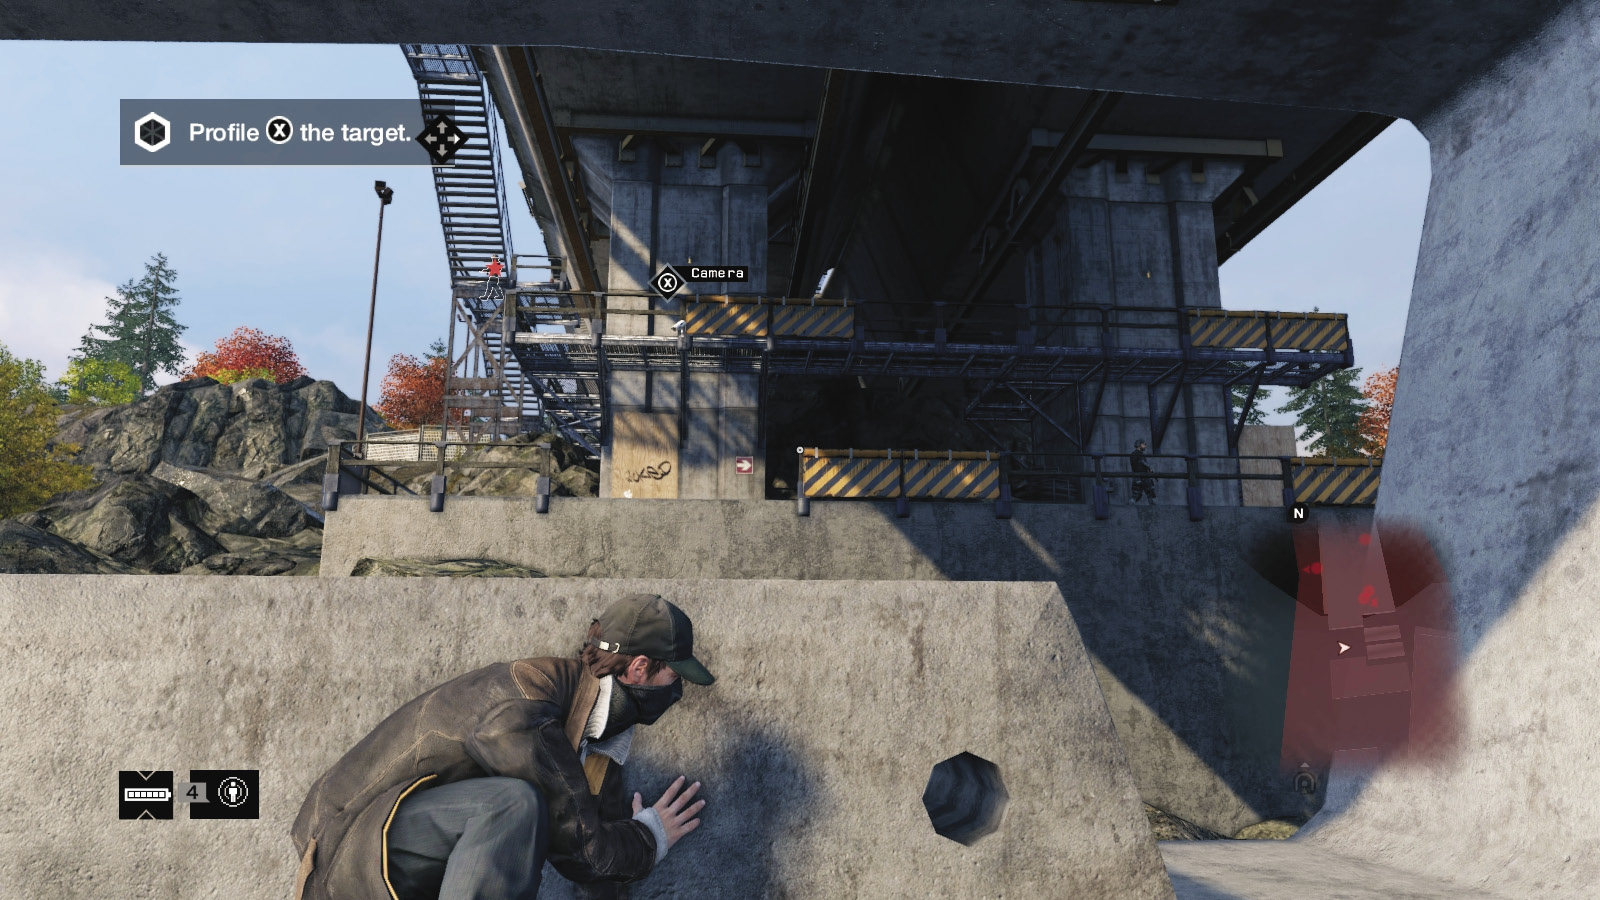
Head up the stairs on the other pillar to reach a section of bridge suspended by a crane. Activate the crane and ride the concrete, crouching behind it so foes on the opposite side don’t see you. You’re now attempting to locate the last target.
Alternatively, you may wish to use the crane to distract the enemies, and instead drop into the water by the barge. Climb up the ladder to a low platform, then up a second ladder to the concrete footings area.
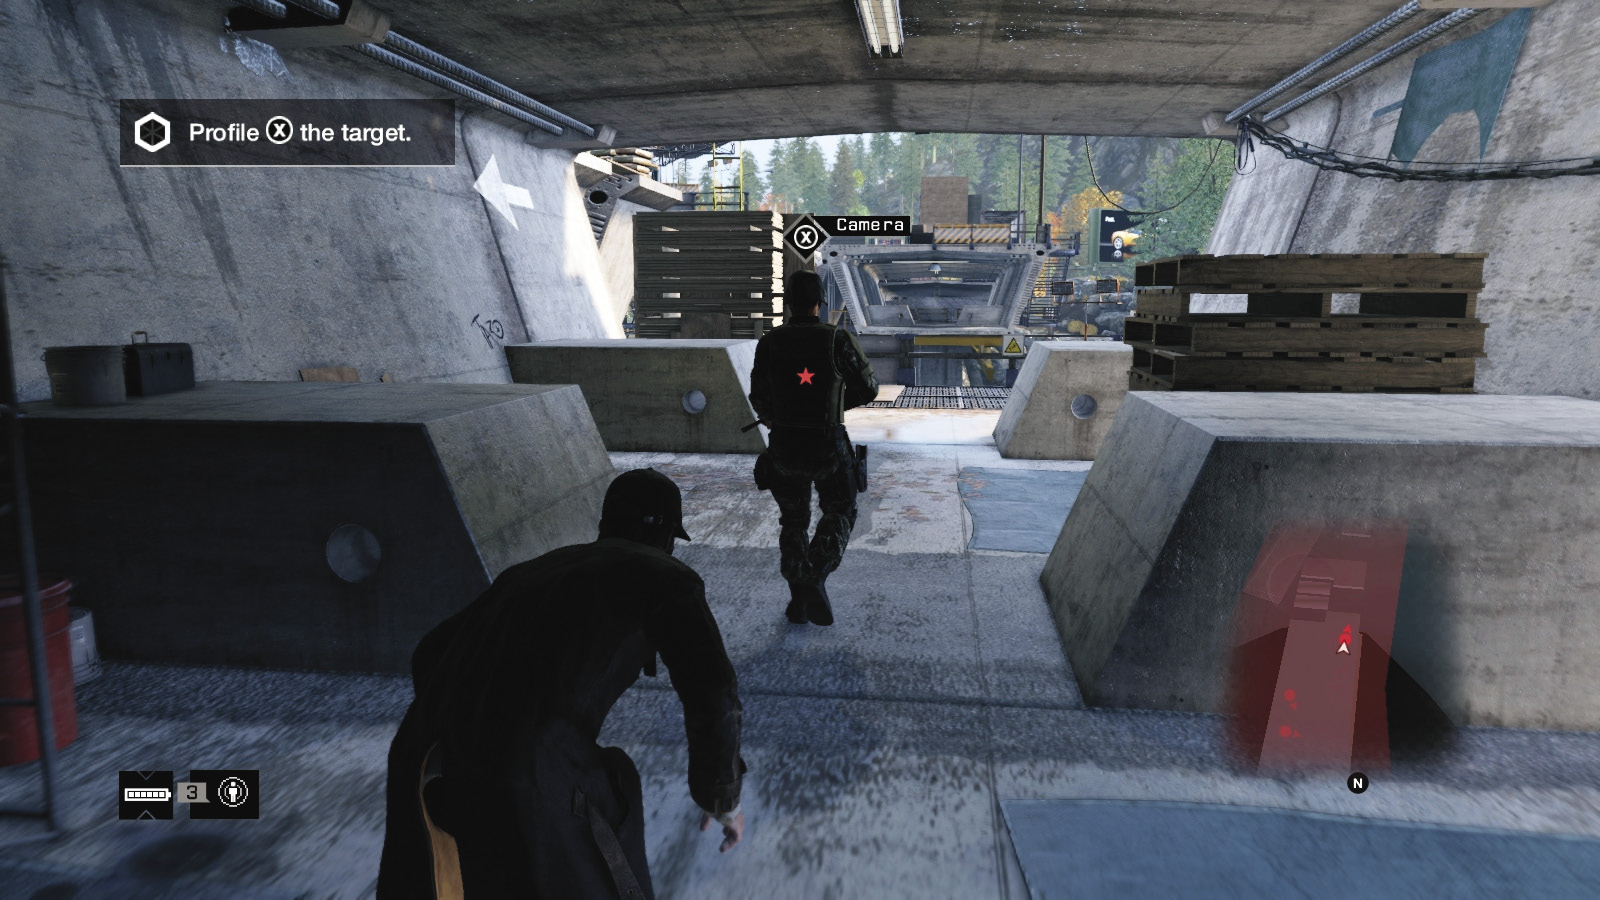
Prowl the base of the north pillars; there are four foes left. Assuming you haven’t been seen yet, wait for the guard’s patrol to reach you and drop him. Then scramble up to the metal stairs on the outer edge of the northern bridge section. Head up to the gap in the tunnel and creep inside, up to the other foe with the camera here, who’s easy to overlook.
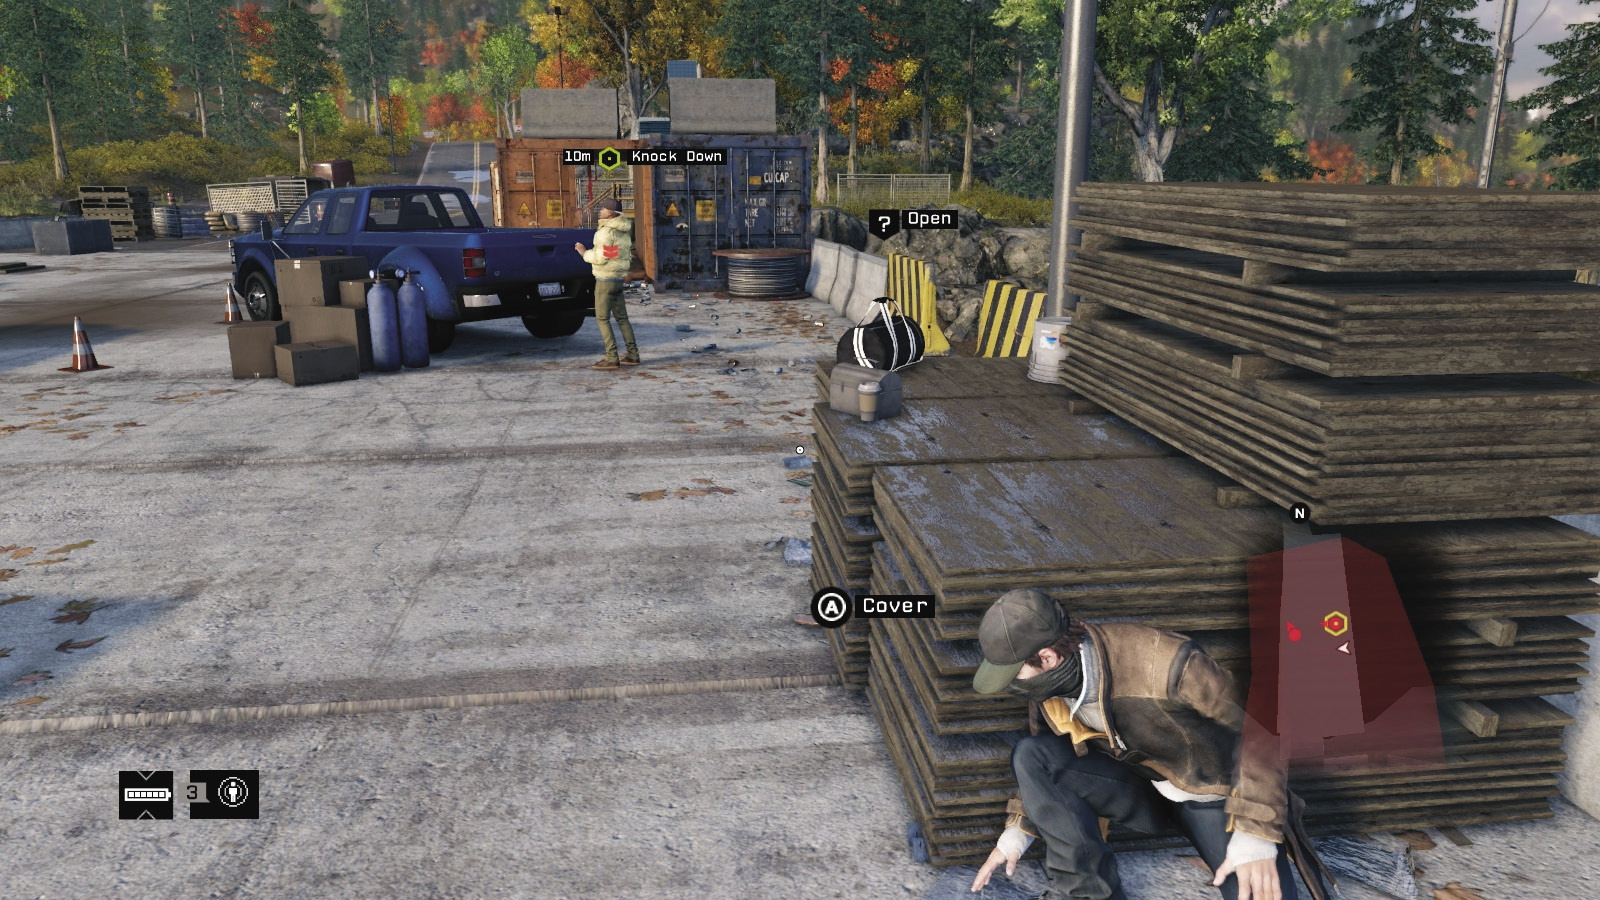
Now reach the surface via the metal stairs, or head to the opposite side of the bridge and access the construction lift, which deposits you right behind the final target (unless they’ve been alerted and have moved). Raise the protector if you need it, and tackle the final two foes in any way you wish (although the target must be bashed with melee strikes).
 Aggressive // Stealth: The Same, but from a Different Site
Difficulty: 
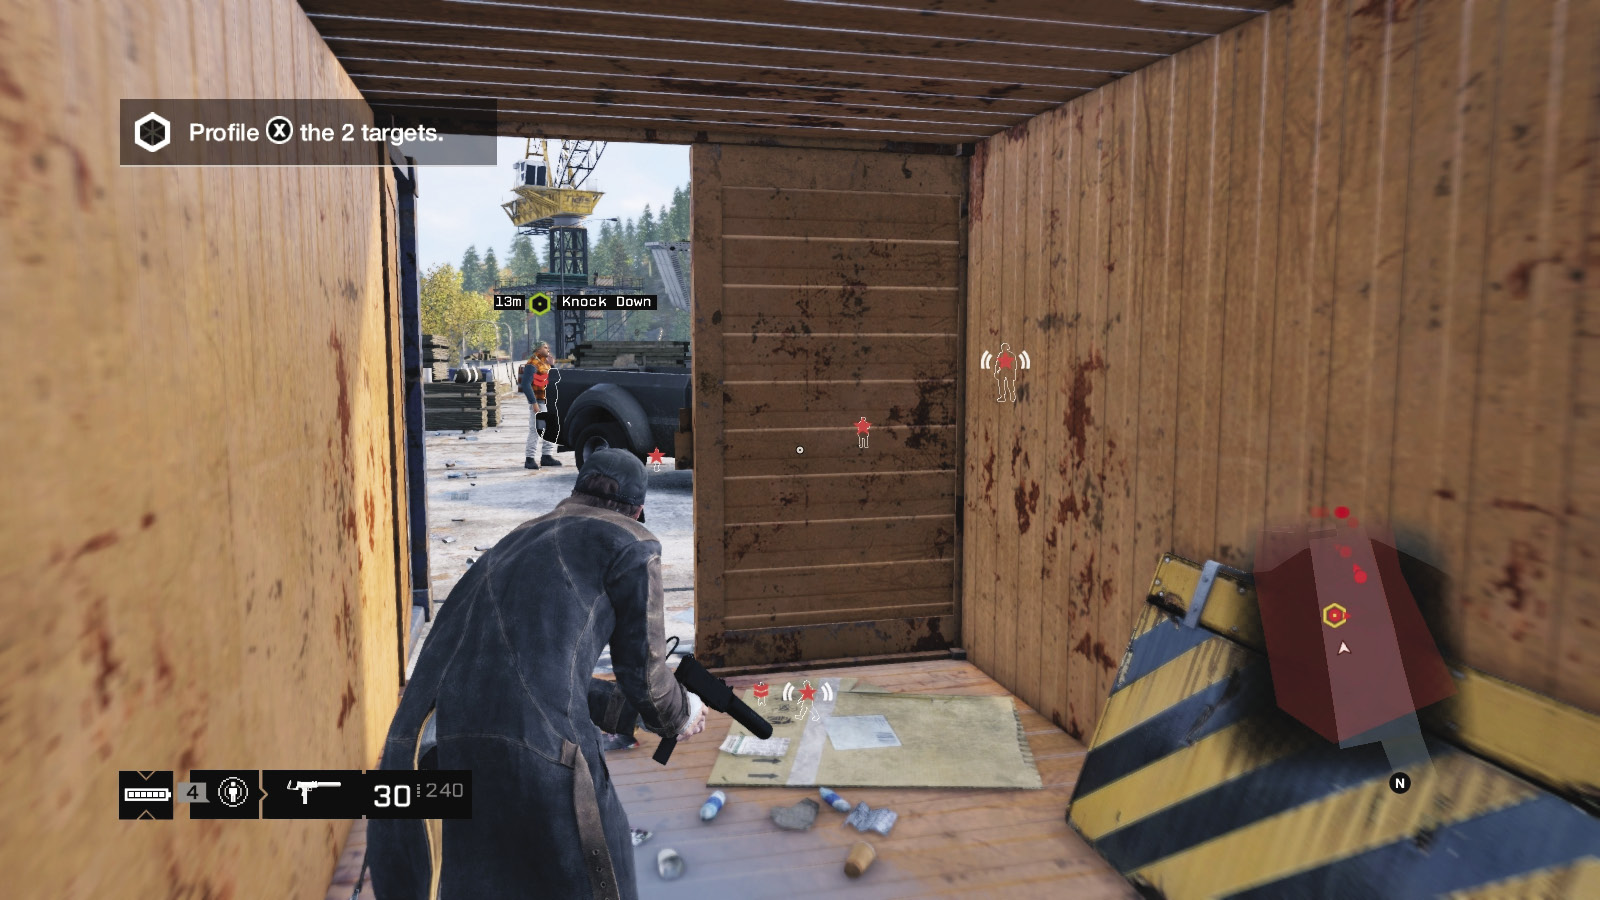
It’s possible to complete this entire clandestine operation heading from north to south. However, getting to the north side is tricky; you don’t want to head through the site (as that’s the route already explained). Instead, drive a vehicle to the broken rail bridge, using it as a ramp to cross to the north. You’re out of the mission area, so quickly skid right onto the first road, and right again, toward the north bridge section. The following takedowns are now possible:
Stand inside the open red container, sneak in, and remove the first target by the vehicle.
Take down the second foe as he strolls to the right, near the parked van and the hole.
Drop into the hole and move to the guard overlooking the river at the far end. Drop him.
Head down the outer stairs, mark the patrolling Shot-Caller, and step out to beat him when he’s close.
Swim and climb onto the barge. Follow the second target and remove him by the boat, on the middle footing.
Head back onto the barge, wait for the Shot-Caller at the bottom of the south pillars to appear, and tackle him.
With no alerts occurring, ascend the stairs to the upper gantry, and tackle the foe with the camera.
Use the elevator to reach the upper part of the south bridge, then locate a camera and mark the three remaining foes.
Watch for the sniper’s view before creeping up from the outer stairs and removing the last target.
Head over to the sniper’s crane platform and tackle him. Then shoot the last foe or drop down and throttle him.
 Aggressive // Smart: Setting Your Foes Alight
 Difficulty:
Once you remove the first guard, the sniper, and the first target, feel free to augment your sneaking with a variety of camera work and smart takedowns. You can neutralize four of the remaining enemies and make the subsequent stealth a lot more straightforward:
Pan and scan through the cameras, marking everyone in the central part of the bridge and far north footings.
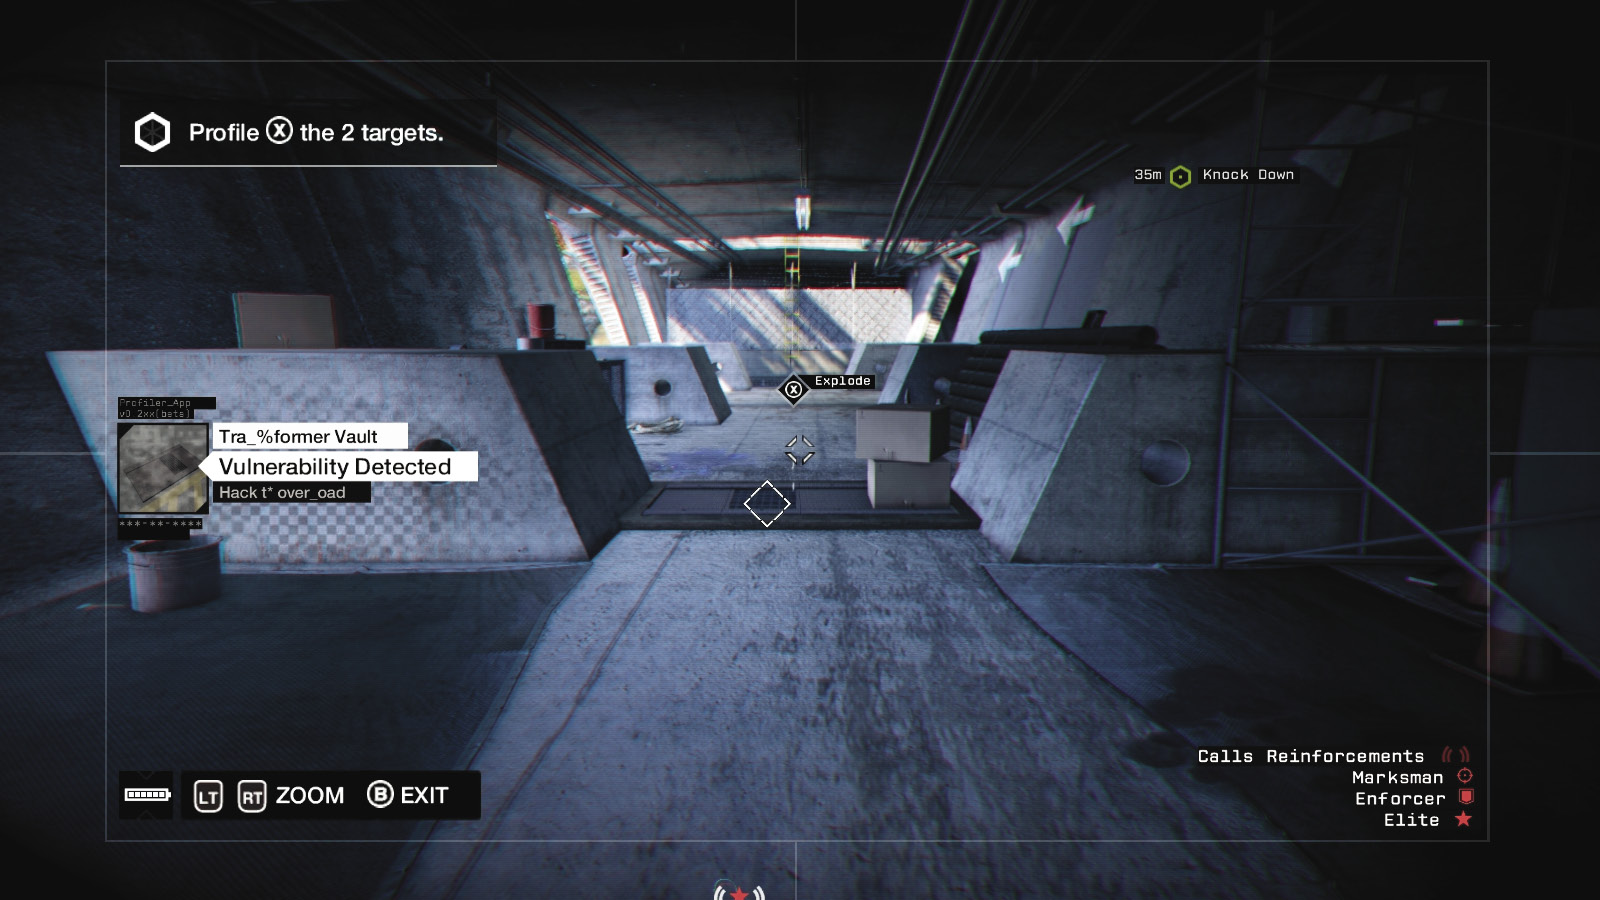
Access the hidden camera on the foe patrolling the gantry just below you, on the right. Wait for him to head back under the bridge area, and explode the vault transformer as he walks on it.
Access a camera on the south footing area below you, so you can see a patrolling Shot-Caller along the bottom. Wait for him to patrol near a junction box you can explode.
Access the camera on the far guard at the edge of the left tunnel so he walks toward an explosive vault; detonate it.
Access the camera at the far end of the lower footings, and explode the junction box, removing another guard.
 Aggressive // Violence: Sniper’s Delight
 Difficulty:
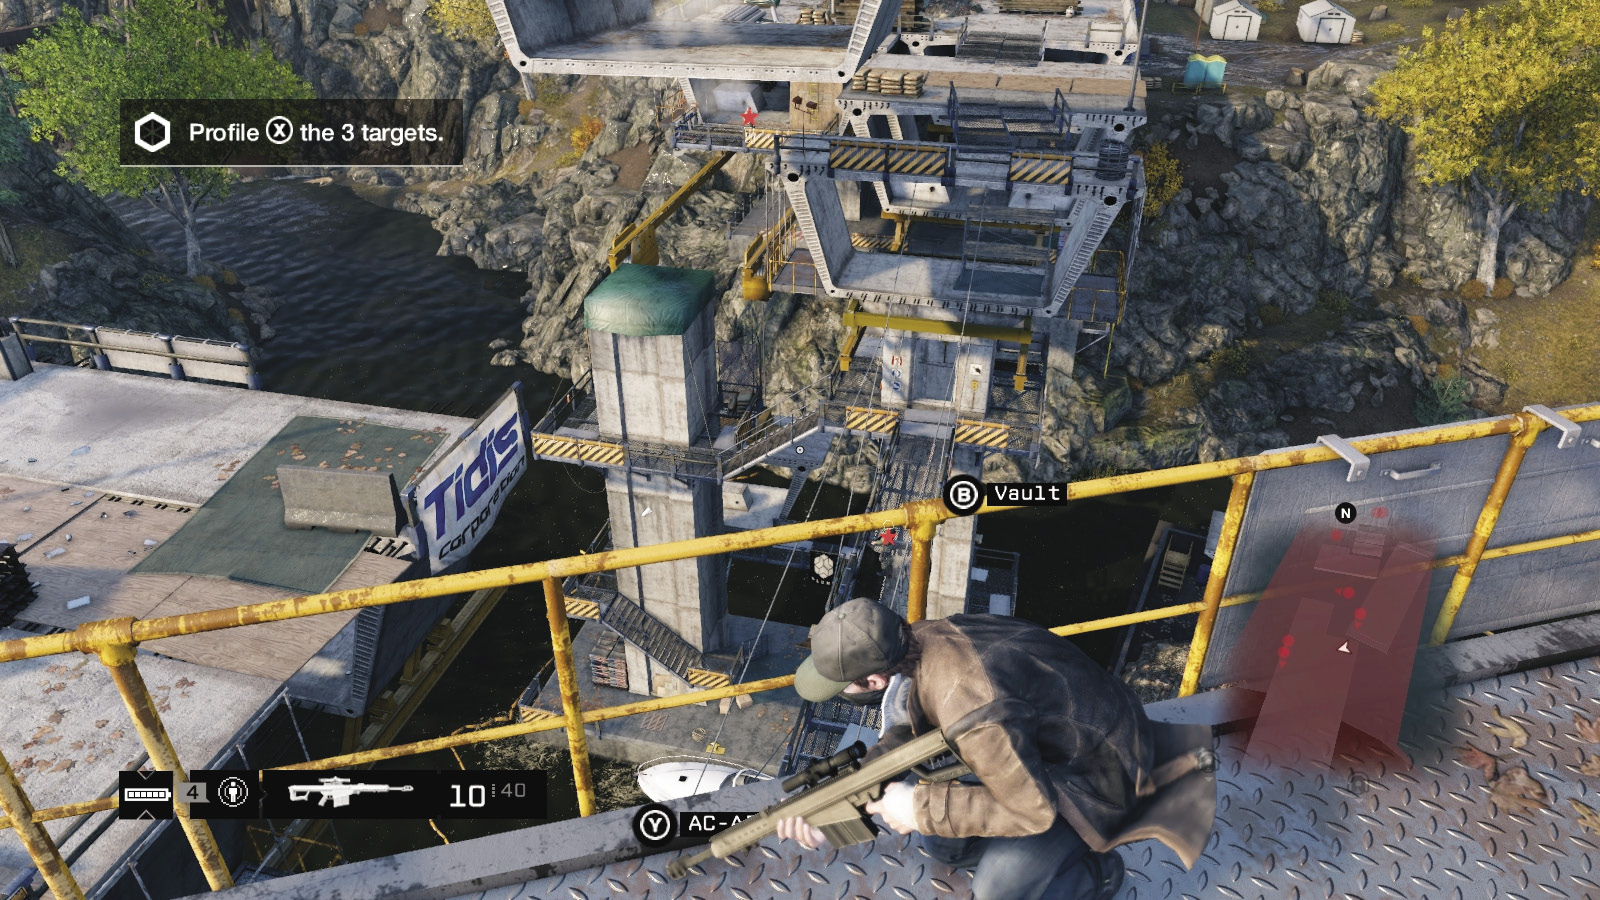
If this infiltration degenerates into a shooting gallery, be sure you’re as high up as possible. The sniper is your most feared enemy, so remove him as a priority. Then simply wade through the routes previously described using projectiles and headshots, except for the targets, who you’ll need to rush while unarmed.
Use the sniper’s crane platform for a good view of the site.
Or, you can use the scissor lift by the southwest Blume sign and pop the sniper from your own nest.
Ride around in a boat, close to the edge of the mission perimeter, firing at foes from different angles; this is risky.
Sniping from the broken bridge is fun, especially if you have a vehicle to use as movable cover.
_DECAPITATED
location: PAWNEE CEMETERY
Enemy: MILITIA
NUMBER OF TARGETS: 1 (Veteran) / HE CAN FLEE
NUMBER OF ENEMIES: 10 (Veteran x1, Elite x8, Marksman x1)
Shot-Callers x3 (Elites)
Difficulty: ($10,000 Reward)
REINFORCEMENTS: two vehicles (GunMen x 2, Veteran x 2)
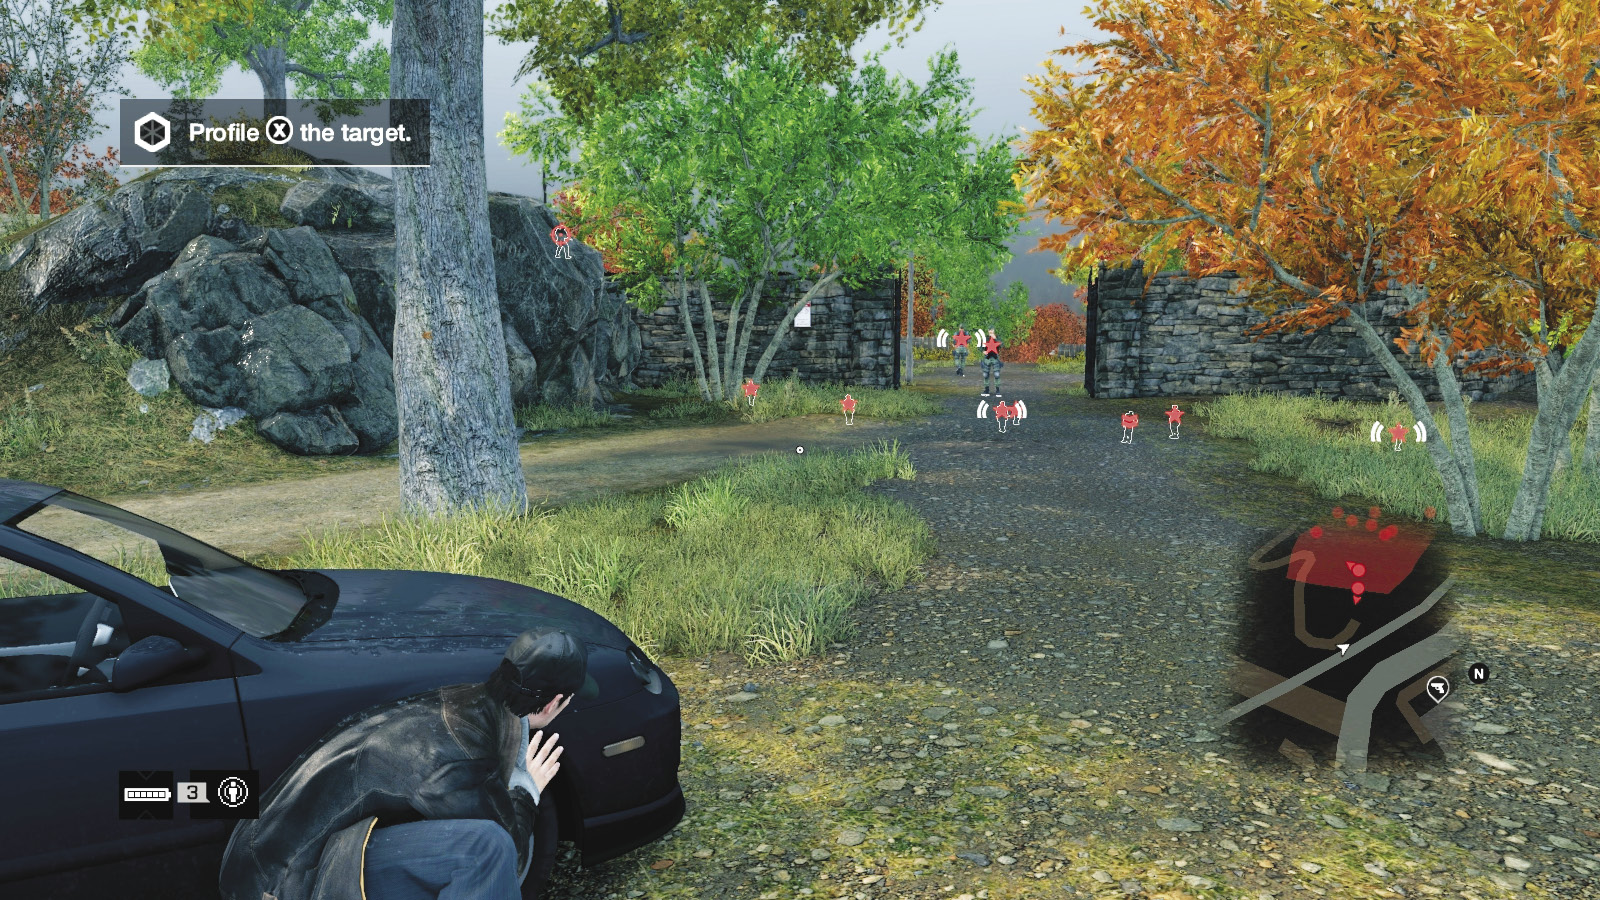
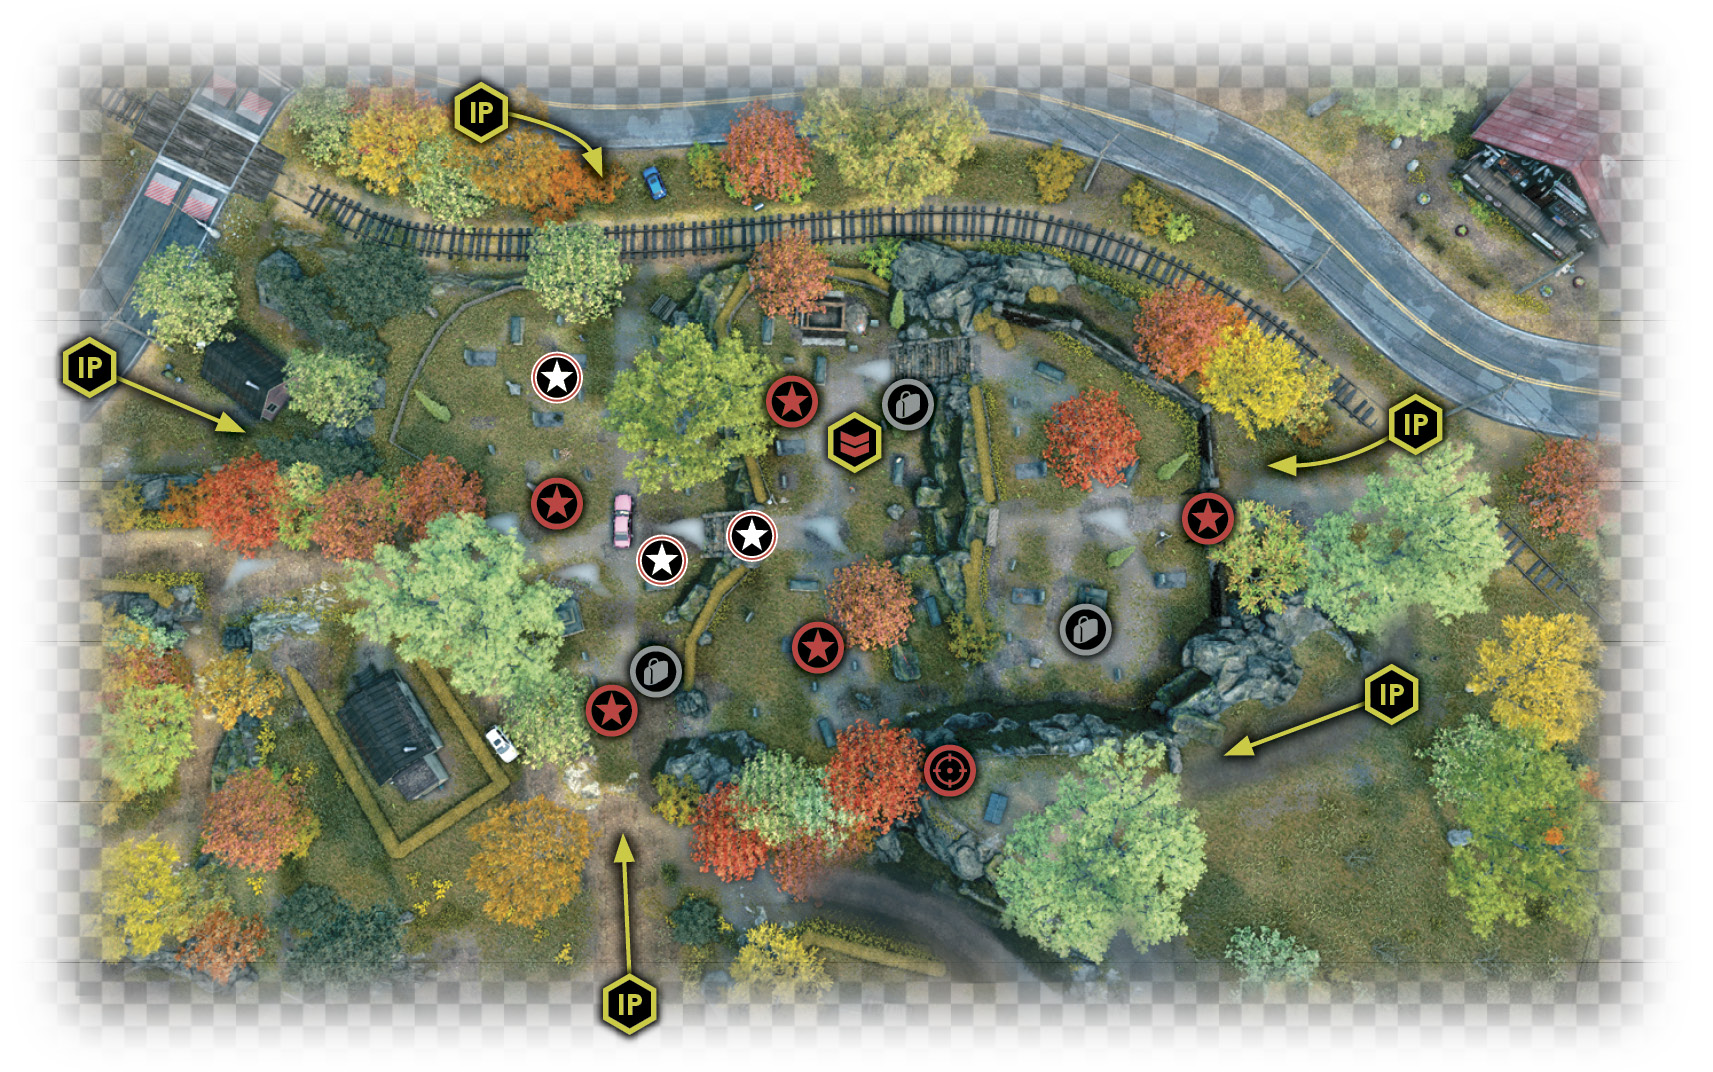
Close to the gun store is a house with an overgrown front yard, where your mission begins. It’s a quick trot across the road to reach Pawnee cemetery, where your ten foes are currently patrolling.
Insertion Points
The cemetery is easy to maneuver into; it’s the openness and enemy placement that is problematic. As the cemetery is on a hill, it’s usually better to be at the top or across from the top and work your way down.
Upper Gates (East)
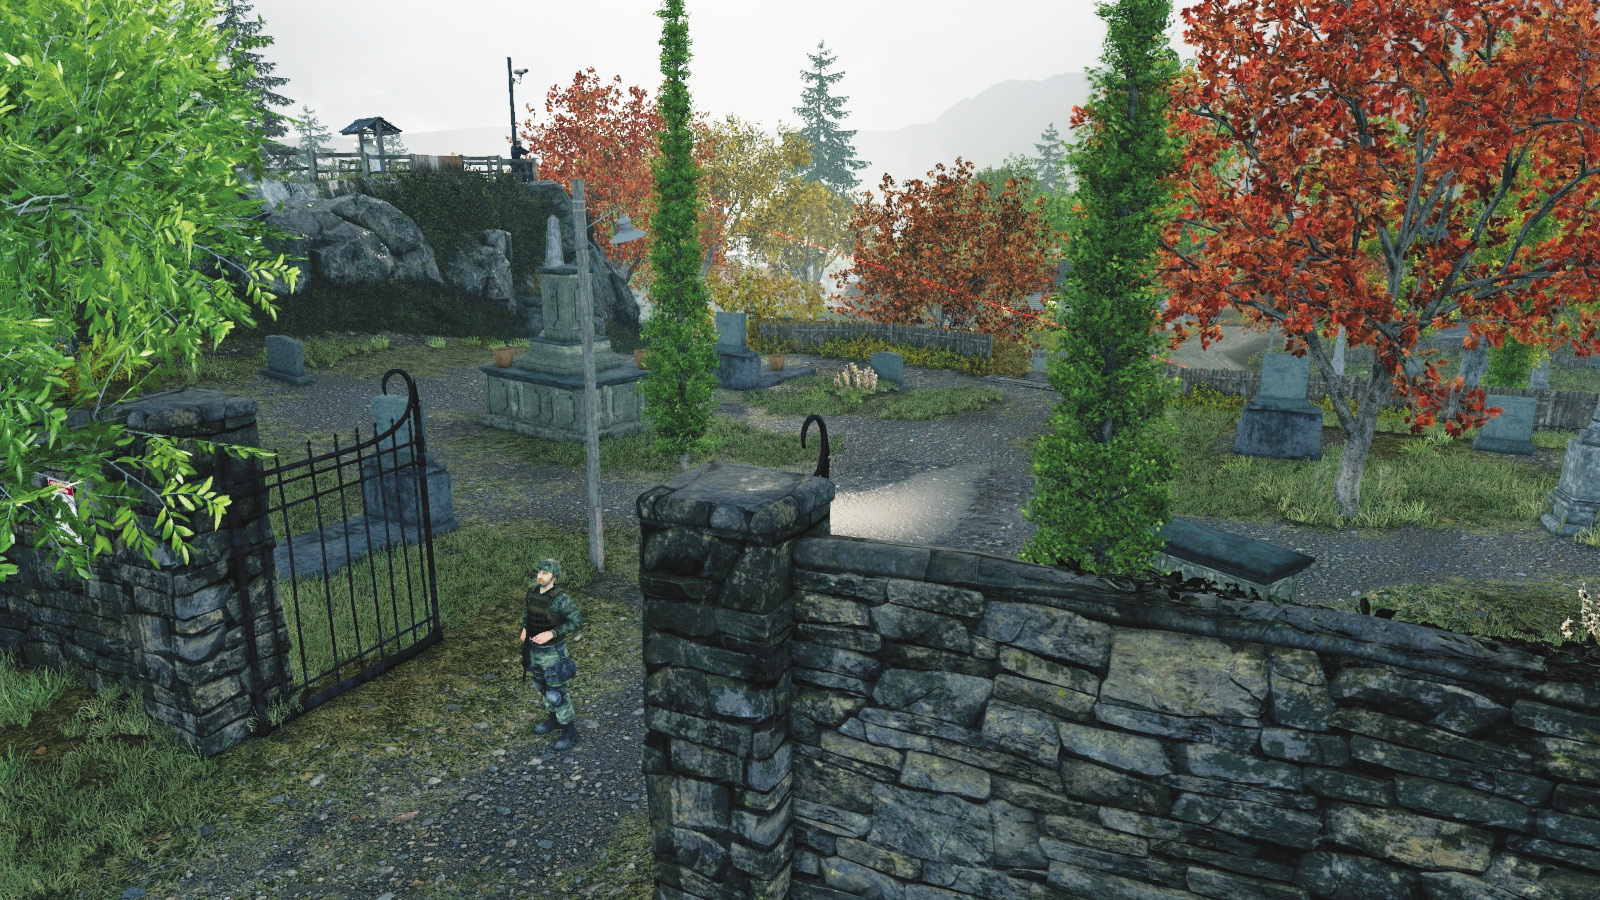
This is where you usually begin your infiltration: an open gate to the upper graveyard, with the vantage point just south of this flat area of grave stones. You can climb over the old stone wall as well, if you’re thinking of skulking around the perimeter before leaping over to wallop a foe.
Vantage Point (Southeast)
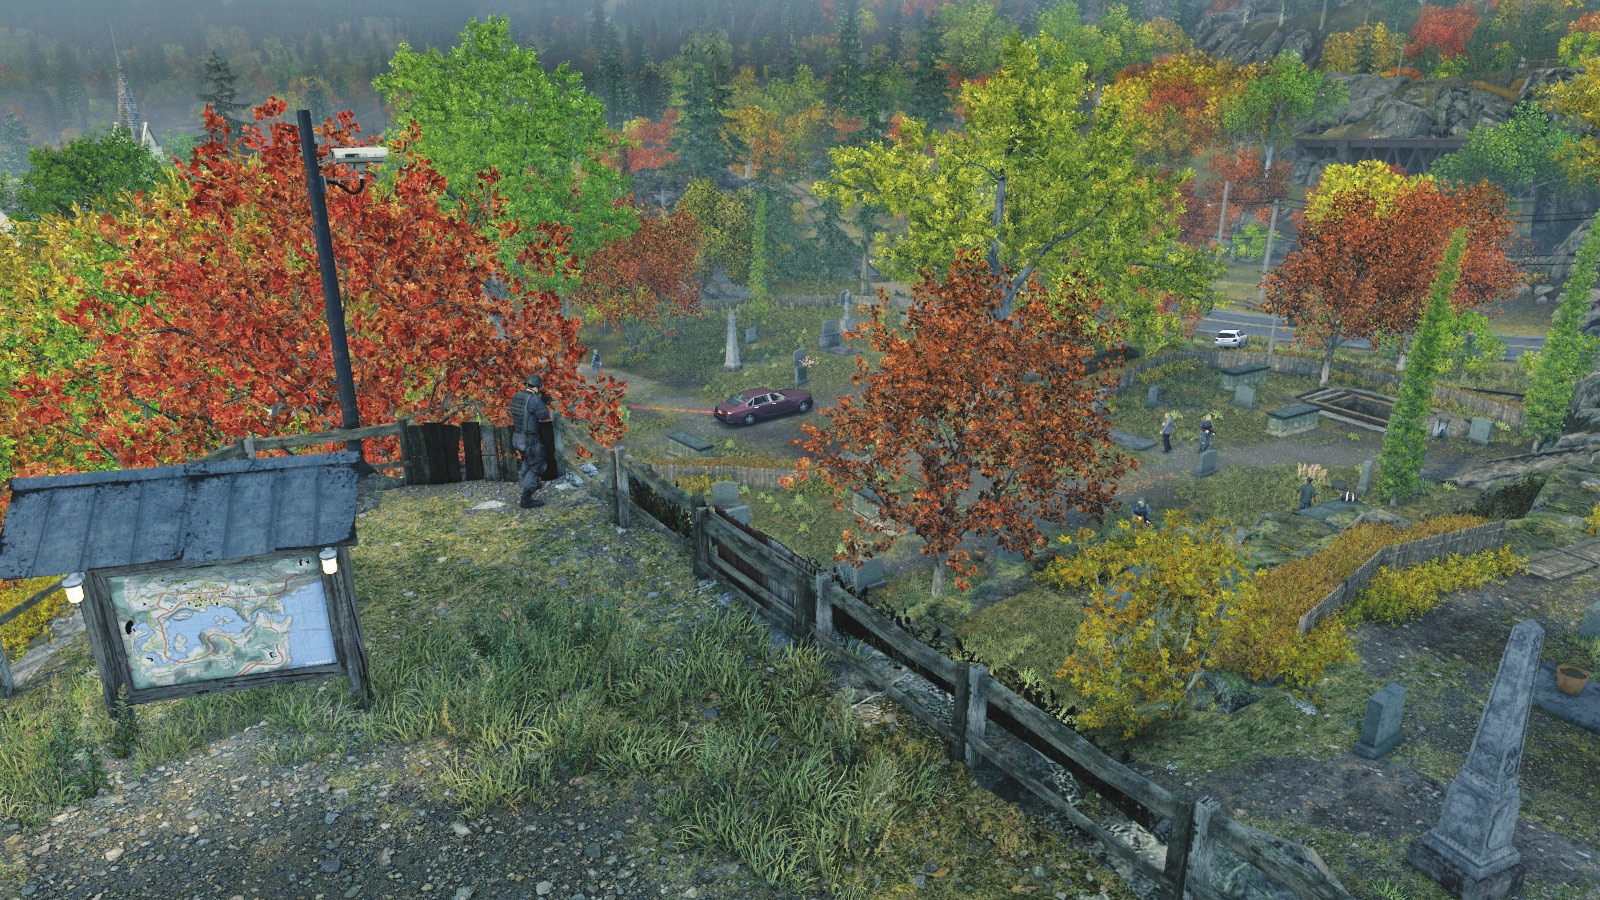
There’s a small winding path to a tourist map, behind which an enemy sniper is stationed. Above him is a camera to easily mark most of the foes in this area, including the target. The sheer open nature of the cemetery’s lower yard is now apparent from here, and you can watch patrol movements easily.
Southern Pathway and Cottage
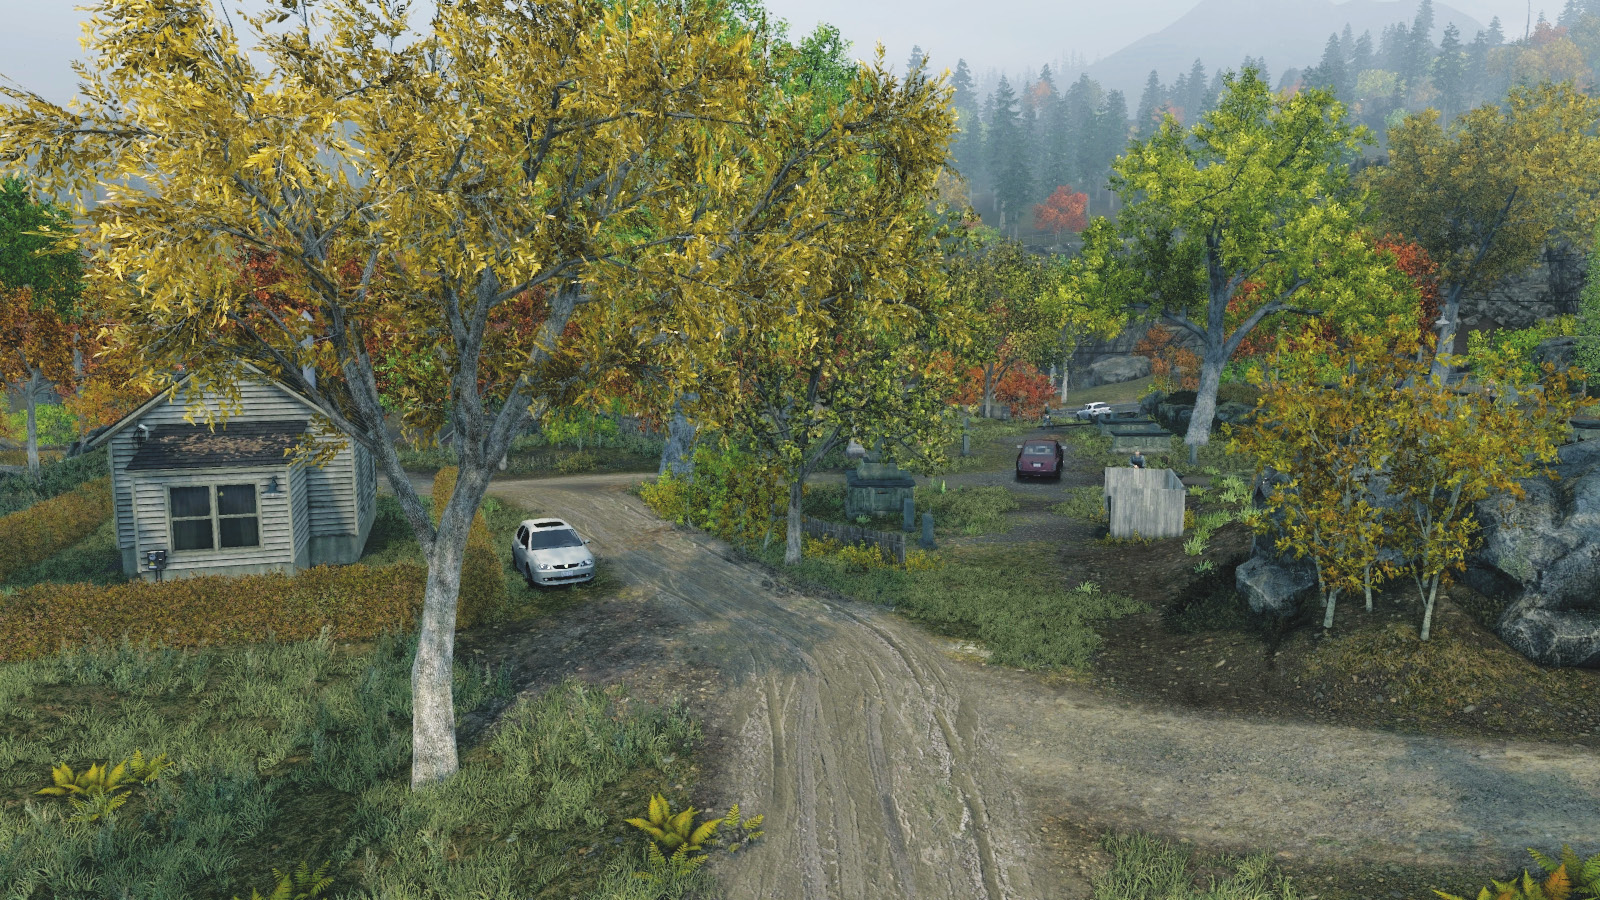
The path from the vantage point winds down to a dirt road. Along the way is a small hut with a picnic table and a steep slope of rocks and grass that’s reasonably difficult to maneuver between; watching or darting in to grab foes is tricky here. This is a good way to head between the south and east parts of the cemetery without being seen, though.
Caretaker Cottage and West Entrance
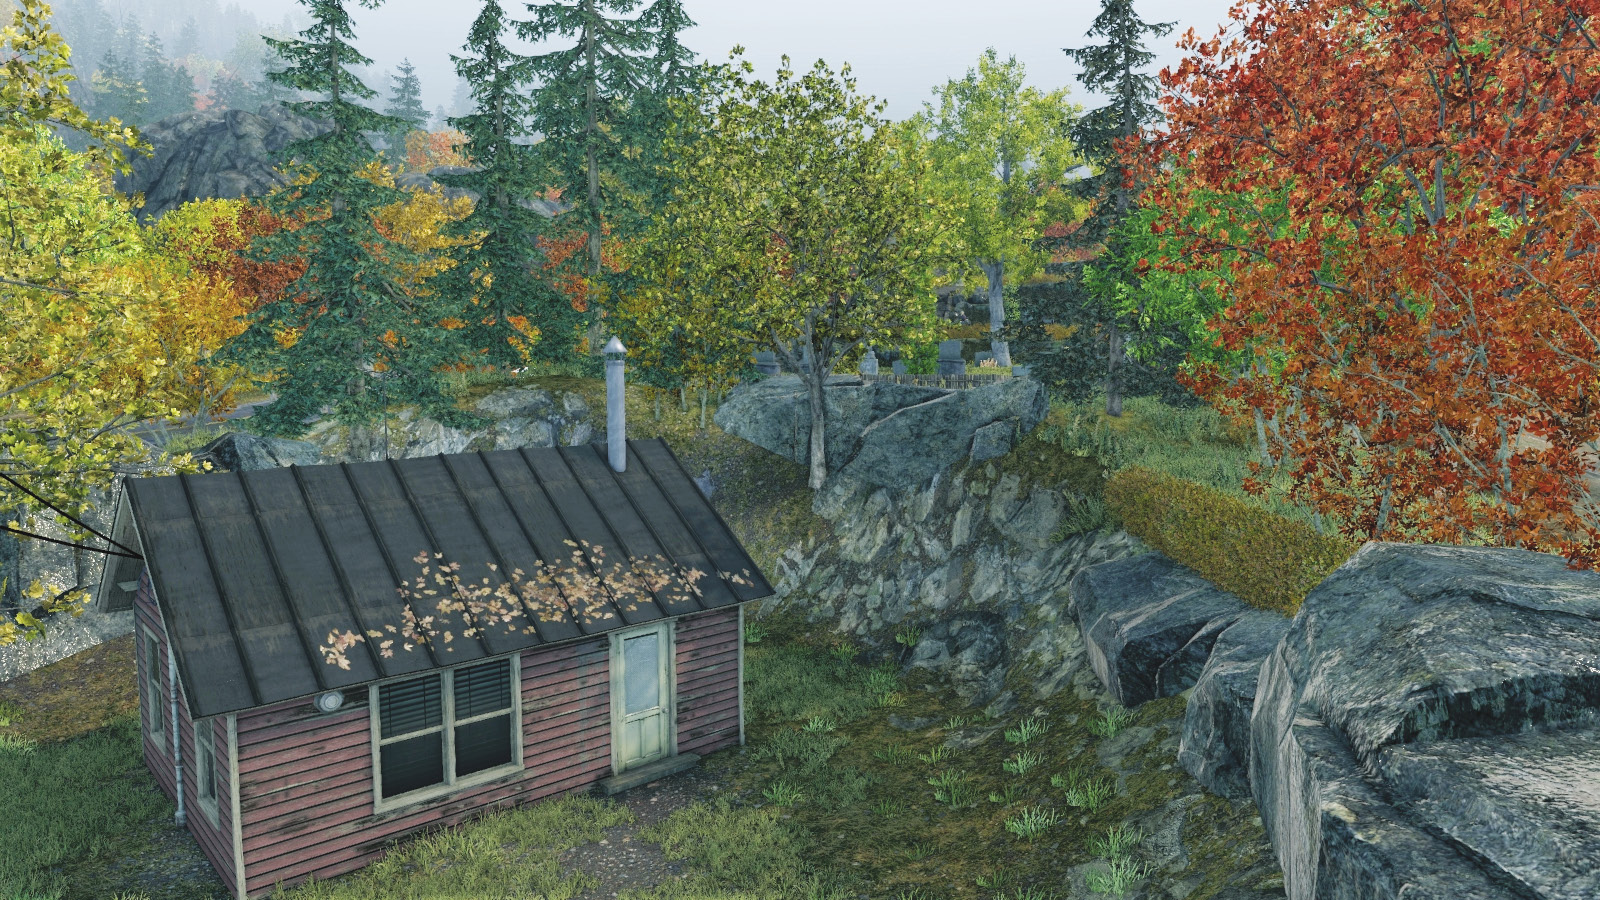
The dirt road to the south has a parked vehicle on it (which you can use to give chase if needed) and a caretaker’s cottage to hide behind if you’re employing violence or stealth. The low rickety fence near the trash bin and lawn mower acts as cover in a pinch, but you’re easily spotted. Expect four or five foes here, and the open ground makes stealth extremely tricky.
Road Perimeter
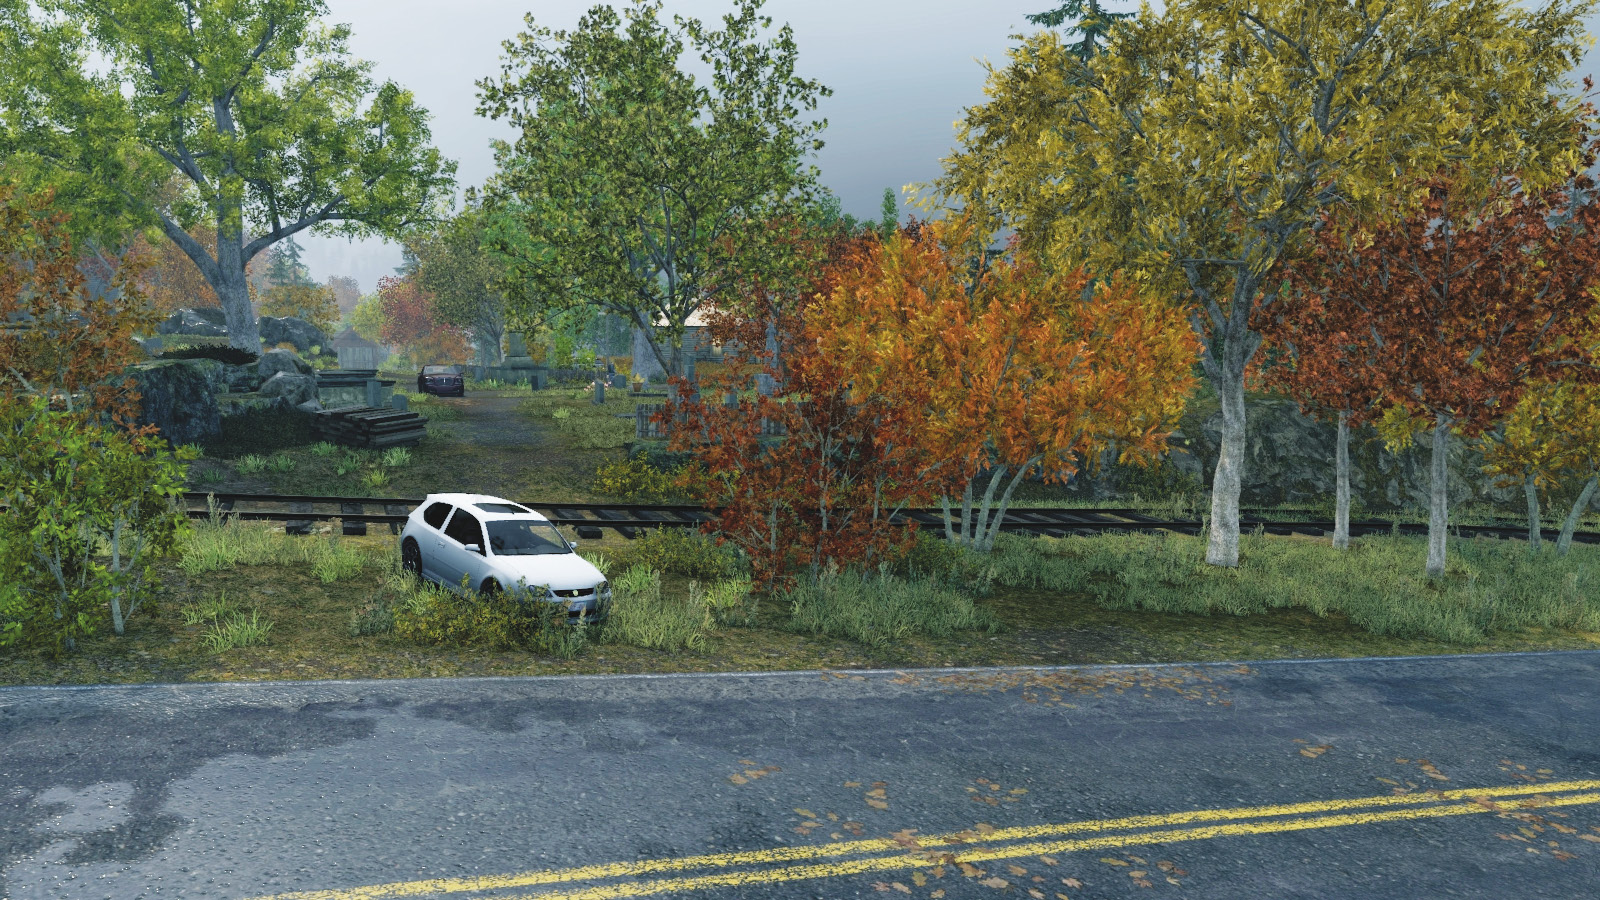
From the northwest corner and the low fence near the rail tracks and parallel road, this is the best cover around; there’s also an opening where the foe drives through if he’s escaping. A second fence hems the middle section of the cemetery, before the rocks and stone wall denote the top or eastern end of the grounds. Another place where accessing the target usually gets you spotted.
Cemetery Interior
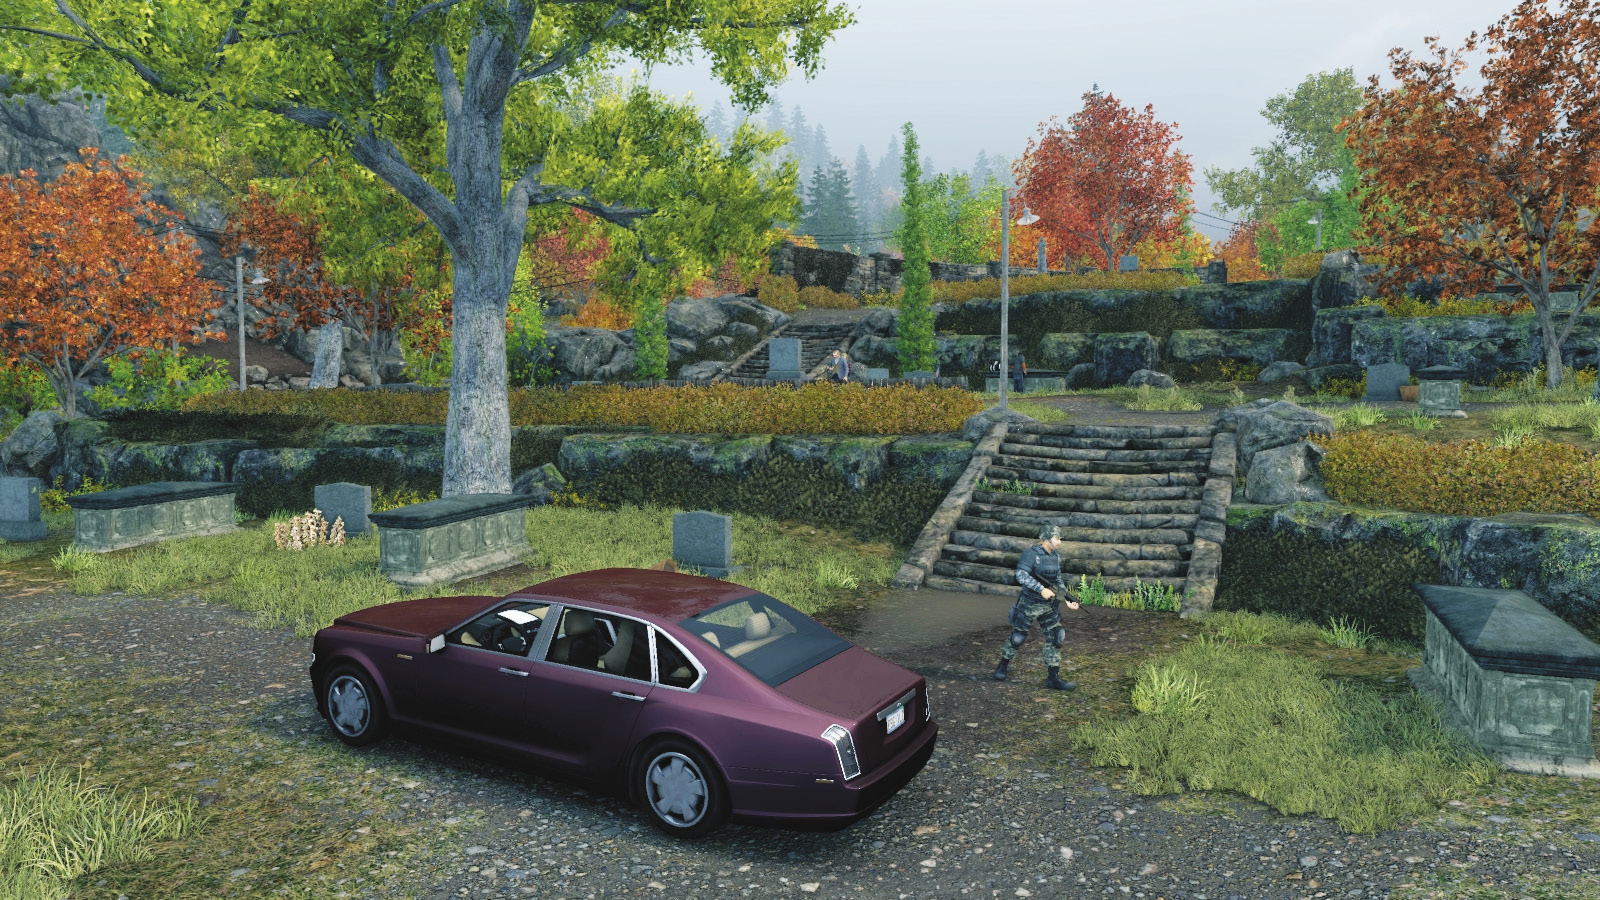
This graveyard is on three tiers of ground, and assuming you removed the sniper and two other foes, the top (east) tier is the safest. The middle and ground level areas of the cemetery have gravestones and a half-dug grave to hide in but are otherwise wide open. This target takedown must be done early to avoid getting into a firefight and car or foot chase.
Progression Plans
If you’re not married to the idea of using only melee takedowns, this is a reasonably simple exercise in foe-strangling. Here are some routes to try:
 Aggressive // Stealth: Baton-Bashing Makes Them Ache
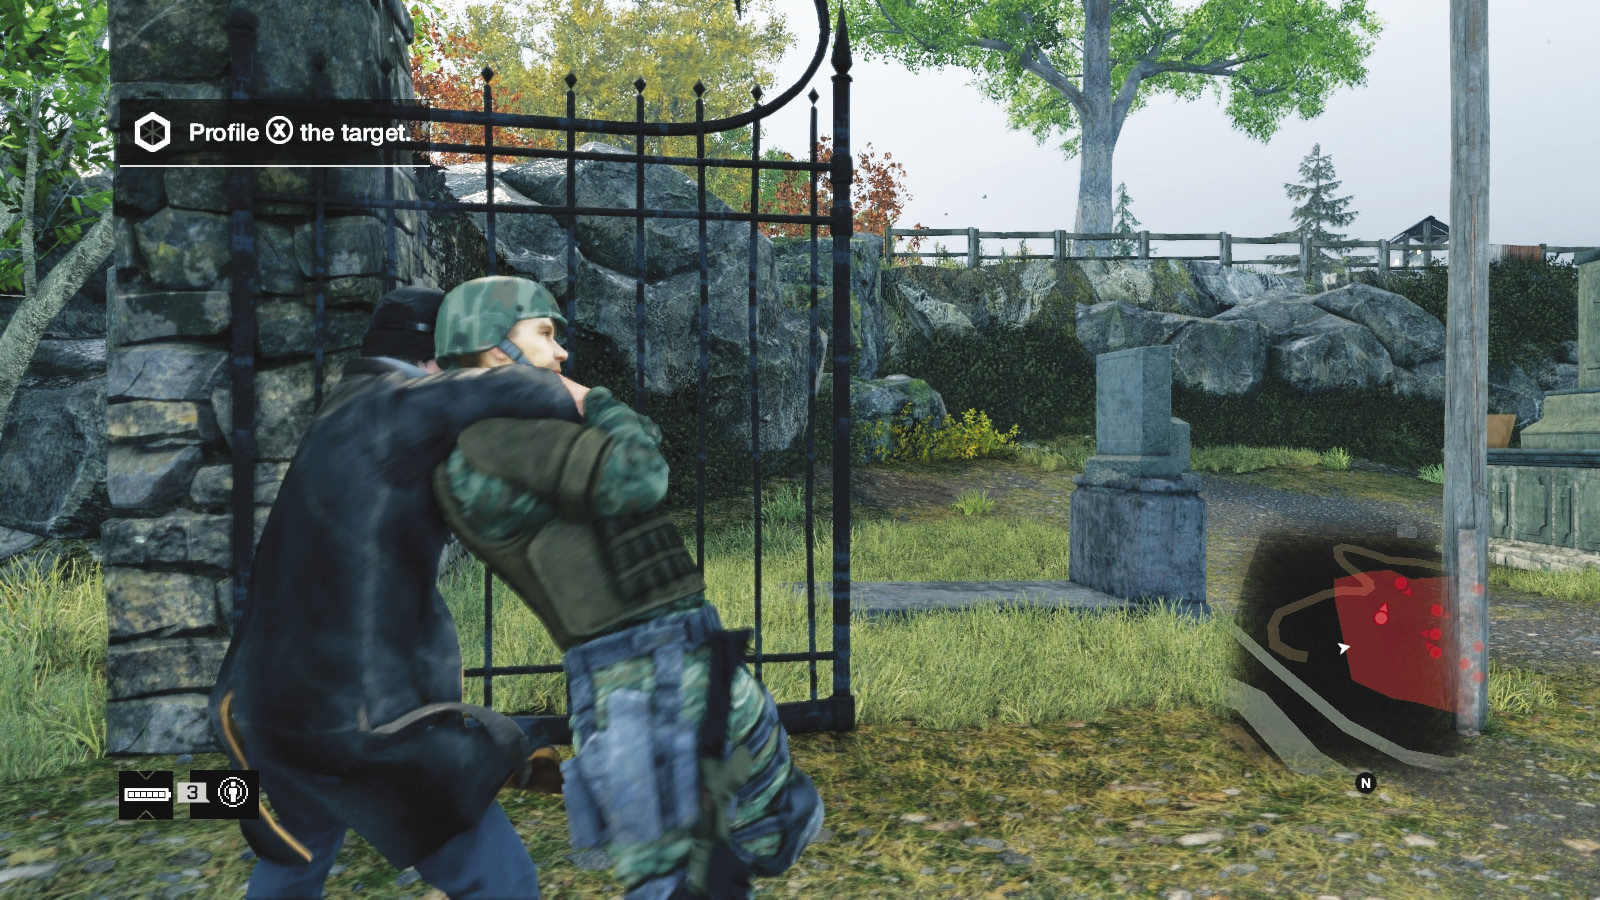
 Difficulty:
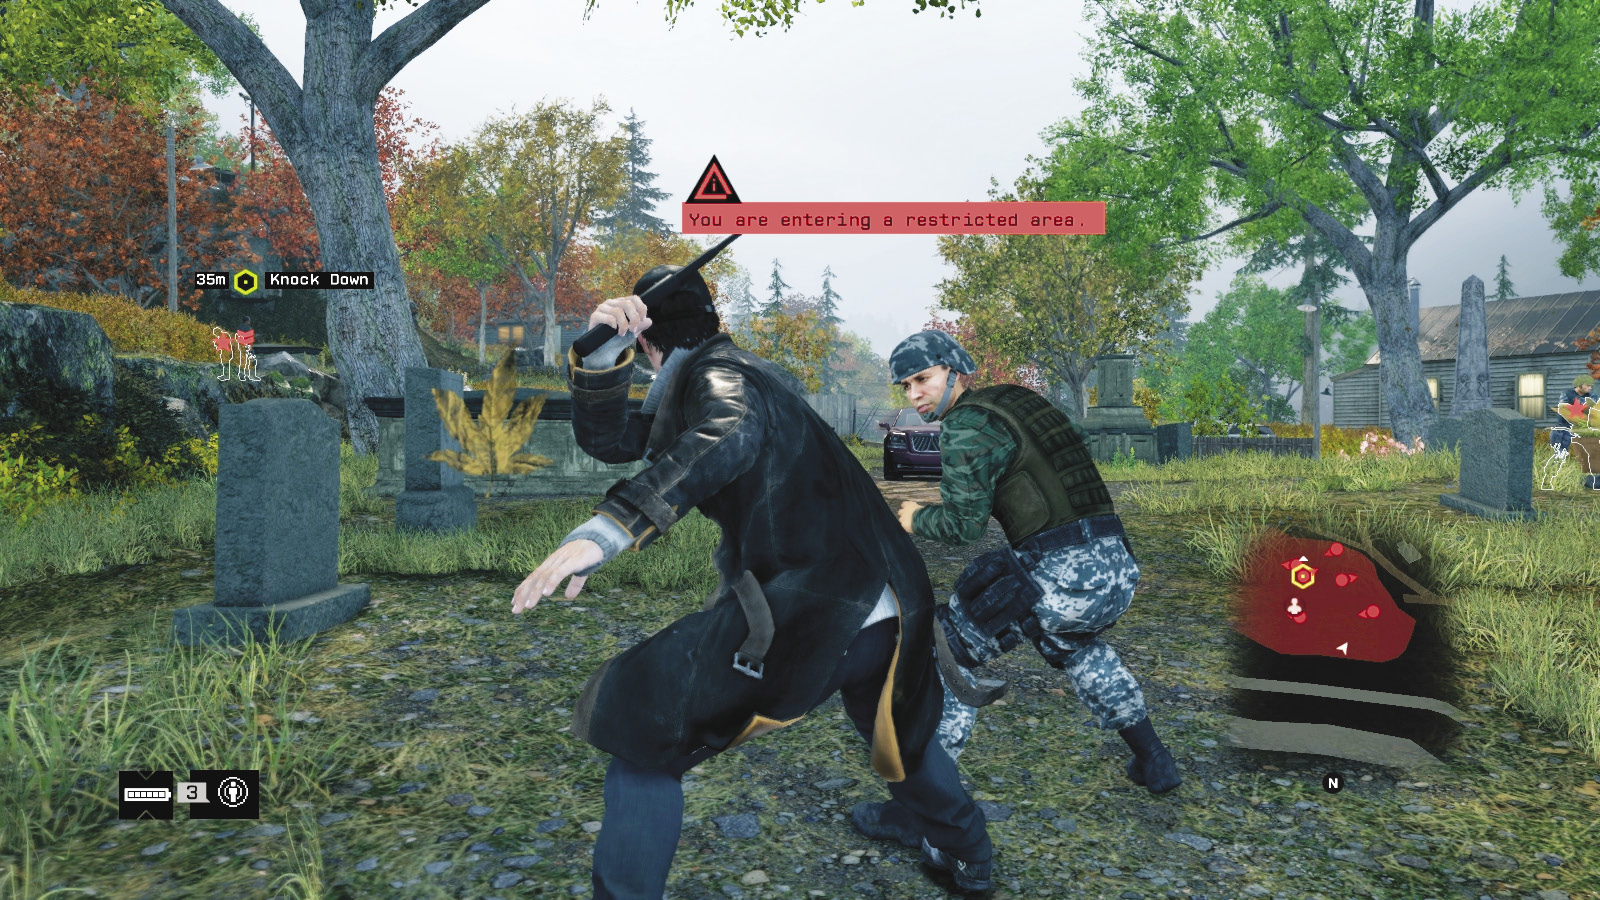
Unless you’re prepared for a very drawn-out wait for patrolling foes to step into an area where you’re lurking, only around half the enemies need to be tackled (using stealth). Begin by simply walking up to the foe at the east gates and dropping him. Then watch for a second foe, and wait for him to reach the first body. Or creep to a gravestone on the left, watch him walk by, and grab him. Don’t venture too far into the cemetery or a sniper spots you.
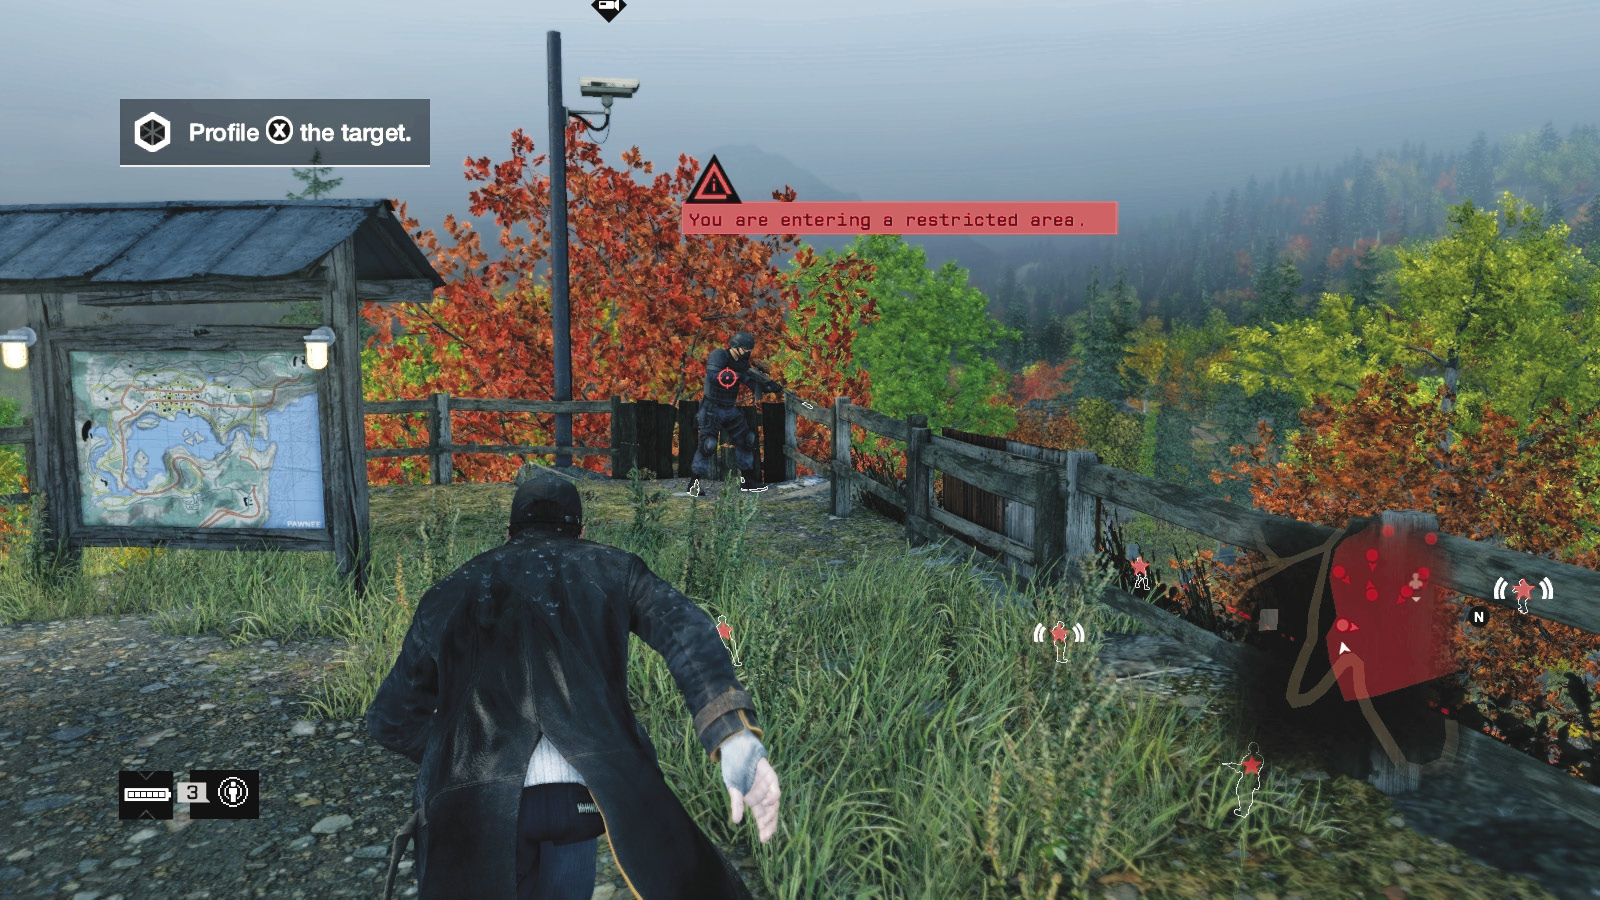
With two foes down, exit the cemetery the same way you came in, and head southeast, around to the pathway and the vantage point where the sniper is standing. Strangle him silently, then peer over the edge and use the camera to mark all the foes within range (there are likely to be two you can’t reach). The target is usually standing or walking in the middle of the graveyard.
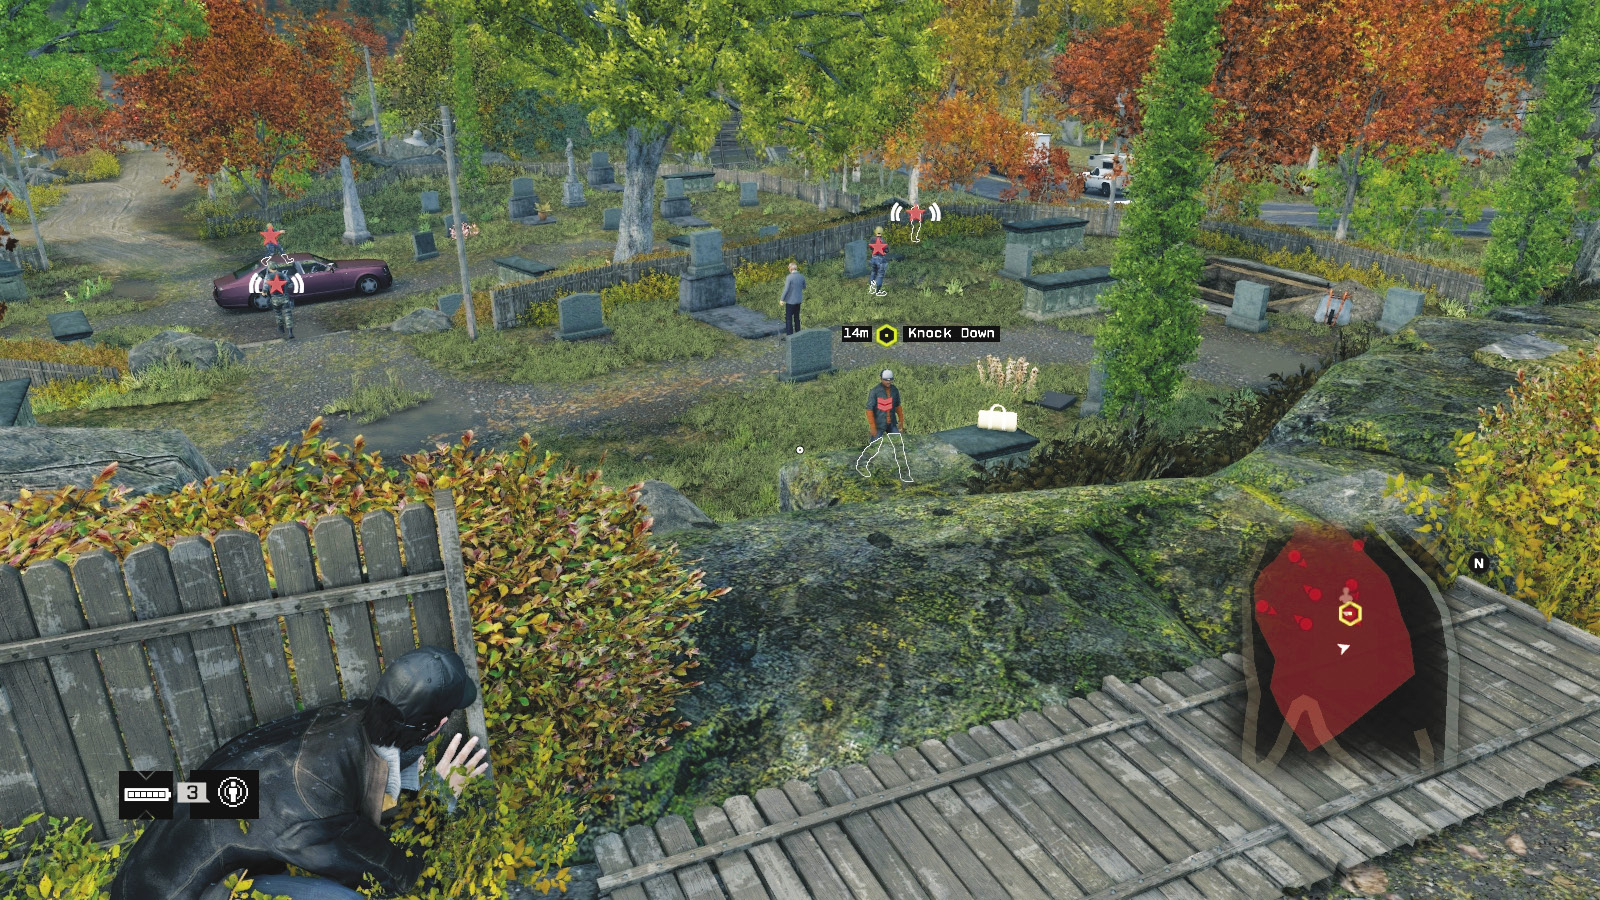
Head back around and through the east gate, and move to the middle of the tier. Though you can head down the steps to the open grave (to the north), it’s usually best to remain in cover near the fallen fence, wait until the target is at the base of the rocks below you, then dart out and strangle him. Switch to a violent plan to deal with the remaining foes.
 Aggressive // Stealth: Slither Like a Snake
 Difficulty:
If you really want total foe takedowns without using guns, then follow this route: Deal with the enemy at the east gate, the second foe on the top tier, and the sniper in the same way as the previous plan. Mark the foes from the camera, then maneuver around the cemetery (outside the perimeter wall) to the northern fence next to the rail line. Drop down at the gap where the target drives his car out, near the wood stack. A foe you can’t quite mark from the camera patrols here. Wait until he’s near the stack, and drop him.
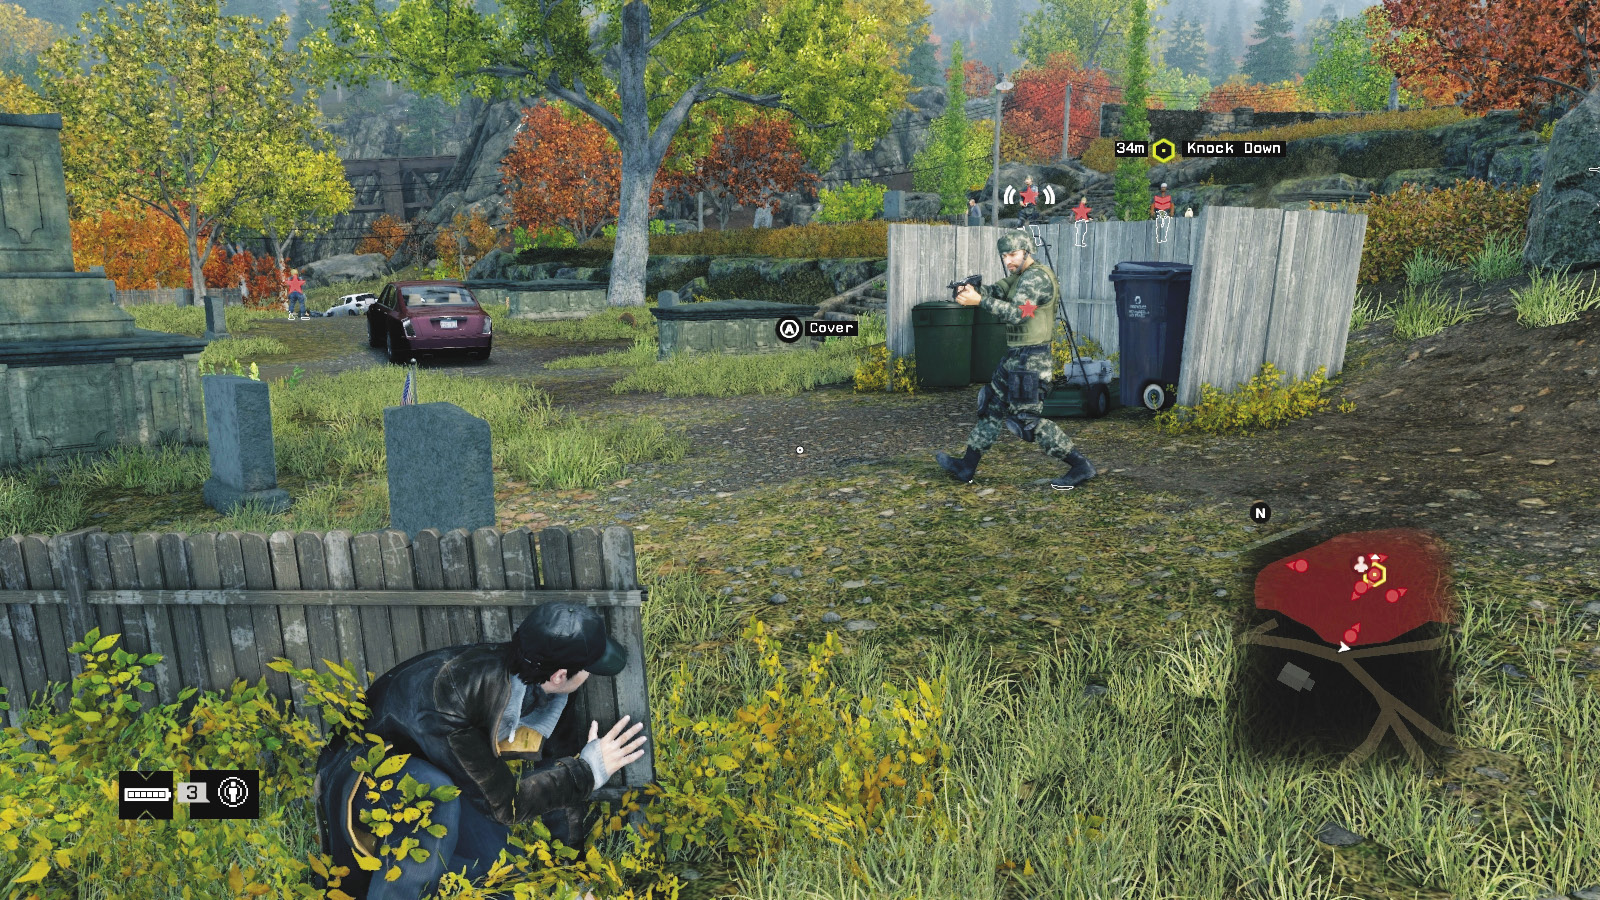
Work your way counterclockwise to the dirt road entrance to the south, and wait for a nearby guard (the other one you couldn’t mark earlier). Bring him down, then move back behind the adjacent fence before you’re spotted. This is where it gets tricky, so be aware of the directions foes are looking before trying the following takedowns:
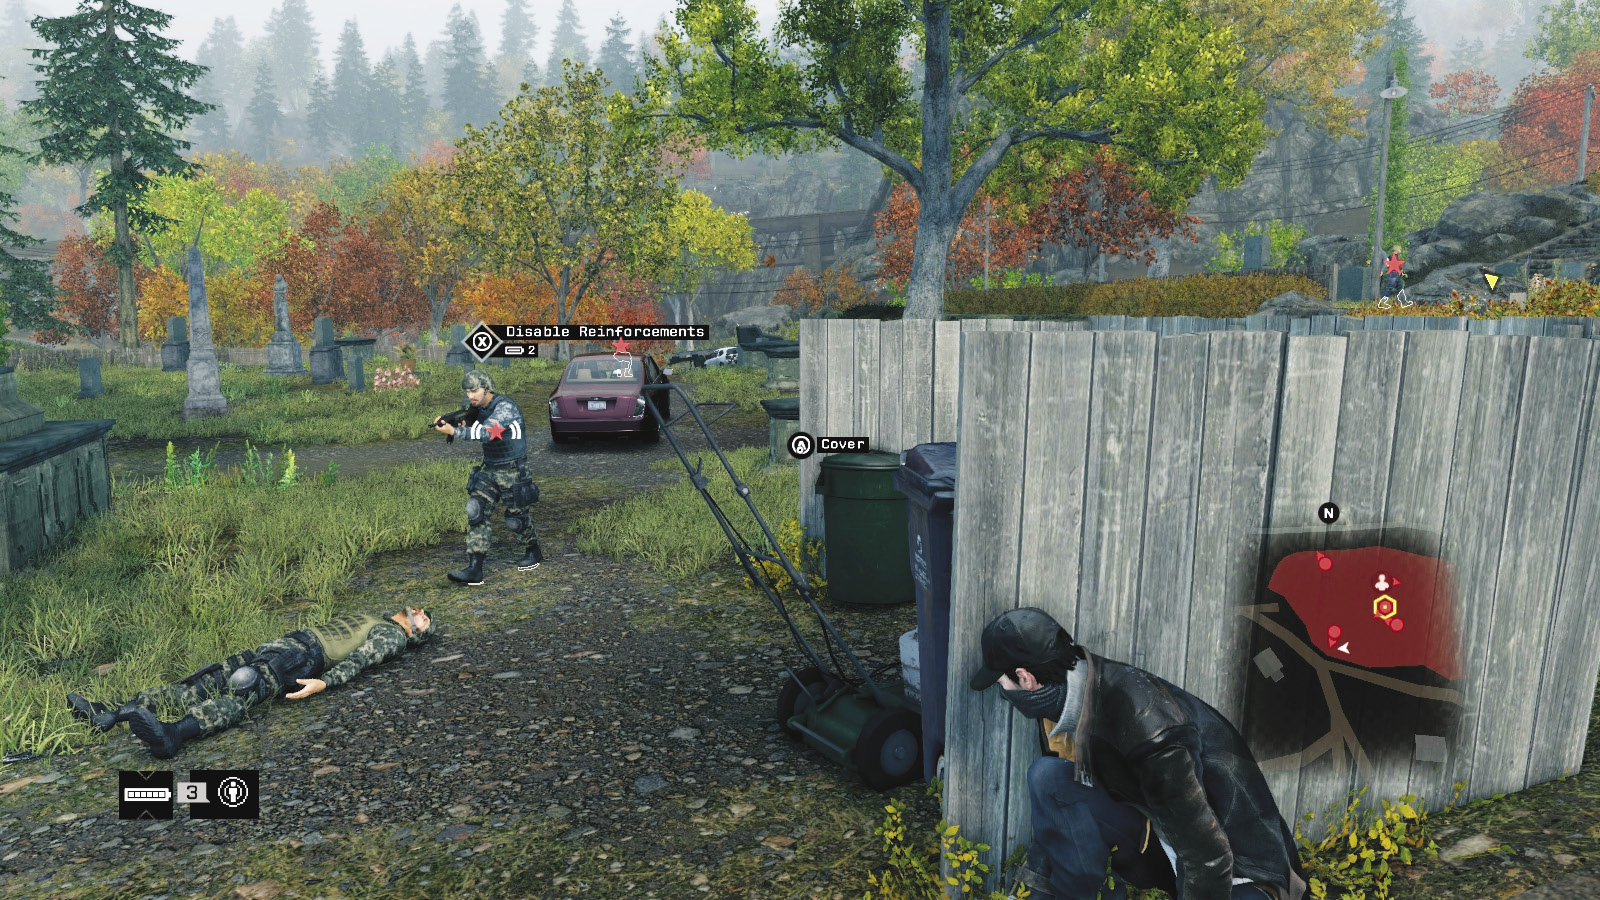
Creep around behind the low fence to the southeast gap near the lawn mower and trash bins. Tackle the foe patrolling this small hilly path. Then dart behind the fence again. Inspect the four remaining foes; one is likely to be freaking out, and watching the south exit from the middle of the graveyard. Creep behind the bins and the tomb near the stone steps, and step out to drop him.
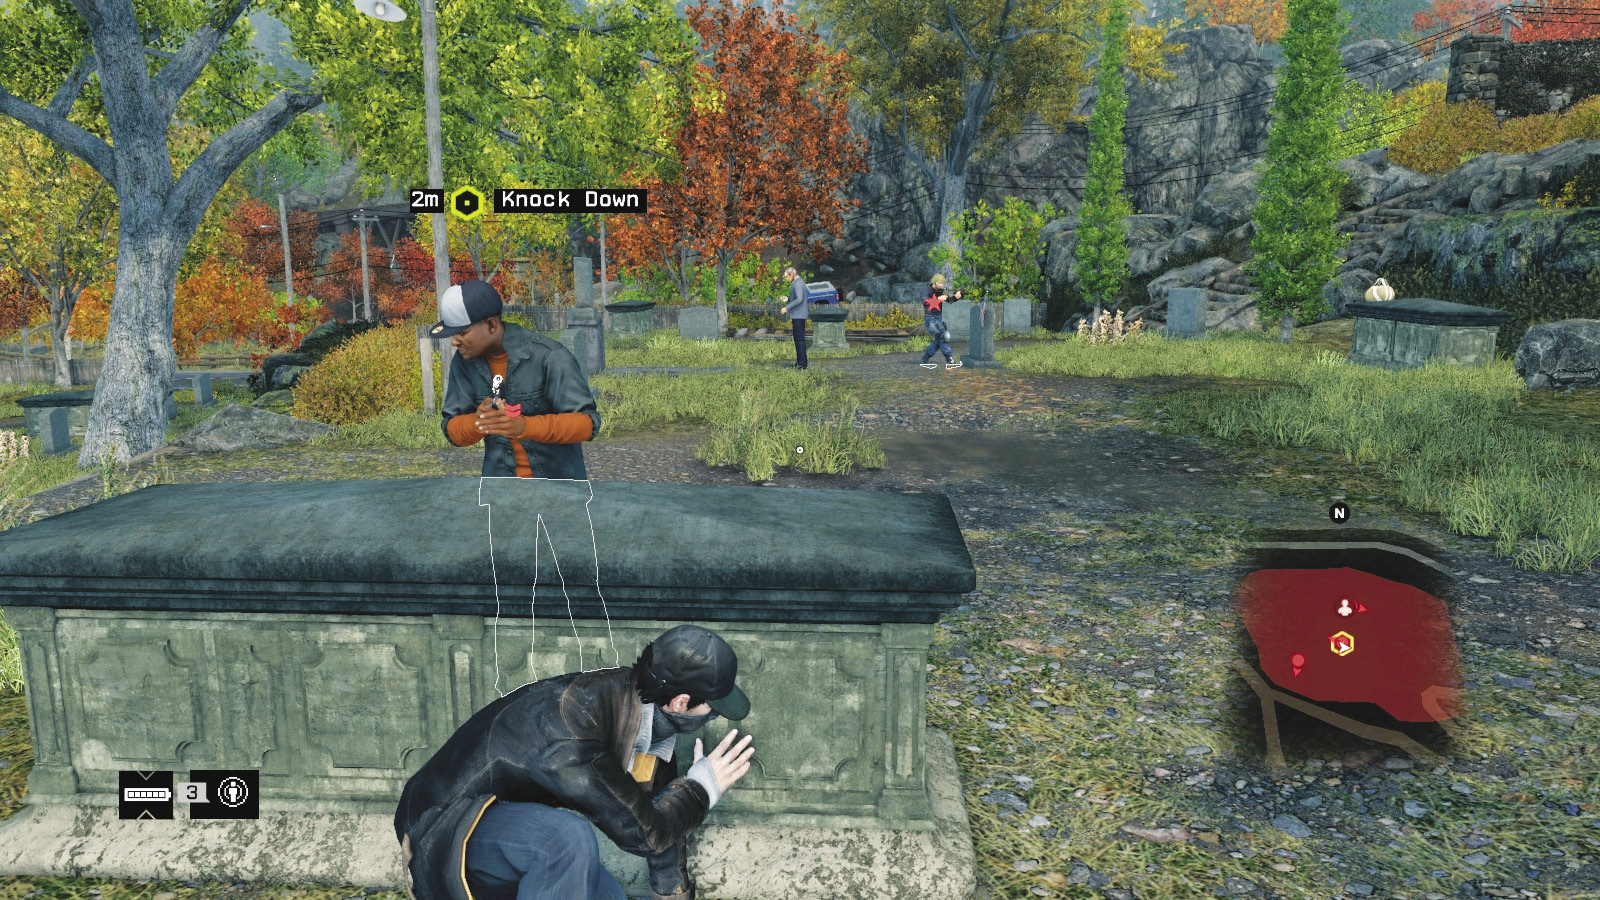
Move back behind the bins, up the hill to the south (inside the cemetery perimeter), and drop behind the rocks (you can’t use them as cover). When the nearest guard comes toward the rocks and turns to face north, step out and remove him, leaving two foes left. Sneak up to the top tier of the cemetery, around the low fence on the north side to the stairs down to the open grave, then descend and neutralize the last guard. This leaves the target on his own, wondering what the hell happened. Introduce yourself and your baton to end this clandestine club-fest!
 Aggressive // Violence: Grave Mistakes
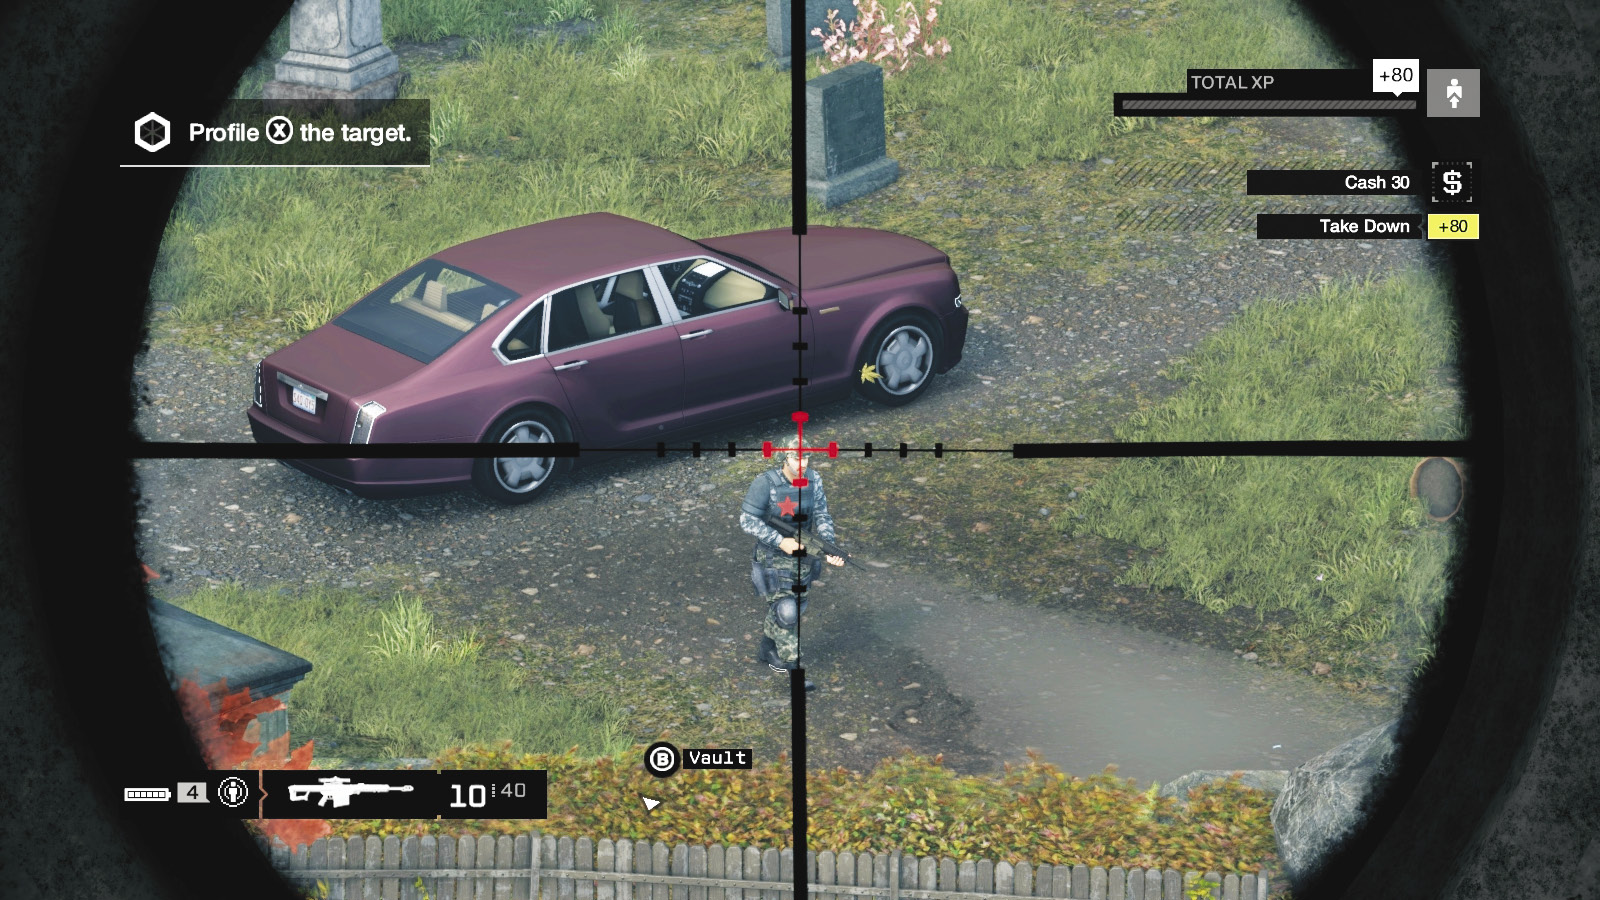
Difficulty: 
Any violence you perpetrate is made all the more problematic because of the vehicle the foe escapes in; you don’t want to be up on the sniper perch, with foes between you and an enemy escaping in a car; ensure you can easily locate a vehicle if a gun rampage is your plan. Otherwise, ensure only the target is spared a bullet. You can:
Snipe from the vantage point where you took down the sniper.
Lob grenades or IEDs at the escape vehicle so the foe has nowhere to go except on foot and is more easily caught. Or, prior to entering the restricted area, lay an IED down at the exit the target takes so you can destroy the vehicle (though this can kill the target, which is unacceptable).
Start on higher ground so you have a better view of the enemies below and can lob projectiles more easily.
The small grassy knoll to the northwest (outside the fence), the cottage, or the top of the stone wall are all reasonable sniping places.
Otherwise, simply drop behind the gravestones and intermittently dash to foes behind cover if you can’t shoot them as they peek out.
 Driving // Offensive: Applying the Brakes
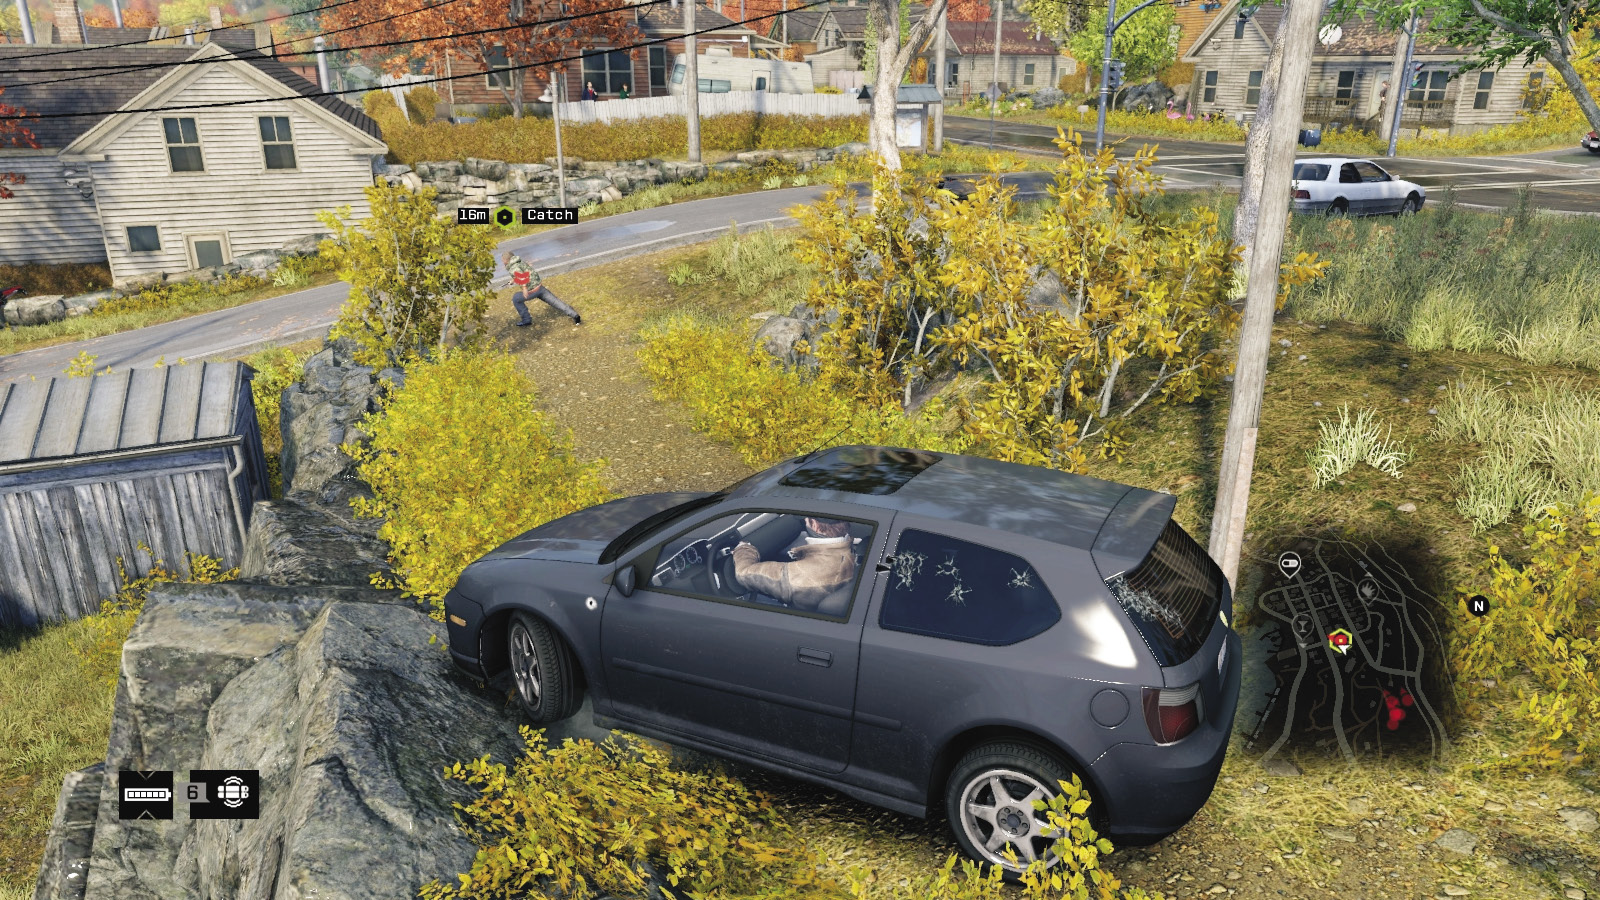
Difficulty: 
If all this clandestine sneaking isn’t to your taste, you can always create a fake disturbance (an explosion to startle the target or the takedown of his men) to prompt him to flee; enter your vehicle and use the two blockers or the steam pipe to end this chase before he visits Pawnee (shunting is an option too). Or, if the foe is running (which is usually the case), drive after him (to shield yourself from enemy fire), but leap out and finish the enemy with a tackle. Bring him down alive; don’t scrape him from your fender!
_OUT OF THE WOODWORK
location: PAWNEE SAWMILL
Enemy: MILITIA
NUMBER OF TARGETS: 2 (Veteran x2) / They do not flee
NUMBER OF ENEMIES (First wave): 5 (Veteran x1, Elite x4)
Target x1 (Veteran)
HIDDEN CAMERA x1 (Elite)
NUMBER OF ENEMIES (SECOND wave): 6 (Once Target 1 is removed) (Veteran x1, Elite x5)
Target: x1 (Veteran)
Hidden Camera x1 (Elite)
Shot-Caller x3 (Elite)
Difficulty: ($10,000 Reward)
REINFORCEMENTS: two vehicles (Second Wave, Gunmen x2, veteran x2), sometimes on foot
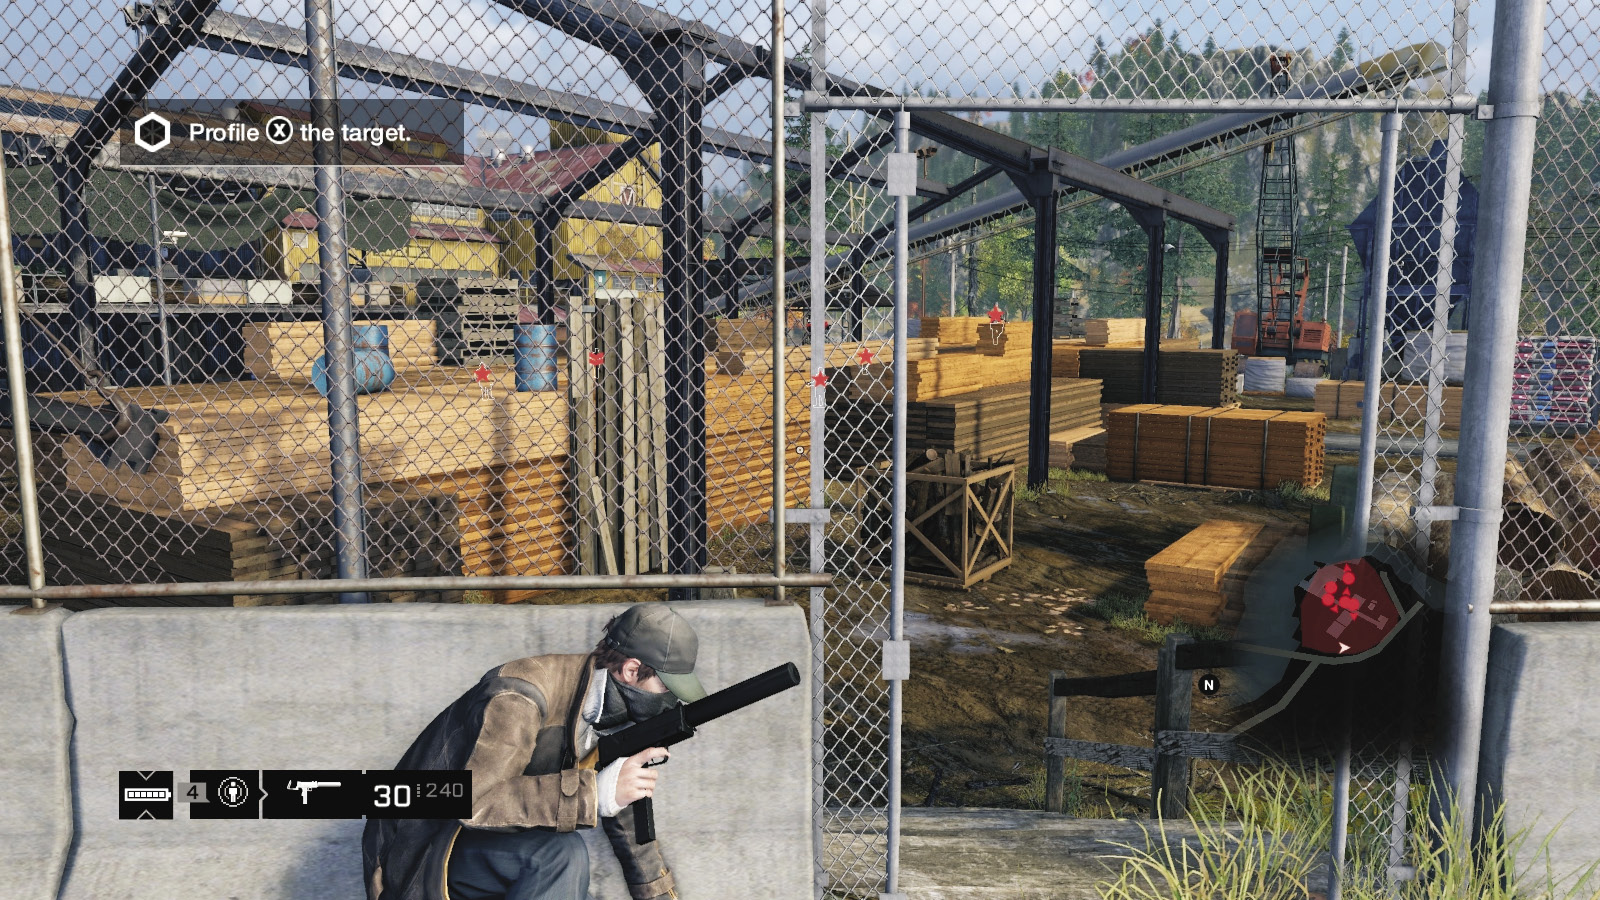
You start off near a shed and log stack. After receiving your orders, drive across the bridge to the sawmill grounds. You can maneuver around the entire perimeter (including the water) and can access the cameras before entering the restricted area.
Insertion Points
Although there’s a perimeter fence (which you easily leap, meaning this location is porous), there are numerous gaps, including the entire eastern side of the area bordering the water. Here are some intrusion locations and an overview of the interior.
Ramp (Northwest)
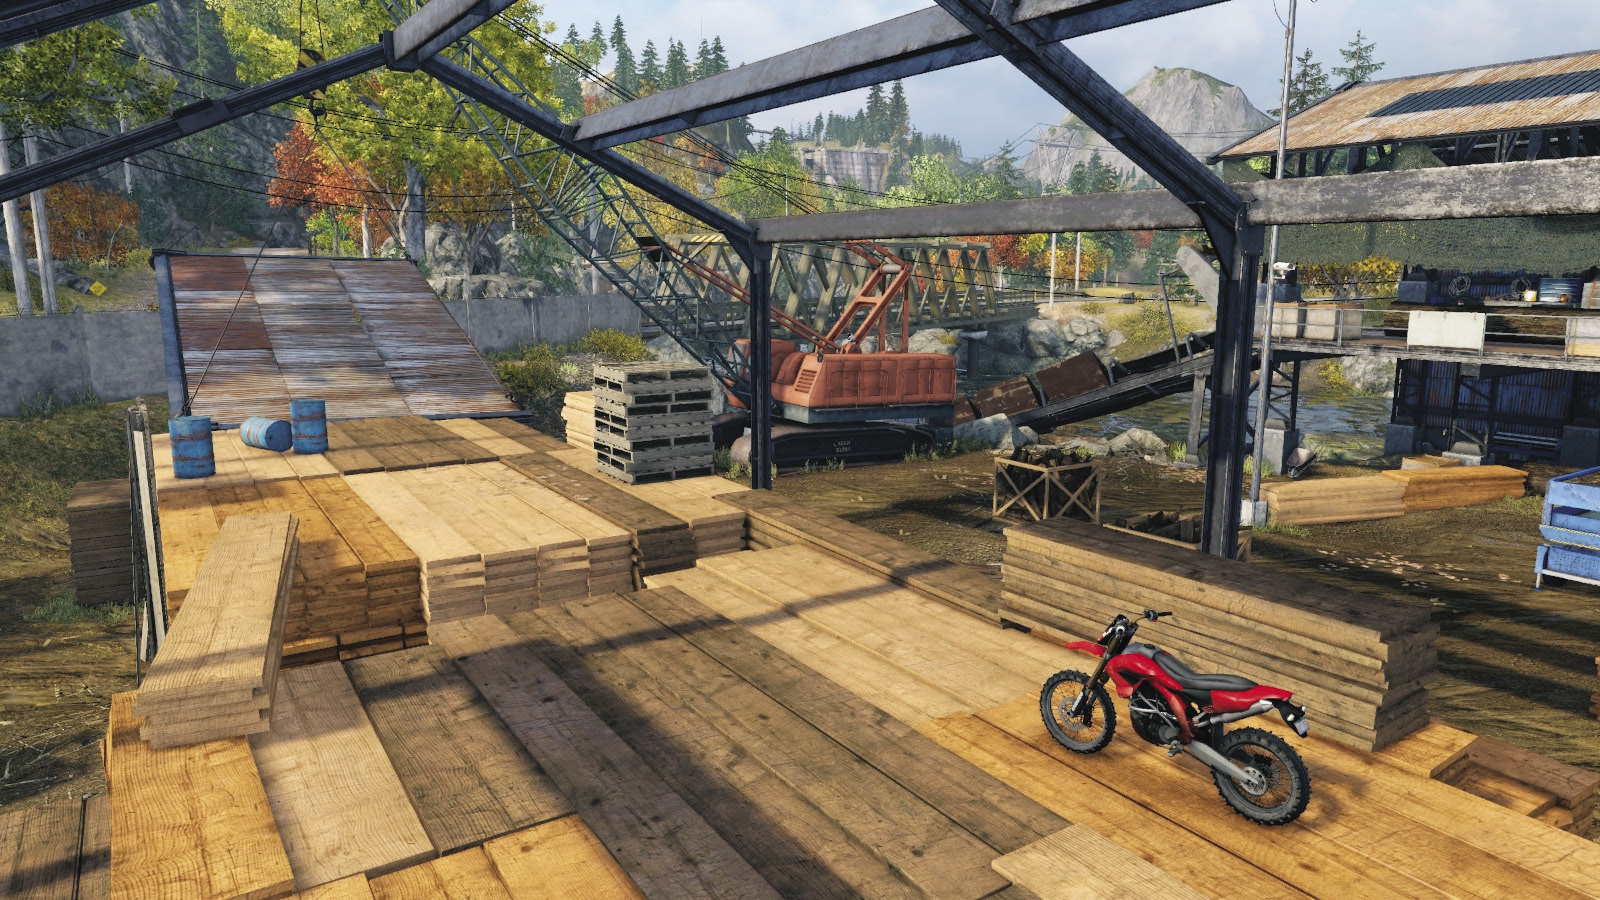
A bike is parked atop the wood stacks in the middle of this mill; the ramp is an easy way to exit once you defeat both targets and don’t wish to engage the enemy. Or you can run up here and drop down on foot (ideally to a waiting getaway vehicle).
Steps (West)
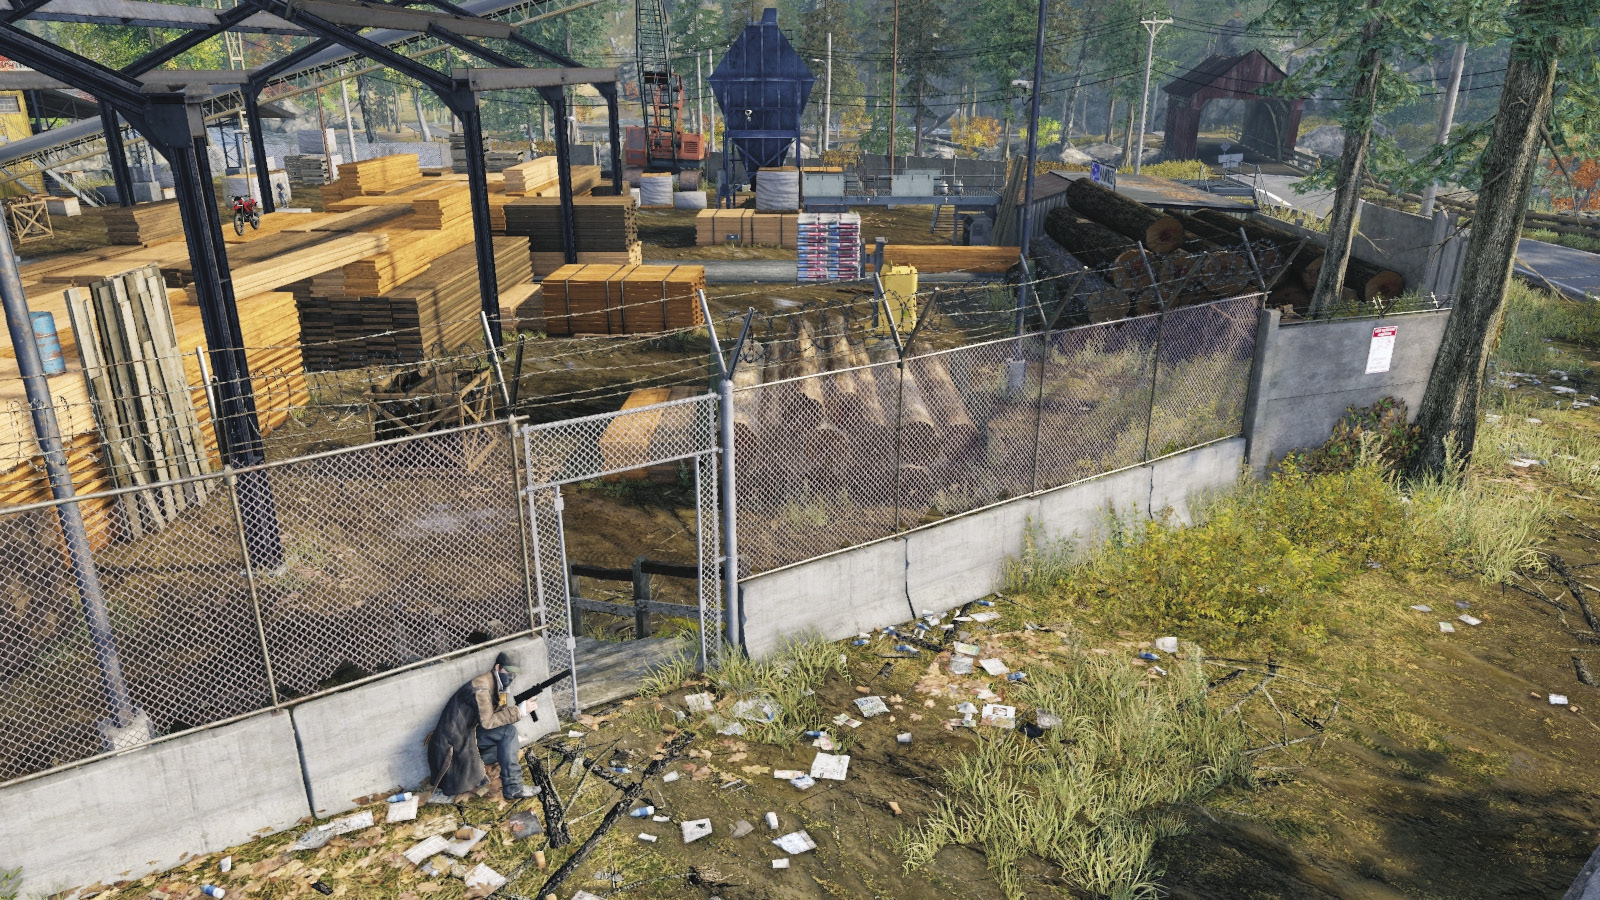
Just south of the ramp is a gap in the barbed wire fence and metal steps down into the mill grounds. This is the first entrance you see after starting the mission and is a fine choice for intruding (though you need to start finding and marking foes straightaway). Don’t forget enemies during the second wave enter through here, though.
Shed Stairs (Southwest)
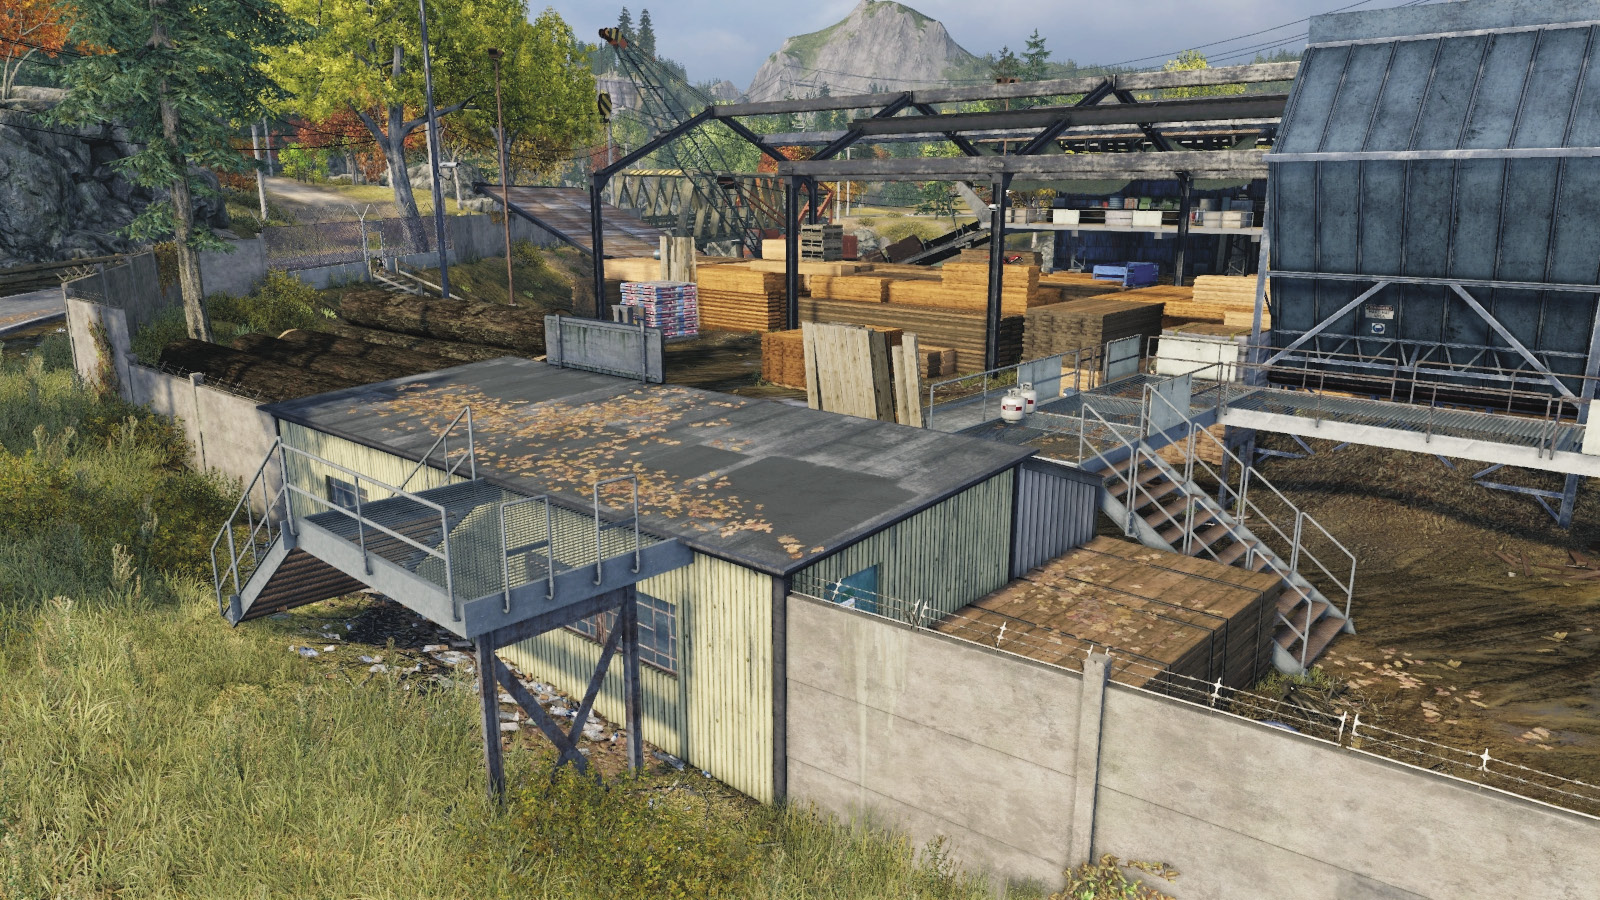
Another excellent infiltration option, this allows good height and the ability to sneak around to the foe atop the stacks, near the conveyor belt, or by the transformer pole to the south. Flexibility and height are the advantages gained by entering here, but watch out as second-wave enemies enter from here.
Crane Entrance (South)
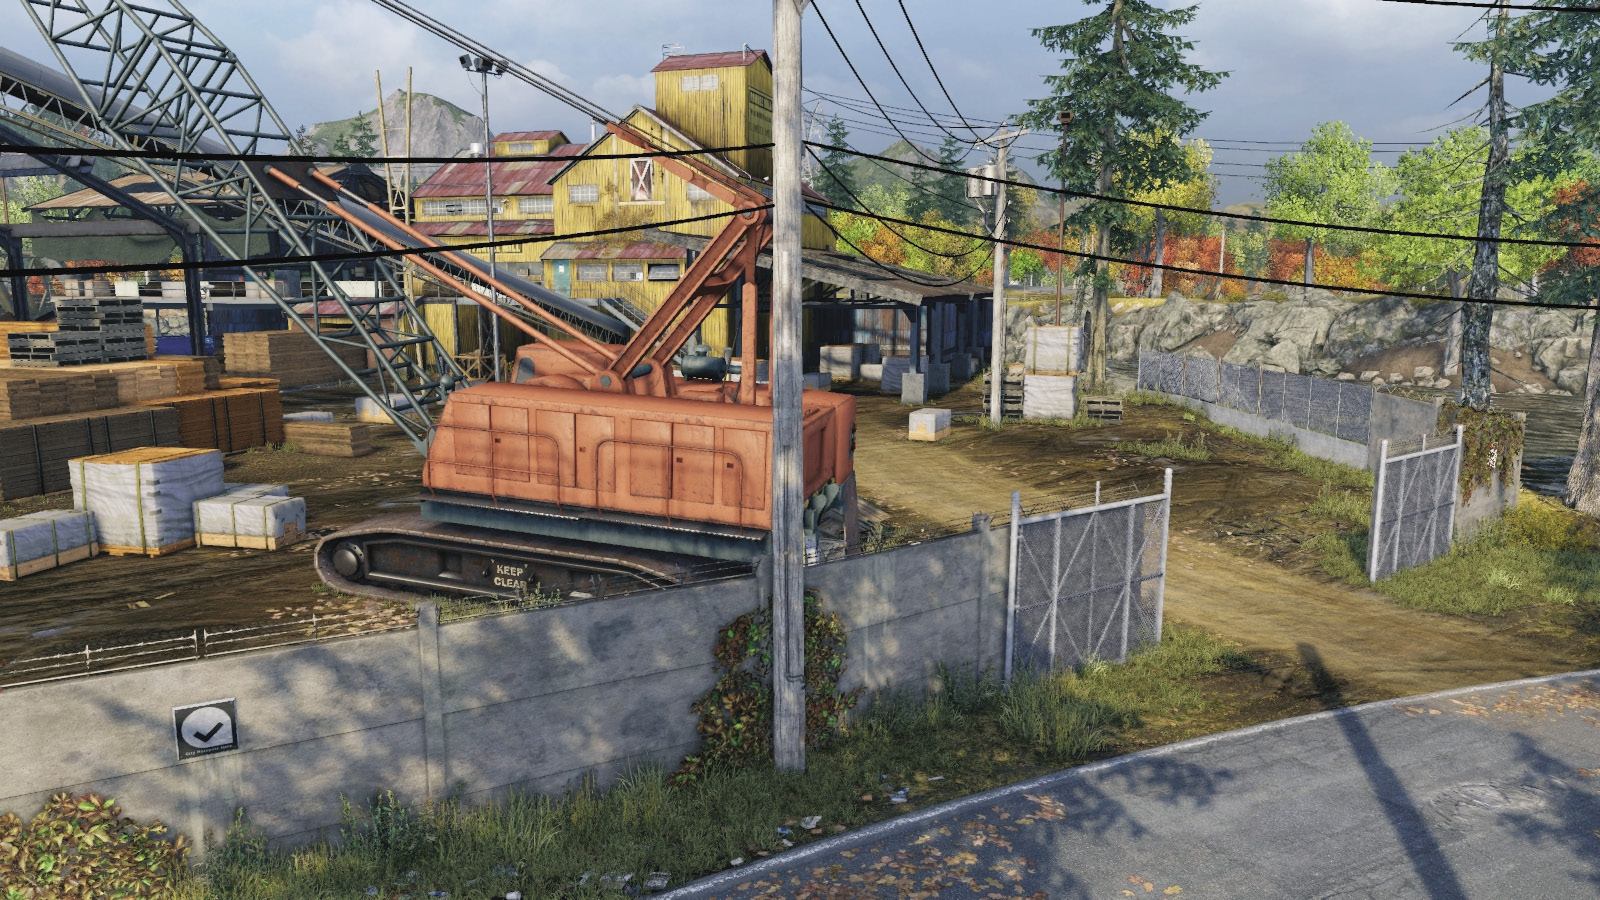
It isn’t really necessary to traipse to the crane and dirt road entrance to enter and start foe neutralizing, though after tackling the enemy patrolling near the crane, you’re close to the first target and can remove him without worrying about his henchmen. With a second wave approaching, you want to tackle all the foes before the target first, so you’re not overwhelmed.
Marsh Water (Southeast)
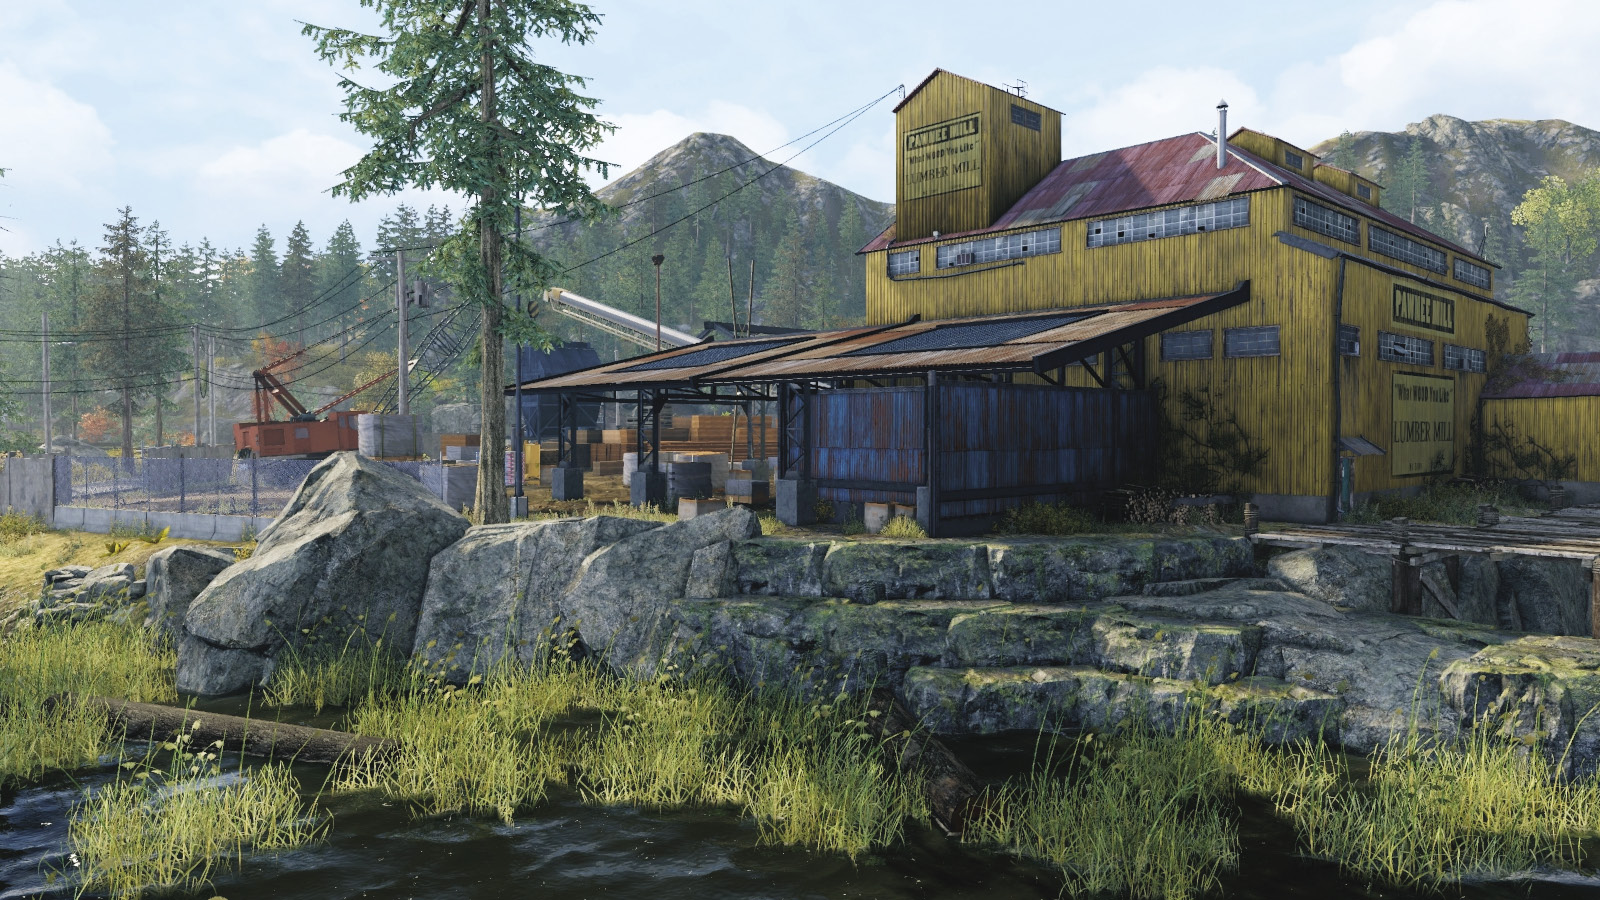
This is a rarely used insertion point and a good place to step out and grab a foe, then scurry back to the large corrugated lean-to. If you’re playing a long game of foe takedowns (especially during the second wave), skirting around the mill’s east perimeter can confound foes searching for you, if you’re worried about moving into the main dirt grounds.
Log Conveyor Ramp (Northeast)
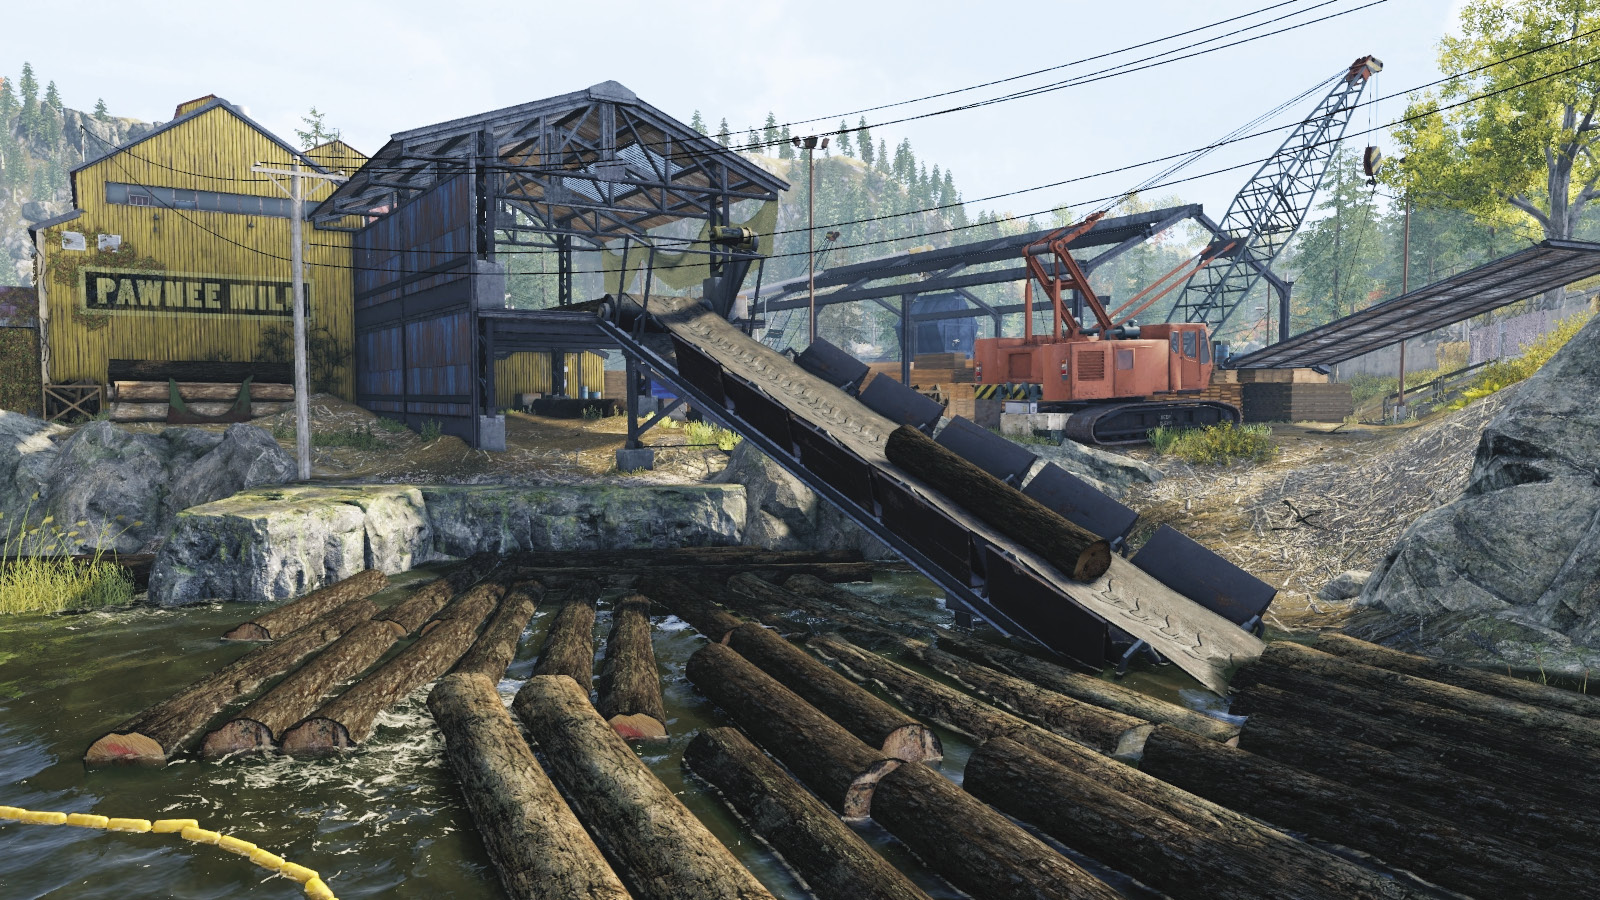
This allows you a great deal of height and enables you to sneak up on the first target, drop on him, then ready yourself for the second wave using height (and a ranged gun, except for tackling the second target). Though you can be flanked, this is still a reasonable spot to snipe from.
Mill Grounds
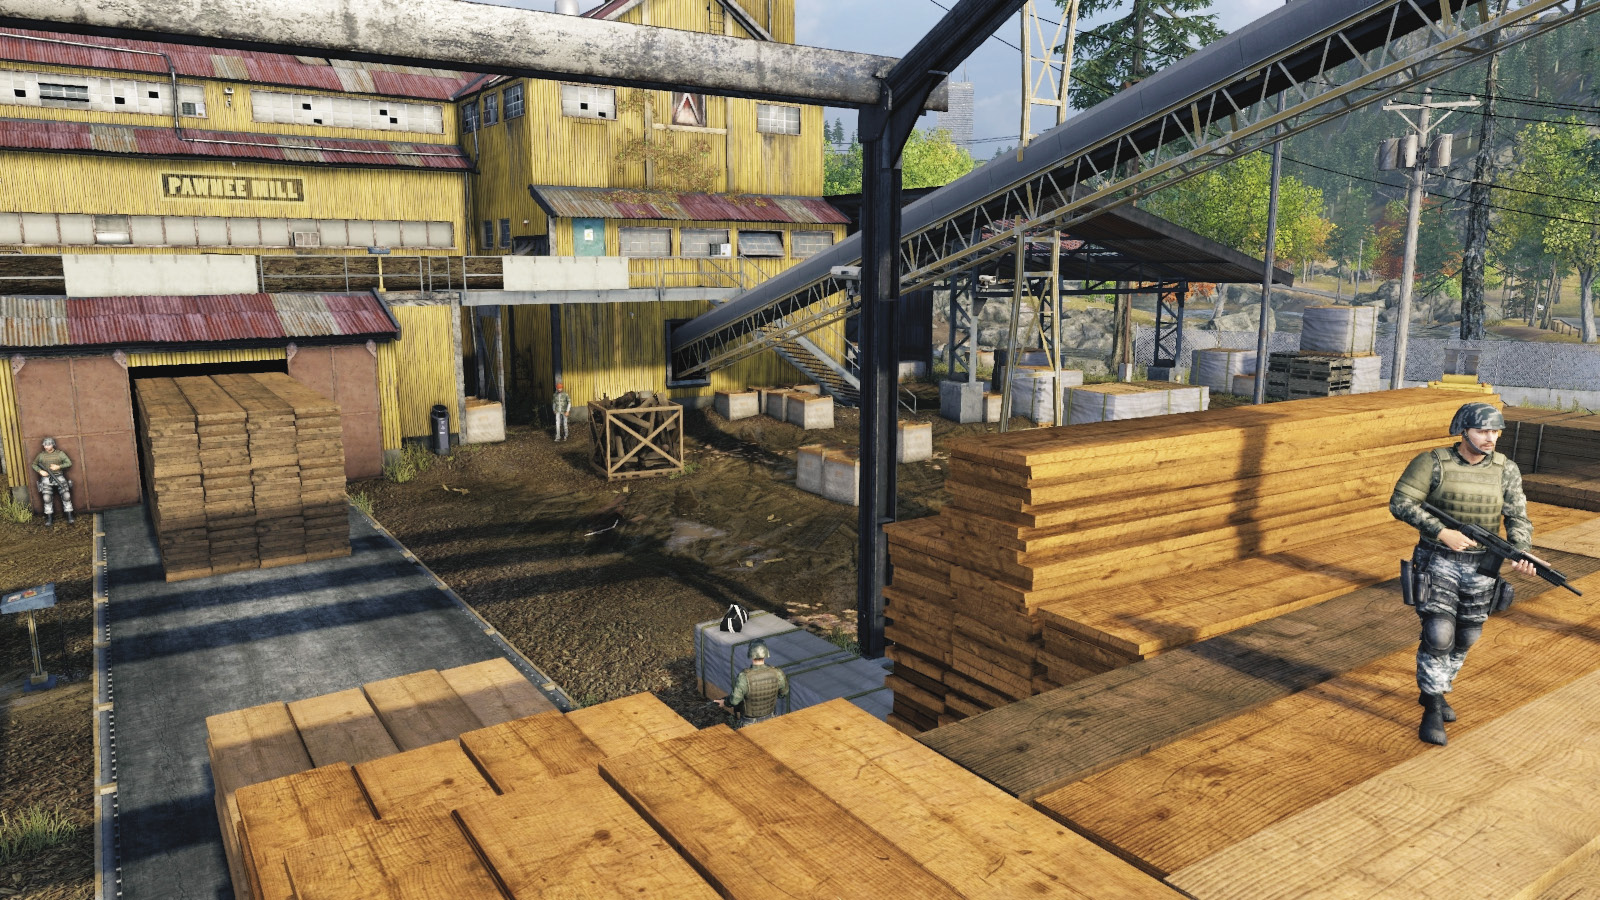
The main exterior yard is a maze of wood stacks and pallets, with a couple of forklifts, a scissor lift to the conveyor belt, and other scenery you can hack. There’s good camera coverage so you can mark your foes and a lower conveyor belt in the middle of the yard; this is helpful when you’re figuring out the dimensions of the place. To the south, the hiding spots thin out, though the big lean-to is a good place to prowl. Finally, don’t forget the ladder behind the first target, leading up to the upper log conveyor, which is a good place to take a last stand.
Progression Plans
Unlike other Gang Hideout missions, removing the targets comes in two waves. The first is straightforward, as the enemy doesn’t see you coming, and you can stay to a specific patrol path (or simply lean on walls, waiting for your takedown). The second is trickier, with enemies pouring in via the south at three locations. You need to mark your target and not use guns on him, though anyone else is fair game.
 Aggressive // Stealth (First Wave): Trouble at Mill
 Difficulty:
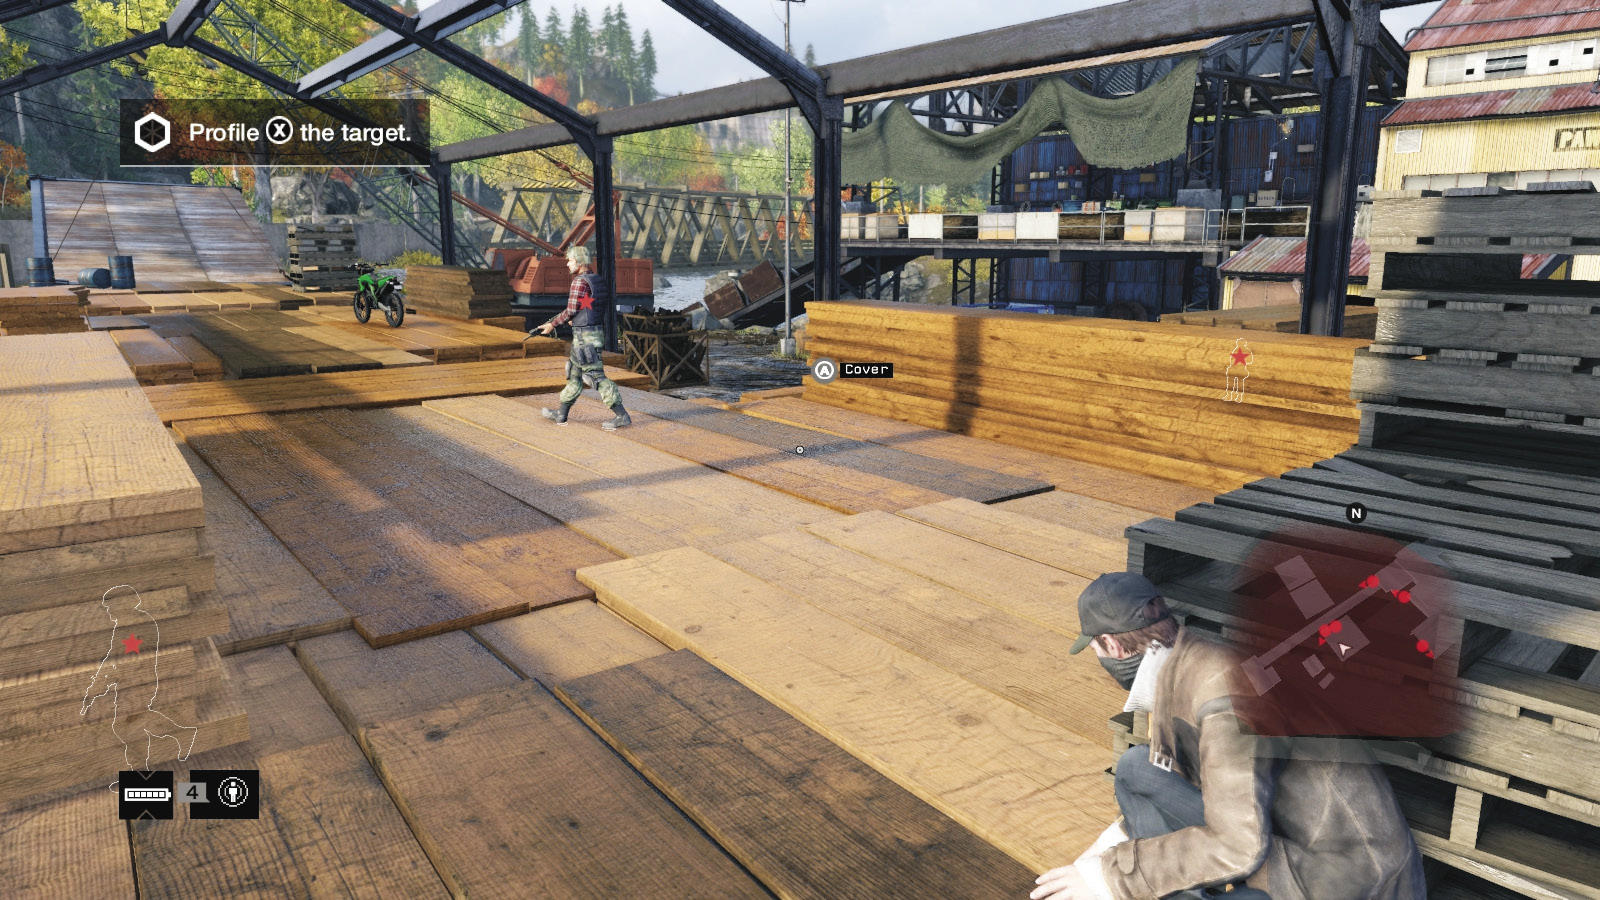
After utilizing all the sawmill cameras to mark every foe from the first wave (or a ctOS scan, though that’s better left for the second wave if you’re low on this tool), enter from the west using either set of stairs; this provides a quicker insertion than the other points. Although you can tackle the foes in any order, it’s preferable to concentrate on the enemy atop the main wood stacks first. Climb up the lower stacks just south of his location, leap onto the stacks, and bring him down.
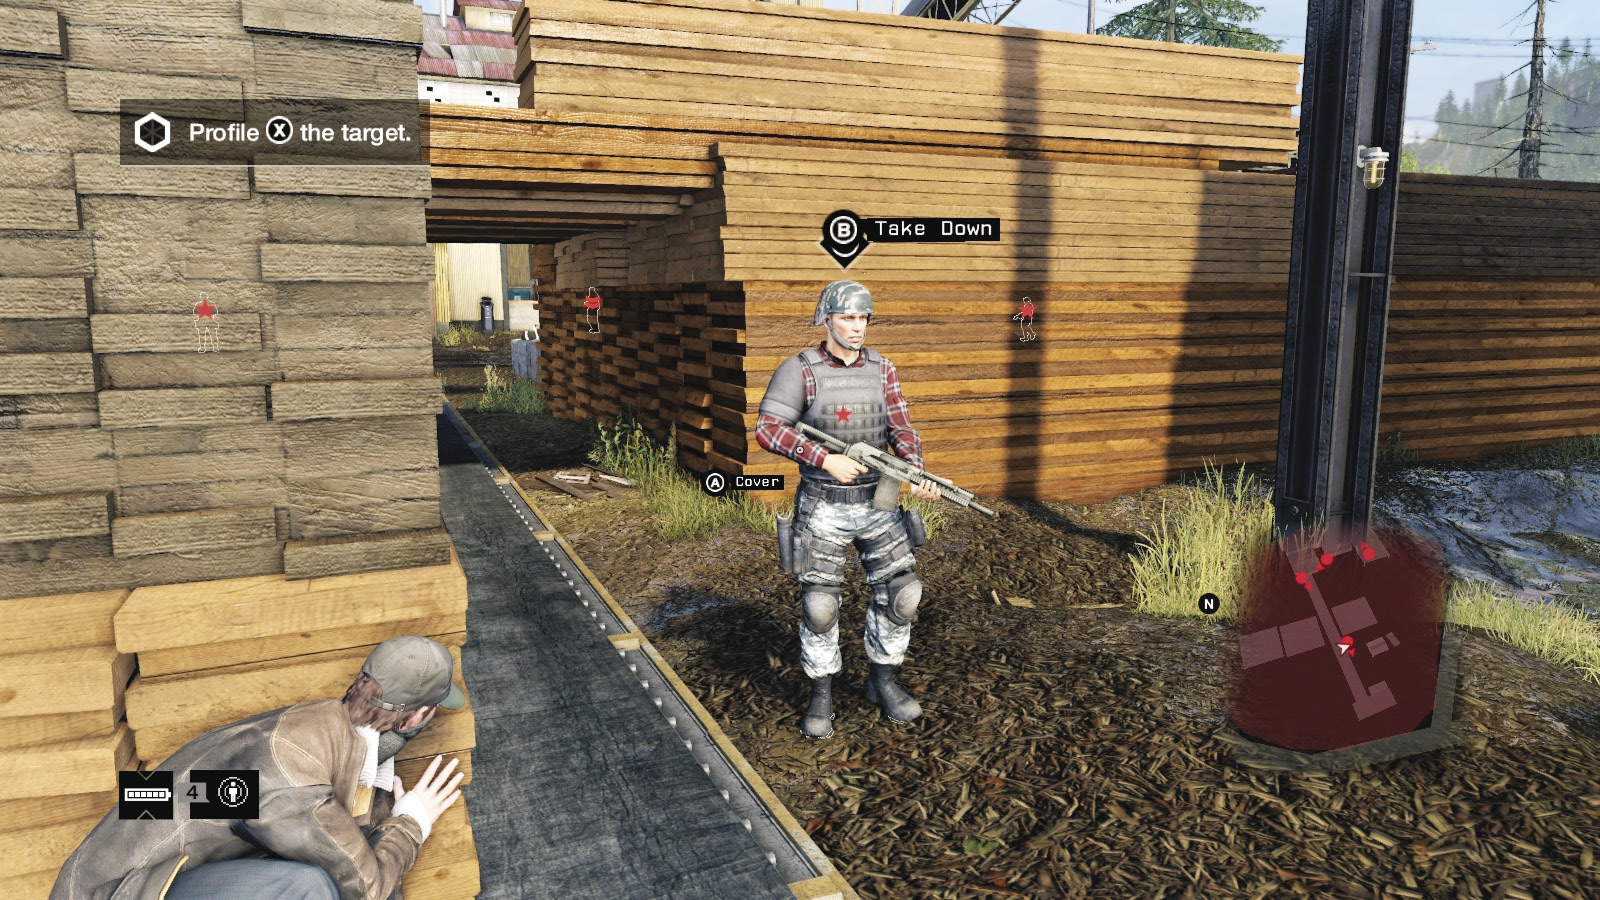
Before or after removing the foe on the upper wood stacks, be sure you know where the enemy with the camera is, patrolling the conveyor belt below. You can confuse him by activating the machinery nearby, but try to remove him (by dropping from the wood stack or leaping from behind a corner) as soon as possible, sometimes before the foe on top of the stacks (depending on where you are and who’s watching you).
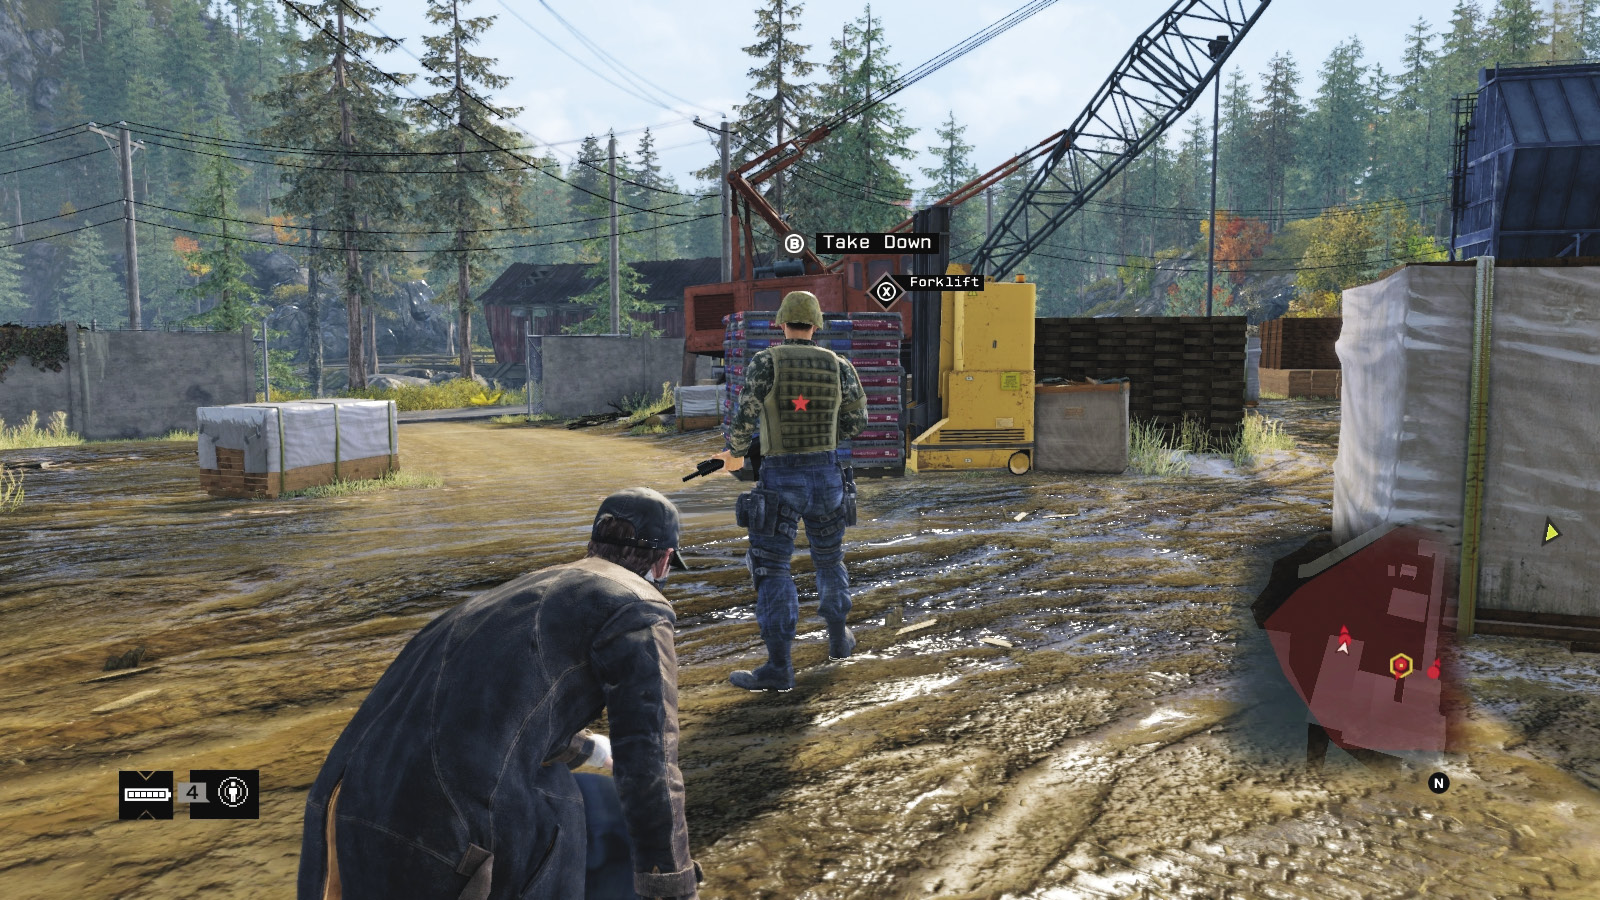
Assuming you’re still unseen, the target and northern enemies are usually stationary, and the south foe patrols near the crane. Tackle them in any order, though removing the moving foe near the crane first is a good idea, as saving him until last means you’re likely to be spotted by the second wave.
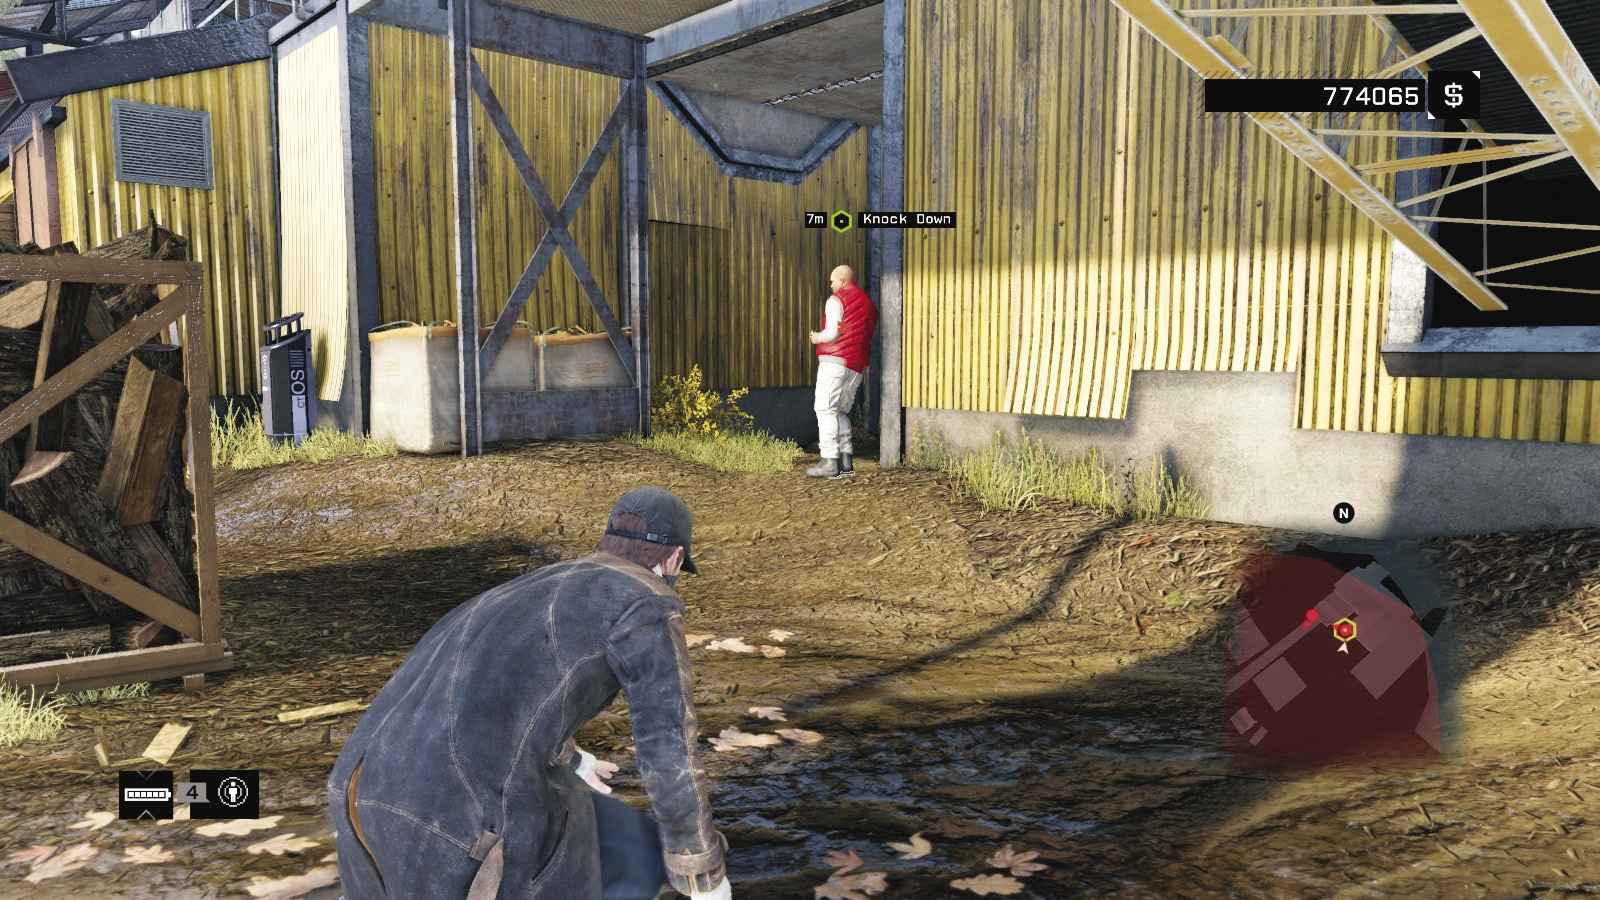
Then take out the target standing or wandering near the alcove and ladder up to the log conveyor. Tackle him, before quickly rushing the last enemy by the lower conveyor shed. You now have a few seconds before the second wave arrives.
 Aggressive // Stealth (Second Wave): You Know the Drill
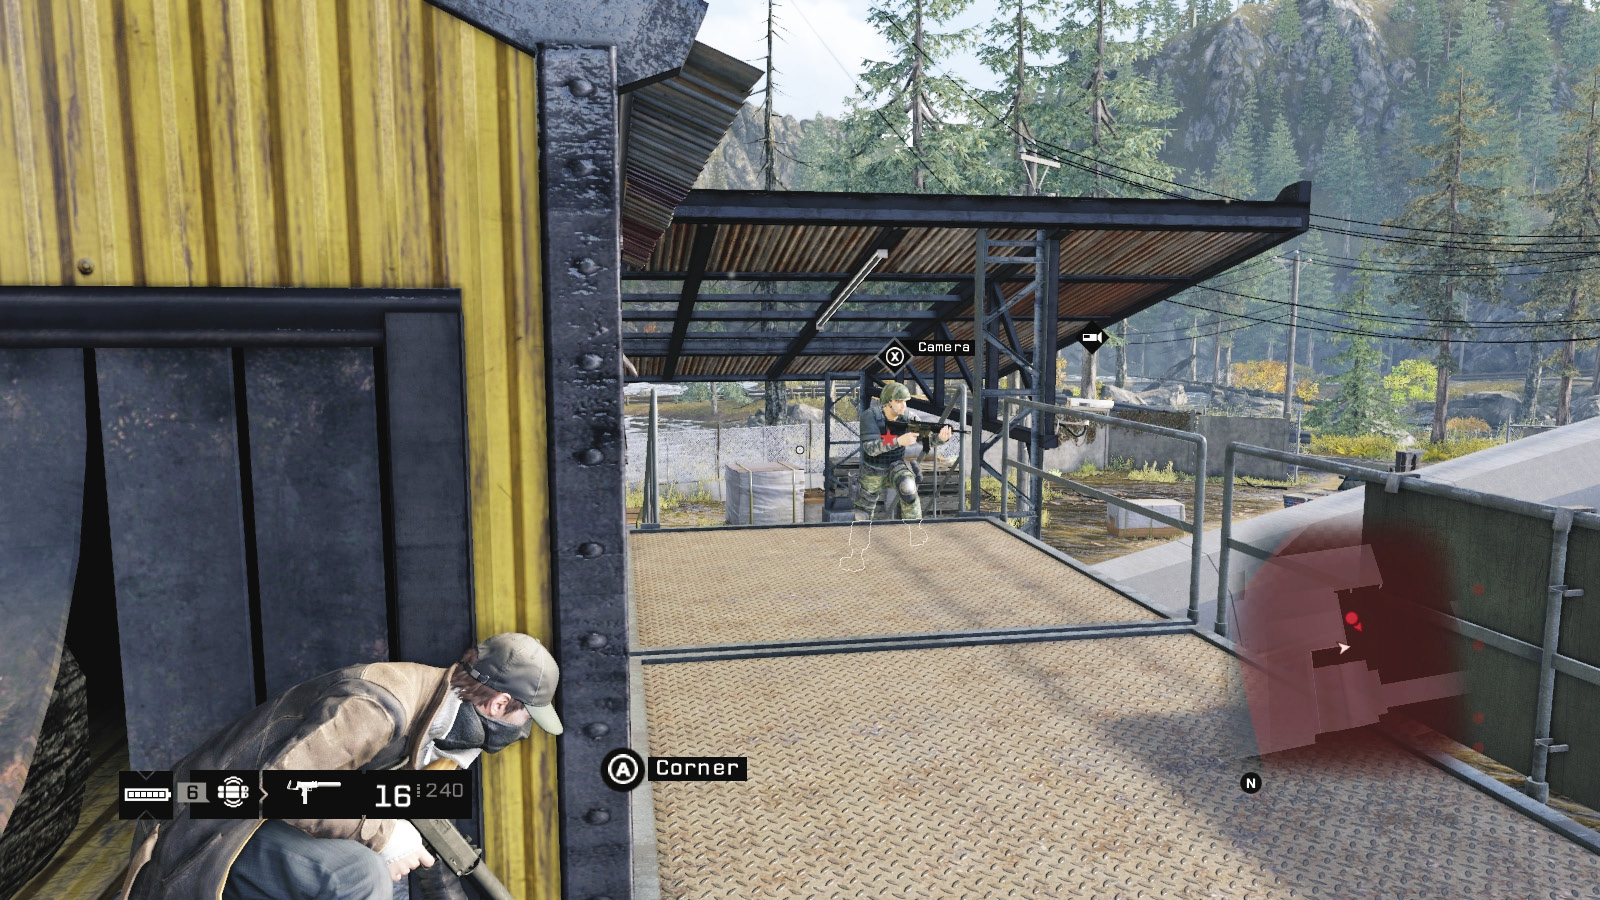
 Difficulty:
Set up a hiding spot to the north of the grounds or atop the log conveyor belt; you don’t want to be in the south or west areas, as this is where the enemies head in from, and you will be outflanked. Use the cameras to profile the enemies, but don’t wait until the place is overrun. Notice there are two vehicles approaching (from the south road), each with two Elites, while the target and an Elite appear along the west fence.
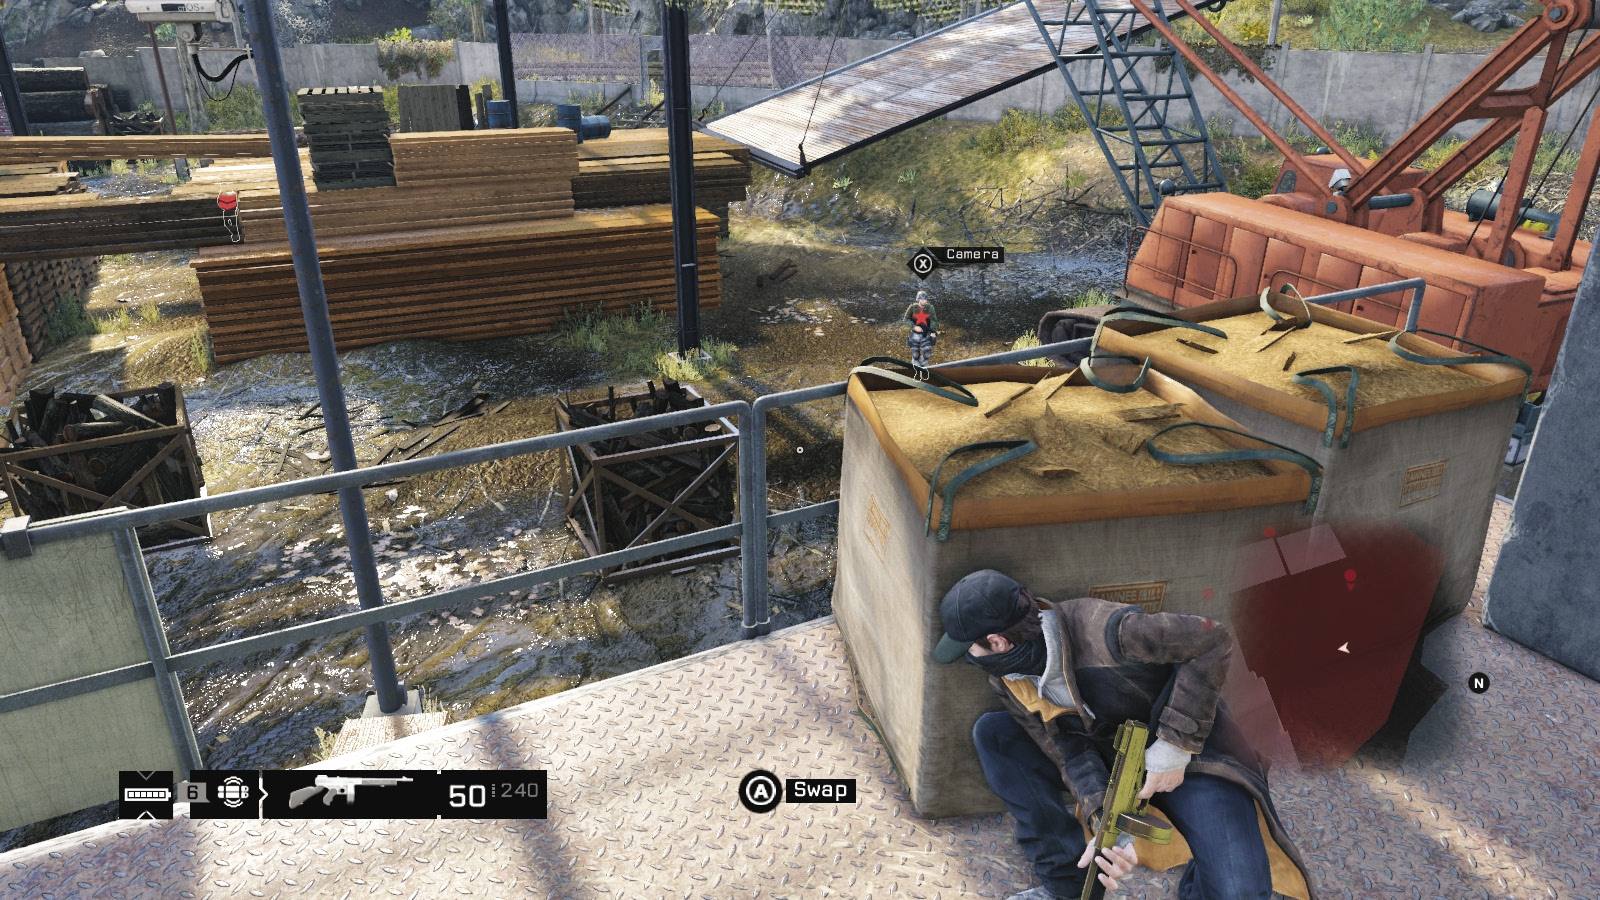
The easiest way to finish this mission without shooting anyone is to drop onto a foe from the log conveyor, then quickly creep north to the log boxes near the rusting crane and take cover here. Two of the sides of these boxes allow you to take cover without being seen. Then wait for the enemy to come to you. The second target usually heads out between the wood piles. Tackle him, then either flee (to the north, or up the ramp to a waiting vehicle) or continue the stealth.
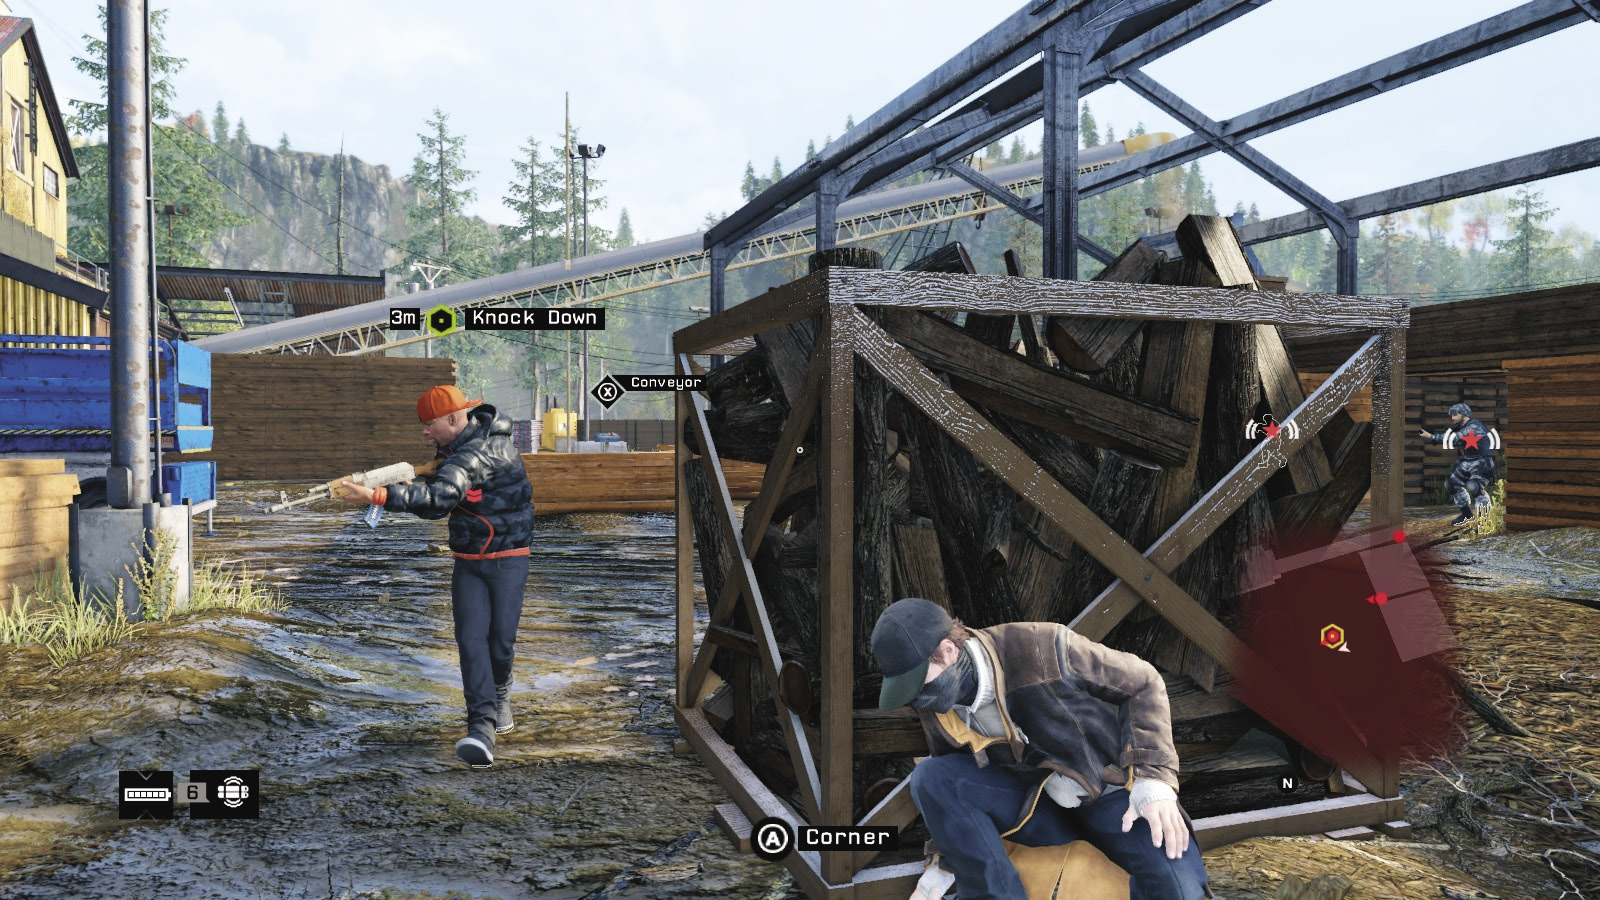
Use the cameras again to ensure you know where all enemies are. Then start to prowl, selecting the nearest foes, optionally playing with the scenery until you take out the remaining militia with your baton.
Another option is to quickly move to the large wood stack in the middle of the grounds as soon as you bring down the first target, before the second wave arrives. Stand close to the bike parked up here, hugging the wood stacks as cover. When the target splits from his Elite guard and heads under the gap in the wood stacks, drop down and remove him; then escape by bike and ignore all other foes.
 Aggressive // Smart (Second Wave): Confusion to Instill
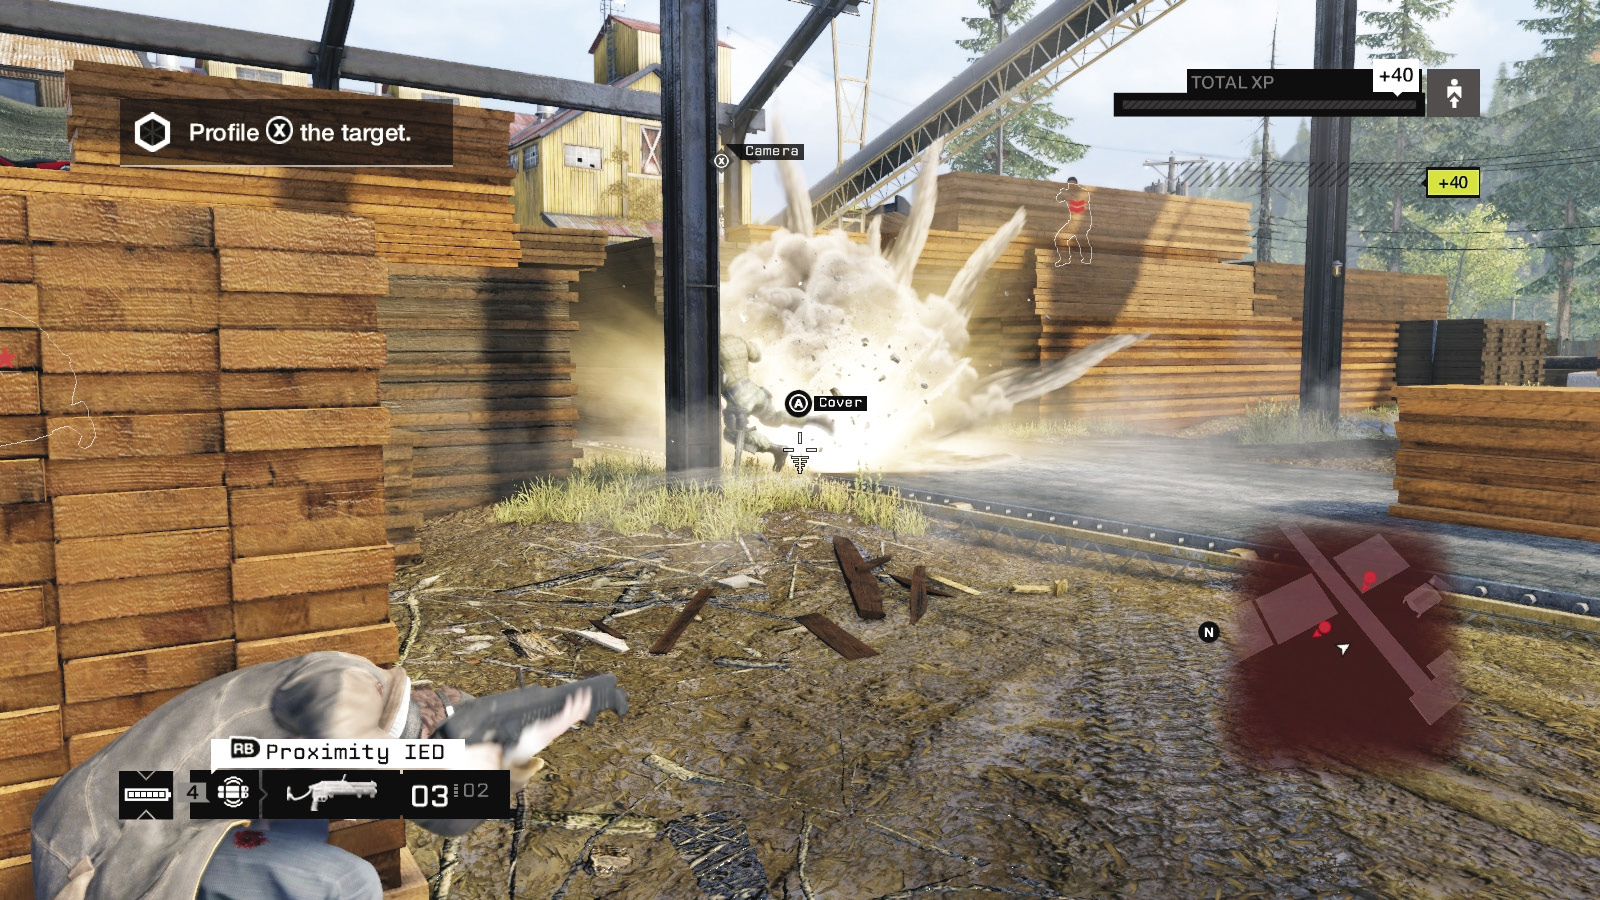
 Difficulty:
The second wave is more susceptible to smart scenery detonations, especially the ctOS transformer, which plunges the place into darkness (if it’s dark, obviously!), allowing you to rush foes and tackle them more easily. The forklifts and pole transformer are also handy, as is the lift to reach the upper log conveyor. Also try using the lower conveyor when a foe steps on it, delivering him across to your position farther down the belt so you can step in and throttle!
 Aggressive // Violence (Second Wave): More Thugs to Kill
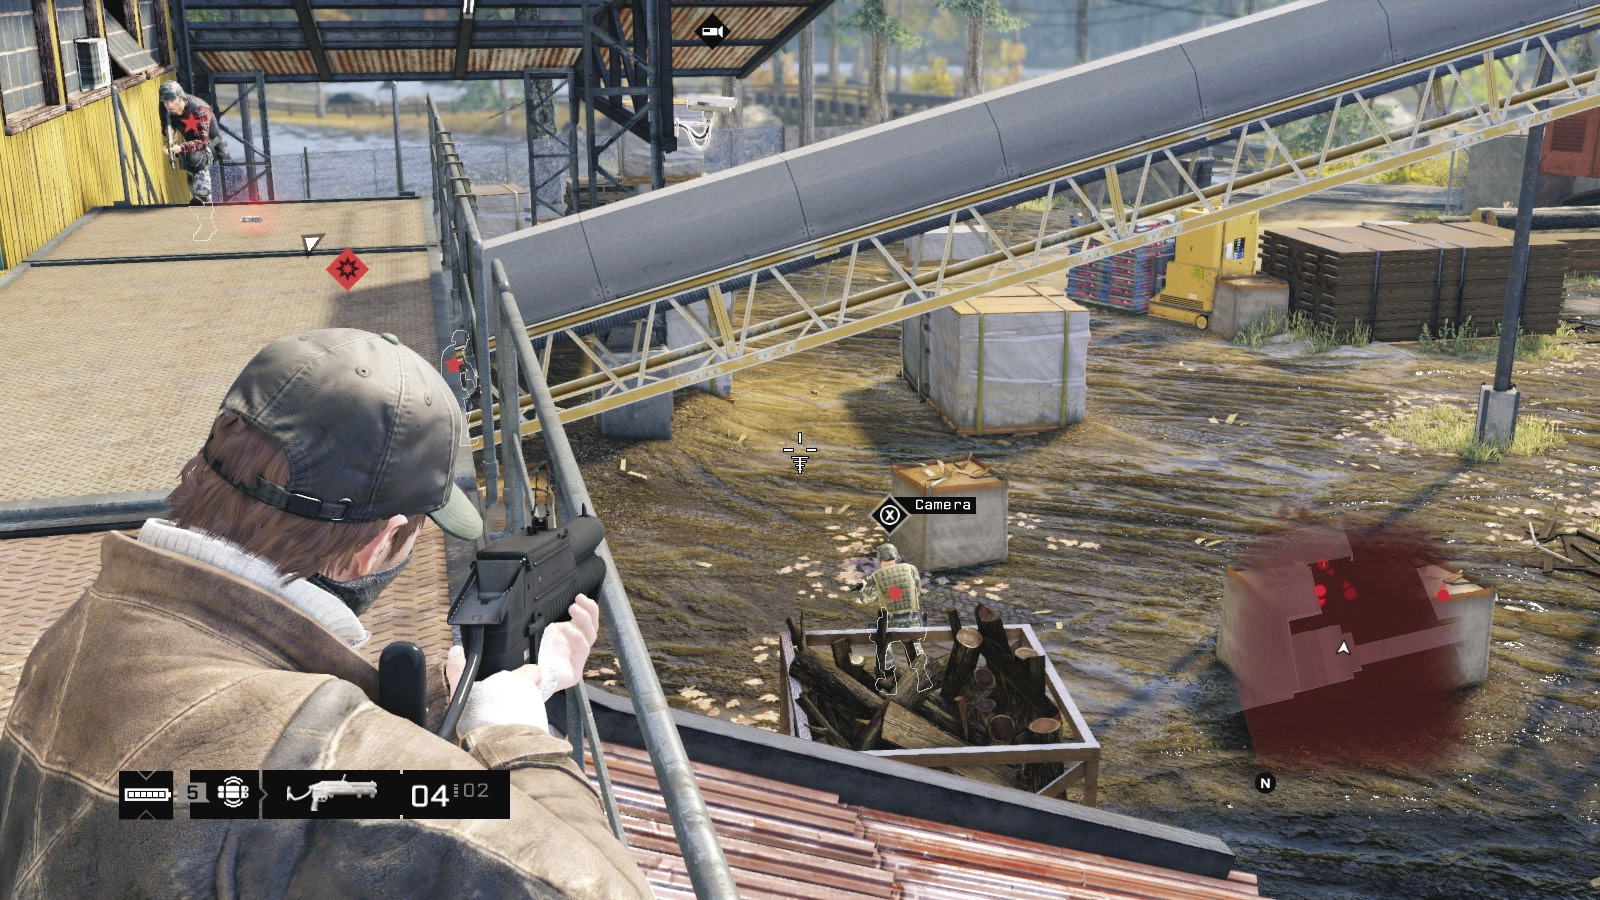
Difficulty: 
Playing with a baton is mandatory for both targets, but if you’ve marked the foes you can’t shoot or you’ve already completed the target takedowns and are removing all further threats, why not have a little fun with the others? You can:
Camp on the log conveyor, lobbing down grenades or setting up lure or IED traps when the foes try to ascend to reach you.
Prowl the top wooden stacks in the middle, allowing 360-degree views and cover opportunities, then strike at range.
The numerous cover opportunities allow you to run-and-gun from cover.
Lay IEDs where both the militia second wave vehicles (and any subsequent reinforcements) stop; wait until the foes exit, then blow them up (with the exception of the second target, naturally).
Trap the insertion points and the stairs up to the log conveyor with IEDs too.