
Watch Dogs Guide MAIN MISSIONS MAIN MISSIONS /// ACT III
_HOPE IS A SAD THING
OBJECTIVES
|
 Hack the marina computer to find Kenney
 Use the Profiler to find the reset password
 Enter the new password in the marina computer
 Infiltrate the ctOS tower
 Activate the station to access data
 Reach the bar
MINOR SPOILER 
LOCATIONS // MAPS
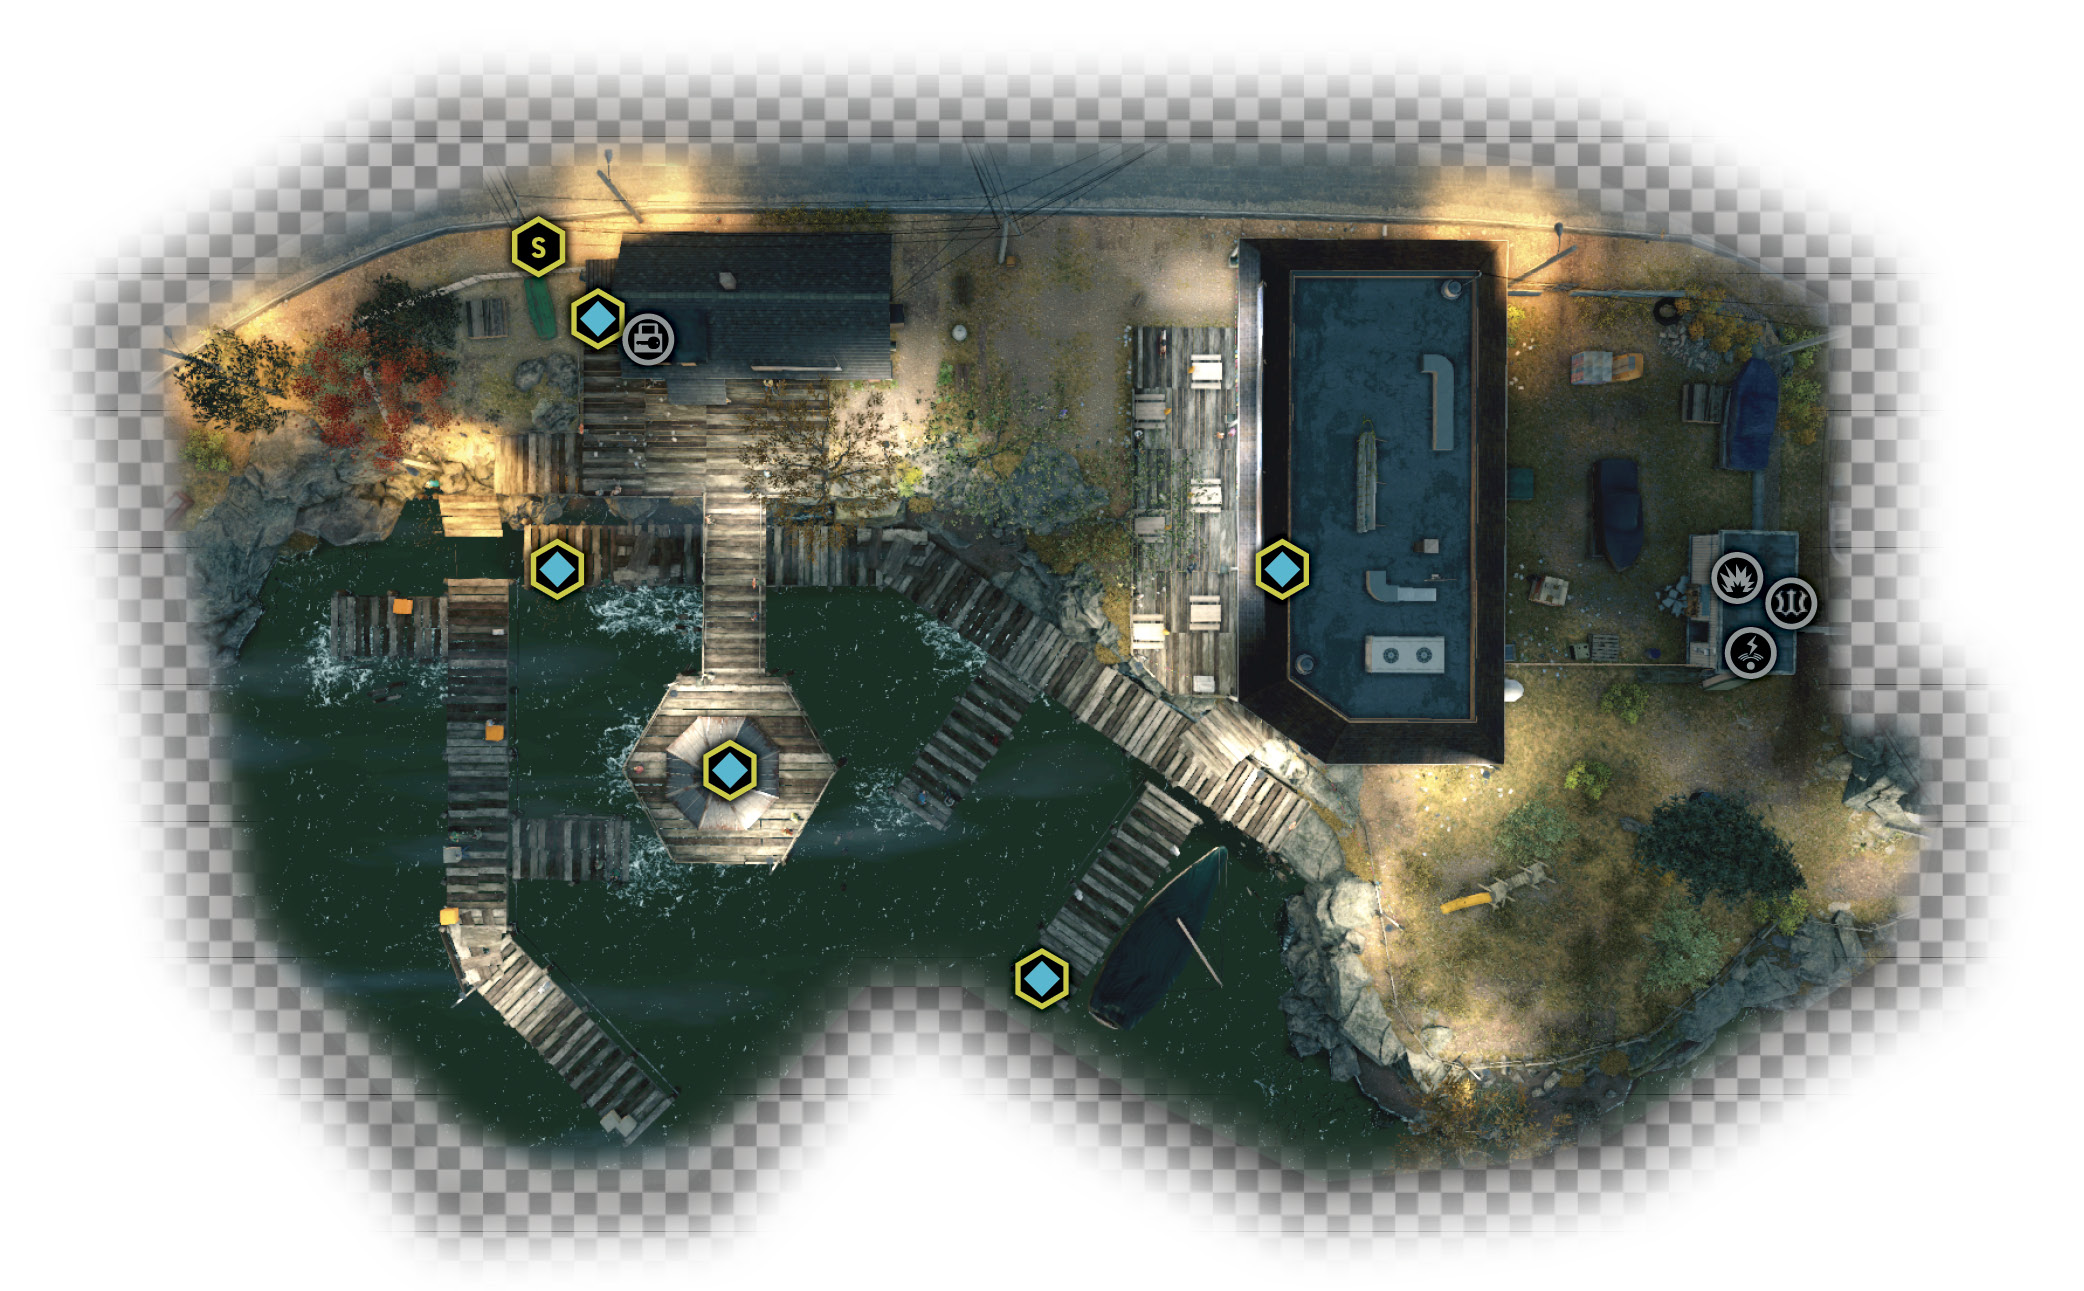
Locations 01 / Pawnee // Harbor Office and Marina
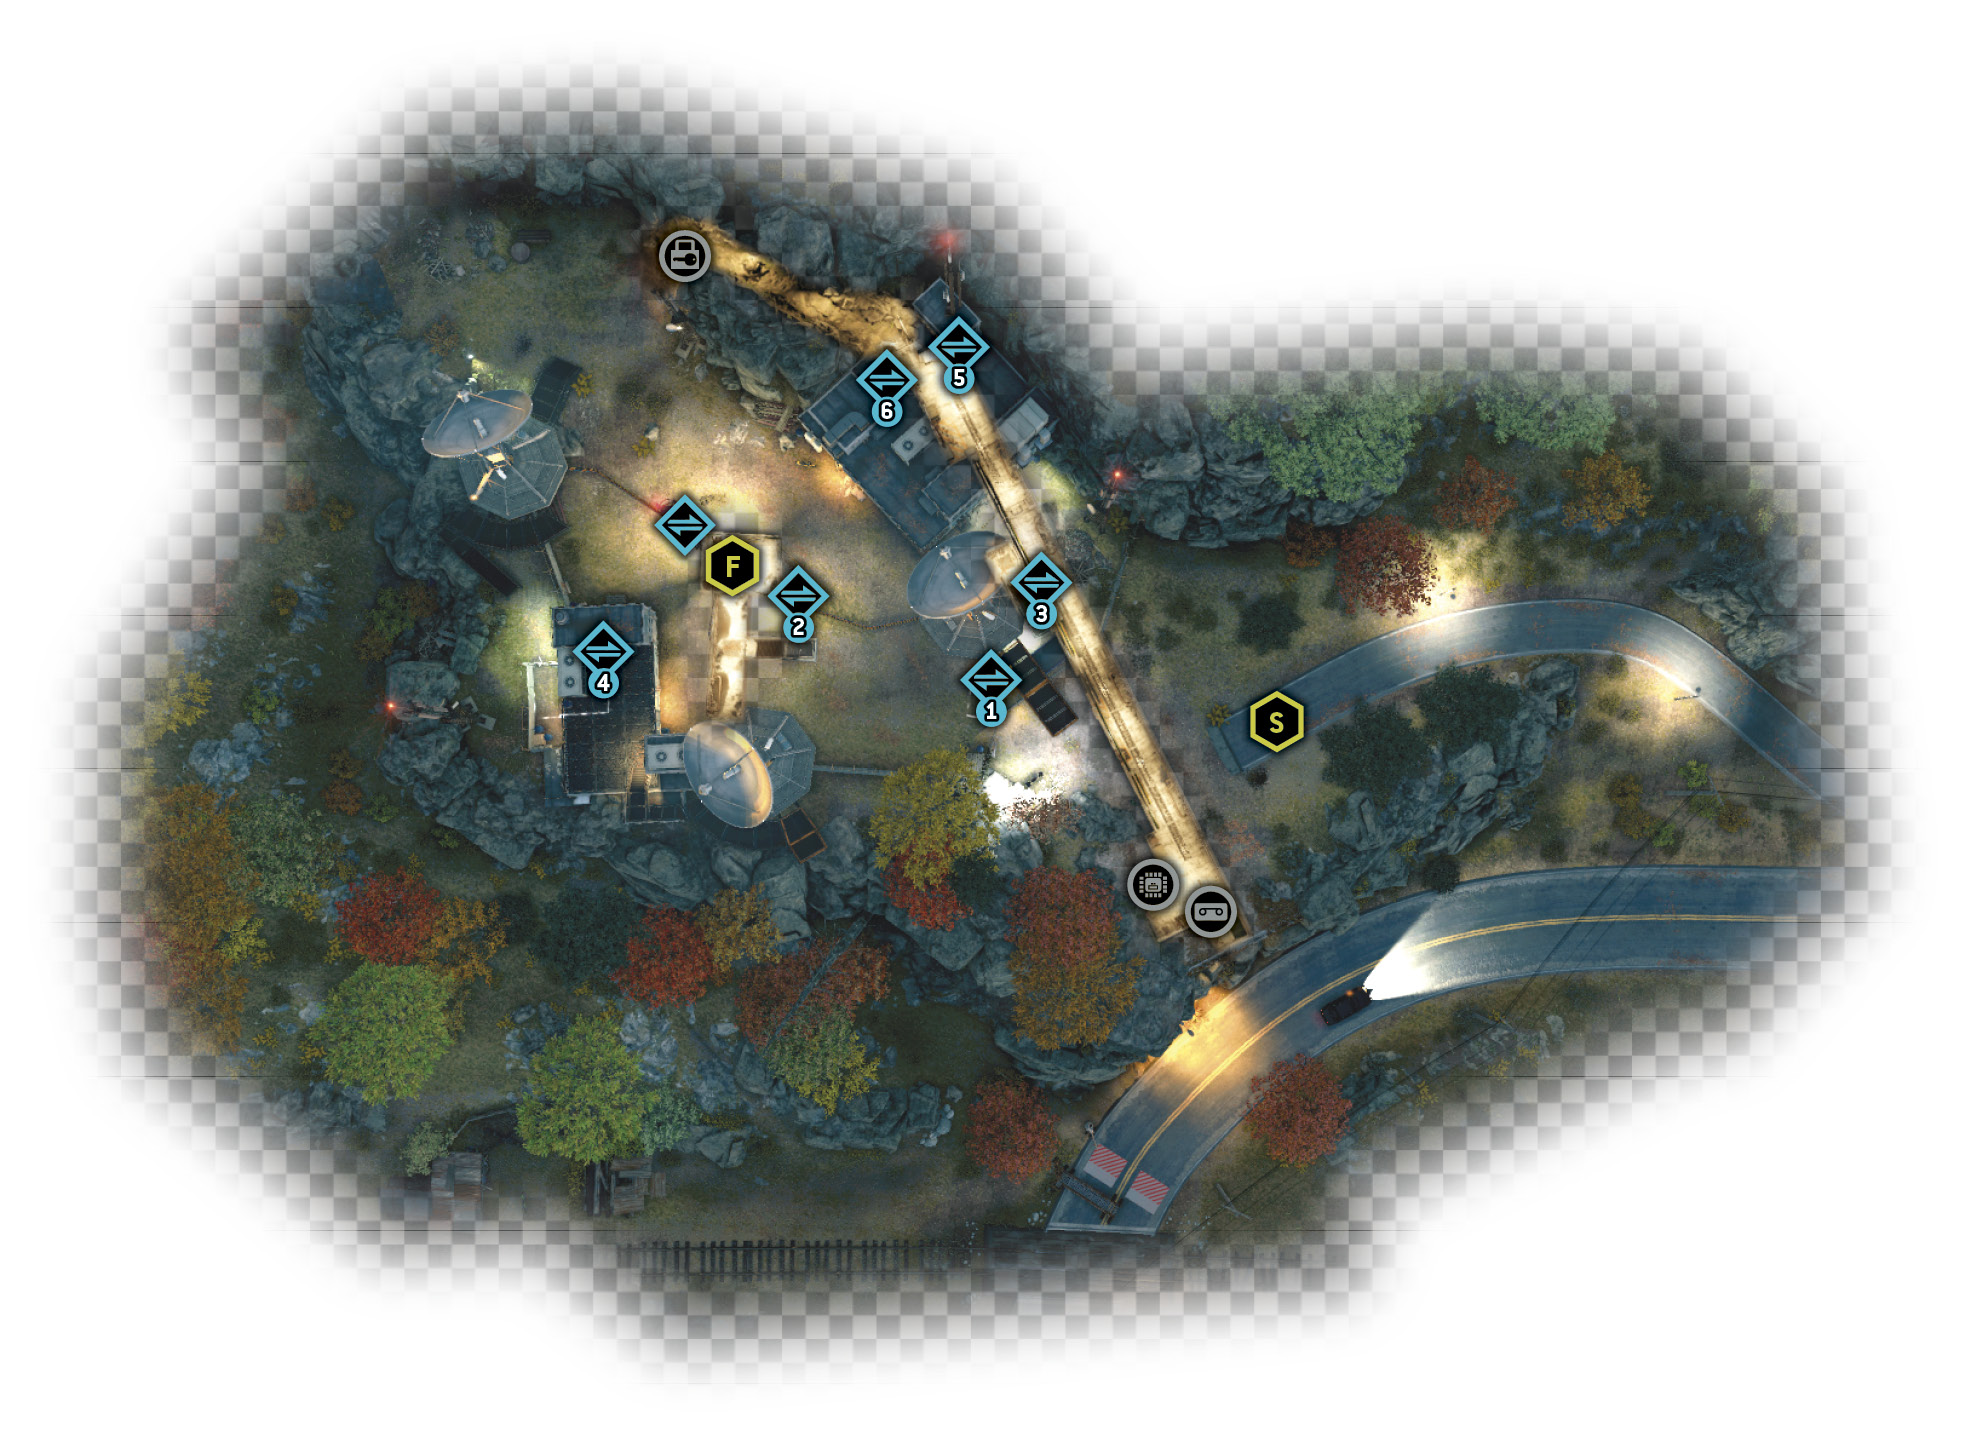
Location 02 / Pawnee // ctOS Tower
|
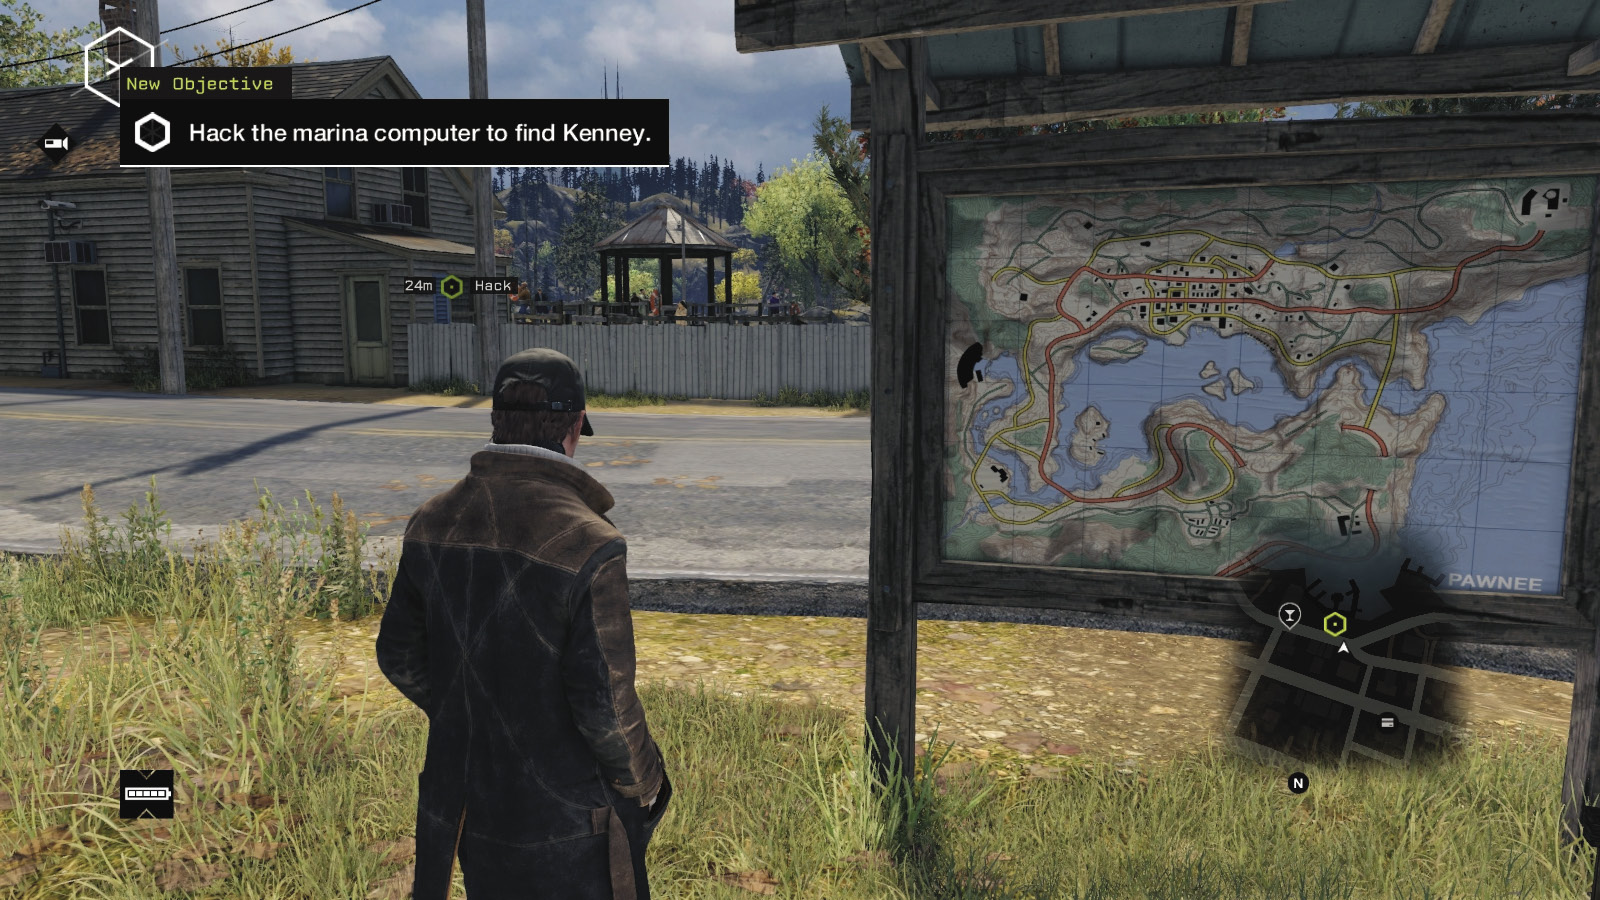
 Hack the marina computer to find Kenney
 Use the Profiler to find the reset password
 Enter the new password in the marina computer
1.1 EAVESDROPPING AT THE MARINA
 Location / Pawnee // Harbor Office and Marina
 Investigation
 Data Hack
Difficulty: 
Begin your mission in the quaint country settlement of Pawnee, at the information sign. Cross the main drag, walking around the marina information building or hopping the fence, to the building’s extension room, where you find an old PC tower and a system key. However, when you hack the computer, an intrusion is spotted and the password is reset.
Walk by the marina building, the wharf, and the fish-and-chip restaurant nearby. Bring out your smartphone and Profile everyone in the vicinity. You can:
Wander around on foot, peering at your phone.
Access the nearby cameras, panning from the one at Jedediah’s Bar, then scooting across to the rear of the restaurant.
(Optional) Hack any regular citizen for their valuable data.
There are four marina employees with the password, and you spot them easily if you’re patient. Try to find two of the following:
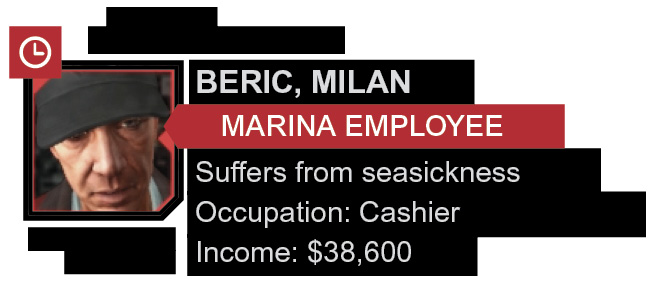
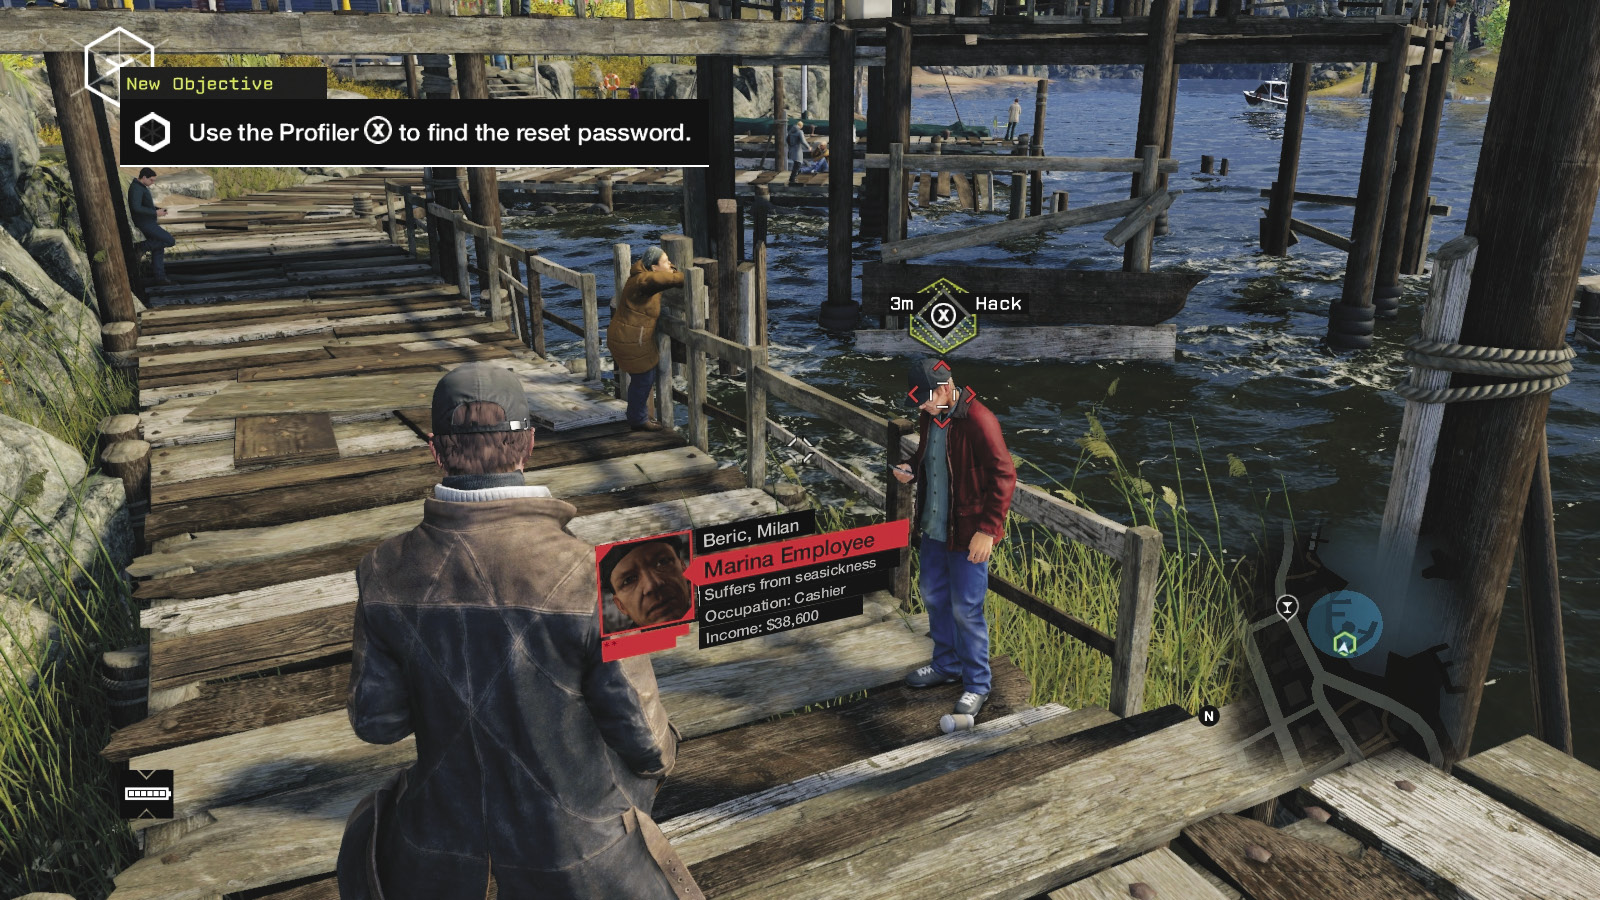
Beric Milan is usually found on the wharf’s right side, at the base of the steps, across and down from the computer.

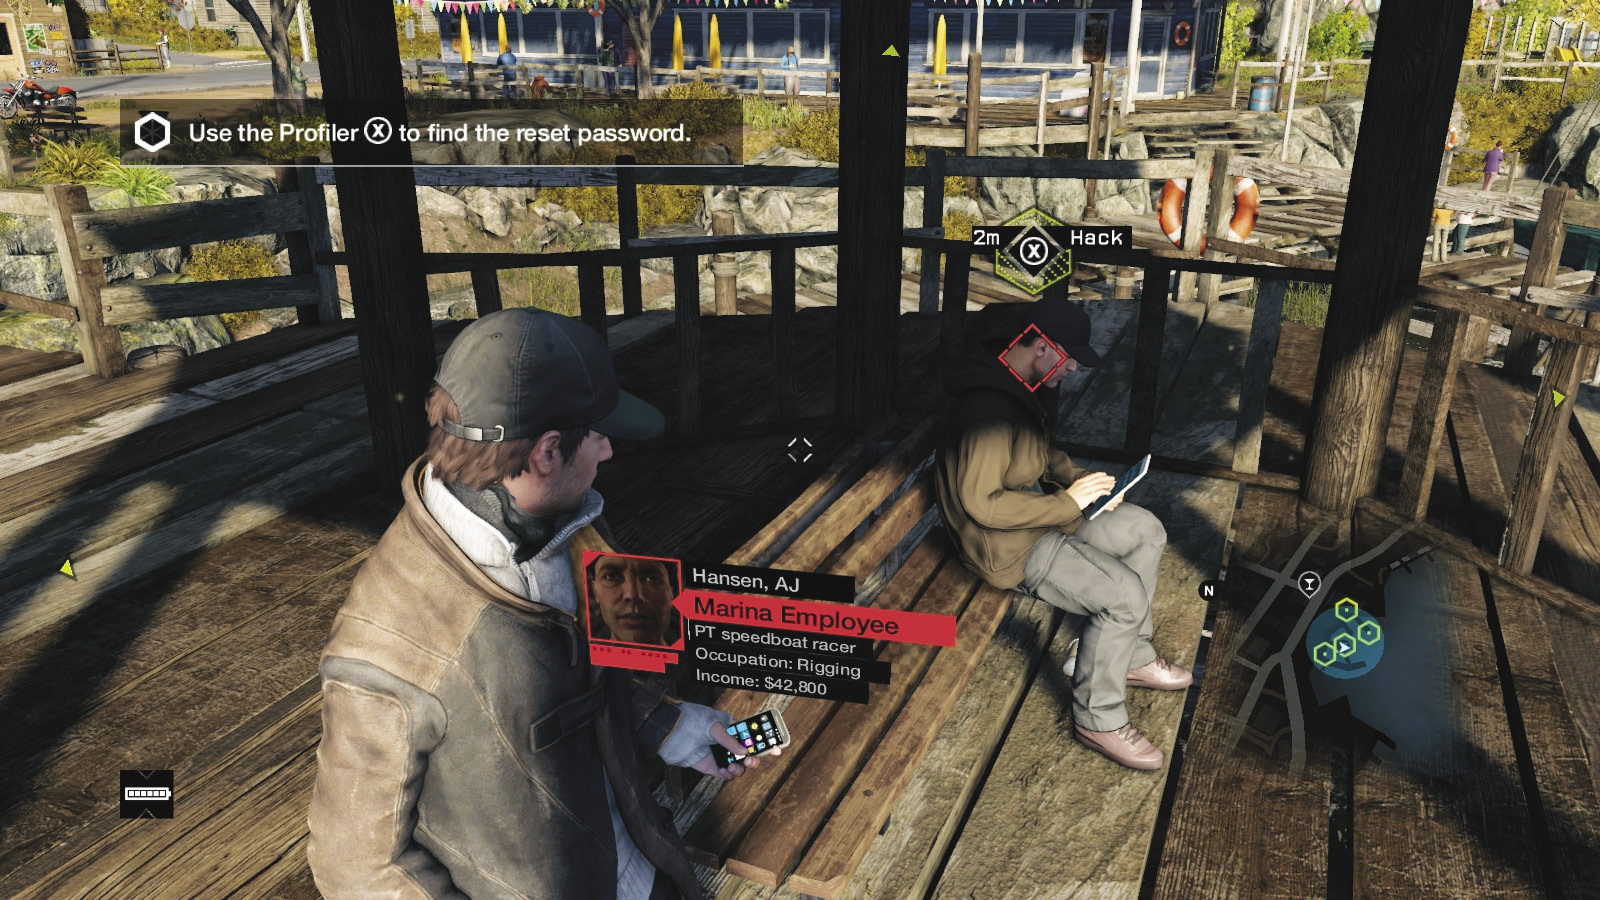
AJ Hansen is usually sitting on the wharf pavilion bench, on the upper covered jetty area, by the water.
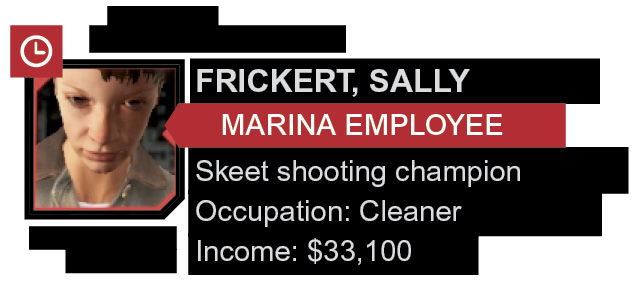
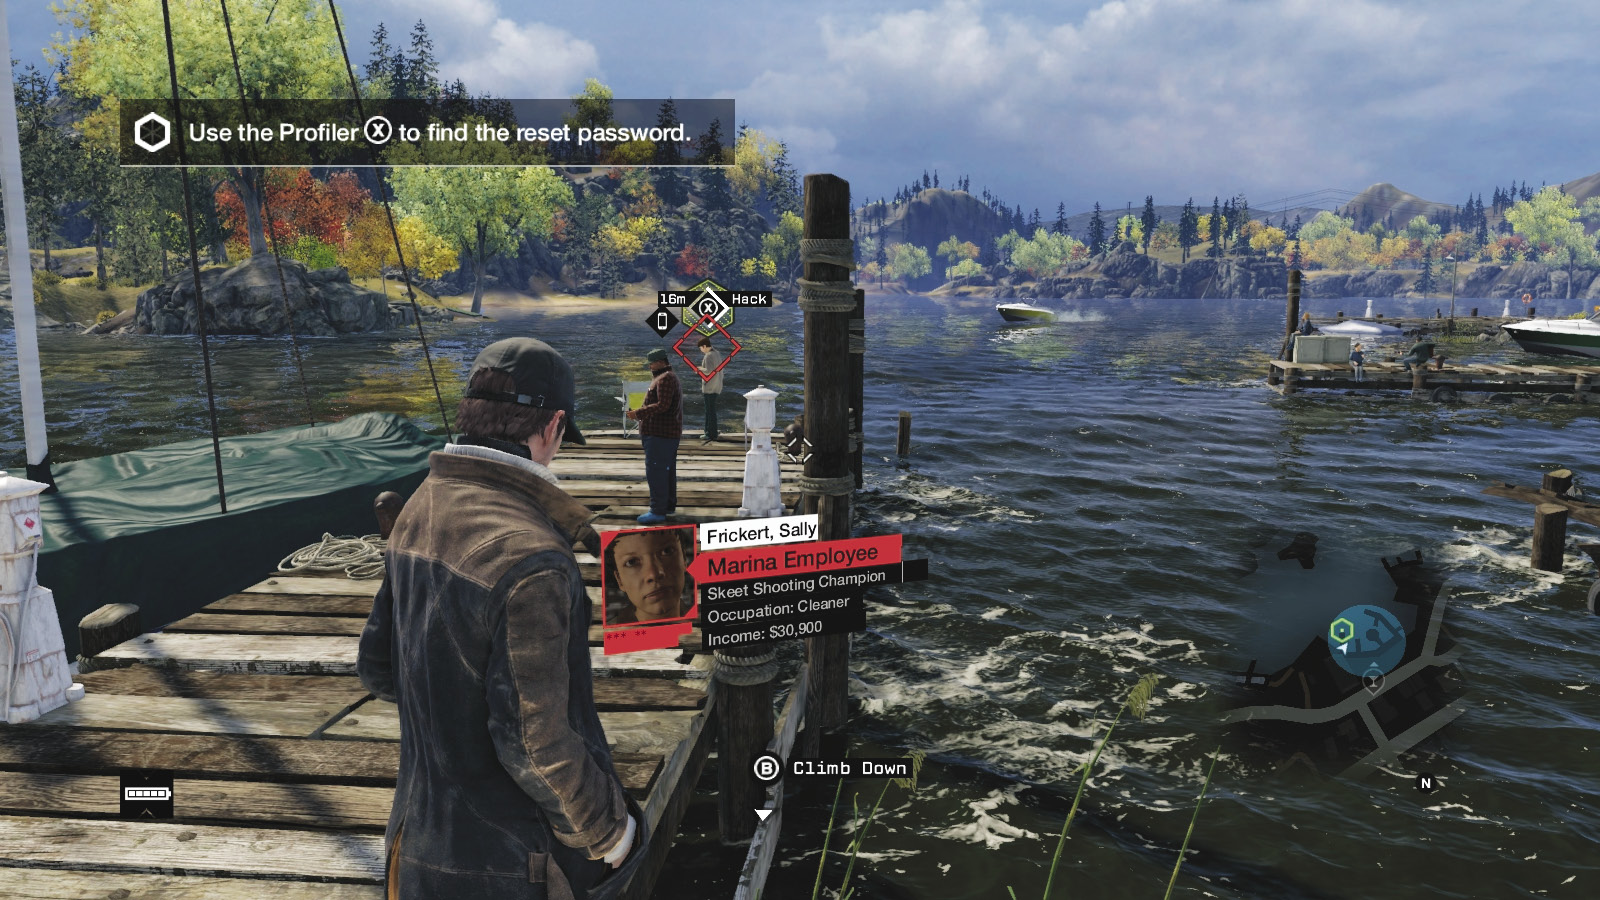
Sally Frickert is standing at the end of the left jetty, near the covered sailboat.
 <
< 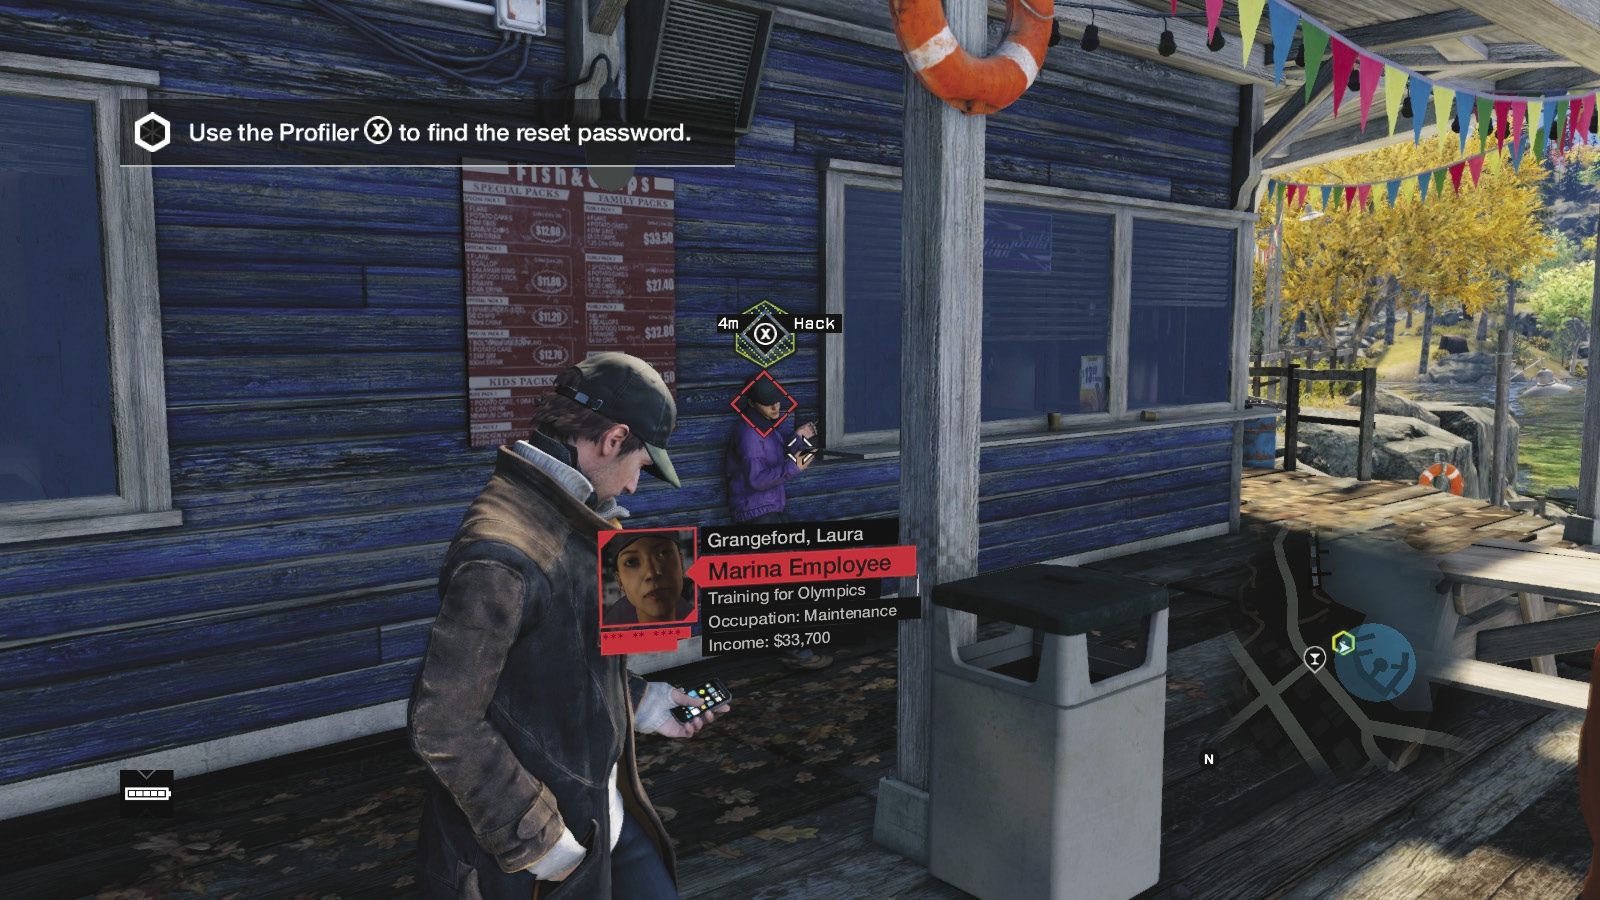
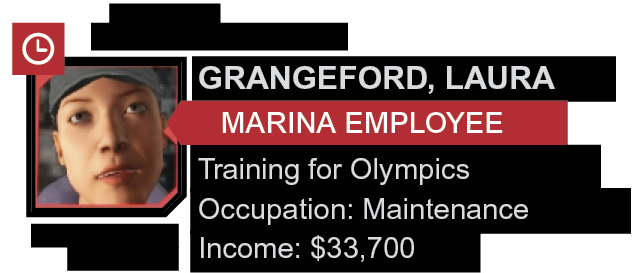
Laura Grangeford is on the upper deck, leaning against the fish-and-chip restaurant, by the wall menu.

You obtain the password from their personal e-mails, and the objective updates. You need to find only two of these employees, as the computer can lock you out after your first employee hack, so return and find a second employee.
Head back to the marina computer and hack it again. The carrier signal is rerouted to a ctOS tower that’s close by, to the northwest.
Before you leave this area, you may want to check the grassy yard behind (east of) the fish and chips restaurant; there’s a small shed in one corner with crafting tools and another of Maurice’s Burner Phones (with an Audio Log).
|
 Infiltrate the ctOS tower
 Activate the station to access data
1.2 DISHING IT OUT
 Location / Pawnee // Harbor Office and Marina
 Location / Pawnee // ctOS Tower
 Investigation
 Data Hack
Difficulty: 
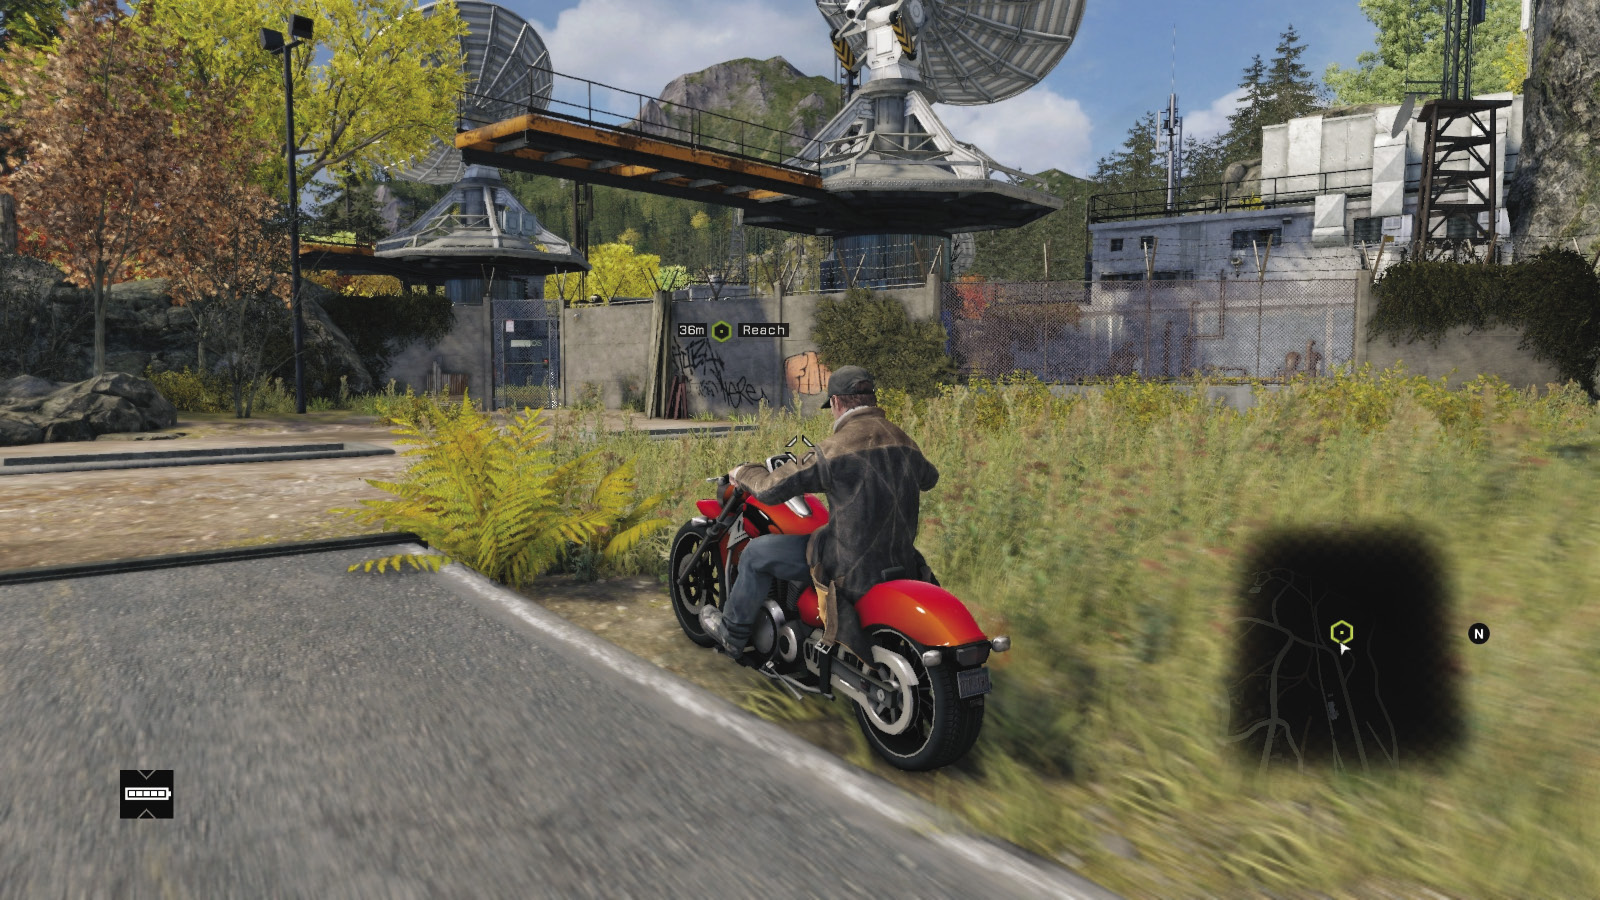
Take a vehicle (a bike, ideally) and head up the narrow tarmac roads toward the waypoint, then move onto the dirt trail that is most suitable for your vehicle. Drive to the top of a small ridge, and you reach the ctOS tower with three satellite dishes. Park, and inspect the place as your objective updates.
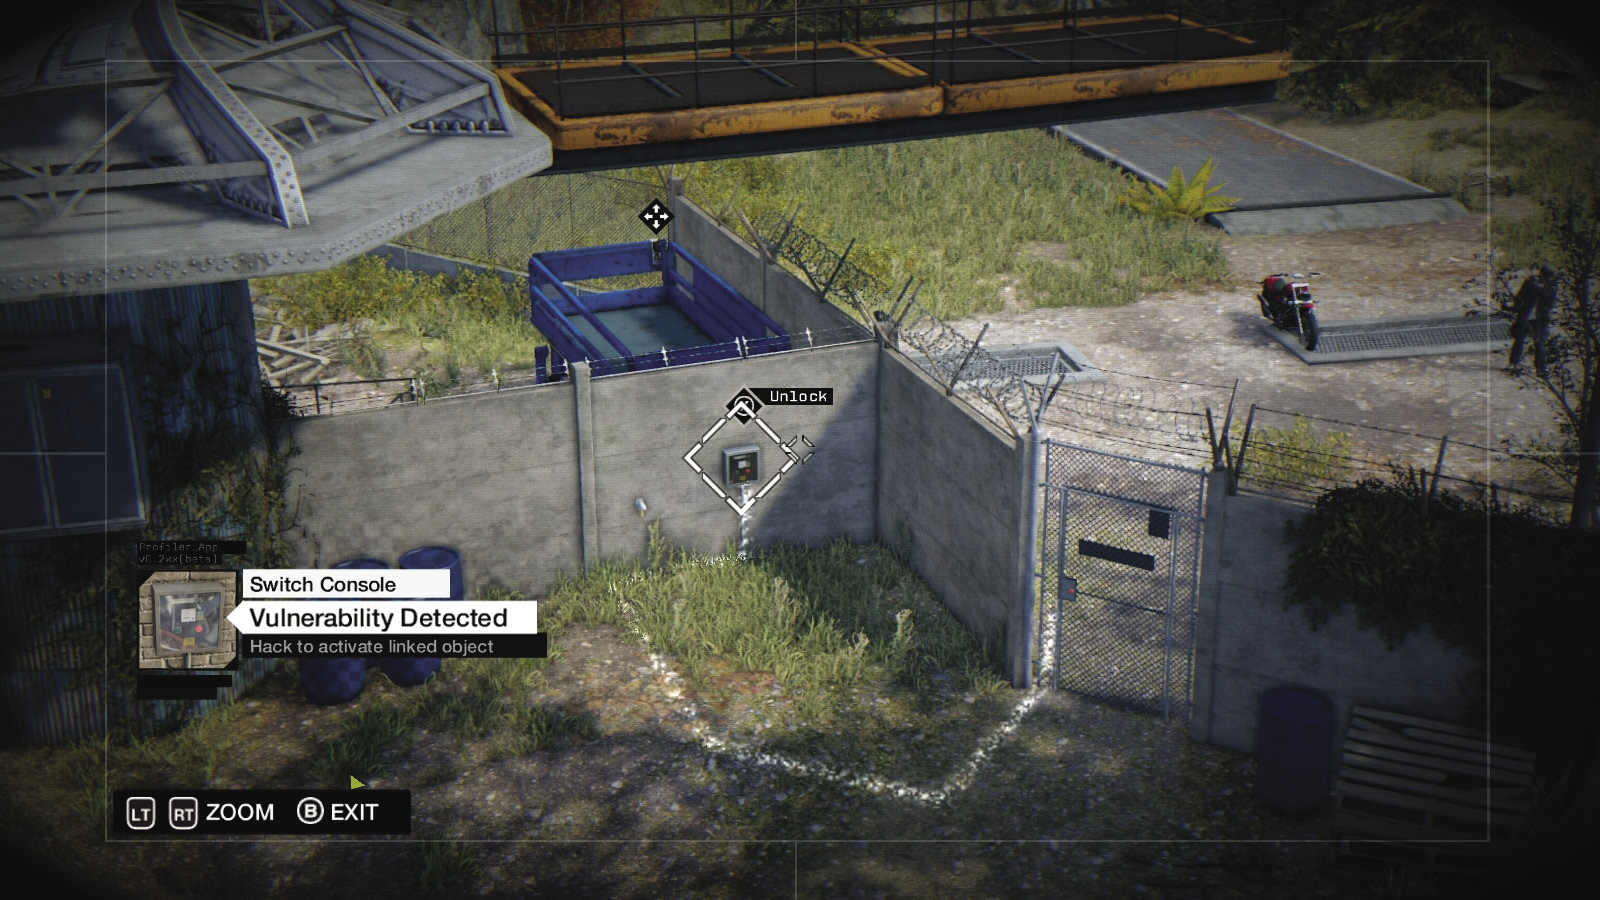
The front gate is locked. Look up and connect to the first satellite camera, then the second so you can peer down at the wall just behind and right of the gate, where you can hack the lock. Push the gate open—you’re in!
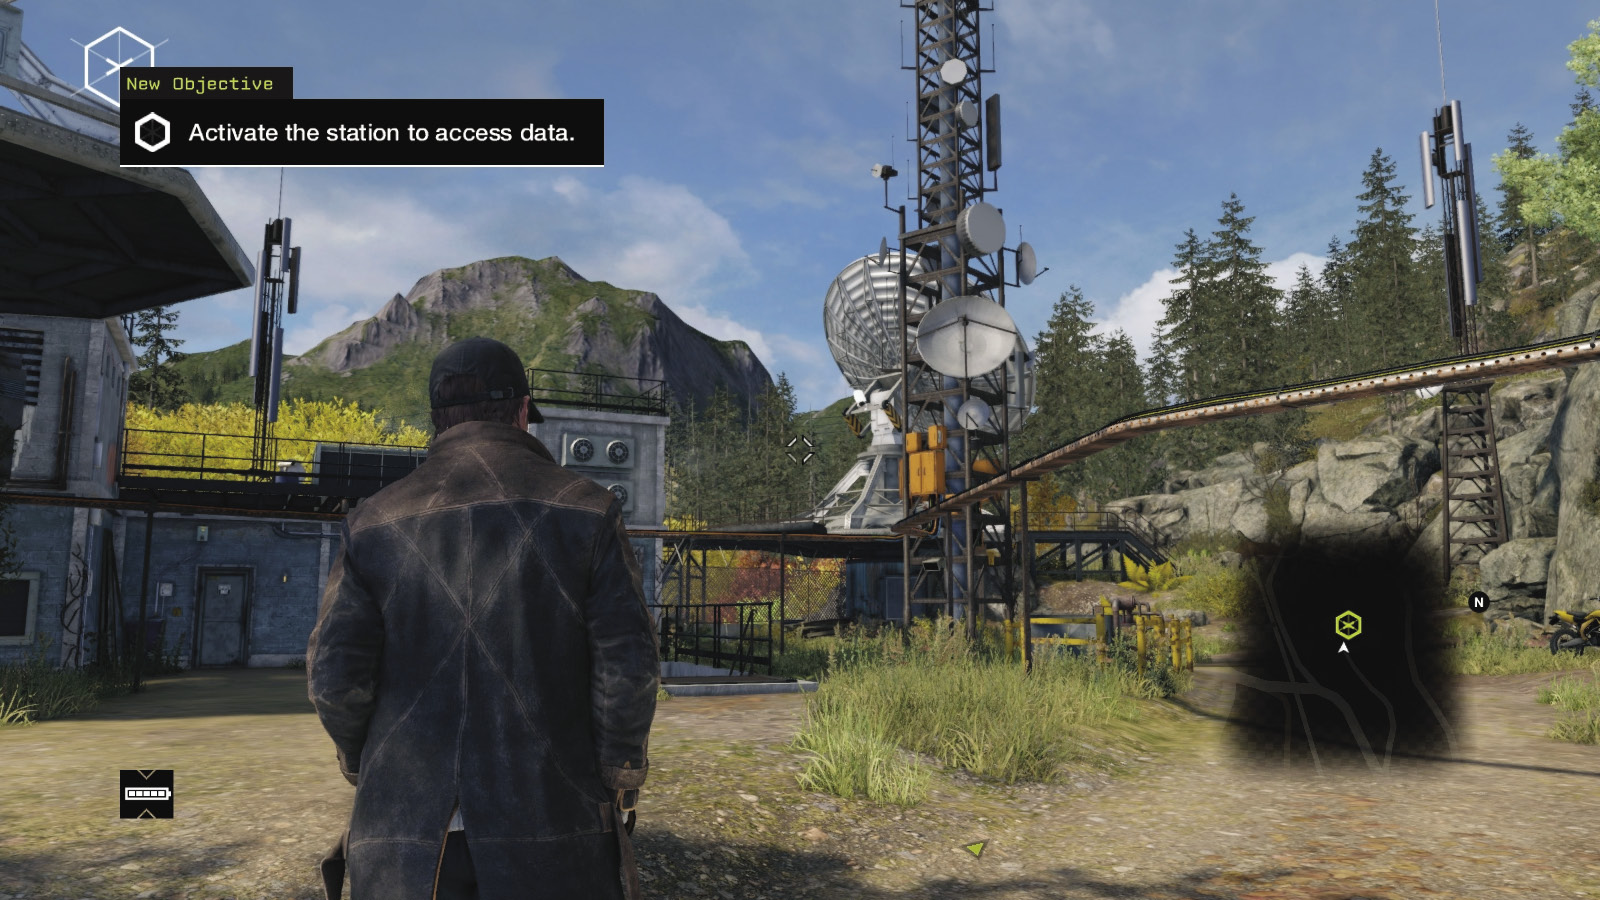
There’s some mechanical ducts under these two dishes. The keys to completing this puzzle are the conduits and cables running through here, along with the antenna that repositions both dishes’ gantries in one of two different positions. Firstly, head down the concrete steps in the yard.
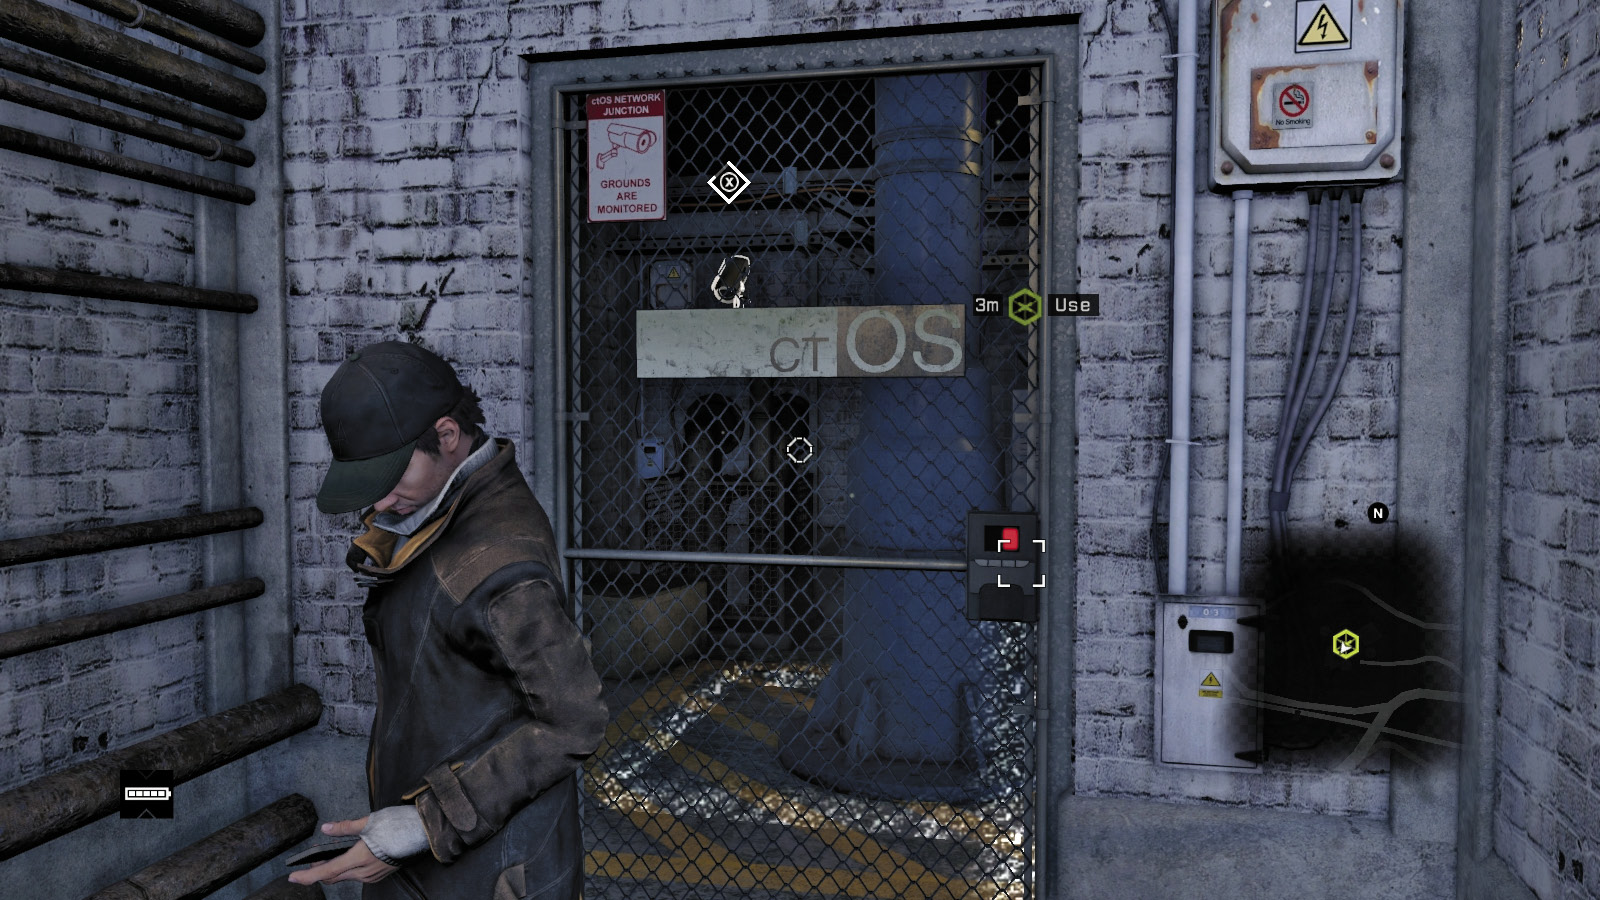
Turn right and peer through a locked gate at the access point. However, it’s behind the gate and inaccessible at the moment. Don’t leave yet; hack the camera on the wall behind the access point. Then intrude into another box of circuitry that takes you to a second, parallel underground passage. Pan the camera here to unlock a mesh gate, and head back up to the surface.
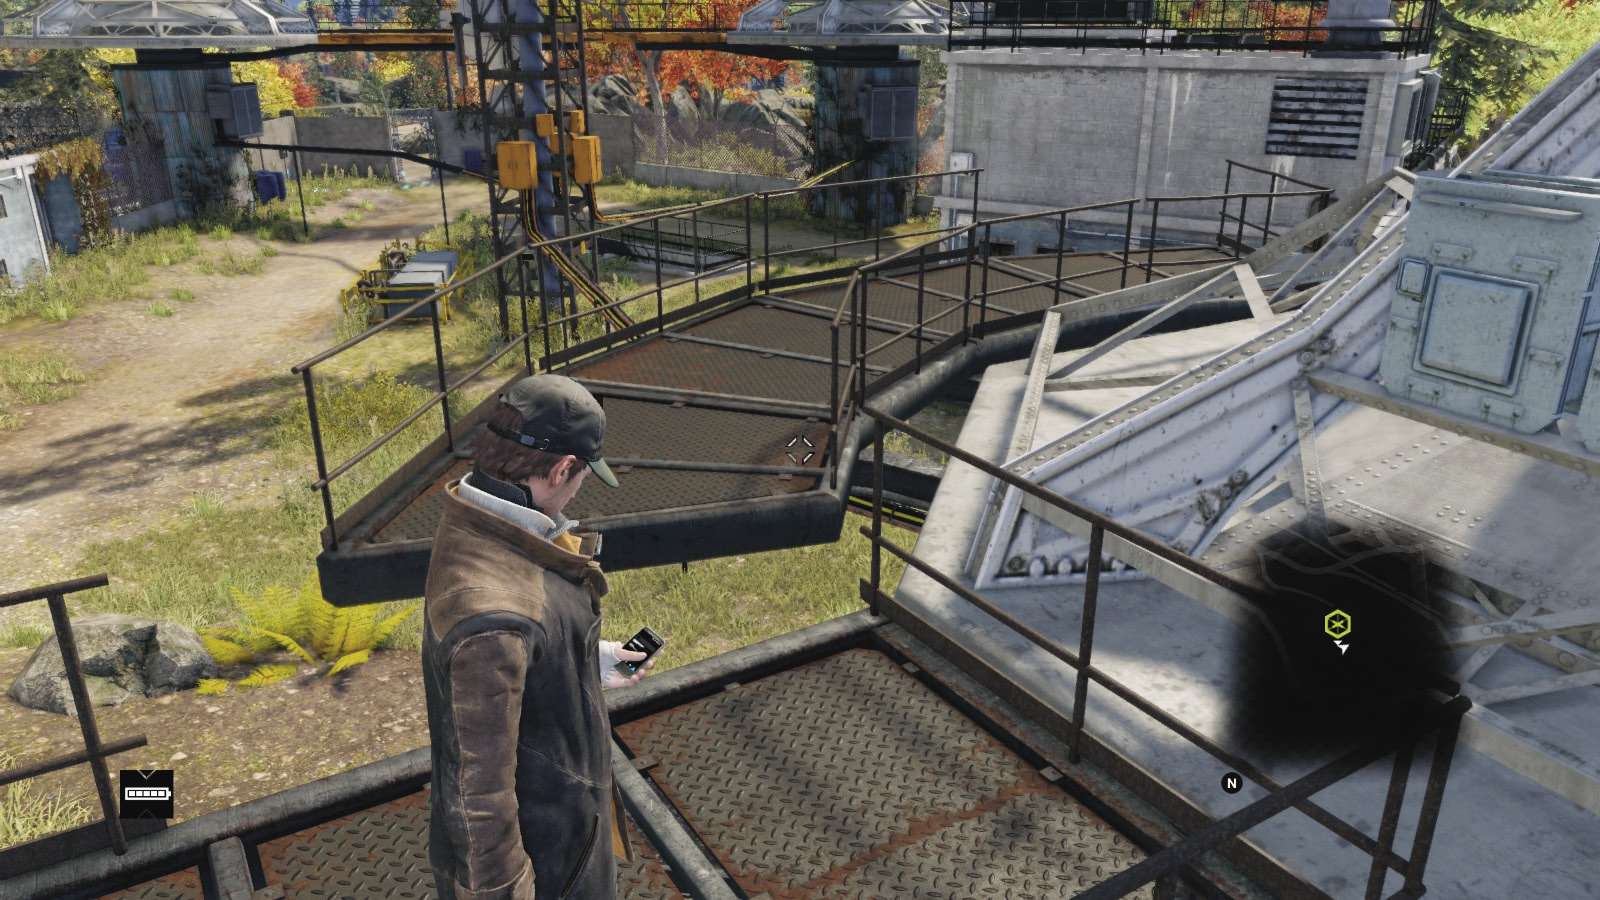
You have to reach that second conduit, but the task is a little laborious. Run up to the rear satellite dish (there’s a mesh gate in the rock wall nearby, but it’s locked). Take the steps to the base of the dish, and use the antenna for the first time. Hack it, moving all three dishes and bringing a walkway over to you. Step onto the walkway and activate the antenna again, riding over an otherwise-inaccessible gate and fence.
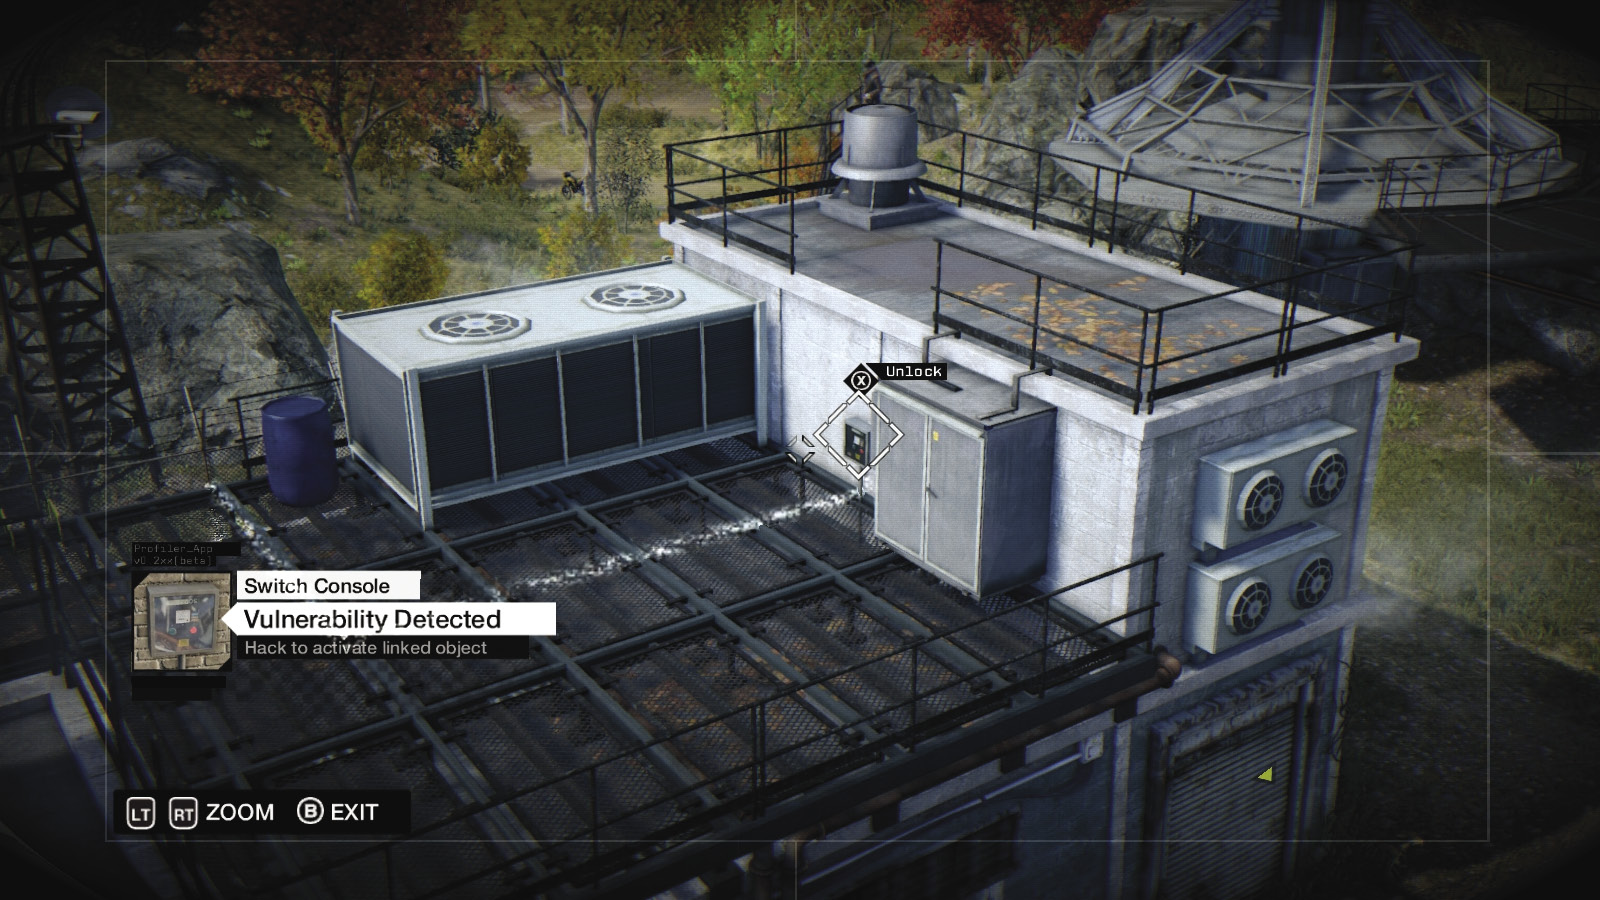
Run down the metal steps to yet another security gate near a small generator building. Scout the area by accessing the rear dish’s camera, then the second dish. From this camera, hack the antenna so the camera rotates to the left a little and the section of walkway points at the door unlock, behind a wall box. Pan this camera left to see the unlock mechanism, and hack it. This unlocks the security gate.
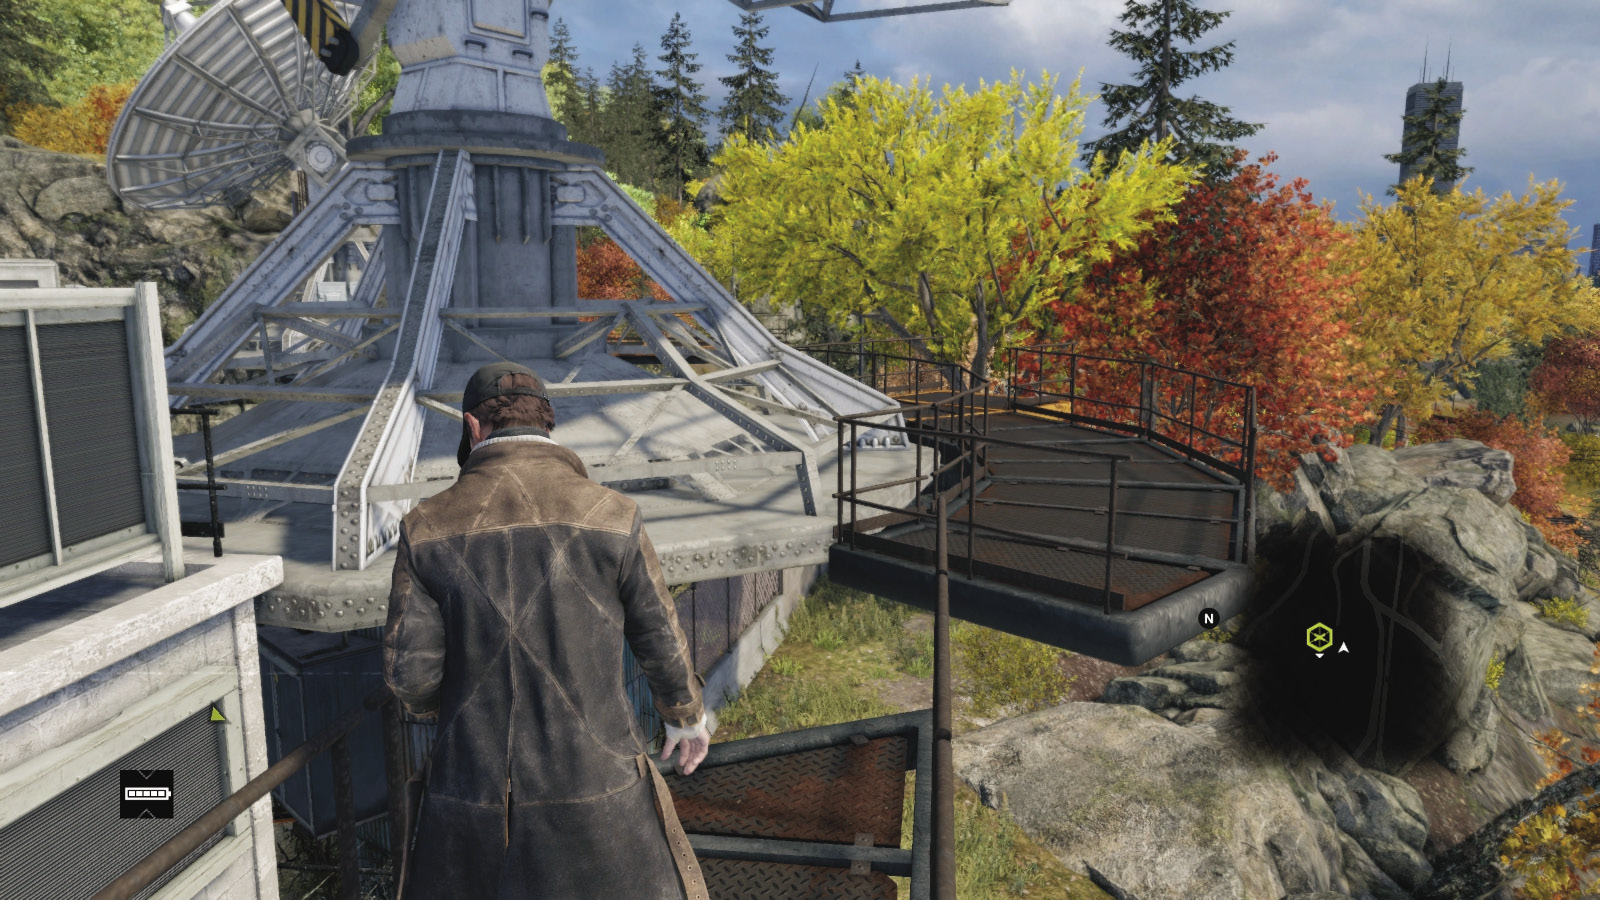
Open the security gate, climb the ladder to the generator building, and move up the nearby steps to a gantry near the second satellite dish. Access any camera, point it at the antenna, and hack so the dishes rotate. The rest of the gantry connects. Step onto it, look left at the antenna, and hack it again so the gantry rotates back again with the dish.
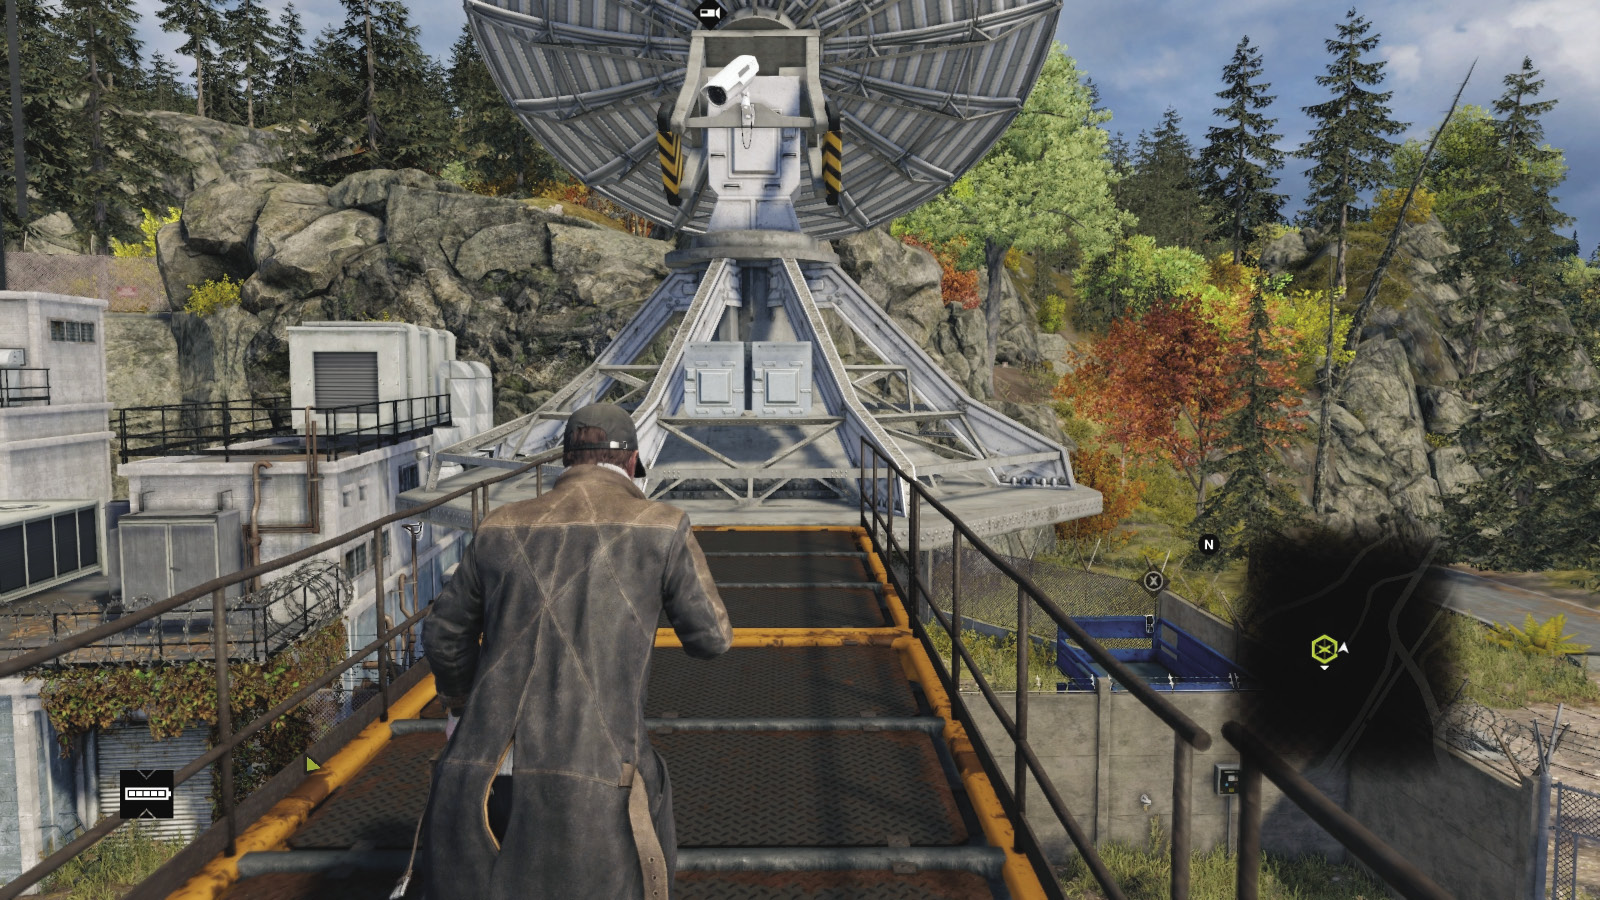
Move to the gantry’s far end, and step off onto the base of the dish. Access the antenna again, so the gantries between the first two dishes join. Cross onto the far section of gantry and access the antenna one more time. The gantry rotates around to the area above where you unlocked the first gate.
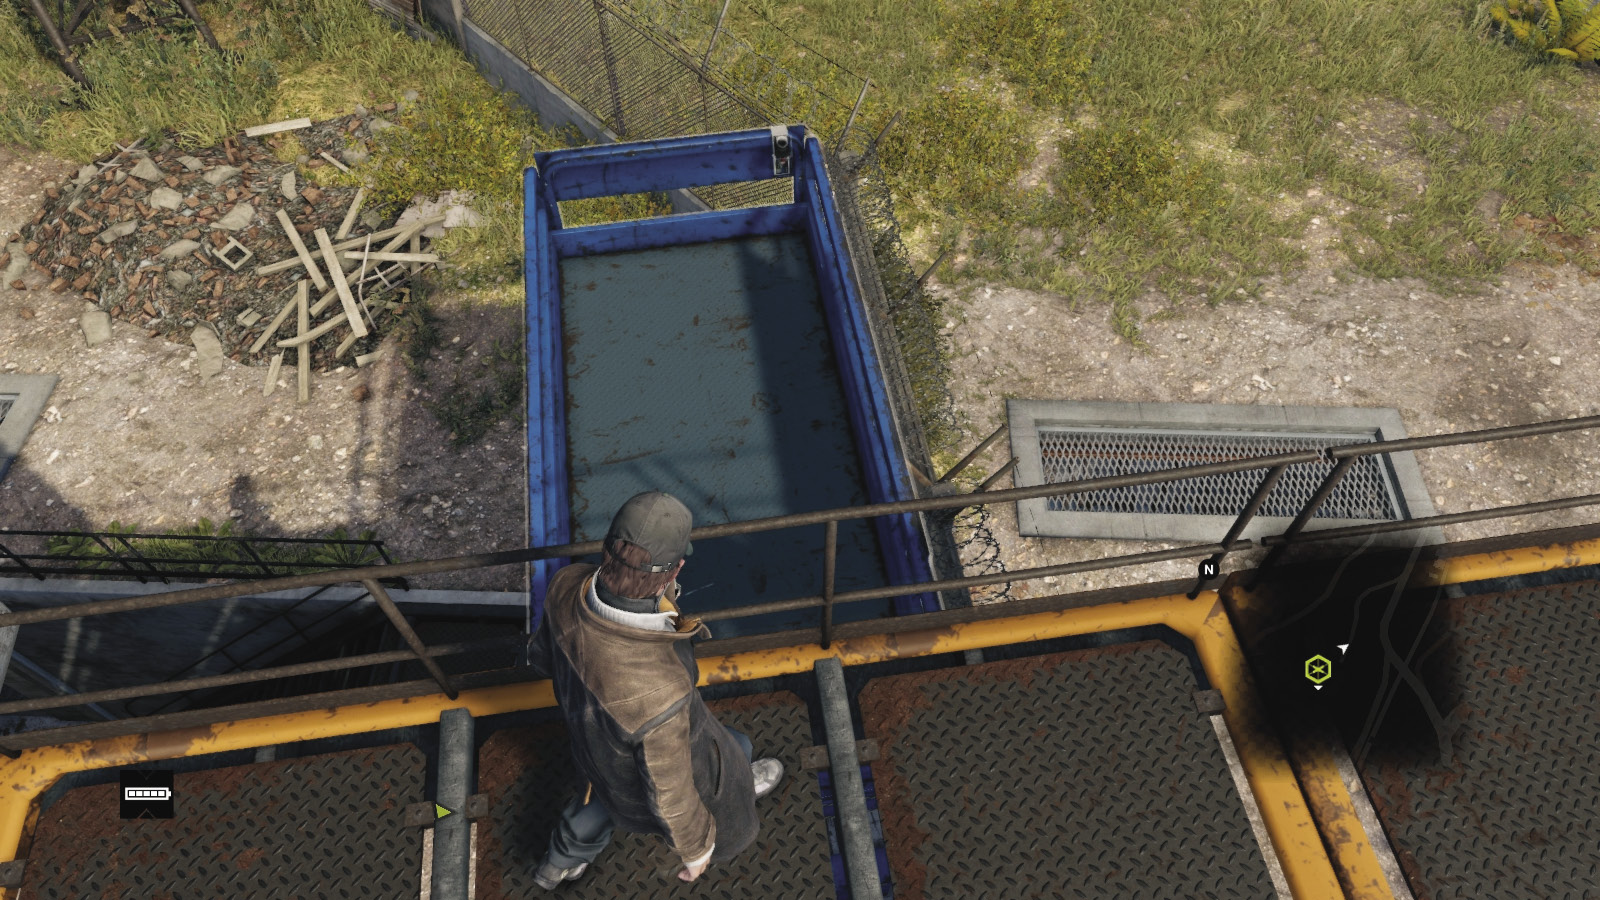
Summon the scissor lift, vault across to land on it, ride it down to the otherwise-inaccessible secondary yard. Head down a second concrete set of steps to another gate. You should have unlocked this gate much earlier. If you didn’t, repeat this entire process!
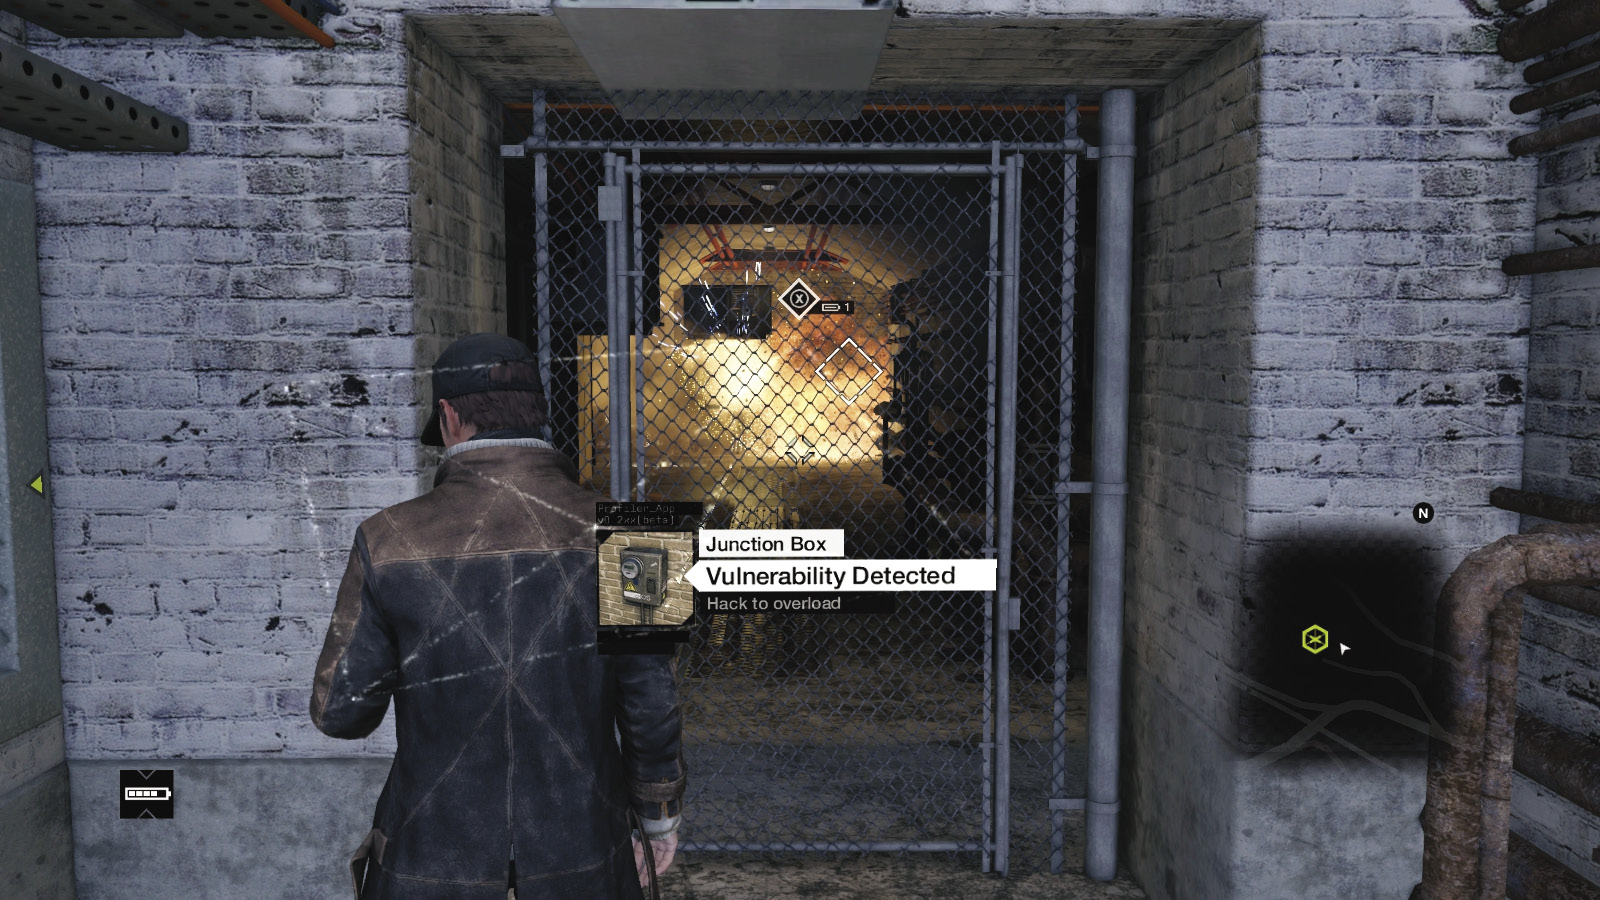
Pass through the gate and head right (south), checking the very end of the conduit passage—there’s a laptop to hack for Blume-related information, an Audio Log, and a crafting item. Head back to the unlocked gate, peer through the mesh fence and door, and activate the junction box. Back up a few paces to avoid being caught in the ensuing blast!

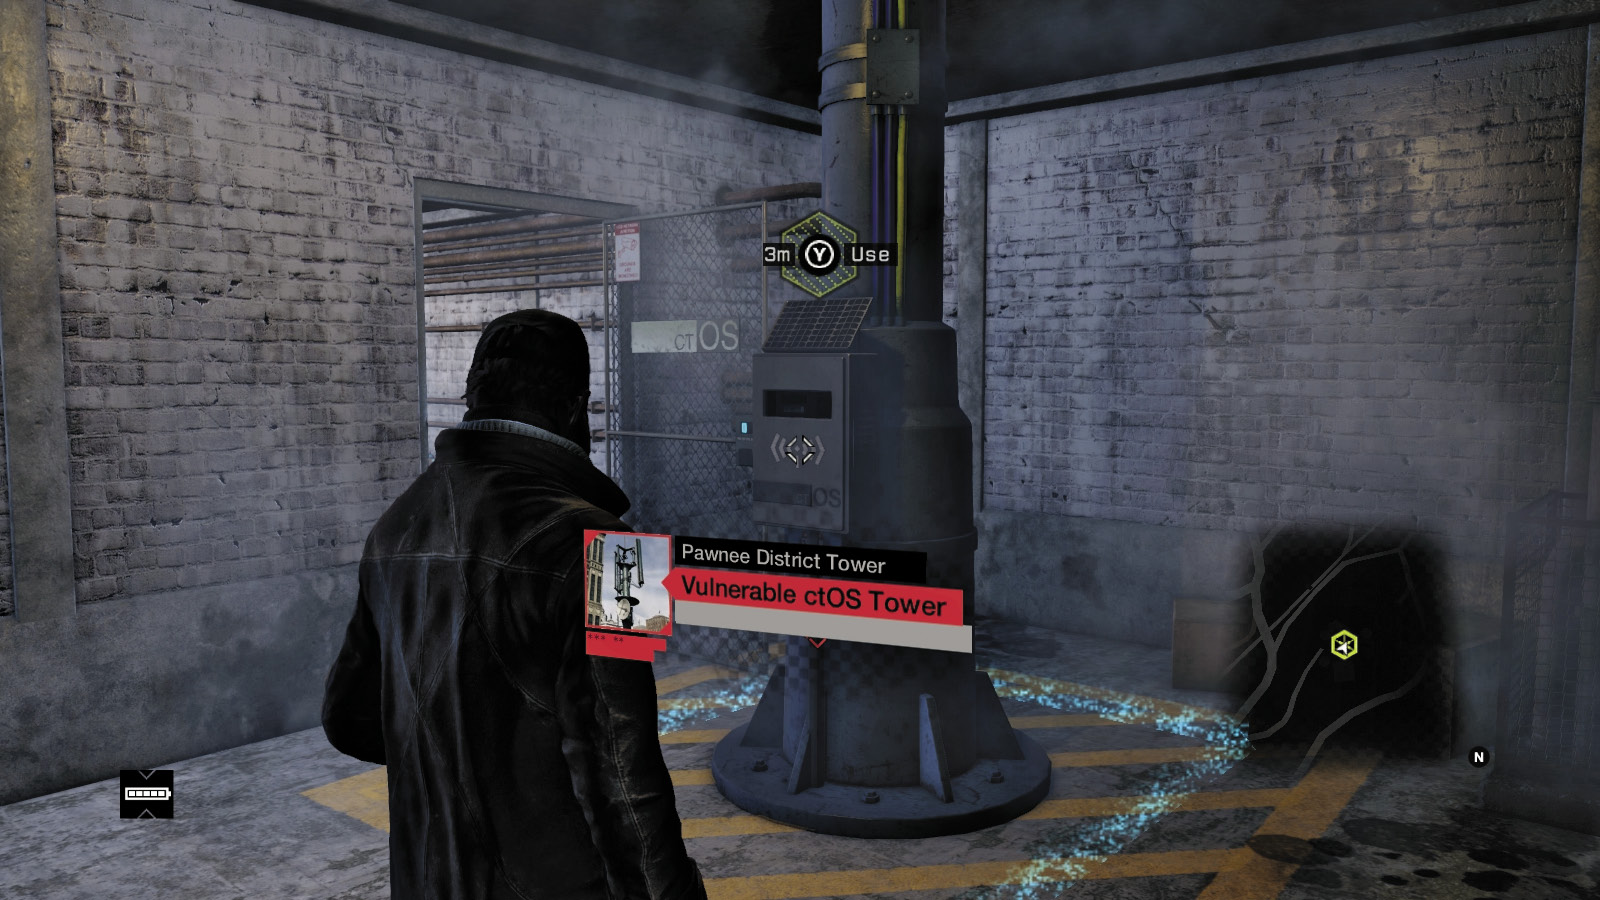
When the exploding pipes have subsided, jog forward, push through the remains of the mesh door, and access the switch console on the left wall. This enables you to exit via a rock tunnel with a system key to hack near the exit door. You can now retrace your steps to the first concrete area, where you can hack the gate to the vulnerable access point and this hub.
|
 Look for Ray Kenney at Jed’s bar
1.3 TAKING IT
 Location / Pawnee // ctOS Tower
 Location / Pawnee // Jedediah’s Bar
 Investigation
 Melee Force Likely
Difficulty: 
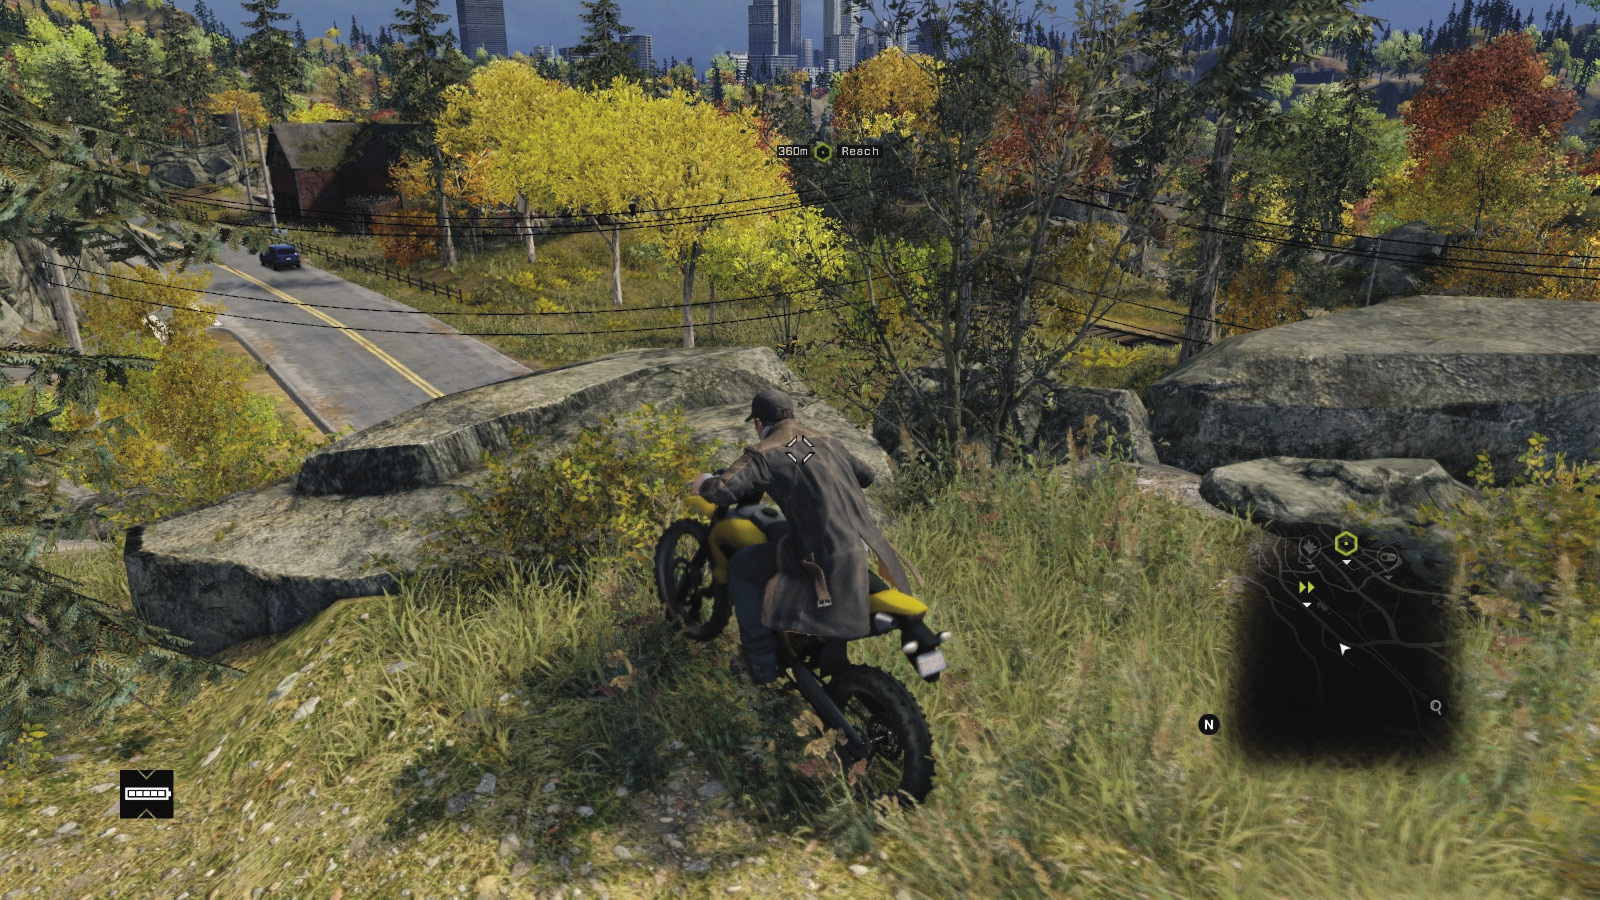
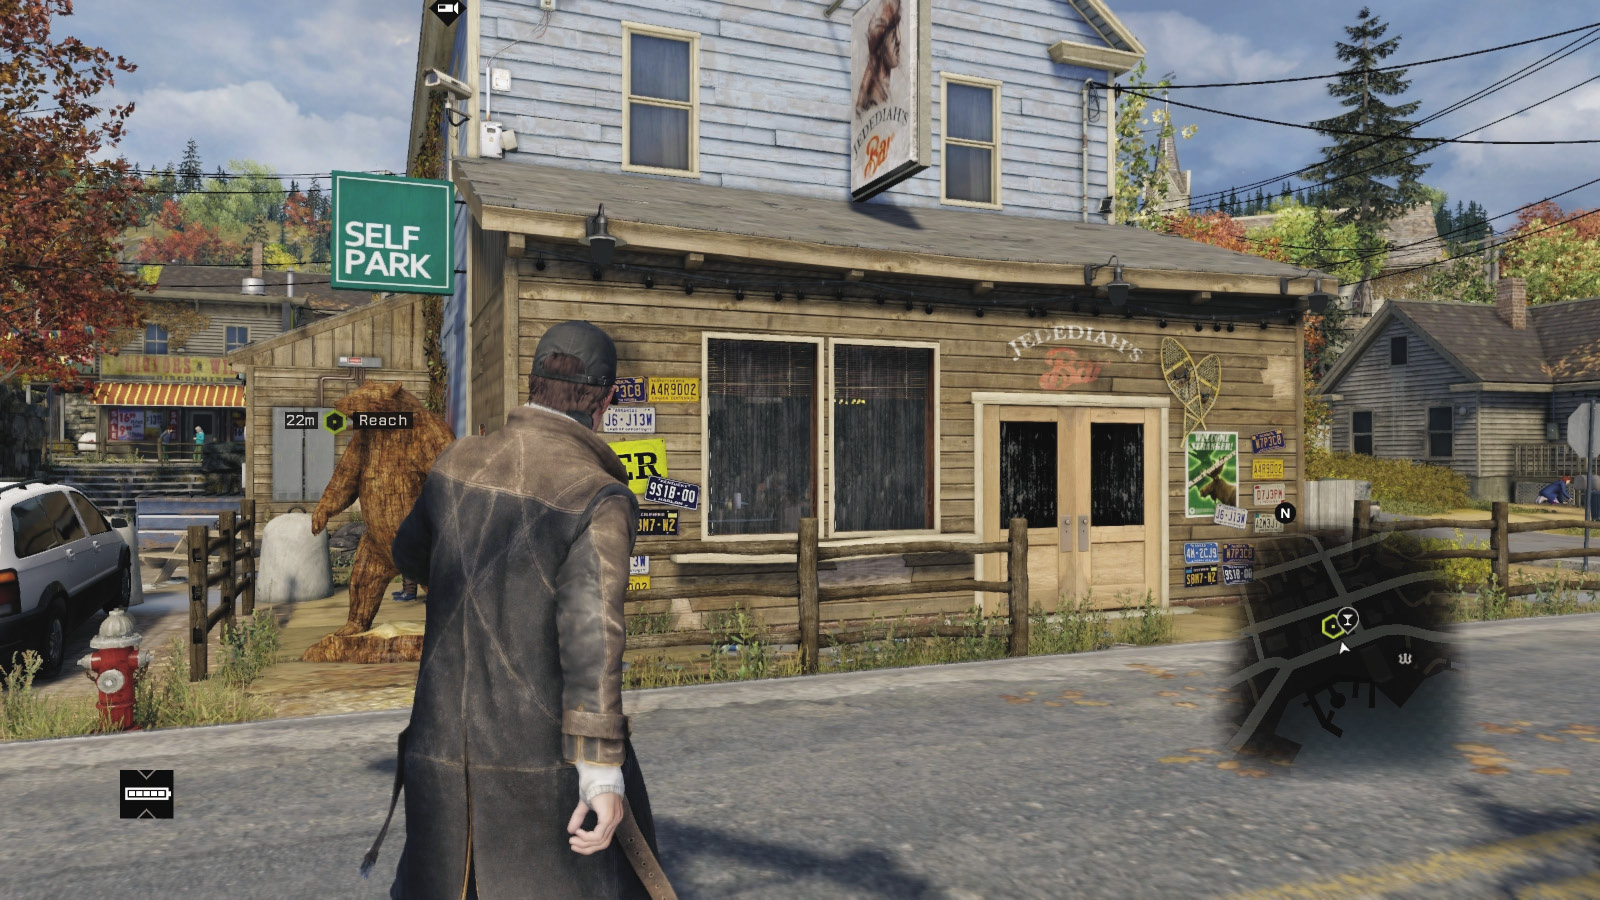
Now that you’ve revealed your quarry’s position—Jedediah’s Bar, back on the main road by the marina where you started—hop on a bike and head there. You can use the road, but it’s more entertaining (and dangerous) to jump down from the ridge, cross the road, and enter the abandoned train tracks. Skid to the right at the long vertical rock and the red carriage, and leap from the ramp. Then follow the back gardens or roads down to the bar.
Your target is at the back of the bar, drinking. After an optional drink purchase and moose-head hack, you quiz the barkeep about Raymond Kenney and are “encouraged” to sit down for a drink. Actually, it’s more of a drinking game. Wait until the buttons appear onscreen, and access them while steering the circle. There are four of these games to play until your questions begin to tire the man.
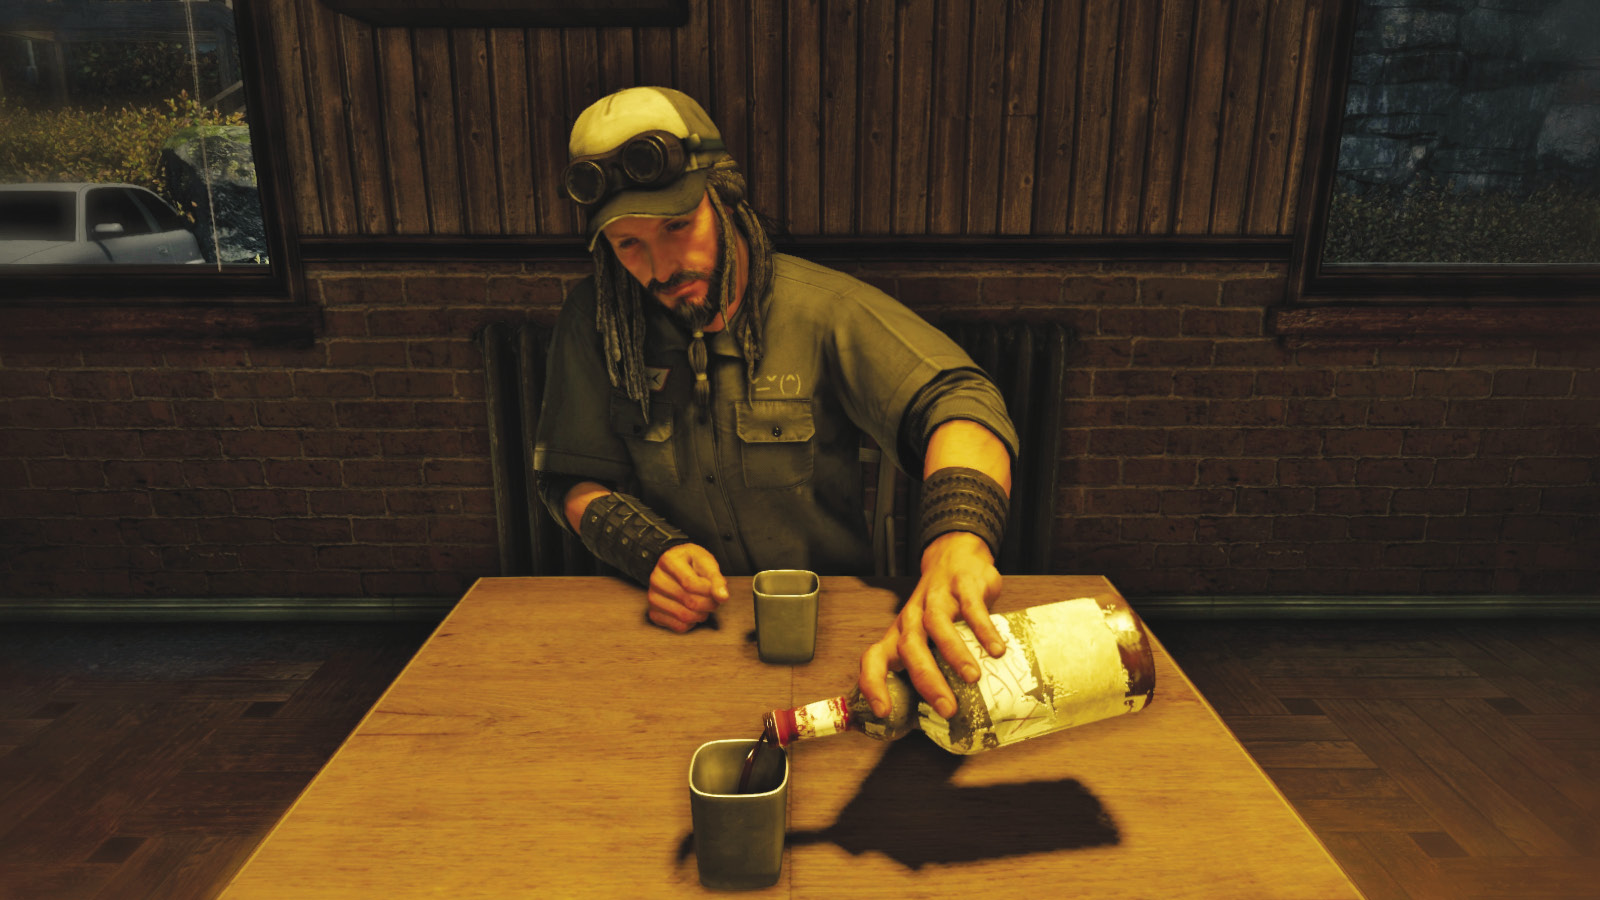
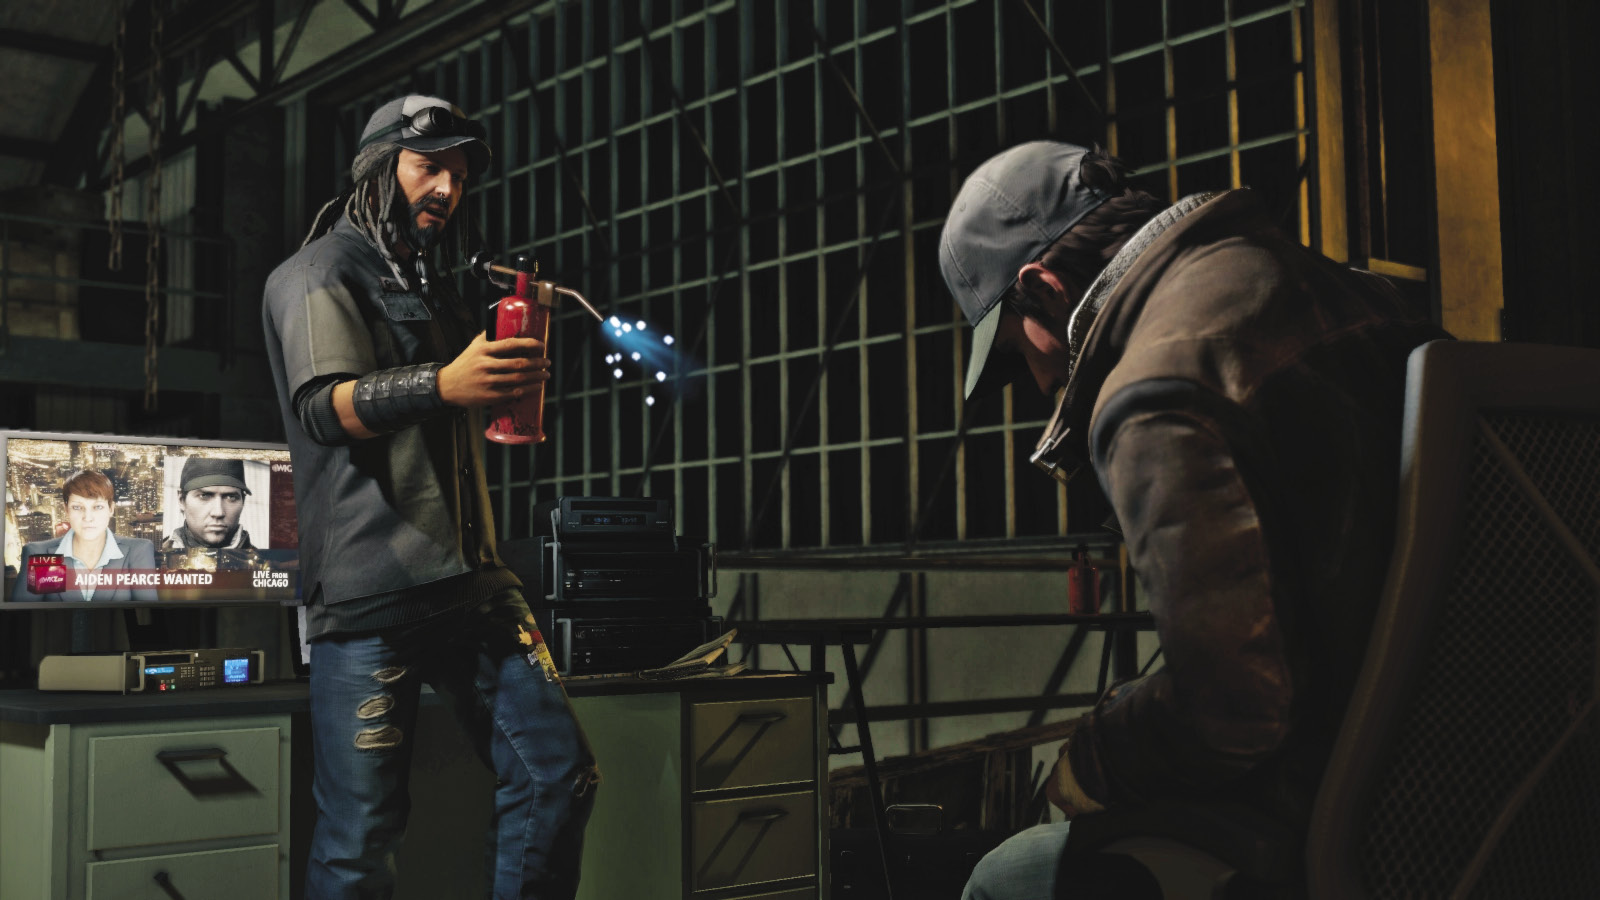
This “discussion” is taken outside, after which you and the man you now know as “T-Bone” get more closely acquainted. When you wake up, you’re back at his warehouse, in the hills outside Pawnee. After another chat, it’s decided that you and he might have some mutually beneficial work for each other. The mission concludes as you walk the grounds of his wrecking yard, and the next part of this mission (Let’s Play Make a Deal) automatically starts.
MISSION REWARDSDistrict content unlocked Gained XP: +250 New Hideout available New Investigation Clues availablev |