
Watch Dogs Guide ONLINE MISSIONS
_DECRYPTION ZONES // MAD MILE
_ONES AND ZEROES
Location / NORTHWEST MAD MILE and Taylor Station
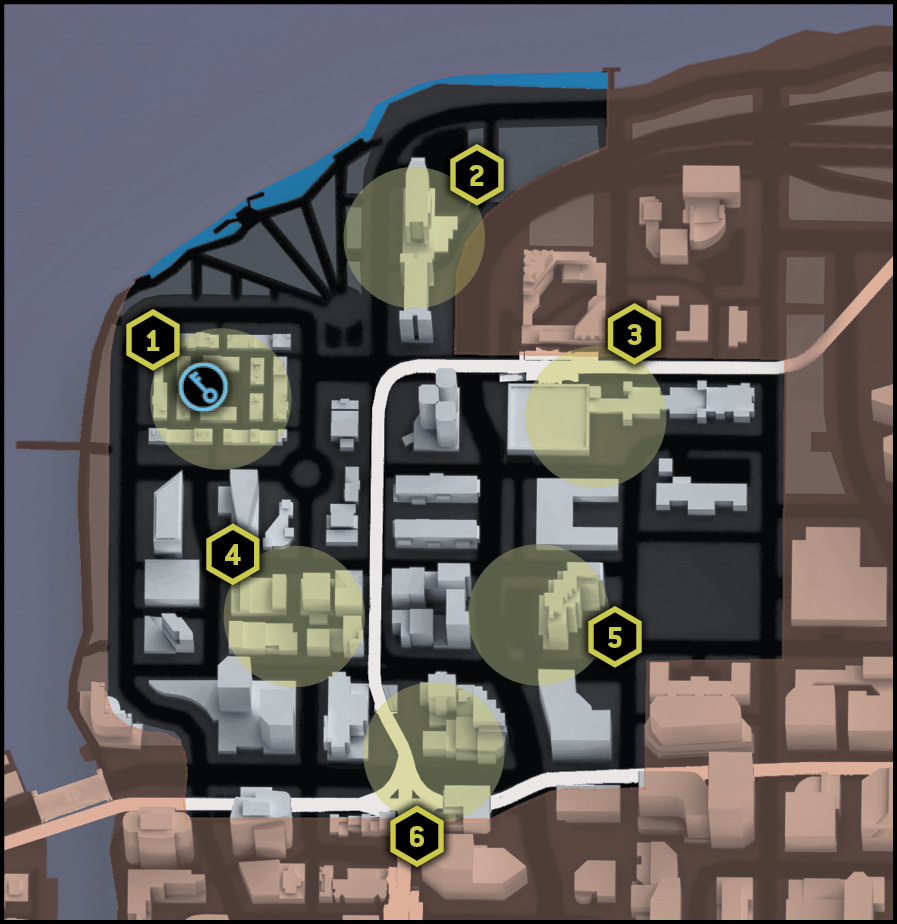
Points of Interest
01 // ctOS Tower and Townhomes (Northwest)
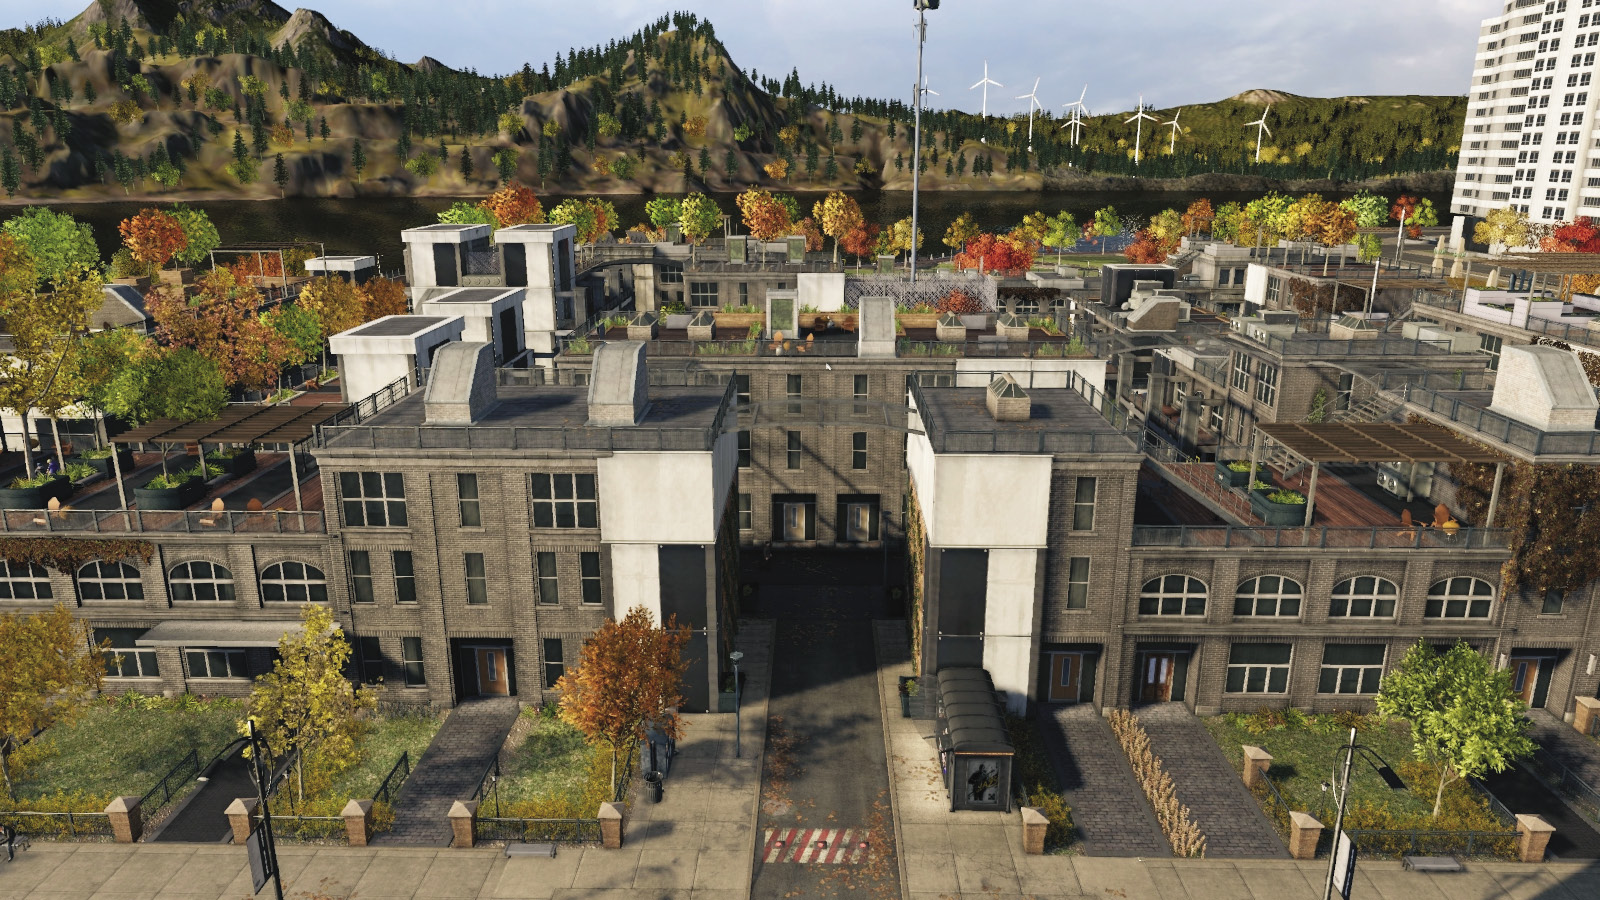
This ctOS tower is a perfect place to defend from intruders, despite this map being ideal for rampaging in a fire engine or dodging in a sports car through the streets (providing you know where the elevated road sections are). However, the route to the ctOS tower offers numerous rooftops but only one route; get there first and booby-trap the area.
02 // Jordi’s Garage (High-Rise Jump) (North)
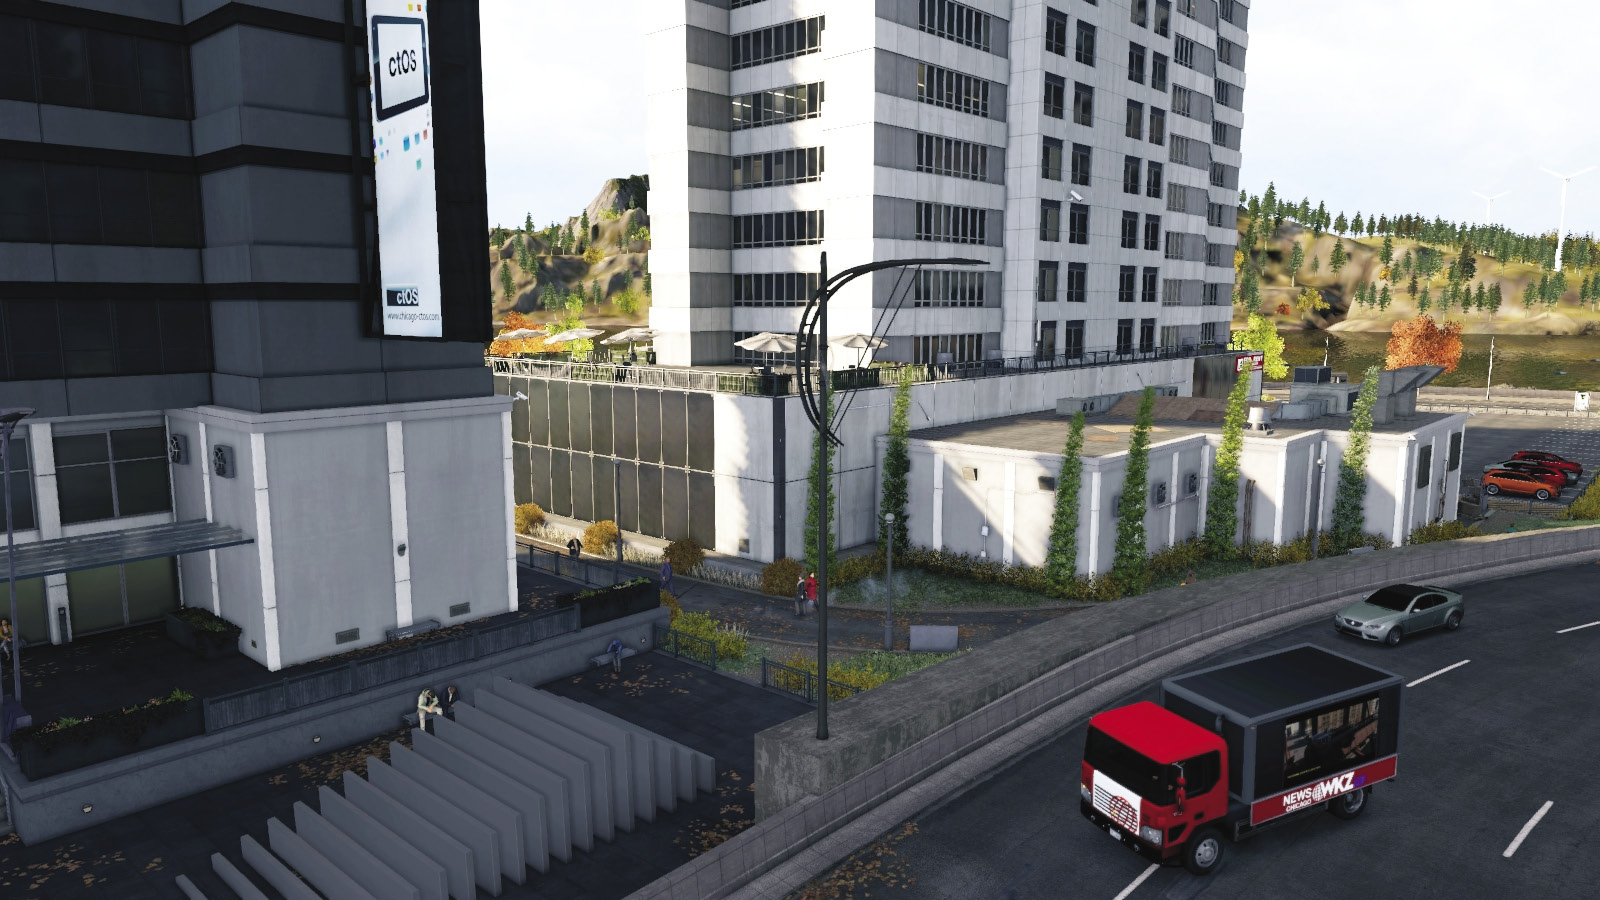
Don’t overlook the base of the two skyscrapers northeast of the key spawn: This is a great route to take to flummox pursuers, as long as you approach heading north, use the ramp, and land on the roof. Here you can continue, or stop and defend (as the ramp is the only way on here). Below is Jordi’s garage; it opens and you can hide in here.
03 // Taylor Station and Parking Structure (Northeast)
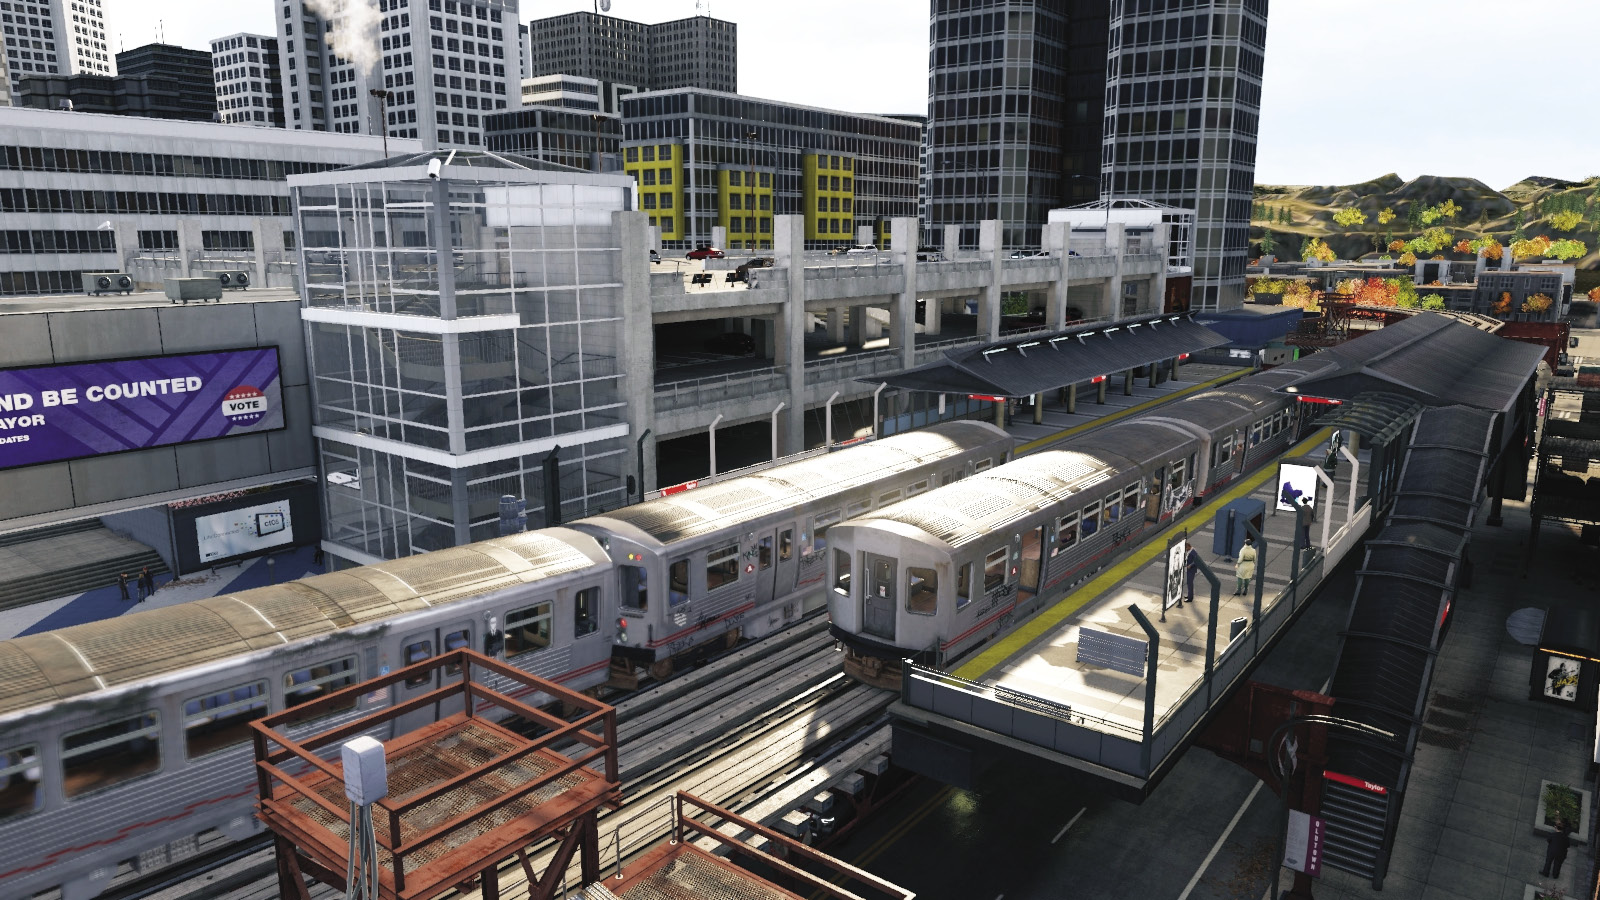
While the L-train station is good to climb on, focus your time (and team) on the parking structure just south of it. There are four levels (including the roof); access them via two garage doors under the station and two more on the elevated road to the south. But the roof is most entertaining; zoom east across the parking garage to a jump onto the L-train tracks (and out of bounds). Anywhere here is a good place to defend from.
04 // Moscow Jewelers Alley (Southwest)
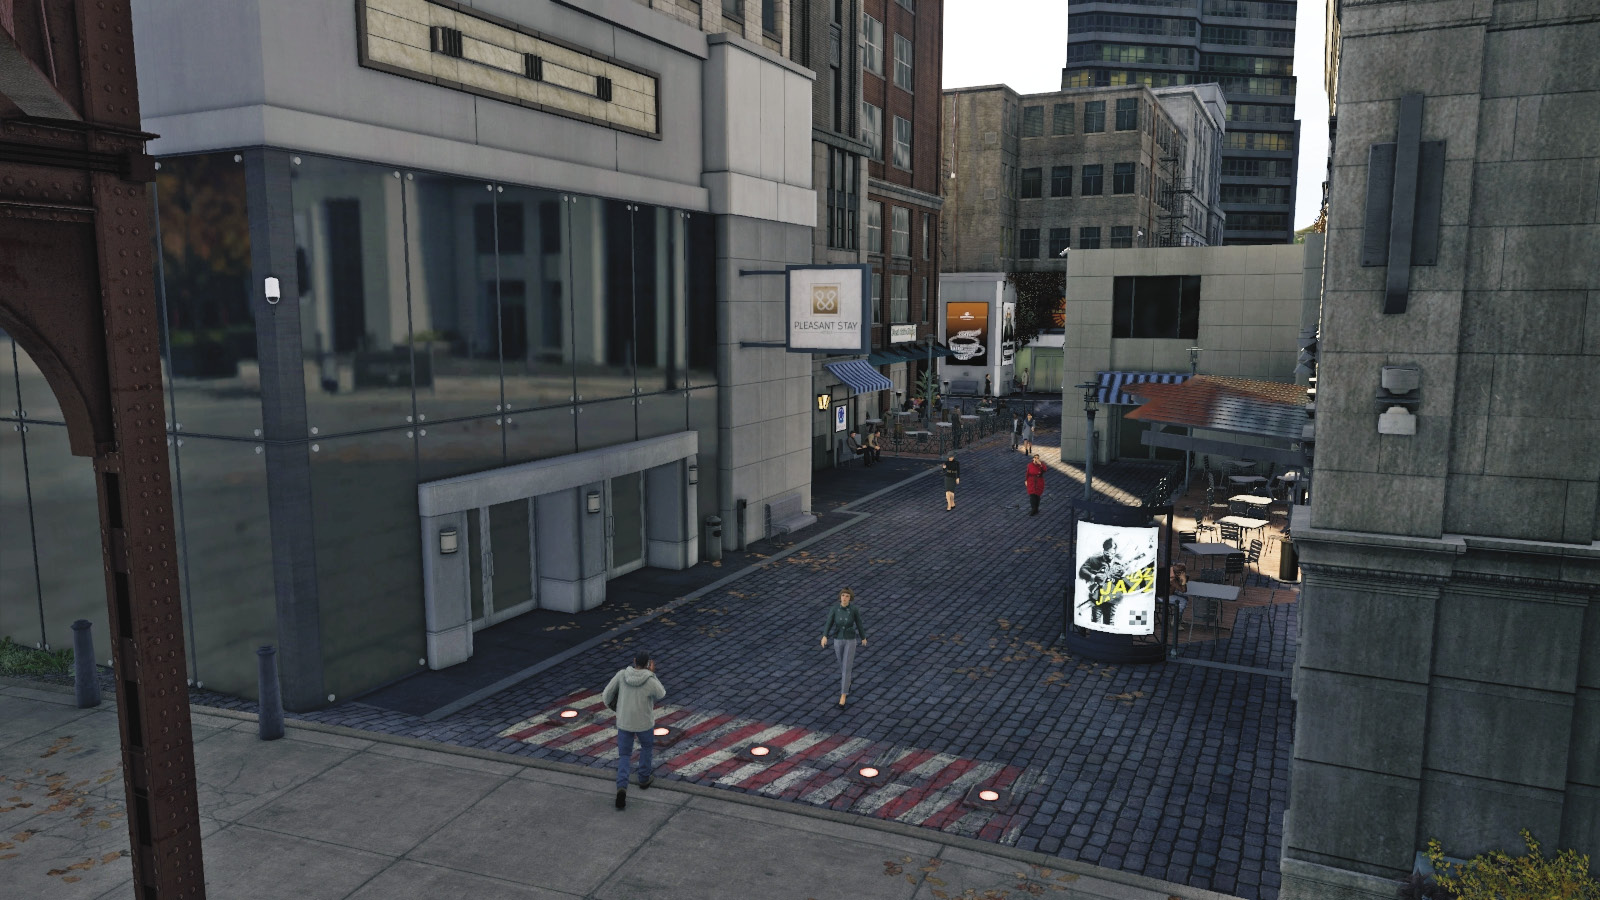
This city block has a cross-shaped alley running through it in all four directions. An escaping key-hacker can activate the blockers at each of the four entrances to impede pursuers, doubling back to approach from another direction and do it again; do this at speed and throw off foes. Or, group your team here and fend off aggressors.
05 // Gas Station (Southeast)
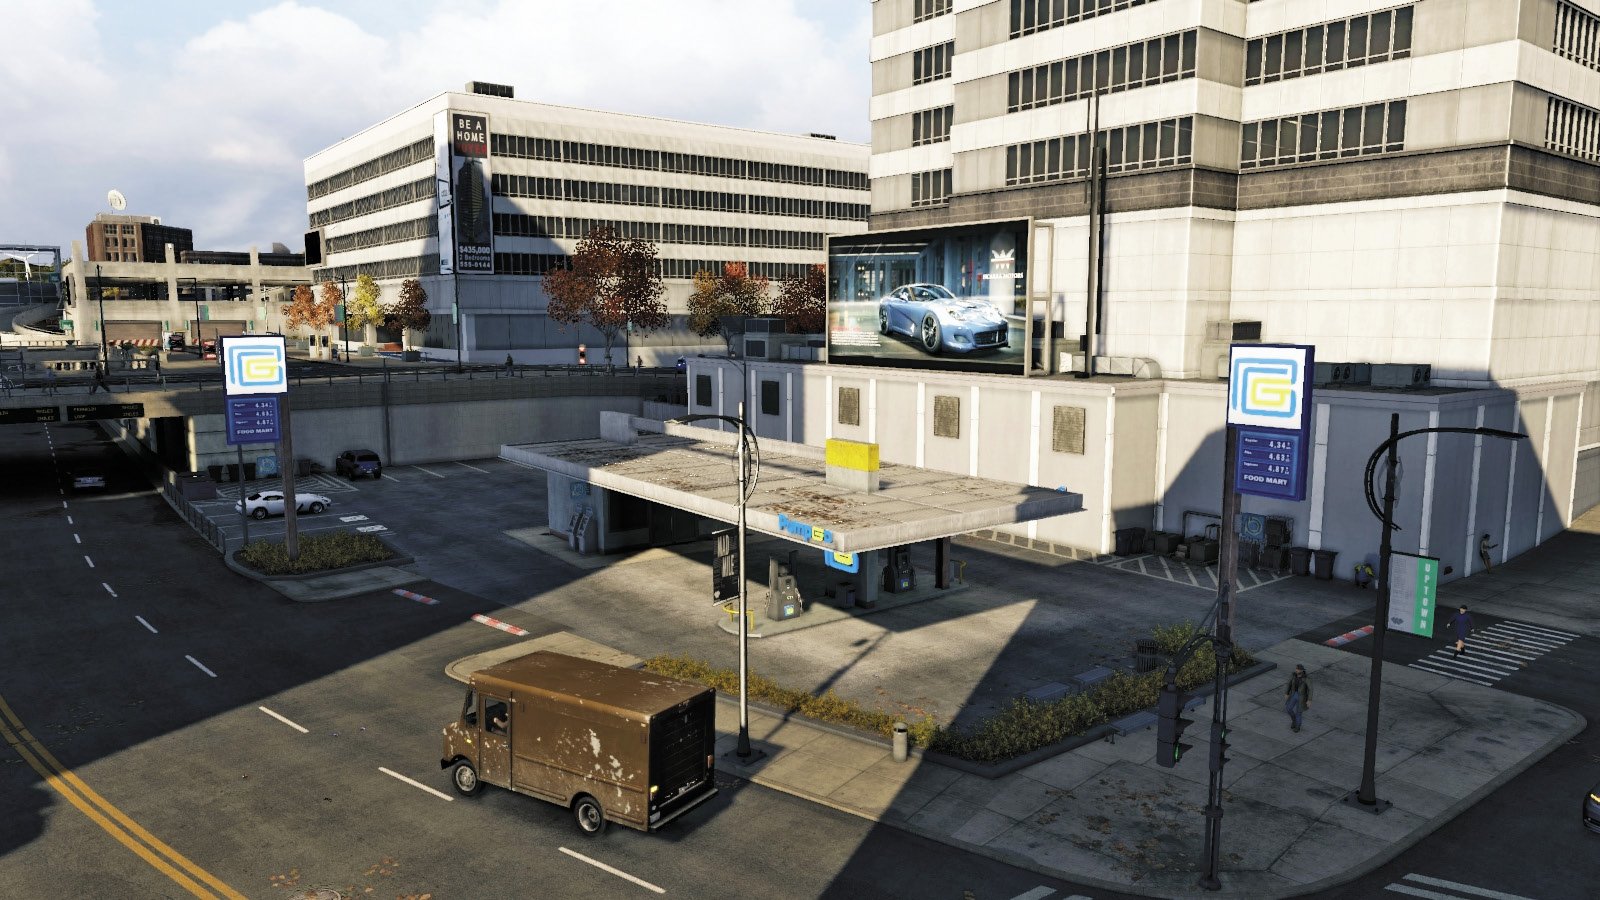
Though many use this area to drive through when exiting the parking structure and heading south, the rooftop just east of the gas station is easily accessible (via the forklift), has only one entry point (which can be primed with an IED), and offers good views to the north, south, and west down the alley. Hide up here or kill the lights by shooting out the ctOS box.
06 // Quid Pro Quo Gun Shop (South)
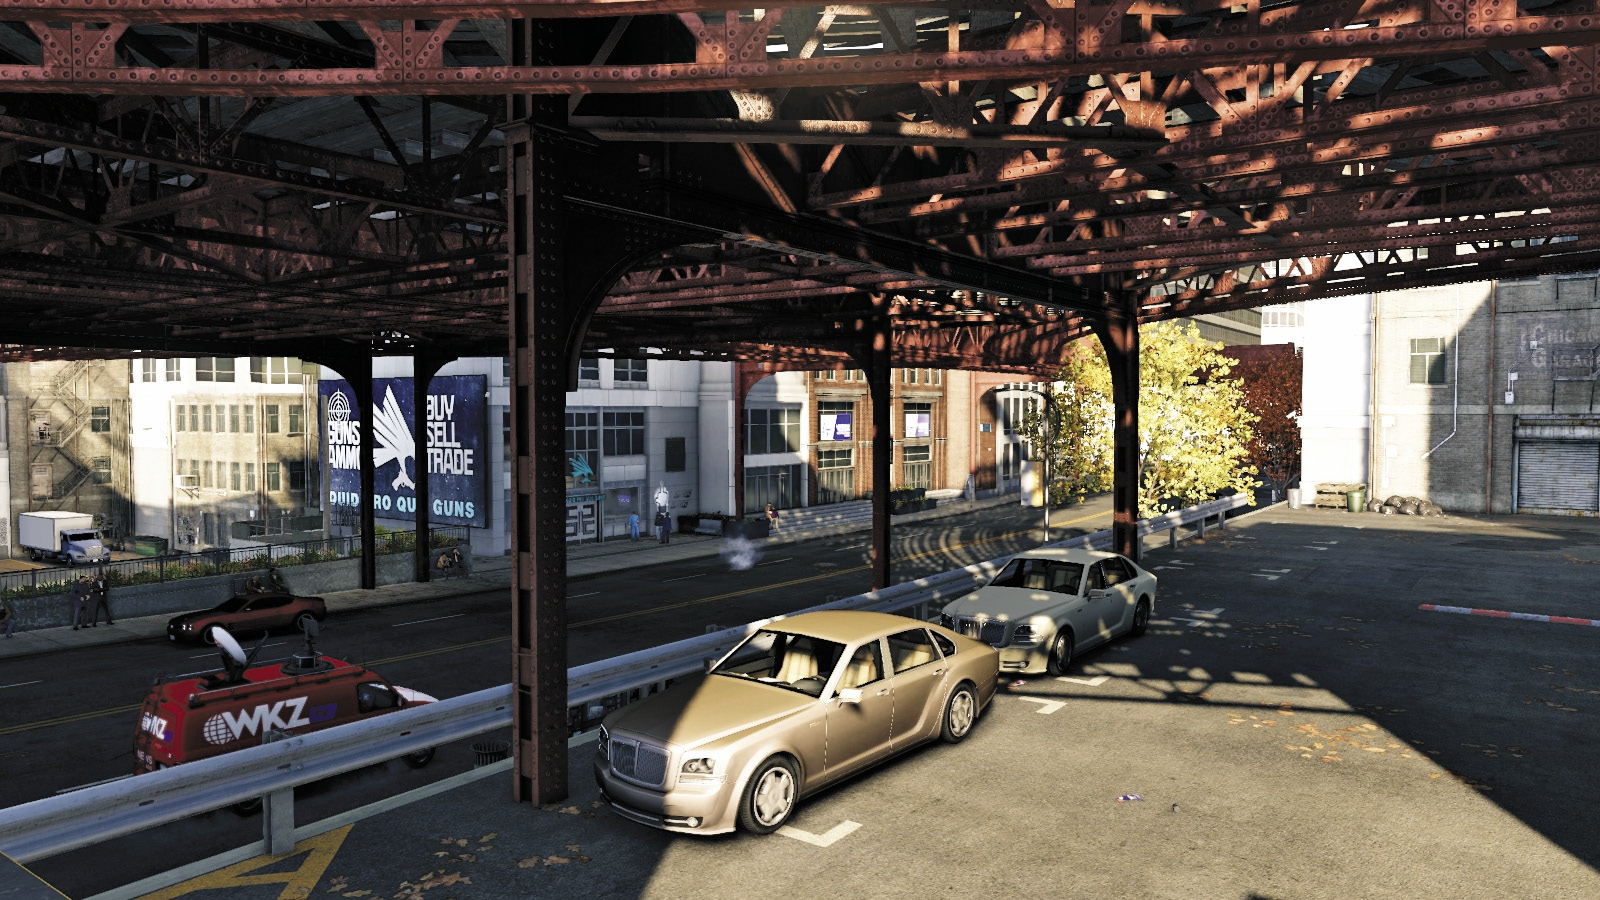
Why not try the ultimate defense of this location? With your key holder inside the store, place a sniper teammate across the road just out of the perimeter, on the raised parking lot. Have a second sniper rush south to Ryborn, then jog north and east across the L-train bridge intersection, along the narrow red girder, and drop onto the apartment block roof west of the shop.
_EXPLOITED
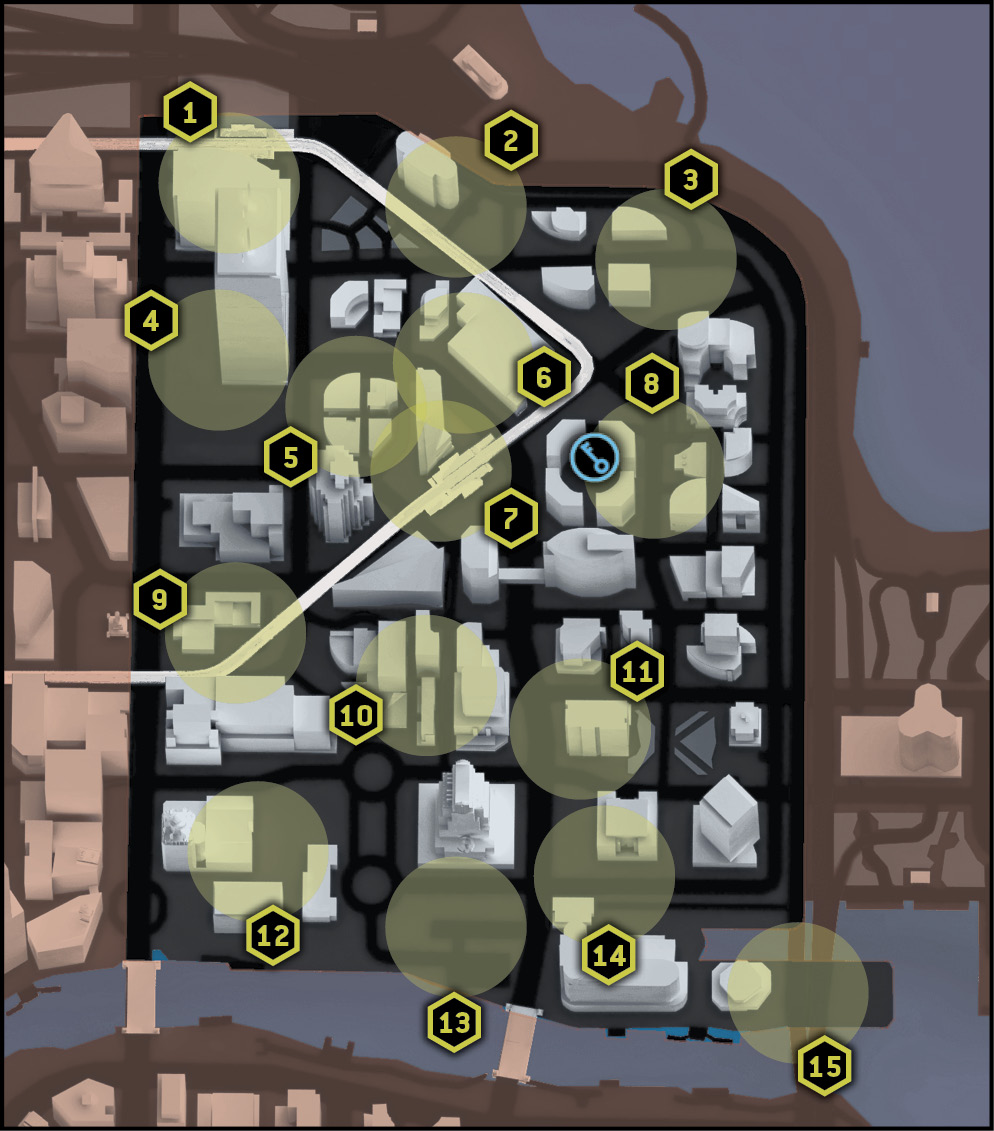
Location / NORTHWEST MAD MILE
Points of Interest
01 // Noakes Station and Apartment Balcony (Northwest)
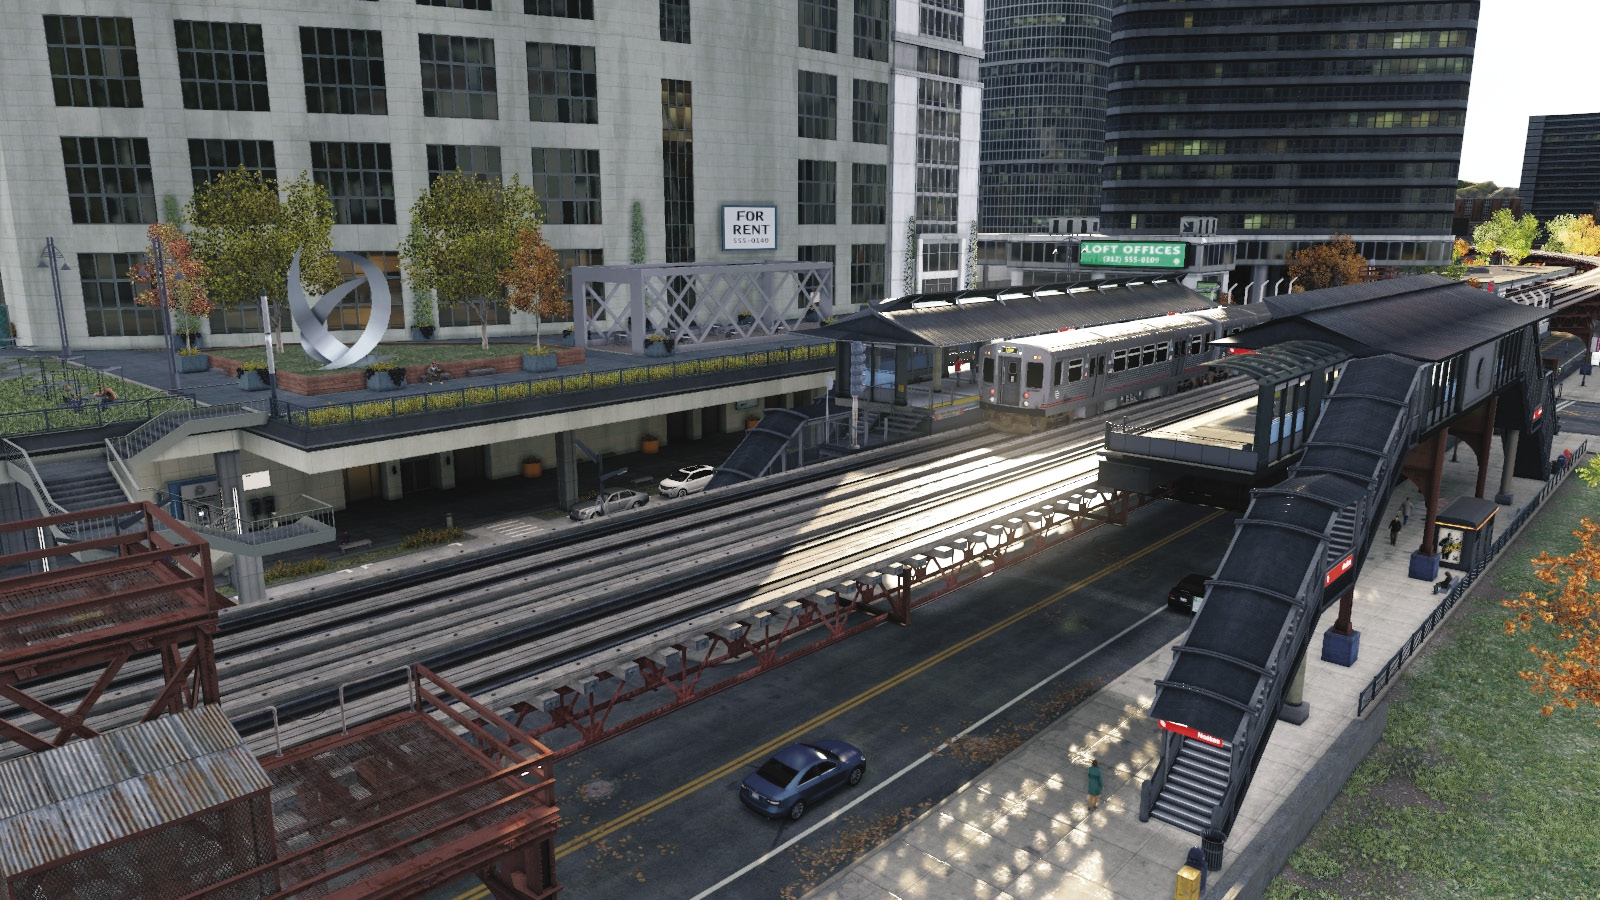
This is another great map for driving, but if your plans include stopping pursuing enemies, try the elevated areas at and just south of Noakes Station. Use the station rooftops to hide and snipe from, or head southeast on the tracks. Also climb the metal steps onto the apartment balcony, the only entrance. Also note the garage running east to west below the balcony.
02 // Elevated Balcony and Reflecting Pool (North)
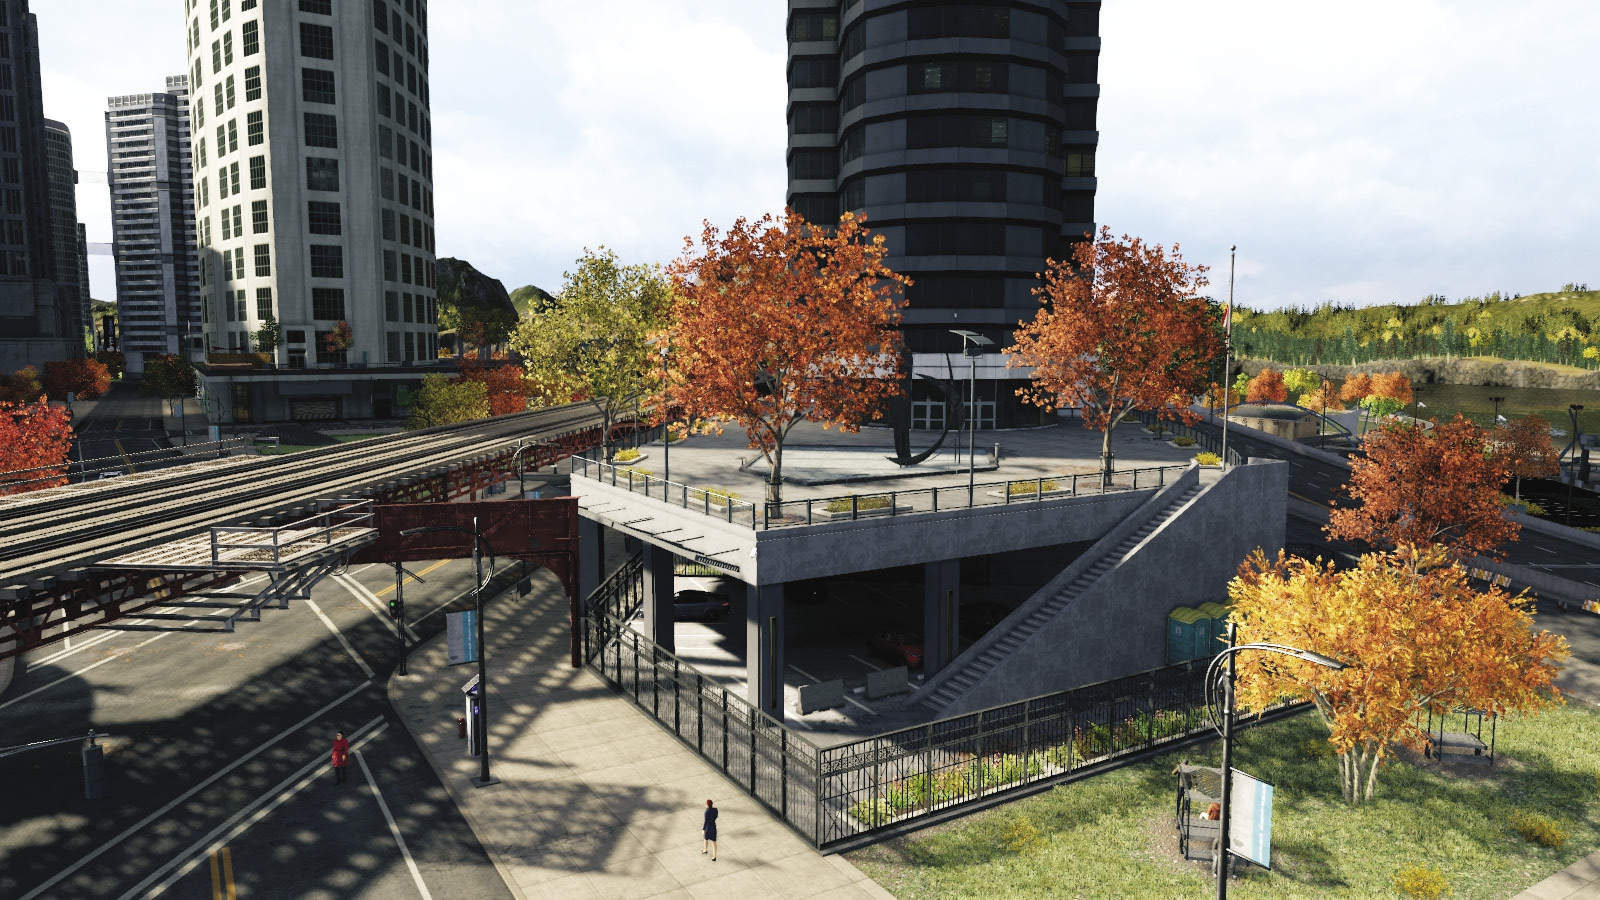
On the north perimeter are steps from a covered parking area to this open reflecting pool. Access this from a metal L-train girder (but not back to the girder, or you fall). This offers views of the parking structure, and the single entrance can be booby-trapped with IEDs. Not the finest defensive position, but one to try if you’re in the vicinity.
03 // Construction Yard (Northeast)
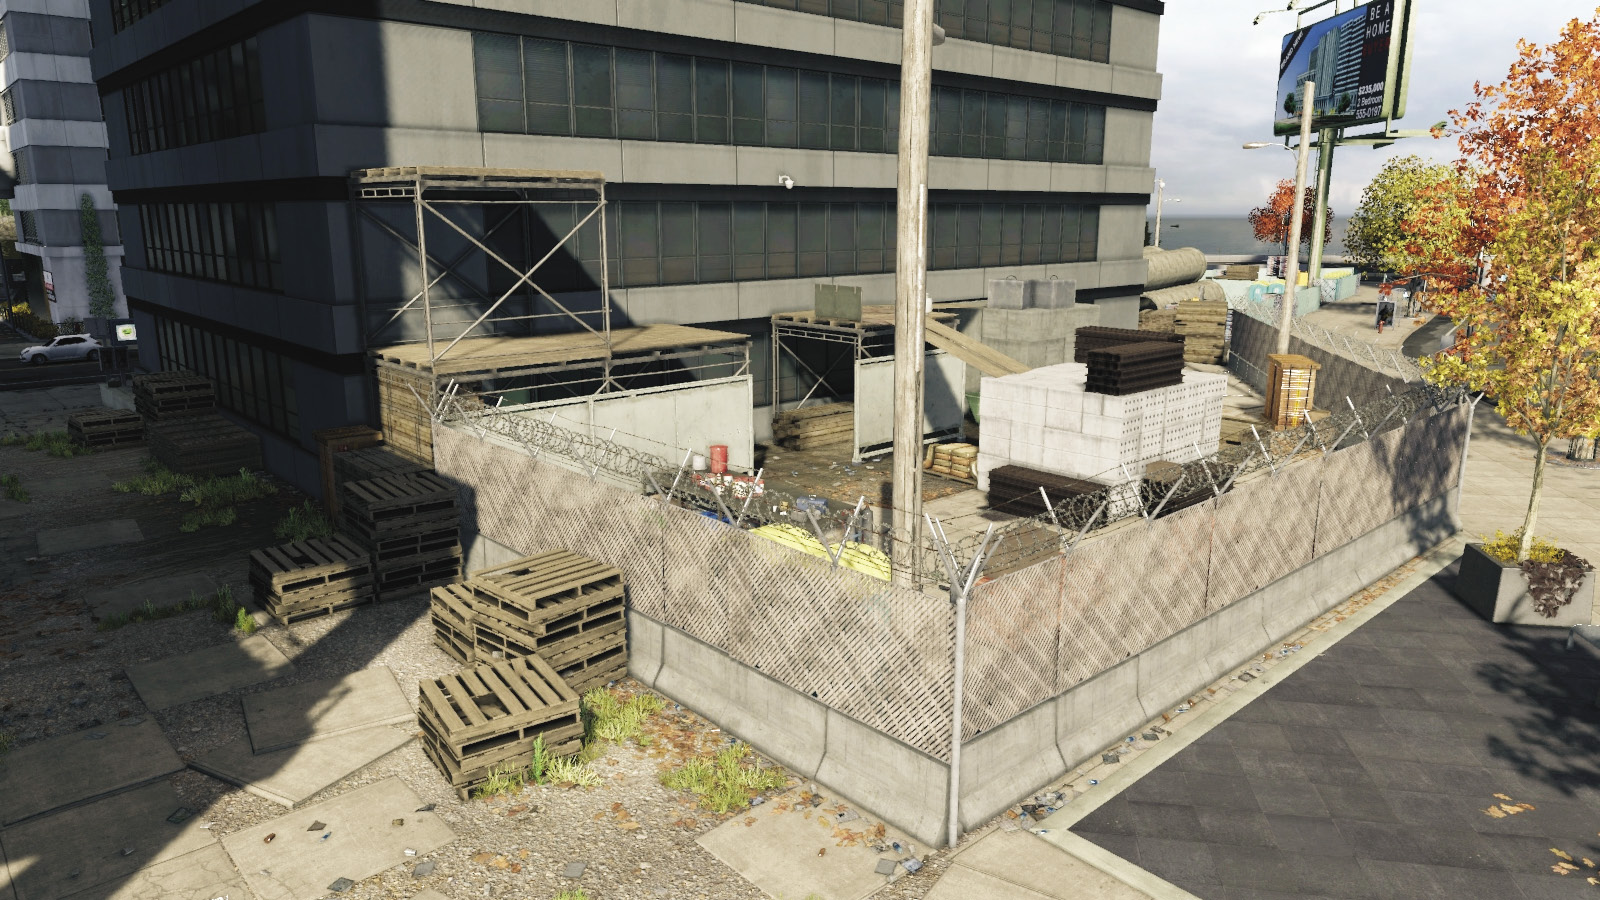
This yard is tight, and only bikes fit in here, but the impenetrable concrete and wire fence, plus the two tight entrances (one via pallets and the other open to the less desirable yard with the concrete tube stack) allow you to defend the area easily; you might want to detonate the explosive canisters before taking up refuge here.
04 // John Hancock Building (Northeast)
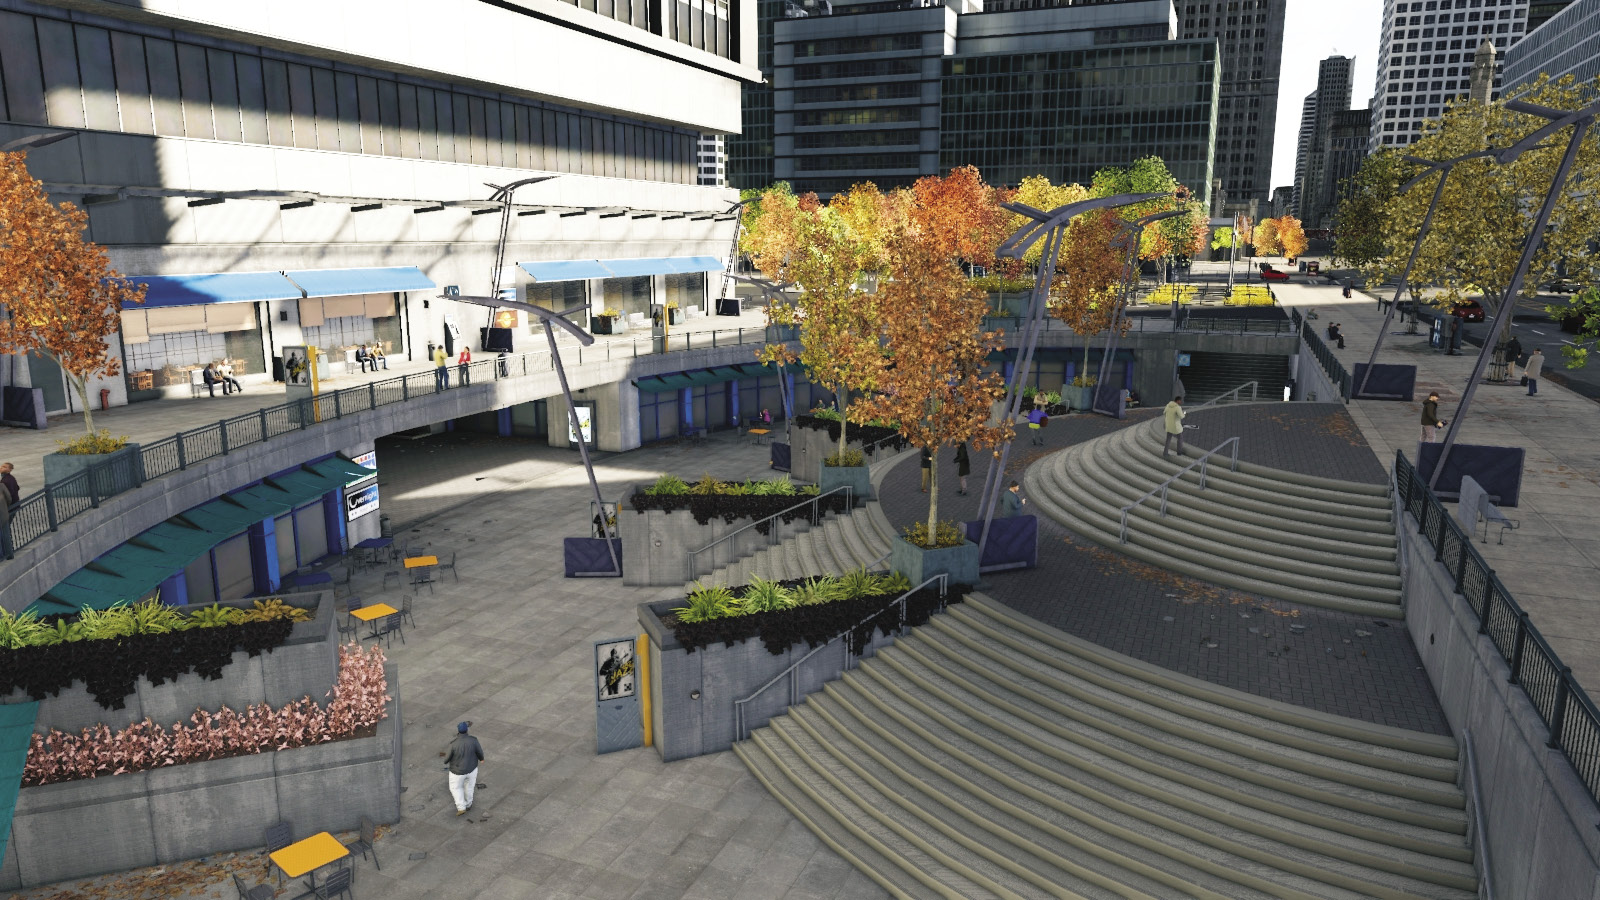
This imposing skyscraper offers an underground walkway that you can easily fit a bike or car down. West is a curved plaza and steps up to the road (head left or right so you don’t drive out of bounds). South is a park the doubles as a shortcut. Use this during escapes, but slow down as the walkway curves and you can easily crash at speed.
05 // White Oak Bough Pedestrian Walkways (Northeast)
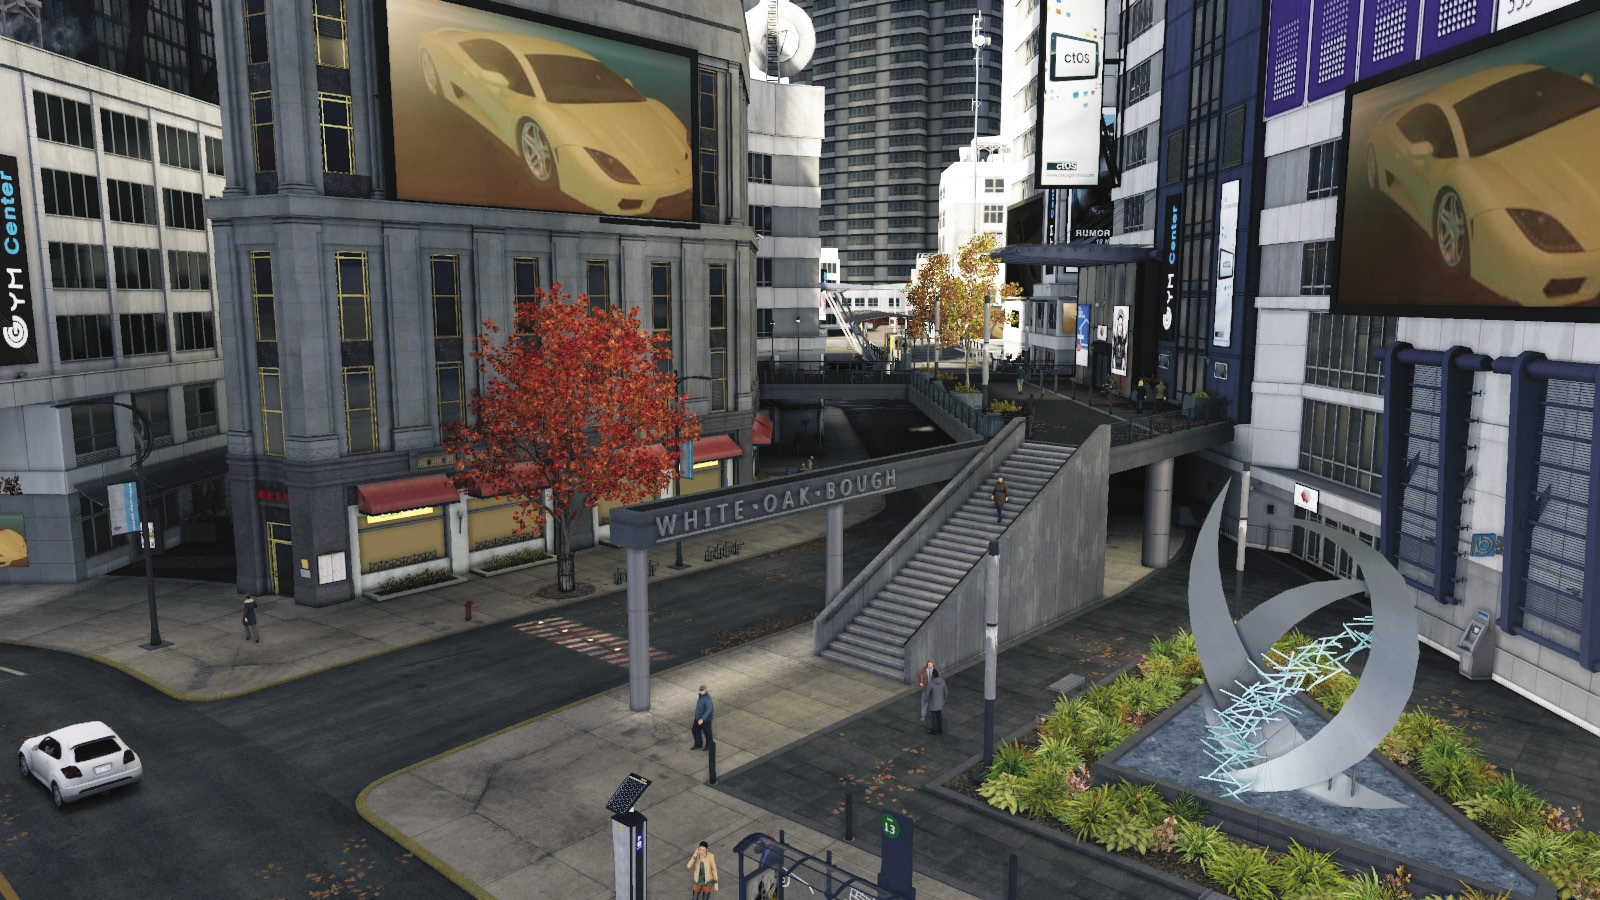
You may remember a meeting with Damien here during the main missions. The upper walkway continues north into location 06, while a parallel side road with blockers helps you stop pursuers if you navigate this area by vehicle. Note the upper and ground-floor alley routes too; you can vary your entrances and exits to throw off pursuers.
06 // ctOS Tower: Gorman Heights Parking Lot (North)
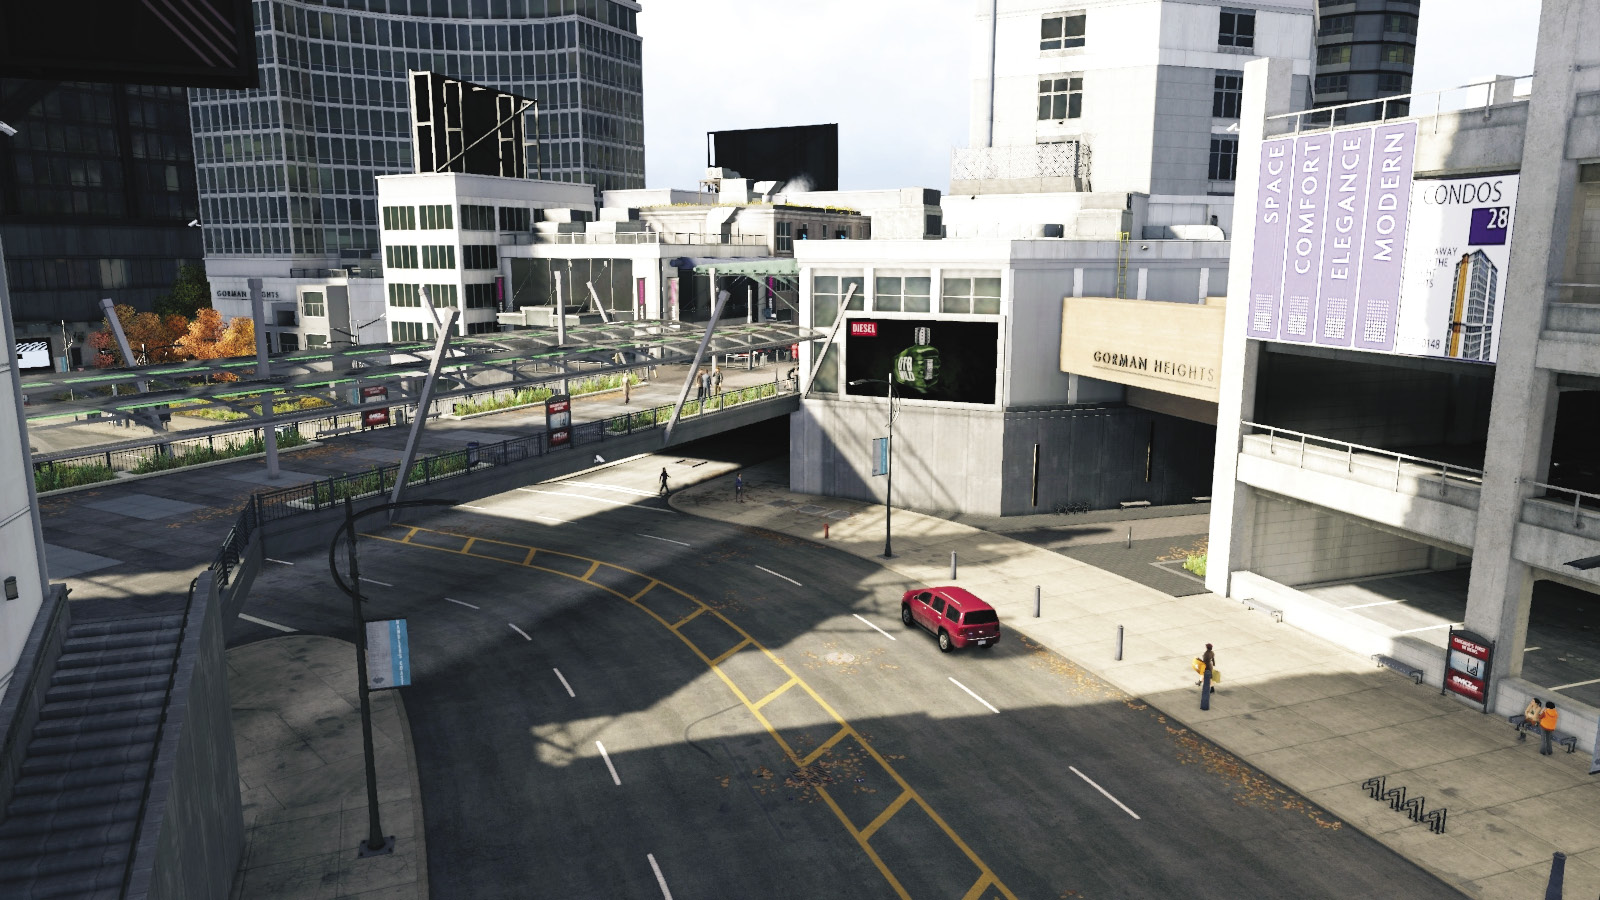
The plaza area to the west and the parking to the southeast is a great place to defend from; navigate around to the ctOS tower, then across the awnings to the plaza roof to vary your defensive positions. Or take to the parking structure roof, or any of the floors. Don’t forget the ground-level tunnel and alleys, as well as the garage doors on the northeast and southwest of the parking structure.
07 // Olivia Station and Ramp Park (North Central)
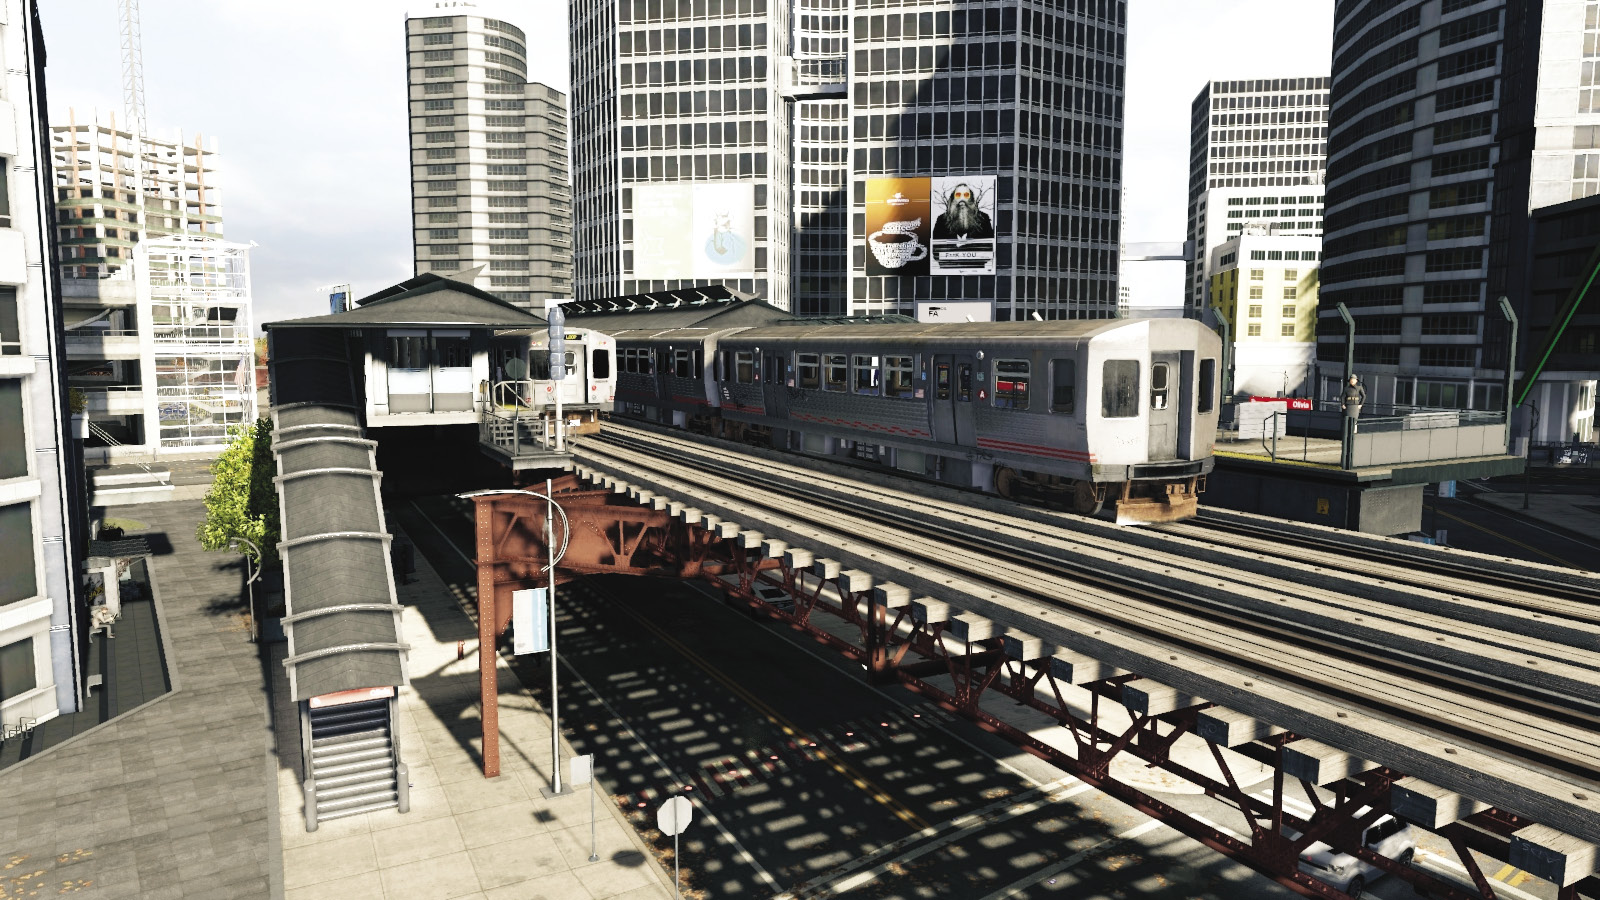
Whether you’re accessing Olivia Station on a bike in order to use the elevated L-train to shake off foes, staying on the roof to snipe at enemies trying to steal your key, or locating the adjacent location 06, there’s plenty to do here. Use the curved sculptural ramp to land on the L-train tracks (if you’re traveling on a bike at the right speed).
08 // Mezzanine and Car Showroom (East)
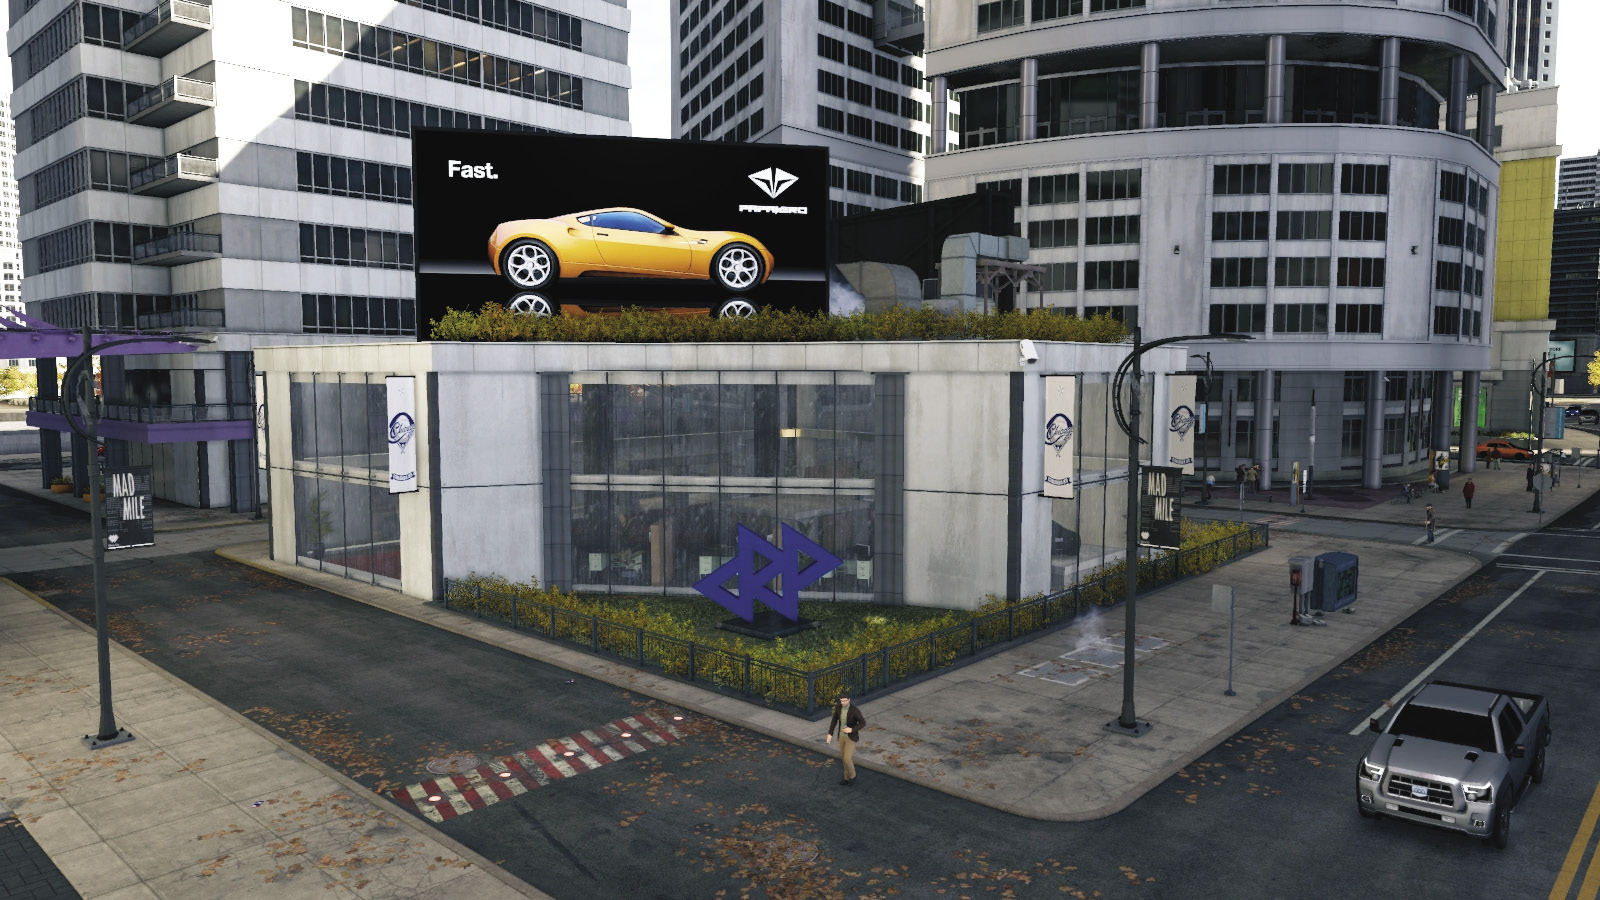
The key is located at this multilevel mezzanine with an upper balcony and walkway and a lower plaza. You can defend from here, even though it is fairly open (use the height of the balconies to help locate and shoot the enemies). One block east is a car showroom, if you need to steal a fast-moving vehicle, before tearing north or south along the perimeter road.
09 // L-Train Gardens and Rooftops (West)
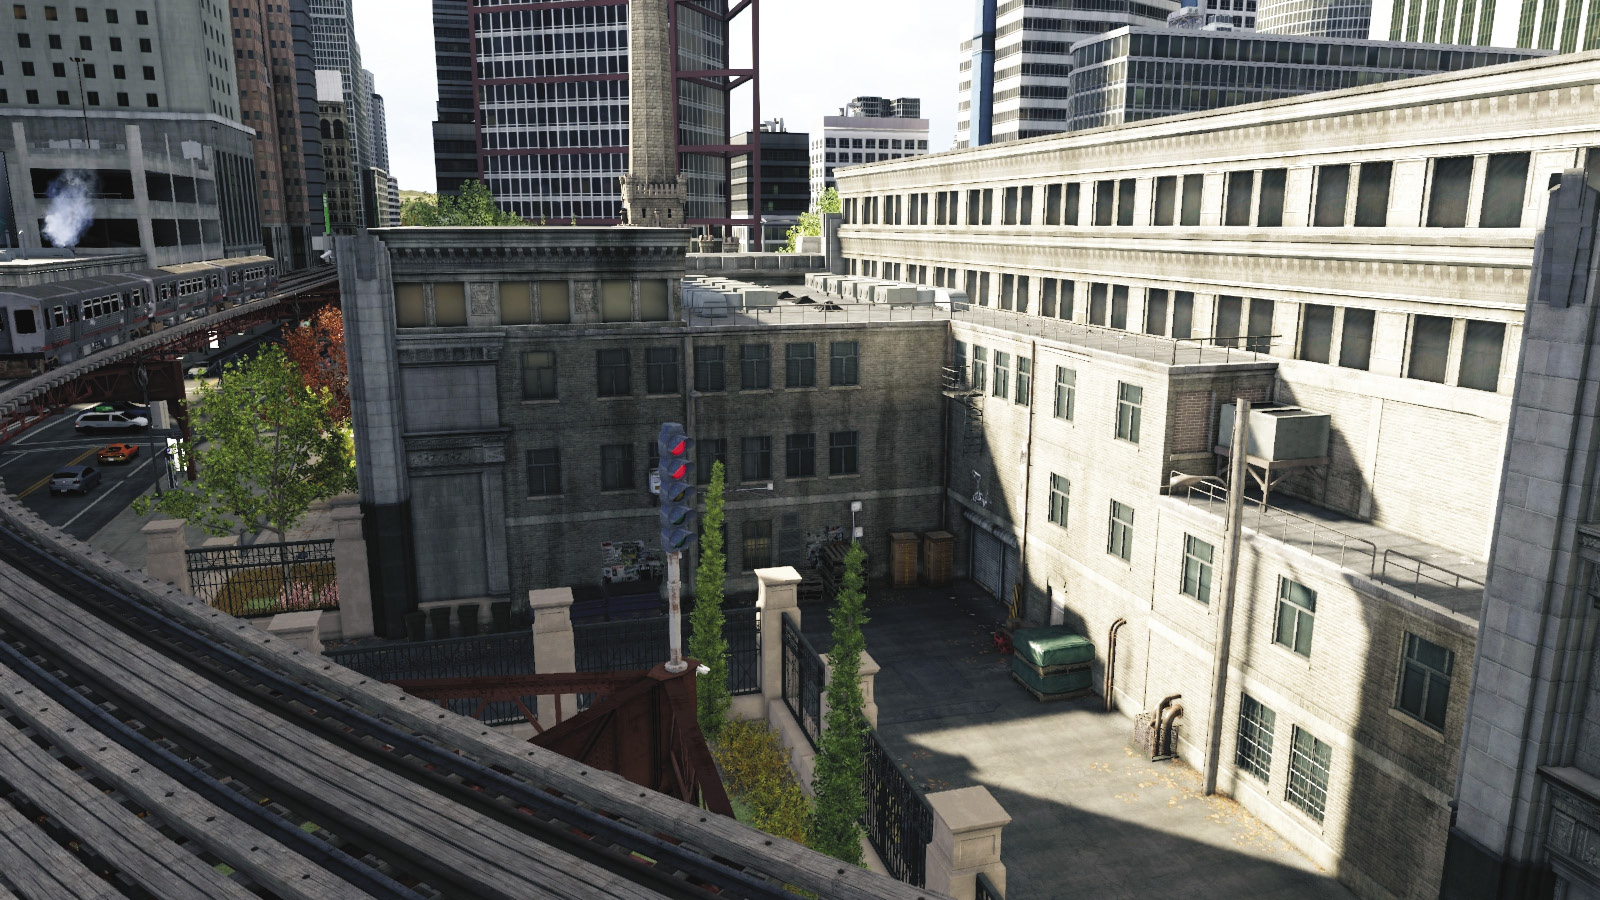
Don’t forget this classic defensive location one block east of the water tower. Check the high wall of the L-shaped truck parking area close to the L-train gardens; defend this single entrance, while the key-holder climbs the ladder and heads up onto the roof of the building, which offers amazing views and exceptional defensive positioning.
10 // Walker & South, Library, Plaza Maze (Central)
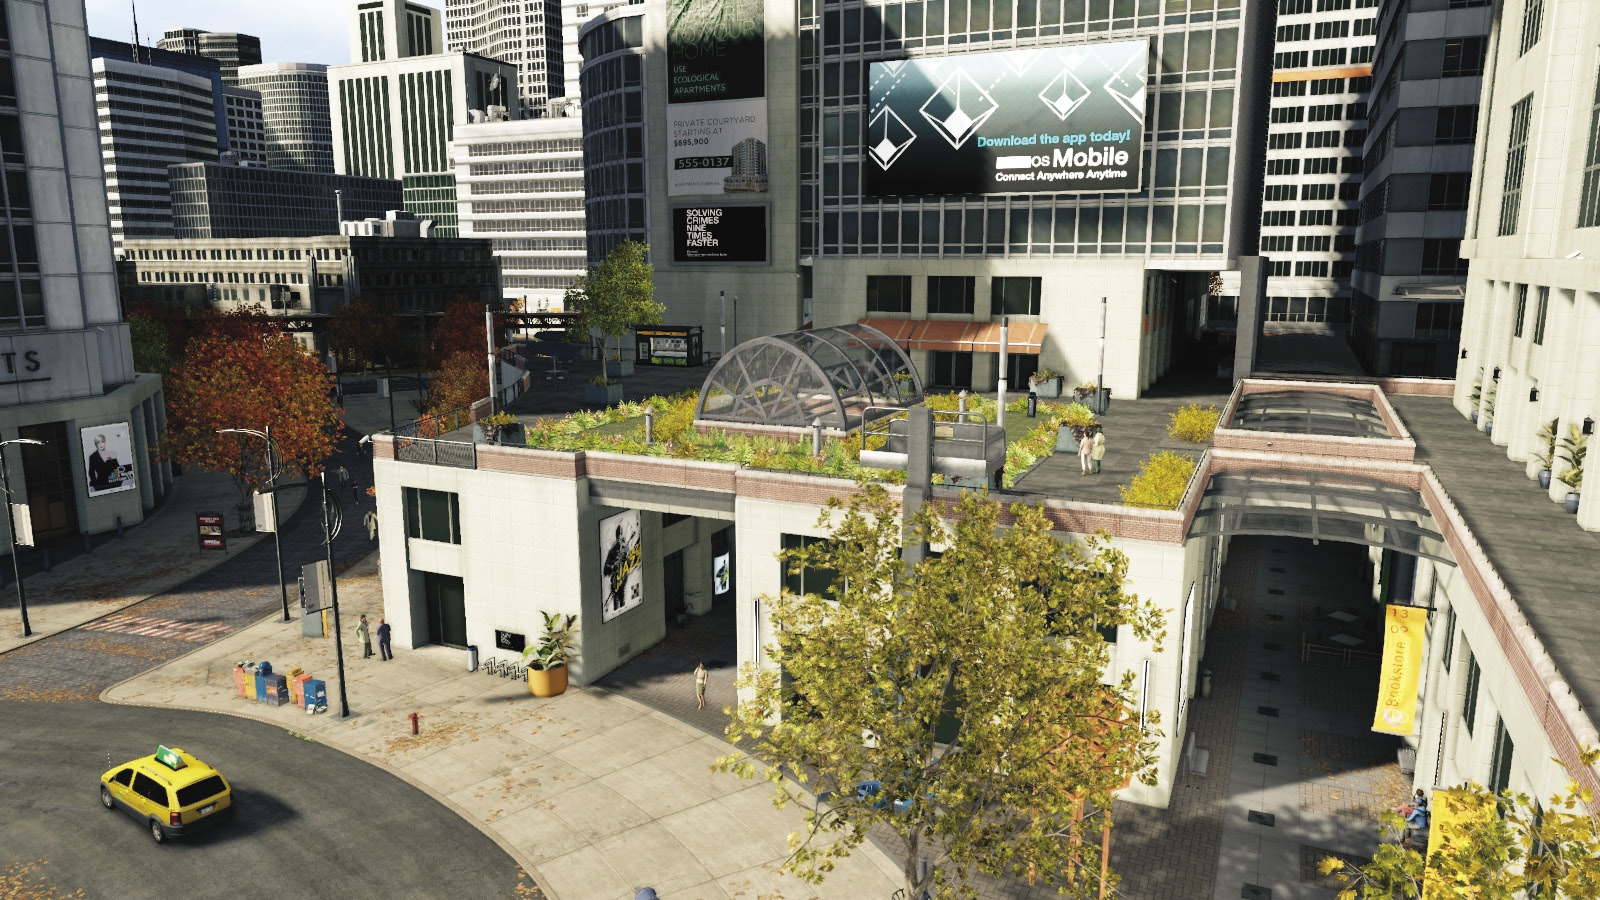
Lose pursuers on foot or on a bike by heading into this multifloor set of walkways. There’s a clothing store to hide in (don’t forget the back entrance), an upper plaza balcony with skylights, three winding cobblestone streets with blockers, and a garage running east to west. Run around here in single-player mode to get familiar with the layout; then defend or escape from here.
11 // Concrete Canyons (Southeast)
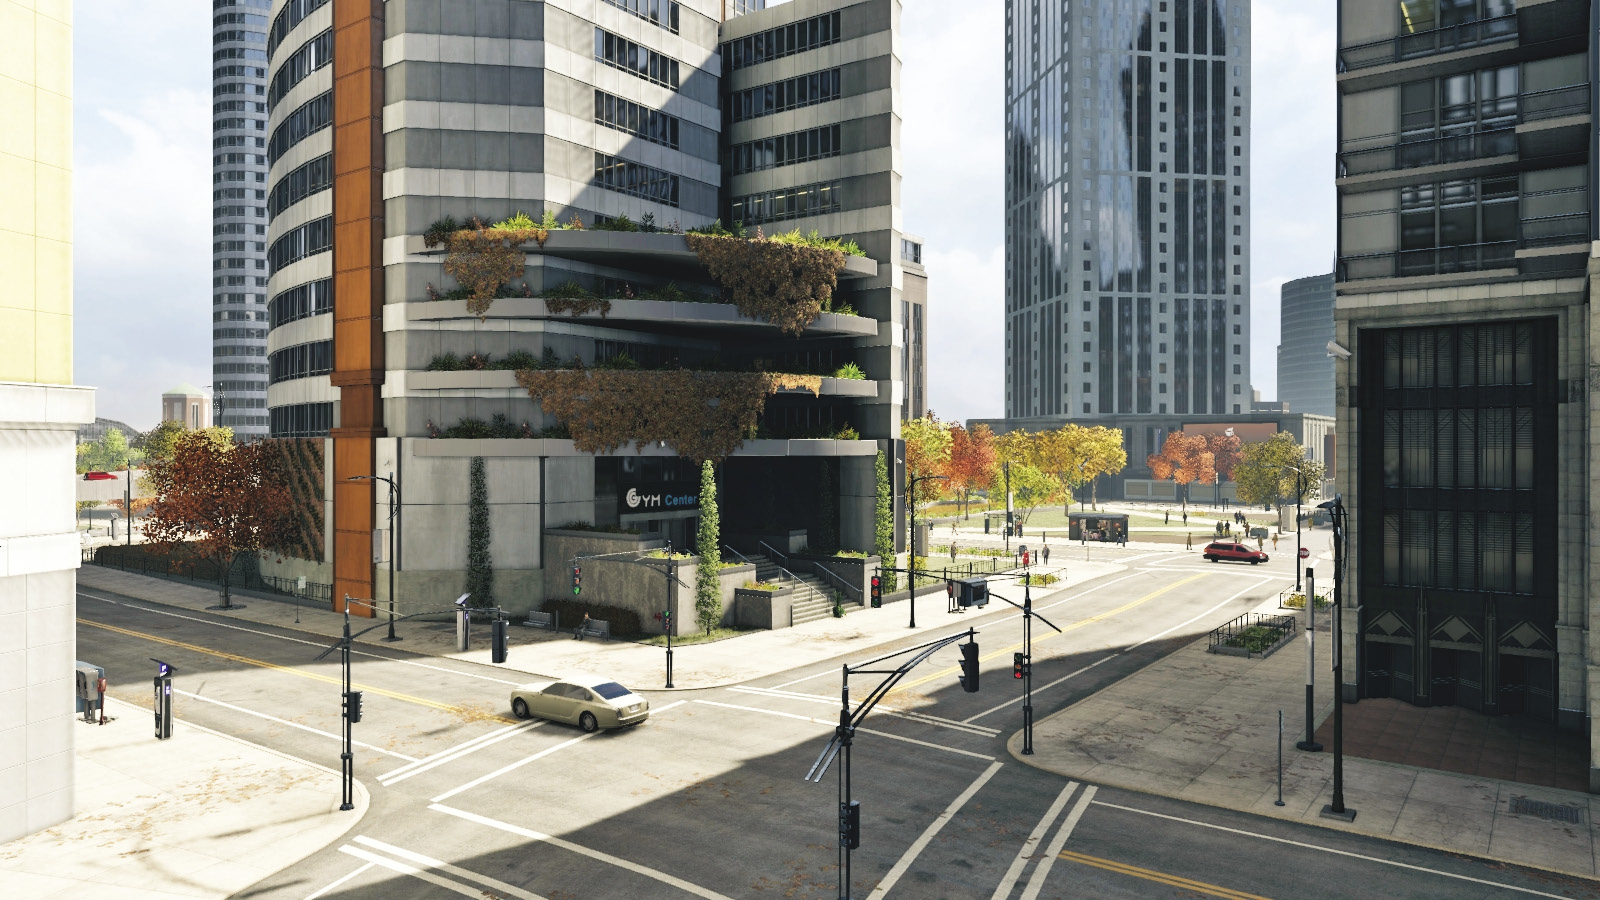
Although there’s no construction lift to the rooftop in this area, this concrete canyon is a large and impressive maze that’s great to lose pursuers in, but with enough room to maneuver even the larger vehicle. Check the stairs to the south, leading to the Pedestrian Tunnel, too (#14).
12 // Raised Plaza, and Traffic Tunnels Parking (Southwest)
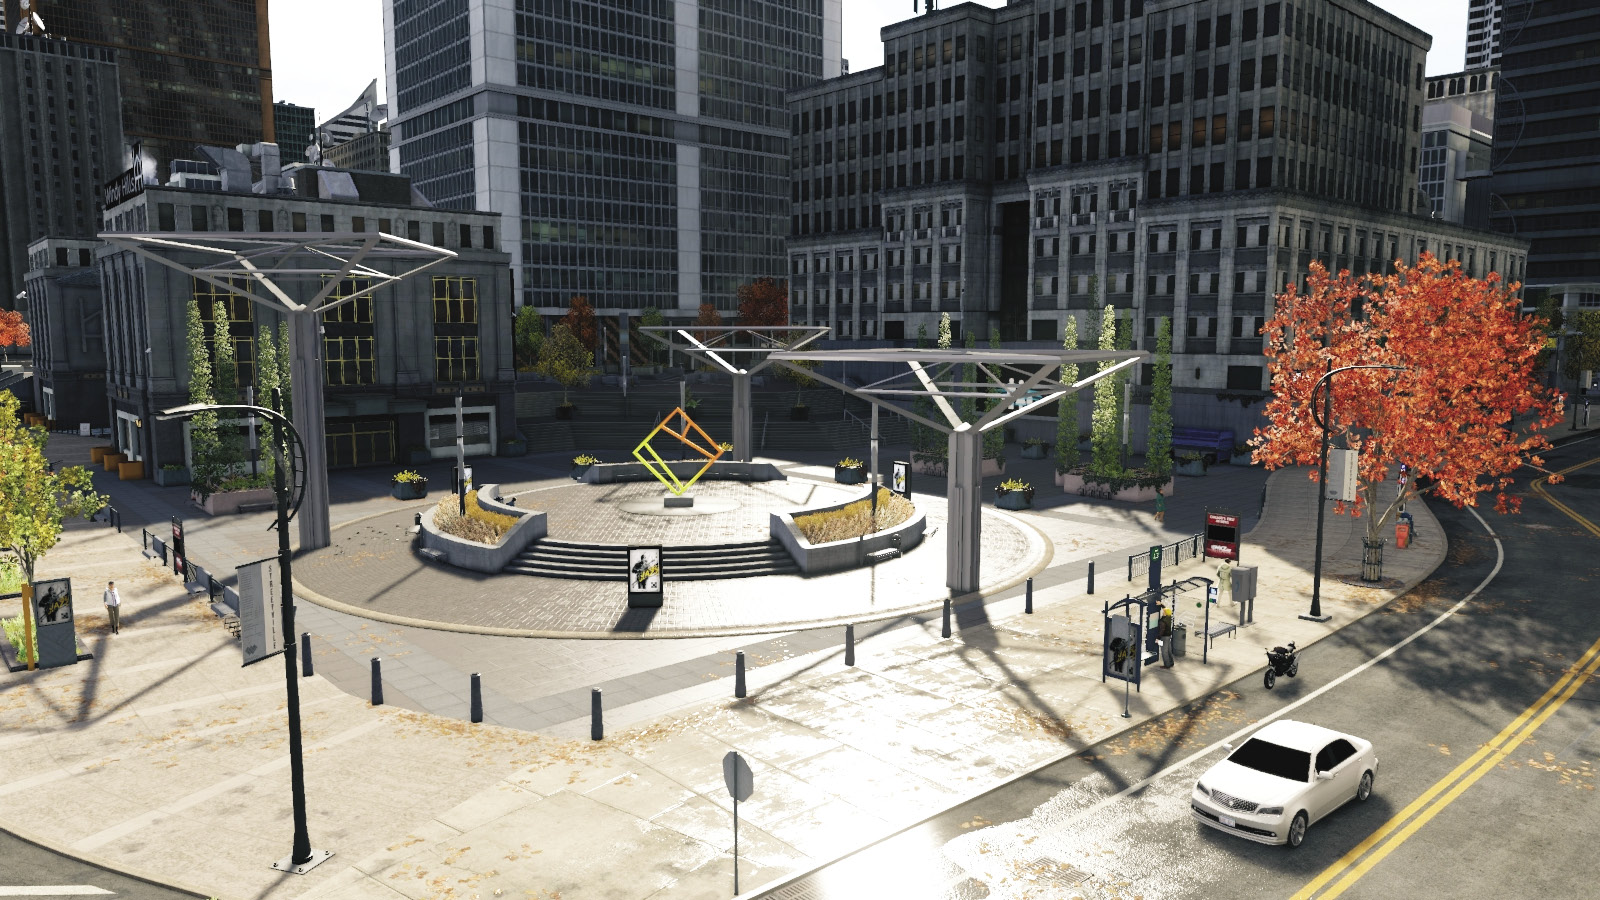
Stay on the move if you’re planning on using the upper plaza west of the roundabouts to defend from; it’s a reasonable location, but not as cunning as entering the traffic tunnels from location 13. You can reach the parking garage (on the right), winding you out of bounds, but you can return if you immediately turn right once you emerge from the parking lot exit.
13 // Traffic Tunnels and Parking (South)
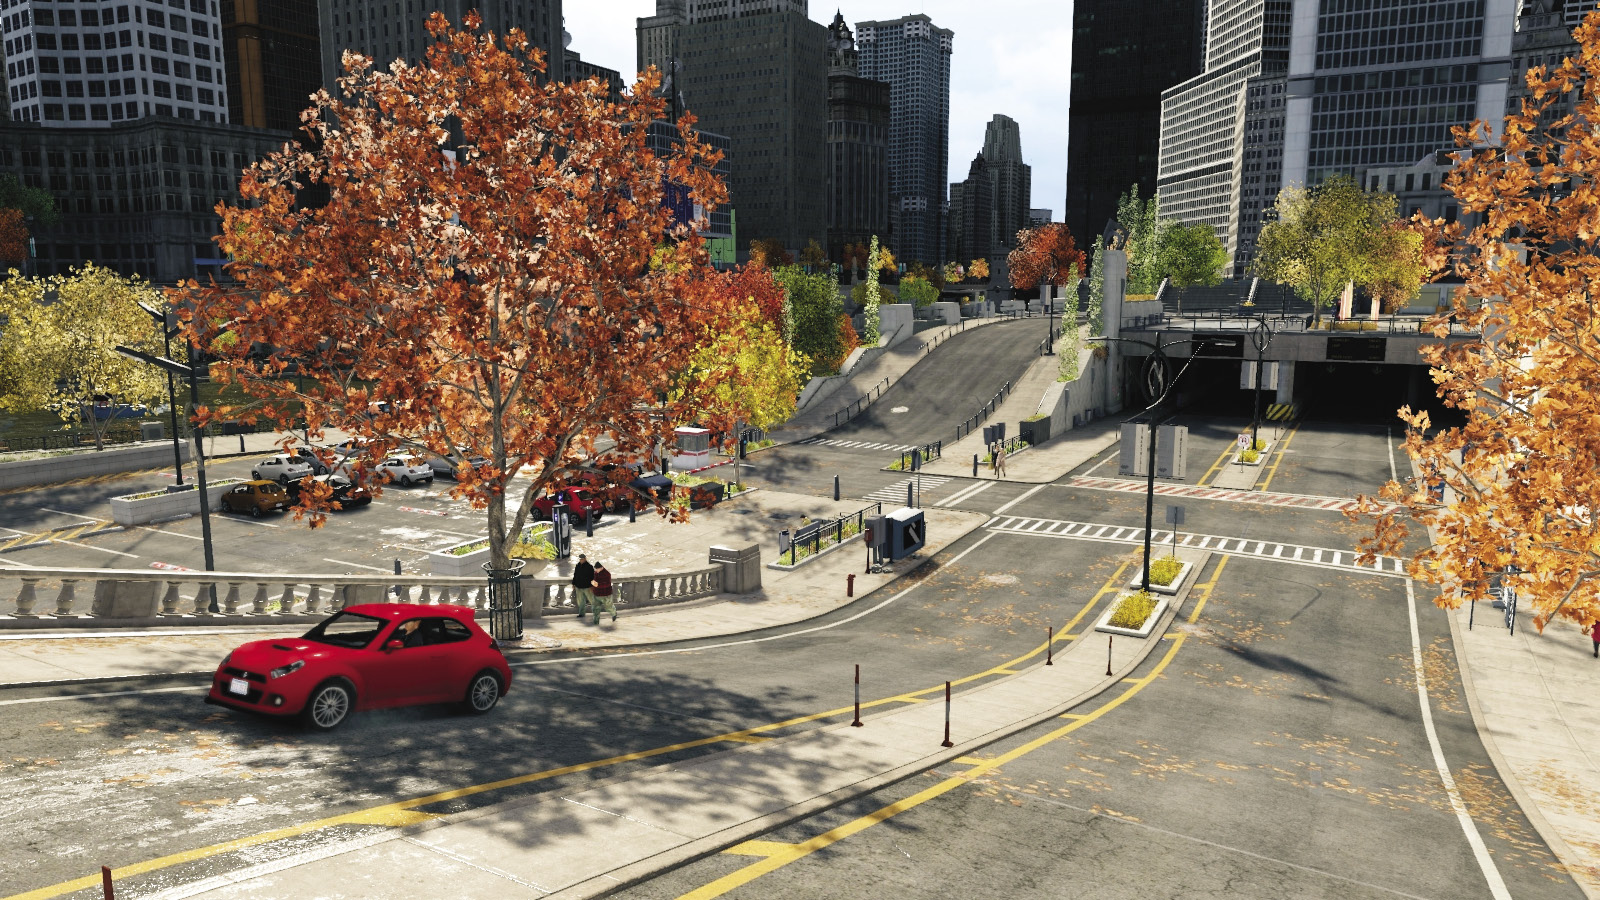
This lower section has bollards to stop any pursuers and a parking lot to change vehicles. Along the waterfront are pedestrian walkways and stairs; easily drive a bike across here. The big bonus in this area is the entrance to the traffic tunnels, which can really confuse the enemy if you drive in here; just make sure you know the ways out (back the way you came, or location 12)!
14 // Elevated Road and Pedestrian Tunnel (Southeast)
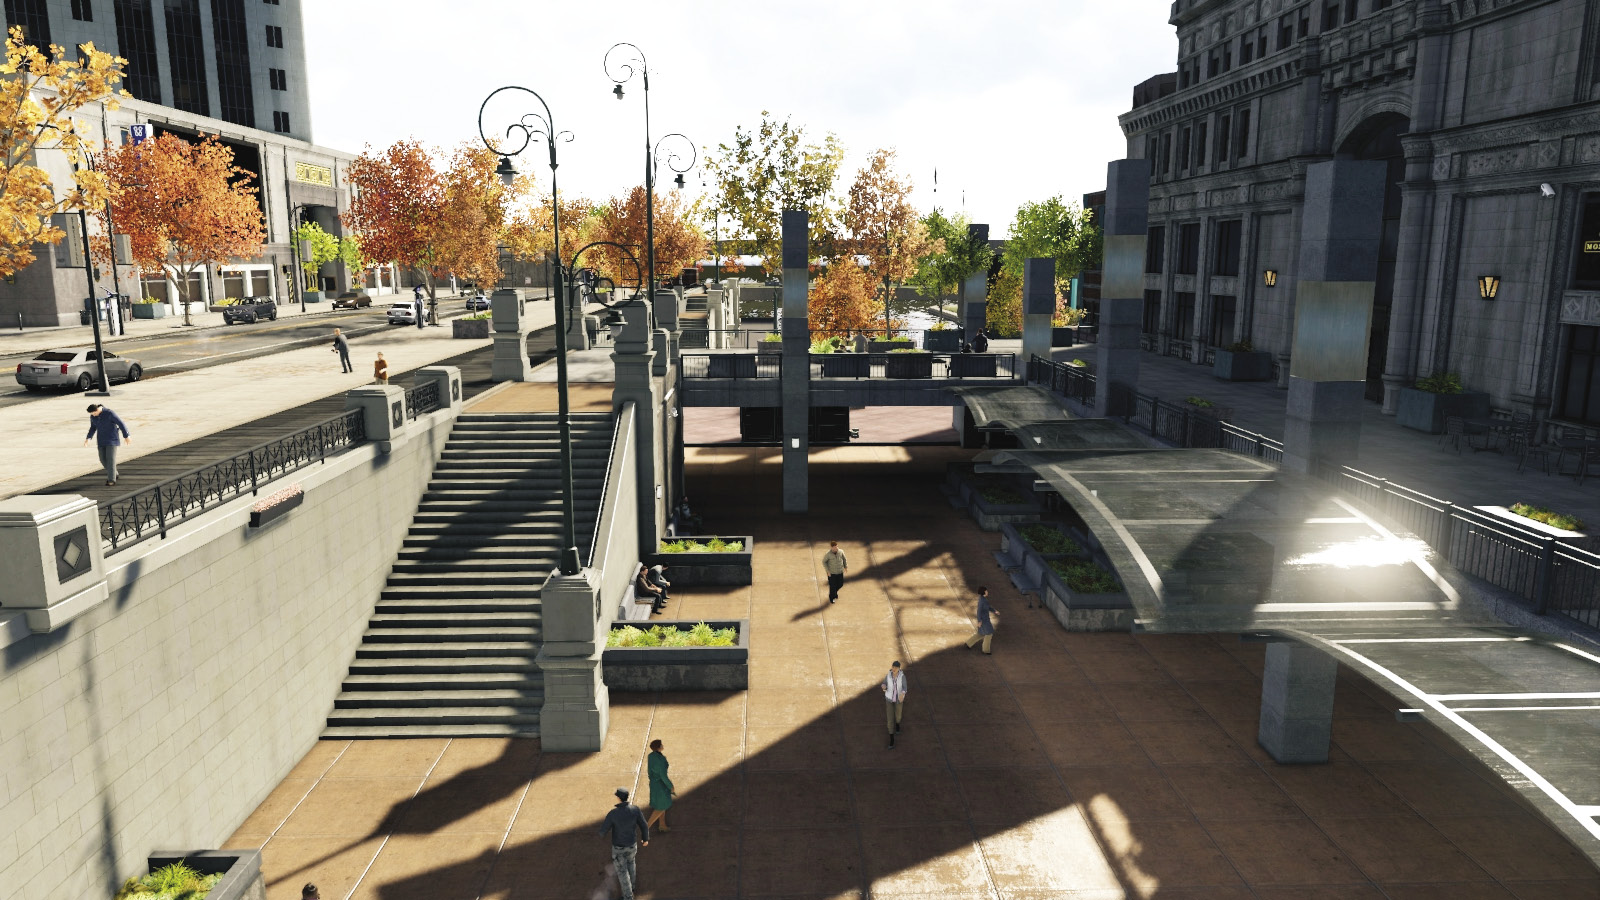
Escape via the elevated road or head into the sunken pedestrian tunnel, allowing access to the north and west. Head south to the entrance to the chokepoint (location 15), which can be defended if your team is on the ball. Otherwise, navigate the walkways using a bike or a small car.
15 // Homeless Peninsula Chokepoint (Southeast)
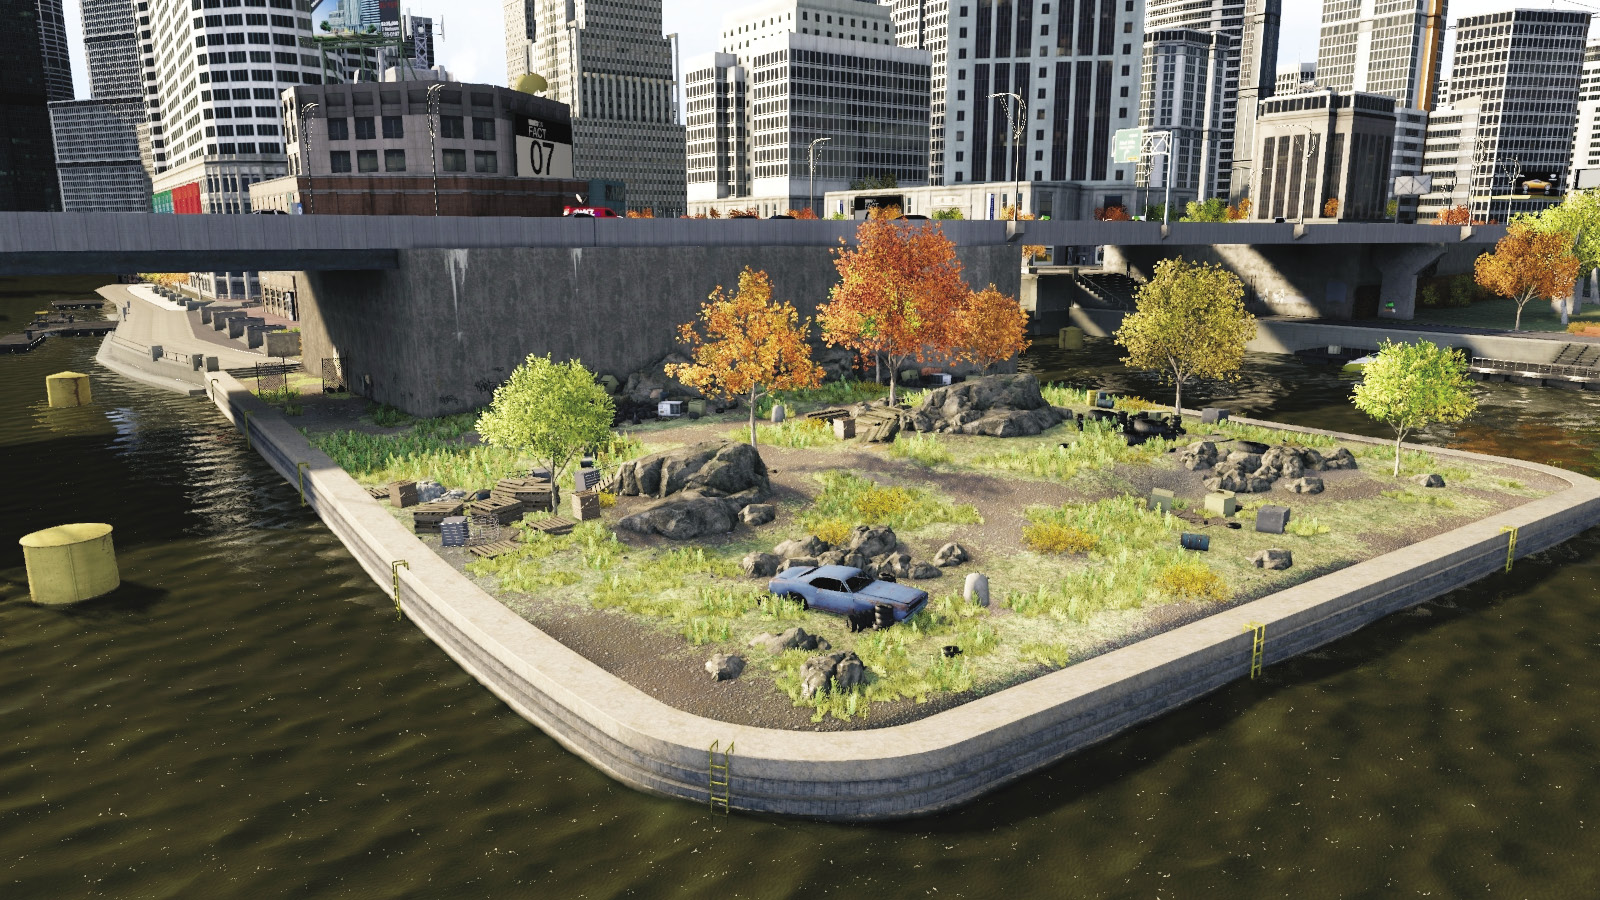
This is another good defensible area to flee to; this homeless camp and grassy area can only be accessed via the riverbank under the freeway, though snipers can fire from the overpass; watch for snipers by stationing your own sniper there. Otherwise, watch for sneaking attacks from the water and repel all foes, readying the parked bike for a great escape!