
Watch Dogs Guide MAIN MISSIONS MAIN MISSIONS /// Act I
_DRESSED IN PEELS
OBJECTIVES
|
 Escape your cell
 Locate the survivor
 Access the network
 Find the stadium survivor: Raul Lionzo
 Reach basement
 Take out the corrupt guards
 Confront the survivor
 Exit the prison
 Escape the police
LOCATIONS // MAP
Location / The Loop // Palin Correctional Center
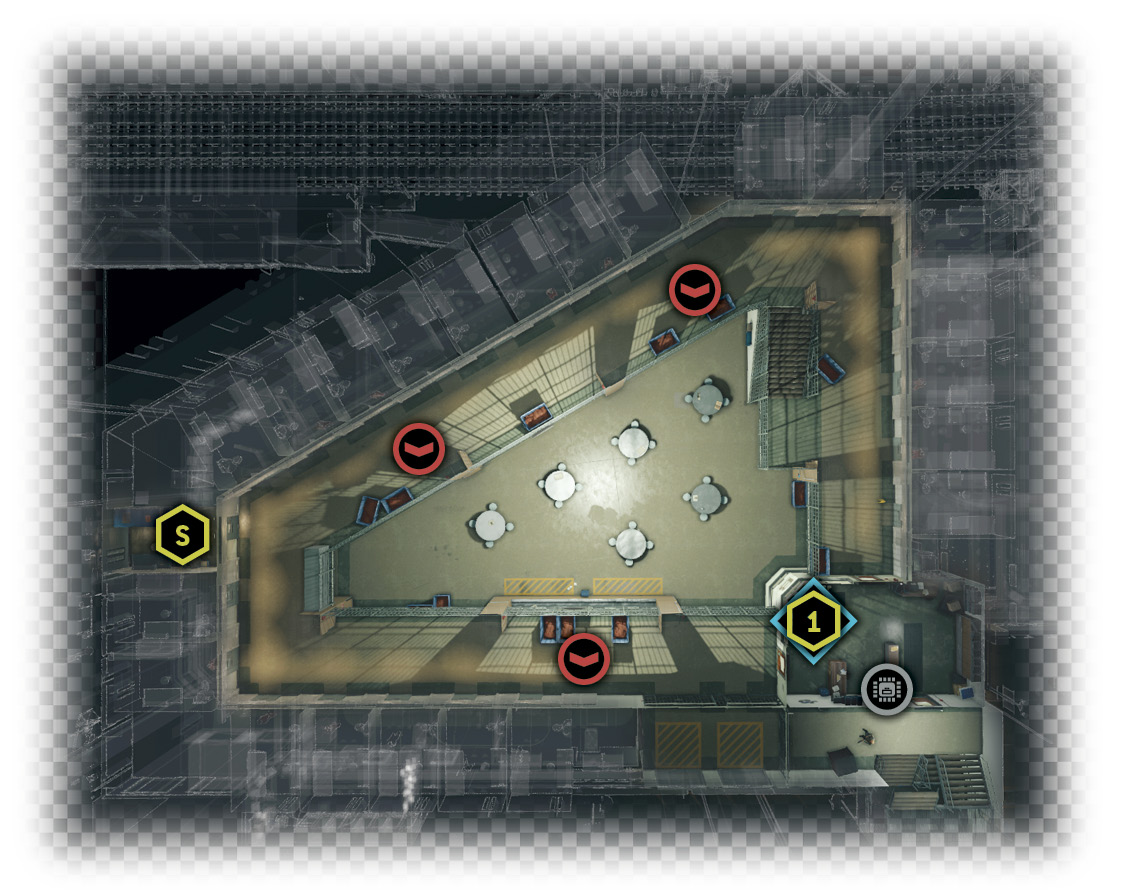
Palin Correctional Facility // Third Floor
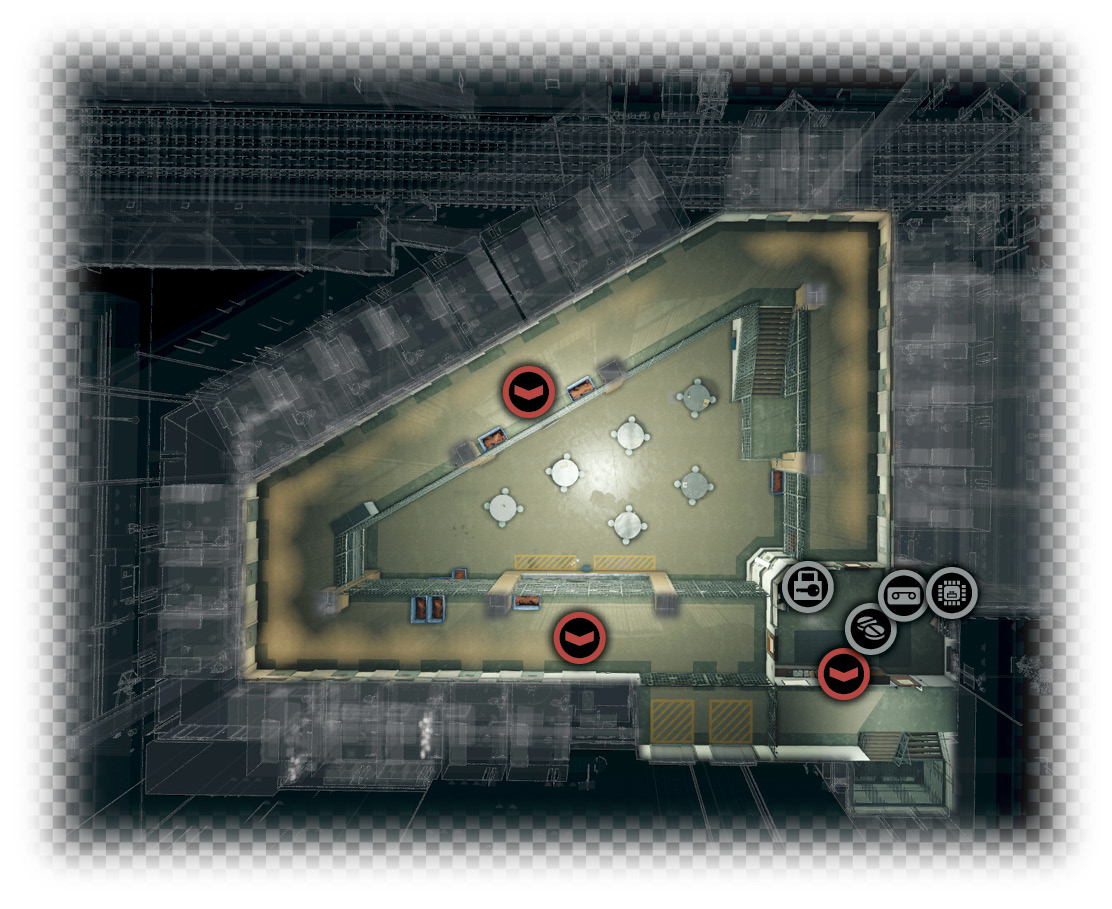
Palin Correctional Facility // First Floor
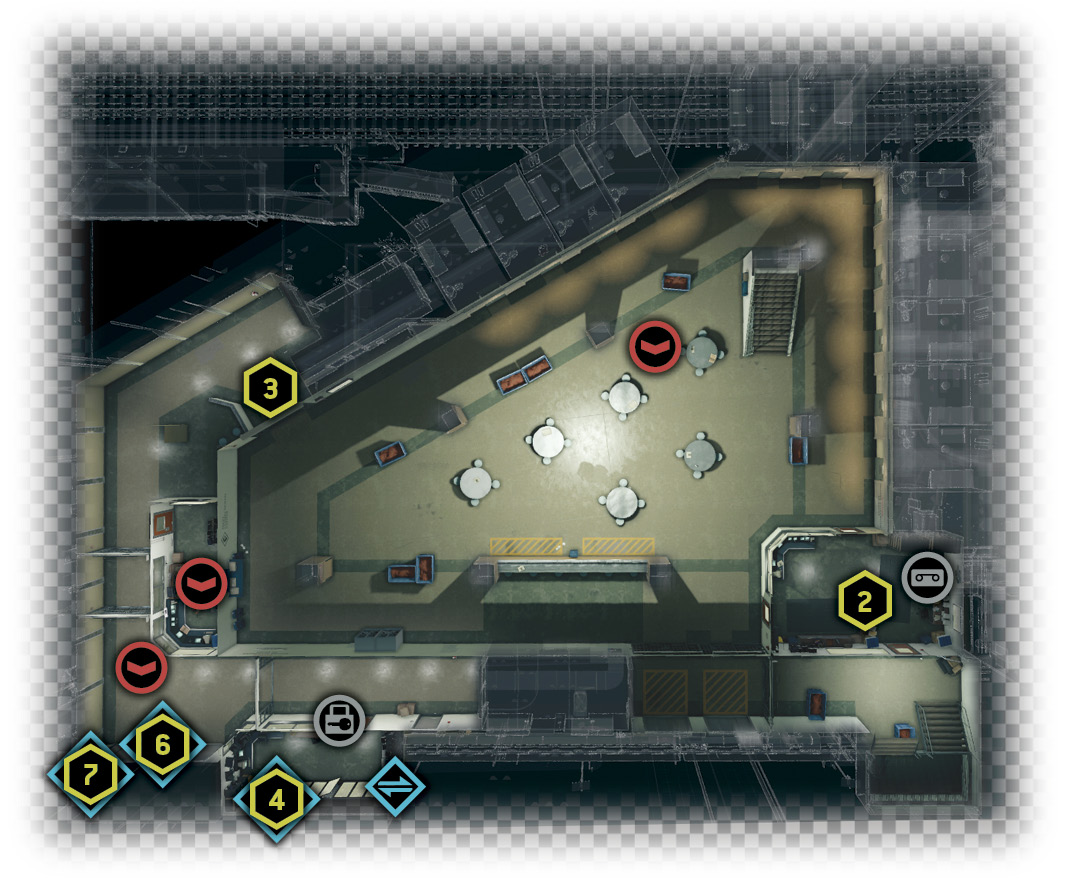
Palin Correctional Facility // Second Floor
Palin Correctional Facility // Roof Yard
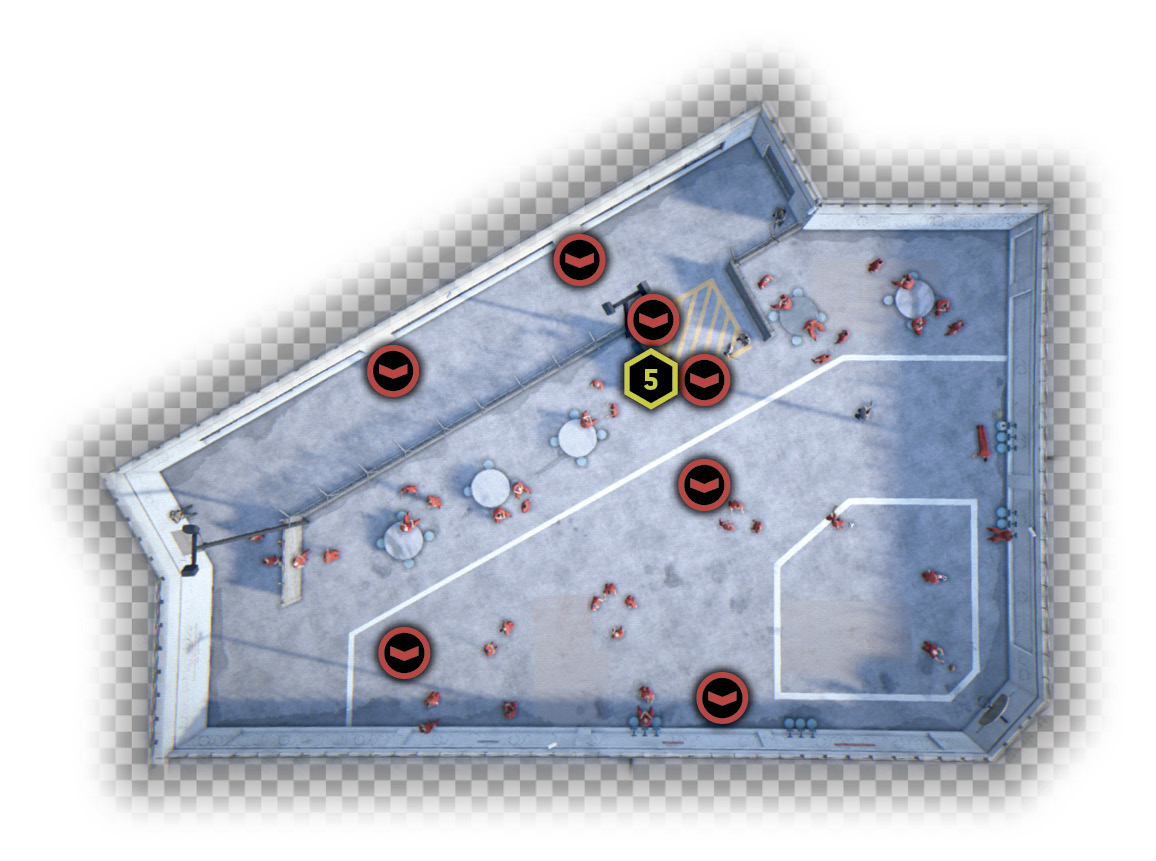
 Waypoint: Raul Lionzo
Palin Correctional Facility // Basement Floor Laundry Room

Palin Correctional Facility // Roof Exit
 Police Officers
9.1 IMPRISONING JOE SMITH
 Location / The Loop // Palin Correctional Center
|
|
 Escape your cell
 Infiltration
 Data Hack
Difficulty: 
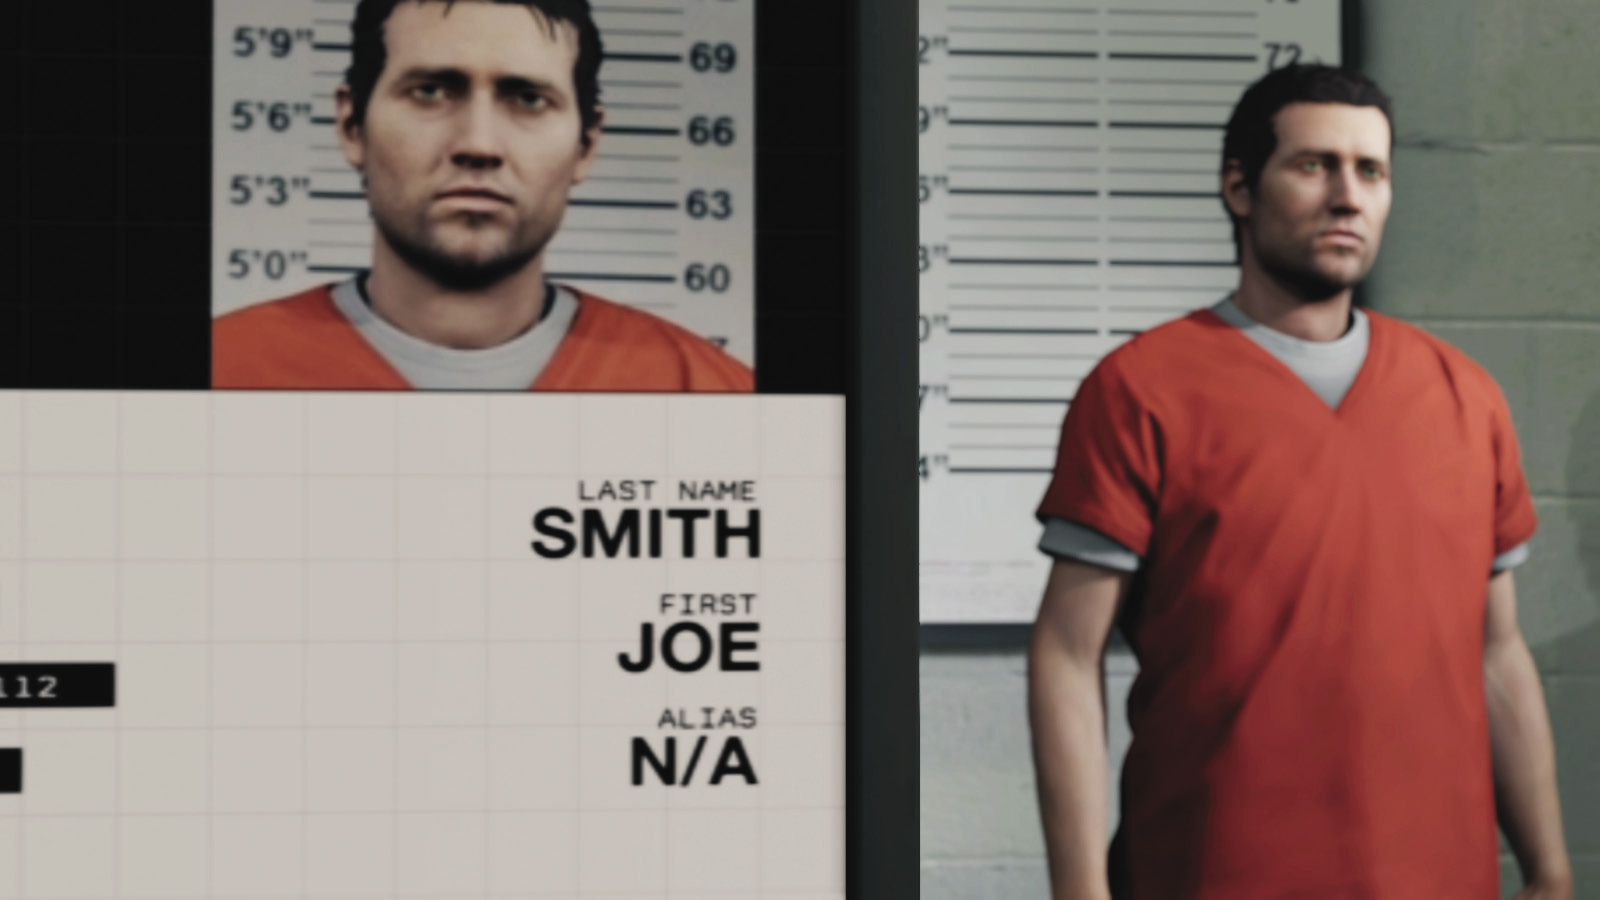
With a survivor in prison and possibly ready to implicate you, a plan most cunning is hatched; you speak to Jordi, who has a guy on the inside who can help you out. But you’re actually going to wander into the prison and get yourself locked up! What could possibly go wrong? A lot, but this guide is here to ensure that doesn’t happen: Start by heading over to the Palin Correctional Center and turning yourself in.
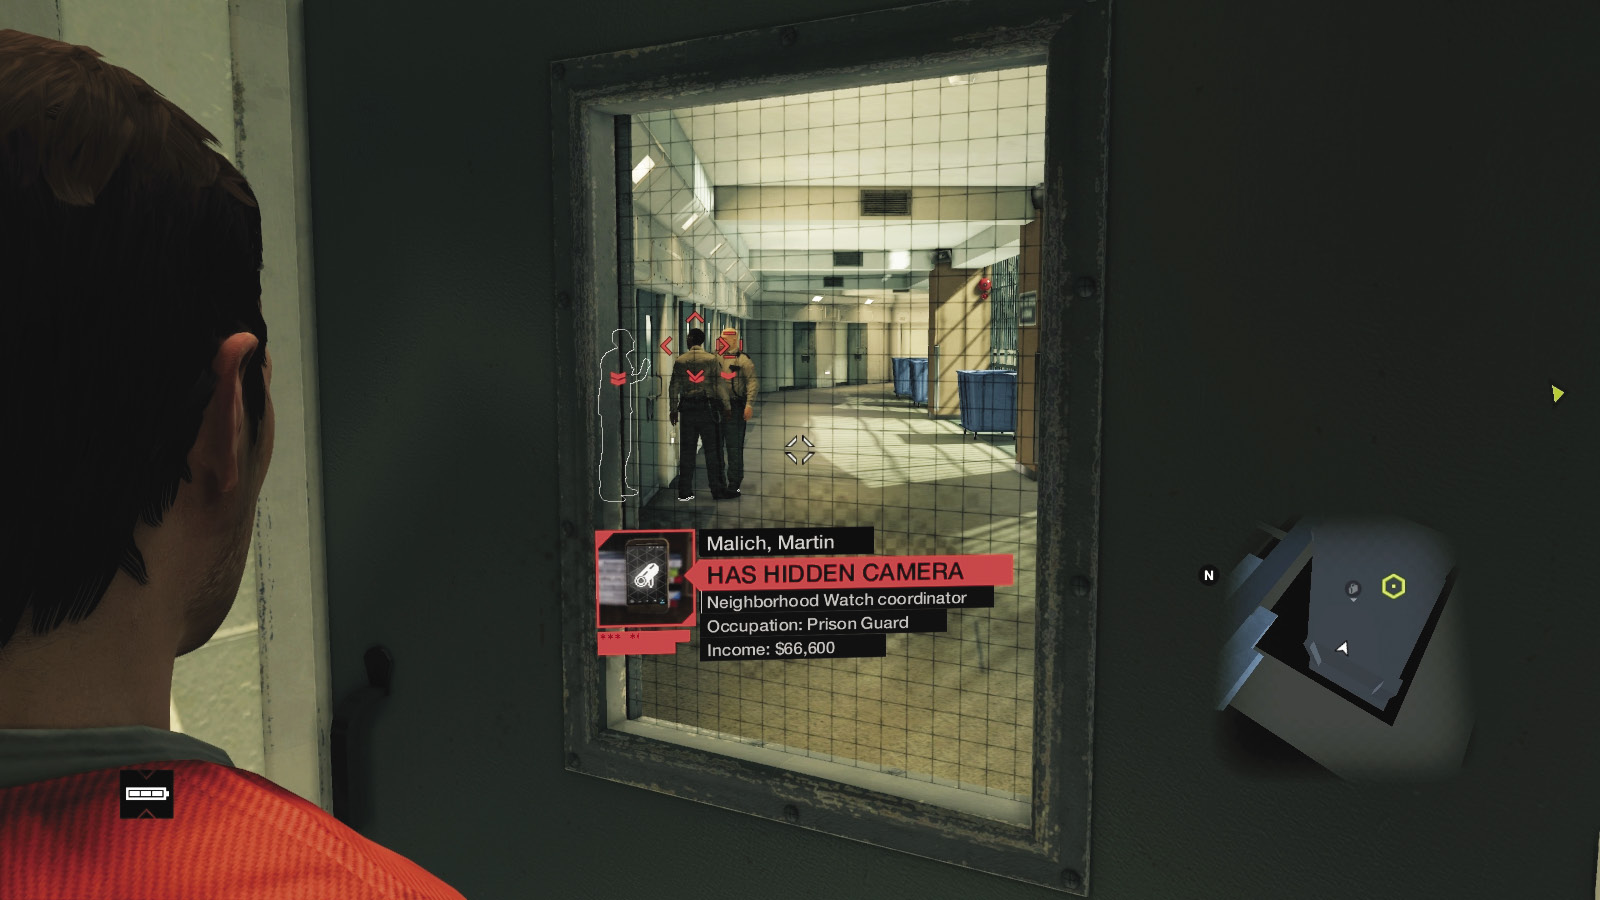
After some clandestine hacking thanks to a phone smuggled in by Jordi’s contact, you begin in your own cell under an assumed name, armed with nothing but your wits. Peer through the cell-door window, and watch a prisoner being manhandled into his cell. Note the camera attached to one of the two guards.
Overview
Completion Point: Ground floor gate to security area, Block B.
Dangers: Five prison guards (Veteran x5), all wearing cameras and carrying batons. Mission fails if they spot you.
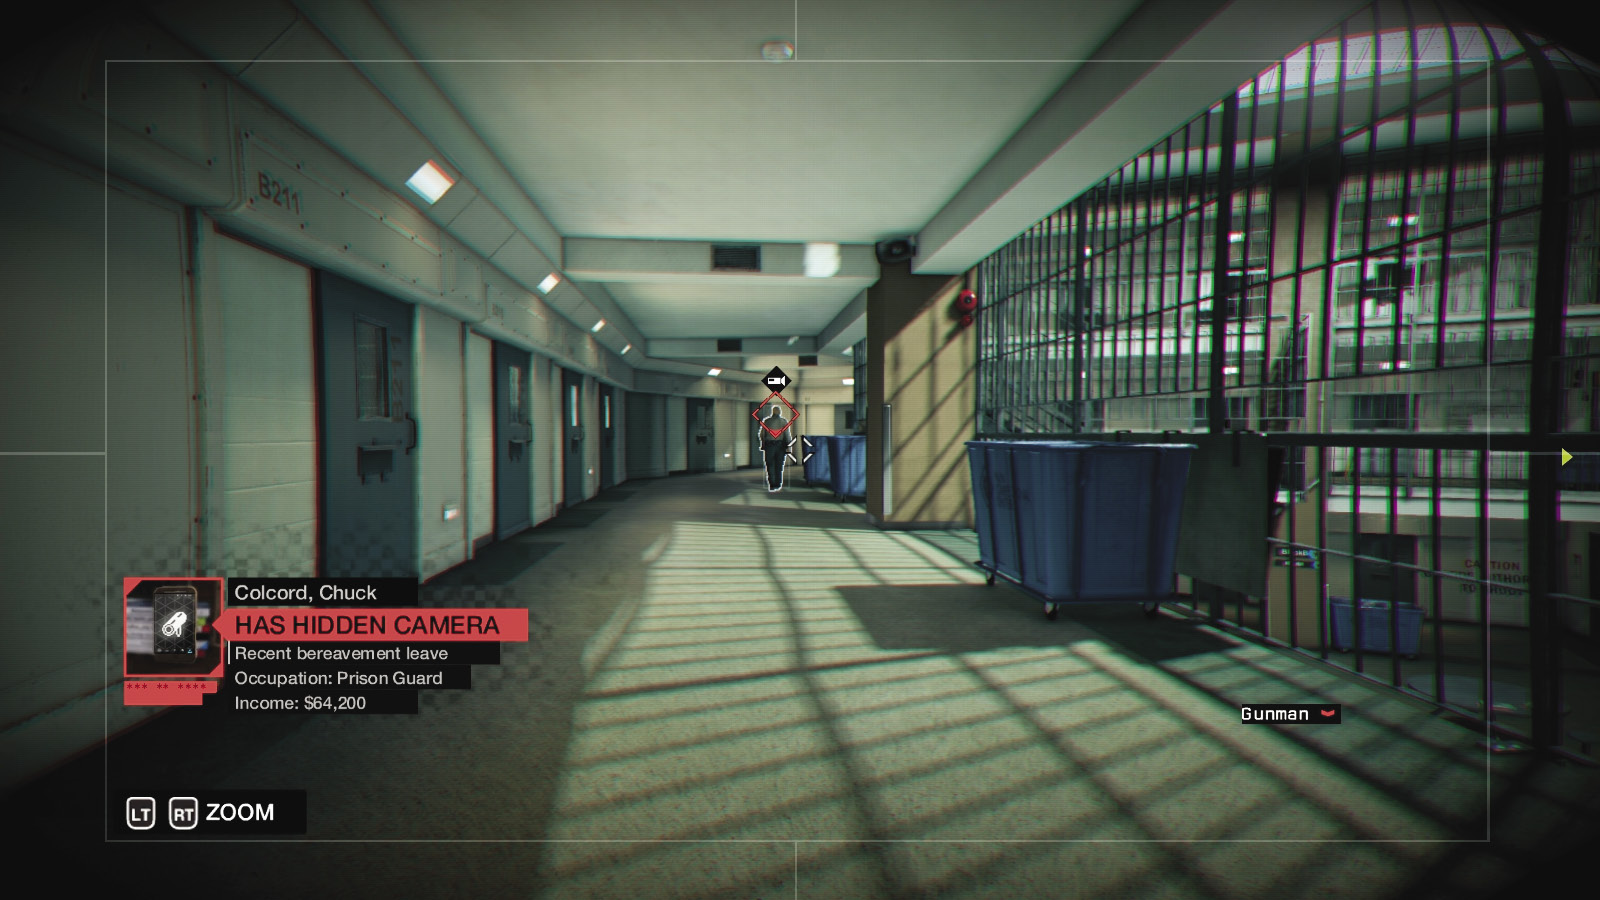
The guards begin their patrol. Quickly access the camera on the nearer guard, and zoom into the view you see. As soon as the guard turns left, zoom into the camera on the second guard farther down the cell block.
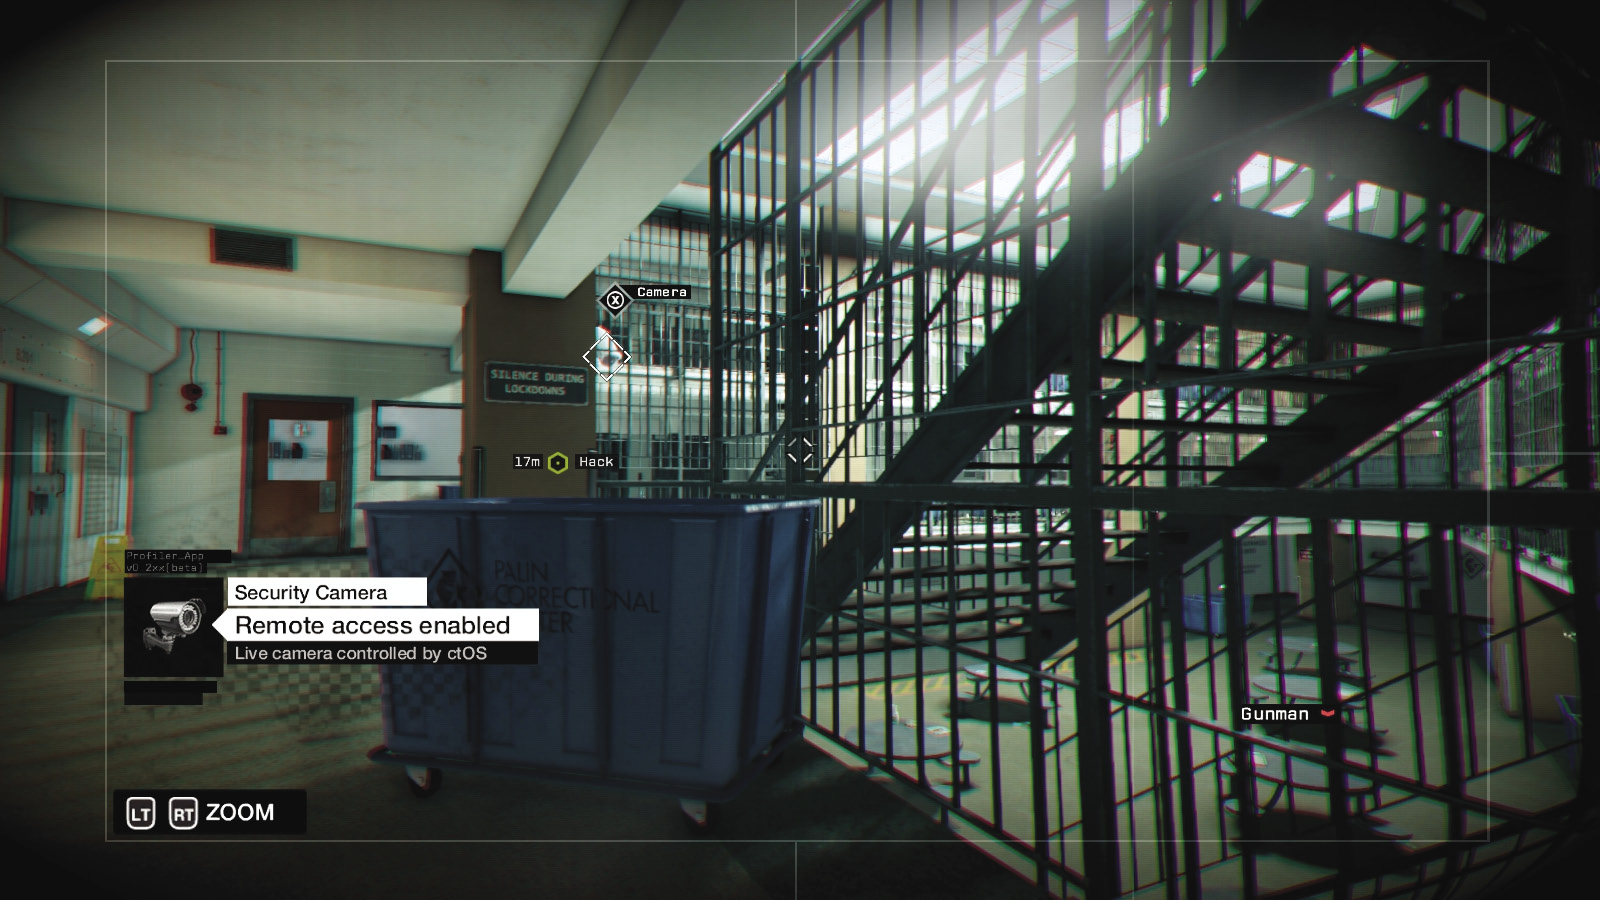
This second guard turns right toward the control room, but you can’t see the area you need to hack yet; instead, look up at the camera atop the control room, and zoom into it.
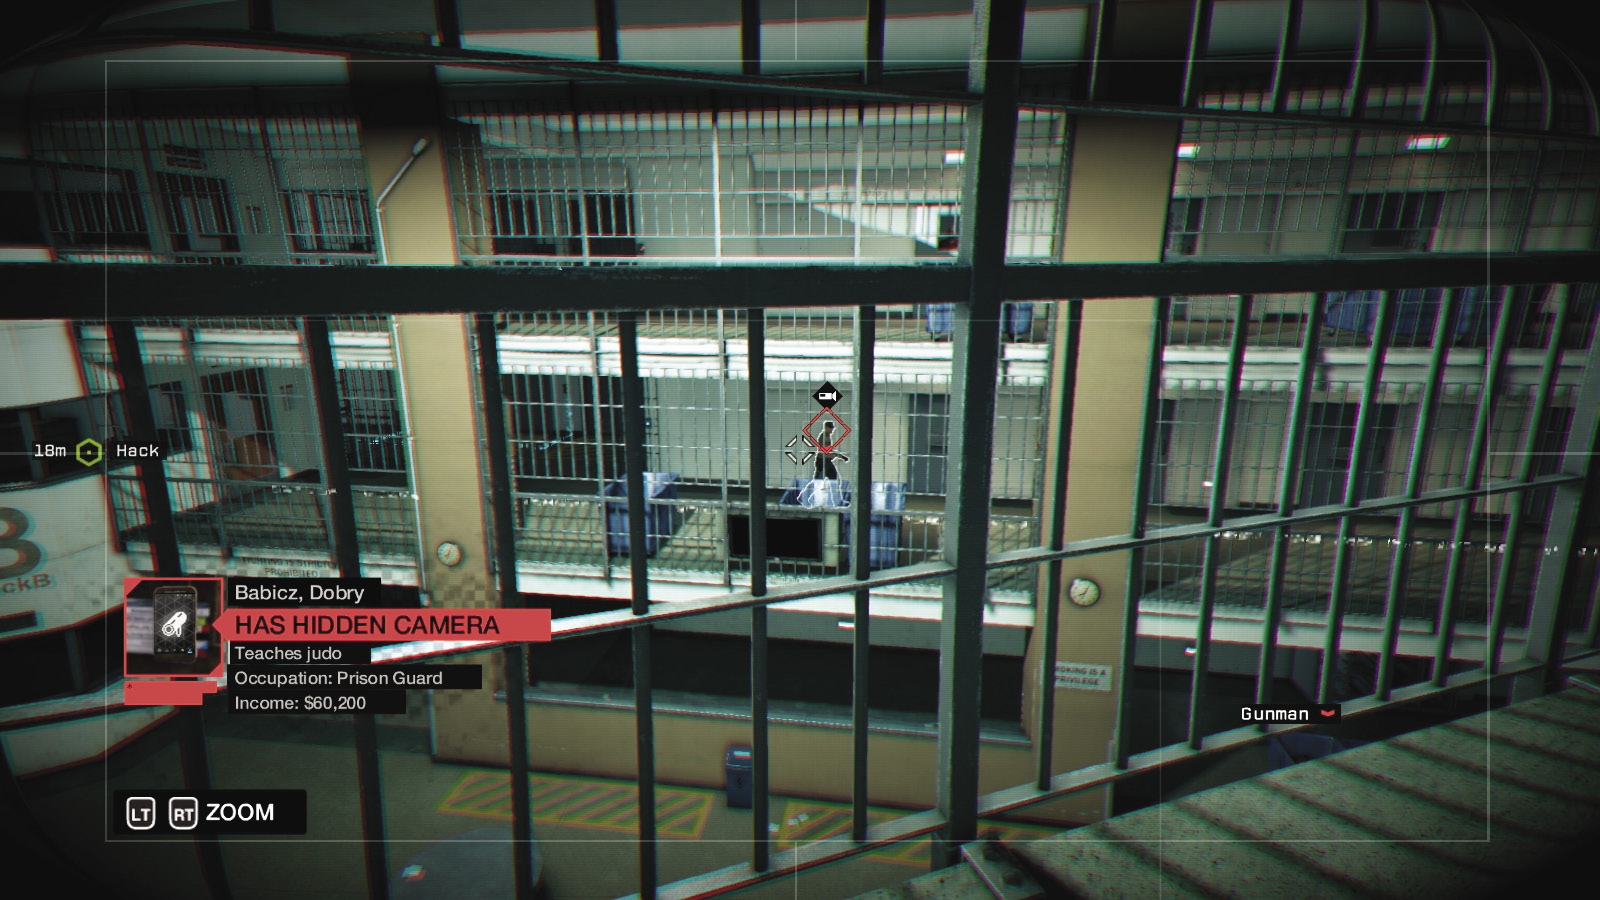
Quickly pan the camera to the top floor of the cell block to a guard looking out. Zoom into his camera. Then pan the guard’s camera left slightly, watching for the control room door (just right of the large “B Block” insignia) and another guard heading out to patrol the balcony above the ground floor.
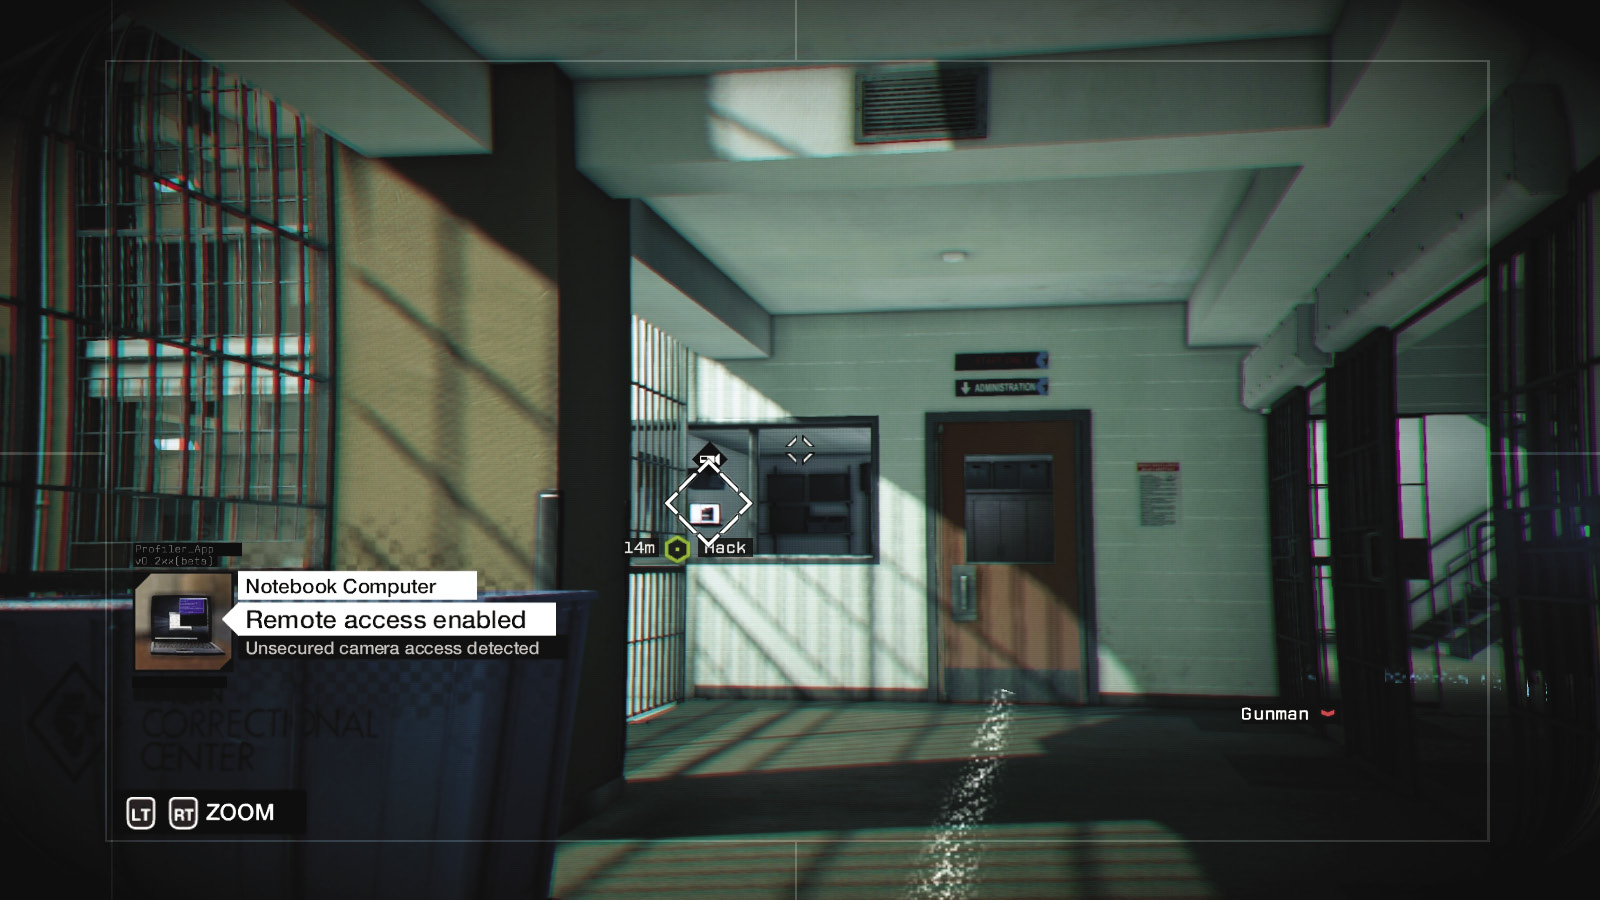
Zoom into this guard and be patient; you may want to trace the data flow along the ground to a gate below and to your right. That’s a subsequent location to reach. But for now, wait until the guard turns around and starts walking back to the control room.
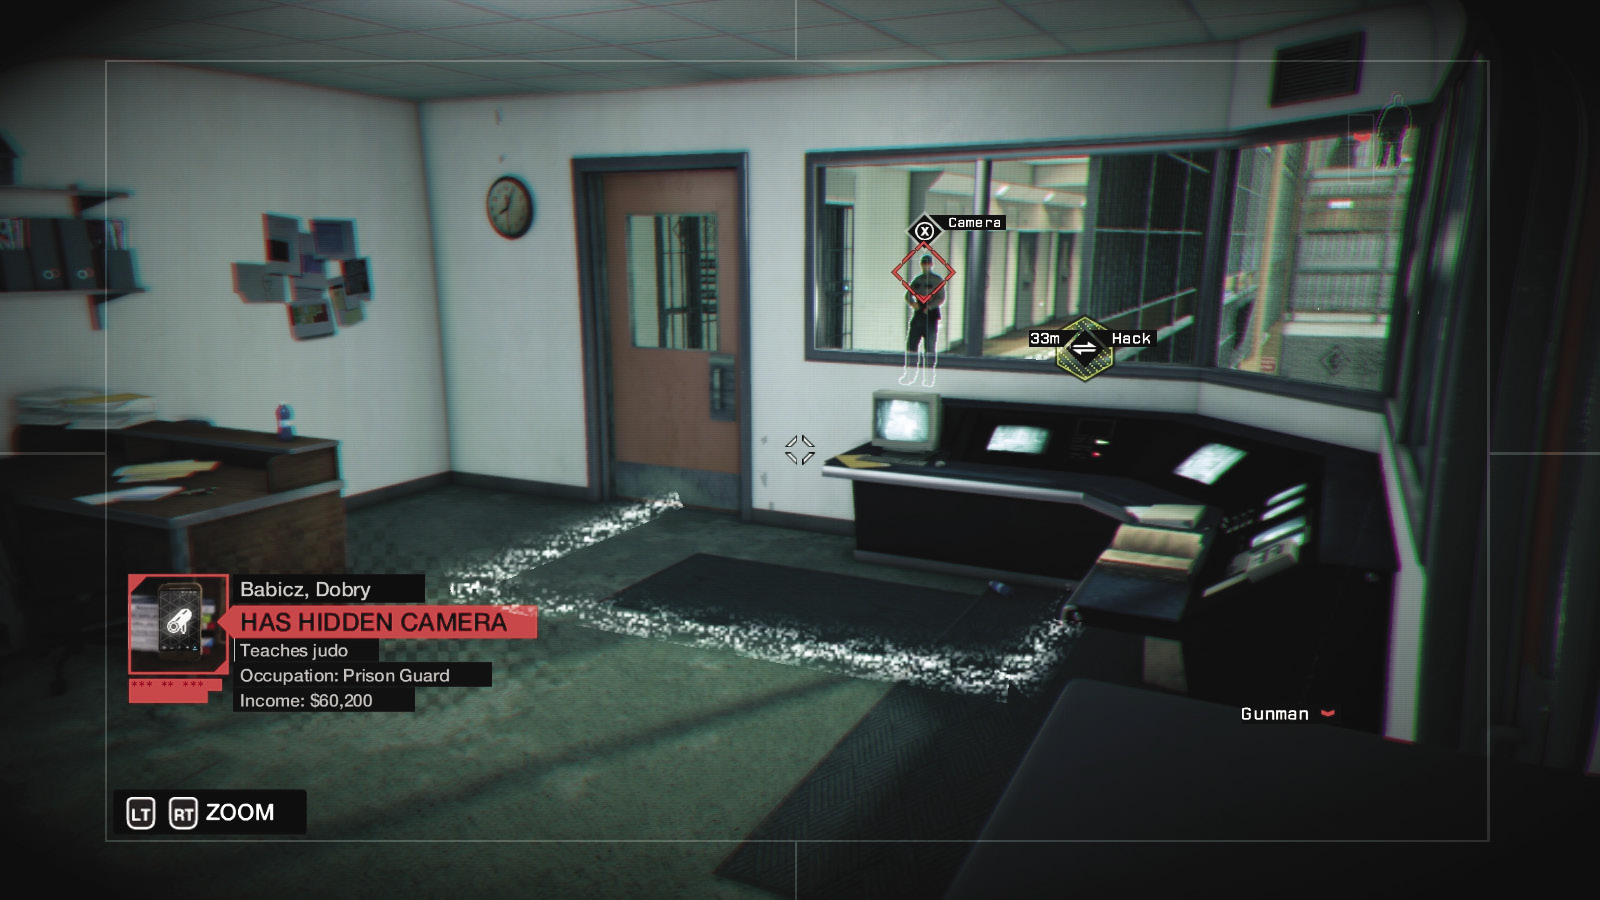
Zoom into the security camera inside the control room and look around. The main console control desk for the cell doors in this block is visible. A quick hack here, and your cell door springs open!
9.2 BREAKING AND ENTERING
 Location / The Loop // Palin Correctional Center
|
|
 Locate the survivor
 Access the network
 Infiltration
 Data Hack
Difficulty: 
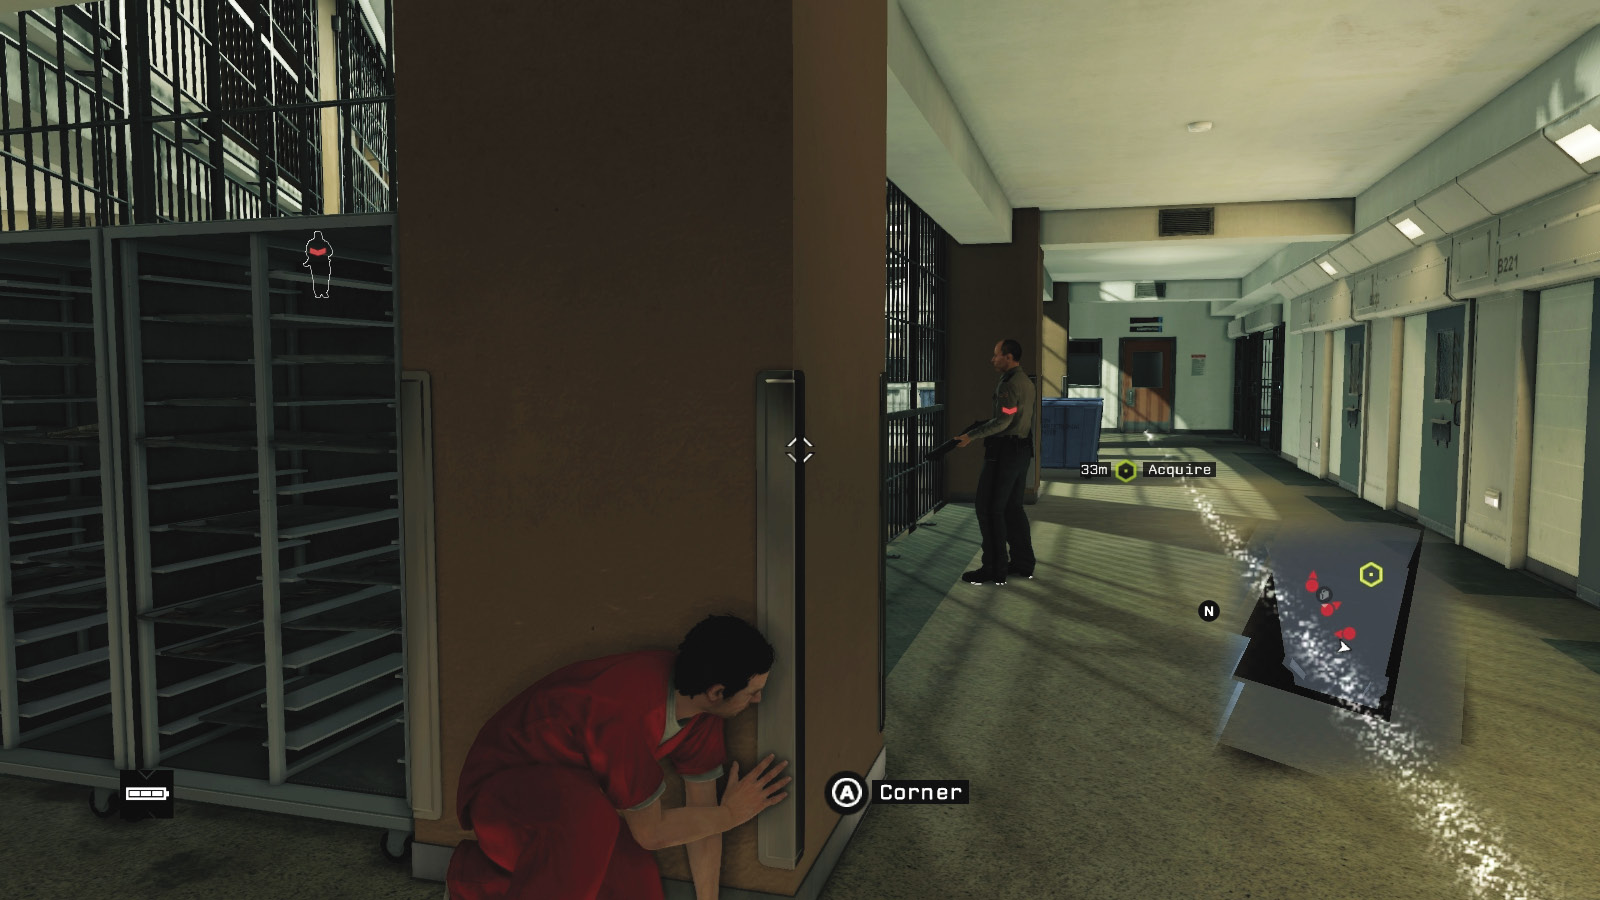
You stand by your open cell door, quickly chatting to Jordi. As the objective updates, step to the dish cart at the corner of the two corridors and plan your escape. You need the inmate schedule, which unfortunately is located on the ground floor of the control tower, across from you. There are two routes to try:
 Passive: Left Corridor Dash
 Difficulty:
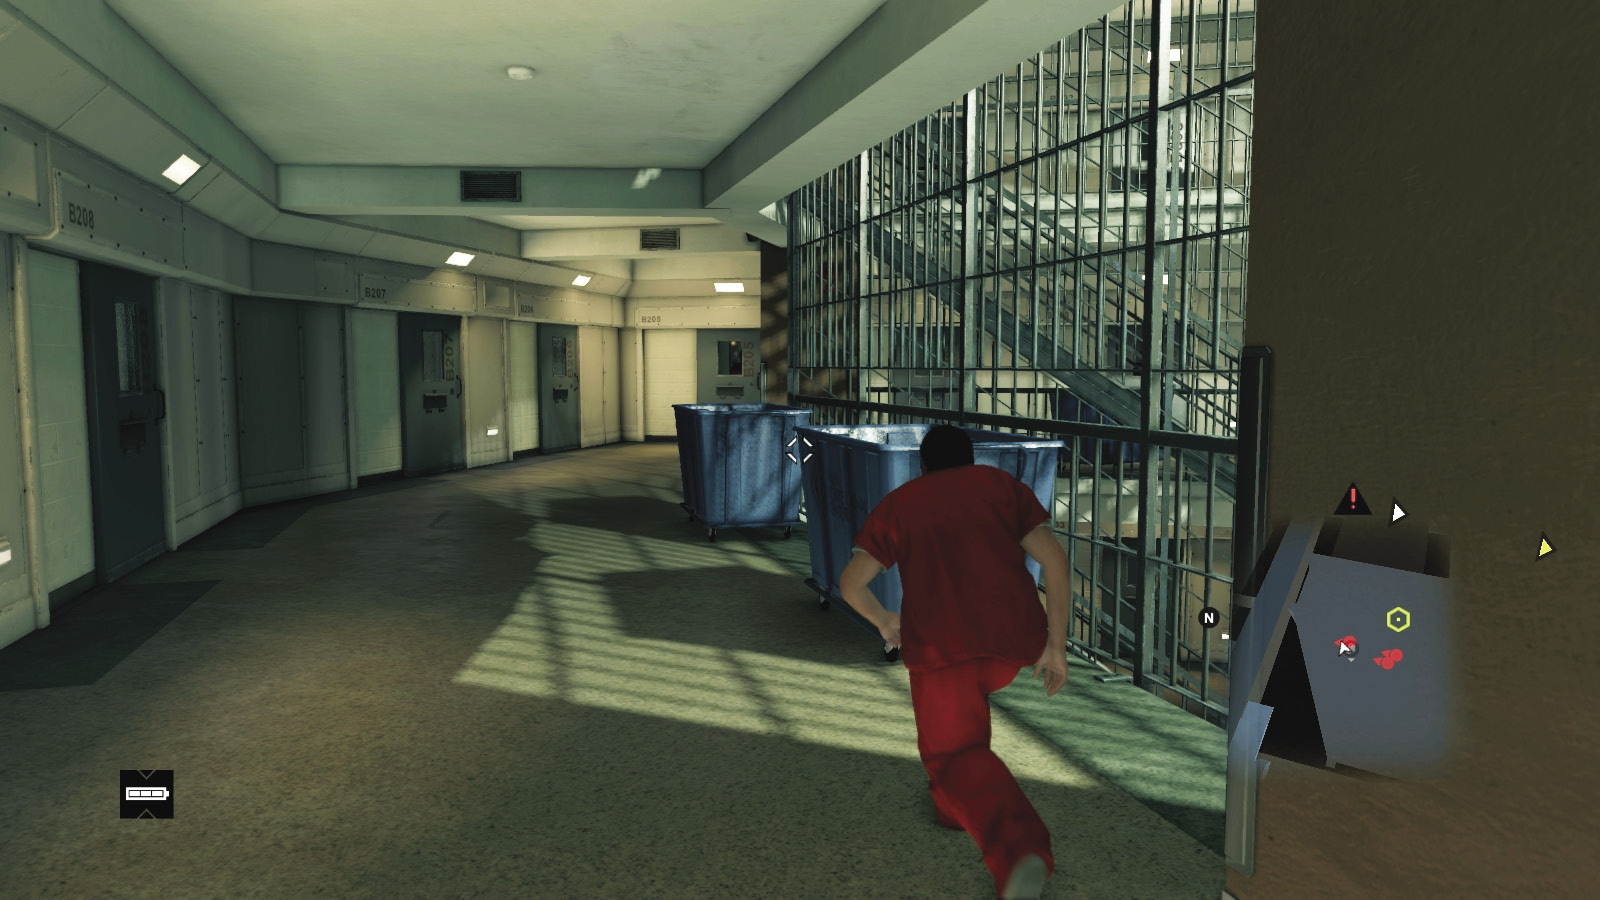
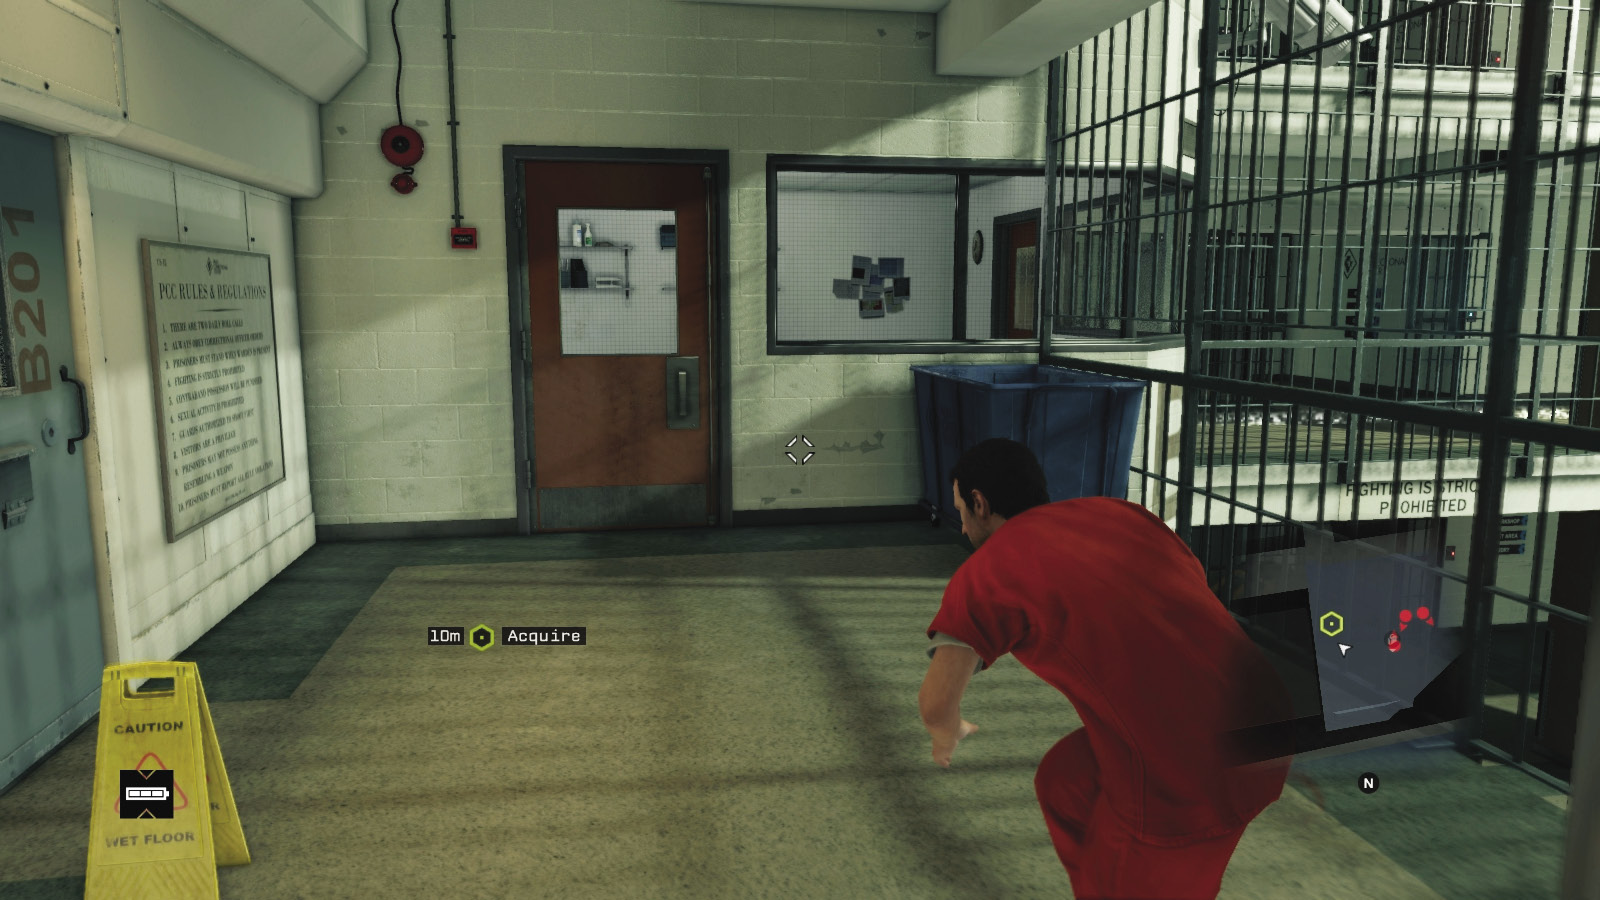
Head left, following the corridor and hiding behind linen carts and pillars. Ignore the shouts of the inmates, but always check the guards patrolling the opposite corridors. Move only when they aren’t looking or you risk being spotted. It’s tricky, but usually possible to sneak between each cover spot without being seen, even if the guard is looking your way, but it isn’t a great idea.
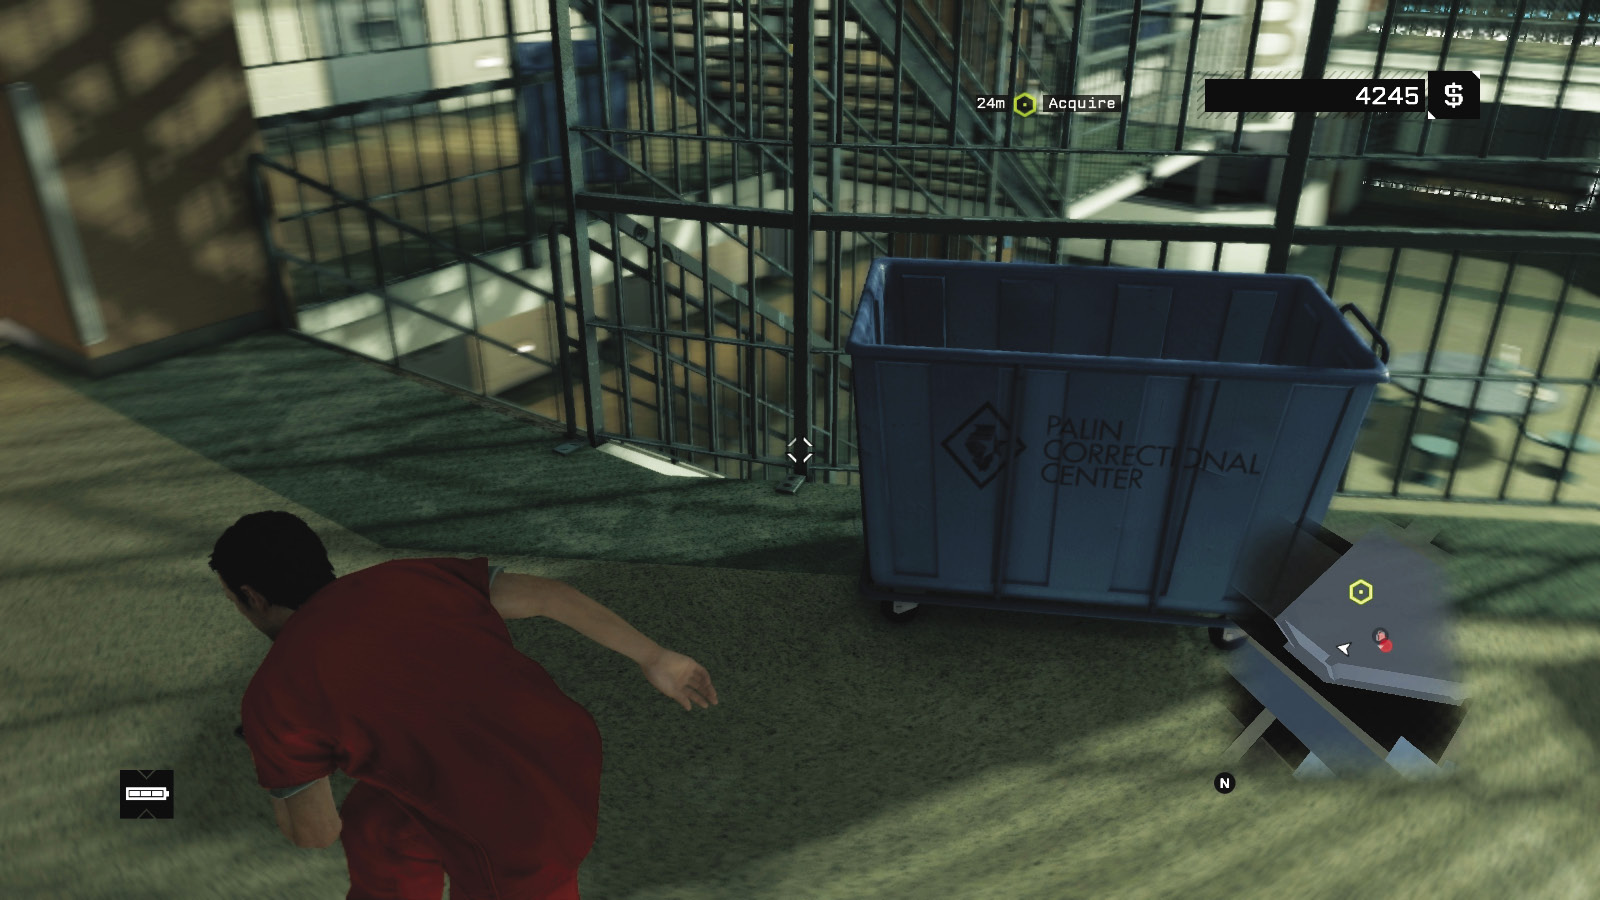
Turn right, checking the entire block quickly for guards, including the one below and right of you in the main hall area. Then scoot down the stairs to the pillar and linen cart. Check your route isn’t being watched again, and then open the ground floor control room and insert yourself in there. You find the schedule, and the objective updates.
 Aggressive // Stealth: Left Corridor Clash
Difficulty: 
Don’t tussle with the patrolling guard along the right corridor, as you may be spotted during the takedown. Ignore this guard for the moment, and dash along the left corridor from pillar to pillar and round the corner. Head into the guard tower, passing through the tower room before climbing the stairwell.
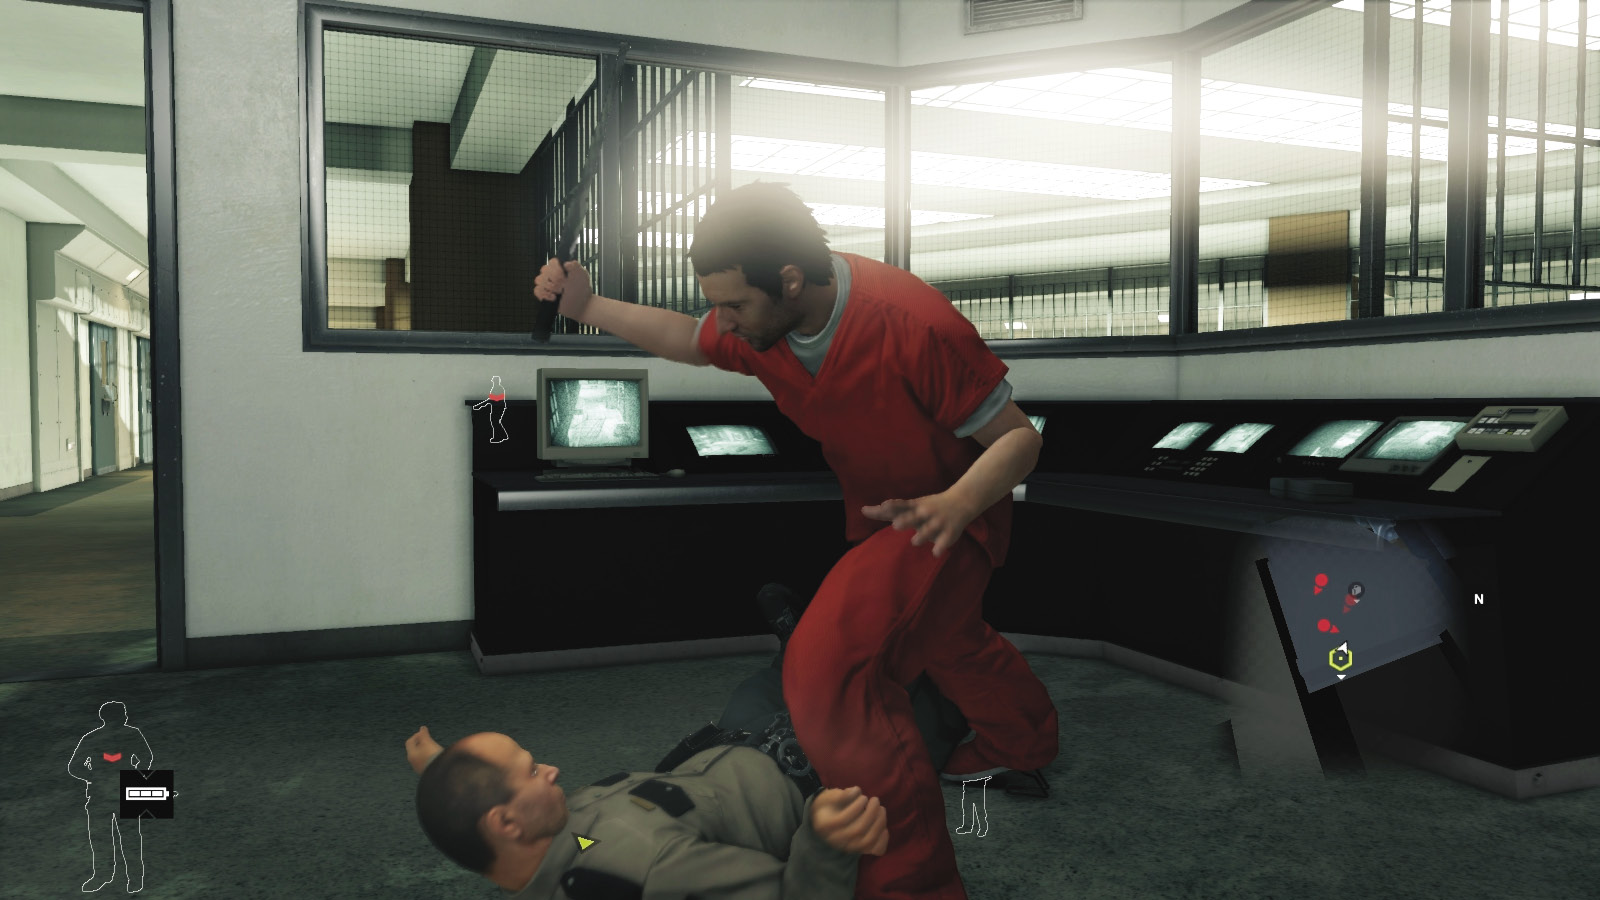
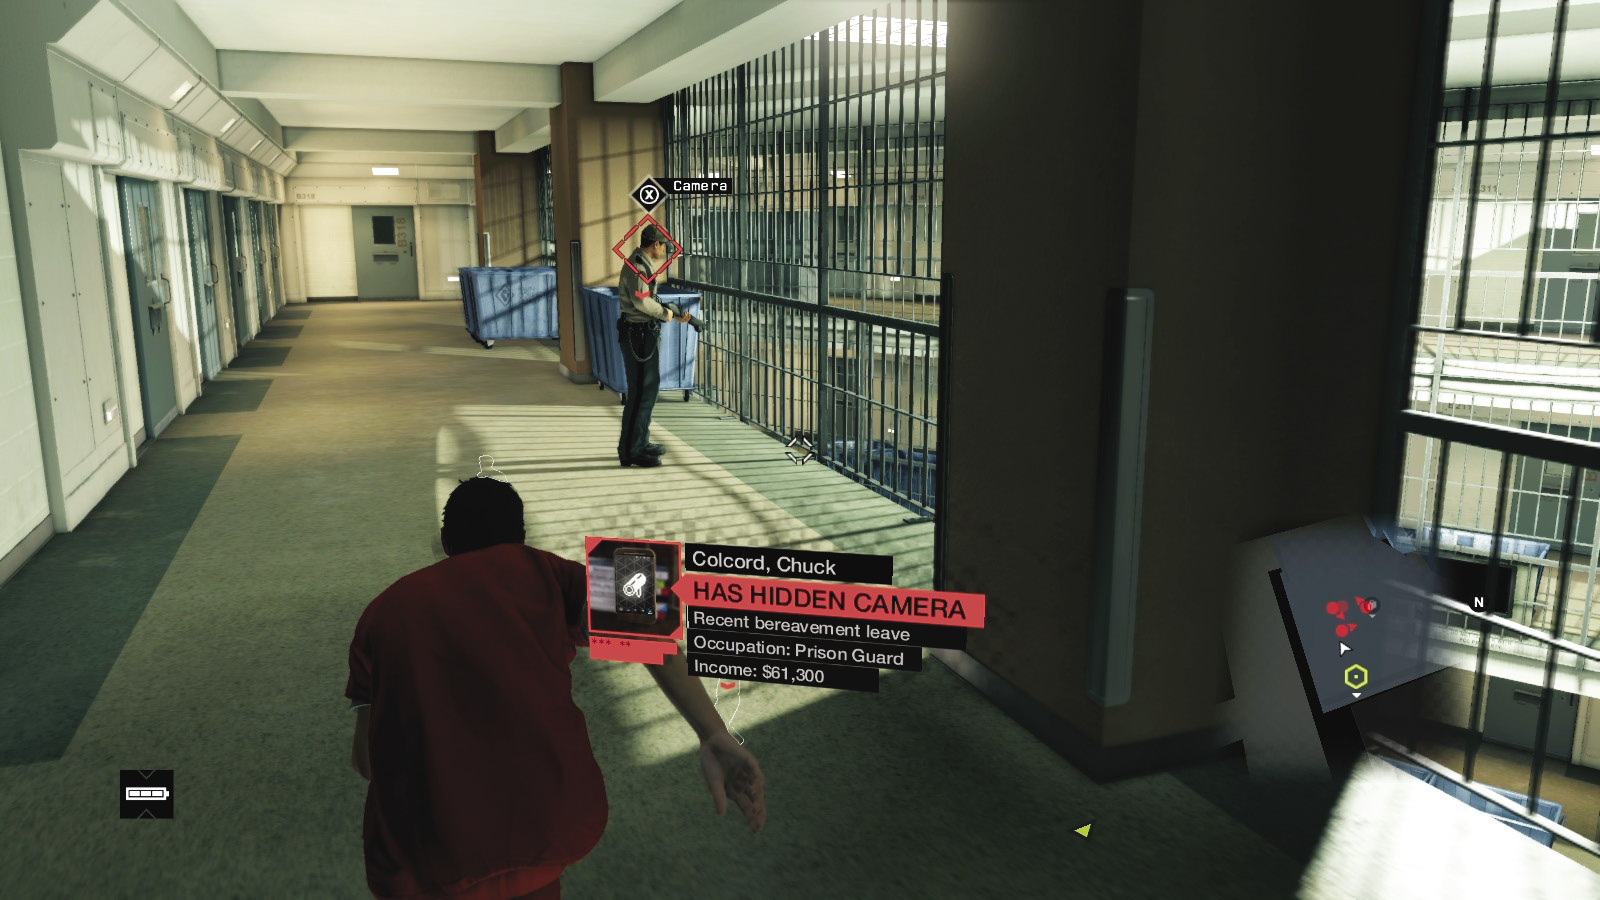
Head to the top floor, optionally unlocking the gate before entering the top guard tower room and bringing the waiting guard down with a melee strike. This can be a tricky takedown so wait for an opportune moment to strike. Check the room for crafting opportunities and an Audio Log, then wait by the door to the guard’s left, watching the patrol of a guard along the left balcony. When this guard turns and looks out through the bars, creep up and bring him down silently.

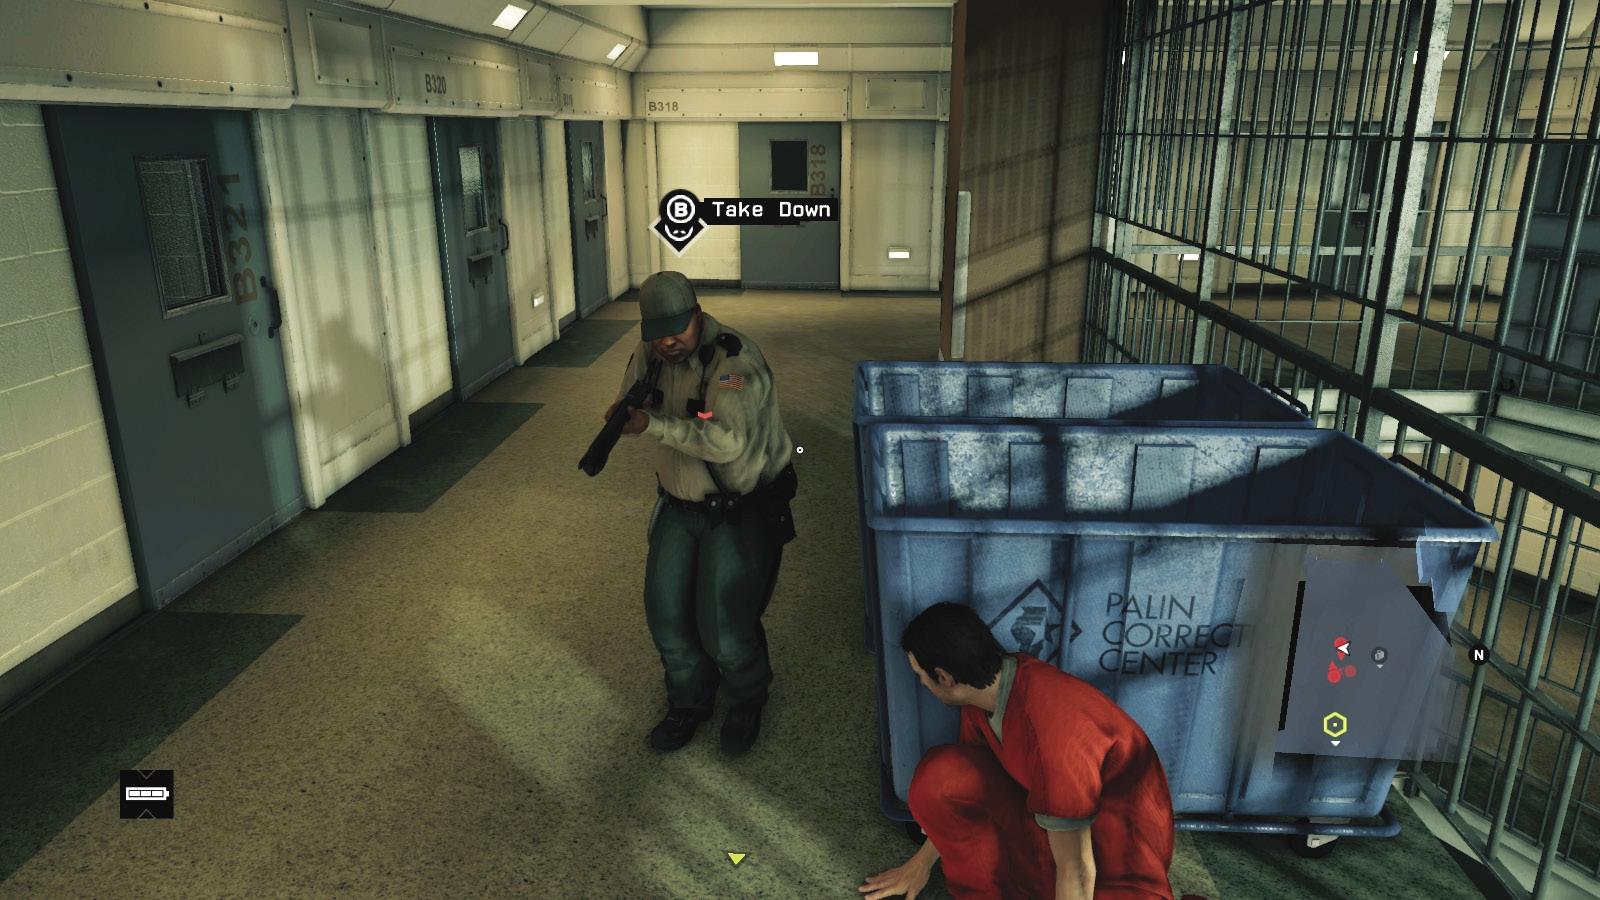
This causes another guard on the opposite balcony to become suspicious and head to investigate his downed comrade. Hide behind the laundry trolley, then leap out and melee-strike him. Take his shotgun, but don’t fire it or the mission fails. Now head back to the tower control room, and head down to the second (middle) floor.
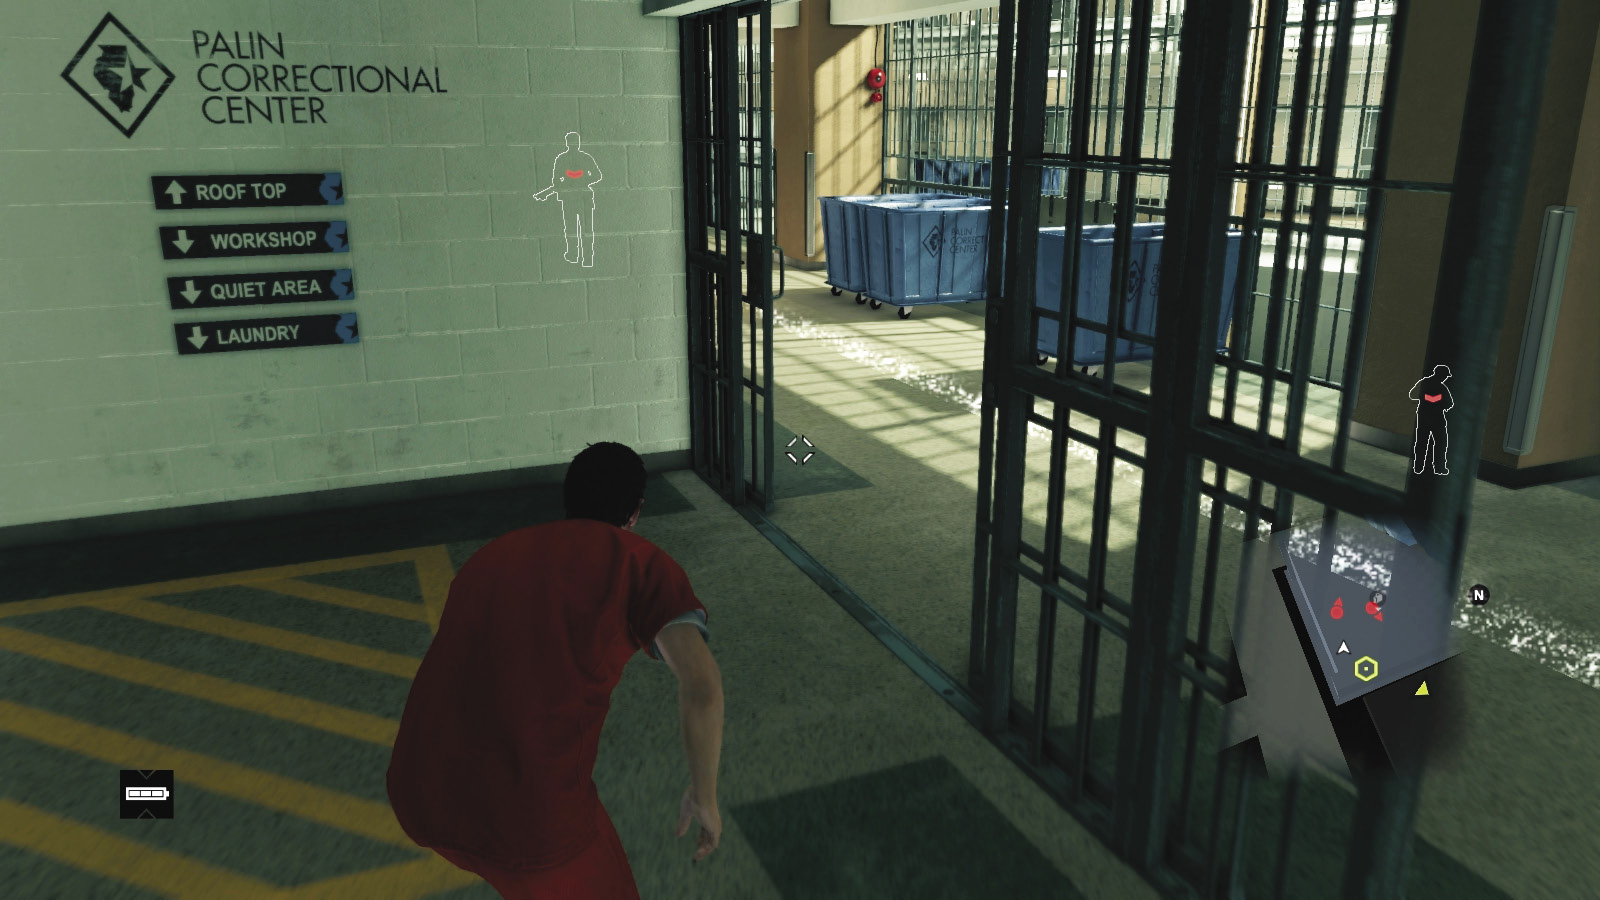
Wait by the two elevators near the stairwell, with the control room to your right. When the patrolling guard along the left side heads north, sneak up behind him and drop him. This only leaves the guard down on the ground floor recreation area with the tables. When he moves away from you, sneak up and drop him, clearing out the entire cell block without being seen!
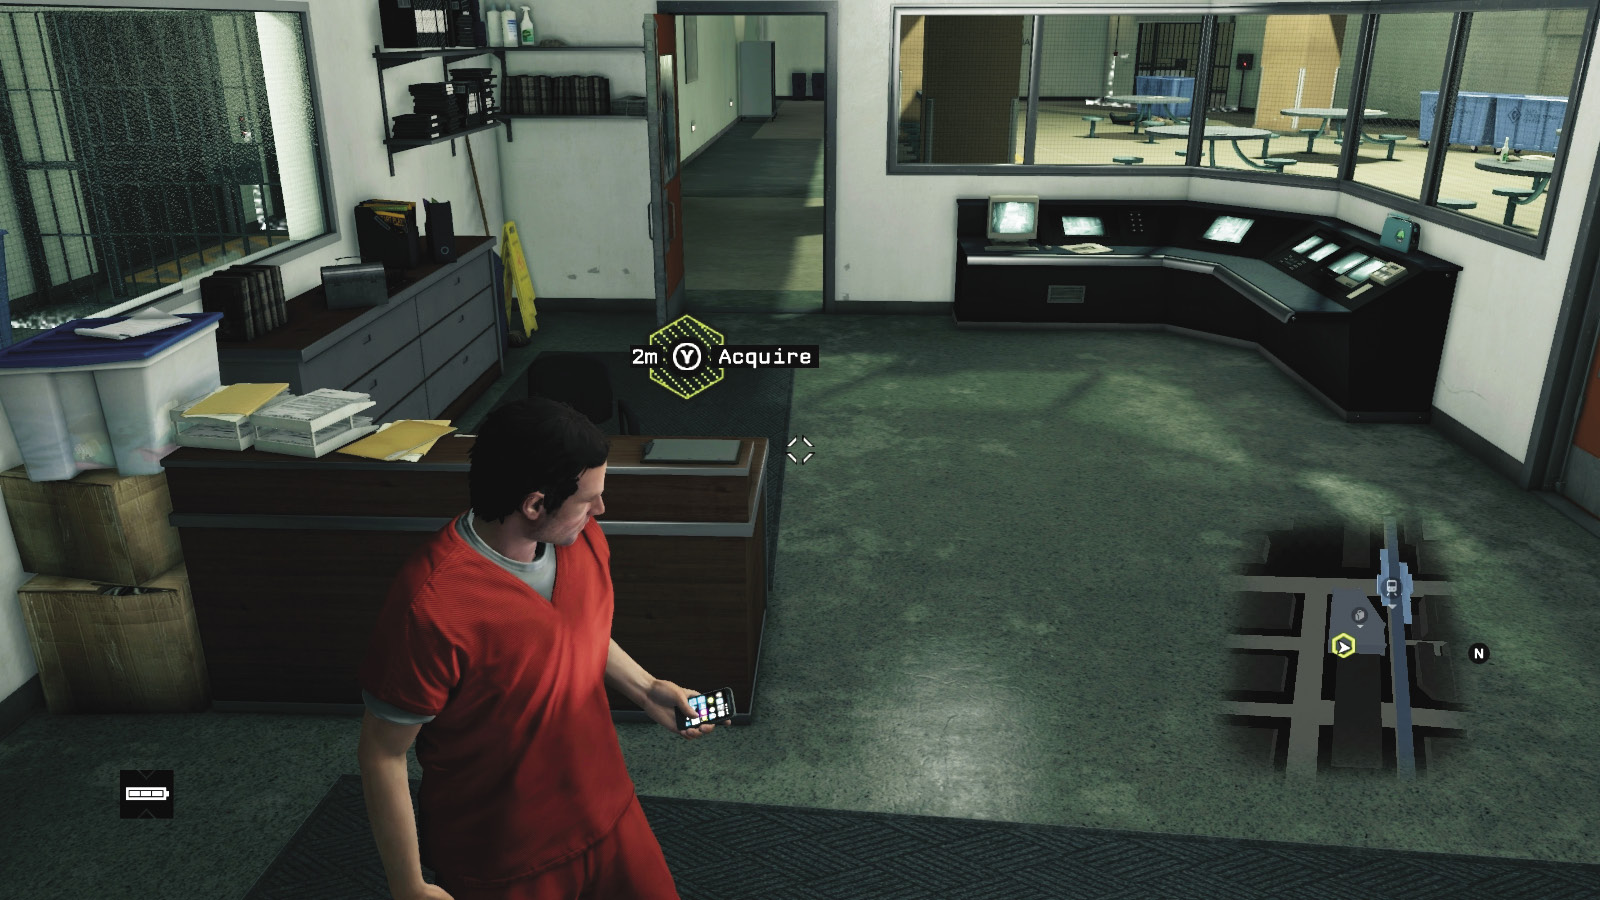
Once you’re inside the bottom floor control office, swipe the schedule atop the desk. You call Jordi and ask where the exercise yard is—the survivor is located there. You need to access the network to reach the yard’s cameras. For now, though, extricating yourself from Block B is imperative. Check the phone on an adjacent desk for another Audio Log before you go.

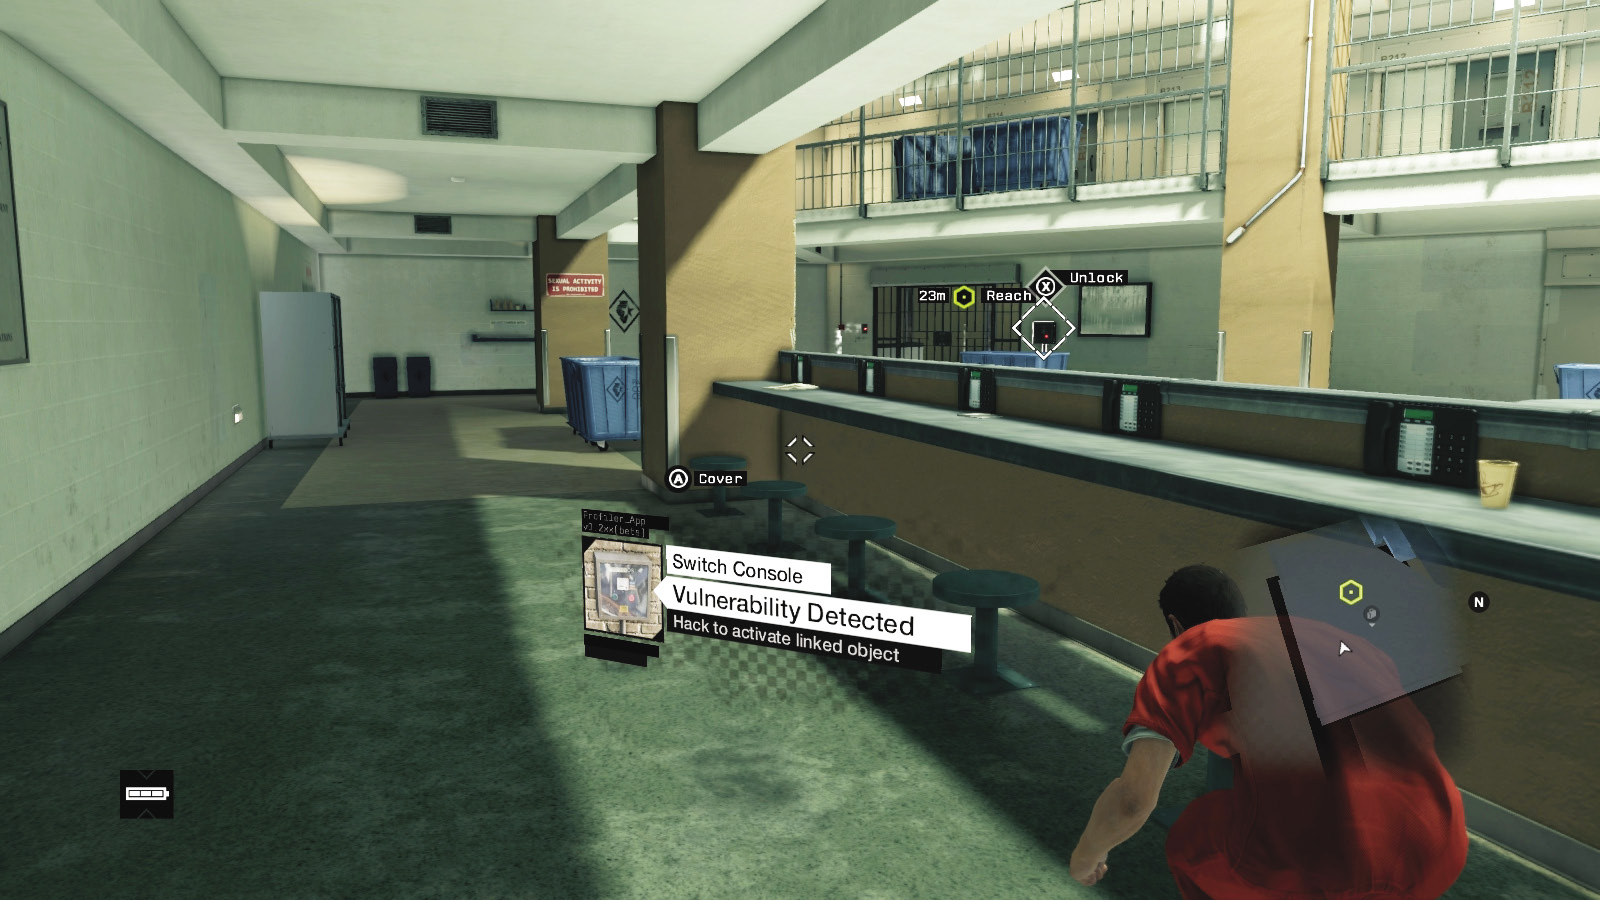
There’s one way out of here: through the control room door facing into the main hall. If the ground-floor guard is still active, drop to cover immediately so he doesn’t see you. Then creep past the stools to the next pillar and unlock the gate ahead and right of you (the waypoint). Check to see the direction the guard is facing. Wait a few moments after the gate opens, as the noise attracts the guard’s attention. Then creep through the gate without stopping (as you might be seen), and continue around the corner to the left.
9.3 THE YARDBIRD IS SUMMONED
 Location / The Loop // Palin Correctional Center
Overview
Completion Point: Elevator to basement
Dangers: Two guards (Veteran x2), each with a camera, carrying weapons. Melee strikes are okay, but gun takedowns fail the mission.
|
|
 Find the stadium survivor: Raul Lionzo
 Reach basement
 Infiltration
 Data Hack
 Melee Force Likely
Difficulty: 
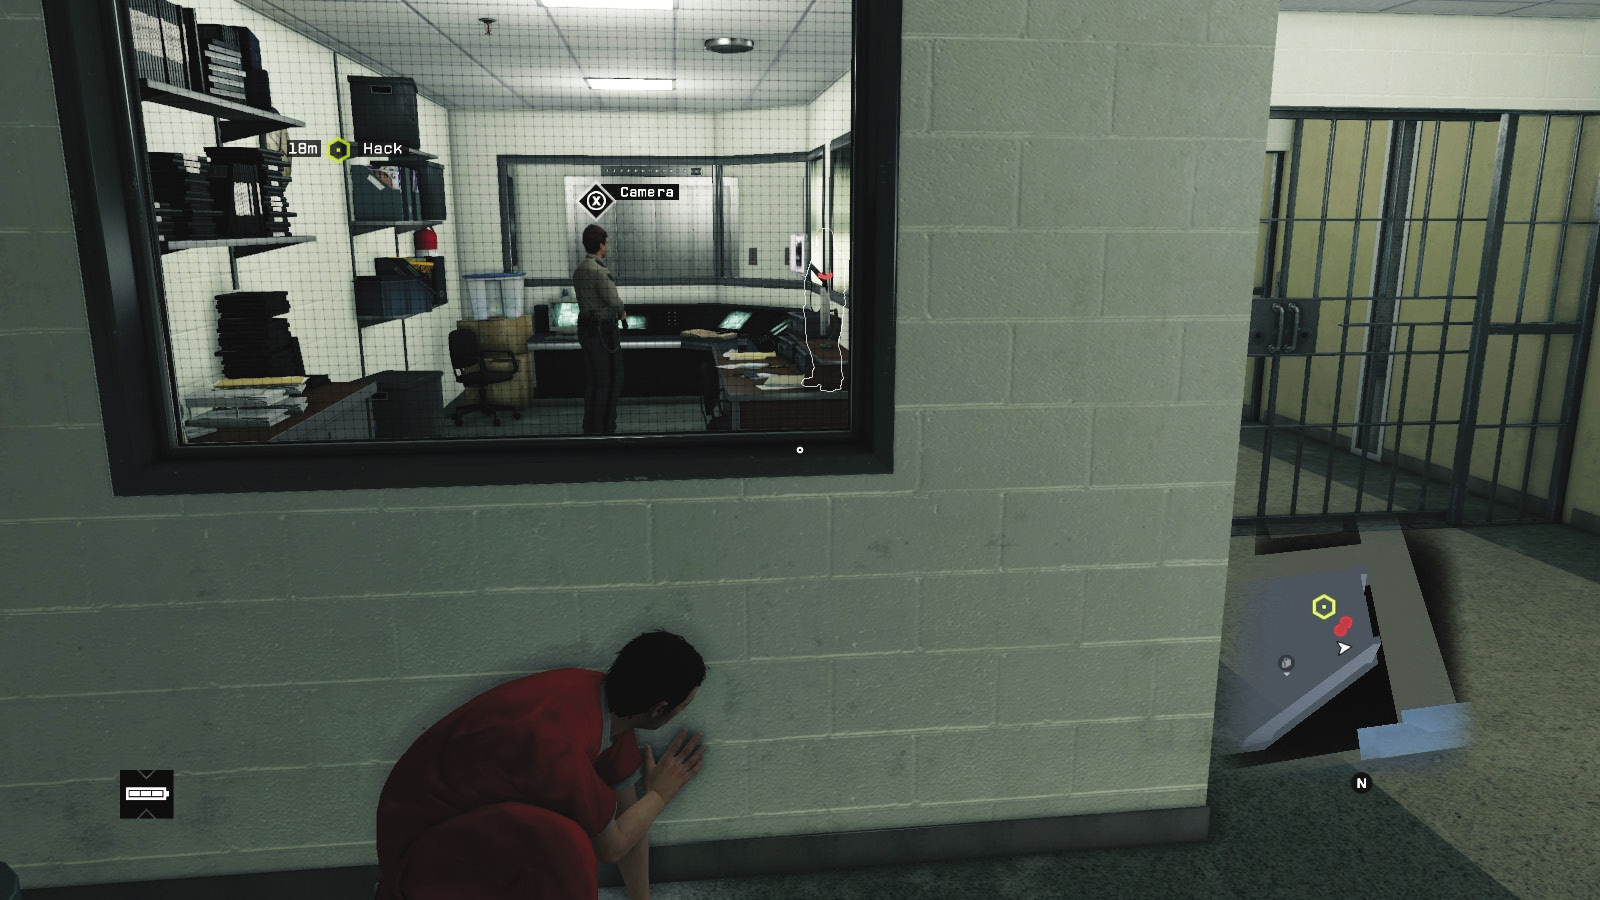
Crouch under the window of the security area and note the following areas of interest:
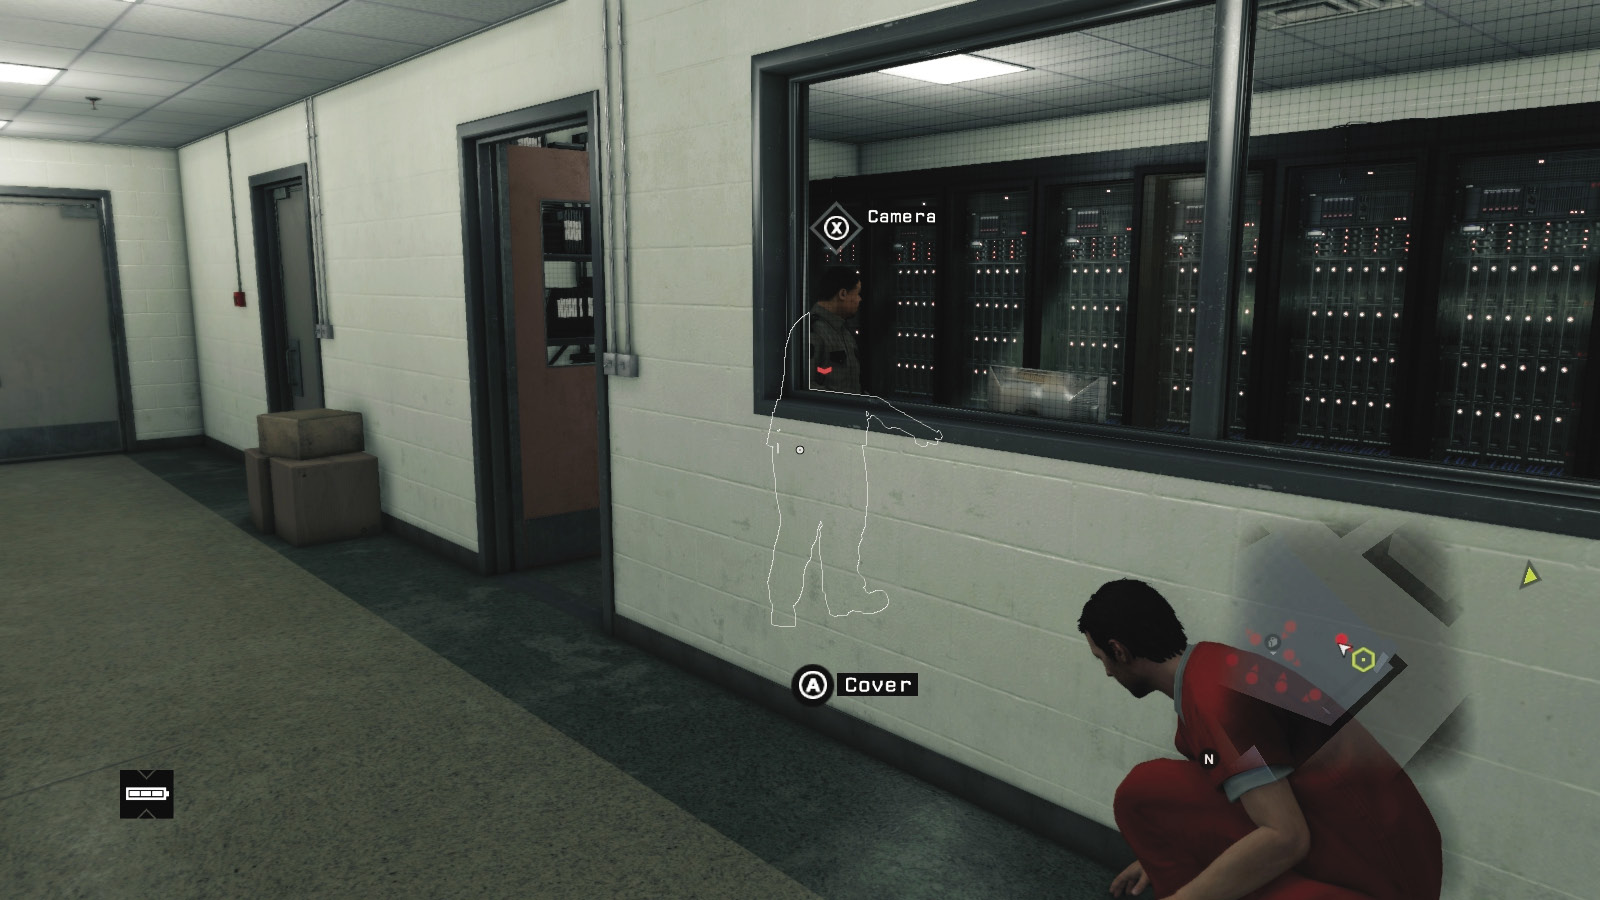
The security room with a guard inside wearing a camera. He’s armed with a shotgun, and there may be a crafting item to take, either in the security room or the server room.
The guard patrolling the far corridor to the server room, wearing a camera.
The server room (ahead and left) and elevators (ahead).
The two locked security gates.
After the discussion by the two guards, one inside the security office, quickly access the far guard’s camera. If he’s already started his patrol, simply wait for him to reappear, as rushing this gets you spotted and captured. At this point, there’s really only one way to complete this safely:
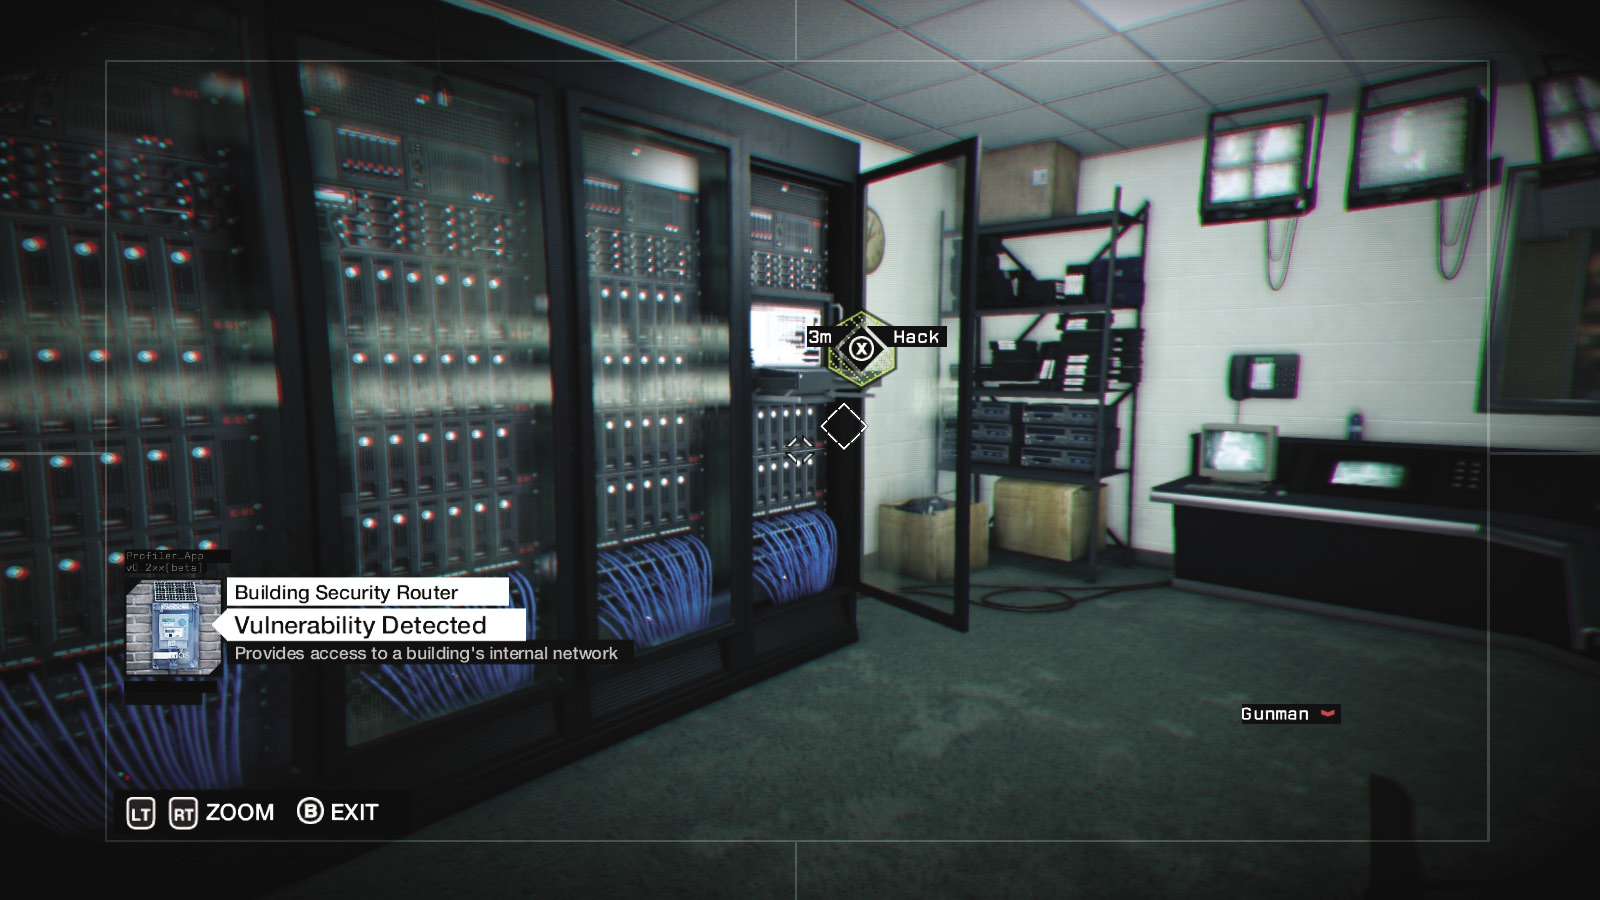
Access the security guard’s camera, then pan it until you spot the server guard. Access his camera, then remotely hack the server as the guard patrols and unlock the far security door; both hacking points are in the server room. Concentrate on the server giving you access to the yard’s cameras, as you can unlock the gate later. Or do both at once. The server requires you solve a hotspot:
Solution: Hotspot 1
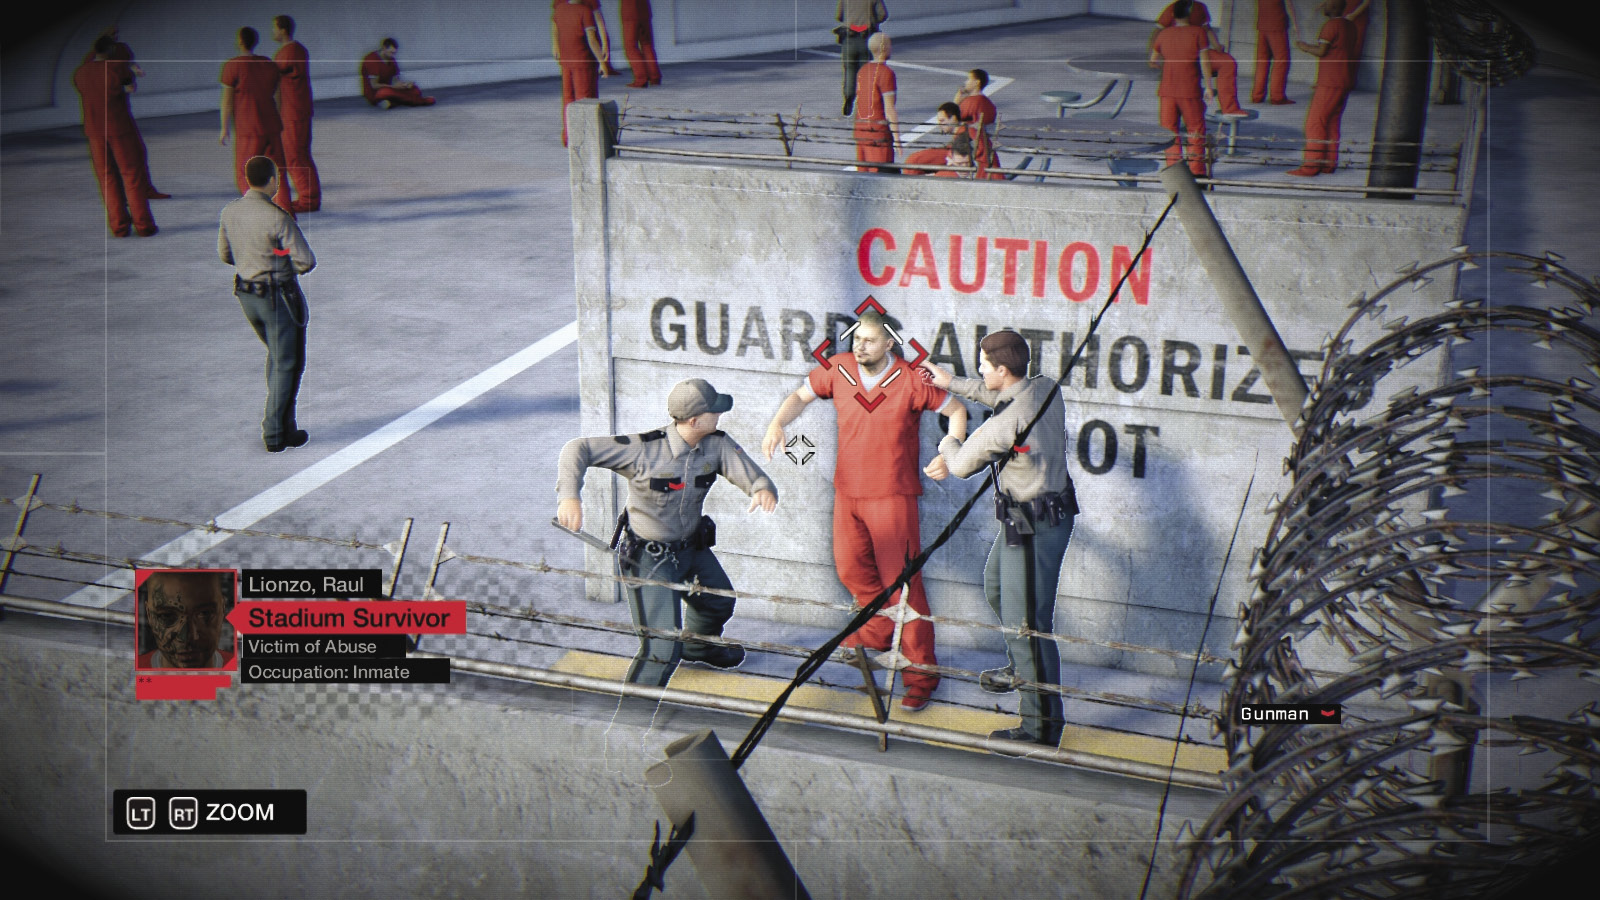
Your view moves to the exterior yard, filled with orange-jump-suited prisoners and numerous guards. Cycle through the cameras here, and listen for a tense conversation between a prisoner and two guards. Search this trio along the concrete dividing walls, near a guard with a camera. Tag the survivor, Raul Lionzo, as some crooked guards haul him out of the yard. You may feel better about taking down any prisoner officers from this point.
Back at the security area where you’re hiding, you check in with Jordi, who reckons the survivor has been dragged to the prison’s basement. Proceed to the elevator bank, which is now available for hacking. If you unlocked them in the server room, the security gates are both open. Remember to remove the second guard threat if you didn’t already. There are two ways to descend:
 Passive: Silence at the Security Gate
Difficulty: 
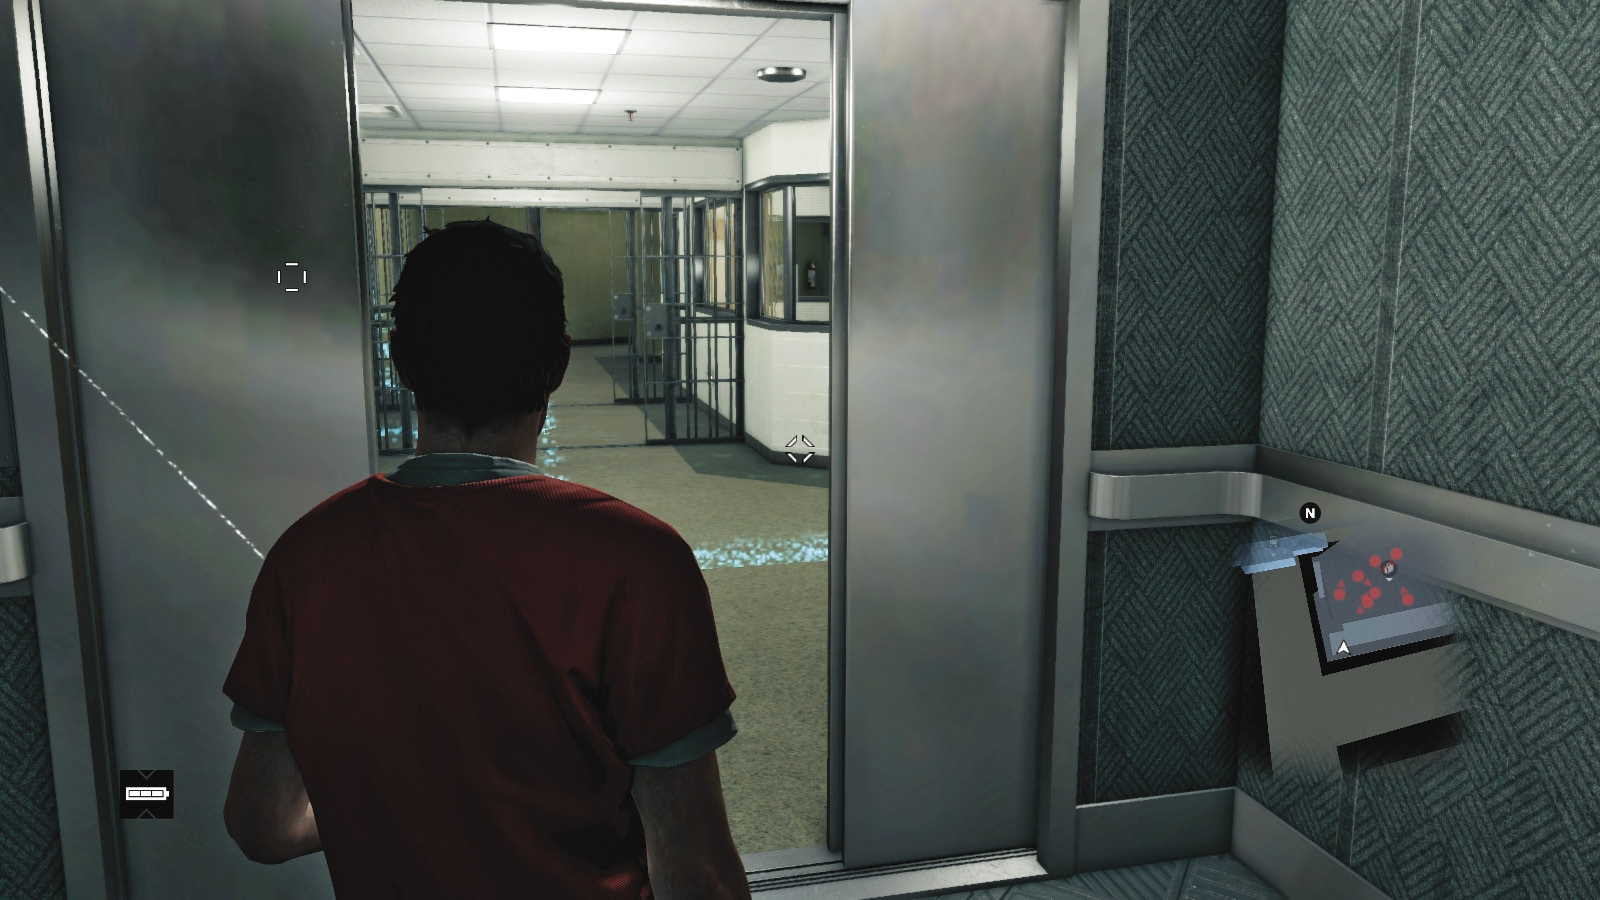
If you have patience, no interest in guns, and want to risk being captured, you can summon the elevator and remain in hiding as one or both of the guards check it out. Once they return to their patrol, sneak through the open security gates to the corner of the elevator area and dart inside. This assumes you’ve already unlocked the gates. If you didn’t, you’ll need to enter the security office, using the guards’ cameras and hack via the server room. If you dealt with the guards already, simply call the elevator and descend to the basement.
 Aggressive // Stealth: Two Guards Receive a Throttling Fate
 Difficulty:
After the security gates are open, you can wait for the guard in the security office to doze off or move away from the door; when he does, creep in and melee-strike, providing the server guard isn’t watching. Gather the guard’s shotgun and any items you wish. Then creep through the security gate, and either wait at the corner near the elevator or follow the second guard into the server room and melee-strike him.
When either plan is successful, summon and step into the elevator, then hack the button and ride it down to the basement.
9.4 CRUEL AND UNUSUAL PUNISHMENT
 Location / The Loop // Palin Correctional Center
|
|
 Take out the corrupt guards
 Confront the survivor
 Infiltration
 Data Hack
 Lethal Force Likely
 Melee Force Likely
Difficulty: 
Overview
Completion Point: Prison exit, through the laundry room.
Dangers: Seven prison guards (Gunmen x7), armed with shotguns and sidearms.
Reinforcements: Enforcer, two prison guards (Gunmen x2) from the laundry elevator and side door.Survivor is also hostile. Any takedown is acceptable.
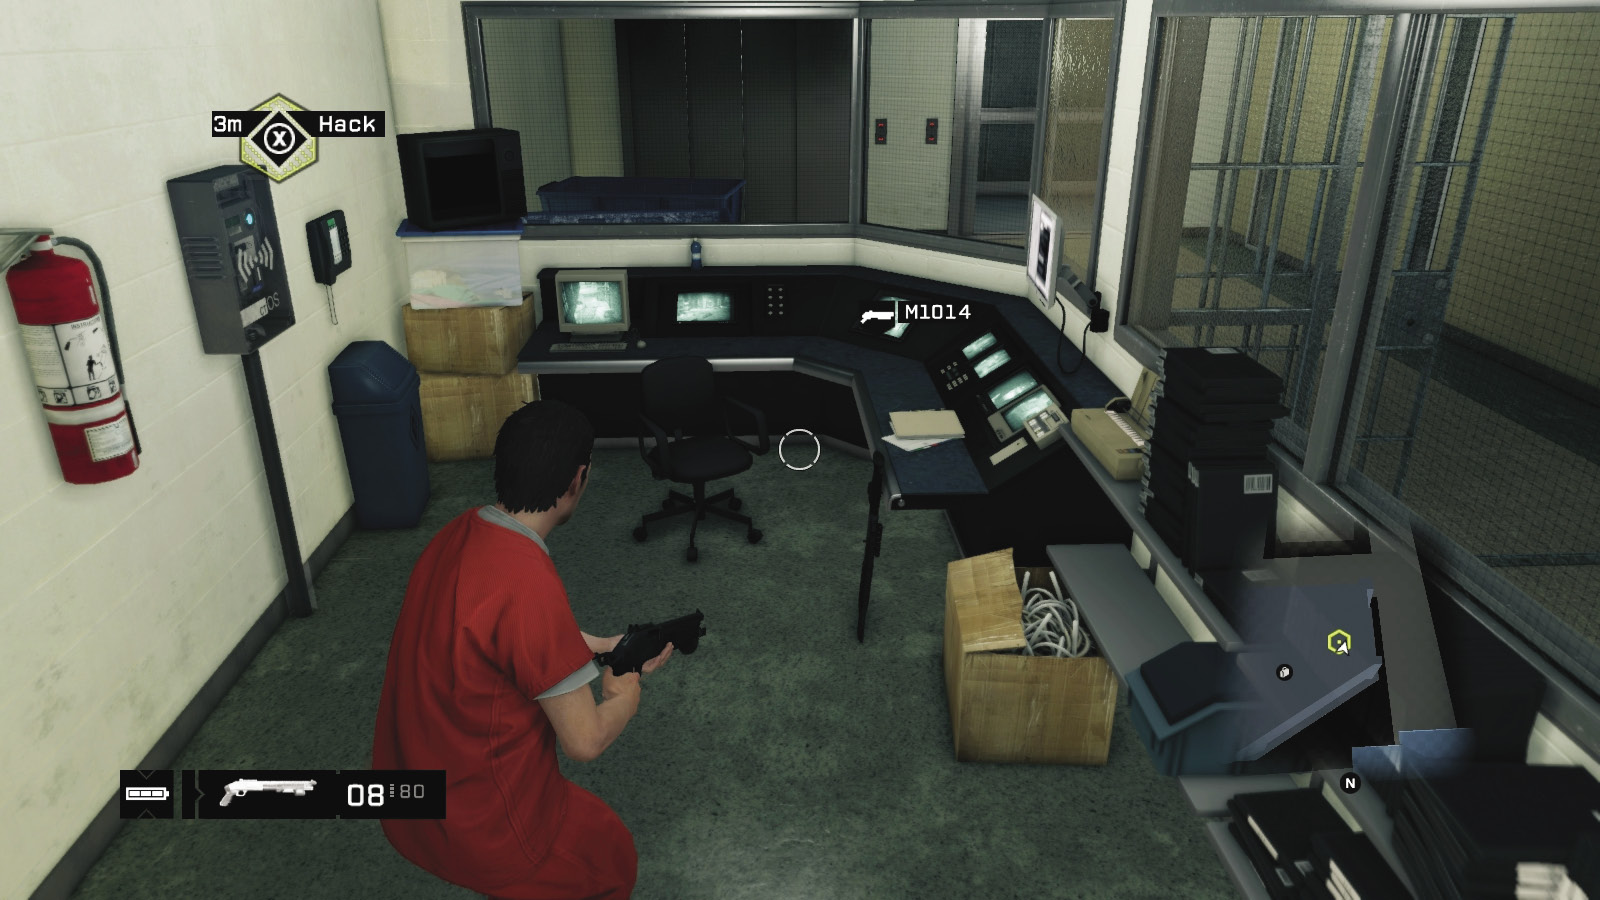
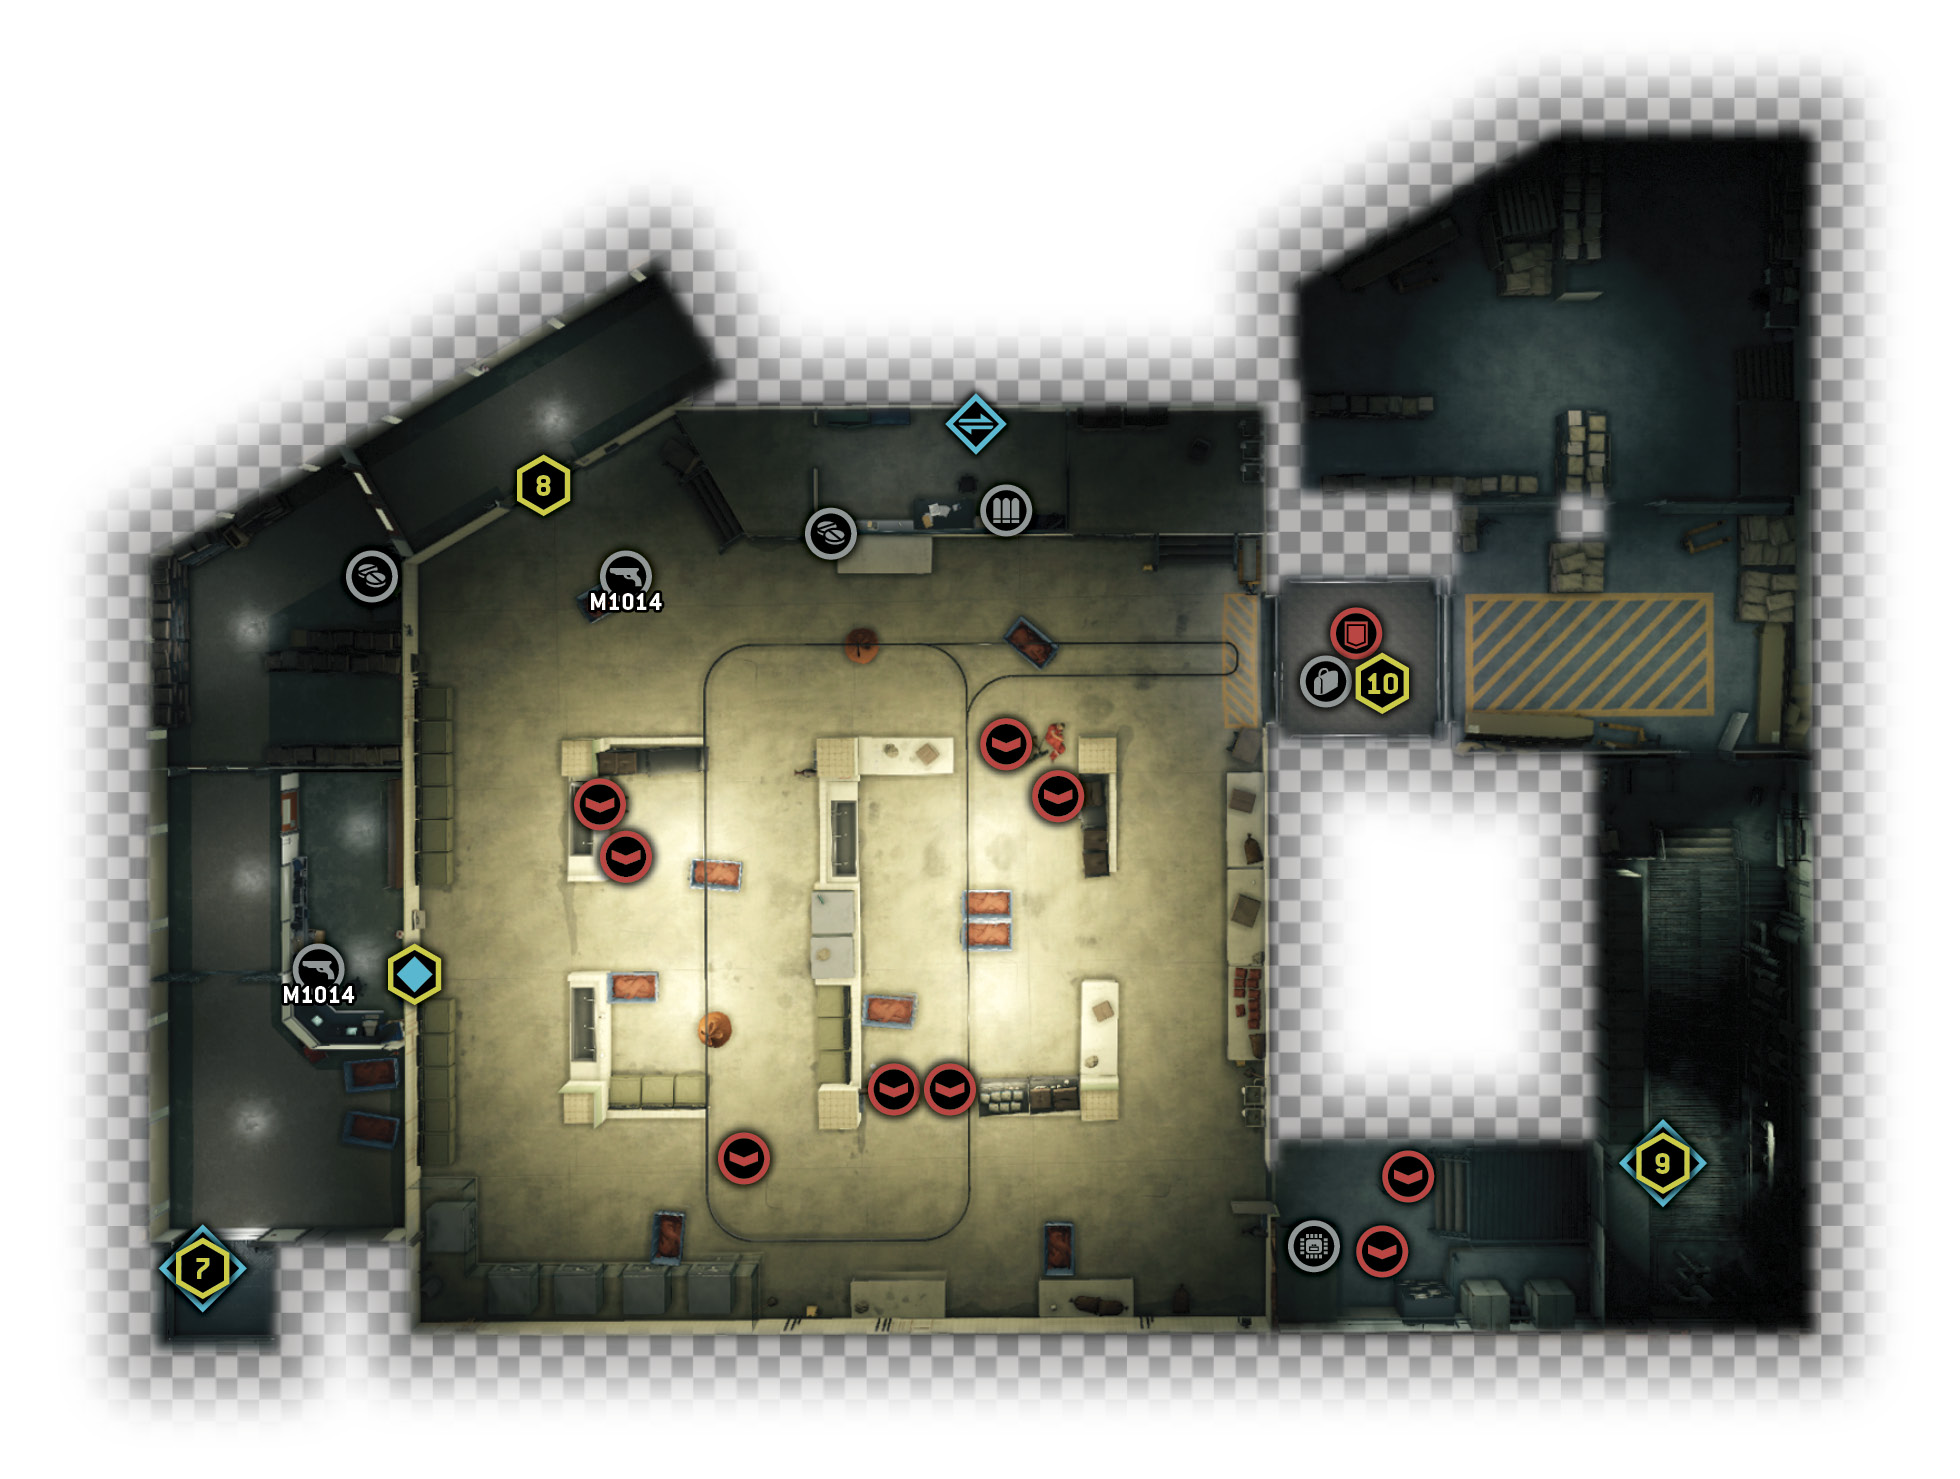
The security gate is open and the place is empty. It seems most of the guards in this facility are corrupt, and they’ve dragged your quarry to the laundry room for “questioning.” Head into the office and gather the weapon there; it’s usually a new type of shotgun, which you’ll definitely need. Hack the switch in this office to gain access to the cameras inside the laundry room.
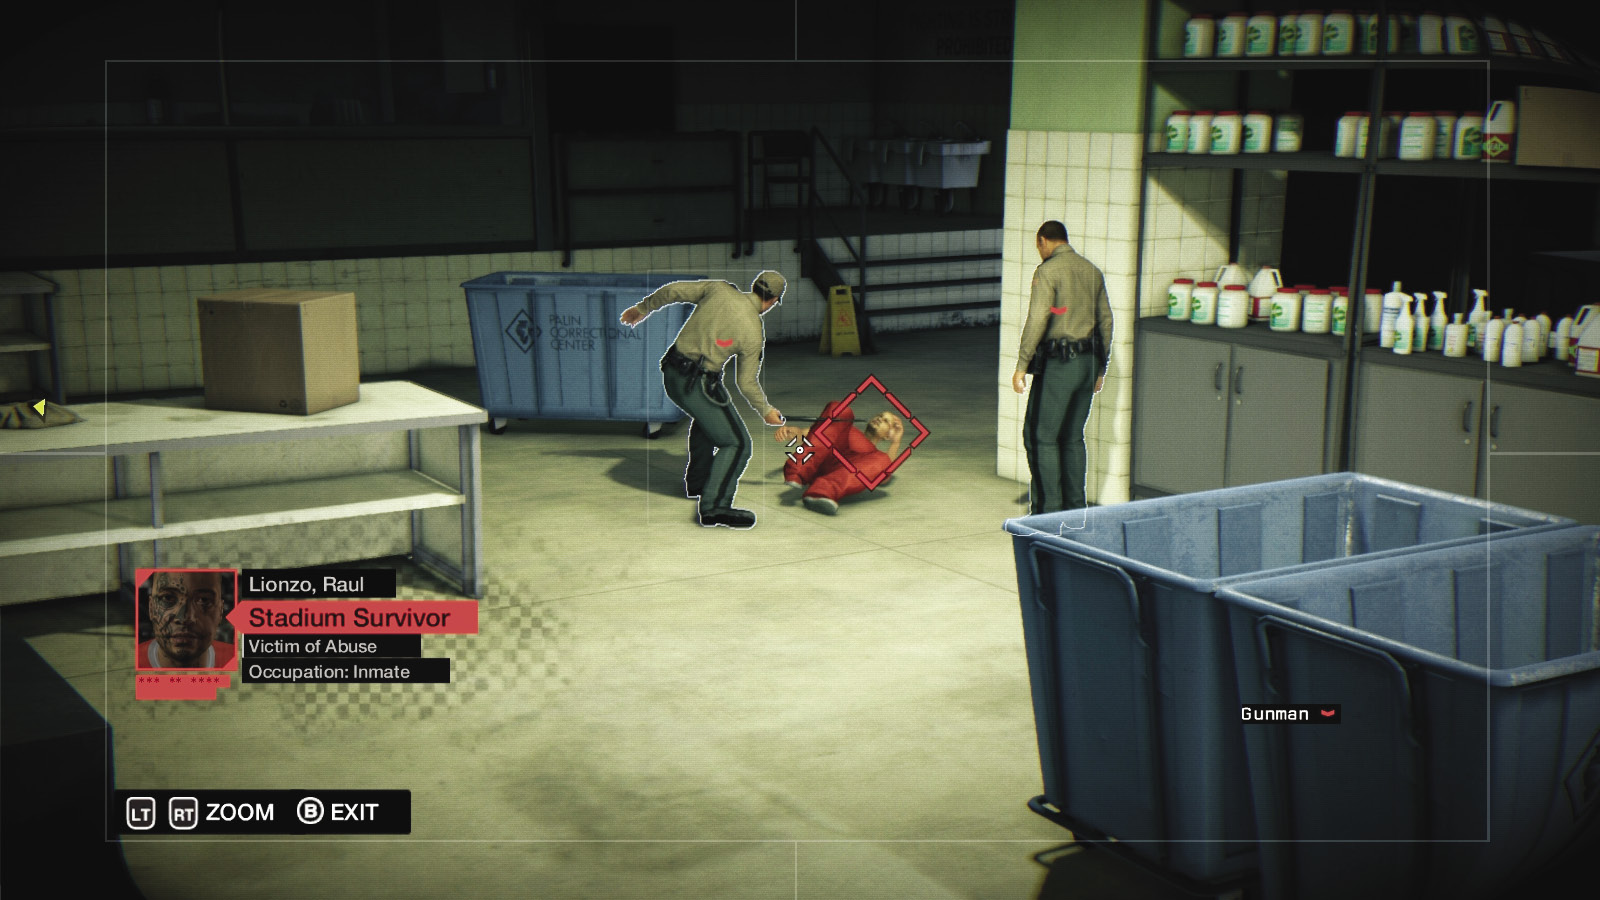
Access the cameras across the laundry room as two of the guards beat some information out of your suspect. There’s little time to waste; access the camera on the far side of the room, and zoom in on the door switch, unlocking it and allowing access into the laundry room. Before you attempt to storm the laundry room, “tag” all the guards via the security cameras within the laundry room. Then check the storage room before the laundry room for any crafting items.
General PreplanningPresupposition: This area requires minimal sneaking and maximum combat, as well as tactics you’ve already learned in earlier missions. No Cameras: You have no need for cameras, as you should have used them to mark all your opponents; however, keep your smartphone on so you can access any regulators to blow pipes up. Come for Chaos: Combat here almost always degenerates into slightly panicked shotgun blasts from close range. So keep an eye on your ammo (reloading during a gunfight takes a lot longer with this armament) and another on the following combat options. Stay for the Enforcer: This is your first opportunity during the main missions to face down the most frightening enemy of all—the Enforcer! If you’re not prepared, this could be your last stand! |
 Aggressive // Violence: Cleaning the Laundry Room of Corruption
 Difficulty:
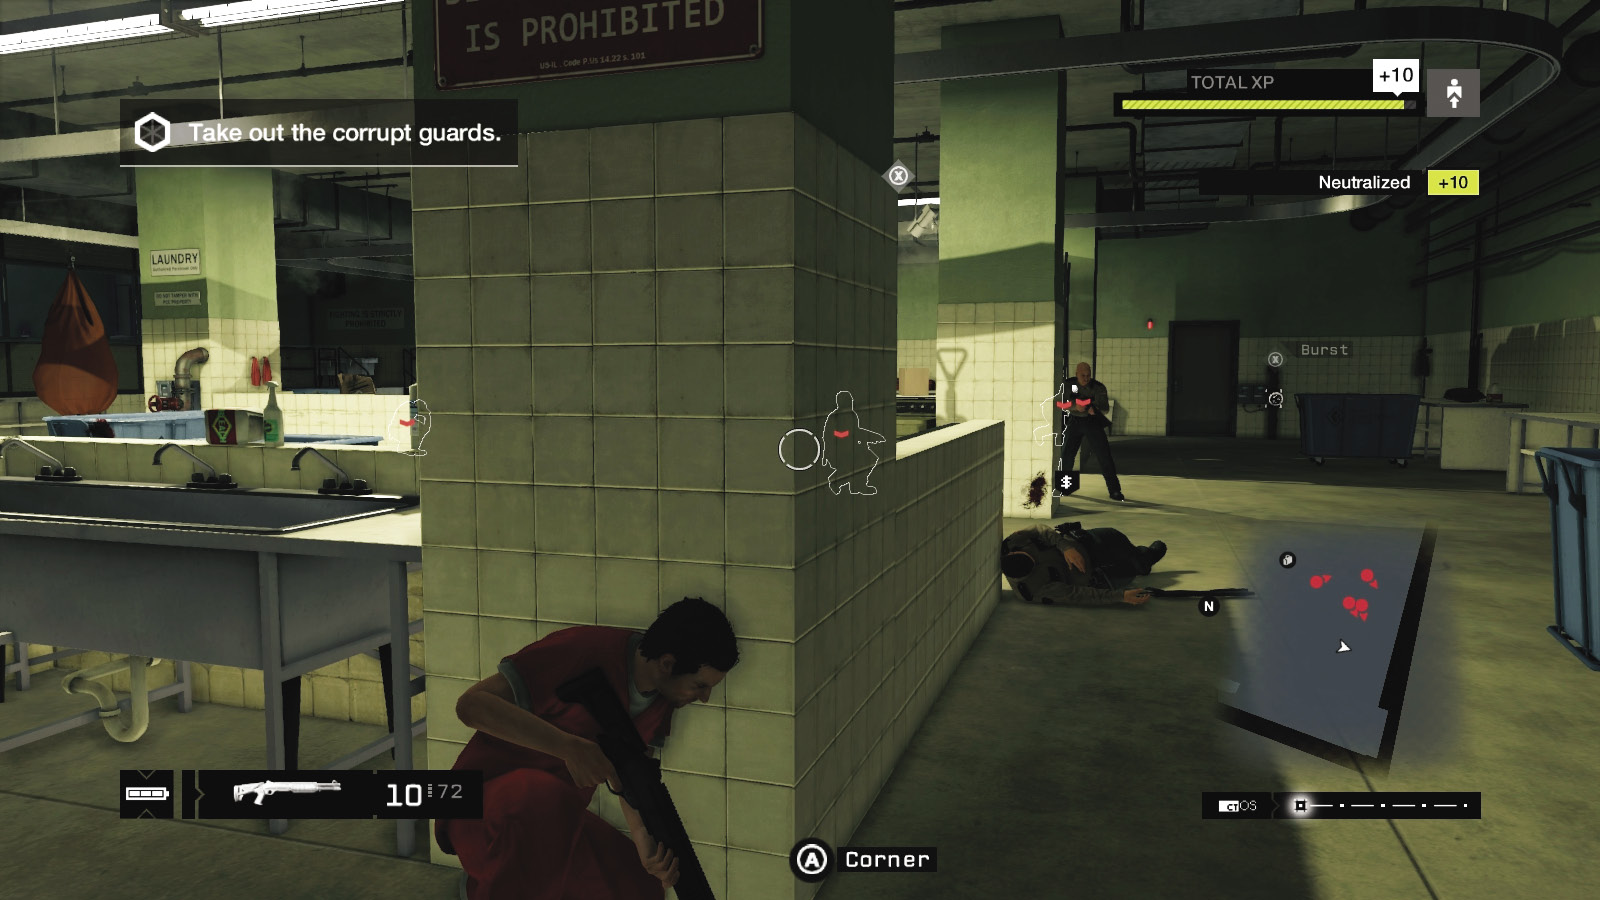
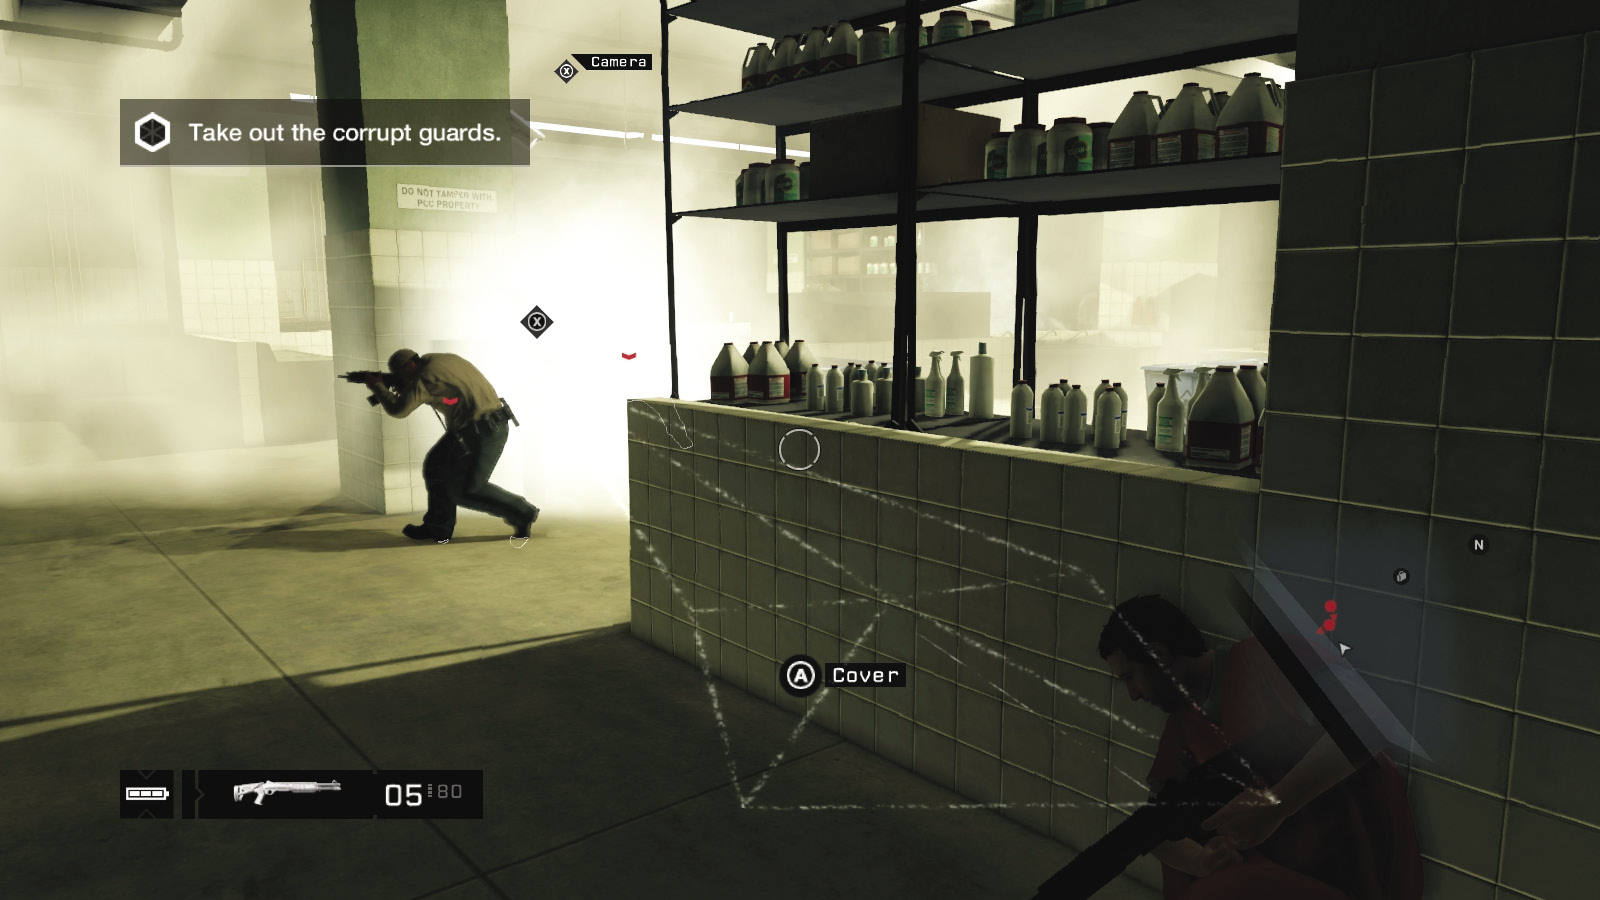
Why not wade in with your shotgun blasting? From the doors, you can scoot into a raised office area on the room’s left side (which you can be hemmed in by and attacked from either side as well as through the windows, so don’t camp here), over to a linen cart (good initially, but too exposed for main defenses), or to the low wall on the room’s right. The latter is advisable, as you can quickly reach the corners and sweep around the perimeter walls, offing foes in a violent ballet of shotgun blasting.
The route through this room depends on the imminent threats; be sure you’ve marked all foes using the cameras before you arrived here, and watch the side door and laundry elevator for the dreaded Enforcer reinforcement. Venturing into the middle of the room isn’t wise, as you can be attacked from more directions, so stay near the low walls, pillars, and shelving. Don’t go toward the elevator area until you down most foes so you don’t have to deal with too many enemies at once.
 Aggressive // Violence: Causing Minimal Disruption
 Difficulty:
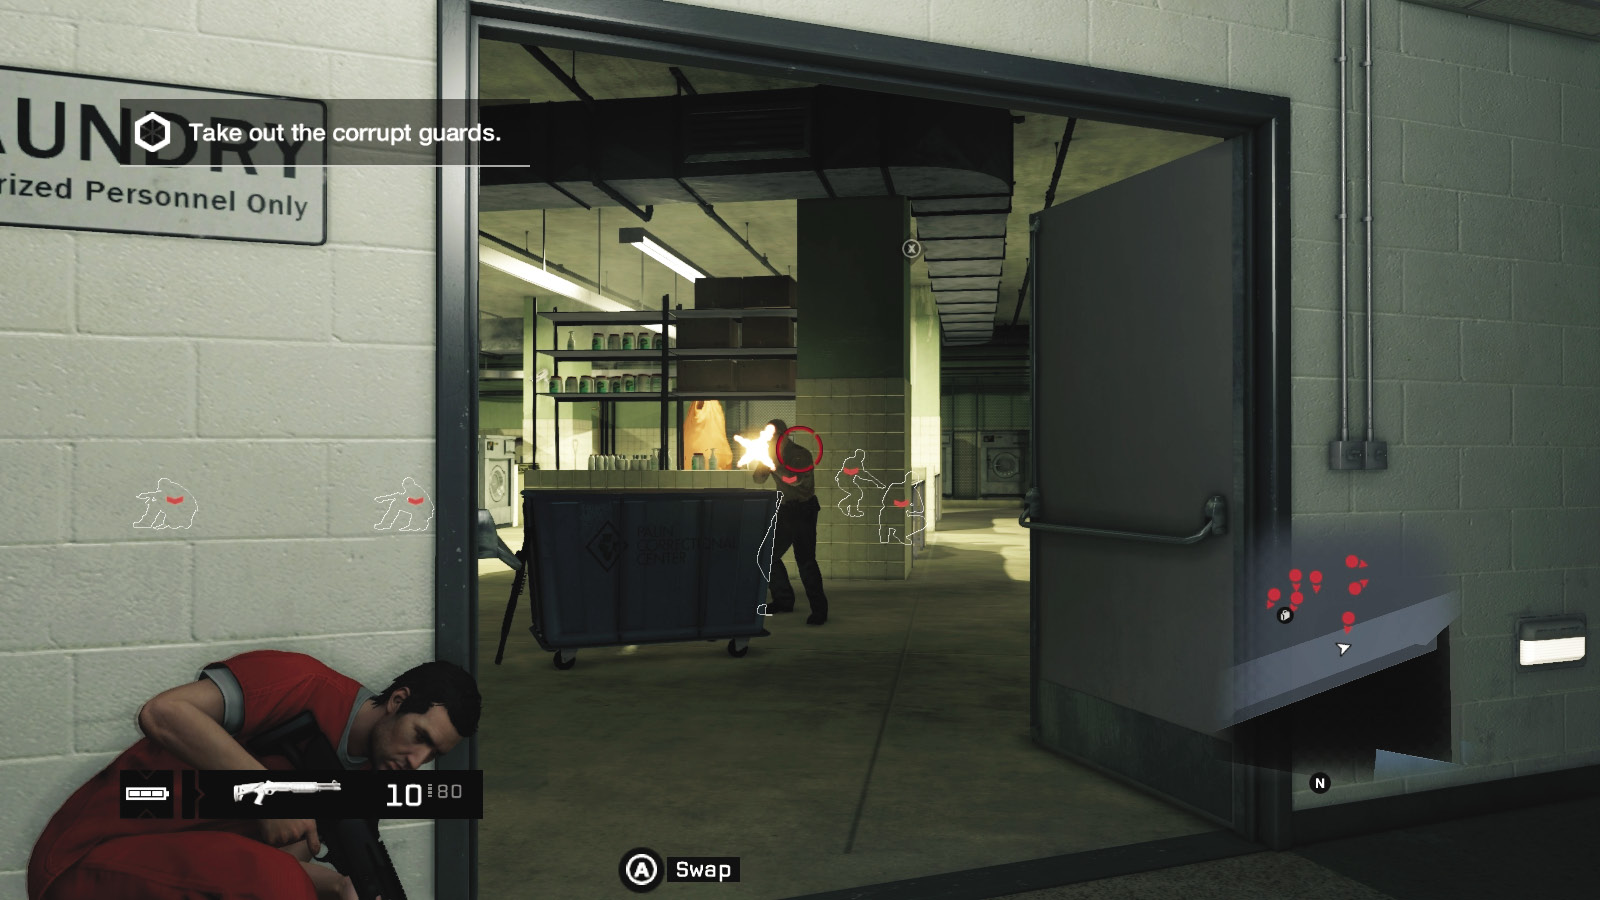
You don’t have to risk dying by wanton acts of stupidity; you can simply open the laundry room doors and wait behind them, tagging two or three foes as they scurry to different cover options or up into the raised office area. Staying at the entrance, being patient, and moving between here and the initial cover options detailed previously (the edge of the office, the linen cart, or the right wall) and back again means you have more control over this part of the room and can retreat if you’re outgunned. Just watch those flapping doors obscuring your aim!
 Aggressive // Smart: A Pressurized Eruption
Difficulty: 
To further reduce the threat level of your enemies, detonate the regulators for two of the pipes on the wall and the junction boxes. The best time to do this is during the camera watching earlier, as two foes are standing close to a pipe. When combat occurs, it’s usually easier to simply blast them with your gun instead of waiting to line up a foe near some scenery. Plus, the escaping steam means you can’t use that immediate area for cover. It’s important not to blow up the junction box inside the raised office area, as this is the easiest way to deal with the first reinforcement threat.
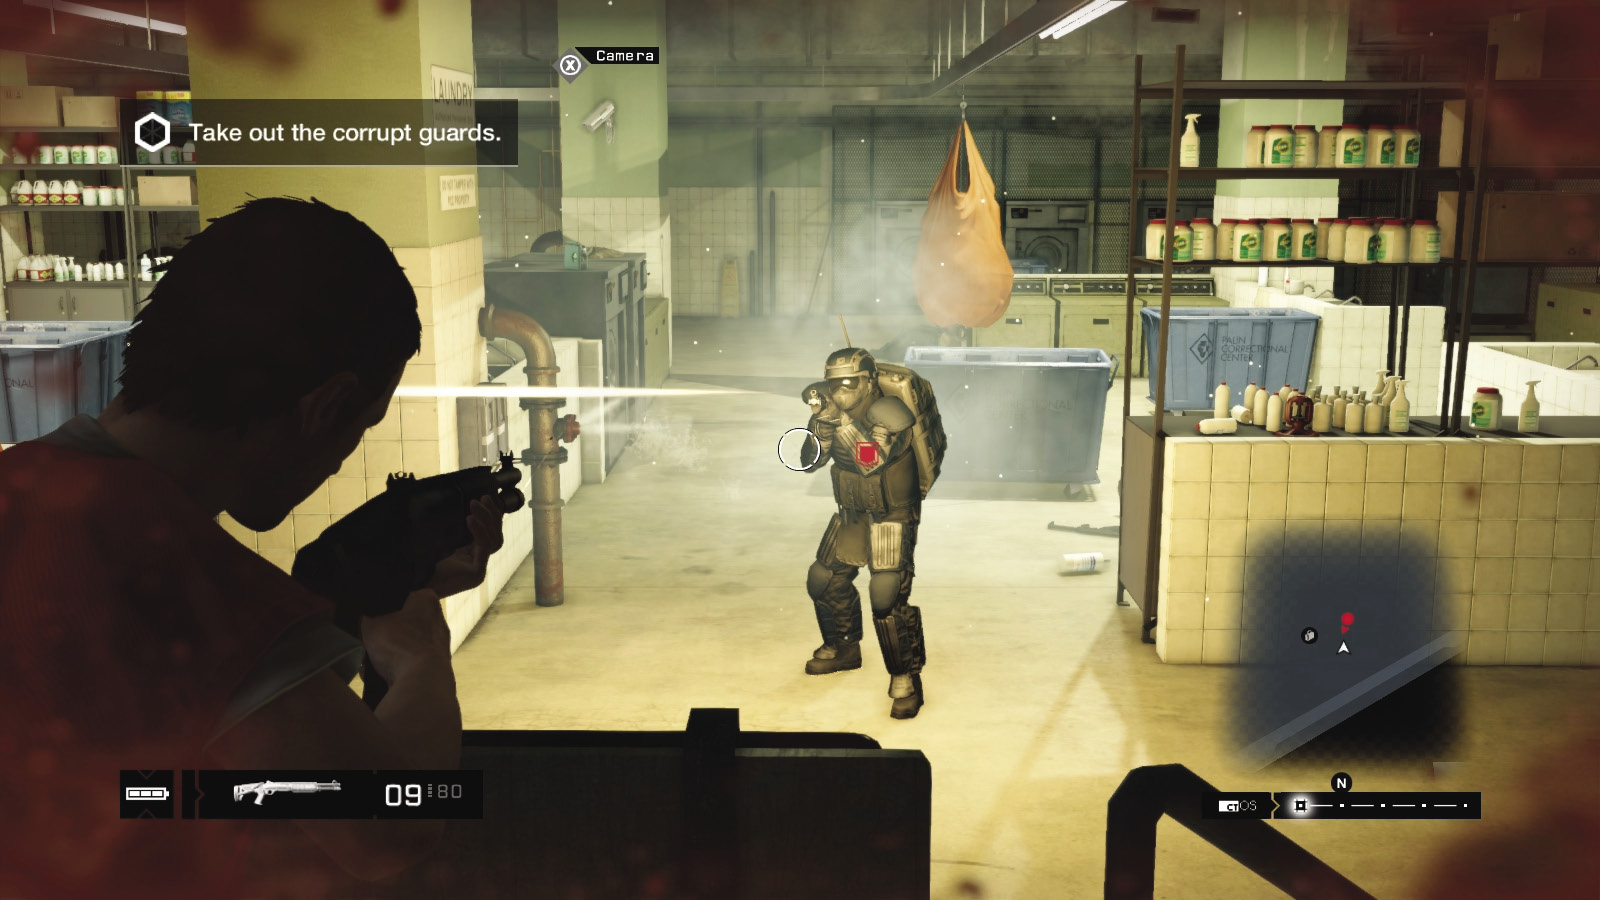
It’s wise to leave one guard alive just before the first wave of combat finishes; this way you can craft any items from the components you’ve picked up throughout the prison and reload at the ammo box inside the raised office area. Shoot the final guard and then prepare for a nasty fight with a fully armored, shotgun-wielding Enforcer that appears from the laundry elevator in the room’s northeast corner. There are numerous ways to defeat him, some much more difficult than others:
 Aggressive // Violence: An Enforcer Interruption: Gunplay
Difficulty: 
Bring out your shotgun, then a machine gun dropped by a guard, and lay into the foe with everything you’ve got. This guy can take upwards of four shotgun blasts to the head without slowing down! Of course, you can’t slow down, so stay mobile and in cover. After around upwards of four continuous blasts (and visits to the ammo box inside the raised office), the Enforcer finally yields. Bursting pipes during this fight also helps whittle down the Enforcer’s armor. But this isn’t the preferred way to remove this threat!
 Aggressive // Smart: An Enforcer Interruption: Detonations
 Difficulty:
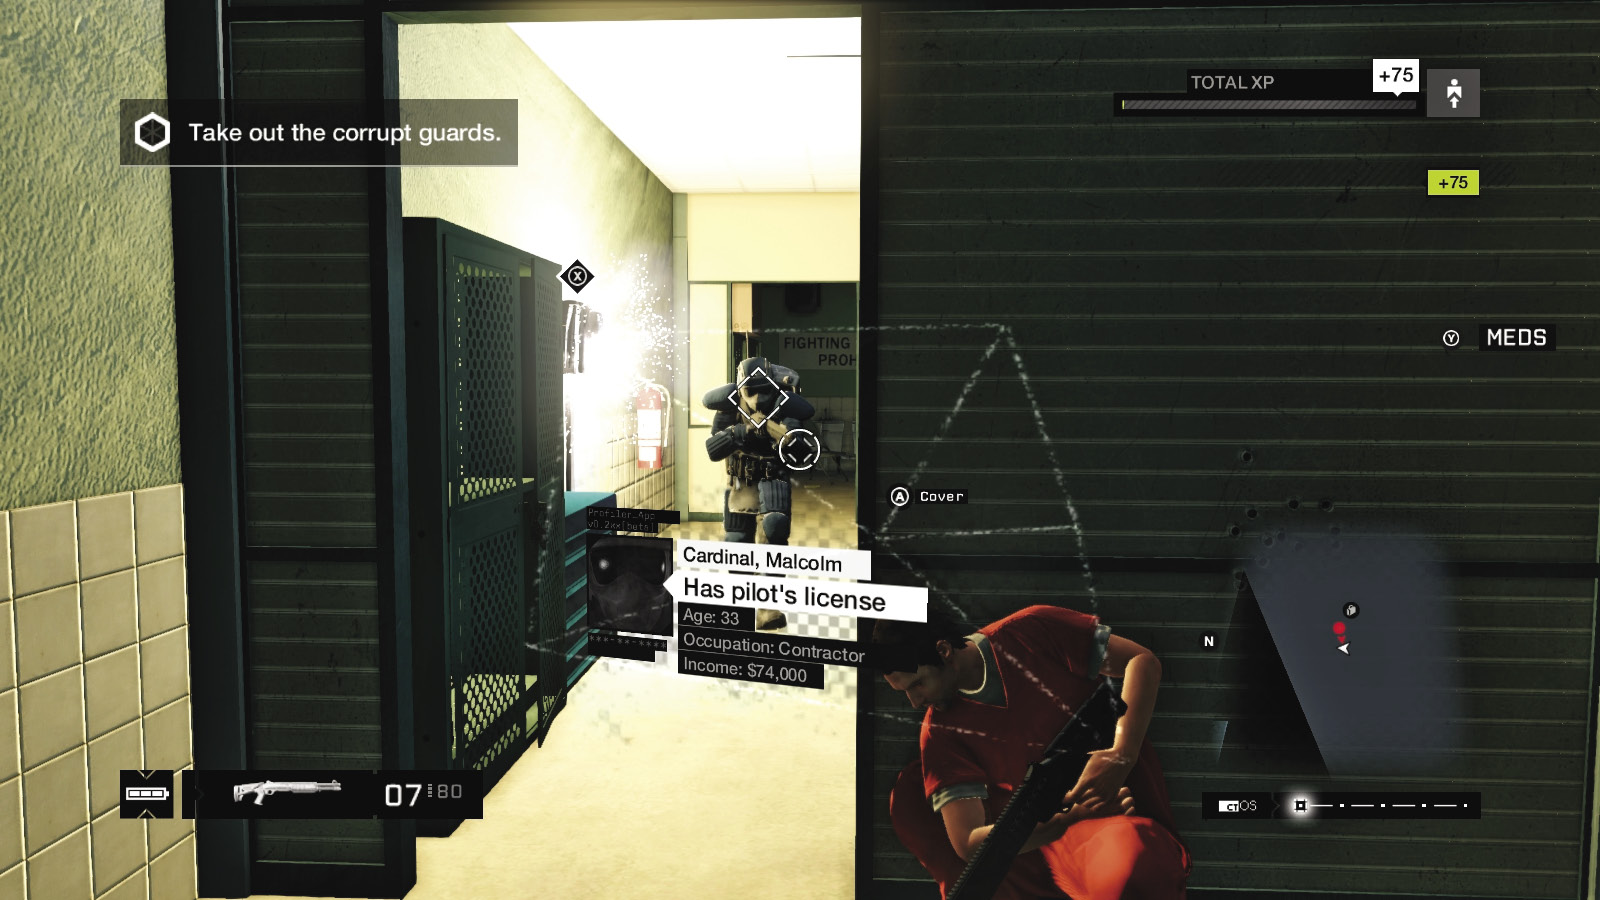
While coaxing the armored behemoth to follow you, sprint around and up into the raised office area. Locate the junction box on the wall, which is rigged to explode when you hack it. Peek out and coax the Enforcer into the office, then step out (so you aren’t caught by the explosion) and detonate the box. The Enforcer usually falls, but step in and blast him with your shotgun to make sure. Other options include:
Scrambling to make a crafted IED or other projectile from the items you’ve picked up during the prison escape and using it on the Enforcer.
Previously purchasing the Enforcer Takedown perk, which allows you to run up, grab the Enforcer, and beat him down to the ground with a protracted melee strike.
 Aggressive // Violence: A Final Repulsion
 Difficulty:
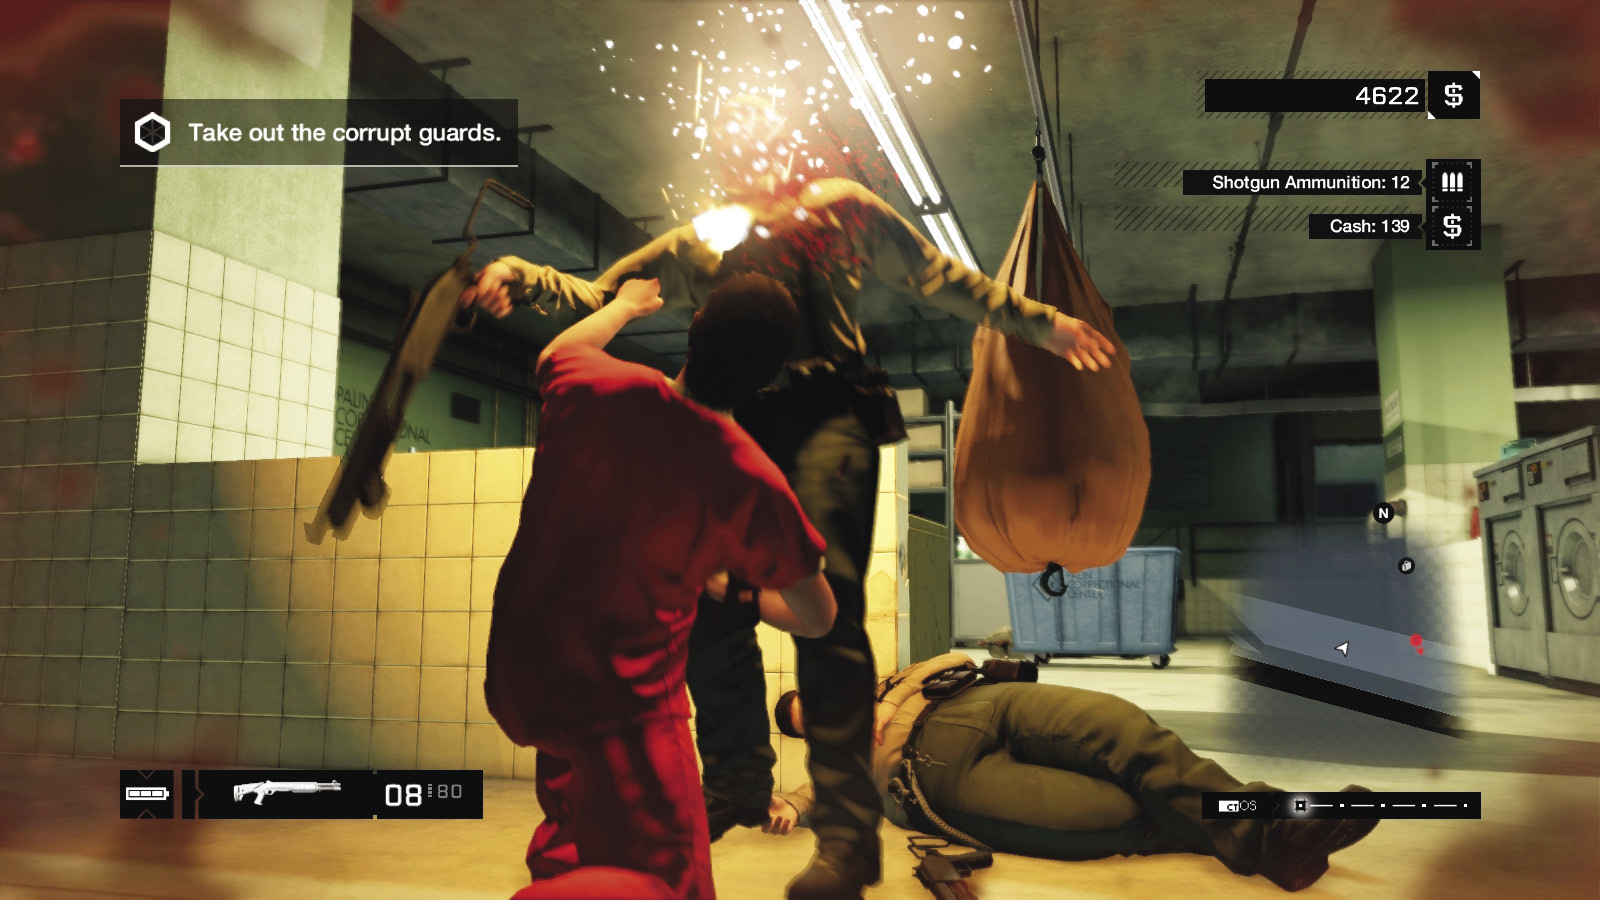
With the Enforcer downed, refill your ammo at the box in the raised office, and use some of it on two guards milling about near a now-open door in the laundry room’s southeast corner. Simply wade in with your shotgun, or hide and pop out to blast these fools, who don’t pose much of a threat.
When the battle in the laundry room is over, your objective may update and confronting the survivor is your next option. However, there are two ways this plays out, depending on how trigger-happy you were during the previous combat:
Shot with a Gun: If you’re overly aggressive and storm the laundry room, don’t use cover as often, and start blasting foes with shotgun fire without any kind of forethought, you may hit the survivor. This doesn’t fail the mission, but it forgoes this objective. Exit the prison at this point.
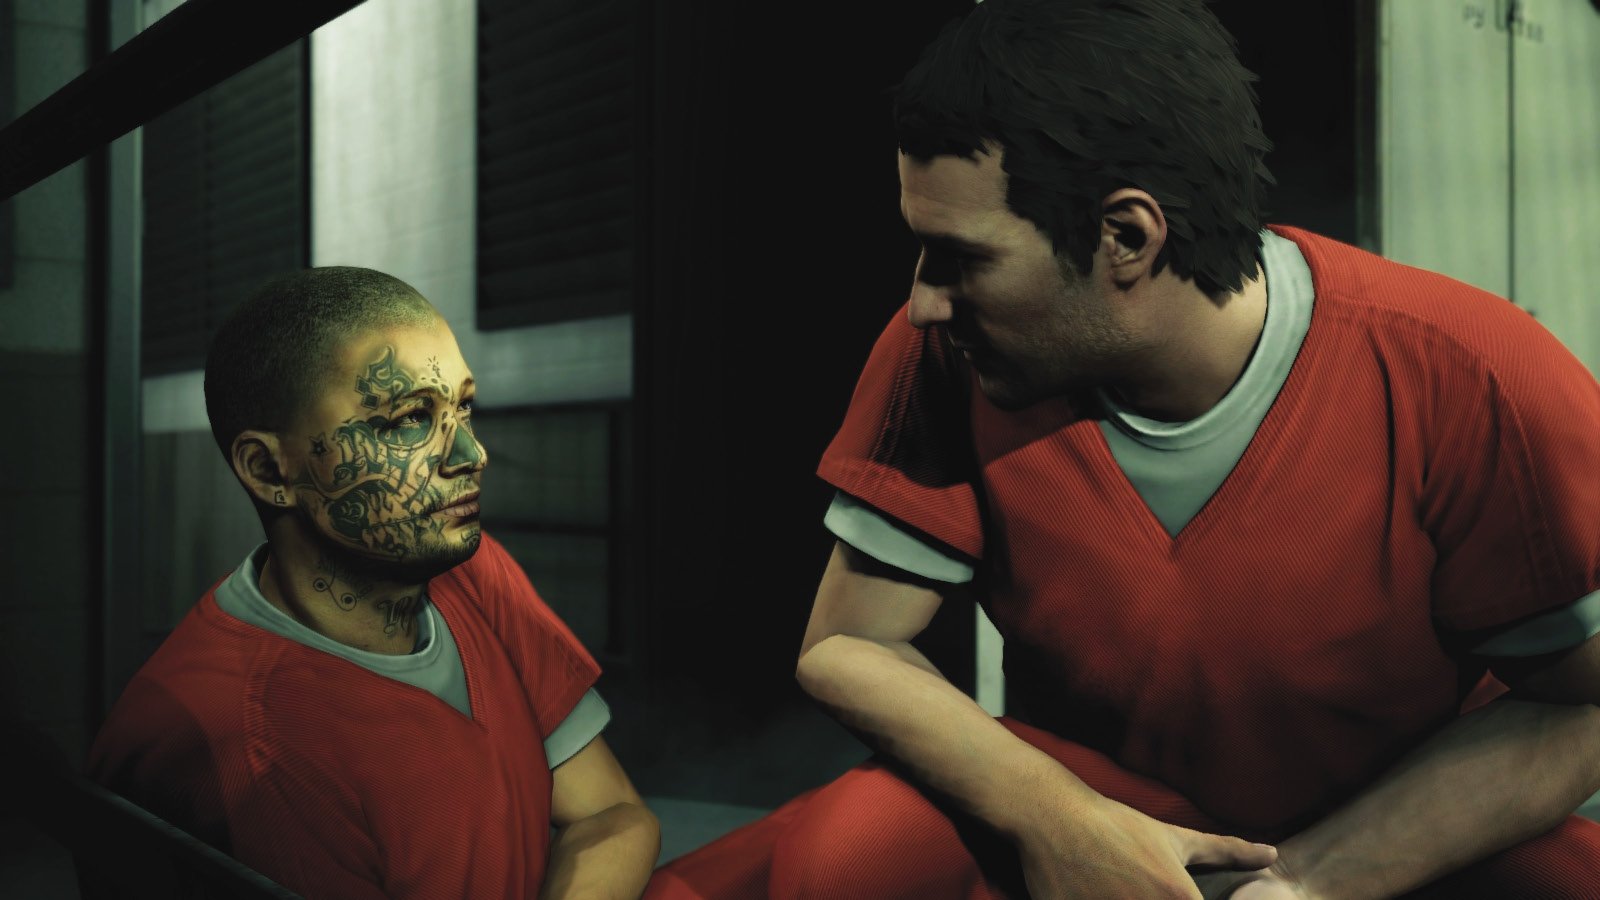
Threatened with a Phone: Unlock the door at the end of a small metal gantry where the two final foes came in from. Step into a maintenance area, where a wounded Raul Lionzo attempts to crawl from you. After some rather mellow threatening, and the threat of hacking and changing the severity of Raul’s sentencing in case he squeals, the wounded gangbanger realizes he really shouldn’t be implicating you. Your chat is interrupted by an announcement of a gathering force outside the prison. Time to leave!
9.5 THE UNWELCOME COMMITTEE
 Location / The Loop // Palin Correctional Center
|
|
 Exit the prison
 Escape the police
 Escape
 Vehicle Chase
 Lethal Force Likely
Difficulty: 
Overview
Completion Point: Prison exterior exit, through the last security room.
Dangers: Police alert level 4; multiple patrol officers, squad cars, and a helicopter, all hostile.
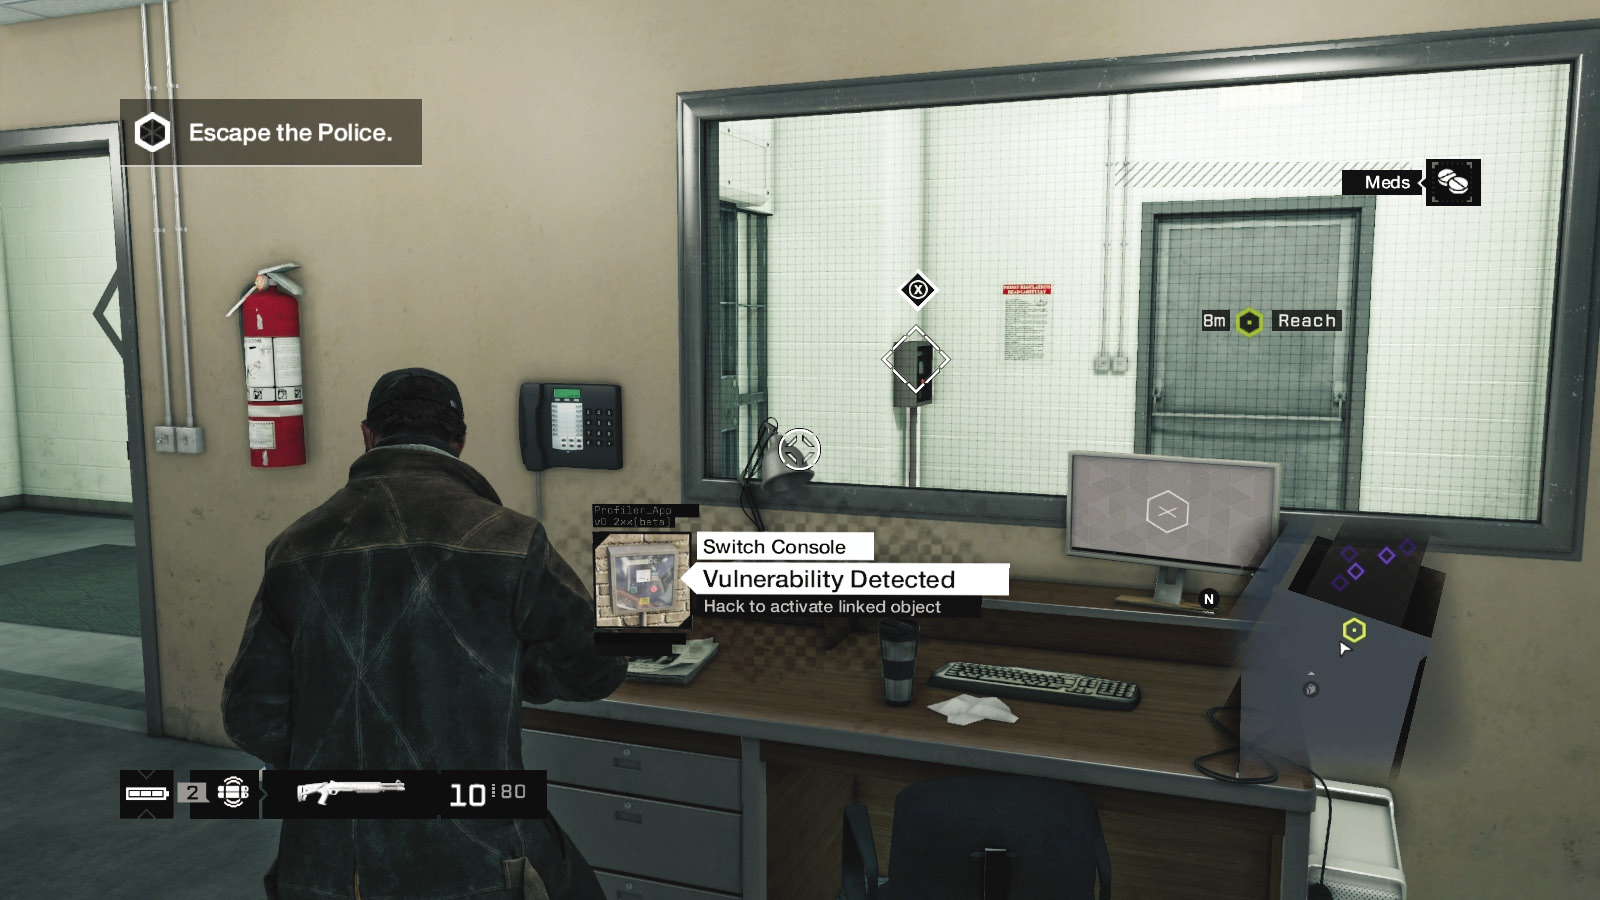
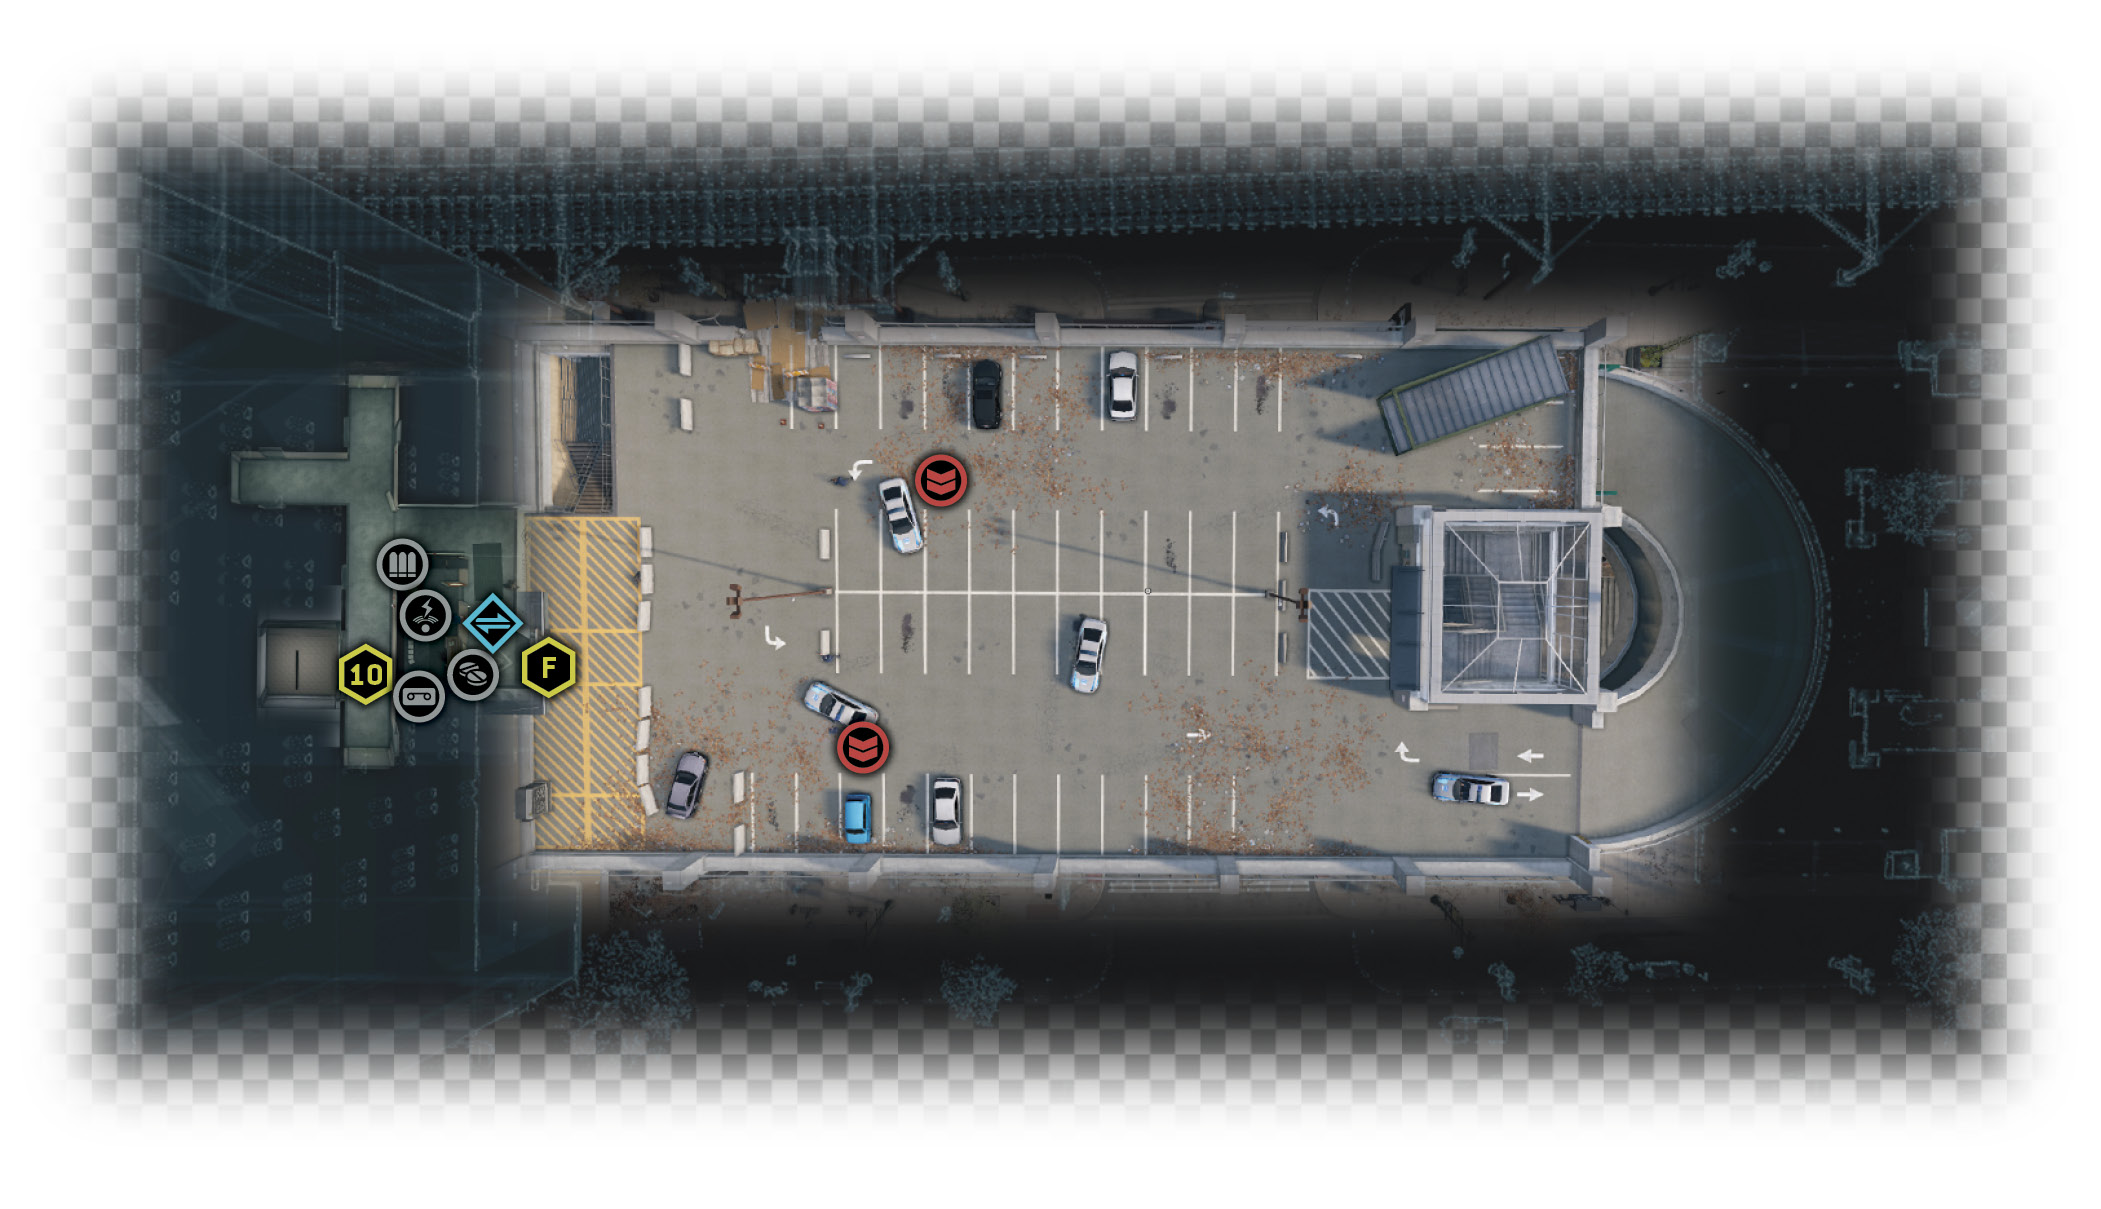
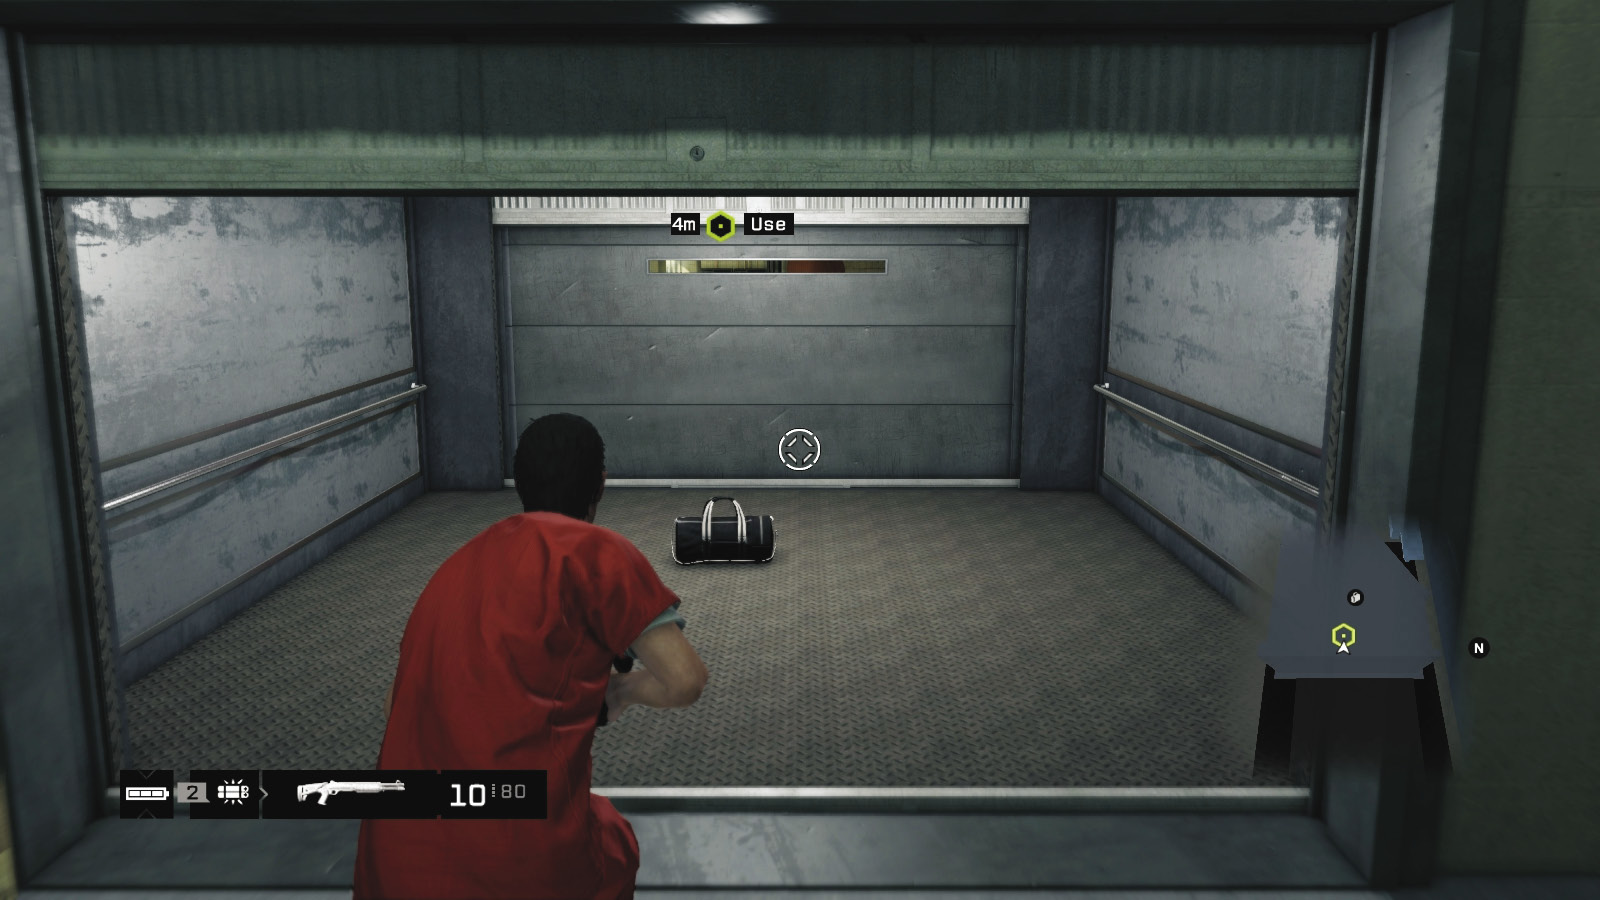
Head through the side door of the laundry room and into a service elevator where Jordi has left you a “care package.” You emerge from the laundry elevator resplendent in your overcoat and full complement of weapons. You may need them; the police radio crackles with activity as Chicago’s finest are beginning to assemble outside this facility. Head through the open doors and into the security office, bringing out your phone to hack the lock near the gate. Before leaving, check the security office for items, including an Audio Log, crafting item, and Jam Coms you can use during the escape. Remember to equip it in your Weapon Wheel first!

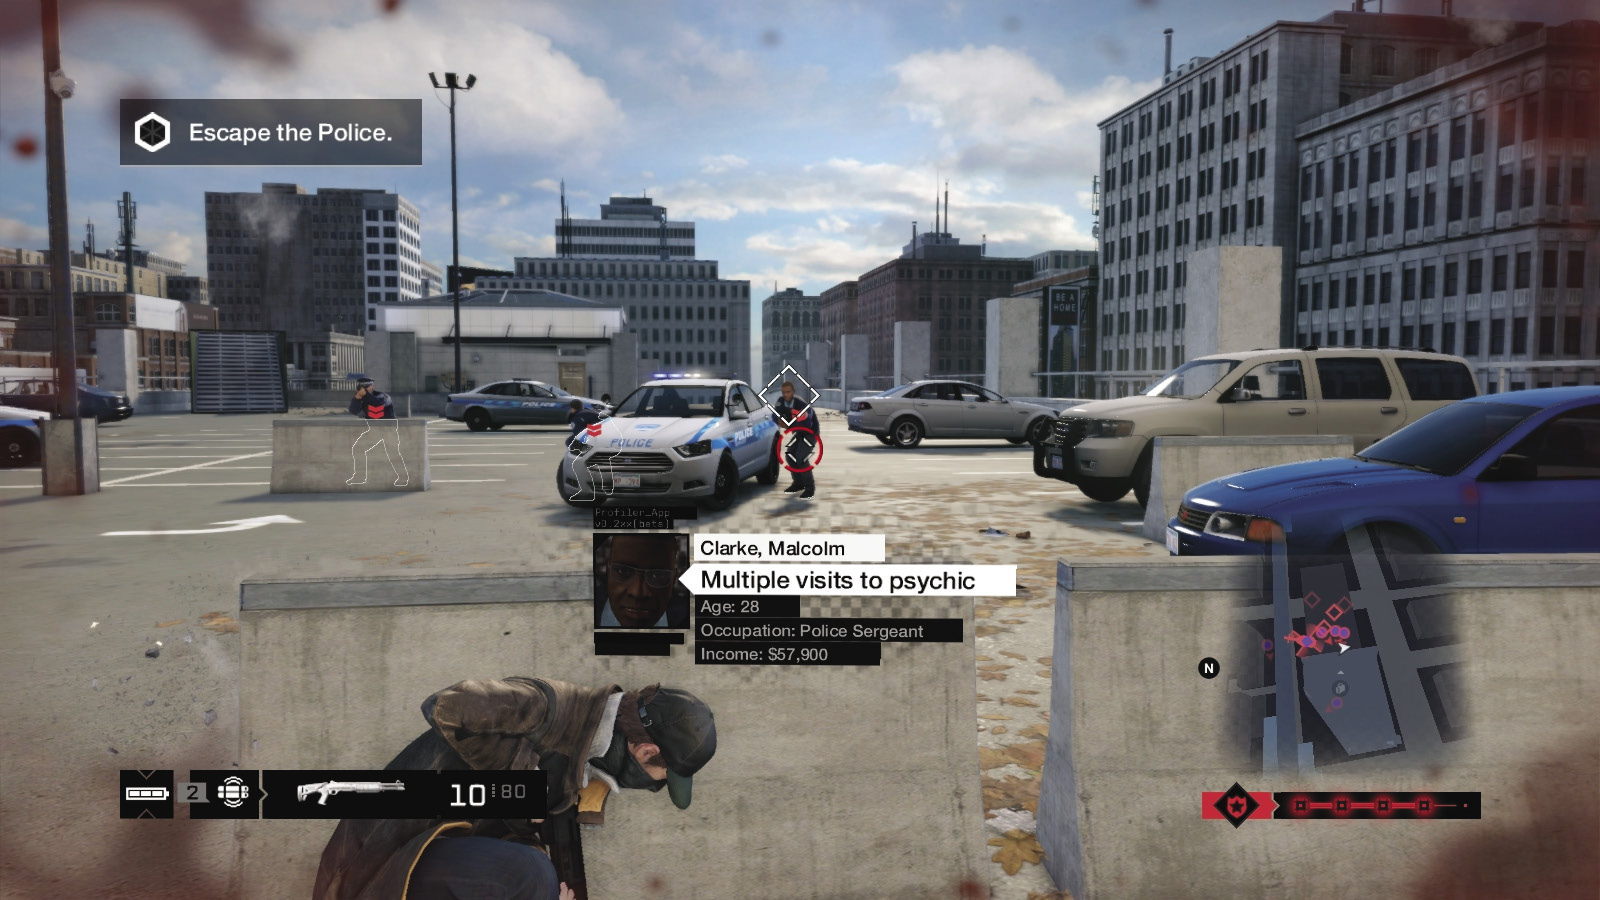
Stepping outside, you’re greeted by two patrol officers with pistols drawn and a couple of squad cars on this rooftop parking lot. Oh, here comes two more. And a helicopter. It’s probably time to put one of your cunning escape plans into action. But which one?
 Passive // Flee: Making Tracks
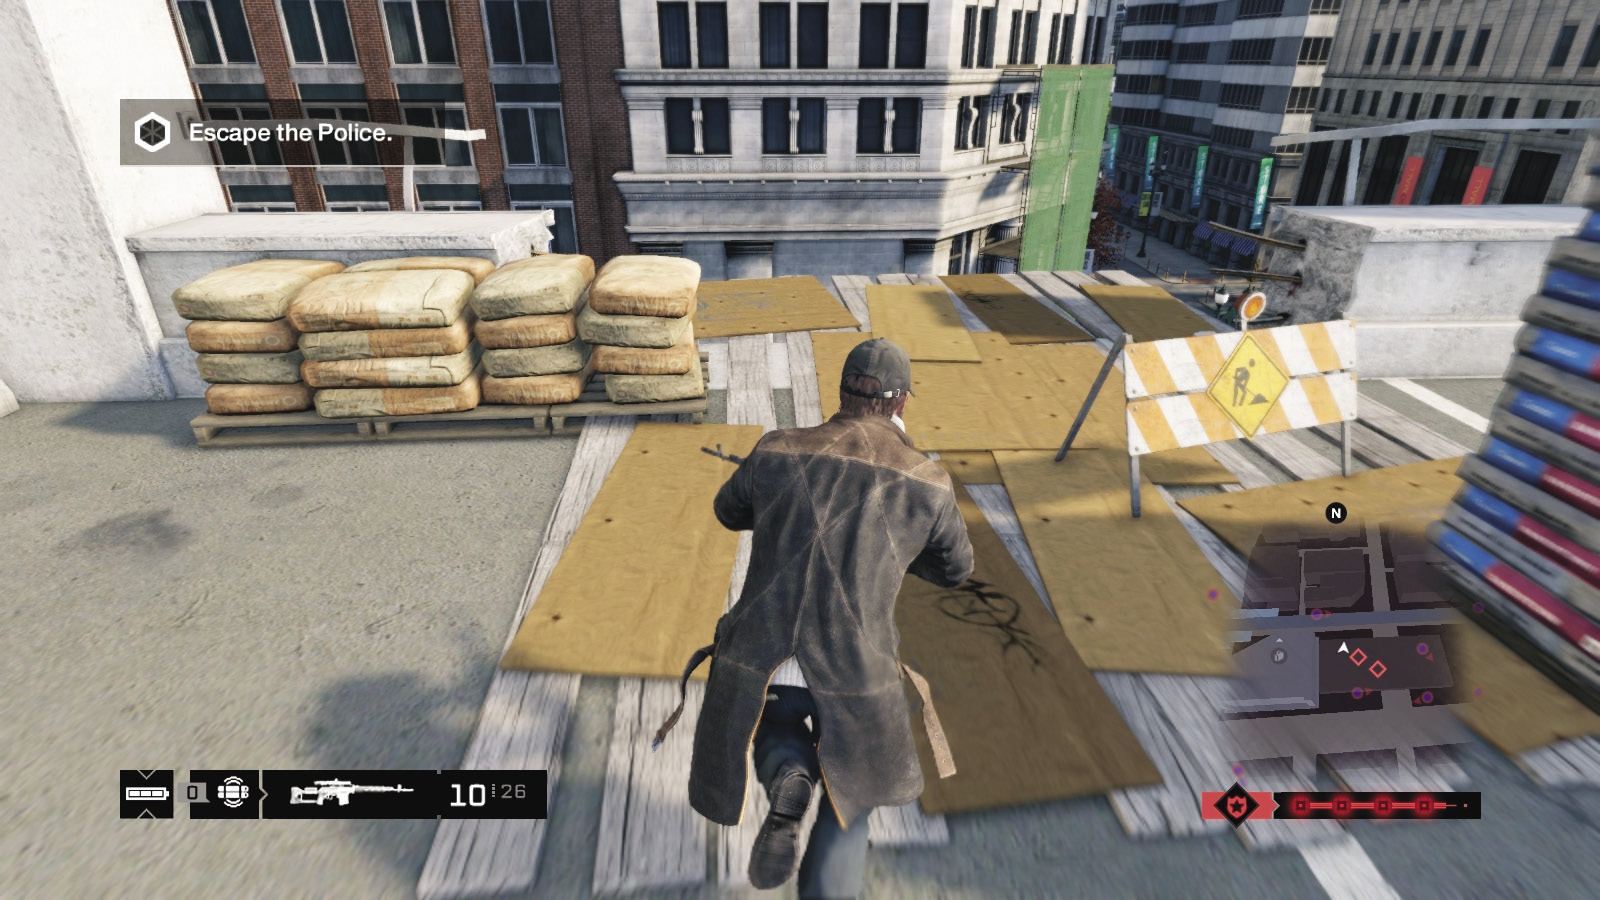
 Difficulty:
Fleeing on foot seems less than sensible, but it can be most spectacular if you have a head for heights. Rush left, toward the gap in the concrete fence. Leap off the structure and onto the platform attached to the L-train. From here you can flee in either direction, and the police are reluctant to follow you. Rush to the next station, or drop down and hide in an alley. Other options include:
Dashing left and down the metal steps to the next level, watching for incoming gunfire from the cops.
Dashing to the main stairwell directly opposite you and descending to the park exit.
These two options lead to a protracted police battle, and you’re outgunned, even if you use the scenery to help explode vehicles or strike officers or if you’ve gathered or created a variety of entertaining explosives.
 Aggressive // Violence: Police Attacks
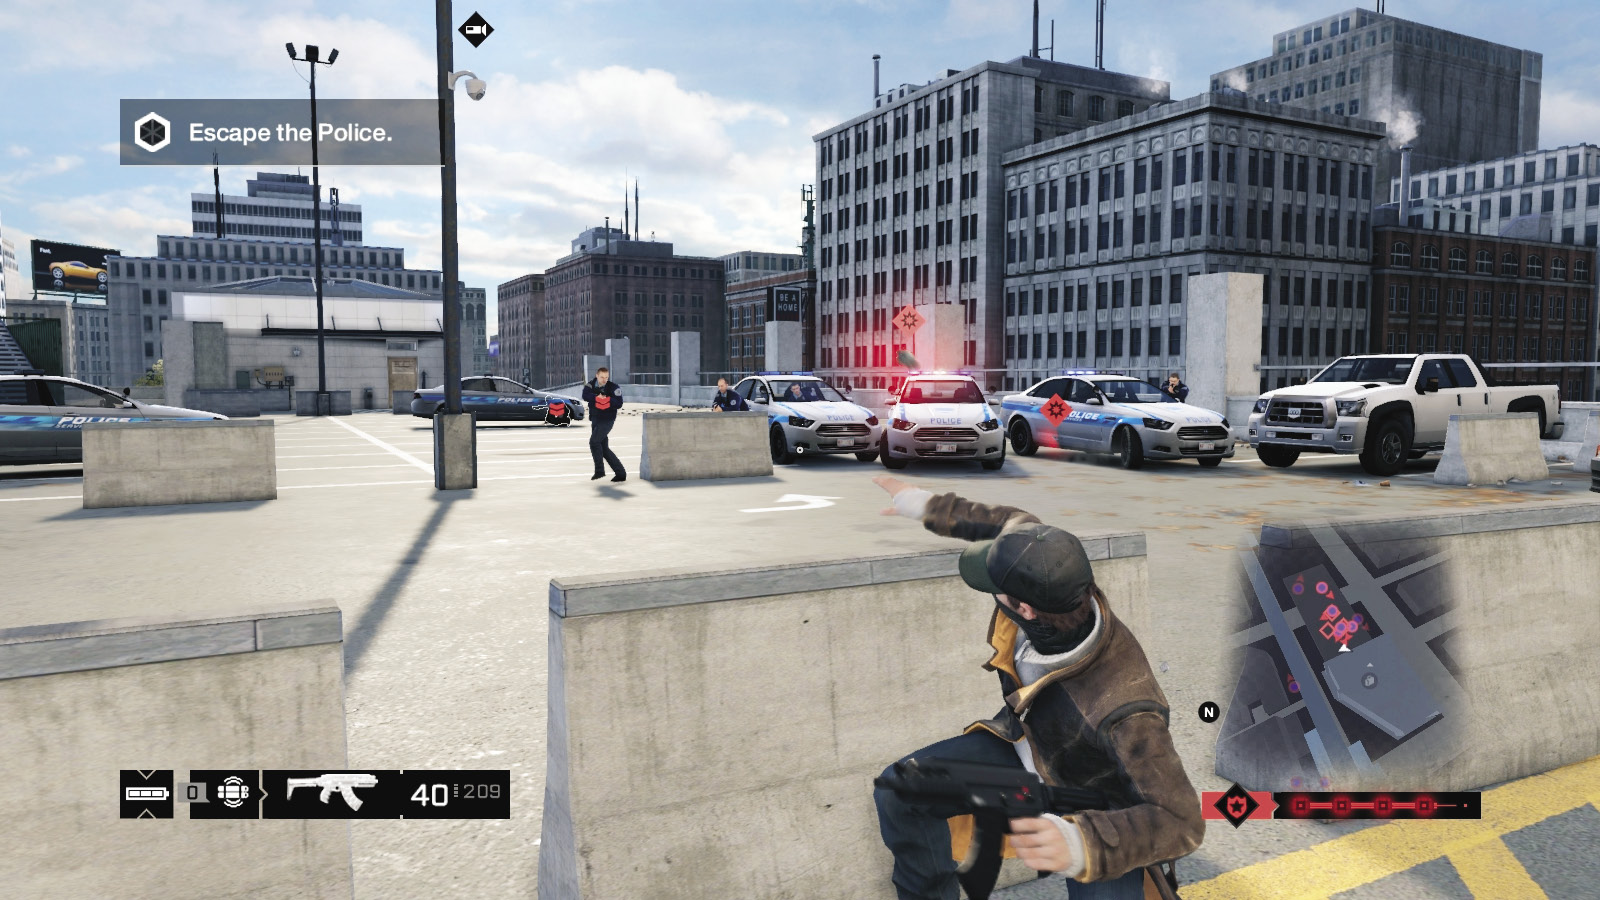
Difficulty: 
Engaging in an all-out war with the cops is usually pointless, as your Heat level simply rises to five, the helicopters with sharpshooters arrive, and you’re completely outgunned. If you must slay officers of the law, clear the immediate area and then choose a vehicle to escape in. It can be entertaining, but you won’t gather experience points for such disgraceful actions.
 Driving // Defensive: Wheelman Acts
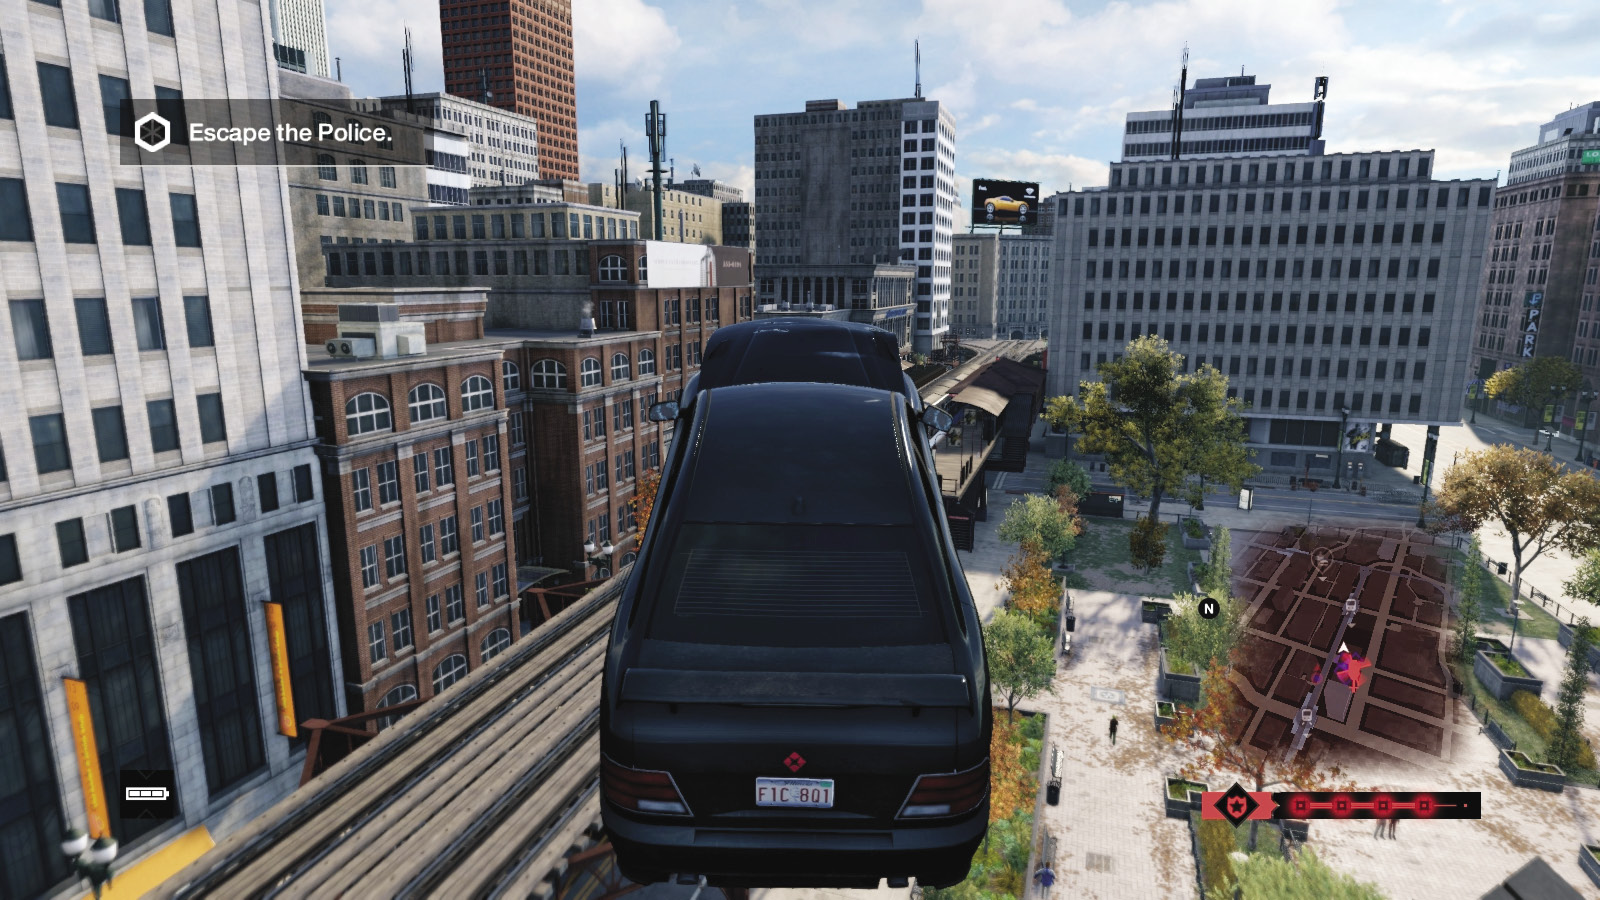
 Difficulty:
There’s usually a parked vehicle to your right, which is perfect for a swift getaway—the quicker the better, as you don’t want to wait around for the cops to triangulate your position. You have a variety of exits: (1) to the left through the gap in the concrete fence and over or onto the L-train tracks; (2) ahead and left, up a ramped shipping container to an impressive jump and out of the area (you can actually slow slightly and land on the train tracks, and flee on the tracks, which is most entertaining!); or (3) down the curved ramp like a normal driver. The latter isn’t recommended, as the cops can easily pin you as you descend to ground level.
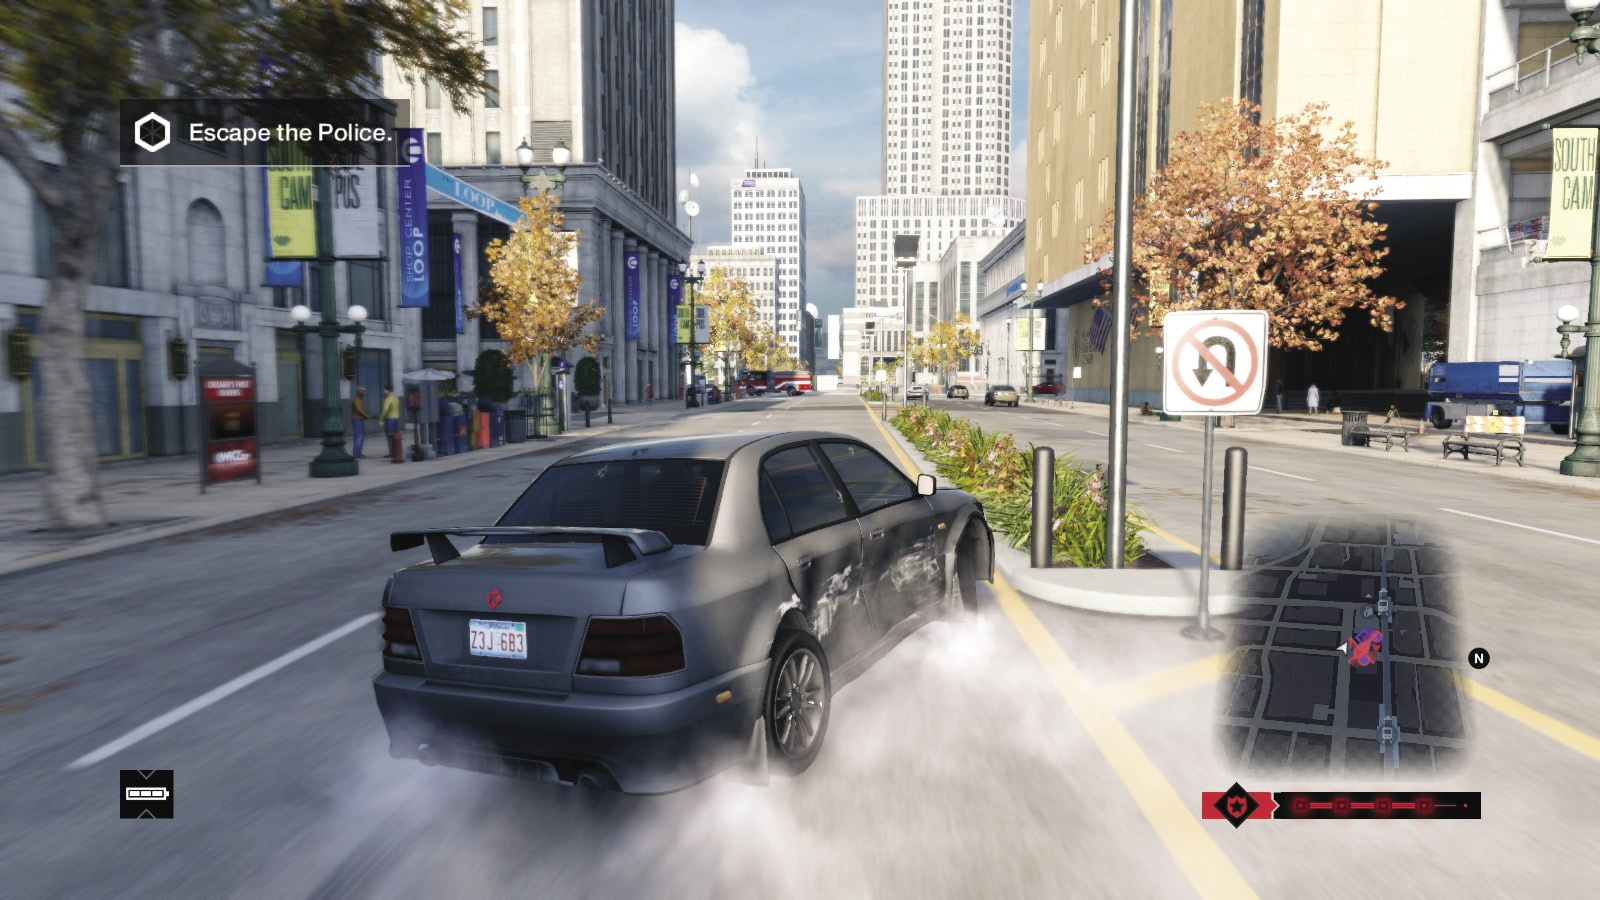
If you do manage to leave the parking lot by the ramps, head out of the open garage to the southeast, make a 180-degree turn, and race west into oncoming traffic. Line yourself up with a ramp across the concrete pedestrian plaza and launch over, nudging left as you fly across a road and into a second pedestrian-heavy area. From here you can easily escape the police search area.
Assuming you actually managed to leave the prison parking structure, you now have to deal with a Heat Level 4 police threat. As your actions and escape route are completely up to you, only general strategies are helpful. Once you’ve shaken the police off, this mission concludes.
MISSION REWARDSGained XP +500 Act I Complete: Family Man Achievement Awarded |