
Watch Dogs Guide MAIN MISSIONS MAIN MISSIONS /// Act II
_BREAKABLE THINGS
OBJECTIVES
|
 Find the Head Office access code
 Enter Racine’s office
 Hack Racine’s cell phone
 Take down target
 Escape The Club reinforcements
LOCATIONS // MAP
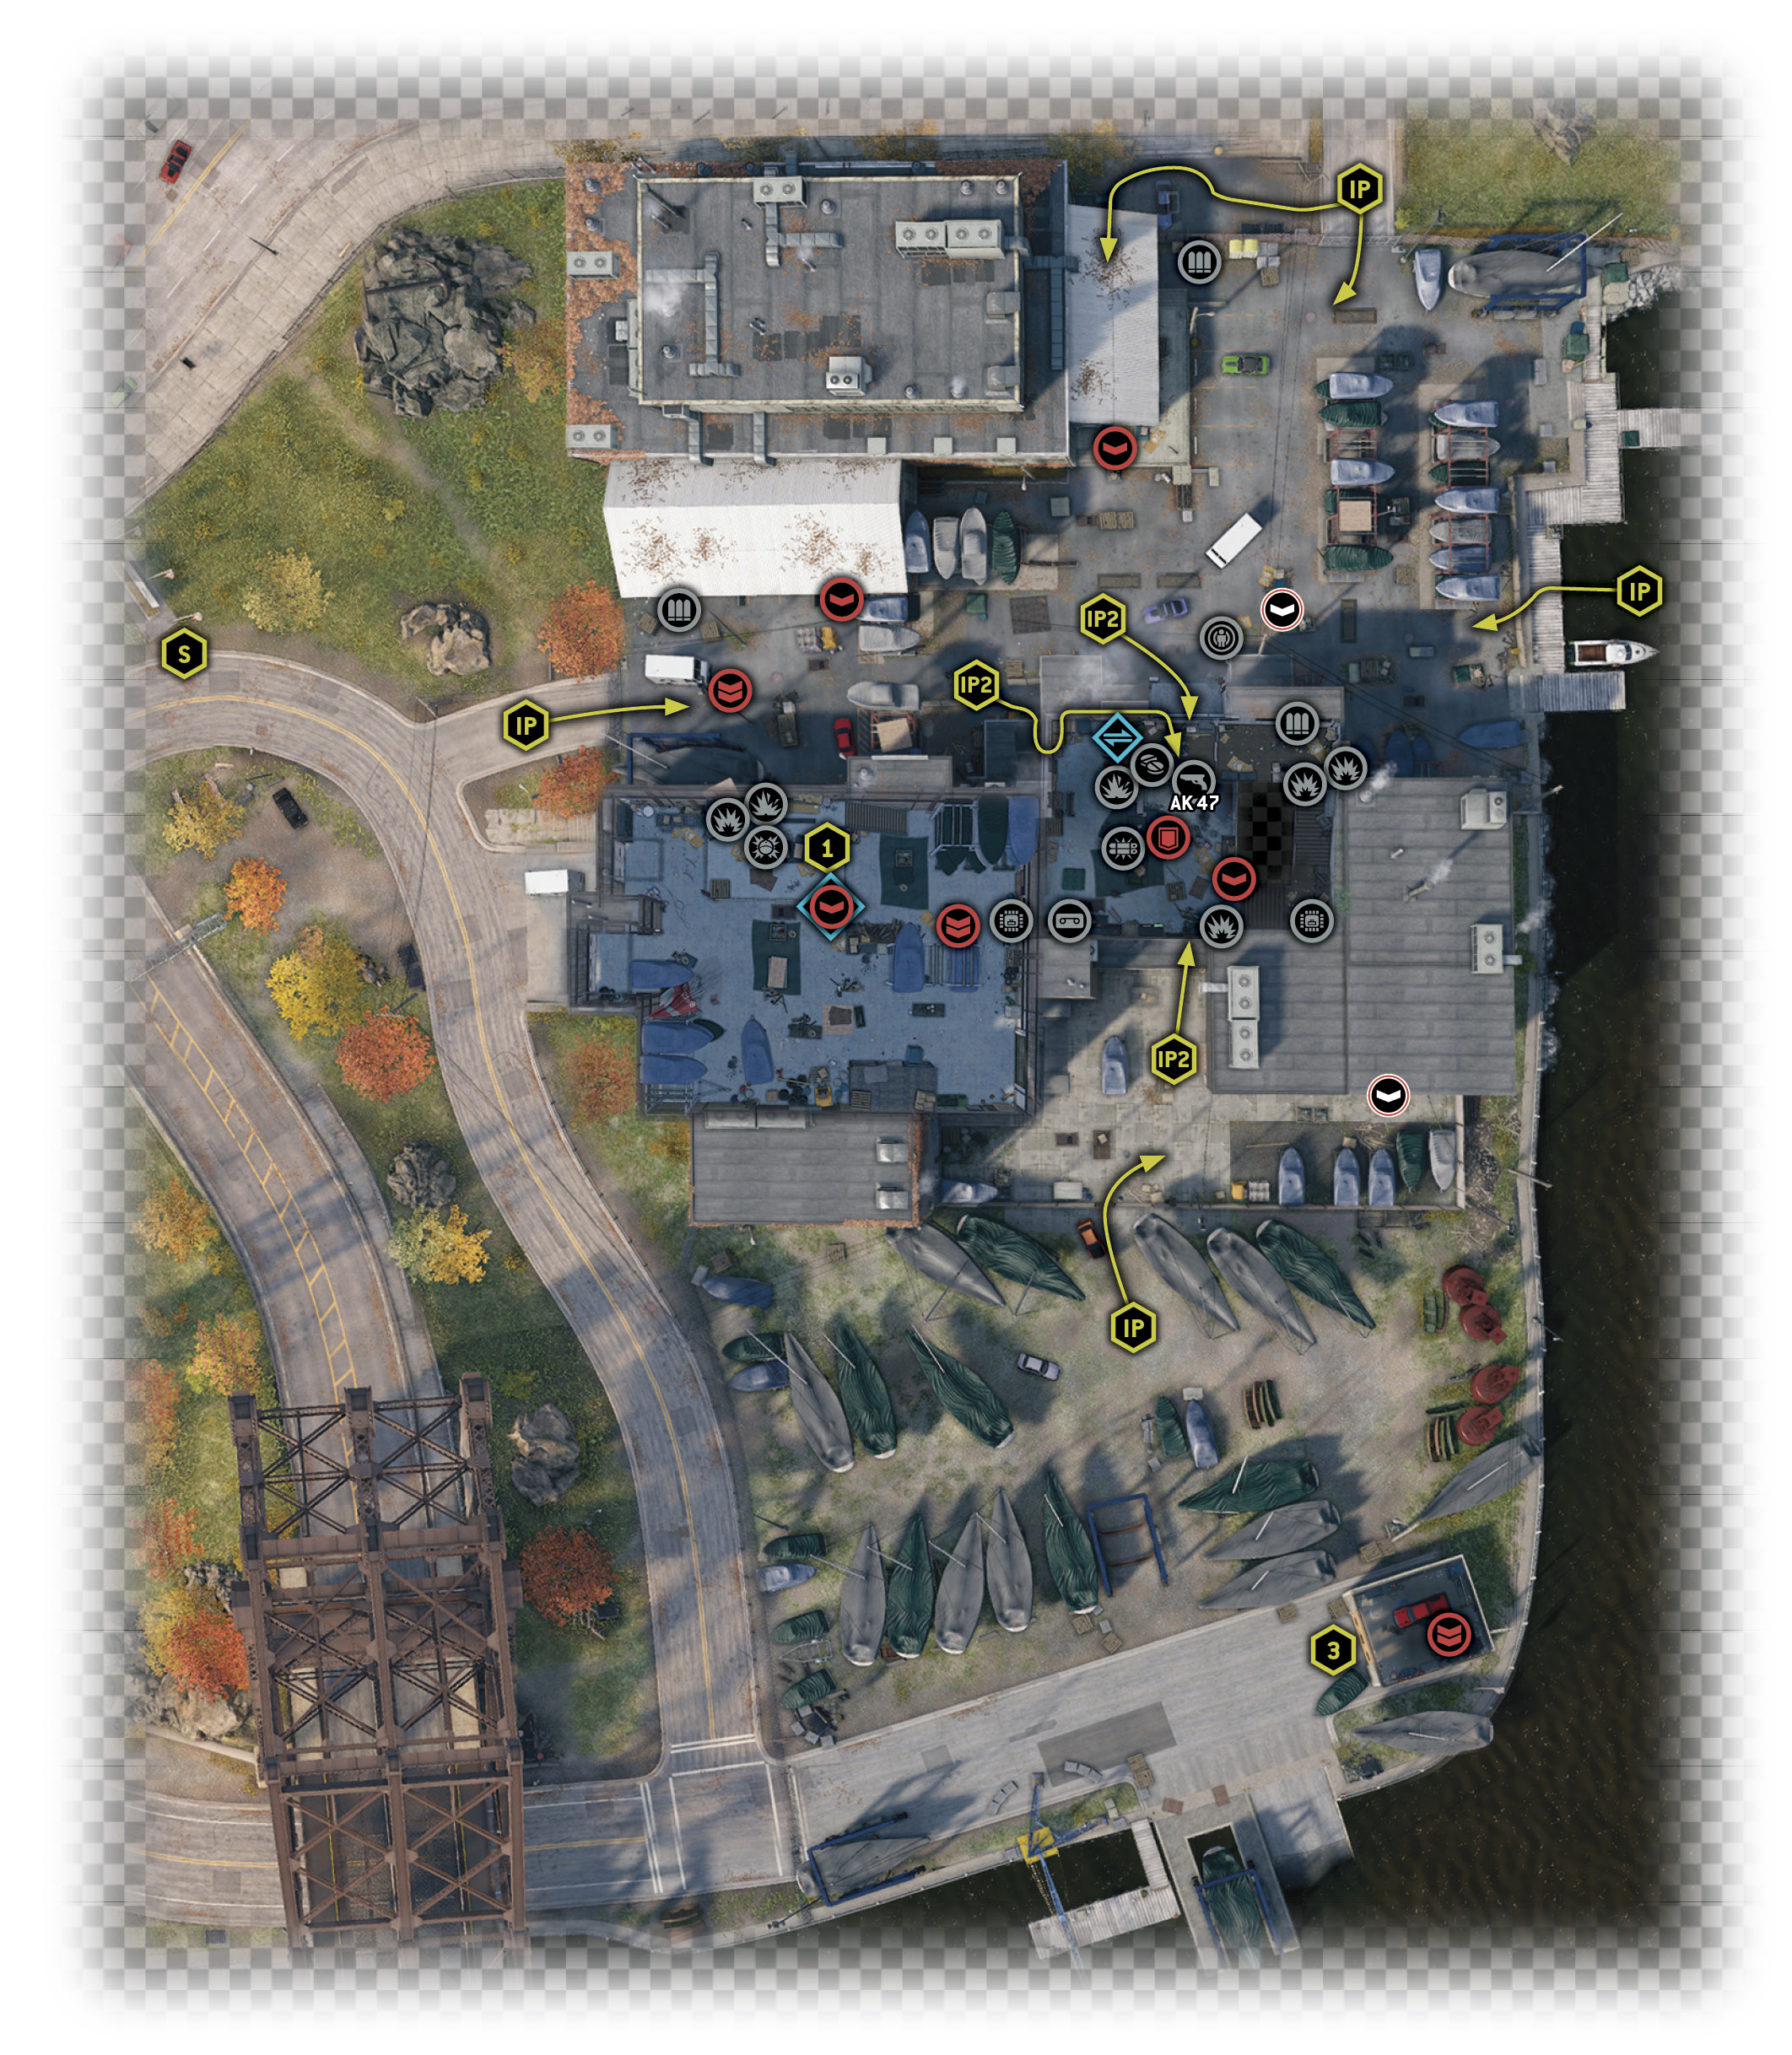
Location 01 / Brandon Docks // RACINE YACHT CLUB
2.1 WINDY CITY MARINA MANEUVERS
 Location / Brandon Docks // Chicago Yacht Club
|
|
 Find the Head Office access code
 Infiltration
 Data Hack
 Lethal Force Likely
Difficulty: 
Overview
Completion Point: The guard with the hackable phone with access code.
Dangers: Nine Club members loyal to Racine (Gunmen x6, Veterans x2, Enforcer x1). Two of these are Shot-Callers (Gunman x1, Veteran x1)
Reinforcements: Between one and four Club members (usually Gunmen) approaching from the perimeter.
Insertion Points
Entrance Gate (West)
 Accessibility Level:
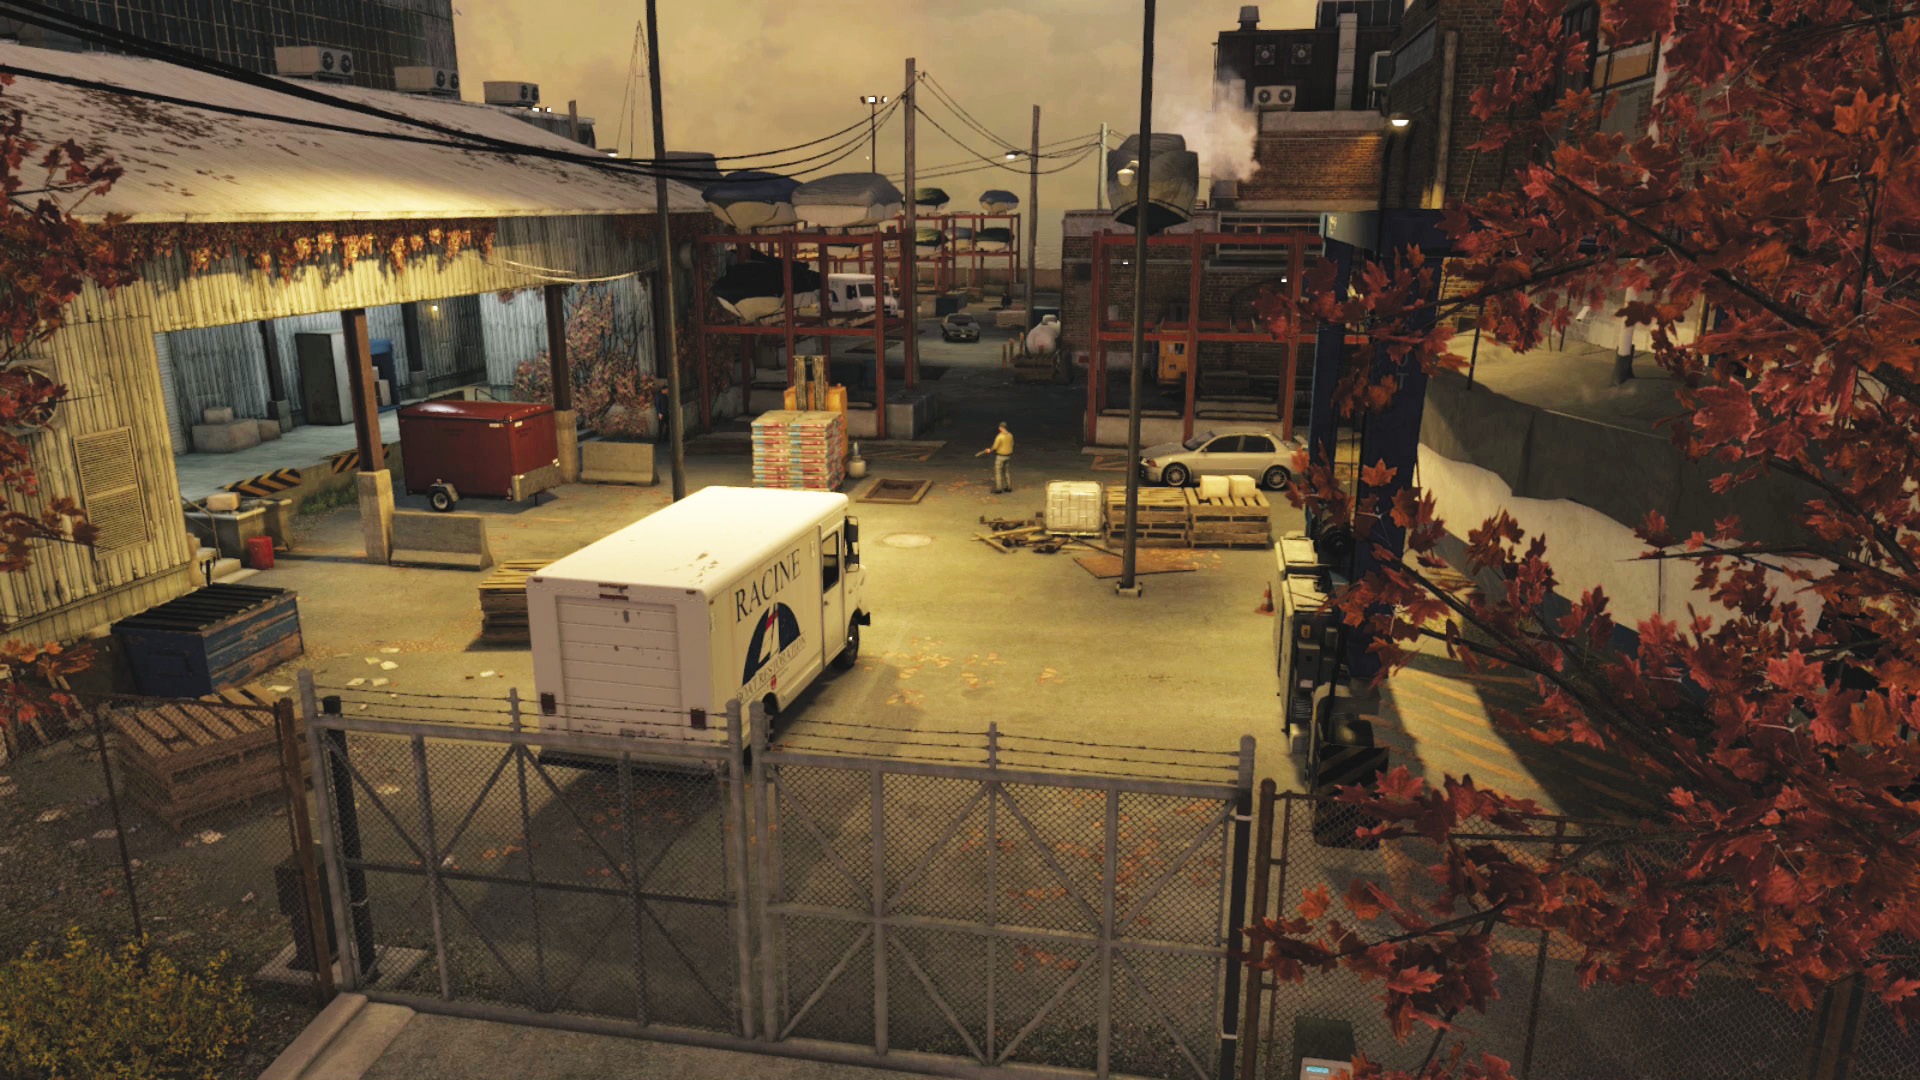
This side entrance where a van is parked is the nearest location to your start. There are numerous cover and scenic interactions available here, and only two guards in the immediate vicinity. You can easily circumvent the interior warehouse guards (via the side door right of the first foe) if you’re following a more stealth-based path. This is an area where you can also remove four outside threats before heading into the warehouse (ideally through the unlocked door and not via the fiercely guarded workshop area). There’s a route up from a forklift onto the rooftop that is an excellent way to ignore combat too.
Main Entrance Gate and Mesh Gate (North)
Accessibility Level: 
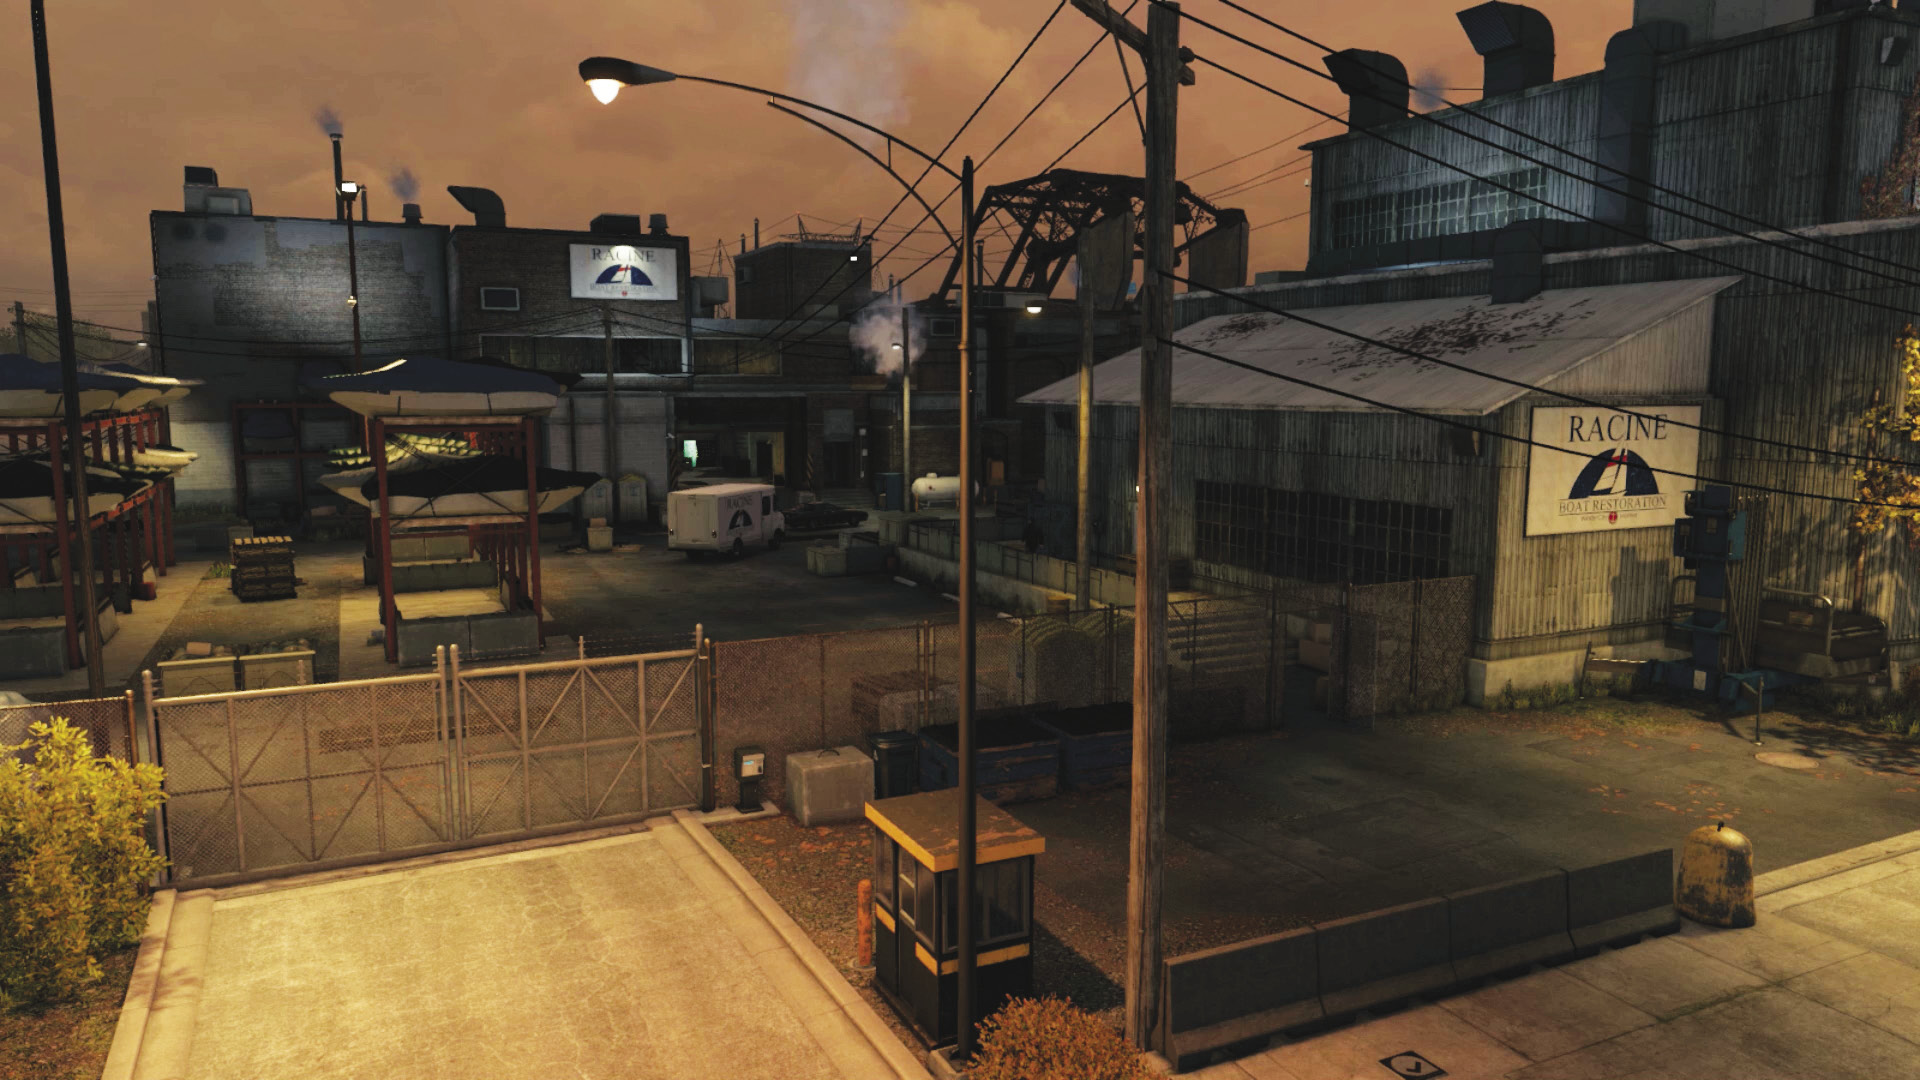
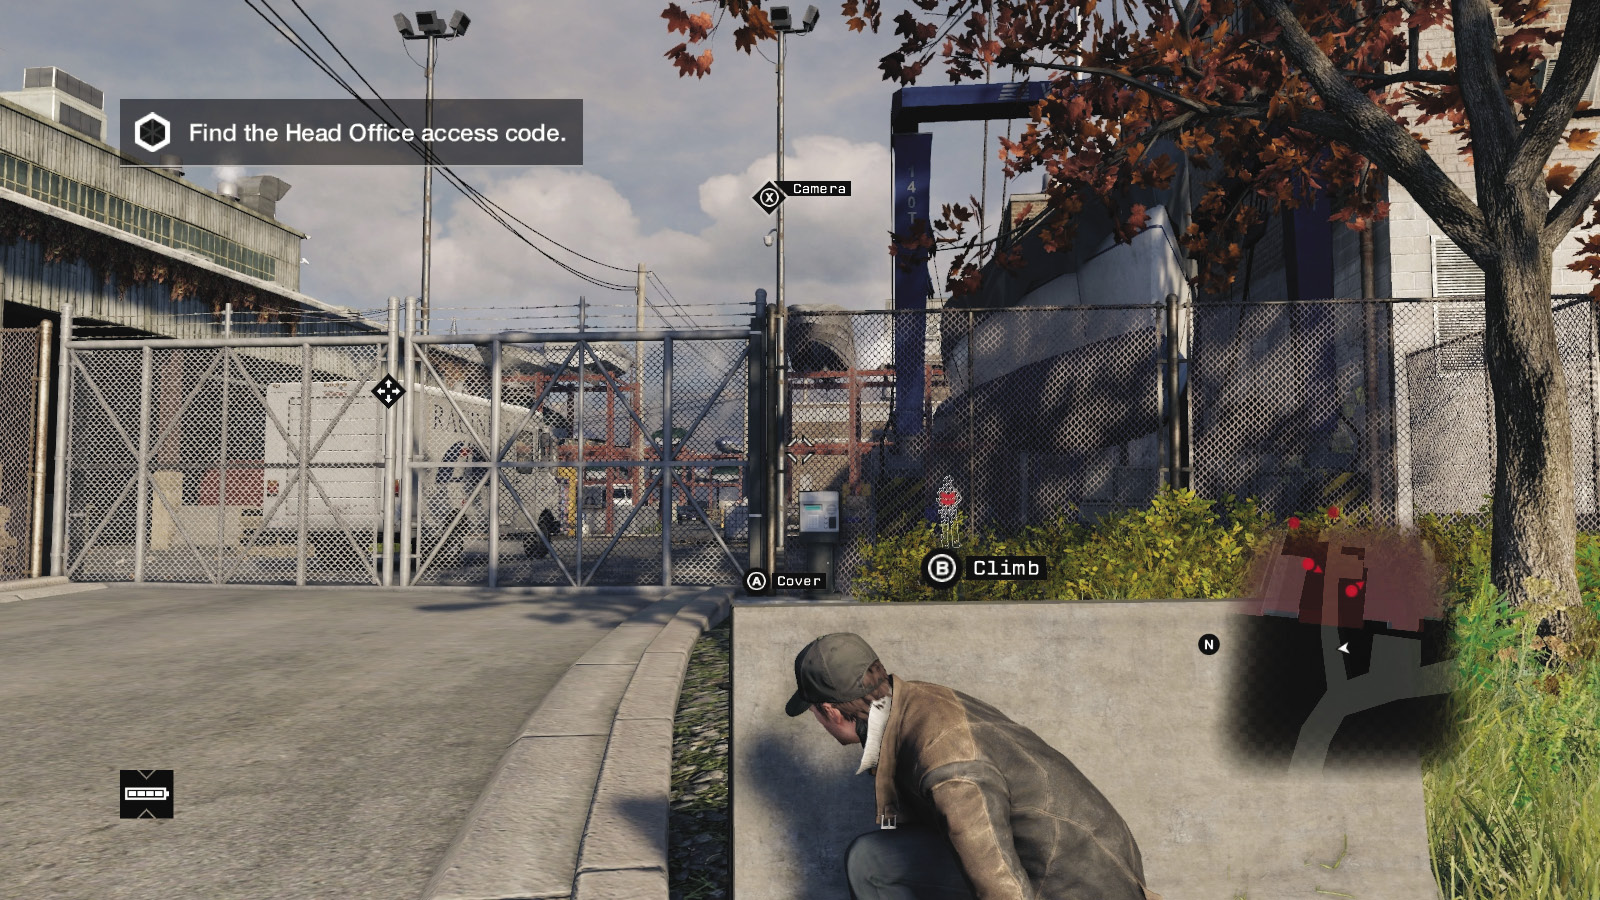
From the north are the main gates (hackable) and a nearby mesh gate (unlocked); both allow access into the yard from north to south. Beware of a foe with a camera, a Shot-Caller by the south warehouse ramp entrance, and a terrifying Enforcer inside the workshop garage. However, this is a great place to start marking foes, and the boat racks near the dock make good hiding places if the mission degenerates into ugly combat. There’s a straight shot into the warehouse too. Finally, don’t forget the construction lift just outside of the mesh fence; ride this up onto the northern warehouse roof and lay down fire and lob projectiles from this reasonably secure location. Don’t fall off the roof!
Dockside Mesh Gate and Docks (Northeast and East)
Accessibility Level: 
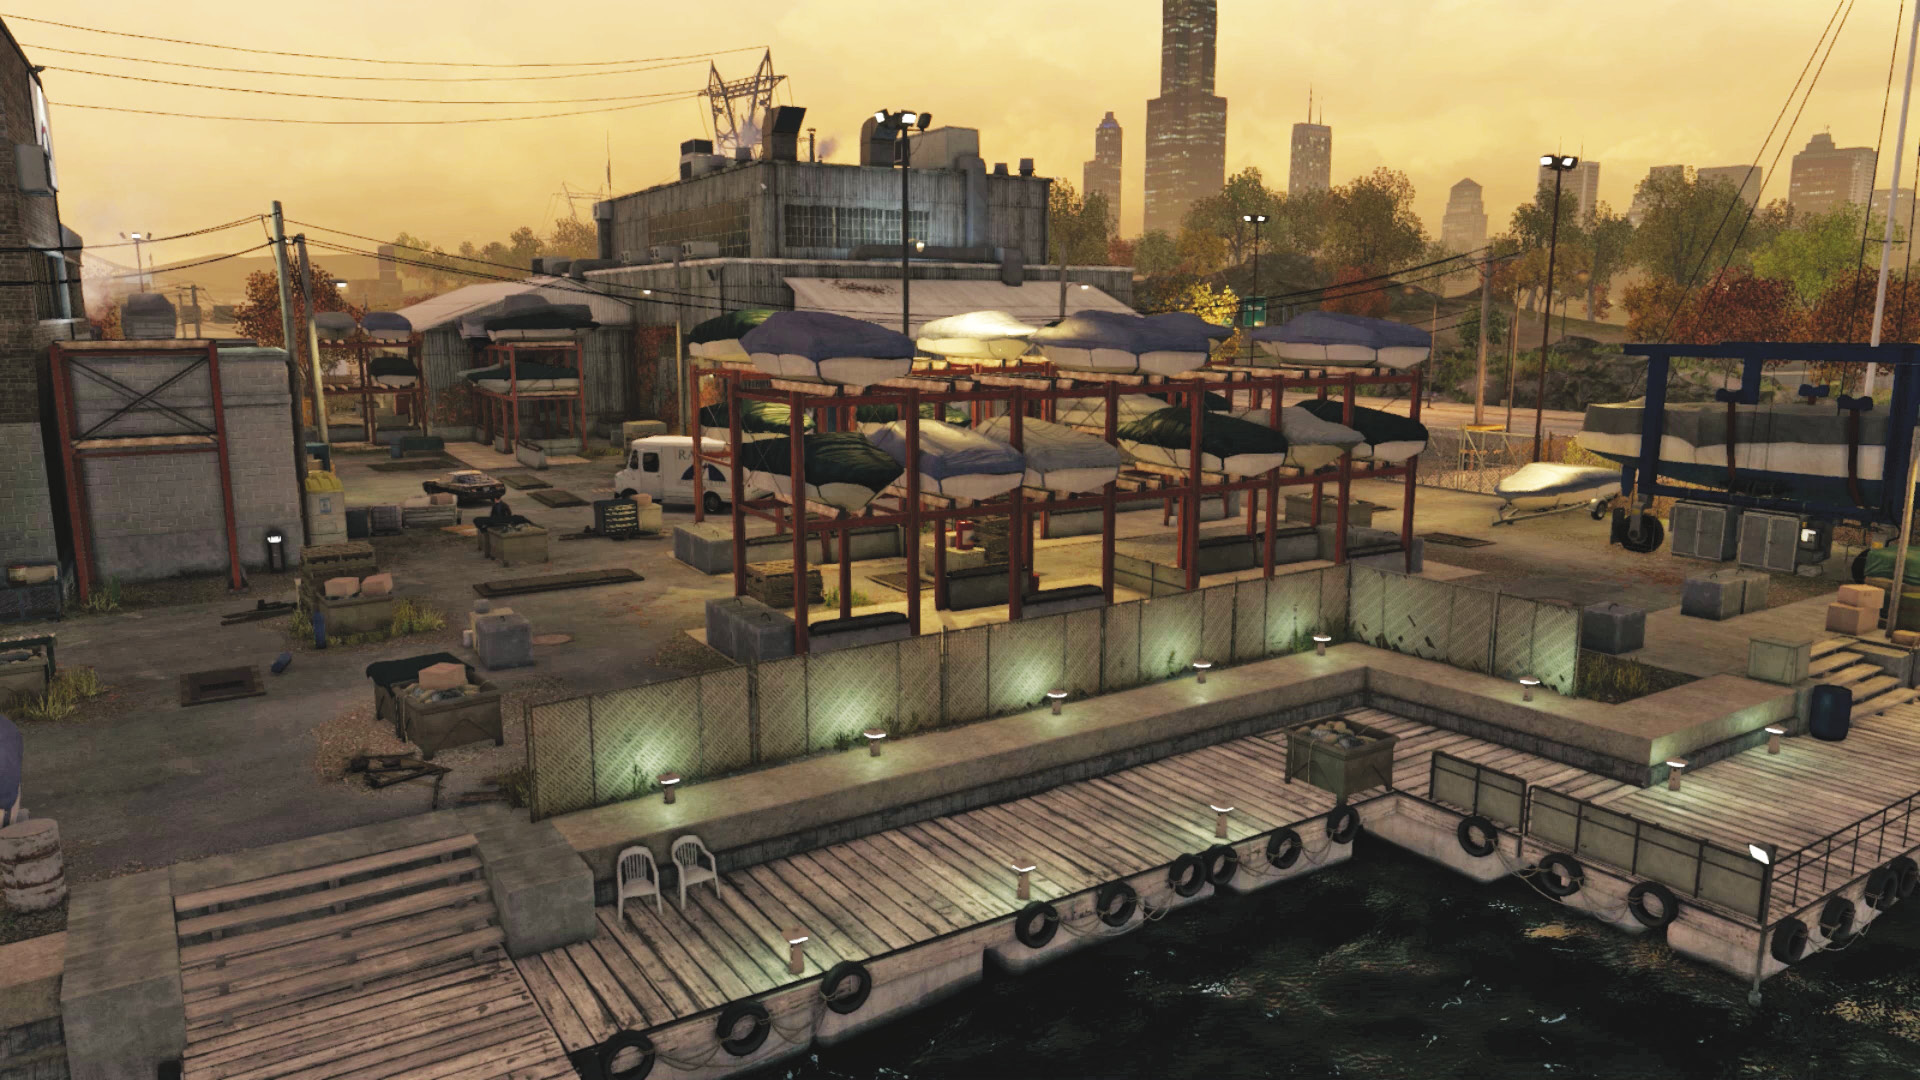
This is perhaps the least effective place to infiltrate from; aside from running to the gate in the northeast corner of the restricted zone, you’ll need a boat (or swim) if you want to approach from the east. When you enter the dock or boat racks, there are few opportunities to infiltrate the warehouse building—there’s nothing to climb up until after you remove the Shot-Caller by the warehouse ramp and the camera-wearing patrol. You can continue to skirt the perimeter from here, though.
Rear Yard Mesh Gates (Southeast and South)
 Accessibility Level:
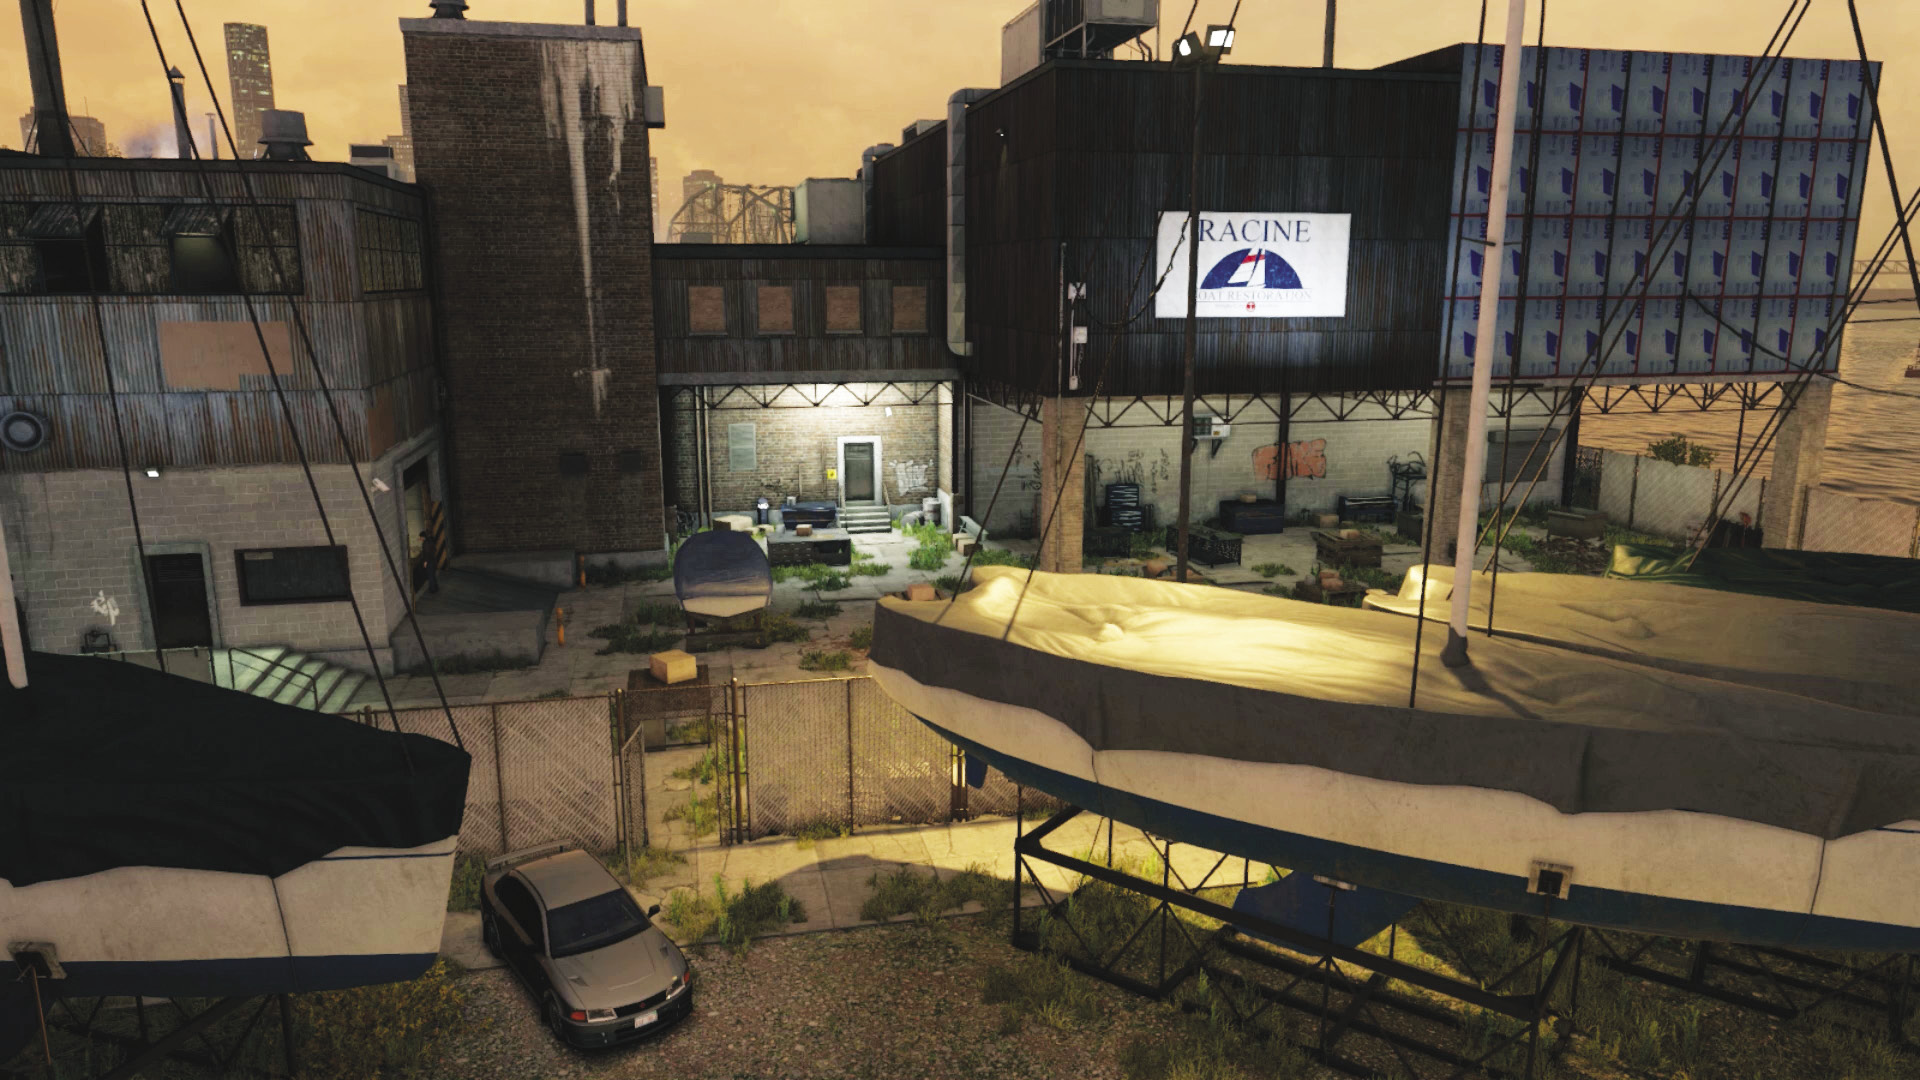
This is another good, often overlooked option. There are two unlocked mesh gates (one with a car you can use during the last part of this mission), and only one patrolling guard in this smaller rear yard. Though you have to watch for foes inside the warehouse spotting you through the openings, these entrances are excellent for hacking the guard and finding a route up to Racine’s office. Use the door to the southeast and open bay to hack the guard and use the closed door in the middle (along with quick takedowns) for reaching Racine’s office when it needs assaulting.
Progression Plans
You may now try one, parts of, or any combination of the following methods to access the guard to hack and Racine’s office:
General PreplanningPresupposition: This mission requires sneaking and possibly combat, so make sure you’ve already learned the elements referenced in all earlier missions. Camera Positions: You can’t mark all foes with a single camera access chain, so move to different perimeter parts if necessary or execute a crafted ctOS scan. However, there are passive ways to circumvent enemy interaction entirely! Perimeter Check: It’s usually better to pick an insertion point and stick with it; though checking the entire perimeter while marking foes using the cameras is a good use of your time too. Be Prepared: Though guns aren’t necessary, you do face nine foes and the Shot-Callers, so combat is possible. Be sure you’re tooled up with a shotgun, pistol, machine gun, grenades, and lures. Anything more than that is considered advantageous too. |
 Passive // Smart: An Impressive Camera Trick
 Difficulty:
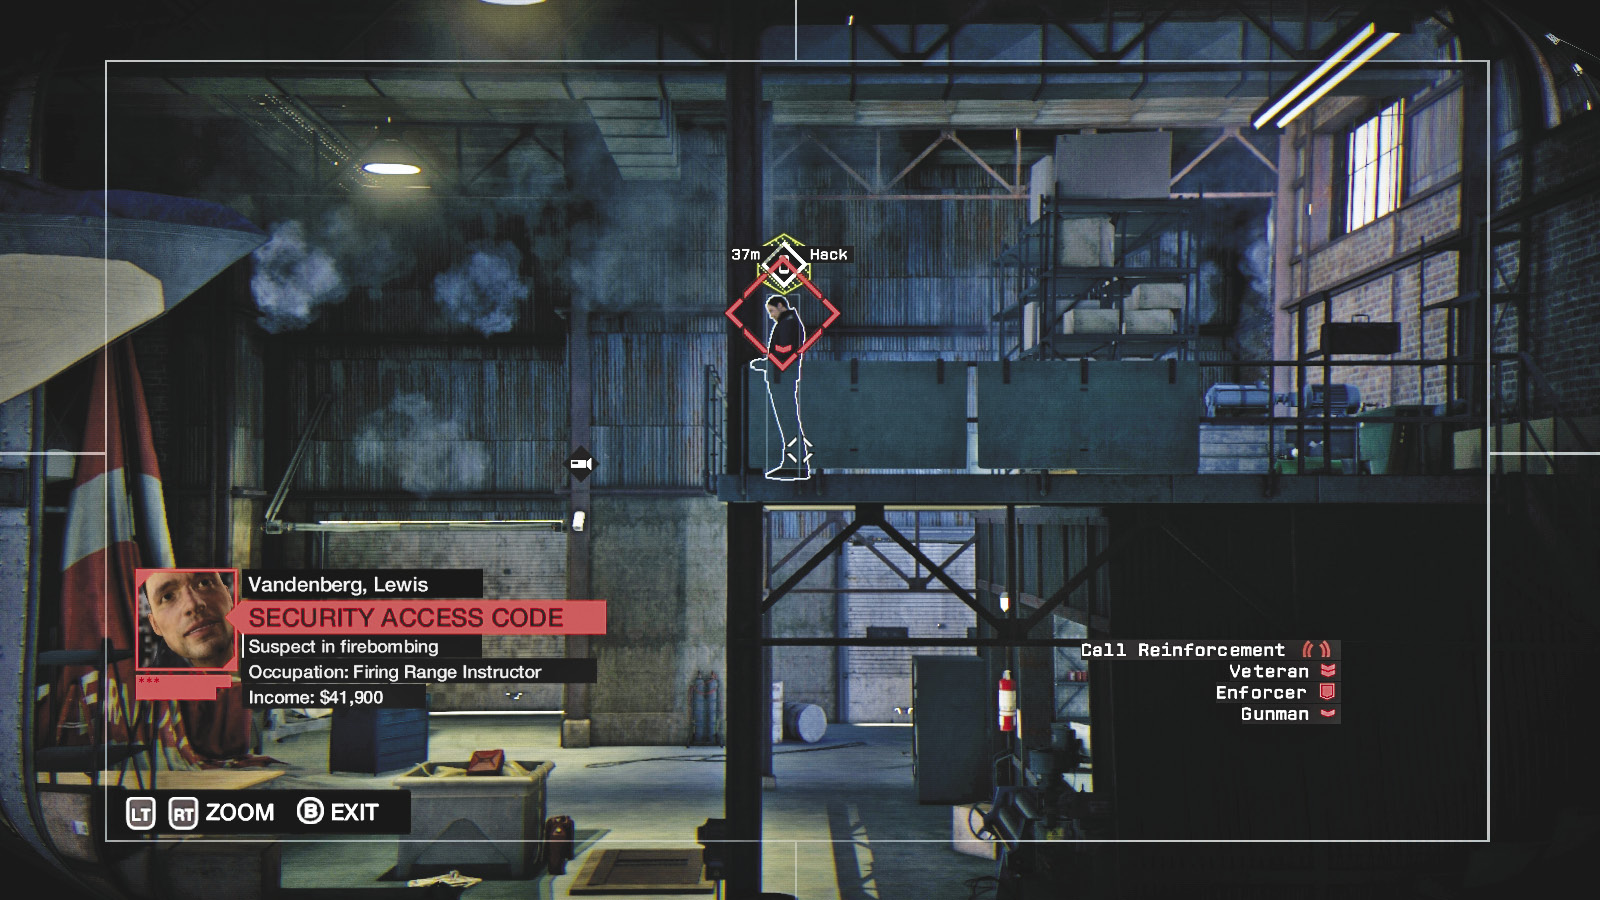
This option enables you to hack the guard without even stepping foot into the yard! From the western gate, maneuver through the cameras to the one on the pole above the Shot-Caller, at the warehouse ramp. Access two more cameras inside the first warehouse workshop and spot a laptop camera through a window. Access it, then the camera on the wall above the window. You can see the guard atop the balcony with the access code. Hack him!
 Aggressive // Stealth: Minimum Casualties to Pick (Route 1)
 Difficulty:
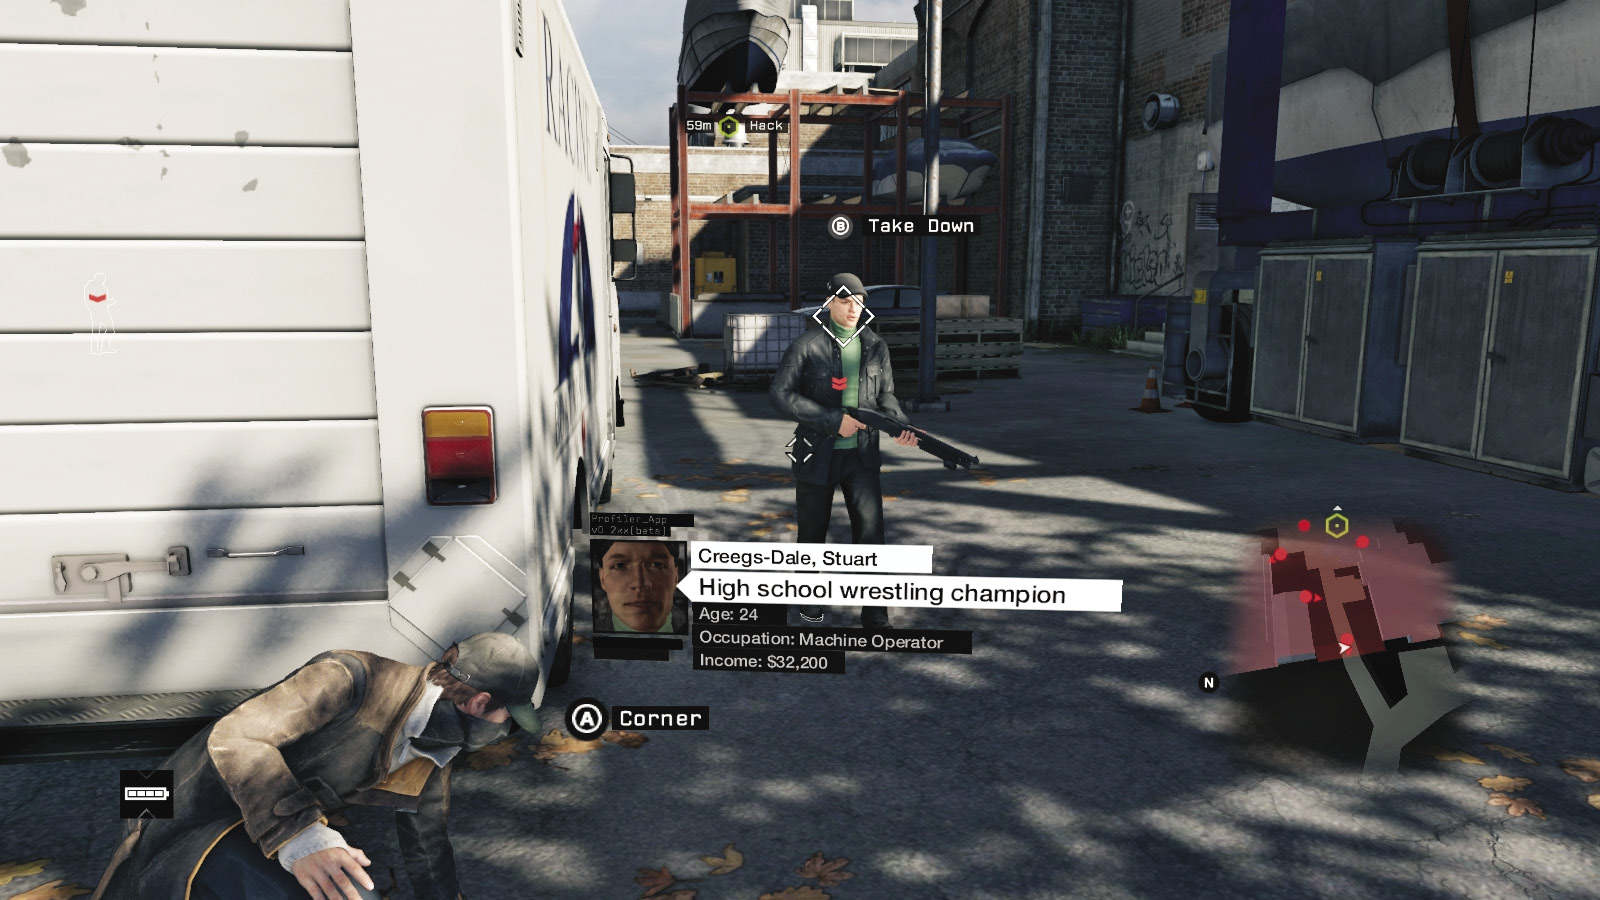
Enter from the western gate area, dealing with the patrolling guard (attract with the protector, explode over the junction box, or melee takedown by the van) and the second stationary guard on the left. Then carefully sneak across to the metal door on your right and enter the ground-level warehouse office.
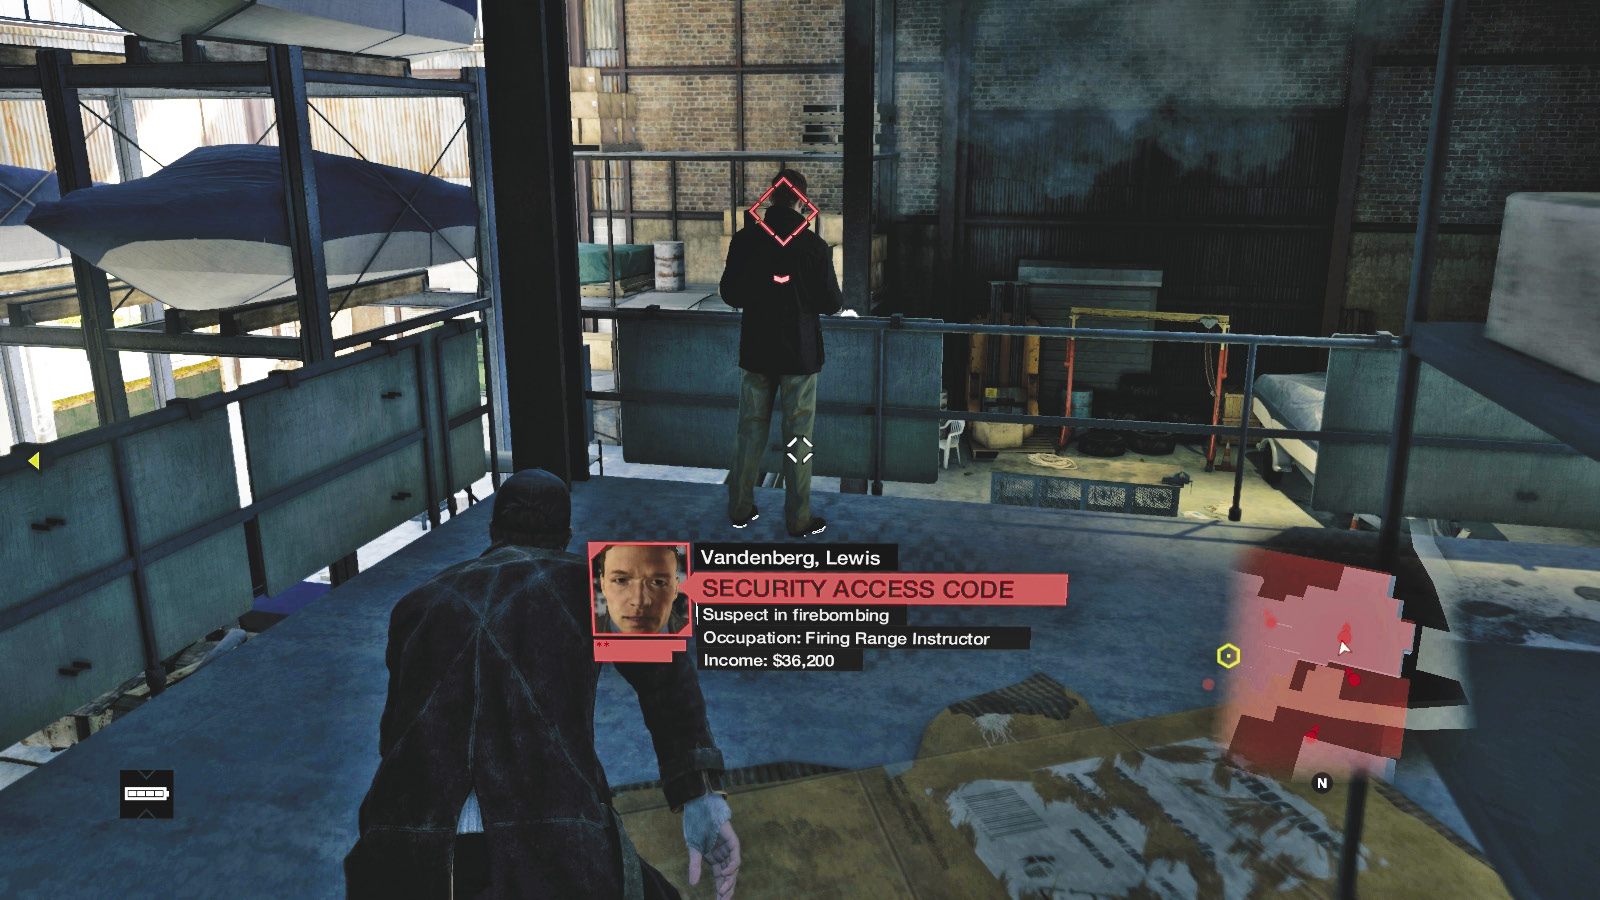
There’s crafting items and a grenade to play with, but you’re here to find the foe with the phone to hack. He’s usually standing directly above you, so employ sneak and melee strikes when he or others moves to patrol (or use the junction box or transformer vault explosion to attract or hurt him). You can also use cameras as your eyes and hack remotely. You don’t need to encroach any farther than this office if you’re using the forklift route back outside to reach Racine’s office. Or, continue into the warehouse and begin gun battling.
 Aggressive // Stealth: Minimum Casualties to Pick (Route 2)
 Difficulty:
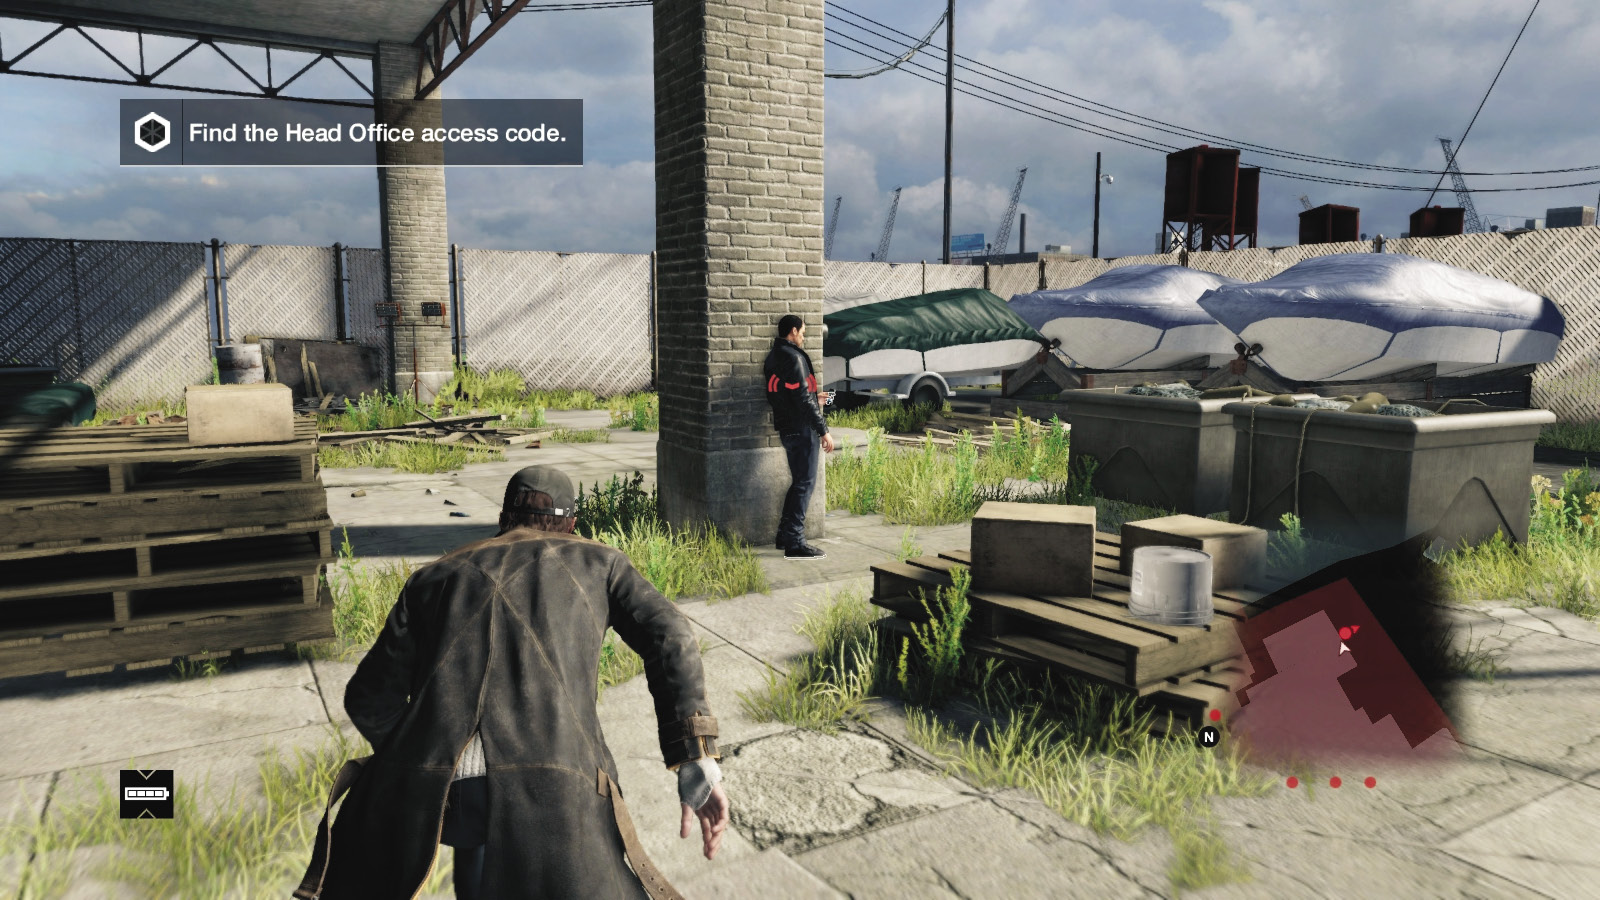
From your starting point, move around to either of the southern gates leading into the rear yard. There’s a single foe to defeat, ideally using melee strikes or a junction box explosion, not gunfire. You can use the forklift here to attract the guard. Then move to the bay window ramp or the door around the corner from it, and search out the hackable guard, either remotely or by sneaking into the warehouse. Retreat back into the rear yard and choose a route to reach Racine’s office.
 Aggressive // Smart: Yard Manipulations with a Simple Click
 Difficulty:
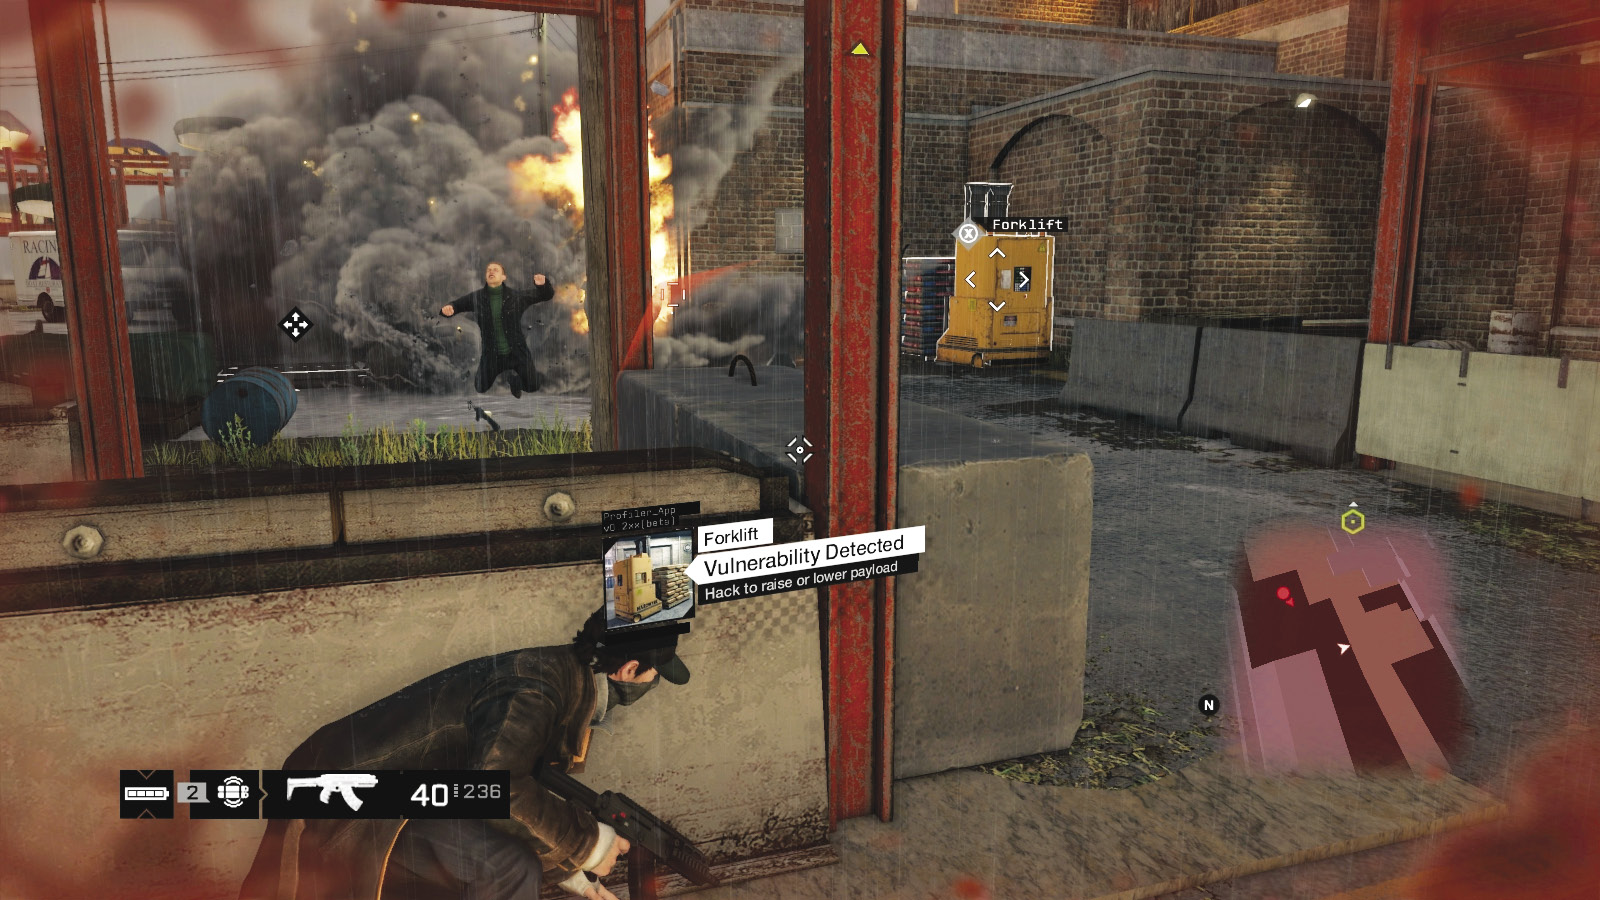
This yard has several malleable pieces of scenery to use to your advantage at various times:
There are numerous junction boxes on walls and transformer vaults on floors, including one by the west gate, one near the propane tank by the workshop ramp, one by the stairs leading to the office inside the workshop, and one by some explosive barrels at the bottom of the balcony steps inside the warehouse. All alert the guards but can distract and cause chaos.
The propane tank is a great way to remove the Shot-Caller outside, but be prepared to deal with the combat that follows.
Regulators are a smaller option to knock a foe off their feet but not kill them.
Raise the protectors in the yard; this attracts foes to them, and you can sneak behind and tackle them.
Raise protectors to hide behind, then start a firefight. But close them up before you complete your next objective, as they can prevent you from driving out of this yard when chasing Racine (during the last part of this mission).
There are two ctOS boxes—one is on the other side of the road to your starting position, and the other is on the grass east of the north gates. Hack or destroy them to cause a blackout, which helps you gain entry into the area (if you’re approaching at night). Be swift, as the generators kick back on around ten seconds later.
Lures are also excellent for coaxing foes away from a route you’re taking or toward a melee takedown; they are a good, nonviolent way to move the foes from the workshop garage out of your route and up the interior office stairs.
Finally, aside from the propane tank, there are several explosive barrels to shoot at, causing an explosion to alert or damage enemies.
 Aggressive // Violence: Yard Casualties Uptick
Difficulty: 
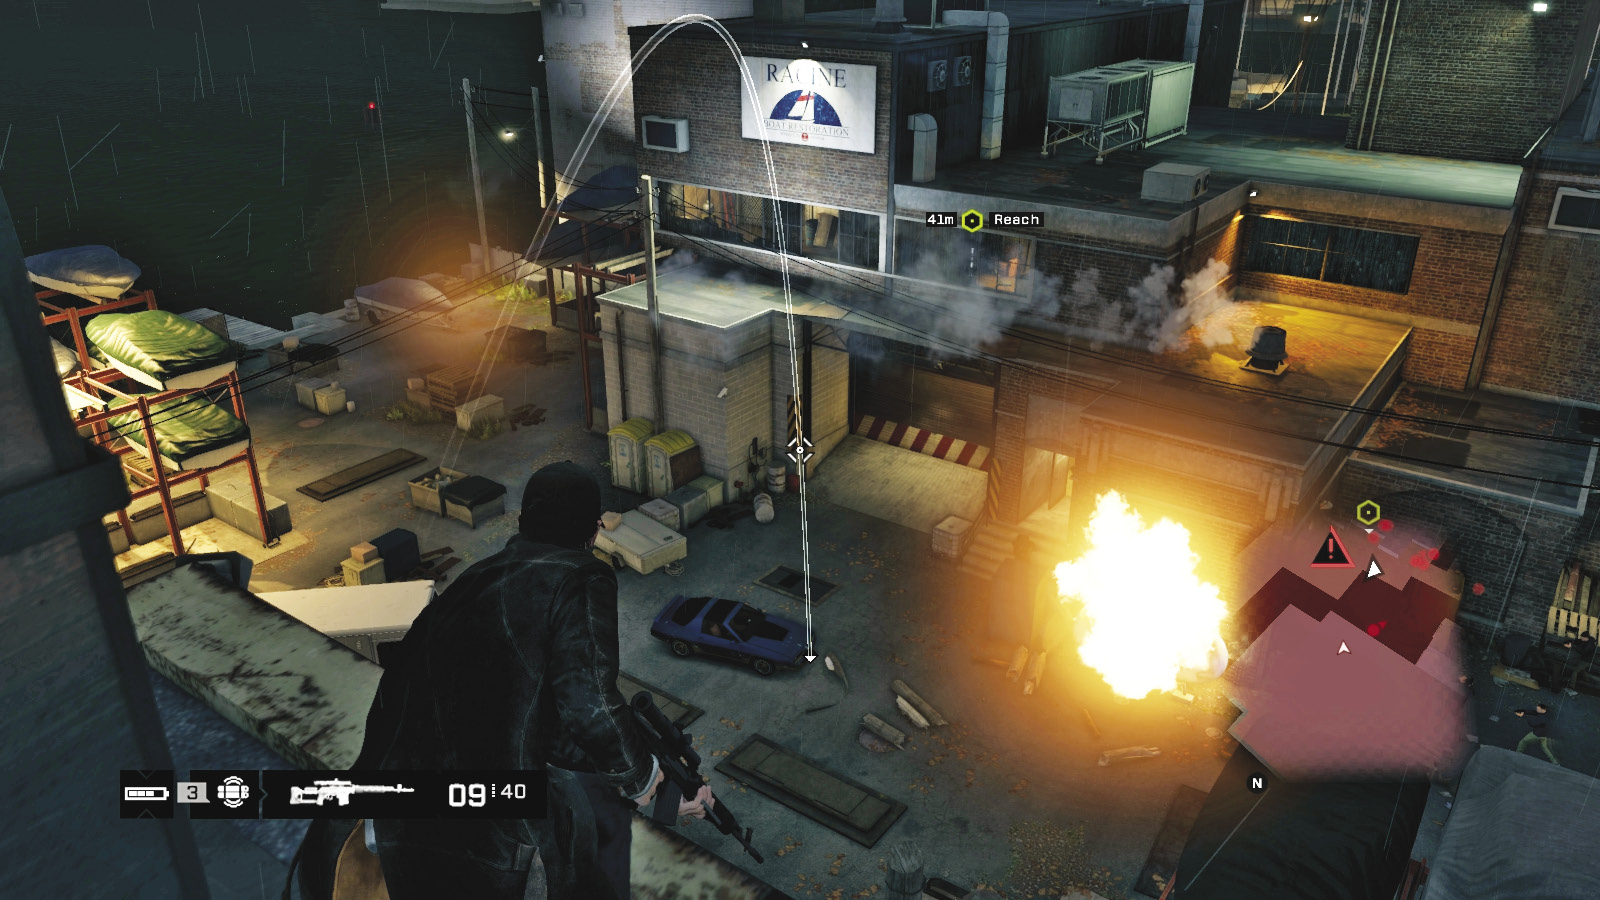
Whenever your stealth plans hit a snag or you want to test your aim, start a firefight, but beware that there are Shot-Callers inside the warehouse. Choose any of the previously described routes to take. If you massacre methodically, employ guns, and manipulate scenery, you can advance reasonably quickly. Shoot through the glass workshop window.
Shots at the propane tank get things off to a pleasantly violent start. Shotguns, automatic weapons, and pistols are also great, especially when aimed at the head. Sniper rifles are less helpful.
As ever, moving into a corner means you can’t escape, but if there’s adequate cover (e.g., the protectors, boat racks, warehouse corners or balcony, or the stairs by Racine’s office), you can whittle down the foes or stalk them.
As previously discussed, projectiles (lures) are excellent when the action hasn’t reached this level of mayhem. But grenades are great to use, especially inside (providing you’re not too close).
IEDs and proximity IEDs are excellent for placing on guard routes (especially an advancing Enforcer) and detonating near the propane tank, transformer vaults, or other explosive scenery.
 Driving // Offensive: Ram into the Workshop if You’re Quick
 Difficulty:
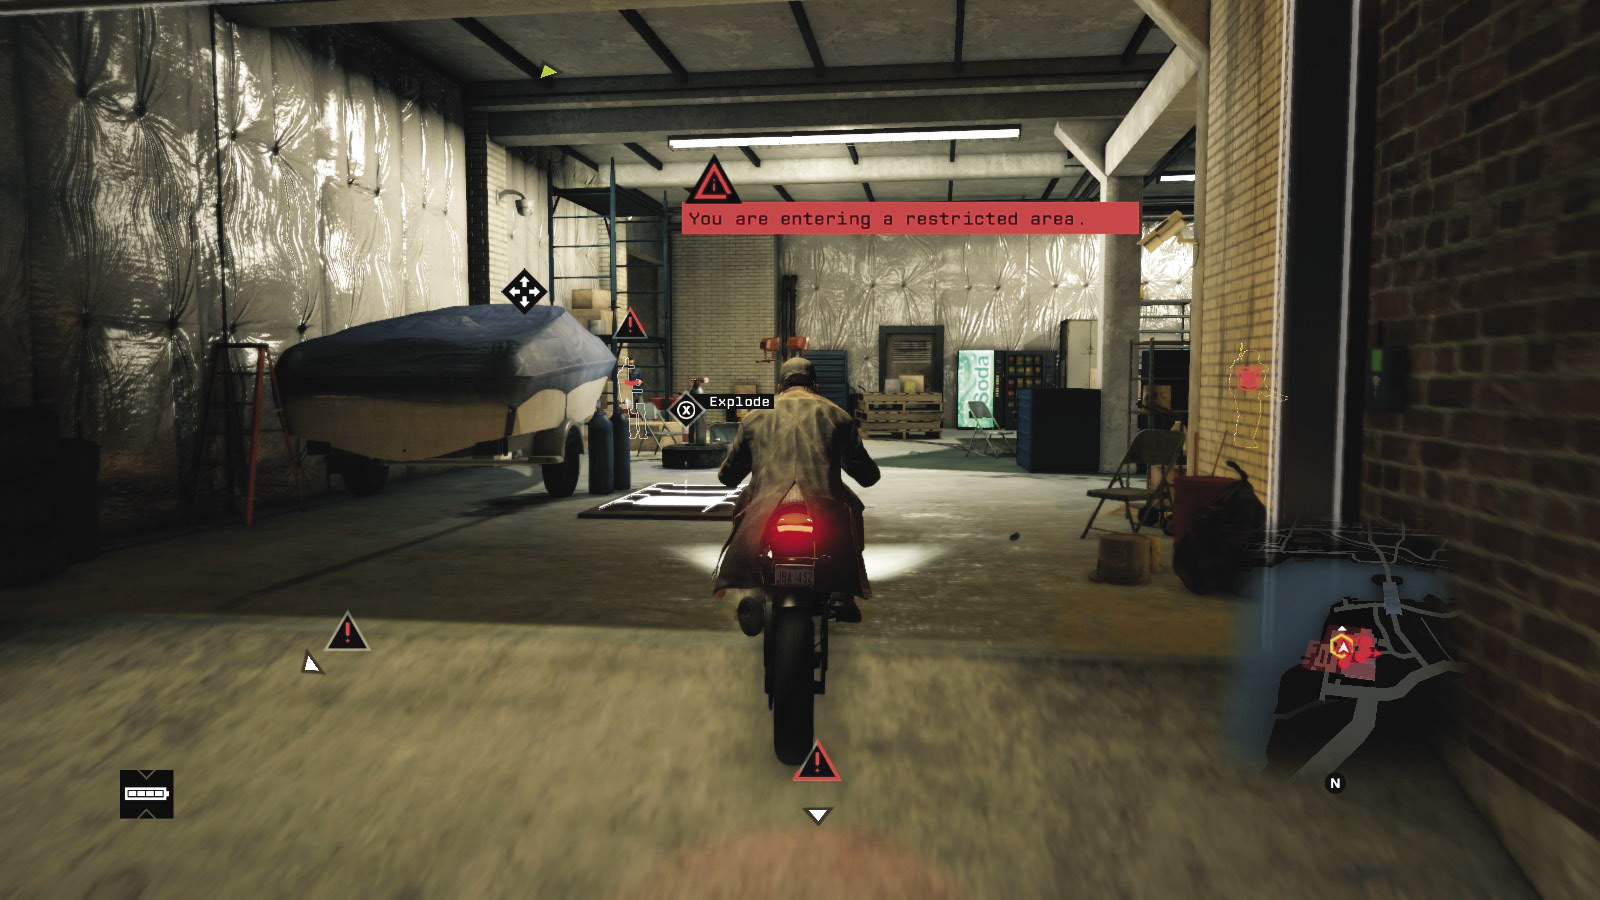
Perhaps you’d like a leisurely drive into the yacht club? Well, instead, approach from the north, access the gate, drive around the left side of the parked van, and ram the Shot-Caller at the workshop ramp. Then drive up, park in the corner (ramming the Enforcer at the bottom of the stairs), and exit the vehicle. Bound up the stairs to cover, being careful of the exploding barrels. If you’re on your bike, drive up the stairs. You then need to start a gun battle (or a very swift camera scan) to reach the hackable guard.
2.2 OFFICE ACCESS GRANTED
 Location / Brandon Docks // Chicago Yacht Club
|
|
 Enter Racine’s office
 Hack Racine’s cell phone
 Infiltration
 Data Hack
 Lethal Force Likely
Difficulty: 
No matter whether the Yacht Club is still quiet or a massive firefight has erupted, there are only three routes up to Racine’s office, located on the warehouse’s upper level:
Insertion Points
Forklift Rooftop Sneaking
 Accessibility Level:
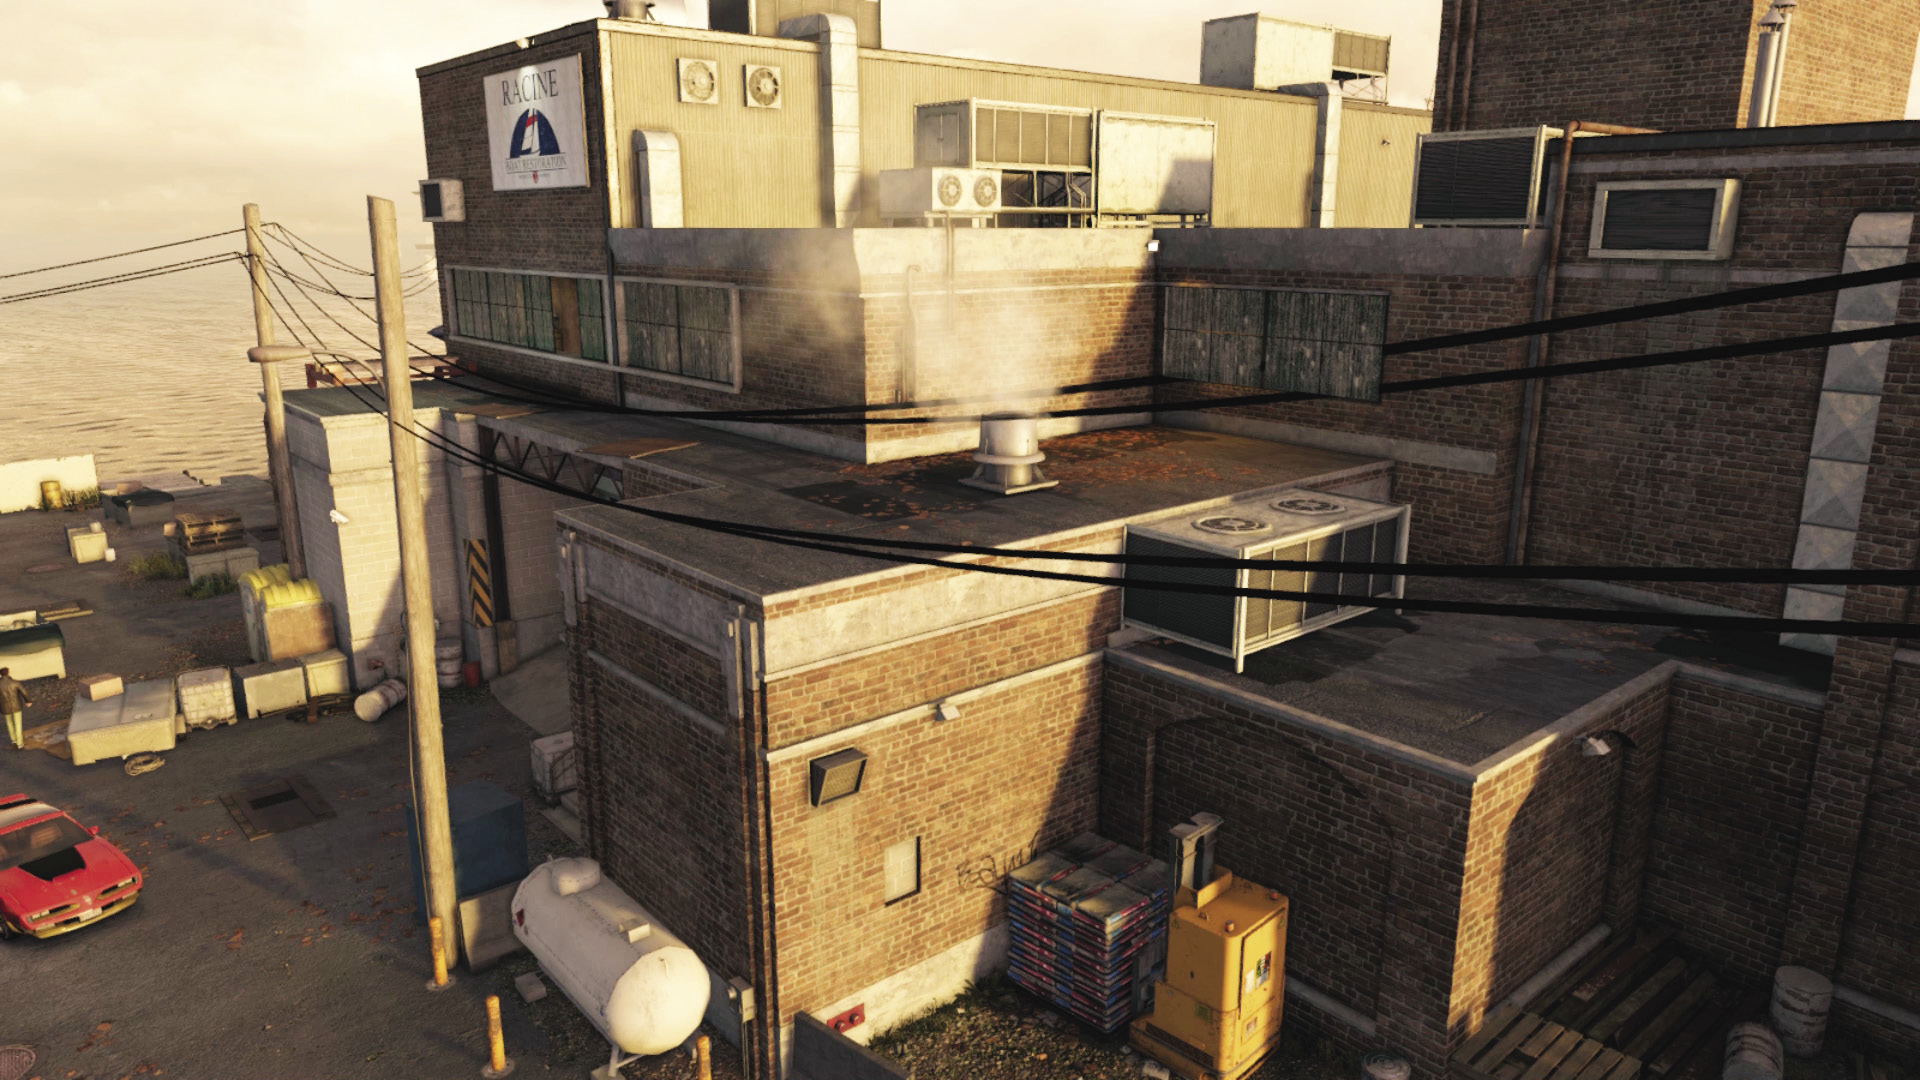
By the warehouse’s front ramp, near the Shot-Caller and propane tank, is a parked forklift. Climb onto the forklift pallet and then up onto the stepped roof. Pass the steam vent, and head along the flat roof above the workshop ramp. Vault over the open window to the lock to Racine’s office.
Interior Workshop Stairs (from Yard)
Accessibility Level: 
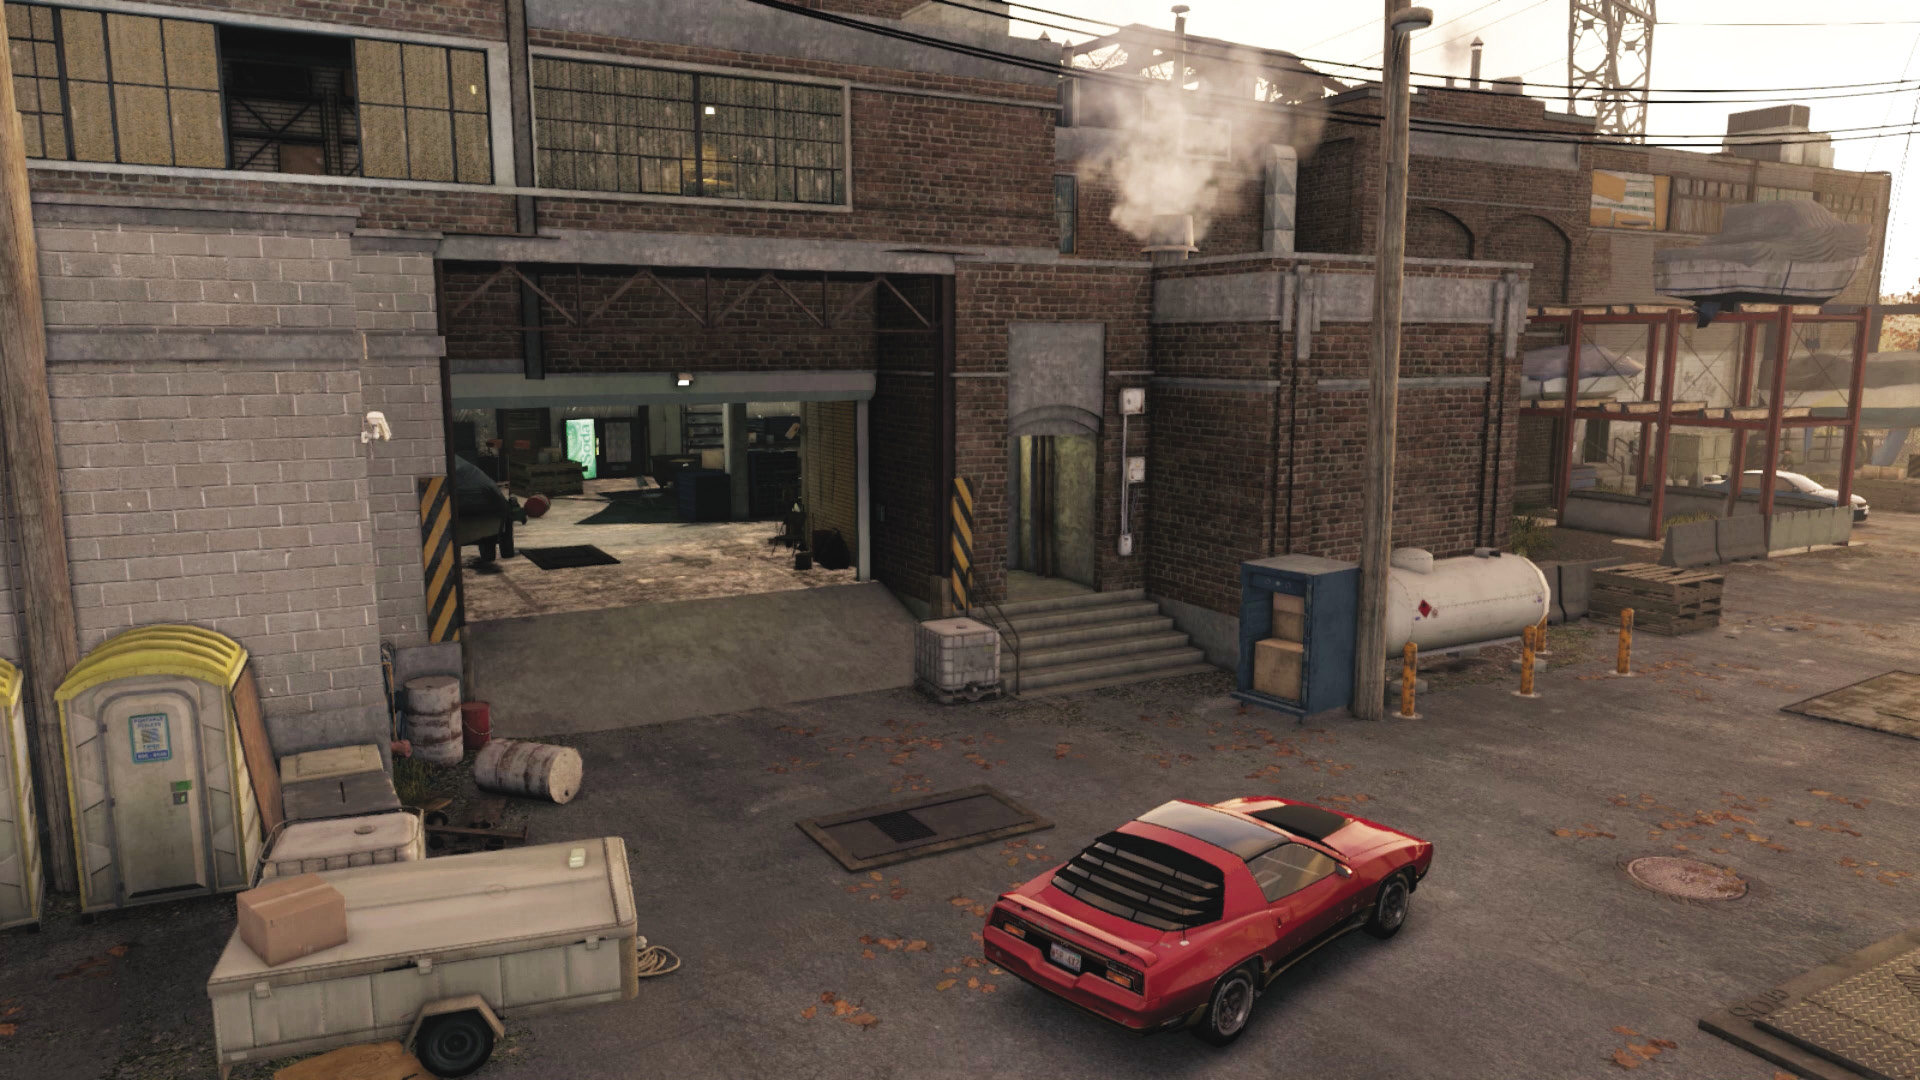
Approaching the interior stairs from the main yard area is tricky, due to the sheer number of foes and that Enforcer. You can use the ramp or the door to the right if sneaking is part of your plan. If you’re in a firefight, though, you may simply wish to drive a vehicle up into the workshop, using it for protection as you park near the stairs and race up them. Wait at the top and drop foes who follow you up. Amid all this mayhem, don’t forget to hack the wifi radio in the hangar for another Audio Log, either now or when you leave this place.

Interior Workshop Stairs (from Rear Yard or Warehouse)
 Accessibility Level:
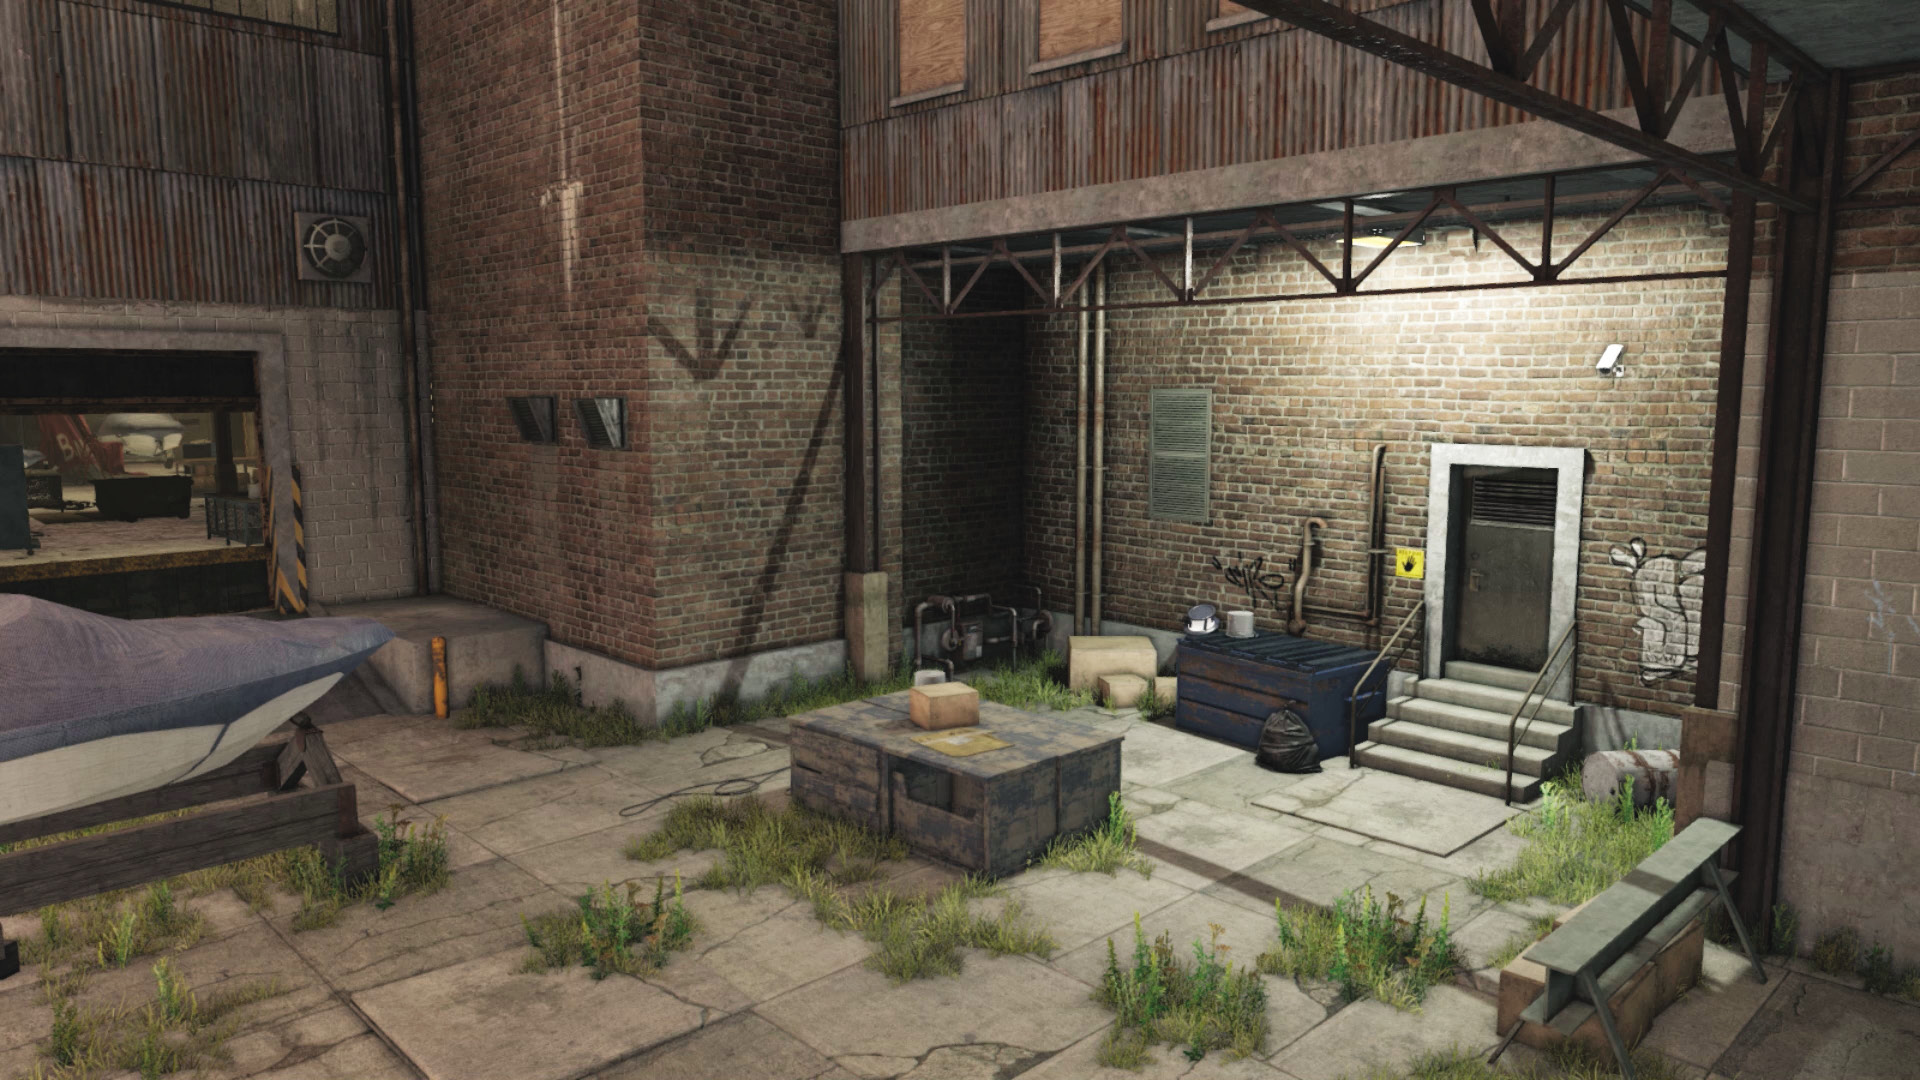
These same stairs are more easily accessed from the rear yard. There’s minimal resistance unless the Enforcer spots you, but you can use cameras to mark foes patrolling, and there’s only one enemy at the base of the steps to shoot, throttle, blow up using the junction box, or race past. You may need to repel pursuers afterward.
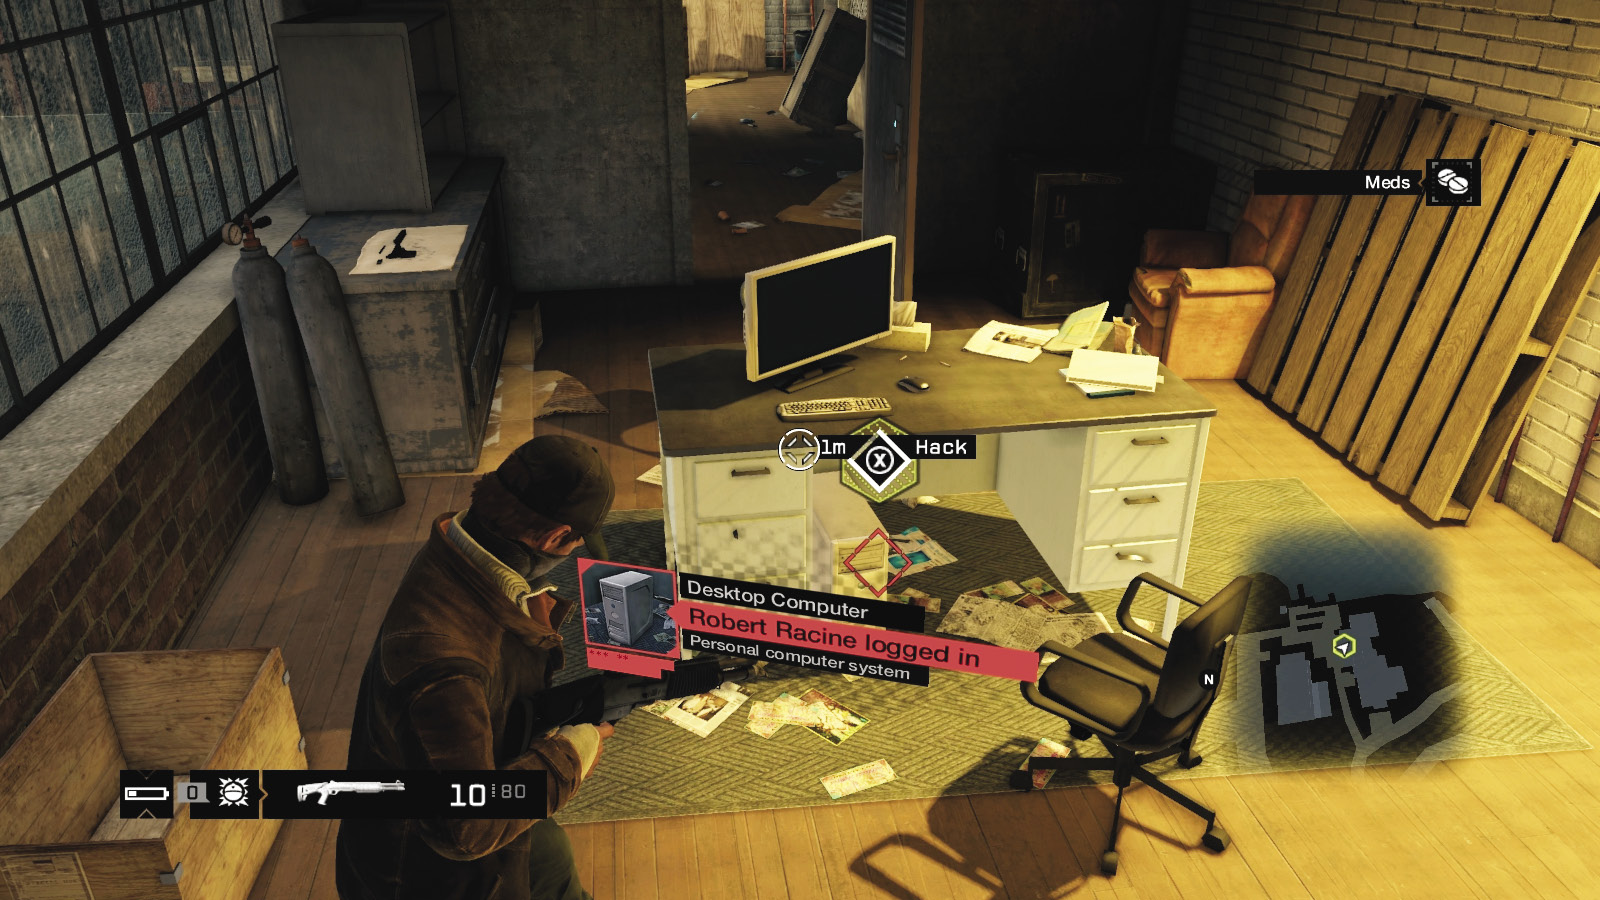
Hack the switch console after gathering any items. Once you’re in Racine’s office, survey the area. There’s an AK-47 and a crafting item on his desk. But you’re here to hack Racine’s computer; this reveals a security camera inside a separate garage area, out of the restricted area to the southeast. Hack Racine’s phone, and listen to his conversation with Damien. Then get ready—Racine is fleeing the scene!
2.3 RACING AFTER RACINE
 Location / Brandon Docks // Chicago Yacht Club
|
|
 Take down target
 Escape The Club reinforcements
 Vehicle Chase
 Data Hack
 Lethal Force Likely
Difficulty: 
Overview
Completion Point: The twitching corpse of Robert Racine.
Dangers: Enforcer. Robert Racine. Up to six Club vehicles loyal to Racine.
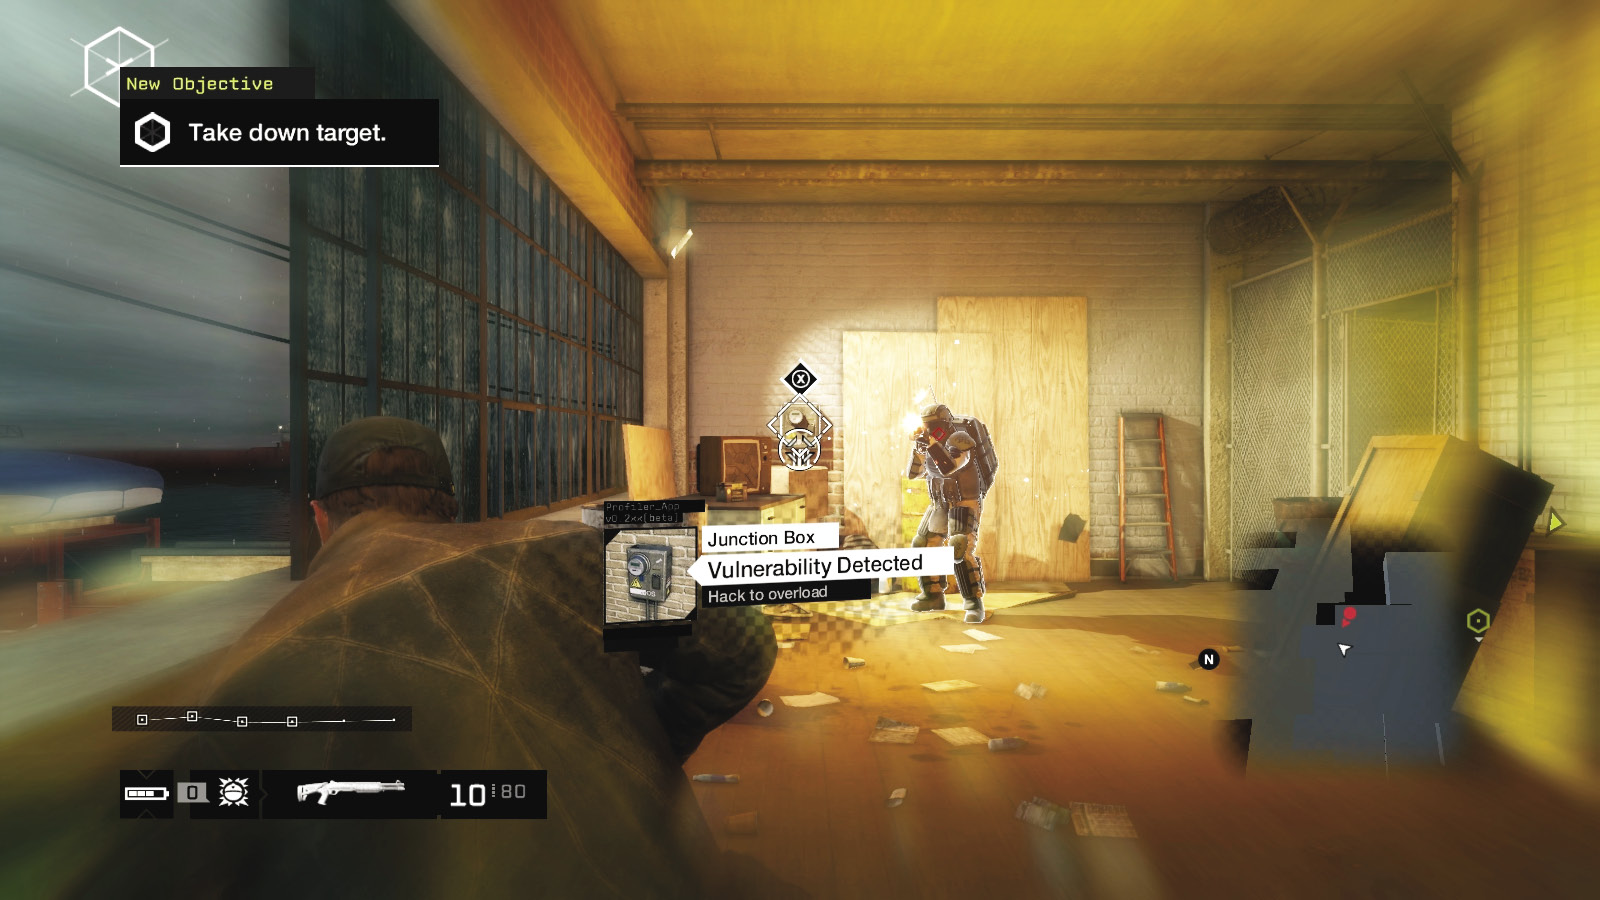
The plan is to reach Racine in his vehicle, kill him, and hack his cell phone before escaping from The Club. Before you give chase, there are two matters to contend with. First, there’s an Enforcer at the top of the stairs as you open the office door. Shooting it takes far too long, so try the following:
Hack the junction box behind the Enforcer, blowing it and the foe up.
Switch your Focus off, ignore the Enforcer entirely, and leap out the window to the left.
Lob a grenade or IED, and leap from the window to the left (detonate the IED if it isn’t a proximity one).
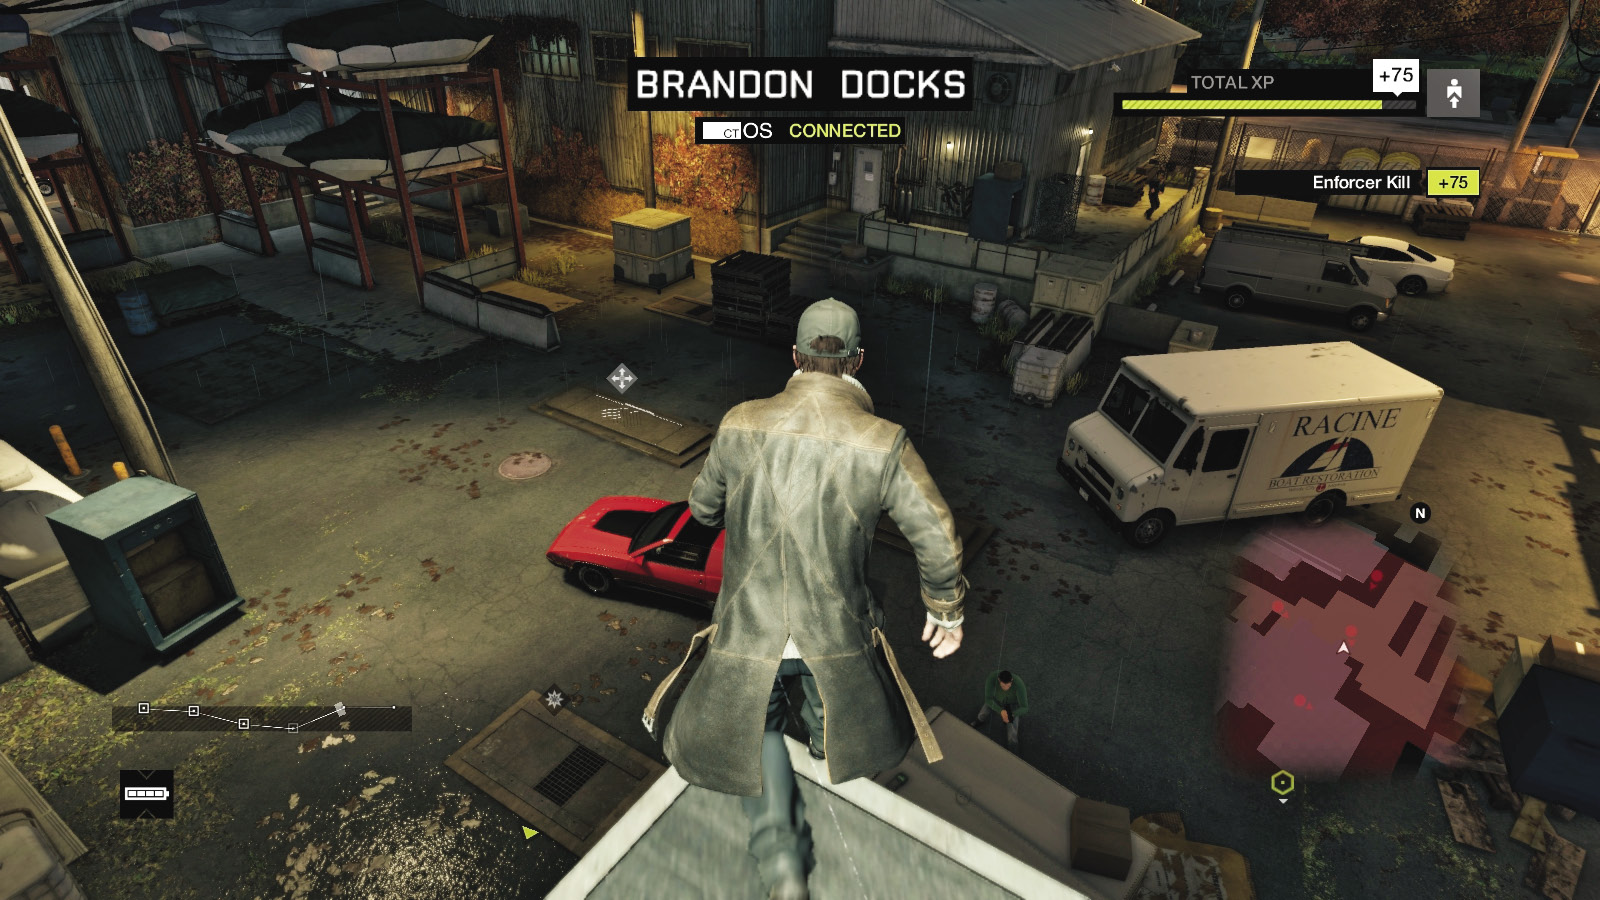
The second matter to contend with is a vehicle chase. Hopefully you did some preplanning regarding which vehicle to use for this chase. You can:
Leap out of the window, drop to the front of the workshop entrance, and take the vehicle parked there, ideally out of the west gate entrance. If enemies are thwarting you, use your Focus to quickly dispatch them before entering the vehicle.
Or, if you parked a vehicle nearby, sprint to the west entrance, enter the vehicle (which ideally is positioned to the south), and begin the chase.
Or, sprint back down into the workshop and head south to the parked vehicle just outside the south gates, between the large yachts.
 Driving // Smart: Not Getting Far
 Difficulty:
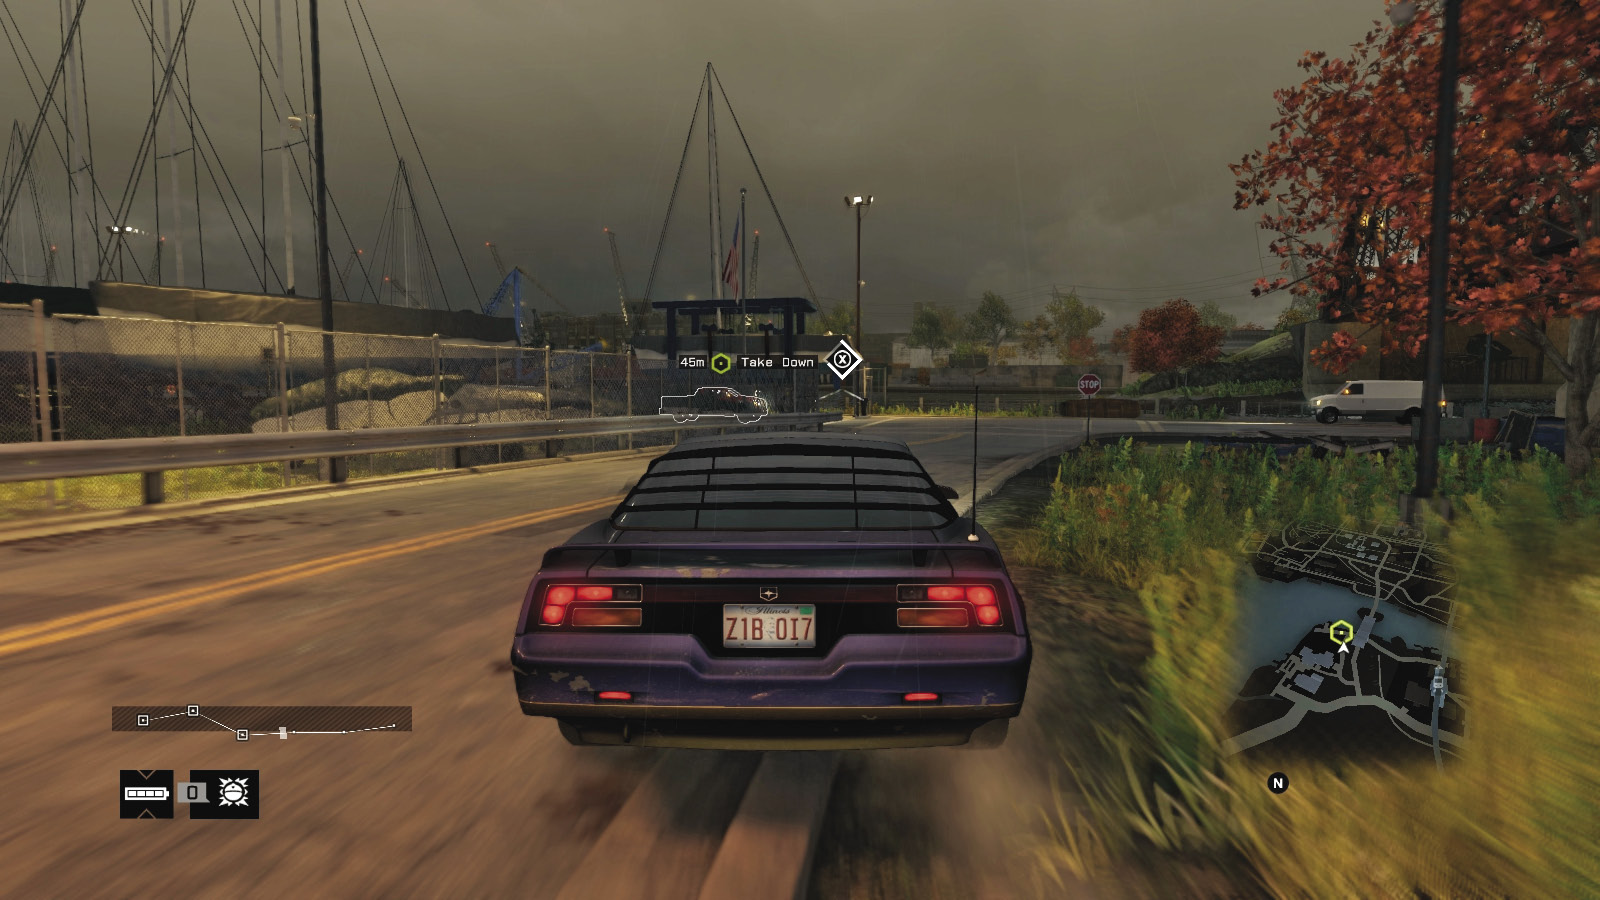
With some preplanning, you can make the chase easier. Commandeer a large truck during your escape, and drive it toward the open gate Racine races for as he leaves his garage. Hack the gate so it closes, and Racine crashes into it. He hacks it open again, but by this time, you should have arrived and blocked the truck from escaping or slowed it down enough for you to disembark and lob an IED onto it or shoot or snipe Racine as he stops or tries to escape. At the very least, you caught up with Racine, so the subsequent chase is easier.
 Driving // Offensive: The Roadway Spar
 Difficulty:
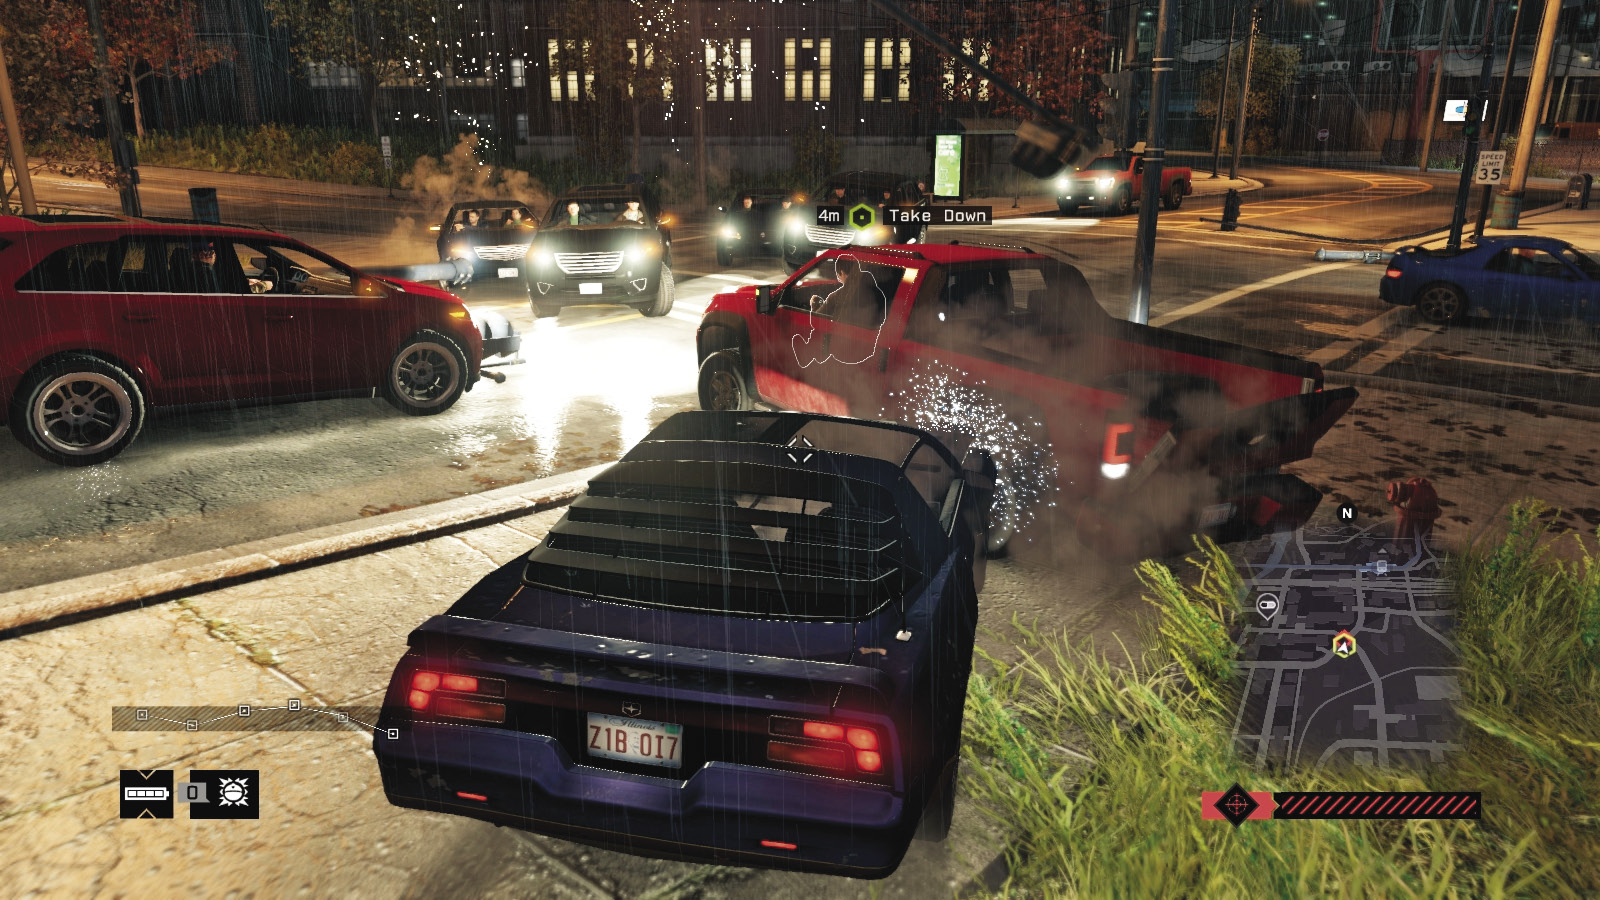
If Racine is making a run for it, he always takes the same route. This is handy, as there are numerous opportunities to attempt the various evasive maneuvers and ramming you’ve previously learned. In addition, there are junction boxes, steam pipes, lights, and places to cut corners to reach the road ahead before Racine and block him.
He weaves along the road by the boat yard (steam pipe), takes a right under the L-train, and a sharp left at the lights (traffic lights). He then heads onto the rail tracks to the right. Follow him or stay on the road and block him when he launches from the makeshift jump and makes a left turn near a junction box.
This leads to a bridge; raising this is usually the easiest way to limit Racine’s racing, as this is the time he tends to call on reinforcements. Concentrate on his truck.
He passes another bridge to your right, continues down the road (steam pipe), and makes a sharp left down an alley behind a factory. He weaves right, through a slag heap yard, and makes a sharp right under the freeway.
He shifts left to the rear of another factory (blockers), makes a sharp left onto a street, and another left around the front of the factory (traffic lights).
He makes a sharp right (traffic lights) and winds past another junction (traffic lights), heading for a suspension bridge. Raising this bridge and pushing him to his doom is a great way to end this chase. But it can continue past this point.
 Aggressive // Violence: Headshots to Score
Difficulty: 
Remember you can use more than your vehicle to take Racine down. Another option is zooming ahead from the yacht club to the traffic lights under the L-train, parking to block Racine’s path, and raking his truck with automatic gunfire (or sniping his tires or head). Laying down an IED to detonate is another option. And if you miss? Well, you can simply start up the chase again.
At this point, you need to flee from any reinforcements from The Club. The usual plans of driving to hide from foes searching for you within their sphere of influence come into play. Simply head as far from Racine’s truck as you can, varying your route. Employ the previously learned tactics too. As soon as Racine gives up his cell phone goods and you flee from the Club foes, you receive a snarky phone call from Damien and the mission concludes.
MISSION REWARDSGained XP +500 |