
Watch Dogs Guide MAIN MISSIONS MAIN MISSIONS /// Act II
_COLLATERAL
OBJECTIVES
|
 Defend Clara from the Fixers
 Escort Clara to her car
 Escape the motel area
LOCATIONS // MAPS

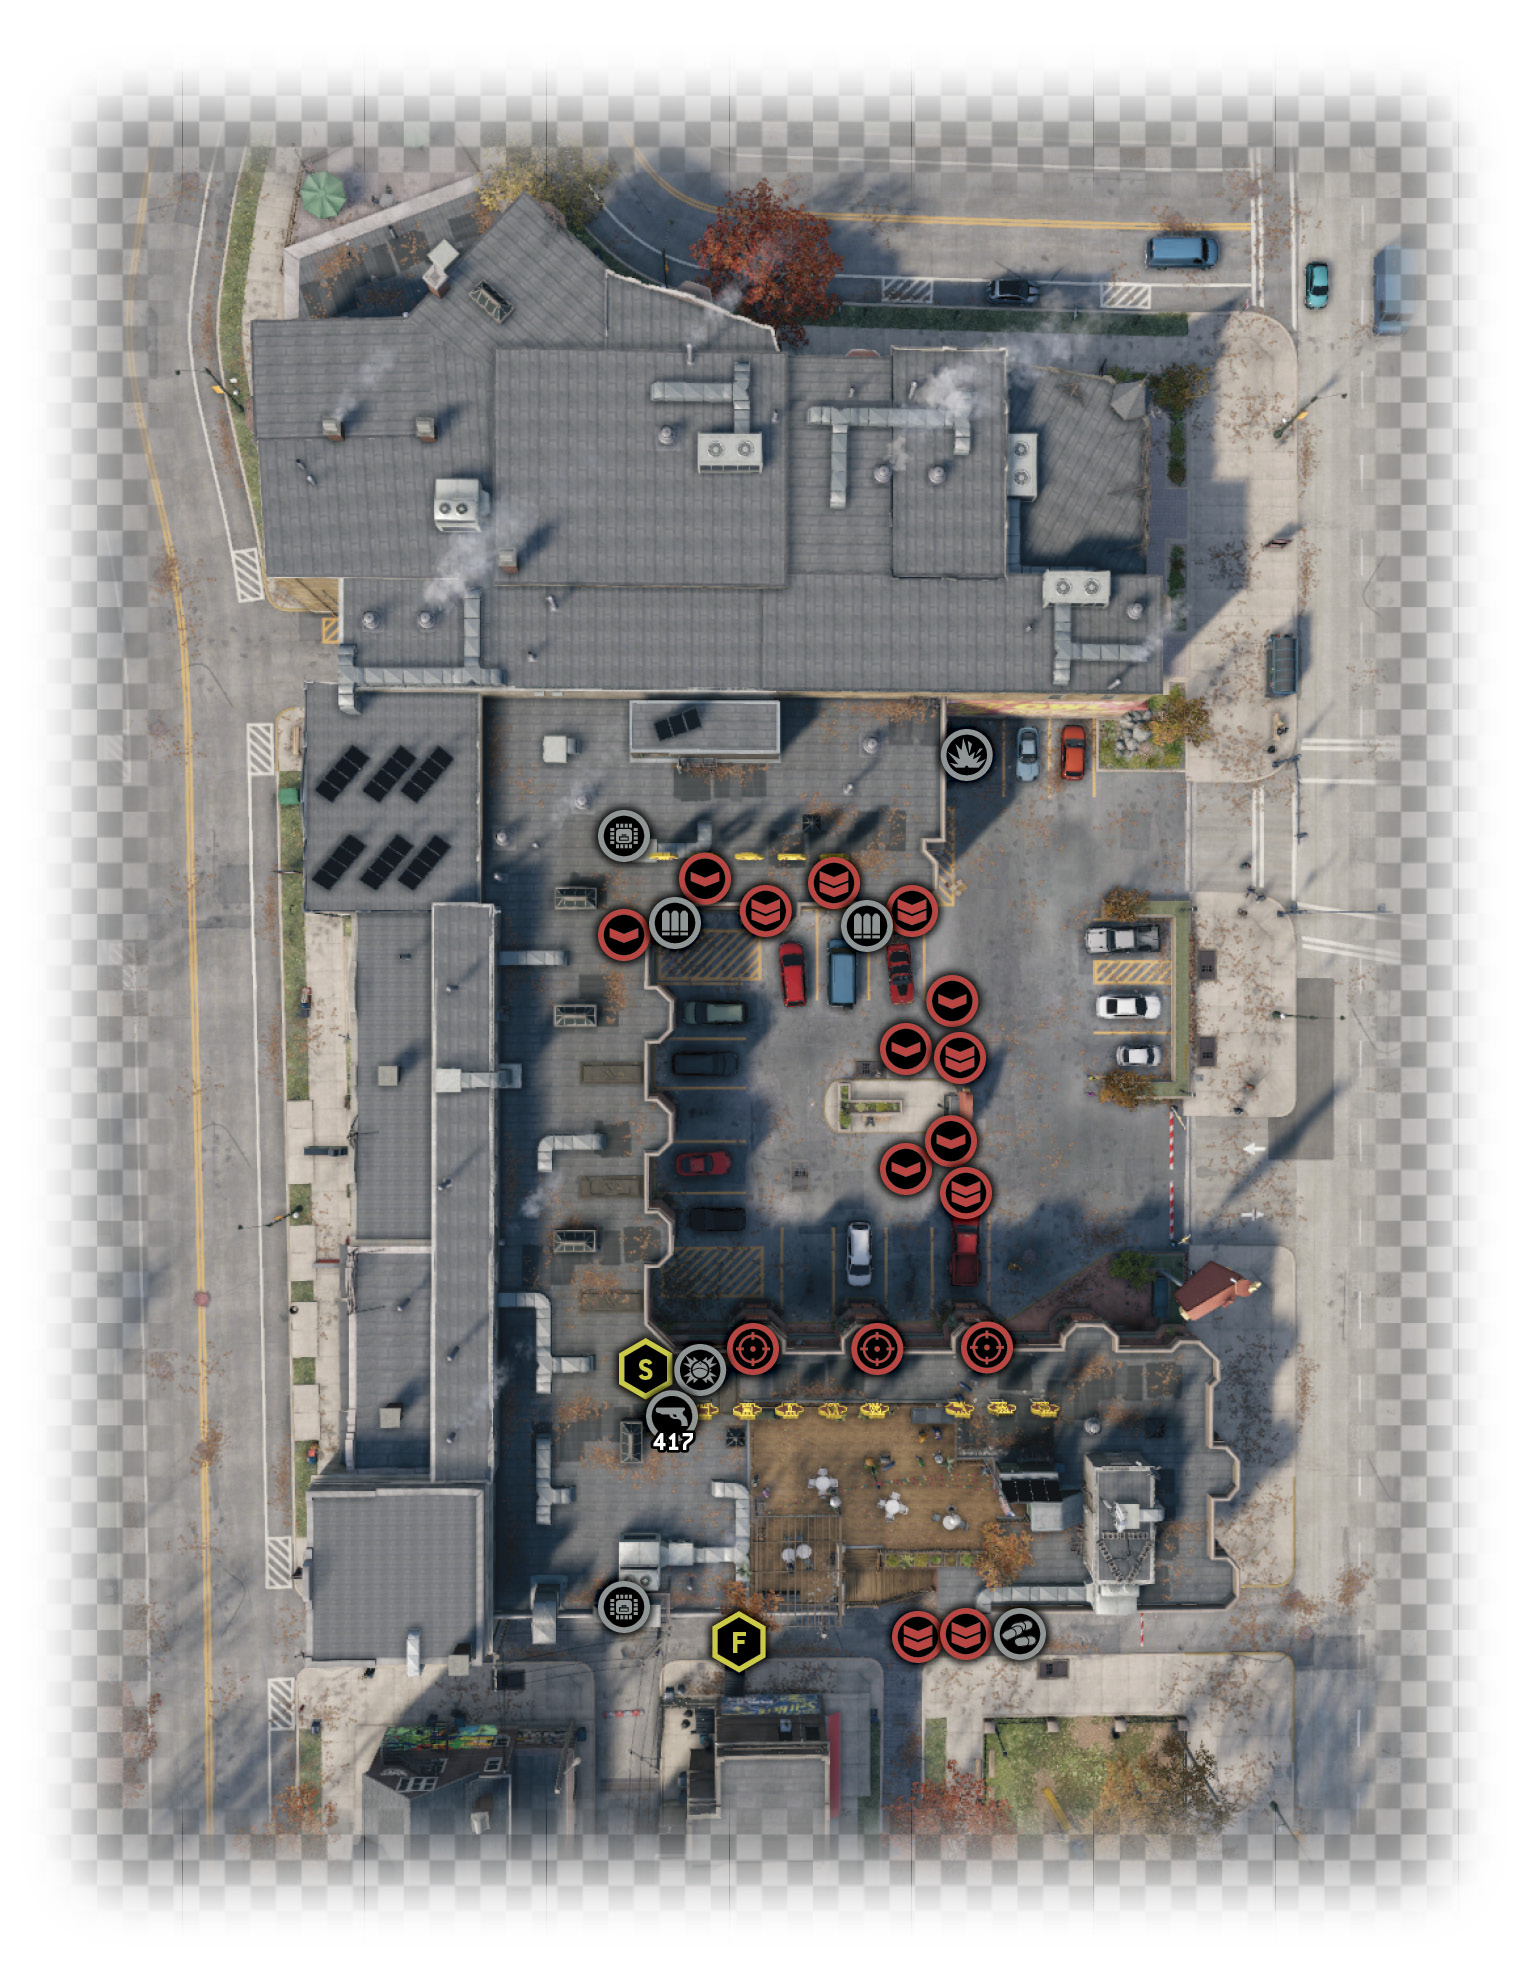
Location / Parker Square // Owl Motel
3.1 A CORRUPT WOMAN
 Location / Parker Square // Owl Motel
 Investigation
 Lethal Force Likely
Difficulty: 
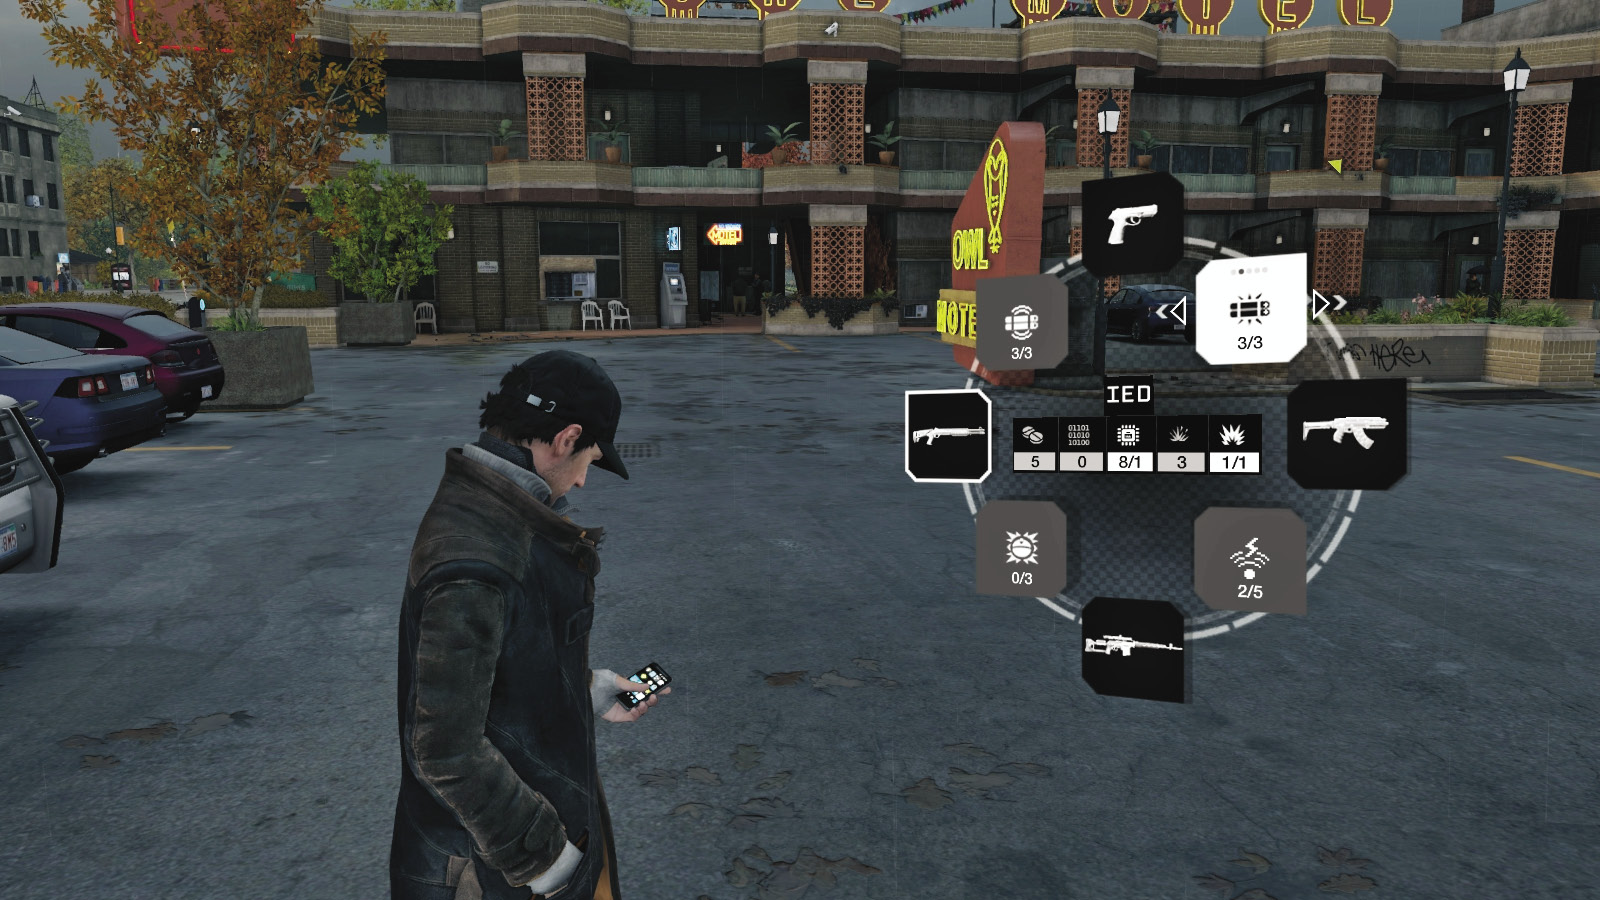
Now you have the IP address from Damien, you need to analyze it back at the Owl Motel. Head over there at your earliest convenience, remembering you can Fast-Travel there too. However, before you reach your room, we recommend you complete the following optional tasks:
Motel Survey: Inspect the entirety of this location. Learn the layout, all of the insertion points, and where the exits are (especially both of the stairs to the roof).
Tool Up: Head to a gun shop and pawnshop, and get your favored rapid-fire weapon or shotgun and preferred projectiles (including those you unlocked using Skill Points, such as the ability to make and use IEDs) before this mission starts. You should also look to your Hacking skills in the Skill Tree and unlock as many of those as you wish.
You reach your motel room and access the footage as Clara shows up. She seems jumpy, more so even than you. With a corrupt video, Clara tells you only the original will do, and she begins to talking, though you’re too caught up with your own problems to listen to hers. Suddenly there are sounds of foes approaching. The hideout has been compromised! After an explosive wiping of your computer equipment, a Fixer grabs Clara. Help her!
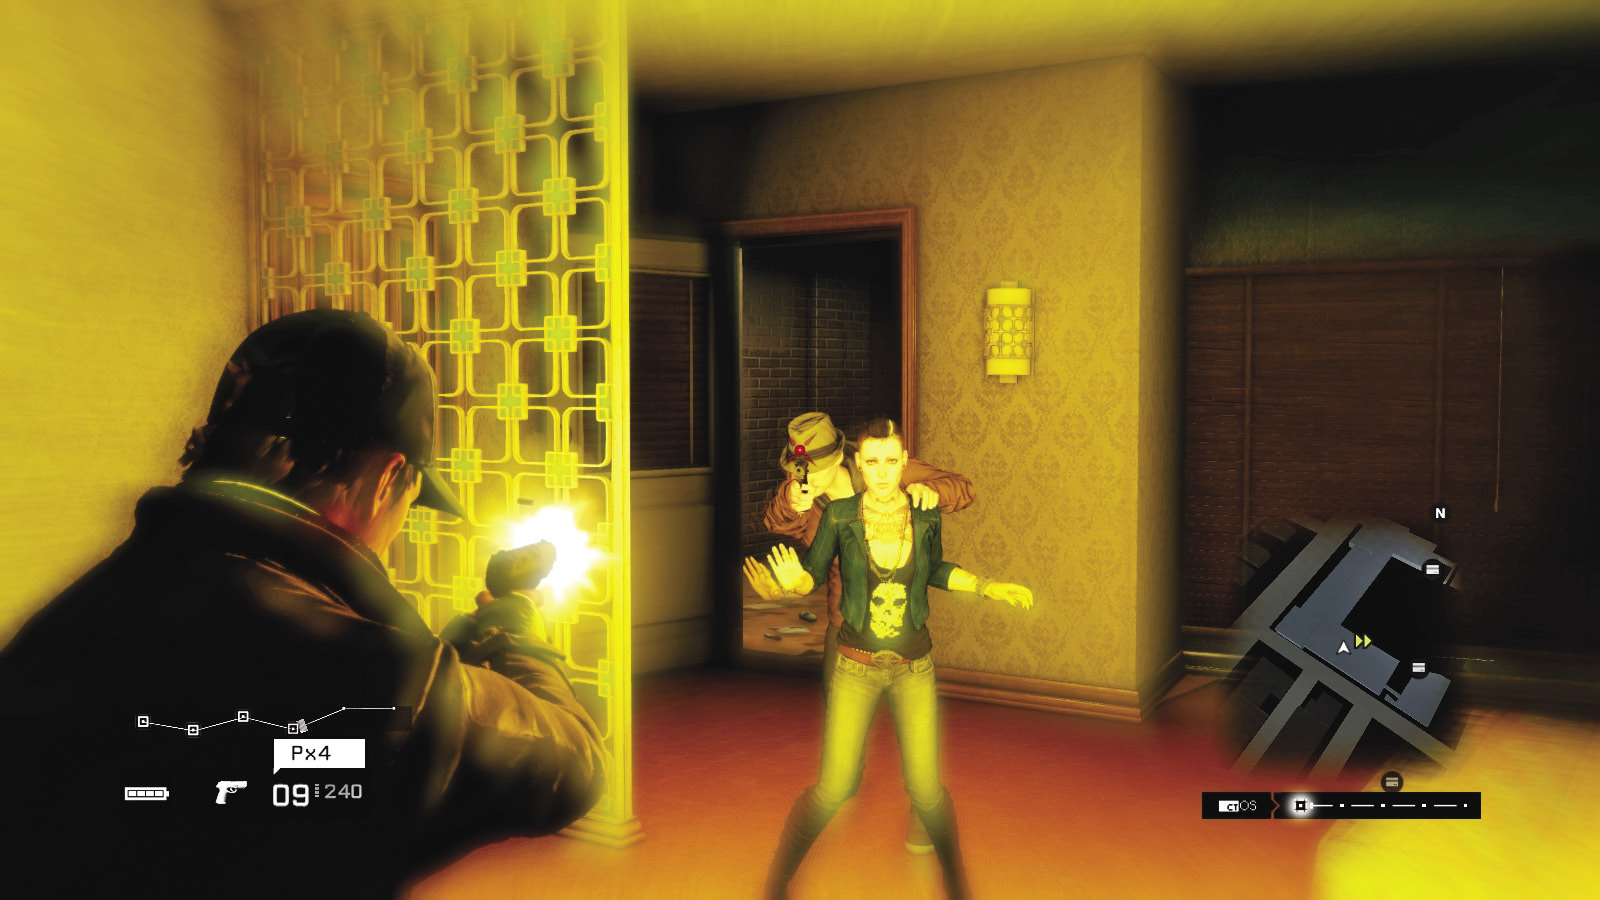
While you’re focused, you have around a second to aim your pistol and hit the Fixer holding Clara anywhere you can (a headshot is preferable, obviously). Striking Clara or remaining dumbfounded is not a great idea, as you’re shot to death. With the Fixer removed, you both scramble out onto the upper balcony, where a chaotic firefight begins.
3.2 THIS ISN’T FIXABLE
 Location / Parker Square // Owl Motel
|
|
 Defend Clara from the Fixers
 Escape
 Lethal Force Likely
 Melee Force Likely
Difficulty: 
Overview
Completion Point: Clara’s car, in the alley on the motel’s south side.
Dangers: Five Fixers (Gunmen x2, Veterans x3), three on the upper balcony and two on the north roof.
Dangers: Up to six cars (initially three, then two, and finally one as Clara reaches her vehicle). Up to four (up to four enemies per car) arriving during the mission (Gunmen x2, Veterans x2, per car).
Dangers (Possible Threat): Up to three Fixers, (Marksmen x3) with sniper rifles and machine guns, on the south roof (as the mission progresses). Two Veterans ambushing along the south alley.
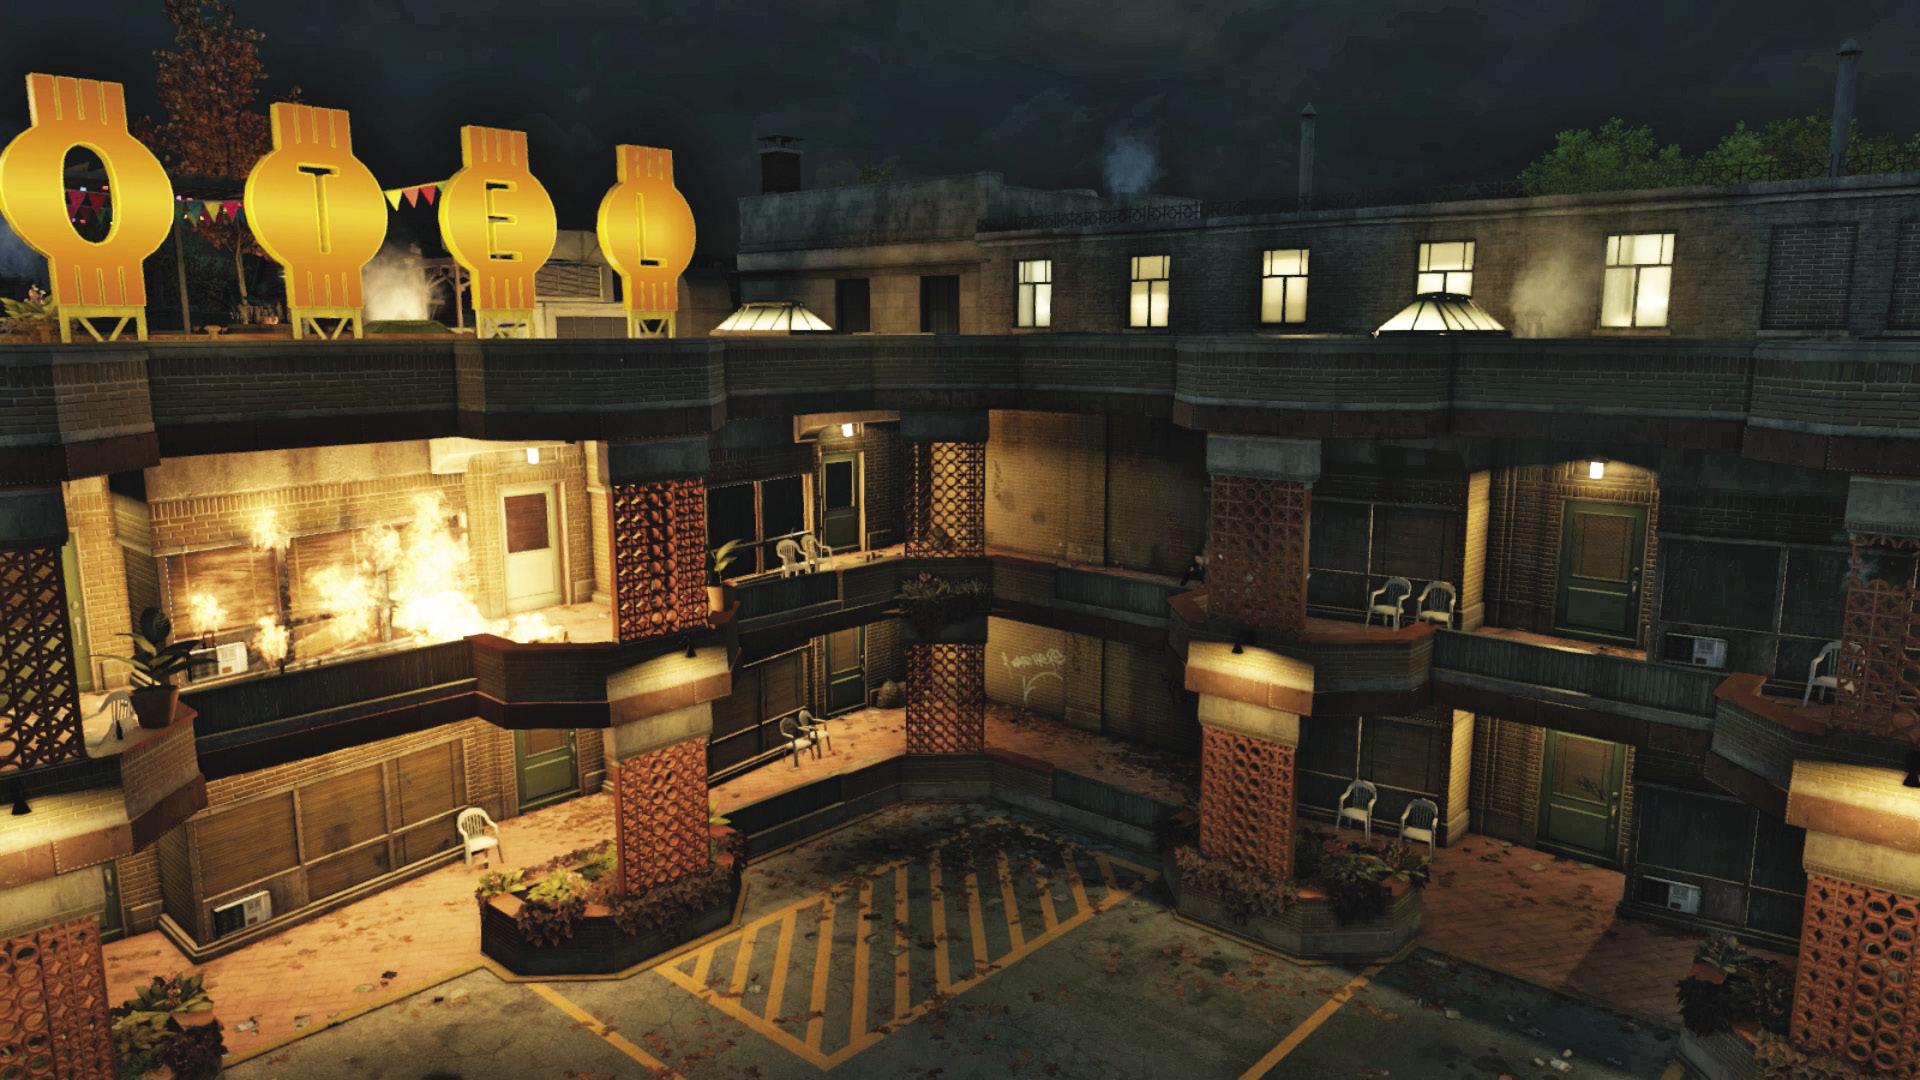
Owl Motel: Grounds
Upper Balcony
Accessibility During Mission: 
The fire in your room means the area to the right (east) is impassable, forcing you around the balcony to the north stairs. Note the drop down to the grounds (with a vault). Otherwise, hide by the brick balcony fence, watching out if you’re behind the wooden fence sections, as they can be destroyed by enemy fire, or your own. It’s also a problem aiming through the circular tile walls around the balcony.
North Stairs (and Roof Access)
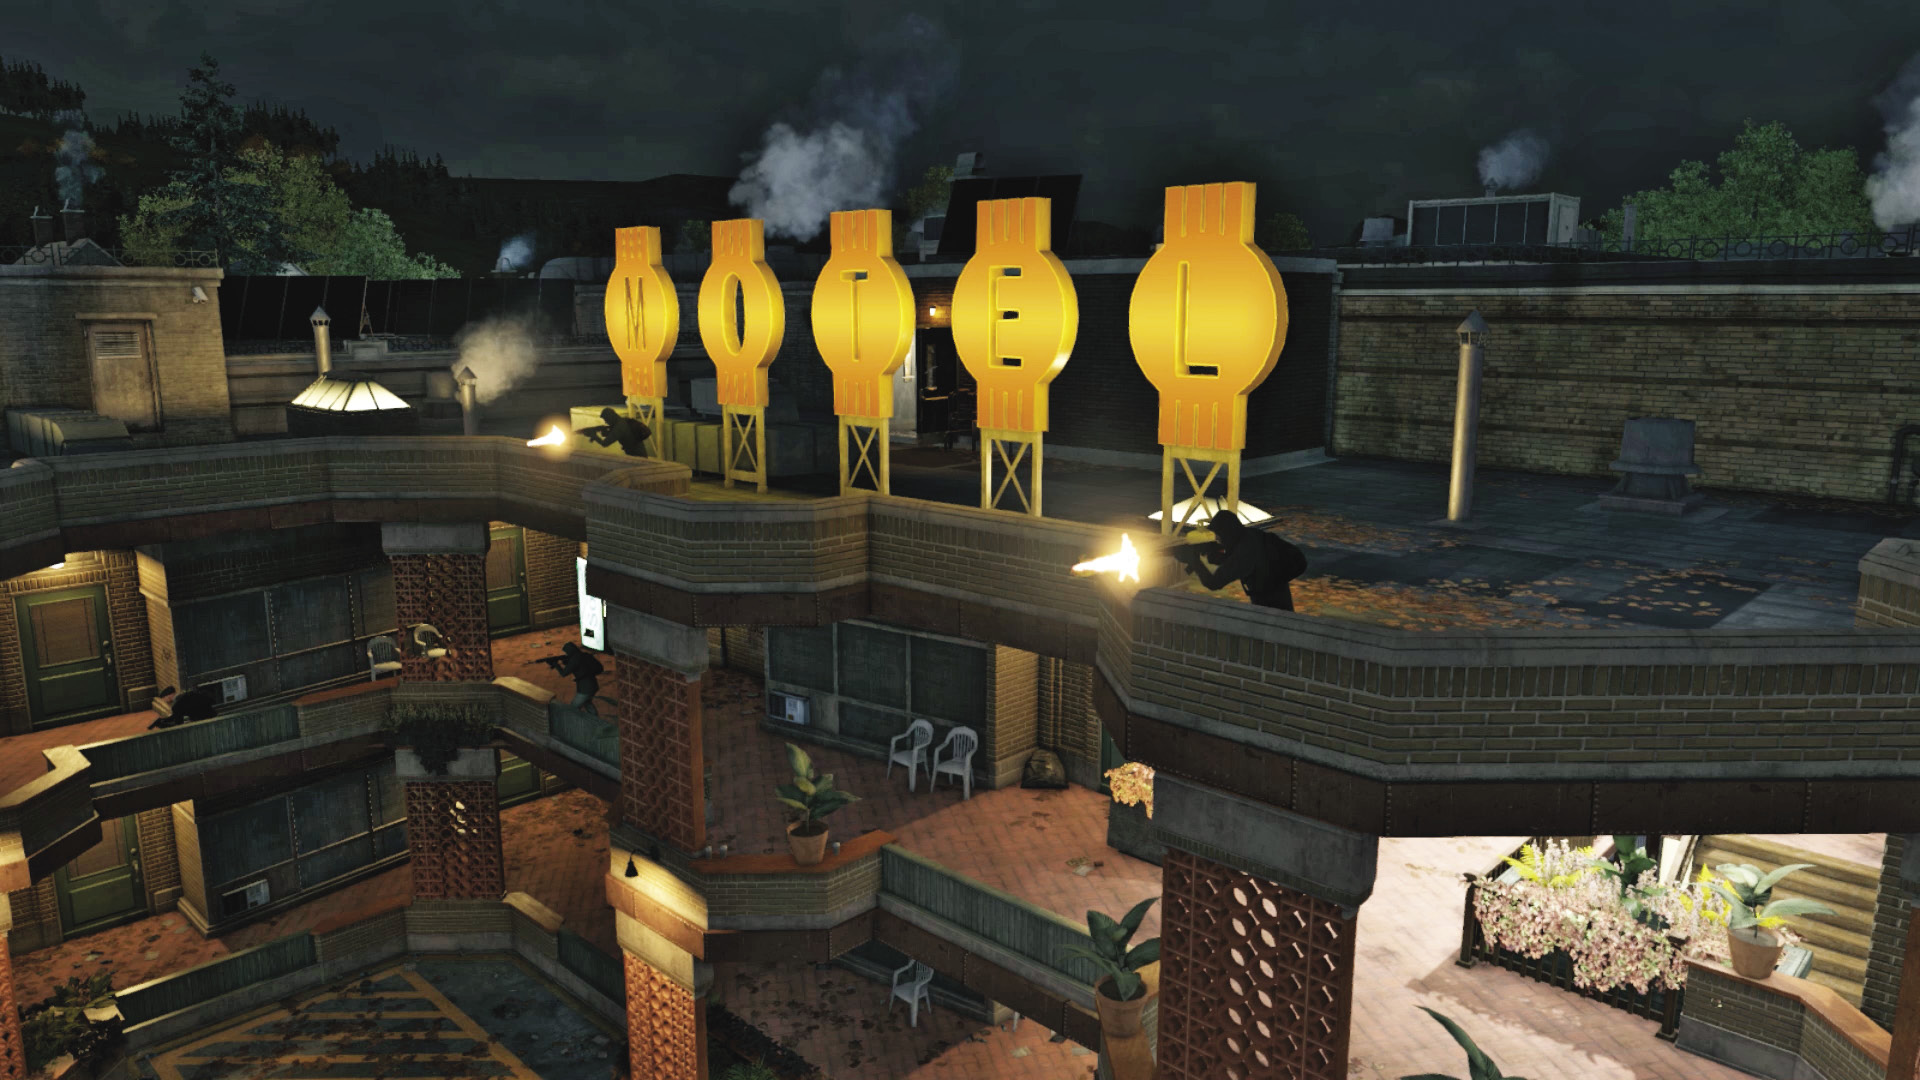
Accessibility During Mission: 
Expect enemies to start from this point, and reinforcements run up the steps from the ground below. This is a dangerous and high-traffic area; carefully watch your minimap if you’re on the north balcony area, firing down on foes, as enemies can sneak up and cut you down from behind. This is a place to lay down some lures or other traps you’ve found, bought, or made. It is also the place to access the north roof (where two enemies are initially located) and to attack the foes on the south roof area.
South Stairs (Alley and Roof Access)
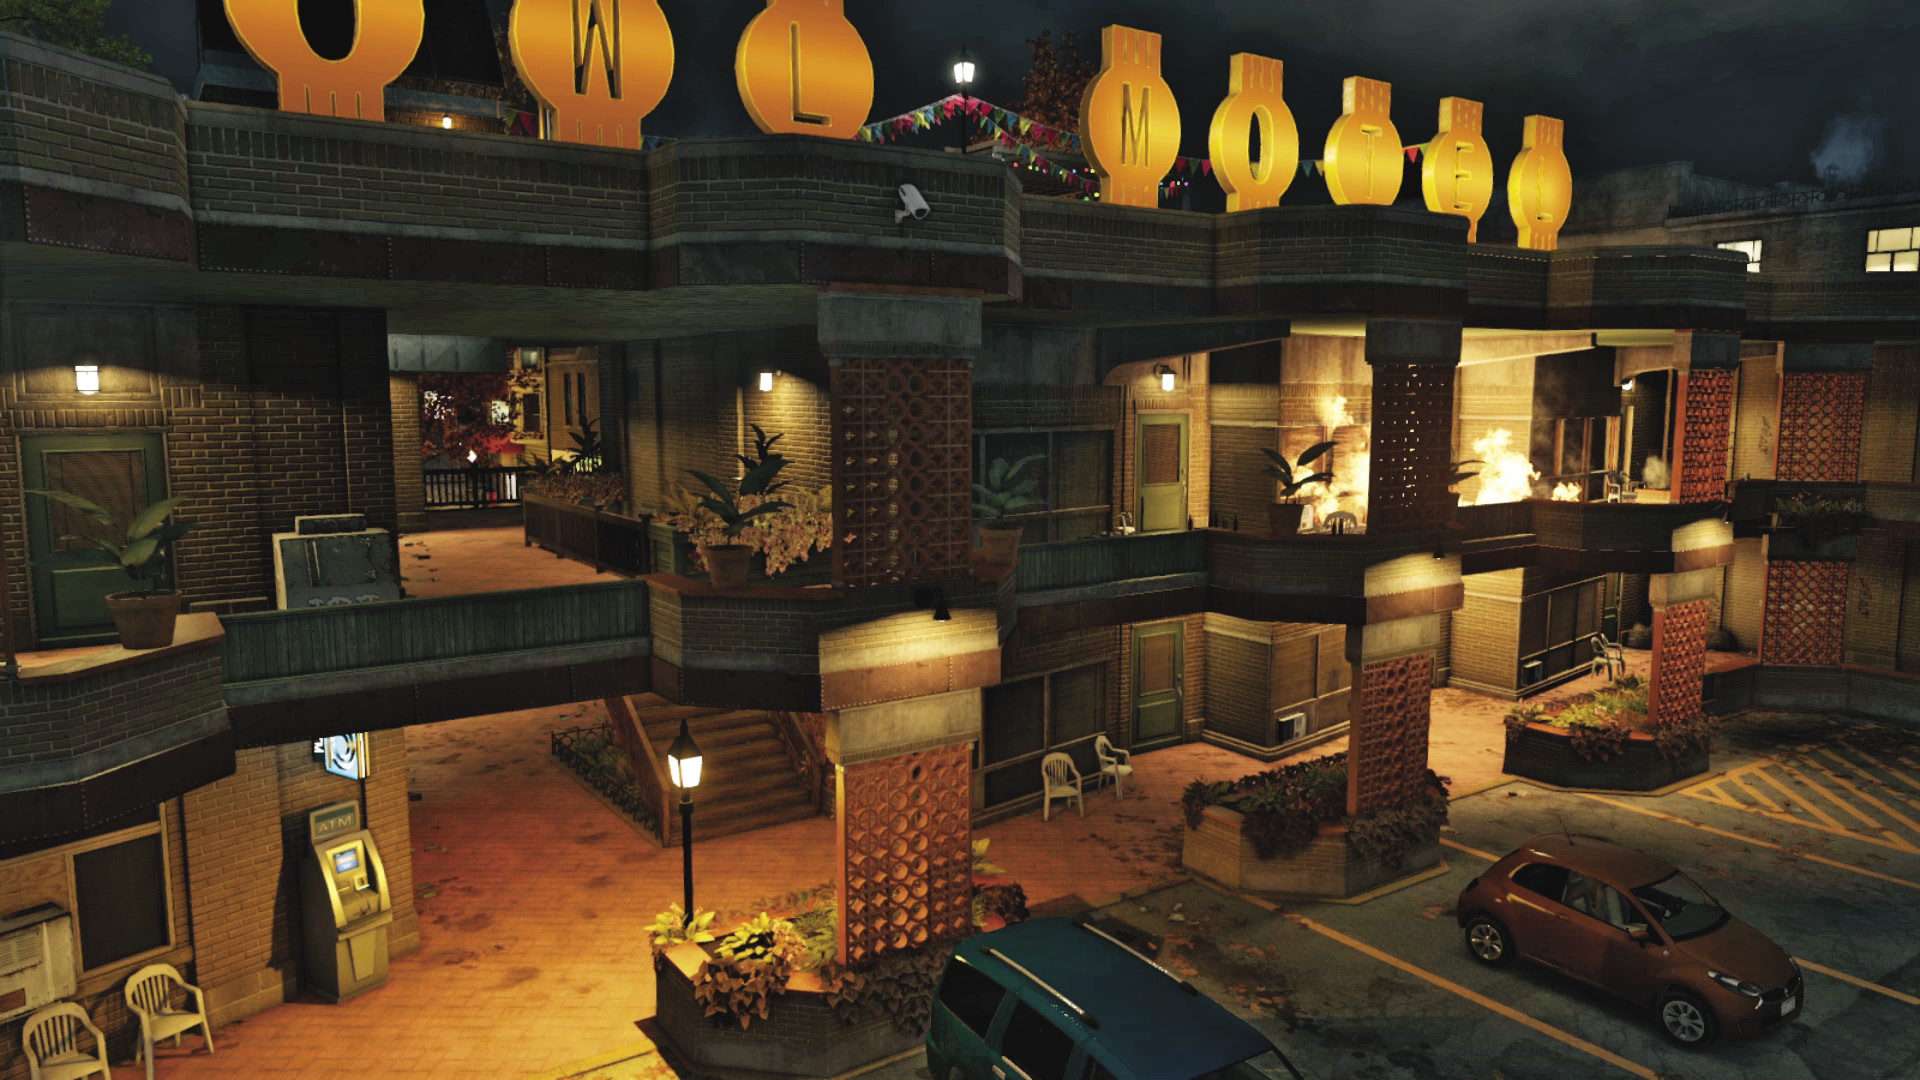
Accessibility During Mission: 
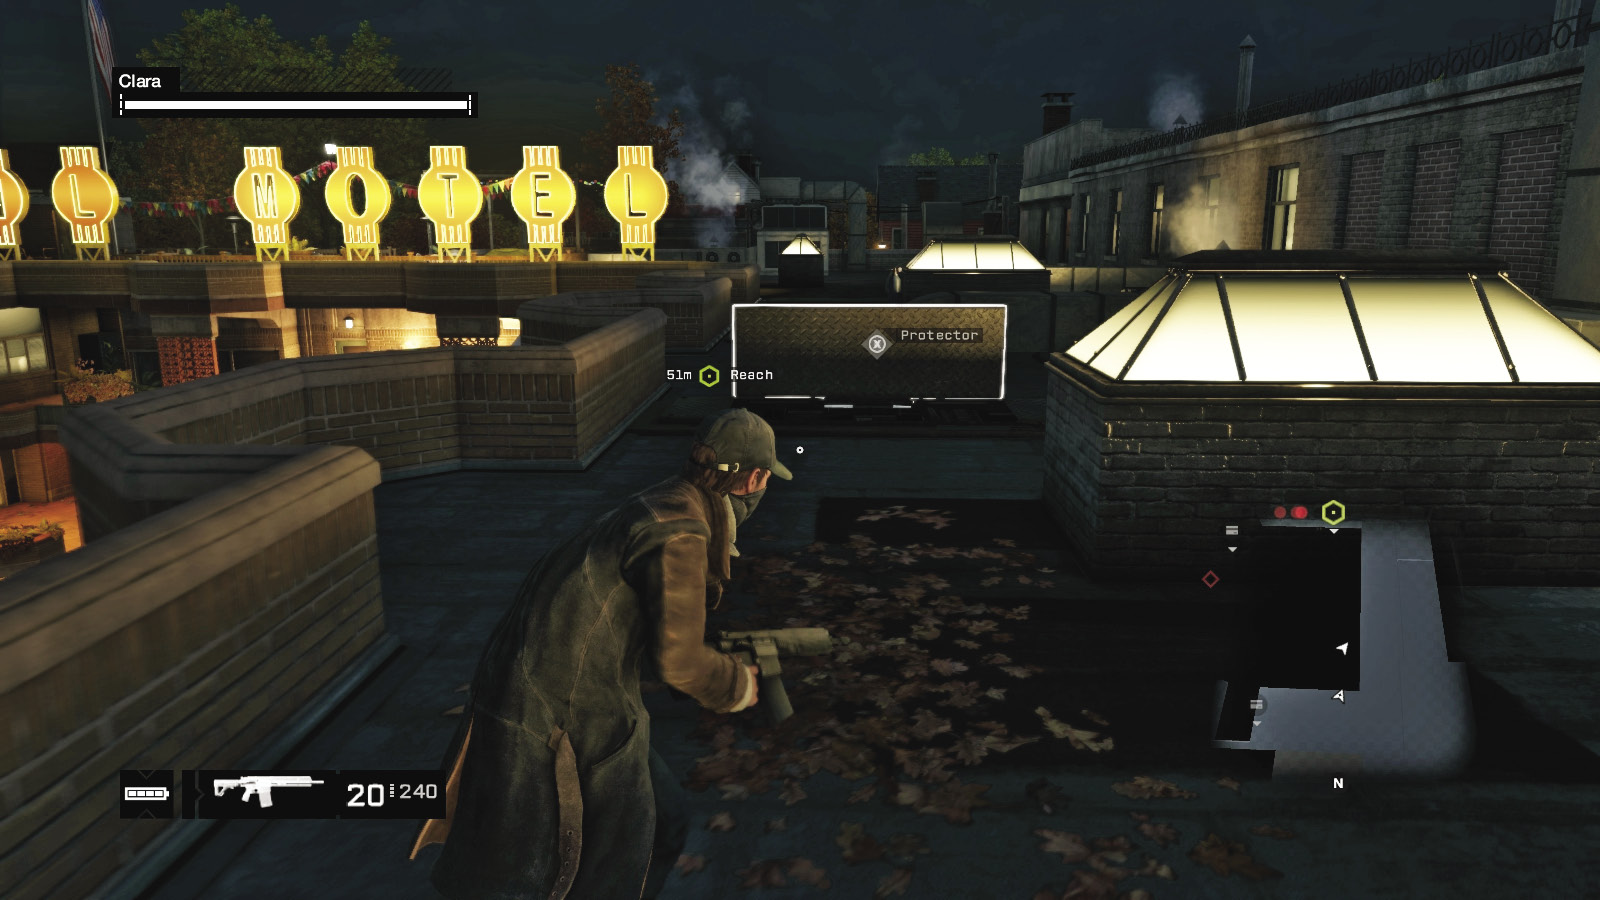
Blocked by fire to the west, you need to head across the ground to reach an entrance out into the alley, near the inaccessible broken steps that once led to your hideout. The balcony area isn’t necessary to prowl; instead you can flee to the alley or climb to the roof during the later stages of the mission, access the roof deck, and cross the western roof area connecting the two large motel signs (this area has protectors to hack and help you).
North and East Entrances
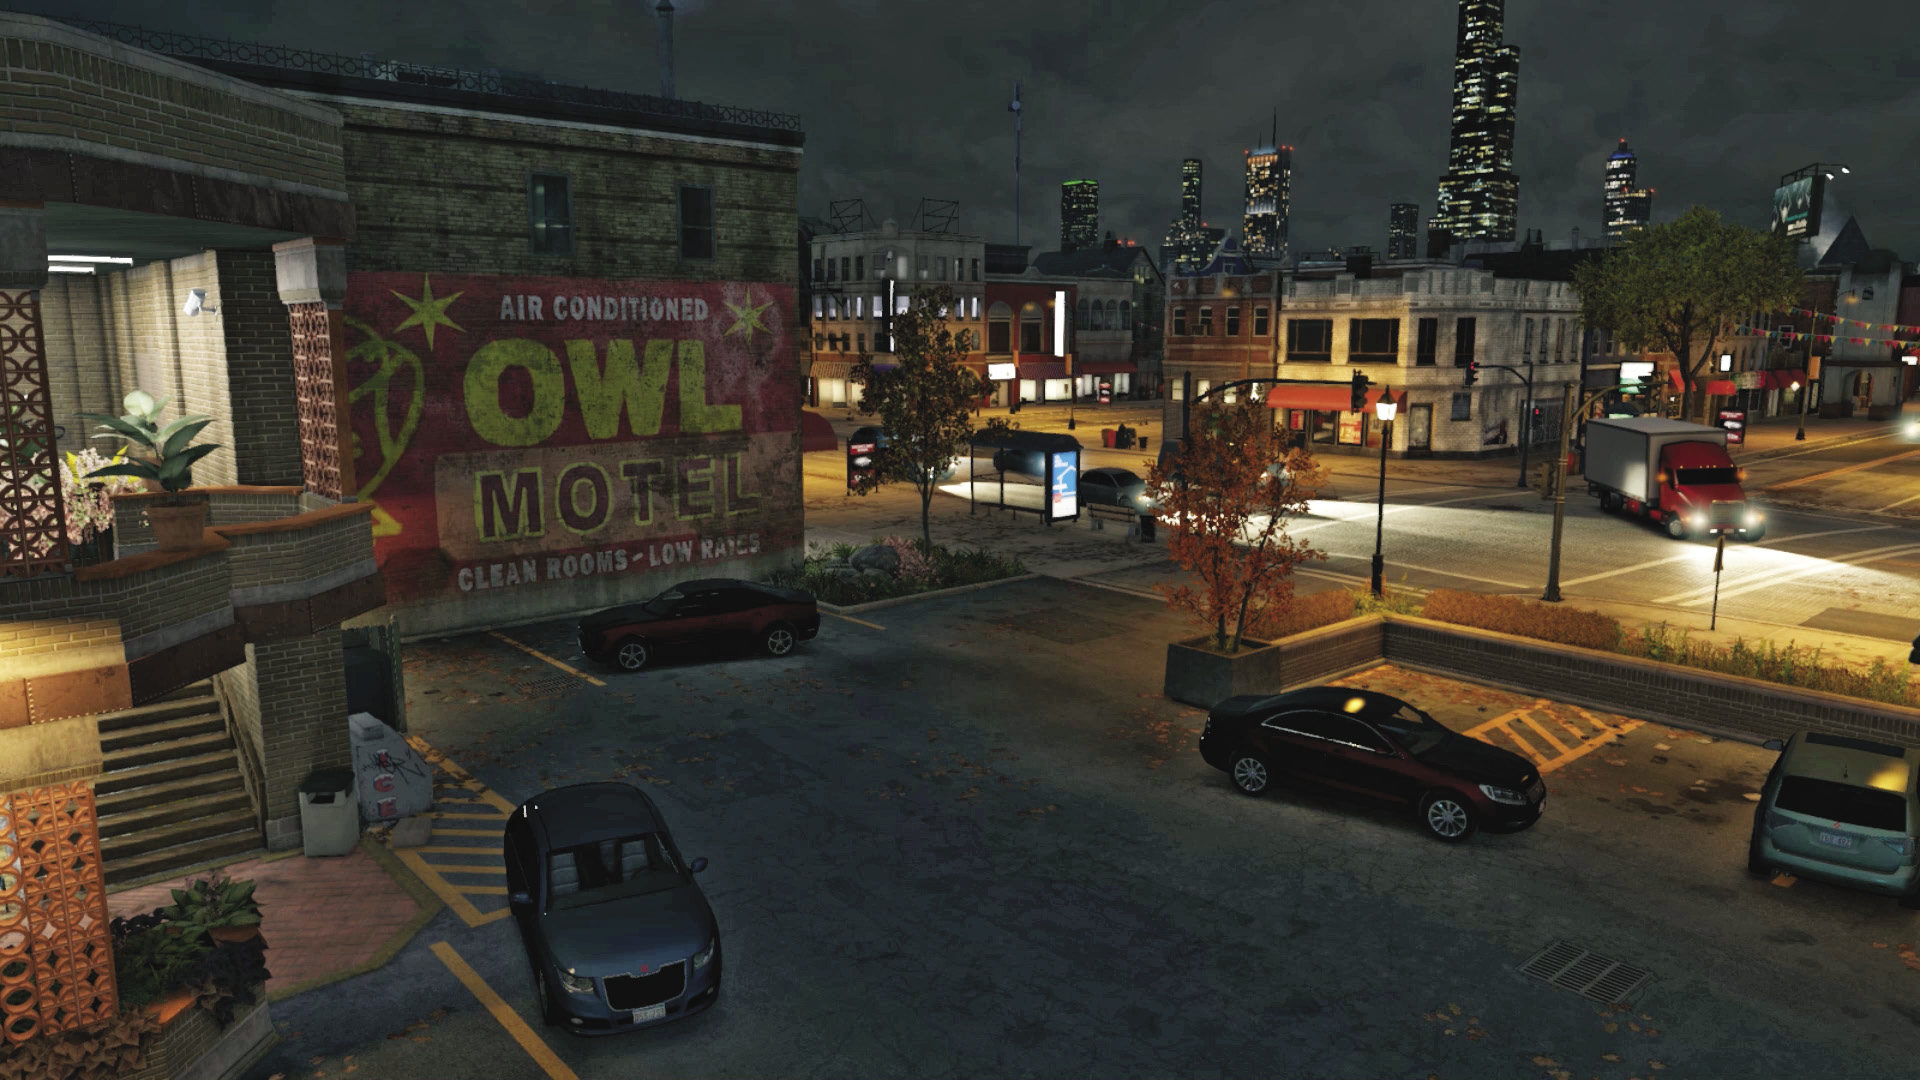
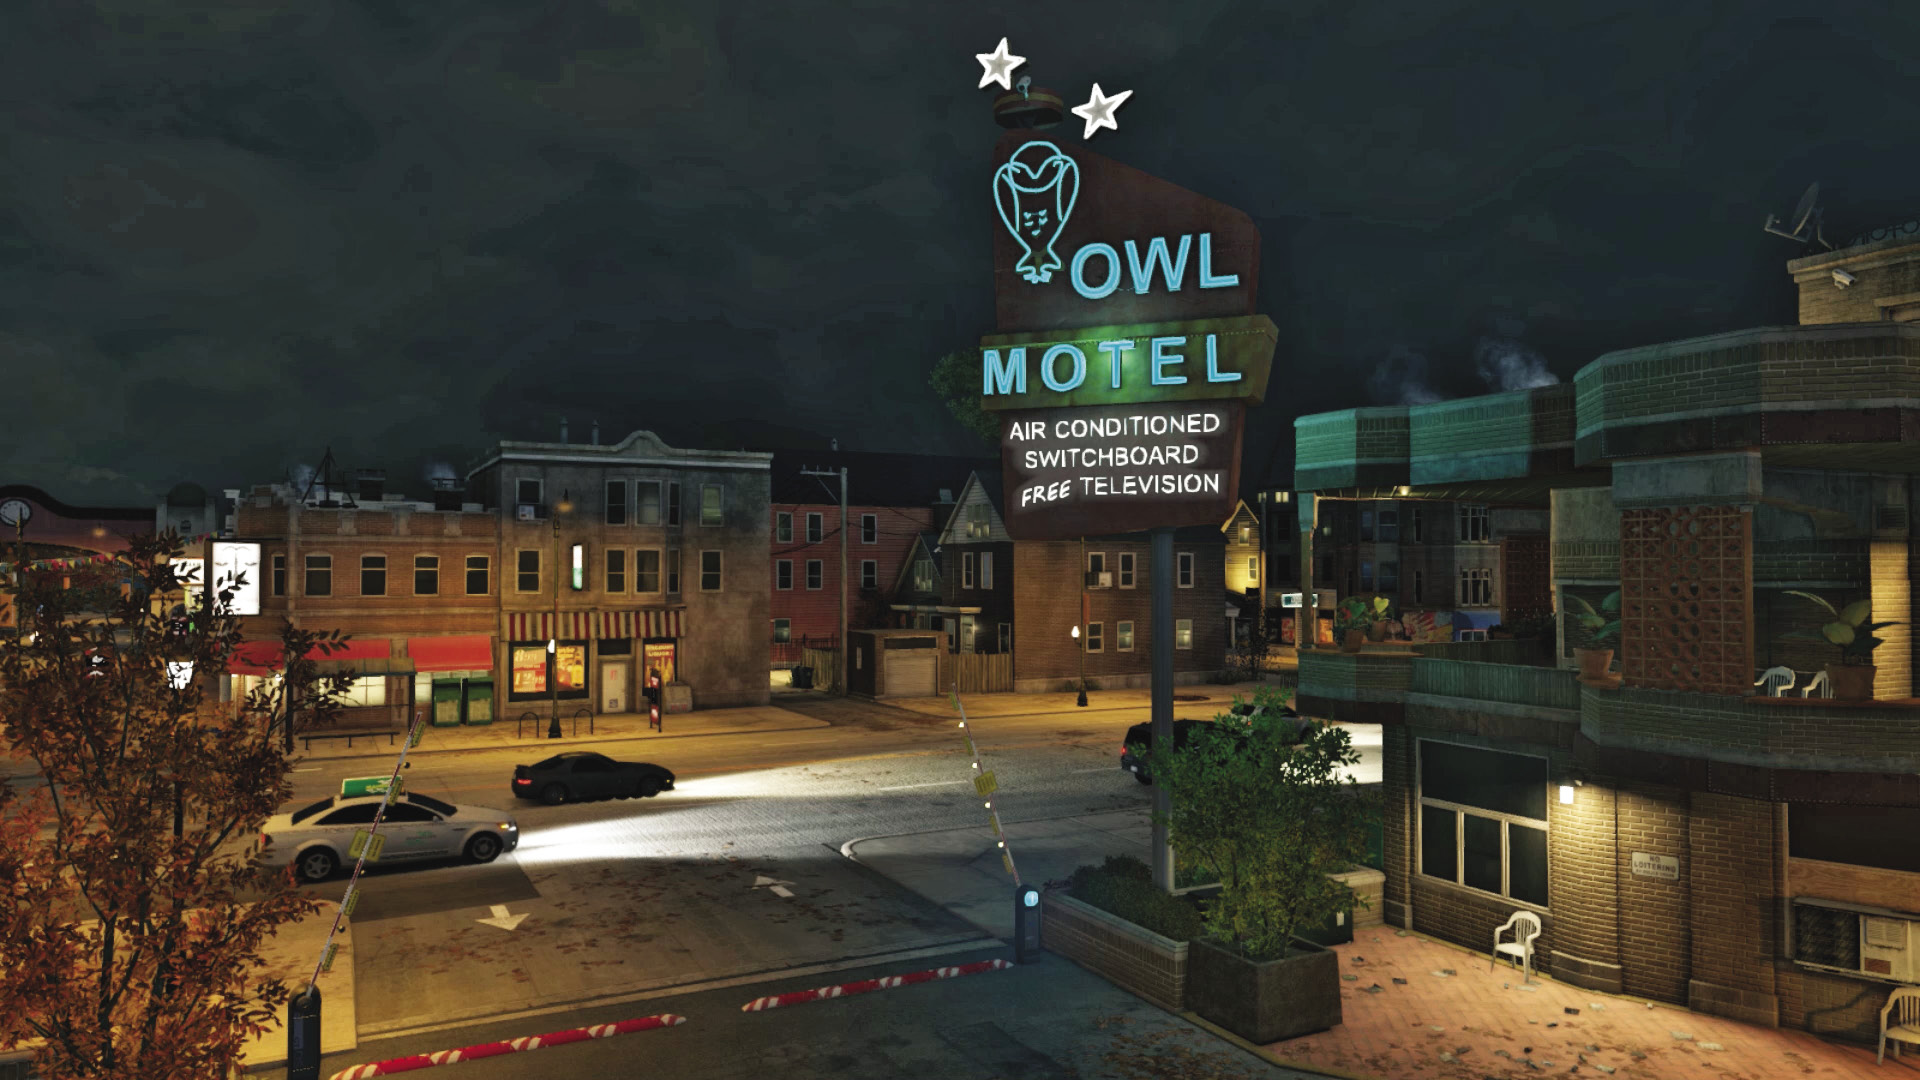
Accessibility Level: 
Fixer foes drive up here during the mission and disembark at the side or in the main courtyard below you. This can provide the most challenge of all, as the foes are below and it’s sometimes difficult to get a clear shot looking down from the balcony. Attacking from the ground is tricky, as there are so many foes and more on the rooftops. Use the spikes, proximity (or regular) IEDs, or the explosive transformer vault by the sidewalk planter to waylay the eastern reinforcements.
South Alley
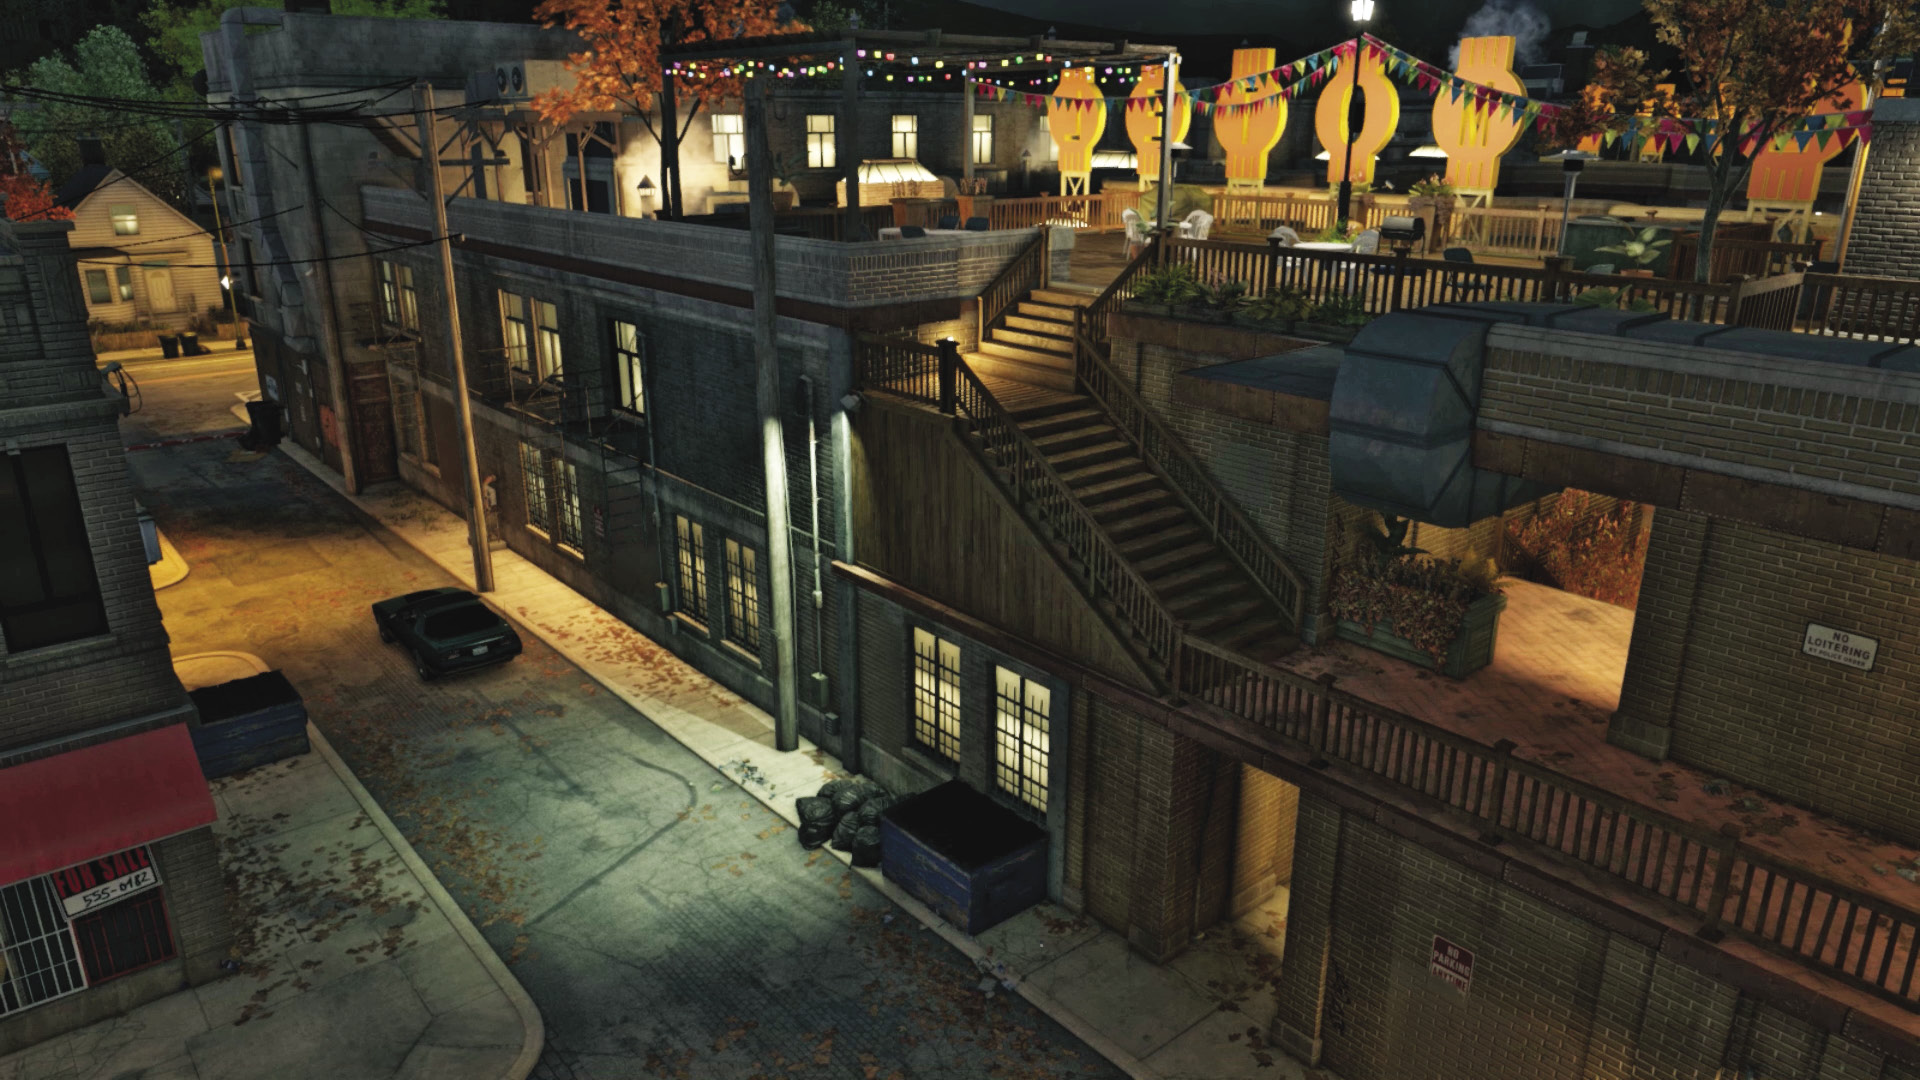
Accessibility Level: 
You must reach this point, either by running through the passage at the base of the south stairs or via the perimeter of the motel (not recommended, as you don’t want to leave Clara to the enemy). Clara’s vehicle is parked to the alley’s west; there’s likely to be a heavy Fixer presence and a sizable police force at the end of this hectic mission.
Progression Plans
You may now try one, parts of, or any combination of the following methods to take down this veritable horde of Fixers, keep Clara alive, and escape this inferno!
General PreplanningPresupposition: This mission requires cover and combat, so make sure you’ve learned the elements referenced in all earlier missions. Profile by Phone, not Camera: Unless you’ve caught a break in the action, the camera placement is poor around the motel for tagging foes. Plus, you’re under attack, so mark your foes by keeping your phone out, and check your minimap too. Remember, foes are more often above or below you during this mission. Utilizing the ctOS scan is an excellent way to bring up foes; do this as the cars arrive in the parking lot so you aren’t manually tagging them. Incoming!: This is a battle. There’s no sneaking, passive fleeing, or other nonviolent methods to conclude this mission; a vicious gun battle must occur. So pick your finest gun and get shooting! Be Prepared: Be sure you’re tooled up with a shotgun, pistol, machine gun, and grenades, as well as IEDs. Escorting Clara: Check on Clara; if she dies, the mission fails! Except in specific circumstances, ensure the enemies you target first are the ones harming her, and then worry about those aiming at you. |
 Aggressive // Violence: Part 1: Gun Battle at the Motel
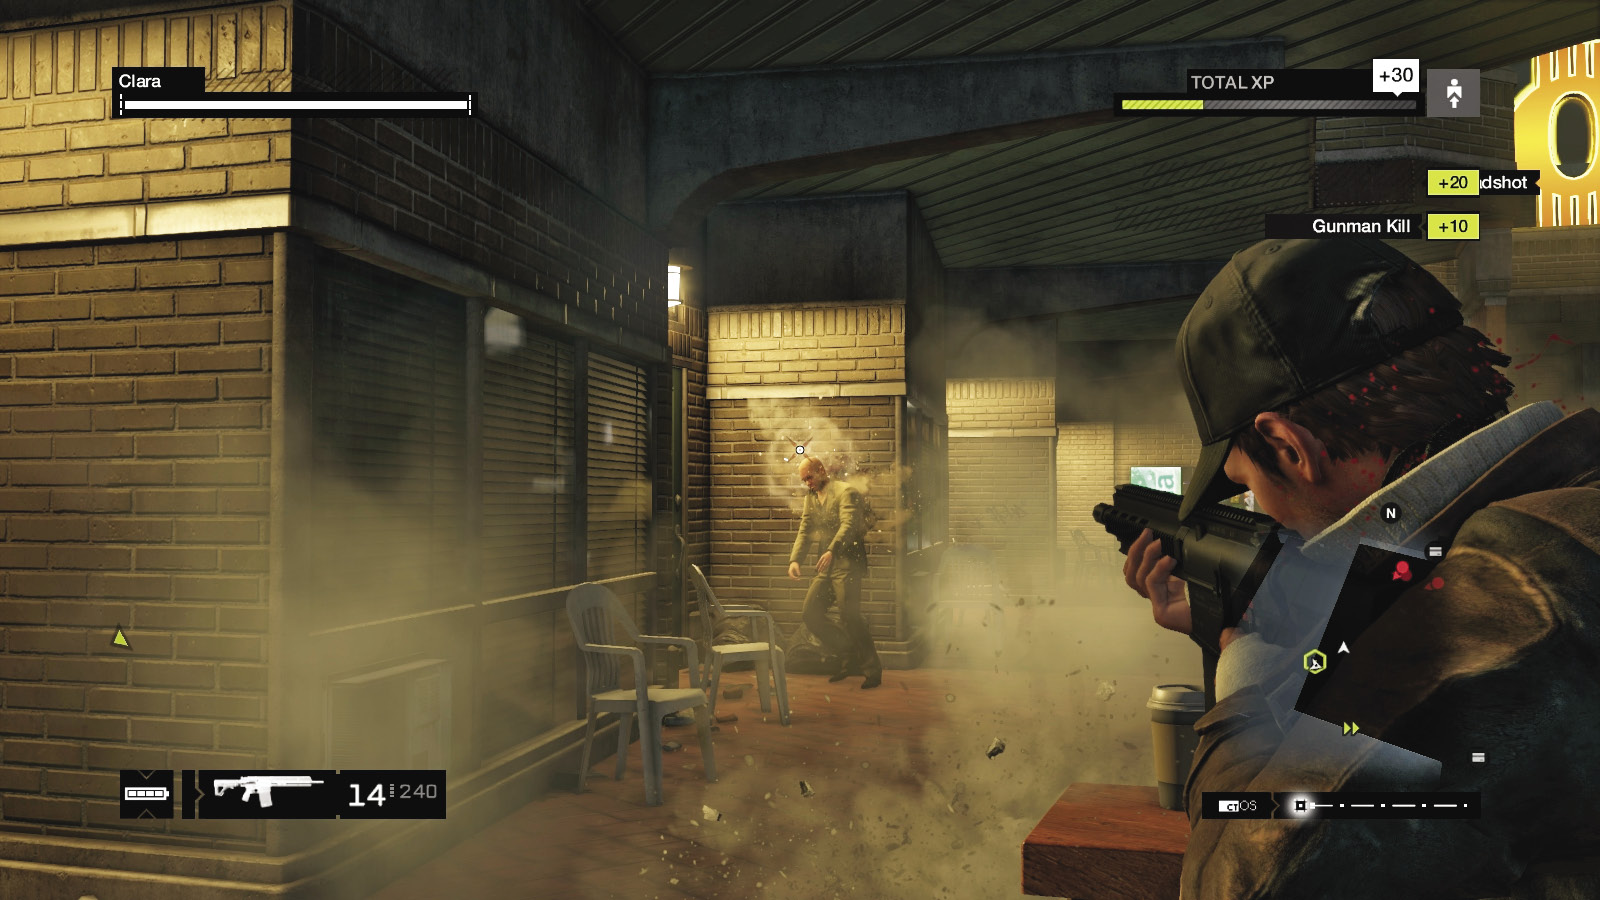
 Difficulty:
Drop down behind the balcony cover, and look across at five or six foes; there are two on the roof in front of the “Motel” sign, and the rest are on your balcony. Tag the closest threats first; the gunmen on the balcony are easy pickings—use Focus to quickly remove them. Shoot them all or hack any exploding grenades they might be carrying. Then quickly tag the enemies dug in on the roof above and behind you, in front of the Motel sign. Note there are explosive canisters (that you can’t see) close to their sniping positions, so a grenade is also a great way to flush them out. Otherwise, aim and fire with precision at the heads poking up from the parapet. Then approach the north stairs and begin Part 2.
 Aggressive // Smart: Part 1 (Alternate): Reinforcements to Expel
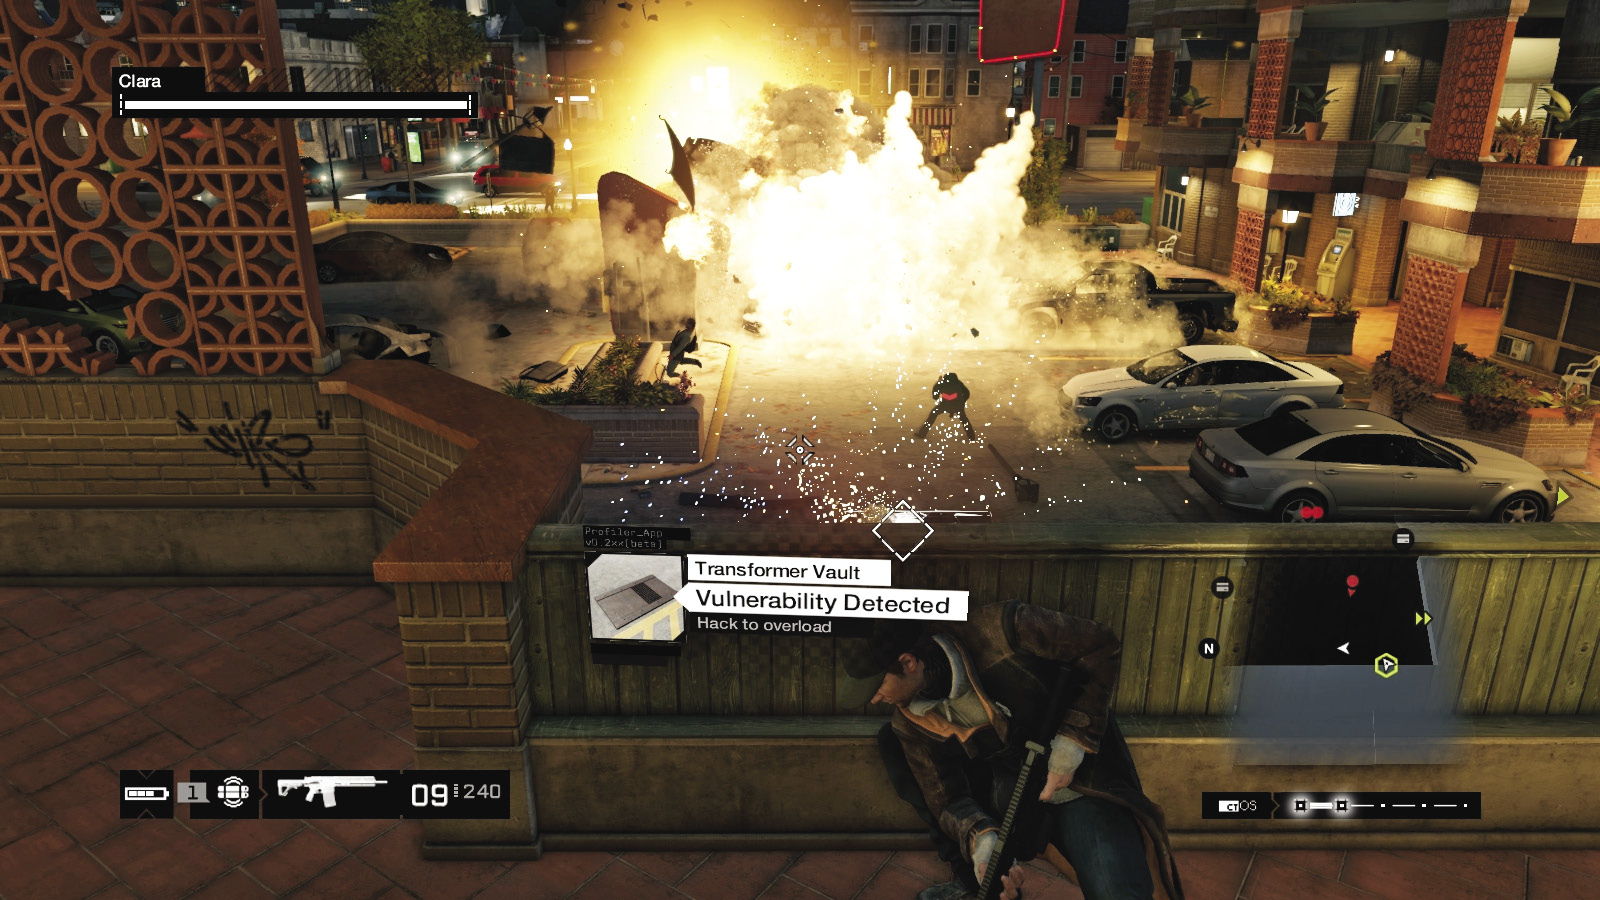
 Difficulty:
Drop down immediately from the balcony and sprint right (east), behind the vehicles so you aren’t shot. With your phone, bring down the barrier and raise the spikes at the east entrance. Sprint north and place an IED or, better yet, a proximity IED at the north entrance before doubling back, charging up the north stairs, and attacking the foes on the balcony before they overwhelm Clara. Accessing the spikes impedes the reinforcements arriving by car, while the other foes coming in by car have a nasty explosive surprise. You need to remove the enemies up on the roof, either by backtracking along the balcony to where you can see them or by storming the north roof area. Note that with excellent aiming and use of security cameras, you can clear the balconies of foes first and then prepare the parking lot entrances for incoming enemies—if you’re quick!
 Aggressive // Violence: Part 2: Balcony Bound
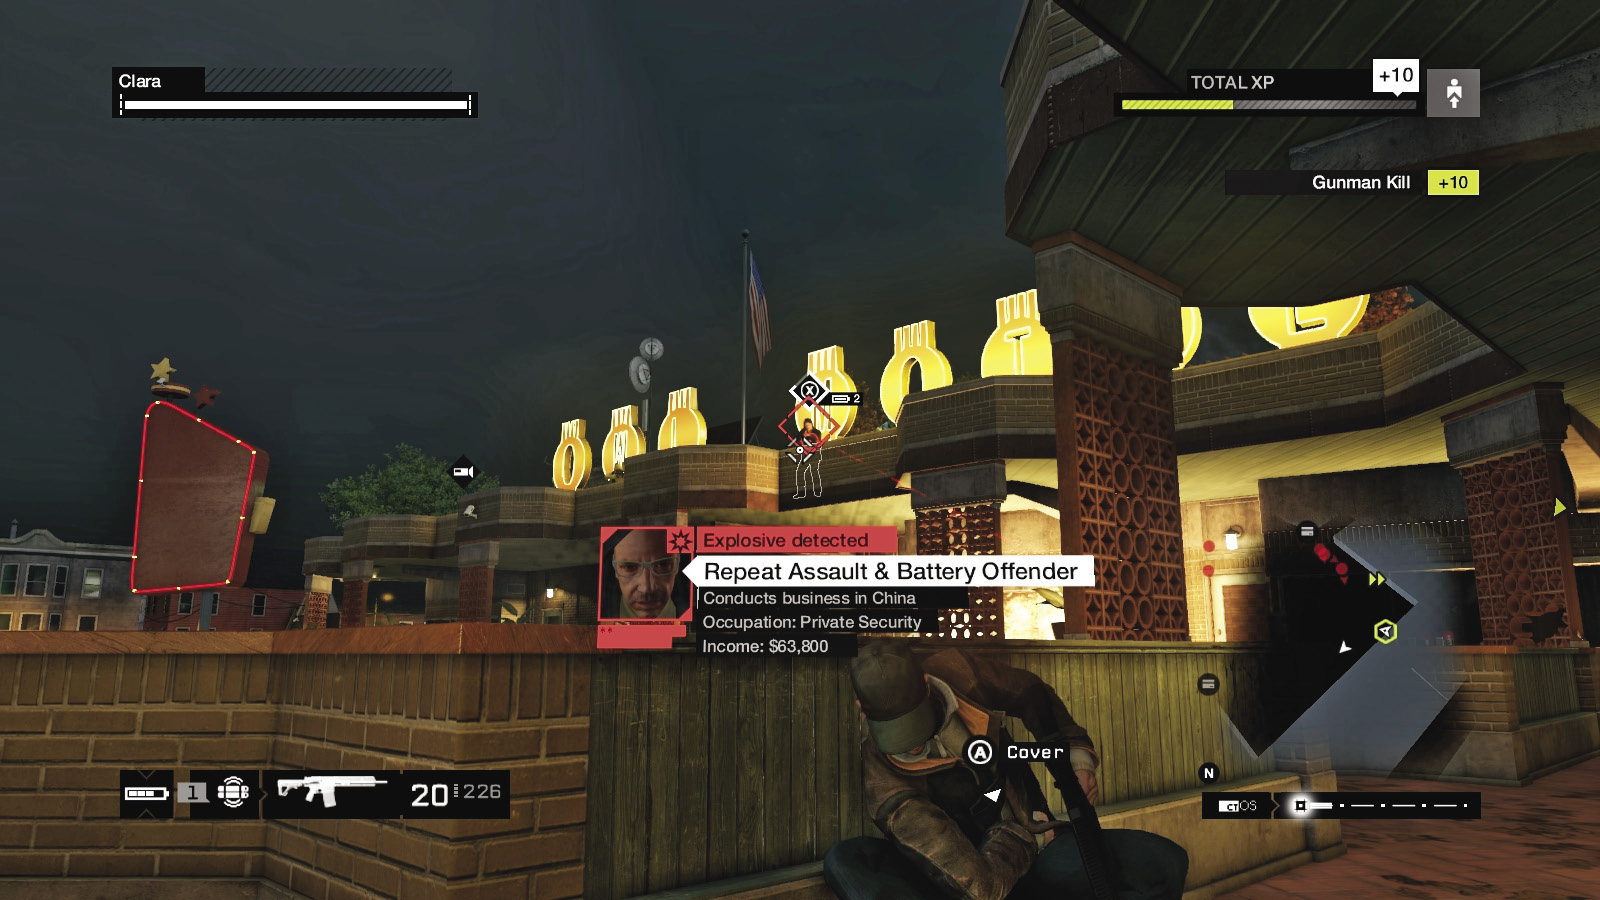
 Difficulty:
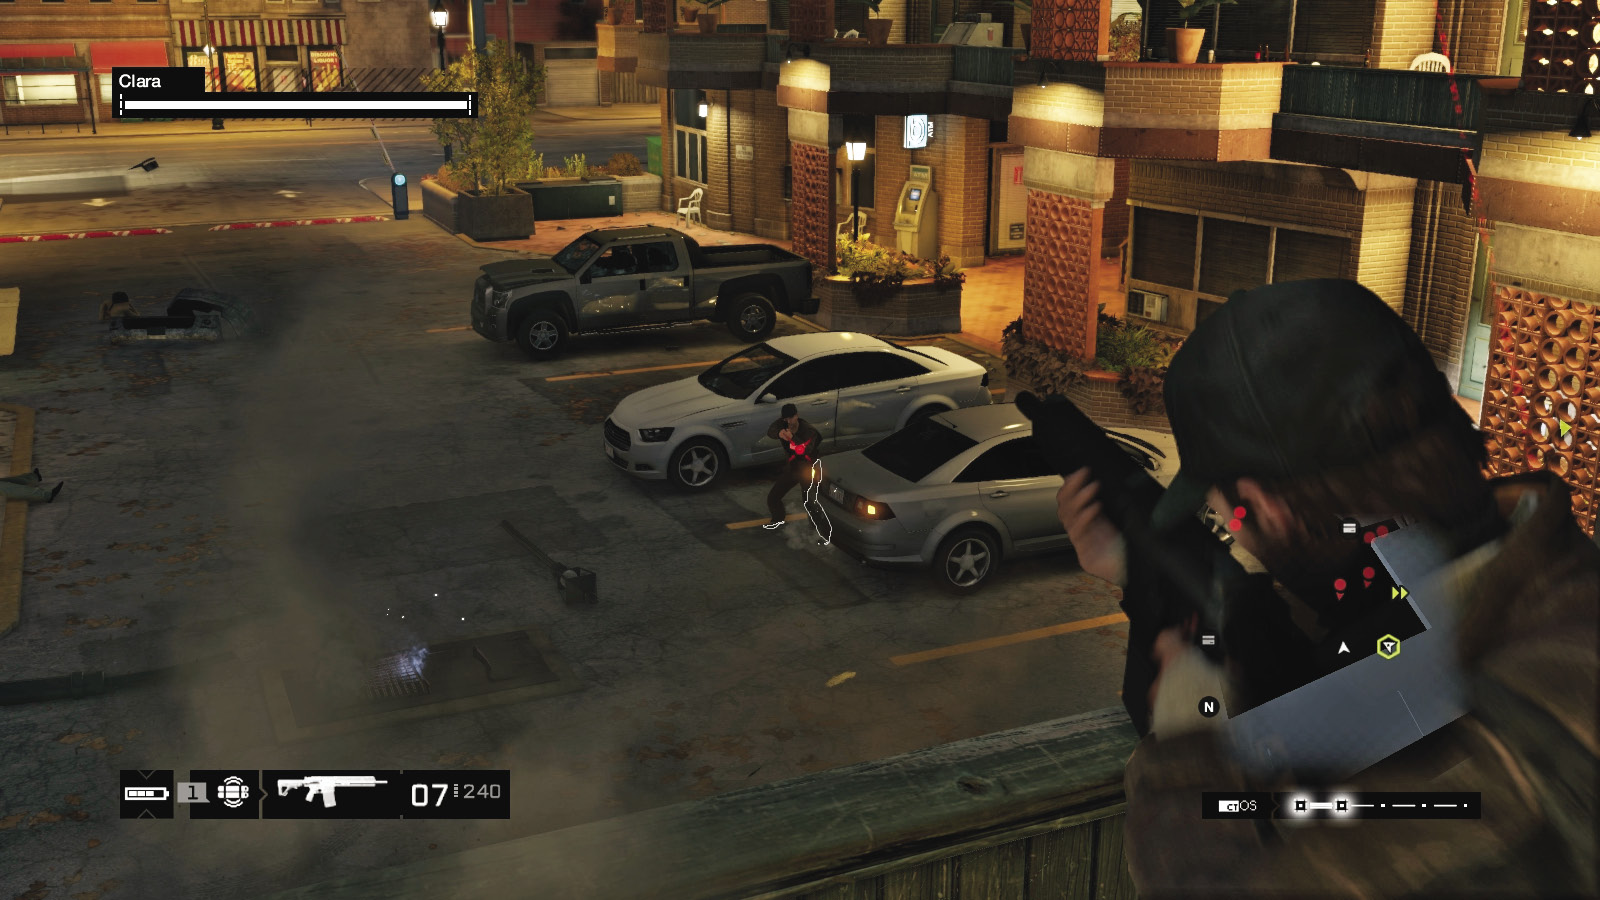
Stay on the balcony and watch for three more foes to appear along the south roof. Watch for these snipers as reinforcements arrive down below. Expect at least three carloads of foes in the central courtyard, on either side of the Owl Motel sign. With so many foes milling about, you have a variety of options, all of them violent:
Remain on the balcony, protecting Clara from foes as they rush the stairs; although you’re trapped, if you stay in cover, they are forced up the north stairs to reach you. Lay explosive traps or gun them down at this point.
Remain on the balcony, at the same time popping out of cover to fire (ideally with a shotgun or automatic weapon) down on the foes.
Better yet, lob a grenade or an IED down at the enemies just as they depart their vehicle. The explosion can remove multiple threats at once. Projectile lobbing at clusters of foes is the key to surviving this mission more easily.
Or, when you lower the barriers and raise the spikes, place an IED where the Fixer cars park so they explode as they arrive, wounding the passengers.
A similar effect occurs if you can find a Fixer with an Explode hack on a grenade they are carrying. Incapacitate him, then shoot him so he drops the grenade and takes out his cohorts in the ensuing explosion!
Or, shoot or hack the ctOS box, plunging the motel into darkness (where you have a slight sight advantage), but ensure foes are near the box before it blows.
If foes are hiding behind the planters by the main road entrance, use the security cameras to quickly spot and hack a transformer vault nearby, incapacitating them.
When you dispatch anyone wearing a flat cap, backpack, or hoodie, move to Part 3.
 Aggressive // Violence: Part 2 (Alternate): Ground and Pound
Difficulty: 
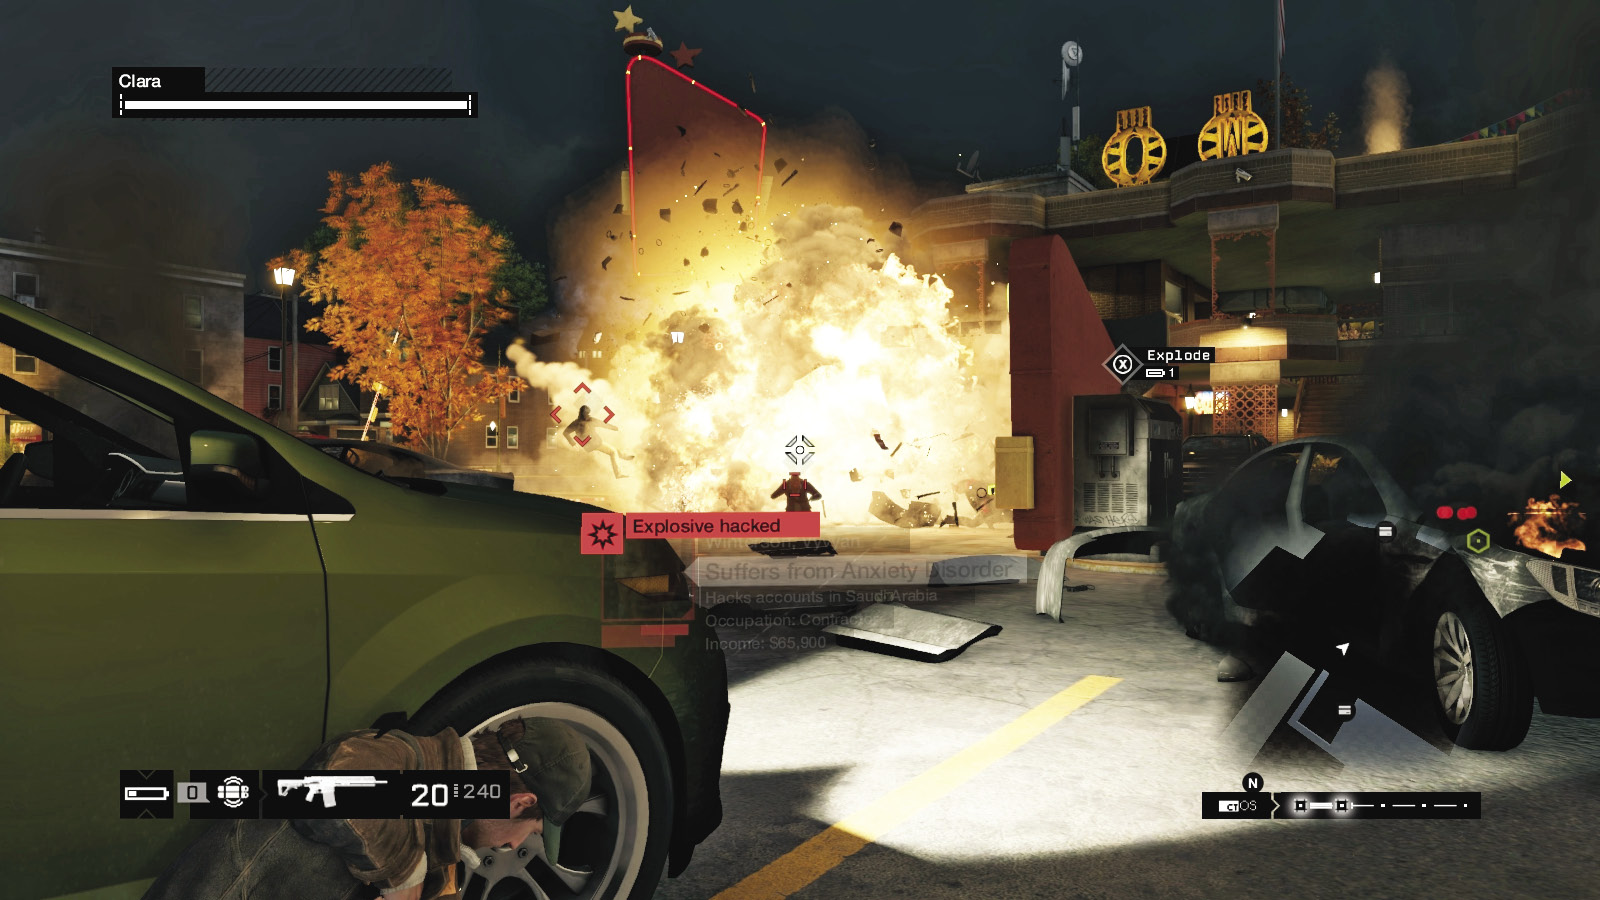
Heading down to the ground when there are carloads of reinforcements is a very dangerous plan; you need to have multiple takedown methods, but the freedom of movement allows you to try the following:
Remain behind a vehicle or under the balcony for cover, and methodically tackle the foes appearing from the vehicles while ignoring or dodging the fire from the roof. Tackle the rooftop dwellers afterward.
Try lobbing a projectile at the rooftop foes (as they are usually standing near explosive canisters).
Try lobbing a projectile at a vehicle approaching, then rake the windshield and door windows with automatic gunfire or shotgun blasts.
The plan is to remove the reinforcement threats before they can spread out, so expertly lobbed IEDs or grenades are most helpful. Otherwise, it’s a scramble to drop foes before they scale the north stairs to reach Clara.
 Aggressive // Violence: Part 2 (Alternate): Roof Access Found
 Difficulty:
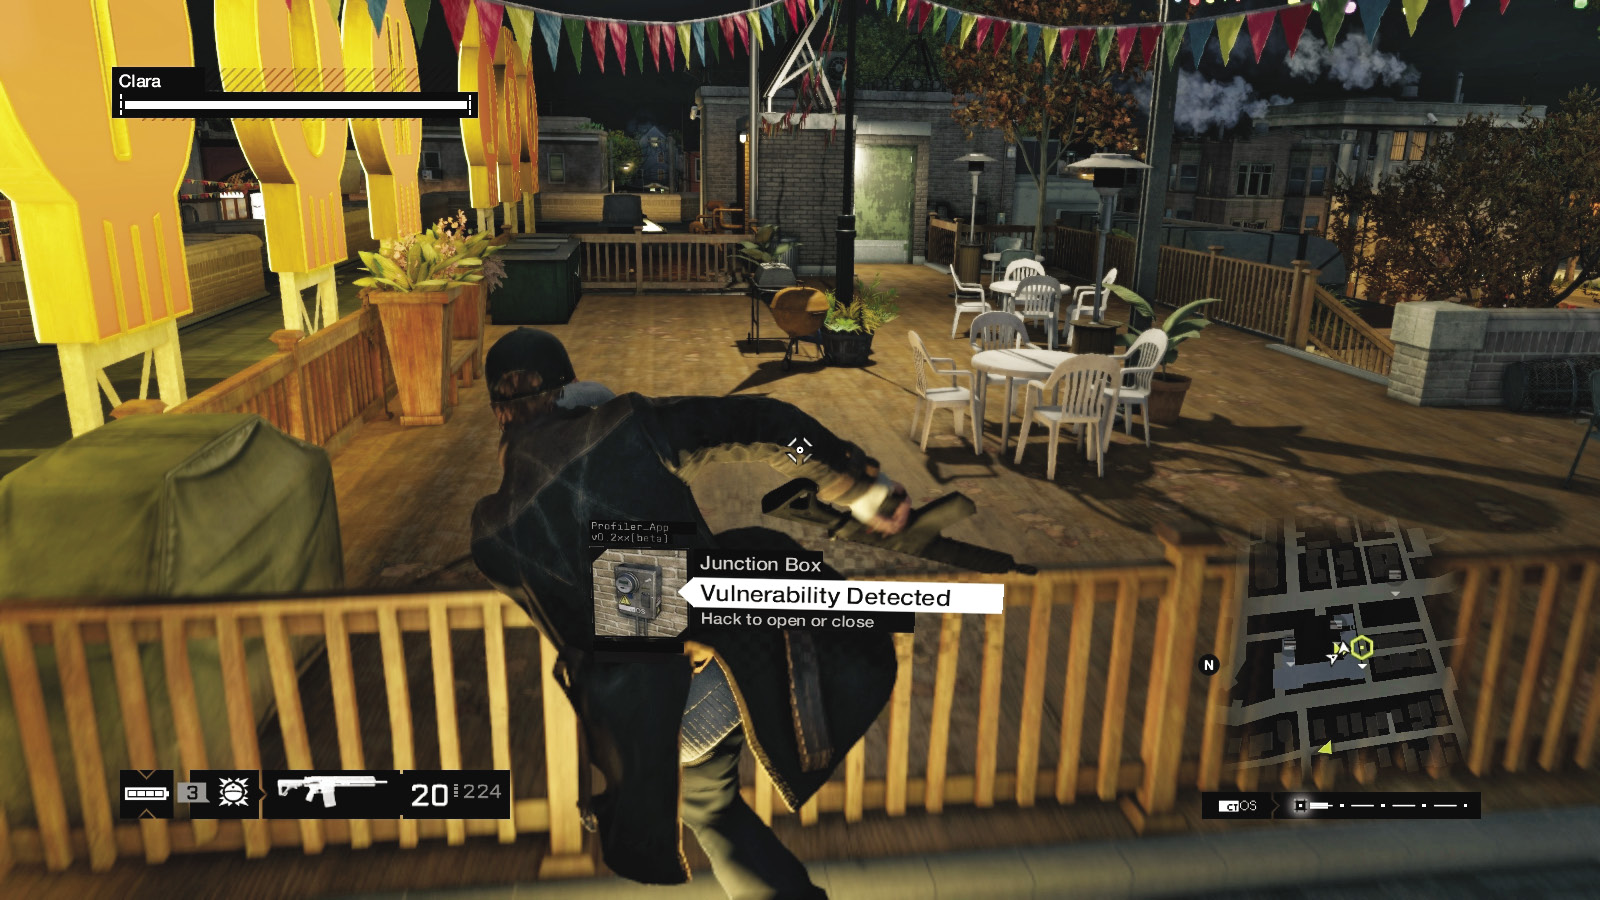
Either before or after you deal with the ground enemies, sprint up onto the roof, either via the door and steps from the north stairs or via the steps up to the deck from the south stairs. Heading in from the north allows you to tag any foes you missed from the balcony below, but also creep around to the roof’s south part, using protectors to help you. Remove any Marksman threats under the opposite Owl Motel sign. The reverse is true if you approach from the south. Other plans to consider include:
Climbing atop the satellite dish area for extra height, in the southeastern part of the south roof, and tagging foes.
Dropping behind the roof balcony and firing across at the opposition.
Lobbing in a projectile to flush the foes out, then backing this up with gunfire. There are gas canisters to explode and hurt the enemy on the deck side (south), too.
3.3 CHECKING OUT OF THE OWL MOTEL
 Location / Parker Square // Owl Motel
|
|
 Escort Clara to her car
 Escape the motel area
 Escape
 Vehicle Chase
 Lethal Force Likely
 Melee Force Likely
Difficulty: 
Overview
Completion Point: Away from the Fixers’ search area or the police search area, if they arrive.
Dangers: Up to five Fixers (Veteran x5) in the alley.
 Aggressive // Violence: Part 3: Into the Alley
 Difficulty:
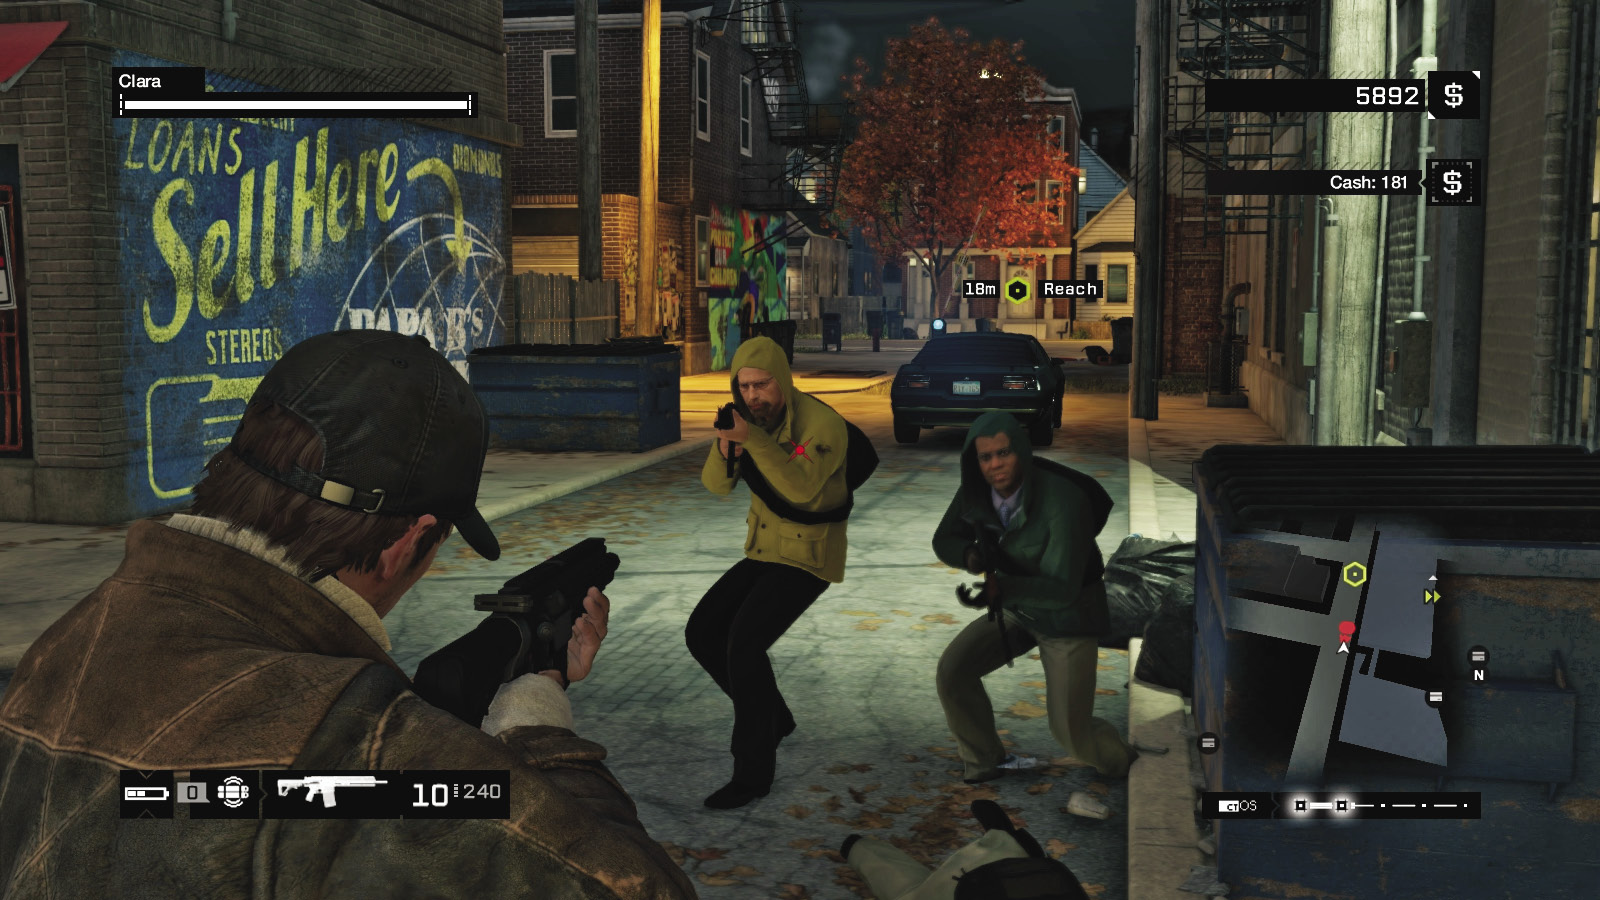
The Fixers aren’t letting up! As soon as Clara begins to follow you (as noted on the screen), rush down to the ground level and out to the alley, mowing down any foes still active in the area. Wait for her to reach her vehicle. As she runs for her car, back her up by firing at foes heading out from the east and west ends of the alley and from the passage under the south stairs. You can drop IEDs at heavily trafficked areas as you run to minimize the amount of directions to check for foes. Use the trash bins as cover and the corner of the alley near the car. Clara speeds off, leaving you to deal with any cops and the robbers.
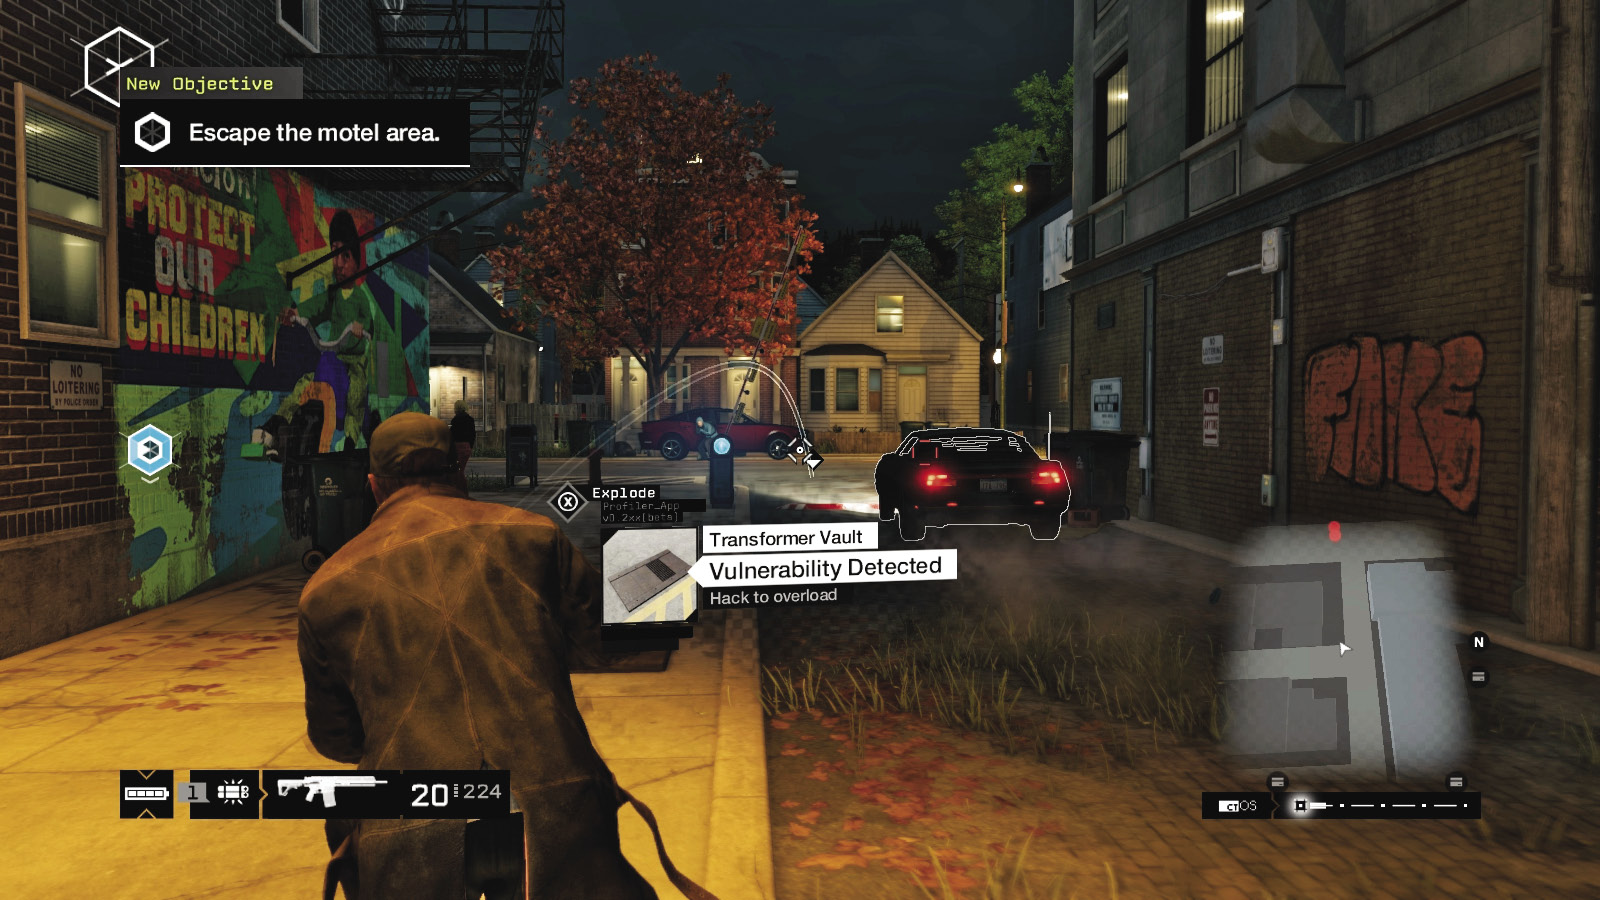
Escape the remaining Fixers (and the police, if they’ve been called) by running down the alley to your left, after optionally dropping the spikes and barrier down at the alley’s west end and the Owl Motel’s east entrance. Though the Fixers and police may be attacking each other, you can be shot if you venture onto either street east or west of here (unless you have a vehicle ready to go). Instead, jog to the alley’s end, find a car or bike to ride, and flee. When you’ve shaken off the cops, the mission concludes.
MISSION REWARDSGained XP: +500 |