
The Legend of Zelda: Twilight Princess HD Guide Weapons & Equipment
Weapons & Equipment
Common Items
Common items are everywhere. Find them by smashing open pots and crates, cutting down tall grass, lifting rocks, and so on. You can also purchase some common items from various shops.
Arrows

Arrows provide ammunition for the Hero’s Bow. You can’t fire the Hero’s Bow without them!
Fairies
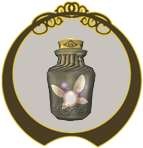
Fairies are tiny, helpful creatures that replenish up to eight Hearts when you touch one. Capture a Fairy in a Bottle to save it for future use!
Hearts

Collect Hearts to replenish Link’s Heart meter. Each one you grab restores one full Heart.
Rupees
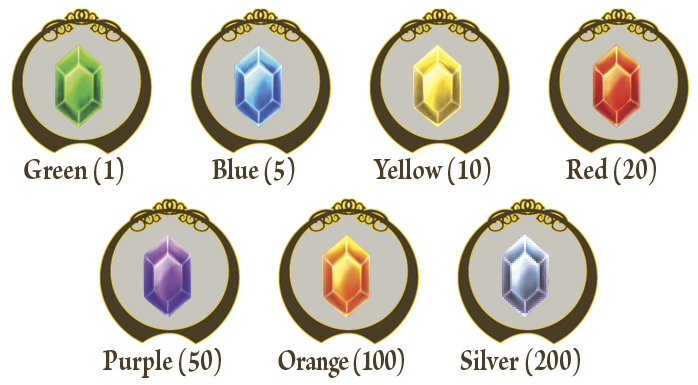
Rupees are the currency of Hyrule. Collect them to store them inside your wallet, then use them to purchase items from shops. There are seven different types of Rupees:
Seeds
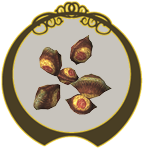
Seeds are used as ammunition for the Slingshot. You can collect them by smashing the pumpkins at Ordon Village or by defeating Deku Baba enemies and then breaking apart the large Deku nuts they leave behind.
Collectible Items
There are many different types of collectible items throughout your adventure. You don’t have to hunt these items, but it’s often worthwhile to seek them out!
Fish
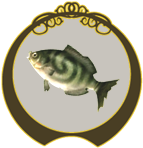
Cast your Fishing Rod’s line into deep bodies of water to catch some fish! The largest fish you catch while bobber-fishing are recorded in your Fish Journal. There are six types of fish to land; some appear only in certain areas:
- Greengills
- Hylian Loach
- Hylian Pike
- Hyrule Bass
- Ordon Catfish
- Reekfish
Golden Bugs

Twelve species of Golden Bugs exist throughout Hyrule, and each species features male and female varieties. That makes 24 Golden Bugs for you to catch! Each Golden Bug you collect is recorded in your Golden Bugs chart; give them to Agitha at Castle Town for huge rewards!
Pieces of Heart
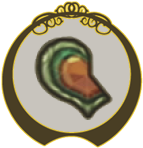
Forty-five Pieces of Heart are scattered across the land. Seek them out while exploring the Overworld and delving into dungeons. Some people will give you Pieces of Heart as rewards for good deeds. Collect five Pieces of Heart to form a new Heart Container and extend Link’s Heart meter by one full Heart!
Heart Container

Where to Get: Varies
How to Get: Defeat the bosses of each dungeon up through Dungeon 8: Palace of Twilight
Uses: Collect to add another full Heart to Link’s Heart meter
Poe Souls

A man named Jovani lives in Castle Town and sold his soul for a vast amount of wealth, becoming cursed. When you finally meet Jovani, he asks that you find and bring him 20 portions of his soul, which are guarded by Poes and Imp Poes—evil ghosts that can’t be seen by human eyes! Defeat each Poe and Imp Poe you encounter to claim the Poe Souls they guard. Though Jovani asks you to find only 20 Poe Souls, there are 60 to collect in all!
Dungeon Items
The following items are commonly found within dungeons. Some of these items are optional and simply make exploring dungeons a bit easier. Others are required to progress through dungeons and reach their bosses.
Big Key
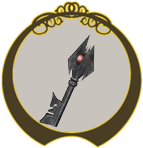
The Big Key exists in most dungeons. Its purpose is to open the Big Key locked door, behind which lies the dungeon’s boss. Find the Big Key and use it to gain access to the boss chamber.
Compass
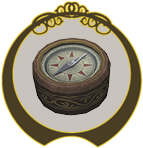
The Compass shows the locations of all treasure chests within the current dungeon, along with any objects of interest. After you acquire the Compass, check your Dungeon Map to find the locations of these items.
Dungeon Map
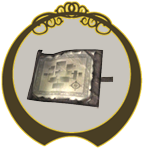
The Dungeon Map reveals the entire floor plan of the current dungeon. This includes the rooms you’ve visited and all the rooms featured in the dungeon. Combined with the Compass, the Dungeon Map can be a great help in determining where you need to go next.
Ooccoo and Ooccoo Jr.

Ooccoo is found within many dungeons. Use this odd, chickenlike creature to warp out of the current dungeon so you can stock up on items, potions, and the like. When you use Ooccoo to warp outside, Ooccoo Jr. travels along with you. Use Ooccoo Jr. to warp back into Ooccoo so you may continue where you left off.
Small Key

Small Keys are found within most dungeons. Use them to open locked doors within the dungeon. It’s often impossible to progress through a dungeon without collecting its Small Keys.
Quest Items
Link finds the following items over the course of his adventure. Some of these are gained through battle or exploration, while others must be purchased from certain shops.
Ancient Sky Book
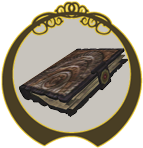
Where to Get: Eldin Province; Hidden Village
How to Get: Show Impaz the useless Dominion Rod
Uses: Shad uses it to recharge the Dominion Rod; Link uses it to record “sky characters” from owl statues
Ashei’s Sketch
Where to Get: Peak Province; Snowpeak (Entry Area)
How to Get: Speak with Ashei
Uses: Convinces Prince Ralis to give you the Coral Earring
Auru’s Memo
Where to Get: Lanayru Province; Lake Hylia
How to Get: Speak with Auru
Uses: Convinces Fyer to send you to Desert Province via cannon
Ball and Chain

Where to Get: Dungeon 5: Snowpeak Ruins
How to Get: Defeat the dungeon’s midboss
Uses: Smashes away ice blocks; defeats enemies
Bedroom Key

Where to Get: Dungeon 5: Snowpeak Ruins
How to Get: Find and open the third treasure chest that Yeta marks on your map
Uses: Opens the door to the Yeti’s bedroom, where the second Mirror Shard is kept
Bee Larvae
Where to Get: Varies
How to Get: Purchase from shops; knock down Hylian Hornet nests and scoop remains into a Bottle
Uses: Fishing bait; health restoration
Big Quiver
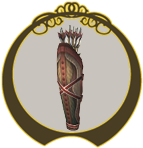
Where to Get: Lanayru Province; Castle Town
How to Get: Win STAR Tent minigame, level one
Uses: Increases quiver capacity to 60 arrows
Big Wallet
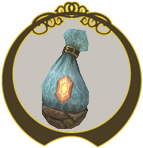
Where to Get: Lanayru Province; Castle Town
How to Get: Give Agitha her first Golden Bug
Uses: Increases wallet capacity to 1,000 Rupees
Blue Chu Jelly
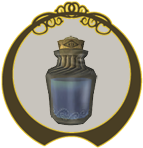
Where to Get: Varies
How to Get: Defeat a Blue Chu, then scoop its remains into a bottle
Uses: Drink to replenish all Hearts
Blue Potion
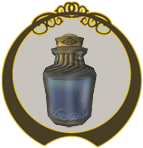
Where to Get: Varies
How to Get: Purchase from shops
Uses: Drink to restore all Hearts
Bomb Bag #1
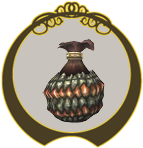
Where to Get: Eldin Province; Kakariko Village
How to Get: Purchase from Barnes’ Bomb Shop
Uses: Holds Bombs
Bomb Bag #2

Where to Get: Lanayru Province; Upper Zora’s River
How to Get: Help Iza by destroying rockslides along Zora’s River.
Uses: Holds Bombs
Bomb Bag #3

Where to Get: Lanayru Province; Zora’s Domain
How to Get: Destroy the giant underwater Bomb Rock in the center of the Zoras’ throne room pool
Uses: Holds Bombs
Bomblings
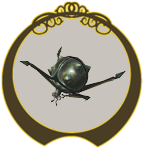
Where to Get: Varies
How to Get: Purchase from shops
Uses: Destroying Bomb Rocks; opening paths; harming enemies
Bombs
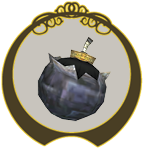
Where to Get: Varies
How to Get: Purchase from shops; find within treasure chests
Uses: Destroying Bomb Rocks; opening paths; harming enemies
Bottle #1

Where to Get: Ordona Province; Ordon Village
How to Get: Catch a fish for Sera’s cat, then visit Sera’s Sundries
Uses: Holds a variety of useful items, including potions, Fairies, and Lantern oil
Bottle #2

Where to Get: Faron Province; Faron Woods
How to Get: Purchase from Coro
Uses: Holds a variety of useful items, including potions, Fairies, and Lantern oil
Bottle #3

Where to Get: Lanayru Province; Fishing Hole
How to Get: Bobber-fish in the small pool off the east wooden bridge’s east side
Uses: Holds a variety of useful items, including potions, Fairies, and Lantern oil
Bottle #4
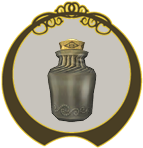
Where to Get: Lanayru Province; Castle Town
How to Get: Visit Jovani after acquiring 20 or more Poe Souls
Uses: Holds a variety of useful items, including potions, Fairies, and Lantern oil
Clawshot
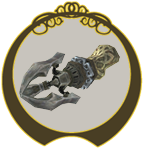
Where to Get: Dungeon 3: Lakebed Temple
How to Get: Defeat the dungeon’s midboss
Uses: Latching on to Clawshot medallions and vines; reaching otherwise-inaccessible areas; pulling distant objects toward you; stunning and defeating enemies
Coral Earrings

Where to Get: Eldin Province; Kakariko Village (Graveyard)
How to Get: Show Ashei’s Sketch to Prince Ralis
Uses: Allows you to catch Reekfish at Zora’s Domain
Doctor’s Invoice
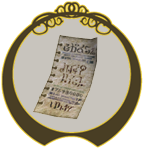
Where to Get: Lanayru Province; Castle Town
How to Get: Give Renado’s Letter to Telma
Uses: Convinces Doctor Borville to help you track down Ilia’s Wooden Statue
Dominion Rod

Where to Get: Dungeon 6: Temple of Time
How to Get: Defeat the dungeon’s midboss
Uses: Allows you to control the movements of certain carved statues,
including the overworld Owl statues
Double Clawshot
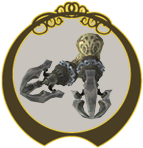
Where to Get: Dungeon 7: City in the Sky
How to Get: Defeat the dungeon’s midboss
Uses: Allows you to travel from one Clawshot medallion to the next without touching the ground
Fairy
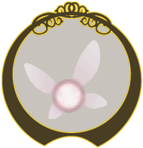
Where to Get: Varies
How to Get: Move into contact or scoop into a Bottle
Uses: Restores up to eight Hearts; when carried in a Bottle, automatically revives you if your Heart meter becomes empty
Fish Journal
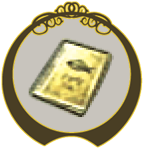
Where to Get: Ordona Province; Ordon Village
How to Get: Catch your first fish with the Fishing Rod
Uses: Keeps a record of the number, size, and types of fish you’ve caught while bobber-fishing
Fishing Rod
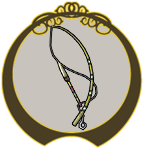
Where to Get: Ordona Province; Ordon Village
How to Get: Return Uli’s lost cradle to her
Uses: Allows for bobber-fishing
Frog Lure
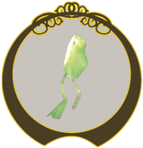
Where to Get: Lanayru Province; Fishing Hole
How to Get: Win Rollgoal minigame board 1–8
Uses: Helps you catch fish, including the legendary Hylian Loach, while lure-fishing
Fused Shadow #1
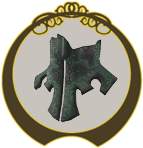
Where to Get: Dungeon 1: Forest Temple
How to Get: Defeat the dungeon’s boss
Uses: Helps Midna combat Zant
Fused Shadow #2
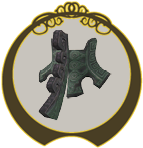
Where to Get: Dungeon 2: Goron Mines
How to Get: Defeat the dungeon’s boss
Uses: Helps Midna combat Zant
Fused Shadow #3
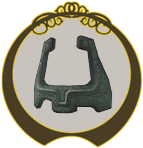
Where to Get: Dungeon 3: Lakebed Temple
How to Get: Defeat the dungeon’s boss
Uses: Helps Midna combat Zant
Gale Boomerang

Where to Get: Dungeon 1:Forest Temple
How to Get: Defeat the dungeon’s midboss
Uses: Retrieves distant items and objects; stuns enemies; activates weathervanes; extinguishes torches
Giant Bomb Bag
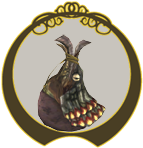
Where to Get: Lanayru Province; Upper Zora’s River
How to Get: Score 25 points or more at Iza’s Rapid Ride minigame
Uses: Doubles the storage capacity of all your Bomb Bags, including any you obtain in the future
Giant Quiver

Where to Get: Lanayru Province; Castle Town
How to Get: Beat STAR Tent minigame, level two
Uses: Increases quiver capacity to 100 arrows
Giant Wallet
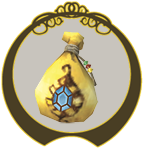
Where to Get: Lanayru Province; Castle Town
How to Get: Give Agitha all 24 Golden Bugs
Uses: Increases wallet capacity to 2,000 Rupees
Golden Bugs (Chart)

Where to Get: Varies
How to Get: Catch your firstGolden Bug
Uses: Keeps a record of the Golden Bugs you’ve caught, as well as the ones you’ve given to Agitha
Good Soup
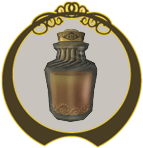
Where to Get: Dungeon 5:Snowpeak Ruins
How to Get: Give Yeto the Ordon Pumpkin, then scoop some of his soupinto a Bottle
Uses: Drink to restore up to four Hearts
Great Fairy’s Tears
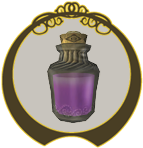
Where to Get: Varies
How to Get: Visit Jovani after collecting 20 Poe Souls; complete the Cave of Ordeals; speak with the Great Fairy at any province spring after completing the Cave of Ordeals
Uses: Drink to restore all Hearts, and gain a temporary boost to attack speed and power
Hawkeye

Where to Get: Eldin Province; Kakariko Village
How to Get: Purchase from Malo Mart (only available after you complete Malo and Talo’s archery challenge)
Uses: Lets you zoom in on distant objects; can be combined with the Hero’s Bow for precise long-range shooting
Hero’s Bow
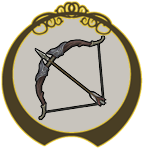
Where to Get: Dungeon 2: Goron Mines
How to Get:Defeat the dungeon’s midboss
Uses: Fires arrows over great distances to defeat enemies from range or activate out-of-reach switches, etc.
Hero’s Clothes

Where to Get: Faron Province; Faron Woods
How to Get: Fill the Vessel of Light for Spirit Faron
Uses: Legendary adventuring attire that’s well suited to all combat scenarios
Hidden Skills (Chart)
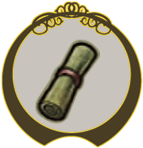
Where to Get: Faron Province; Faron Woods
How to Get: Learn your first Hidden Skill from the Hero’s Shade
Uses: Keeps a record of the Hidden Skills you’ve learned, detailing how to perform them
Hot Springwater

Where to Get: Varies
How to Get: Stand in a hot spring and scoop its water into a Bottle; purchase from the Goron Vendor in Castle Town
Uses: Drink before it cools to replenish all Hearts; Cooled springwater, and water you scoop from rivers, have no beneficial properties
Hylian Shield

Where to Get: Eldin Province; Kakariko Village
How to Get: Purchase from Malo Mart
Uses: Legendary shield that can deflect most attacks; resistant to fire
Ilia’s Charm (AKA Horse Call)
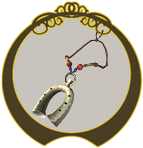
Where to Get: Eldin Province; Hidden Village
How to Get: Show the Wooden Statue to Ilia, talk to Impaz, then show the charm to Ilia
Uses: Restores Ilia’s memory; allows Link to call Epona from just about anywhere
Iron Boots
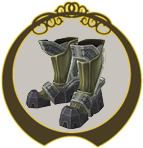
Where to Get: Ordona Province; Ordon Village
How to Get: Defeat Mayor Bo in a sumo-wrestling contest
Uses: Equip to increase Link’s weight, letting him activate pressure switches on the floor, sink to the bottom of bodies of water, walk along magnetic tracks, and much more
Key Shards
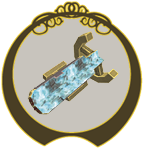
Where to Get: Dungeon 2: Goron Mines
How to Get: Visit each of the Goron Elders within the Goron Mines
Uses: Collect all three Key Shards to assemble the Big Key and access the dungeon’s boss
Lantern

Where to Get: Faron Province; Faron Woods
How to Get: Speak with Coro
Uses: Lights up dark areas; lights torches; burns away thick spiderwebs; keeps some enemies at bay
Lantern Oil
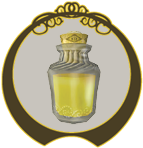
Where to Get: Varies
How to Get: Purchase from shops
Uses: Keeps the Lantern burning brightly
Lent Bomb Bag
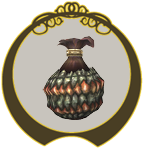
Where to Get: Lanayru Province; Upper Zora’s River
How to Get: Speak with Iza and agree to help clear the rockslides from Zora’s River
Uses: Temporarily gives you another Bomb Bag to hold extra Bombs
Letters (Chart)
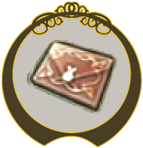
Where to Get: Faron Province; Hyrule Field (South)
How to Get: Encounter the Postman for the first time
Uses: Keeps all the letters Link has received so he can read them again at any time
Magic Armor
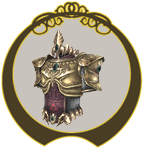
Where to Get: Lanayru Province; Castle Town
How to Get: Purchase from Malo Mart Castle Branch
Uses: While equipped, Link loses Rupees instead of Hearts when hit by enemies in combat (also steadily consumes Rupees)
Master Sword
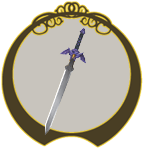
Where to Get: Faron Province; Sacred Grove
How to Get: Solve the Event of Giants puzzle; pull the Master Sword fromthe ground
Uses: Legendary sword of unrivaled power; carves through enemies in short order
Milk

Where to Get: Varies
How to Get: Purchase from shops
Uses: Drink to replenish up to three Hearts; two servings are stored in one Bottle
Mirror Shard #2 (Mirror Shard #1 Received by Default During Gameplay)
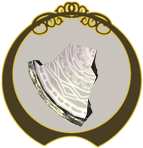
Where to Get: Dungeon 5:Snowpeak Ruins
How to Get:Defeat the dungeon’s boss
Uses: Helps open the way to the Twilight world
Mirror Shard #3
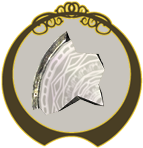
Where to Get: Dungeon 6: Temple of Time
How to Get: Defeat the dungeon’s boss
Uses: Helps open the way to the Twilight world
Mirror Shard #4
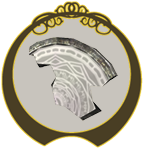
Where to Get: Dungeon 7: City in the Sky
How to Get: Defeat the dungeon’s boss
Uses: Helps open the way to the Twilight world
Ordon Goat Cheese

Where to Get: Dungeon 5: Snowpeak Ruins
How to Get: Find and open the second treasure chest that Yeta marks on your map
Uses: Can be added to Yeto’s Good Soup to create Superb Soup
Ordon Pumpkin
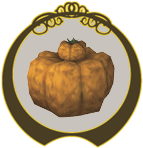
Where to Get: Dungeon 5: Snowpeak Ruins
How to Get: Find and open the first treasure chest that Yeta marks on your map
Uses: Can be added to Yeto’s Simple Soup to create Good Soup
Ordon Shield

Where to Get: Ordona Province; Ordon Village
How to Get: Enter Jaggle’s house; dash into the wall to knock down the shield
Uses: Allows Link to block most attacks, but it can’t withstand fire-based attacks
Ordon Sword
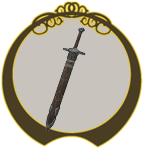
Where to Get: Ordona Province; Ordon Village
How to Get: Enter Rusl’s house and retrieve it
Uses: A standard metal sword that lets Link slice through enemies
Purple Chu Jelly
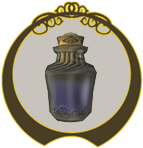
Where to Get: Varies
How to Get: Defeat a Purple Chu, then scoop its remains into a Bottle
Uses: Drink to either gain or lose Hearts (effect is random)
Quiver
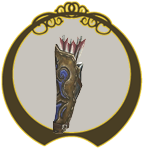
Where to Get: Dungeon 2: Goron Mines
How to Get: Defeat the dungeon’s midboss. Quiver acquired when you obtain the Hero’s Bow
Uses: Stores up to 30 arrows for the Hero’s Bow
Rare Chu Jelly
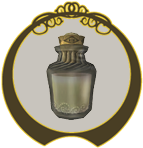
Where to Get: Varies
How to Get: Defeat a Rare Chu, then scoop its remains into a Bottle
Uses: Drink to replenish all Hearts and temporarily increase attack speed and power
Red Chu Jelly
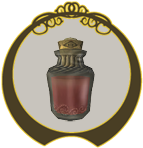
Where to Get: Varies
How to Get: Defeat a Red Chu, then scoop its remains into a Bottle
Uses: Drink to replenish up to eight Hearts
Renado’s Letter
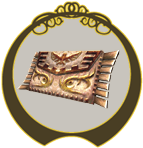
Where to Get: Eldin Province; Kakariko Village
How to Get: Speak with Renado after completing Dungeon 6: Temple of Time
Uses: Convinces Telma to give you the Doctor’s Invoice
Simple Soup
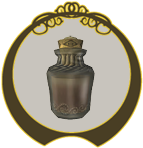
Where to Get: Dungeon 5: Snowpeak Ruins
How to Get: Scoop some of Yeto’s soup into a Bottle
Uses: Drink to restore up to two Hearts
Sinking Lure
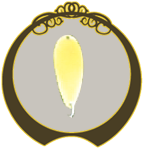
Where to Get: Lanayru Province; Fishing Hole
How to Get: Catch all types of fish while lure-fishing; leave the Fishing Hole through the main door; return and bobber-fish off the northeasternmost bank
Uses: Attracts fish like pins to a magnet, making lure-fishing extremely easy; can help you catch the legendary Hylian Loach
Slingshot

Where to Get: Ordona Province; Ordon Village
How to Get: Purchase from Sera’s Sundries
Uses: Fires seeds over long distances; stuns most enemies and defeats weak enemies; knocks down Hylian Hornet nests
Spinner
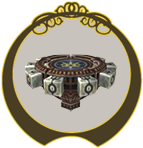
Where to Get: Dungeon 4: Arbiter’s Grounds
How to Get: Defeat the dungeon’s midboss
Uses: Lets you ride along Spinner tracks to reach otherwise-inaccessible areas; can help you cross quicksand without sinking
Superb Soup
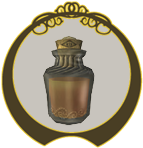
Where to Get: Dungeon 5: Snowpeak Ruins
How to Get: Give Yeto the Ordon Goat Cheese, then scoop some of his soup into a Bottle
Uses: Drink to replenish up to eight hearts
Telma’s Invoice
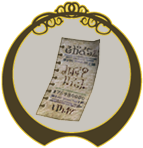
Where to Get: Telma’s Bar, Castle Town
How to Get: Talk to Telma after handing her Renado’s Letter
Uses: Allows access to Doctor Borville’s Clinic
Vessel of Light
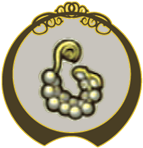
Where to Get: Varies
How to Get: Speak with the spirits that reside in each province
Uses: Stores the Tears of Light you acquire after defeating Twilit Parasites
Wallet
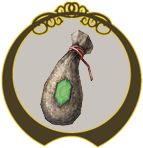
Where to Get: Link has this from the get-go
How to Get: N/A
Uses: Holds up to 500 Rupees
Water Bombs
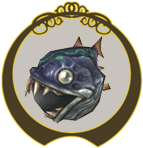
Where to Get: Varies
How to Get: Purchase from shops; find within treasure chests
Uses: Destroy underwater Bomb Rocks to clear passages, etc.
Wooden Shield

Where to Get: Varies
How to Get: Purchase from shops
Uses: Allows Link to block most attacks, but it can’t withstand fire-based attacks
Wooden Statue
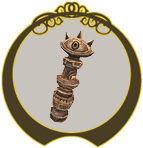
Where to Get: Lanayru Province; Hyrule Field (South Gate)
How to Get: Defeat a large pack of Stalhounds
Uses: Helps Ilia regain some of her memory
Wooden Sword
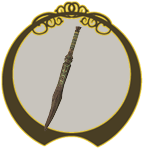
Where to Get: Ordona Province; Ordon Village
How to Get: Obtain the Slingshot, then visit Link’s house
Uses: A dull wooden sword that can defeat weak enemies
Worm Bait
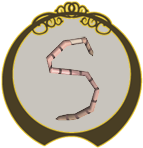
Where to Get: Varies
How to Get: Defeat a Bomskit, then scoop its remains into a Bottle
Uses: Bait for bobber-fishing
Yellow Chu Jelly
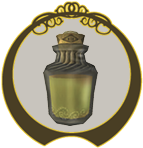
Where to Get: Varies
How to Get: Defeat a Yellow Chu, then scoop its remains into a Bottle; can also be found by the signposts and other features in the Fishing Hole
Uses: Fuels the Lantern, just like Lantern oil
Zora Armor

Where to Get: Eldin Province; Kakariko Village (Graveyard)
How to Get: Speak with Rutela after you escort Prince Ralis to Kakariko Village
Uses: Allows Link to swim and breathe underwater, just like a Zora