
The Legend of Zelda: Twilight Princess HD Guide Dungeon 6: Temple of Time
Task 1: Defeat Your First Armos, the Mechanical Guardian
Chamber 1: Grand Entrance (1F to 2F)
|
Before you go back into time, you might wish to bring along the following:
|
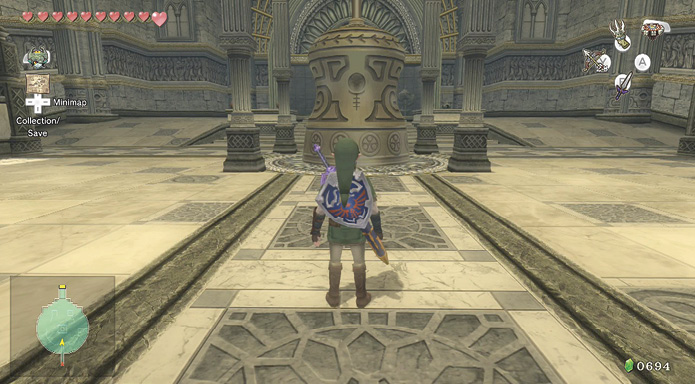
Run down the stairs to the first chamber, an impressive entrance with two sets of stairs flanking you, and a bell house with a giant bell hanging from it. You can’t currently ring the bell, so pass it by and head toward the north end of the chamber.
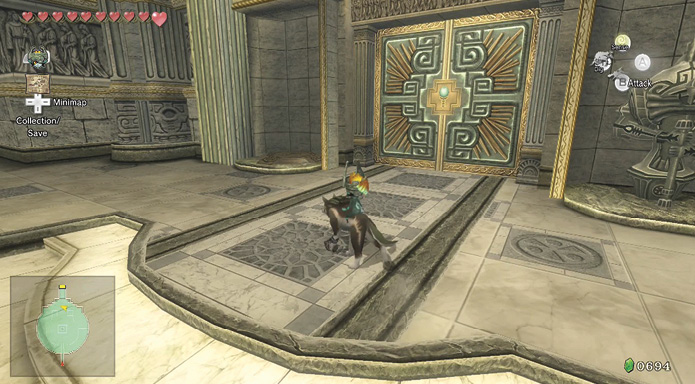
When you move up to the door to the north it is firmly sealed. On the right side of the doorway is a small alcove with a mechanical statue holding a large axe. Use your wolf form’s sense view. You see another statue forming on the opposite side. This is residue of a statue that used to stand here. You must find the statue and complete this puzzle!
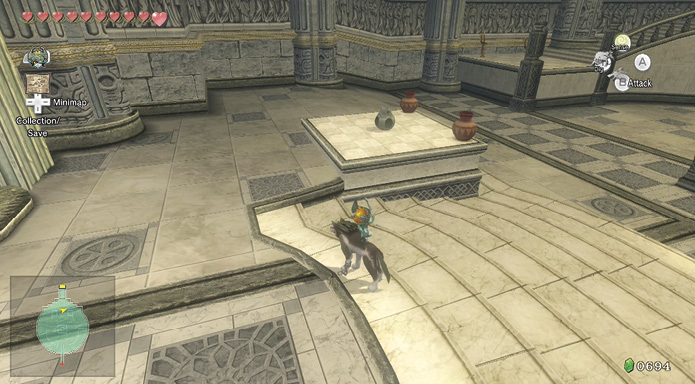
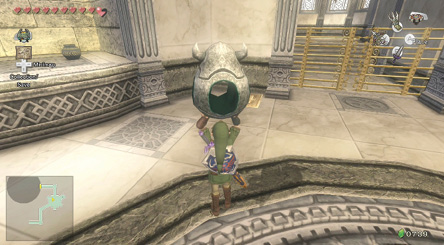
You can’t reach the stairs from your current area, but if you look closely, you’ll see a section of flooring you could raise into a step. Head to the square raised plinths either side of the shallow steps, and you see that one has a small metal horned statuette, and the other has a pressure switch. Take the horned statuette and place it on the switch. The floor section rises, and you can climb the staircase surrounding you.
Author NoteWe played a little dexterity game by throwing the horned statuette onto the floor switch instead of placing it. This requires skill and timing as the distance is tricky to figure out. Can you manage to land the statuette on the switch first time? |
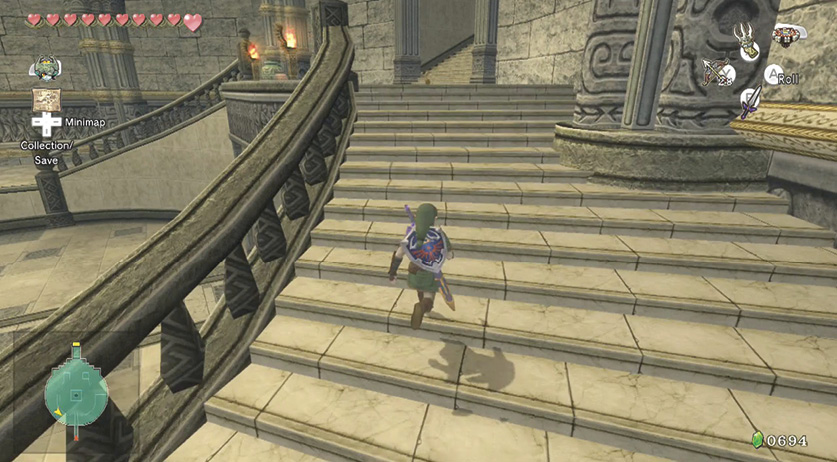
When you reach the top of the stairs, you spot Ooccoo (and her strange floating head of a son, if you used him in a previous dungeon). She tells you that this is the place she’s been searching for.
 Ooccoo
You are reunited with Ooccoo! This kind character can let you out of dungeons and return you to where you were.
Missing Links
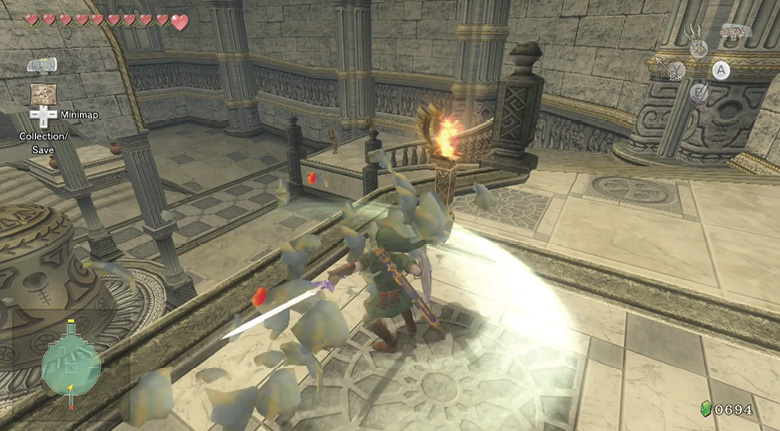
1. Pottery Pulverizing
This chamber has many pots to smash, for Hearts, Rupees, and arrows. Take care of the pottery between the torches where you find Ooccoo, and near the floor switch.
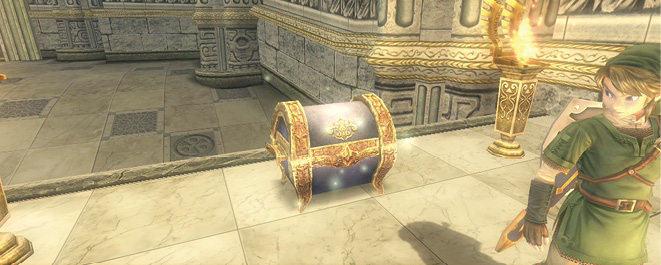
Treasure Chest: The way northward is sealed, and the way up the stairs to the south is locked. It looks like you’re stuck until you bring out your Lantern and run down to the two unlit ceremonial torches at the edge of the right staircase. Light both torches and a chest appears. Inside is the Small Key you require to head south.
Treasure Chest #1:
Small Key
 Small Key
You got a Small Key! This opens a locked door, but only in this area.
Chamber 2: Connecting Corridors (2F to 3F)
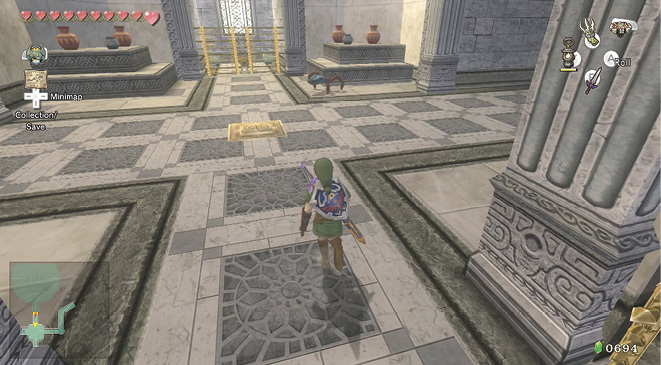
Head up the stairs to the south, to the second floor, and use the Small Key you just found to open the locked door. Step through into a small crossroads chamber with gates, pottery, and a strange hairy creature scuttling about.
Young Gohma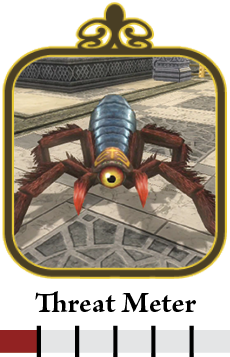 Young Gohma is a scuttling creature a little like a Skulltula, but with a giant all-seeing eye. It likes to bound and strike a foe with its front pincers. Fortunately, it is rather ineffective. Defeat it easily with two sweeping sword strikes. 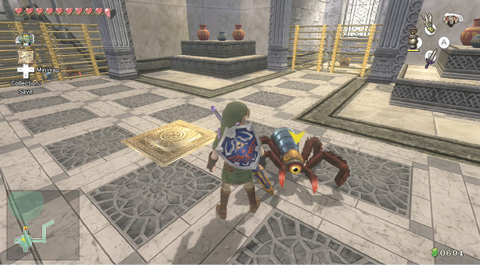 Young Gohma doesn’t have a cunning method of disposing of its foes; it just leaps at you. Simple swordplay counters this! 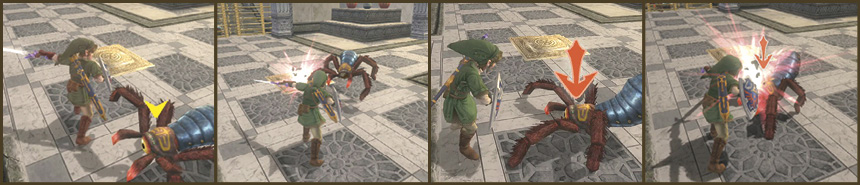 |
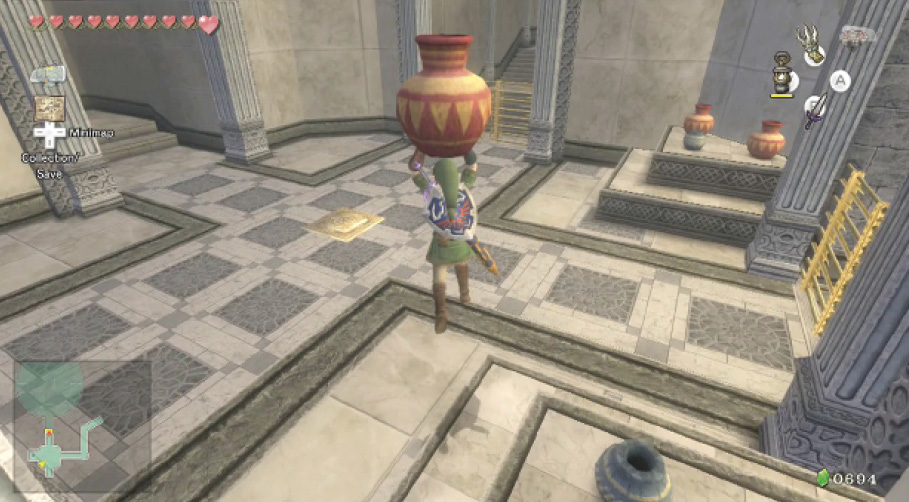
With the Gohma threat dispatched, look around. The gates to the east and south are firmly closed. A central floor switch opens the gates, but you require an item to set on it. So, for the first time ever, you must not smash the pottery! Make sure one pot survives and place it on the floor switch. When the switch is pressed, the gates open, and another one closes at the top of the eastern staircase. Head this way for a moment, and slash the Young Gohma scuttling around. You could even try your new Hidden Skill: the jump strike.
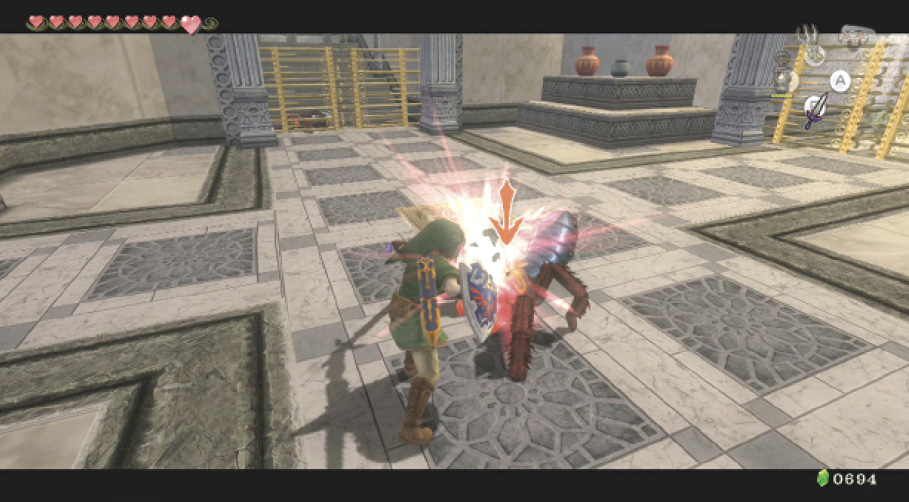
|
If you accidentally smash all the pottery, don’t despair. Head back to Chamber 1 and then return here, and the pottery is back and intact. |
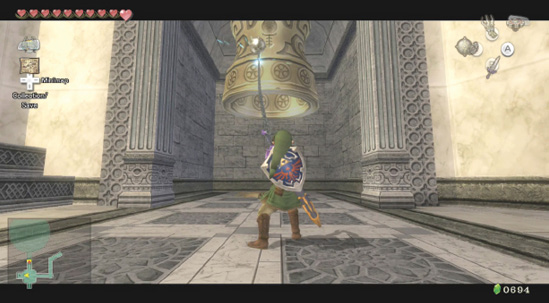
Now explore the crossroads chamber thoroughly. Begin by checking the alcove to the west. A giant bell hangs from the top of the alcove here, and you can ring it with your Ball and Chain. All your other weapons have no effect. A red Rupee falls from this bell. Pick it up!
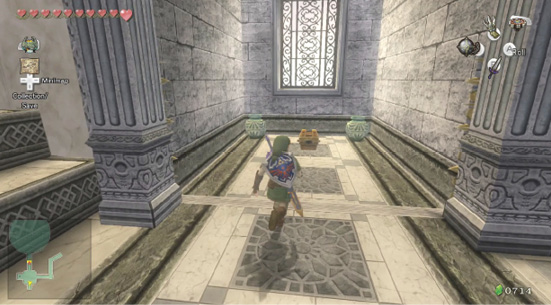
Treasure Chest: Don’t forget that the gate to the south opened too. This leads to a tiny alcove with a window at the end, and two jars to smash for Rupees. Open the small chest in the middle for arrows, which you’ll need in a moment.
Treasure Chest #2:
Arrows (30)
 Arrows
You got arrows (30)! Use arrows to shoot far-off foes!
|
While looking around the room, you may notice a Clawshot medallion above the east gate. Don’t worry about this now; this is used when you return here later. |
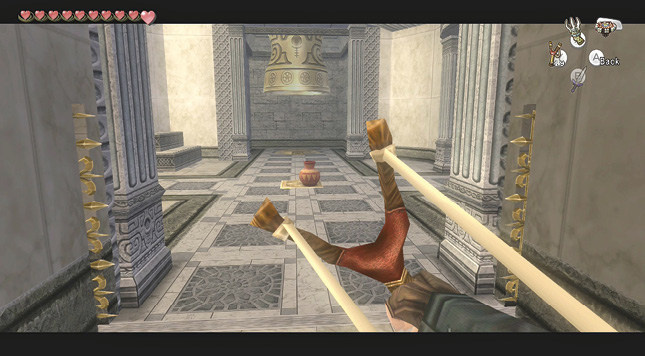
Now head up the staircase to the east. Unfortunately, it’s blocked by a gate! Turn around, and once you’re behind the open first gate, shoot the pot (with Bow, Boomerang, or Clawshot) you placed on the middle floor switch. The gate closes behind you, but the one above you opens!
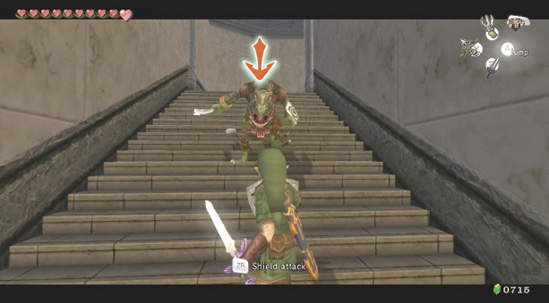
Turn and run up the steps, turning north and continuing up. On your ascent, bring out your weapon and counter an incoming Lizalfos’s attack. Slice him with your jump strike, or another preferred technique. Continue to the top of the steps.
Chamber 3: Hexagonal Junction (3F)
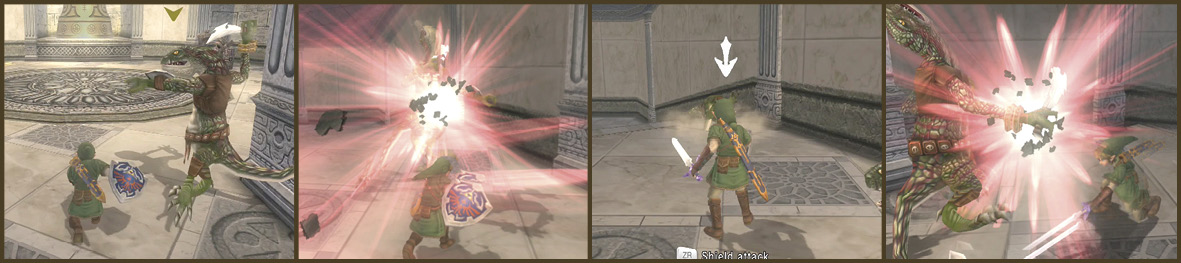
At the top of the stairs, the corridor expands into the Hexagonal Junction. Three Lizalfoses prowl the area, and there’s a strange statue with a giant hammer in the alcove opposite. Don’t venture too far into the room. You want to tackle the Lizalfos first, and the statue later. This is the perfect spot for a jump strike (as shown), coax all three Lizalfoses and slash them all! Otherwise, spin attacks work almost as well.
Armos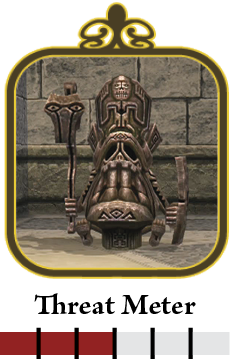 The Armos is a jerky mechanical beast that is impervious to your strikes until you discover that rear weak spot! 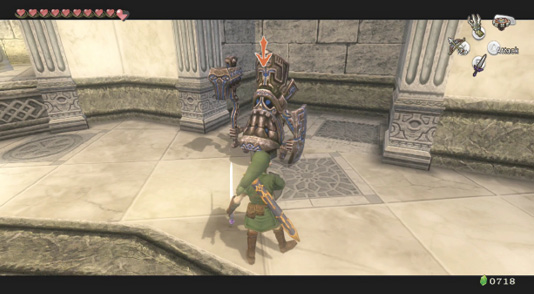 Approach the Armos with caution, as it shrugs off all your attacks, but fortunately it moves very slowly once you step around 20 feet away from it, and it starts to jump slowly toward you. The trick here is to strike the blue weak spot on its rear. Simple slashes cause it to jump more quickly, and it brings down a hammer with considerable force. 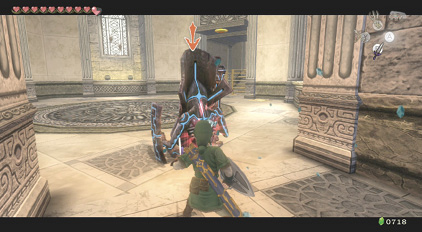 Simply roll around and spin attack, stab, or try one of your Hidden Skill strikes, and with one or two hits, the Armos begins to shine with a bright intensity and malfunction. This is your cue to run away from it, because it’s about to explode! 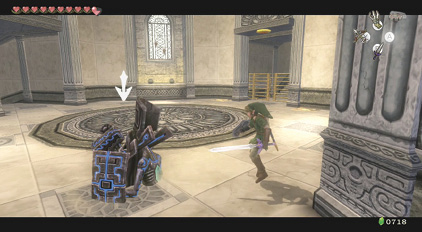
|
Treasure Chest: Once the Armos has been destroyed, a previously invisible treasure chest appears in the southeast alcove in this chamber. Open it and grab the Dungeon Map, so you can see the climb to the eighth floor you’re going to make.
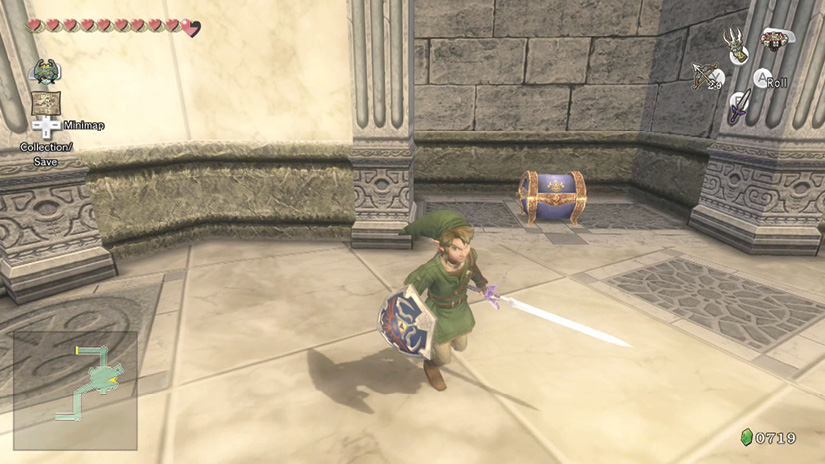
Treasure Chest #3:
Dungeon Map
 Dungeon Map
You got the Dungeon Map!
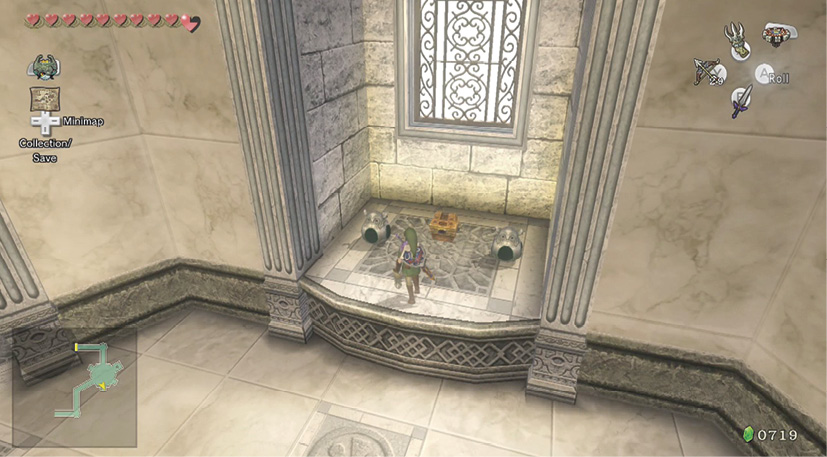
Treasure Chest: Your hunt for chests doesn’t end here either. There’s already a small chest in this chamber, flanked by two horned statuettes near a window, with a lowly Keese guarding it. Dispatch the Keese quickly, then open the chest for a red Rupee.
Treasure Chest #4:
Red Rupee (20)
Now you must find a way to open the gate to the north. Take the horned statuette to one side of the treasure chest, and carry it to one of the two floor switches on either side of the gate. Then repeat this plan (remember, you can try throwing the horned statuettes for fun and to show off your skill). The gate swings open. Ignore the bell in the alcove and continue northward.
Missing Links
1. Keeping Keese at Bay
Every alcove and small hidden area near a window is likely to have an easily dispatched Keese or two. Smash the pottery here for a Heart, then continue.