
The Legend of Zelda: Twilight Princess HD Guide Overworld: Thorough Explorations and Saving the Zora Prince
Task 8: Locate All the Underwater Bomb Rocks, Then Enter the Water Temple
Water Bombs and Underwater Explosions
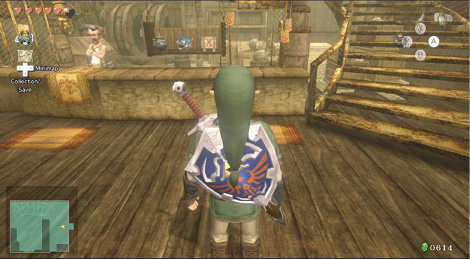
By now you should be wanting to head directly to Barnes’ Bomb Shop and purchase a brand-new explosive device: the Water Bomb. Here’s what Barnes currently has for sale:
Store
Store: Barnes’ Bomb Shop
| Item | Name | Price |
|---|---|---|
 |
Bombs (10) | 30 Rupees |
| |
Bombs (20) | 60 Rupees |
| |
Bombs (30) | 90 Rupees |
 |
Water Bombs (5) | 30 Rupees |
| |
Water Bombs (10) | 60 Rupees |
| |
Water Bombs (15) | 90 Rupees |
 Water Bombs
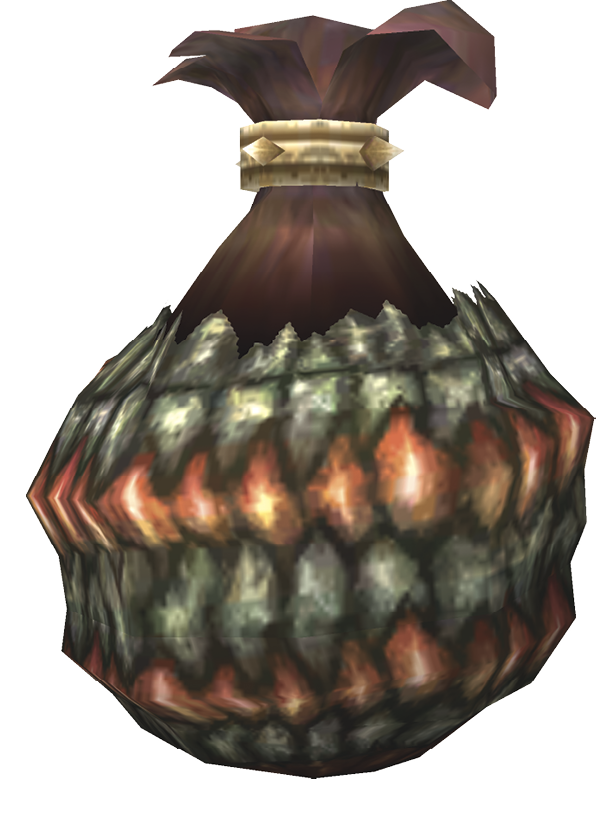
You got Water Bombs! These explode rocks and enemies, even underwater.
|
Barnes now offers a “buyback” plan, where bombs you don’t need can be sold back for the same price you paid. That way you can fill up with the more versatile Water Bombs, or gather loads of regular bombs for less expense. The choice is yours. We recommend maxing out one or two Bomb Bags with Water Bombs, and the rest with regular bombs. |
Water Bombs Water Bombs are exceptionally useful in many situations, and if you have enough Rupees, you should buy them exclusively, ignoring regular bombs from now on. Water Bombs have all the functionality of regular bombs (they can explode rocks or foes on land too), but they also work the same way underwater (except you can’t combine them with your Bow). 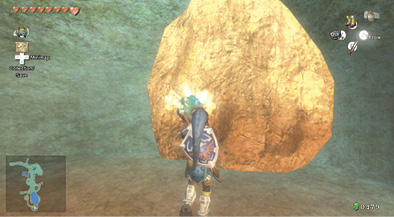 |
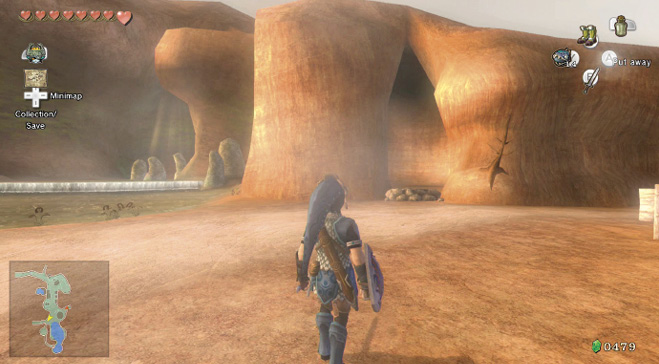
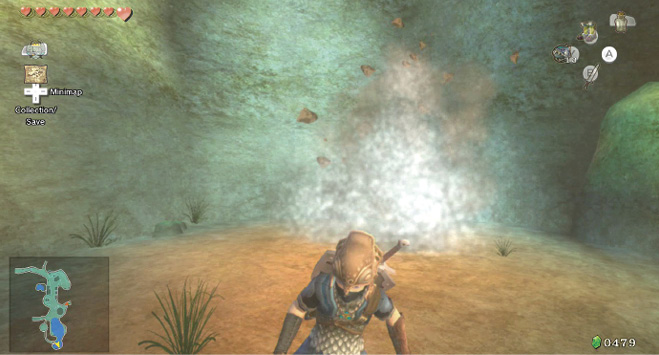
Exit the bomb shop with as many Water Bombs as you can carry (you have two Bomb Bags, so you should have at least 30 bombs), and spend time gathering Rupees and other collectibles from the various chests and crates in the village, if you didn’t before. Next, head to the plunge pool behind the spirit of Lanayru’s grotto, where you freed the Cuccos.
Dive down into the plunge pool, which is now easily navigated, and look for the Bomb Rock at the pool’s bottom. Put on your Iron Boots (and your Zora Armor), and leave a Water Bomb to explode the rock. Grab the purple Rupee (50) from the rubble.
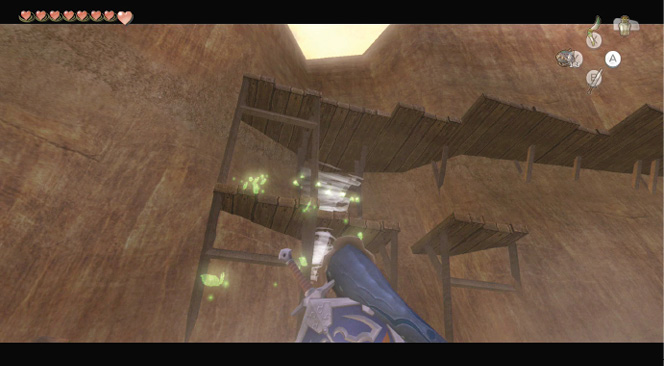
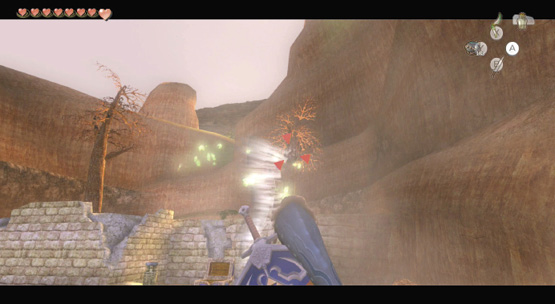
Use the same methods you have previously used to grab goods. For example, the crate on this ledge, which you reached earlier by Cucco, can be destroyed and the red Rupee delivered to your hands if you stand on the roof of the building with the hole in it and double target using the Gale Boomerang.
When you’re ready to leave, head toward the graveyard and up the steps. There’s another group of Guays flocking around the tree, and there’s a Hylian Hornet Nest on the other tree, which you can smash with any of your weapons. Watch the stinging, though!
Enter the Zora king’s final resting place through the crawling tunnel, and drop down into the pool in front of the grave. Produce a Water Bomb, and with your Iron Boots on, trudge to the Bomb Rock in the chamber’s southern part. There are 20 Rupees inside this one.
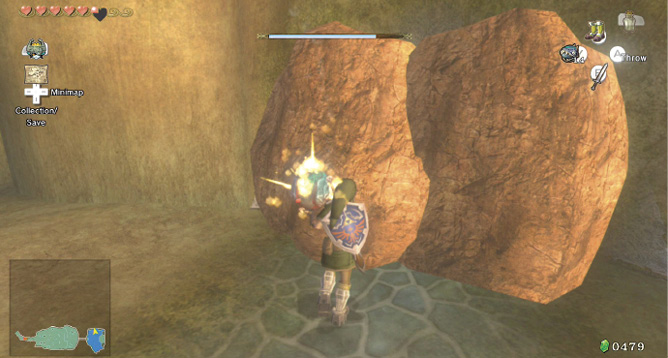
Over on the pool’s northern side are two rocks blocking what seems to be a channel. Place a single Water Bomb in front of these rocks, and they explode. Sure enough, there’s a hole behind there. This is a secret passage you heard the Zora speak of, and if you enter it, you appear in the water at the foot of the waterfall in Lake Hylia. The current is strong—this is a one-way trip!
|
Use this to quickly reach Lake Hylia from Kakariko Village, when you don’t have the luxury of warping. |
Missing Links
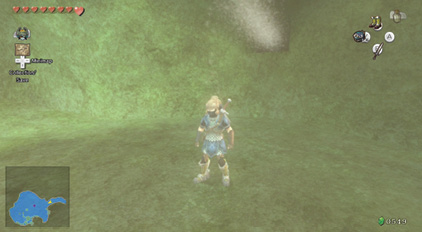
1. Venting Frustration
If you dive and swim toward the waterfall from Lake Hylia, you can see the bubbling vent that leads back to the graveyard. Alas, the current is too strong to enter.
Lake Hylia: Two More Chests to Find
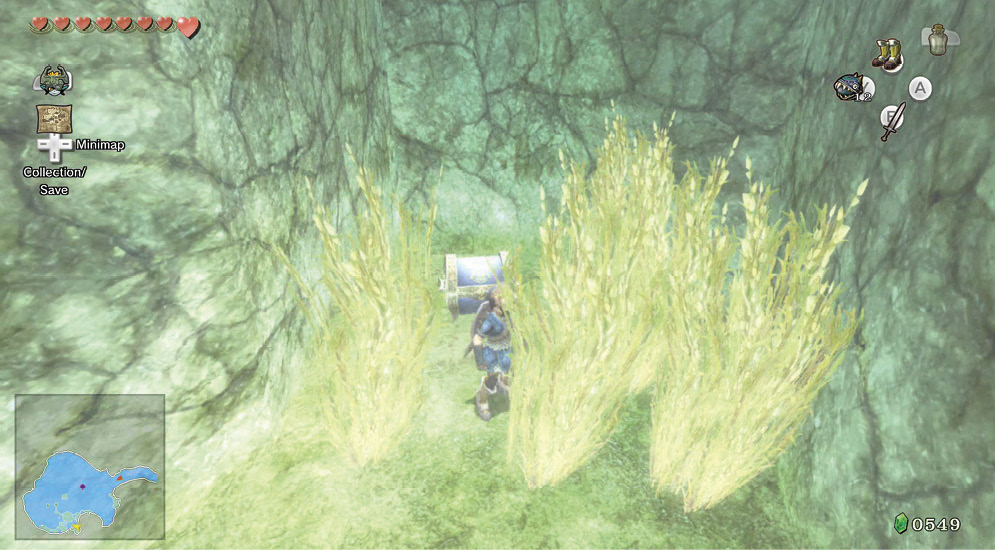
With your Zora Armor and the freedom to look for chests underwater, you can locate another chest that’s very difficult to spot without your new gear. Drop into the lake’s southern part. Swim to these reeds and locate the chest behind them.
Overworld Chest #46:
Hylian Letter Stamp W
|
Technically, it’s possible to find this chest before you don the Zora Armor, when you’re flying around with the Cuccos for the first time. But grabbing the chest now allows you to locate it much more easily. |
That’s the last remaining chest you can open in Lake Hylia. Or is it? We managed to unearth Overworld Chest #22 on top of the platform, which contained an orange Rupee (100), after hours of exploring every underwater nook and cranny of Lake Hylia. The problem was, this chest only appeared once and disappeared completely when we reloaded the game! We later realized this was Overworld Chest #22 (the one you open if you land on the topmost platform on the Isle of Riches after Flight-of-Fowl), and it was located directly below the pole the platform is rotating around. If you chance upon this chest, you know what it is.
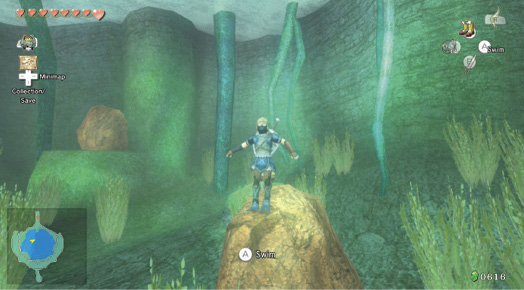
Head into the spirit cave on the south side of Lake Hylia, and take the plunge. You’ve ransacked both the chests underwater here, but there’s a Bomb Rock to blow up. Inside are two green (1), one blue (5), one yellow (10), and one red (20) Rupee. Then head to the pool’s southwest area; there’s another Bomb Rock on a small ledge. This one contains one green (1), two yellow (10), and one red (20) Rupee.
|
This concludes the available Bomb Rocks in Lake Hylia, aside from those at the entrance to Dungeon 3. You now have the earliest opportunity to find the remaining Bomb Rocks underwater throughout previously explored areas. Go for it! |
Bomb Rocking All Around Hyrule: Hyrule Field (North)
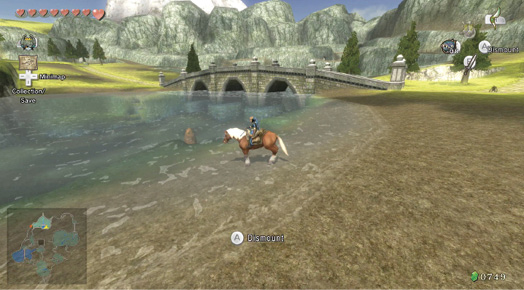
Hyrule Field (north): Take your horse and travel to the bridge crossing the river that leads back to Upper Zora’s River and dismount. Head for the water past the bridge.
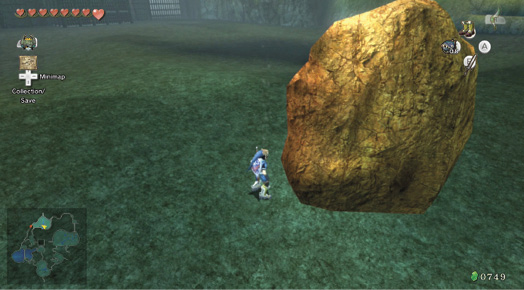
Use the tried-and-true formula of your Iron Boots, Zora Armor, and Water Bombs and drop to this Bomb Rock, just south of the bridge. Inside it are a green (1), two blue (5), and two yellow (10) Rupees.
Swim against the current to the other Bomb Rock, between the steps in the canal section of the river. Place the bomb on the rock’s north side, or the current takes it away from you! A yellow (10) and two red (20) Rupees are your reward.
Bomb Rocking All Around Hyrule: Zora’s Domain
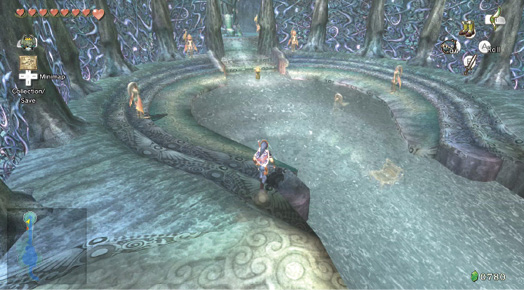
Use the entrance in the northern wall of Hyrule Field (north) to reach the balcony overlooking the waterfall pool; then ascend the stairs before finally reaching the Zora throne room. There are some rocks to tackle in the plunge pool, but first there’s some optional Missing Link Rupees to find around the sides.
Missing Links
1. Wall and Small Rock Rupee Hunt
Start by collecting several yellow (10) Rupees stuck on the outer middle ledges. There’s one in the southwest area, one above a Bomb Rock in the northwest area, and one almost at the surface in the northern area.
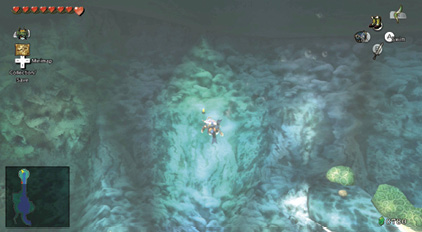
Continue to work your way around, and land on a small ledge with two green stones on it. Lift the tiny rock; there’s a blue Rupee (5) underneath. Lift two more rocks on this ledge’s narrow right section; there’s a blue (5) and yellow (10) Rupee under these.
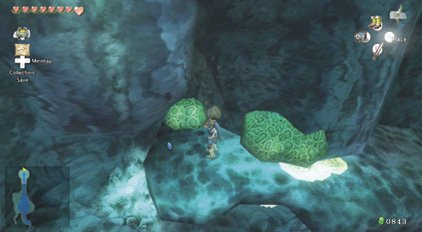
Swim at approximately the same depth to the northeast part of this plunge pool, and scrape a yellow Rupee (10) off the wall.
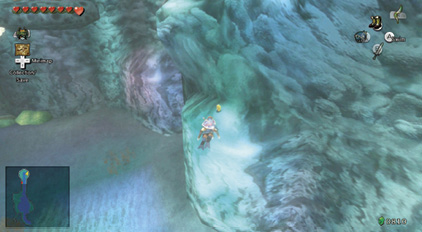
Swim to the large ledge on the pool’s eastern side, and lift three rocks to find a green (1) and two blue (5) Rupees under each of them.
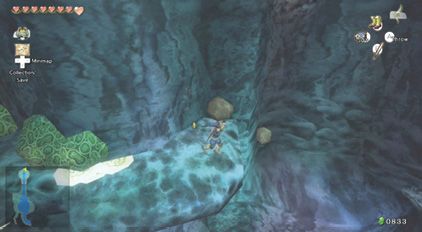
Don’t forget to grab the small rock on this ledge, in the pool’s northern part; there’s a yellow (10) Rupee for your troubles.
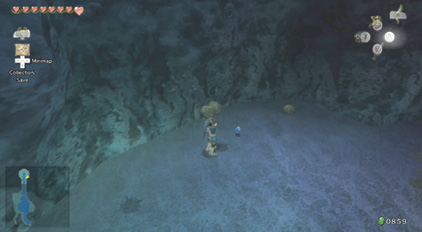
Swim down to the pool’s bottom and begin lifting the small rocks surrounding the molten shard. Green Rupees (1) are available here.
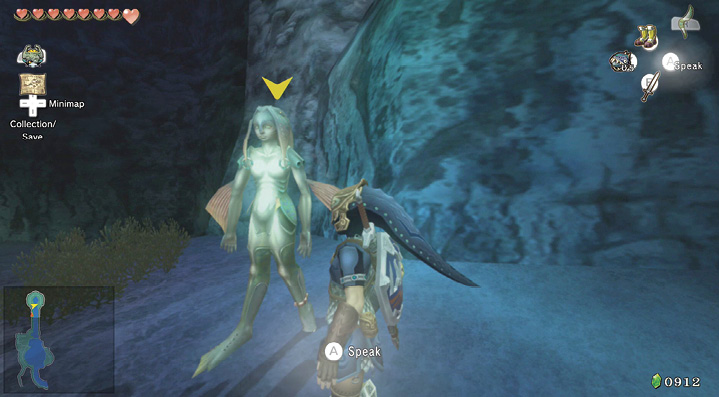
After you finish Rupee hunting, optionally float down to the Zora on the southwestern ledge and talk to her. She has a strange feeling about the molten shard; it’s like it’s alive and looking at her. How strange.
Now you can begin to make some serious rock explosions! Swim to the rock underwater in the pool’s northern section, and place a bomb next to it (it rolls but is still effective). This creates some smaller rocks, plus six green (1) and one blue (1) Rupee. The real value is the small rocks; lift them for two yellow (10) and one red (20) Rupee.
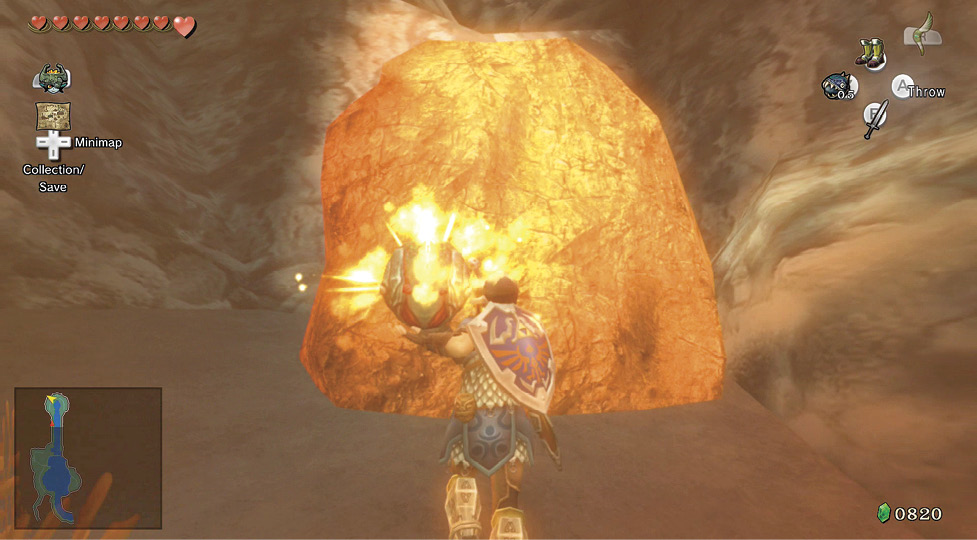
Now head to this pool’s main section, the molten shard. Stand on one of the small ledges around the impact of the shard, and drop a bomb there. The shard splinters, and out pops a Goron, who was swallowed up in the lava after taking a nap. He’s got a gift for freeing you—a Bag of Bombs! You now have all three Bomb Bags.
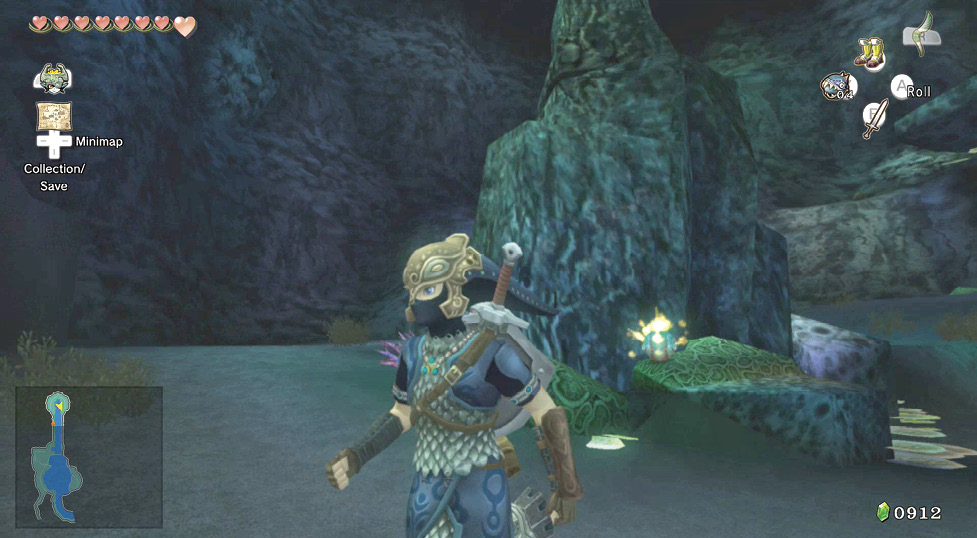
 Bag of Bombs

You got a Bag of Bombs!
|
Check out the Wii U GamePad menu screen menu screen where your major items are stored. As you can see, there’s now space for masses of regular or Water Bombs, or any combination thereof! 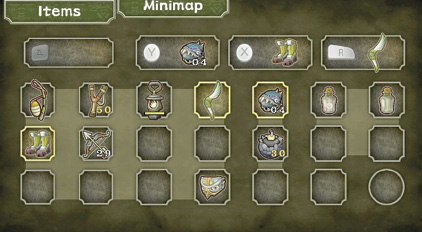 |
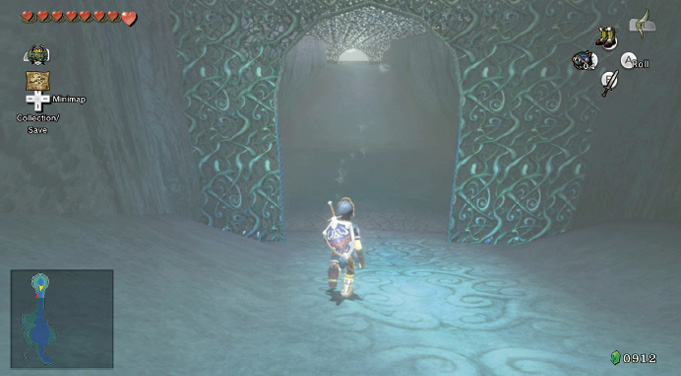
Now swim up to the throne room, and exit via the waterfall to the south. Using your Iron Boots and Zora Armor, you might wish to inspect the base of the river just outside the throne room. There are three blue Rupees (5) on the left and right sides of the channel.
Bomb Rocking All Around Hyrule: Waterfall Pool
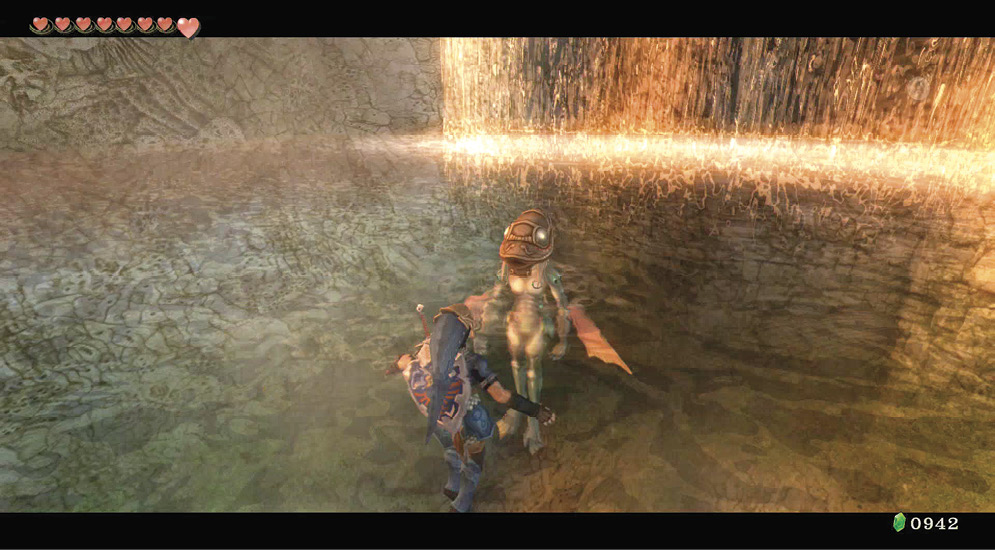
Take the plunge into the waterfall pool below. Talk to the Zora who can transport you back up here, and he explains the wonders of this area. When you’re done and have optionally taken the ride back up and then dived down again, search for more Bomb Rocks.
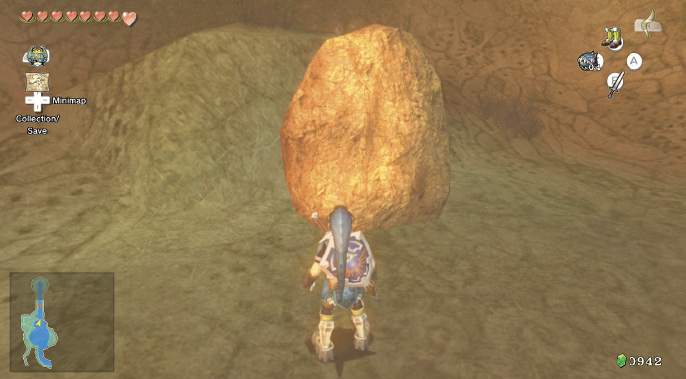
The first Bomb Rock in the northern part of the waterfall pool. Dive deep down, place the bomb, and collect two yellow (10) and two red (20) Rupees from the remains.
Swim to the pool’s middle now, and drop to deliver an explosive charge to another rock. It splits apart and delivers two green (1), one blue (5), one yellow (10), and one red (20) Rupee.
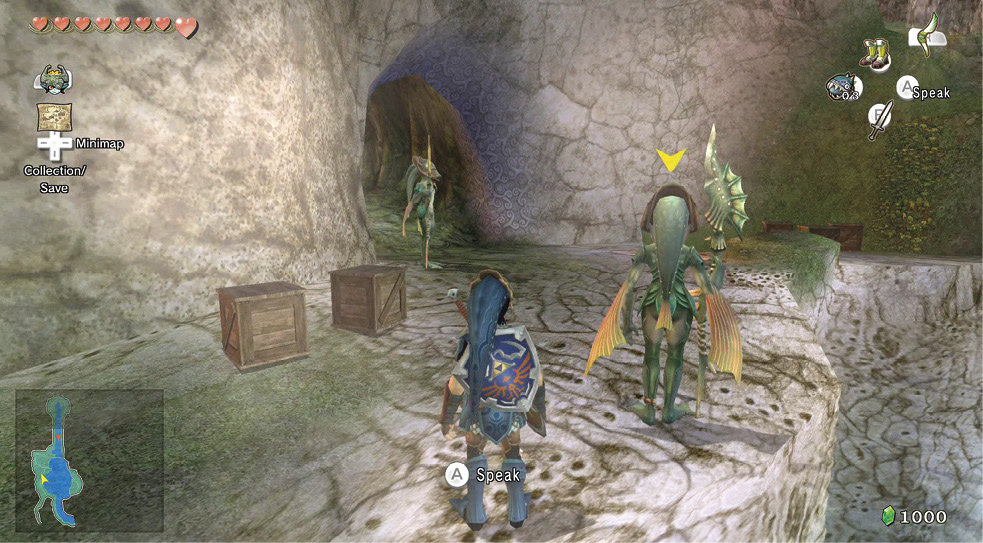
During your bombing run, you can emerge from the water and speak to the Zoras on the ledges surrounding you, including those at a new cave entrance, which was blocked by ice before. You can optionally enter this cavern and adventure into Snowpeak!
Snowpeak: Abandon All Hope Ye Who Enter Here
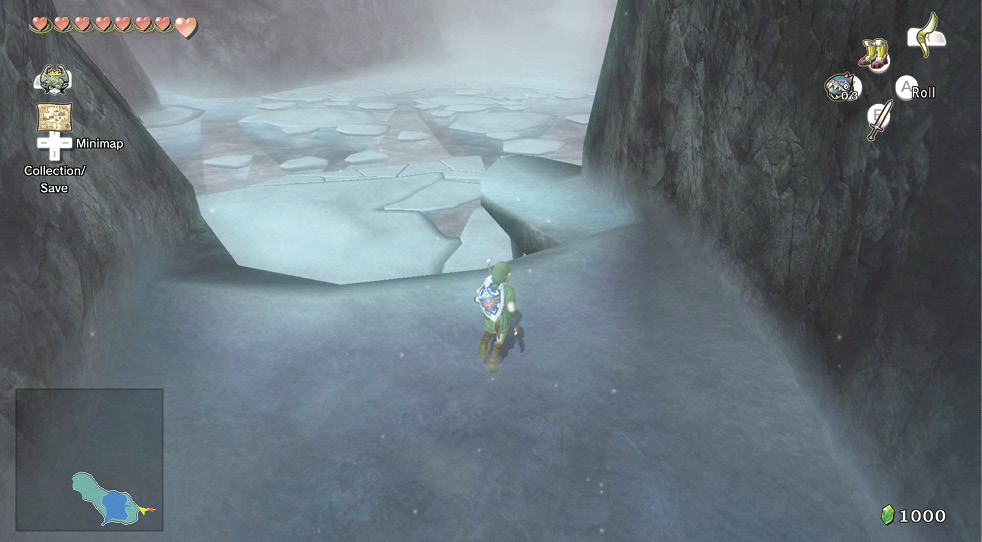
It won’t end well, but this is the very first time you can enter the harsh environment of Snowpeak; change your outfit to the heroic clothing and enter the tunnel. You emerge at the top of a series of ledges leading to a cracked and half-frozen lake.
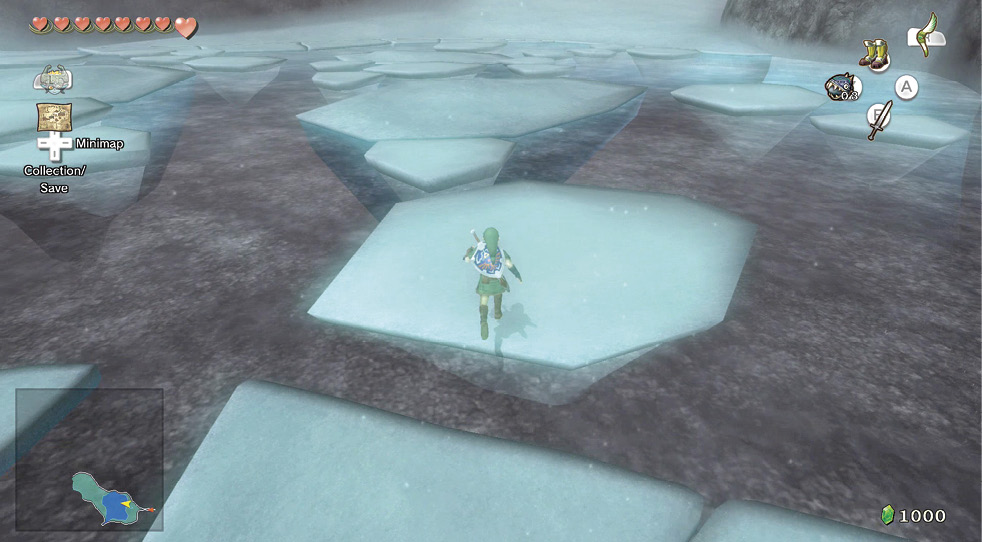
Drop to the lake edge. Don’t fall in or you’ll be instantly frozen and must restart this area. Make careful jumps, heading in a general northwesterly direction, and you can maneuver across the frozen lake in its entirety.
White Wolfos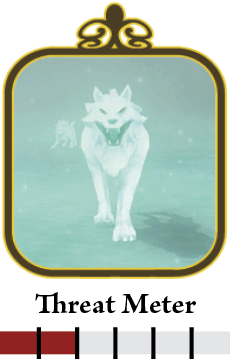 Once across the lake, you can trudge into the snow itself, which quickly becomes waist-deep. Strange ghostly wolves appear from the mist and leap upon you. These are White Wolfos and are the guardians of this area. They attack with leaping strikes, and then stalk you, well aware they can outmaneuver you. Currently, the only current way to tackle them (as they attack in pairs) is to shield block the leap, then strike the second one with a single, well-timed blow. 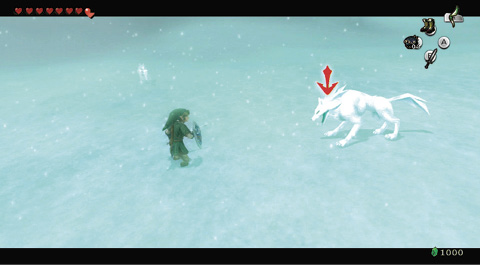 Too fast for you, and too sly to attack without prowling around you, White Wolfos hounds are to be faced later in your adventure.  |
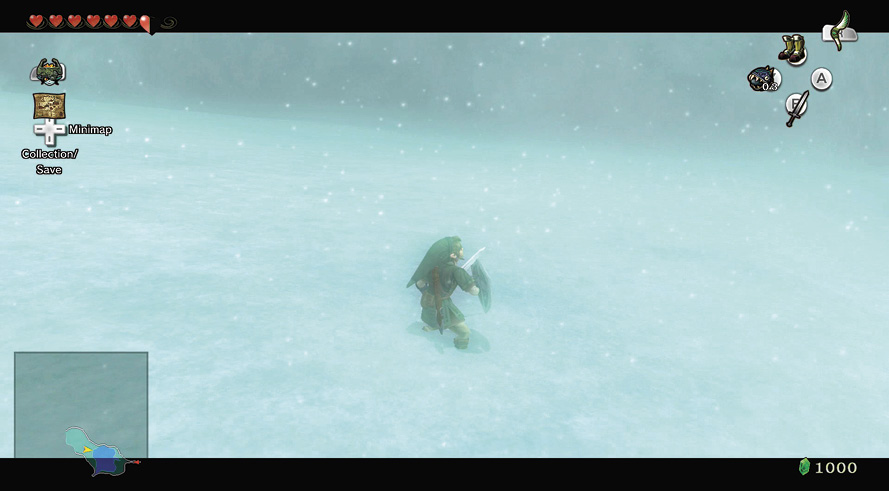
Once you’ve tackled the Wolfos, you can begin slowly wading up the snowbank. Midna appears and tries to warn you that you’ll freeze if you continue and that you should turn back. Ignore her, and after a few more Wolfos attacks, you fall and expend your energy in the corner of Snowpeak’s initial area and must restart this zone. Head back to Zora’s Domain right now!
Bomb Rocking All Around Hyrule: Upper River
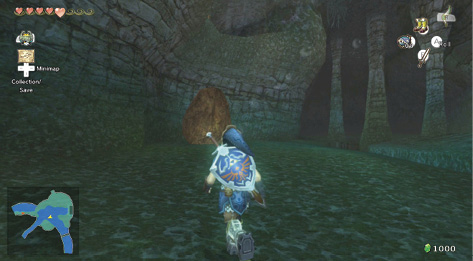
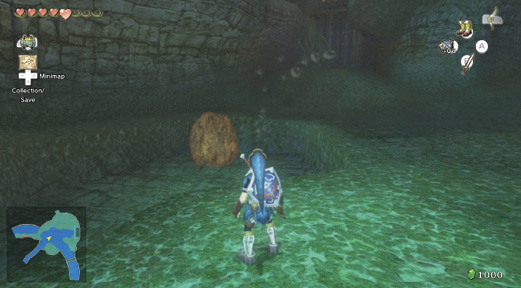
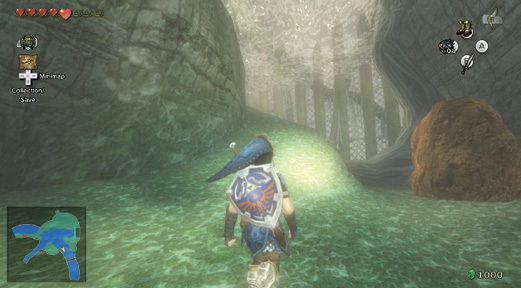
Back in the relative warmth of the river, swim into the Upper River area, near Iza’s dwelling, and begin destroying the underwater Bomb Rocks, starting with this one in the southwest area. Expect to collect three green (1), four blue (5), and two yellow (10) Rupees.
This next Bomb Rock, underwater in the middle of the river area, yields one green (1), four blue (5), and one yellow (10) Rupee. In the southern part of the area, near the submerged ramp, is a third Bomb Rock, which is easily missed. Blow it up for two green (1), two blue (5), and two yellow (10) Rupees.
Warp PortalAs soon as you finish grabbing the 18th Golden Bug, head around the river’s northern bank, and a portal activates, bringing Twilit Messengers down to earth and forcing you to dispatch them in the usual manner. 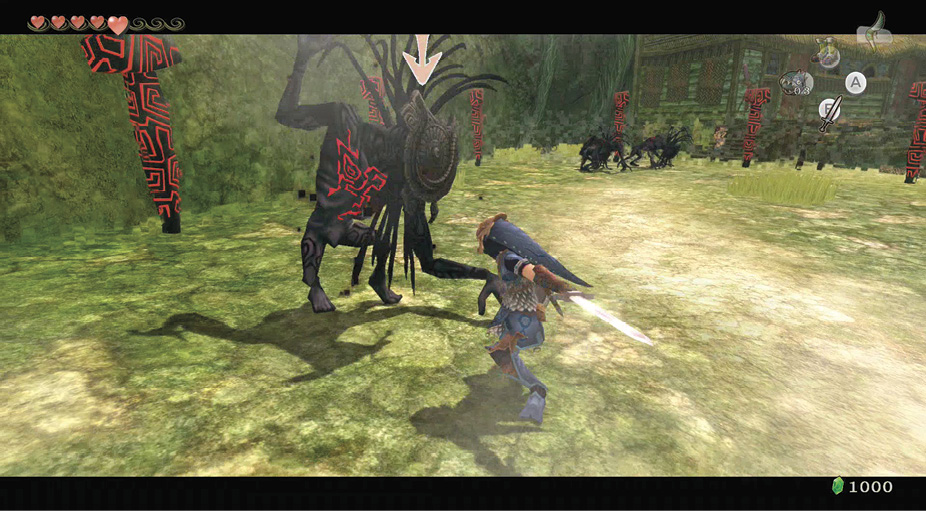 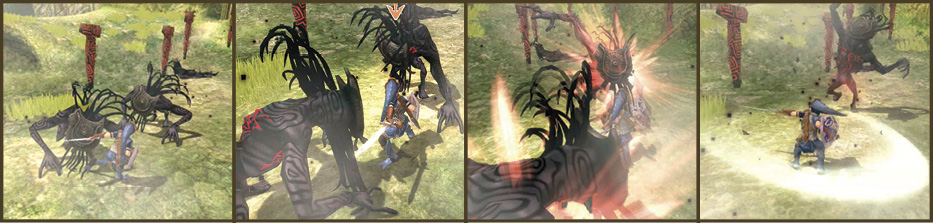 The arena is large, so back away from the group, locate the straggler, dispatch him, and then find the two Messengers lolloping about near each other. Use the spin attack to easily slay both at the same time. When they disappear, you now have a new portal to warp to the Upper River area. |
Taming the River Rapids
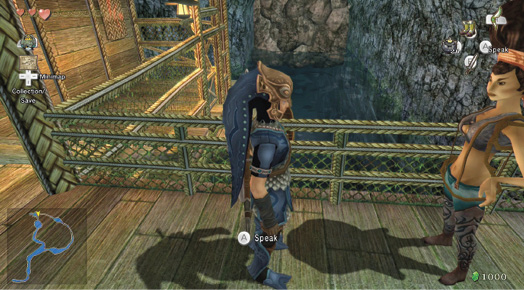
Head toward Iza. She’s impressed enough with your swashbuckling abilities to invite you into her cabin, where she explains that she used to rent boats in this area of the river, but a rockfall dammed the route. She asks if you can help her if she gives you some Bomb Arrows. Agree to this plan and you instantly receive 30 arrows and 30 bombs.
 Lent Bomb Bag
You got a Lent Bomb Bag! This is Iza’s property, so she may want it back!
Head onto the small jetty and climb into the boat. Begin to paddle downstream. There are a few Rupees placed along the route that you can grab.
|
If you come back here later with the Clawshot, you can try grabbing these Rupees from the water, but they aren’t that valuable and are not necessary to collect. |
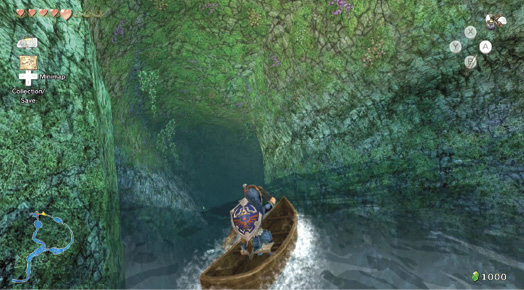
Your boat can be difficult to control, especially as you head down a massive water-filled tunnel! Time to remember a few boating lessons:
Boating Tips
- Leave your boat completely alone for some of the time. Only use the Left Analog Stick to steer when you begin to drift off-course.
- Maneuver in the direction opposite than the one you’re heading to steer away from walls, debris, or other danger.
- Pressing up on the Left Analog Stick increases your speed and makes your boat very difficult to steer from side to side.
- Pressing down on the Left Analog Stick slows you down, but it’s still more difficult than normal to steer; so only press up and down on the Left Analog Stick when you really need to.
- Practice makes perfect! Small nudges are better than yanks!
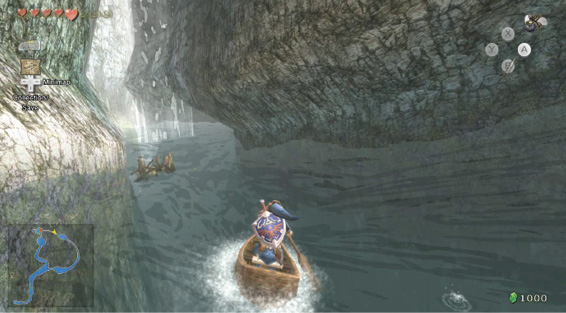
The merriment continues as you’re buffeted downstream, through waterfalls and near pieces of debris, which you can optionally destroy with your Bomb Arrows. However, it is just as easy to avoid them.
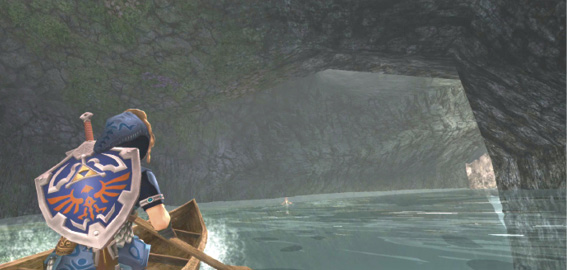
If you get turned around, just steer in the opposite direction without pressing up or down on the Left Analog Stick. There’s a final, terrifying waterfall stretch before you reach your blockade.
Iza’s Zora helper surfaces at this time and tells you that the rubble up ahead is blocking the river’s flow. Produce your Hero’s Bow, combine bombs and arrows, and fire twice at this rubble to remove it completely.
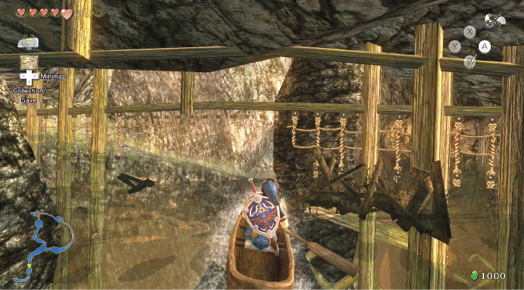
Follow the Zora downstream, through a series of winding tunnels where debris is piling up. You can leave be as close as this picture indicates to clear the debris. Keep some control of your boat, and don’t worry about banging into the sides.
The river finally exits into Lake Hylia, where the Zora drops you off on the small jetty. The Zora tells you that you can keep the Bomb Bag for helping out. If you want to quickly return to Upper River, warp or ride to North Hyrule Field and take the exit in the north wall.
Bomb Bag
You got a Bomb Bag to keep! You can now carry an additional 30 bombs of one type.
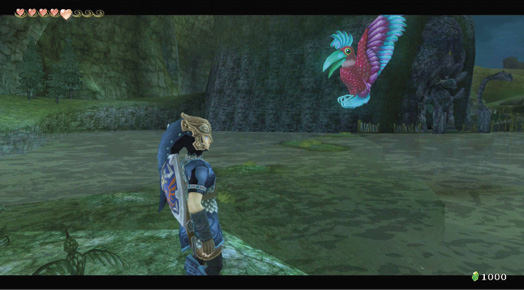
Now you’re in Lake Hylia. You can blow on the grass and talk to Plumm at this location. This and the other small grassy plateau near Fyer’s cannon hut is where you should go to play Plumm’s minigame. However, you need to be the wolf to do so.
Missing Links
1. Hearts in the Right Place
If you want a couple of Hearts before you go on this river rapids run, smash the pots behind Iza.
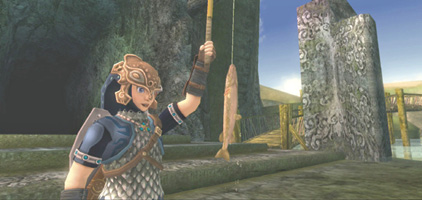
2. Fishing Near and in the Spirit Cave
After your run down the rapids fishing on the jetty in front of the spirit cave or inside the cave itself is a great way to unwind!
Running the Rapids for Fun and Profit
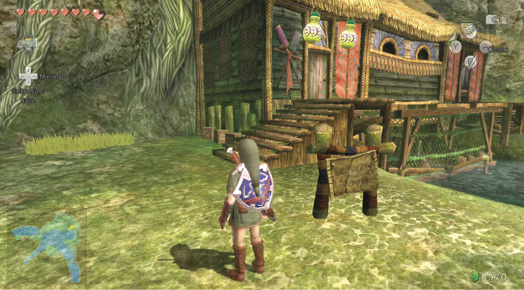
The next time you return to the Upper River area, Iza has affixed two yellow pots to the front of her store. She must have reopened her fun little game! Enter and speak to her, and begin this wild ride once again, taking what you learned about controlling the boat and figuring out what this game is about.
Basically, you must ride down the river, which is slightly calmer than before, and smash the different pots that are hanging from walls or sitting on small islands. The yellow pots are worth 1 point.
The red pots are worth 2 points. If you strike the sides of the riverbank, you lose a point, so remain in the water at all times!
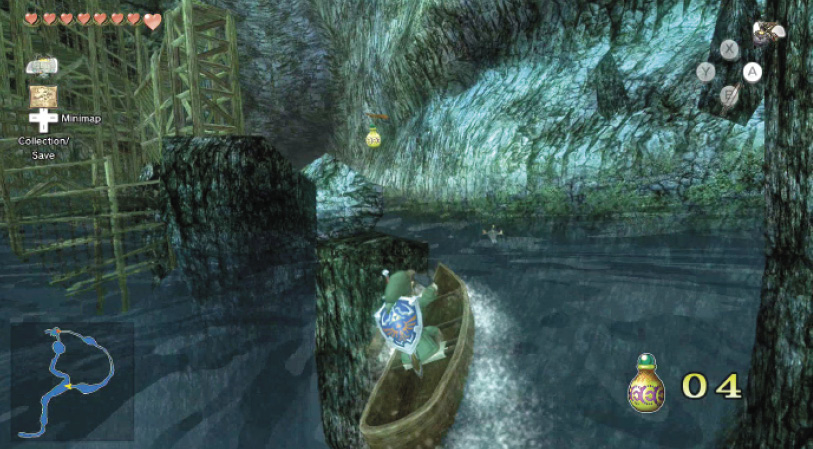
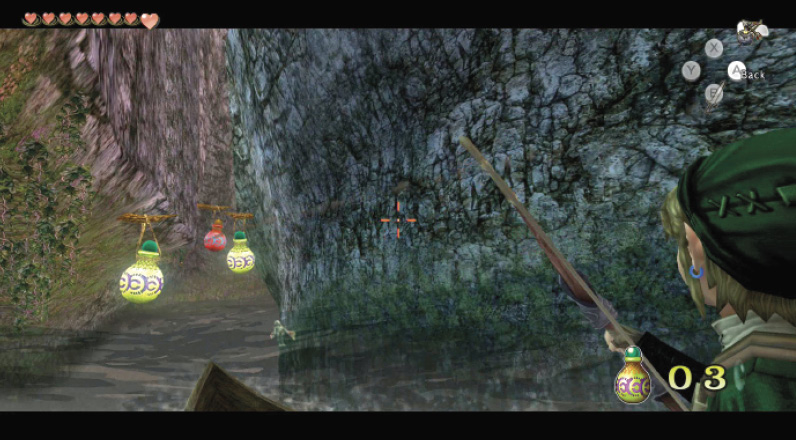
This game takes a fair number of tries to complete, and when you reach this part of the river, try to paddle right, as this section has many more pots to easily aim at.
Always keep an eye out for and fire at every pot, but if you’re finding that impossible, be sure you hit every red pot. Also learn that these pots are bigger than you think and are some distance away. Therefore, aim higher than the middle of your target, so the bomb arrows fall in a slight arc and strike home. The final rapids section is very difficult, but let off accurate arrows as fast as possible, and then return to paddling.
There are a total of 20 yellow pots and 5 red pots to smash with your arrows. If you score 25 points or more, the Zora gives you a grand prize: the Giant Bomb Bag. This allows you to carry twice as many regular bombs (60 compared to 30, for example).
 Giant Bomb Bag
You got the Giant Bomb Bag!
Entering Dungeon 3: Lakebed Temple
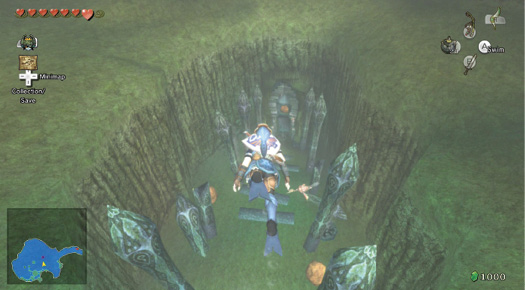
You’ve exhausted your Overworld expedition, so now you should entertain Midna and finally dive into the depths of Lake Hylia. Swim to the purple dot on your map, and down to a rift at the lake’s bottom. The entrance to the dungeon is flanked by Zora ceremonial spires. This is a special place.
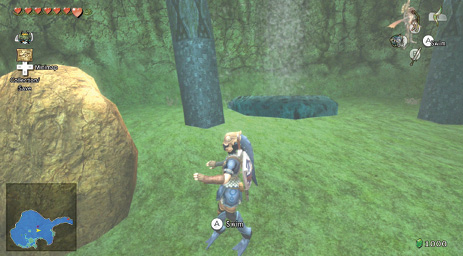
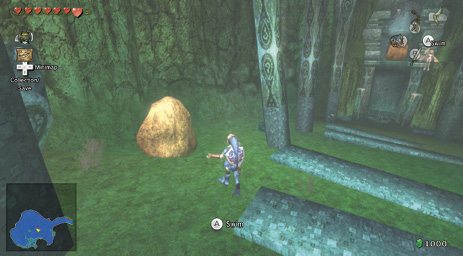
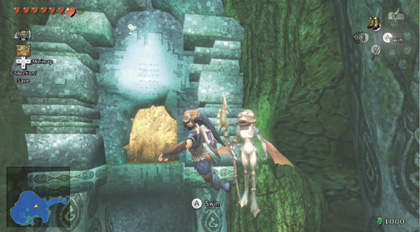
It’s also a place where you can set off a Water Bomb and destroy another Bomb Rock in the area. Search for it, detonate it, and clear two blue (5), one yellow (10), and one red (20) Rupee from the explosion. Over on the opposite side of the rift is a second Bomb Rock. The plan is much the same, although you gain one green (1), one blue (5), and three yellow (10) Rupees.
Float across to the stone entrance and speak to the Zora there. He tells you that the place beyond the rock is sacred to his people and was once called the Zora Temple. After being overrun by monsters, the only thing they could do was seal off the place. Time to break that seal!
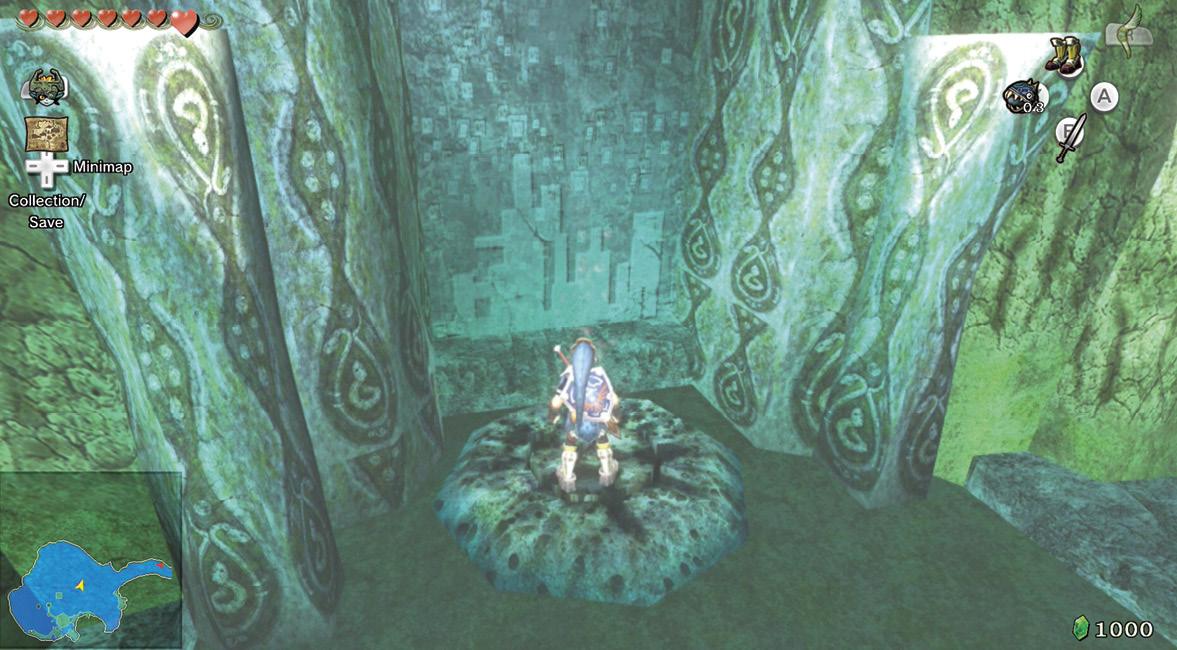
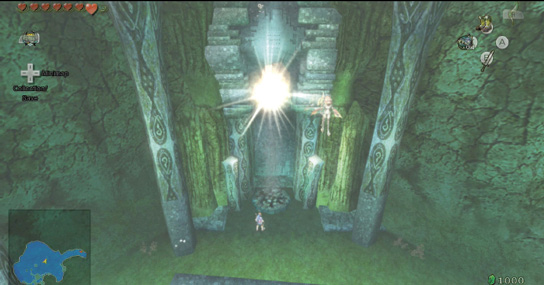
Swim to the air vent directly below the ornate entrance, and watch it for a moment. It bubbles, then stops. Wear your Iron Boots and wait to produce a Water Bomb until the vent starts to bubble. Then place it on the vent. The bomb ascends and explodes as it reaches the rock above. Because the ledge holding the rock is too narrow to place a bomb on, this is the only way into the dungeon. Take a deep breath…and swim inside!
Missing Links
1. Yellow Rupee Wrangling
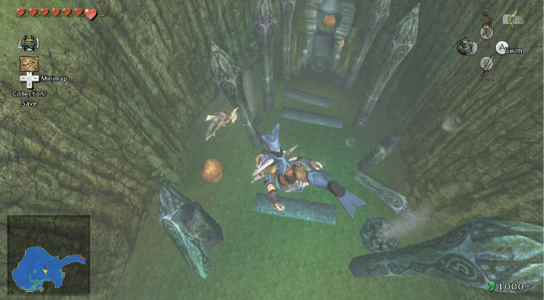
Before you enter the dungeon, check the two broken carved spires in the surrounding rift, as they both contain yellow Rupees (10).