The Legend of Zelda: Twilight Princess HD Guide Overworld: The Great Hylian Treasure Hunt
Task 7: Continue the Hunt, Enter the Gerudo Desert
The Great Hyrule (and Poe) Hunt: North Hyrule Field
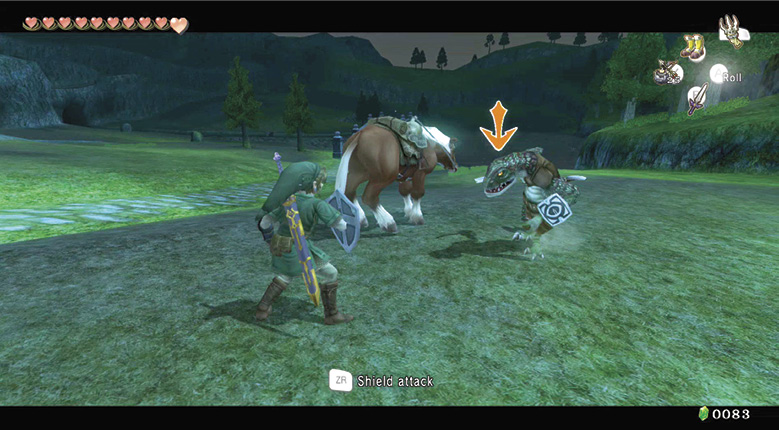
Now continue to locate dig caverns across Hyrule, and learn where new monstrous entities are roaming. Begin in the north Hyrule Field, and you’ll see that Lizalfoses are patrolling the path here. Use the tactics you tried during Dungeon 3, or bite and hang on if you’re in wolf form.
Dig Cavern #8
Find the dig spot in this western part of the field, and scramble down into another dig cavern. This has a few Baba Serpents to tackle, but remain in wolf form because the real reason for entering this place is to defeat the two Poes hiding here. Slay the Baba Serpents first. Then deal with the two Imp Poes. Then smash any pots and slice any grass you wish, and leave. Your only other prizes are some Deku Nuts! |
Poe Soul #22
Defeat either Imp Poe by randomly targeting one and leaping, or trying to catch both in Midna’s area-attack.
|
 Poe Soul
Poe Soul #23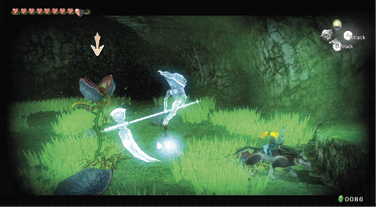
Even if one Poe is already prone, finish the other to make grabbing the souls easier.
|
Dig Cavern #9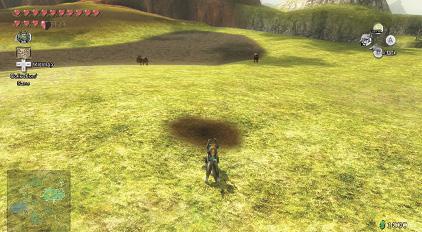
You can find this Dig Cavern near the northern tip of Hyrule Field (North). Head to the west side of the river and follow it north until you find a circle of grass. Enter the cavern and defeat all of the Skulltulas in the room; you’ll need to use your sword to break through the wooden fences. After all of the Skulltulas have been defeated, a treasure trove of Rupees will appear on the far side of the room. Light all three torches to make a treasure chest containing Hylian Letter Stamp P. |
Dig Cavern #10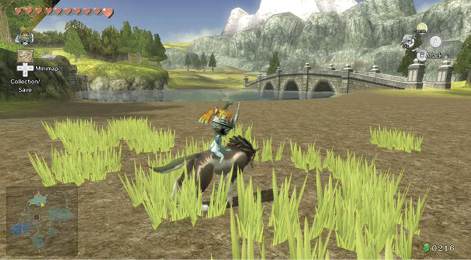
Your next dig cavern is in the same area, at this circle of grass. Drop down and immediately transform into Link. This chamber is filled with eight Red, and eight Blue Chus! This is a great place to stock up on the Red and Blue Potions you can scoop from them once you dispatch them. 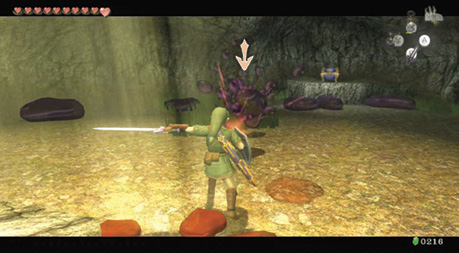
If you wait too long, the Blue and Red Chus merge into a giant Purple Chu that takes a very long time to dispatch! Try constantly ZL targeting and slicing about to defeat multiple Chus, but don’t waste time bottling the Purple Chu, as the health benefits are random, and sometimes harmful. Optionally strike some pottery and grass for Rupees and Hearts, then leave via the lit stone. You can also find a treasure chest with the I Hylian Letter Stamp in it at the back of the cavern.
|
 Red Chu Jelly
 Purple Chu Jelly
 Blue Chu Jelly
 Hylian Letter I
Poe Soul #24While you’re still in the North Hyrule Field, wait at the bridge over the river for night to fall, and target another Poe that wanders the middle of the bridge. Add him to your collection. 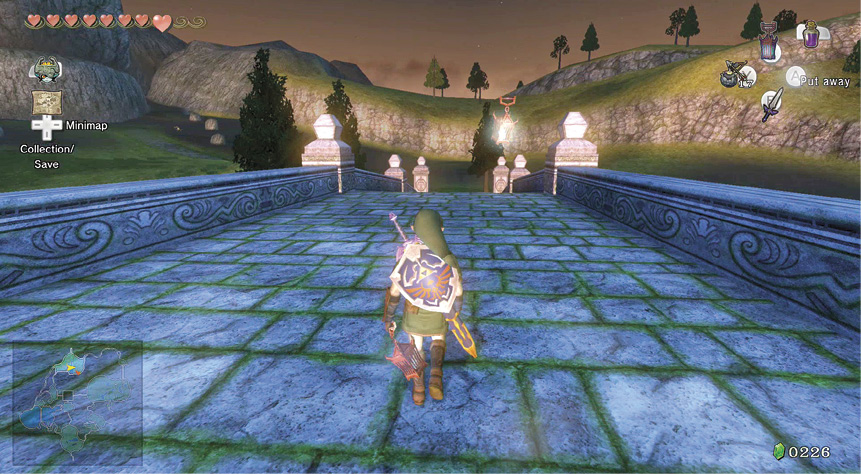
|
The Great Hyrule (and Poe) Hunt: Eastern and Western Castle Town Gates
Poe Soul #25
Leave the North Hyrule Field, and journey to this gate, either via the large flat field, or through Castle Town. Once the Bulblins at the gate are defeated, watch for an incoming Kargarok, then leap and pounce on the Poe wafting around on the bridge.
|
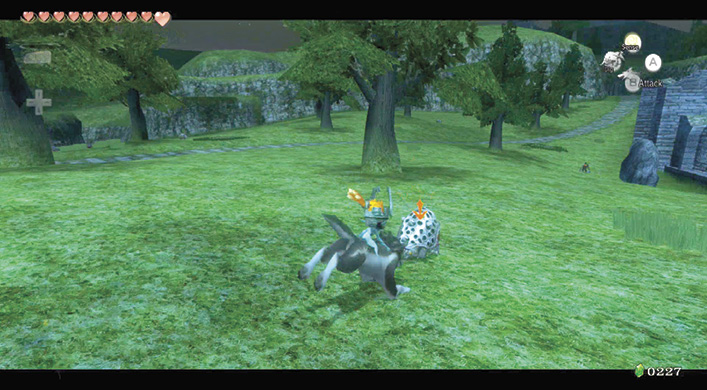
Now warp to western Hyrule Field (outside Castle Town) and dash around this area. Helmasaurs are now roaming the landscape. They are difficult prey as a wolf, but not as a human.
Dig Cavern #11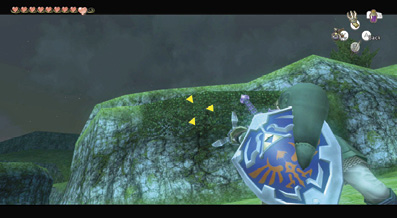
While you’re in this part of the field, near the Castle Gate, look up at the vine-covered ledge on the outer rock wall, near where you caught a Golden Bug earlier. Use your Clawshot to propel up to the ledge here. At the end is a ring of stones. These can be thrown for Rupees, but the interesting area is the dig spot the stones surrounded. Drop in. 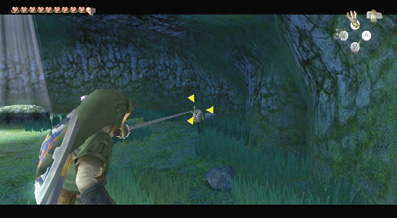
Immediately change to Link, and defend yourself against four rampaging Helmasaurs! Stand near the wall and scoop the armor off each with your Clawshot, then slay them. Concentrate on one Helmasaur at a time. When the last one keels over, open the chest that appears. Then leave after smashing pots and cutting grass for Rupees and Hearts. Overworld Chest #59:Angry Link Stamp |
Poe Soul #26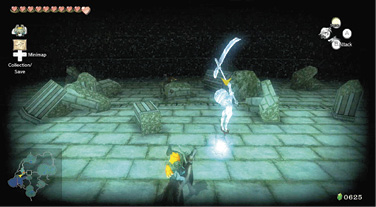
The next Poe on your list should be the fellow floating about the amphitheater in this field, just over the rise. With a view of Lake Hylia in the distance, head down the steps, tackle the Bulblin Warrior, then drag the soul out of the Poe.
|
The Great Hyrule (and Poe) Hunt: Zora’s Domain and River
Poe Soul #27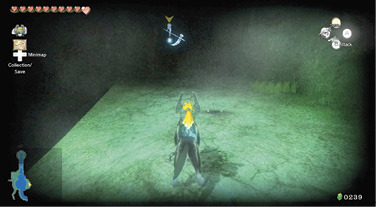
Warp to Zora’s Domain, and take a plunge down into the waterfall pool, before swimming between the rocks. Trot up the winding grass ramp, and locate another Poe in these parts, near where you found a Twilit Parasite earlier.
|
Poe Soul #28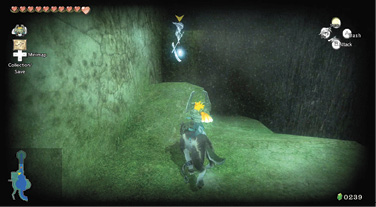
While you’re in Zora’s Domain, move around to the entrance to Snowpeak, then use Midna to jump to the area behind the waterfall. Another Poe is lurking here, and he’s easy to miss. Tackle him, and then dig for a Rupee at his location.
|
Poe Soul #29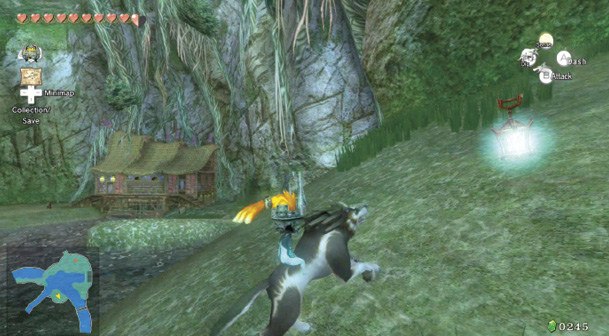
Warp to Upper Zora River, and then find the small area of grass next to the torch-lit tunnel. Fight the current and swim across, then defeat the Poe on the small hill here.
|
The Great Hyrule (and Poe) Hunt: Bridge of Eldin
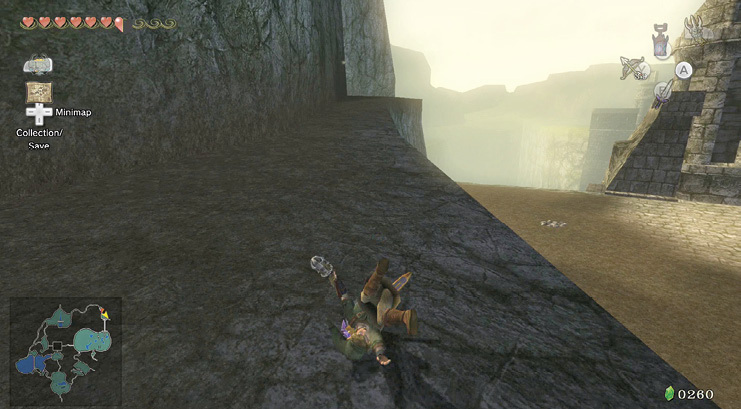
Now that you’ve cleared the bridge of goods, it’s time to investigate the ledge where you plucked a Golden Bug earlier. Now that you have the Clawshot, shoot it at the medallion on the rock wall, and propel to this ledge. Run to the end, and enter the hole. You’re about to step into the Lava Cavern!
Lava Cavern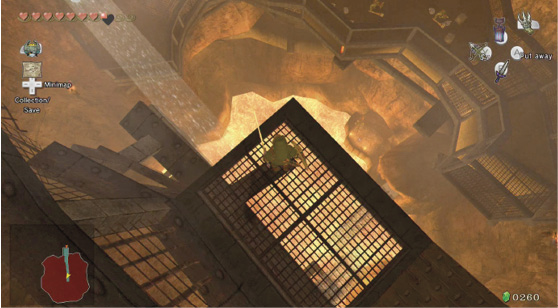
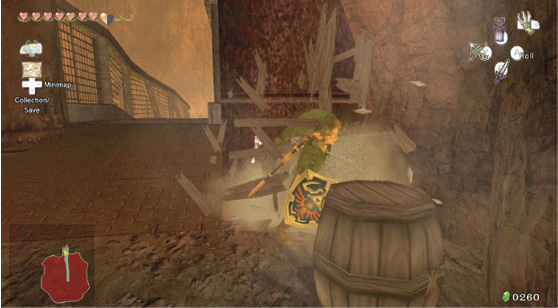
You can practically feel the heat rolling off of this hostile place the moment you step inside. Smash the crates and barrels near the Lava Cavern’s entrance for a Heart and some arrows, the latter of which soon come in handy. Walk to the end of the metal ledge and have a look around. You’re at the top of a tall, cylindrical cavern, and the bottom is filled with lava. Needless to say, you don’t want to fall into that stuff! It’s time to put those arrows to good use. Spy a collection of Bulblins on a ledge below you and defeat them all from here. Bomb Arrows work best if you’ve got explosives to spare. 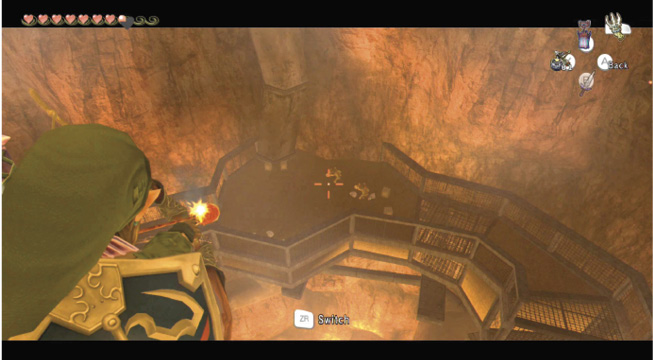
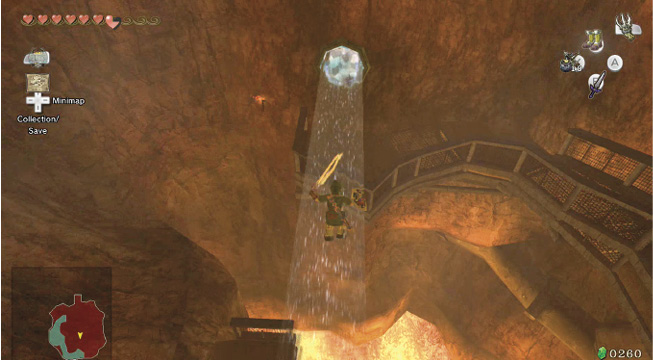
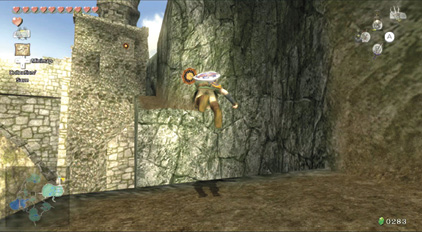
The magnetic beam that’s directly beneath you is your ticket to reaching the cavern’s next ledge. Face south and line up with the beam, then run and jump off the ledge. Quickly don your Iron Boots as you plummet downward. When you pass through the beam, you’re drawn over to the south ledge! If you wasted the Bulblins from the top ledge, there won’t be much for you to worry about here save a few Fire Keese. If you decided to conserve your arrows, you’ll find that the Master Sword makes short work of Bulblins, anyway! Use the next magnetic beam to reach the west ledge below. Do this just as you did before: line up carefully with the beam, then run and jump toward it, equipping the Iron Boots in midair to avoid splashing into the molten substance below. 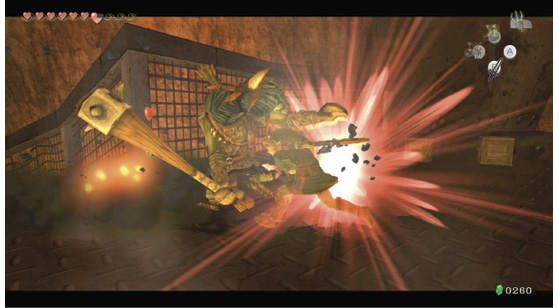
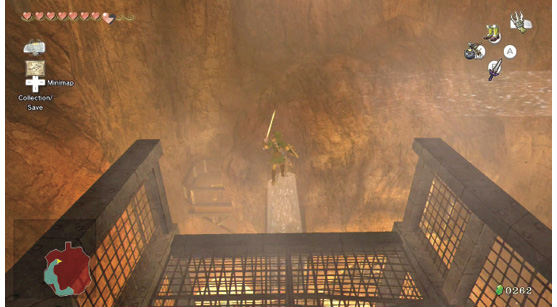
En guard! An ill-tempered Dodongo lurks down here. Block its fiery breath with your shield, circle around to its backside and slice into its tail to quickly defeat it. Afterward, open the nearby Overworld chest for a shiny red Rupee (20). 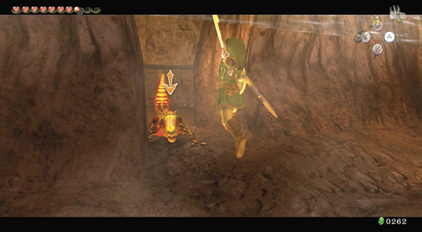
Overworld Chest #60:Red Rupee (20) Don’t bother leaping off of the south portion of this ledge; there’s nothing below you but a lake of scorching lava. You’re attacked by a couple of Keese here as well, so there’s little point in venturing over here. 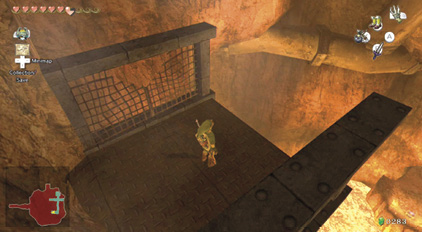
Instead, return to the middle of the ledge and facewest to locate yet another magnetic beam below. This one leads to the final ledge, where the real treasure awaits! Make a running jump and slap on those Iron Boots as soon as you’re airborne. 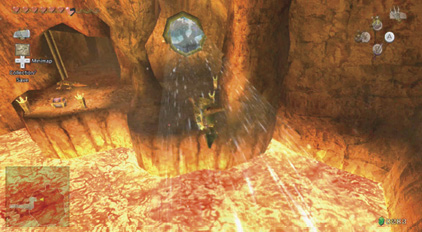
Made it! That was quite a ride, but you’re not out of danger just yet; another fearsome Dodongo protects the treasure chest down here. Hack away at its tail until the Dodongo is no more, then open the chest to claim Piece of Heart #25. 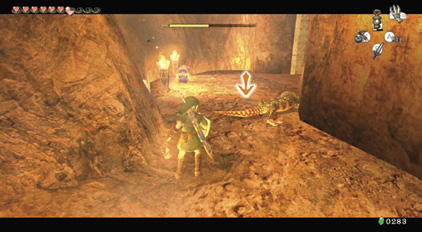
Overworld Chest #62:Piece of Heart #25
|
 Piece of Heart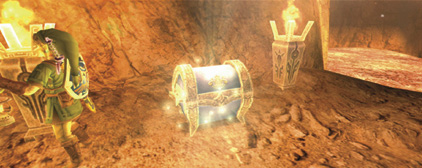
|
Cut to the Good Part: To significantly shorten your trip through the Lava Cavern, walk halfway out onto the first metal ledge (at the very top of the cavern), then face west and look straight down. From here, you can spot the magnetic beam far below you, near the bottom of the cavern. 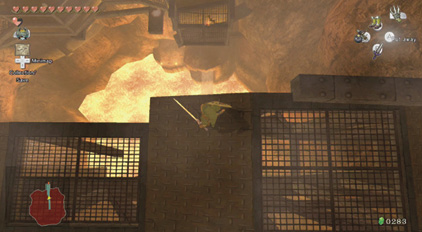
Line yourself up with the magnetic beam, then run and jump off ledge. Equip your Iron Boots as you fall; when you pass through the beam, you’re automatically sucked over to the cavern’s lowest ledge! Pop open Treasure Chest #61 and #62, then exit the cavern through the nearby tunnel. (You miss the red Rupee from Treasure Chest #60 if you take this shortcut.) 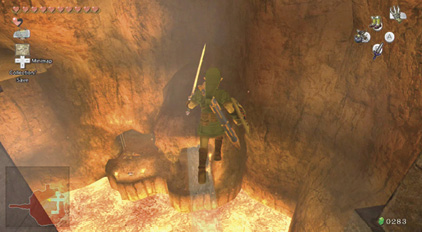
|
Journey to Gerudo Mesa: An Audience at Telma’s
When you’re completely finished with your Overworld antics and hunting, follow the clues the Postman gave you, and head to Telma’s bar to meet the three adventurers she told you about.
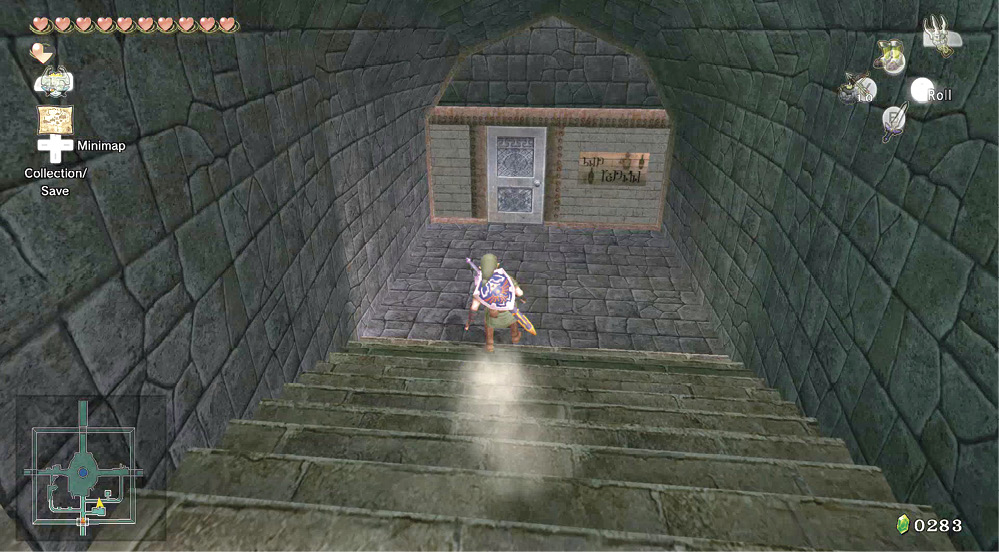
|
The Postman is here, sitting in a quiet corner, mumbling about ordering some meat! Leave him to it. Where do you think he’ll pop up next? |
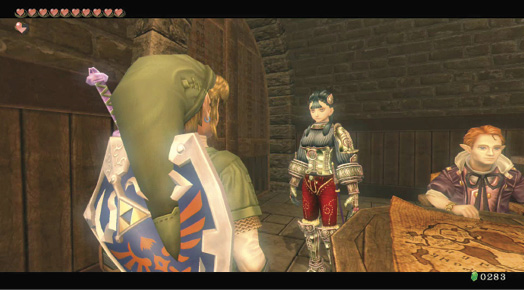
Head over to Telma, she insists you speak to a man named Auru. If you climbed the massive tower in Lake Hylia, you saw him at the top! Run to the back room, where three adventurous sorts are poring over a map. Speak to each of them.
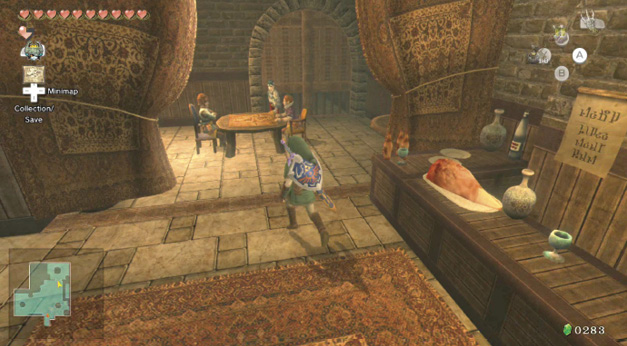
Author NoteThat map looks familiar! Cartographers have recreated a complete version for your adventuring pleasure and attached it to this book! 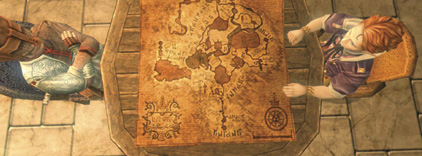
|
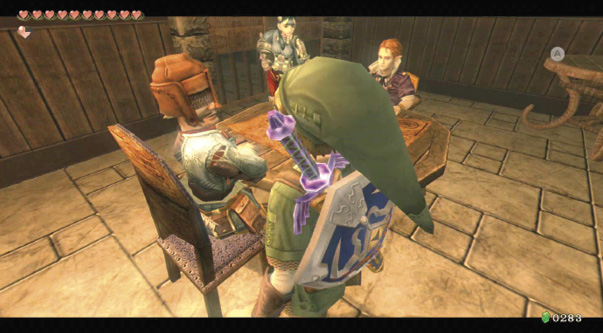
Who is this masked man? It’s Rusl, who says nothing if you speak to him once, but speak again. He takes off his helm and talks about Uli, the fact that the children are safe, and that he’s joined the resistance as he wants to help the cause.
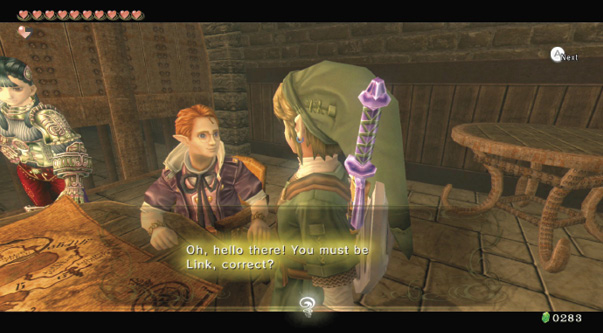
Talk to the brown-haired fellow opposite Rusl. This is Shad, and he’s formidable—at book reading! He isn’t the combative type, but he can give you a quick history lesson. Here goes:
|
The final adventurer is a girl named Ashei, who grew up in the mountains, and was trained as a warrior. She’s light on social graces, but handy in a scrap or fracas! She’s researching Snowpeak mountains currently.
Journey to Gerudo Mesa:Creating a Cannon
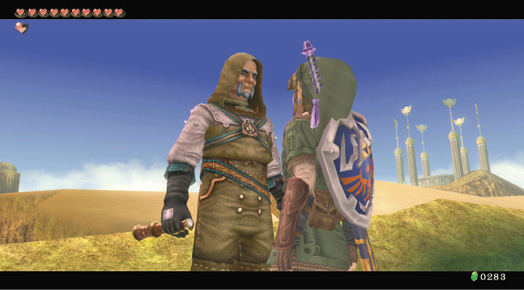
Leave Telma’s Bar, and journey to Lake Hylia. Once there, ascend the long tower in the southwest corner, and meet Auru. Agree “yes” that you’re going to the desert, and you receive a memo to take to Fyer, at his cannon hut.
Head down to the old coot at the cannon hut (dive from the tower if you dare!), and present him with Auru’s Memo. Fyer mumbles something about an Oasis flight, and asks if you really want to go. Answer “yes” unless you have more hunting to do here.
 Auru’s Memo
You got Auru’s Memo! Auru wrote this to Fyer of Lake Hylia.