
The Legend of Zelda: Twilight Princess HD Guide Overworld: Thorough Explorations and Saving the Zora Prince
Task 3: Complete Exploration of Lantern Cavern II
Exploring the Second Lantern Cavern
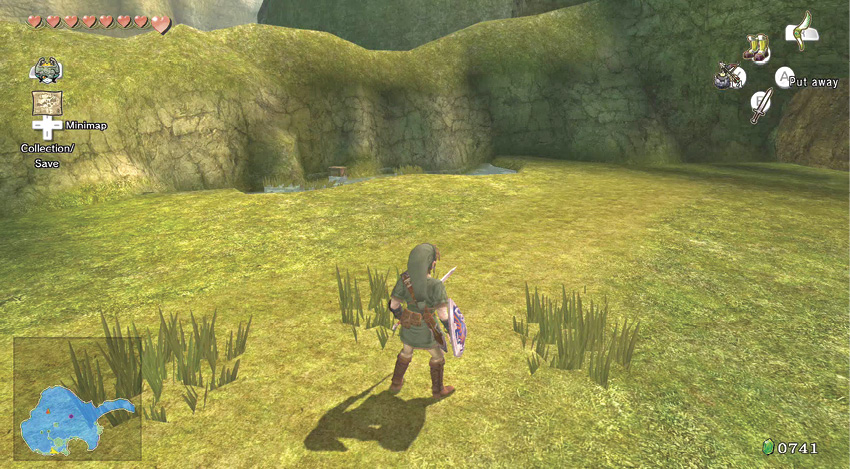
Now explore the area to the south of Fyer’s cannon hut. Move to the series of islands and plateaus, and locate the ladder leading to a short grassy connecting bridge. Climb up to the southern grassy area. Run to this small marsh, where there’s a crate to destroy. Inside is a Fairy—bottle it! You can also gather water from here. This is only useful for putting out small fires and is not necessary for your current tasks.
|
You return to Lake Hylia and smash open the crate and obtain the Fairy as many times as you wish. Your only limits are your energy and the number of Bottles you have to catch them all in! |
 Fairy in a Bottle
You got a Fairy in a Bottle!
 Bottle of Water
You filled your Bottle with water!
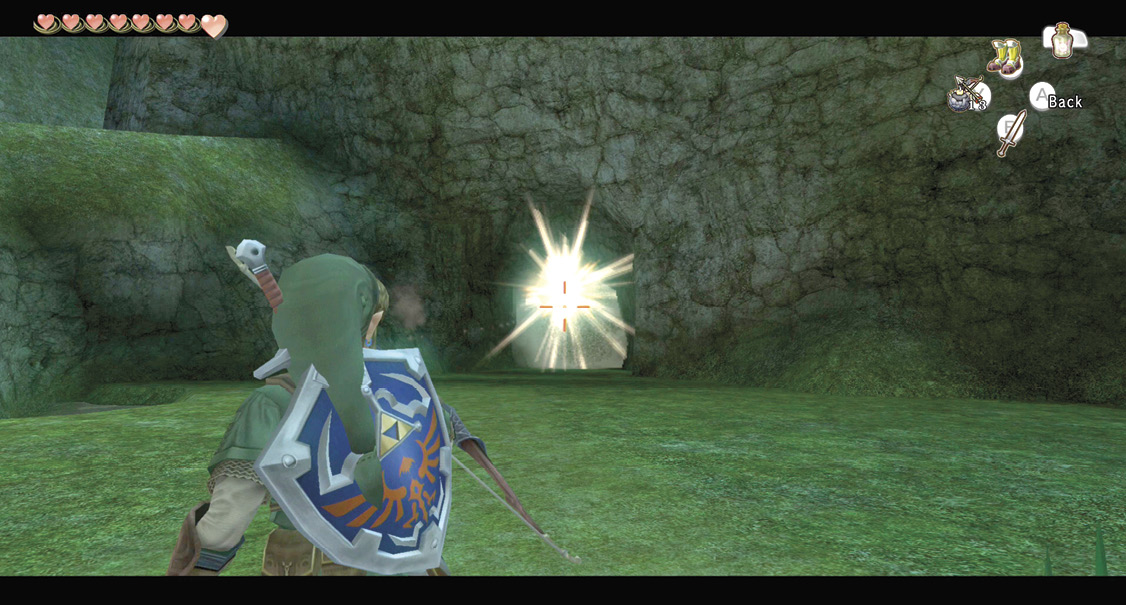
The reason for the Fairy-containing crate becomes apparent when you walk to the nearby rock wall. A Bomb Rock blocks a hole in the wall. Produce a bomb or Bomb Arrow and destroy the rock, revealing a cave entrance. This leads to a frightening tunnel labyrinth called Lantern Cavern II.
|
You should have a full Lantern and be ready to fill an empty Bottle with oil you gather from Yellow Chus during your upcoming exploration. This is your first chance to explore this area, where you find 15 Chests. One houses a Piece of Heart while the rest hold arrows, bombs, seeds, and Rupees! |
Lantern Cavern II: First Exploration
Lantern Cavern II
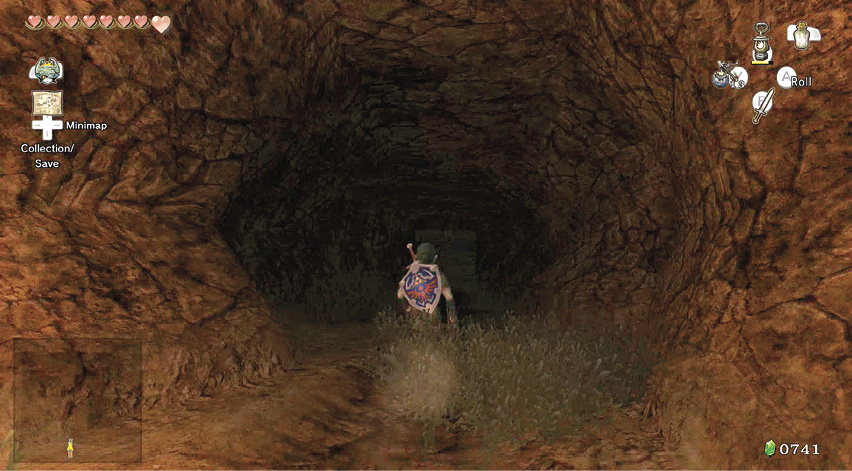
Like the first Lantern Cavern, make sure you’ve got fuel in your Lantern before venturing into this dangerous network of pitch-black tunnels. Slash through the weeds in the entry passage for a few Hearts, then proceed north into the cavern’s first small chamber.
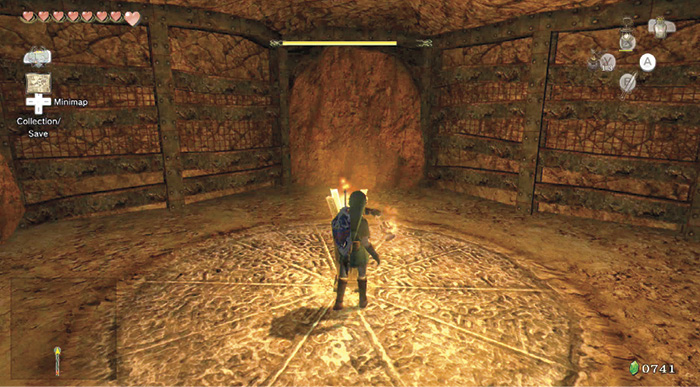
A torch is in the middle of the first chamber. Light it with a wave of your Lantern, then put your Lantern away to conserve its fuel.
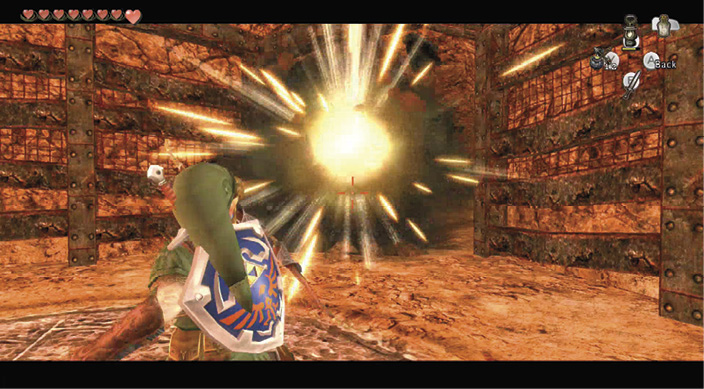
Notice the three large bomb rocks stuck in the chamber’s east, west, and north walls. Destroy the east bomb rock to open the way forward; blast through the other two bomb rocks to reveal two small alcoves. Each contains a treasure chest.
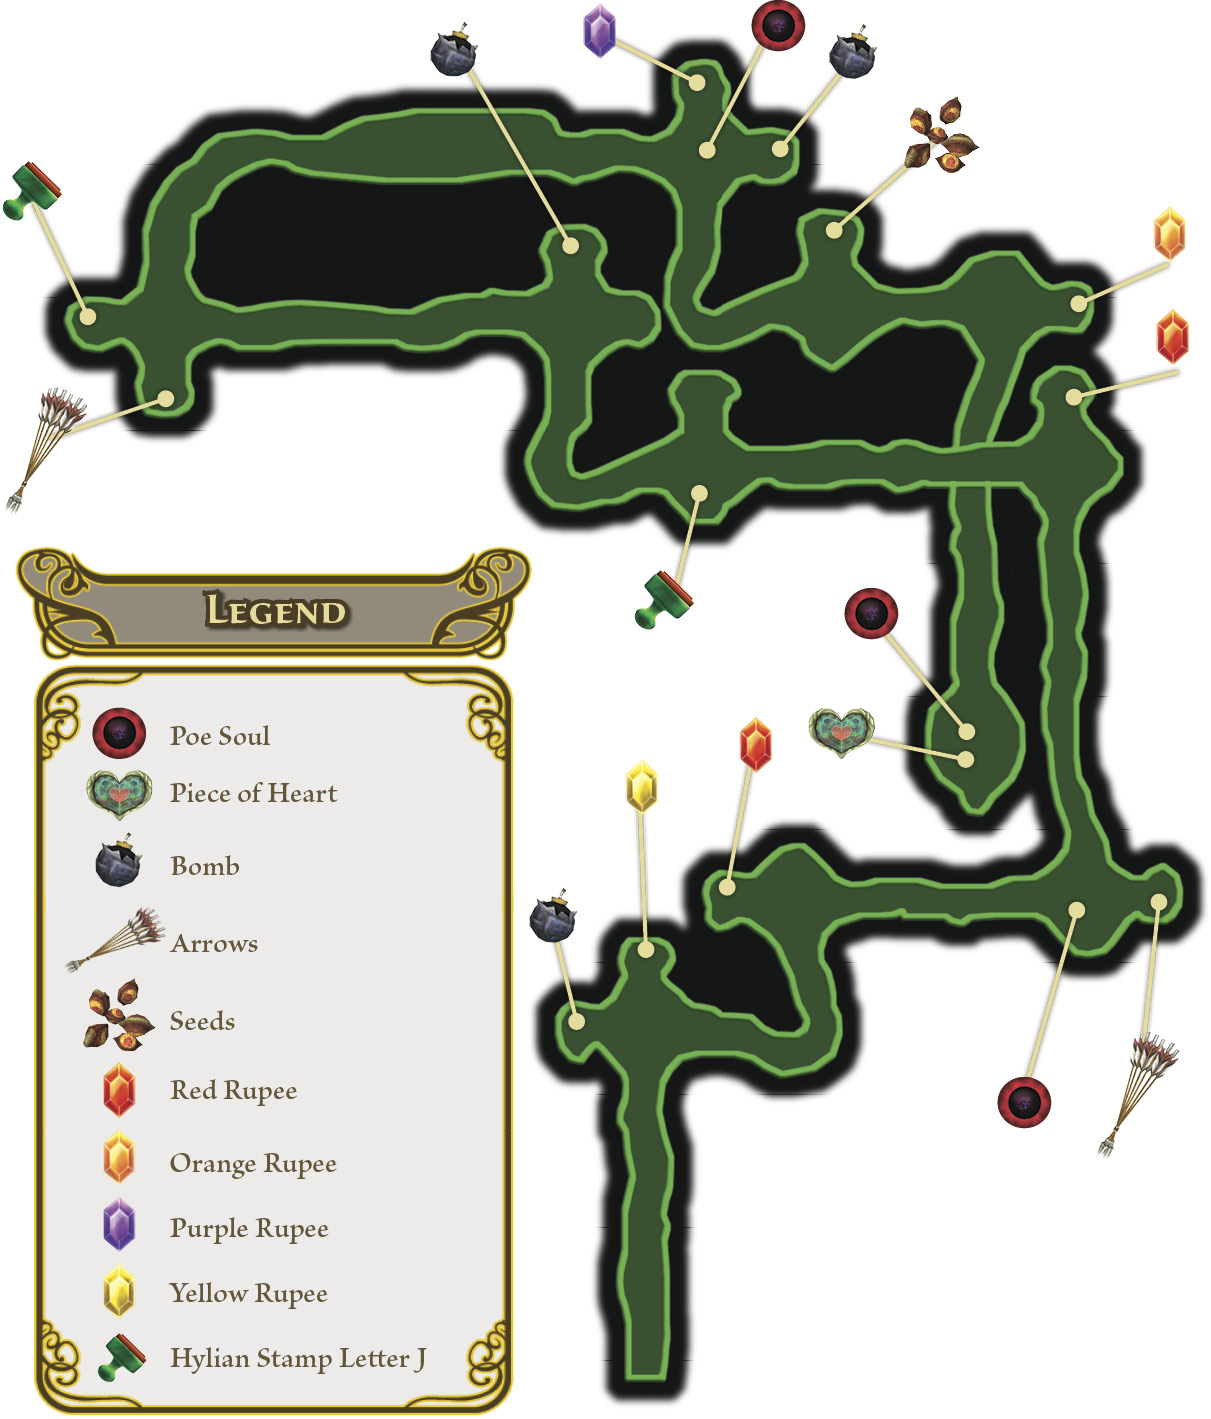
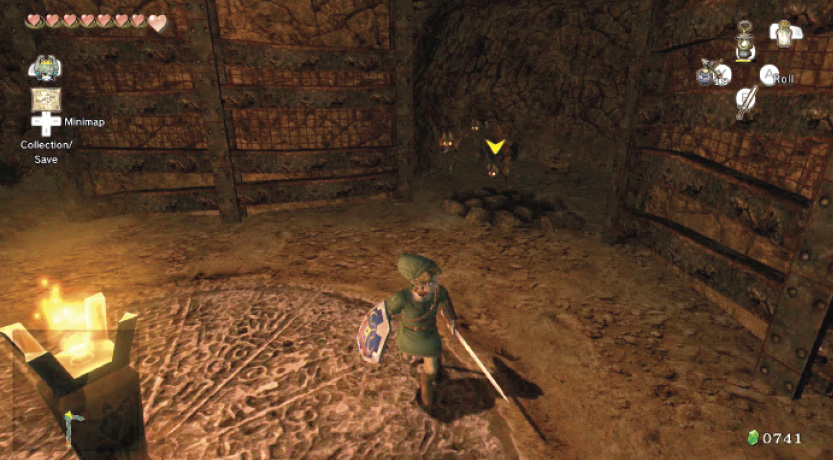
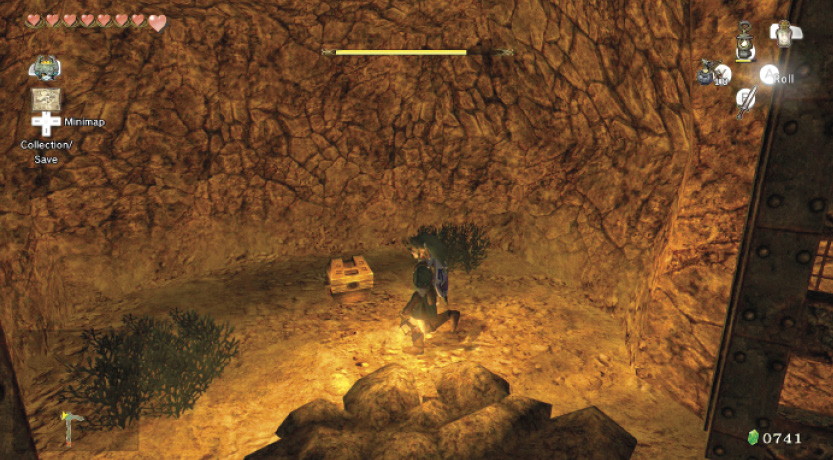
The west alcove holds treasure chest #29, which a few Keese are guarding. Dispatch the Keese and open the chest for some Bombs (5).
The north alcove holds treasure chest #30, which contains a Yellow Rupee (10).
Treasure Chest #29:
Bombs (5)
Treasure Chest #30:
Yellow Rupee (10)
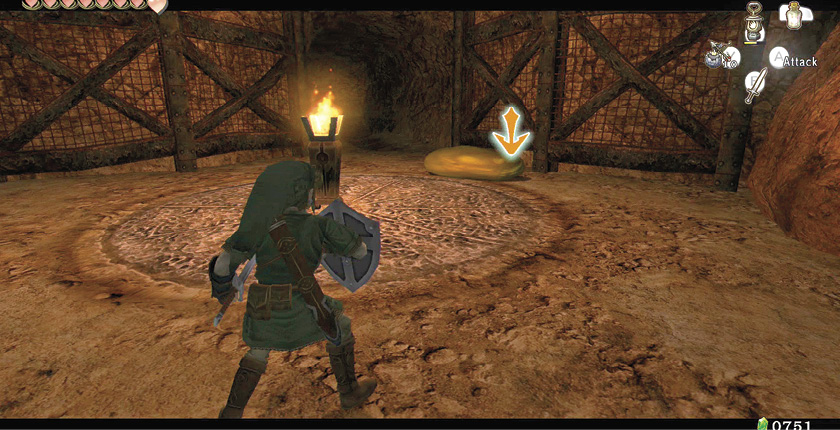
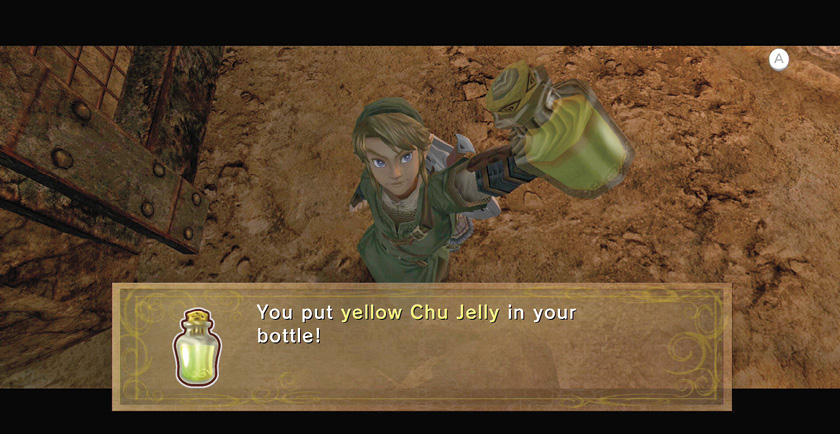
After raiding the alcoves, continue down the east path. A Yellow Chu guards the next small chamber, a convenient source of free Lantern fuel! Light the chamber’s central torch, then put away your Lantern and ready an empty Bottle. Defeat the Yellow Chu and scoop its remains into your Bottle for Yellow Chu Jelly, which you may use to refuel your Lantern if it runs low.
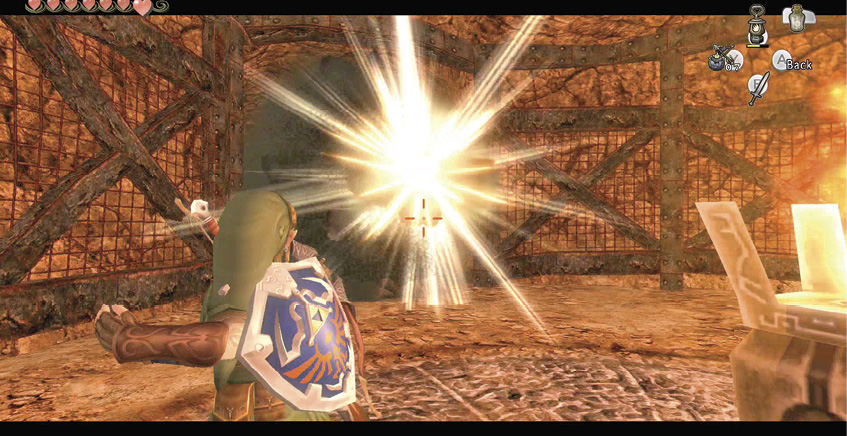
This second chamber features two bomb rocks, one to the west and the other to the east. Destroy the west bomb rock to reveal a small alcove where treasure chest #31 is found, then open the chest for a Red Rupee (20). Blast the east bomb rock to clear the passage to the third chamber.
Treasure Chest #31:
Red Rupee (20)
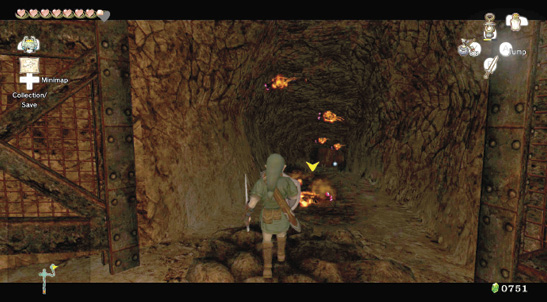
The ceiling of the tunnel that leads to the third chamber is covered with Torch Slugs. Either defeat them from range with the Clawshot or Hero’s Bow, or move forward slowly to make them drop, then hack them with your sword.
An Imp Poe haunts the third chamber. If you haven’t reached the point in the adventure where you’re able to transform into a wolf at will, there’s nothing you can do against this little fiend. Light the torch in the middle of the chamber, then retreat into the previous tunnel to make the Imp Poe lose interest in you.
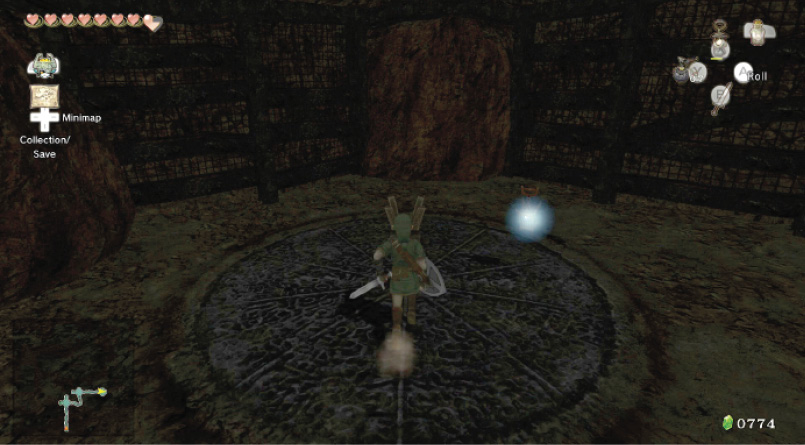
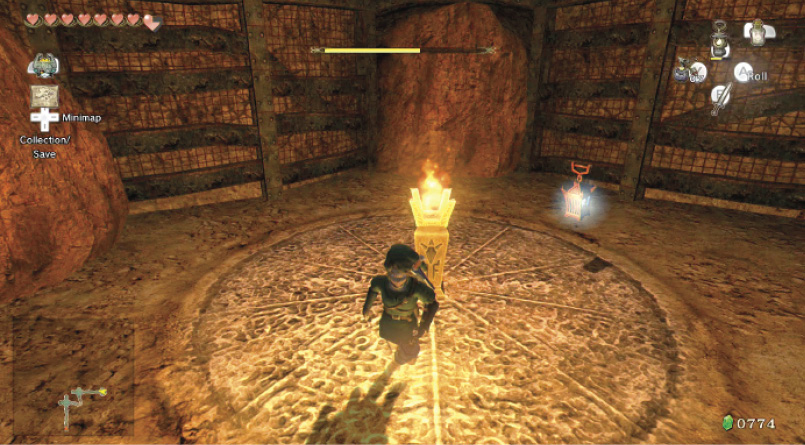
|
If you’re able to change into wolf form, use your sense view to detect this Imp Poe, then rip it apart it to claim Poe Soul #16. |
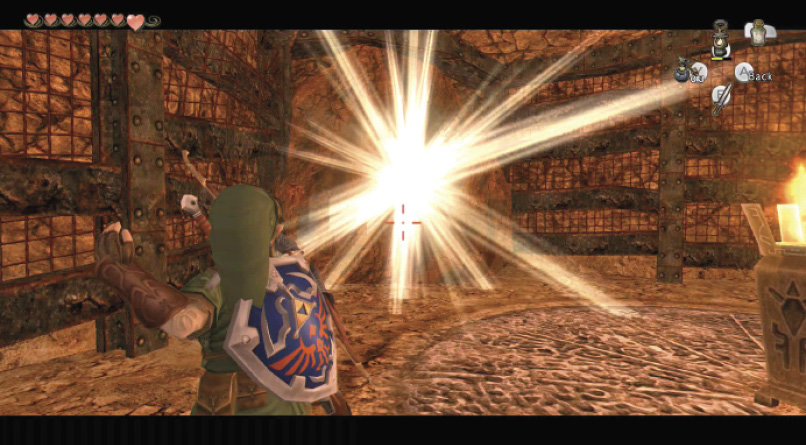
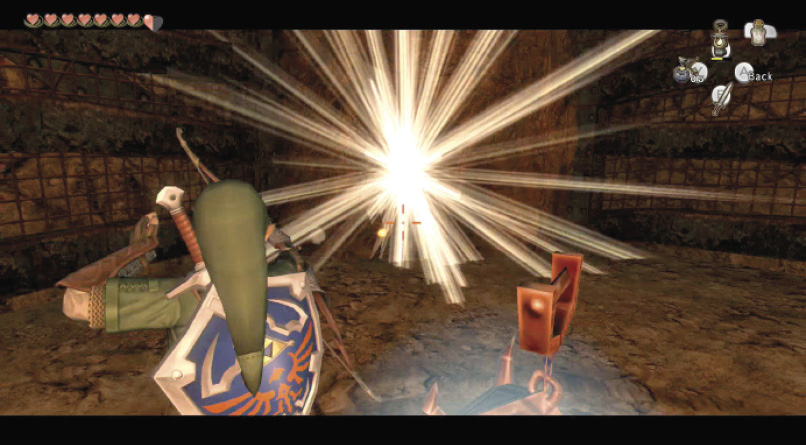
From the safety of the west tunnel, fire a Bomb Arrow at the third chamber’s east and north bomb rocks to destroy them. Cross the chamber and open treasure chest #32 in the east alcove for Arrows (10), then dart into the north passage to proceed.
Treasure Chest #32:
Arrow (10)
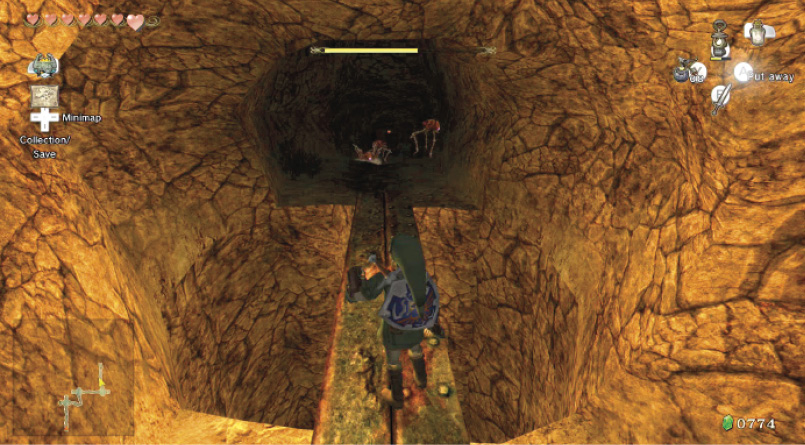
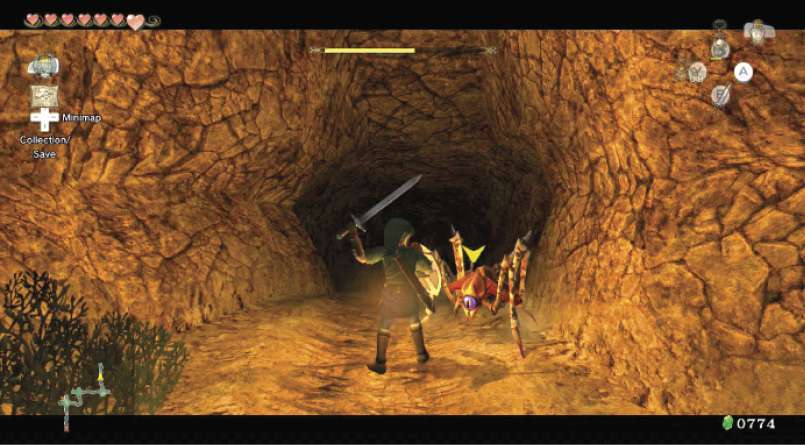
Be careful: there’s a pit in the north passage! Cross it via the wooden plank, then defeat the Tektites on the pit’s opposite side.
|
Don’t fall into any pits in this cavern’s tunnels; if you do, you must restart from the entrance! |
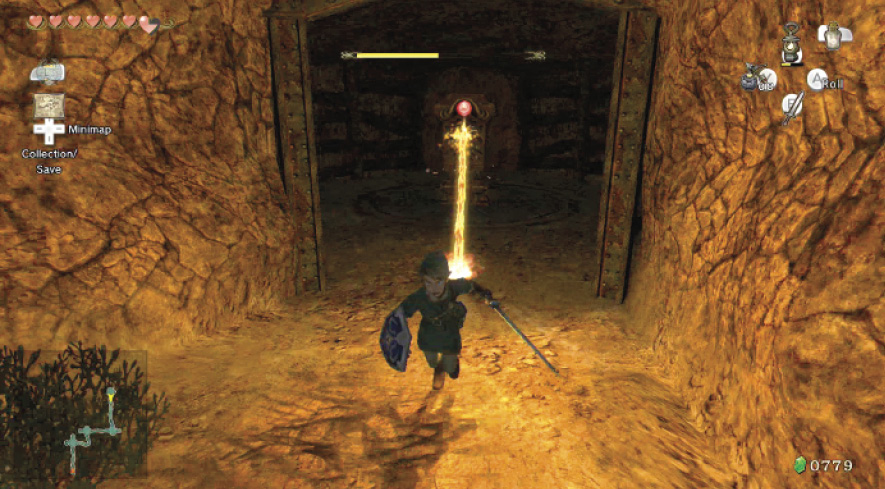
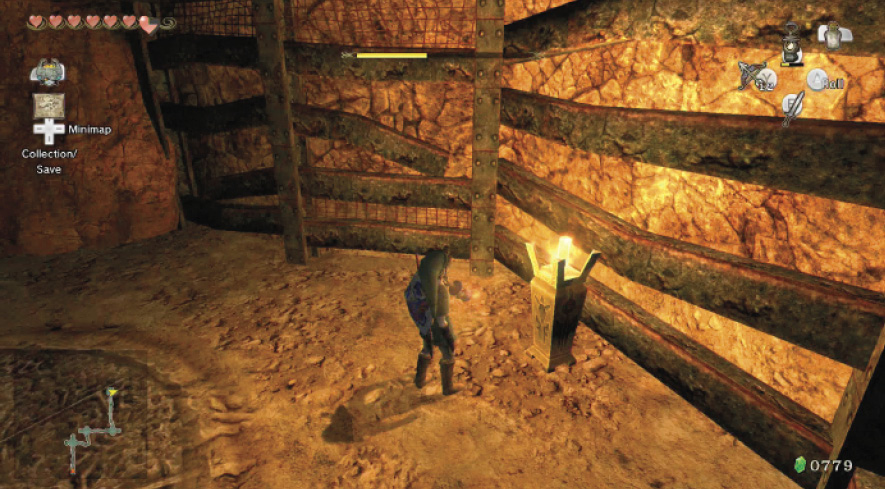
Watch out: a Beamos defends the fourth chamber. Fire an arrow into its laser eye from the safety of the south passage, then enter the chamber and light the torch to the east so you can put away your Lantern.
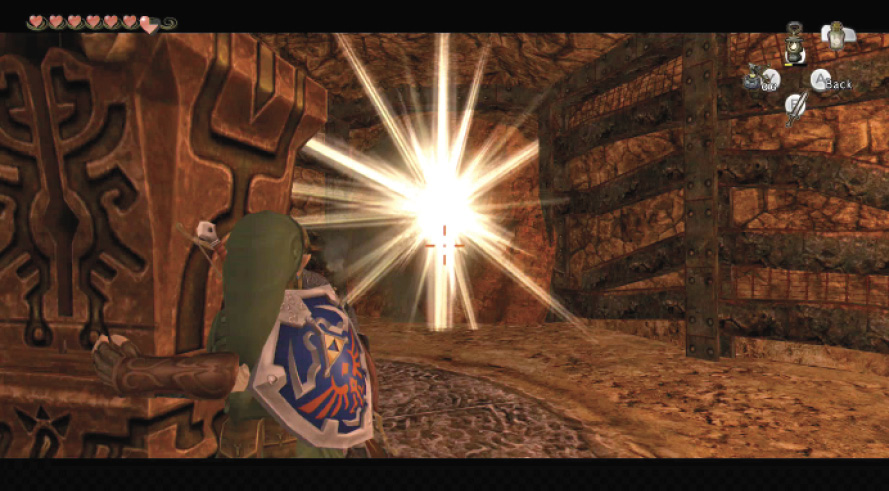
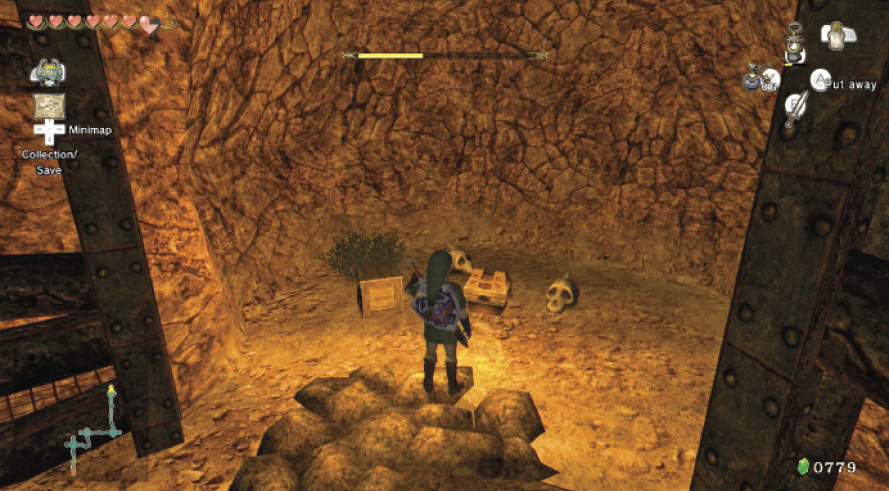
Blast the room’s north and west bomb rocks, then search the north alcove to locate treasure chest #33, which holds a Red Rupee (20). Smash the skulls in the alcove for a couple of hearts, then enter the west tunnel to proceed.
Treasure Chest #33:
Red Rupee (20)
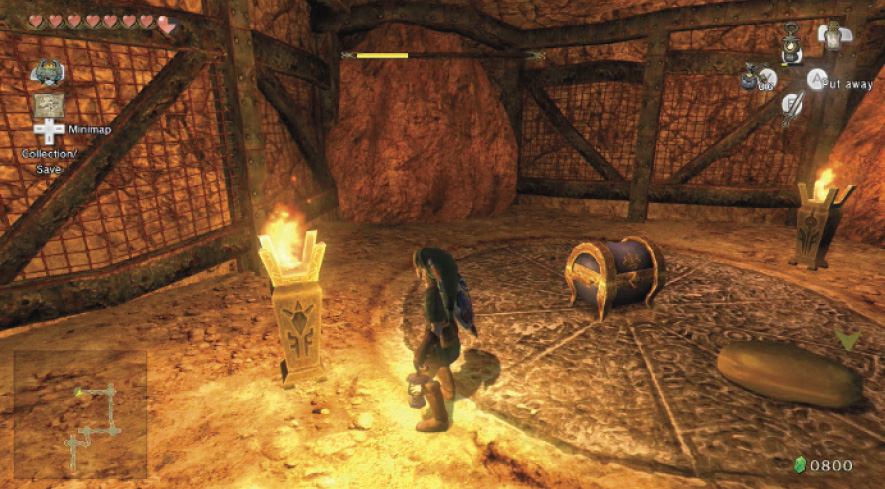
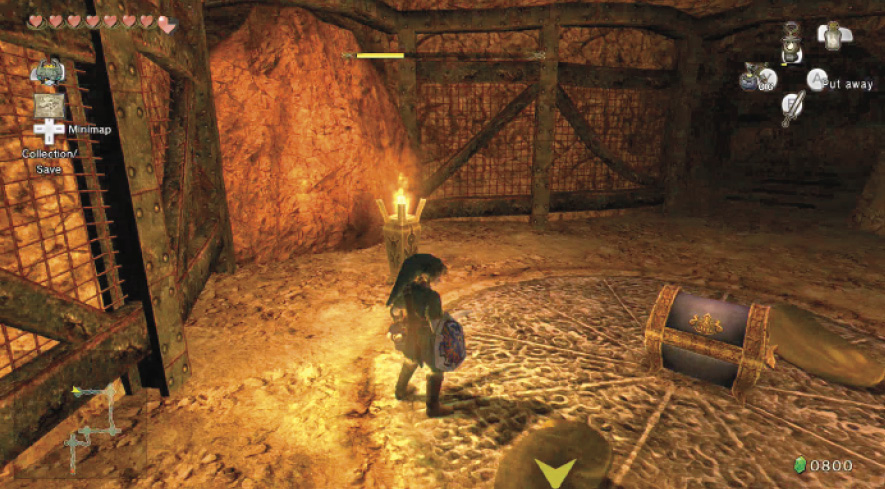
The cavern’s fifth chamber is filled with goodies. Light both its torches to reveal treasure chest #34, which contains a Hylian Letter Stamp J. Squash the Yellow Chu that drops from the ceiling, then scoop its Yellow Chu Jelly into a Bottle to keep your Lantern burning bright.
Treasure Chest #34:
Hylian Letter Stamp J
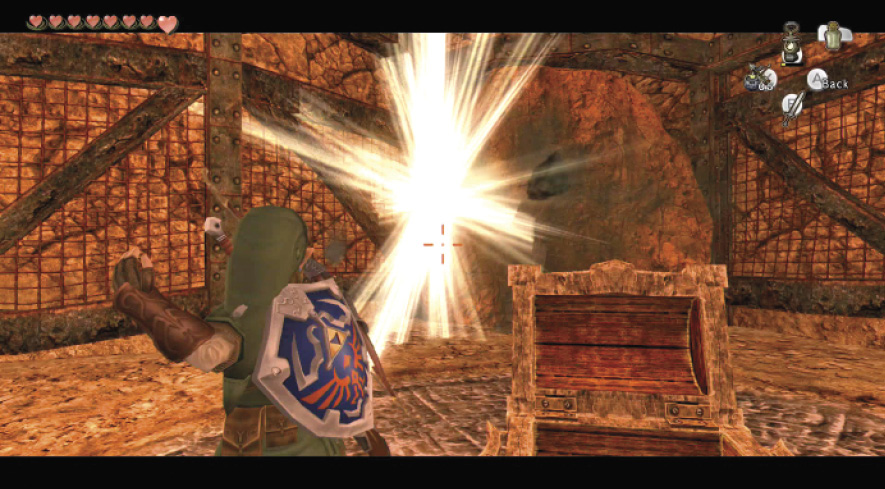
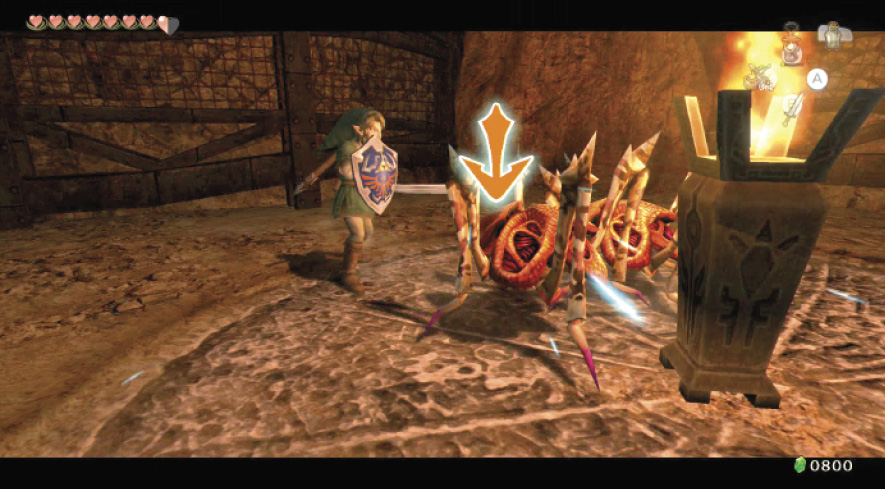
Destroy the north bomb rock to reveal a small alcove. Defeat the Tektites that spring out of the alcove in ambush, then open treasure chest #35 for a Red Rupee (20). Afterward, blast through the west bomb rock to open the passage to the sixth chamber.
Treasure Chest #35:
Red Rupee (20)
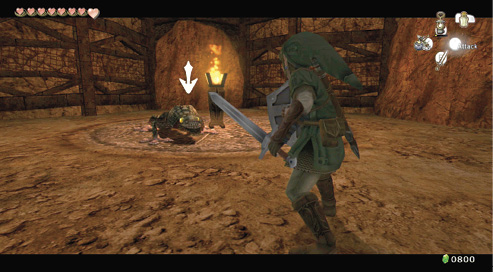
You face a fire-breathing Dodongo in the sixth chamber. Circle around the beast and slash at its tail until you defeat it, then destroy the west bomb rock to reveal a small alcove containing a tall shaft of light. It’s an exit point! Don’t leave yet, though; there’s still a lot to do in the cavern.
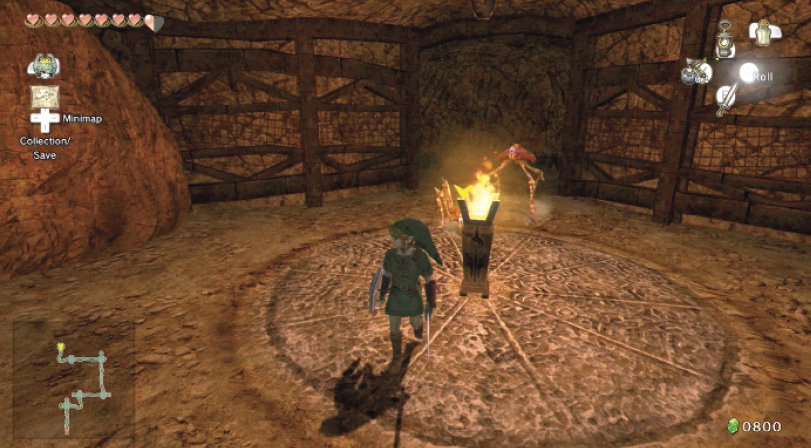
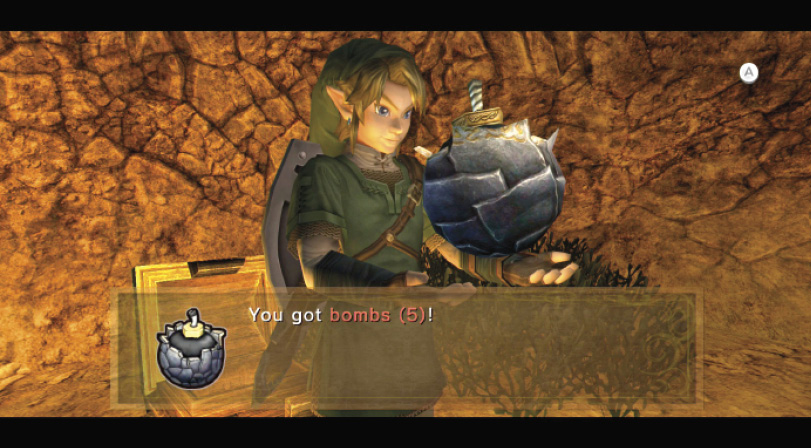
Blast the north bomb rock to reveal another small alcove, which contains treasure chest #36. A few Tektites pop out of the alcove as well; dispatch them, then open the chest for Bombs (5), which you need at this point! Cut away the weeds near the chest for a couple of Hearts, then destroy the west bomb rock to open the way forward.
Treasure Chest #36:
Bombs (5)
|
There are a few more pits in the west passage, but no enemies to worry about. Don’t fall in! |
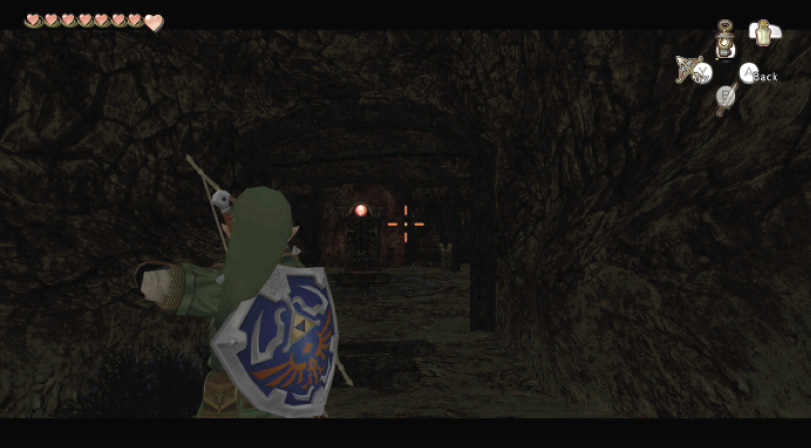
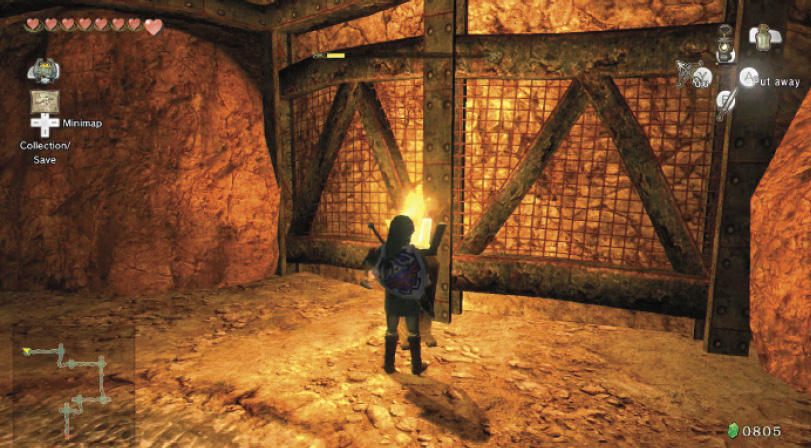
Another Beamos defends the cavern’s seventh chamber. Fire an arrow into its laser eye from the safety of the previous passage. Enter the room and light its torch so you can stash your Lantern and conserve its oil.
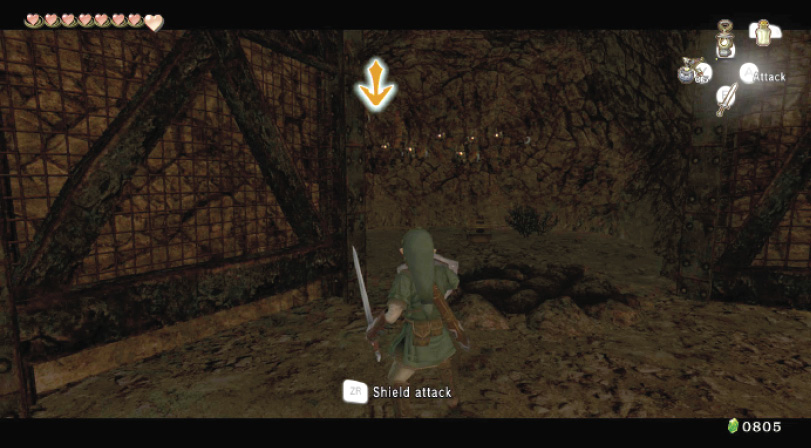
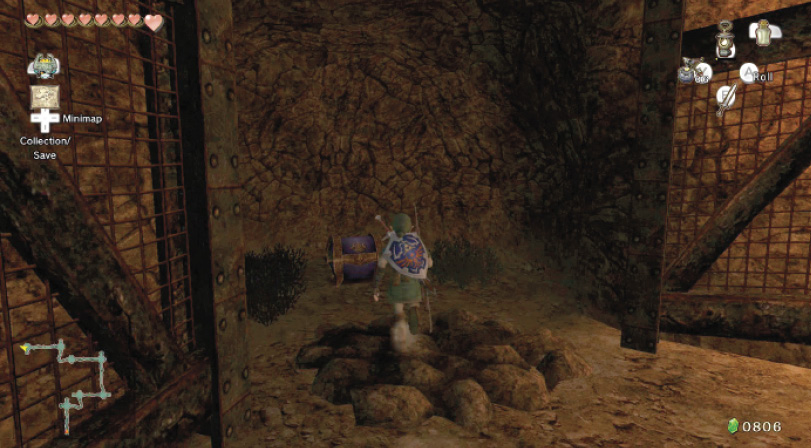
Blow up the three bomb rocks in this chamber to reveal a south alcove, a west alcove, and another passage to the north. Defeat the Keese in the south alcove, then open the treasure chest (#37) for Arrows (10). Lift the lid on treasure chest #38 in the west alcove for a Purple Rupee (50).
Use caution when entering the north passage; more Torch Slugs line its ceiling. Defeat each one in turn, and be careful not to fall into the pits you encounter after the passage bends east.
Treasure Chest #37:
Arrows (10)
Treasure Chest #38:
Purple Rupee (50)
|
Make good use of the Spin Attack when Torch Slugs and Keese surround you; you’ll rid yourself of nearby threats, and you’re less likely to fall into a pit using this maneuver |
Another Imp Poe floats about in the cavern’s eighth chamber. If you’re not at the point where you’re able to transform into a wolf at will, there’s nothing you can do against this enemy. Dart in and light the torch in the middle of the chamber, then retreat into the previous tunnel so the Imp Poe stops chasing you.
|
Change into wolf form if you’re able, then tear into this Imp Poe to collect Poe Soul #17. |
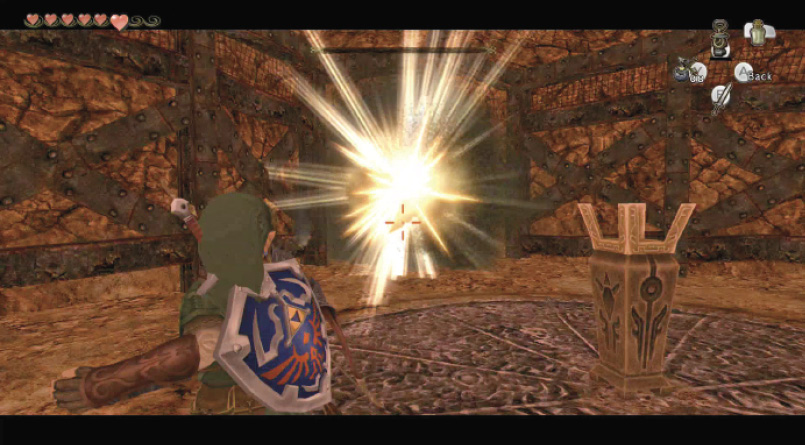
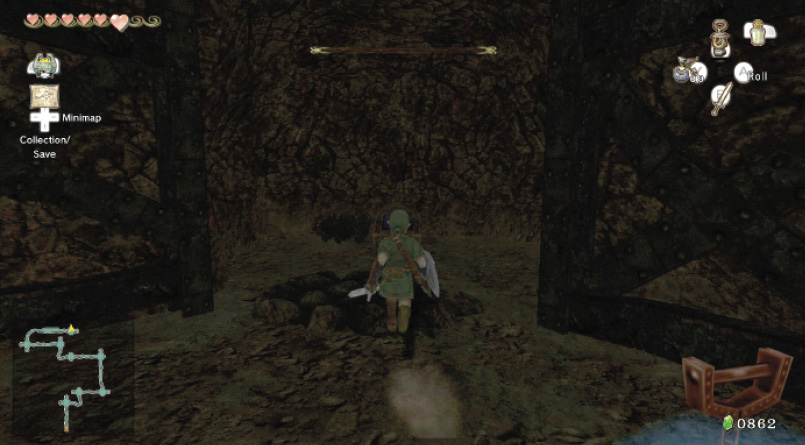
Use Bomb Arrows to destroy the eighth chamber’s north, south, and east bomb rocks from range. Tektites hop out of the east alcove; dash forward and cut through them, then open treasure chest #39 in the north alcove for a Purple Rupee (50) before the Imp Poe zeroes in on you.
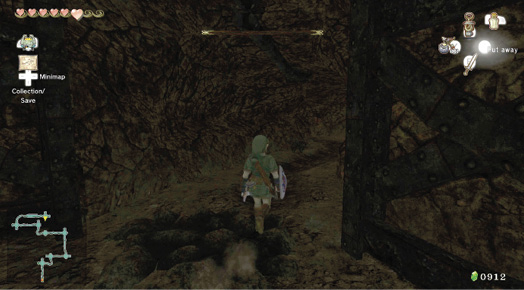
Dart into the east alcove and open treasure chest #40 to obtain Bombs (10). You’ve pillaged this room, so hurry into the south tunnel before that Imp Poe catches up!
Treasure Chest #39:
Purple Rupee (50)
Treasure Chest #40:
Bombs (10)
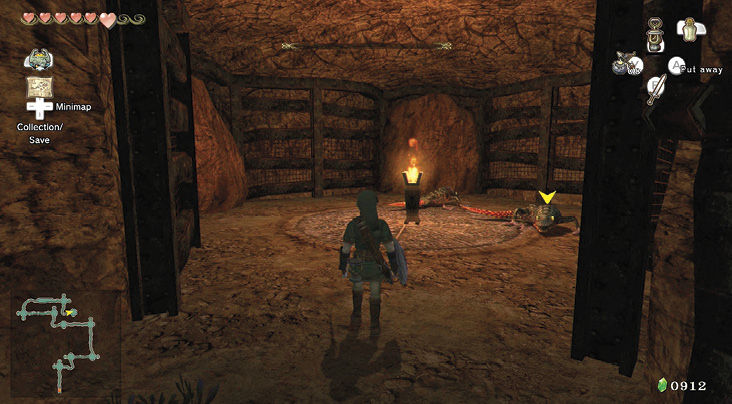
It’s an uneventful trip to the cavern’s ninth chamber, but the Dodongo duo that guards this room makes up for that. Focus on eliminating one of these nasty creatures before tackling the other to avoid fighting both at once.
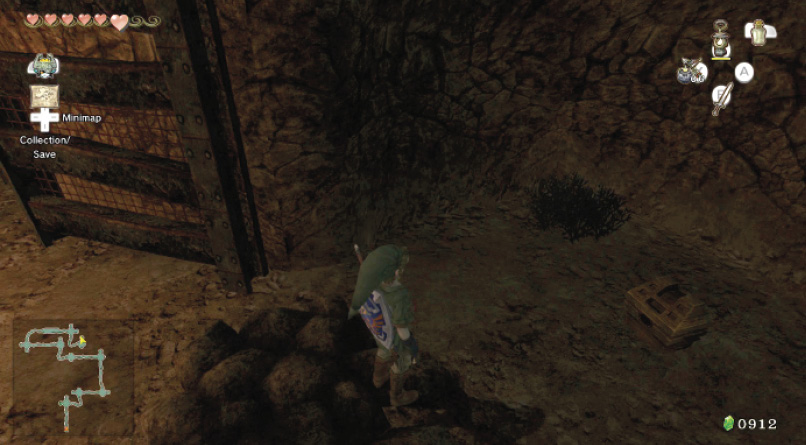
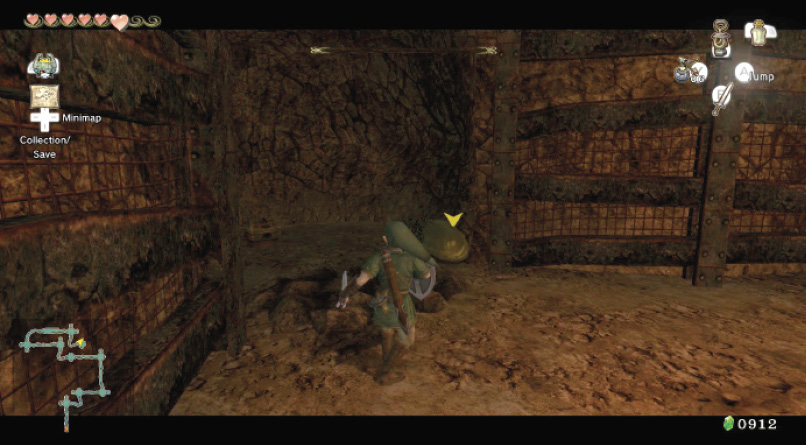
After dealing with the Dodongos, destroy the room’s two bomb rocks, then open treasure chest #41 in the north alcove for Seeds (50) for your Slingshot. There’s a Yellow Chu in the alcove as well; waste it and scoop its remains into a Bottle for more Yellow Chu Jelly to keep light in your Lantern.
Treasure Chest #41:
Seeds (50)
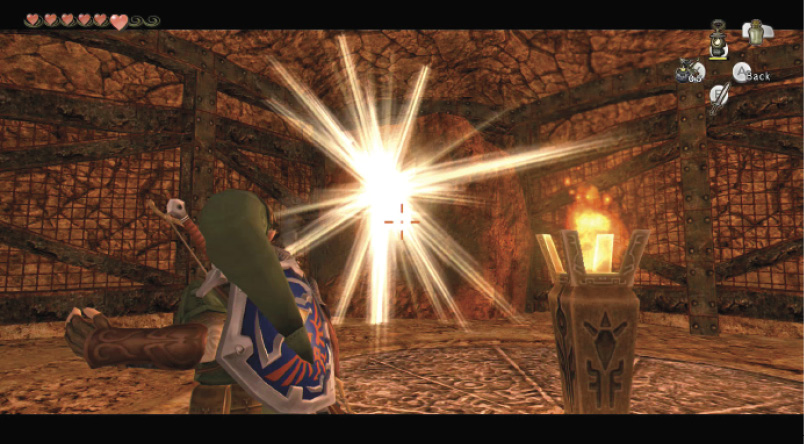
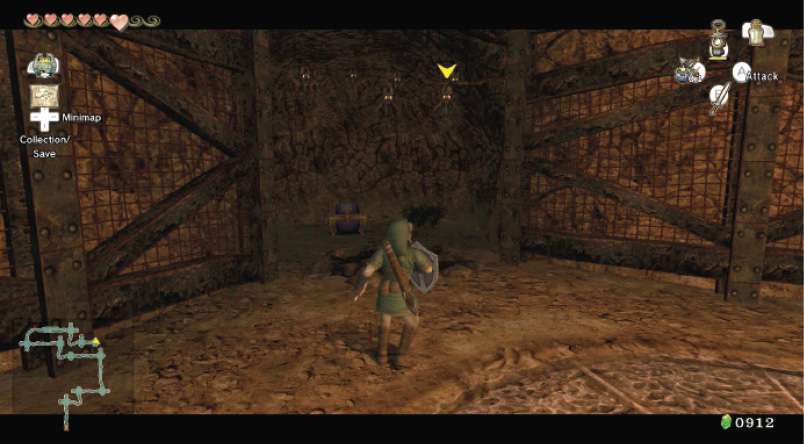
The tenth chamber is quiet; there are no enemies here at first. Take out the room’s two bomb rocks and to reveal a Keese-filled alcove to the east and a passage to the south. Slice through the Keese and open treasure chest #43 for the Hylian Treasure Chest Stamp, then head into the south tunnel.
Treasure Chest #42:
Hylian Treasure Chest Stamp
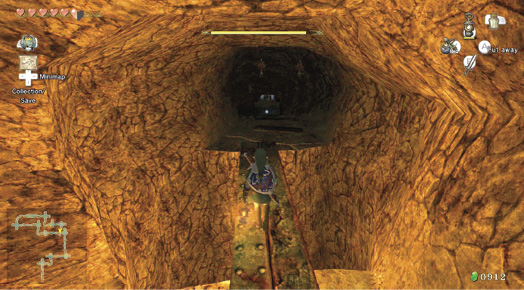
Watch your step through the south passage; pitfalls abound! Navigate the wooden planks that stretch across the pits, eliminating Keese who ambush you with the Spin Attack.
The passage leads to the cavern’s eleventh and final chamber. Another Imp Poe hovers about here; avoid it if you’re unable to combat it in wolf form, and focus on lighting the room’s two torches instead. Doing so reveals treasure chest #43, which contains Piece of Heart #16!
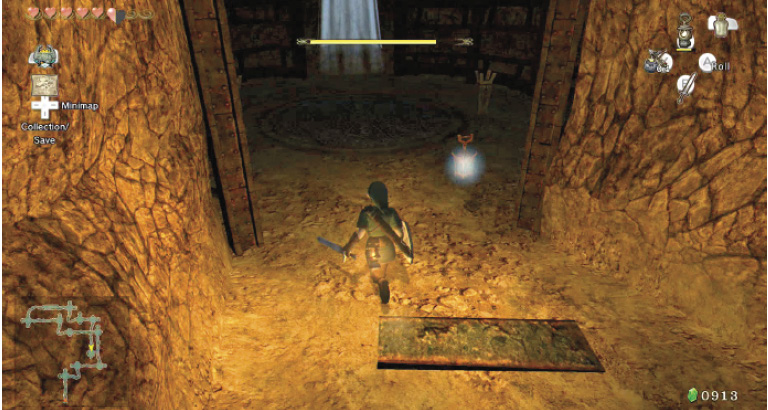
Treasure Chest #43:
Piece of Heart #16
 Piece of Heart
You got Piece of Heart #16! Collect 4 more for another full Heart Container.
|
If you’re able to transform into a wolf, it’s best to defeat this Imp Poe and claim Poe Soul #18. |
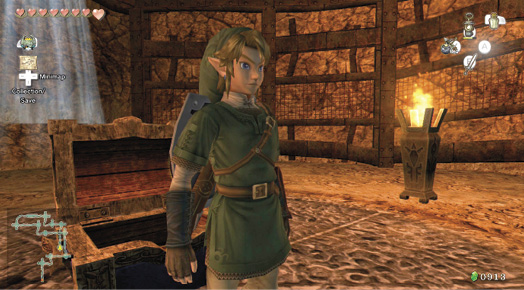
That’s it! You have ransacked Lantern Cavern II. If you couldn’t get the three Poe Souls from here during this run, come back for them later. Step into the shaft of light in the final chamber’s south alcove to return to the surface with the loot you’ve gained.
Lake Hylia: Up the Tall Tower
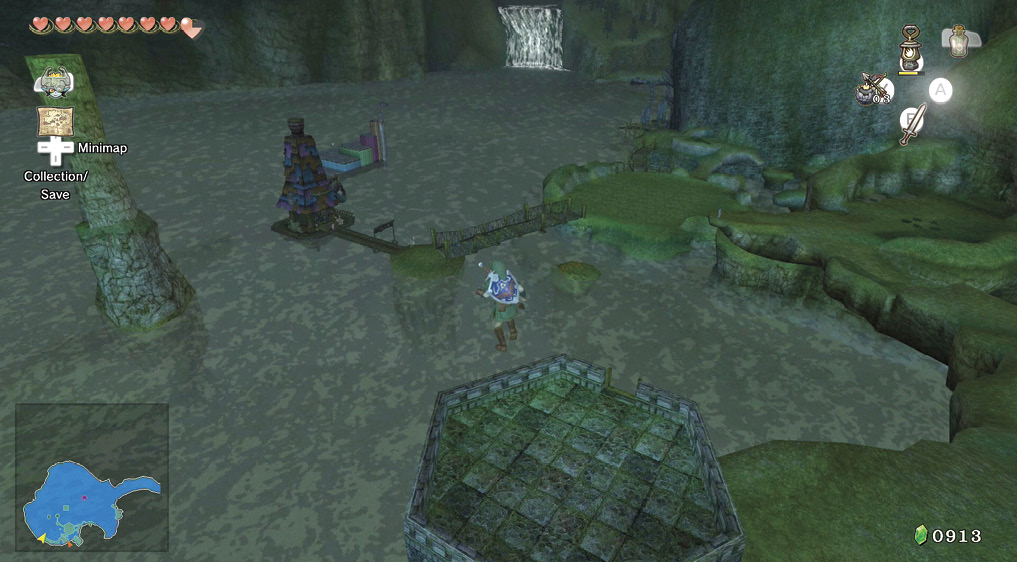
After you’ve explored Lantern Cavern II and all but the Imp Poes remain, head out and check the sloping ground and large plateau to the west. There’s an Imp Poe to avoid here and no real prizes for cutting grass, but there is a huge tower to climb, at the top of which you’ll see a great view of the lake. Come back here later to meet someone called Auru, but for now, try an impressive leap off!
Author NoteThat tower is tall. How tall is it? Well, we started climbing at night, and when we reached the top, dawn was breaking! |
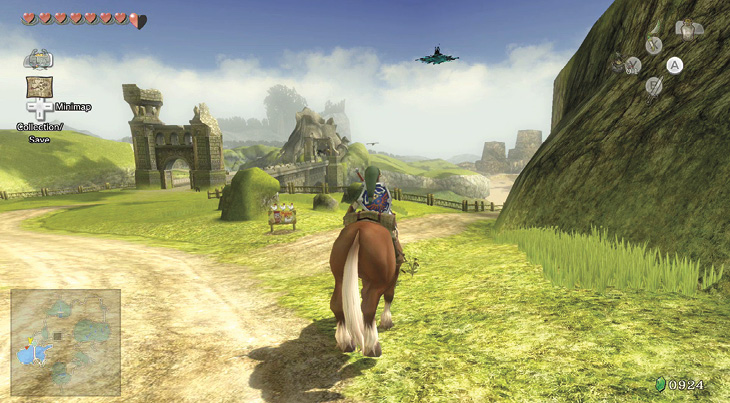
The time has come to explore some of the other areas, so locate Fyer and pay for another cannon flight out of here. Exit via the Flight-by-Fowl building, and head up the fenced entrance to the Hyrule Field area and to the bridge. You don’t want to run everywhere, so locate the Horse Grass at the fork in the road and summon your faithful friend Epona.
Before you cross the bridge, though, quickly detour to the large Bomb Rock just to your left. You get four Blue Rupees (5). At night, watch for Stalhounds and Bokoblins roaming about.
Golden Bug: Male MantisCollection: 11 (of 24)The bridge’s northern arch houses a new species of bug. Face south and check the left wall. The bug is too high to grab, so use your Gale Boomerang to whisk it to you. Pick up the Male Mantis and add it to your collection, which is now almost half complete! Now cross the bridge. 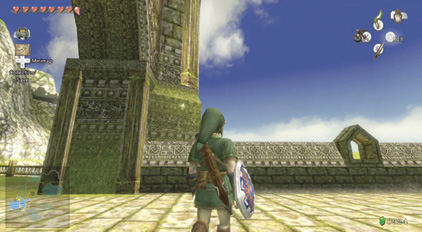
|
 Male Mantis
You caught a Male Mantis! Bug fans love that golden color!
|
As you cross the bridge (or at any other location after you leave Lake Hylia), the Postman comes huffing and puffing toward you with another two missives. One is from Barnes, who says he’s perfected the Water Bomb. The other is from the Lanayru Tourist Association letting you know that Iza and Hena’s Playground for Grown-ups has opened in the Upper River area, where the carrier dropped you and you met Iza for the first time.
|
 Letter #5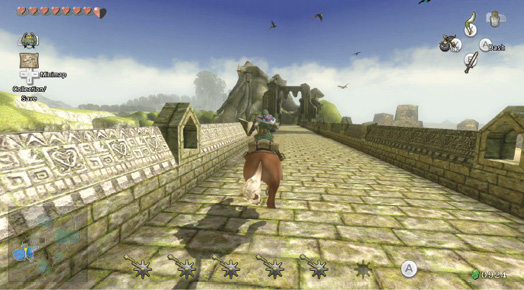
As you cross this large bridge, be sure you pause for a moment and begin to attack a swarm of Guays fluttering and swooping about here. When you’ve defeated your final one, a ring of Rupees falls from the sky! Cash in, then head south.
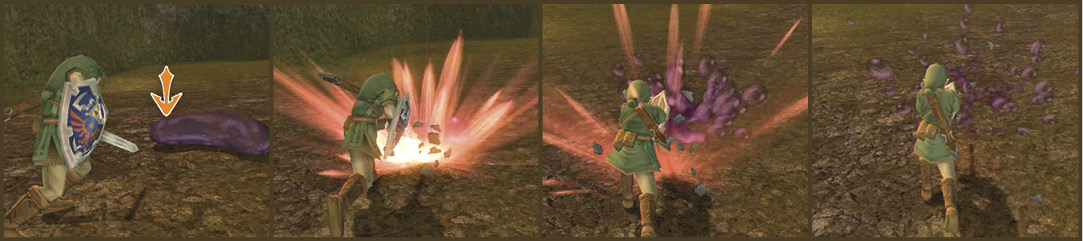
Gallop south past the bridge and under a gigantic dead tree and rocky walled area. Halt when you encounter a group of Chus dropping from the tree to the ground. Optionally engage them in combat, cutting them into smaller Chus before they finally explode. You can scrape Red, Blue, and Purple Chu into a spare Bottle.
 Red Chu Jelly
You put Red Chu Jelly in your Bottle. Use this to restore up to eight Hearts.
 Blue Chu Jelly
You put Blue Chu Jelly in your Bottle. Use this to restore all energy.
 Purple Chu Jelly
You put Purple Chu Jelly in your Bottle. Who knows what will happen….
|
If you’re after Red and Blue Chu Jelly, which acts the same as like-colored potions sold in stores, save the money and simply come back here. |
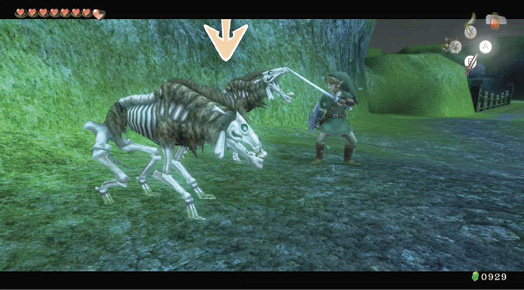
If you approach this area during the evening or at night, expect encounters with Stalhounds. Dismantle those bony fiends before attempting to locate your next Golden Bug!
Golden Bug: Female MantisCollection: 12 (of 24)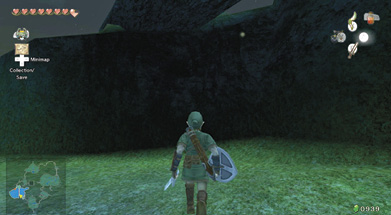
Be sure you’ve removed all nasty threats in the area before snagging the bug that is up and right along the rocky wall, on the side of the giant tree root. Use your Gale Boomerang to transport the bug to your feet; then grab her and add her to your collection.
|
 Female Mantis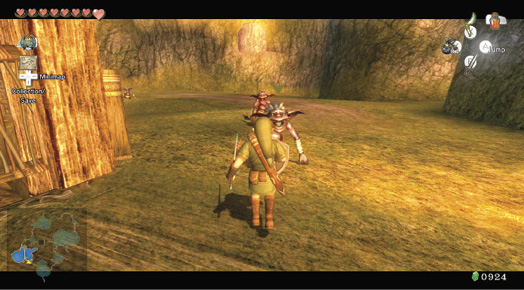
Ride down this trail, over a small wooden bridge, and into a grassy path where Bokoblins are roaming. There are at least three of them to deal with while you’re either on horseback or when you reach a Bomb Rock overlooking the lake below. Optionally, during combat with Bokoblins, you can lay a bomb, explode the rock, and then inspect the treasure left behind—two yellow Rupees (10).