
The Legend of Zelda: Twilight Princess HD Guide Dungeon 4: Arbiter's Grounds
Task 5: Defeat Death Sword in Battle; Obtain the Spinner
Chamber 10: First Return to Chandelier Chamber II (2F to 1F), to Third Return to Grand Ceremonial Hallway, to Chamber 14: Spinner Cog Room
With the last Poe defeated, you can use the Clawshot medallion in Chandelier Chamber II and propel yourself back to the door leading to the Grand Ceremonial Hallway. The north door opens, and you can bound through, into a strange, circular chamber. Attack the Fire Bubbles and regular Bubbles, then inspect the ground. There’s a strange circular groove in here….
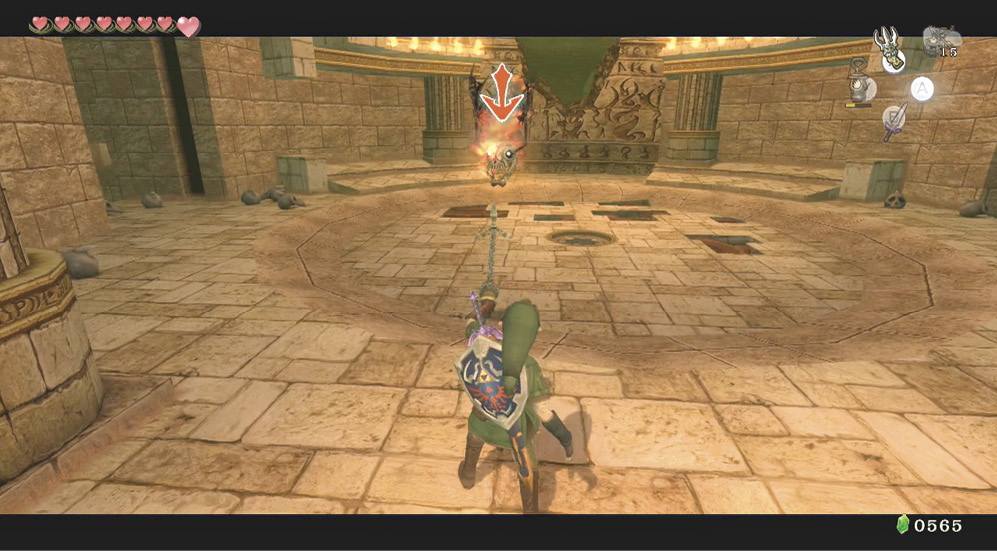
There are two exits, but the one to the left leads to a small thin room with a giant chest at the end. But you can’t reach it yet because a sand trap prevents you. Instead, turn and exit via the doorway opposite.
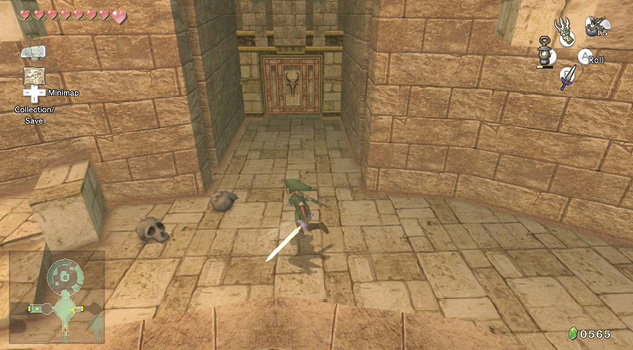
Chamber 15: Circular Pit (1F, BF, B2)
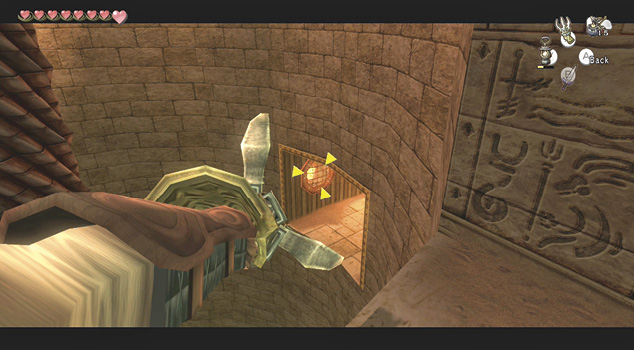
Enter a circular pit with a long drop to the bottom of this dungeon. However, check the small corridors dotted throughout the drop. Look over the edge, and fire your Clawshot at the medallion you can see on the south alcove. Crack a skull for a blue Rupee (5), but otherwise, spikes prevent you from continuing. Continue down to the B2 level, either dropping or using the Clawshot. Only Rupees from scenery can be stolen at the moment. Fight the Bubble when you reach the bottom.
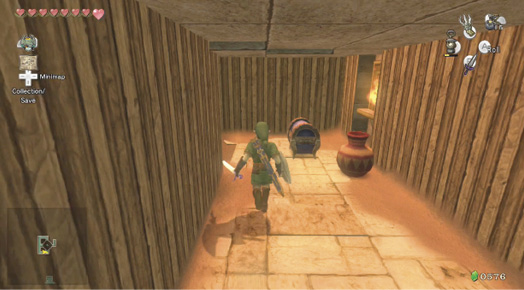
To retrieve the real treasure behind the spikes in these alcoves, raise the central pillar by turning the giant handle at the base of this pit. Turn it and raise the platform two levels. Then enter the alcove in the western wall, run round, and open the chest cunningly hidden here. You can now raise the platform another level, and enter another alcove, but you find only pots and skulls to smash. Now return to the handle, and push the platform all the way to the bottom, unlock the door, and exit via the south.
Treasure Chest #12:
Small Key
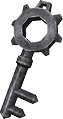 Small Key
You got a Small Key! This opens a locked door, but only in this area.
Chamber 16: Spike and Sand Trap (B2)
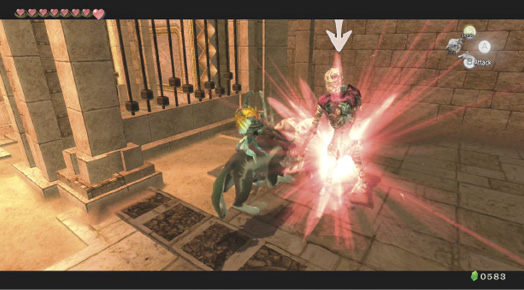
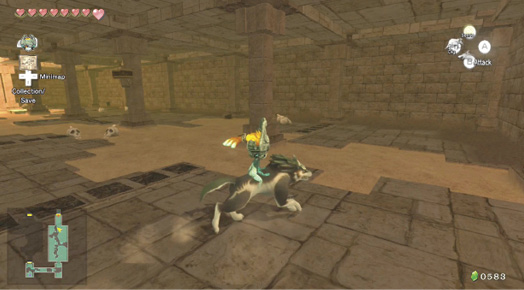
Exit through the southern door, and run into a long room with columns stretching throughout the middle. Change to your wolf form, as Ghoul Rats are about! Canter forward, and move along the left wall until spikes appear, preventing your progress. Turn right, move across, and around more spikes, across the sand to the opposite wall. Turn to face south.
|
Turn your sense view on. That way you can see when Ghoul Rats head your way, and shake them off. Also, every time a spike rises, a ghostly residual image remains if you keep your sense view on, so you can see the path more easily. |
Proceed south until spikes block your route once more, then turn, shake off some Ghoul Rats, and work your way across to the left wall again. Turn south, and pass over the sand—the only gap without spikes. Then turn right, and head to the other side once more. Stop and defeat all the Ghoul Rats you can see!
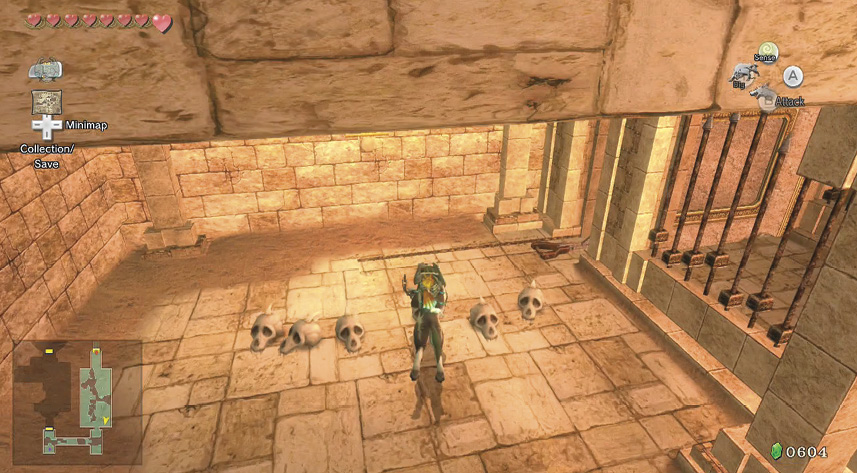
Turn and charge southward, so you’re in the southwestern corner of this chamber. Then ZL target a Redead and clamp yourself to it, biting it twice until it falls. Now shake off the final Ghoul Rats. This is much more difficult if you’re not in wolf form!
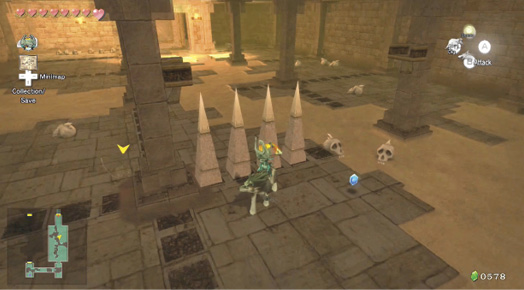
With the Redead defeated, turn and head north, then east, all the way across, then south to the opposite corner, where you need to pull a chain. Then retrace your steps to where the Redead was, and head for the middle of the southern wall, which is closing rapidly! Squeeze through before it closes, or you’ll have to pull the chain again.
Chamber 17: Poison Mite Alley (B2)
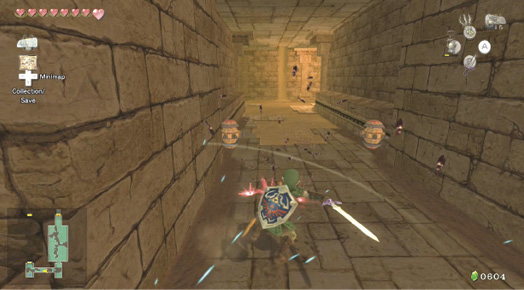
Head into a connecting chamber, stepping on and off some sinking tiles, and then turn west, and run onto a stone path flanked with two spiked Spinners. These traps hurt you and push you into the sand if you’re not careful. On the way, you’re attacked by Poison Mites. Produce your sword and spin, or light your Lantern and run!
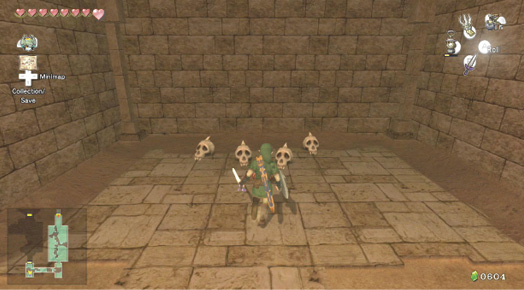
Continue to the end of this alley, and check the door to the north, then swing around and head to the skulls and pot. This one contains more than just Rupees: Ooccoo is here!
 Ooccoo
You are reunited with Ooccoo! This kind character can let you out of dungeons and return you to where you were.
Chamber 18: Chamber of Traps
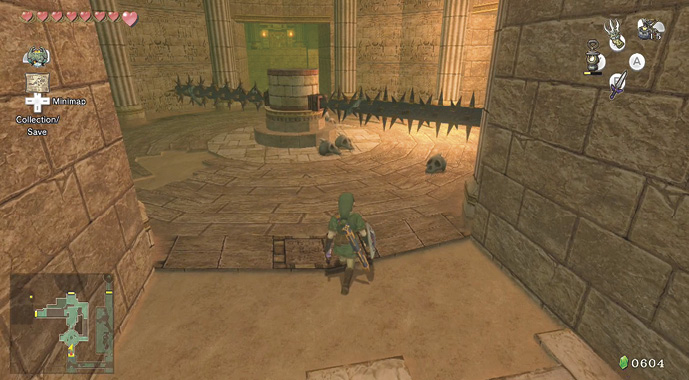
Head north through this door, and roll to increase your speed as you pass by a rotating spike log. There’s a gate to your right, and an alcove opposite that you can roll to and smash some scenery.
|
If you want to remain in cover, but still bash some skulls for the items inside, stay in this alcove, and aim with your Clawshot. Shoot it once to smash the skull, and twice to pick the item up! |
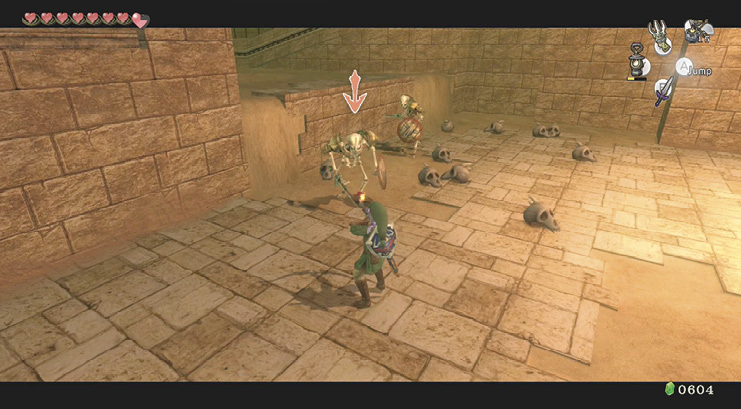
Enter the next chamber, and ready yourself for some fraught combat. A true adventurer would be armed with Bomb Arrows, and as soon as the two Stalfos awaken, shoot them both twice to finish them off. Or, use the back slice and when they collapse, drop a bomb. Make sure both are defeated before you continue because when you turn east, there’s a third Stalfos hidden in the alcove area! Bring out a Bomb Arrow for this guy, but first run over to him so he rises up.
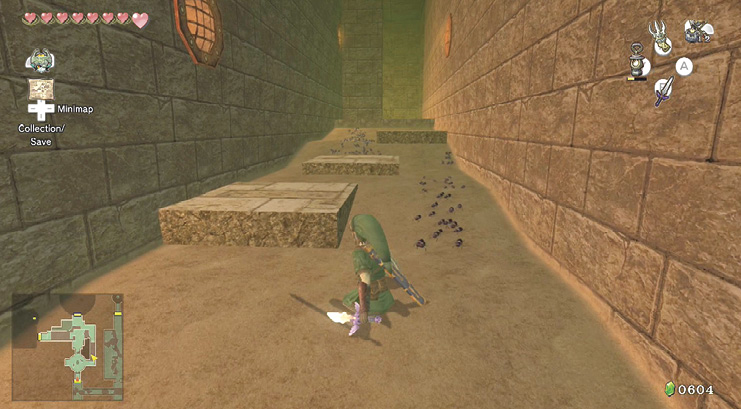
When the third Stalfos falls, the gate near the spiked log trap opens. Backtrack here, and head around to a long, thin passage filled with small tiles of stone and lots of sand. You can actually run up here, wade through the sand, and climb up on the other side, despite the Poison Mites. Or, use your Lantern to fend them off. Or, use the Clawshot medallions. Or, use your spin attack!
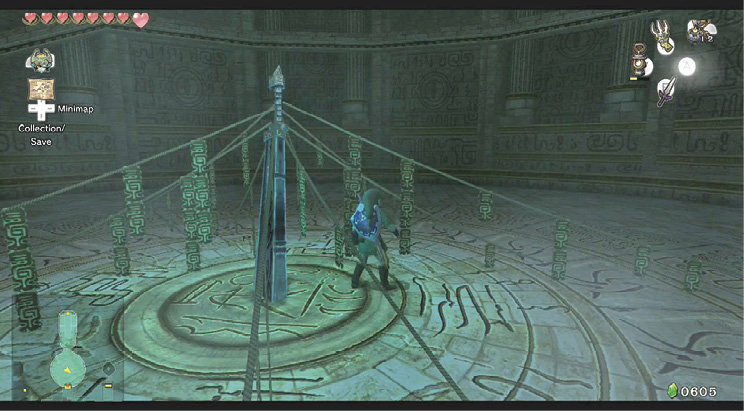
The passage leads to a gap where the third Stalfos was slumped. Leap over it, then run around the upper stone floor toward an exit door with pots and skulls nearby. Open this, and enter a massive circular chamber, with a huge and ominous sword in the middle.
Chamber 19: The Domain of Death Sword
Death Sword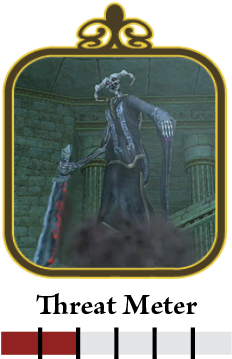
Step 1: After you disturb the sword, it breaks free from its bindings and begins to swipe at you. This sword is gigantic, and there doesn’t seem to be any way to defeat it! Or does there? Change to your wolf form, and with your sense view, you can see that an entity is wielding this weapon! 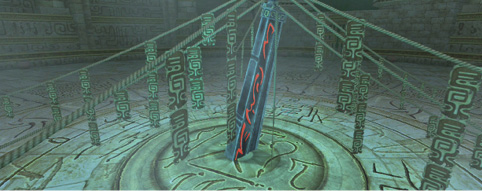
Step 2: The entity is a giant horned skeletal figure who’s intent on ending your days of adventuring! ZL target this large foe, and when he swings the blade, dodge it, and then leap on him as he flashes white. Keep gnawing on his bony form until he throws you off. 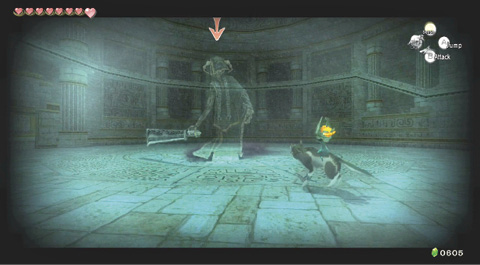
It’s a massive skeletal being with a huge sword. Although truly terrifying, he’s surprisingly easy to tackle! 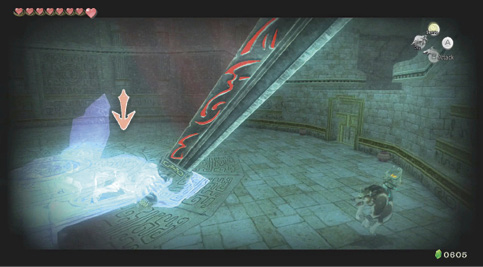
Step 3: He now becomes partially solid, aside from the cloud of vapor he trails. Now transform into Link, and begin a specific takedown technique. As he floats about, bring out your Hero’s Bow. Manually target the enemy’s head or body, and fire. It is recommended you aim at the body as it is a bigger target.Strike him with a single shot. Bomb Arrows work well, too. 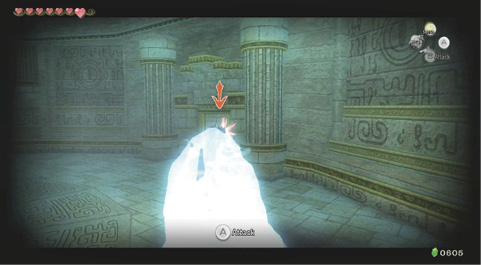
Step 4: As soon as you strike him with your bow, put it away, bring out your sword, and ZL target Death Sword as he circles around you. He stops immediately if you strike him using the bow, so you don’t need to constantly watch him. If you don’t fire an arrow, he continuously circles, and then brings his sword down. When he stops, he also brings his sword down. Dodge this and then begin a barrage of sword slices, spin attacks, and slashes! He collapses to his knees. Continue the punishment! 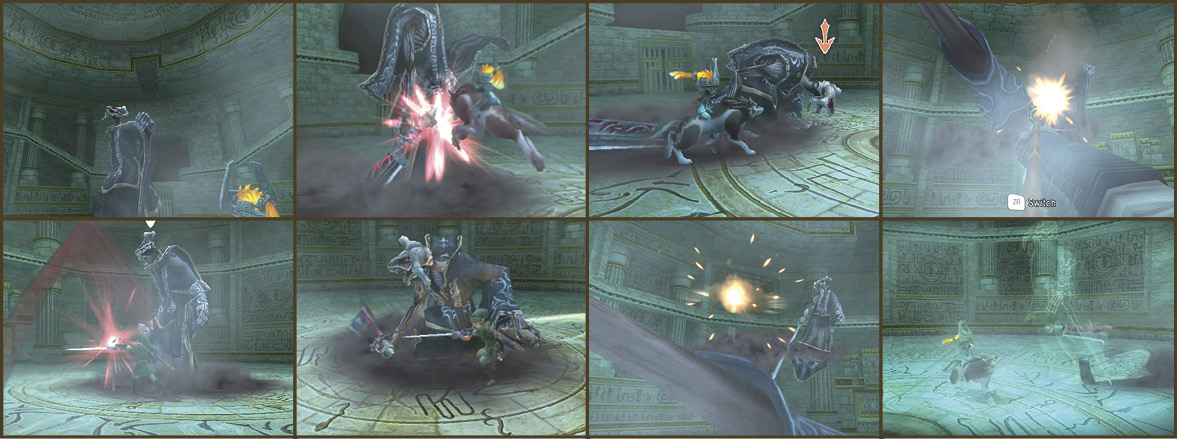
Step 5: He soon rises and circles you again. At this point, fire an arrow directly into Death Sword’s head or torso. Now repeat Step 4 three more times until Death Sword yields. If Death Sword produces these purple poison balls, simply shield attack them, pushing them away, and return the favor with an arrow. If you aren’t quick enough with an arrow, Death Sword turns invisible, and you must complete the combat from Step 1. Act fast, and be accurate with that bow! 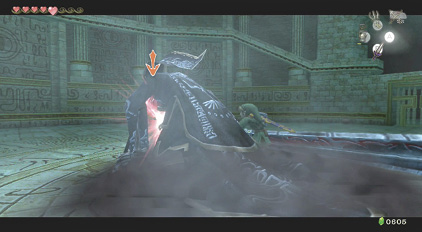
After you deal your final blow to Death Sword, he lets out an inhuman shriek and falls back. The sword explodes, and the entity dissolves into dust. The Arbiter’s Grounds is a slightly safer place for future adventurers! 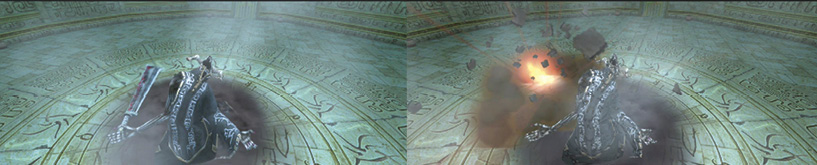
|
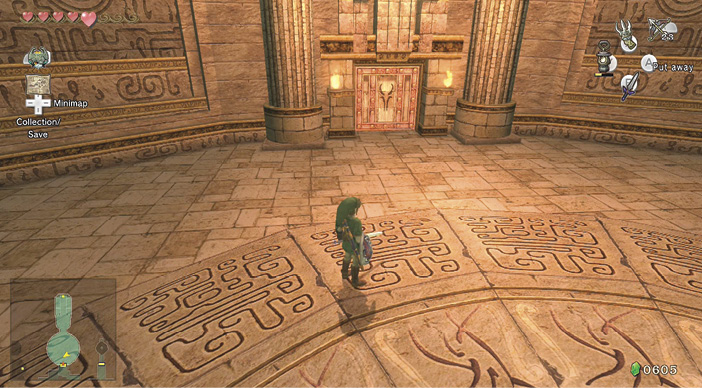
Treasure Chest: Once Death Sword has been defeated, head north, into the long hall beyond his arena. Here you find a chest with one of the most impressive devices ever constructed by ancient boffins! Behold, the Spinner!
Treasure Chest #13:
Spinner
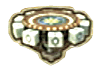 Spinner
You got the Spinner! It’s an ancient machine designed to float over land.
Spinner
The Spinner is an exciting device that allows you to journey across the sand traps and along the grooves of walls you may have seen during your travels across Hyrule. It keeps its speed up if it’s connected to the grooves on walls, and when it slows down, it disappears. You can also attack enemies by pressing you assigned the Spinner to, although this isn’t an impressive offensive power. The Spinner’s uses are limited and you can’t (for example) ride it for extended periods. Stay in this chamber and practice riding the Spinner. 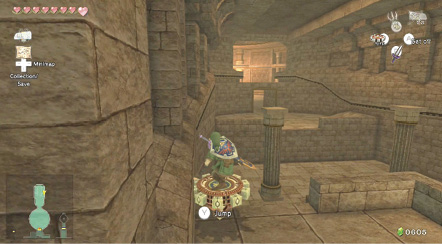
|
|
When using the Spinner, heed the following advice:
|